The Resurrection of Frog Morton


Blog by Kenneth Lieblich

Beside all the venerable gentlemen in the long history of pipe smoking, I am a but newborn infant. I have only immersed myself in this wonderful hobby in the last few years, and one of things that especially rankles my ever-ravenous brain is learning about wonderful tobacco companies that no longer exist and no longer produce the tobaccos that become semi-mythic to those of us who have never tried them.

McClelland Tobacco Company is a perfect example of the sort of company that no longer exists – but I wish did. I am mildly obsessed with tobaccos from McClelland and I have only tried a couple of their blends — thanks to the kindness of fellow pipe smokers, particularly Steve. My opportunities to try these old tobaccos have been exceptionally few and far between. The one that always springs to mind for me was trying McClelland’s Anniversary blend (from 2002), some twenty years after its release. That was a magnificent experience.I recently came across a post about recreating their legendary Frog Morton tobacco. I wish I could find the post (but can’t), but I will do my best to do it justice here. I’ve never had the chance to try any of the original Frog Morton tobaccos – and there is no question of me affording the prices to buy old, original tins on the secondary market – so this is the best I can do.

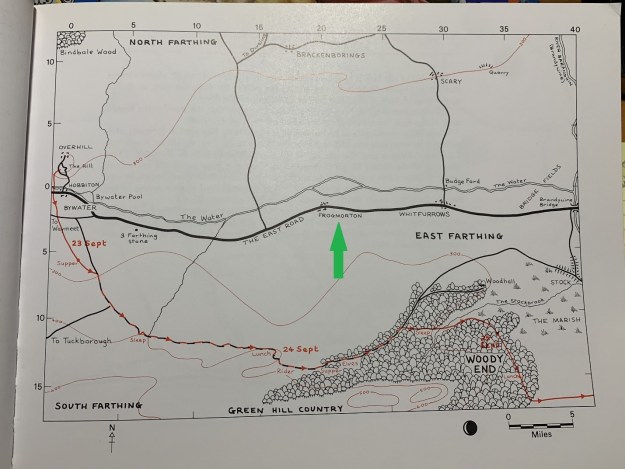
This recreation is whimsically called “Ghost of Frog Morton” by its originator, and I was keen to blend it myself to see the results. Allow me, for a moment, to go off on a brief tangent about the name of McClelland’s original Frog Morton. As many of you will already know, Frogmorton (as one word) is the name of a village on the Great Road in J.R.R. Tolkien’s Middle-Earth. It is in Eastfarthing and is not a town of any great significance, but reference is made to it twice in the Lord of the Rings: once in The Fellowship of the Ring, at the end of the Prologue, when it is displayed on a map of the Shire; and later in The Return of the King, when Tolkien writes:

“As evening fell they were drawing near to Frogmorton, a village right on the Road, about twenty-two miles from the [Brandywine] Bridge. There they meant to stay the night; The Floating Log at Frogmorton was a good inn. But as they came to the east end of the village they met a barrier with a large board saying NO ROAD; and behind it stood a large band of Shirriffs with staves in their hands and feathers in their caps, looking both important and rather scared.”Many books about Middle-Earth include minor references to Frogmorton, including Day’s A Tolkien Bestiary, Fonstad’s The Atlas of Middle-Earth, Foster’s The Complete Guide to Middle-Earth, Hammond and Scull’s The Lord of the Rings: A Reader’s Companion, Strachey’s Journey’s of Frodo, and Tyler’s The Tolkien Companion – among others.
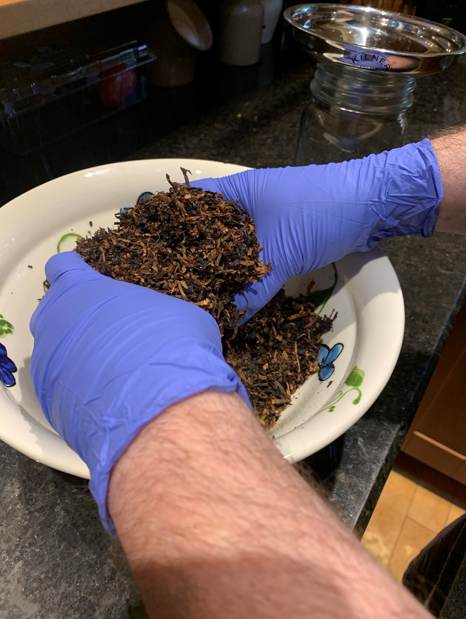
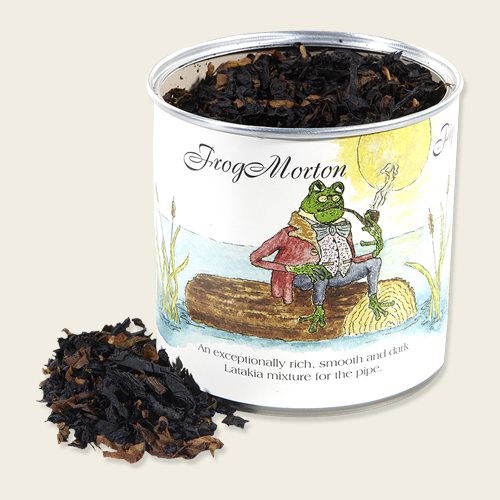
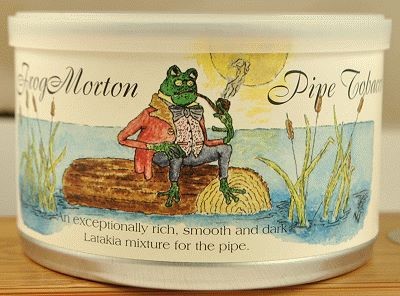
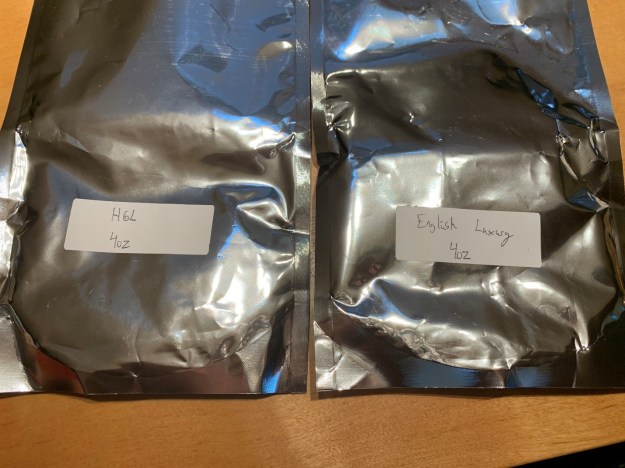
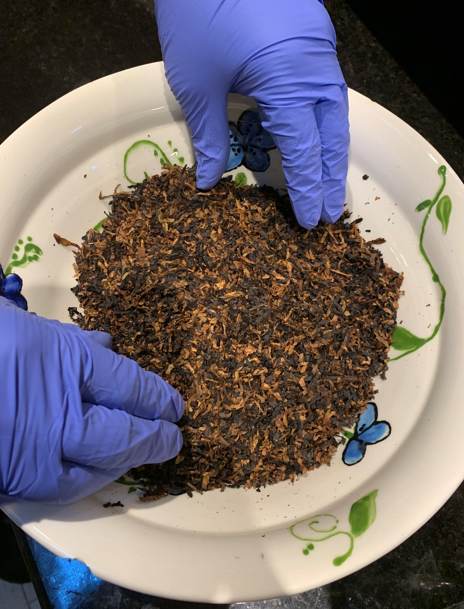
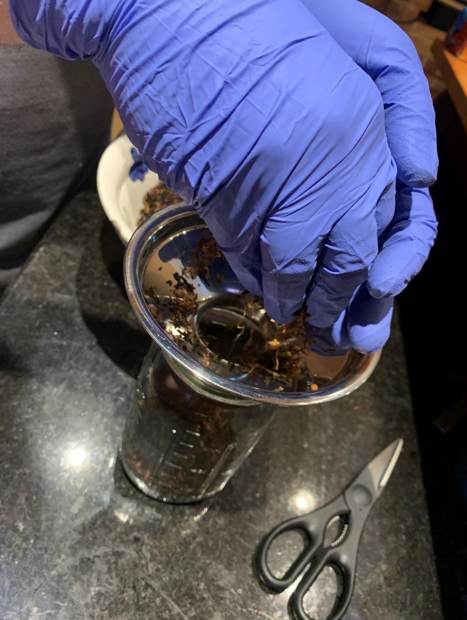
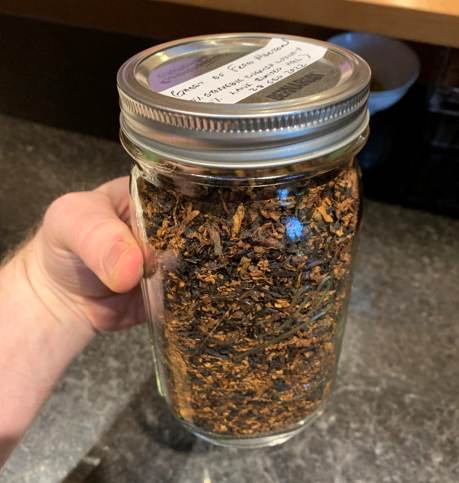
Back to the tobacco: it is a Virginia-Latakia mix. On the original tins, Frog Morton is described as “An exceptionally rich, smooth and dark Latakia mixture for the pipe”. Well, I love Latakia and Virginia, so this resurrected “Ghost of Frog Morton” should be a winner for me.The procedure to make it couldn’t be easier, and it is certainly worth a try. To begin, I ordered the ingredients from my preferred tobacco merchant. The two components of this blend are Peter Stokkebye English Luxury PS 17 and Lane Limited HGL. I ordered four ounces of each, figuring that half-a-pound would be good enough to start with and share with friends.I emptied the contents of the two tobacco bags into a large, glass salad bowl – incurring raised eyebrows from my beloved wife. I took several minutes to thoroughly mix the tobaccos together. I did not want hidden chunks of one tobacco or another persisting in this blend. With gloved hands, I mixed and separated and tossed and blended and turned over all eight ounces. I hummed and hawed for some time about how to store it. Normally, I cellar tobaccos in Mason jars in two-ounce increments. However, I wanted to keep this batch all together, so I used a canning funnel and put it all in one large Mason jar.Voilà – my first quasi-blending! I obviously don’t have the real Frog Morton to compare it too, but reports suggest that it is a very good imitation of the original. I’m going to let it sit for a while and I’ll get back to you all once I’ve tried it.I hope you enjoyed reading this brief tale of bringing a classic tobacco back to life. If you are interested in my work, please follow me here on Steve’s website or email me directly at kenneth@knightsofthepipe.com. Thank you very much for reading and, as always, I welcome and encourage your comments.
 

Stepping into a Mysterious Small Pipe Shop in Bologna Italy – Bonfiglioli Pipes


Blog by Steve Laug

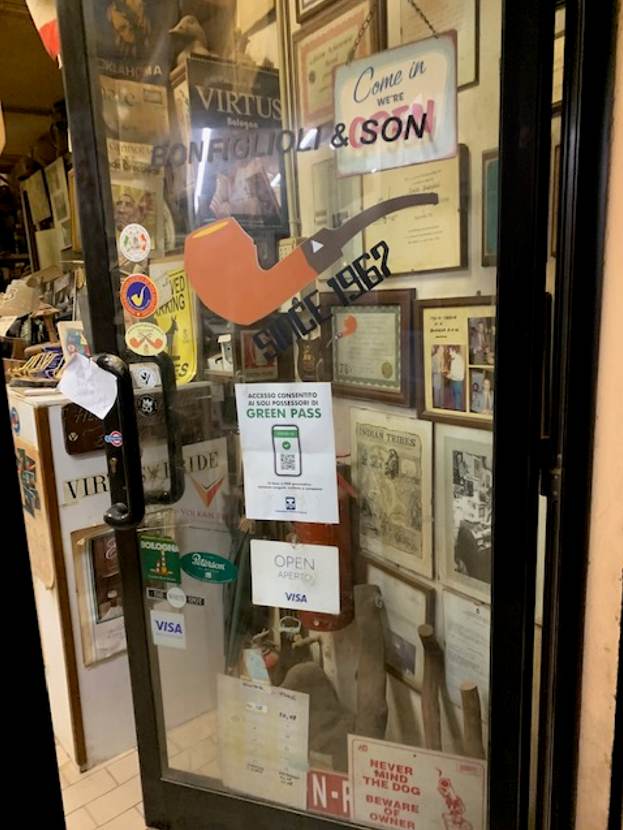
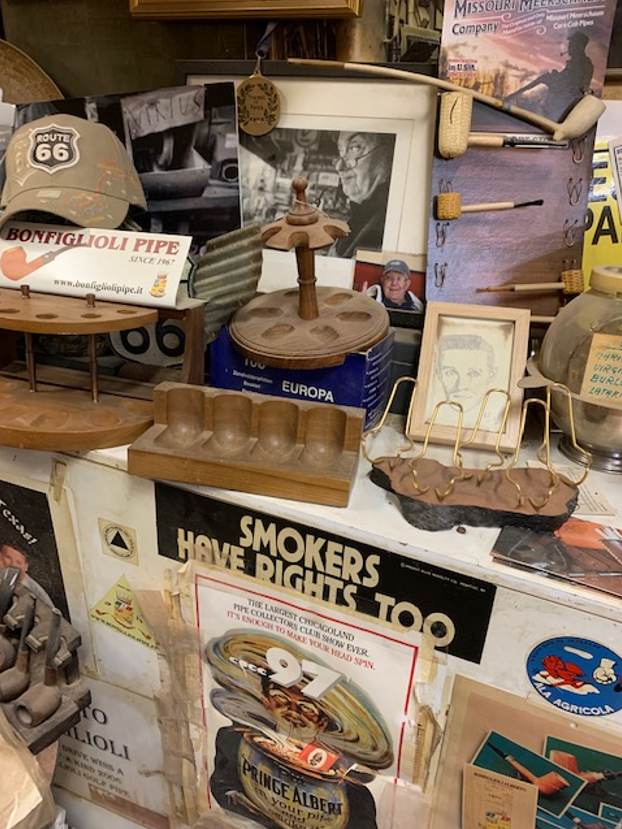
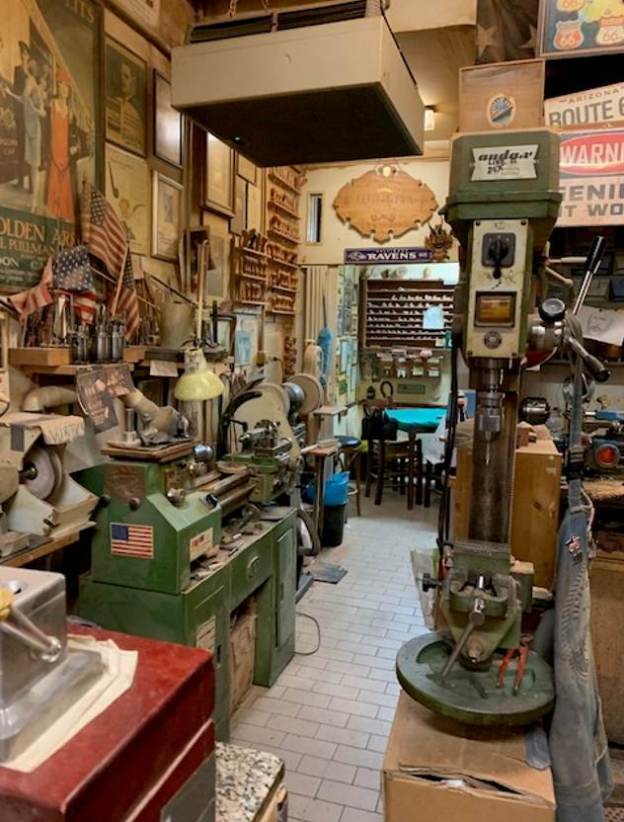
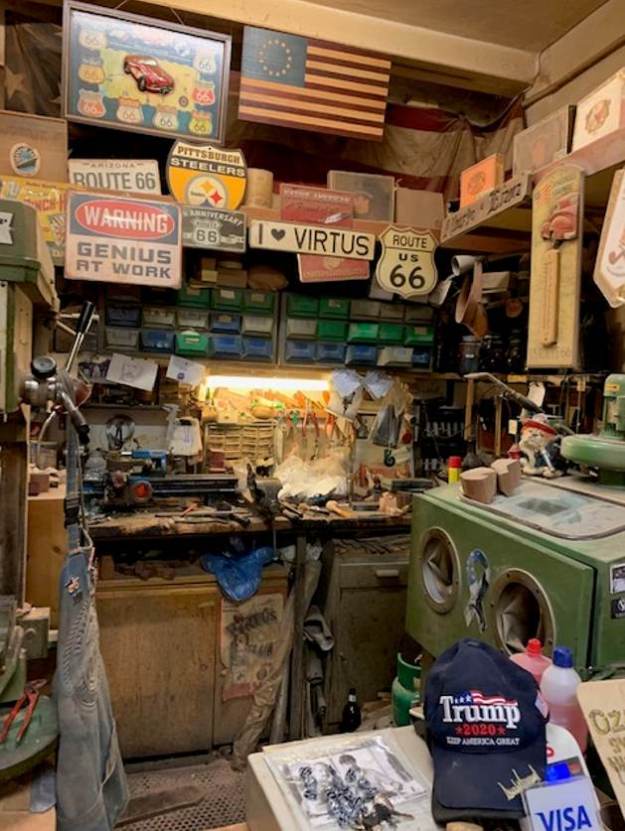
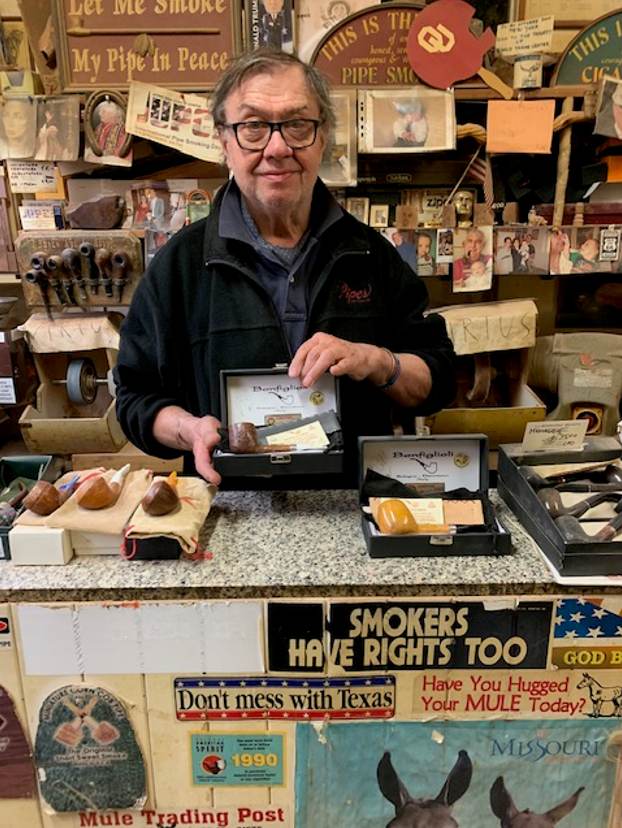
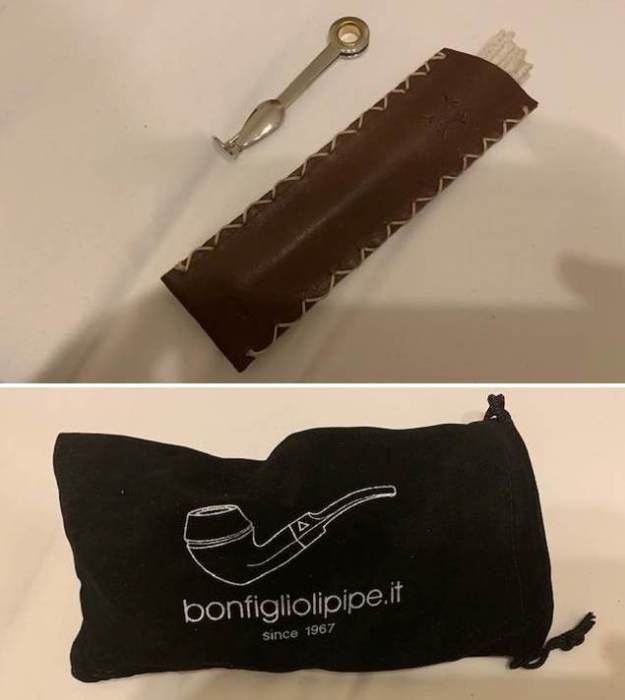
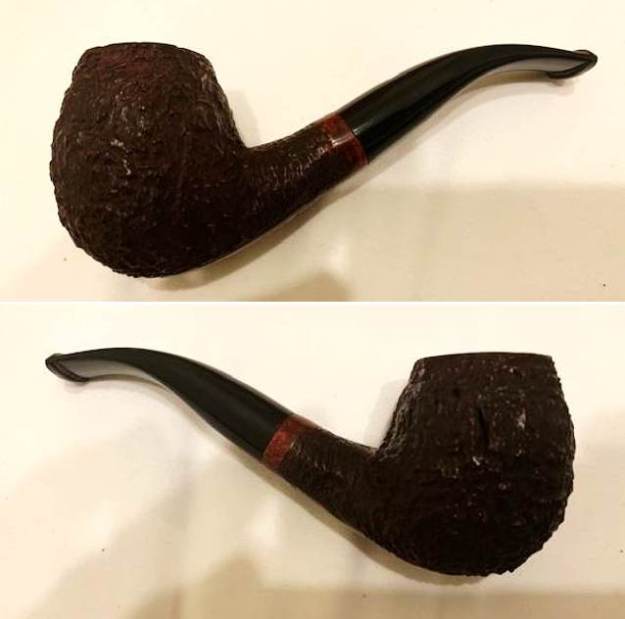
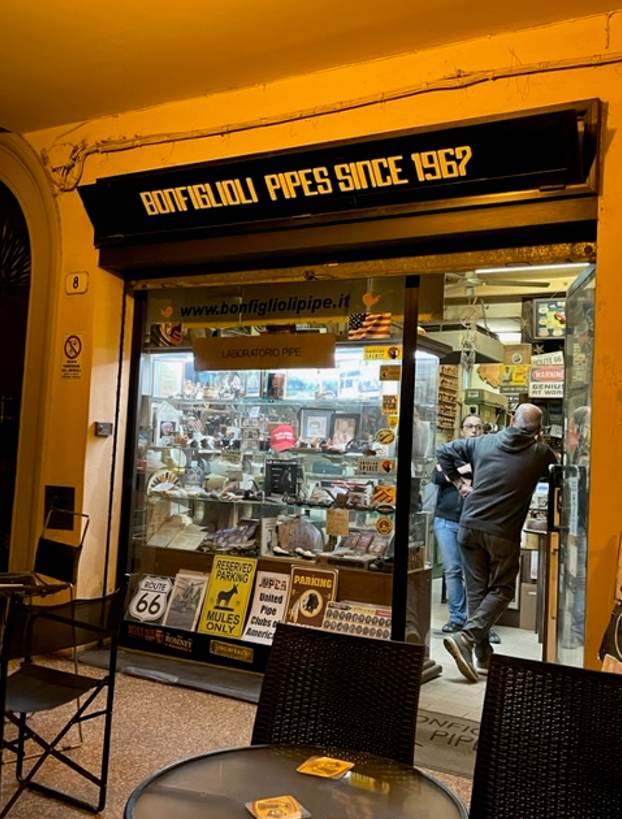
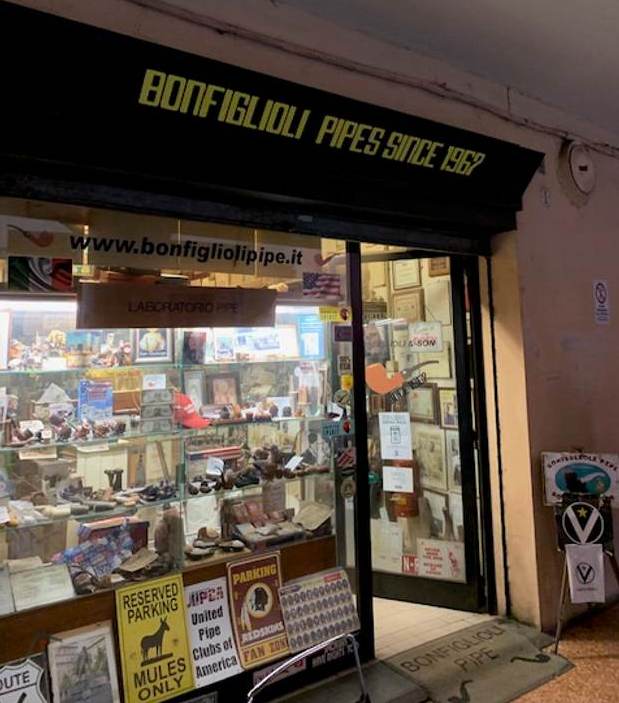
When I am traveling to visit sites in Europe I am always on the look out for a pipe shop that piques my interest. Before I left for Bologna, Italy I did a quick search of pipe shops there that might warrant my attention and found the Bonfiglioli Pipes Since 1967 Shop. I made a plan to visit it one evening once I finished the work I was doing there. I went on the evening of Oct. 6, 2022 with one of my friends from work. Here is what we saw when we got to the shop that evening. It is in one of the many portico’s of Bologna and is a bright yellow from the lights on the outside. It is a small shop with tables and chairs outside and inside where the Bonfiglioli Pipe Club of Bologna can enjoy a bowl of their favourite tobacco or a good cigar. Next door there is a small café with wine, beer and snacks that can also be enjoyed. The front window of the shop to the left of the font door was packed with a lot of signs and paraphernalia of Bonfiglioli’s travels. There are books, antique tobacco tins and even a few Trump memorabilia that I was not expecting to see in Europe. There were hand made pipes by Alberto himself as well as pipe from other Italian Pipe makers and some nice meerschaum pipes. It is a motley assortment of old things and new pipes that take a lot of time to process as you peer through the window in to the shop. It also gives a hint of the crazy disarray of the shop itself once you enter the front door. The front door is shown in the second photo below. The door says Bonfiglioli and Sons and sports a pipe with the shop logo on it over the date the shop opened 1965. There were also some funny signs about Beware the Owner. Take your time to read through the signs and look at the photos as they truly and odd and mysterious assortment of historical pieces. If I thought that the window display was eclectic and random the interior was even more so. It was a motley assortment of pipes, posters, Route 66 US highway signs, political posters and wares as well as photographs and news clippings from around the world. There were also bumper stickers stuck on the walls and counters. The most surprising thing to me was the thick coat of dust on everything. On the display counters were old pipe racks with absolutely destroyed pipes that were set up as a deterrent to shoplifting. There were also boxes of Bonfiglioli pipes scattered on the front and back counters. The buffing wheels, lathe, band saw, sandblasting machine and other tools of the trade were scattered in the midst of the collection of paraphernalia. You can see the buffing wheels in the first photo below with a box to collect the threads as pipes are buffed each marked VIRTUS. Looking toward the back of the shop was more of a visual cacophony of conflicting scenes and displays (I know the word is often used of sounds but to me the sights in this place were loud!). You can see the lathe on the left side inserted under photos, hats and American flags. You can also see more buffing wheels next to it. Further back are more buffing wheels and pipe racks on the wall above. There is a dining room table and chairs under a piece of briar and a collection of    briar pipes in process. Over all the back wall is a RAVENS banner. It really is a scene that takes a lot of time to study and take in. On the right side, which is mid shop there is a drill press with cardboard boxes stacked underneath. The shop apron is hanging on the wheel of the press.To the right of the drill press is the work bench against the wall. There it is inserted underneath the the US Flag and a lot of American memorabilia from US Route 66. There is also a Pittsburgh Steelers sign in the middle and an I heart VIRTUS sign. On the left was a sign that read WARNING GENIUS AT WORK. The wall above the desk is covered with drawers that held tools and papers for sanding and stem work as well as a mess of files and partially finished pipes. On the right wall of the picture is also the sandblast cabinet and even more memorabilia and a very prominent Trump hat among the bottles of oils and drawings for pipes. Once again the full array needs to be studied to see all that is present in the photo. It is quite mind boggling to take in.At this point I paused and asked Alberto if he would be willing to pose for a photo holding one of his pipes. He was happy to do so and struck a pose behind the sales counter. I love the signs on the wall that read Let me Smoke my Pipe In Peace and This is the Pipe Smoke (could not read it all). The range of stickers on the counter below that are broad in terms of their coverage from Smokers have rights too to God Bless America. Even this picture is full of objects to study and take in. We had a great visit over the counter as we spoke about different pipes and tobaccos. We compared our ages – he was 73 and I am almost 69 so he called me young man! I think I like him!He spoke of pipes he had made for prizes for the Seattle Pipe Club as well as other clubs. He showed me one that was the Seattle Pipe. It is a great looking pipe.From there we went on to talk about tobacco and he told me about a blend that he does that is Dark Fired Kentucky and Virginia. He had a bowl of it behind the counter that was weighed out so I smelled it and he packed it in a pouch and bag that he had there from other tobacco. I am looking forward to trying it out. I looked through some pipes he had in the window that caught my eye. They were part of a line of pipes he called Cheap Bastards. They tended to have flaws in the briar that he proudly said he did not fill. I chose a rusticated bent apple that caught my eye. He packed the pipe in a Bonfiglioli box and autographed the lid with a date for me. He put a Czech pipe tool in and a leather pouch he had made filled with pipe cleaners to go with the new pipe. The pipe was put in a heavy felt (?) bag with draw strings that was stamped with a pipe and bonfigliolipipe.it over since 1967. The pipe itself is quite a beauty. It is a bent apple shape with a taper acrylic stem bearing the Bonfiglioli logo on the top side. The finish is heavily rusticated and hides the flaw that is on the mid right side of the bowl. There is a smooth band at the shank end and the rim top is also smooth. The colour of the pipe is hard to see in the photos below but it is a mix of medium and dark brown. It is stamped on a smooth panel on the underside of the bowl and shank and has a tower on the bowl bottom stamped with the year 2022 when the pipe was made. That is followed by Made in the City [over] of Bologna [over] Italy. To the left of that it is stamped U.S. Patent [over]73/802348 and to the right with a triangle with an AI inside. Following those stampings it read at the shank end Bonfiglioli [over] Cheap [over] Bastard [over] an oval with ADAL. That is followed by a stamped IX [over] an upside down R in a circle. Like the interior of the shop the stamping is a plethora of different parts that are all interesting and must be individually studied to understand them all.   When I return to Bologna next year it is definitely a shop I will revisit. At that time I will enjoy a bowl of shop tobacco in this pipe, or perhaps another, at the tables outside the front door. If you are in Bologna this shop is not one you will want to miss. Check it out and have a visit with the pipe maker and owner Alberto Bonfiglioli. It is certainly a unique shop and not like any others I have visited at home or abroad.

Reviving a Mastercraft Imported Briar Bulldog


January of 2018 was when I saw this Mastercraft Bulldog on the eBay auction block.  The Bulldog seemed to have good ‘bones’ from the seller’s …

Reviving a Mastercraft Imported Briar Bulldog

This old timer Dal restored is a real beauty. Give the blog a read.

Revisiting a Favourite Pipe Shop in Budapest – The Pipatorium (Would it still be there?)


Blog by Steve Laug

When I knew I was heading to Budapest again in September 2022 I was certain that I wanted to visit a shop that had first gone to in October 2010 (twelve years ago now). I have visited and revisited this particular pipe shop in Budapest several times over the years. I have gone there and each time I visited it had been reduced more and more by the restrictive laws and interventions of the Hungarian government. I was not sure the shop would still be there this time as it had been seven years since the last time I had been there. I am including the link to the blog I wrote on the last visit below (https://rebornpipes.com/2015/10/10/will-it-still-be-there-next-time-memories-of-the-pipetorium-in-budapest-hungary/).

It was quite a shop back in 2010 when I made my first visit. To me it was the epitome of the old European Tobacco Shop. It was small and packed with all kinds of pipes and pipe accessories. The back walls behind the counter were packed with tins and pouches of tobaccos and pipe cleaners and tampers and… the list could go on. Everything one needed for smoking – pipes, tobacco, cigars, cigarettes, even books for teaching how to use your pipe lined the shelves. The owner was a hobbitlike fellow that obviously enjoyed his shop and had a keen eye for all things pipe. If you could not figure out what you needed he was a master at it. Along the walls and in the display window were pieces of pipe history from a far removed time period that gave you a glimpse of the way things once were. It was the oldest independent pipe shop in Hungary founded in 1933 and still in operation when I was there in 2010. When I went back in 2015 and it had become significantly less even though the old fellow who ran the shop was still there at that time. It was located at József krt. 38, Budapest, Hungary 1085 and was open from 10am to 6pm during the week. My hope was that the shop would still be there on this visit.

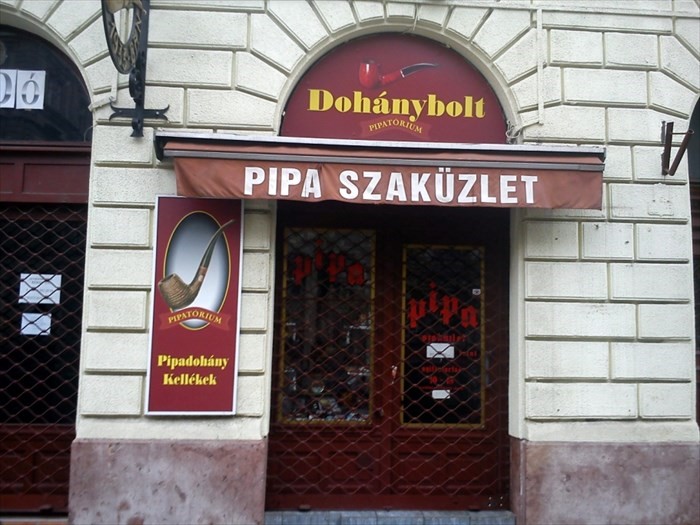
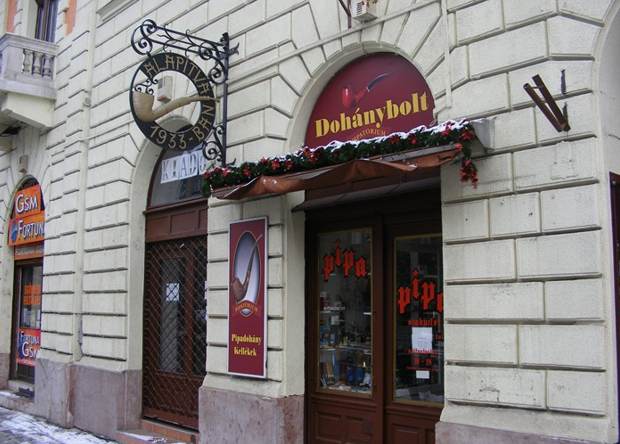
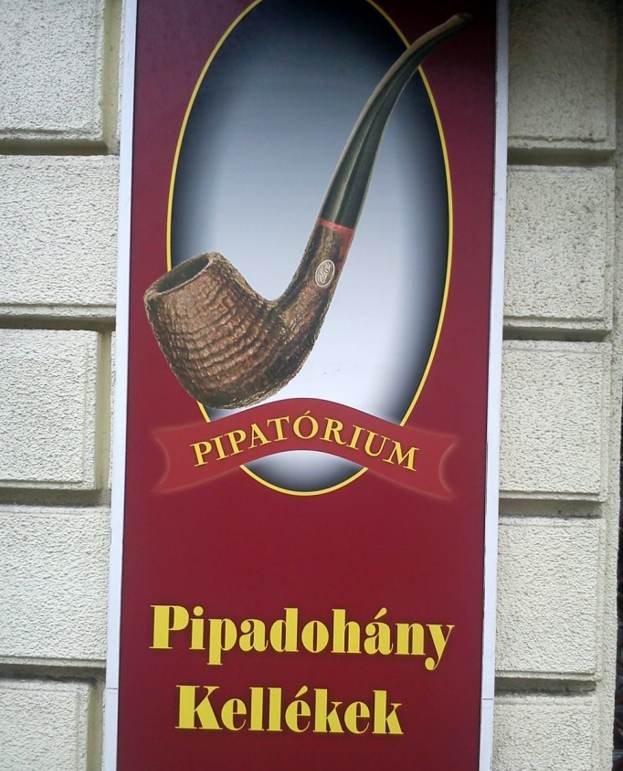
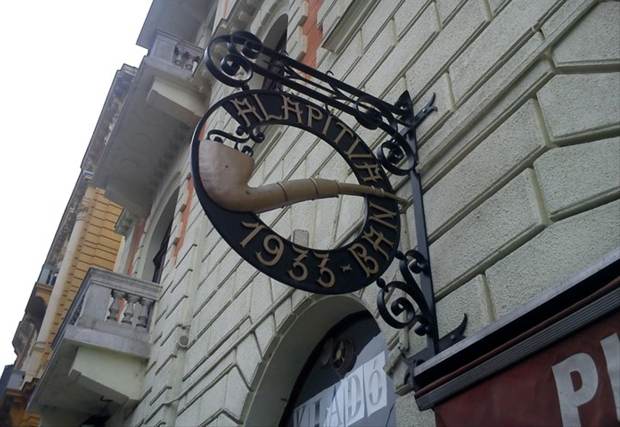
I was hoping that the unique little shop with its hobbit like shop keeper had not changed. The following three photos are pictures of what the shop looked like the first time I visited it in 2010. I have included them to show the stark contrast to what I met on this trip. The building was cut stone and the arched doorway had the words Dohanybolt over the door. There was an awning that had flowers and copper tiles. When I had been there the first time in October 2010 the awning looked as it is in the first photo below. The door itself occupied the right side of the archway and had the words PIPA painted on the glass. The left side of the archway was a display window that I spoke of above. There were pipes and racks, old tins and pouches and pipes from days gone by that I had never seen the likes of. There were old meerschaum and briars and decorative tins and jars of tobacco that no longer was sold. To the left side of the door on there was a rich red sign with a pipe in an oval that had the words Pipatorium across the bottom. Above the Pipatorium sign on the wall there had been an elaborate sign that stood out from the wall on wrought iron braces. It was in Hungarian but left little doubt as to its meaning. The pipe in the middle made it clear that it was a pipe shop and the date at the bottom made clear the date it had been established. To me that sign became the singular memory that stuck in my mind of the outside of the shop. The last time I visited in 2015 all the identifying signs were removed and a sanitized storefront remained. Last time I remember that my friend said that the shop owner was struggling with the oppressive laws regarding tobacco and the signage and frontage of tobacco shops. I included these photos of the amazing sign that I remembered so well even though I knew that it was gone. We turned the corner on József Krt came to the location of the shop. I was surprised. Even though I had been here since it had been sanitized I would easily have walked right by without knowing that I had missed it. All of the unique, classic pipe signage was gone and in their place was the circular government tobacco shop sign. The display window to the left of the door and the window on the door itself had been painted over. The front of the shop looked like the photo below. I don’t know about you but the sanitized look was lacking all of the previous charm of the original shop. From the outside there was no reason to believe that the shop of my memories was still there. Everything I loved about the curb appeal of the place was still gone and as in 2015 the place had a cold sanitized looking frontage. The fancy awning had been removed and in its place above the door a motorized metal shutter had been installed so that when the shop was closed even the door disappeared and in its place was a steel door that made the place not only “safe” in the eyes of the government but also made it disappear. I just paused and shook my head trying to fathom the loss of another of my memories. I wondered what was behind the door. I really wondered if anything would be left.

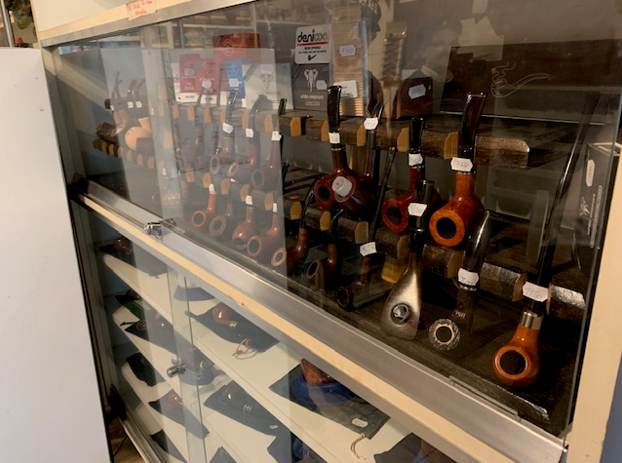
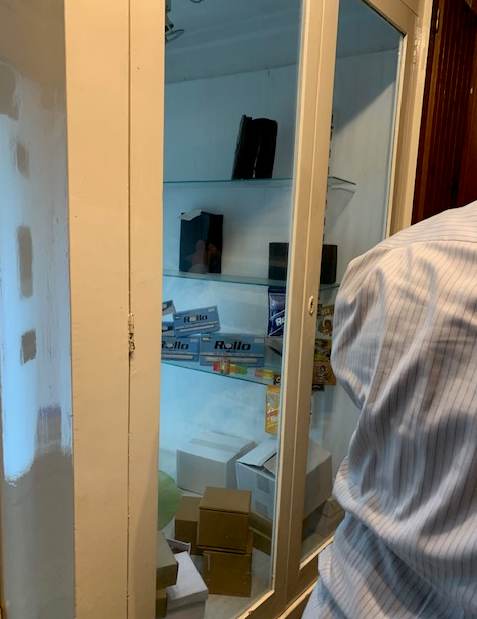
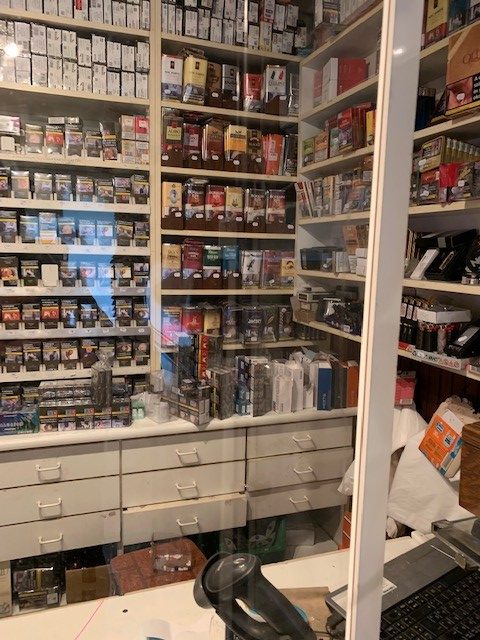
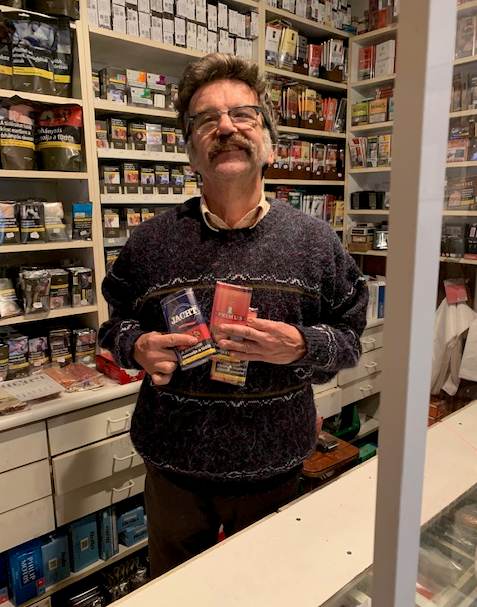
Honestly, I was expecting the worst. Would the inside of the shop be worse than even the memory of my last visit? Would the sanitizing hand of governmental bureaucracy have even stripped away even more of the inside of the shop? I was not sure. The painted windows and door had darkened what had once been a bright hobbit hole of a shop. I looked at the wall to the right of the counter – yes, it still had the display cases but they were much more empty. I looked at the one to the right and saw that the shelves of older pipes and museum like pieces was gone and not even a remnant of them was present. There were screws in the wall where displays had been. The back wall still held the counter but in this post-COVID world even that had changed and been locked behind a glass wall that not only protected the owner from me but left little sense of the original humanity of the shop. The shelves were lined with tobacco and it seemed to be a large selection but on closer examination  proved to mostly filled with cigarettes and the makings and rolling papers of the same. The right corner of the photo below shows what remained of pipe tobaccos – a mere remnant of what had been there before. In the place of Hungarian and Czech tobaccos were now primarily MacBaren pouches and tins that are now available throughout the EU. Tucked at the bottom of the shelf in the corner were several small pouches of Hungarian tobaccos.        The hobbitlike owner who I had met previously still sat behind his counter. We visited and talked about the state of his shop. He told me that he was saddened by the changes that had been forced upon him by the government regulations. He said that he was still surviving. I shared with him my memories of the way the shop had looked when I had been there previously and the special place it occupied in my mind from that first visit. I could tell that he too missed those days. Sitting in the darkened shop with none of the charm that drew people like me into it interior must have been very difficult for him. I picked up some of the only Hungarian Tobaccos that remained in the shop – one labeled Jacht and the other Primus 1 and both were Virginias. There was nothing left of the Balkan Tobaccos that had special display on the wall. The right wall had a smattering of cigars and a selection of throw away lighters. The shop was a skeleton of what it had once been. I took a photo of him holding my purchases so I would have a clear memory of the visit.I bade him farewell for perhaps the last time and made my way back to the door and out to city beyond. Before leaving the shop I took another look around at the interior of the shop. I took in the now meager displays of pipes and tobaccos and wondered if this would be the last time I came to this shop. If things continued as they had in past seven years then who could truly say if the marvelous Pipatorium would be here on my next visit to Budapest. Time would tell.


Restoring a Payne to Its Former Glory


Blog by Kenneth Lieblich

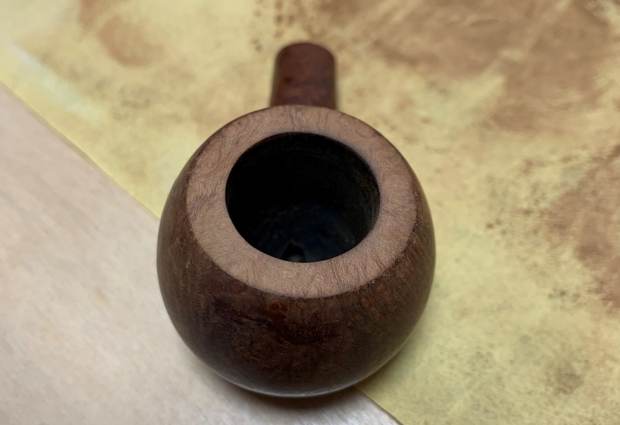
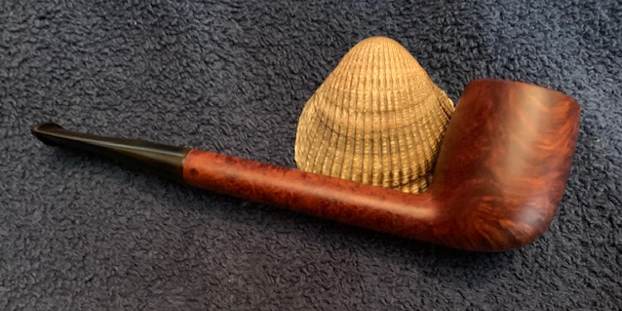
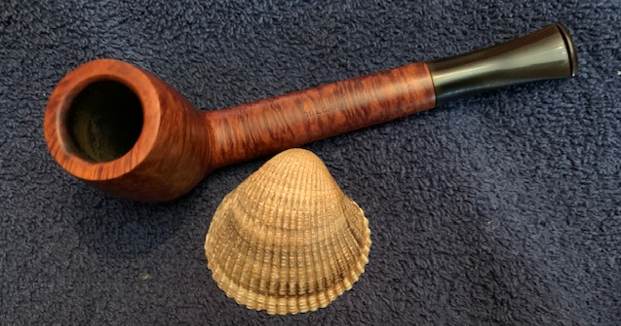
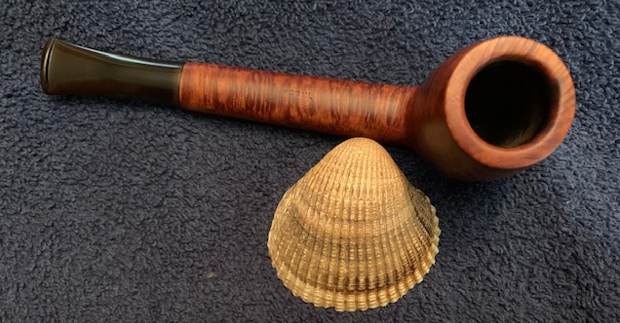
Next on the chopping block is an interesting pipe of Leonard Payne’s making. I acquired this pipe from an “antique” shop in Cloverdale (just outside Vancouver) – although it is doubtful how many genuine antique things were in the shop. Here’s a photo of me in situ, with the pipe.I love the prince shape, and I was excited to work on this pipe. The gentleman who commissioned this pipe is a regular customer of Steve’s, so I was all the more delighted.

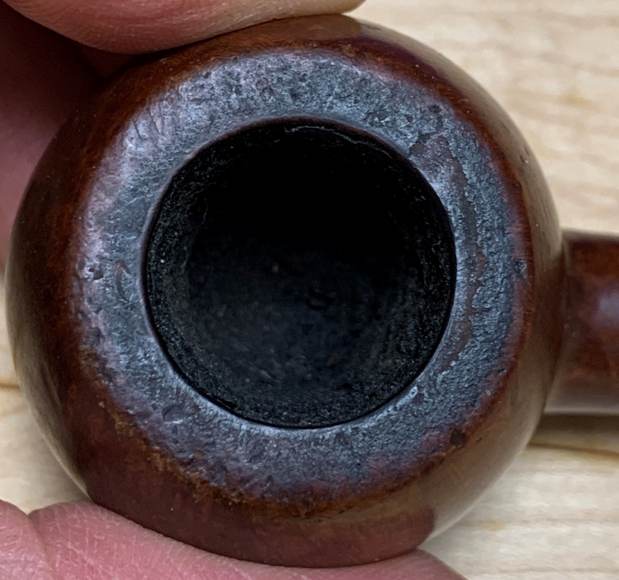
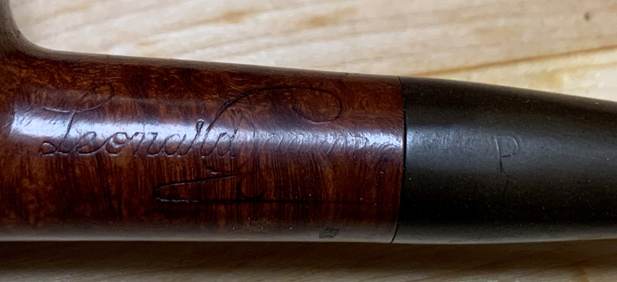
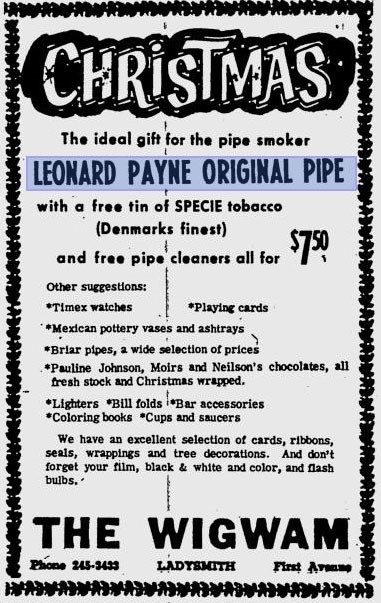
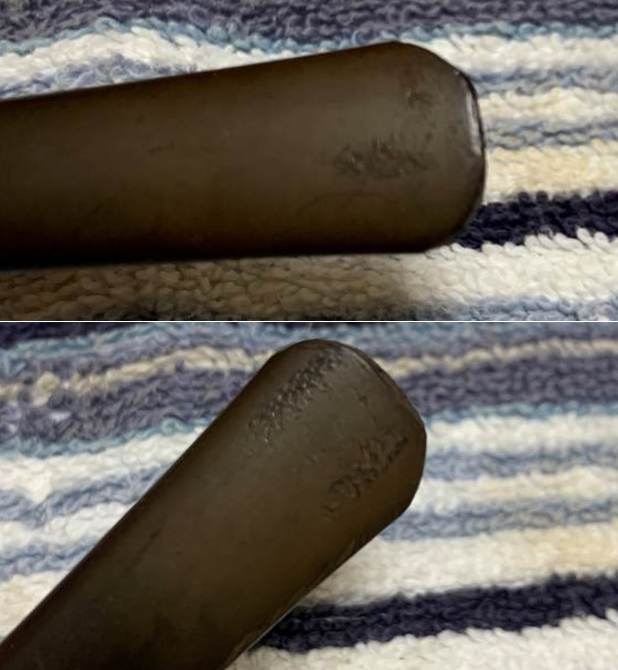
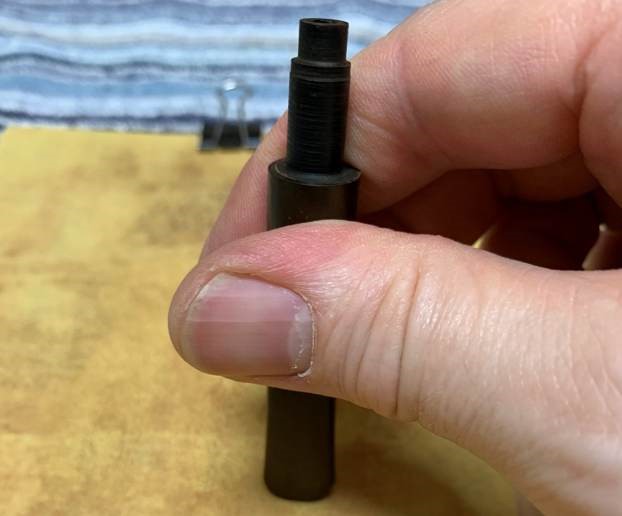
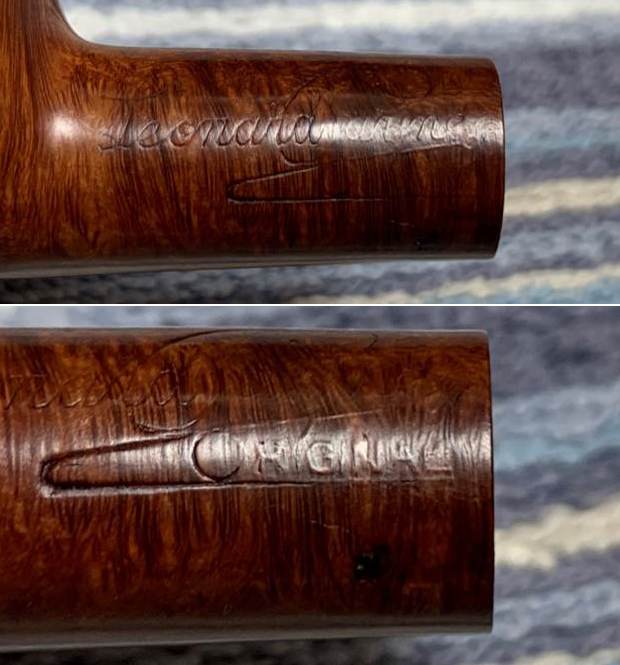
On to the pipe itself! It was certainly a charming pipe, but it was grungy and had an unholy quantity of tooth marks, dents, lava, cake, and just general filth.  The markings on the left side of the shank read Leonard Payne [over] Original. On the left side of the stem, there was a faint capital ‘P’.I little while back, I detailed my restoration of another Payne pipe, in a tale I entitled, The Frog Prince. I will repeat the information I wrote there about Leonard Payne. He was born in England, moved to Canada in the 1950s, and died in the Vancouver area within the last few years. Payne was, to put mildly, an idiosyncratic pipe maker. I can do no better than quote Mike Glukler of Briar Blues (found on Pipepedia):

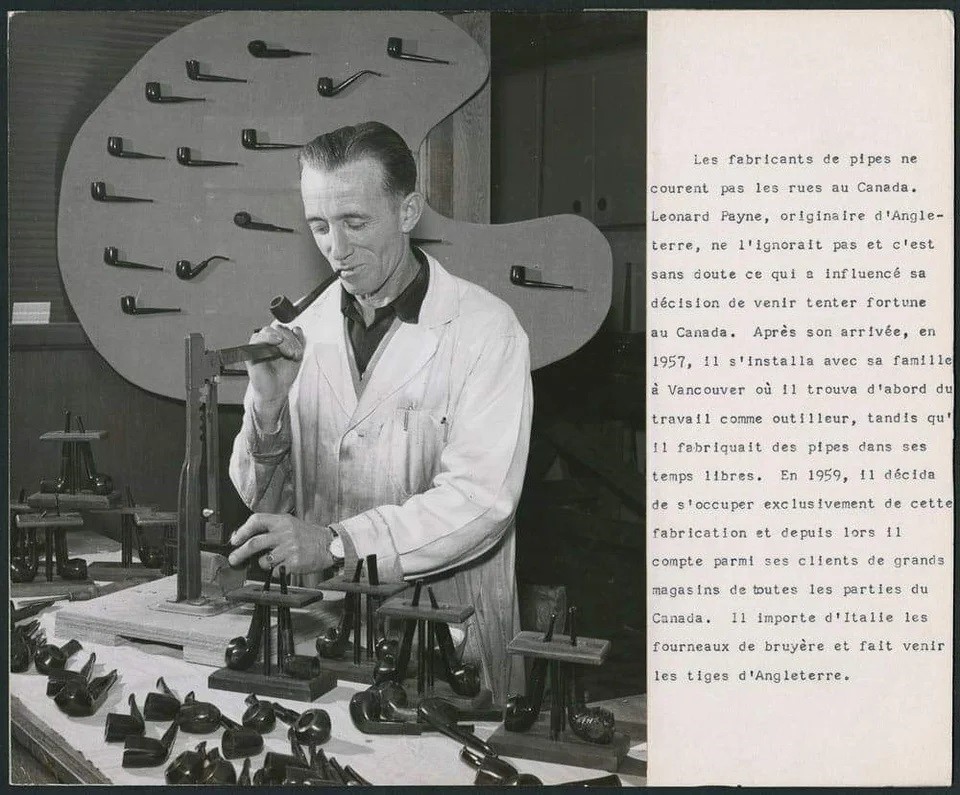
“Leonard Payne was based in B.C. for many years. He came to Canada from England. He had shops in Surrey, B.C. and Kelowna, B.C. Interesting fellow. Gruff as the day is long. When you bought a pipe, it was handed to you in a paper bag. No sock, no box. Most of his pipes carried a ‘carburetor’ system at the shank/stem junction. Another Payne idea was his shanks. Almost all his pipes were two pieces. He’d turn the bowl and shank, then cut off the shank and reattach with glue (not always with the same piece of briar, so many did not match grains). His thinking was that the shank being the weakest link, if cut and glued would never break and thus ‘correcting’ the weakest link”.In addition, there was a photograph that Steve found of Payne on Reddit that appears to date from the 1960s. The original poster on Reddit told me that the photo comes from the City of Surrey archives. I have no idea why it is in French (or why it’s in the Surrey archives), but here is my translation of the text on the right:

“Pipe makers are not on every street corner in Canada! Leonard Payne, originally from England, didn’t know the challenges he would face and that’s probably what influenced his decision to come and try his luck in Canada. After his arrival in 1957, he and his family settled in Vancouver, where he first found work as a tool maker – and made pipes in his free time. In 1959, he decided to become a full-time pipe maker, and since then he has had department stores in all parts of Canada among his clients. He imports briar blocks from Italy and pipe stems from England.”My customer selected this pipe because (a) he wanted a prince manufactured by Leonard Payne, and (b) he wanted a Payne that didn’t have a carburetor system or the reattached shank. Providentially, this pipe fit the bill on all counts.

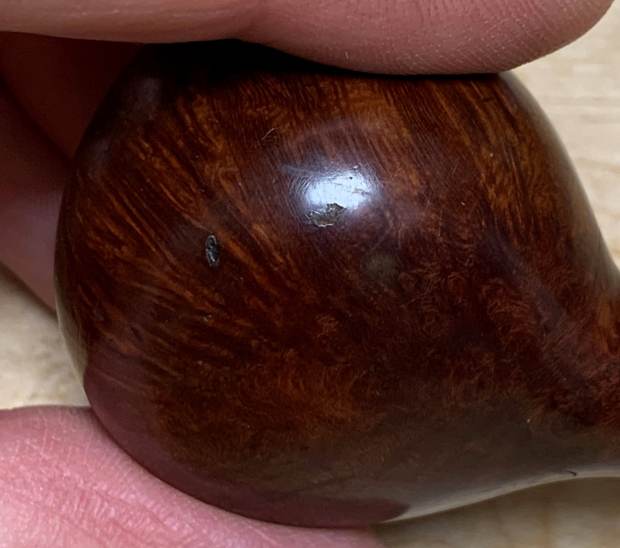
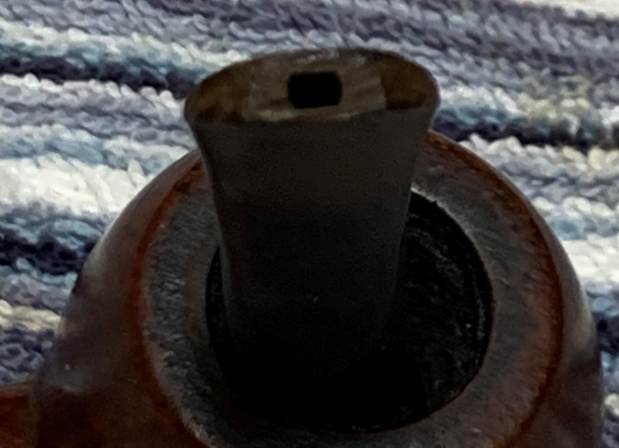
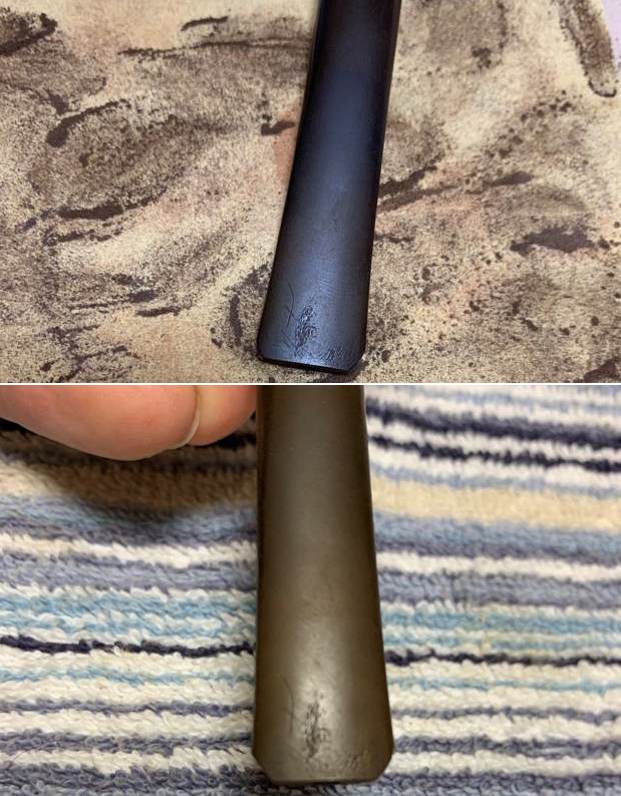
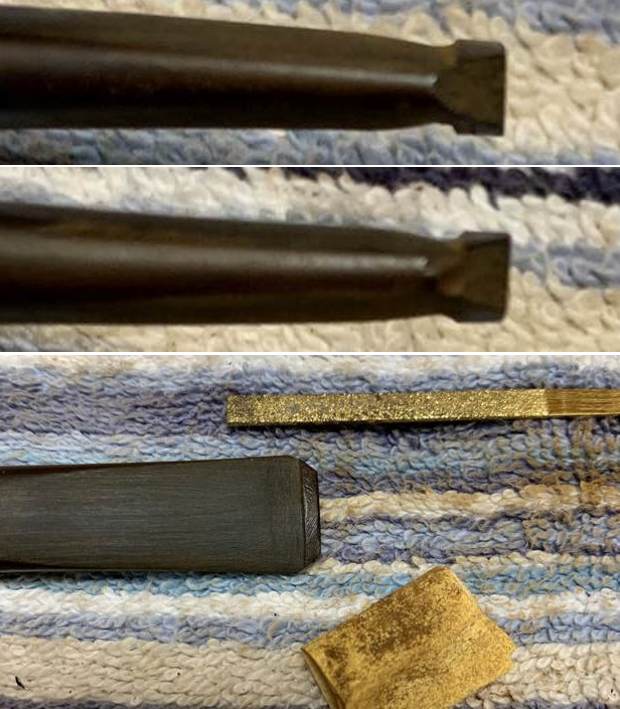
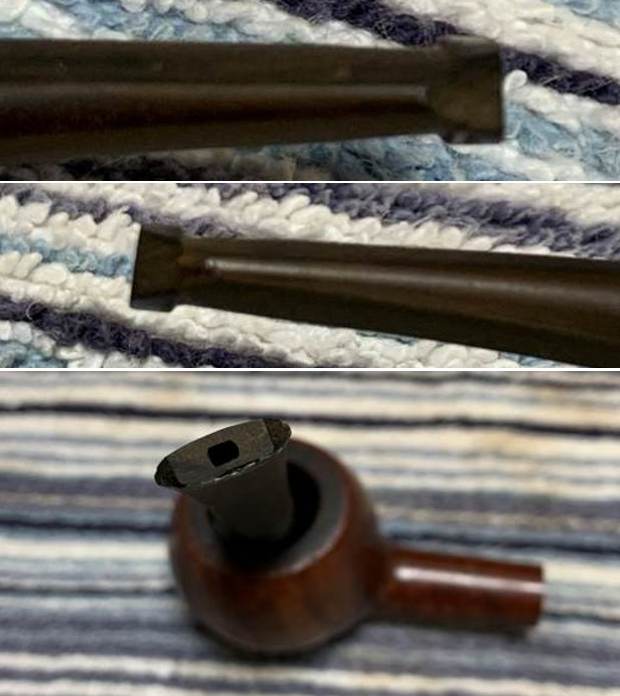
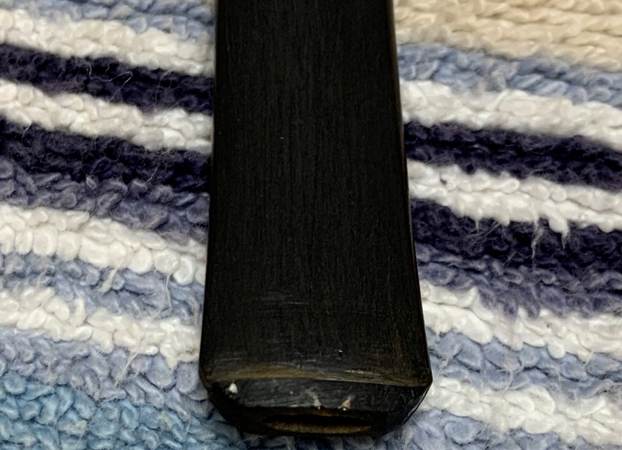
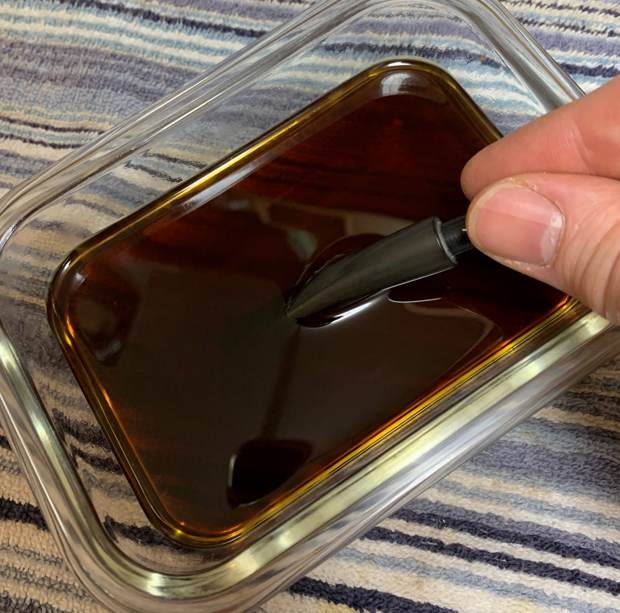
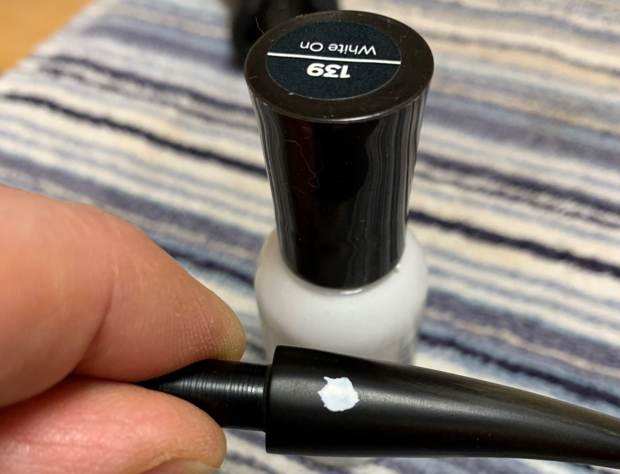
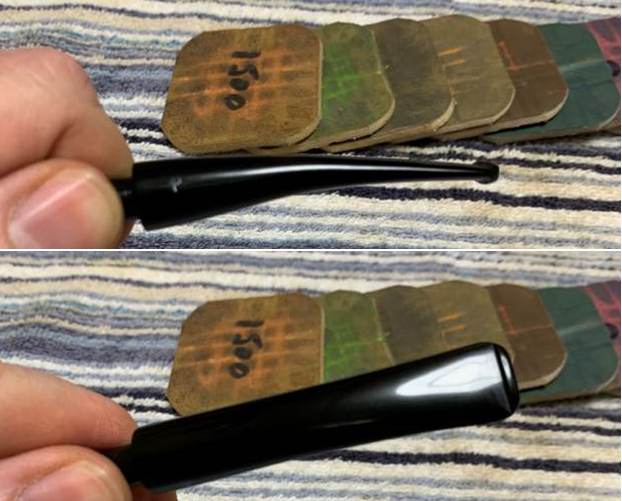
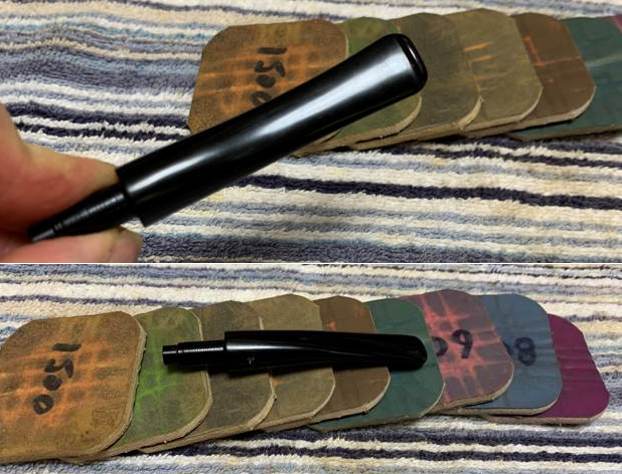
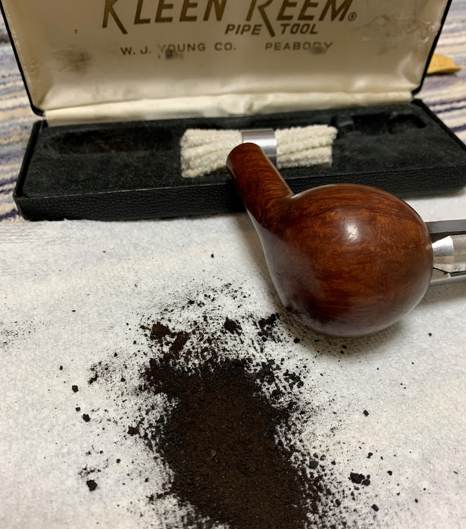
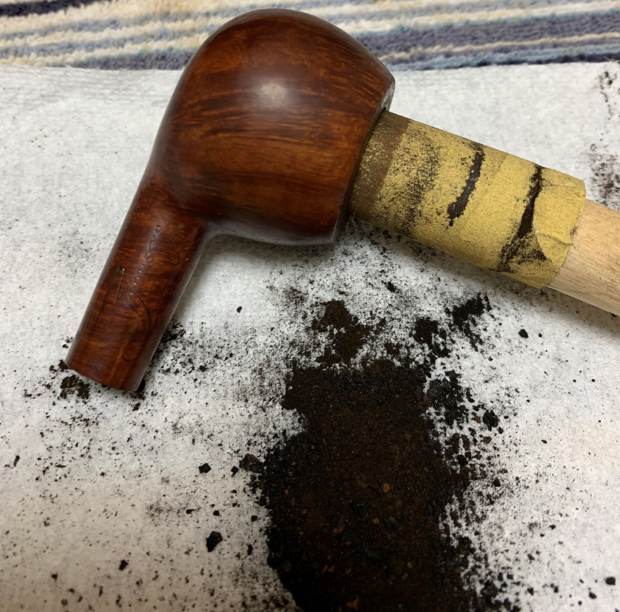
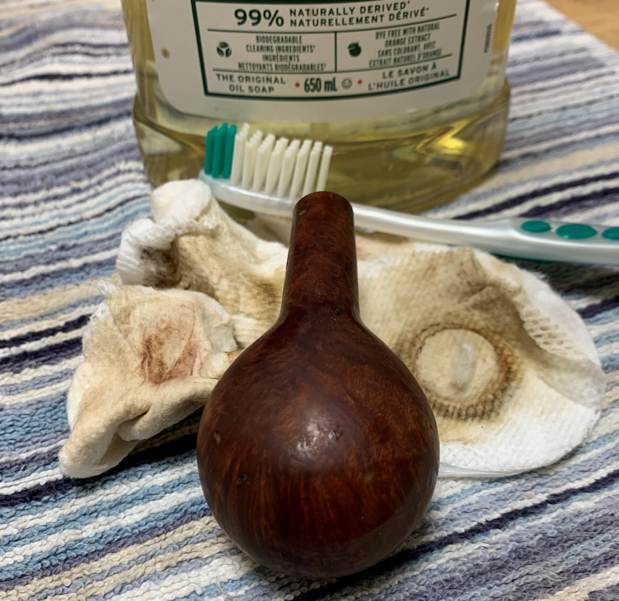
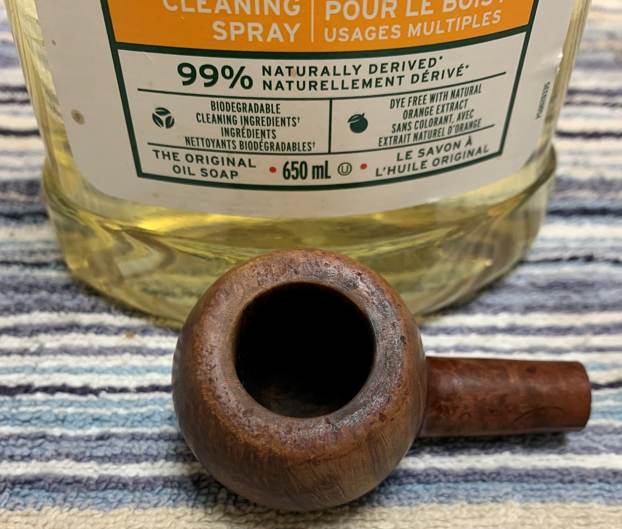
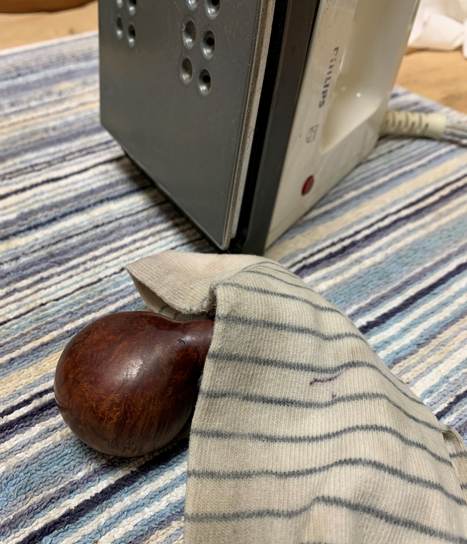
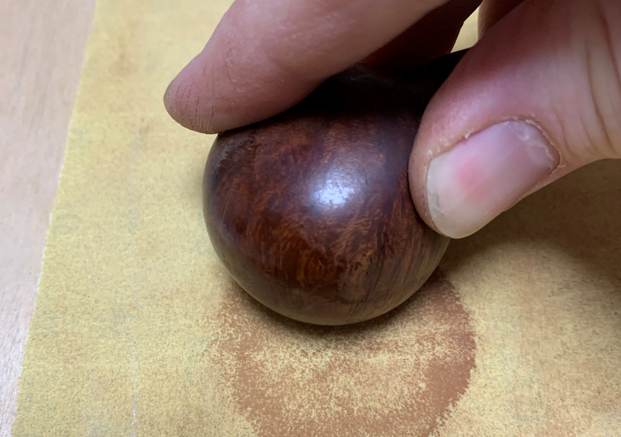
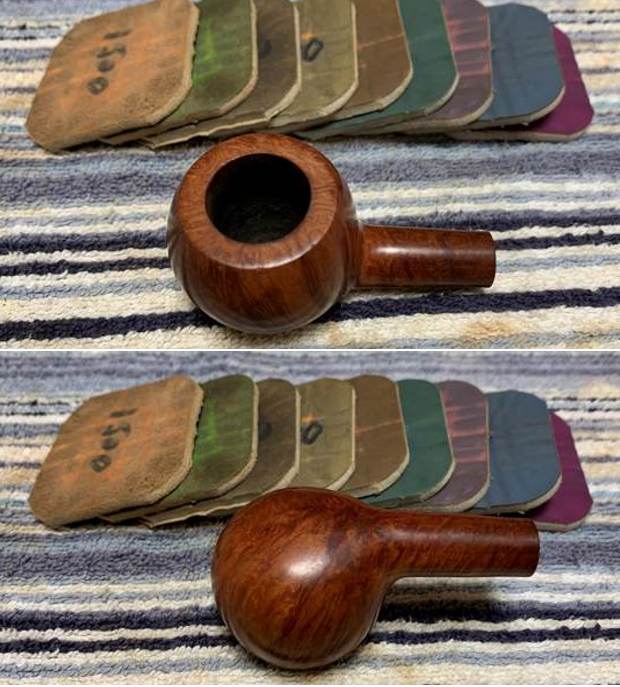
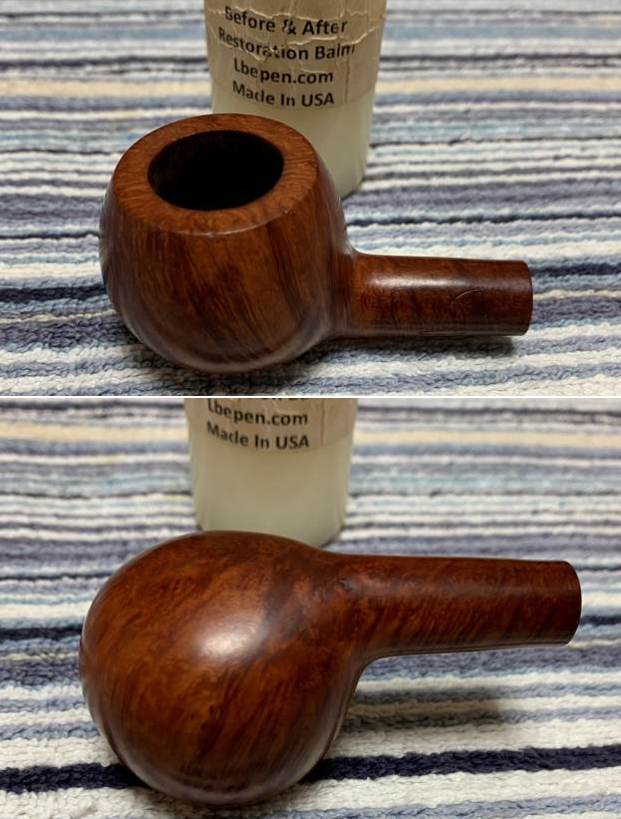
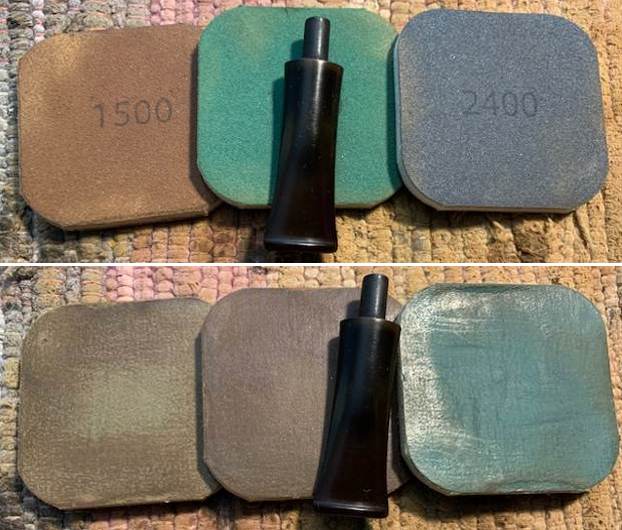
The stem on this pipe was in decent shape, with a small draught hole. But most remarkably, the button had been decapitated or stolen by a goblin. At any rate, the button was not there, and I knew that I would have quite a job on my hands.   Well, to work! I briefly considered finding a new stem for this pipe, but I believed I should try to work with the original parts before seeking a different solution. So, first on the list was constructing a new button for this pipe. I started by sanding off the end of the stem with some 220-grit sandpaper to smooth out the bottom. In order to fashion a new button, I needed to minimize the rounding on the end of the stem and make the face even. Then I took out some small files and began cutting into the vulcanite, carving out a new button. This was a tricky business and it took some real patience and effort to make it work. After much nerve-wracking work, I had successfully carved out a new button and smoothed it with files and sandpaper. The following is a tedious series of photos showing the progress of the stem! Next, I used a thin file to widen the draught hole. The end result is better than what these photos show. Finally, I could move on to the regular cleaning procedures for the stem. First, I cleaned out the inside with pipe cleaners and isopropyl alcohol. Fortunately, it wasn’t overly dirty, and it only needed a handful of pipe cleaners.Then, I wiped down the stem with SoftScrub, before sending it off for a bath in the Pipe Stem Oxidation Remover. The following day, I cleaned all of the de-oxidizing mess off with alcohol, pipe cleaners, et cetera. The oxidation had migrated to the surface and I could easily remove it. Then I scrubbed with more SoftScrub on some cotton pads to remove the leftover oxidation. After this, I used nail polish to restore the logo on the stem. I painted the area carefully and let it fully set before proceeding. I worried that this wouldn’t work, as the ‘P’ was so faint. Fortunately, I ended up being wrong and some of the ‘P’ came back to life.I then used all nine Micromesh pads (1,500 through 12,000 grit) to bring out the lovely black lustre on the stem. I also used Obsidian Pipe Stem Oil in between each pad scrubbing. Hey – this looks like a real stem! I’m quite pleased with how it turned out. I always want to use the original parts of a pipe, if possible, and I’m glad this worked. Setting the stem aside, I moved on to the bowl. I started by reaming it out. I used the PipNet Reamer and the KleenReem to remove the built-up cake inside and followed that with 220-grit sandpaper taped to a dowel to eliminate as much as I could. I took the chamber down to bare briar, as I wanted to ensure there were no hidden flaws in the wall. Fortunately, there were none. After that, I used cotton rounds and some Murphy’s Oil Soap to scrub the outside of the stummel and a toothbrush with Murphy’s for the lava on the rim of the pipe. Oddly, there appeared to be shiny bits of a previous coating on the stummel, left over from some other time; I figured my sanding would remove these marks, so I ignored them for the time being. I then proceeded to clean out the insides of the shank with Q-tips, pipe cleaners, and lemon-infused isopropyl alcohol. There was quite a bit of filth inside this stummel and it took a fair amount of cotton to get it clean. I followed that up by cleaning the insides with some dish soap and tube brushes. Next, I decided to de-ghost the pipe to remove any lingering smells of the past. I thrust cotton balls into the bowl and the shank and saturated them with 99% isopropyl alcohol. I let the stummel sit overnight. This caused any remaining oils, tars and smells to leach out into the cotton. The bowl was nice and clean after this. Here are the “before” and “after” photos: Having completed that, I was able to address the small nicks on the rim and the bowl. I dug out my iron and a damp cloth to try to raise the nicks. The hot and moist steam can often cause the wood to swell slightly and return to shape. There was some movement – not a lot, but it was better than doing nothing. The repair was not perfect, but the remaining scratches would be improved by sanding. To remove the remaining burns and nicks on the rim, I “topped” the pipe – that is to say, I gently and evenly sanded down the rim on a piece of 220-grit sandpaper. This effectively removed the damage, without altering the look of the pipe. After this, I used all nine Micromesh pads (1,500 through 12,000 grit) to remove the frustrating scratches in the wood and make everything smooth. Additionally, a light application of Before & After Restoration Balm brought out the best in the stummel’s grain.  At the buffer, a dose of White Diamond and a few coats of carnauba wax were just what this pipe needed. The lovely shine made the wood look beautiful. I am pleased with this pipe – it was tricky work, but thoroughly enjoyable for me. Best of all, I know that the new owner will enjoy it for many years to come. I hope you enjoyed reading the story of this pipe as much I as I did restoring it. If you are interested in more of my work, please follow me here on Steve’s website or email me directly at kenneth@knightsofthepipe.com. Thank you very much for reading and, as always, I welcome and encourage your comments.
A New Stem and a Refresh for a 1906 Peterson Patent Meerschaum


Half the fun of doing pipe repairs and restorations is seeing what arrives in the mail. Many pieces sent in for refurbishment date from the 1960s and…

A New Stem and a Refresh for a 1906 Peterson Patent Meerschaum

Great job on the restemming. Love the look of the pipe.

A Hand Cut Eldritch Resin Stem for a Lovely S. Bang Pipe


Beautifully done Charles.you are right it is a benefit to be able to work on these beauties.
One of the perks of doing what I do here at DadsPipes is having the opportunity to work on some very high end artisan-grade pipes that I cannot …

A Hand Cut Eldritch Resin Stem for a Lovely S. Bang Pipe
A Fresh Start for a GBD Flame 1344 Poker Made in France


Nicely done. It is a beauty.

In September of 2017, I landed on eBay the first large lot of pipes which helped to stock the ‘For “Pipe Dreamers” ONLY!’ online inventory where pipe…

A Fresh Start for a GBD Flame 1344 Poker Made in France

Restoring a Republic Era Peterson’s “Kildare” 254 Canadian


Blog by Steve Laug

This is another one of those pipes that has been here for a long time and I have no memory where it came from. I had been cleaned somewhere along the way so I am guessing that Jeff had cleaned it. The bowl had been reamed somewhere in the journey and was quite clean inside. The shank and internals had all been cleaned and there was no residual stench to the pipe. The smooth rim top had some damage and darkening. The inner edge had some damages by burning and the bowl was slightly out of round. The smooth finish was quite clean other than the dust of sitting in my box. The stamping on the shank is clear and readable. The top side is stamped Peterson’s [over] “Kildare”. On the underside it was stamped Made in the Republic of Ireland (3 lines). On the right of shank near the bowl it is stamped with the shape number 254. The stem was lightly oxidized and has light tooth marks and chatter on both sides ahead of the button. I took some photos of the pipe before I started my work on it. I took close up photos of the bowl and the stem. You can see the reamed bowl and the darkening on the rim top and the front edge. The stem surface was clean but there are light tooth marks and chatter on both sides on and ahead of the button.I took a photo of the stamping on the top, underside and right side of the shank. It is clear and readable as noted above. I removed the stem from the shank and took a photo to give a sense of the proportions of the pipe. It is really quite nice looking. I am including the information from Pipedia’s article on Peterson pipes. It is a great read in terms of the history of the brand (https://pipedia.org/wiki/Peterson). I have included a bit of the pertinent history here.
1950 – 1989 The Republic Era  – From 1950 to the present time, the stamp for this era is “Made in the Republic of Ireland” in a block format generally in three lines but two lines have been used with or without Republic being abbreviated.

During the 1950’s and 60’s the Kapp & Peterson Company was still in the ownership of the Kapp family. However 1964 saw the retiral of the company Managing Director Frederick Henry(Harry) Kapp.

I turned to “The Peterson Pipe” by Mark Irwin and Gary Malmberg to get some background on the Peterson’s System Line. On page 314 it had the following information.

Kildare (1965-) First issue of line with matte-finish in Classic Range shapes, P-Lip and fishtail mouthpiece. Second issue C.1979 as Kildare Patch, with rusticated patches on pipe surface. Third issue 2010, matte-brown, P-Lip or fishtail mouthpiece, no band. Fourth issue 2011-, burgundy sandblast finish, nickel army mount, fishtail mouthpiece, exclusive to smokingpipes.com.

Judging from the description above I believe that I am working on a First Issue of the line in the time period of 1965-1979. It is a late Republic Era Classic Shaped pipe with a matte-finish and a P-Lip stem. Now it was time to work on the pipe.

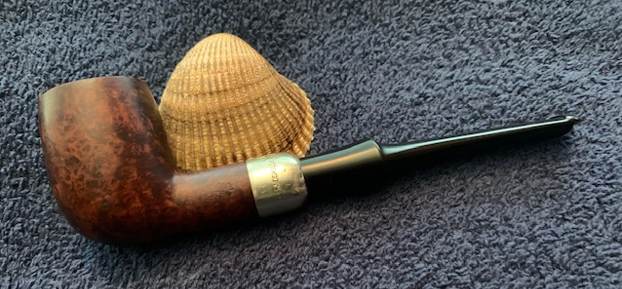
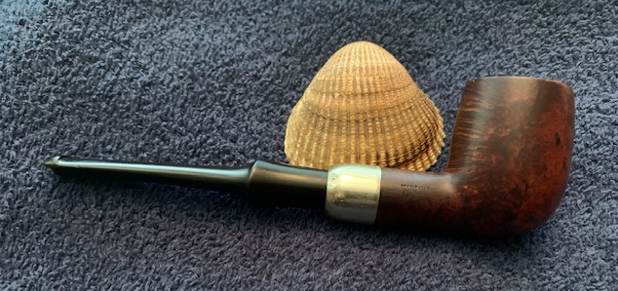
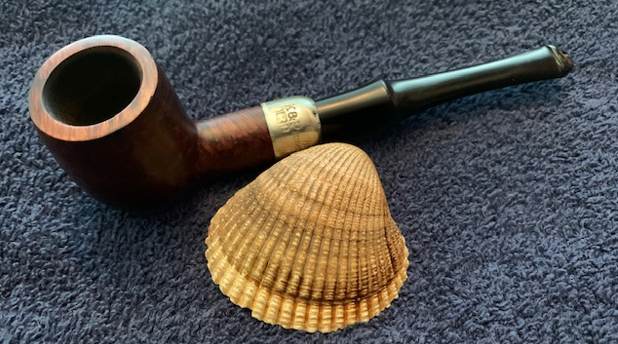
I decided to address the damage to the front rim top and inner edge of the bowl first. I used a folded piece of 220 grit sandpaper to give the inner edge of the bowl a slight bevel on the inner edge to remove burned areas and blend them into the surrounding briar. I polished the briar with micromesh sanding pads – dry sanding with 1500-12000 grit sanding pads. I wiped the bowl down with a damp cloth after each sanding pad. I worked some Before & After Restoration Balm into the surface of the briar with my fingertips. It works to clean, enliven and protect the briar. I let it sit for 15 minutes then buffed it off with a soft cloth and raised the shine. The bowl looks great at this point.   I set the bowl aside and turned my attention to the stem. I “painted” the stem and button surface with the flame of a lighter to lift the tooth marks. It worked amazingly well and I was able to lift them completely or significantly. I sanded what remained with 220 grit sandpaper to blend them into the surface of the vulcanite. I started polishing the stem by wet sanding it with 400 grit wet dry sandpaper. I polished the stem with micromesh sanding pads – dry sanding it with 1500-12000 grit pads. I wiped the stem down with Obsidian Oil after each pad. I polished it with Before & After Pipe Polish – both Fine and Extra Fine and gave it a final coat and set it aside to dry. I am excited to finish this Republic Era Peterson’s “Kildare” 254 Canadian. I put the pipe back together and buffed it with Blue Diamond on the buffing wheel. I gave the bowl and the stem multiple coats of carnauba wax. I hand buffed the pipe with a clean buffing pad to raise the shine. It is fun to see what the polished bowl looks like with beautiful flame grain all around it. Added to that the polished Sterling Silver band and the black vulcanite stem was beautiful. This smooth Classic Peterson’s “Kildare” 254 Canadian is great looking and the pipe feels great in my hand. It is light and well balanced. Have a look at it with the photos below. The dimensions are Length: 5 ½ inches, Height: 1 ¾ inches, Outside diameter of the bowl: 1 1/8 inches, Chamber diameter: ¾ of an inch. The weight of the pipe is 32 grams/1.13 ounces. It is a beautiful pipe and I will soon be putting it on the rebornpipes store in Irish Pipe Makers Section. If you are interested in adding it to your collections let me know. Thanks for walking through the restoration with me as I worked over this pipe. Thanks to each of you who are reading this blog.

Restoring a Republic Era Peterson’s System 31 Billiard


Blog by Steve Laug

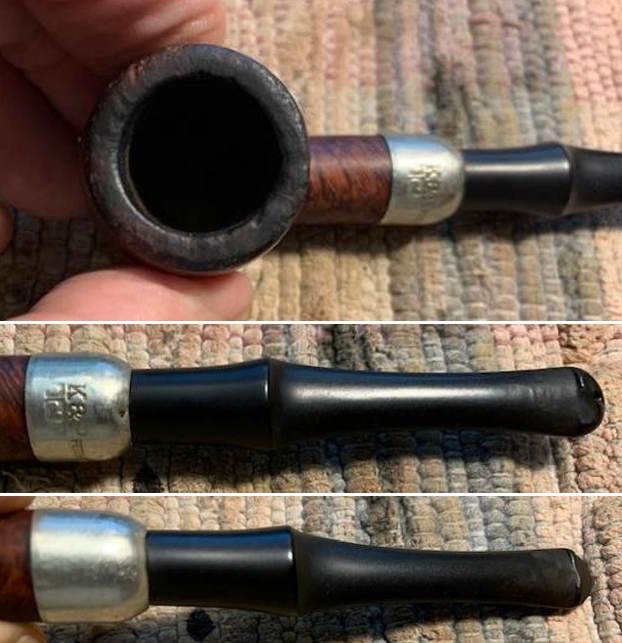
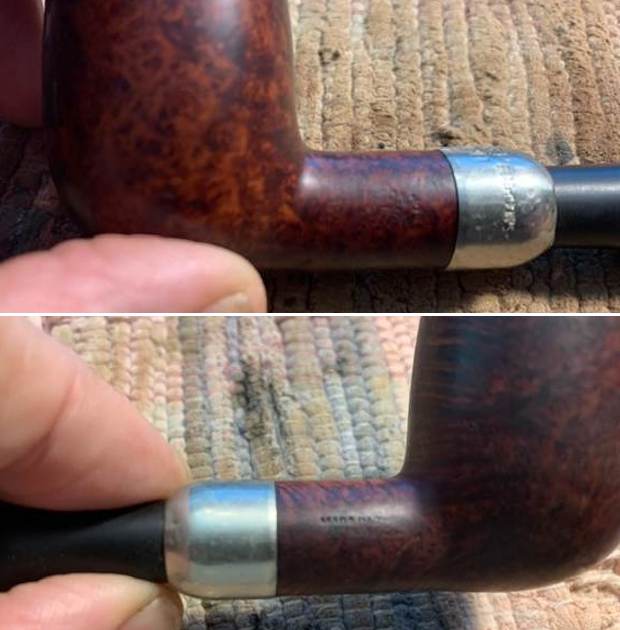
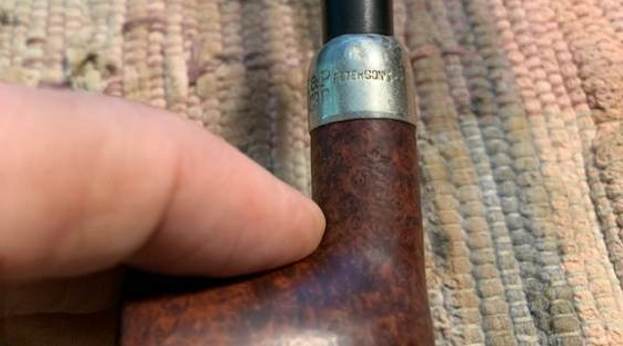
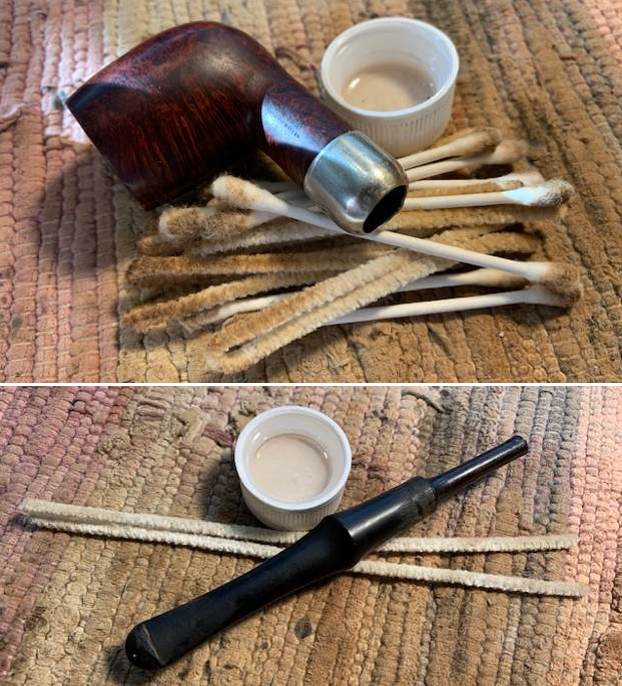
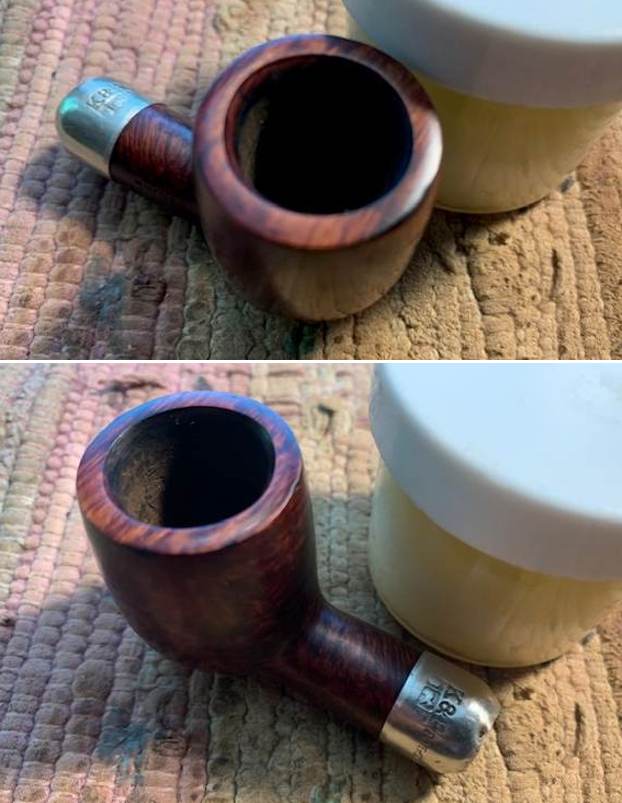
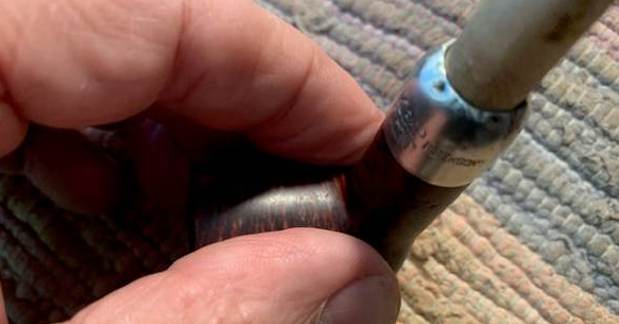
This is another one of those pipes that has been here for a long time and I have no memory where it came from. I had not been cleaned so it is not one that ever went to Jeff for clean up. It was a dirty but appeared to have some great grain under the grime. The bowl had been reamed somewhere in the journey and was quite clean inside. The smooth rim top was damaged and had some darkening. The edges – both inner and outer had some damages by burning and the bowl was out of round. The smooth finish is dirty with grime and grit deep ground into the sides of the bowl and shank. There were some deep nicks in the briar on the right side and heal of the bowl. The pipe stinks like heavily cased aromatics. The stamping on the shank is clear and readable. The left side is stamped Peterson’s [arched over] System. On the right side it was stamped Made in the Republic of Ireland (3 lines). To the right of that stamp is the shape number 31. The nickel band is oxidized and dirty but it has the K & P stamp over three symbols. Next to that it was stamped Peterson’s. It had some nicks and dents around shank end of the ferrule. The stem was quite clean and has deep tooth marks and chatter on both sides ahead of the button and on the topside of the button. I took some photos of the pipe before I started my work on it. I took close up photos of the bowl and the stem. You can see the reamed bowl and the darkening and light lava on the rim top. The bowl reeked of aromatic tobaccos. The stem surface was clean but there are deep tooth marks and chatter on both sides on and ahead of the button.I took a photo of the stamping on the sides of the bowl and shank. It is clear and readable as noted above. I removed the stem from the shank and took a photo to give a sense of the proportions of the pipe. It is really quite nice looking.I am including the information from Pipedia’s article on Peterson pipes. It is a great read in terms of the history of the brand (https://pipedia.org/wiki/Peterson). I have included a bit of the pertinent history here.

1950 – 1989 The Republic Era  – From 1950 to the present time, the stamp for this era is “Made in the Republic of Ireland” in a block format generally in three lines but two lines have been used with or without Republic being abbreviated.

During the 1950’s and 60’s the Kapp & Peterson Company was still in the ownership of the Kapp family. However 1964 saw the retiral of the company Managing Director Frederick Henry(Harry) Kapp.

I found a great description of the System 31 shape on smokingpipes.com (https://www.smokingpipes.com/pipes/new/peterson/moreinfo.cfm?product_id=192182). I am including a portion of that below.

Peterson’s “31” shape is the only straight pipe featured in the System Standard line, yet it still features system drilling. Featuring a push-style tenon and a long, tapering metal tube, it houses a condensation chamber just under the bowl itself — providing the same gurgle free smoke you’d expect of a bent System configuration.

I did a search on Google about the Peterson System 31 Straight Billiard to see if I could learn any specific information on the shape. I found a link to a pipe for sale on Smokingpipes.com. I quote:

Paresh had worked on System 31 pipe so I went back and reread his work on that smooth pipe. It was very helpful for the background information included (https://rebornpipes.com/tag/peterson-system-31-pipe/).

I knew that I was dealing with a Republic Era pipe made between 1950-1989. The K&P mark on the nickel band ties to Kapp & Peterson brings the date to the time between 1950-1964. It was a smooth Straight billiard with a unique shape and chamber beneath the bottom of the bowl. The finish was stained with a combination of rich reddish brown stains. Now it was time to work on the pipe.

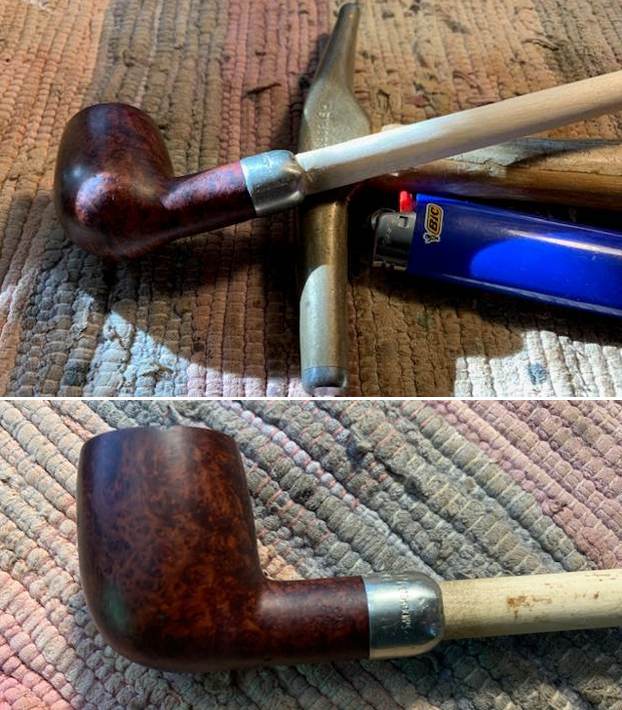
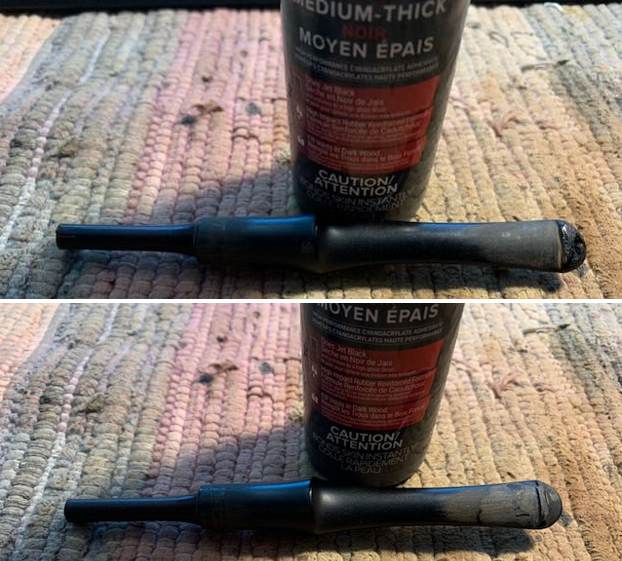
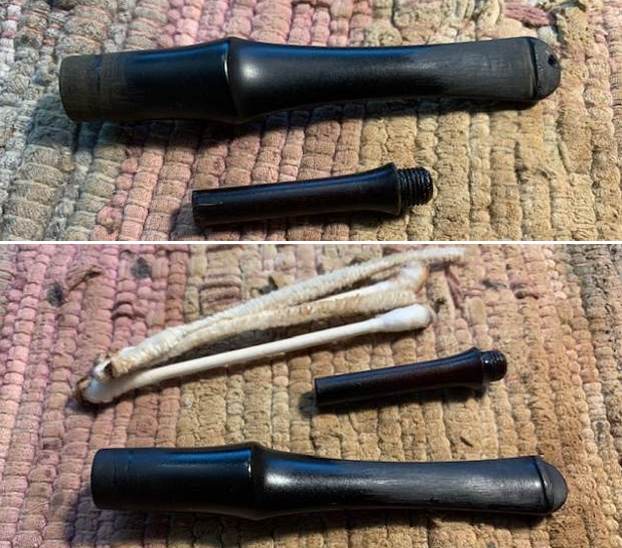
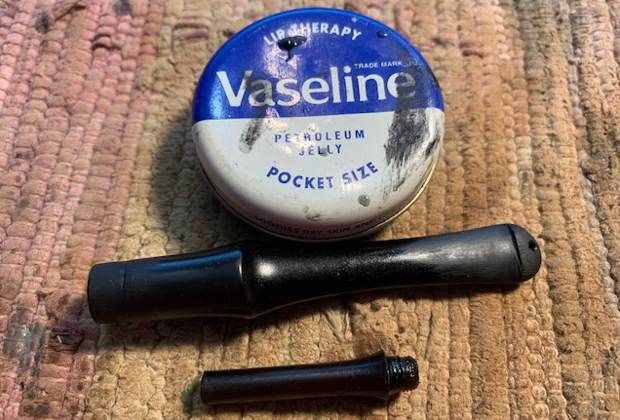
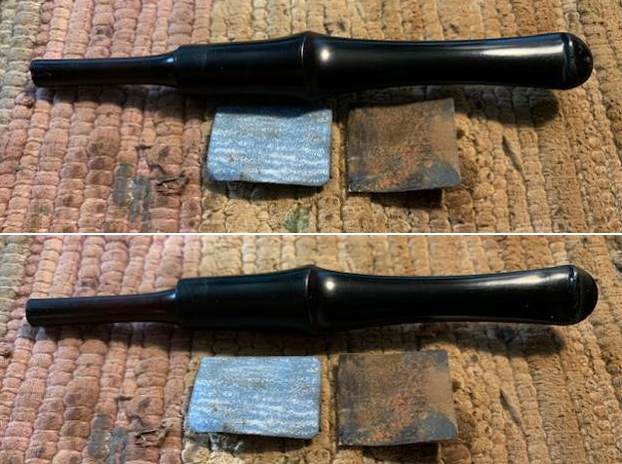
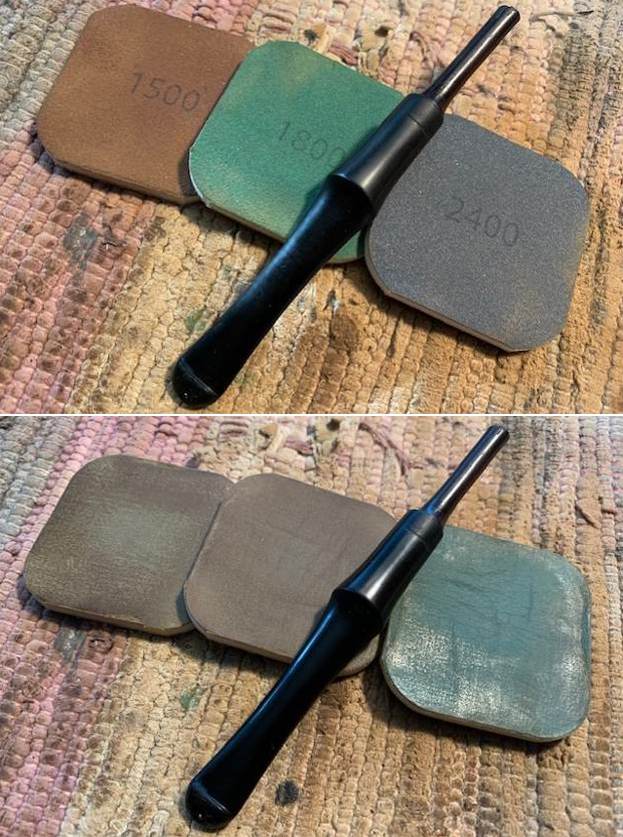
The bowl had been reamed and cleaned. I started working on the pipe by cleaning out the inside of the shank and the airway into the bowl and the stem. I scraped the shank out with a small pen knife to remove the thick tars. I then cleaned it with a isopropyl alcohol, cotton swabs and pipe cleaners until it was clean.  I topped the damaged rim top on a topping board with 220 grit sandpaper to remove the damage on the rim top and edges of the bowl. I used a folded piece of 220 grit sandpaper to smooth out the inner edge of the bowl. I gave the inner edge of the bowl a slight bevel. I filled in some of the deep gouges in the briar on the right side and heel of the bowl with some clear CA glue. Once the repairs cured I sanded the briar surface with 220 grit sandpaper to smooth it out and blend it into the surrounding briar.I stained the sanded area on the bowl side and the rim top with a Cherry stain pen to lay a base coat and then did a top coat of Mahogany stain pen. I polished the rim top and edges with micromesh sanding pads – dry sanding with 1500-12000 grit pads to raise a shine. I wiped it down with a damp cotton pad to wipe off the debris after each sanding pad.   I worked some Before & After Restoration Balm into the surface of the briar with my fingertips. It works to clean, enliven and protect the briar. I let it sit for 15 minutes then buffed it off with a soft cloth and raised the shine. The bowl looks great at this point.   The nickel ferrule was out of round and dented. It was solidly connected to the shank end so I did not want to removed it. Instead I fit a dowel into the end of the ferrule that was round and heated the nickel with a lighter to soften it. Once it was softened I used a small furniture hammer to bring the ferrule end back to round. I repeated the process until the opening in the ferrule was round and the stem fit well. It was not perfect but it was better than when I started. I set the bowl aside and worked on the stem. I “painted” the stem with the flame of a Bic lighter to lift the tooth marks in the stem. I was able to raise them slightly. I filled in the remaining marks with Black CA glue. Once the repairs cured I sanded it smooth with 120 grit sandpaper and started polishing it with 400 grit wet dry sandpaper. I unscrewed the extension tube from the end of the stem. I cleaned up the threads on the extension and inside the stem with pipe cleaners, cotton swabs and isopropyl alcohol. It did not take long to clean it. I coated the threads on the extension with Vaseline and screwed the extension back into the stem. I worked on the stem to further smooth and reshape the button and stem with the 220 grit sandpaper and the 400 grit wet dry sandpaper.  I polished the stem with micromesh sanding pads – dry sanding it with 1500-12000 grit pads. I wiped the stem down with Obsidian Oil after each pad. I polished it with Before & After Pipe Polish – both Fine and Extra Fine and gave it a final coat and set it aside to dry.  I put the stem back on the Peterson’s System 31 Straight Billiard and buffed the pipe with Blue Diamond on the buffing wheel. I polished the briar and the vulcanite of the stem until there was a rich shine. This classic Peterson’s shape and finish really highlights a proportionally well carved pipe. Once I buffed the pipe the briar came alive and popped with polishing. The black vulcanite stem has a rich glow. This Peterson’s System Straight Billiard fits well in the hand and sits right in the mouth. Have a look at it with the photos below. The dimensions are Length: 5 ½ inches, Height: 1 ½ inches, Outside diameter of the bowl: 1 1/8 inches, Chamber diameter: ¾ of and inch. The weight of the pipe is 1.23 ounces/35 grams. This beauty will be going on the rebornpipes online store in the Irish Pipemakers Section. If you are interested let me know. Thanks for walking through the restoration with me as it was a pleasure to work on.