Blog by Steve Laug
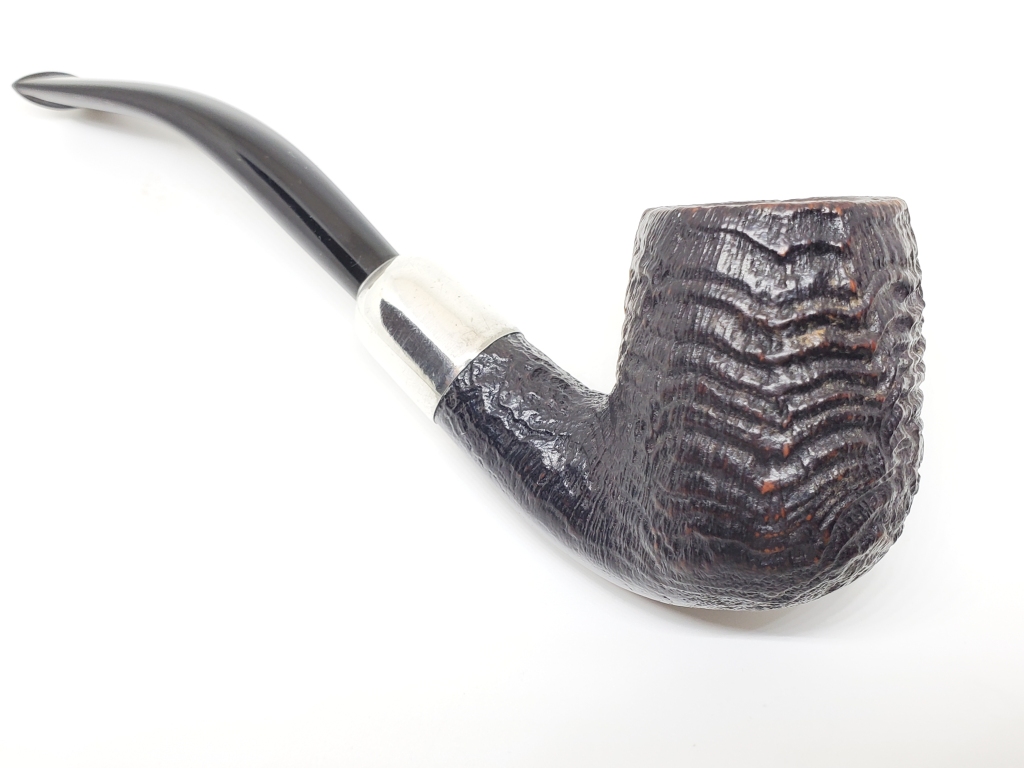
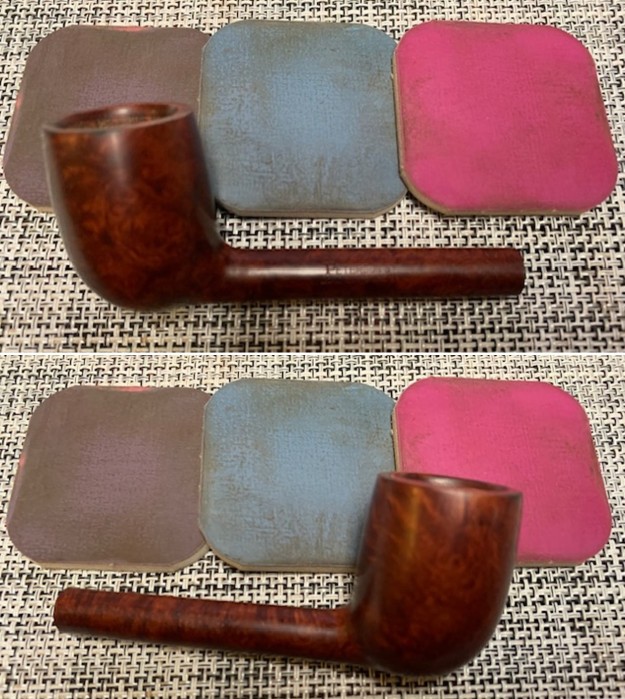
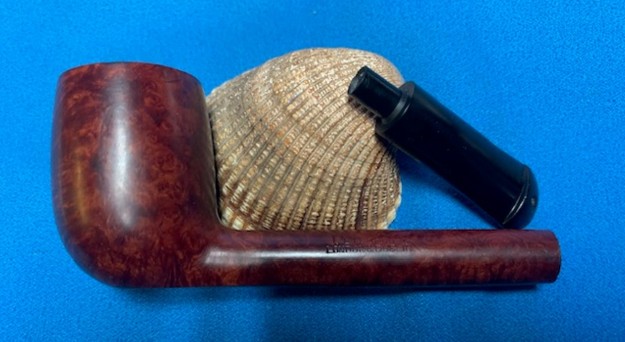
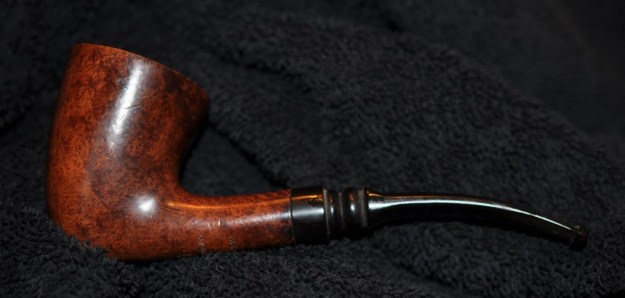
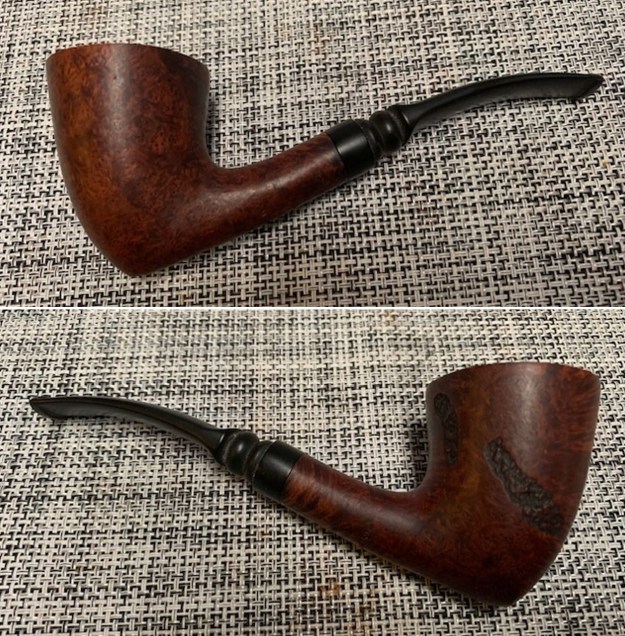
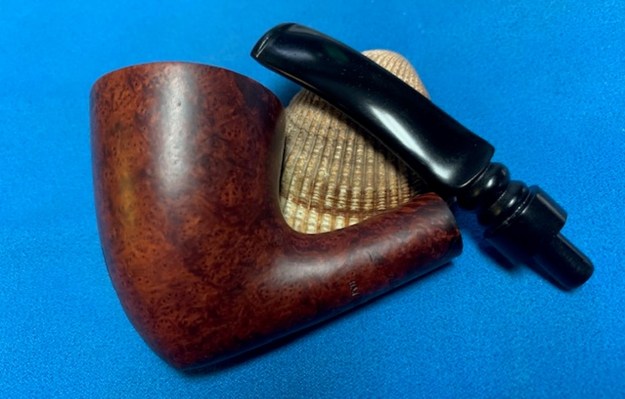
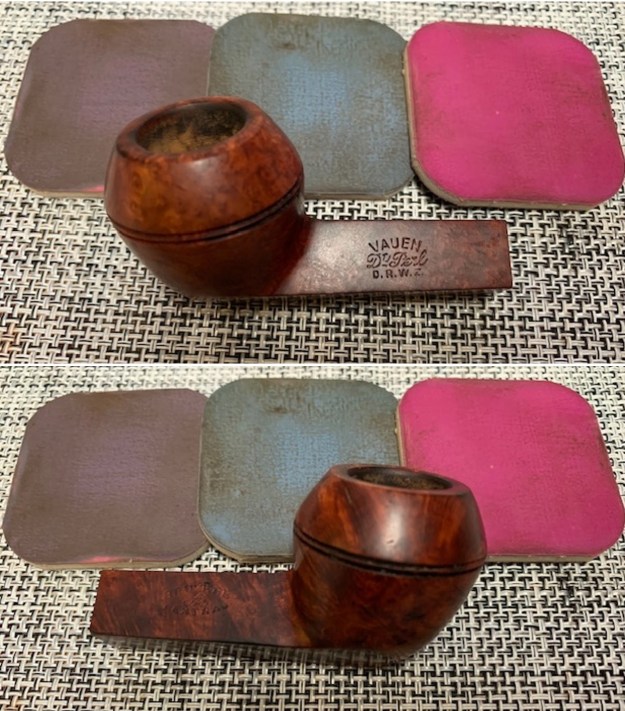
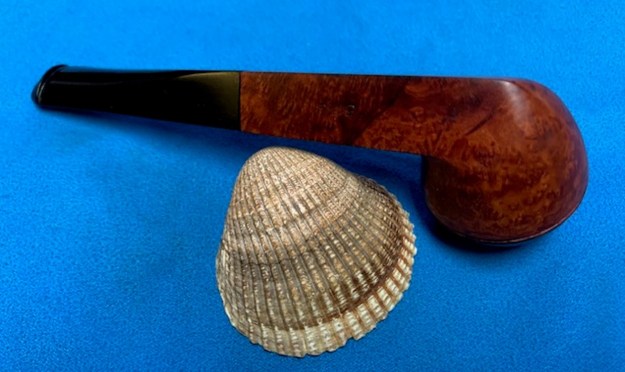
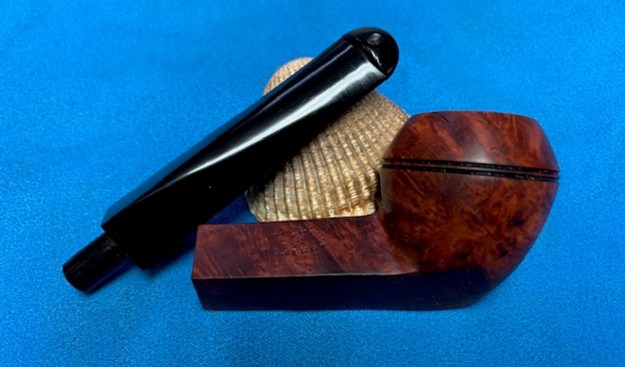
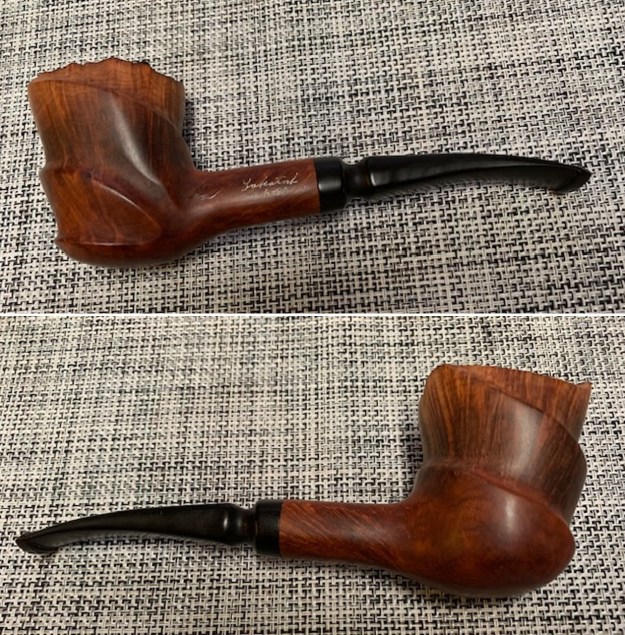
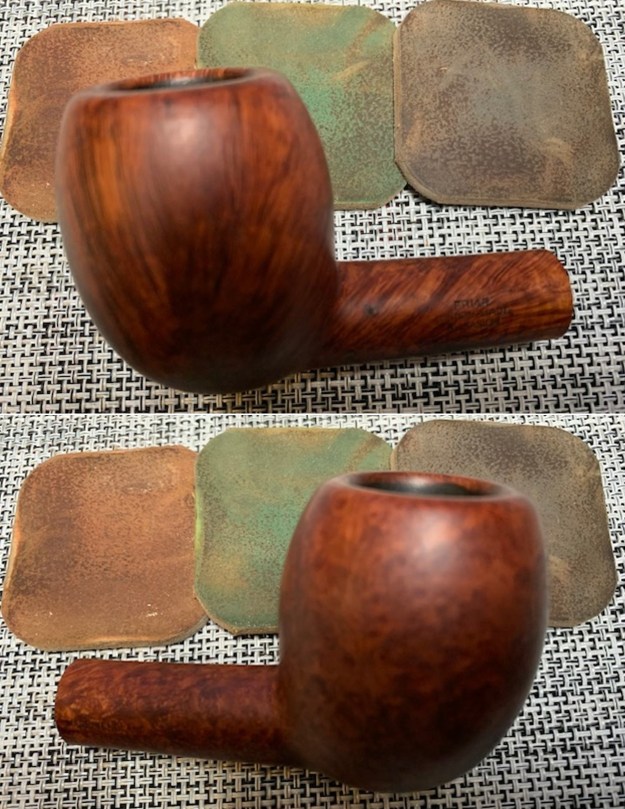
The next pipe I have chosen is mixed finish Full Bent Egg. It came to us in a Chacom pipe sock in a FRB was clean and unsmoked with a varnished finish but had some good looking grain around the bowl sides and shank. It came to us as part of a trade on 01/12/2023. The pipe is stamped on the left side of the shank and reads FRB in an oval with Old Bruyere arched underneath it. It is stamped on the right side and reads MFD BY ROSSI [over] BY ROSSI. The pipe was clean as noted and very shiny with a top coat when he brought it to the table. It was smooth with rusticated patches around the bowl sides, base and shank. There were also a lot of putty fills in the rusticated areas. The rim top and edges were very clean. The rim top but the edges of the bowl were very clean. Some of the putty in the rustication on the shank end and sides was pitted and damaged. The stem was clean with no oxidation or calcification on it. There were no tooth marks and chatter on the top and underside on and near the button. There was a white circle with a dot logo on the left side of the taper stem. The inside of the tenon held an inner tube. Jeff took photos of the pipe before his cleanup work. They tell the story and give a glimpse of the promise that we see in this pipe.
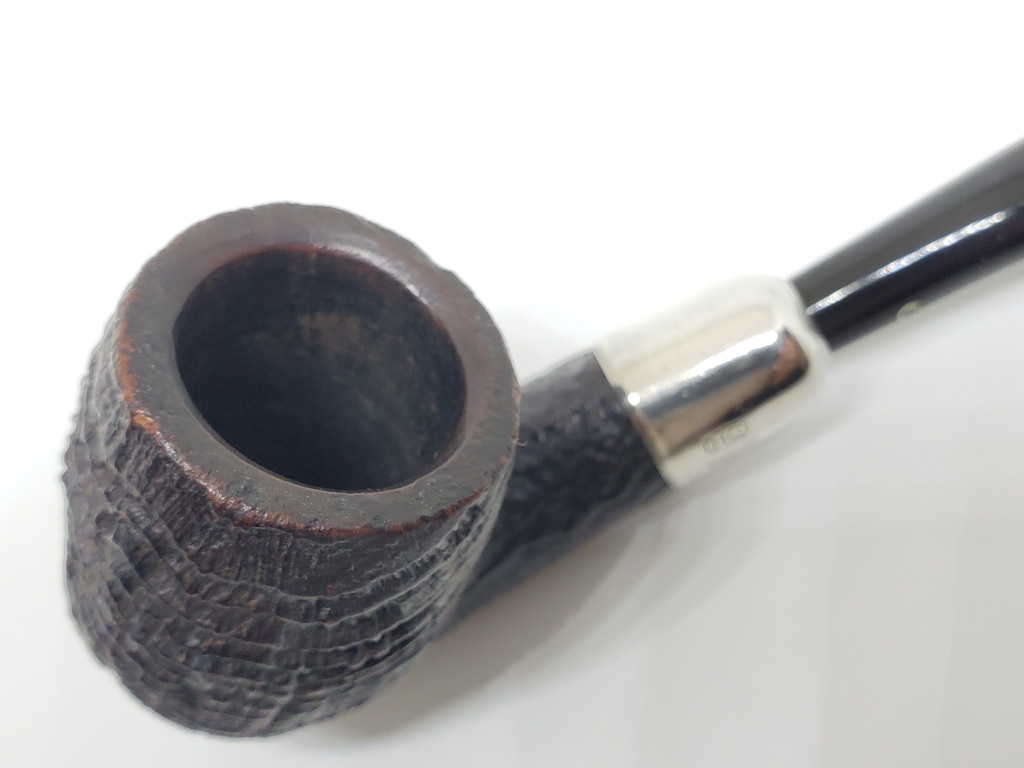
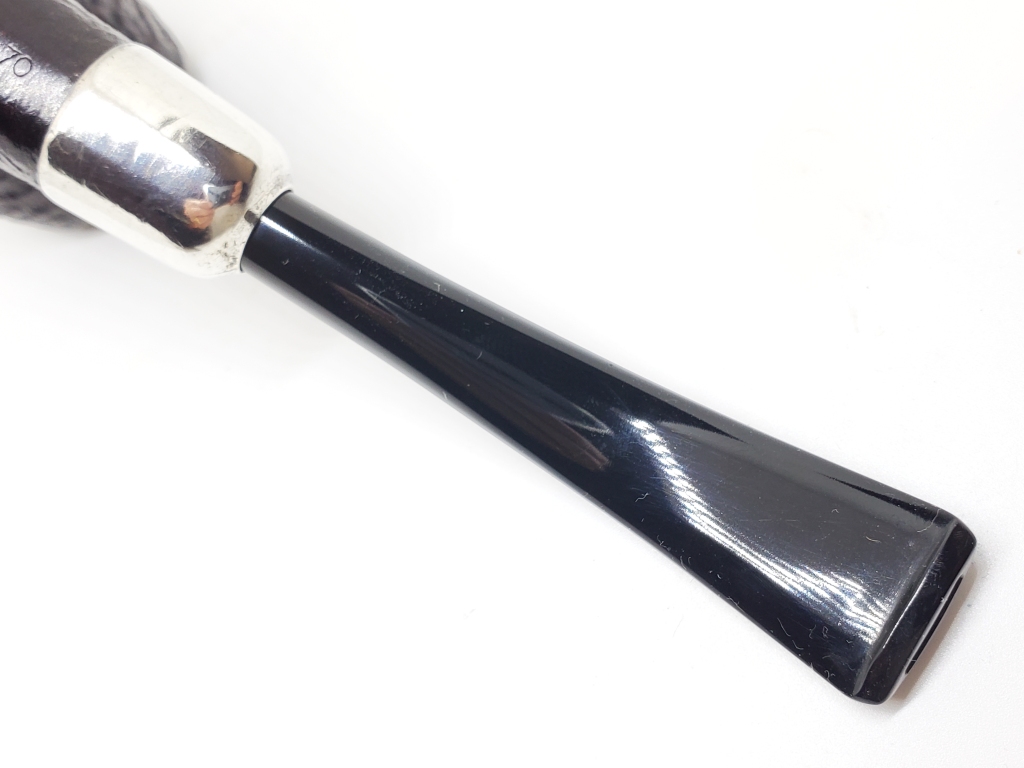
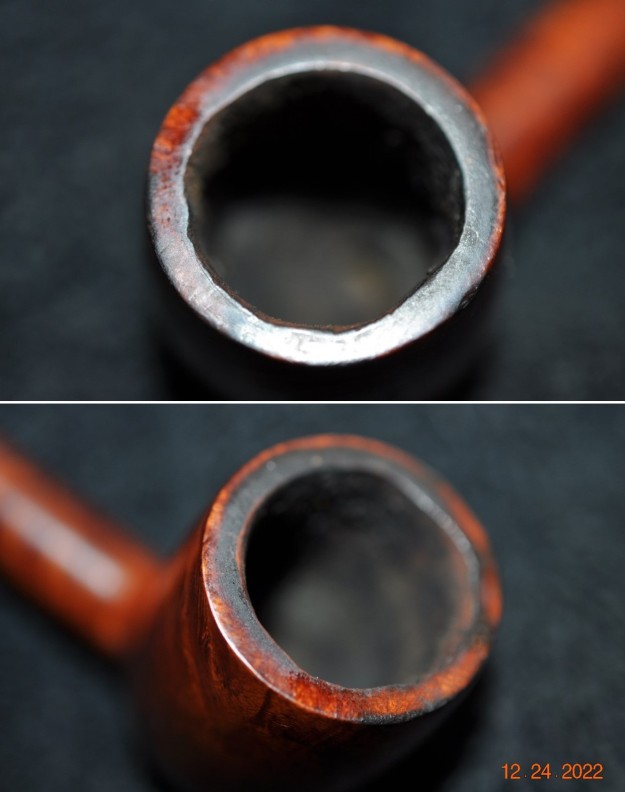
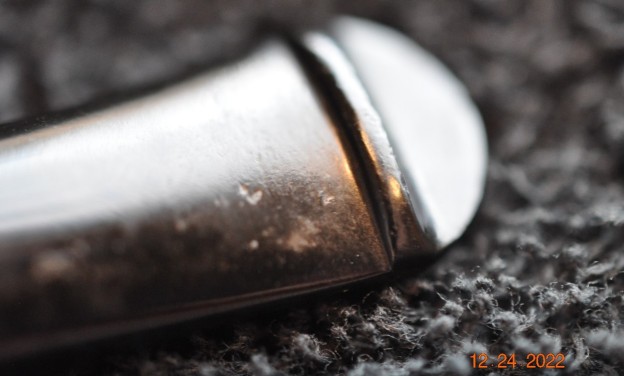
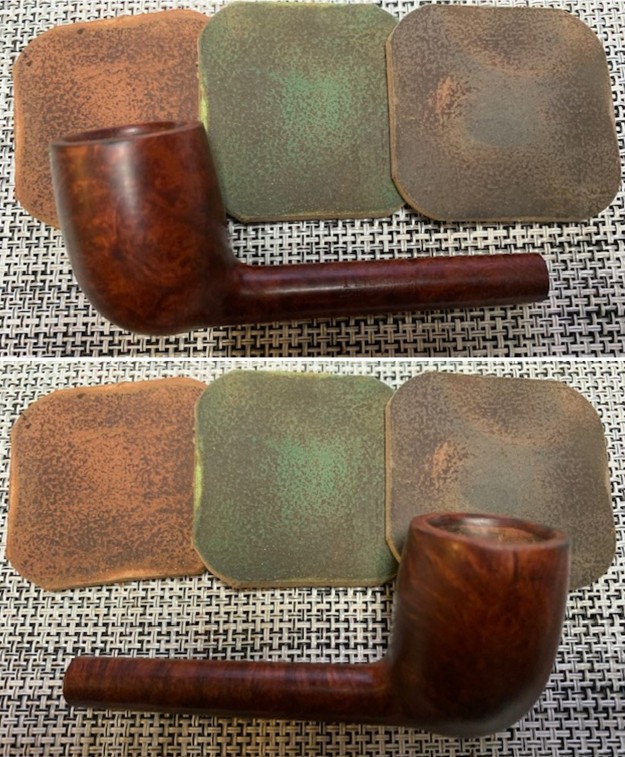
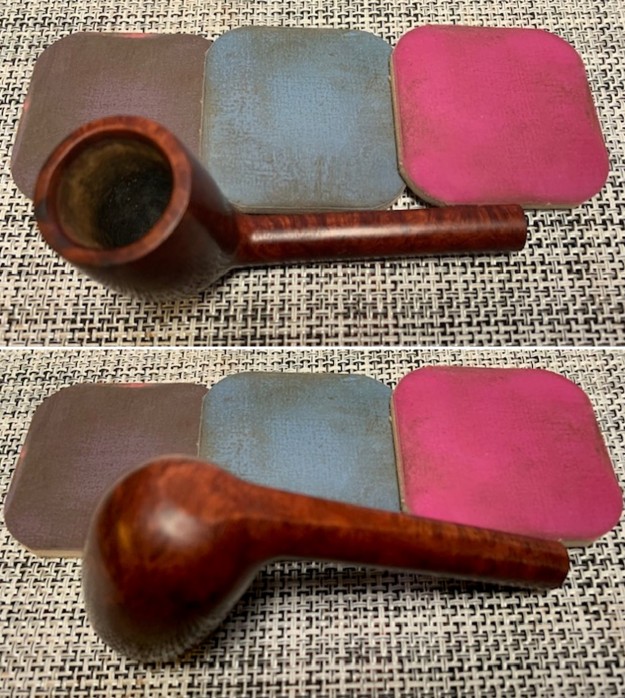
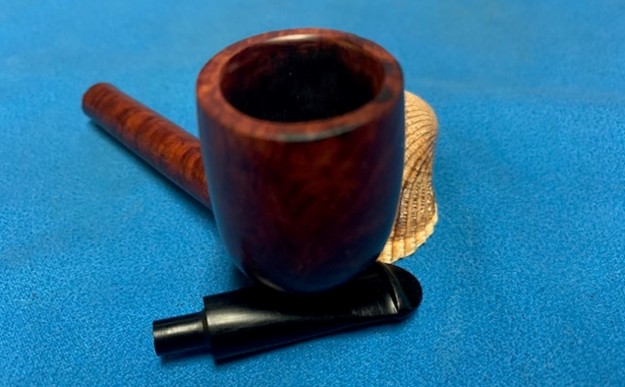
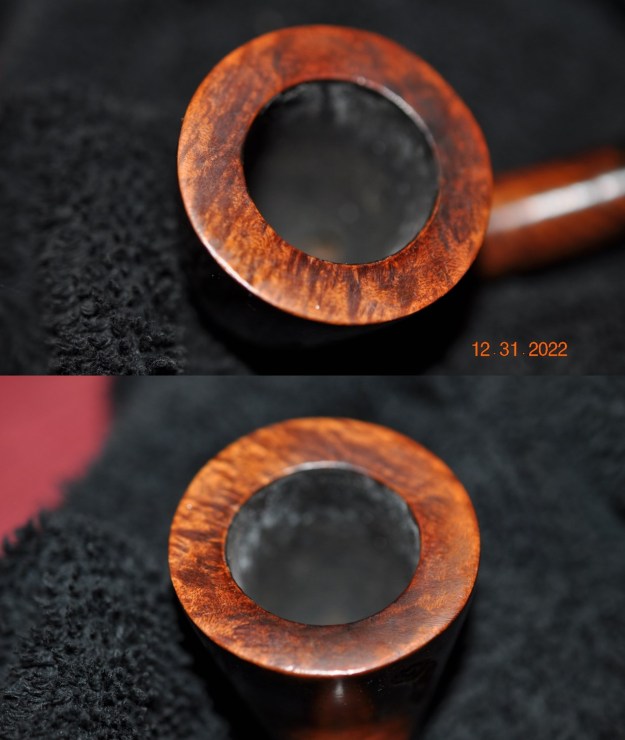
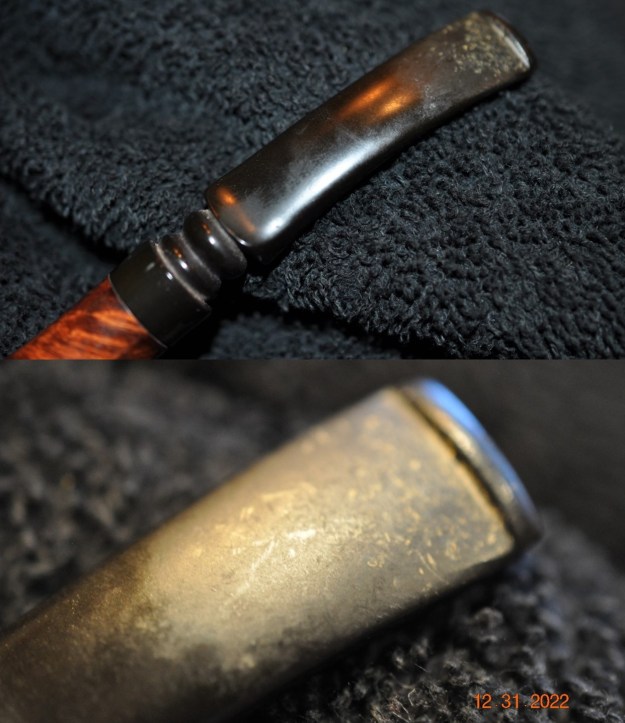
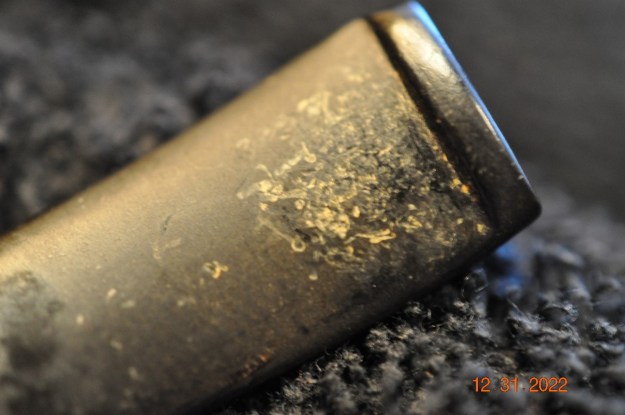
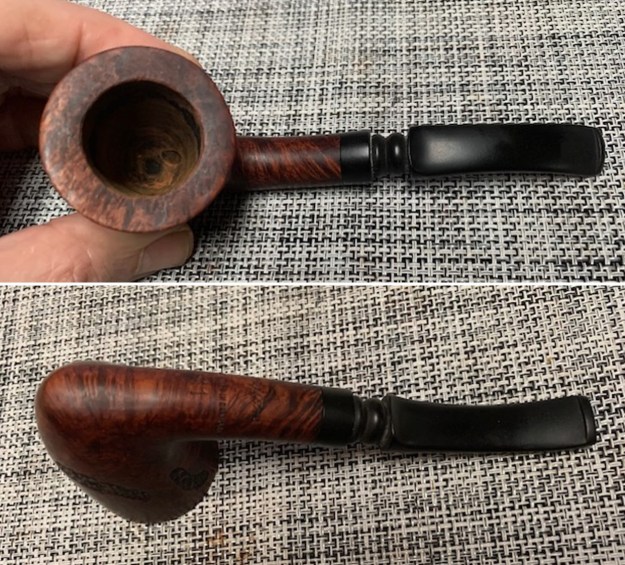
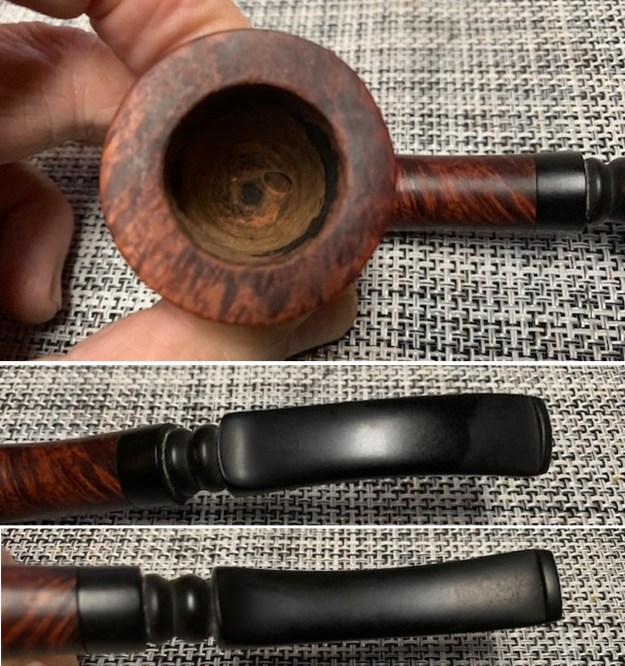
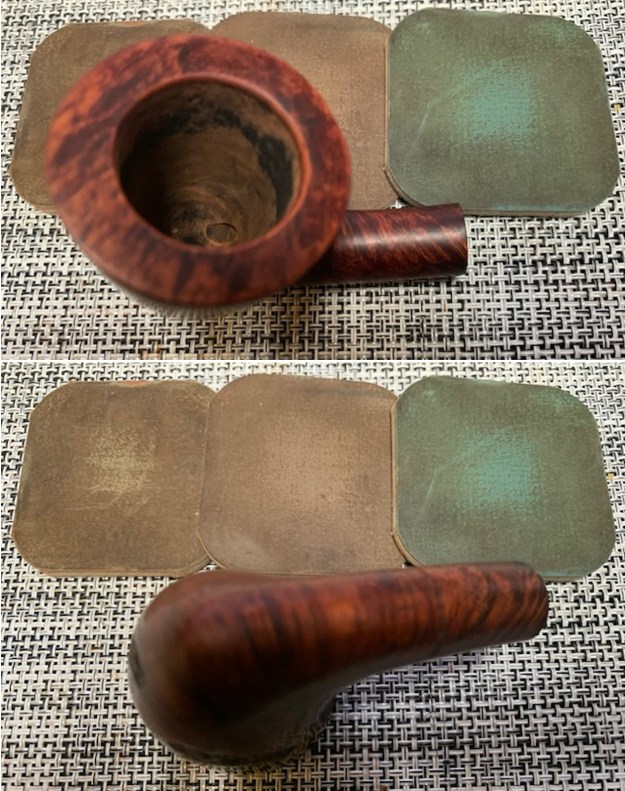
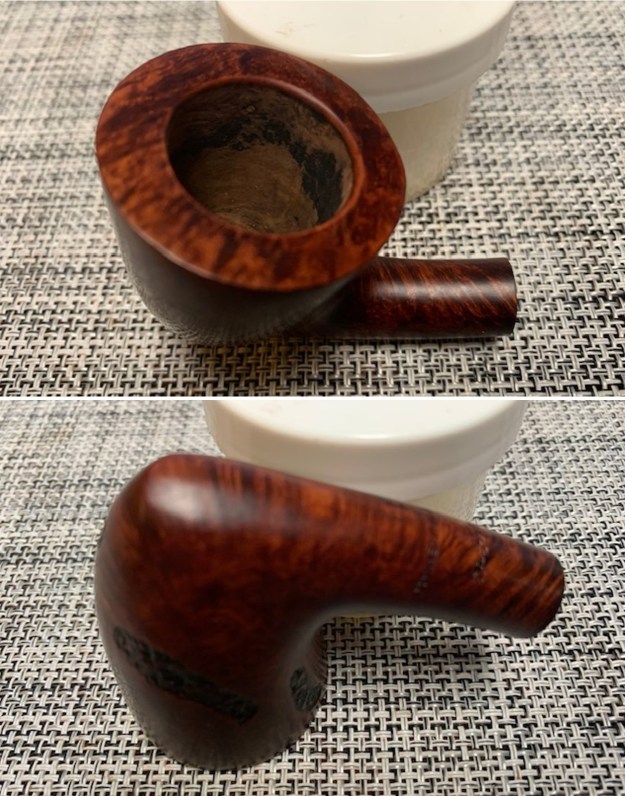
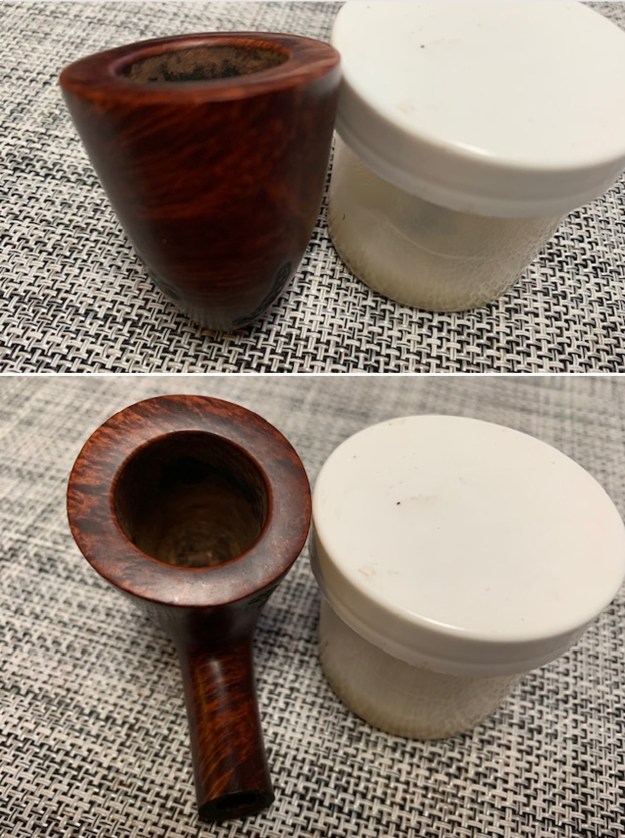
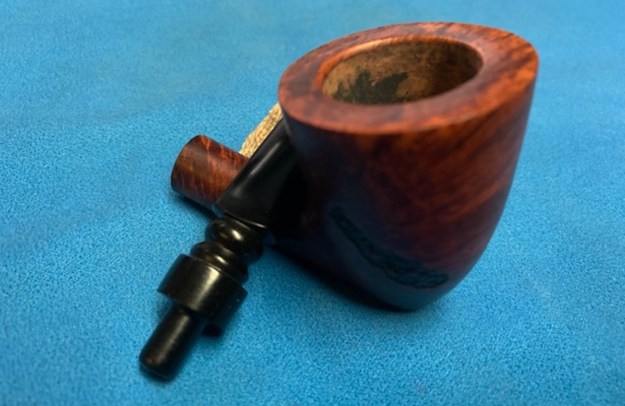
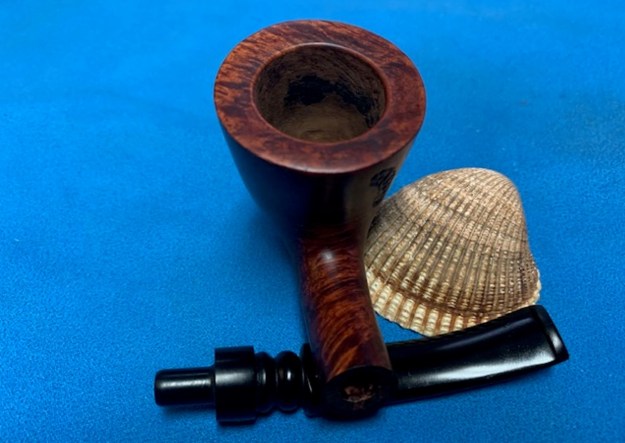
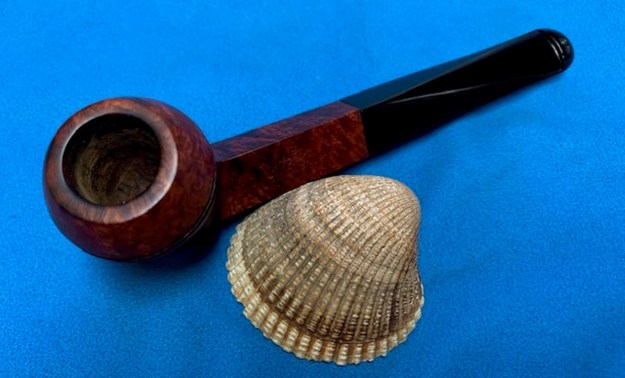
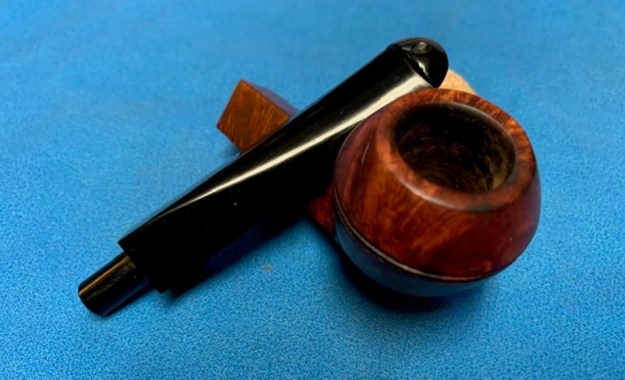
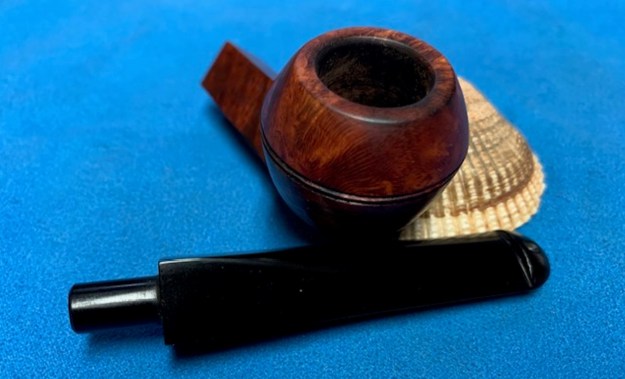
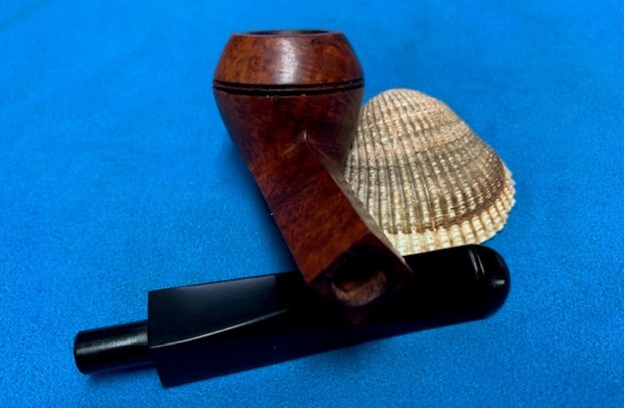
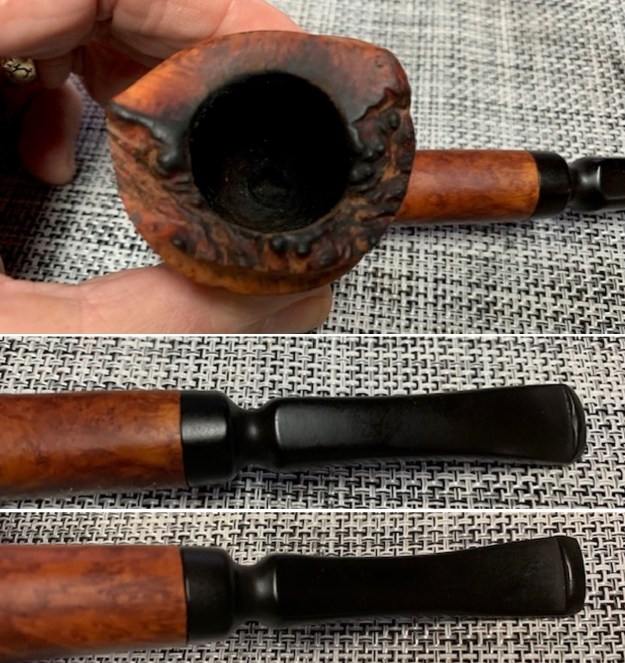
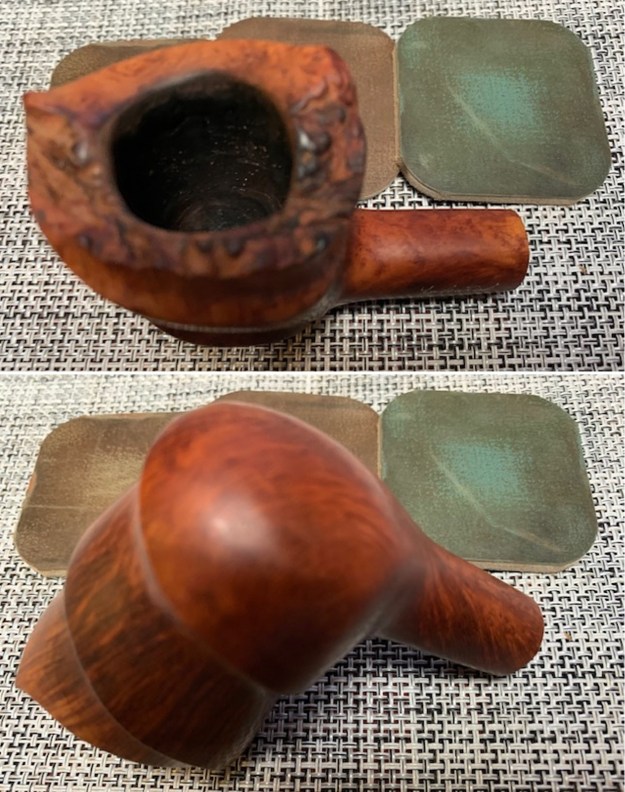
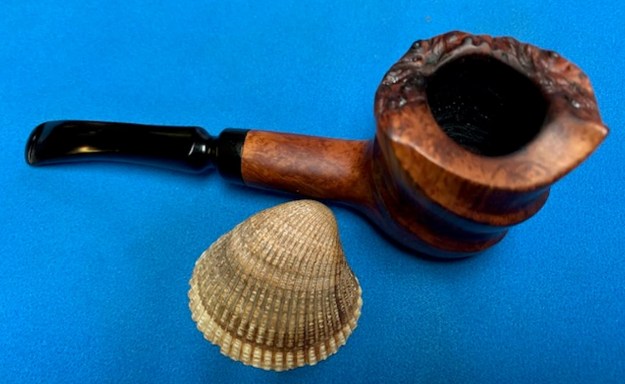
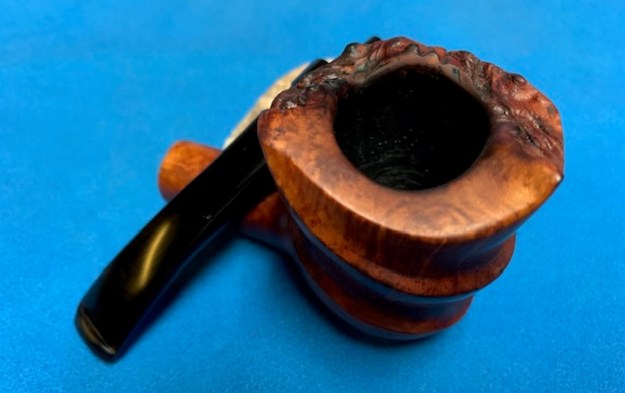
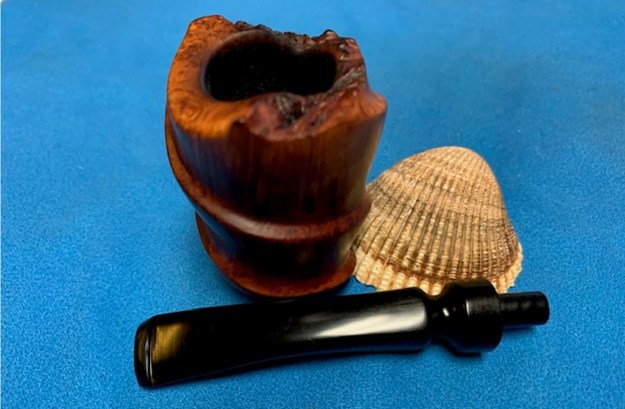
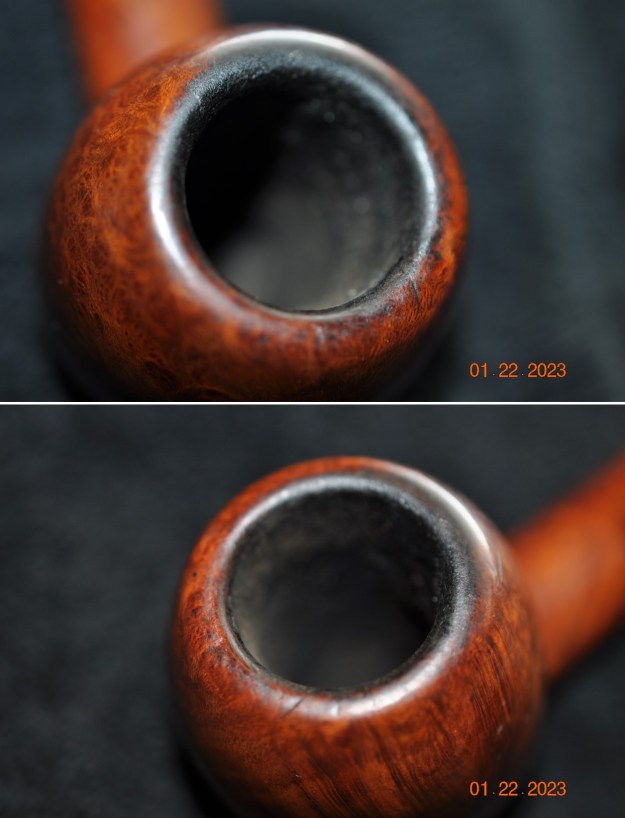
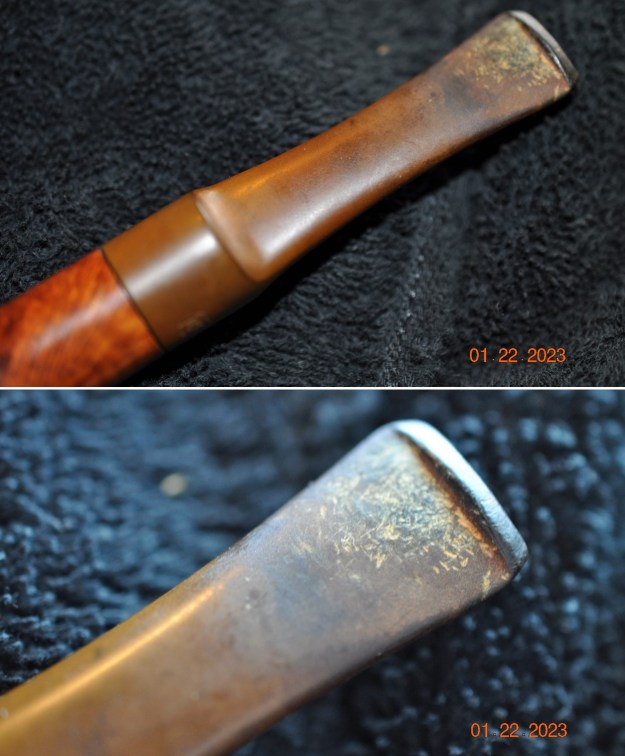
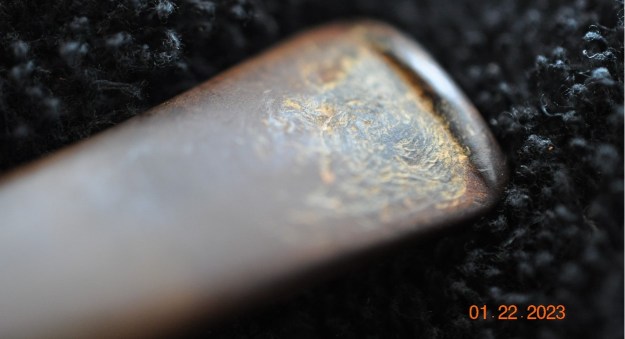
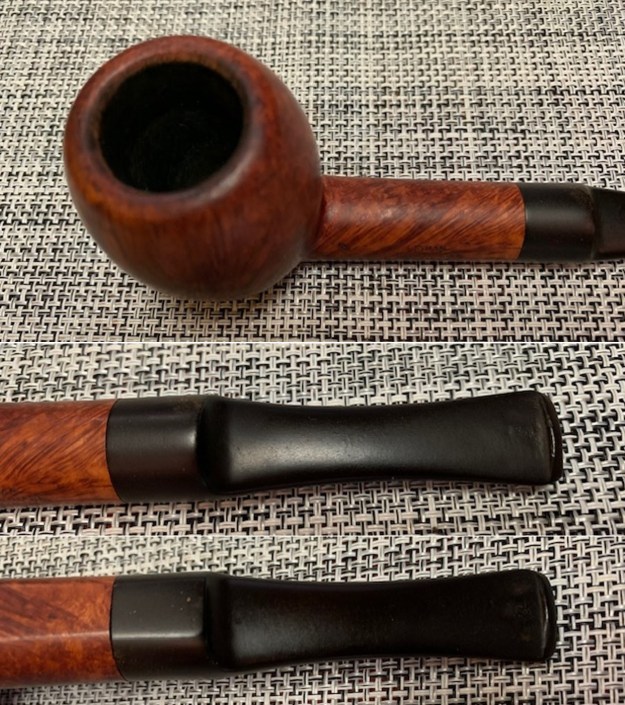
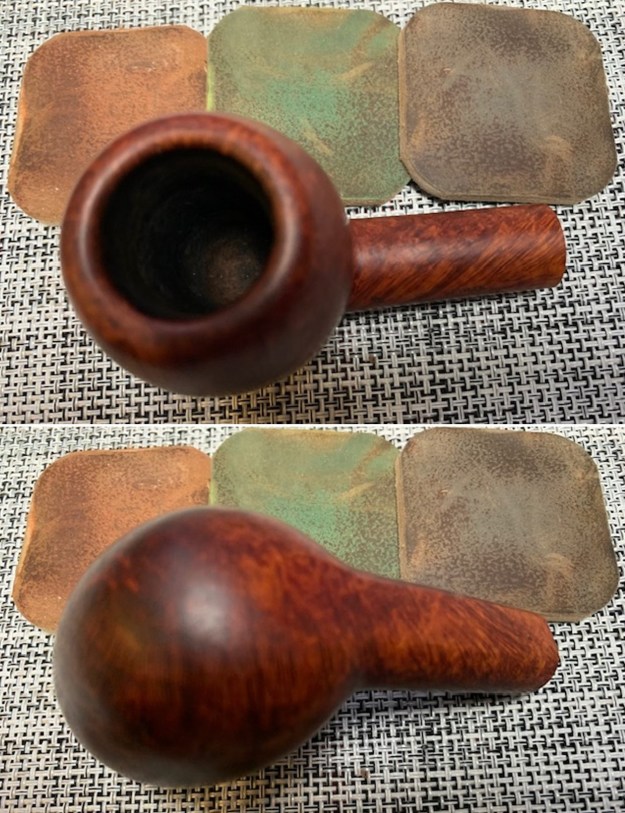
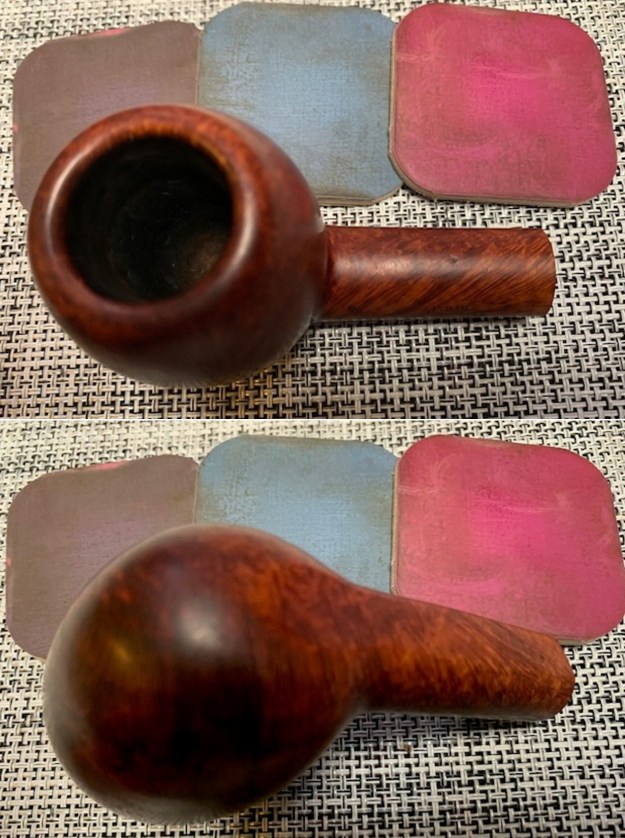
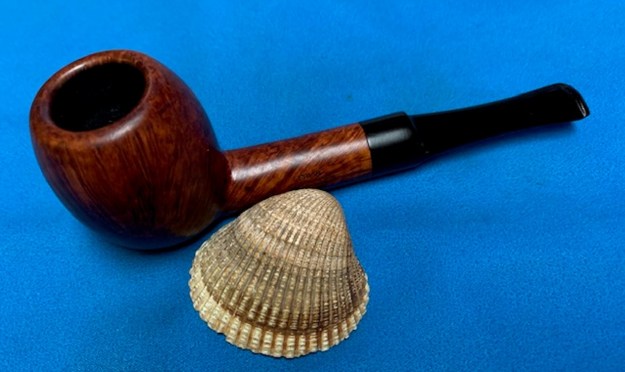
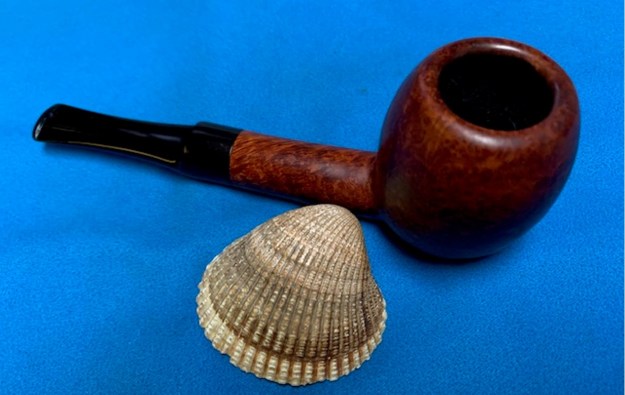
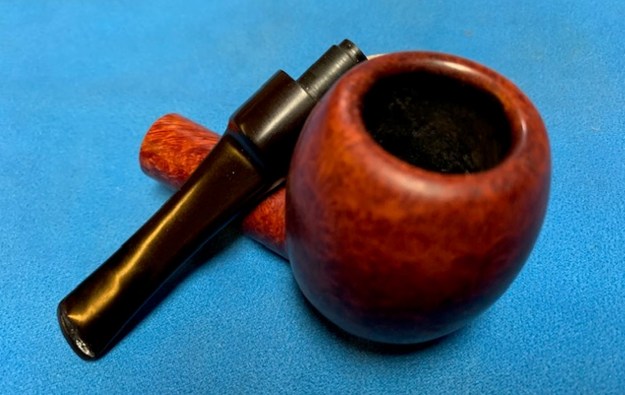
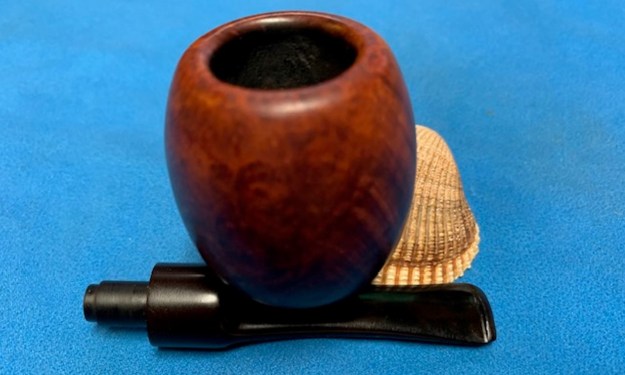
 Jeff took photos of the rim top and stem to show the general condition of the pipe. The bowl is clean, unsmoked and the rim top and the inner edge of the bowl is also clean. The photos of the stem show no damage or marks on the stem surface.
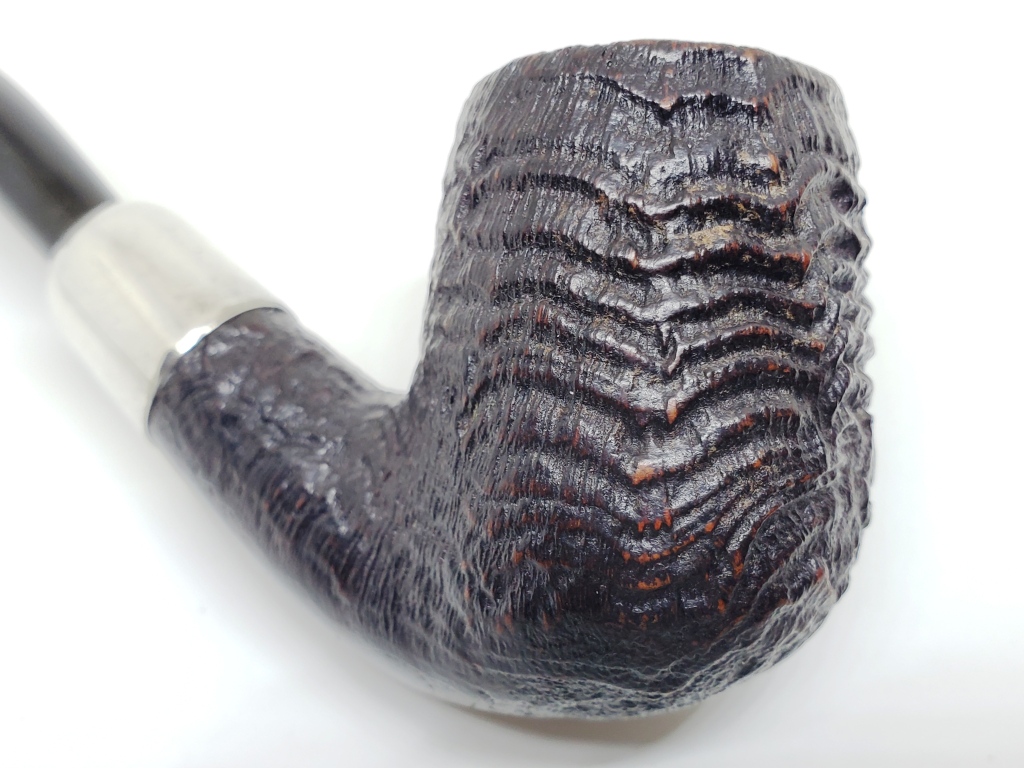
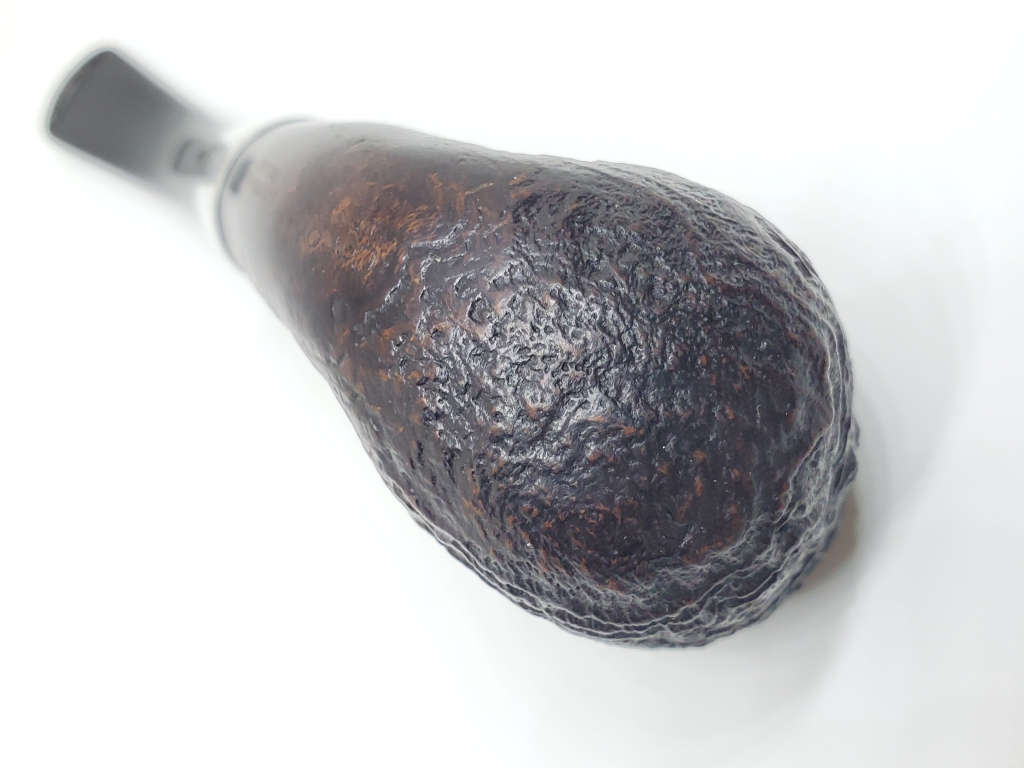
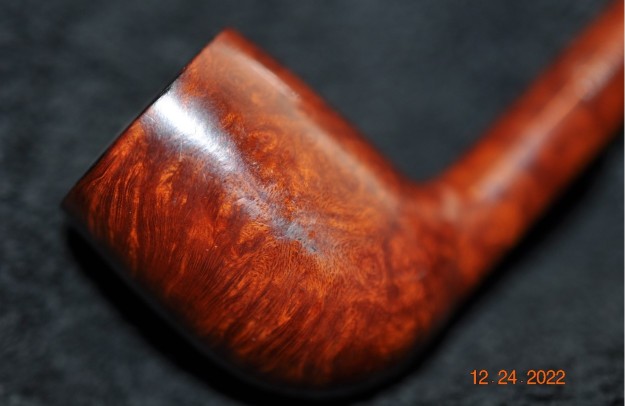
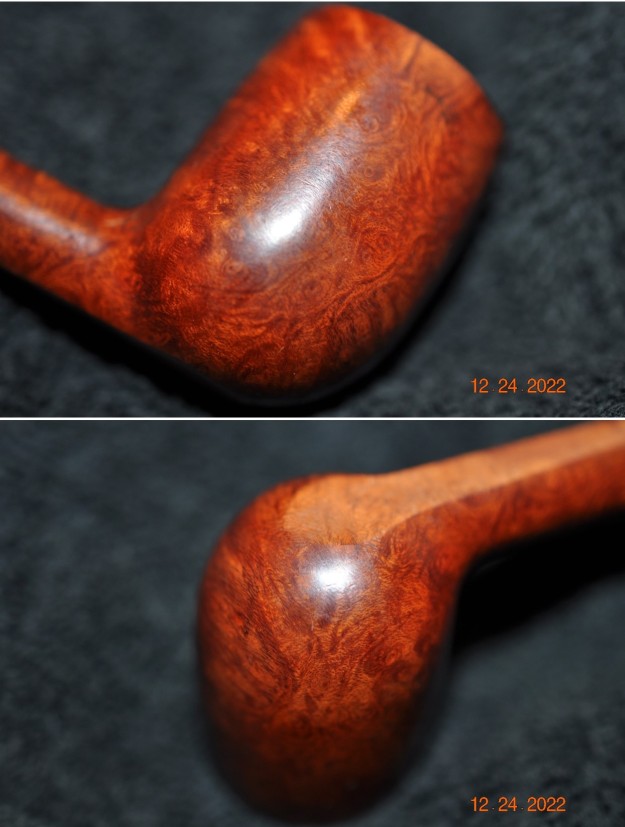
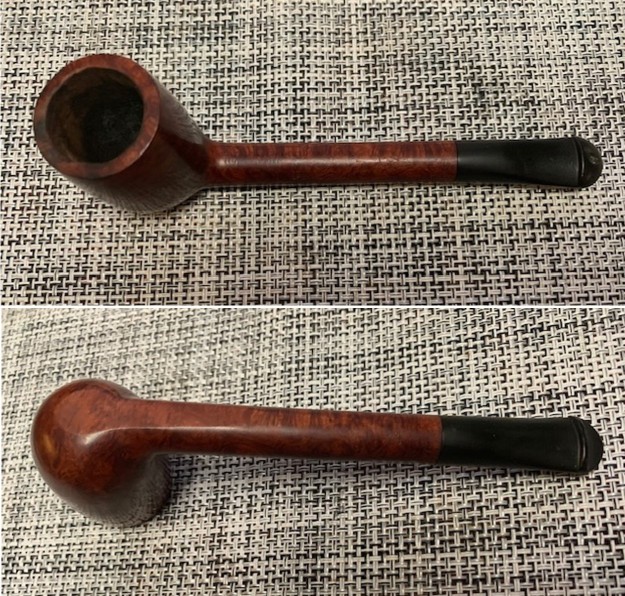
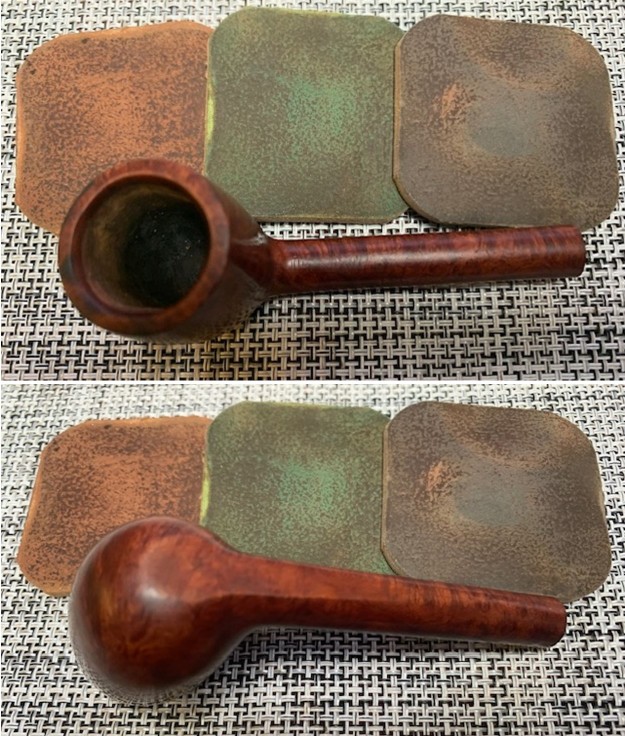
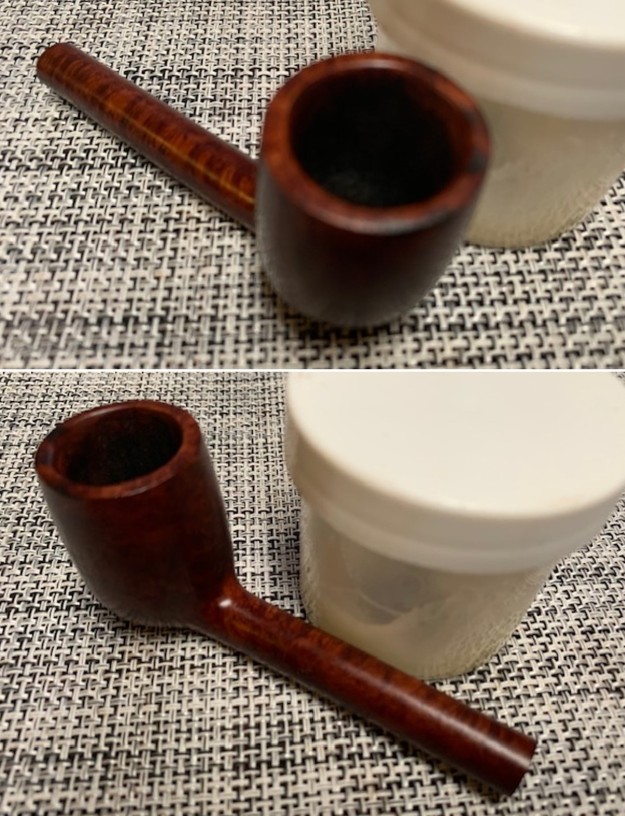
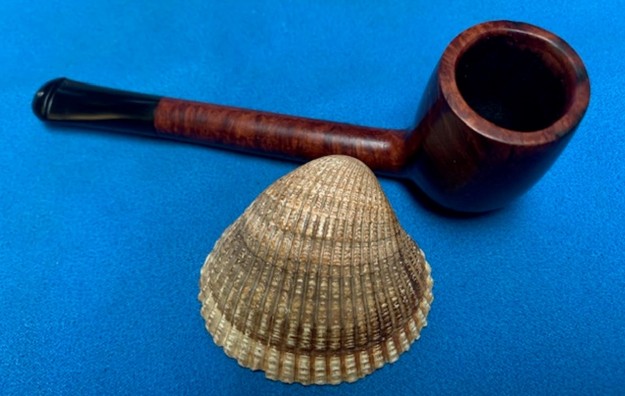
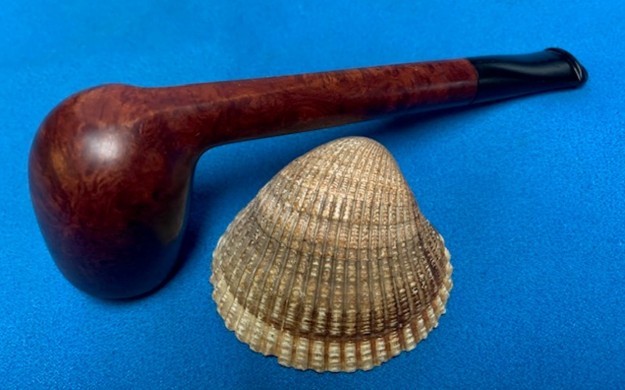
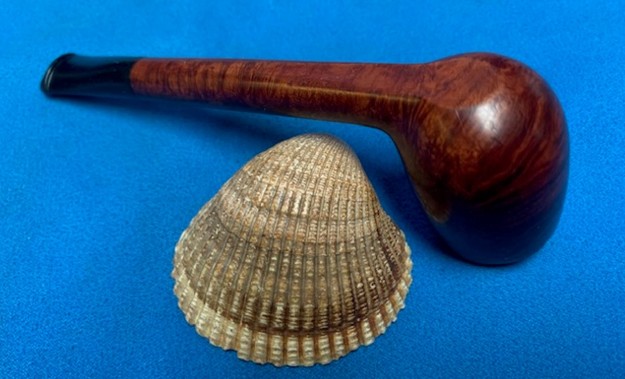
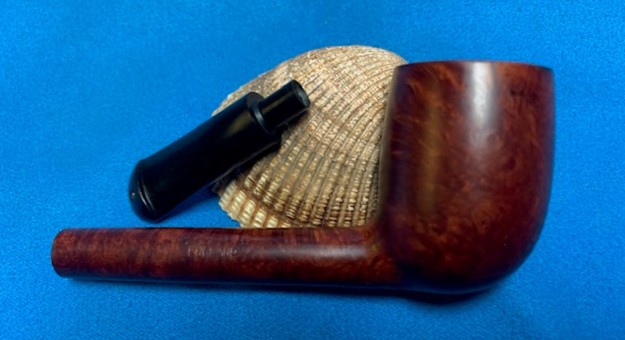
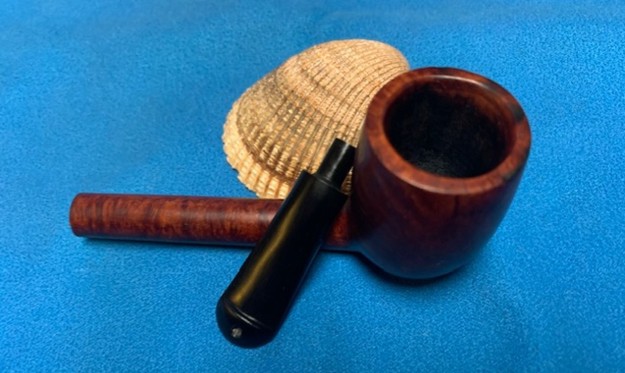
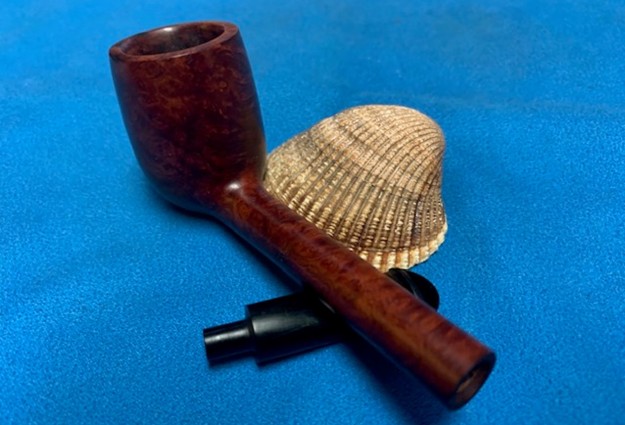
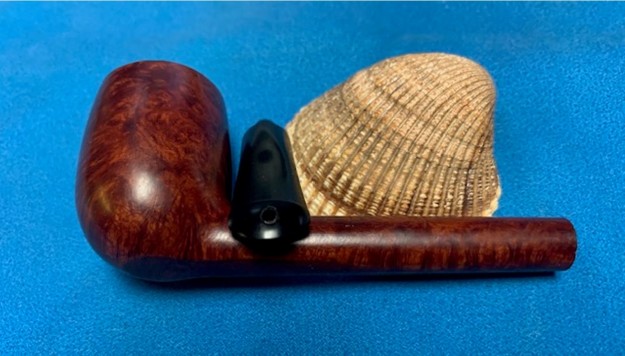
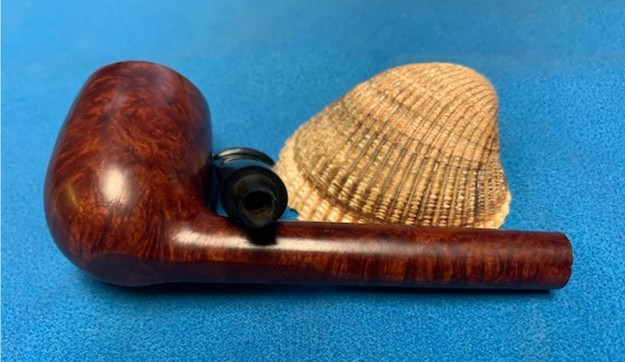
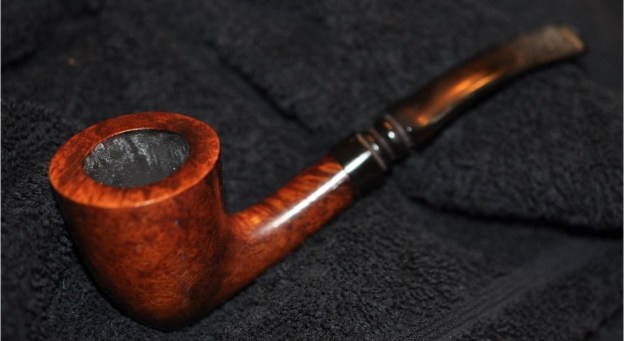
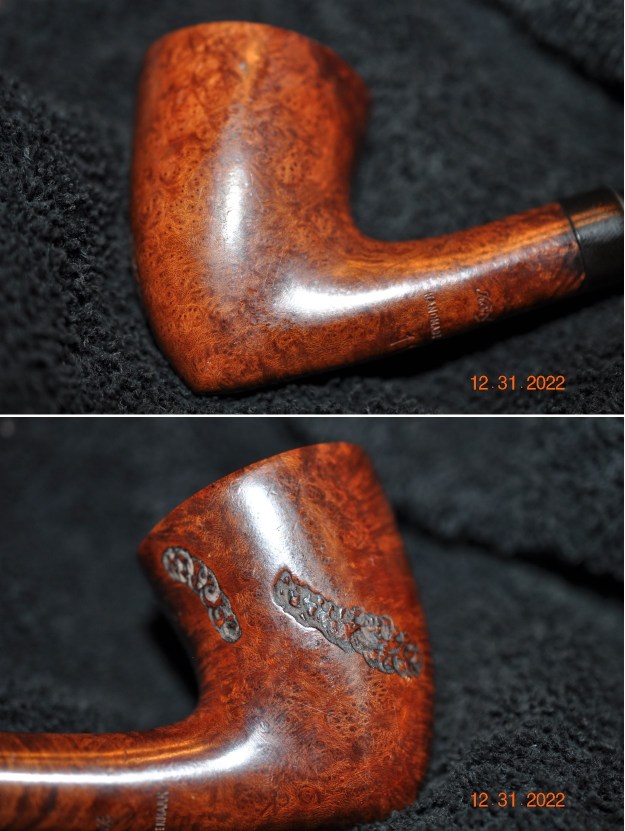
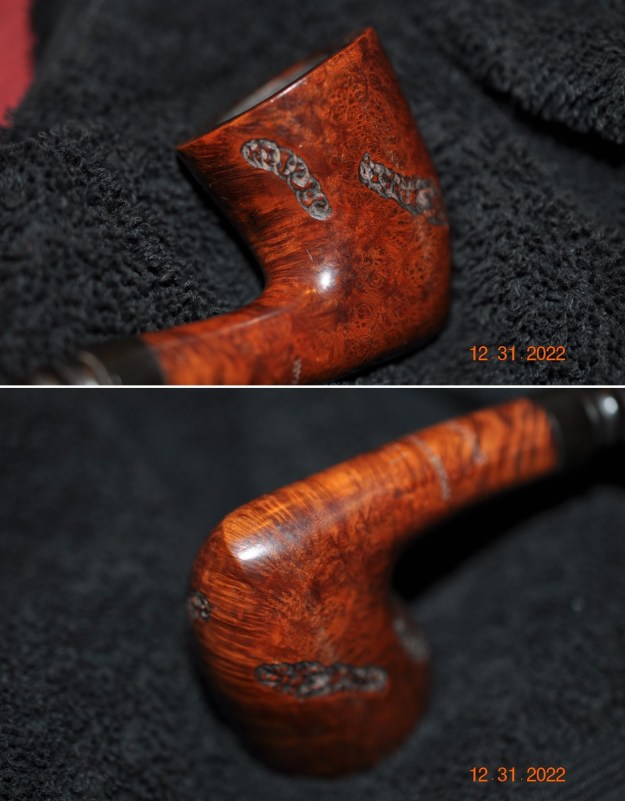
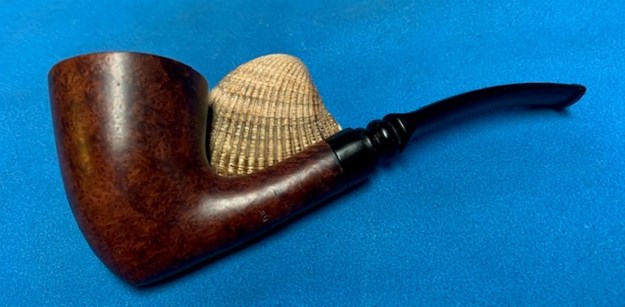
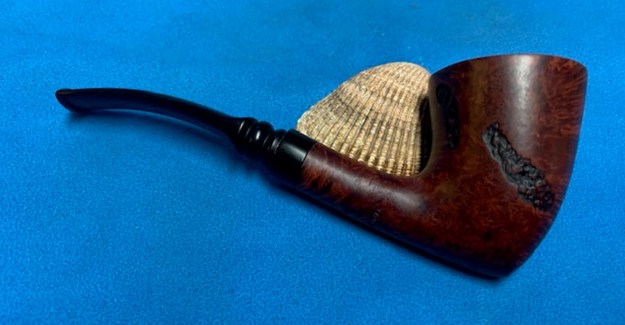
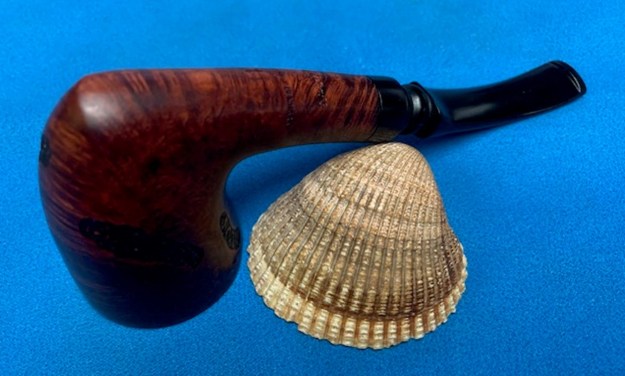
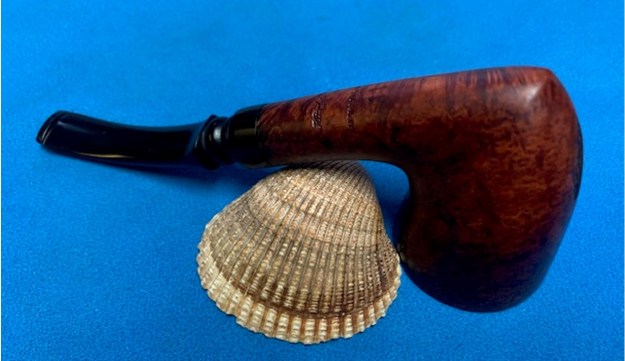
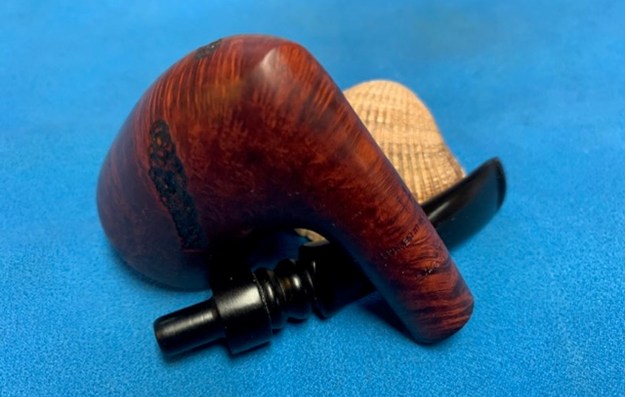
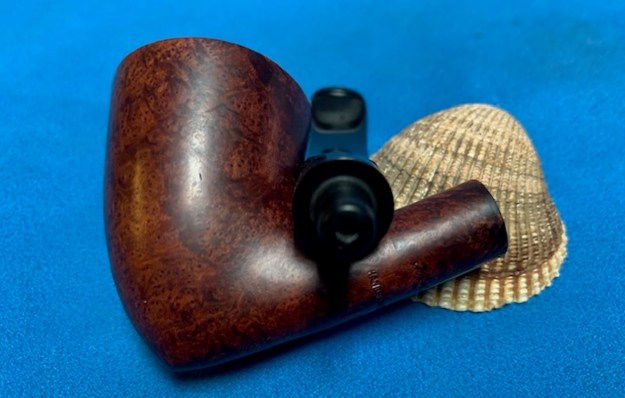
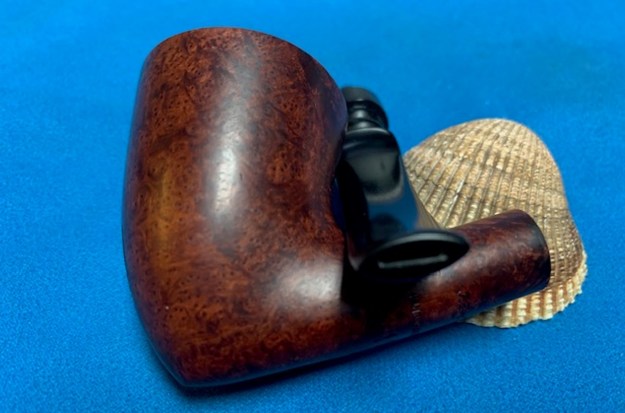
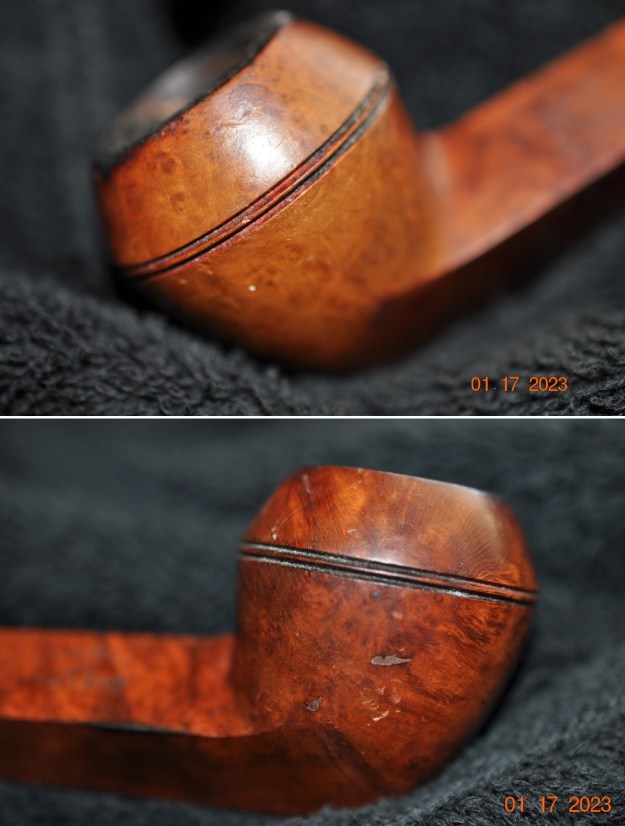
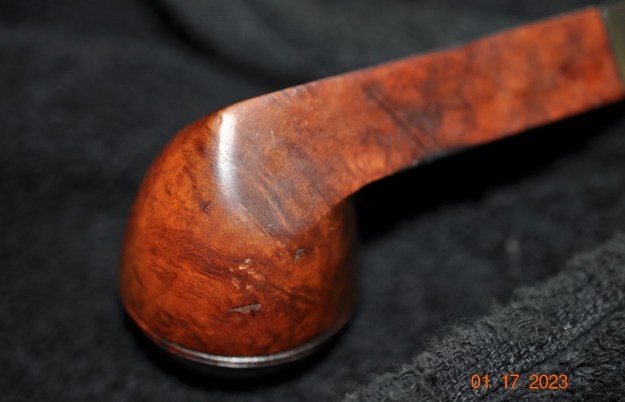
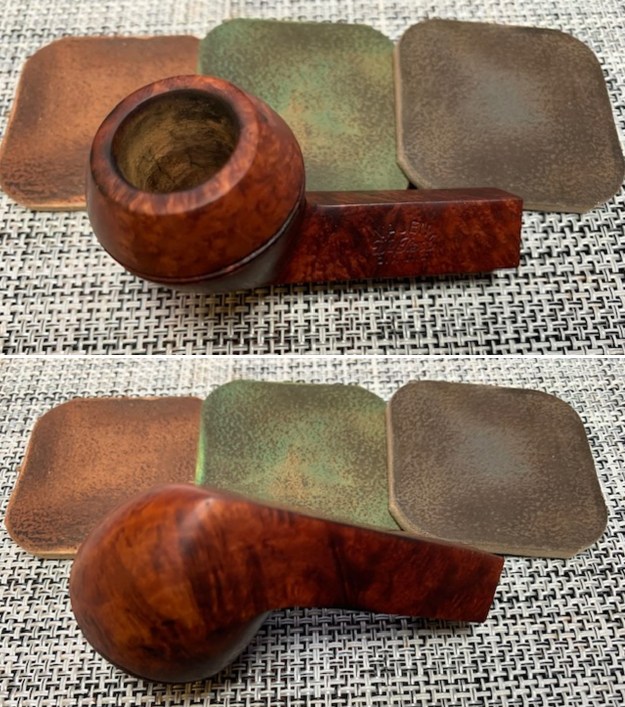
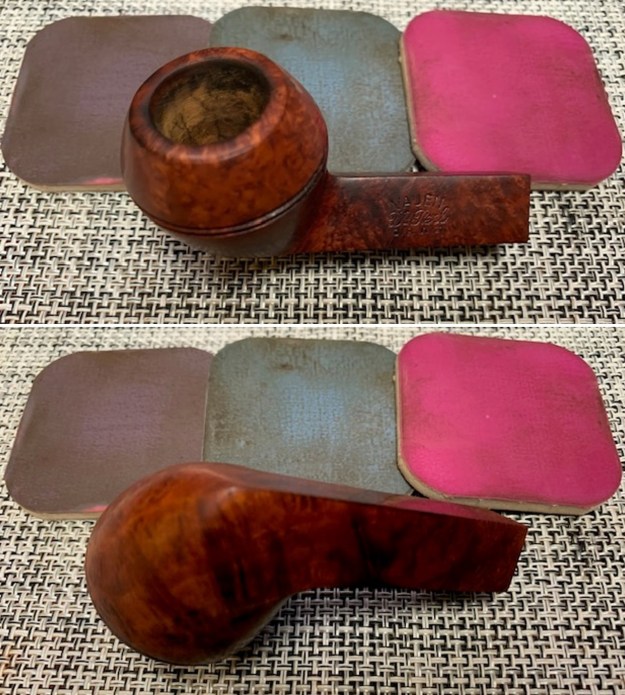
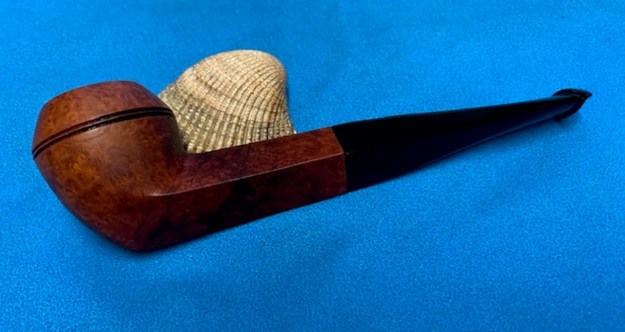
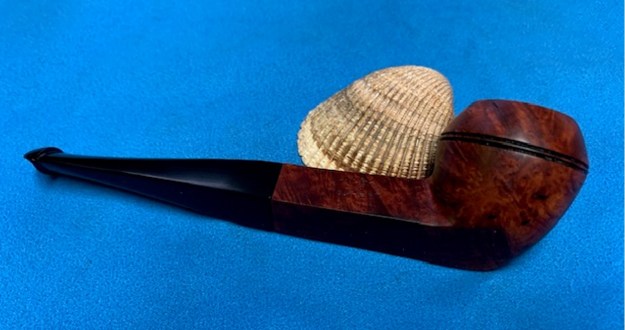
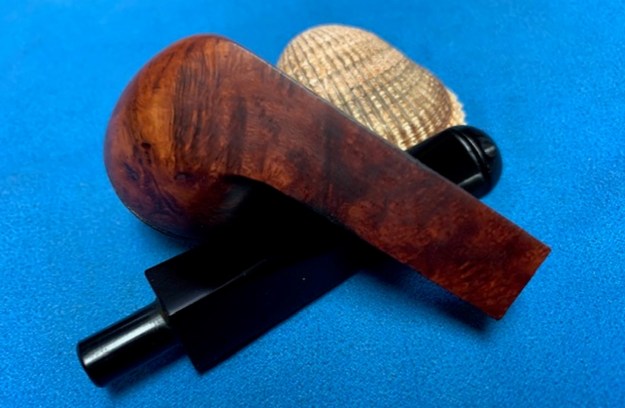
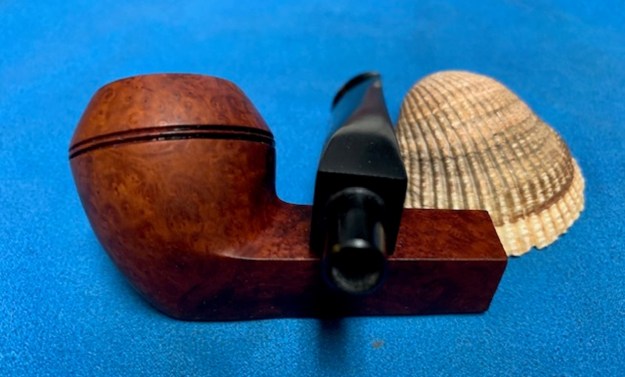
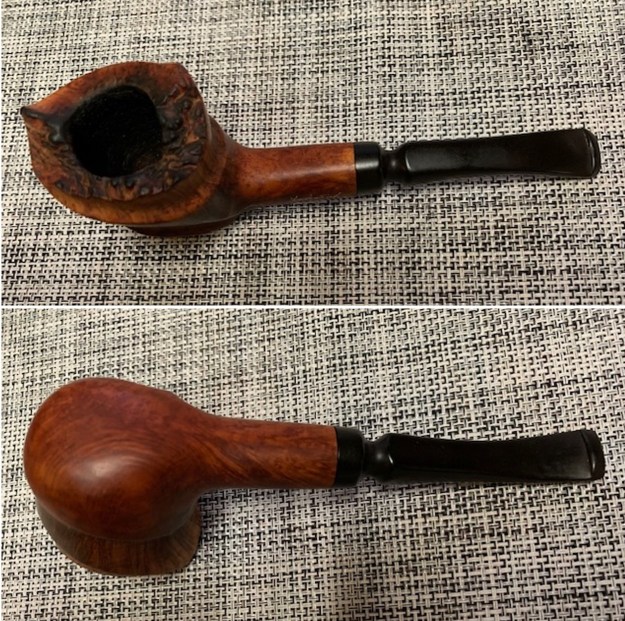
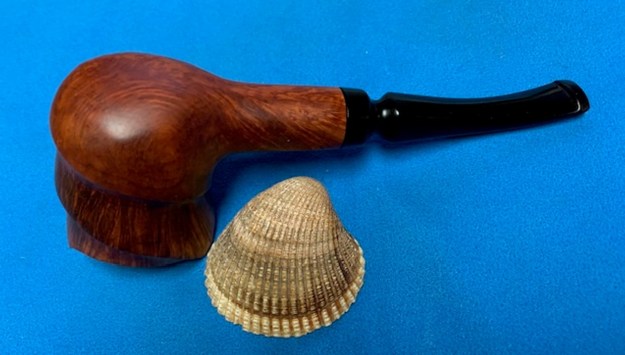
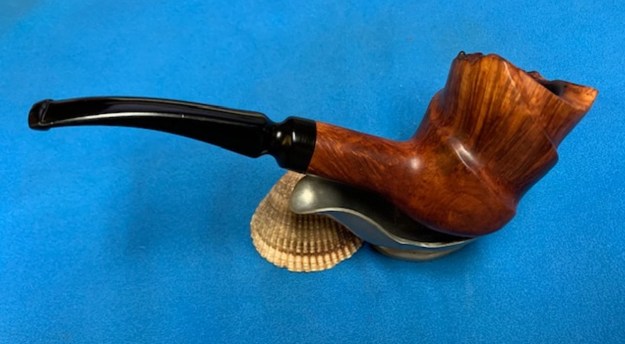
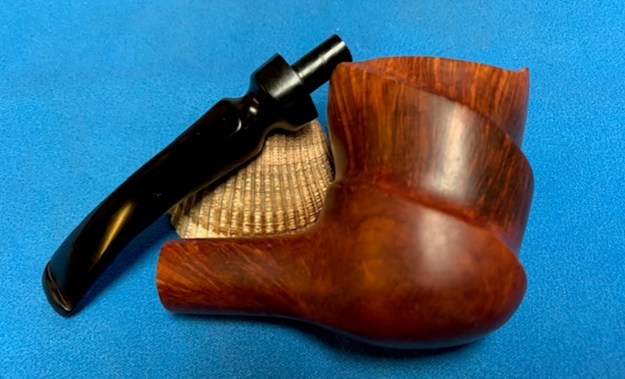
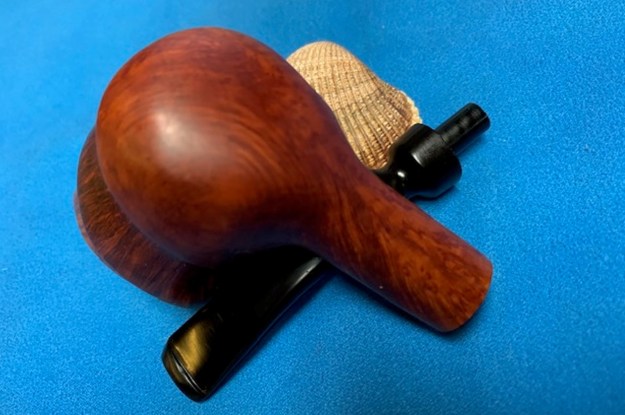
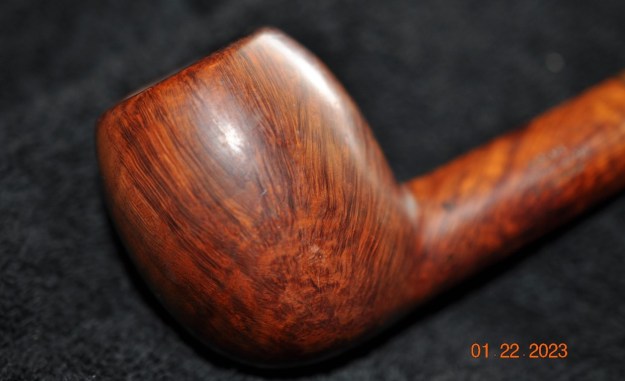
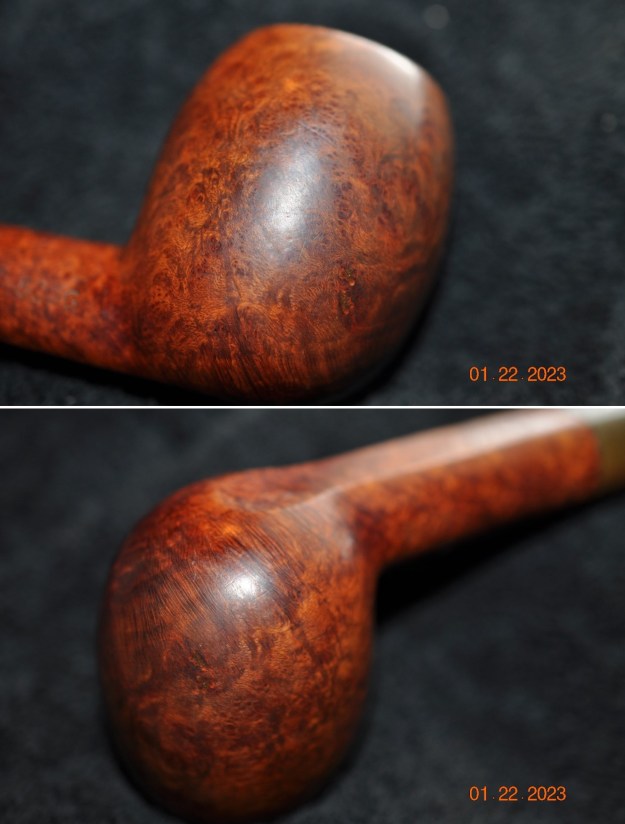
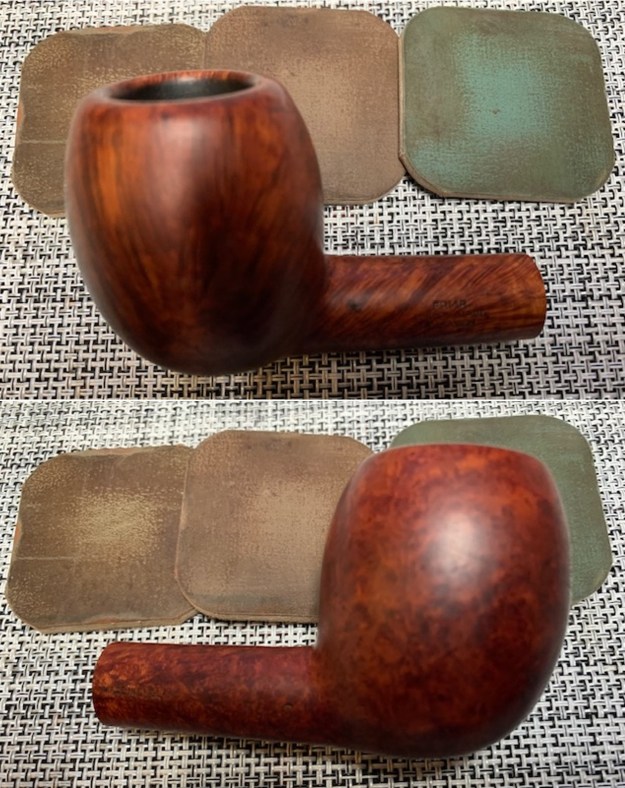
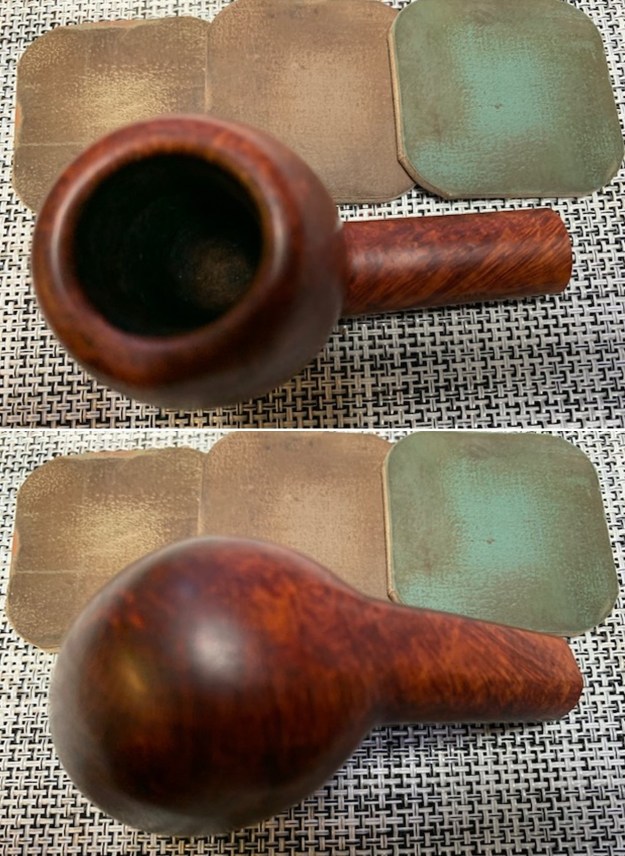
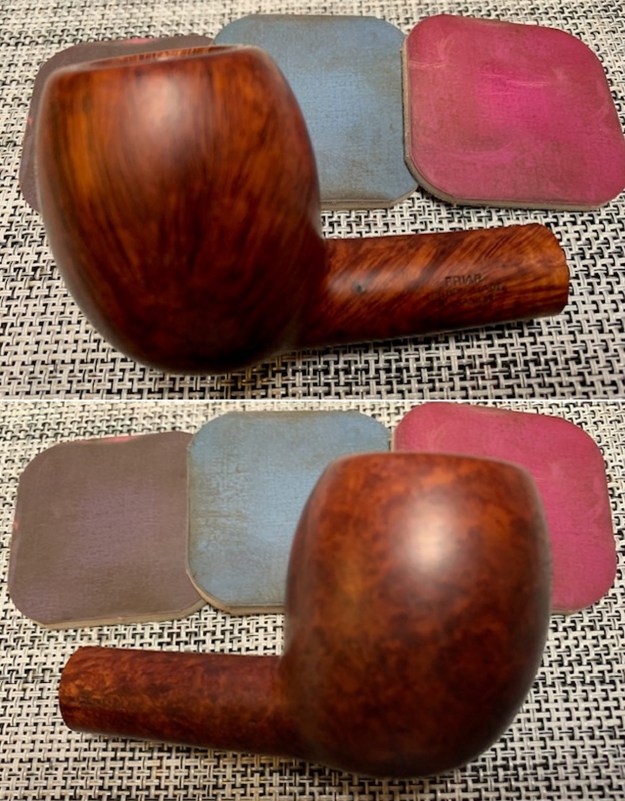
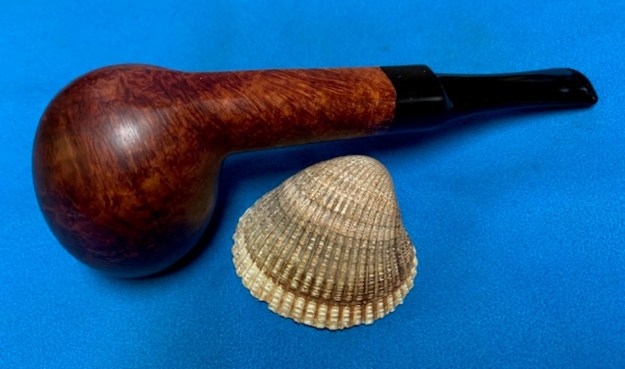
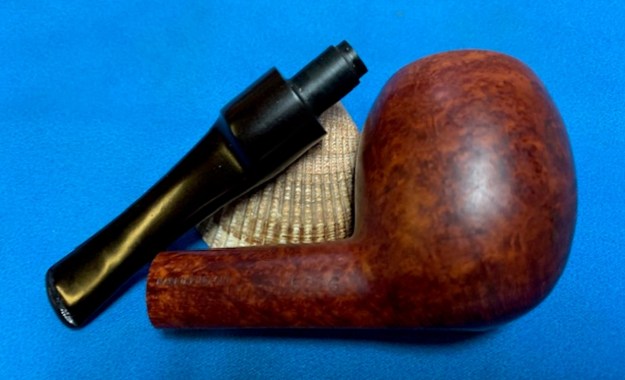
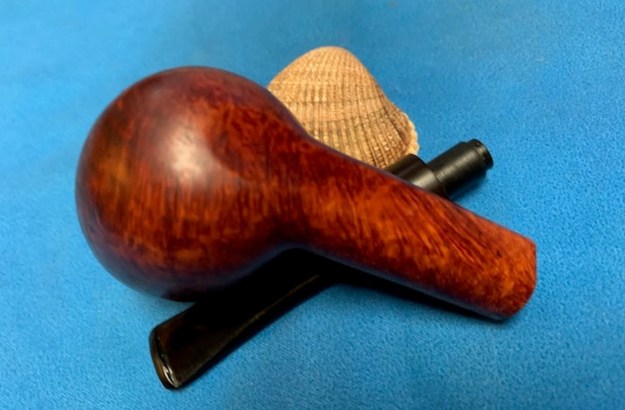
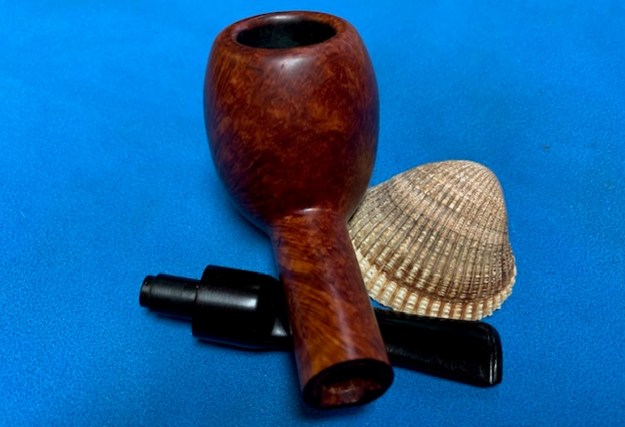
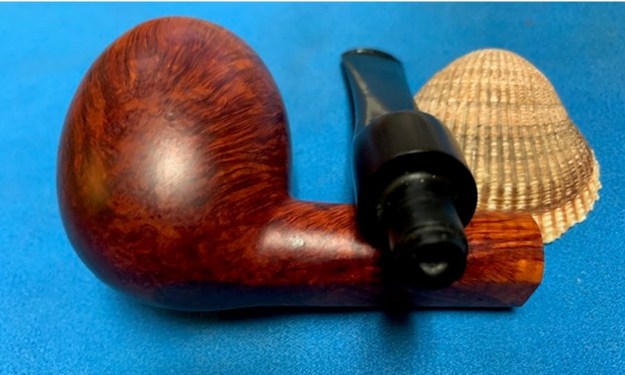
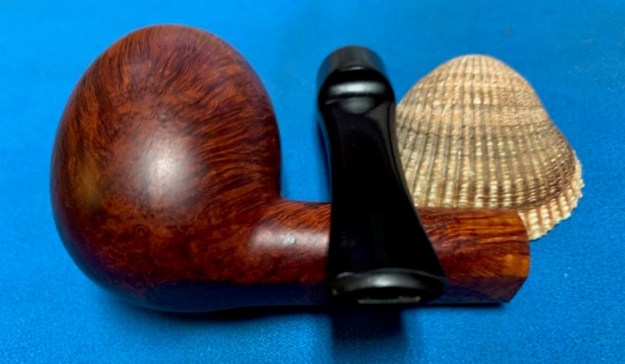
 Jeff took some photos of the bowl sides and heel to show the mixed finish of rustication and smooth. The photos show that patterns in the rustication and to some degree the putty that was in the rustication around this bowl and shank. It is a nice looking pipe.
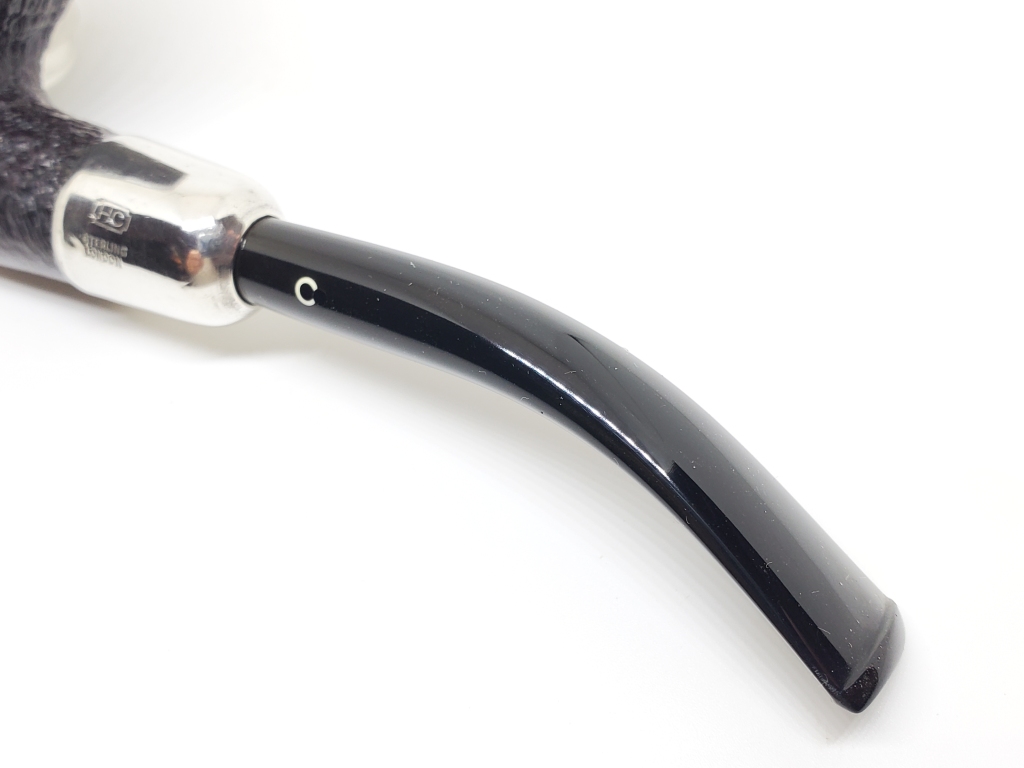
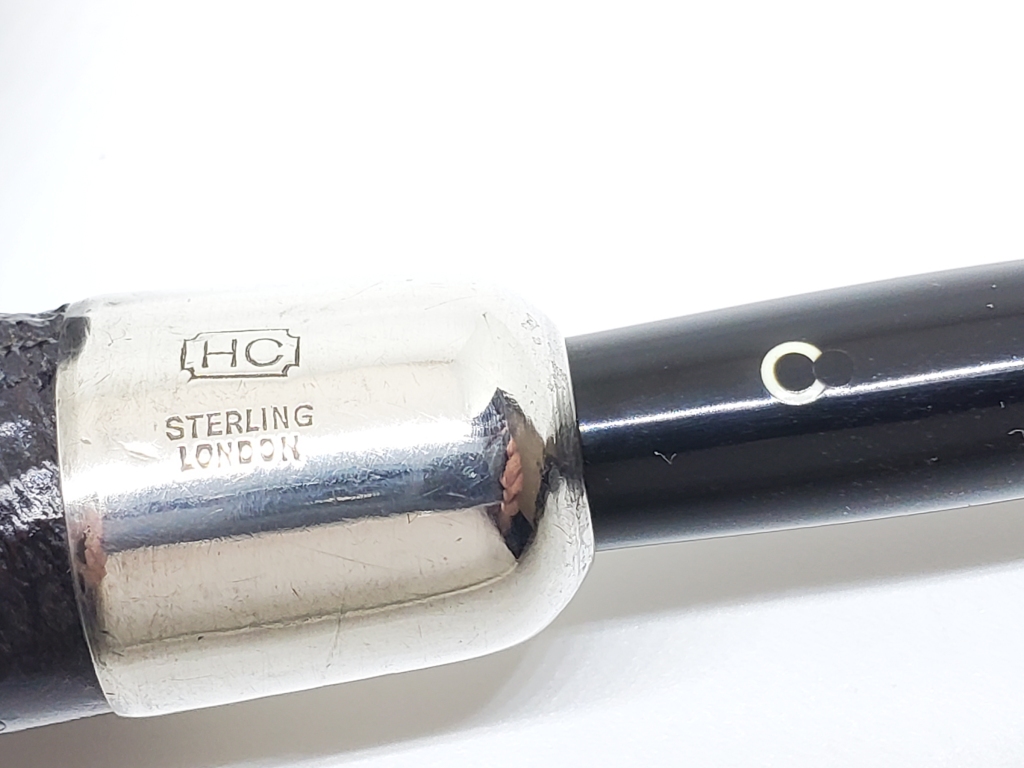
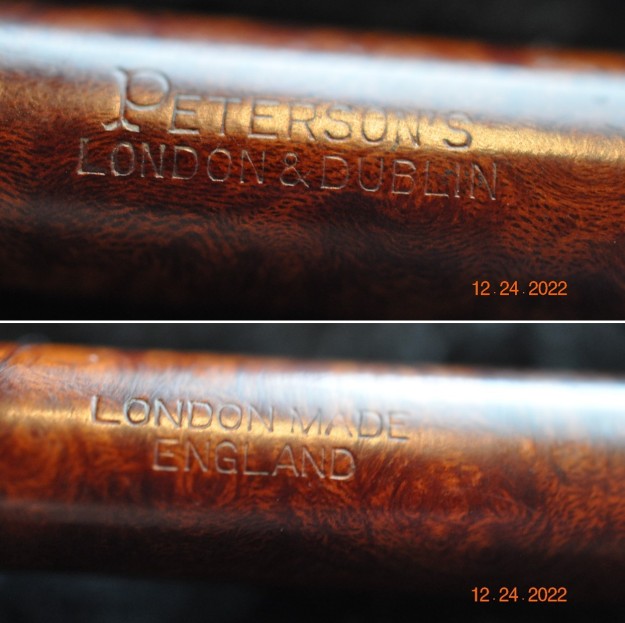
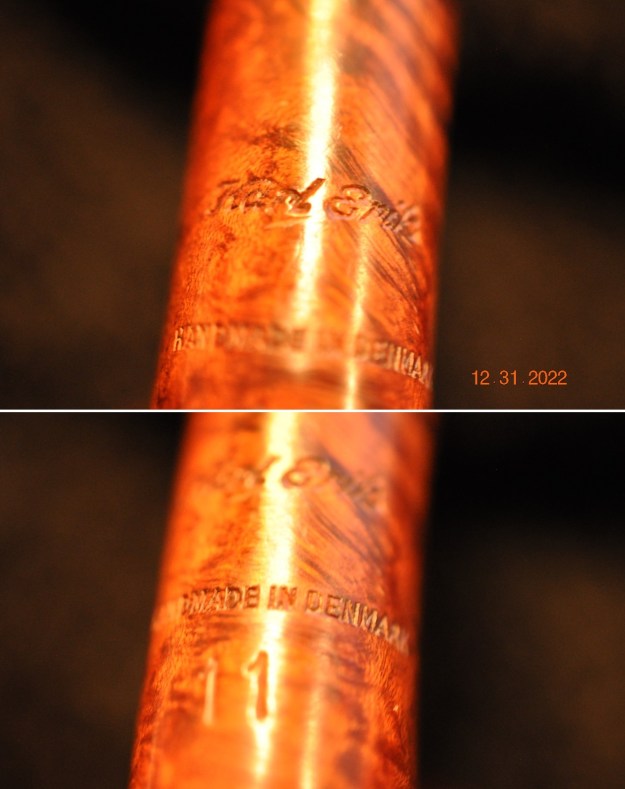
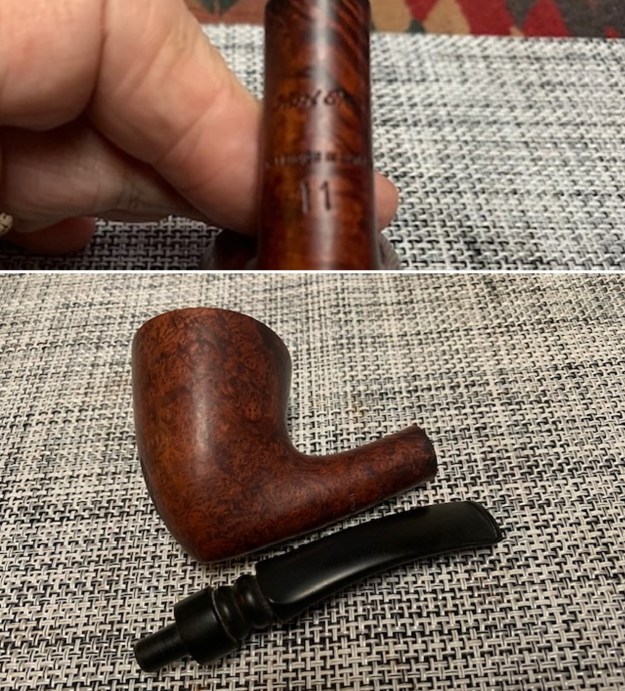
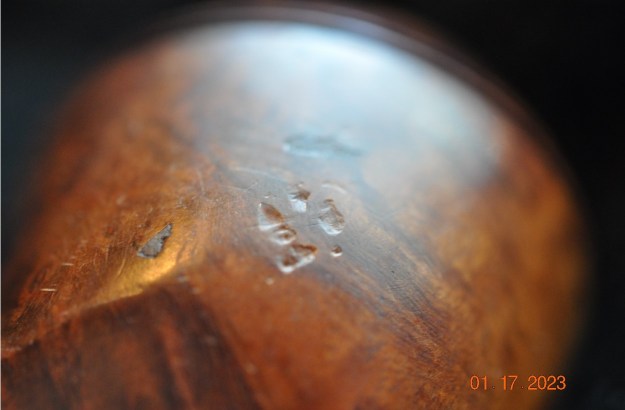
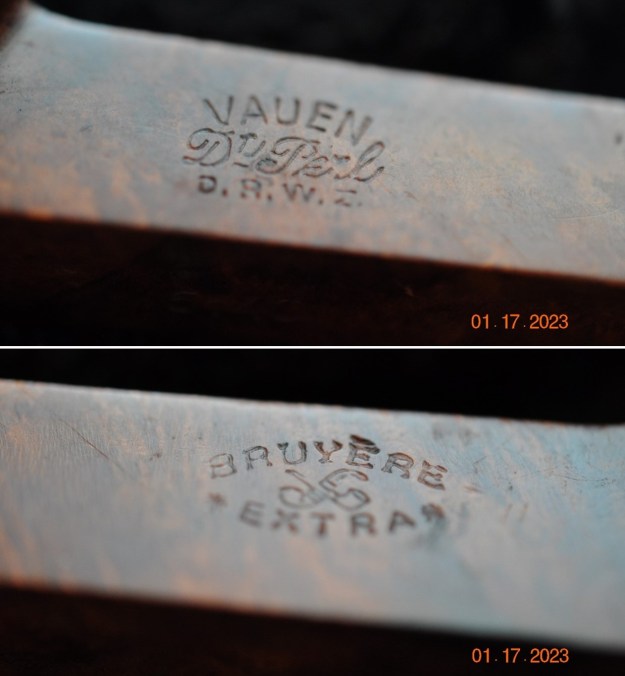
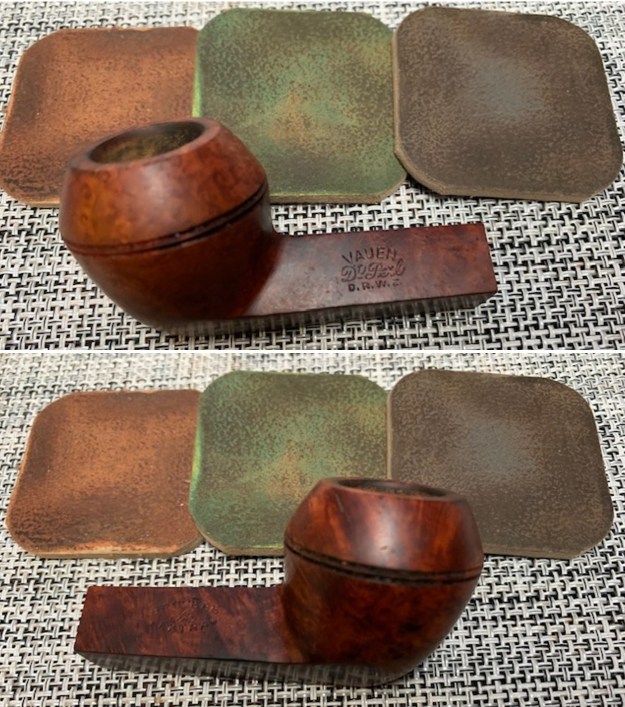
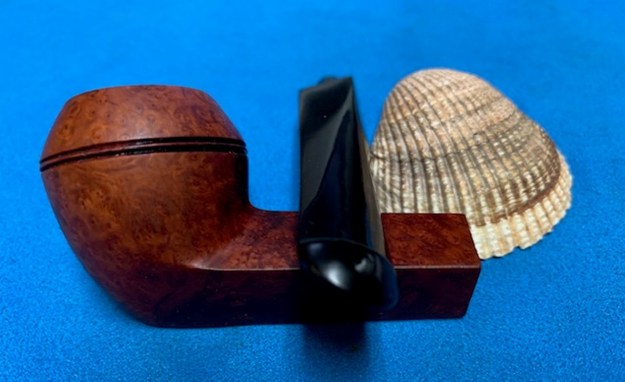
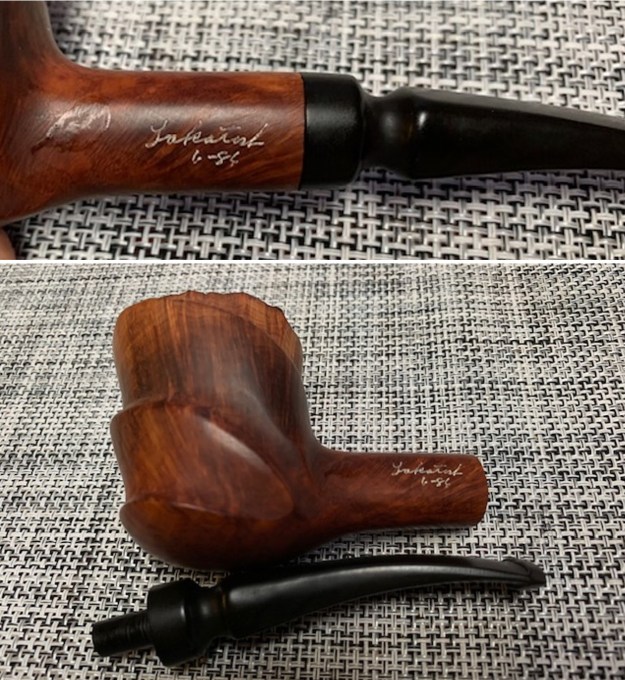
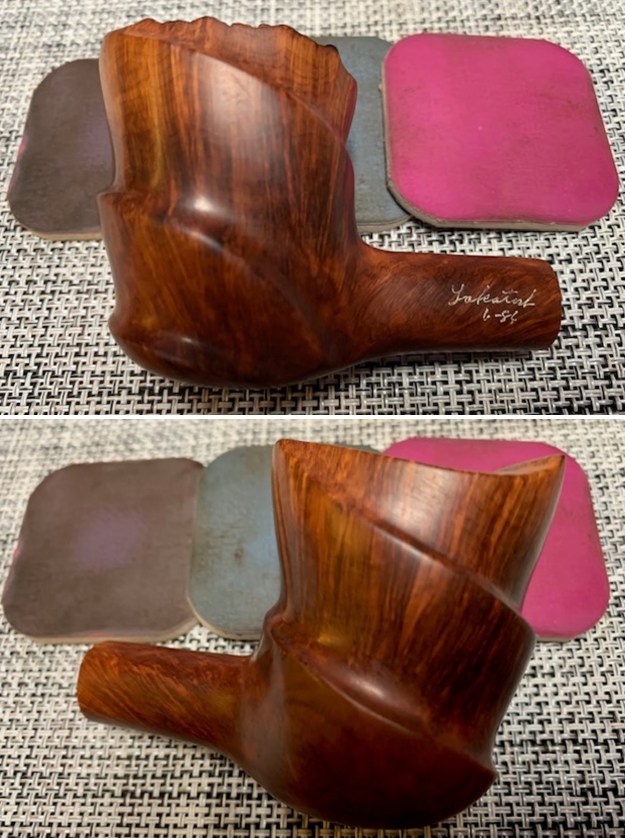
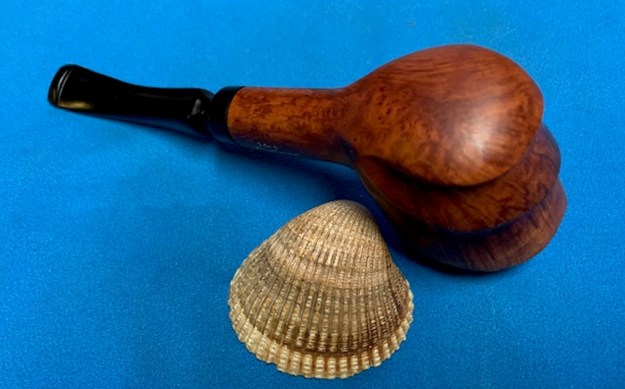
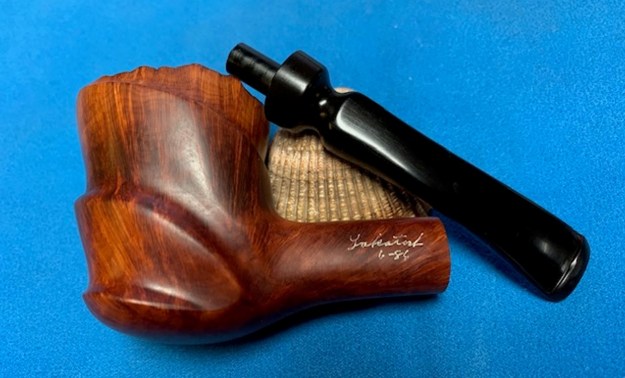
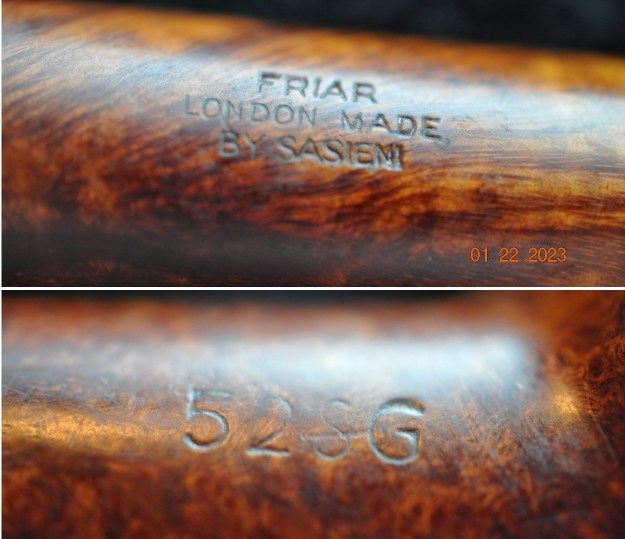
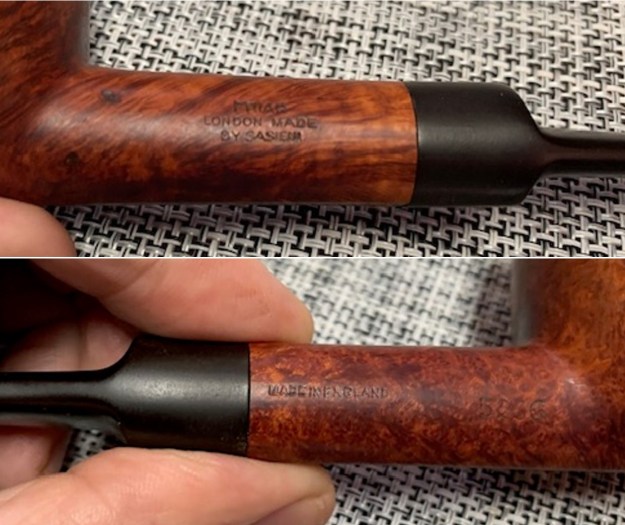
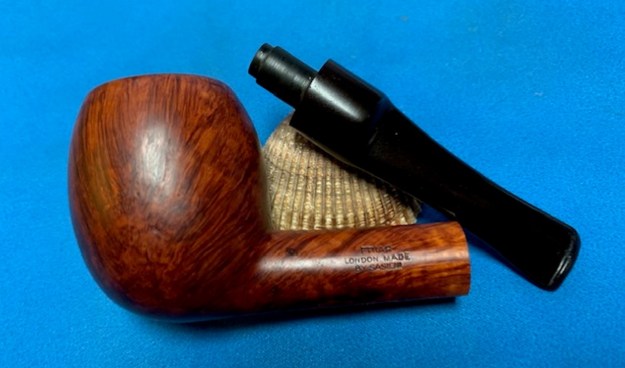
 He took a photo of the left side of the shank to show the stamping. The stamping is readable in the photo below and is as noted above. He did not take a photo of the right side as it is hidden slightly in the rustication. He also captured the white circle logo on the left side of the stem. You can also see what appears to be a chip in the shank next to the stem. Looking at it closely it appears to me that the area is not a chip but rather it is a spot where the fill is chipped or shrunken. I will be able to confirm that once I see it in person.
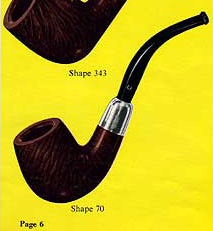
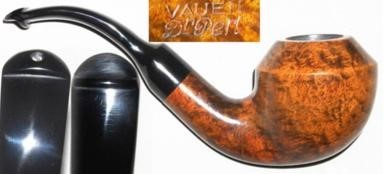
 I turned to Pipephil’s site (http://www.pipephil.eu/logos/en/logo-n1.html#ninorossi) to see what I could find on the FRB brand. There was nothing specifically on that. I did however make the connection to the stamping on the right side to Rossi. I looked up information on pipes made by Nino Rossi and low and behold there was a photo and a bit of information that connects the Rossi Brand to FRB. I have included the photo of the pertinent section below. It reads as follows:
After the first world war Leonida Rossi was designated as chairman and joined by his brothers. The name of the corporate because Fratelli Rossi Barasso hence FRB abbreviation.
So, I now knew that the FRB and Rossi connection is very clear. I would need more information to pin down the dates that FRB was stamped and where the FRB fit in the Rossi hierarchy. I then turned to the Pipe Brands and Makers list for Italy on Pipedia to see if I could get an even tighter connection to Rossi (https://pipedia.org/wiki/Italian_Pipe_Brands_%26_Makers_D_-_F). I found the connection in the list. It read as follows and contained a link to Rossi on Pipedia.
FRB Fratelli Rossi Barasso. See Rossi.
I turned to the article on Pipedia on Rossi to see if could get a sense of the timing and the placement of the FRB line in the Rossi hierarchy (https://pipedia.org/wiki/Rossi). I quote from that article below.
Ferdinando Rossi from Milan was one of the most important wholesalers for tobacco related goods of northern Italy. When he attended one of his pipe suppliers in Saint-Claude in 1880 he got hooked on the idea to establish this manner of industrialised briar pipe production in Italy as well. Rossi went abroad several times to buy the hardware here and there because the special features of machines for pipemaking were secrets – well kept by the French in those days. Many machines and tools had to be modified on Rossi’s defaults.
He acquired a large area of land in Barasso in the province of Varese and founded the Fabbrica di Pipe di Radica Rossi in 1886. For sure there was no lack of skilled workers and Rossi personally recruited 30 craftsmen of different occupations from the environment to get started. After a few years the enterprise had developed well and entered into export trades. In 1892 e.g. the ledgers registered the first pipes shipped to Brazil.
One reason of success was the ultramodern conception of the factory and its equipment at the given time. To give an example: a system of canals invented by Rossi drove water to turbines propelling downstream generators, which supplied the entire machinery with electricity. Also lighting and heating were already electrically operated.
In the first years after 1900 Rossi grew steadily and became one of the ten biggest pipe manufacturers of the world. Rossi’s rapid ascent produced further foundations of pipemaking firms in the area around the Lake of Varese.
- 1897 Gerolamo Ceresa (starting as subcontractor for Rossi) in Cassano Magnano
- 1900 Fratelli Lana in Gallarate (bought by Tagliabue in 1922)
- 1910 Stefano Santambrogio (working with Lana and with Rossi before) in Groppello di Gavirate
- 1911 Federico, Carlo, Cornelio and Francesco Rovera (all working for Rossi before) even there.
So the province of Varese became the most important center of Italy’s pipemaking industry after the turn of the century. Still going strong today along with the brands in the provinces of Como and of Pesaro.
From 1918 on Leonida Rossi supported his father in the management of the company. Later he was designated as chairman and joined by his brothers. Rossi now formed as Fratelli Rossi Barasso shortly FRB….
…Dating Rossi pipes
From the beginning of its activity and until, surely, 1918, the most part of Rossi pipes was just marked with “REAL BRIAR”, “VERA RADICA” or “BRUYERE GARANTIE” (or something similar): this can easily be explained by the enormous amount of pipes daily producted, which requires the fastest solution.
From, approximatively, Twenties, Rossi pipes were marked with “FRB” (Fratelli Rossi Barasso) or “MFRB” (Manifattura Fratelli Rossi Barasso), into an oval and above “OLD BRIAR” (or similar – sometimes, there was also “MFD. BY ROSSI”, as “Manufactured by Rossi”); on the stem, there was generally the “R” letter in circle. However, “FRB OLD BRIAR” was maintained for the “traditional pipes” (for cheap models – see below), surely, to Sixties.
From, approximatively, the fiftieth anniversary (1936), pipes were marked with “Rossi” (in cursive font), with model name just under it; on the stem, there was “ROSSI” (for expensive models like “extra”, which had the best quality; “racine”, which was rusticated by hand; “extra grain”, which was accurately sandblasted; “super”, which had the best briar selection, and a limited production; “fiamma”, which was the best selection of Sardinia and Greece briar, and a very limited production) or “R” in circle (for unexpensive models like “standard”, “grana” and “FRB”).
From, approximatively, Seventies, until 1985, Rossi pipes were marked with “ROSSI”, into an oval (sometimes there was also “ITALY” on the shank); on the stem, there was “ROSSI”. In these years, appeared the signature “Nino Rossi” (in cursive font): he was the last heir of the factory.
Now I knew a bit more about the pipe I was working on. The older versions of the FRB pipe were made between 1920 – 1936. After 1936 the majority of pipes were marked Rossi and were made of the best briar. There were also cheaper pipes/less expensive models like the FRB stamped pipes continued to be offered as entry level pipes. During that time period they were stamped like the one I am working on. I believe that the one in hand is not an older version of the pipe but is rather one of the newer cheaper pipes.
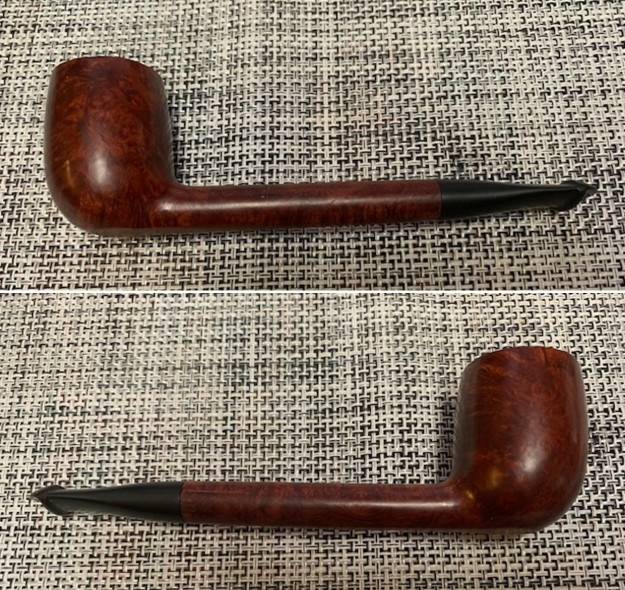
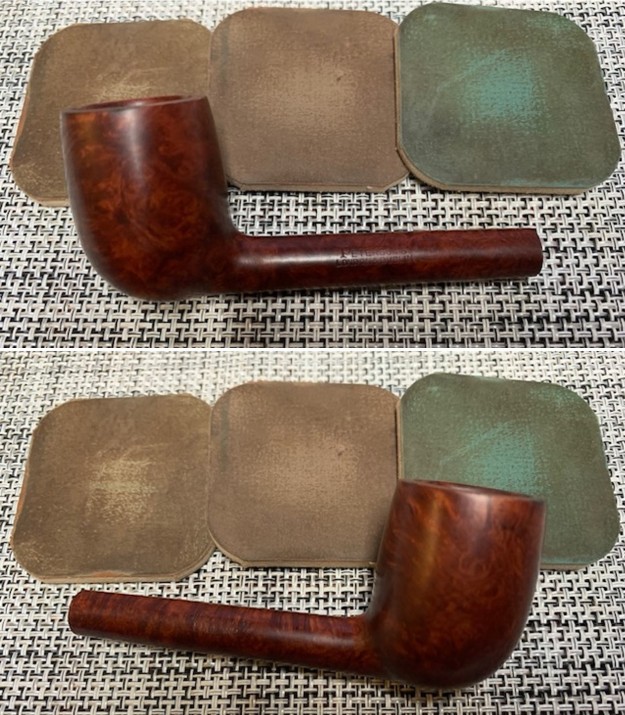
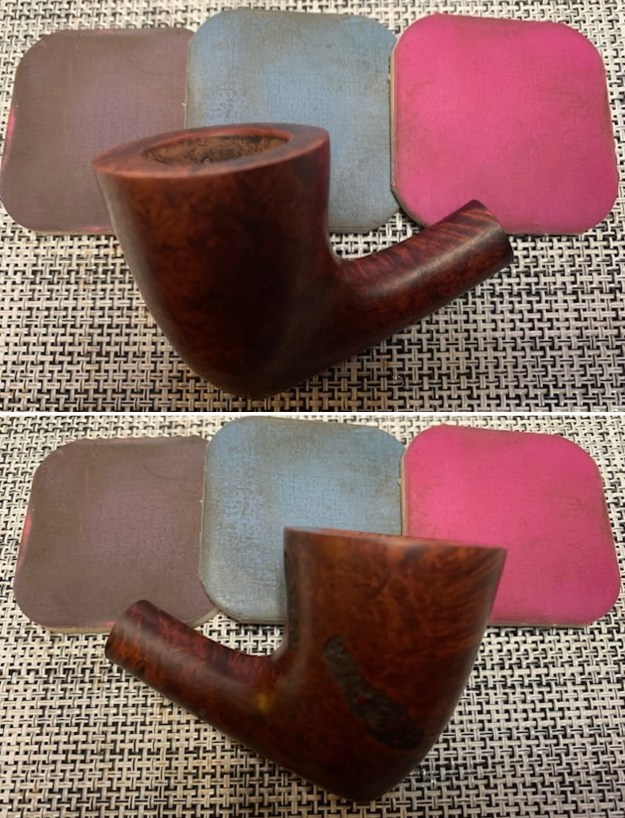
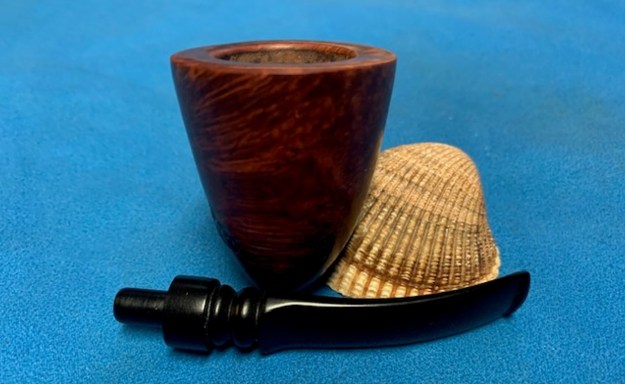
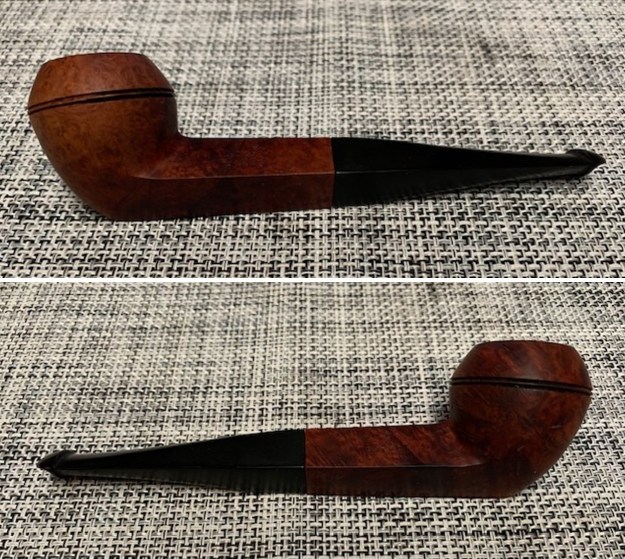
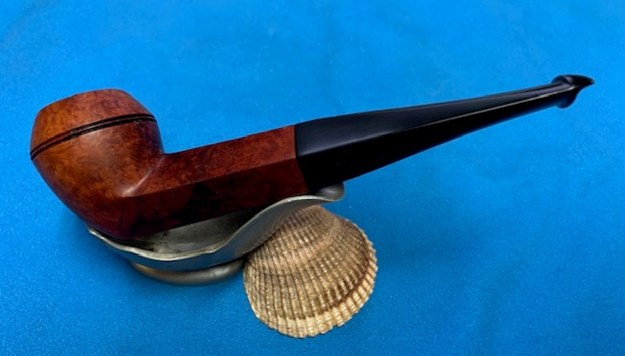
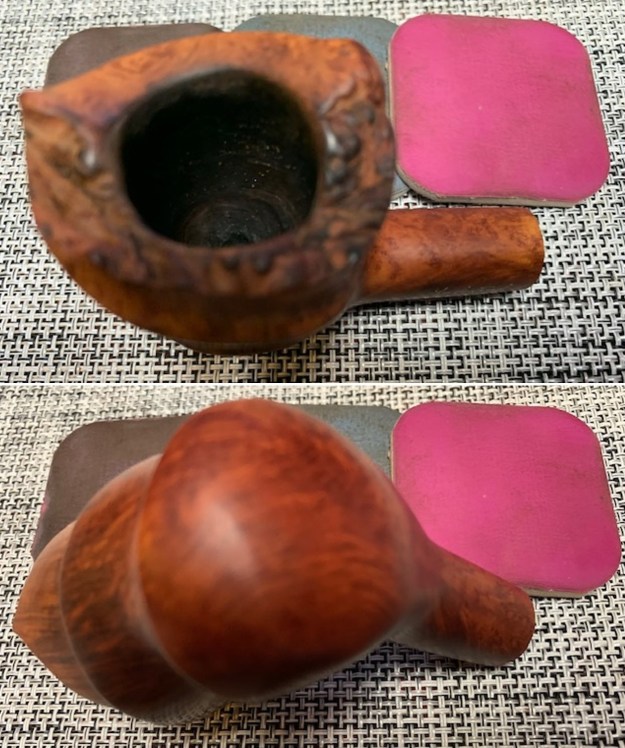
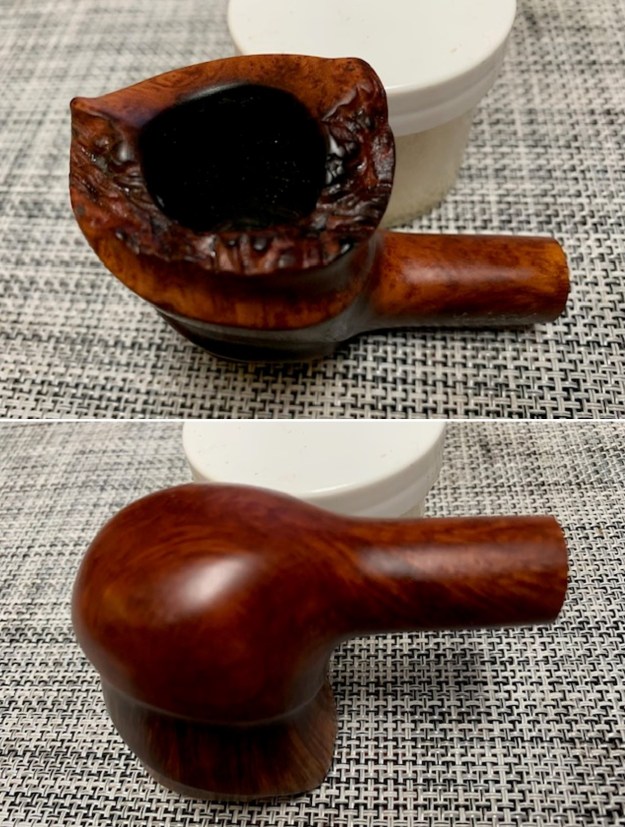
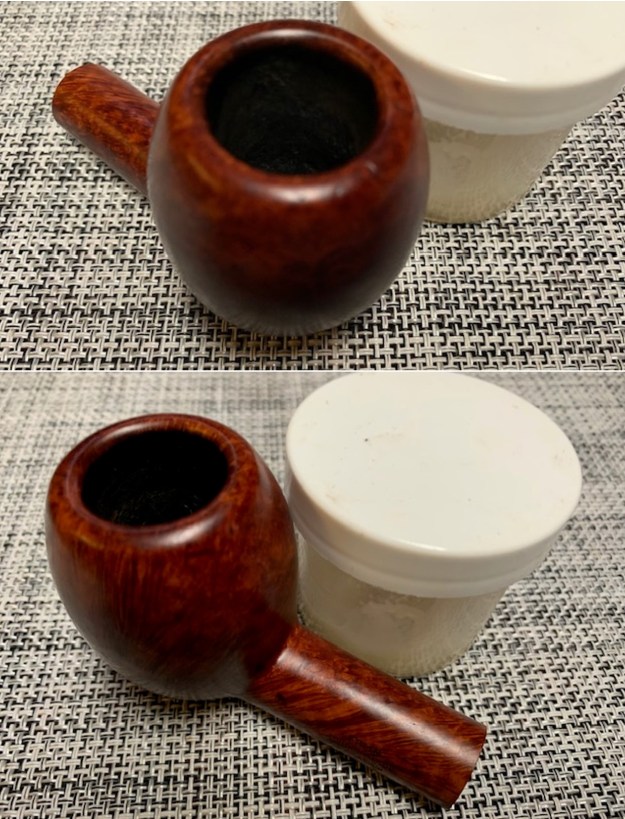
Jeff had done a great job cleaning up the pipe as usual. He scrubbed the interior of the bowl and shank with pipe cleaners, cotton swabs and alcohol to remove dust and debris. He scrubbed the exterior of the pipe with Murphy’s Oil Soap and a tooth brush to remove the grime from the finish. He scrubbed the inside of the stem with alcohol and pipe cleaners. He scrubbed the exterior with Soft Scrub and then soaked it in Briarville Pipe Stem Deoxidizer. He washed it off with warm water to remove the Deoxidizer. The pipe came to me in its original box and I took photos of it before I removed it from the pipe sock in the box. I removed it from the box and took photos of the pipe as it looked after Jeff’s cleanup. The fills are very obvious in the rusticated patterns but otherwise it is a charming pipe that sits well in hand.
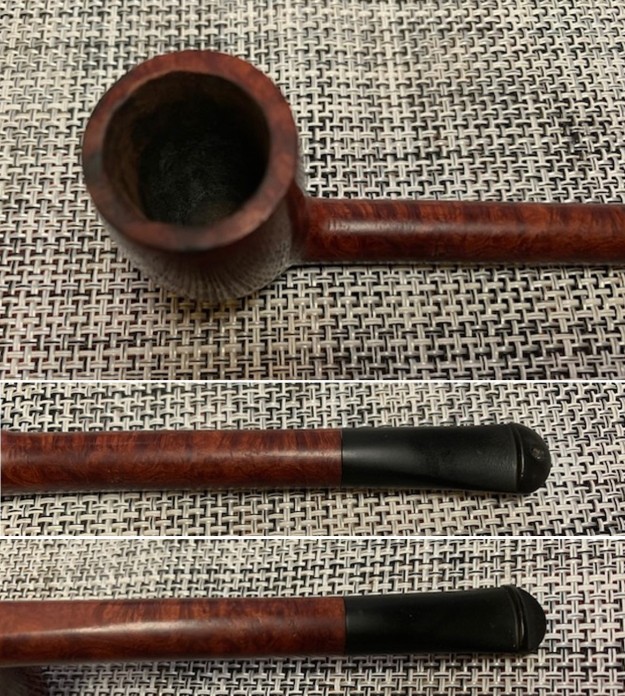
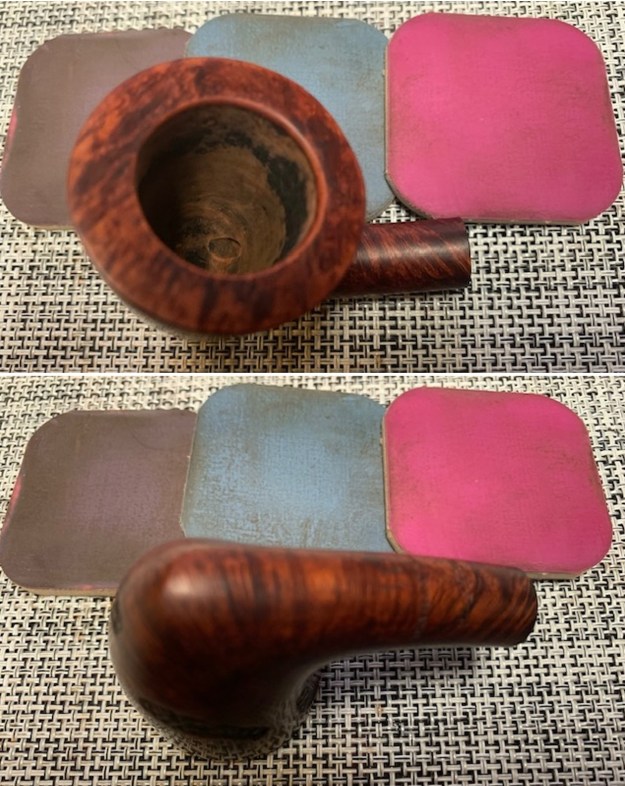
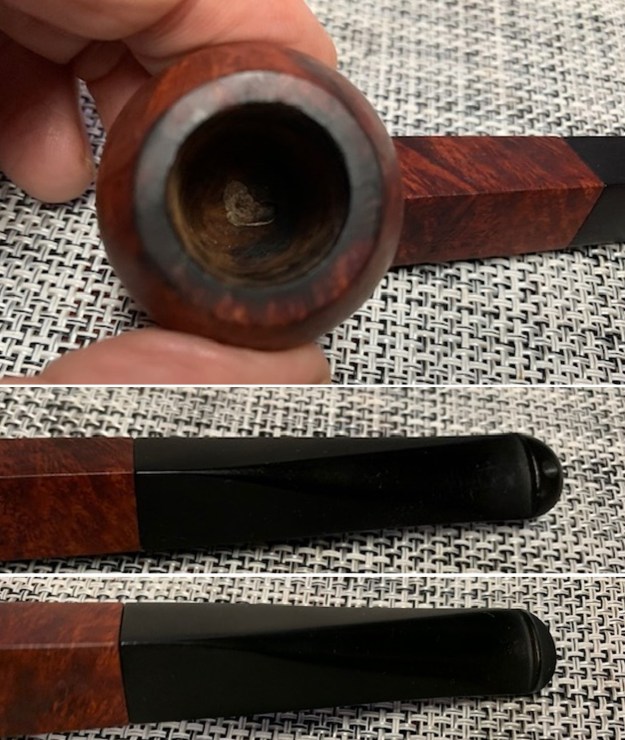
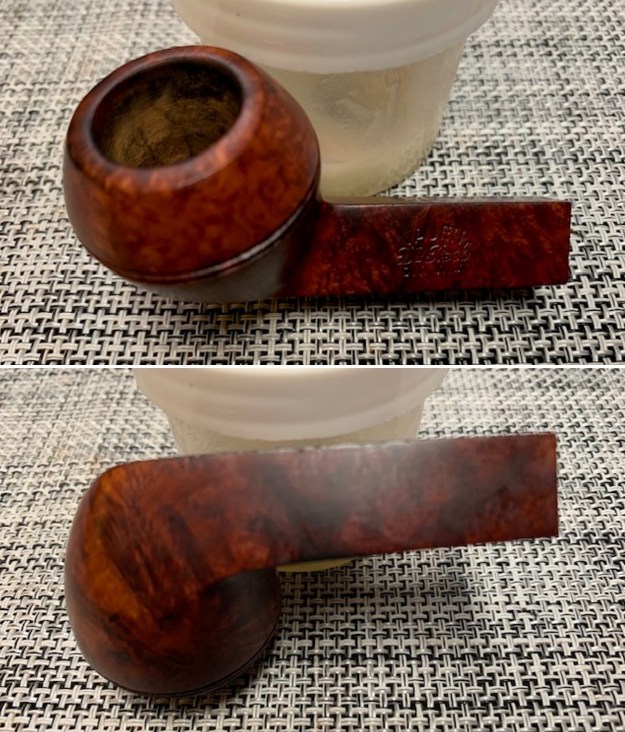
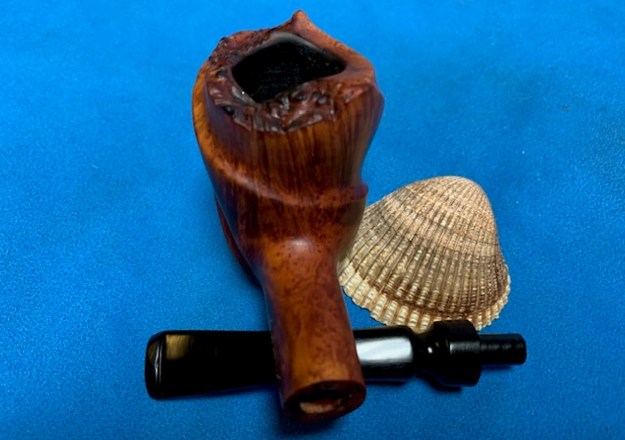
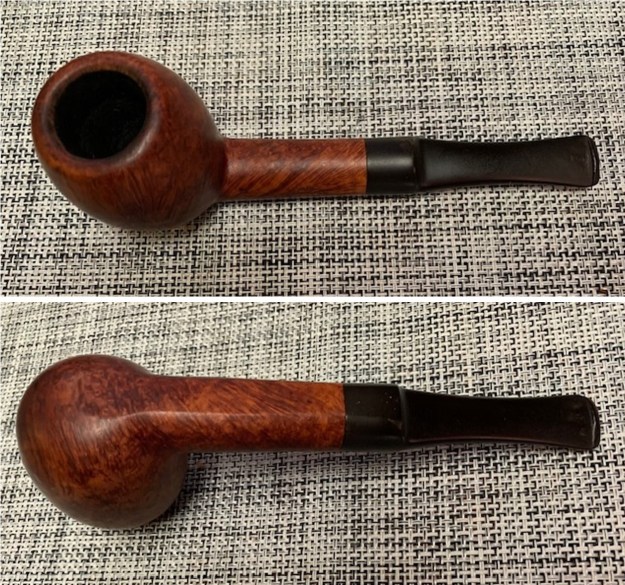
 I took some close up photos of the rim top and also of the stem surface. I wanted to show the condition of both of them They were clean and looked very good.
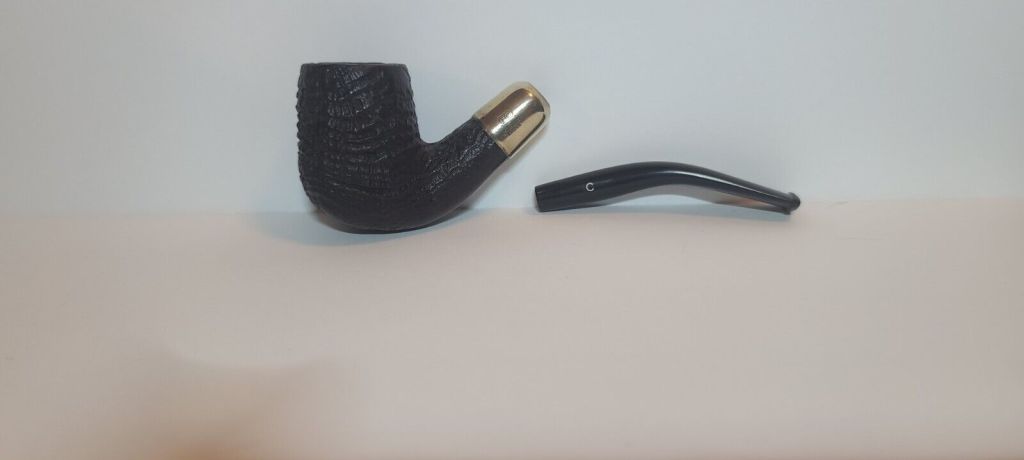
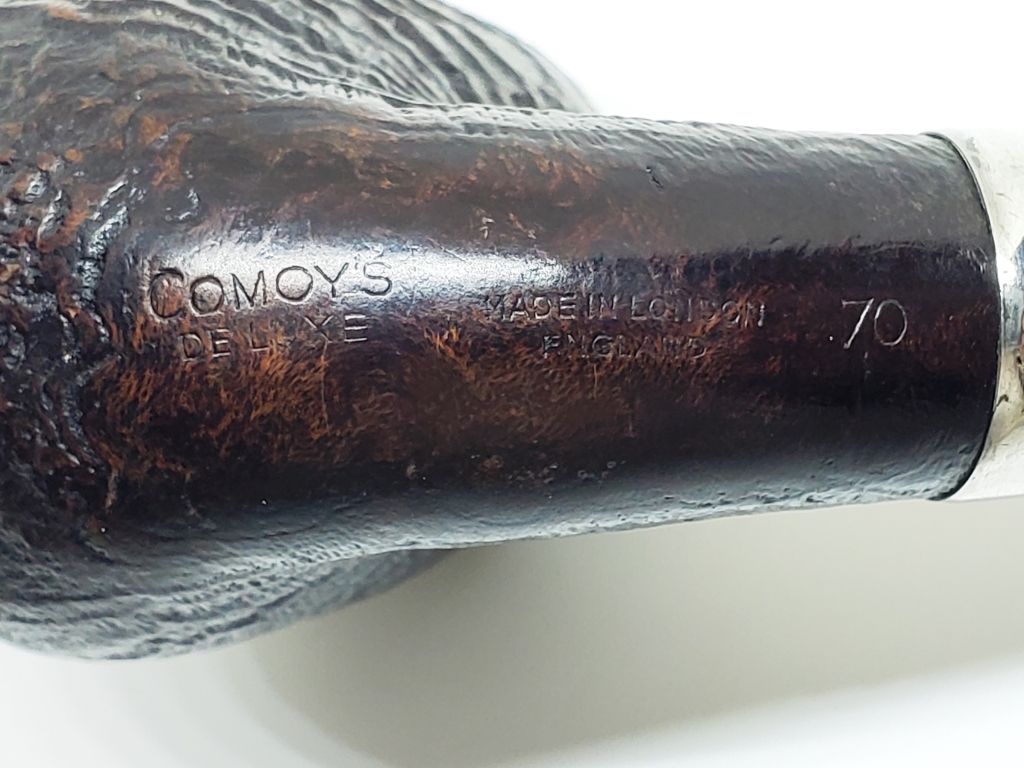
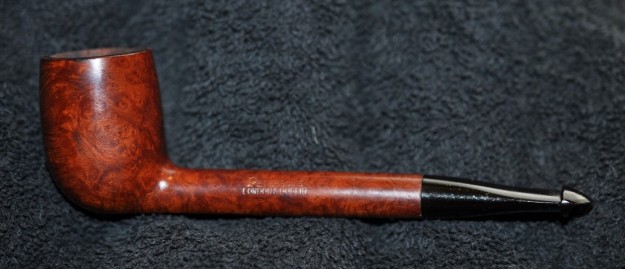
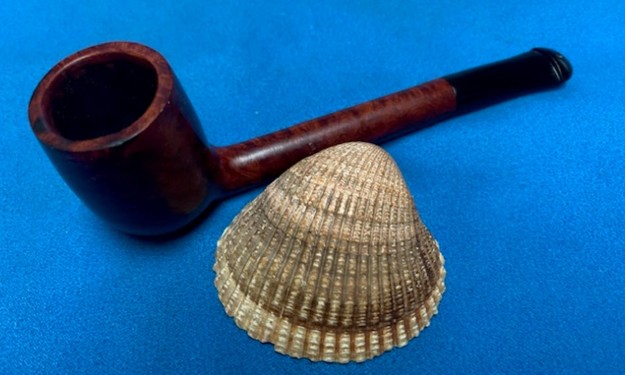
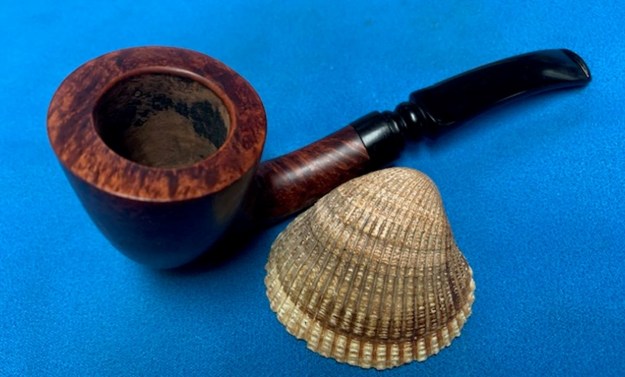
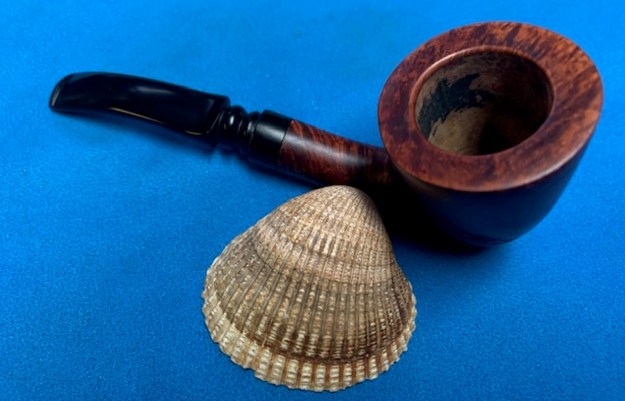
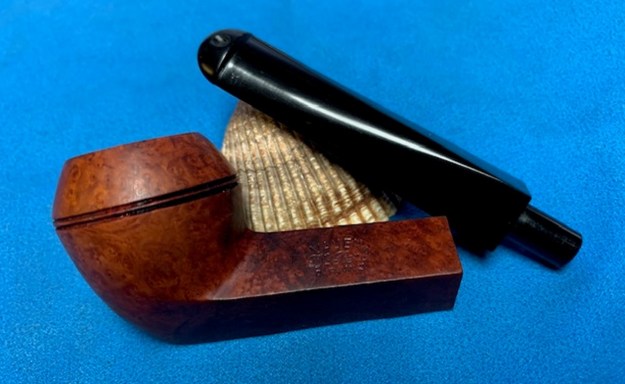
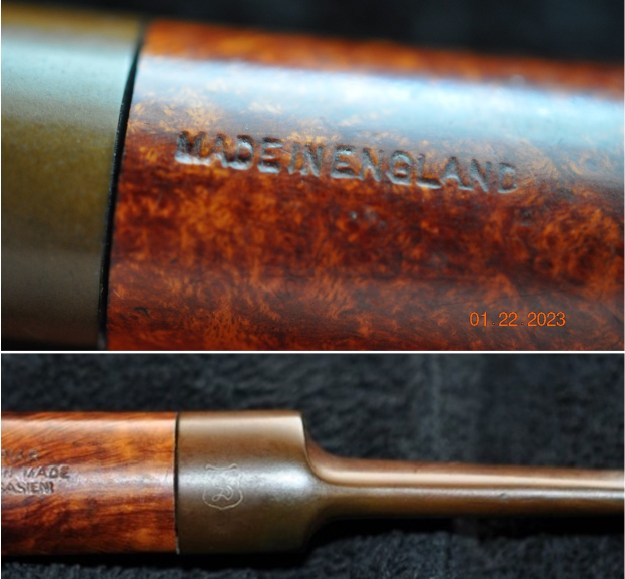
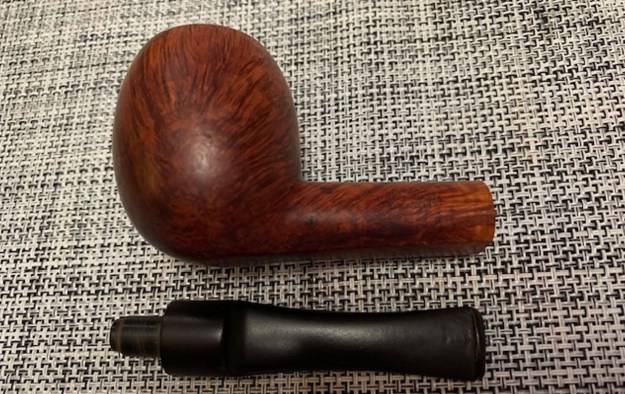
 I took photos of the stamping on the sides of the shank. You can see that it is stamped as noted above. It is clear and readable. I removed the stem and took a photo of the pipe to have a look at the parts and overall look.
 I decided to address the shiny topcoat on the bowl. I wiped the varnish coat off the briar with acetone on a cotton pad. I was careful removing it around the putty fills in the rusticated areas of the pipe. I did not want to damage the putty with the acetone. It looked much better with the shiny coat covering both the smooth and rusticated portions of the briar.
 I let the acetone evaporate from the finish and used a Walnut stain pen to touch up the rusticated areas and the putty fills. It looked better with that finished.
 I filled in the chipped putty areas on the shank with clear CA glue. I let it cure then sanded it smooth with a folded piece of 220 grit sandpaper. I smoothed it out with 1500-2400 grit sandpaper and restained it with a Walnut stain pen.
 I polished the bowl and shank with micromesh sanding pads – dry sanding with 1500-12000 grit pads. I wiped down the bowl after each pad with a damp cloth to remove the sanding debris.


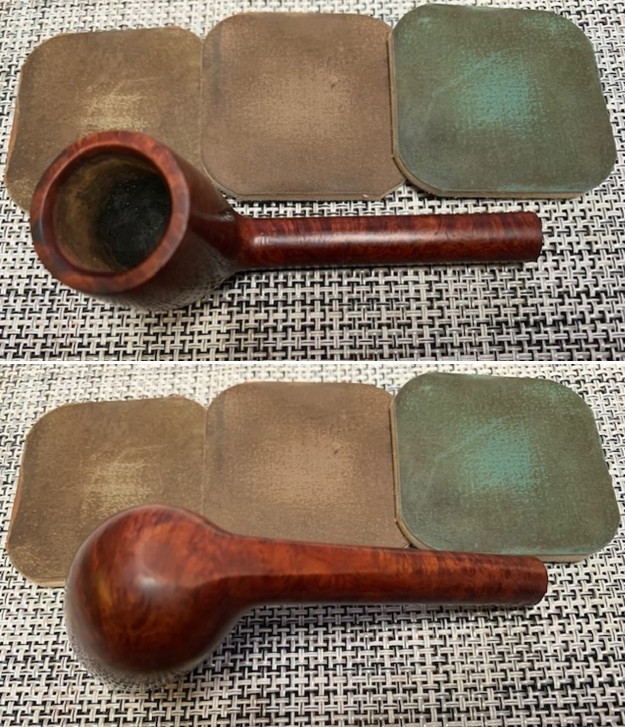
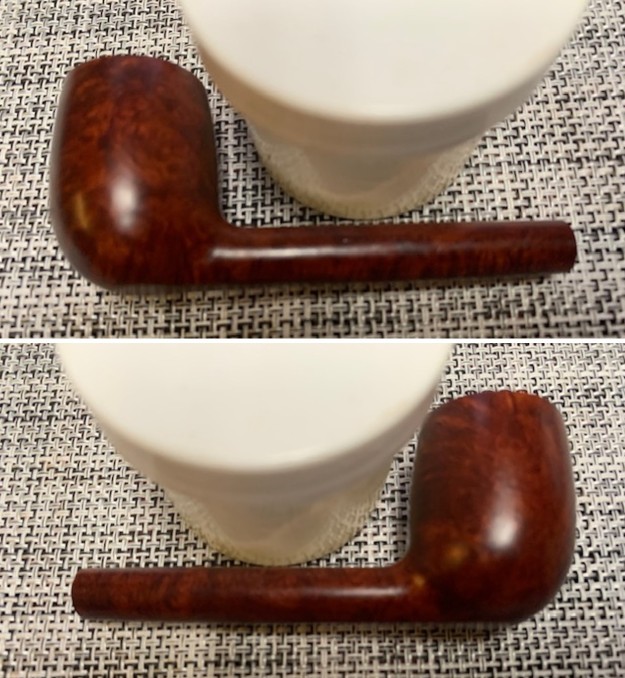
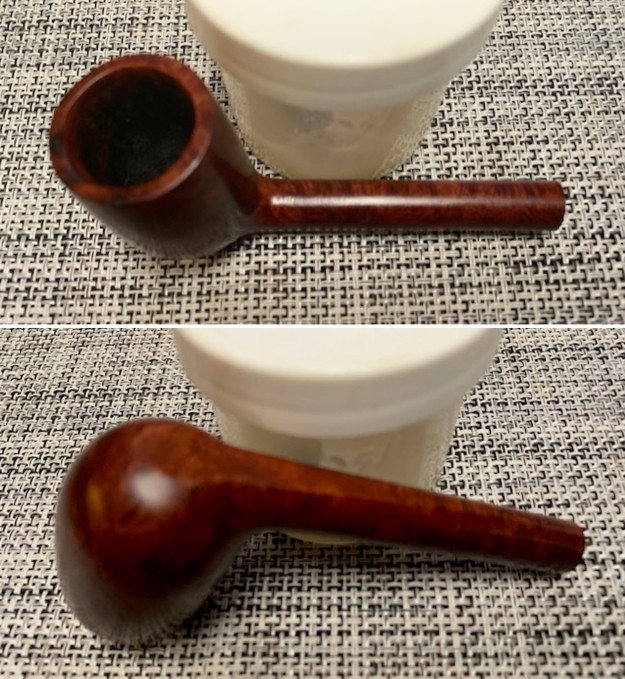
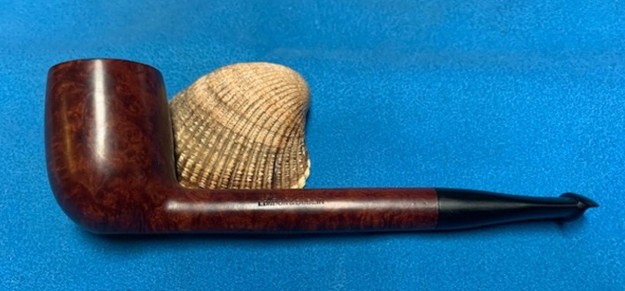
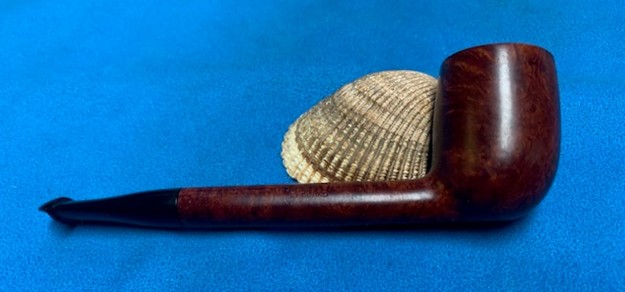
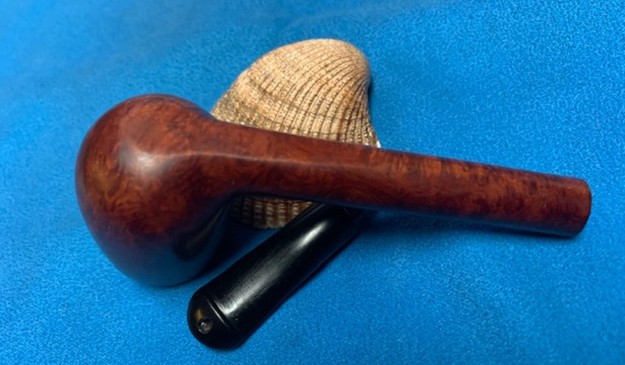
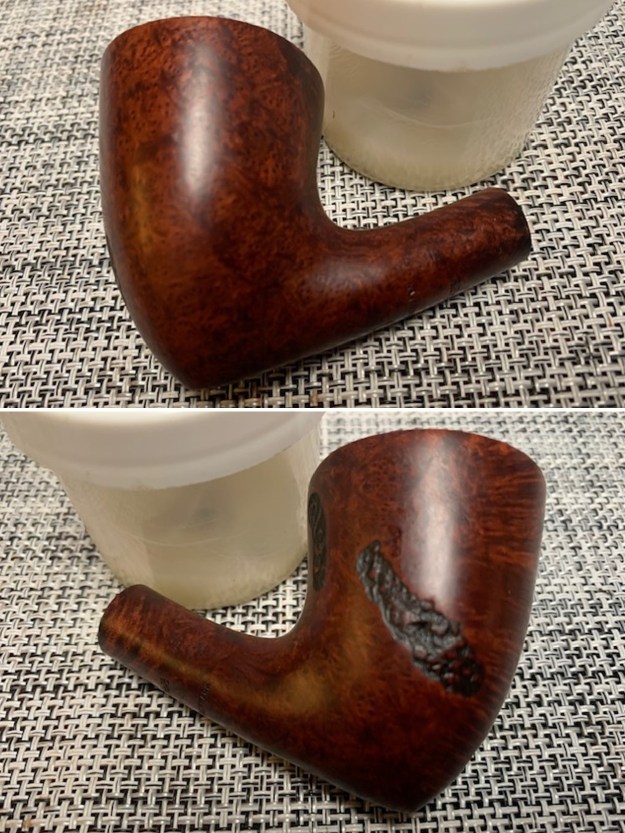
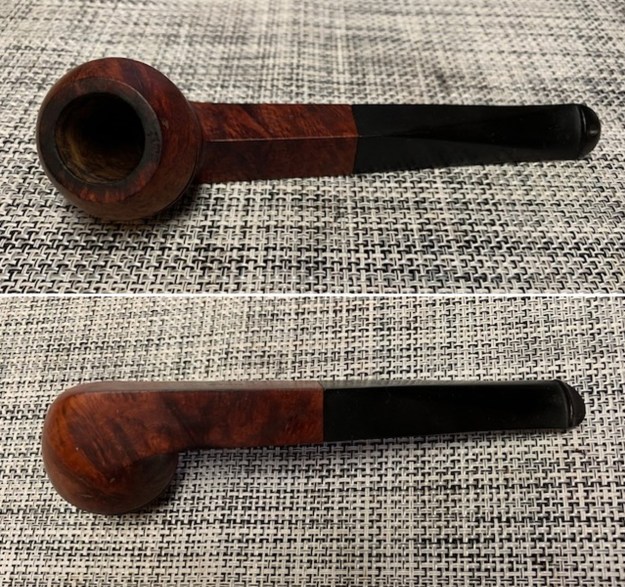
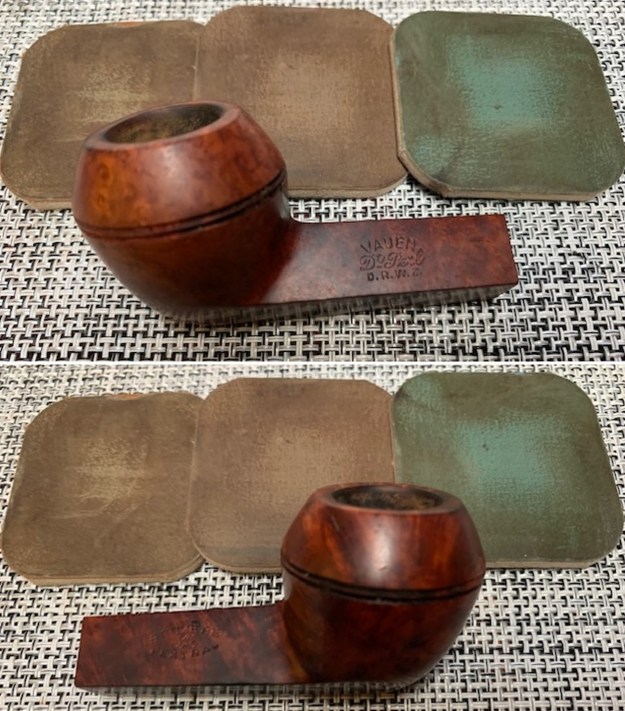
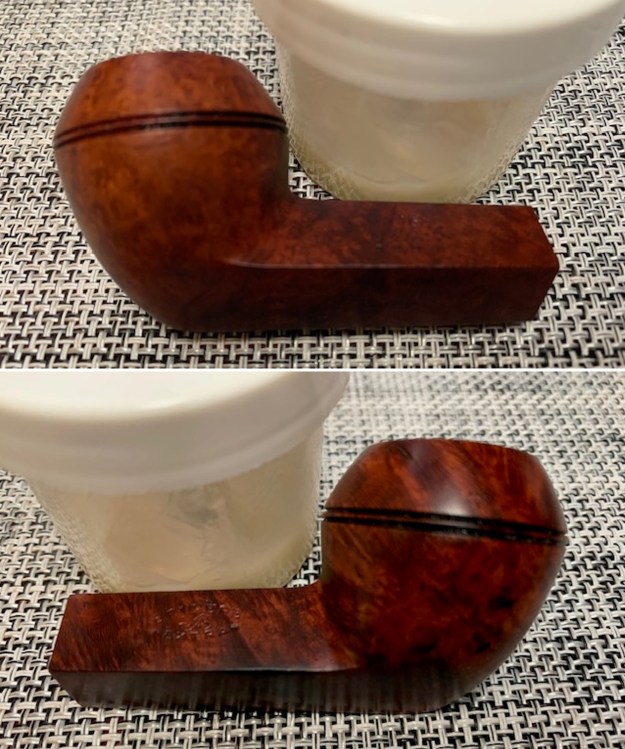
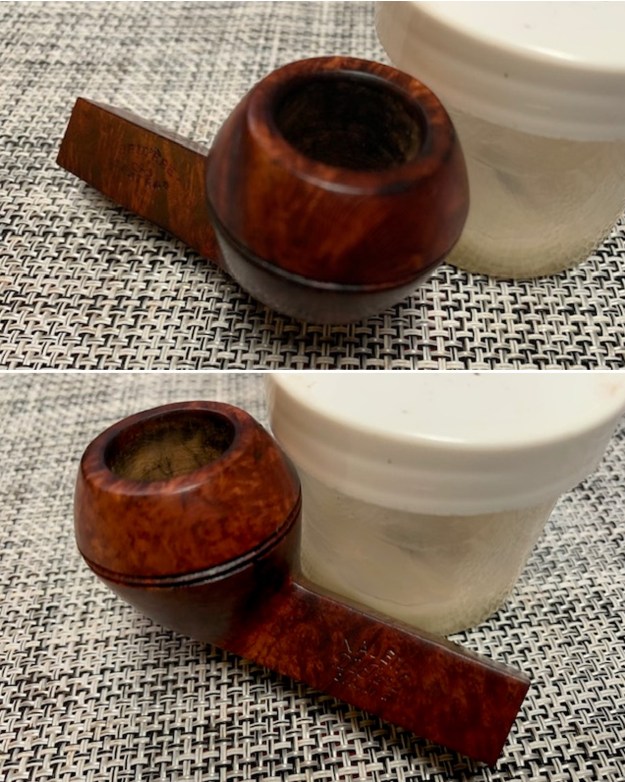
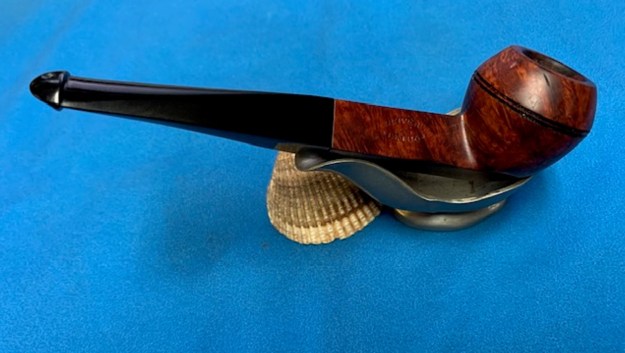
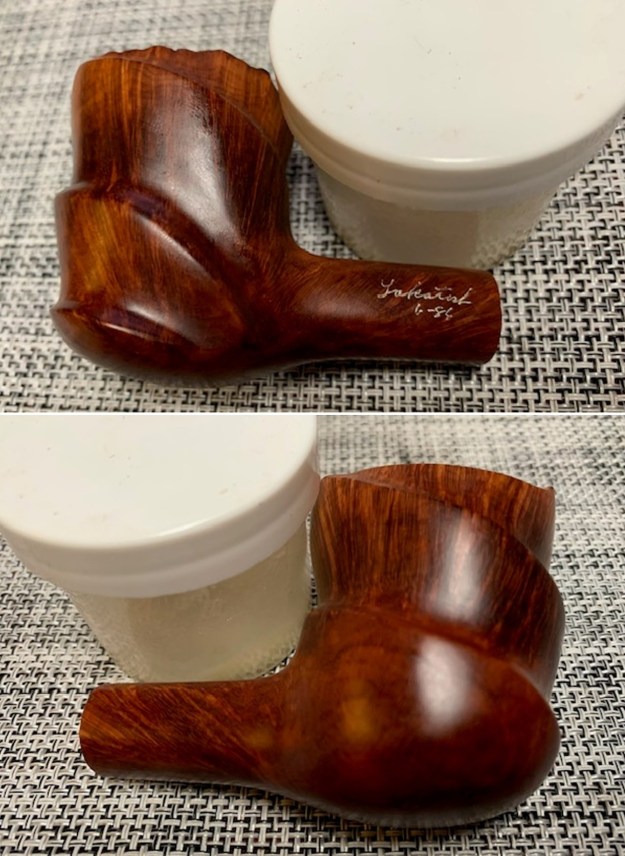
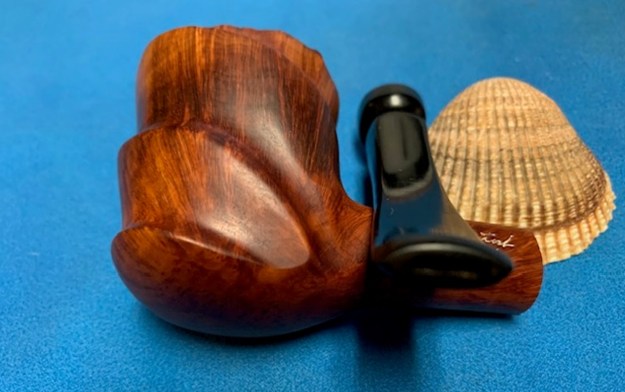
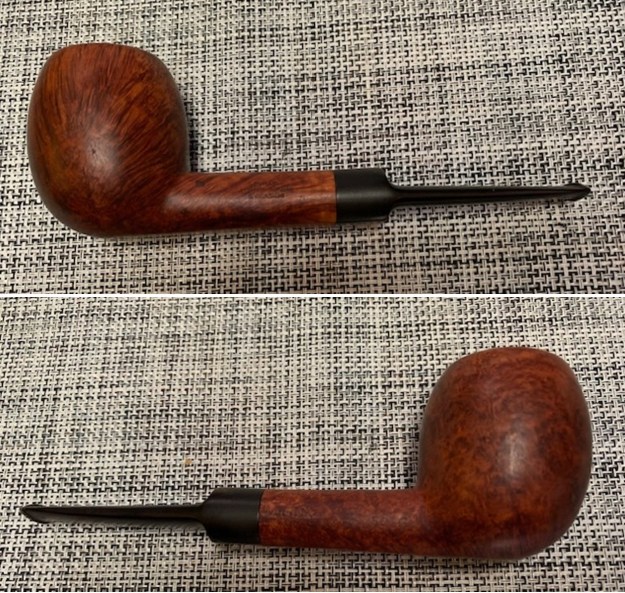
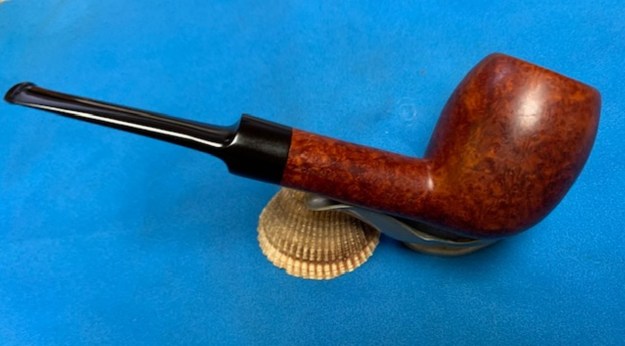
 I worked some Before & After Restoration Balm into the surface of the bowl and shank with my fingertips to clean, enliven and protect the briar. I let the balm sit for 15 minutes and then buffed with a cotton cloth to raise the shine. The photos show the bowl at this point in the restoration process.

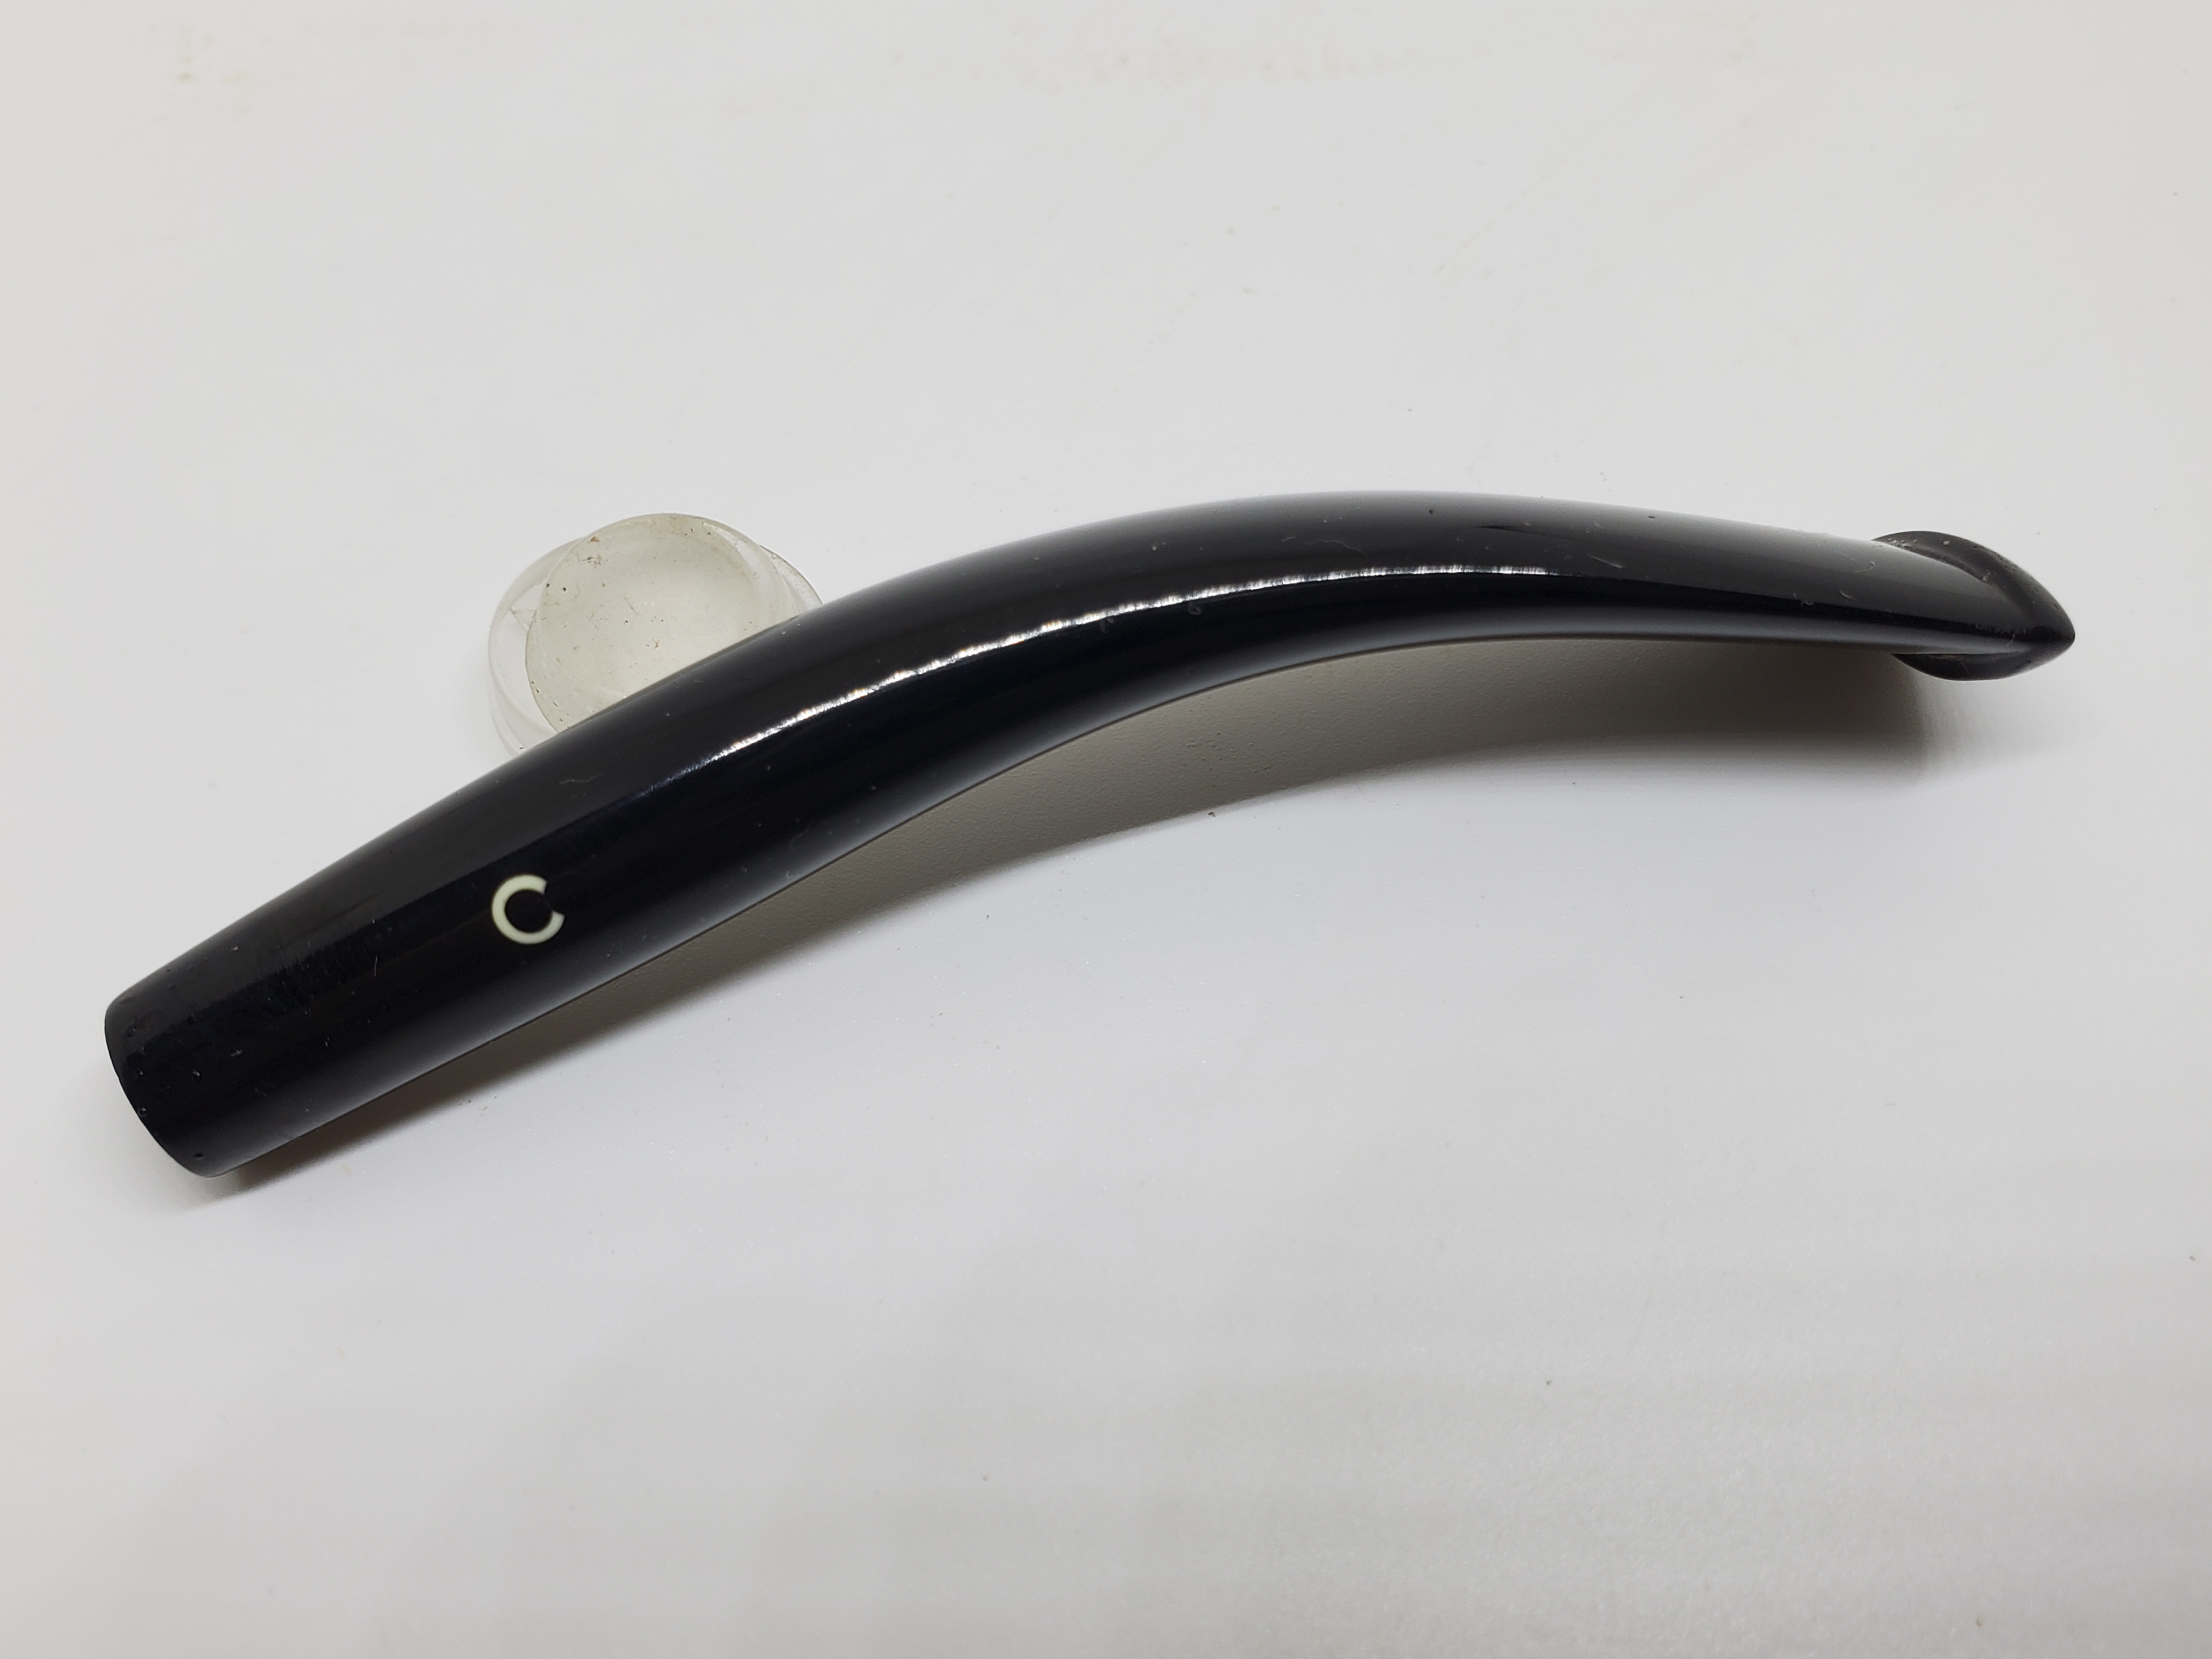
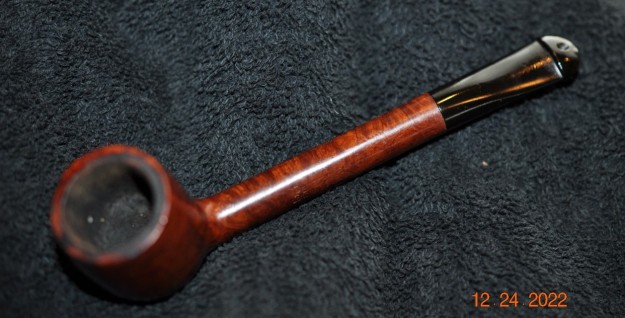
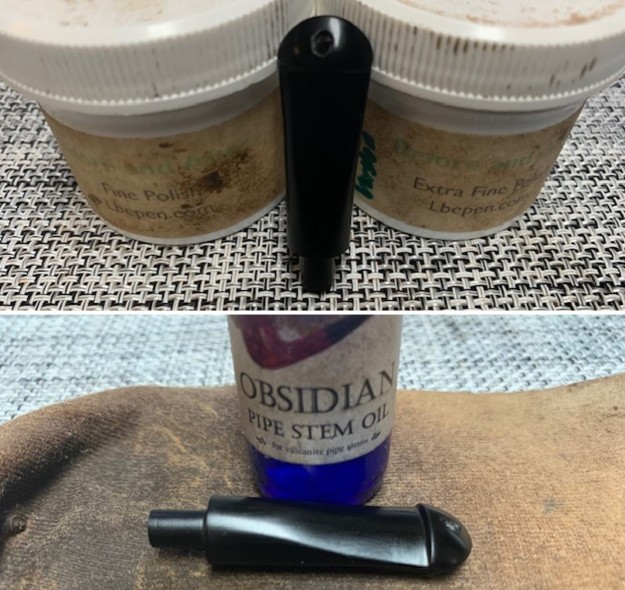
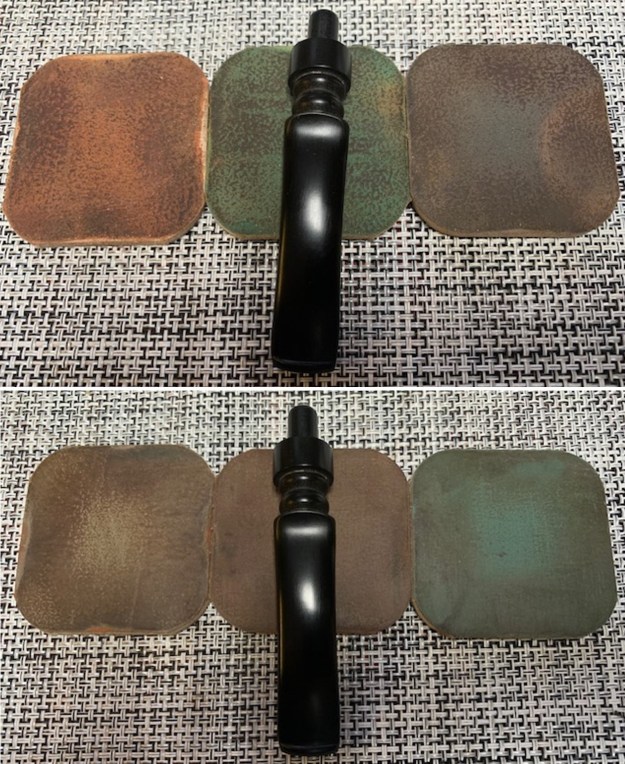
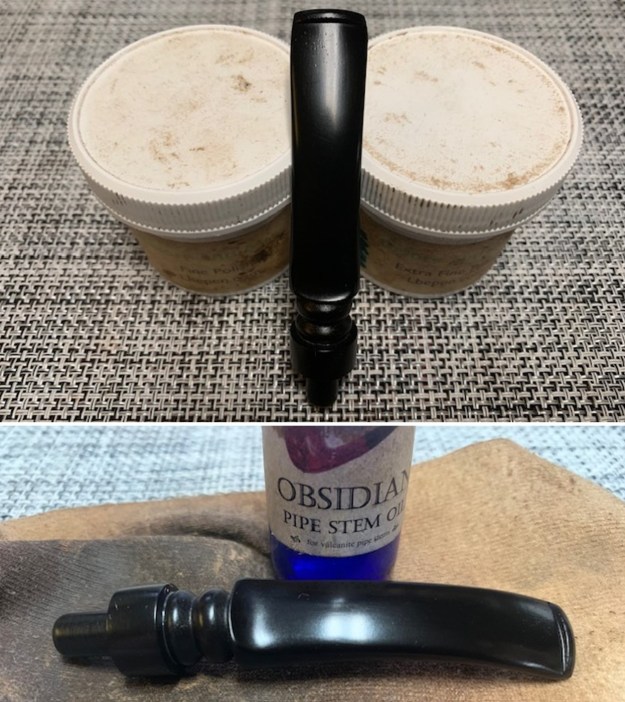
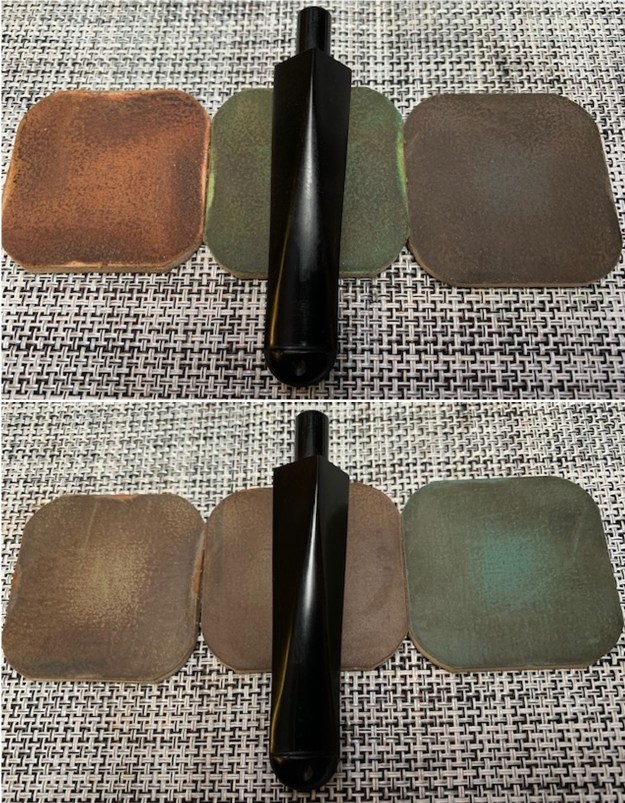
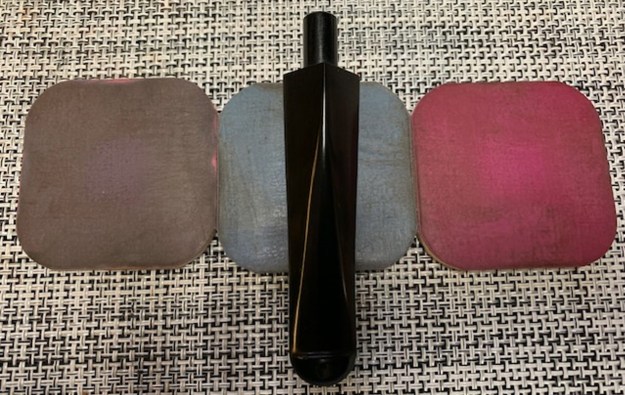
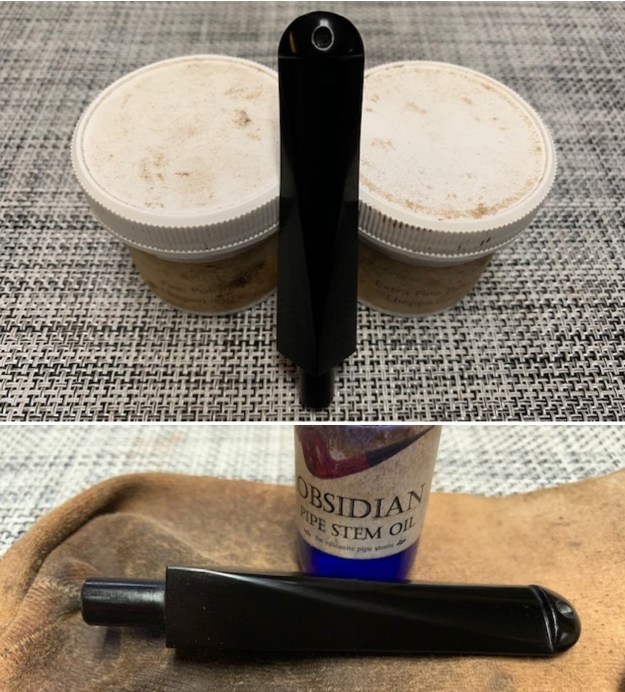
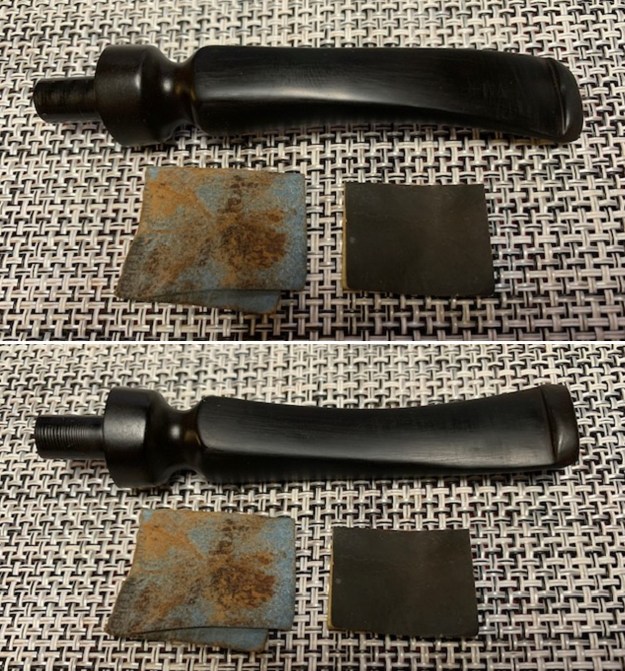
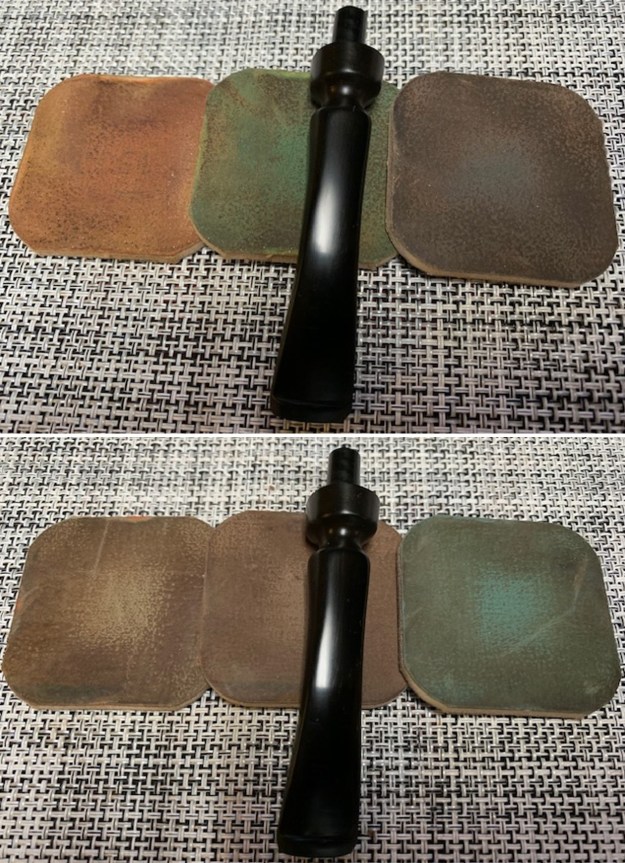
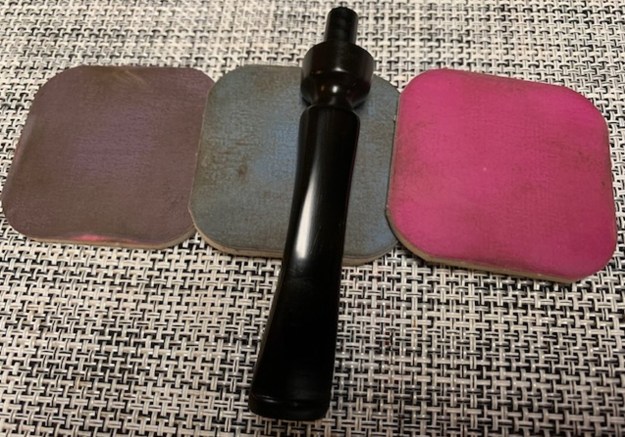
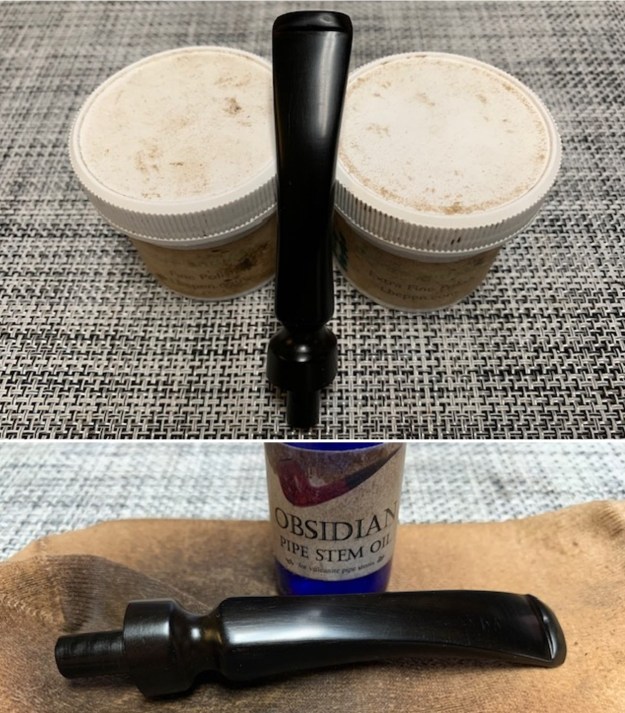
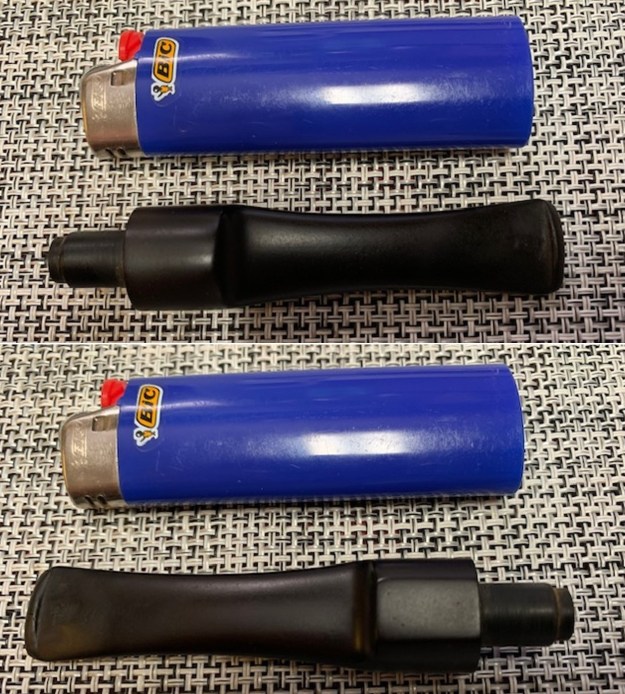
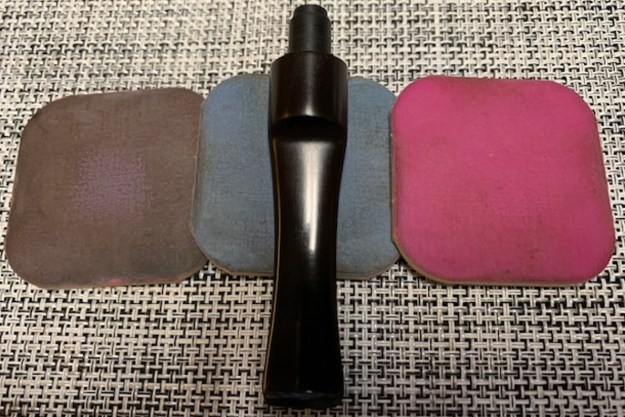
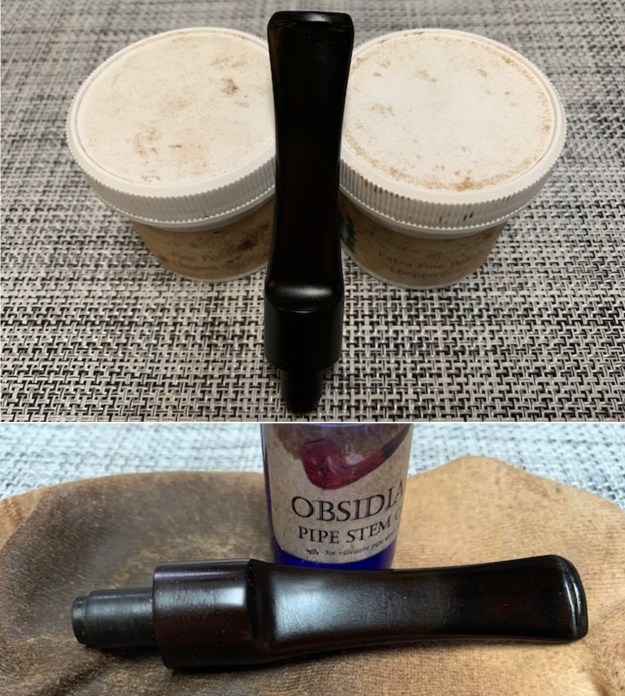
 I set the bowl aside and turned to the stem. It was in great condition so I polished it with Before & After Pipe Stem Polish – both Fine and Extra Fine and buffed it off with a cotton cloth. I gave it a coat of Obsidian Oil to preserve and protect the stem.
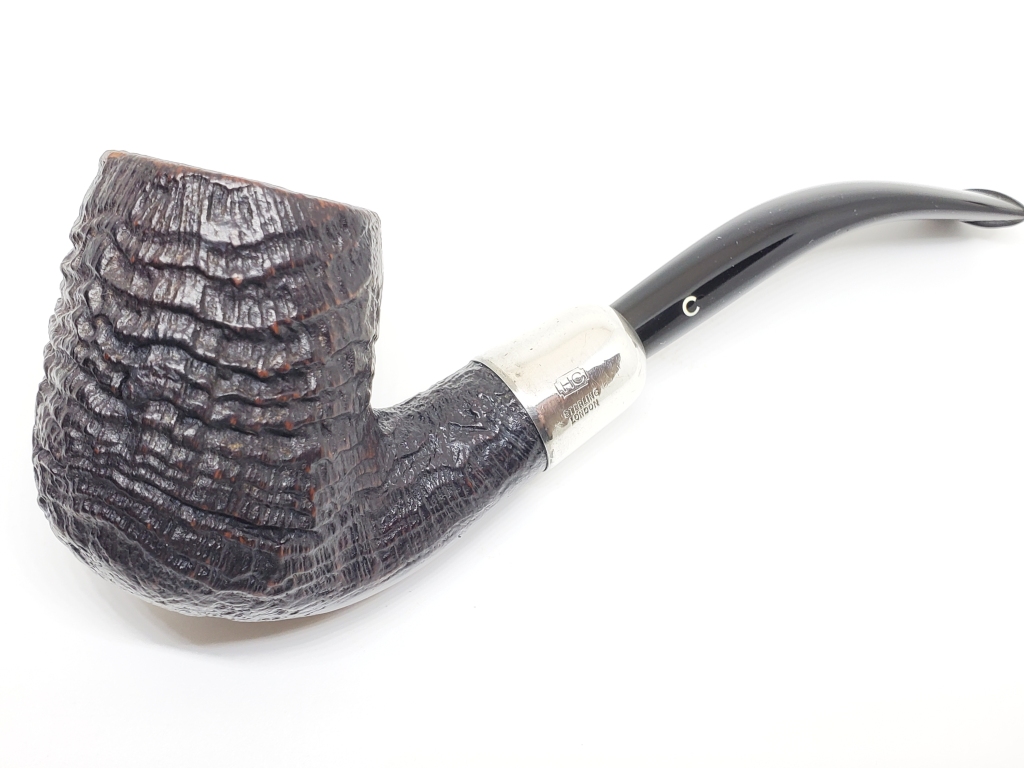
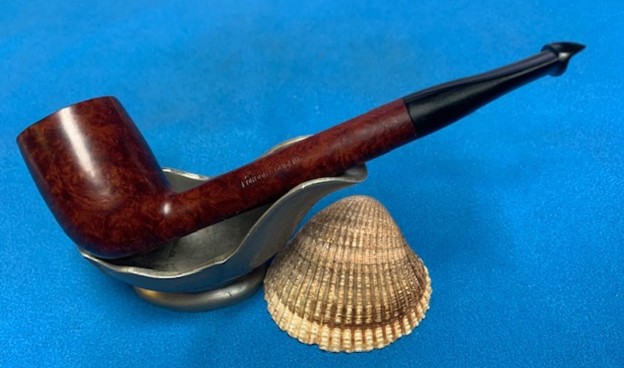
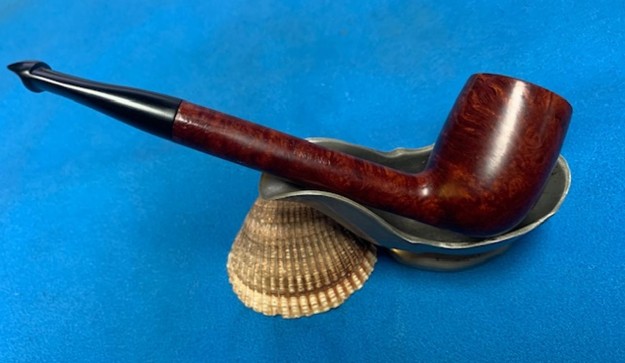
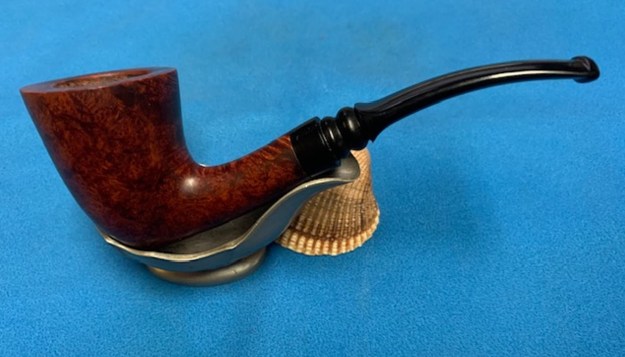
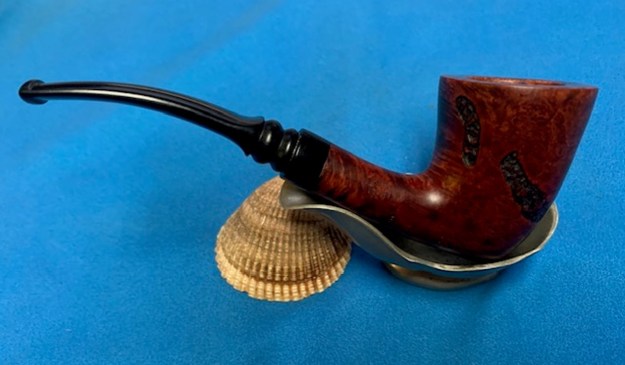
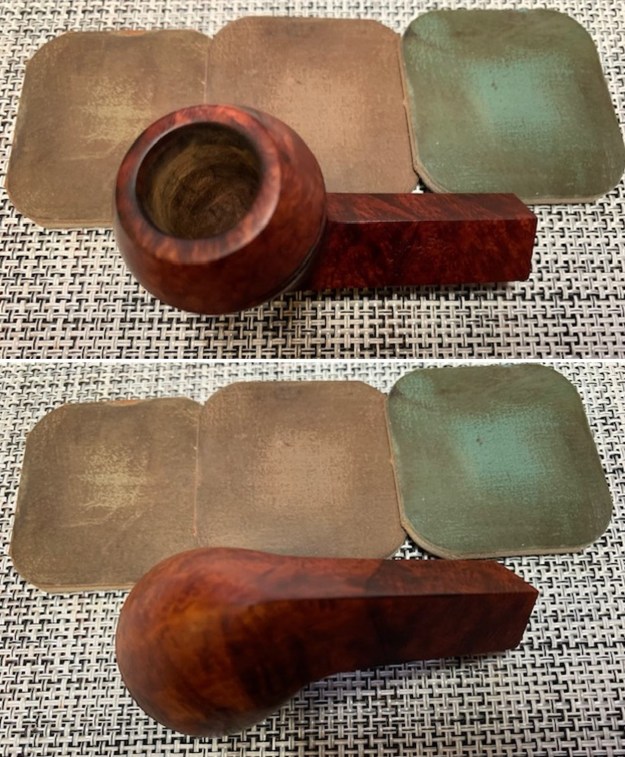
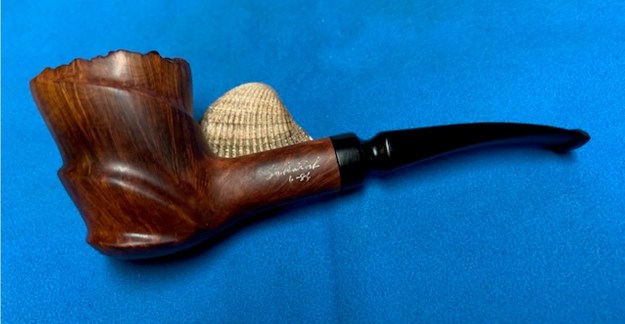
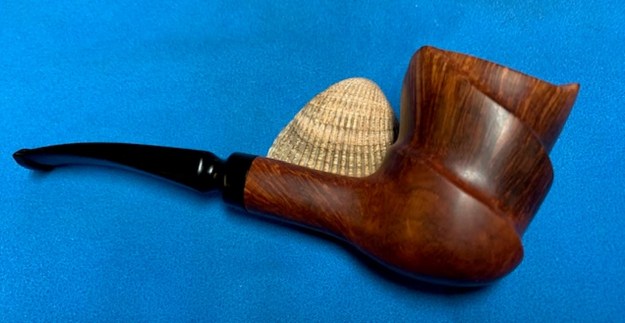
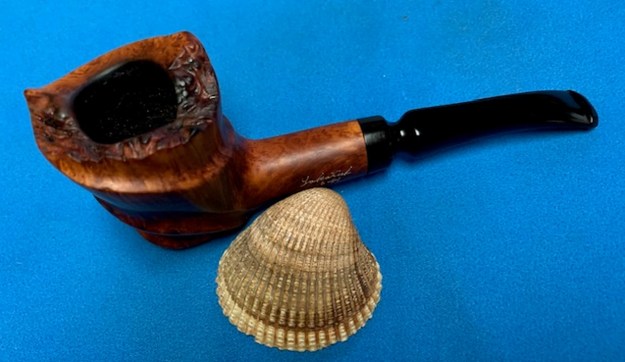
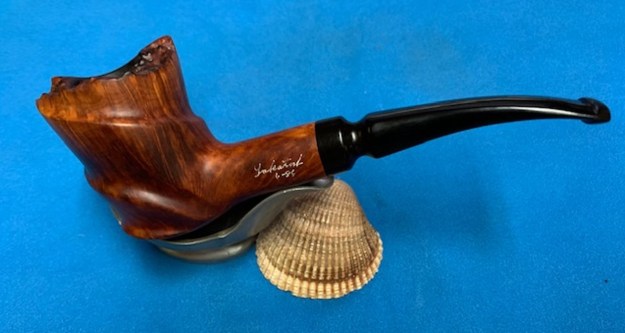
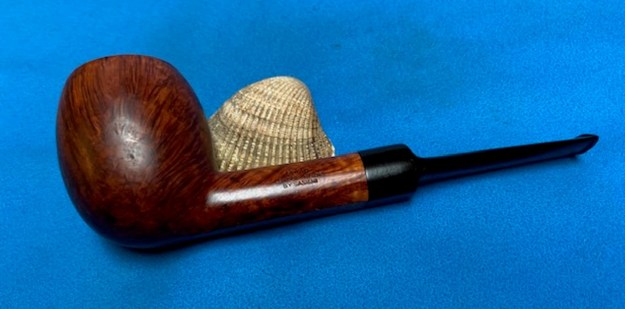
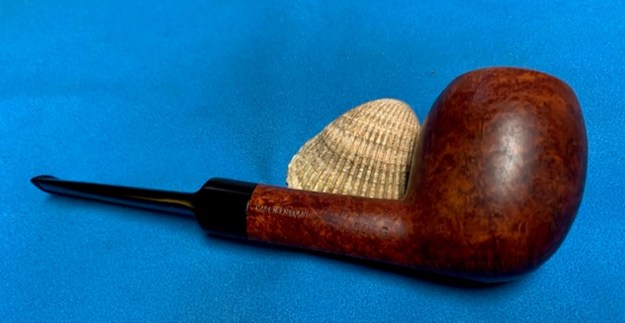
  I am excited to finish this Rossi Made FRB Old Briar Bent Egg. I put the pipe back together and carefully buffed it with Blue Diamond on the buffing wheel. I gave the bowl and the stem multiple coats of carnauba wax. I hand buffed the pipe with a clean buffing pad to raise the shine. It is fun to see what the polished bowl looks like with beautiful mixed grain all around it. Added to that the polished black vulcanite stem combined with the bowl and brass band on the shank and made a stunning pipe. This mixed finish FRB Old Briar Made by Rossi Bent Egg is great looking and the pipe feels great in my hand. It is light and well balanced. Have a look at it with the photos below. The dimensions are Length: 5 ½ inches, Height: 2 ¼ inches, Outside diameter of the bowl: 1 1/8 inches, Chamber diameter: ¾ of an inch. The weight of the pipe is 42 grams/1.48 ounces. It is a beautiful pipe that I will soon be putting on the rebornpipes store in the Italian Pipe Makers Section. If you are interested in adding it to your collection send me an email or a message. Thanks for walking through the restoration with me as I worked over this pipe. Thanks to each of you who are reading this blog.
As always, I encourage your questions and comments as you read the blog. Thanks to each of you who are reading this blog. Remember we are not pipe owners; we are pipe men and women who hold our pipes in trust until they pass on into the trust of those who follow us.


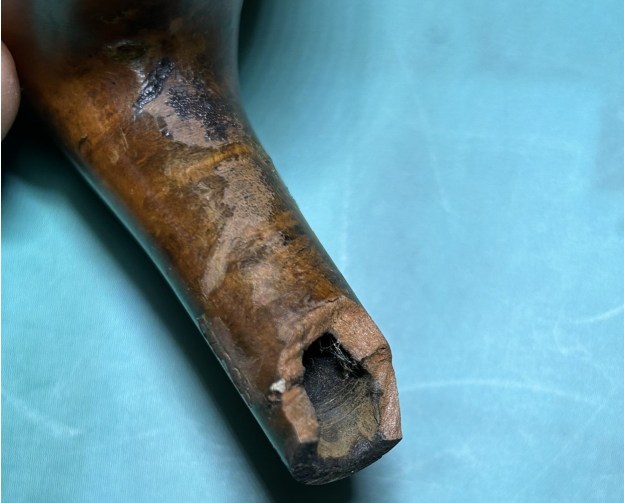

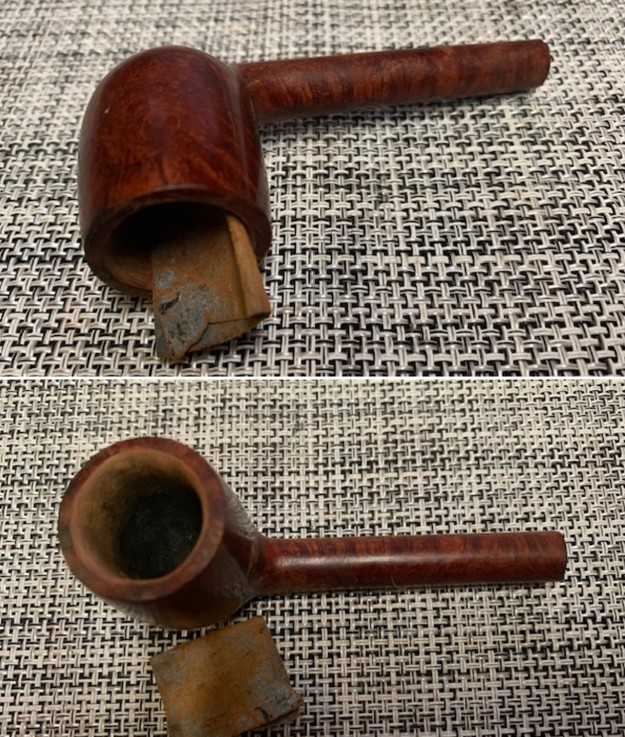
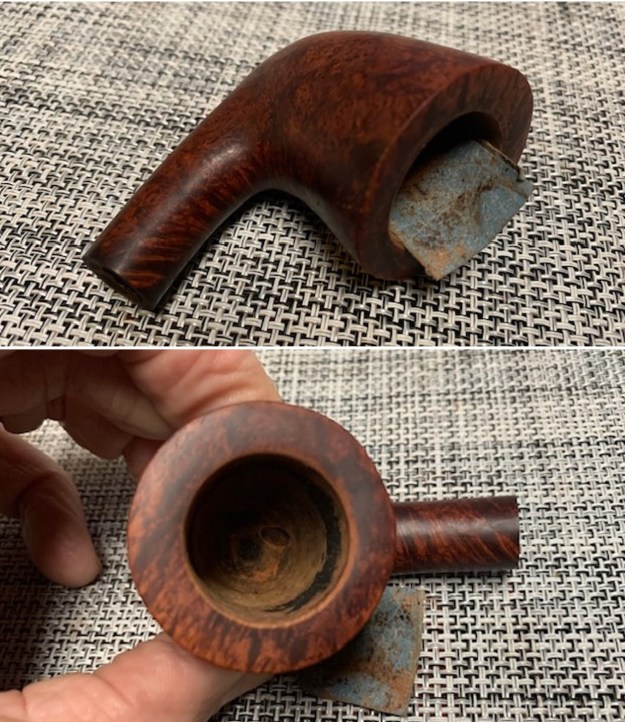
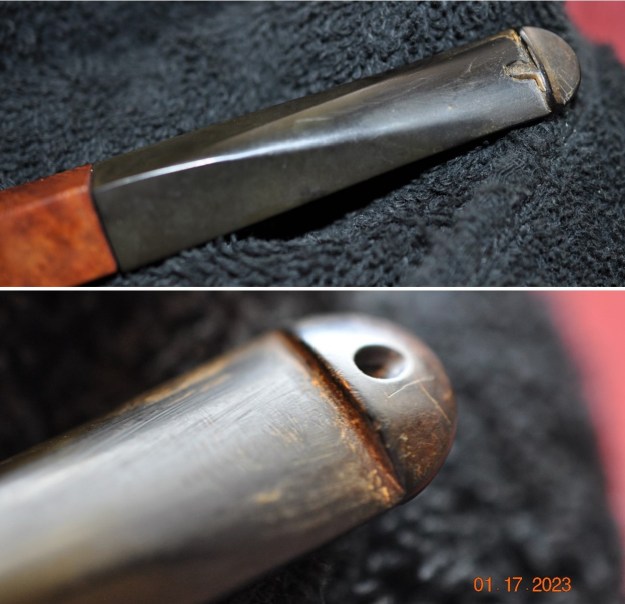
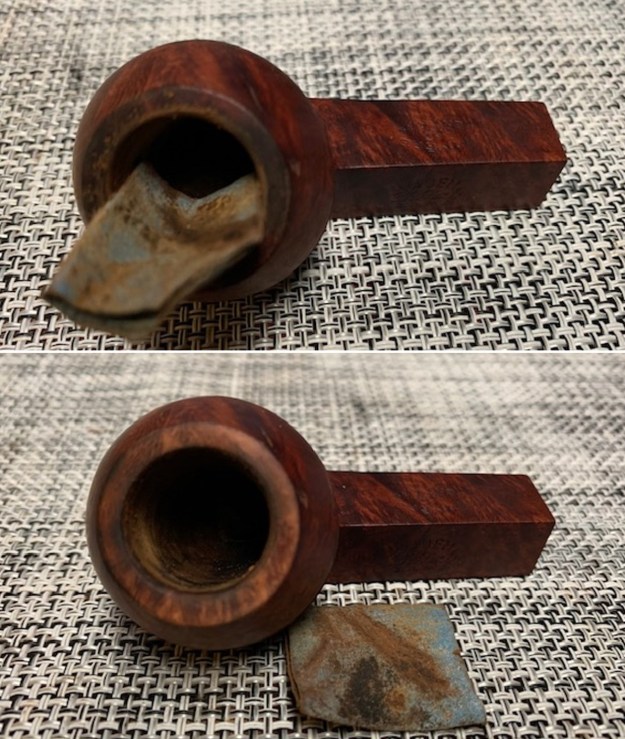
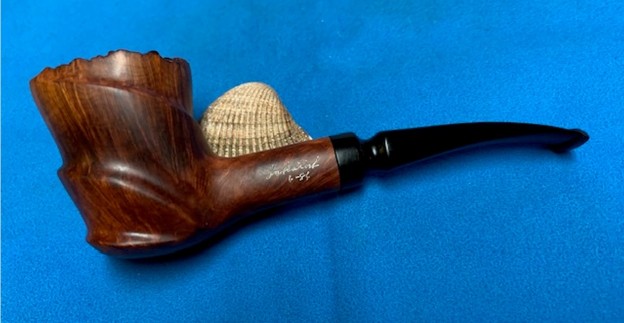
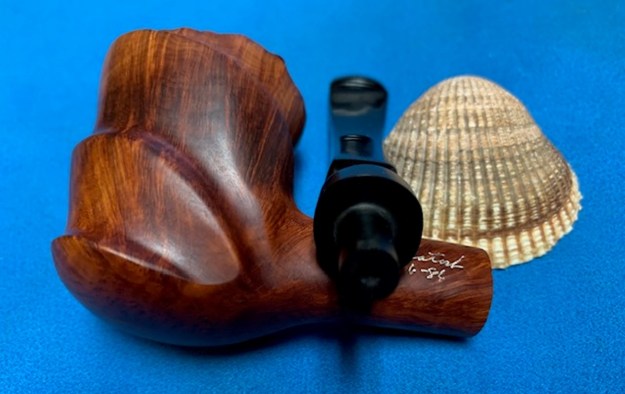
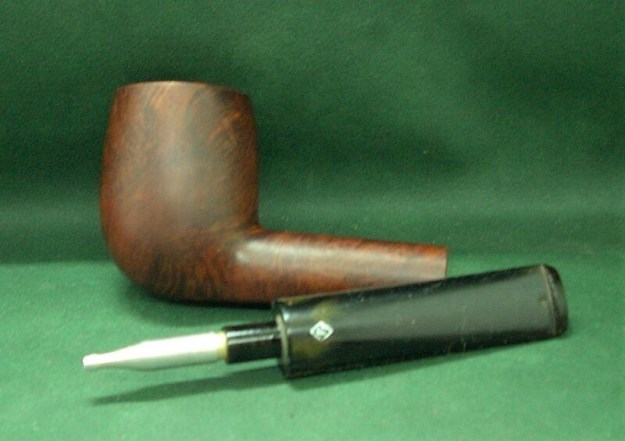
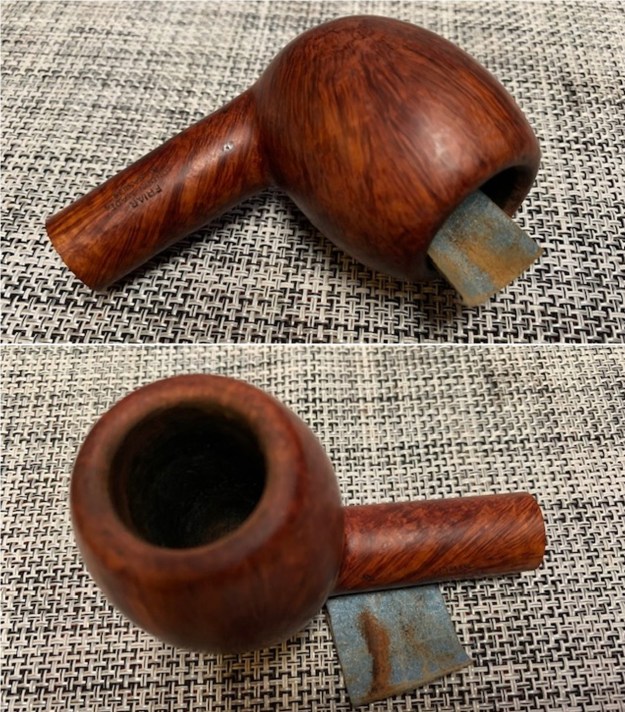
 This shank was not simply cracked (as is often the case), but, as the photos show, was missing a large chunk of briar. One’s first question might be, “Why bother fixing this at all? Toss it in the fireplace!” That’s a fair point. In this case, however, the owner of the pipe wanted to keep it as a memento of her grandfather. Beauty is in the eye of the beholder and I was only too happy to help fulfill her wish.
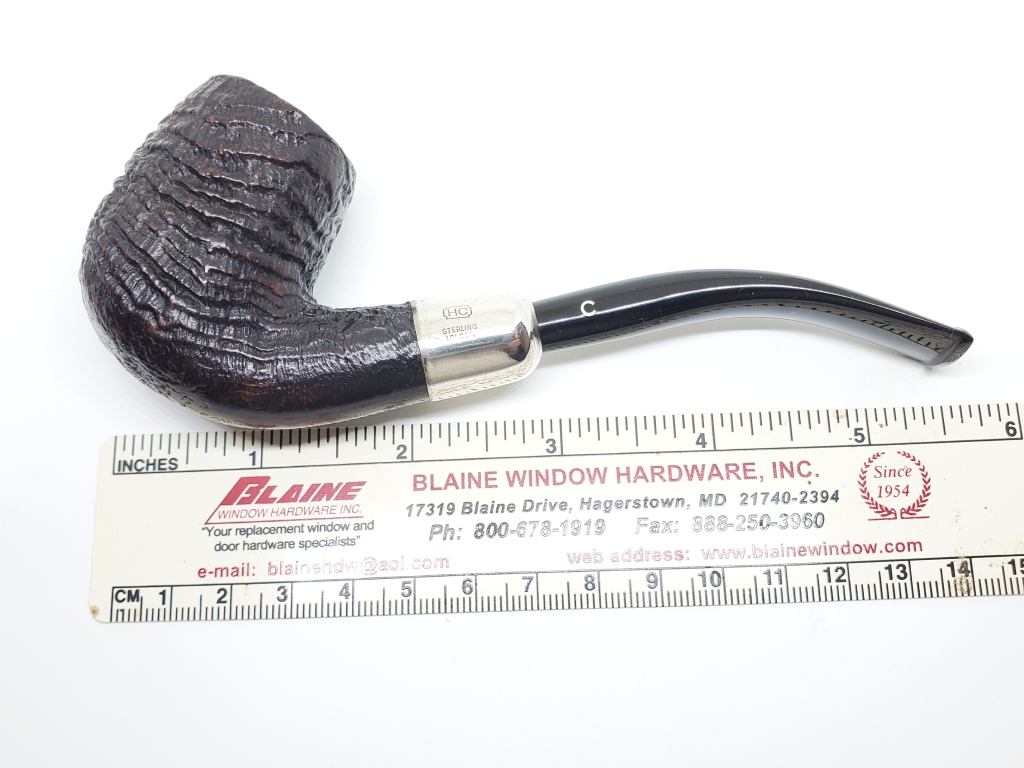
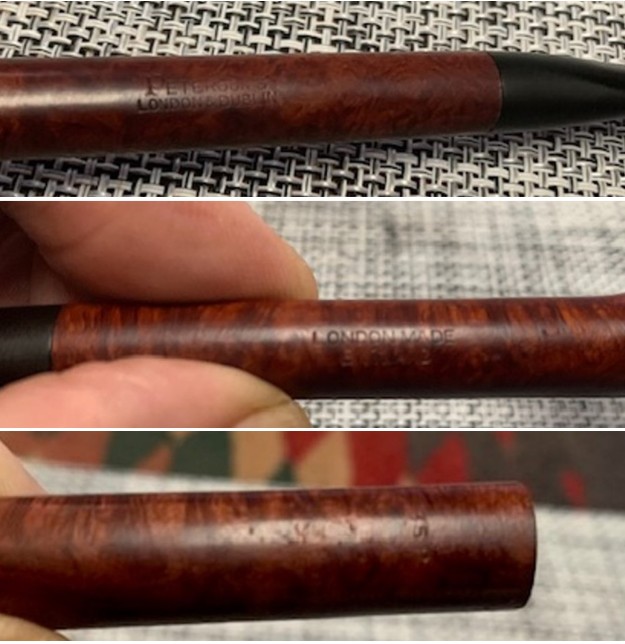
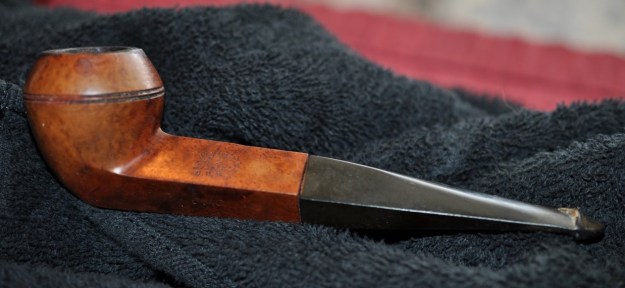
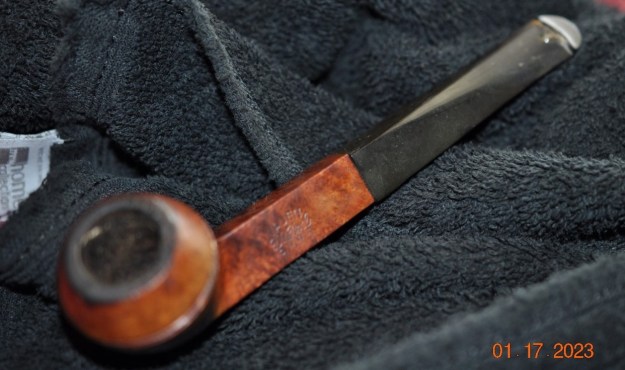
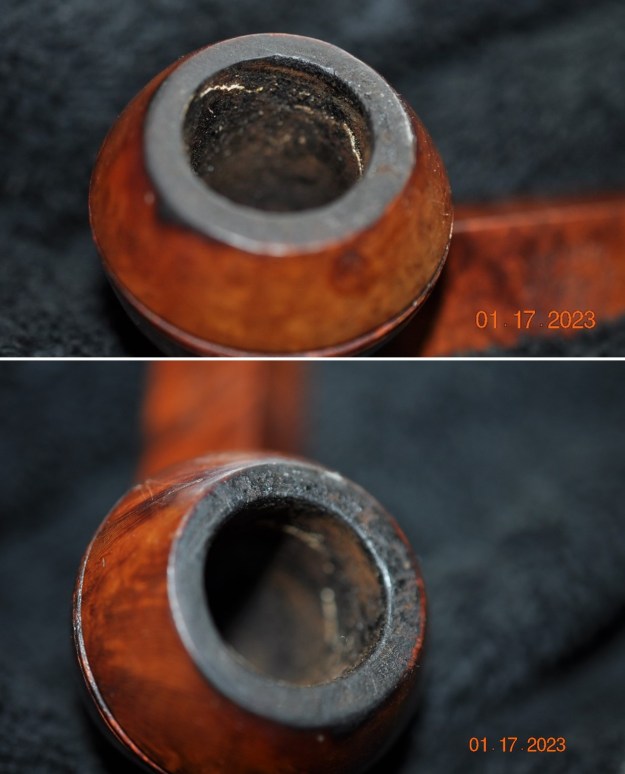
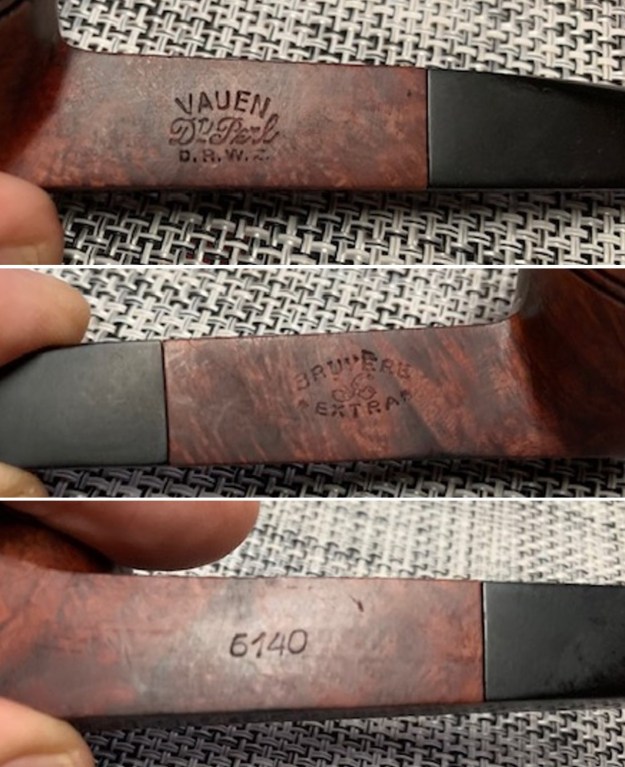
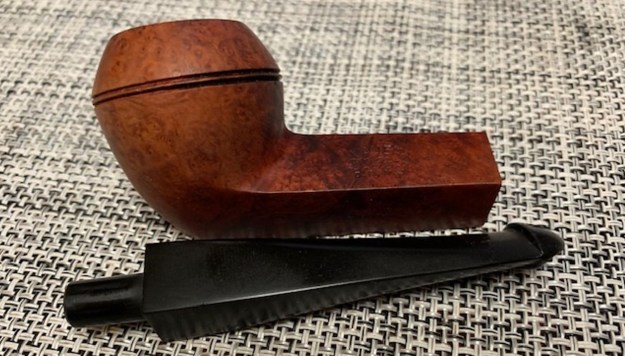
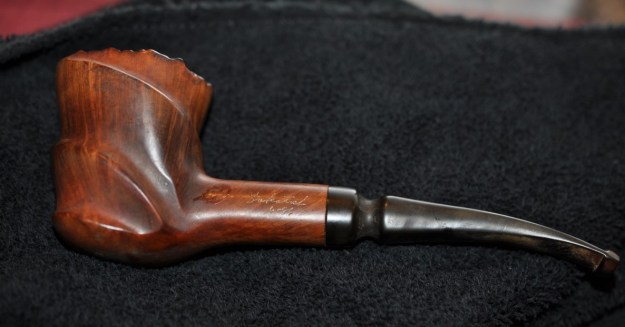
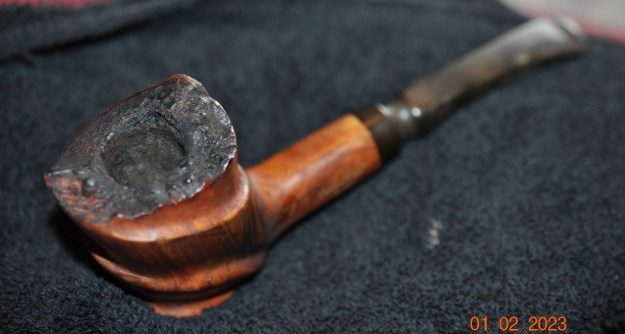
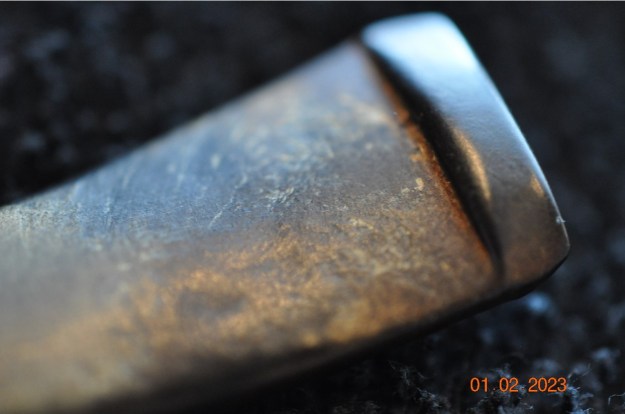
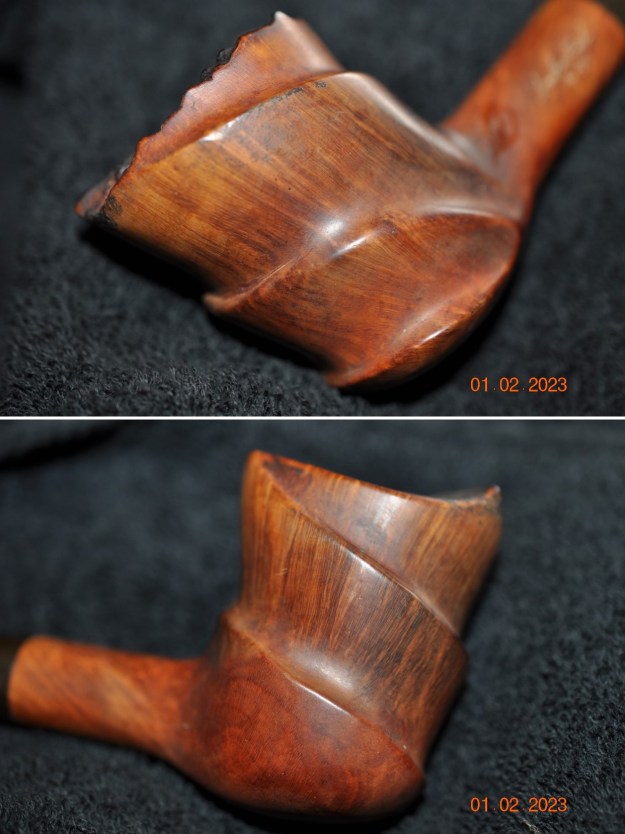
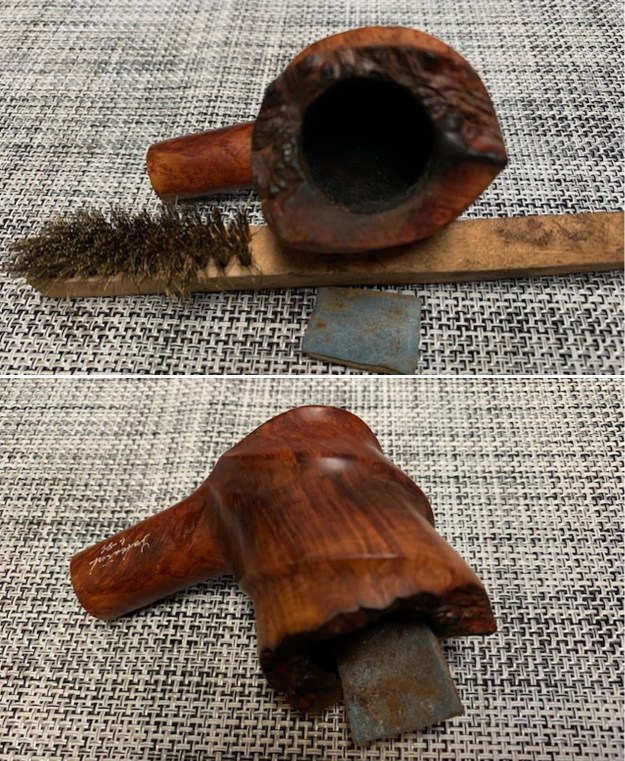
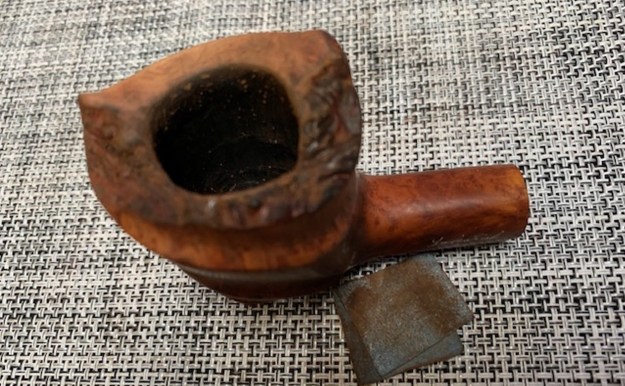
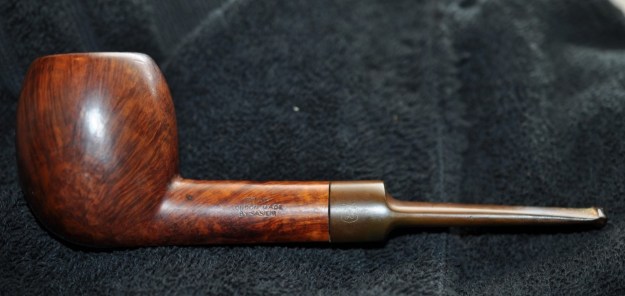
 The pipe is a no-name churchwarden (with the word “Czech” along the shank) and it had clearly been through the wars. Not literally, of course, but this pipe was smoked hard! The old fellow must have loved this pipe and it must have smoked well. The stummel was full of cake, lava erupting on the rim, and fills everywhere – in fact, I counted no fewer than 39 fills. Anyway, let’s take a closer look at the shank.
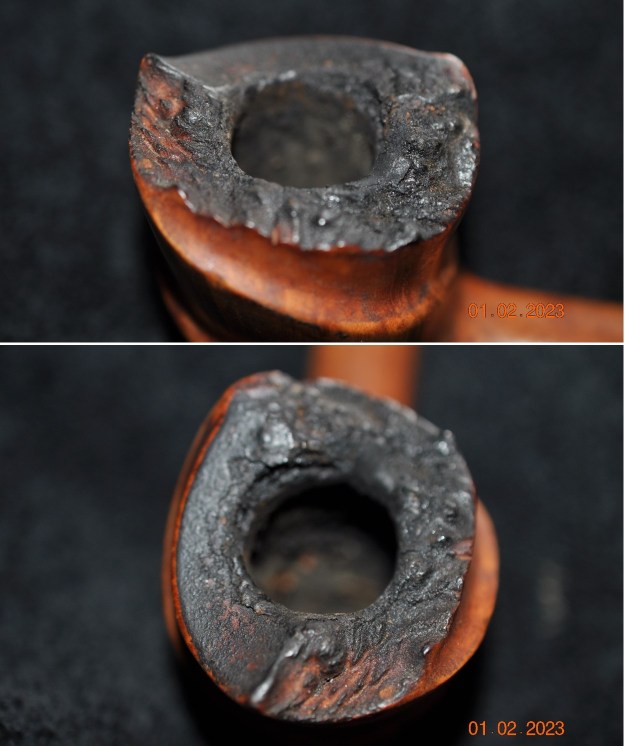
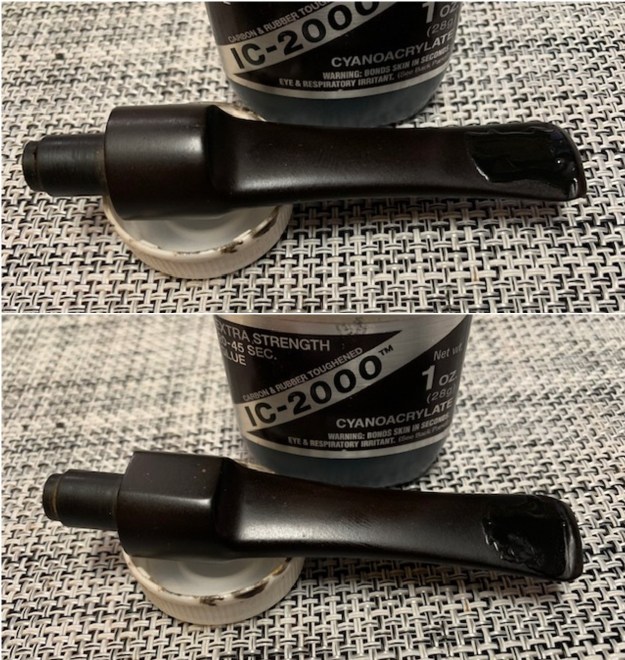

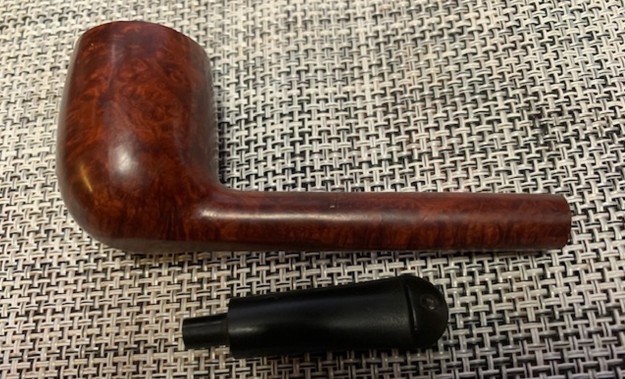
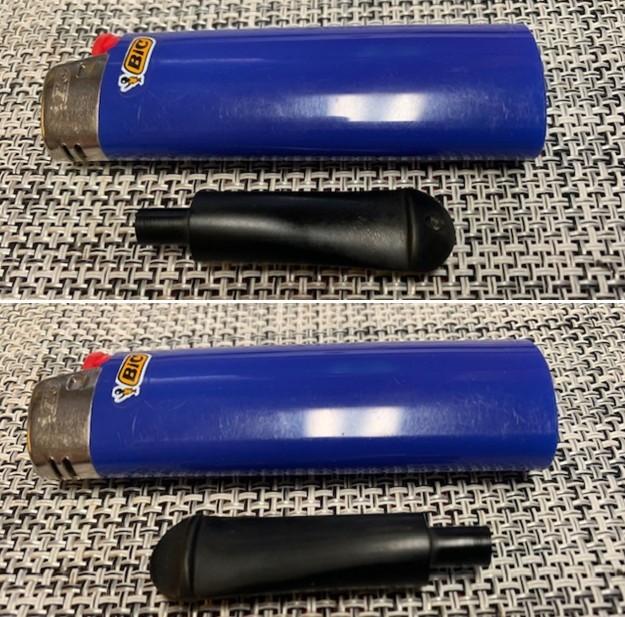
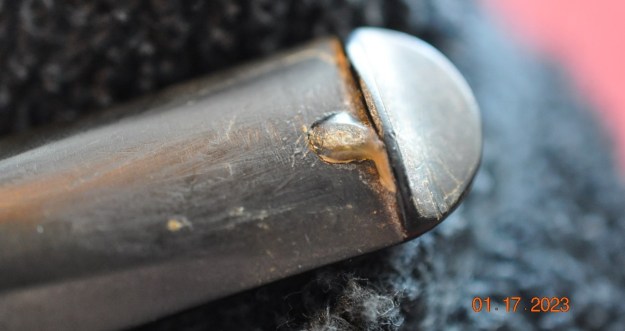
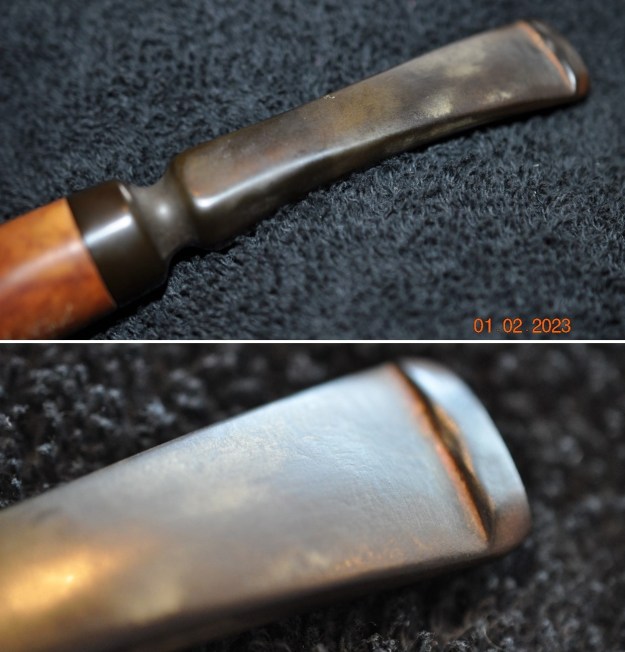
 You can see what the problem is. My guess is that the shank was broken when the stem was removed from it at an inopportune moment. The tenon on the stem is an odd metal thing, which I suspect might be a replacement. The tenon and mortise certainly don’t fit together very well. Regardless, the tenon needs to be repaired in a manner that is both structurally sound and aesthetically pleasing.
 Furrowing my brow, I consulted with Steve about solutions he’s used in the past for this sort of problem. He initially proposed building up the shank with a mixture of briar dust and CA glue. This is what I had originally considered too, but I also toyed with the idea of actually using a chunk of briar in place of the missing wood. Steve said it might be fun to try, so that’s what I did. Regardless of which technique I used, the shank would have to be banded in order to provide structural integrity and (preferably) to hide some of the repair – which will be unsightly no matter what.
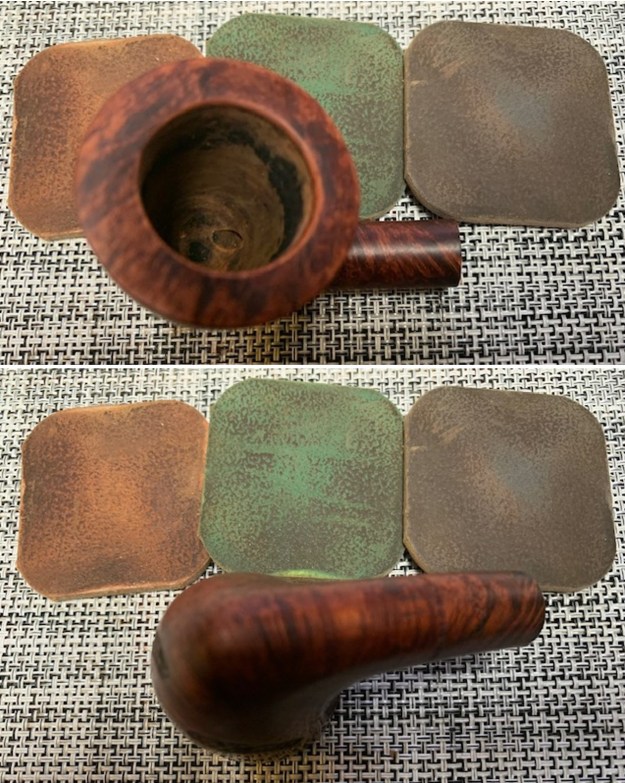
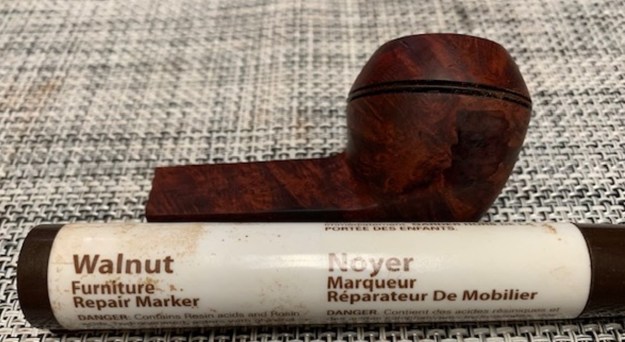
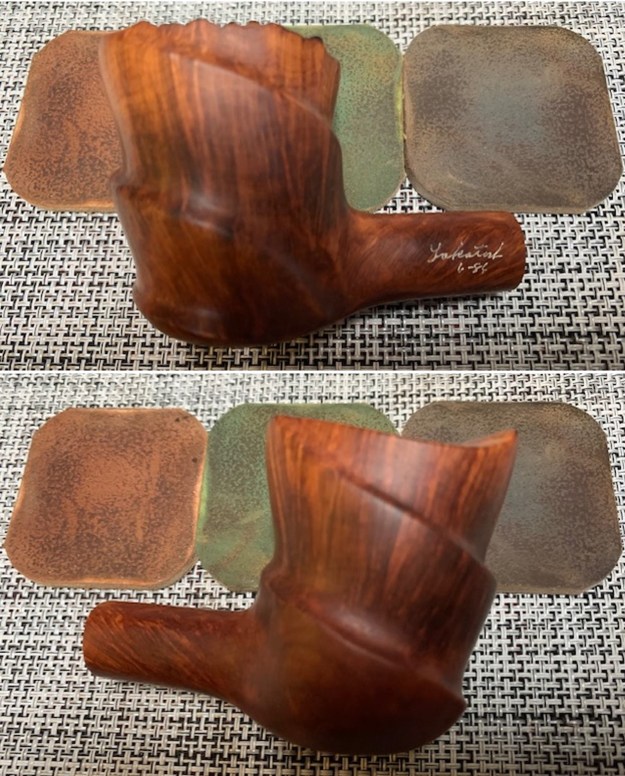
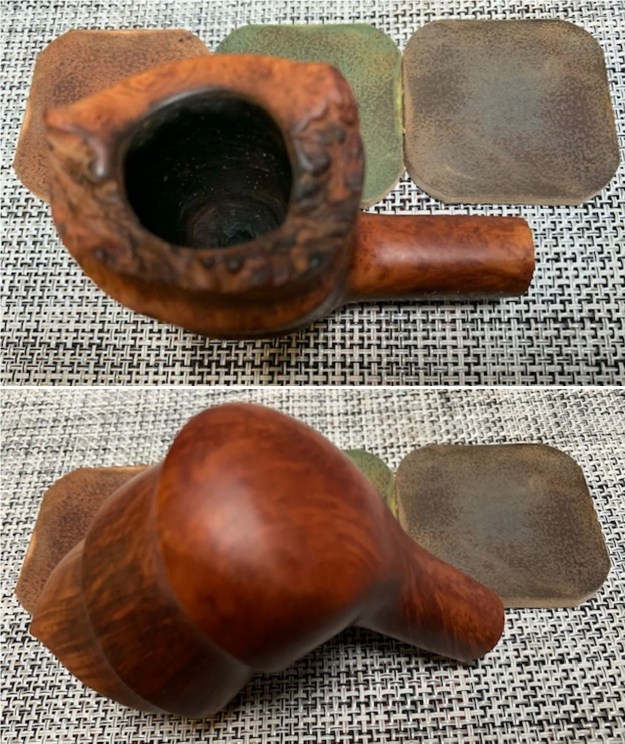
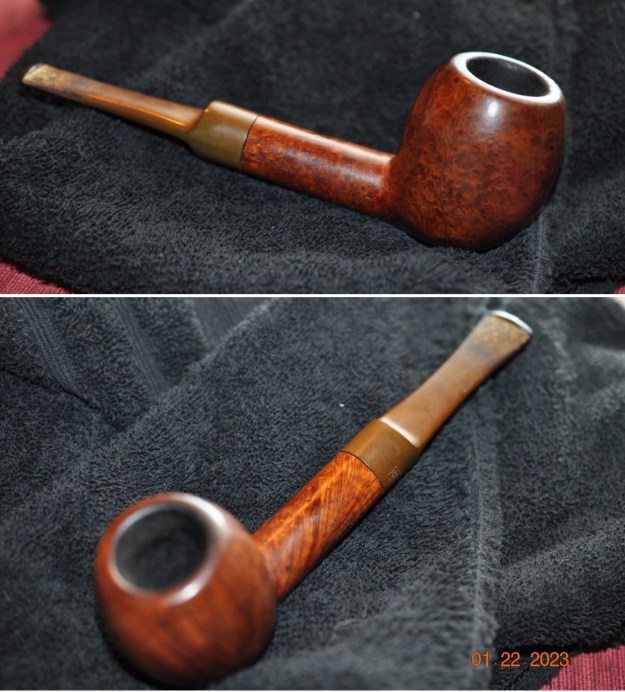
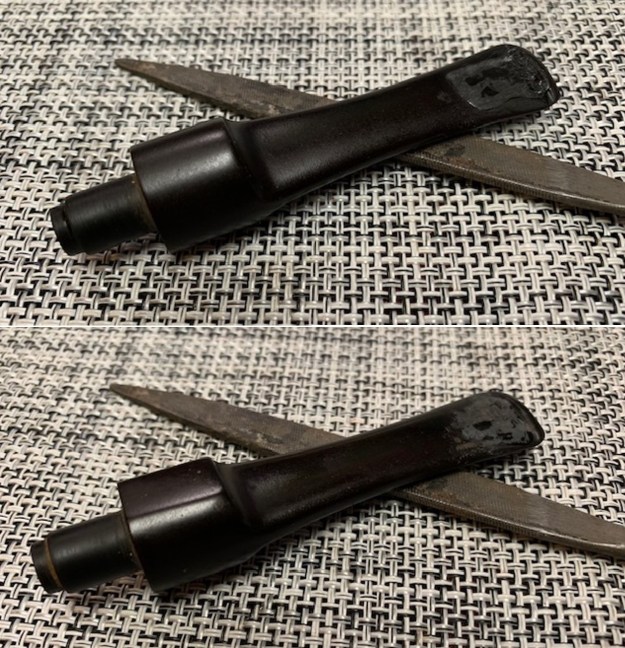
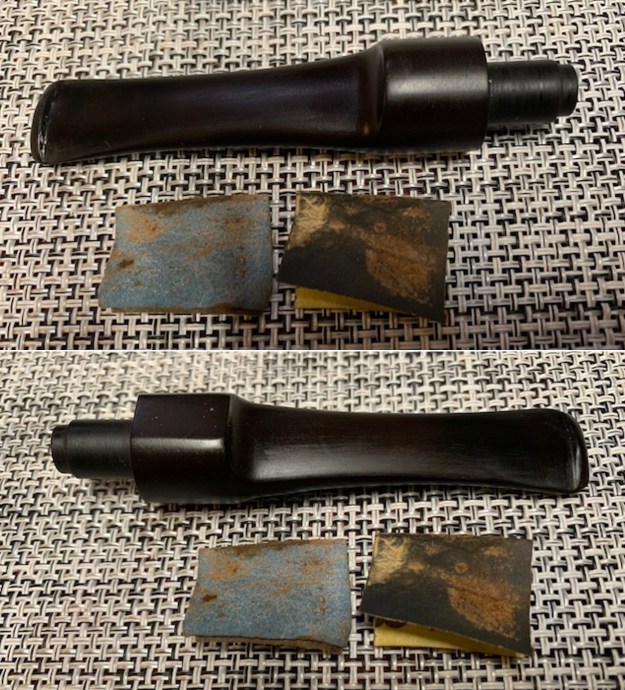
 Once the CA glue was cured, I set about filing, sanding, and shaping my repair. I obviously sanded the top of the shank to make it look normal, but I also sanded the end because the added bits extended beyond the main part of the shank. I also ensured that there was no roughness (or other problems) inside the mortise. To that end, I also gently filed the mortise. What an improvement!
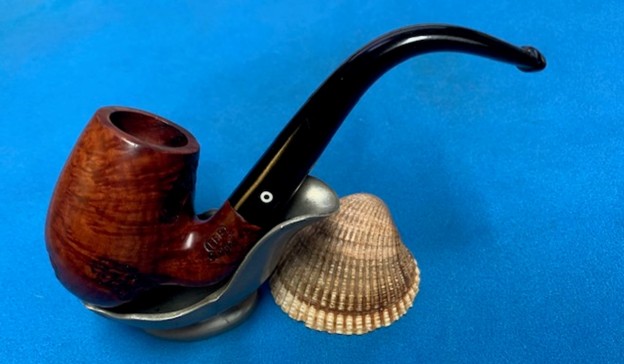
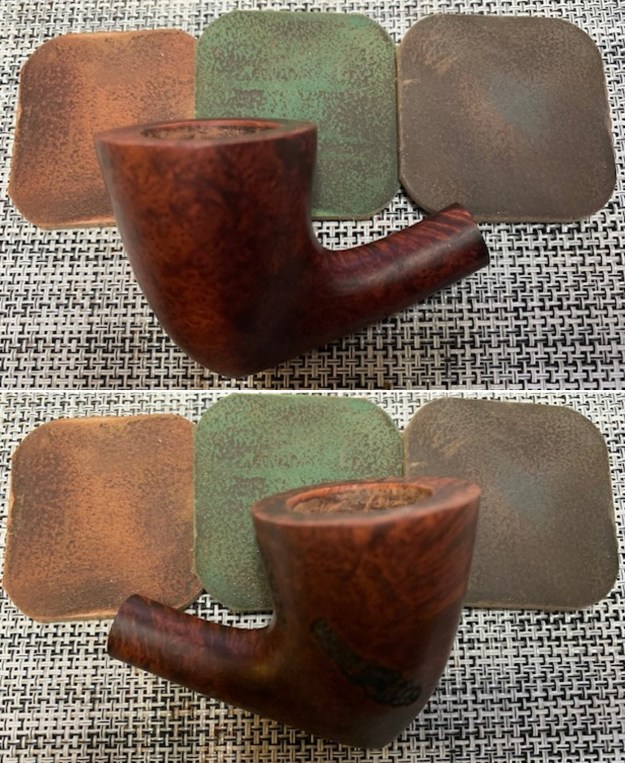
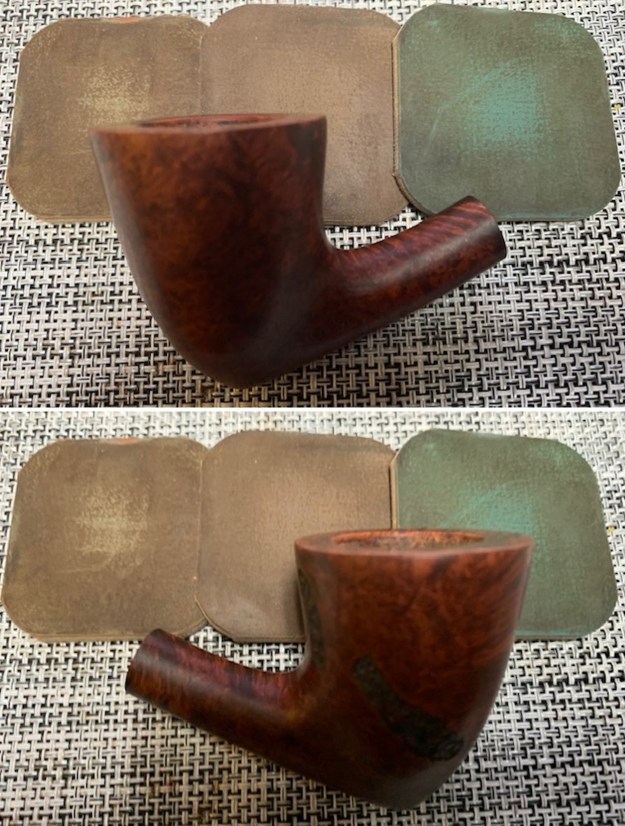
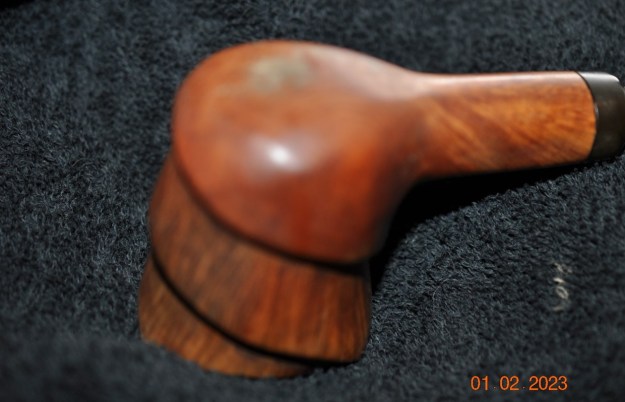
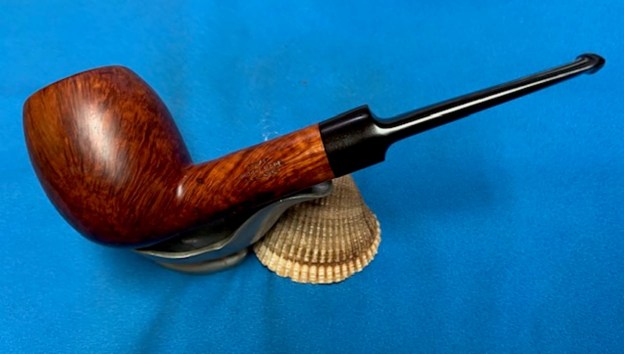
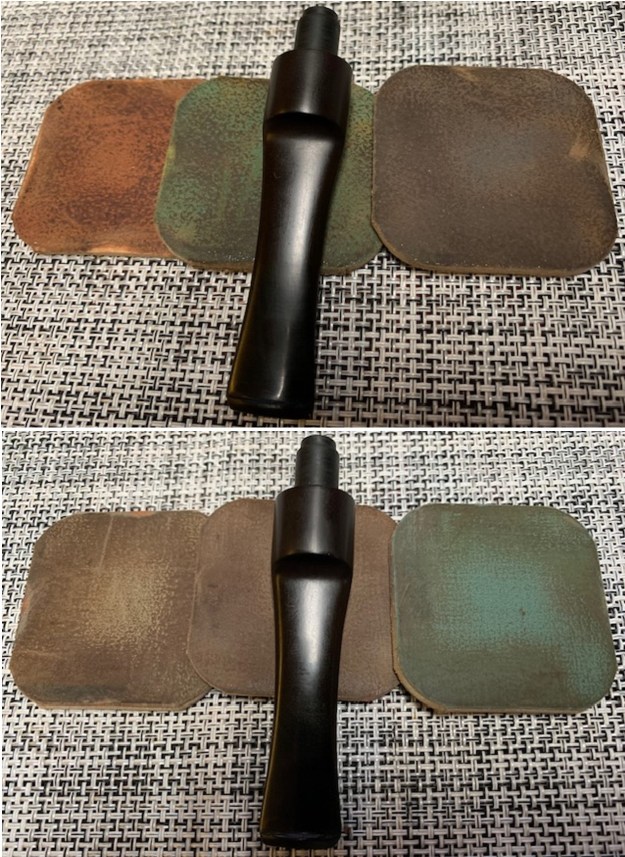
 Fortunately, I found the perfect band to place on this stummel. It was made of brass, fit very snuggly, and – most importantly – it was quite long. The band covered all repairs beautifully.
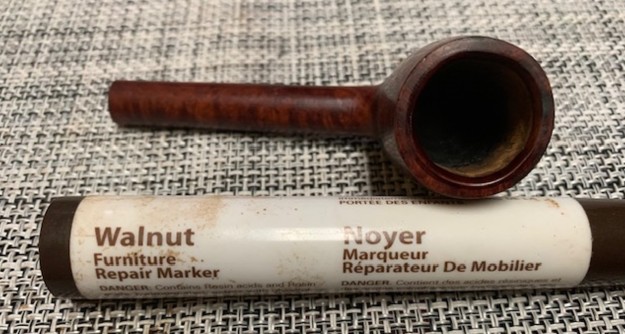
 After prepping the stummel, I stained it so as to provide some camouflage for the aforementioned fills. I then added the band with some glue and polished it to a shine. The photo below is not quite the finished product but it is close enough to show what a difference this repair made.
 If you do try this type of shank repair, please let me know how it goes. I would be interested to know what your results are. I hope you enjoyed reading this instalment of the Pipe Incident Report – I look forward to writing more. If you are interested in my work, please follow me here on Steve’s website or email me directly at kenneth@knightsofthepipe.com. Thank you very much for reading and, as always, I welcome and encourage your comments.
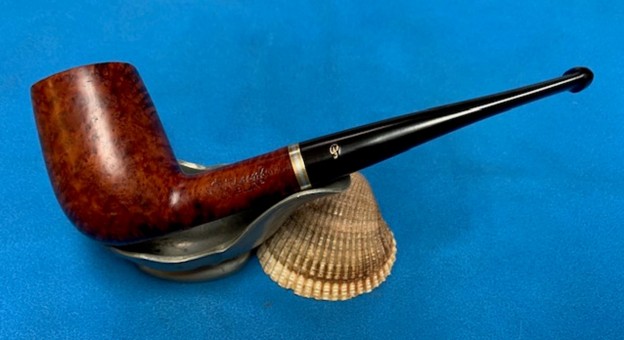


