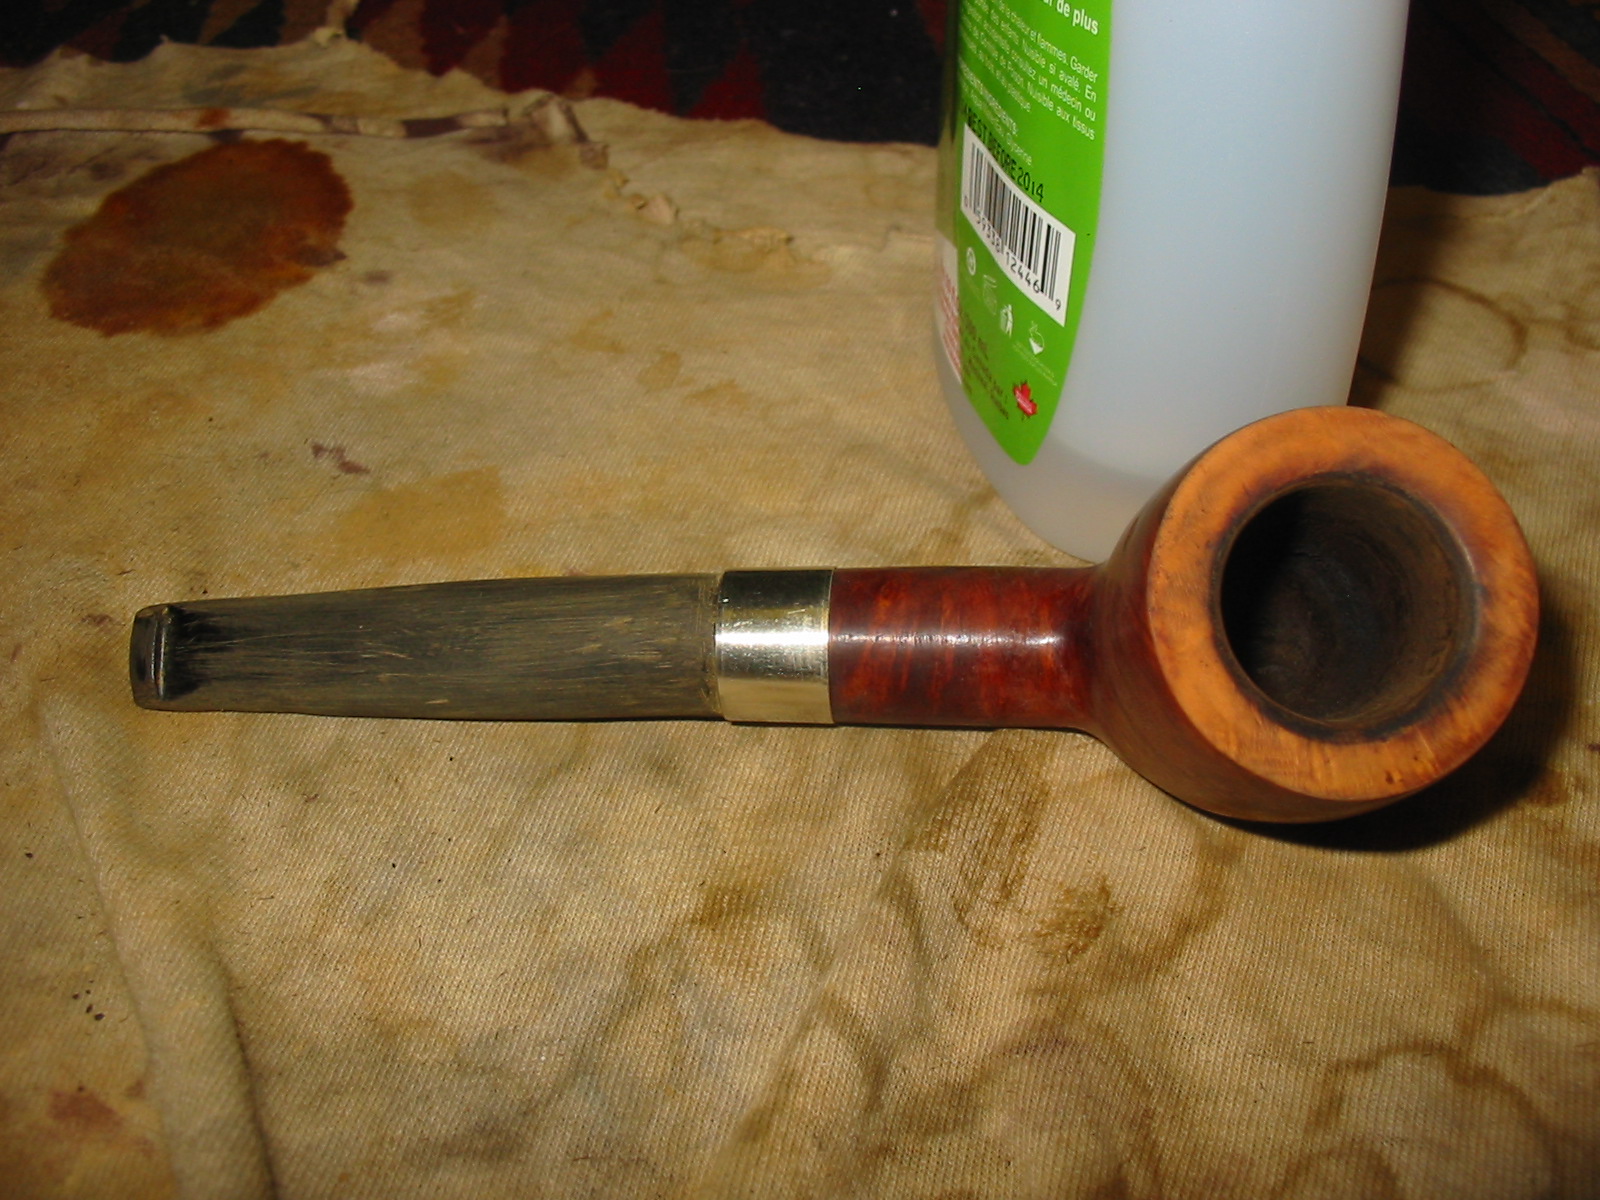
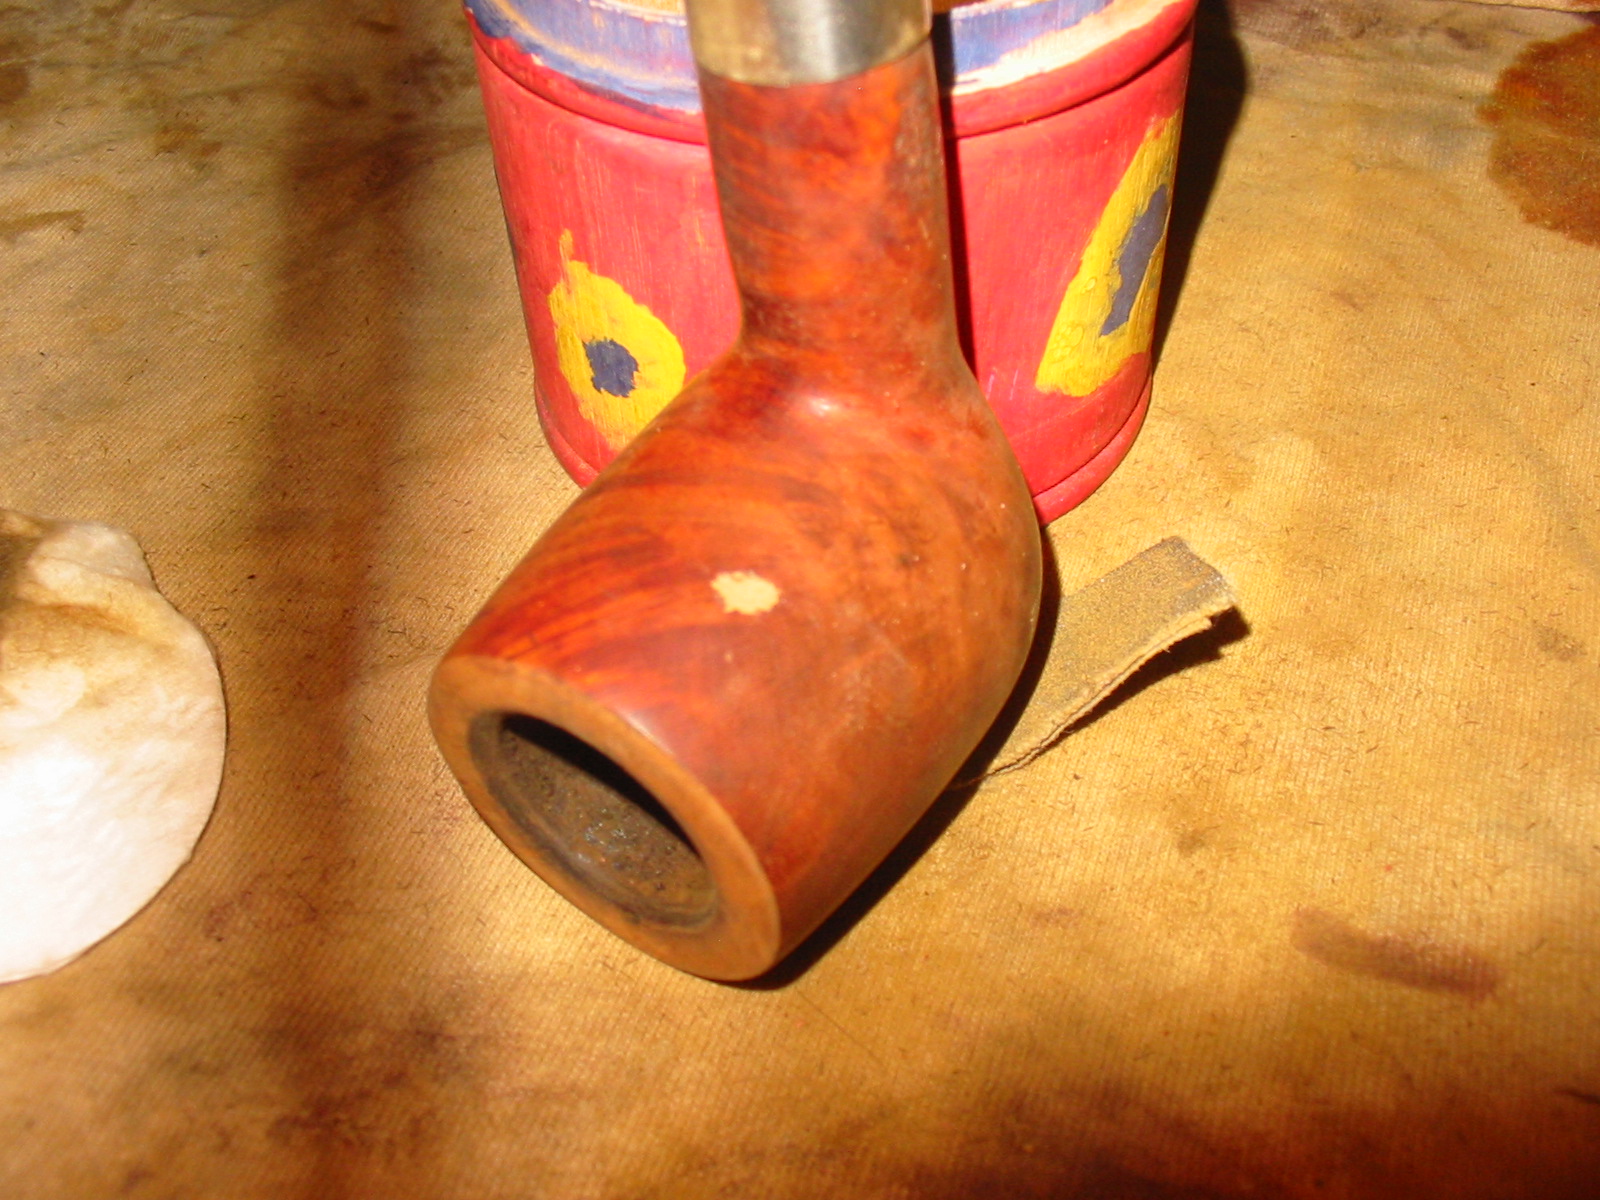
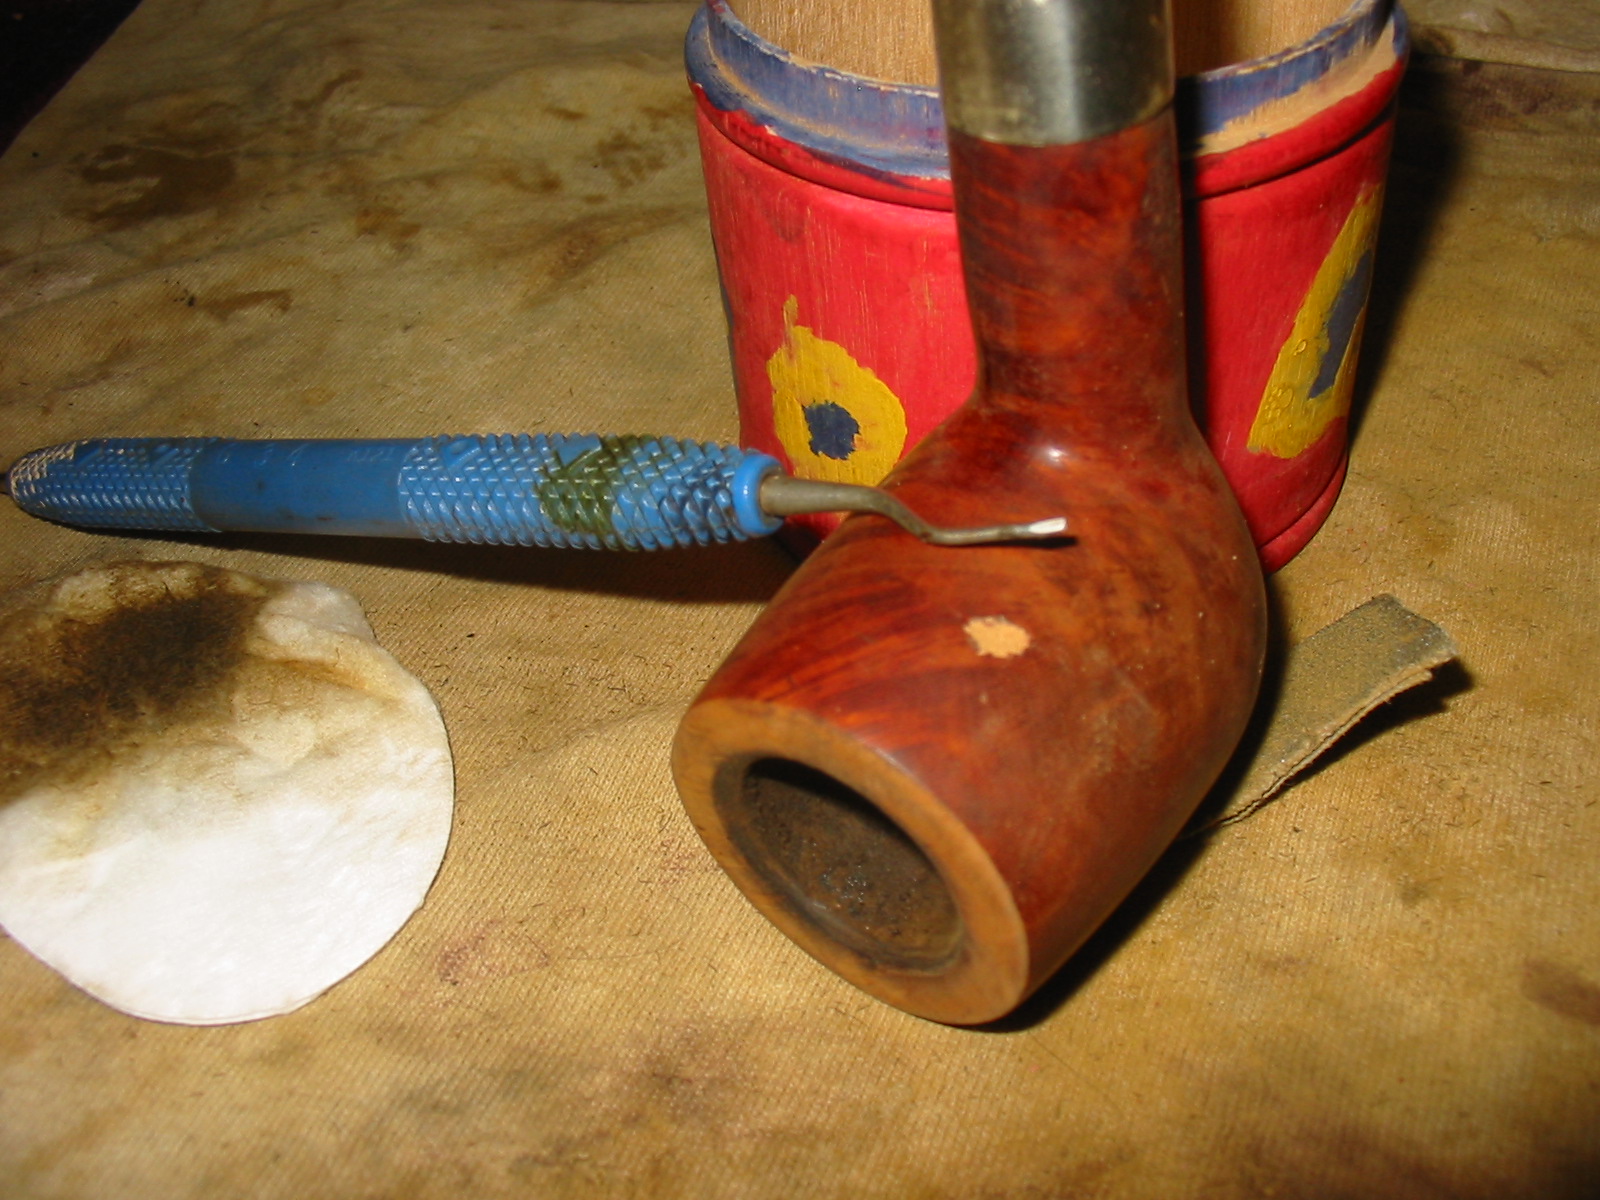
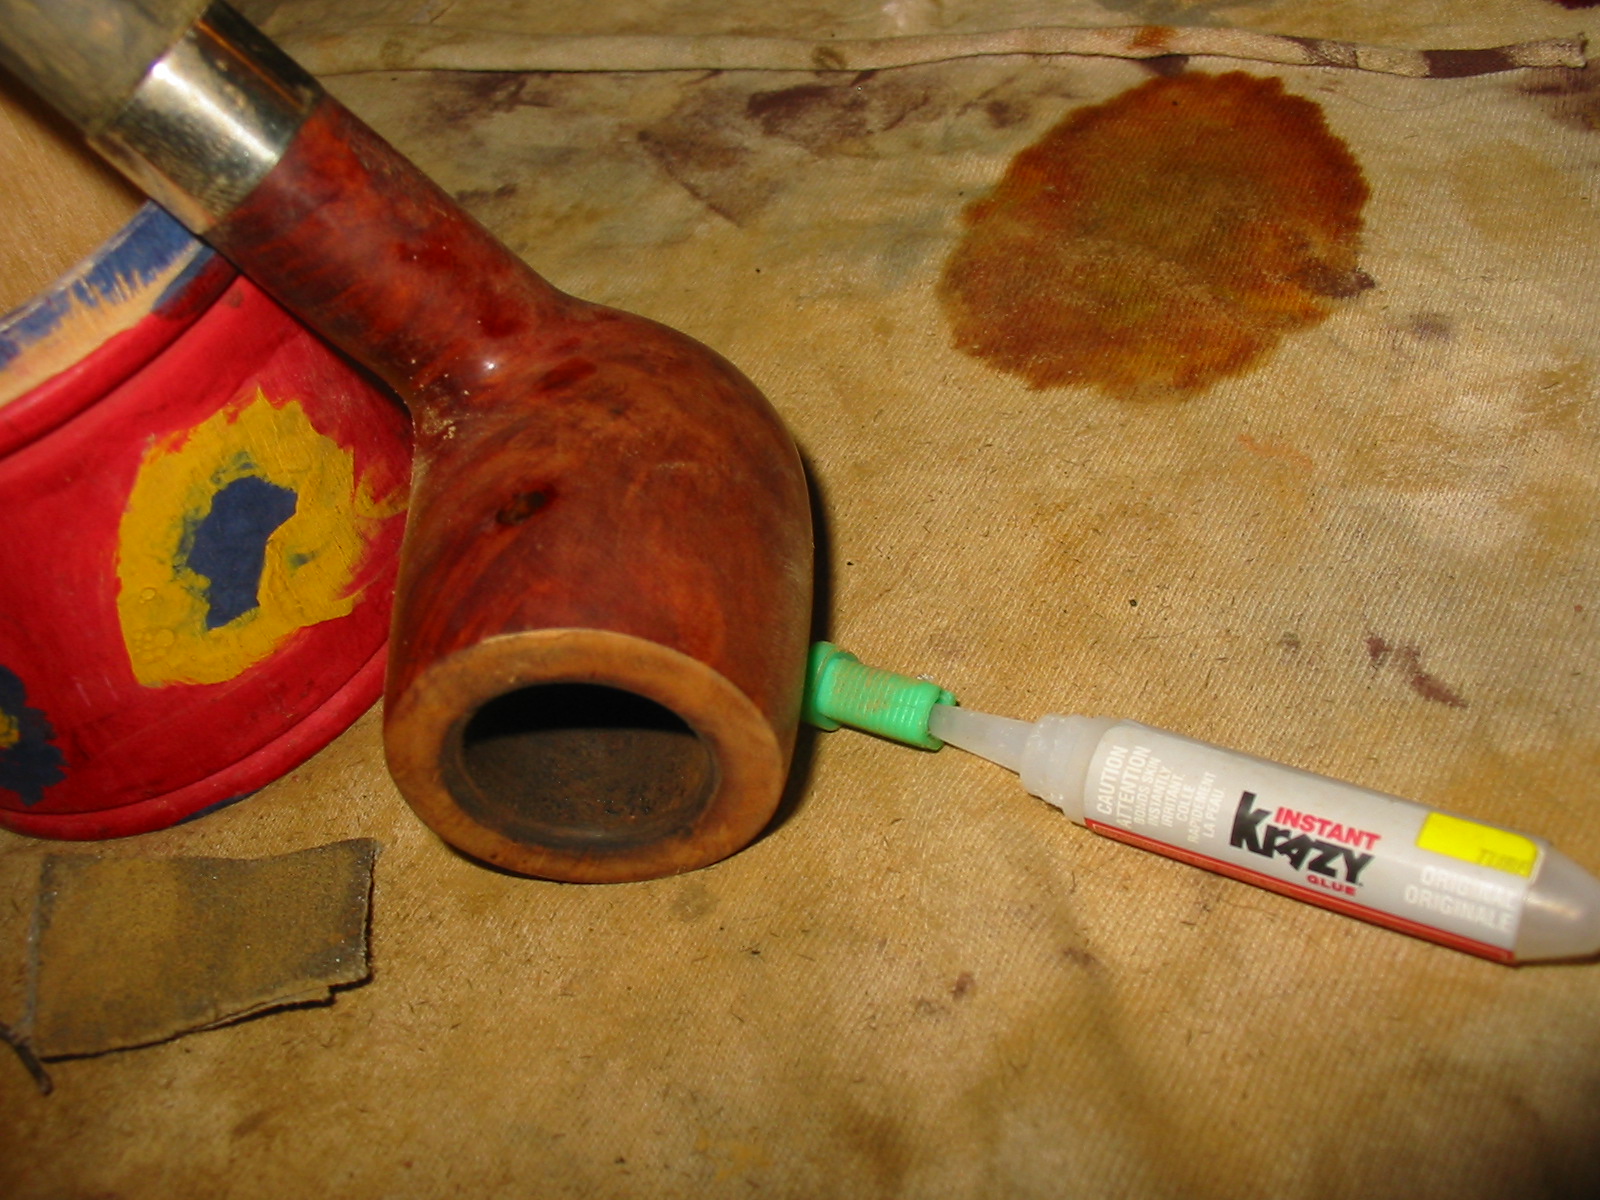
Category Archives: Pipe Refurbishing Essays

Essays and pictorial essays on the art of refurbishing

GBD New Standard Reborn


Blog by Greg Wolford

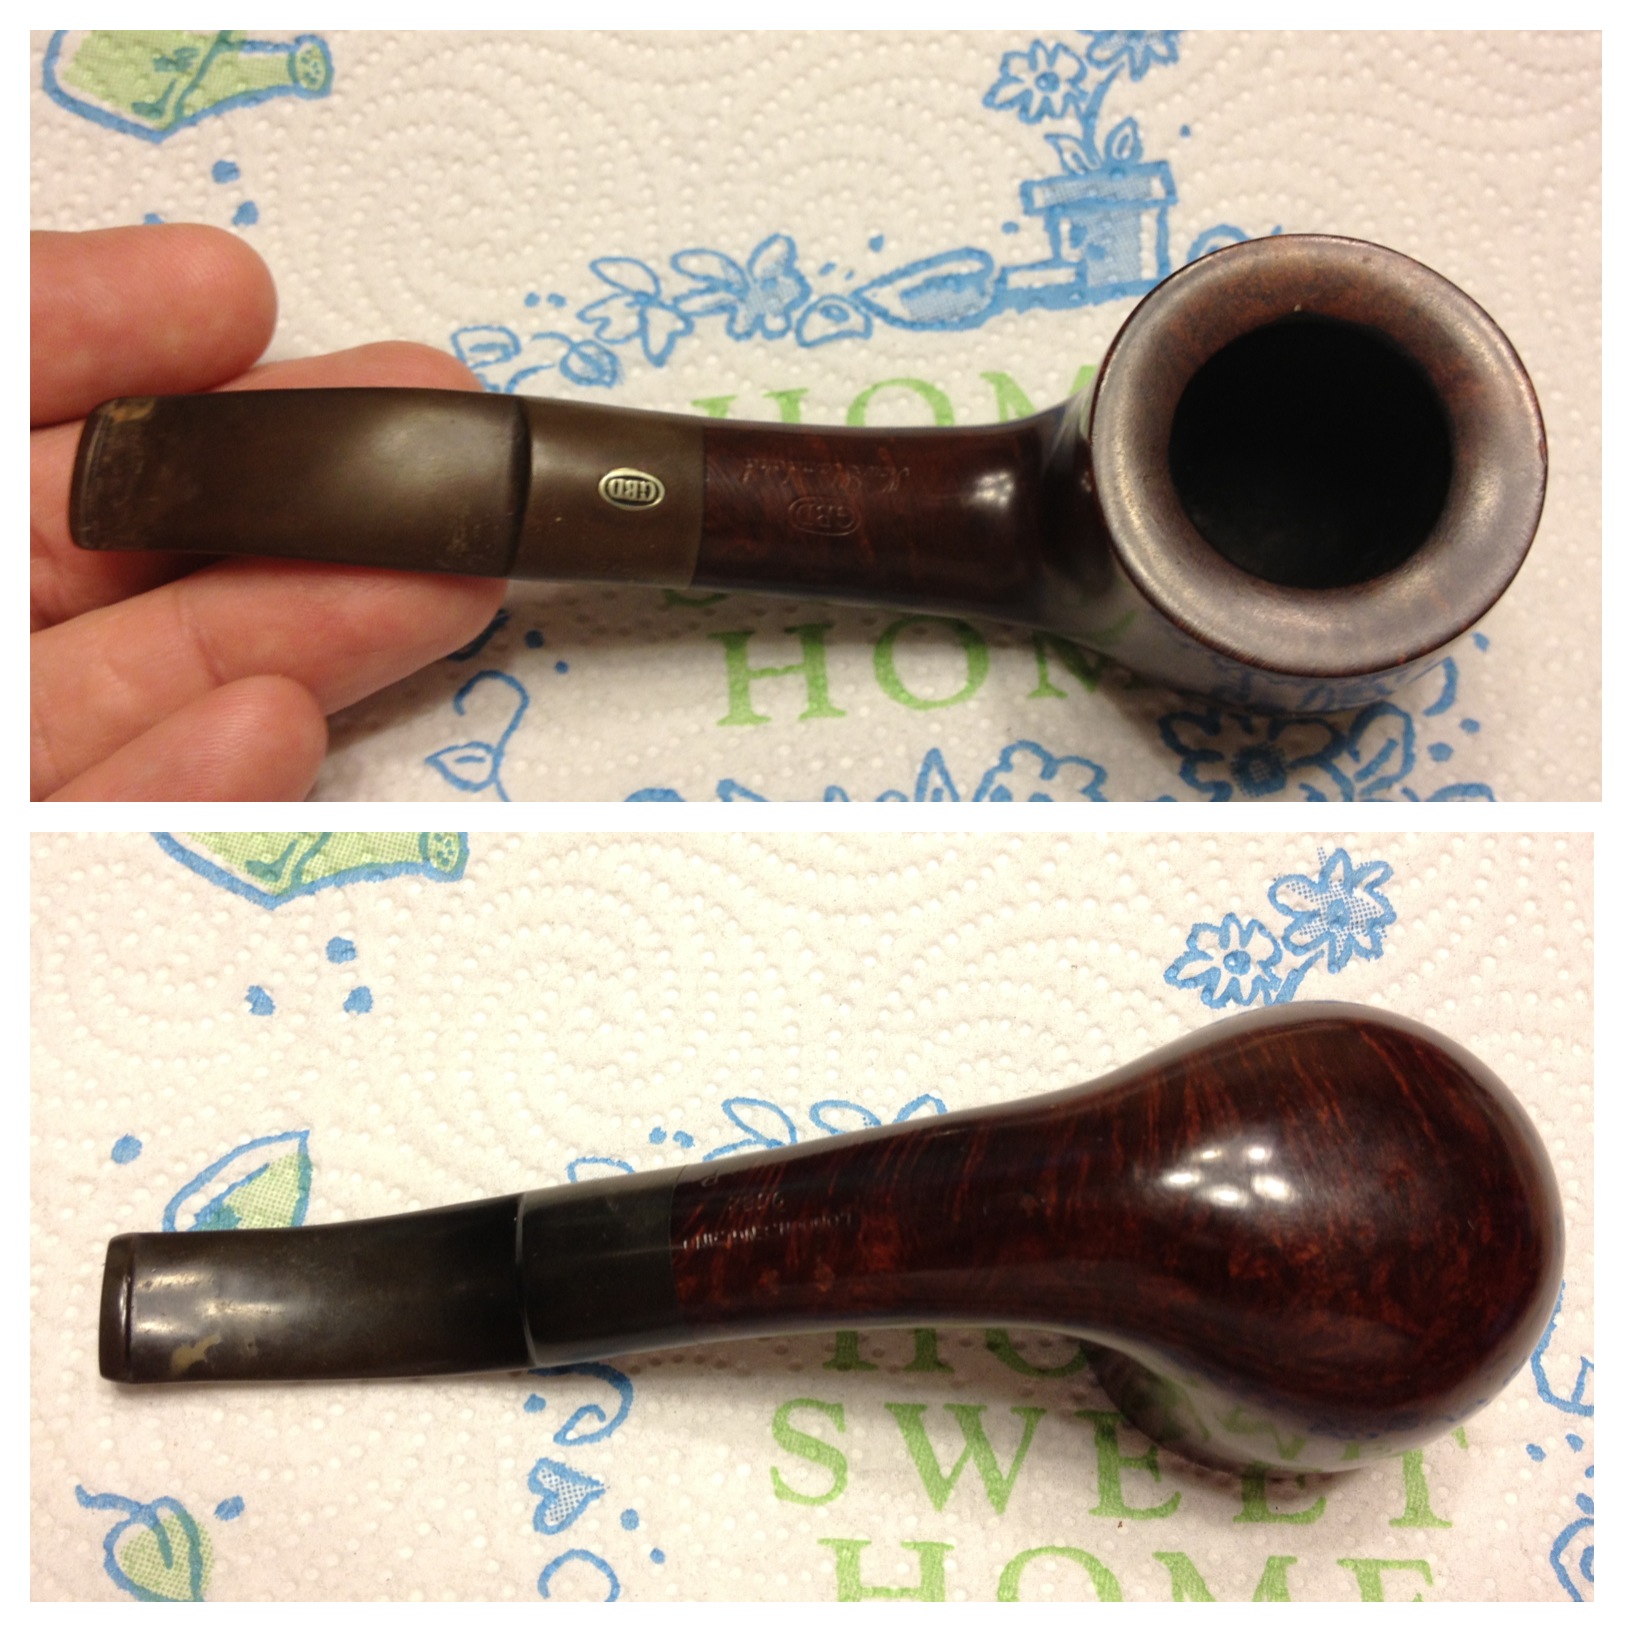
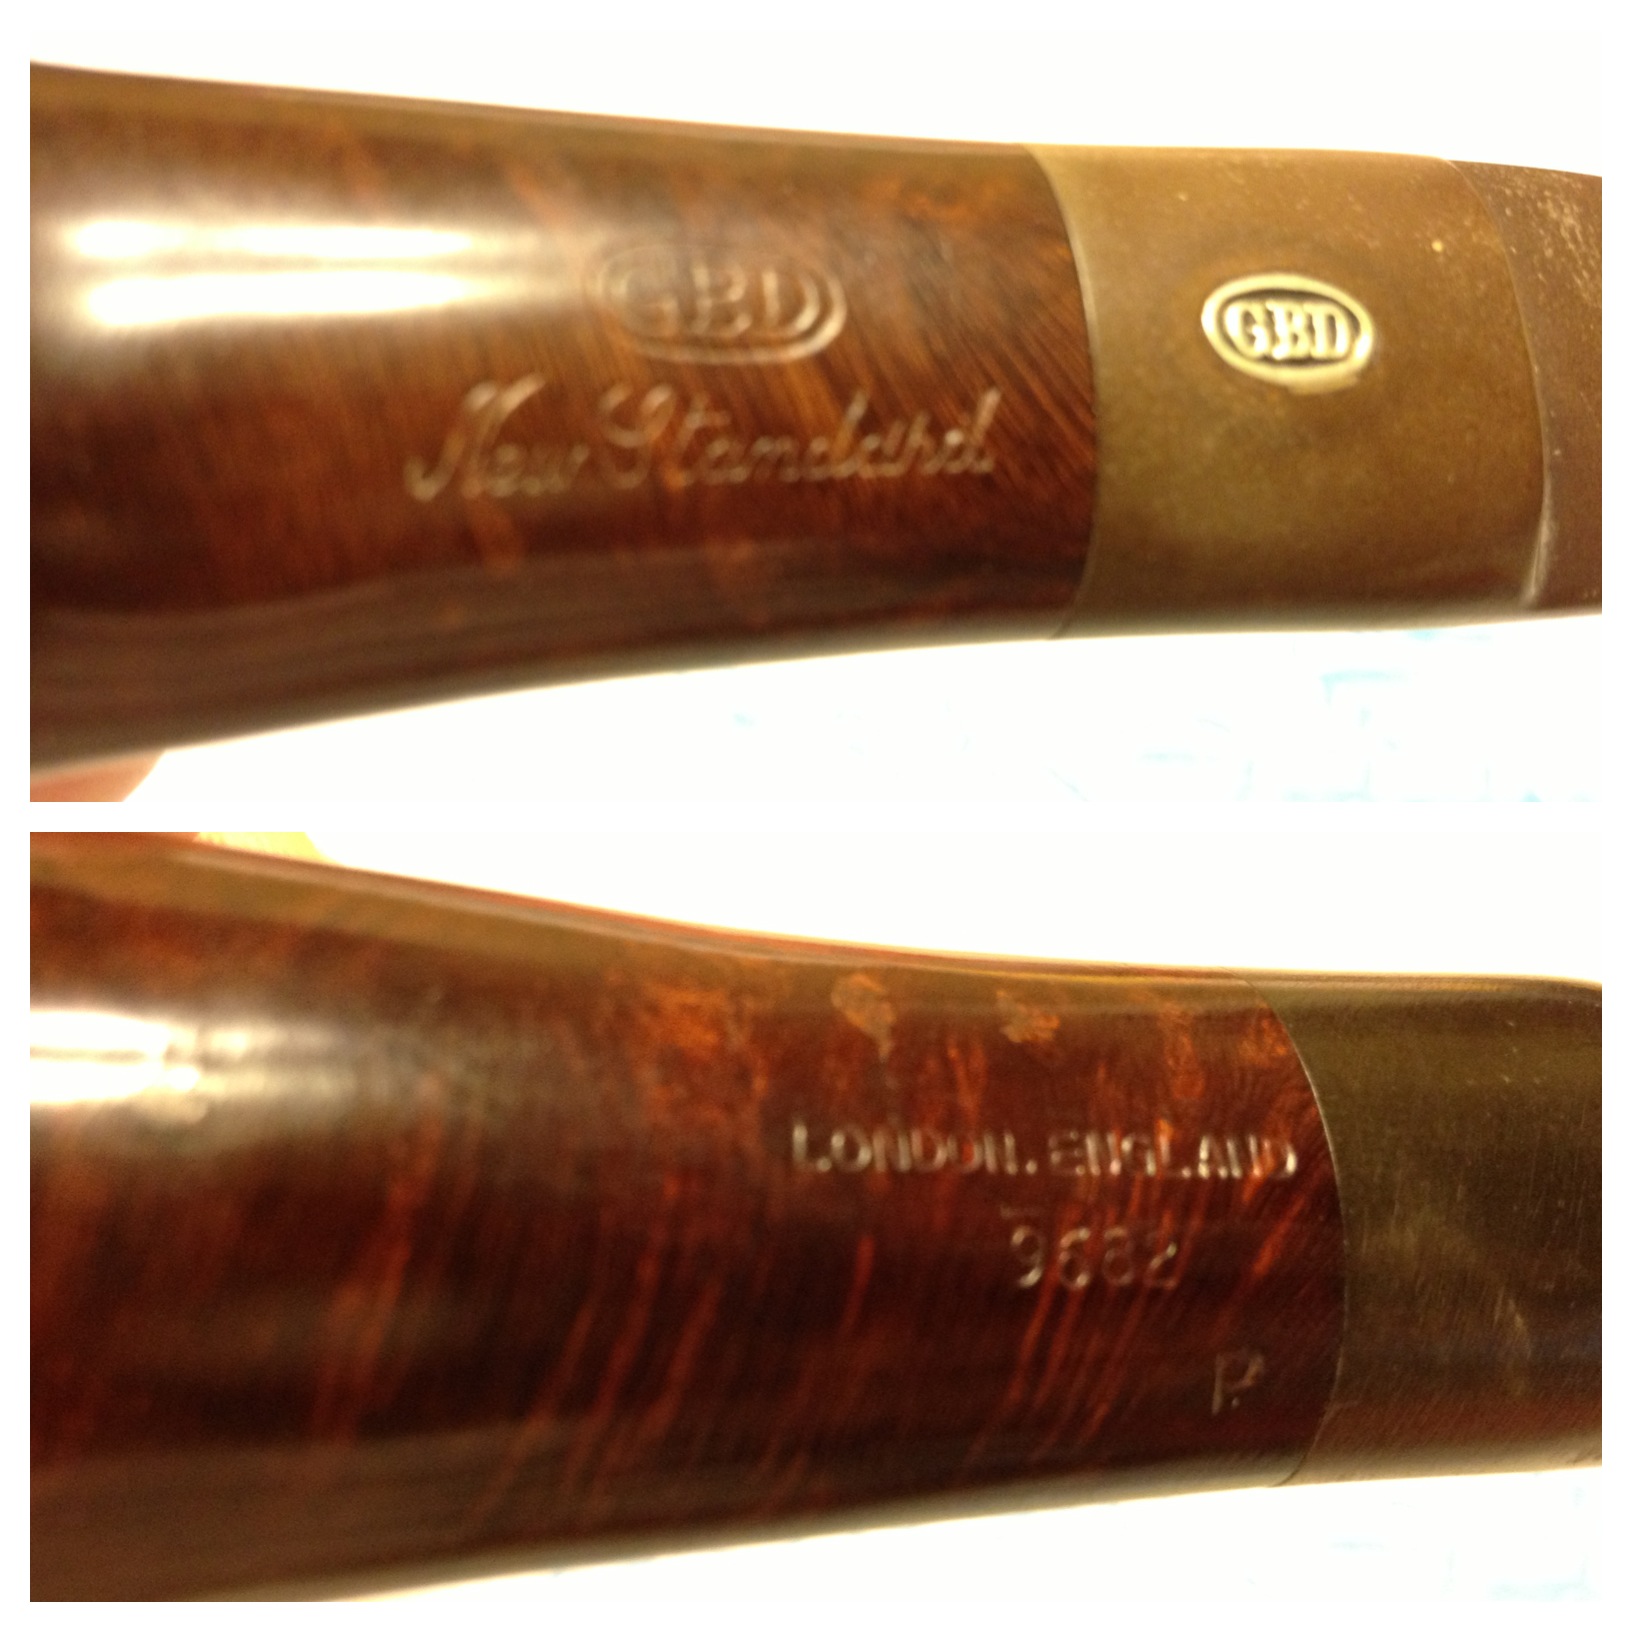
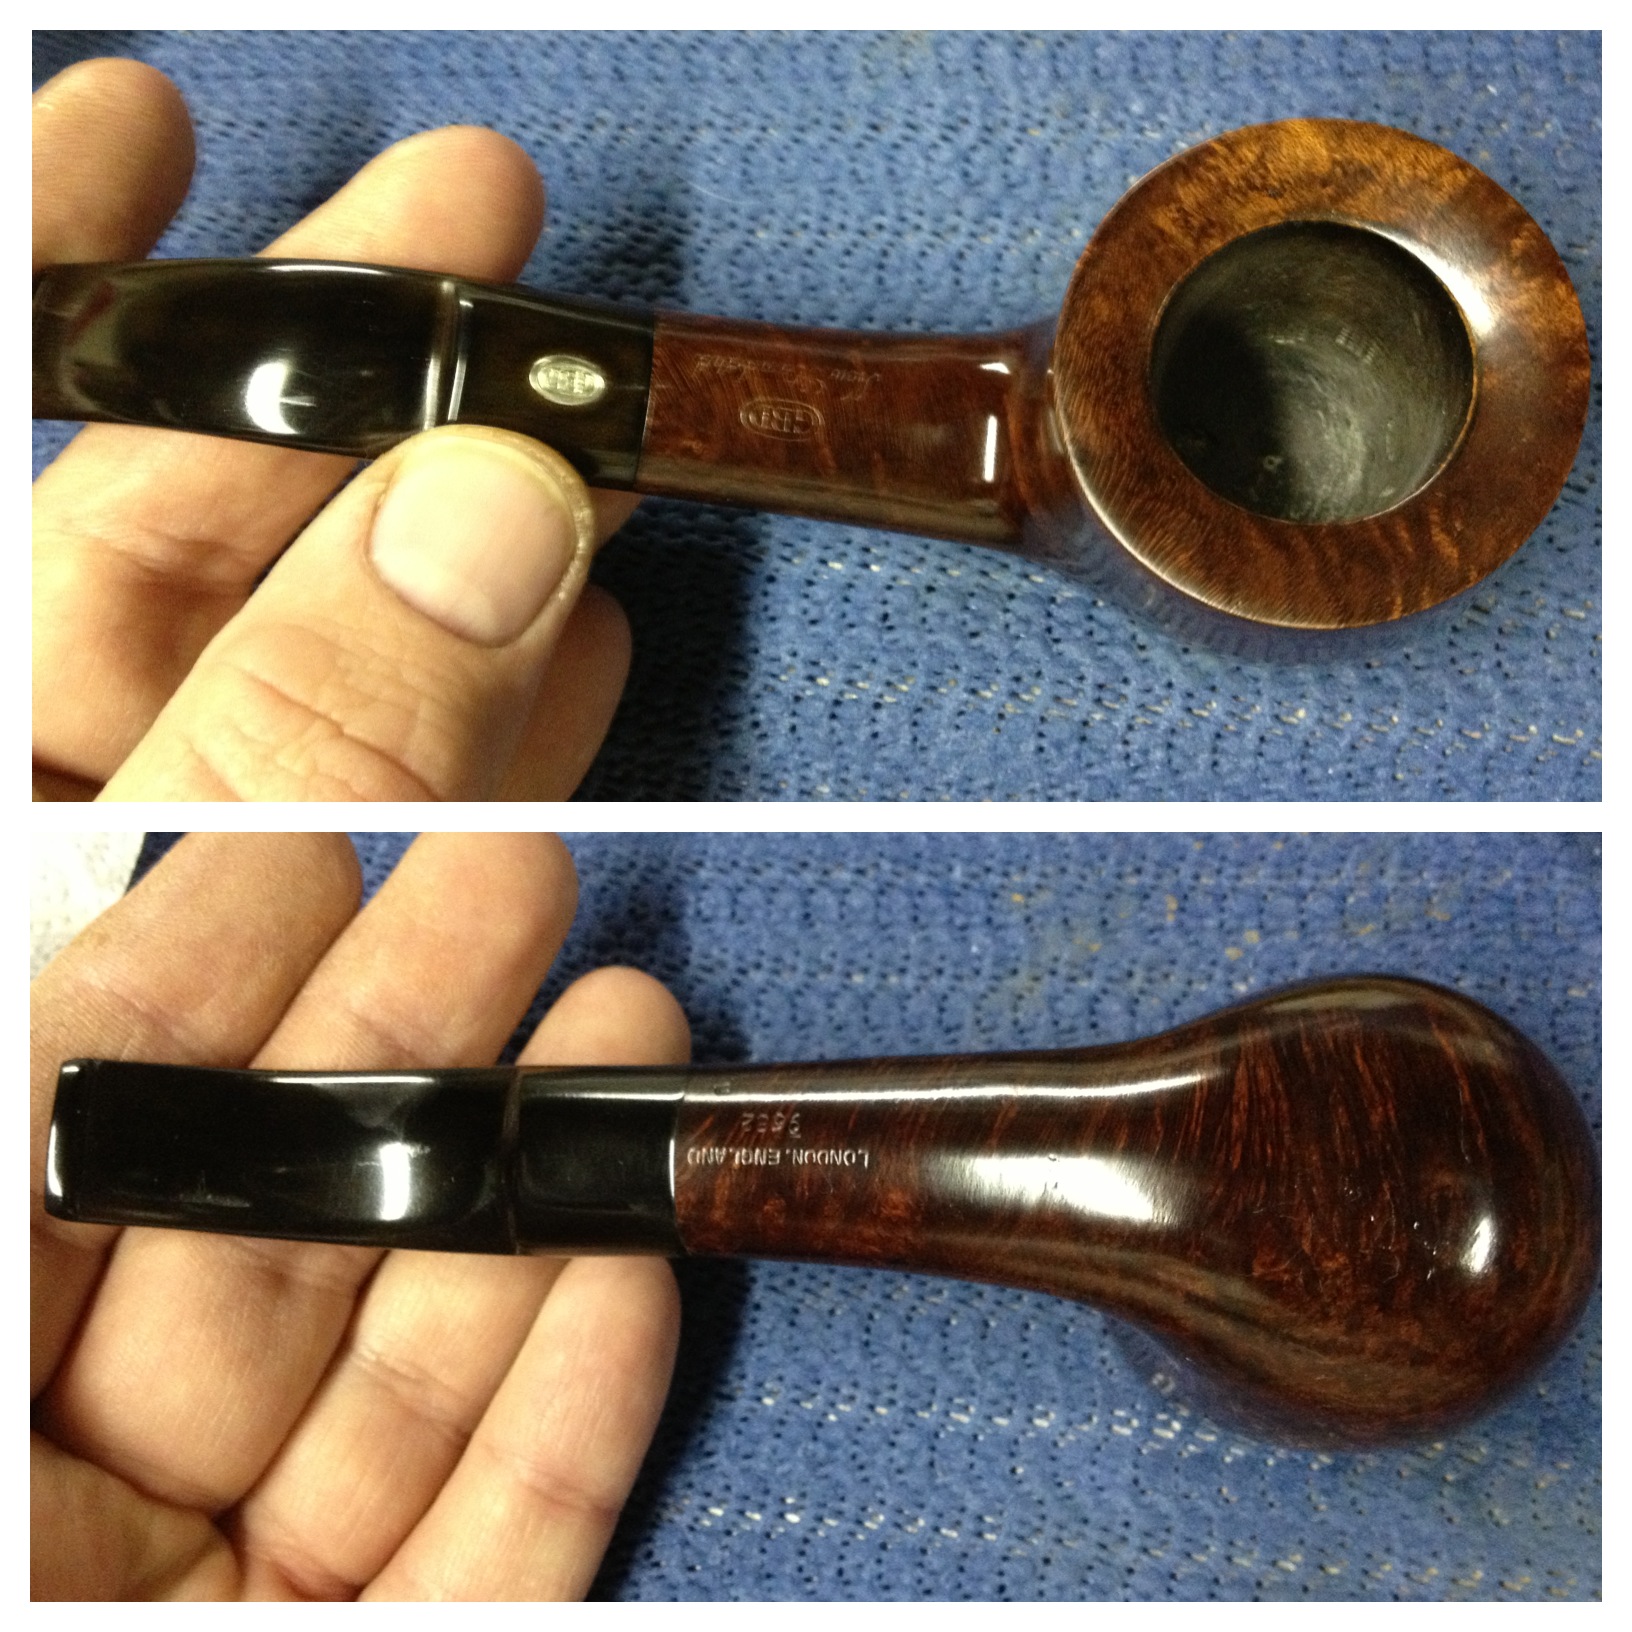
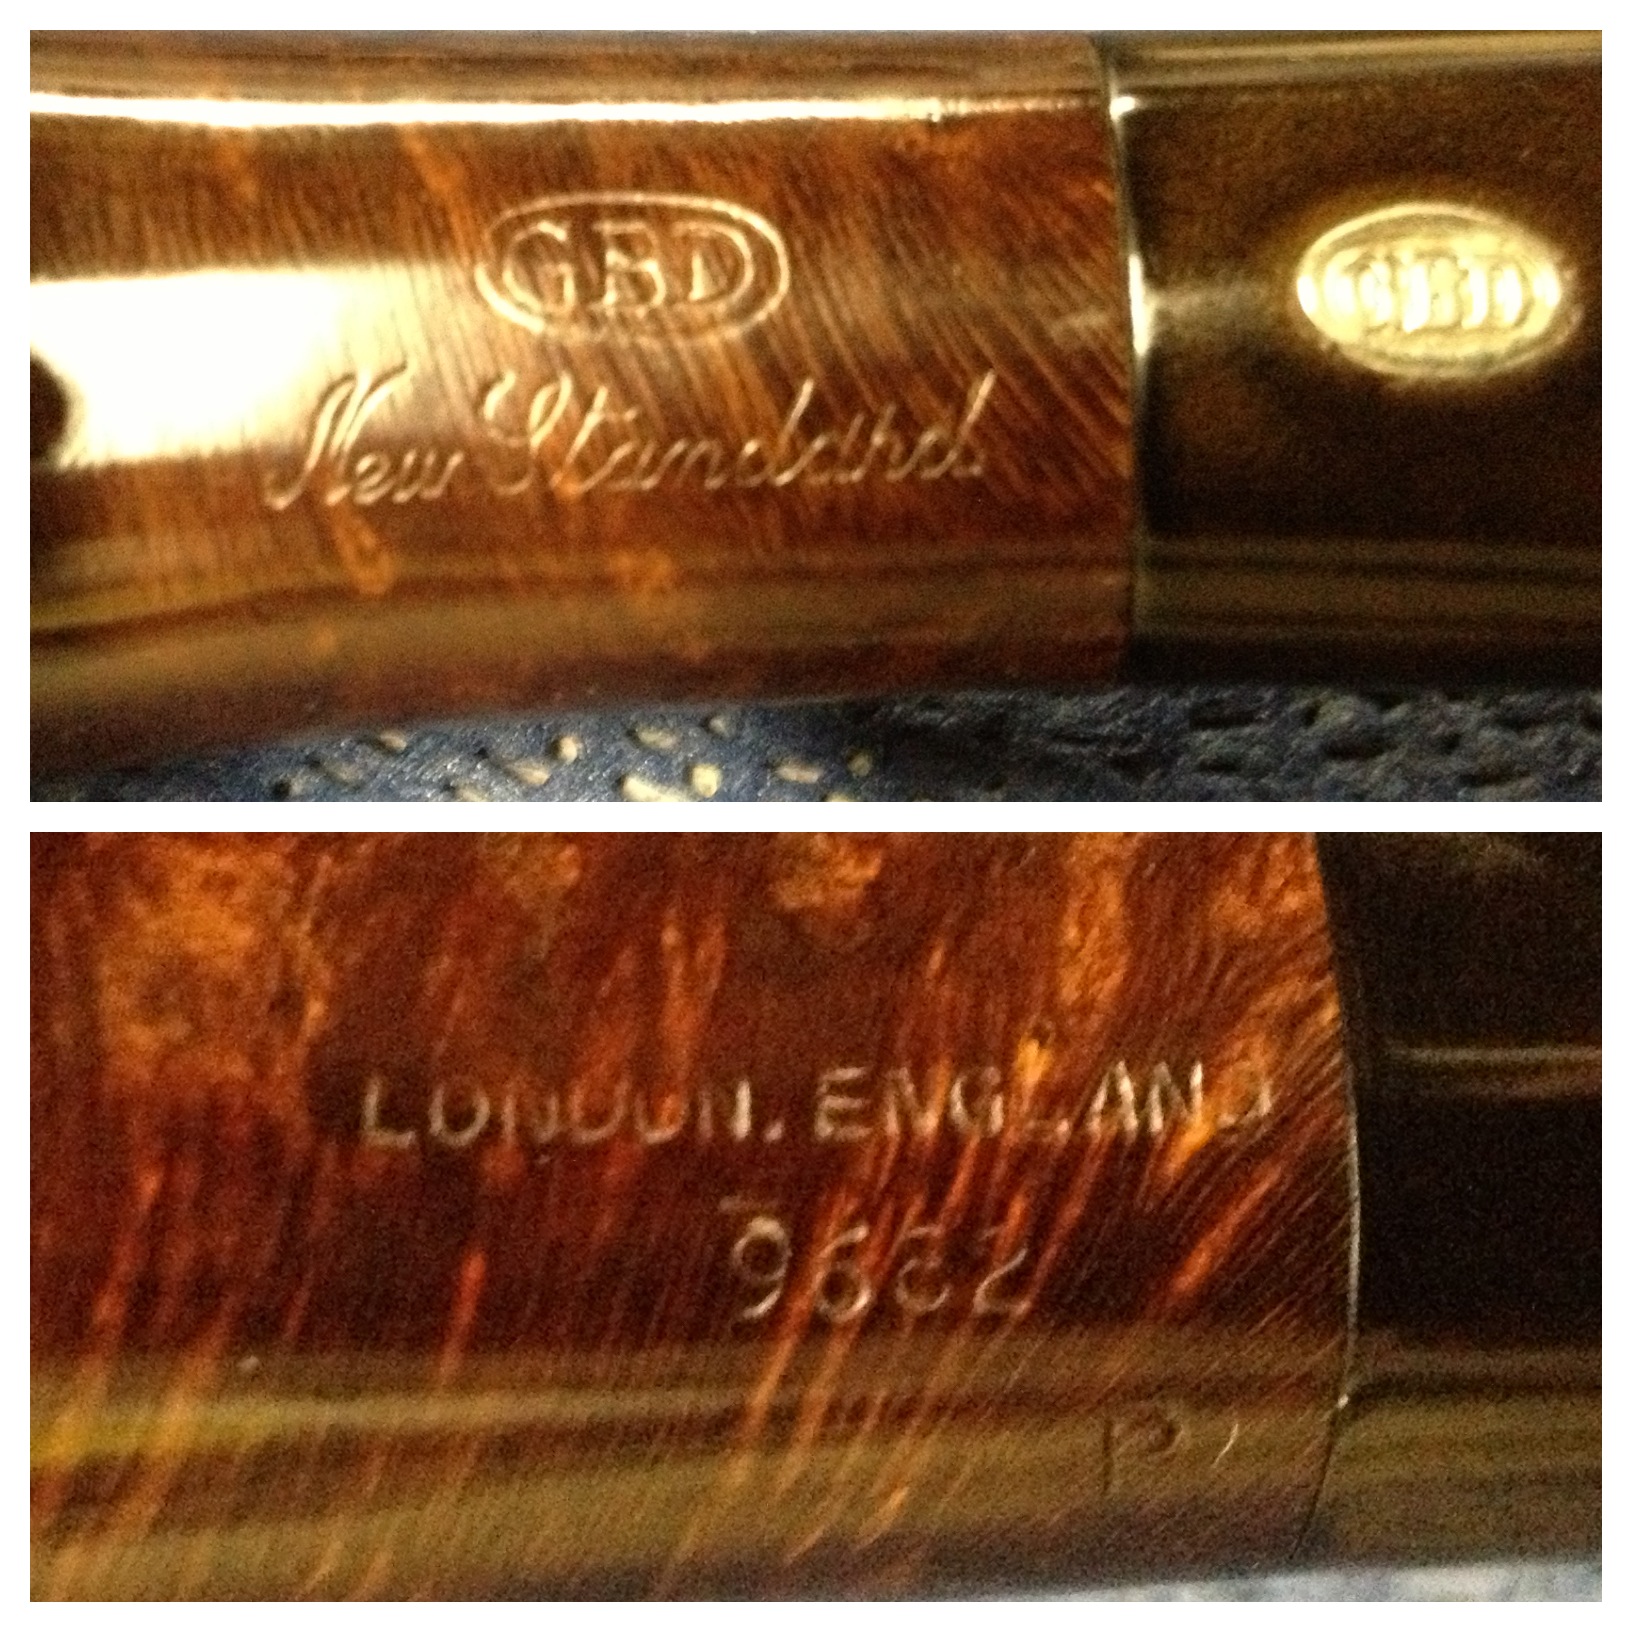
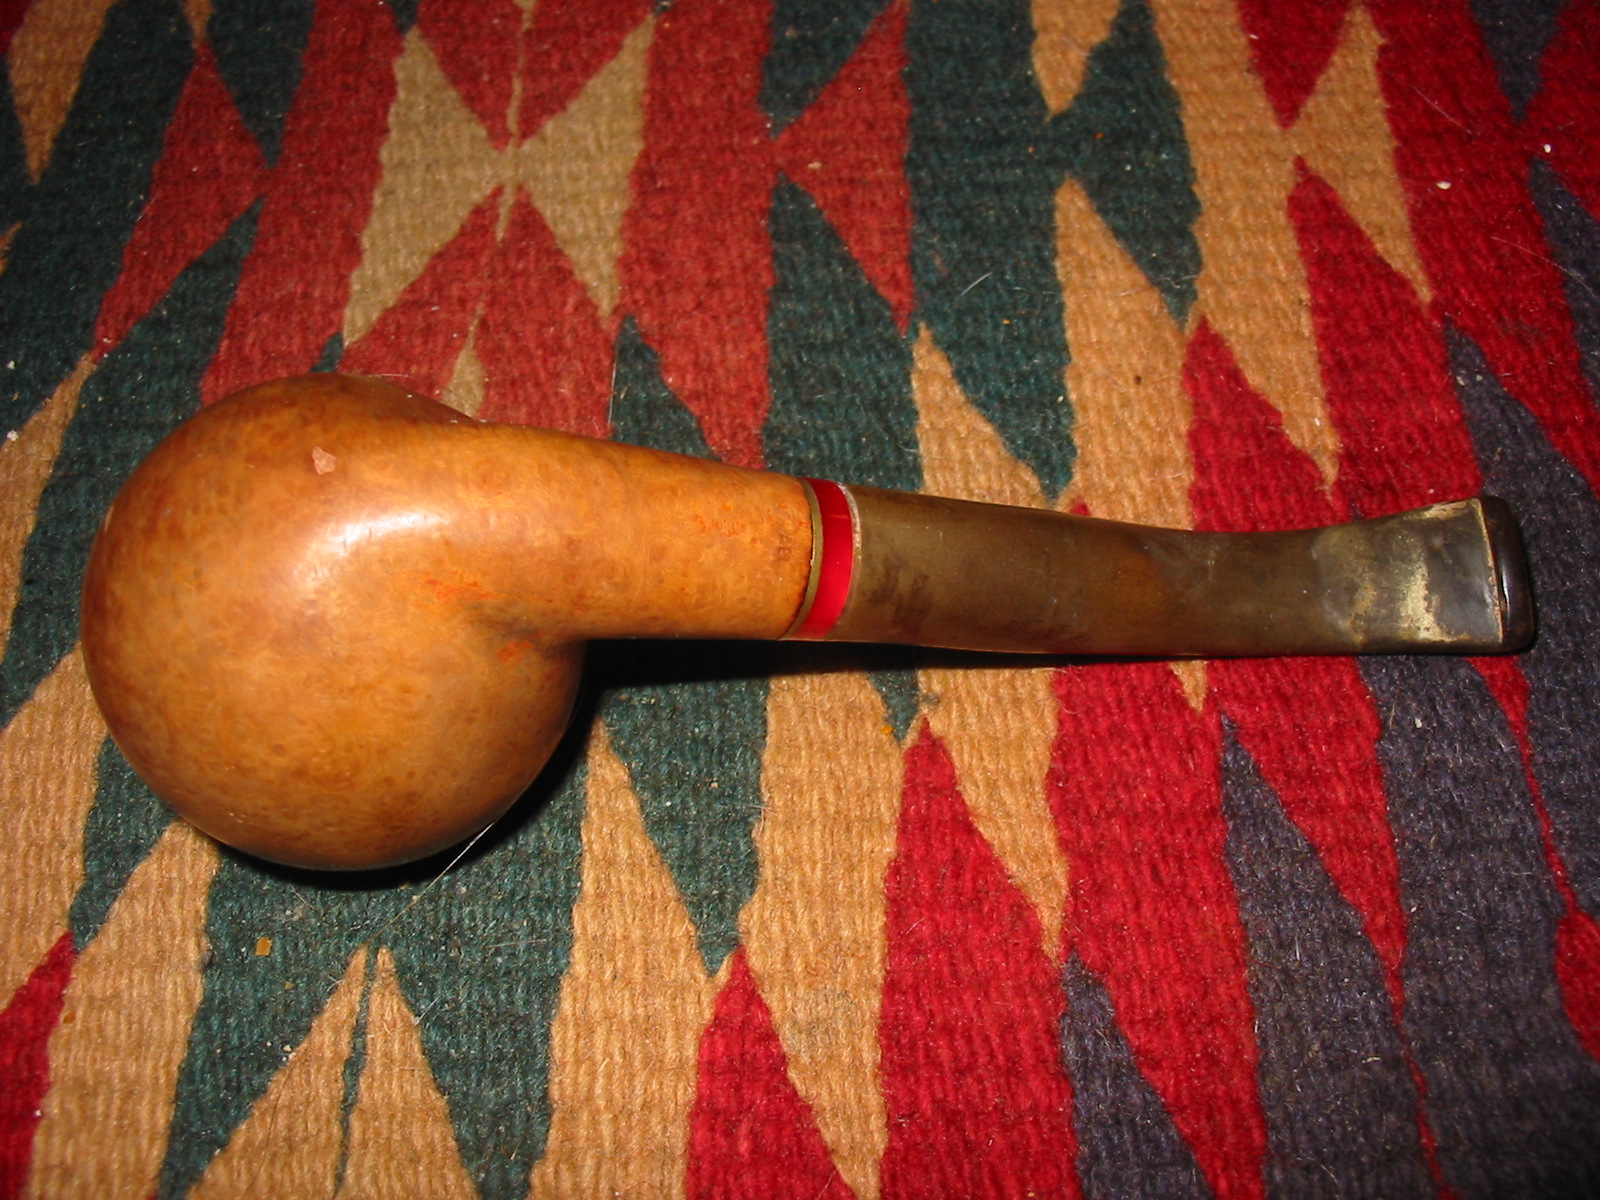
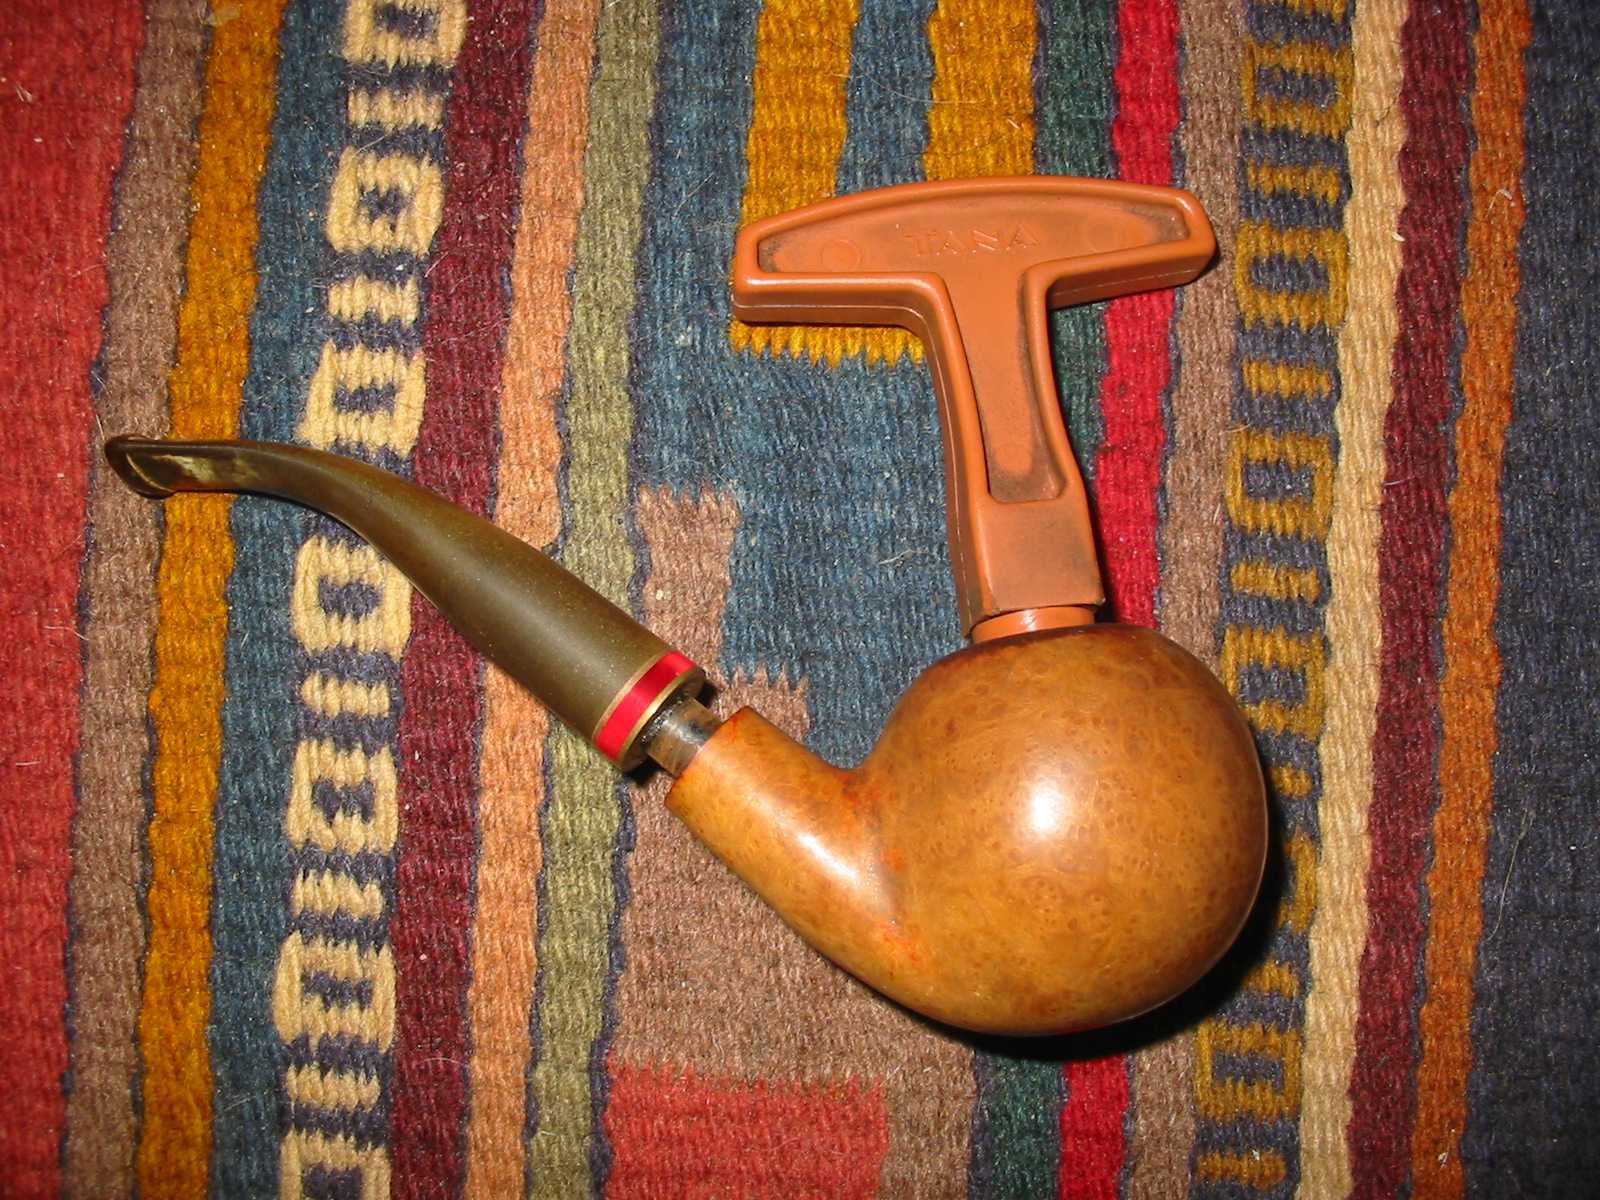
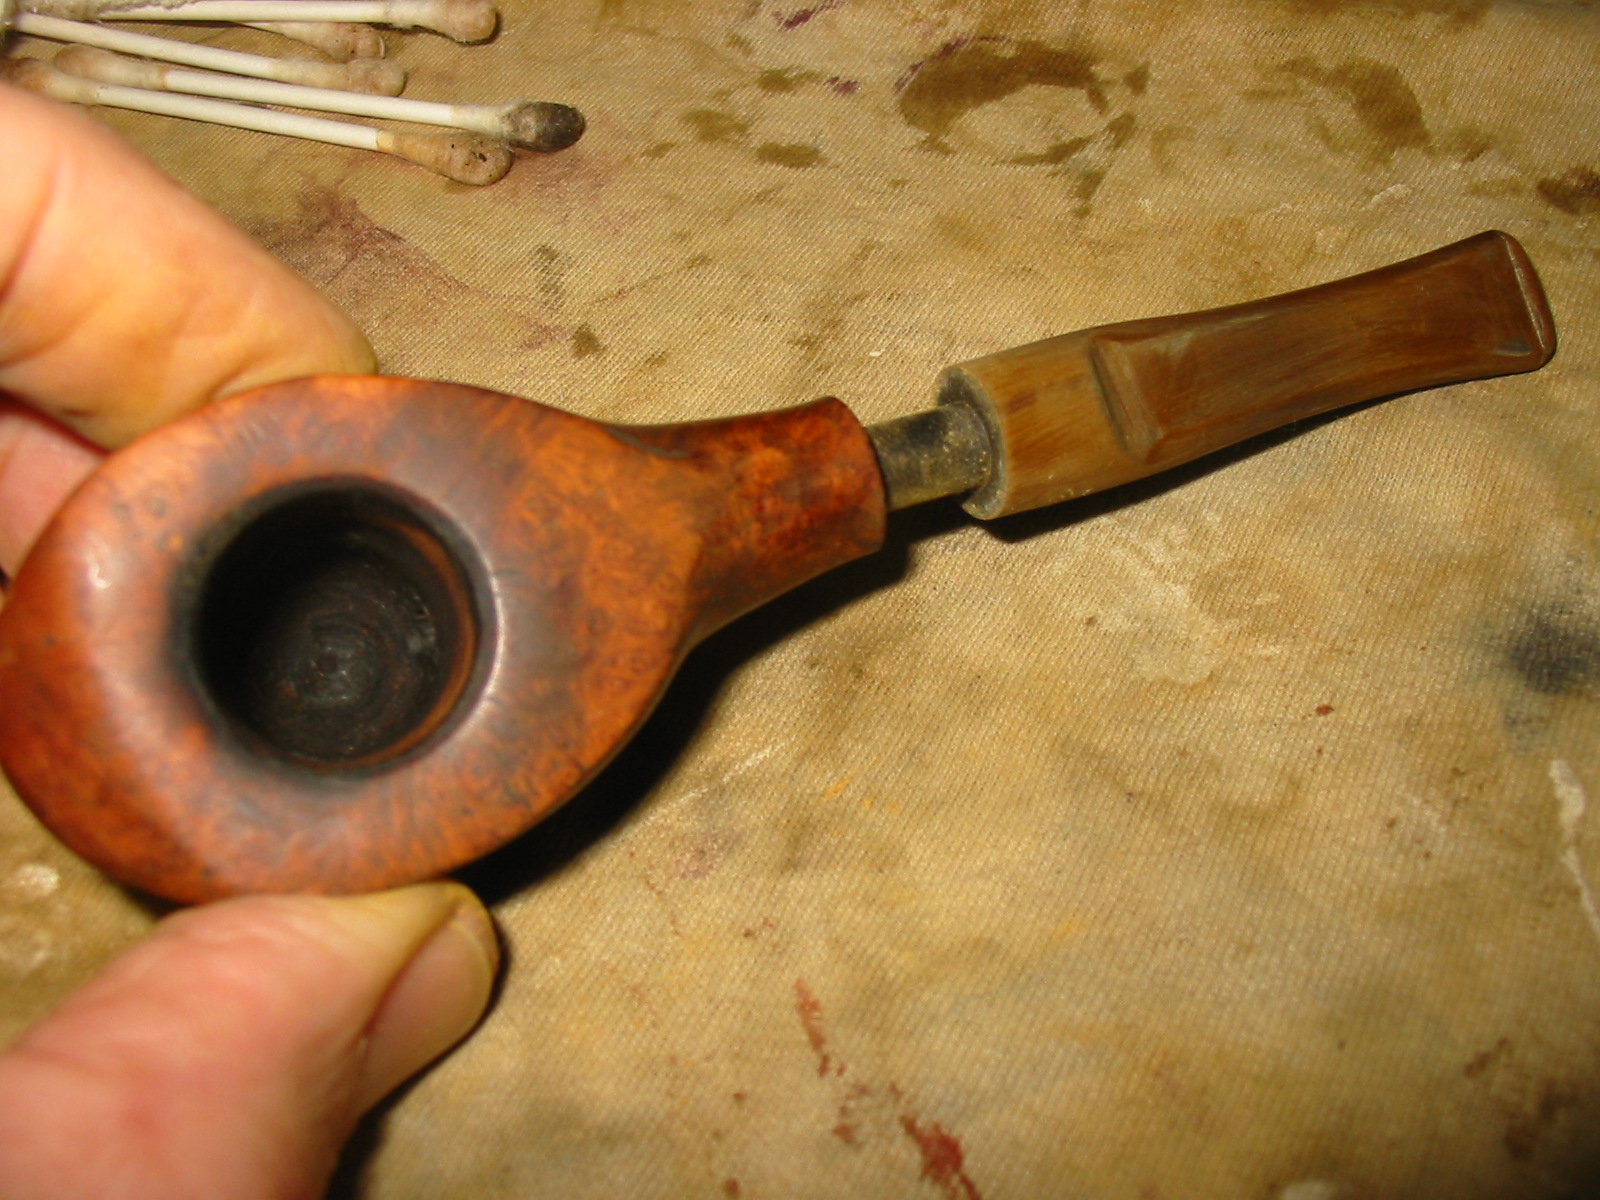
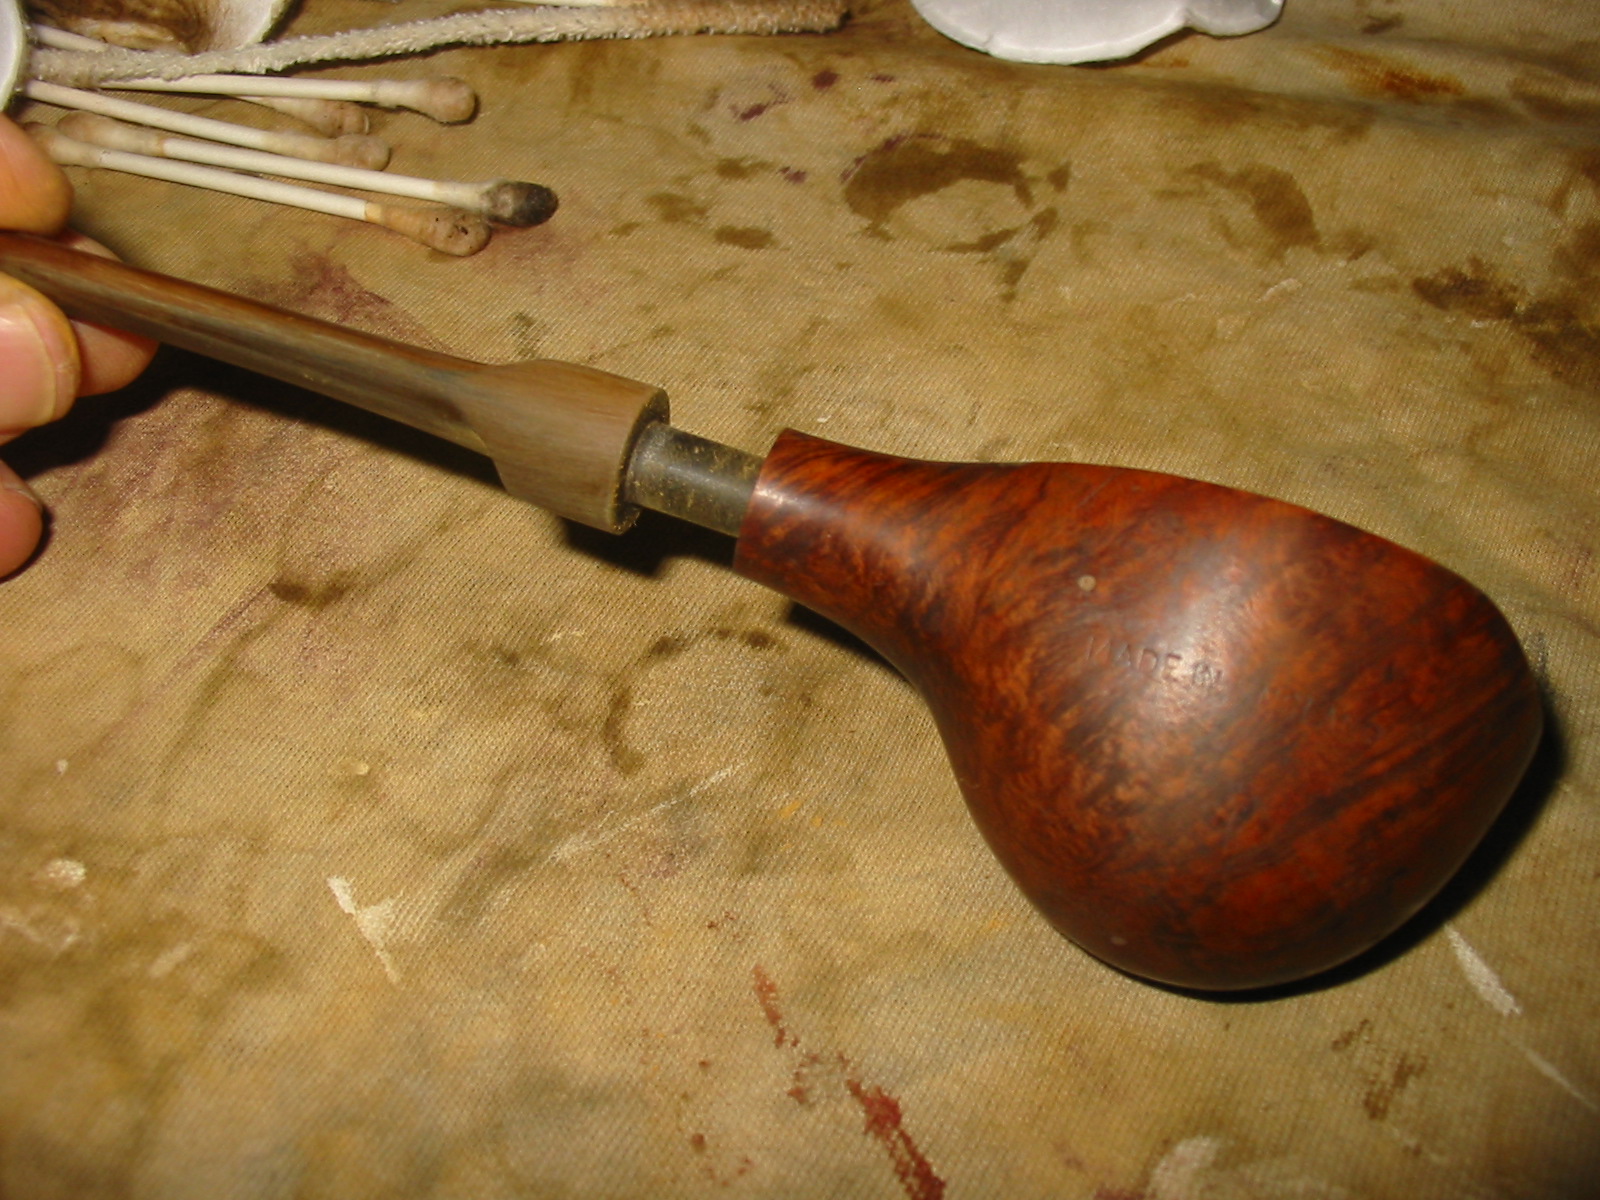
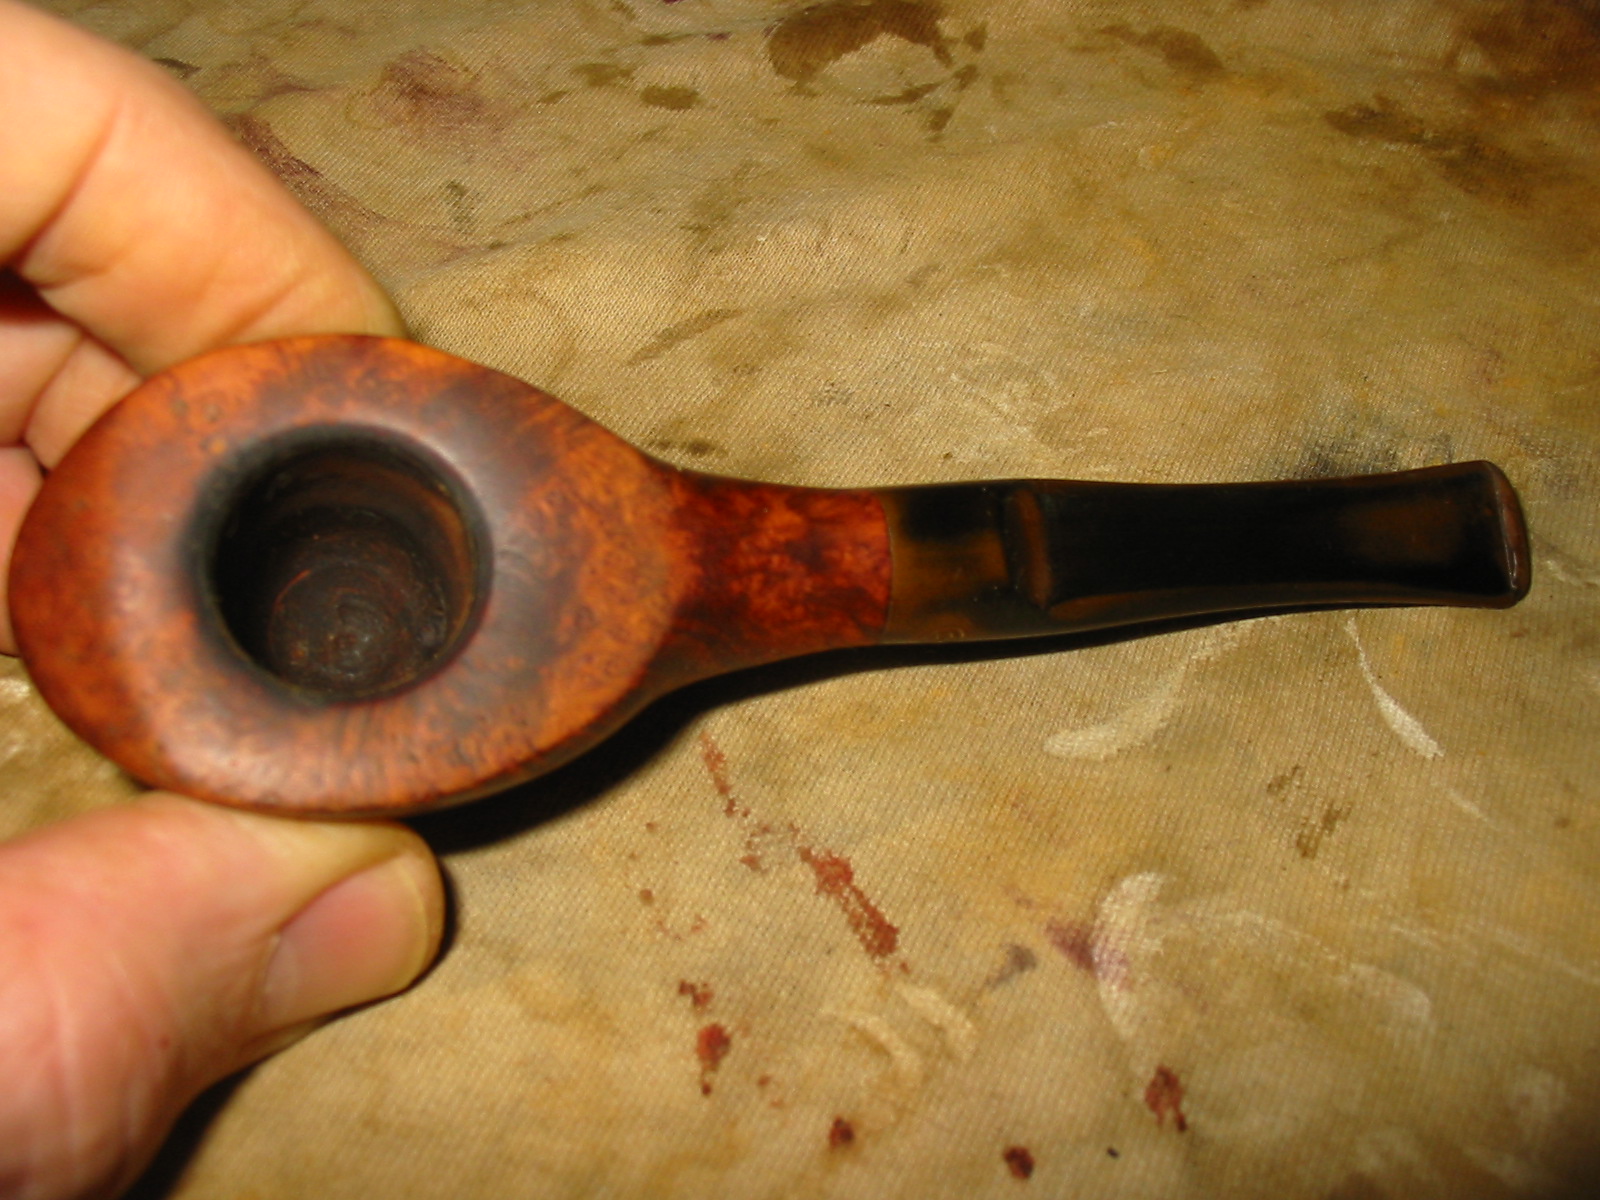
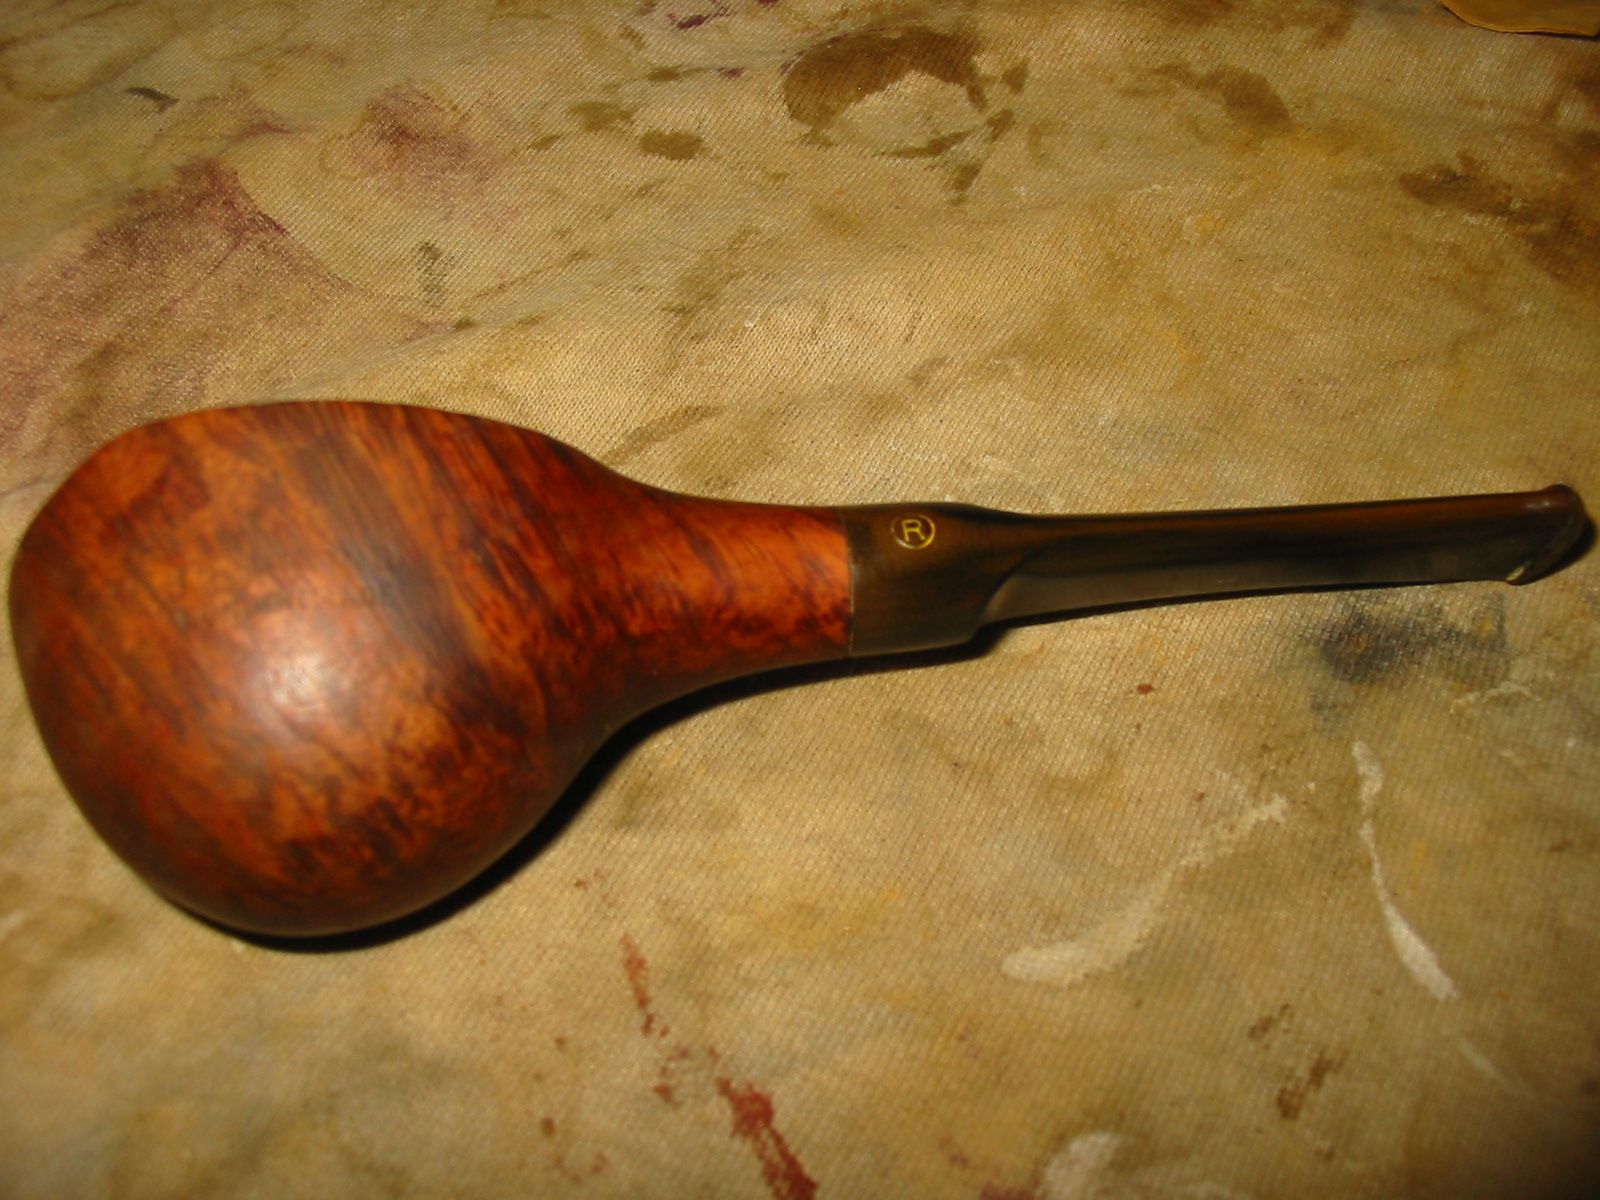
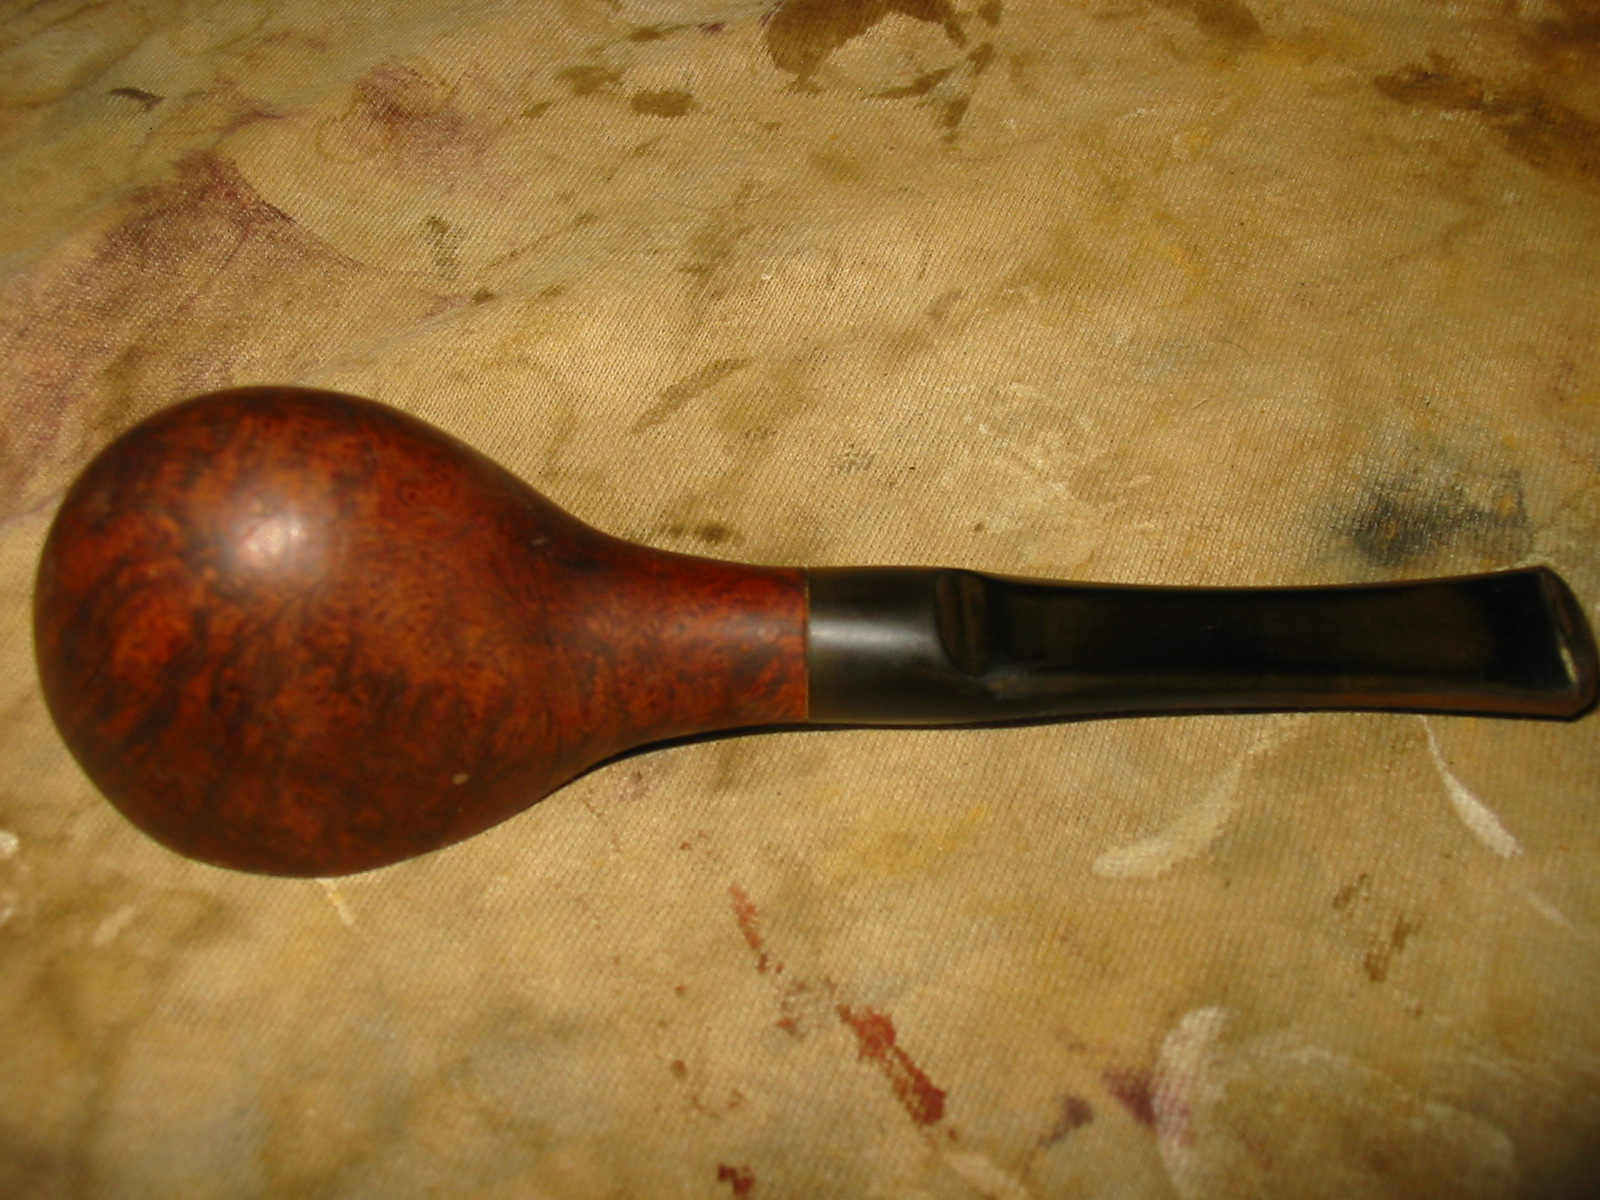
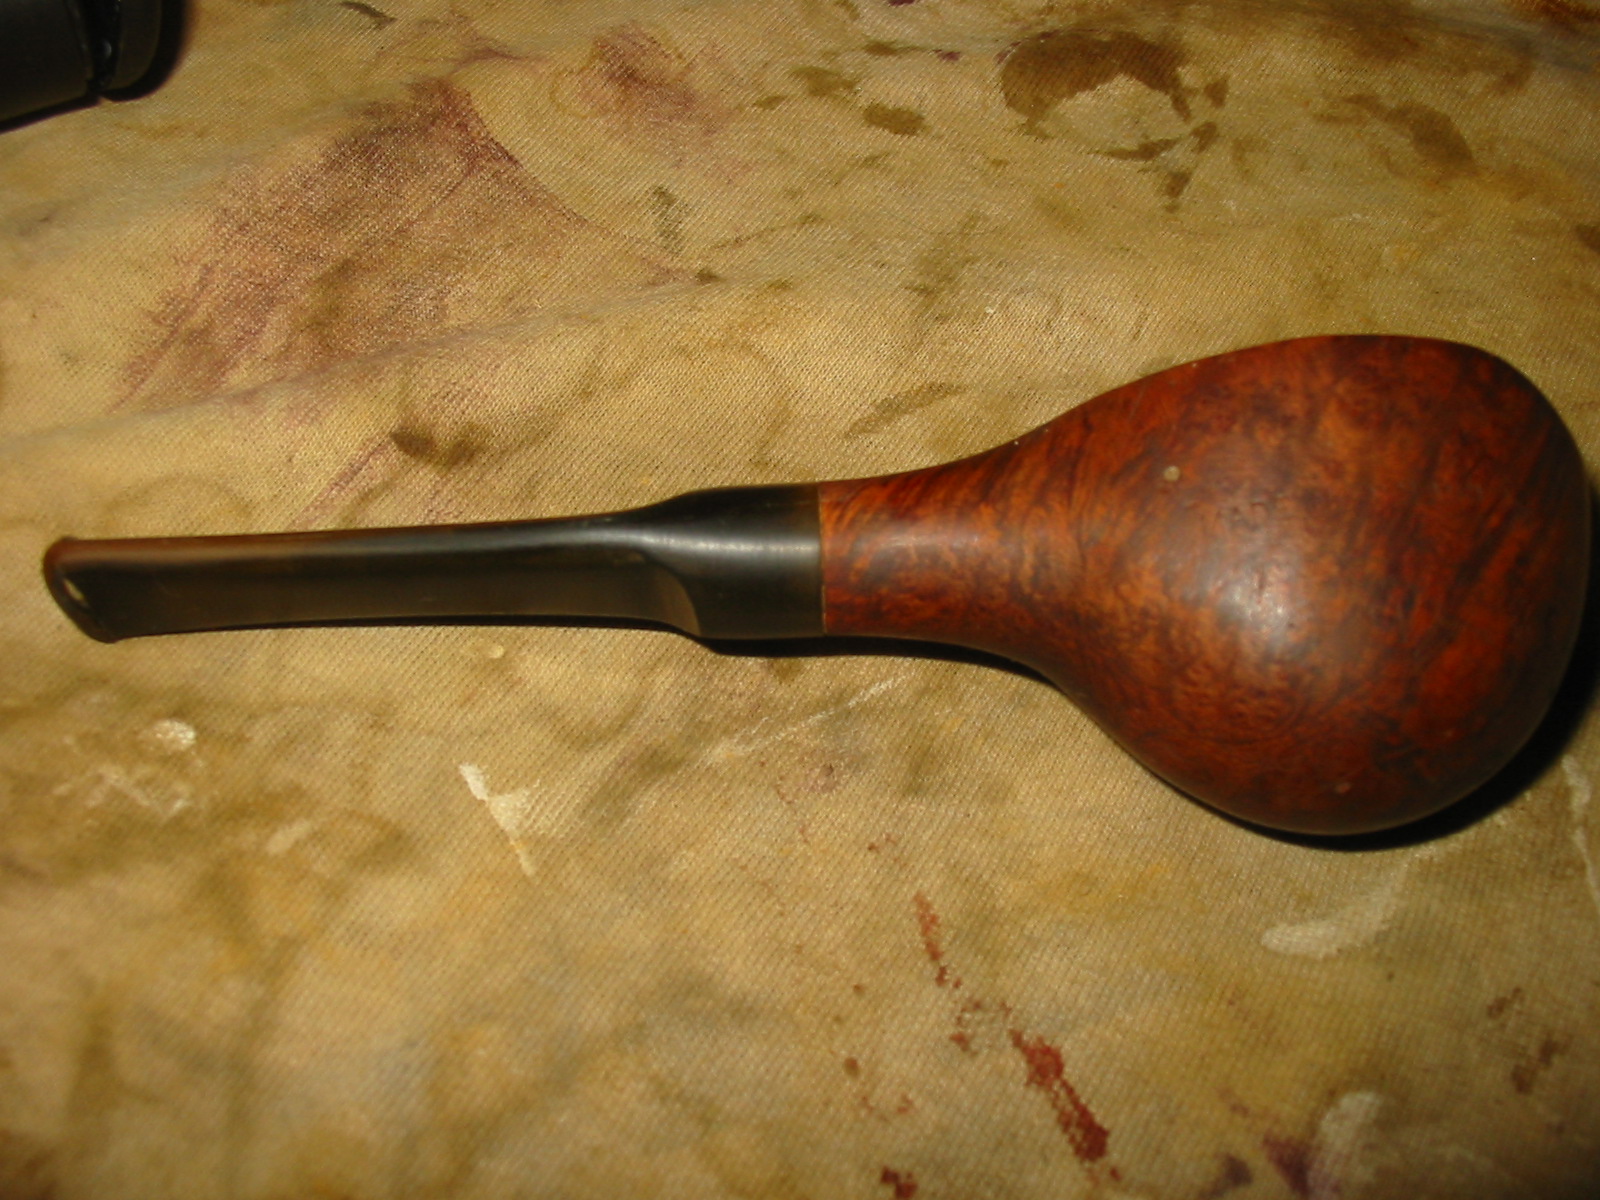
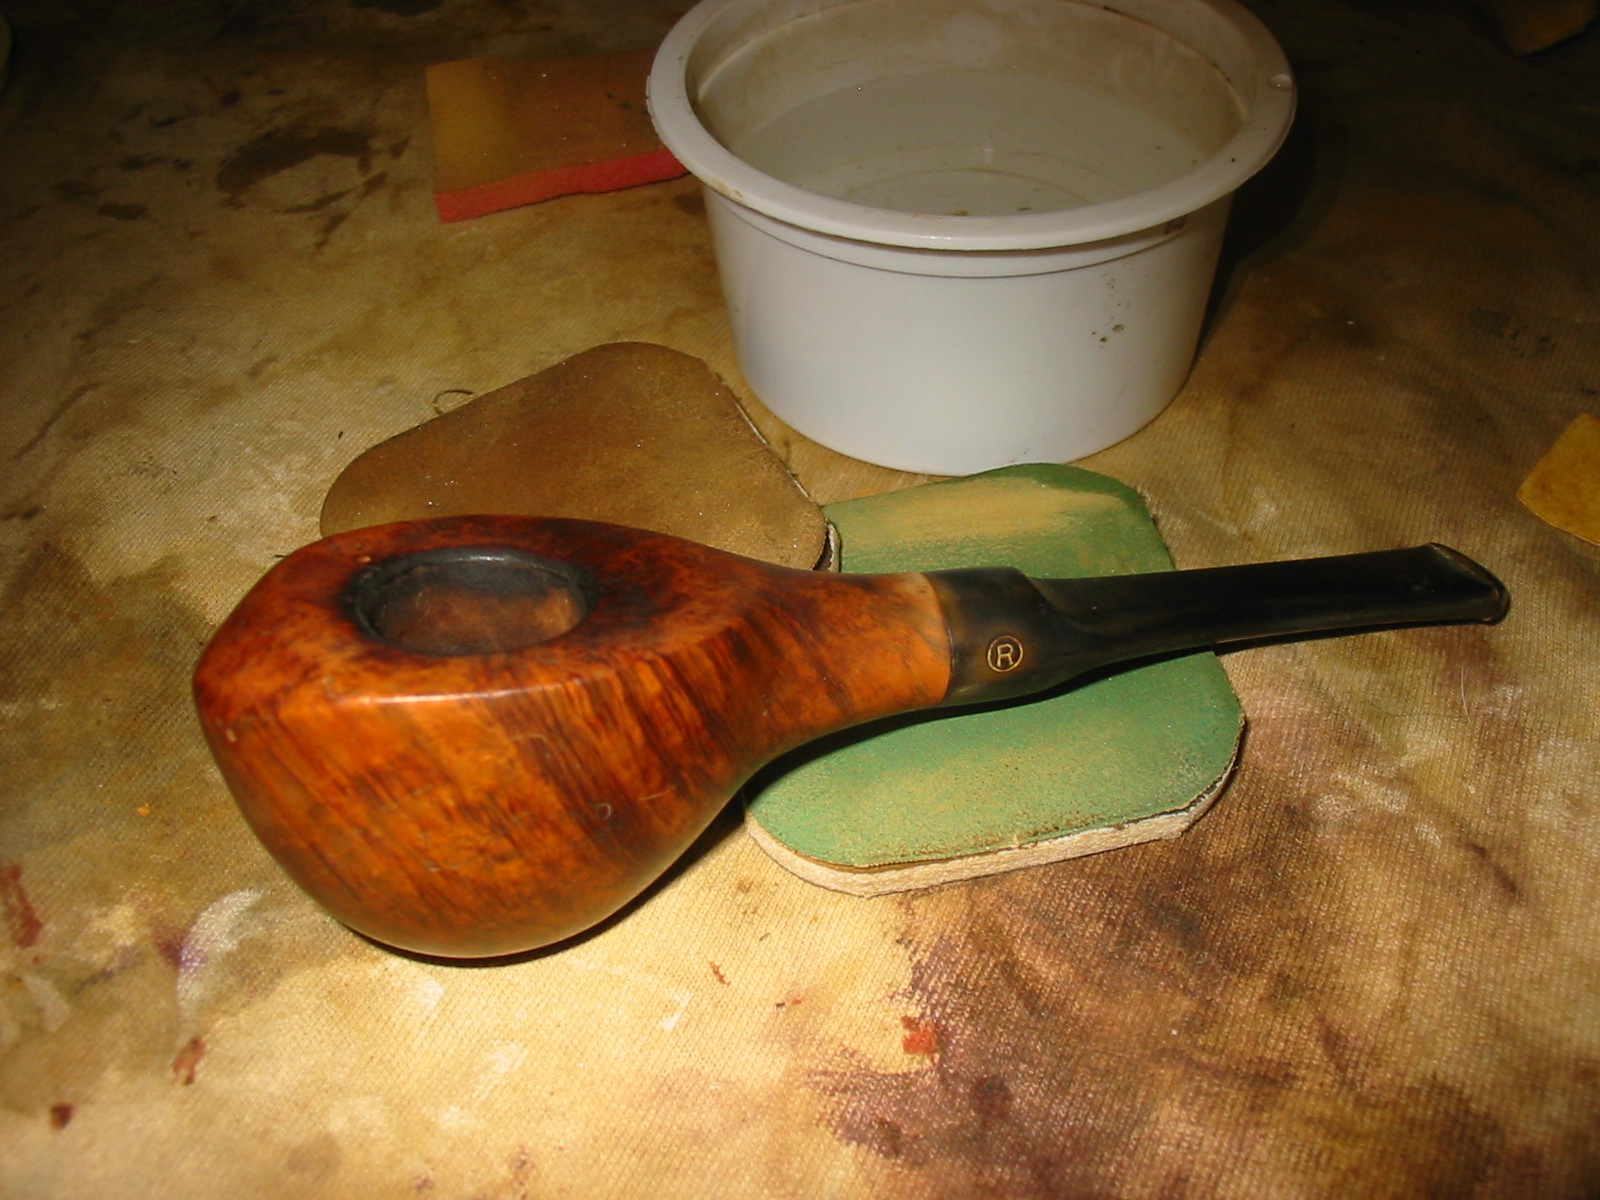
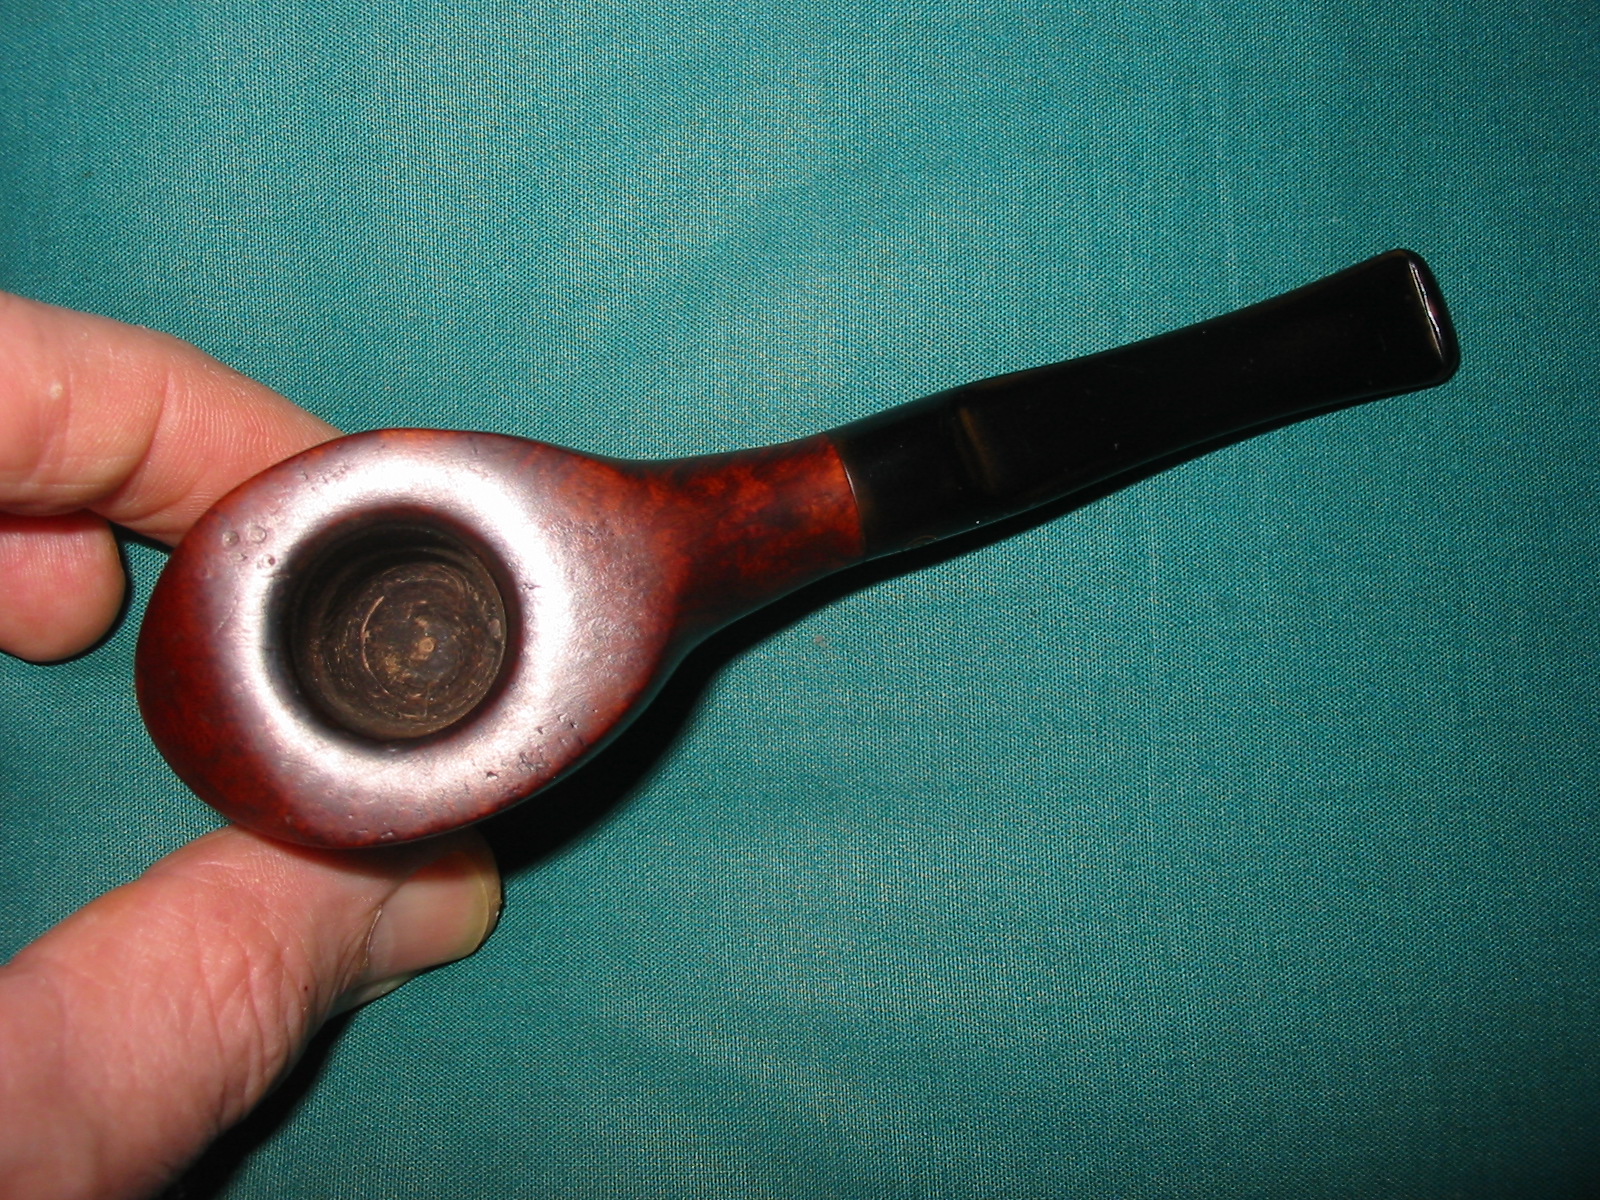
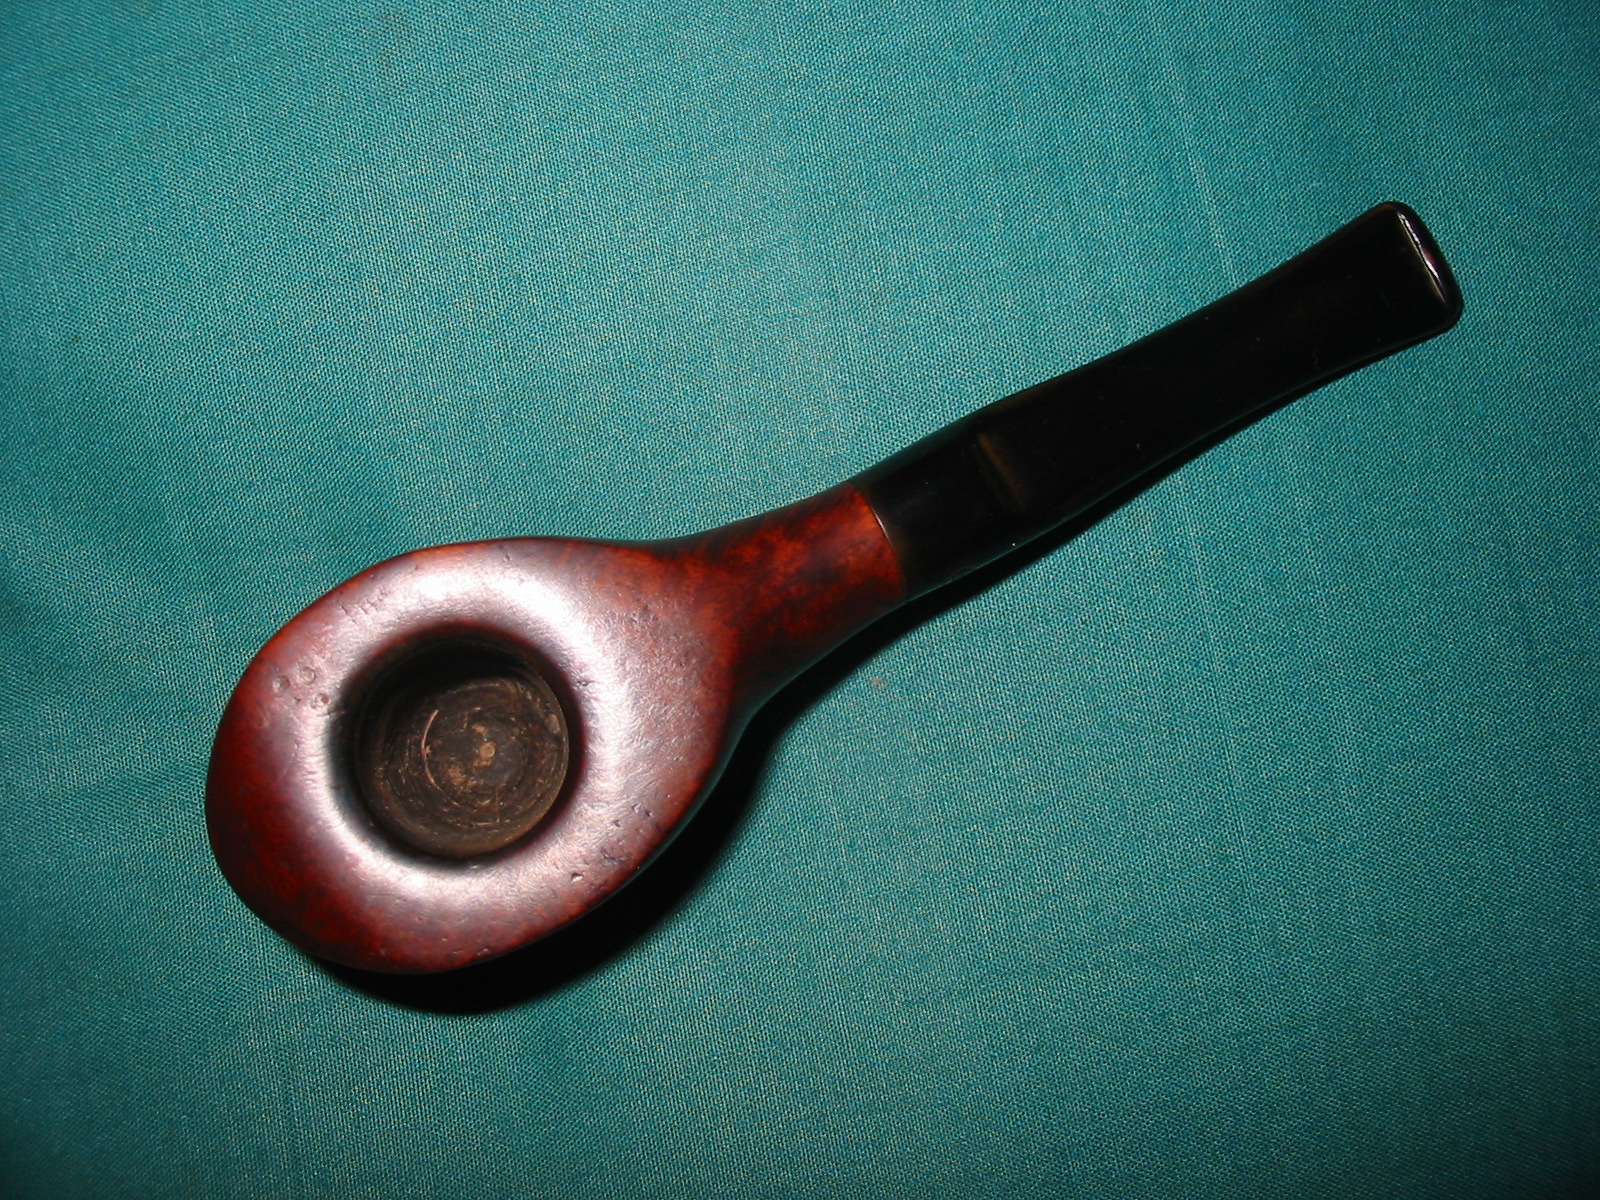
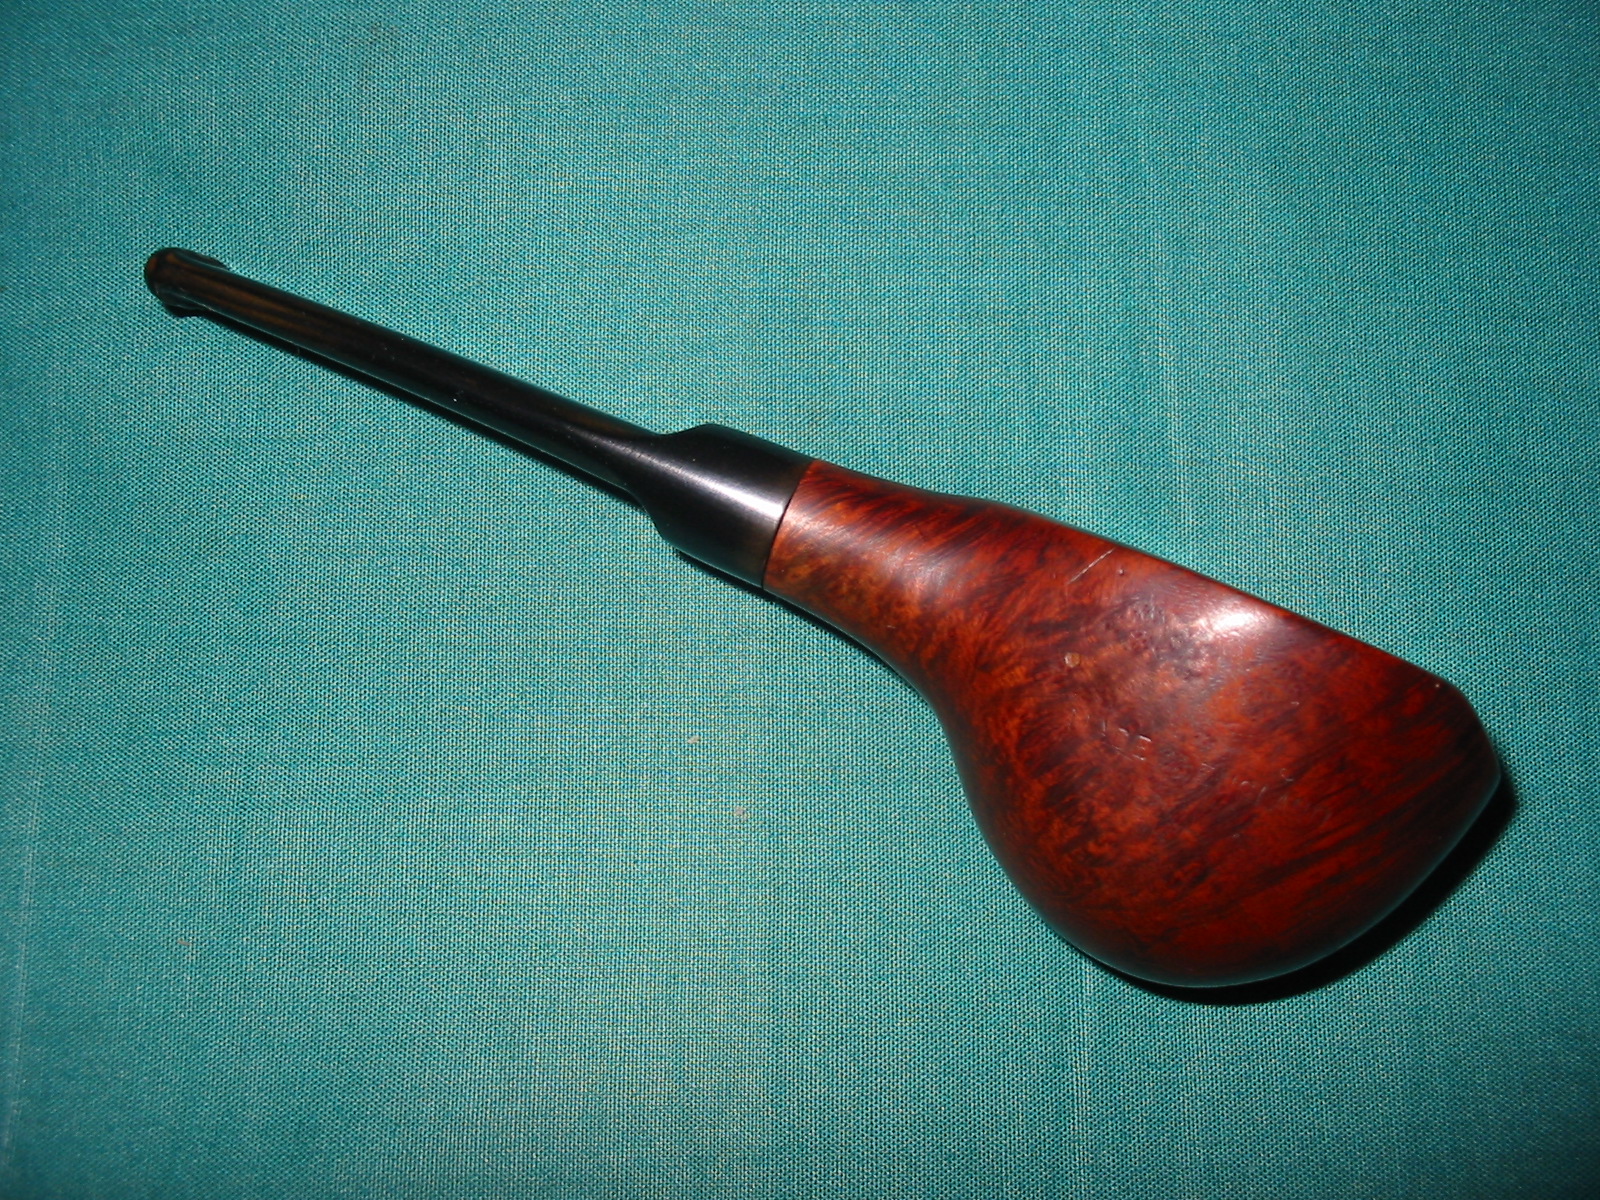
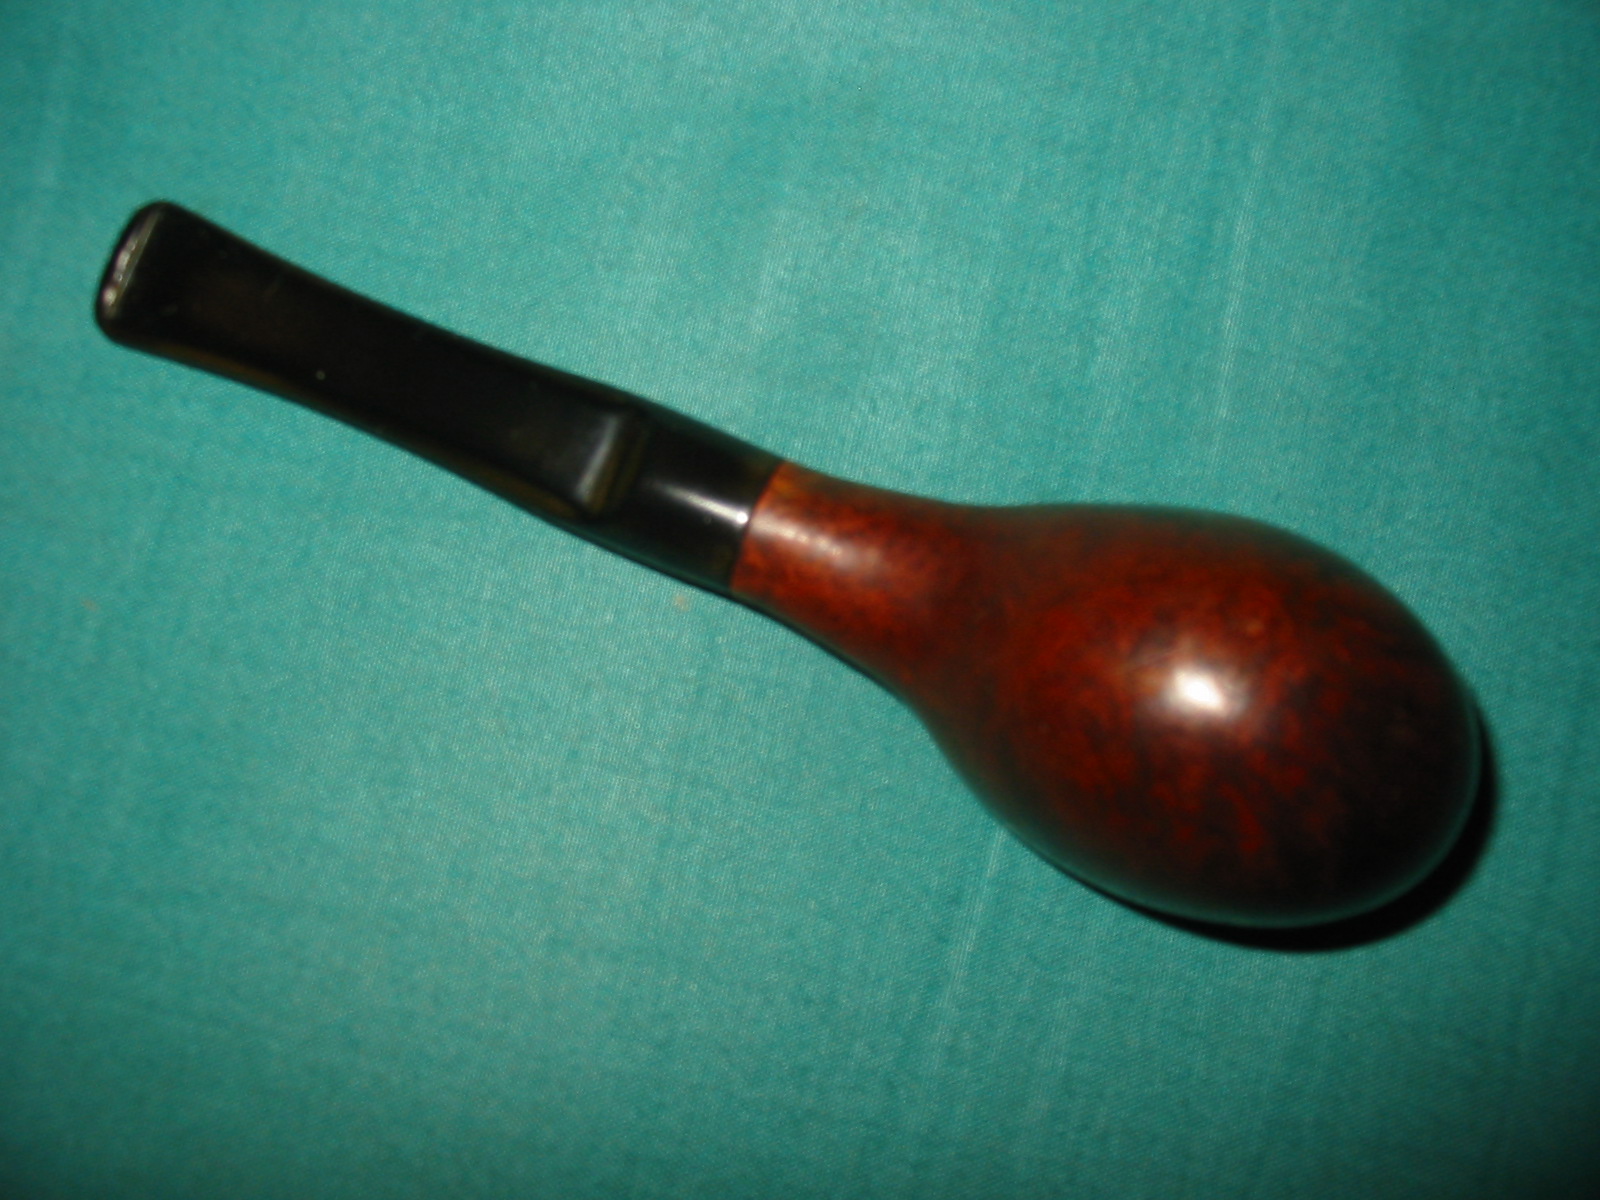
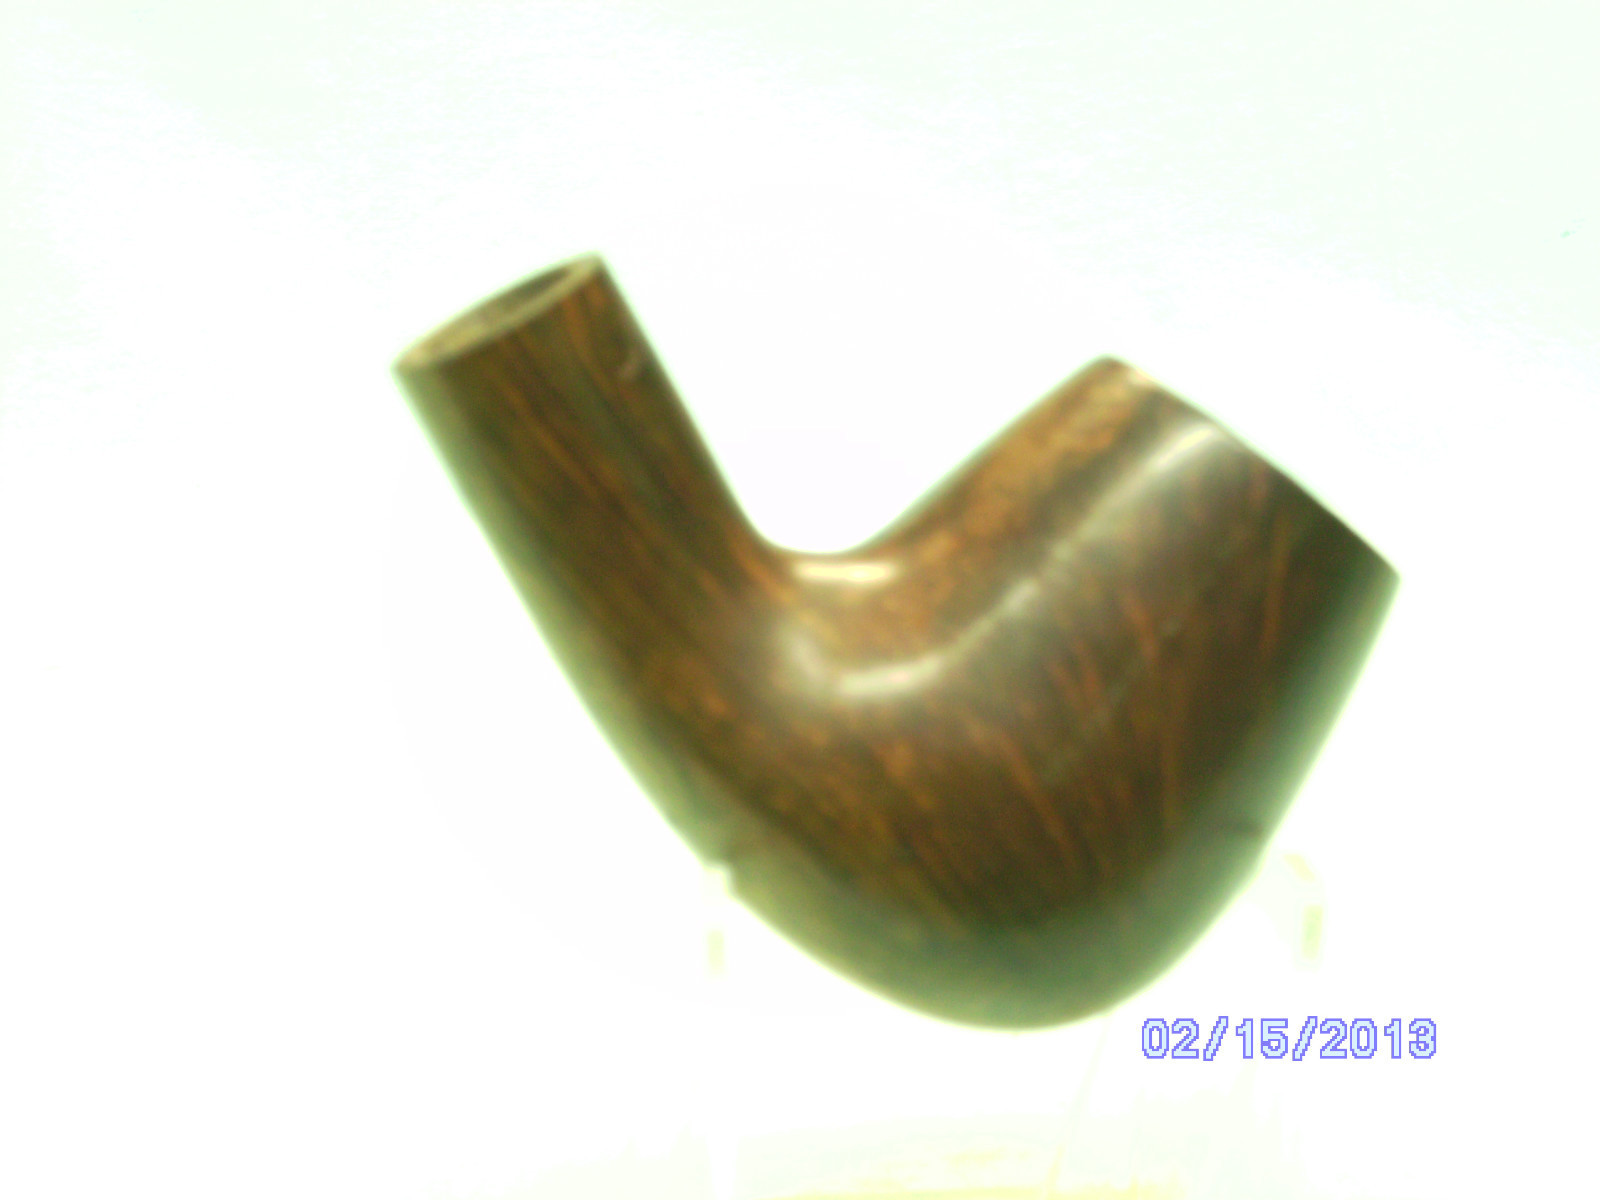
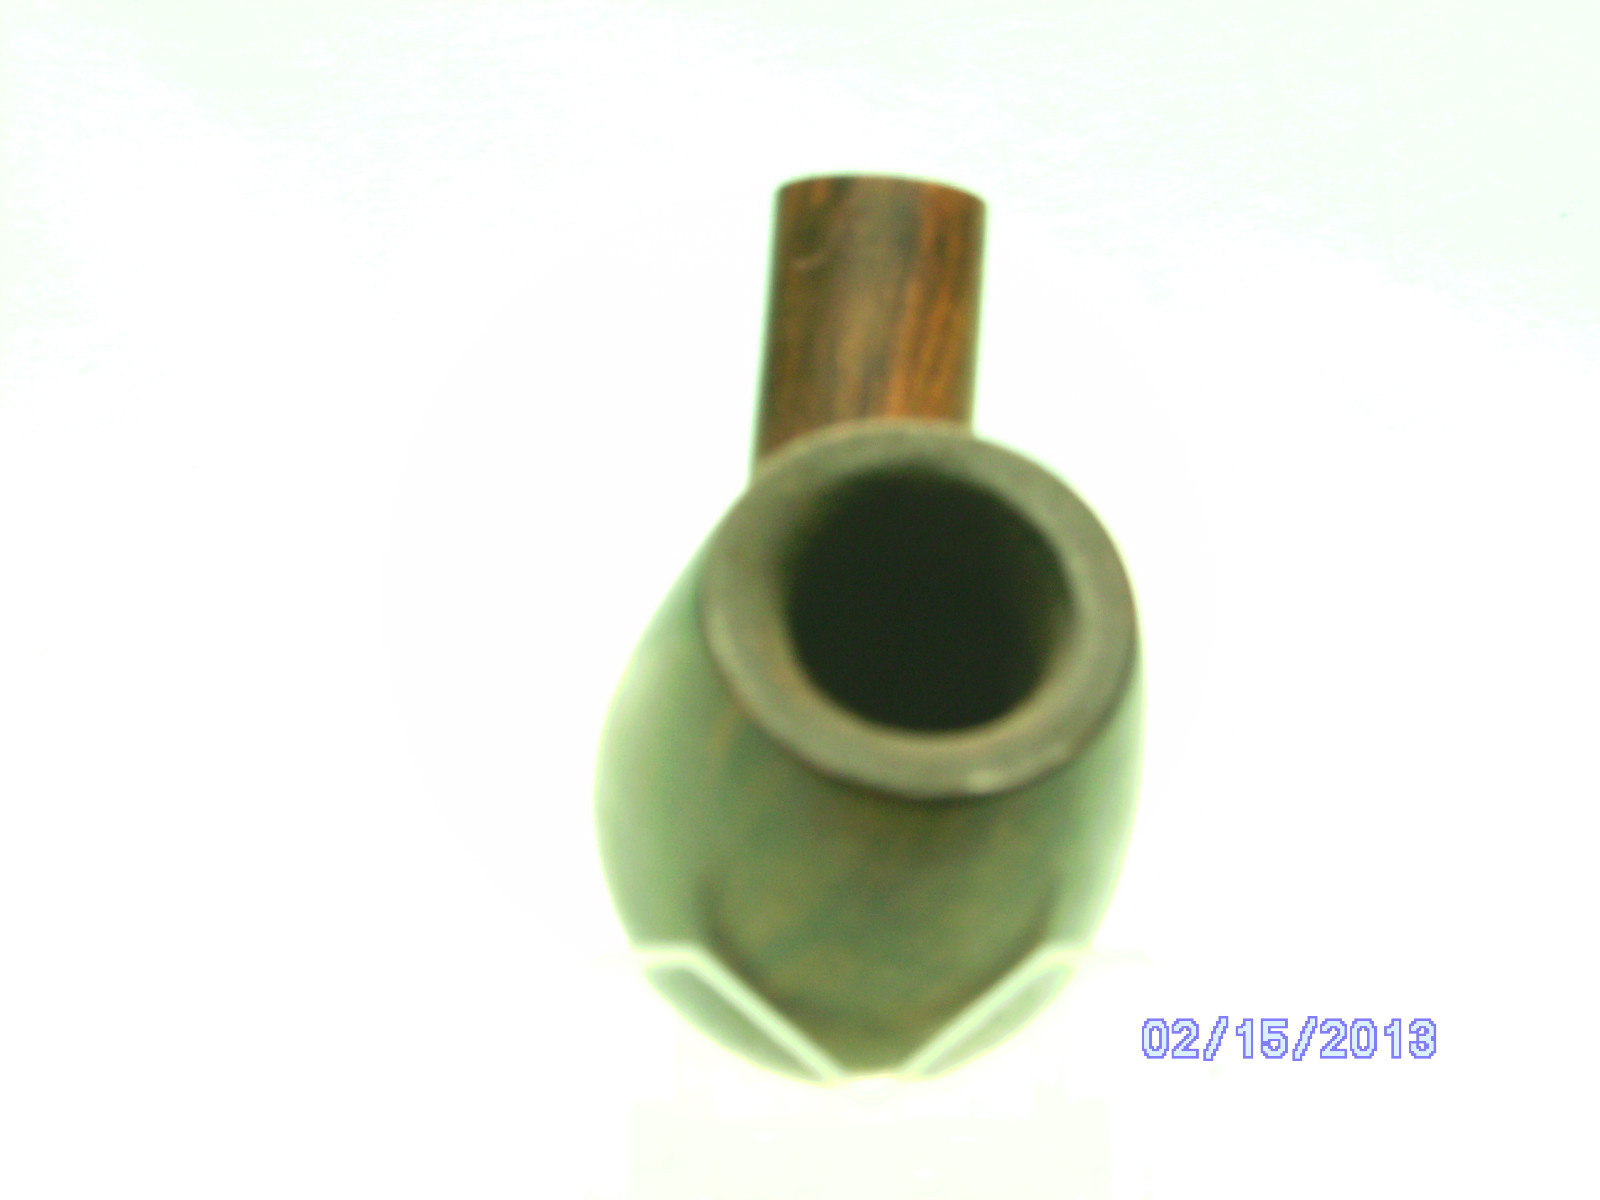
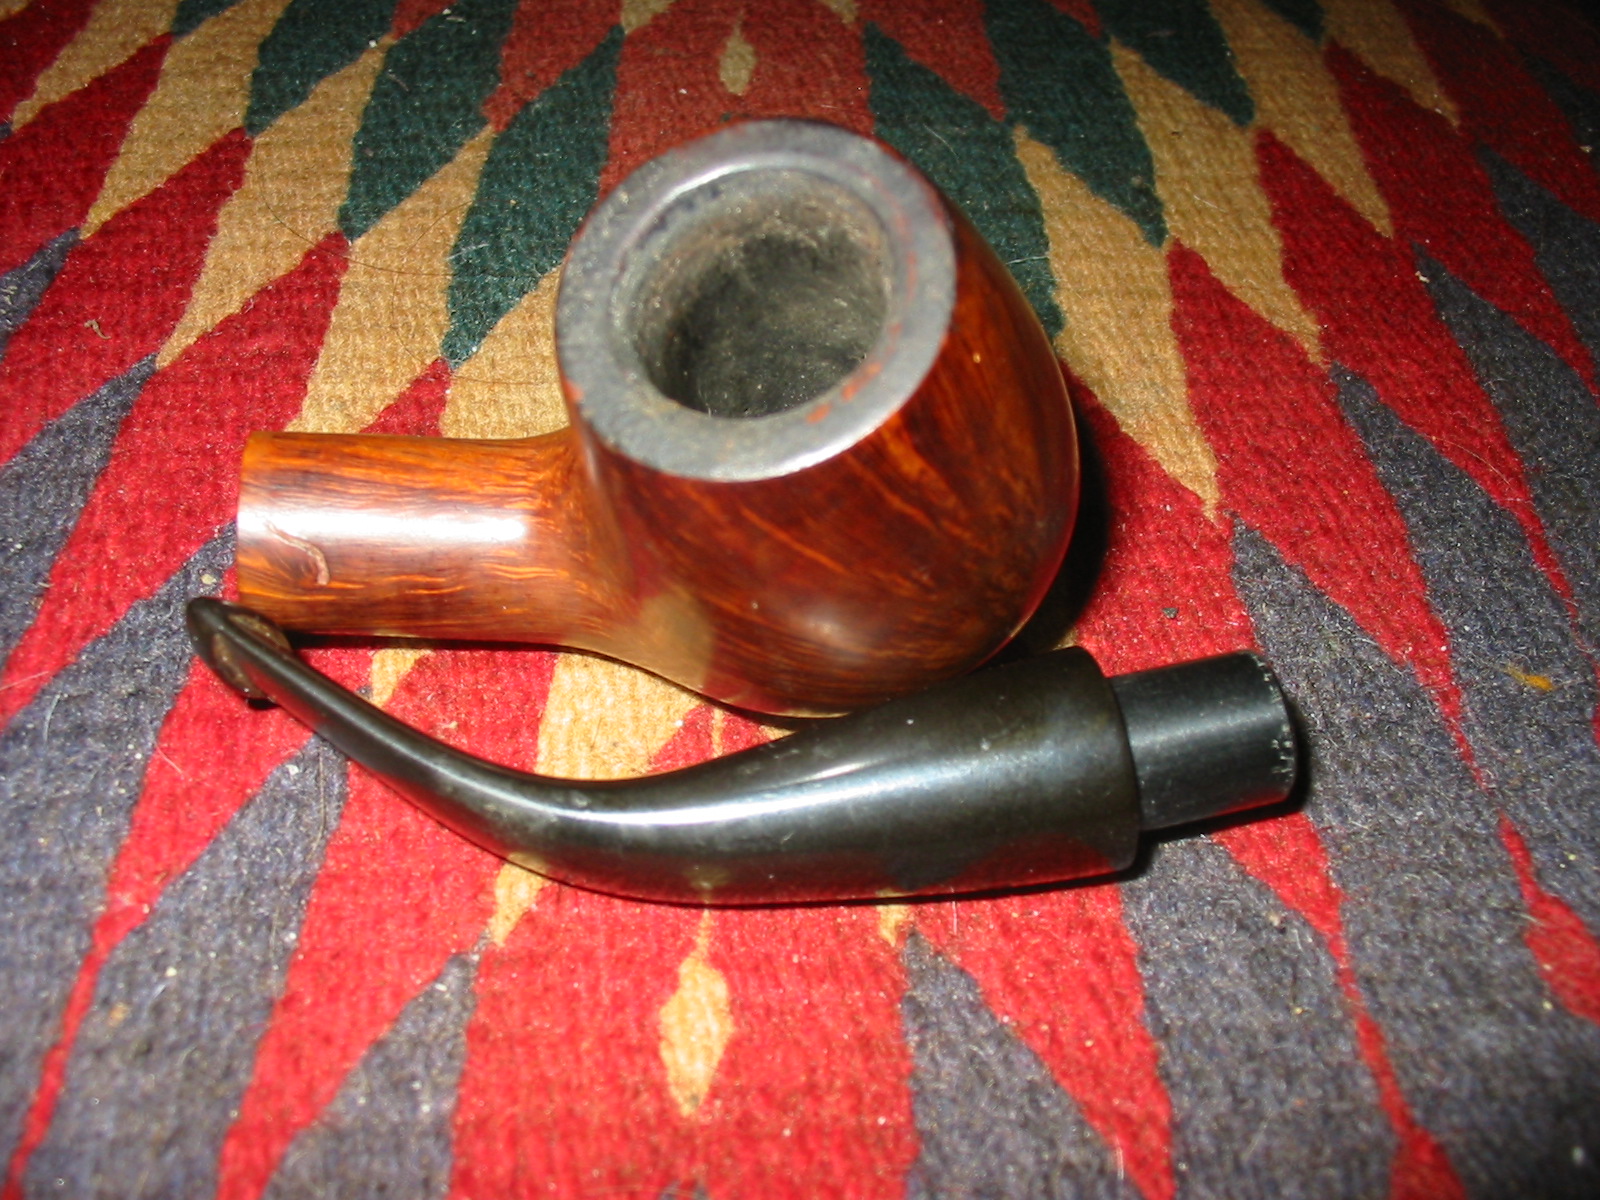
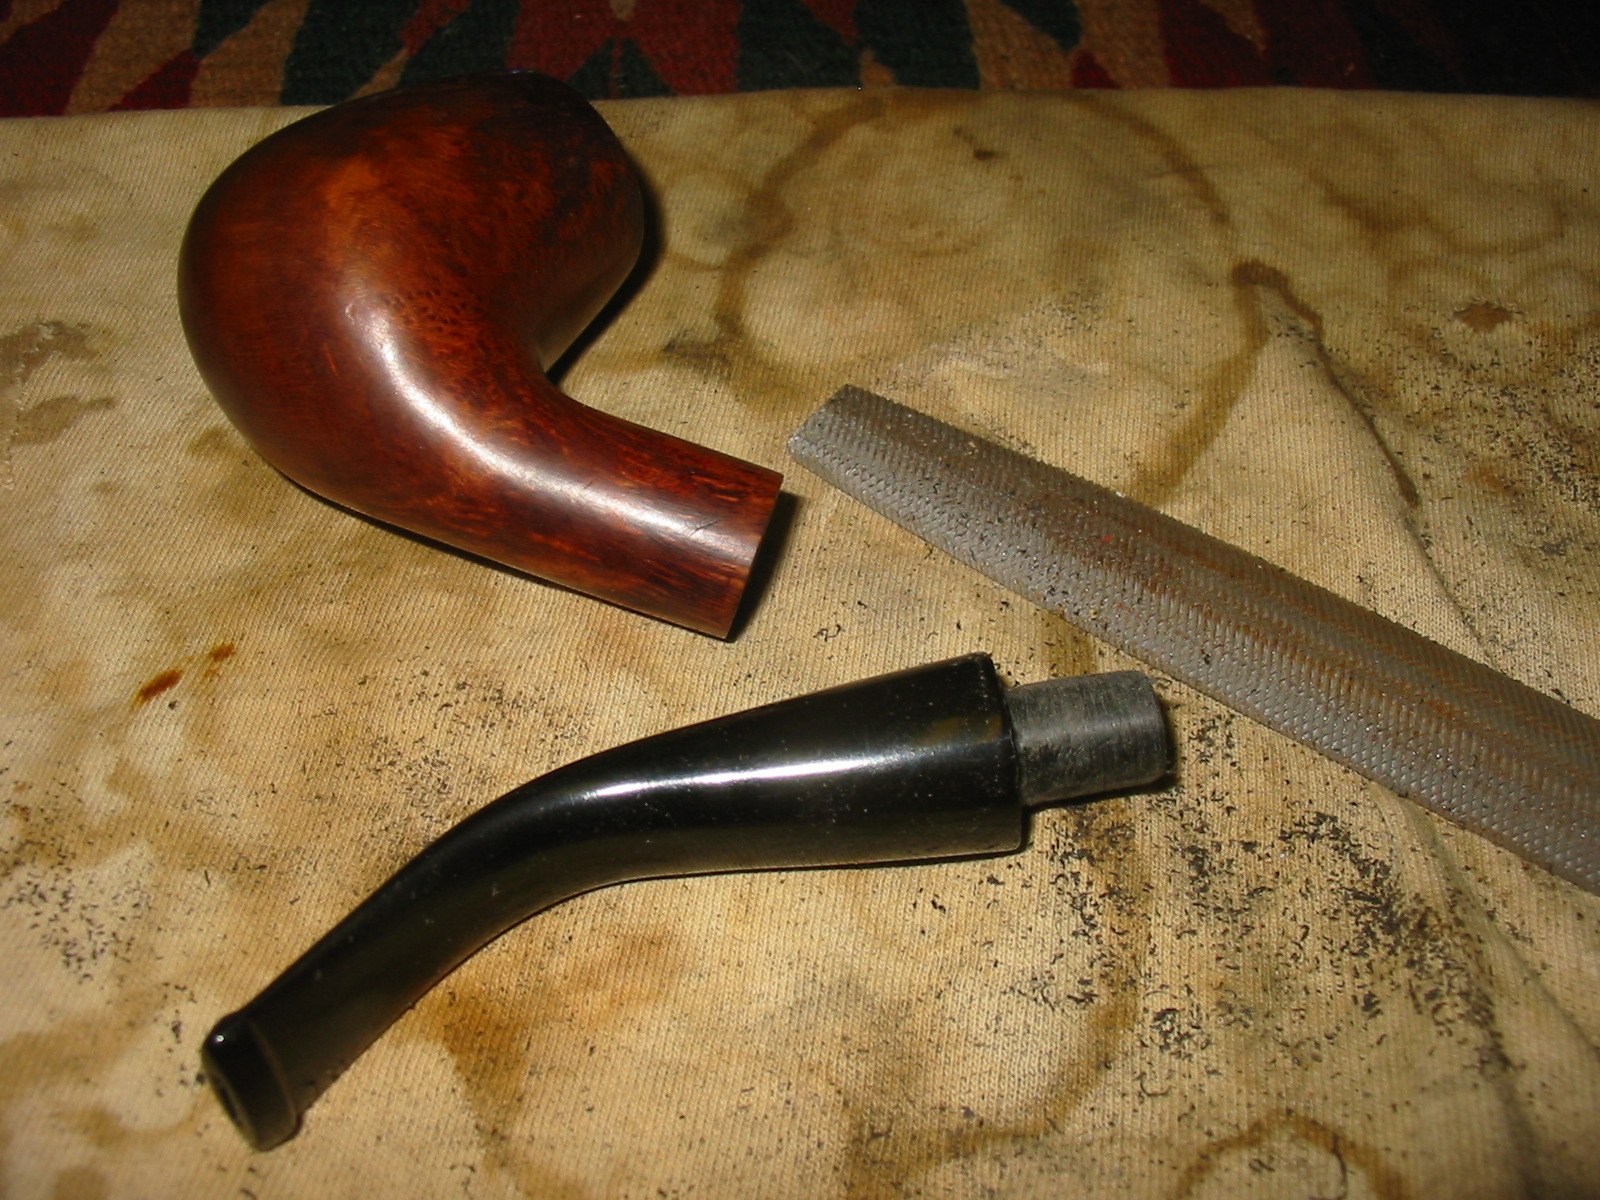
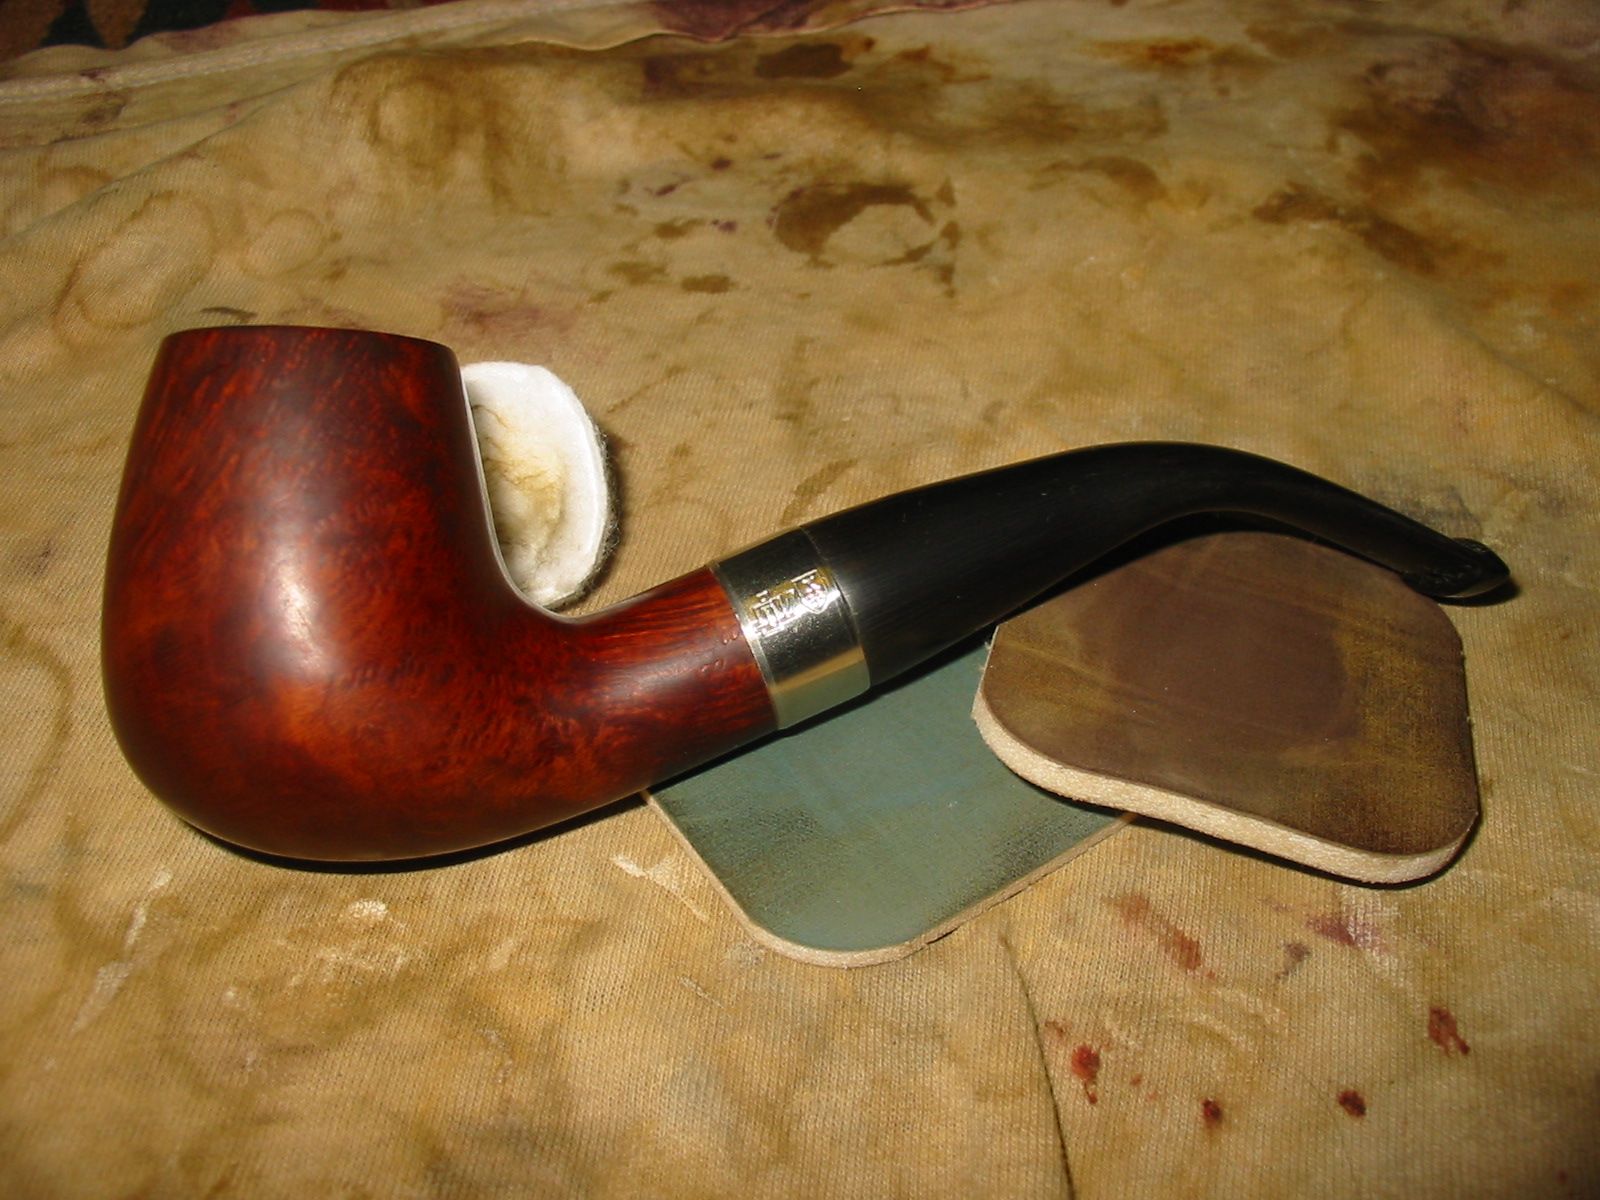
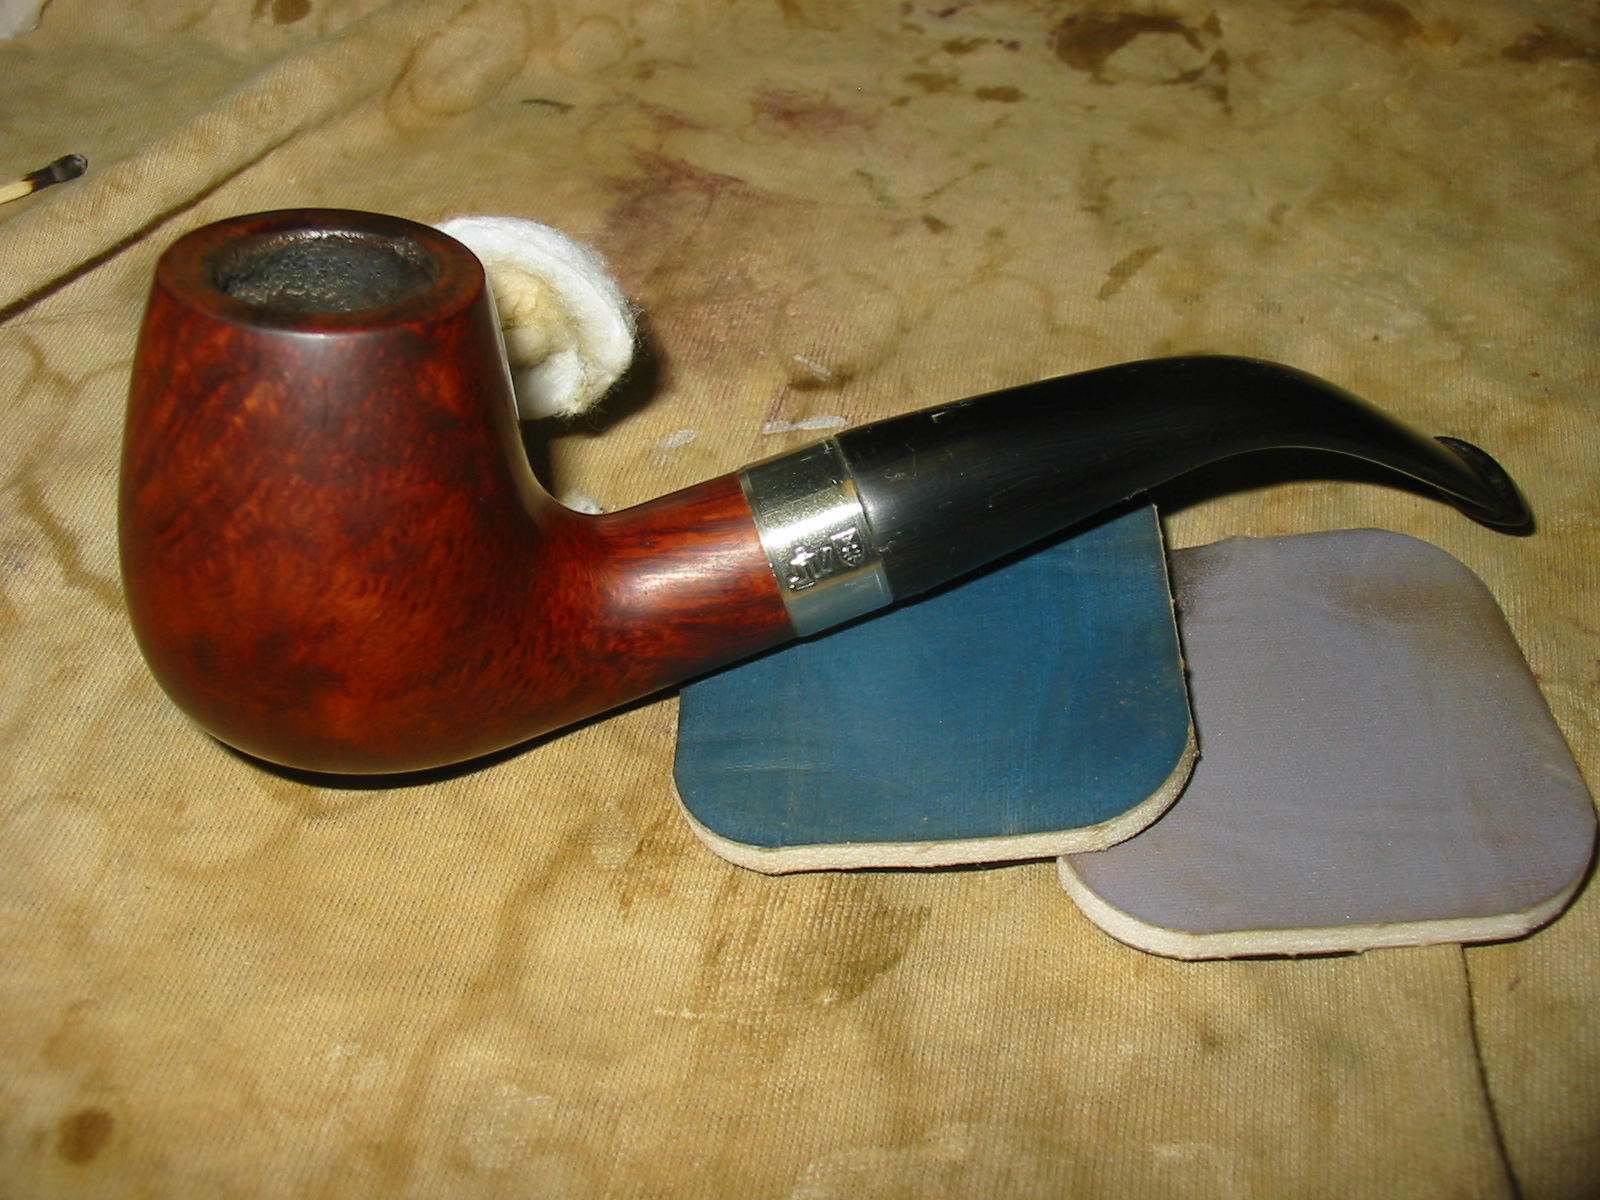
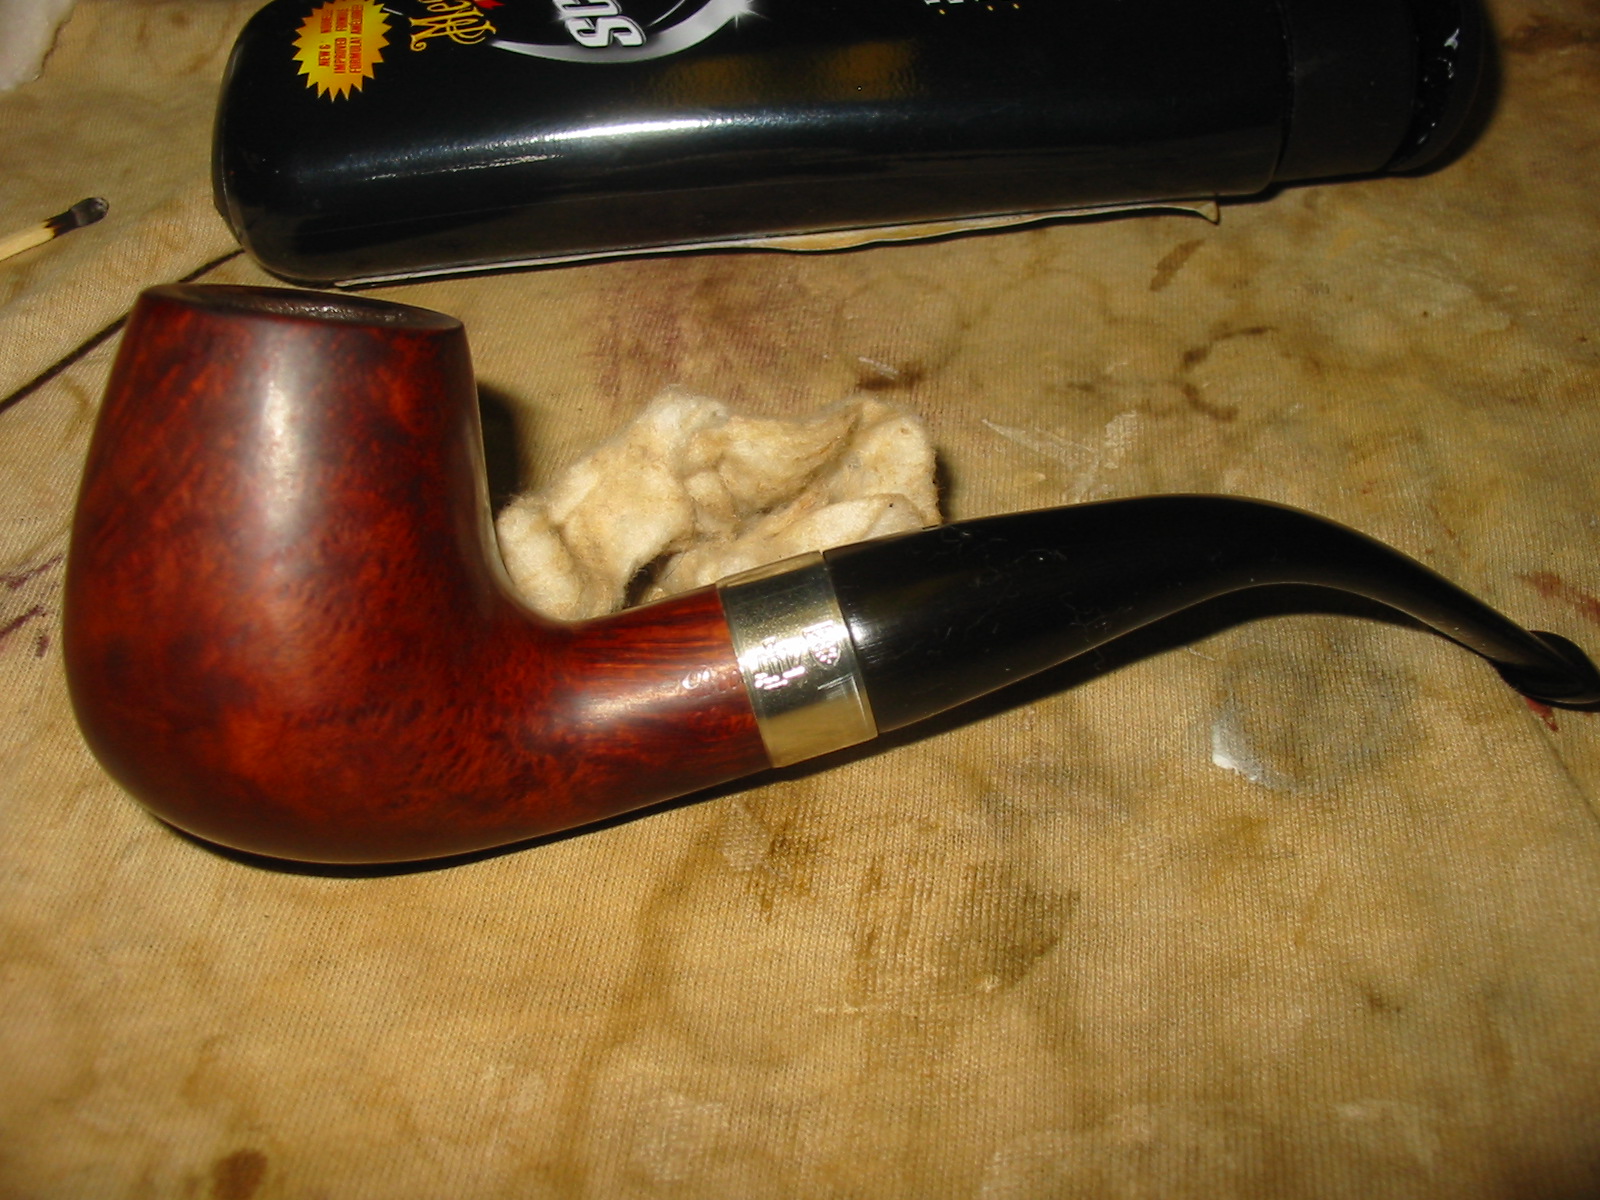
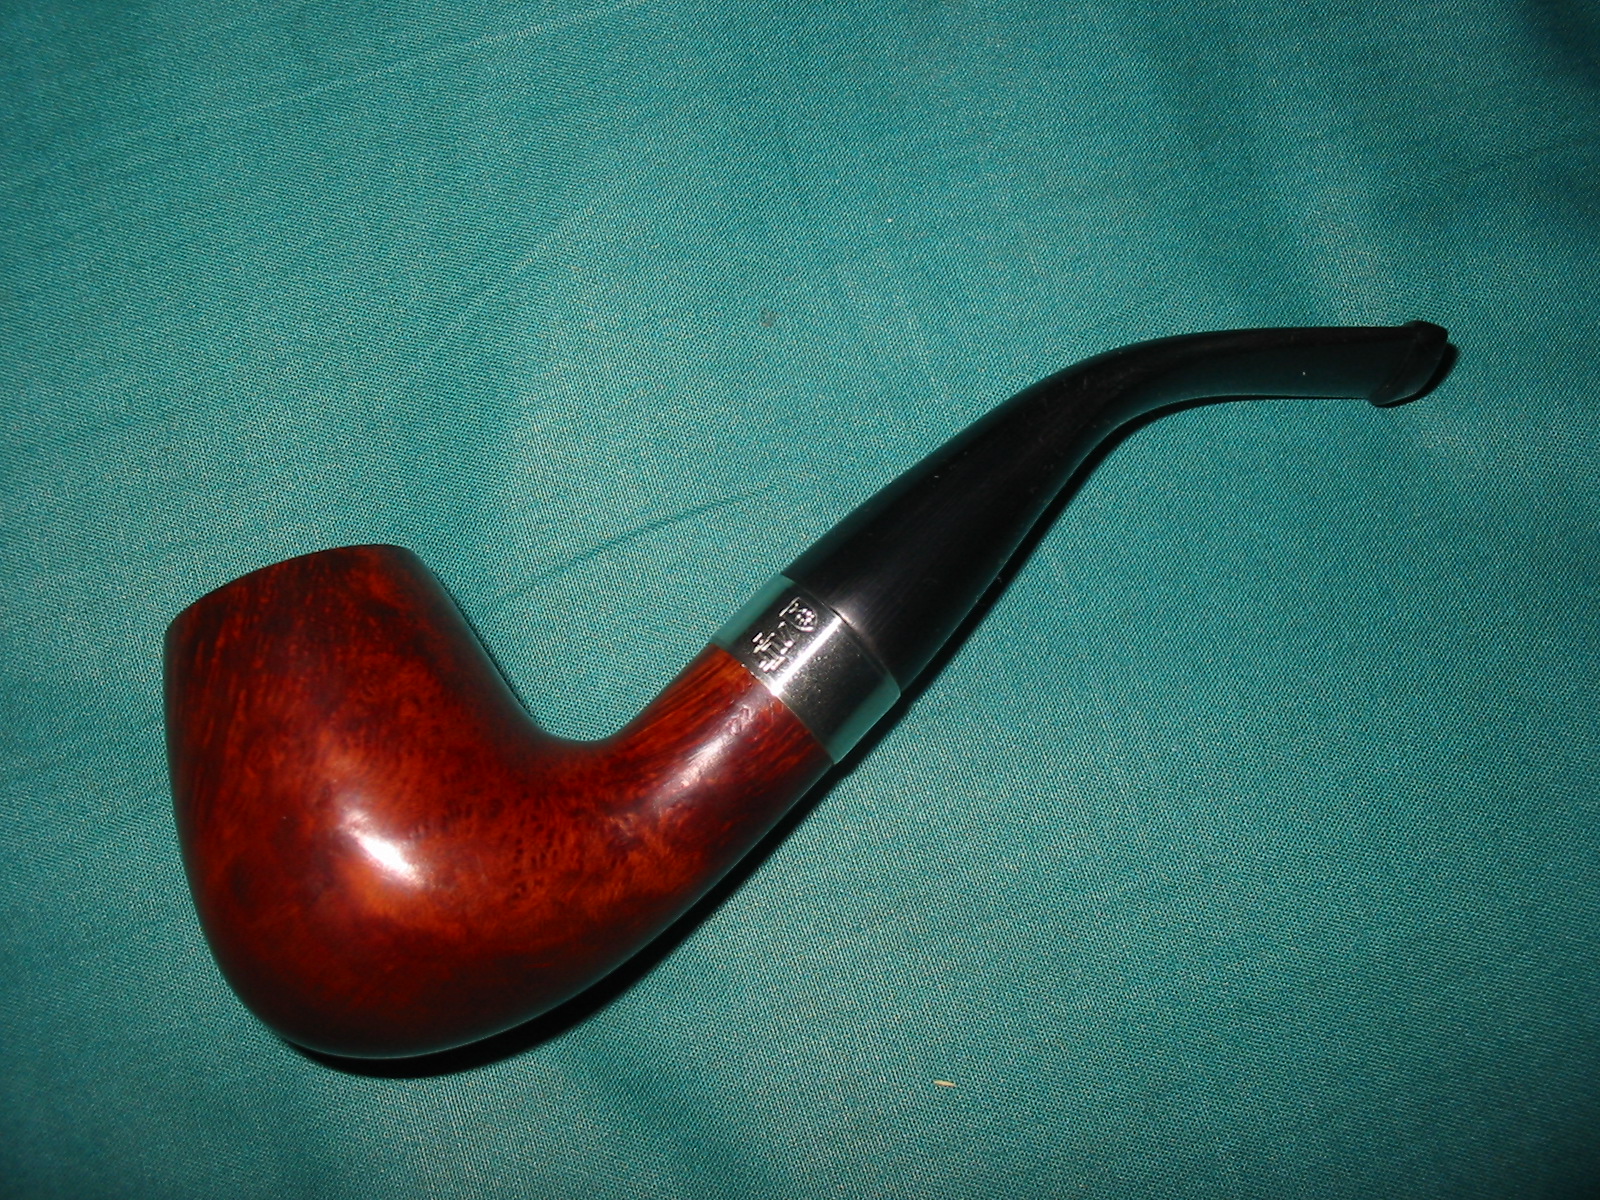
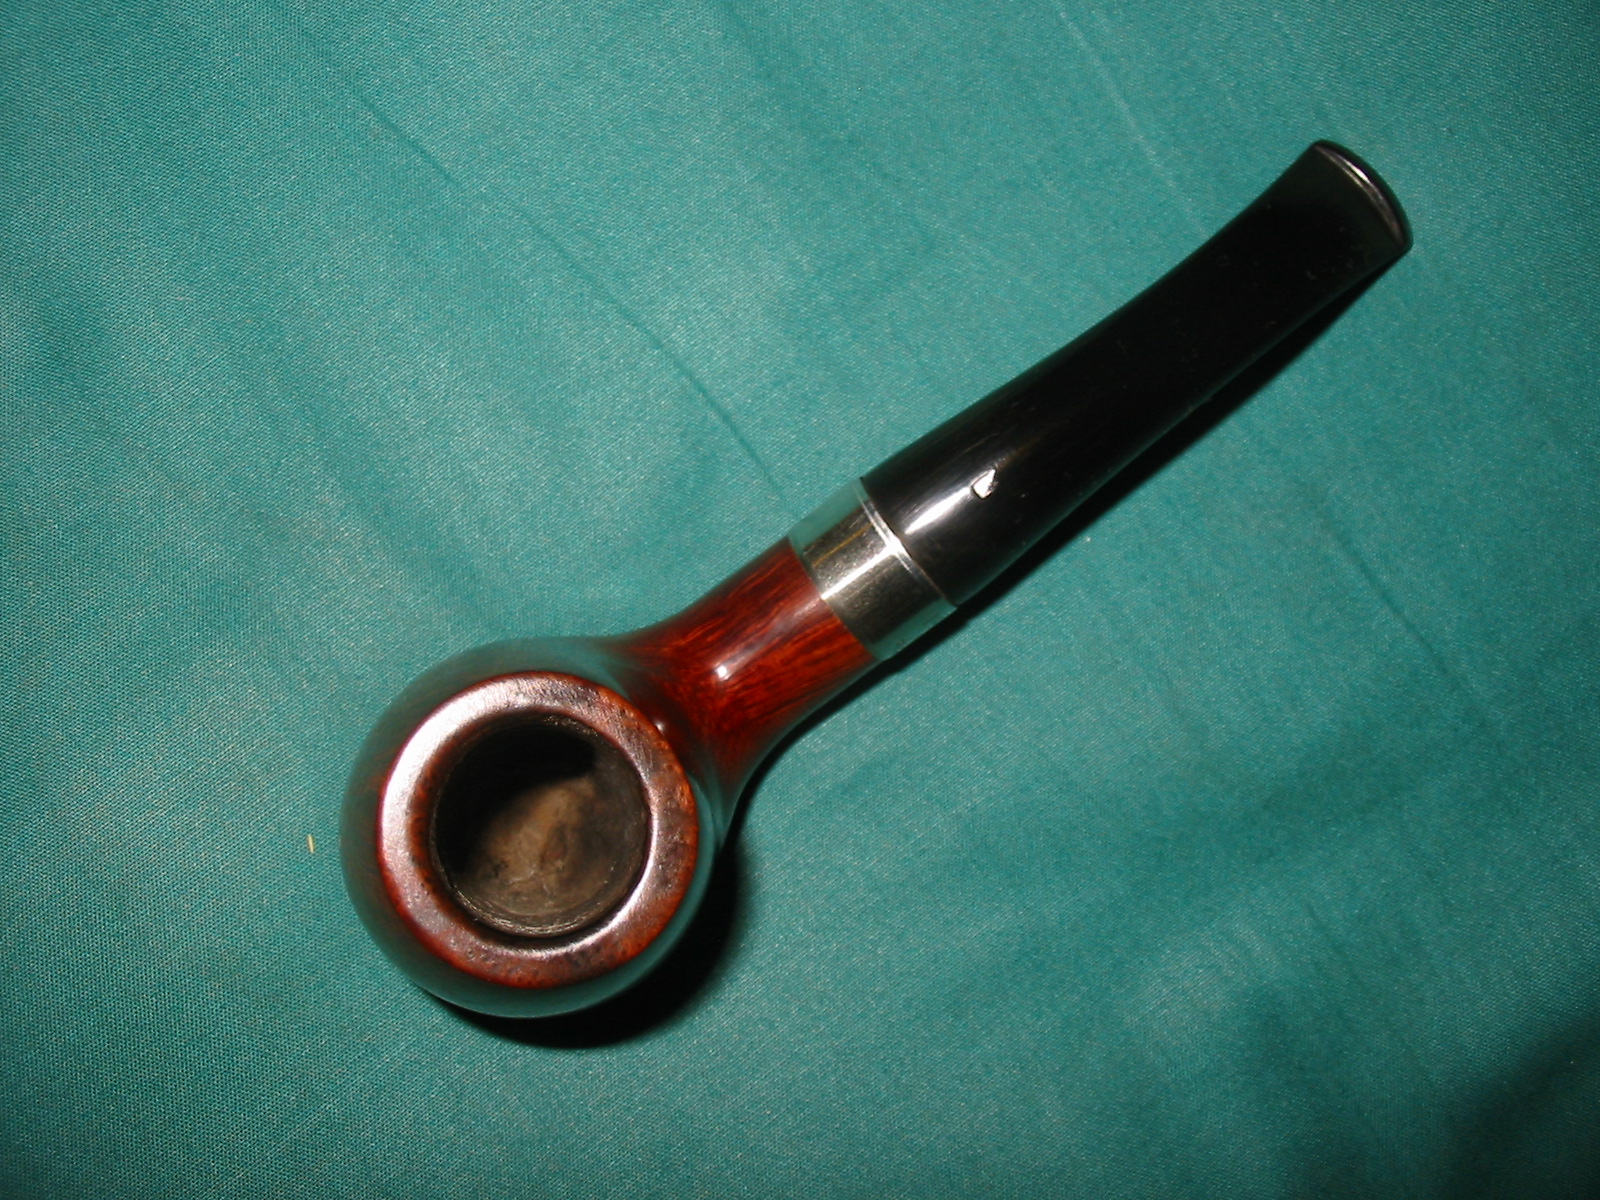
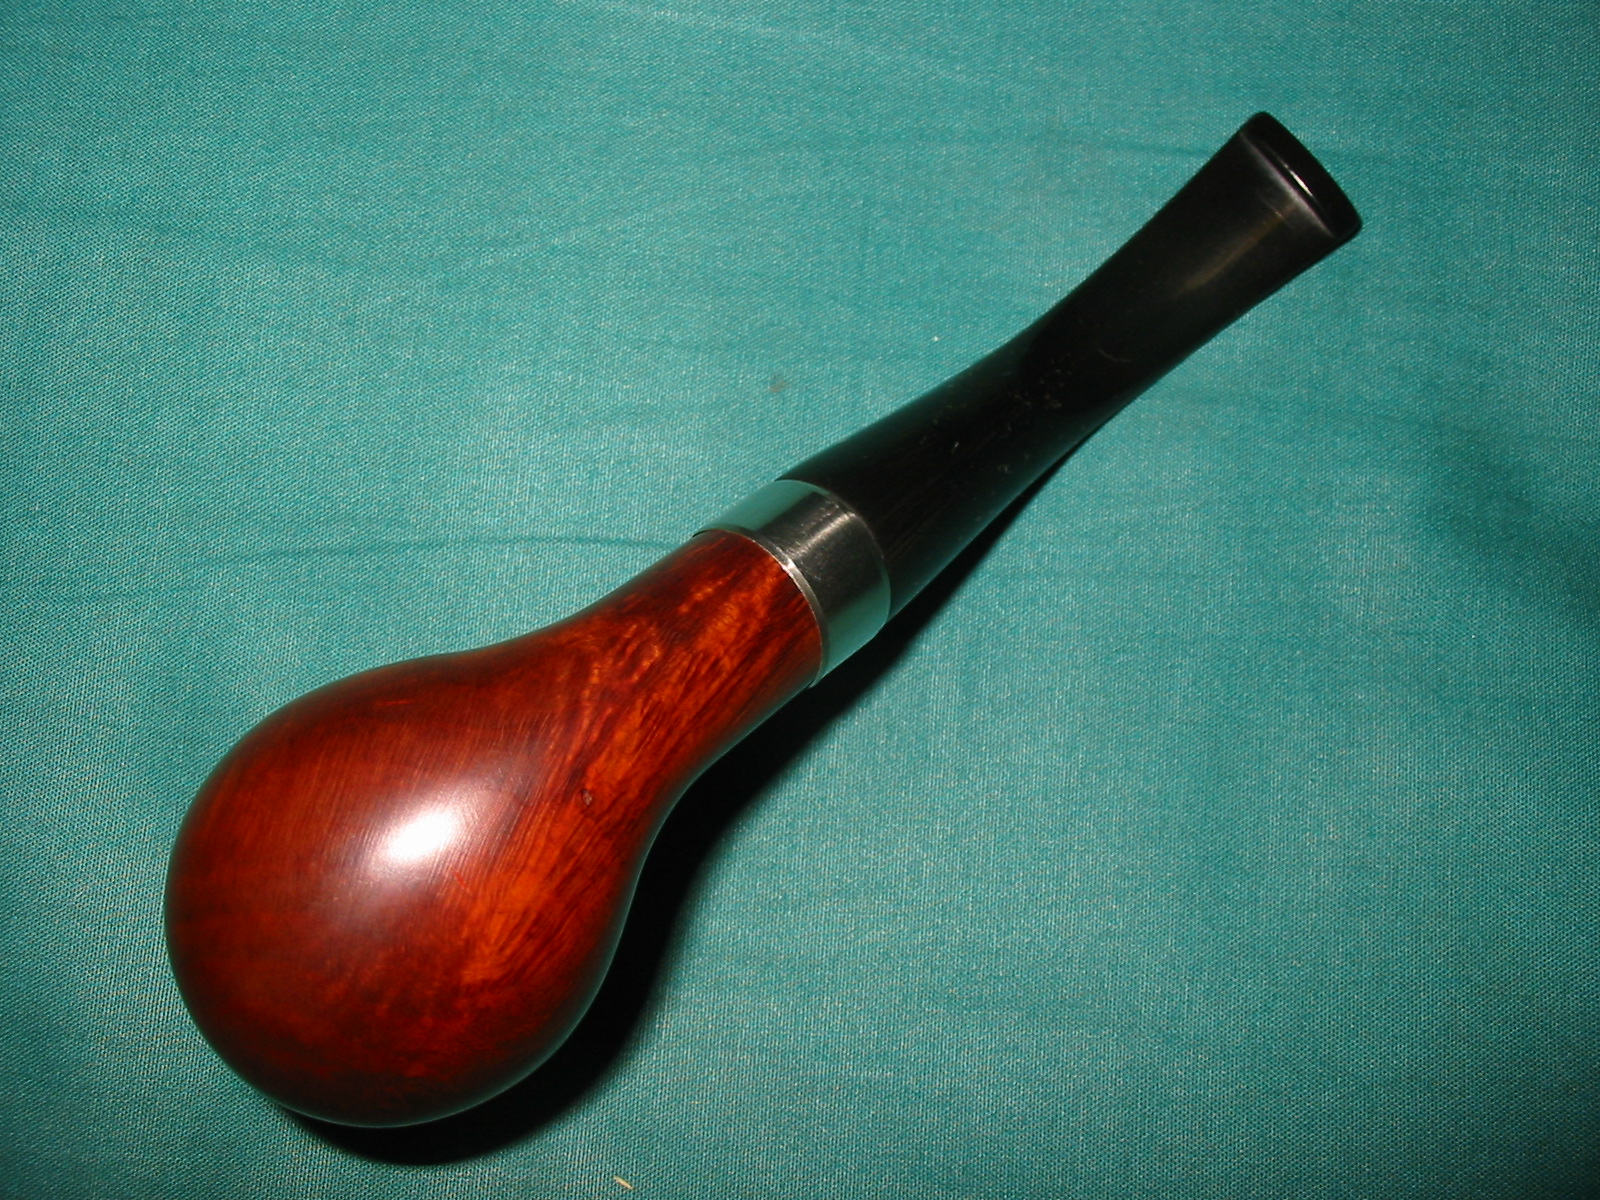
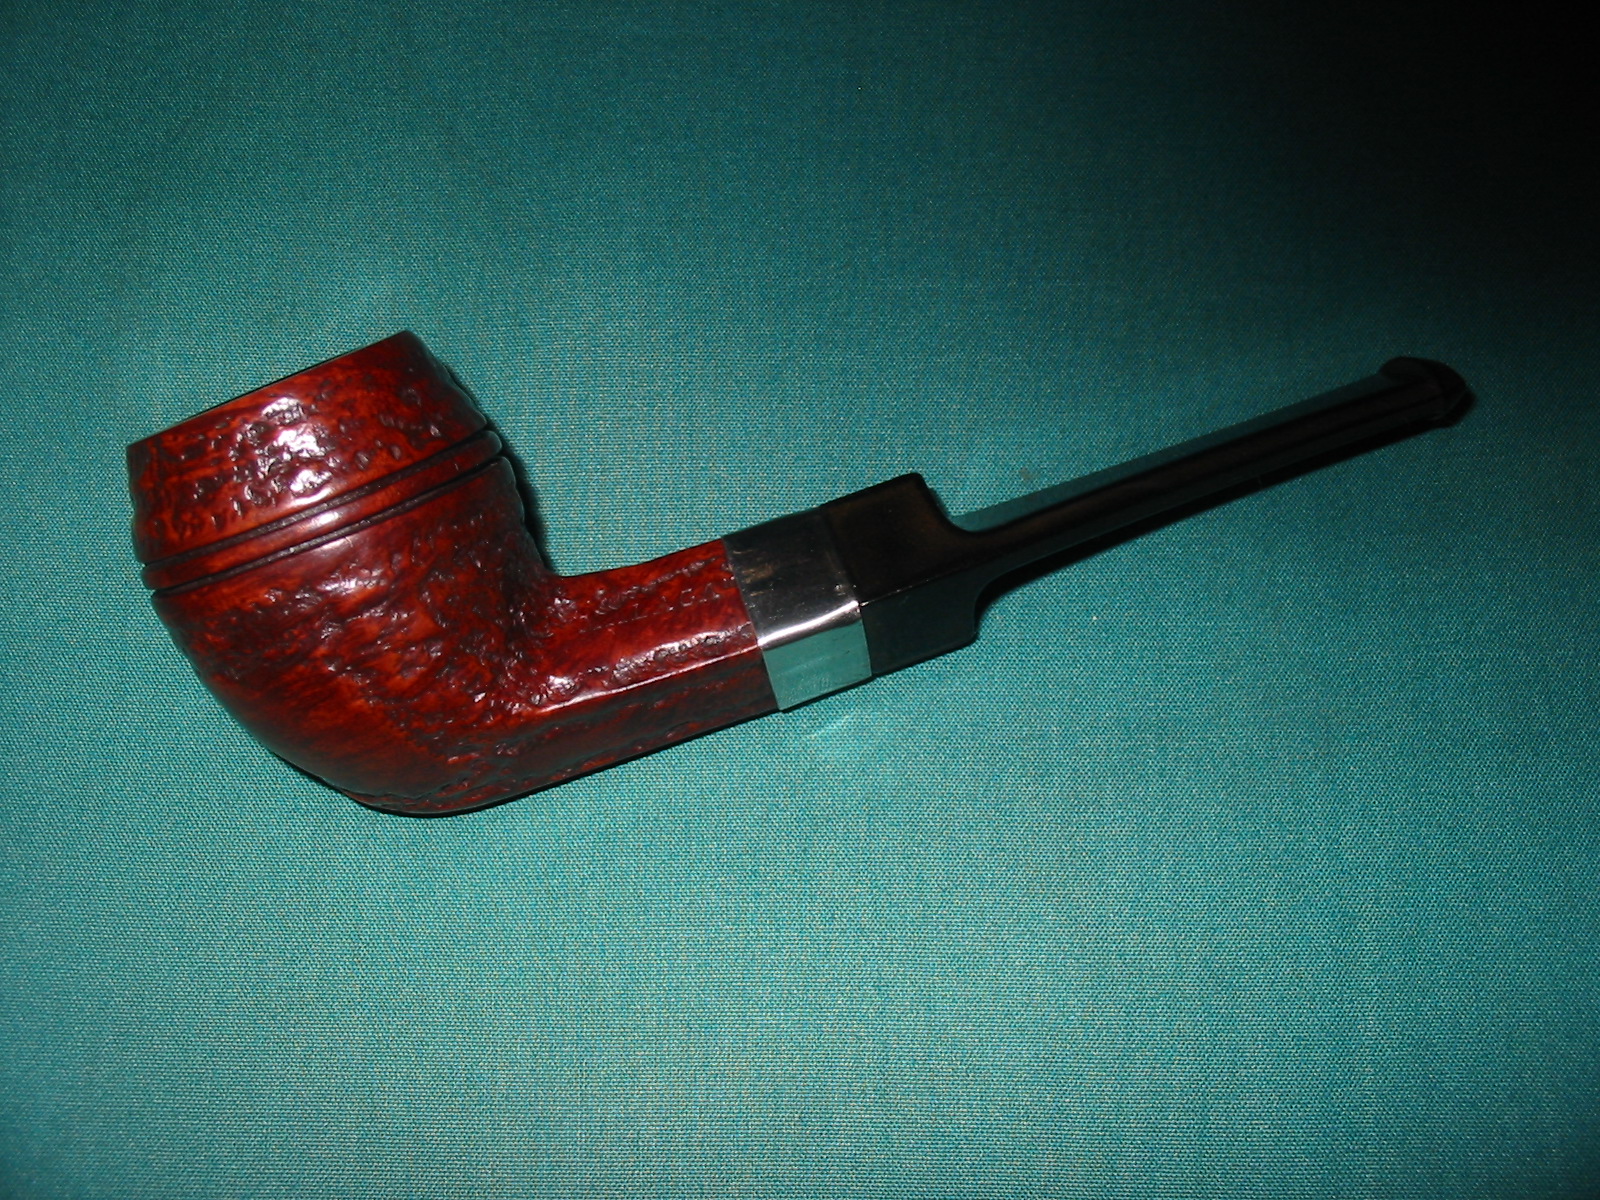
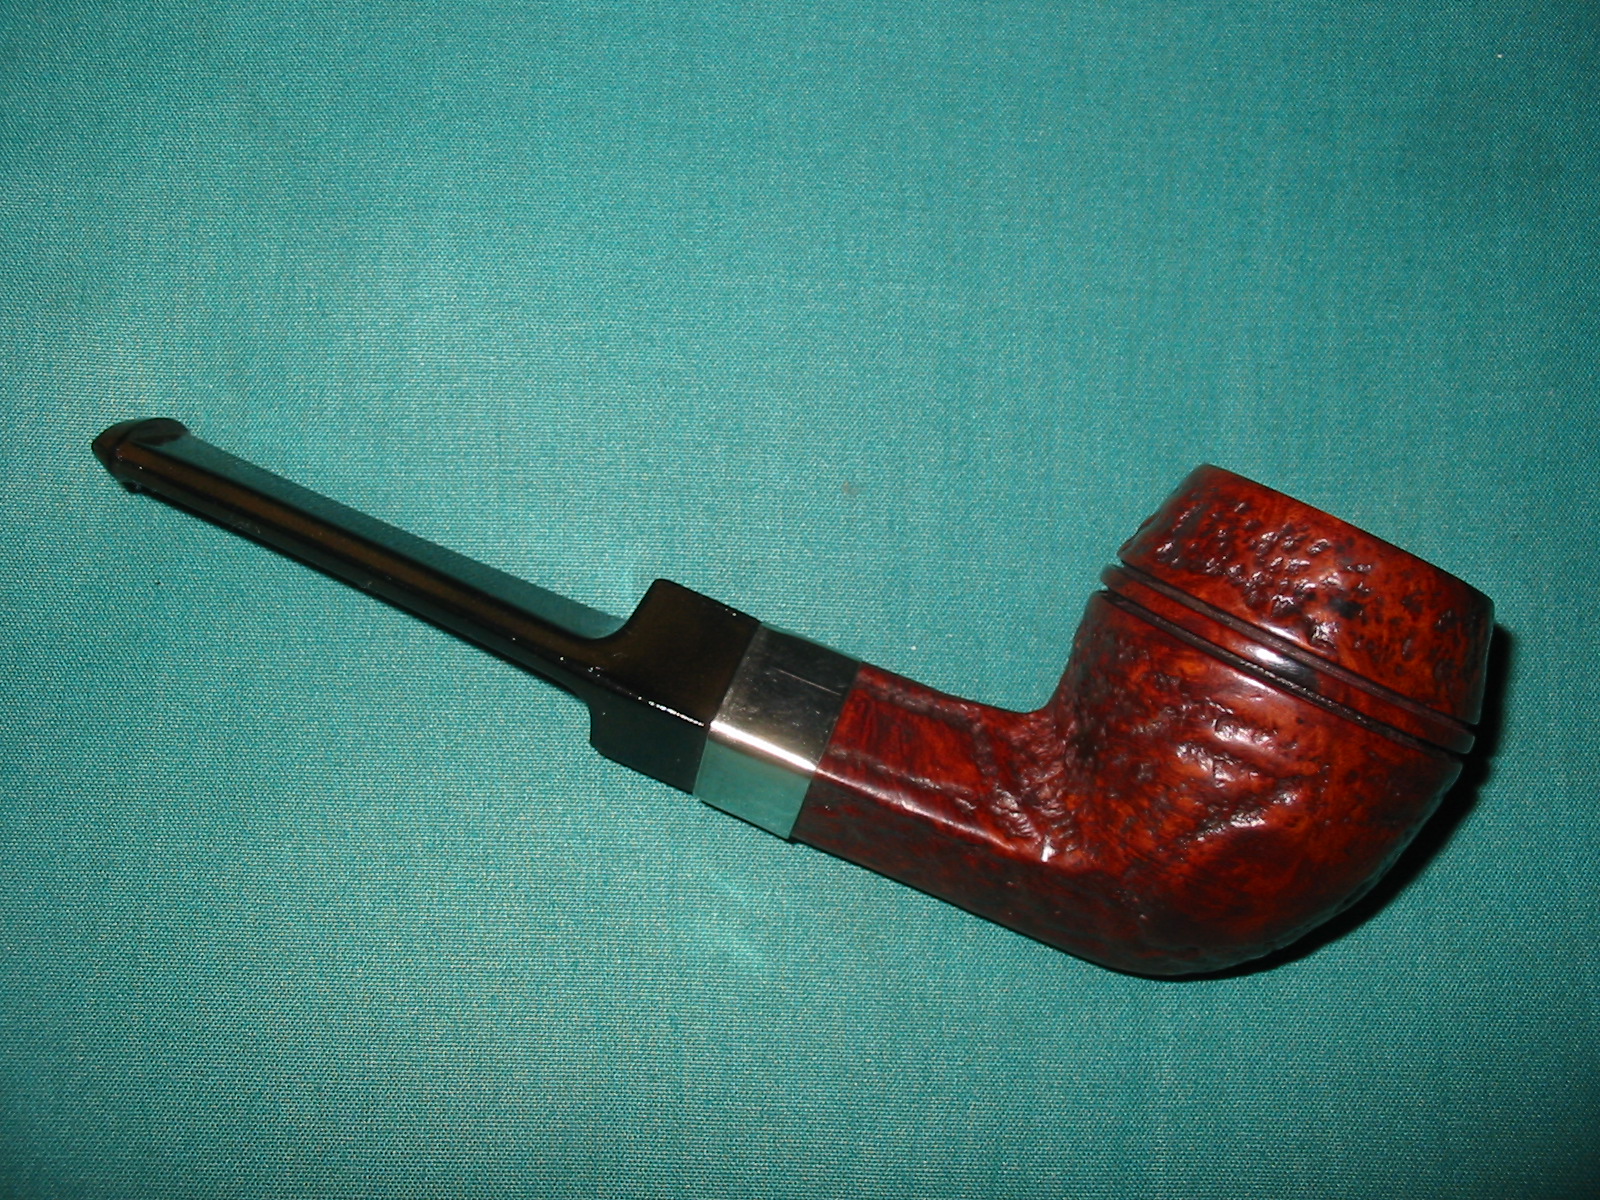
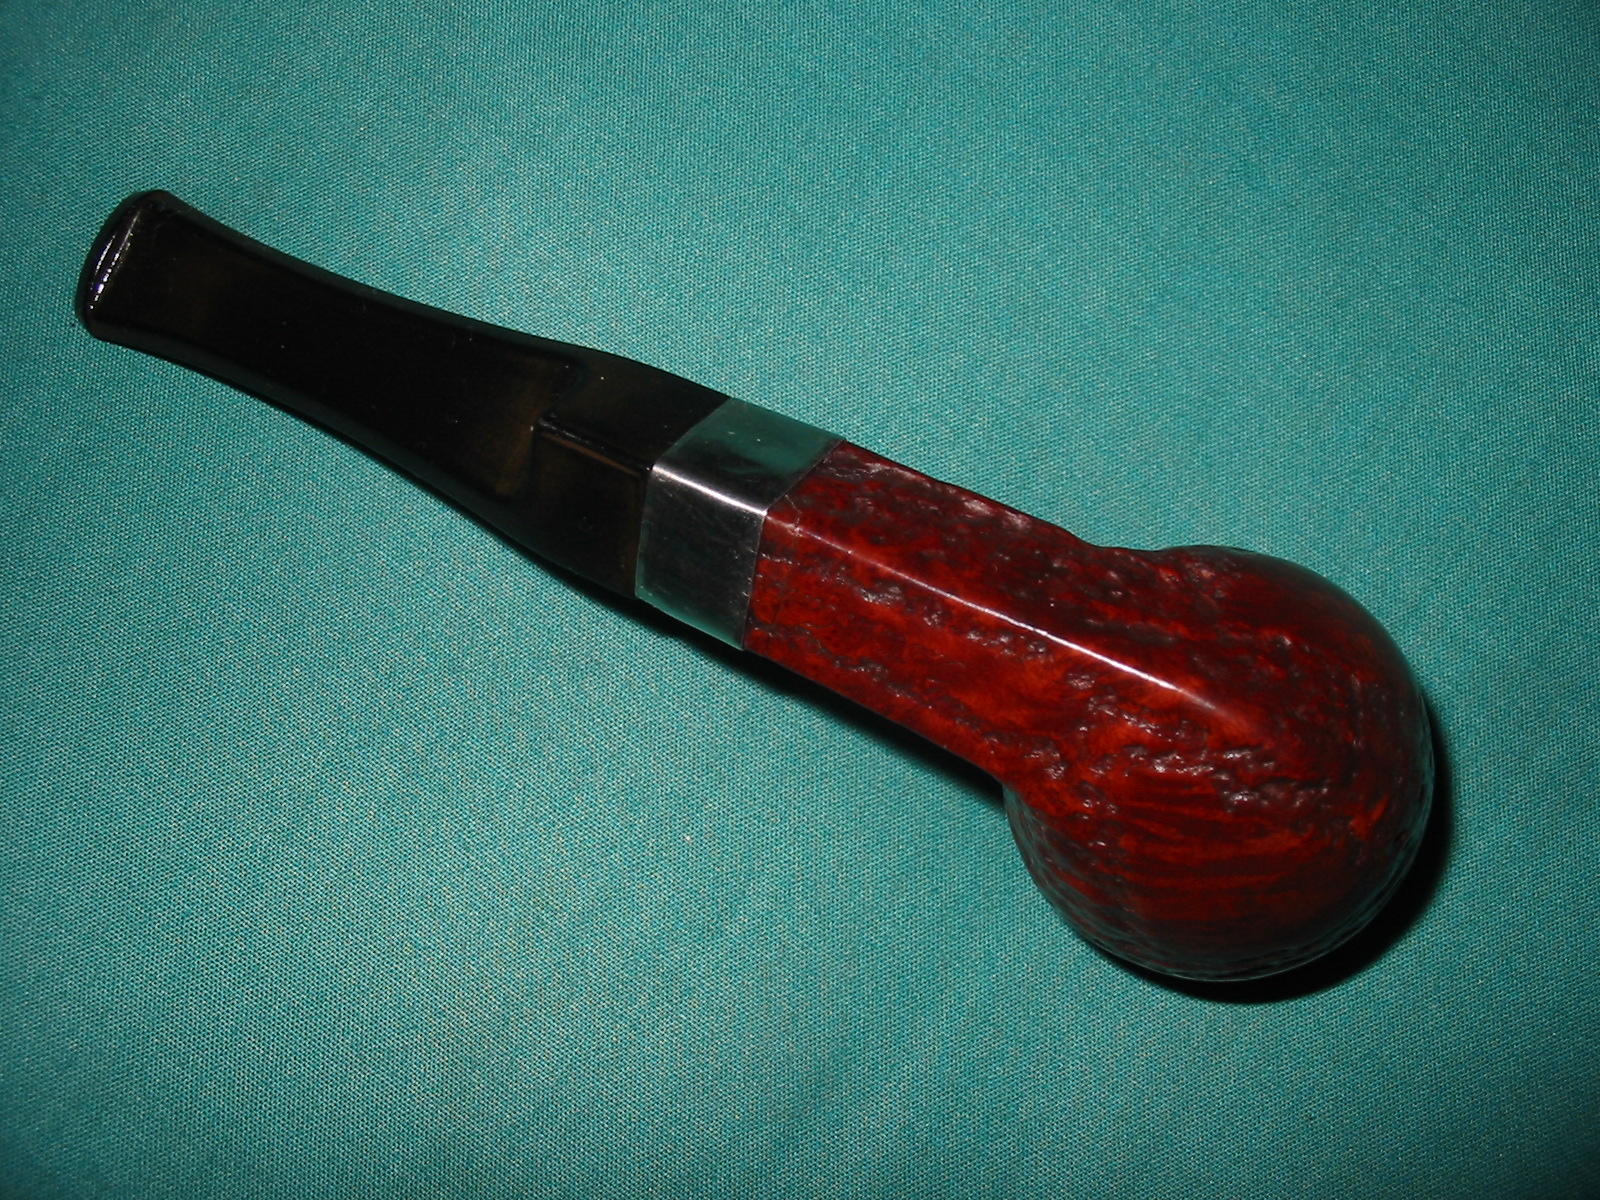
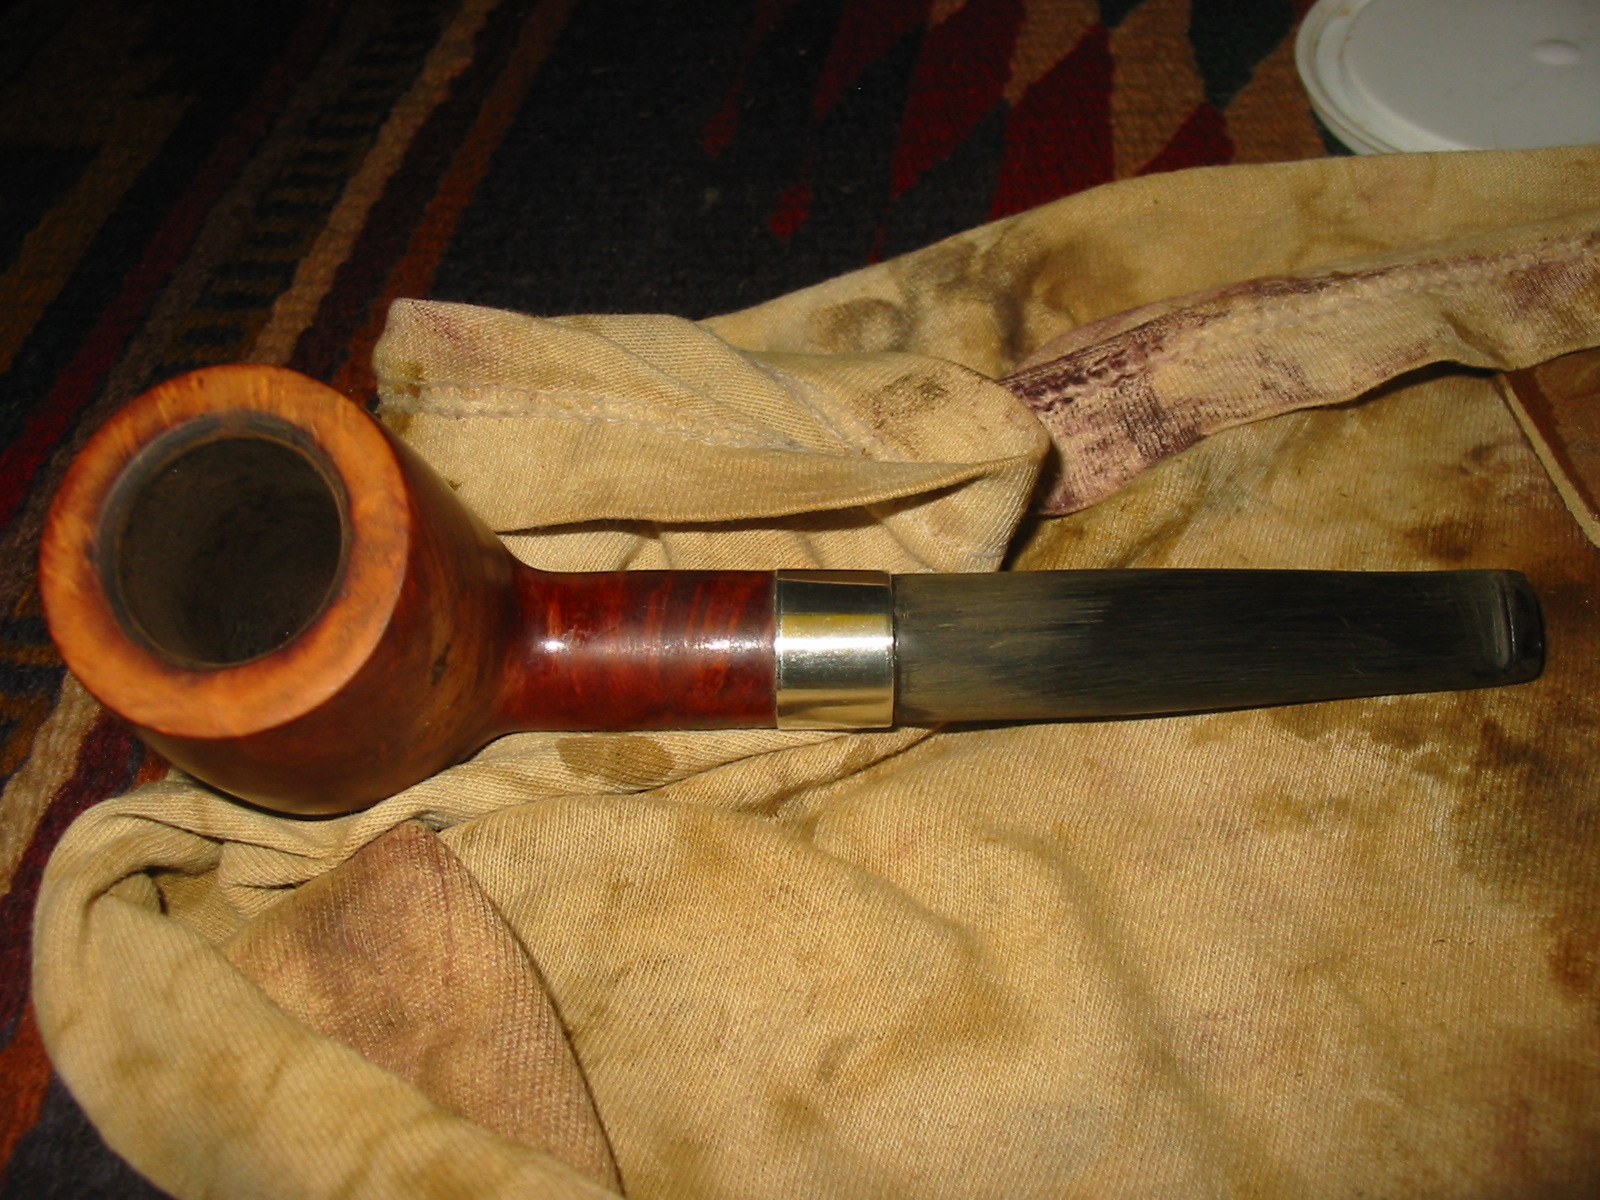
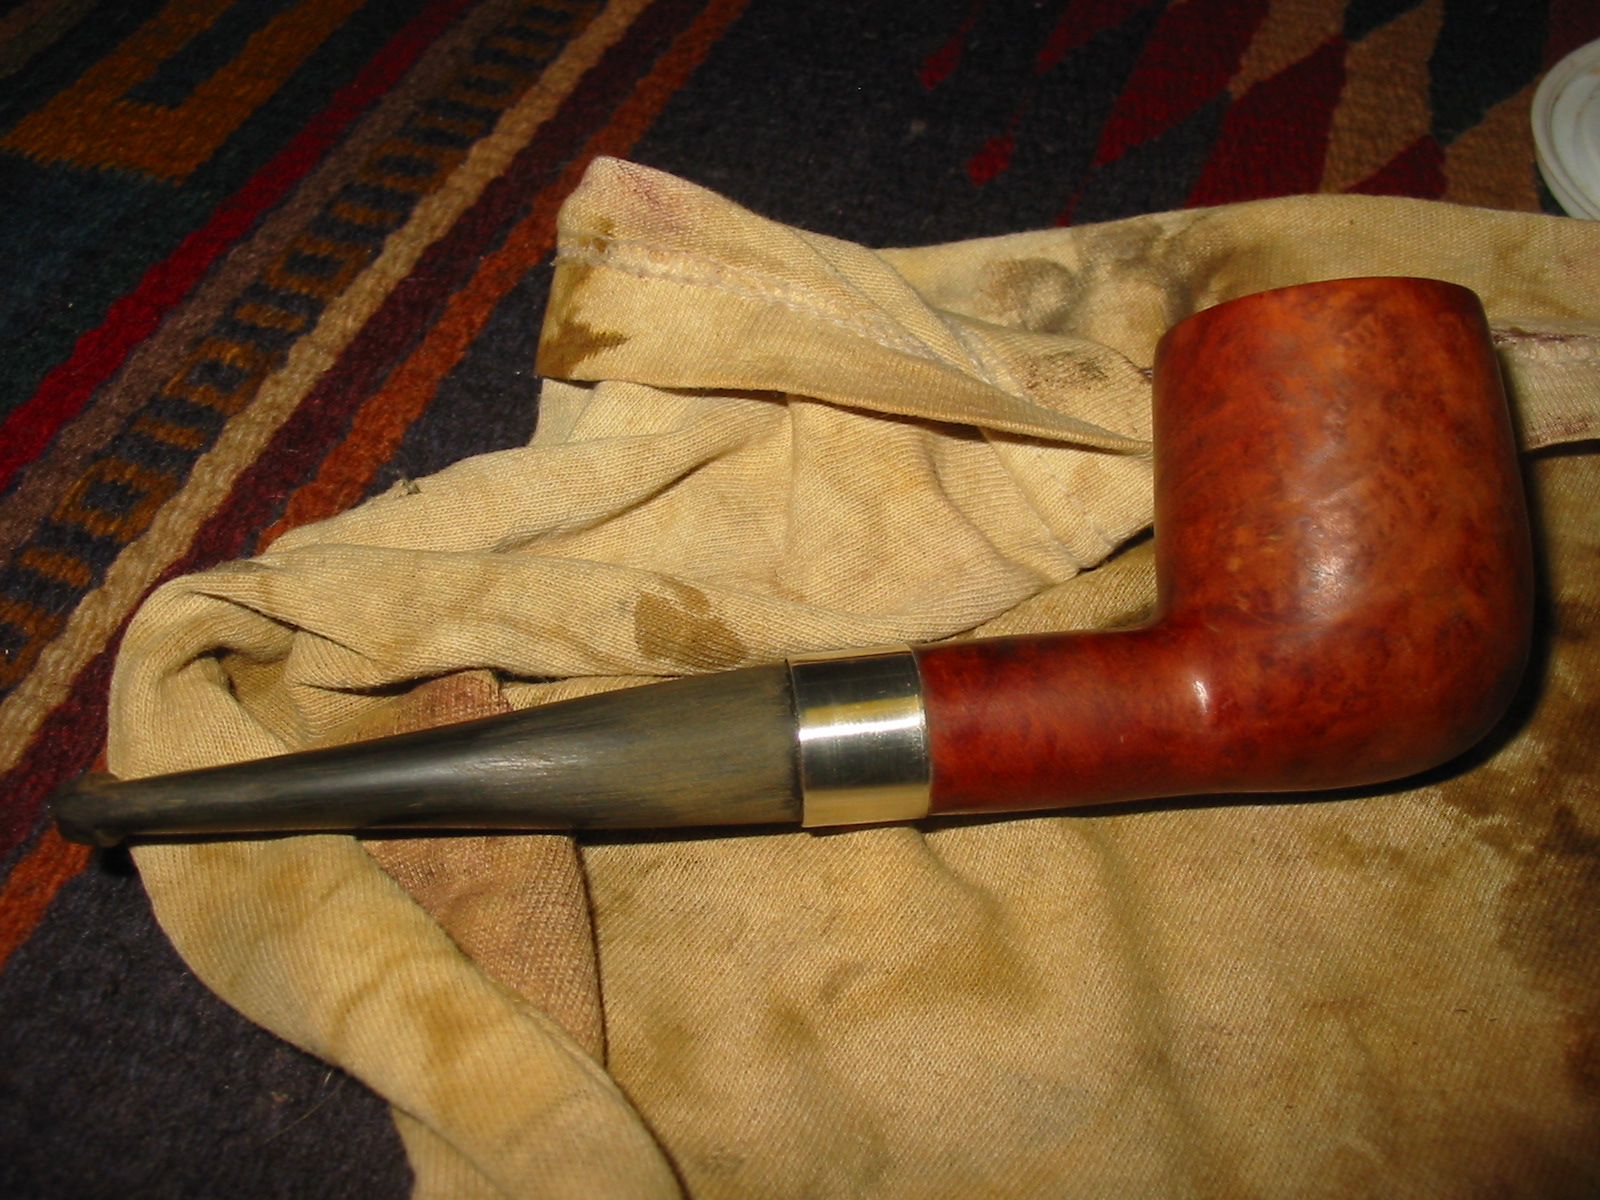
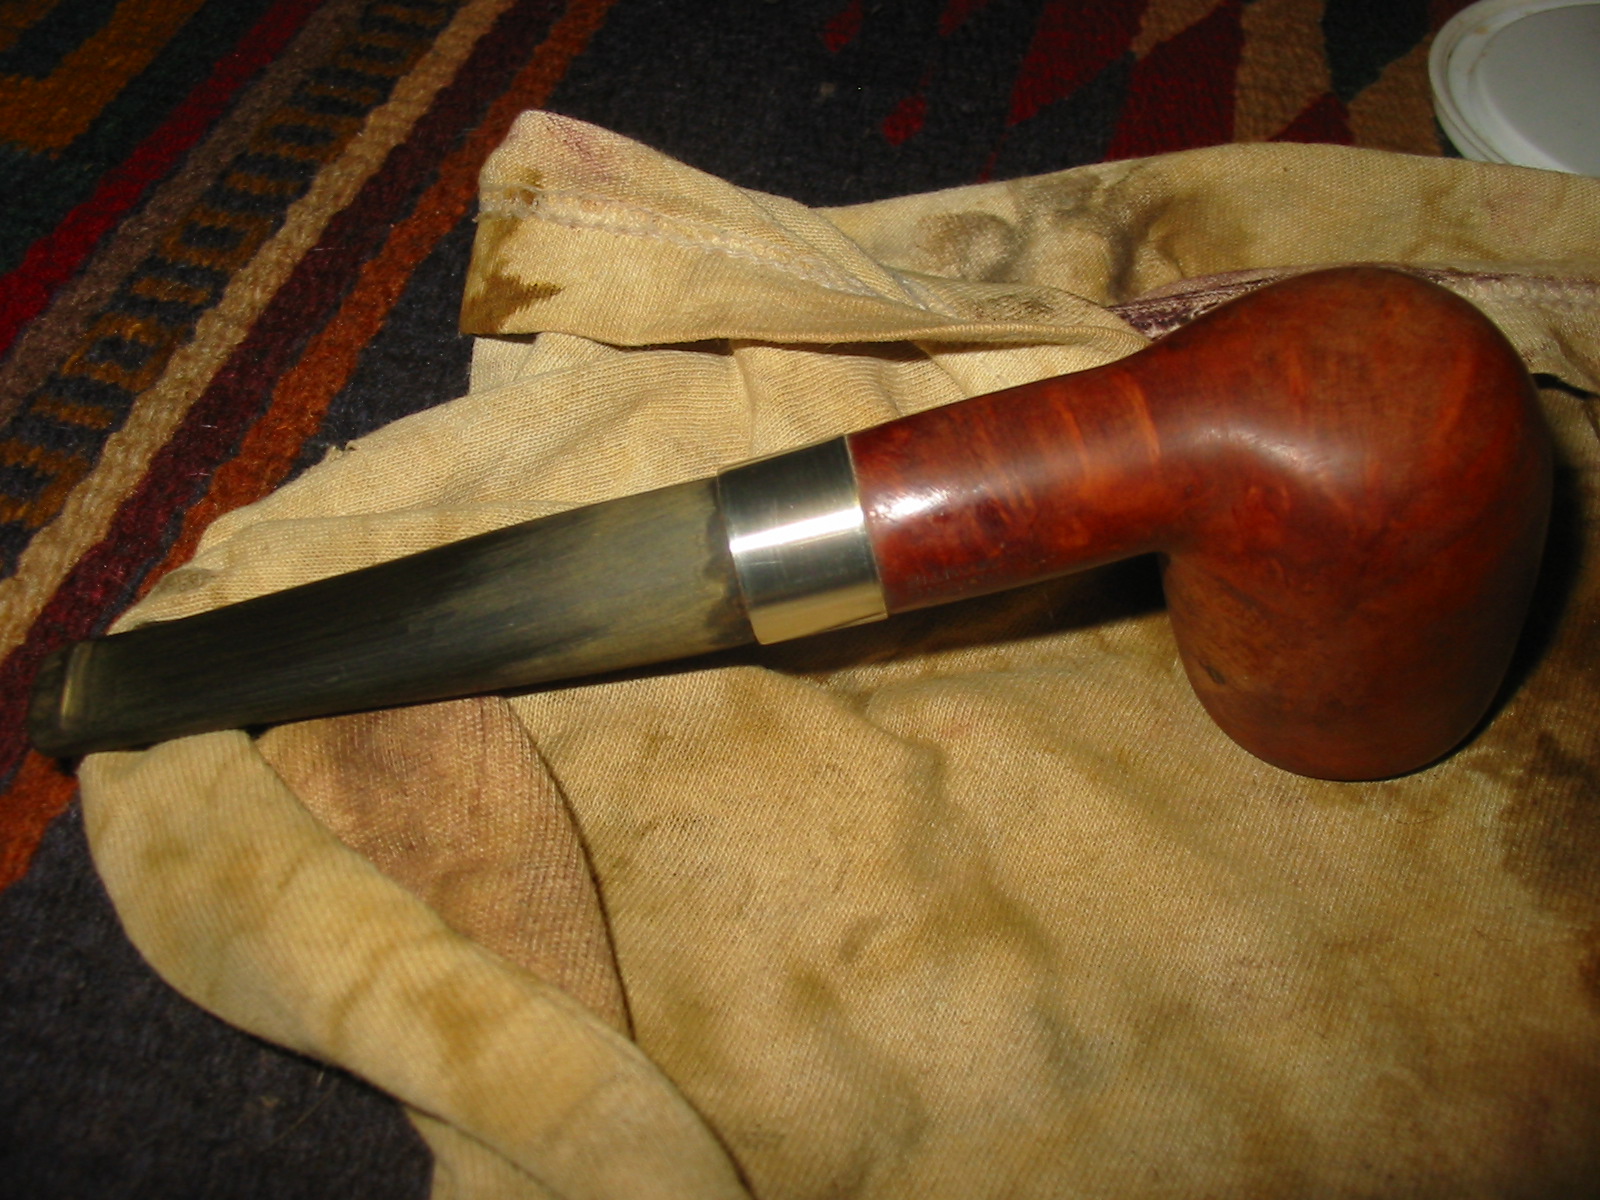
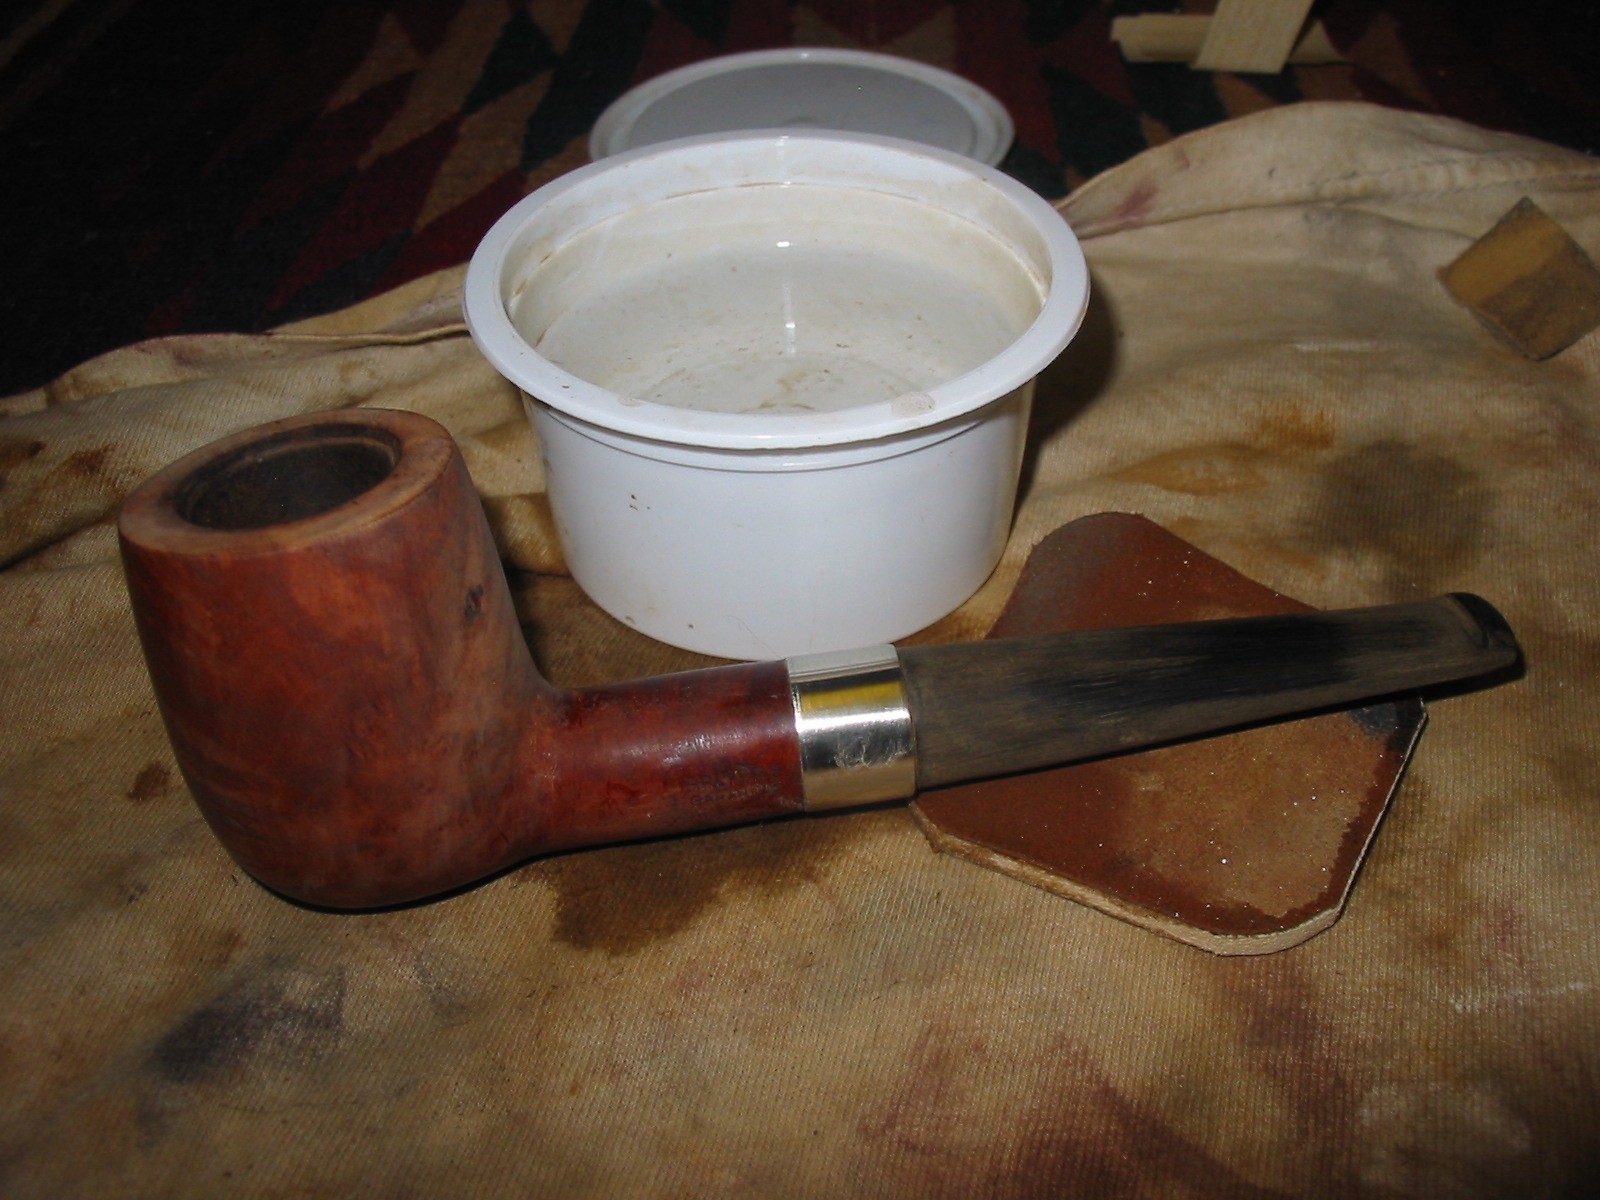
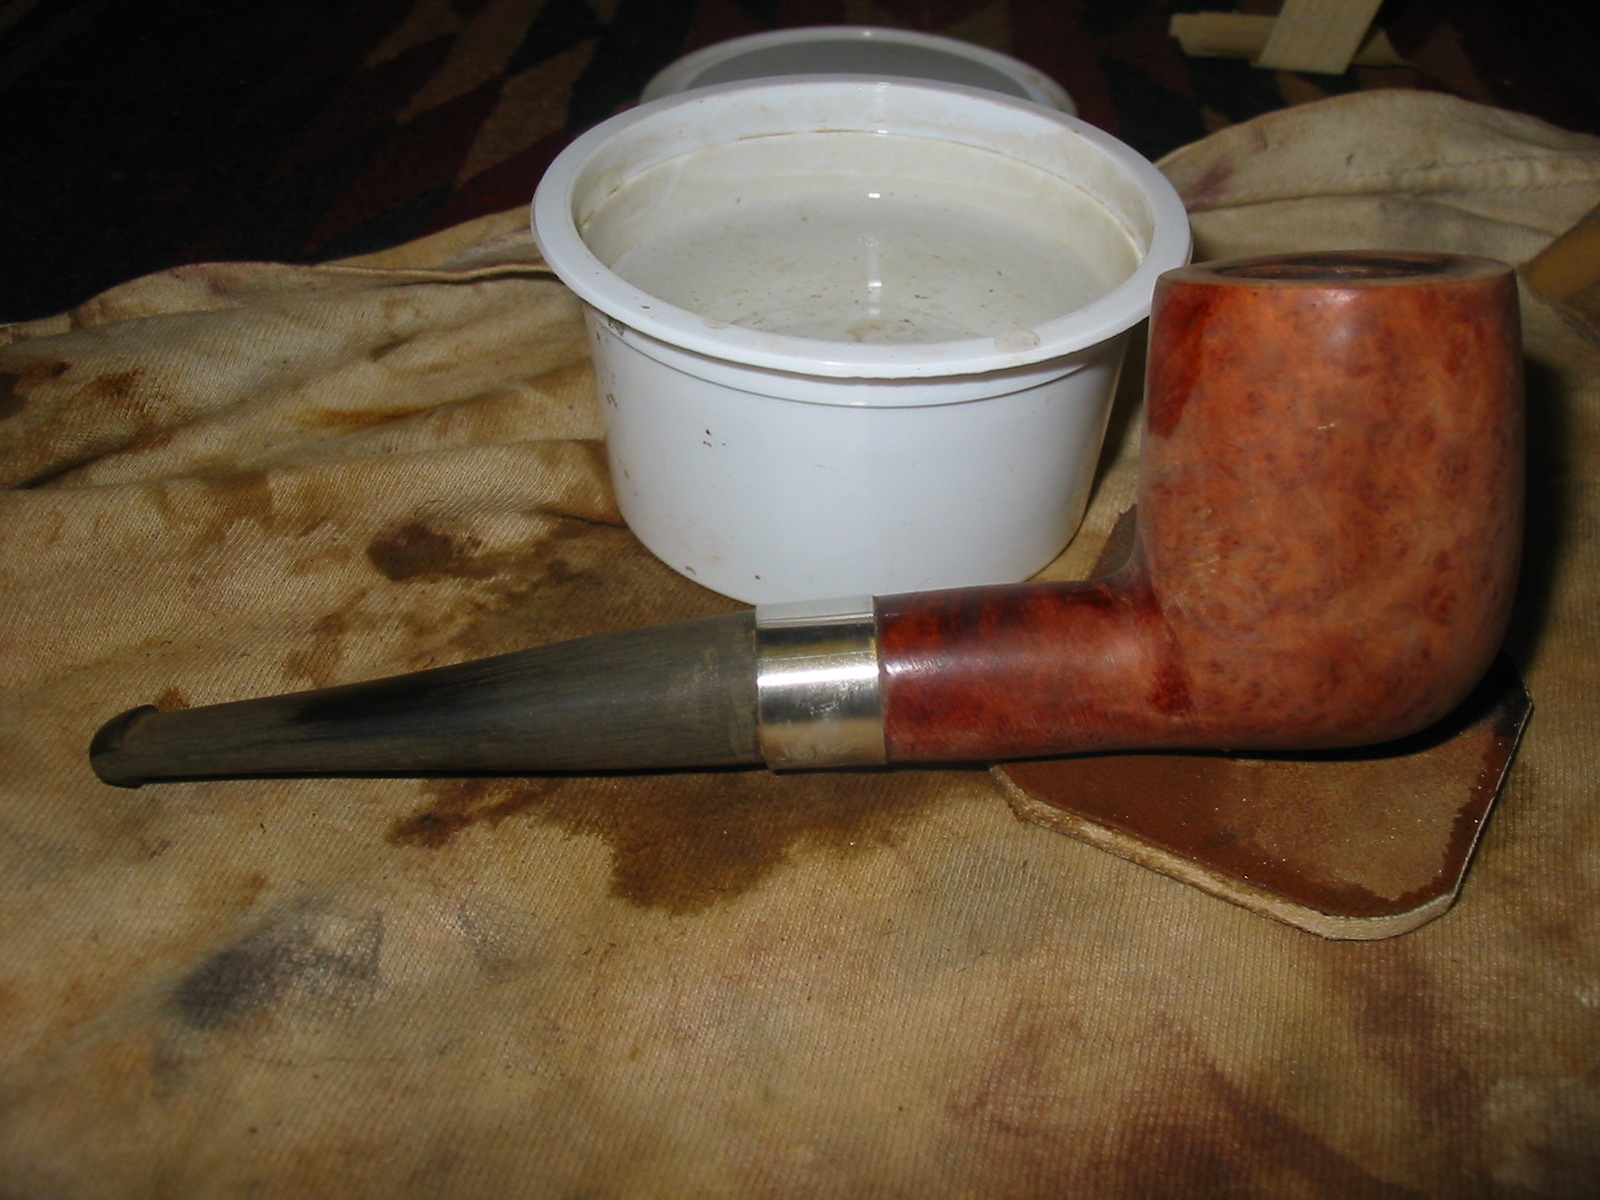
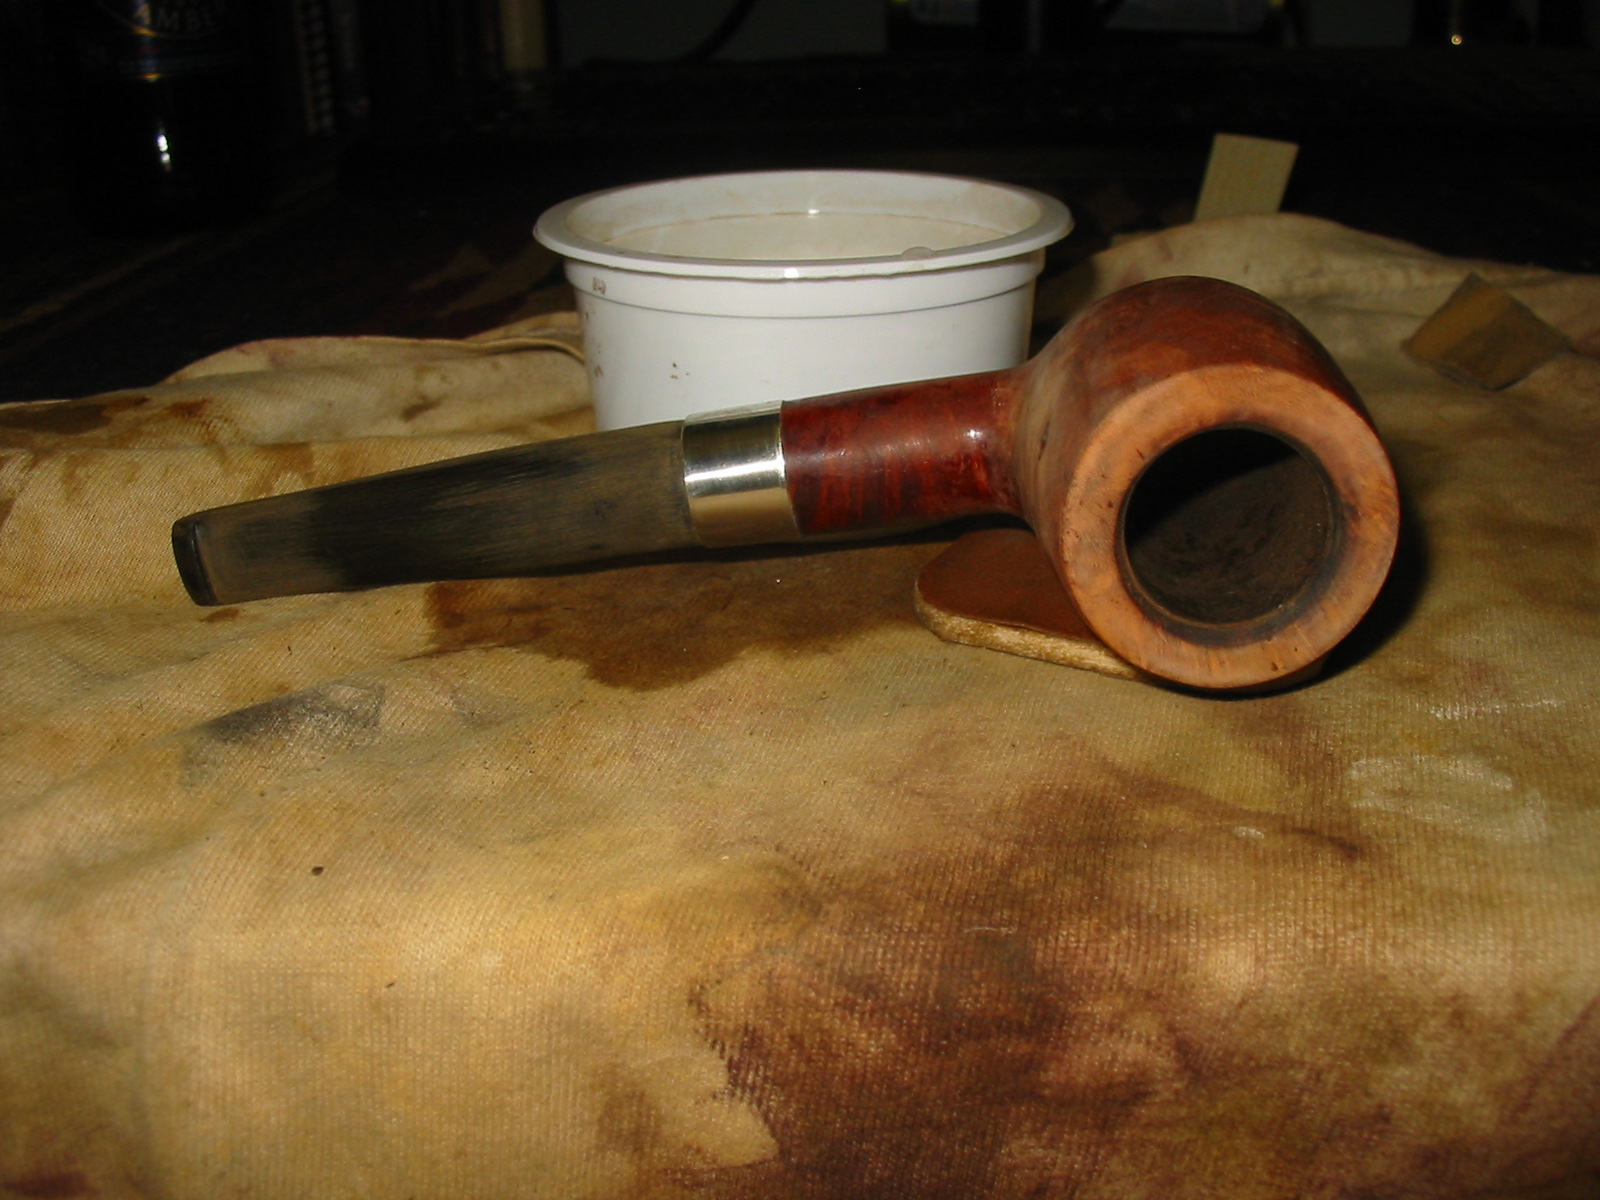
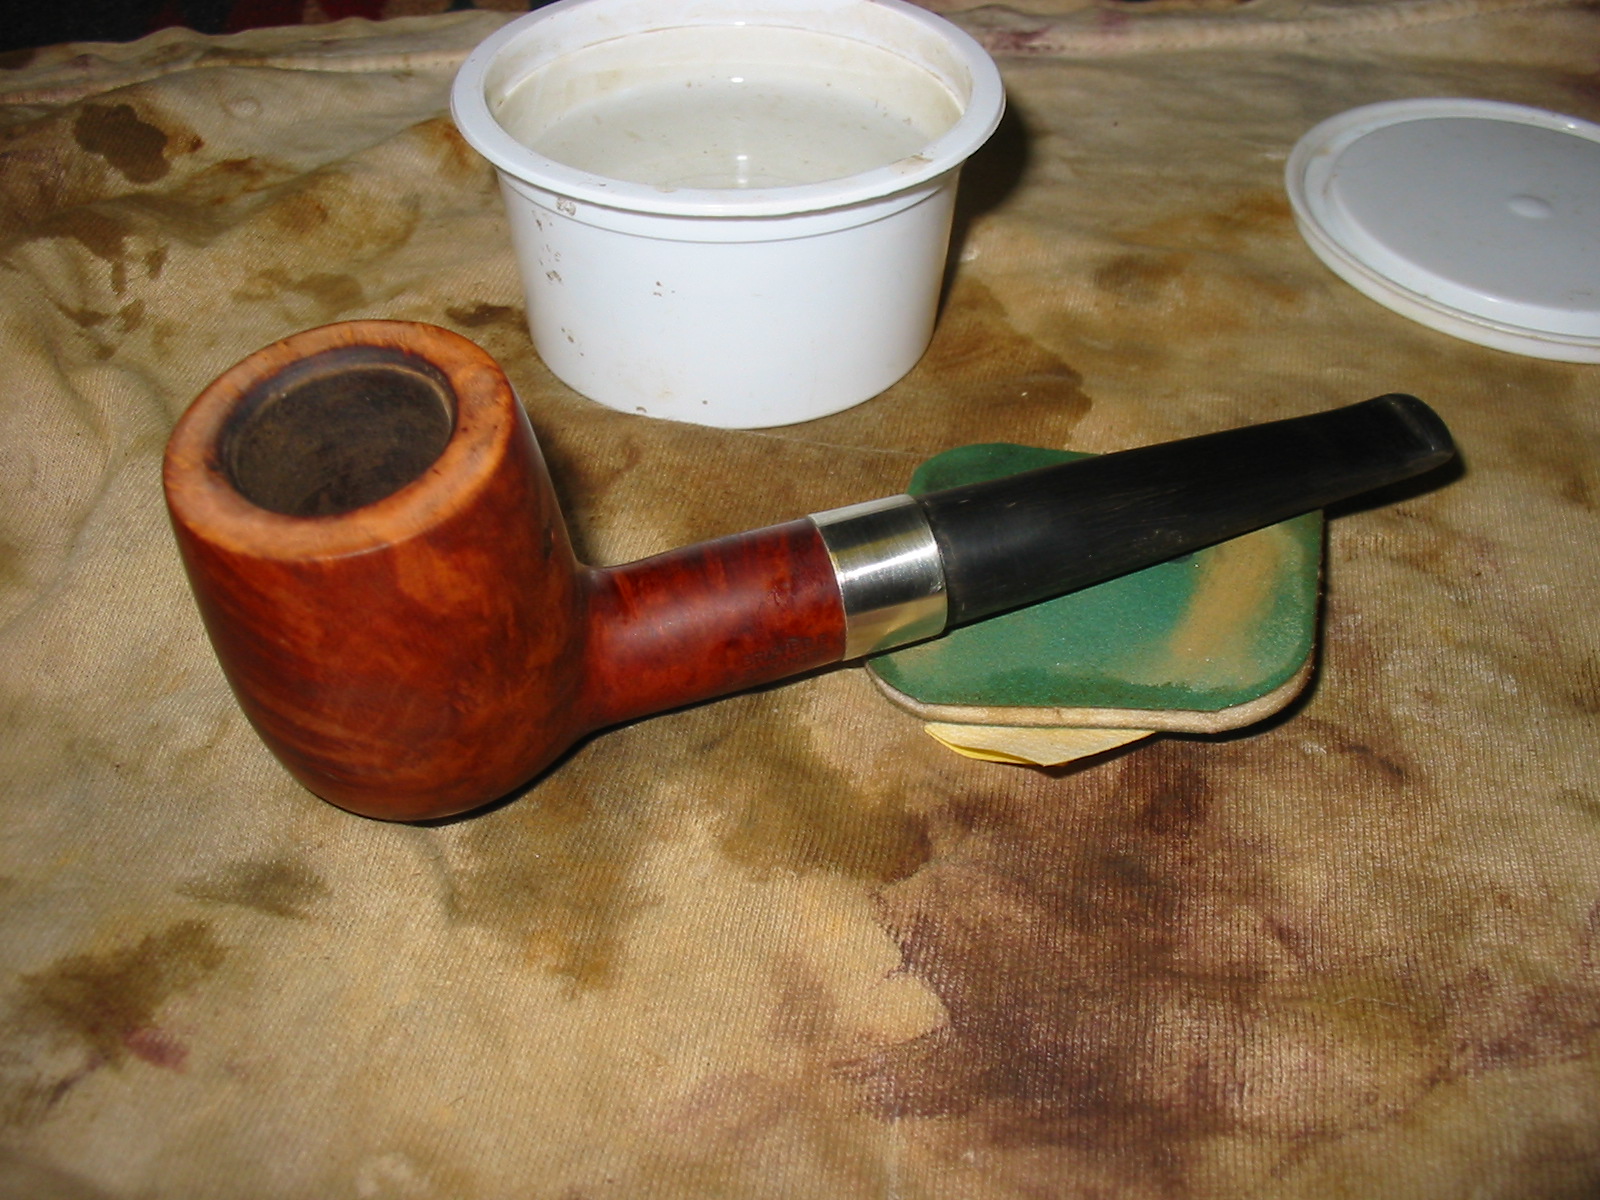
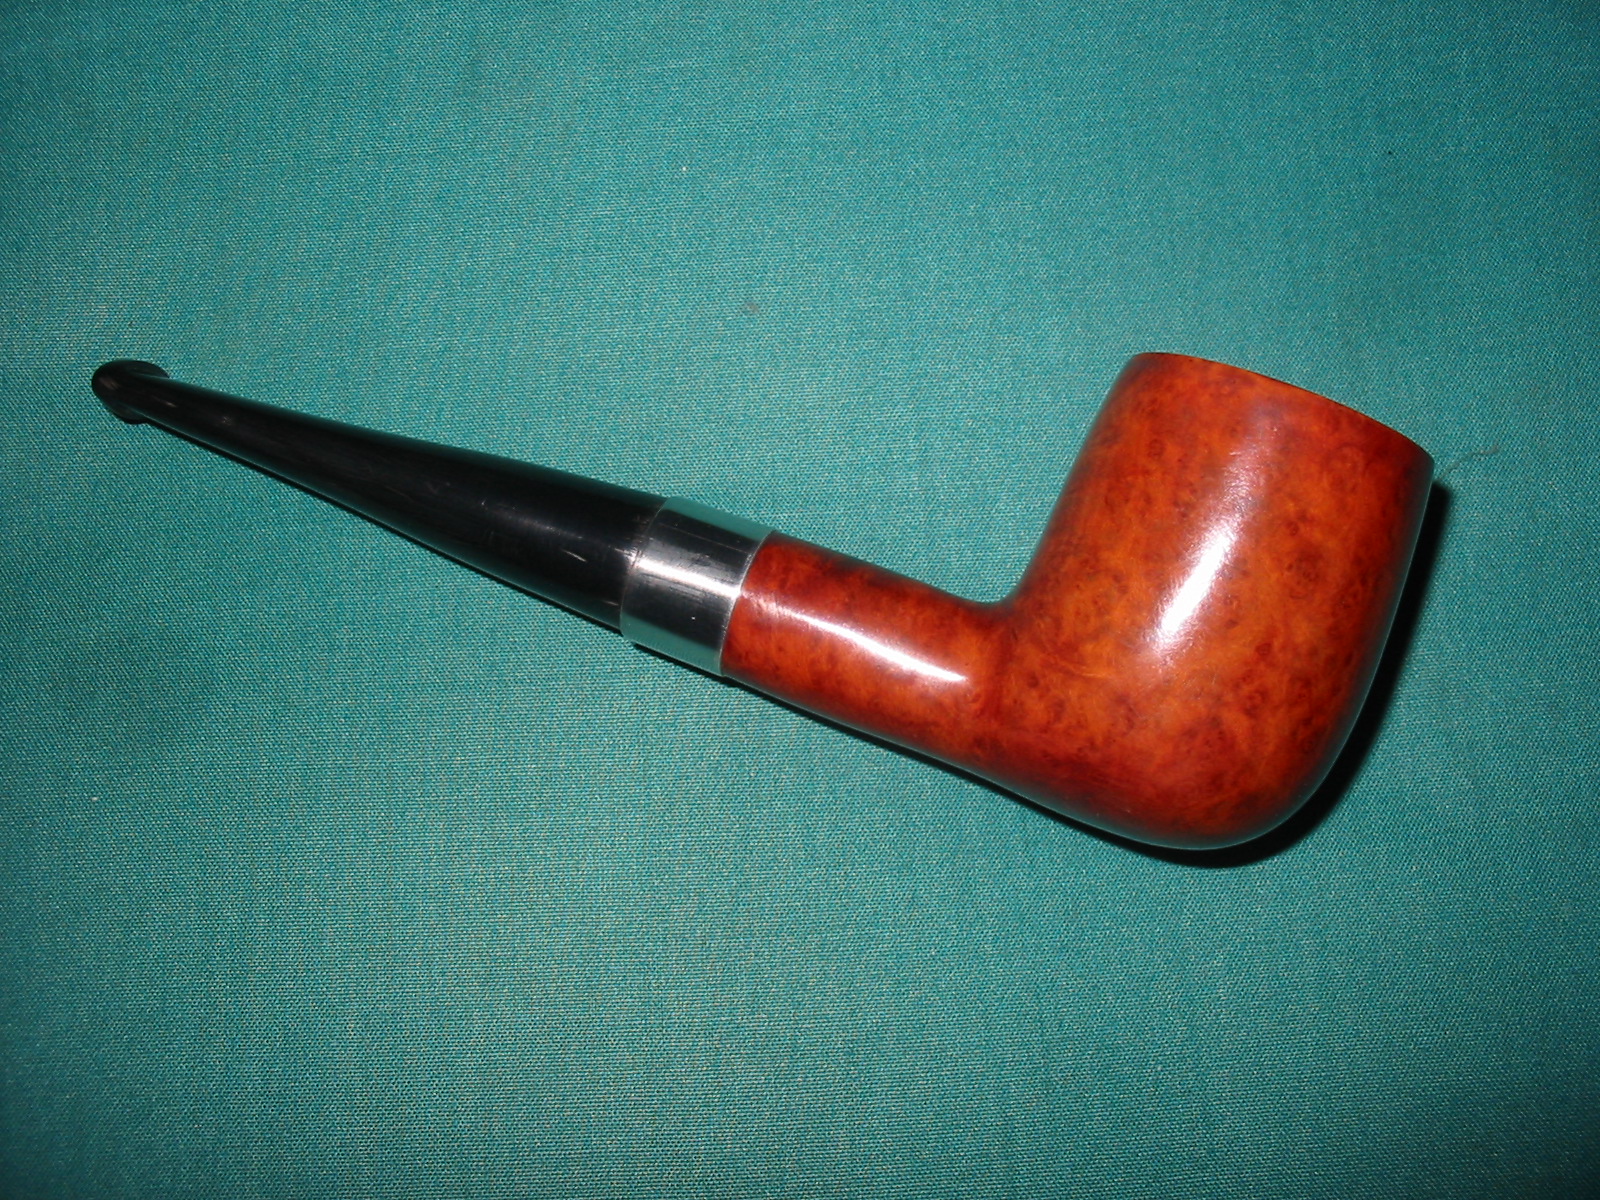
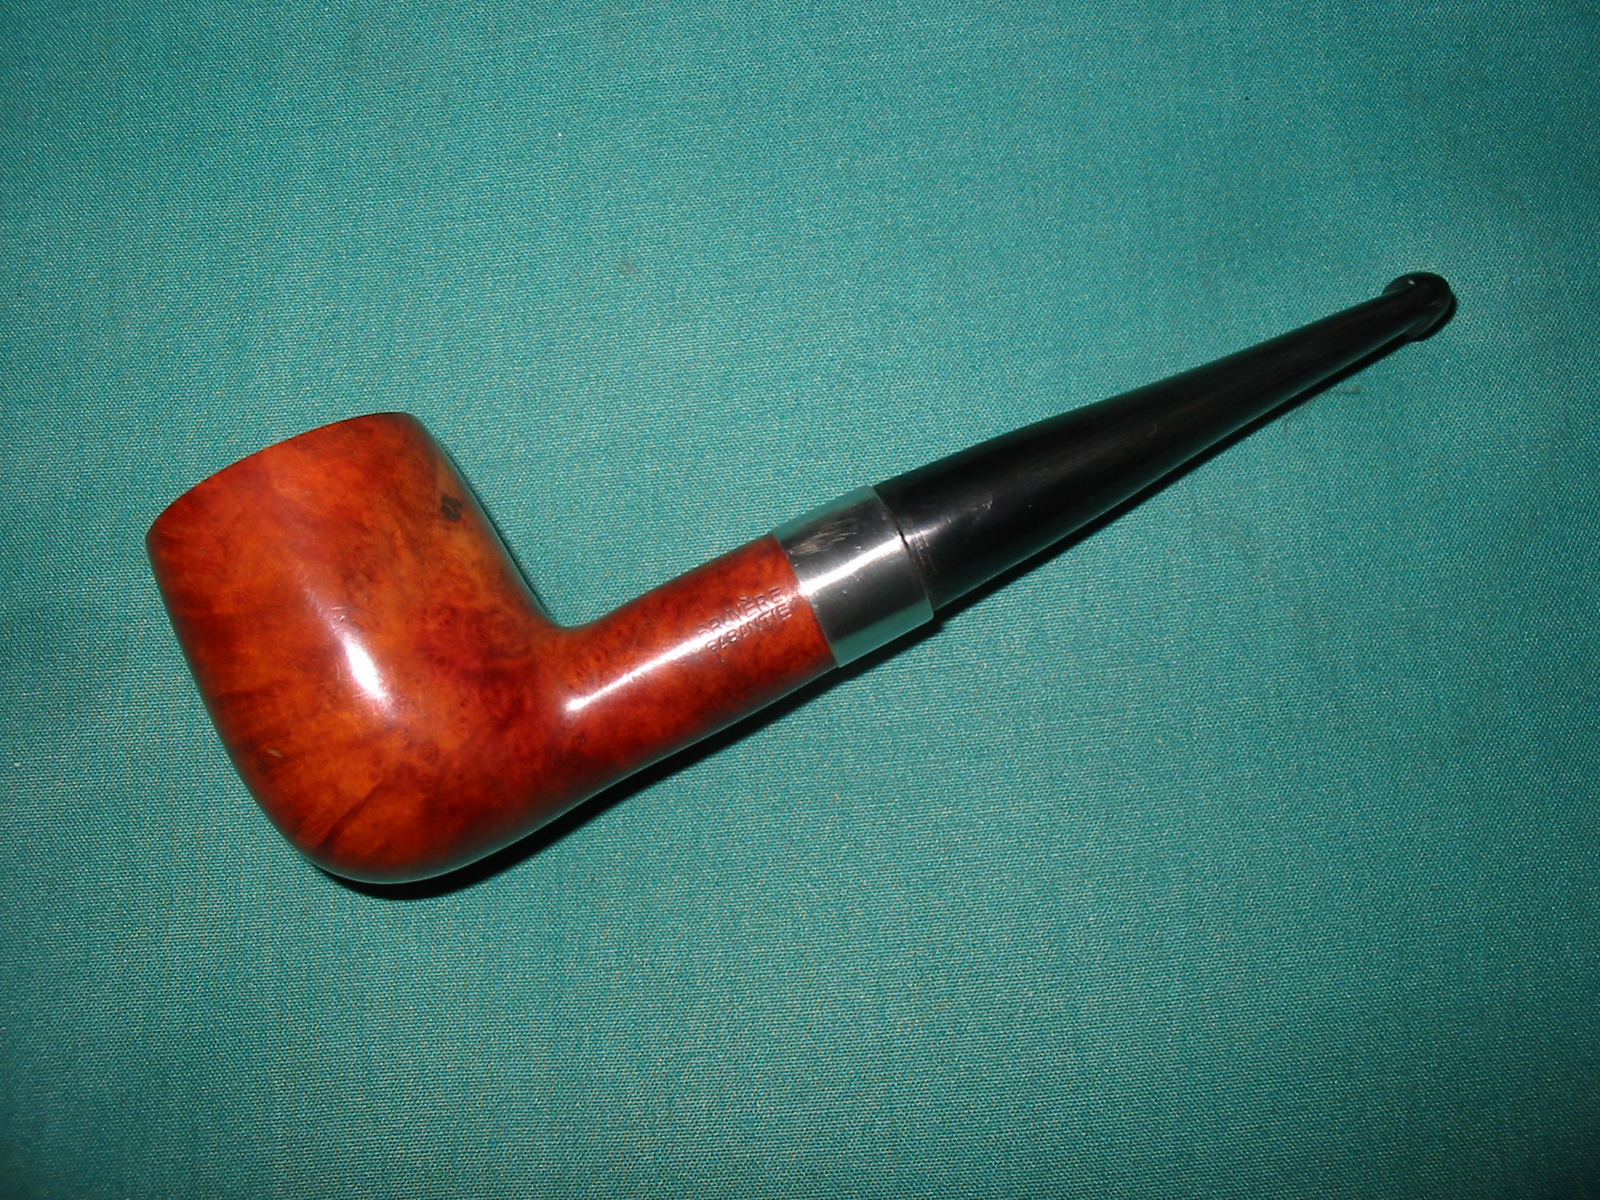
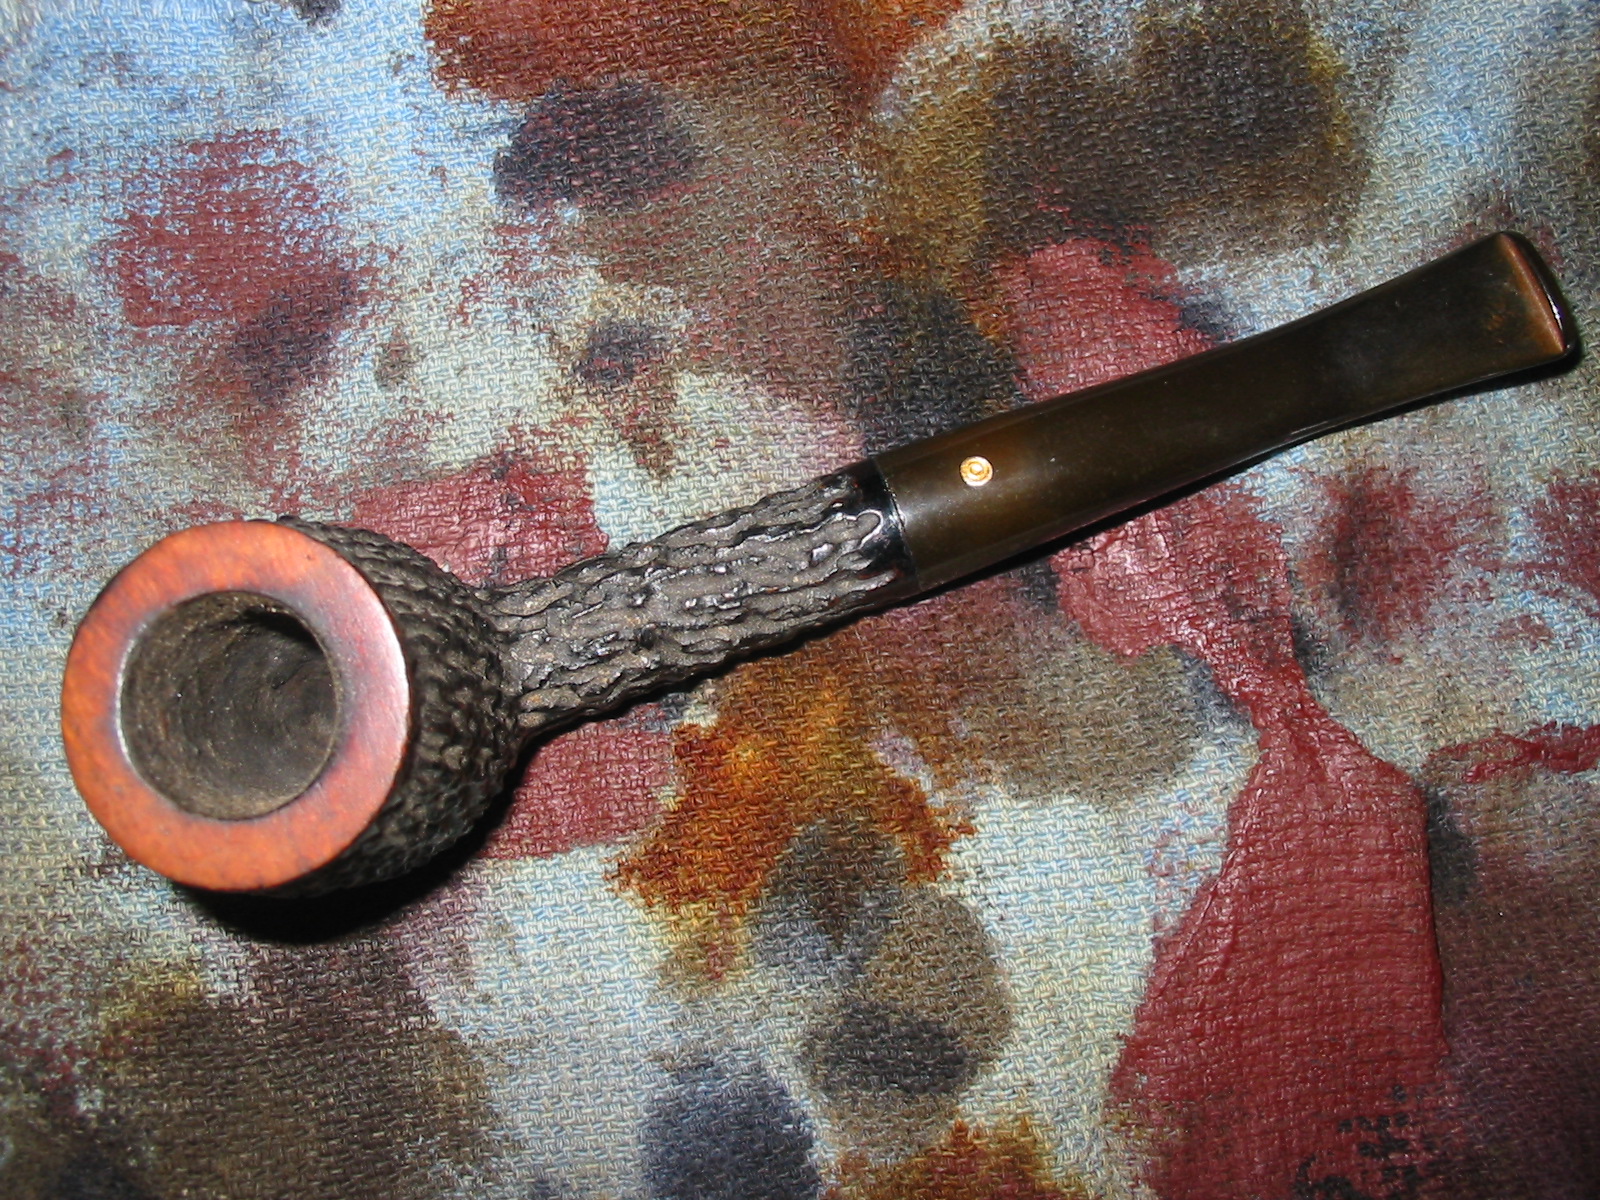
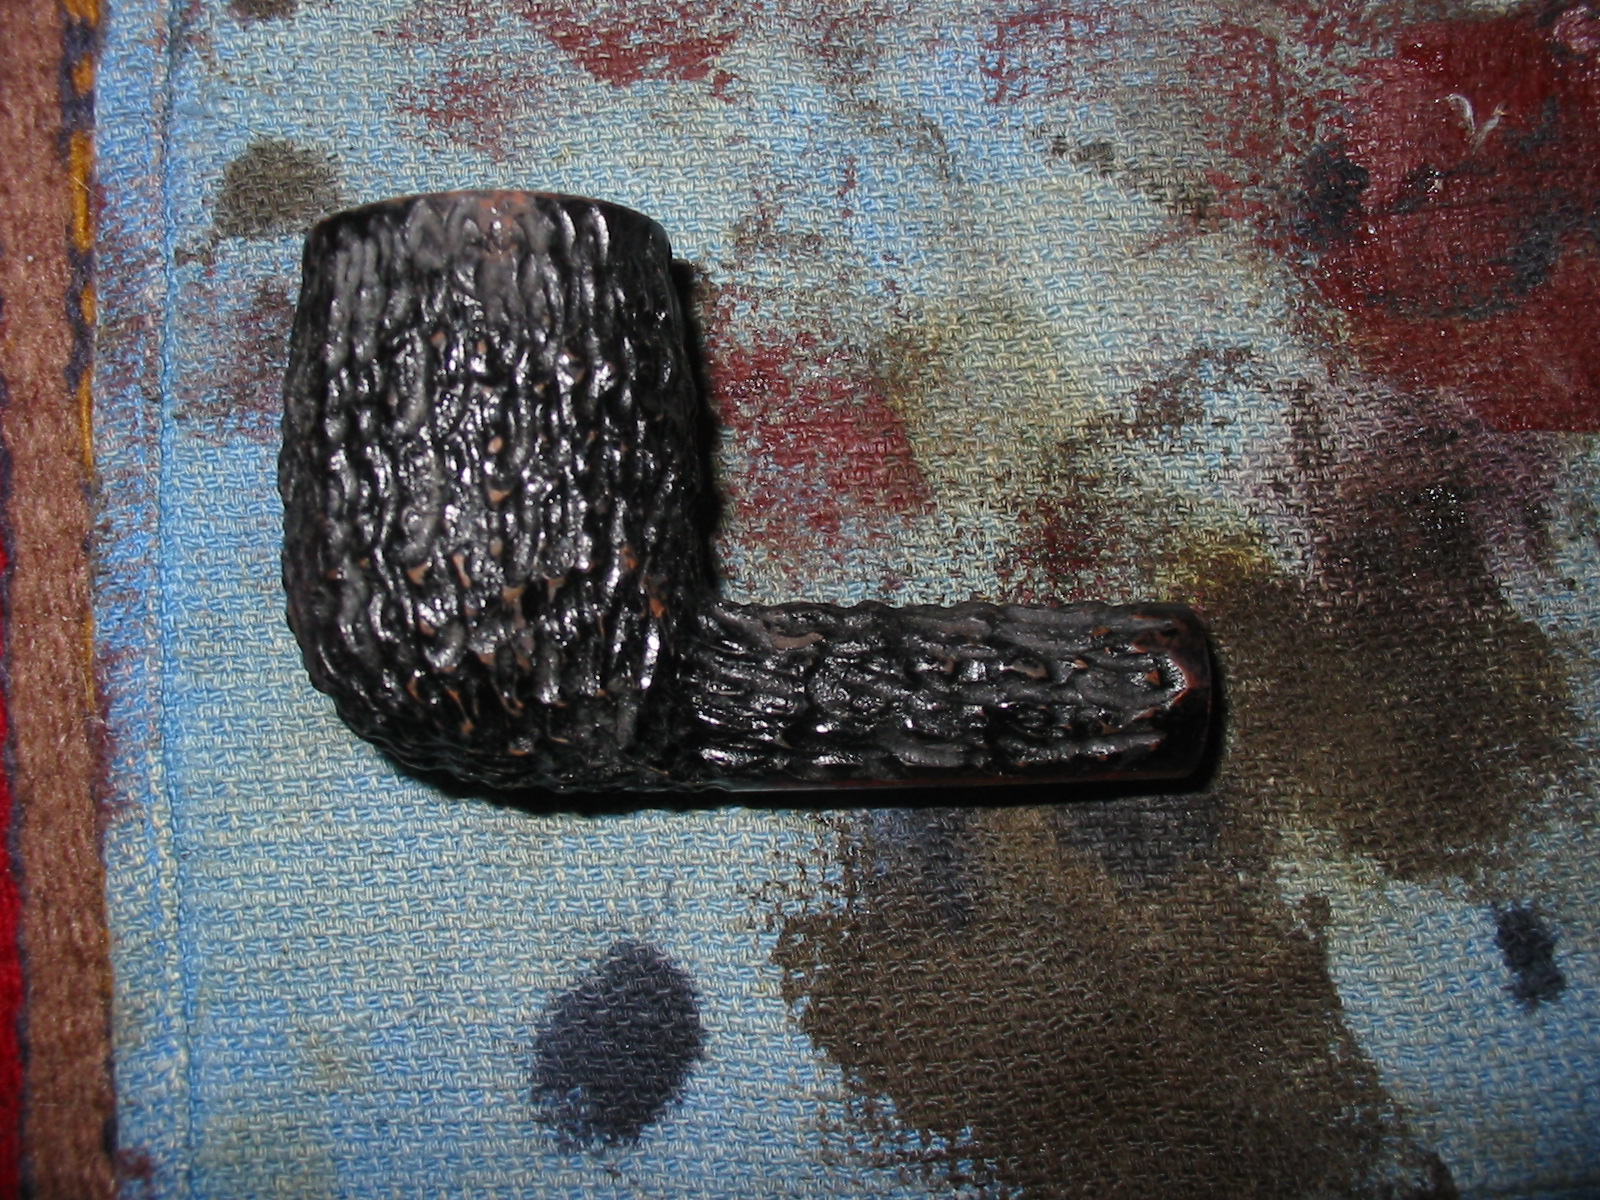
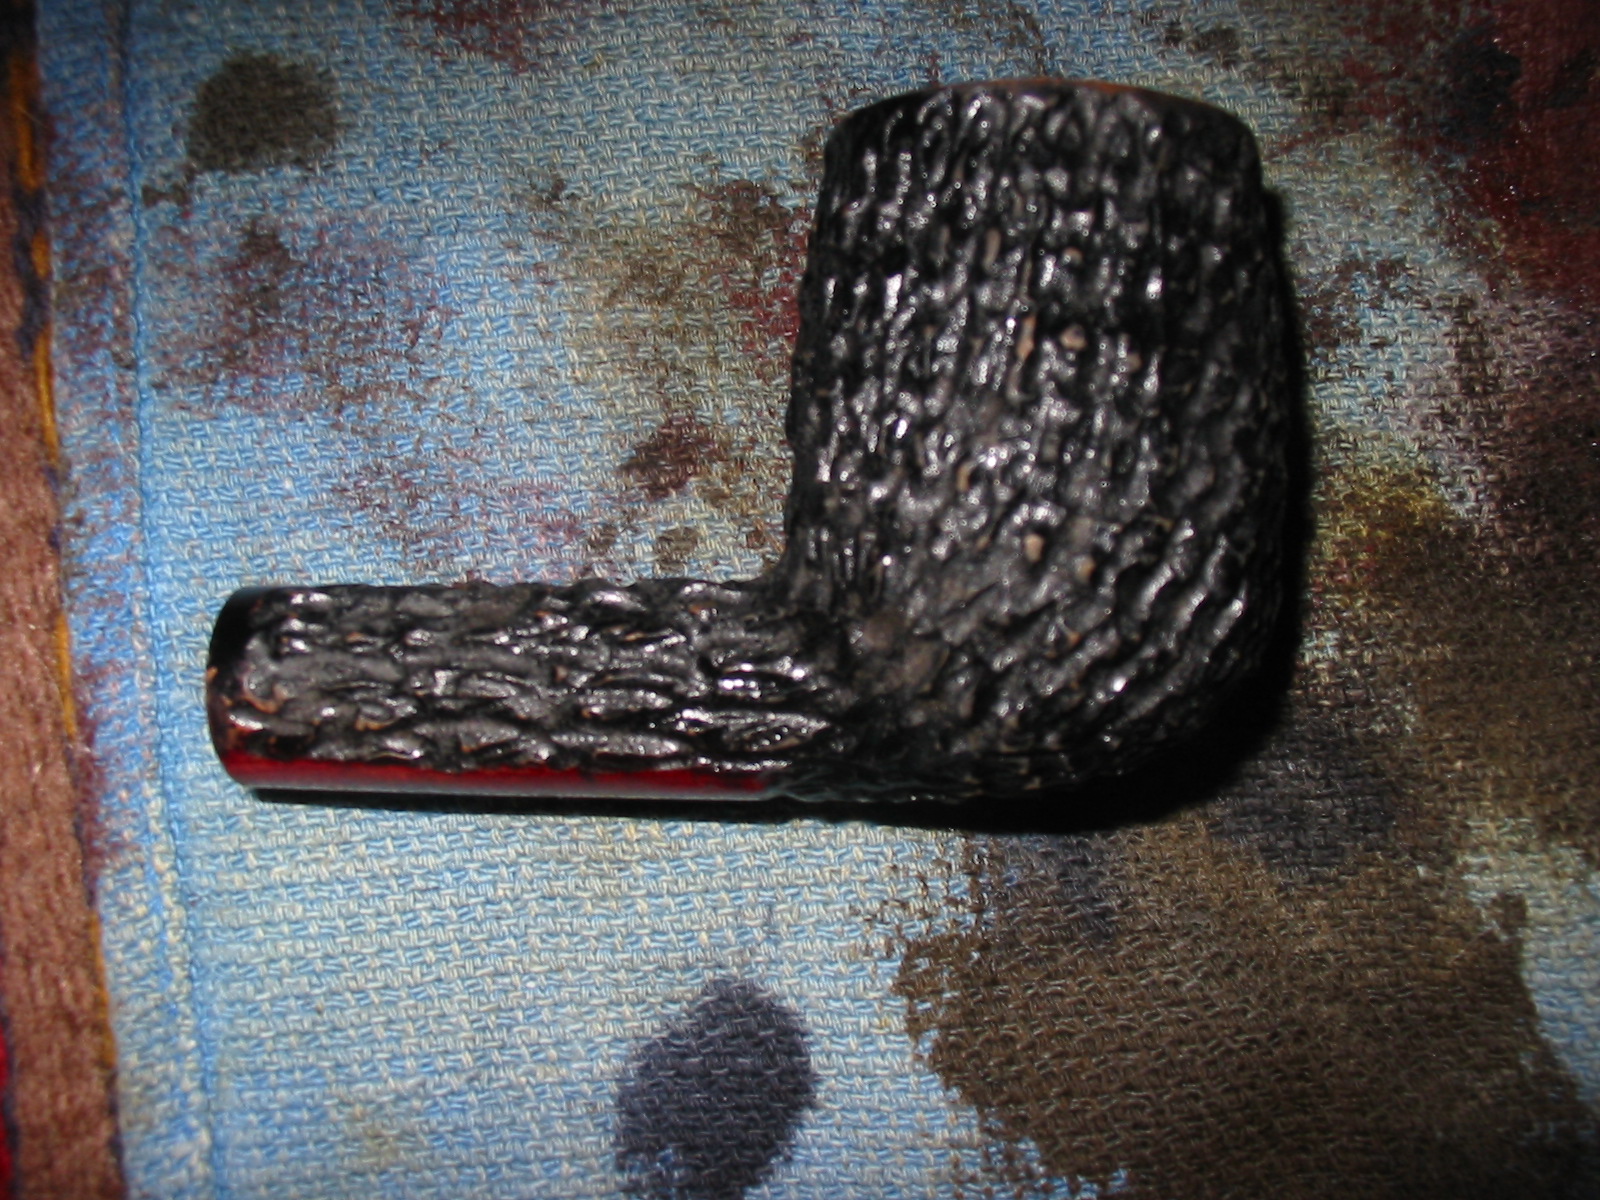
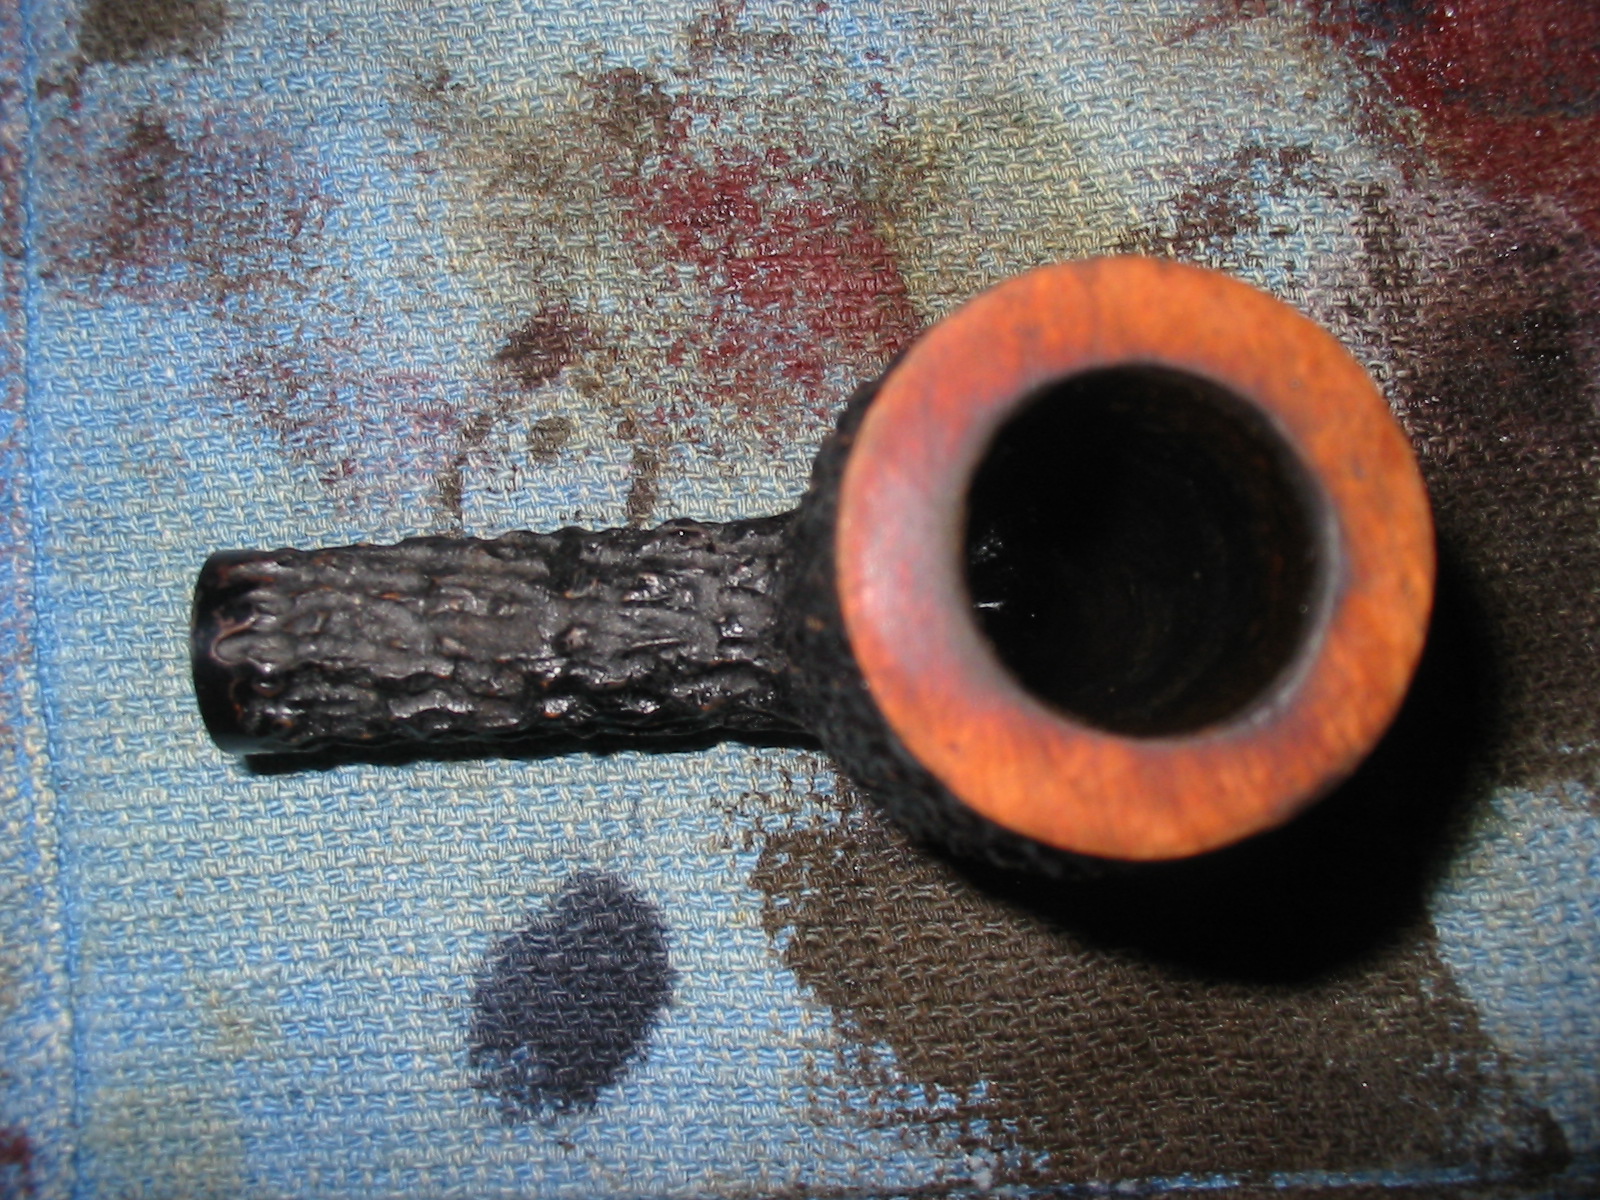
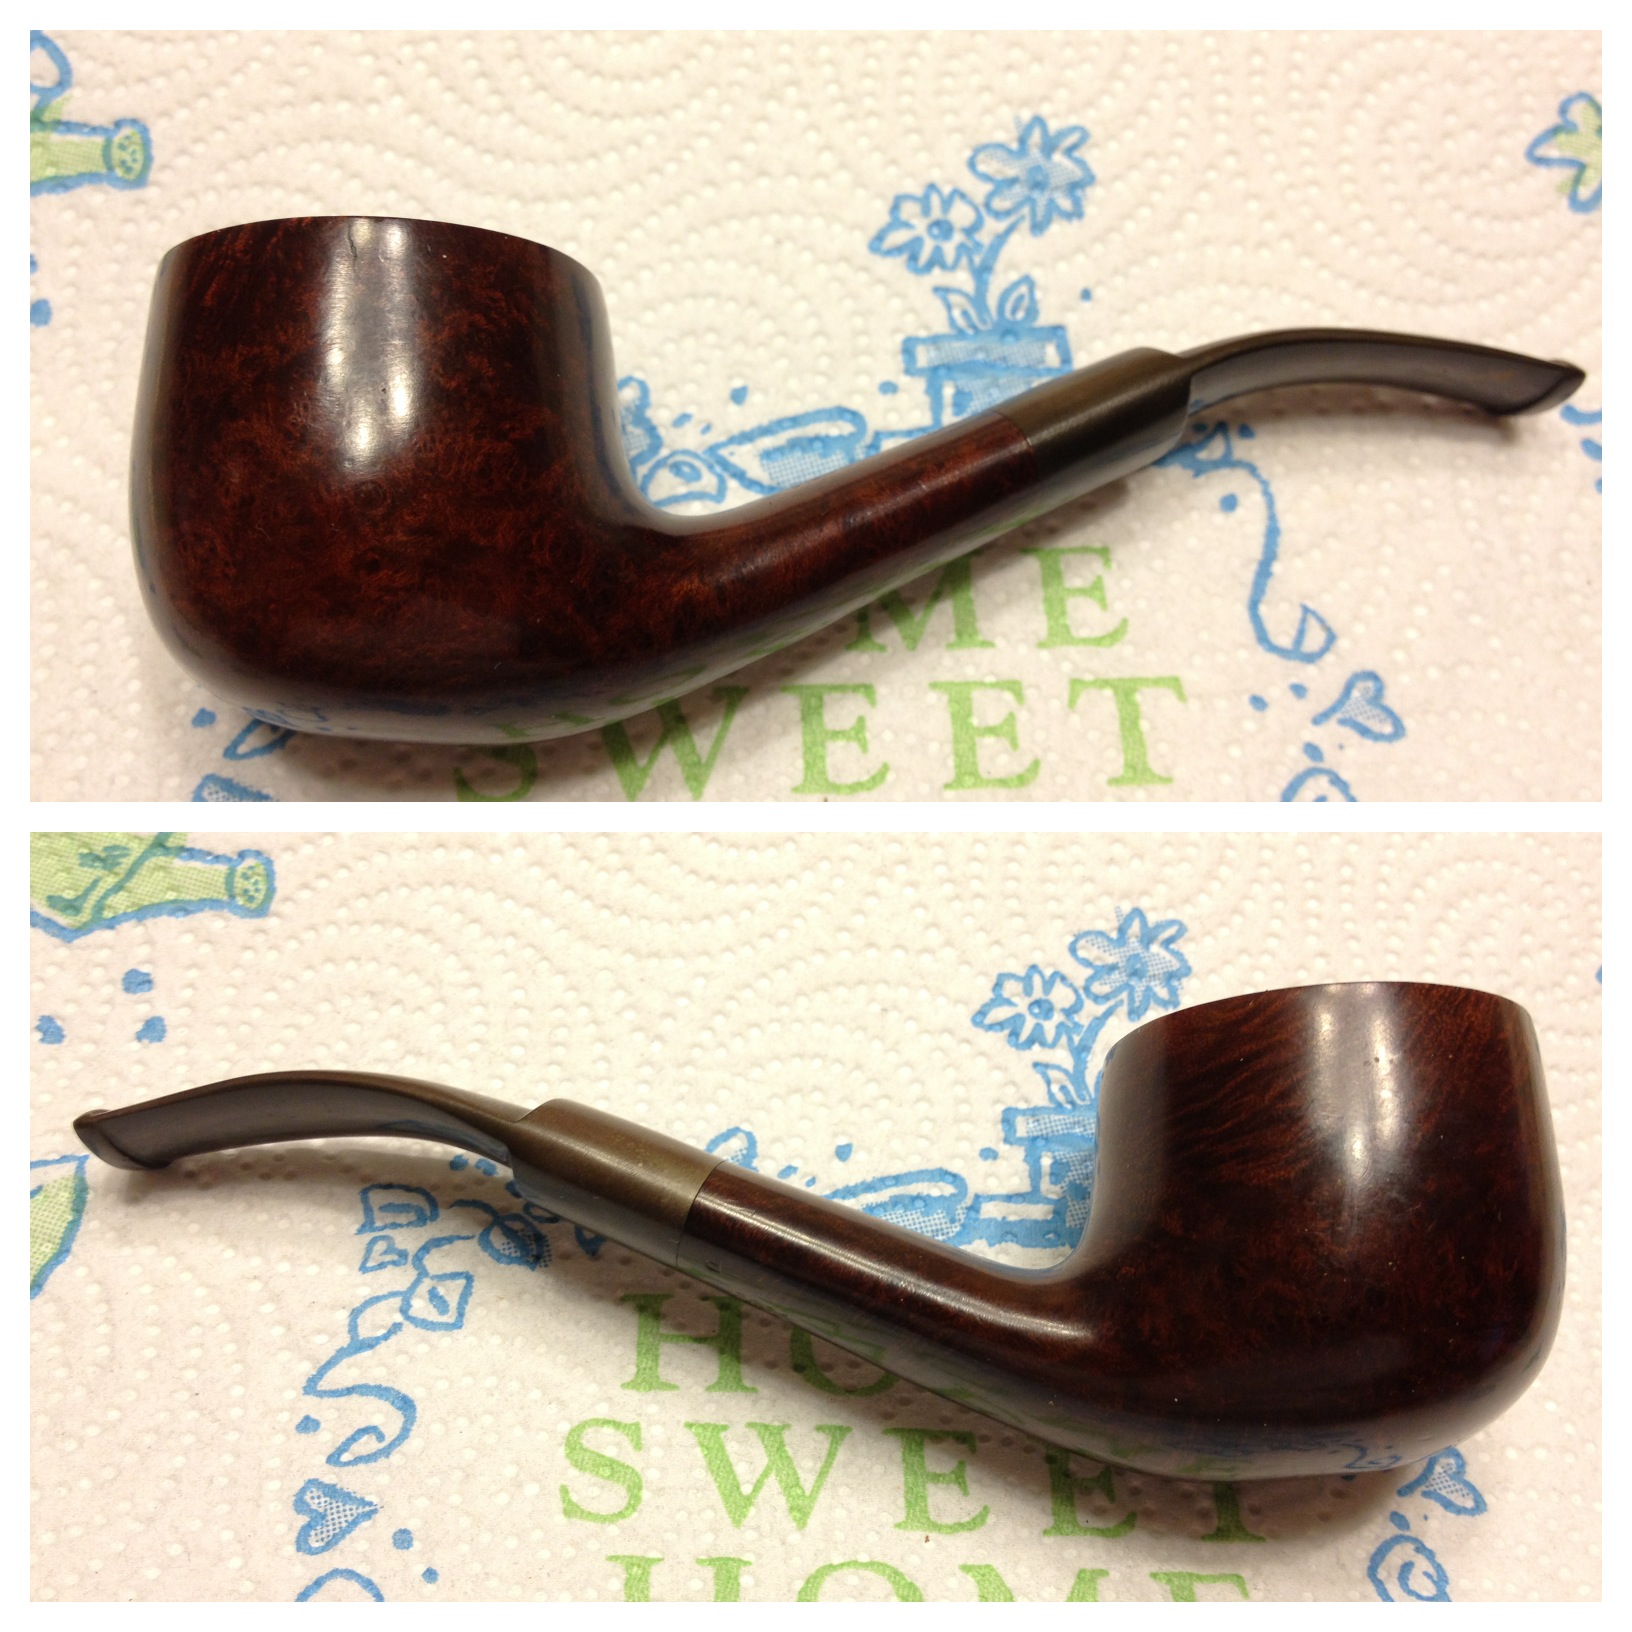
I picked up the GBD New Standard recently because of its shape mostly: a thick-walled pot. It is stamped GBD in the oval over New Standard on the top of the shank. The bottom of the shank is stamped London England over 9682 with a “P” below and to the right of that.

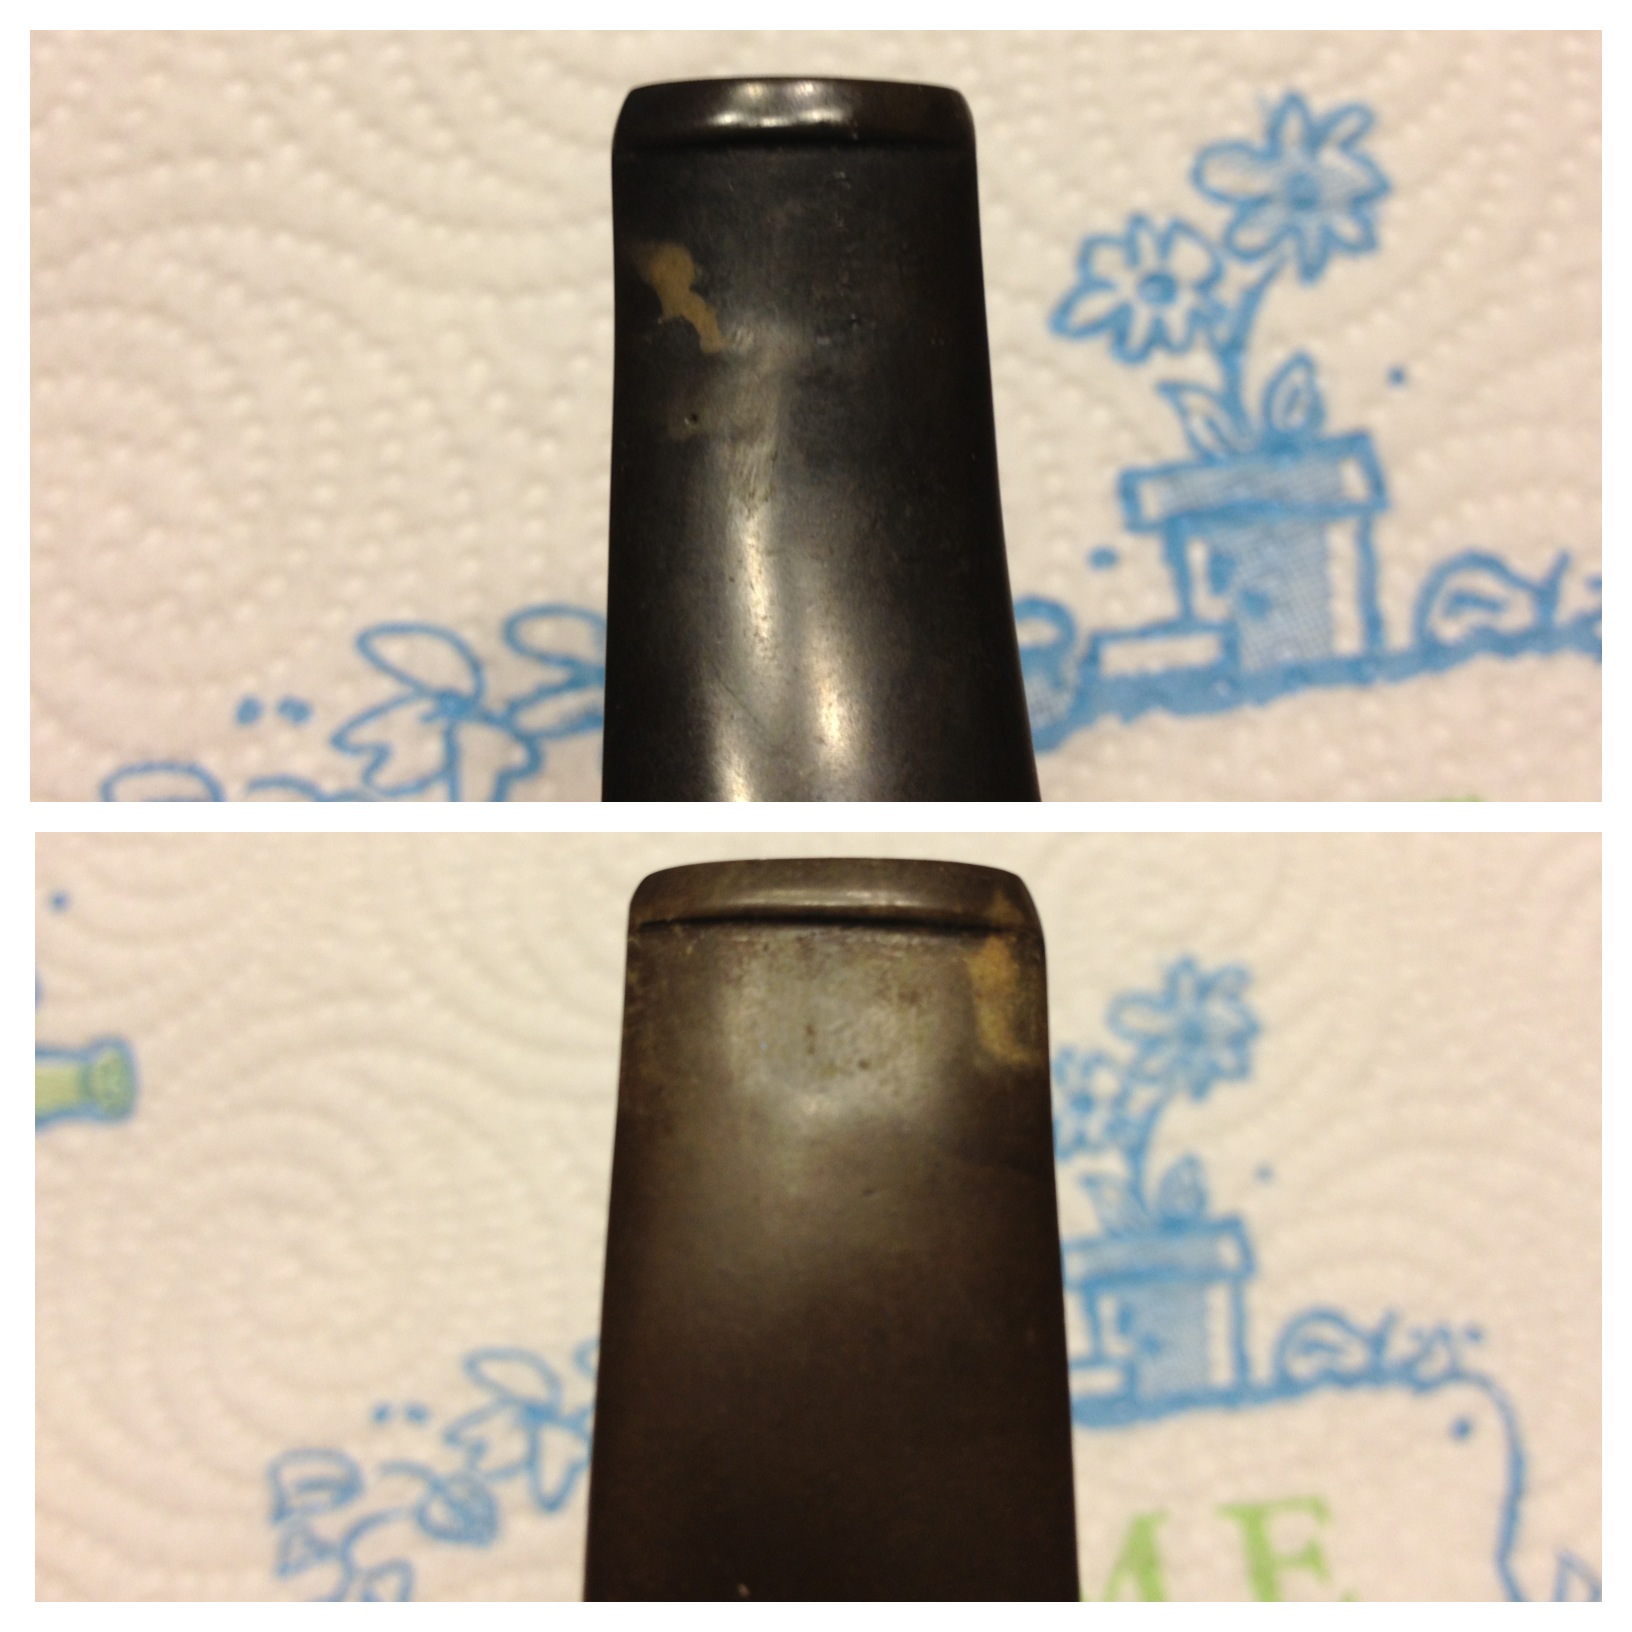
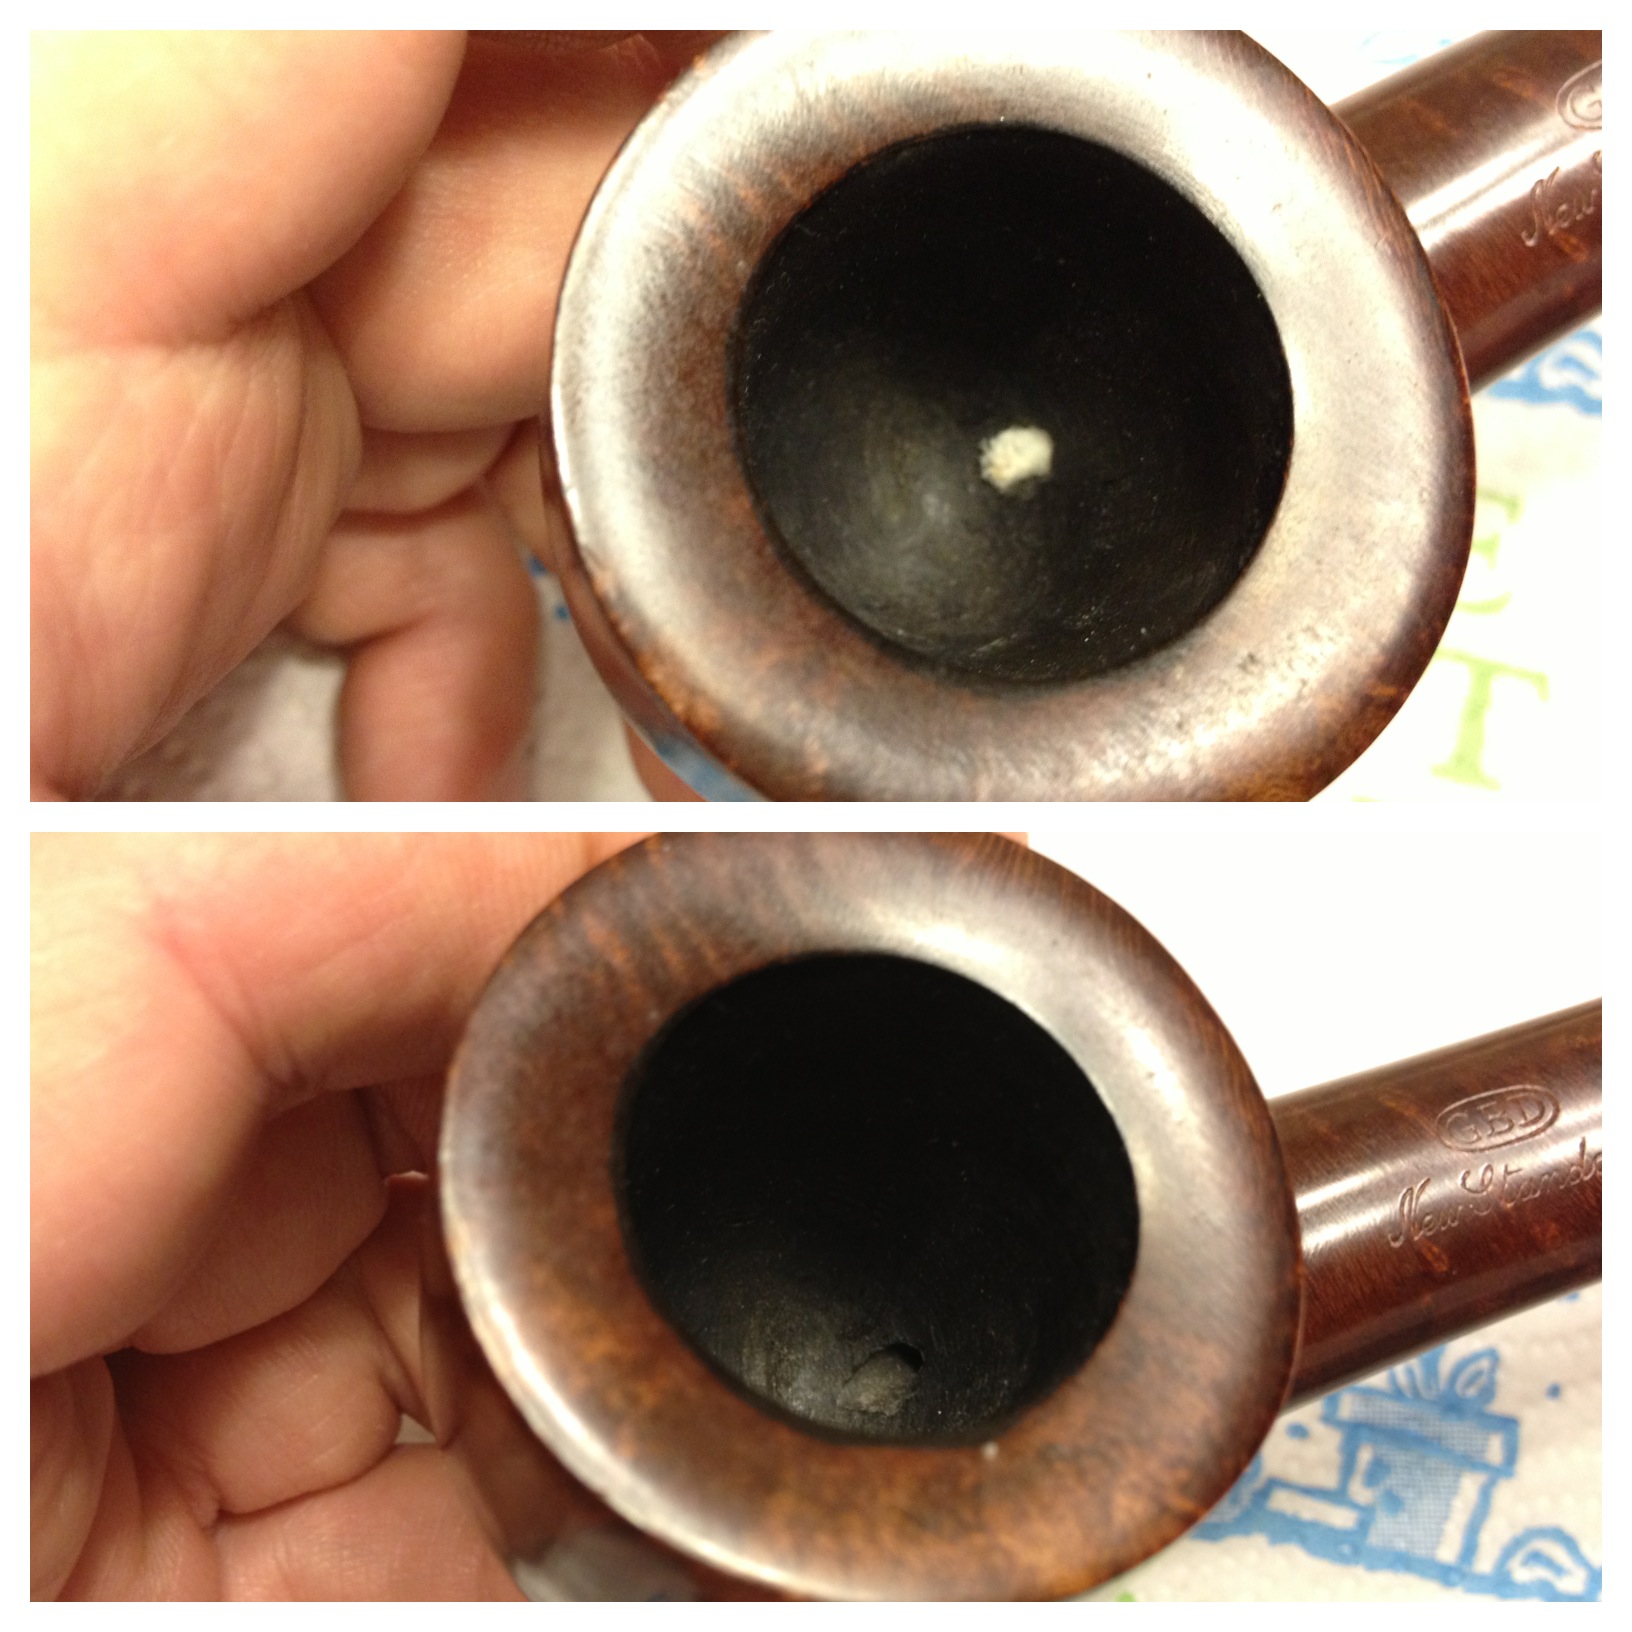
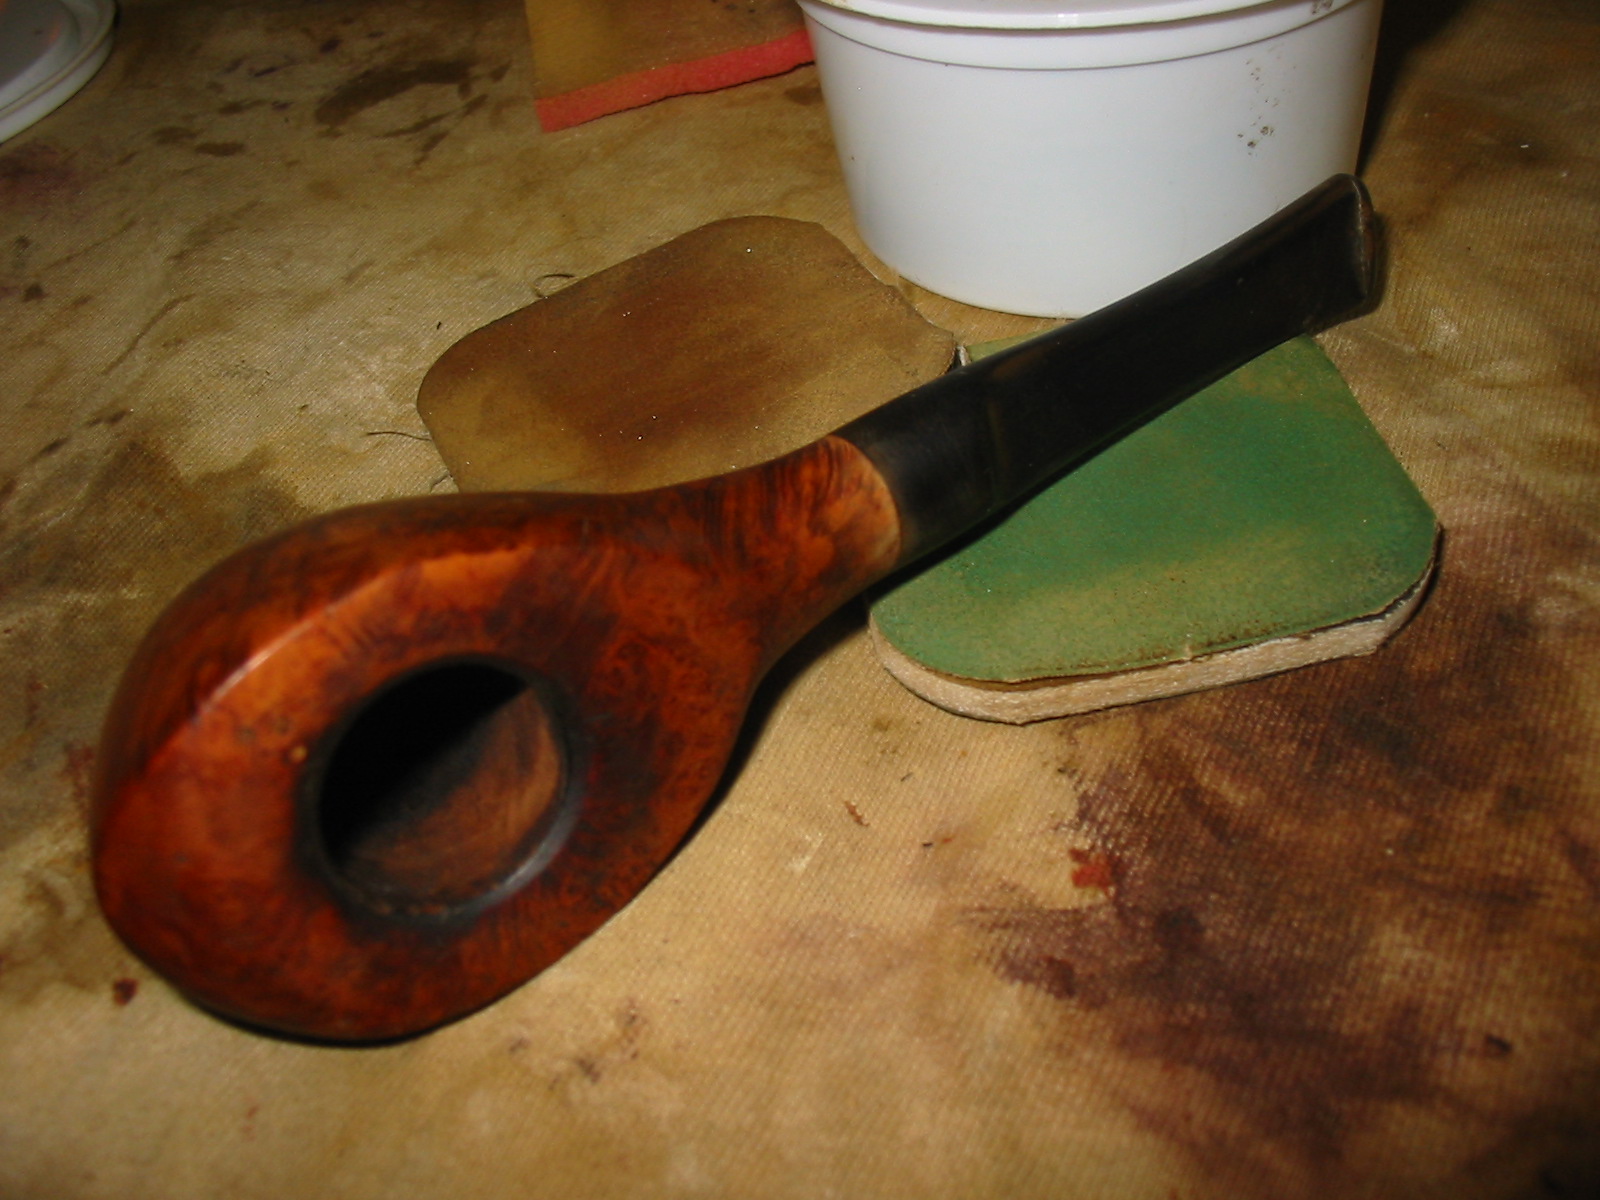
When I got the pipe it was in pretty good shape: dirty, oxidized, the normal stuff. But it seemed lightly smoked with no cake and no real issues and only light chatter. IMG_5241IMG_5242IMG_5243Nomenclature
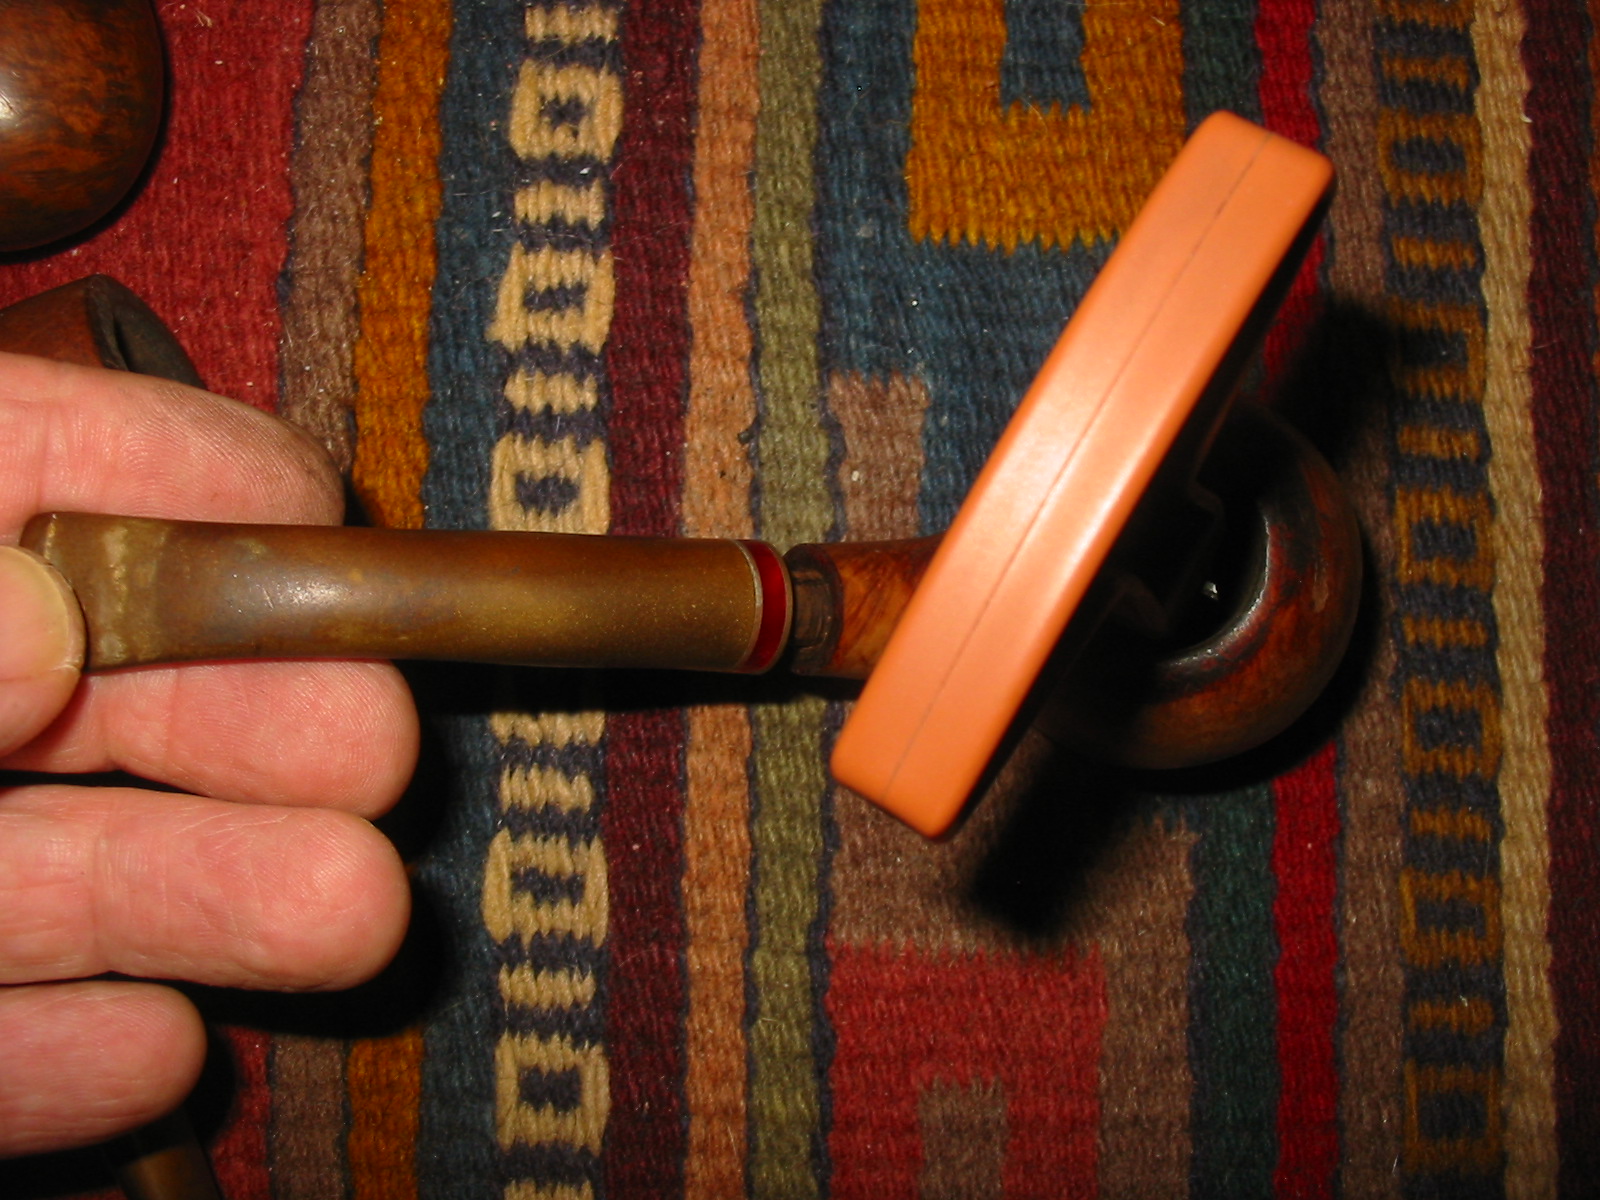
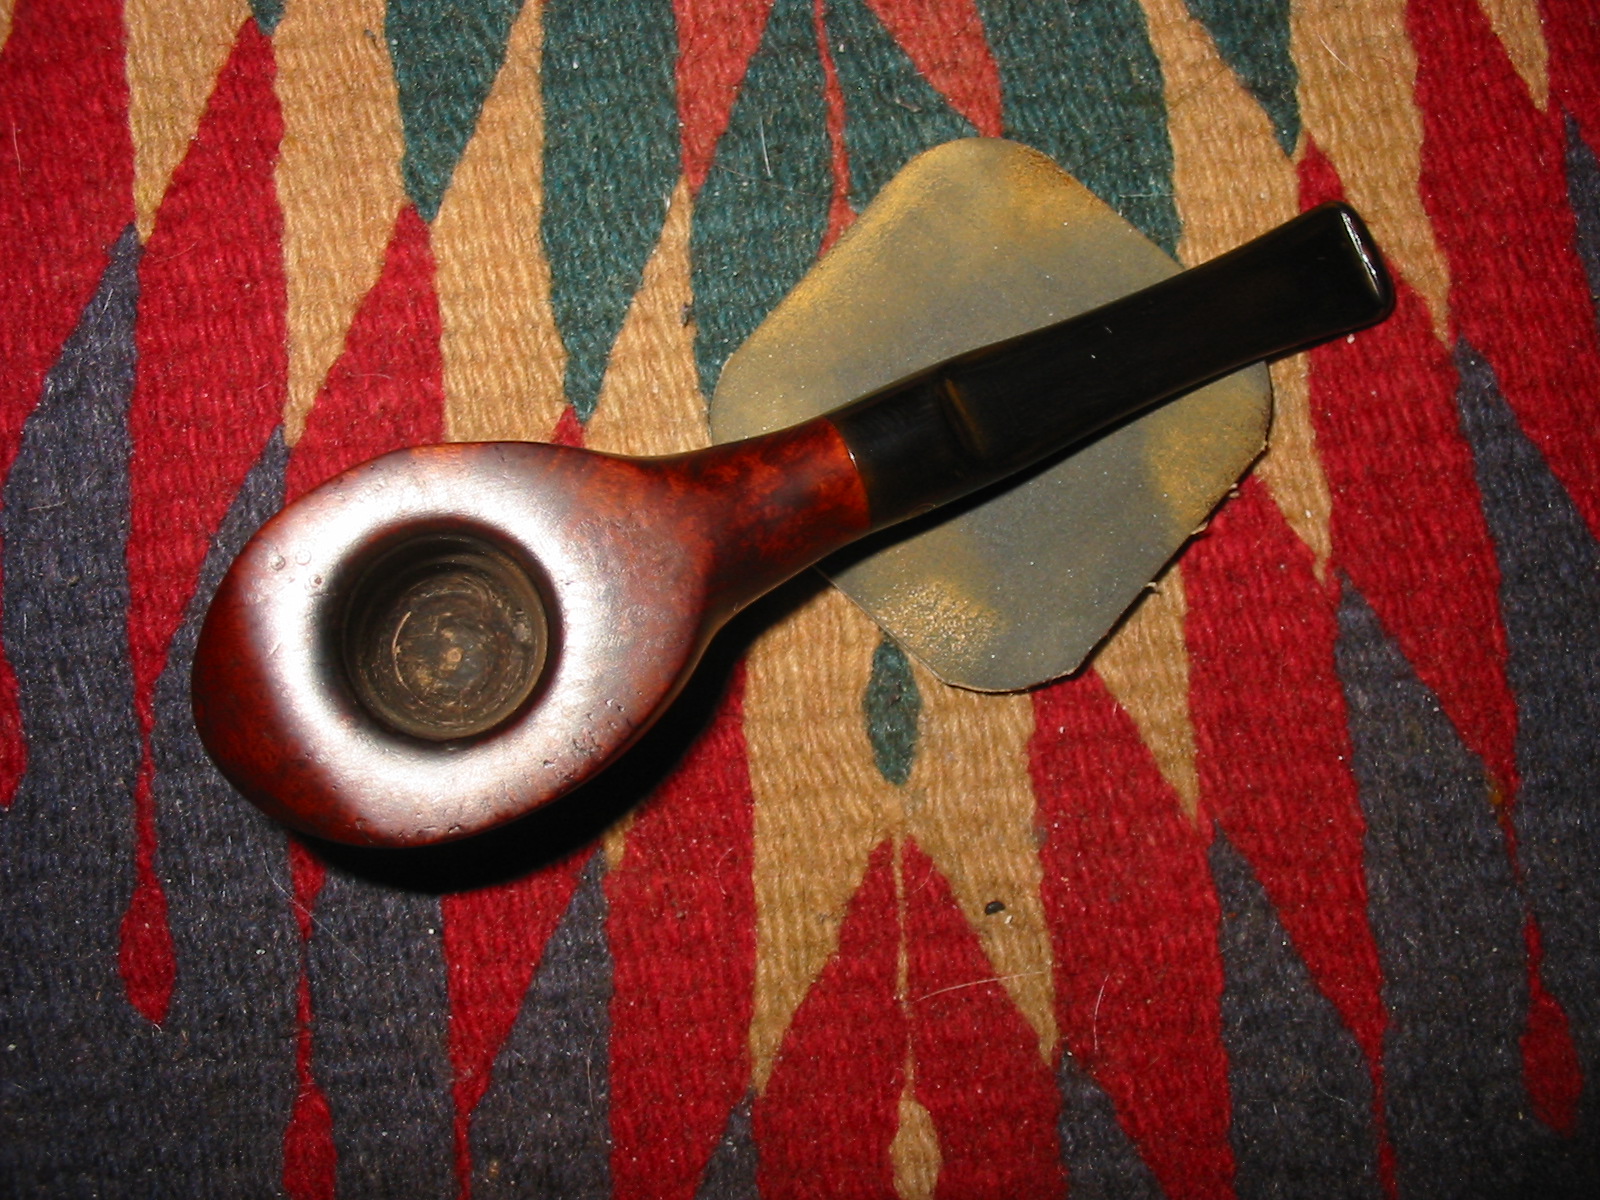
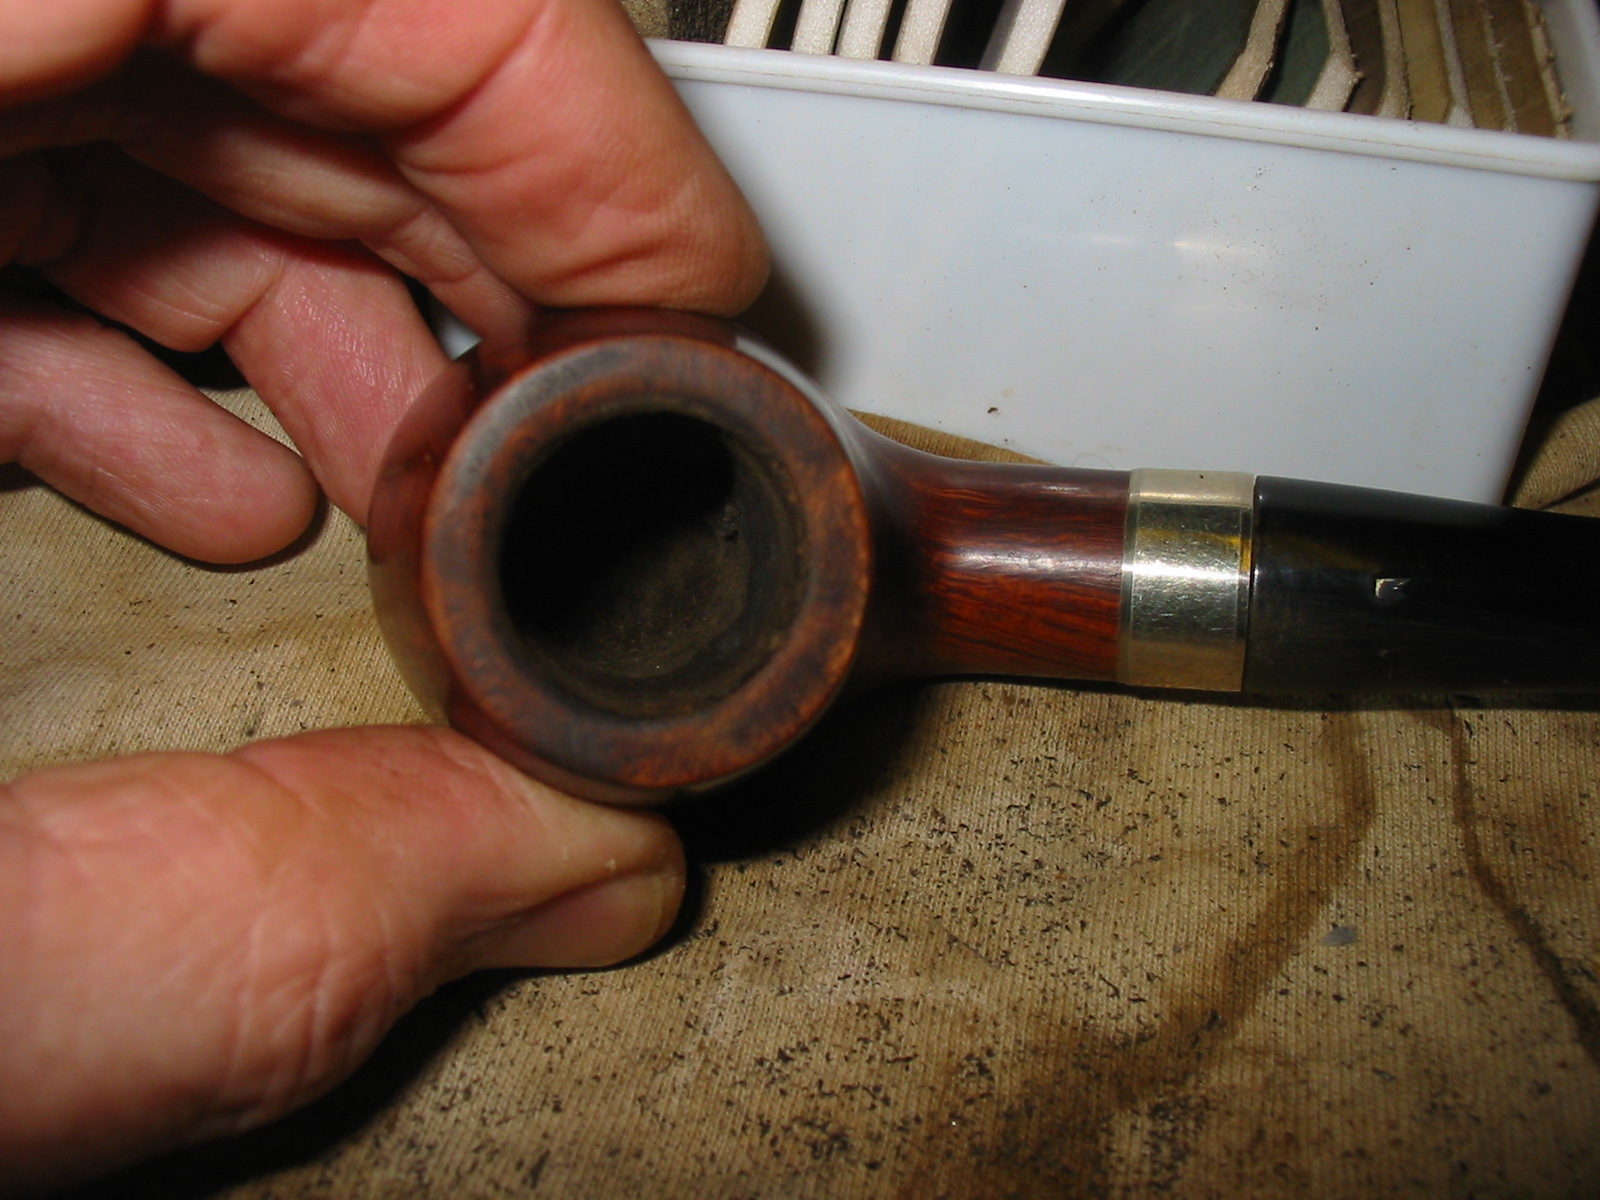
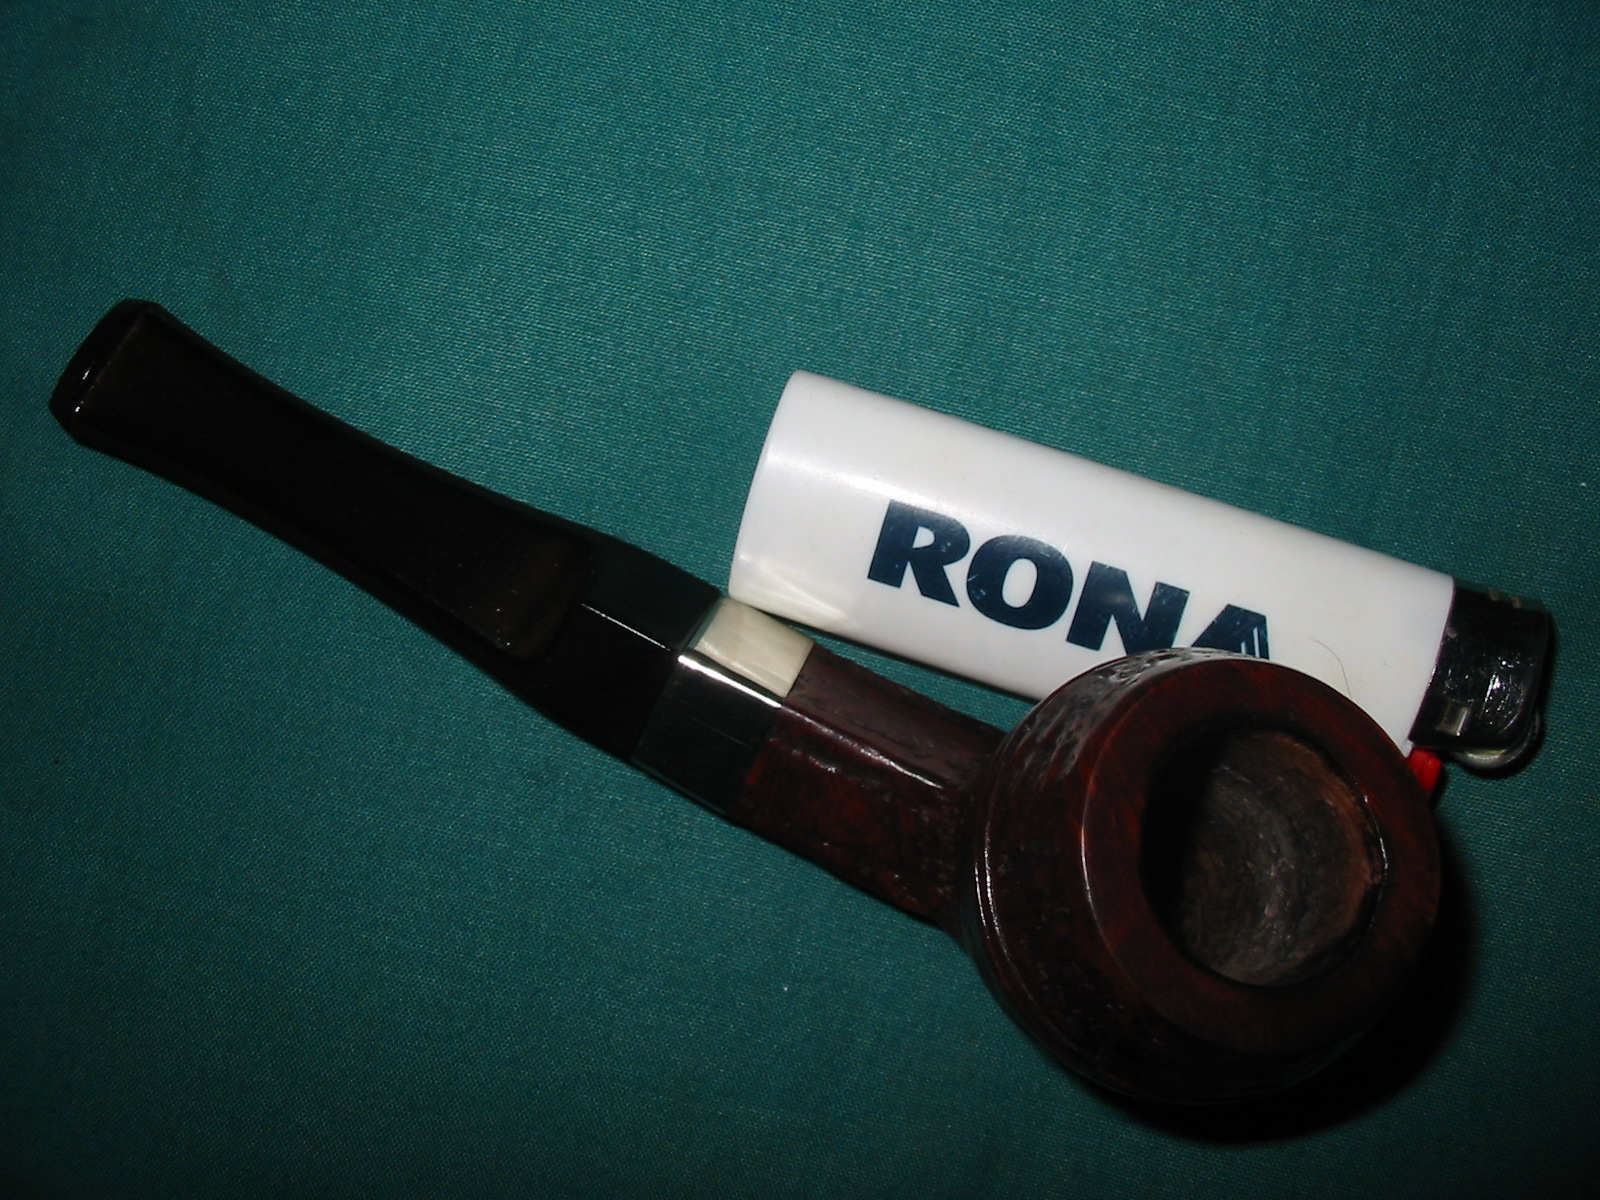
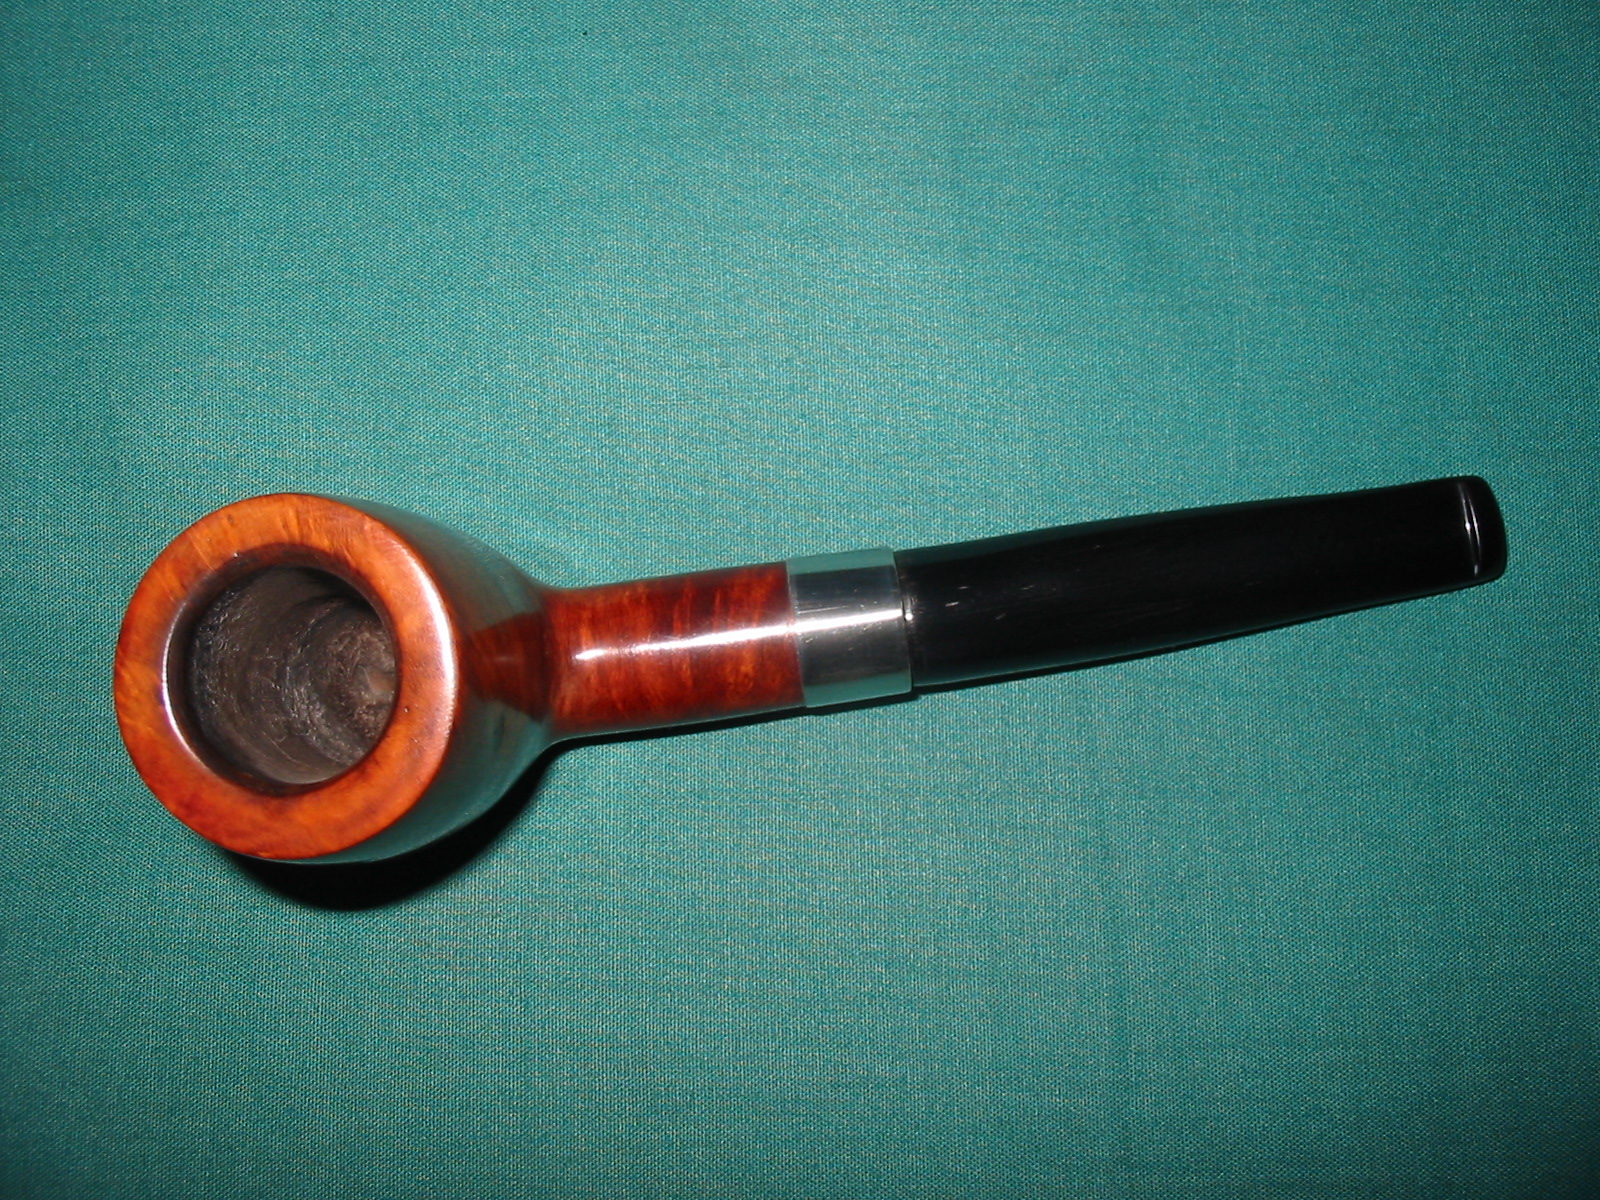
You can see in the top a pipe cleaner sticking through the drought hole, showing a well drilled pipe.

You can see in the top a pipe cleaner sticking through the drought hole, showing a well-drilled pipe.

The pipe has a few fills but the are mainly on the bottom – out of sight, out of mind – and I wanted to keep this pipe as original as I could so I didn’t bother with them.

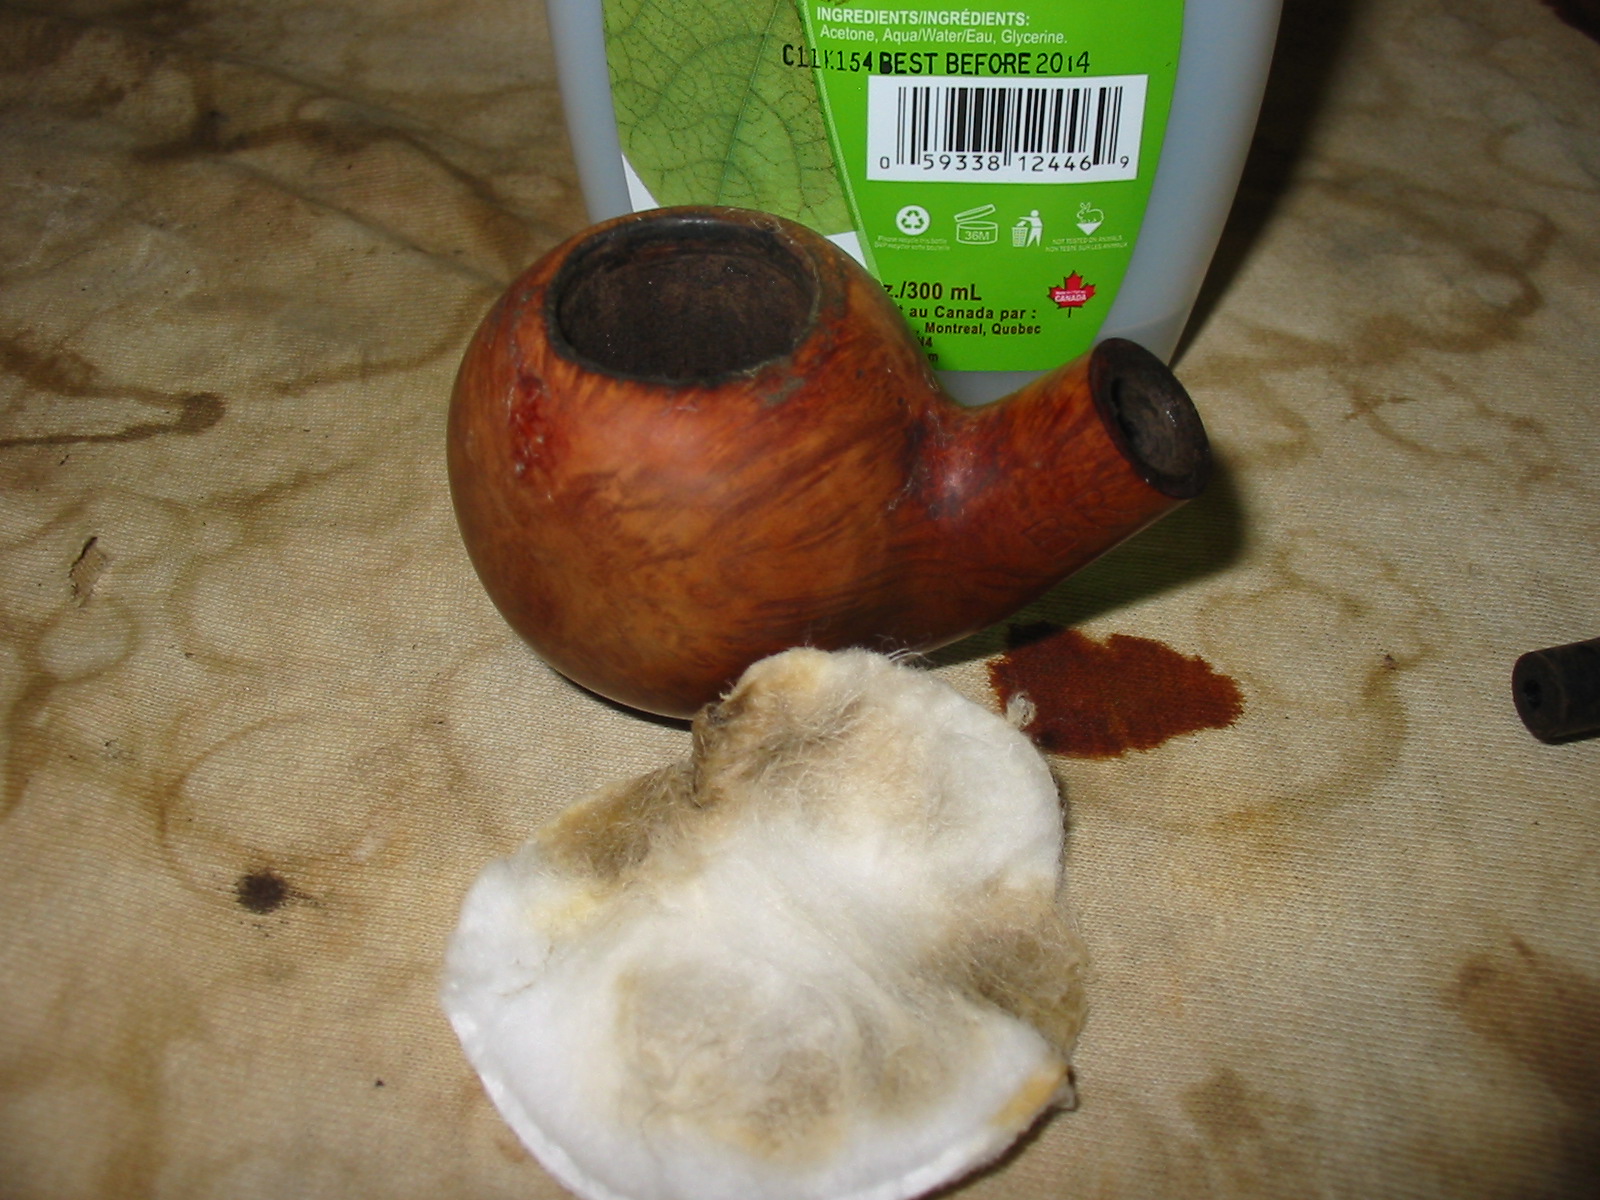
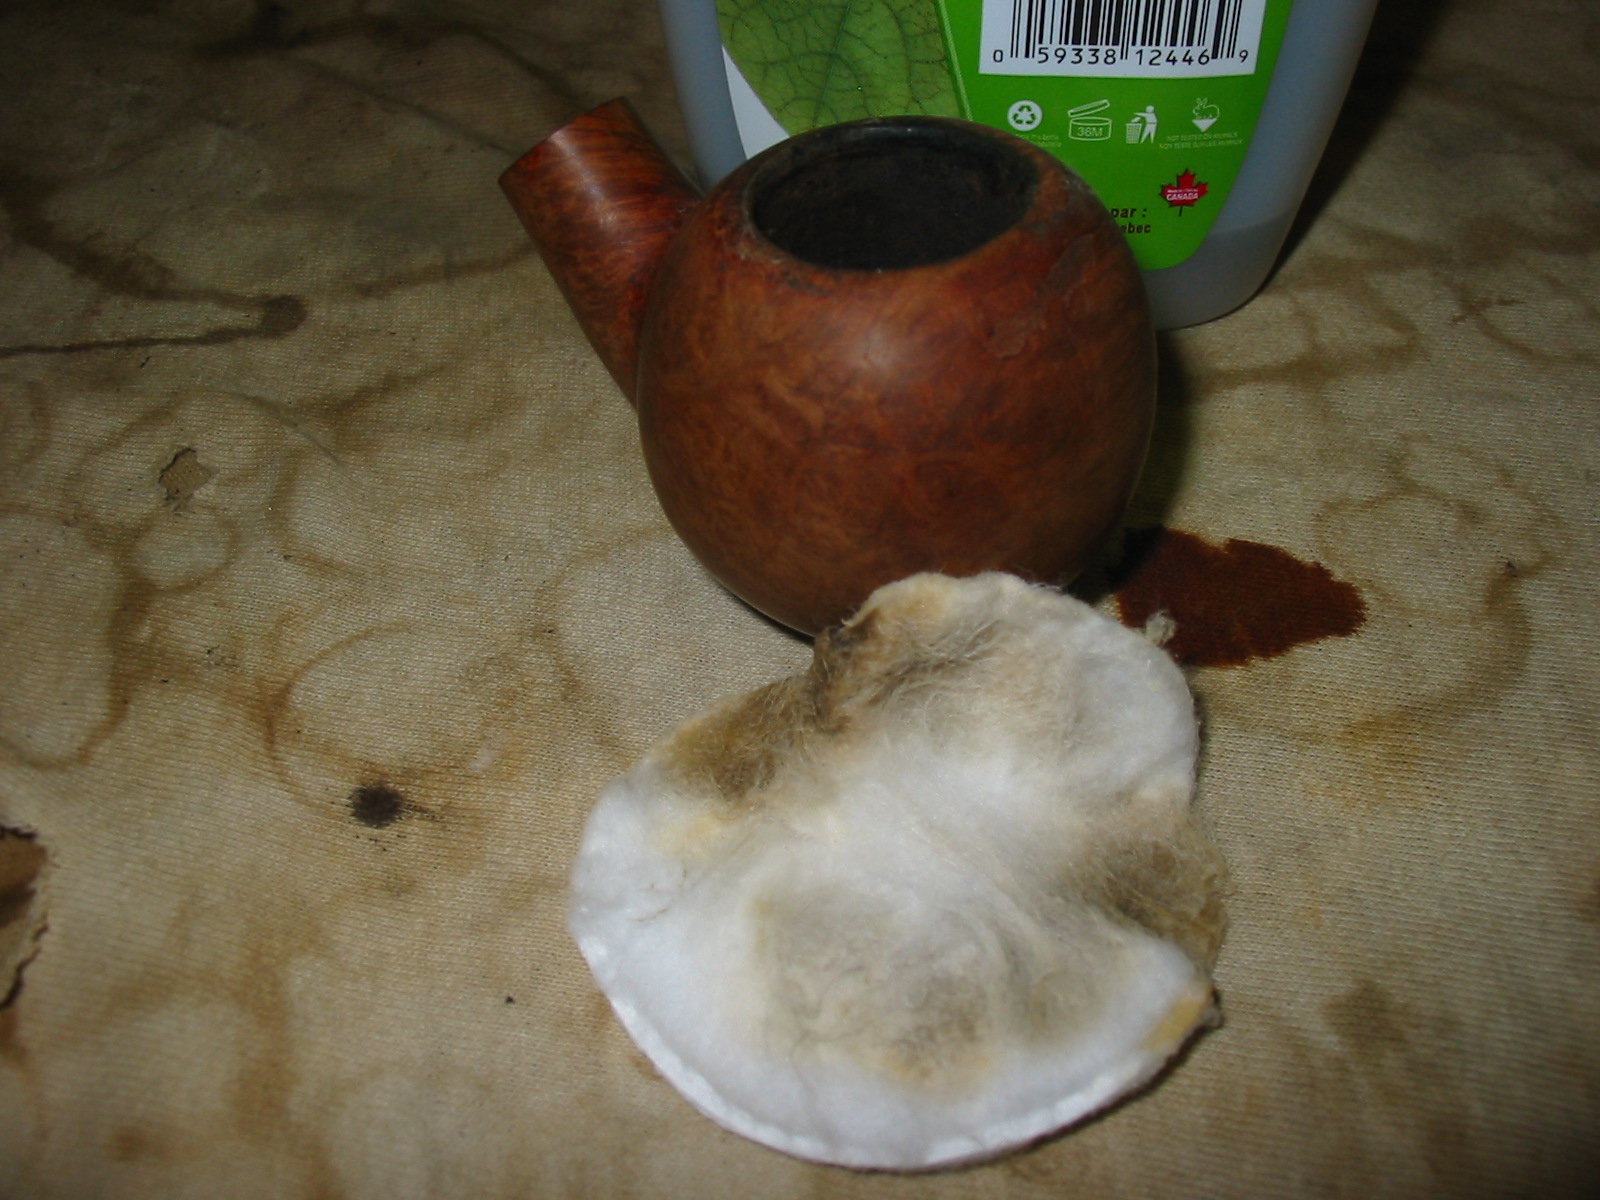
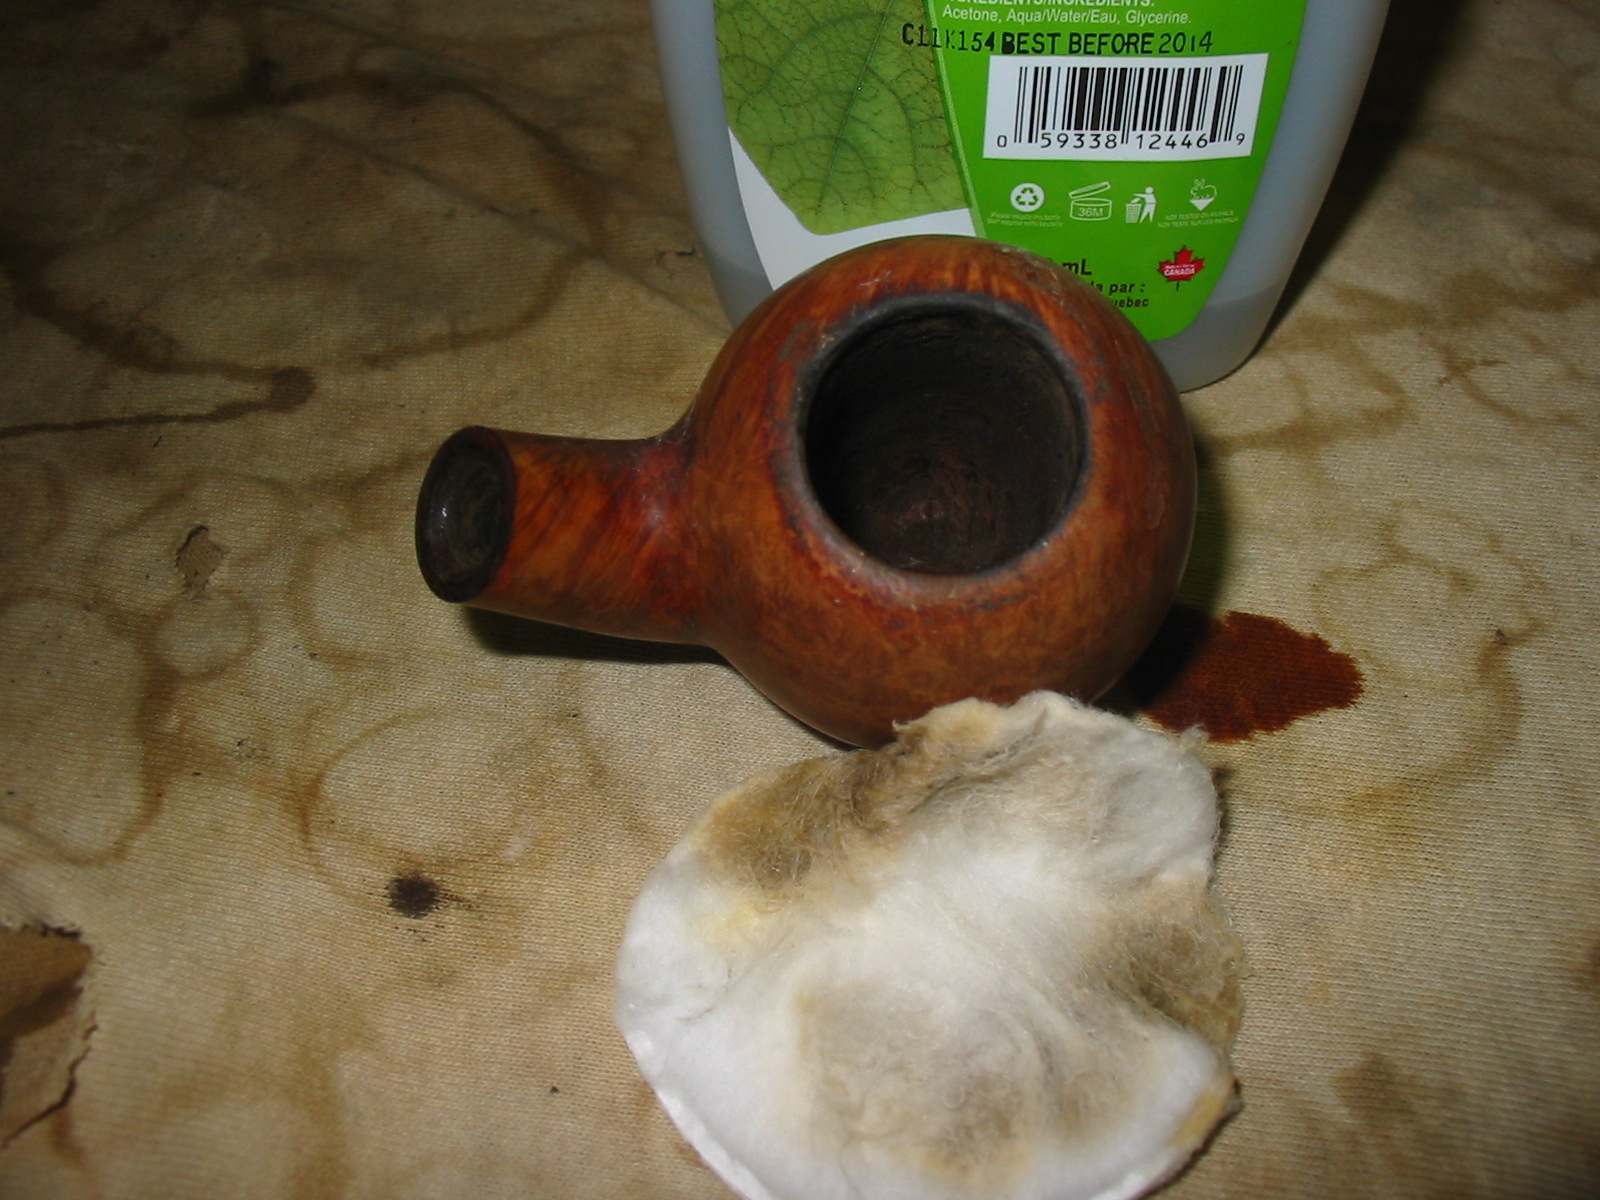
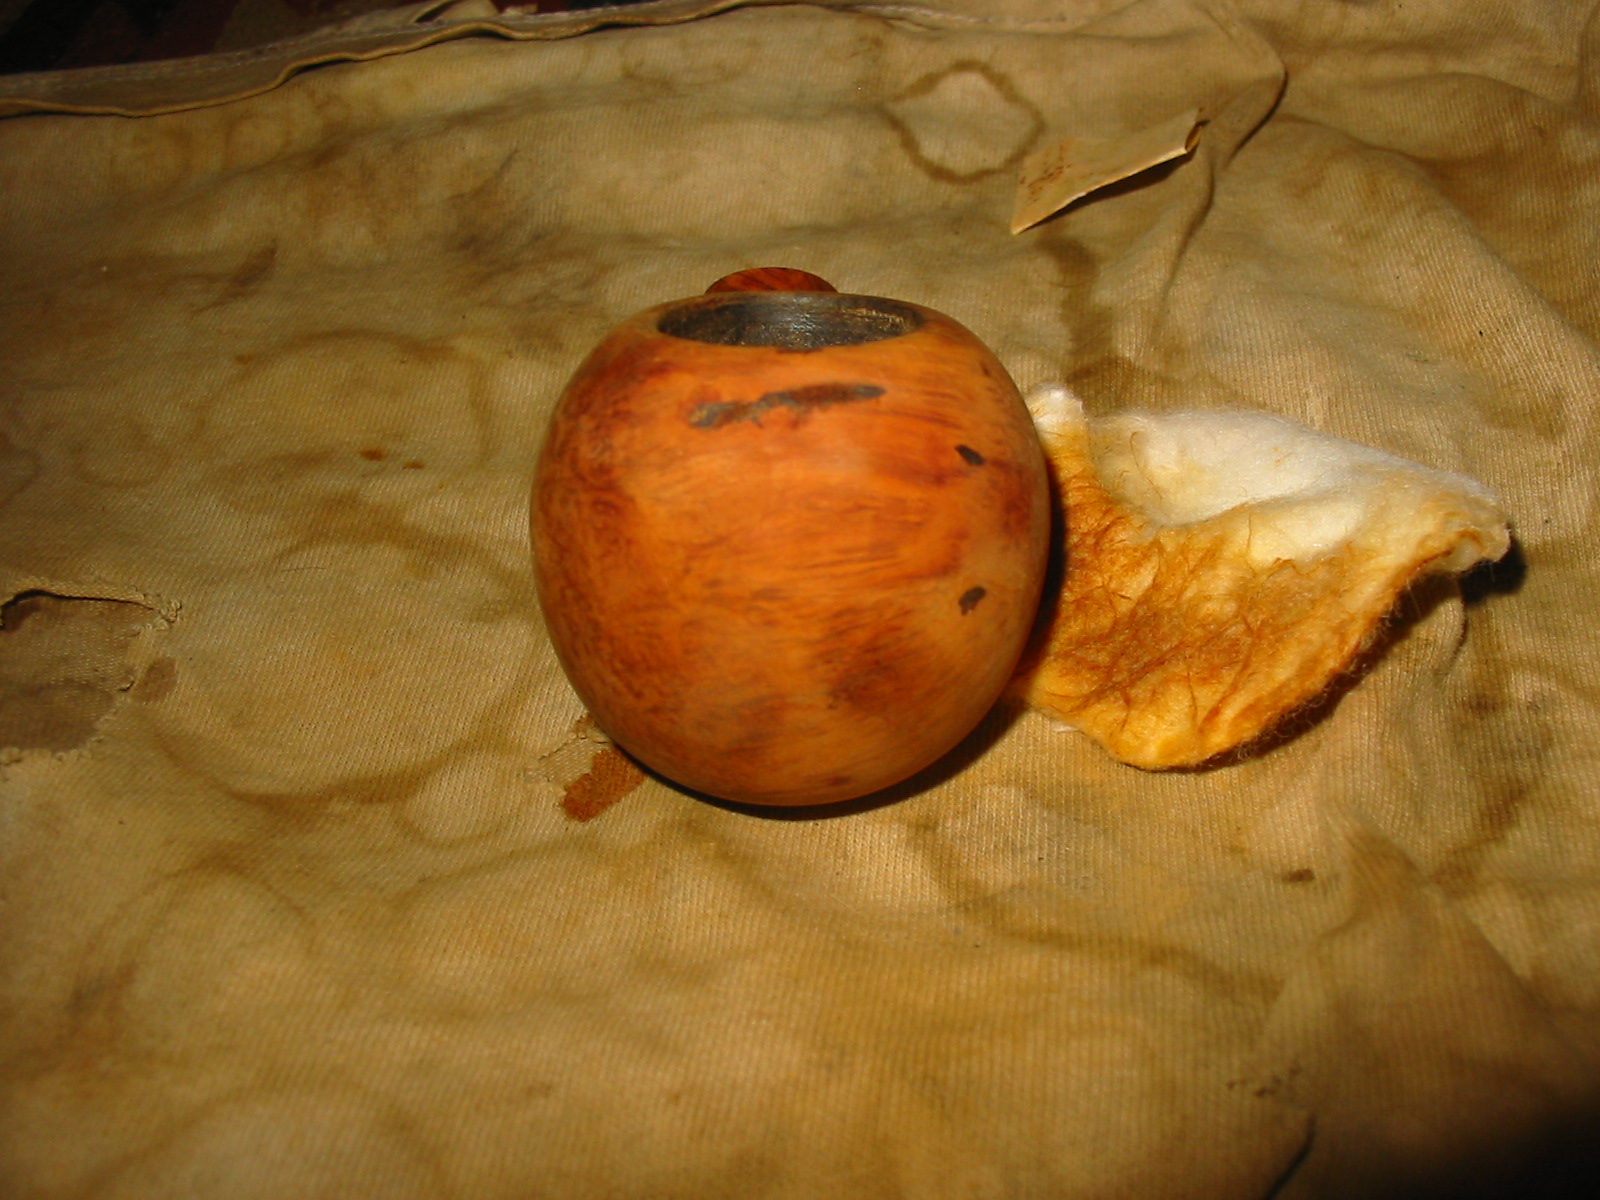
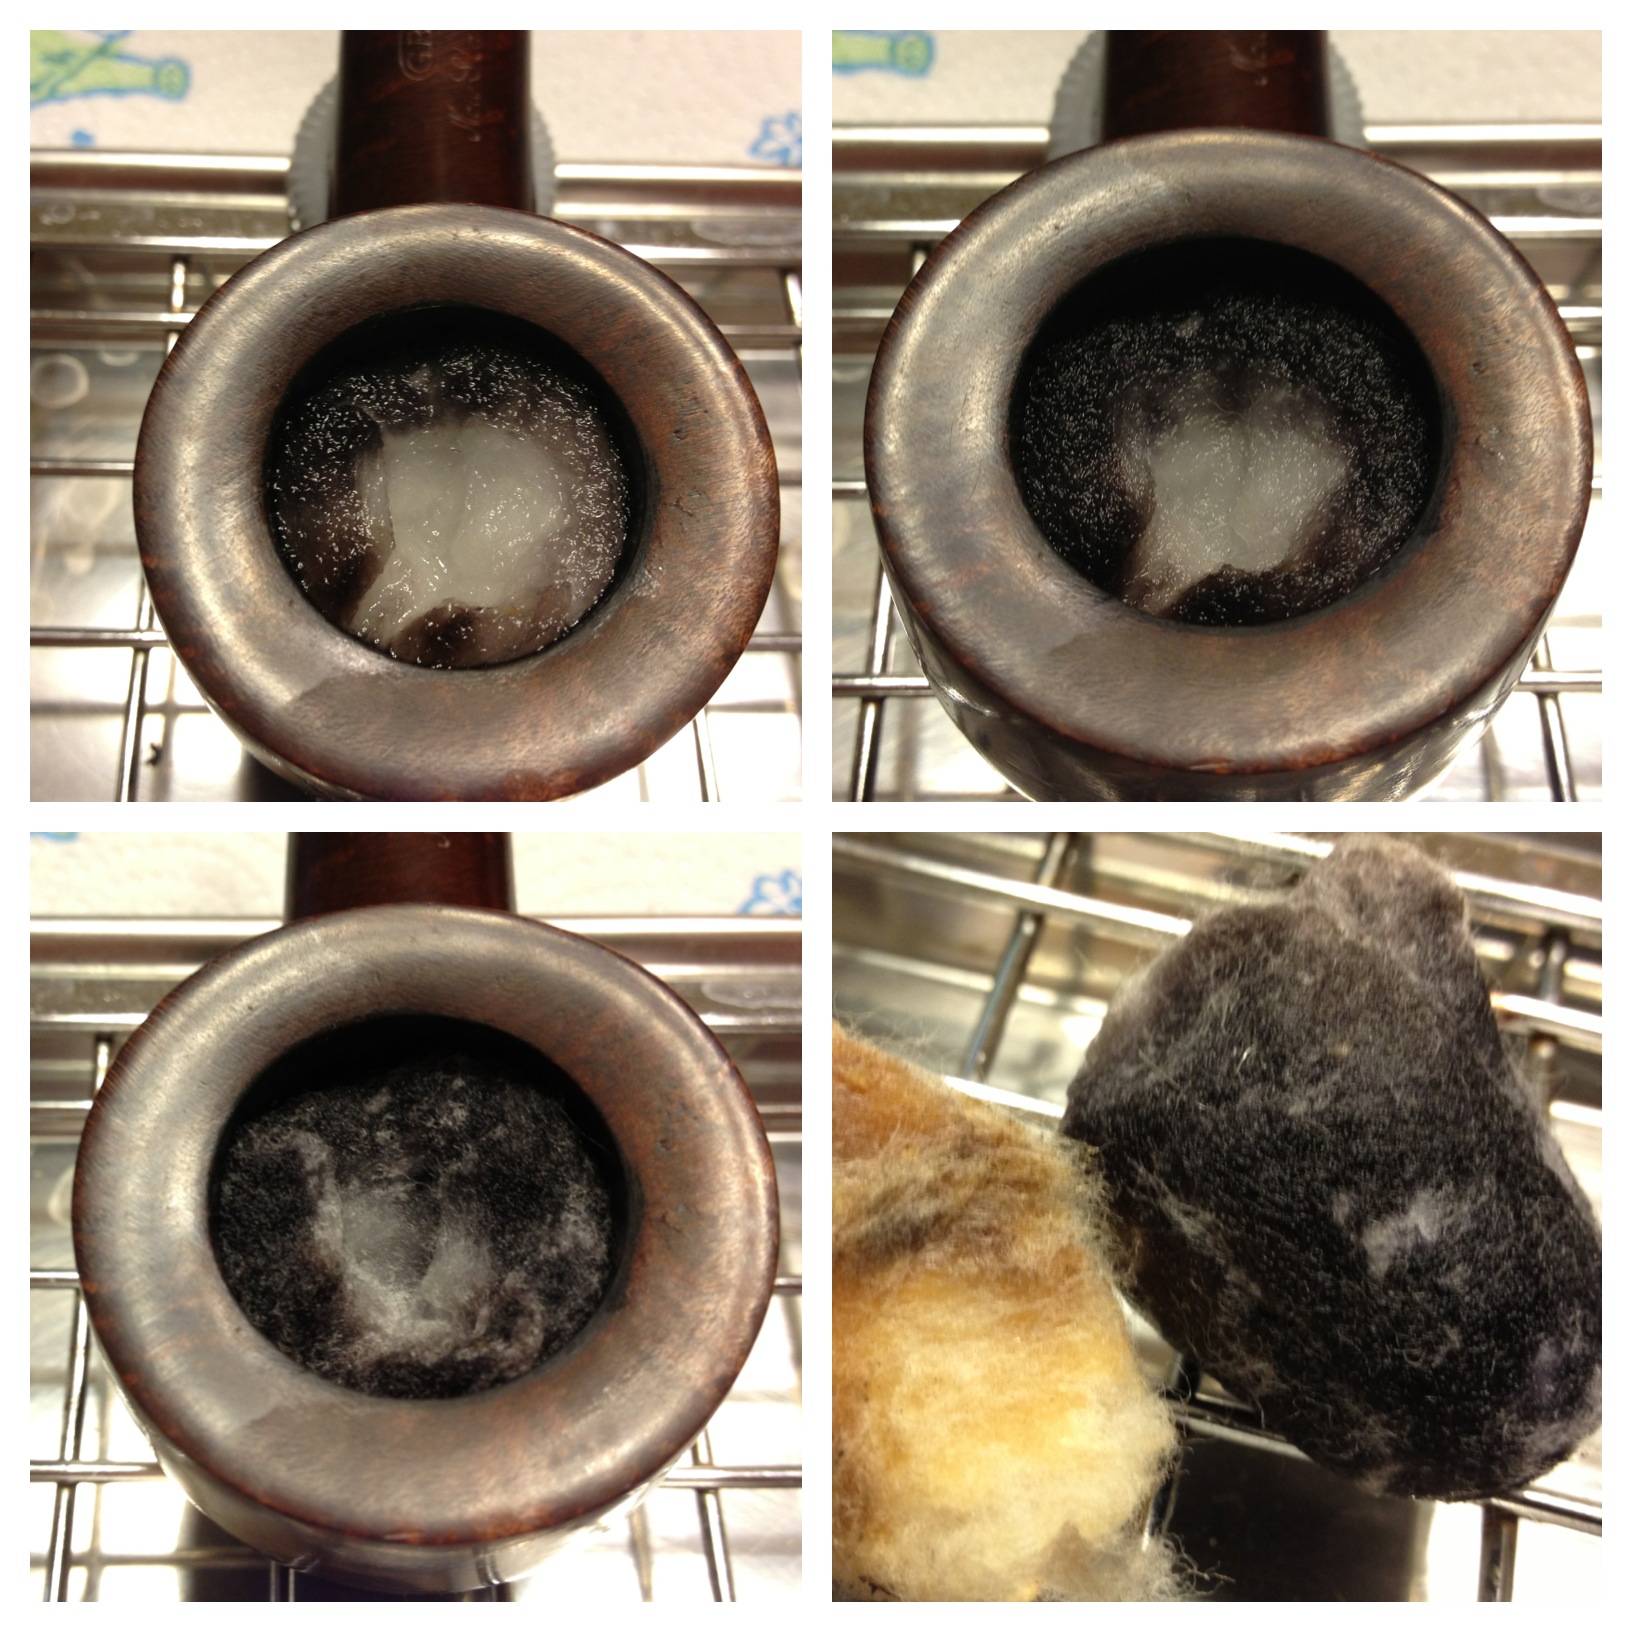
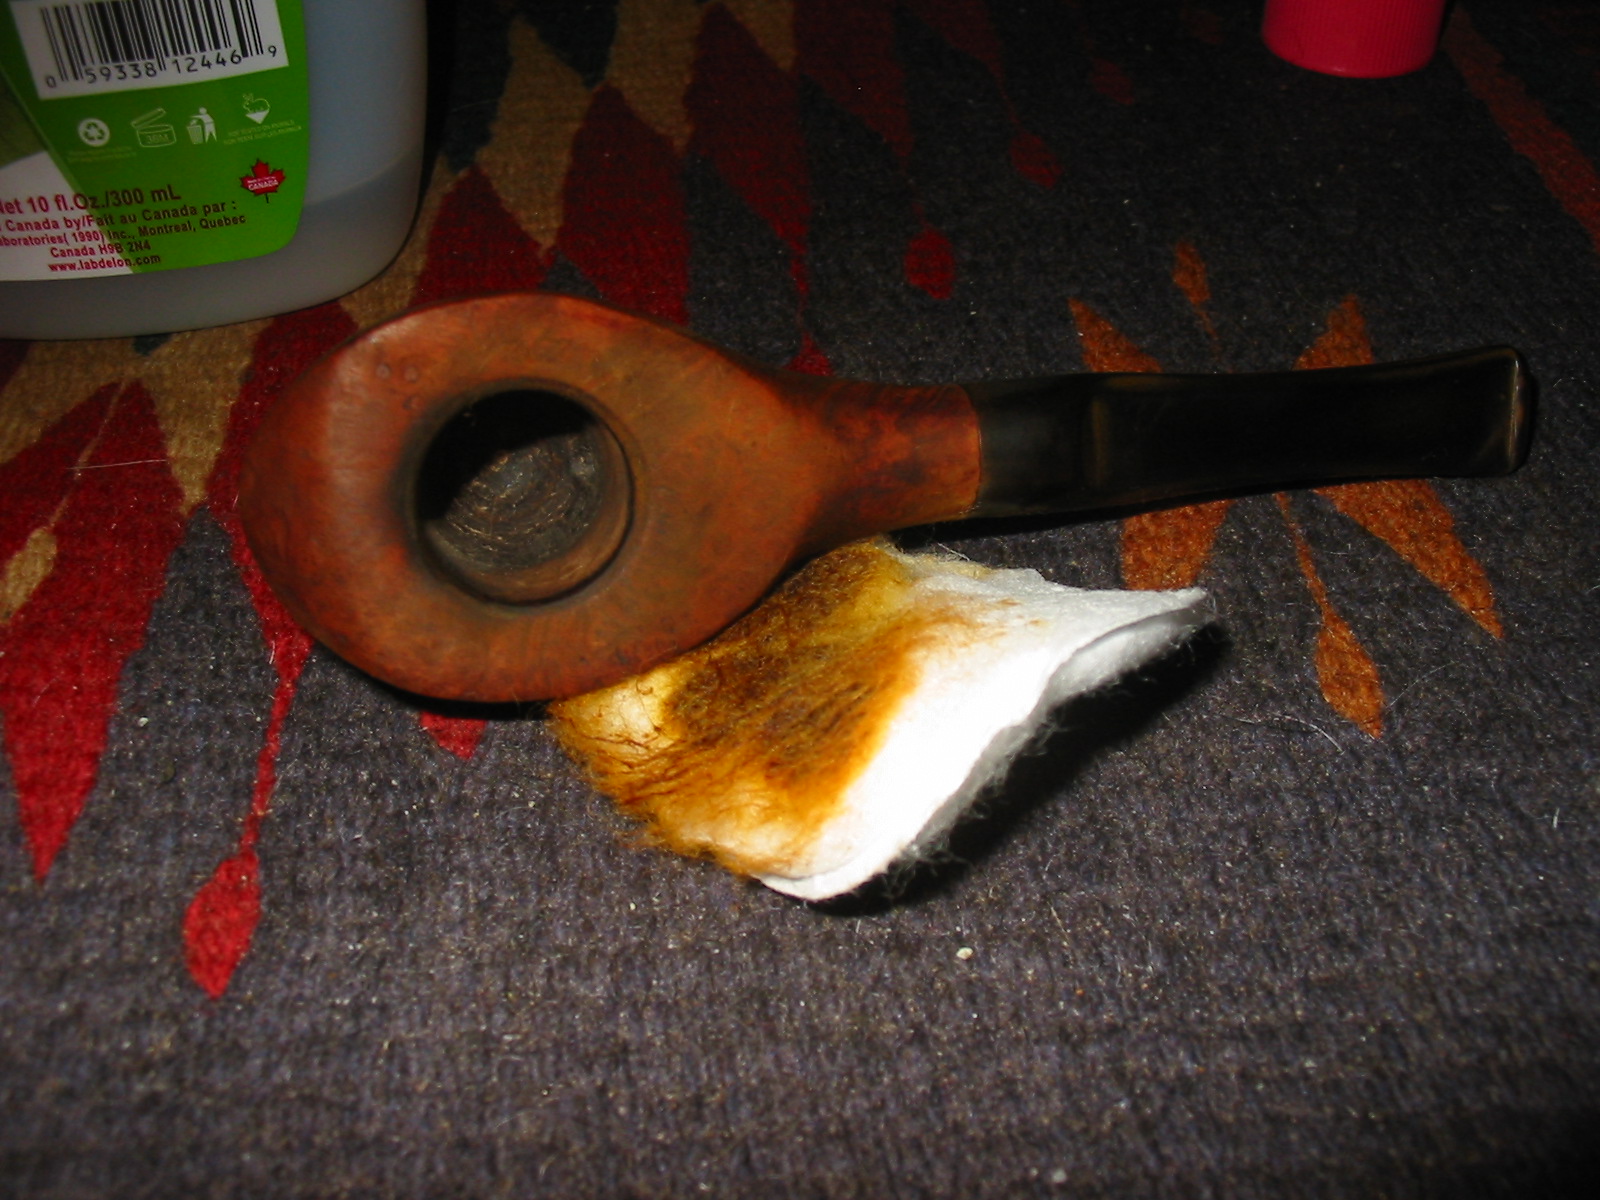
I started with putting the stem into a OxiClean bath; I let it soak for about 45 minutes I believe. While the stems (I actually was doing two pipes at a time, as I often do) soak I did a cotton ball and alcohol treatment on the two bowls. Usually I use coarse salt, not cotton balls, for this but since this bowl appeared to be so lightly used and the second bowl was fairly gunky I thought this would be a good time to experiment with the new-to-me cotton ball treatment. I put one large cotton ball into each bowl, plugged the shanks with cotton swabs and set them up on a steel drainer I have in my kitchen. I then filled the bowls with 91% isopropyl alcohol, slowly, with an eye dropper.

The photos below show the progression of black “stuff” drawn out of the GBD bowl; you may also see some of the tars (brownish-yellow stuff) in the cotton ball from the other pipe. This process started within a minute, the first photo, and then each picture after is after about 15 minutes, with the final result at about one hour.
IMG_5246

I don’t know what the black “stuff” was but it sure removed a lot of it in the treatment! As a side note, I found the cotton balls easier to deal with than the salt and it seems to have done as good a job, too. I will probably continue to us this method in the future.

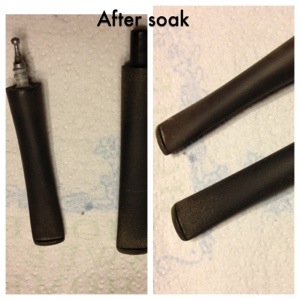
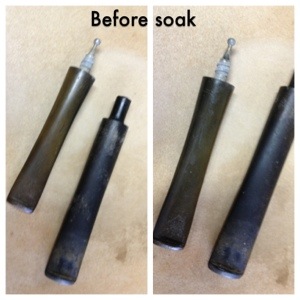
The stems had been soaking for about an hour, maybe 45 minutes, at this time and were ready to come out of their bath. As you can see, quite a lot of oxidation was raised and loosened by this soak.
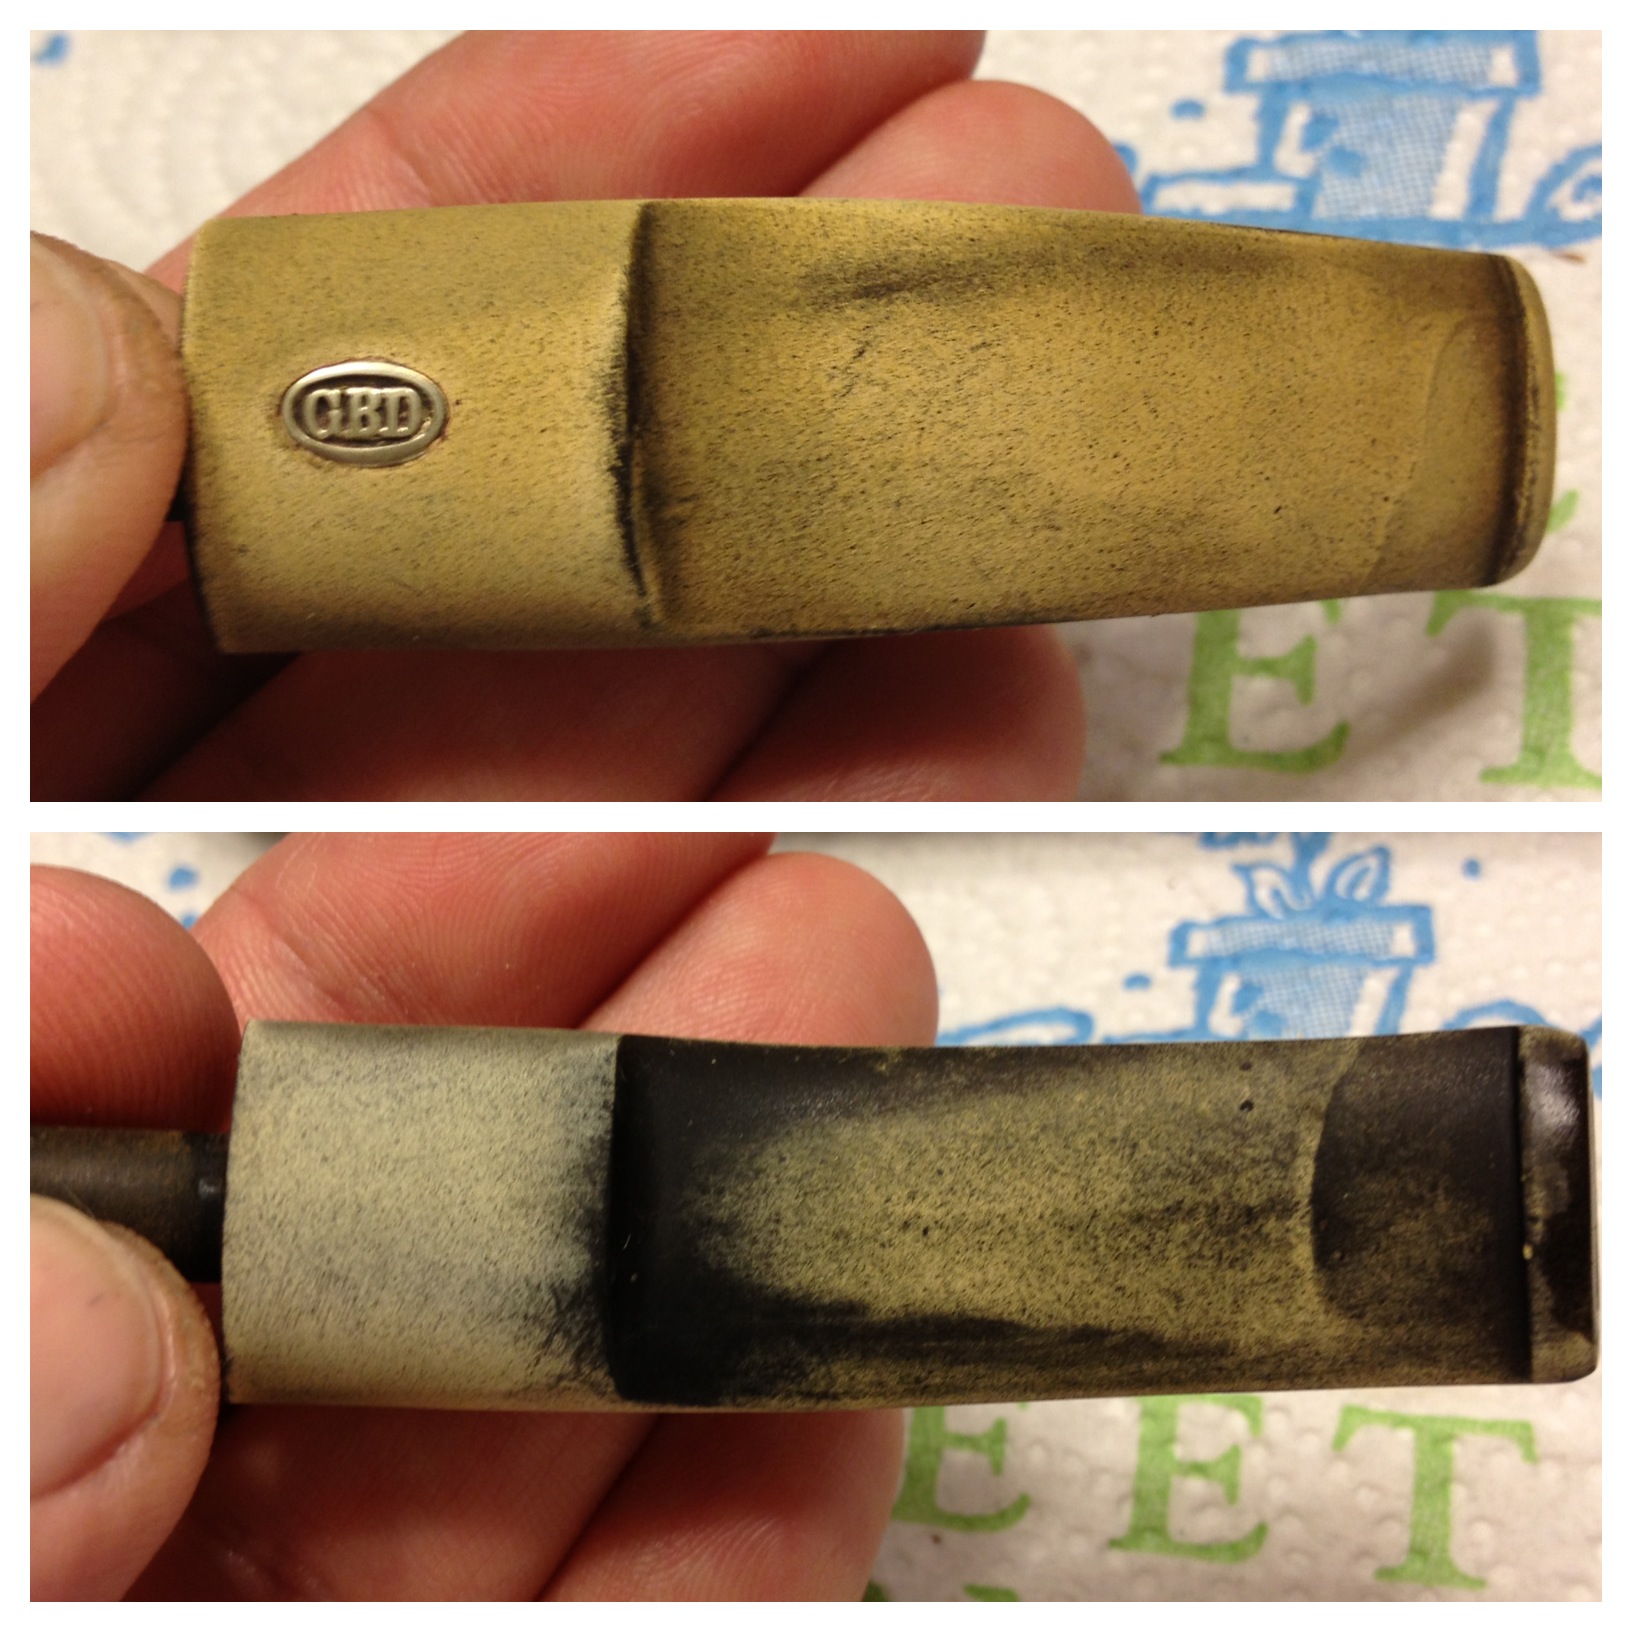
IMG_5247

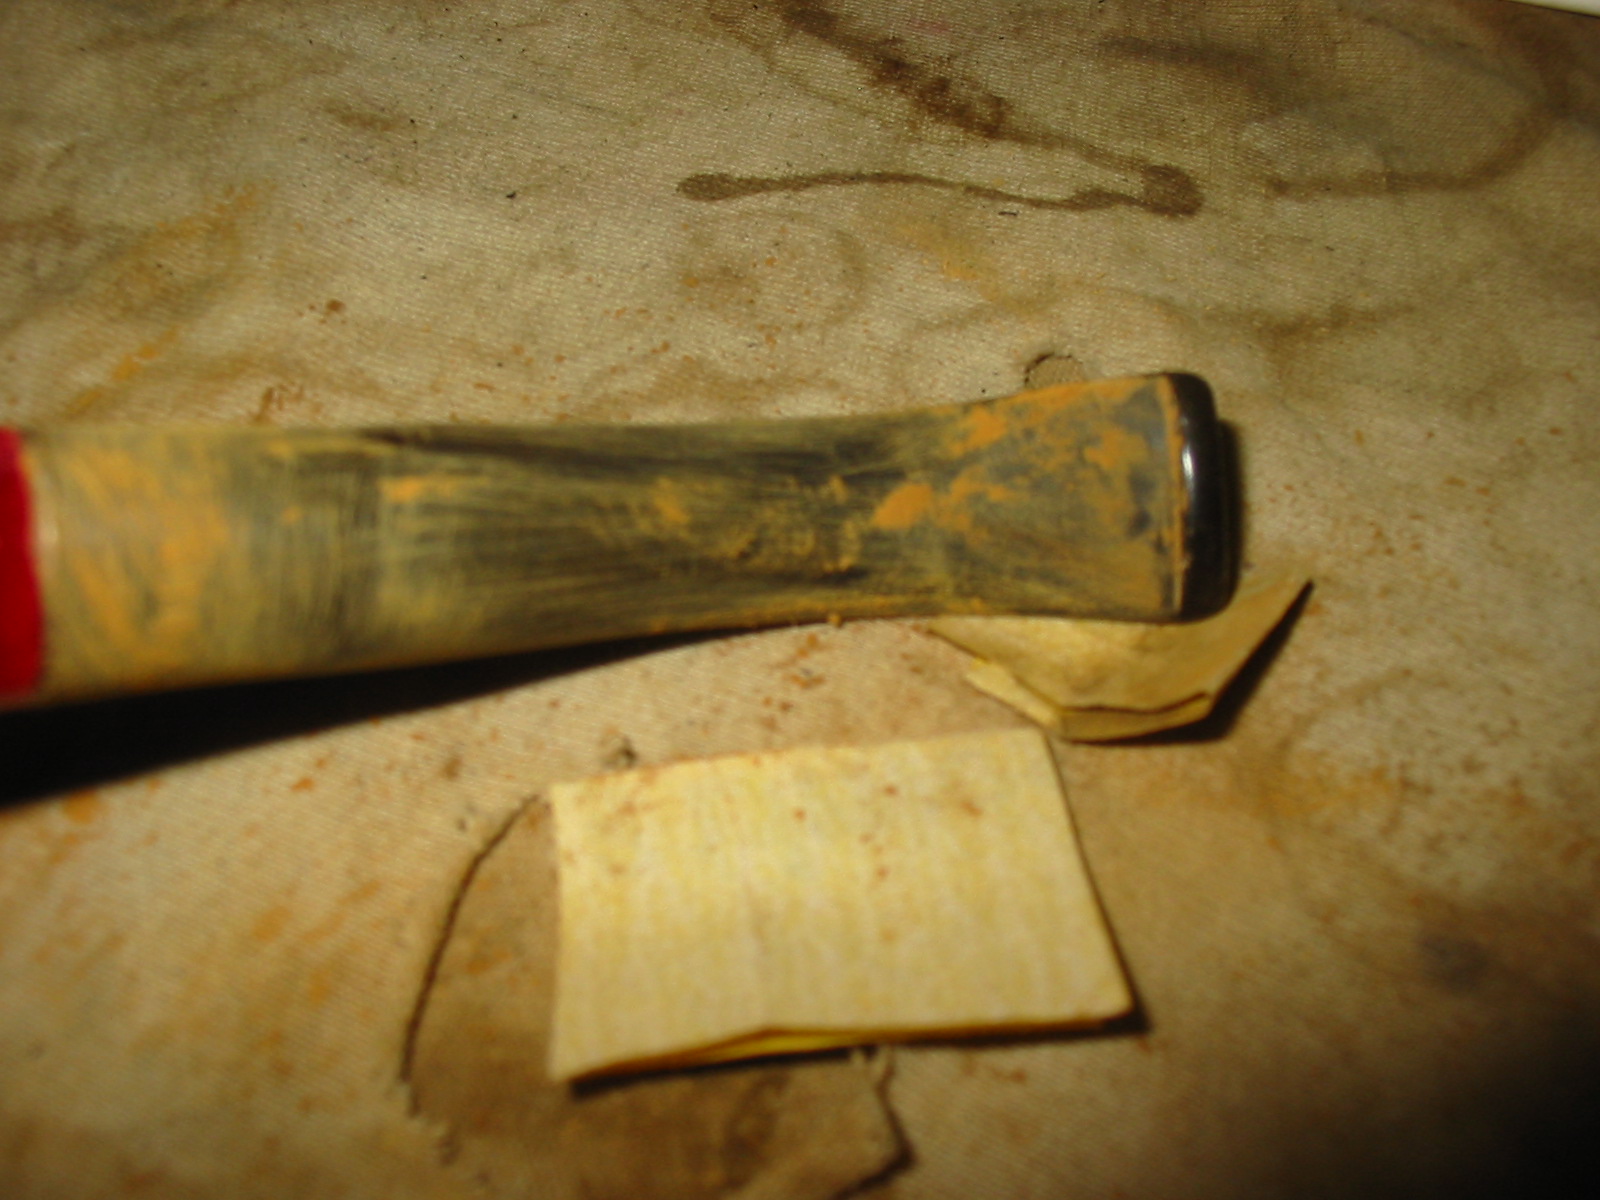
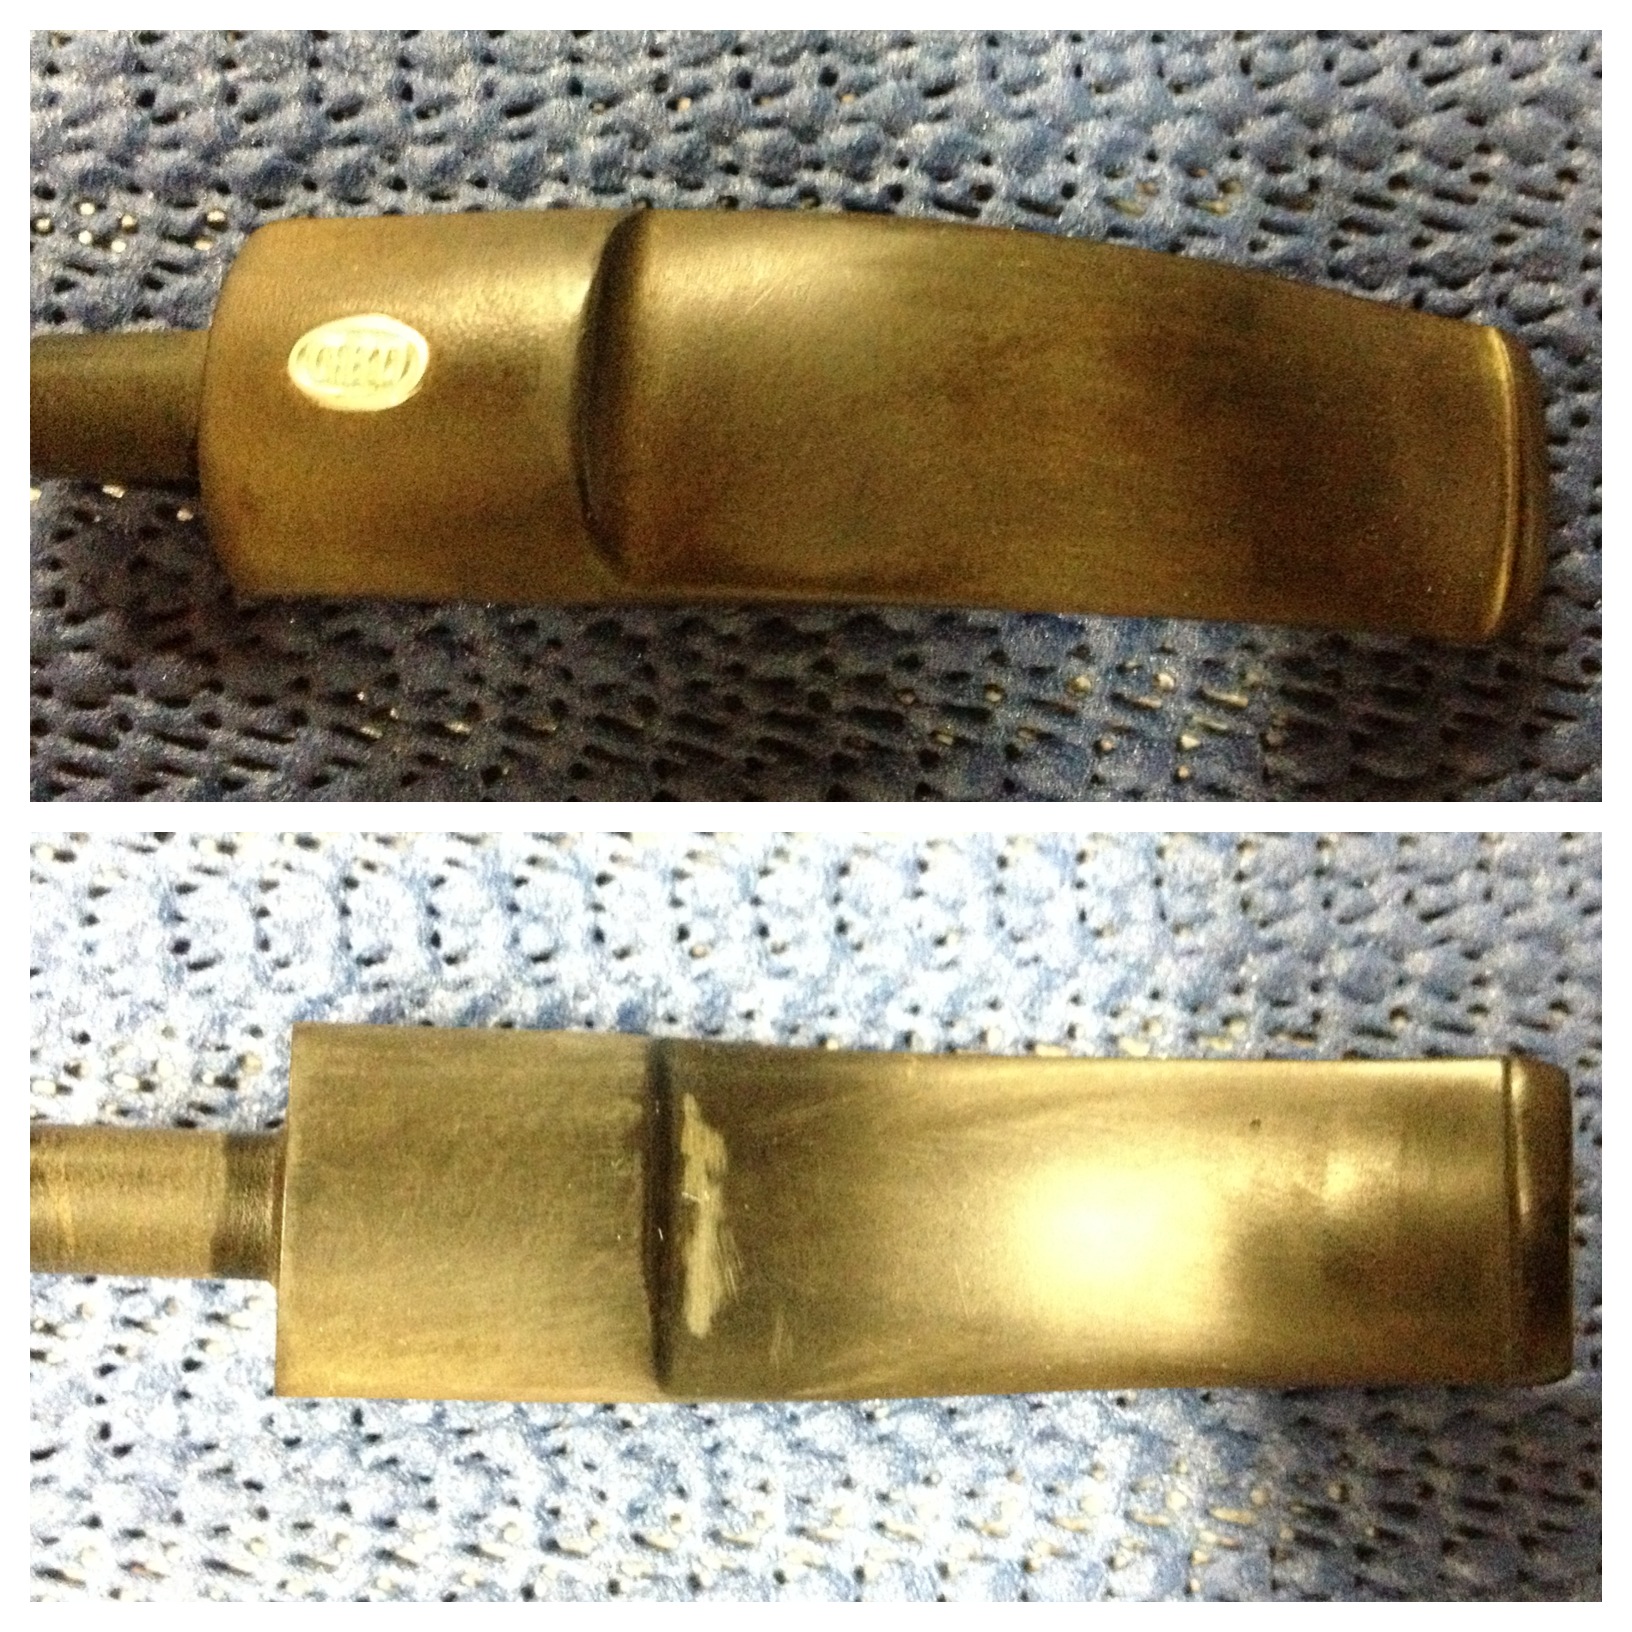
I then washed the stems in dish liquid and scrubbed them with Bar Keepers Friend and an old toothbrush; this took about an hour, making a paste of the powder and scrubbing, rinsing and wiping, then repeating. The results from that looked like this:
IMG_5248

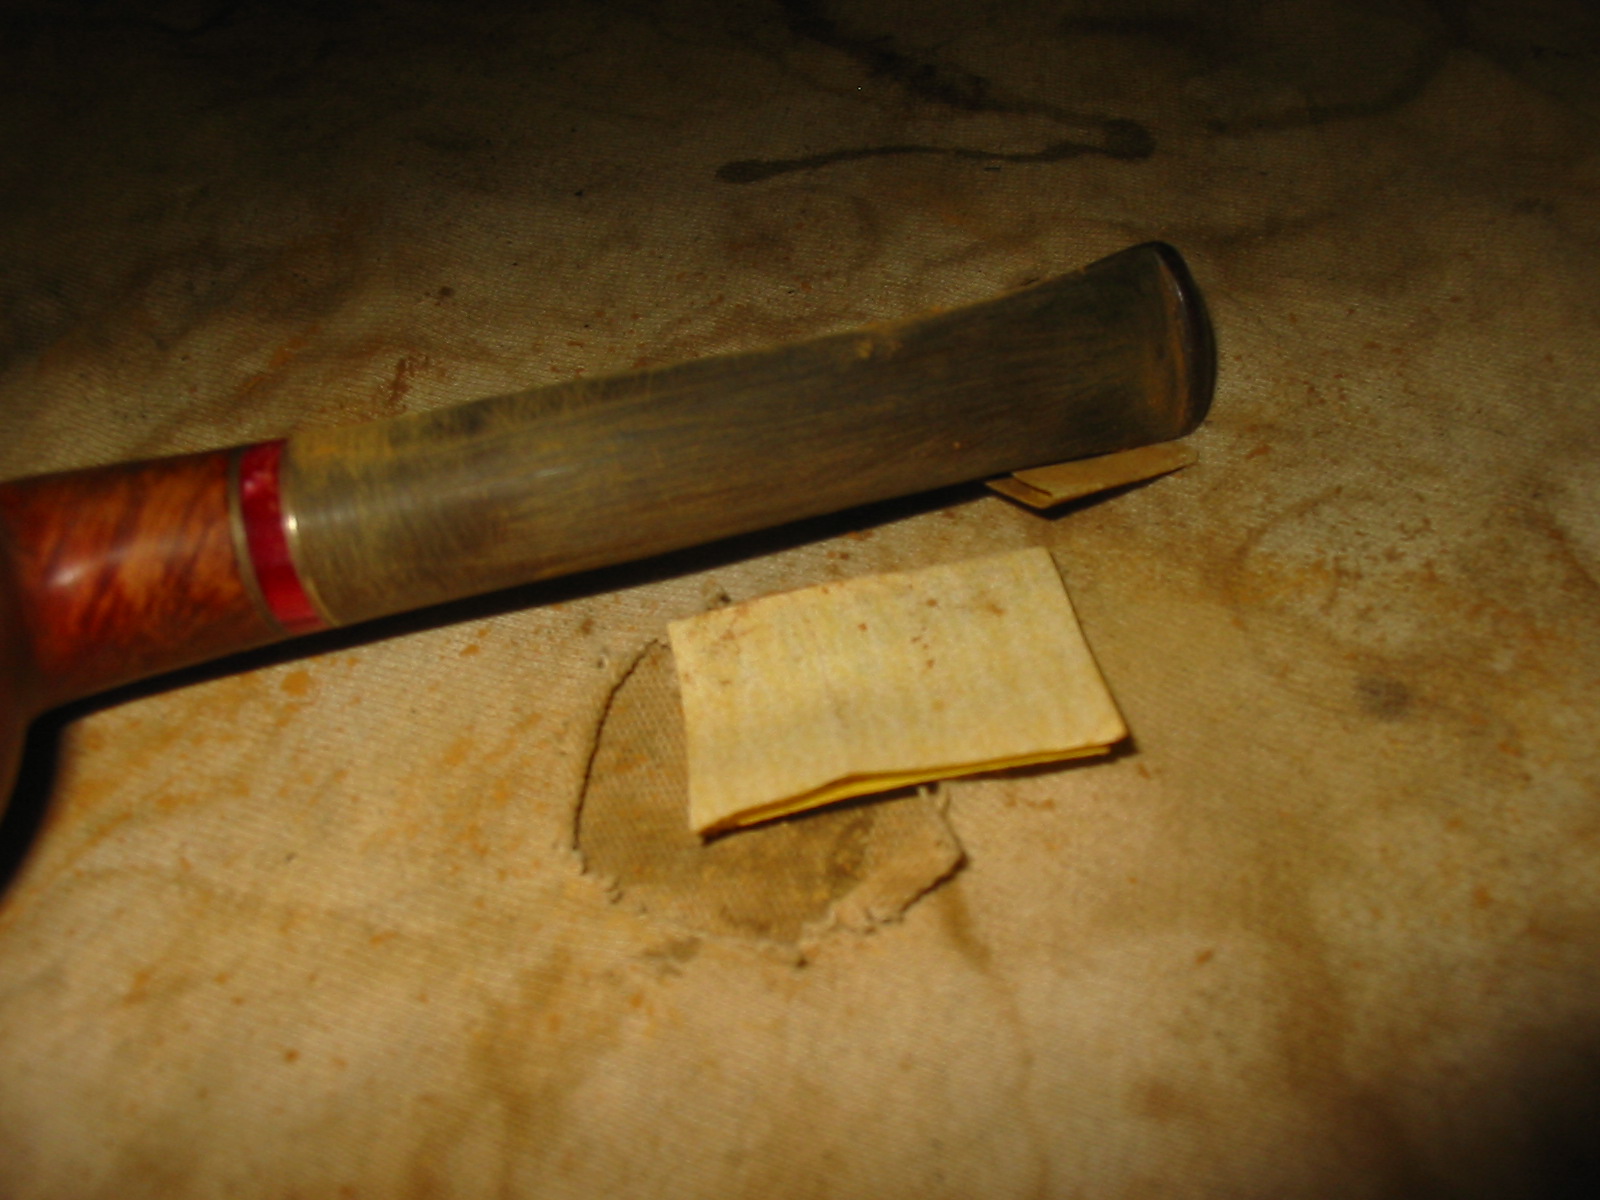
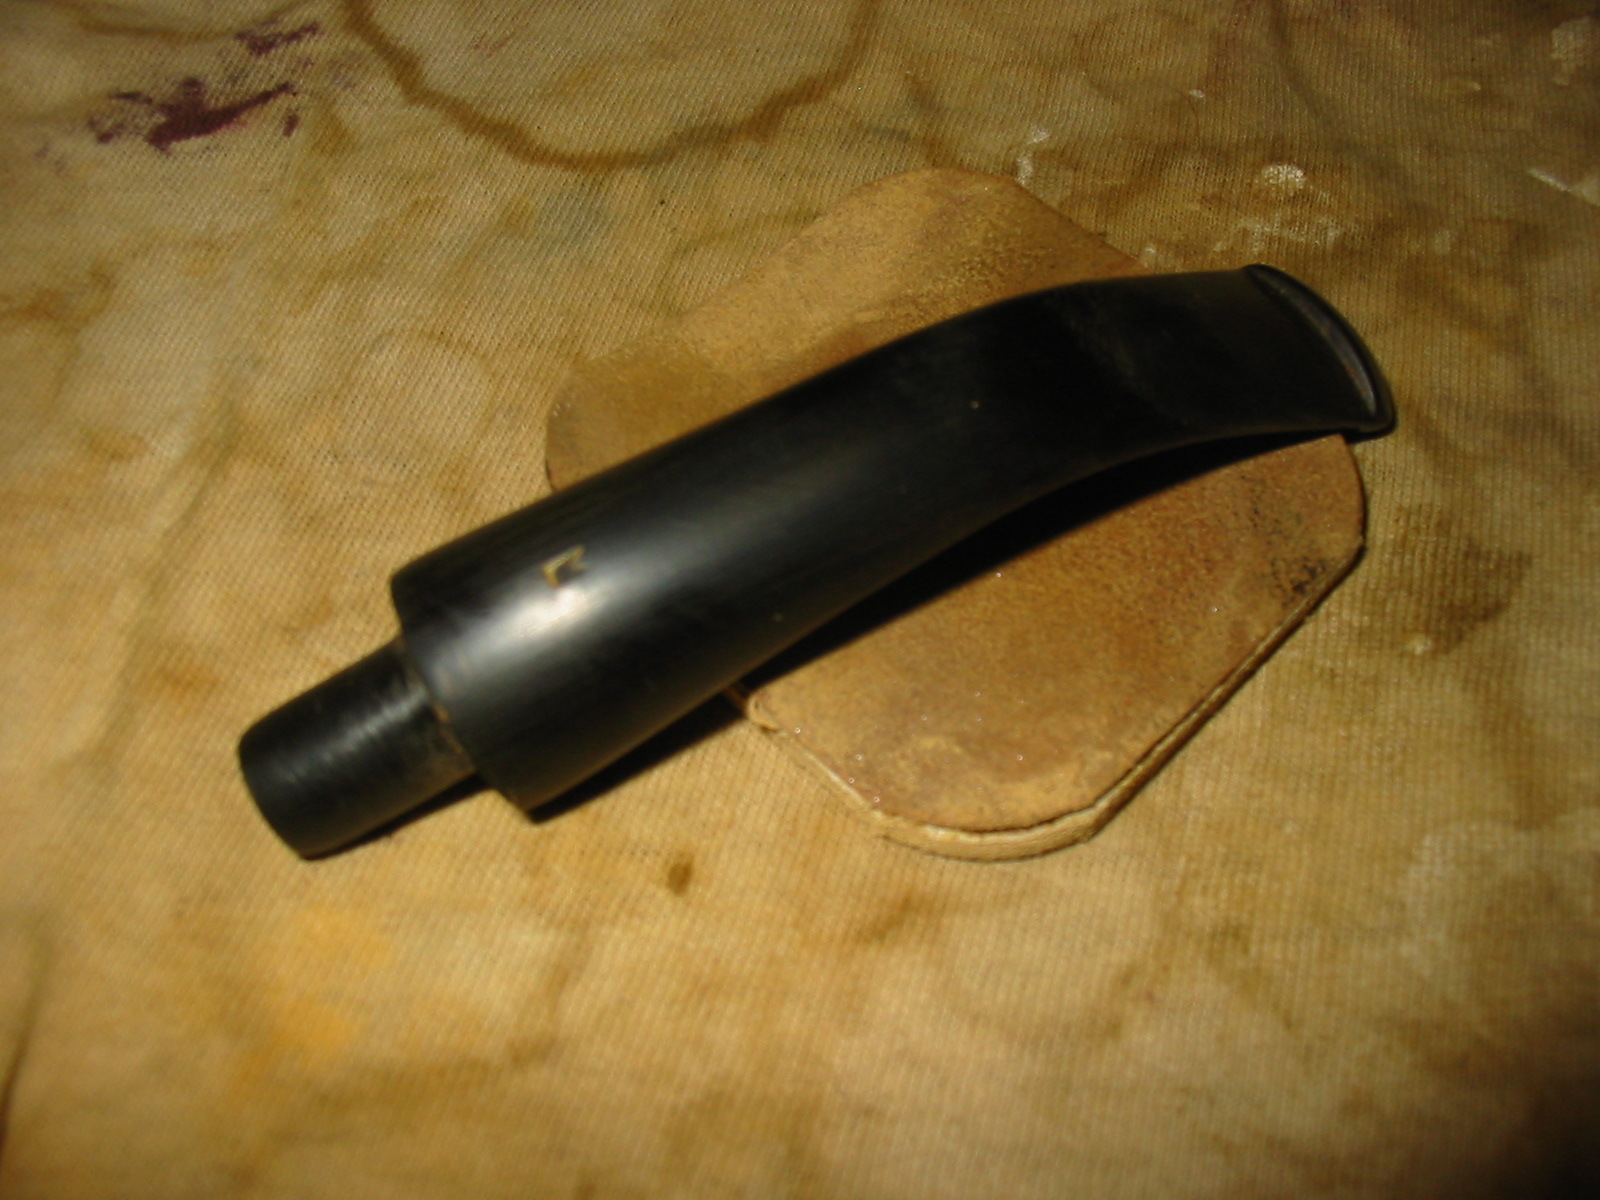
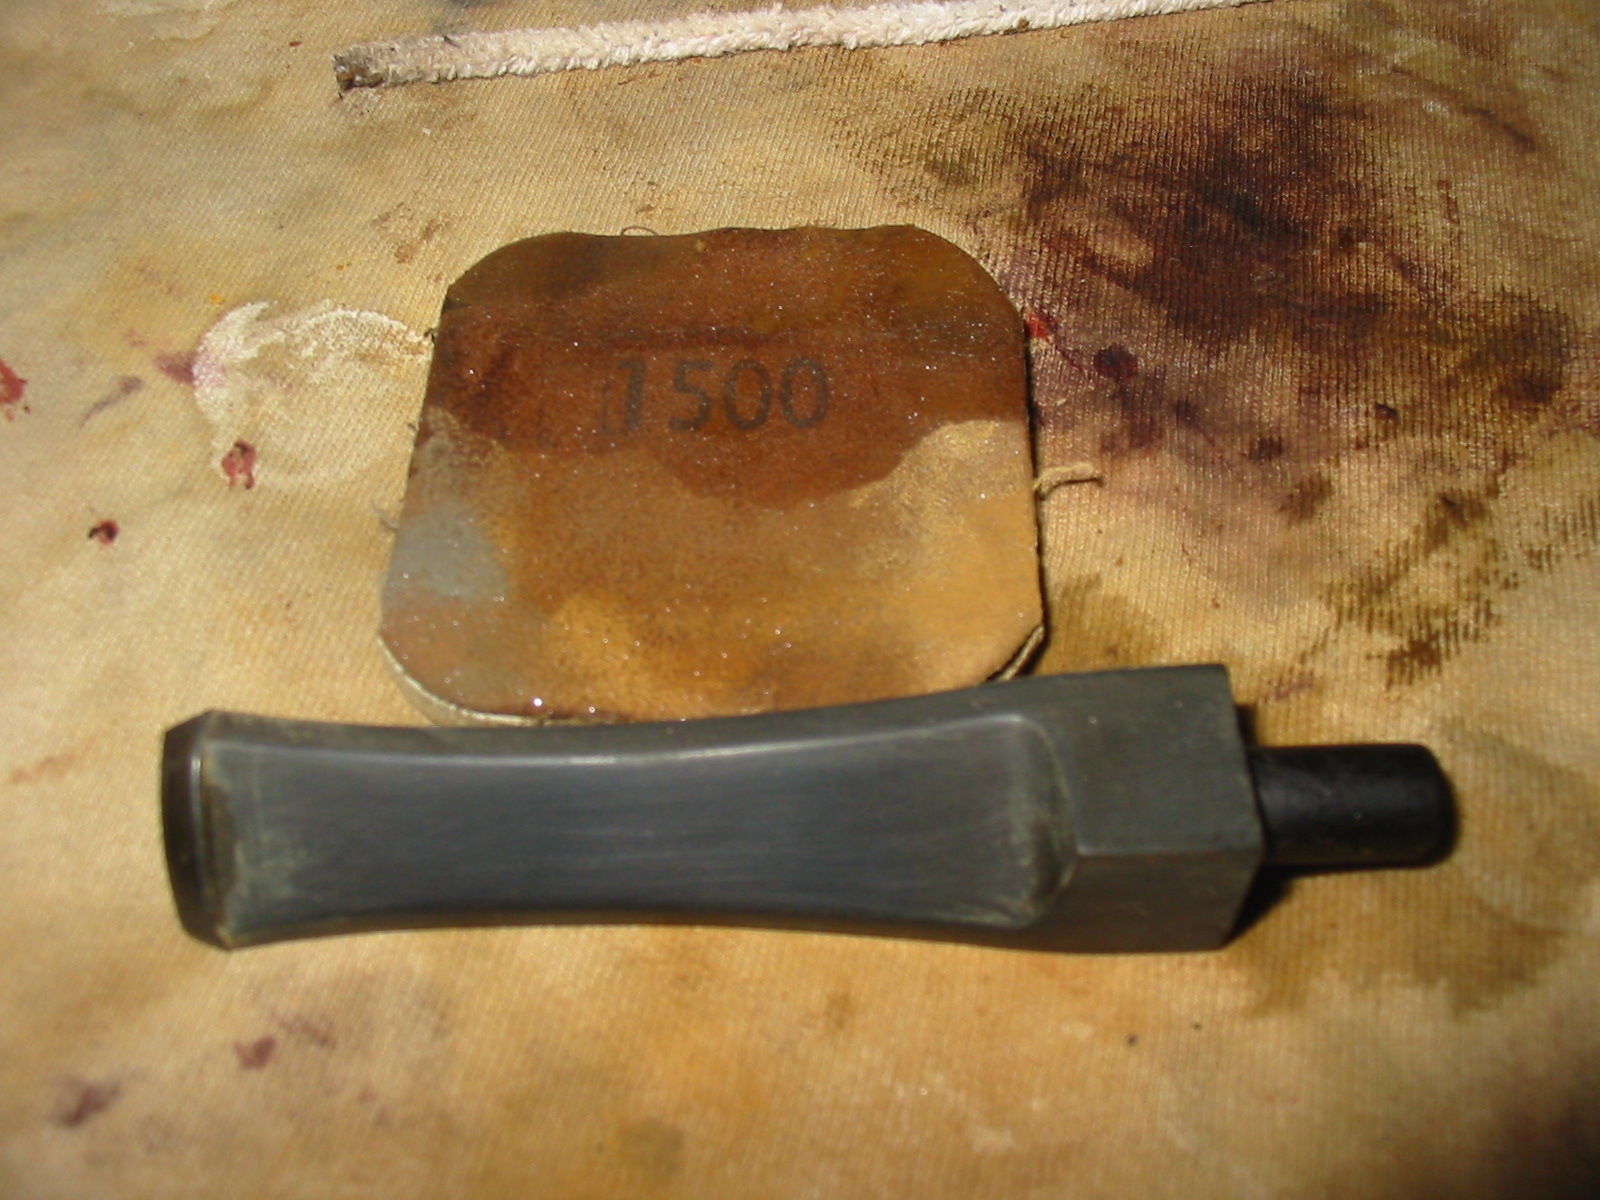
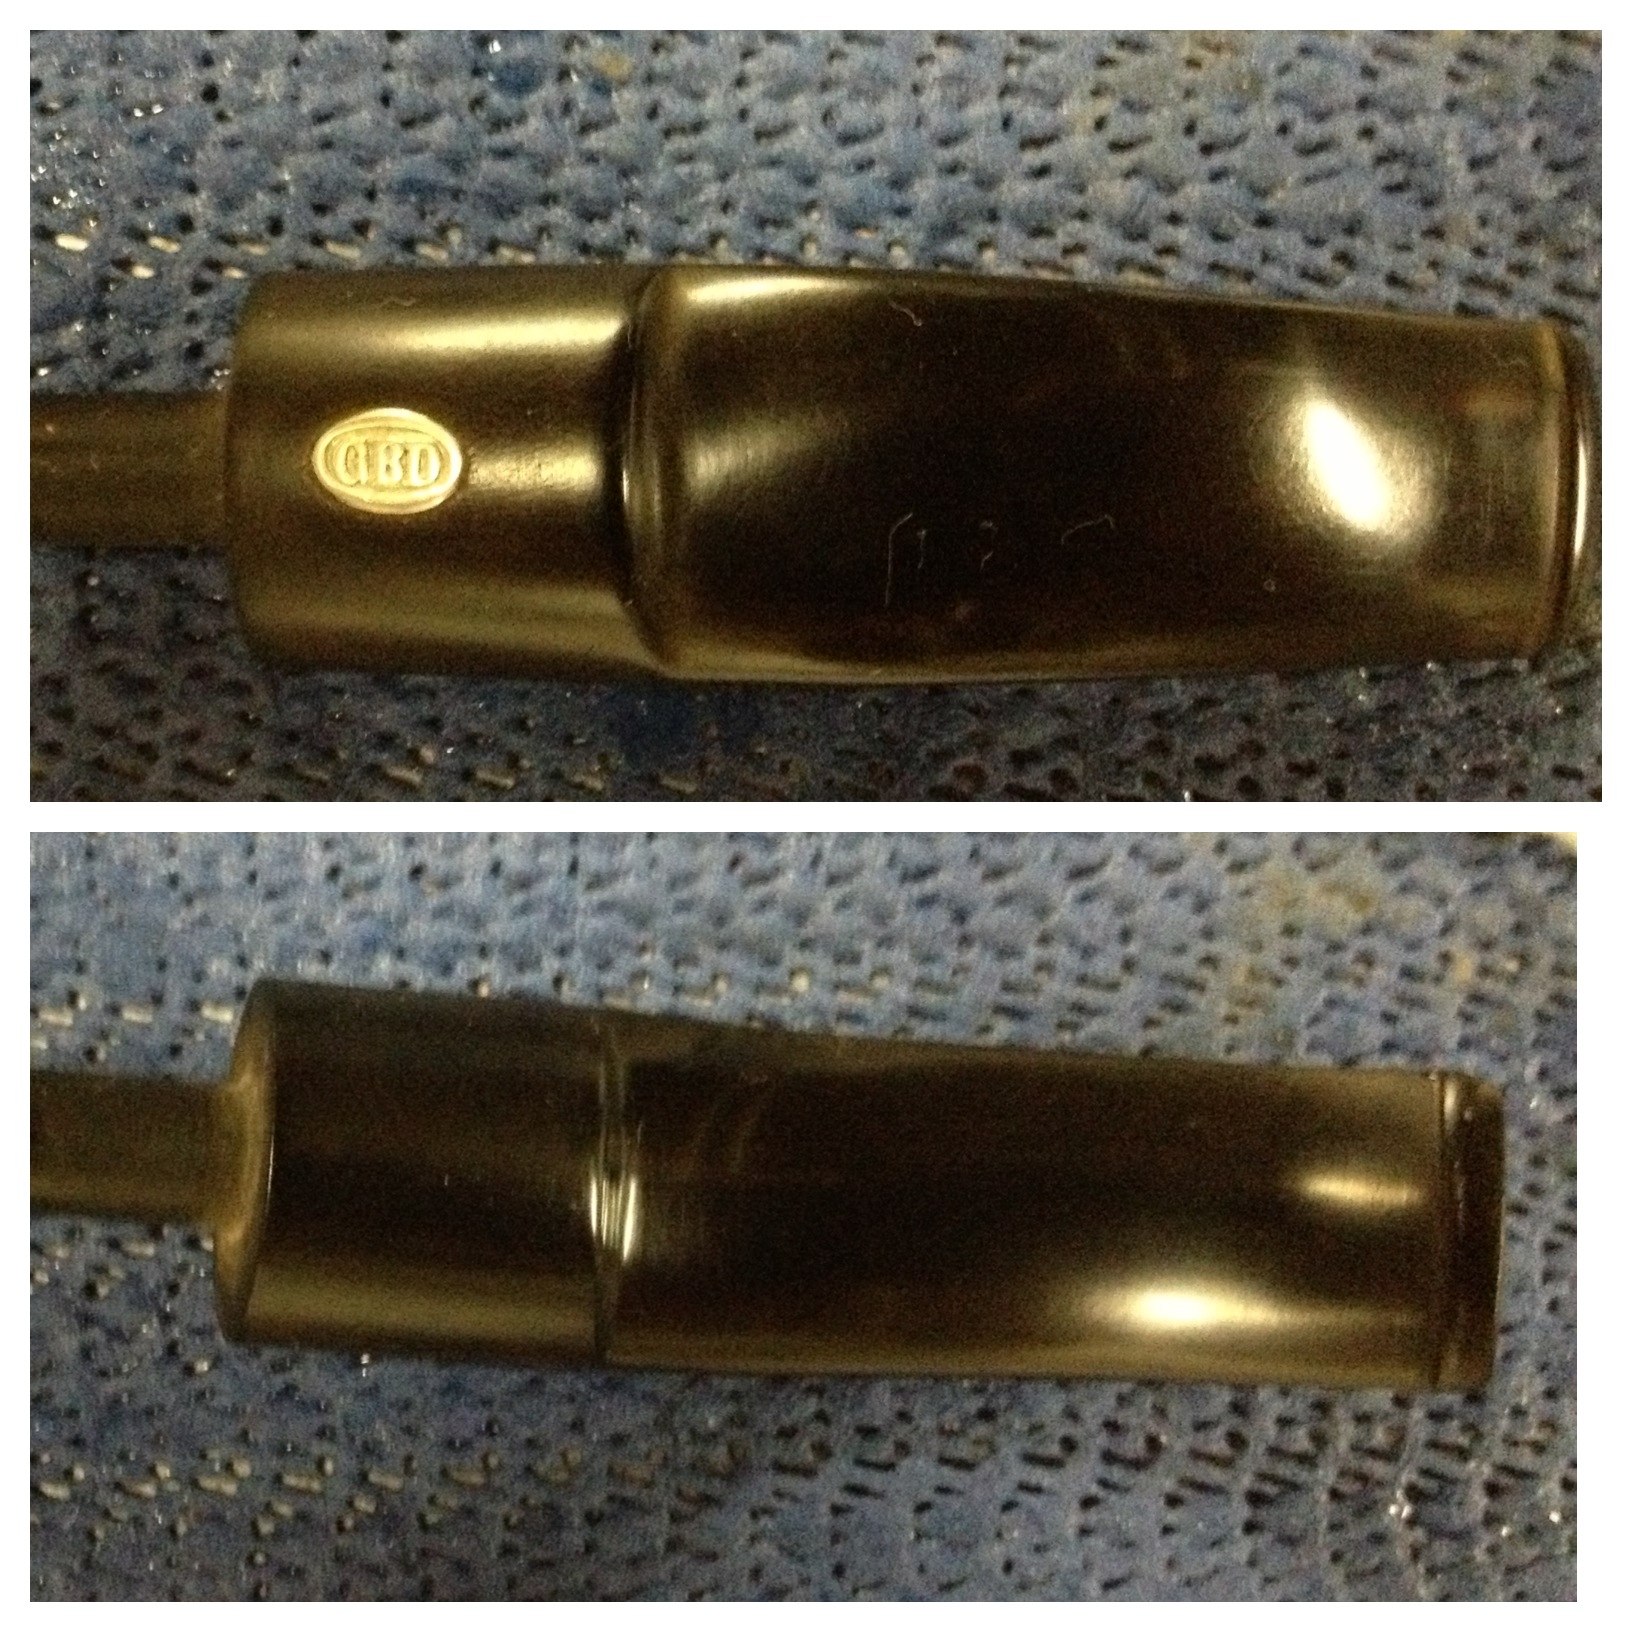
Still a lot of oxidation and work left to go. Next came sanding and polishing with wet/dry paper and micro mesh. I used 320 & 400 wet/dry paper before moving on to the micro mesh. Before the mesh, though, I used the Novus 2 plastic polish on the stem to take off some of the scratches and a little more left over oxidation. I wet sanded with micro mesh 1500-4000 and then polished with the Novus 2 again. I now dry sanded/polished with the remaining grits of 6000-12000, then polished with Novus 1 plastic polish to get to this look
IMG_5249

Now I applied my “secret substance” before setting the stem aside to work on the bowl. This is how the stem looks at this point:
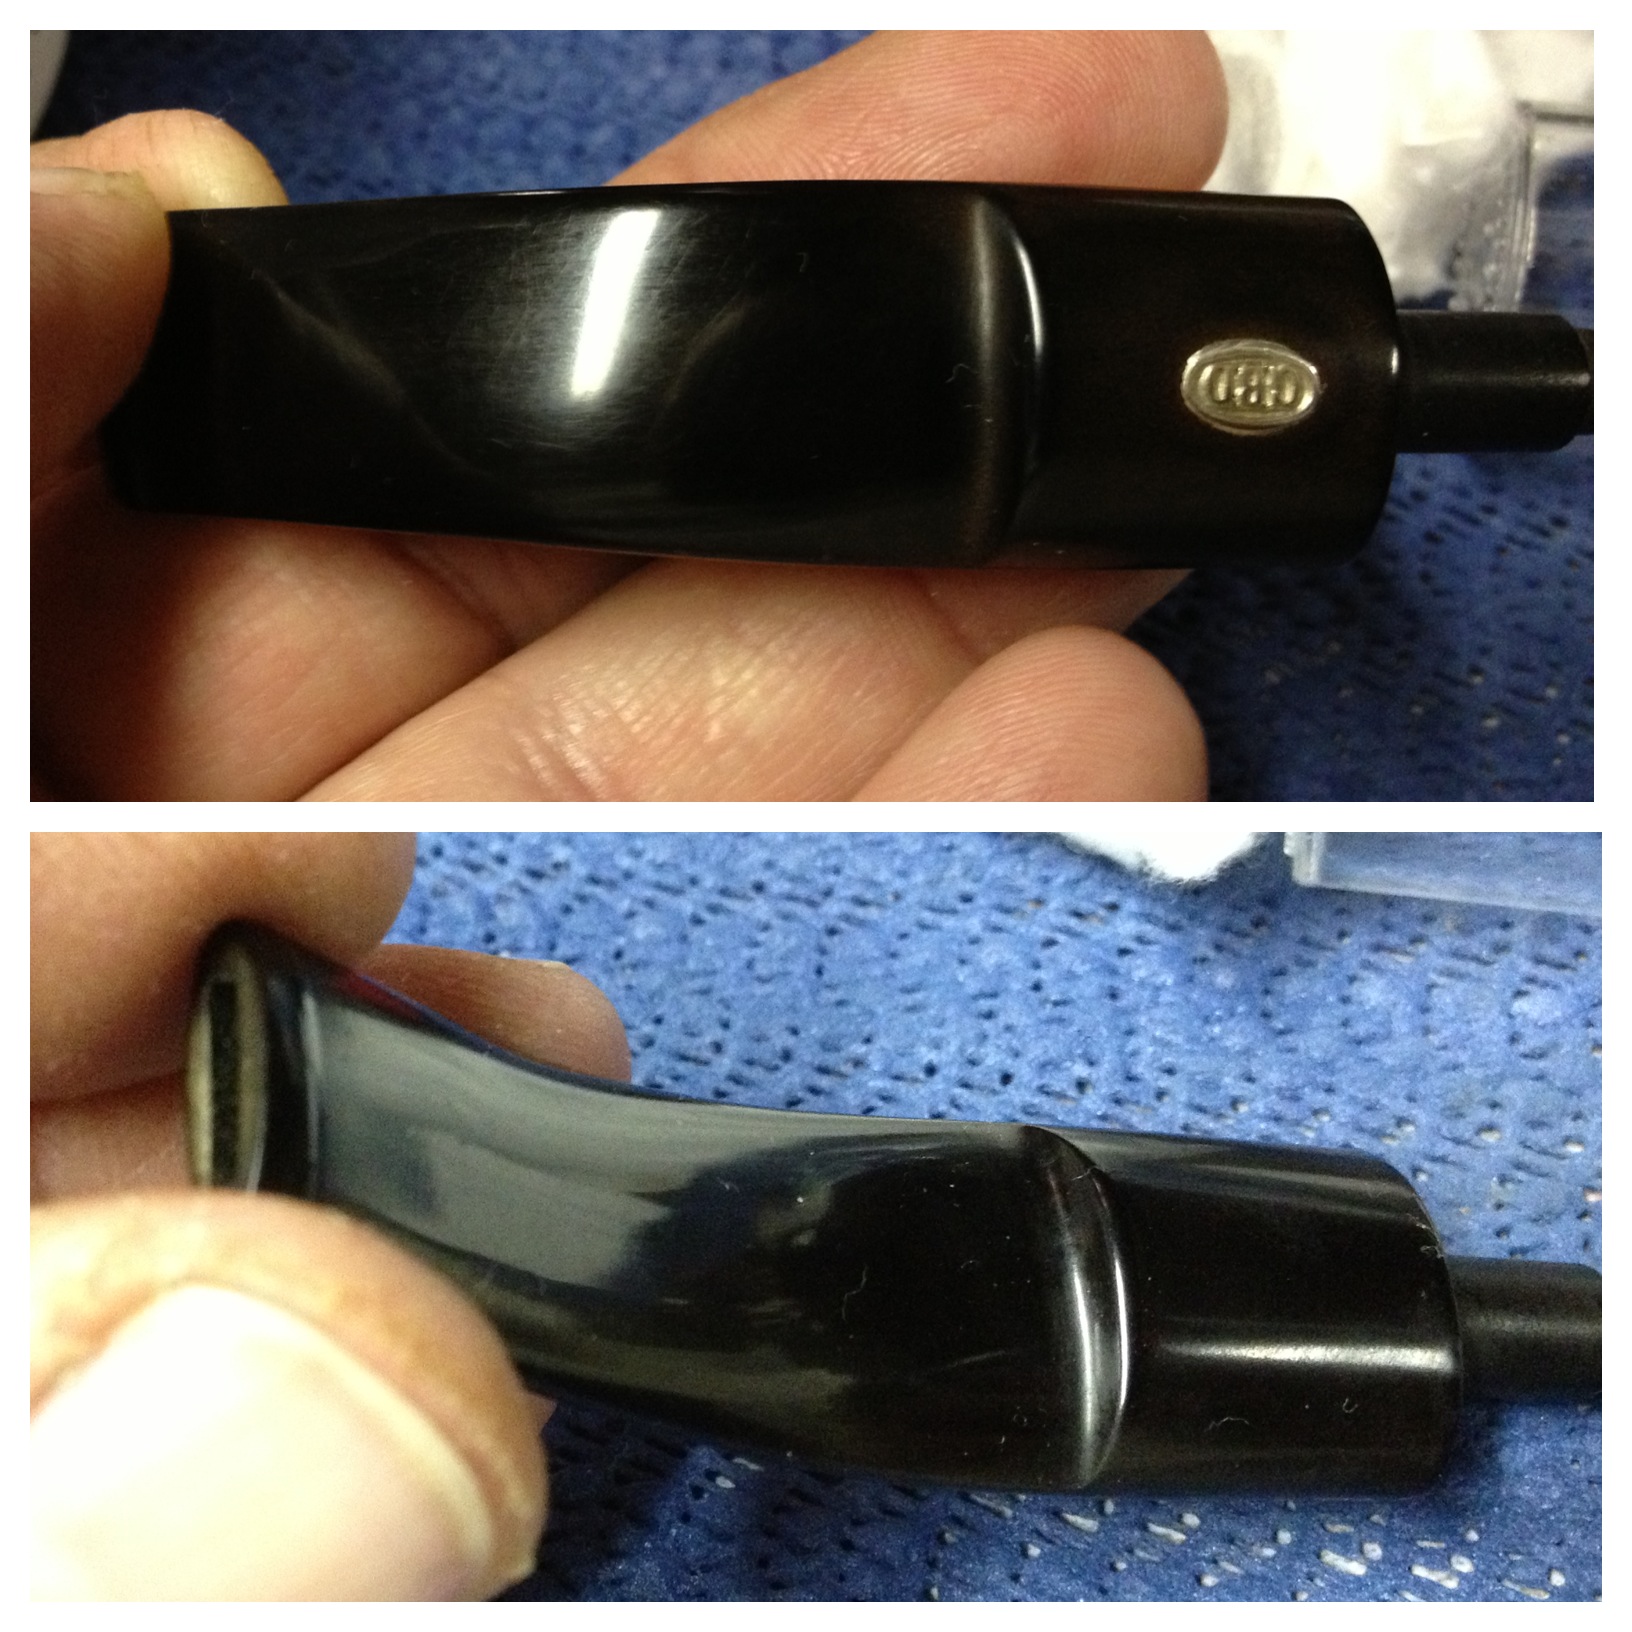
IMG_5250

What, you may ask, is my “secret substance”? Obsidian oil maybe? No. It is Mothers Back-to-Black automotive polish.

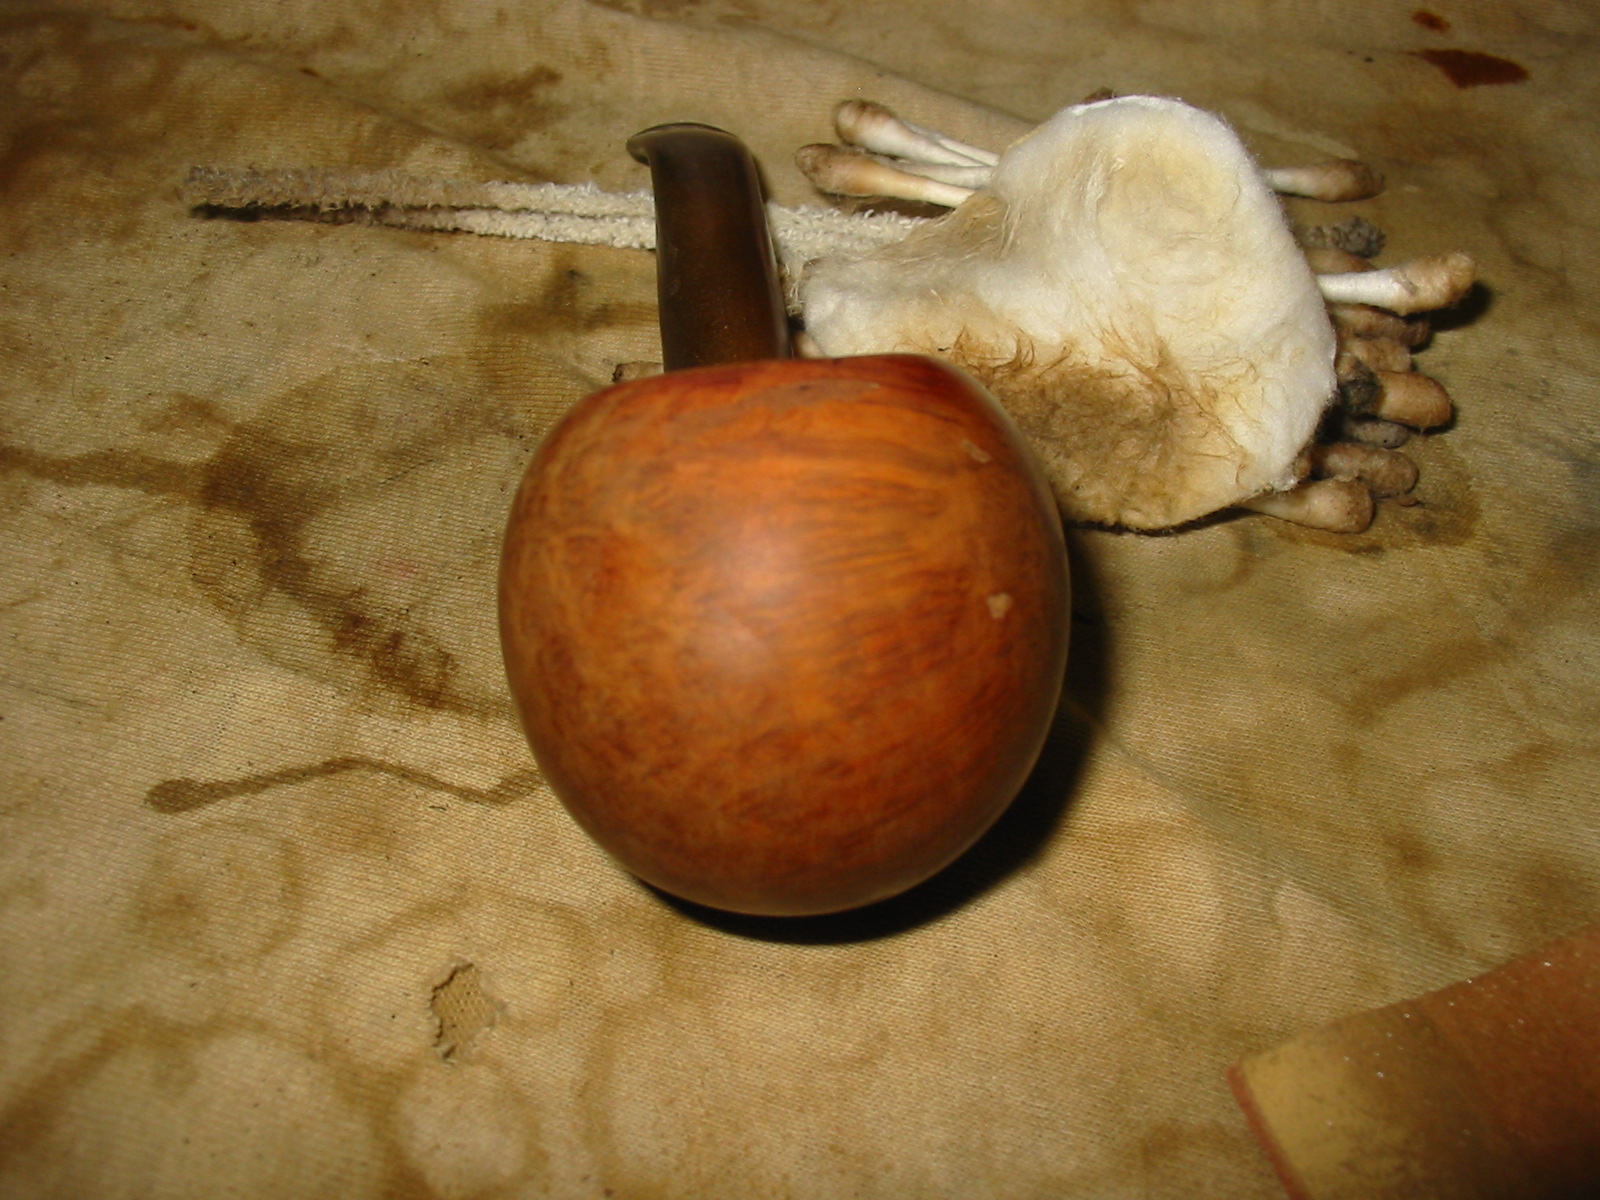
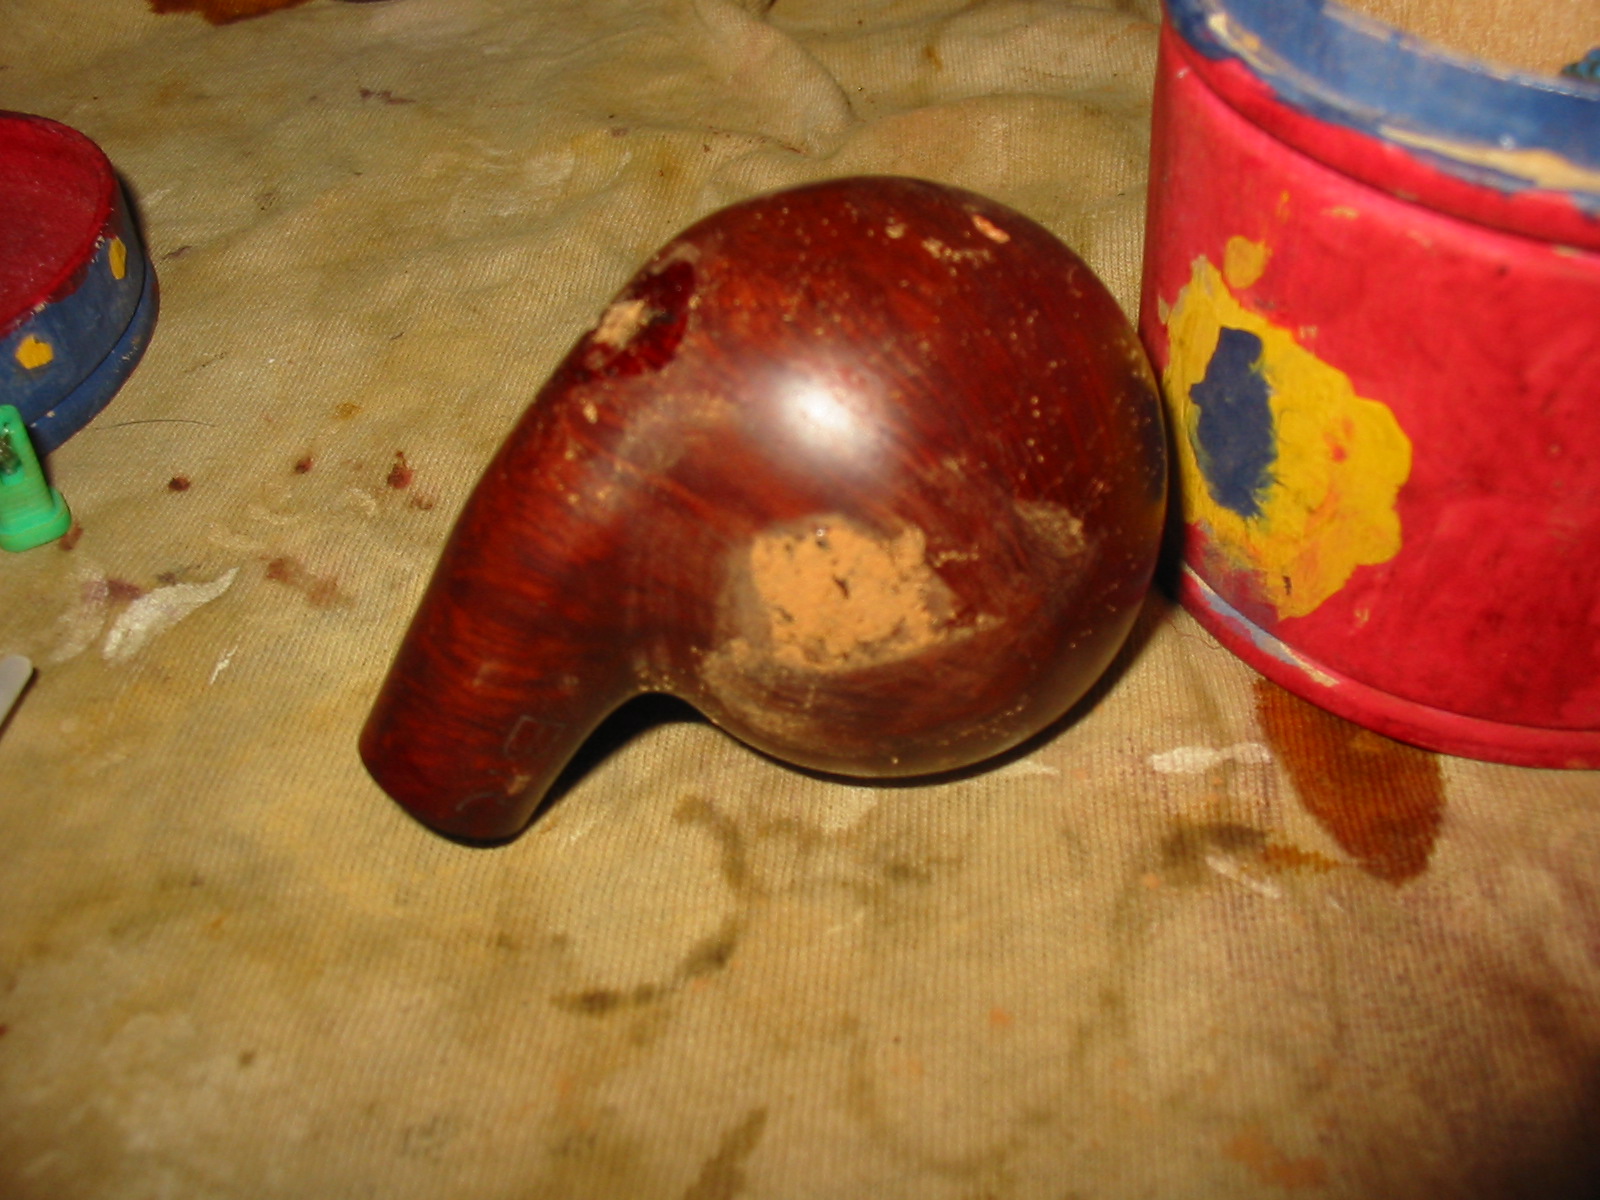
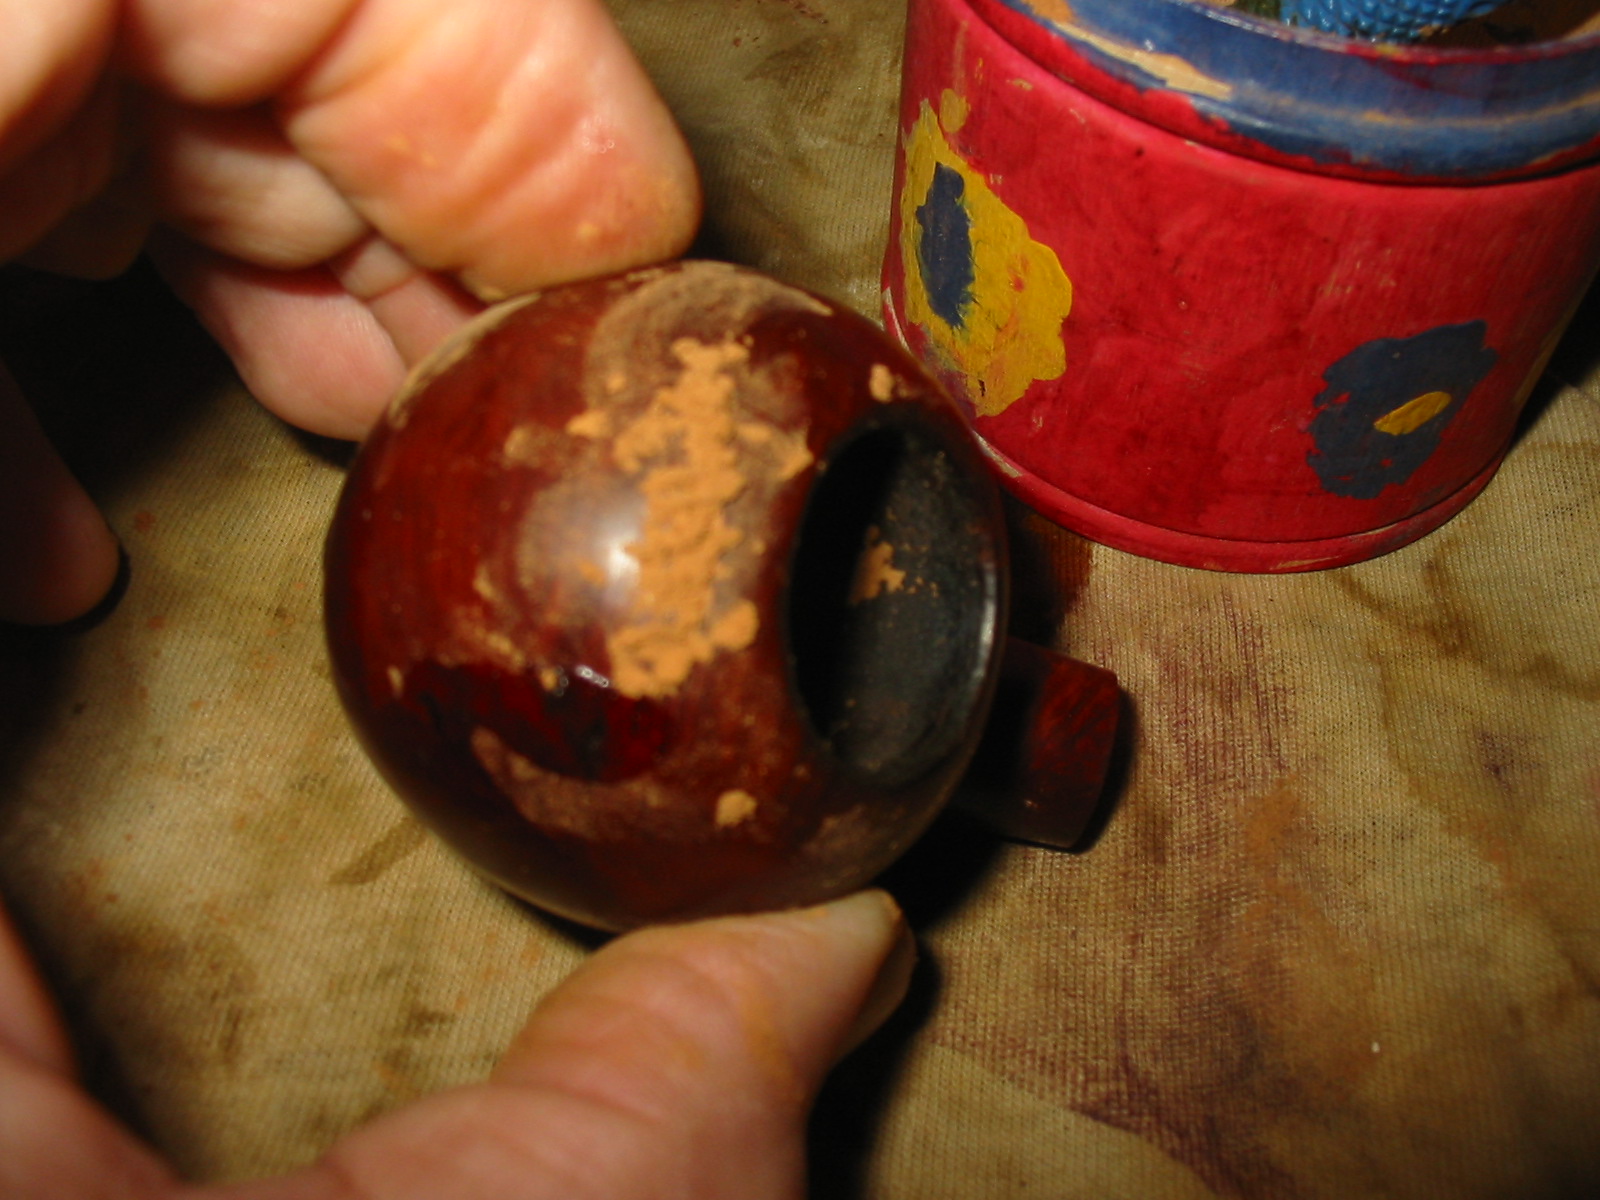
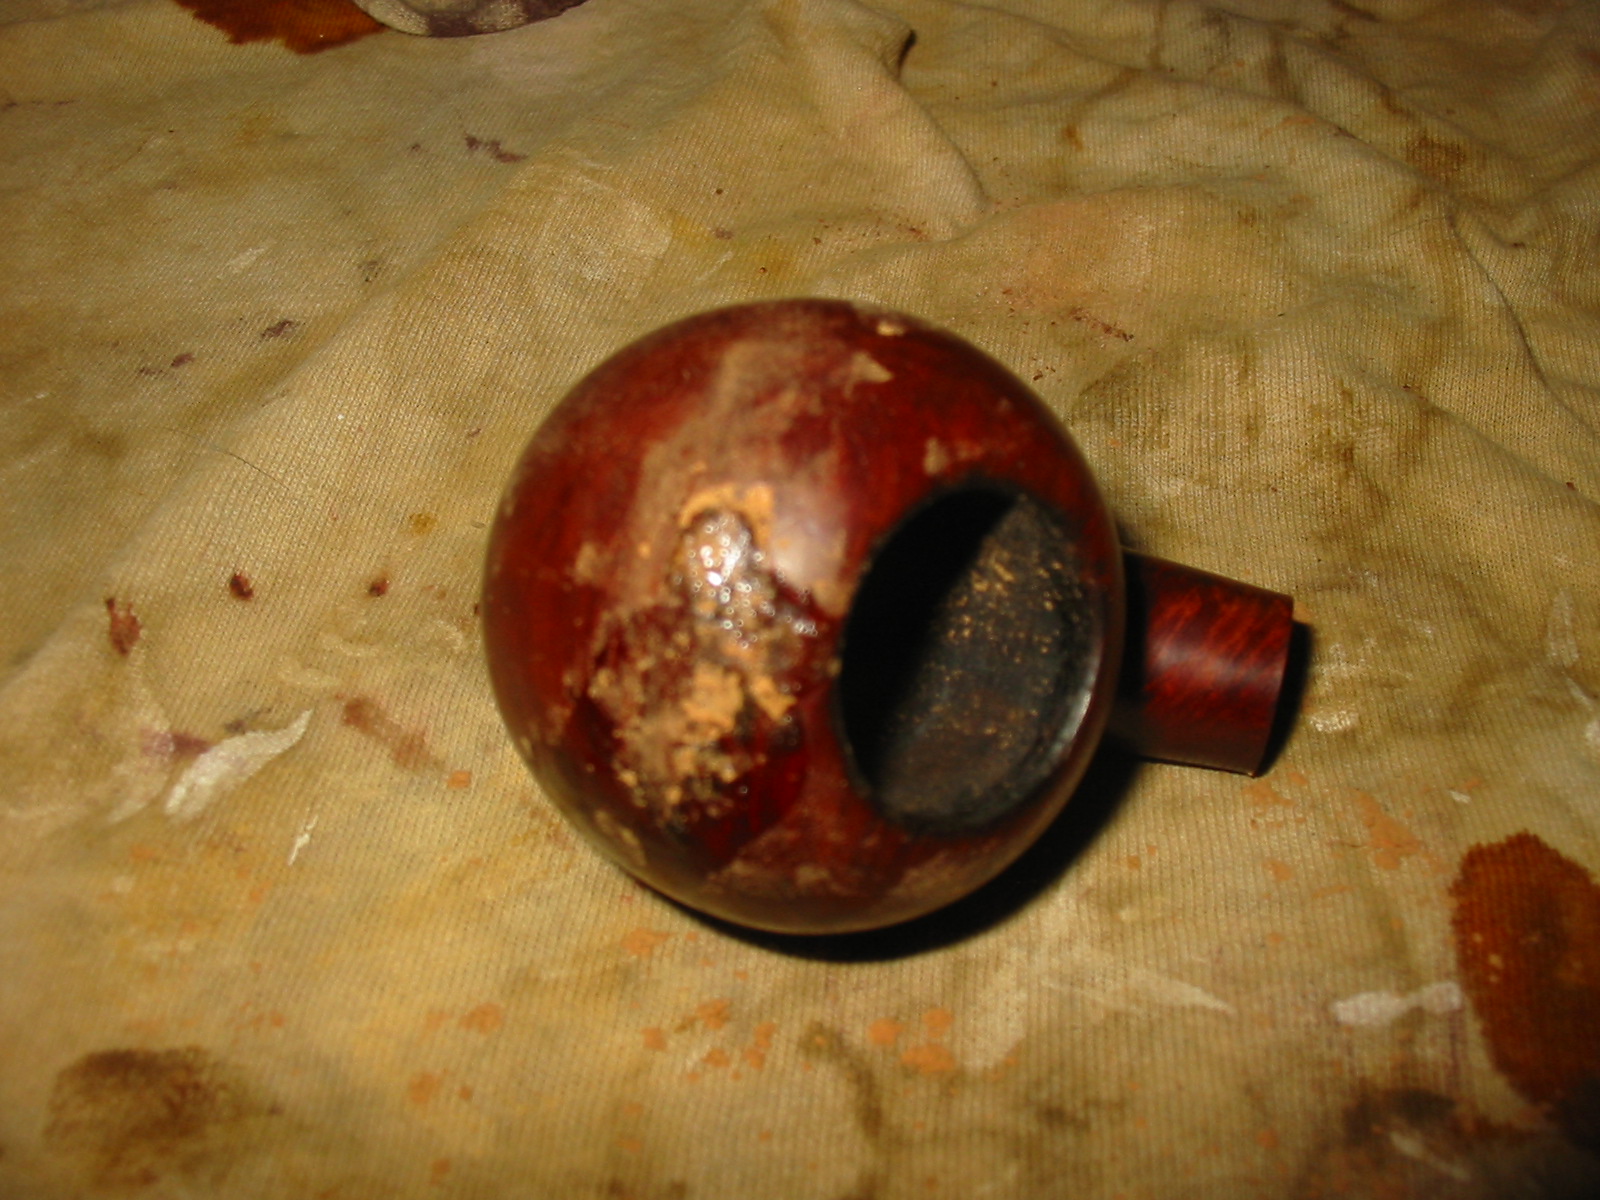
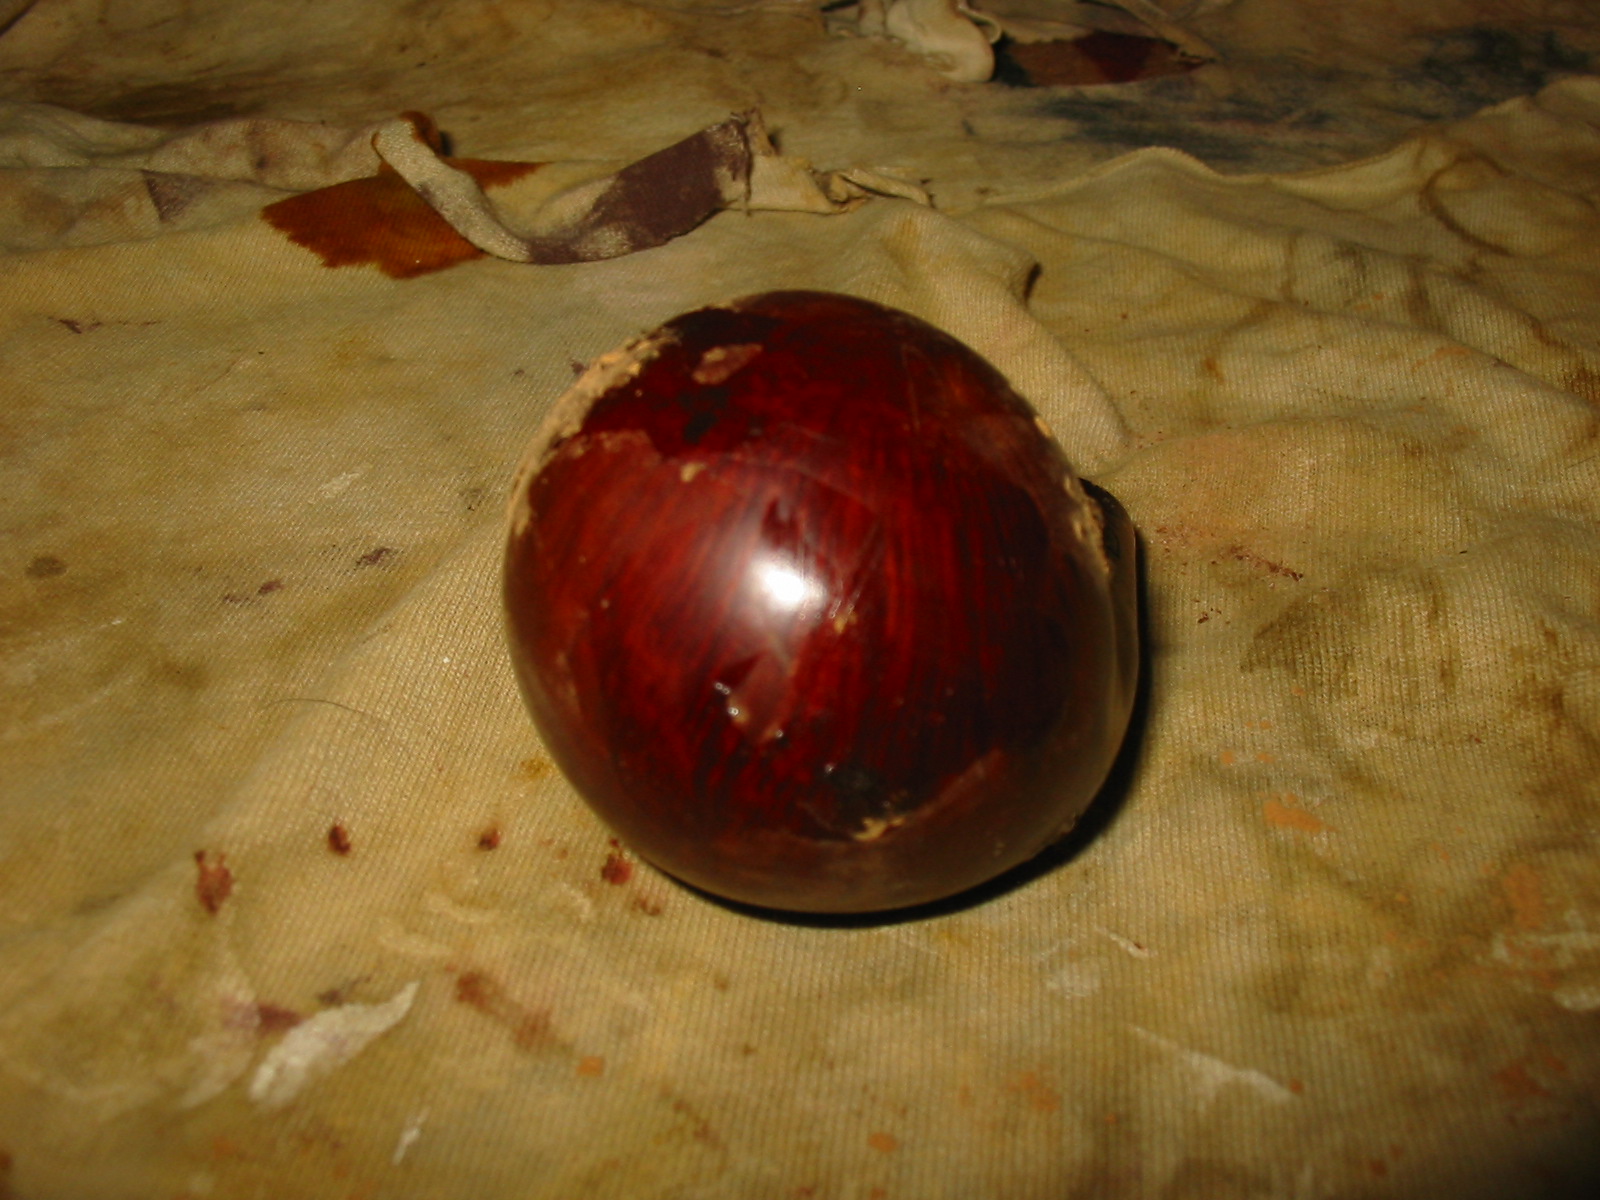
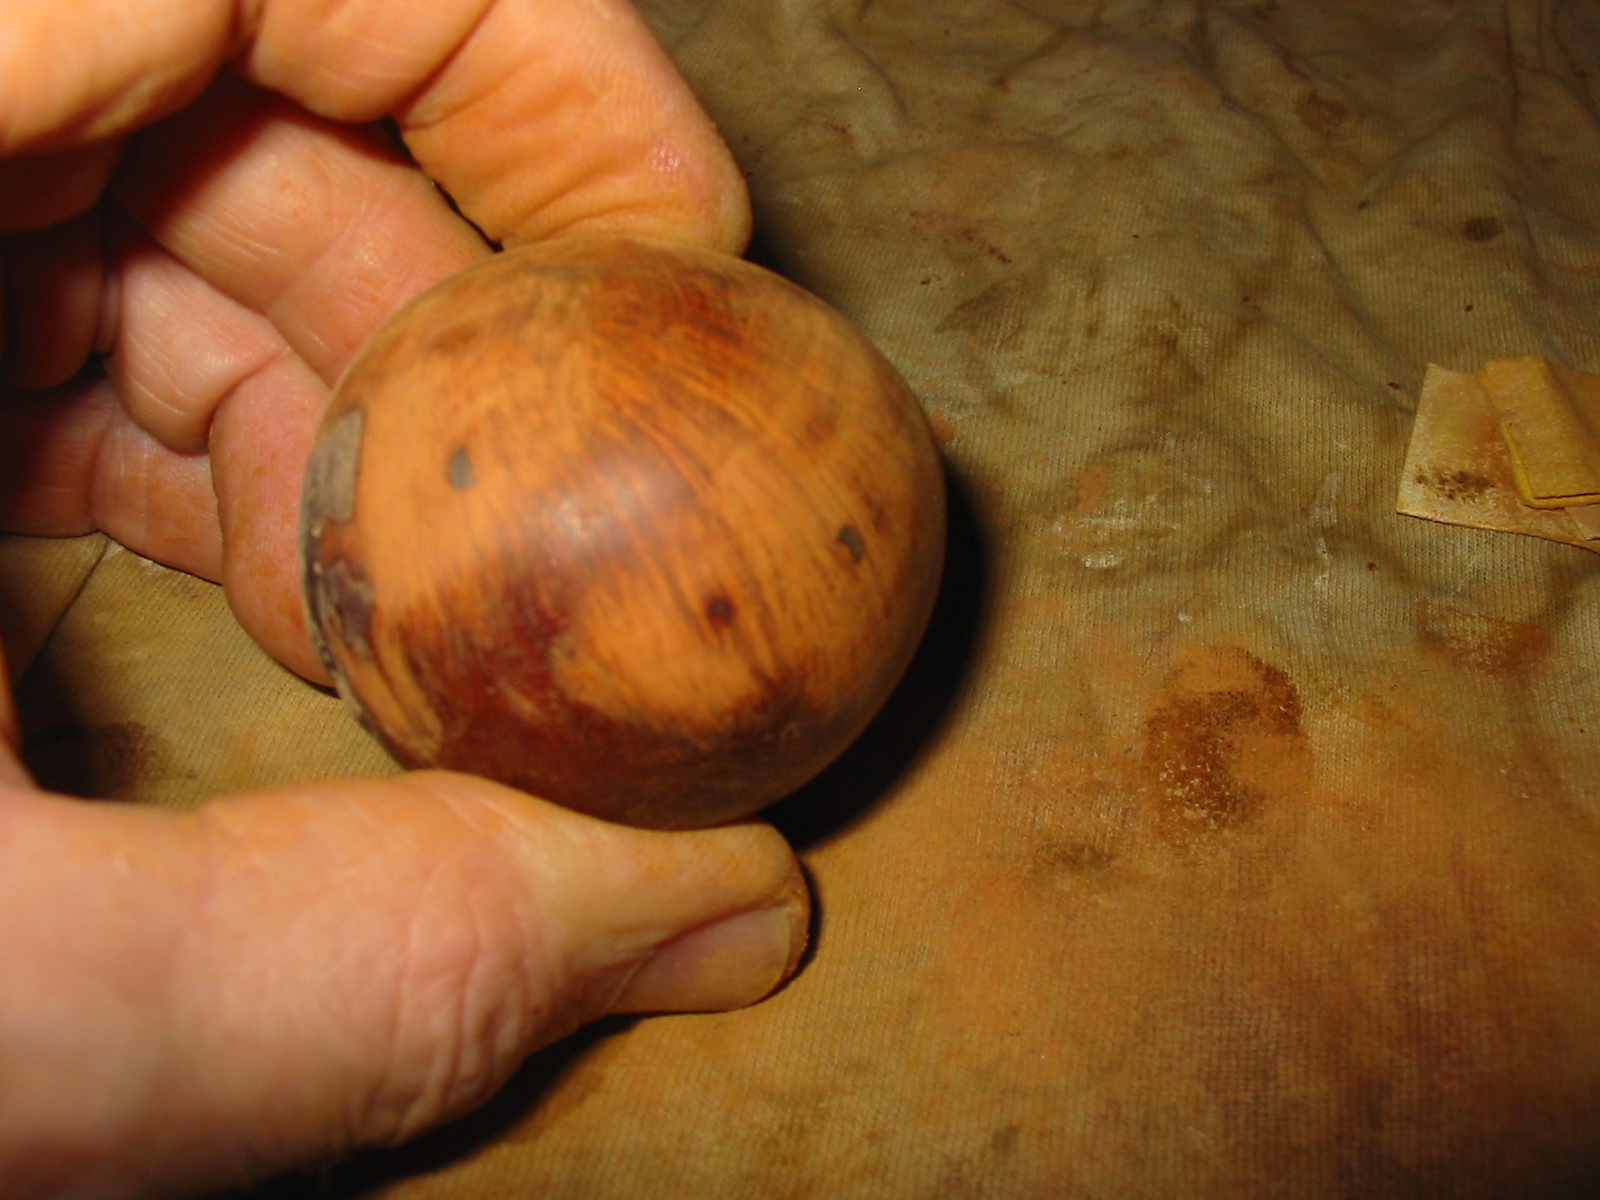
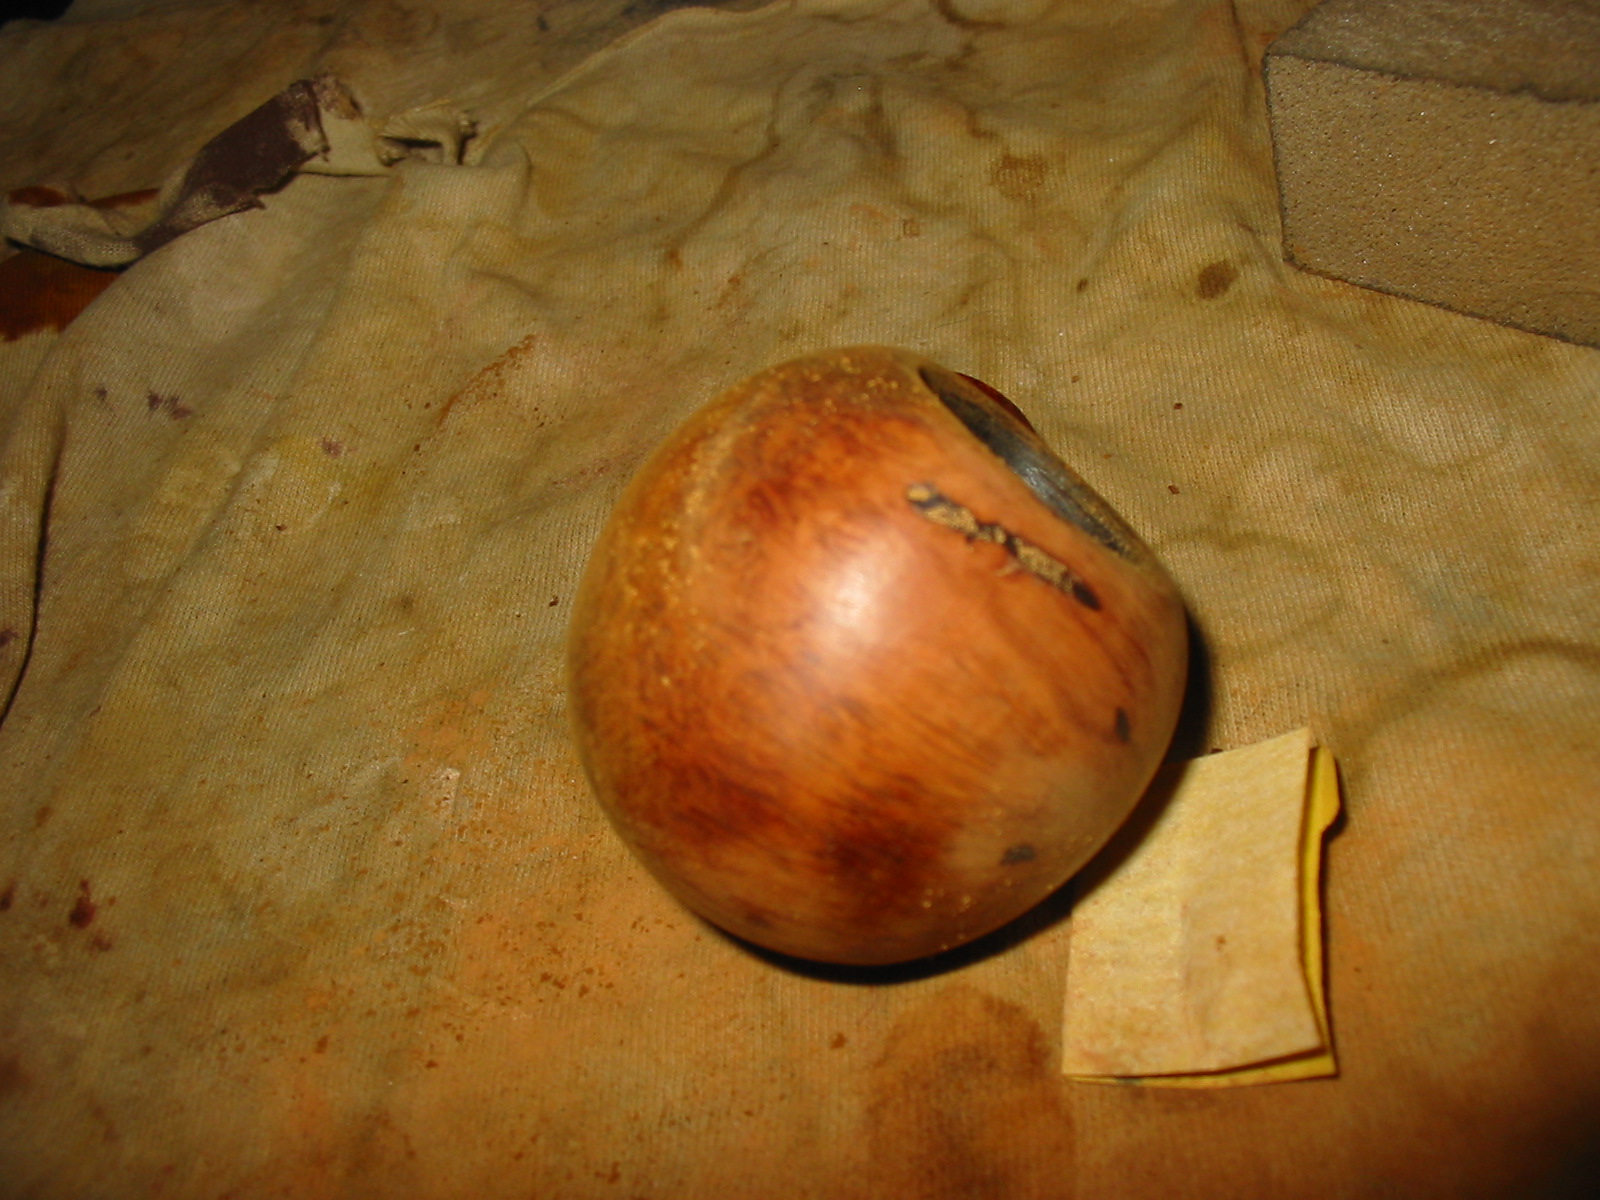
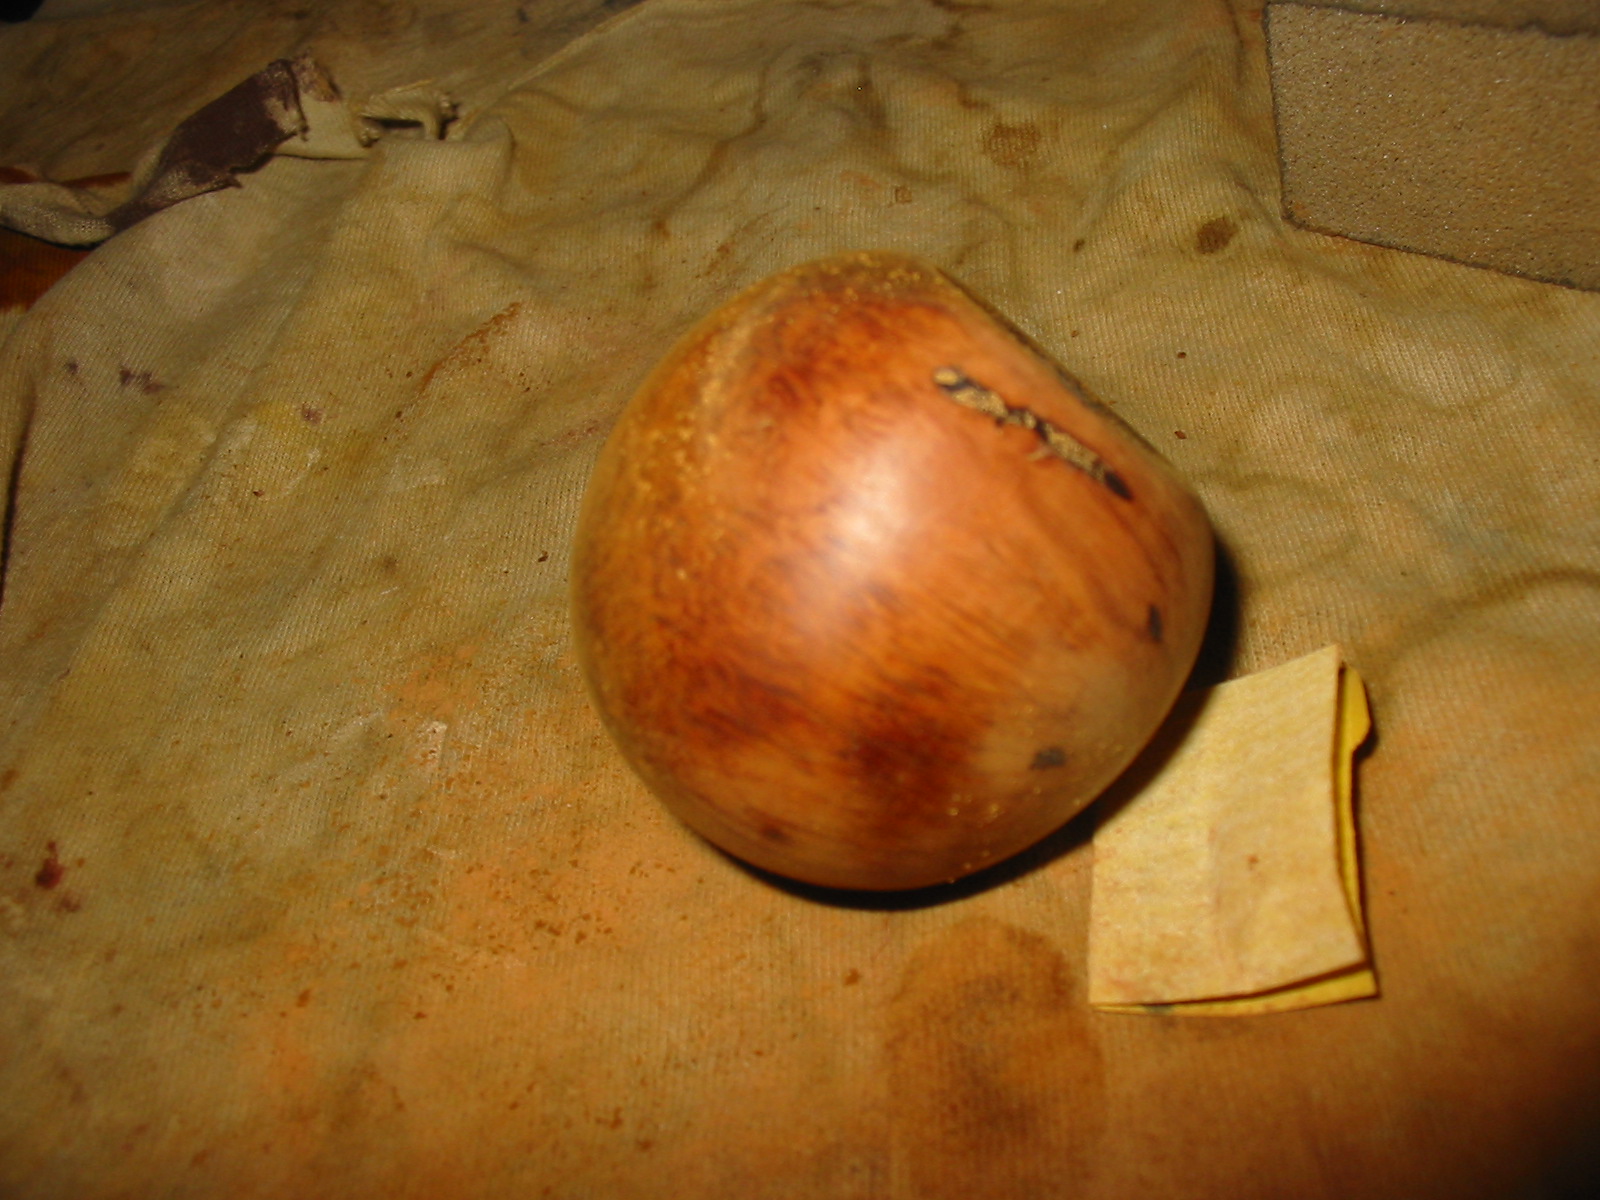
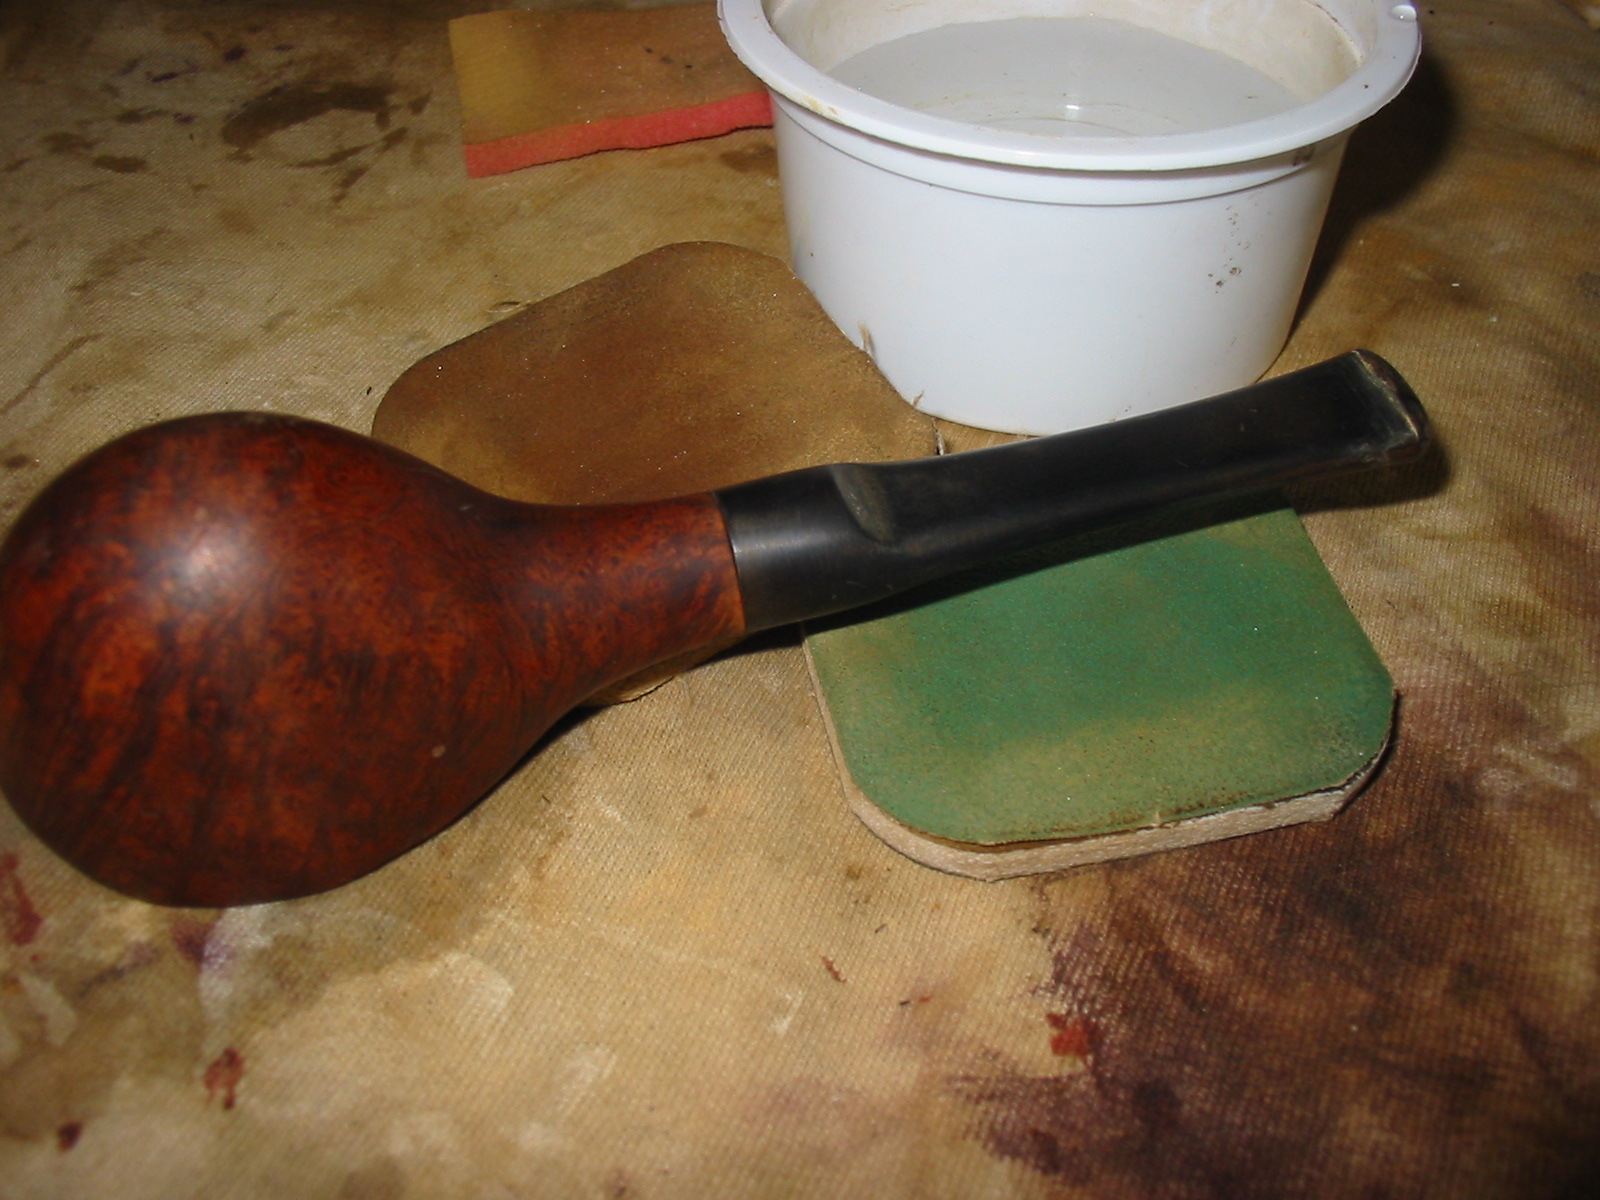
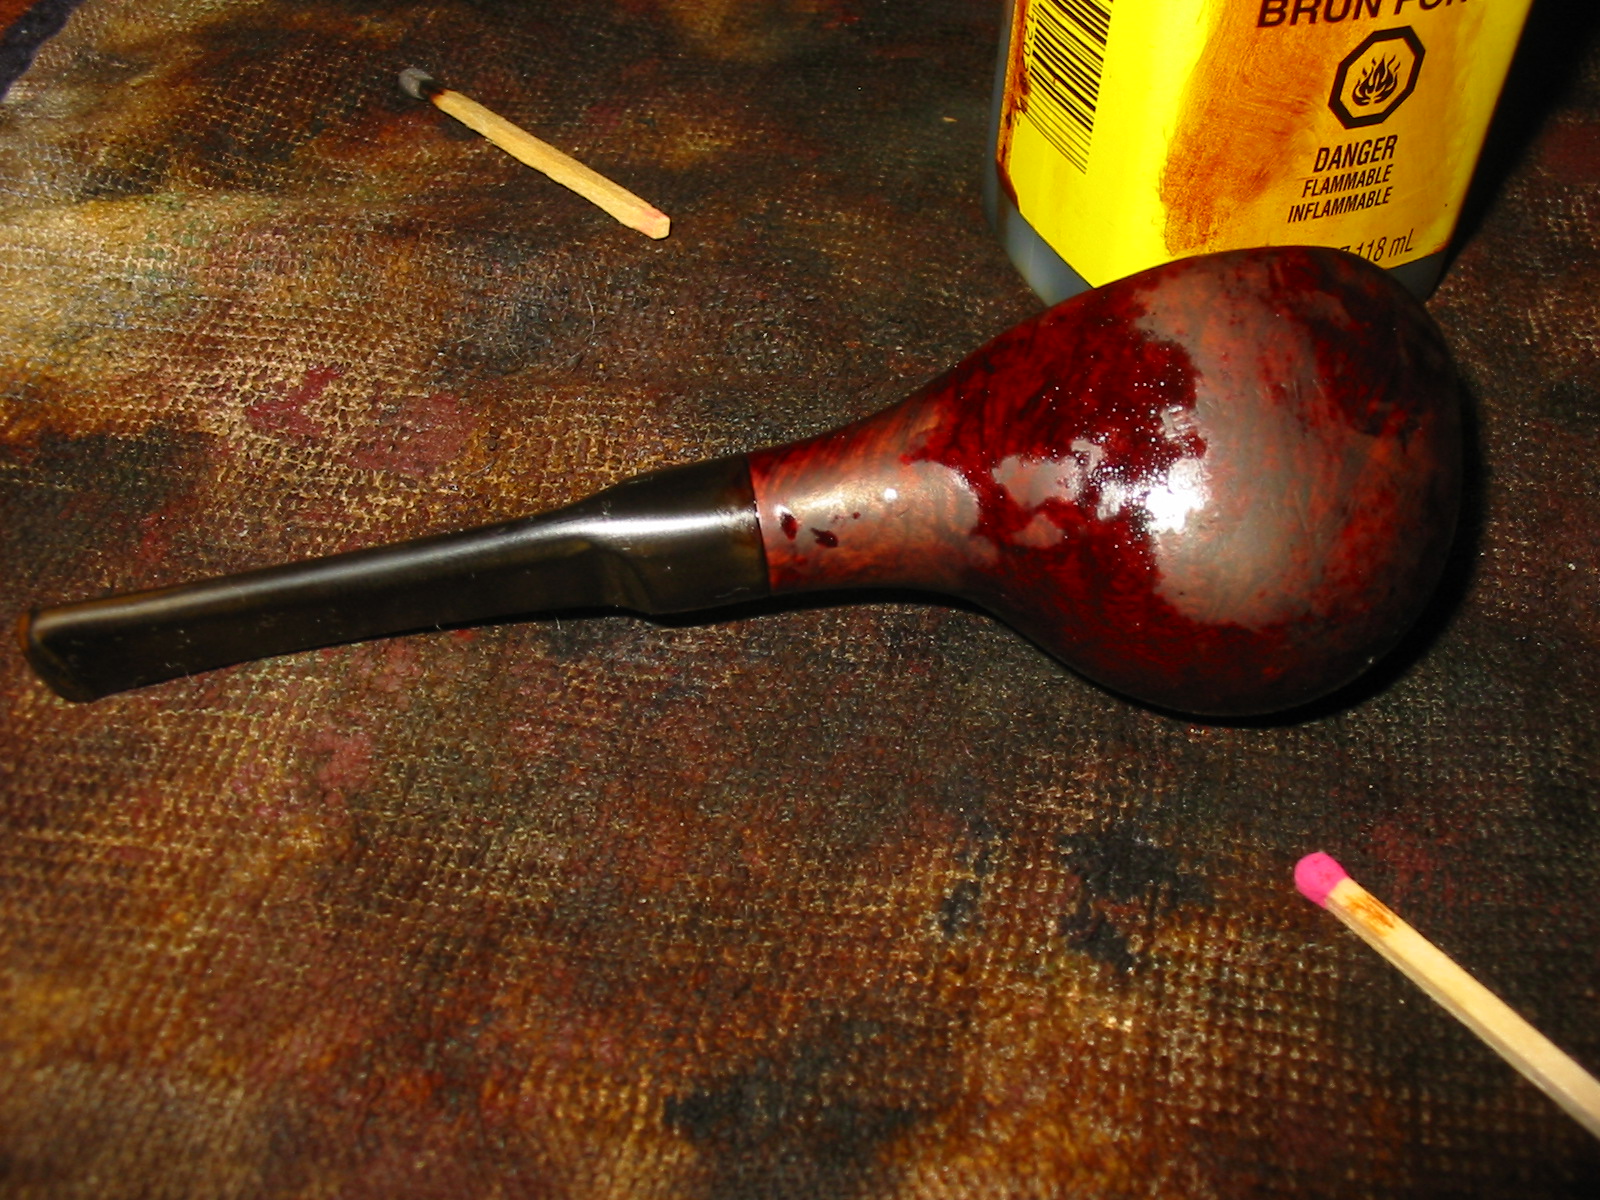
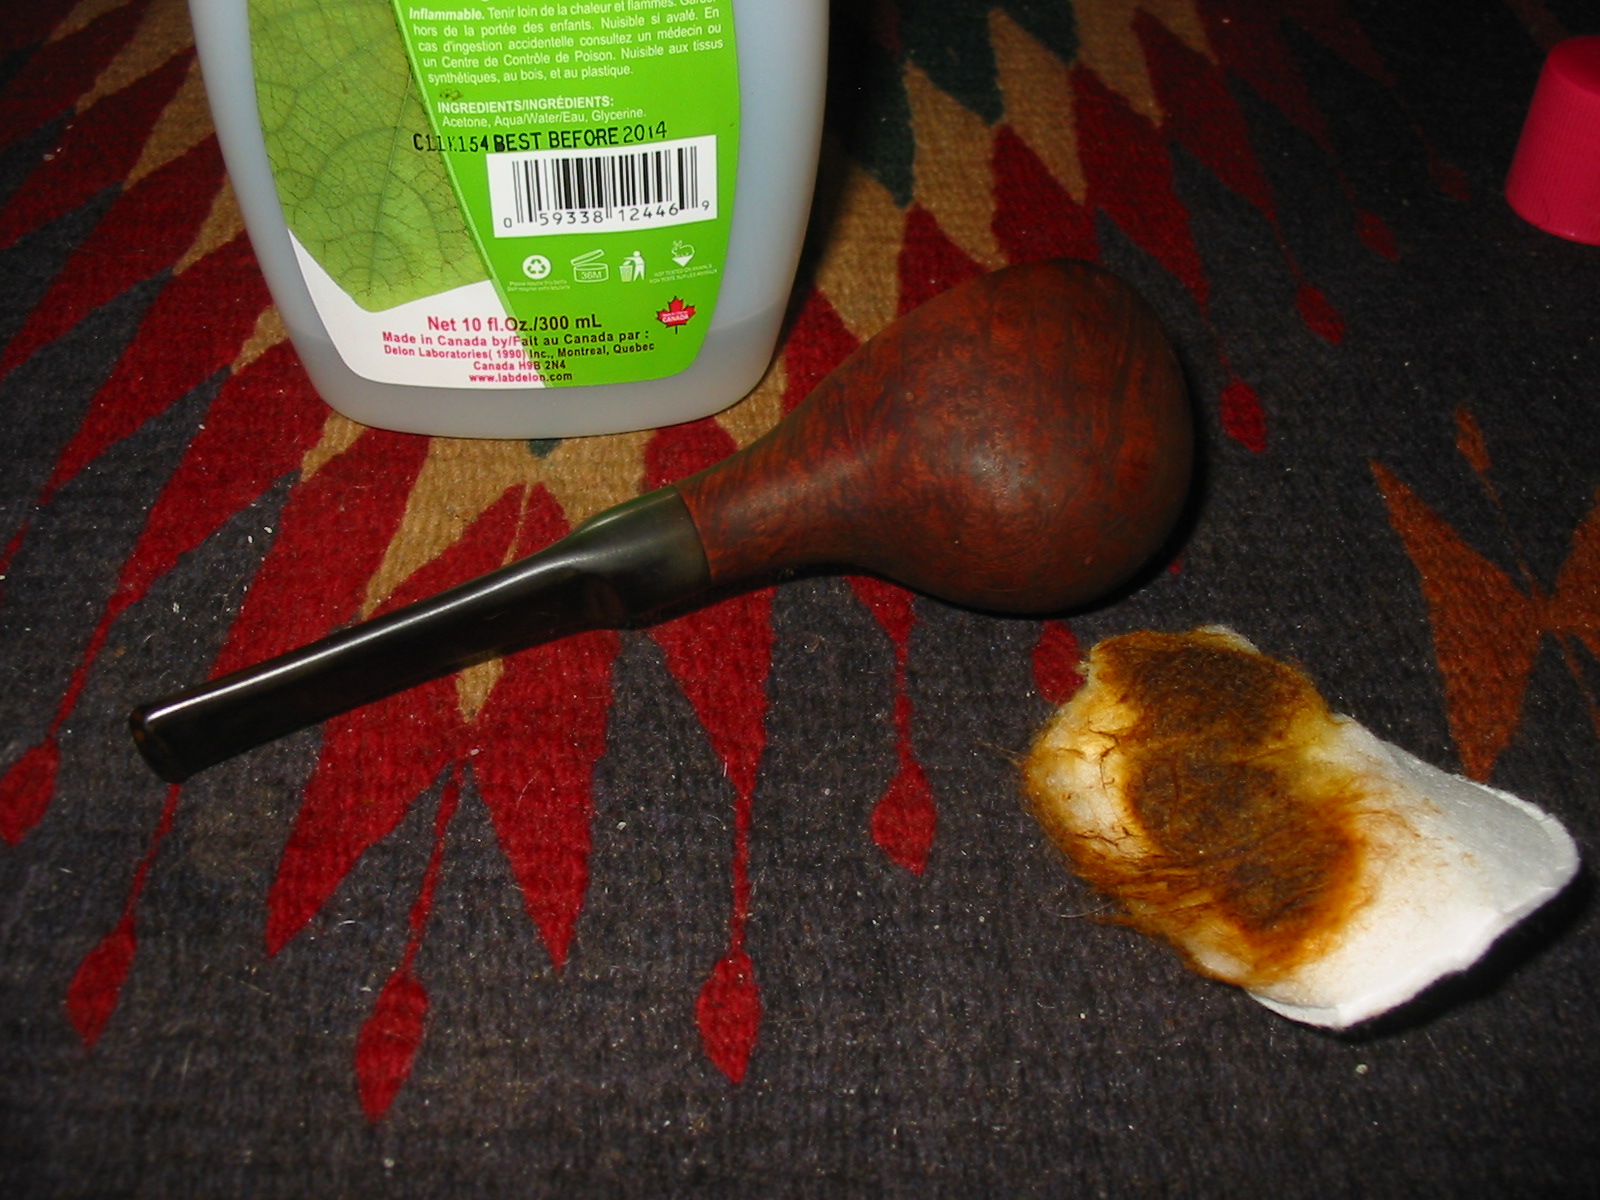
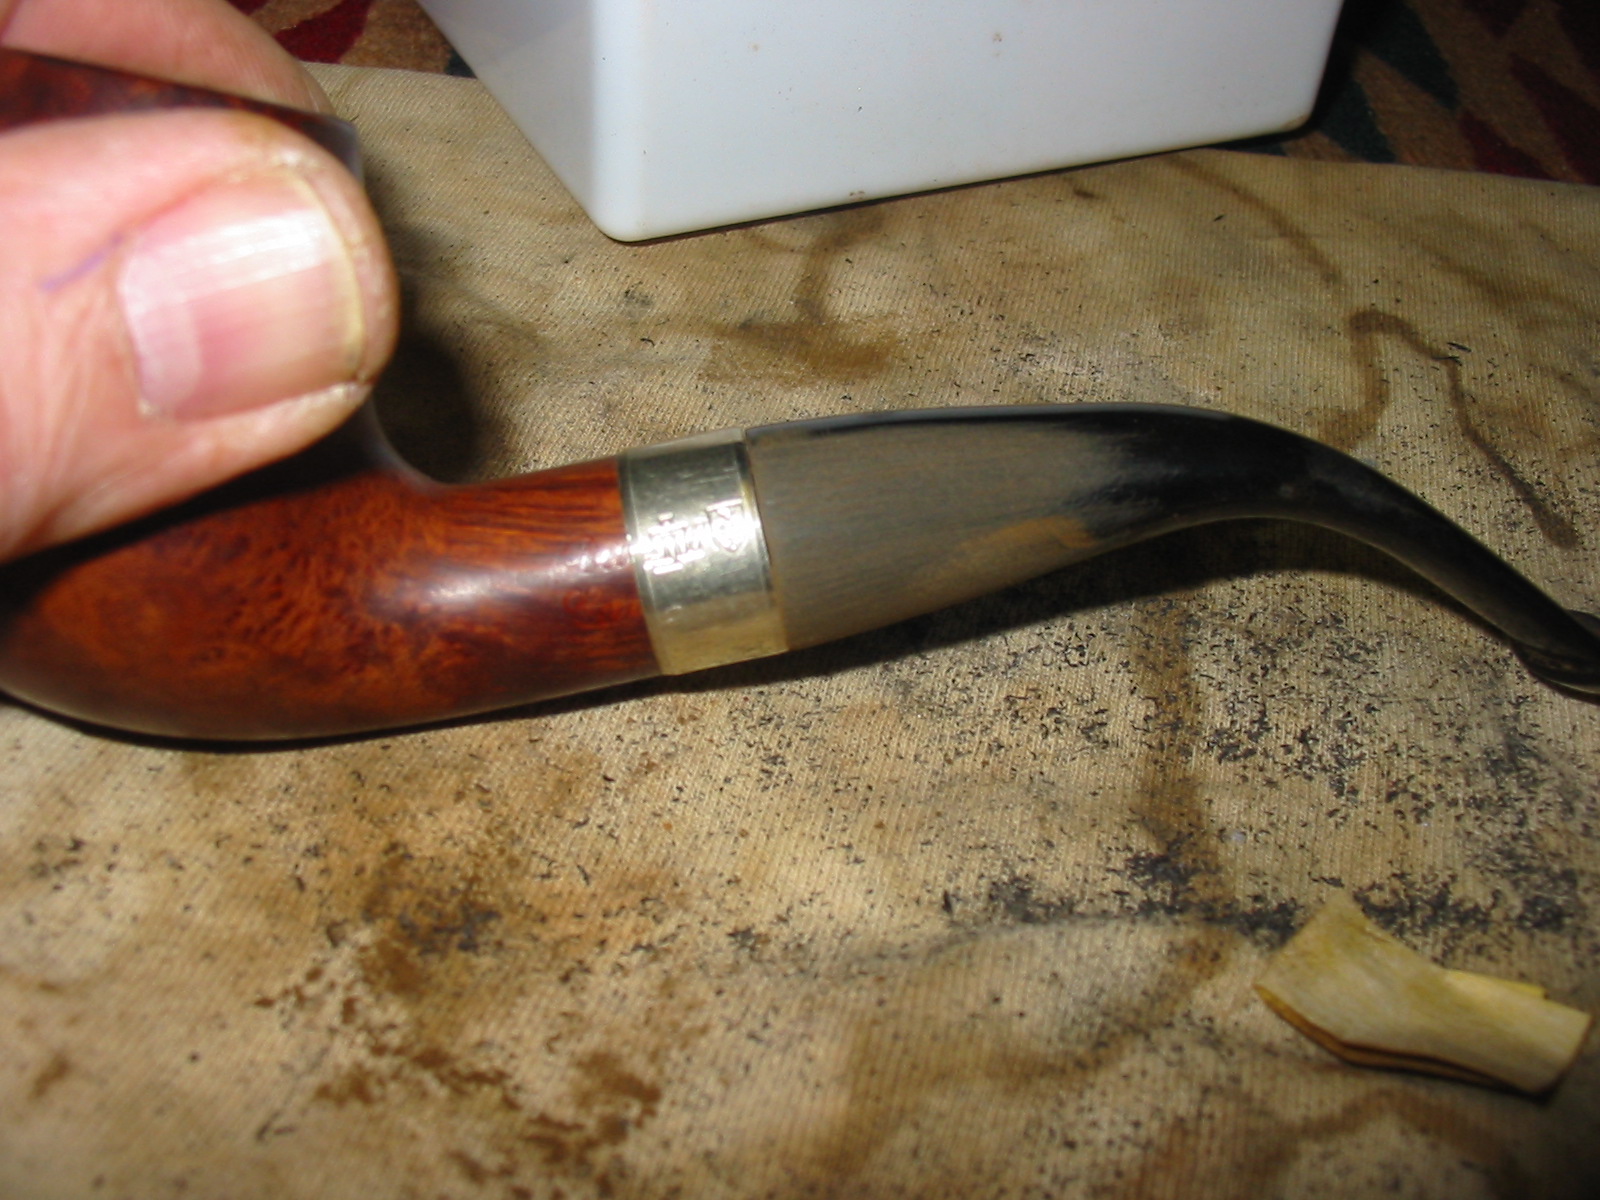
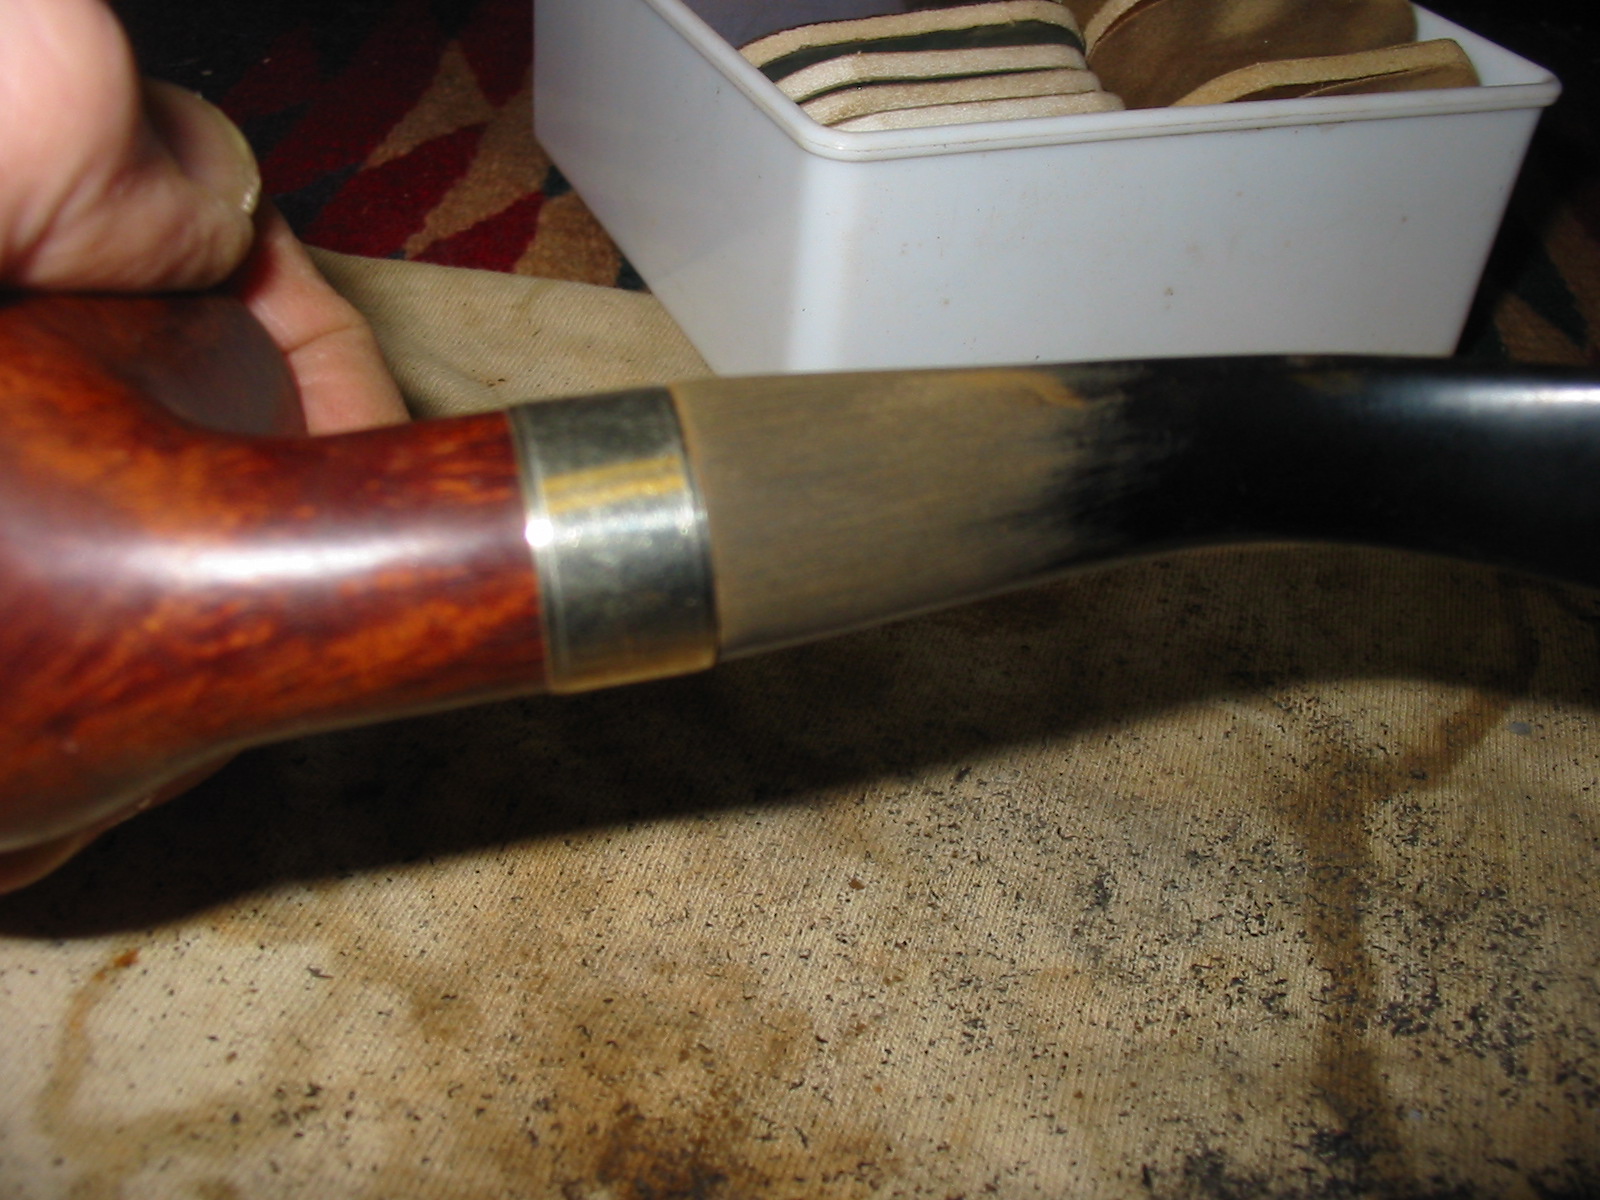
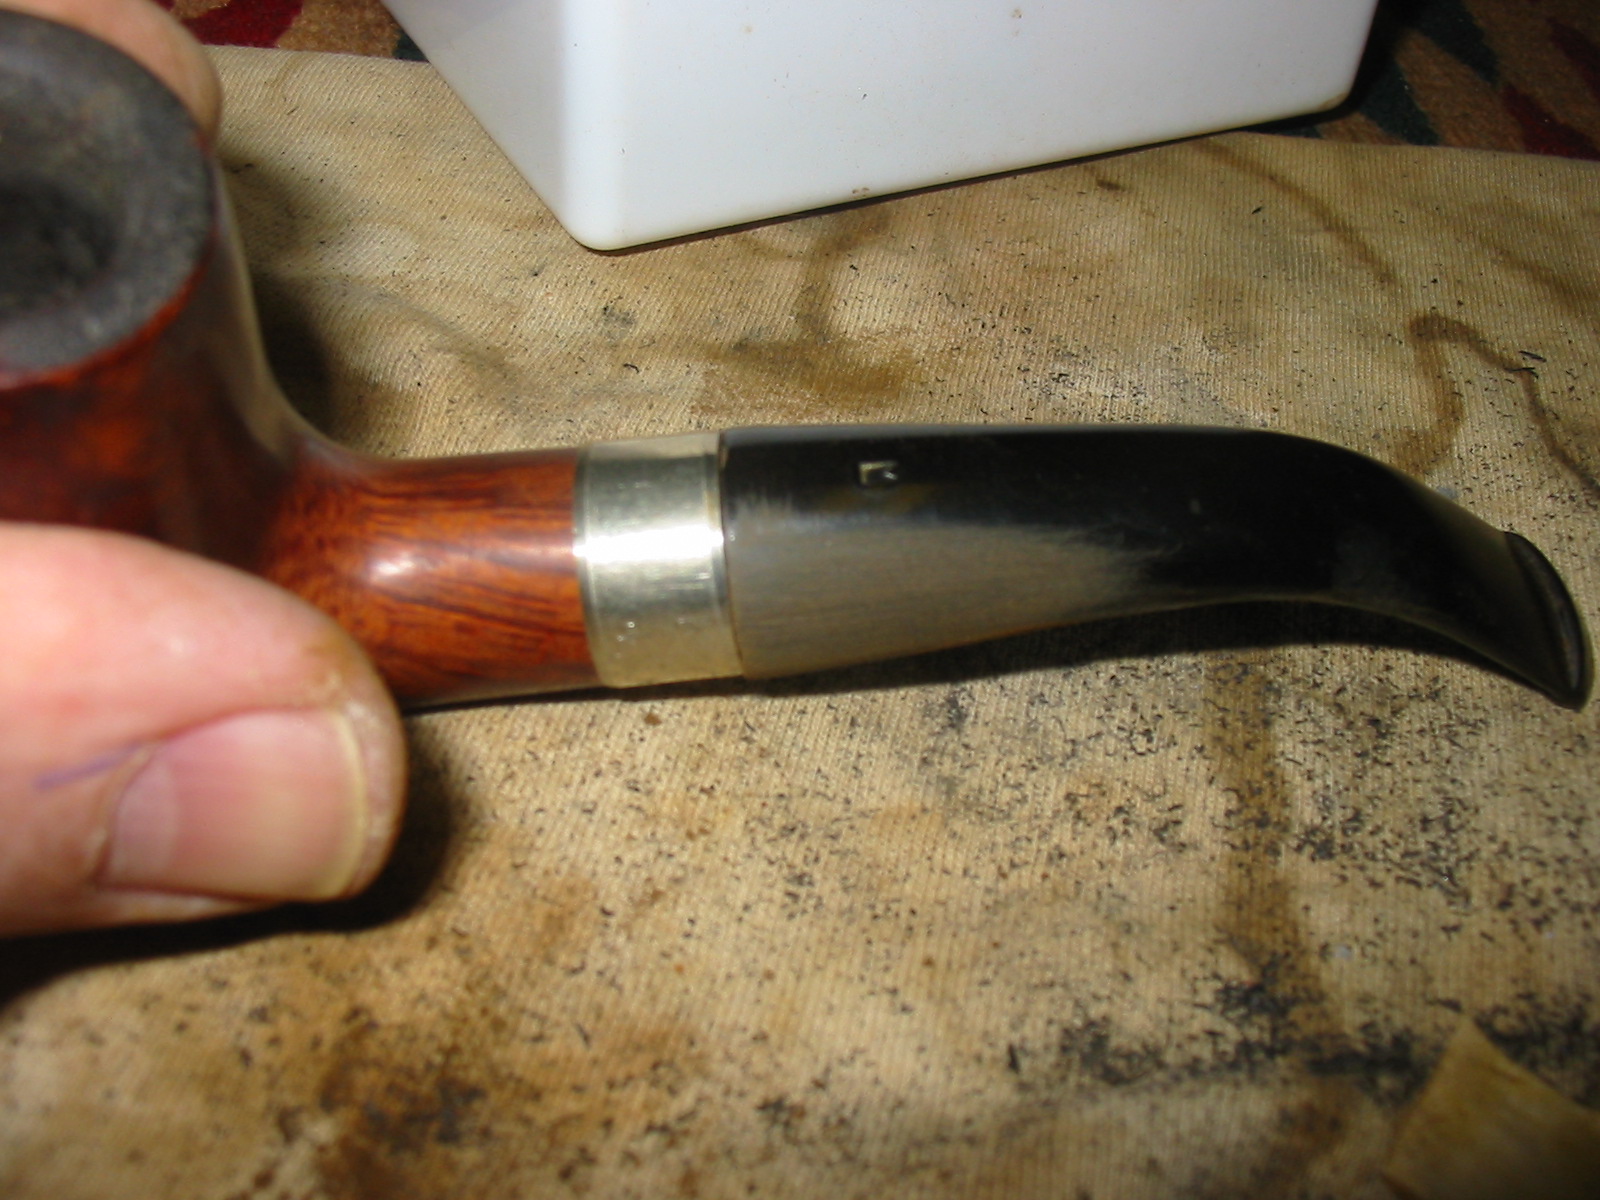
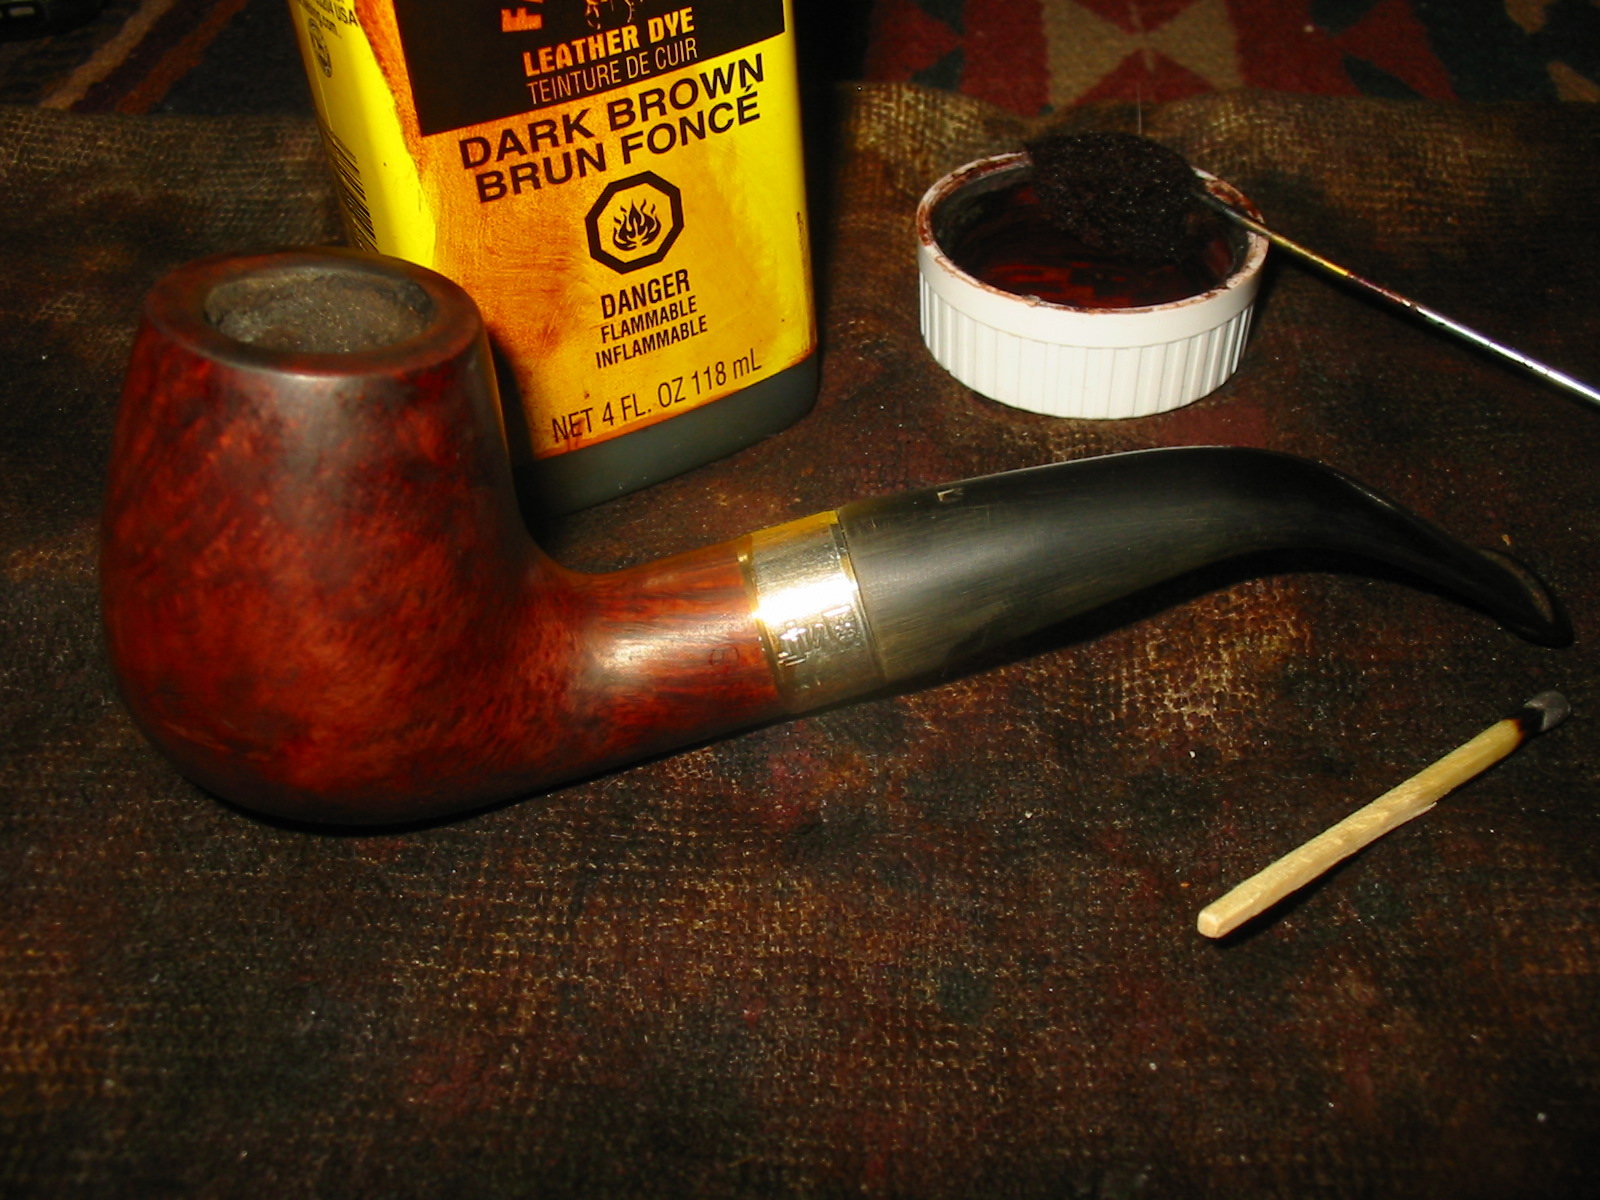
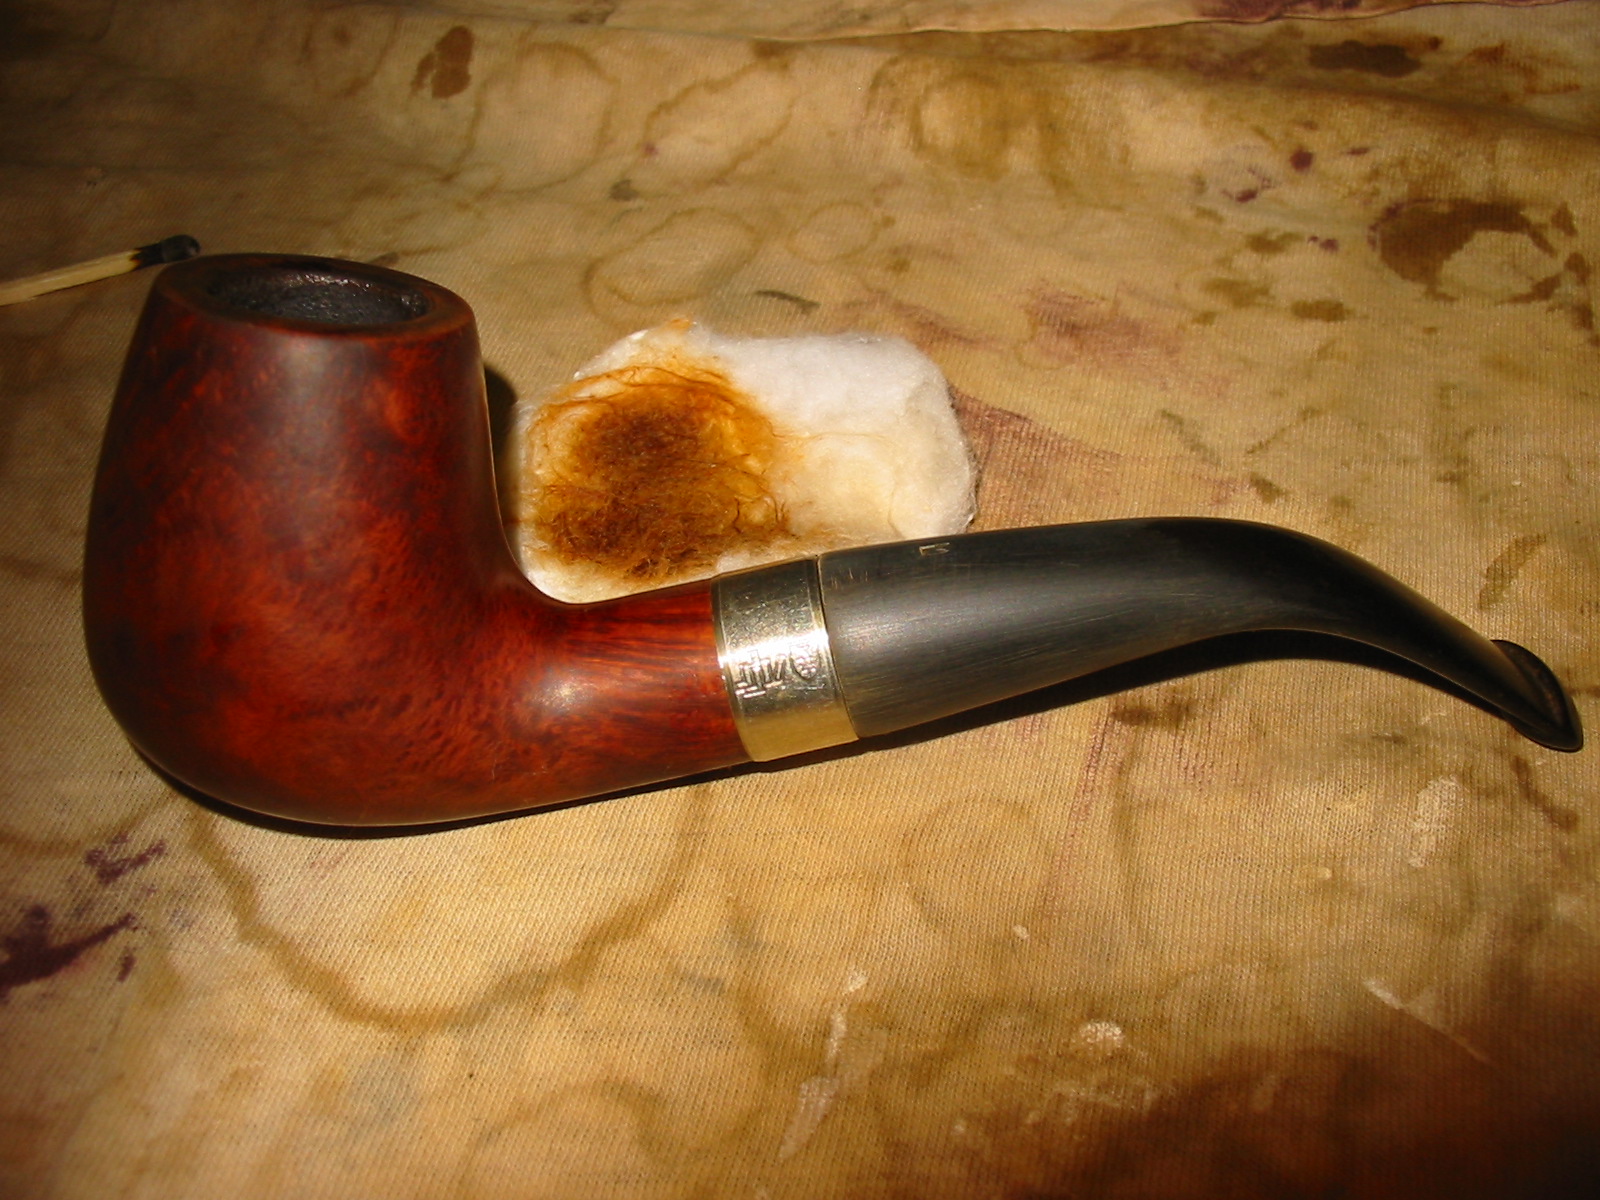
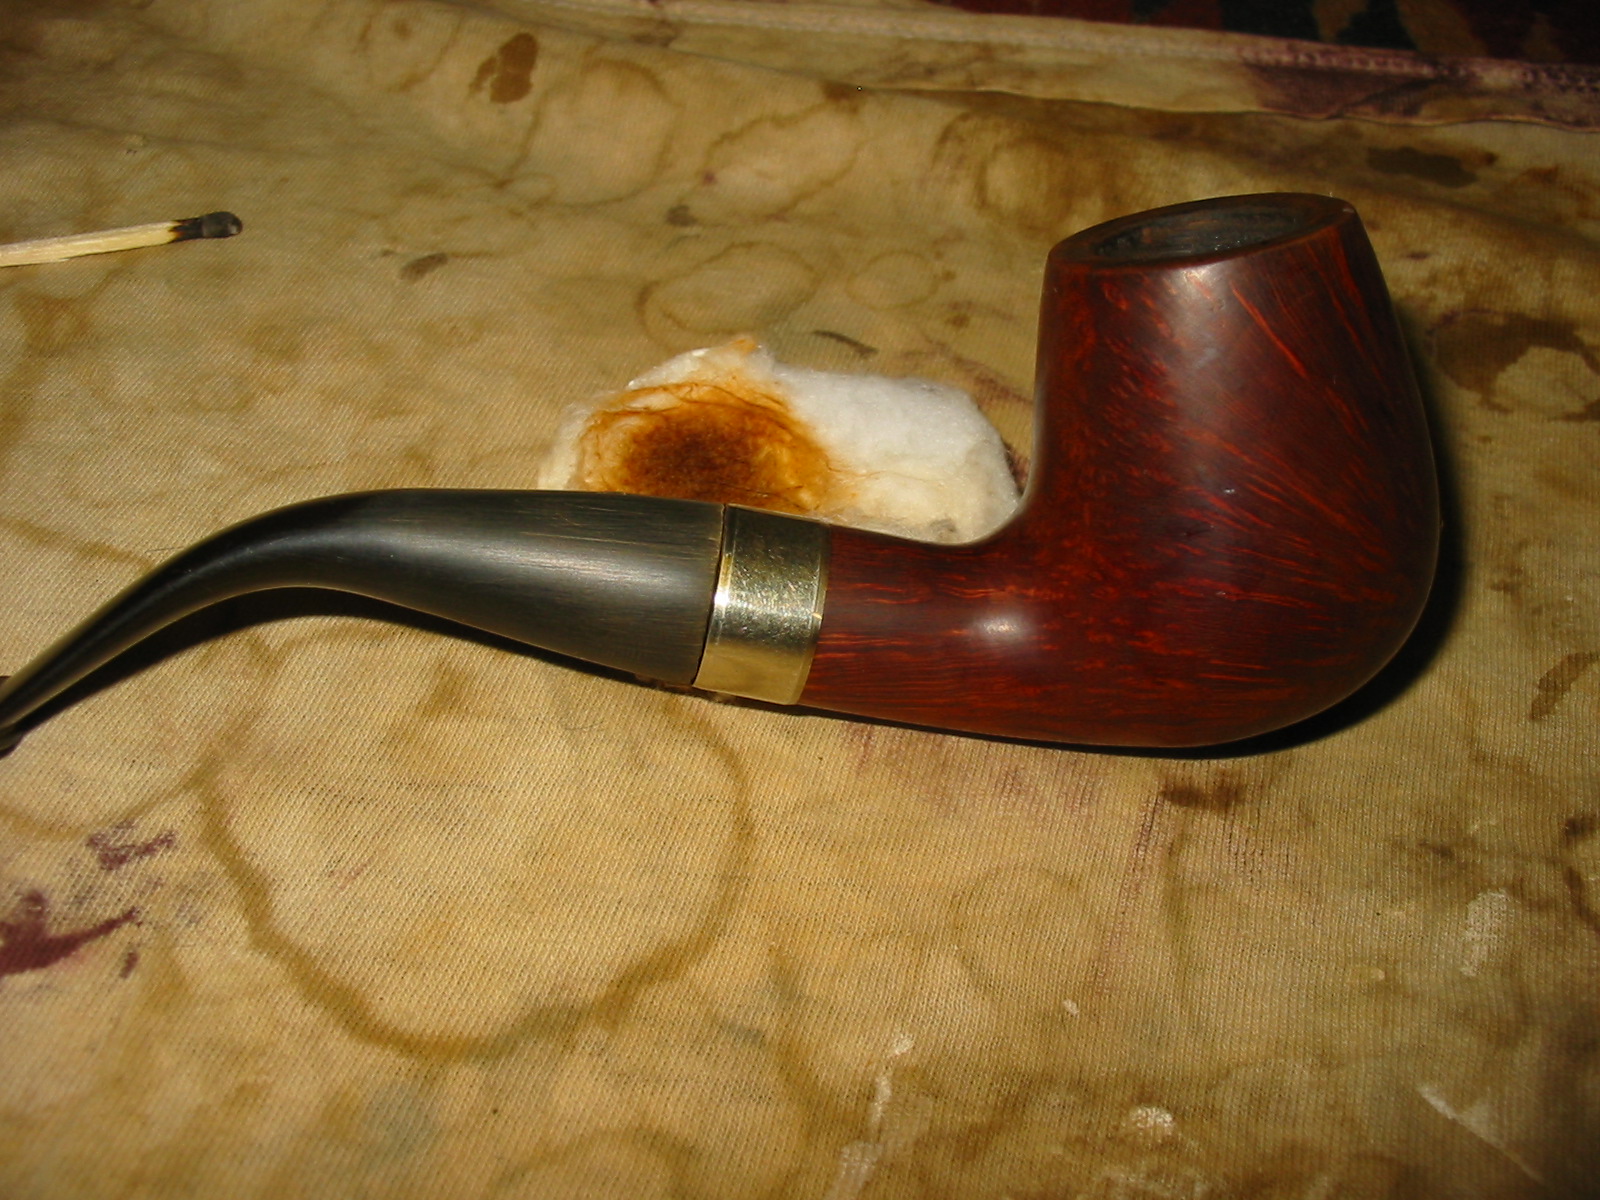
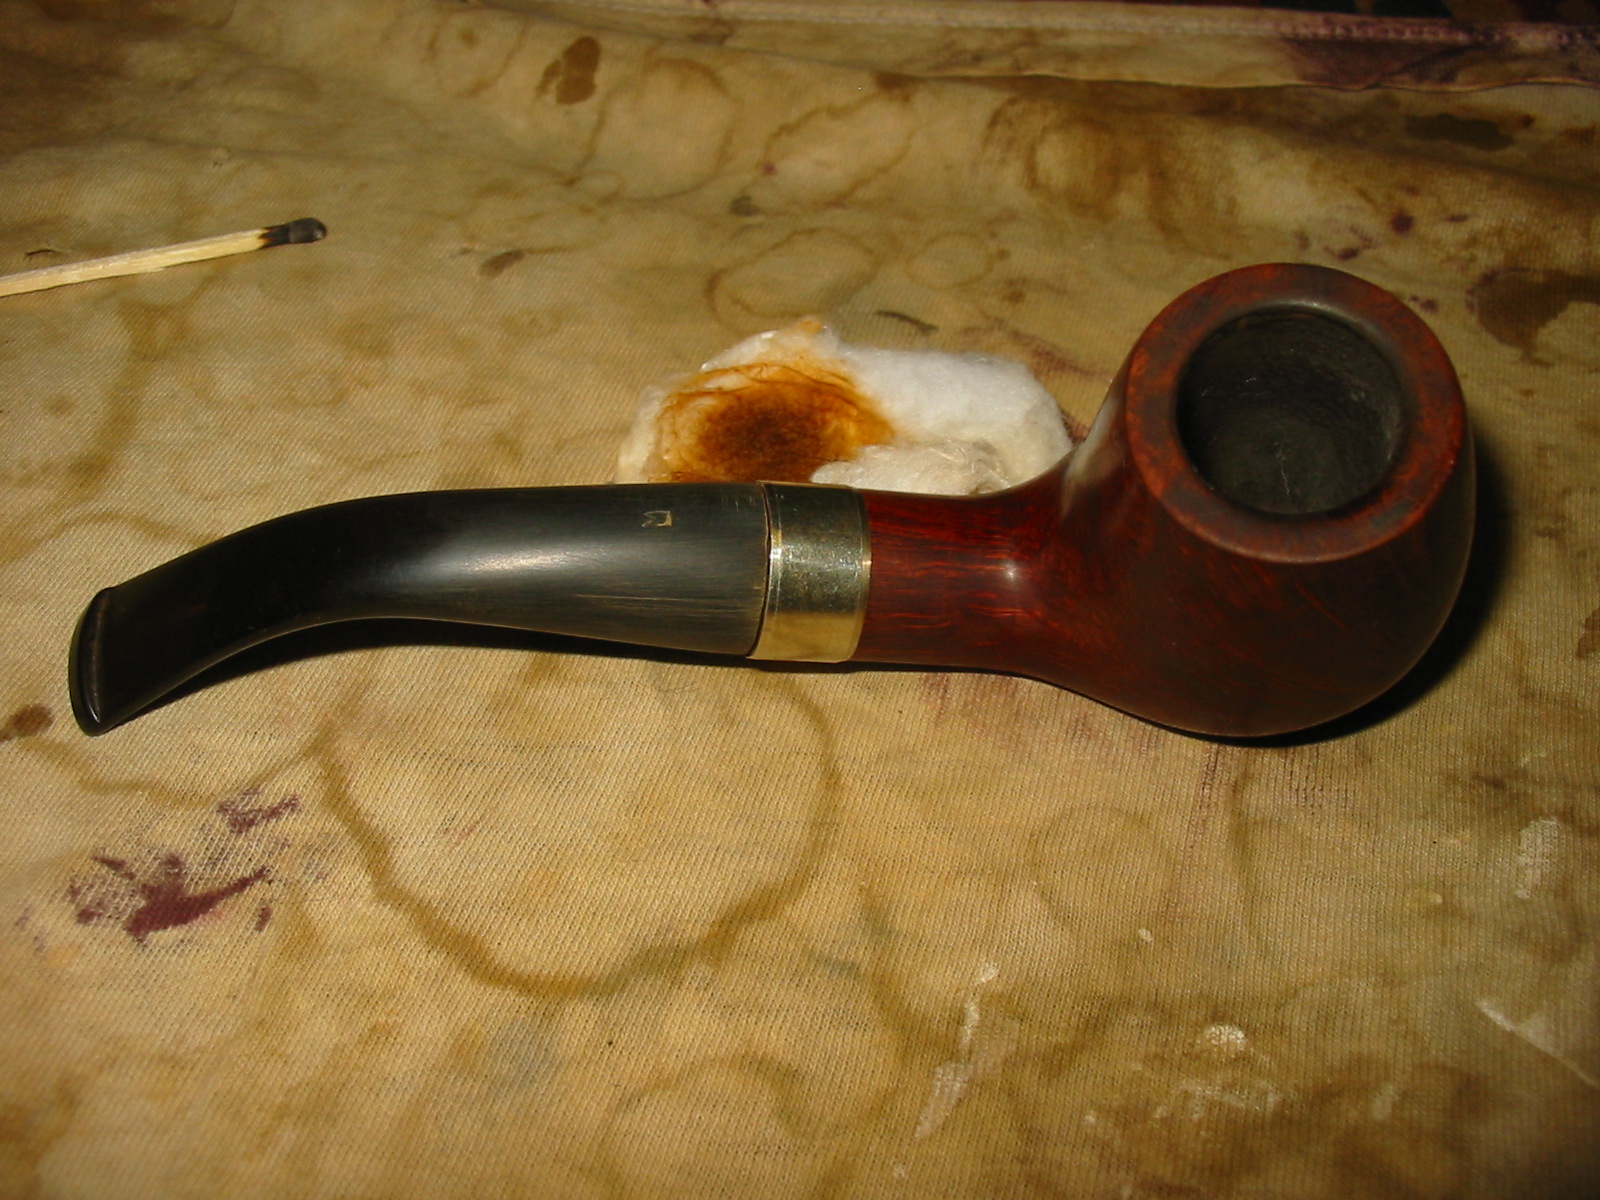
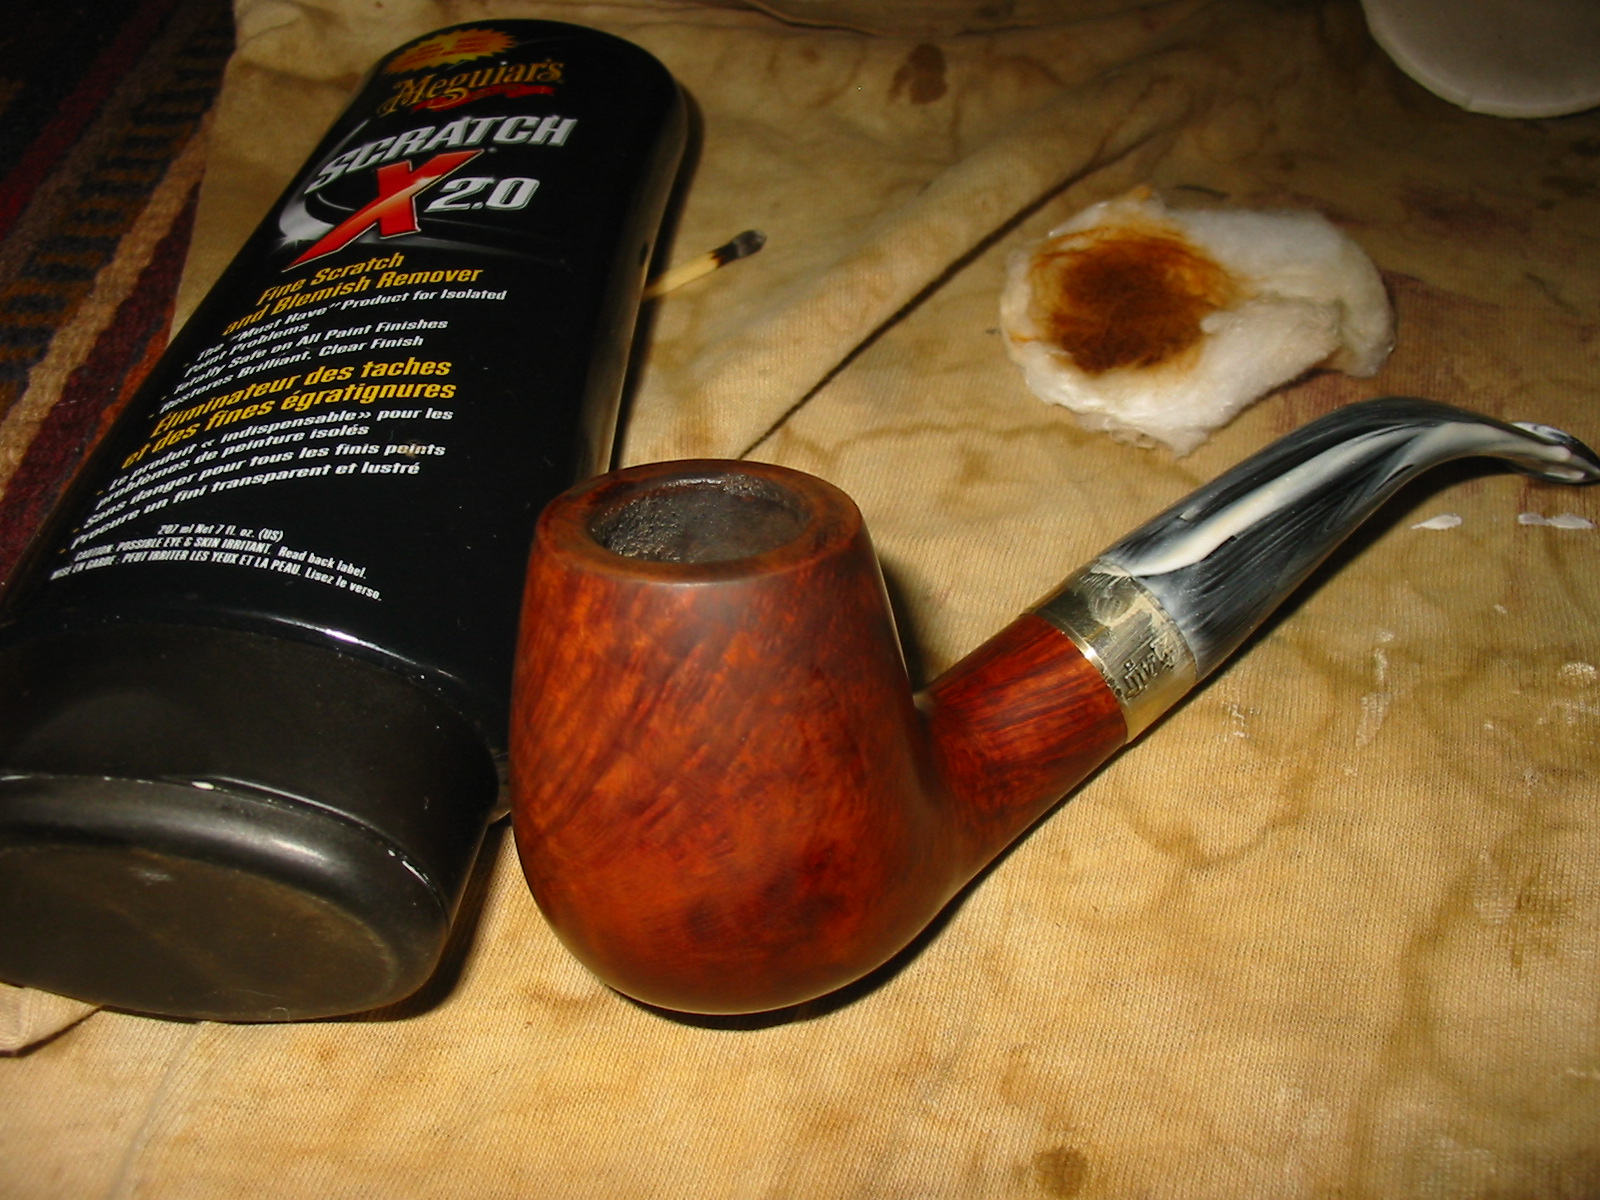
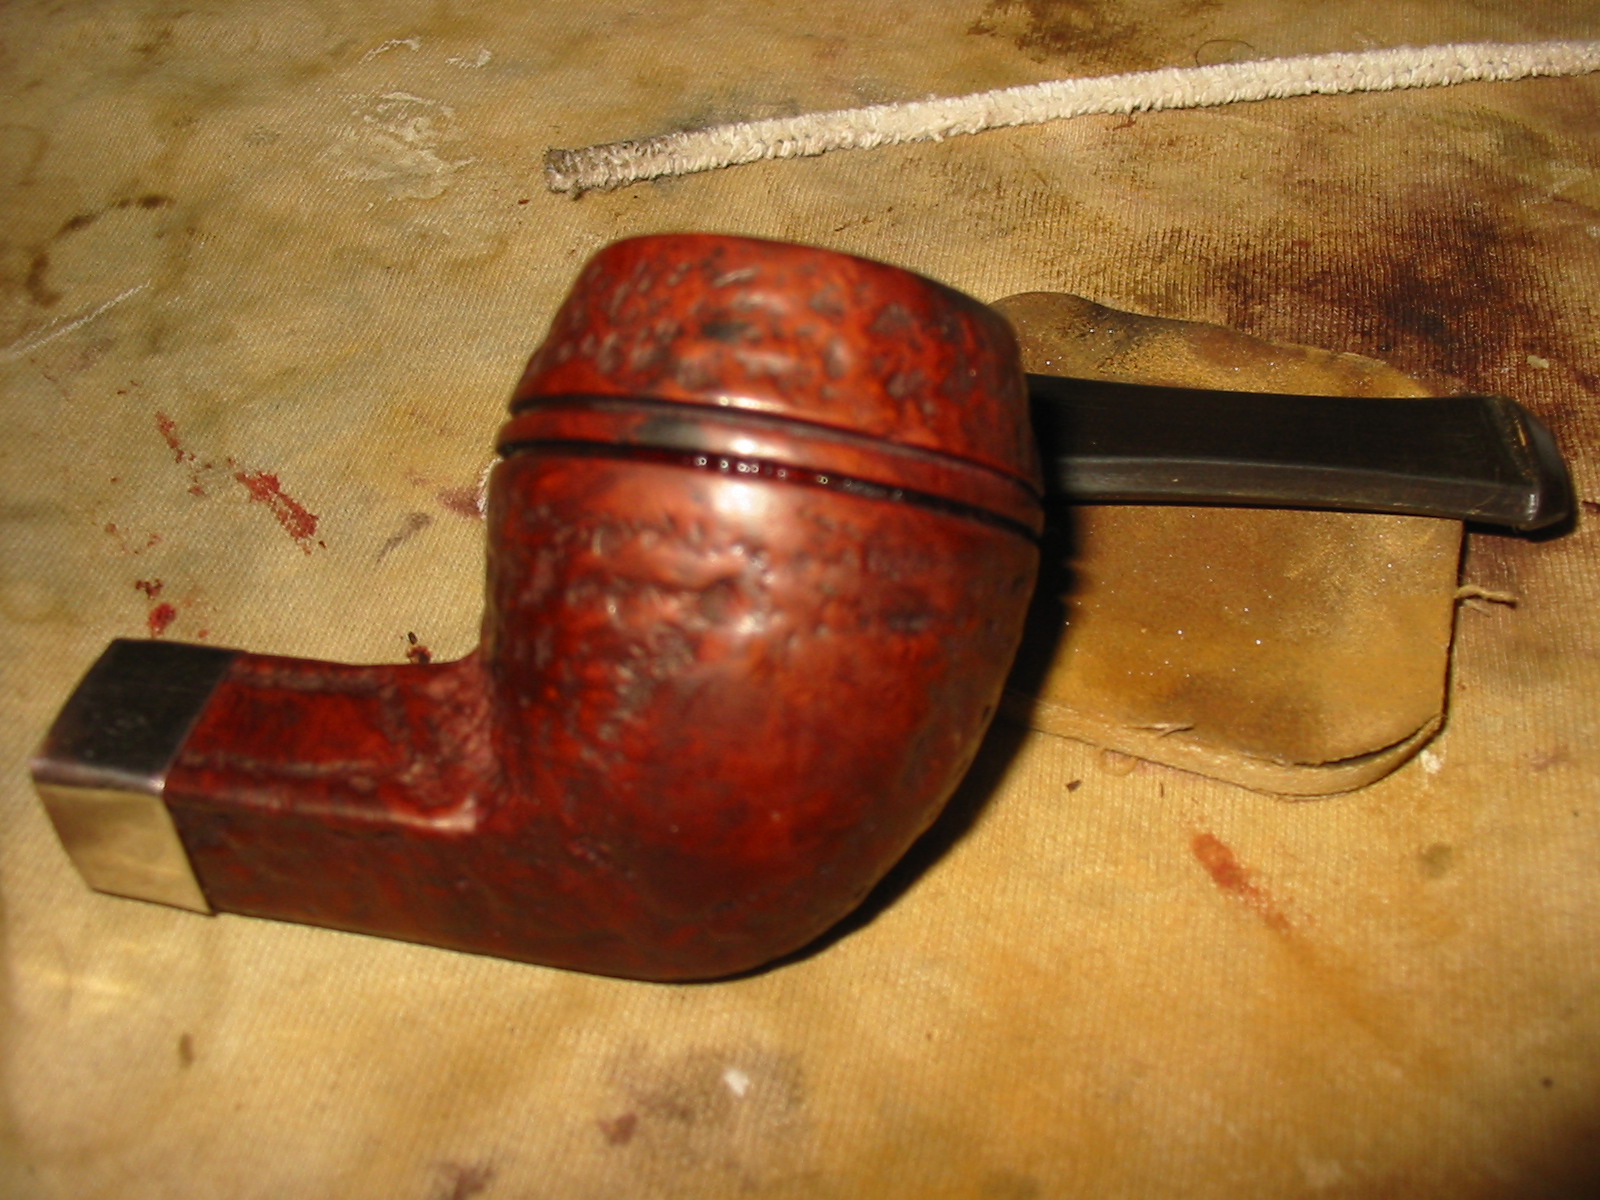
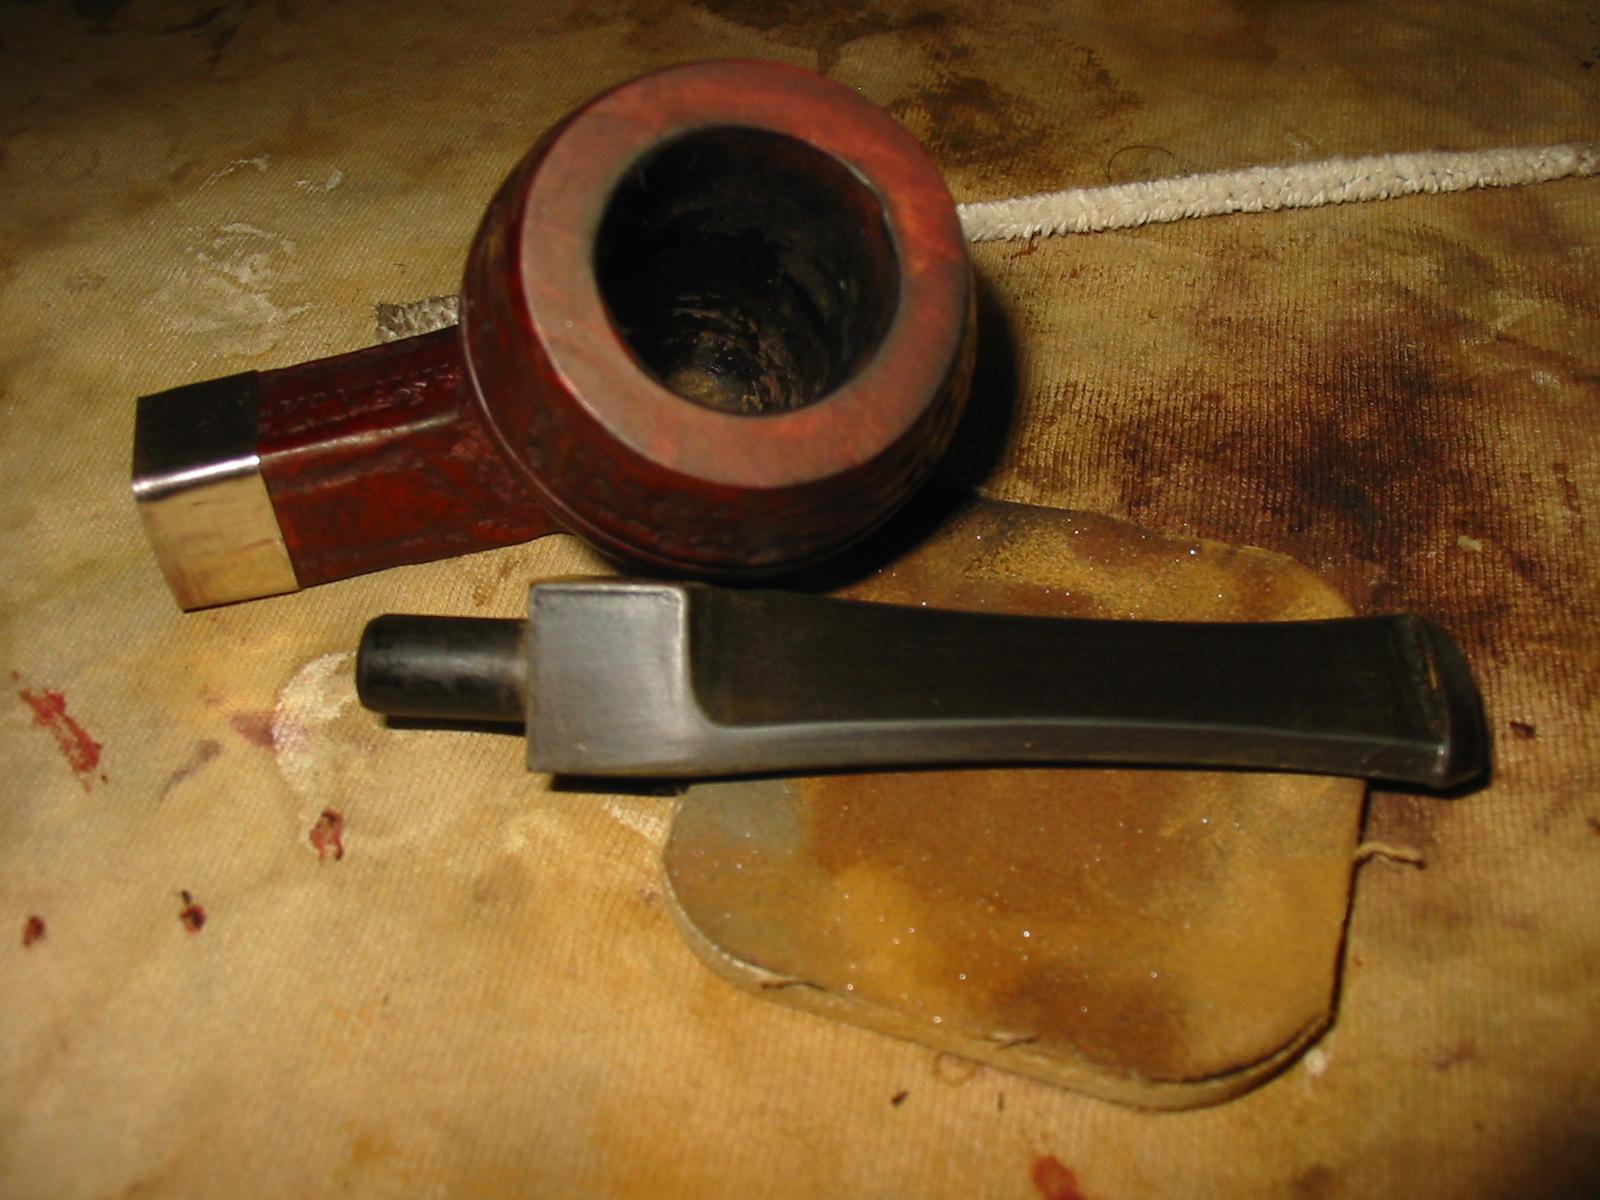
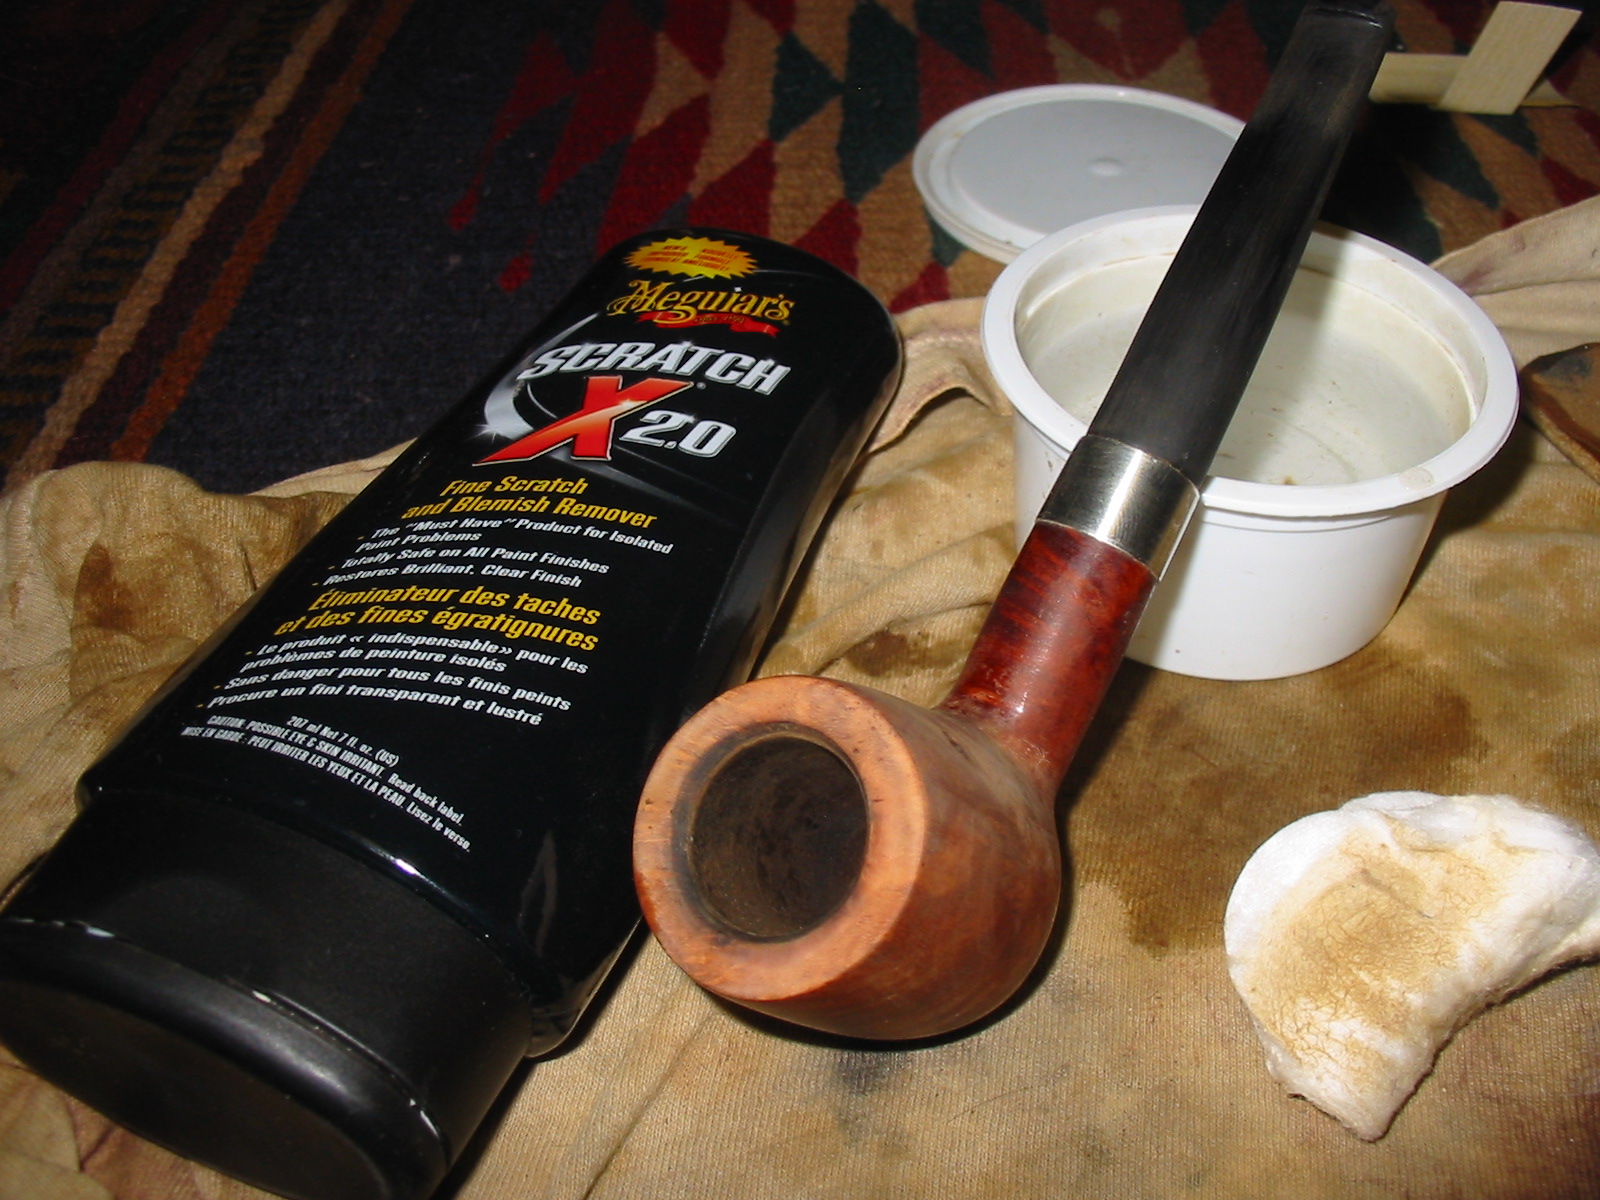
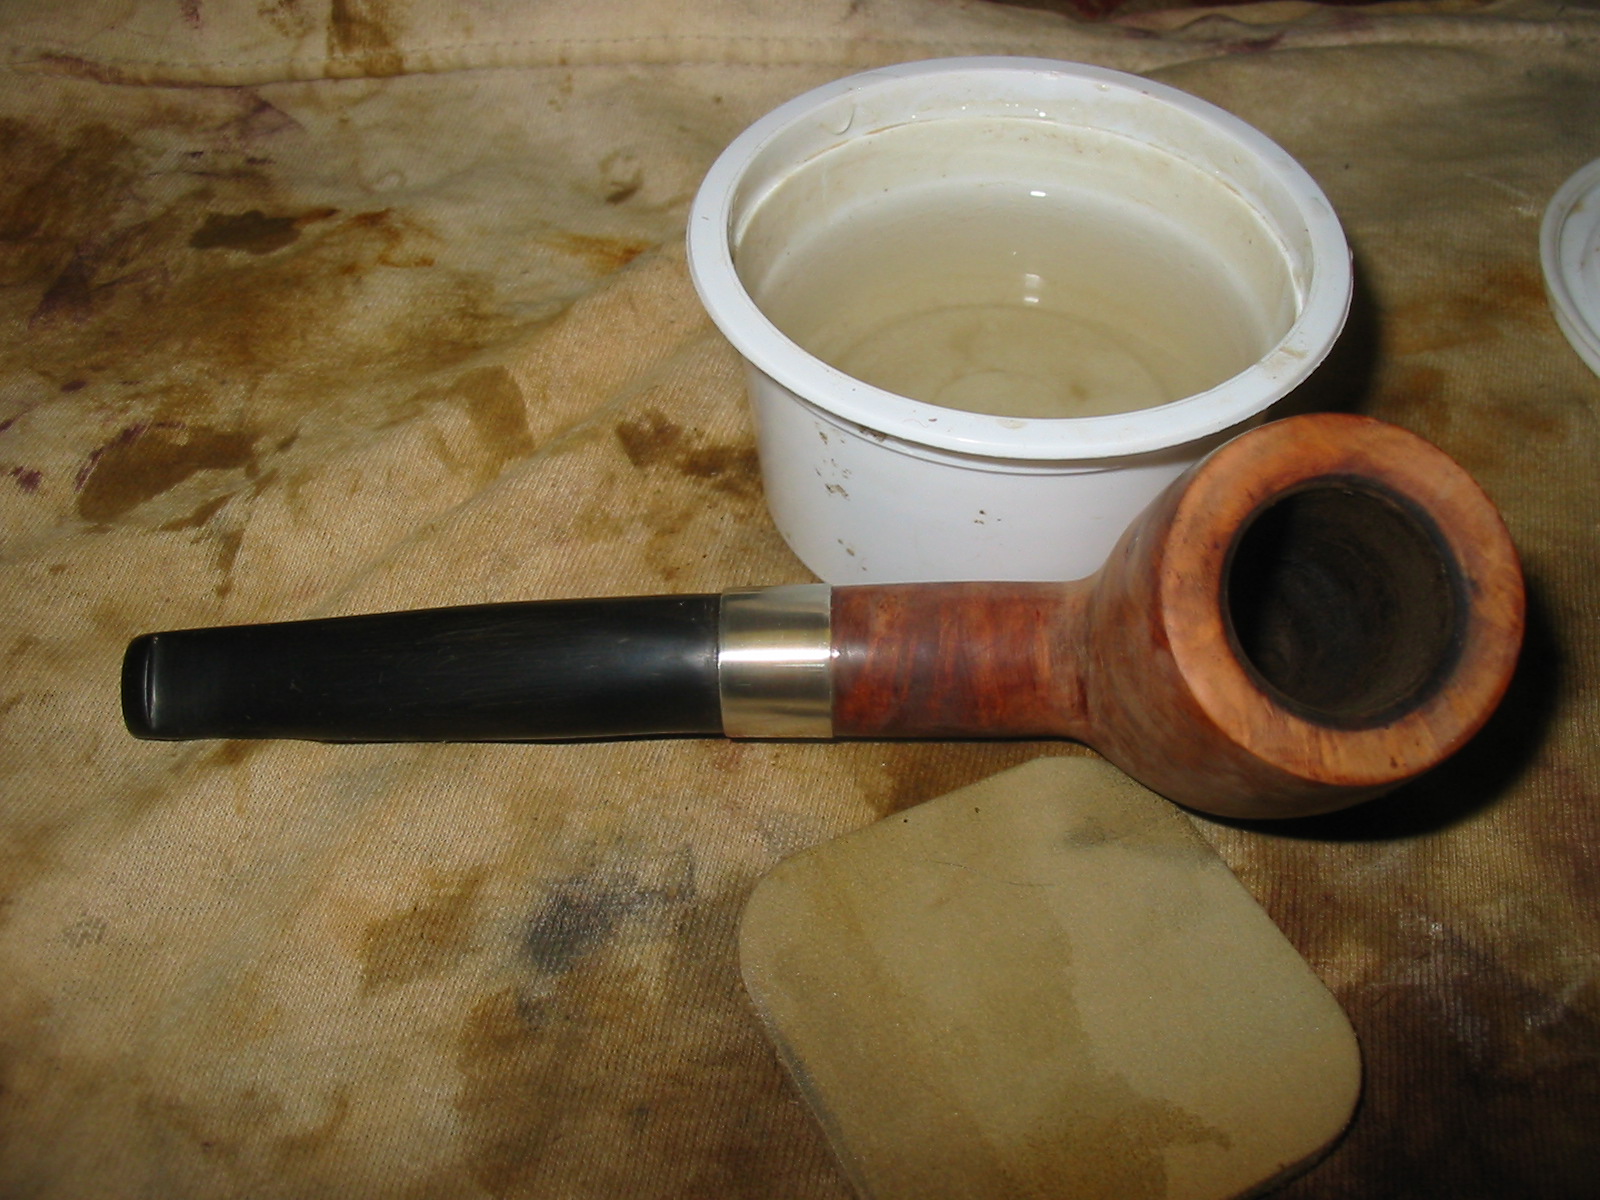
The bowl was really very easy since I didn’t plan on totally refinishing it. I wiped it down several times with acetone to take off the old finish and get the grime off of it. I then wiped it down a few times with cotton pads dampened with alcohol. I lifted a small amount of stain in the process but not enough to really change the color of the pipe, only enough to let the grain pop a bit more. The most time-consuming part here was rubbing, with alcohol then saliva on cotton swabs, to clean the rim. There were a couple of small dents I lifted with steam ( I heat an old “butter” knife with a heat gun and apply it to a dampened cotton towel that is laying over the dent) but can’t actually recall how many or where they were they were so incidental. The next photos show the stummel before taking it to the buffer:
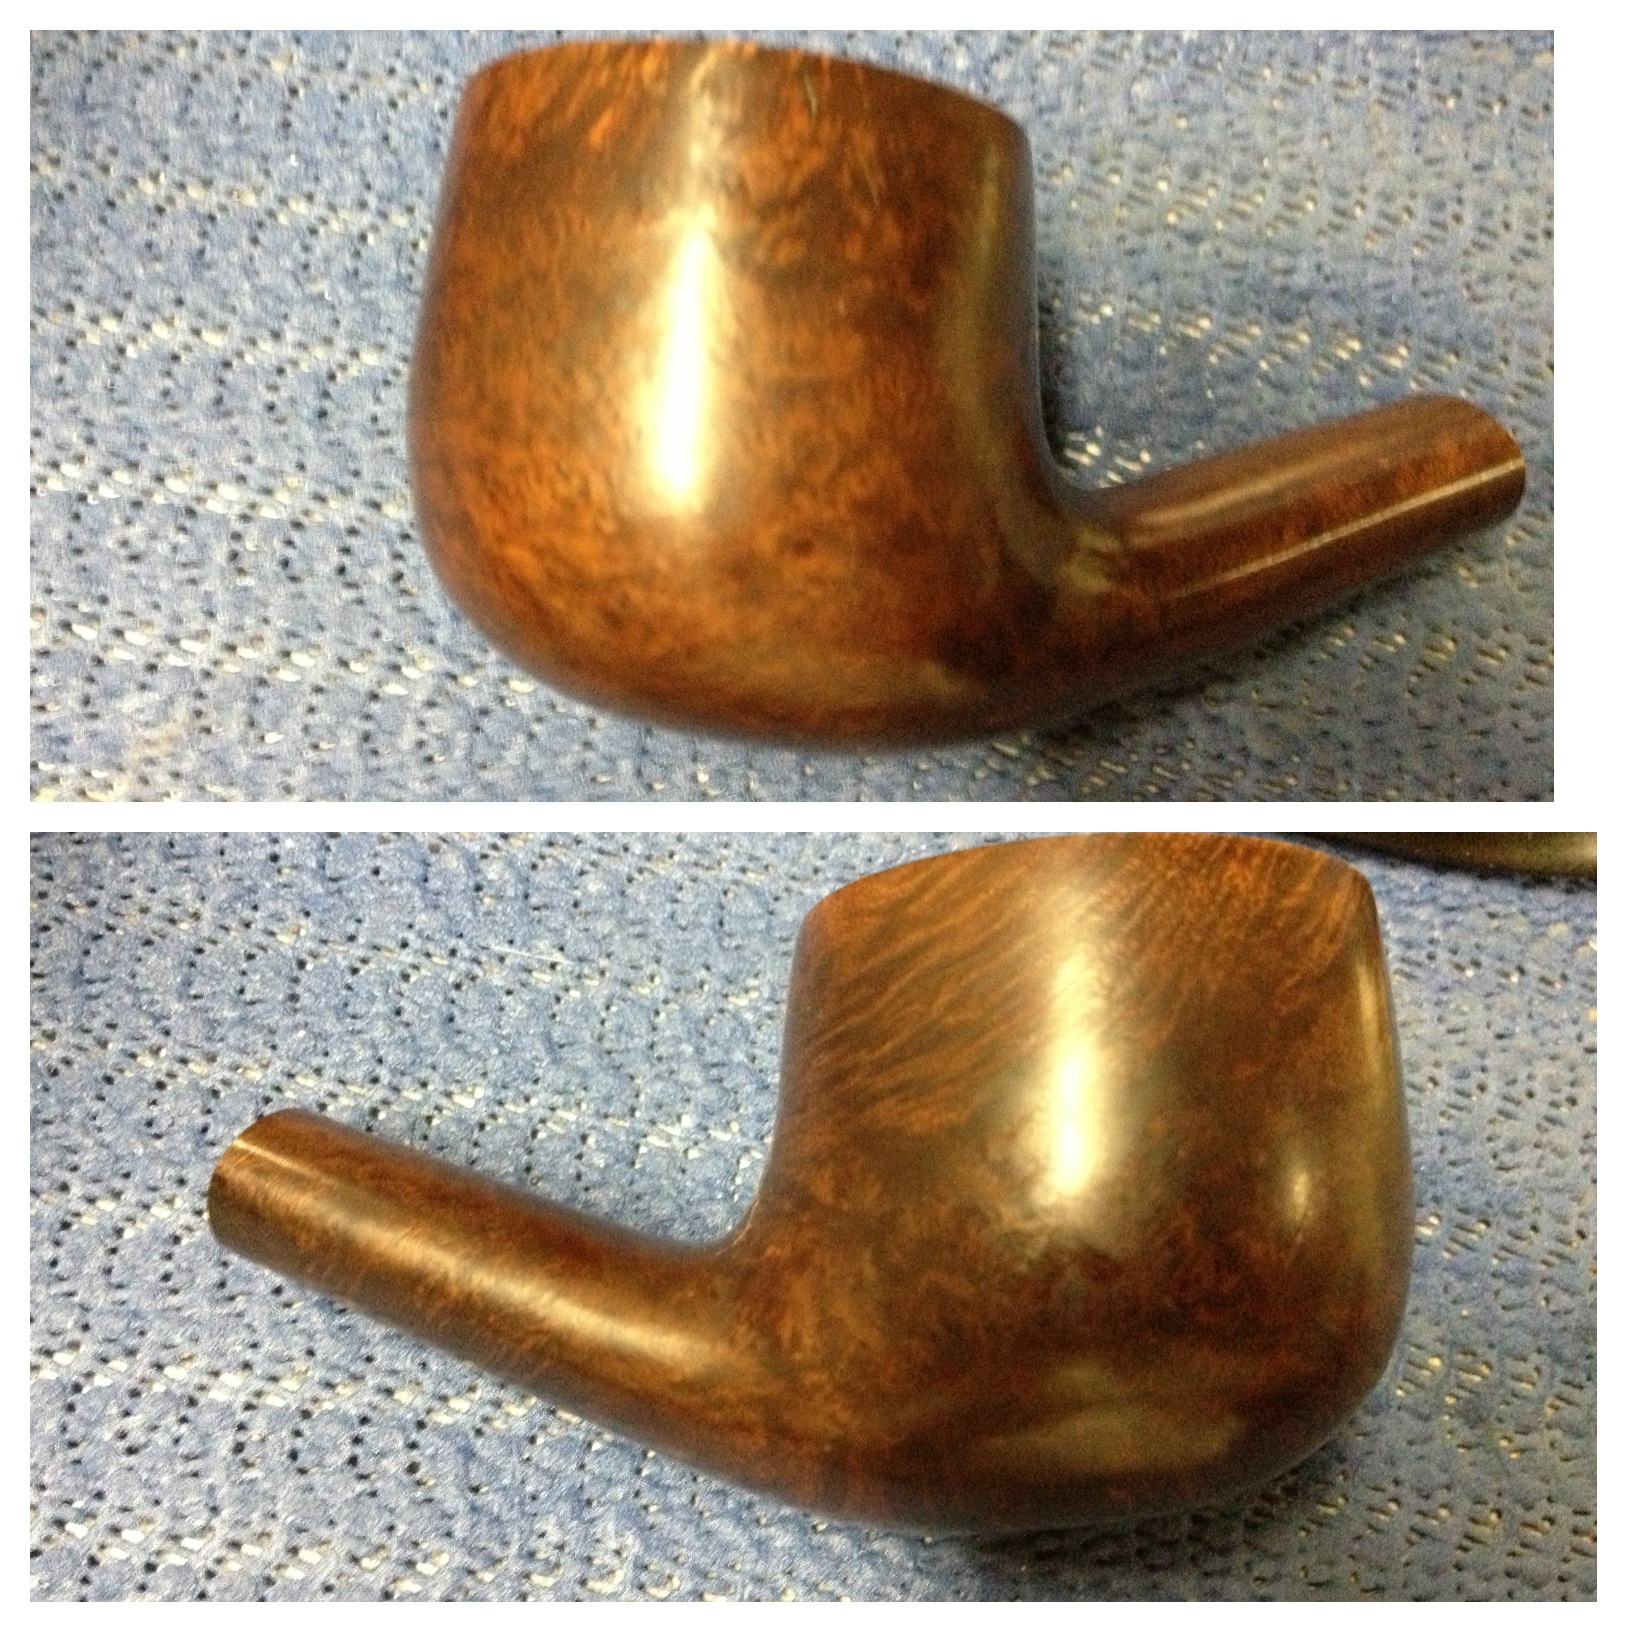
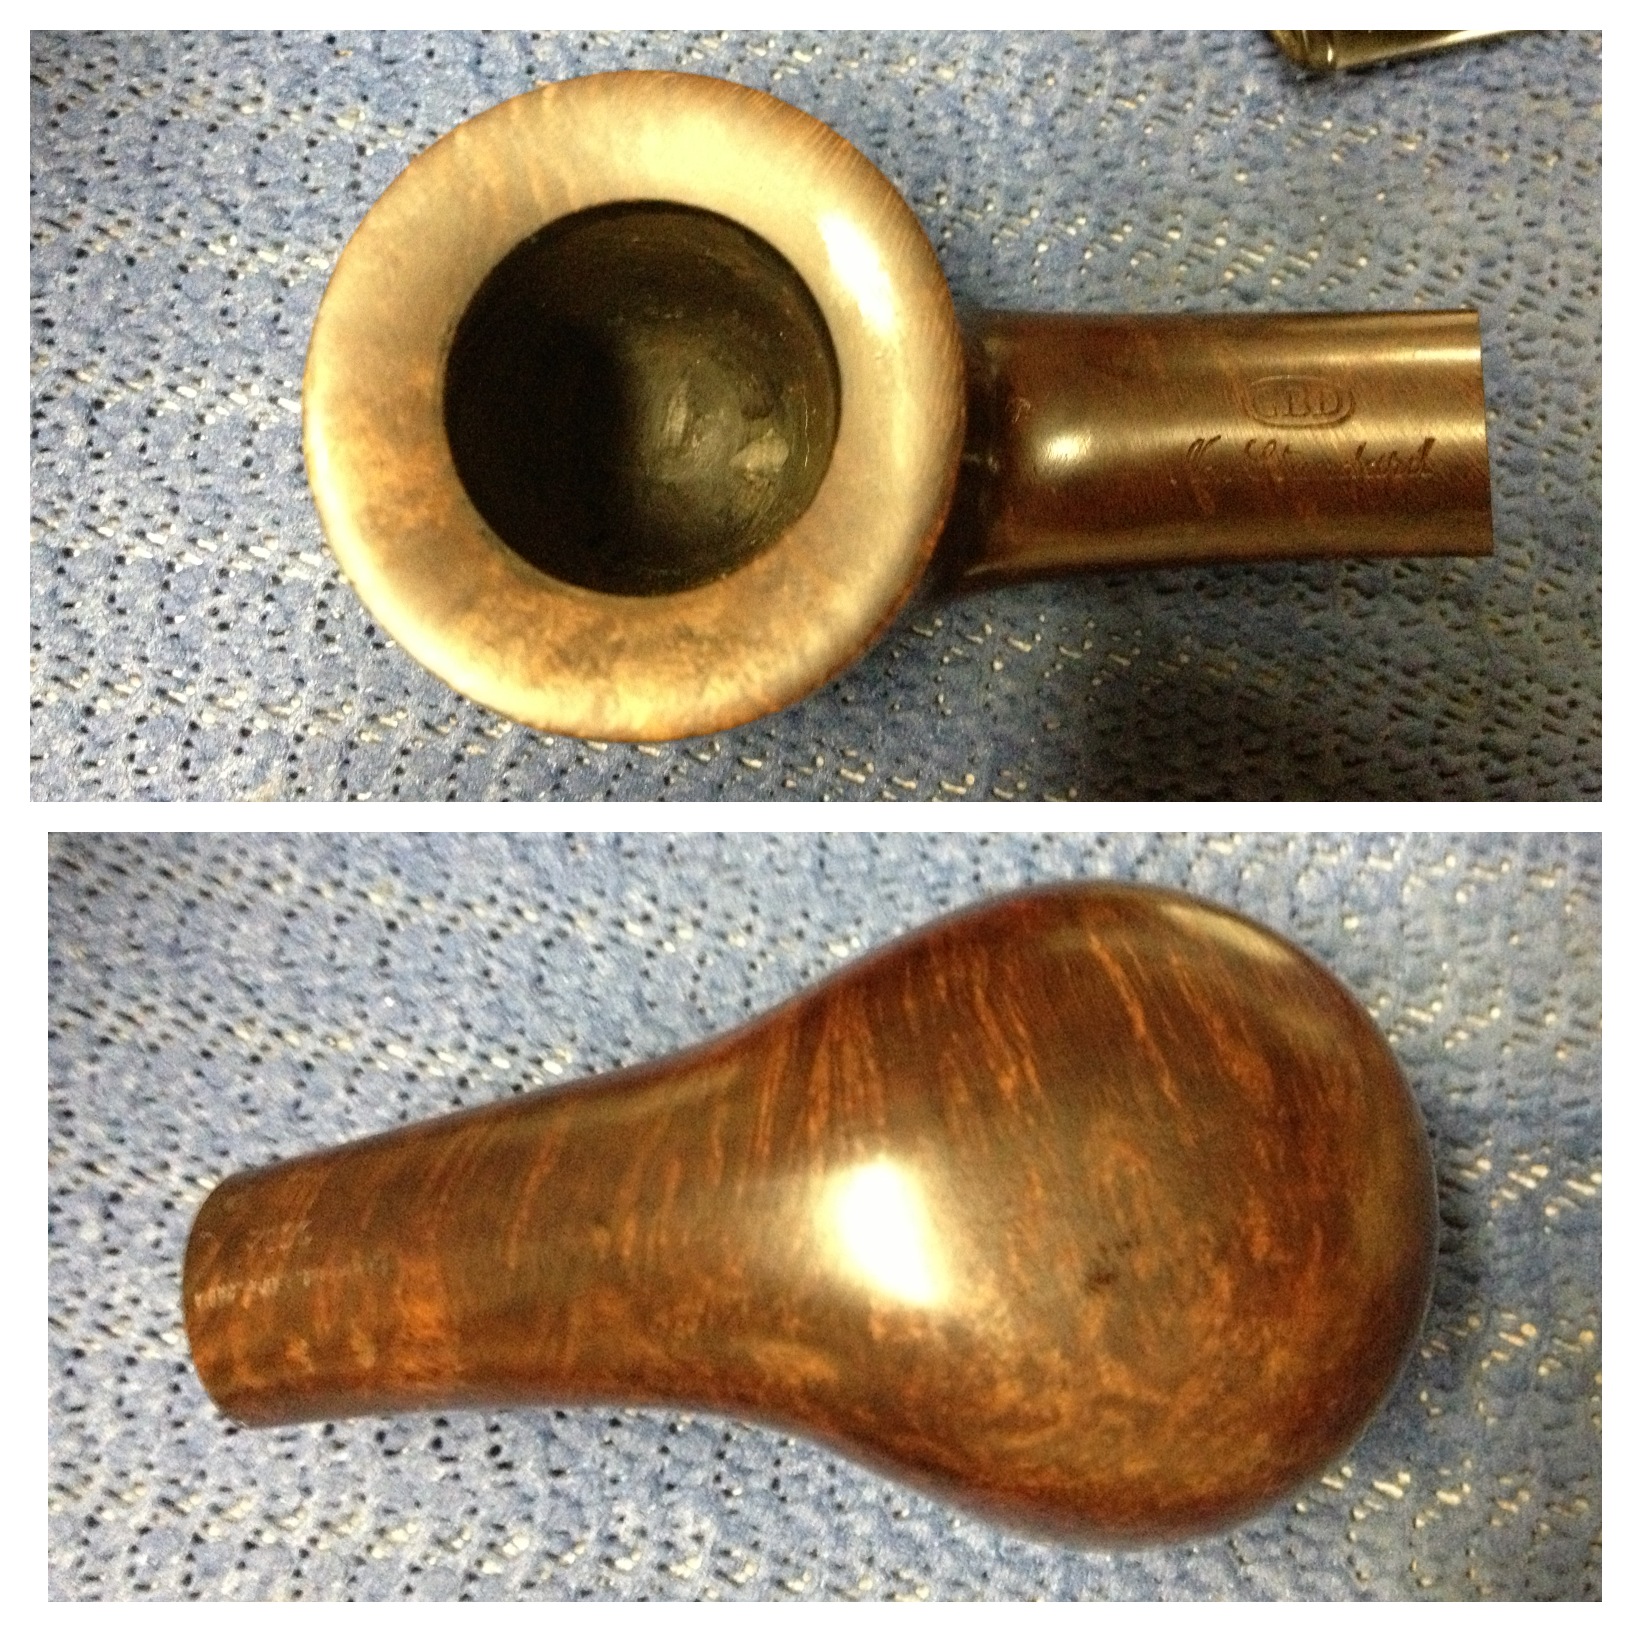
IMG_5252IMG_5251

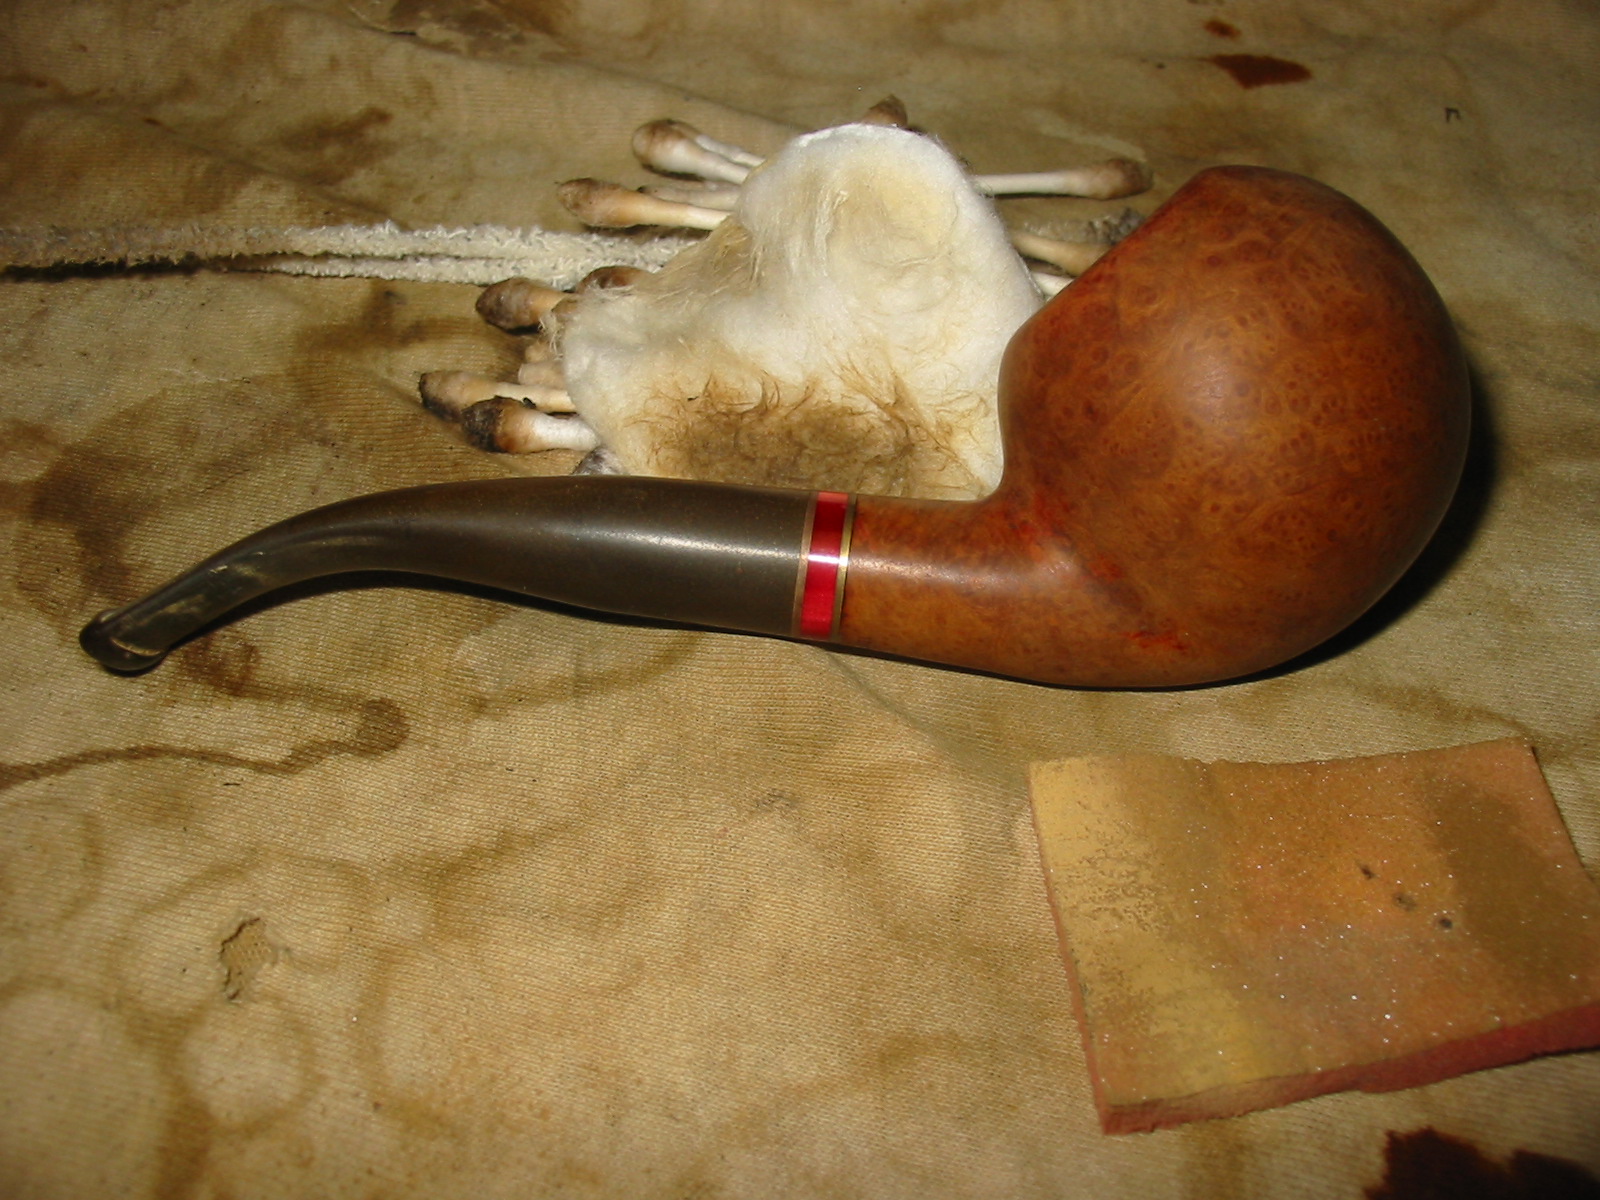
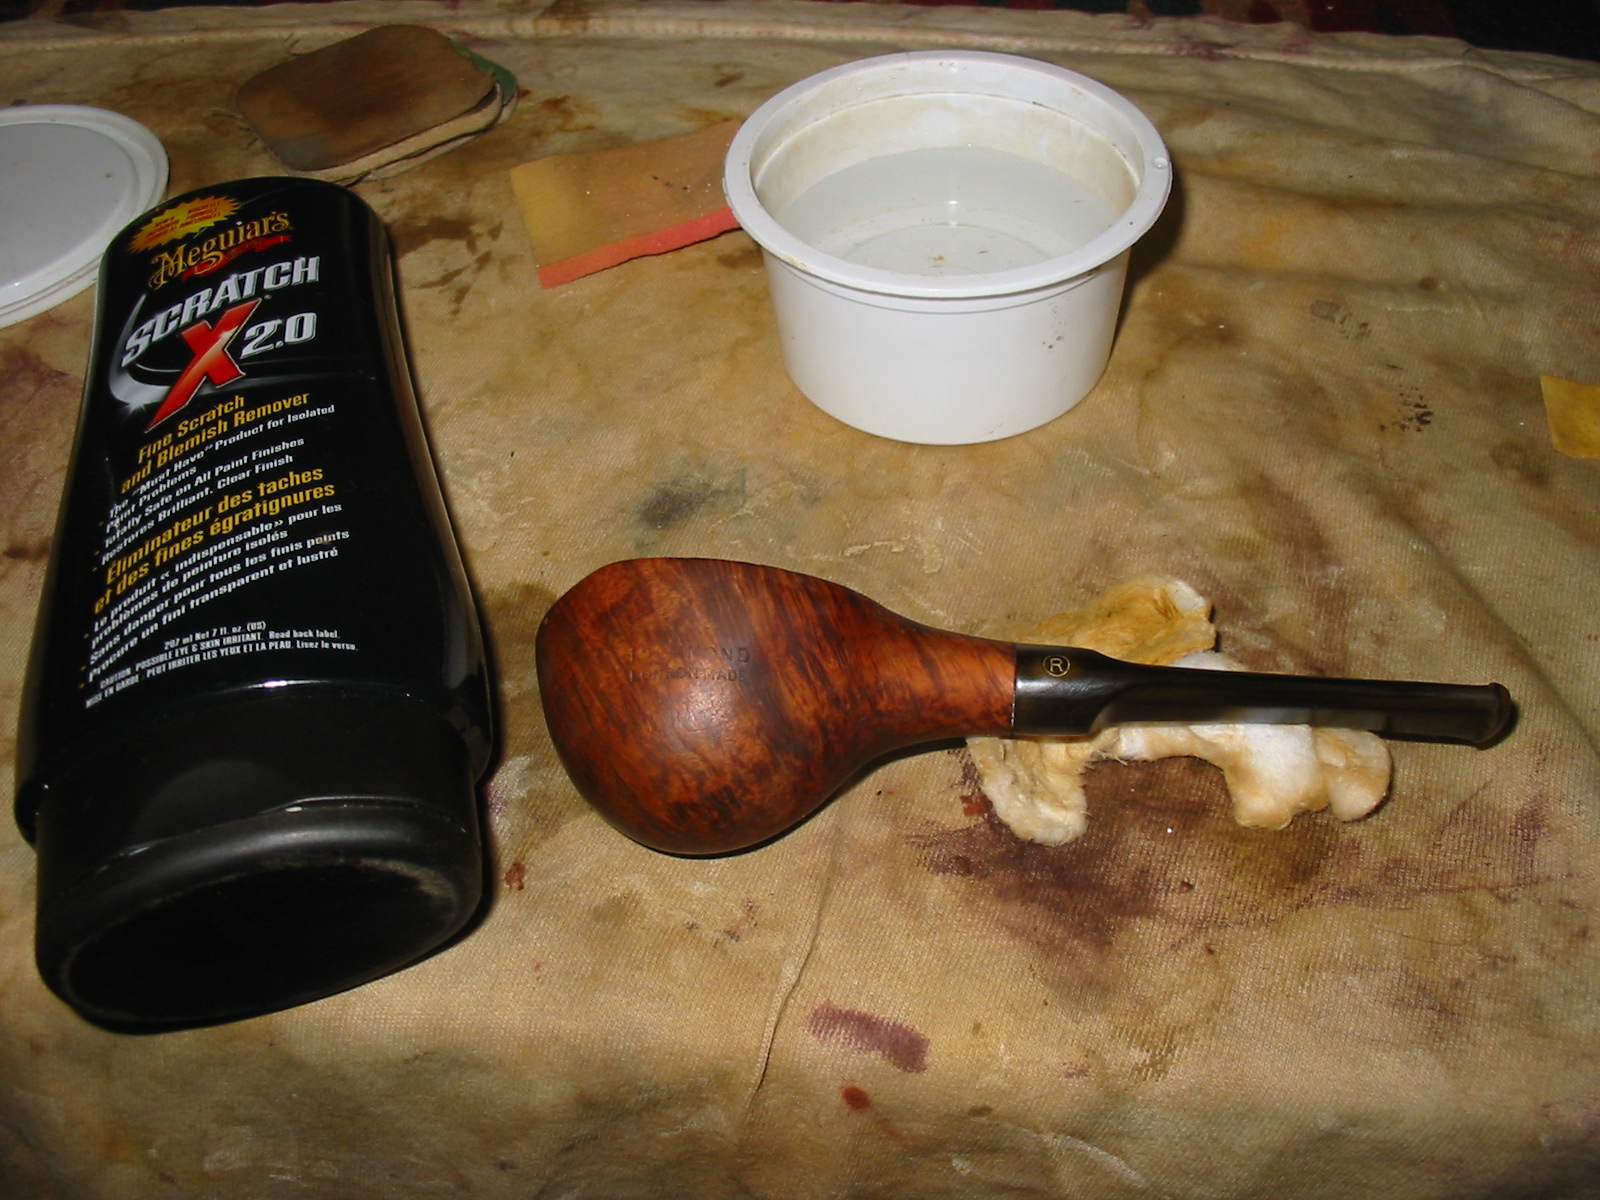
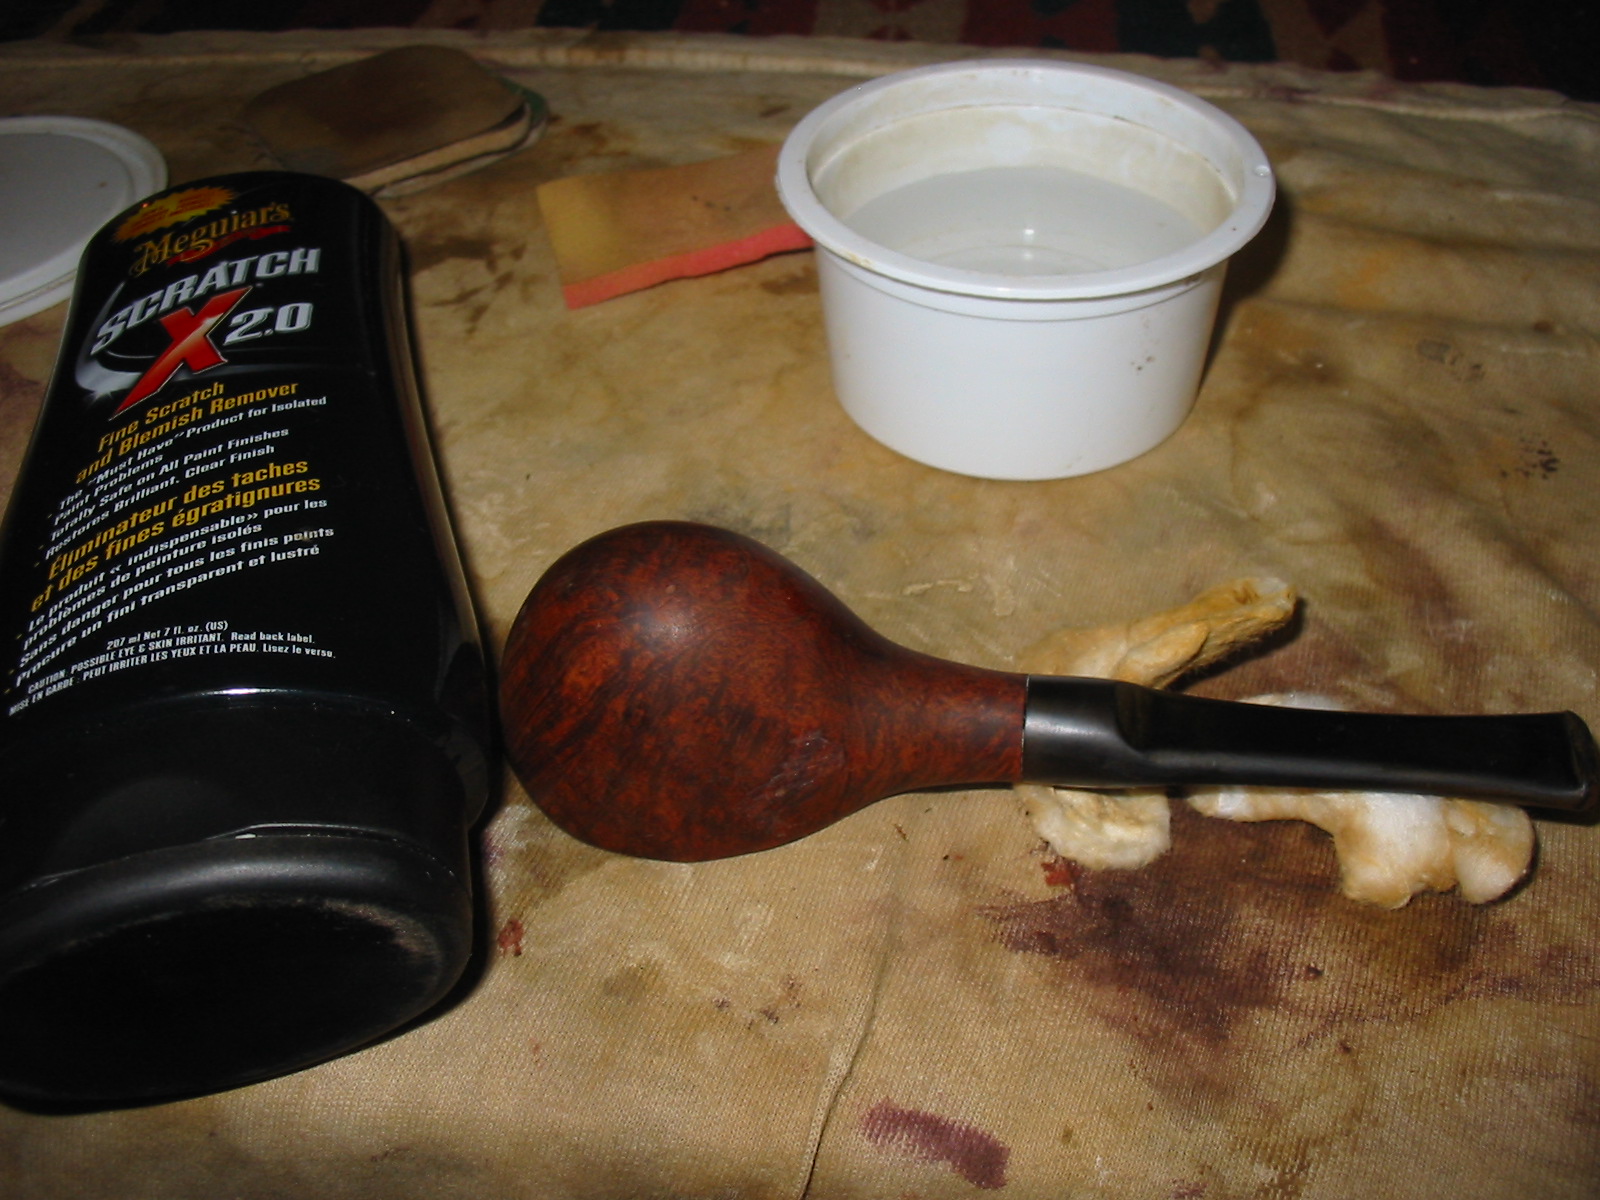
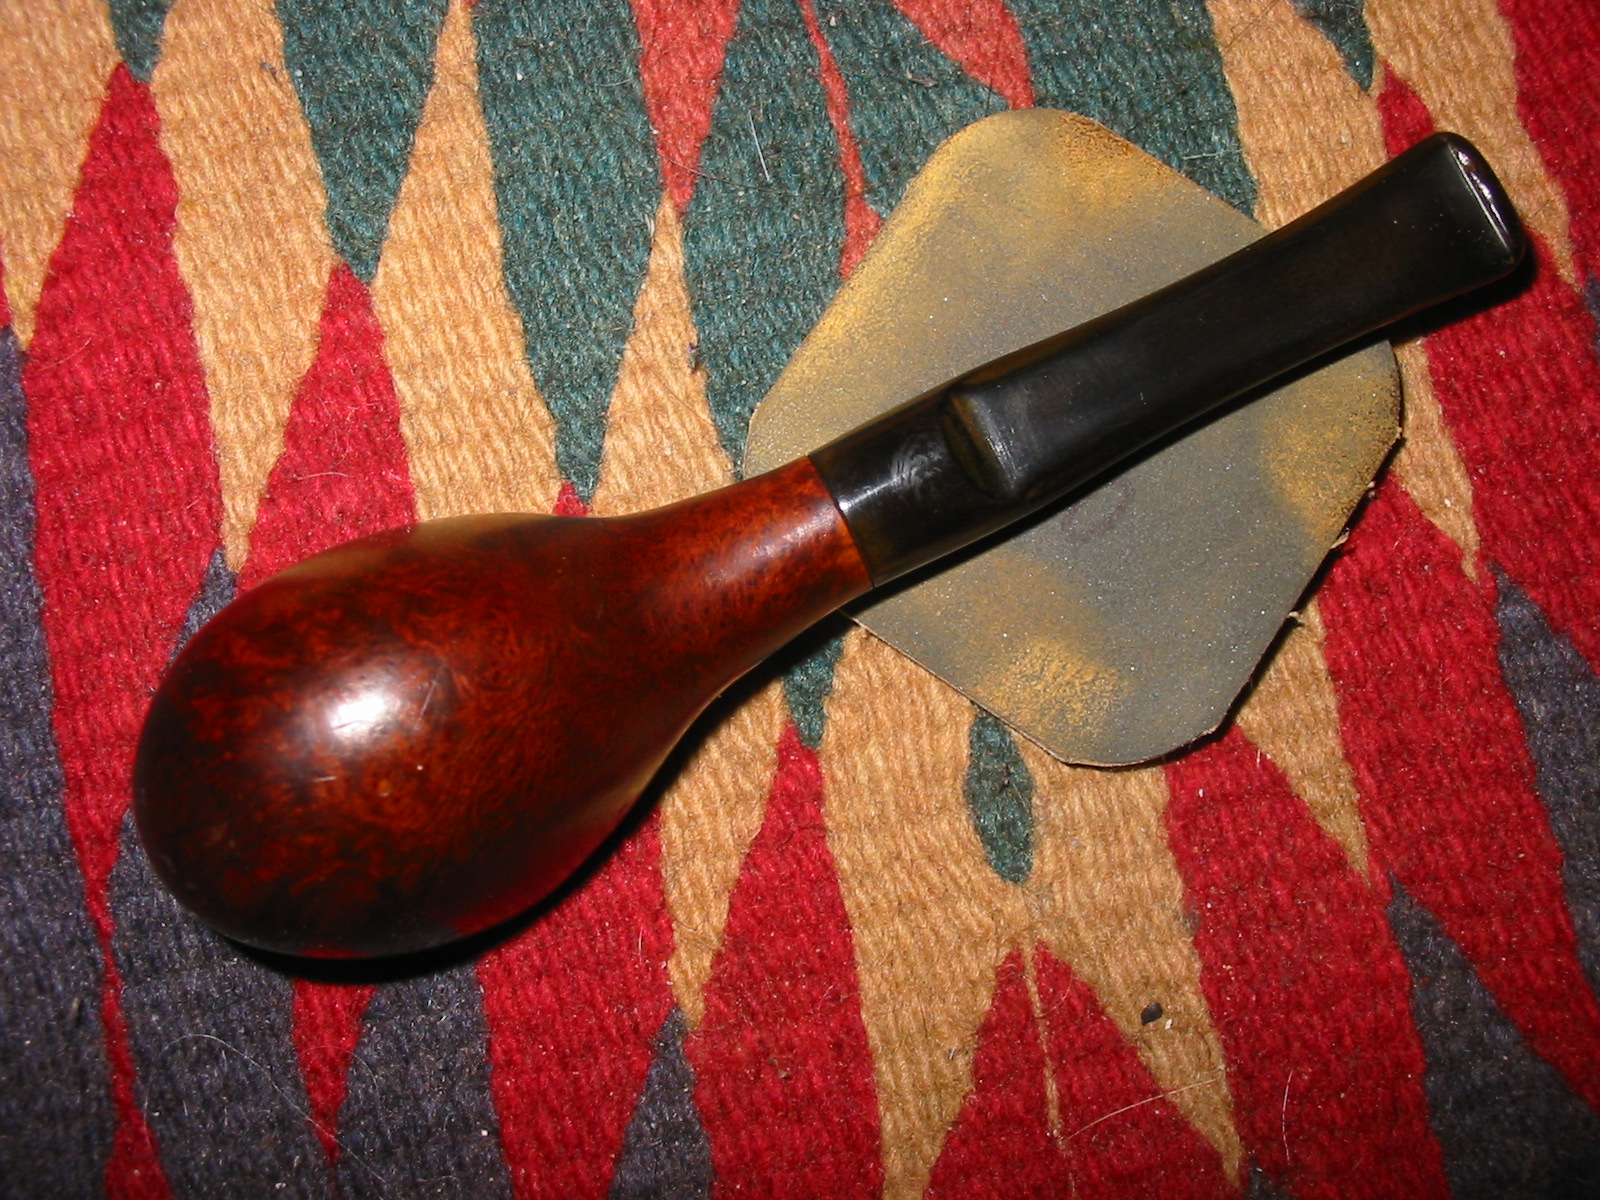
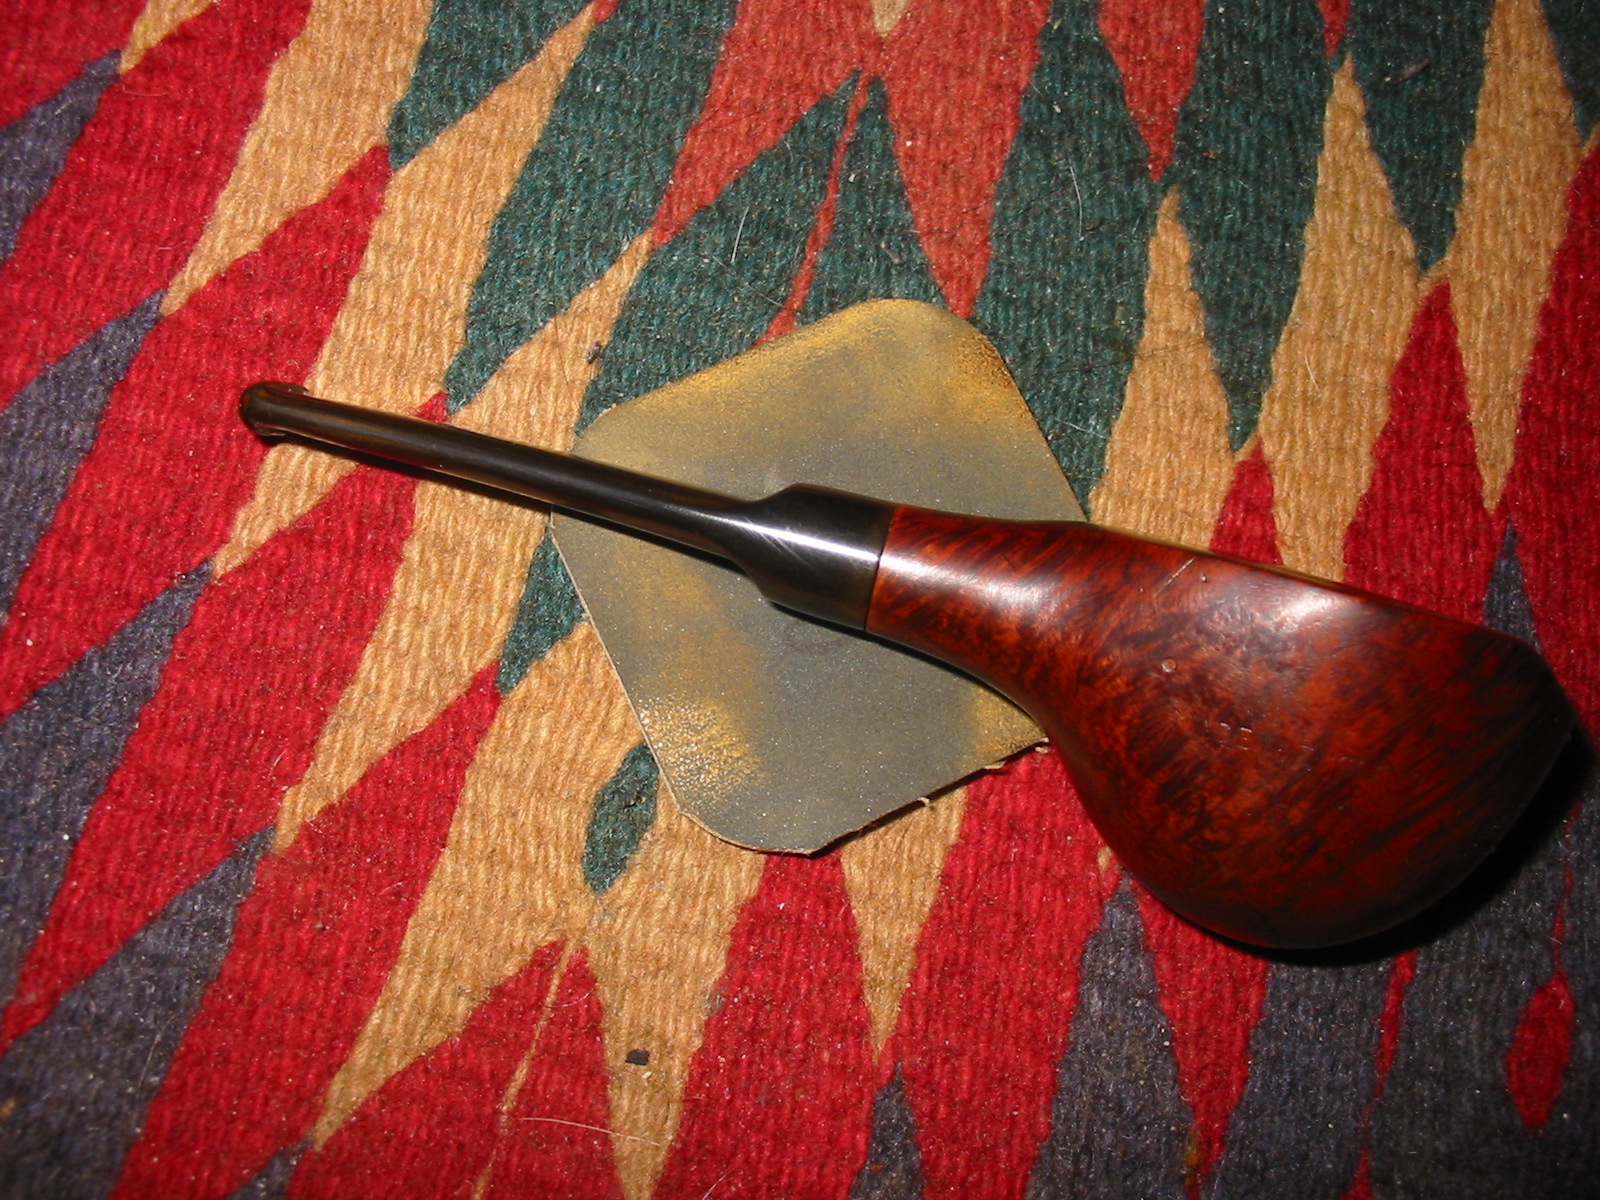
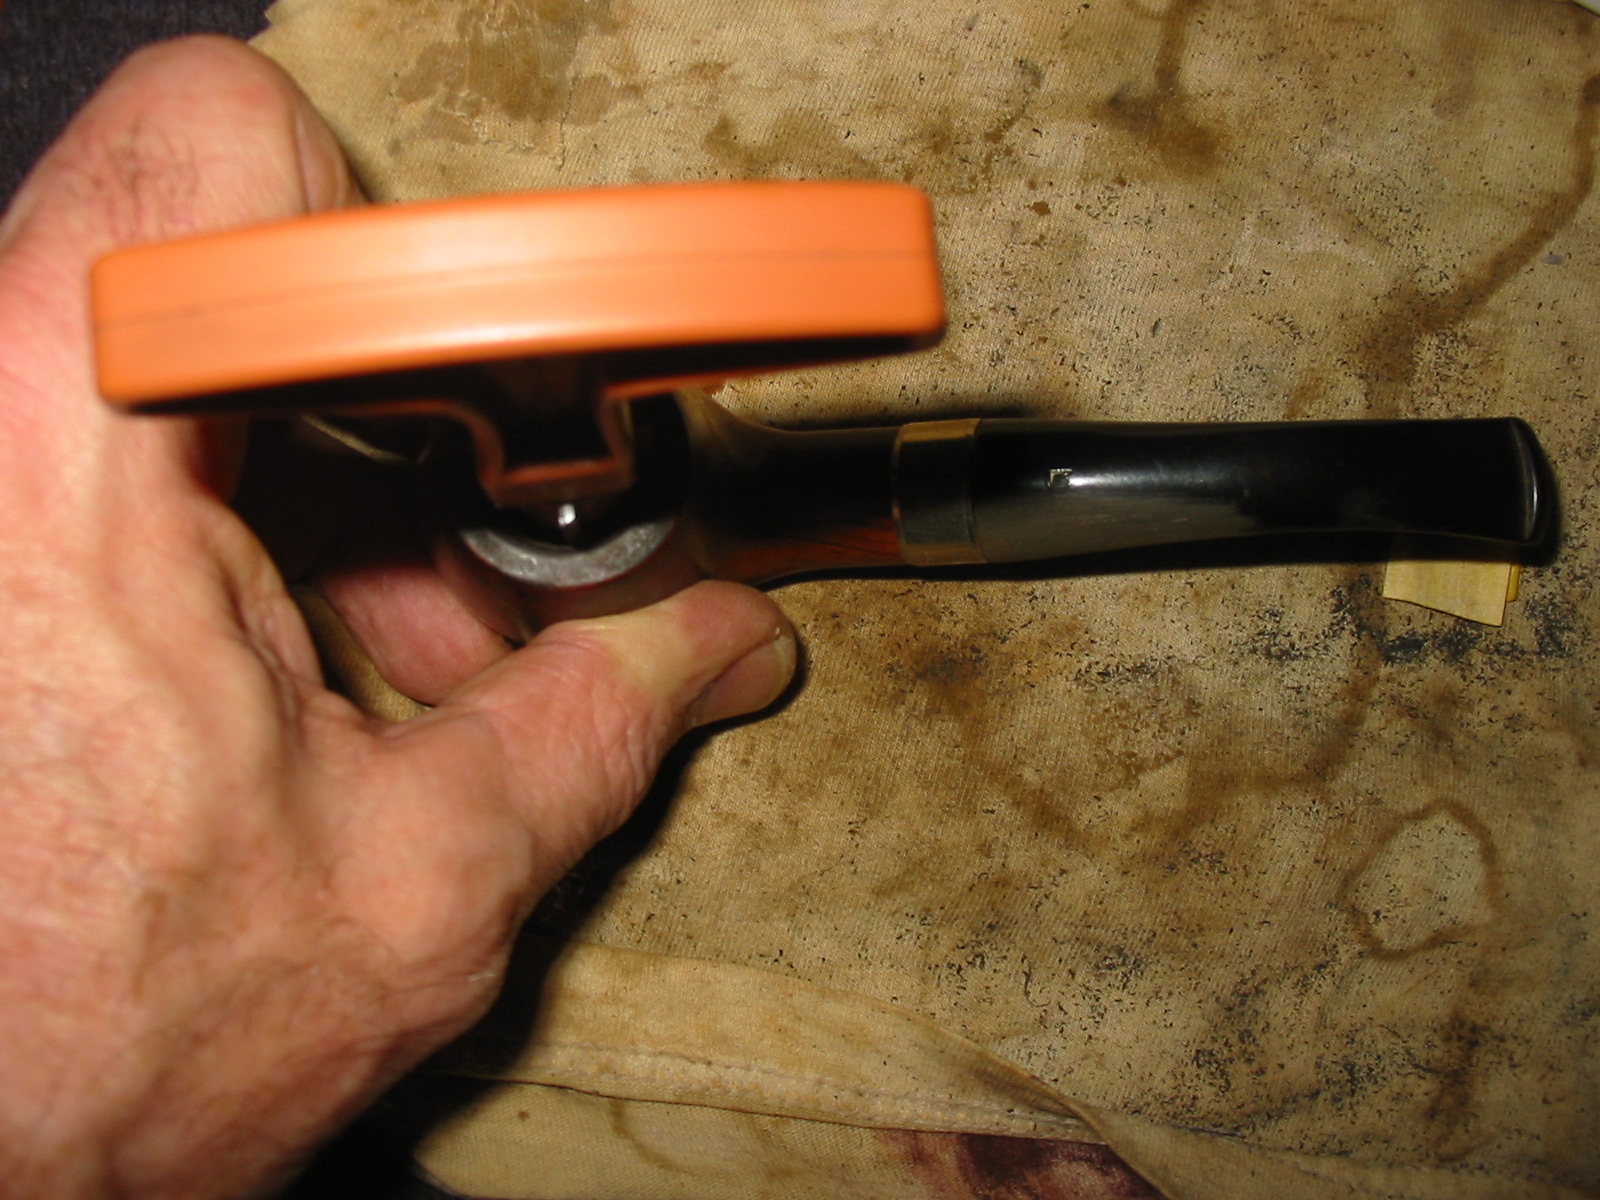
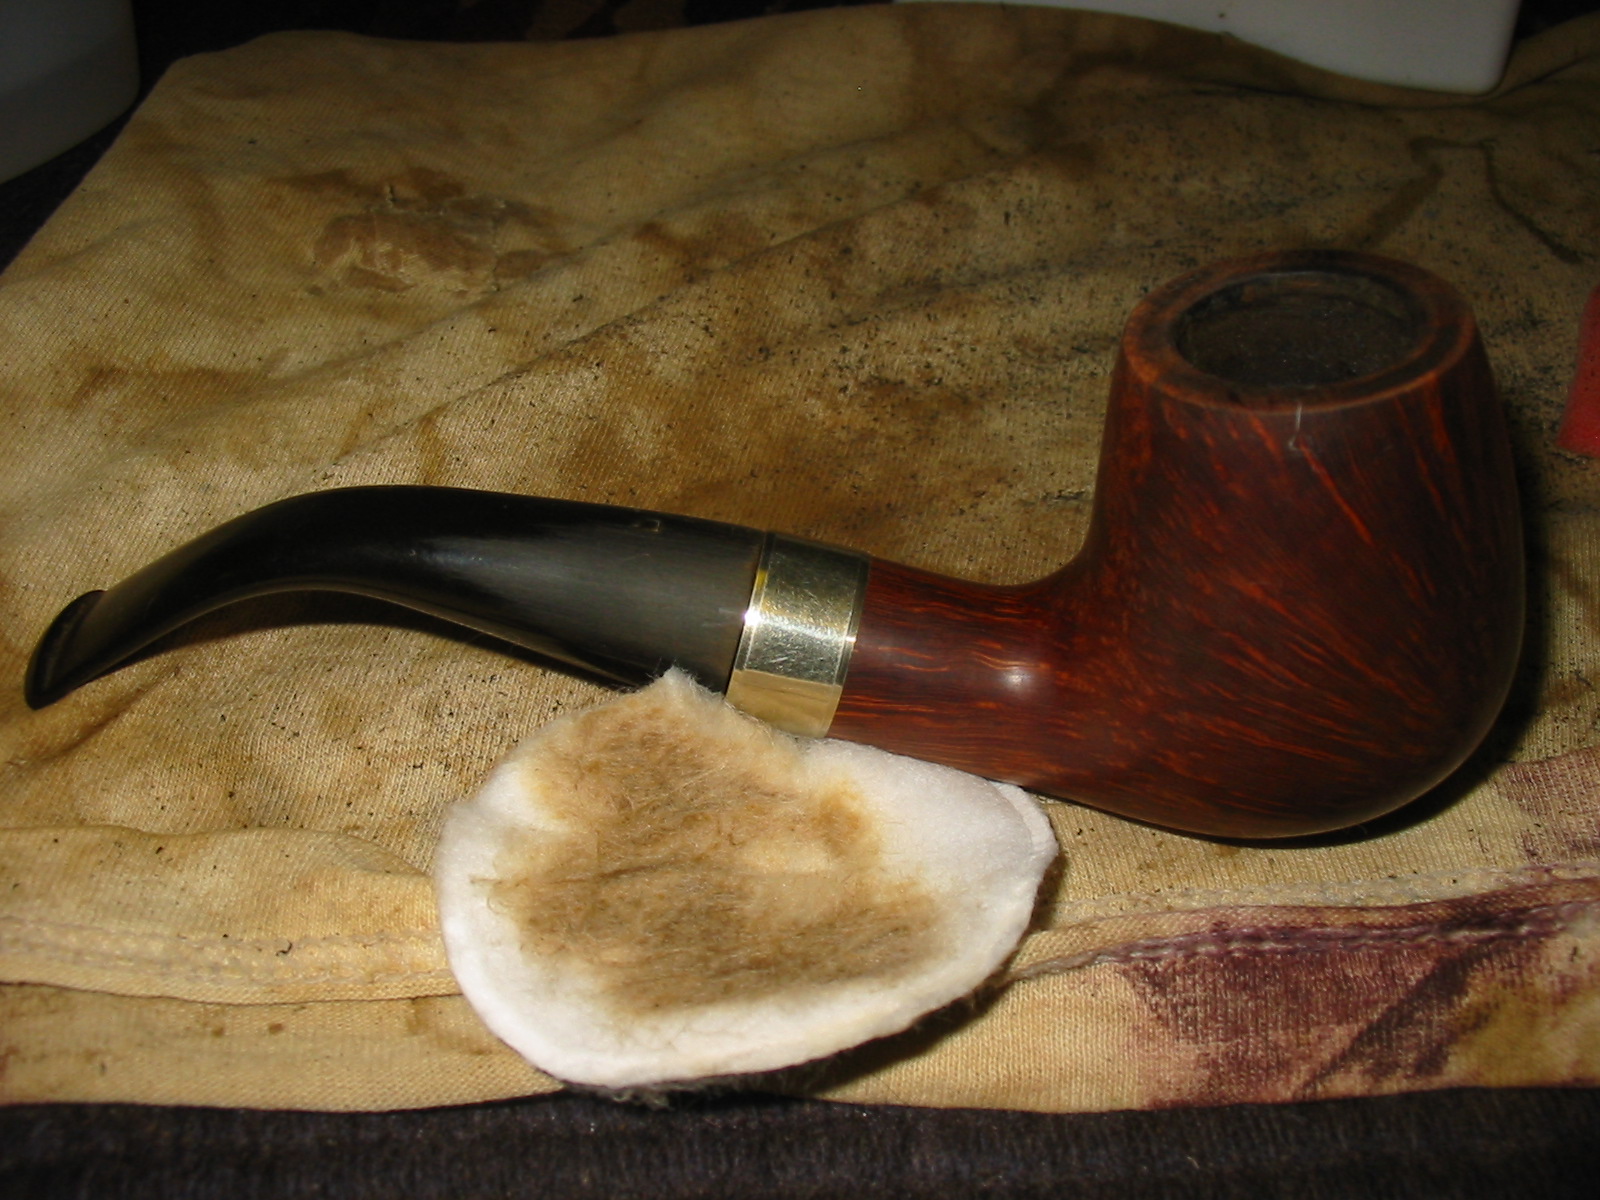
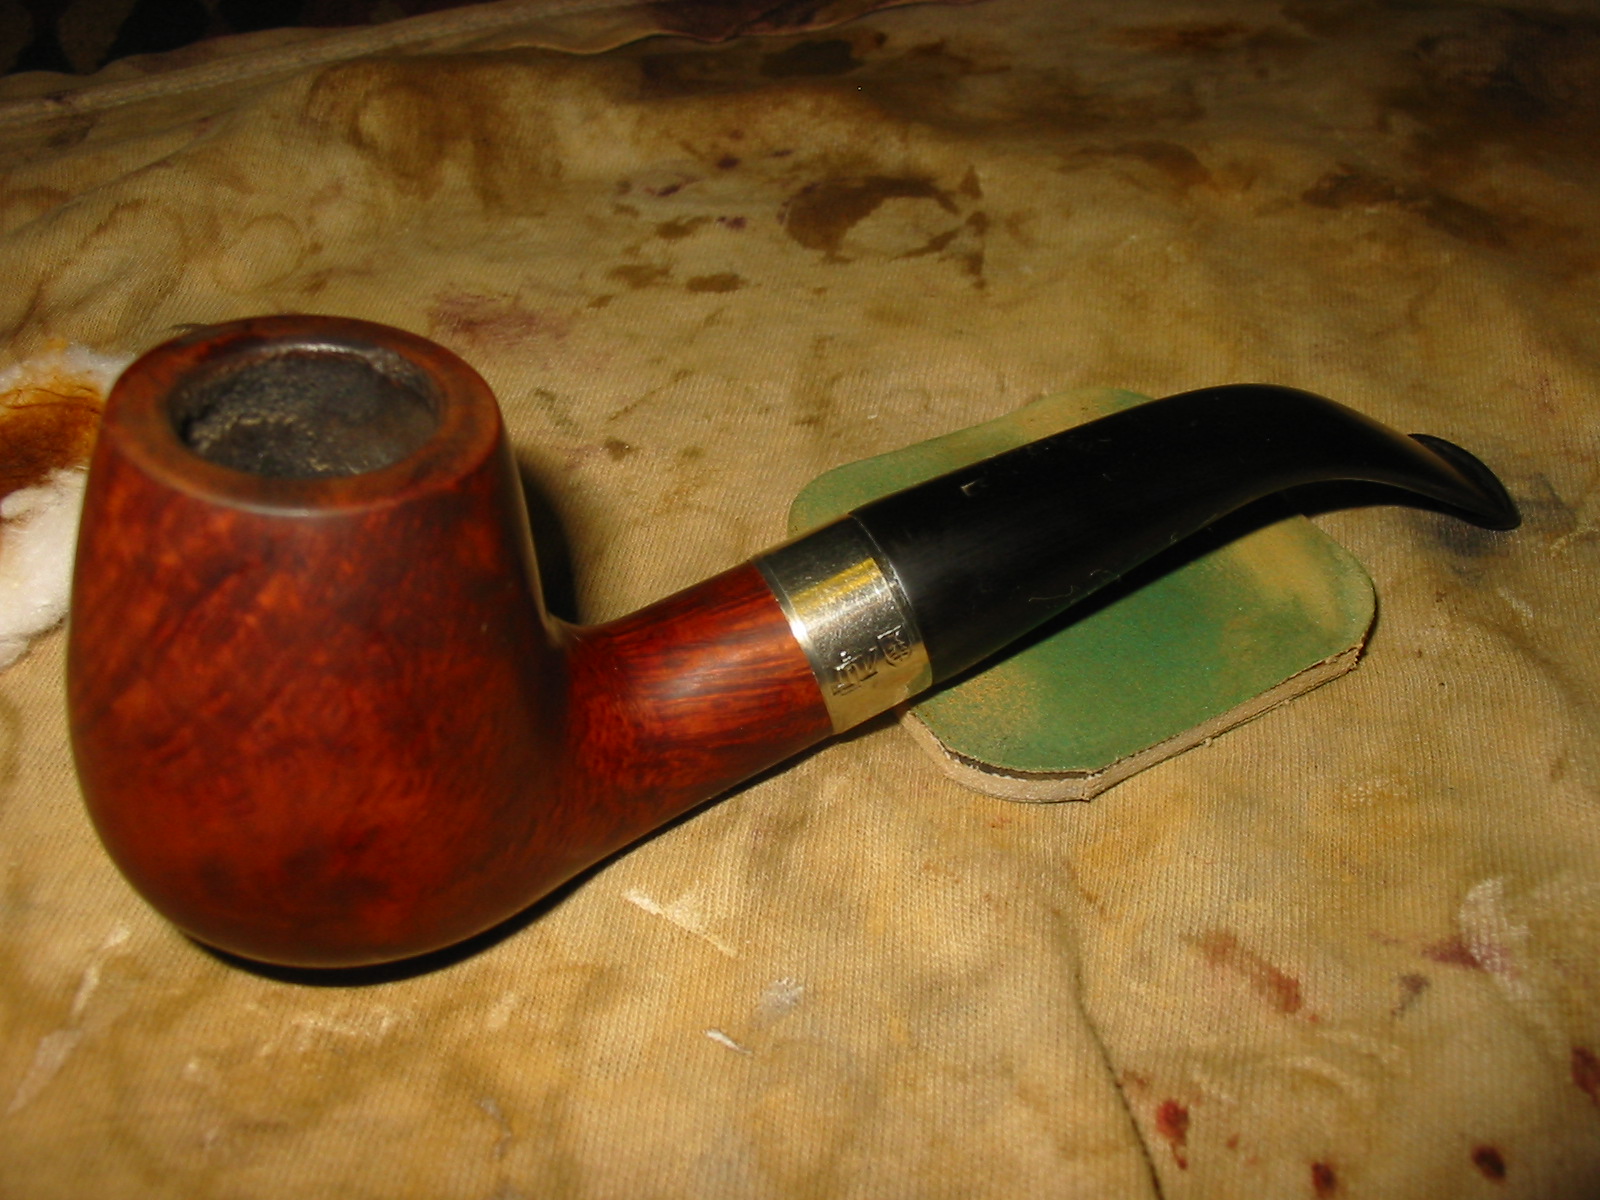
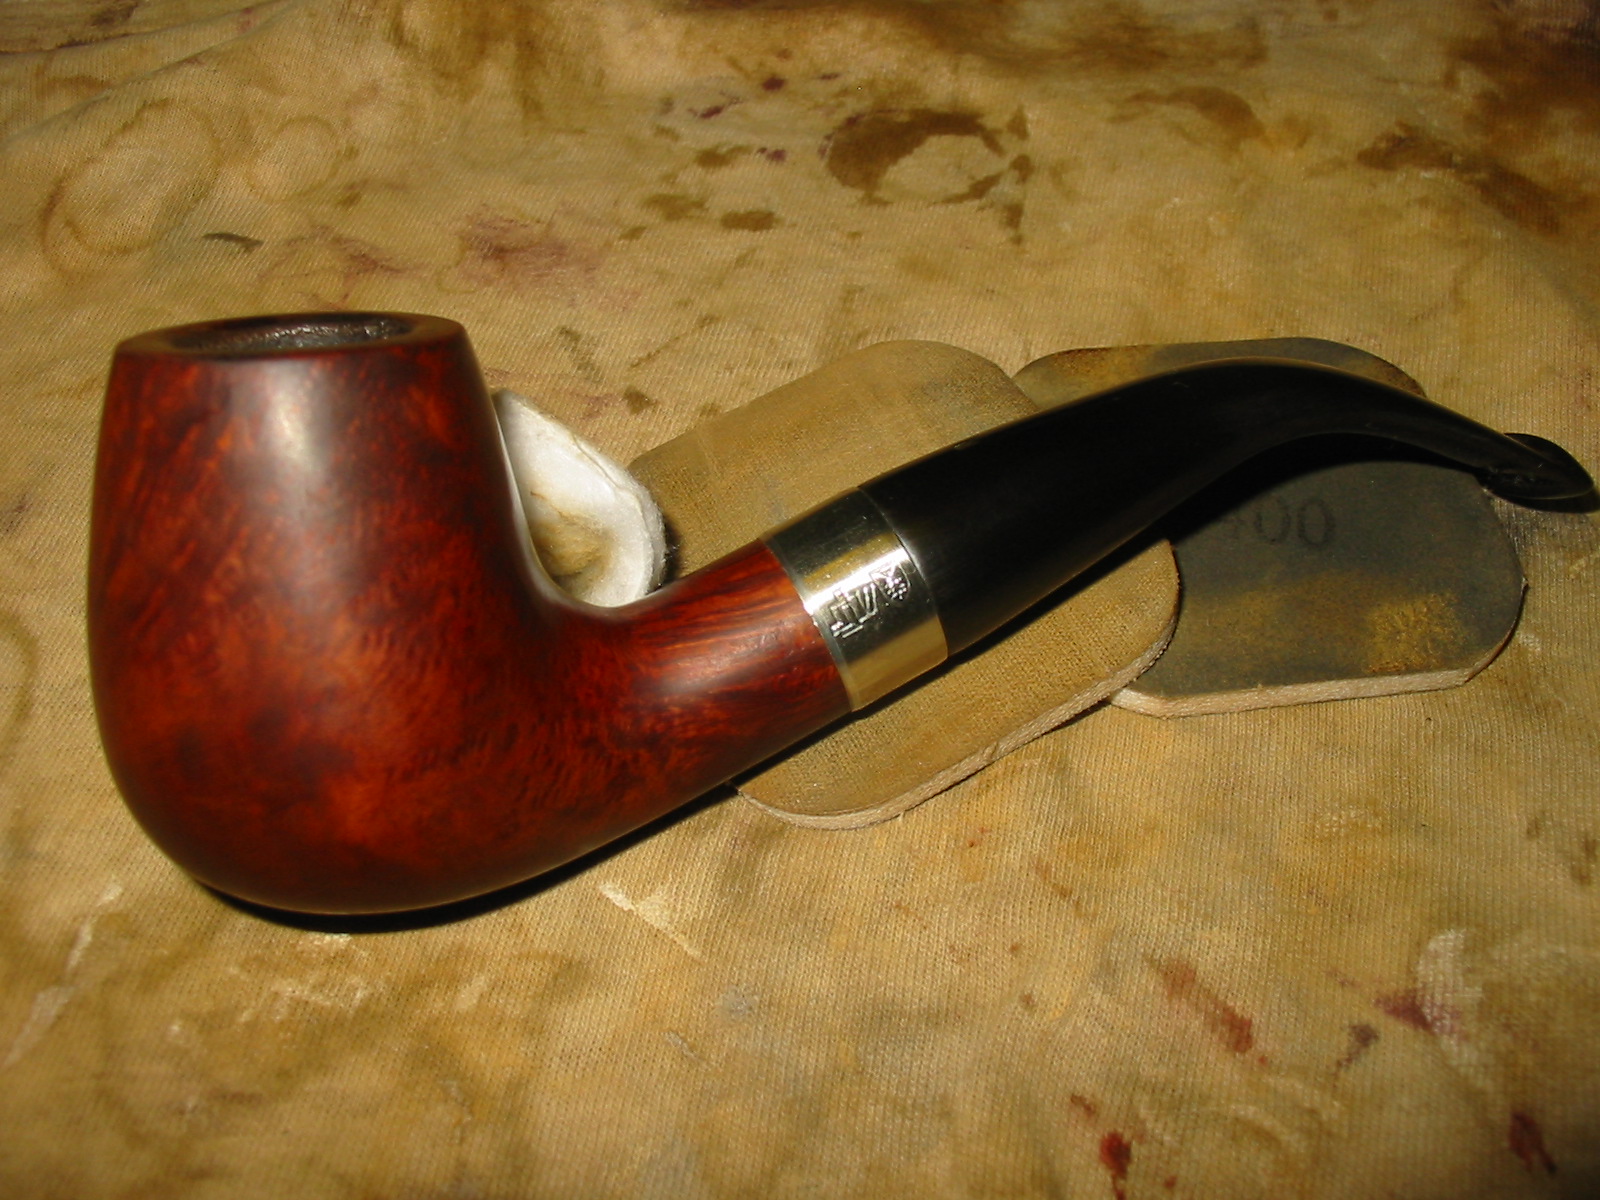
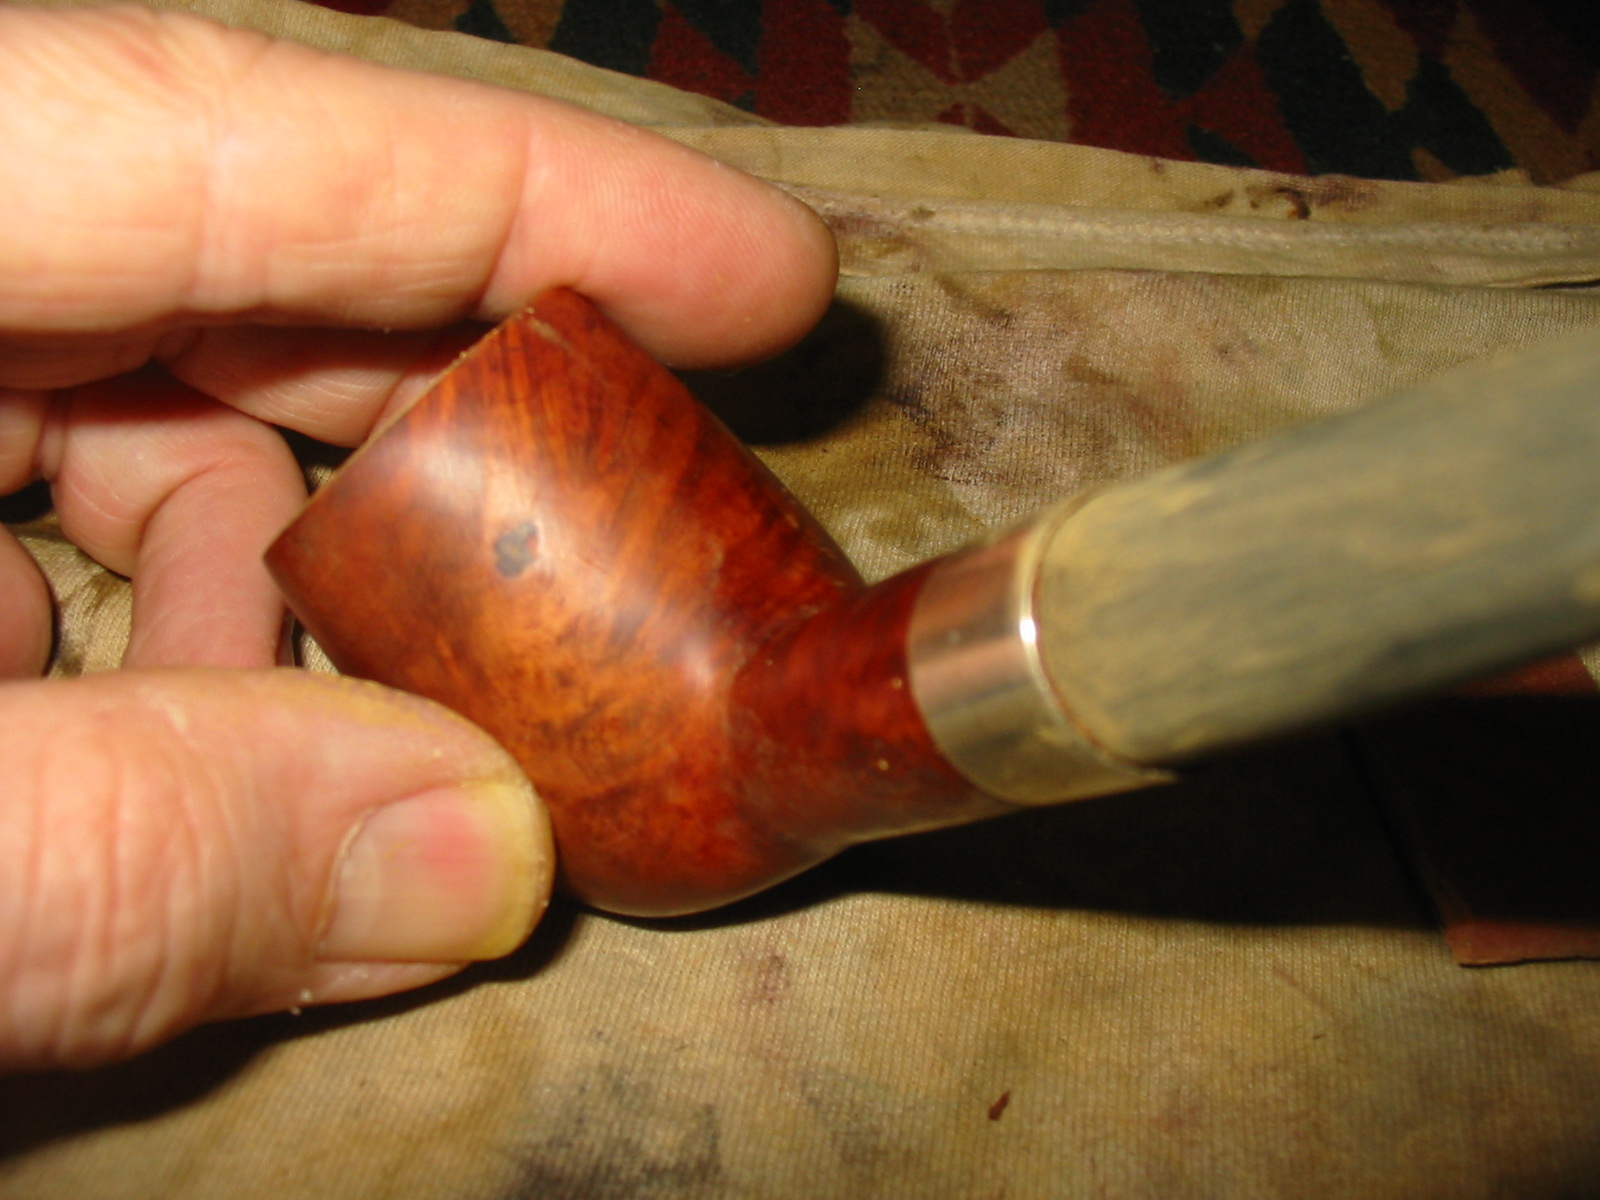
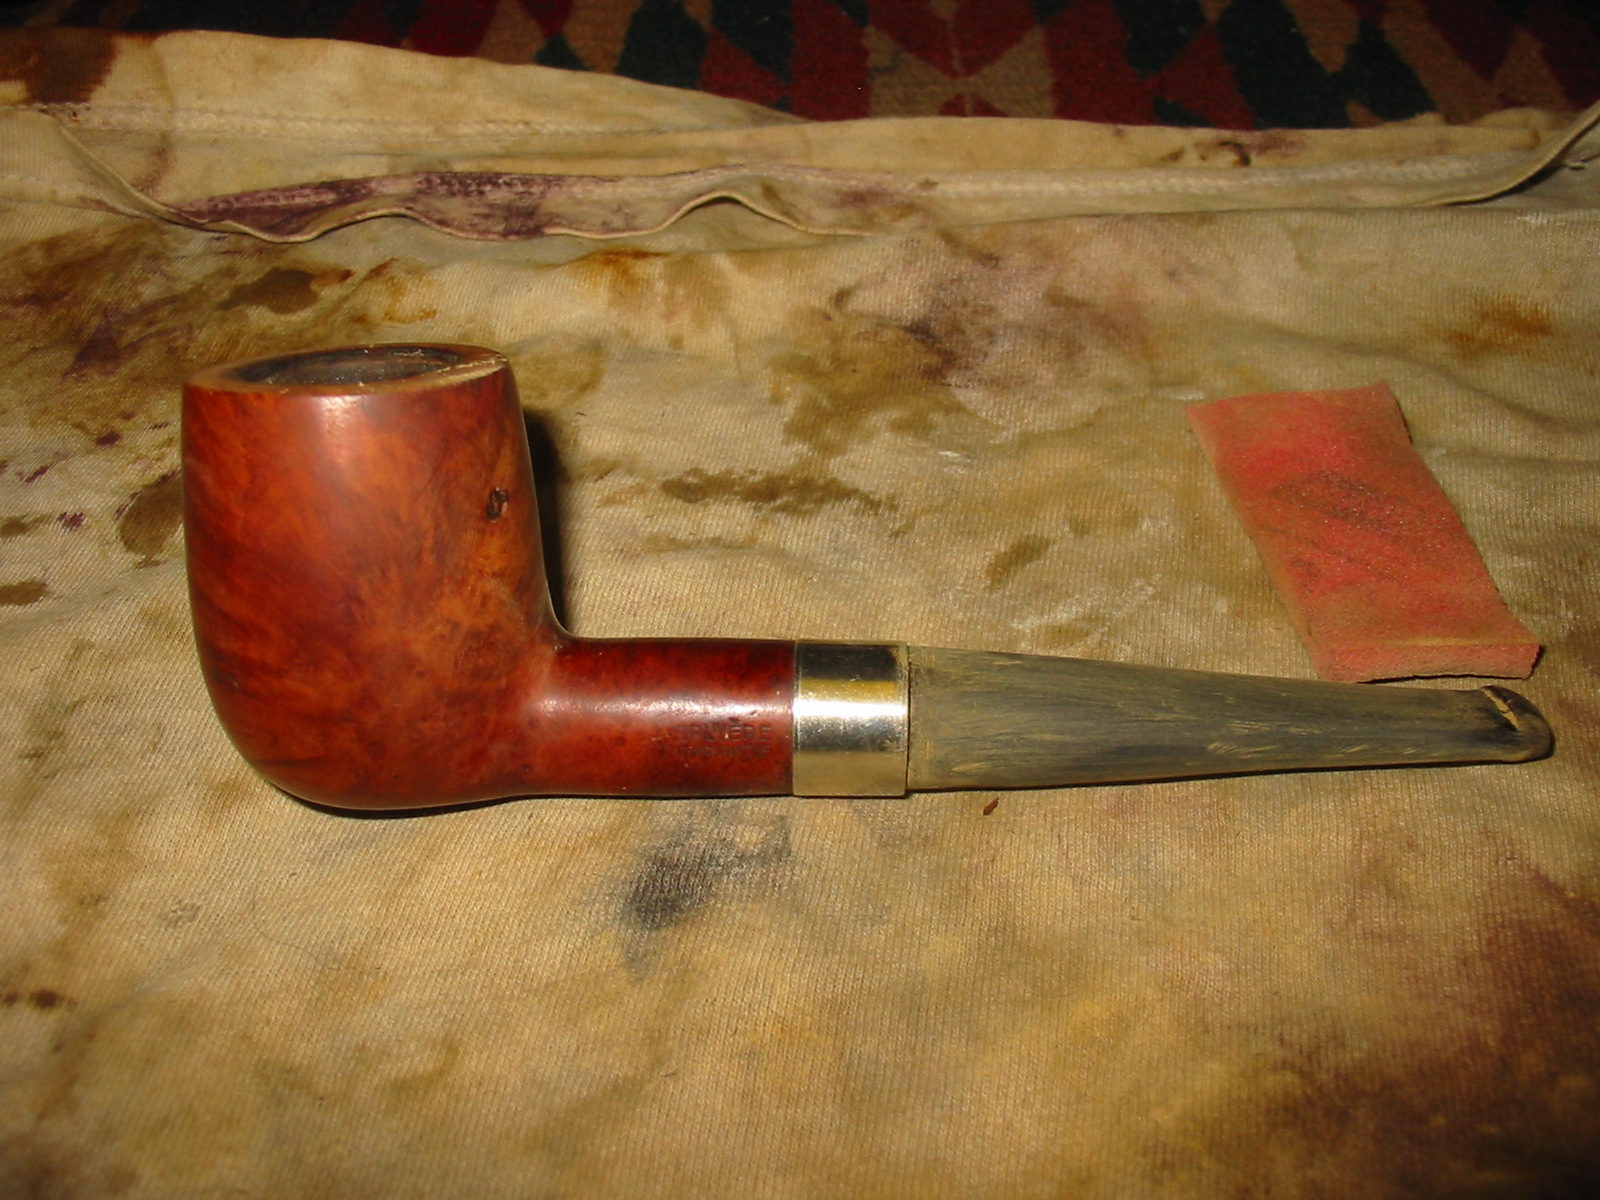
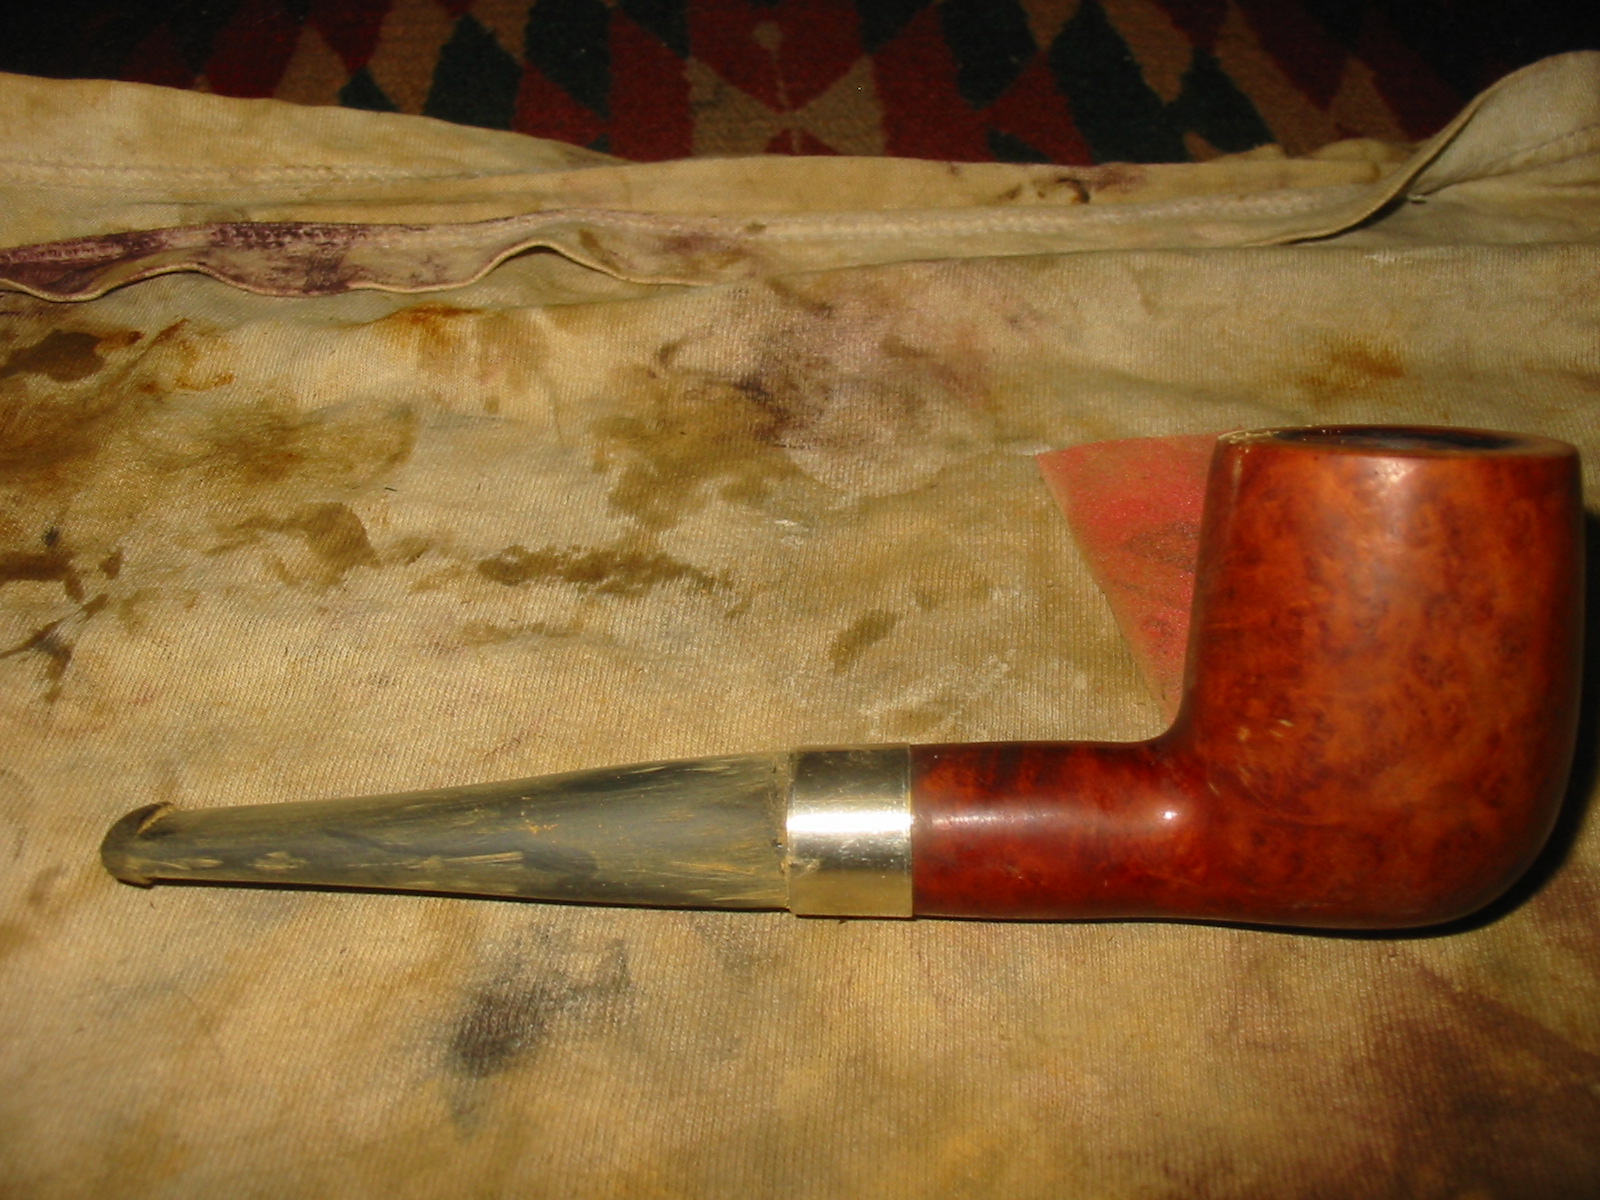
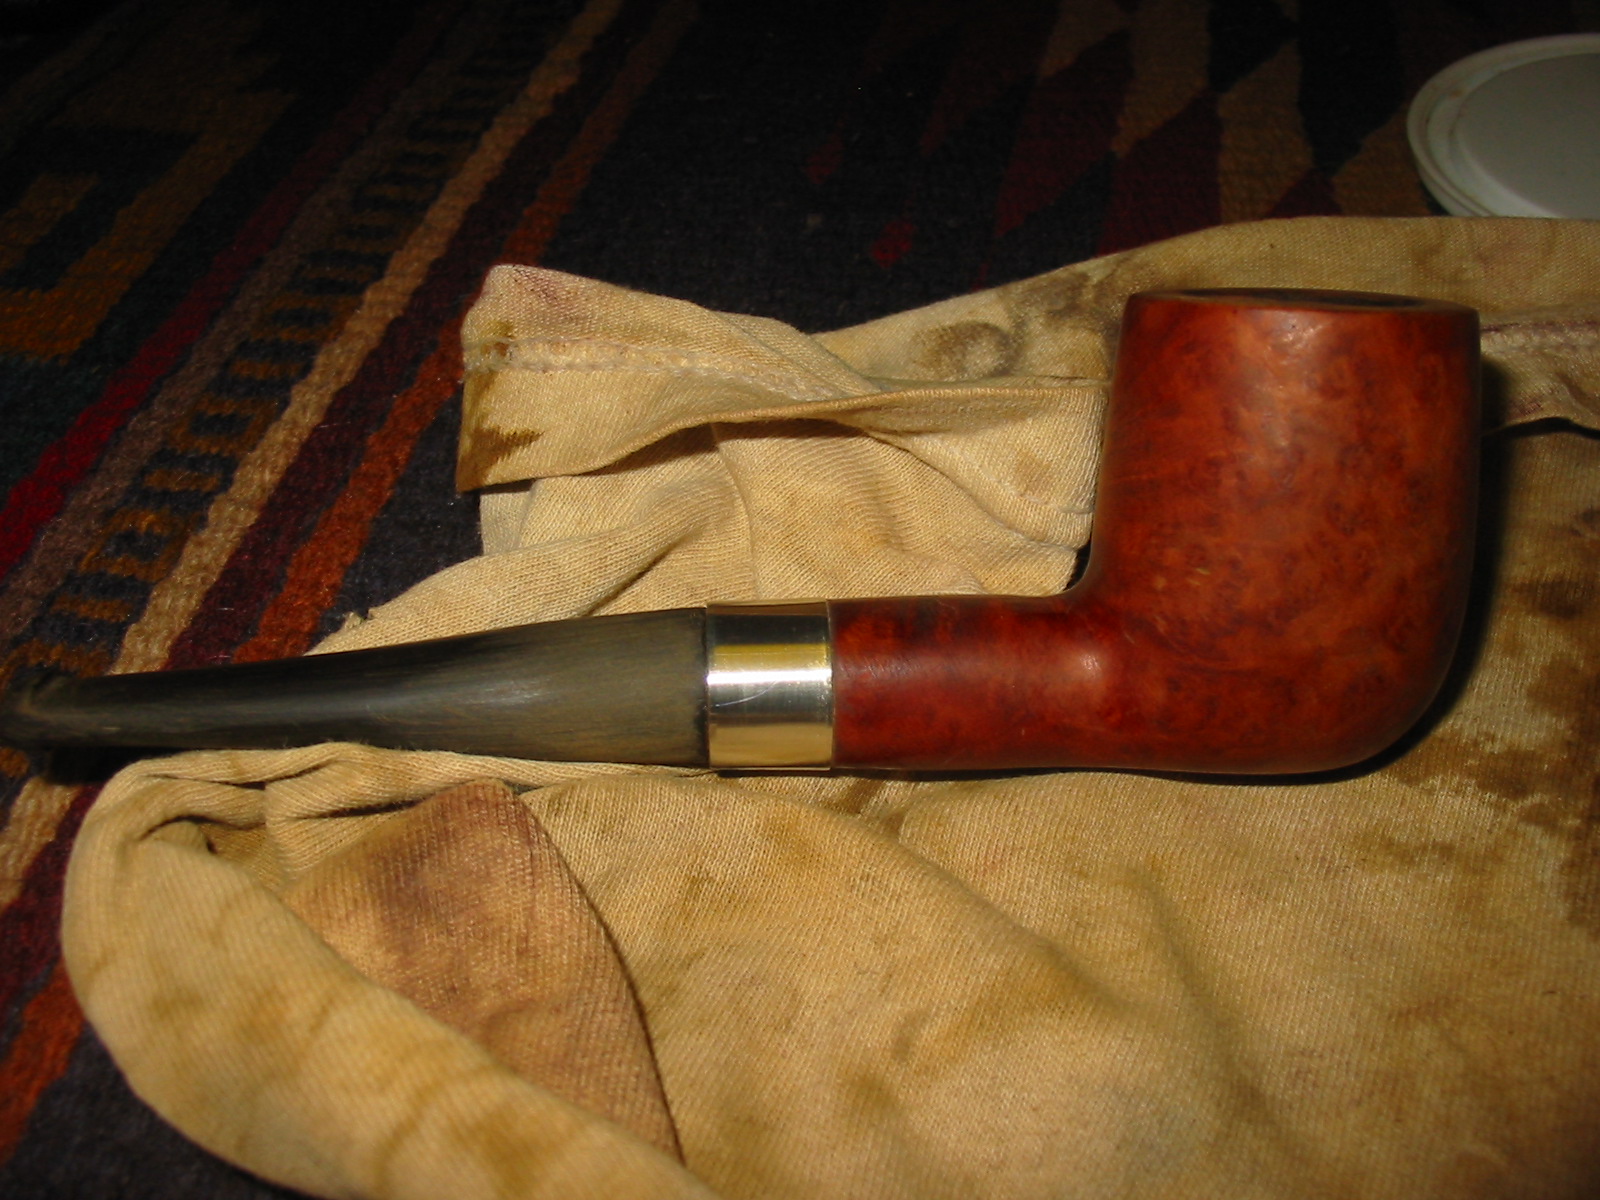
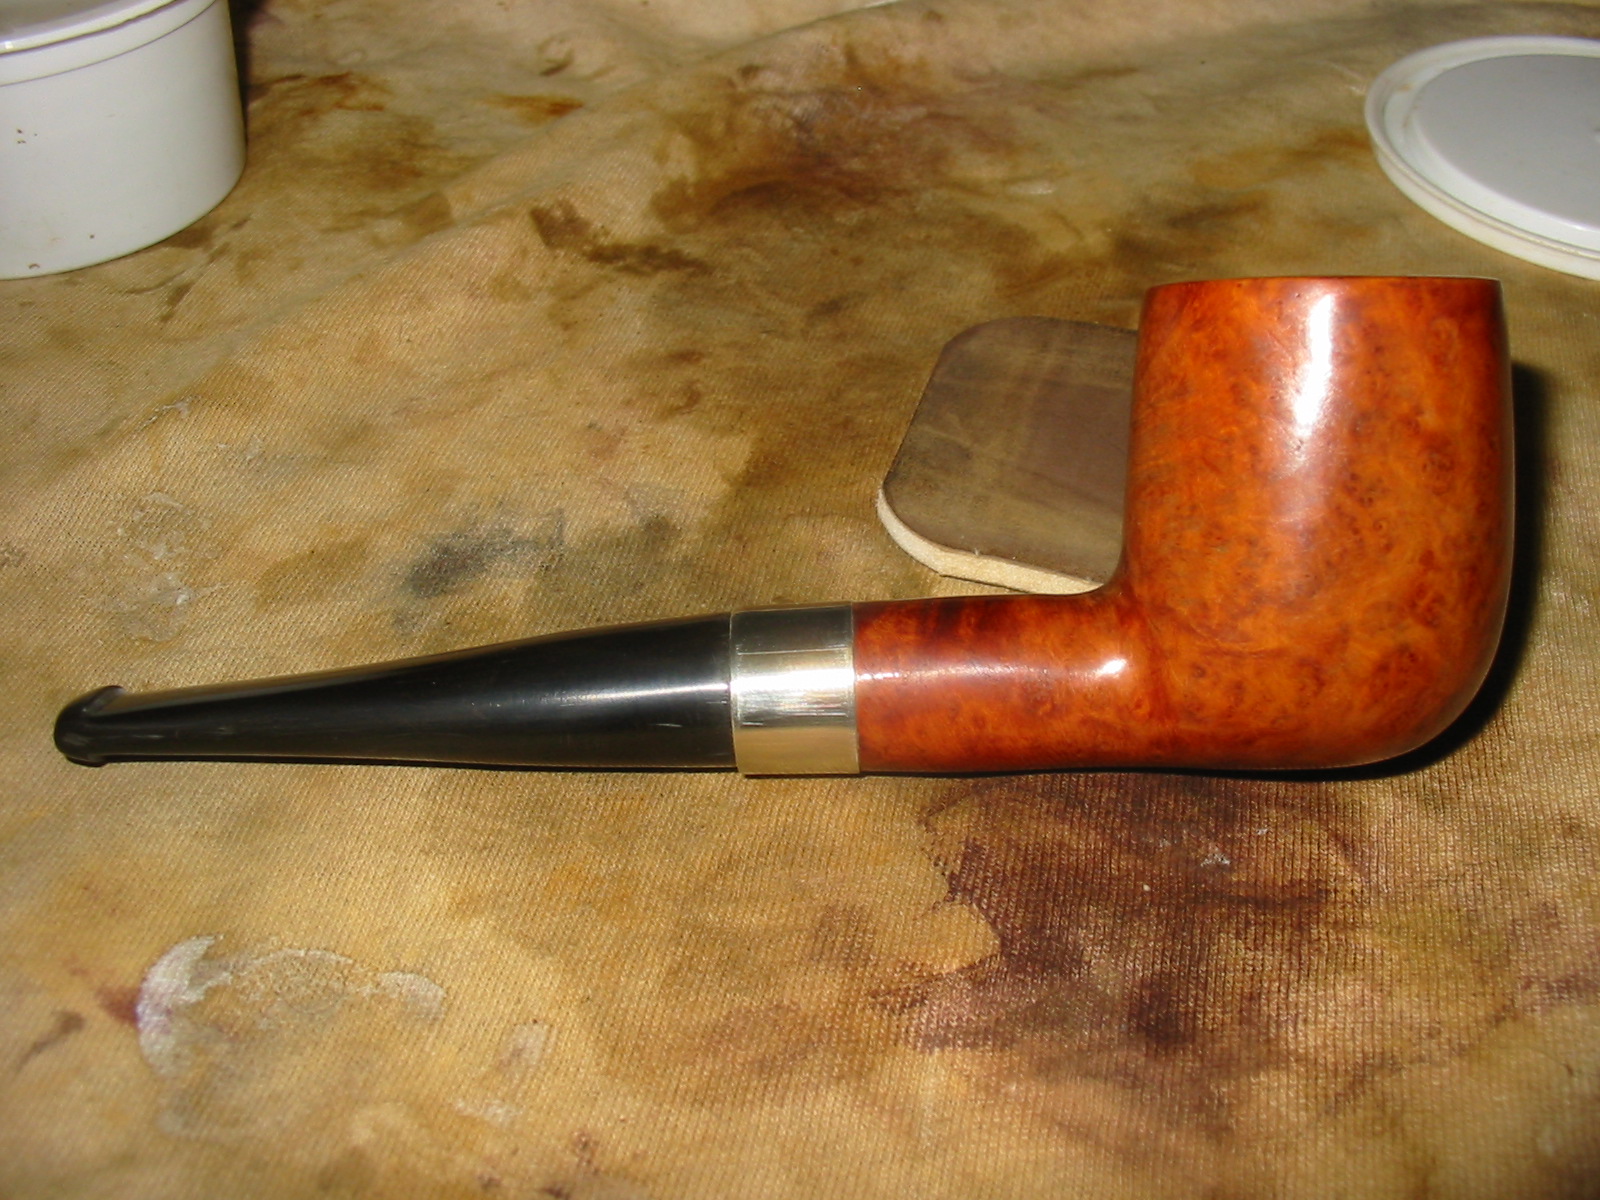
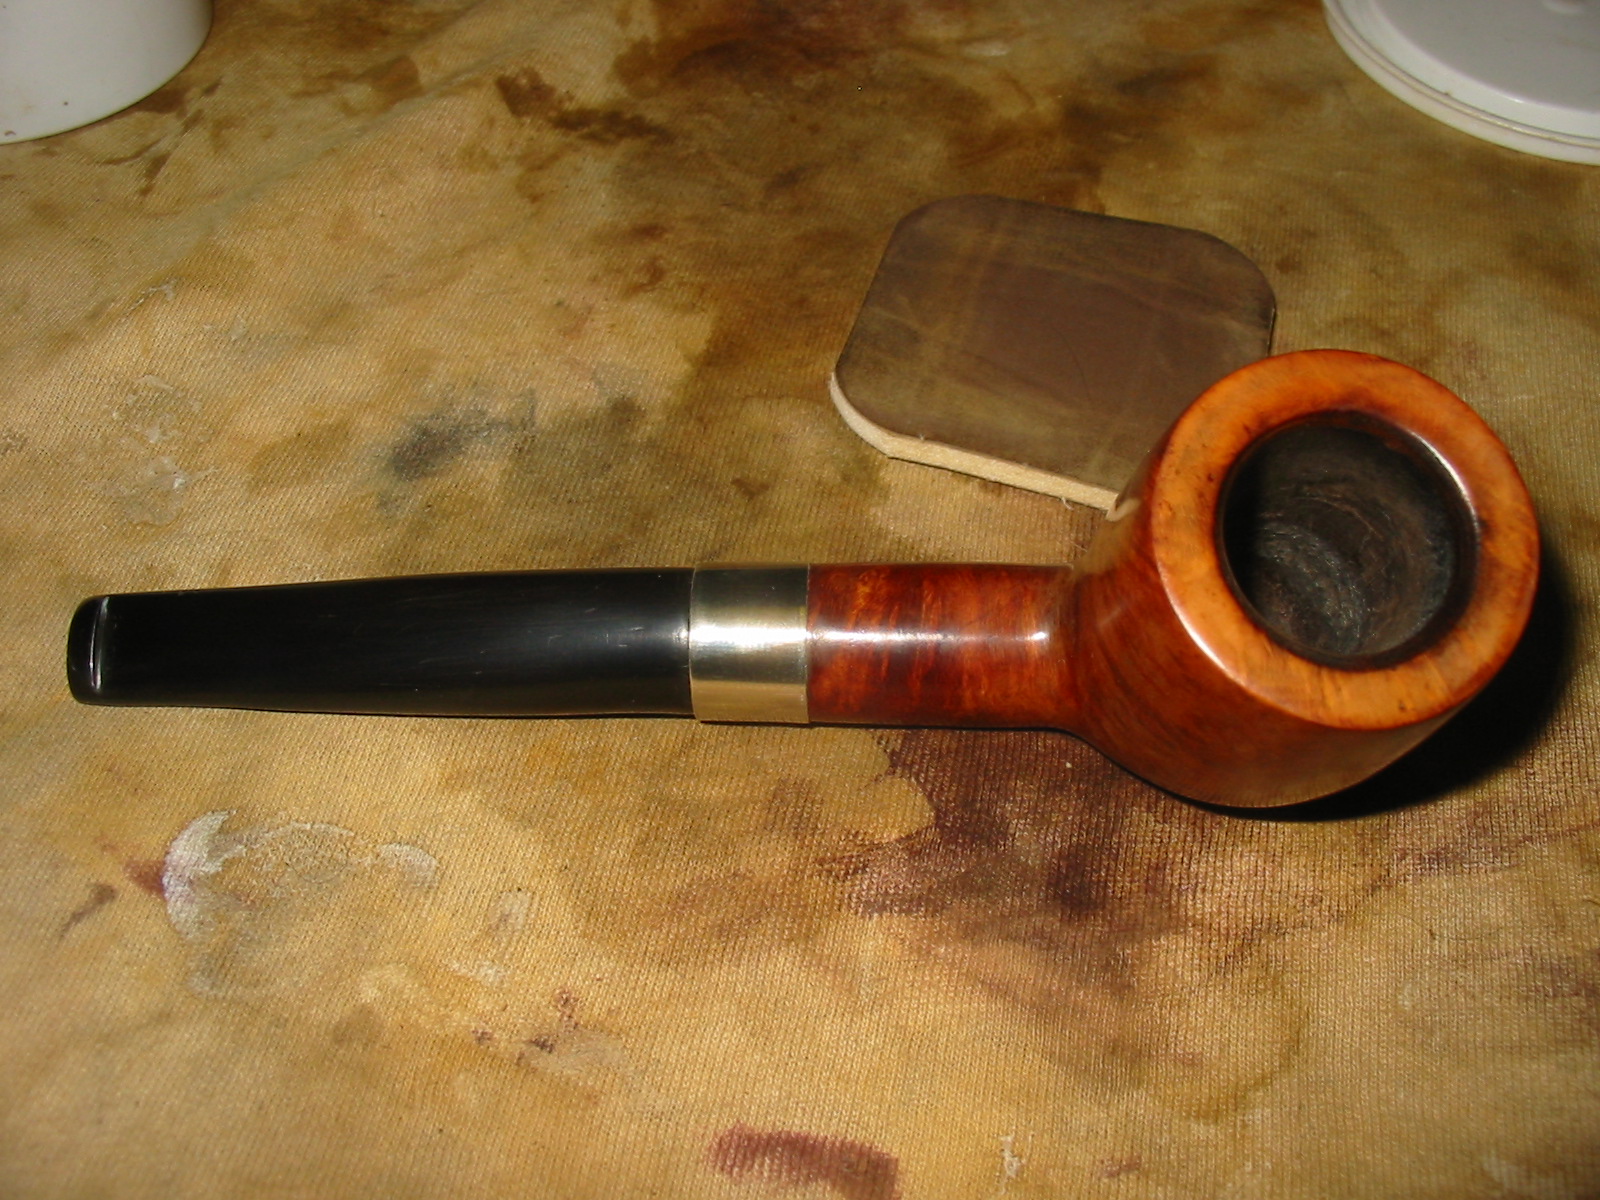
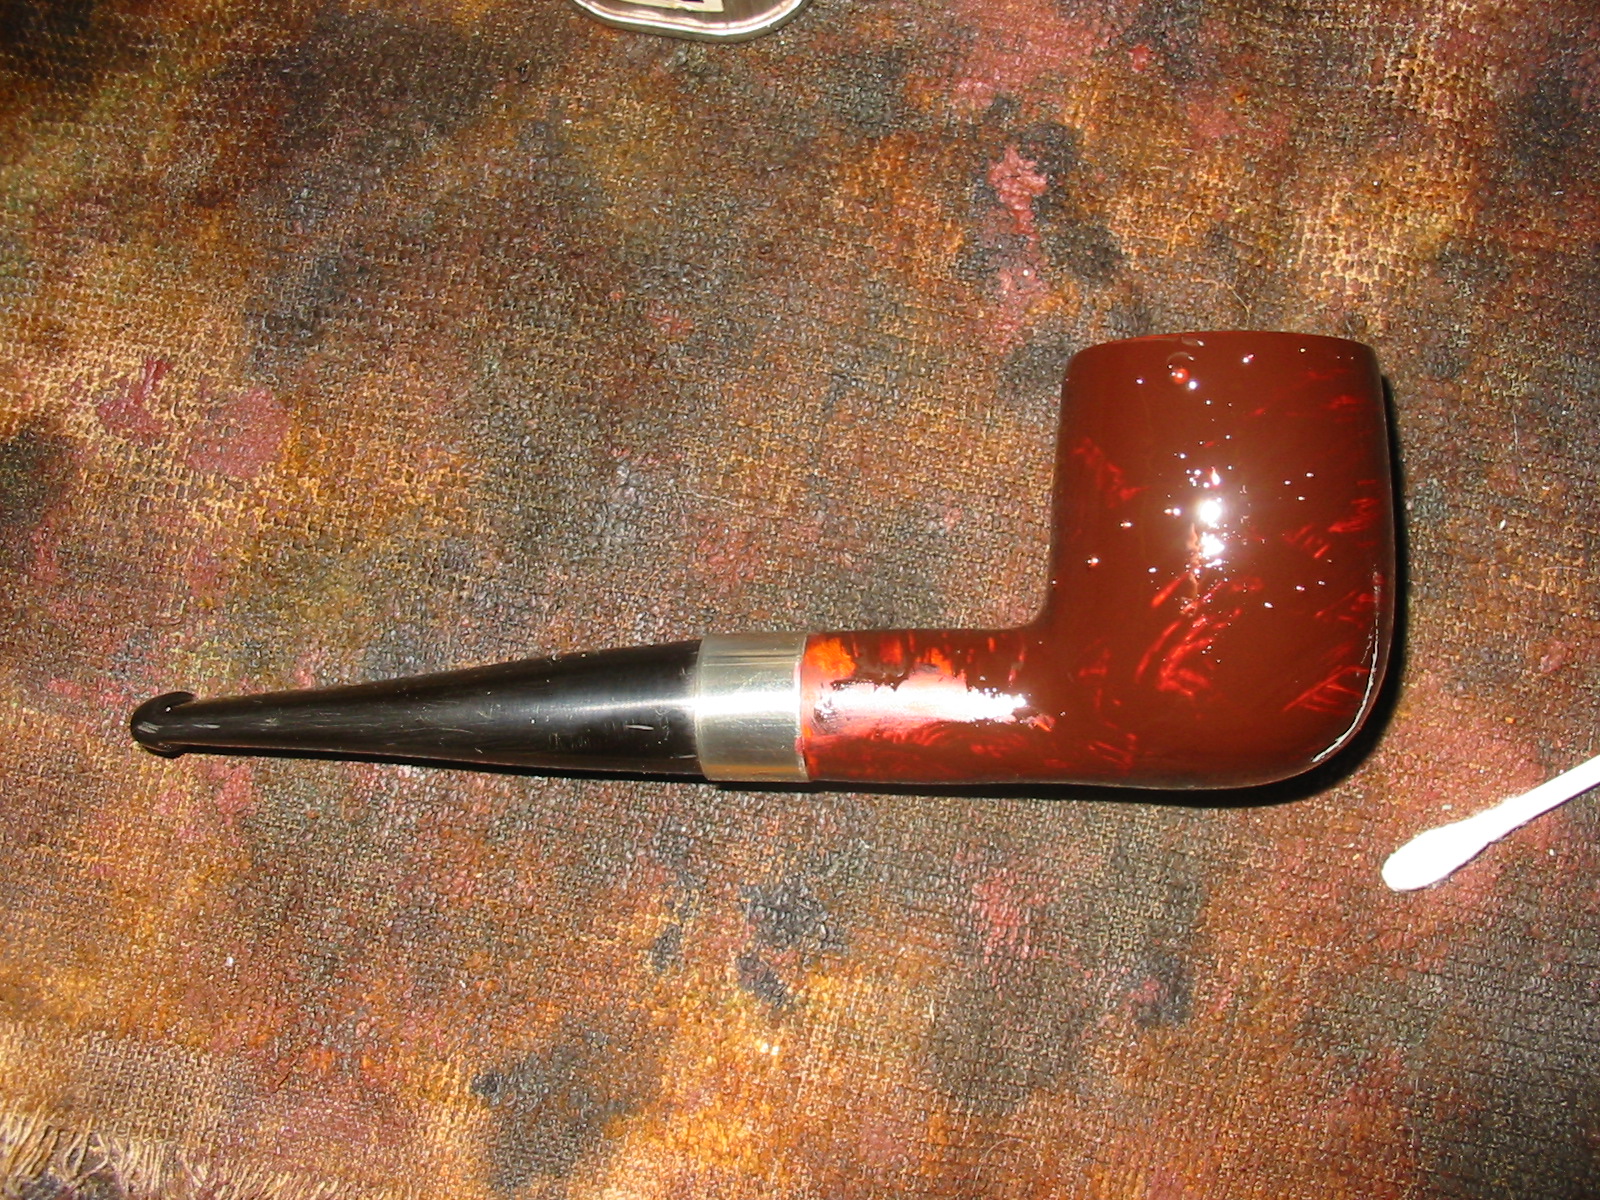
I then buffed the stummel with Tripoli before reassembling the pipe and buffing the whole thing with white diamond and then carnauba wax. Here is the finished pipe:
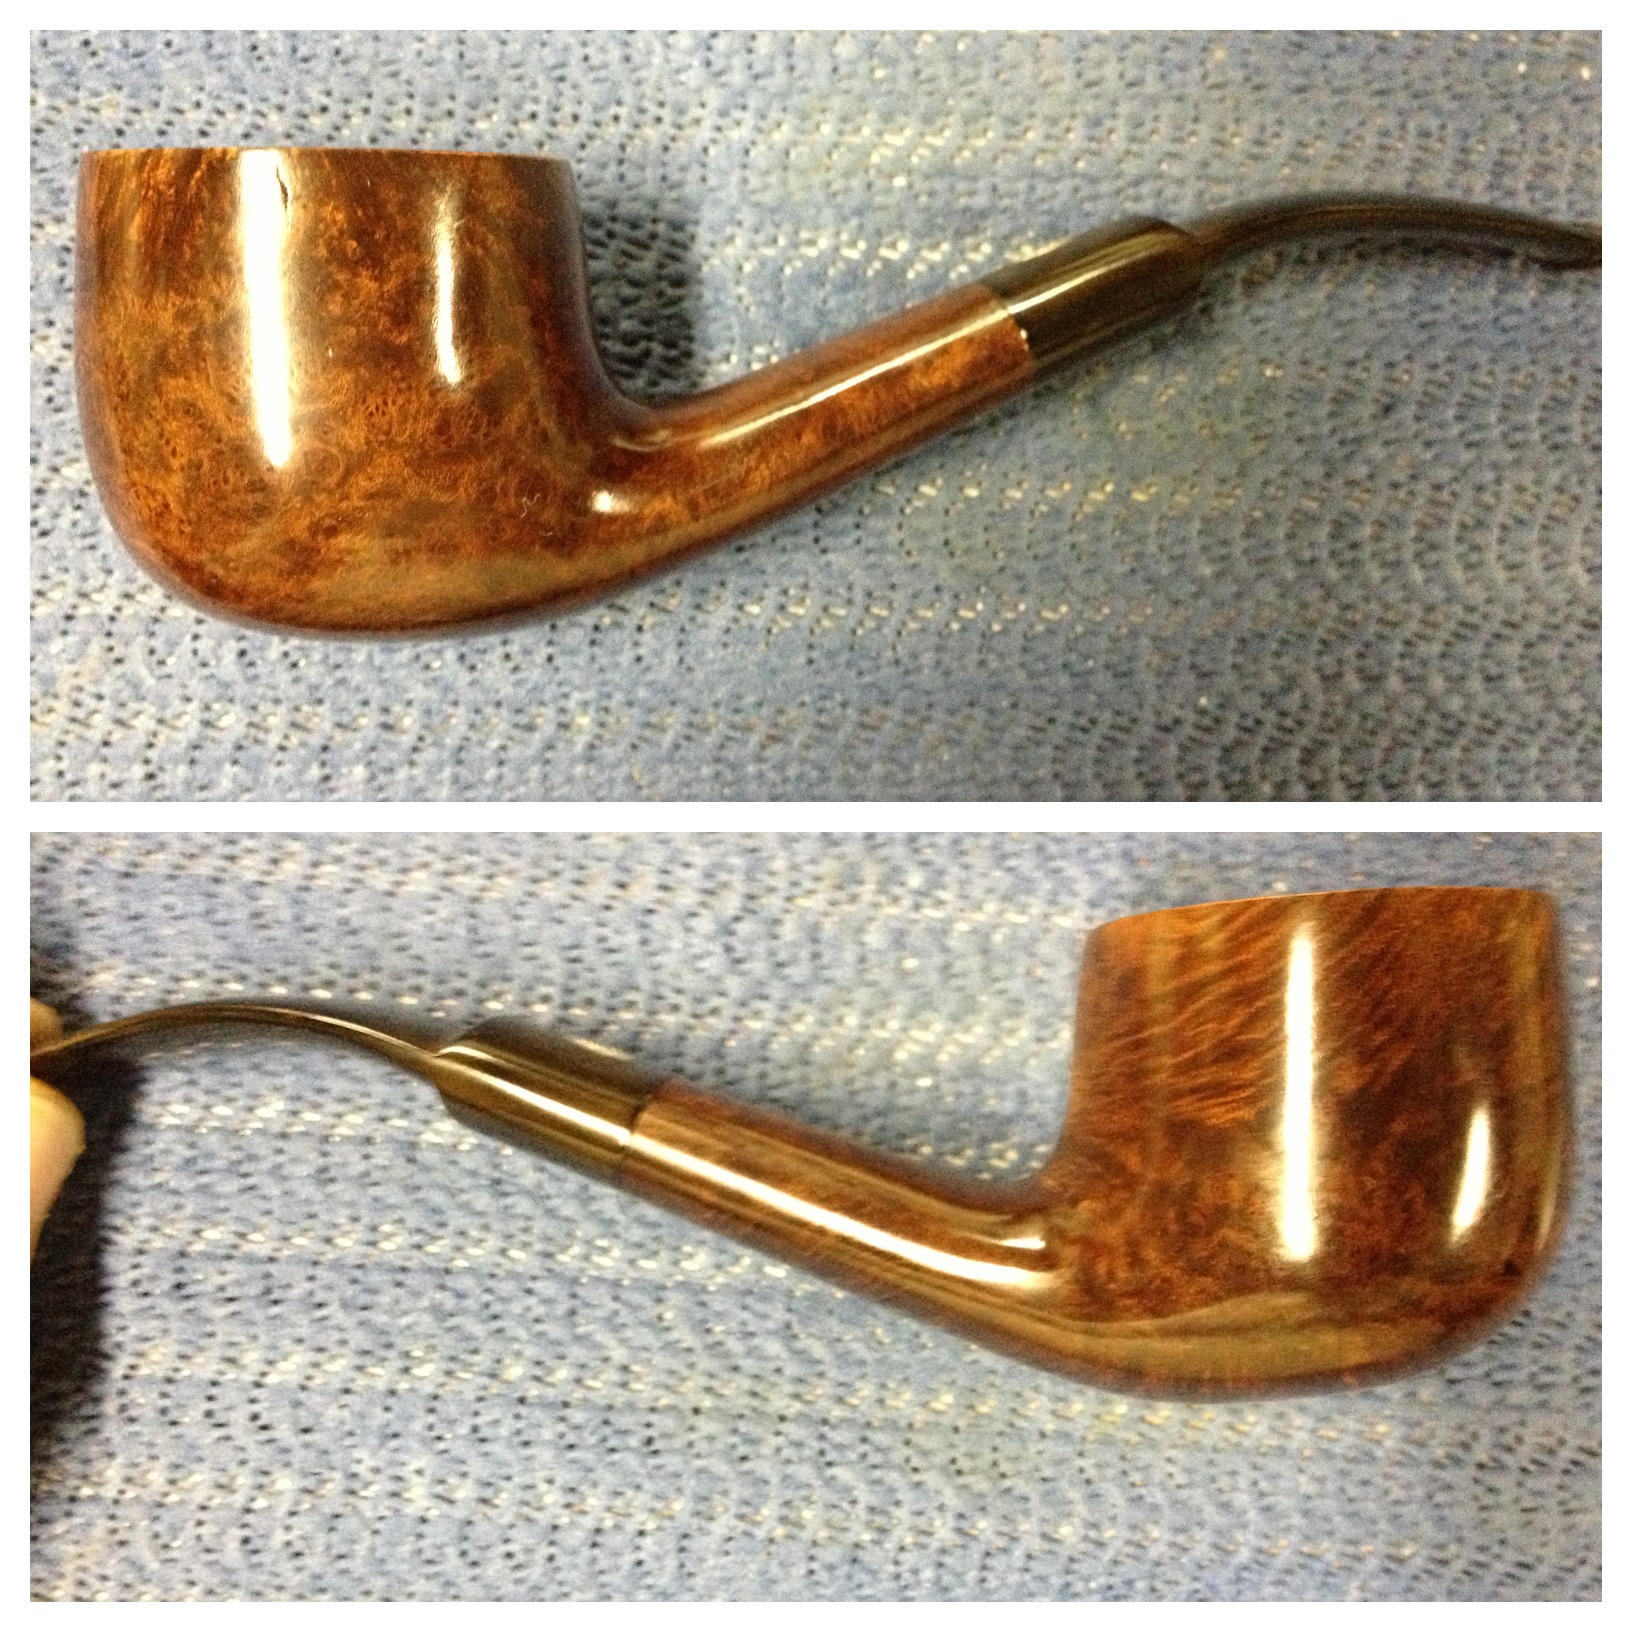
IMG_5253

This photo is slightly over exposed
IMG_5254IMG_5255

Experimenting with Alternative Oxidation Removal Techniques


Blog by Greg Wolford

I’ve recently been involved in a conversation about removing oxidation on stems with steel wool. I have to be honest, at the first mention of steel wool being used on a stem made my jaw drop (literally, almost dropped my pipe). But these guys are long time pipe smokers and restorers so I didn’t just brush off the information.
They said that using 0000 steel wool, dampened with water, removes oxidation much more efficiently than miracle erasers, Bar Keepers Friend or any micro mesh/sandpaper treatments. The increased efficiency also reduces the time invested I am told, which makes sense and is appealing.
So I decided to try an experiment on two old stems. These stems weren’t in terrible condition but had some oxidation to them and they were nothing too valuable if I made a real mess of them: they are expendable so they became my test subjects.

20130312-095418.jpg

I soaked them in a room temperature OxiClean bath for about four hours or so; I had to leave the house for a while so I made sure the water wasn’t too warm and left them to soak while I was gone. When I got home I washed them with dish detergent and a scrubby sponge until they no longer felt slick: about 2-3 minutes. They were the. Left to air dry on a drain board overnight.

20130312-095310.jpg

Yesterday morning I went out and bought some supplies: a package of 0000 steel wool and some 400 grit wet/dry sanding sticks; the sticks, or pads, remind me of short wide emery boards.

I took a piece of the steel wool and dampened it and began to rub the stems. Every few minutes I would wipe off the stem on an old towel, rinse out the wool, and go back to rubbing. It took very little time to remove the signs of oxidation and the stems were much less matte finished than they usually are after initial sanding. So I turned my attention to the stem with the stinger to work on the chatter.

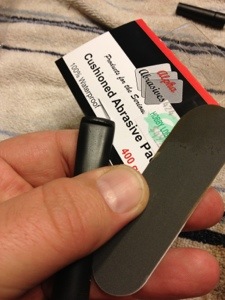
I used the new 400 grit pads to wet sand on the chatter, going back and forth, wiping and rinsing as I had with the wool. These pads seem like they will be very useful in getting into that hard (for me at least) to get bit area and is why I bought them to begin with. They did, indeed, reach into that area much more easily and they took out the chatter fairly fast. That area was now more matte than the rest of them stem so I went back to the damp steel wool. In a few minutes the shine came back up even across the stem, which actually surprised me.

The whole process, not including the soak and dry time, took less than 15 minutes; I was again impressed.

20130312-095310.jpg

Will steel wool scrubs replace all the sanding and micro mesh polishing? I don’t think so. Will it reduce the amount of time and effort spend making an old stem look new again? I believe it can. I expect to explore with more stems just how effective this process can be and how much sanding and polishing can be avoided using the steel wool. One fellow said he can go straight to the buffer after the wool scrub. On some stems that may be a possibility but I think on most it won’t. Any chatter or deep marks I think are still going to require sanding. And if you have a rough stem after the oxidation is gone I think it’s still going to need sanding, too. But this is a (new to me) technique that I think needs more investigation and experimentation, one that potentially reduce the amount of time and labor spent on many stems, letting is be more productive overall.

20130312-095226.jpg

Stem after using 400 grit pad and 0000 steel wool to remove chatter and bring back up some shine.

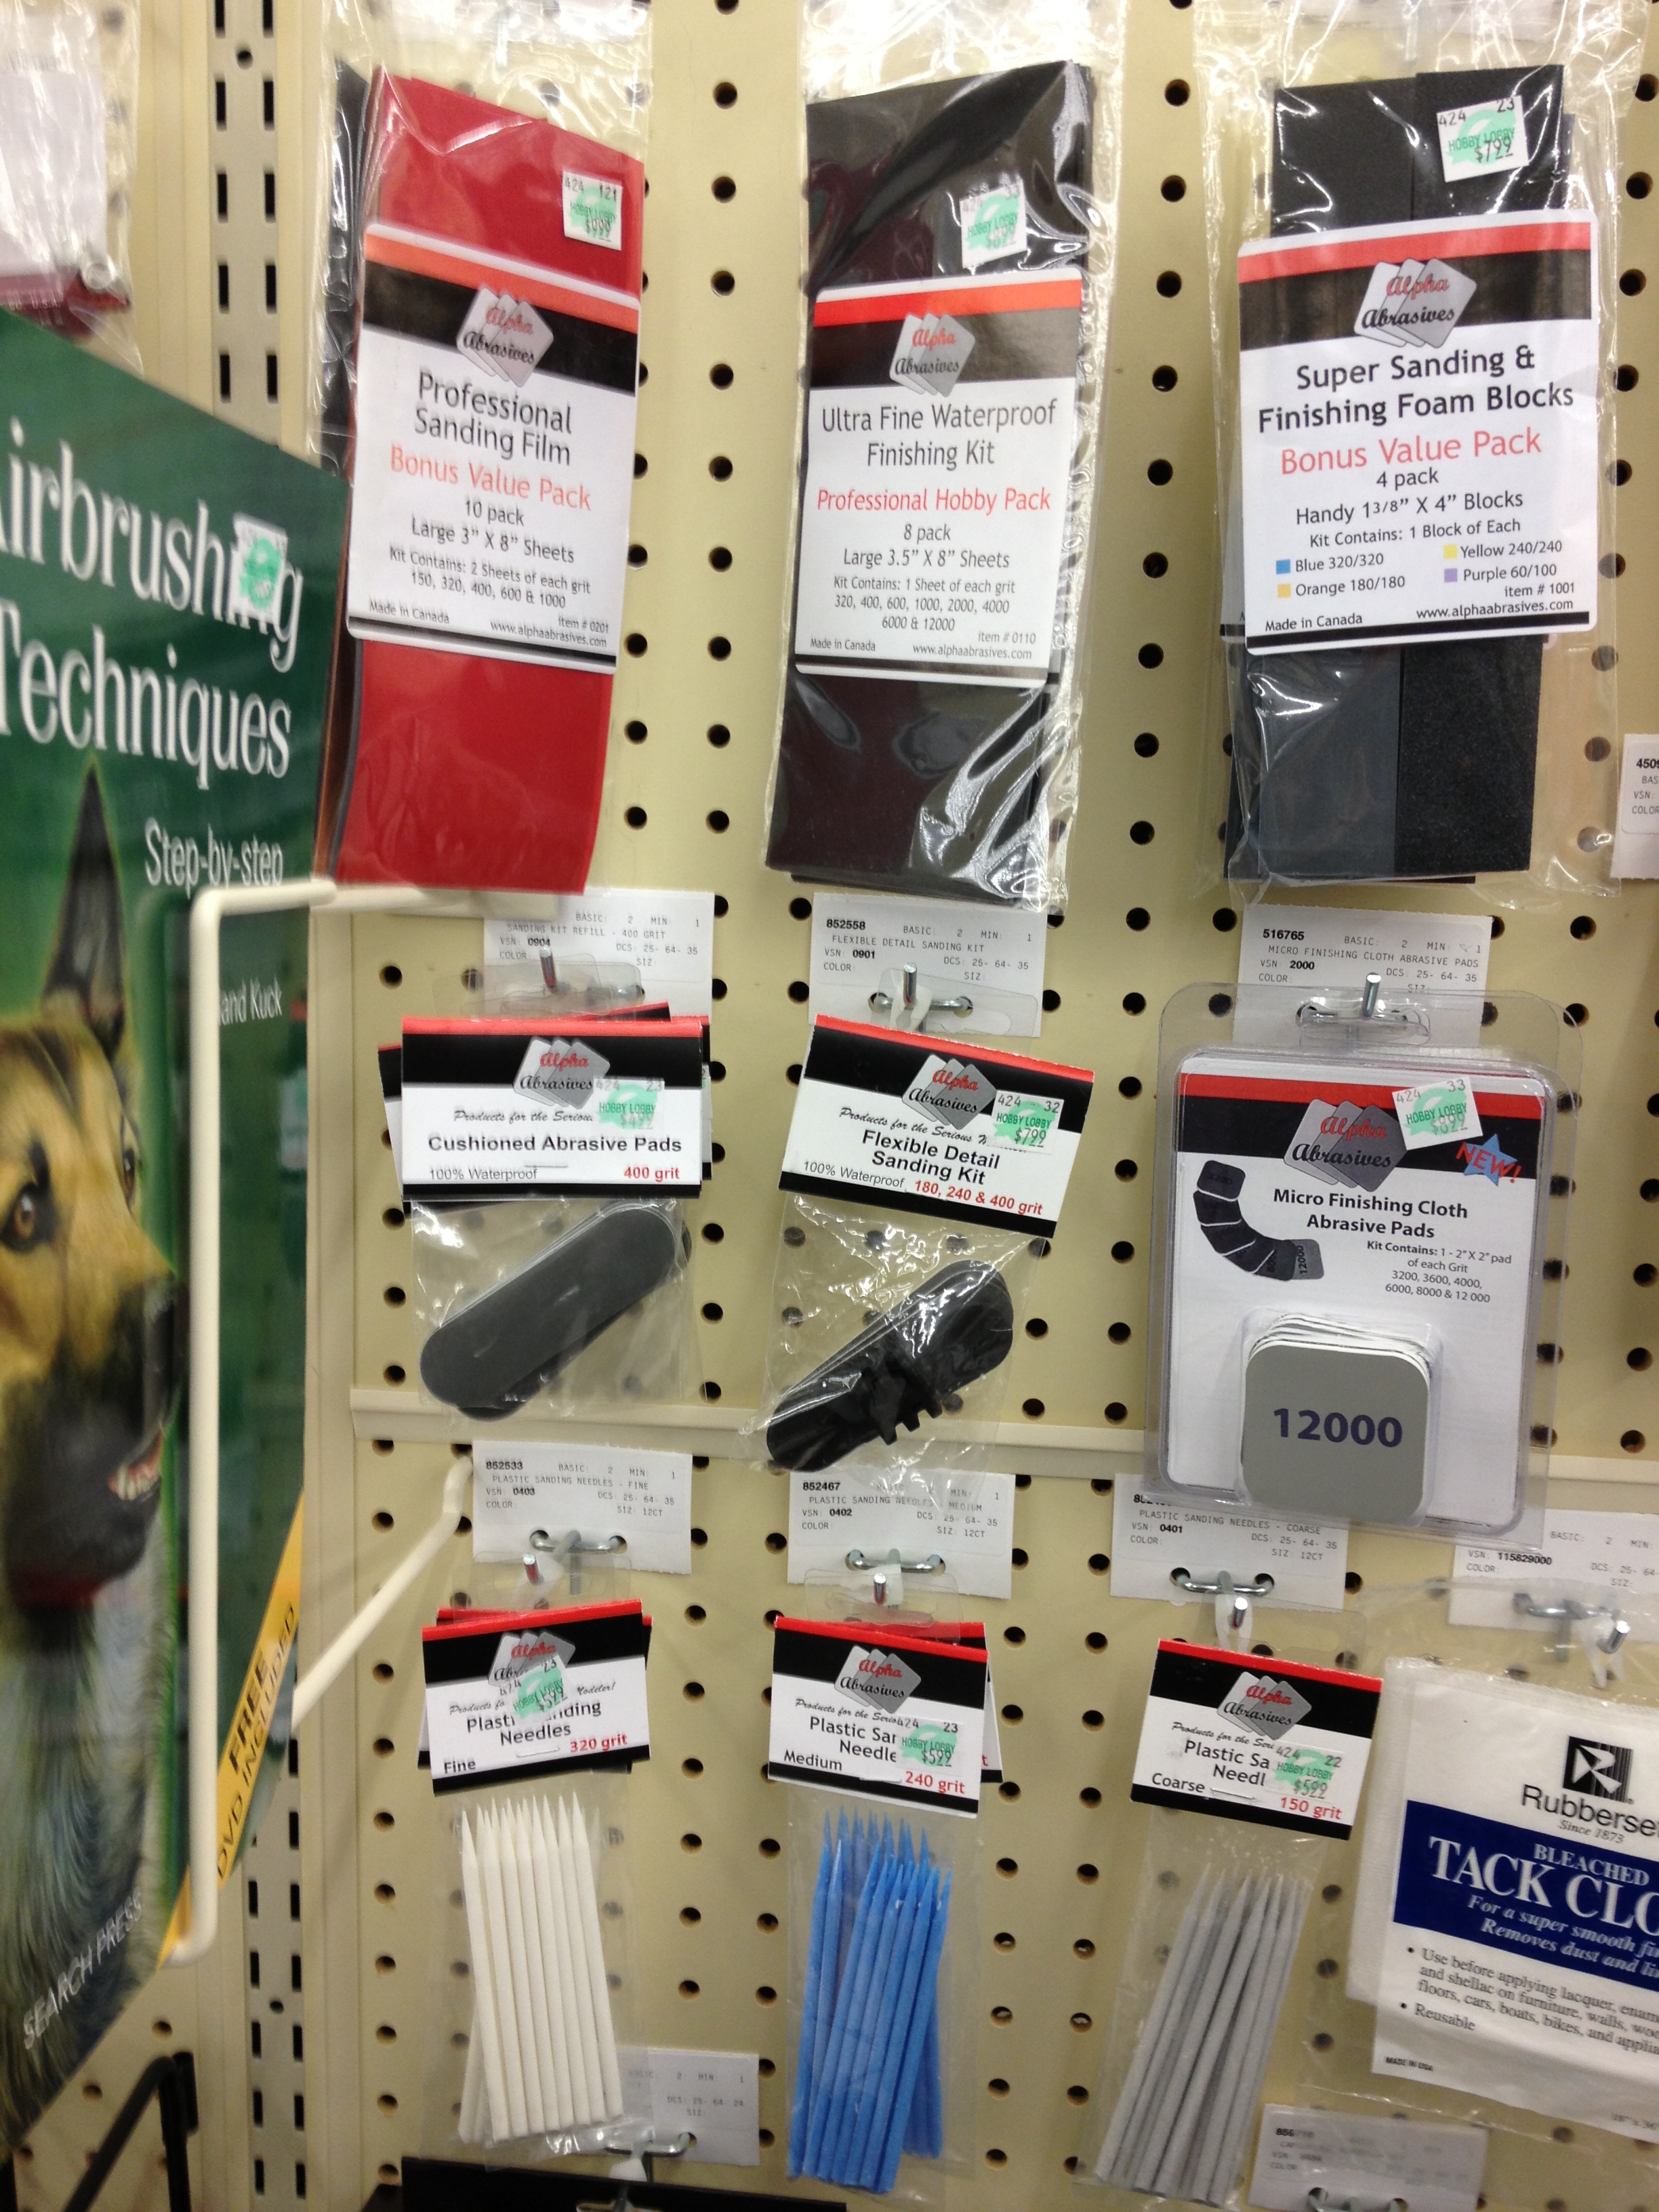
(Photo of the stem at the point I stopped along with the 400 grit pad I used and the packaging it cam in. By the way,  my local Hobby Lobby has begun to carry a rather large line of Micro Mesh and Alpha Abrasives products. The prices are competitive and the selection good so if you have a local Hobby Lobby it would be worth your while to see if they are carrying these items in your area, too.)

New Selection of Micro Abrasives at Hobby Lobby

Israeli Made Bent Ball Repaired and Refurbished


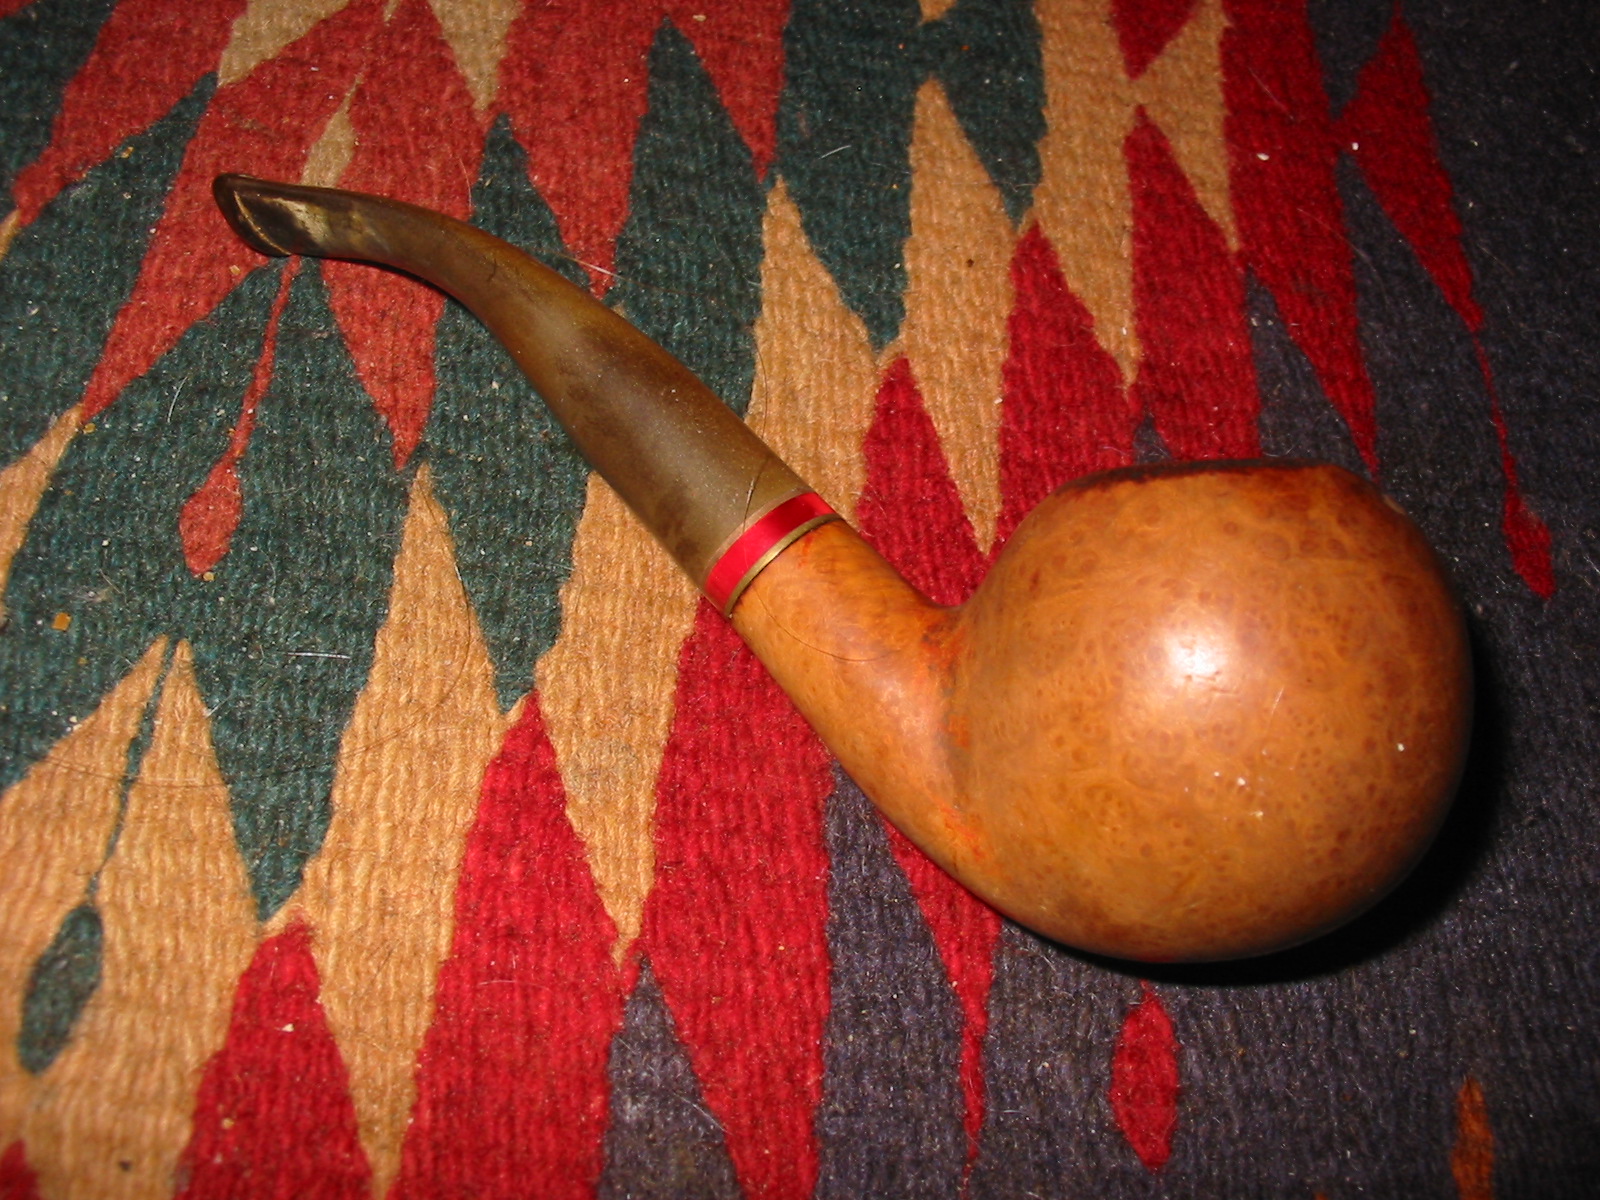
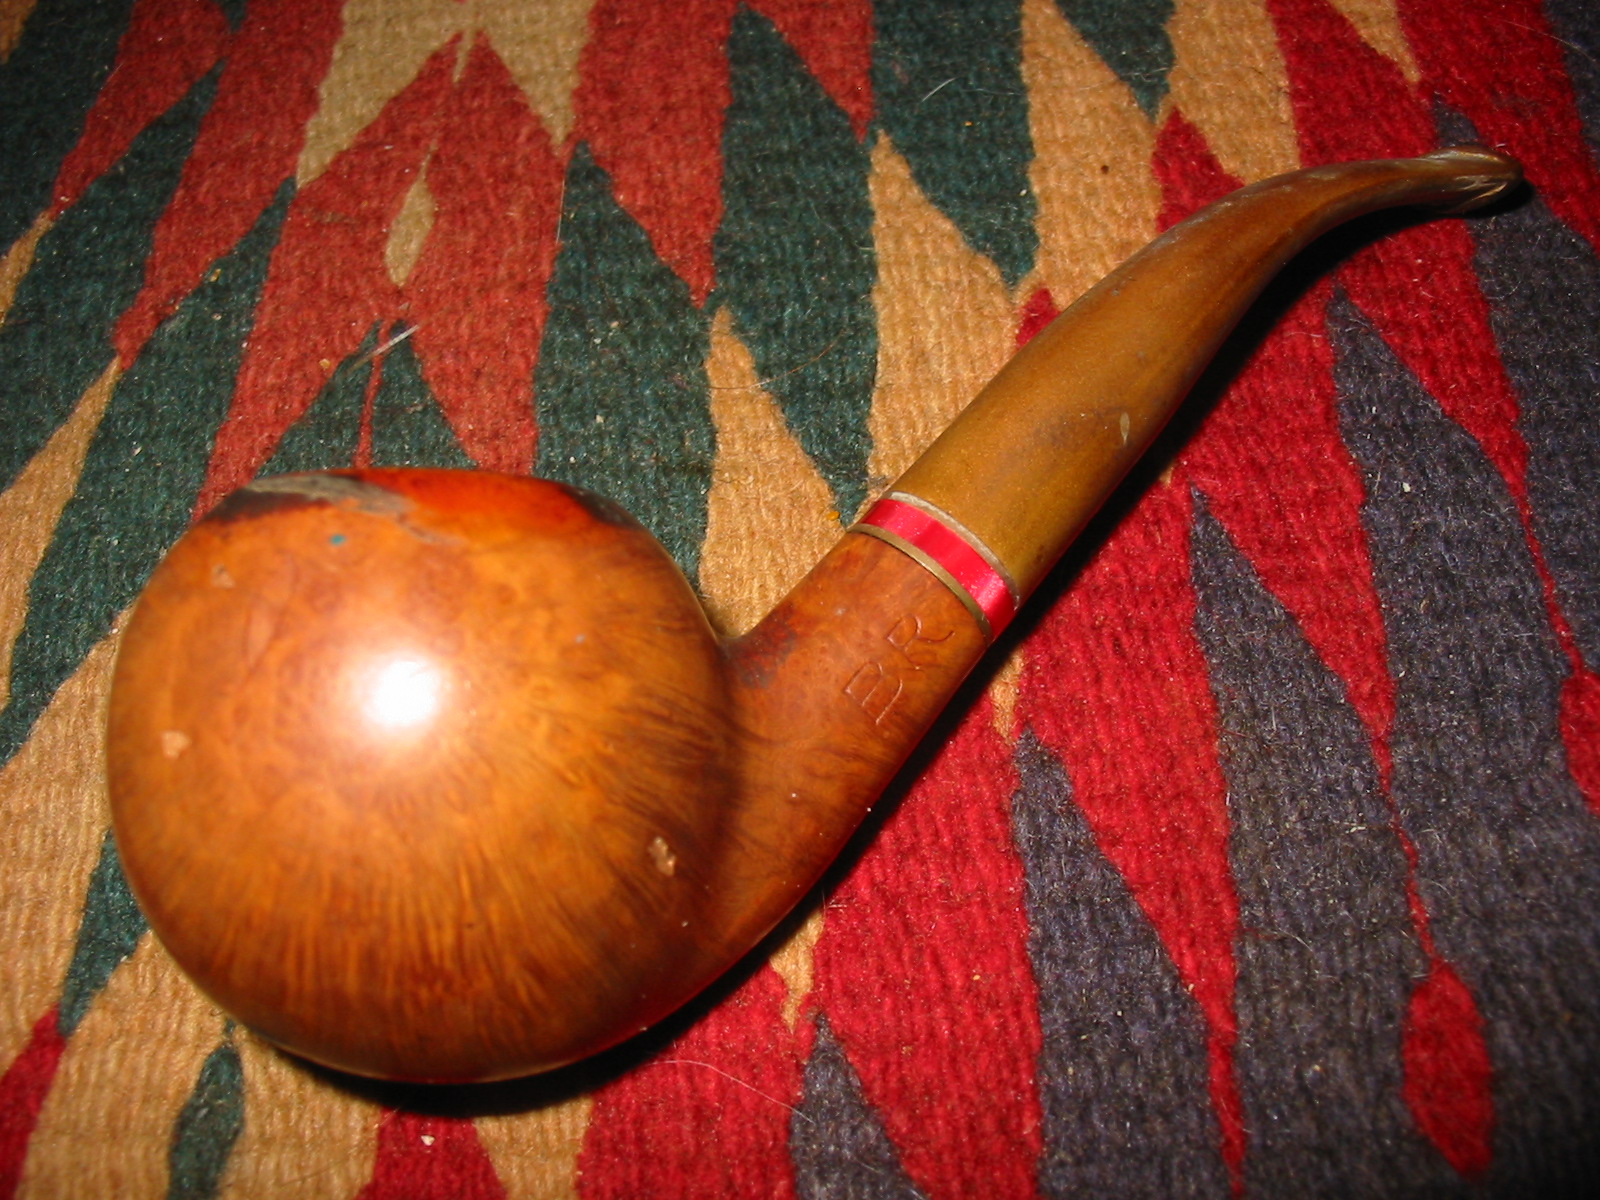
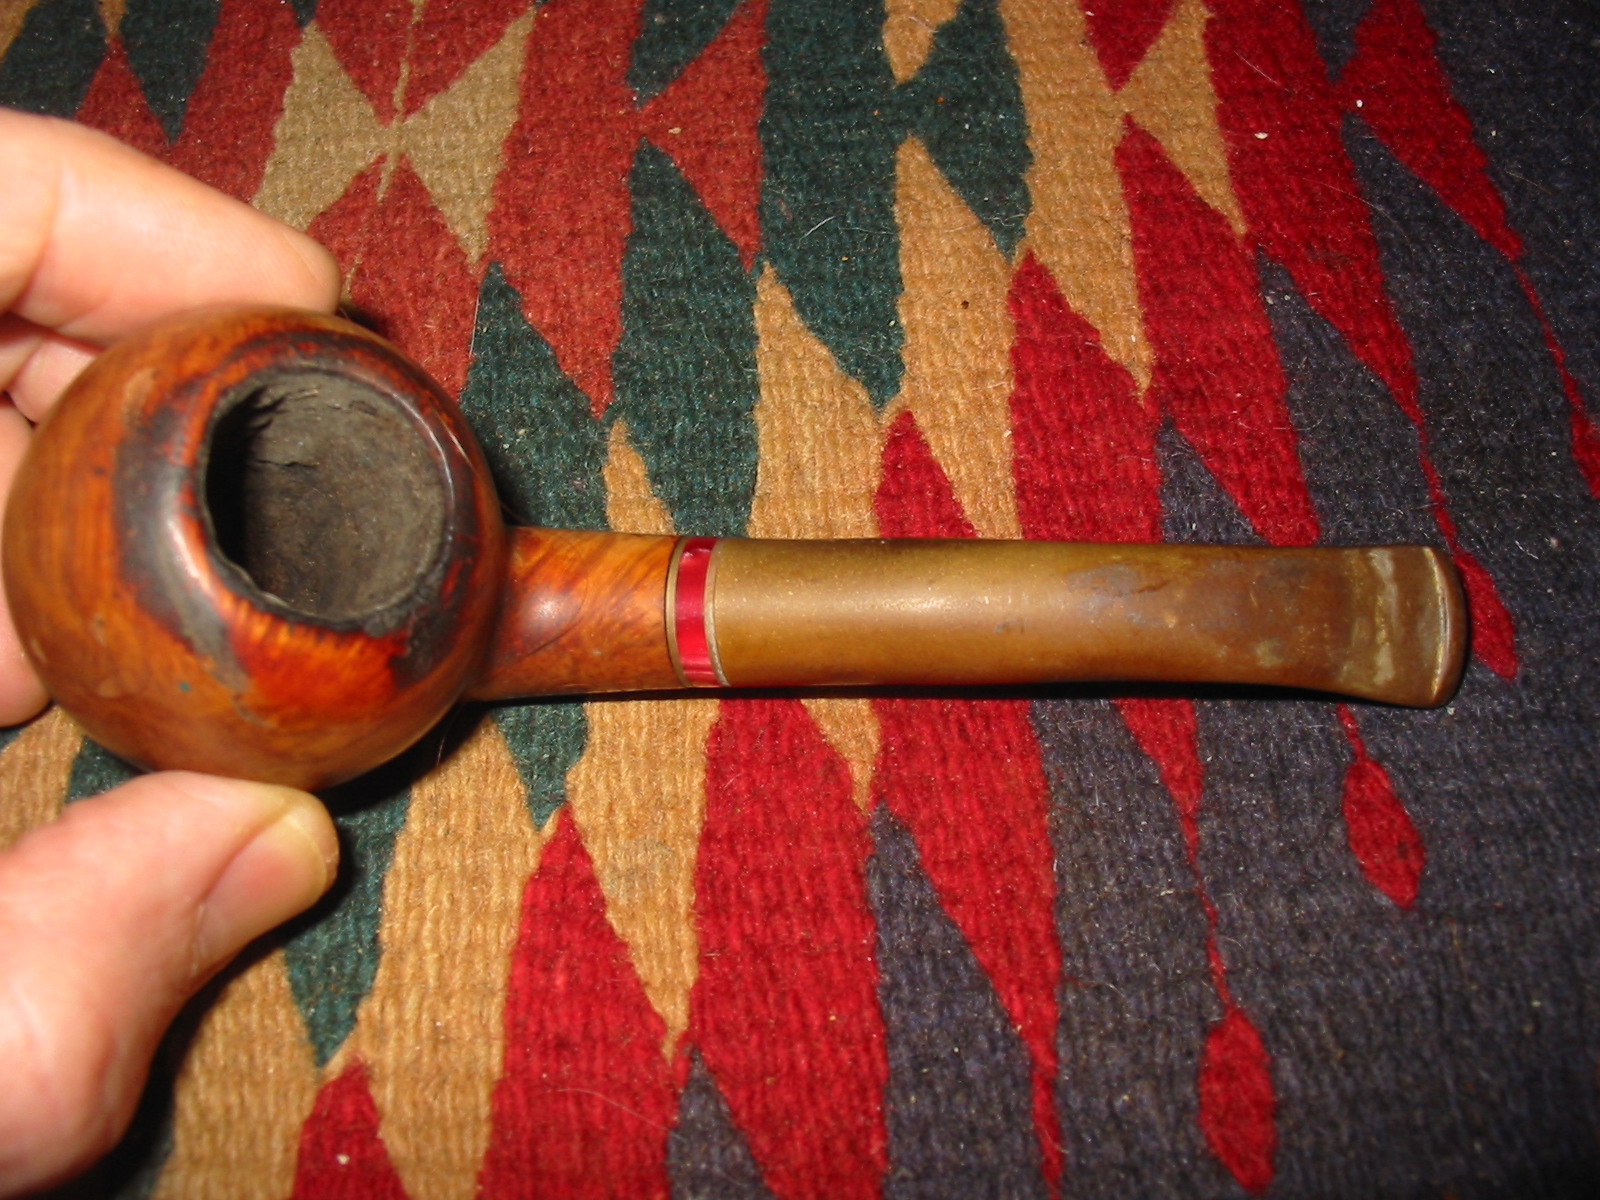
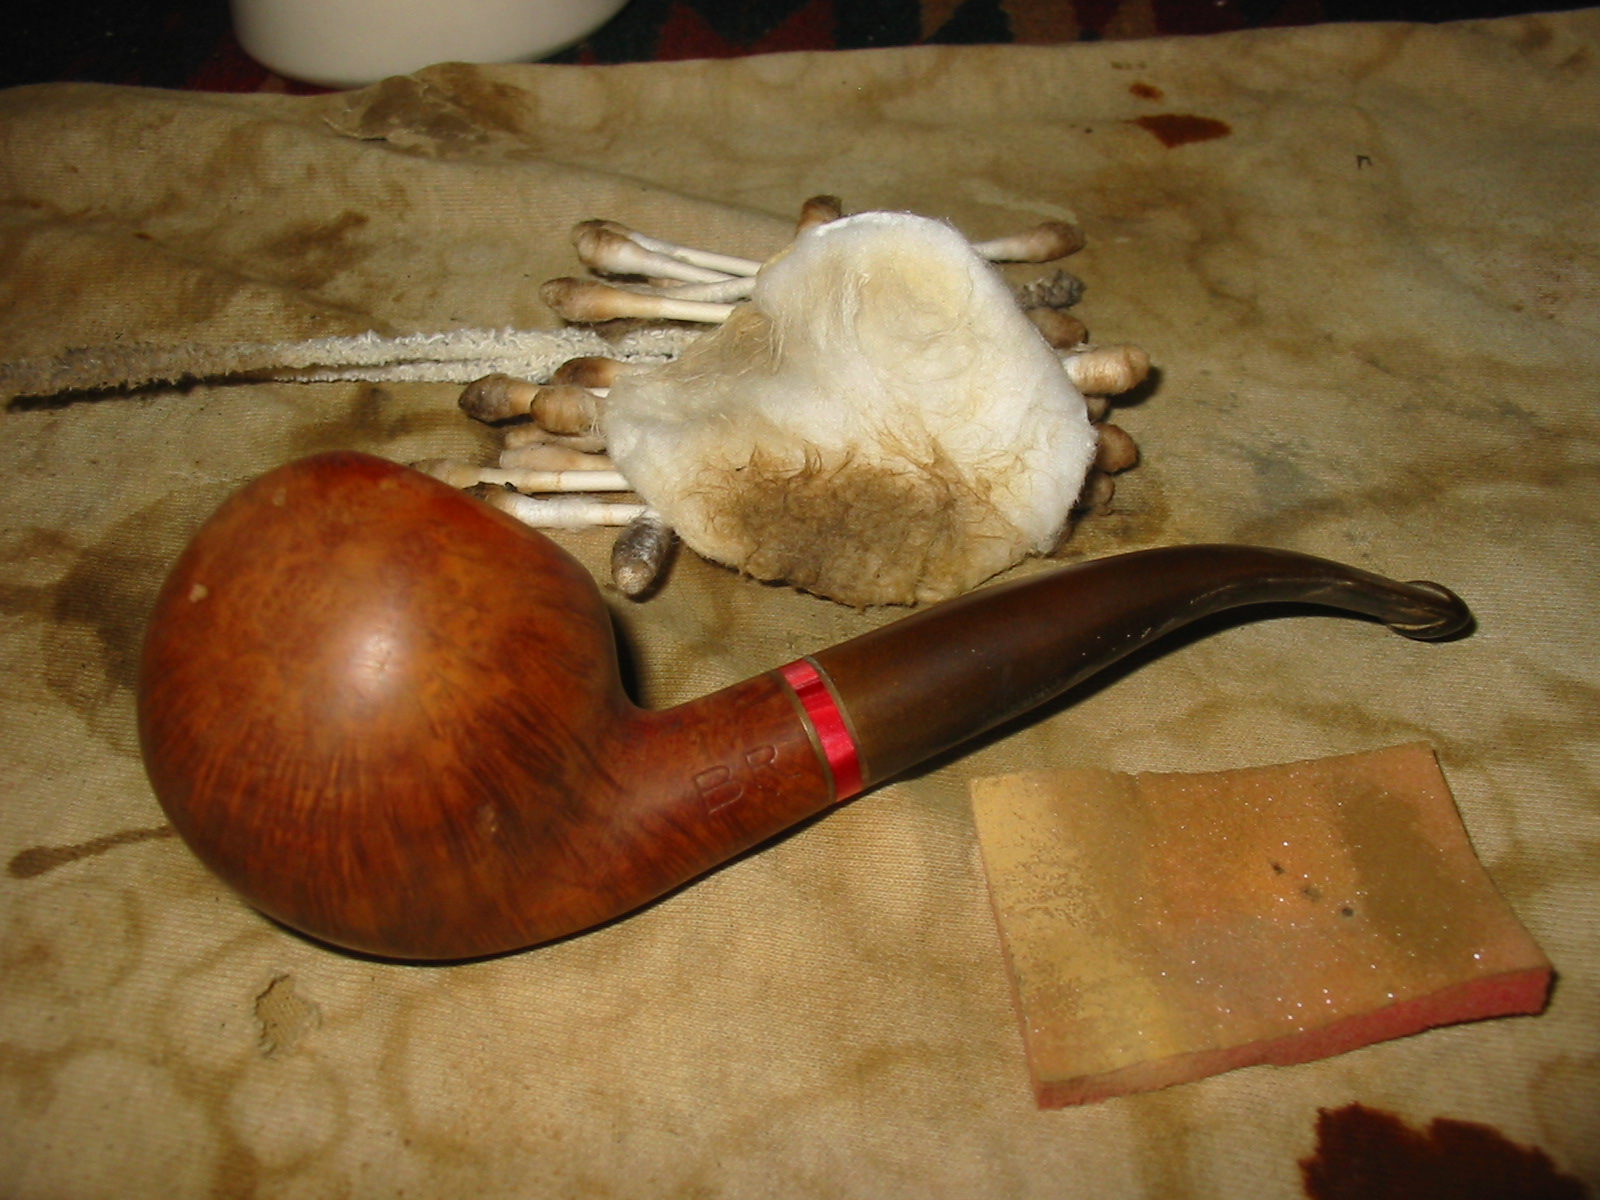
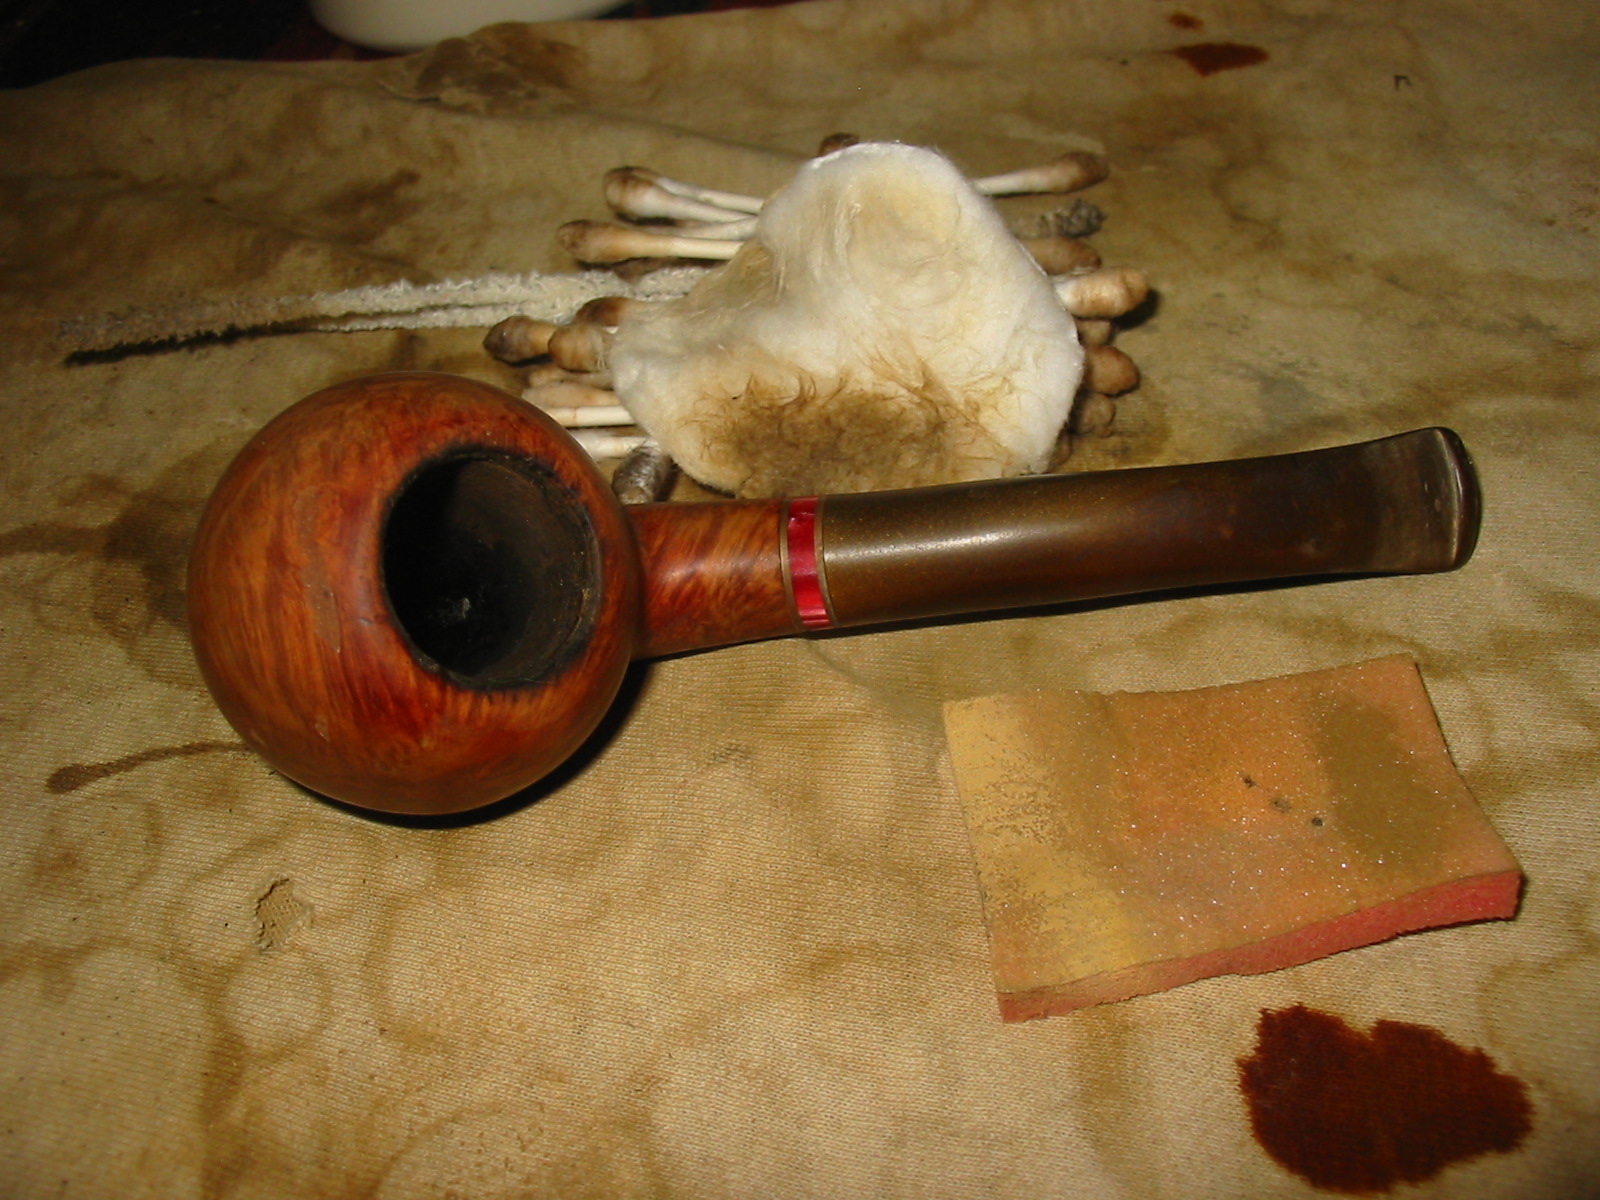
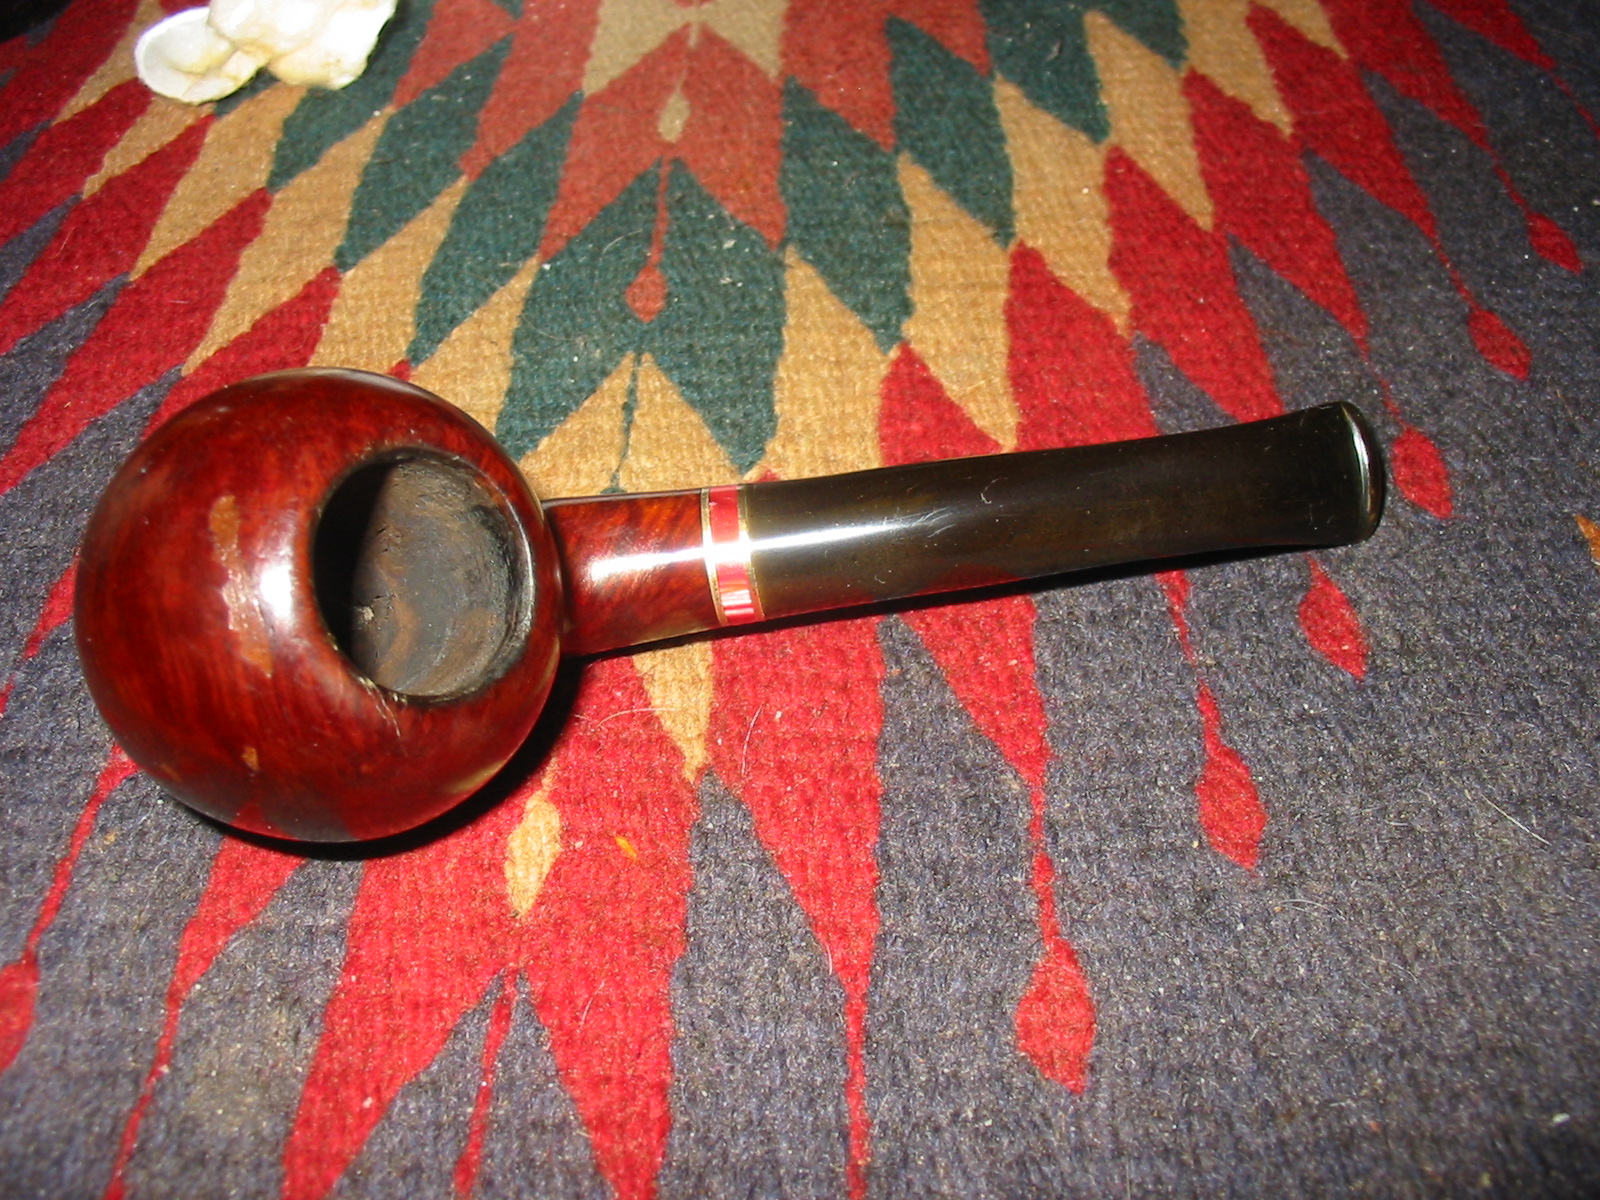
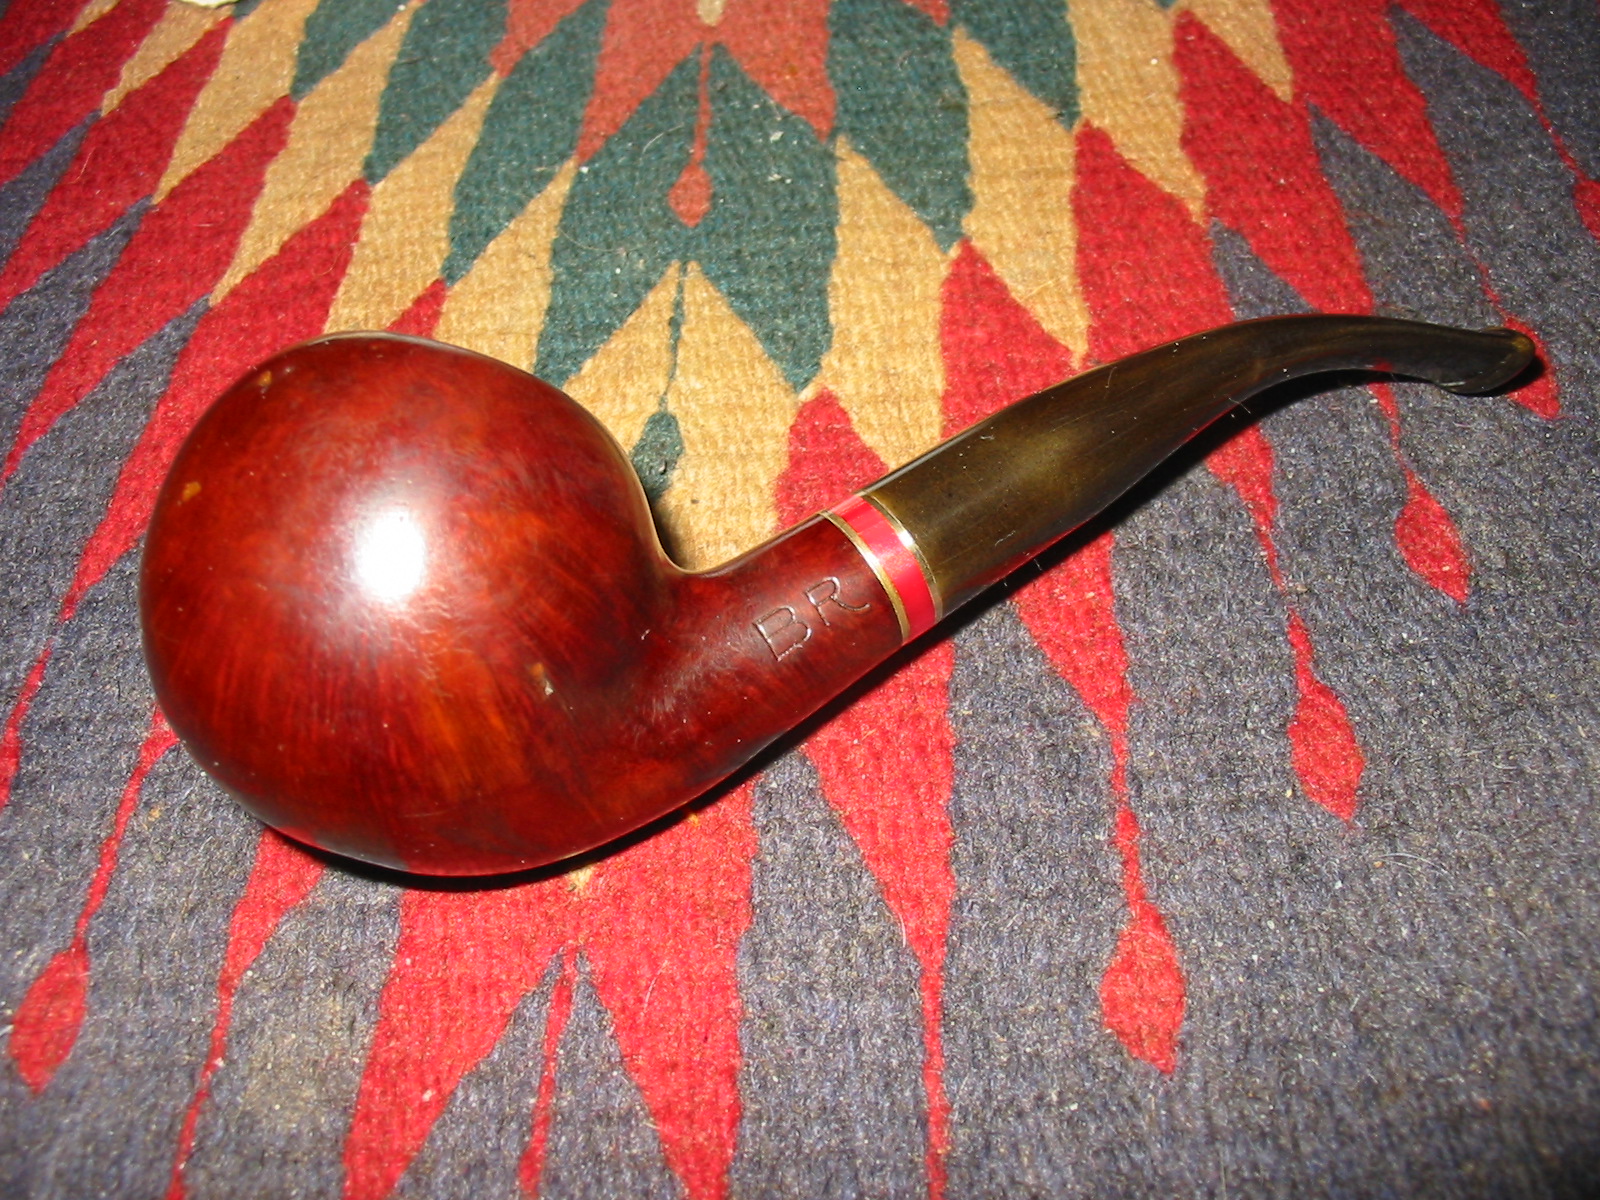
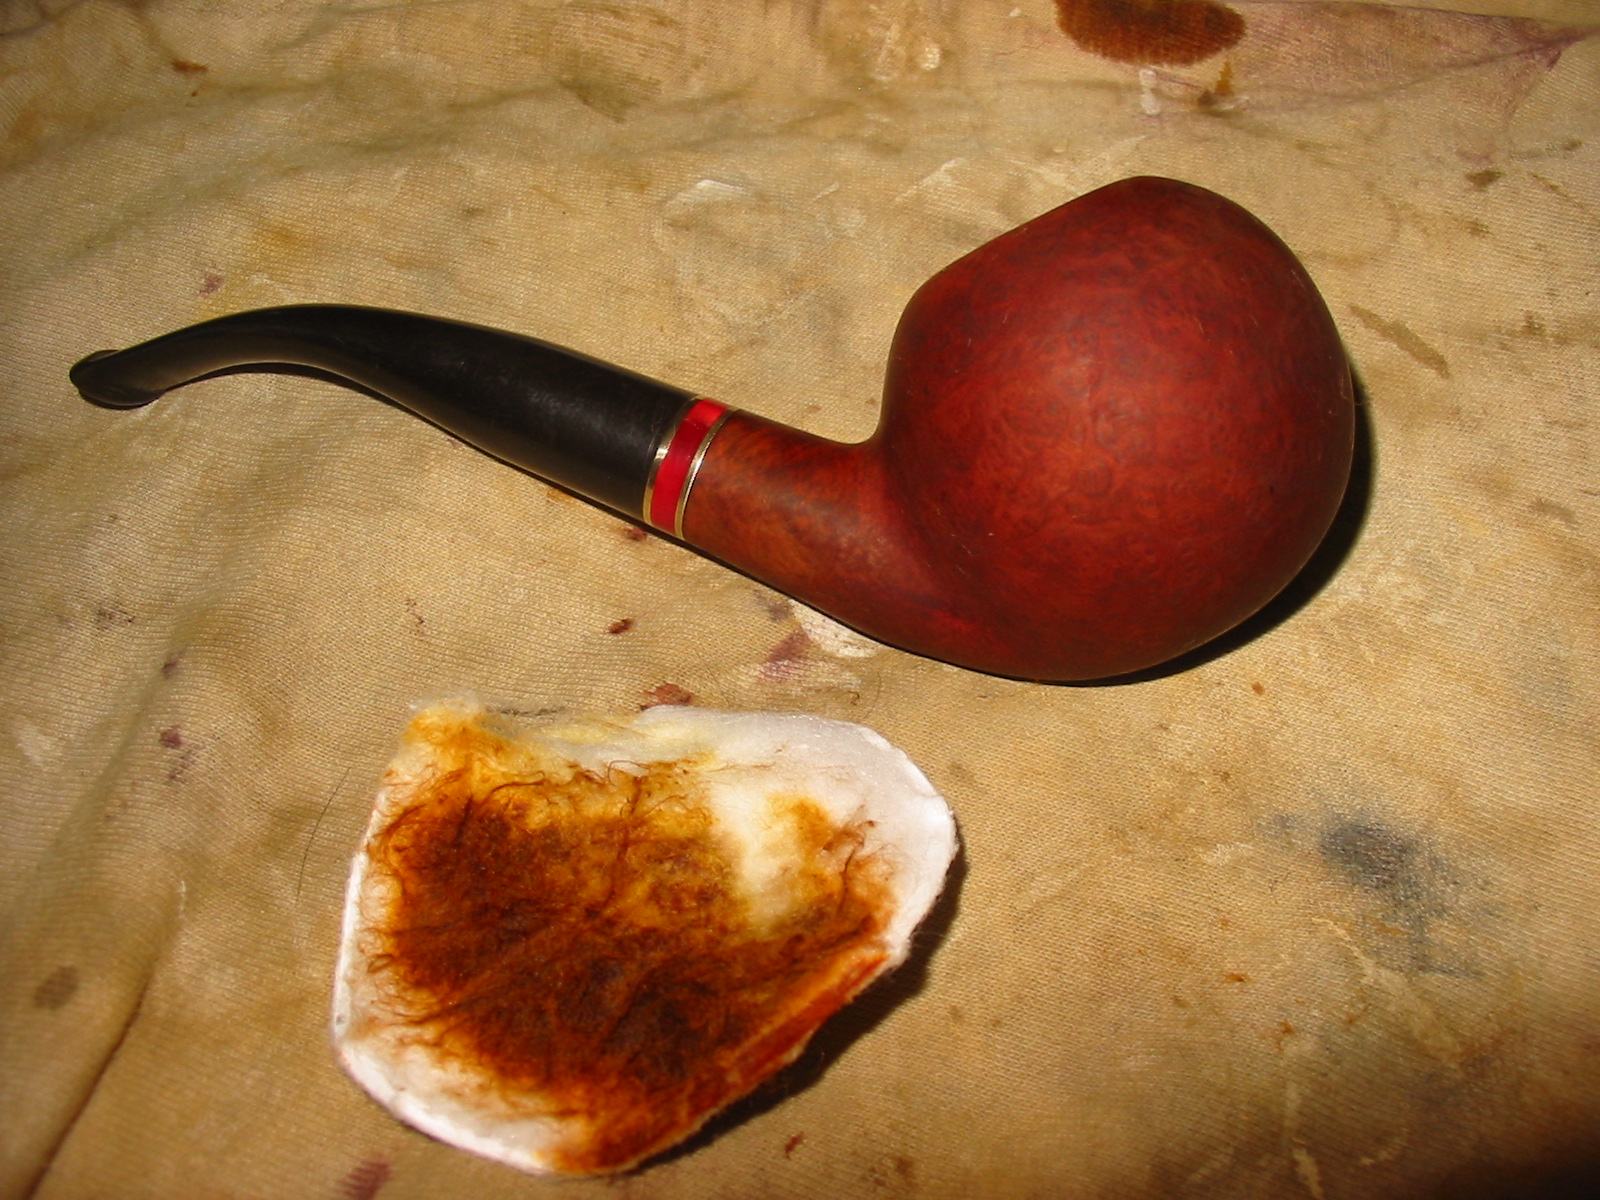
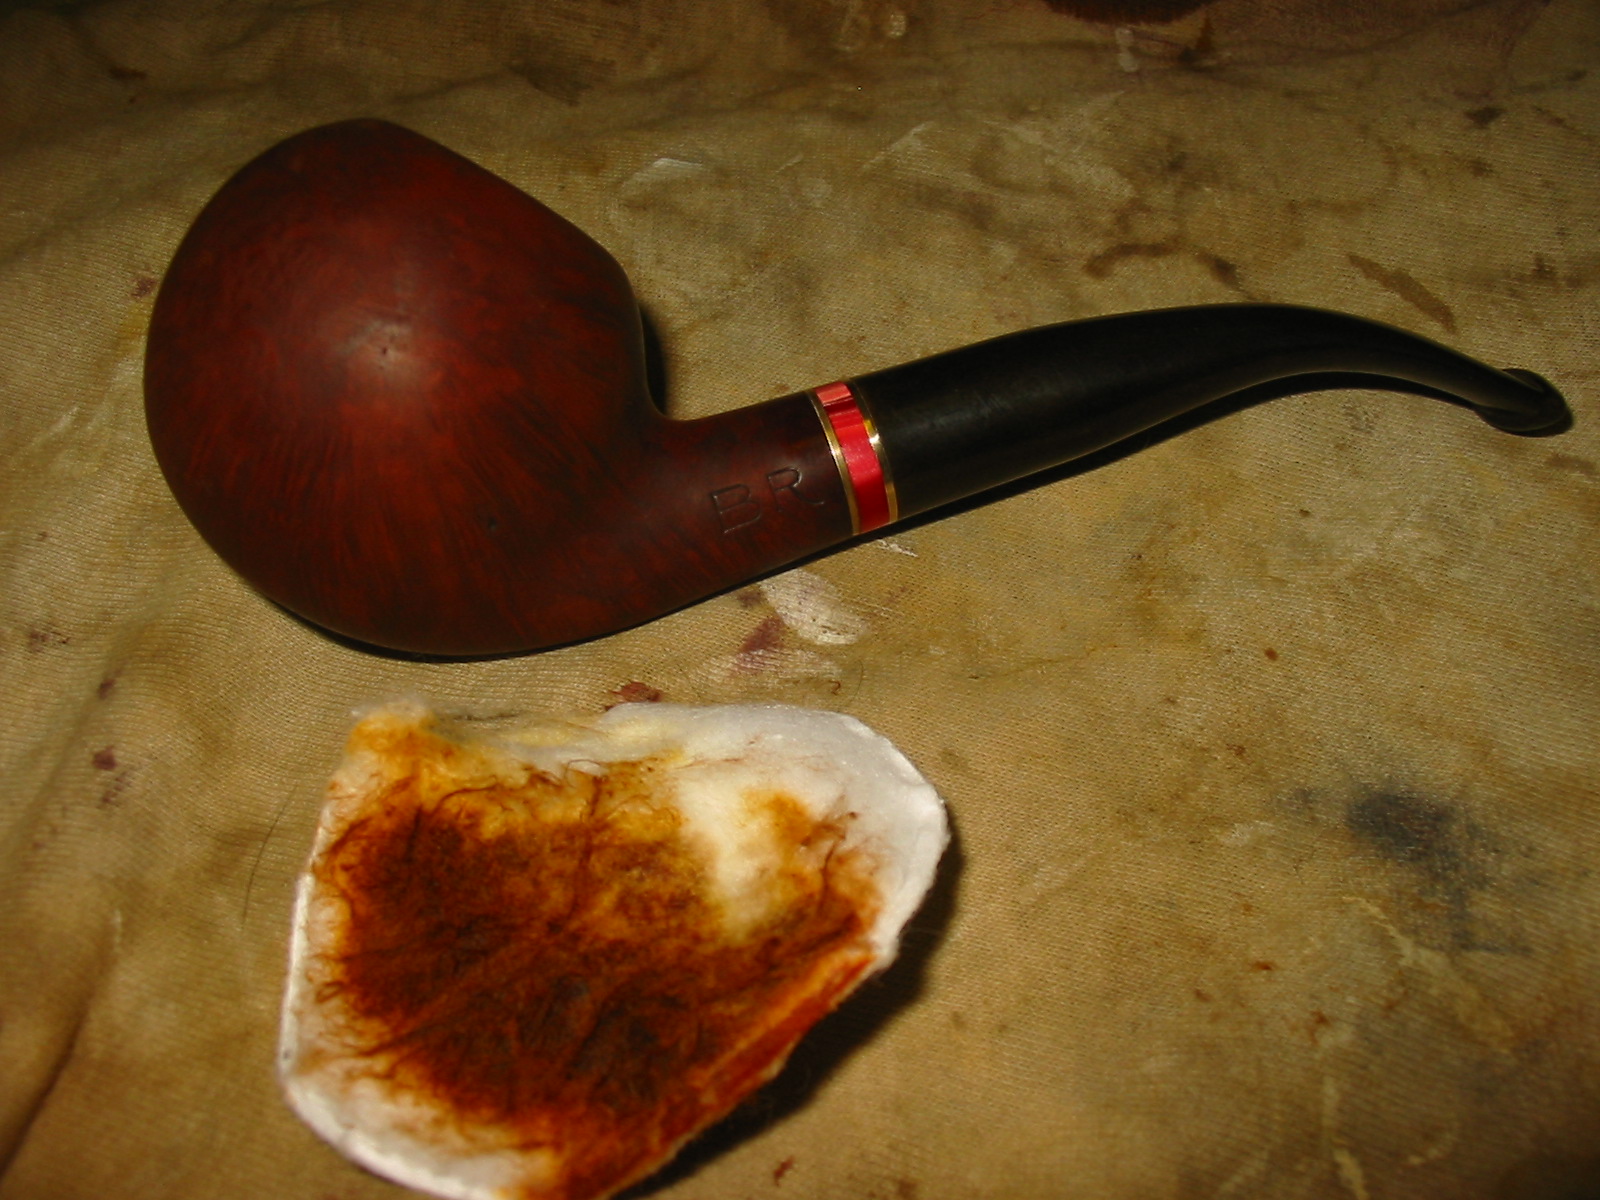
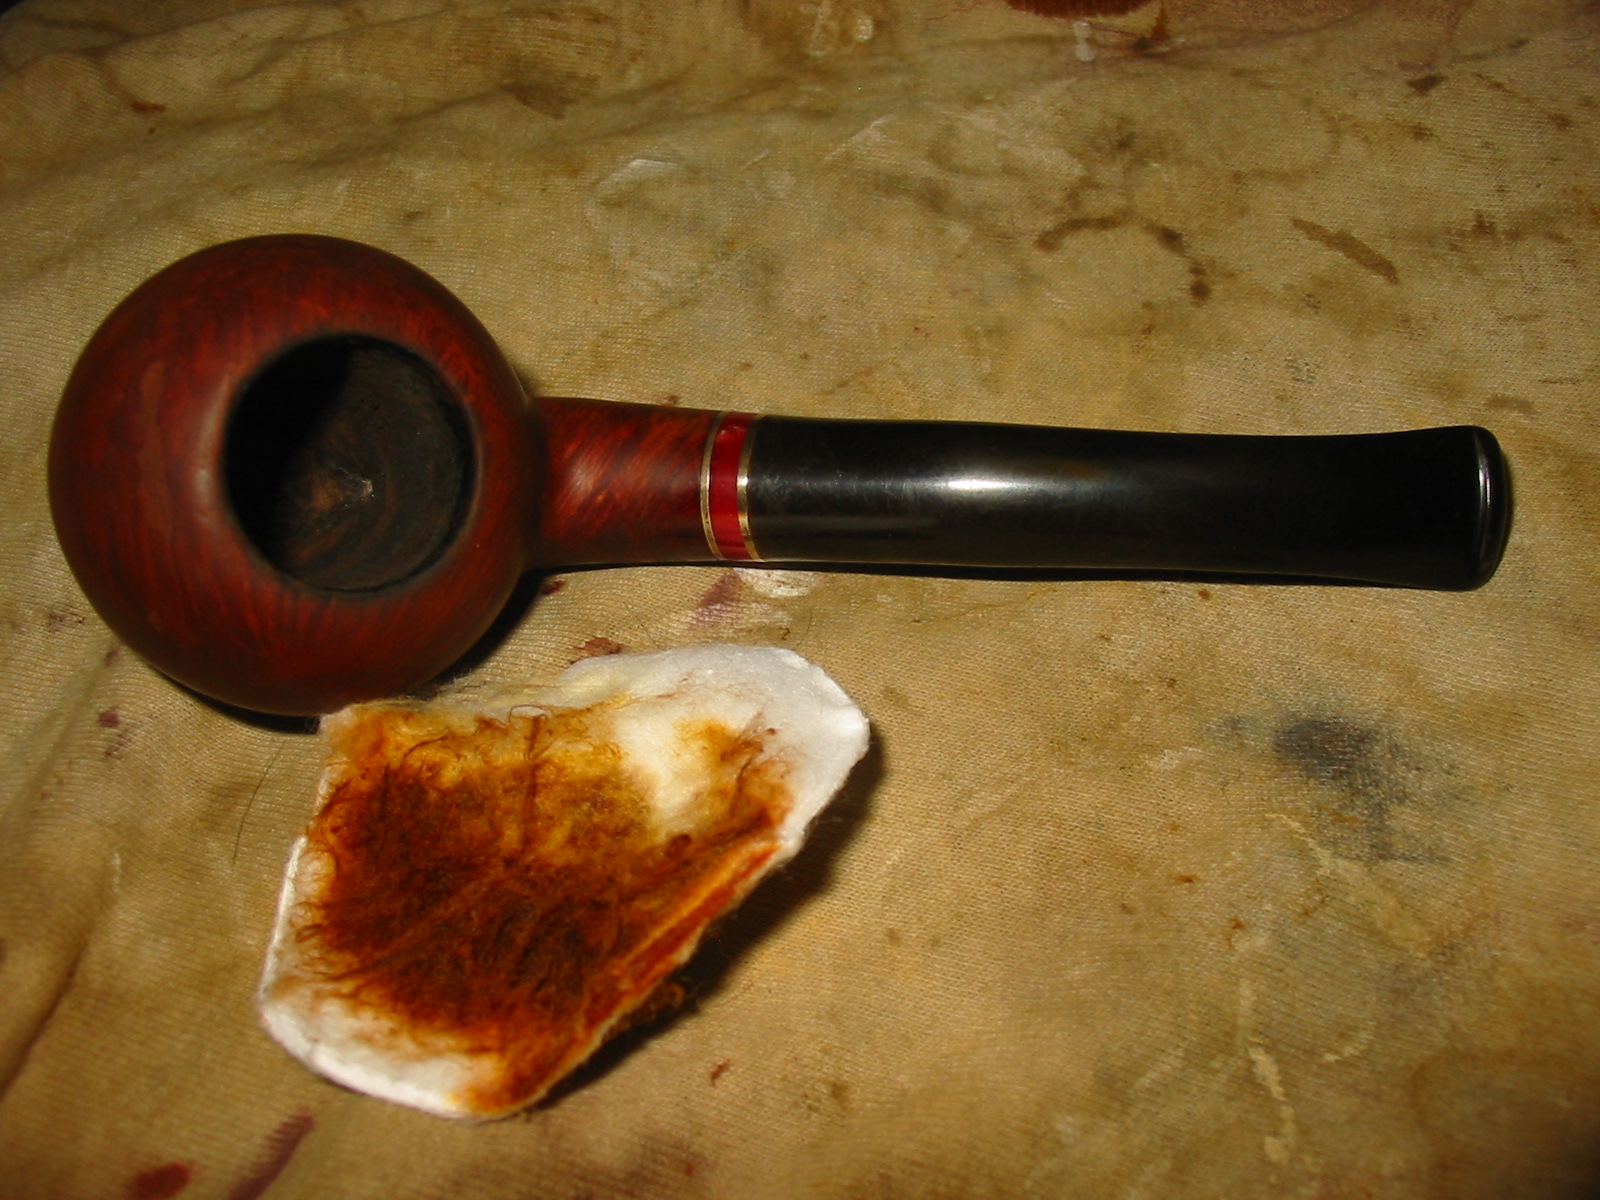
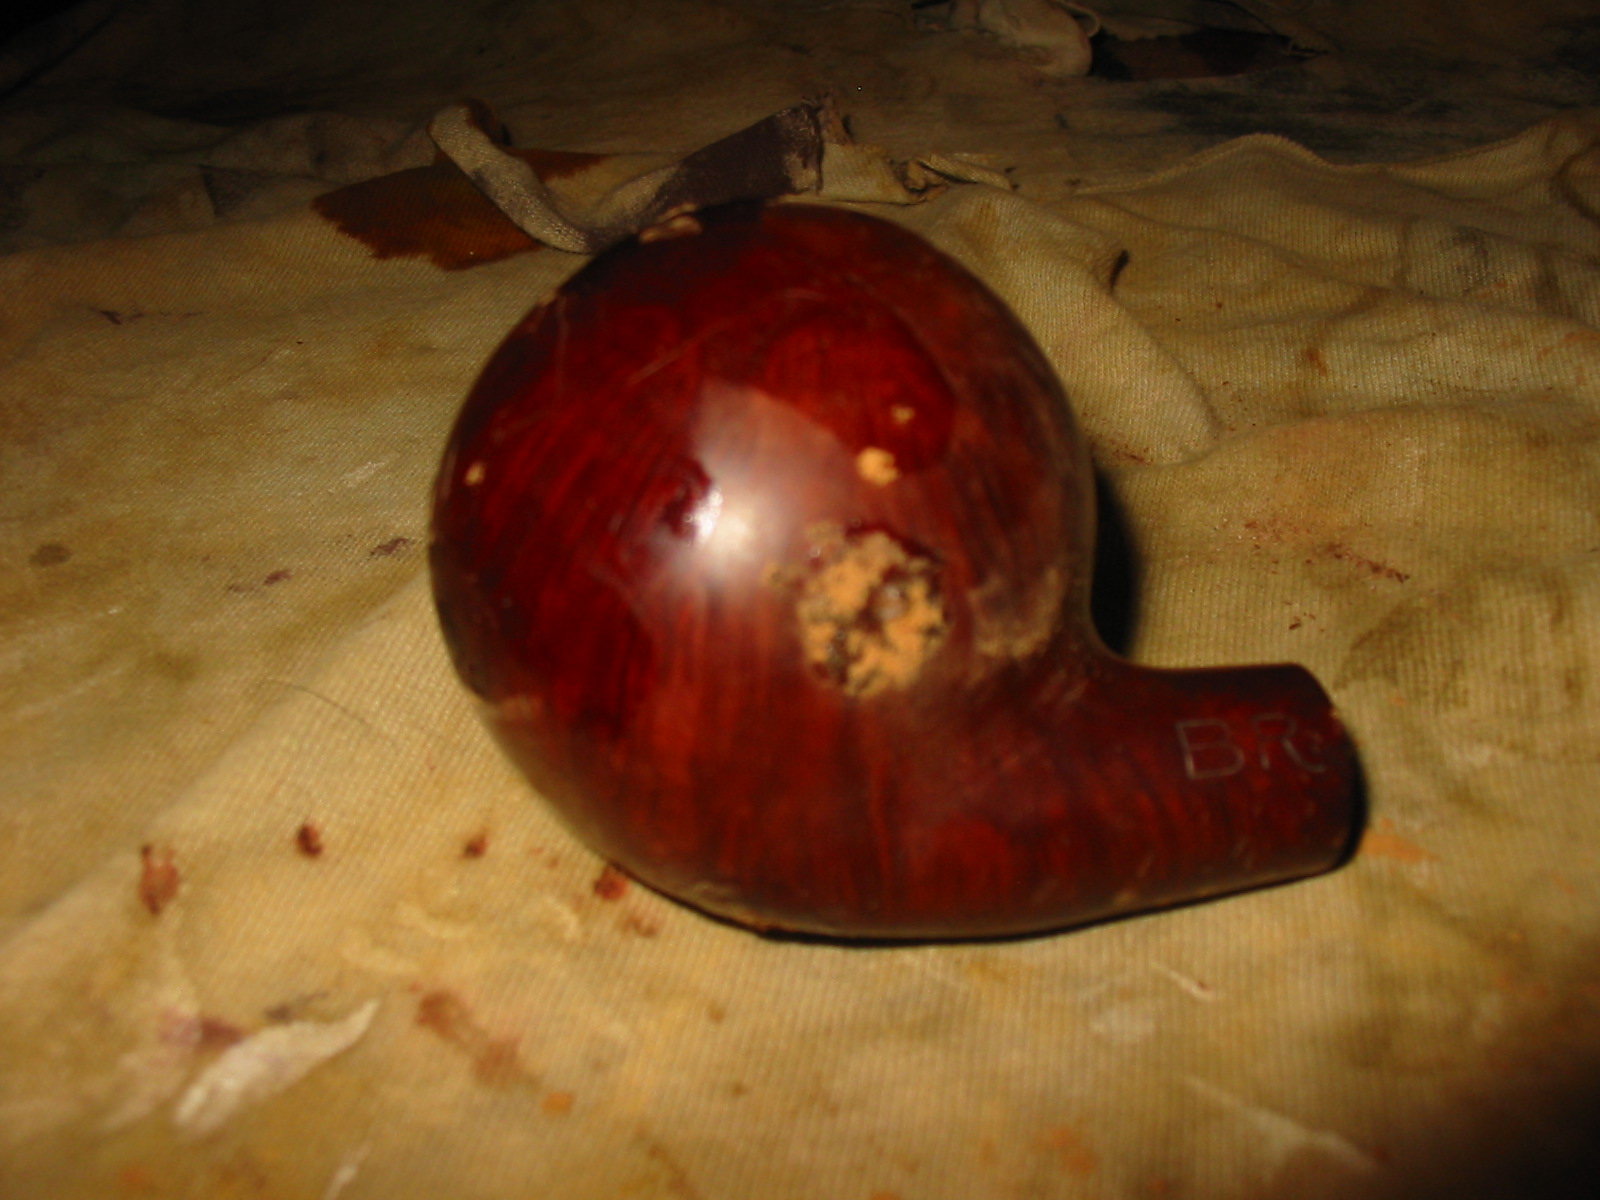
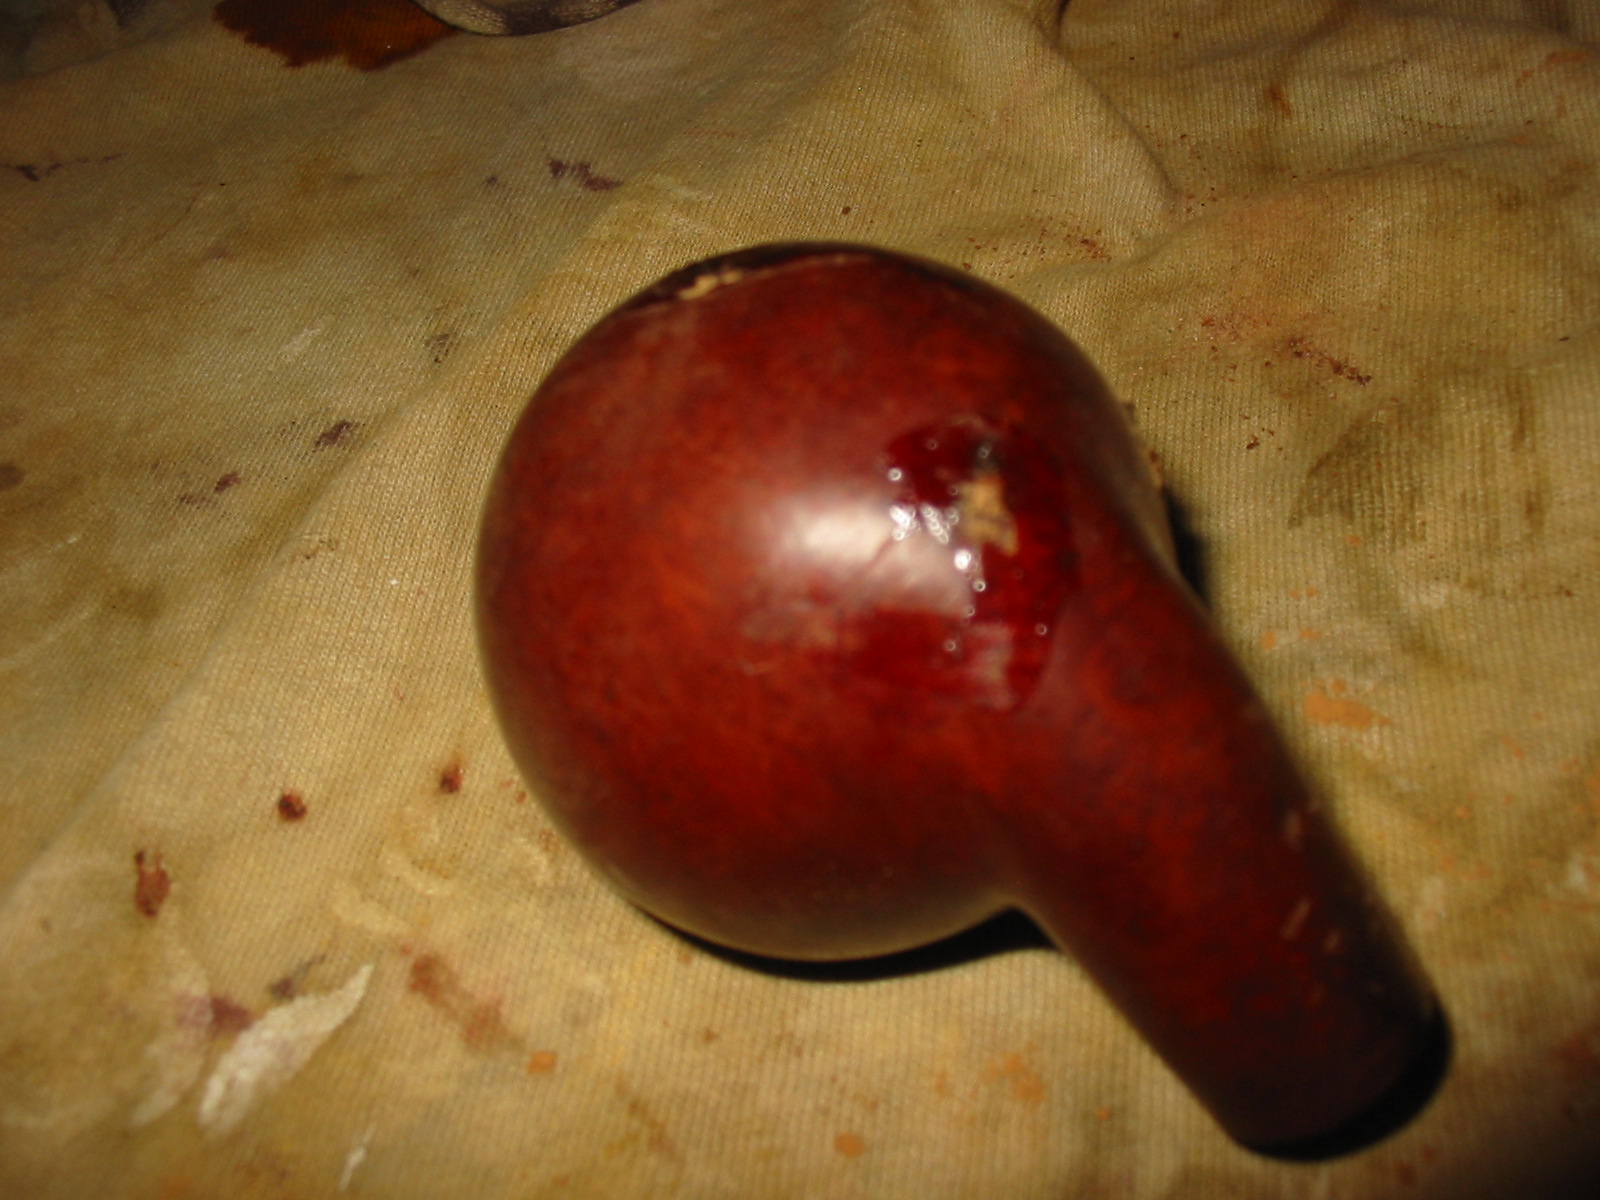
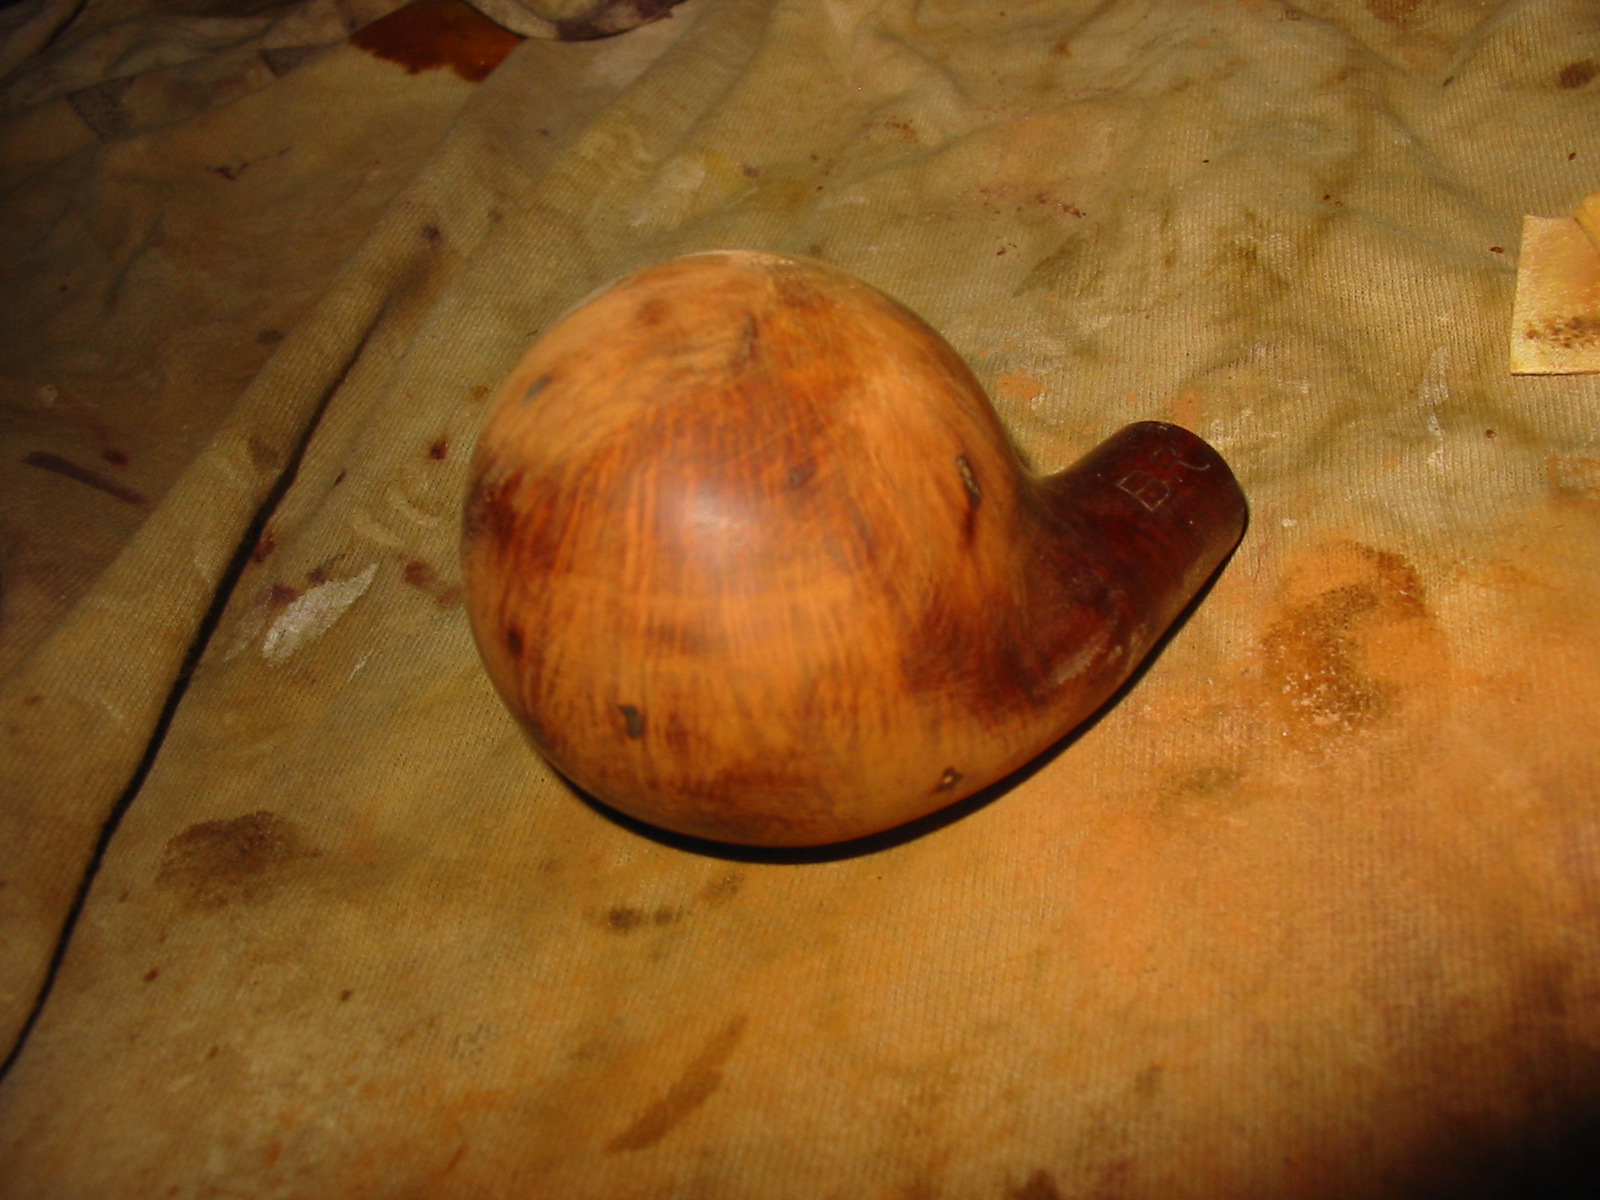
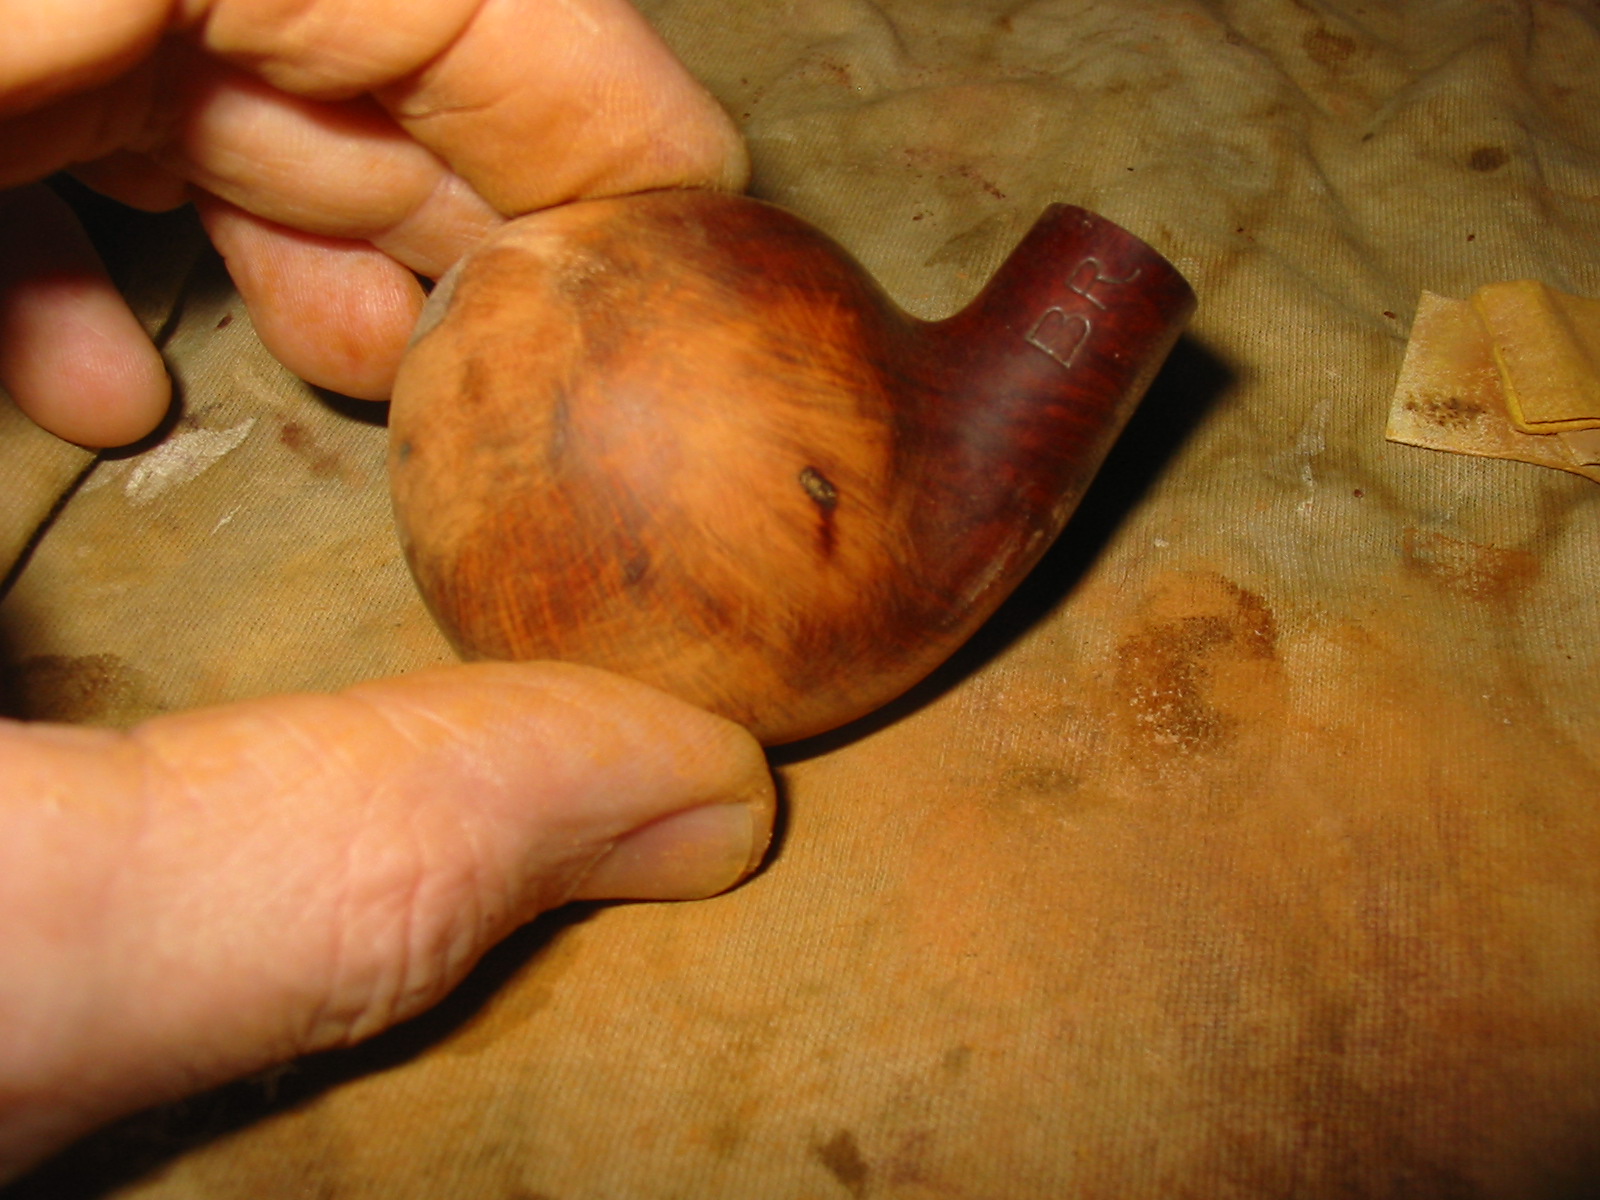
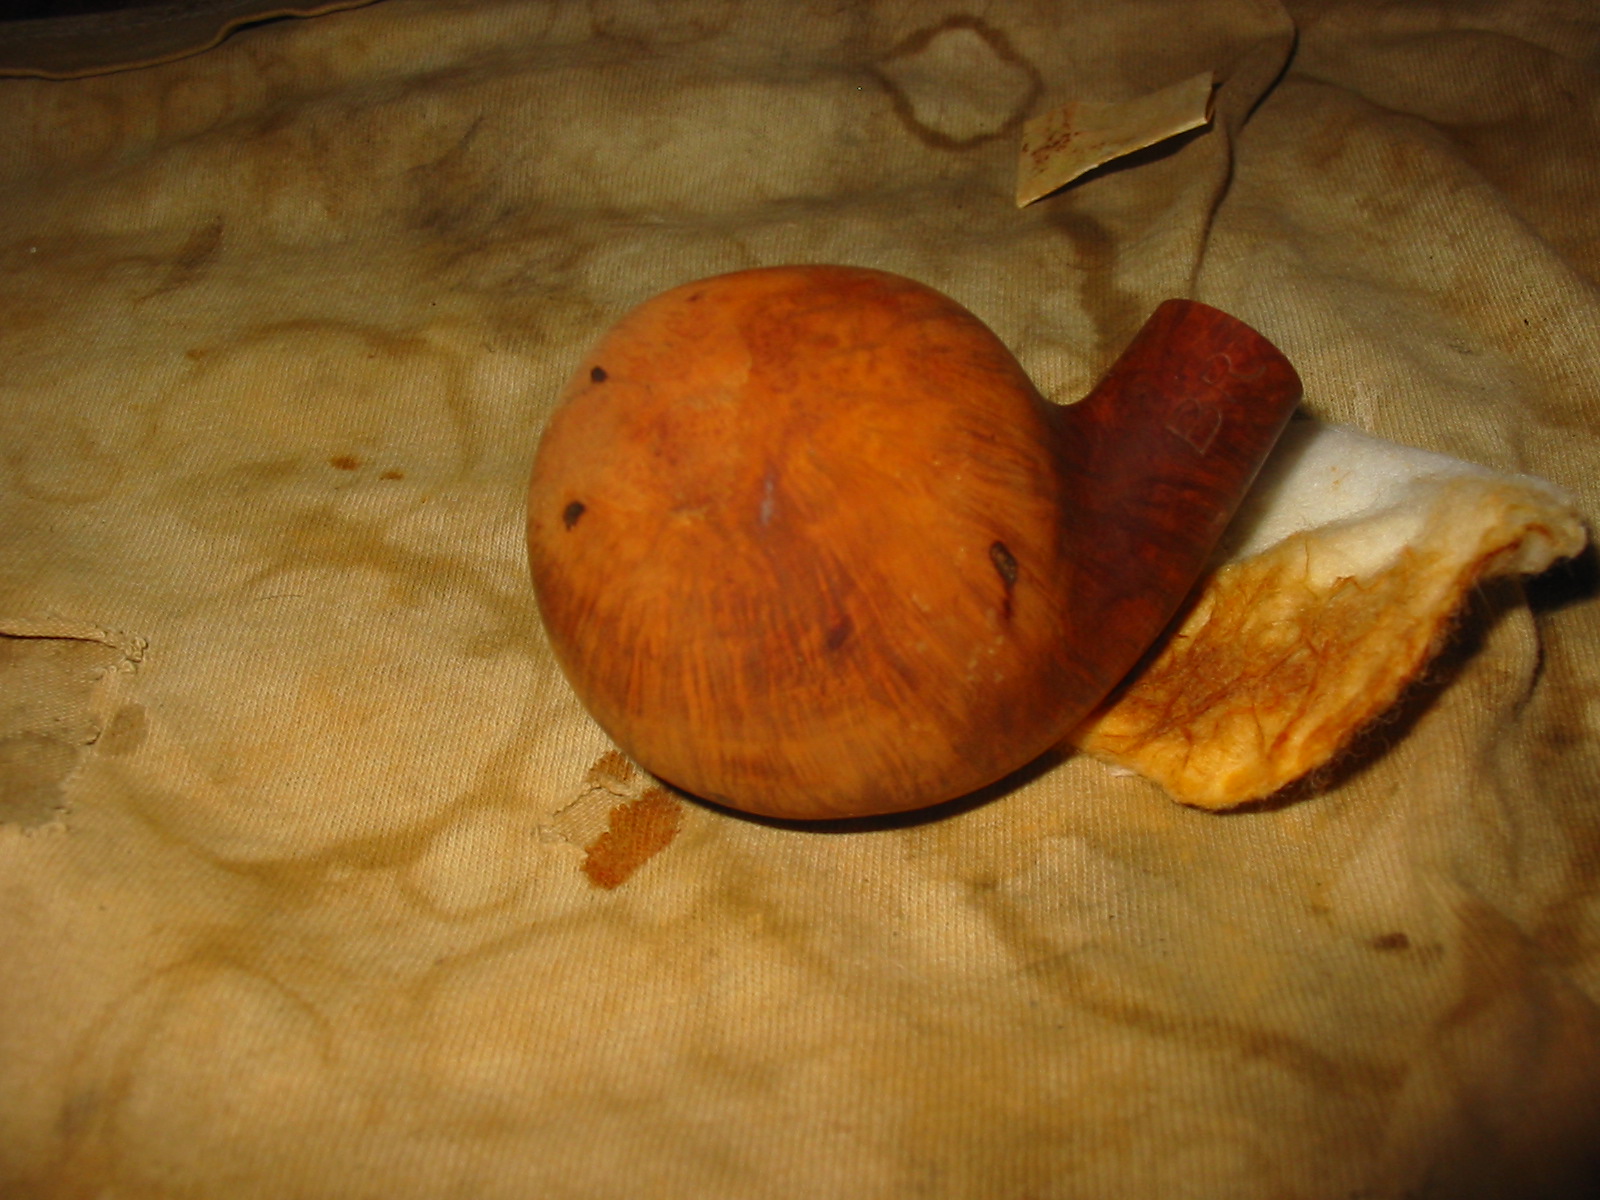
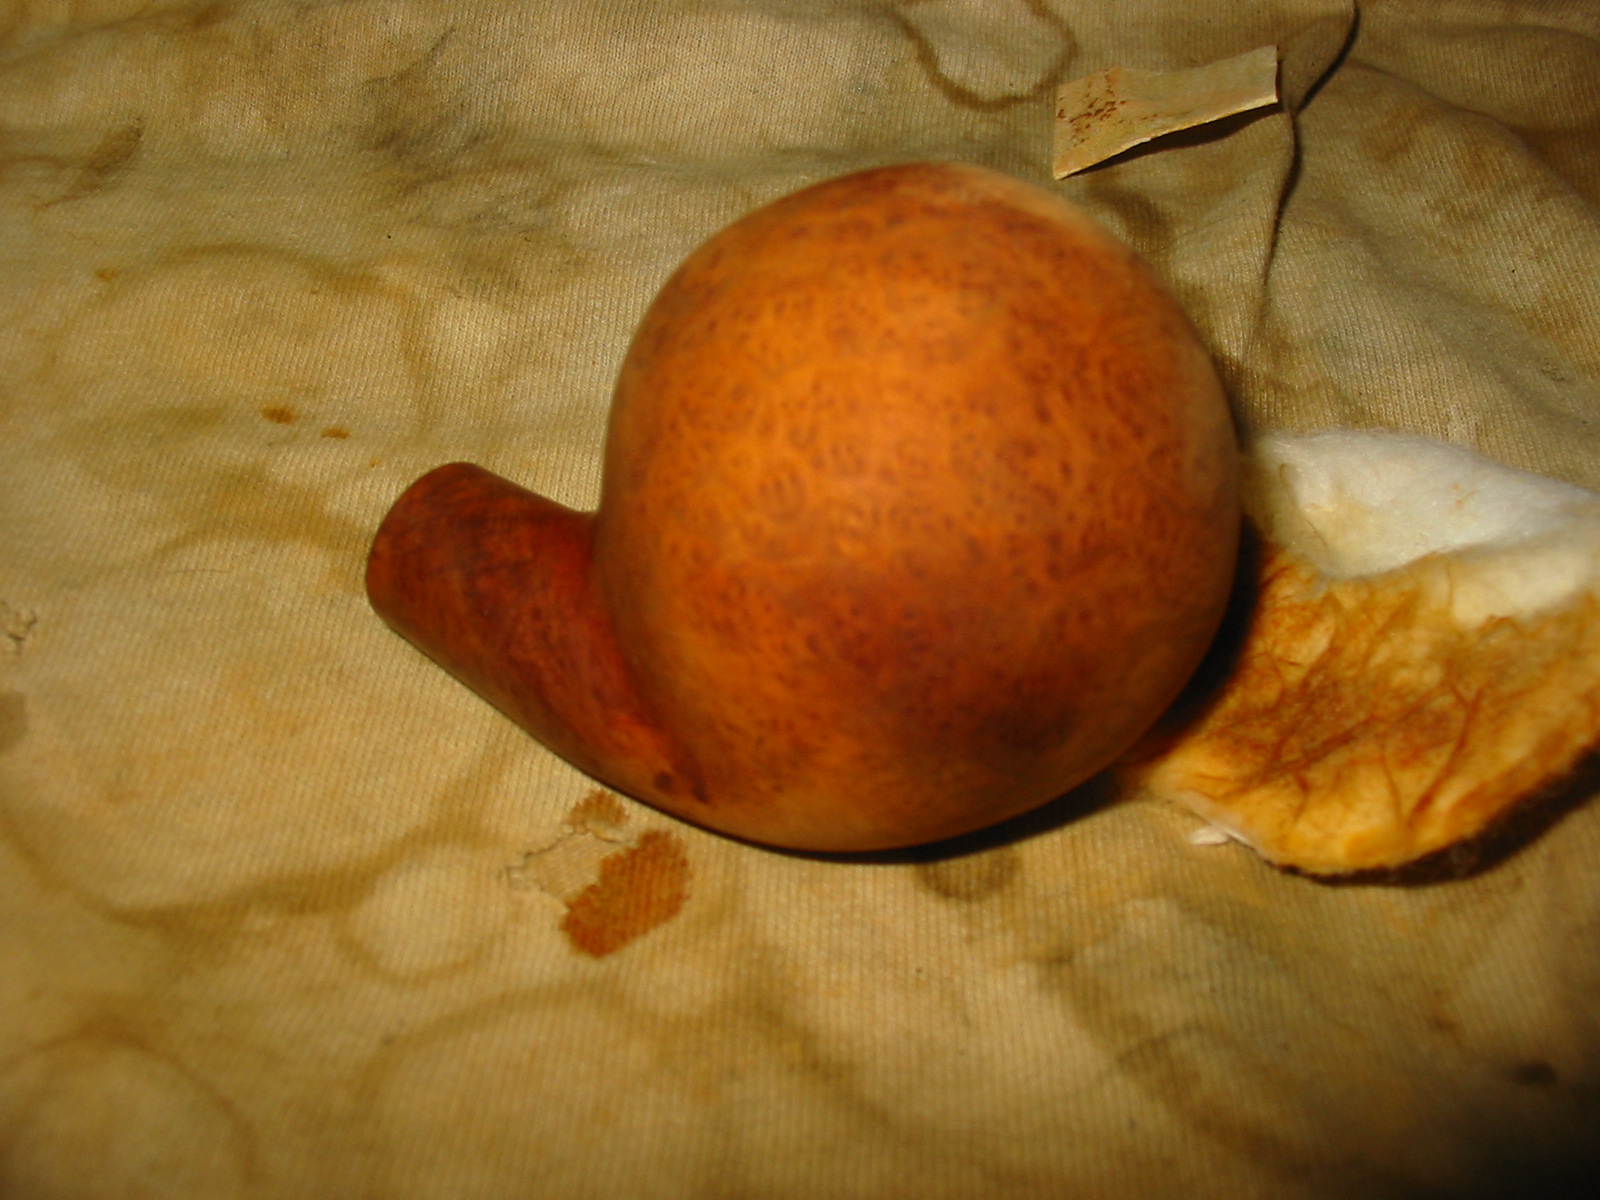
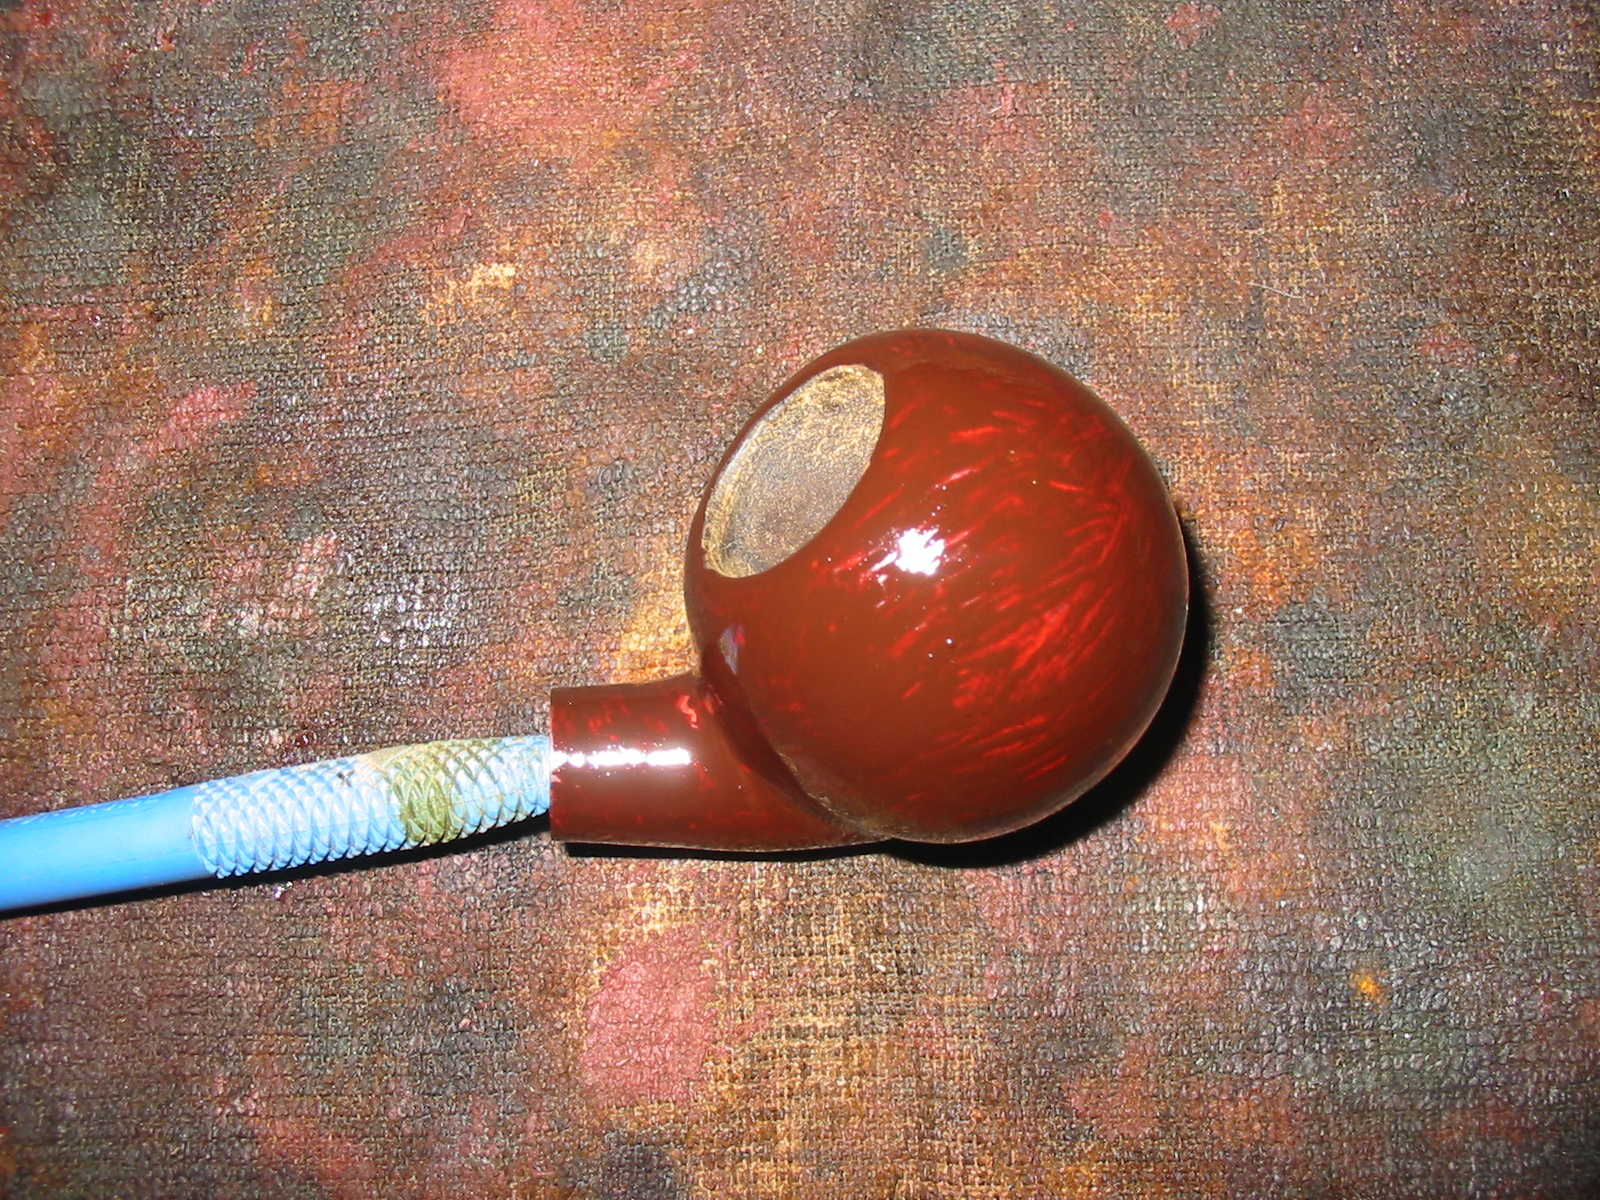
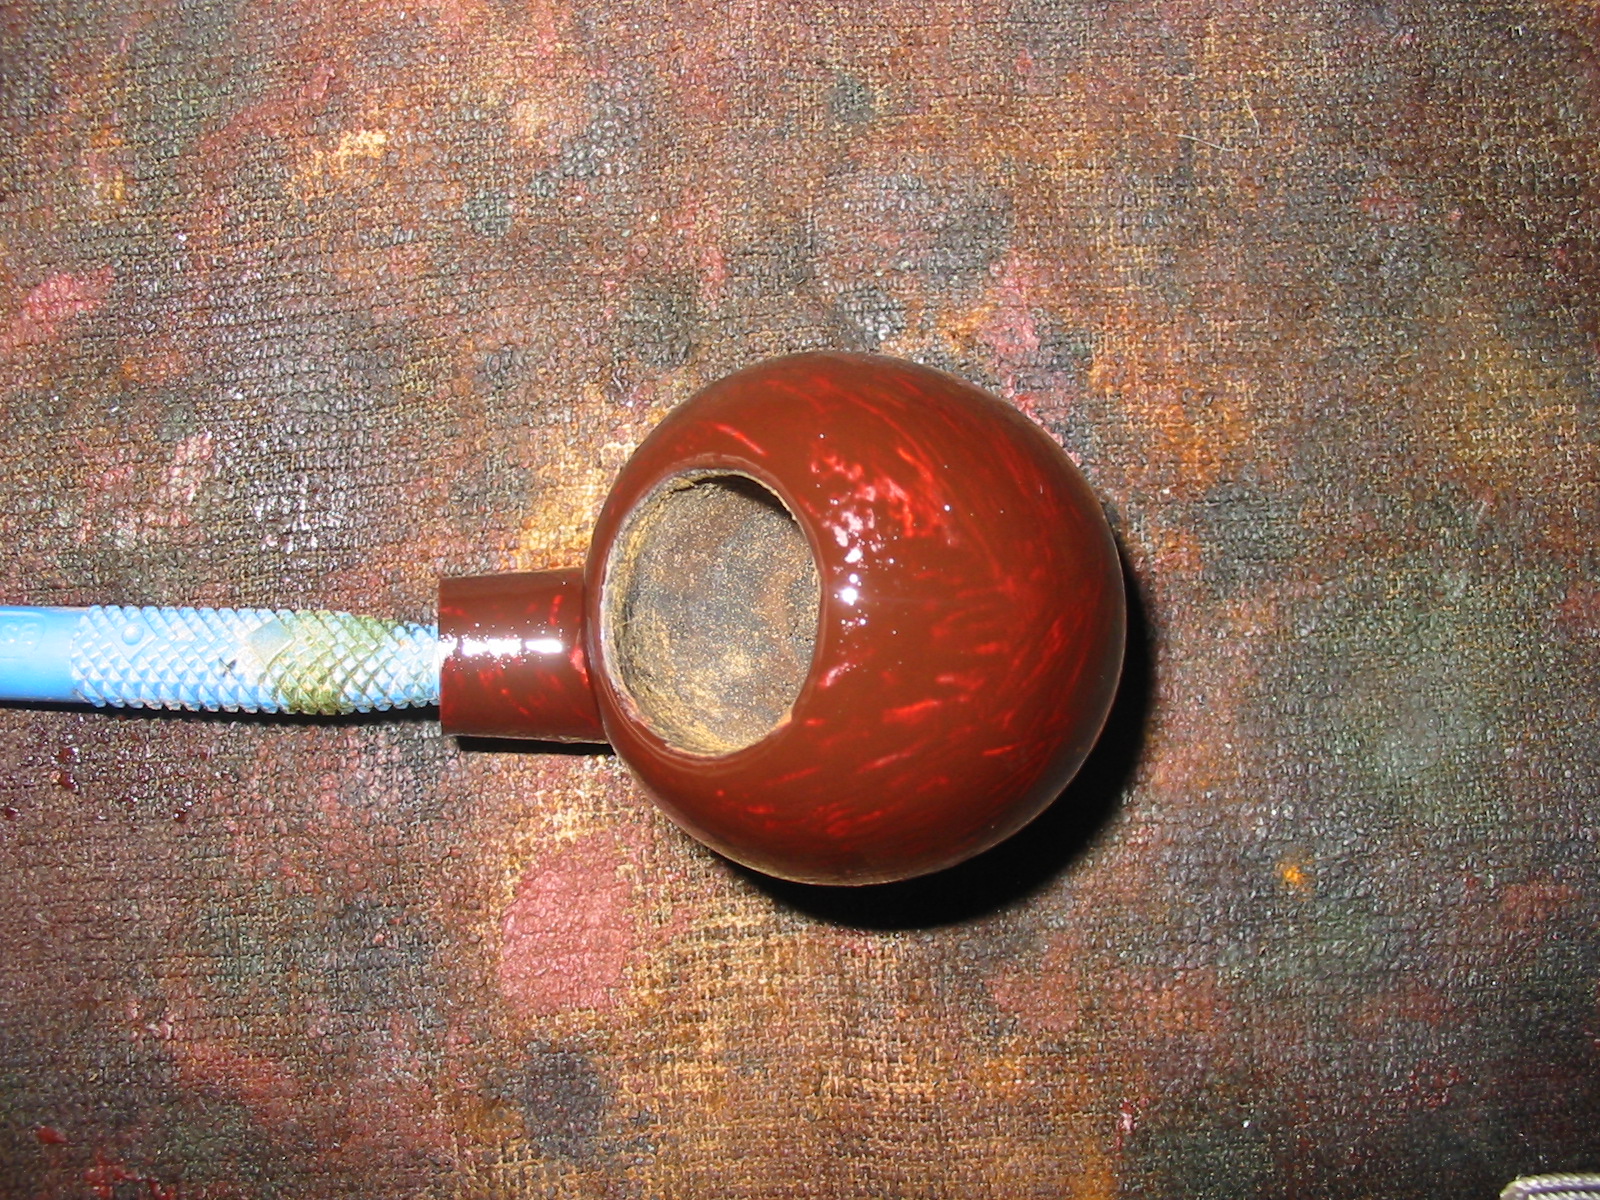
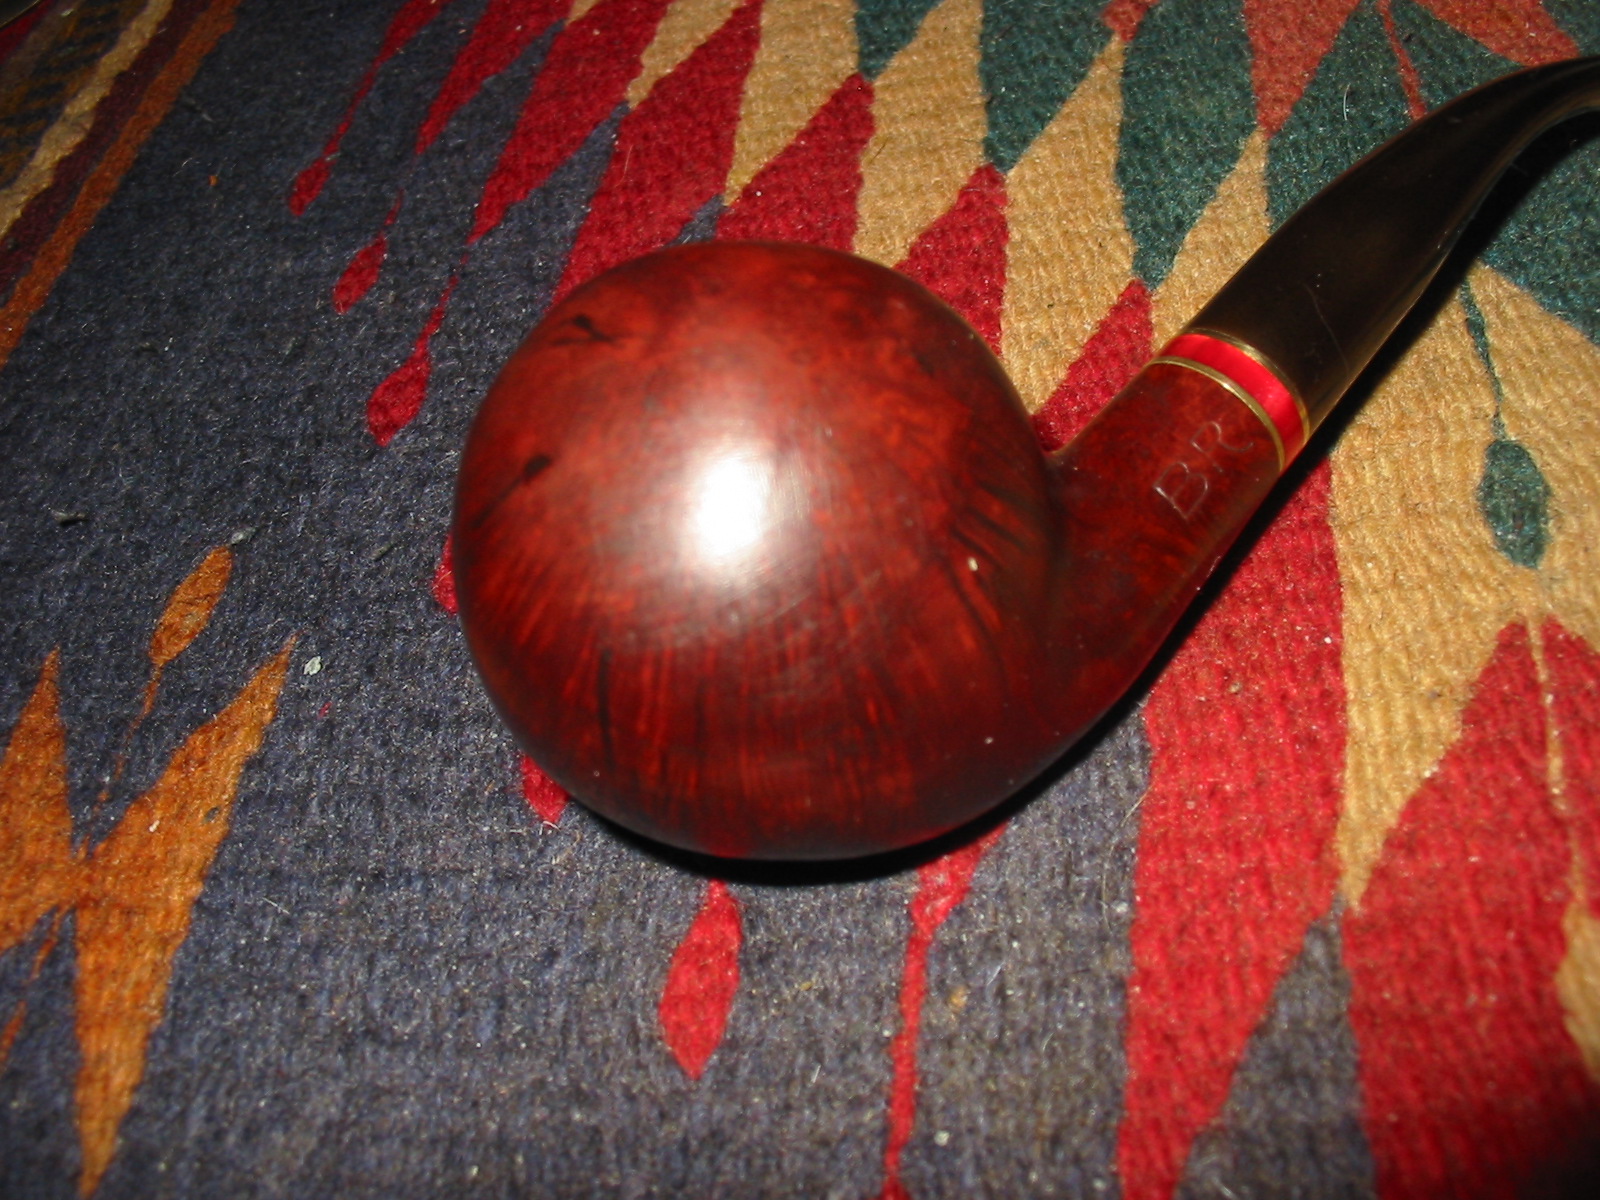
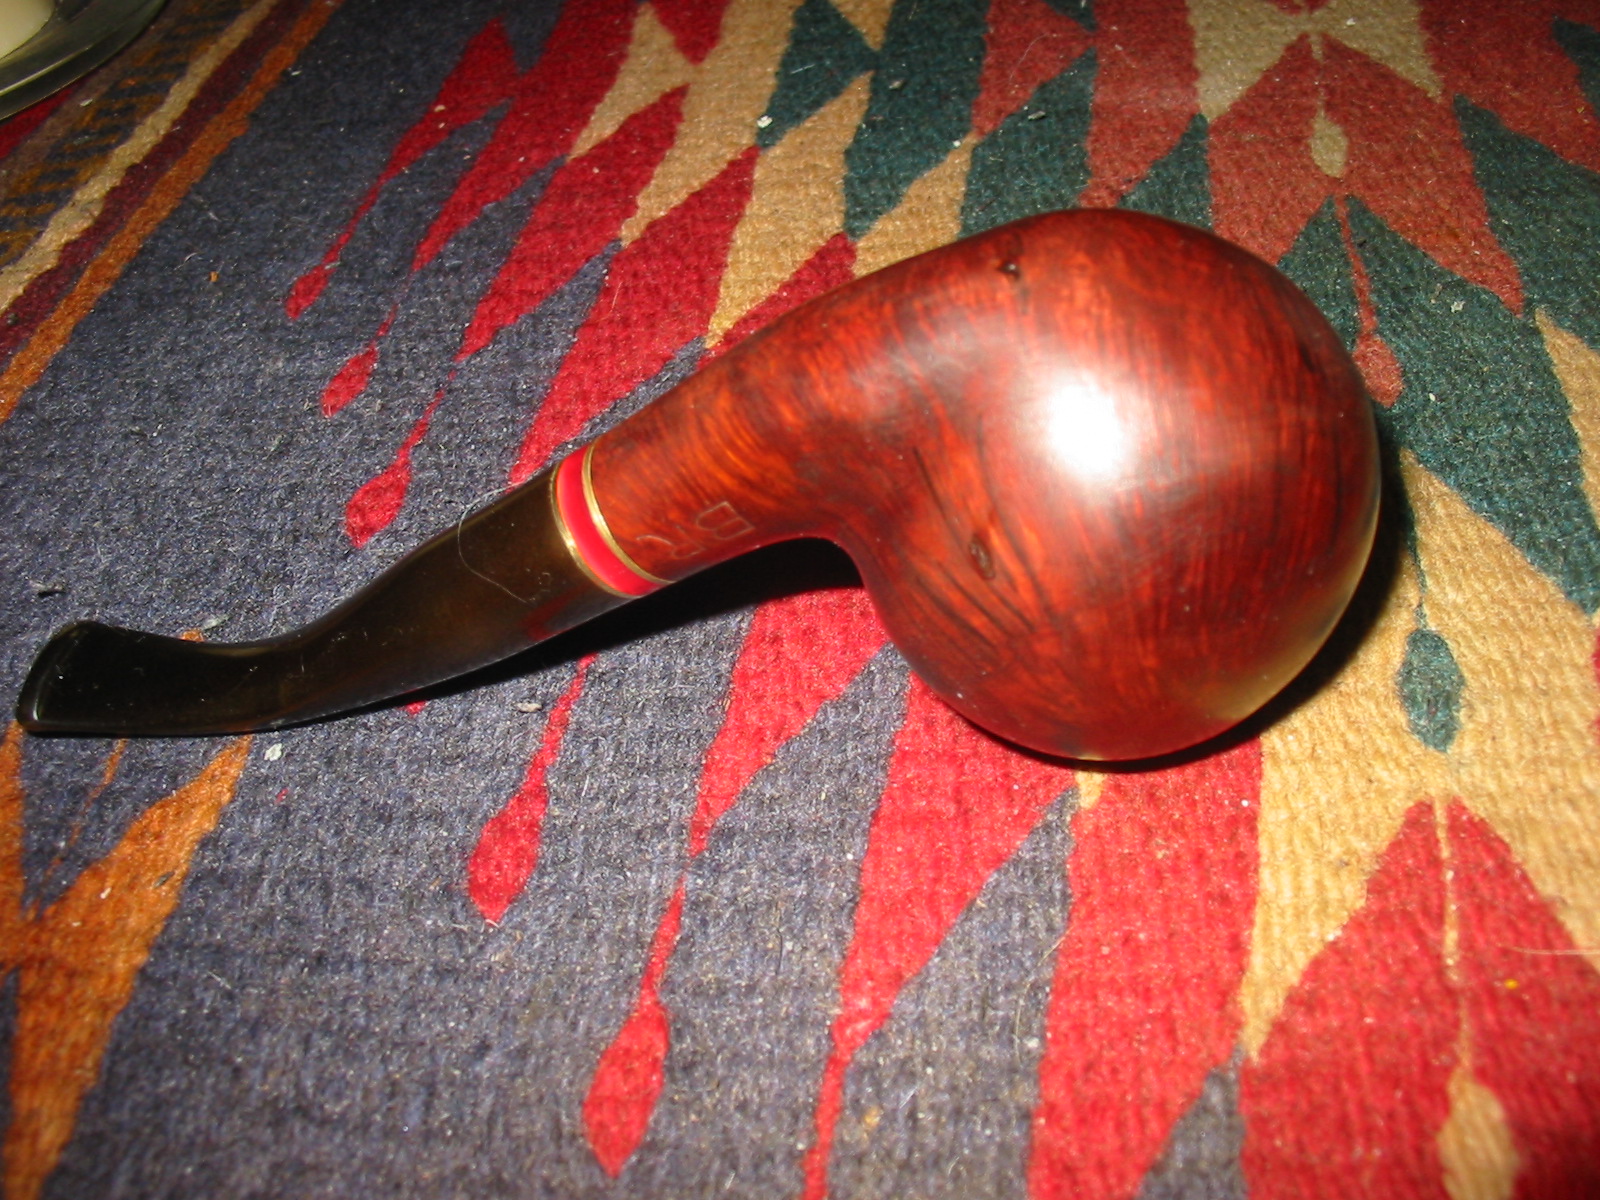
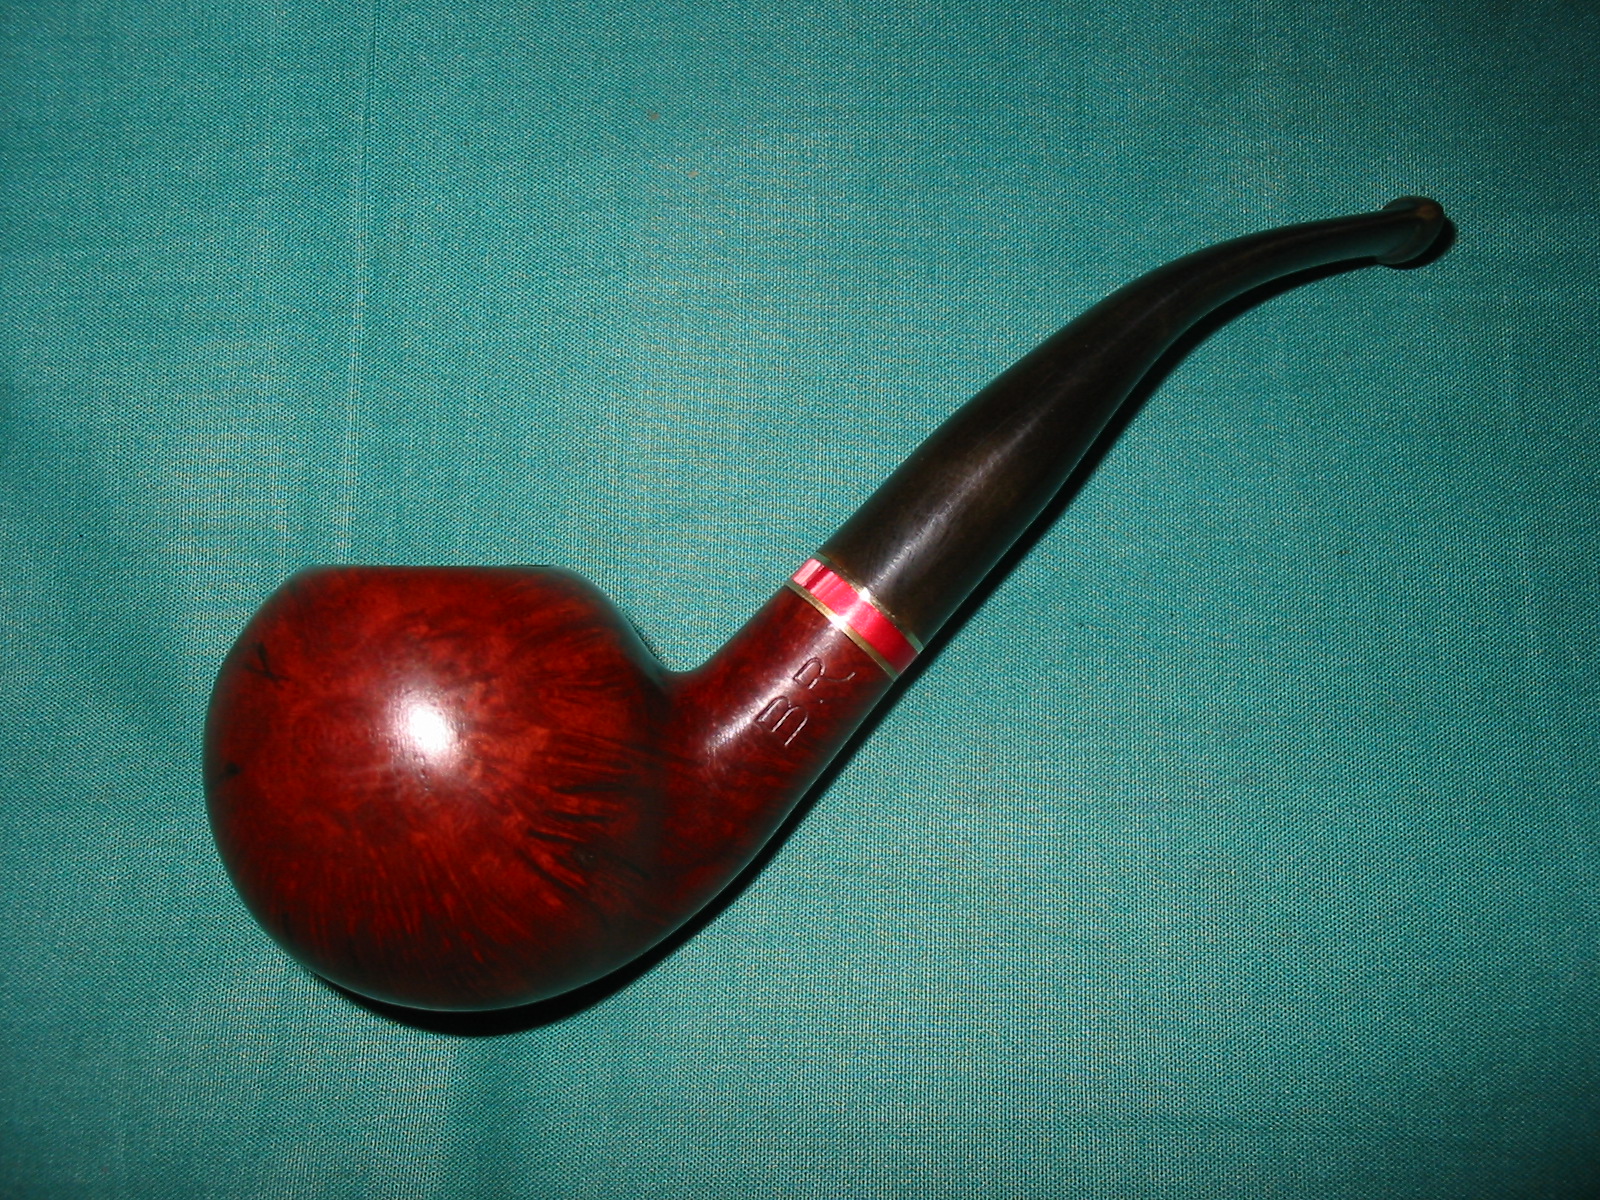
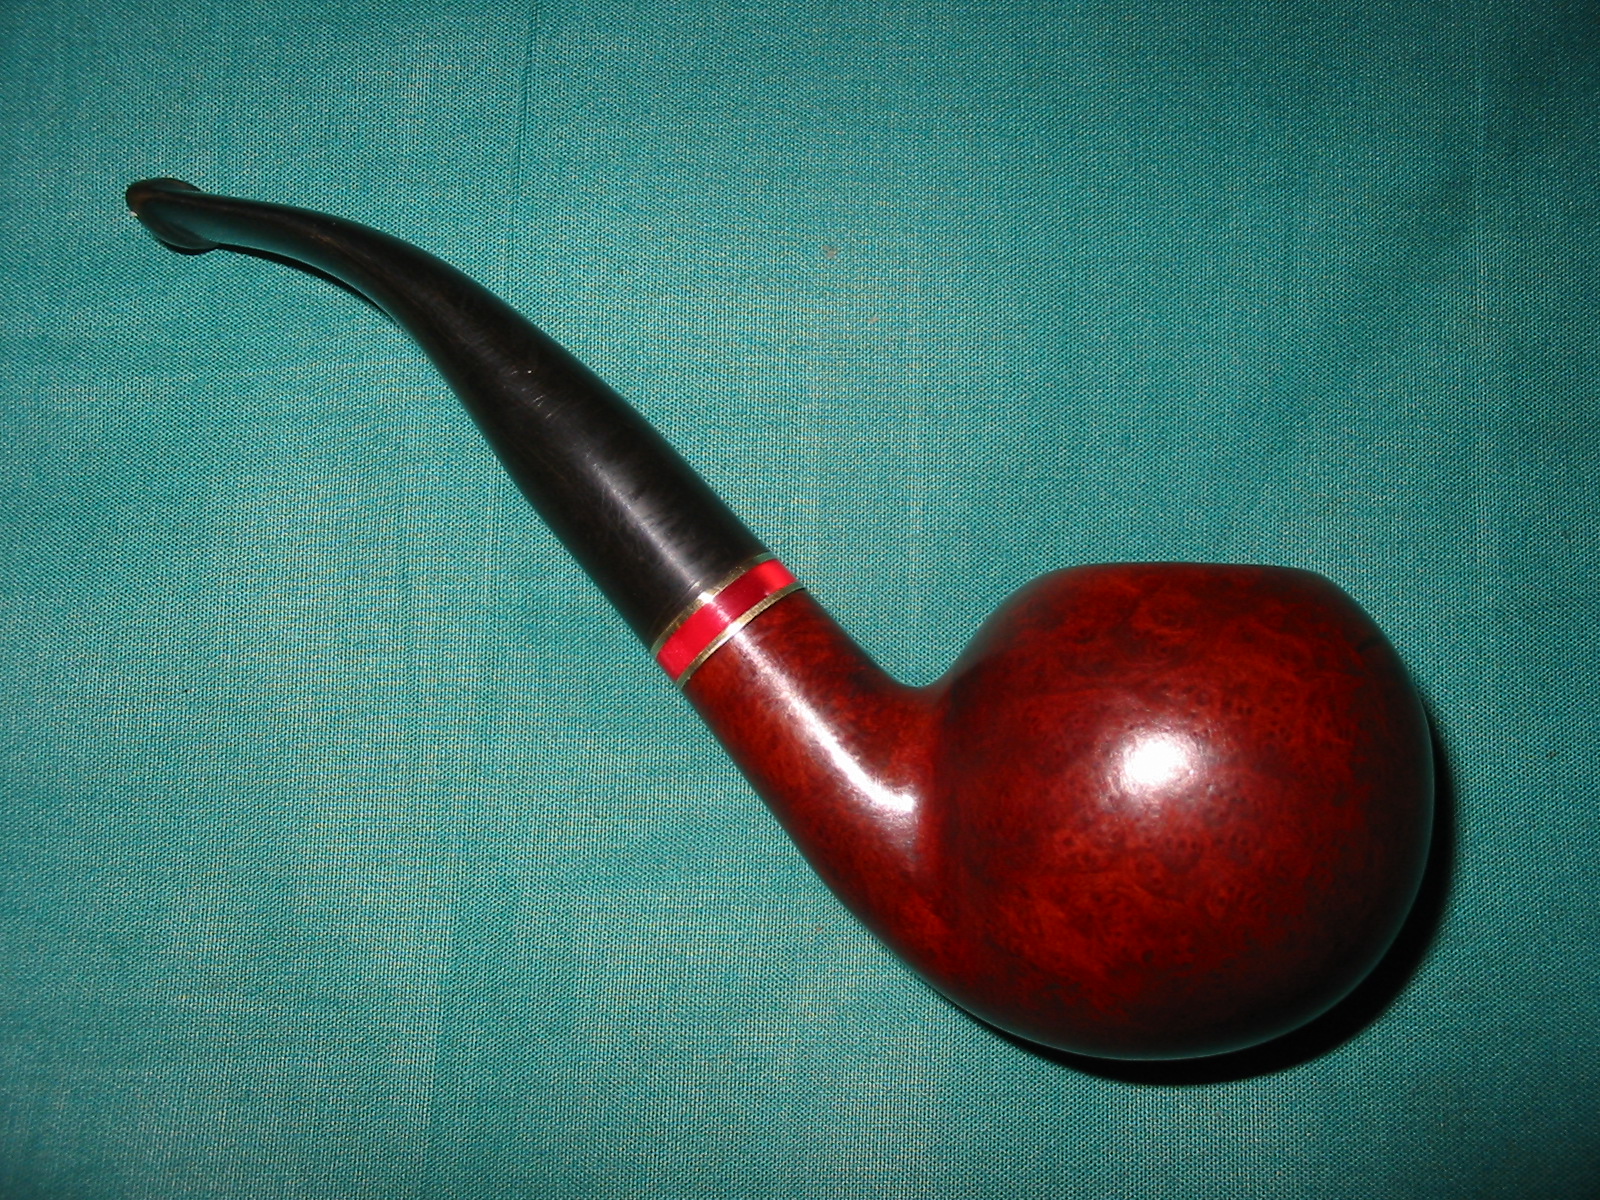
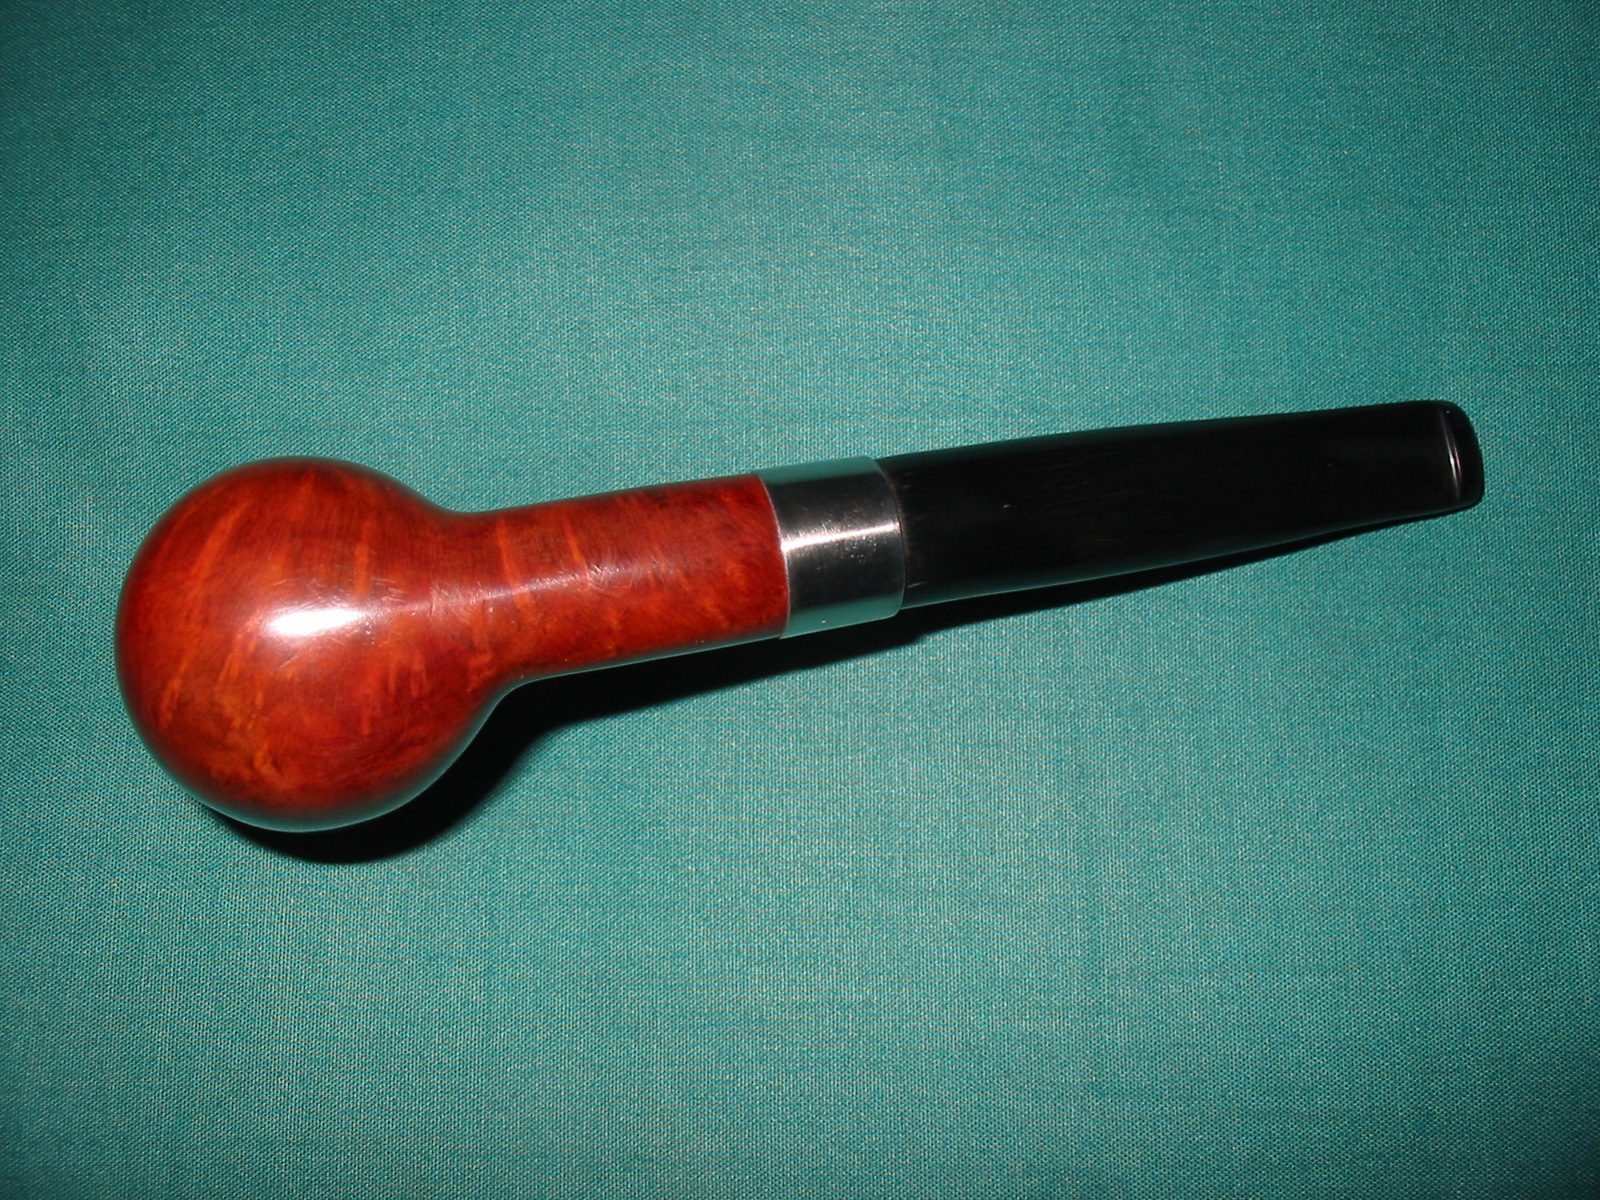
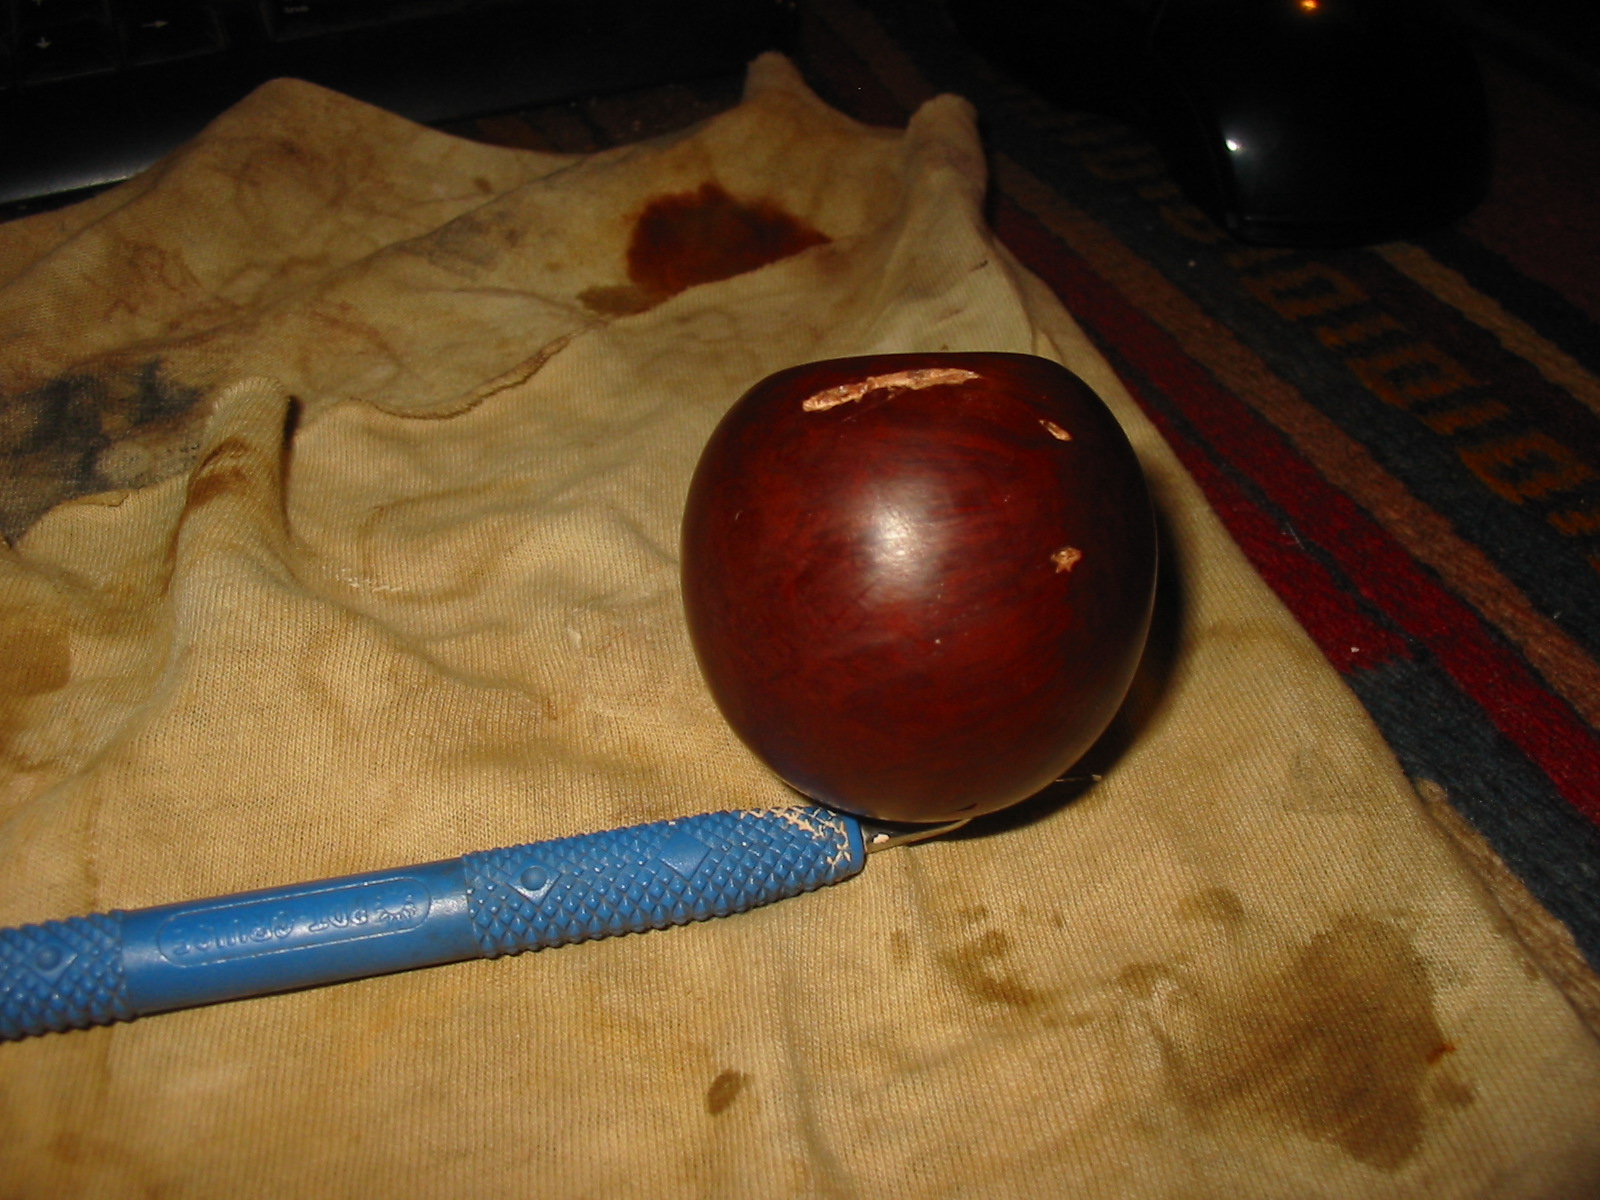
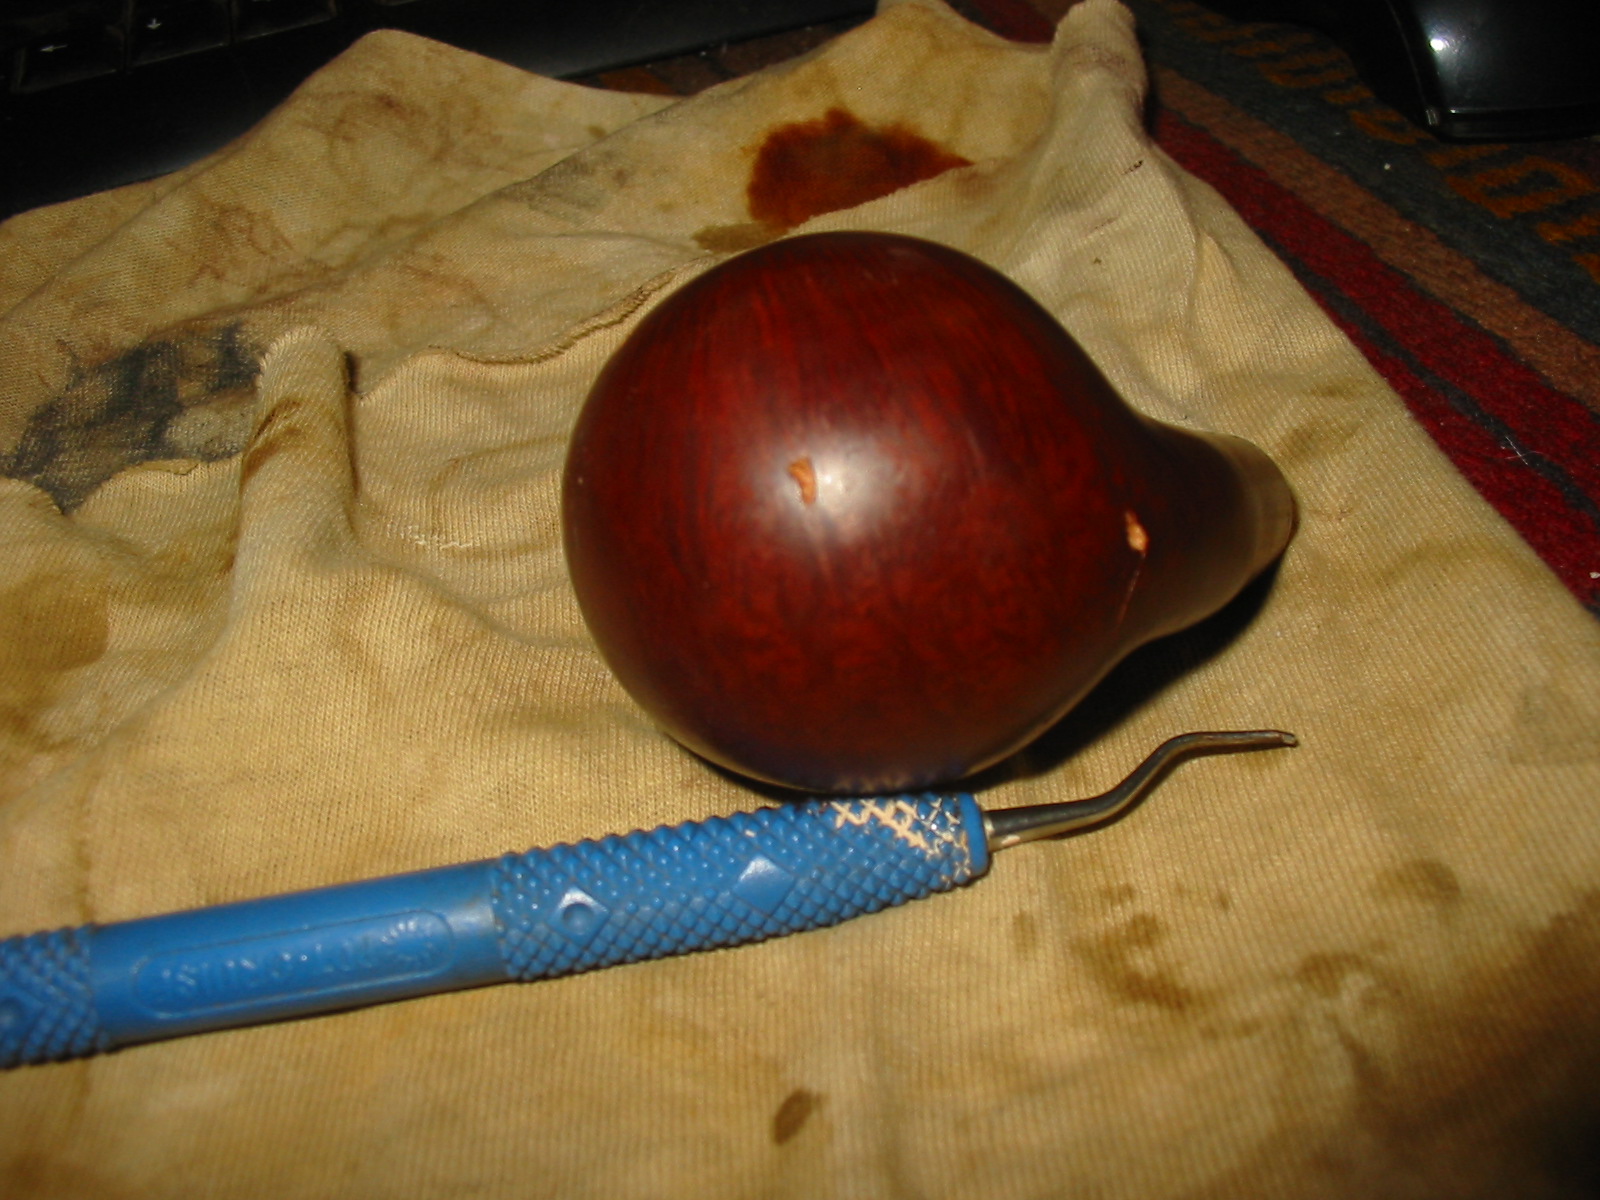
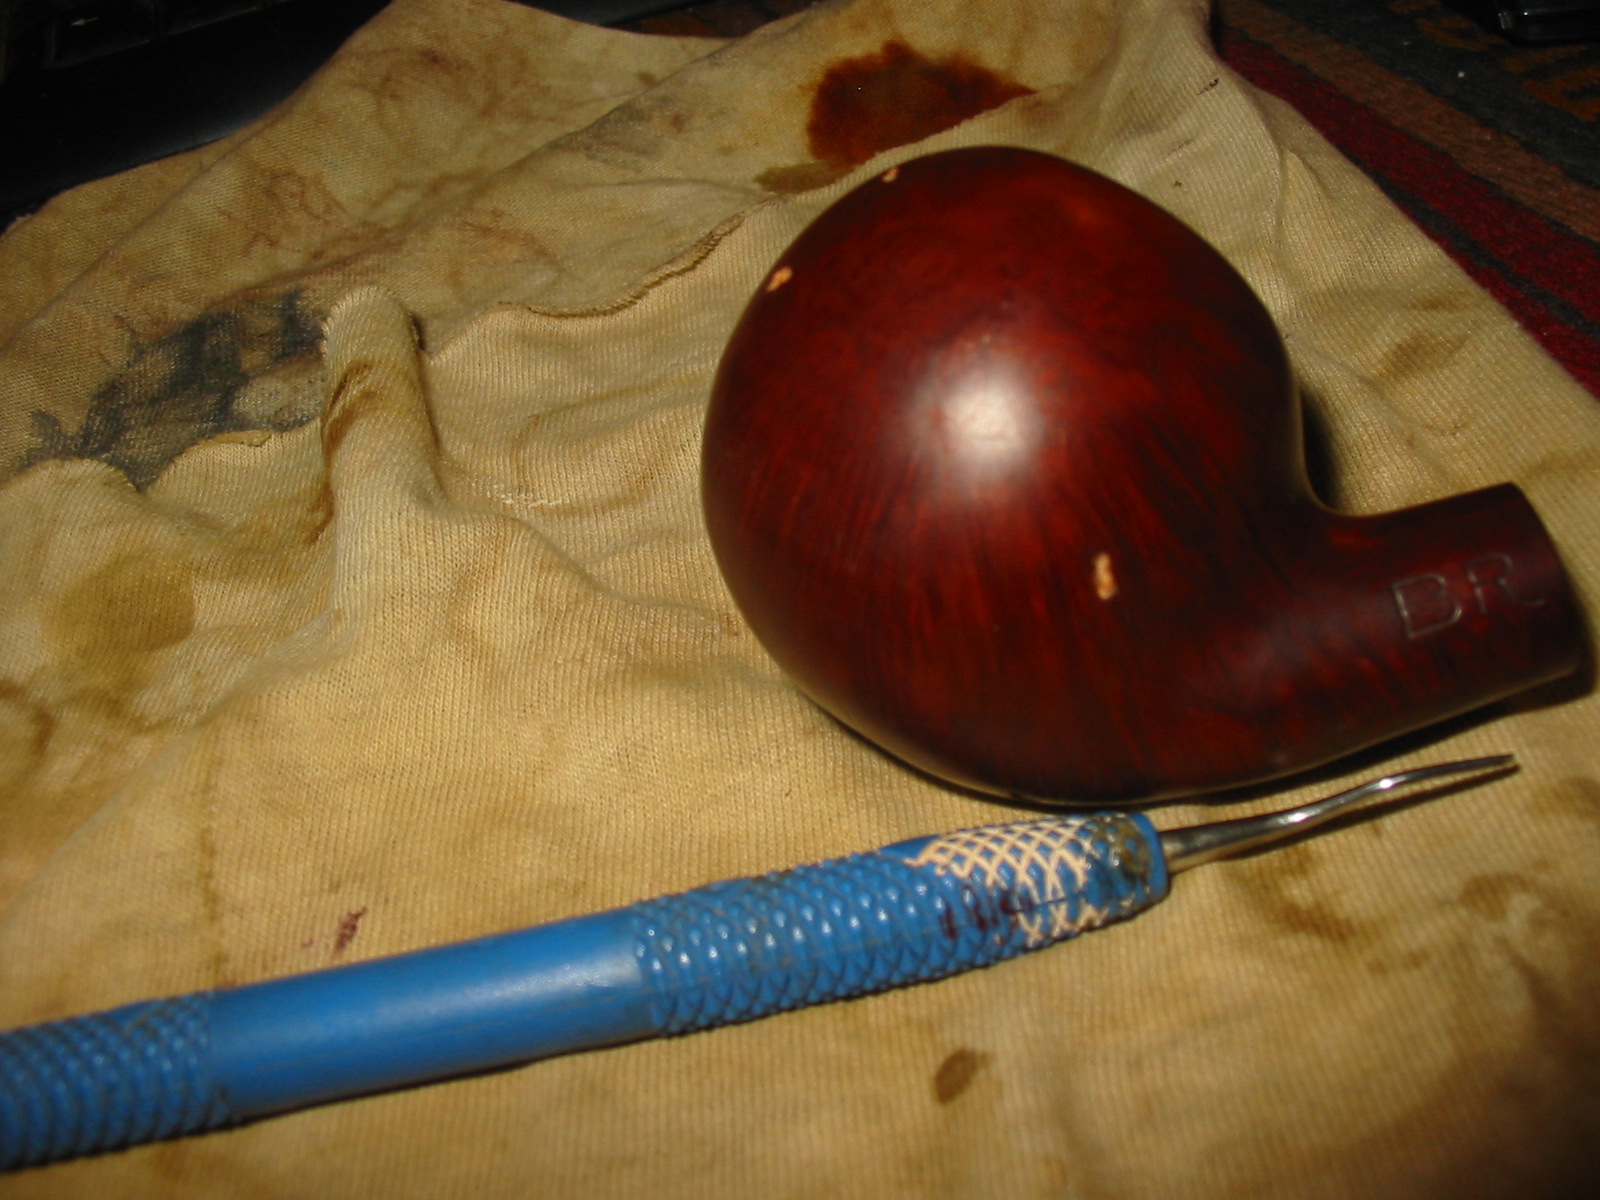
This is the second of three pipes that I picked up in a lot from EBay. It included the Richmond, a Comoy’s Everyman, and this BR Israeli made ball. It is stamped BR in large block script on the left side of the shank. On the underside of the shank is stamped ISRAEL. I know nothing of the brand and would love to hear from any of you who might have some information. The stem had tooth chatter and bite marks. It looked like it had also had a rub bite guard on it because the white calcified build up on the top and the bottom of the stem was the same distance into the stem as the bite guard. There was a distinct line where the edge was. The coloured band is slid on to the tenon of the stem. It is a brass wheel with an inlaid acrylic. The finish was shot and the briar was full of fills. The right side was the only clean side on the pipe. The front had a large putty fill at the top near the edge and several on the lower portion, the left side had 3-4 fills and the underside also had two. Most of these were on the smaller side as far as fills go but the one on the front was huge and spanned the width of the bowl. The rim and downward curve of the bowl from the rim back was very tarred and oily. There was a gummy buildup that was like a lava flow down the bowl sides. The bowl was caked with an uneven and oily aromatic smelling cake. The first series of four photos shows the state of the pipe when it arrived on my worktable.

ImageImageImageImage

When I get a bowl that looks like this one I usually start by reaming the bowl. That aromatic, syrupy cherry smelling cake has to go in my opinion. I reamed it with my T handled Pipnet Reaming set. I generally start with a small cutting head and work my way up until I have removed most of the cake. The next two photos show the reaming process.

ImageImage

Once the bowl was reamed it was time to scrub the exterior with some acetone on cotton pads. I wanted to remove the tars and oils from the rim and bowl sides and also remove the embedded grime and surface dirt on the whole pipe. The next series of three photos show the process of the scrubbing and the look of the bowl once the grime and tars were removed. I would still have to sand the bowl down to remove the remaining buildup once I had washed it with acetone.

ImageImageImage

I cleaned out the shank and mortise with cotton swabs and Everclear. I dipped the cotton swab in some of the alcohol that I poured in the lid and used as a bowl for washing the shank. It took a lot of cotton swabs to clean out all the tars and oils in the shank. When I started it smelled like cherry cough syrup and as I added the alcohol it was stronger. The nice thing was that as it got clean the smell disappeared. I used fluffy pipe cleaners to clean out the airway to the bowl. When I was finished I put the stem back on the bowl for sanding so that I would not round any edges on the shank and also to protect the shank from any changes in shape from sanding. I find that when I do this I am more careful around the stem shank union than when I sand without the stem. I used a medium and a fine grit sanding sponge (pink foam sanding sponge in the pictures below). I sanded the entire bowl and spend a significant amount of time on the upper curves of the bowl so that I could get rid of all of the tar remnants. I also sanded the stem with the sanding sponges as well. The next series of four photos show the cleaned bowl and the oxidation and calcification beginning to be removed from the stem.

ImageImageImageImage

When I finished sanding the bowl I wiped it down with an alcohol dampened cotton pad to remove the sanding dust and remaining grime on the briar. Then I laid the bowl aside and worked on the stem. I sanded it with 320 grit sandpaper to get rid of the oxidation and remaining signs of calcification around the button. I also worked on the tooth marks with the sandpaper. The next three photos show the stem as I sanded away the tooth chatter and the oxidation.

ImageImageImage

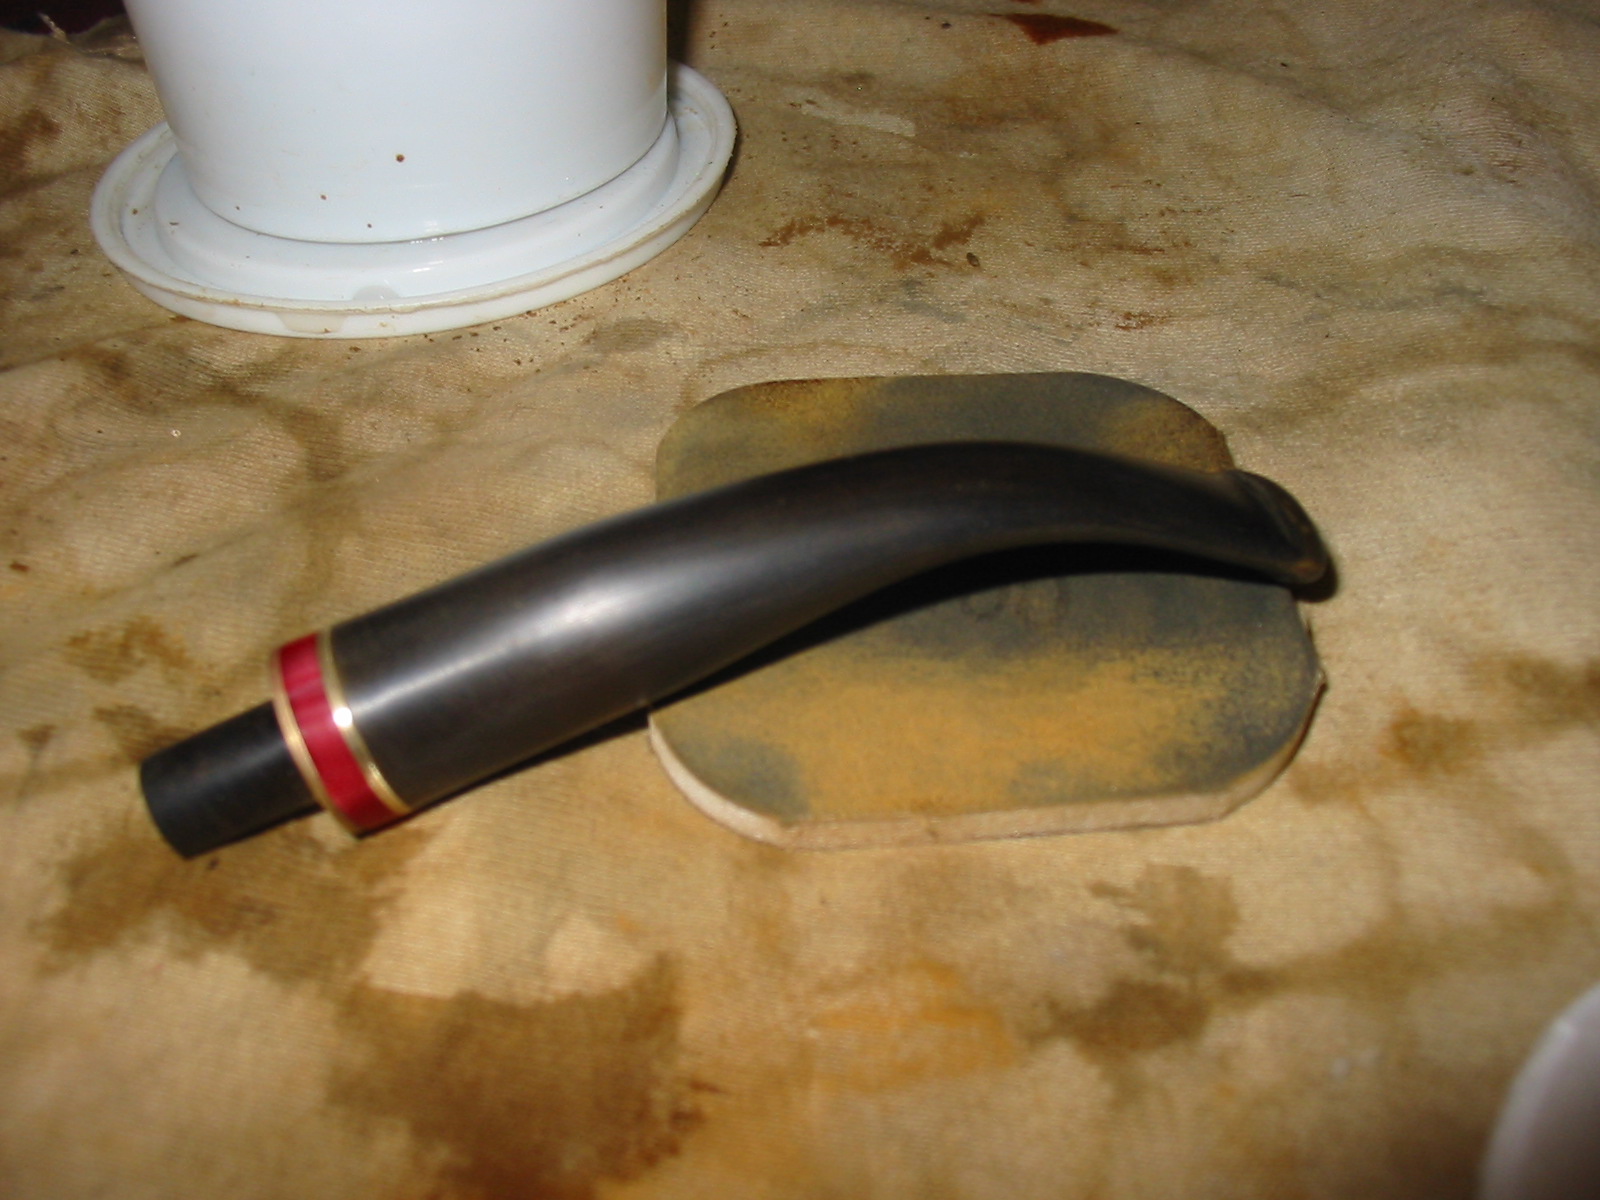
After this initial sanding I decided to wet sand with the 1500-2400 grit micromesh sanding pads. The next series of five photos show that process and the ever blackening colour of the stem sans oxidation.

ImageImageImageImageImage

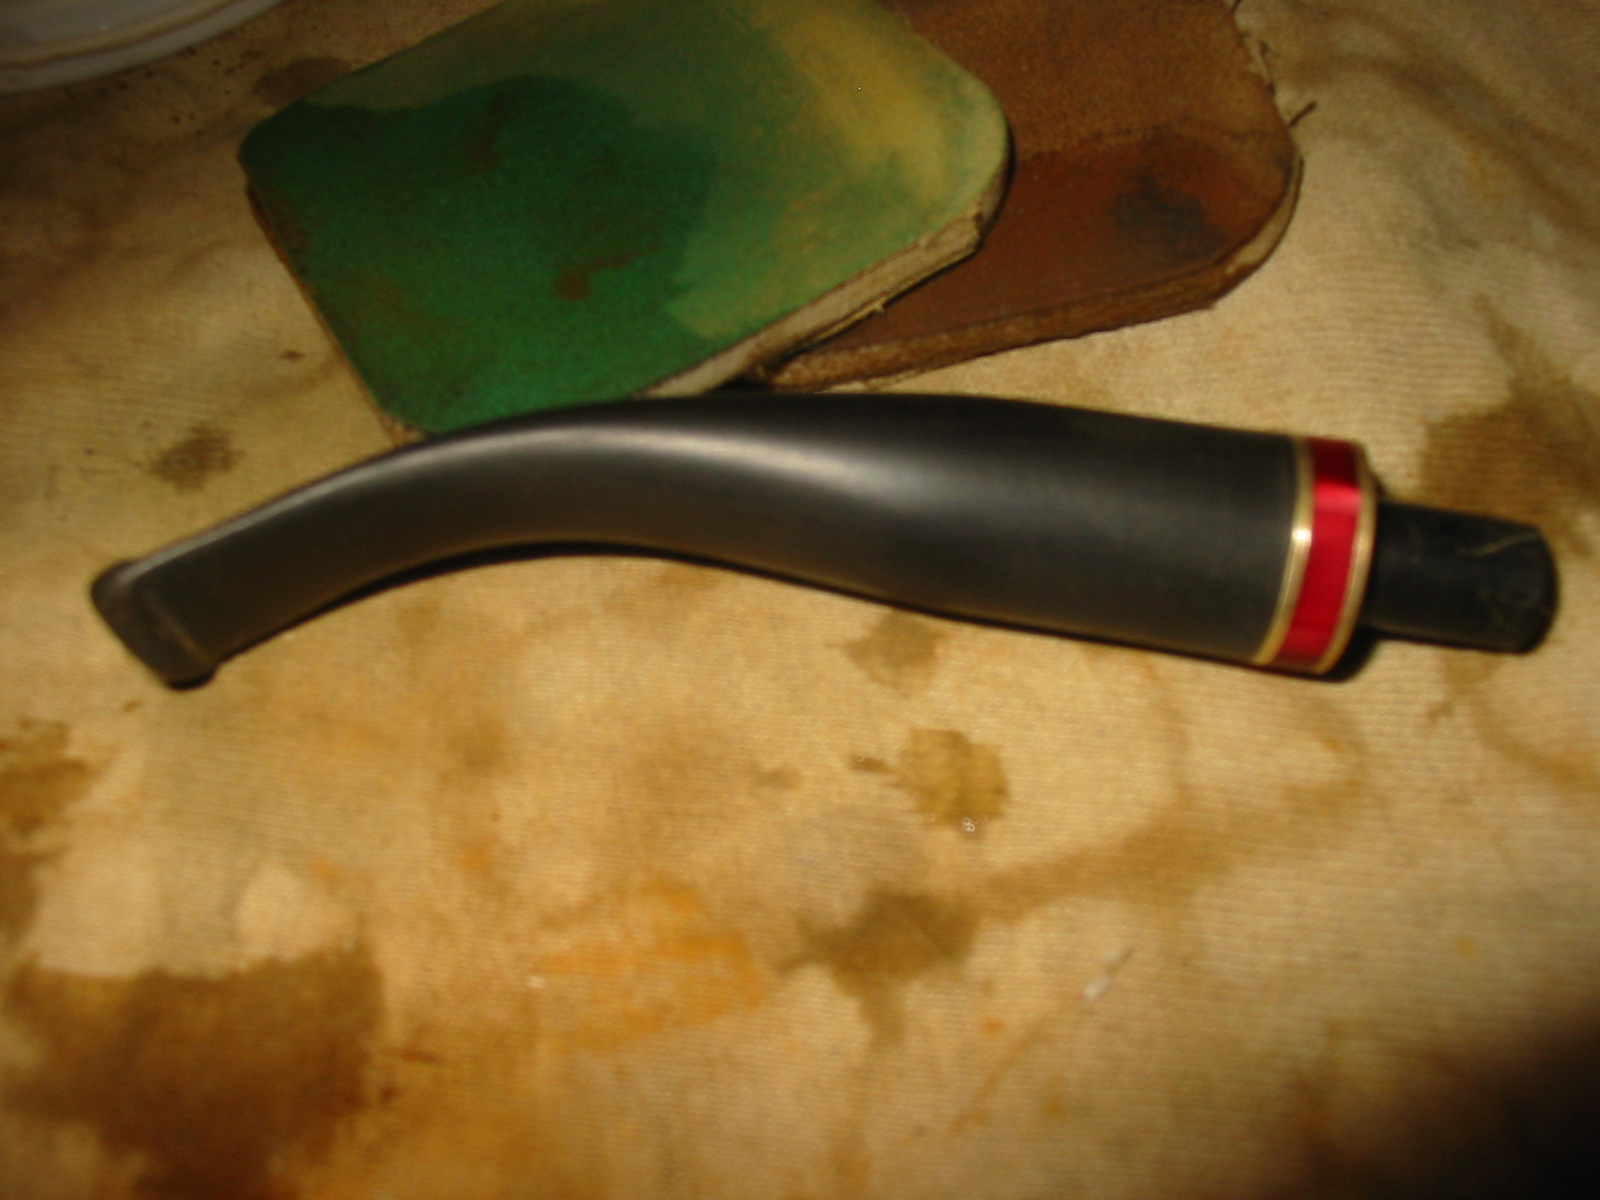
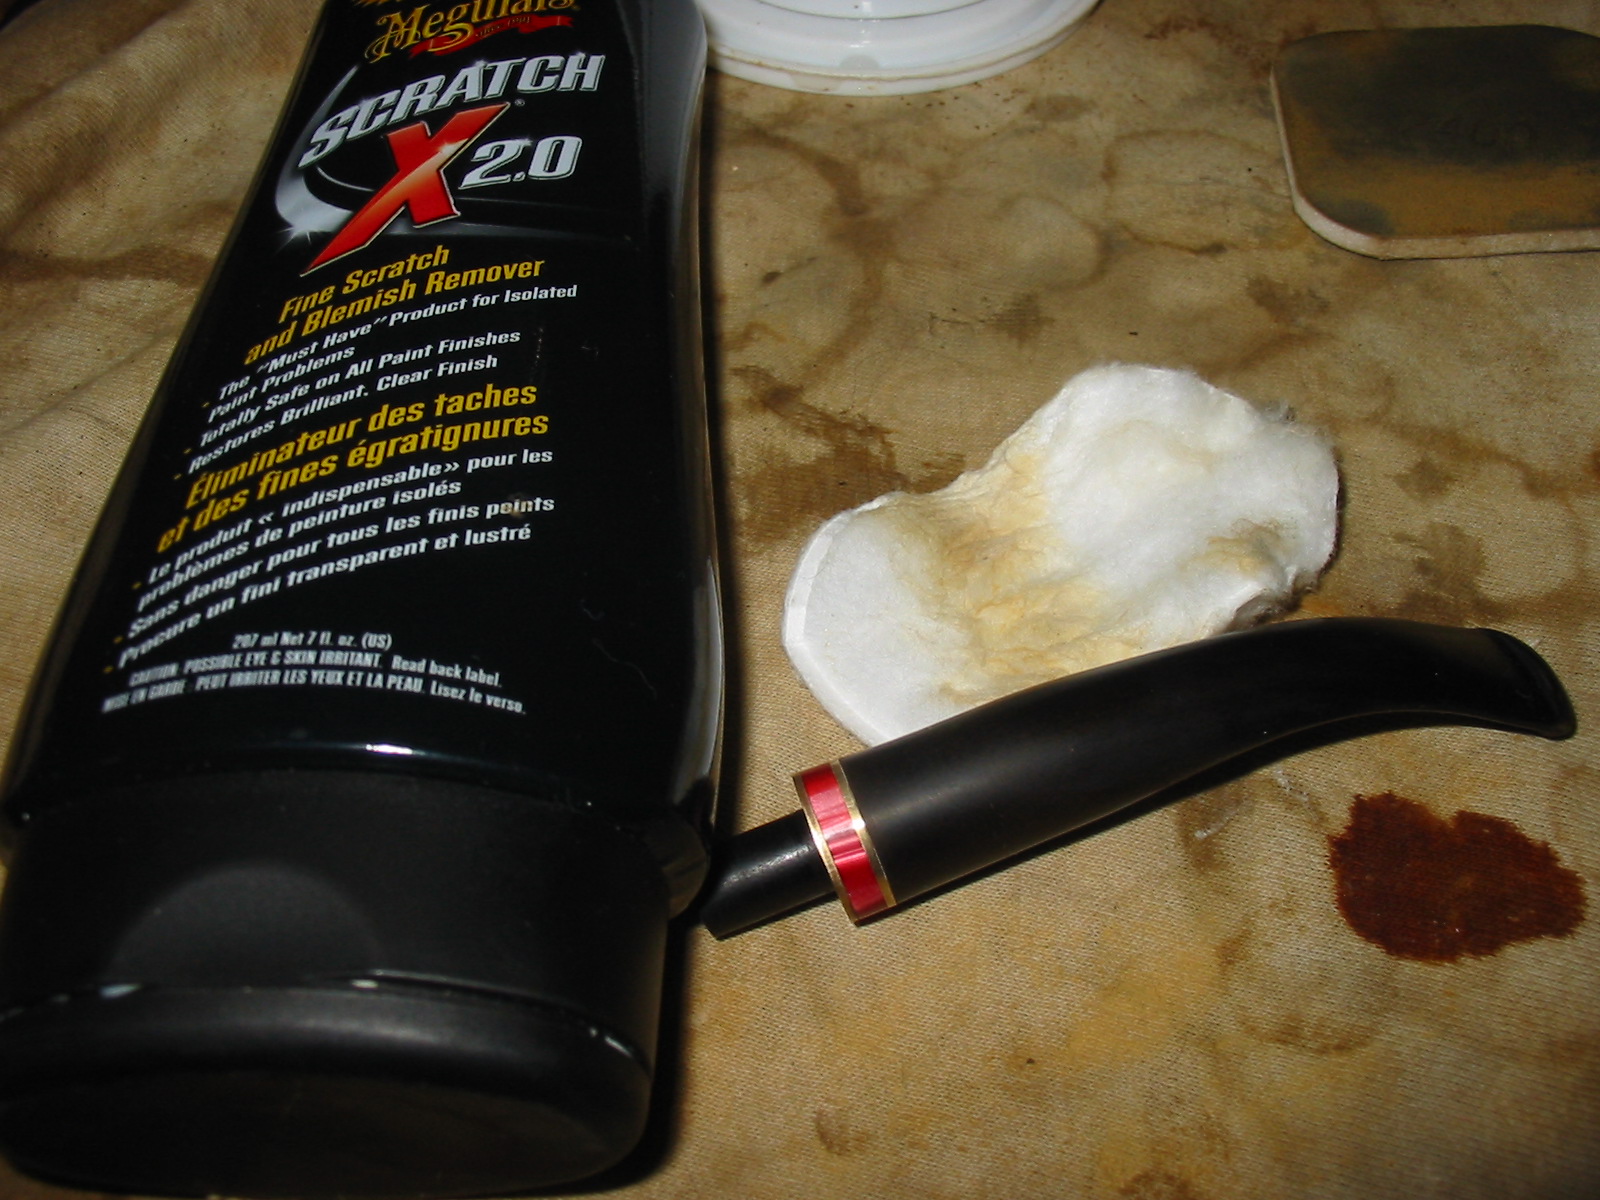
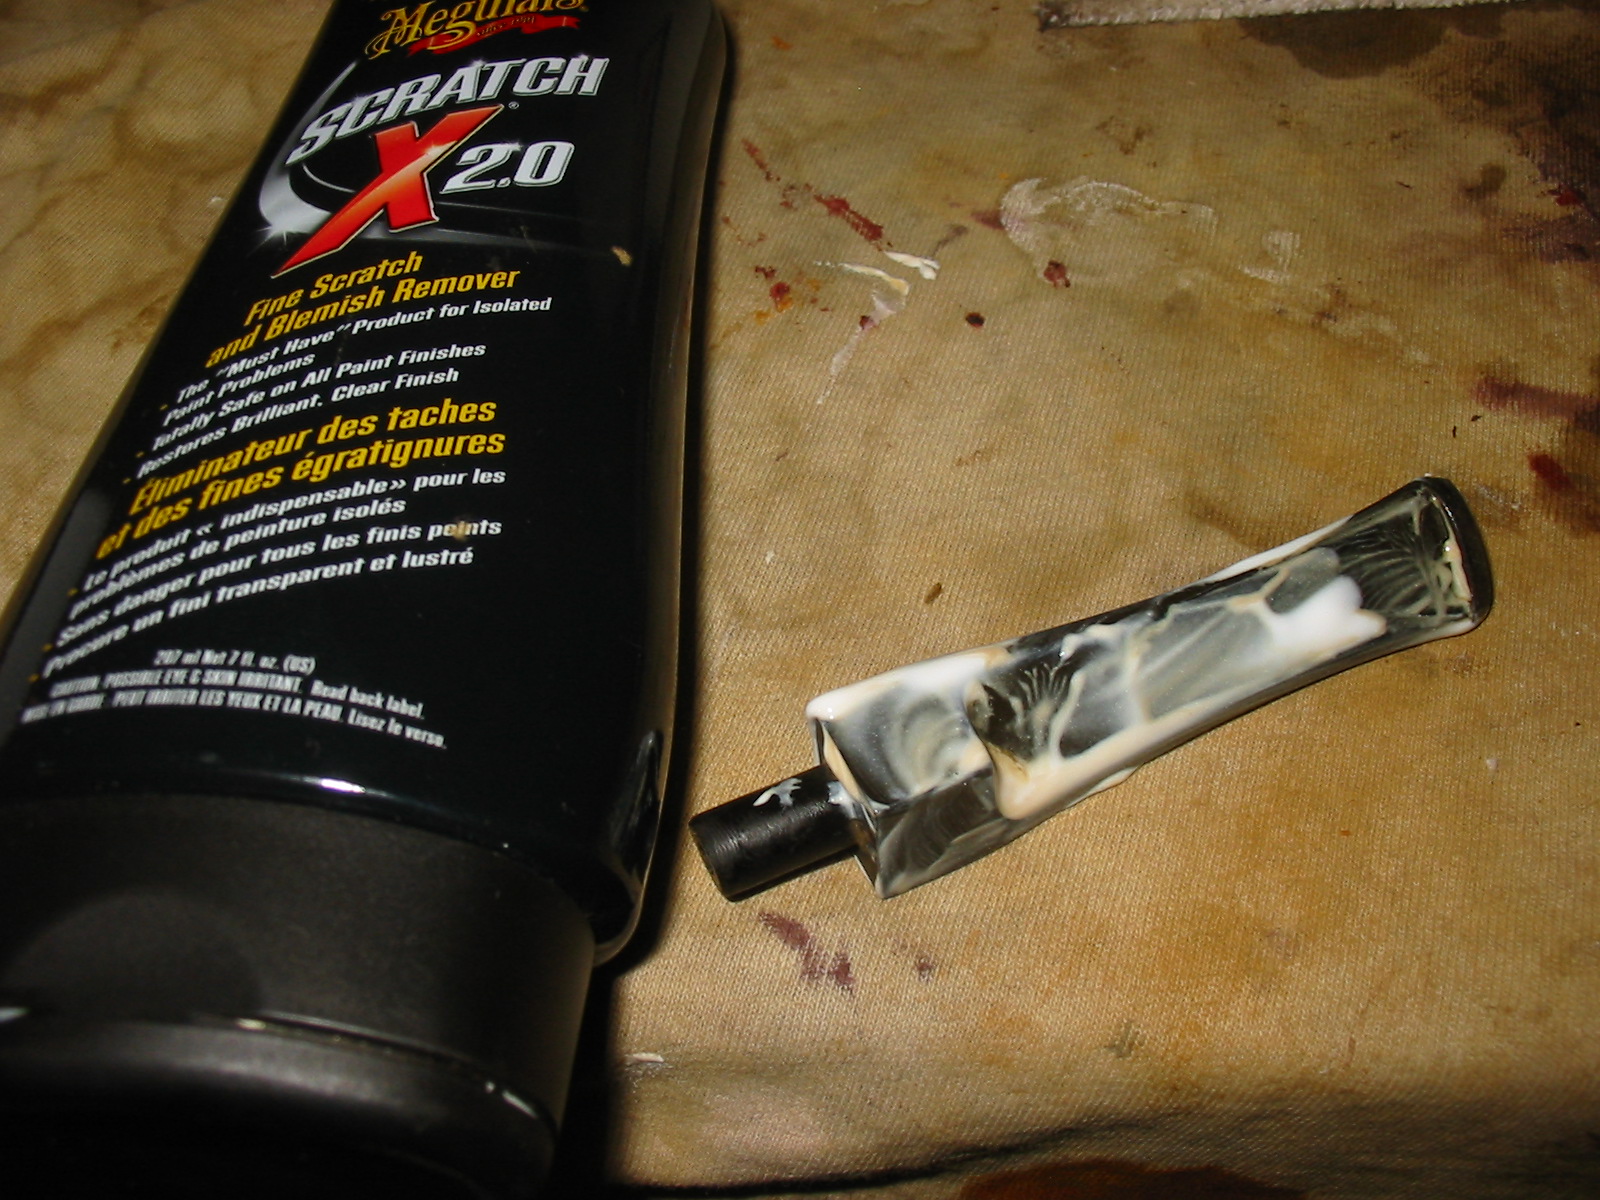
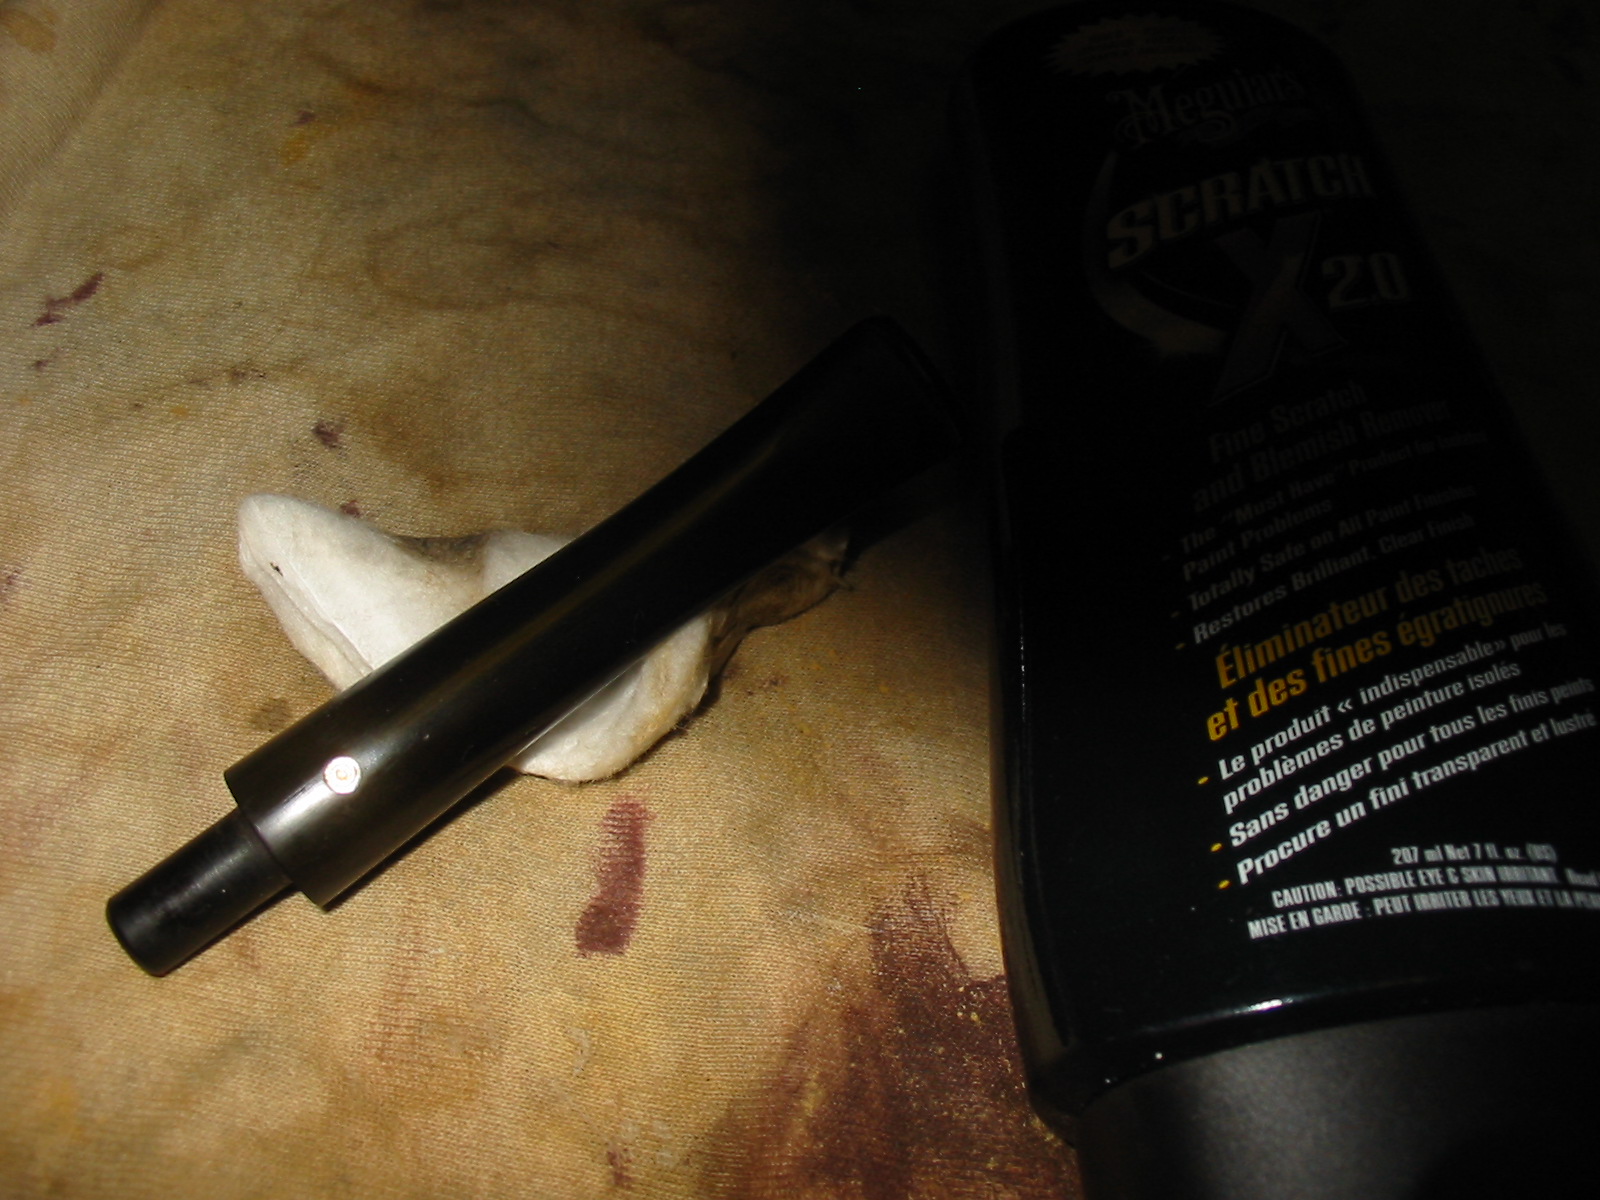
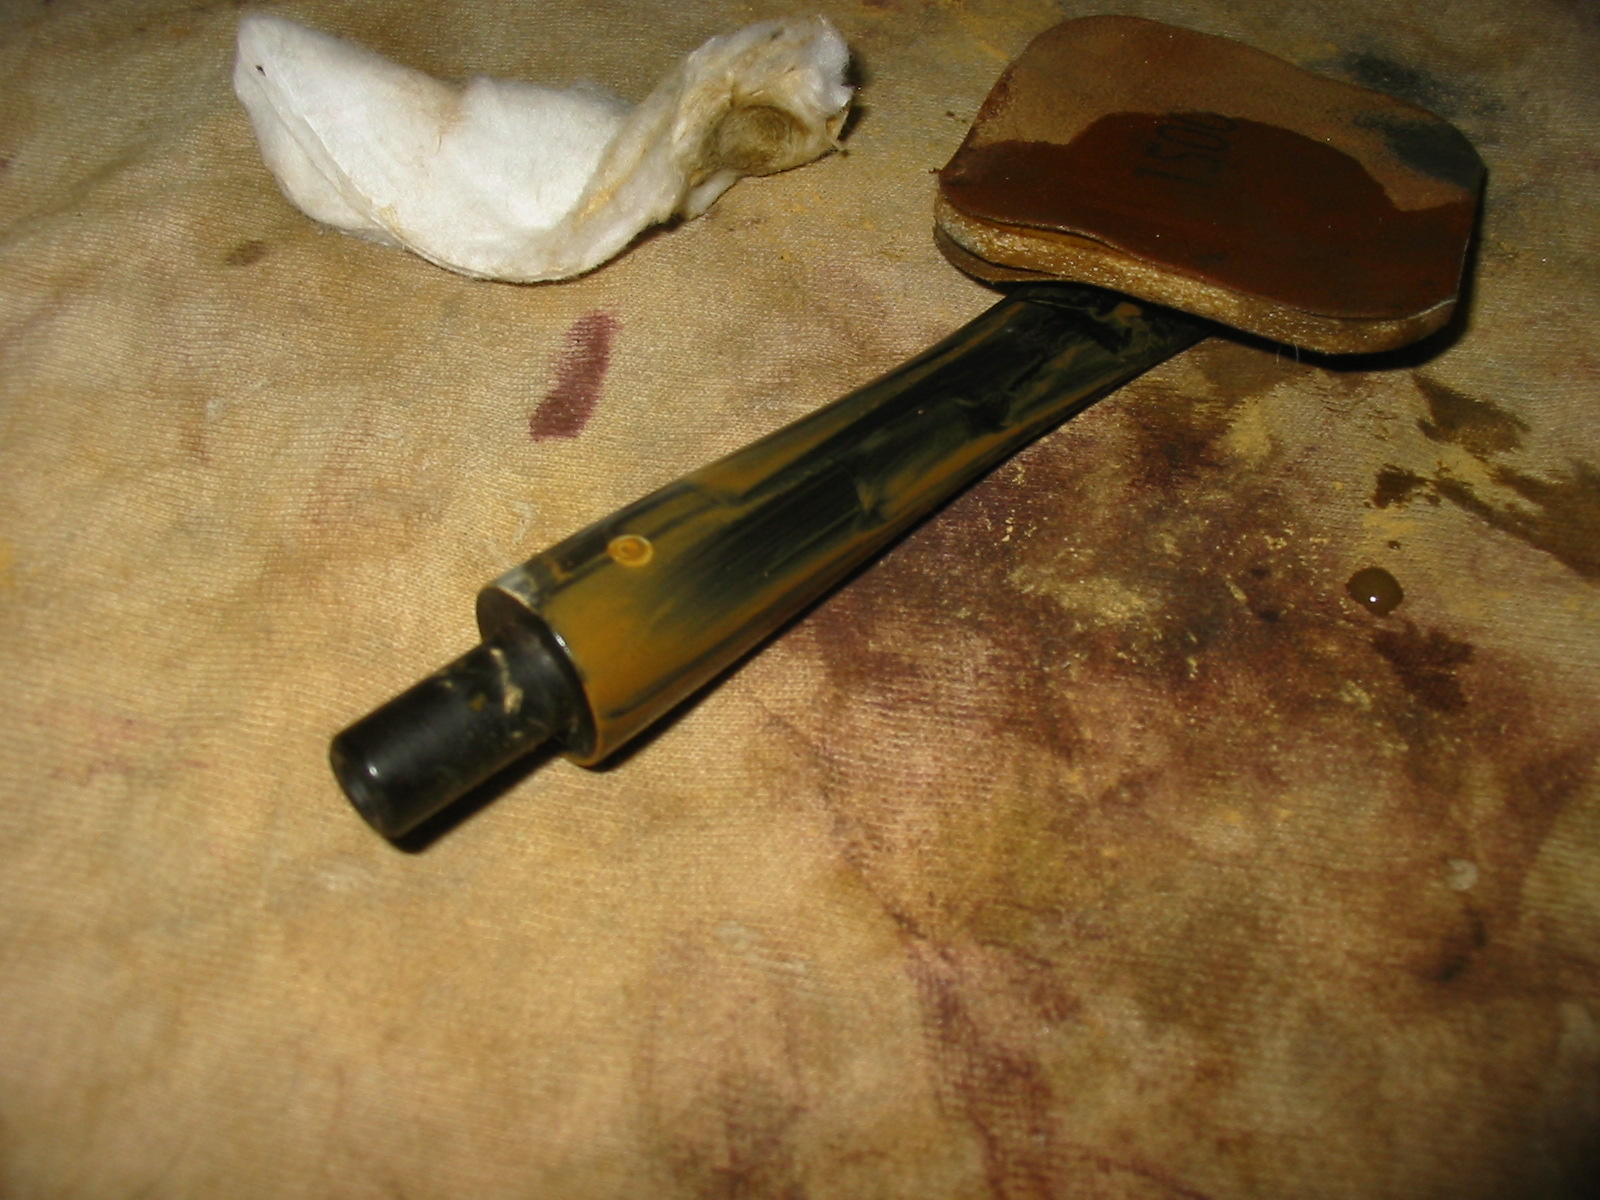
After the 2400 grit micromesh sanding I used Maguiar’s Scratch X2.0 and rubbed it onto the stem with my fingers and scrubbed it off with cotton pads.

Image

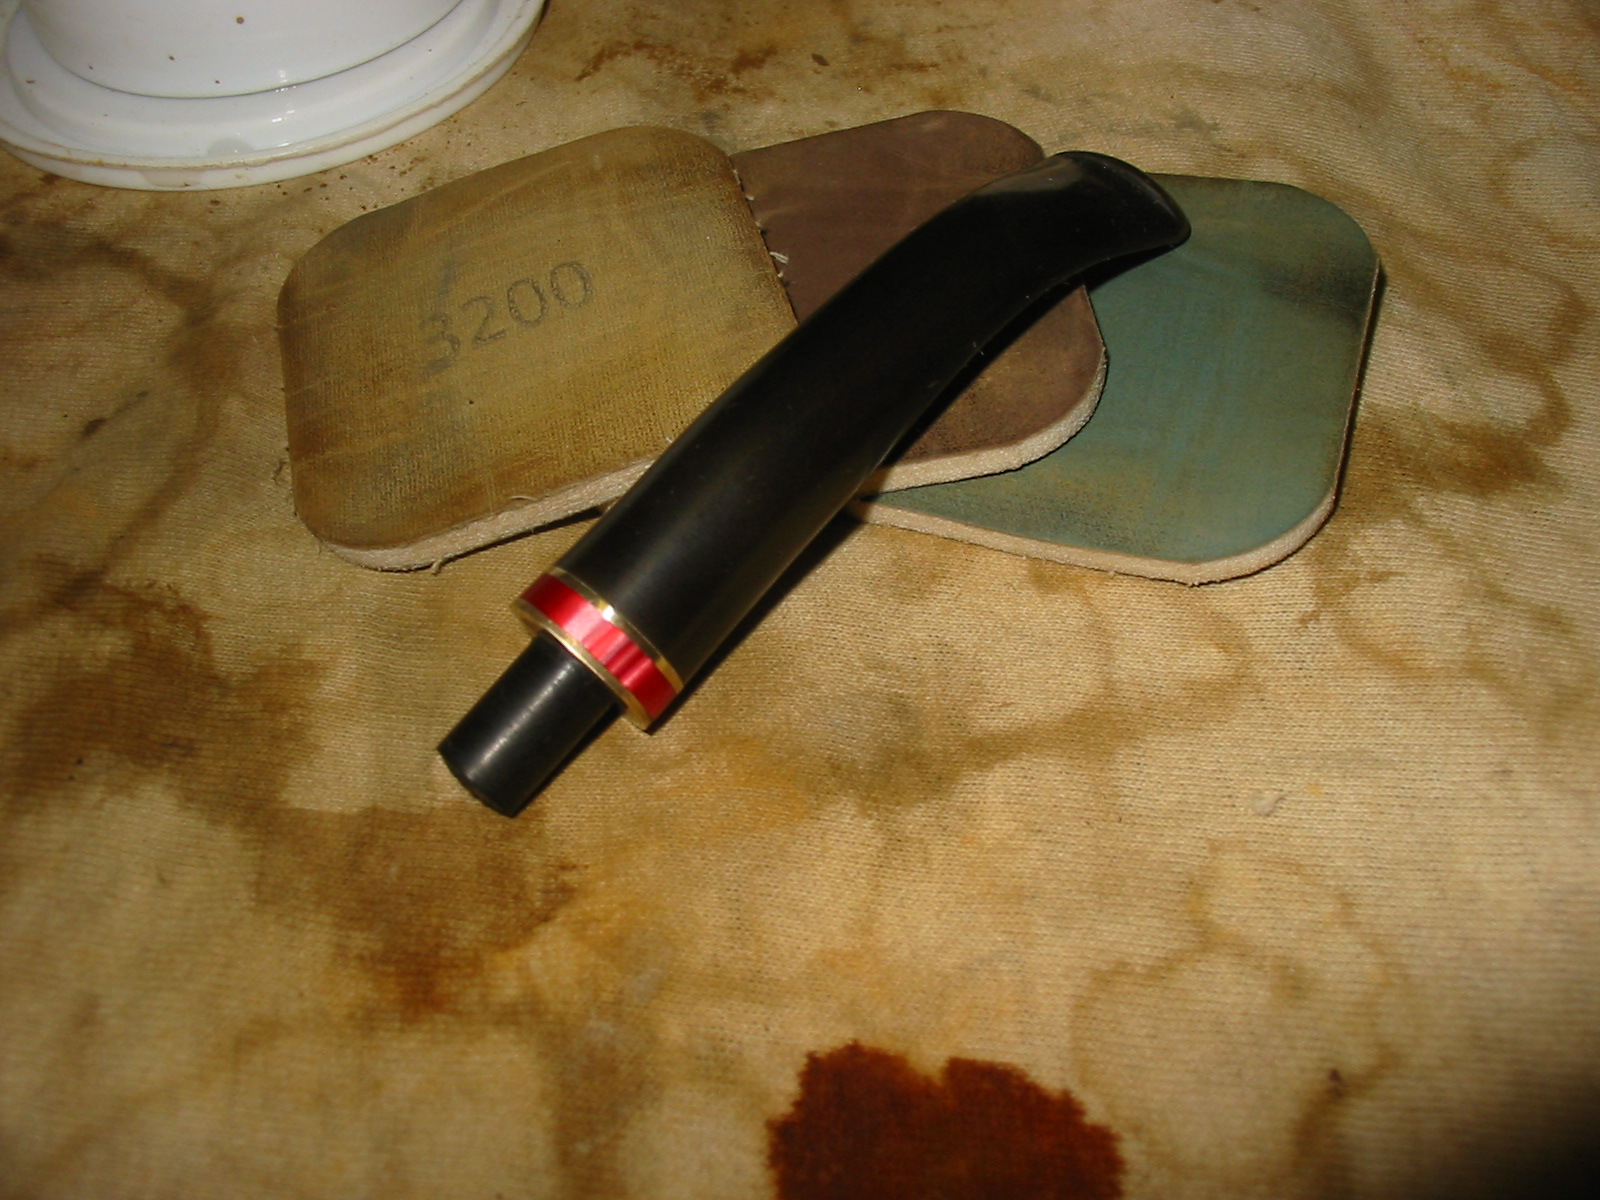
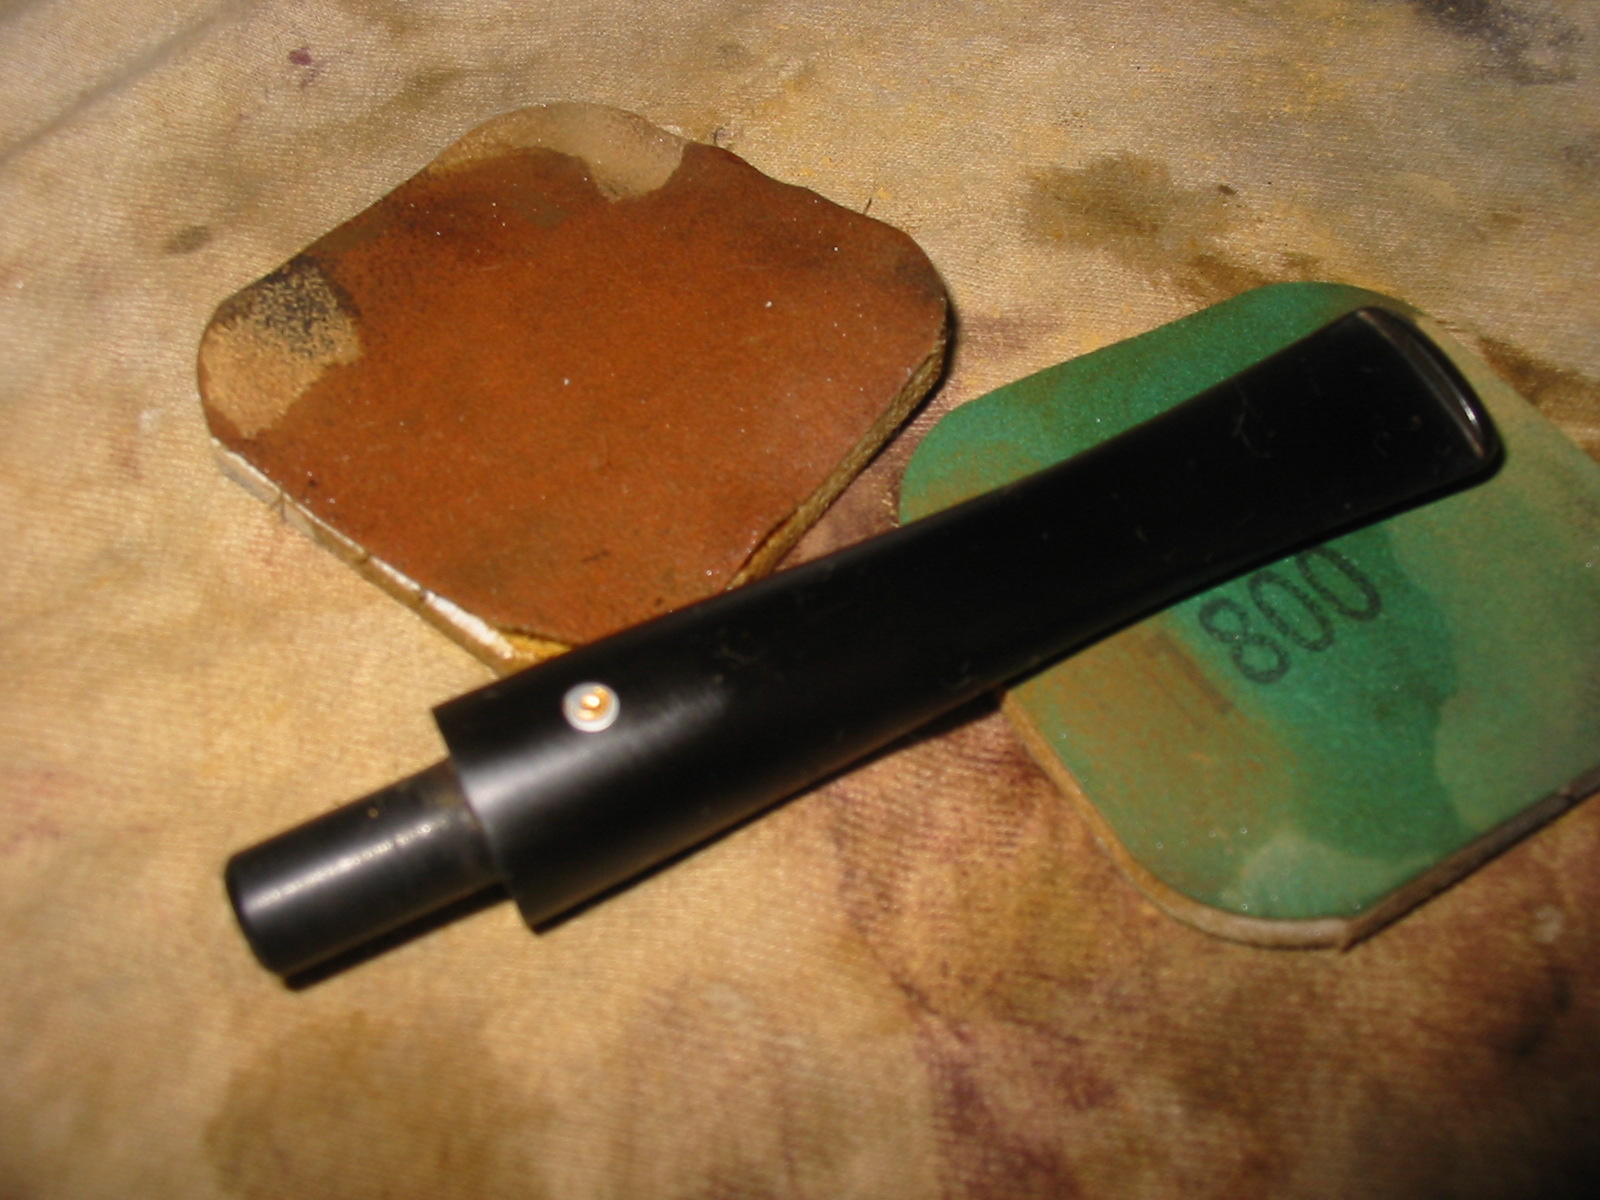
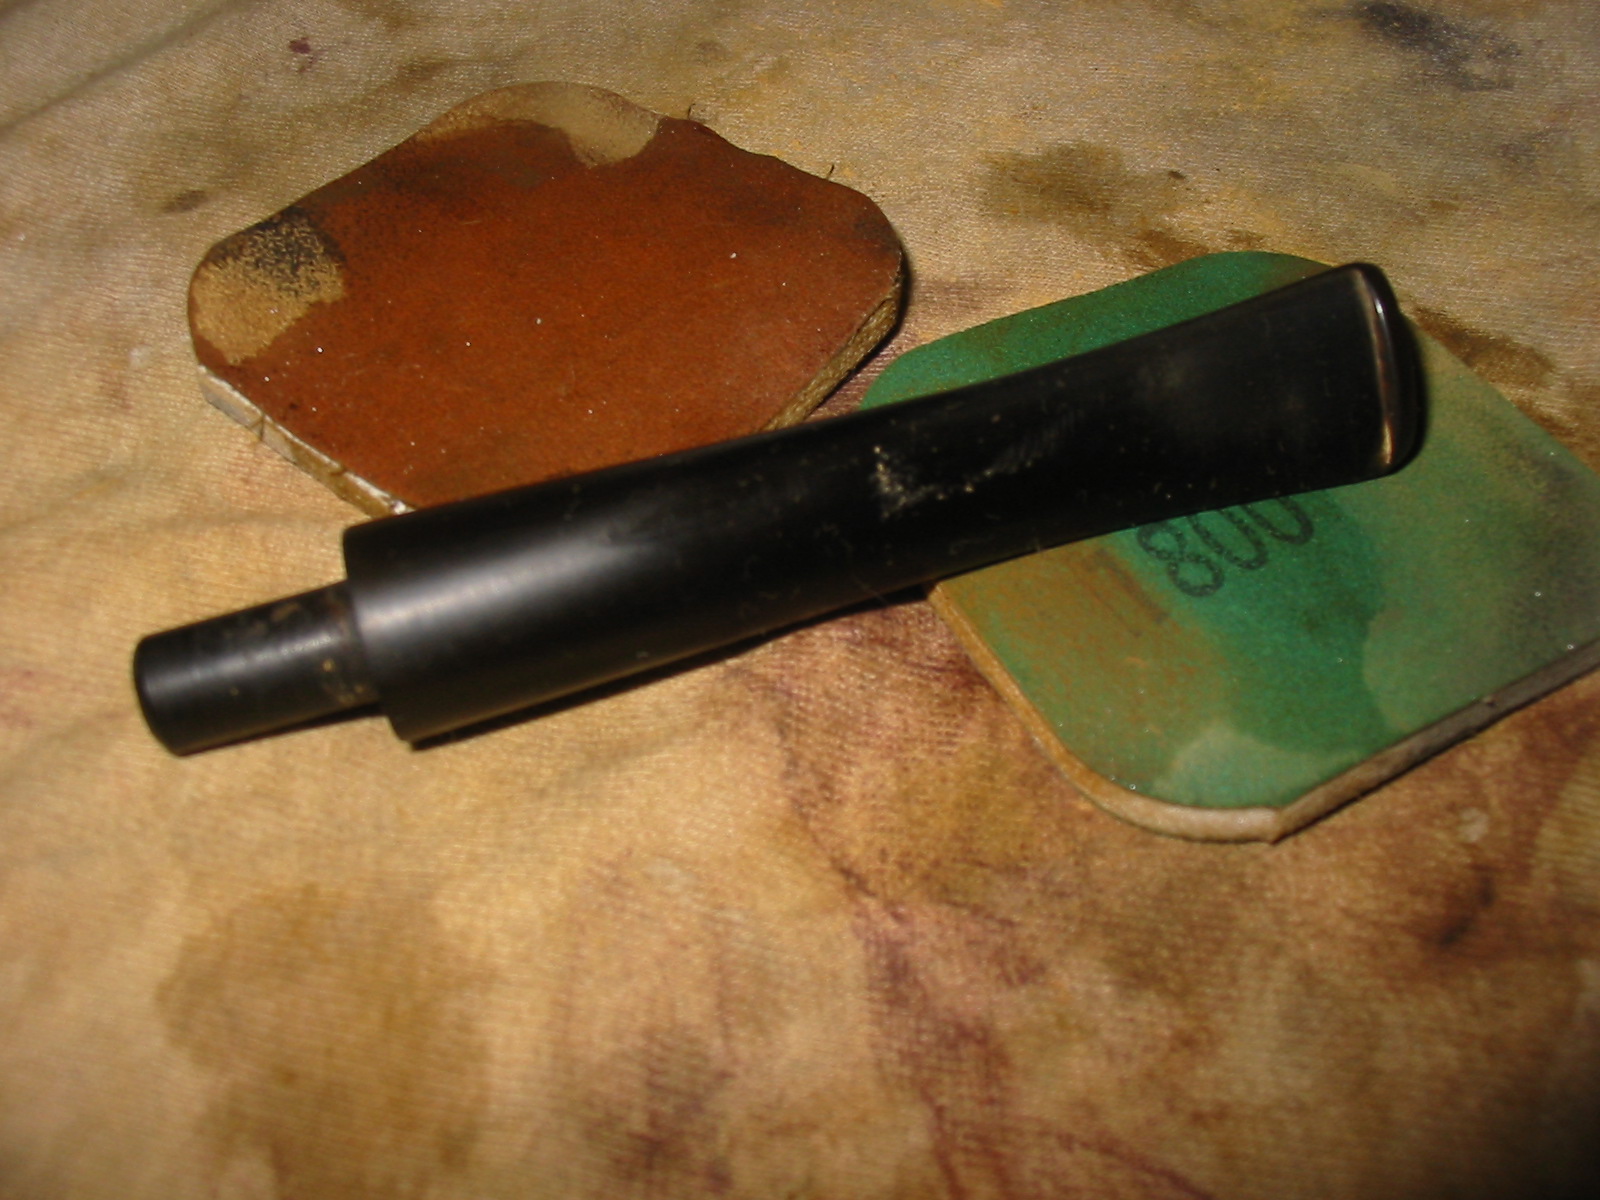
I then dry sanded it with 3200, 3600 and 4000 grit micromesh sanding pads. I finished sanding with the remaining grits of micromesh from 6000-12,000 and then set the stem aside to work on the bowl.

Image

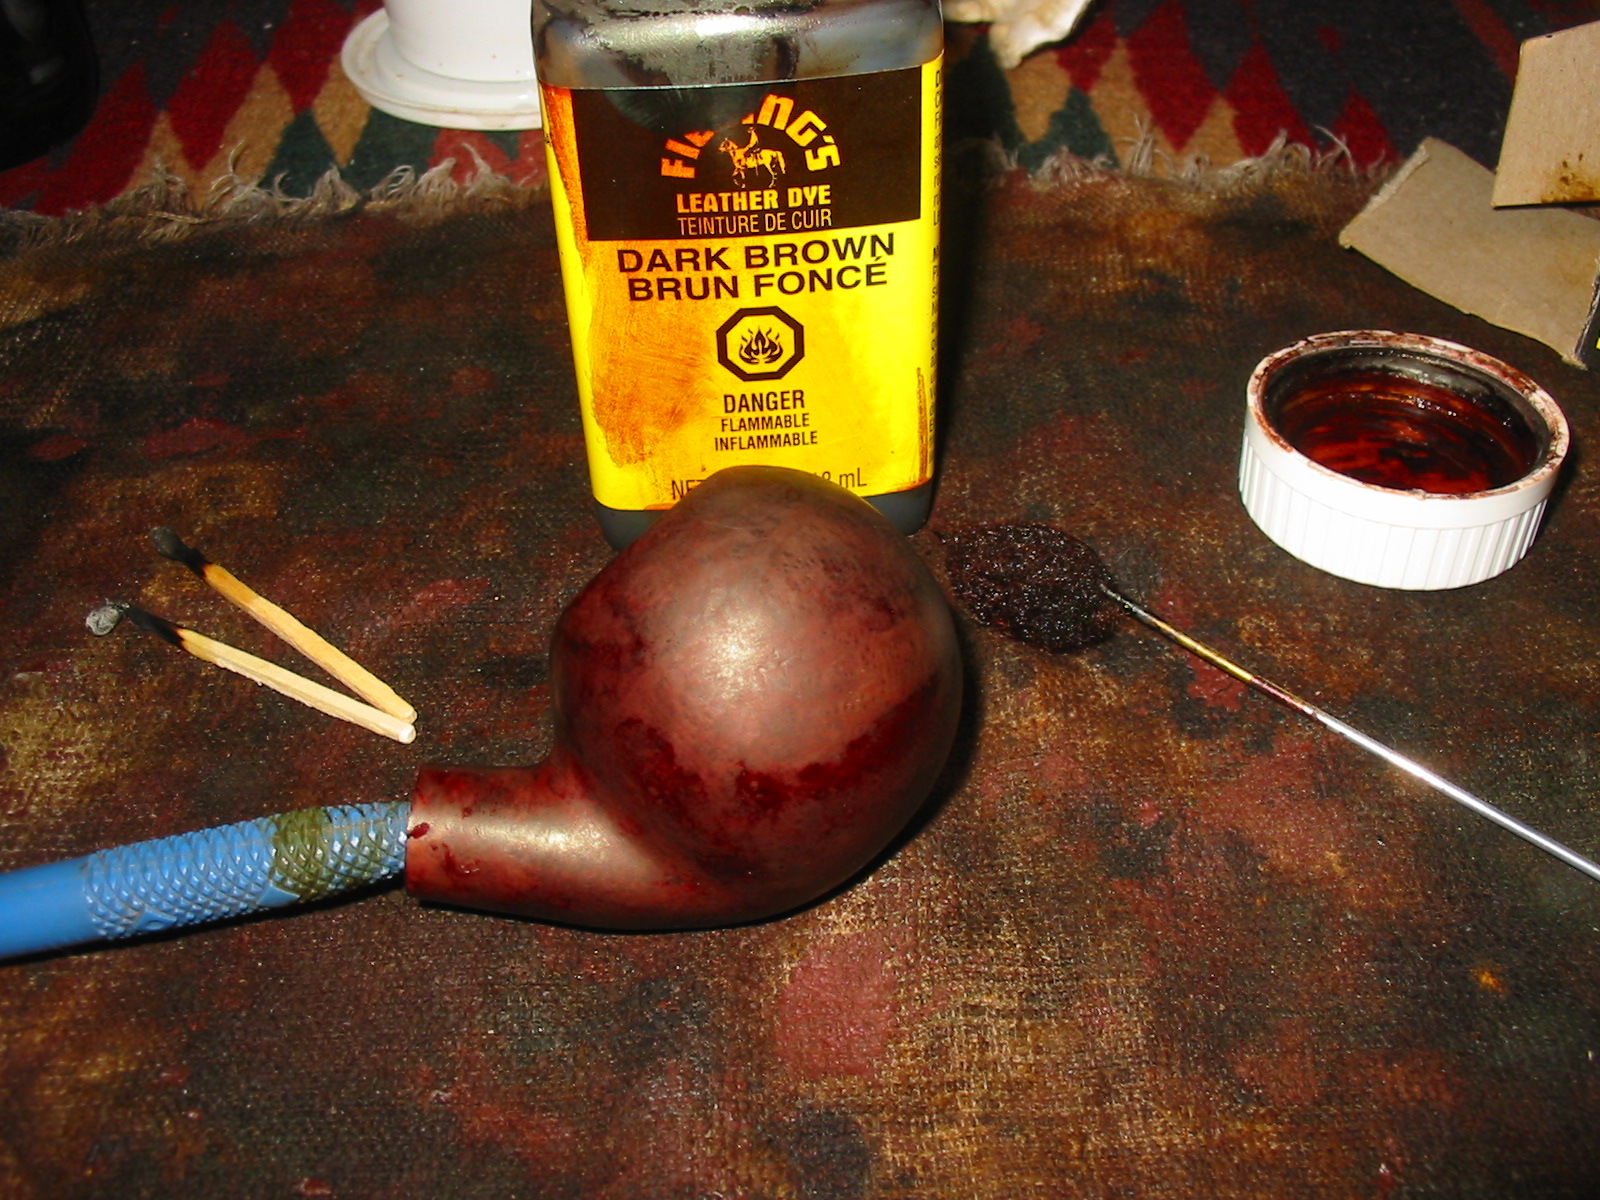
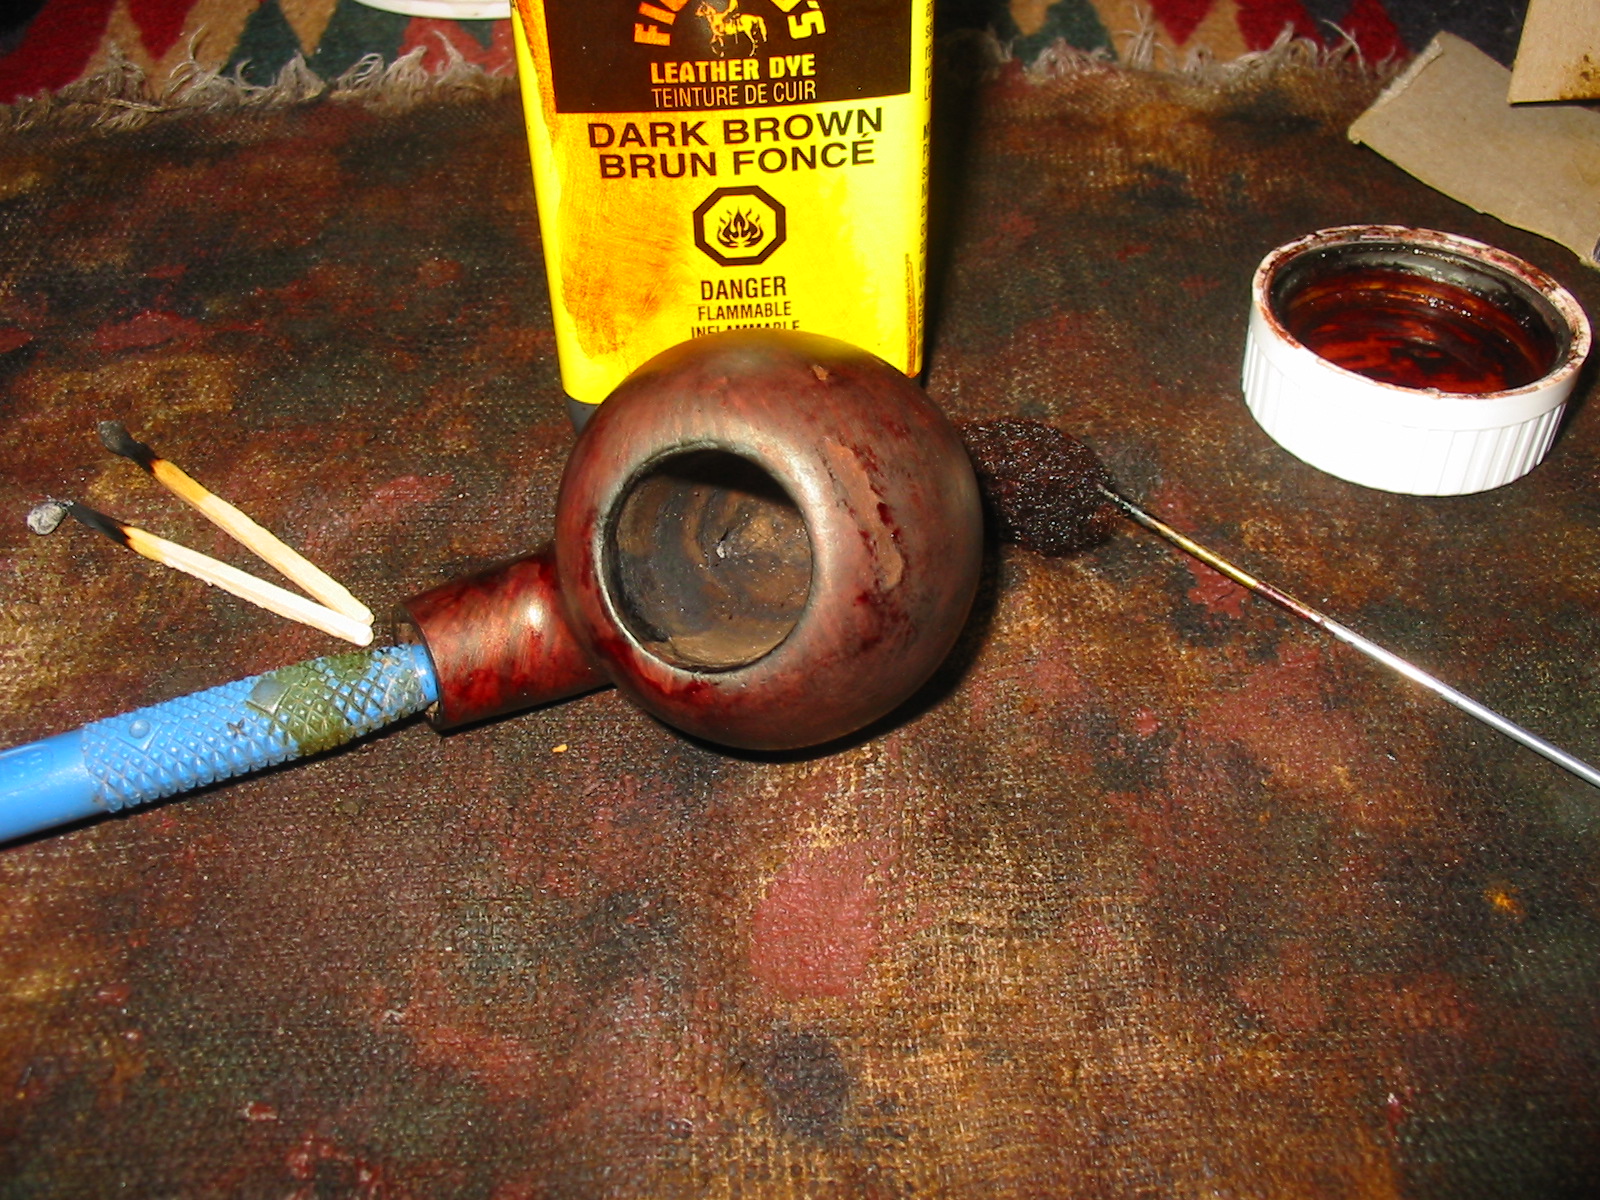
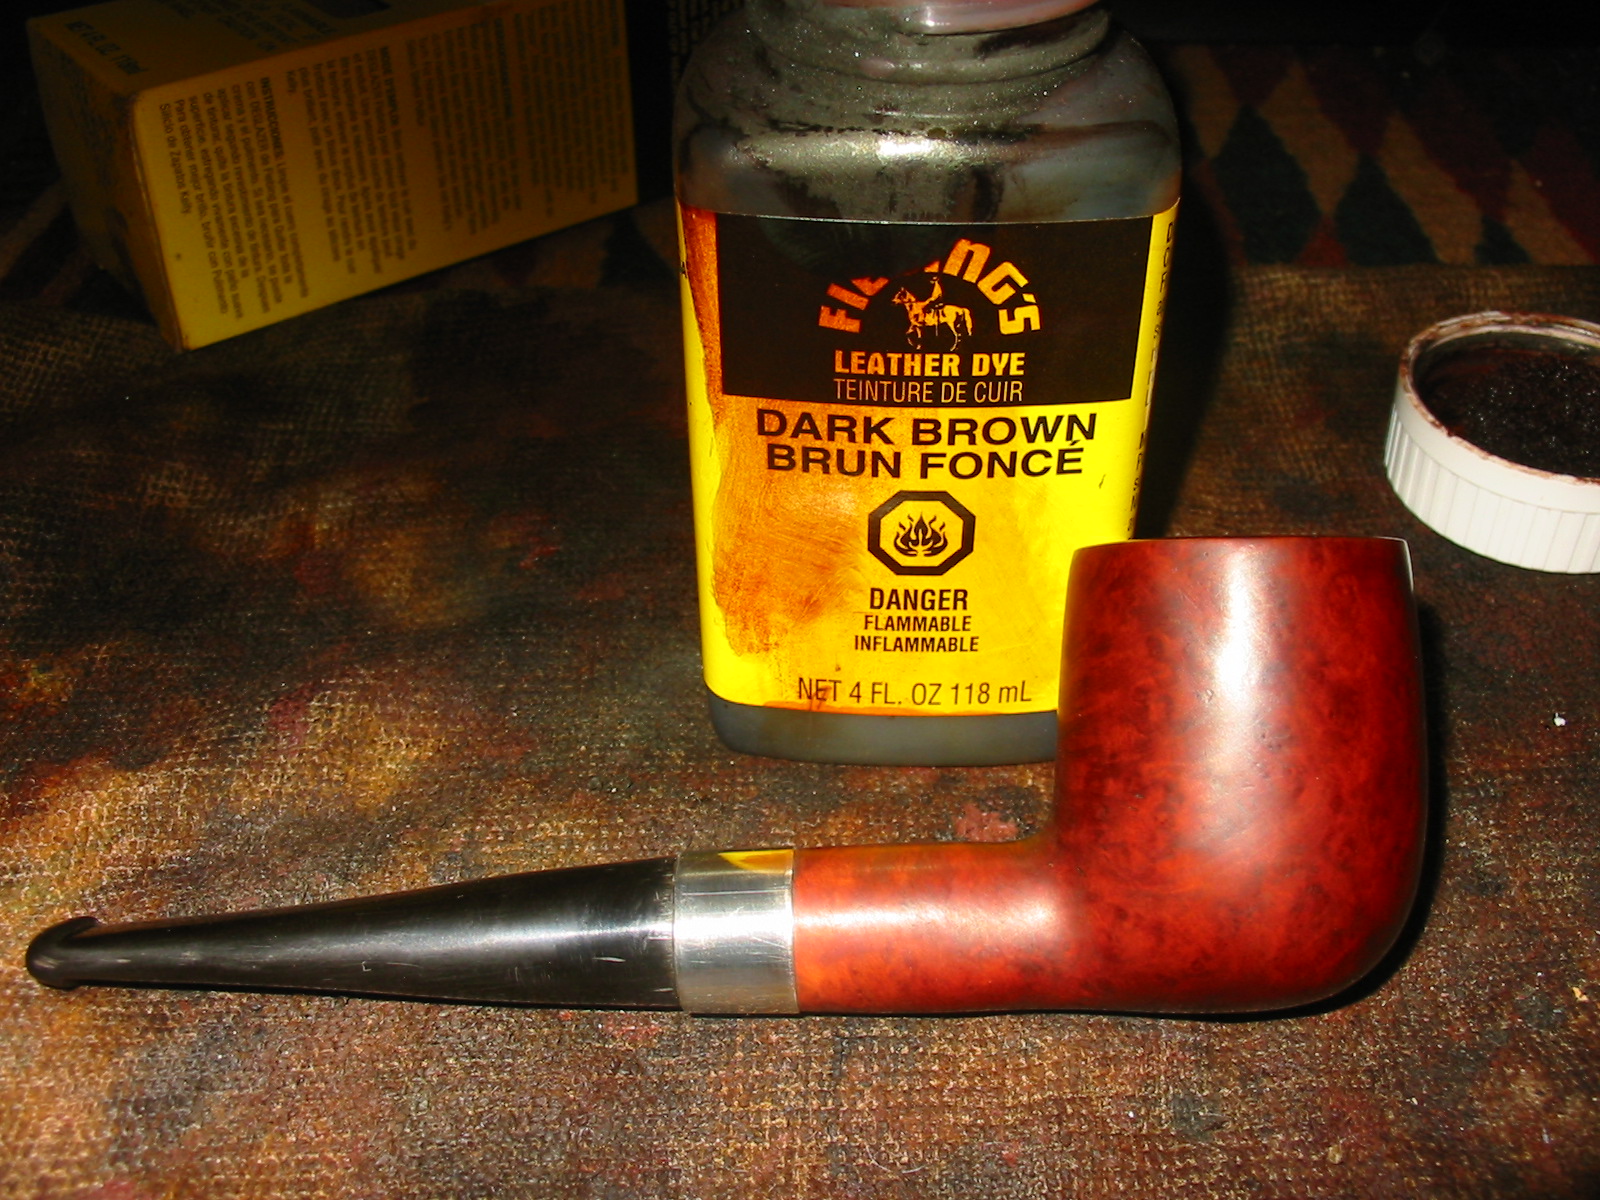
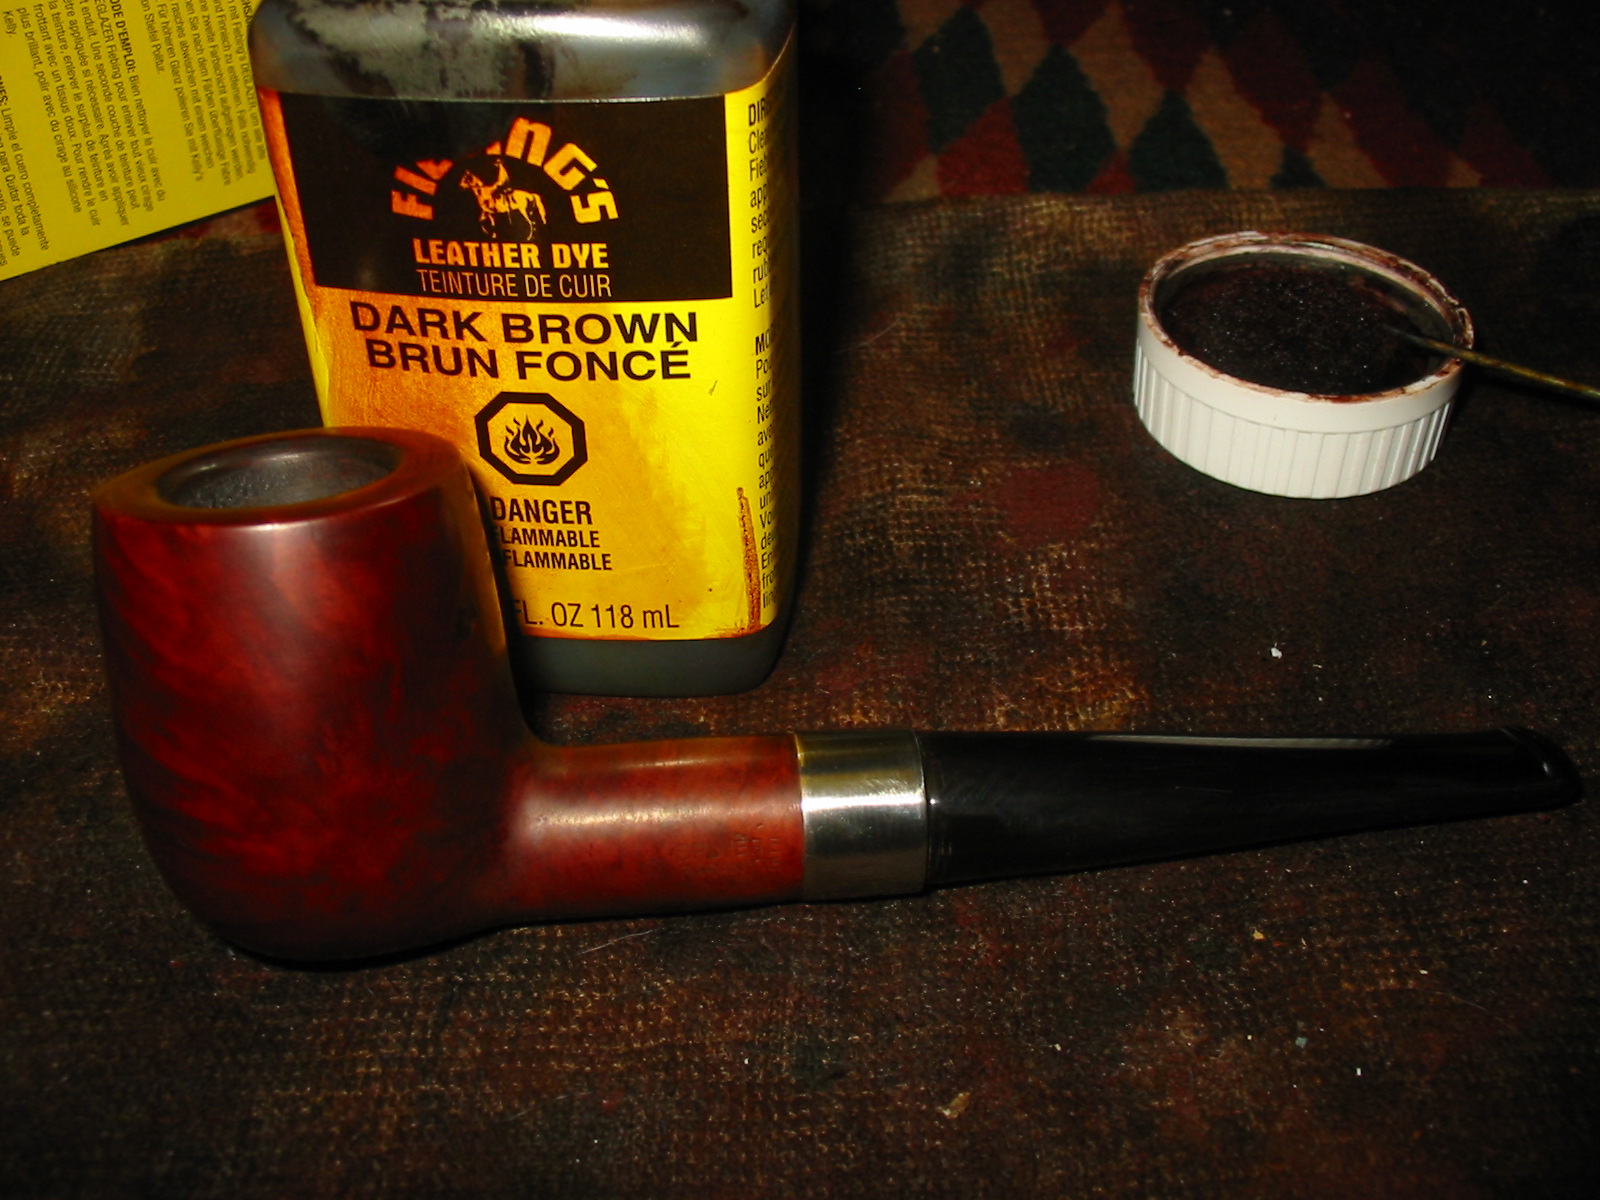
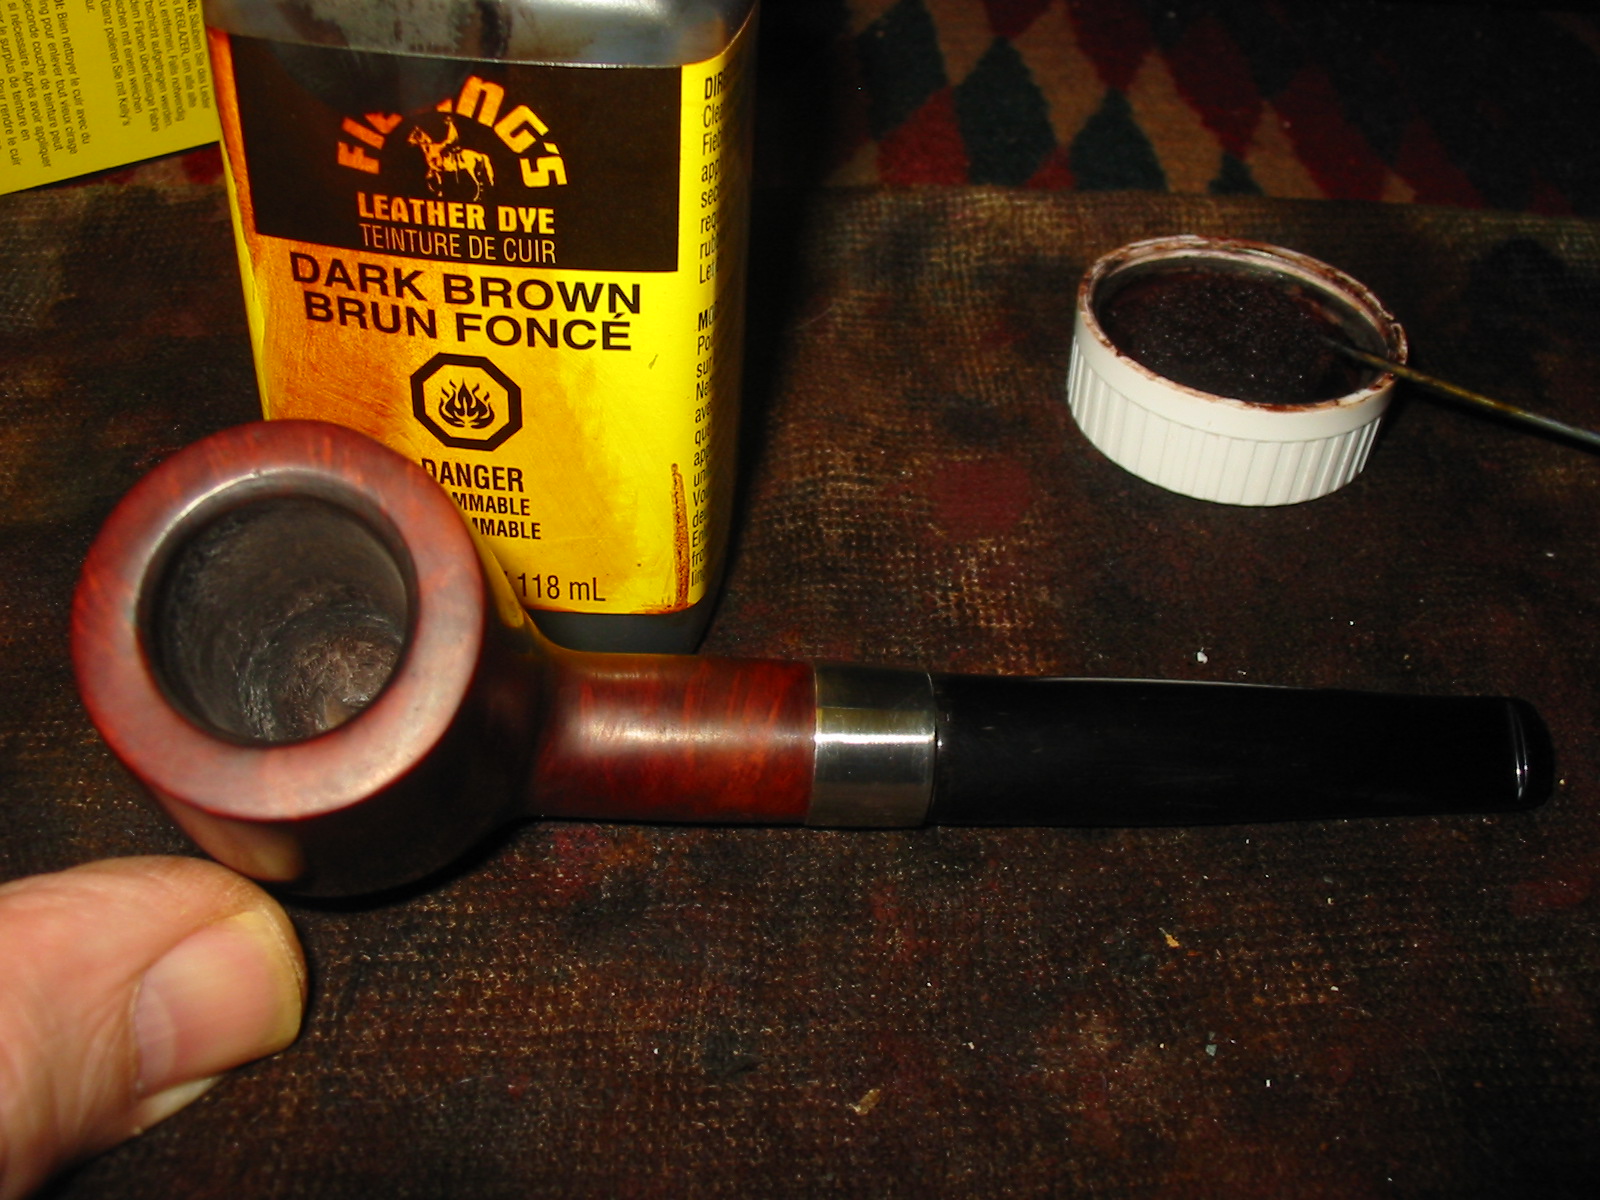
I decided to stain the pipe with a Dark Brown aniline stain to see how it would cover the fills. I was a bit worried that they would not pick up the pigment of the stain. I warmed the bowl and then applied the stain with the dauber and then flamed it, restained it, reflamed it and let it dry. The next two photos show the stained bowl and the fills standing out from the stain.

ImageImage

I put the stem back on the pipe and took it to my buffer. I buffed it with Tripoli and White Diamond to a shine. The fills seemed to just pop from the surface of the bowls! They stood out like eyesores and really bothered me. In the first two photos below you can see them clearly. The stem also showed a bit more oxidation that I would need to address as I finished the pipe.

ImageImage

I decided to try lightening the colour to see if the fills would blend in any better. I wondered if the high contrast of the dark stain and the light fills made them more visible. I wiped the bowl down with an alcohol dampened cotton pad to remove excess finish and try to blend the fills into the finish. It worked to a degree and the next three photos show the softened colour of the stain. In person the fills were still way to visible for my liking.

ImageImageImage

I wiped the stem down with Obsidian Oil and set it aside while I worked on picking out the fills with my dental pick. The next series of three photos show the cleaned out fills. They are stark white after the removal of the putty. In actuality they are a natural briar colour. I picked them clean and then wiped down the area with the damp pad one final time before I went to work on filling them.

ImageImageImage

The next series of seven photos shows the process I use for replacing putty fills. After I have cleaned them out I fill them with briar dust that I have collected. I pack it into the fill holes with the end of my dental pick. I wet the end of the pick so that the briar dust sticks to the end when I dip it in the dust. I then scrape the dust into the hole and pack it in tightly. I work on one hole at a time as I don’t want the dust and superglue mix running all over the pipe. That is a real challenge on a ball shaped bowl. Once I have the dust packed in the hole I drip superglue into the dust. I also add a bit more dust if it is necessary and repack and reglue it. You can see from the photos that the result is a messy patch over the fill hole. The dust and superglue mix hardens quickly and forms a great patch for the holes. Once I had all the holes filled I then sanded the bowl.  

ImageImageImageImageImageImageImage

The next eight photos show the sanded bowl. I use 320 grit sandpaper to sand off the excess superglue and briar dust and bring the surface of the patch smooth with the surface of the bowl. The finished patch is almost black in appearance. In the bare briar bowl the patches show up as black on the light coloured briar. I find that this dark patch actually is easier to blend in with the stain than the lighter putty patches. Once I have sanded the patches smooth I sand the entire bowl with the fine grit sanding sponge so that when I restain it I will be able to get an even coat. After sanding I wipe the bowl down with an alcohol dampened cotton pad to remove any remaining finish and the dust and grit from sanding the bowl. This prepares it for staining.

ImageImageImageImageImageImageImageImage

For the restain of the bowl I decided I would use an oxblood stain. It is an alcohol based paste stain that I have used in the past with good coverage over the replace fills. I applied with a dauber and rubber is into the surface of the pipe. Once I had the whole pipe covered I flamed it and then rubbed it off with a cotton towel I use for that purpose. The next four photos show the coverage of the stain before I wiped it off.

ImageImageImageImage

Once the stain was dry I buffed it on my buffer using White Diamond. The next four photos show the bowl after buffing. The fills are still dark and stand out to the eye. I have learned through experimenting that I can blend them into the stain a bit better by using a permanent marker and draw grain lines through the fills making them flow with the pattern of the grain on the bowl. The trick it not to have a heavy hand and to try to follow existing graining patterns. The black permanent marker stands out initially on the new stain but after is applied I restain the bowl with another coat of the oxblood stain, flame it and then rub it off.

ImageImageImageImage

The final series of five photos show the finished pipe. The fills are still visible if you look closely but they blend into the surface of the bowl and stain more nicely. I gave the pipe a final buff with White Diamond and then applied several coats of carnauba wax and buffed with a clean flannel buffing pad. The pipe is now ready to smoke and the medicinal cherry smell is gone. Though the fills are far from being invisible they are certainly better and the overall effect is a much nicer pipe.

ImageImageImageImageImage

An Odd Pipe Restored – Richmond London Made


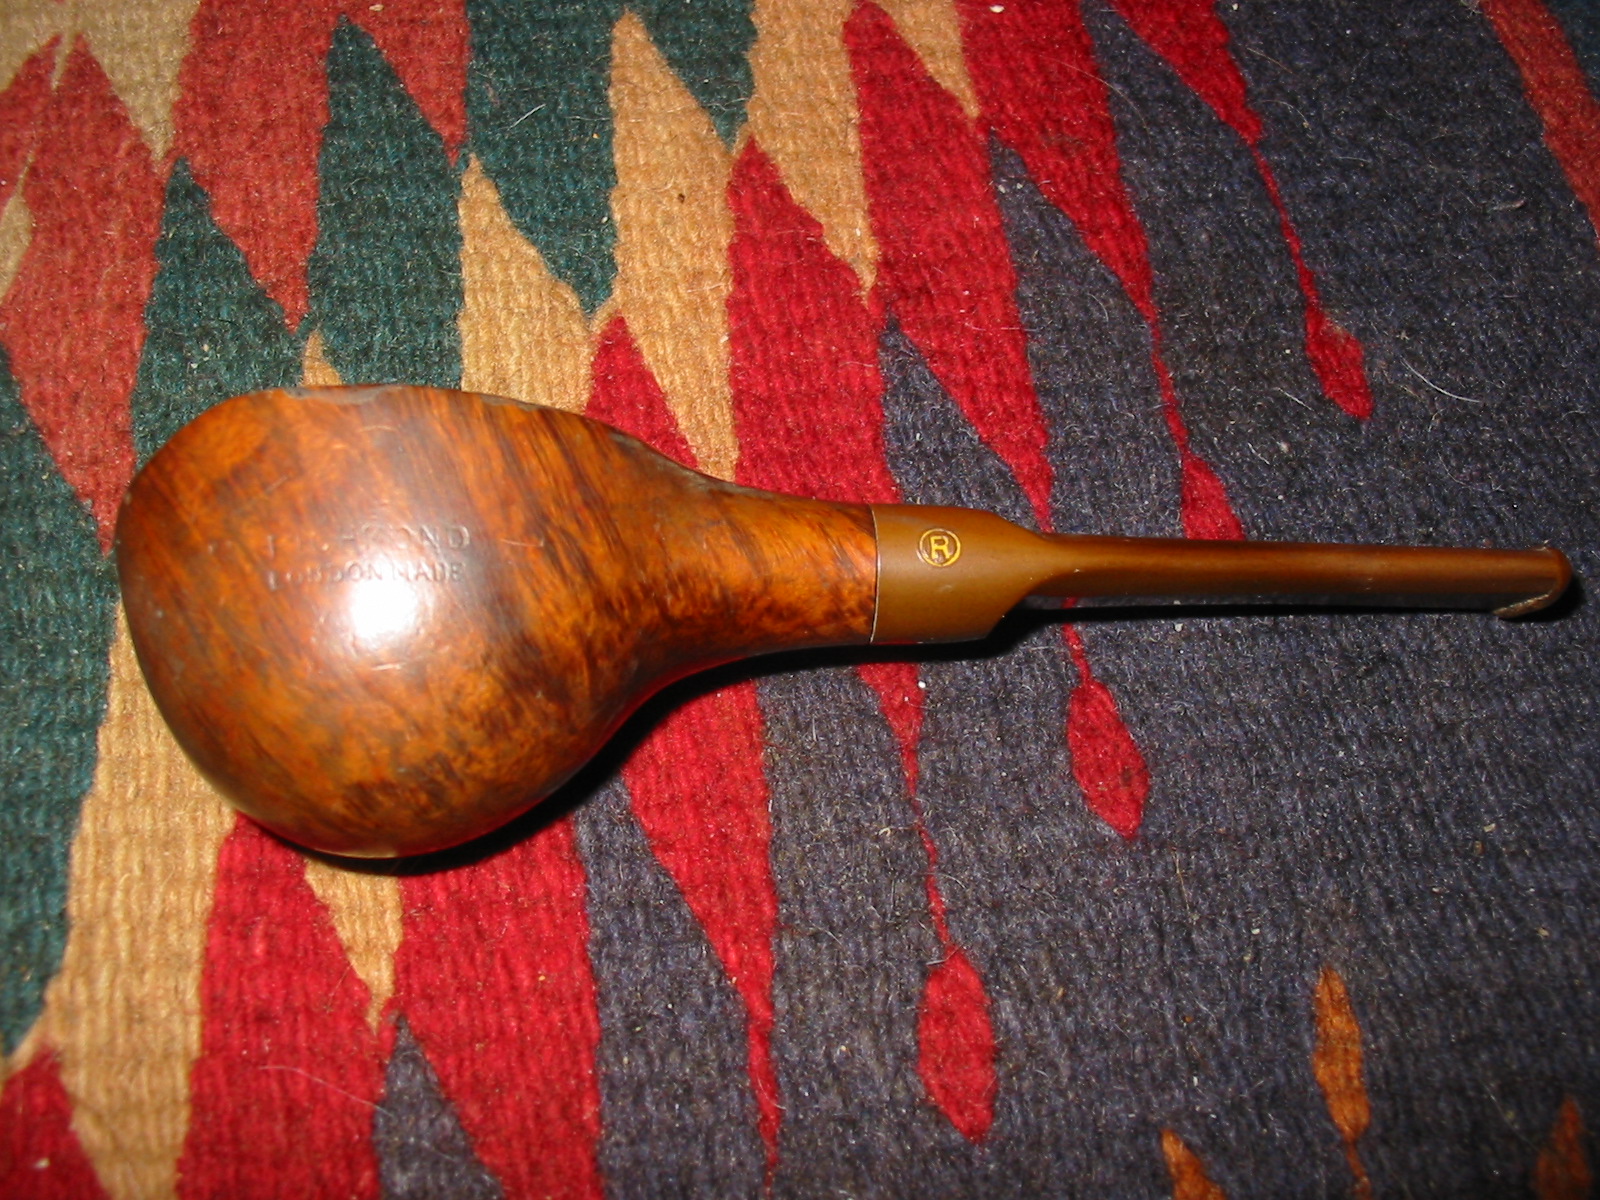
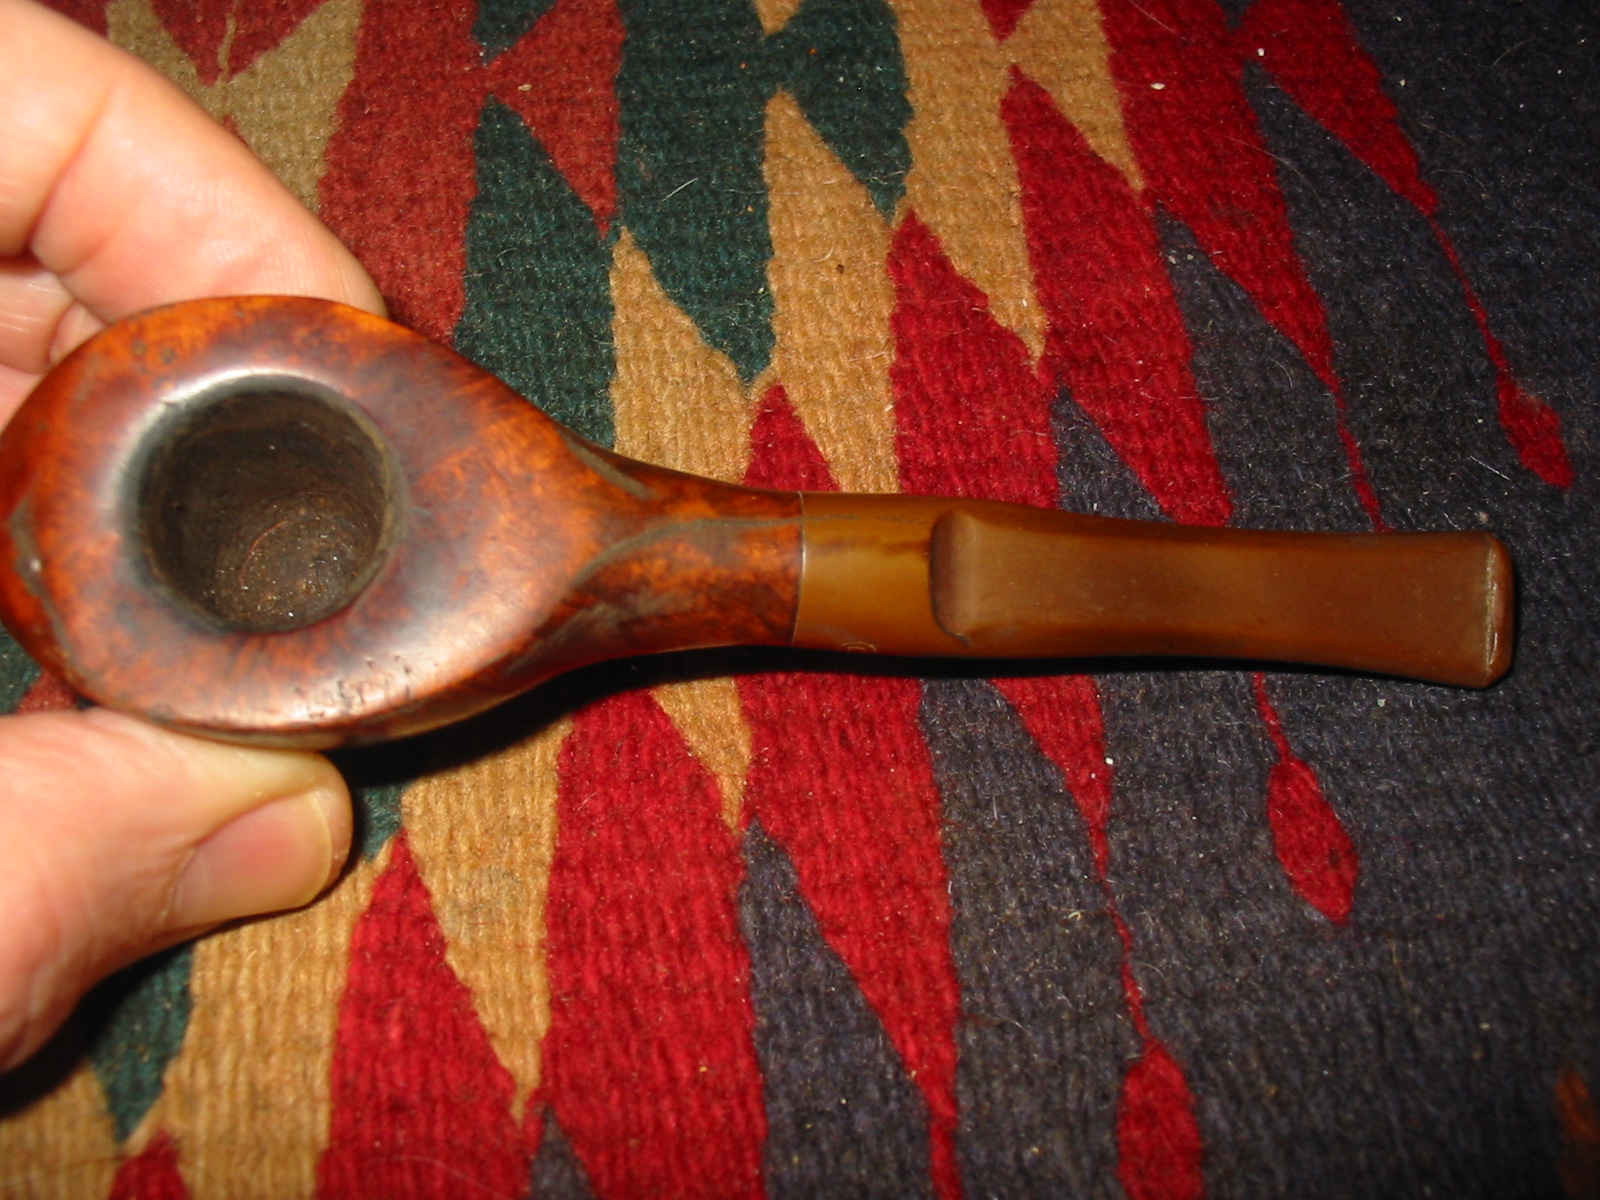
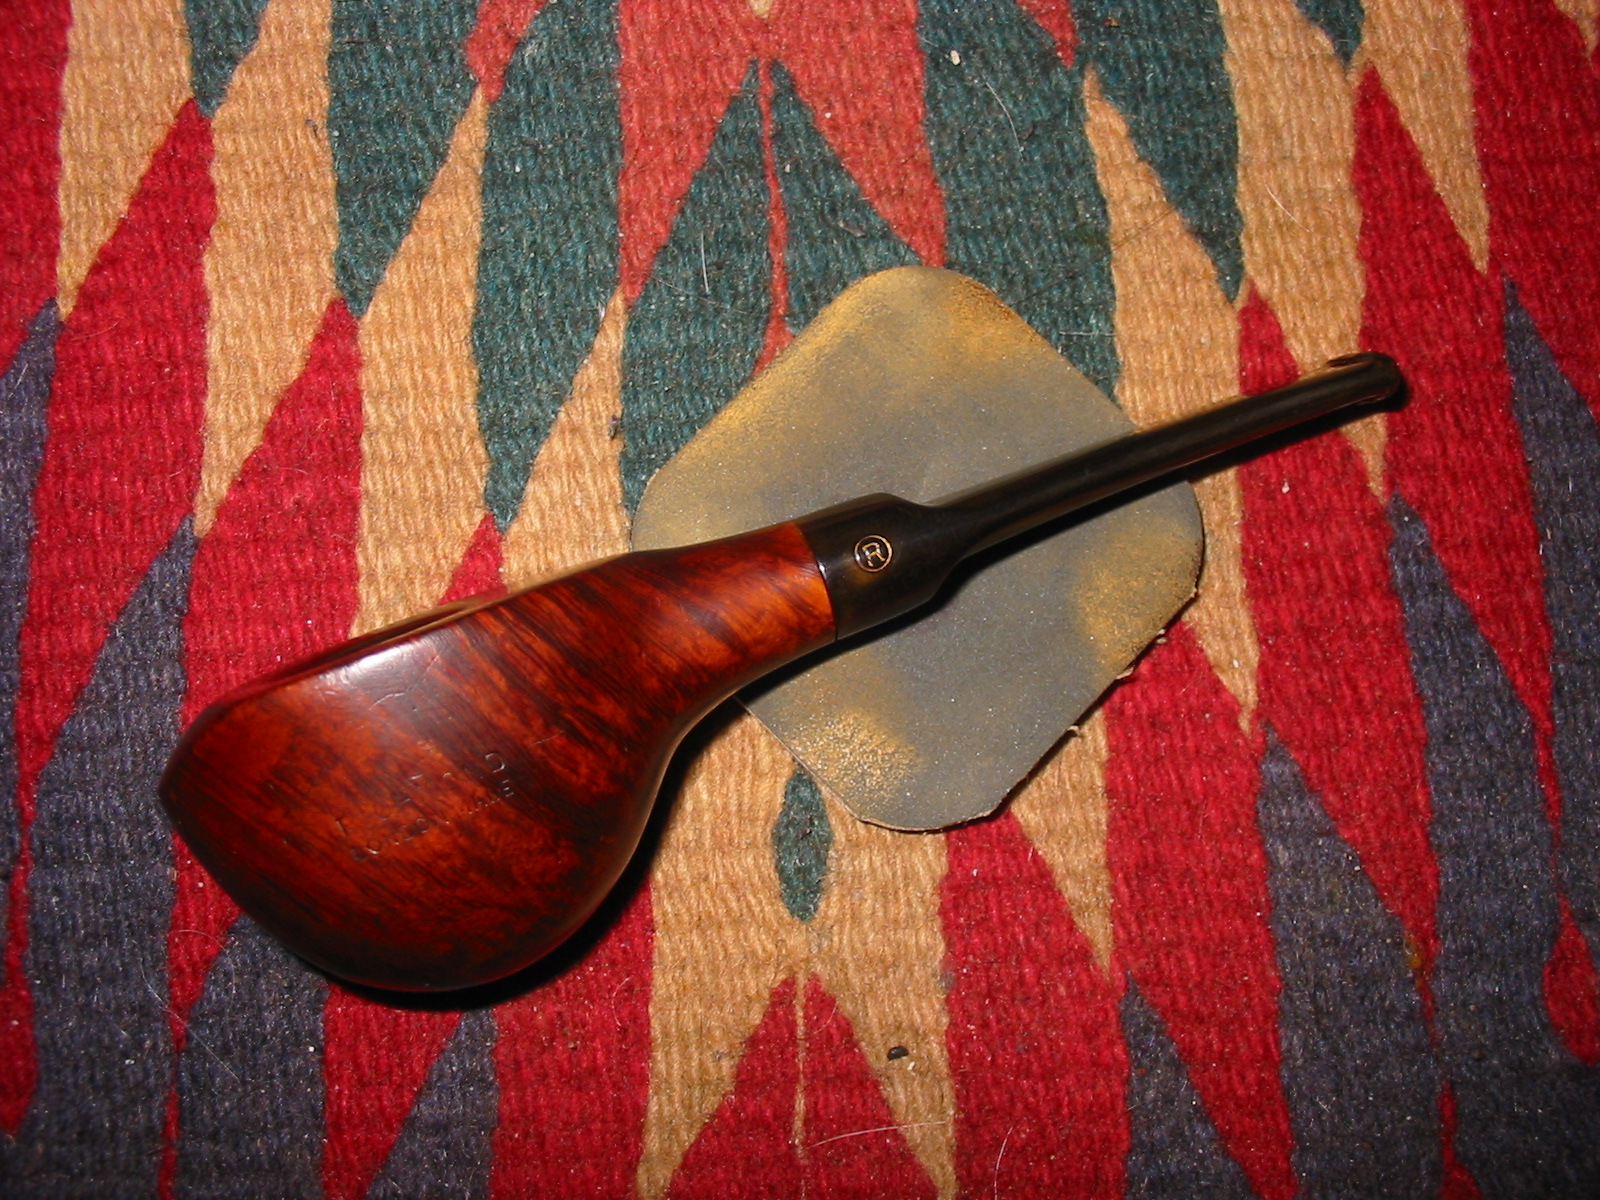
This old timer is an odd shaped pipe with the bowl hanging below the height of the shank. The line from the rim to the stem is straight and the bowl hangs below that. It is stamped Richmond over London Made on the left side of the bowl and on the right it is stamped Made in England. From the information that I can find the pipe was made by either Saseini or Comoys. Both stamped pipes with the Richmond label. The first series of four photos show the pipe as it was when it arrived here at my workbench.

ImageImageImageImage

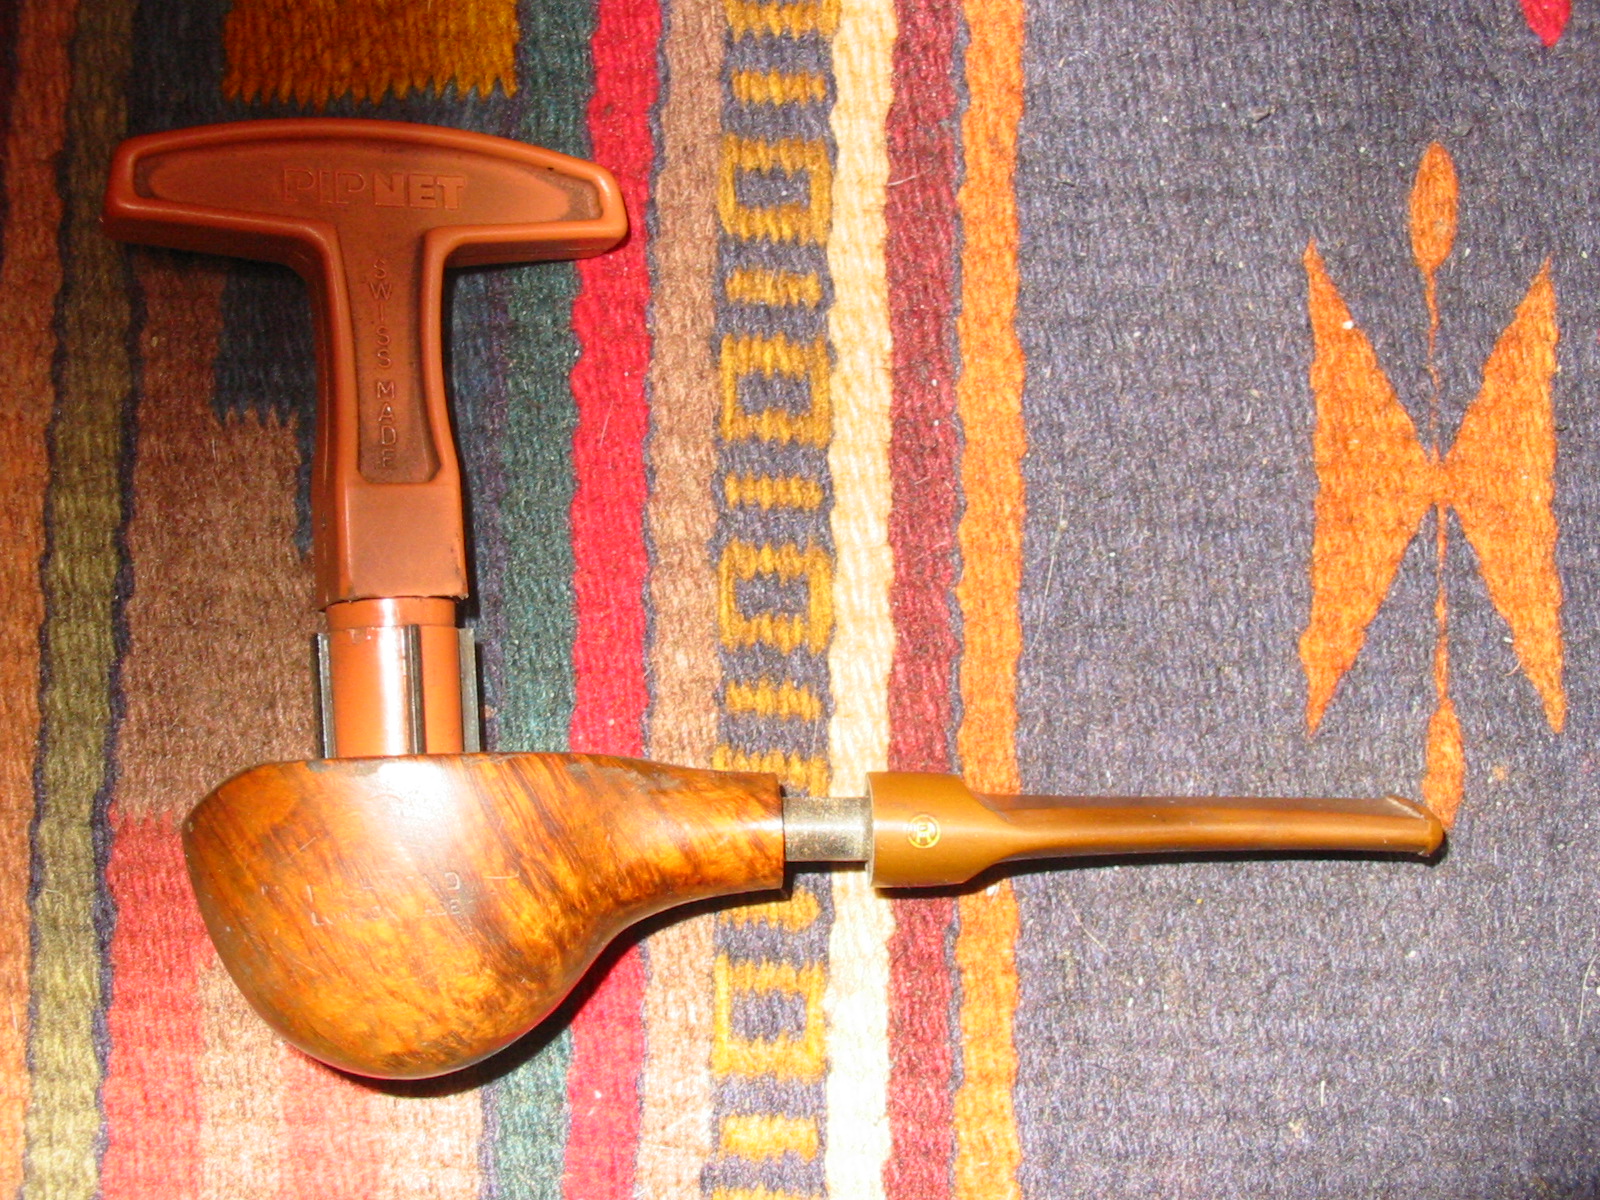
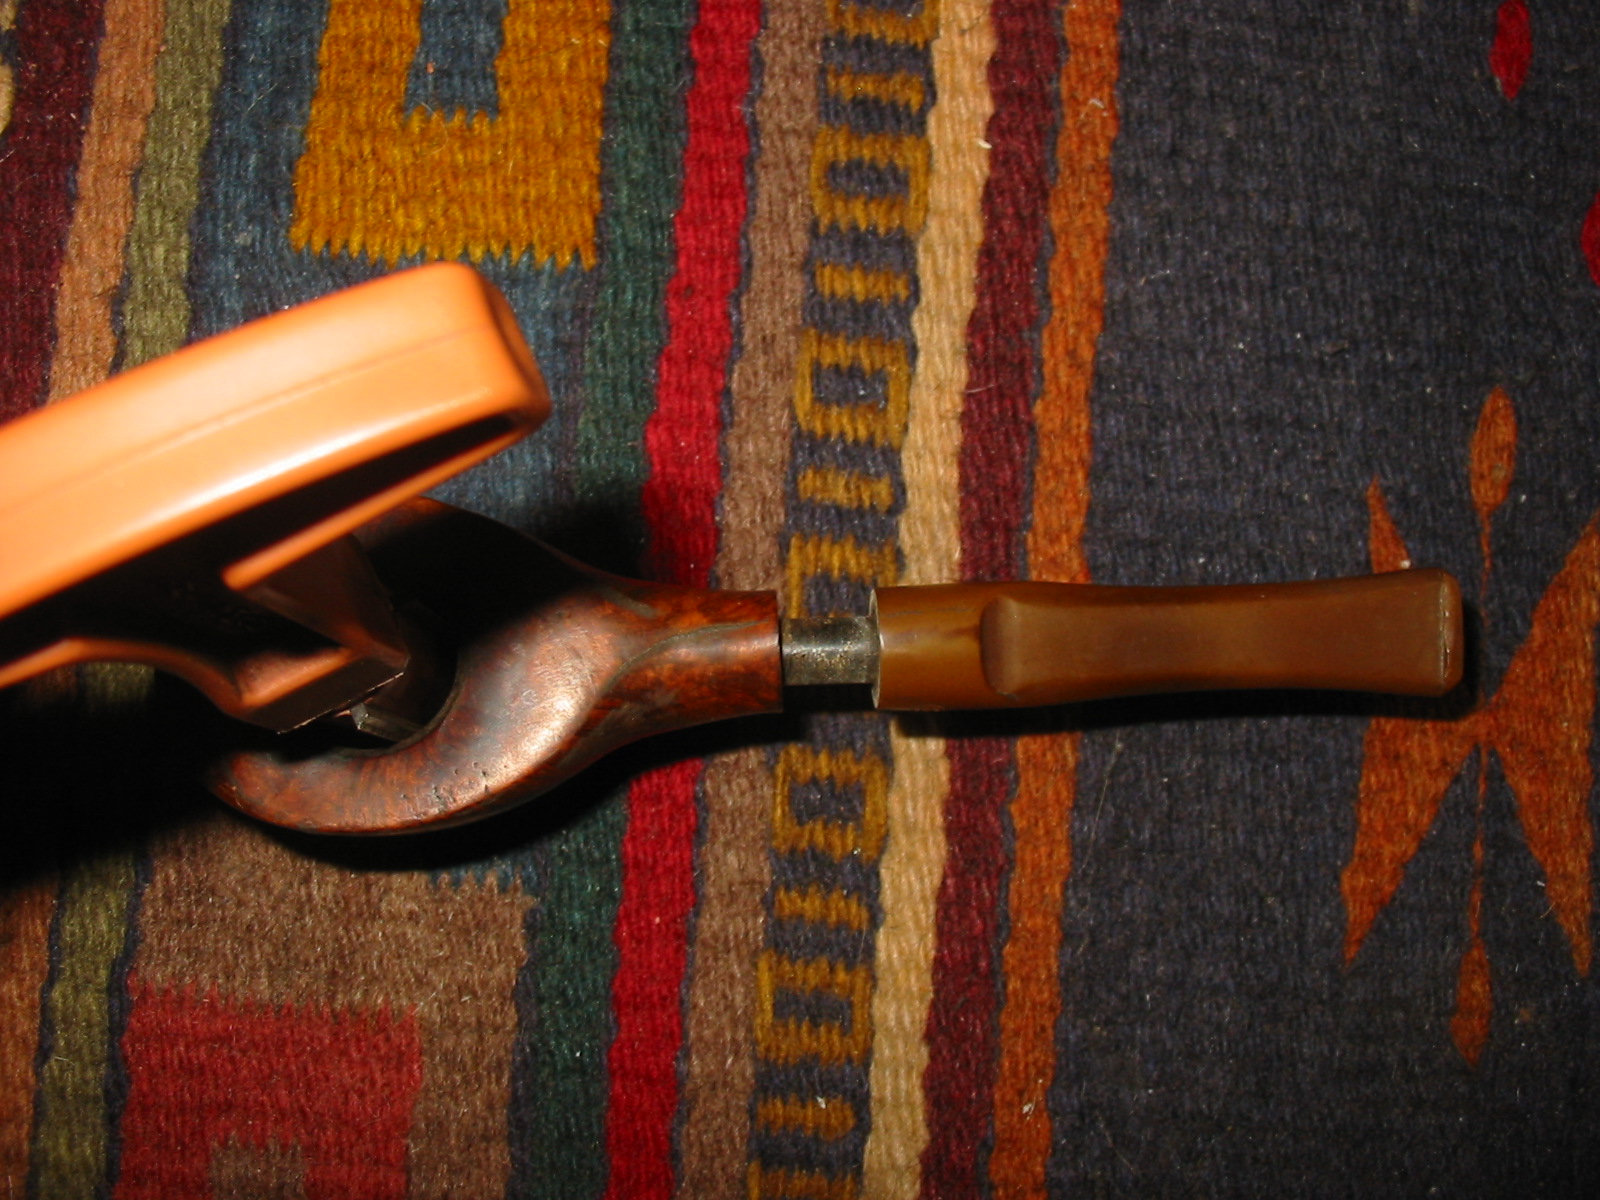
I cleaned the bowl and shank with Isopropyl alcohol. I reamed out the cake in the bowl. I use a Pipnet T handle reamer. In this case I started with the smallest blade set and worked up to the one that is pictured below in the next two photos.

ImageImage

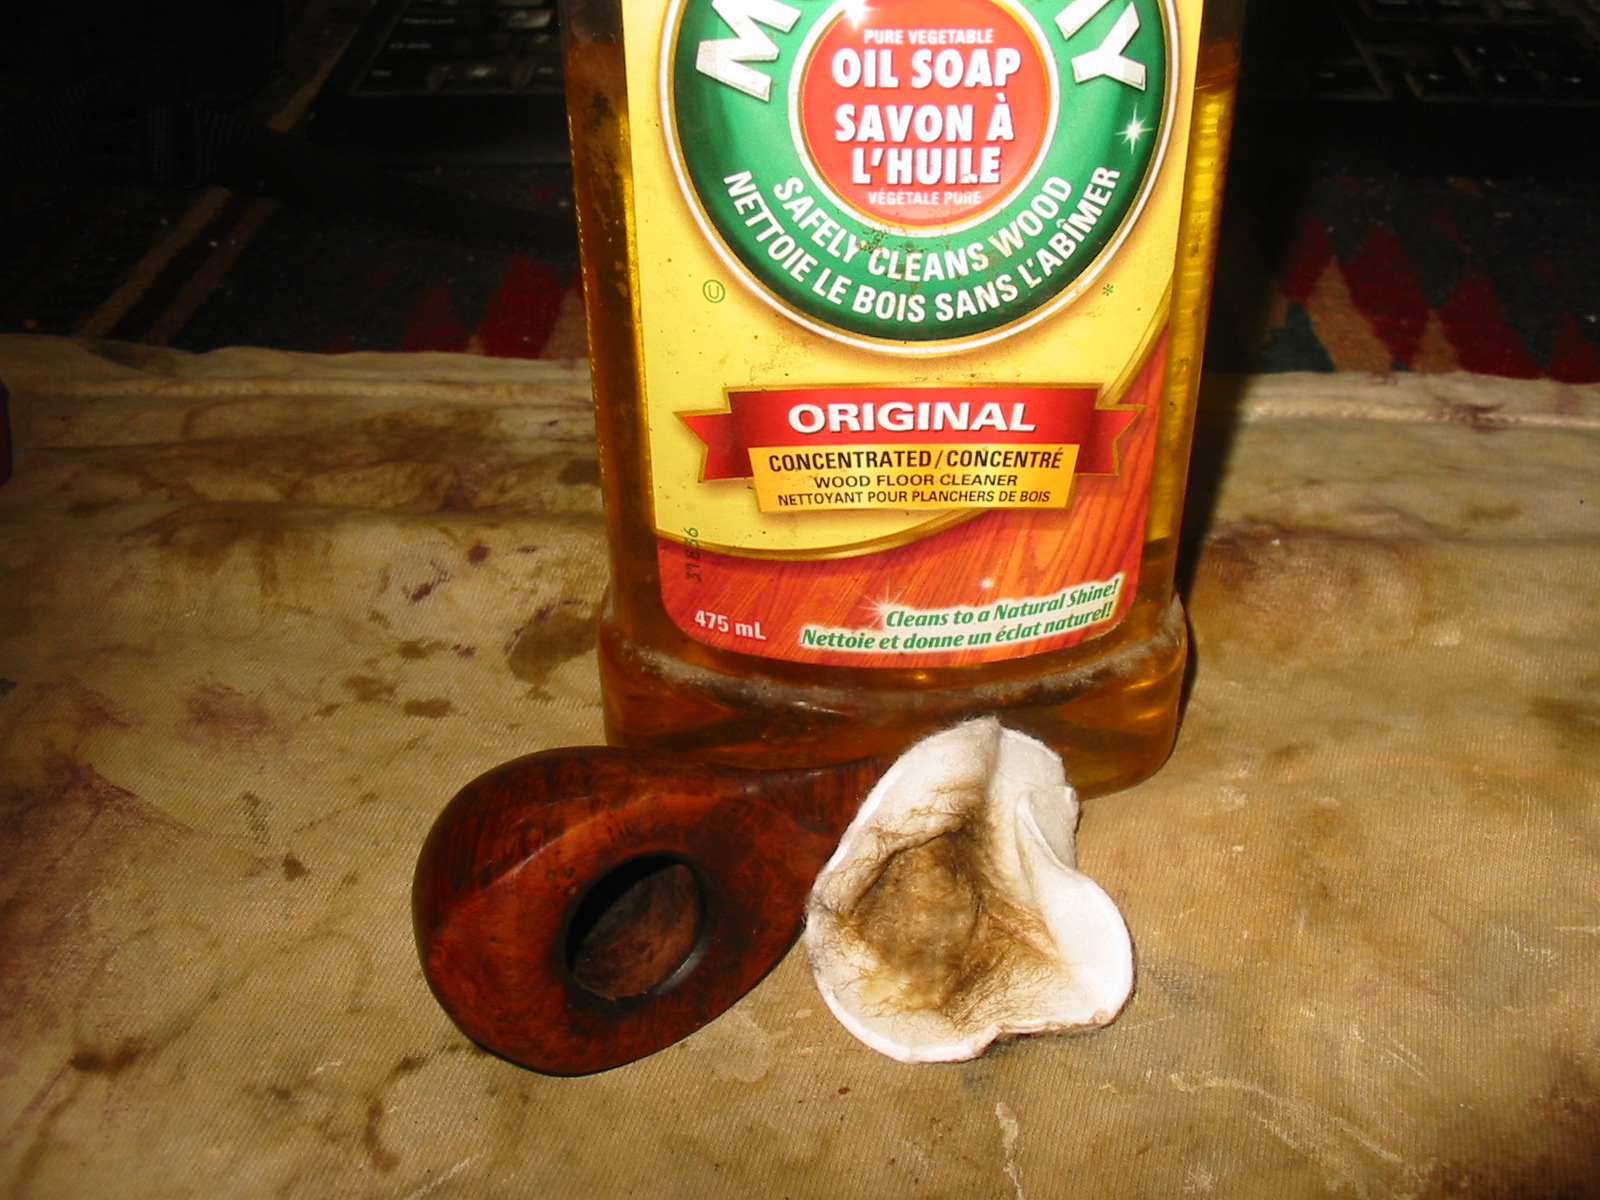
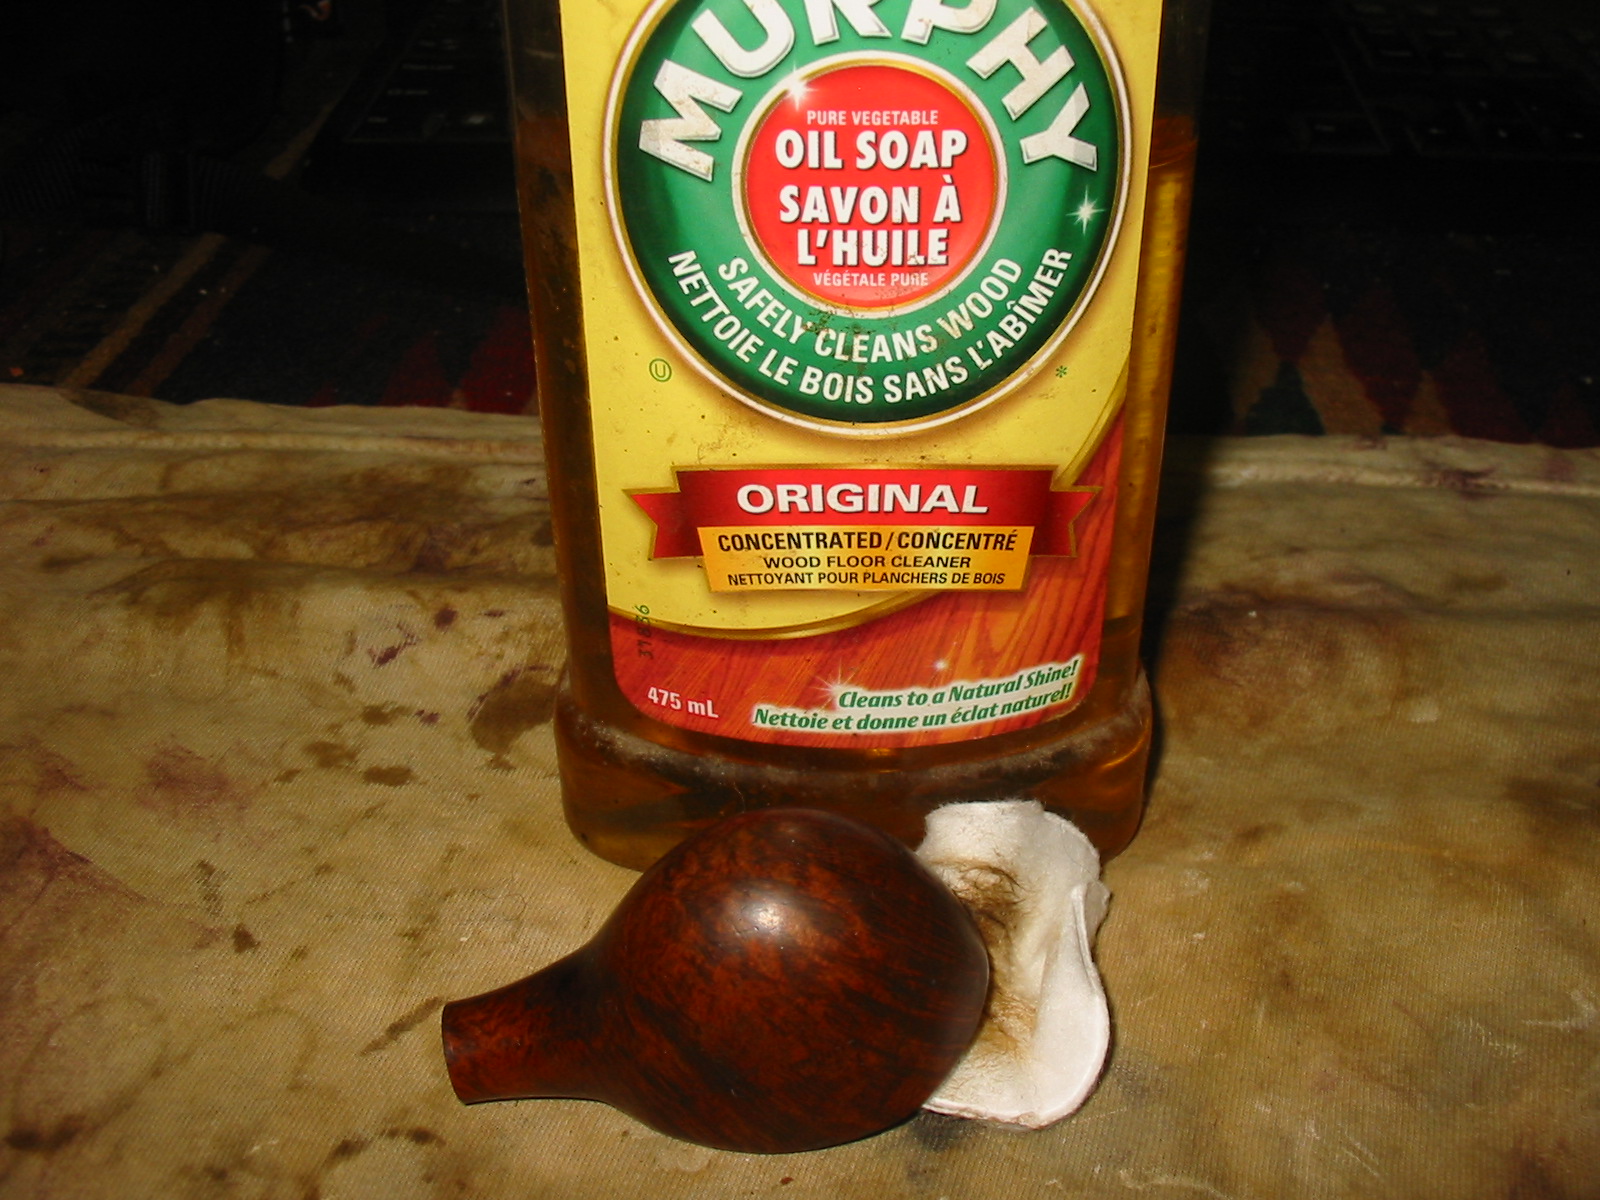
After reaming the bowl I scrubbed the outside of the bowl with Murphy’s Oil Soap on a cotton pad. I wanted to remove as much of the old waxes and grime that was on the surface of the bowl and the rim.

ImageImage

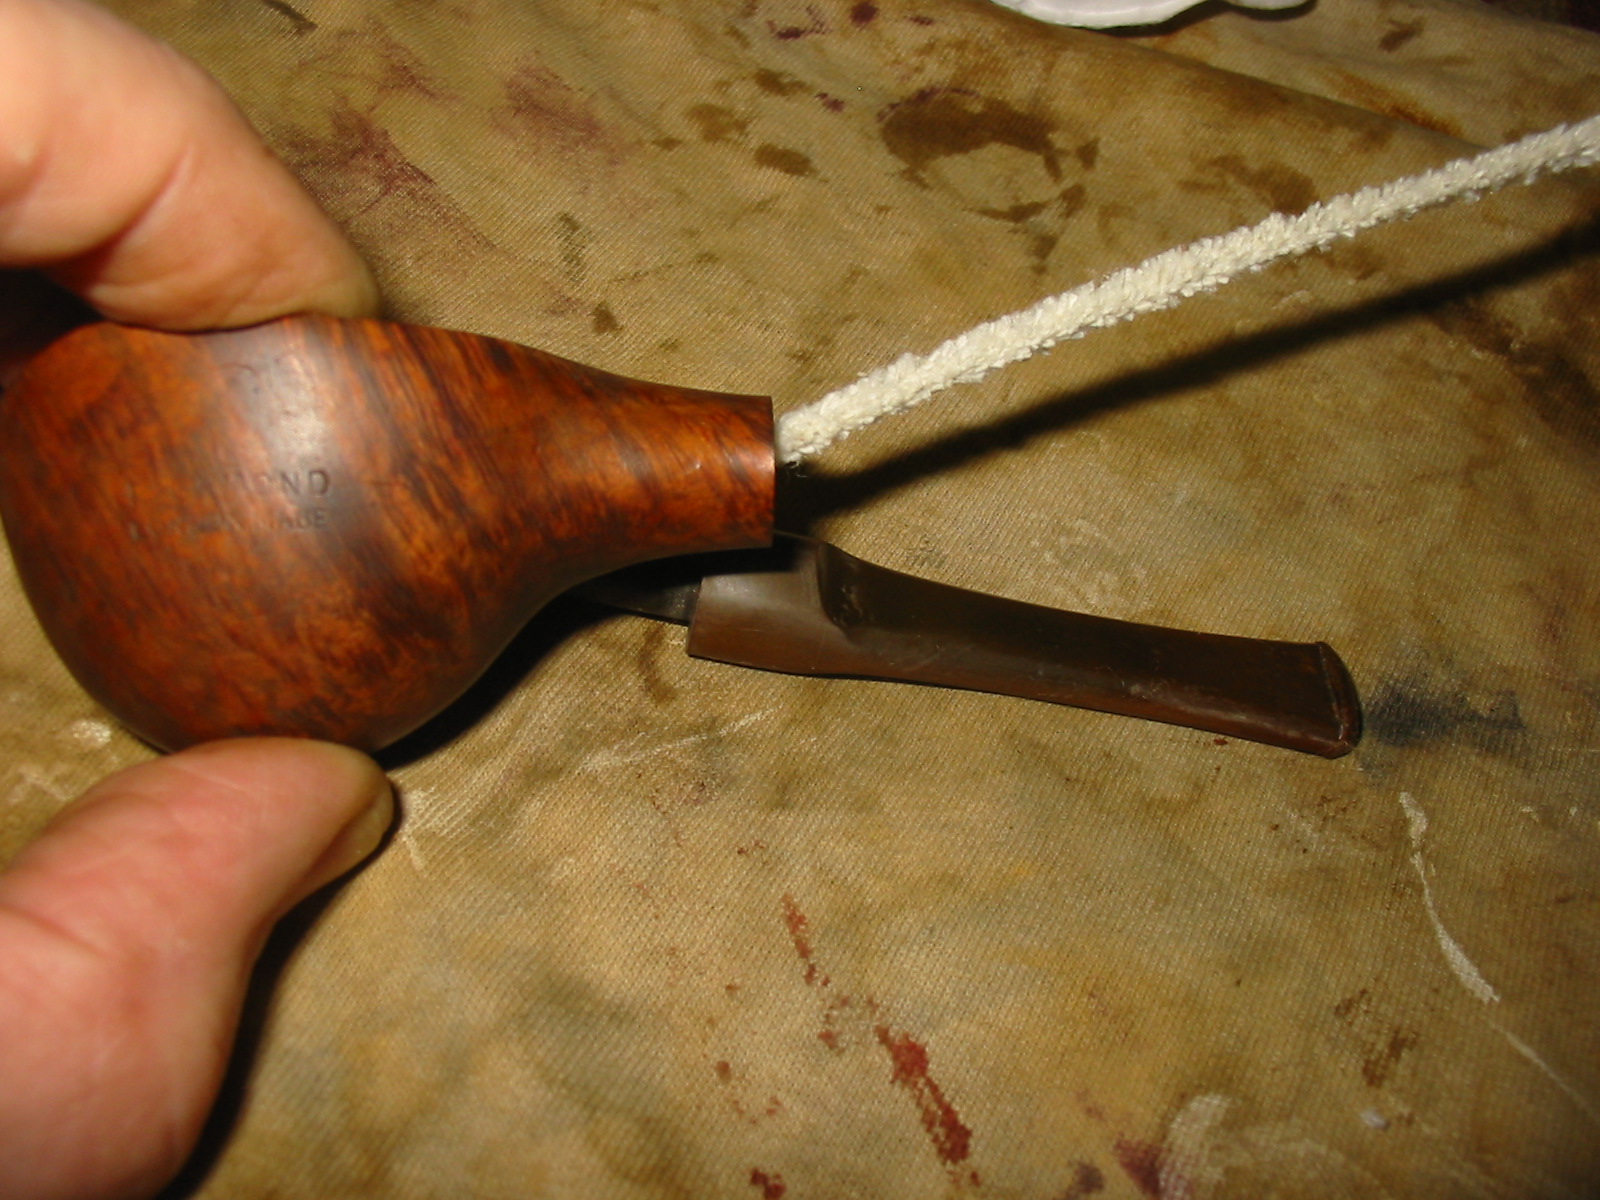
After the scrubbing I worked on the inside of the shank. I scrubbed it out with alcohol on pipe cleaners and then scrubbed the mortise with cotton swabs dipped in isopropyl alcohol. The two photos below show the angle of the drilling from the shank to the bottom of the bowl. The drilling started at the bottom edge of the mortise and came out at the centre of the bottom edge of the bowl. It is a well drilled pipe.ImageImage

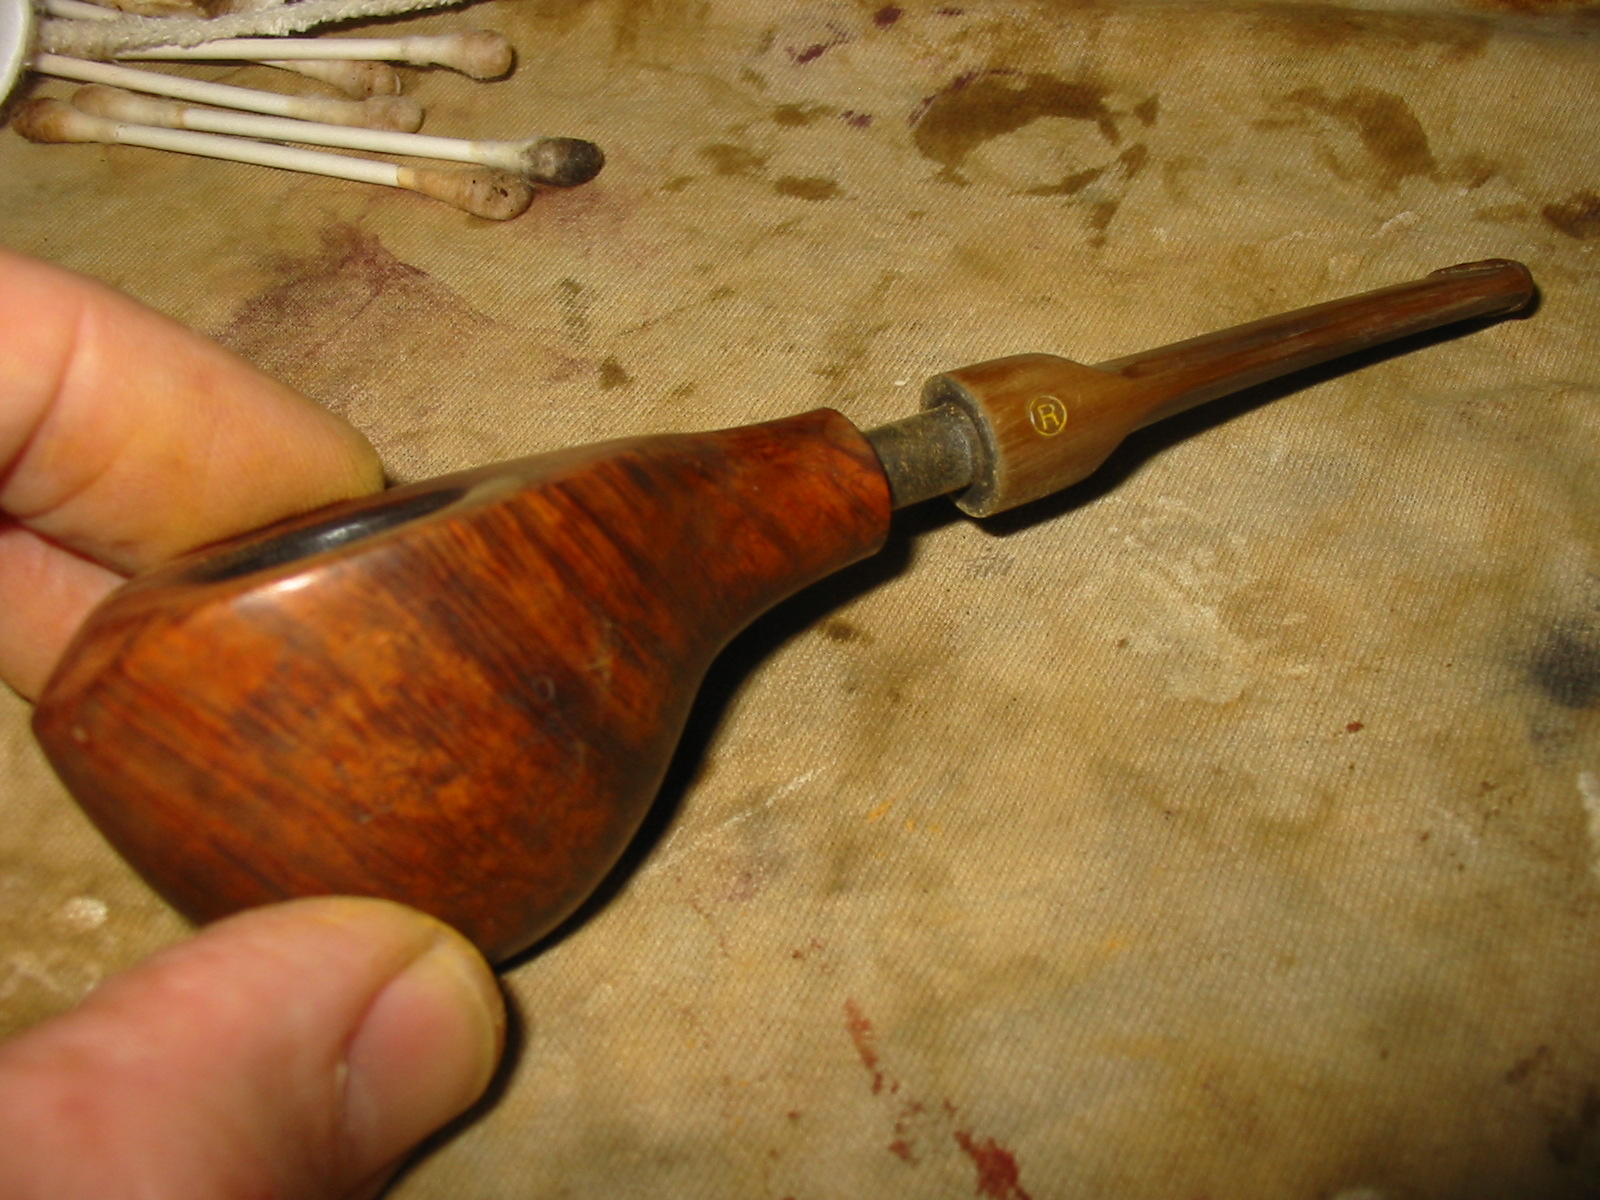
The next three photos show the bowl after I had scrubbed it. I also used the Murphy’s on the stem to remove some of the surface oxidation. I wanted to preserve the Circle R stamping on the stem so I carefully worked around that area.

ImageImageImage

The next four photos show the stem after I had scrubbed it with the oil soap and then polished it with the Maguiar’s Scratch X2.0. The majority of the surface oxidation came off. What remained was deeply embedded in the stem and would require more work.

ImageImageImageImage

At this point I worked on the remaining oxidation on the stem using the micromesh sanding pads. The next series of six photos show the process. I wet sanded with 1500 and 1800 grit micromesh and then polished the stem with Maguiar’s Scratch X2.0 polish.

ImageImageImageImageImageImage

After polishing I stained the bowl with a dark brown aniline stain mixed 2:1 with isopropyl alcohol to restore the finish to the bowl. I stained it, flamed it, restained and reflamed it to set the finish coat. The first two photos below show that process. I took it to my buffer and gave it a buff with White Diamond. The next three photos show the pipe after I had buffed it.

ImageImageImageImageImage

The finished colour was too dark to my liking and obscured the grain rather than highlighting it so I used acetone on cotton pads to reduce the intensity of the colour. The next series of three photos show the new look to the colour after wiping it down with acetone. Note the stain on the cotton pads in the photos.

ImageImageImage

I took the pipe to the buffer again and buffed it with White Diamond. The next series of photos show the finished look of the stain at this point. They also show the ongoing work on the oxidation on the stem using the further grits of micromesh. I dry sanded with 2400-12,000 grit micromesh to finish polishing the stem. After I had finished with the micromesh I used the Maguiar’s again to do a final hand polish. I rubbed the stem down with some Obsidian Oil.

ImageImageImageImage

The next five photos show the finished pipe. I took it to the buffer a last time and buffed the stem using White Diamond. I also lightly buffed the bowl. I gave the stem and bowl several coats of carnauba wax and buffed it lightly with a soft flannel buff to bring up the shine. You will note a little oxidation remaining around the logo on the stem. I decided to leave that and not damage the stamping on the stem.

ImageImageImageImageImage

Restemmed and Refurbish Savinelli Duca Carlo


Blog by Steve Laug

I picked up a Duca Carlo in utter ignorance on EBay the other day. I was not familiar with the brand and only later found out it was a Savinelli. The seller’s photograph are worse than mine so I was not sure what I was getting but decided to take a chance on it. I picked it up for very little so I figured I had nothing to lose. The first series of out of focus photos show the pipe as it appeared in the seller’s advert on EBay. The grain looked like it had potential to me and the rest of the pipe appeared to be in workable shape. Once it got here I would have a better idea of what work would need to be done.

ImageImageImage

The first photo below shows the pipe after I took it out of the box it came in and put it on my work table. It was definitely in need of a ream and clean. The bottom of the bowl was dusty but had no cake on it. The upper portion of the bowl had an uneven cake. The rim was tarred and oily but there were no dents in the rim or on the rest of the bowl for that matter. The shank had a small hairline crack on the right side. It is next to the fill on the shank that is visible in the photo below. Fortunately this was the only fill I found in the bowl. It was not a bad piece of briar. There are a few bald spots on the bottom of the bowl but there is also some nice grain both birdseye and flame on the sides, front and back of the bowl and also on the shank. The shank and the bottom of the bowl had some cobwebs in it like it had been sitting in storage for a while. I blew out the dust bunnies and then pulled out a stem from my box of stems. It did not have a tenon so I screwed in a delrin tenon into the drilled out hole in the stem. The shank of the Duca Carlo was also drilled for a filter but I decided since I was restemming it and putting a new tenon on the stem I would make it fit without a filter.

Image

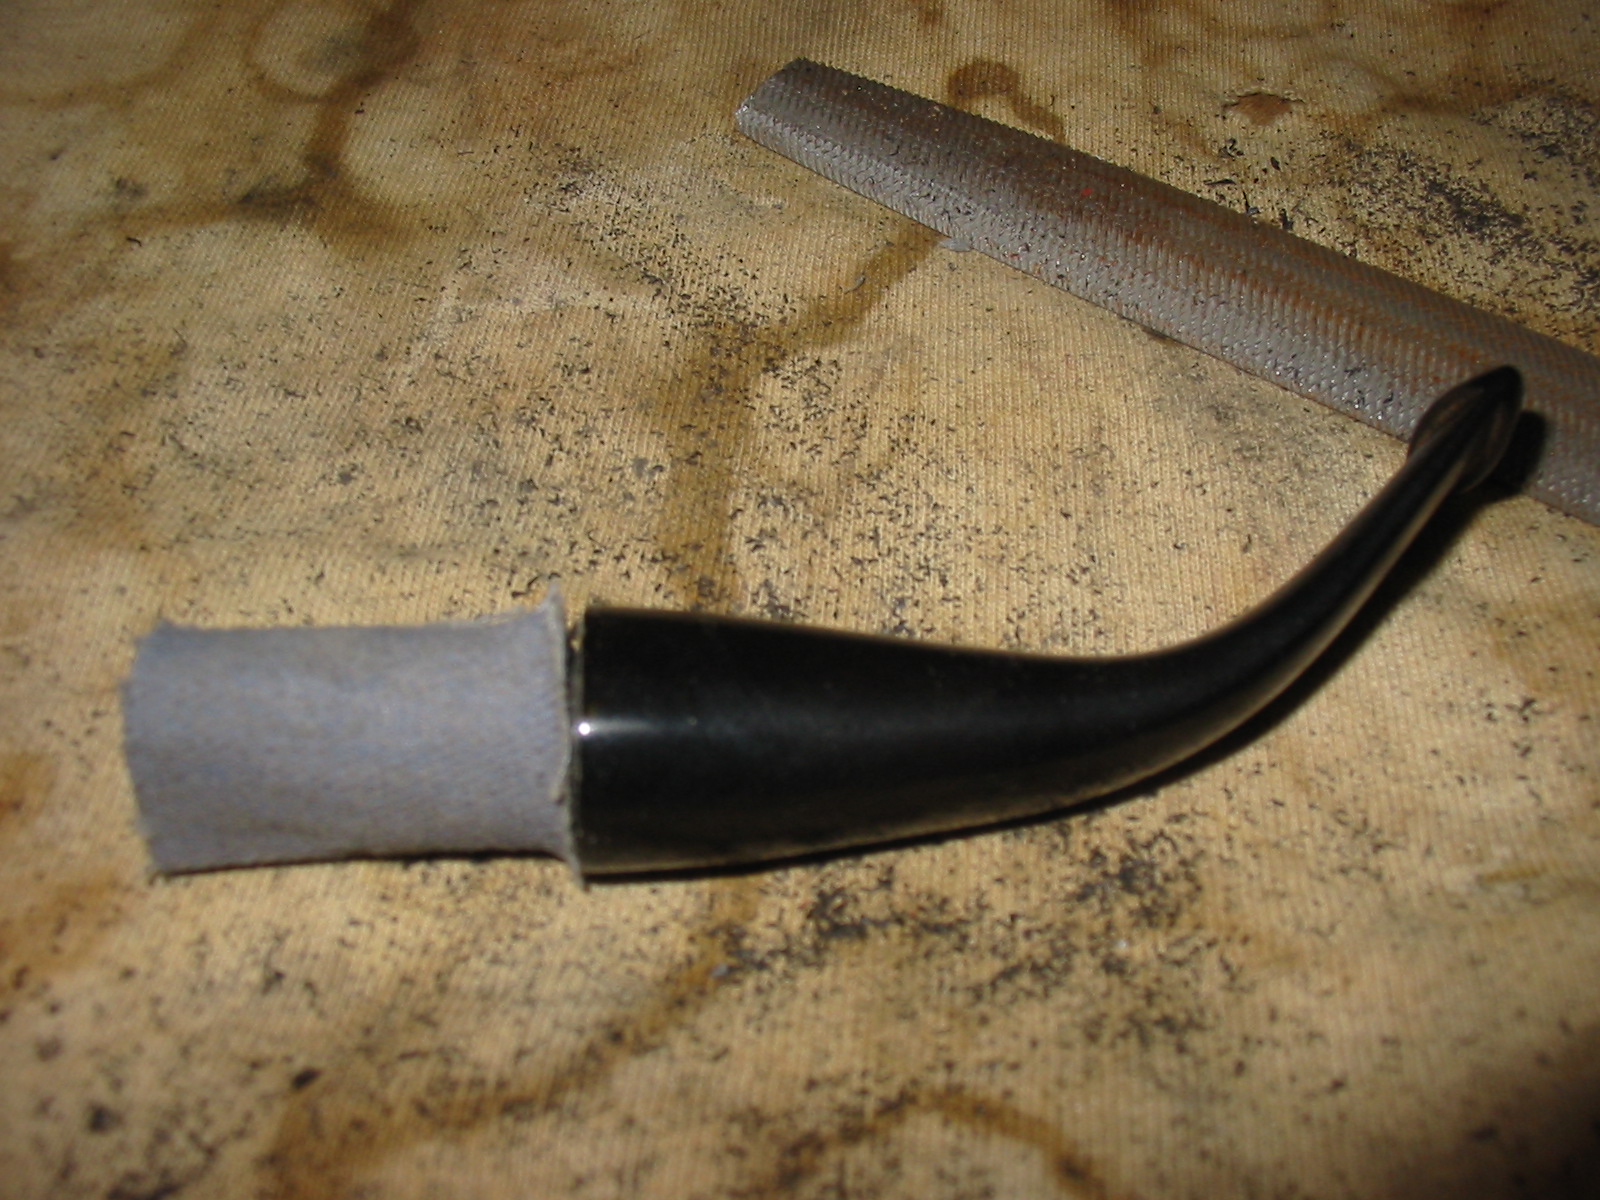
I needed to remove a lot of the delrin from the diameter of the tenon to get a proper fit. The tenon was too large for my Pimo Tenon Turner so I had to do the shaping by hand with files and my Dremel. The next two photos show the shaping process of the tenon. I used a rasp to take of as much of the material as I thought practical. I then used the sanding drum on the Dremel to smooth out the tooth marks from the rasp. I finally used medium grit Emery paper to take down the remainder of the tenon.

ImageImage

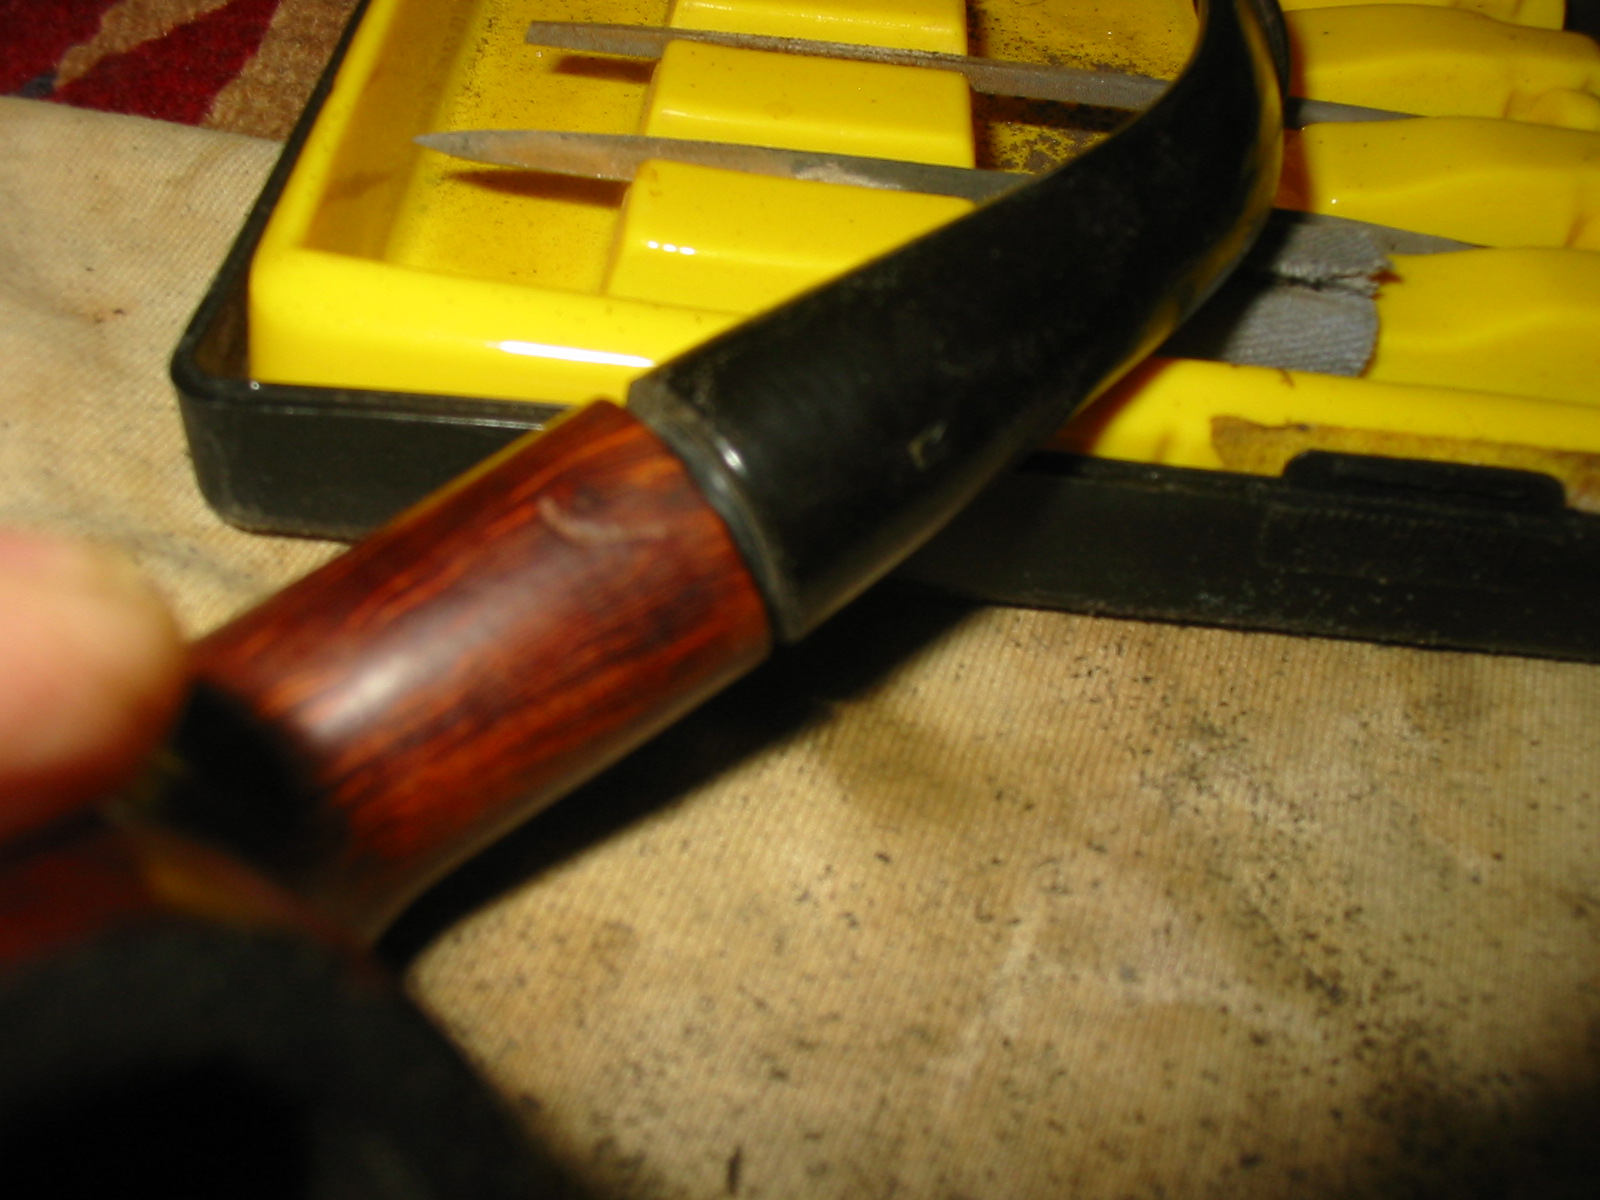
Once I had it sanded to fit I inserted it in the mortise to check the hairline crack. In the photo below I have it partially inserted and the crack is visible next to the fill on the shank. It was not a large or serious crack but in inspecting it I found one on the underside of the shank as well on the opposite edge. This made it necessary for me to band the shank to maintain the integrity of the pipe.

Image

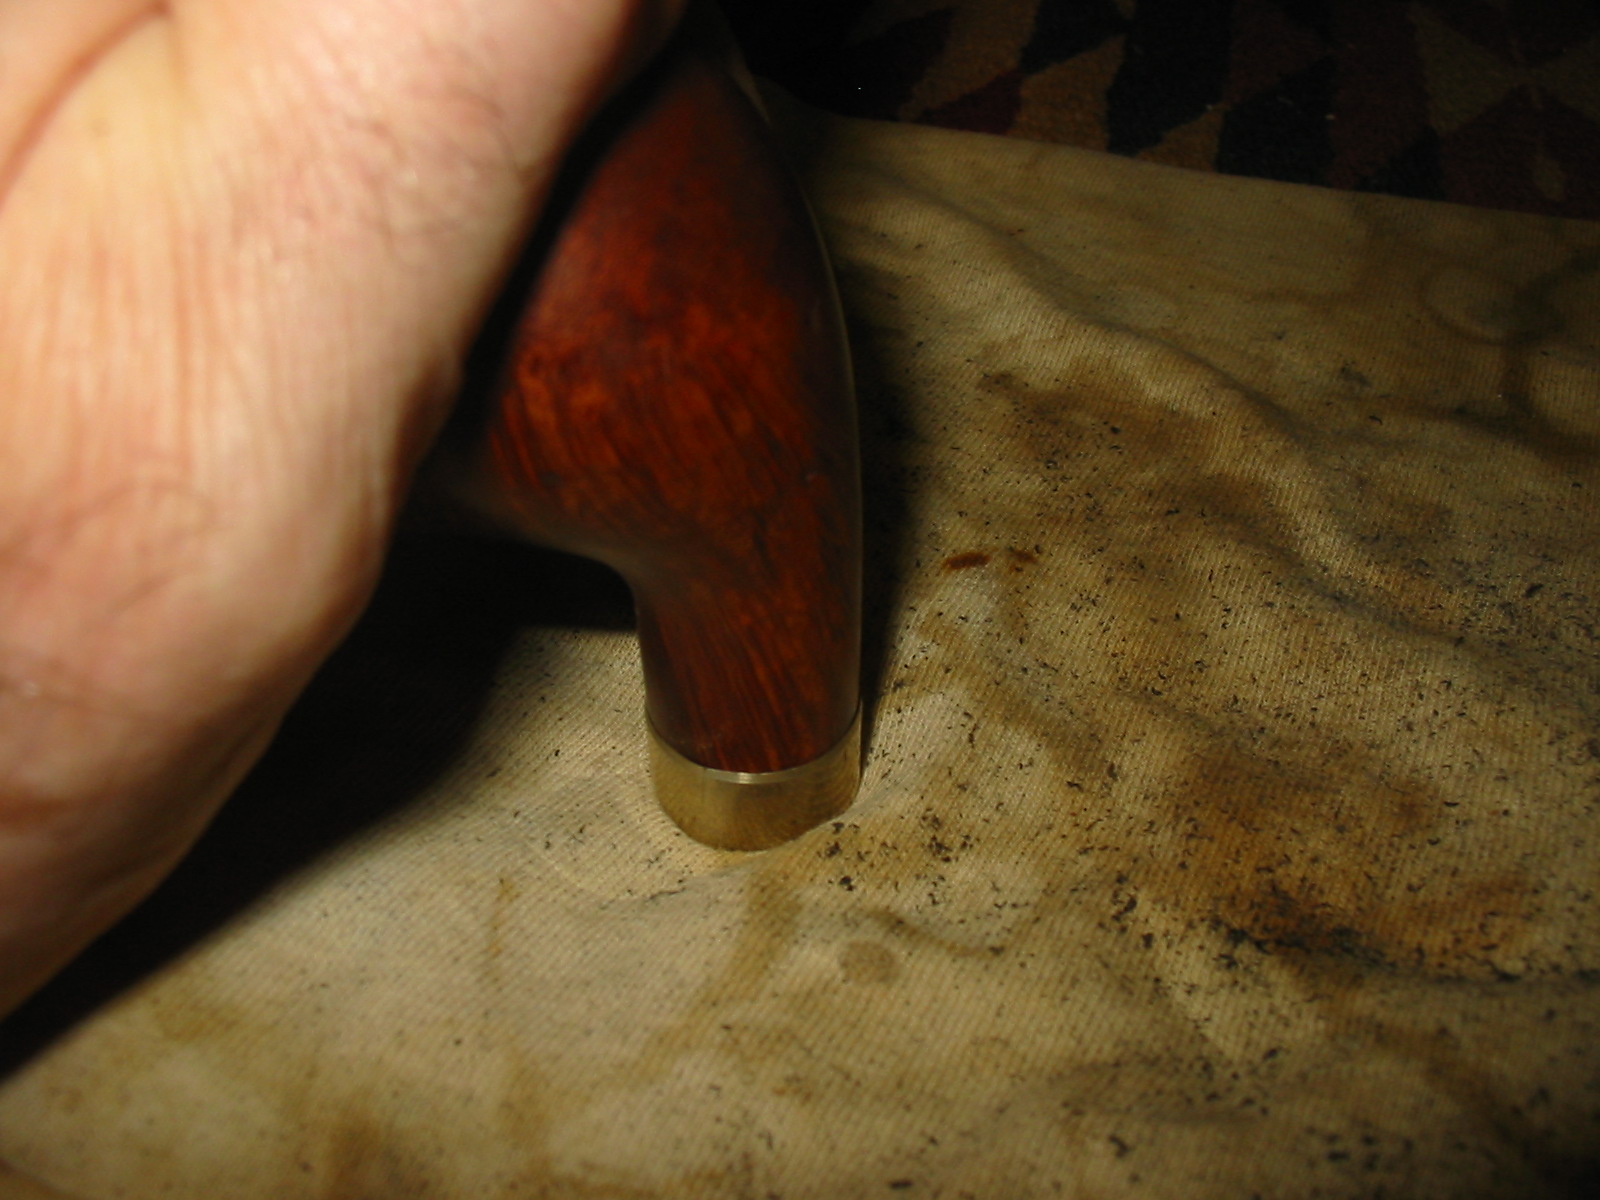
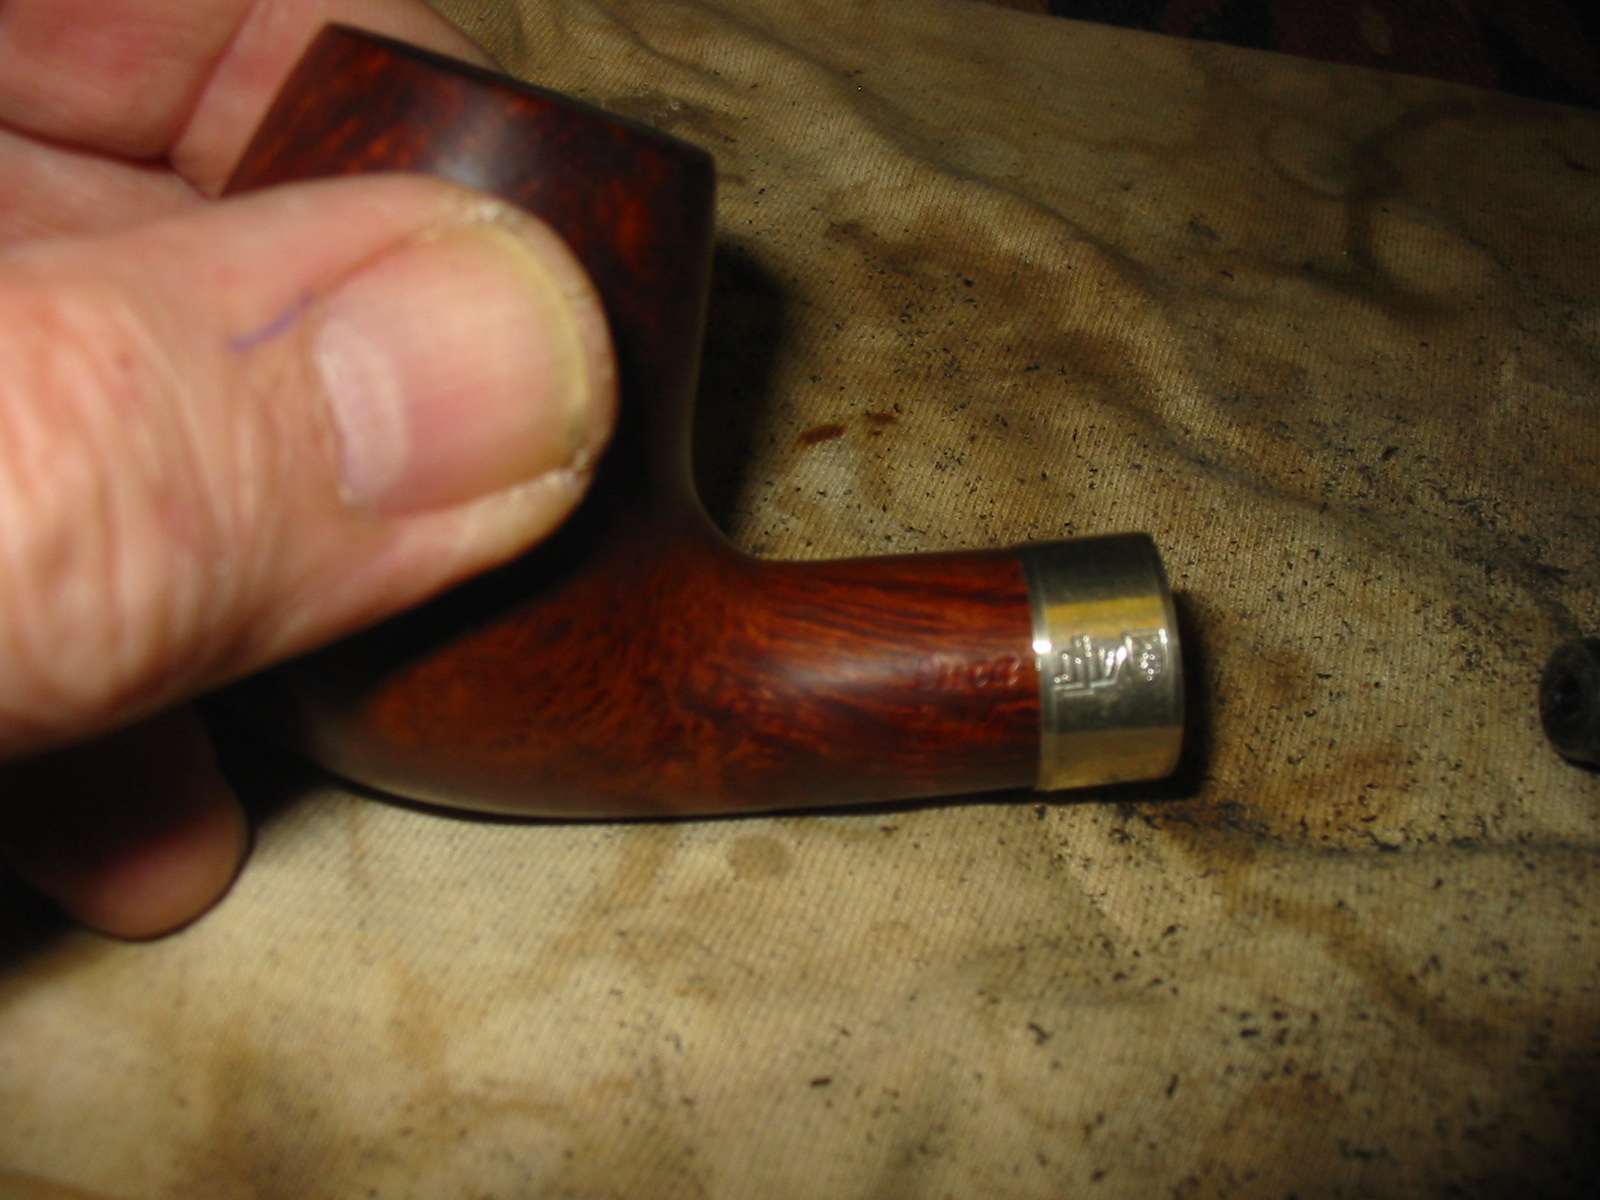
I sorted through my box of bands and found one that would give a good tight fit to the shank. It is a nickel band and once heated and pressure fit on the shank it would give the strength to the shank. The next three photos show the banding process from choosing the band to pressure fitting it on the shank.

ImageImageImage

After banding the shank I inserted the stem in the shank and it fit well. It was snug and fit against the end of the shank cleanly. It was a bit larger in diameter than the shank so I sanded it with the emery paper to remove the excess material on the stem. The next three photos show the progress of fitting the stem against the shank.

ImageImageImage

I reamed the bowl with my T handle Pipnet reamer and blade heads. It was an easy ream as the bottom half of the bowl was clear briar. The Pipnet reamer must be carefully inserted and turned so as not to make the bowl out of round or damage the bowl.

ImageImage

After reaming I decided to clean off the tars and oils on the rim. I used a fine grit sanding sponge to remove the grime as seen in the first picture below. I then wiped down the bowl and rim with acetone on a cotton pad as can be seen in the second and third photo below. I found that cleaning off the grime and the dark parts of the bowl revealed some really nice grain on the pipe.

ImageImageImage

The next three photos show the bowl after the wipe down with acetone and the stem after sanding with the medium grit sanding sponge. The fit is getting very close to being what I was looking for. I am still not sure about the bend in the stem. It fits well in the mouth but I may heat and rebend it. I will see once I am finished with the pipe.

ImageImageImage

I restained the bowl and rim with dark brown aniline stain. I applied it with the dauber and then flamed it with a match, restained and reflamed it. The next three photos show the freshly stained bowl after I flamed it. Once it was dry I took it to my buffer and buffed the bowl with Tripoli to polish and remove the excess stain.

ImageImageImage

Even after buffing the stain was too dark for me. I wiped the bowl down with acetone on a cotton pad to lighten the stain. The next series of three photos show the bowl after I had wiped it down with the acetone. The colour was what I wanted. It would polish up very well.

ImageImageImage

I set the bowl aside after this and went to work on the stem with the micromesh sanding pads. The next nine photos show the polishing process with the micromesh pads and the Maguiar’s Scratch X 2.0. I began dry sanding the stem with 1500 grit micromesh sanding pads. After that I polished the stem with the Maguiar’s before working through the rest of the micromesh grits 1800-12,000. After the final sanding I polished it a second time with the Maguiar’s and then gave it a buff with White Diamond. I brought it back to the work table and wiped it down with Obsidian Oil and then coated it with some carnauba wax. For much of the final sanding I worked with the stem on the shank so as not to round the shoulders of the stem.

ImageImageImageImageImageImageImageImageImage


When I had the scratches worked out of the stem I buffed the entire pipe with White Diamond and then several coats of carnauba wax. The finished pipe can be seen in the photos below. I decided not to rebend the stem but to leave it for now and see how it feels when smoking it. I can rebend it at any time should I choose. The final four photos show the finished pipe. This was a pretty straightforward refurb, it took me about three hours to restem and refinish the pipe.

ImageImageImageImage


Wally Frank Shipmate


Blog by Greg Wolford

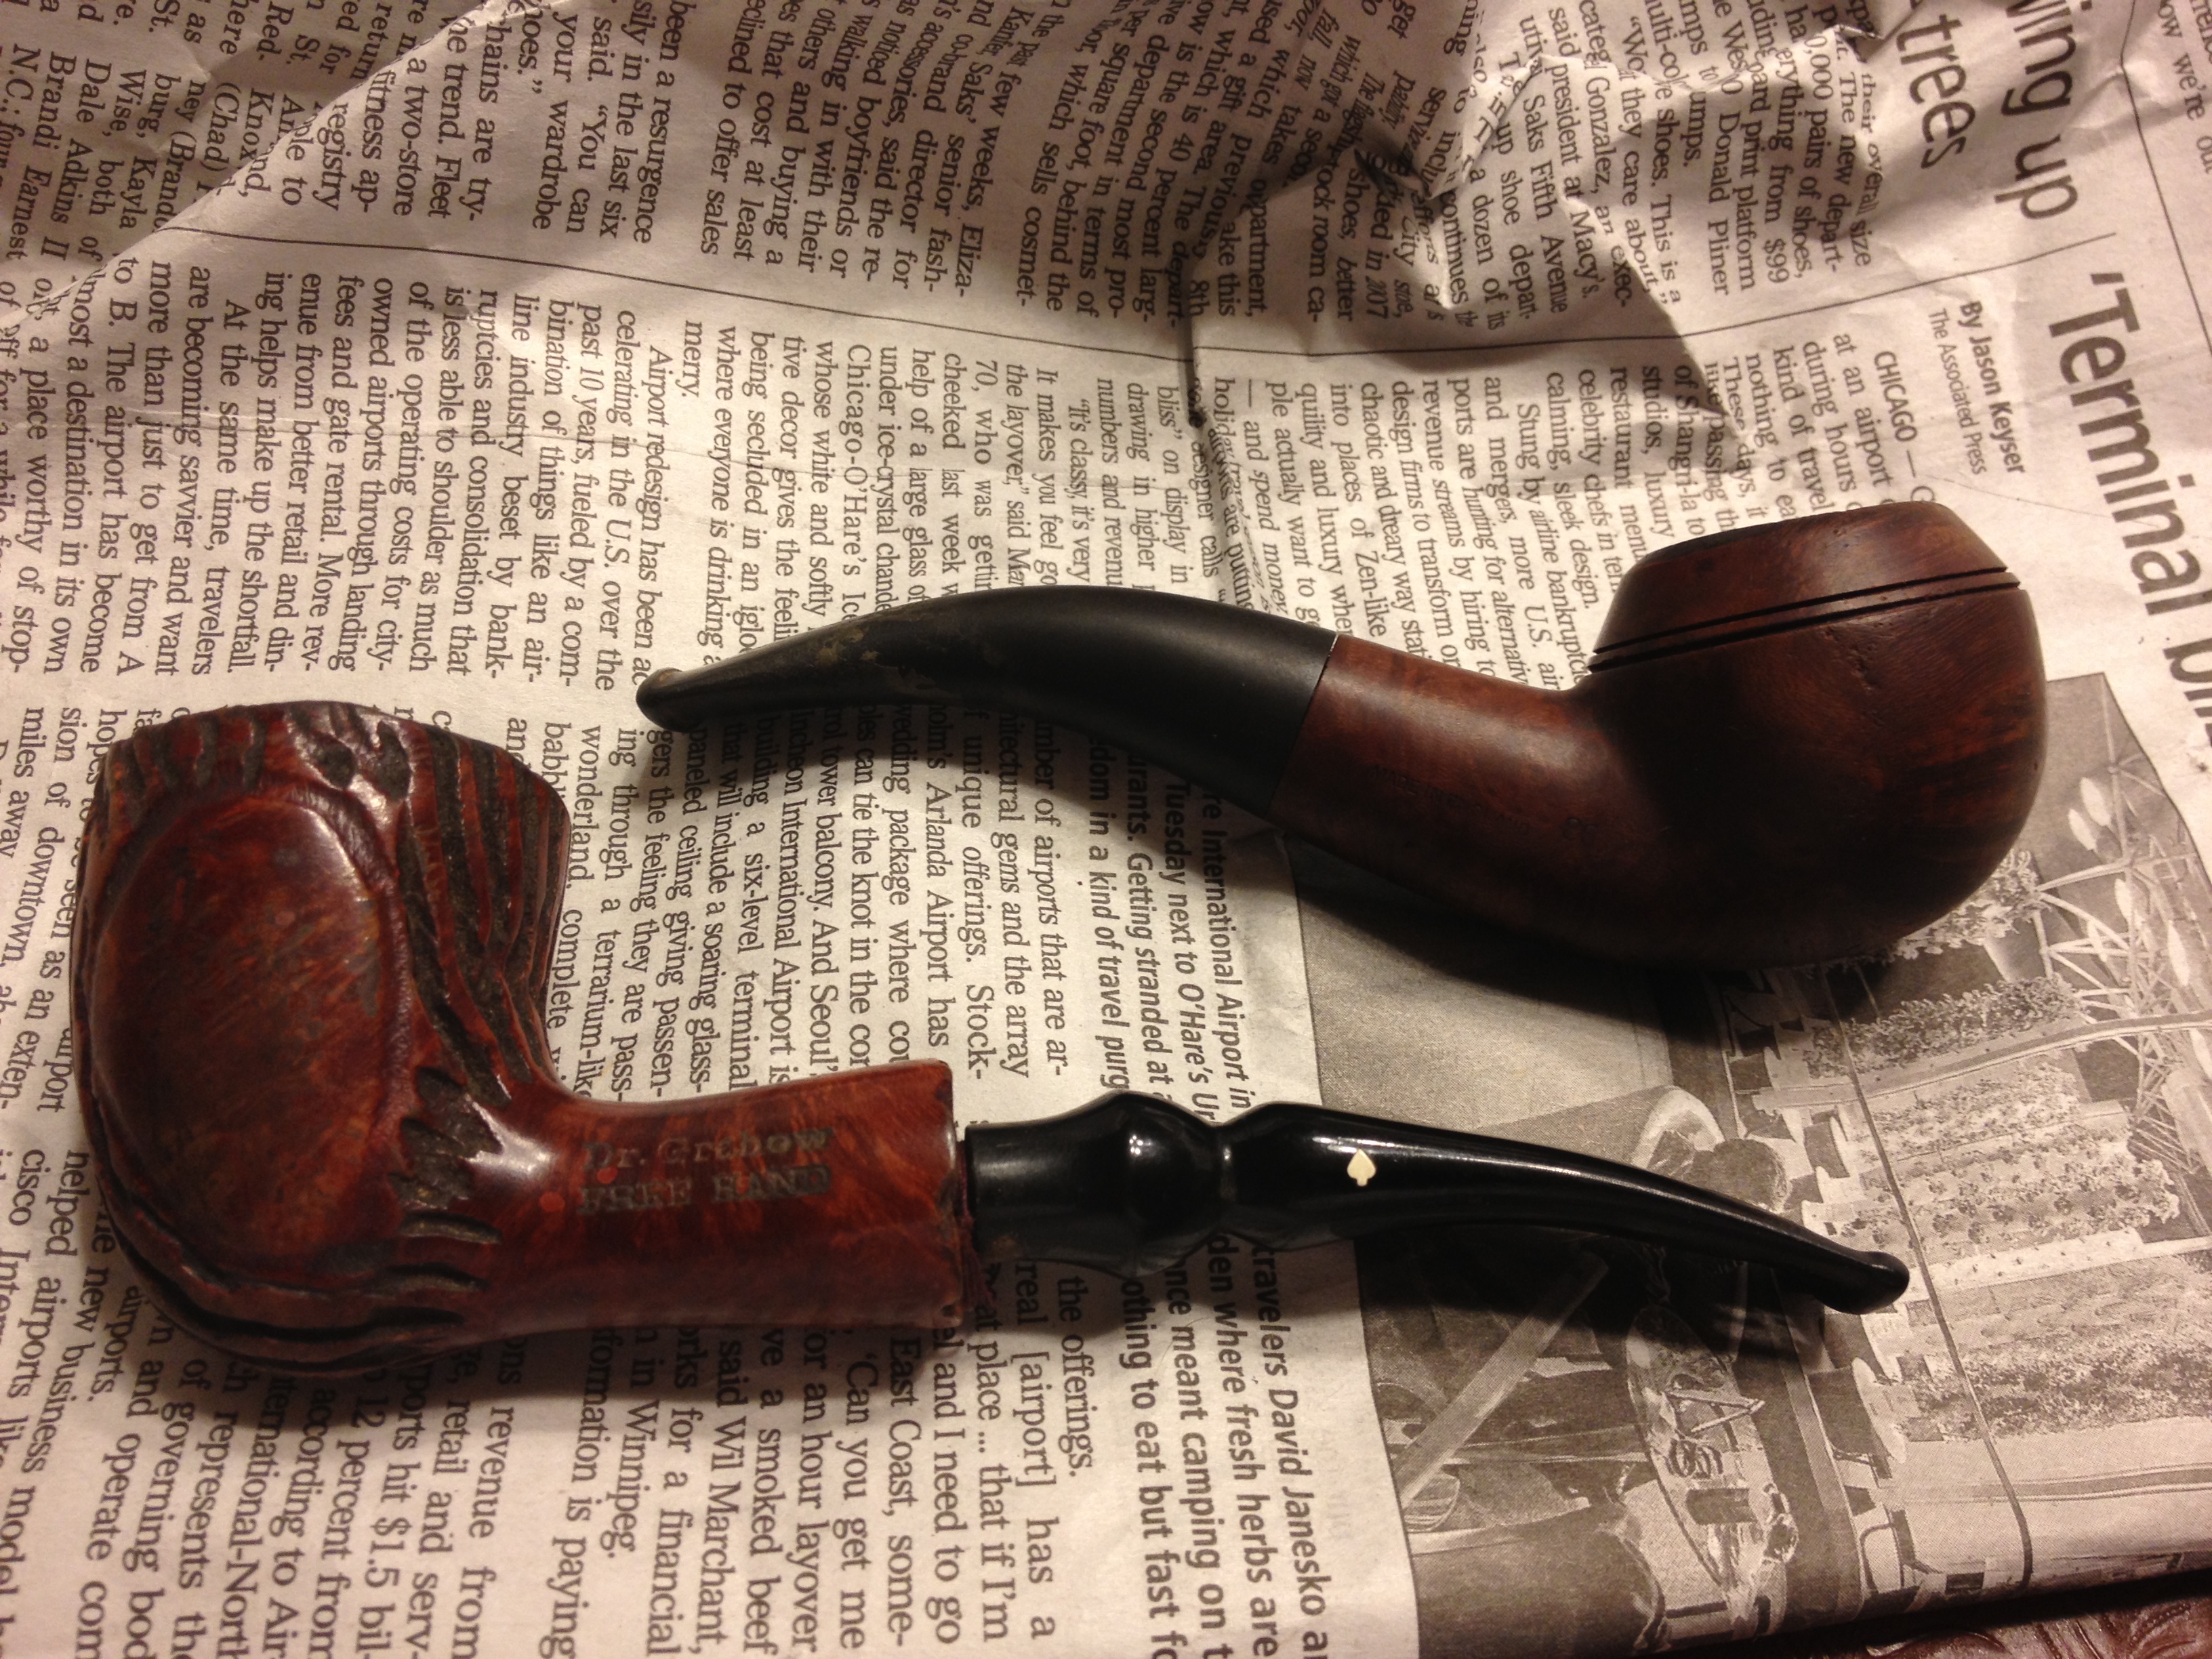
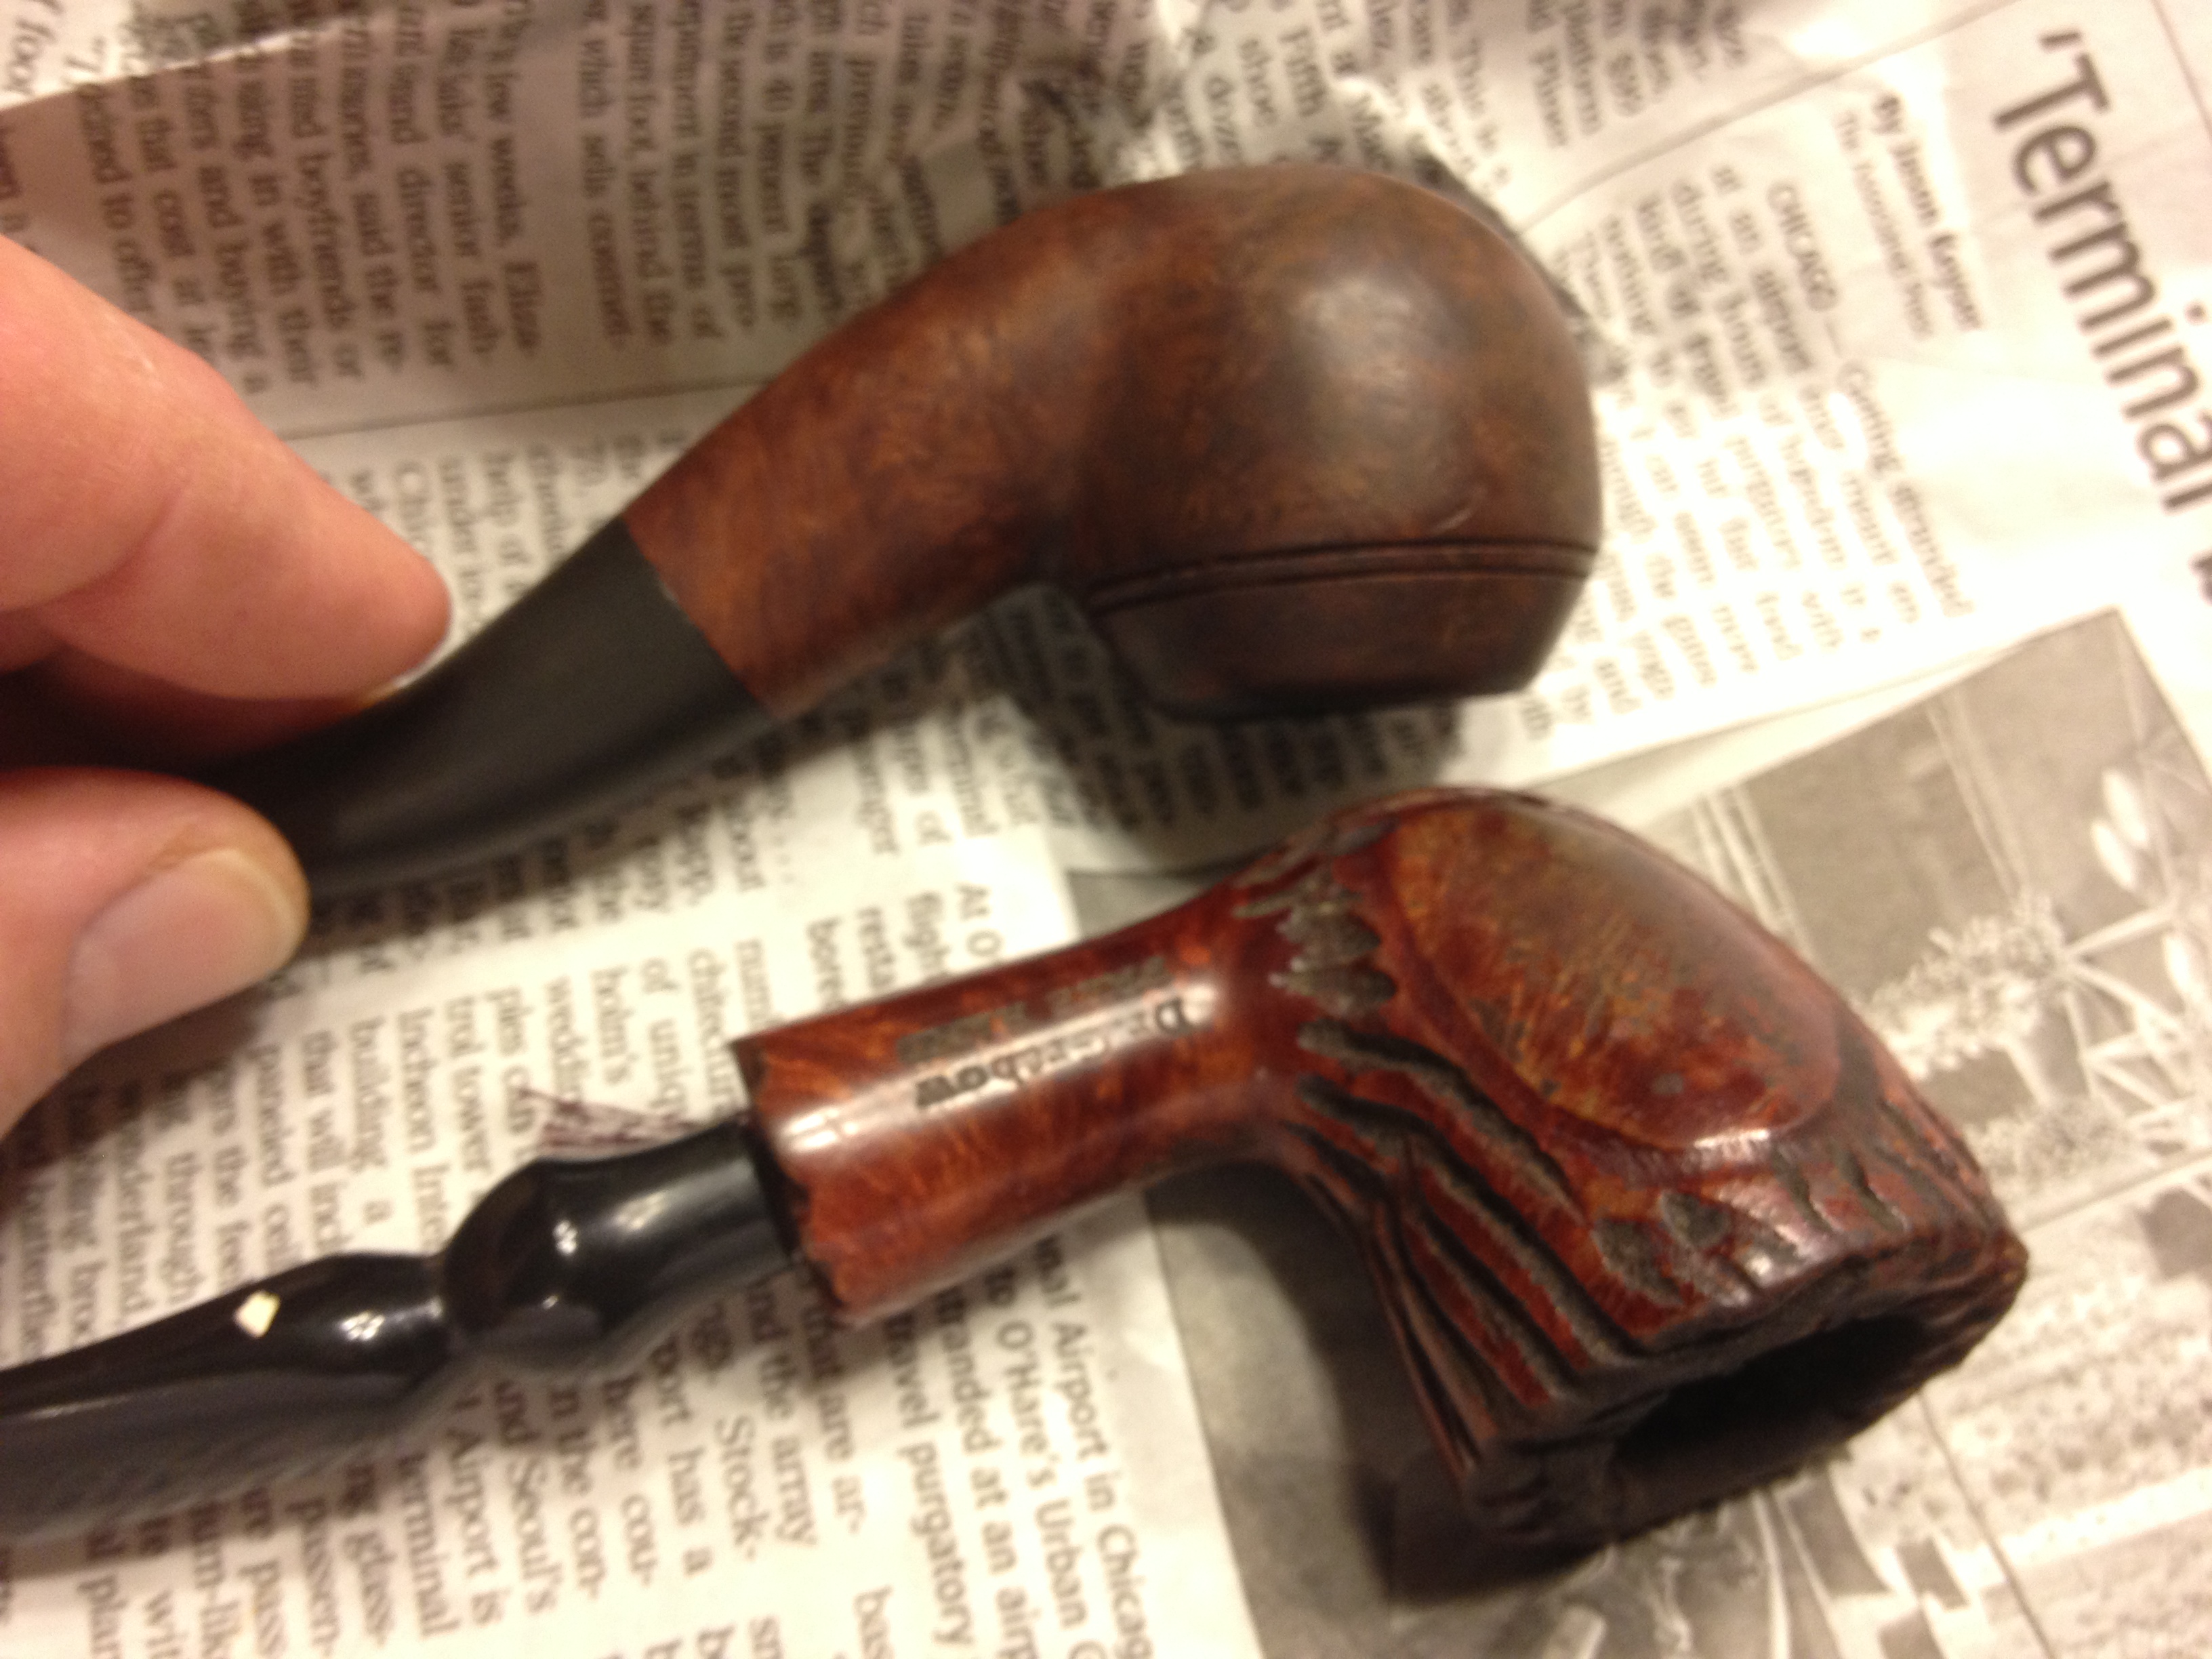
The same trip out that I picked up the Dr. Grabow Freehand I also picked up this Wally Frank. It was in pretty good condition, really just needing a good clean up. I’d never had a Wally Frank before, like the Freehand, so that was part of my interest. But the real interest laid in its shape: a Rhodesian.  The Bulldog and Rhodesian top my list of favorite shapes so this one had to come home with me.

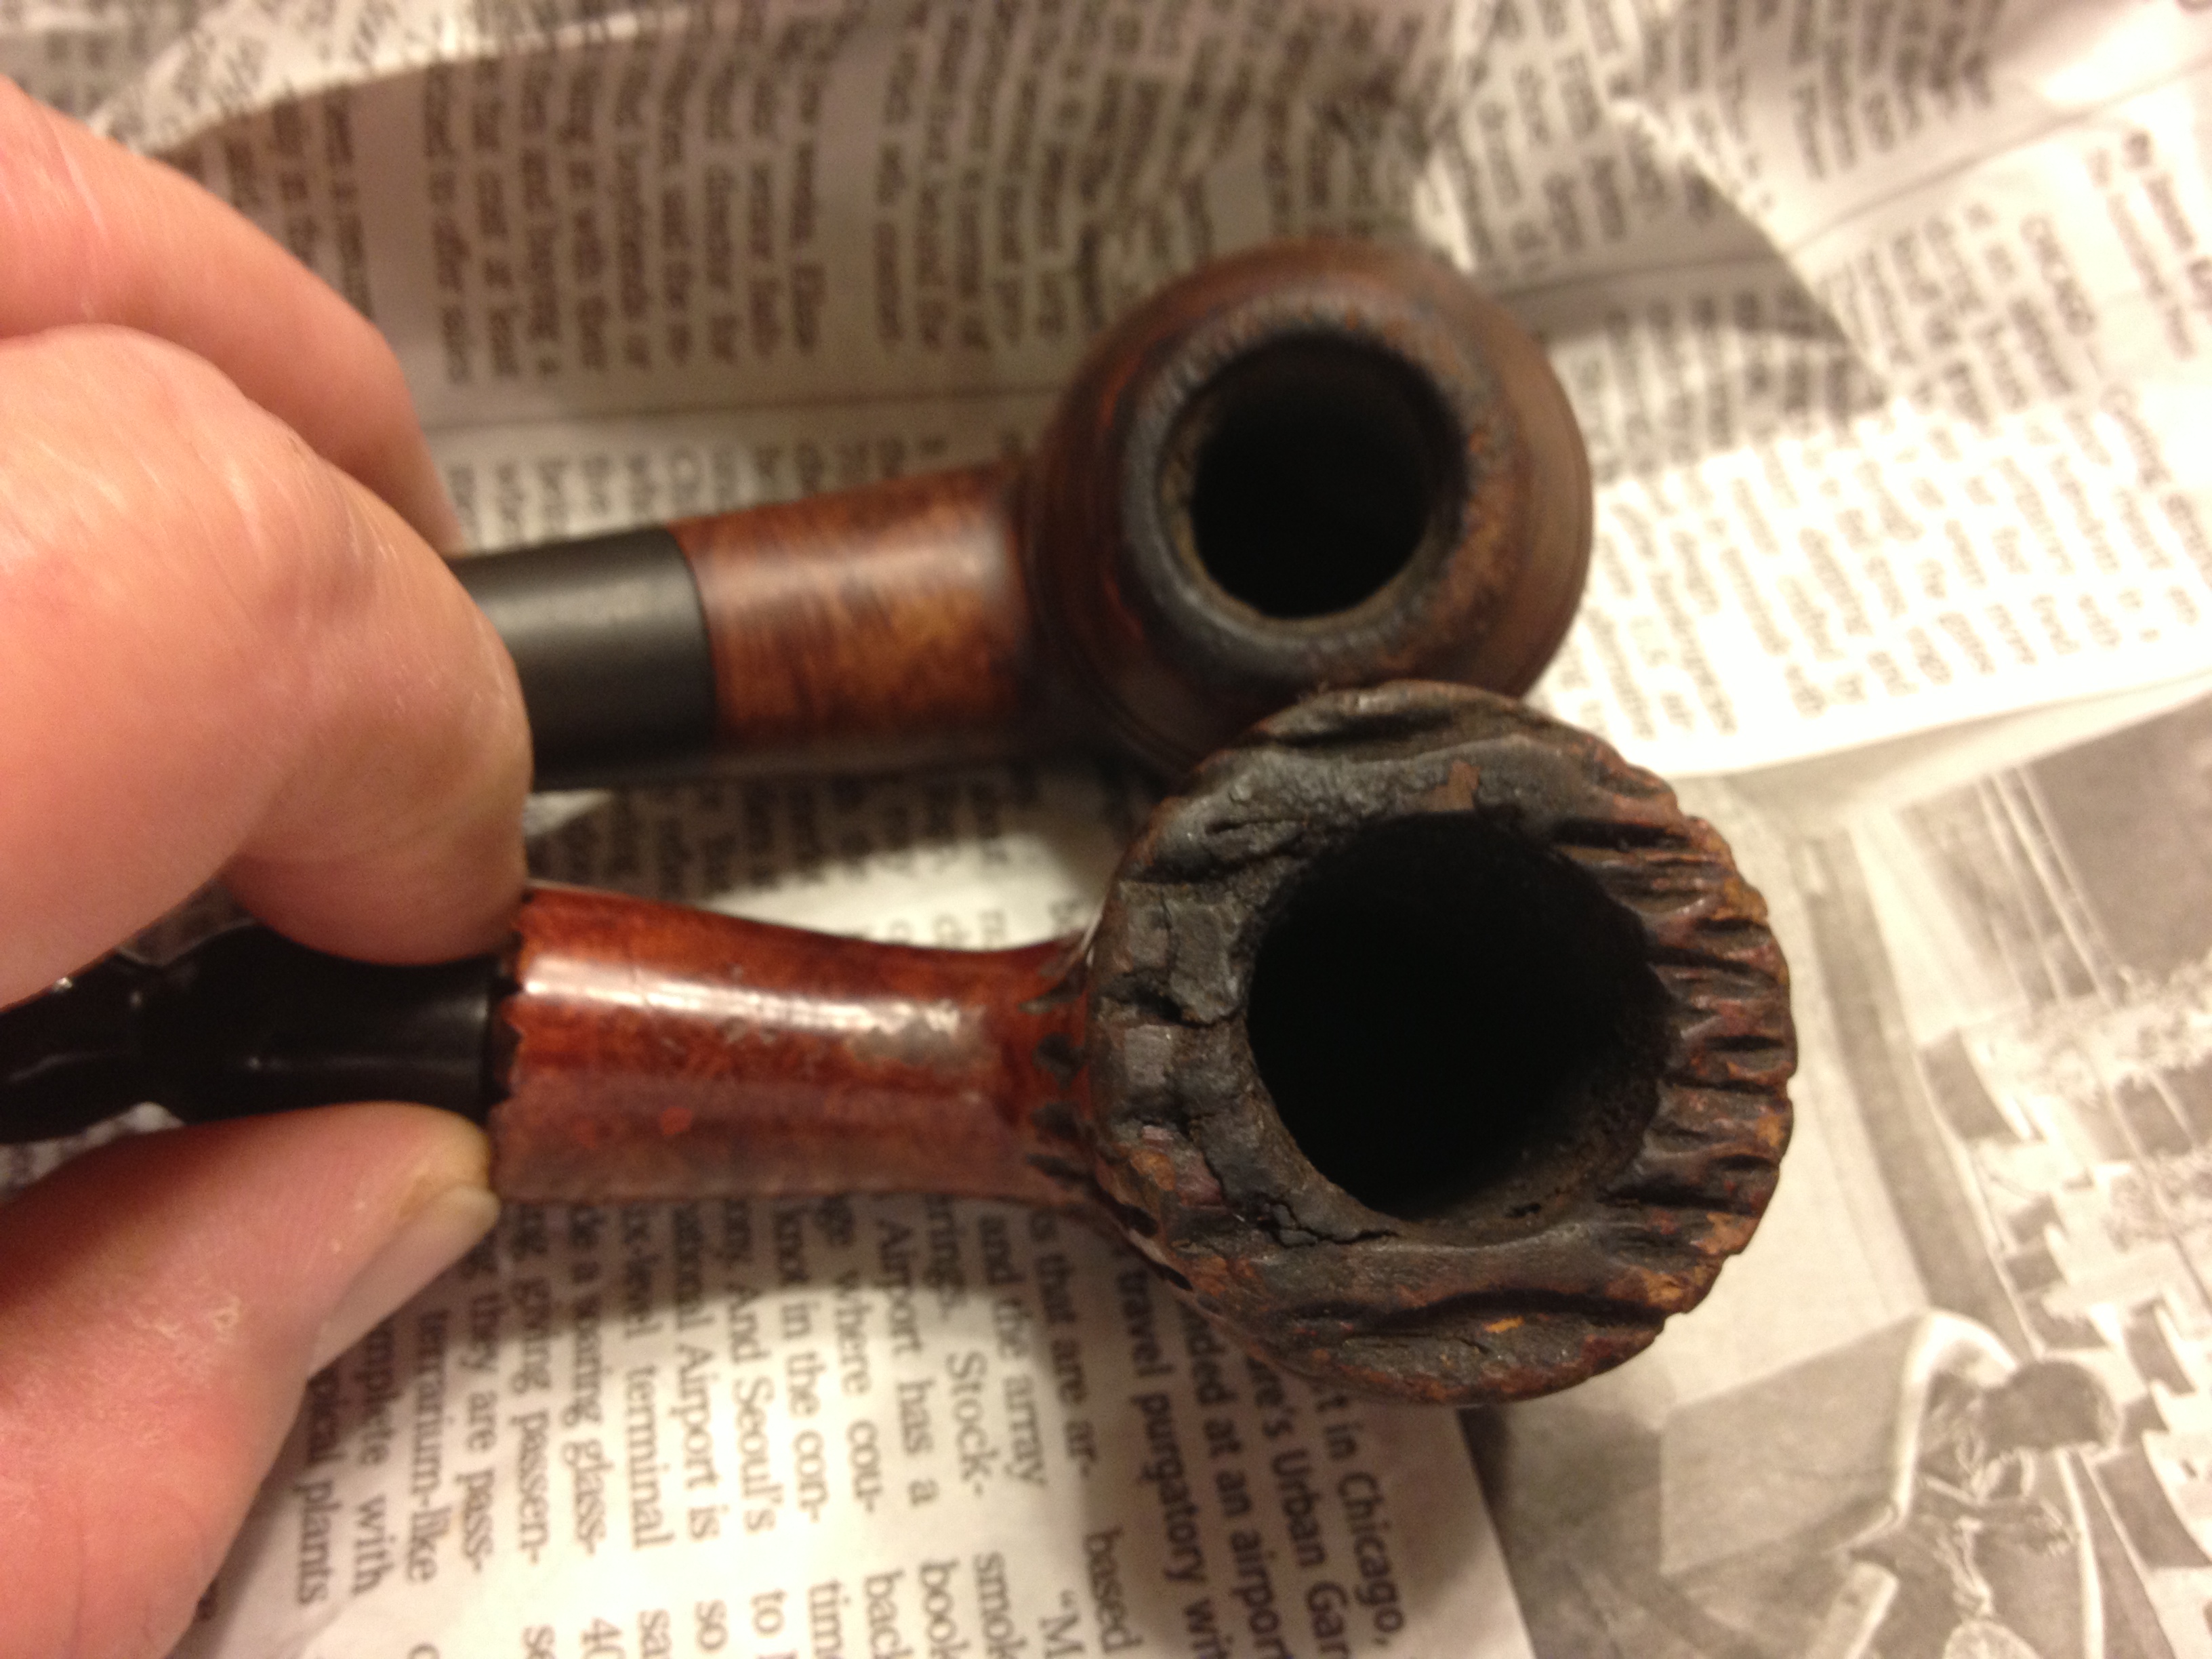
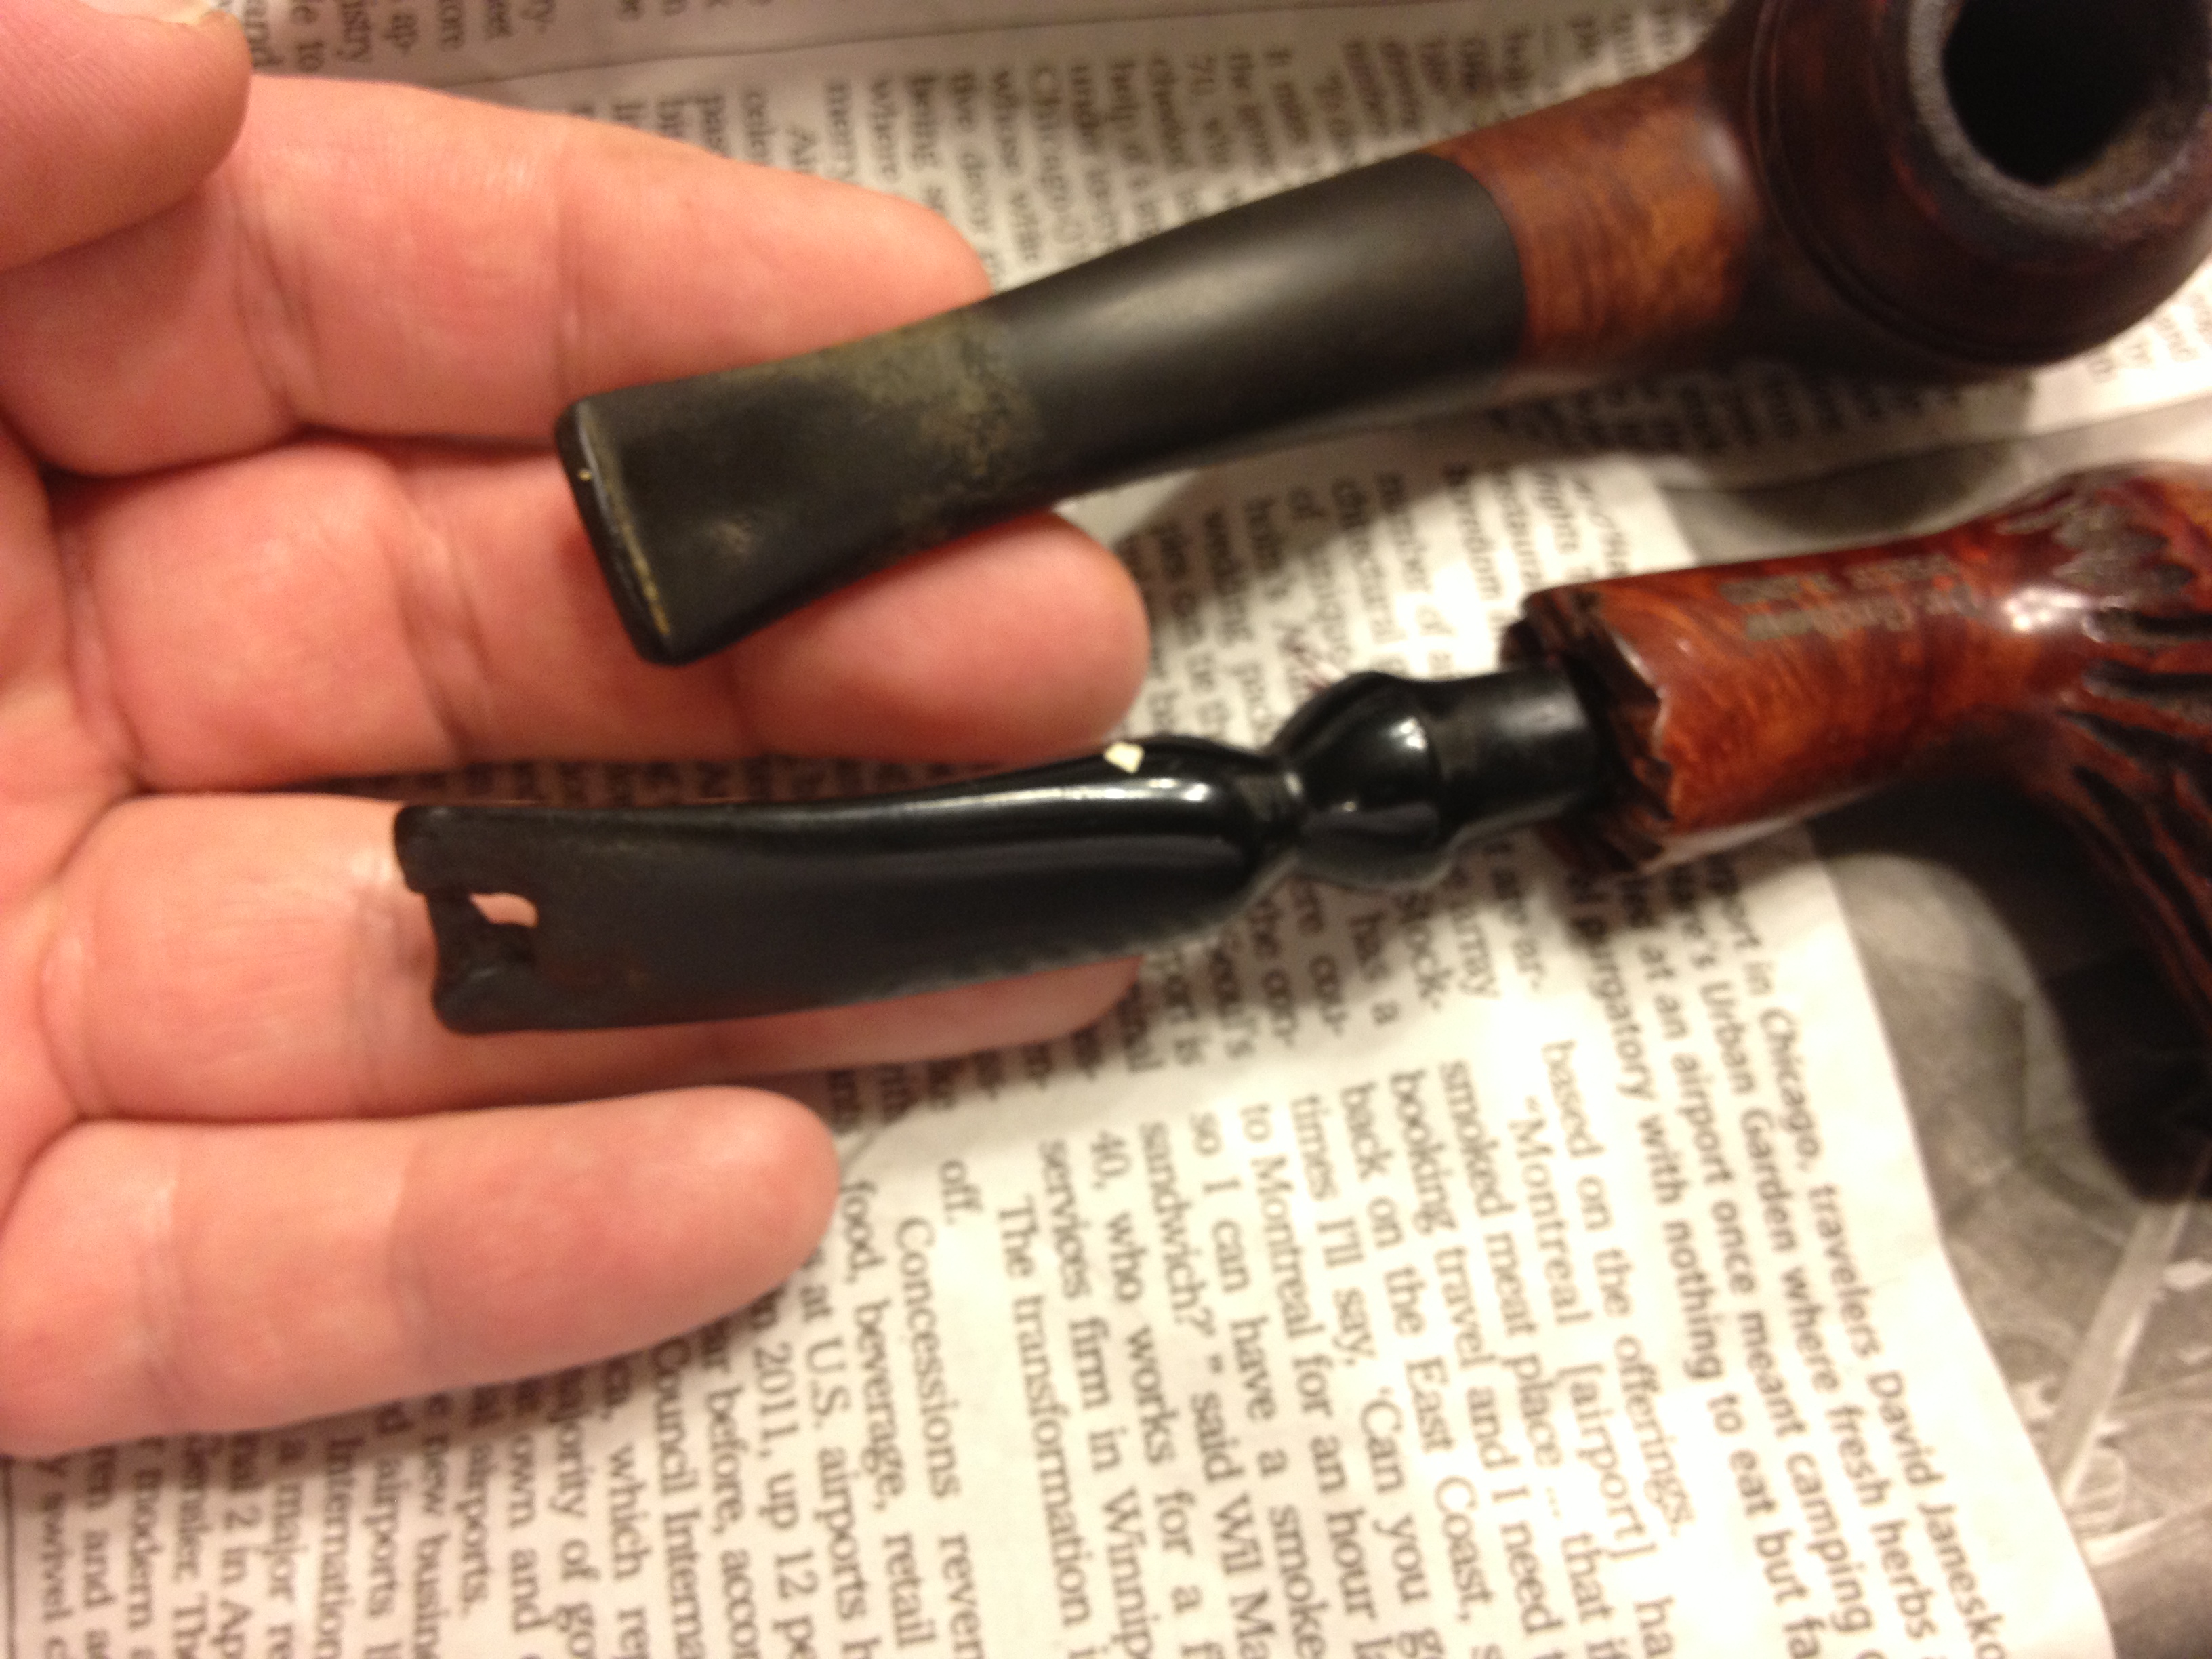
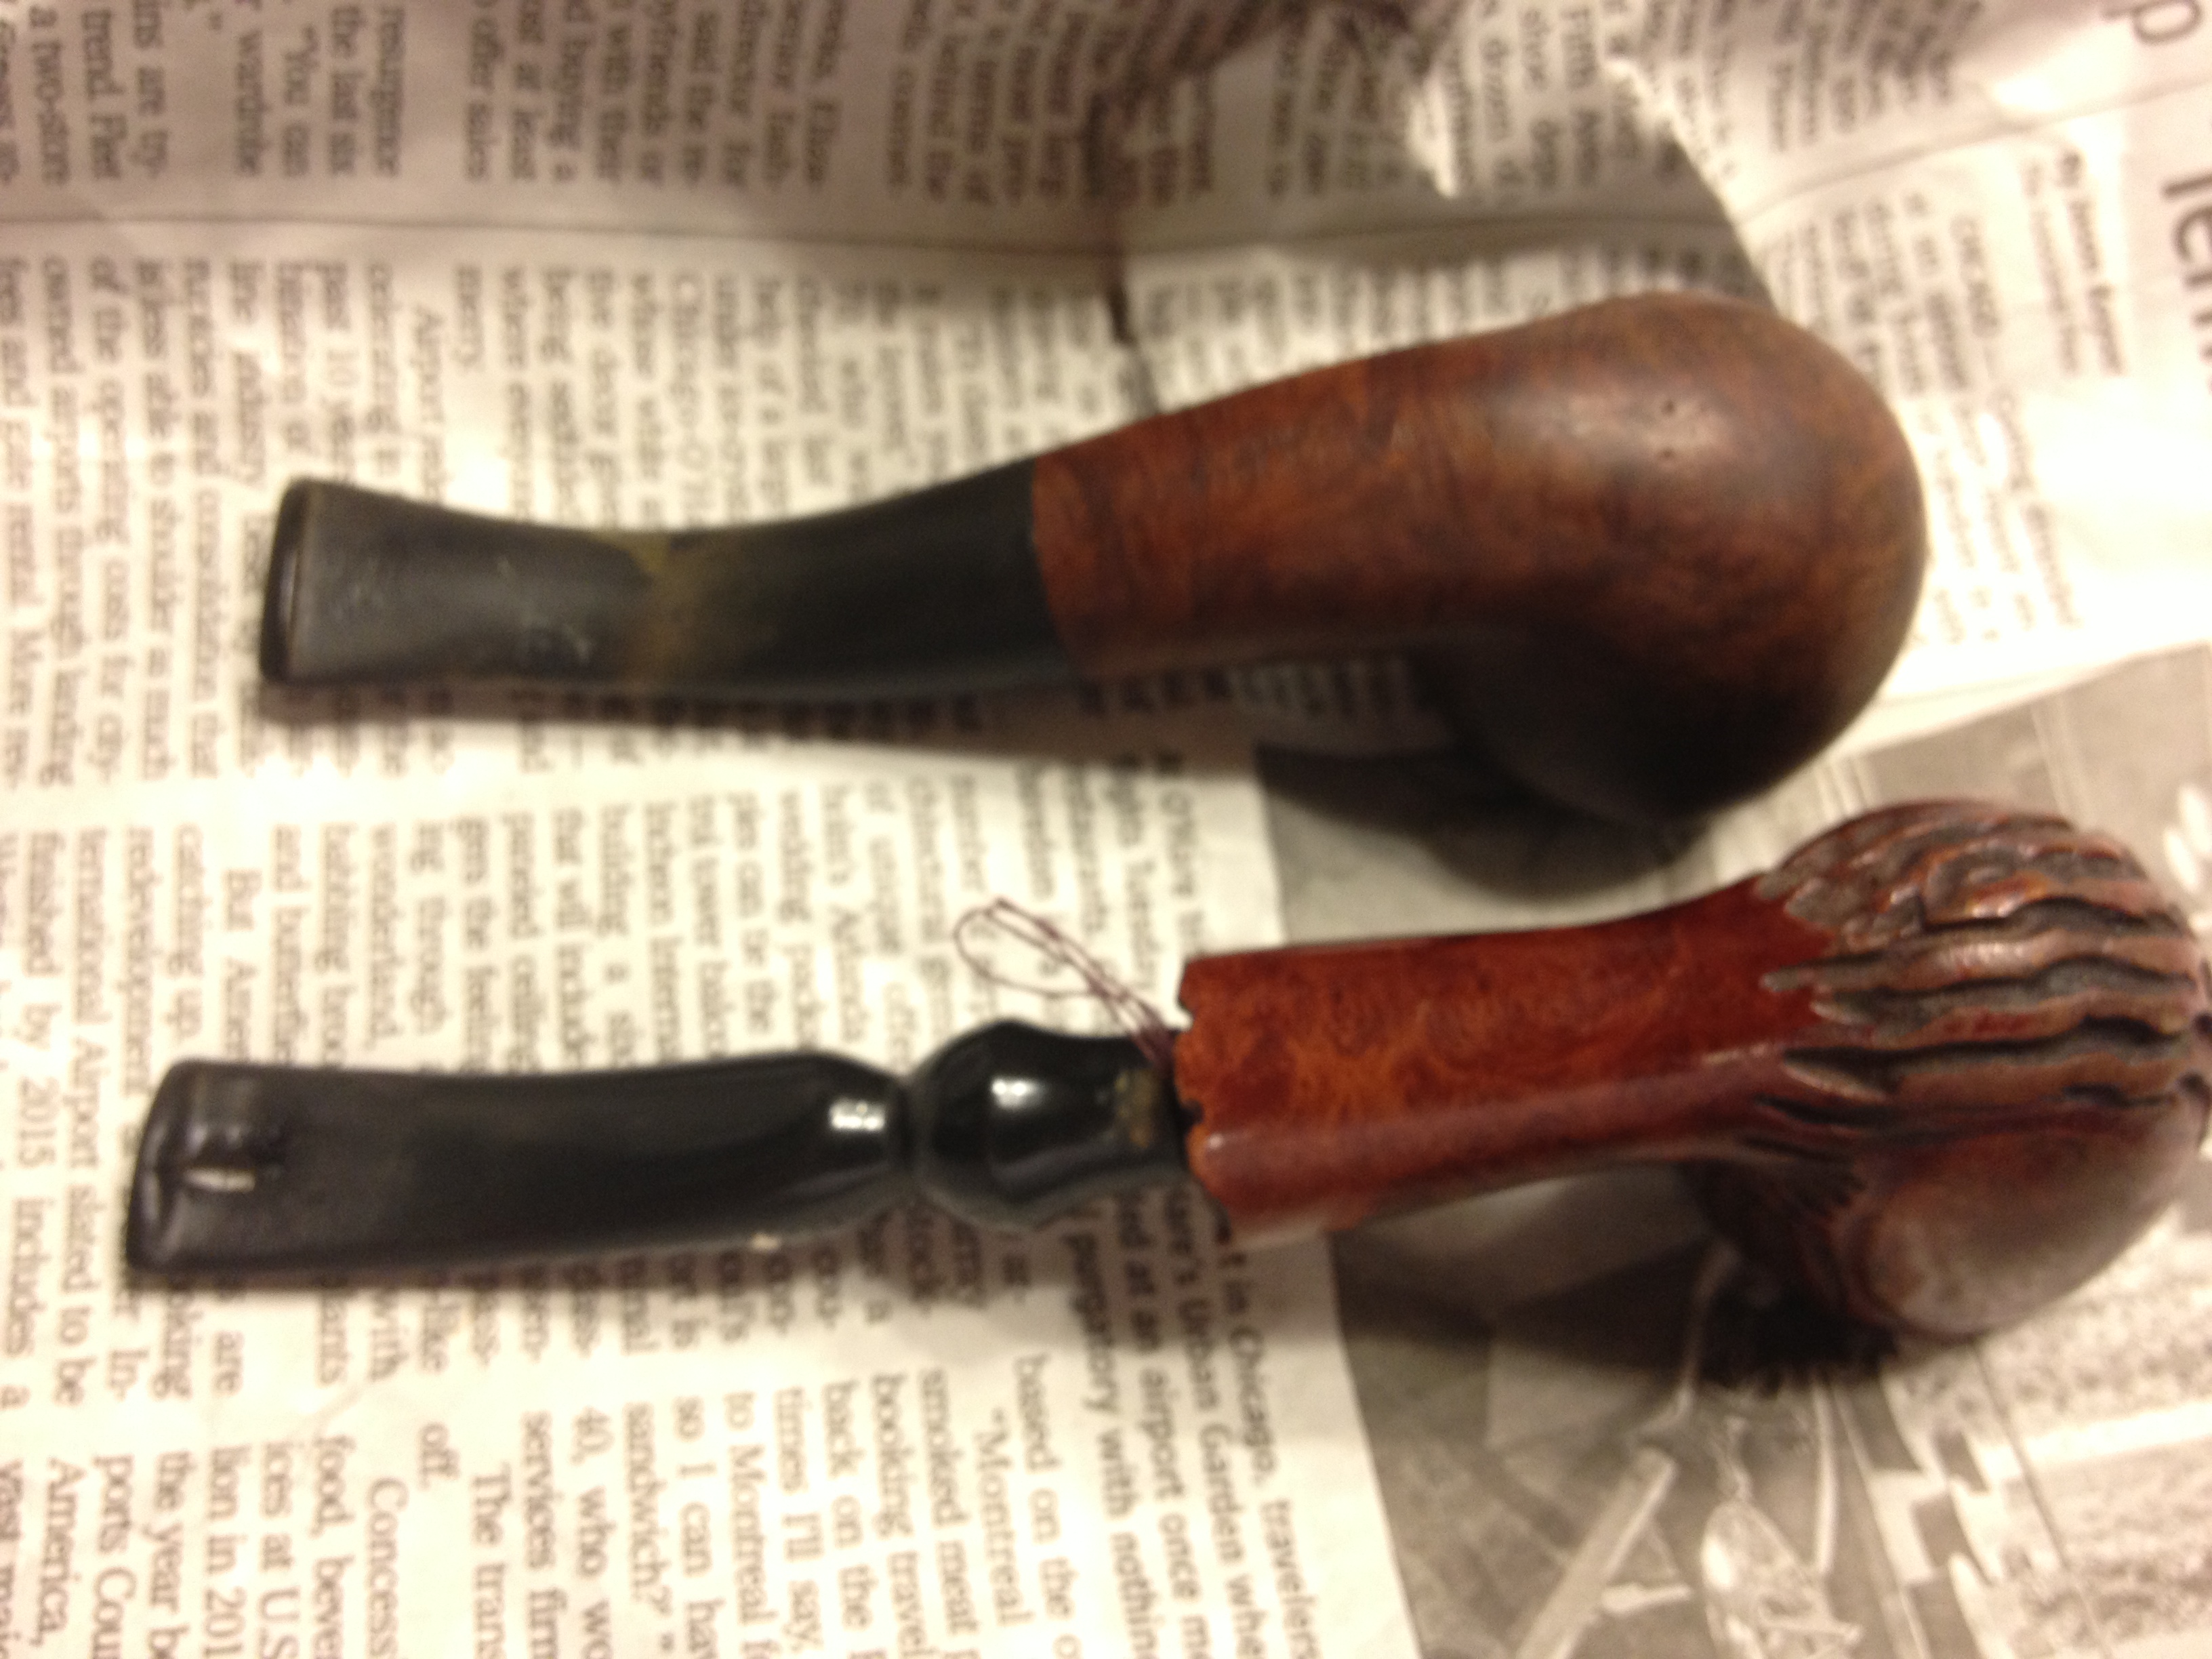
The following photos show the Wally Frank and the aforementioned Dr. Grabow as they looked when I unwrapped them at home. You can see that the Frank was in much better condition than the Grabow, especially the stem!

IMG_4431 IMG_4432IMG_4433 IMG_4436 IMG_4436IMG_4434IMG_4435IMG_4436IMG_4438

There are some fills in the pipe but the only one that really bothered me was the one on the face of the bowl (last photo), though I’m not sure how well you can see it. That one irritation made me decide to refinish the pipe but to keep it as close to original as I could.

At the time I was working on this pipe I didn’t know I would be writing about the experience, so there are no in progress photos to share.

I started by dropping the stem into a OxiClean bath to loosen the gunk and oxidation. Since I didn’t want to remove all the stain I didn’t do an alcohol bath. I began by lightly reaming the bowl which was actually not bad at all; there was virgin briar still in there! After reaming, I began to clean the bowl with acetone on disposable cotton pads; I buy them in the make-up section of Wal-Mart. Once cleaned I then topped the bowl. For topping I used 320 wet/dry sandpaper laid out on my workbench which has a granite slab on it for my leather working. Once the bowl was sufficiently evened out to my satisfaction I began to work on the fill that annoyed me.

I used some 400 grit wet/dry sandpaper to touch up the area a but before I picked out the fill. I then cleaned the area with a isopropyl dampened cotton pad and then, using briar dust from the bowl topping, I packed the area with dust and dripped on some Super Glue. I let it penetrate for 30 seconds or so and then quickly wiped off the excess. The result looked nice, with little extra glue. I gave it another few minutes to set well and then moved on to sanding.

As I said, I wanted to preserve the original look as much as possible and the other smaller fills didn’t really bother me. I decided the best approach was to lightly sand the whole pipe with 400 grit wet/dry paper, avoiding the nomenclature completely. I would work over the entire bowl, wipe it with alcohol pads, evaluate, and repeat; I belive it took three passes to get it to where I liked it.

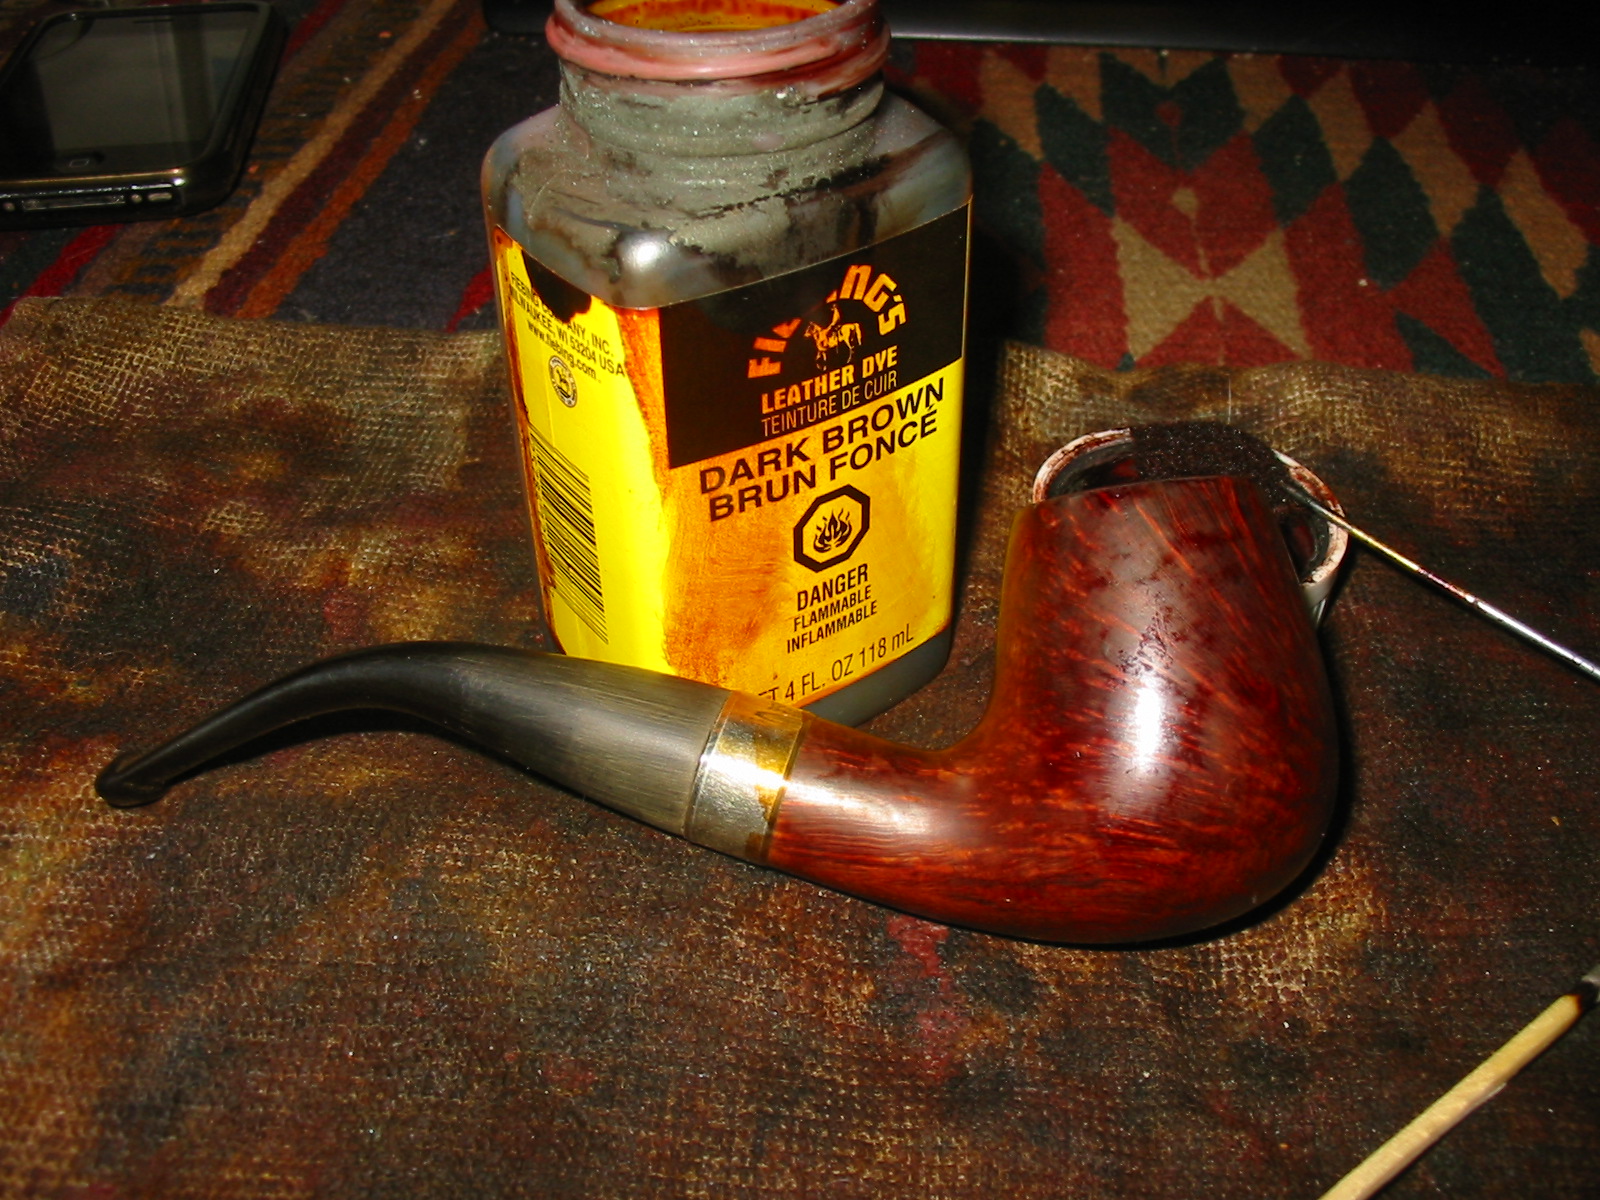
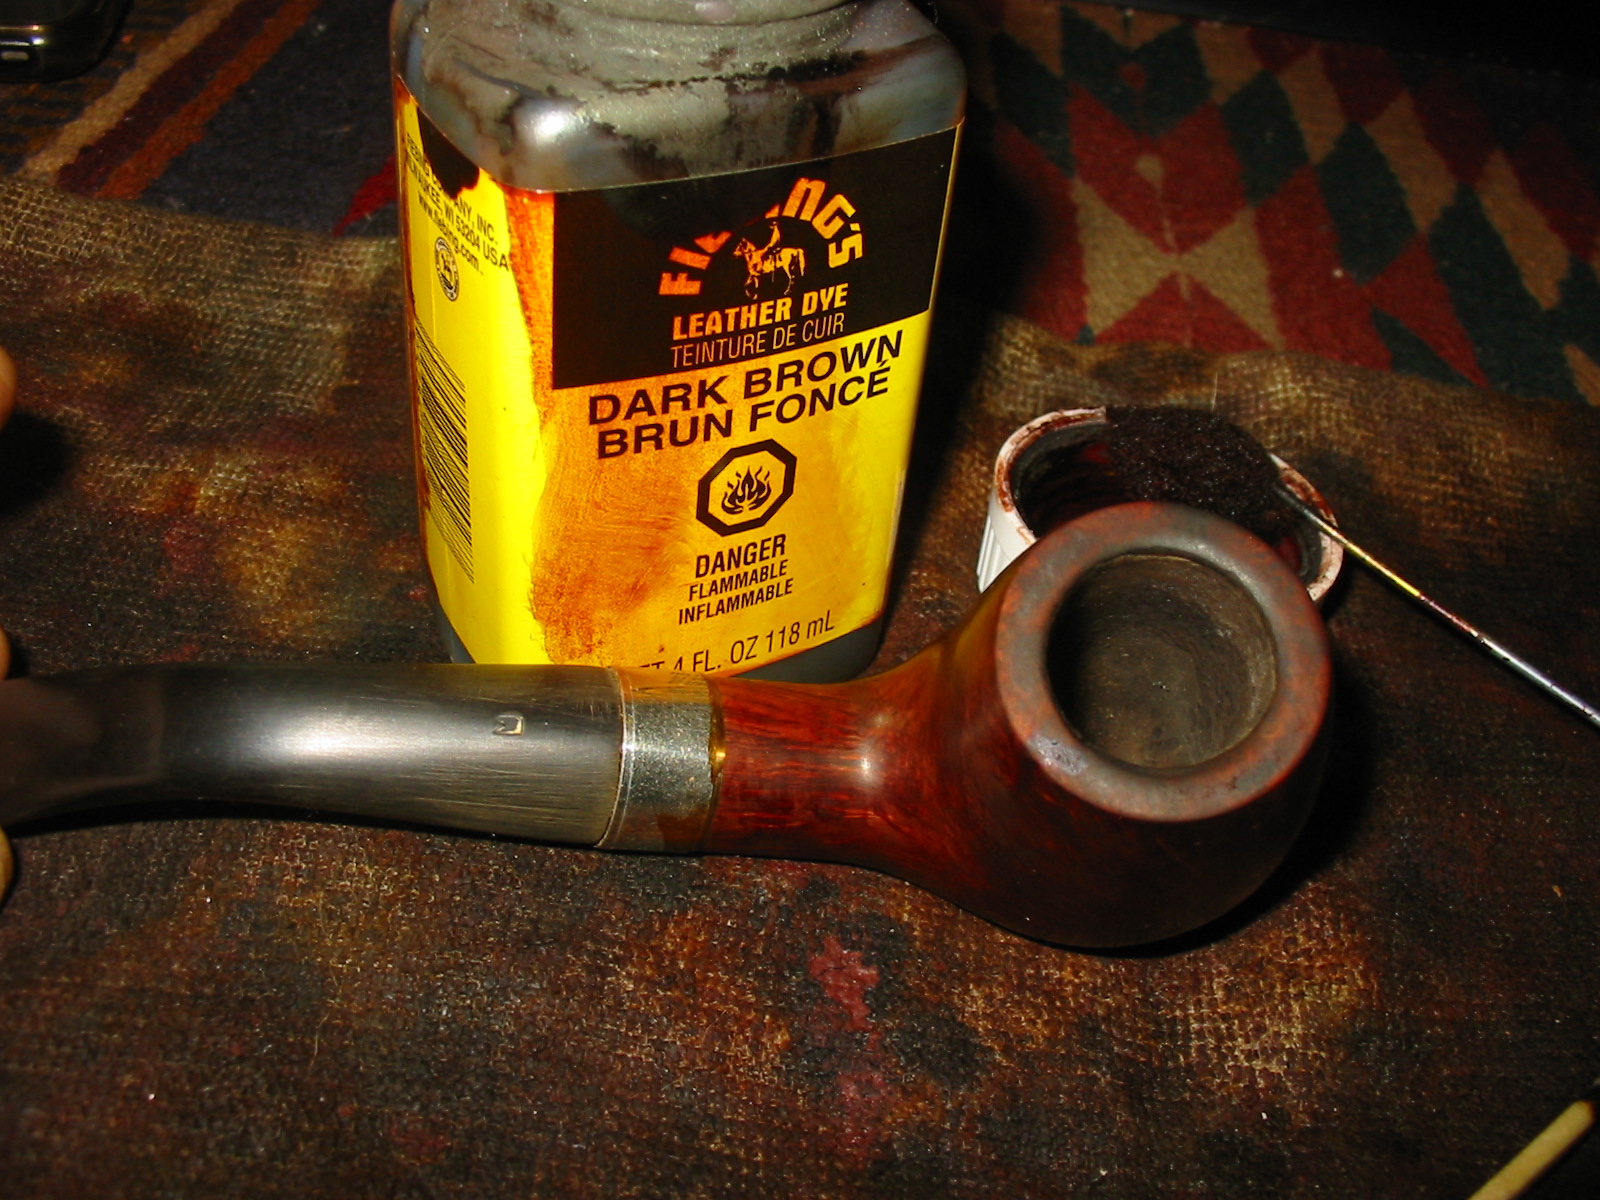
I then mixed up some Fiebing’s Medium Brown leather dye 50/50 with 91% isopropyl alcohol which I applied with a wool dauber and flamed in. I buffed it by hand to see what the color looked like, trying to blend the sanded briar with the mostly untouched stamped areas; it was a very close match but needed another application. The bowl rim needed more, too, due to the topping so I started by applying and flaming the dye to the rim only and then applying and flaming the entire bowl. Again I buffed it by hand and compared the two areas; I was happy with the results so it was time to move on to the stem.

After taking the stem out of the OxiClean bath I washed it well and scrubbed it with a Miracle Eraser, which removes a lot of the loosened oxidation. From there I began wet sanding with 320/400/800 grits; thankfully there were no holes, dents or even much chatter to work on with this stem. Next I applied the Novus 2 plastic polish. Sometimes I don’t use the plastic polish this soon but I wanted to get an idea of the shape of the stem at this point. The stem looked better than I expected so I then moved on to the micro mesh, wet sanding with 1500-4000 grits. I used another application of the Novus 2, which I work in with a cotton pad and then polish off with another clean one. I then polished with the micro mesh, dry, through 12000. At this point I switched to the Novus 1 plastic polish to bring up the shine.

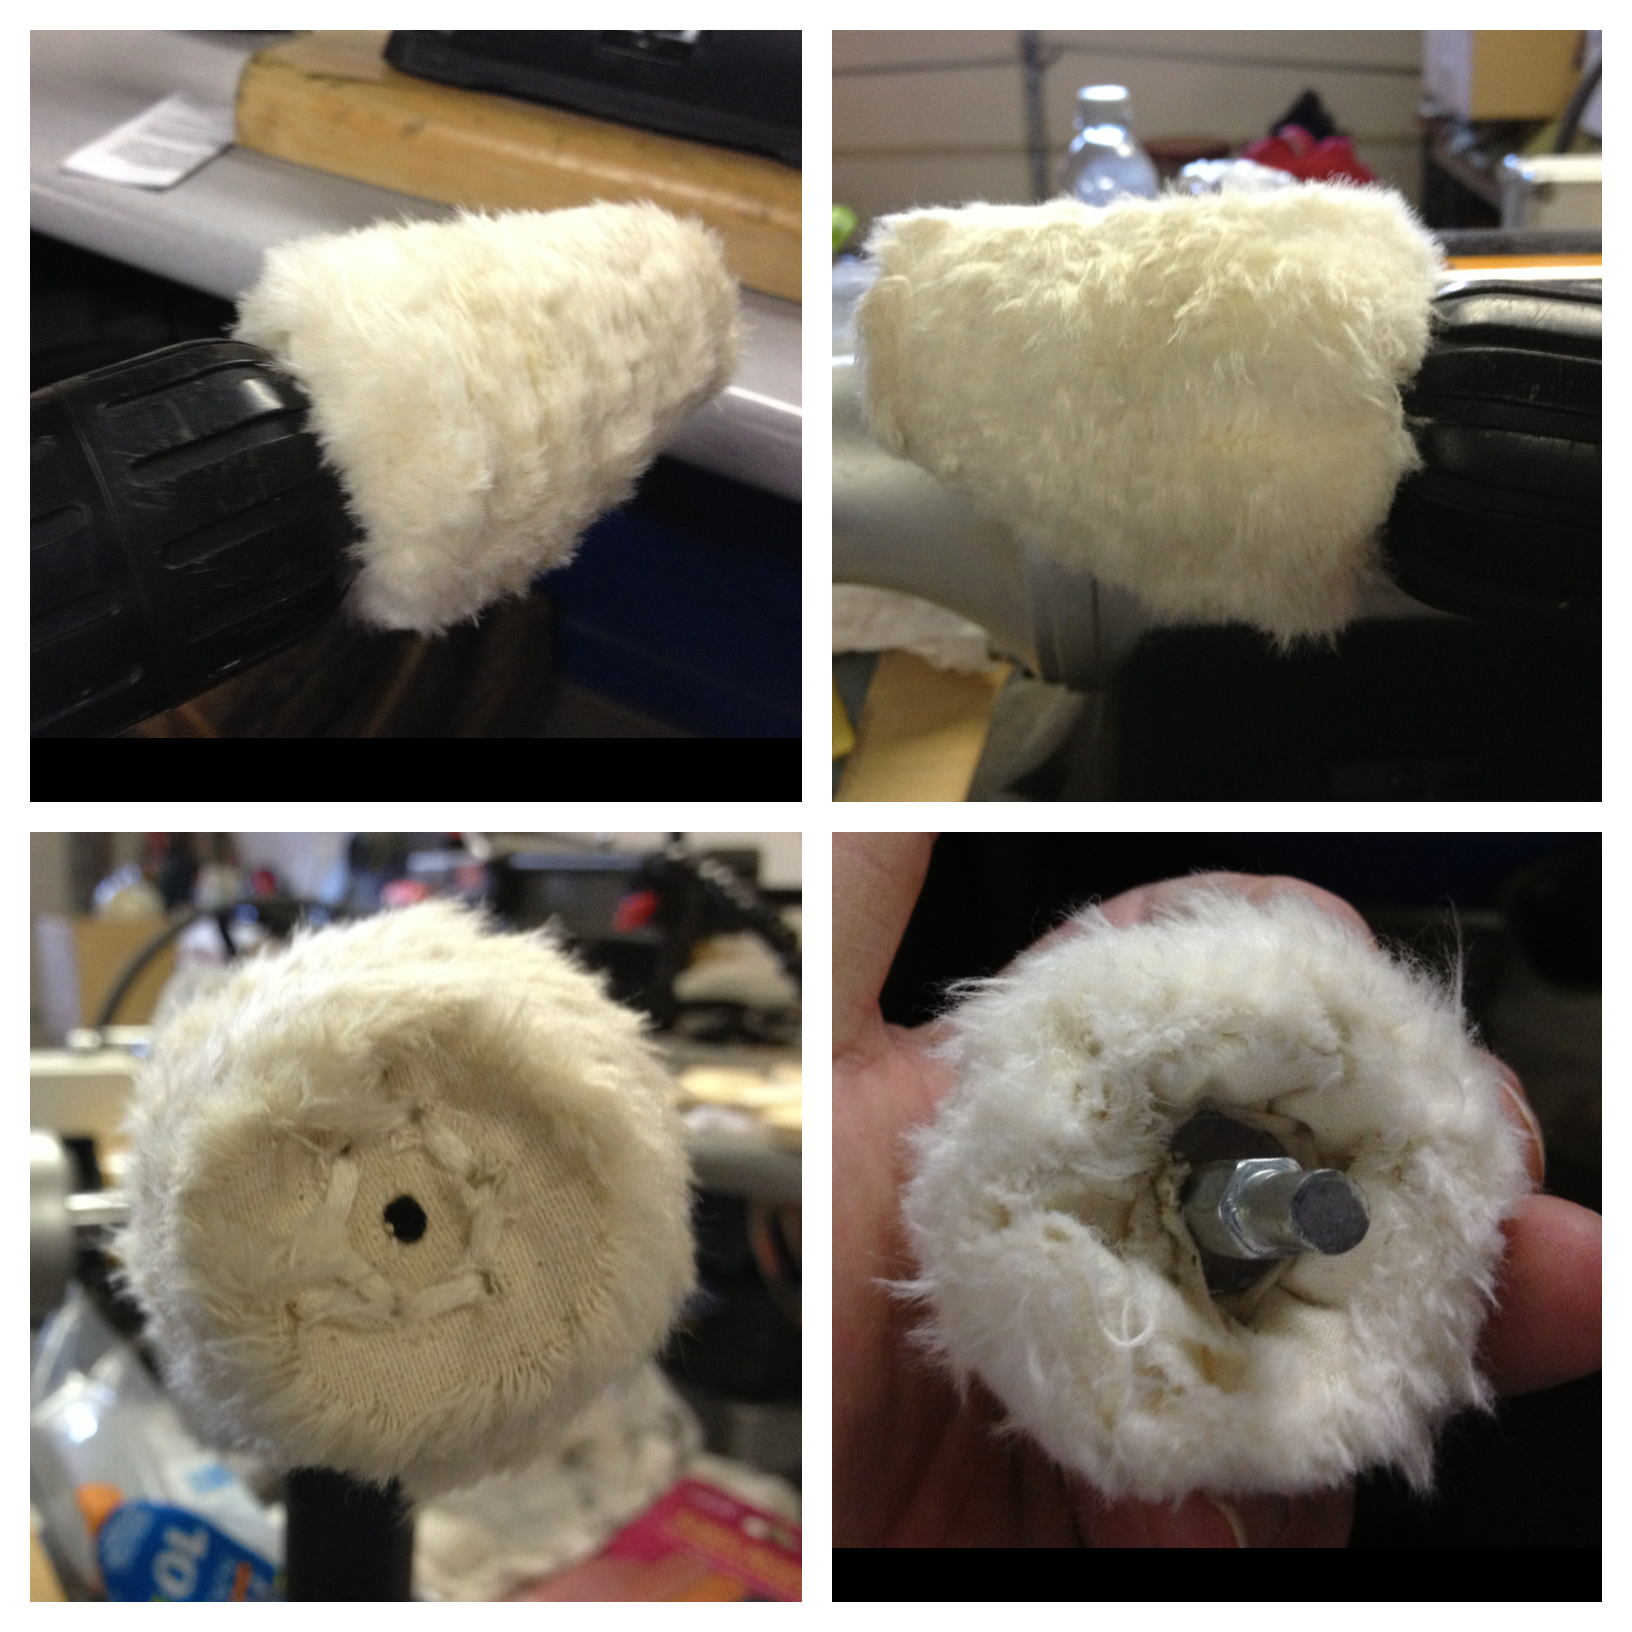
I moved to the buffer and buffed the bowl with Tripoli. I then put the pipe and stem together and buffed the entire pipe with white diamond and a few coats of carnauba wax. I buffed the pipe out to the final shine with my “mushroom” on my cordless drill.Mushroom

The final result was one I am happy with. The pipe smokes much better than I’d anticipated; there is no more virgin briar in its bowl. The fit and feel of it are fantastic and now it looks more like it once did, when someone else loved it.

IMG_5186 IMG_5187 IMG_5188 IMG_5189 IMG_5190 IMG_5193

What to refurbish next?


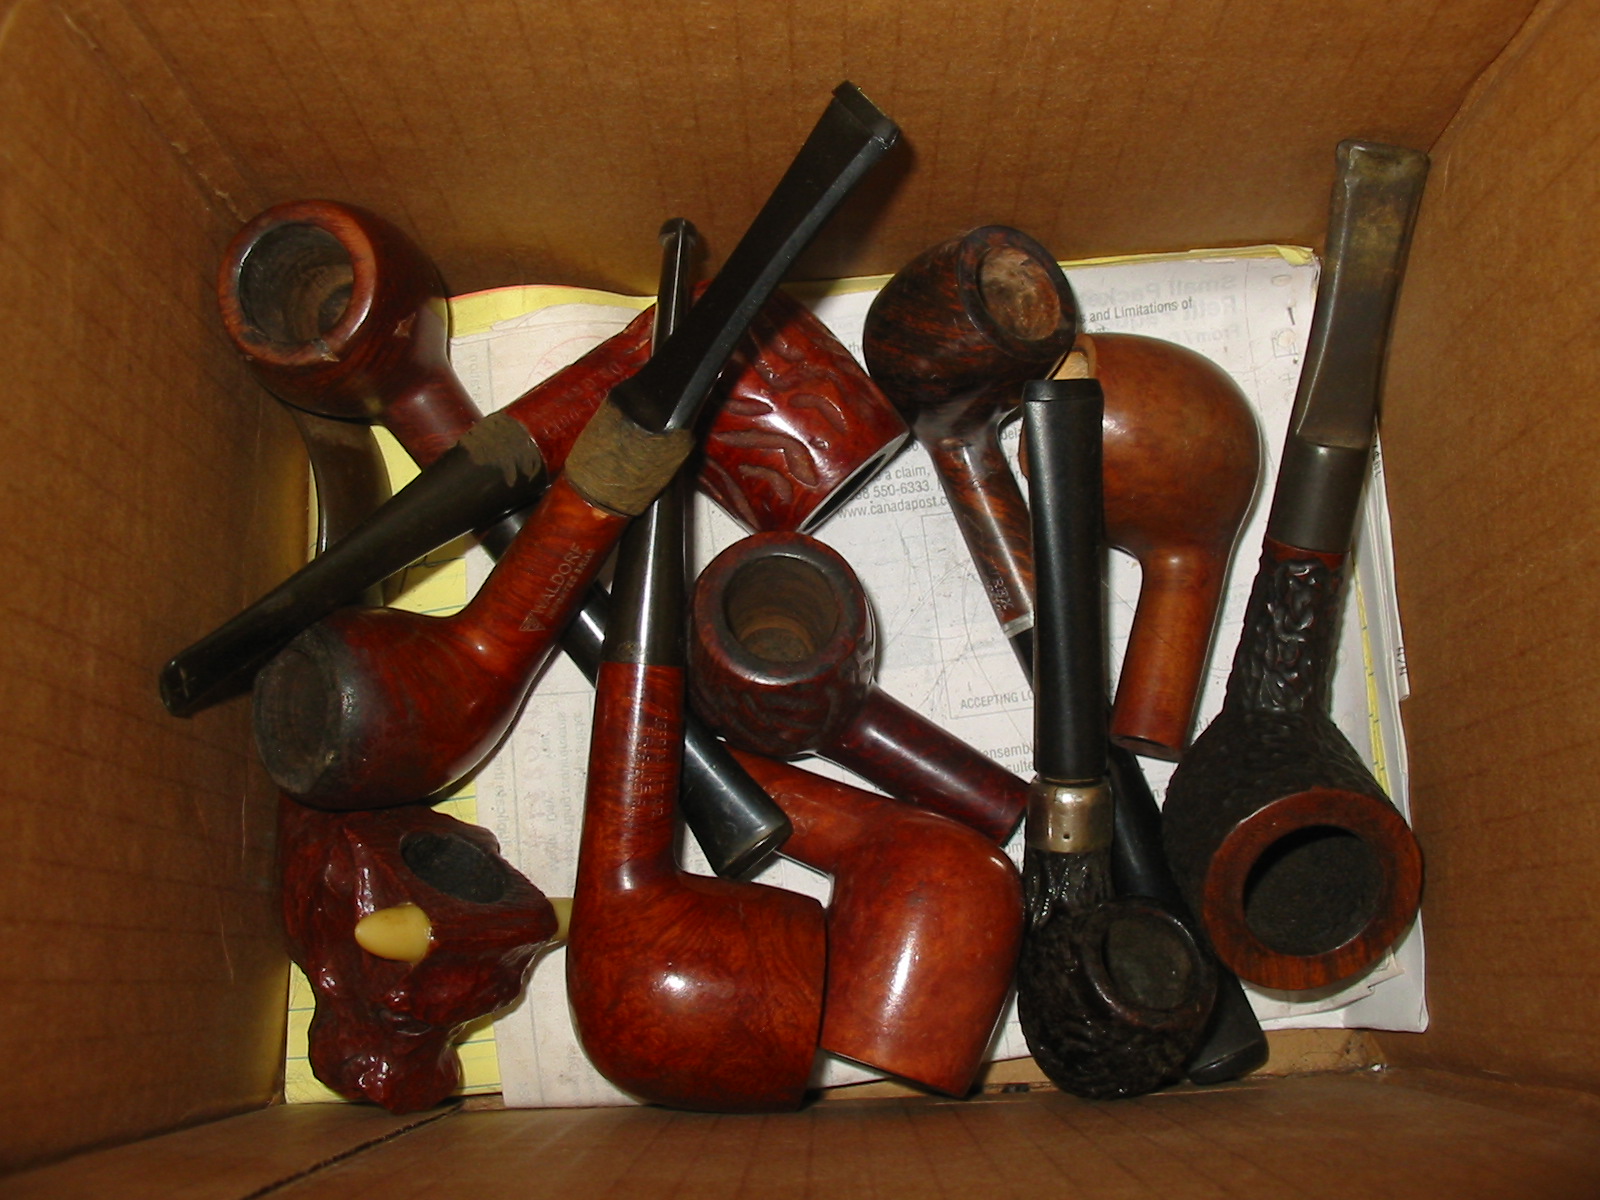
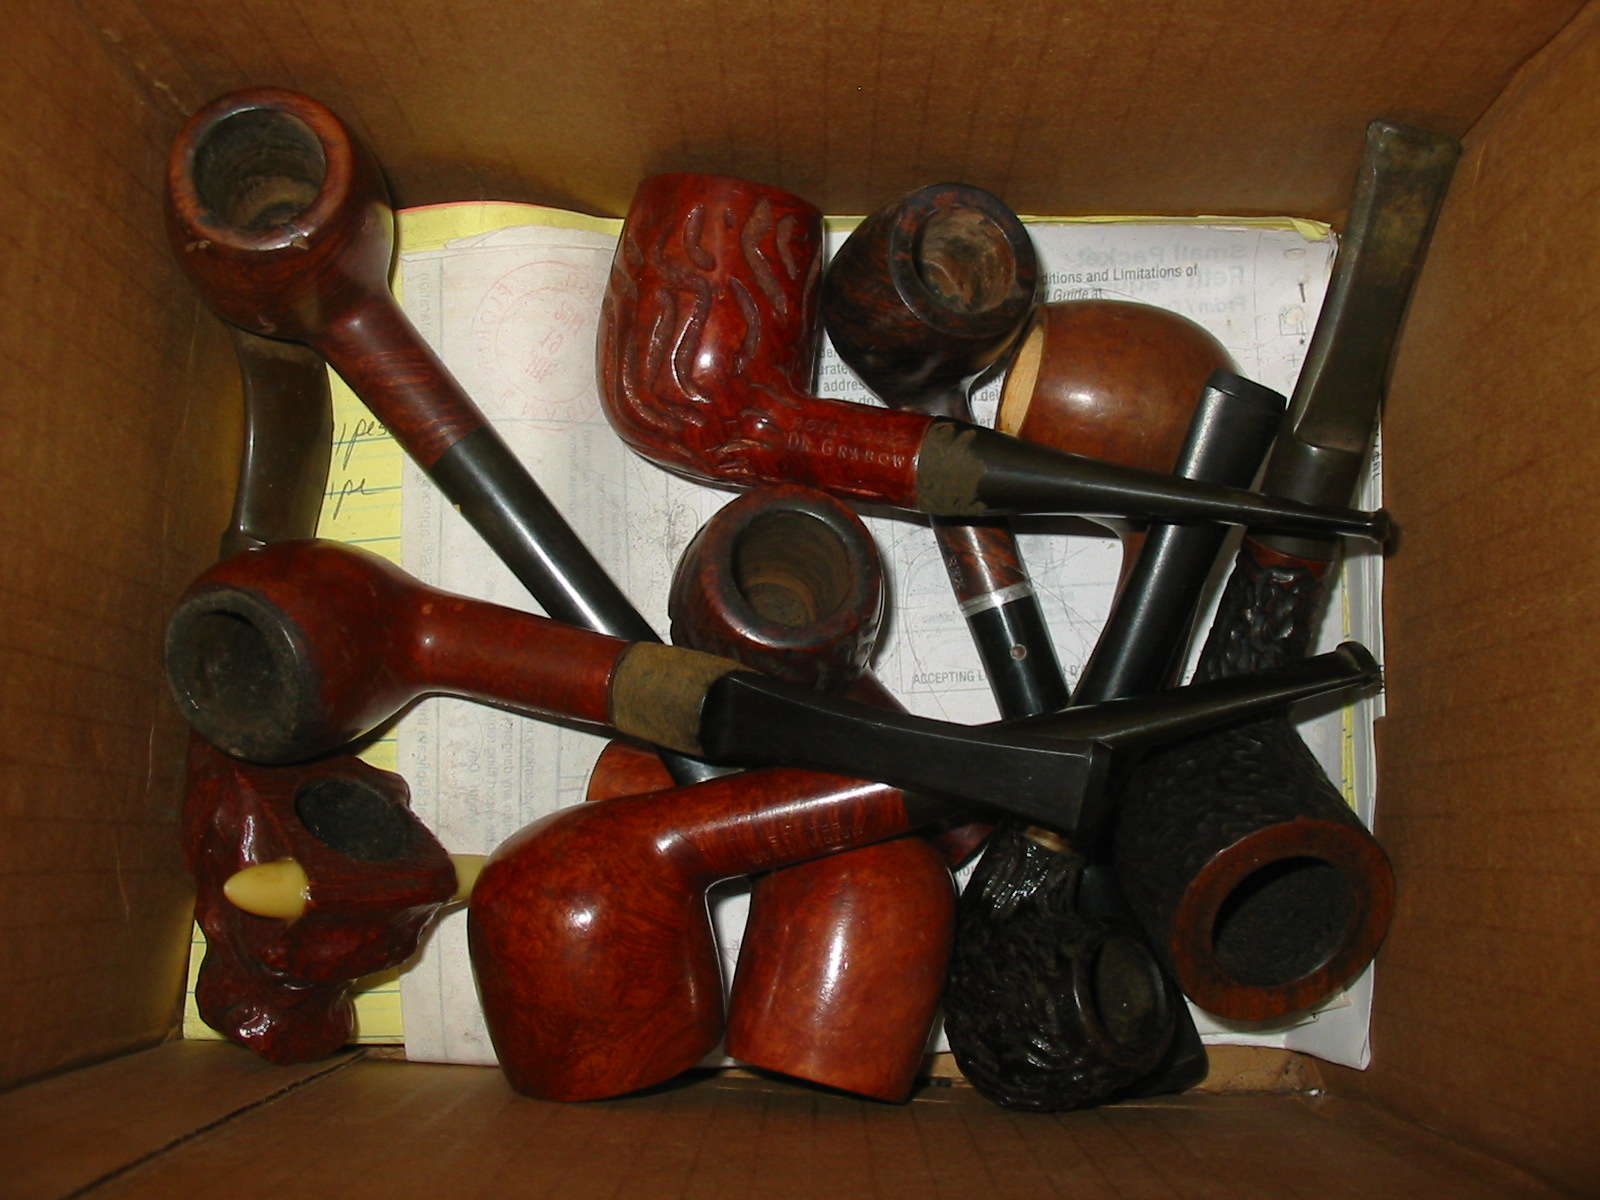
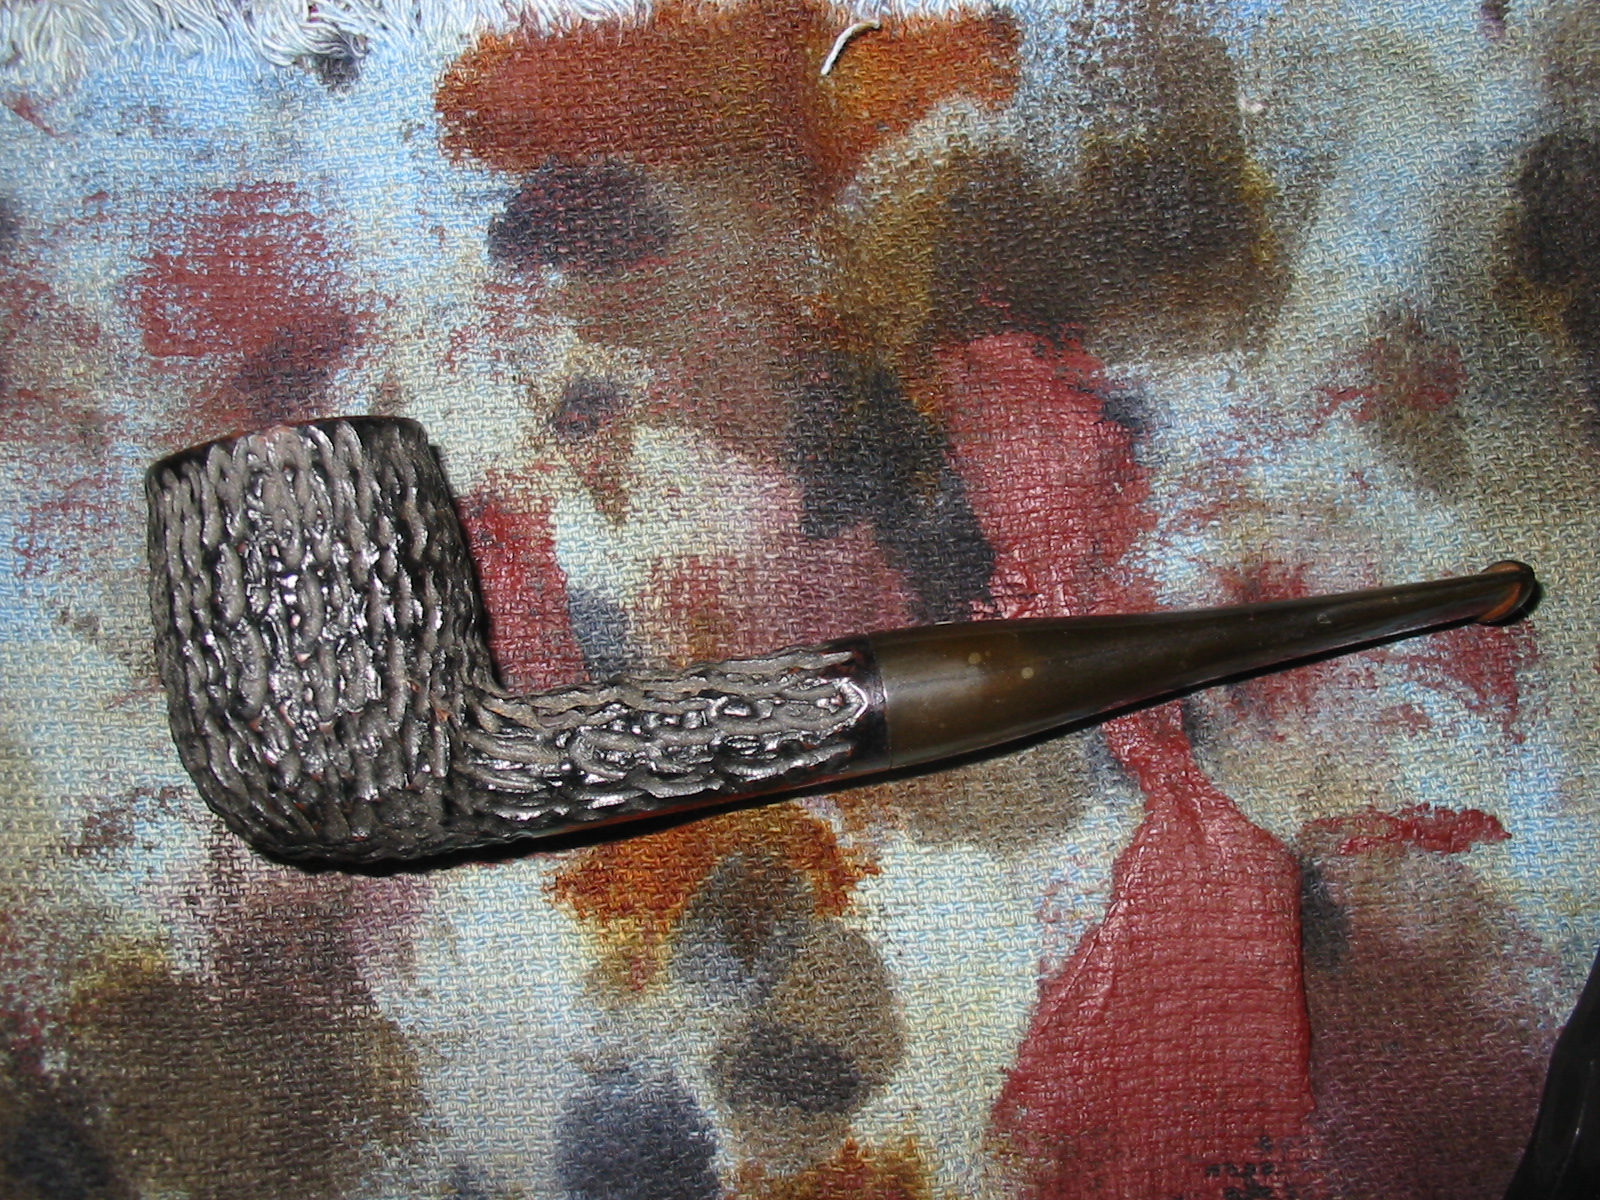
Generally, I never have to give much thought to which pipe I will refurbish next as I pick up only pipes that I like. I have an old box in my laundry room where I keep pipes that need to be refurbished. At times this box has had over three hundred pipes in it but has recently diminished to eleven. These are the tag end of a lot of pipes that I have had over the past years. Sometimes I buy a batch of pipes on eBay that will have many I don’t want for one or two that I am hunting for. Sometimes these unchosen ones end up in the bottom of the box. Other times friends will give me garage sale finds or flea market or auction finds – sometimes nice and sometimes junk to be honest with you. When I go to refurbish a pipe I pick through the box and select the ones that strike my interest and leave behind for later all the ones that for one reason or another just did not catch my attention. They can accumulate and I gradually chip away at them. I have now worked through even that leftover lot – the ones that did not catch my eye and am left with 11 more pipes that just don’t do anything for me. All of them need to be restemmed and refinished. All of them are in rough shape. They no name pipes stamped with such markings as Bruyere Garantie, Imported Briar, Real Briar and Genuine Briar. Not even their names are interesting because I can ferret out no history or brand to link them to. So you see these pipes are not worth much. They will probably end up being give away pipes for me but I am guessing that with a little work they can be made into great smoking pipes. I am sure they will be great pipes for someone just starting out or someone who needs a yard pipe. The interesting thing is that the drilling/mechanics on all of them are well done. The finish on all of them is pretty rough – either flaking, peeling, or chipped and there are huge fills in some of them and many little fills in others. They are truly utility pipes but they are the ones I am left with. So I am left to decide which one I will work on next. The photos below show the lot. Maybe one interests you.

Image

So which one do I pick up first to work on? Should I cut the tenons for the three bowls that don’t have stems so that all have stems? Do I pick one and work the stem to a fit and sheen? Do I refinish a bowl? Do I really want to do anything with the lot at all? Inevitably I will pick up each on and fix it. Each of the 11 pipes will be a teacher of method and practice for me. Each one will give me the opportunity to hone a skill – staining, finishing, stem shaping, button opening, airway opening, topping, rusticating and the list can go on and on. I used to just give away the stummels to folks who wanted to learn to fit stems. I even sold a few by the dozen to thin down the lot but these remain – for better or worse. It is for the training value, the practise of the art of refurbishing alone, that I continue to tackle these pipes sitting at the bottom of the box. Each one gives me a valuable chance to learn something new or hone a skill to better use. It is from working on pipes like these that I have developed several rustication patterns, the patience and persistence in shaping stems and turning tenons. I have learned to apply contrast stains and practiced bending and straightening stems. I know that I can afford to mess things up on these without feeling any loss or disappointment. If I had not picked them up to work on they were destined for the firebox. So with that in my mind I will reach for another pipe from the box.

Image

I tend to work on things systematically and so about a month ago I had an afternoon free so I restemmed 9 of them. I turned the tenons and stuck the new stems on the pipes. Some of them are reclaimed stems from my stem box and some of them are stem blanks that will take some work to finish. I have not worked on any of the stem fittings or squared them up to the shank at all. I have not worked on the diameter or taper of the stem as it meets the shank. I have not smoothed out the casting ridges or shaped the buttons or slots. I just turned the tenons and put the stems on the pipes and put them back in the box. That leaves three more to fit stems on and then the 12 of them to be customized and polished.

I heard footsteps on the front porch by the mail box. I figured one of my daughters was home from work or my wife so I just kept looking at the pipes to make a choice. What was that? Oh, the doorbell rang… The door opened and closed. My daughter just opened the door to the basement workshop and called     down to tell me that I have a package. Maybe it is some of my EBay wins that have arrived. Ah, I can still postpone picking up one of the restems or turning the remaining three tenons. Good, they can wait for a little longer while I work on the new arrivals. After all they are ones that I chose to restore… so I close up my box and head upstairs to retrieve my package. I think I may as well have a bowl while I am upstairs…

Renewed Malaga Bulldog


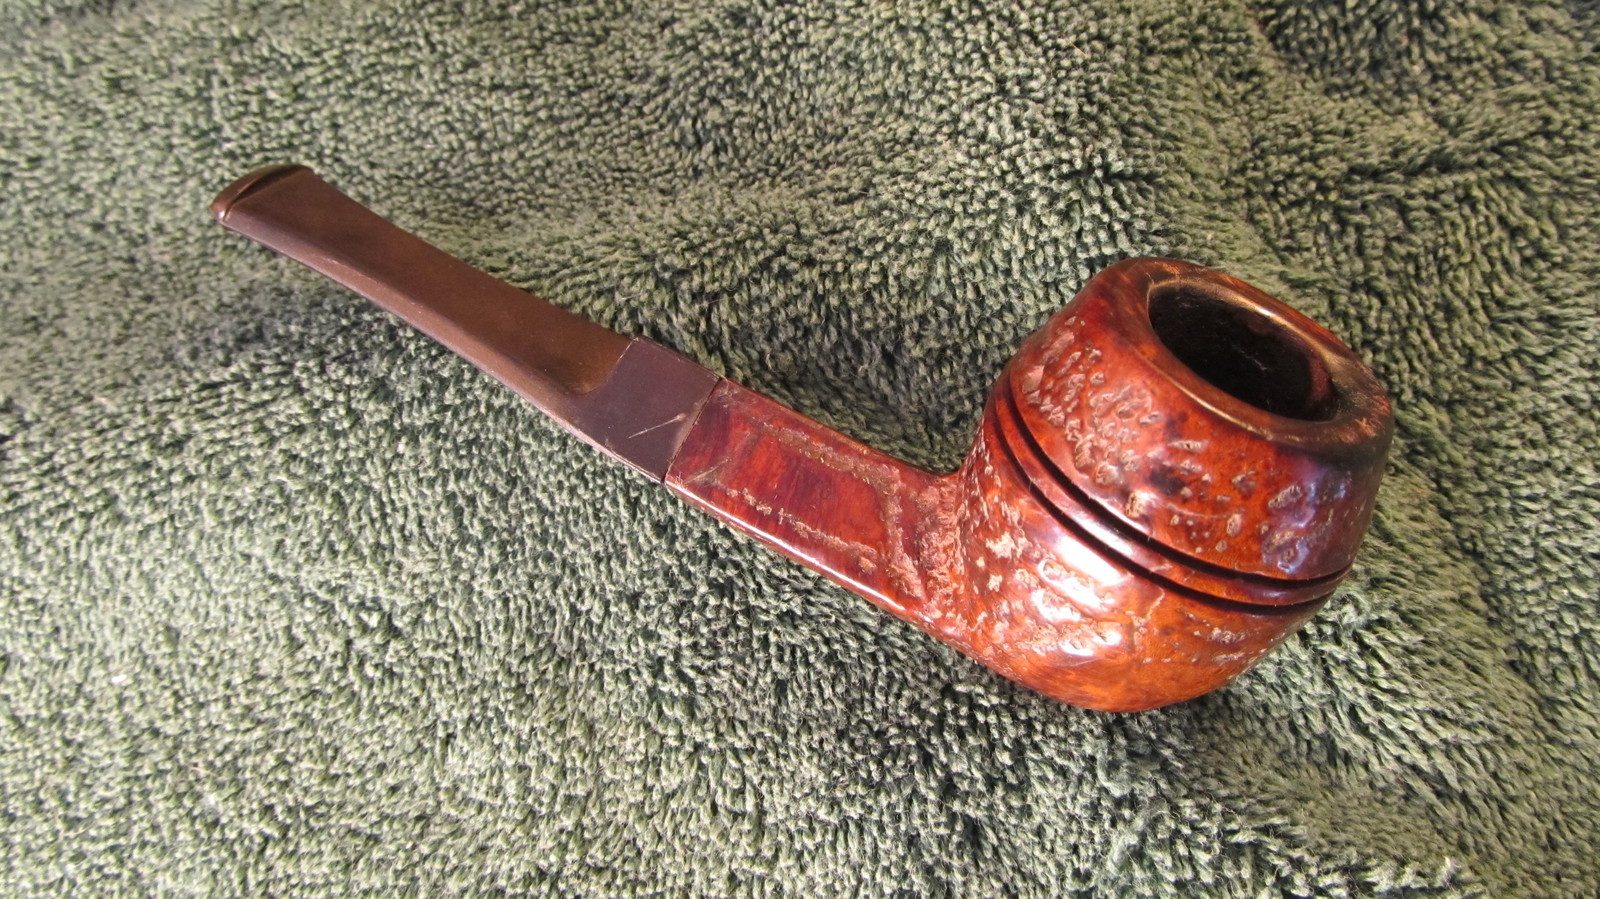
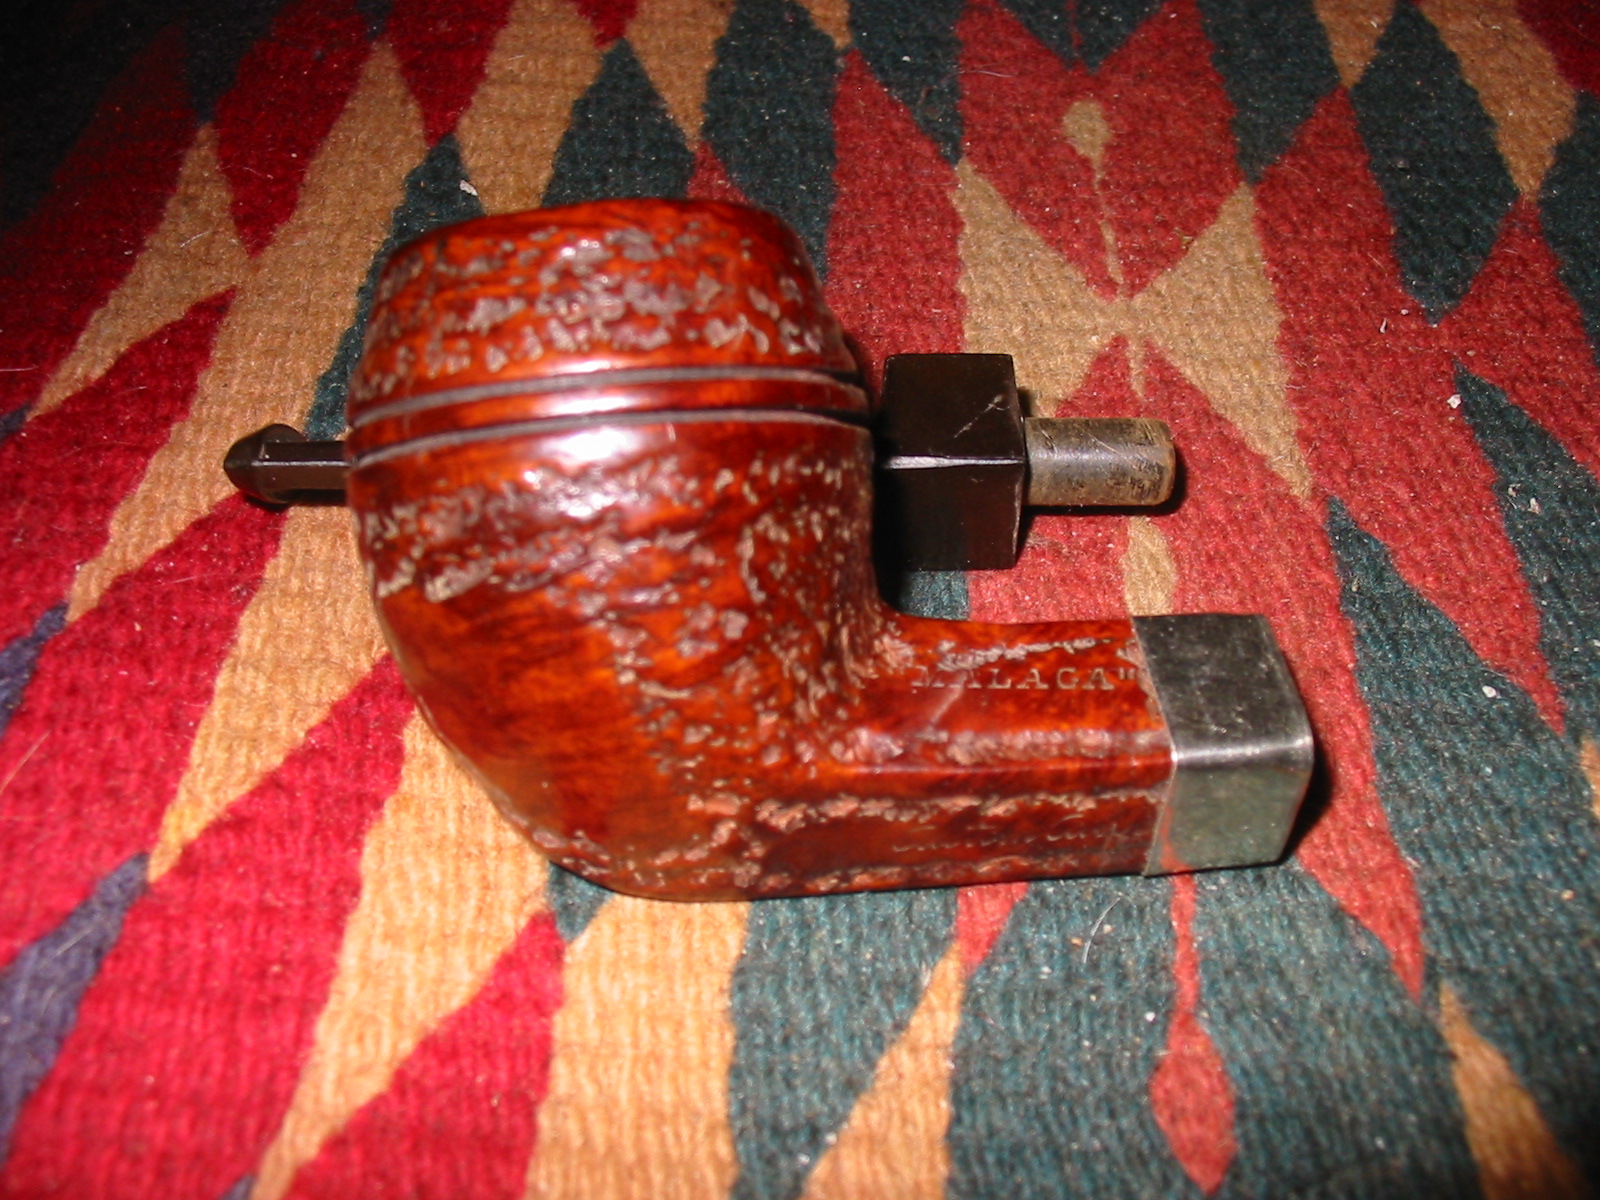
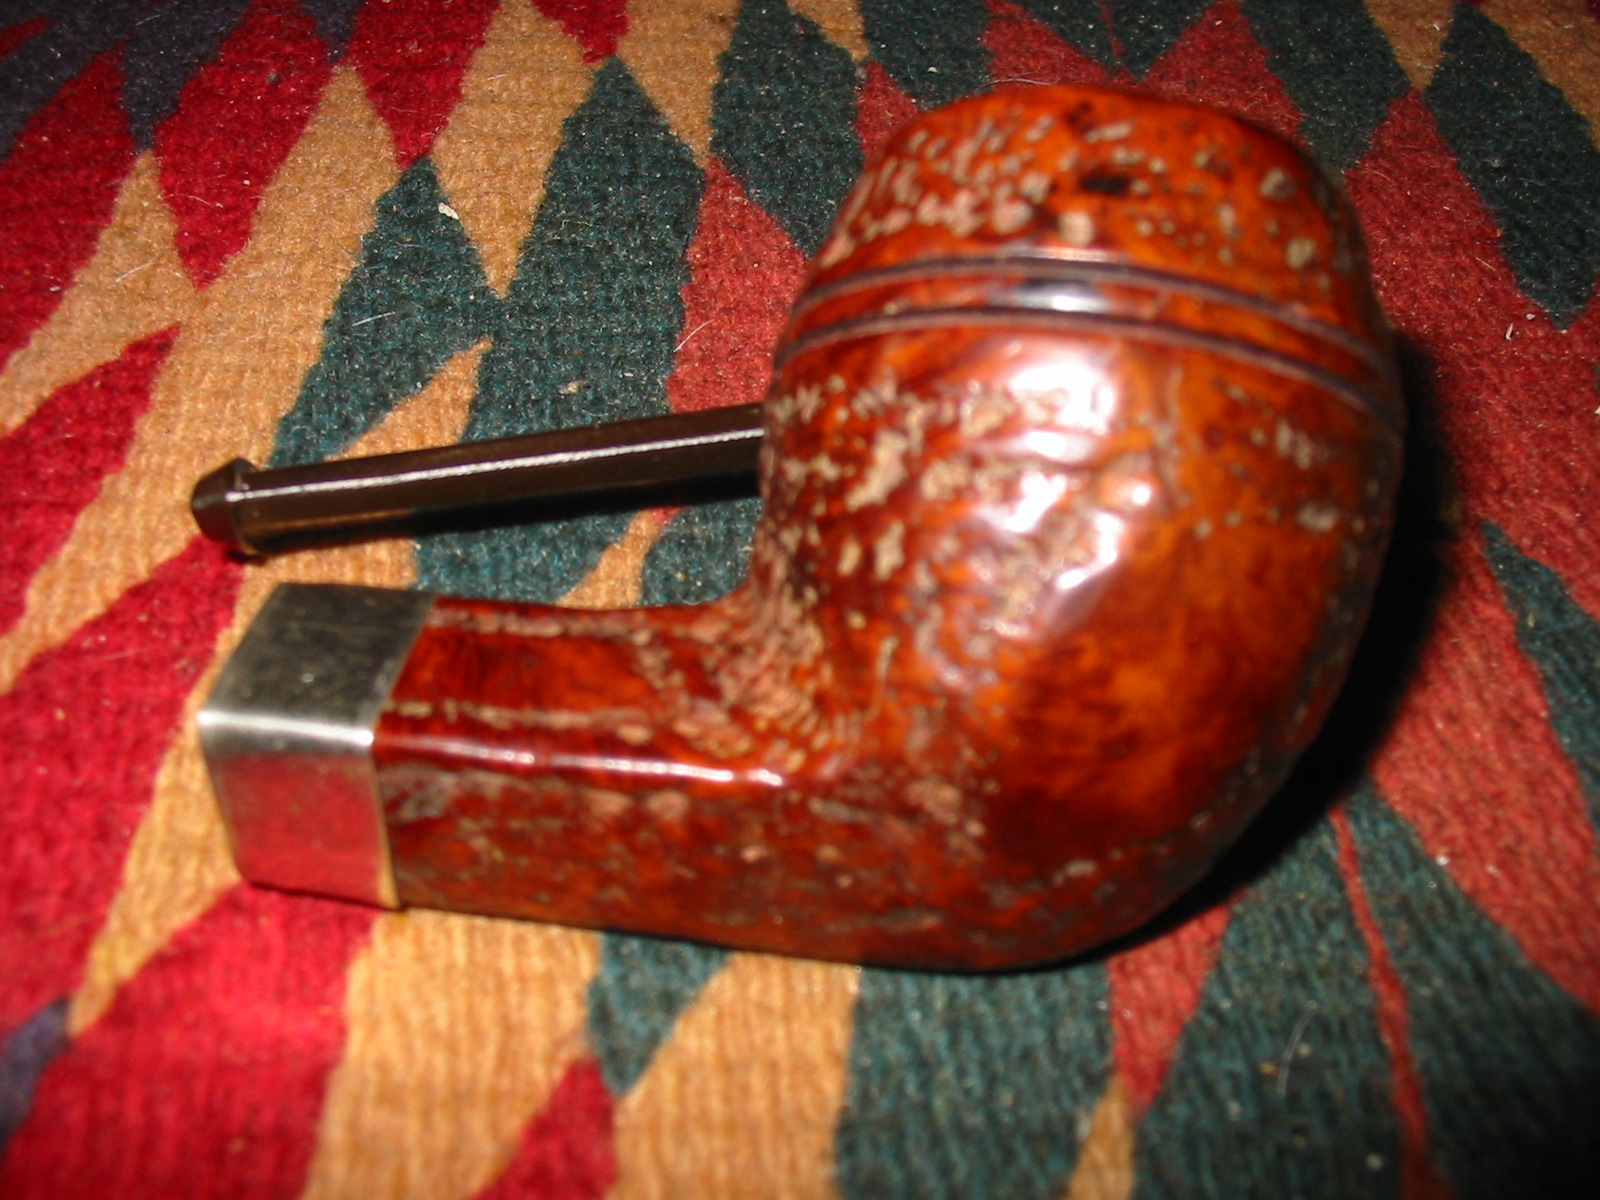
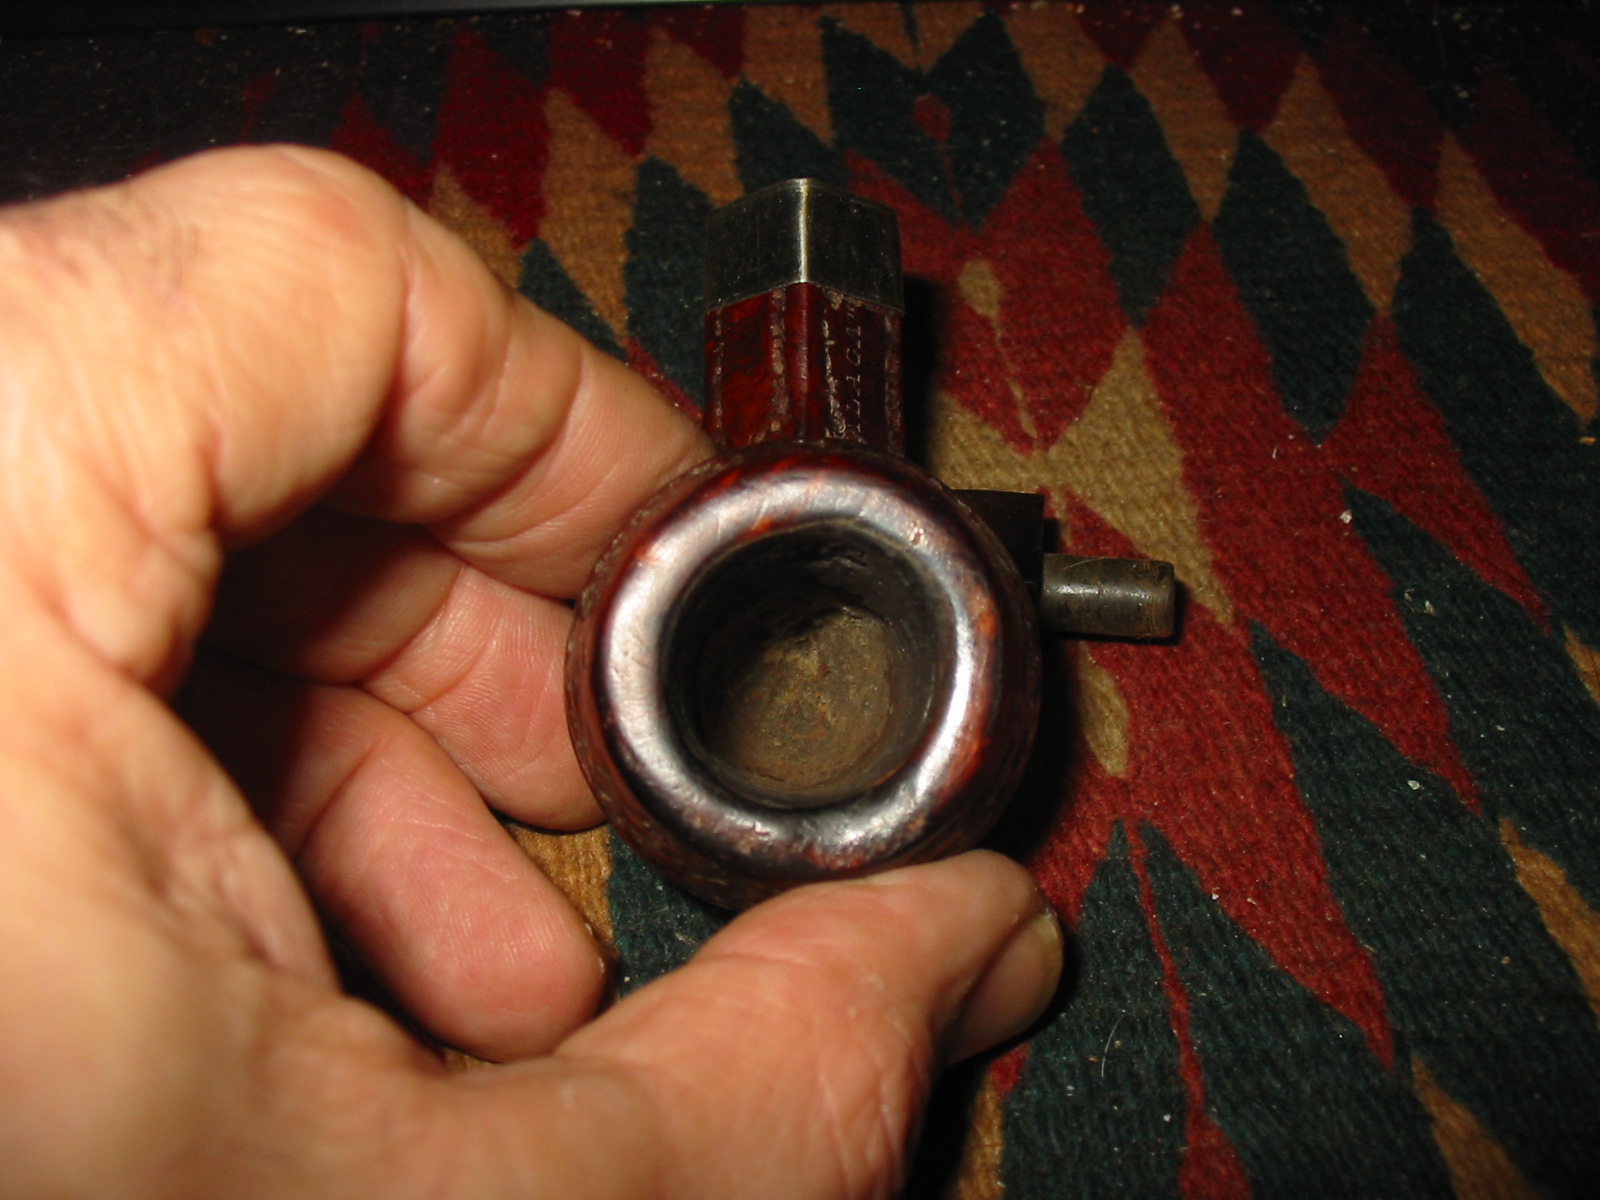
In an earlier post on Malaga pipes and their maker George Khoubesser, https://rebornpipes.wordpress.com/2013/02/09/george-khoubesser-and-malaga-pipes/, I mentioned that I wanted to hunt down a pipe. Not long after that post I was able to pick up this bulldog. It is a rusticated pipe with some smooth patches like those done by GBD on some of their pipes. This one is stamped Malaga in quote on the upper left side of the shank and Custom Carved on the lower left side of the shank. The pipe was in fair shape. The bowl needed to be reamed as the little cake that was present was in the top half of the bowl. The bottom of the bowl had cobwebs in it. The shank inside was very clean. The stem had some oxidation and a small amount of tooth chatter but was in good shape. The rim had a burned area on the front right and it had created a small dip in the rim. The shank was cracked in multiple places near the stem. It looked like it had been repaired and there was some darkening around the place where the shank met the stem that seemed to indicate that a band that no longer was present had once been in place. The first series of eight photos show the items that I mention above. Looking closely at the photos you can see the cracks in the shank and the burn on the rim. All of the other items come through in the photos as well.

ImageImageImageImageImageImageImageImage

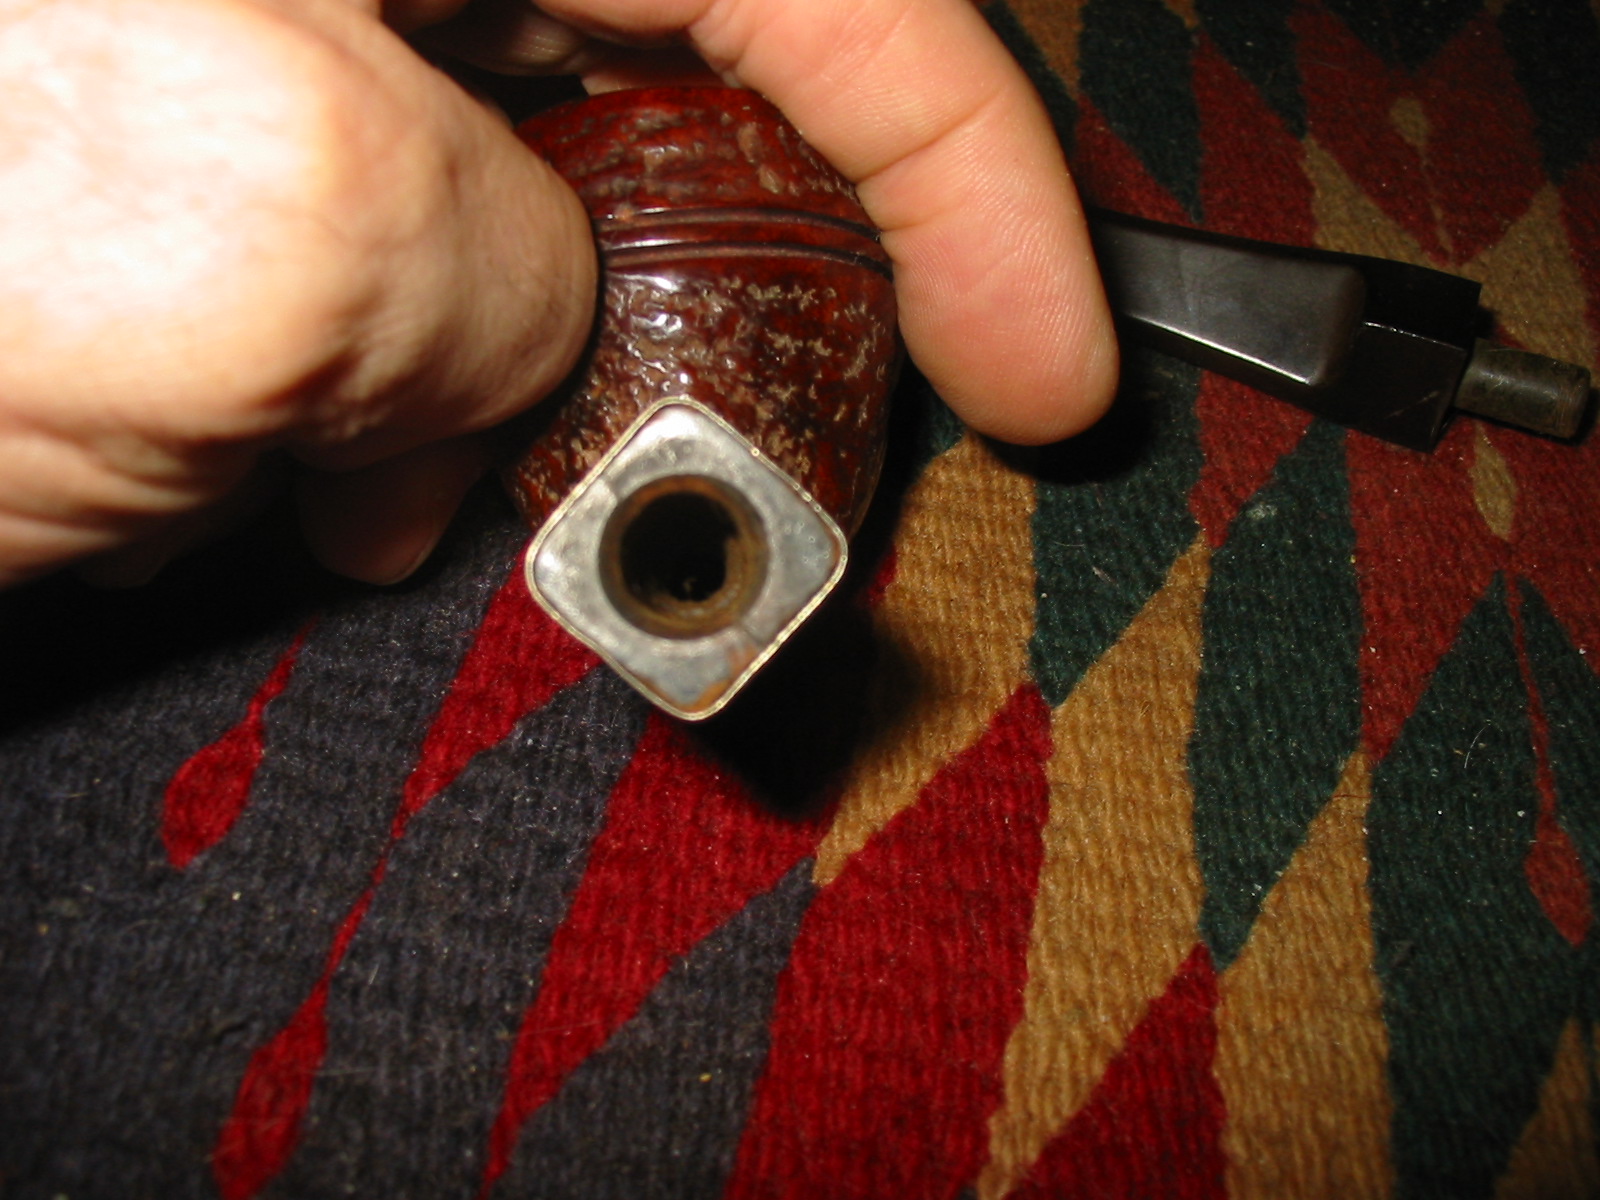
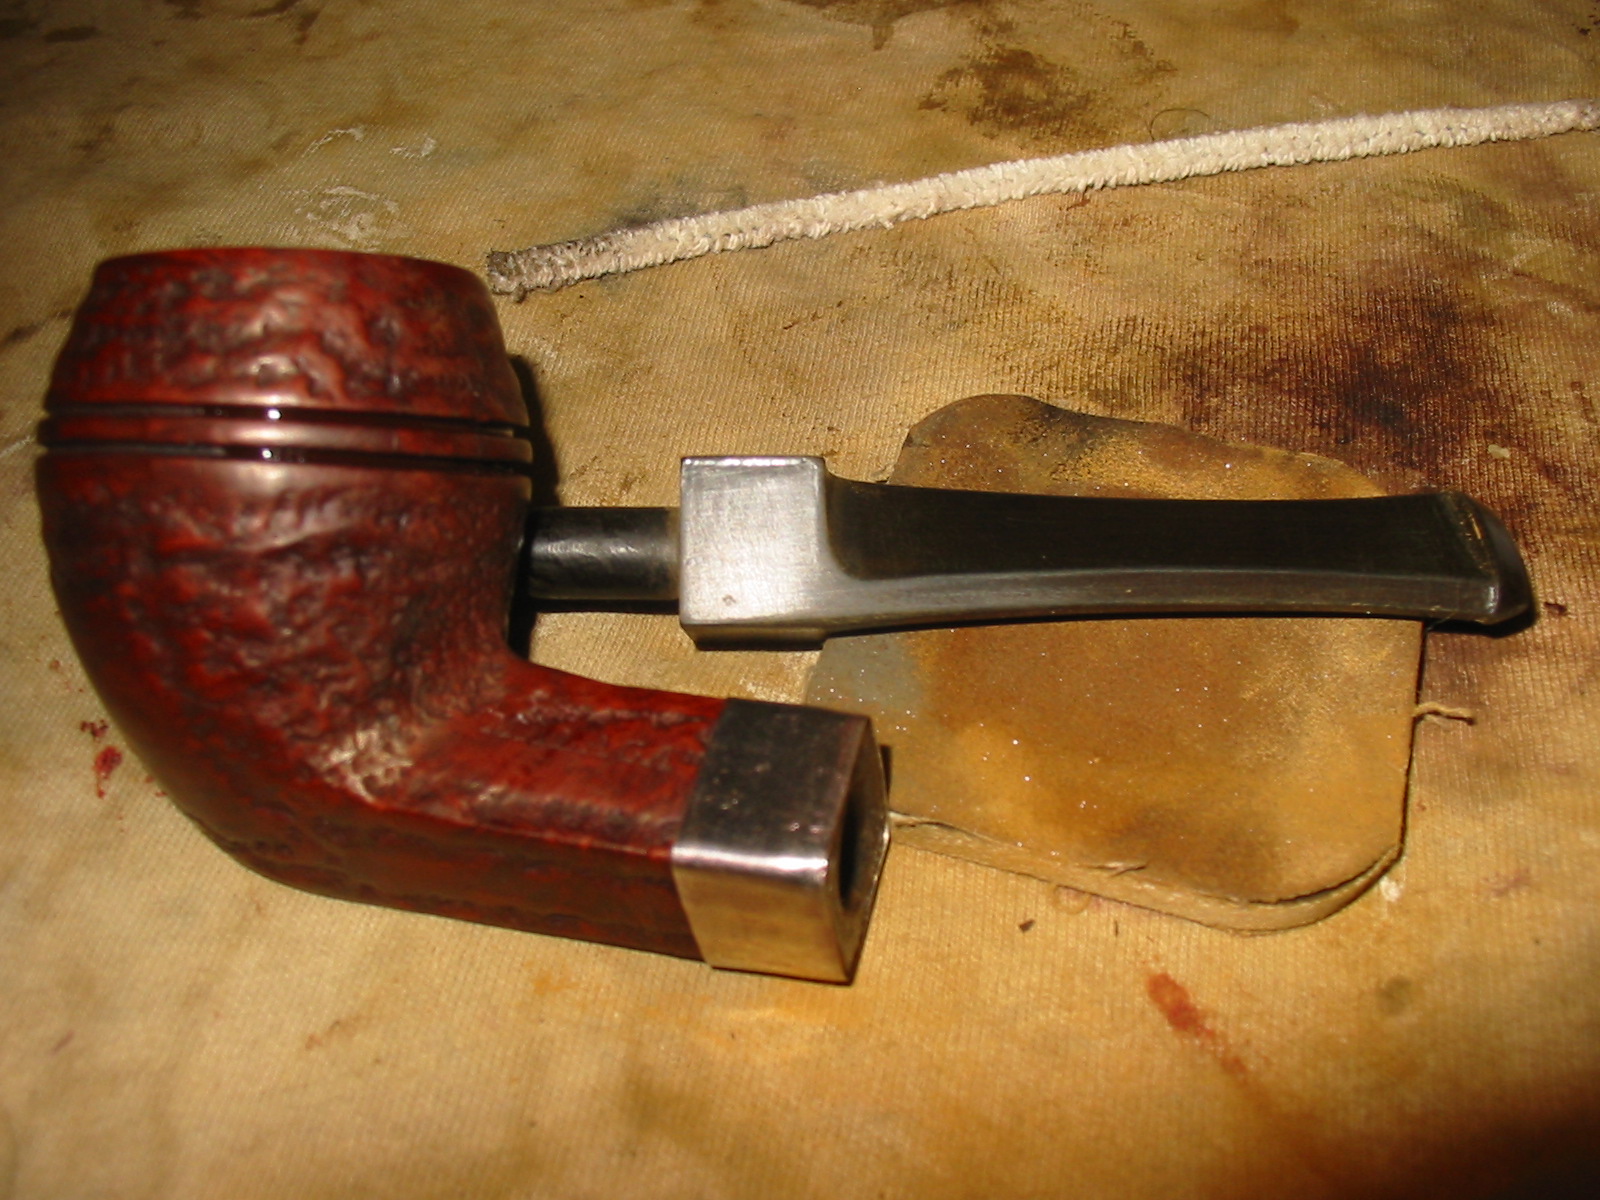
I began the process by reaming out the bowl and then shaping a nickel band into a diamond and pressure fitting it on to the shank. I also then used a small hammer to tap the band into shape around the shank and square off the edges. The next four pictures show the band after it has been shaped and pressure fit into place. The final picture of the four shows the end view of the shank with the band in place.

ImageImageImageImage

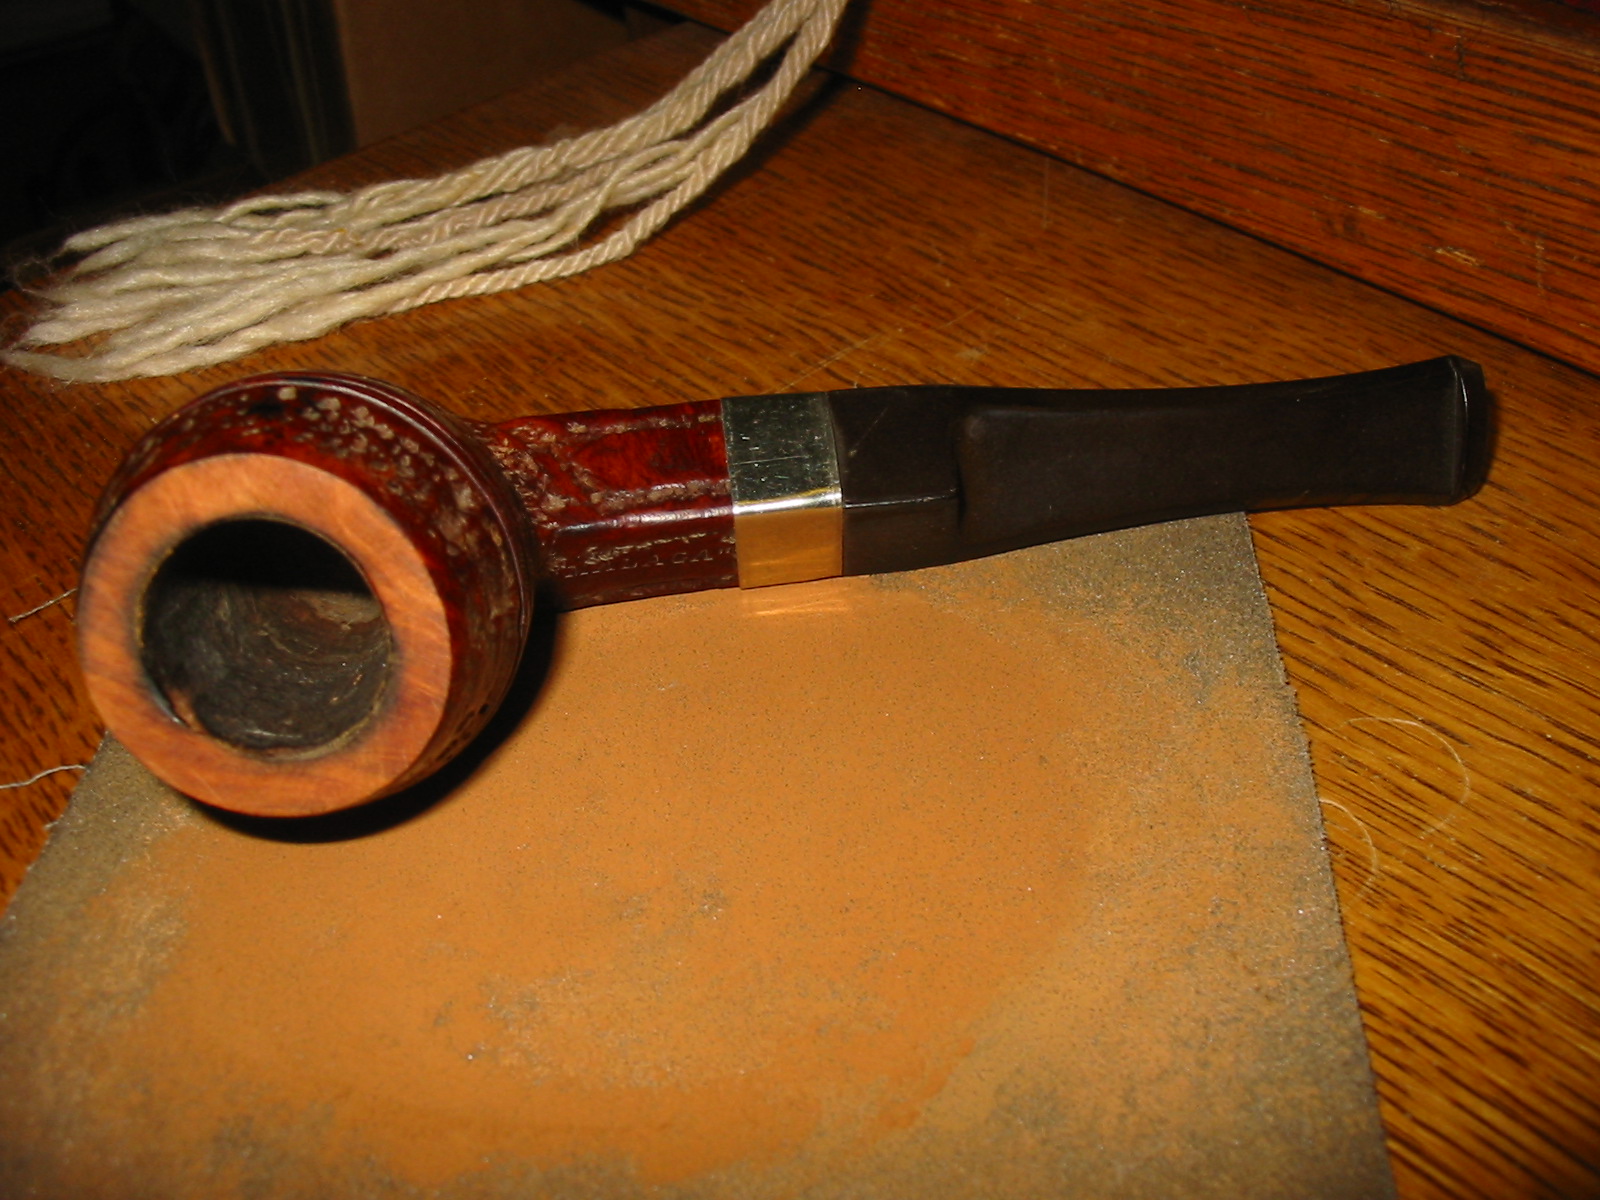
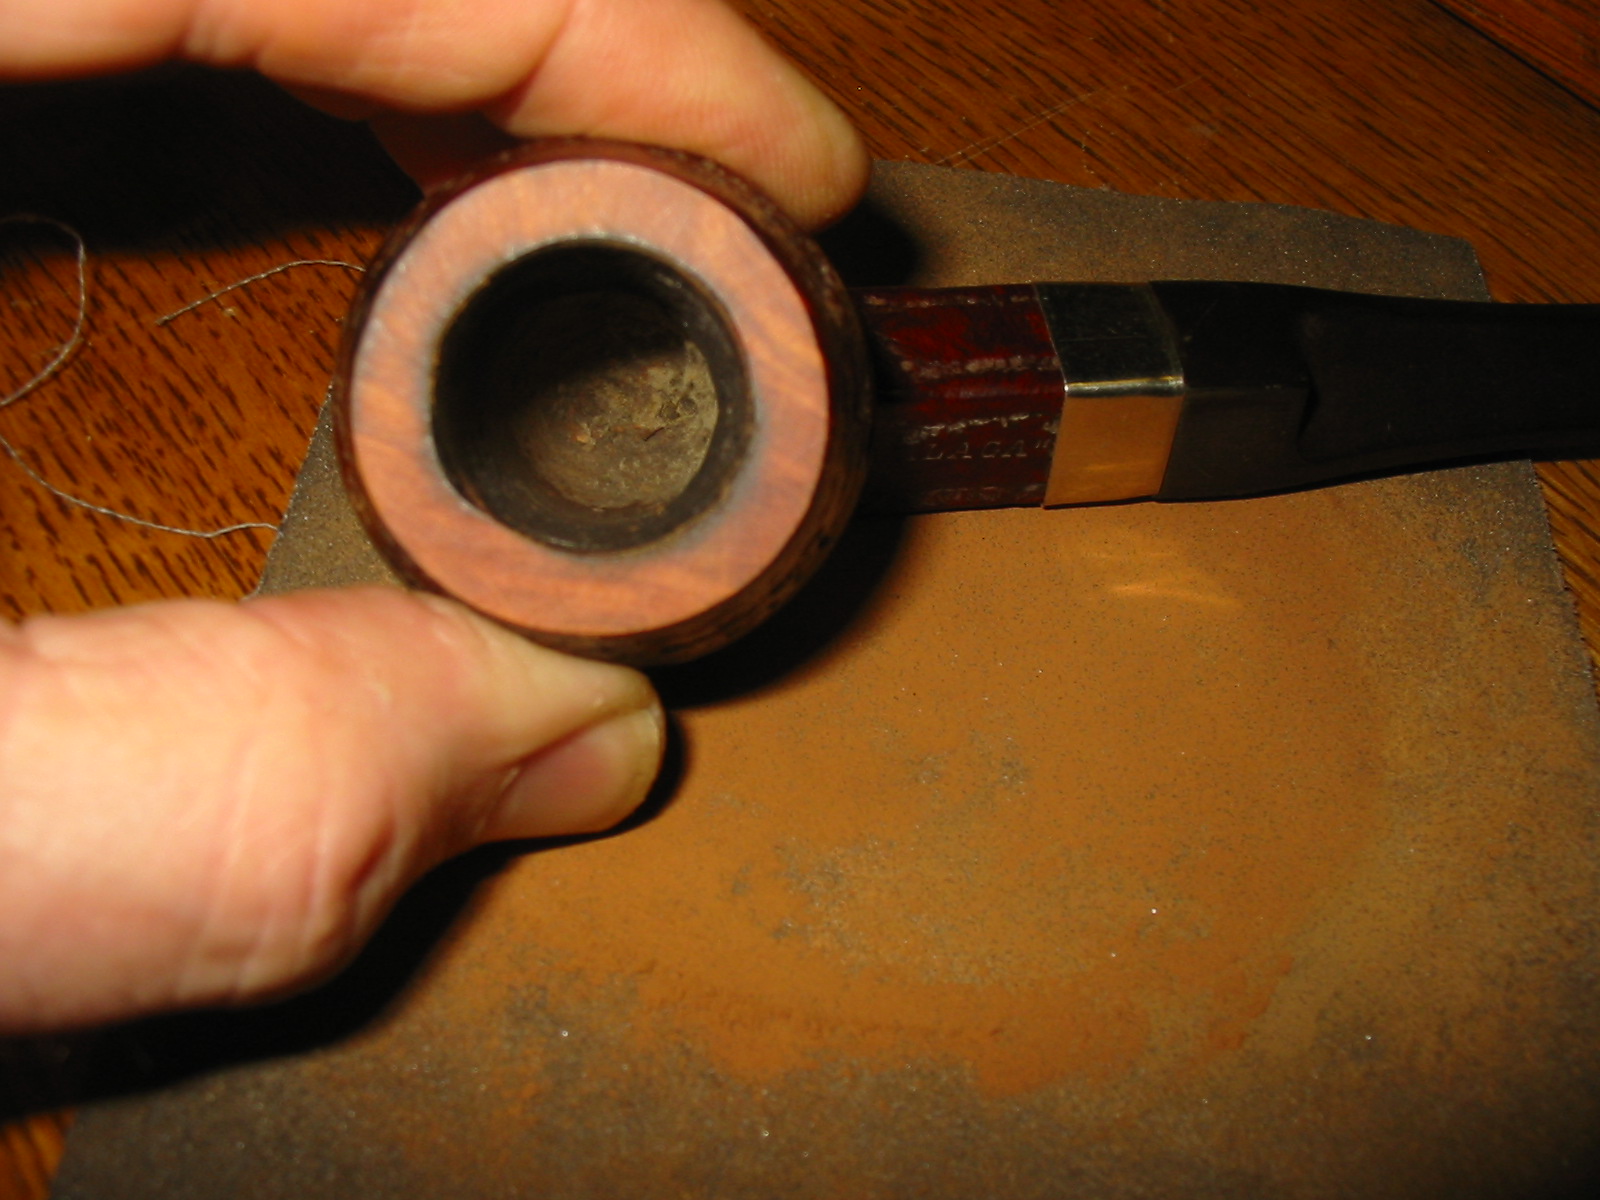
I decided to top the bowl to remove the damage of the burn and smooth out the rim edge. The burn was not very deep but it was a small trough in the rim that went from edge to edge. The inner edge of the bowl was also damaged by burning. I use a piece of medium grit emery cloth to begin with. I put it on a flat board on my work table and then sand the bowl rim in a clockwise circle until I have removed all of the damage. I follow up the emery cloth with 320 grit sandpaper used in the same manner. I finish the rim with a fine grit sanding sponge. The next four photos show the process and the progress of the topping procedure. In the second photo you can clearly see the damage from the burn. The third and fourth photos show the rim after it is smoothed out and the burn damage is minimized. I did not take pictures of the sanding process with the 3230 grit and sanding sponge as they followed the same format as that of the emery cloth.

ImageImageImageImage

After topping the bowl and finishing the rim sanding with micromesh sanding pads in 1500-3200 grit I stained the bowl with an oxblood stain. I restained the entire bowl in order to get a match between the bowl and the rim. The next photos show the stained bowl. At this point in the process I still needed to buff the bowl but I decided to set it aside to dry while I worked on the stem to remove the oxidation and tooth chatter. I began by wet sanding the stem with a 1500 grit micromesh sanding pad. I keep a bowl of water at hand so that I can dip the sanding pad in the water and also clean it between sandings. The next four photos show the stem after sanding it with the 1500 grit pads.

ImageImageImageImage

I polished the stem with Maguiar’s Scratch X2.0 after the 1500 grit sanding. I then wet sanded the stem with 1800 and 2400 grit micromesh sanding pads. The next three photos picture that process and the progress on the stem.

ImageImageImage

I continued sanding with the micromesh pads. I dry sanded with 3200, 3600 and 4000 grit pads. I worked on the inside of the saddle with a folded pad to get the angles correct and clean up that area. I also scrubbed around the button and the edges of the button, working to keep the edges sharp and defined. The next three photos show that progress.

ImageImageImage

I scrubbed the stem once again with the Maguiar’s and wiped it off repeatedly with a cotton pad. I continued to dry sand the stem with 6000, 8000, 12,000 grit micromesh. Once I had finished the sanding I buffed the stem and pipe with White Diamond on my buffer to shine both. I took the pipe back to my bench and gave the stem a coat of Obsidian Oil. I rubbed it into the stem and then gave the bowl a coat of Halcyon II wax and hand buffed it with a cotton cloth and then gave the rim and stem several coats of carnauba wax. Once I was finished I took it to the buffer once again and gave it a buff with a clean flannel buffing pad. The finished pipe can be seen in the photos below.

ImageImageImageImage


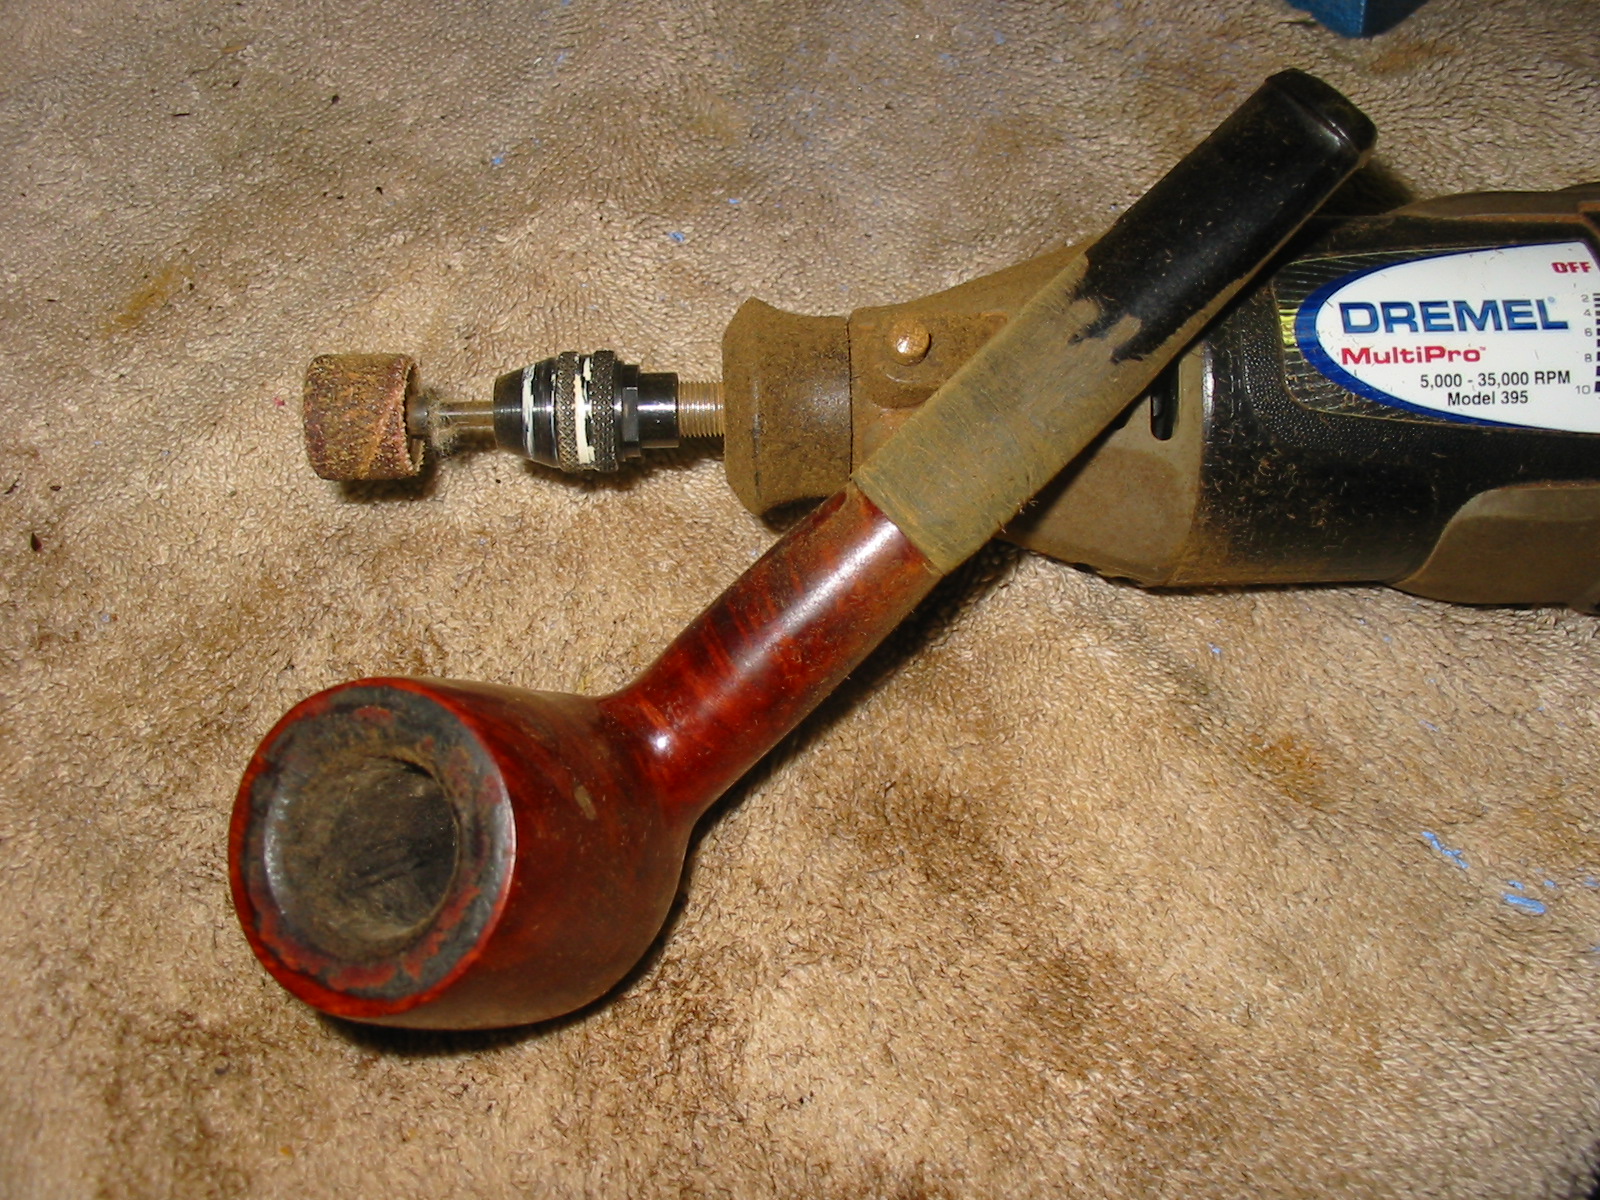
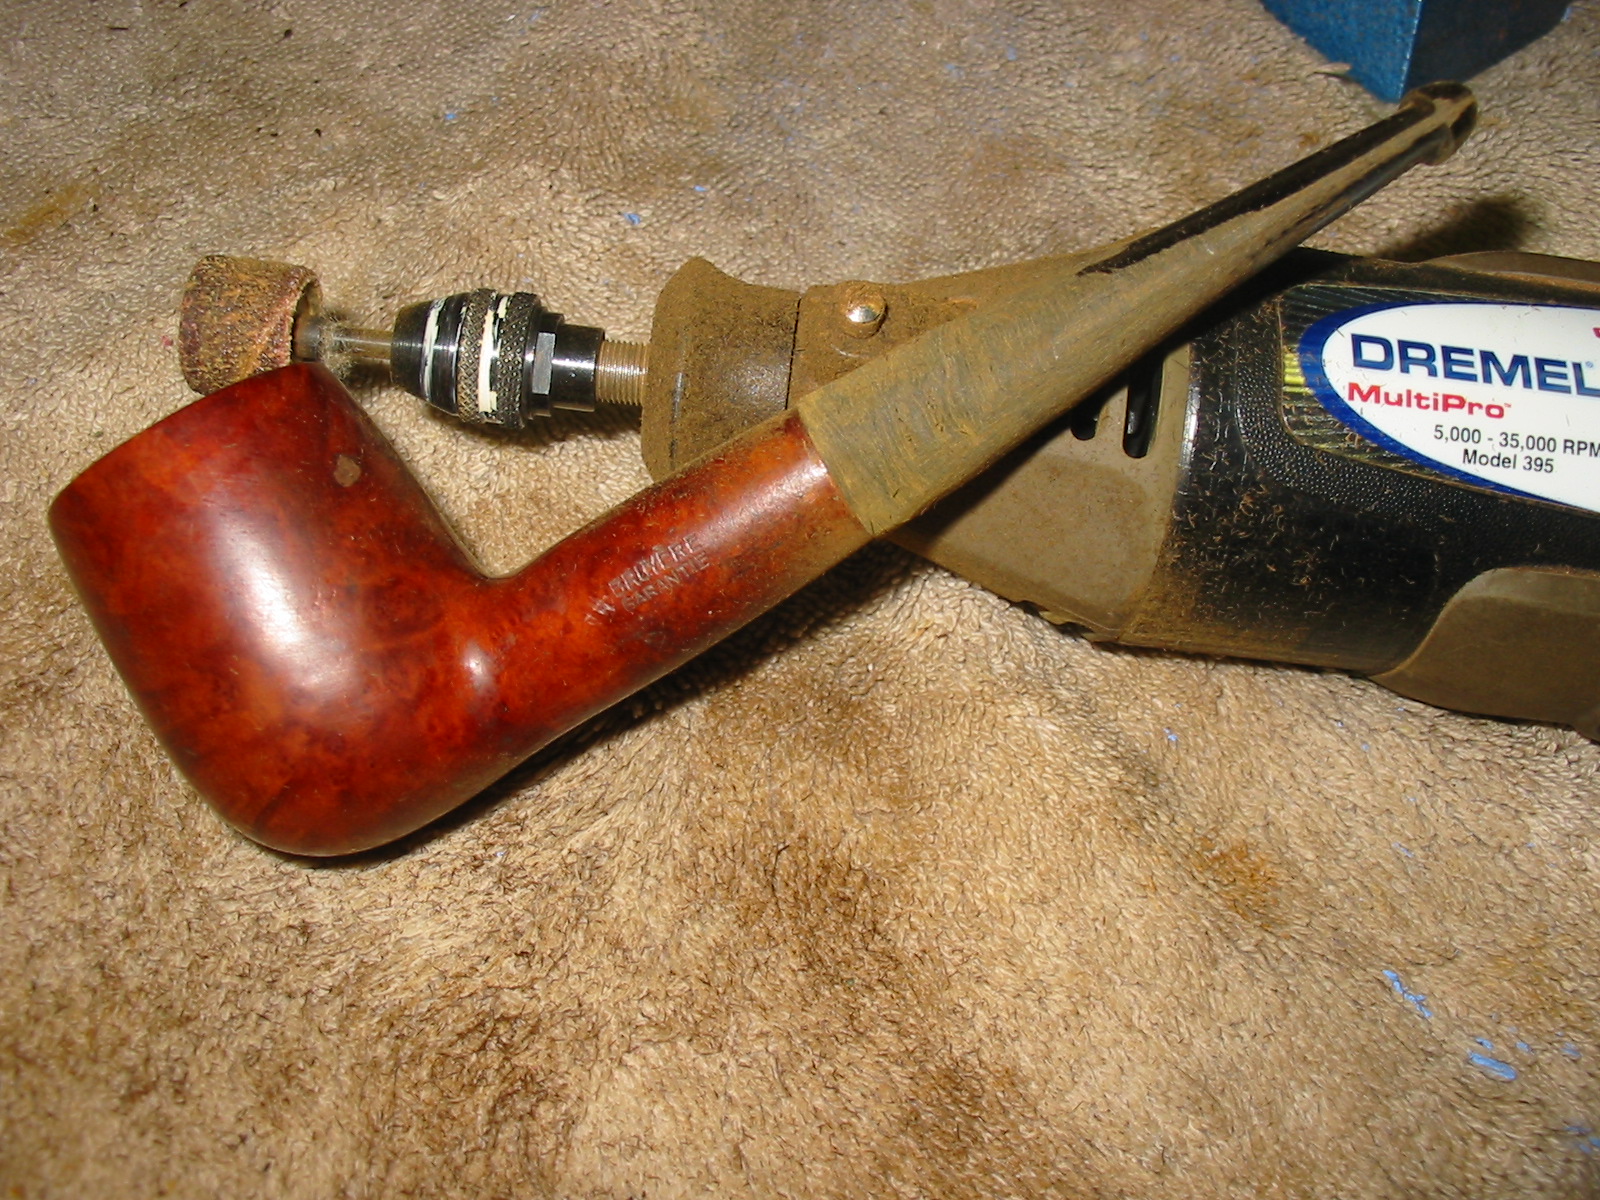
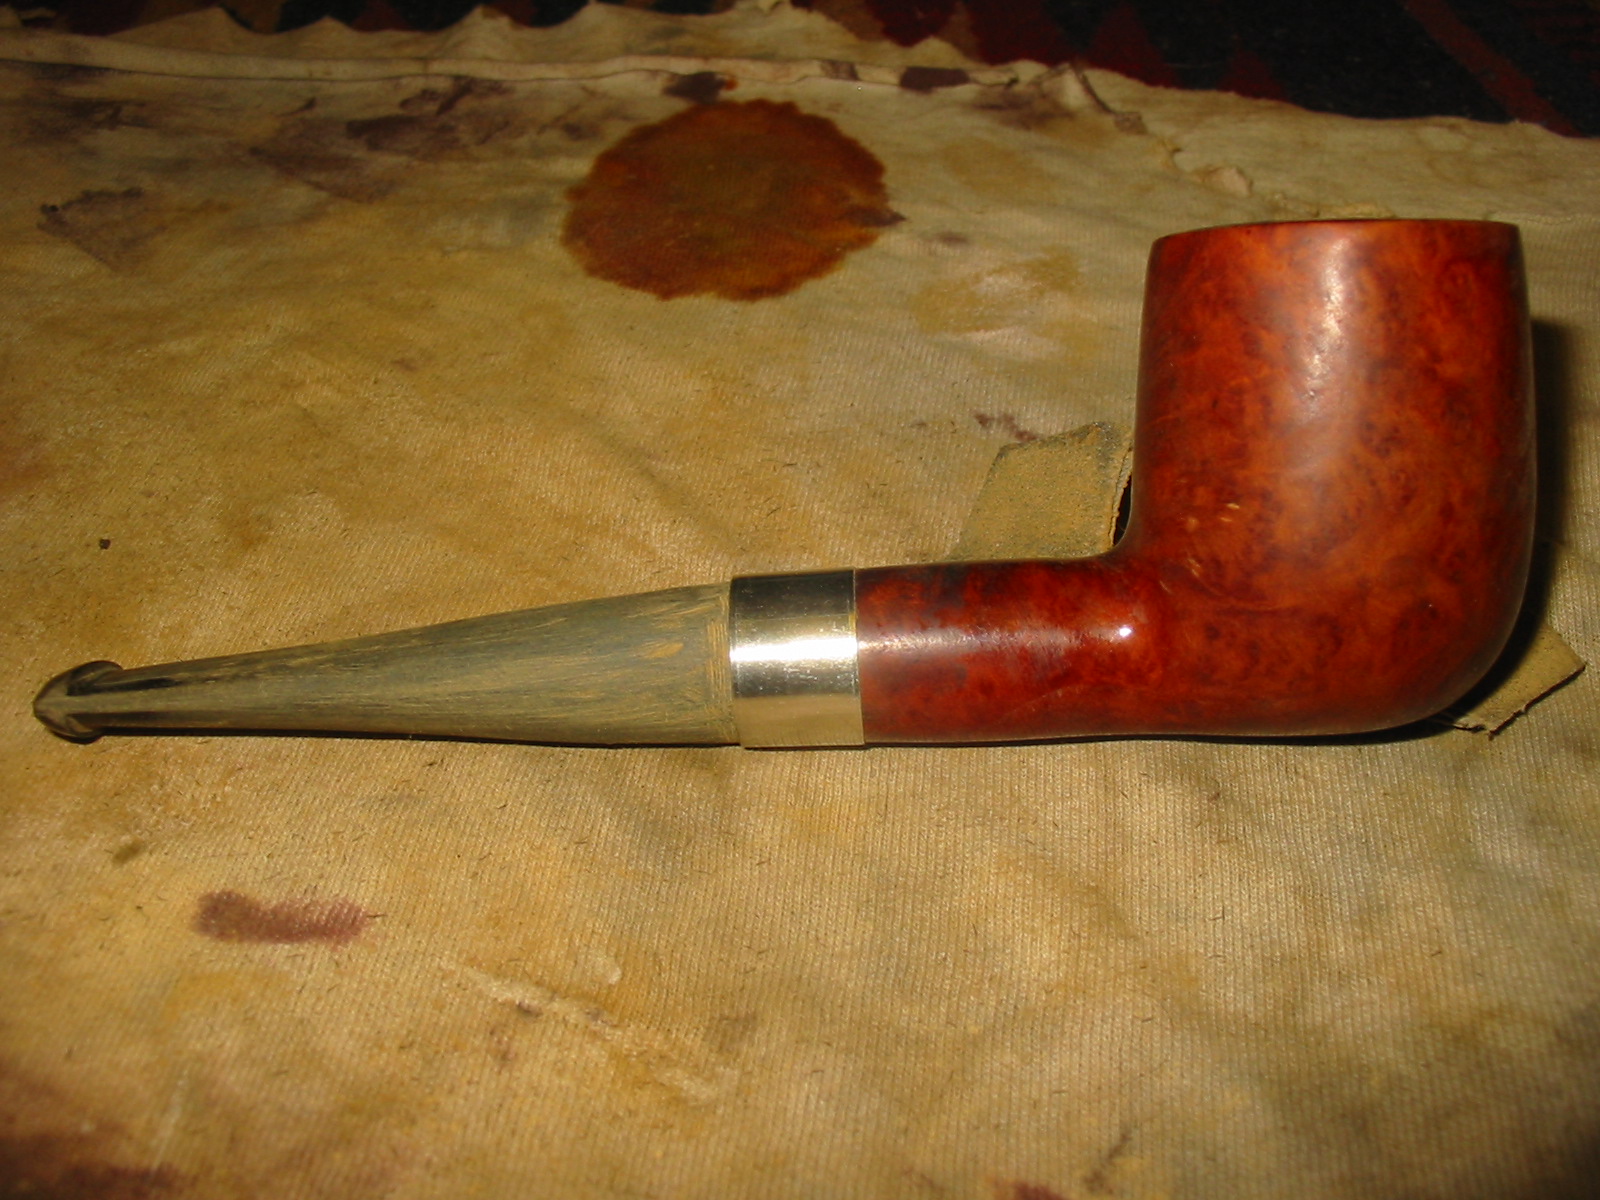
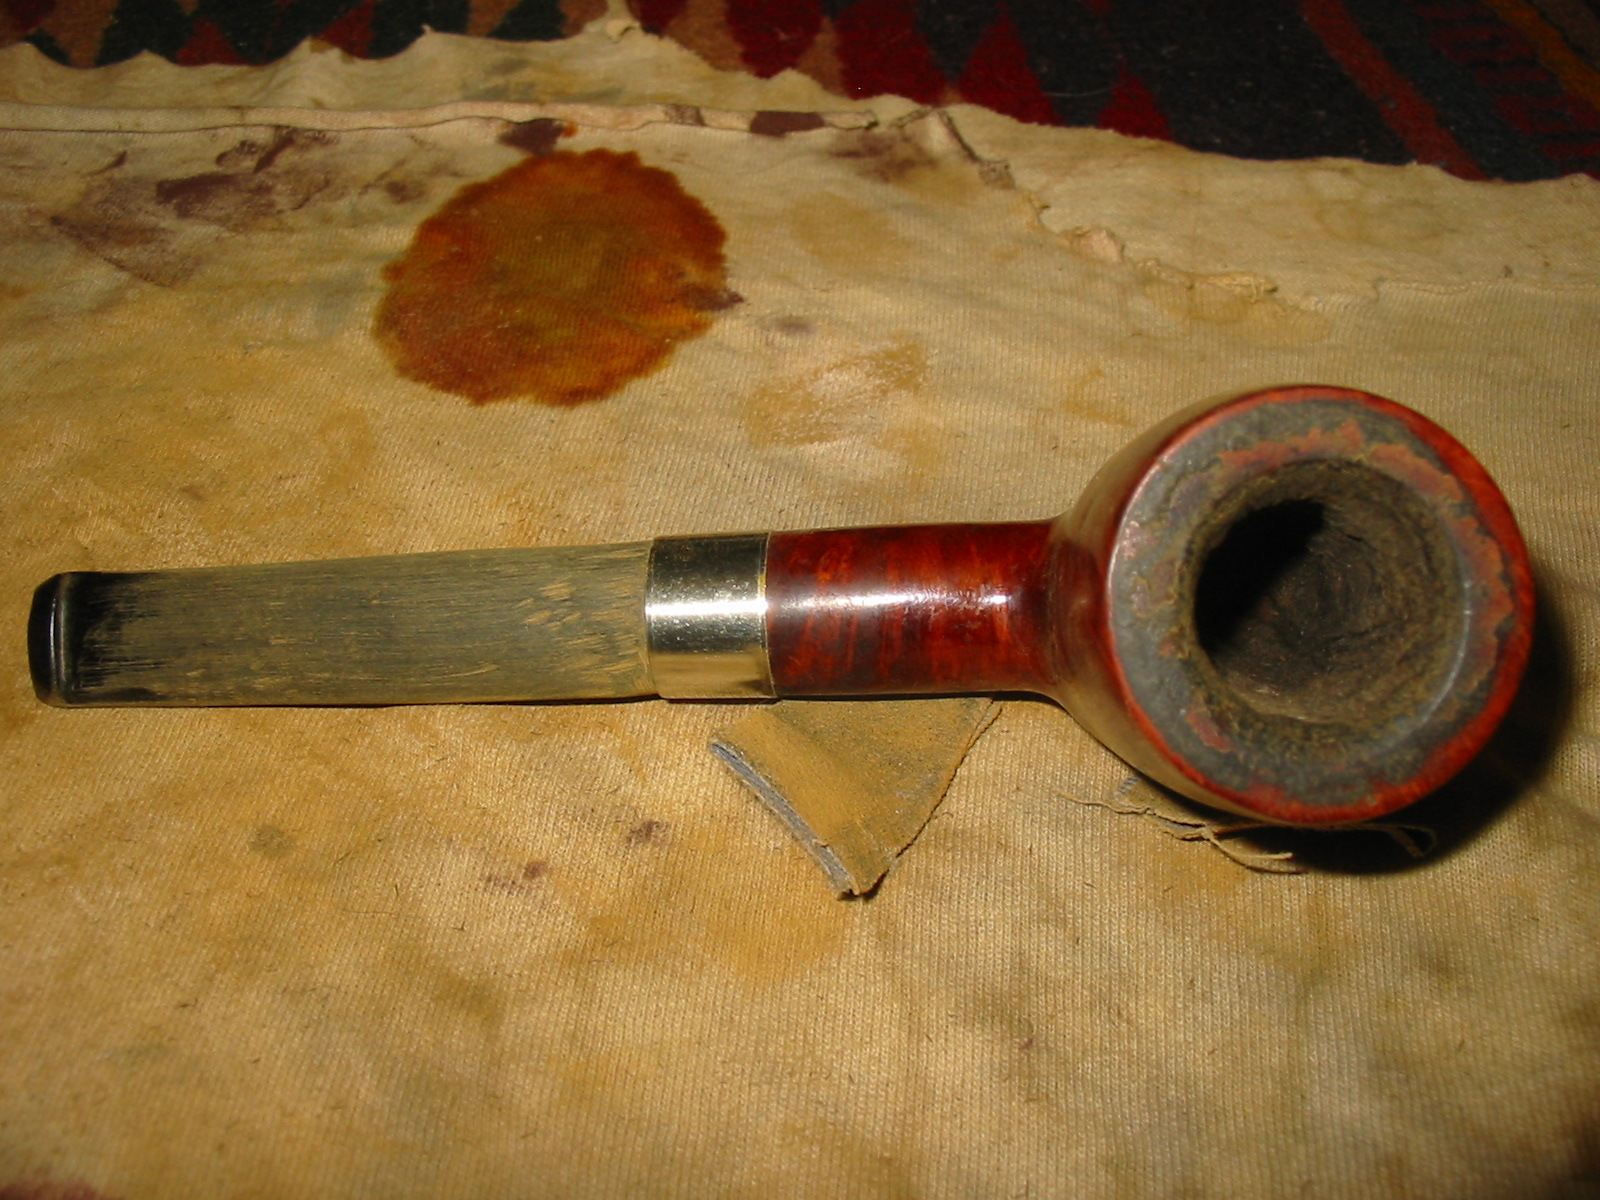
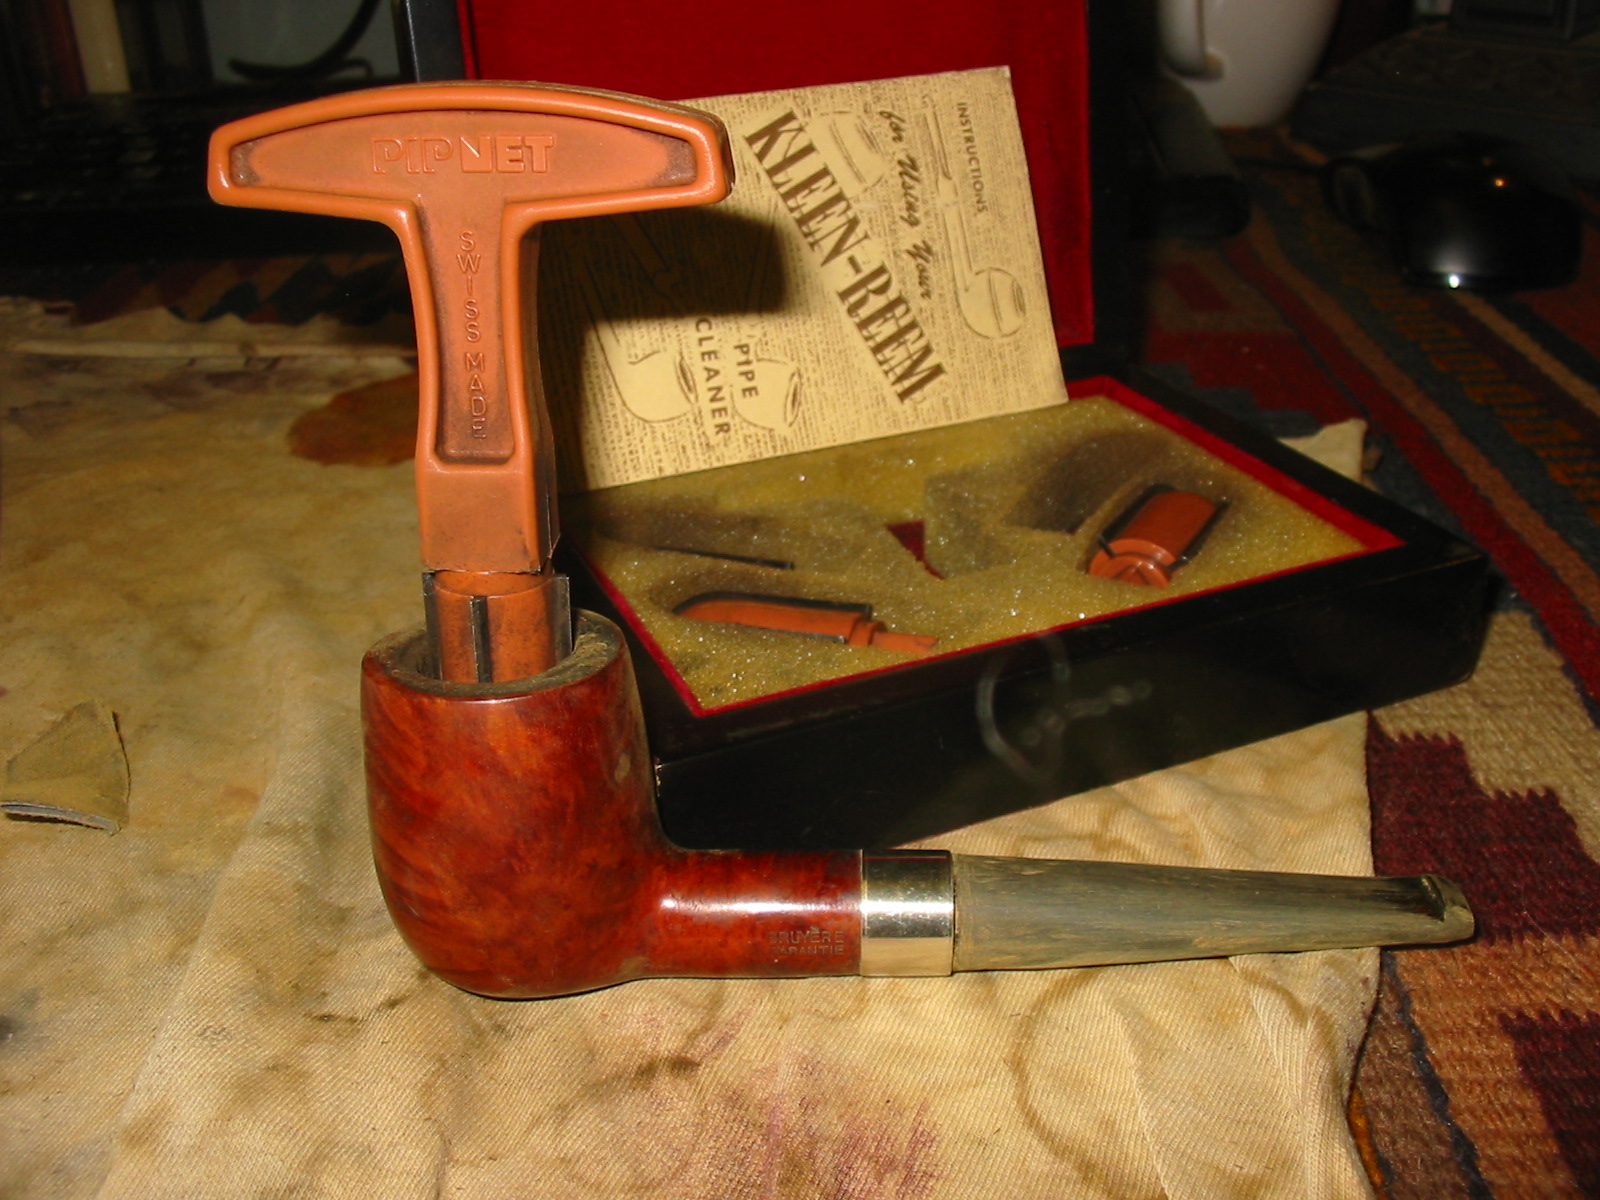
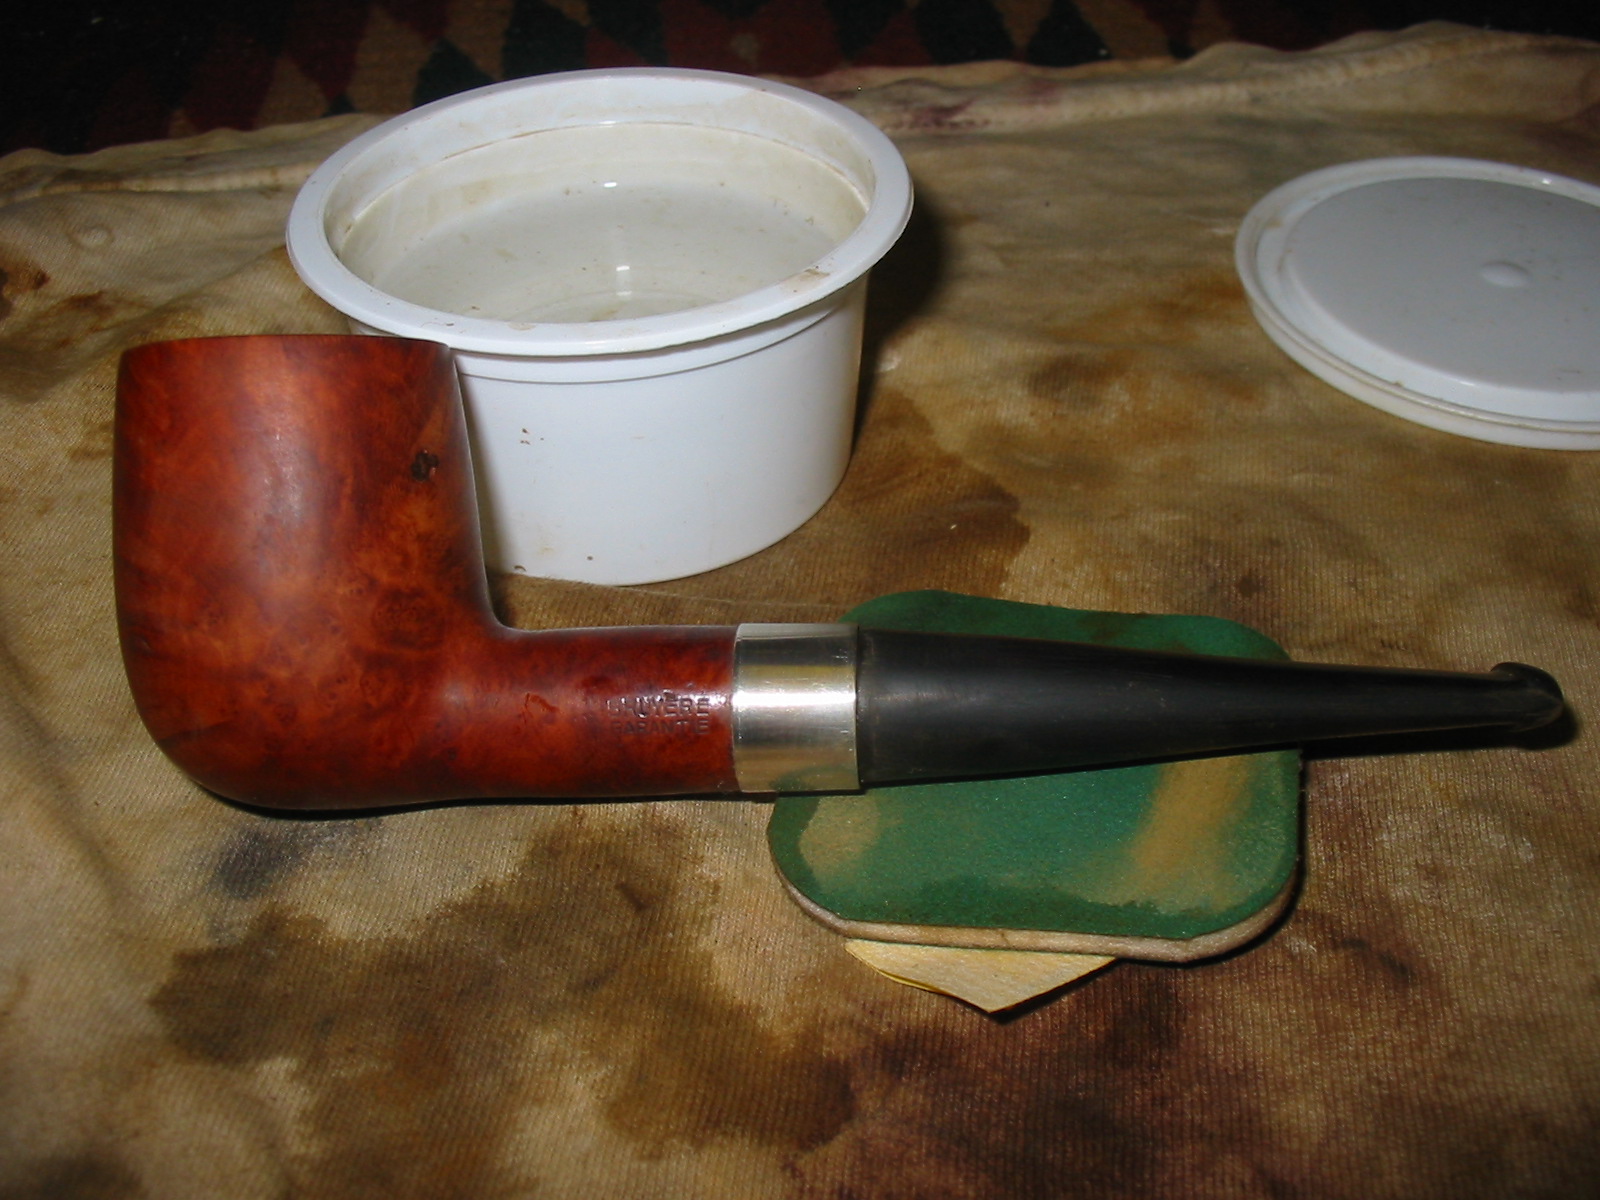
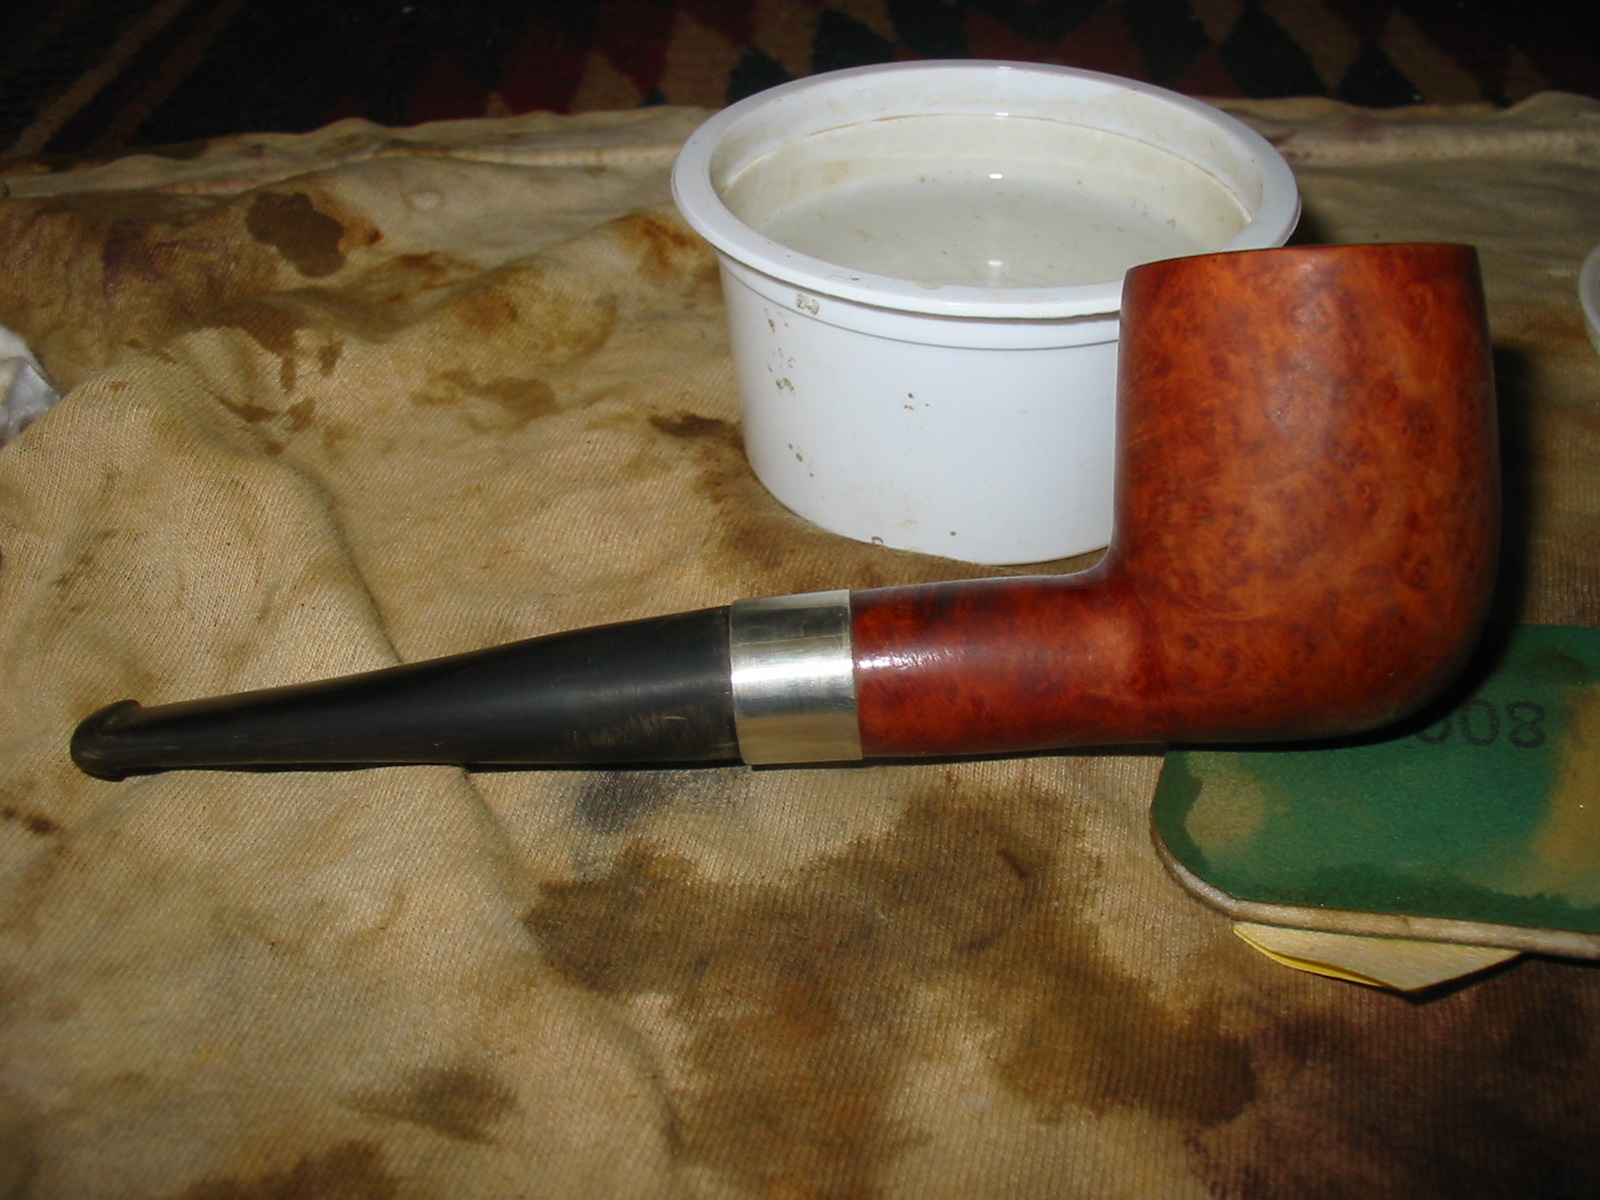
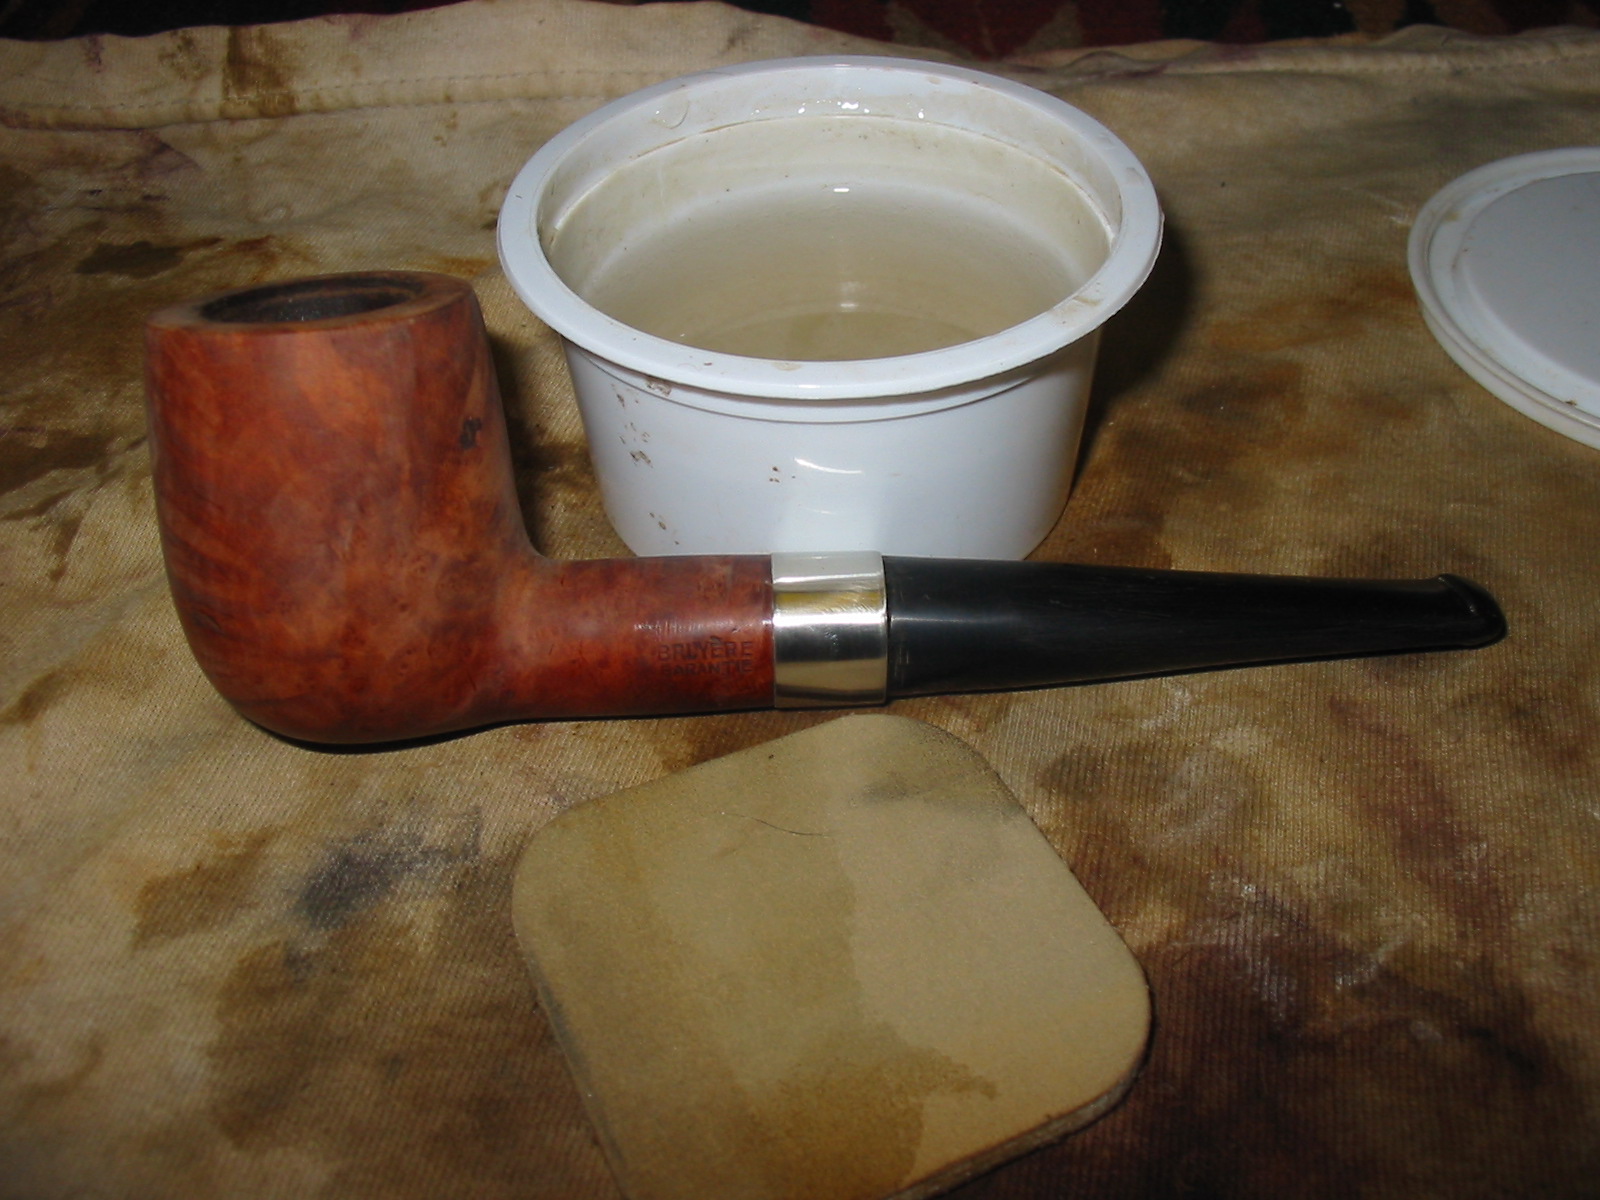
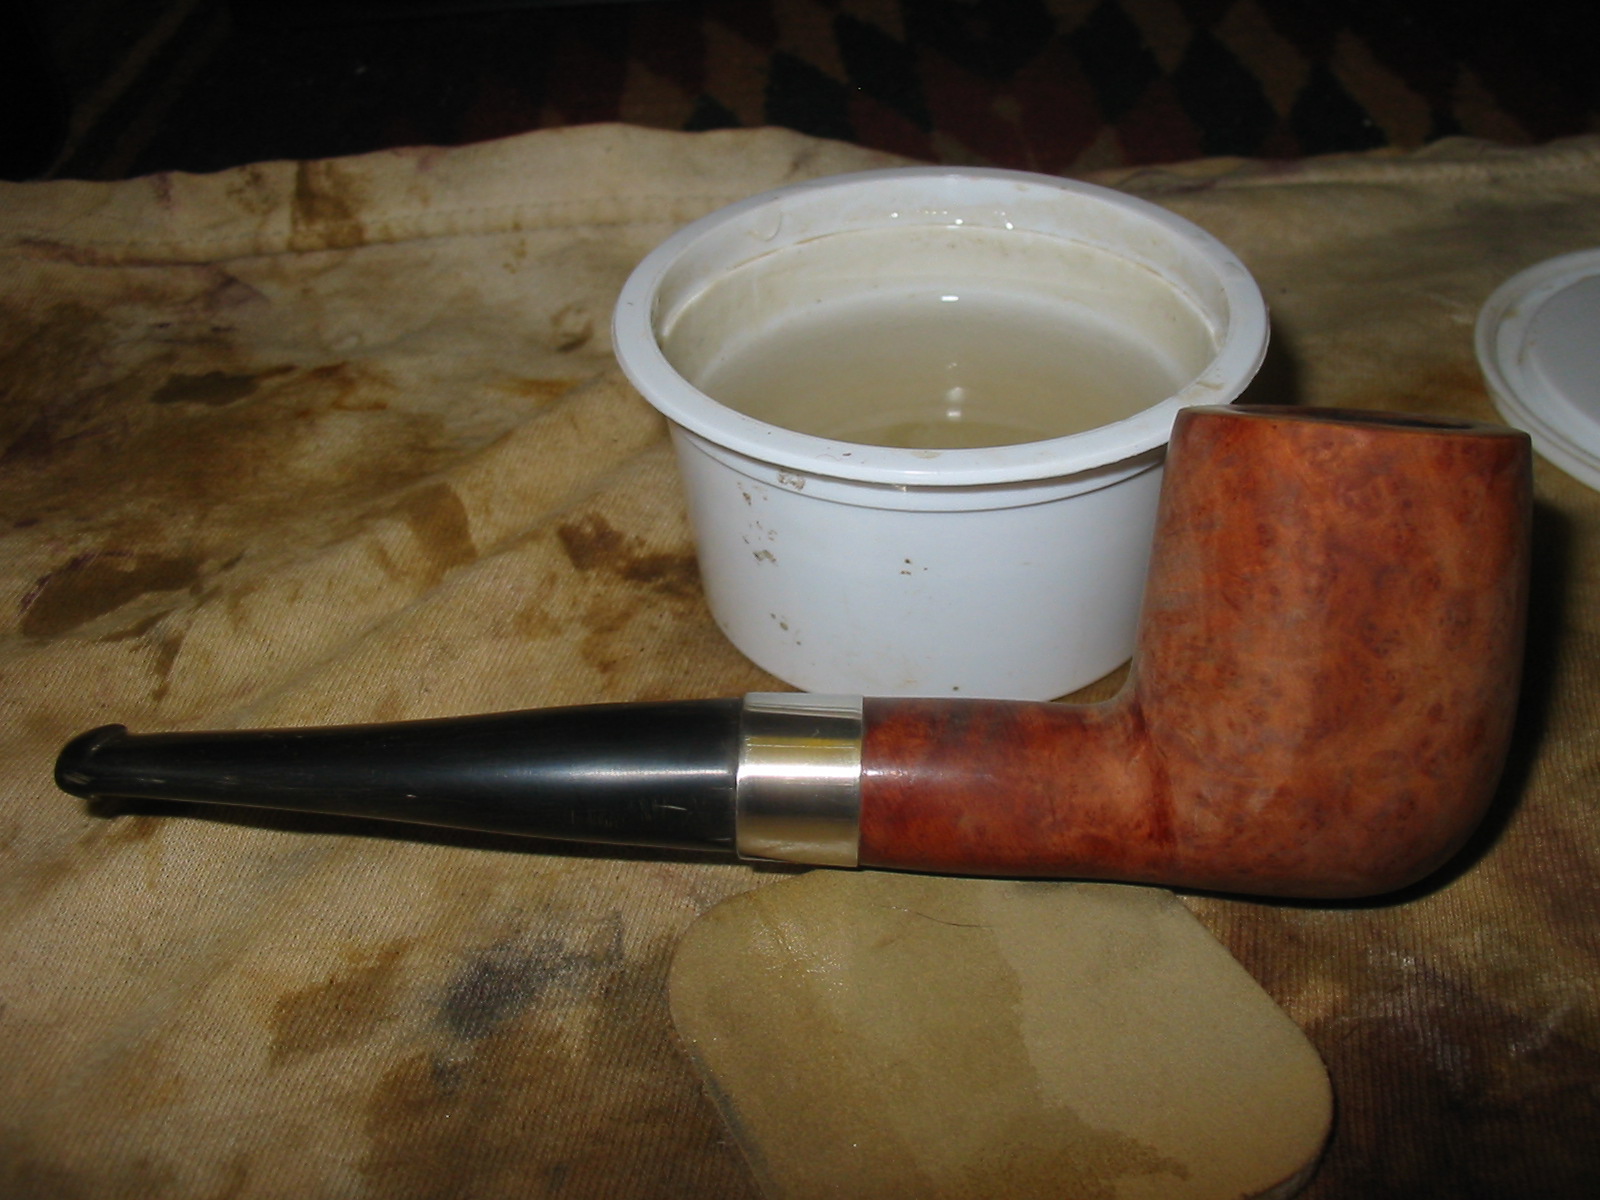
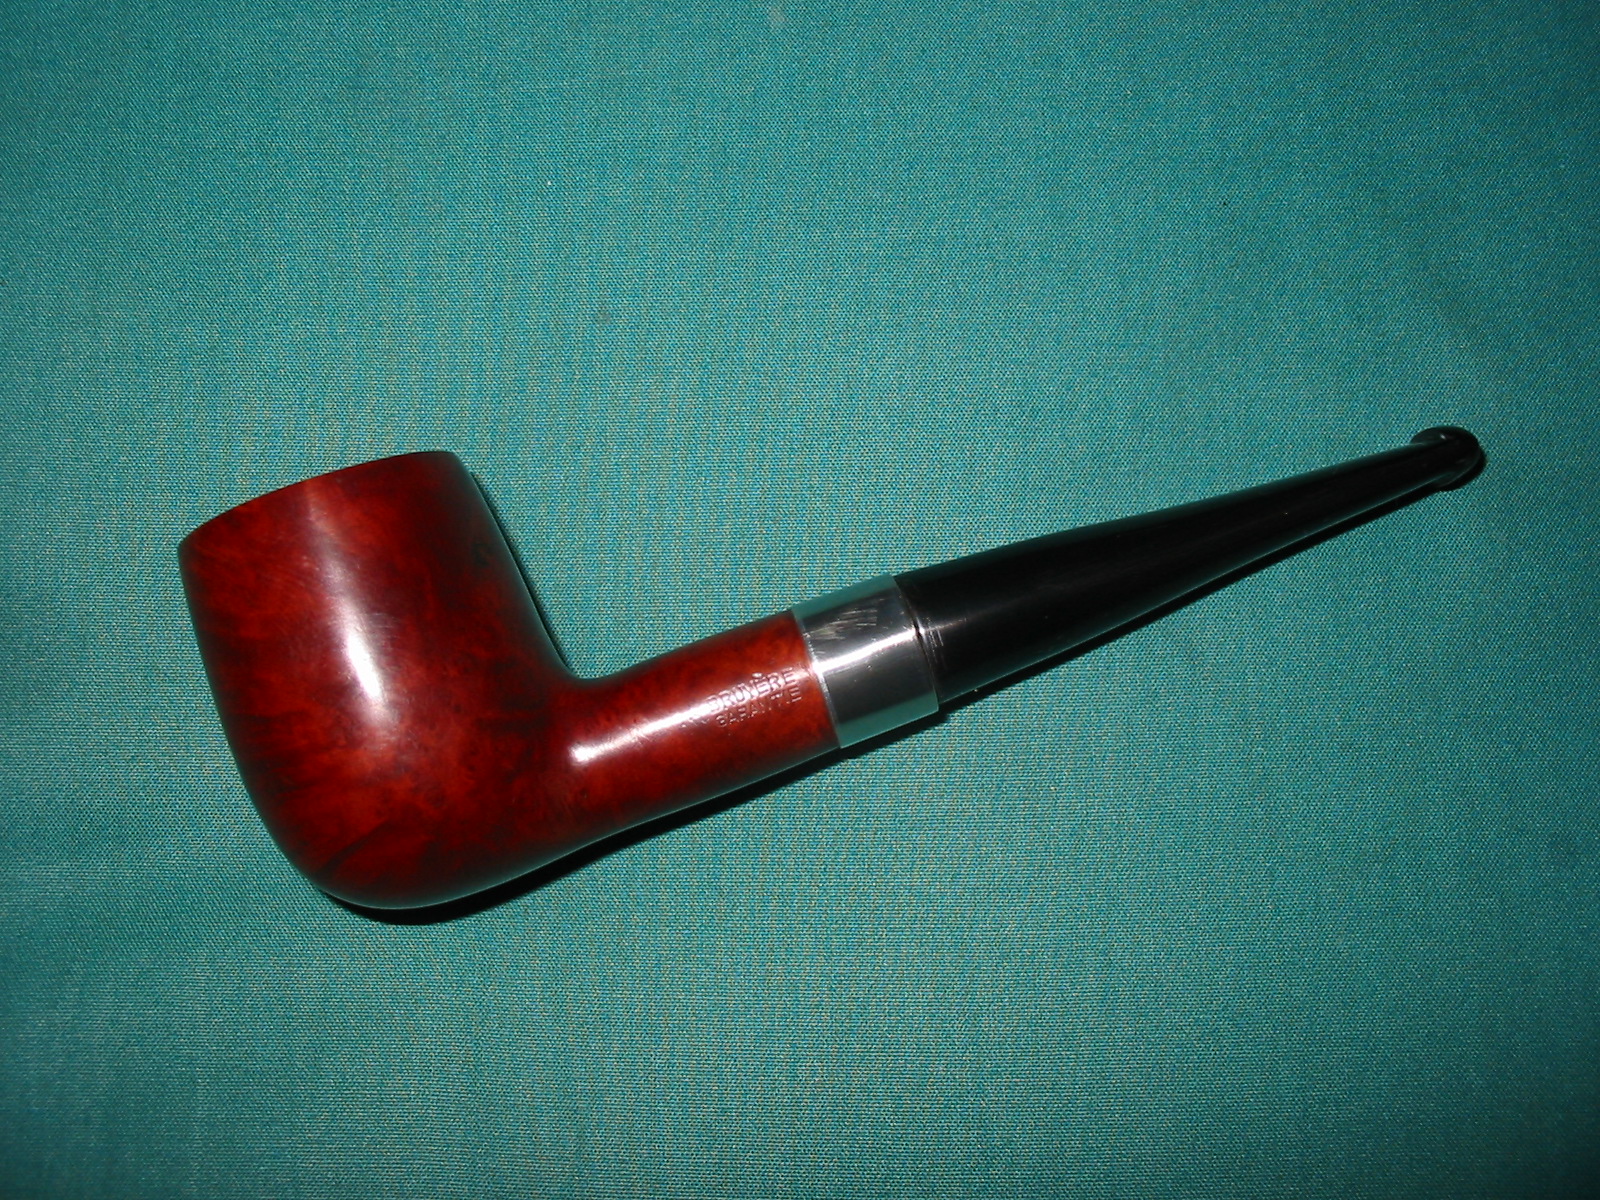
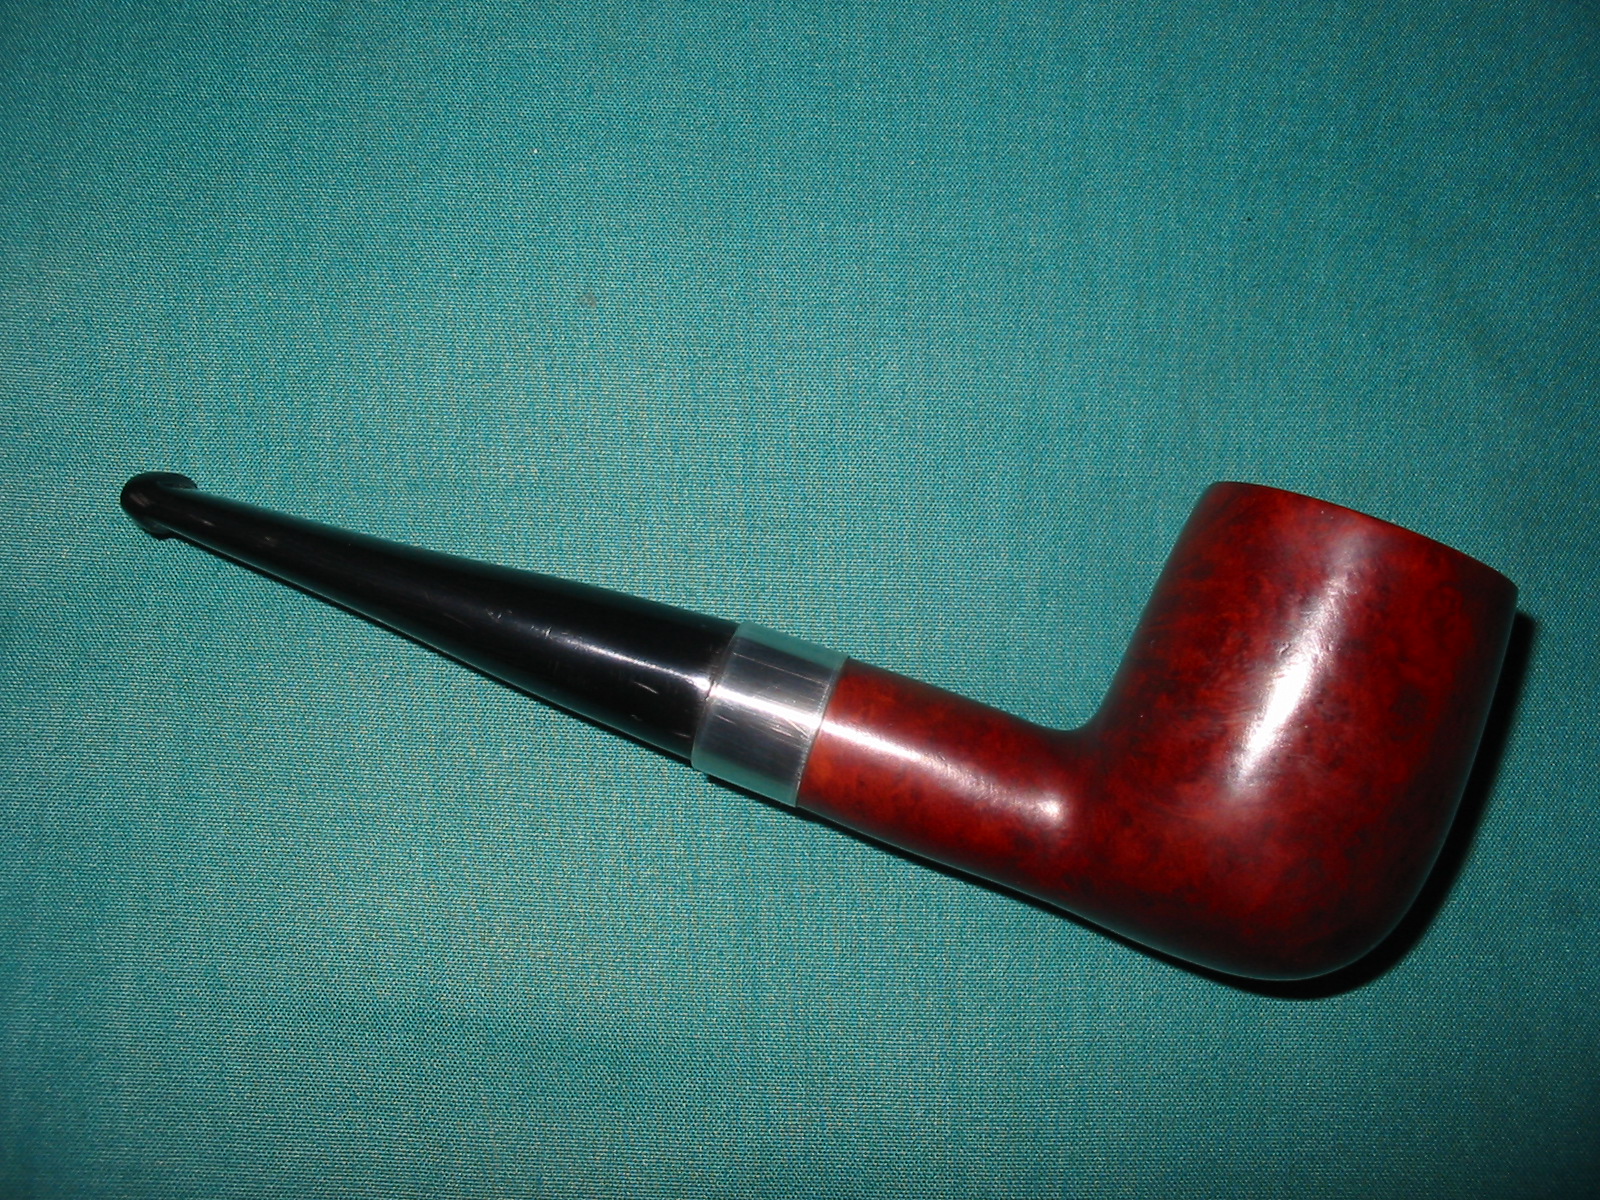
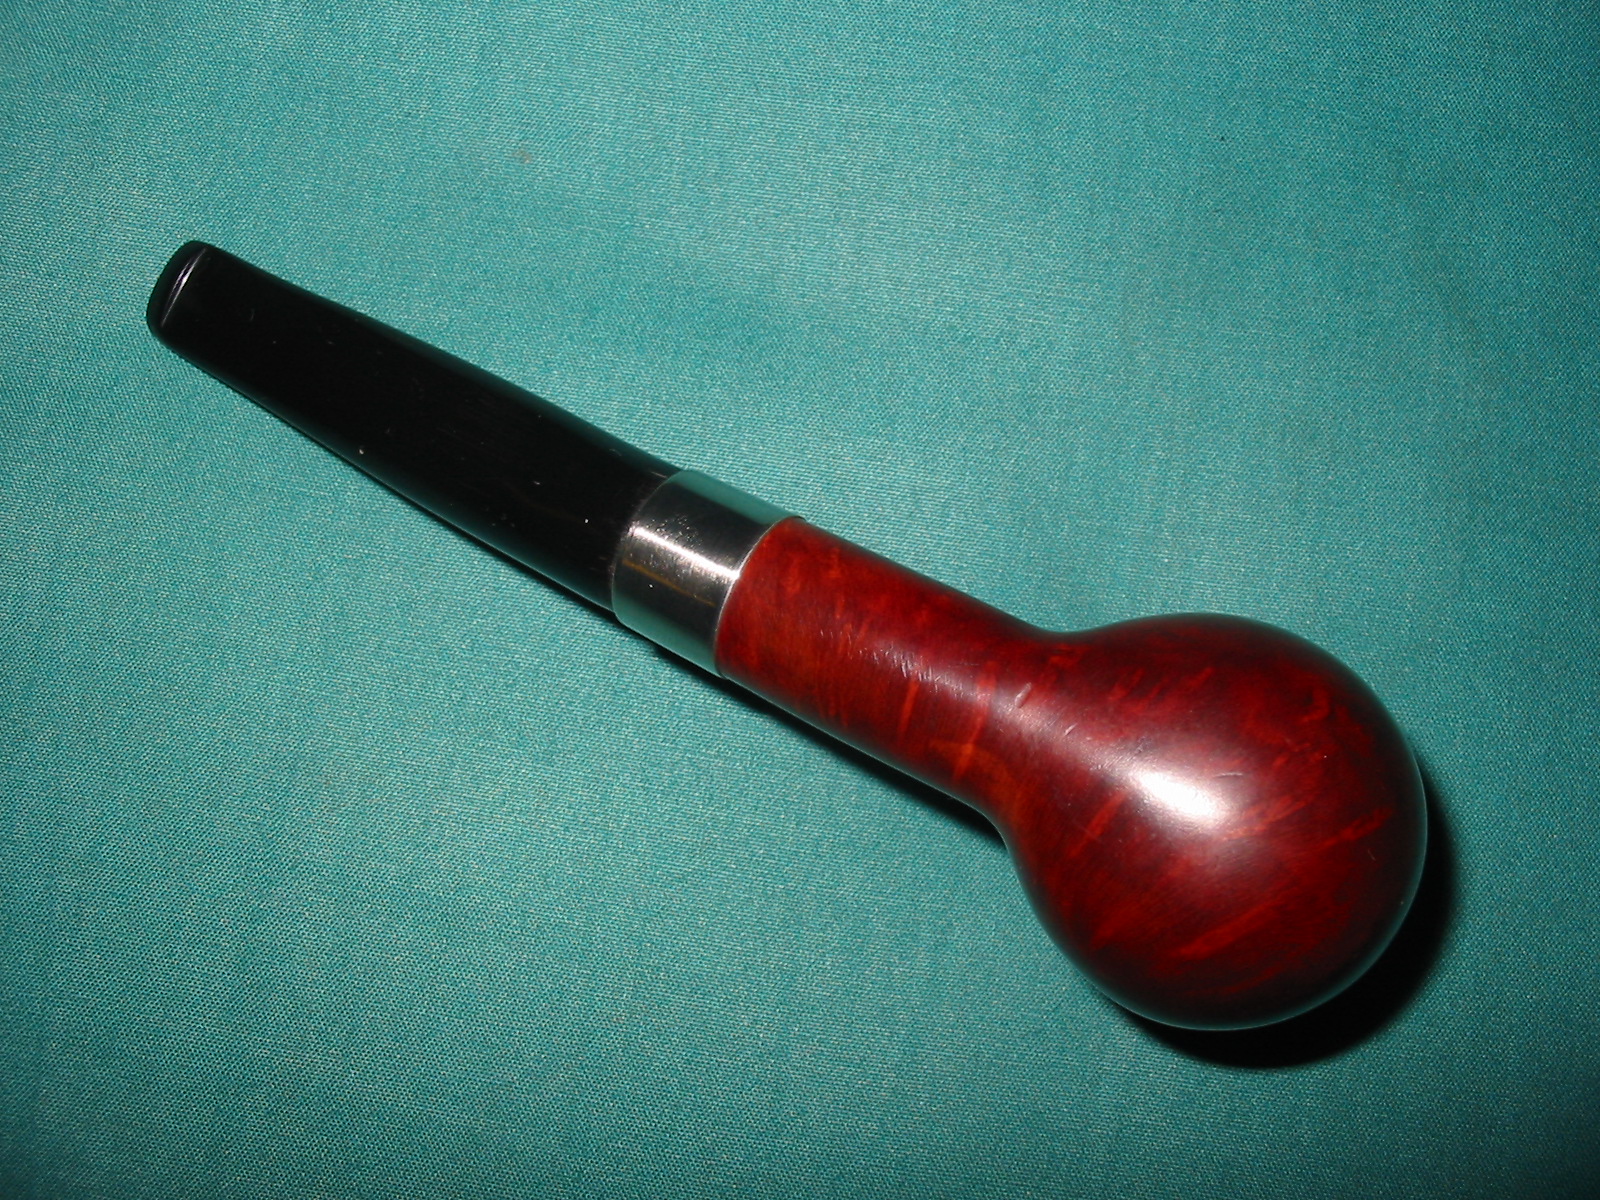
Restemming an Old Bruyere Garantie Billiard


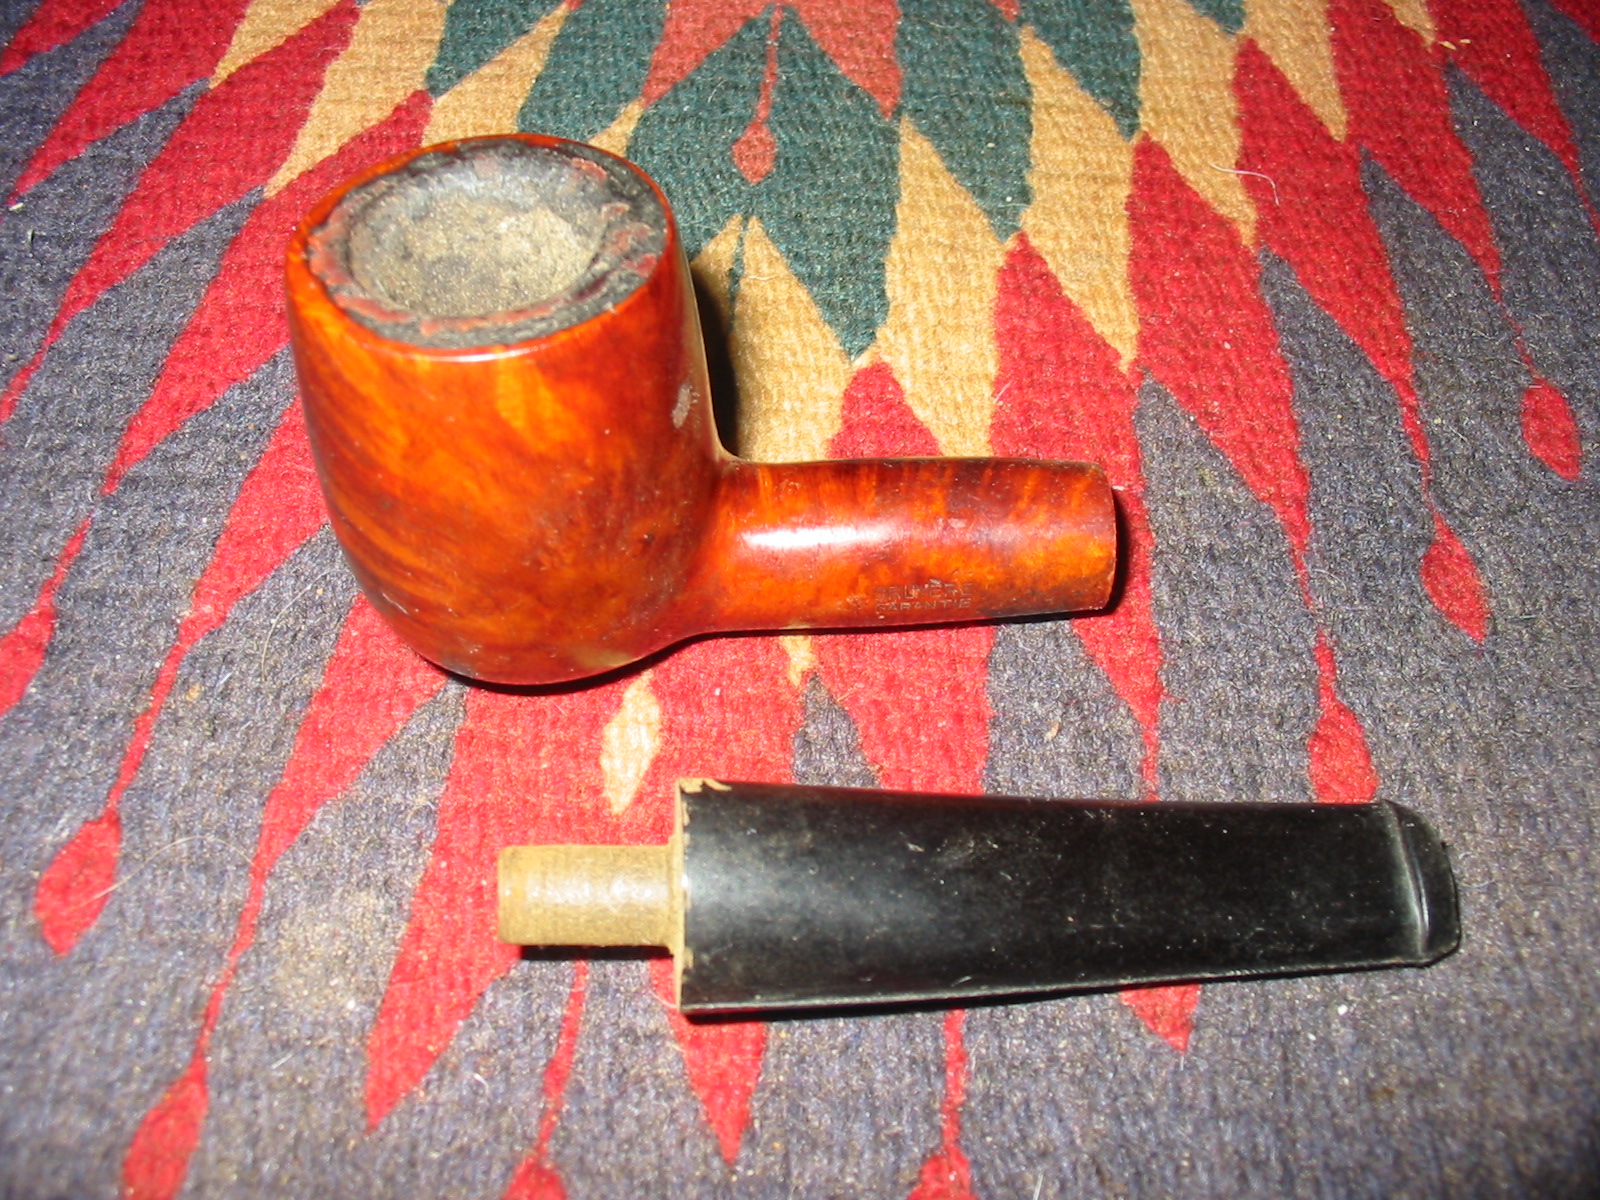
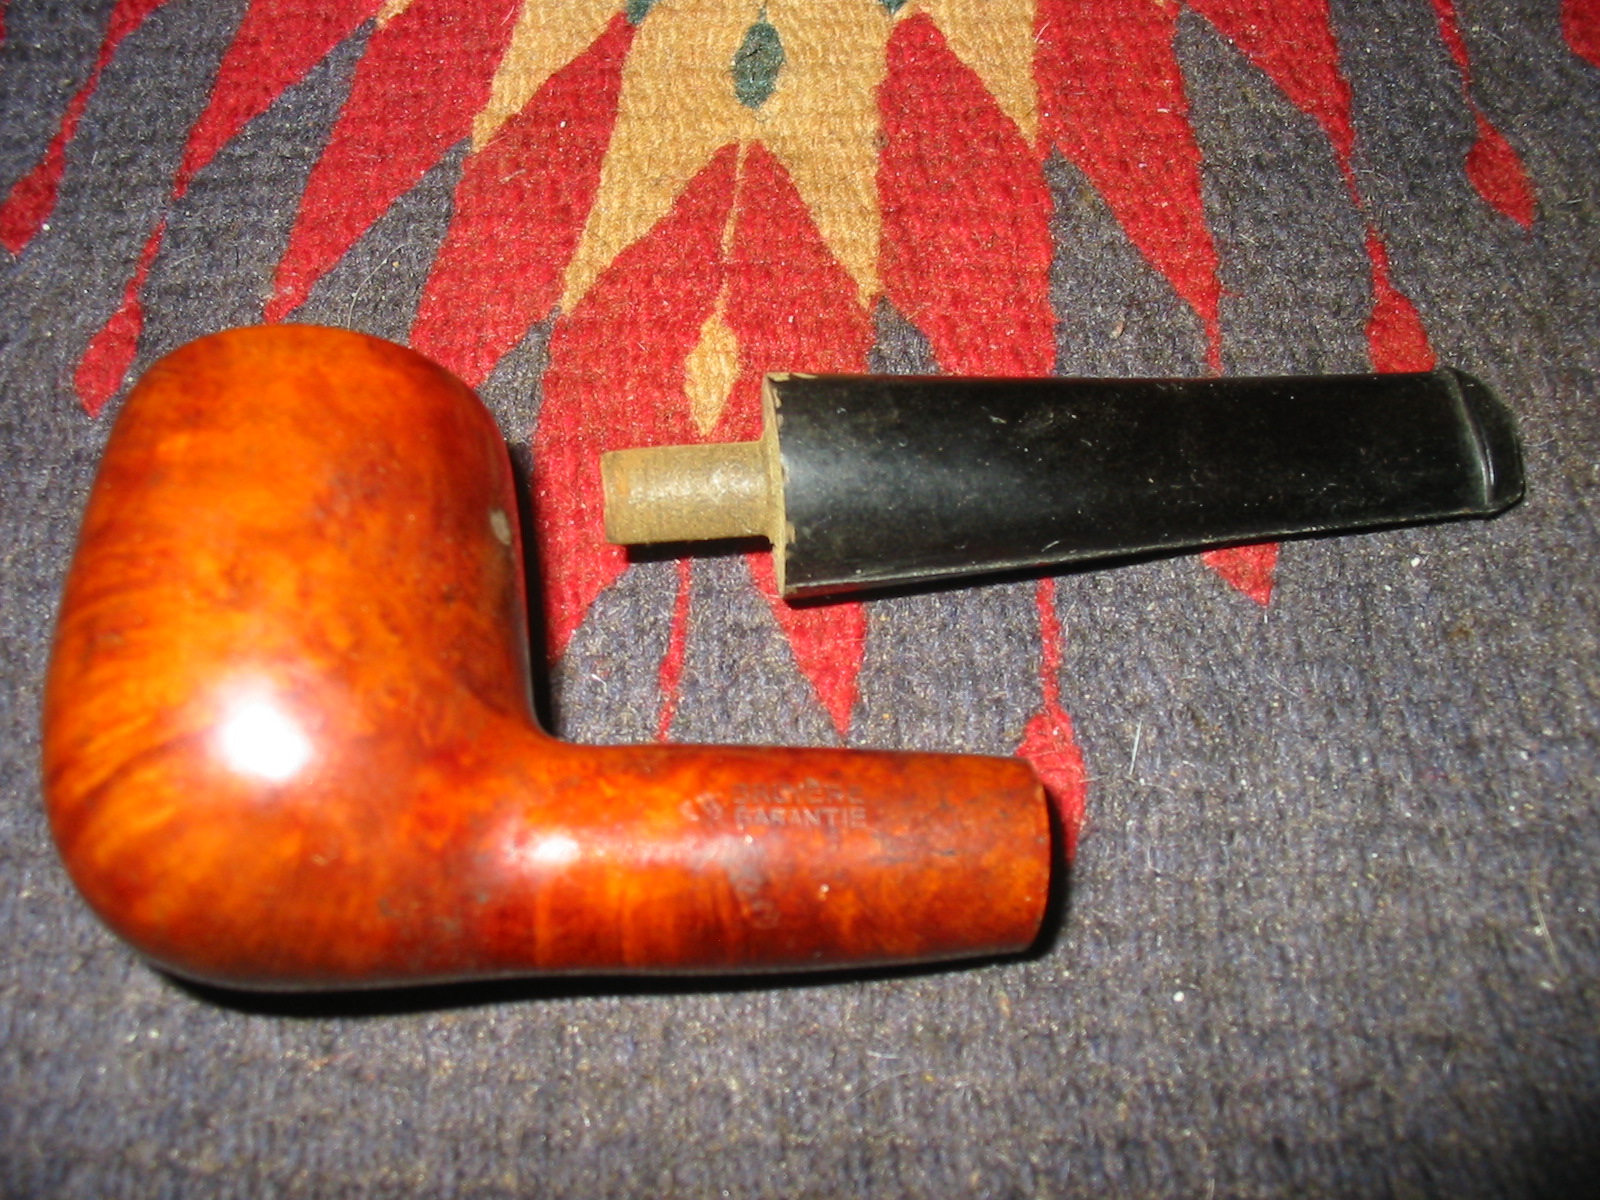
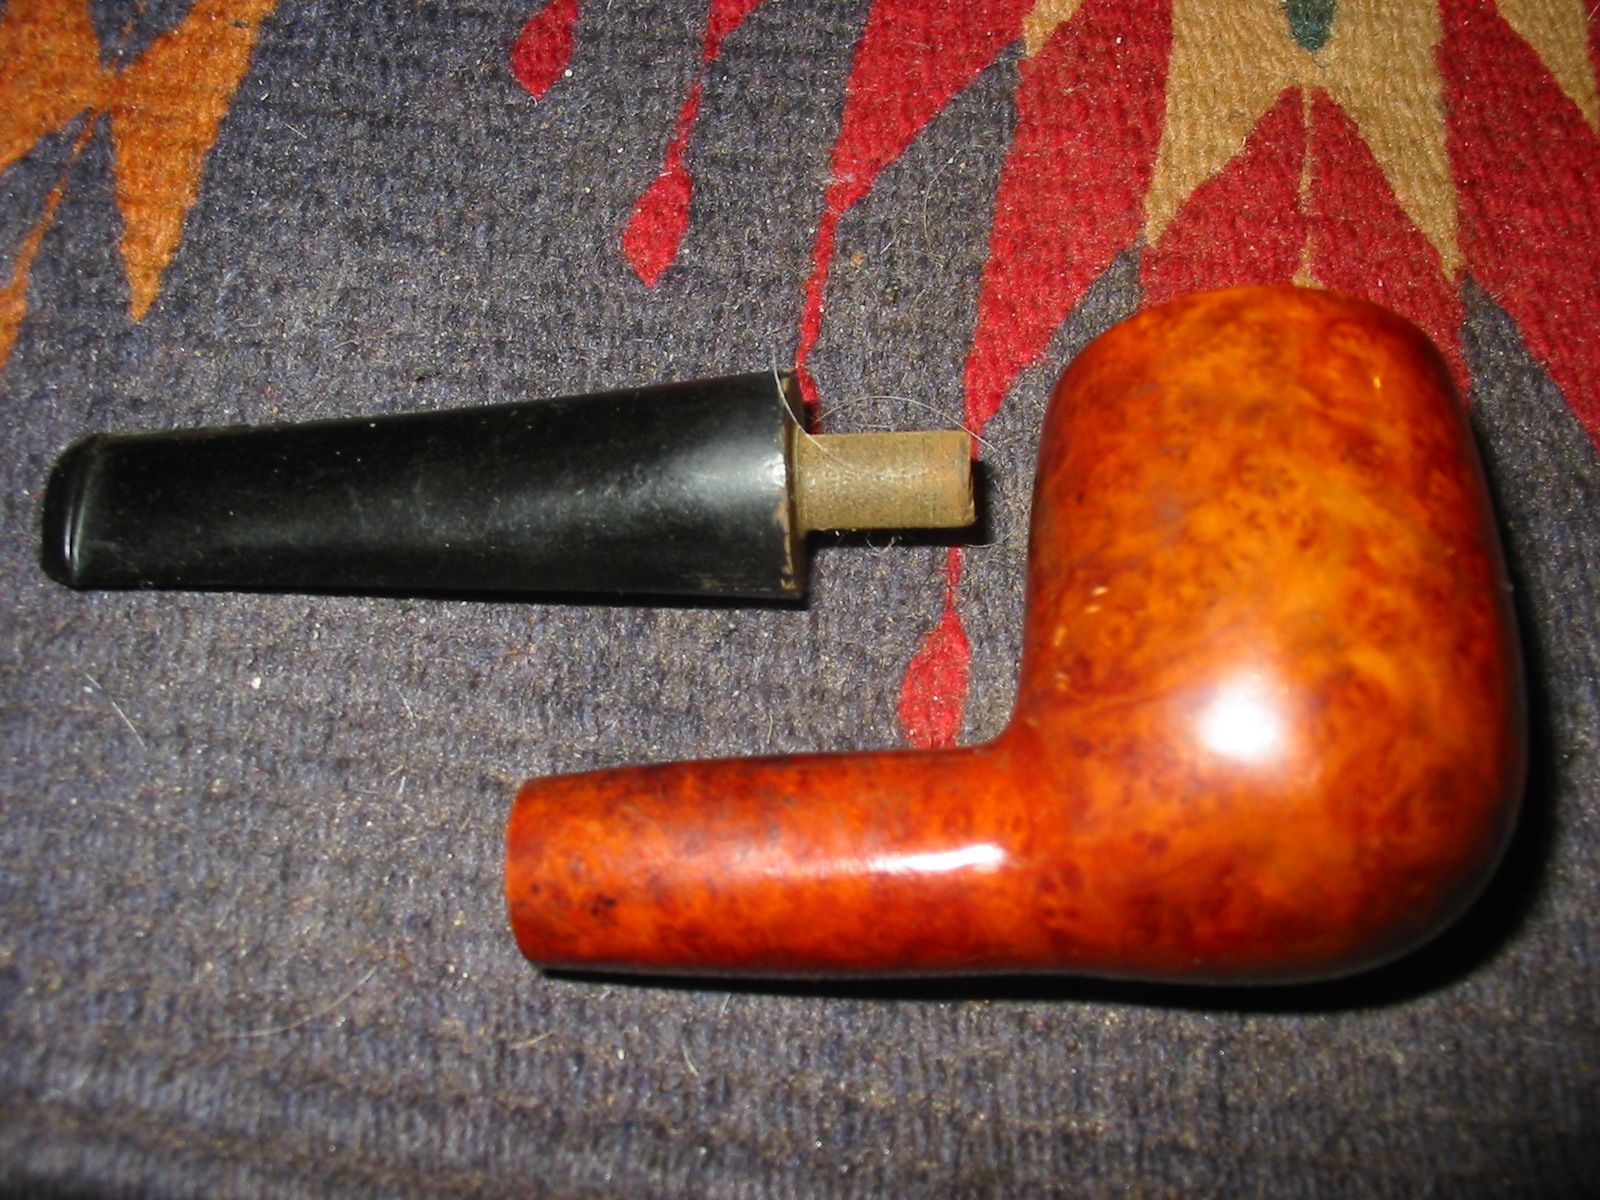
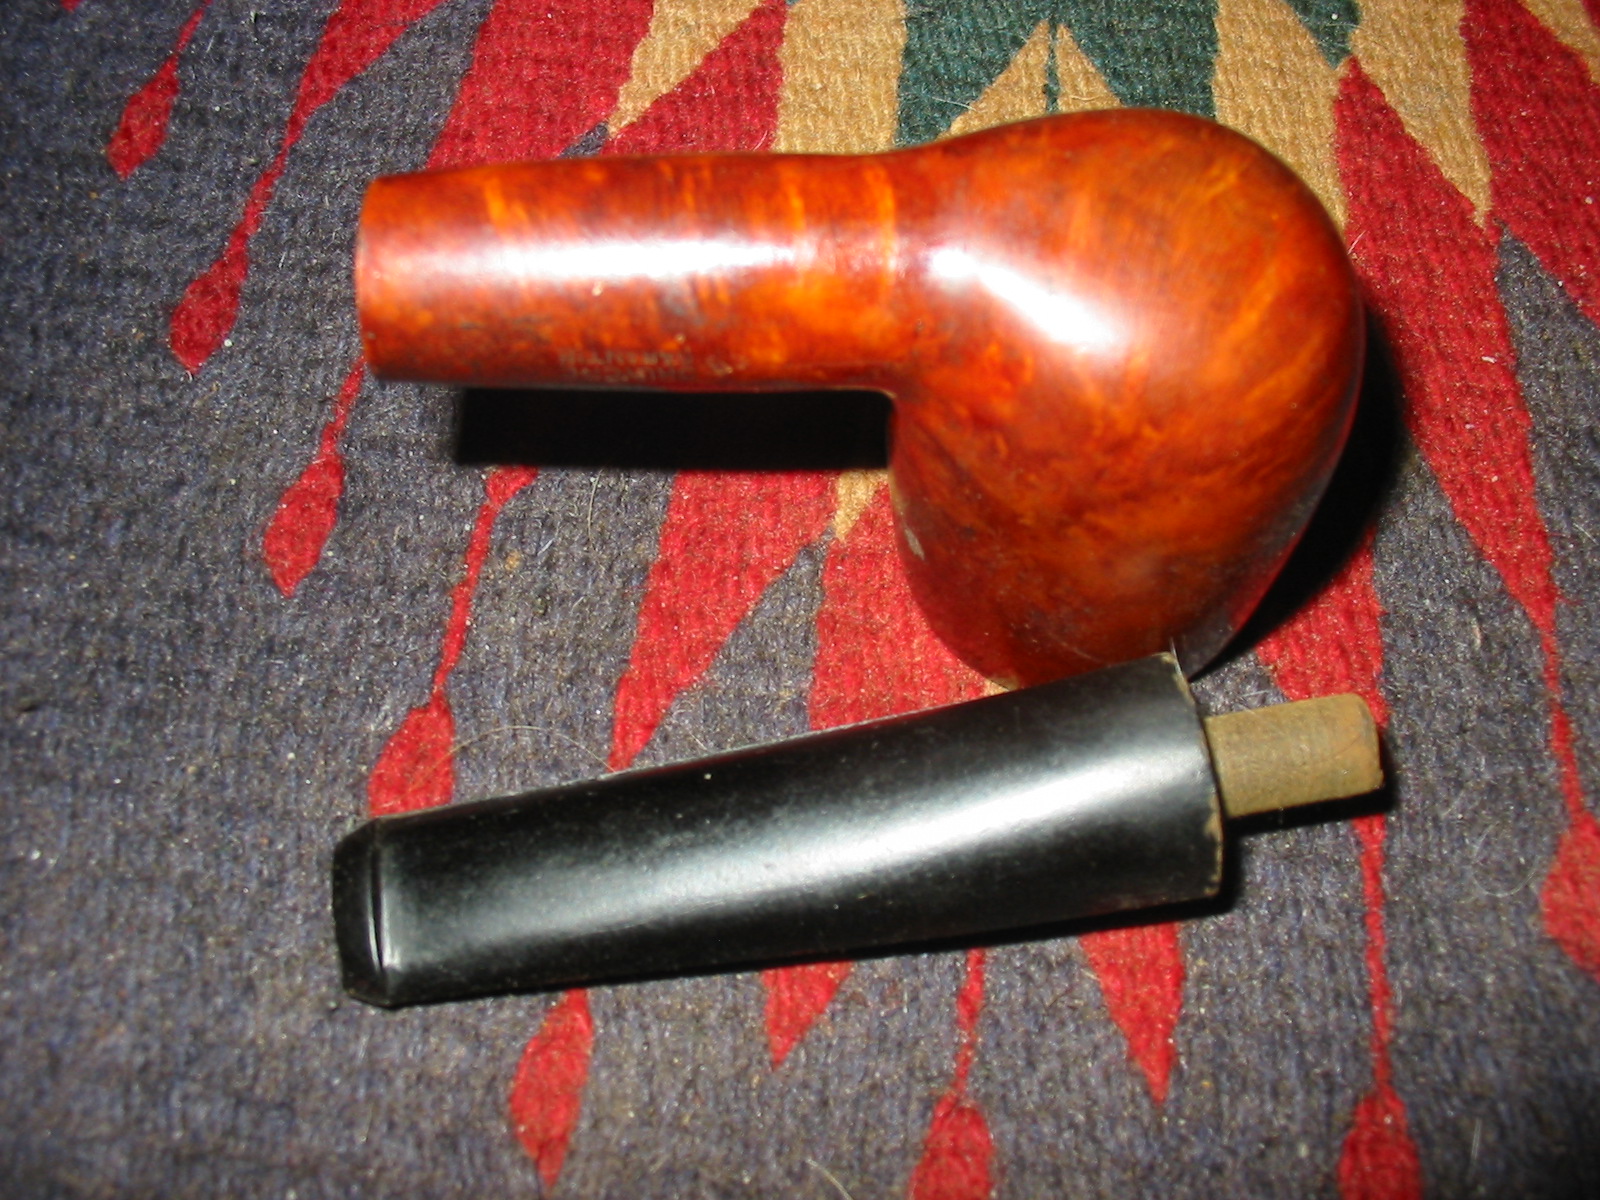
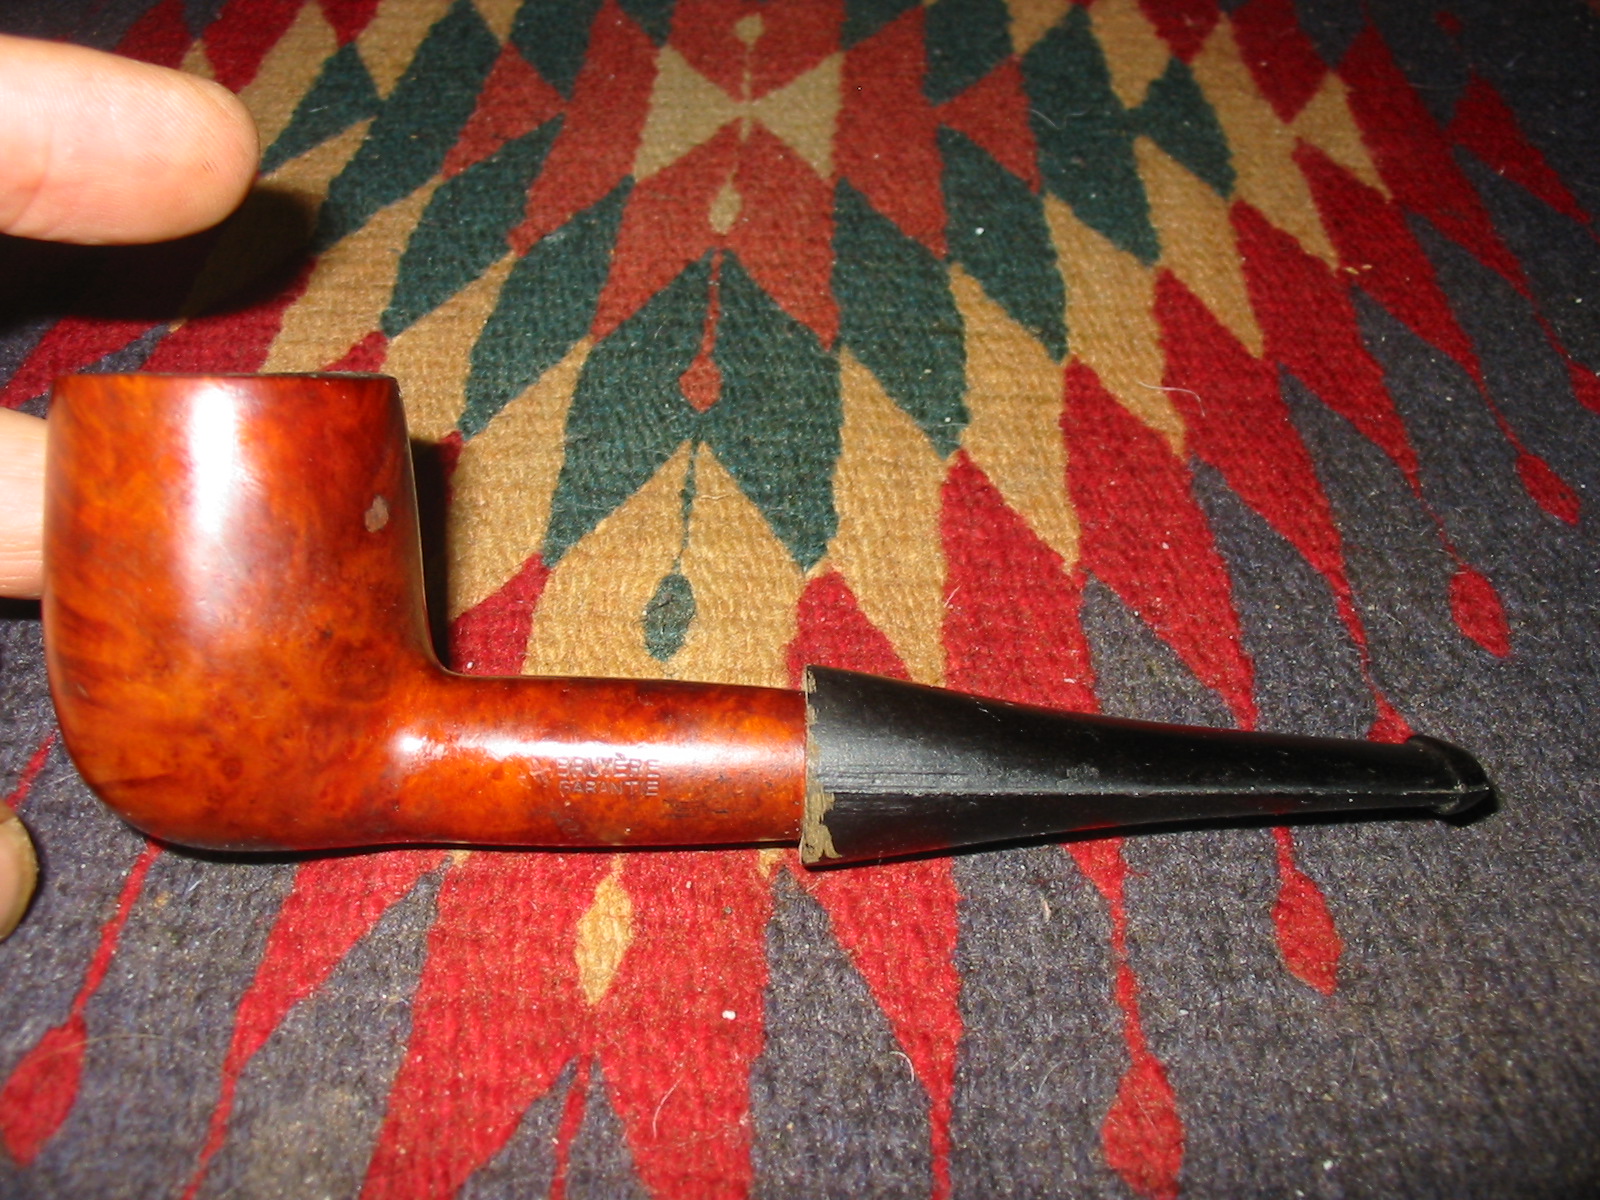
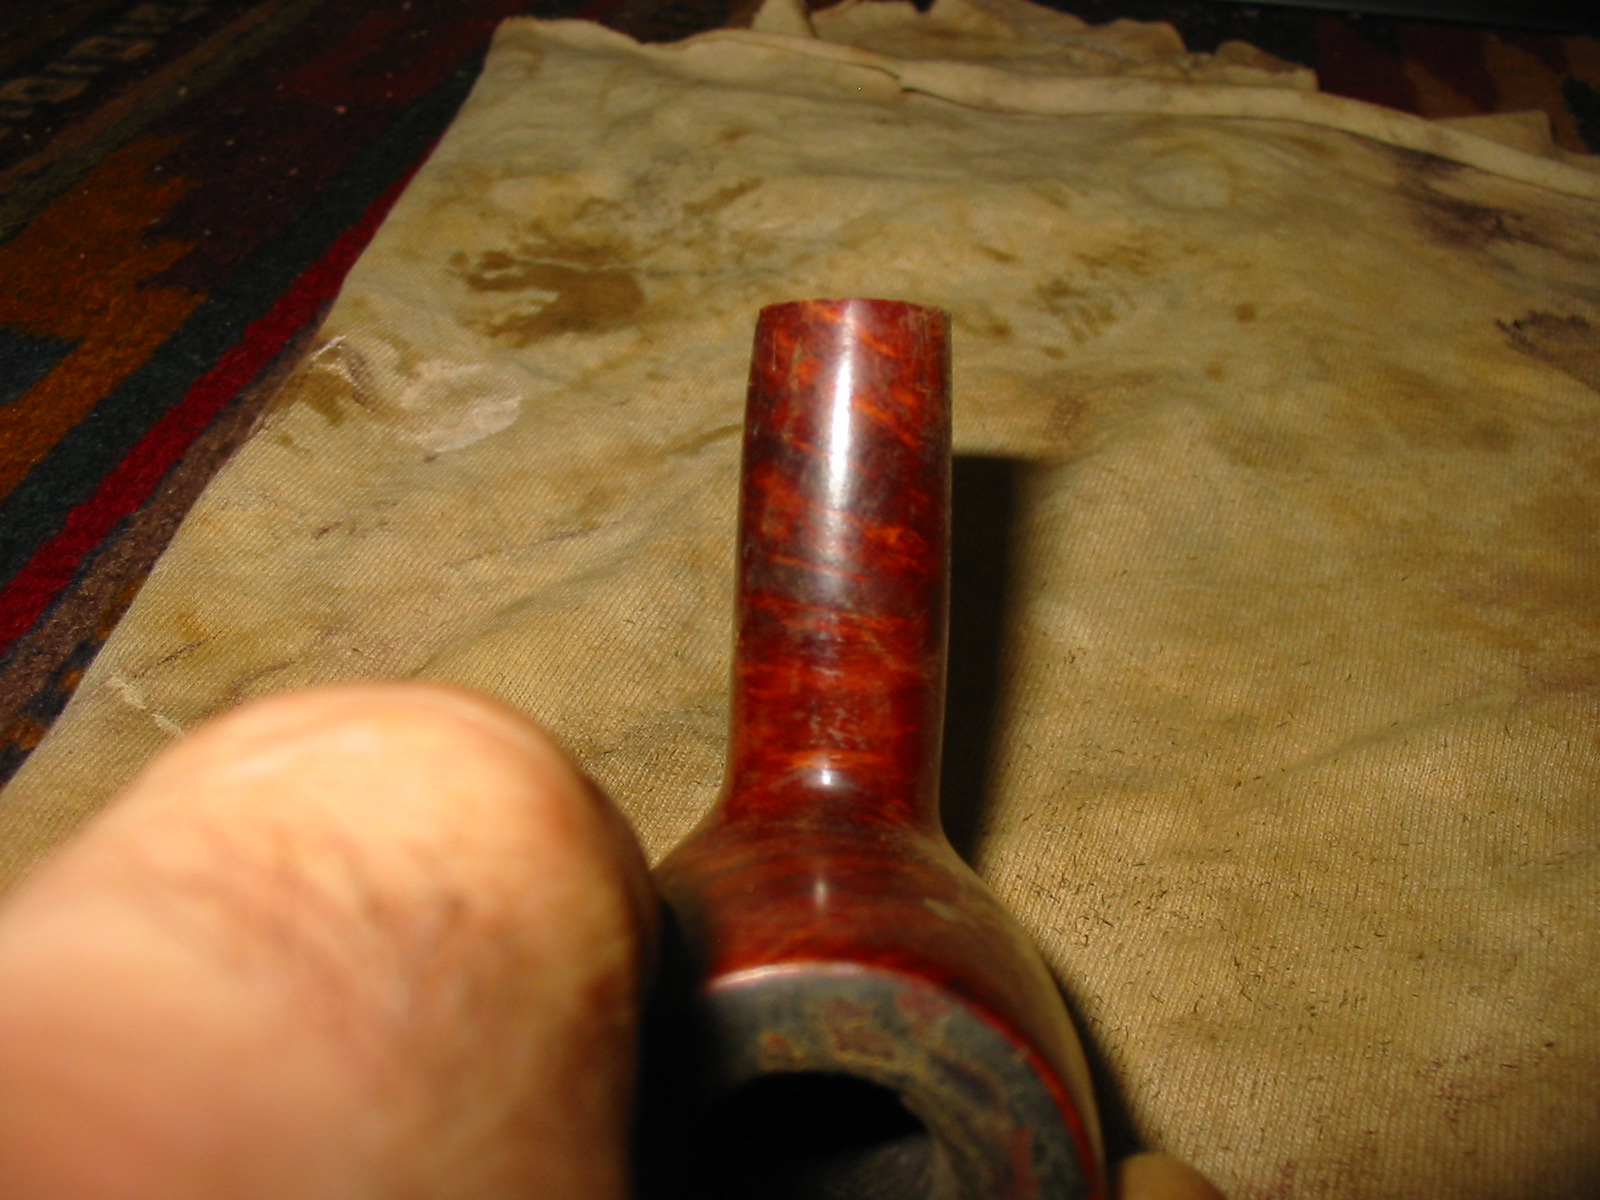
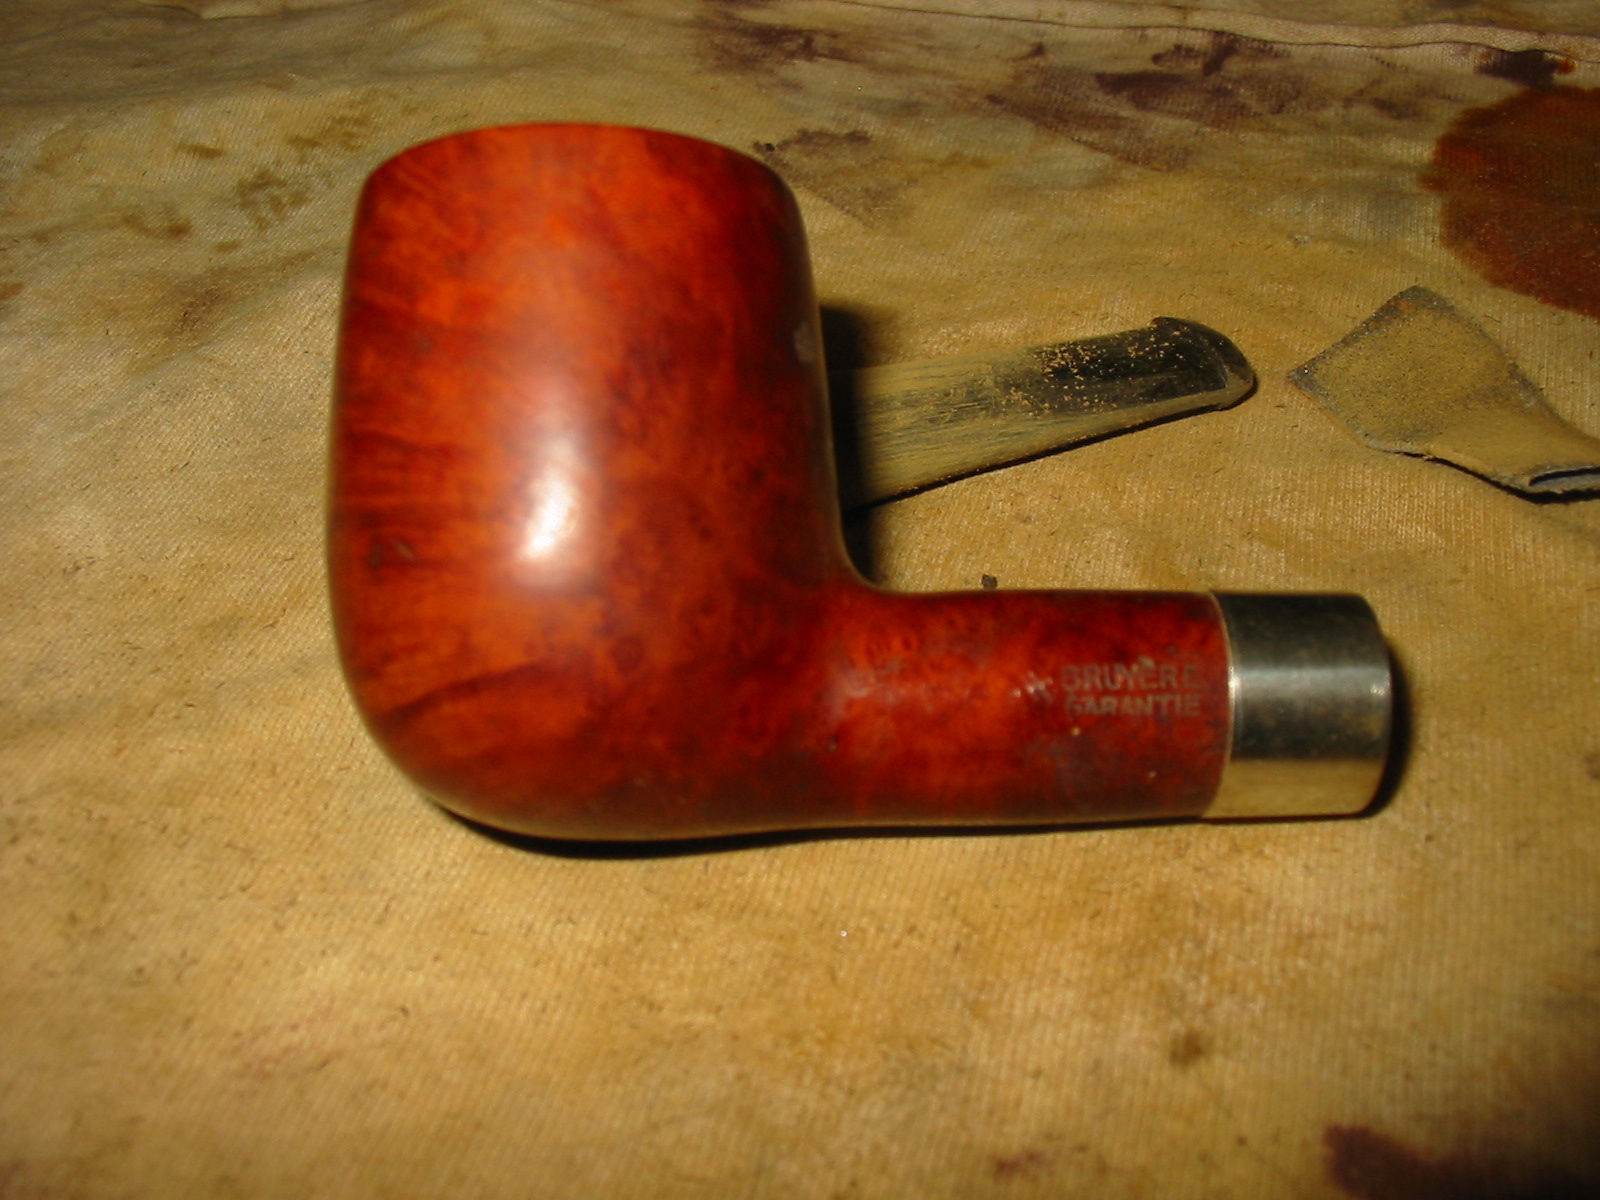
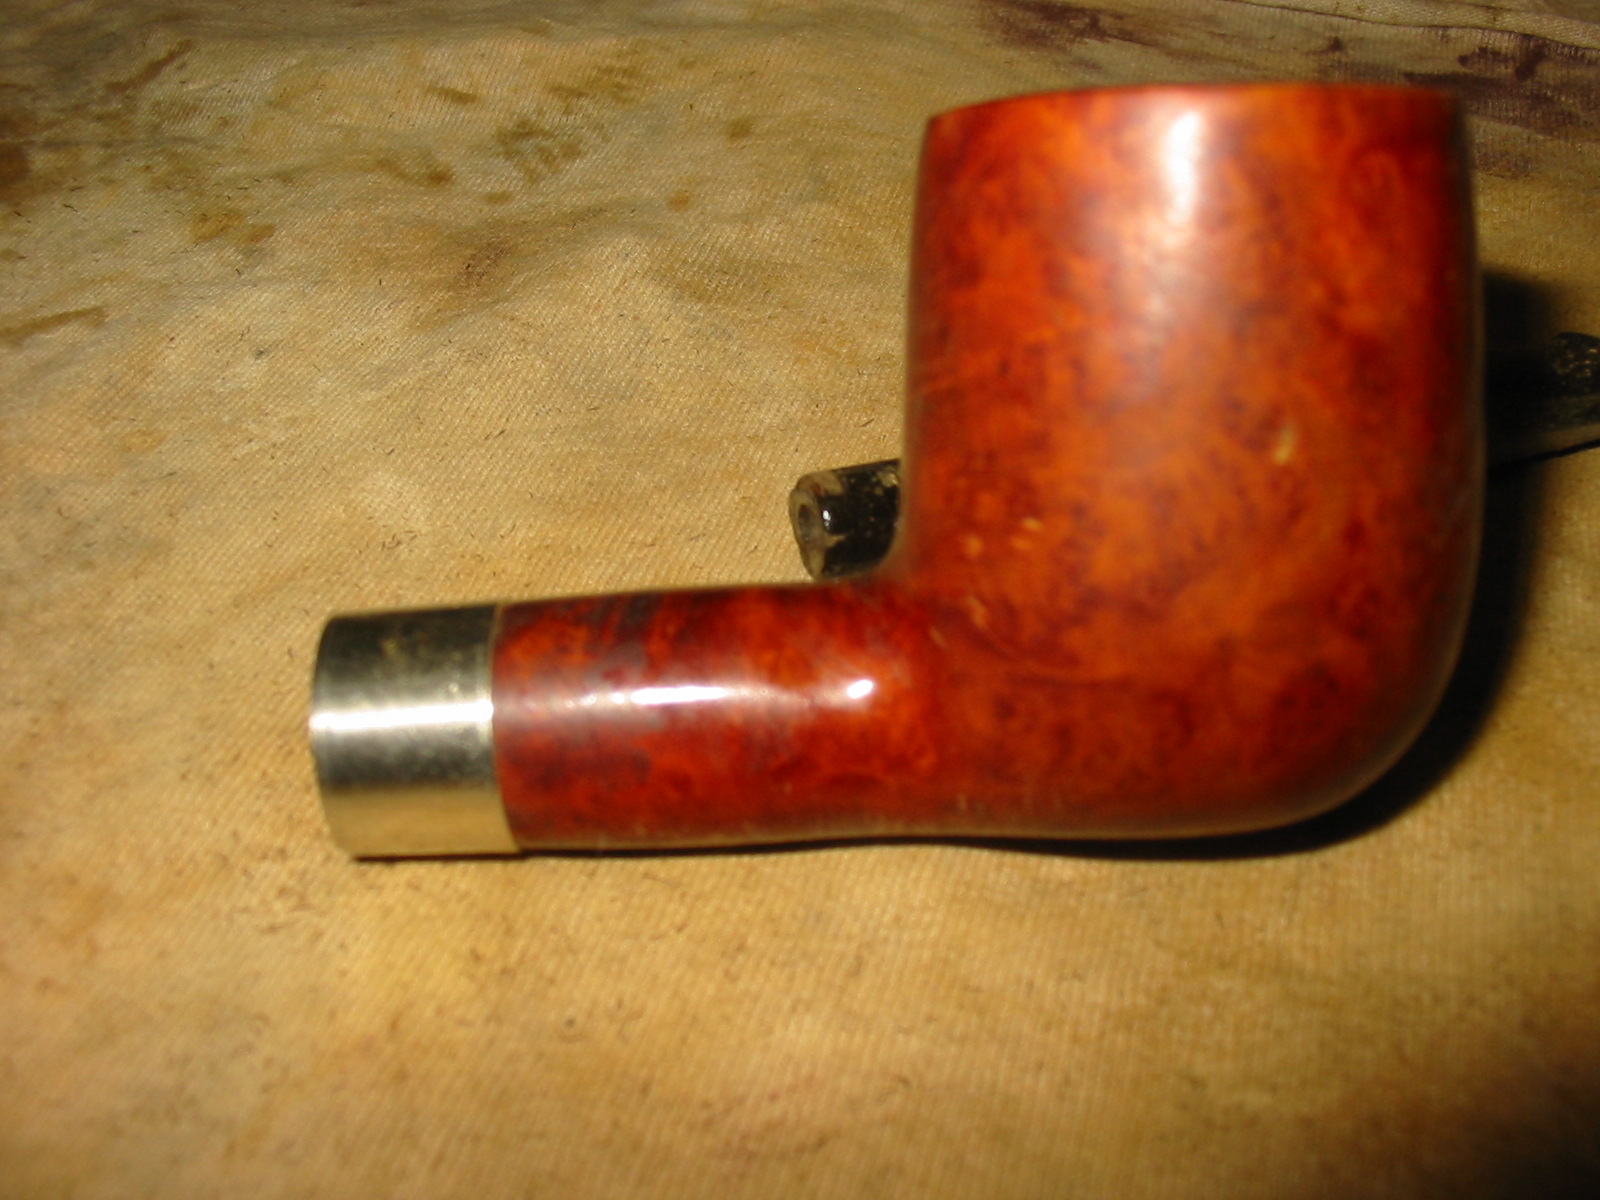
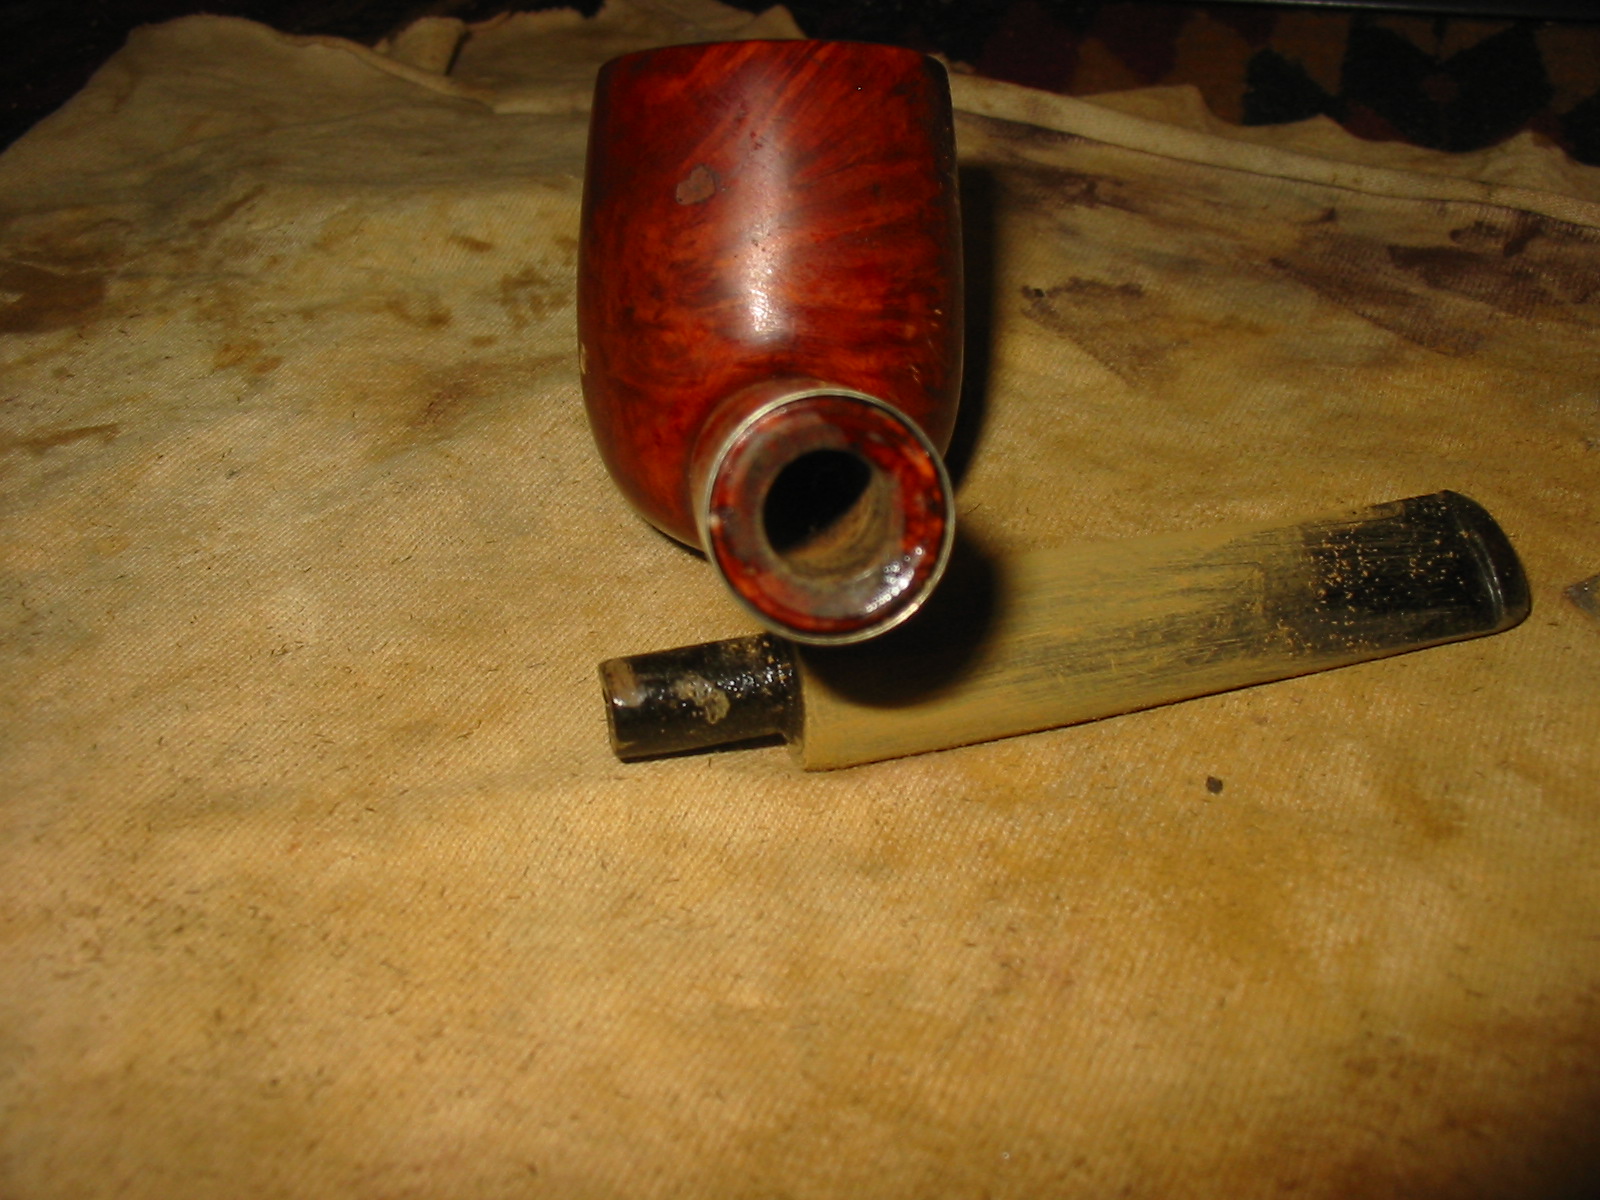
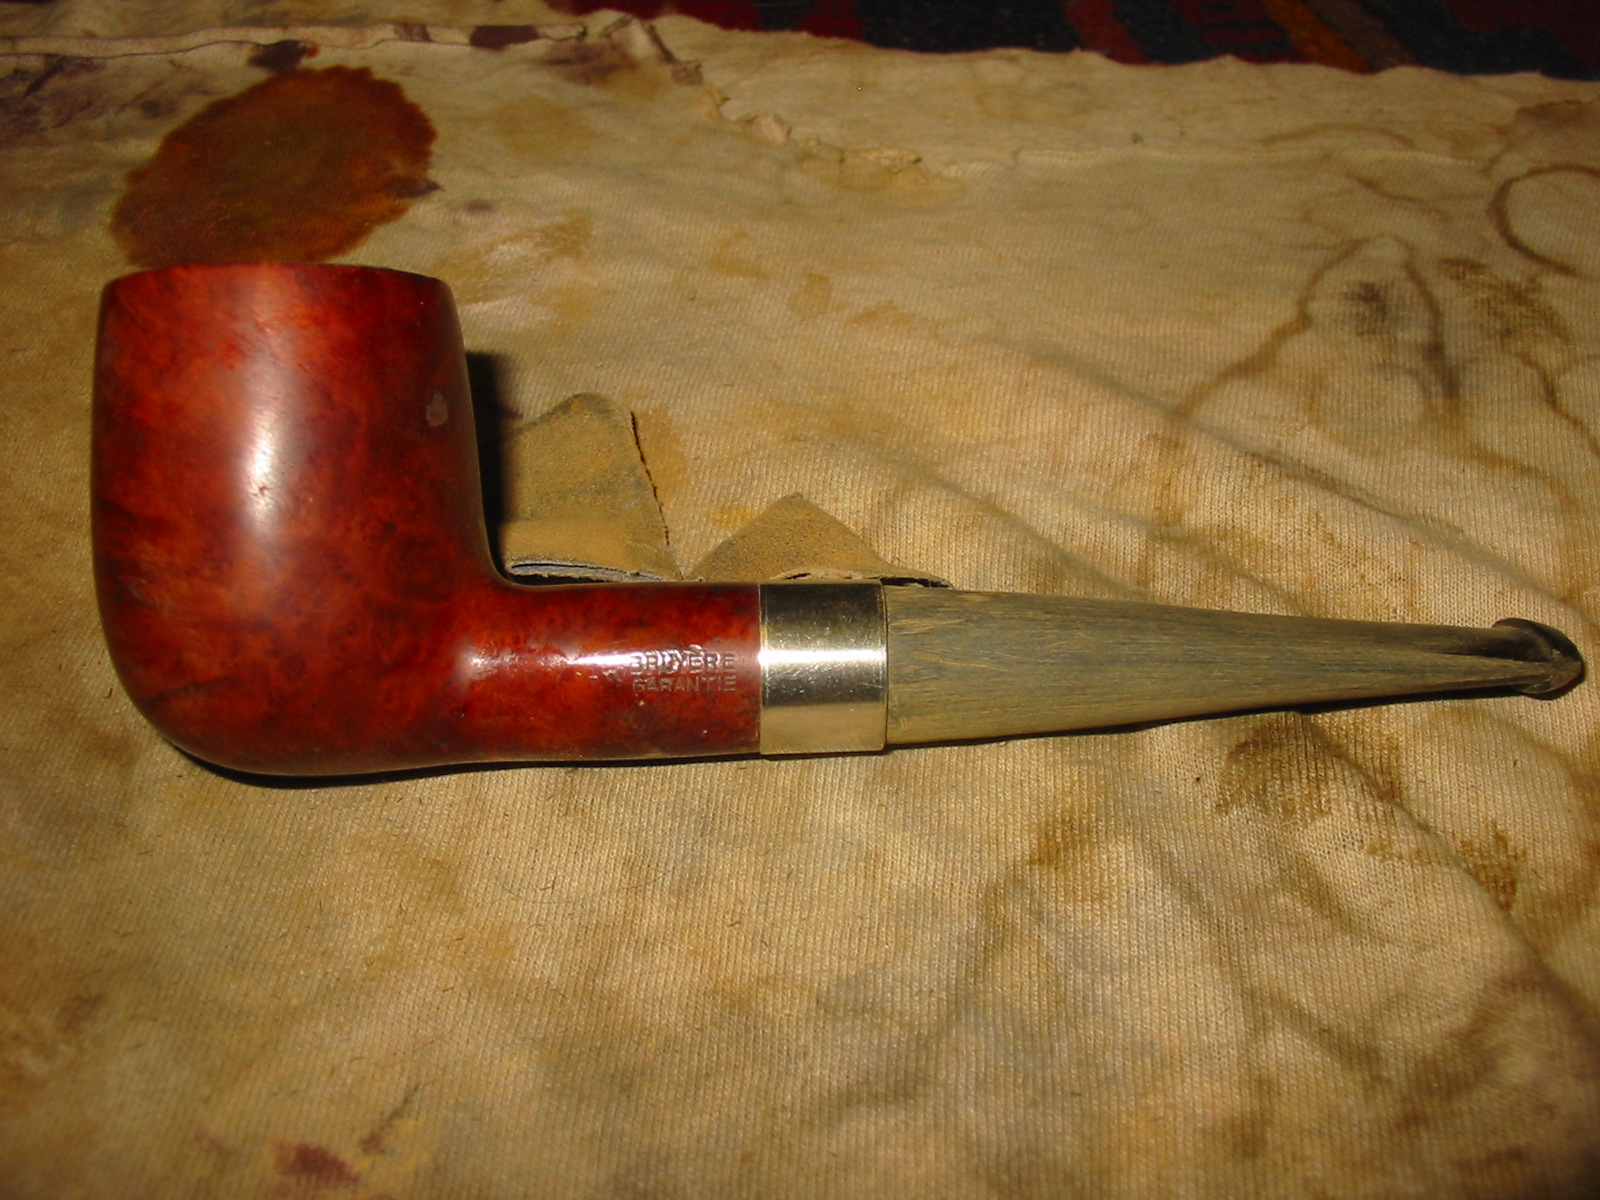
This is yet another of the bowls that was in my box of stummels. It is stamped Bruyere over Garantie on the left side of the shank with no other stamping. The bowl was badly caked with an crumbling, uneven cake. The cake was thicker at the top of the bowl than in the bottom of the bowl. The rim was also caked with oils and hardened tars. It was also dented and had a slight burn mark at about 12 o’clock on the front of the bowl. The shank was misshapen and out of round where it met the stem. It was almost as if someone had sanded the previous shank to meet the stem. There was a large fill on the back side of the bowl near the shank bowl junction. The finish had a coat of lacquer or varnish on it. I fit a tenon to the shank and worked on the stem to be a good tight fit to the bowl. The next series of four photos show the newly turned tenon and the shape of the shank at the shank stem junction.

ImageImageImageImage

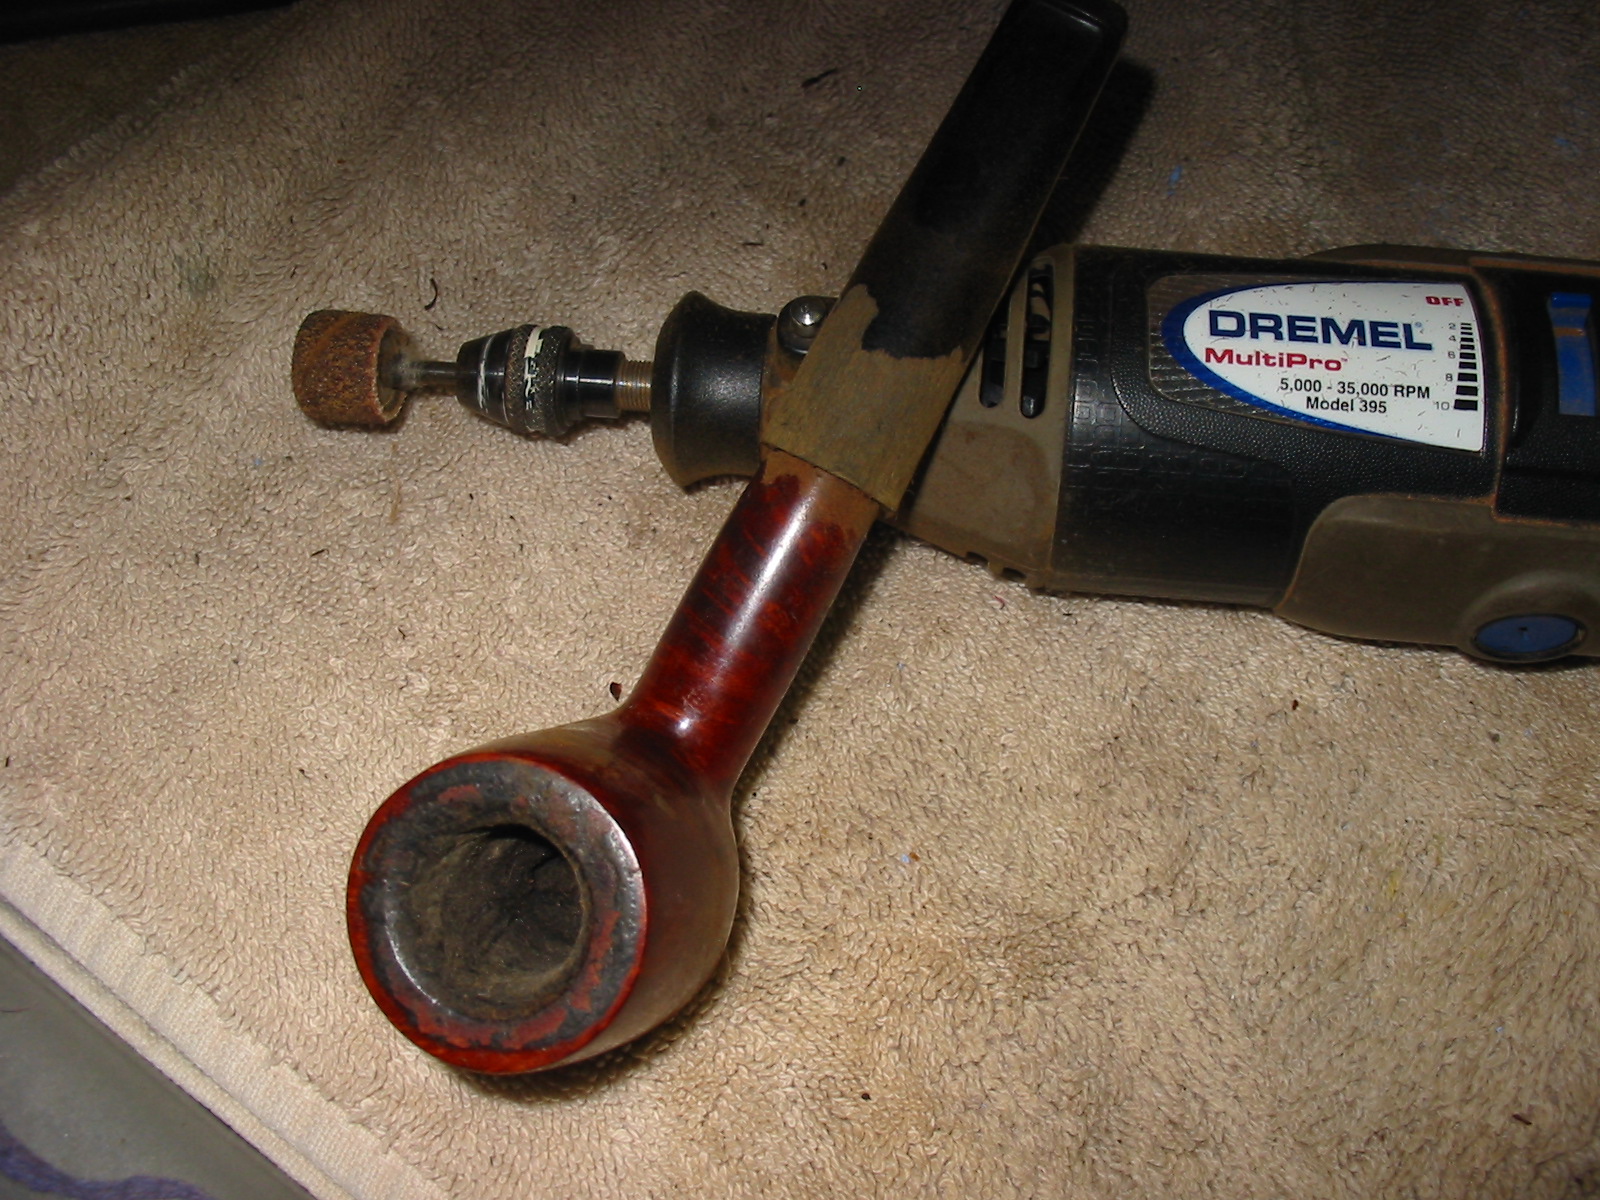
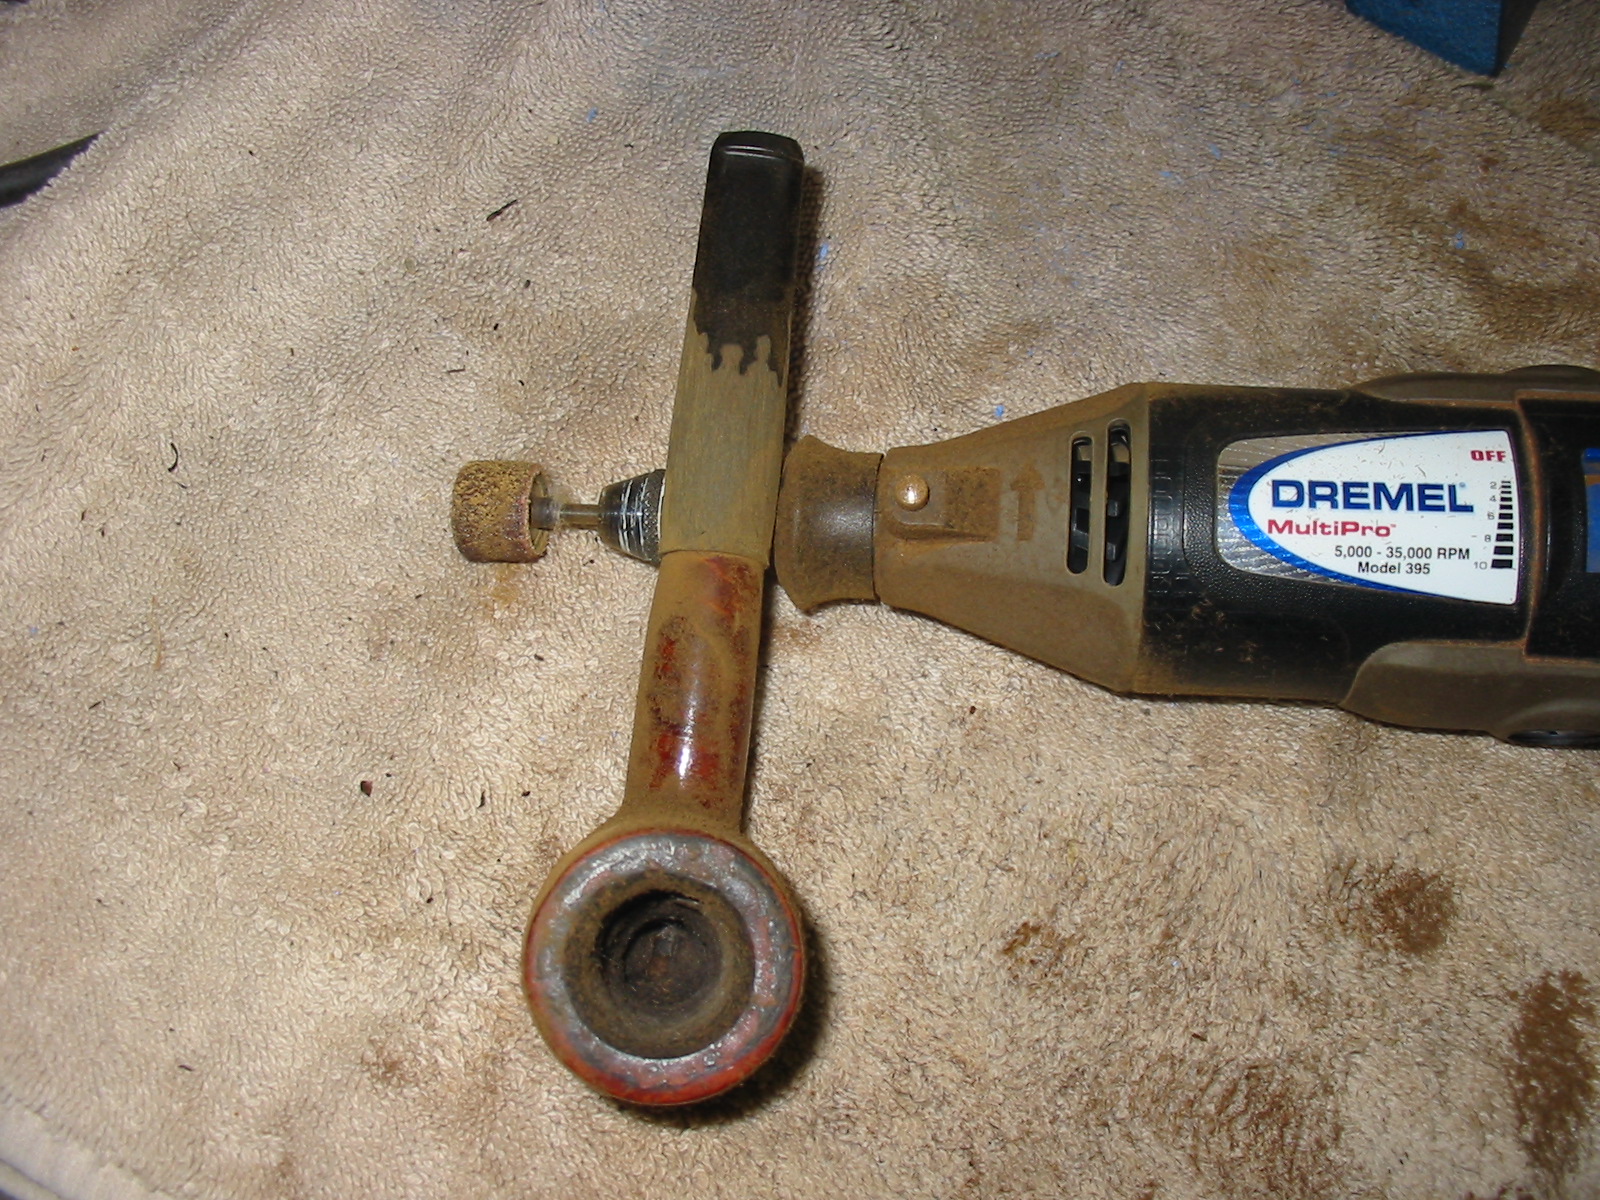
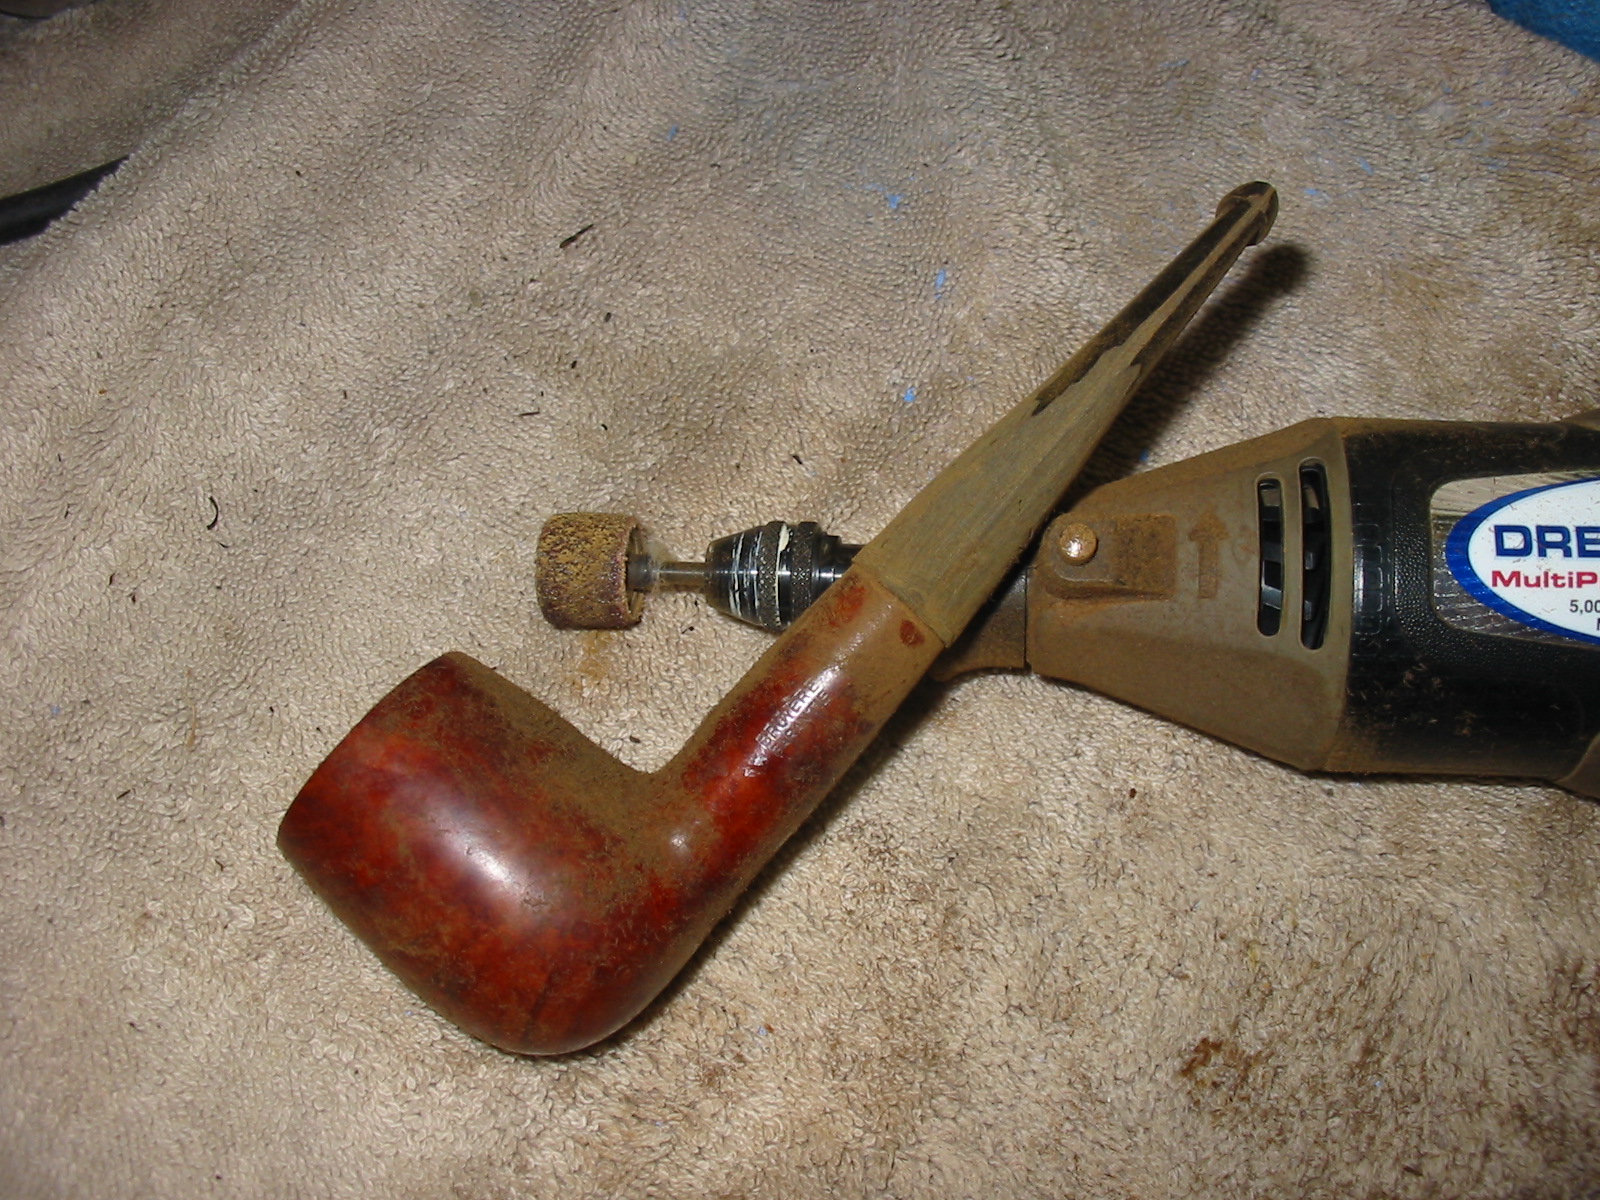
Once I had the tenon cut and sanded to a good snug fit I inserted it in the shank. The first two photos below show the fit of the stem to the shank. You can also see the taper on the on the shank that shows the misshaped nature of the shank. The stem fit very well but was much larger in diameter than the shank. I used my Dremel with a sanding drum to remove the excess diameter of the stem. The next series of six photos show the progress of removing the excess vulcanite with the sanding drum. The final photo of the six shows the newly formed fit of the stem to the shank. The taper on the shank is bothersome so that I wanted to have to address that issue before I finished the final fitting of the stem.

ImageImageImageImageImageImageImageImage

Once I had the stem fitting well I decided to band the shank to even out the flow and roundness of the shank. A wide nickel band would fit the shank well and flatten out the shank taper. I wanted an even flow from the shank bowl junction to the stem. The look of the taper on the shank was something that bothered me and that I decided to minimize with the band. The next five photos show the process and results of banding. I heated the band and then pressure fit it onto the shank. I then used some superglue to fill in the vacant areas in the inner diameter of the band.  The final photo in the series shows an end view of the band on the shank.

ImageImageImageImageImage

The next three photos show the fit of the new stem to the shank. The band sets off the stem shank junction well. The taper of the stem works very well in my opinion. More sanding needed to be done in making the fit smooth and the taper correct.

ImageImageImage

I worked on the stem with medium grit emery cloth to remove the scratches and to even out the taper on the stem and the flow of the sides of the stem from the shank to the button. The next two photos show the stem after sanding the stem.

ImageImage

At this point in the process of fitting the stem I decided to set it aside and work on the bowl of the pipe. I reamed it out using several different bits on the t handle of the Pipnet pipe reamer. I reamed the bowl back to bare wood so that I could rebuild the cake more evenly. The next two photos show the reaming process.

ImageImage

After reaming the bowl I decided to wipe the outside of the bowl down with acetone. I wet a cotton pad with the acetone and scrubbed the outside of the bowl. I also wiped down the rim to soften the tars and build up on the top. The next four photos show the bowl after I had wiped it down multiple times. I wanted to cut through the varnish or topcoat on the bowl so that I could restain it.

ImageImageImageImage

The next photo shows the bowl after I had topped it on the board and sandpaper. I was able to remove the damage of the dents and roughness with a minor topping on the sandpaper.Image

I also decided to remove the putty fill on the back side of the bowl. I picked out the putty with a dental pick. I wiped the bowl down after I had removed the fill to clean out the sandpit. I then picked it clean a second time and wiped it down again as well. Once it was clean I used the dental pick to pack the sandpit with briar dust that I had saved for this purpose. I packed it in and then tamped it down with the end of a pipe nail. I refilled the sandpit until the briar dust bulged slightly above the surface of the bowl. At this point I dripped superglue into the briar dust to anchor it in the hole. I repacked the dust and dripped in glue a second time. The first two photos below show the packed briar dust. The next two photos show the sandpit after the superglue has been dripped into the dust and dried. It blackens nicely with the superglue and instead of a pink fill the fill is now a black briar dust and superglue. I have found that the patch is much easier to blend in with stain than the putty fills.

ImageImageImageImage

The photo below shows the newly filled patch after I have sanded it. I sanded off the excess with a folded piece of fine grit emery cloth and then used a fine grit sanding sponge to smooth out the surface of the new fill to match the surface of the bowl.

Image

At this point in the process I decided to continue working on the stem of the pipe. I sanded it with the sanding sponge. I worked on the fit of the stem to the band. My ideal was to have the stem sit evenly within the band so that the gap was even all the way around the band and the stem was centered in the mortise. The next five photos show the sanding process to this point. Remember the issue at stake was to work on the fit of the stem to the band and to remove the deeper scratches in the surface of the stem. I also used the sanding drum on the Dremel to taper the stem a bit more at the button. I wanted the button end to be narrow and give the pipe and older feel and look. The top view photo below shows the shape of the stem at this point in the process.

ImageImageImageImageImage

I then wet sanded the bowl and the stem with 1500 grit micromesh sanding pads and water. This process removed many of the remaining scratches in the surface of the stem and also removed the remaining finish on the pipe bowl and rim. I wanted the bowl to be cleaned of the varnish finish and as much of the stain colour as possible so that I could more easily blend the rim and the bowl colour. The next three photos show the pipe and the stem after wet sanding. The stem fit is working well at this point and the angles and flow of the taper on the stem is looking more and more finished.

ImageImageImage

I wiped down the stem with some of the water and then used the Maguiar’s Scratch X2.0 polish on the stem to get a clear view of the remaining areas that needed more work with 320 grit sandpaper before I moved on to the higher grits of micromesh.

Image

I continued to wet sand the bowl and stem with 1800 grit micromesh sanding pads. The next three photos show the progress that was made on the smoothing and polishing of both the stem and the bowl. I continued to wet sand with the 1800 grit until the surface was smooth and matte finished.

ImageImageImage

I continued wet sanding with 2400 and 3200 grit micromesh pads. The next three photos show the progress of the sanding on the bowl and the stem at this point in the process. I also decided to sand the band with these two grits to polish the nickel.

ImageImageImage

At this point in the sanding process I switched to dry sanding the bowl and the stem with the 3600 grit micromesh sanding pad. I sanded the bowl, band and stem with this sanding pad to bring out the growing shine in both. I wiped down the bowl and the stem with a damp cloth to remove the sanding dust and to prepare the bowl for staining.

ImageImageImage

For stain on this pipe I ended up using a two step process. I began with an oxblood stain as an undercoat. I applied it with cotton swabs and also a dauber. I rubbed it into the bowl and shank and flamed it and buffed it off.  The next three photos show the application of the stain.

ImageImageImage

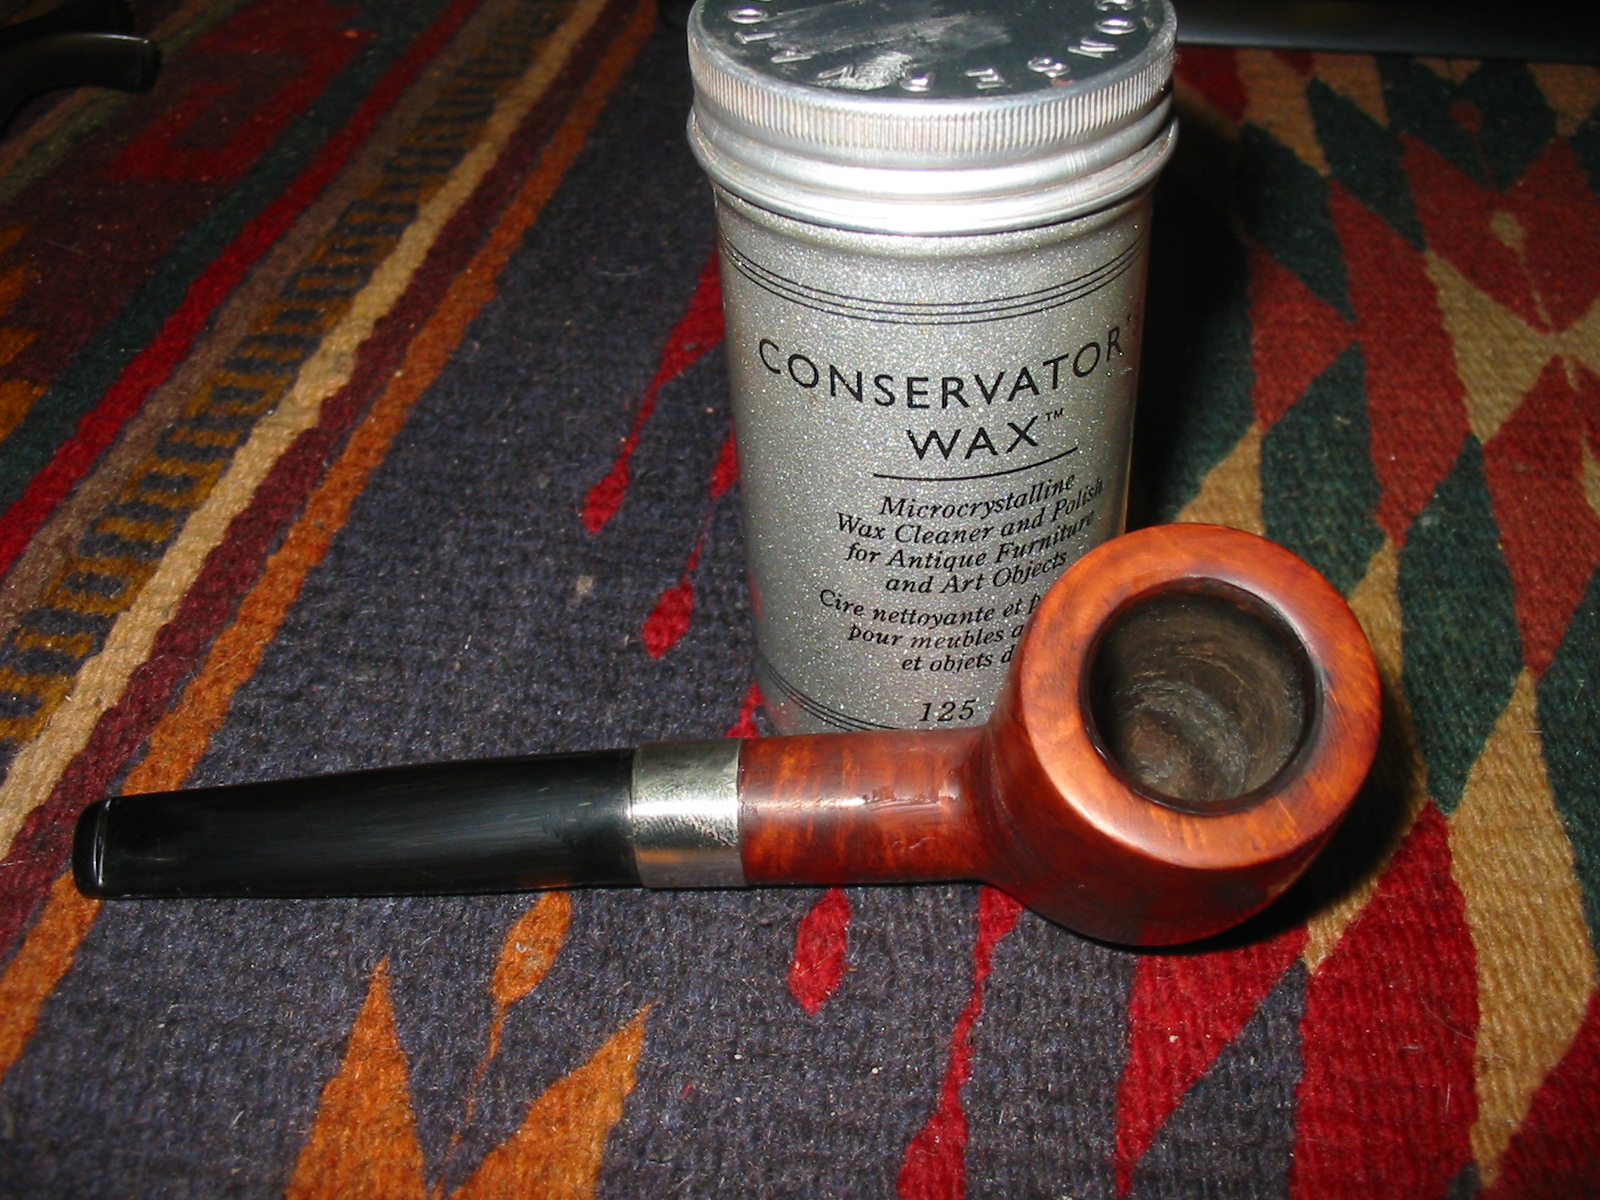
I liked the look of the oxblood stain so I wanted to see what it looked like with a light coat of wax on it. I rubbed on some conservator’s wax and then buffed it off by hand. The next series of photos shows the bowl after a light coat of wax. I was not overly happy with the overall coverage of the stain and the fill still was highly visible on the bowl. It did not blend well. I buffed the pipe with White Diamond on my buffer to see if I could even out the coverage a bit. The fourth through seventh photos below show the pipe after buffing. The coverage was not acceptable to me so I decided to go on and give the pipe a second stain coat of dark brown aniline. I wiped the bowl off with a soft cloth pad dampened with alcohol to cut the wax coat and take the bowl back to the briar before staining it with the second colour.

ImageImageImageImageImageImageImage

The next series of three photos shows the pipe after the application and flaming of the dark brown aniline stain. It was mixed 2:1 with isopropyl alcohol to get the colour that I wanted to use as the top coat. I applied the stain with the dauber and flamed it with my Bic lighter. I reapplied the stain two other times and reflamed it each time. I wanted a rich brown top coat that would give depth to the finish.

ImageImageImage

The final series of four photos show the finished pipe. After the stain dried I buffed it with White Diamond and then applied several coats of carnauba wax. I also gave the stem a coat of Obsidian Oil and rubbed it into the stem. Once the stem dried I buffed it with White Diamond for a final time and then wax it as well. The finished pipe has a great looking stain now and the shape of the stem lends an air of antique to the pipe.

ImageImageImageImage


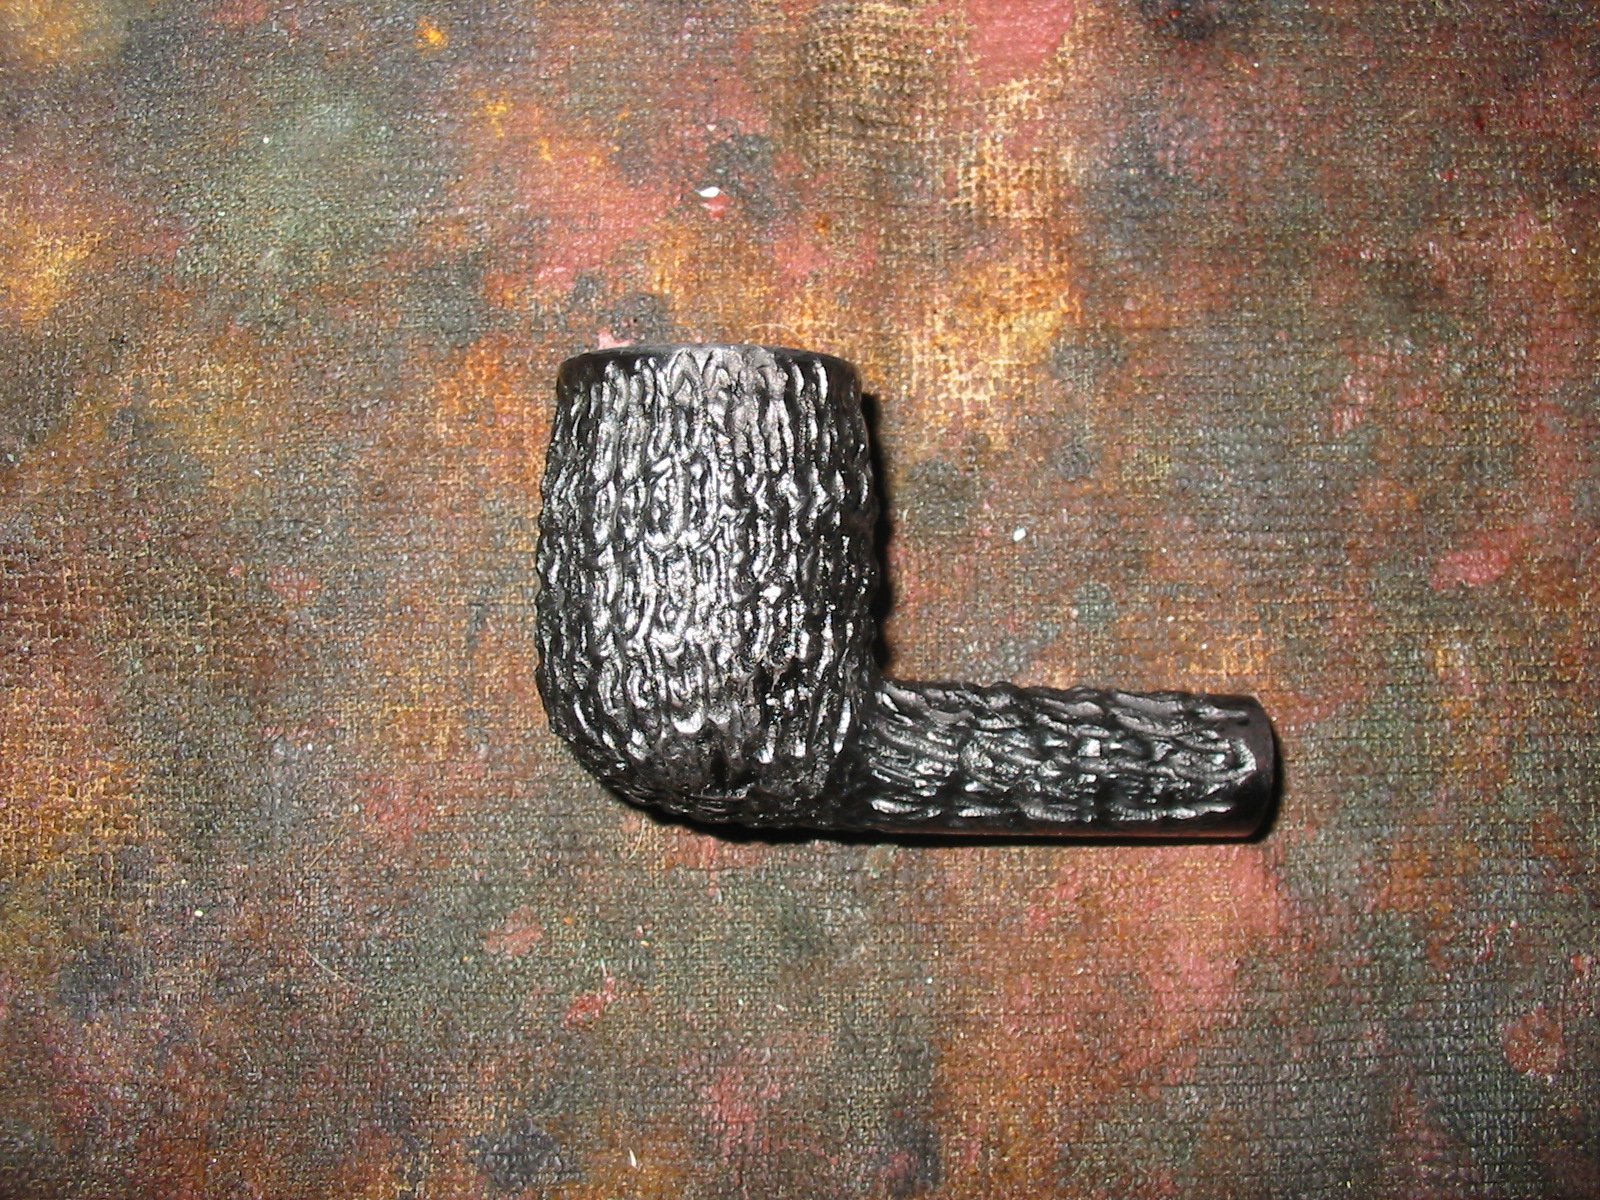
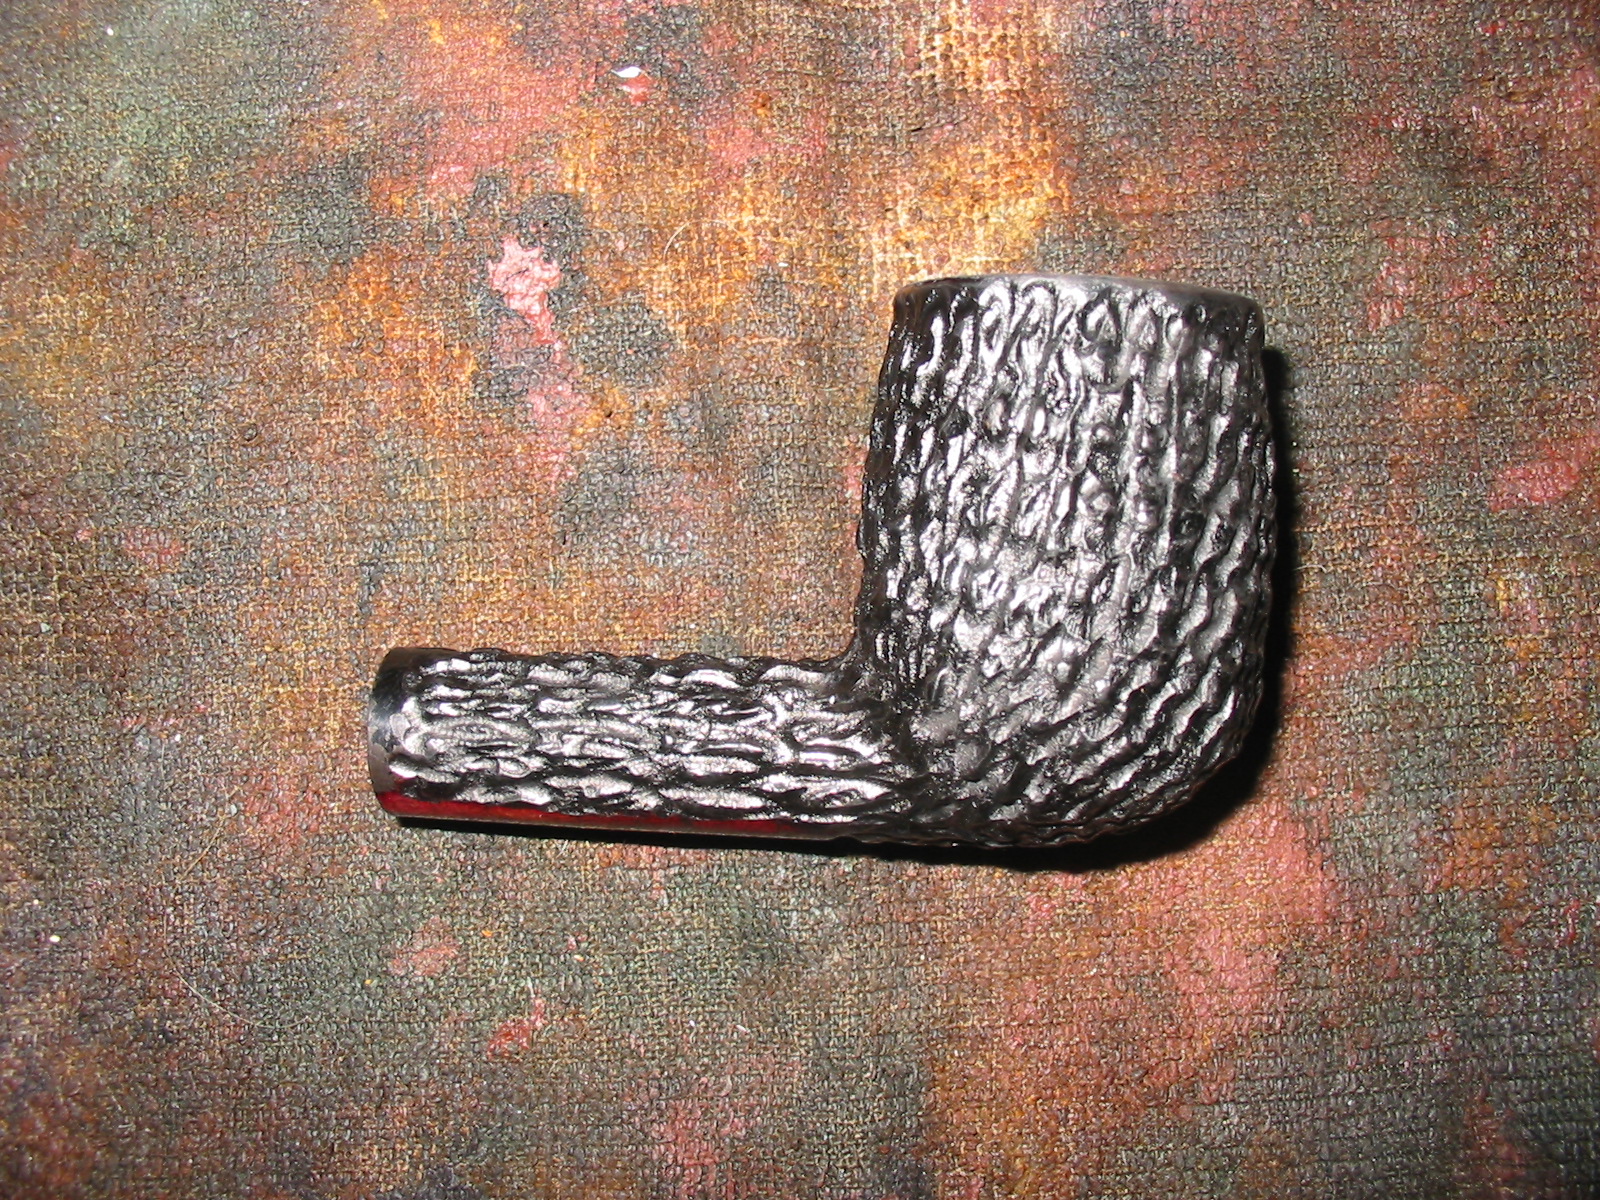
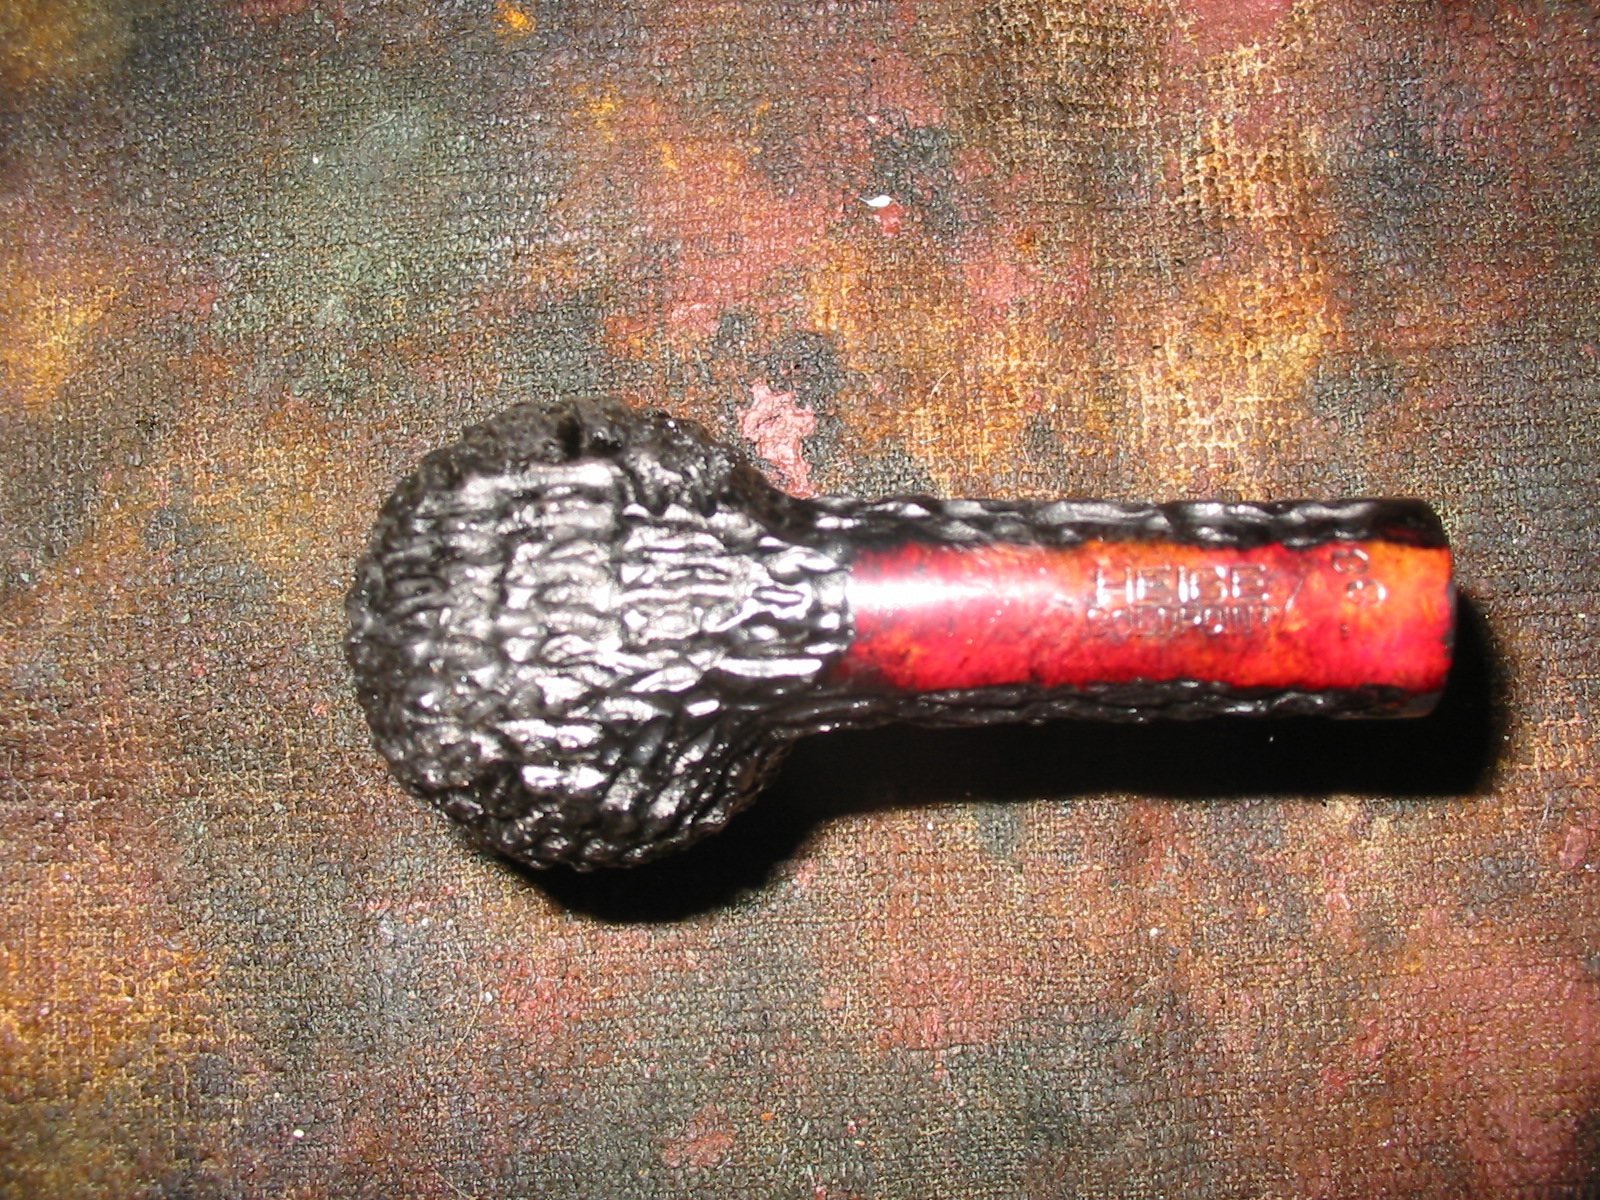
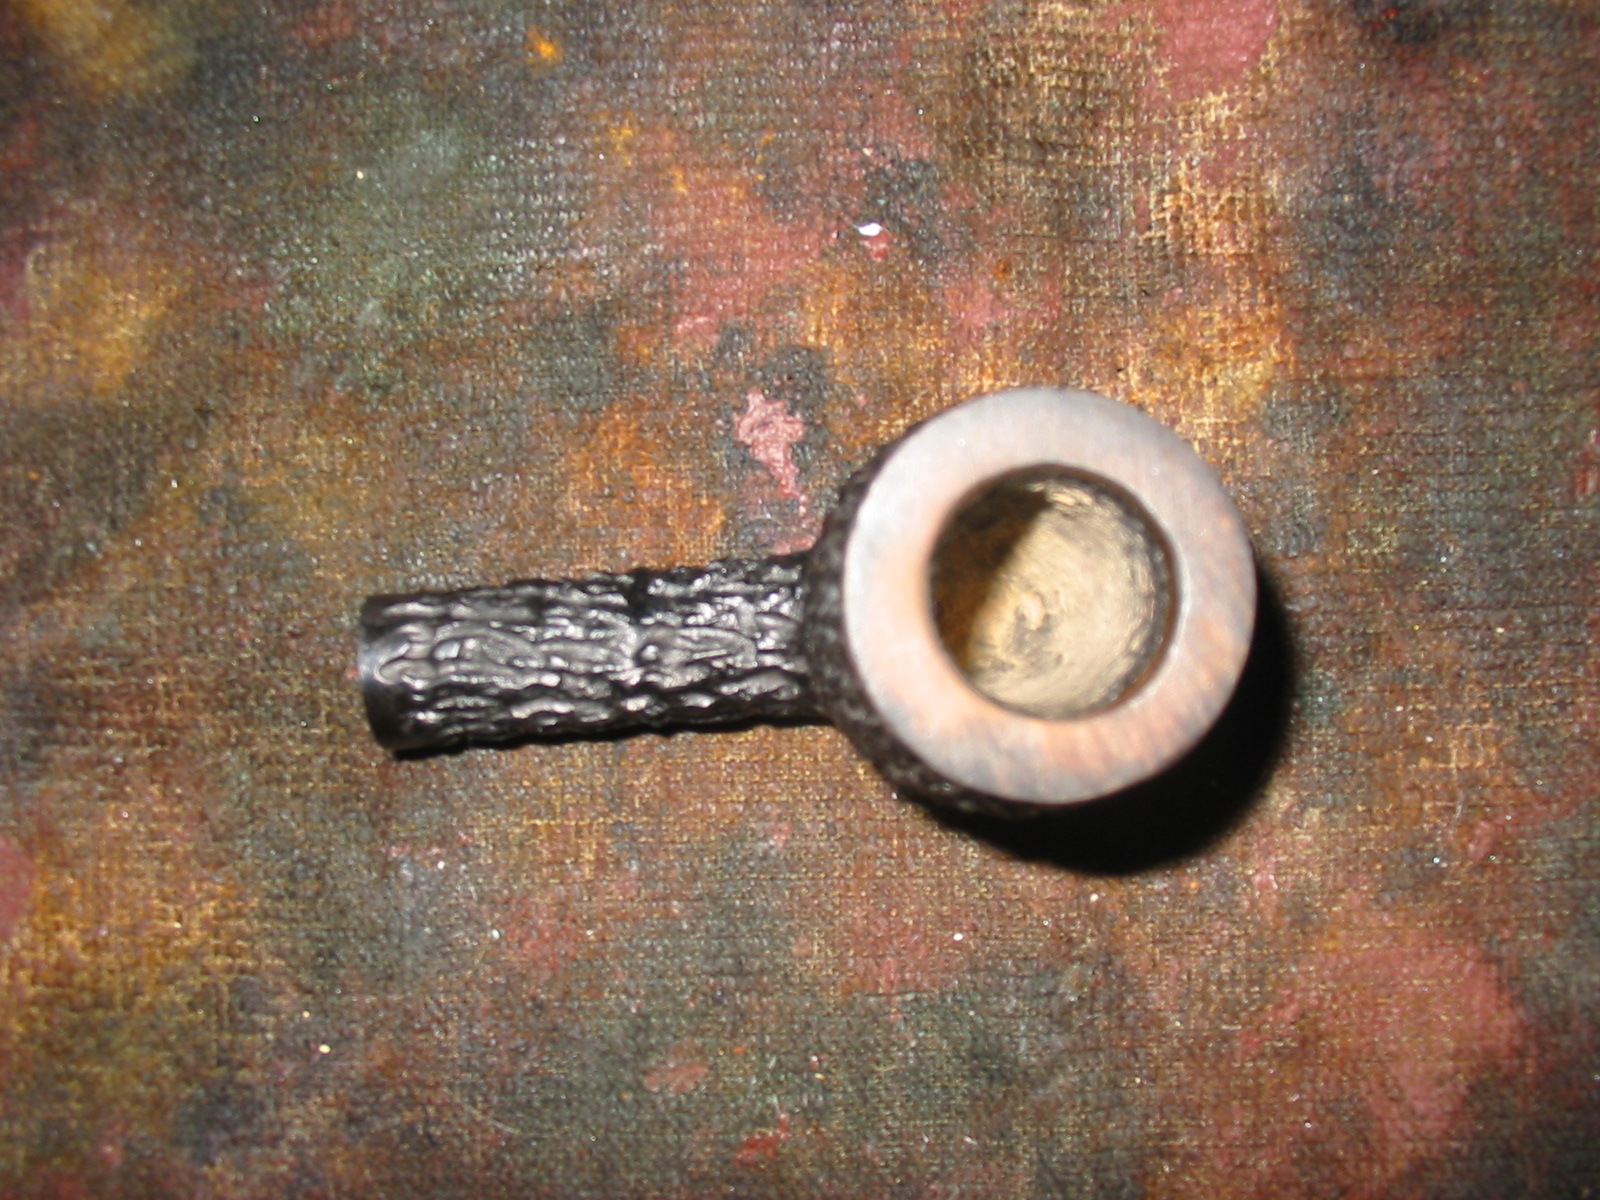
Rejuvenating a Heibe Goldpoint Billiard


Blog by Steve Laug

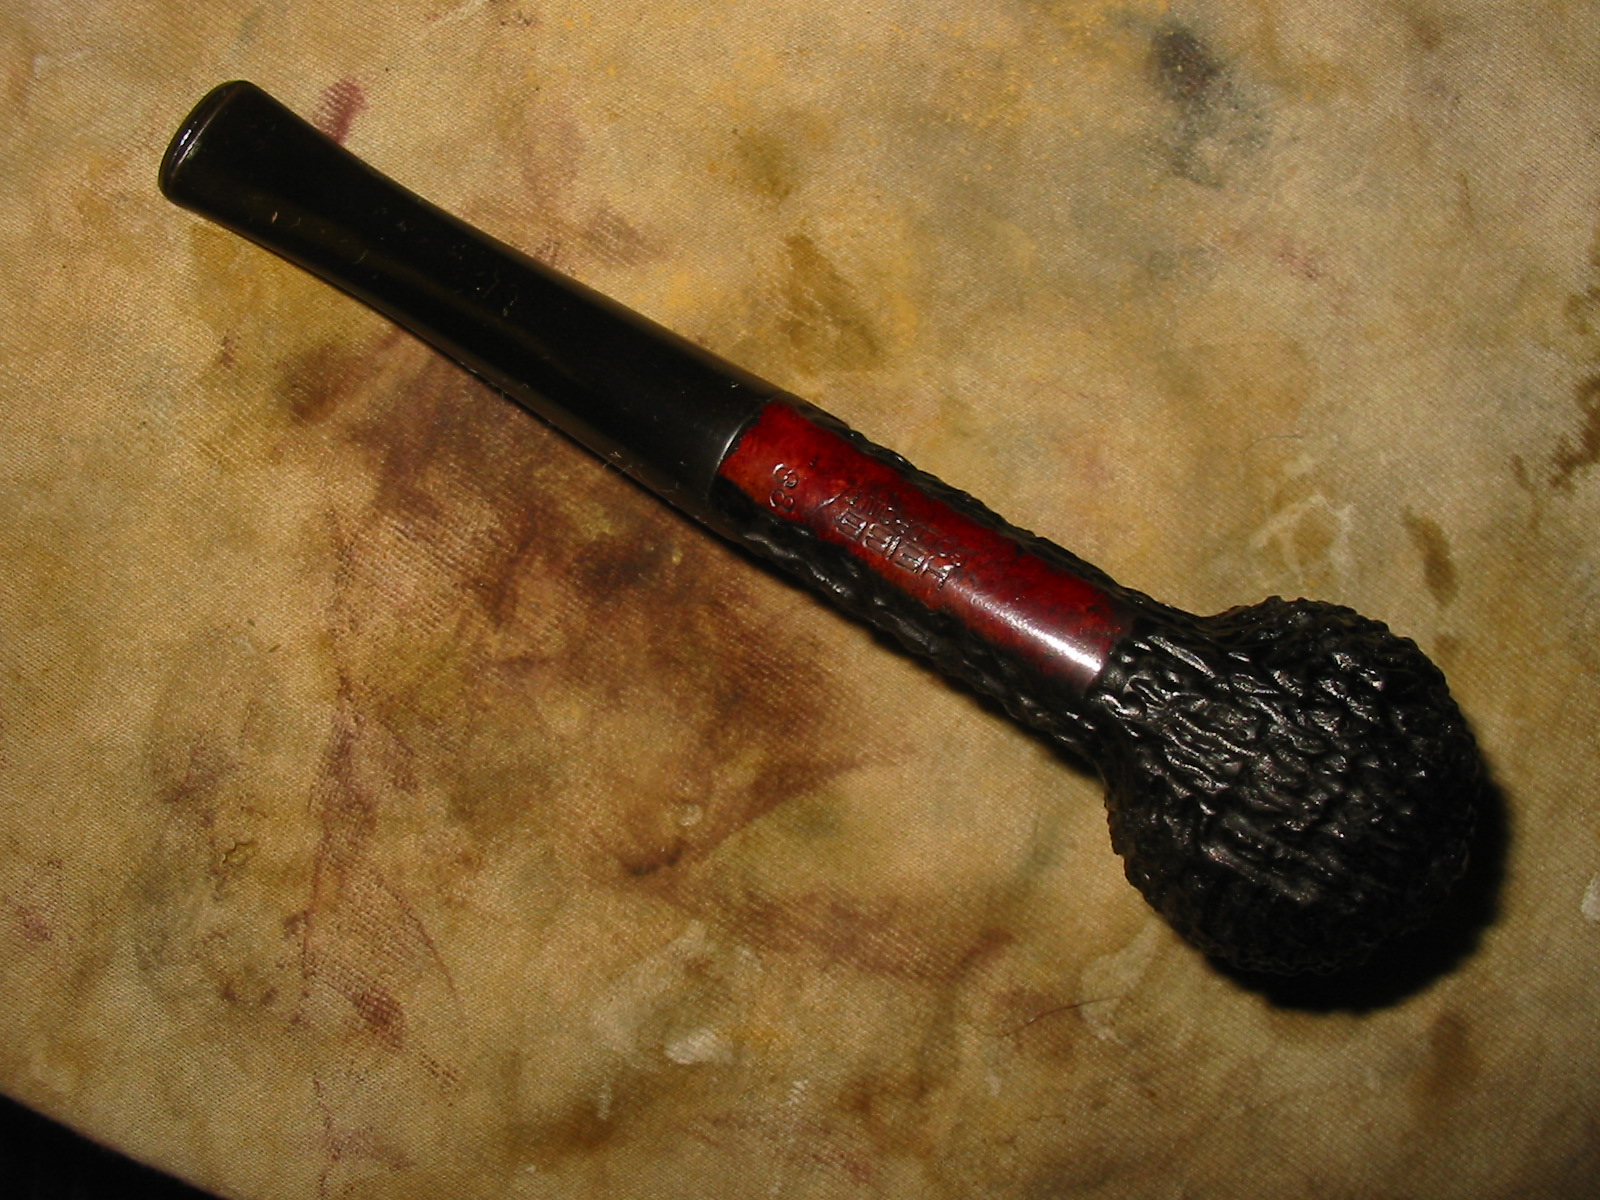
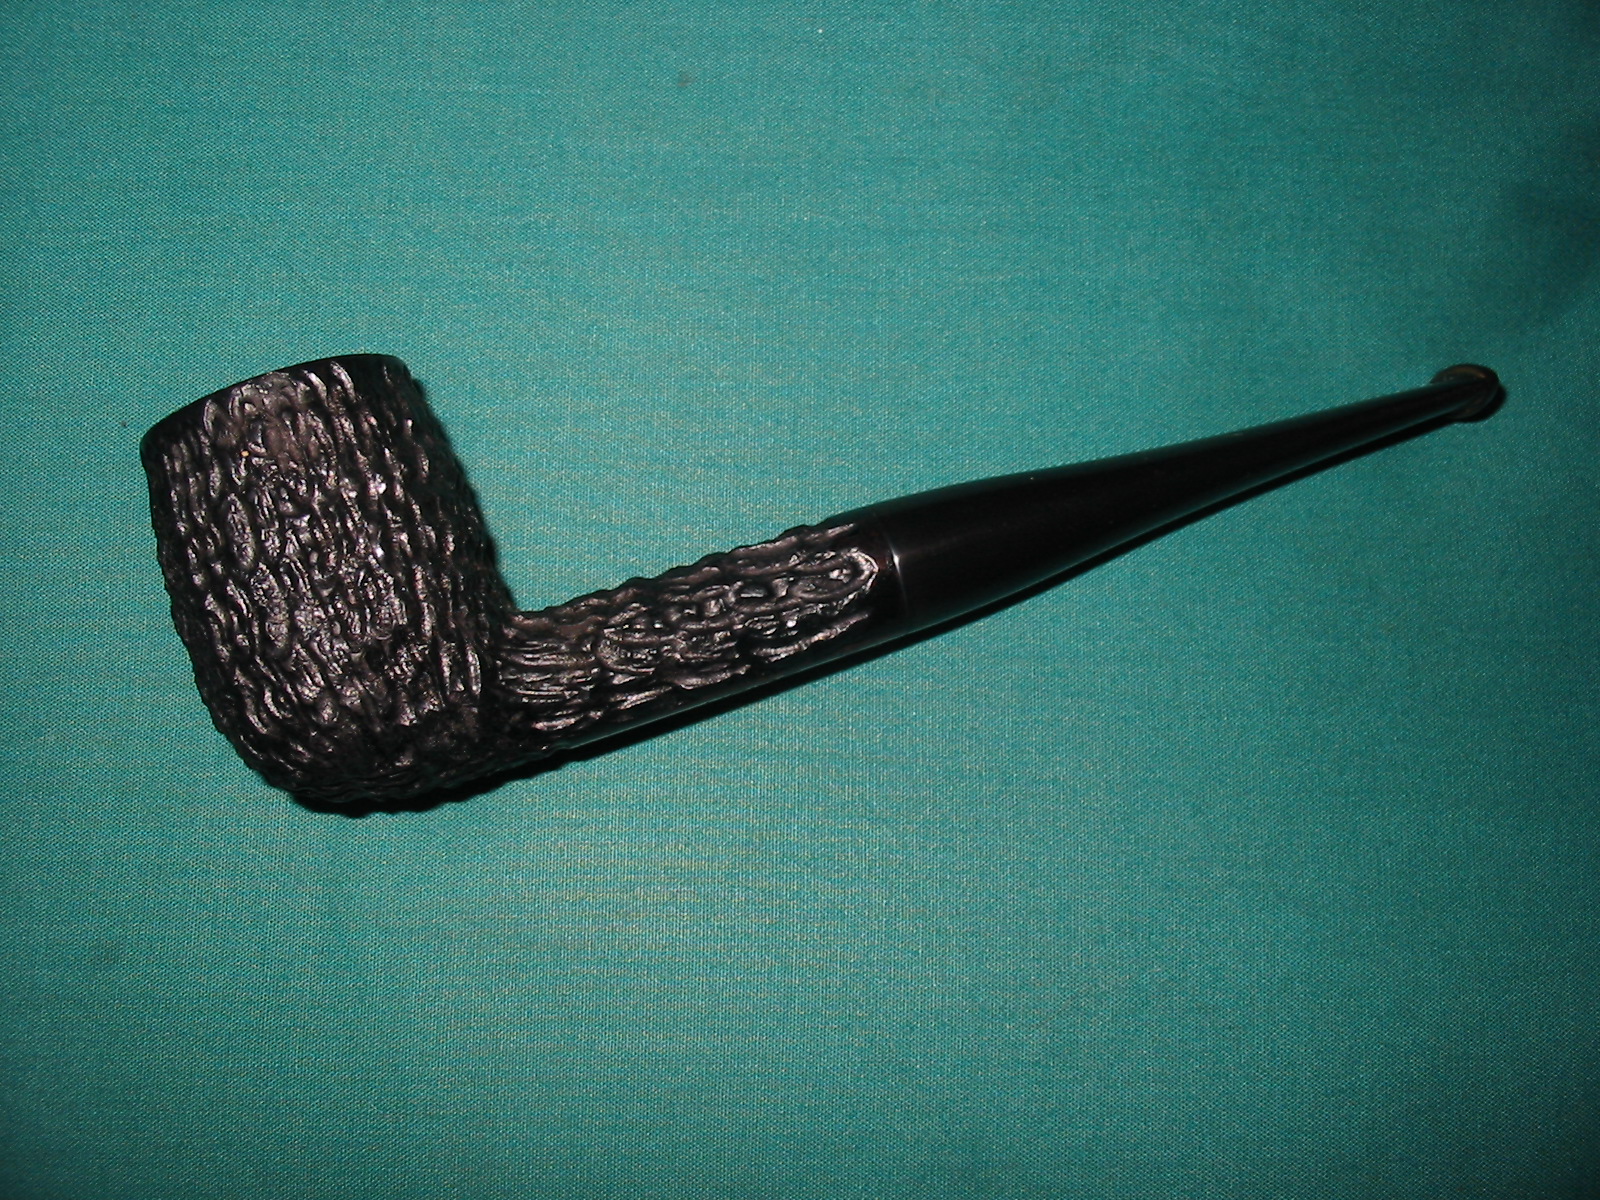
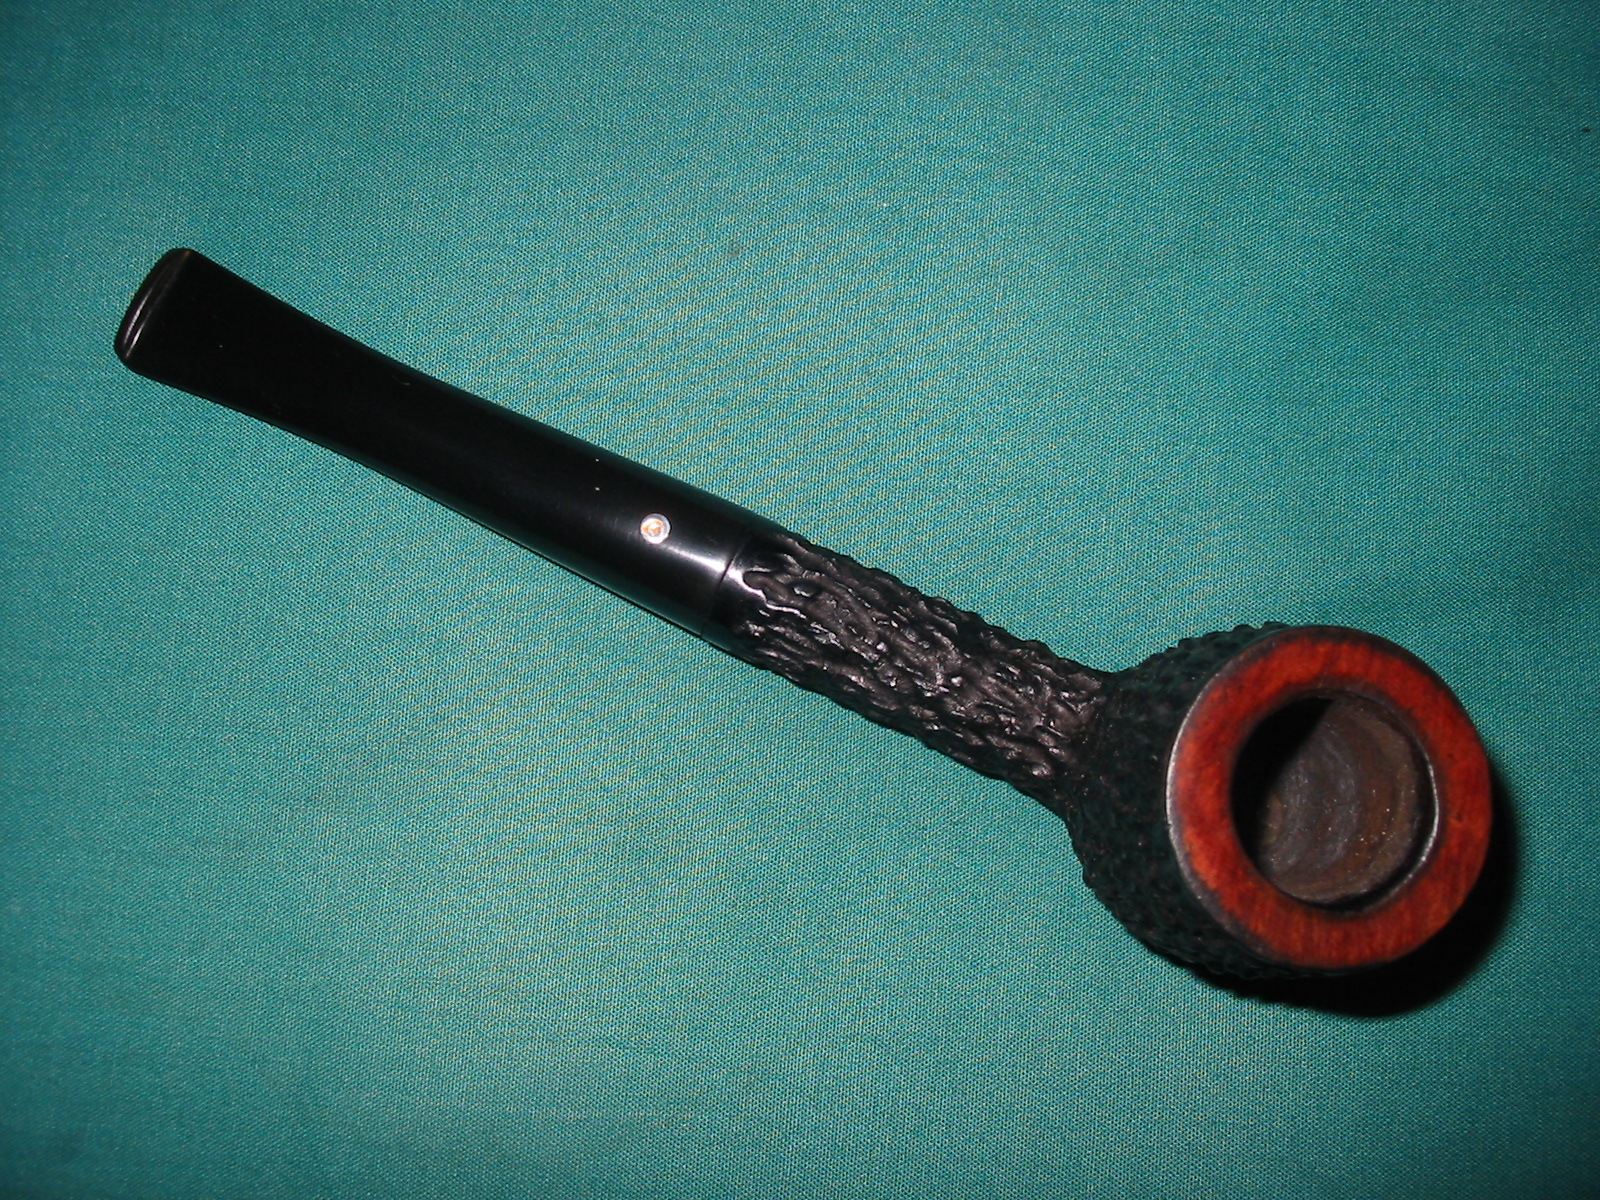
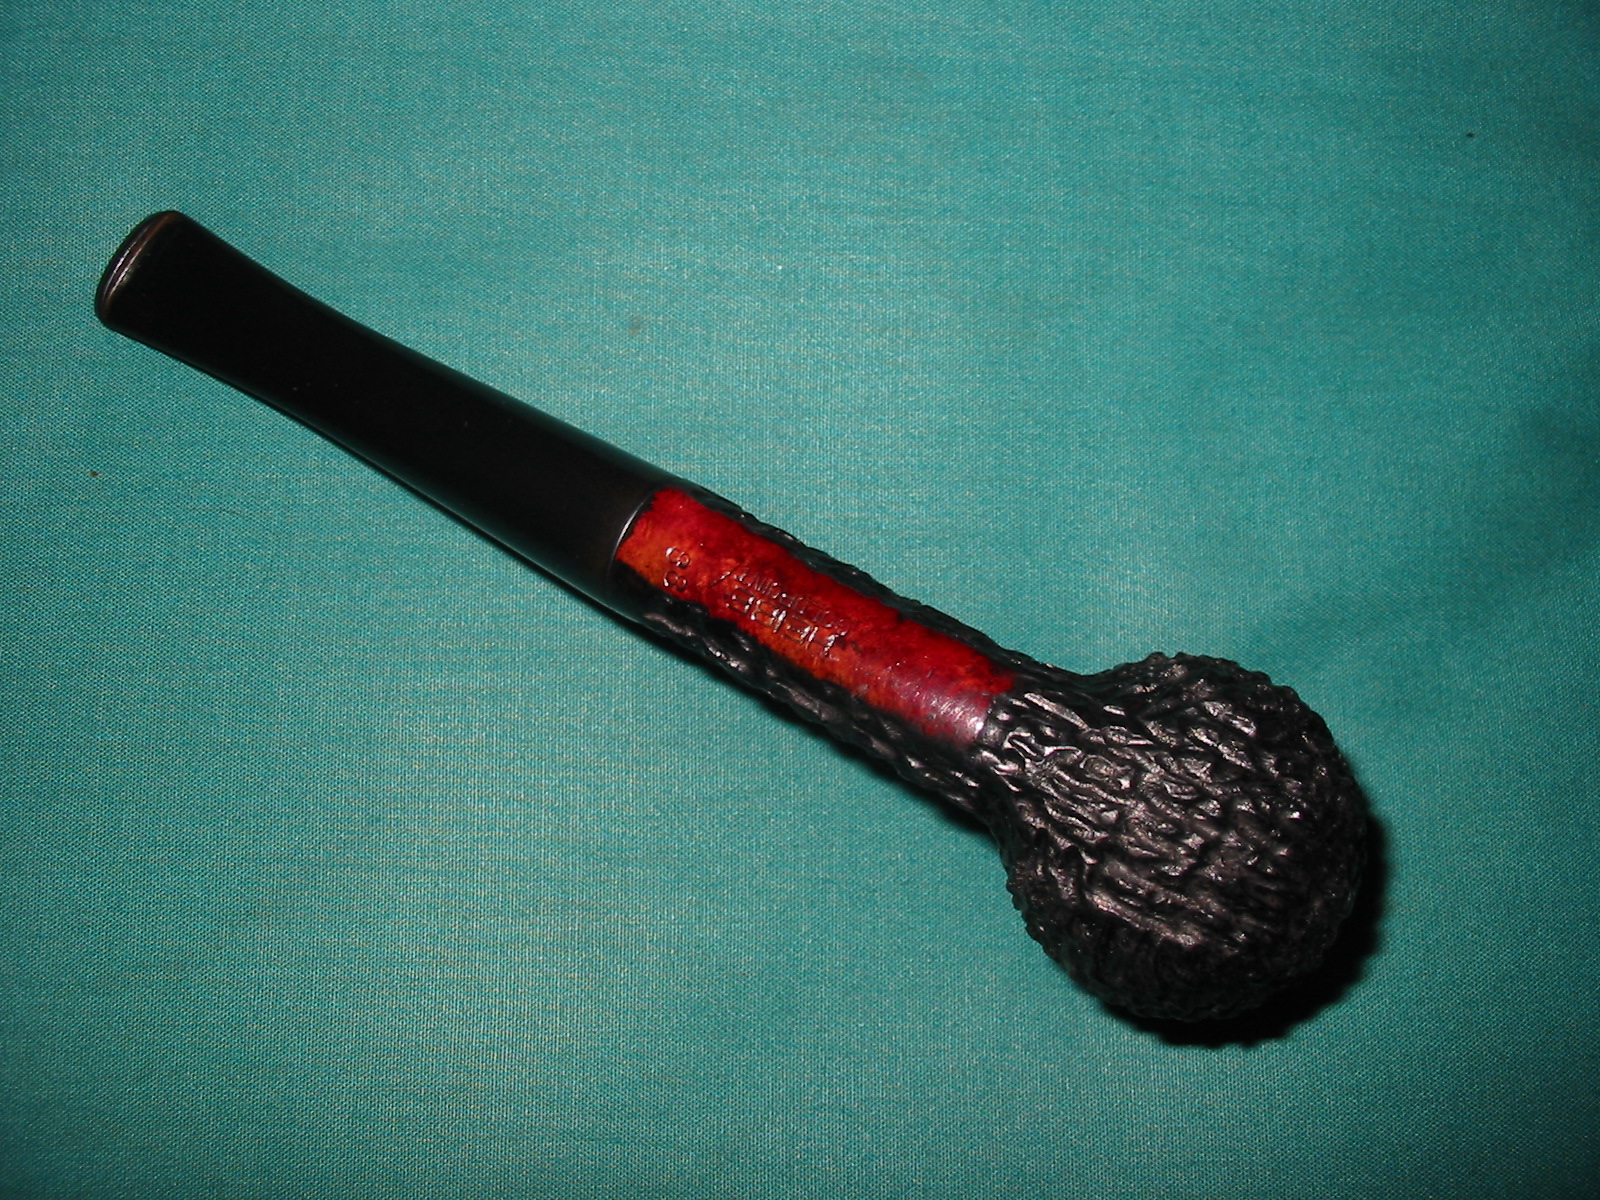
Heibe is a German brand of pipe made by pipe maker Erich Heikaus; Bergneustadt, Germany in the 1970’s. The stamping is on the smooth bottom of the shank and it reads HEIBE over Gold Point and to the right of that stamping is stamped 88. I am guessing that is the shape number. It has an ebonite stem with a gold point in the top of it. The point swirls and gives an attractive look to the stem. The stem was oxidized and had some tooth chatter and a tooth mark on the top and underside of the stem. The stem was also loose fitting. The bowl was caked but not evenly and the cake seemed to be very soft. The rim was a bit darkened but no burn marks and the inner rim was still round. The bowl finish is rusticated with a tree bark like rustication and the stain was black. The rim and the smooth spot on the underside of the shank were stained oxblood. The finish was dirty and in spots the stain was missing and the briar was showing through – particularly on the edges of the rim and on the shank near the stem. Some of the high points on the bark rustication were also showing briar through the stain. The original stain was black. The next series of four photos shows the state of the pipe when I started working on it this morning.

ImageImageImageImage

I decided to begin by scrubbing the bowl with Murphy’s Oil Soap and a soft bristle tooth brush that I have used for a long time to scrub deeply into the rustication patterns. Once I scrubbed it thoroughly I rinsed it off under warm water in the sink. I do not leave it under the water long, just enough to scrub off the soap and get it cleaned. I then dry it off with a soft cotton cloth and wipe out any water than got in the bowl with a cotton swab. The first picture below shows the pipe scrubbed and covered with the oil soap. The tooth brush in the photos is the one I use to scrub the bowl. The next four photos show the bowl after I have rinsed it with warm water and dried it off. You can see where removing the grime and dirt from the bowl left the spots very visible that needed to be restained. The rim also cleaned up nicely.

ImageImageImageImageImage

After I thoroughly dried it off it was time to stain the bowl. I did a bit of research and found some estate Heibe pipes on a German estate pipe selling site. The finish on this one was normal for Heibe’s rustications and it states that it was stained black. With that information I decided to restain it with some black aniline stain. I used the dauber that came with the stain and applied it heavily to the rim and the bowl making sure that it went deeply into the crevices of the bowl and the shank. I would clean off the rim and the shank later and worry about staining them afterwards. I stained the bowl and flamed it with a Bic lighter, then restained and reflamed the bowl. The next series of three photos show the newly stained pipe.

ImageImageImage

Once it was dry I rubbed the stain off the rim and also off the shank smooth portion with a soft cloth and then with some alcohol on a cotton pad. I also buffed the bowl with White Diamond on the buffing wheel. The smooth portion on the shank cleaned up nicely and the finish of the oxblood stained came through well. The rim (fourth photo below) did not fare as well. I wiped it down with acetone and also more isopropyl but in the end I would need to use a soft sanding sponge to remove the black from the edges of the rim.

ImageImageImageImage

I set the bowl aside to let it dry thoroughly while I worked on the stem. I began by sanding out the tooth marks and the tooth chatter with 320 grit sandpaper until they no longer showed. I then used my medium grit sanding sponge to sand the entire stem and work on removing the oxidation. The first two photos below show the sanding sponge and the work that it did in removing the oxidation. The next two photos below show the stem after I wiped it down from the sanding with the sanding sponge.

ImageImageImageImage

I then used some Maguiar’s Scratch X2.0 and scrubbed the stem with my finger as I applied it and then rubbed it off with a cotton pad. The point was that I wanted to remove more of the scratches and also polish off some of the oxidation. The next two photos show the stem after polishing (forgive the first photo – somehow it blackened on the right edge but you can still see the polish that is happening around the logo).

ImageImage

After polishing with the Maguiar’s you can see the oxidation on the stem particularly on the tenon end. It extends about an inch back toward the button and was also in the crease of the button. It was time to sand the stem with the micromesh sanding pads. I wet sanded the stem with 1500 and 1800 grit micromesh pads. The next three photos show the stem in process and after the sanding. I finished wet sanding and then wiped the stem down. I then dry sanded the stem with the remaining micromesh pads from 2400-12,000 grit. I used the Maguiar’s a third time to polish the stem and then buffed it with White Diamond on the buffer. Once I had finished buffing I wipe the stem down with Obsidian Oil and set it aside to dry.

ImageImageImage

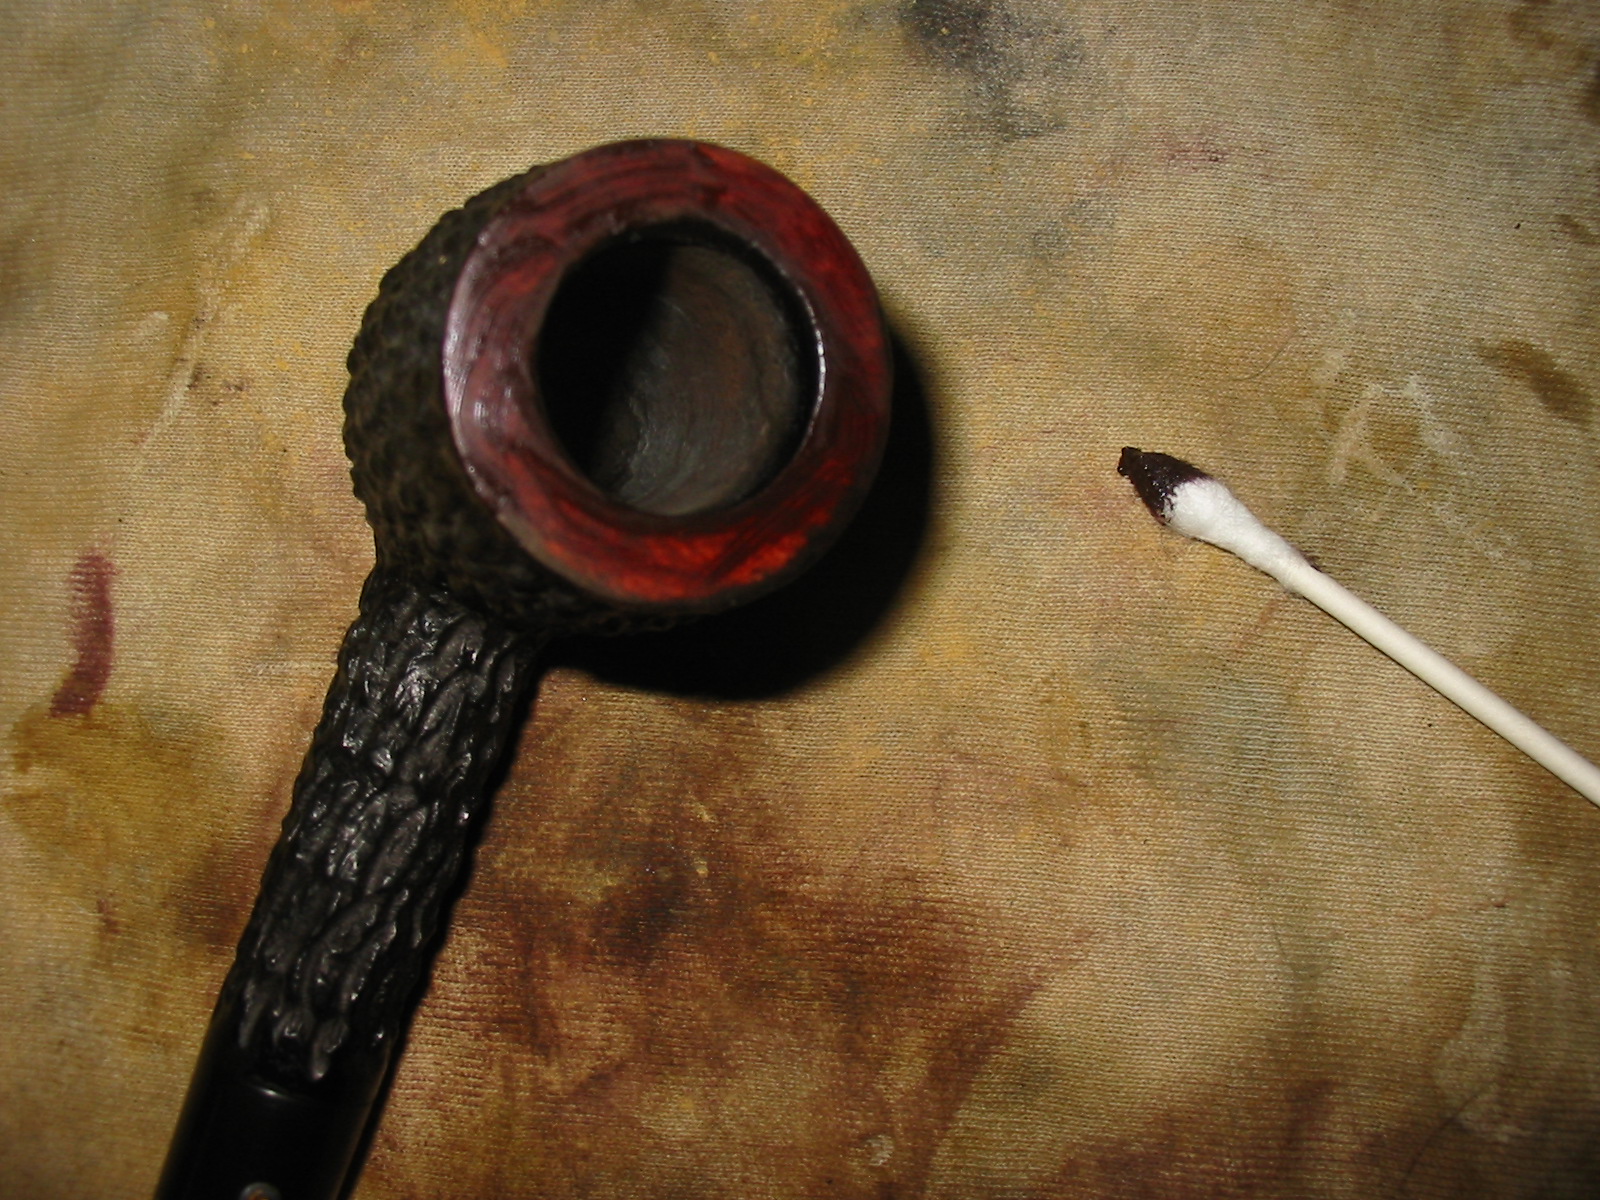
The next series of four photos show the finished stem. I reinserted it in the bowl. The tenon fit was loose so I dripped superglue on the tenon and then sanded it back until the fit was snug. I gave the bowl and stem another buff with White Diamond. I coated the stem with carnauba wax and buffed it with a flannel buff. In the first photo below you can see that the rim needed some work. The stain just did not come back after the cleaning. I sanded it with the micromesh 3200 grit pad and then it was ready to be stained. The fifth picture below shows the restaining of the rim with a cotton swab and oxblood stain. I applied the stain with a cotton swab and then flamed it. I hand buffed it with a terry cloth towel I use for hand buffing and applied carnauba wax to the rim.

ImageImageImageImageImage

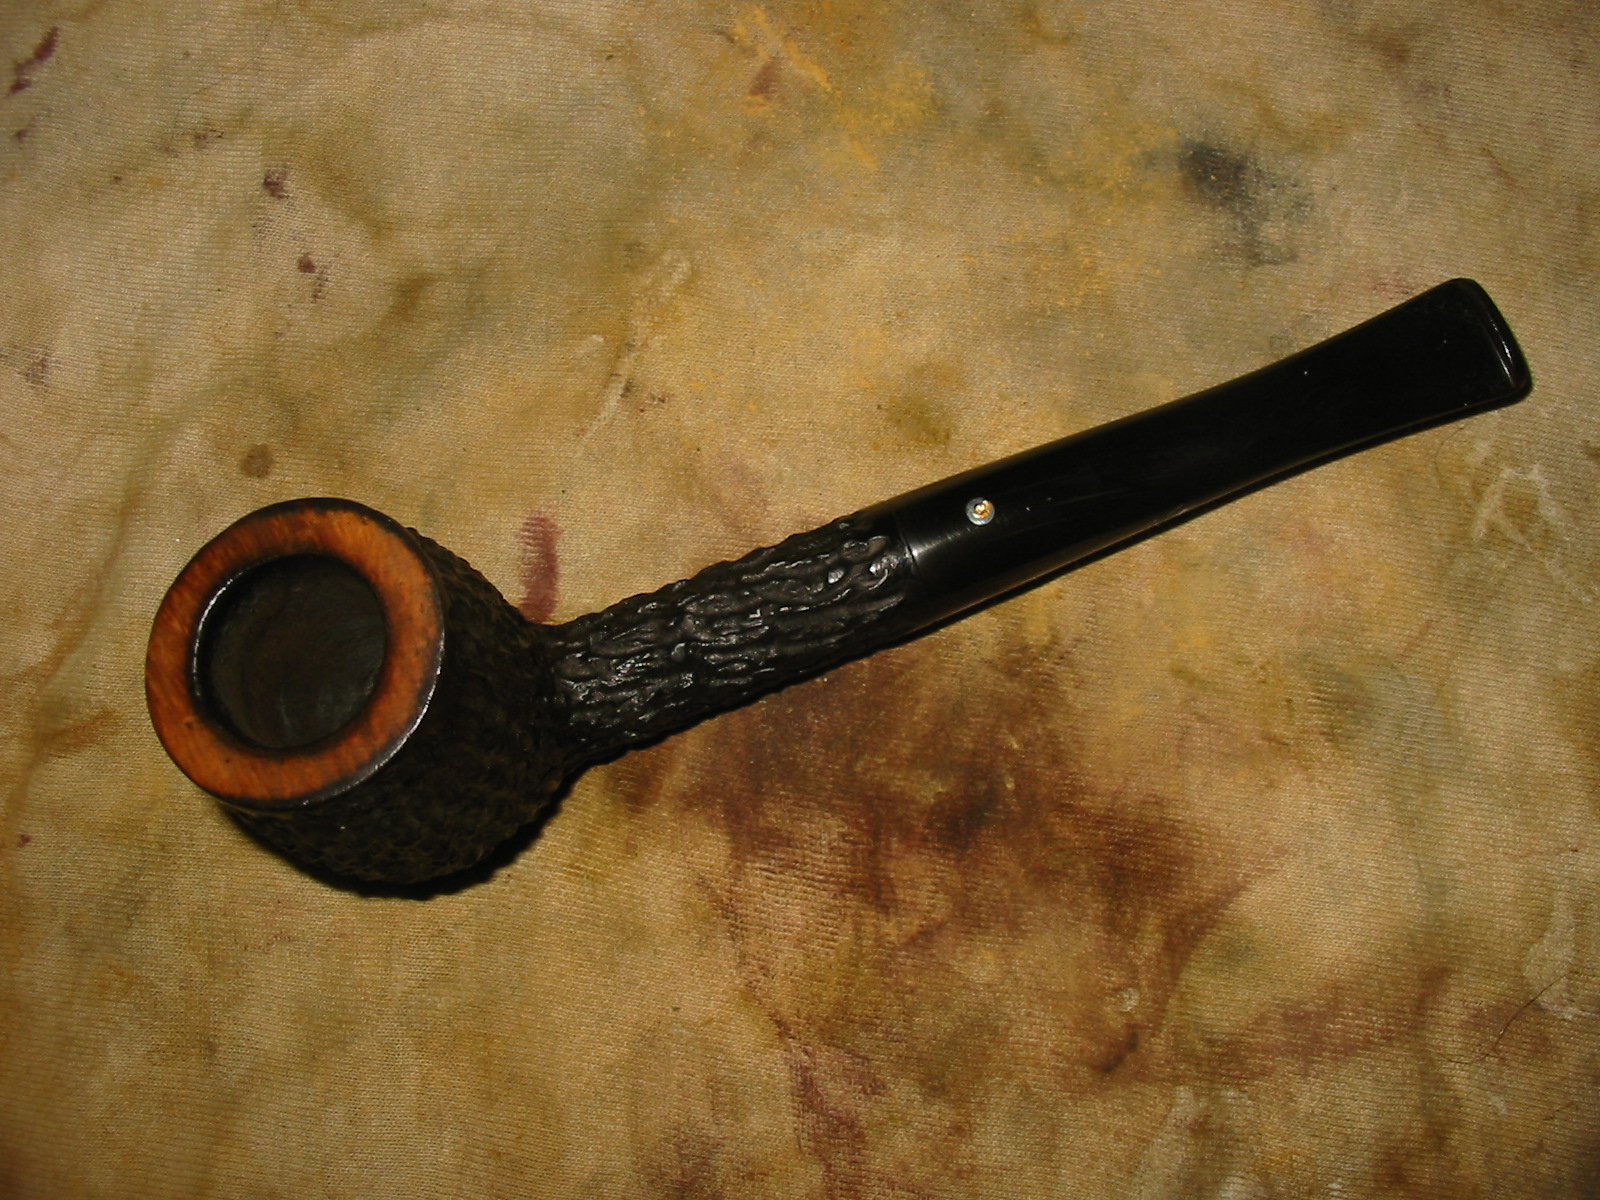
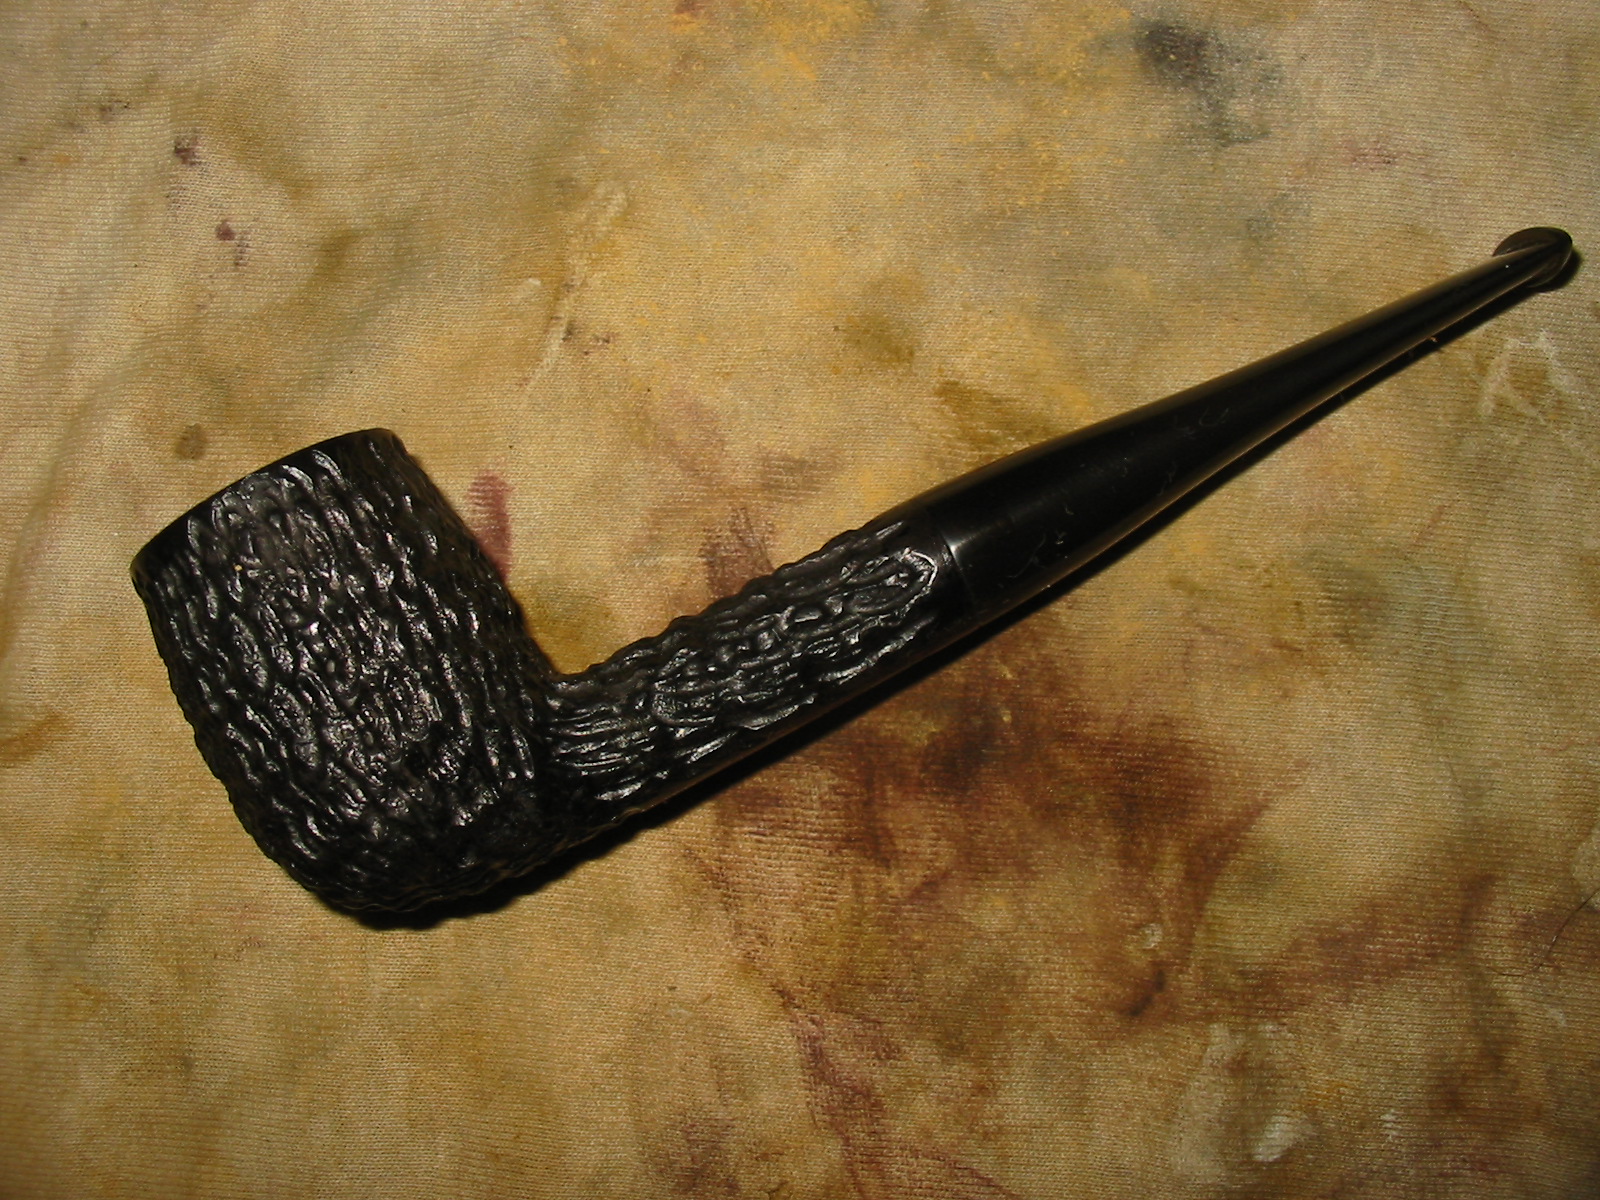
The final series of four photos show the finished pipe. The stain contrast came out very well. The black and the oxblood highlights look great. The stem shined up exceptionally well. It is a group four sized pipe and should smoke very well. It has a nice open draw. I know that some of the Heibe pipes were made for filters but this one is not fit for filters. It is just a normal push tenon. All in all it is a beautiful pipe.

ImageImageImageImage