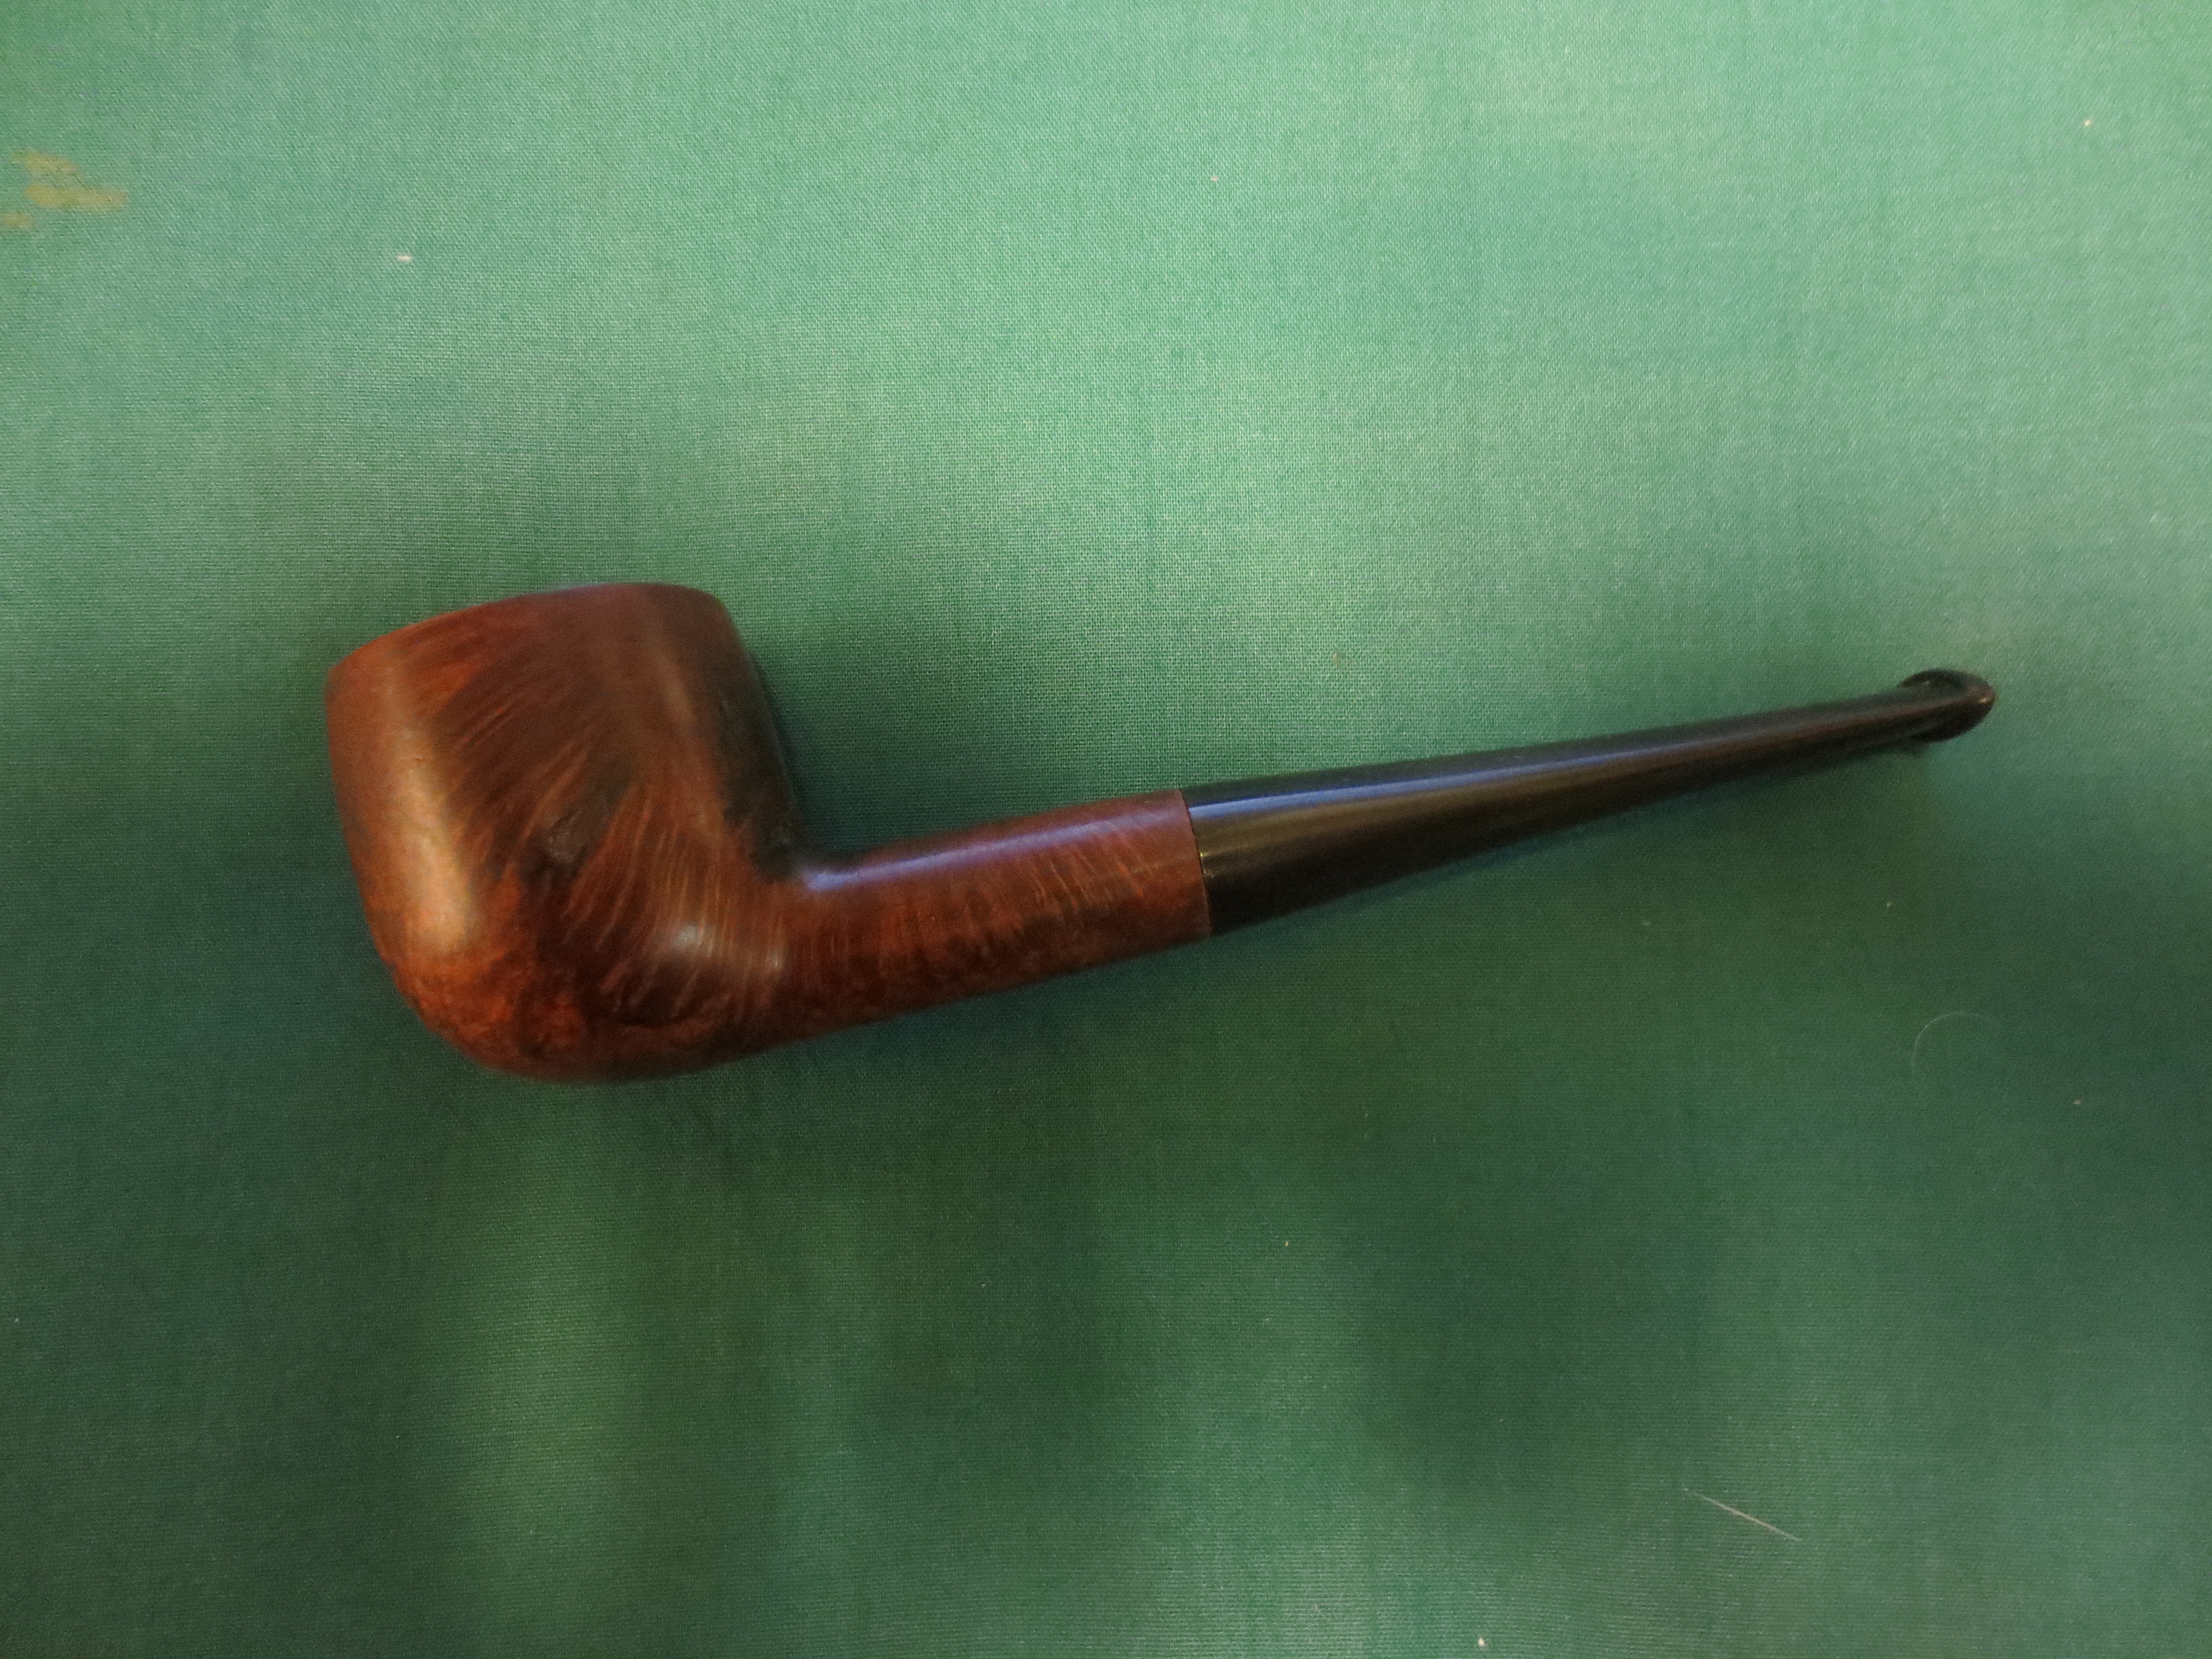
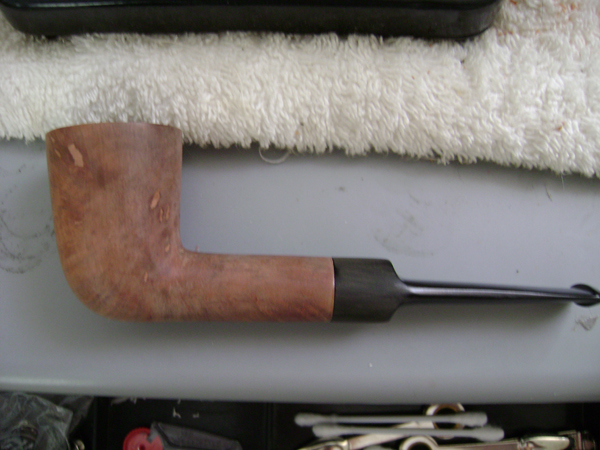
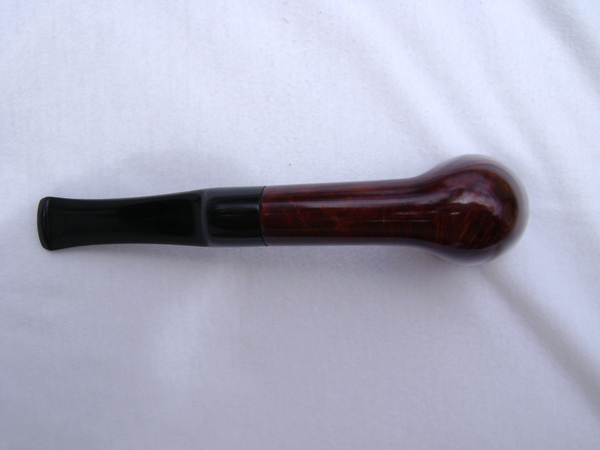
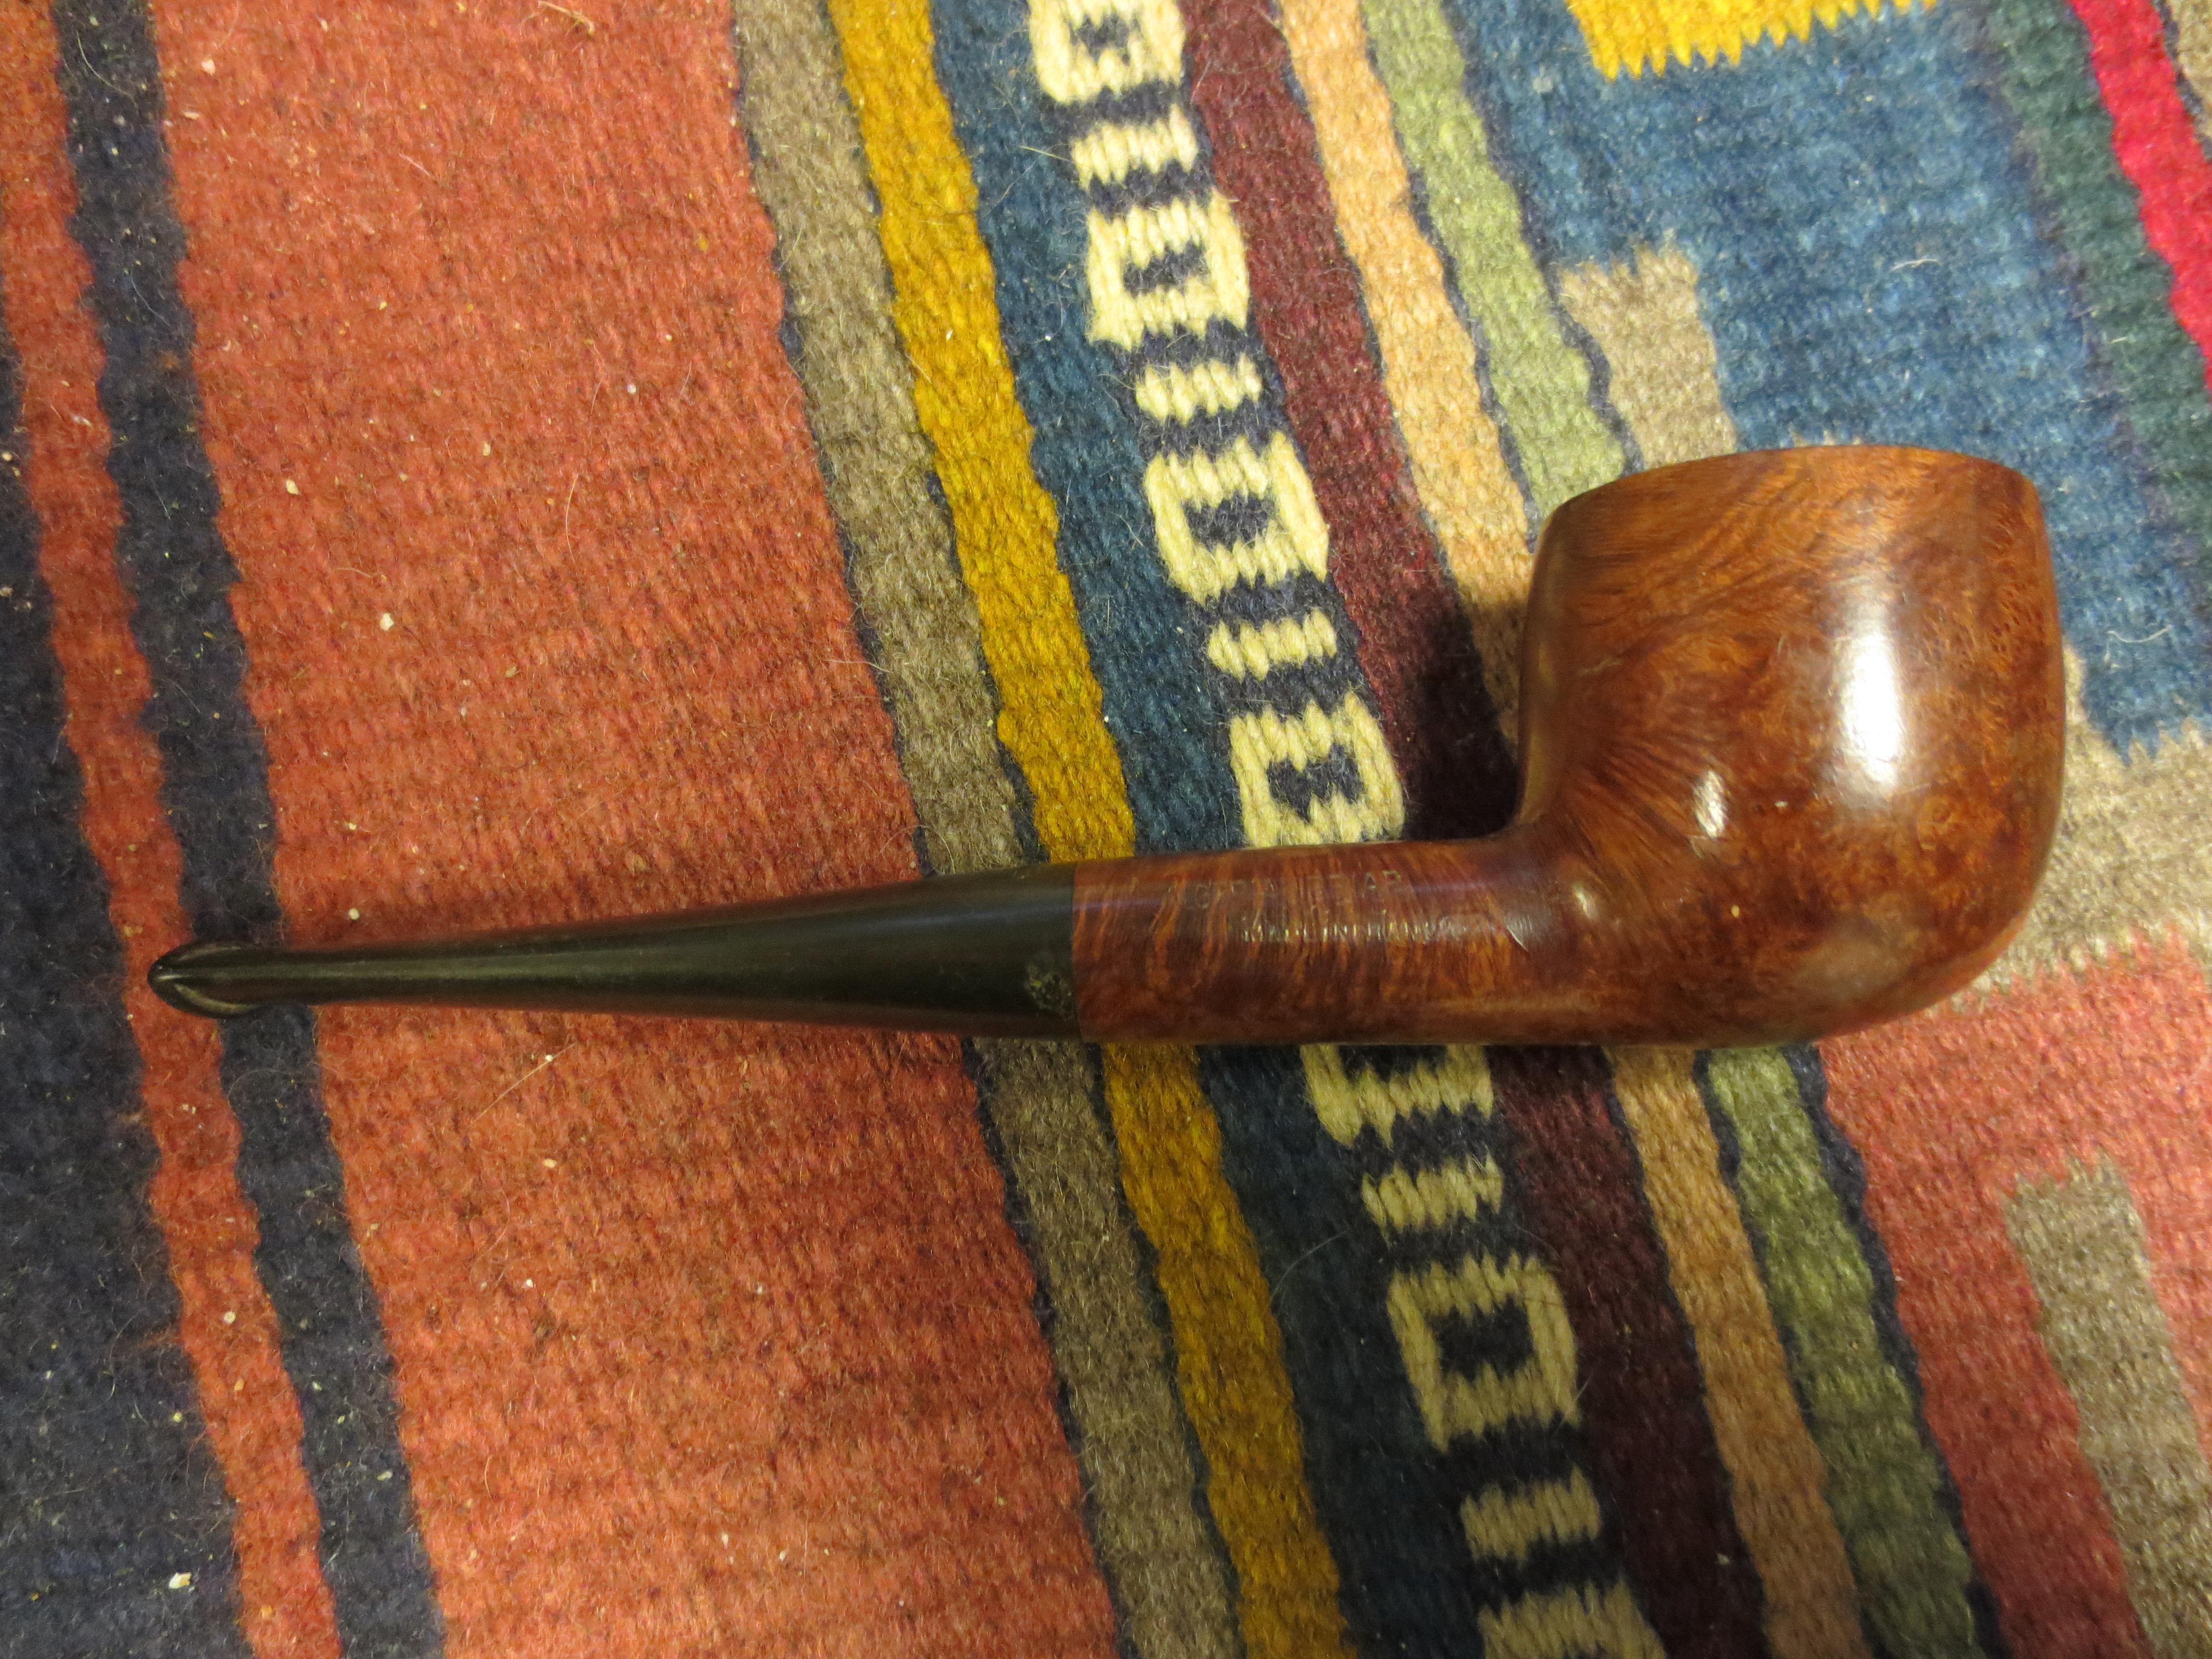
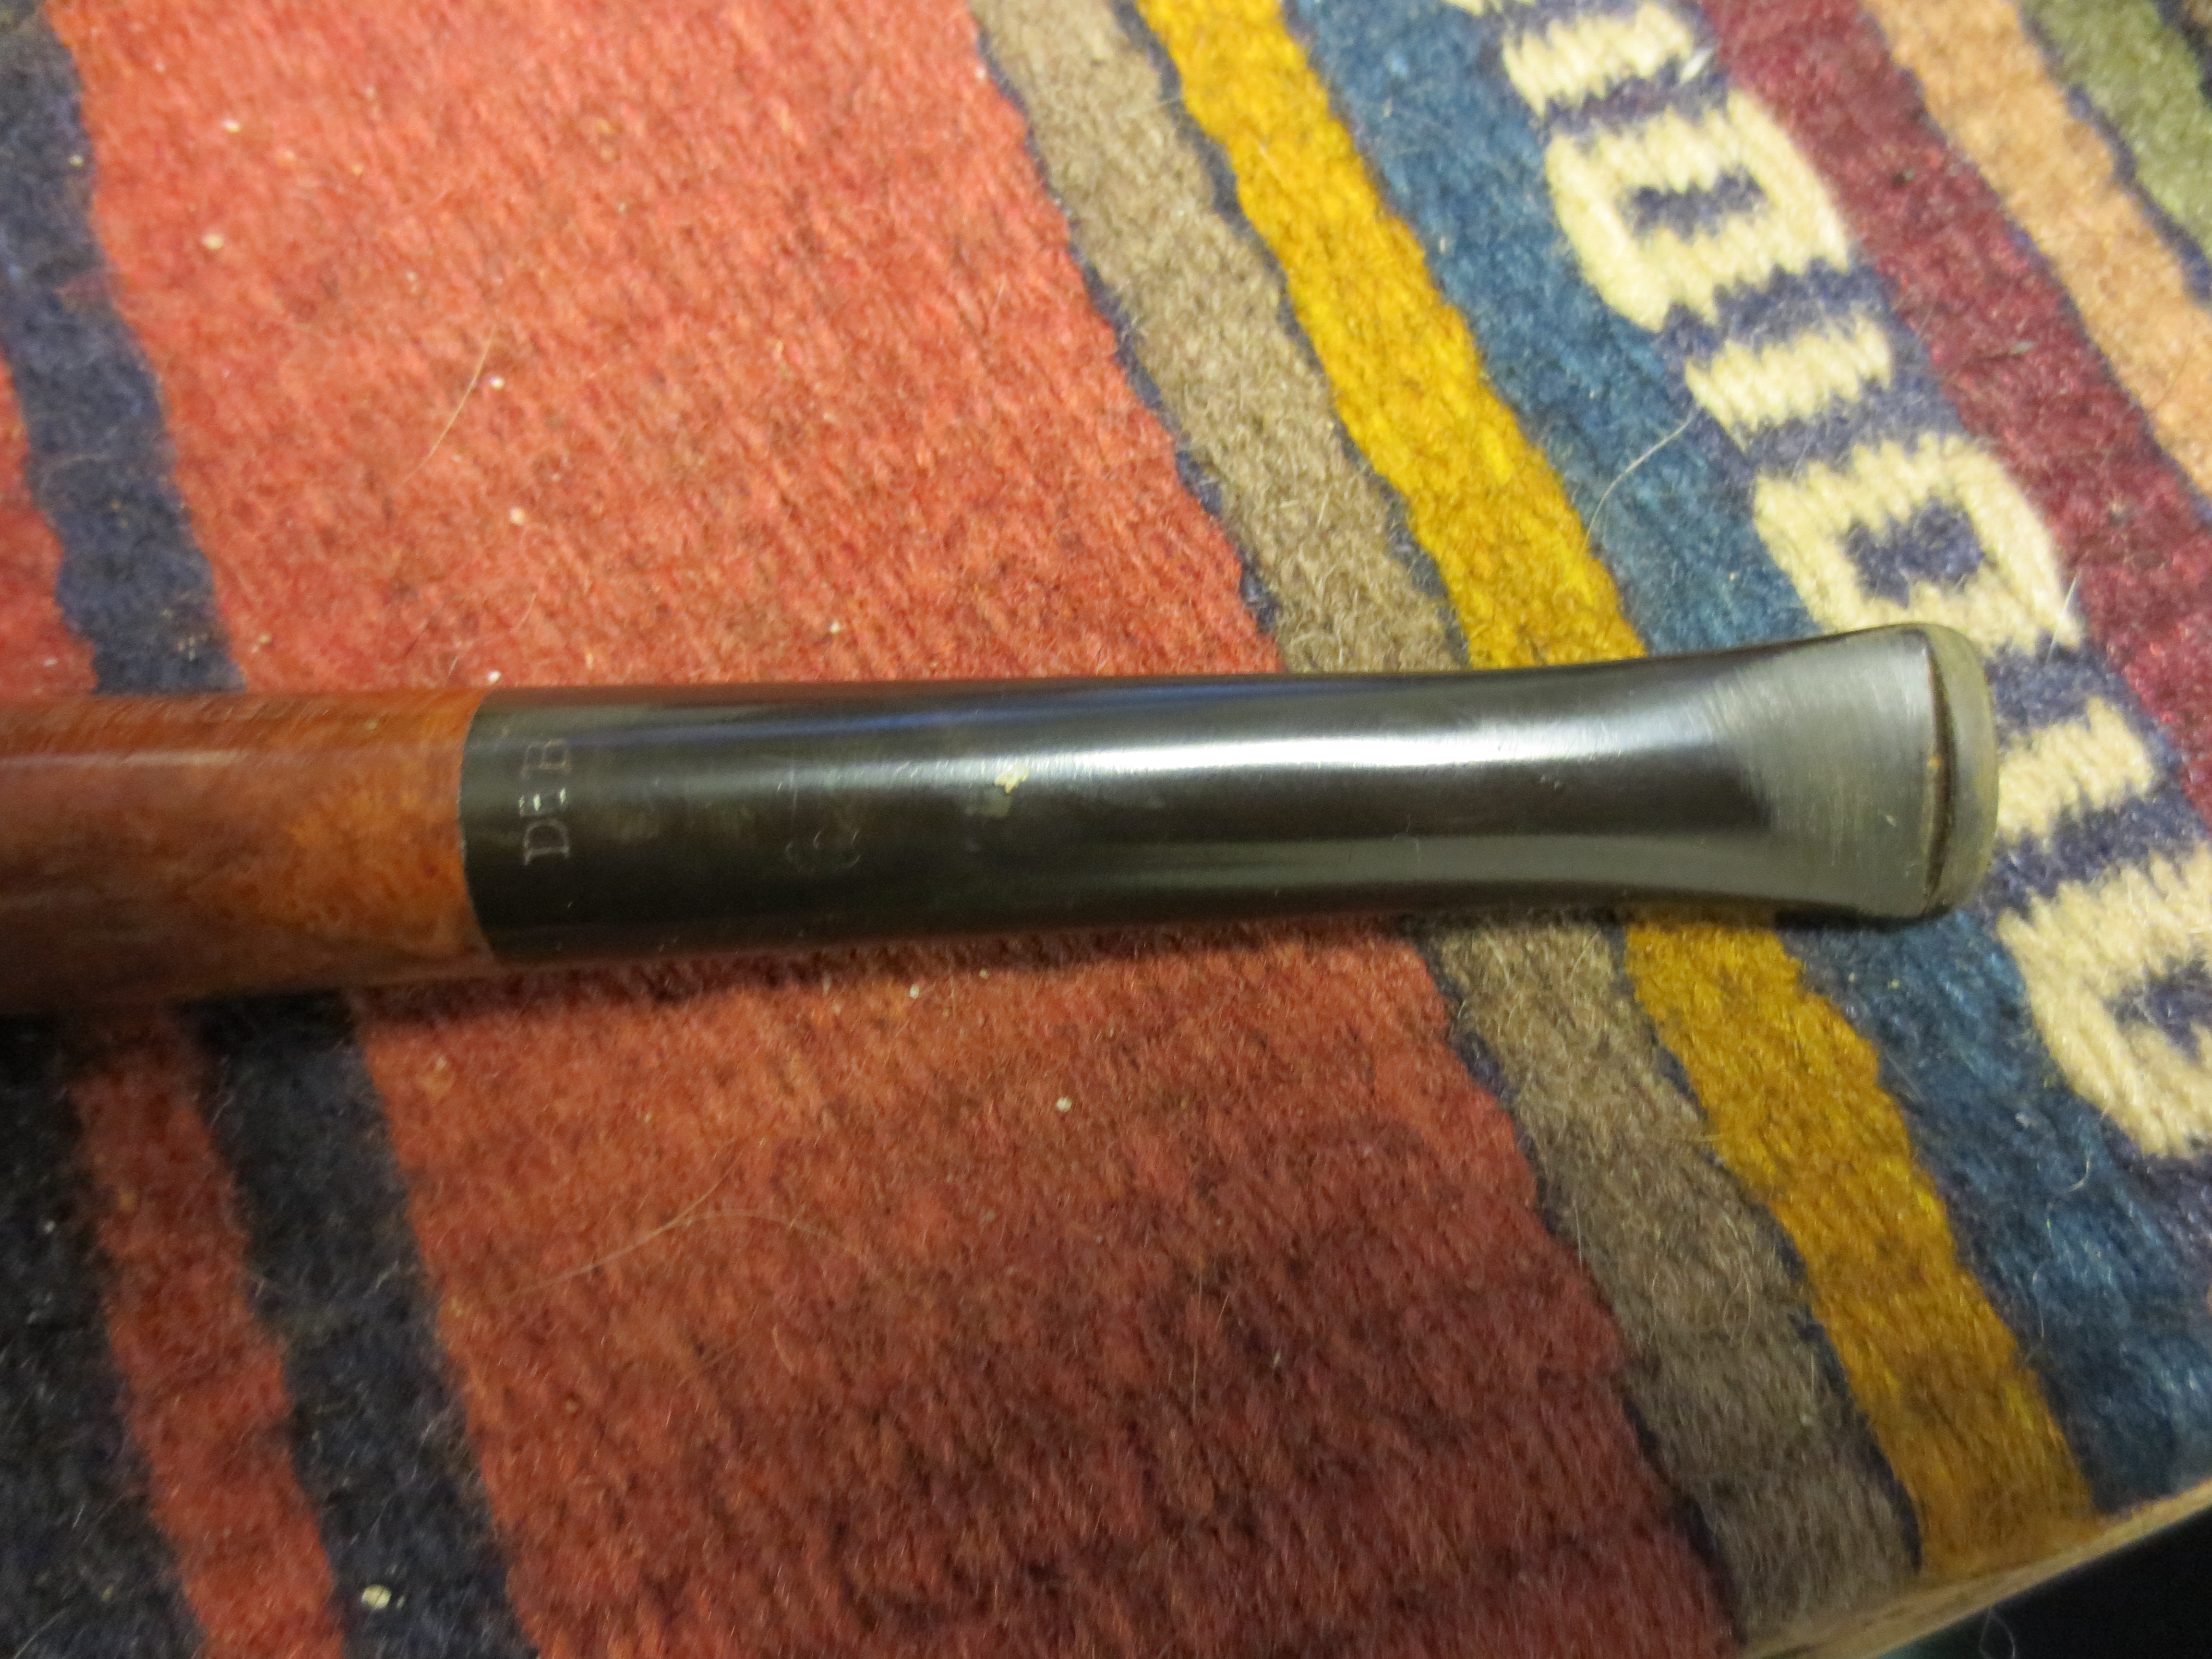
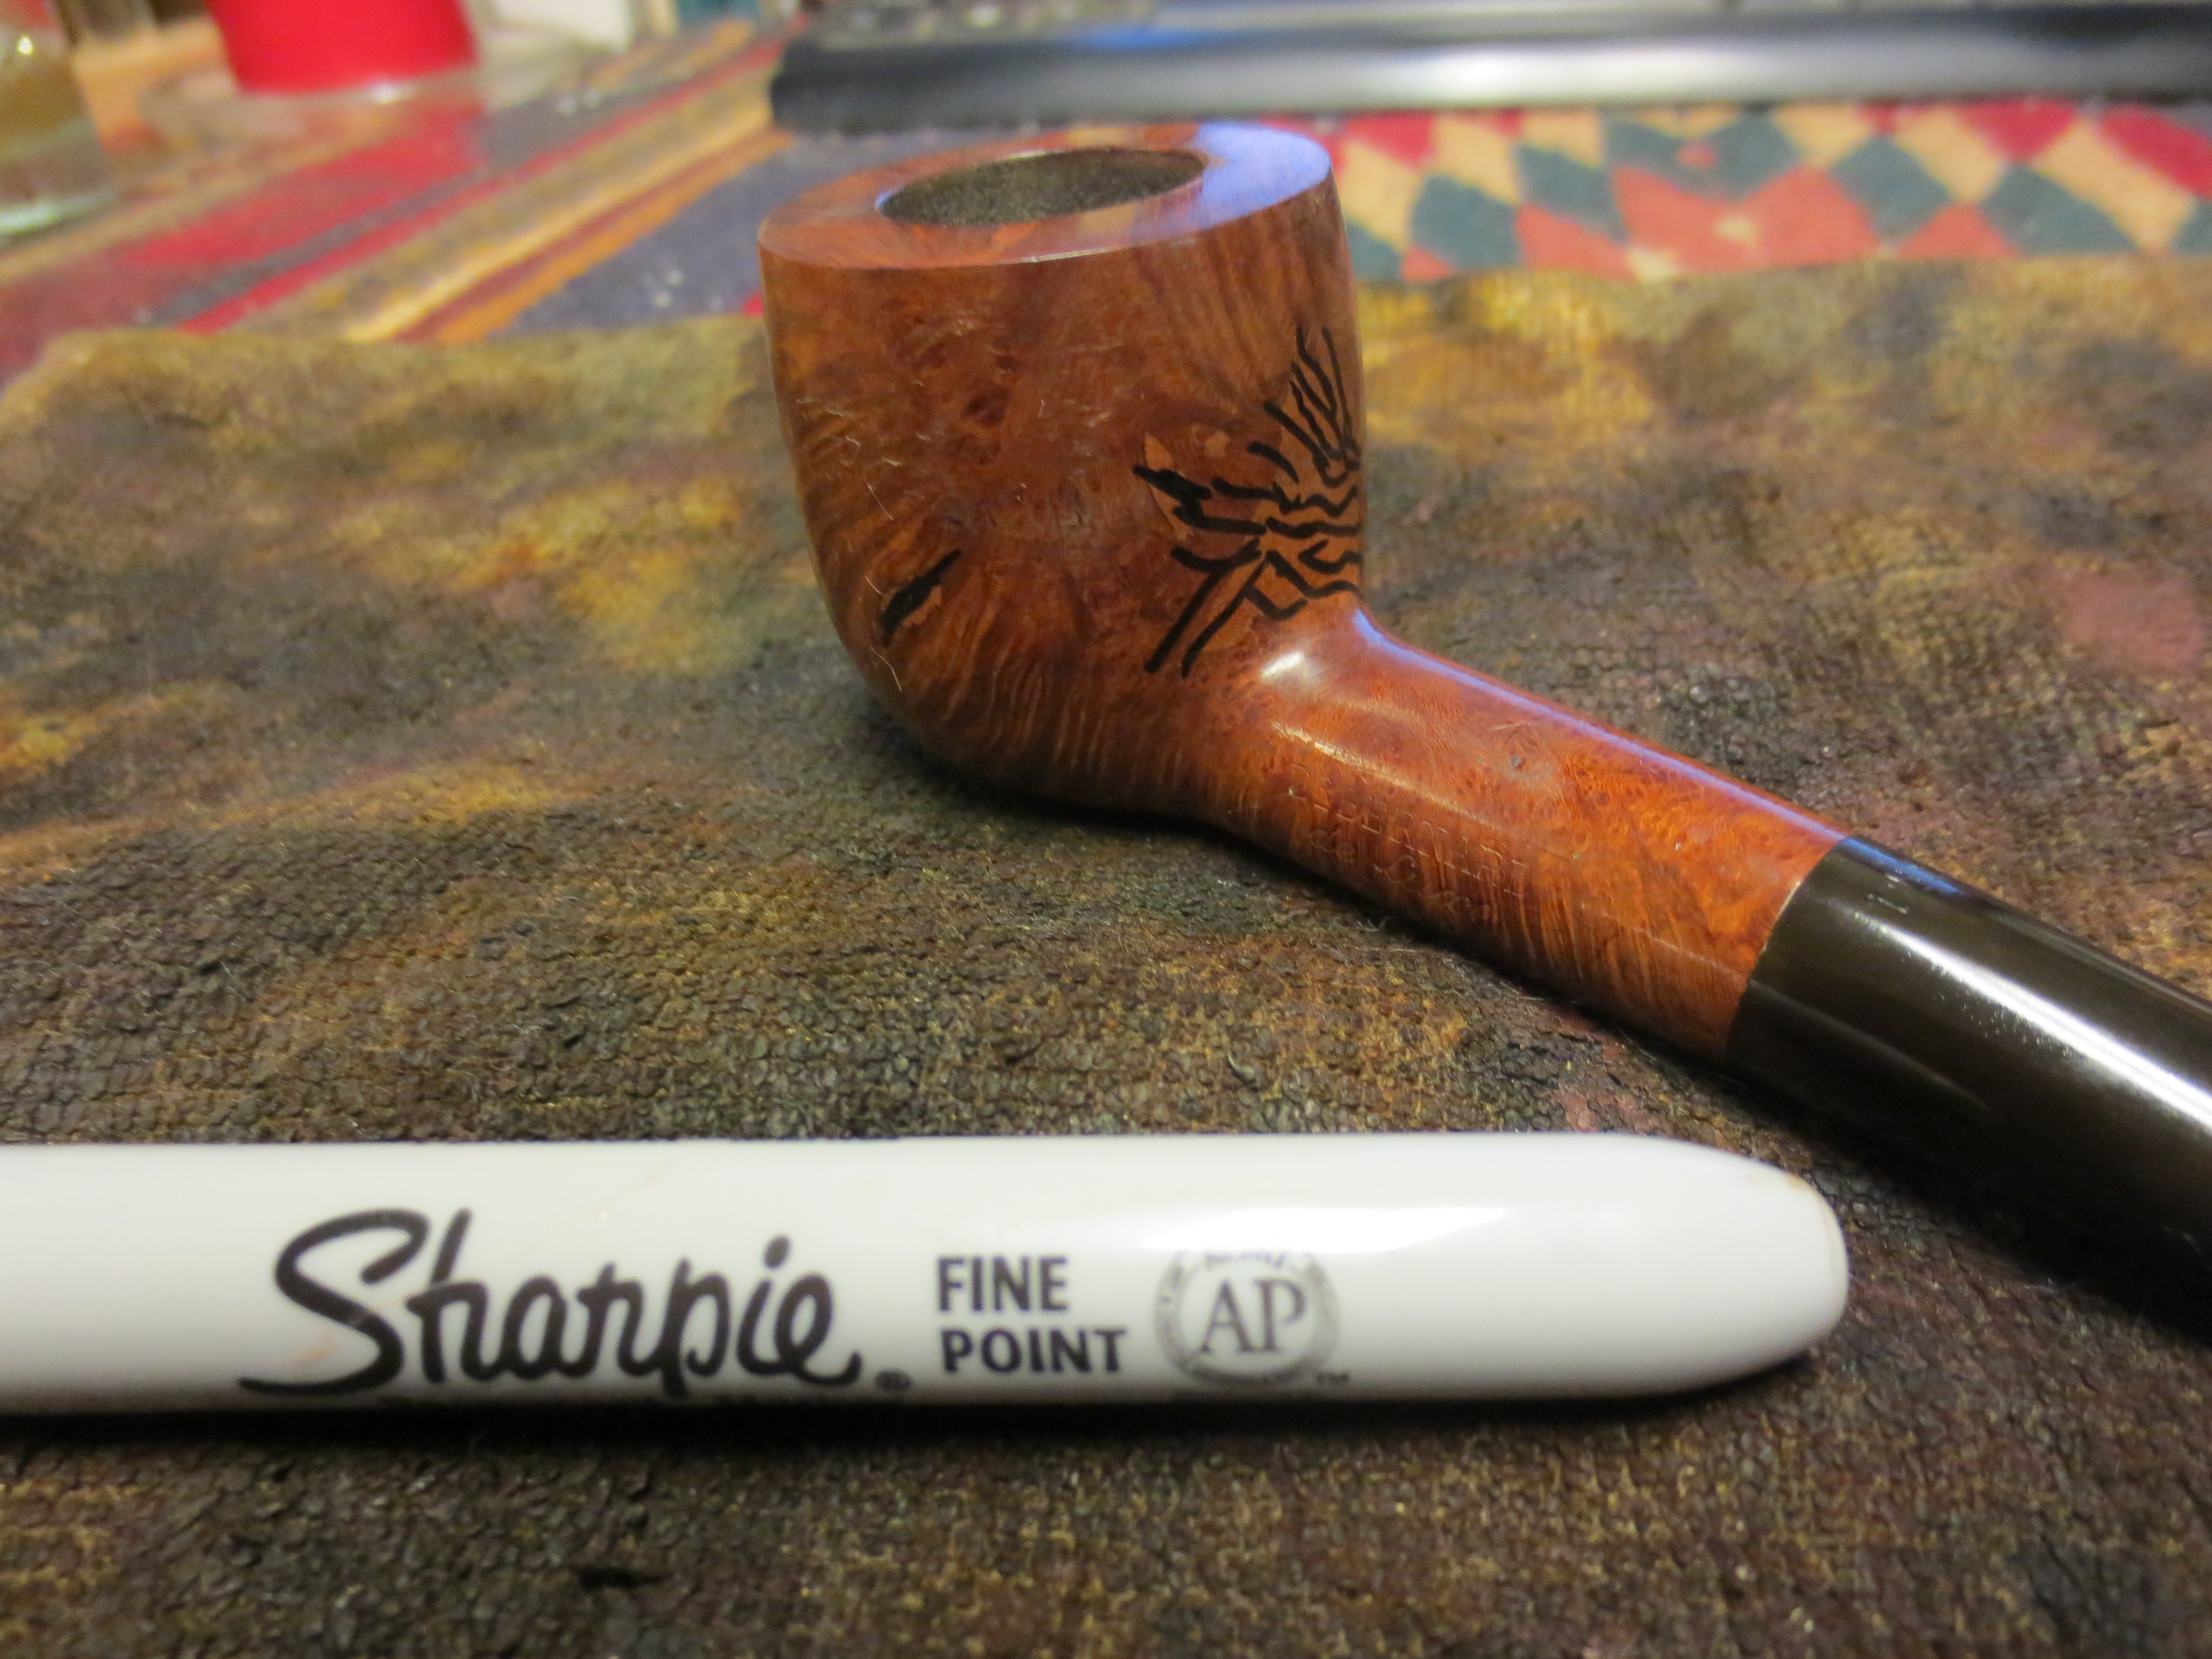
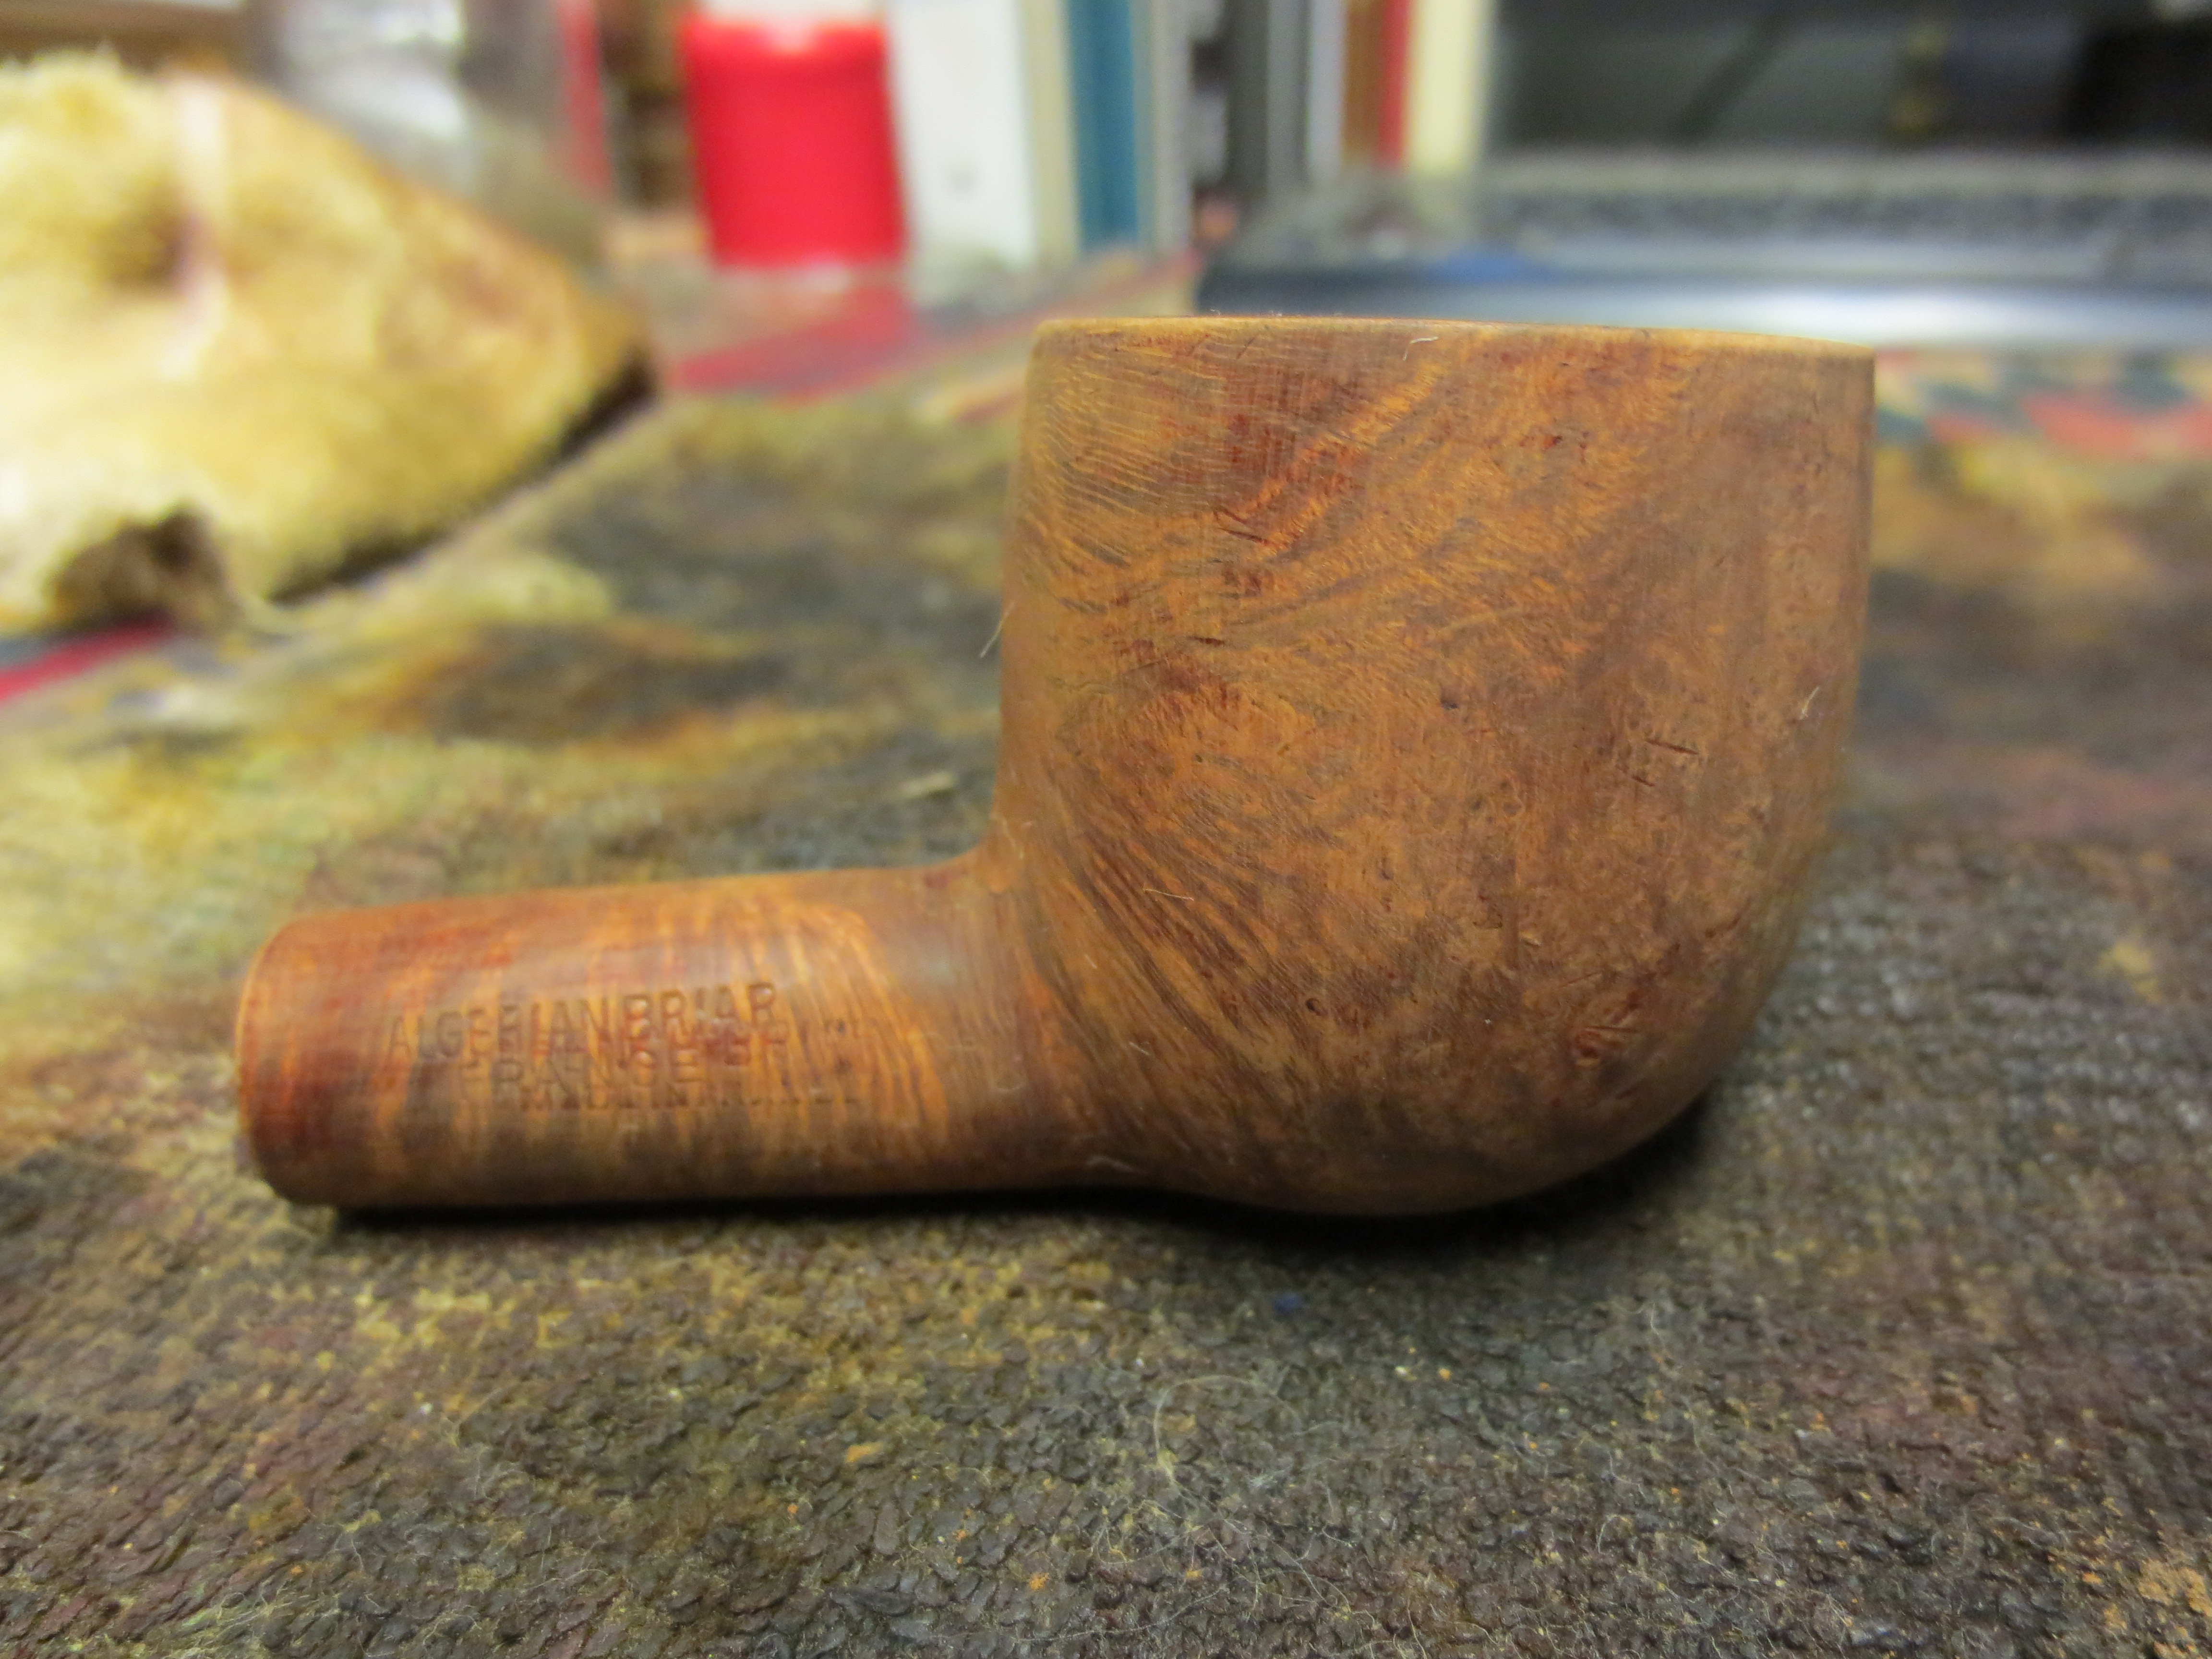
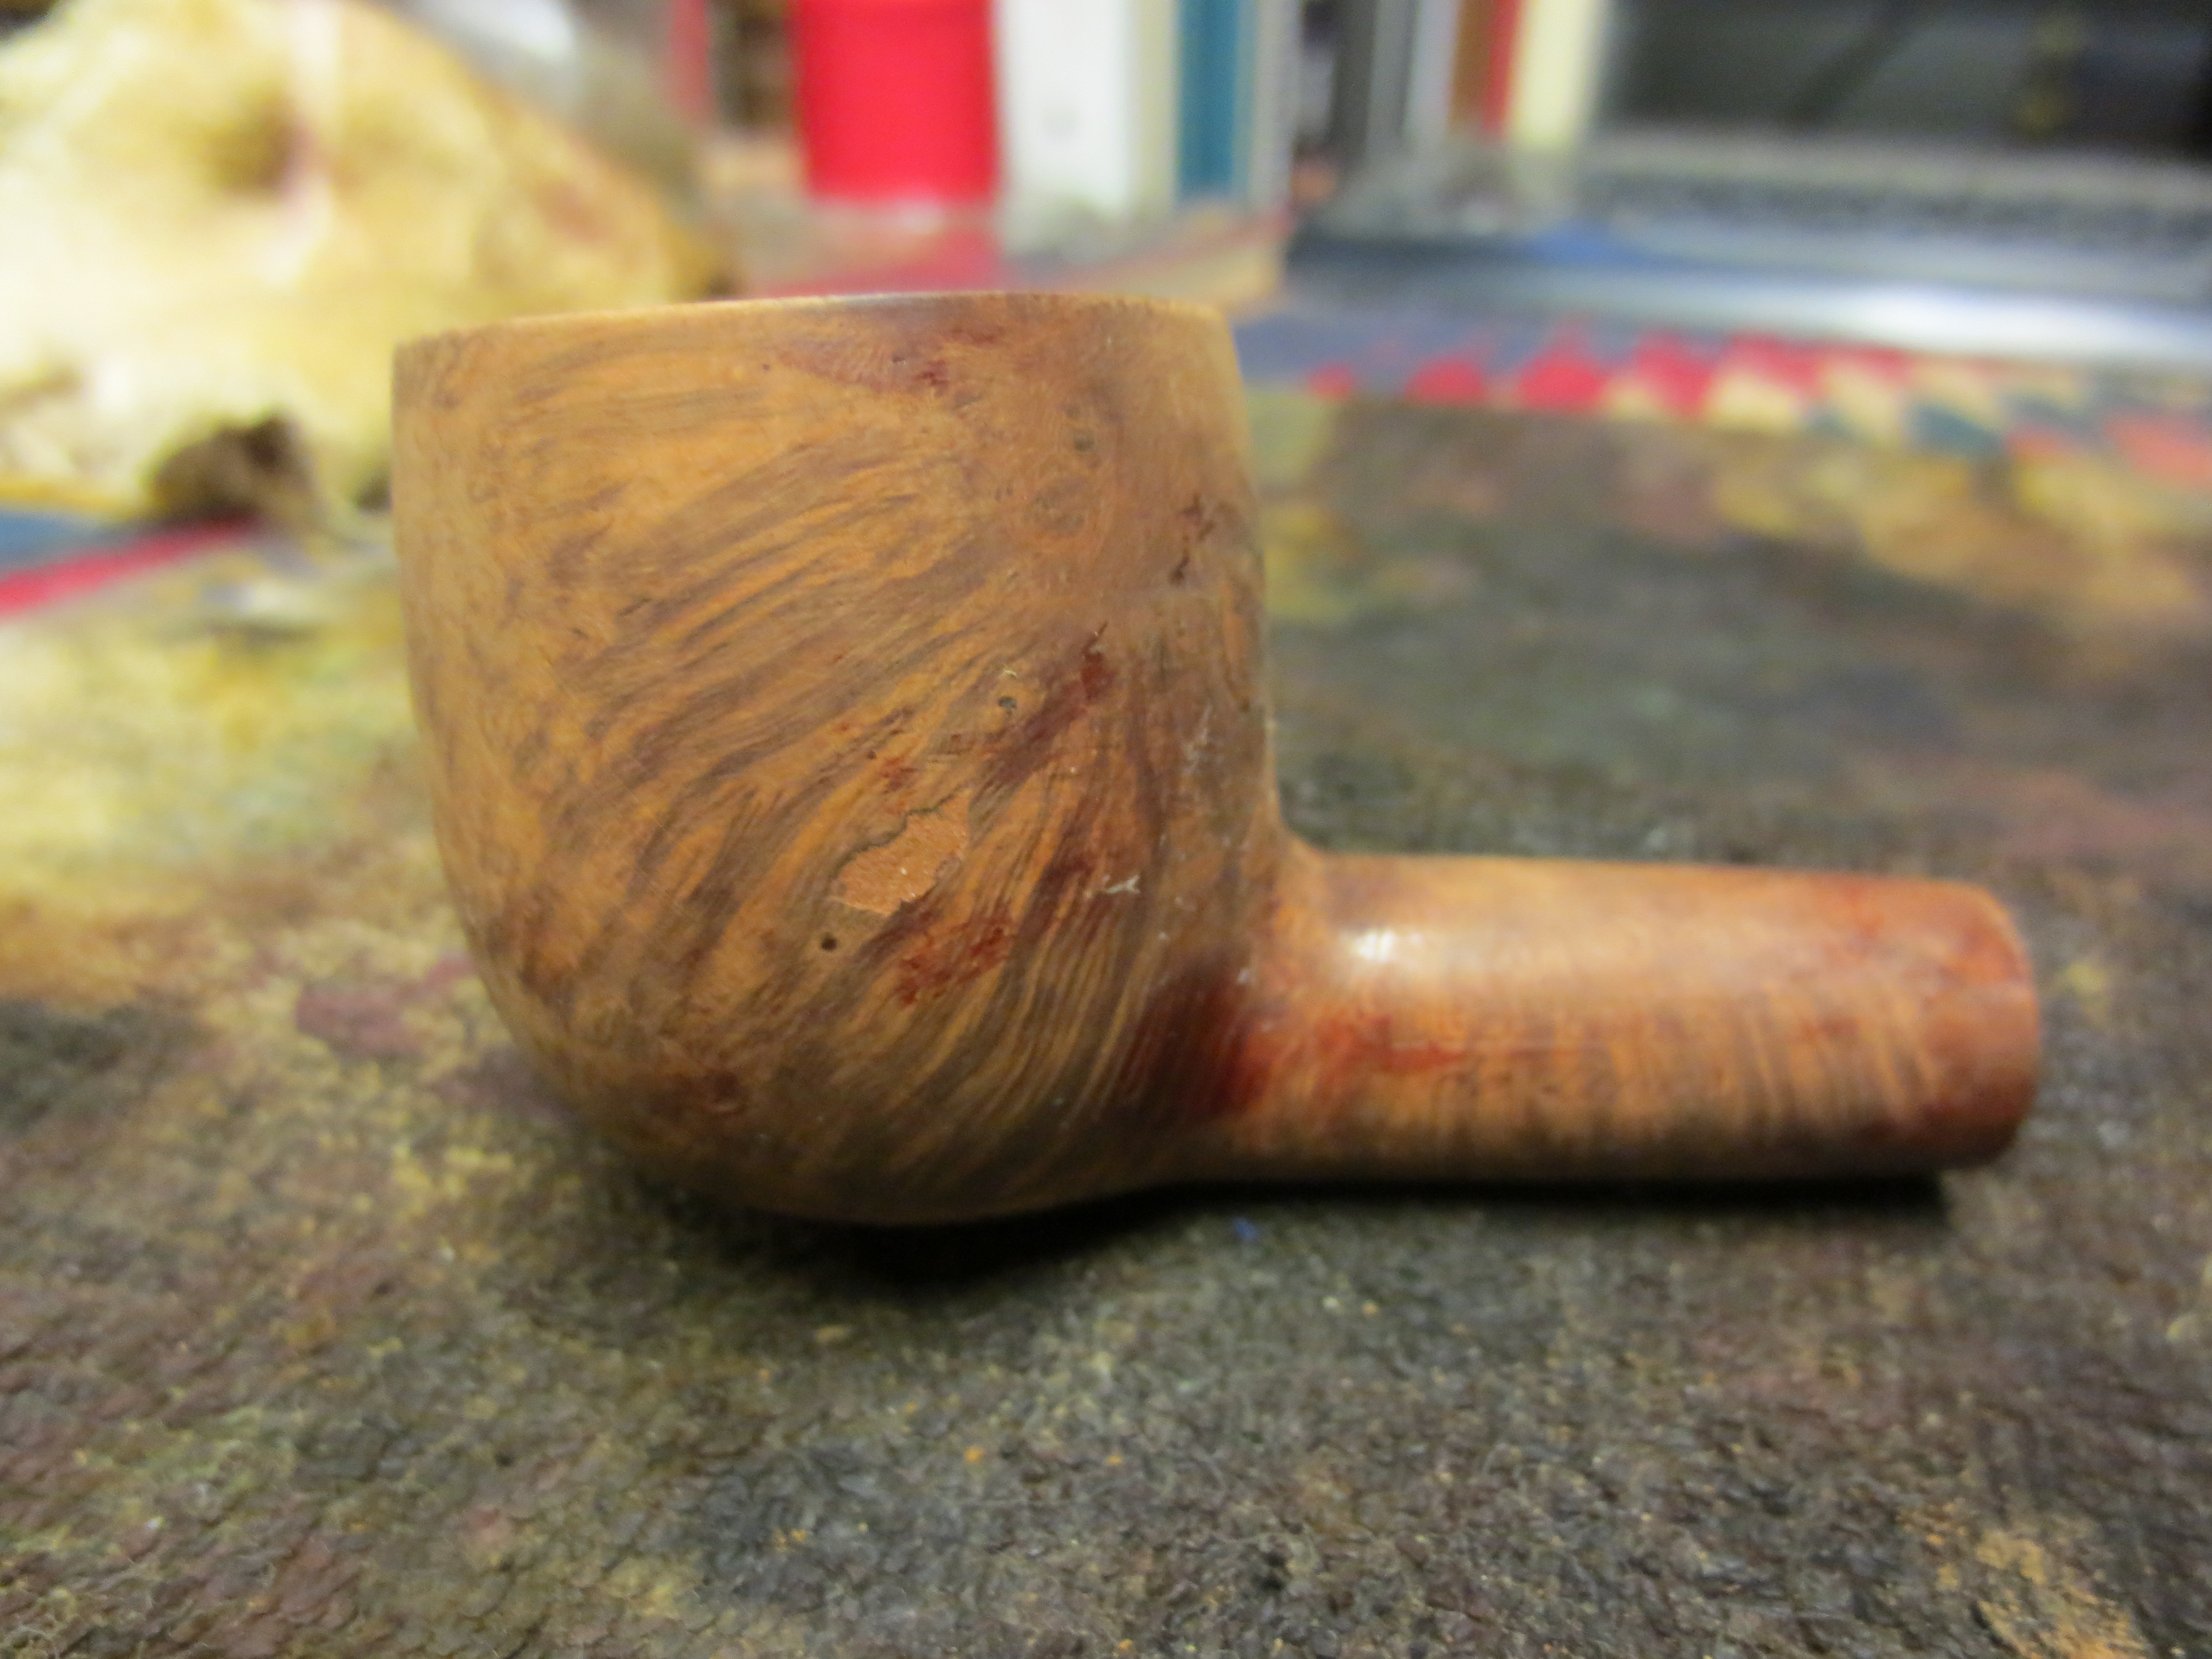
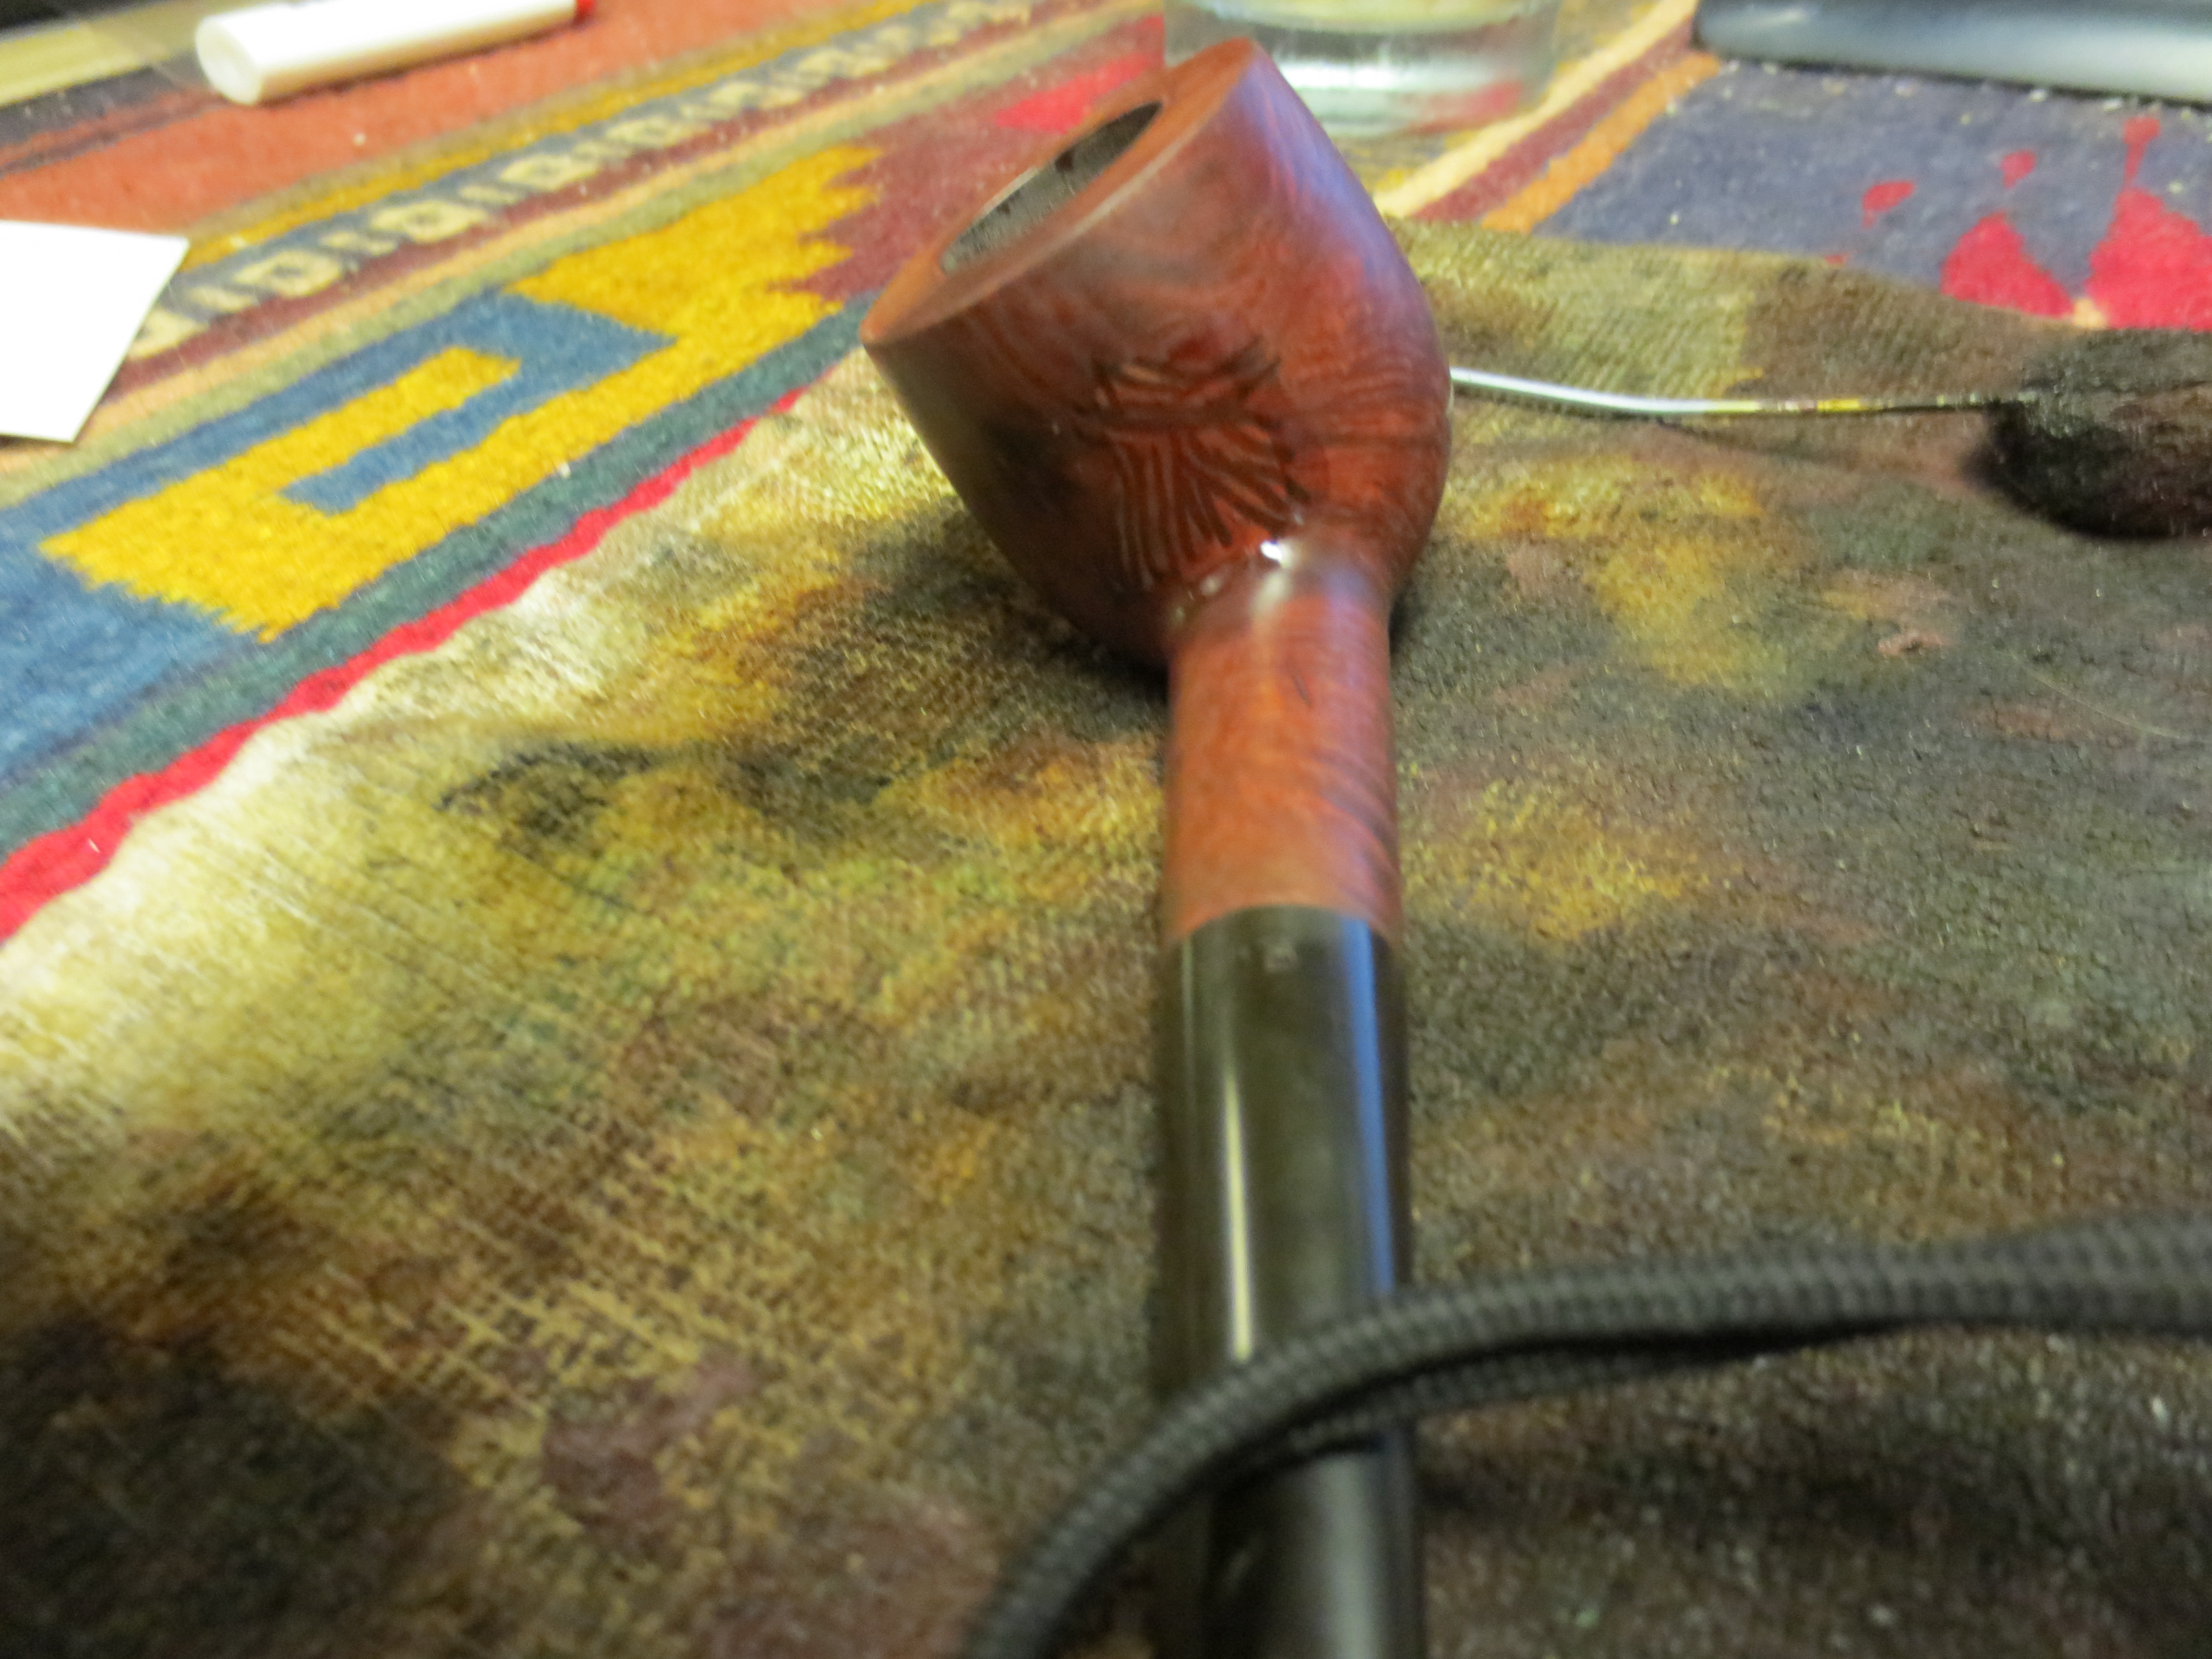
When I initially took this one out of the box I figured it would be an easy cleanup. It did not turn out that way. It is stamped Dr. Bernard over de Luxe on the left side of the shank and on the right side it is stamped ALGERIAN BRIAR over France and that is stamped over Made in France. The first two lines were not lined up and they are actually on top of the made in France line. The finish looked pretty clean and the bowl and rim were also clean. The stem was lightly oxidized and had a stamp on it that says Dr. B. It also had a little tooth chatter near the button on the top and the bottom of the stem. The first four photos below show the pipe when I started.
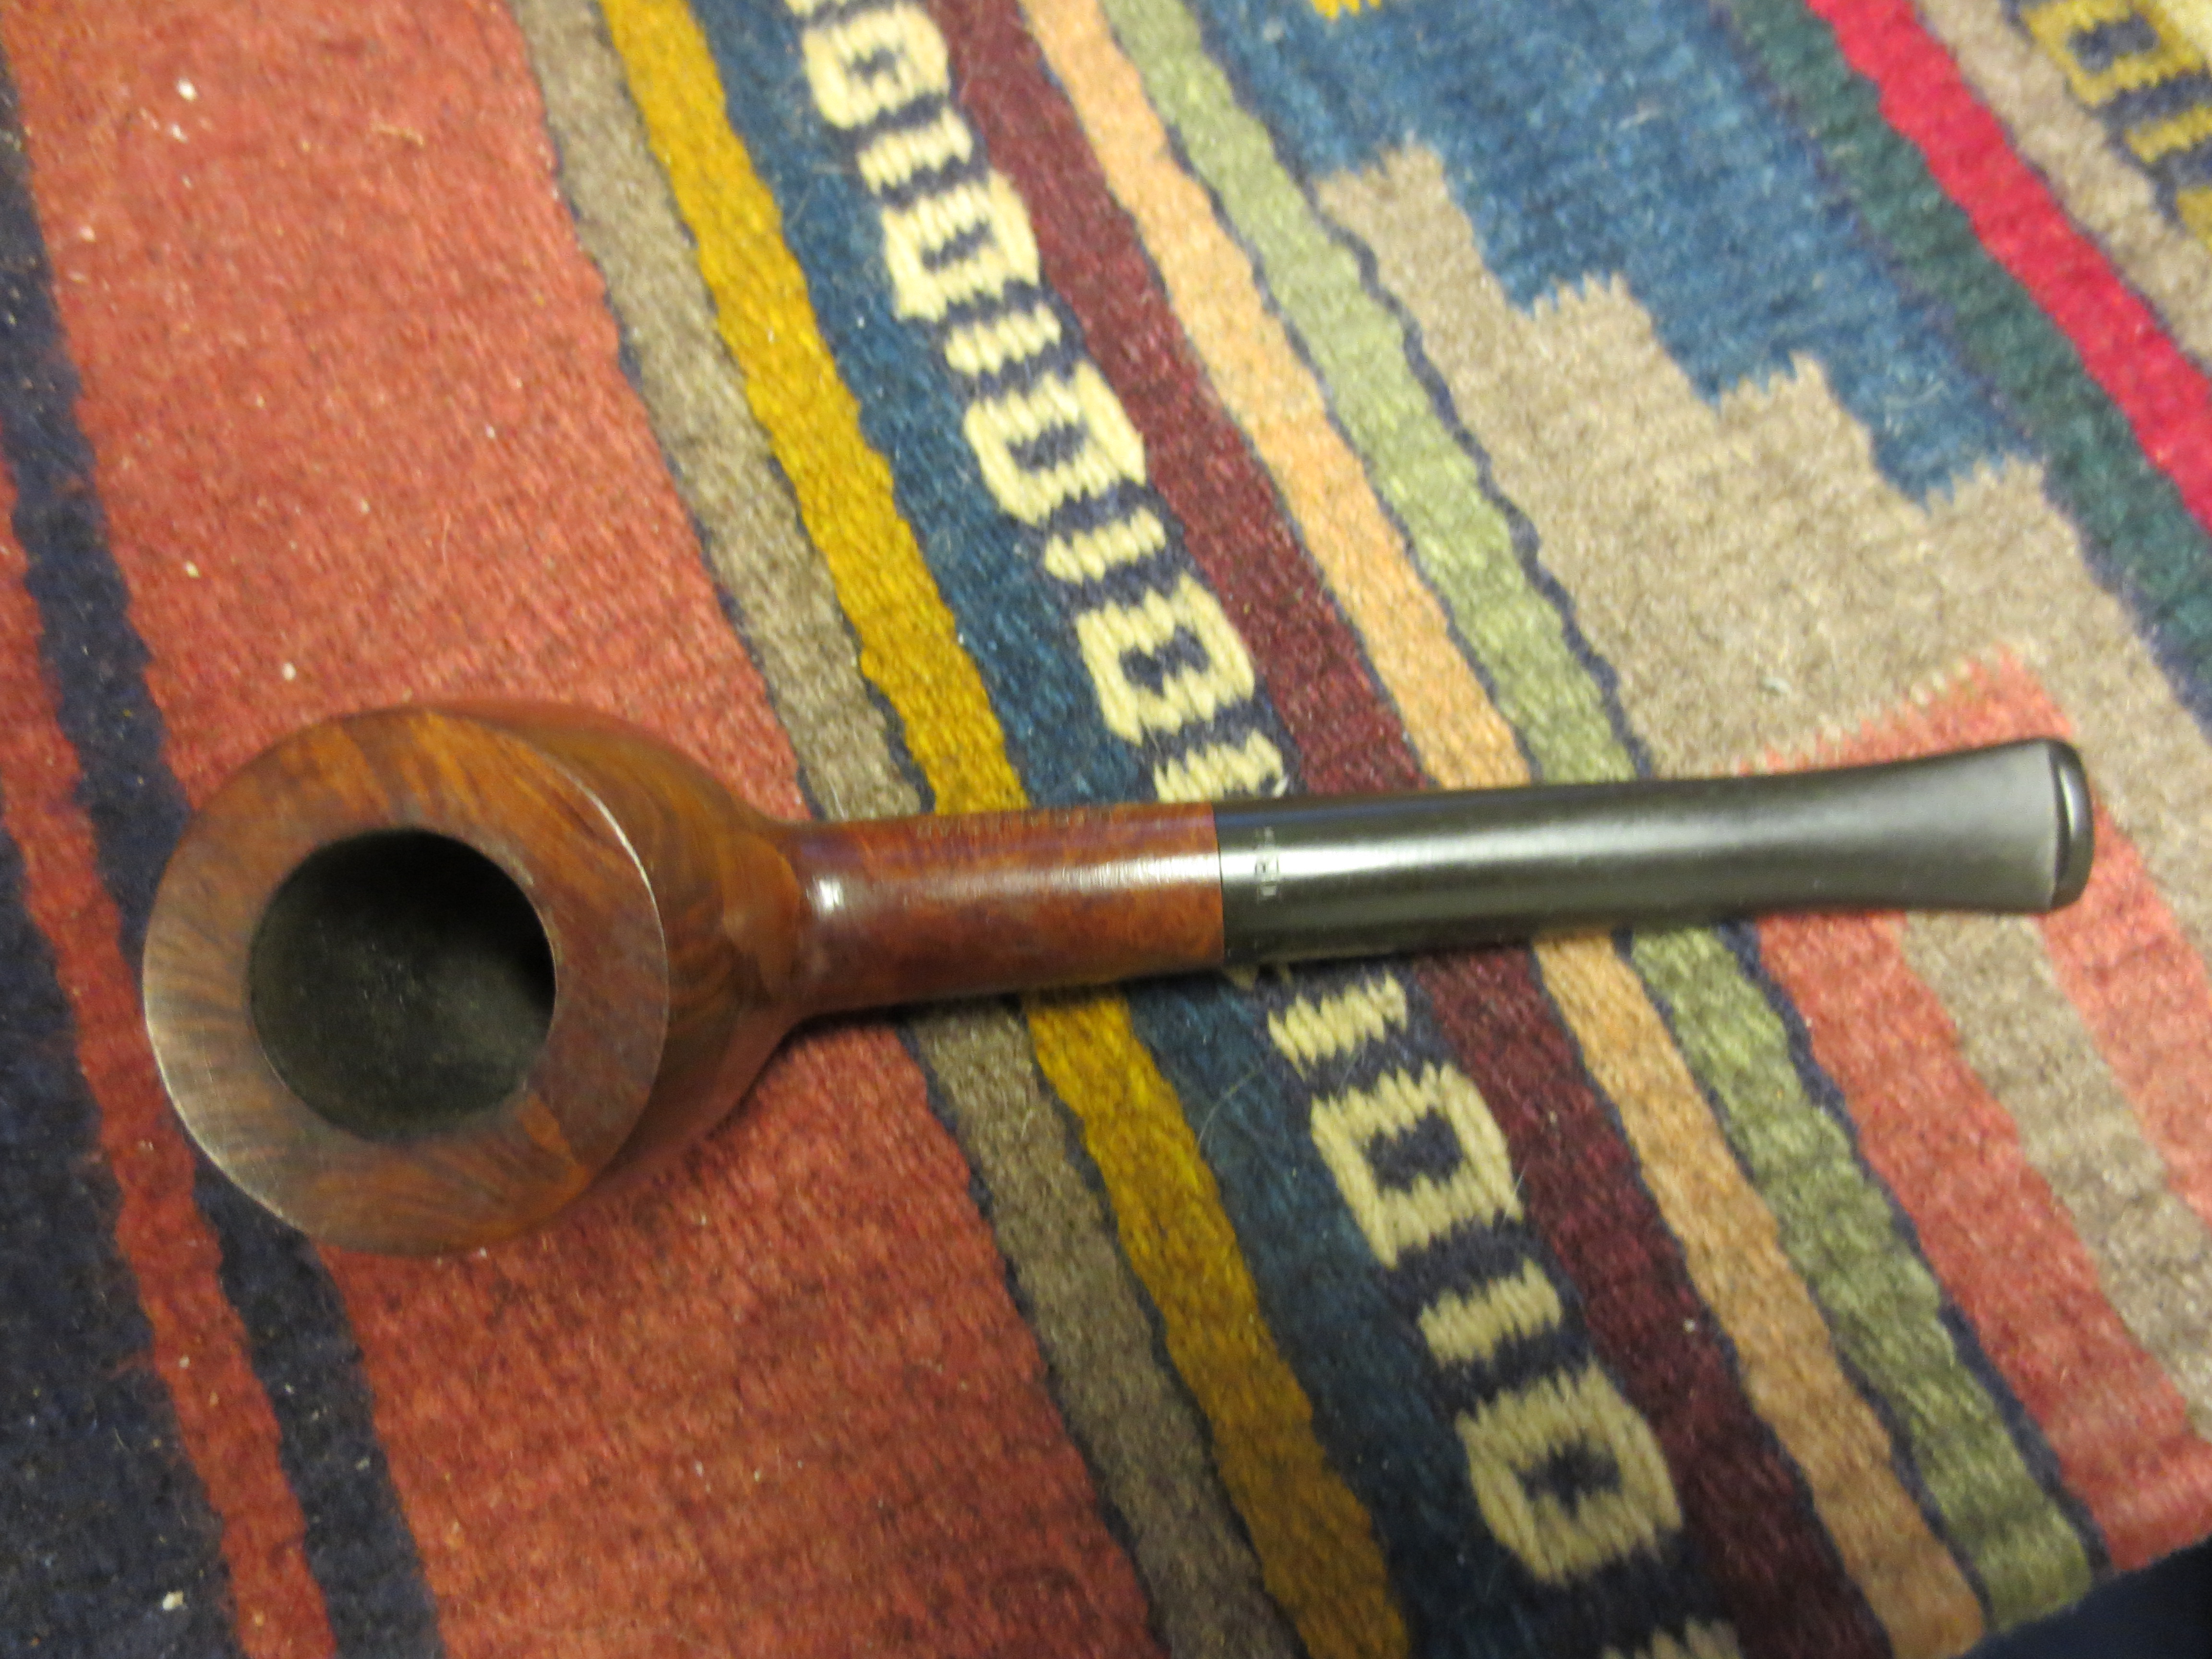

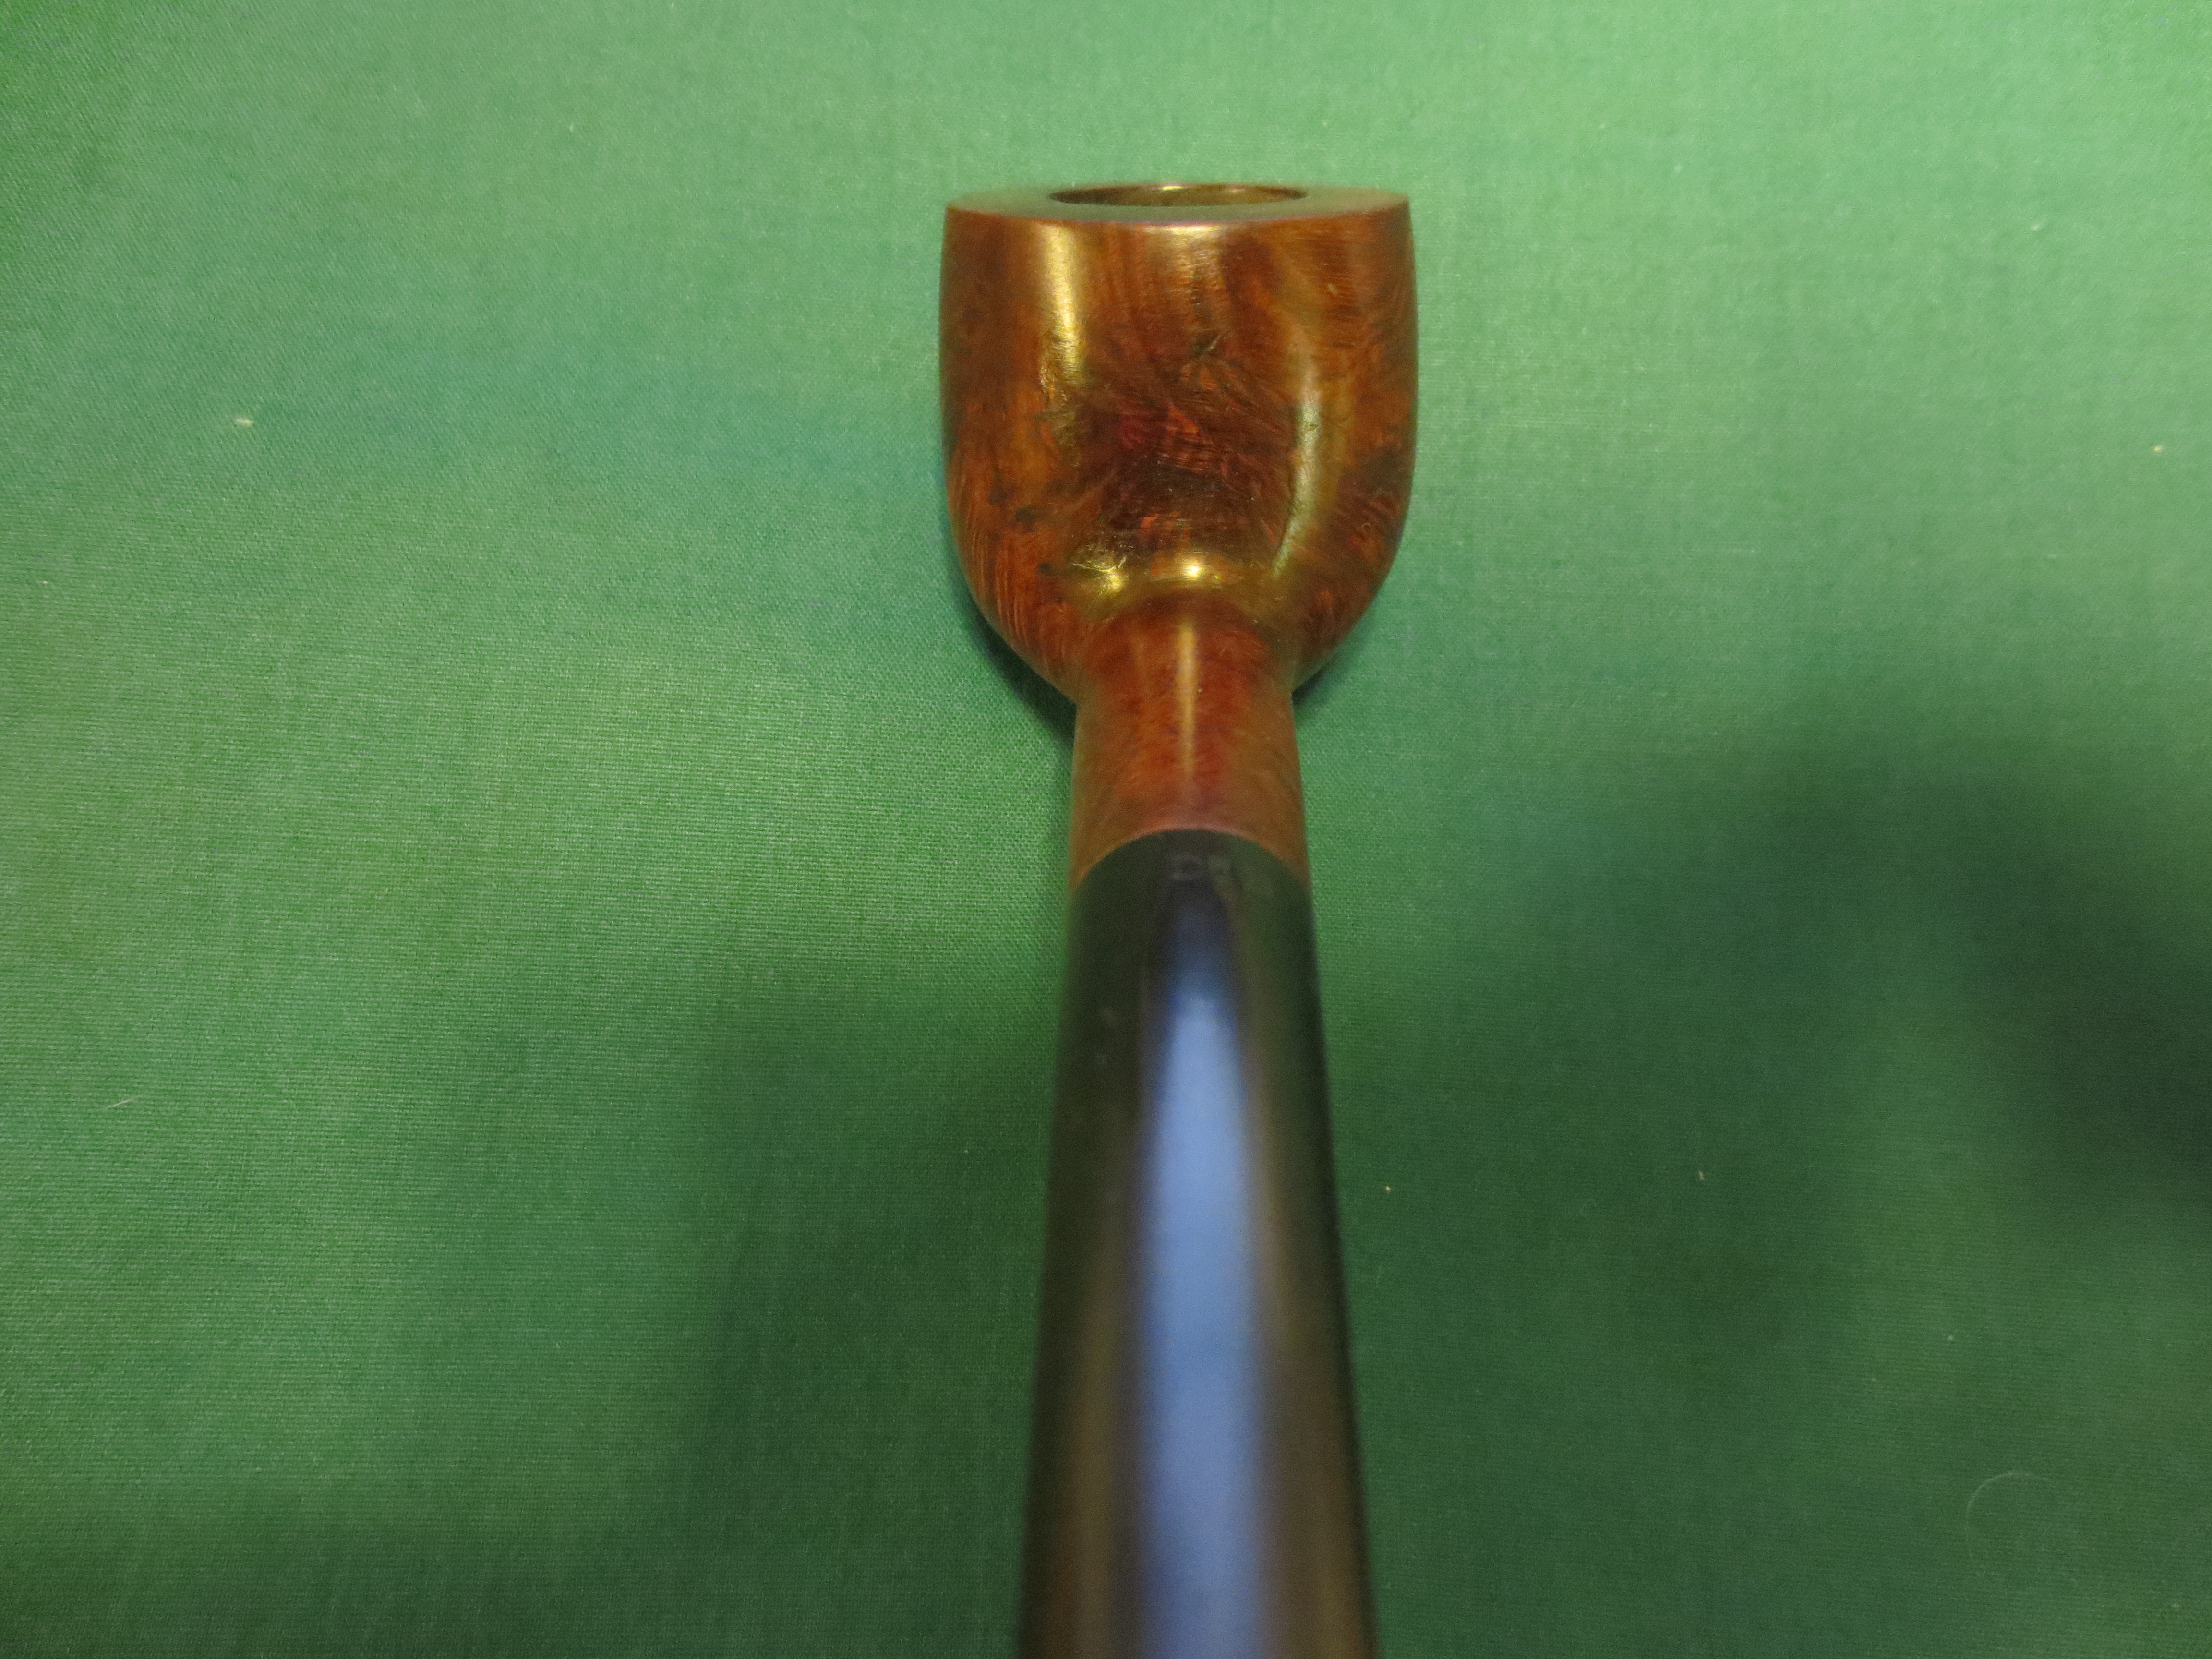
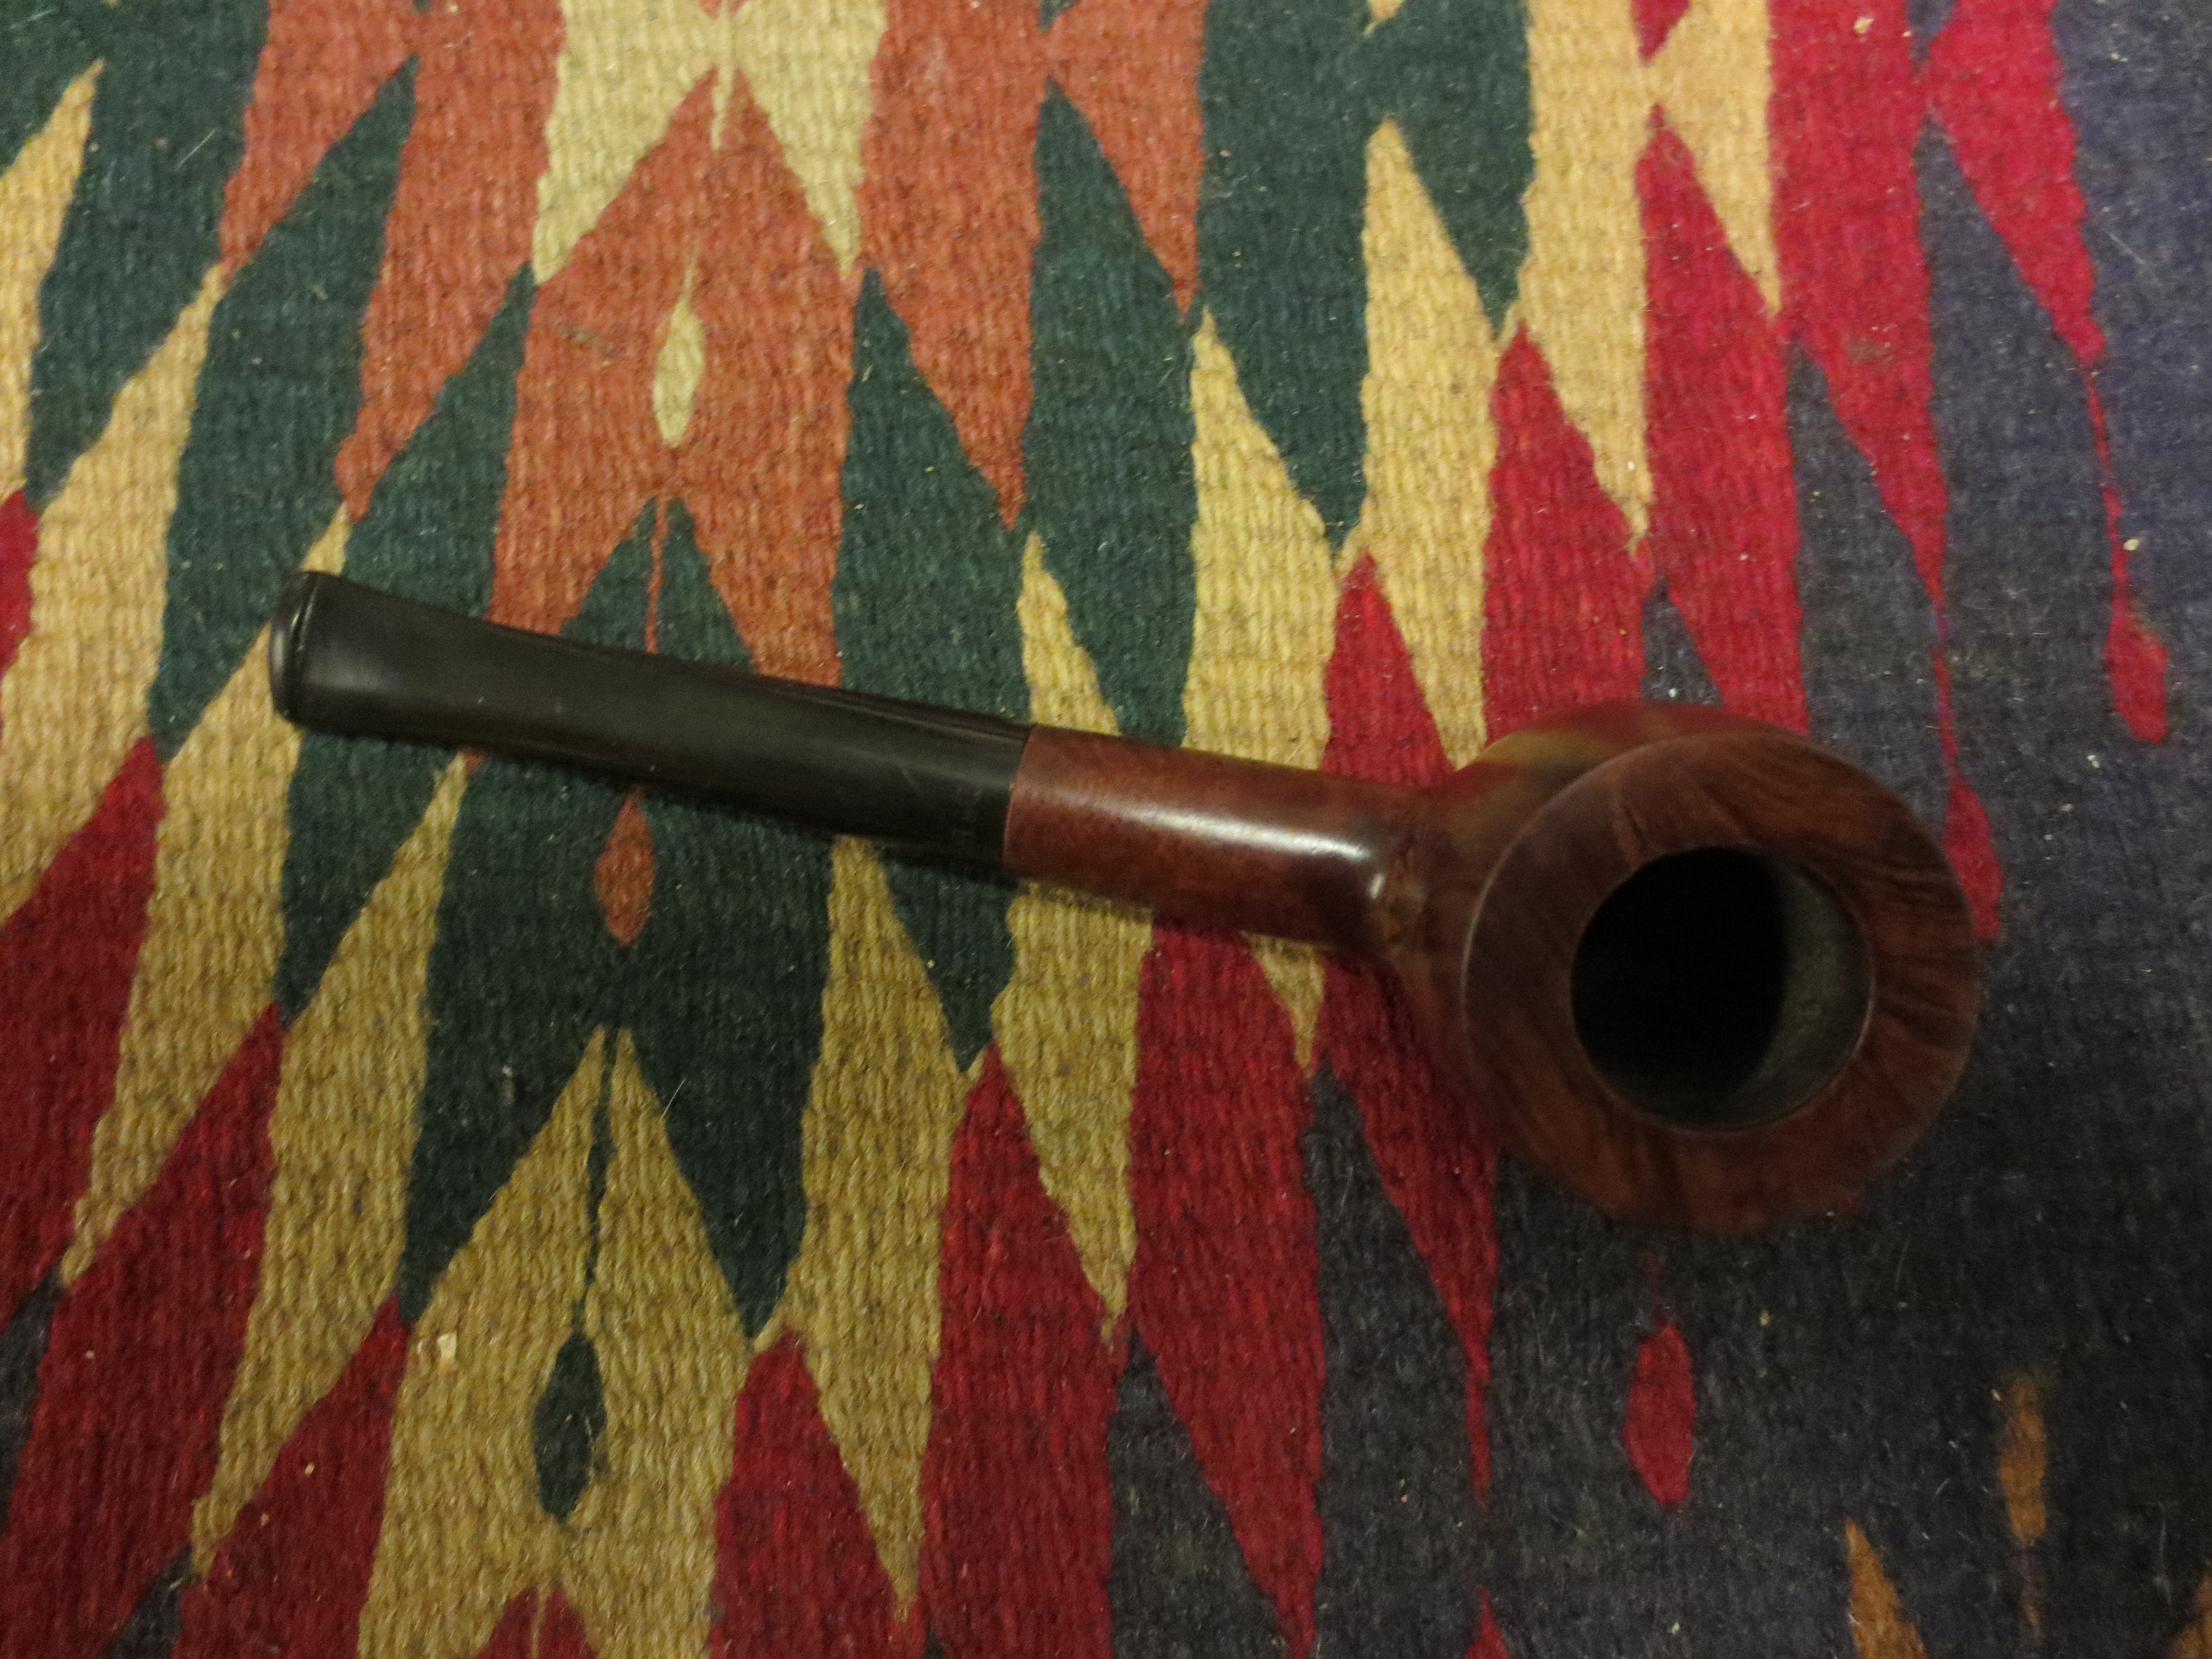
The worst thing on the exterior of the pipe was a large fill, about the size of the end of my thumb. It stood out in all of it pink putty look each time you held the pipe in your hand. It is clear in the photo below. I thought about rusticating the pipe but decided that with a fill that large I would be better off leaving it alone. I would have to work on it to try to blend it in a bit better with the stain on the bowl.

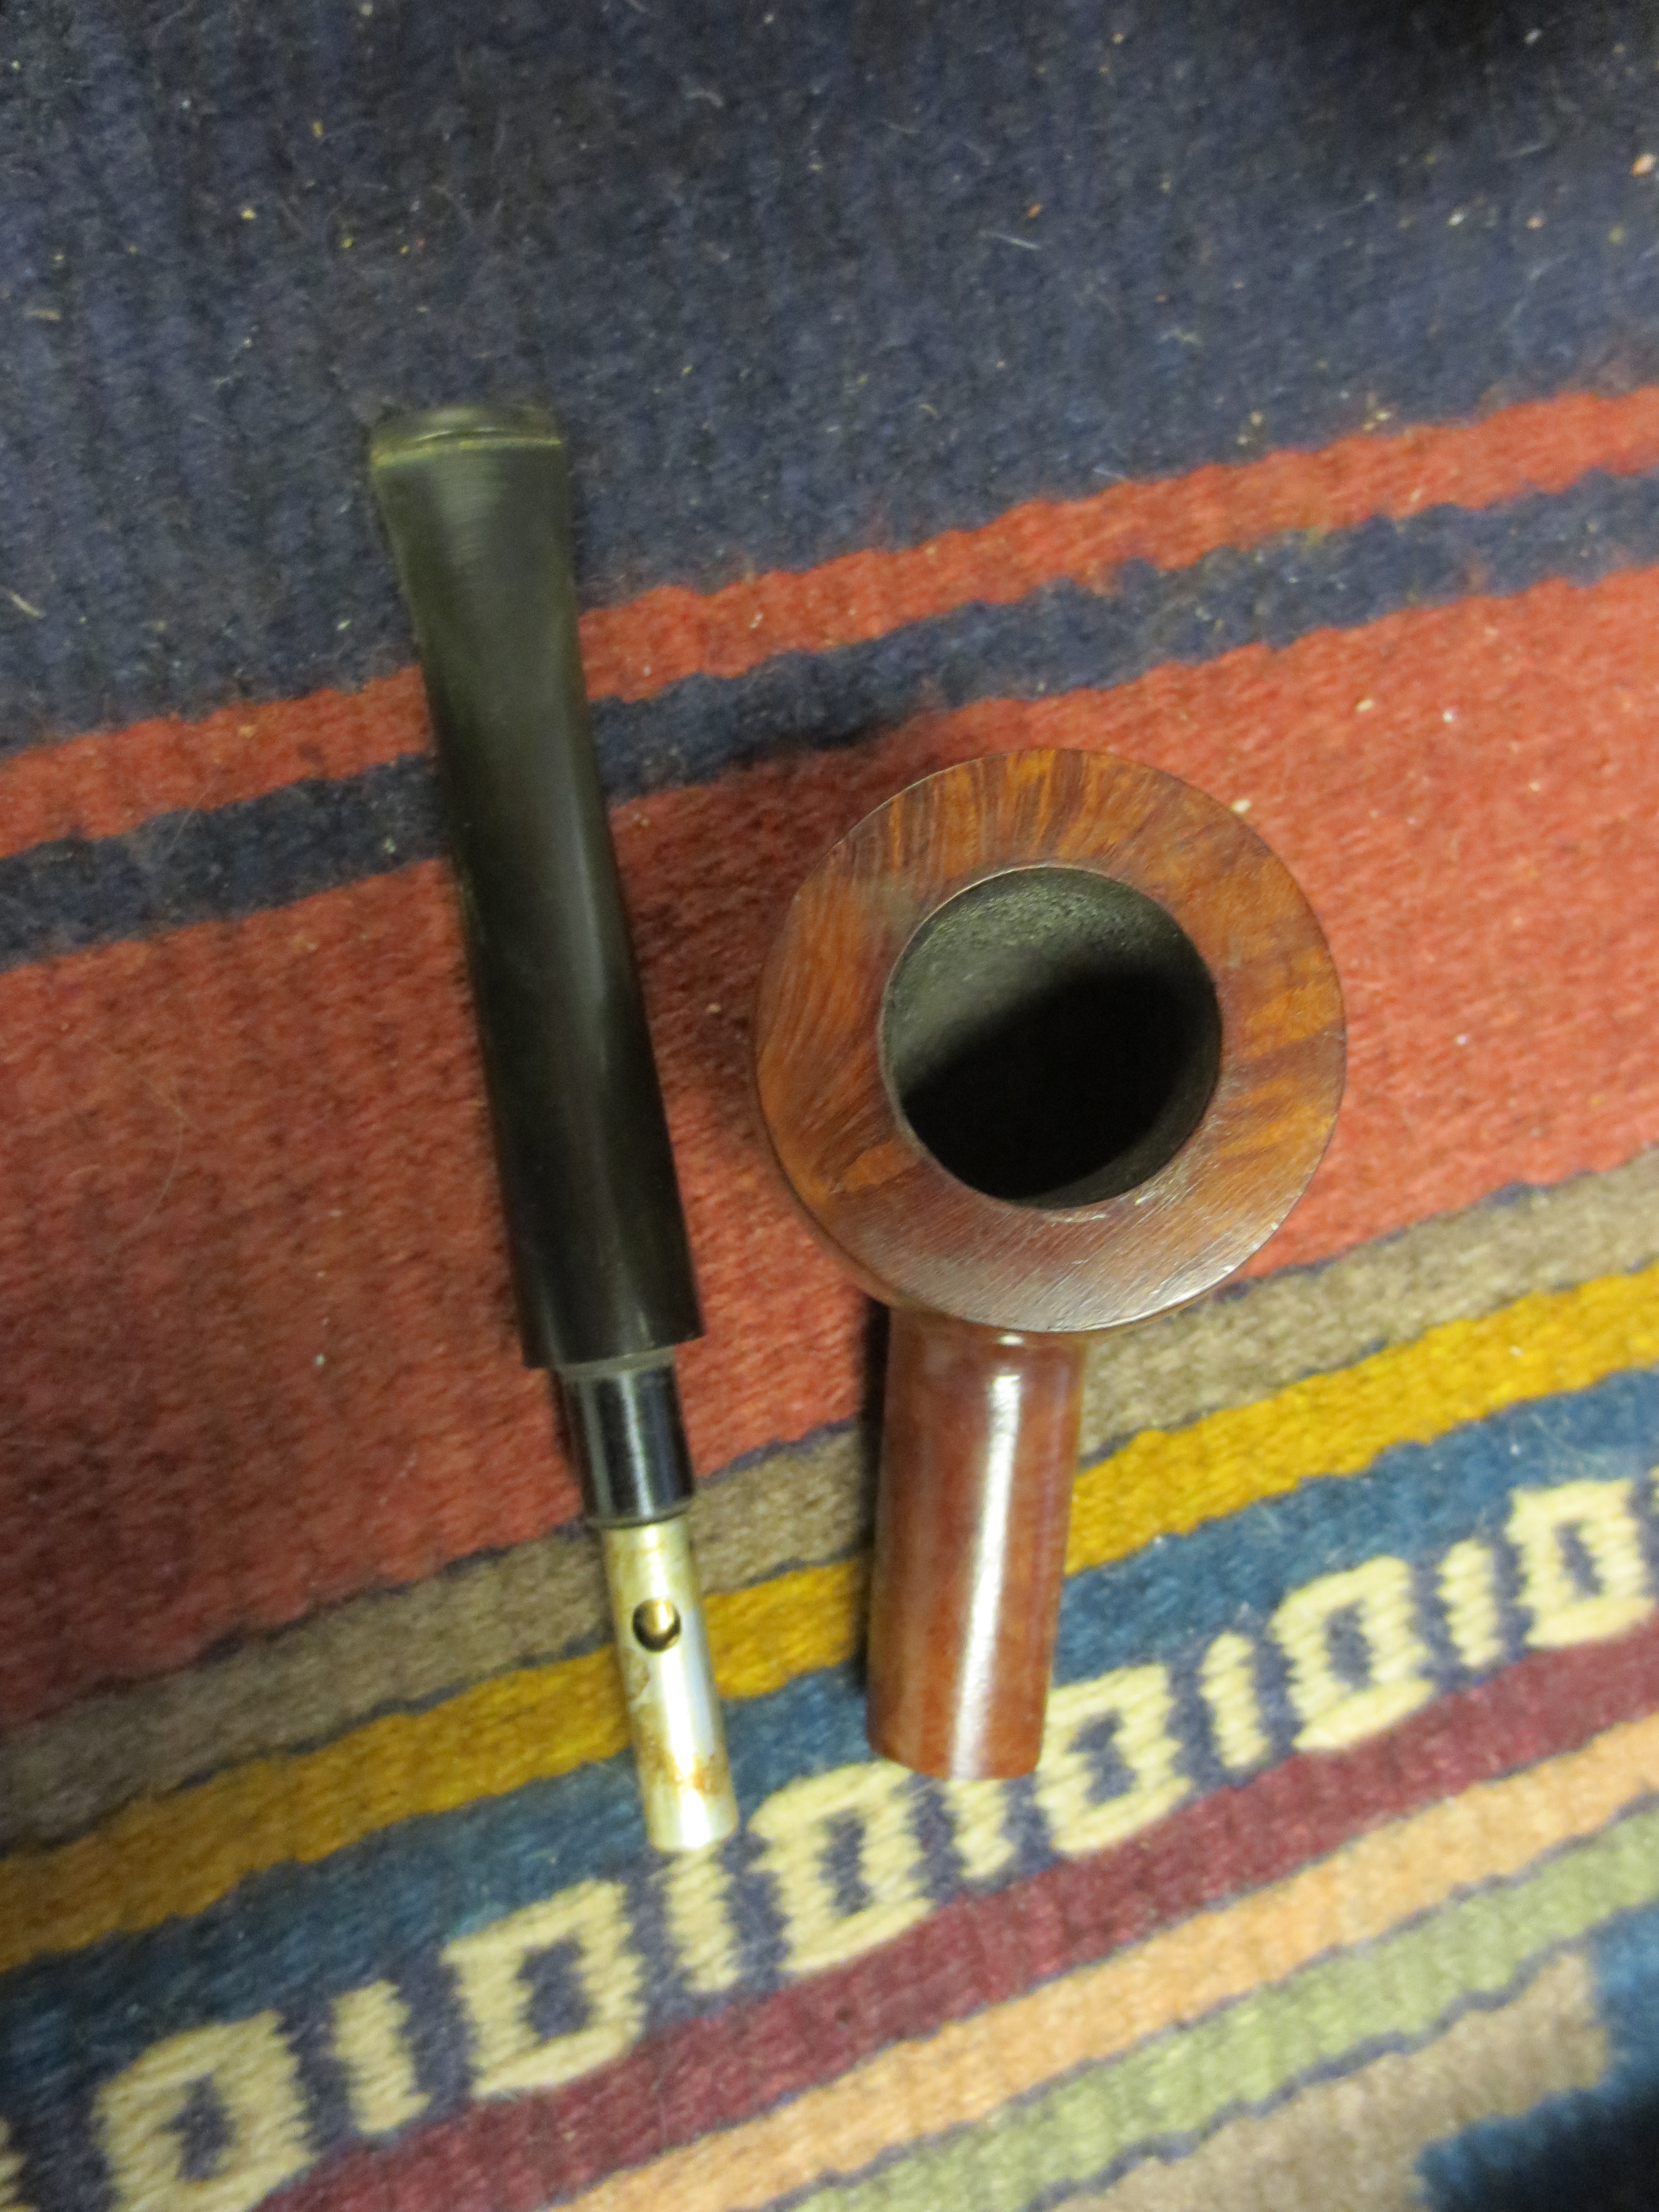
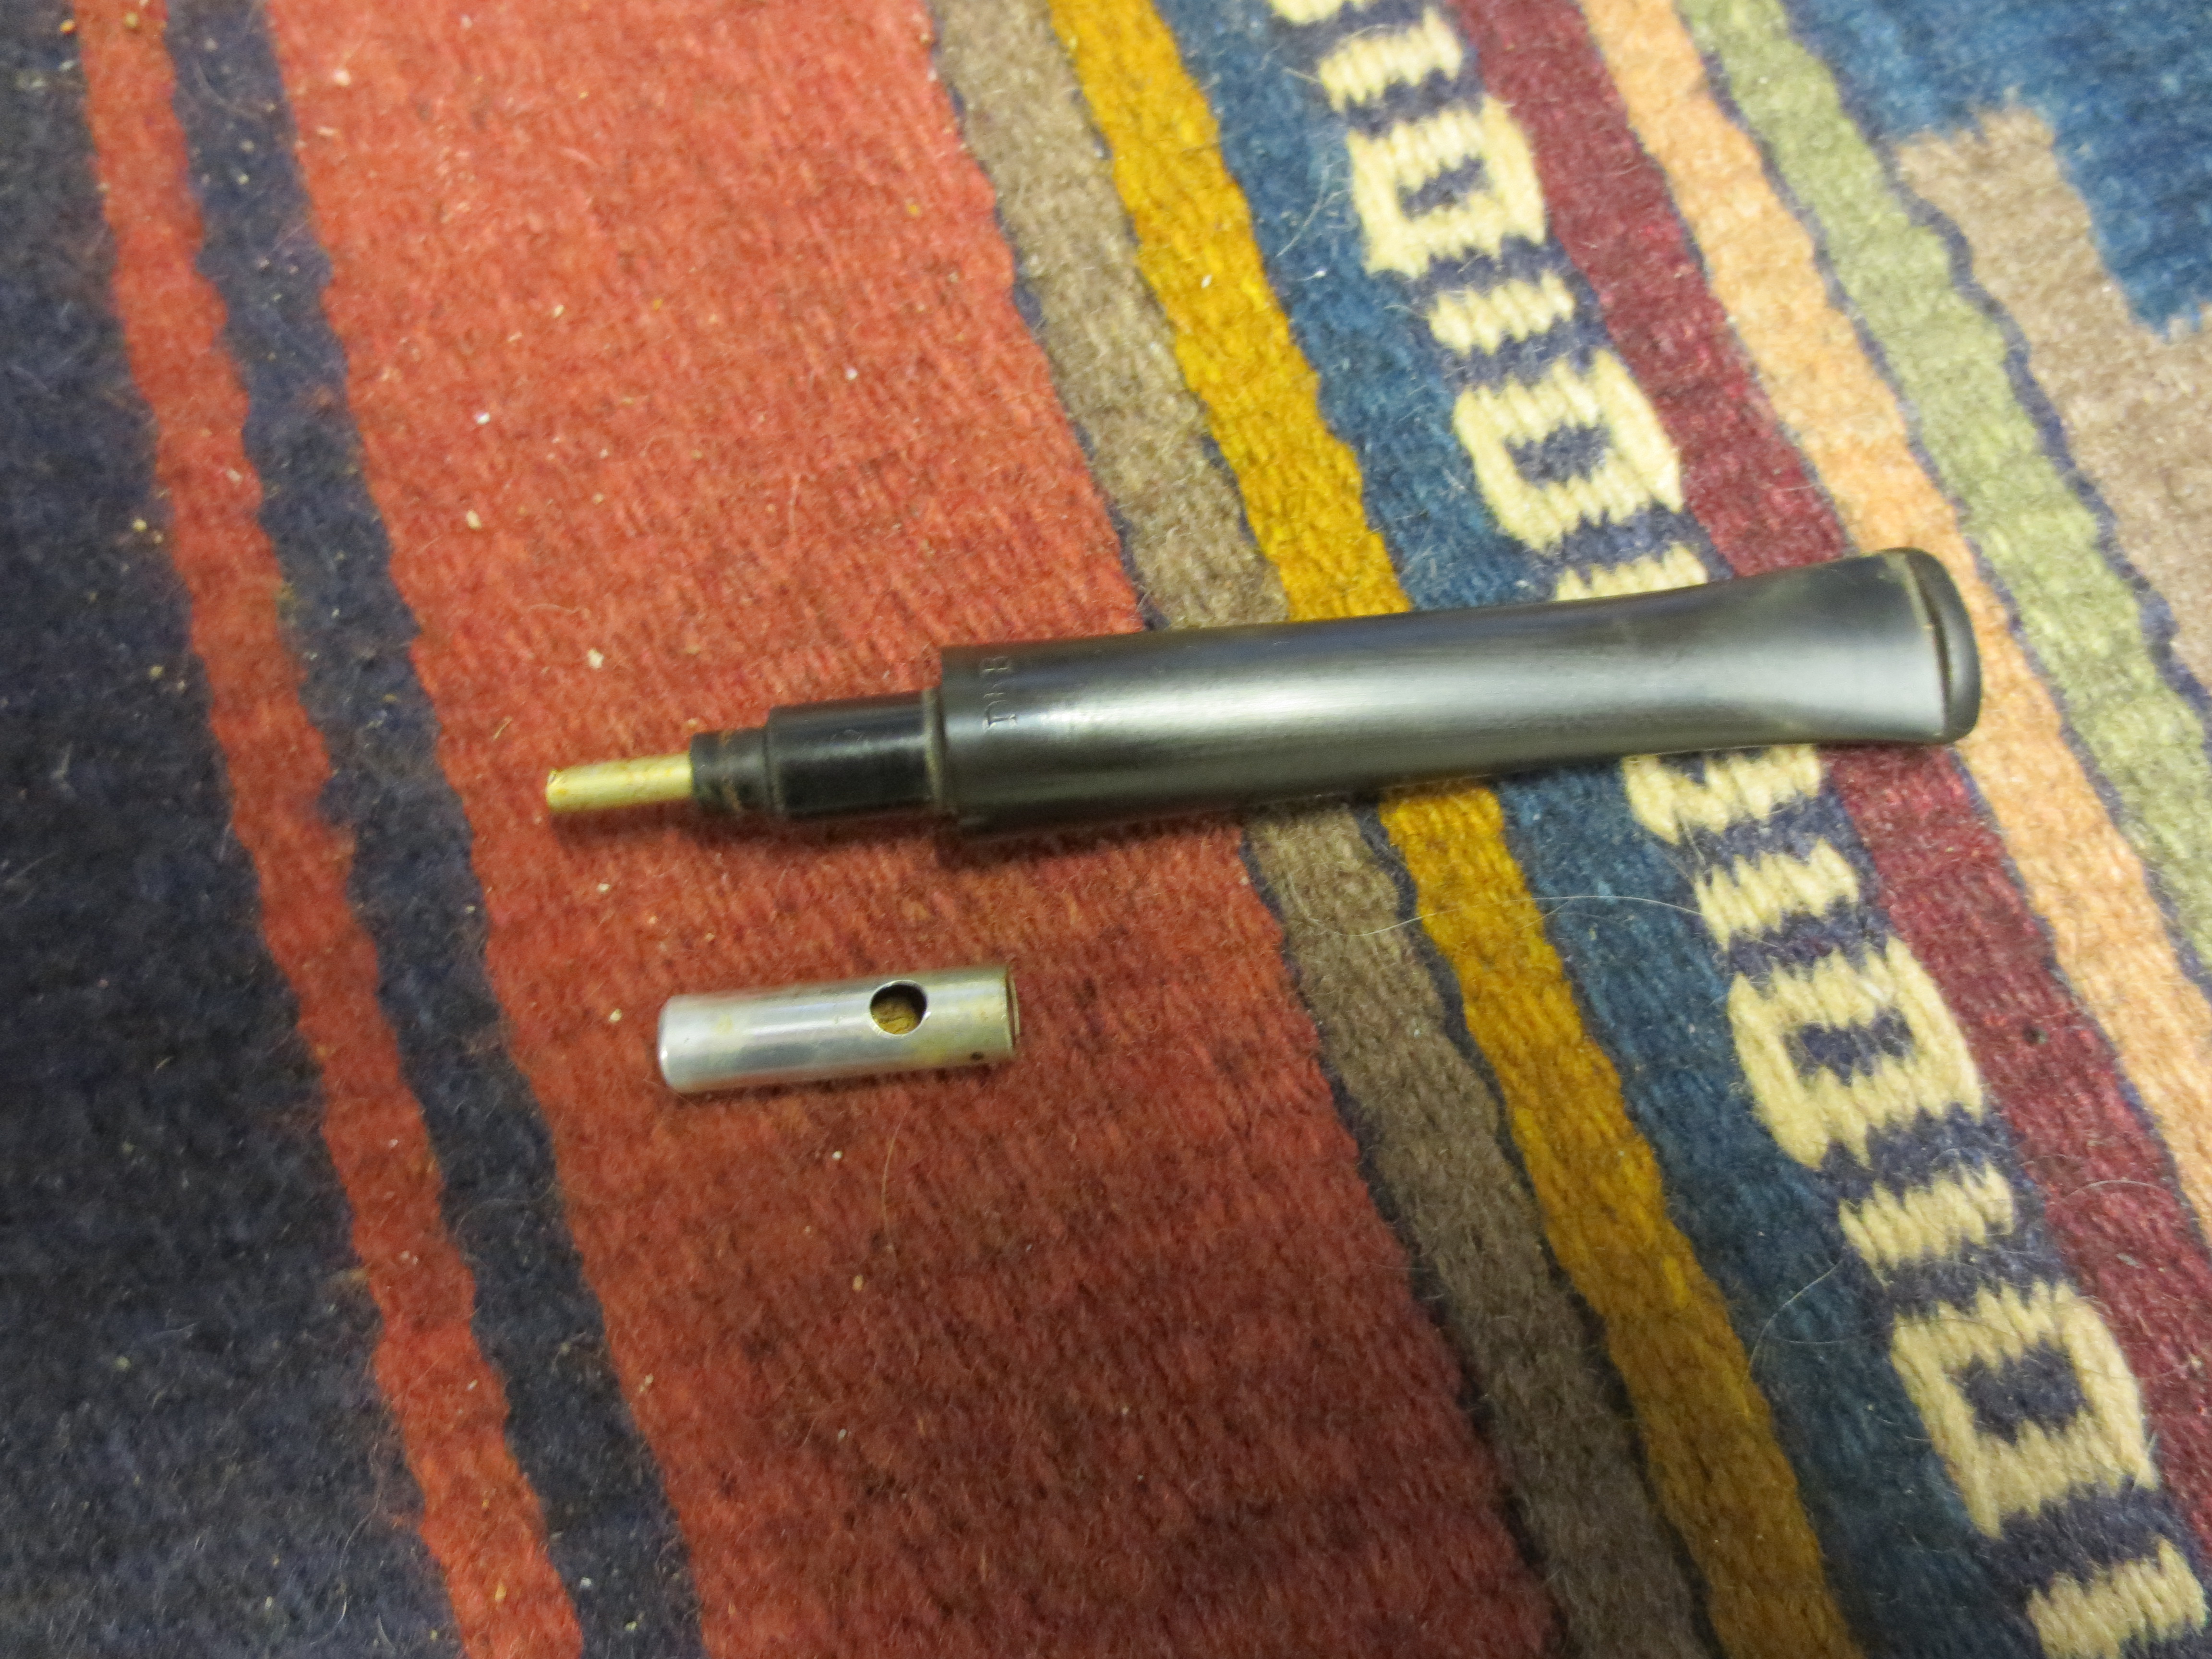
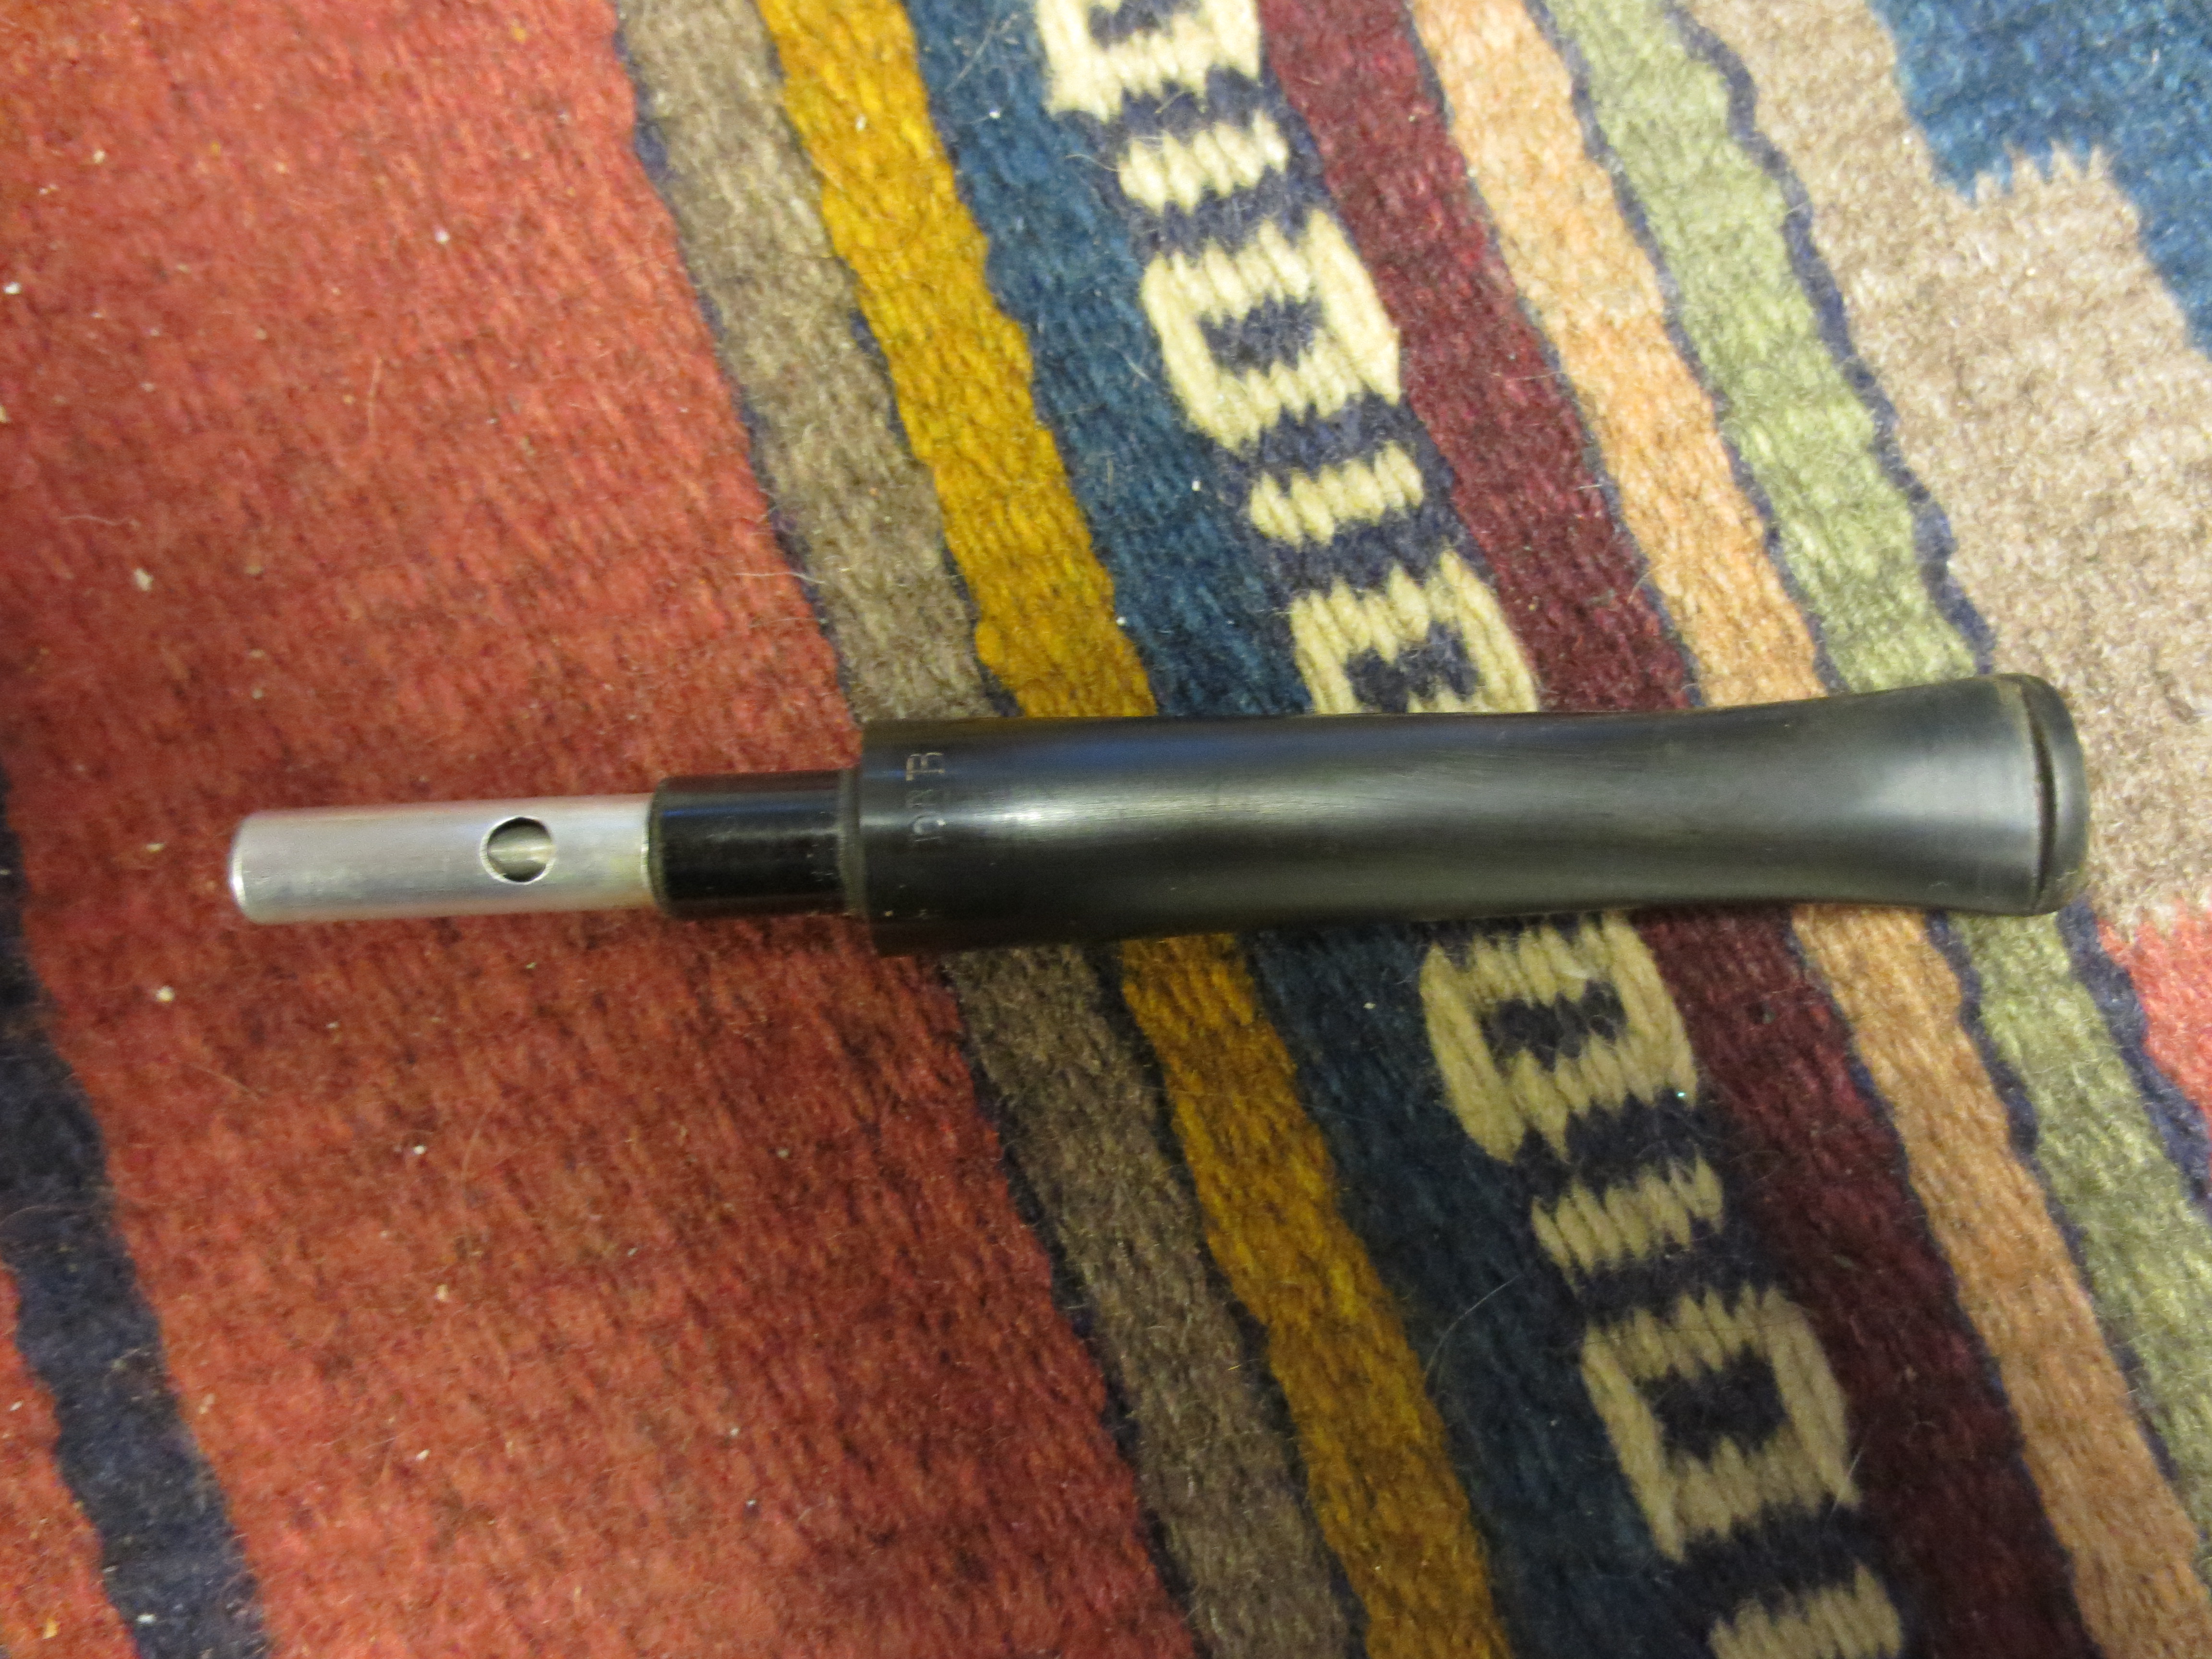
I decided to address the tooth chatter and oxidation on the stem first. I sanded the tooth chatter with 320 grit sandpaper to remove scratches and marks. The first two photos below show the tooth chatter removed and now the stem would need to be sanded and polished. The next series of four photos show the filter apparatus in place and after I took it apart to clean it. I then removed the stem from the shank, cleaned out the shank and examined the filter apparatus on the pipe. I removed the cap from the end of the filter and underneath was a metal tube inside the shank. I cleaned the stem with pipe cleaners and isopropyl alcohol and then cleaned the cap with cotton swabs and isopropyl. Once it was clean I polished it with 0000 steel wool to give it a shine and remove the stains on the metal. I also sanded the stem with a fine grit sanding sponge to begin to remove the scratches and oxidation.


I went back to the fill on the bowl. I decided to draw in some graining on the fill that matched the grain surrounding it using a permanent marker. I have done this in the past and it allows you to blend the stain on the bowl and mask the fill so it does not stand out as much.
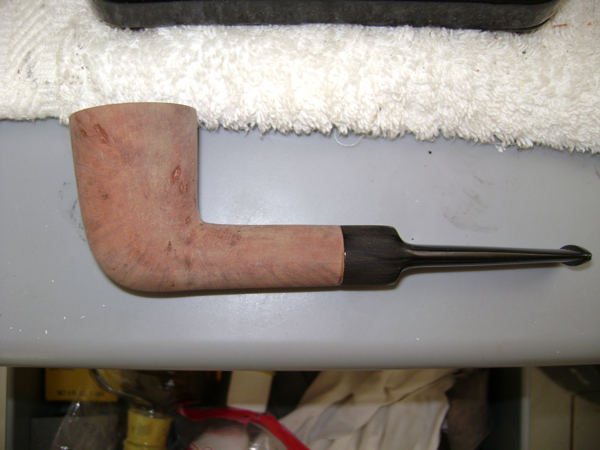
After drawing on the grain pattern I stained the bowl with an oxblood stain. The first photo below shows the finished look. Once the bowl was dry I buffed it on the buffer and the stain coat wiped off in major chunks. It did not permeate the bowl at all. I also was able to wipe of the grain pattern I had drawn on the pipe. This kind of frustrating occurrence while cleaning up a pipe is just part of the process. I cleaned off the stain with a cotton pad and acetone and then noticed that the pipe had been given a very thin coat of varnish (matte finish) over the bowl. I would need to remove this finish in order to restain the pipe. So back to the table it went.

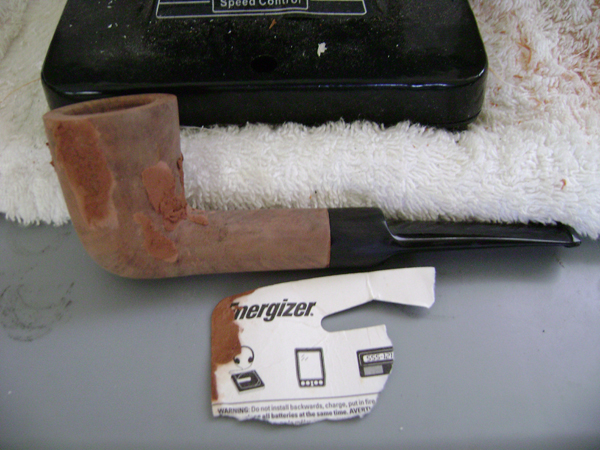
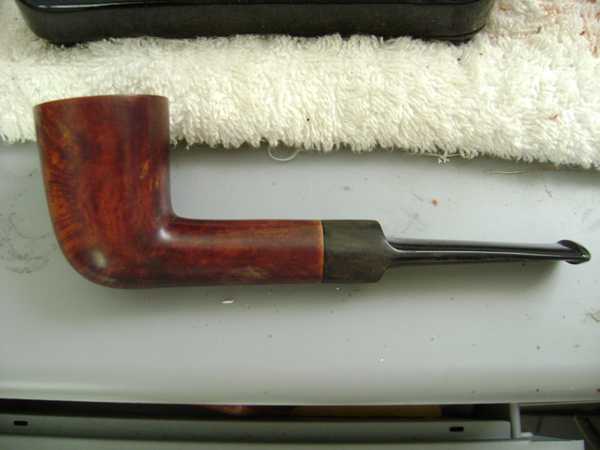
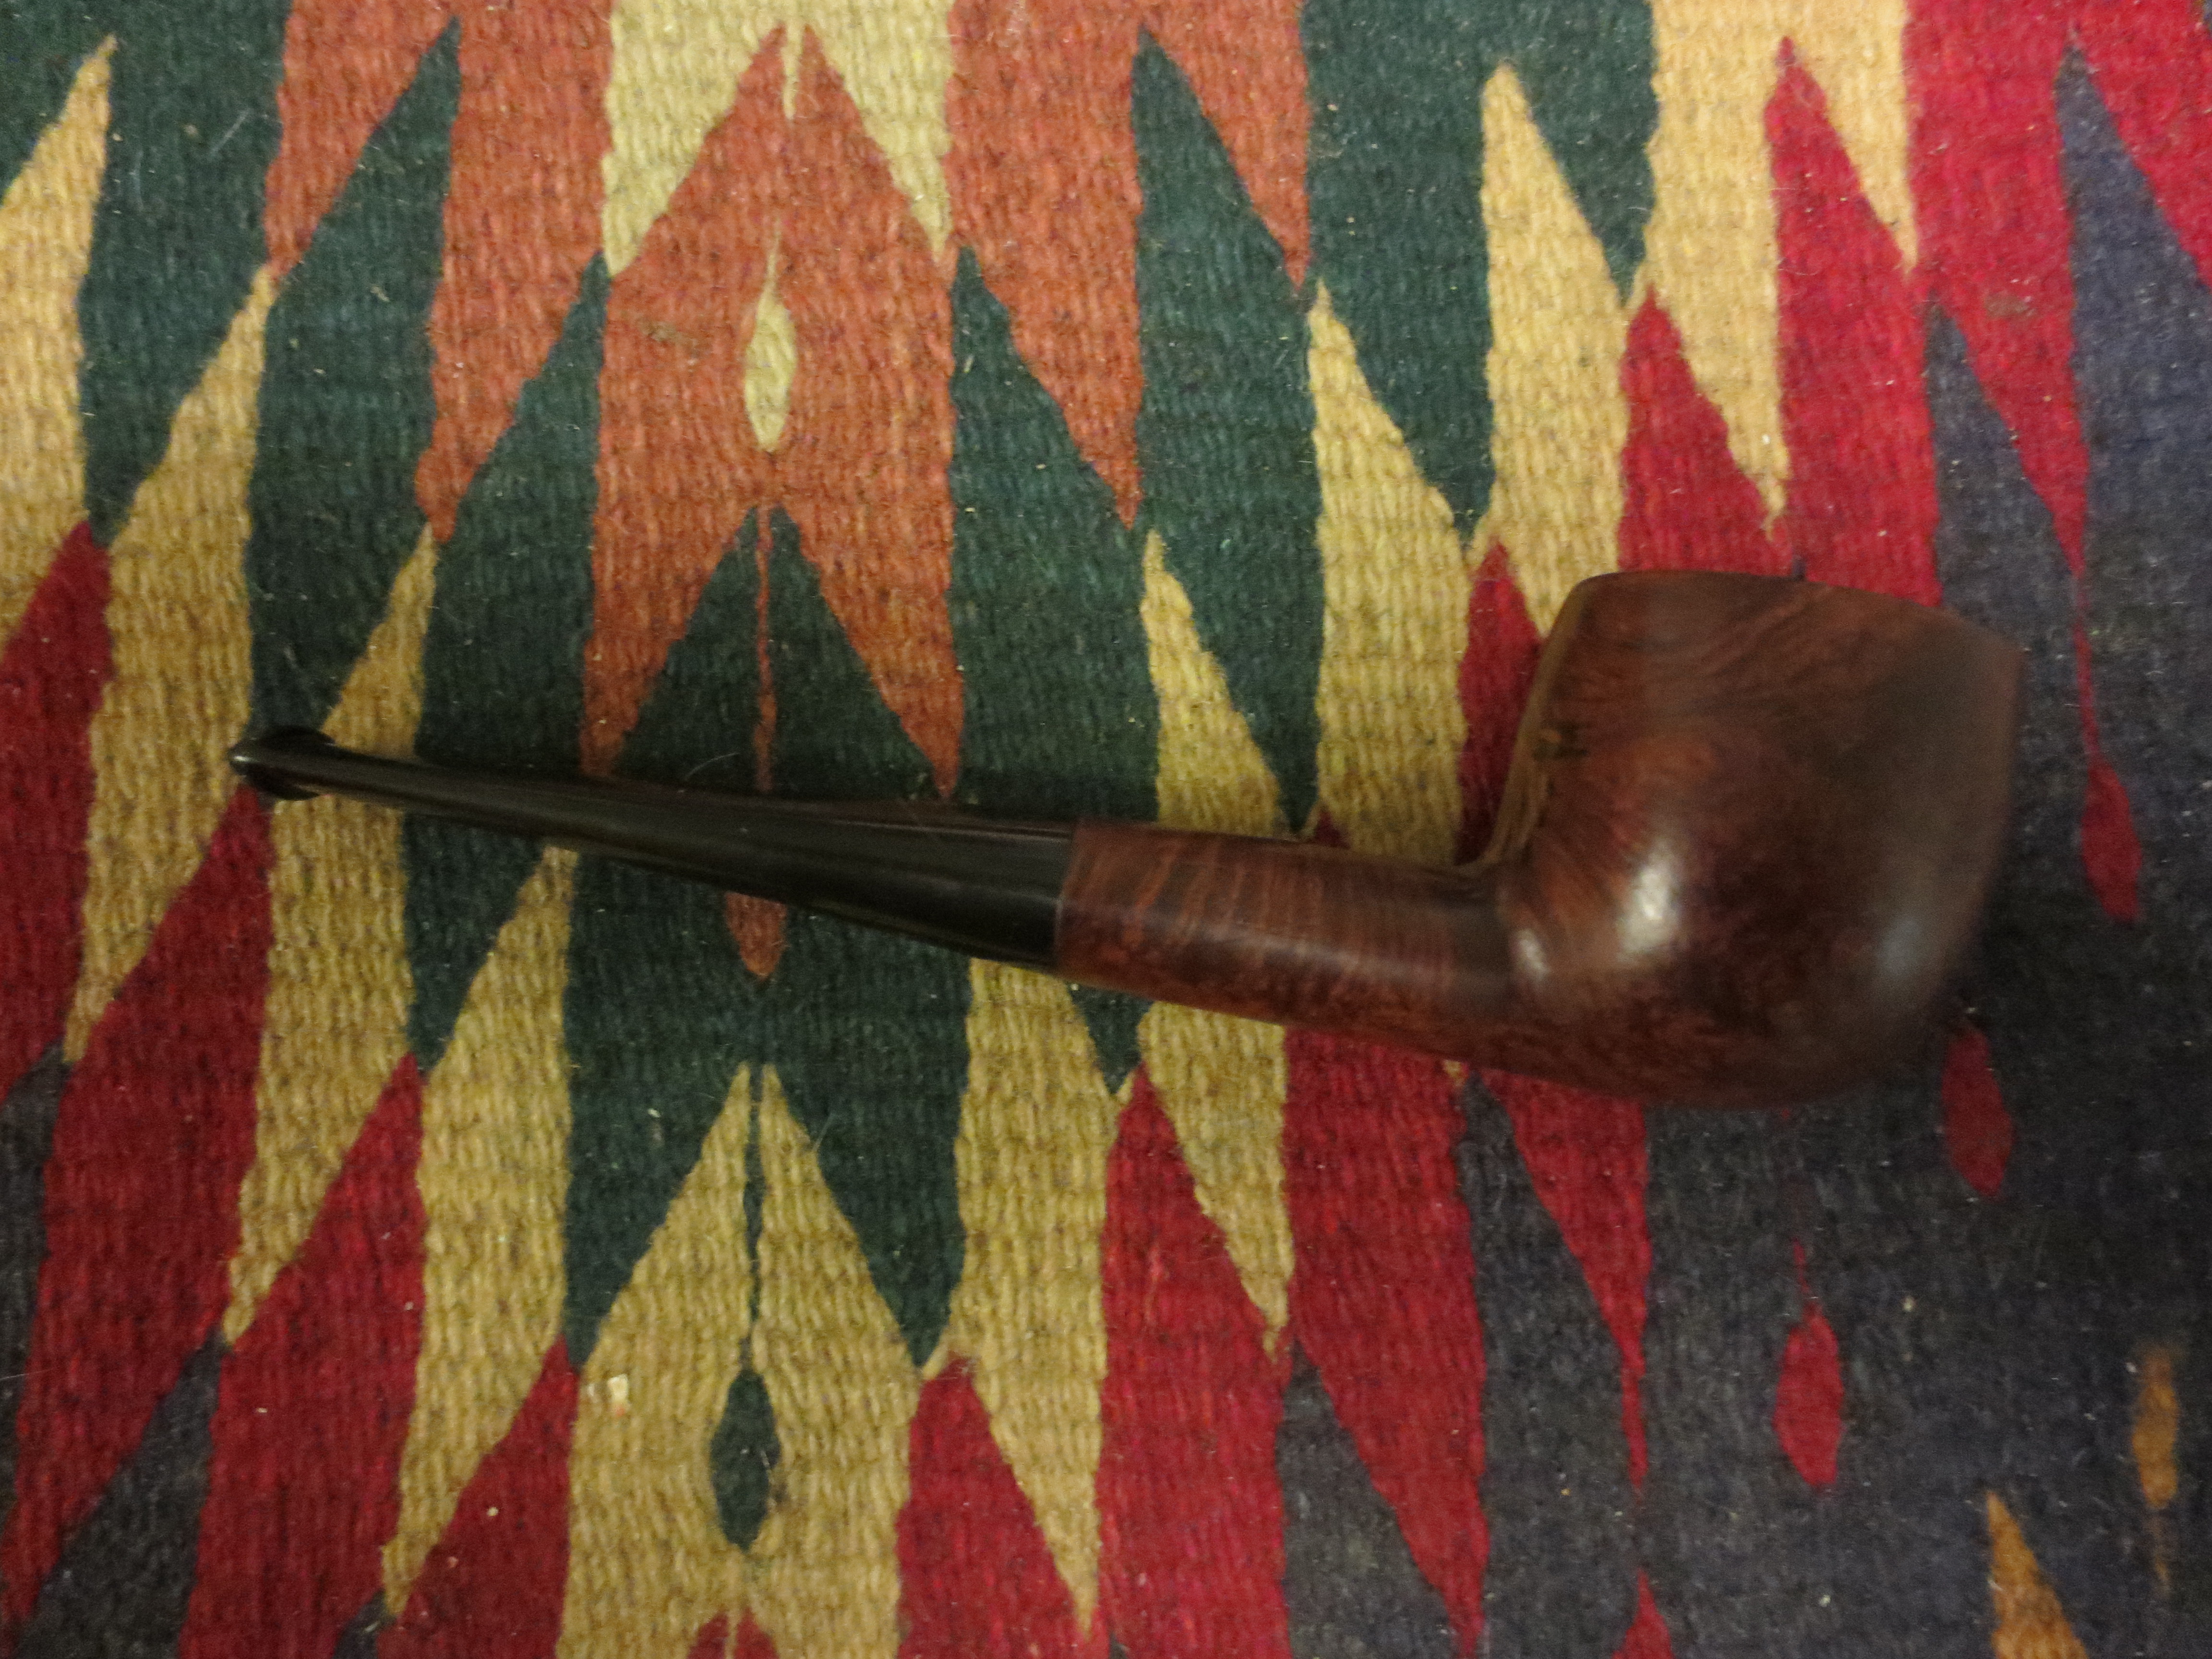
I wiped down the bowl with acetone until the varnish coat was broken and then sanded the bowl with the fine grit sanding sponge to remove the remnants of the finish and get back to the briar itself. The next three photos show the cleaned bowl. The large fill on the back side of the bowl is also very clearly visible. I then redrew the grain marks on the bowl with the permanent marker to blend in the fill a bit more. In the fourth photo you can see the lines drawn in. They may appear to be too many and too dark at first look but I have learned that once I have stained the bowl with a few coats they will dissipate into the stain and will match the grain pattern in the bowl.


I worked on the stem and used the micromesh sanding pads from 1500-12,000 grit to polish the stem. I coated it with Obsidian Oil and set it aside. I restained the bowl with aniline based oxblood stain. I applied the stain heavily to the area of the fill. I flamed it and them polished it on my buffer. The next six photos show the restained bowl. The stain took this time. It also covered the fill but the lines were still to visible to my liking. I needed to add some more stain and let it dry this time without wiping it off or buffing it. I needed a bit more opacity in the stain on this portion of the bowl.
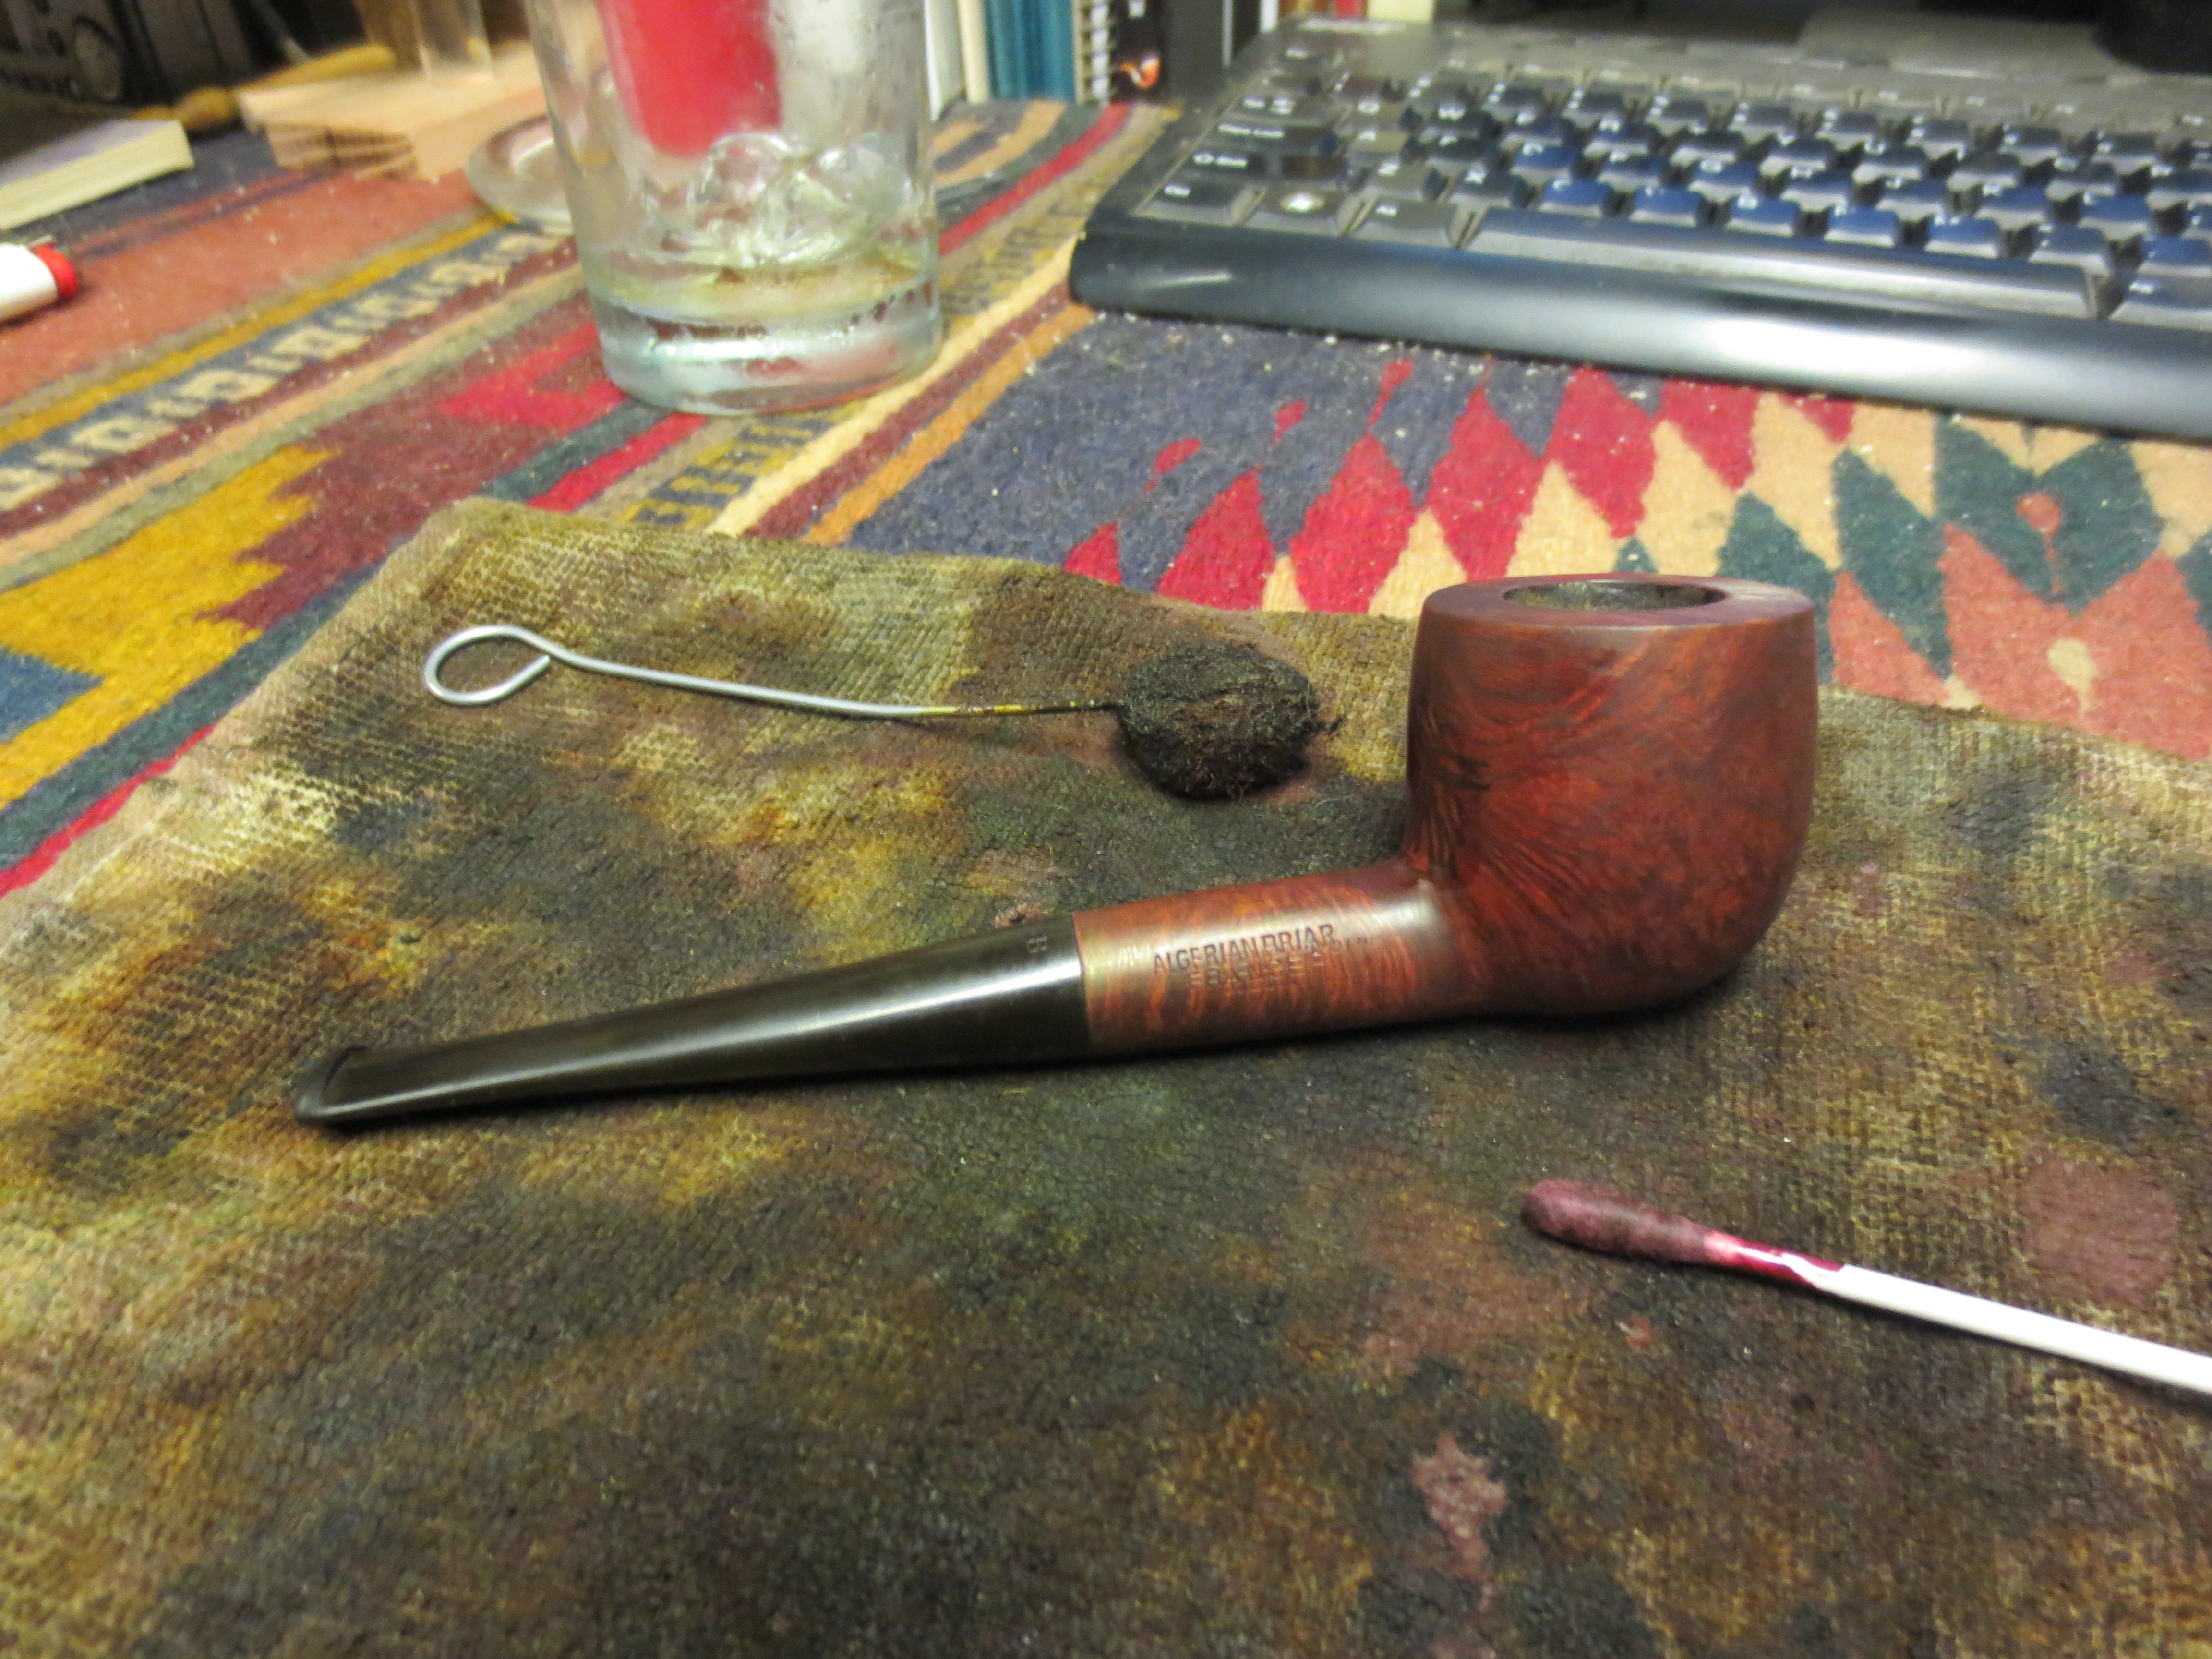
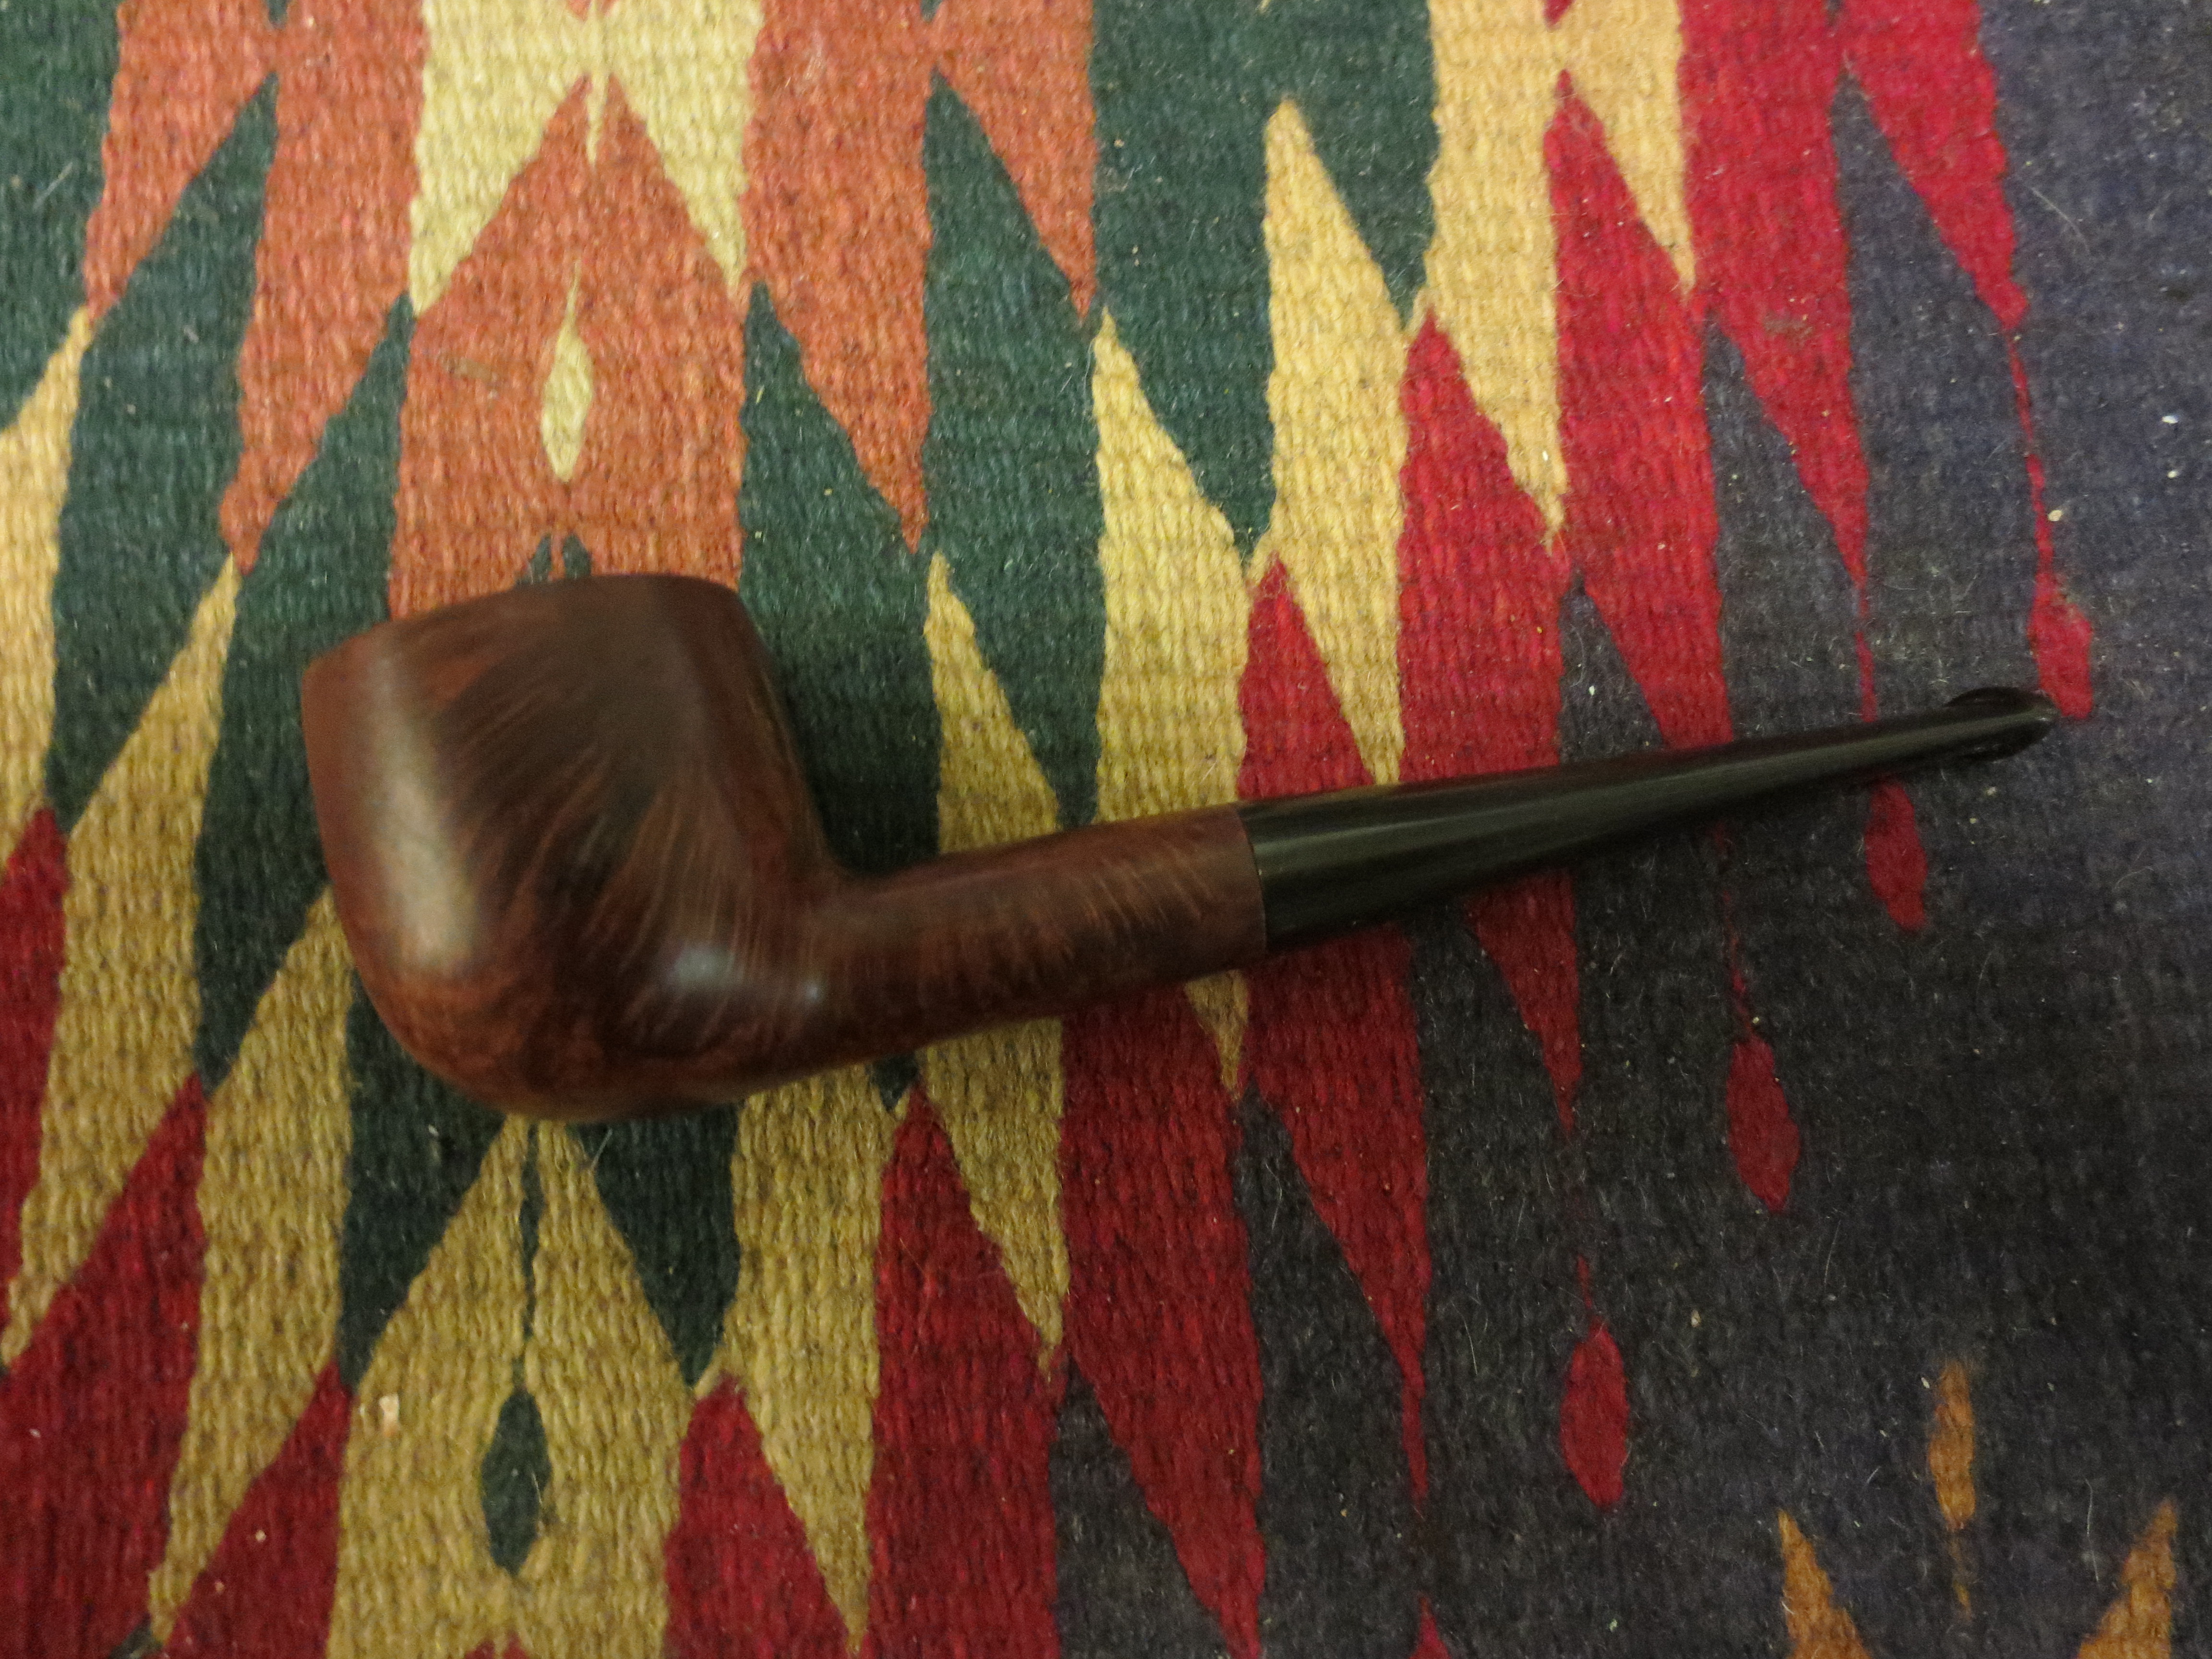

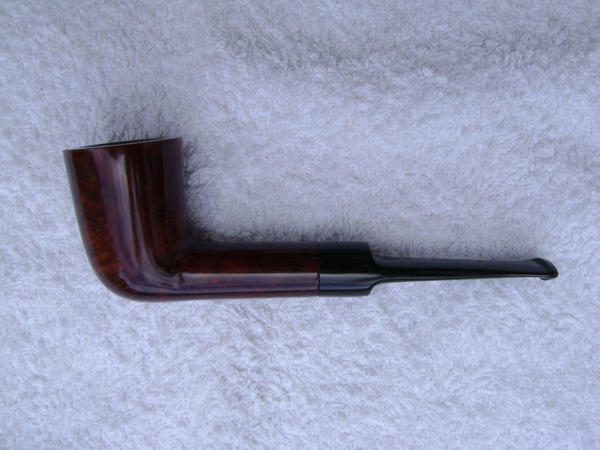
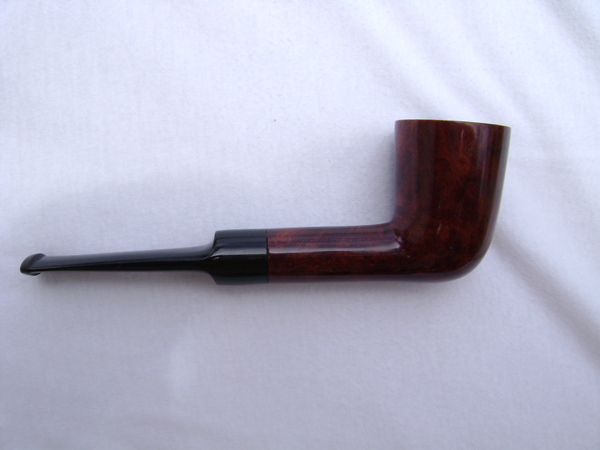
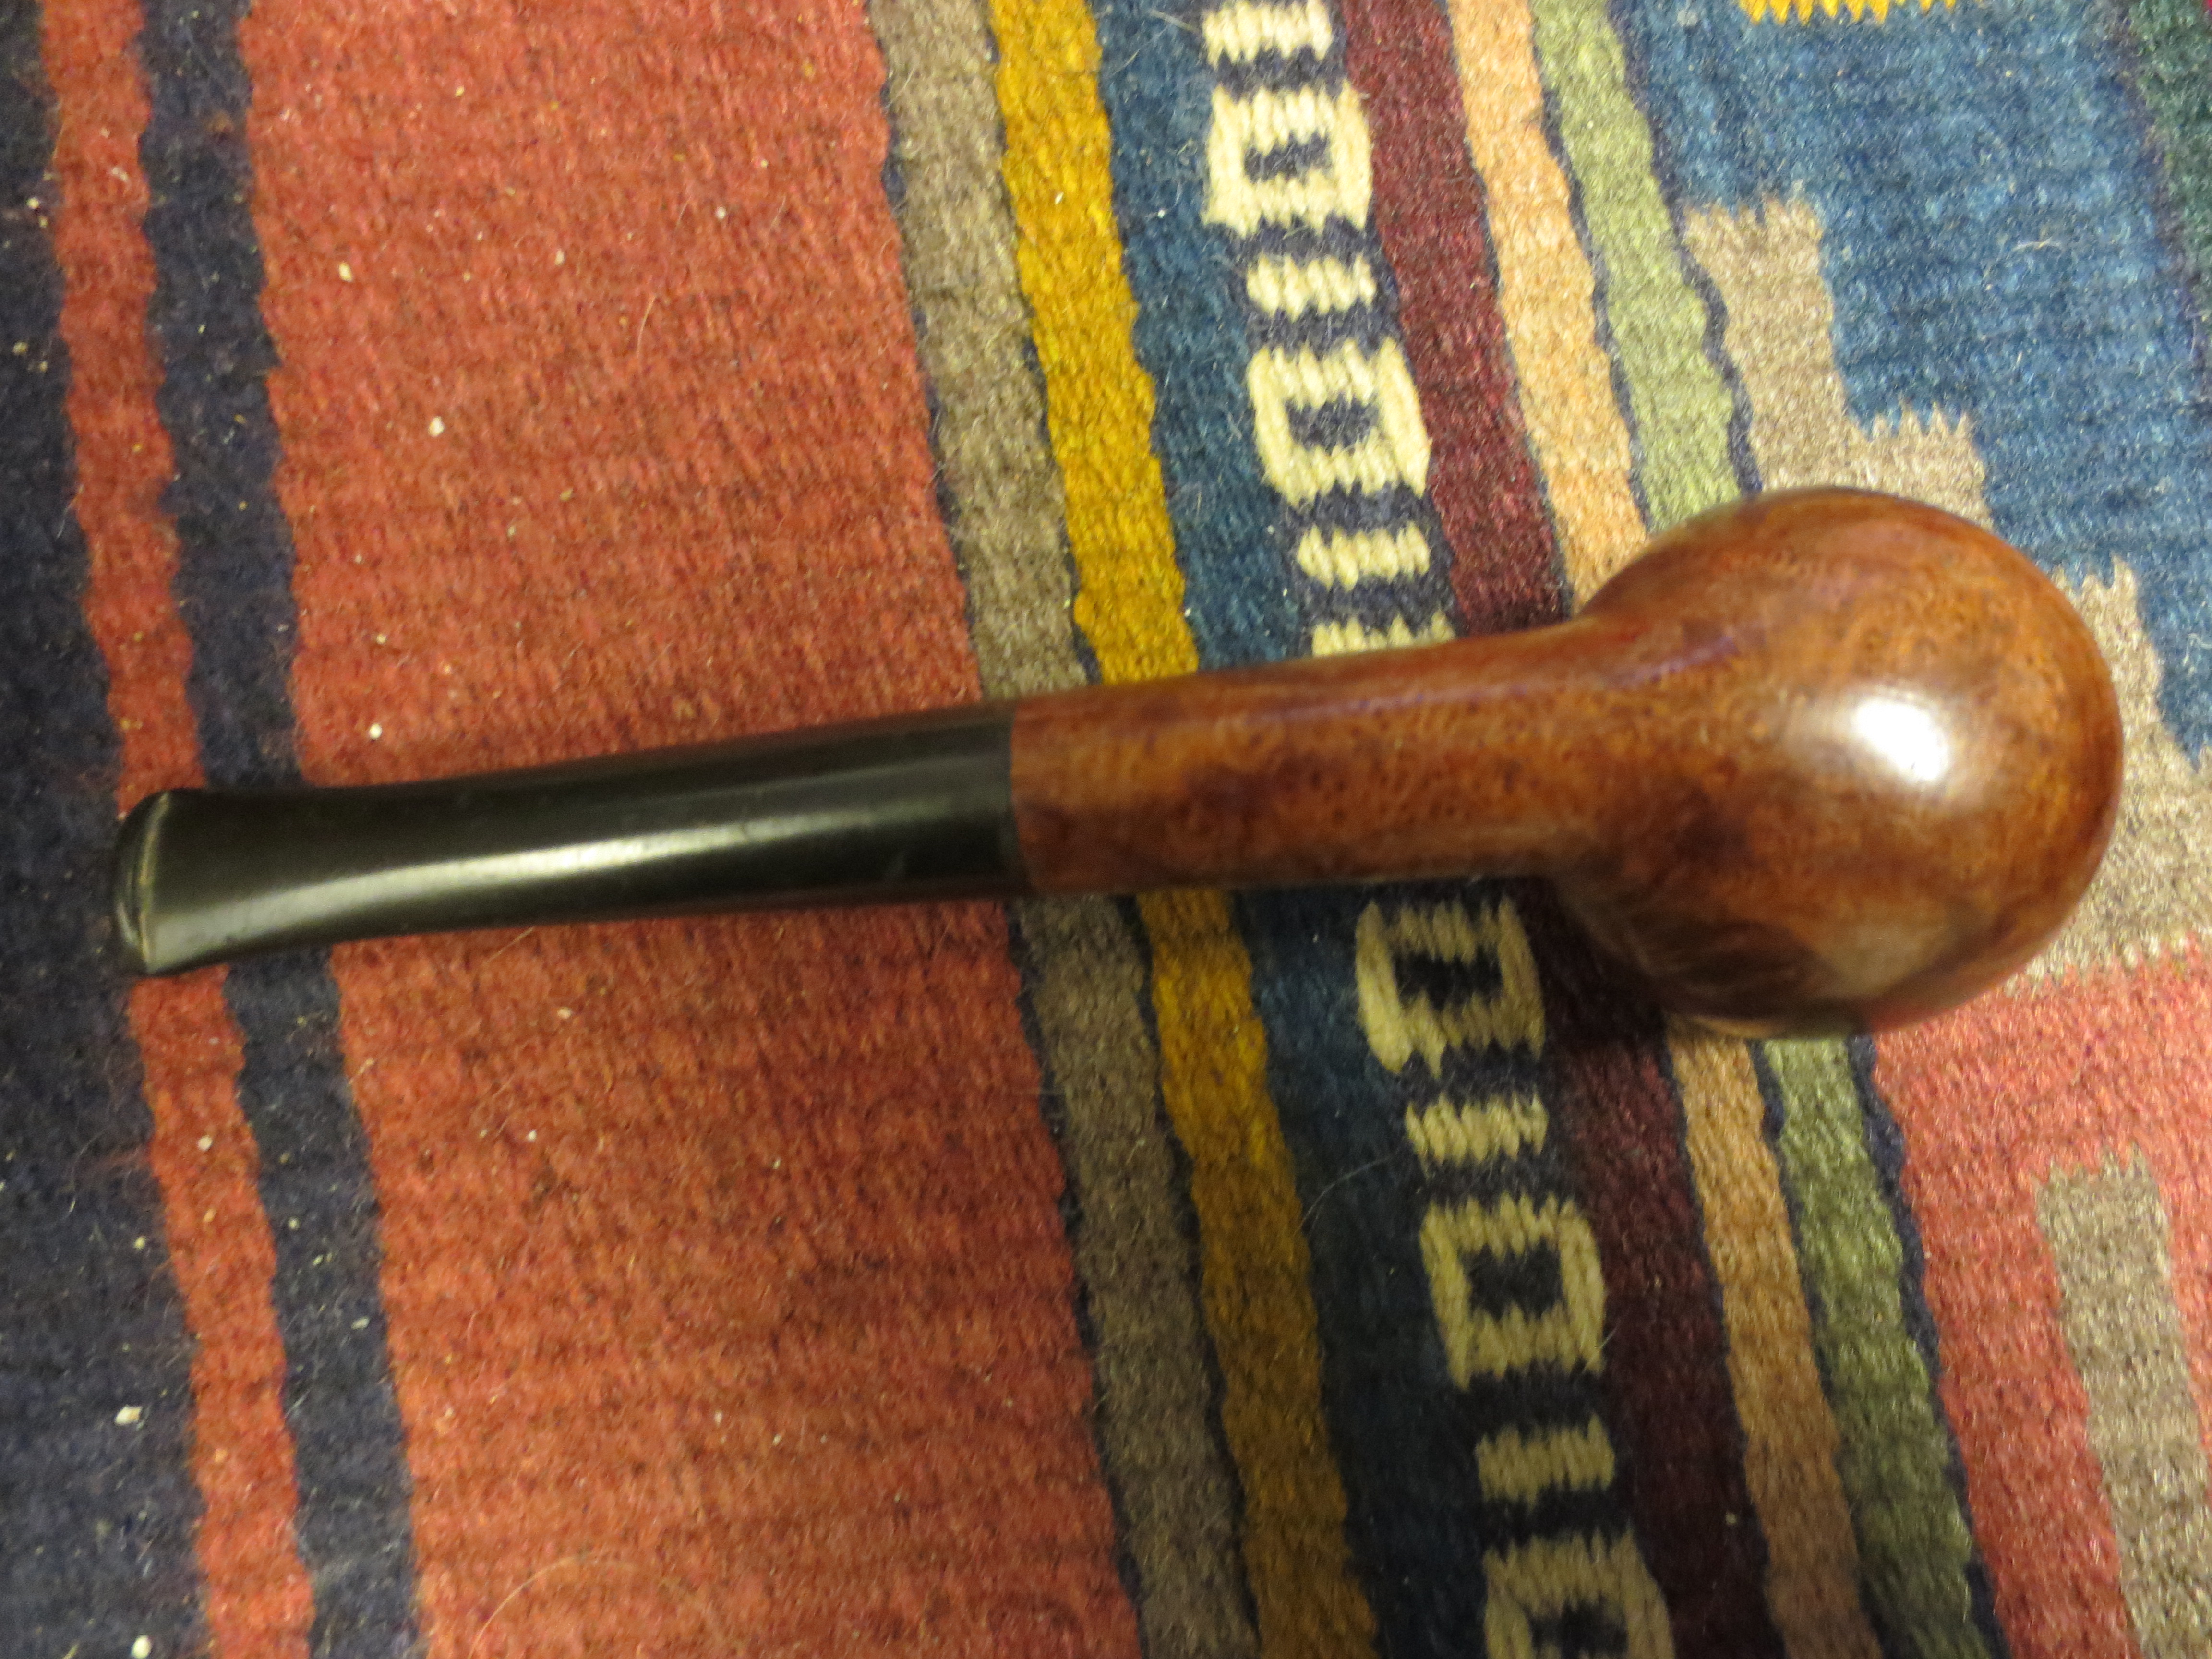
So I applied some more stain with a cotton swab to just the fill portion of the bowl. I set it aside to dry overnight and in the morning hand buffed that area of the pipe. I hand buffed with a shoe shine brush and a soft cotton cloth. Once I had finish I buffed it lightly with carnauba wax multiple times to give it a protective coating. The final four photos show the finished pipe. The fill is much more blended into the stain coat and the lines are there but more subtle. The fill is not as glaringly staring at you while you hold the bowl. The pipe is ready to smoke and for me to experiment with the interesting filter apparatus.