Category Archives: Pipe Refurbishing Essays

Essays and pictorial essays on the art of refurbishing

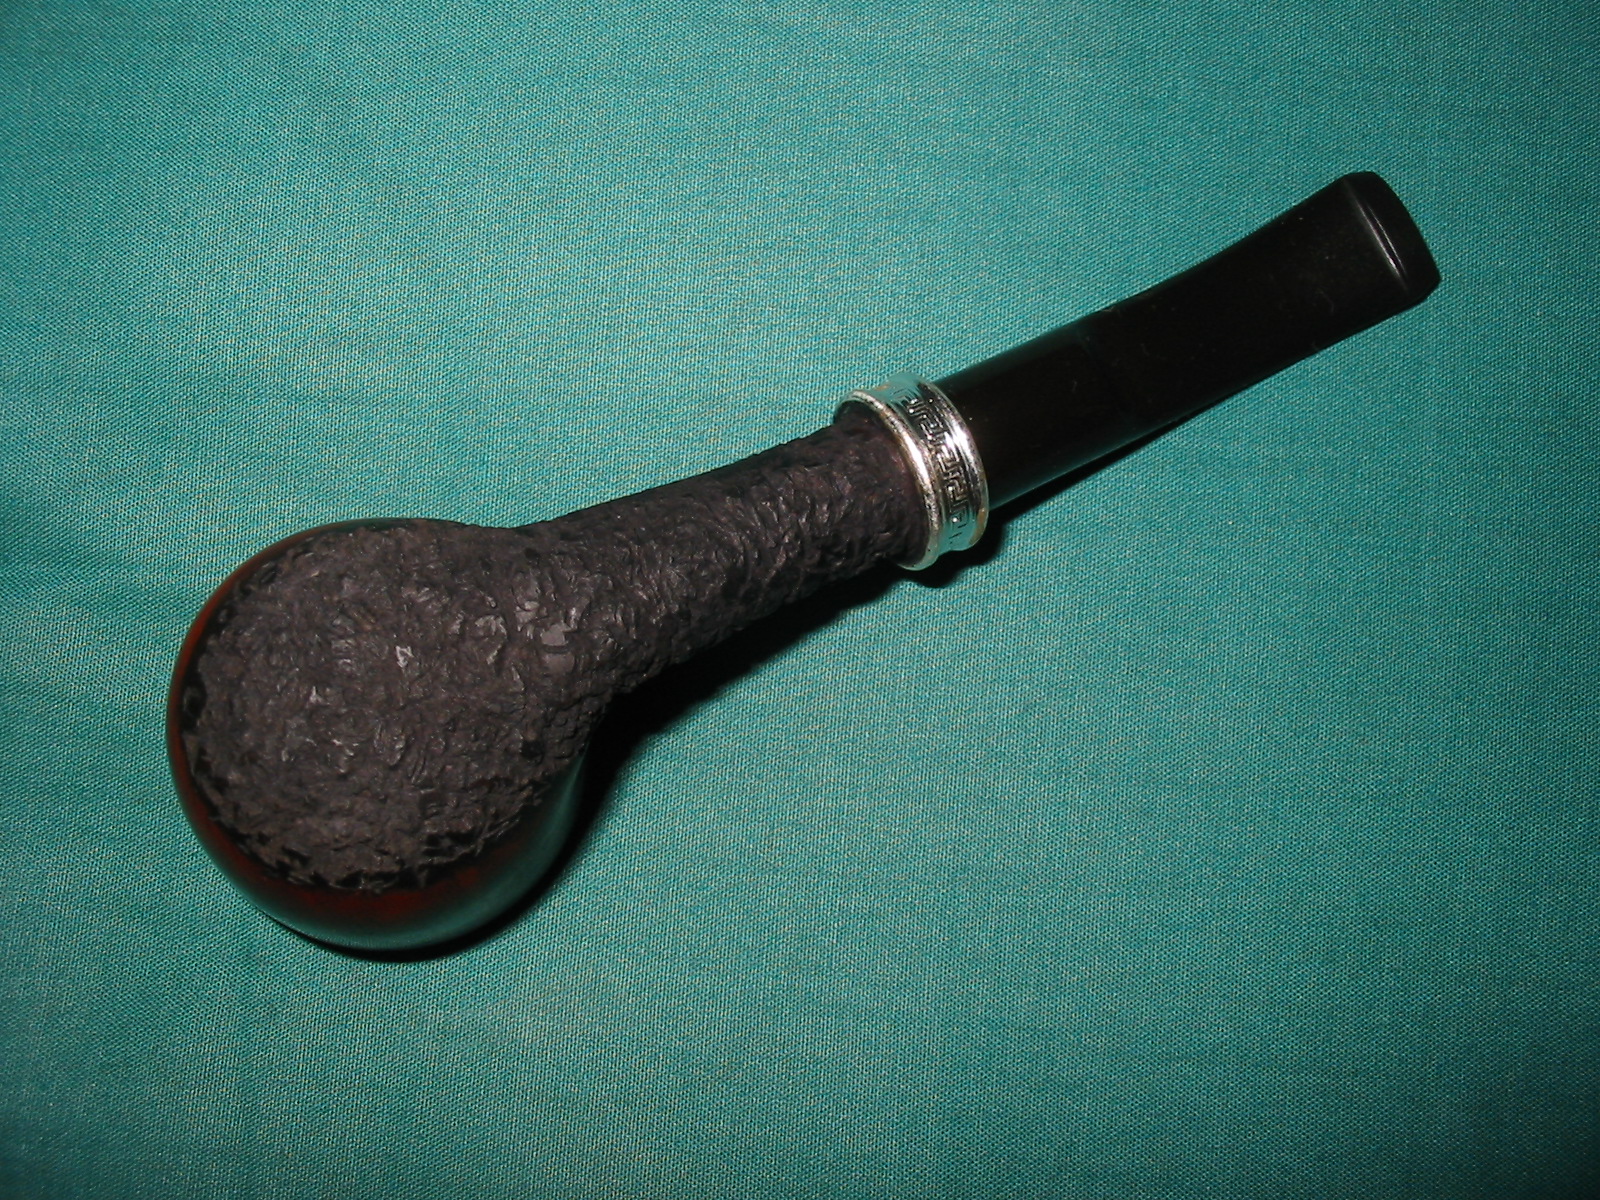
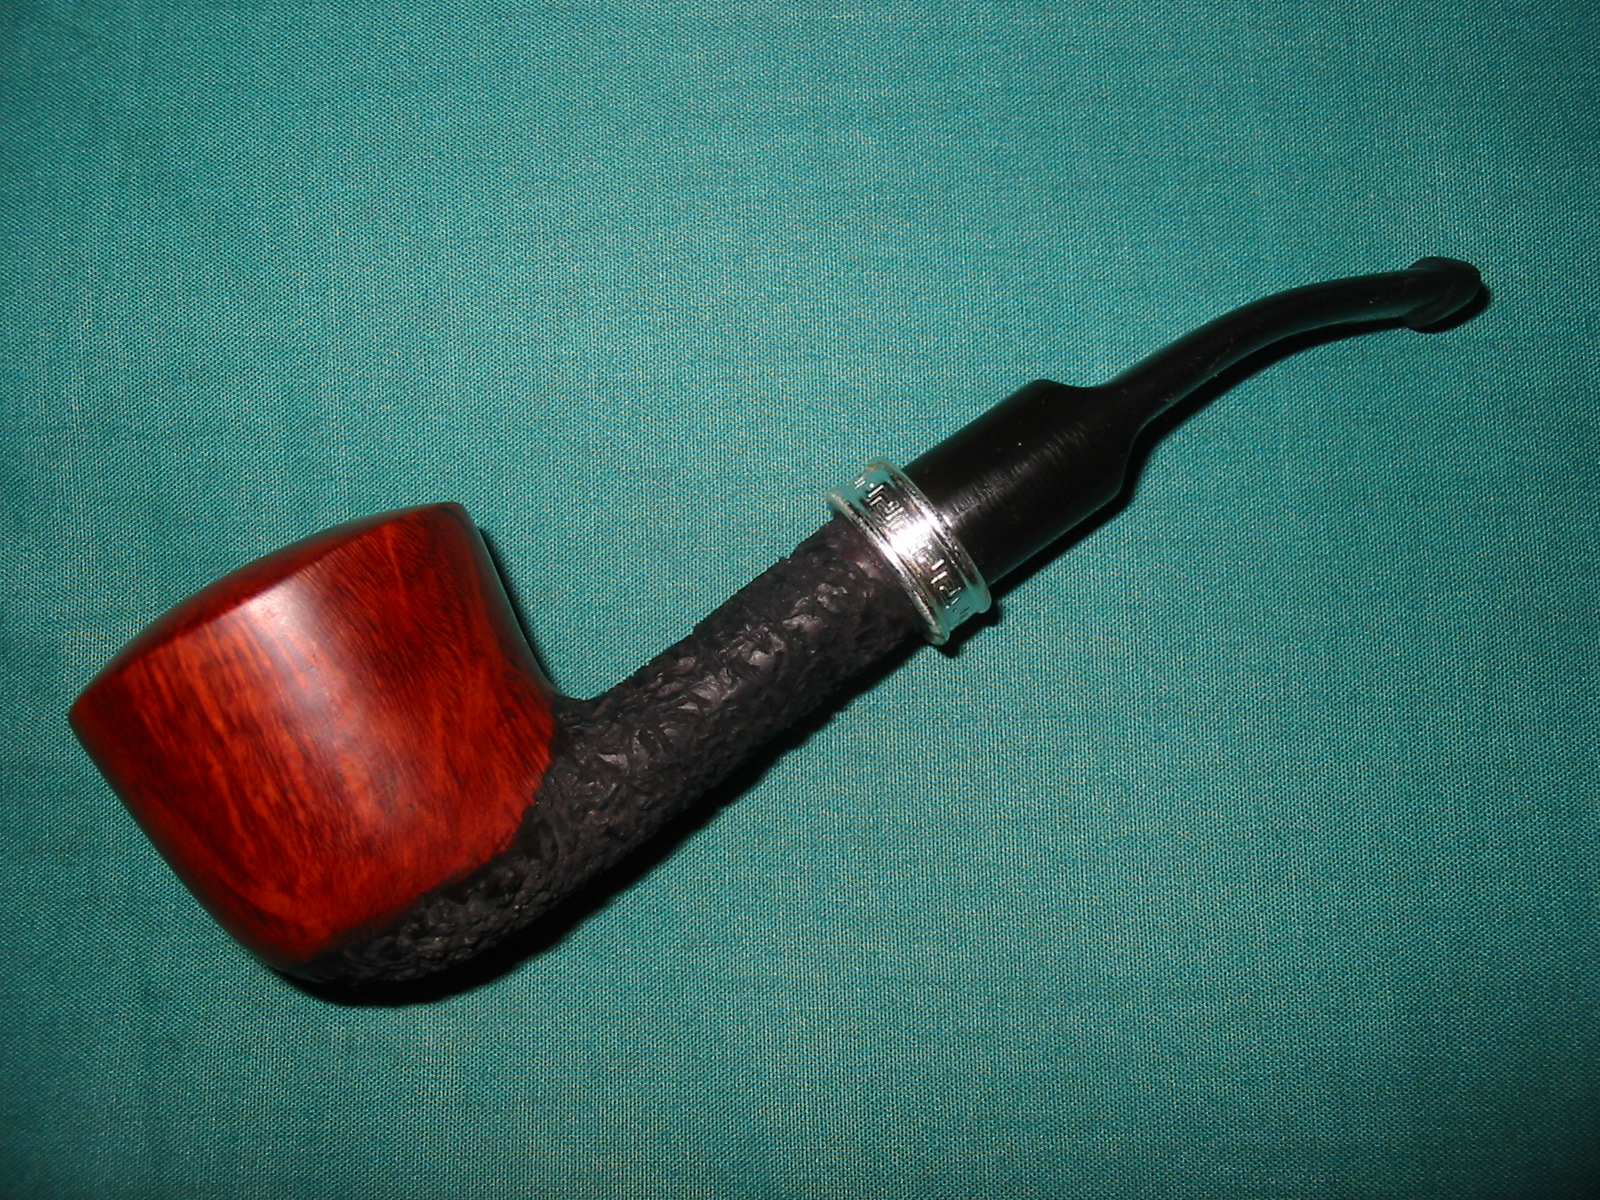
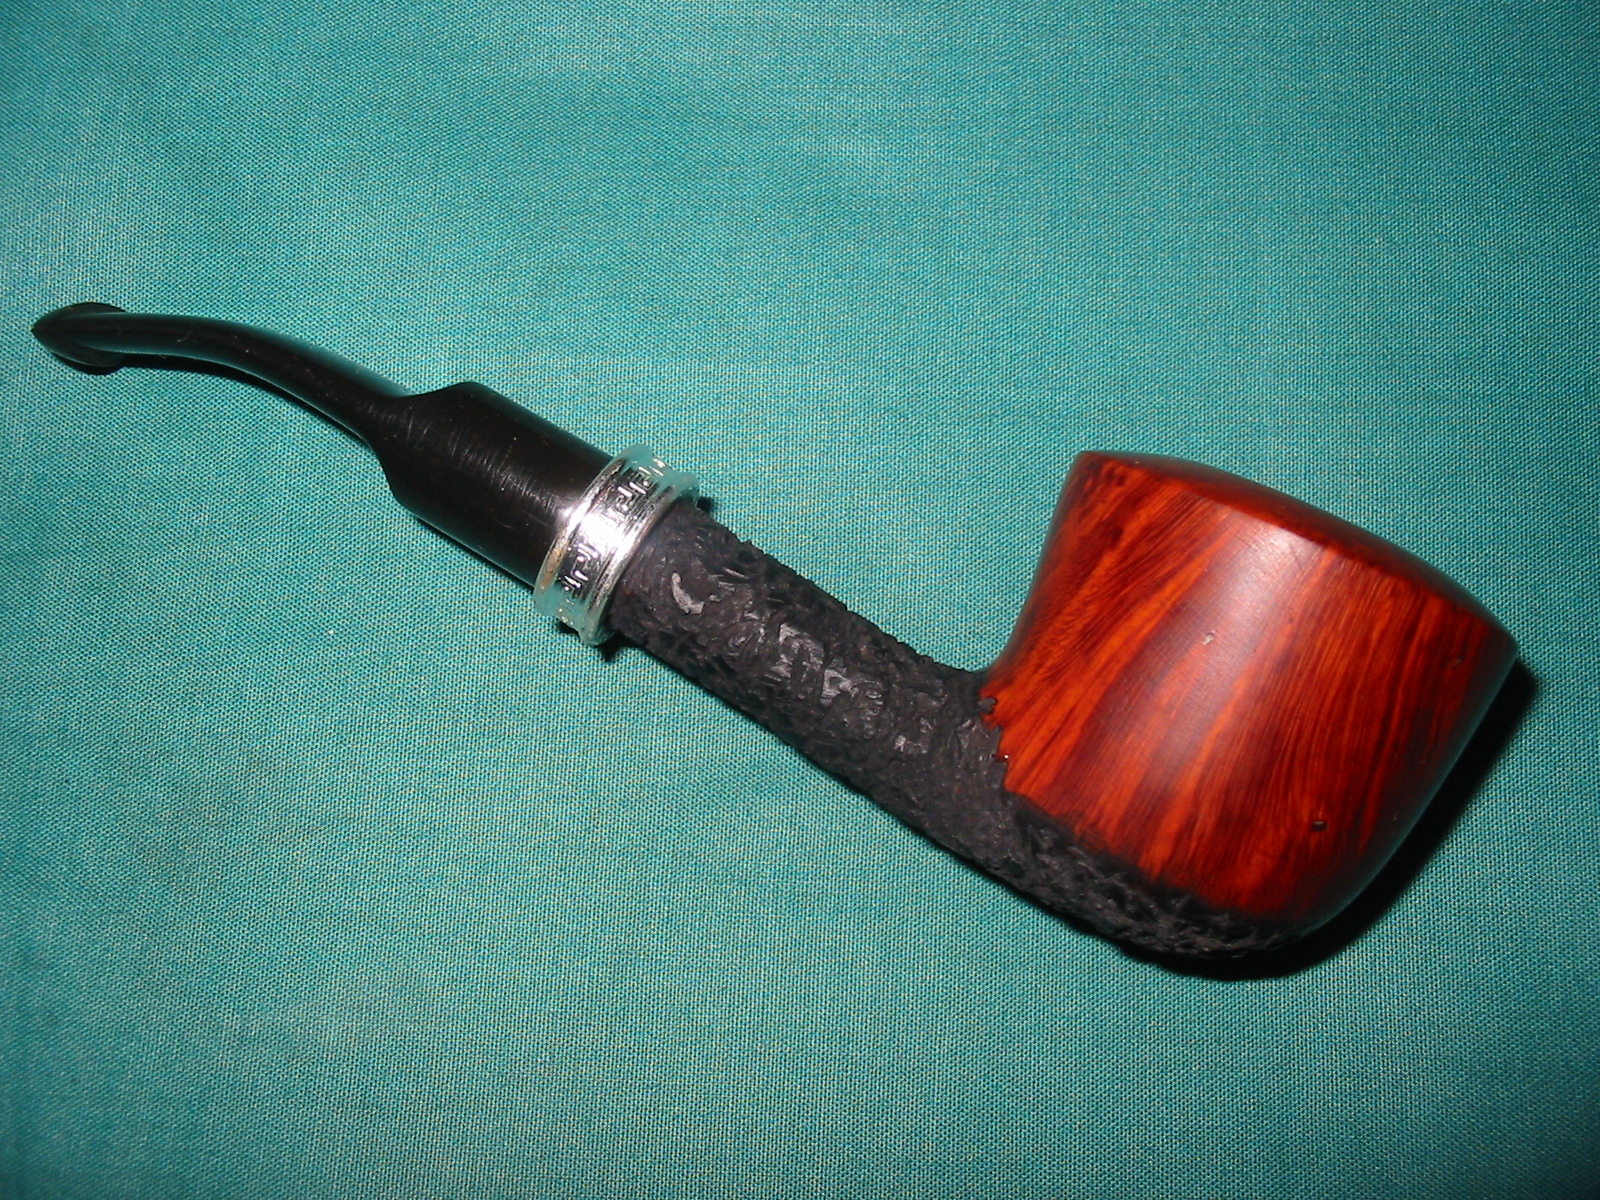
Reworking a No Name Pipe Bowl – Adding Rustication and Bling


Blog by Steve Laug

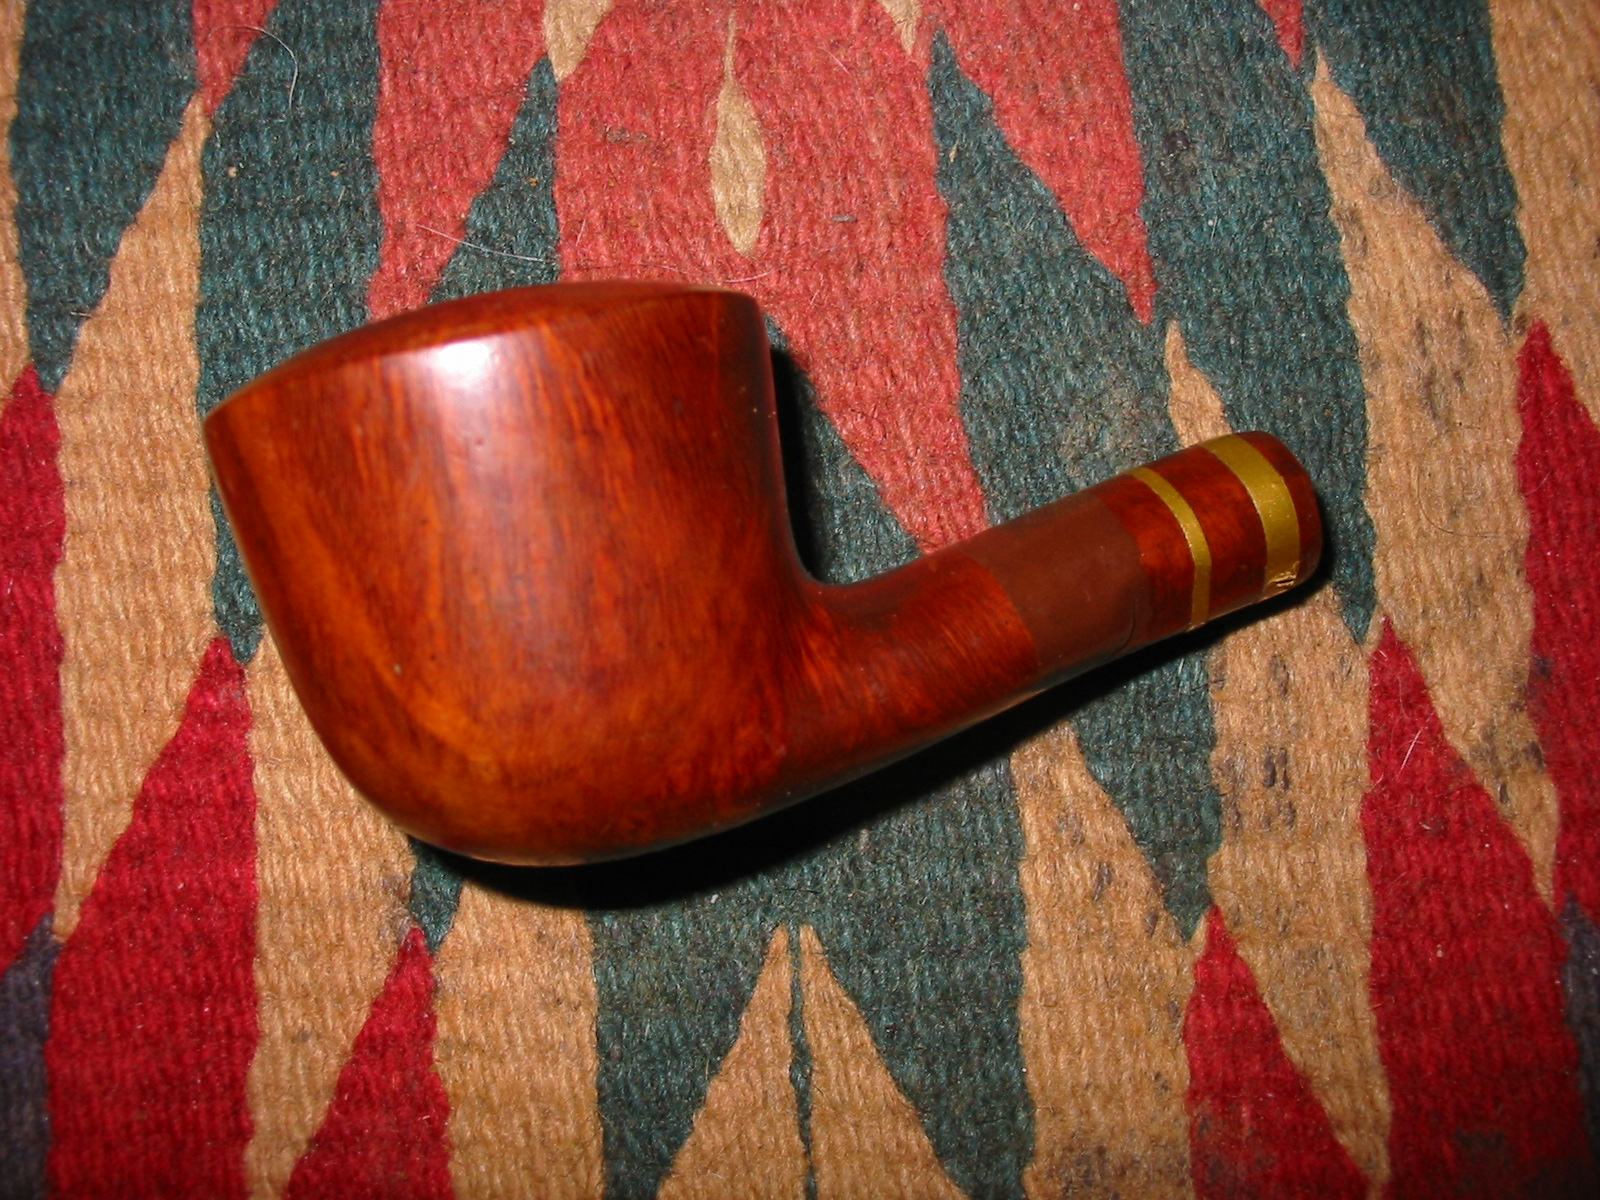
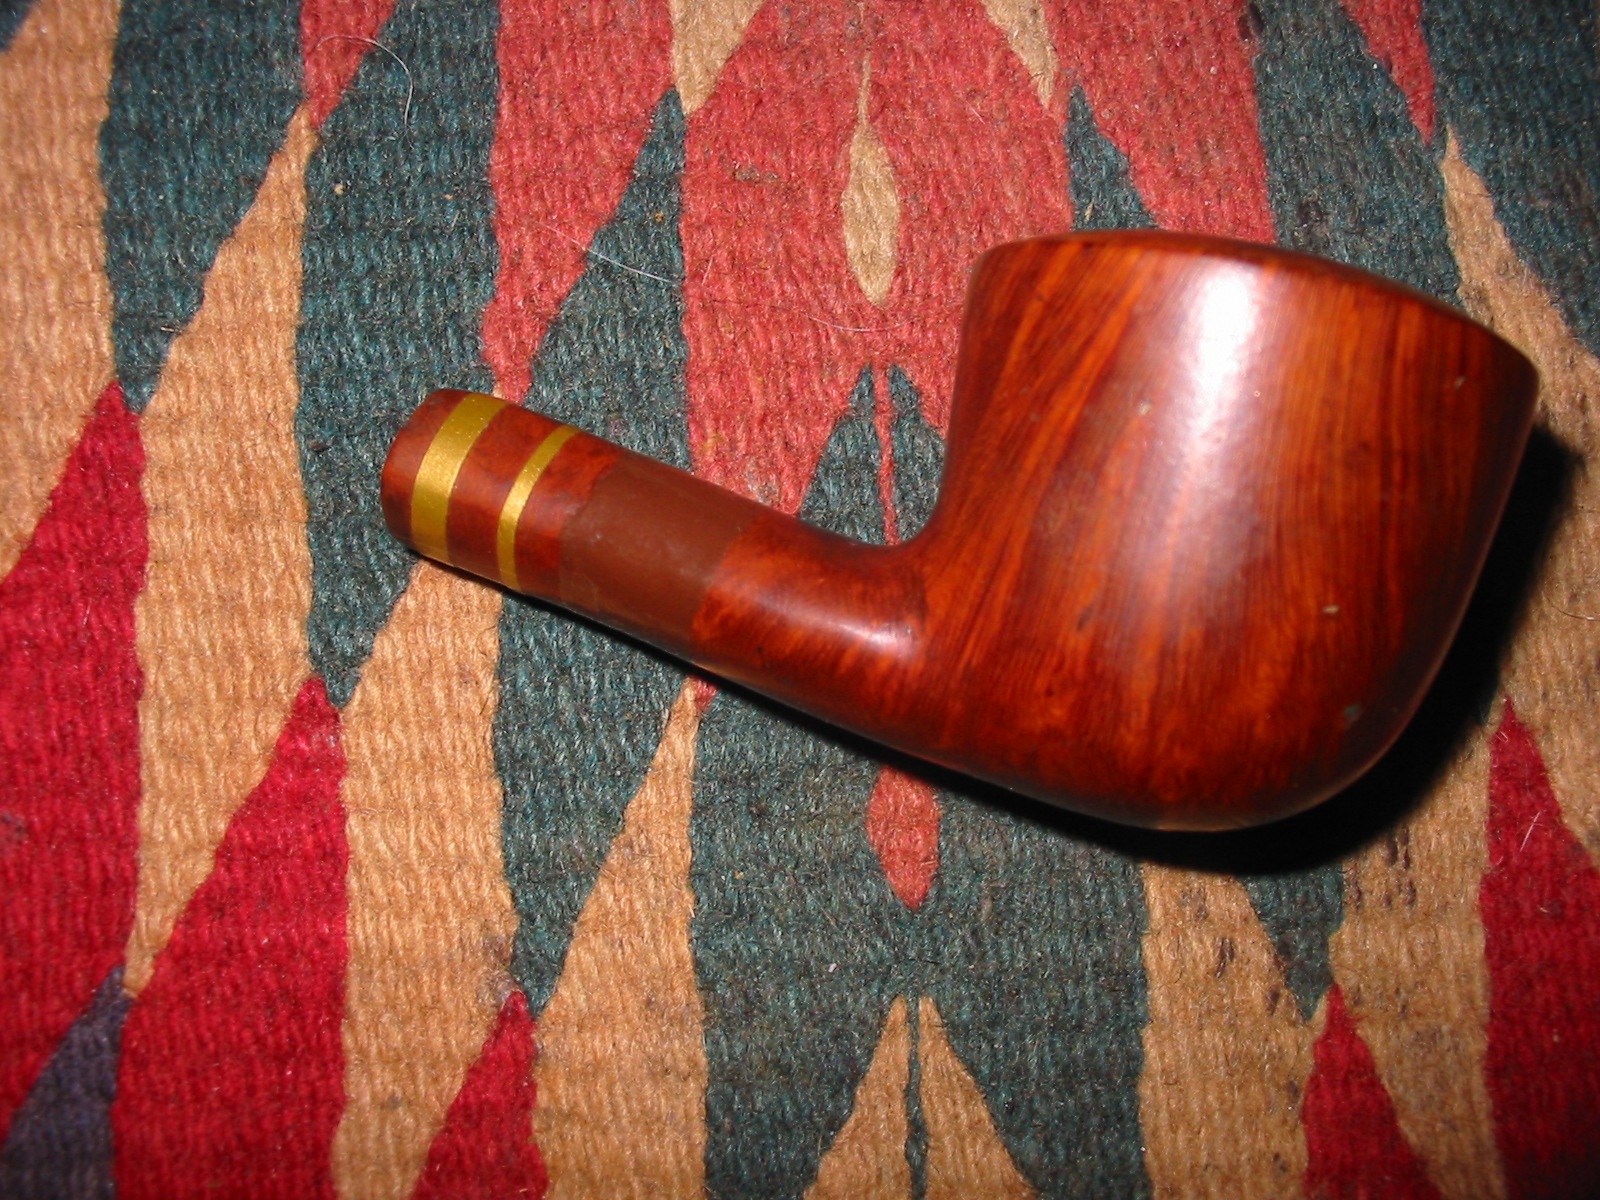
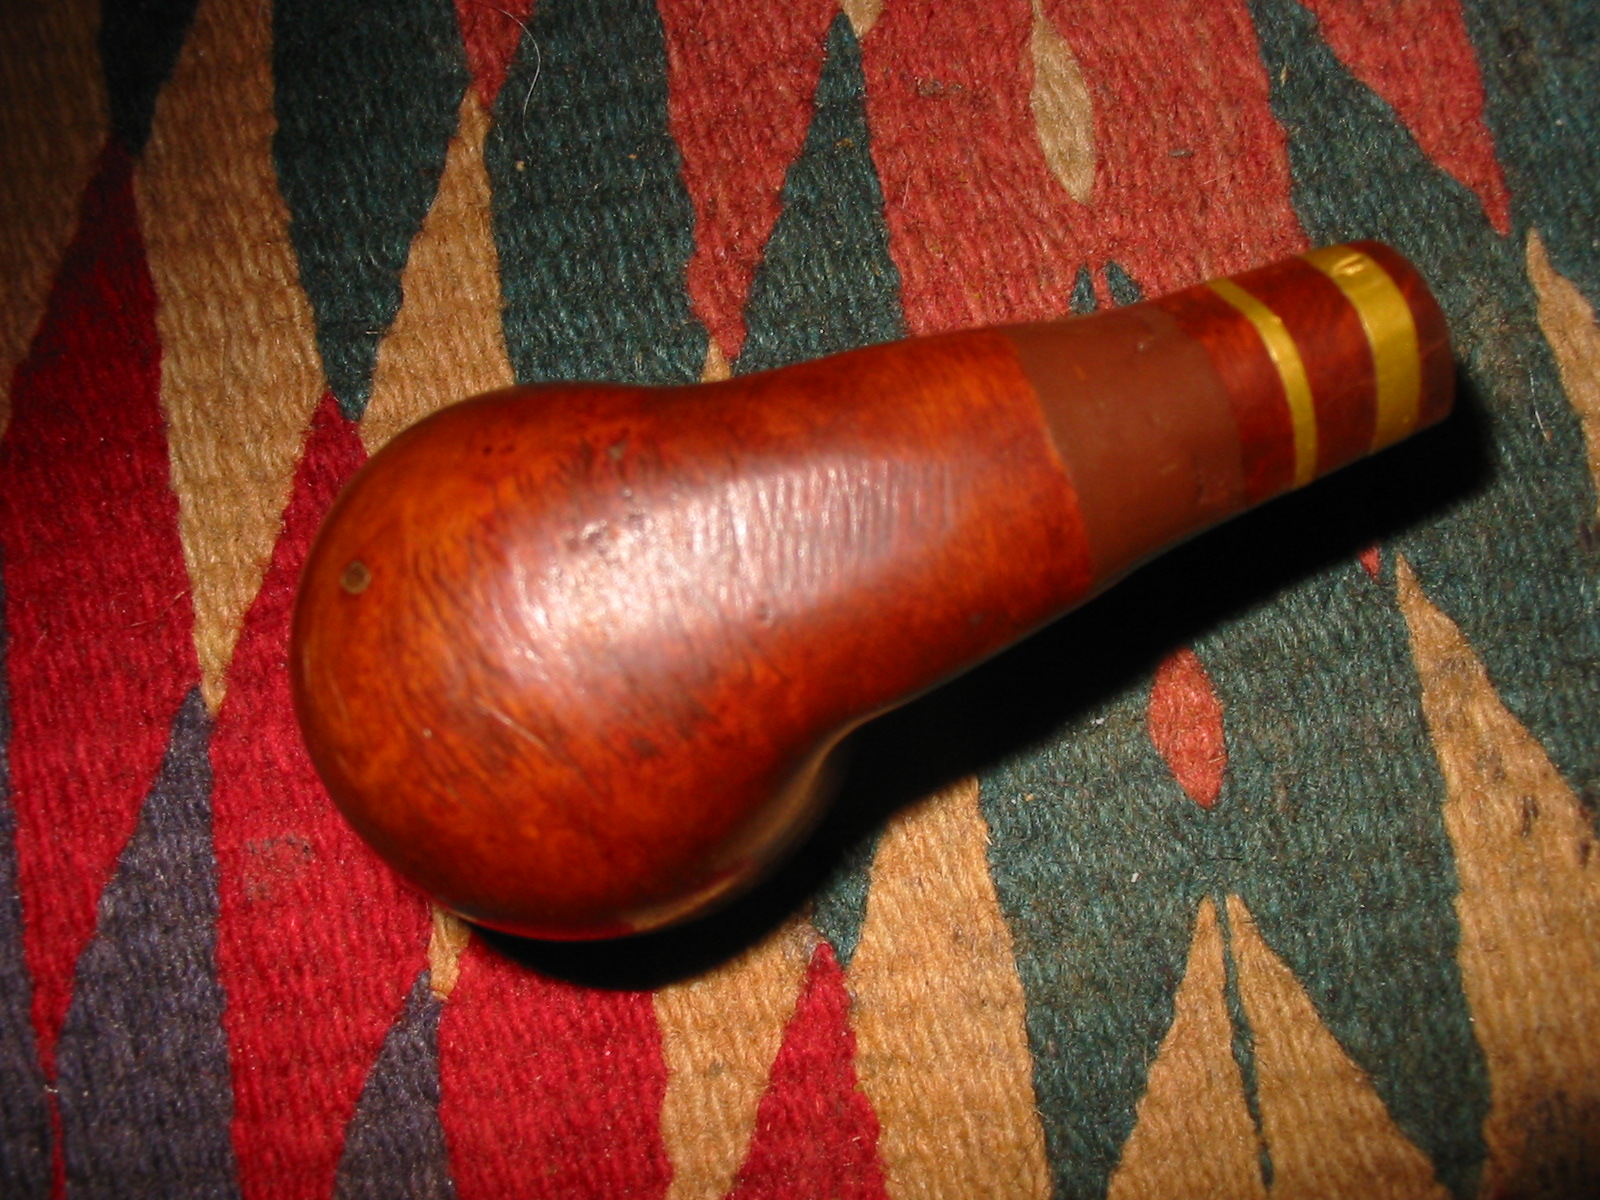
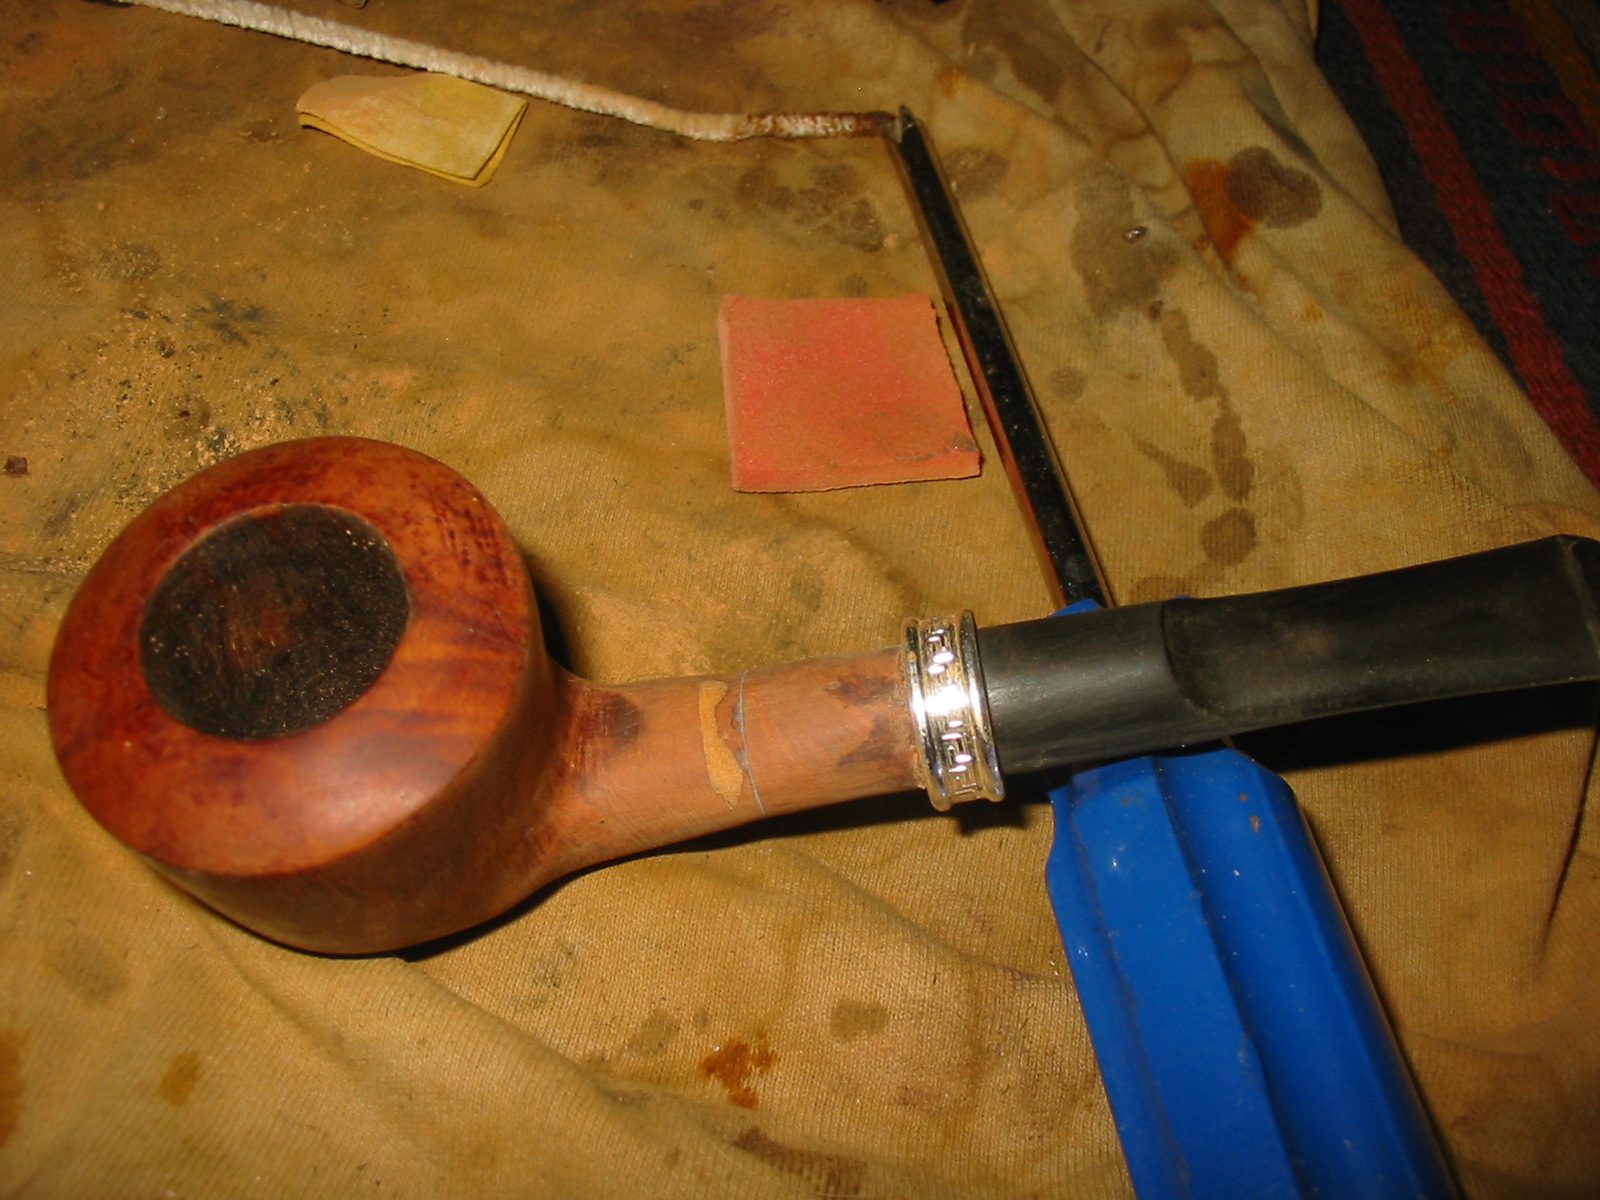
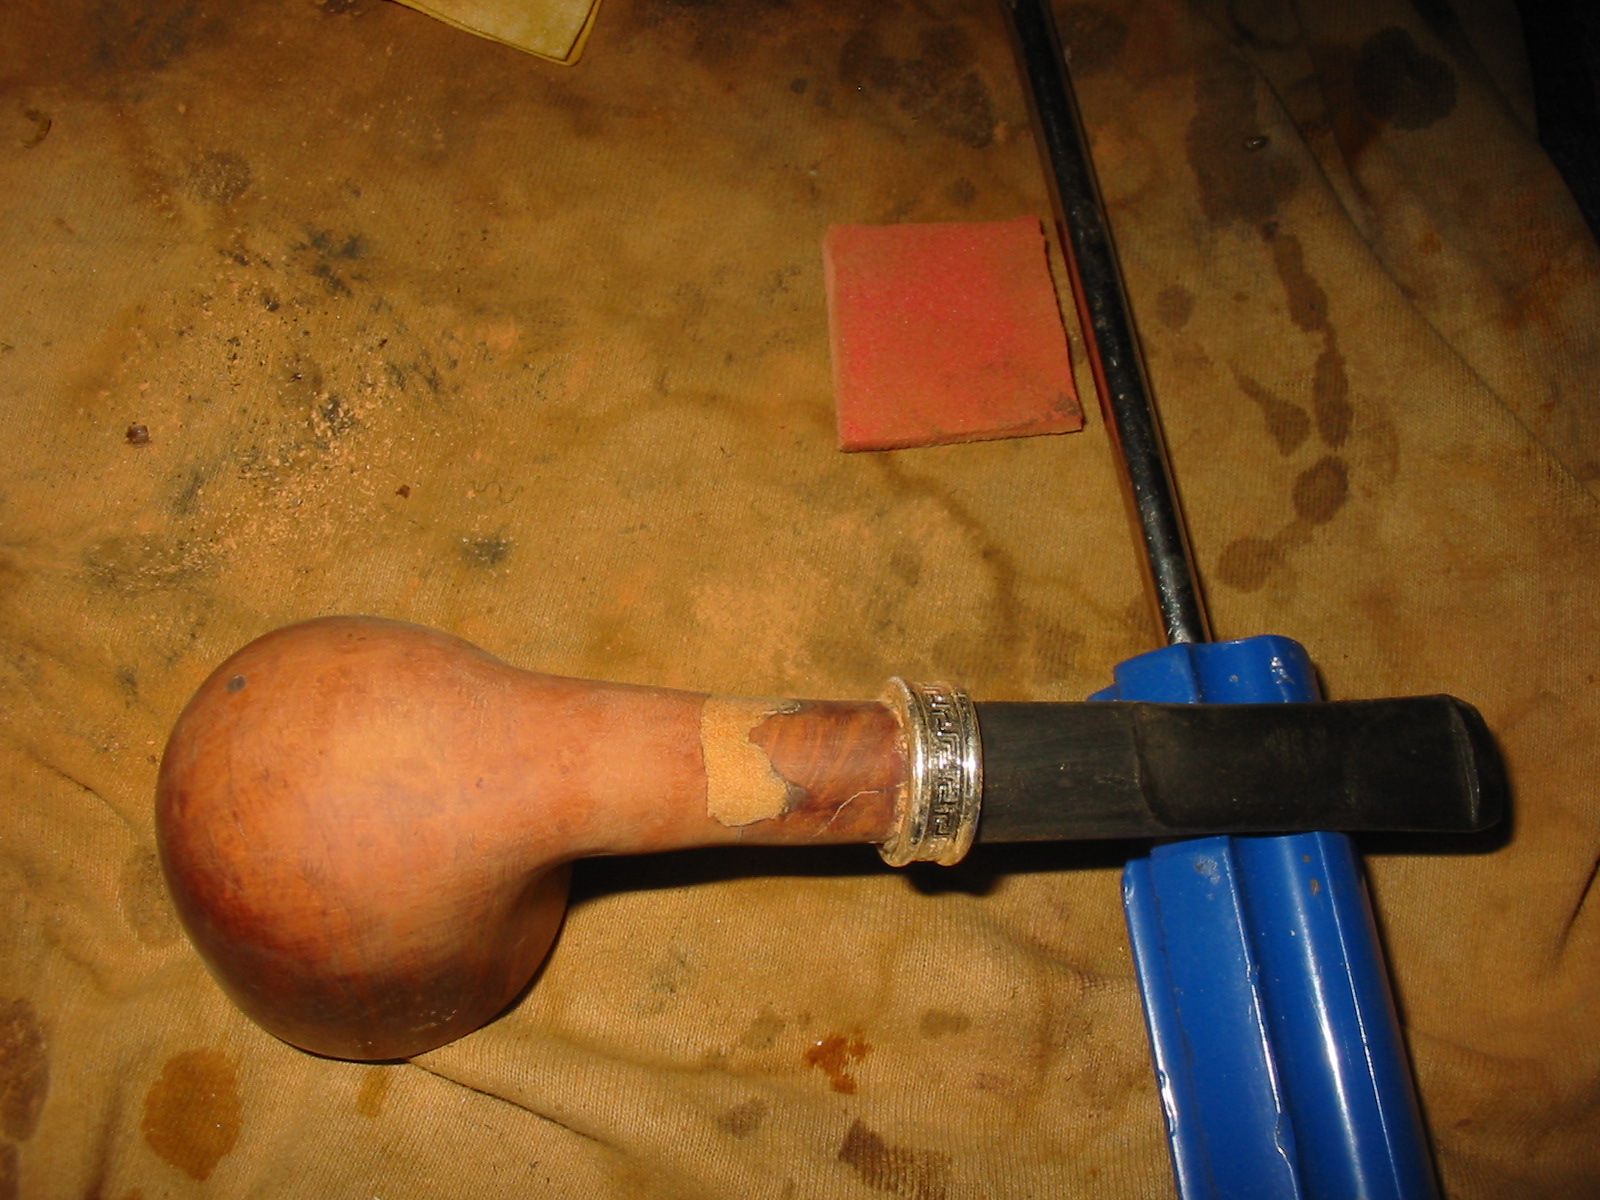
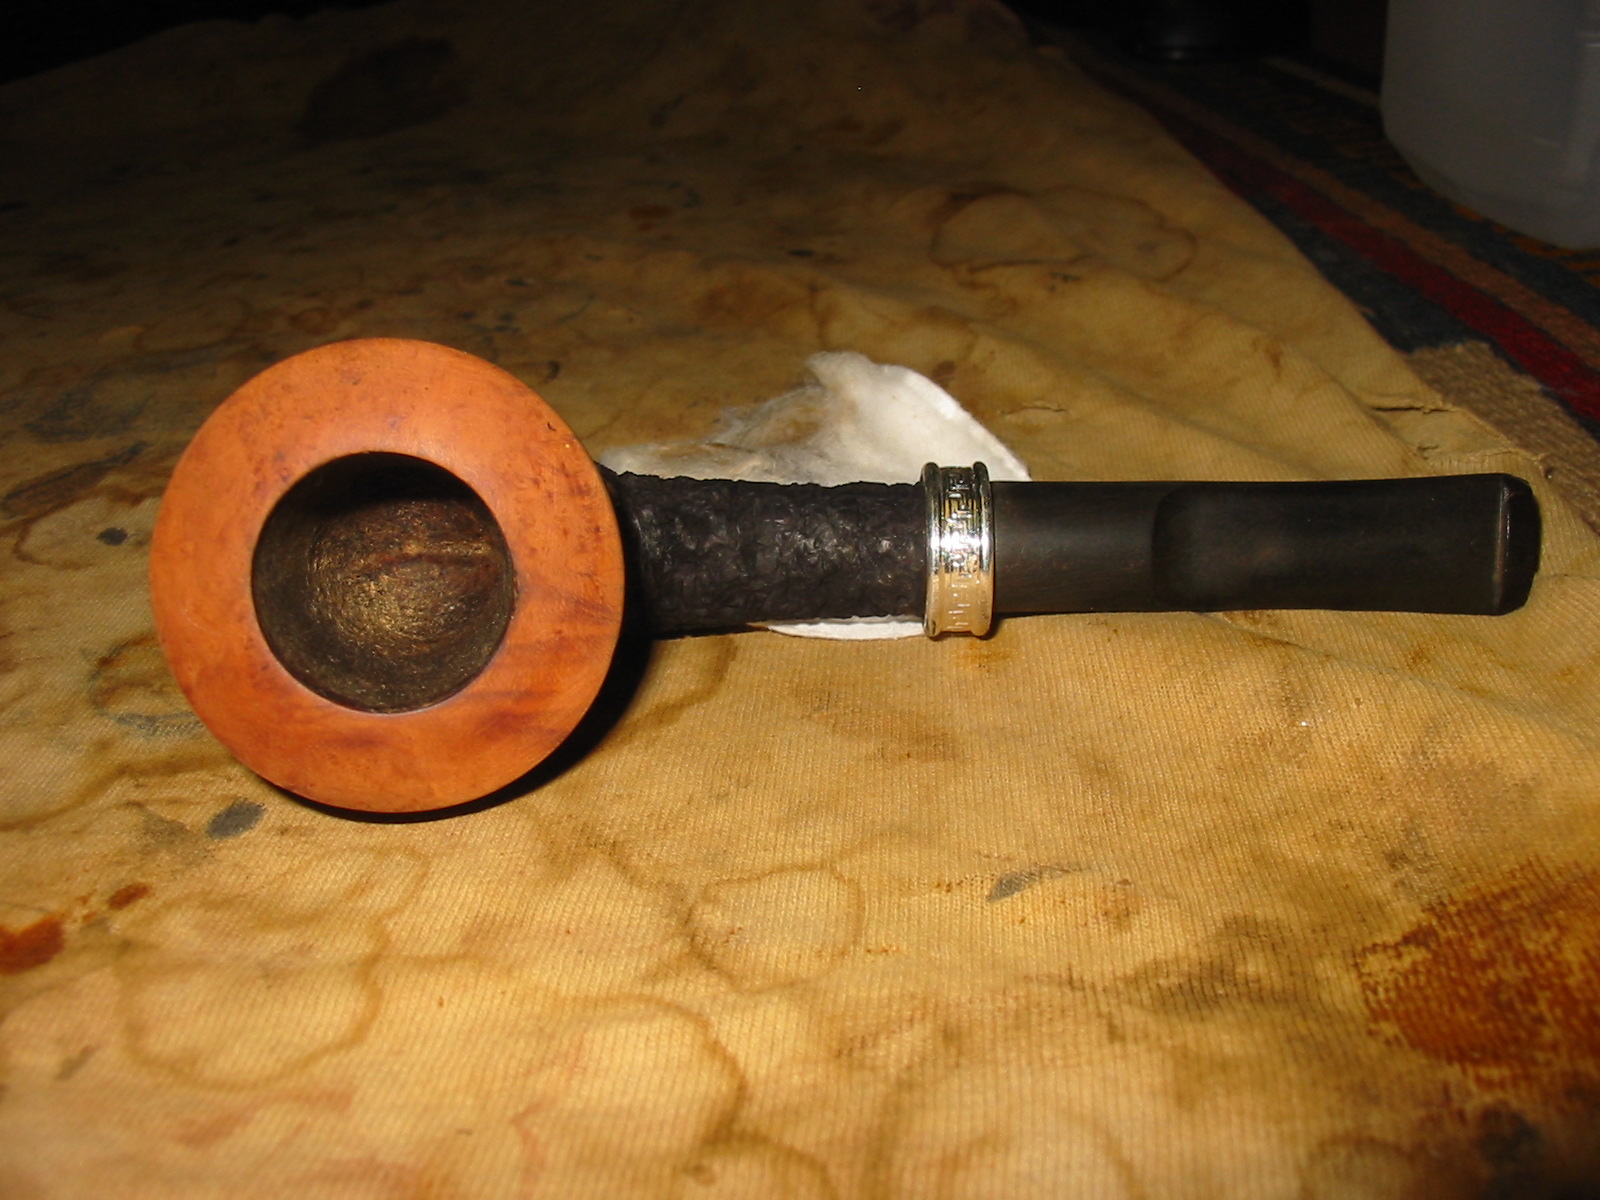
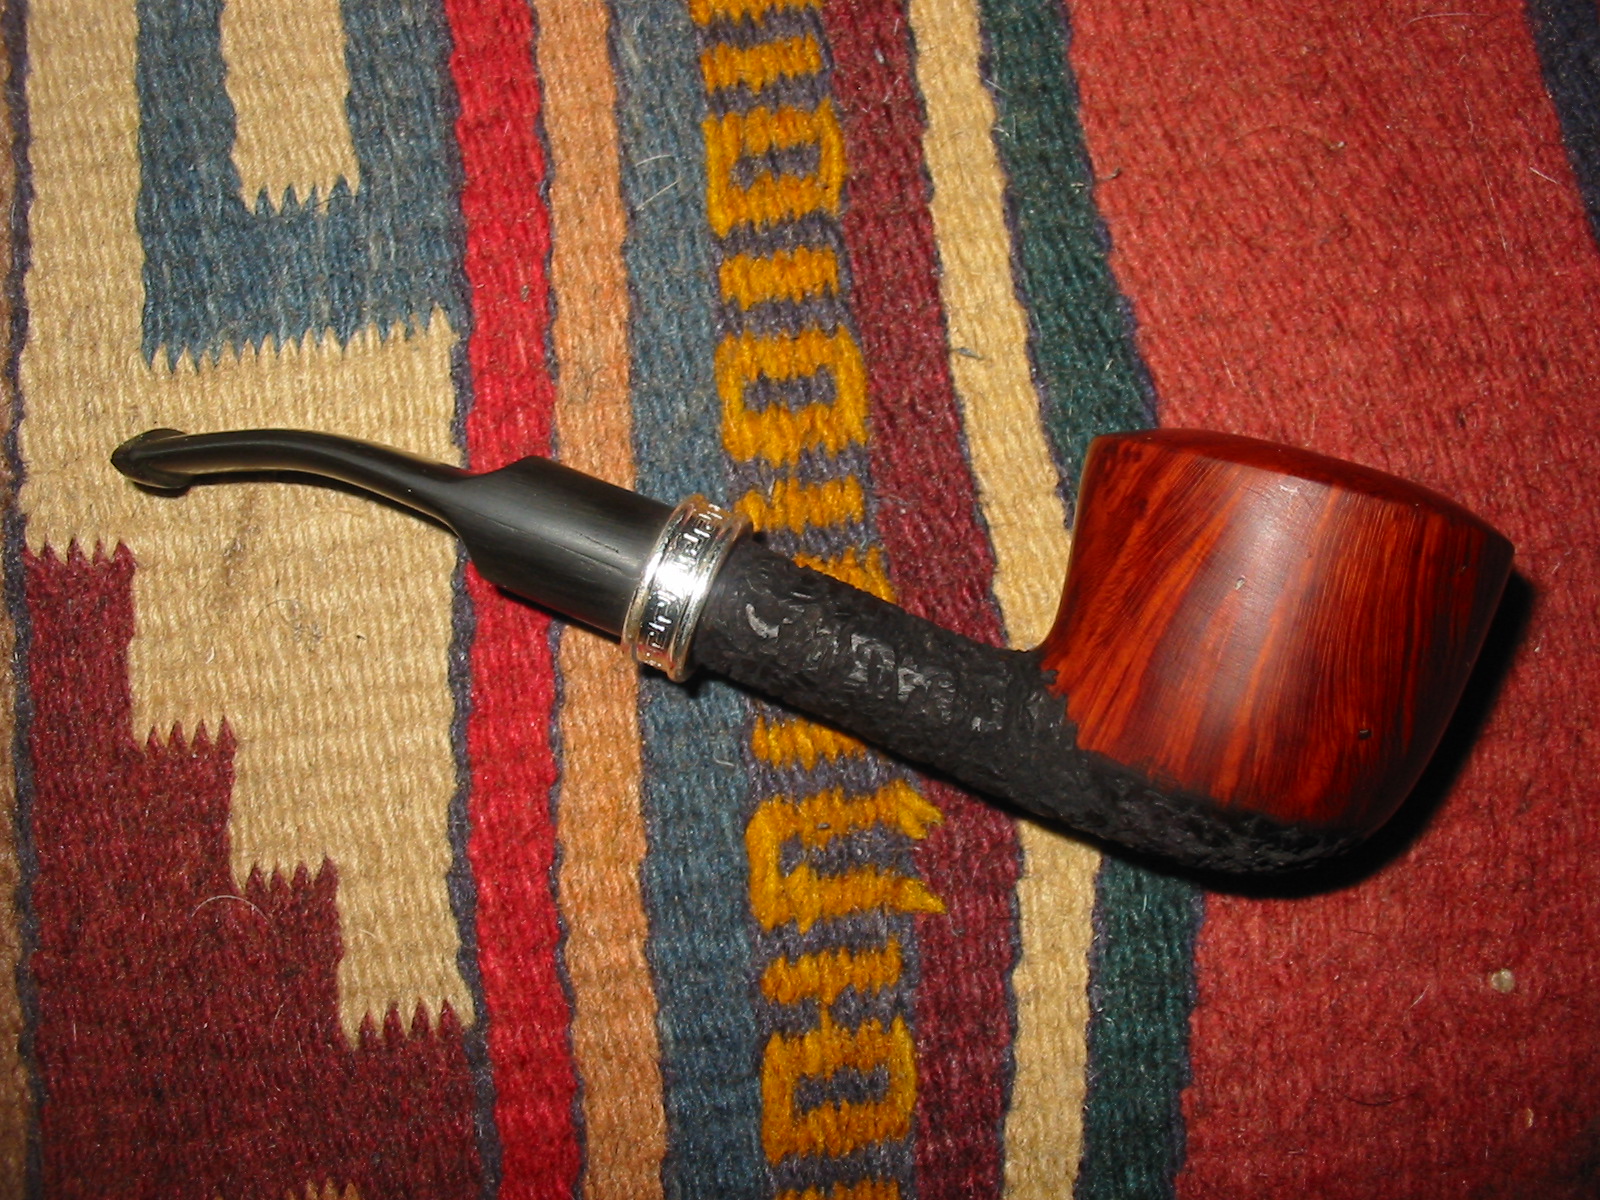
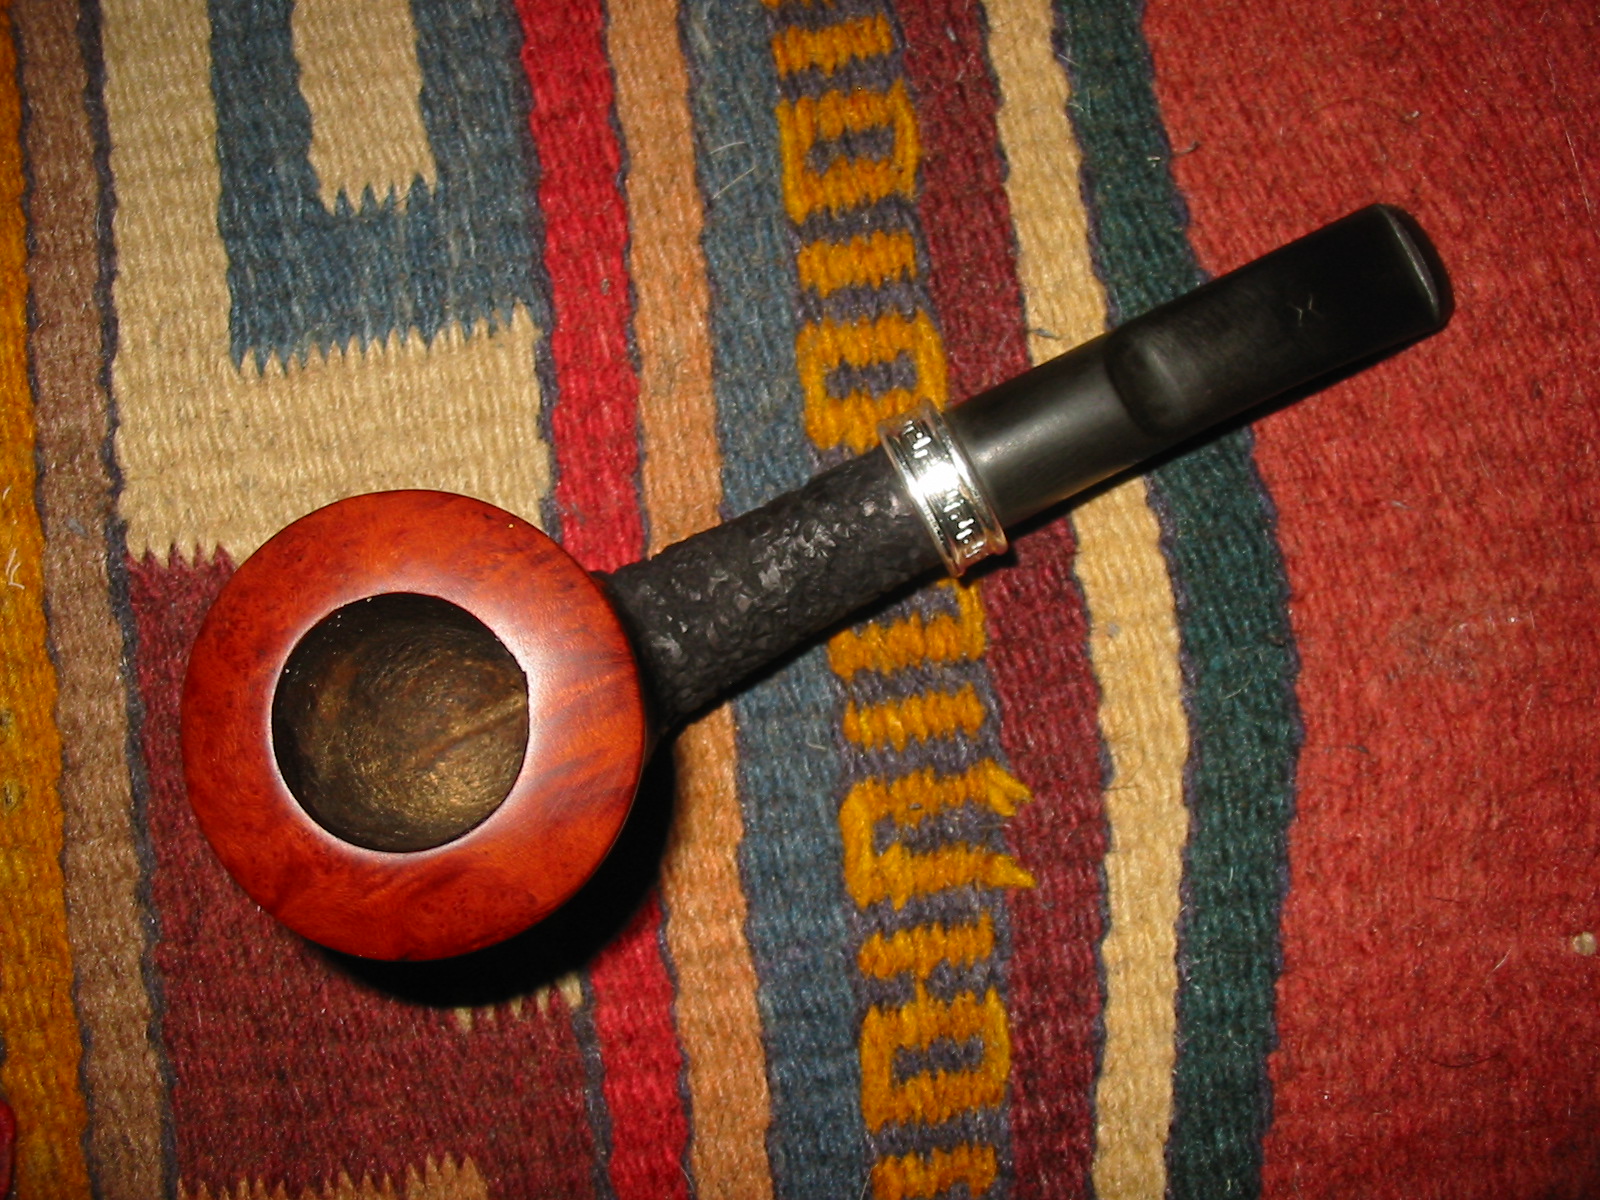
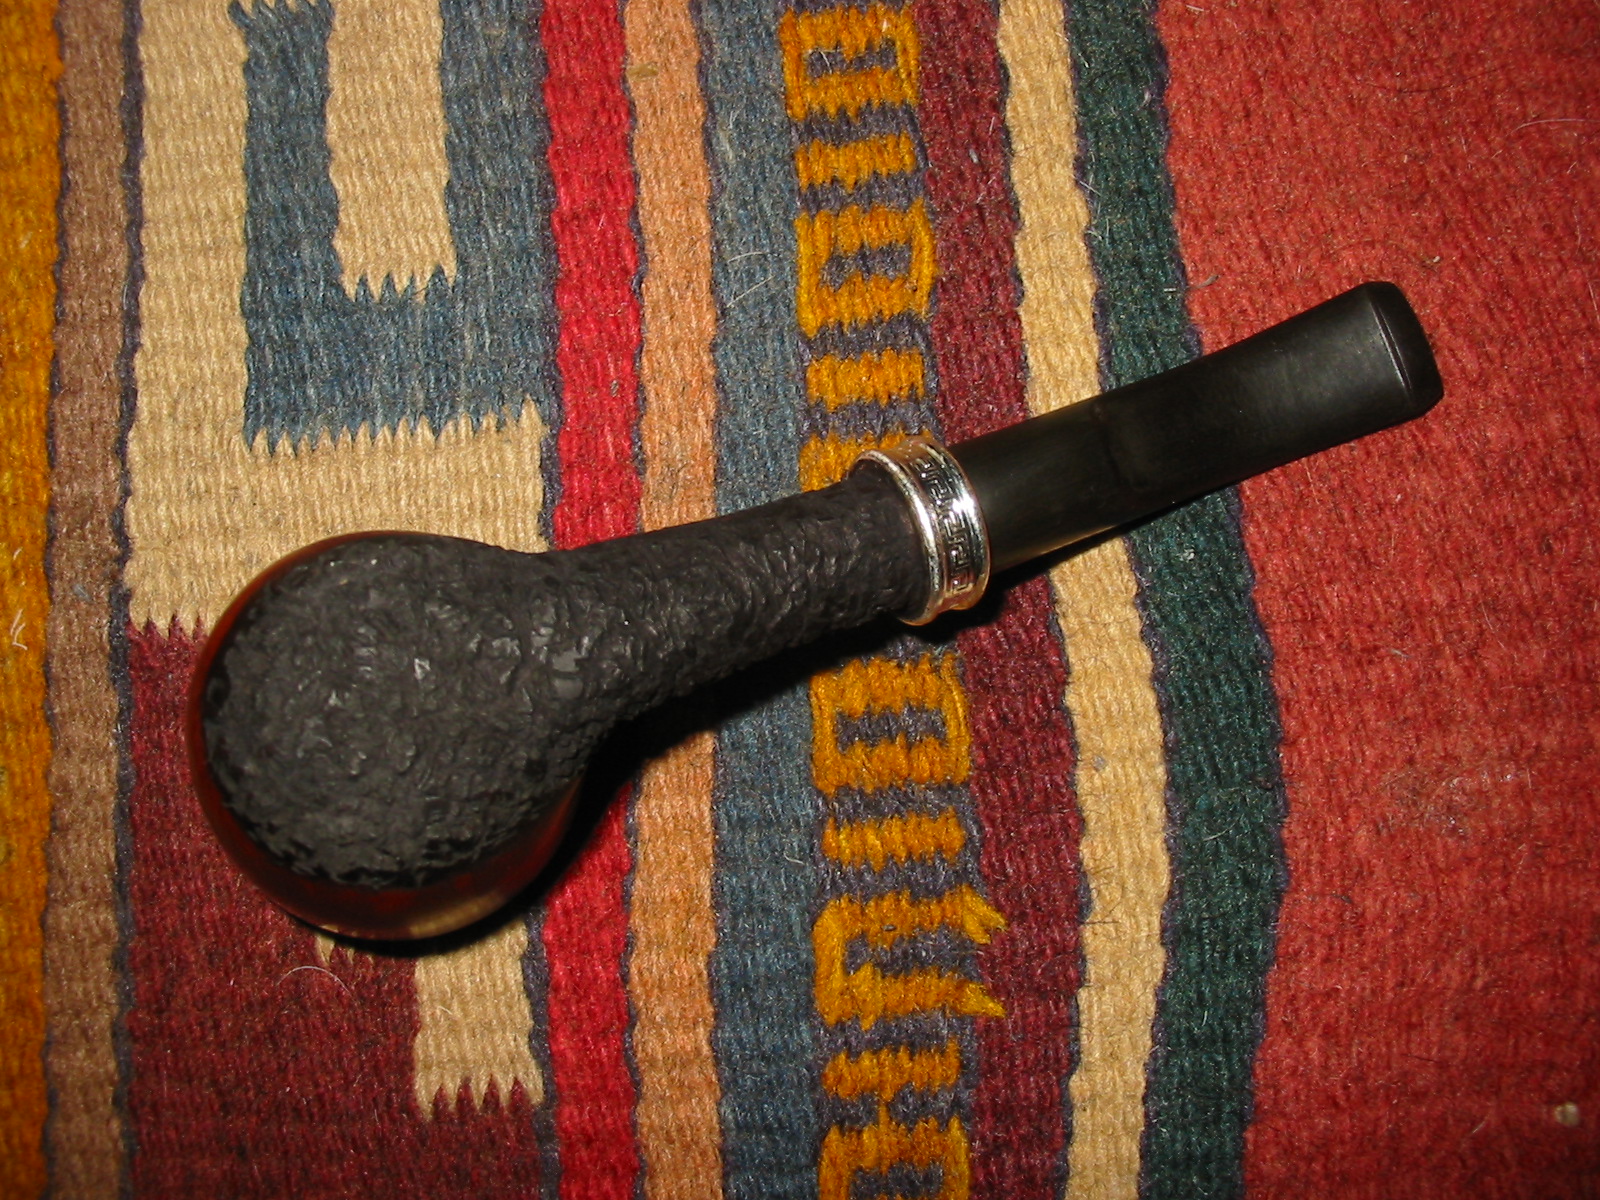
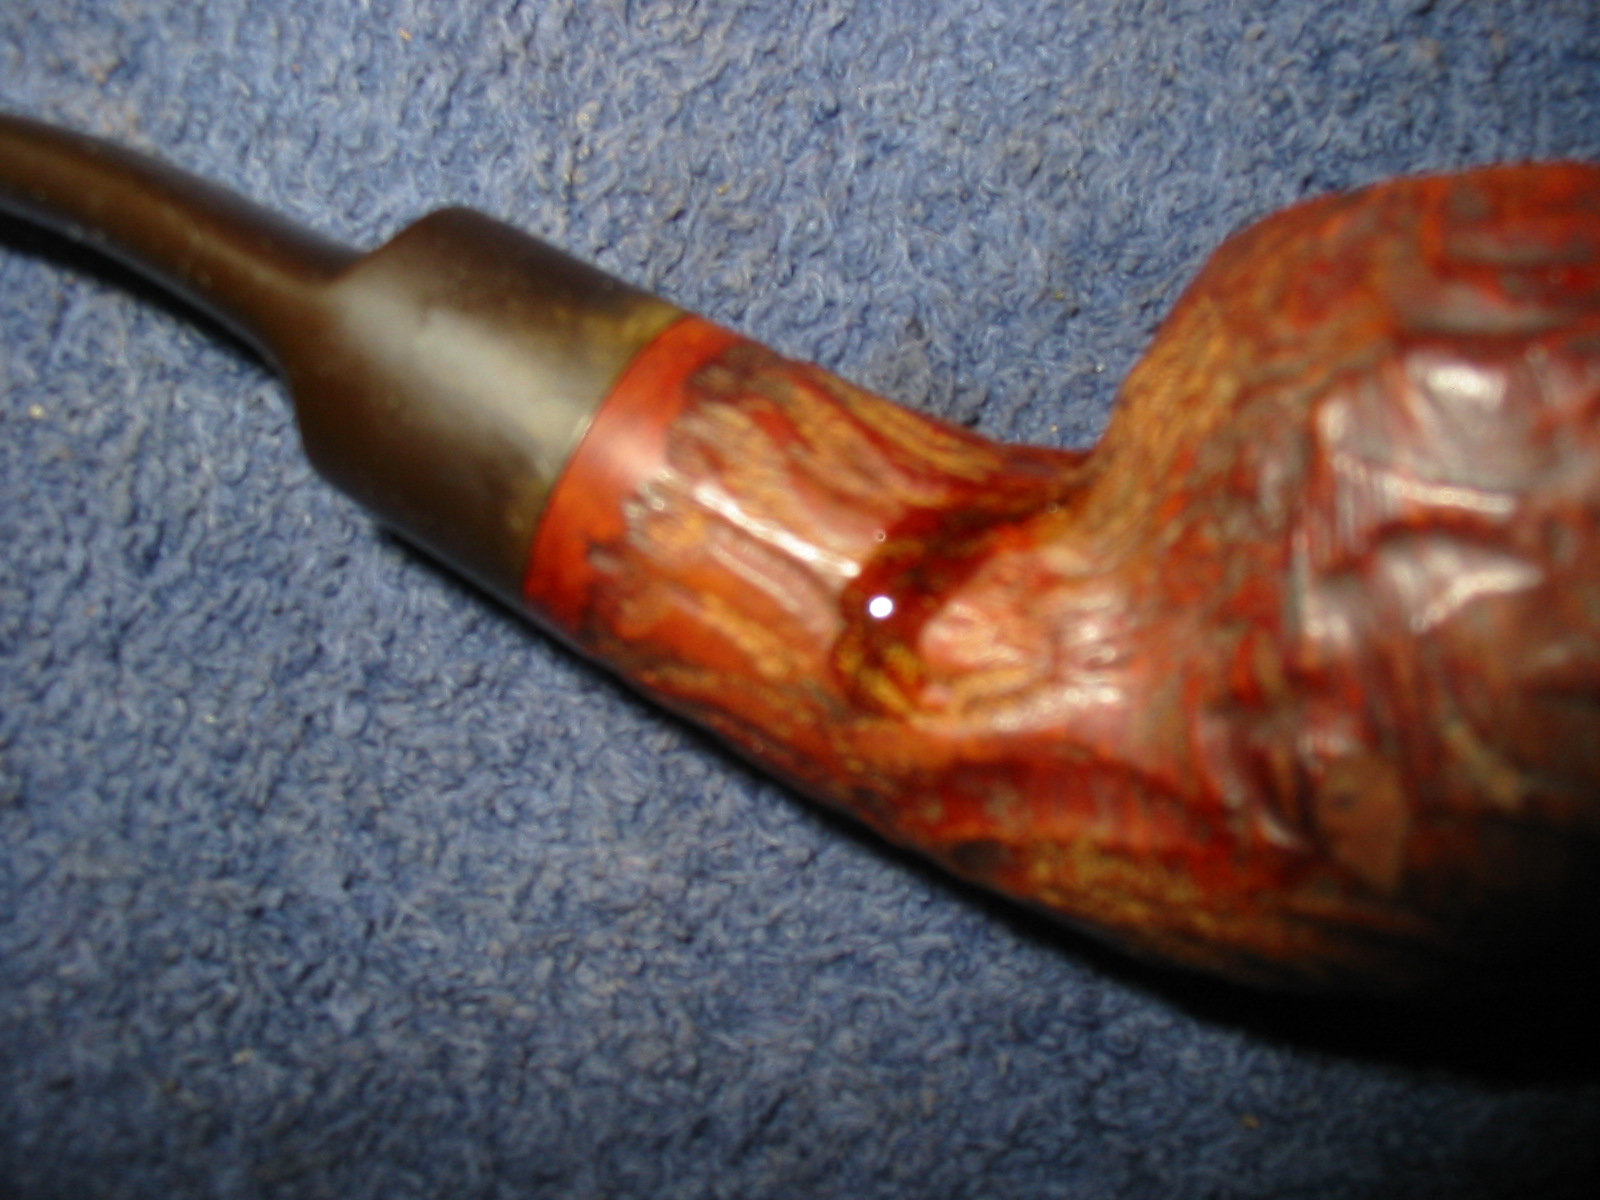
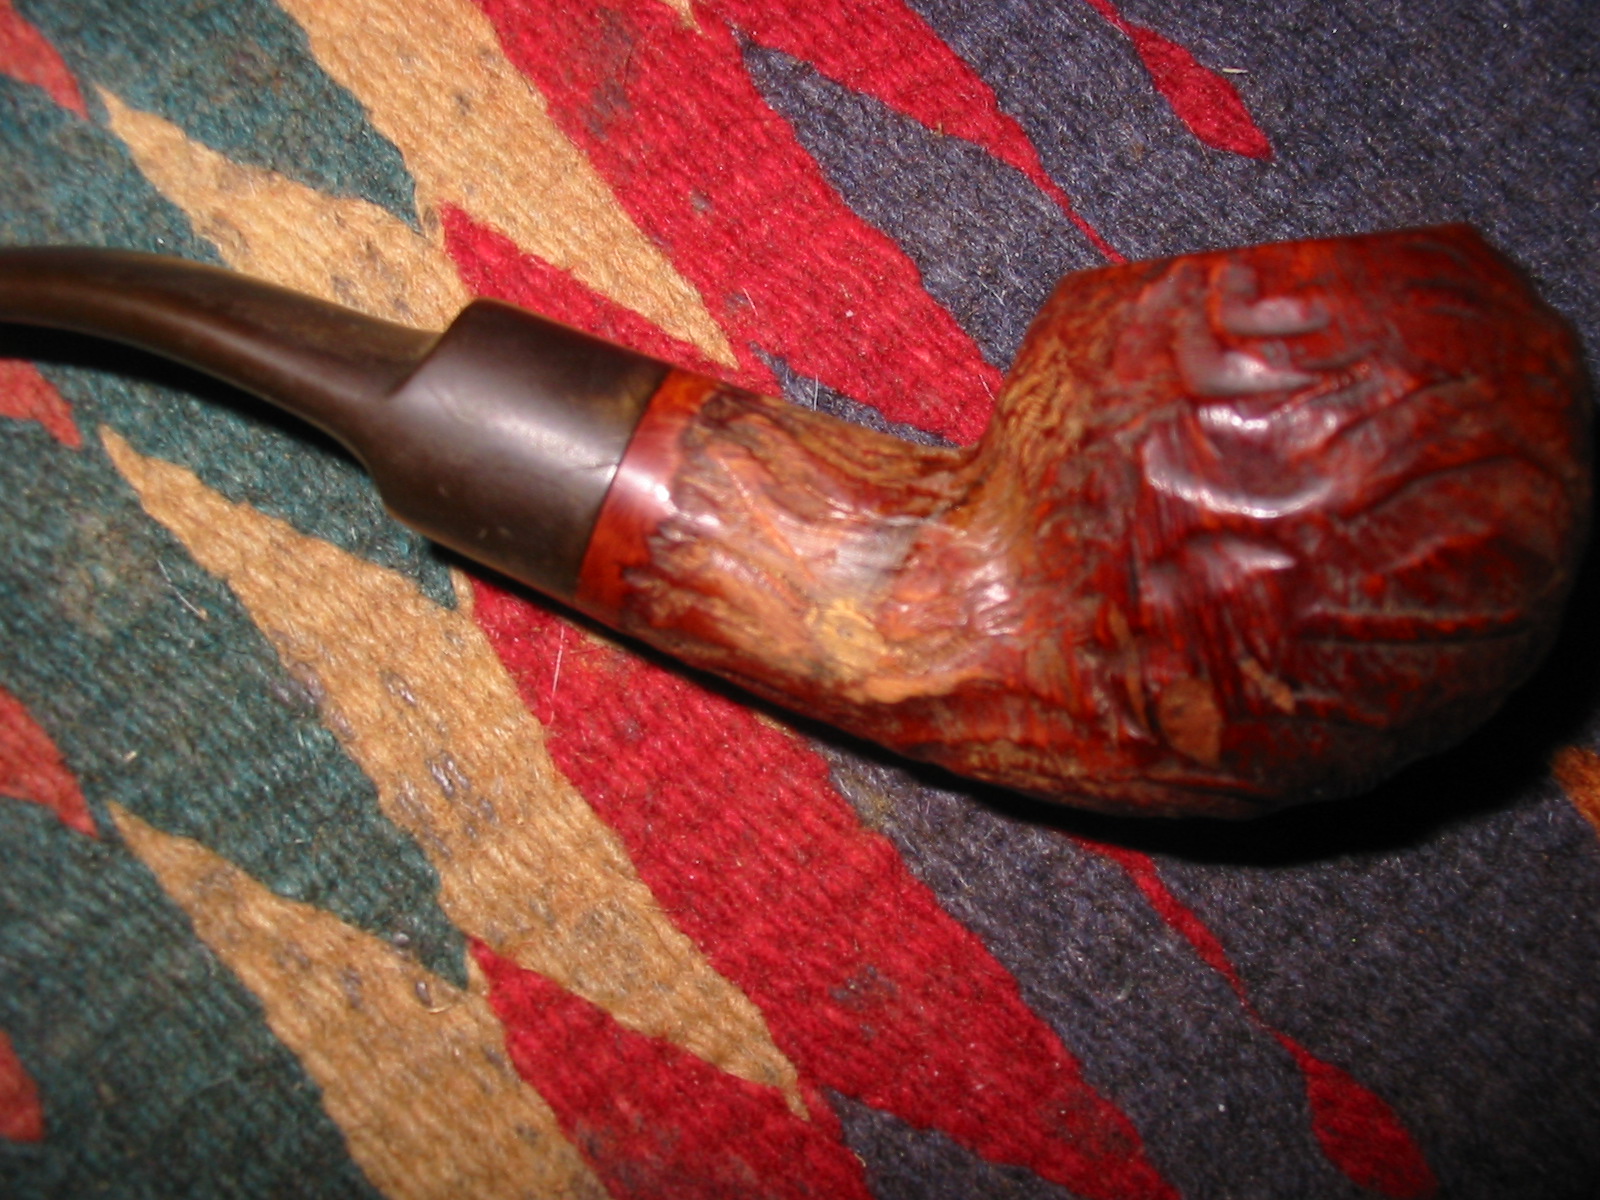
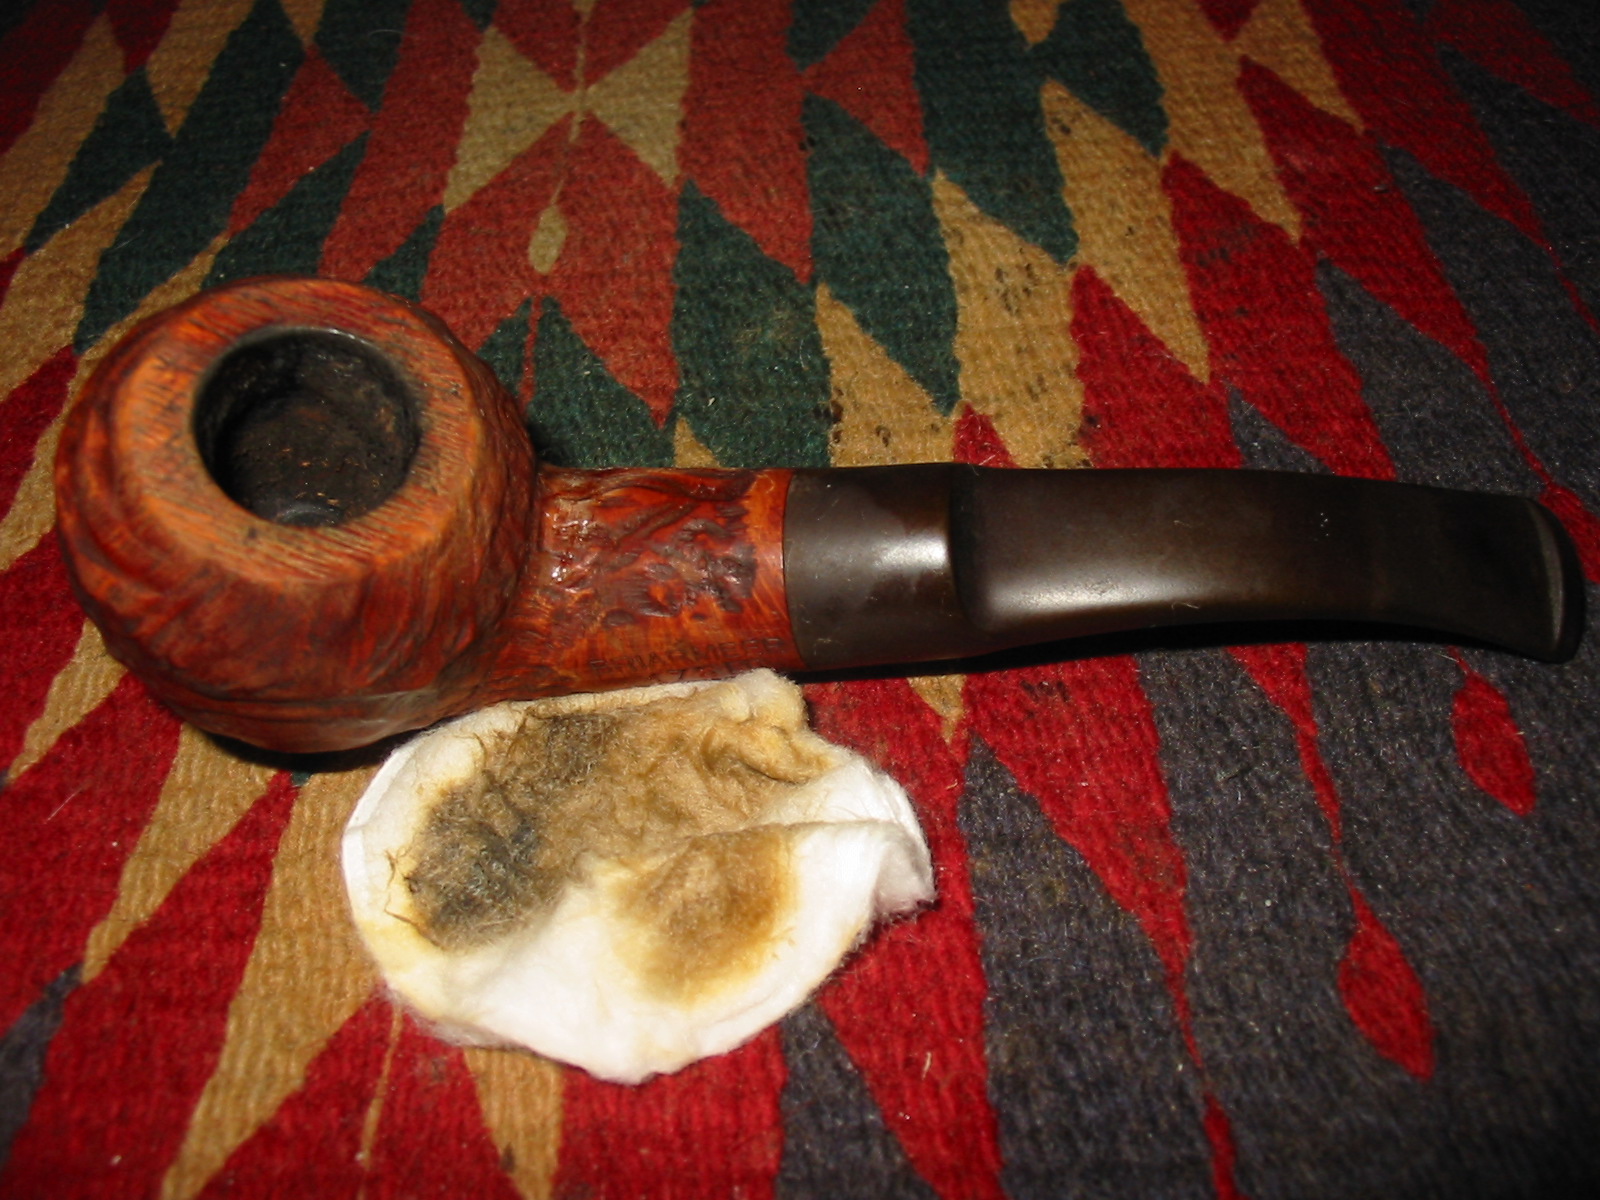
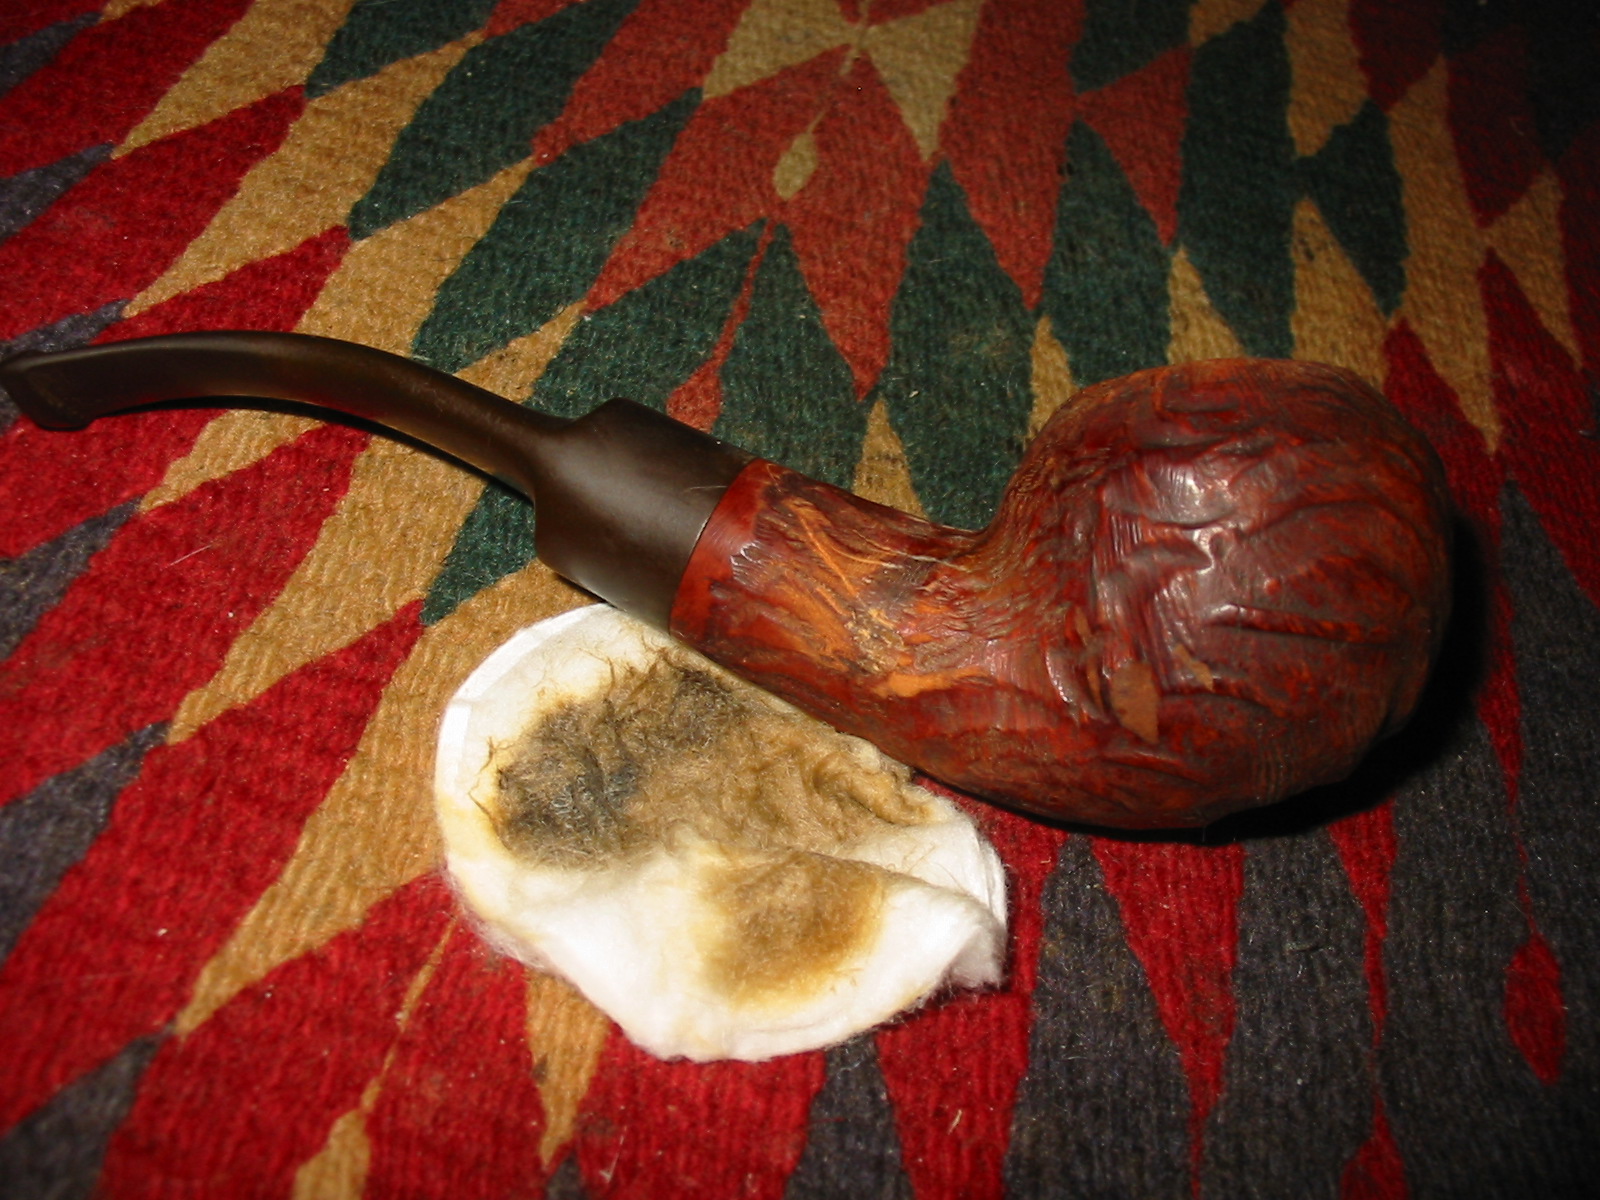
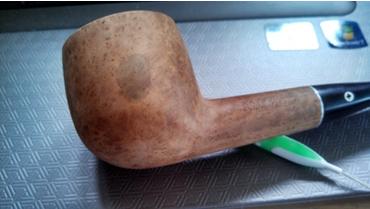
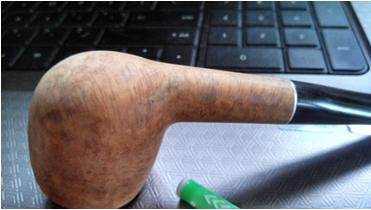
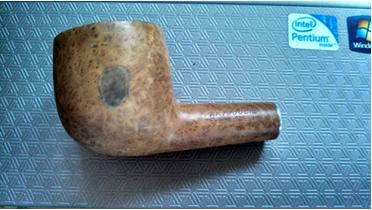
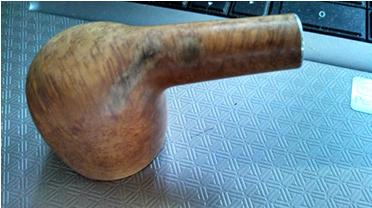
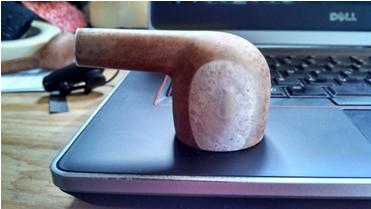
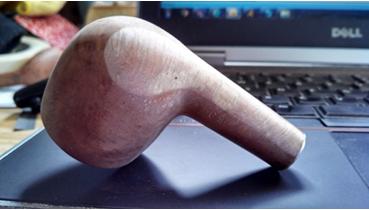
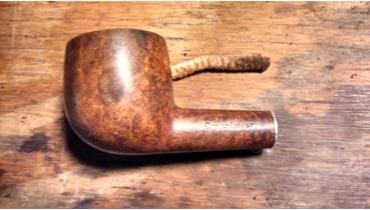
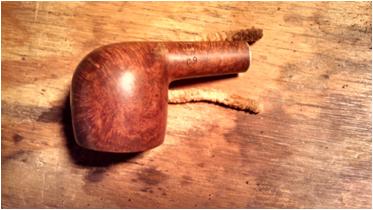
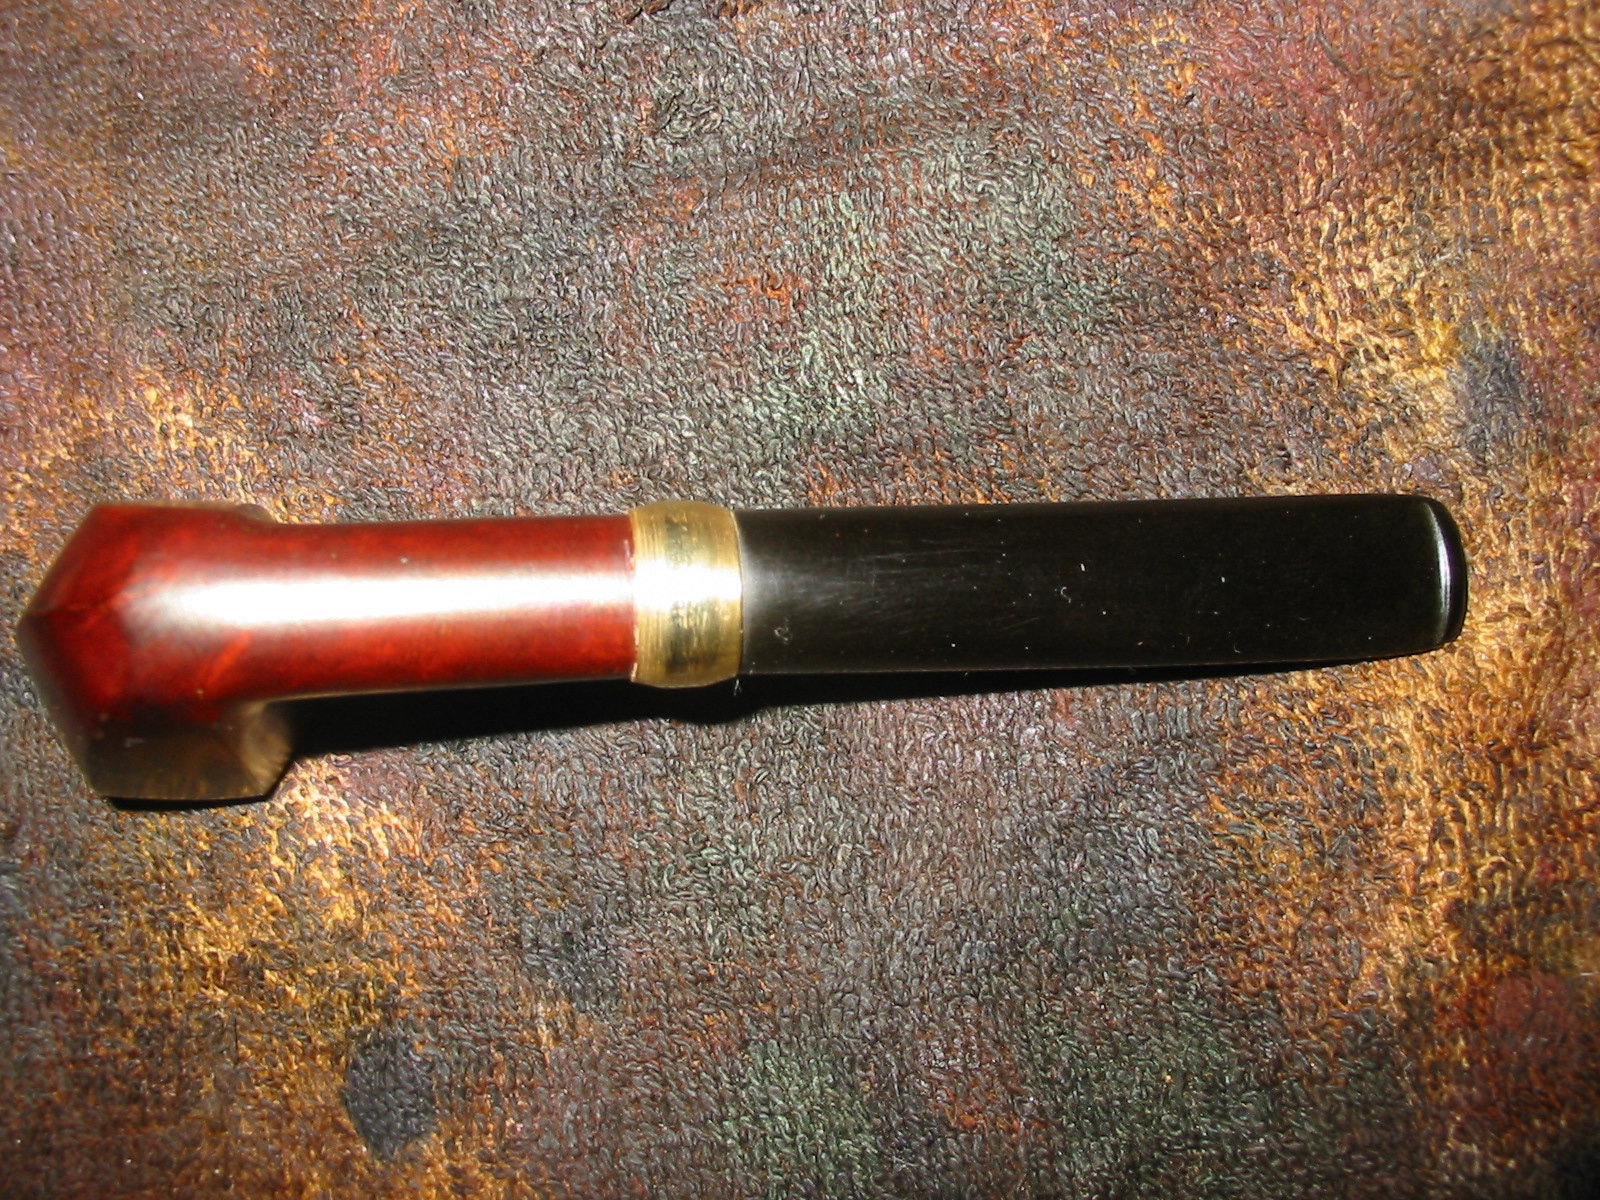
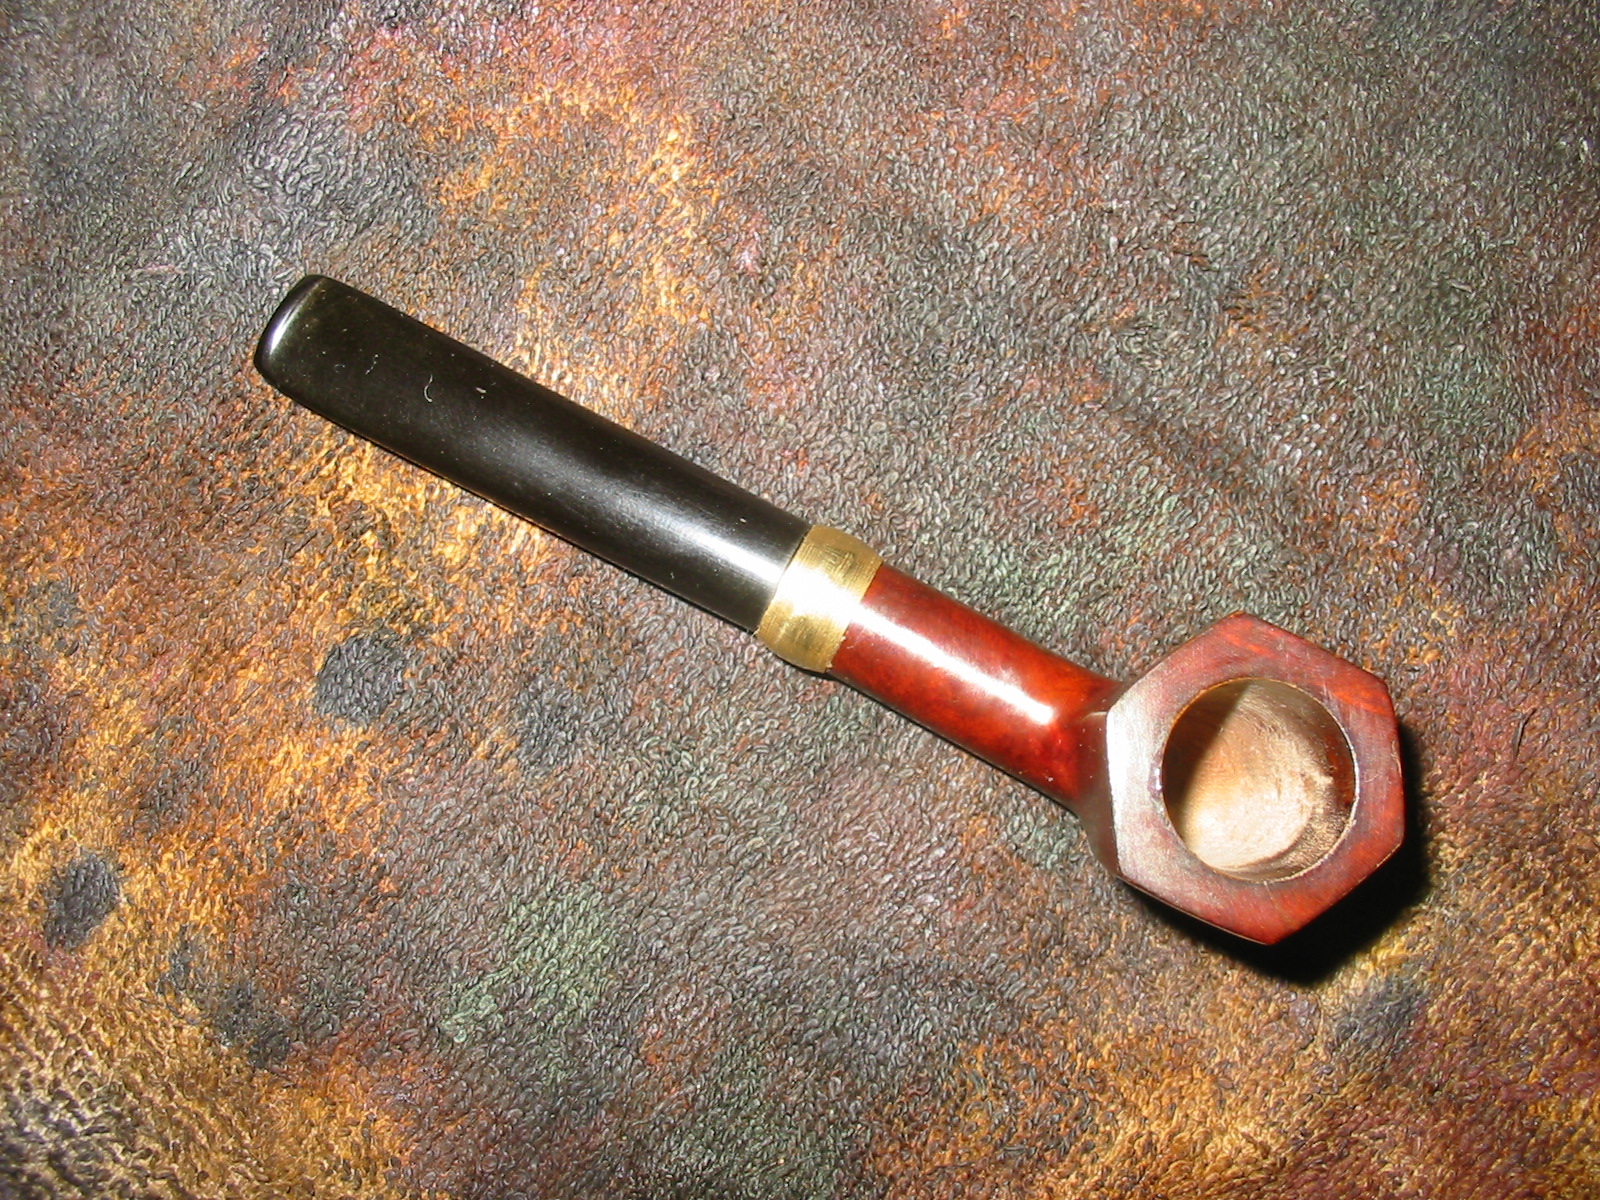
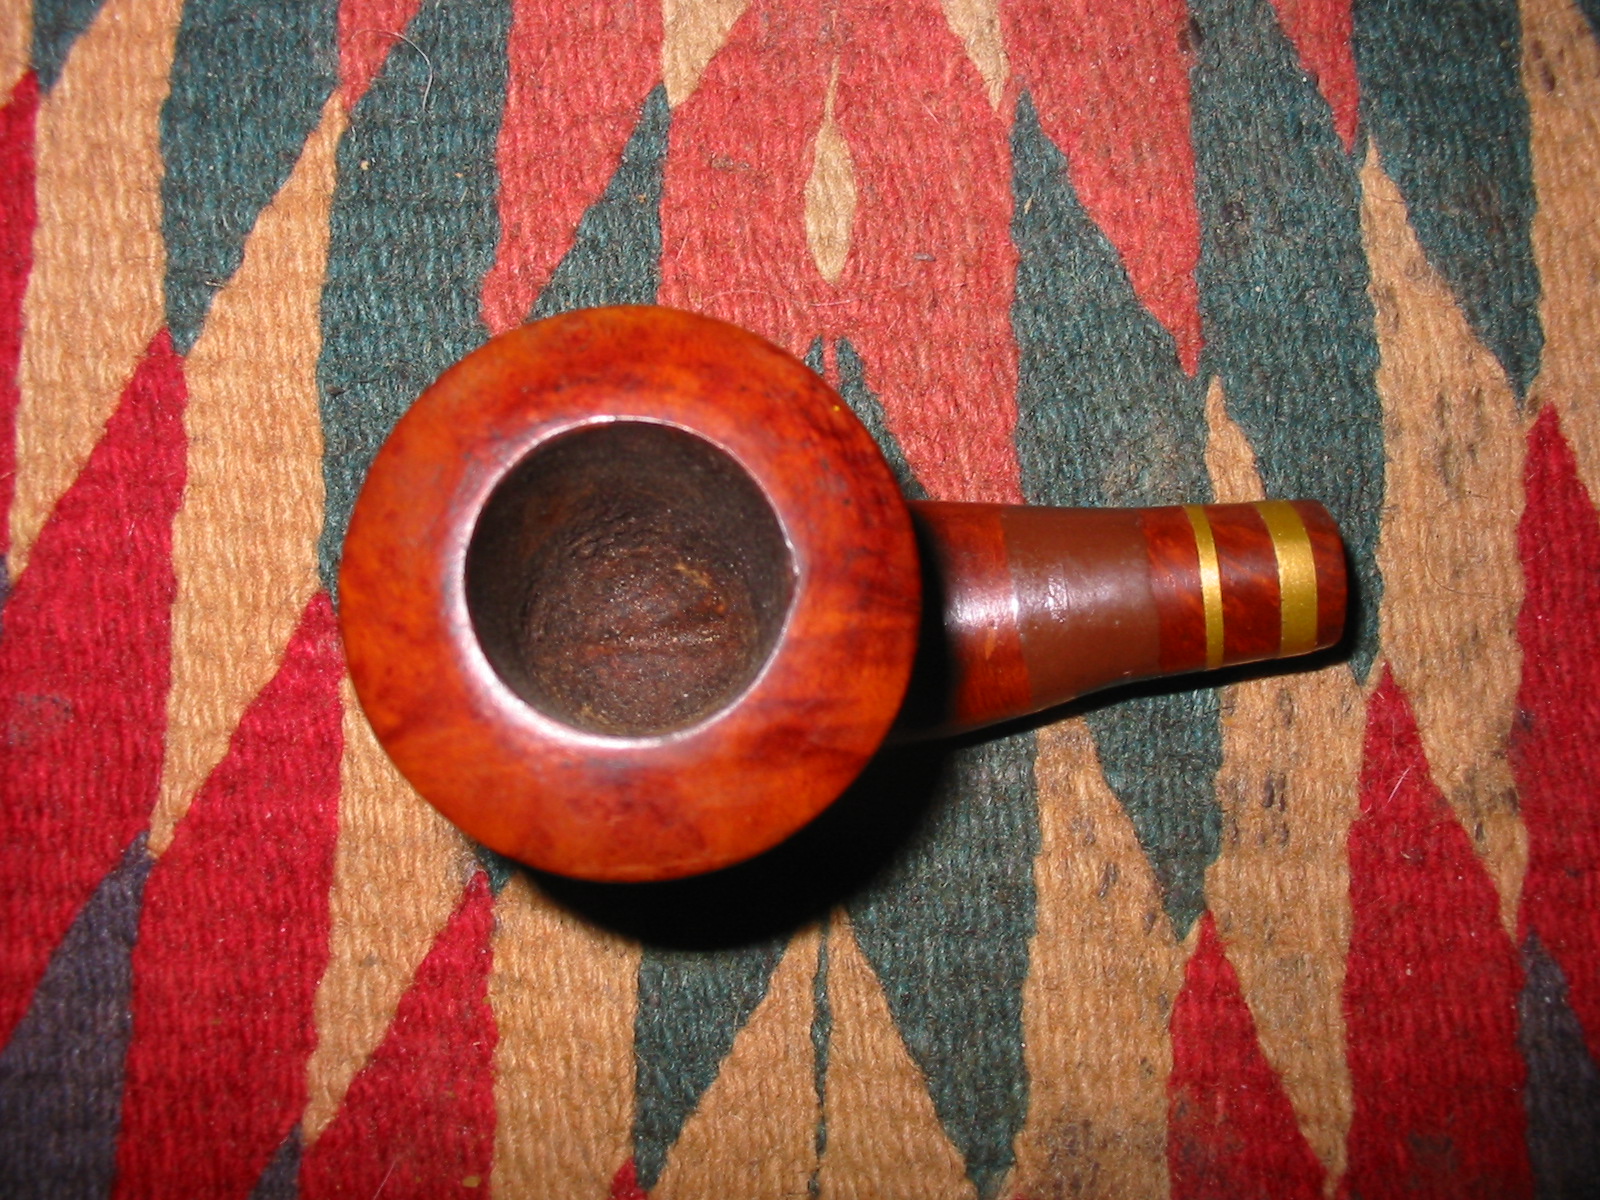
Andrew is turning out to be a great source of older pipe bowls in need of stemming. I received this old bowl in the mail from him not to long ago. It had a look to it that was interesting to me. The shank had been reworked somewhere along the way. I think that originally it may have had a diamond shank. Someone had carved it by hand into an almost round end and flattening as it moved toward the bowl. They had added three bands of coloured tape to the shank to dress it up. The first two bands were thin gold tape and the third was a wide swath of dark brown tape. The bowl was clean and reamed and the inside of the shank was also clean. The underside of the shank and bowl were rough. I think that the person who had reworked this bowl had used a knife to work on it and had not sanded it smooth after his work. There were also some pretty deep dents and grooves on the bottom of the bowl.
IMG_5255

IMG_5256

IMG_5257

IMG_5258

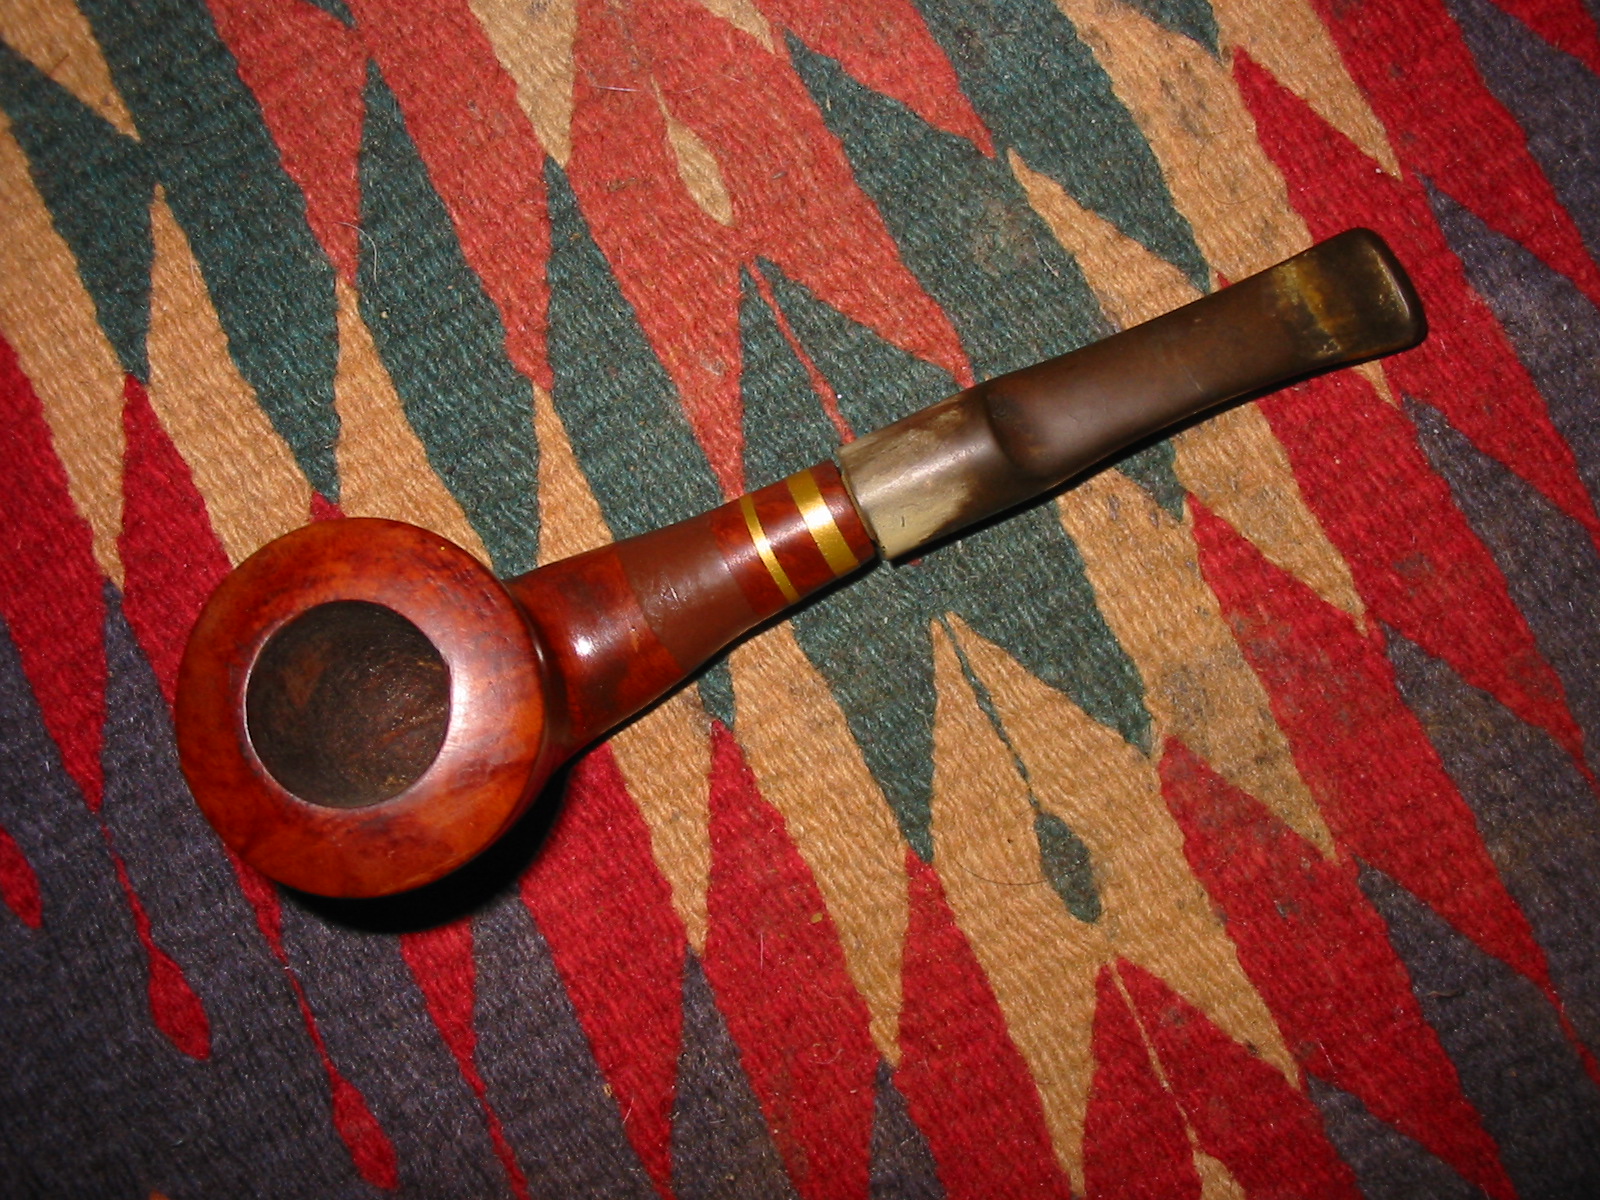
This old pipe bowl provided a challenge to me. The tape had to go but I had no idea what was underneath and hidden by it. The funky shape of the shank also needed to be reworked to give it a more artistic and shapely appearance. The restemming would also be a challenge in that the shank was not round at this point but very oddly shaped with all sides being unequal. I found an old saddle stem in my box of stems and tried that first – to me it was too long and gave the pipe an unbalanced look so I dug through my can of stems and found a saddle stem that was shorter that would look nice on the pipe.
IMG_5259

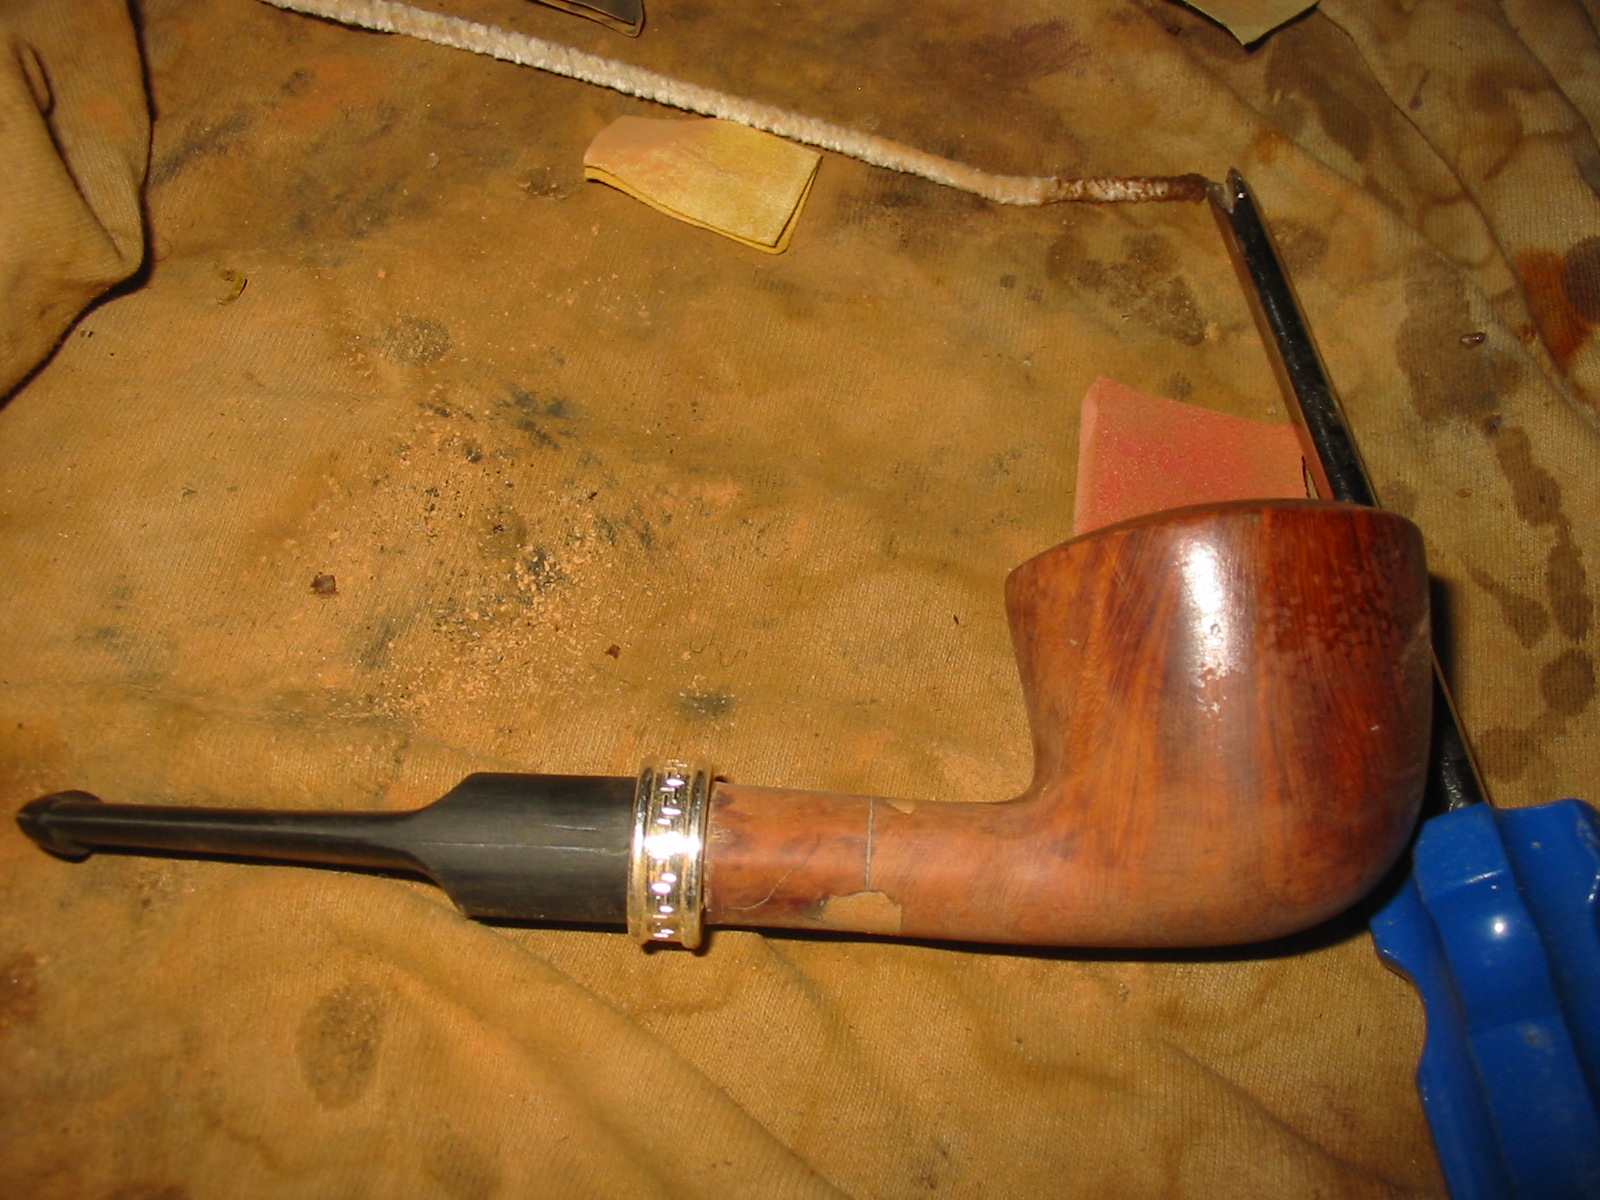
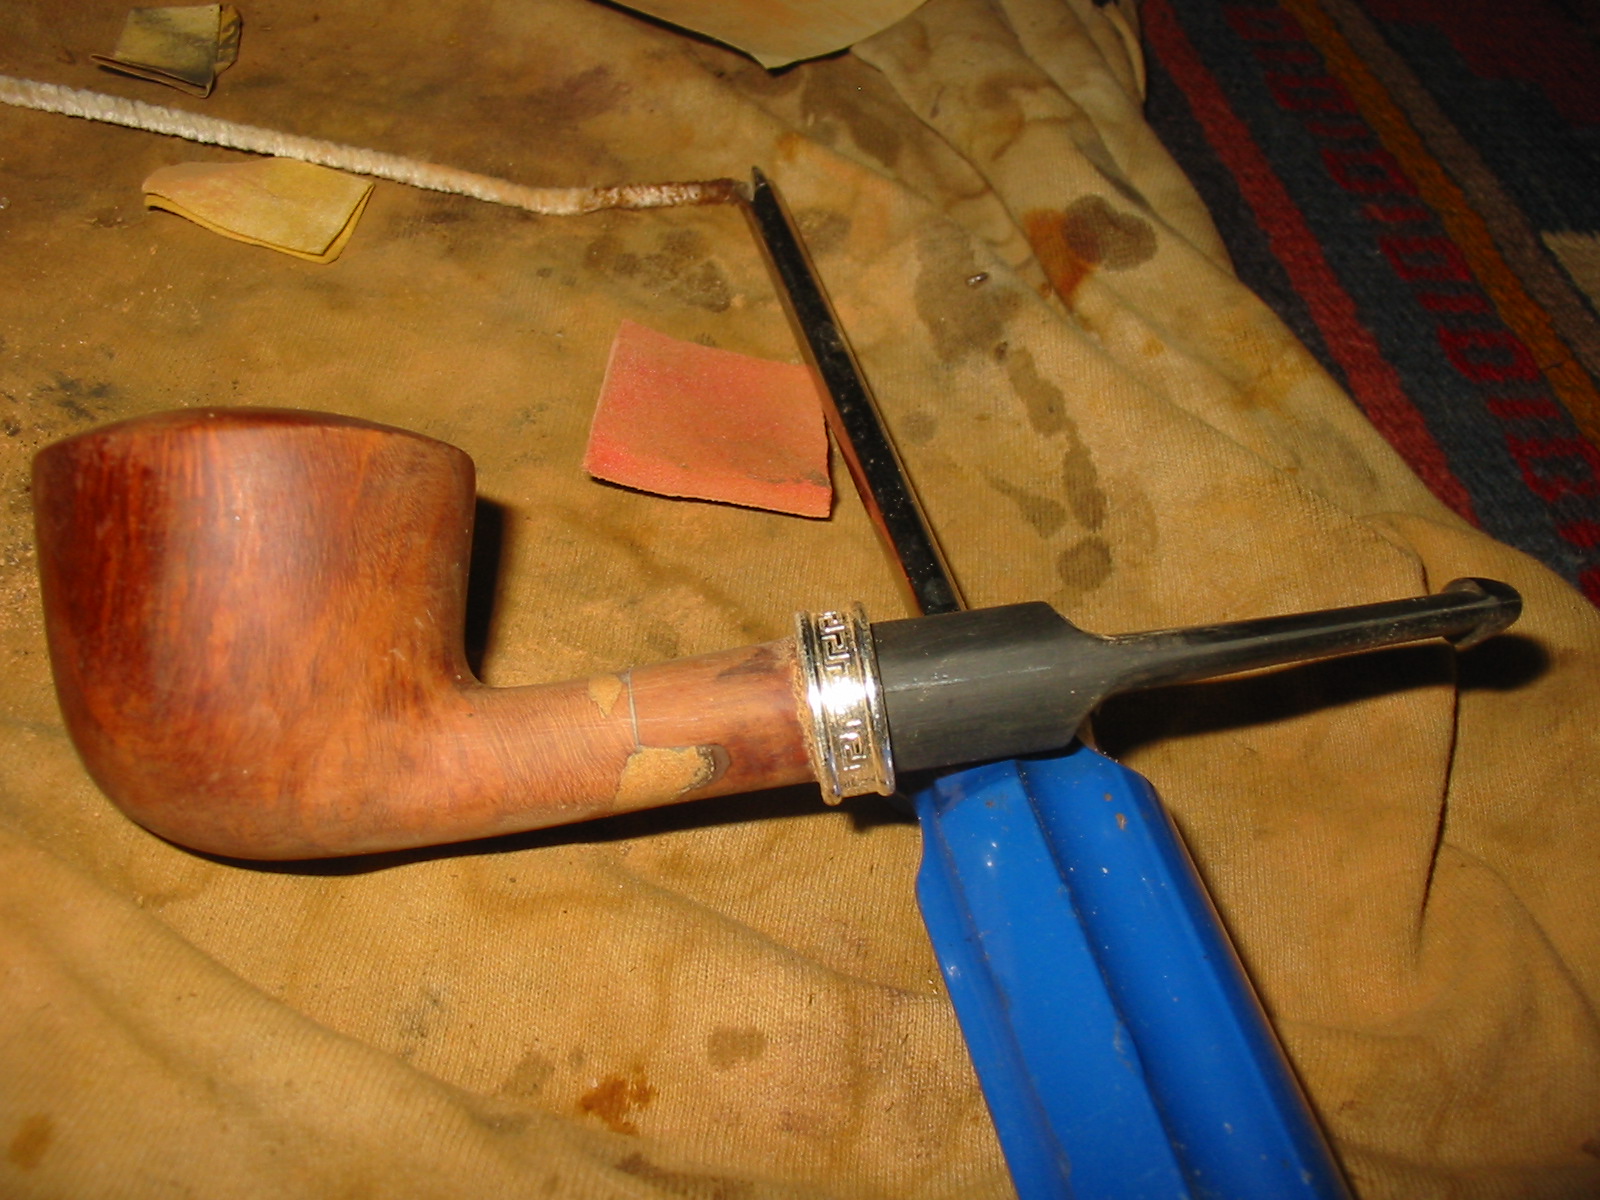
I peeled off the tape and underneath the two gold tape bands was a small crack in the shank. Underneath the brown tape was a huge fill on the top and underside of the shank. I used a Dremel with a sanding drum to reshape the shank and bowl union and also to reshape the end of the shank. I had a nice sterling silver wedding ring band that would work well on this pipe bowl so I reshaped the end of the shank with 220 grit sandpaper after the Dremel work and then applied all purpose white glue on the shank and pressed the silver band into place. Once it was in place I could see that the end of the shank was not straight but had been cut off at an angle. With the band in place I used the Dremel and sanding drum to straighten up the end of the shank. I finished that work by using the same sanding board set up I use for topping bowls. With all that finished I put the stem in place and sanded the bowl and shank until it was a clean smooth shape. I wiped the surface down with acetone on cotton pads to remove the urethane finish that the previous person put over all the bowl and tape. In the next four photos below the size of the large fill is obvious.
IMG_5260

IMG_5261

IMG_5262

IMG_5263

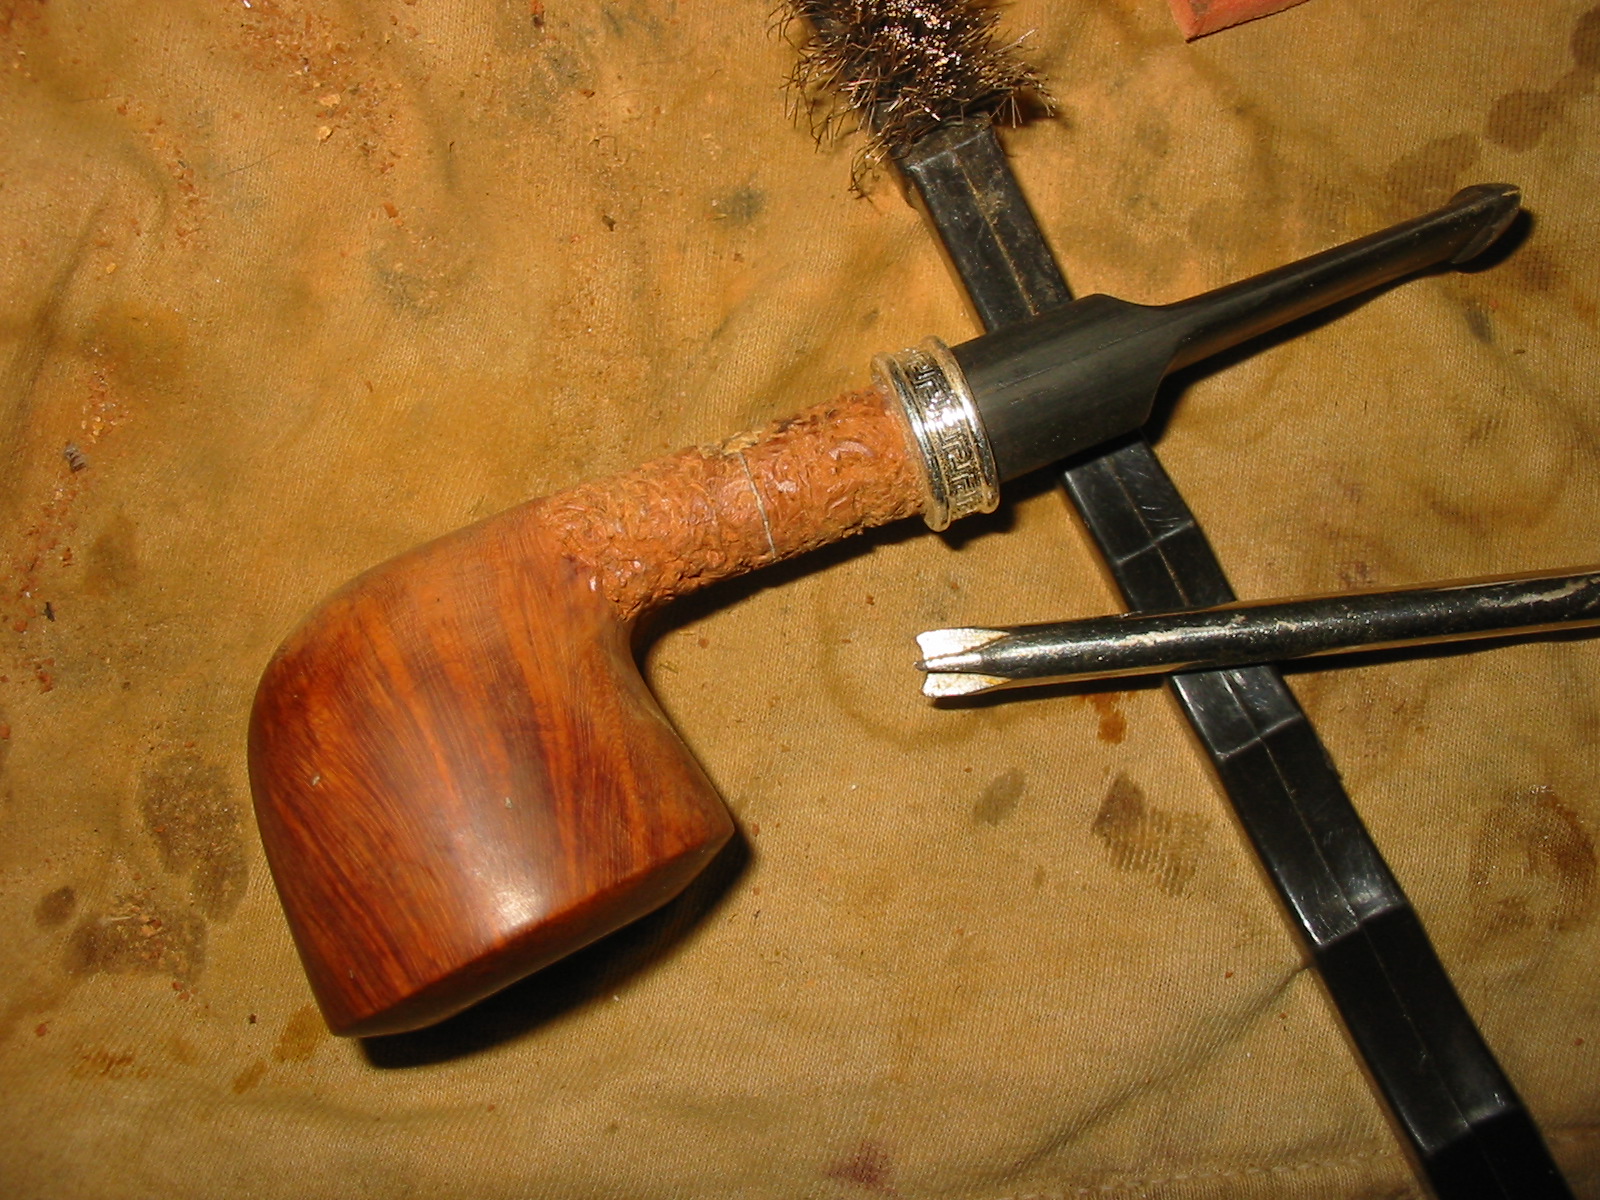
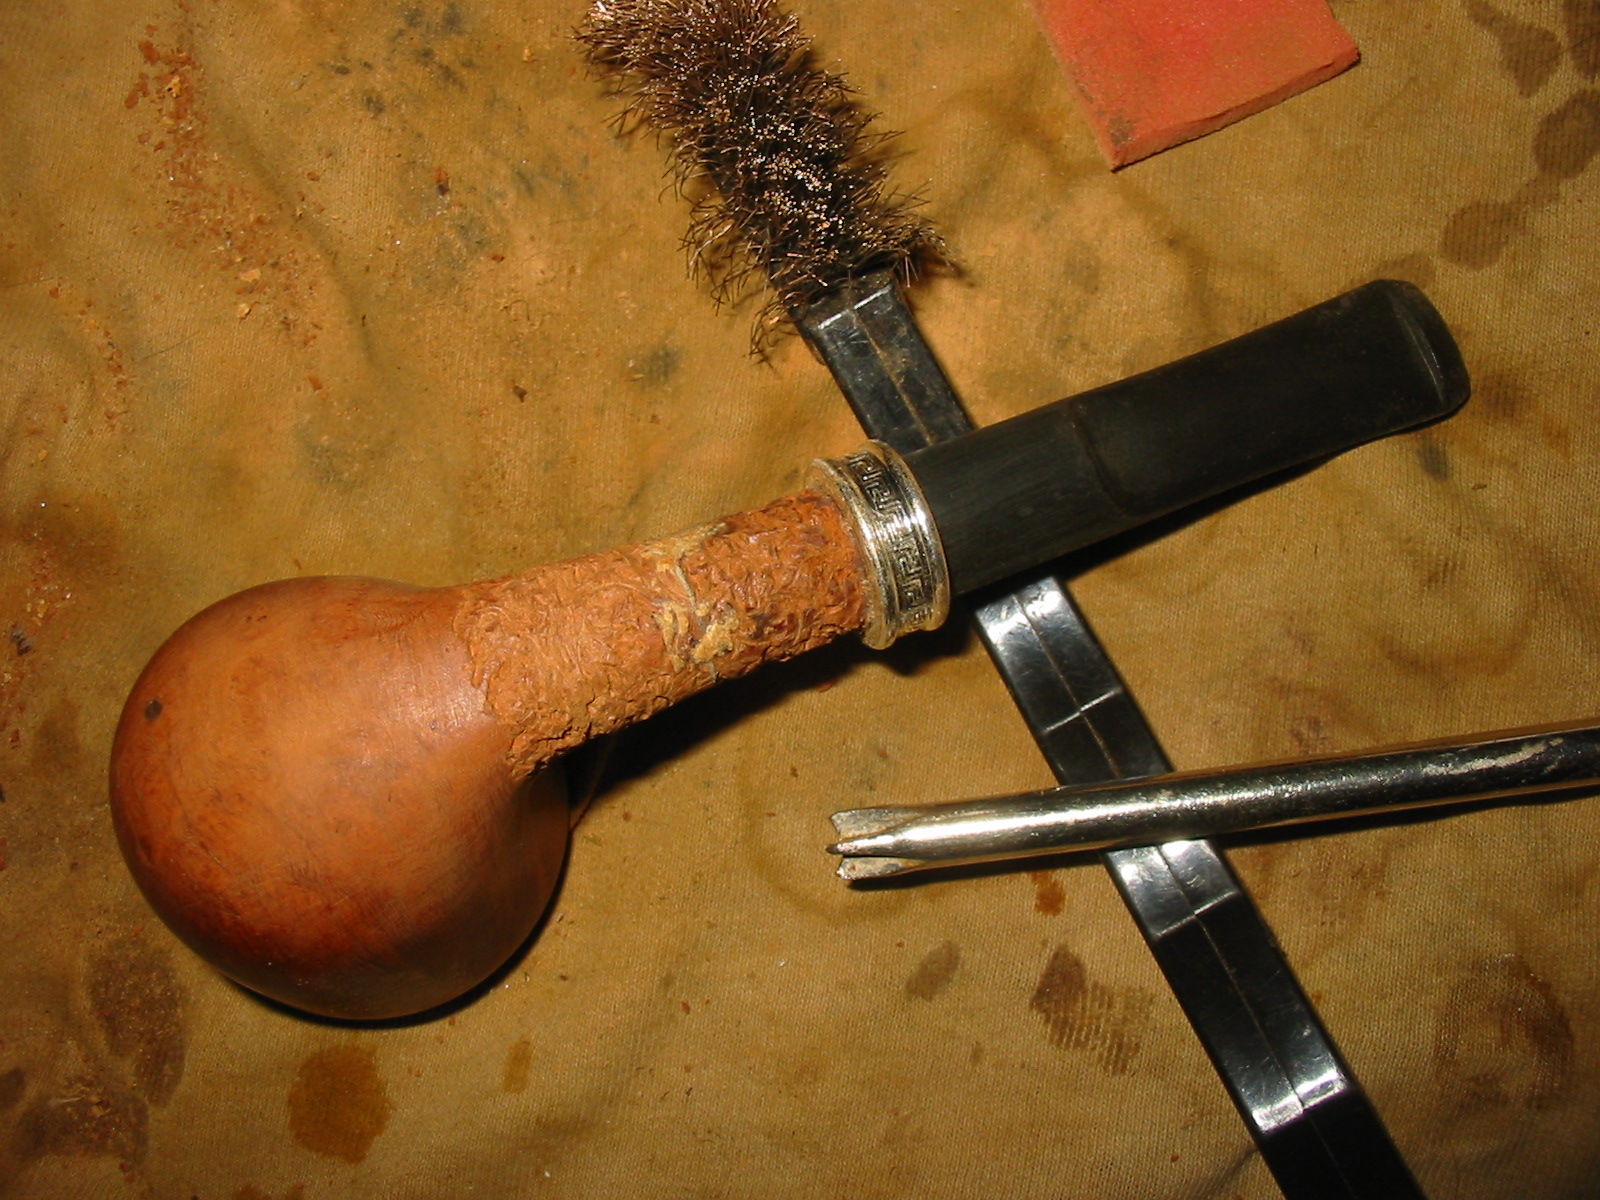
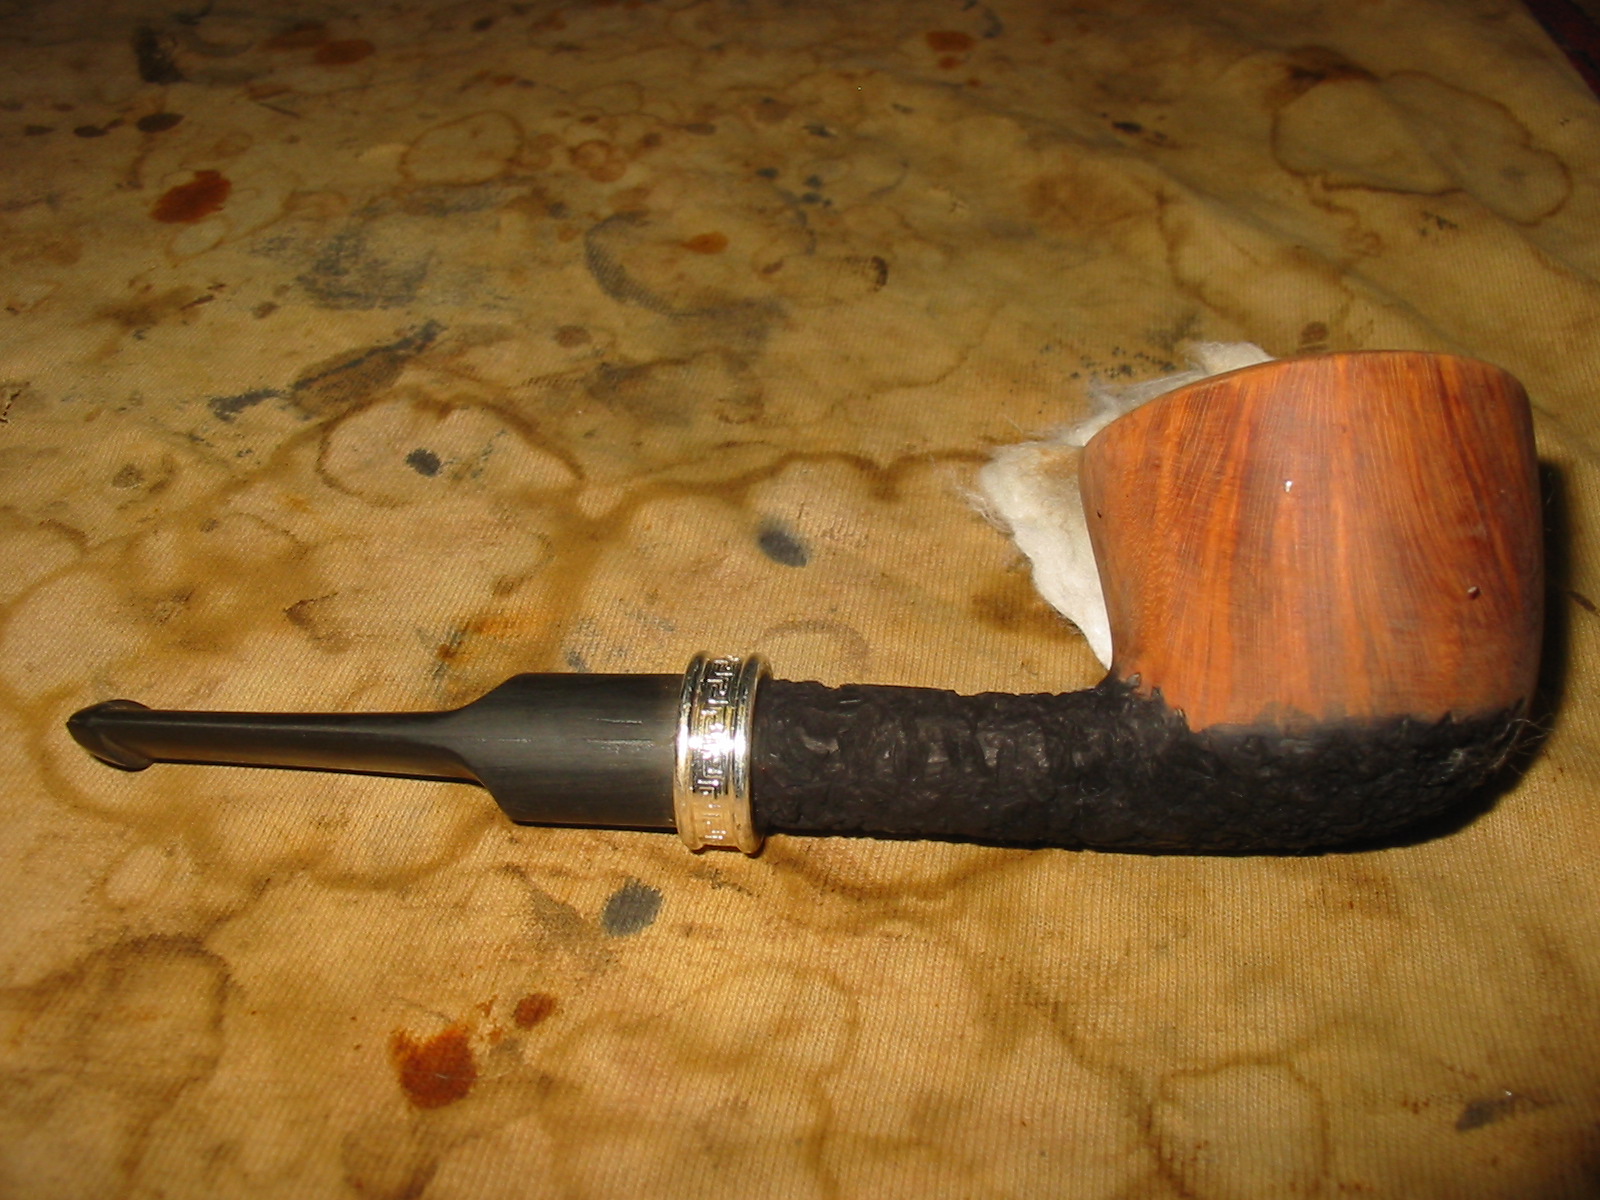
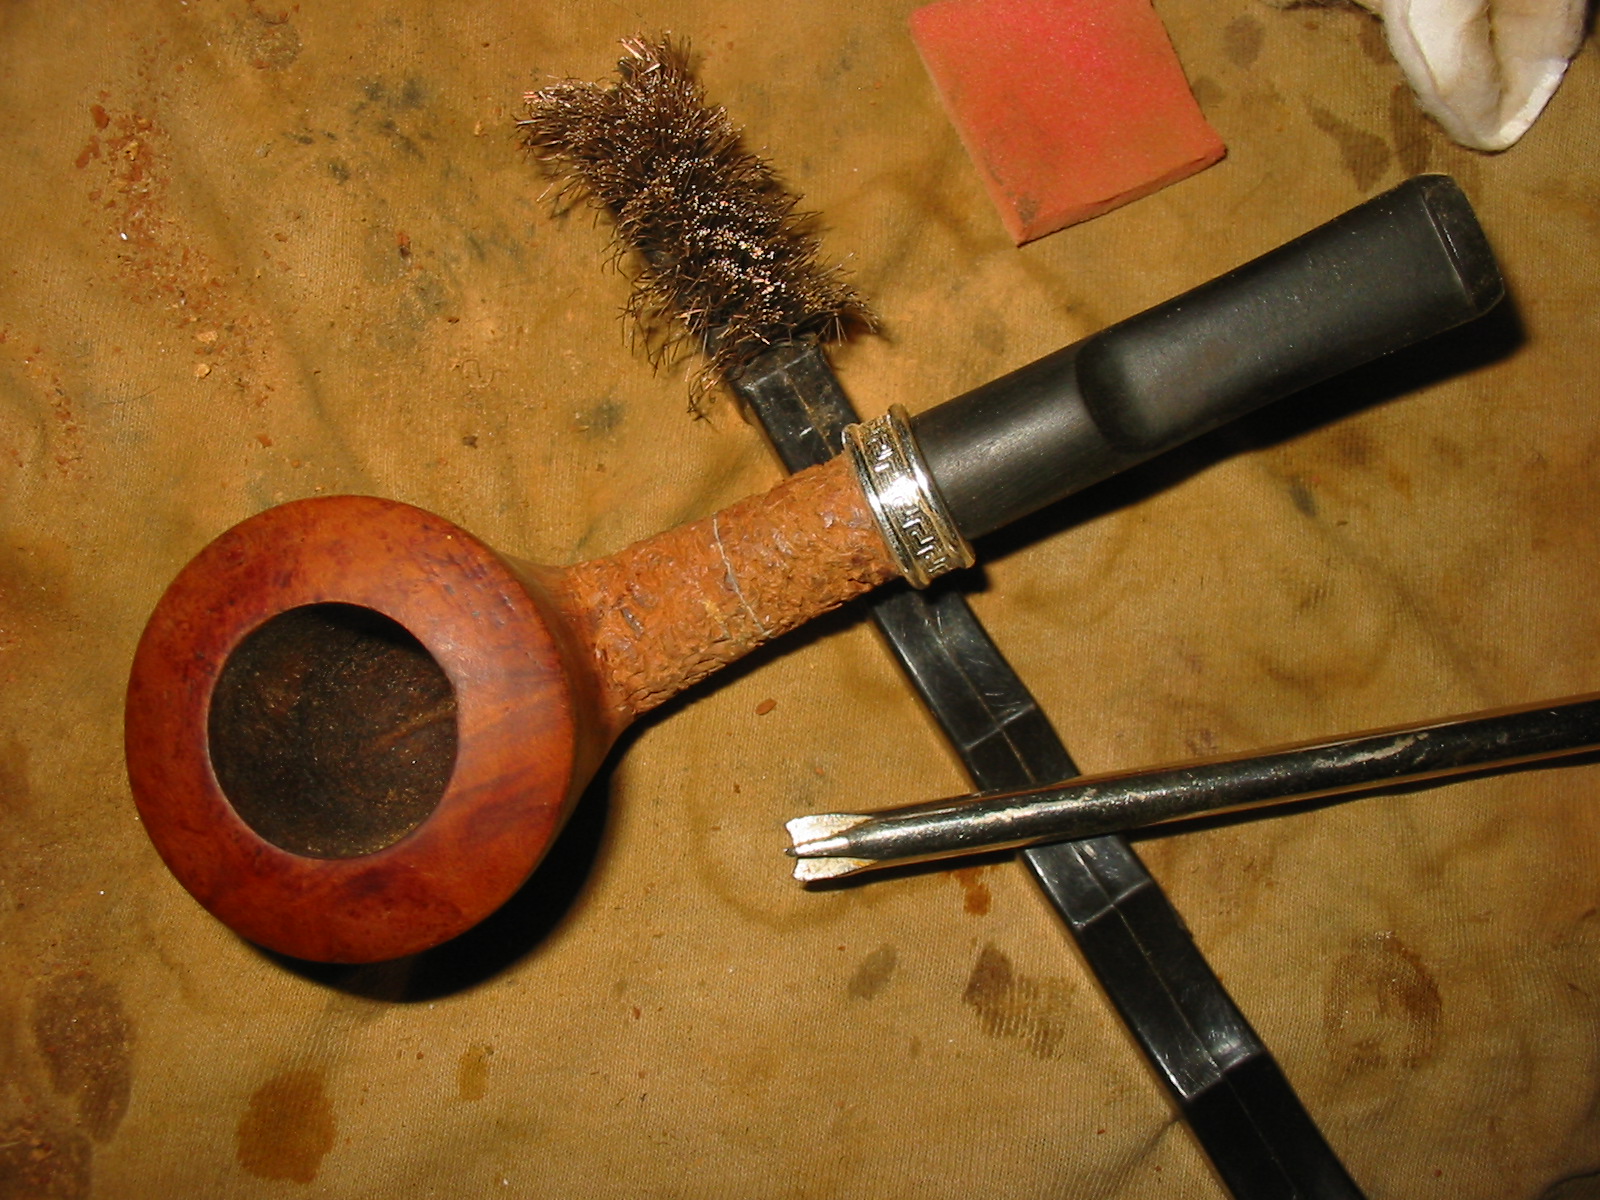
With the shaping of the bowl and shank finished and looking more balanced I had to make a decision on how to deal with the large fills on the shank. There were also several sand pits on the bottom of the bowl that needed to be addressed. I weighed my options and decided to rusticate the shank. I used the modified Philips screwdriver to rusticate the shank first. At this point I left the bottom of the bowl smooth and just worked on the shank. Once I had rusticated it I used a small brass tire brush to smooth out the roughness of the rustication. I find that the brush knocks off the loose pieces of briar and gives the finish a contrast of highs and lows. The rustication looked good against the wedding band and the smoothness of the vulcanite. I also liked the look of the rustication against the smoothness of the bowl.
IMG_5264

IMG_5265

IMG_5266

IMG_5267

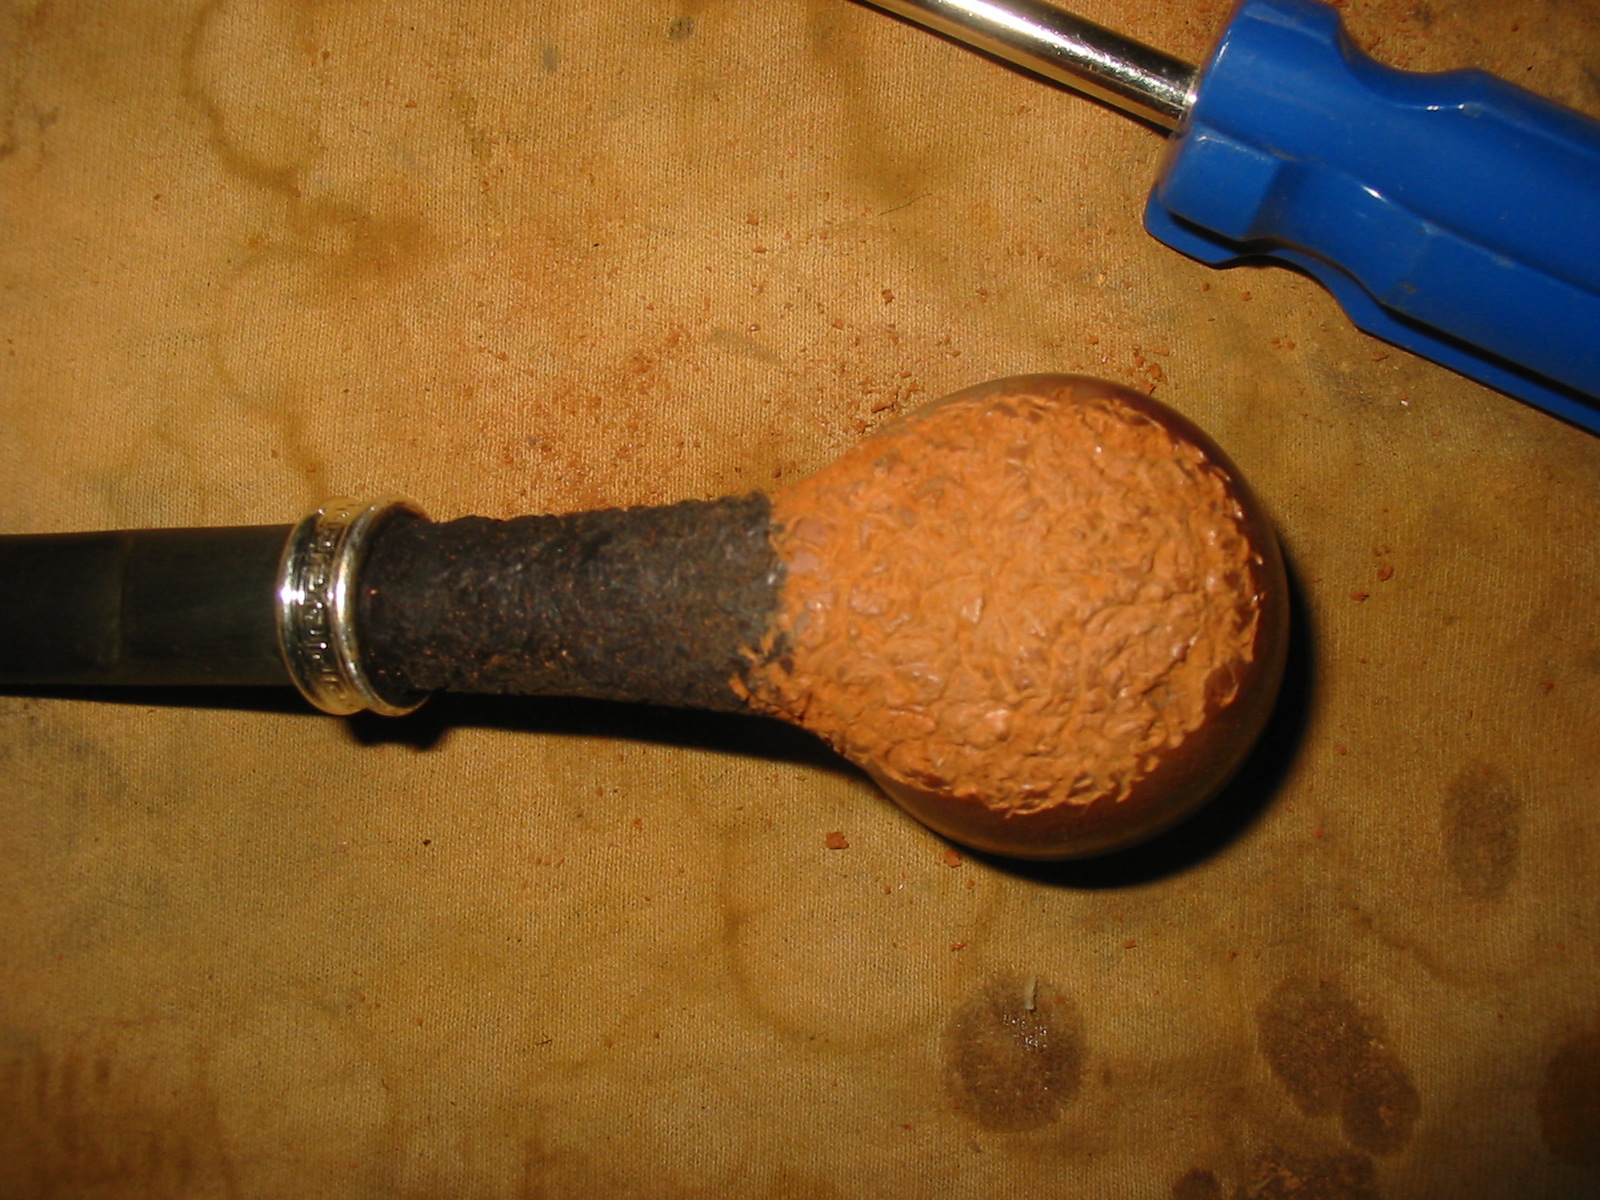
I stained the shank with a black aniline stain. I applied it heavily with a cotton swab and flamed and repeated the process until I had a good matte black finish on the shank. At that point I decided to carry the rustication to the bottom of the bowl and slightly up the sides and curve it into the top of the shank bowl union.
IMG_5268

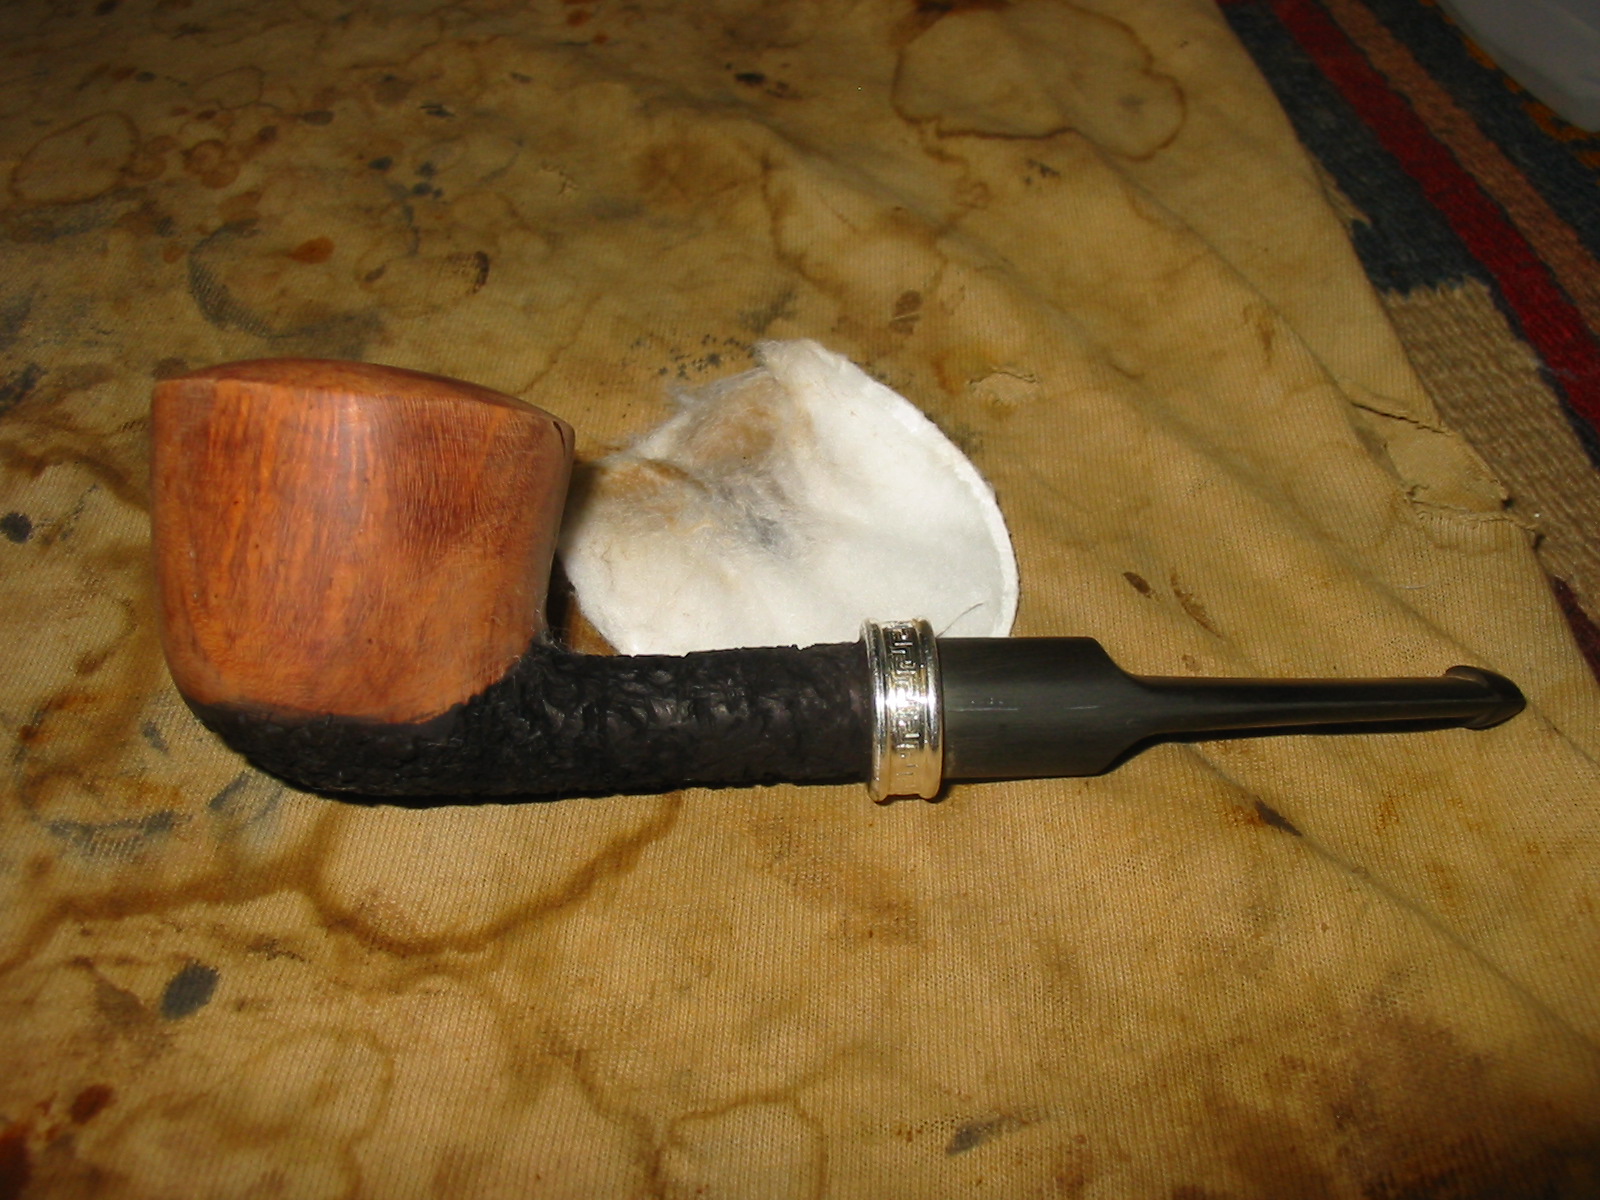
I stained the bottom of the bowl to match the shank colour. I applied a black aniline stain to the bottom and restained the shank at the same time. I flamed the stain and repeated the process until I had the coverage that I wanted on the bottom of the bowl. I then sanded the rest of the bowl with 200 grit sandpaper and then a medium and a fine grit sanding sponge. I finished by sanding it with 1500-2400 grit micromesh sanding pads. I wanted to have the briar clean and smooth on the upper portion of the bowl. The grain on that part of the bowl was quite nice. I wiped down the bowl with isopropyl on a cotton pad to remove the sanding dust. The state of the bowl at this point is shown in the next four photos below.
IMG_5269

IMG_5270

IMG_5271

IMG_5272

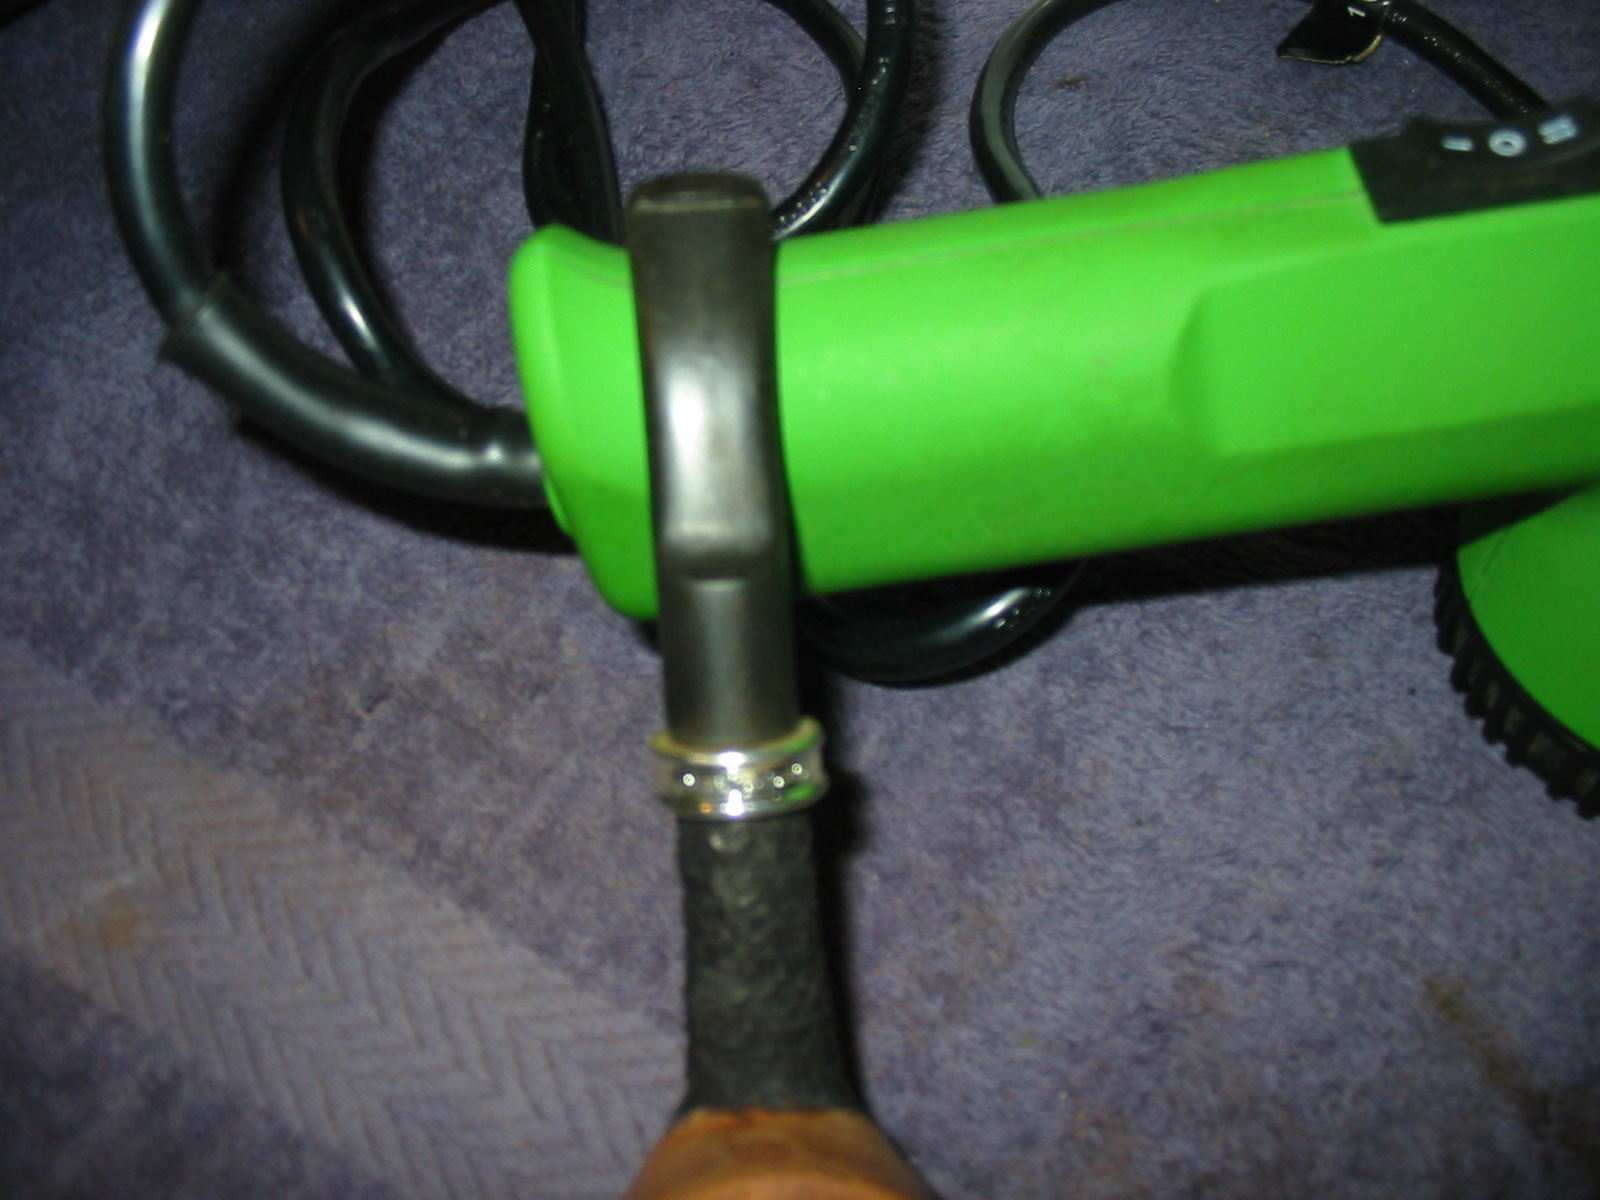
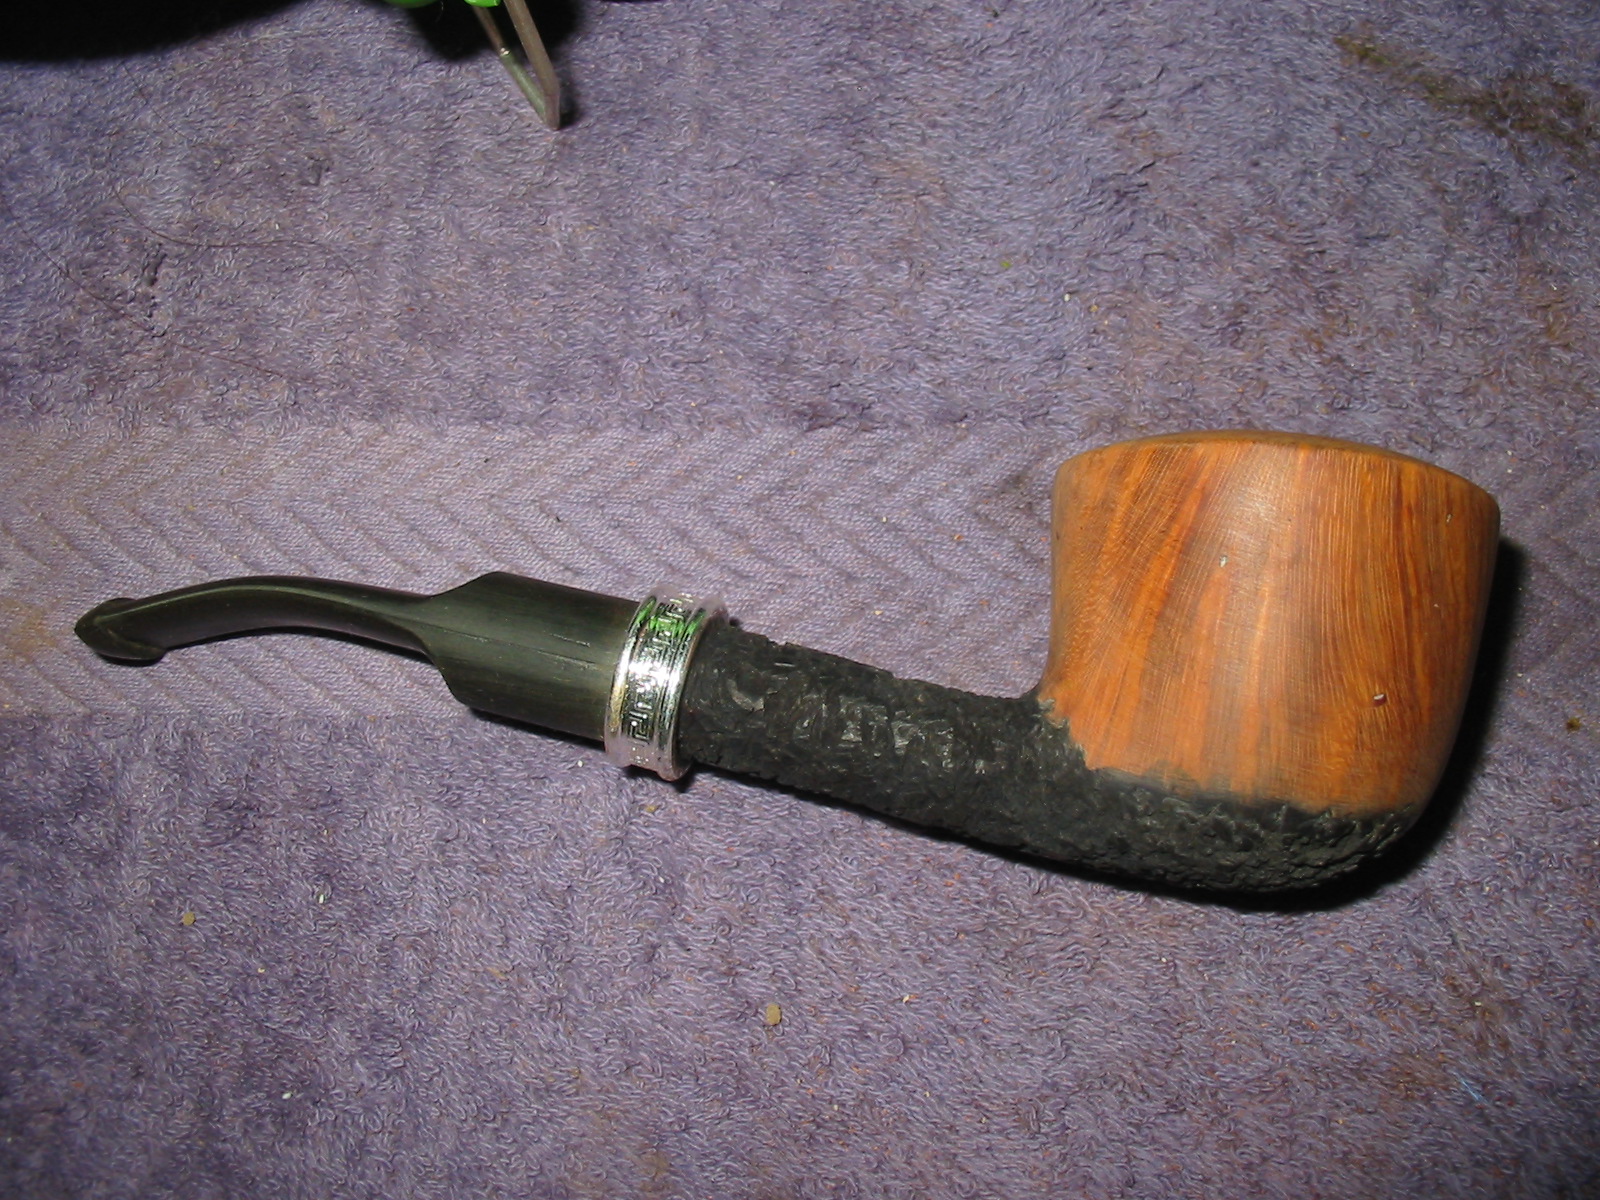
It was time to bend the stem so I heated the stem until it was pliable with a heat gun set on the lowest setting. I bent is over a rolling pin to the angle that I wanted and set the angle with cold water. This particular stem evidently was good quality vulcanite as it did not have any oxidation and the water did not bring any to the surface. That was a real gift in this process as I would have had to work out the oxidation on the stem as well. The next series of photos shows the process and the finished look of the bend.
IMG_5273

IMG_5274

IMG_5276

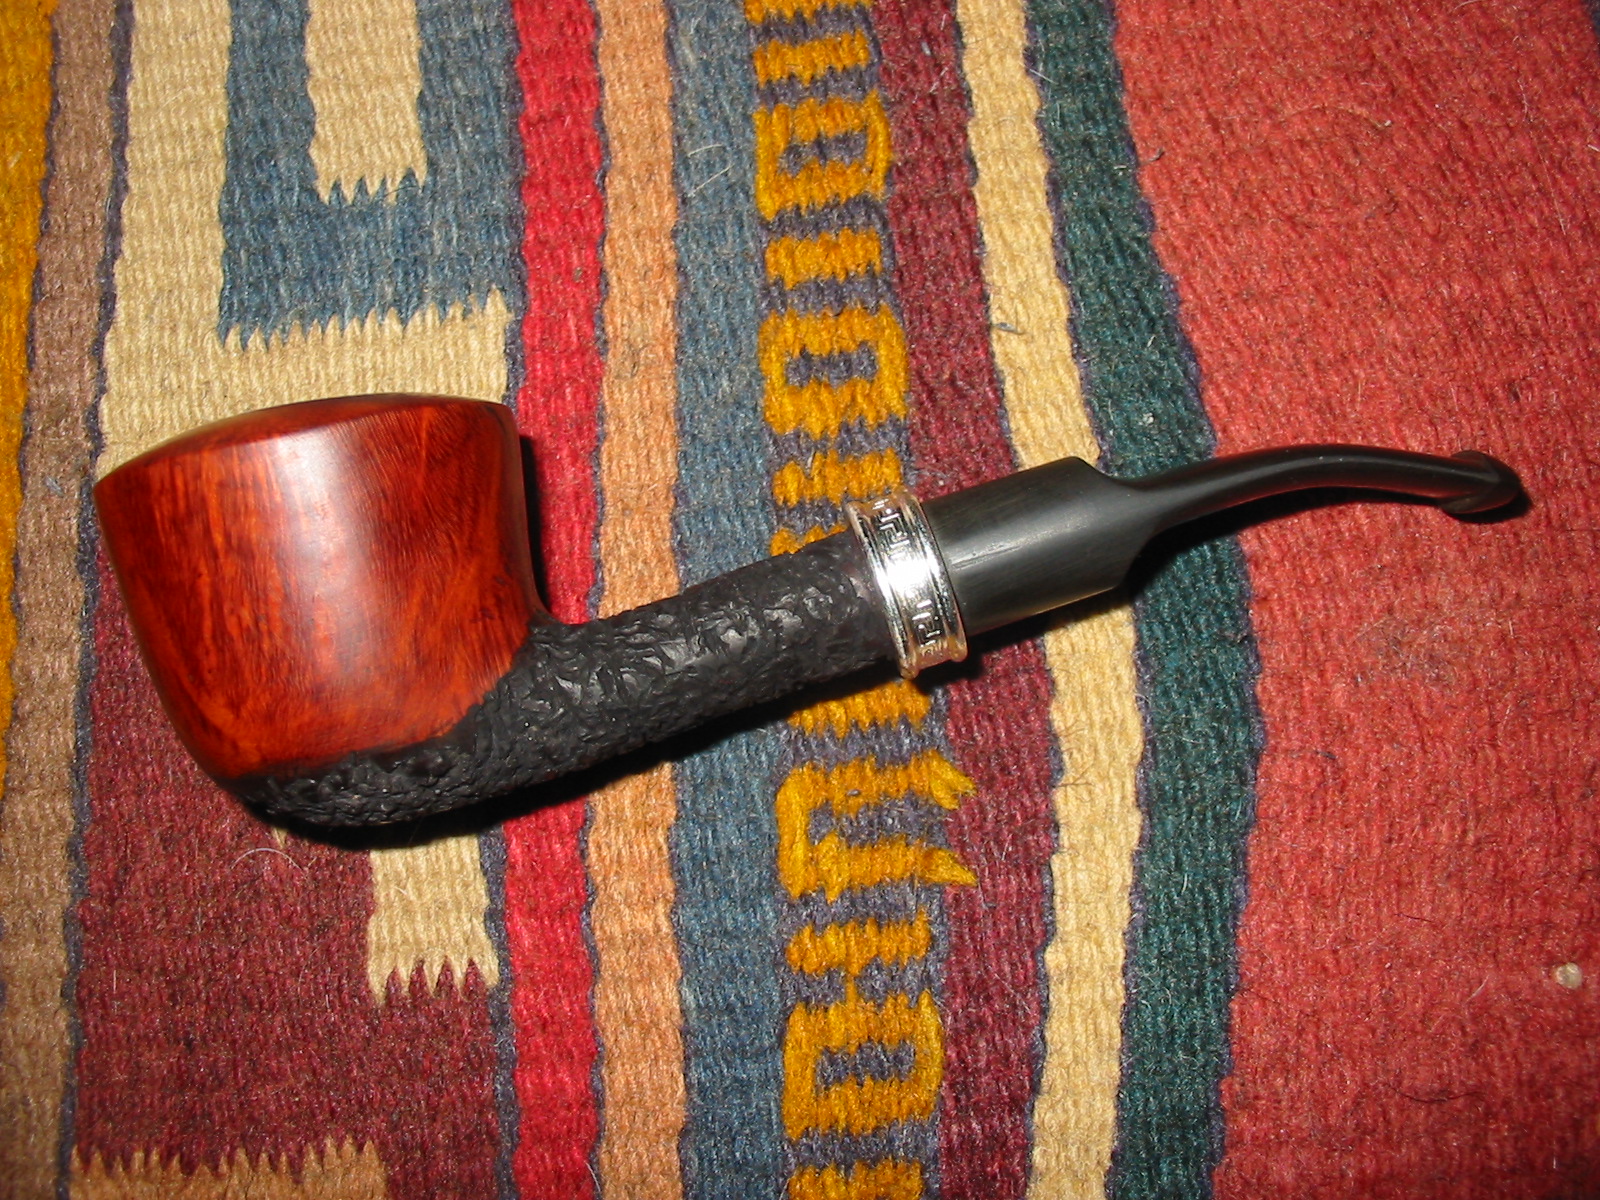
At this point I reflected on what I wanted to do with the upper part of the bowl. I could stain it with a variety of colours to contrast with the rusticated black portion of the shank and bowl bottom but I was not certain I wanted to do that. I finally decided to rub down the bowl with olive oil to bring out the grain. I rubbed it in by hand and repeated that until it was finished. I gave the bowl a light buff with White Diamond to give it a shine. I will still need to give it several coats of carnauba wax but the look works for me. The grain pops with the oil finish. The next series of four photos show the bowl finish at this point in the process.
IMG_5277

IMG_5278

IMG_5279

IMG_5280

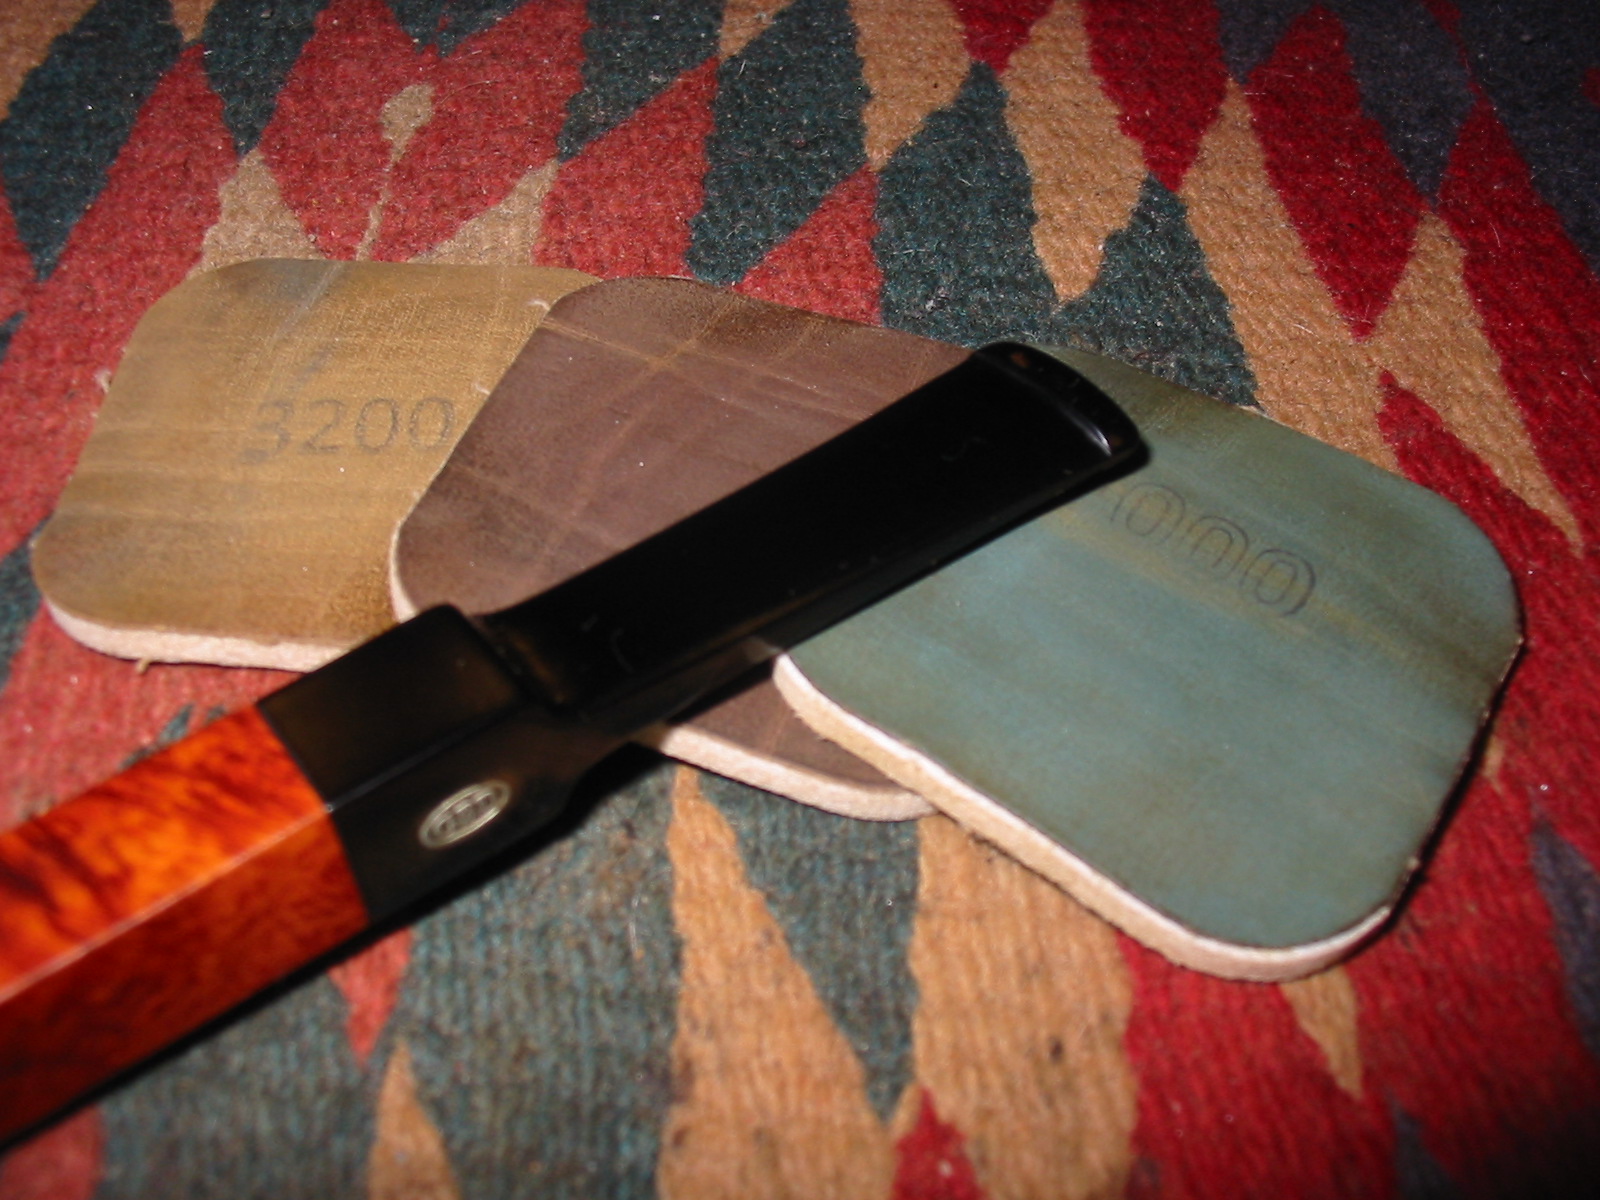
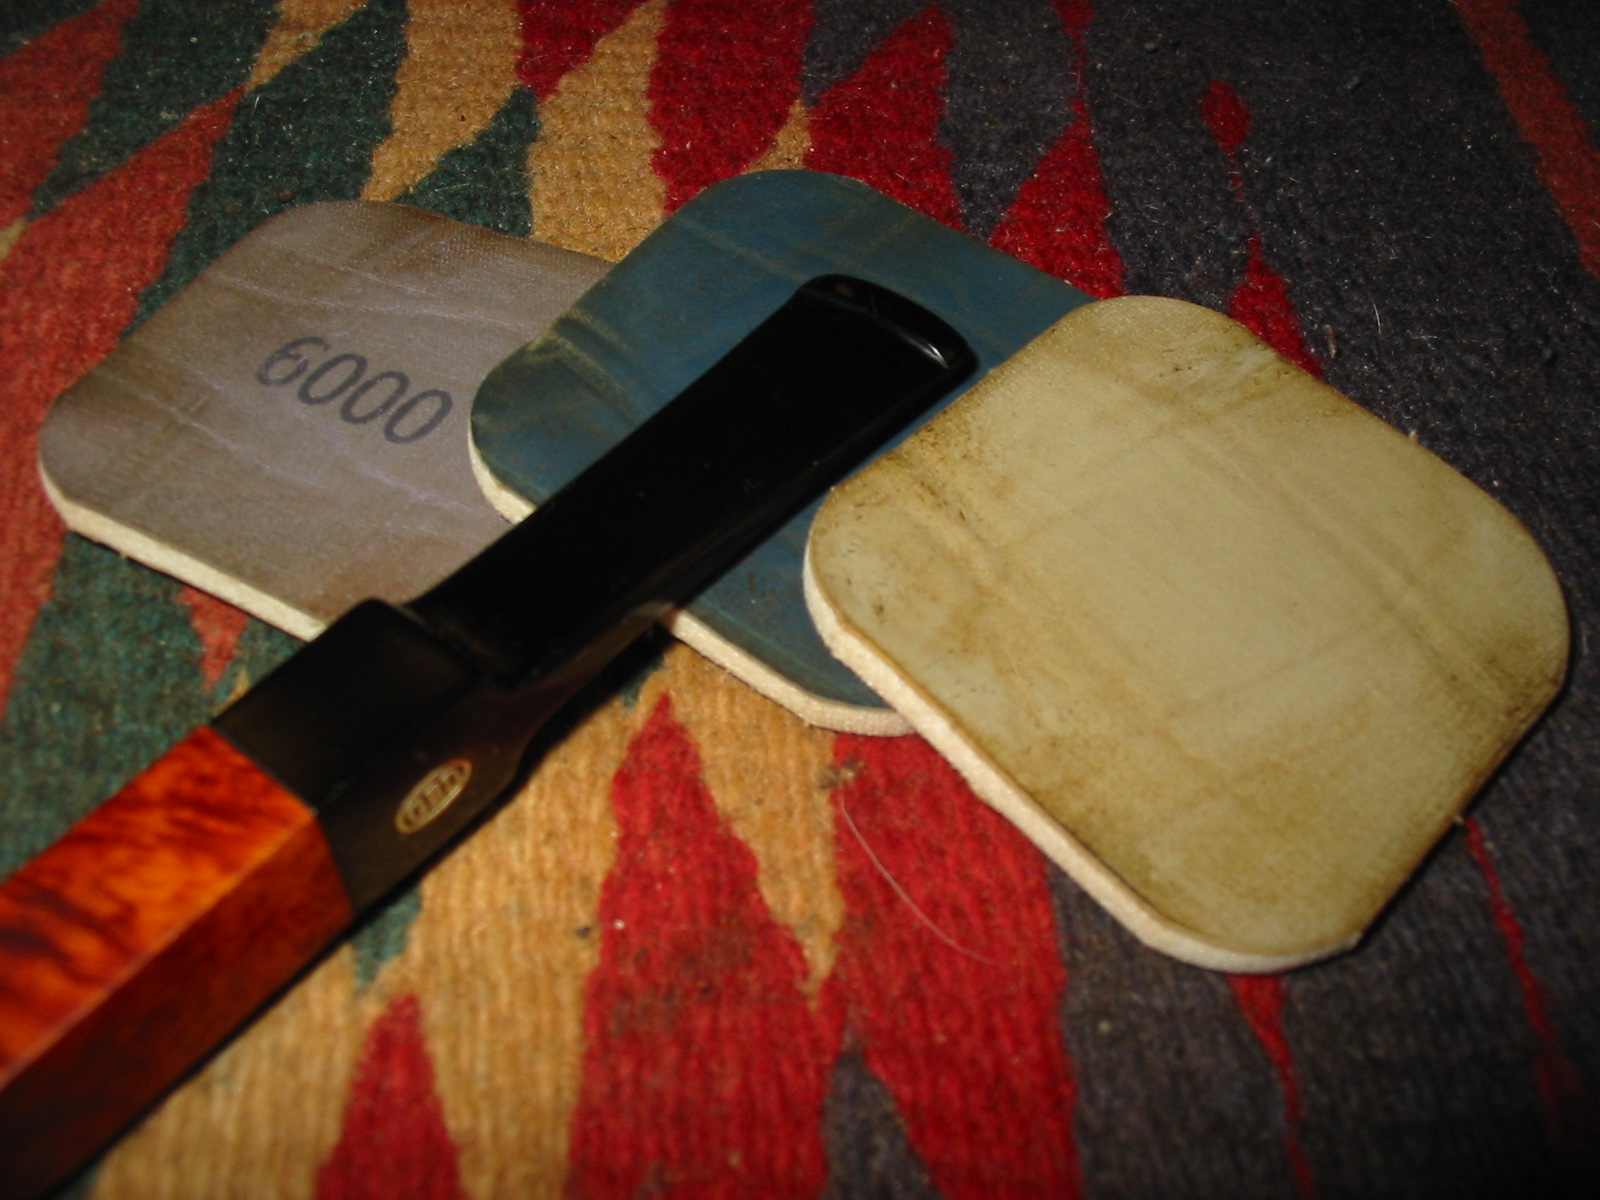
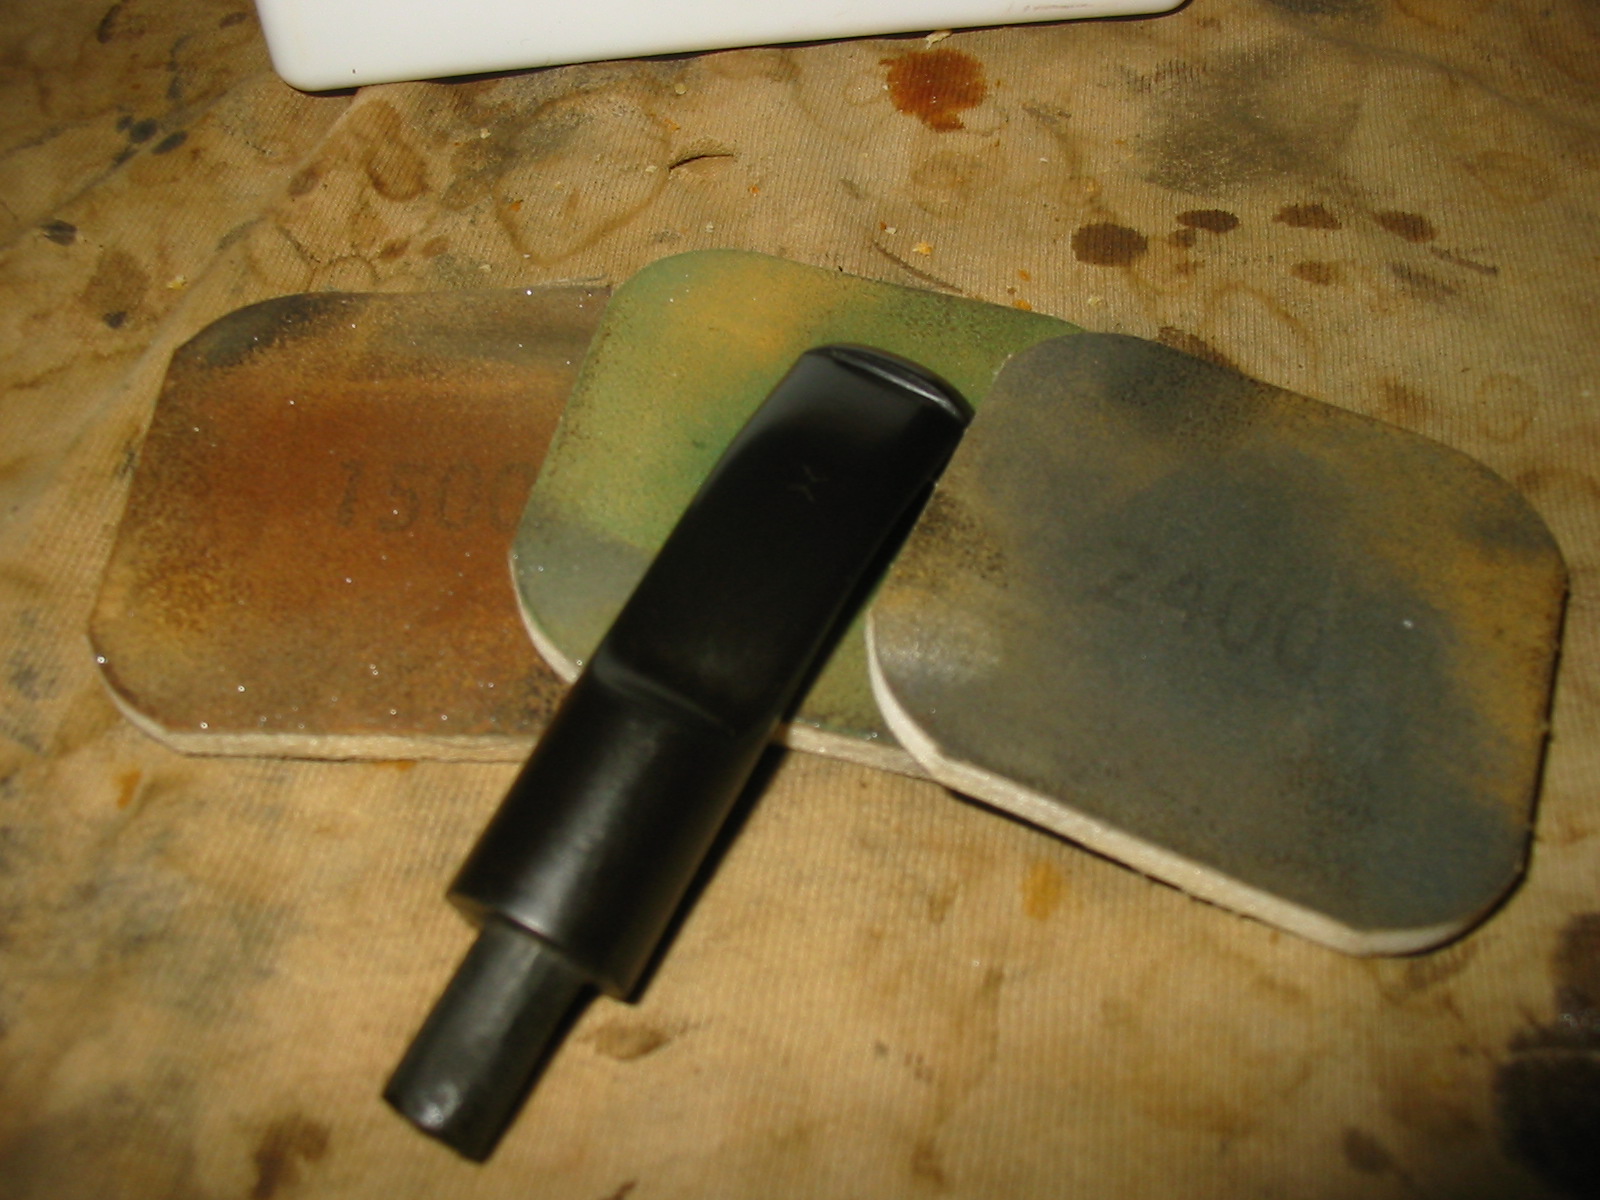
I liked the overall appearance of the pipe. It was certainly significantly different from the bowl that it was before I started. The old bowl had a more elegant look to it now and felt great in the hand. The chunky wedding band contrasts well with the shape and the finish of the bowl. Now it was time to work on the stem. I sanded the stem with 220 grit sandpaper to remove the casting marks on the sides of the saddled and blade of the stem. I followed that by sanding with medium and fine grit sanding sponges to further remove the scratches to the vulcanite. I finished the sanding with my usual list of micromesh sanding pads – wet sanding with 1500-2400 grit pads and dry sanding with 3200-12,000 grit pads. I rubbed the stem down with Obsidian Oil and let it soak in to the stem material.
IMG_5293

IMG_5294

IMG_5295

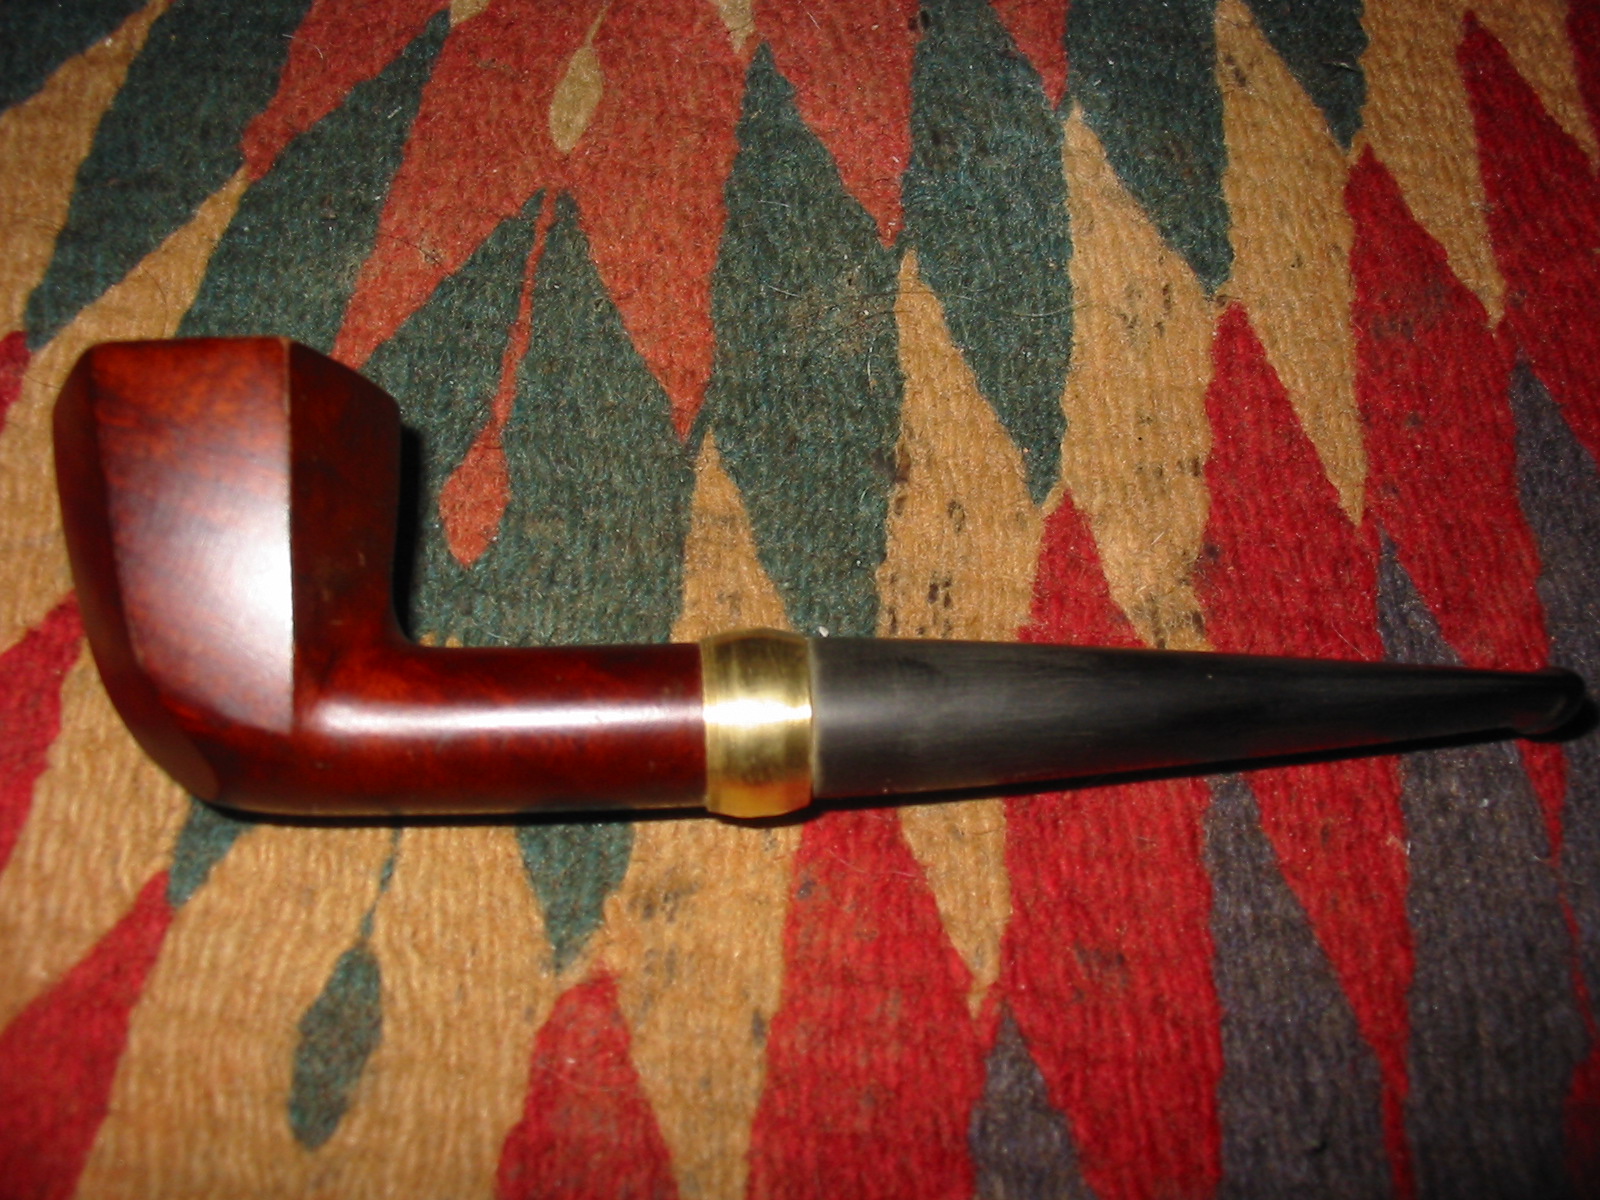
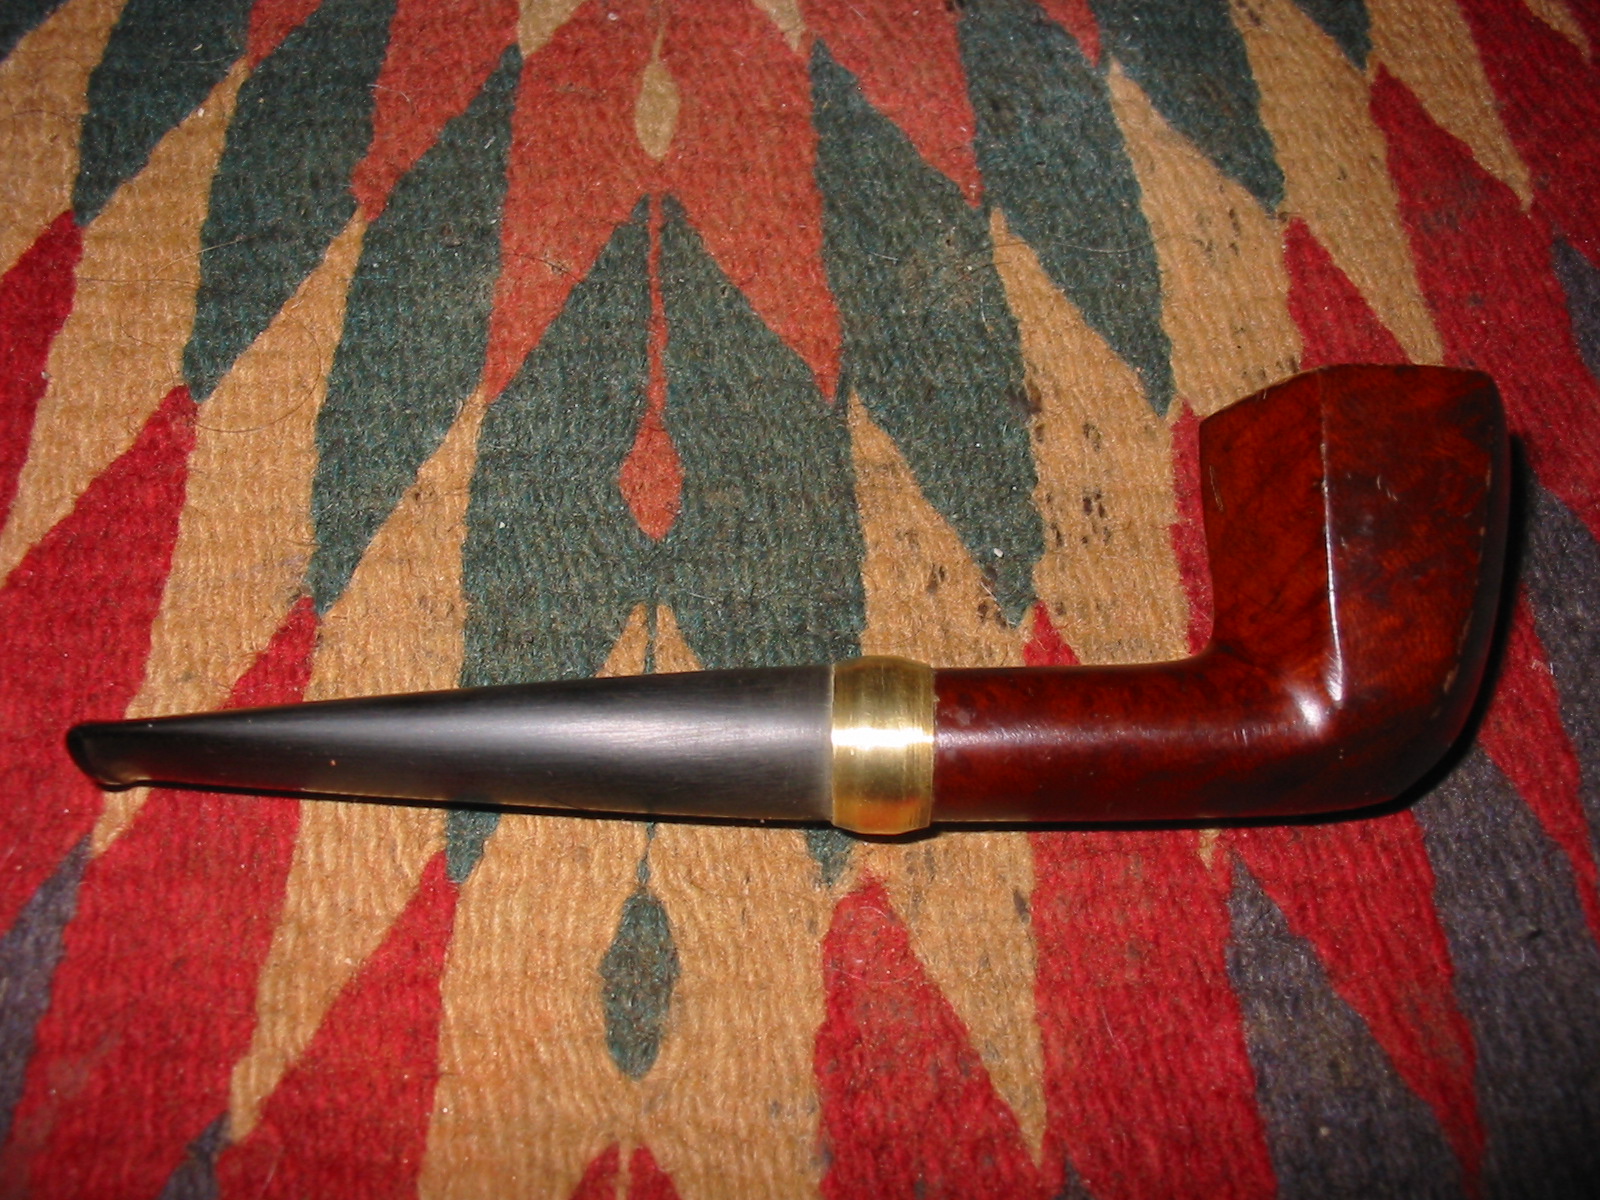
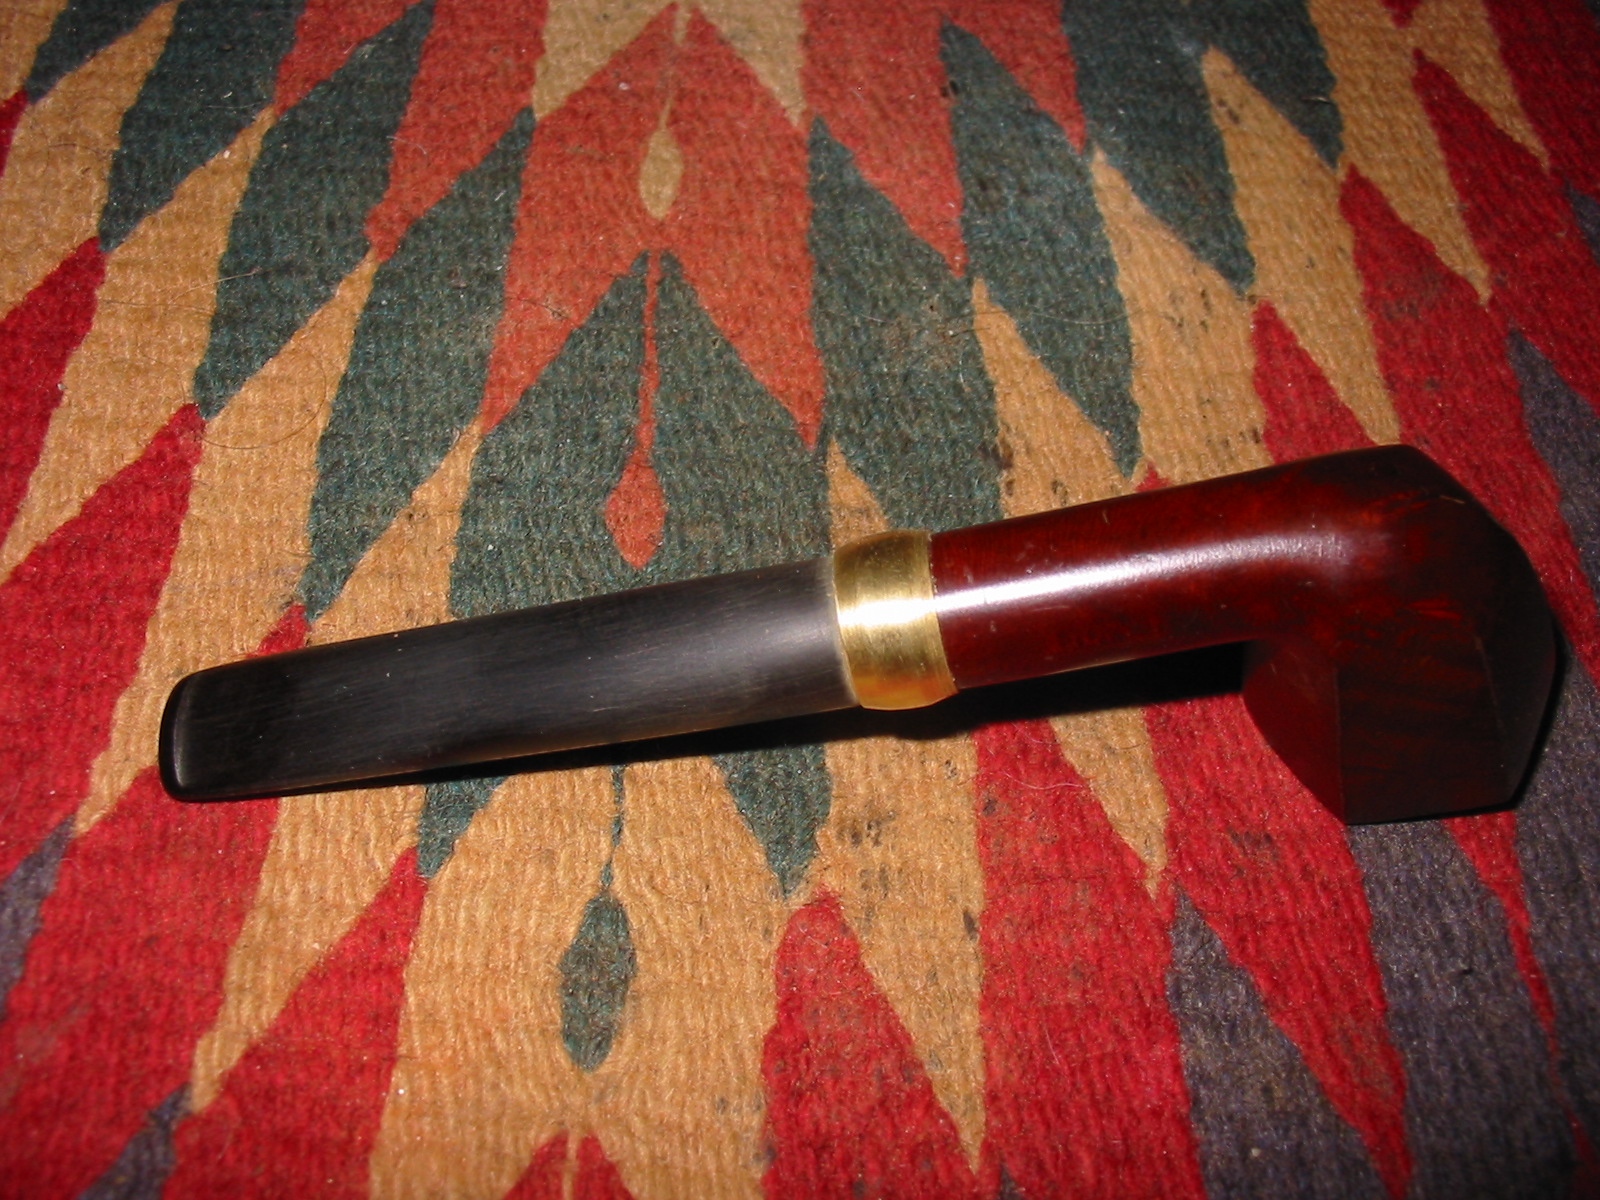
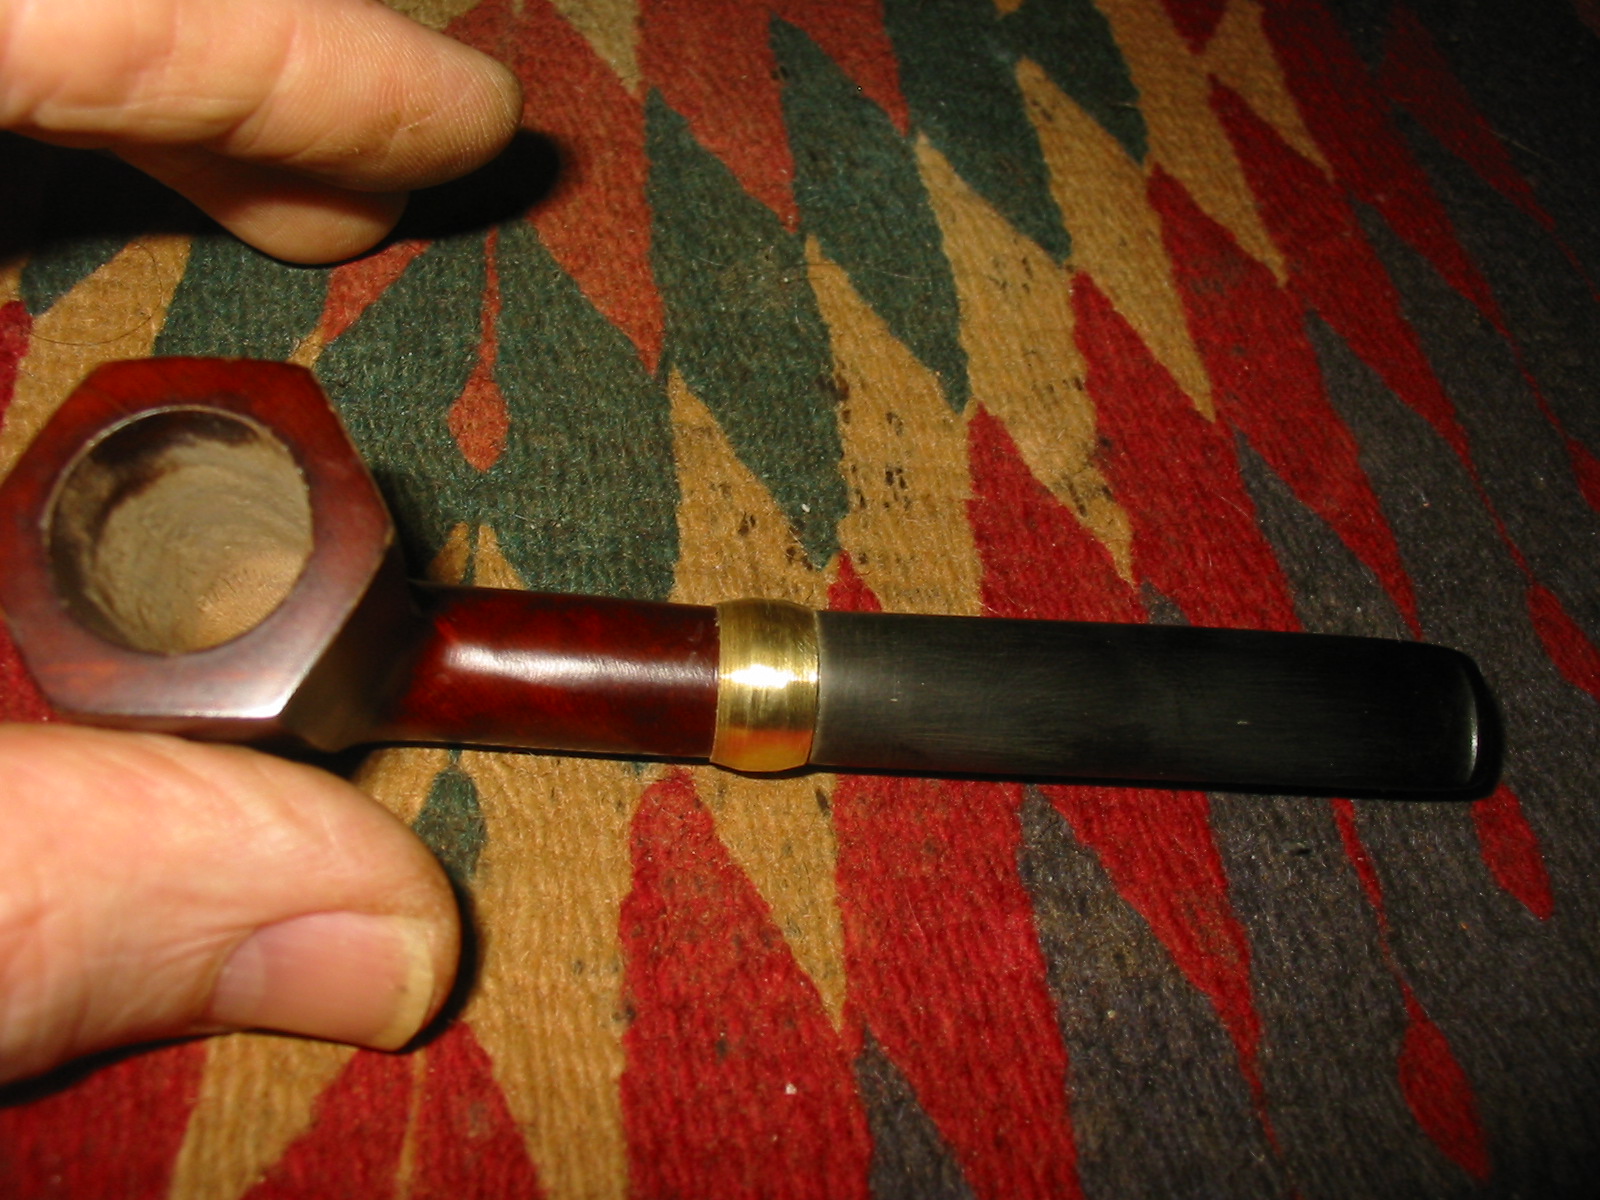
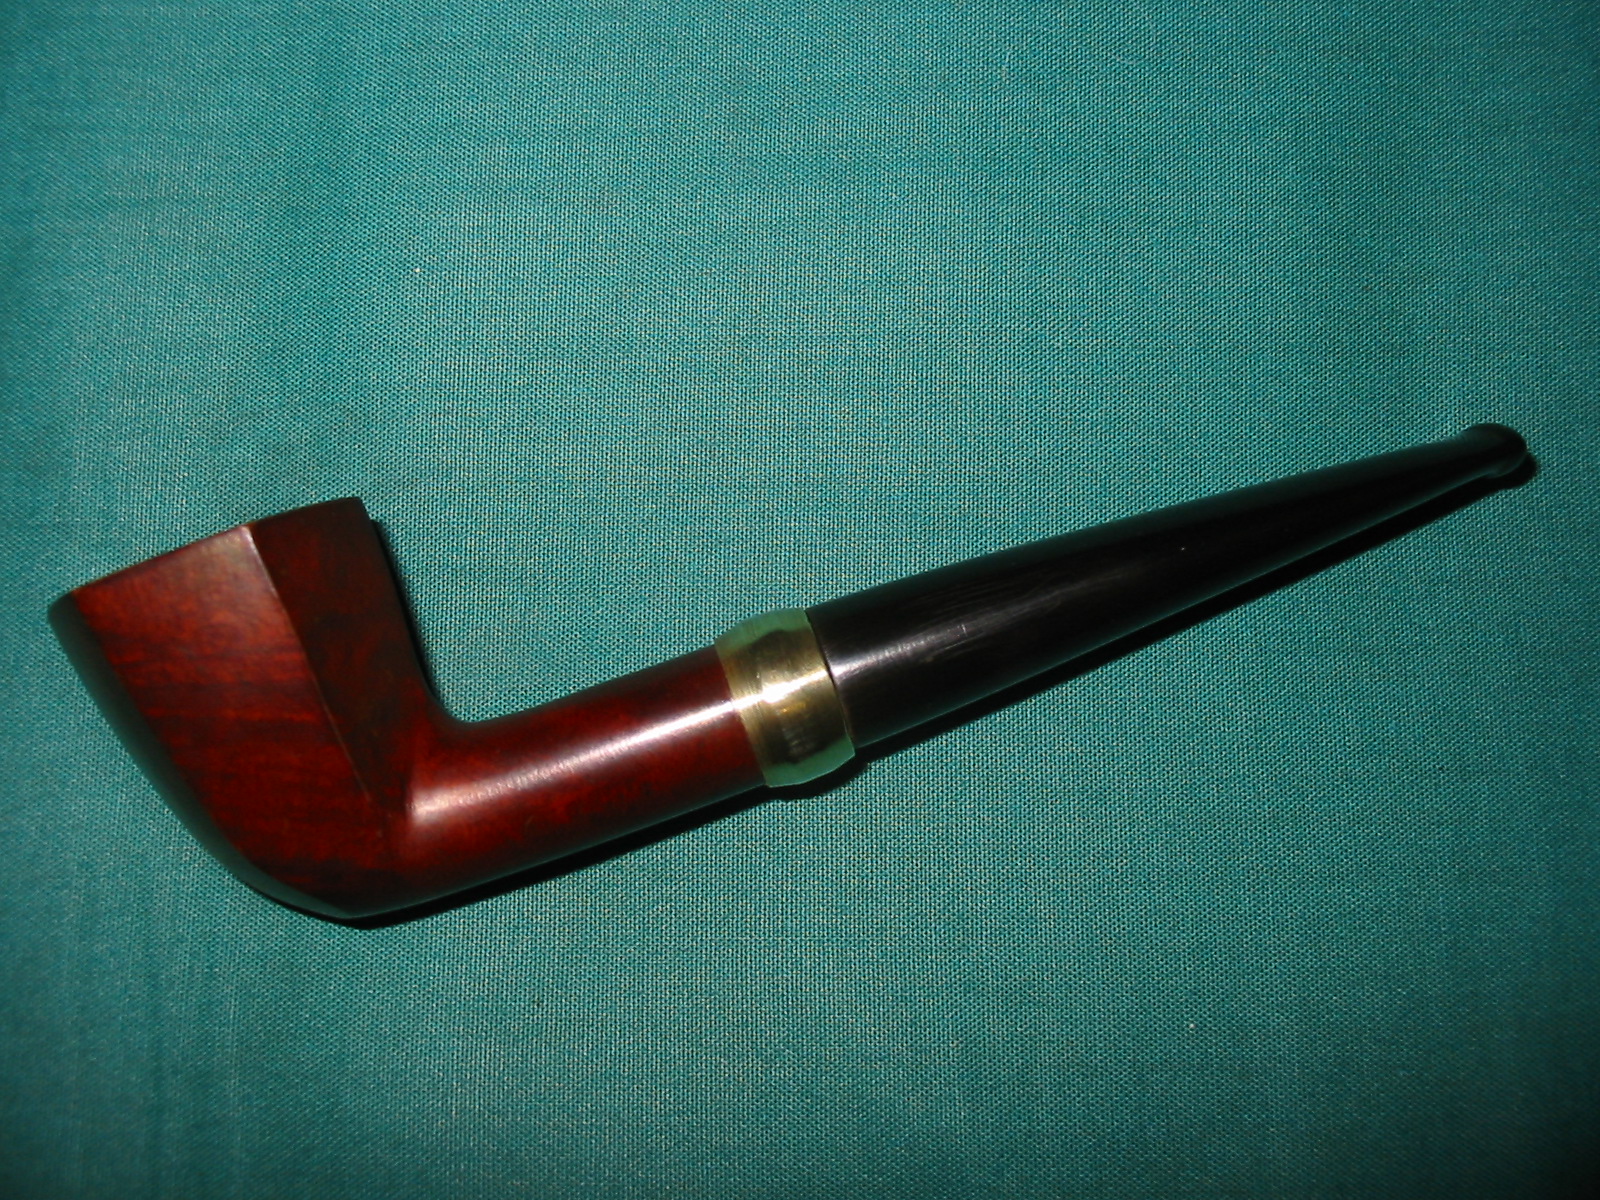
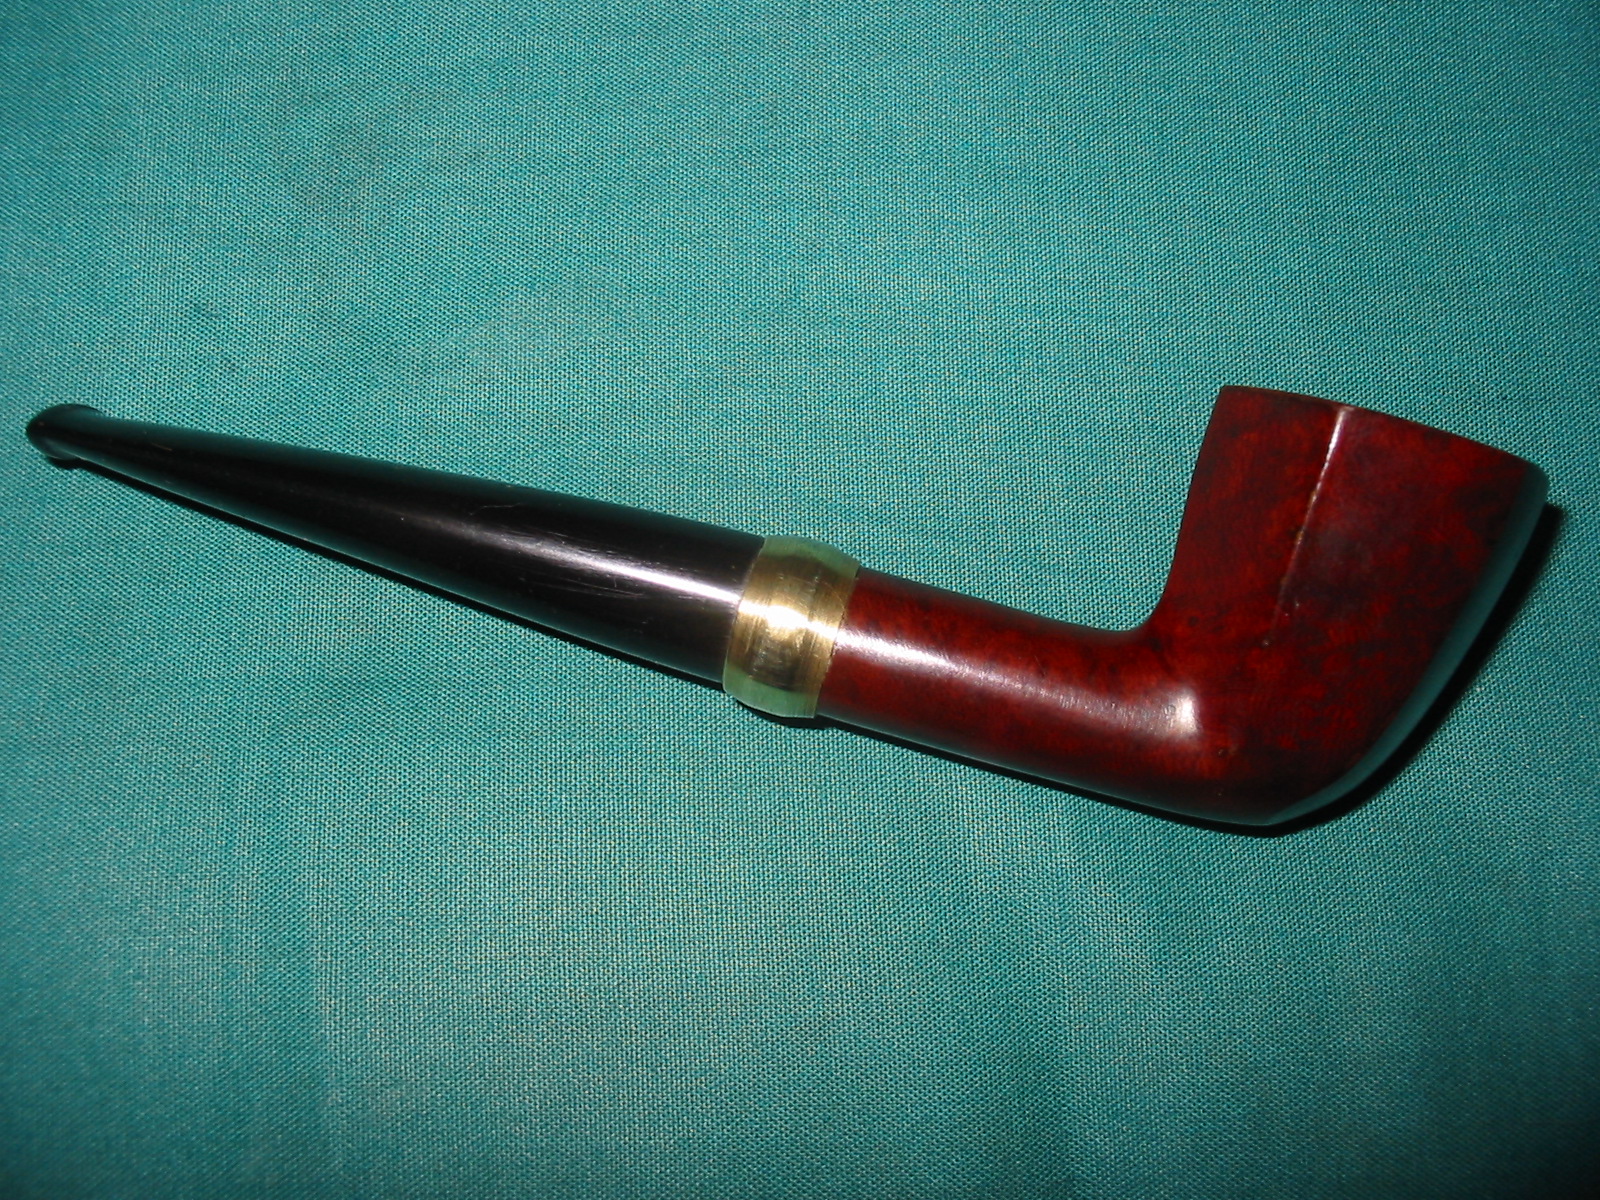
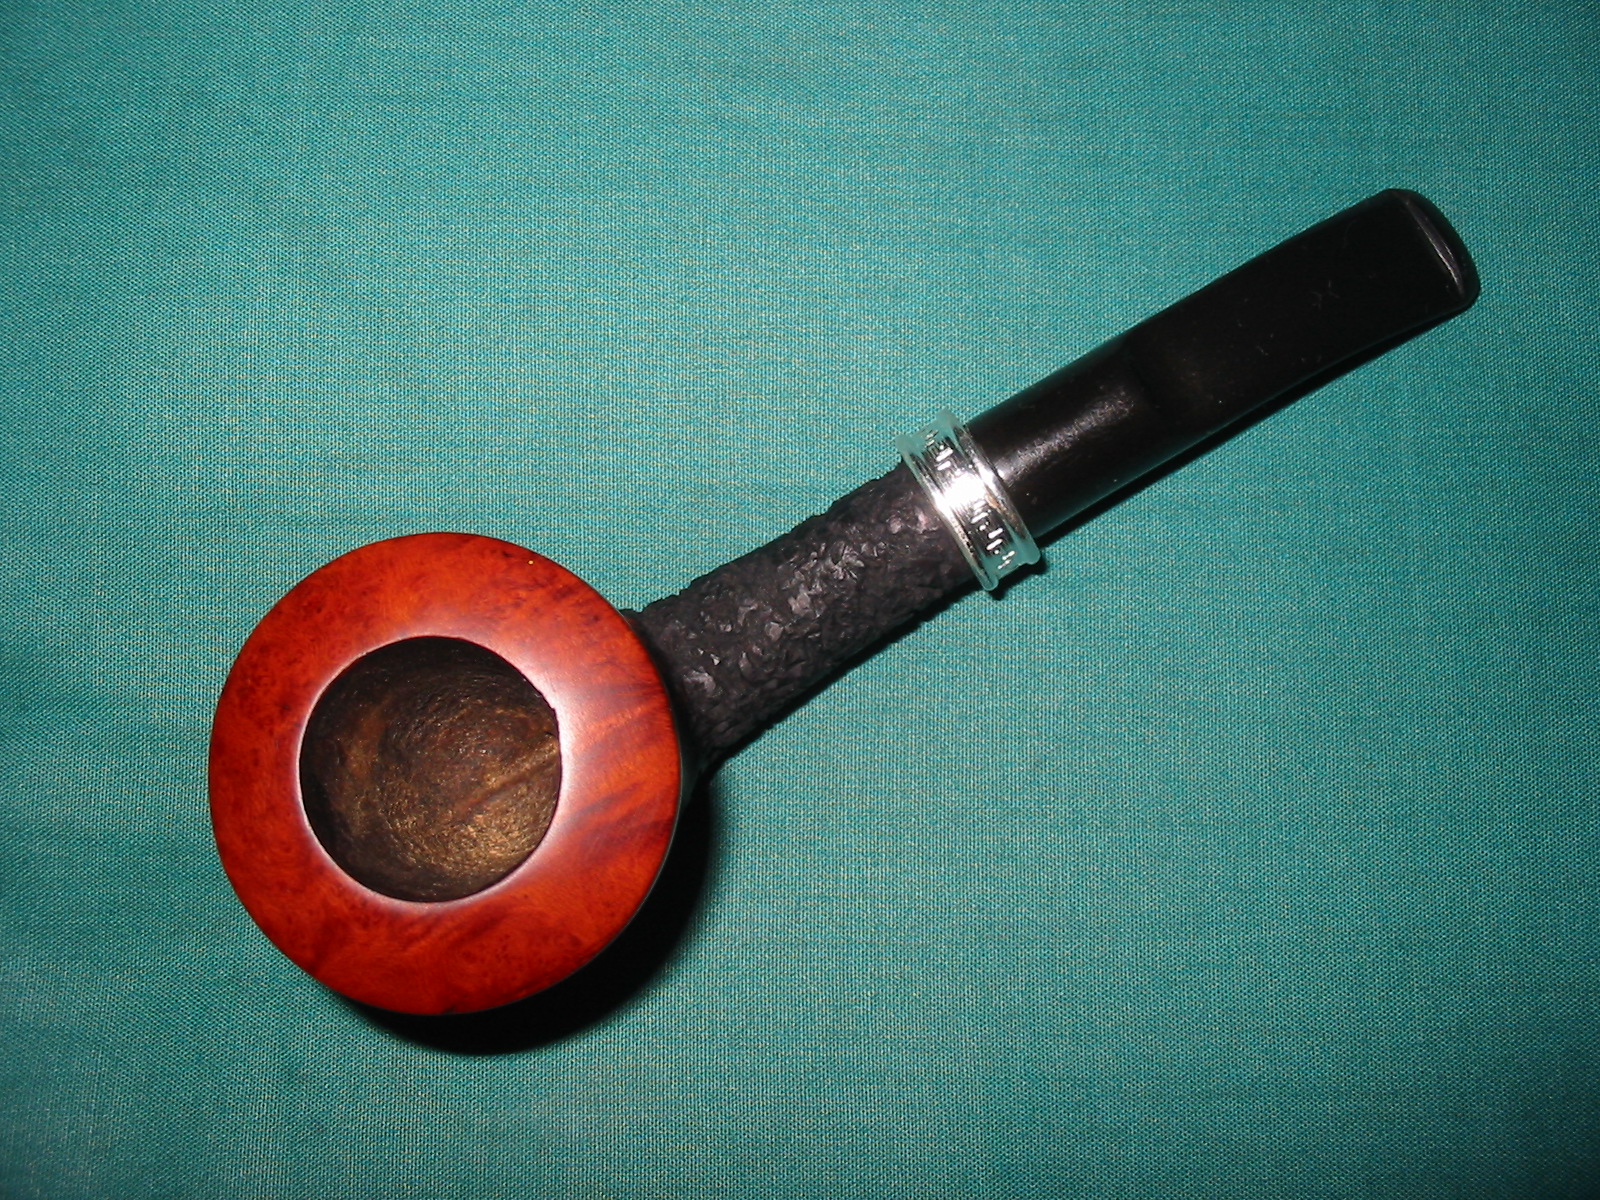
I buffed the finished pipe and stem with White Diamond and then gave it multiple coats of carnauba wax. I was careful to not get wax on the rusticated portion of the bowl and shank. The finished pipe is pictured below. It seems to me to have a much more dignified appearance than what it started with. I like the tactile feel of the bowl in my hand while at the same time maintaining the beautiful straight and flame grain on the bowl. I think this one will stay in my collection for quite awhile.
IMG_5296

IMG_5297

IMG_5298

IMG_5299

Restoring a Briarmeer Rhodesian 175 ED that was Made in Canada


Blog by Steve Laug

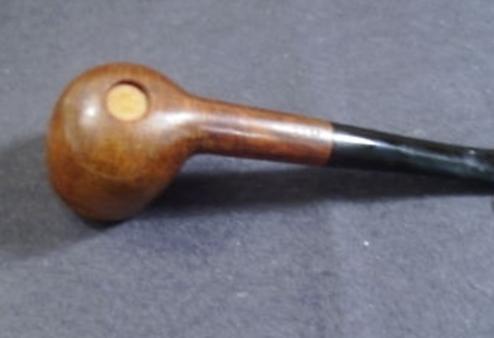
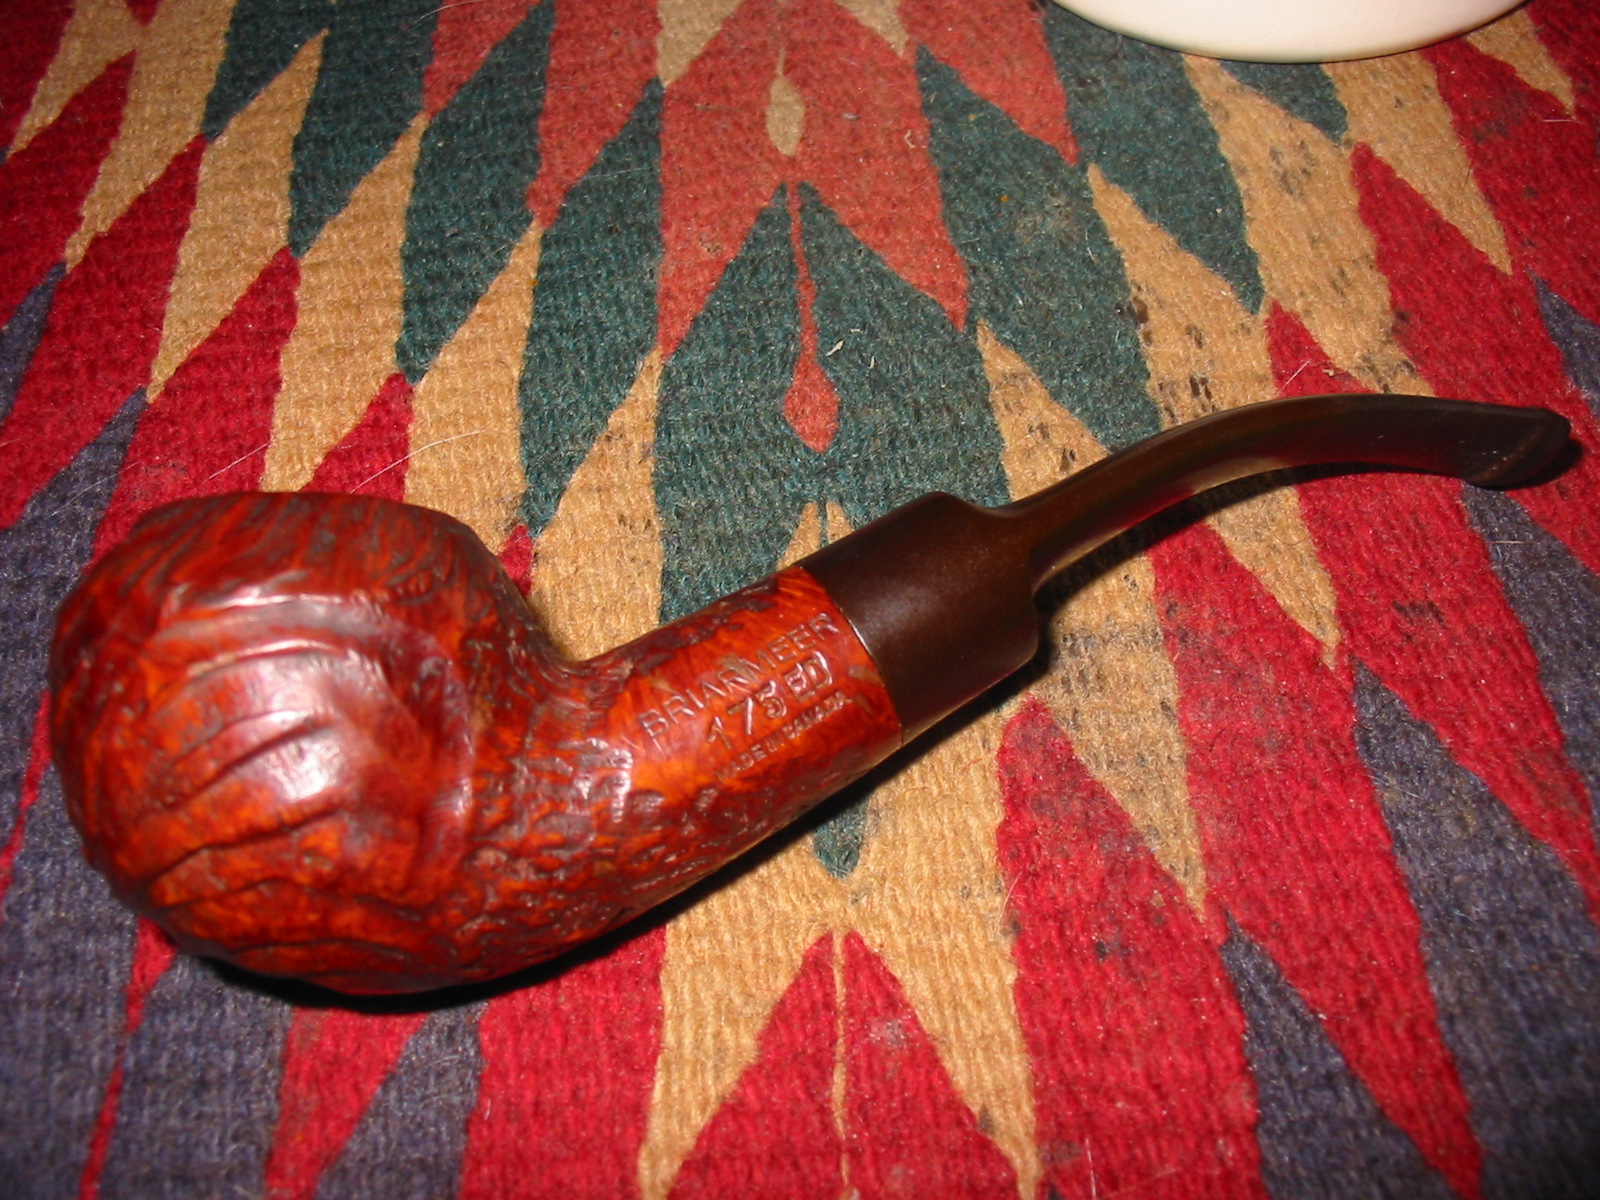
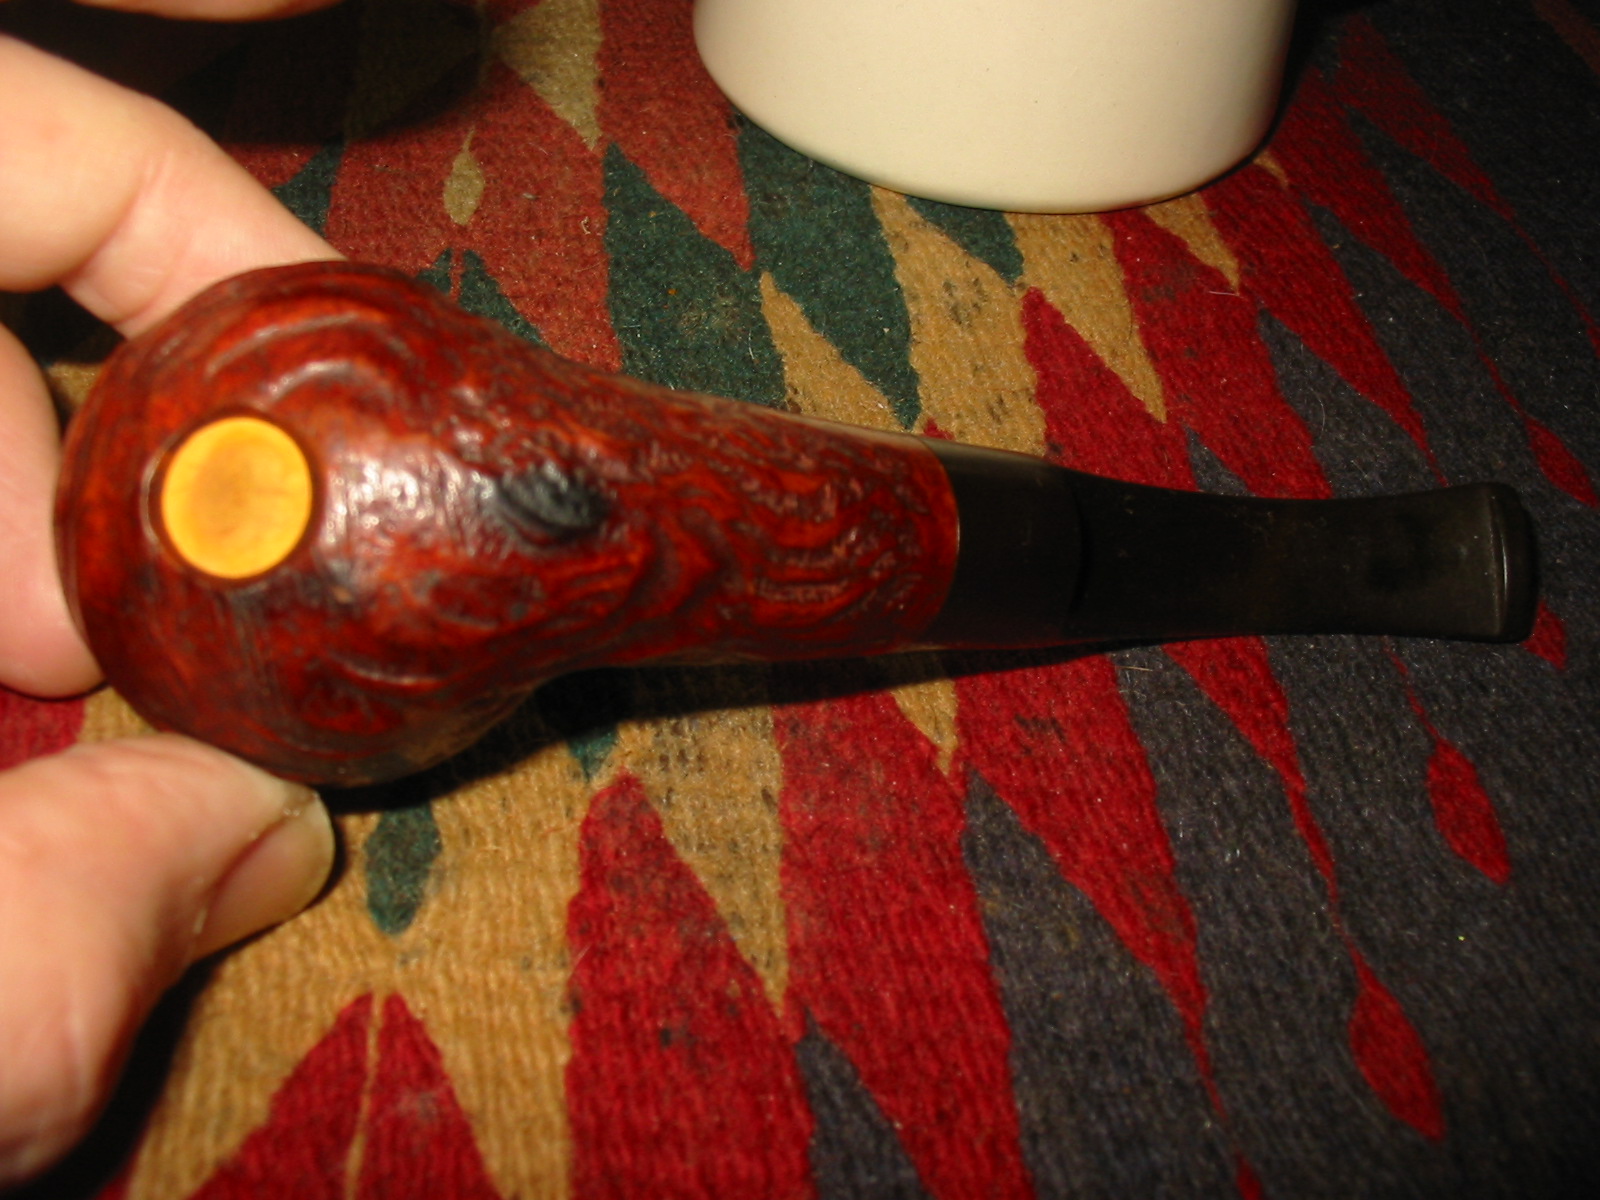
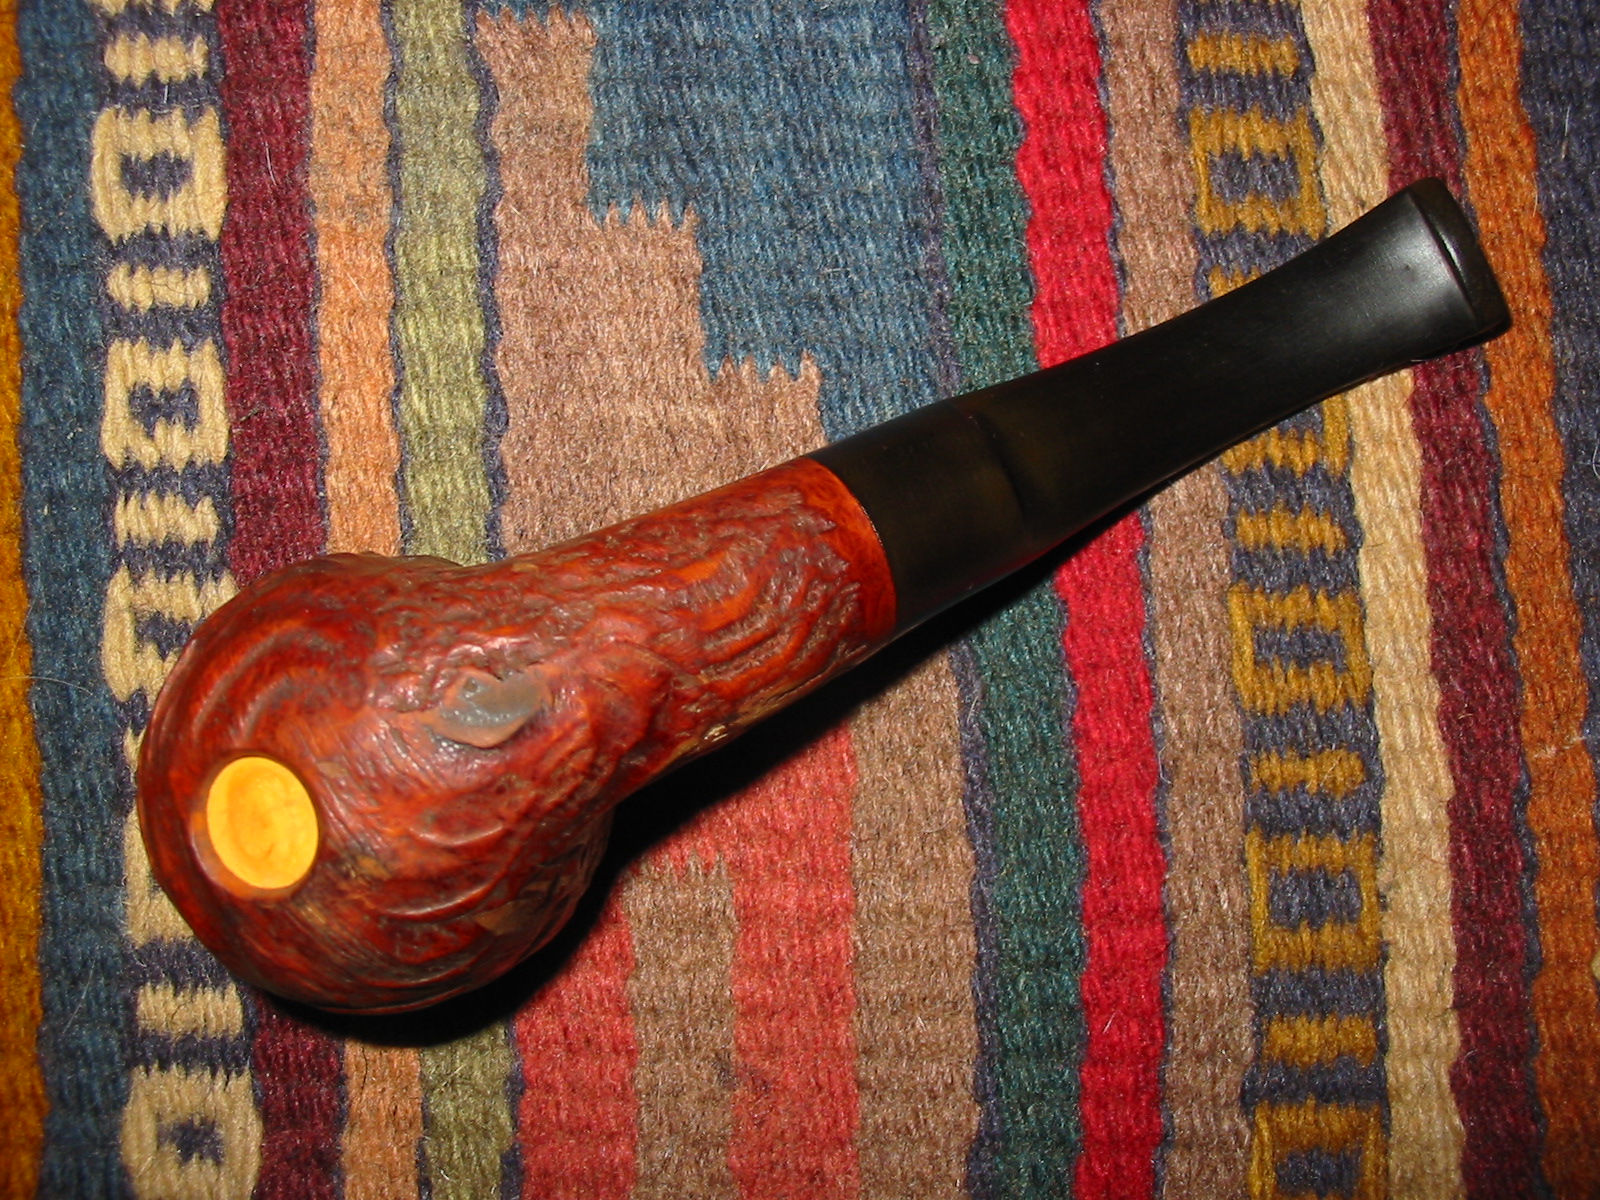
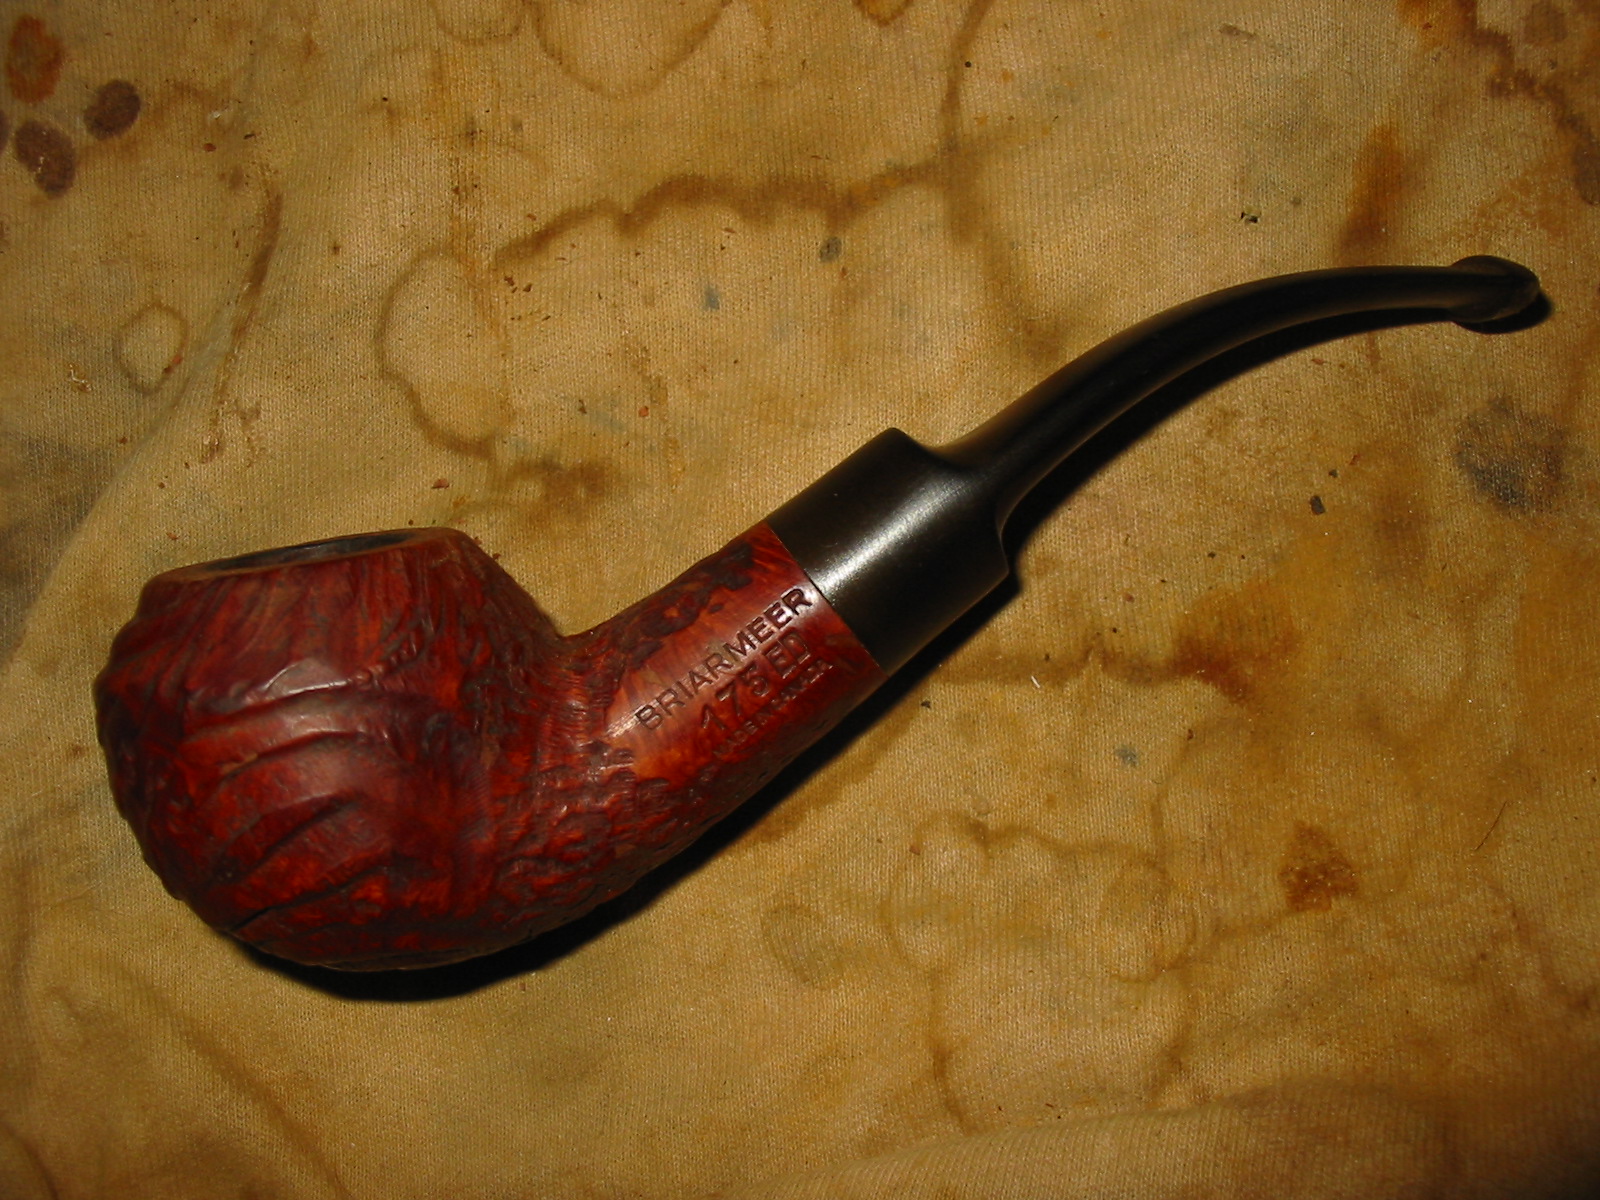
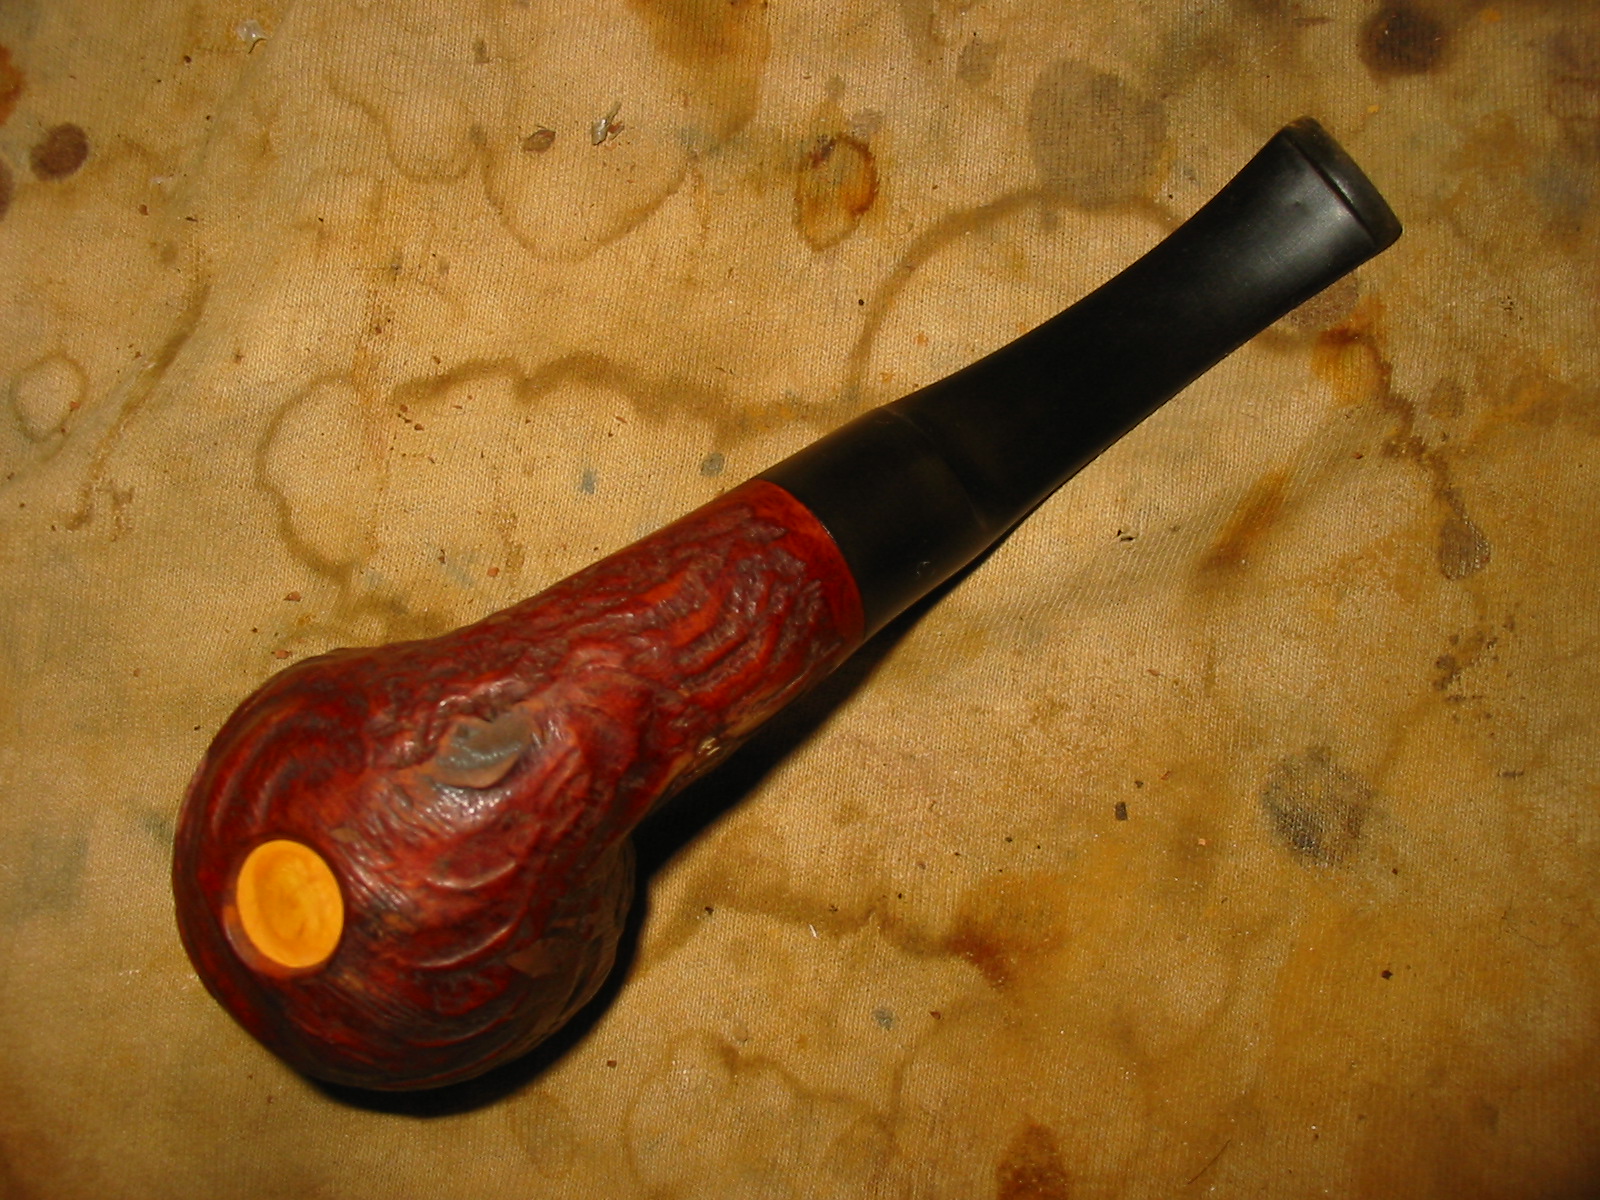
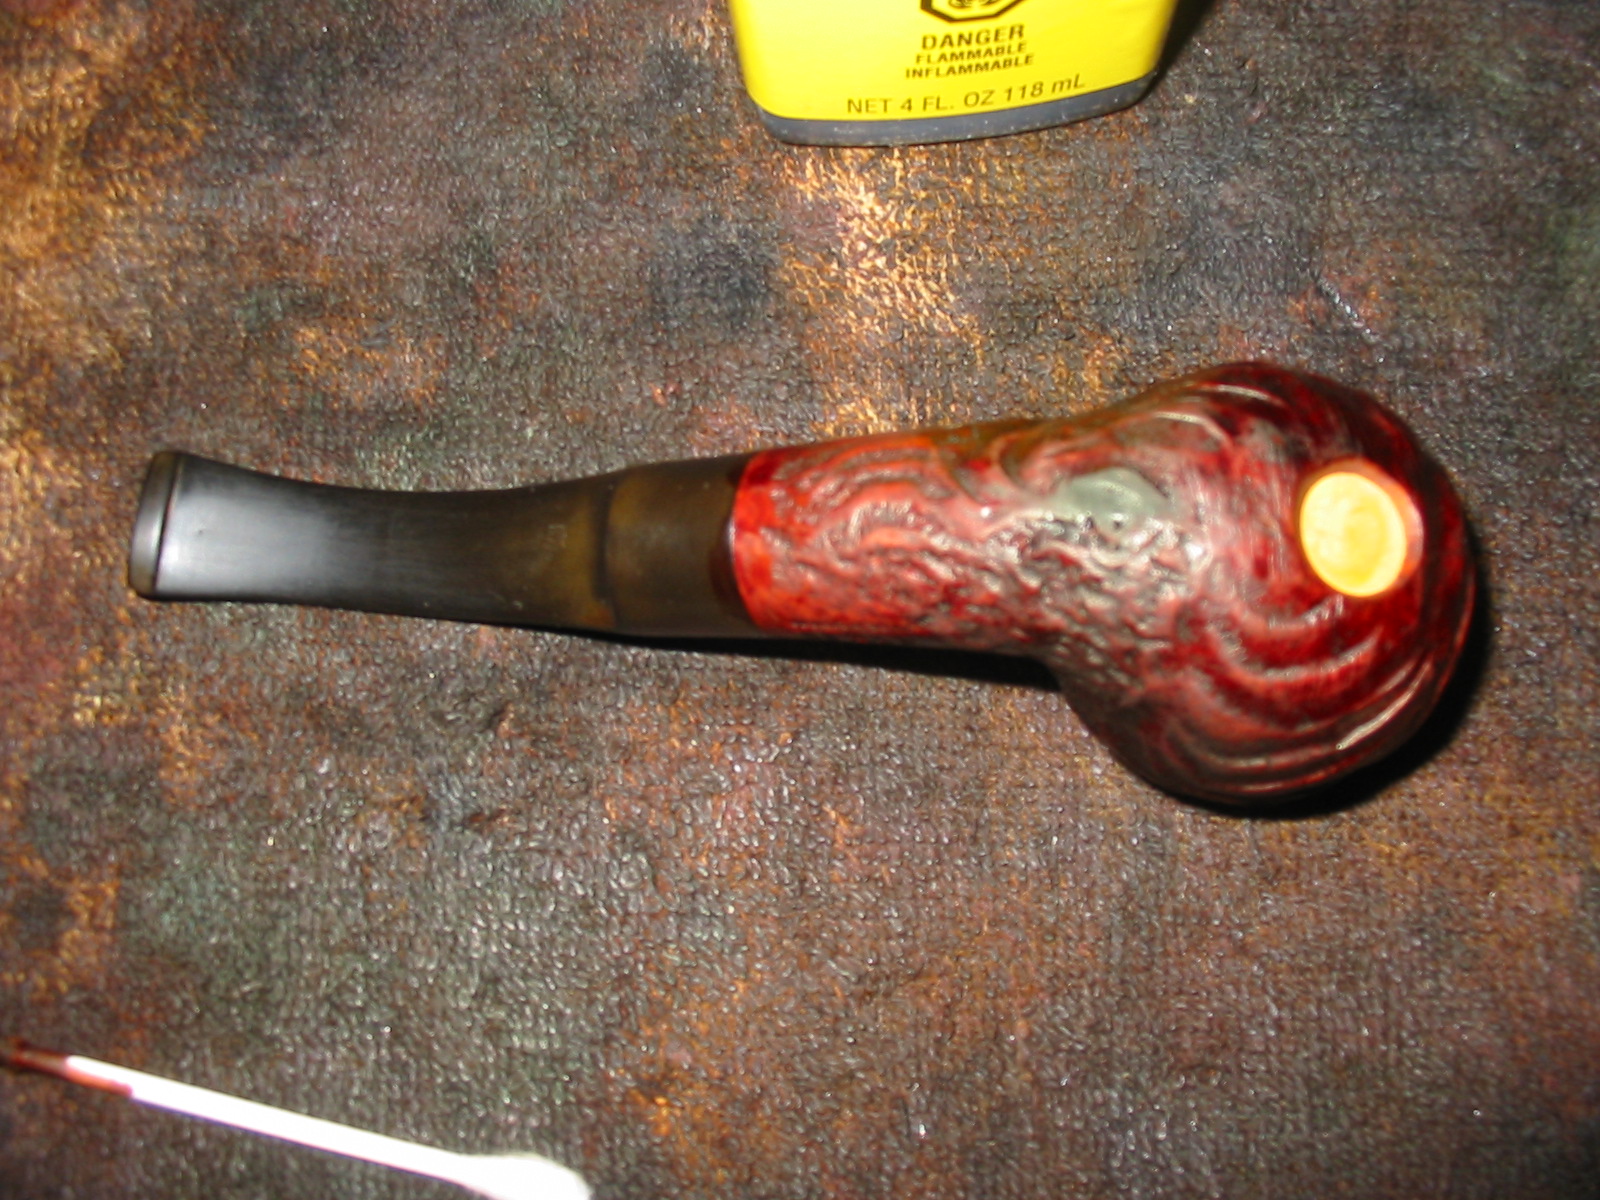
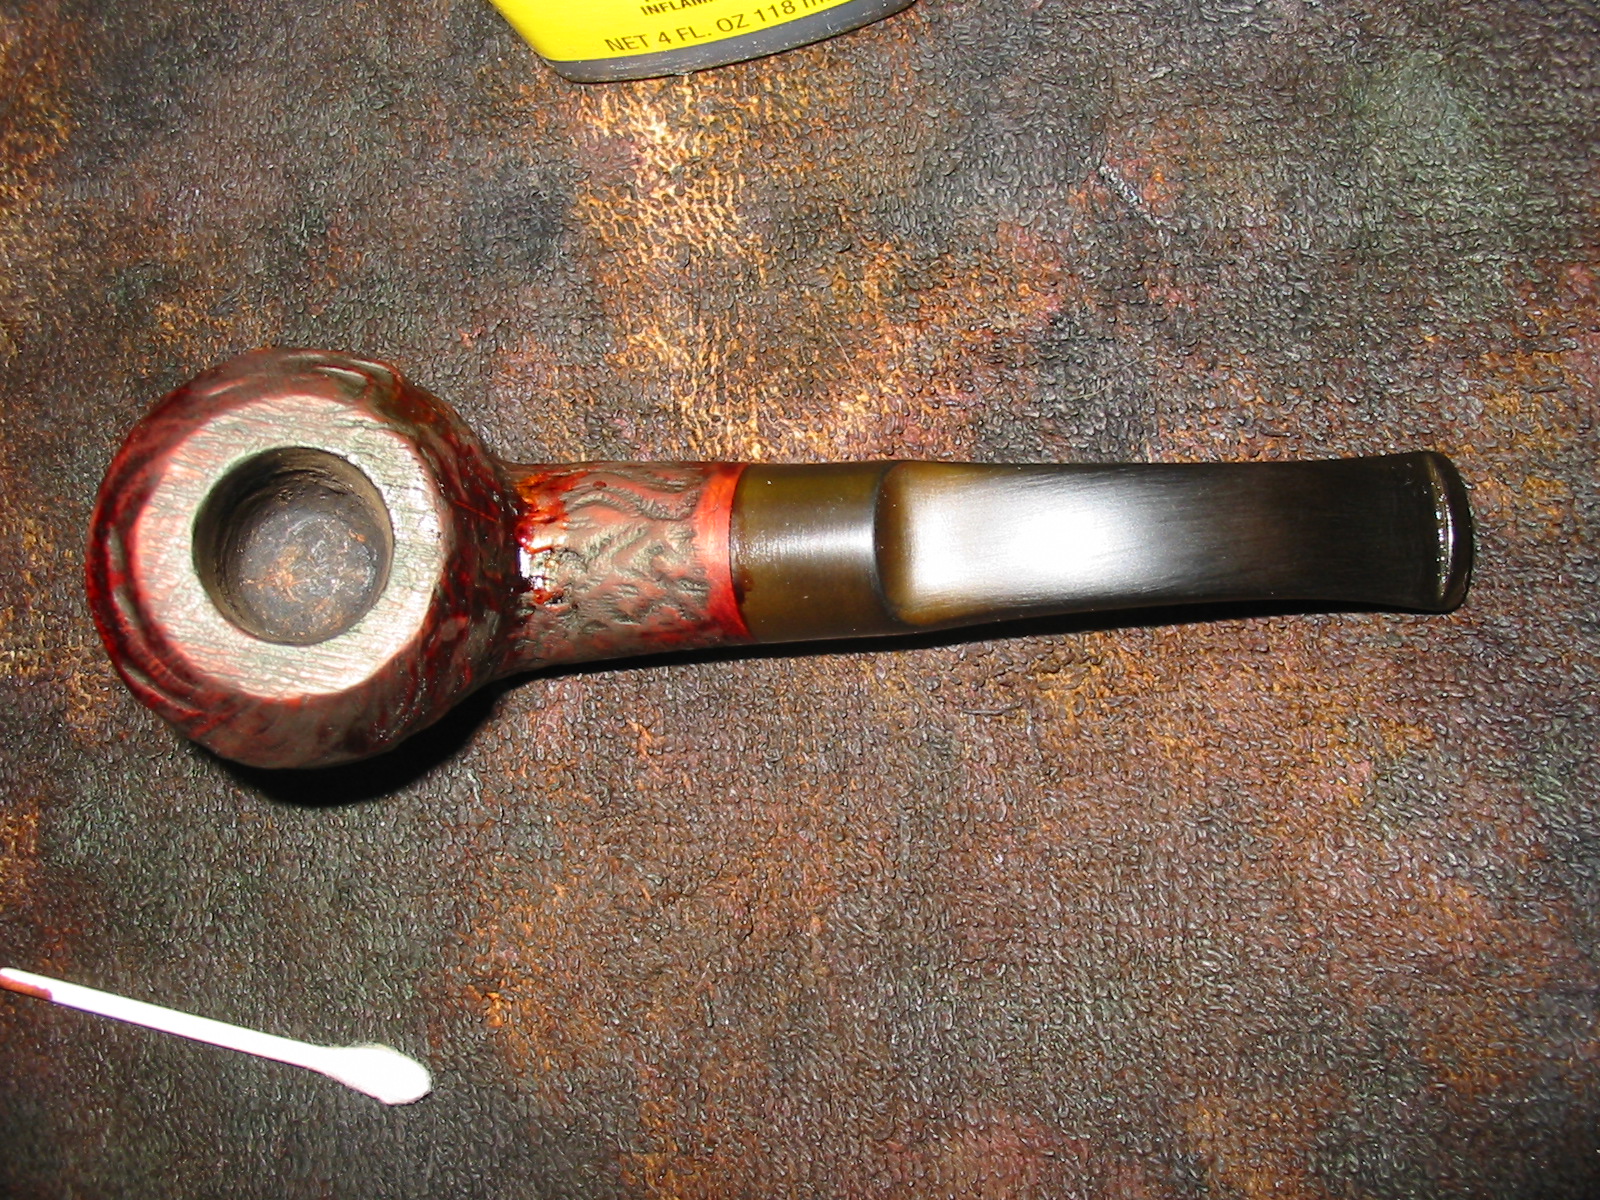
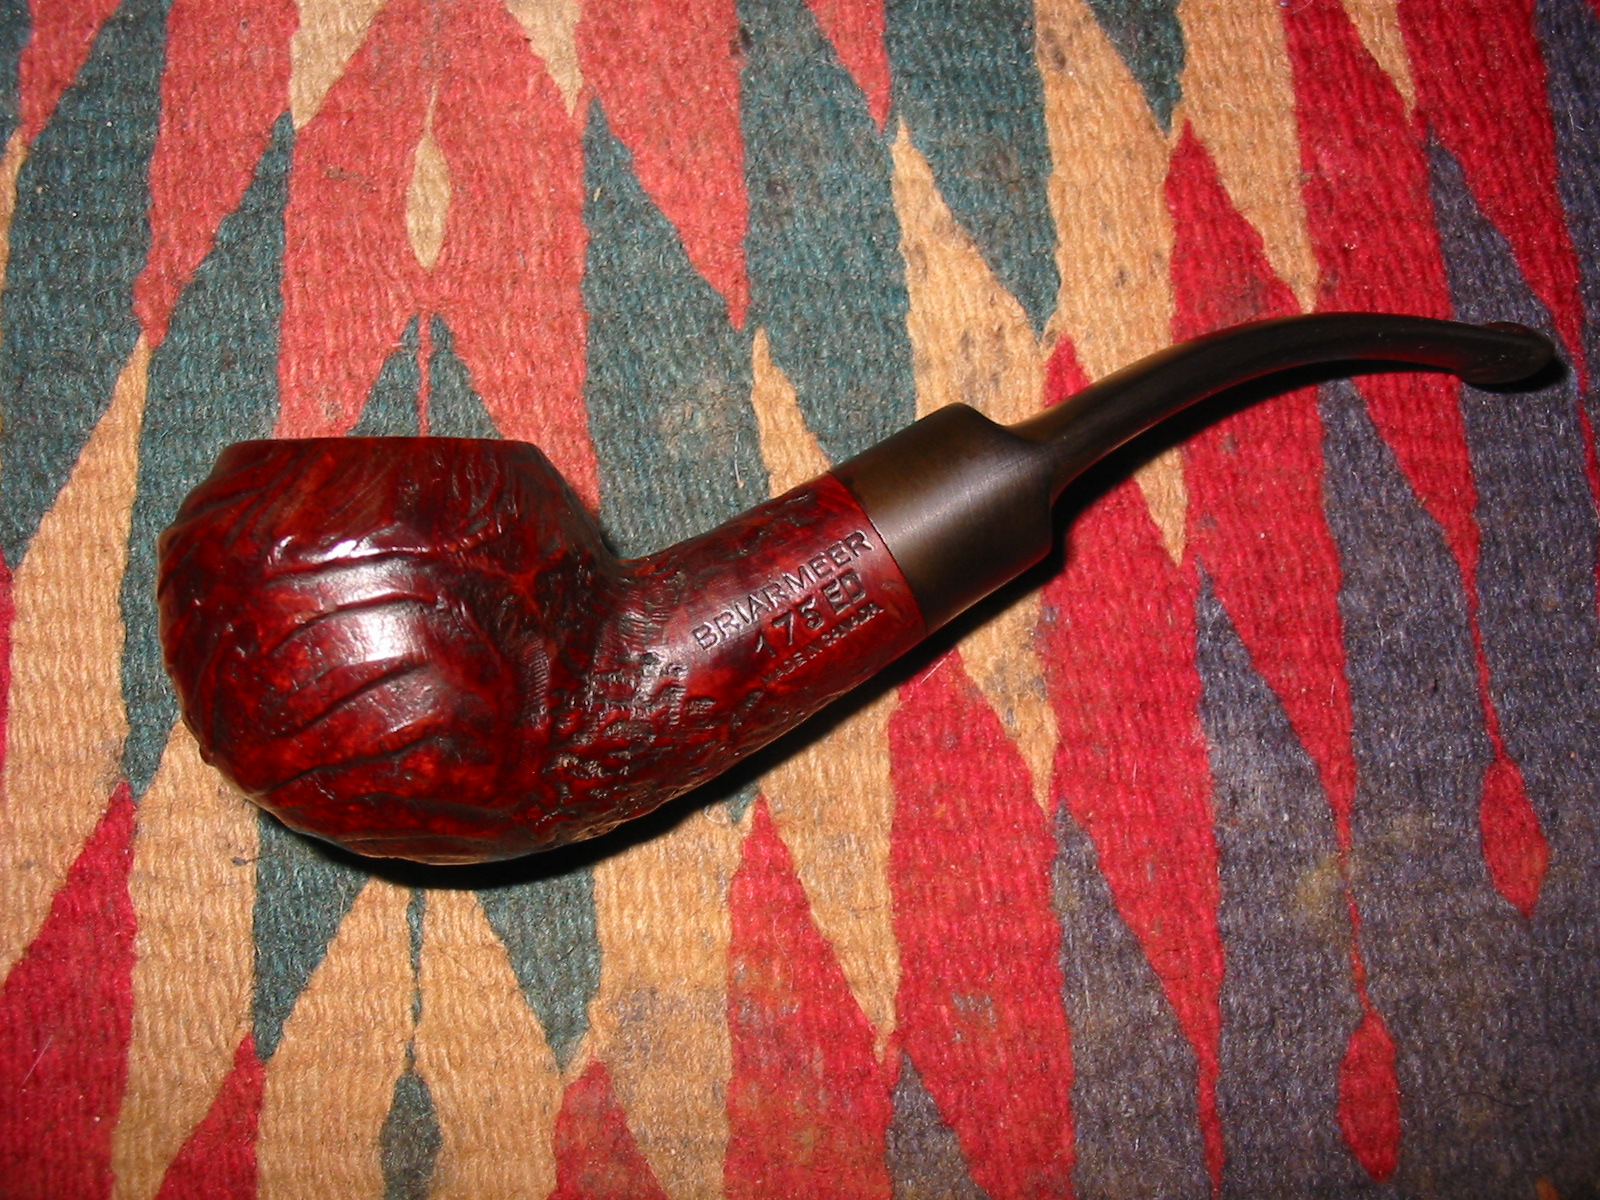
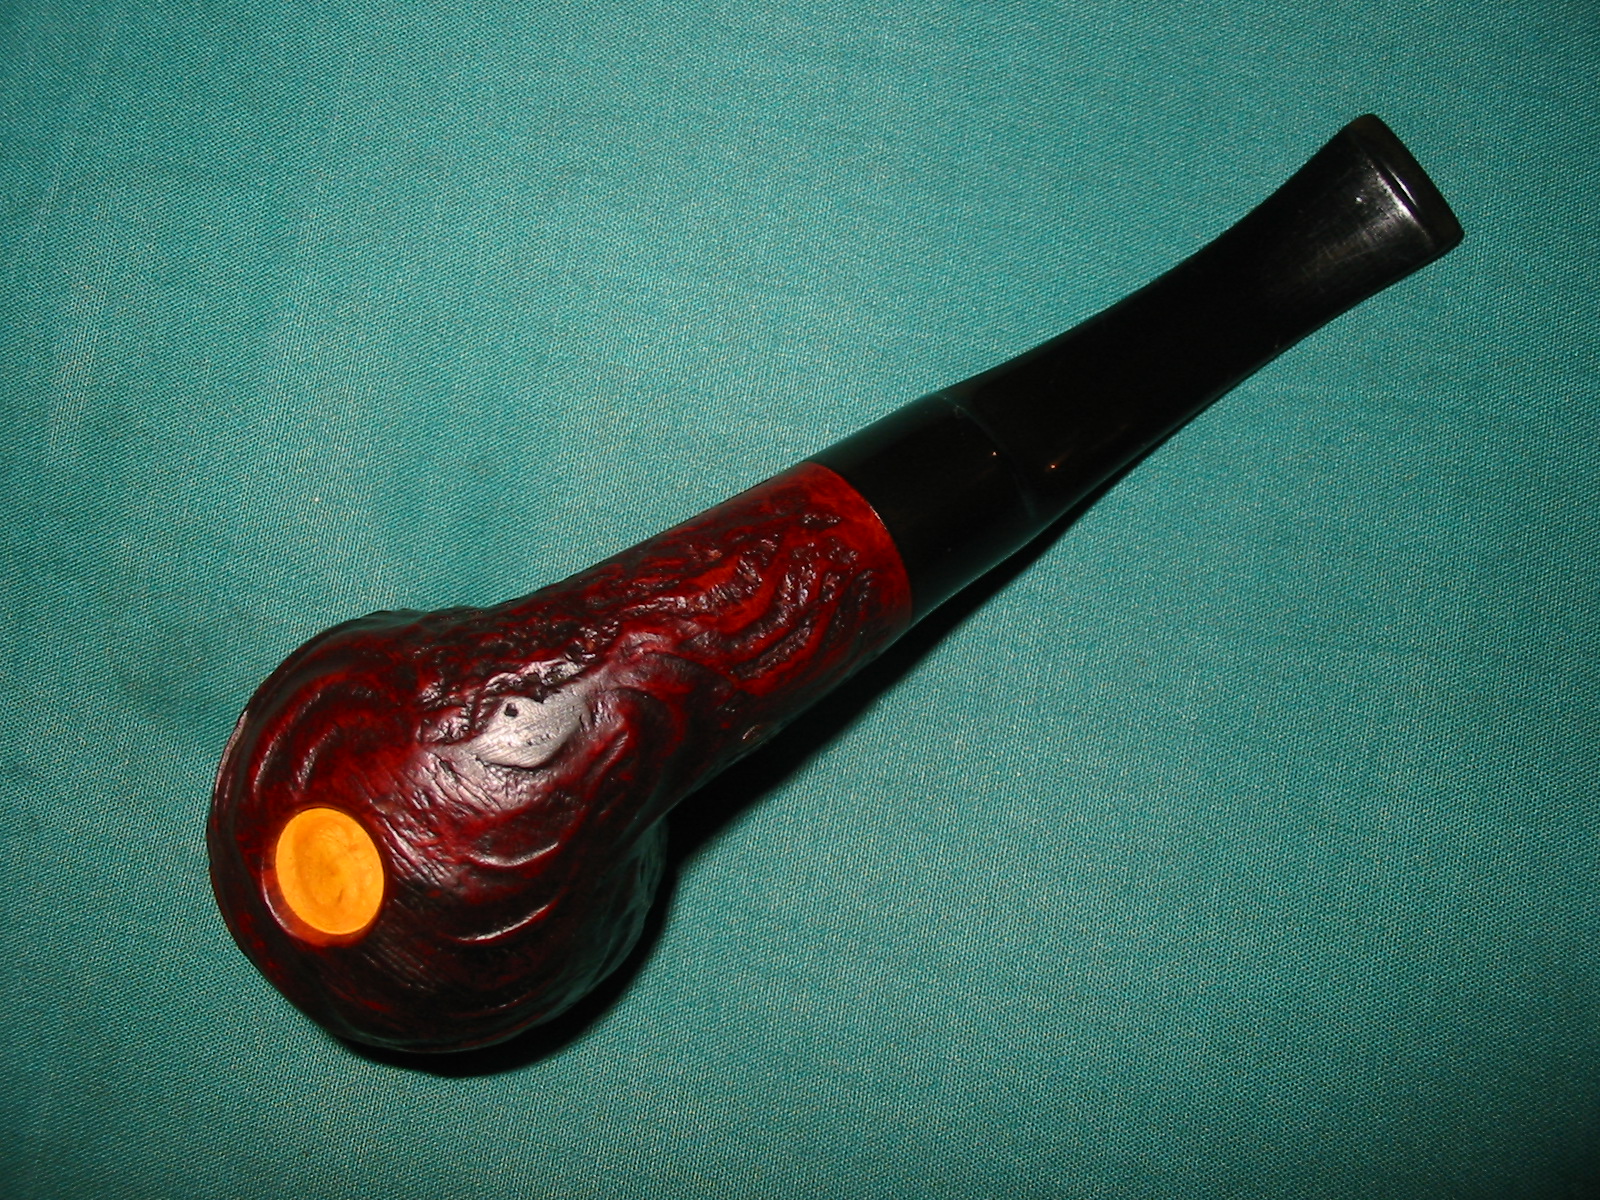
I received an email from Andrew saying that he had a pipe he wanted to send my way. It was my kind of shape – a Rhodesian. He said that it was an odd pipe in that on the bottom of the bowl it had a slightly inset circular divot. The round inset was almost like a poorly made plug on the bottom of the bowl, or one that had shrunken with time. He thought that it would be a great challenge for me to do a repair on it. The stamping on the pipe shank was Briarmeer 175 ED Canada.
Briarmeer1

The brand was one I had not heard of before. And since I am in Canada I wanted to try to figure out where the pipe was made and what the plug was about. The name seemed to suggest that it was a meerlined pipe or at least included meerschaum in some form or fashion. Yet when I emailed Andrew about it he replied that there was no meerschaum lining present in the bowl. Instead it was just a nice looking briar pipe with the strange, misfit looking round plug on the bottom of the bowl.

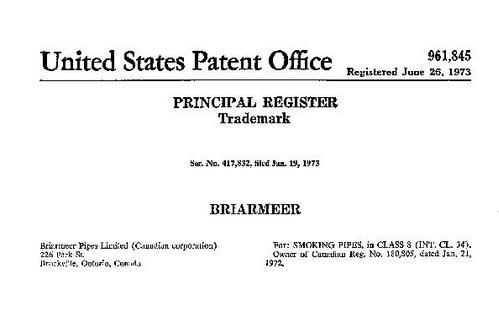
This would require some research to see what I could find out. I went online and searched for any information that I could find regarding the brand. I wrote to the trademark attorney who was listed as the representative of the brand and received a very cryptic answer that was not helpful at all. I did learn however that Briarmeer pipes were made by Briarmeer Pipes Limited, 226 Park Street, Brockville, Ontario. The business was no longer present at that address and did not show up in any Brockville Business Directories available online or through the Yellow Pages .I searched the Canadian, American and British patent sites hoping to find a patent registration for the pipe but was not able to find one. I found a trademark registration document from the US patent office that showed that the brand or trademark was registered in the US in 1973. The document pictured below gives that information as well as the Canadian Registration Number 180,805 and that it was registered in Canada on January 21, 1972.
Briarmeer US Trademark patent

Using these registration numbers I searched both the Canadian and US patent records but could find no patent information available. From the public records it appears that the Briarmeer Company went out of business sometime in the late1980’s or early 1990’s and the name became public domain.

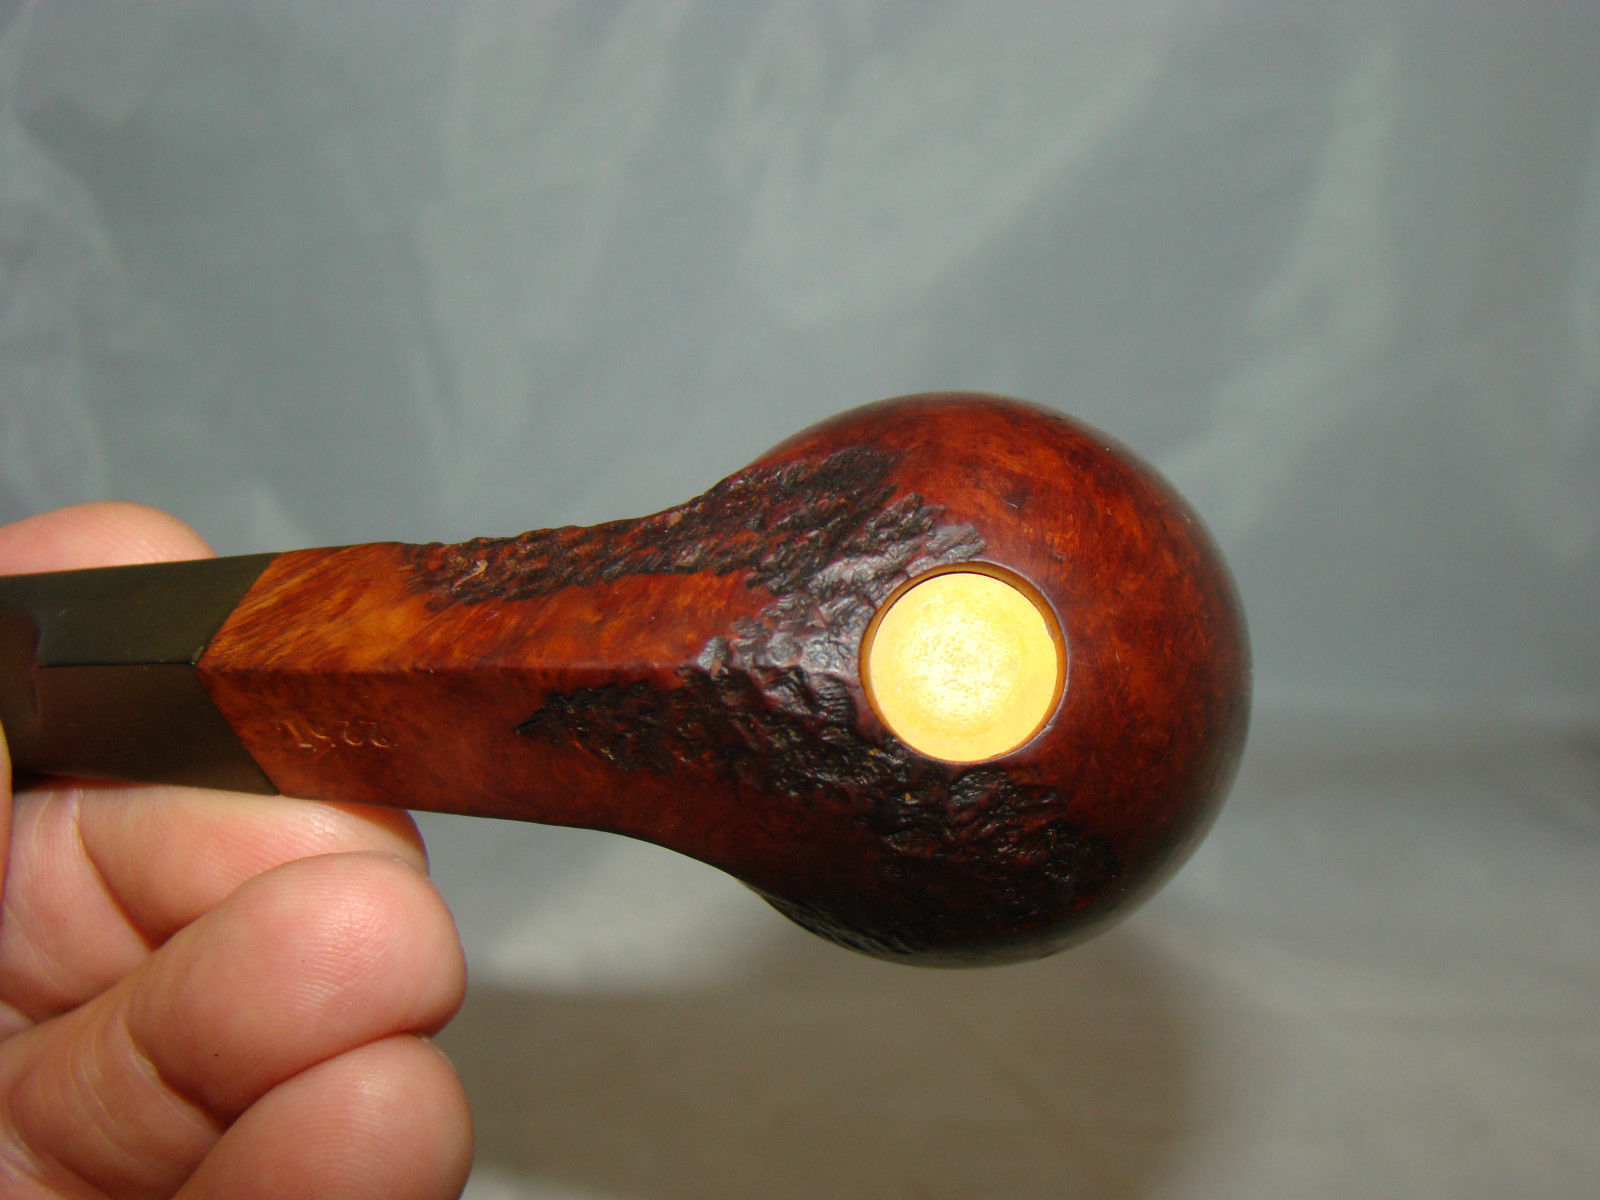
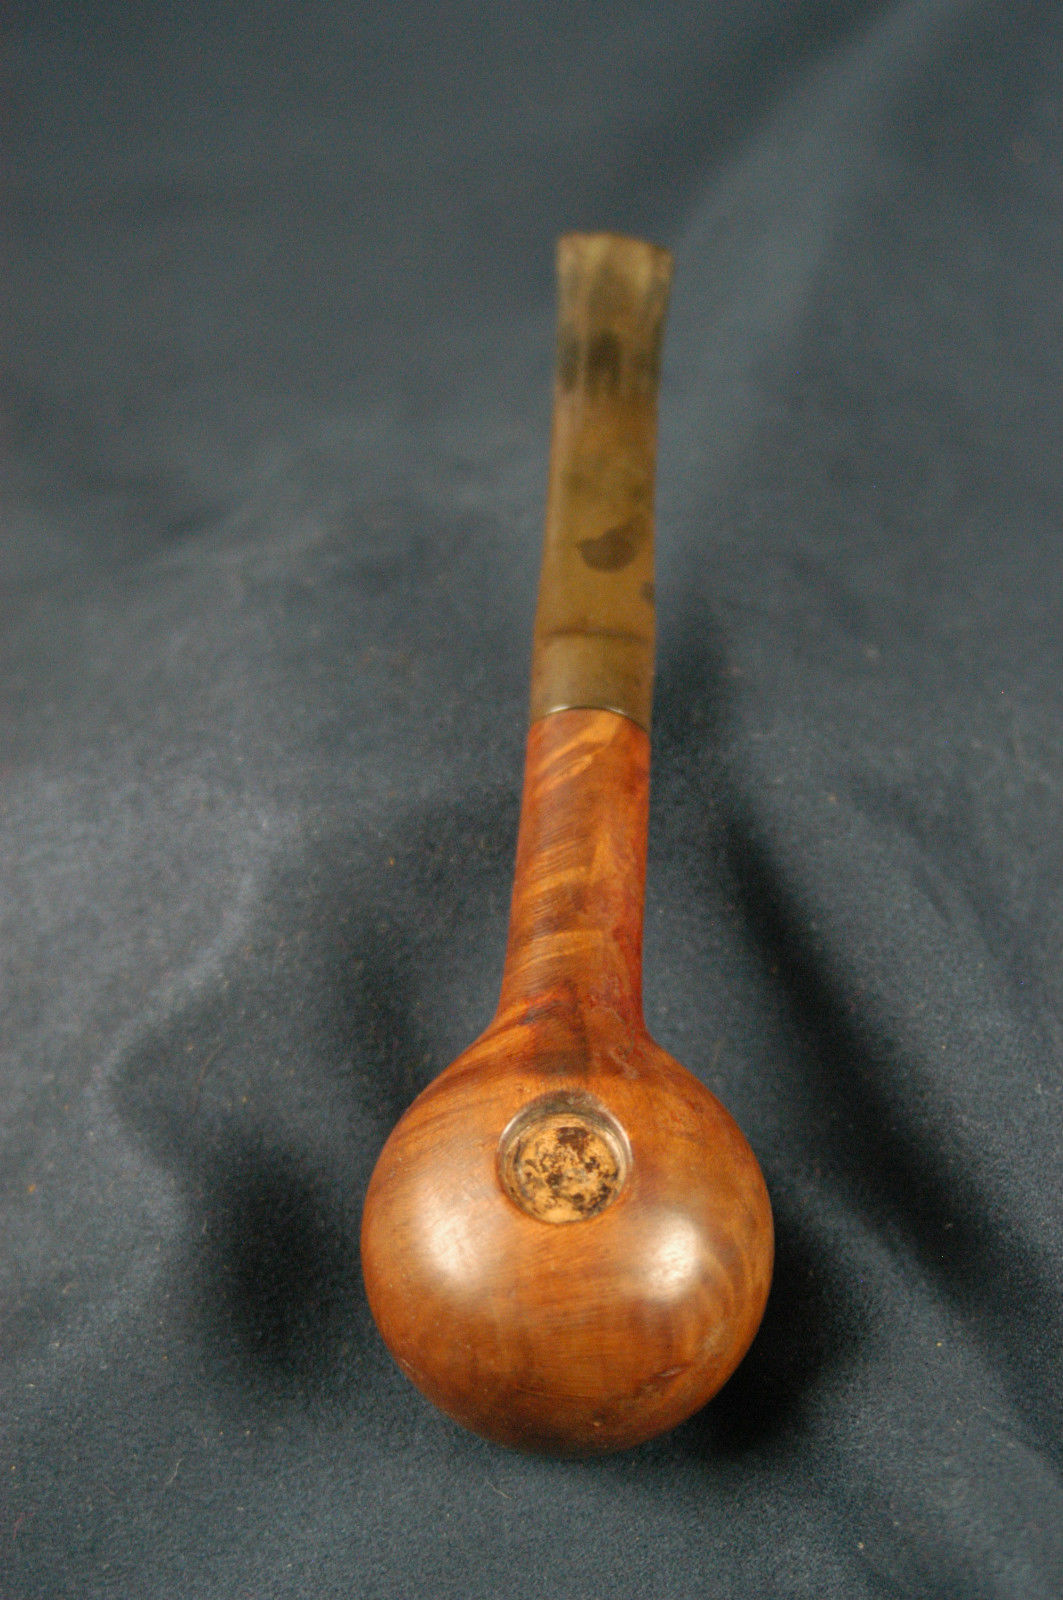
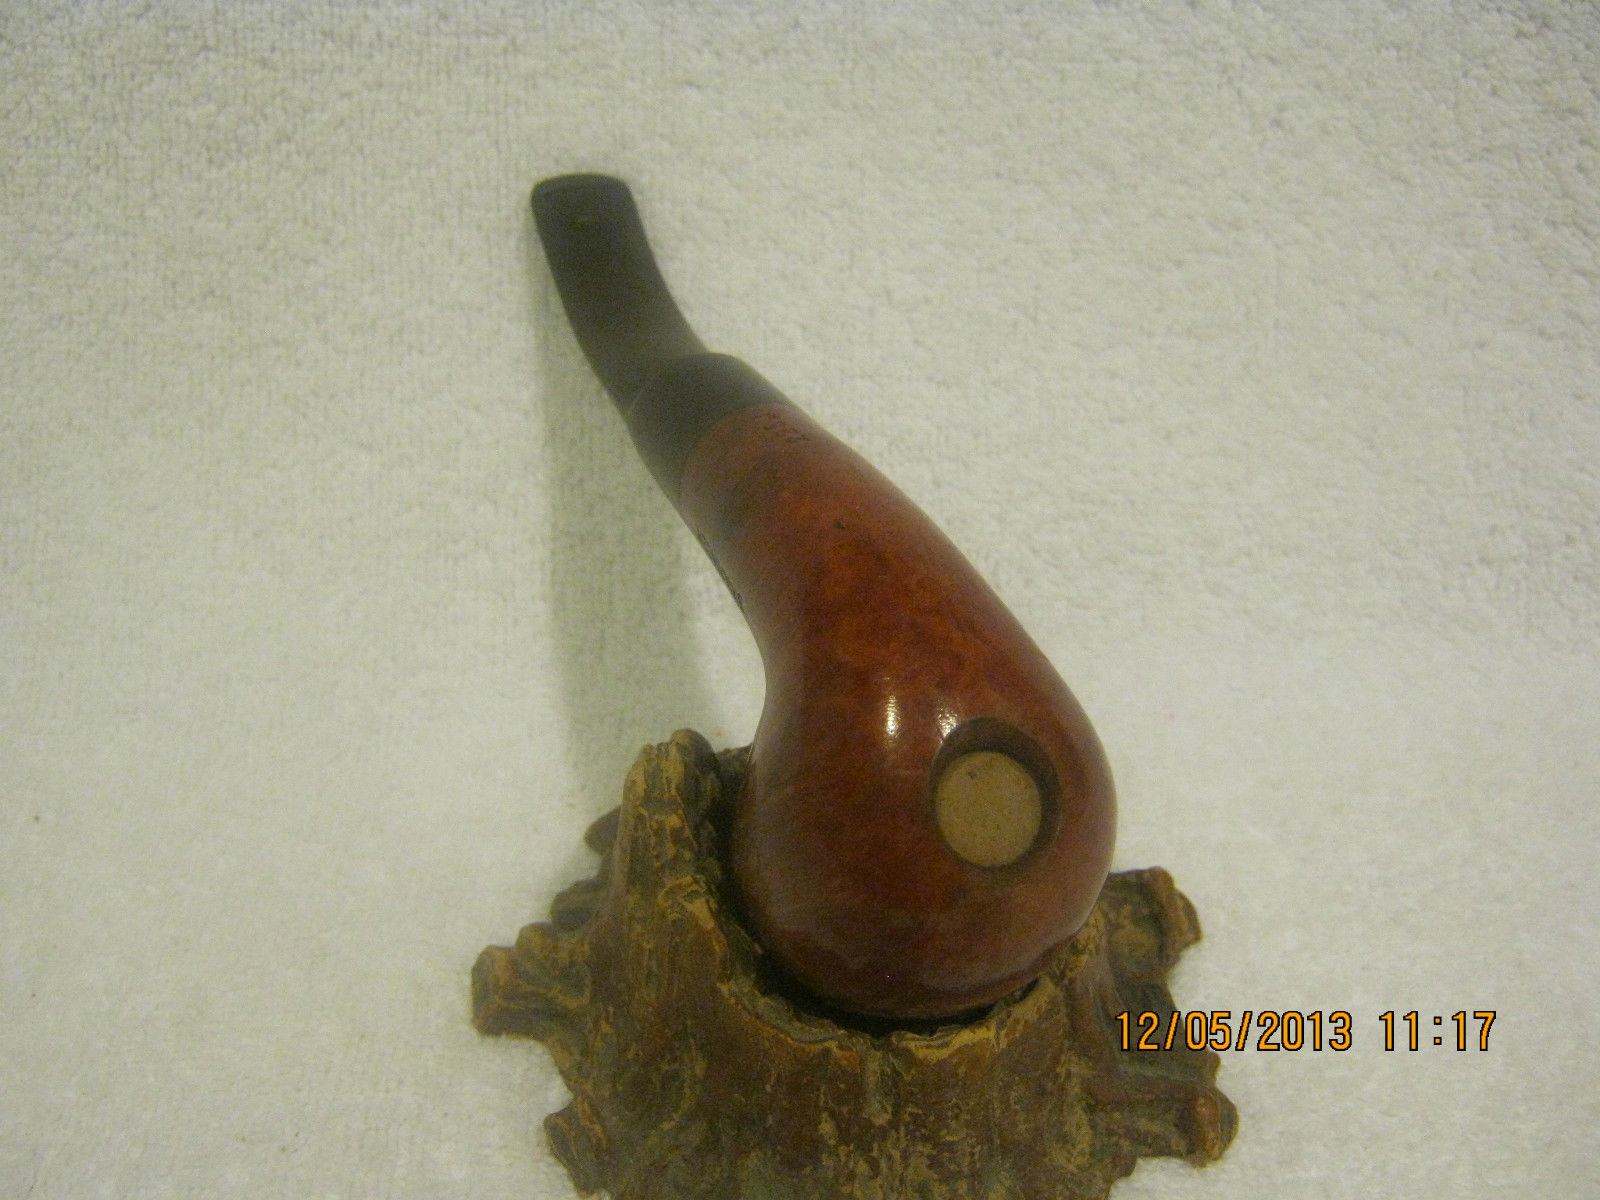
I was able to find out through further digging that the pipe is a variation on what Kaywoodiedid with its famous Carburetor.Kaywoodie had drilled a hole in the bottom of the bowl and inserted a metal airhole to introduce air into the bottom of the bowl to enhance burning of the tobacco. In the Briarmeer the drilled out area in the bottom of the bowl was significantly larger.It had been drilled out and a meerschaum disk inserted in the resultant hole. The draw hole was to be perfectly centered at the bottom of the bowl. From what I could find out the idea of using the meerschaum insert came to a Canadian engineer about 30+ years ago. He reasoned that the meerschaum bottom of the bowl would allow for a drier and cooler smoke while the briar would be sturdier than the meerschaum for the walls of the bowl.Now I knew what the inset on the bottom of the bowl was and where the Meer portion of the Briarmeer name came from.

I decided to see if I could hunt down some photos of the pipe. I had not noticed them before and did not figure I would find many available. I was wrong. I found quite a few clear photos online that showed the novel meerschaum insert with clarity. In all of the photos it was clear that the insert sits inset into the bottom of the bowl and there is a variance in the external bowl bottom and the depth of the inset meerschaum disk. I have included four of the photos I found to show the insert in the exterior bowl bottom. Some of the photos show a new and unsmoked pipe and other show an estate pipe. All have the pipes show the same variation in the depth of the bottom of the bowl and the depth of the meerschaum disk.
Briarmeer6

Briarmeer8

Briarmeer3

Briarmeer pipe bottom

I also learned that the American Company, Briarcraft who made the Smokemaster pipe also made a pipe with called the Briarmeer Acadian. The Briarcraft version of the pipe was a meerschaum lined pipe and was stamped with the Briarcraft logo, a B in a diamond on the shank and on the stem.However, the pipe I was gifted was not a meerschaum lined briar and it did not have the B stamp on either the shank or the stem. The stem appears to be original and the stamping on the shank clearly says that the pipe is Canadian made.

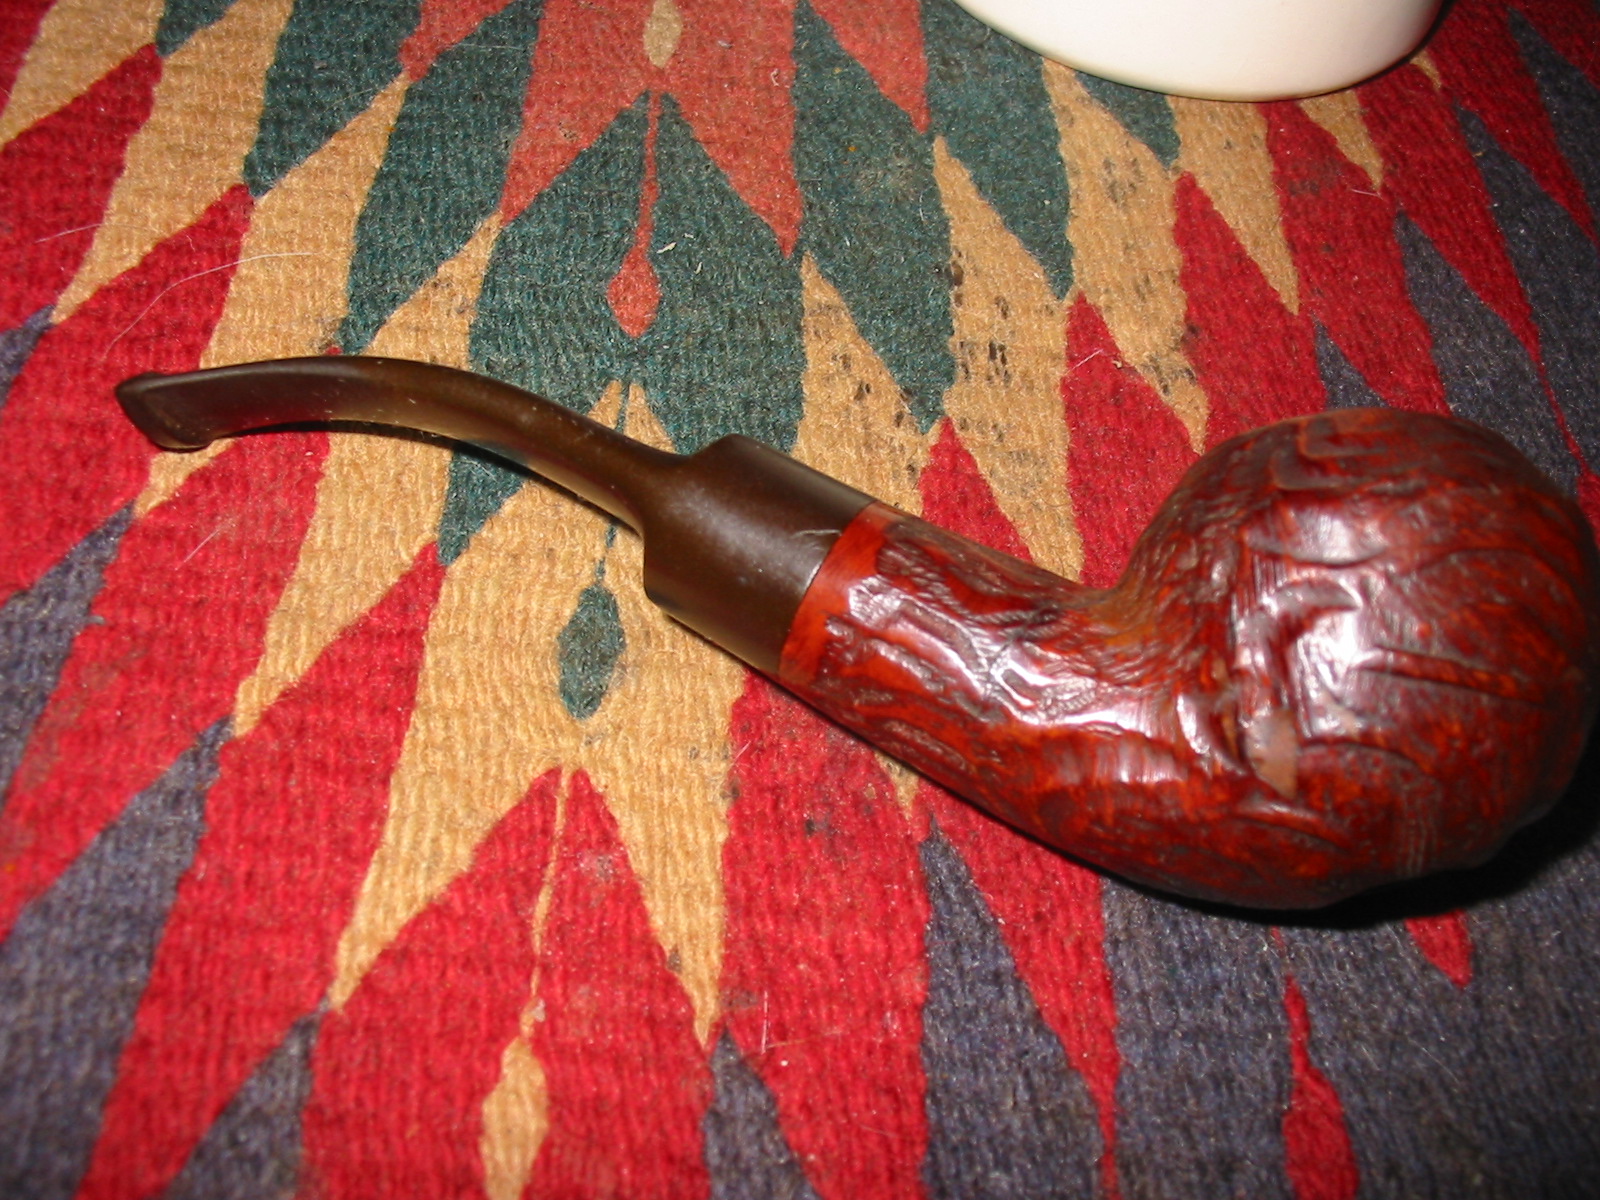
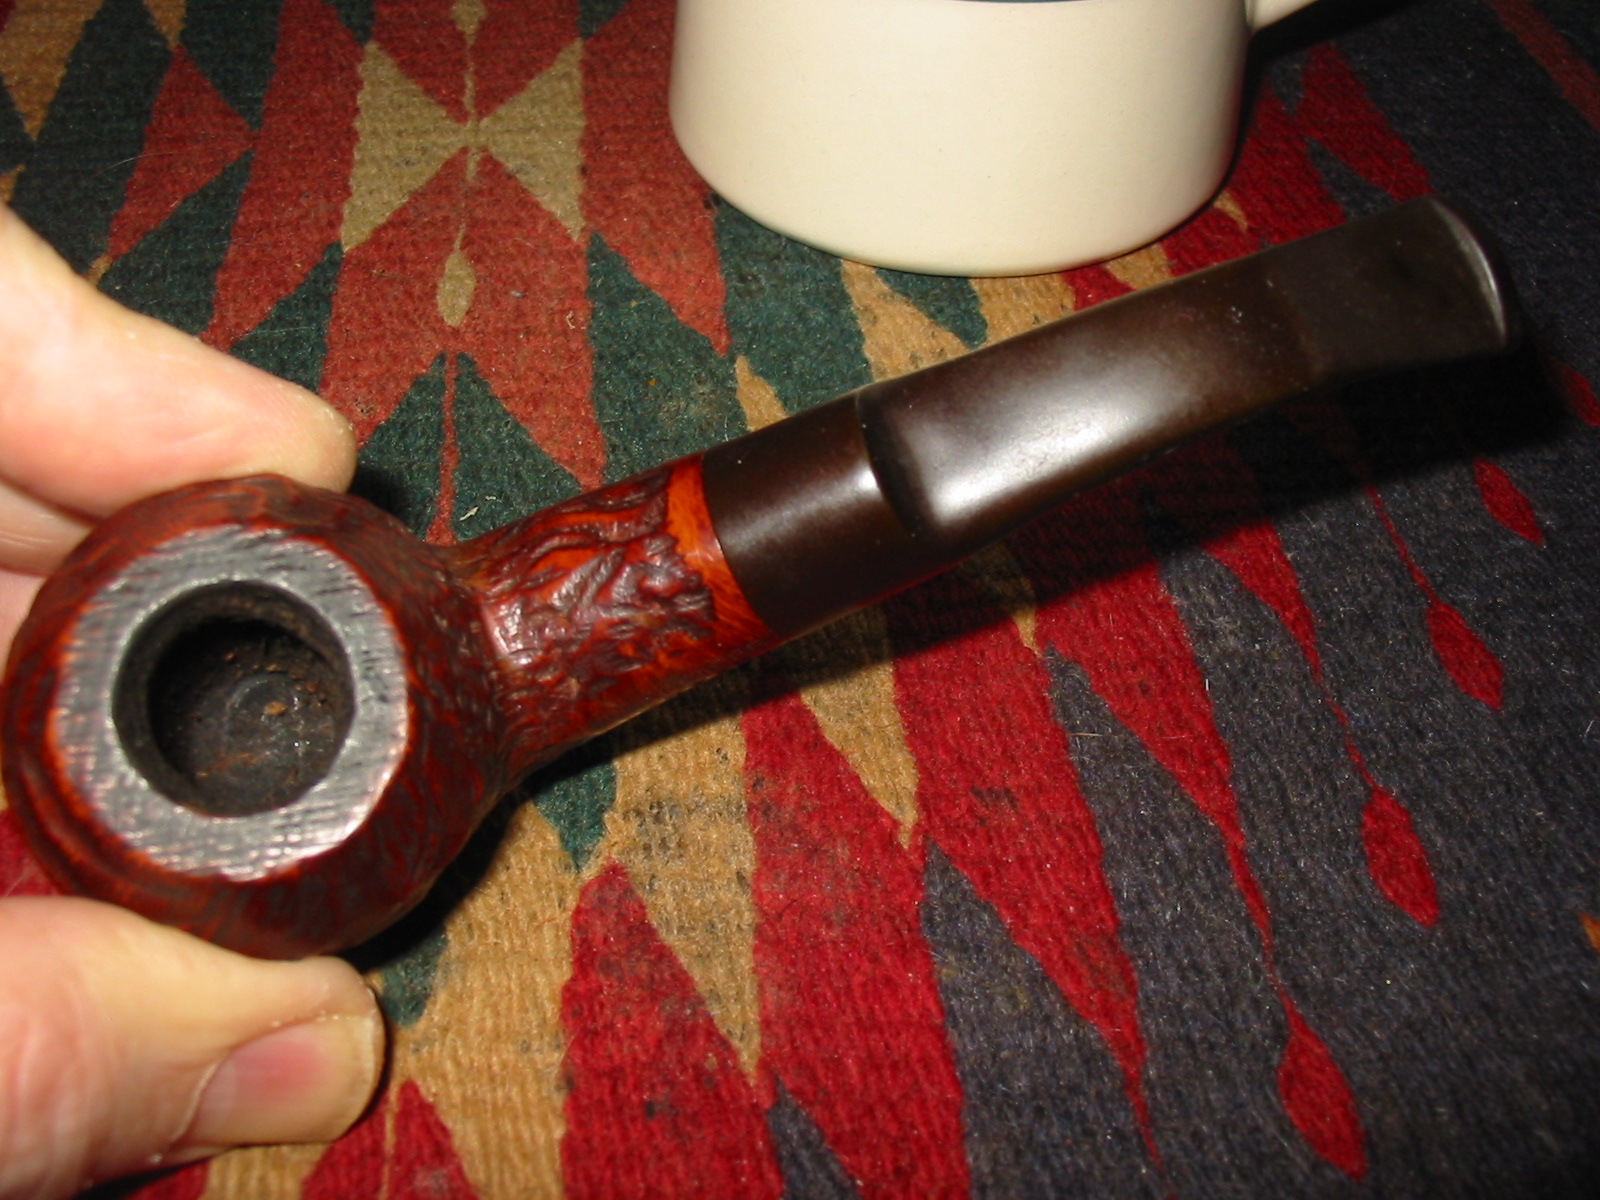
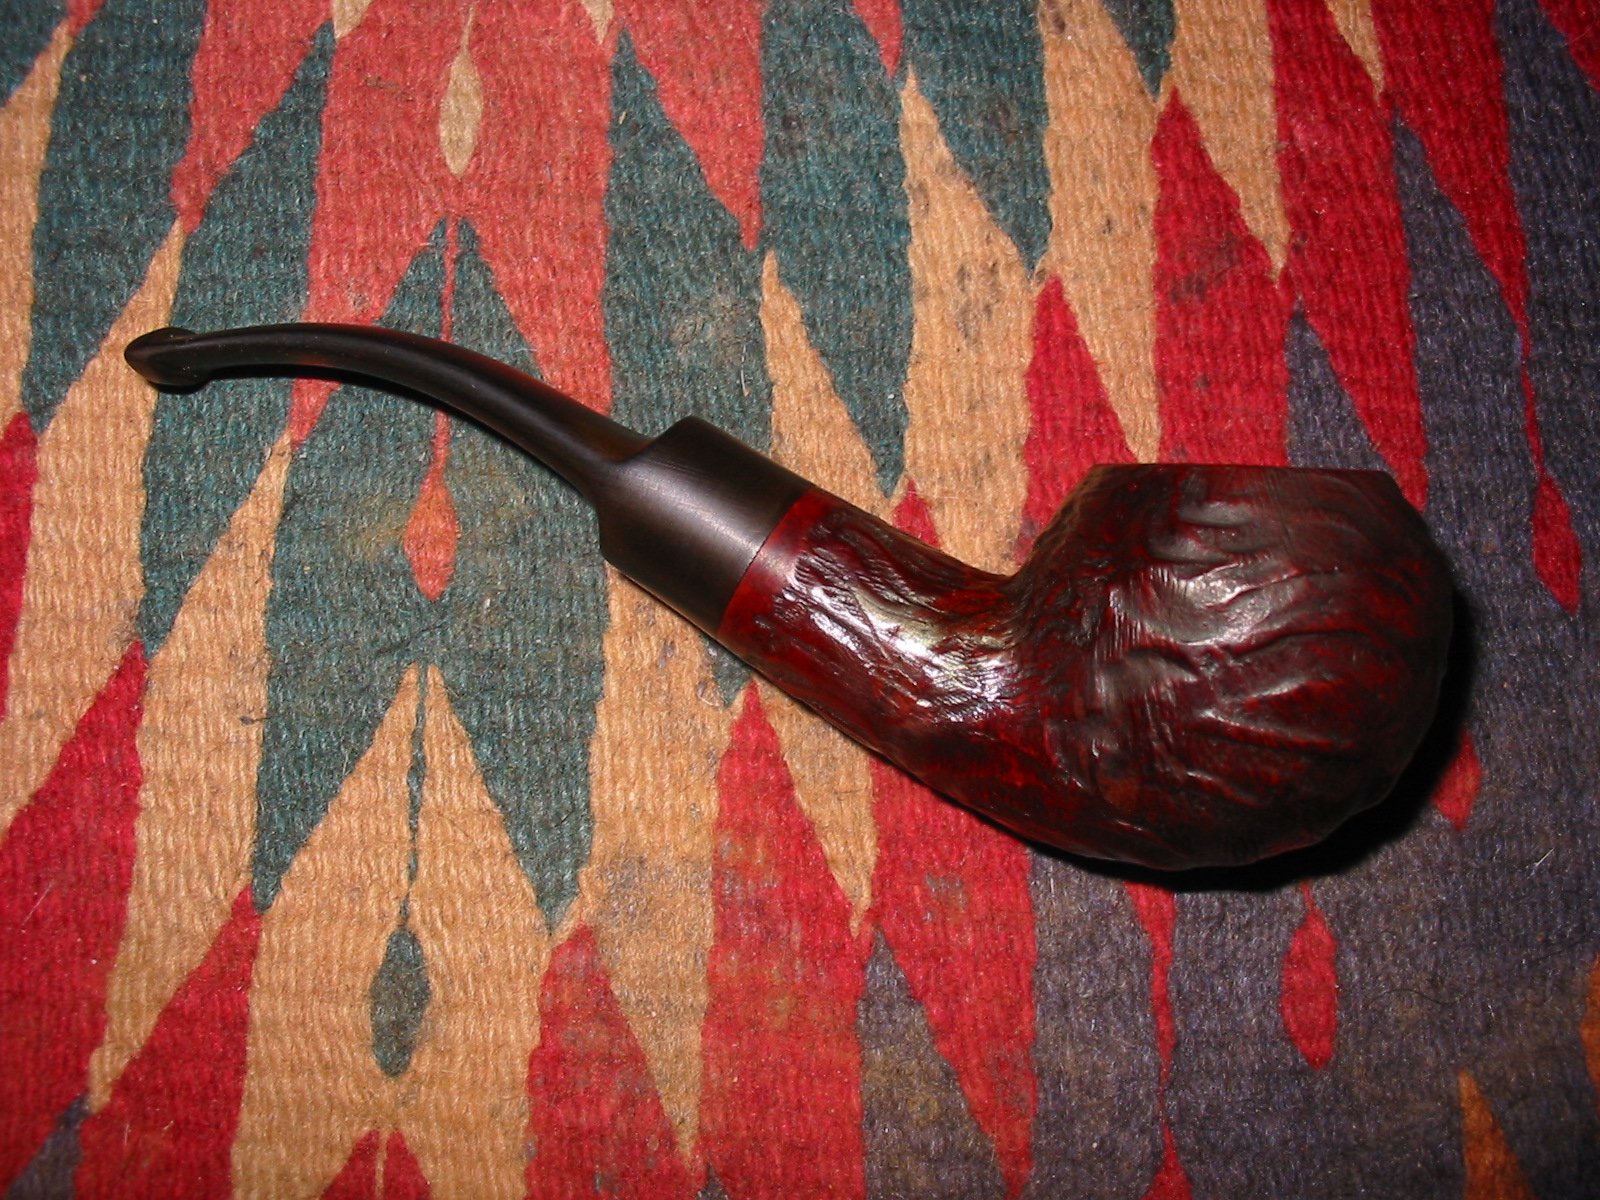
The pipe from Andrew arrived and it was indeed one of my favourite shapes. The finish was a little dirty and the rim had some carbon build up. The stem was oxidized and had some tooth marks on the underside of the stem near the button. There was also a darkened spot like a burn mark on the underside of the shank near the insert. There were several fills in the grooves of the rustication but I was fairly certain that when I restained the pipe they would be hidden. The meerschaum insert looked to be in very good shape from the outside of the bowl. Inside was caked with a fair amount of carbon and the insert was not visible looking into the bowl.
IMG_5192

IMG_5193

IMG_5194

IMG_5195
Upon closer examination it was evident that there was a crack in the shank on the right side that ran at an angle from mid-shank toward the back of the bowl shank union. The crack did not start on the bottom of the shank but rather started midway up on the right side of the shank and ended near the top middle of the shank. It was very clear under a lens that it was present. The next two photos, though slightly out of focus show the crack. It runs across the rustication pattern mid-shank.
IMG_5196

IMG_5197

I cleaned out the crack with a dental pick to remove the buildup of grime that filled it. The grime was evident through the lens. Once I had it clean when I viewed it through the lens I used superglue to repair the crack. Fortunately the crack did not go all the way into the airway. I checked the inside of the airway with a penlight and it was smooth and flawless. The repair externally would remove the visible damage.
IMG_5218

IMG_5219

I left the superglue to cure overnight and in the morning used the dental pick to clean out the grooves of the rustication and sanded the smooth portions of the briar surface with 220 grit sandpaper and then medium and fine grit sanding sponges. The photo below shows the repair after sanding and shaping.
IMG_5227

I wiped the surface of the bowl down with acetone on cotton pads to remove the damaged finish and enable me to blend in the patch when I restained the pipe. I scrubbed the rusticated rim of the bowl with the pads as well and was able to remove the carbon build up.
IMG_5228

IMG_5229

IMG_5230

I sanded the darkened area (burn?) on the bottom of the bowl to lighten it in preparation for staining. I wiped that area down with acetone on cotton pads afterward.
IMG_5231

I sanded the stem with 220 grit sandpaper and a medium and fine grit sanding sponge to remove the oxidation. I sanded the tooth marks on the underside of the stem near the button and was able to remove them.
IMG_5233

IMG_5234

IMG_5235

IMG_5236

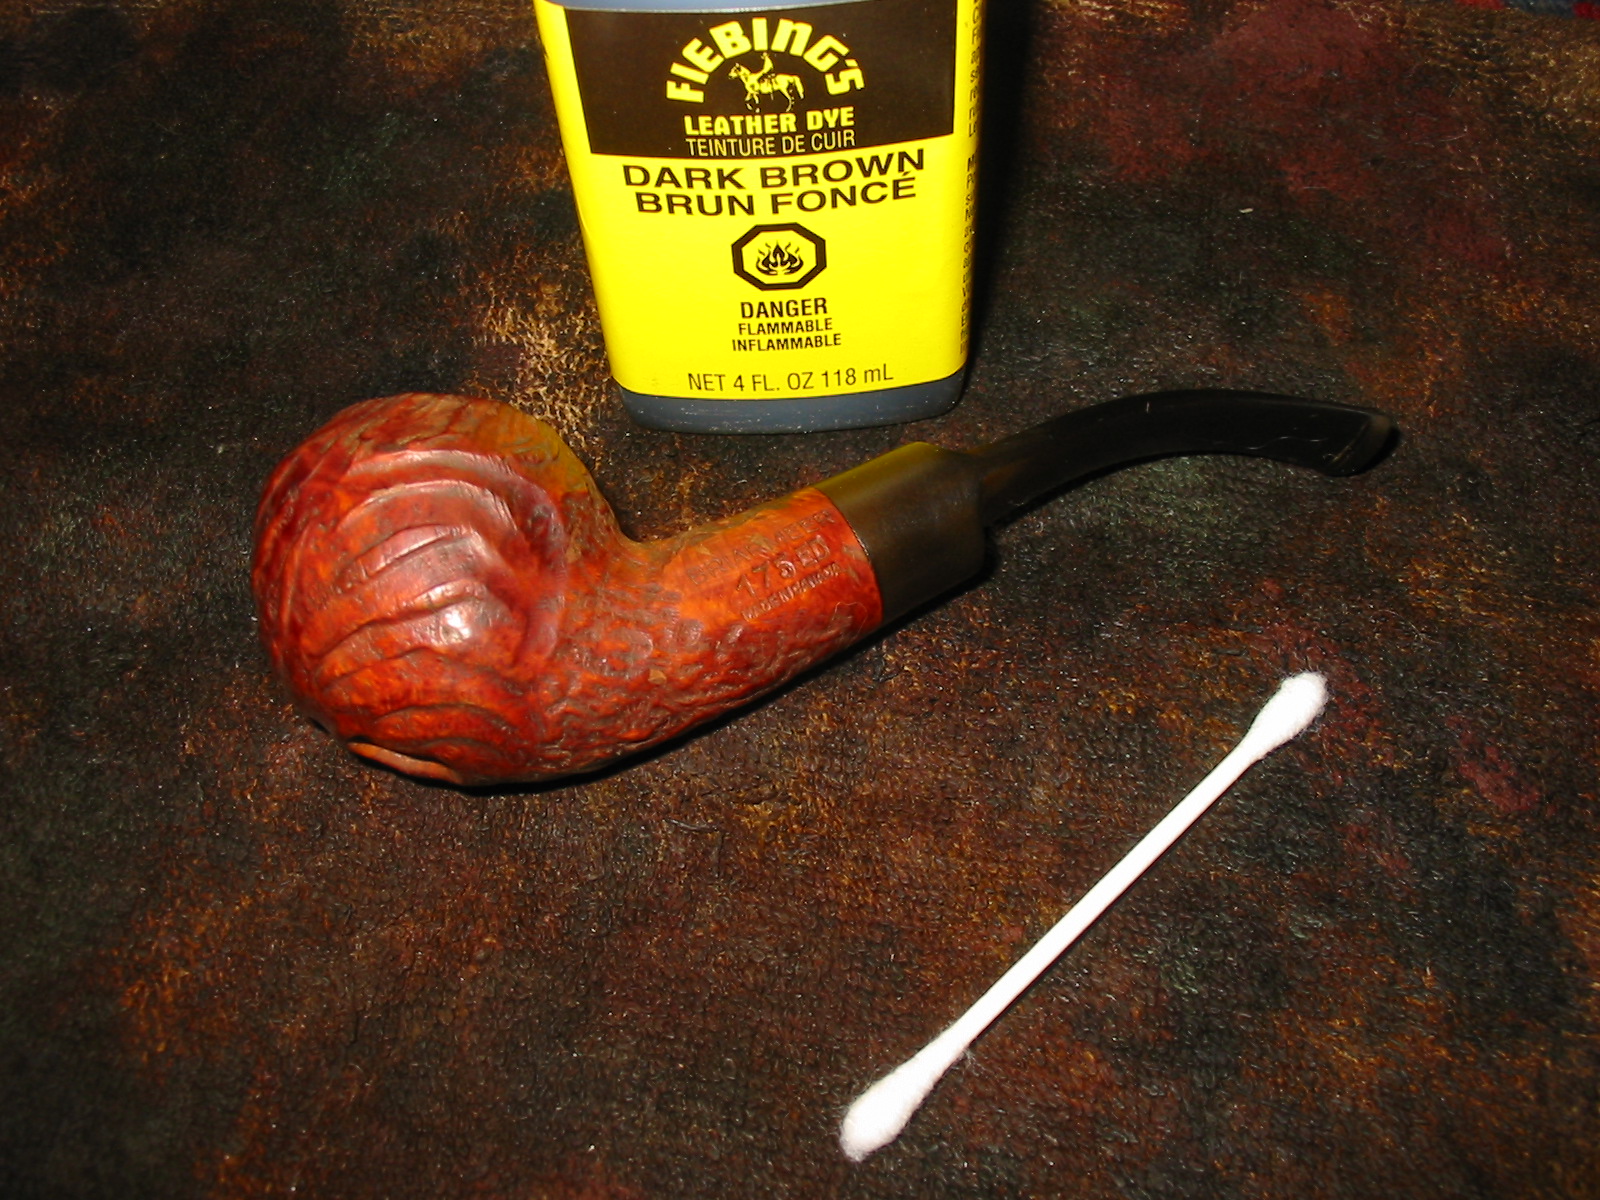
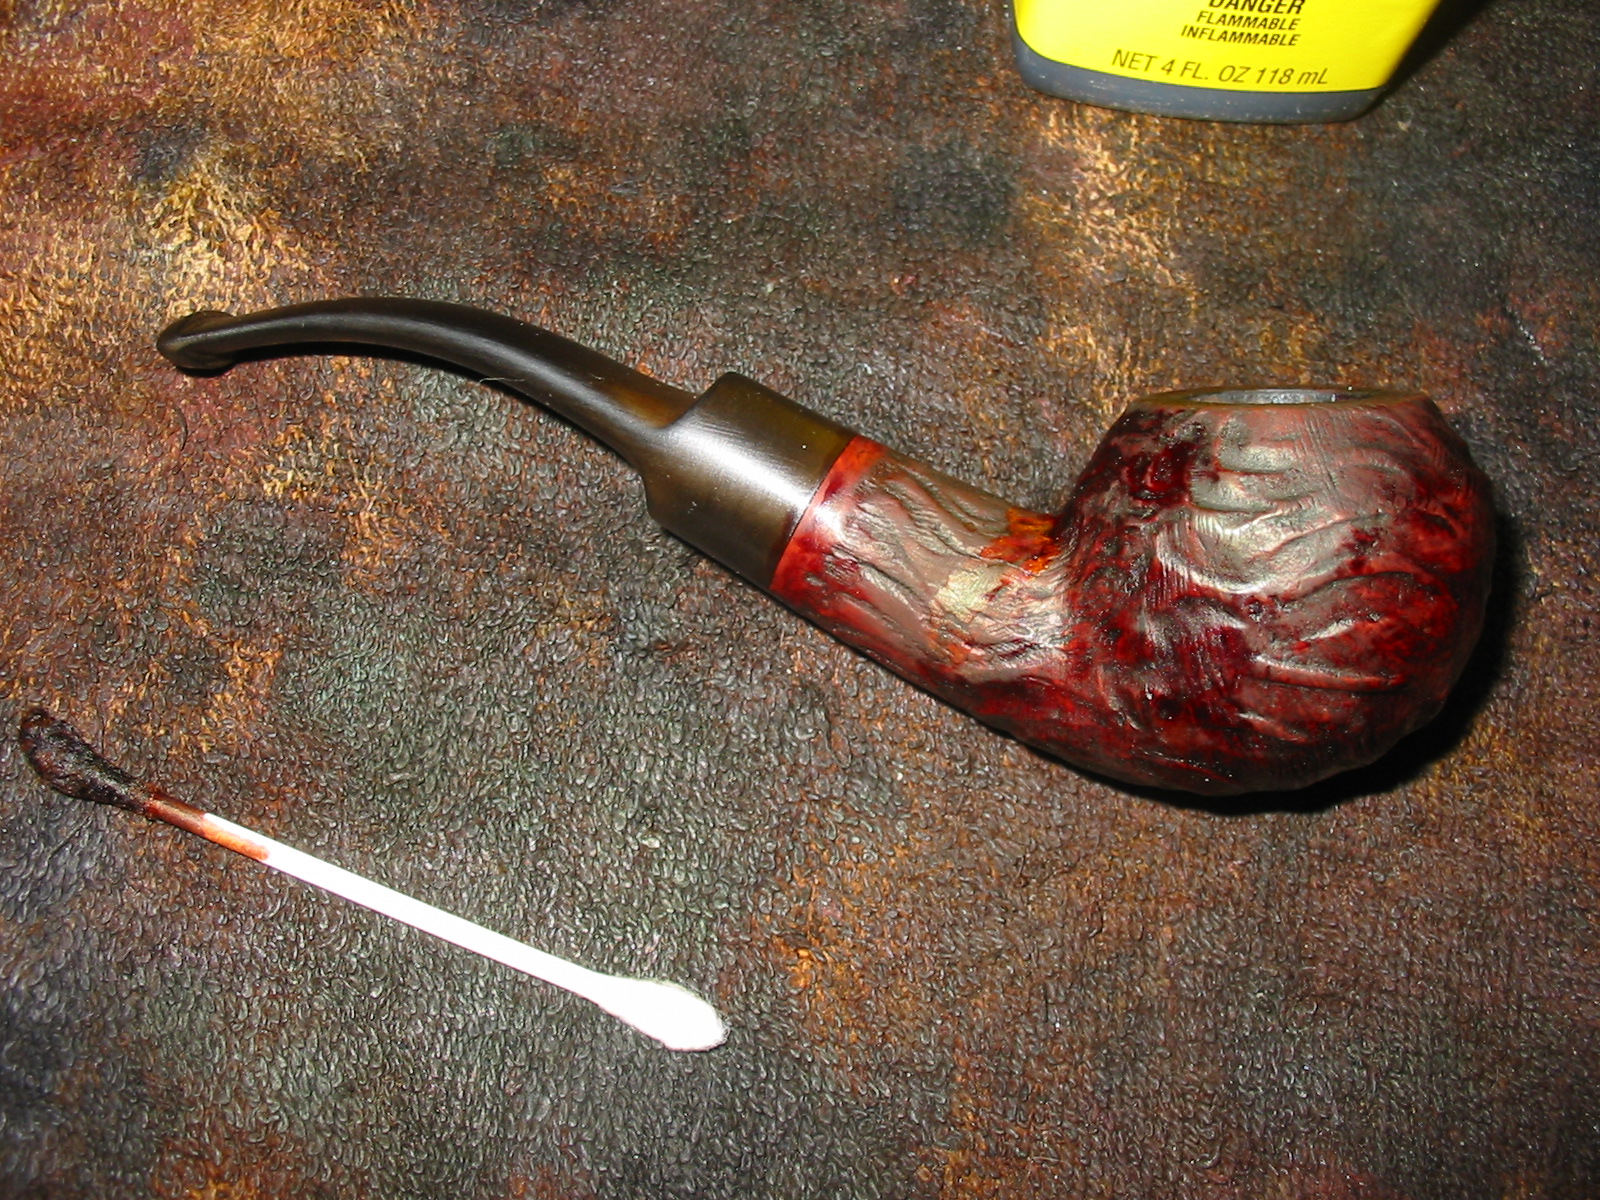
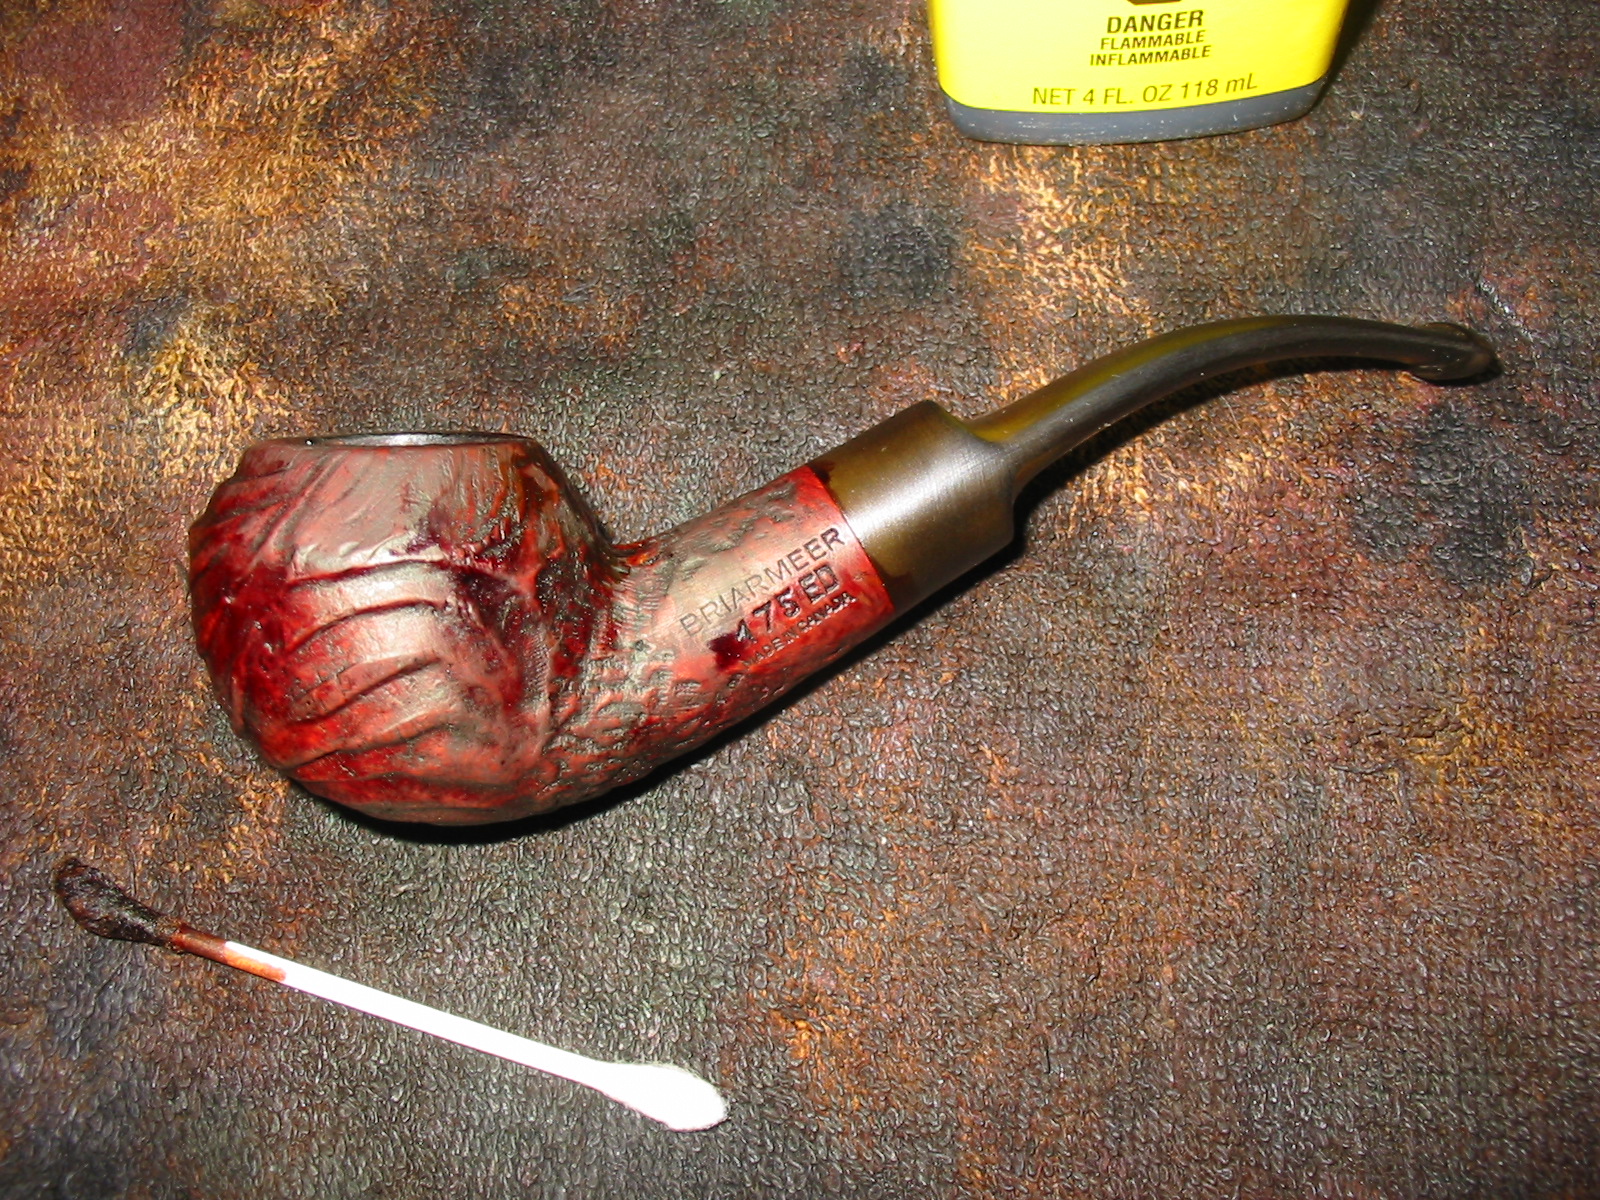
I wiped the bowl down a final time with acetone, being careful not to scrub the insert with it. Once it was cleaned off I stained it with a dark brown aniline stain applied with a cotton swab. I avoided the meerschaum insert as I did not want to have the stain penetrate the meerschaum. I flamed the stain and reapplied it. I flamed it again and reapplied it again. After the final flaming of the bowl I set it aside to dry.
IMG_5238

IMG_5239

IMG_5240

IMG_5241

IMG_5243

When the stain had dried I buffed it with White Diamond on the buffer to even out the stain and give it a shine. I also applied a coat of Halcyon II wax to the rusticated surface and hand buffed the bowl with a shoe brush. The next four photos show the bowl after the buffing and waxing.
IMG_5244

IMG_5245

IMG_5246

IMG_5247

I worked on the stem with my usual group of micromesh sanding pads – wet sanding with 1500-2400 grit pads. I then buffed the stem with red Tripoli and White Diamond before going back to the work table and dry sanding with 3200-12,000 grit micromesh pads. I rubbed the stem down with Obsidian Oil and let it soak into the vulcanite.
IMG_5248

IMG_5249

IMG_5250

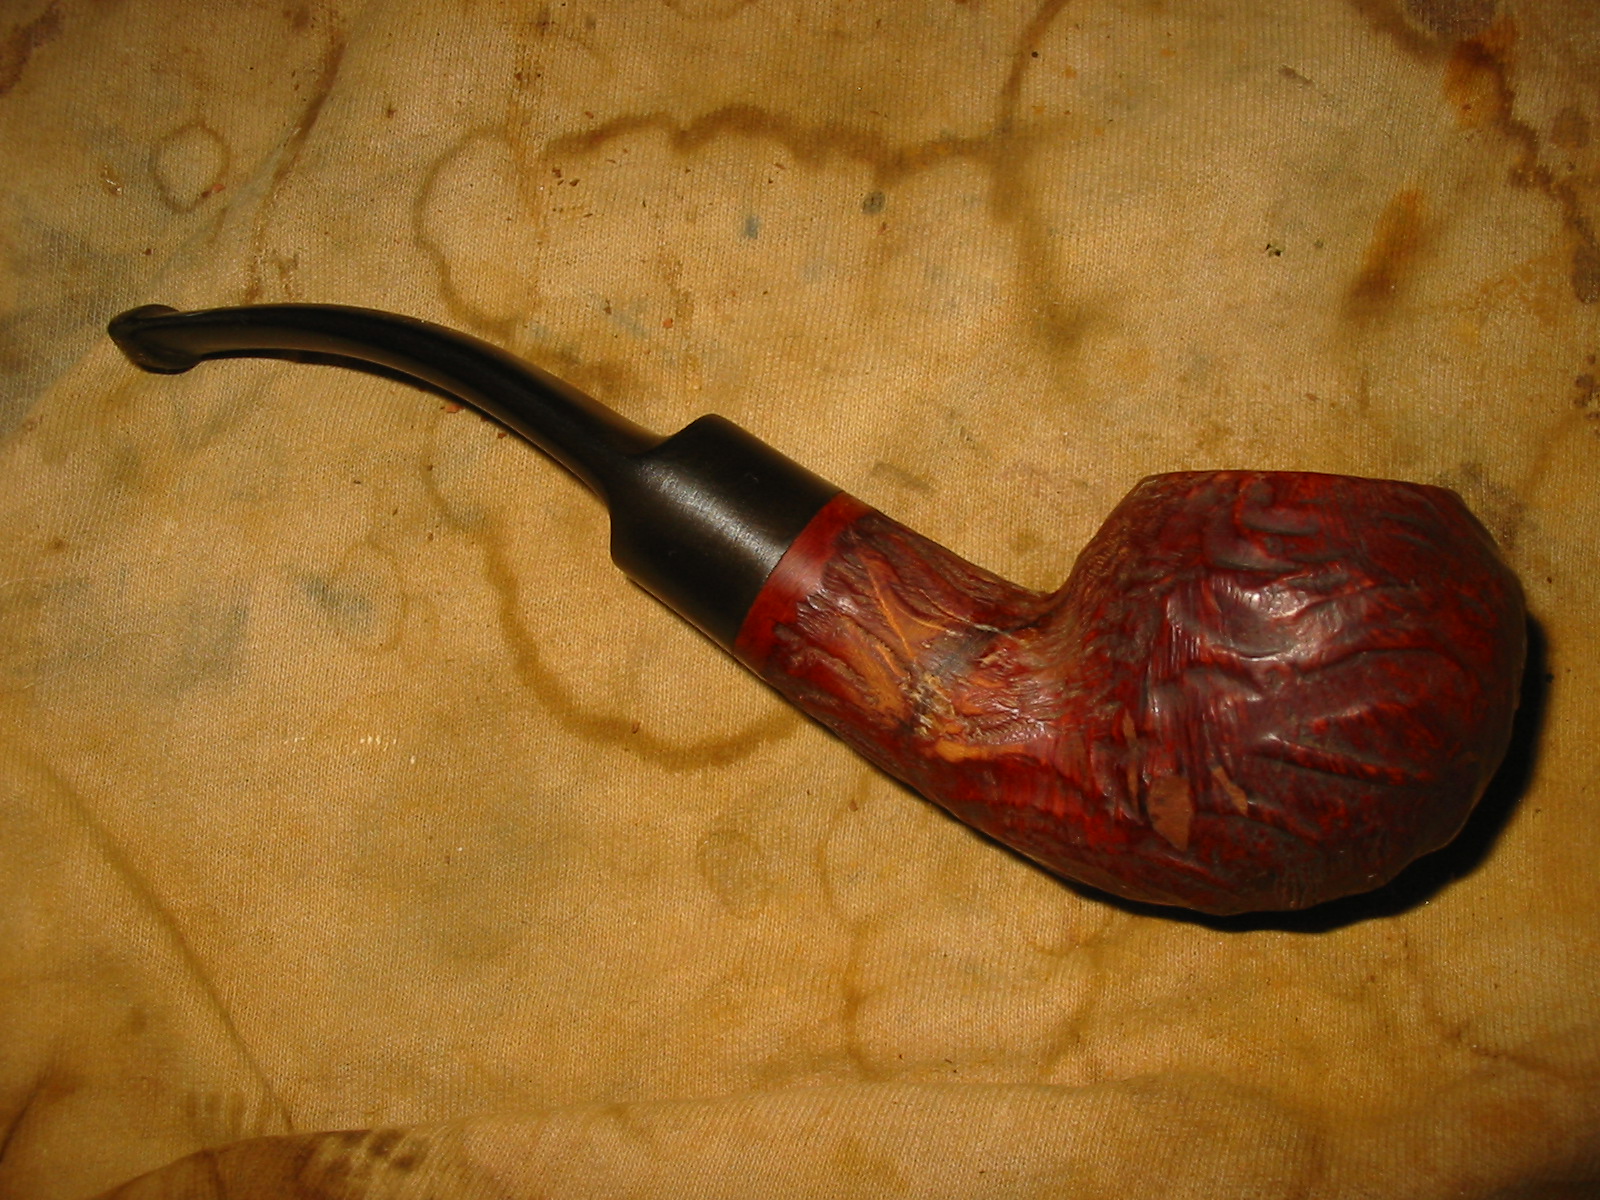
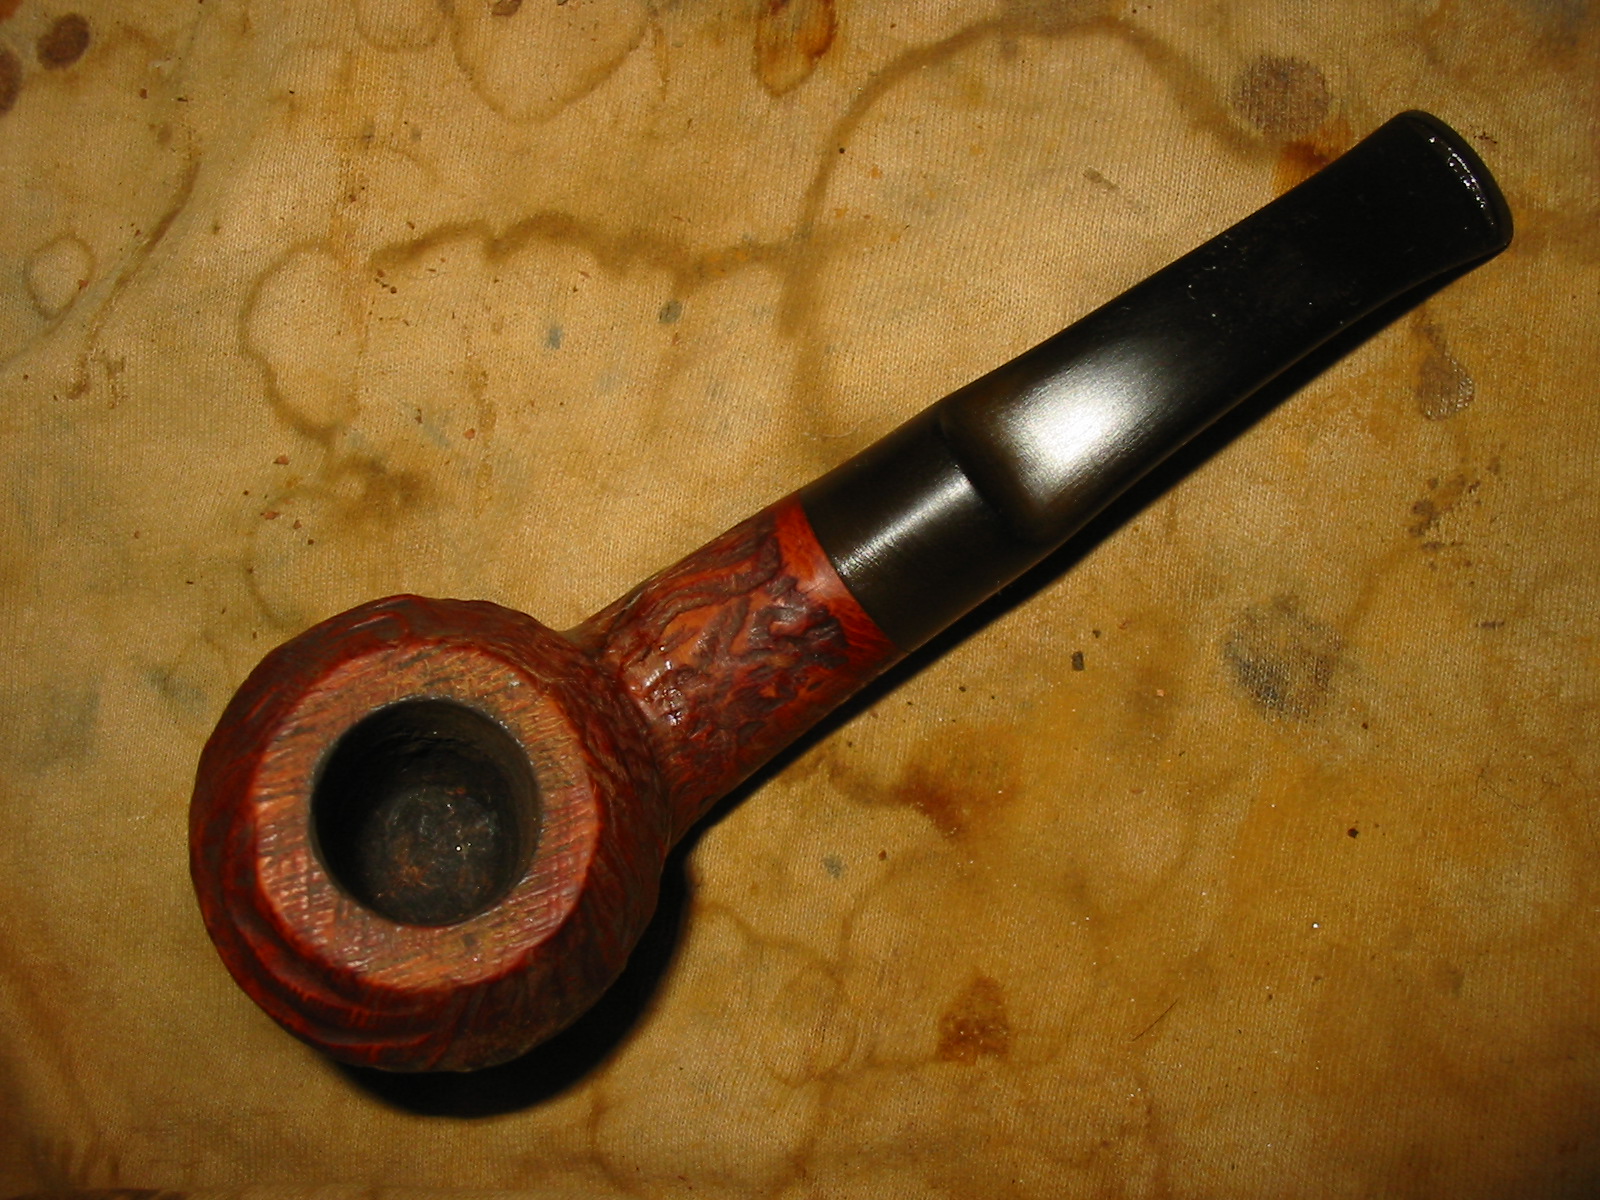
I buffed the finished pipe with White Diamond and then gave it multiple coats of carnauba wax. The finished pipe is shown in the photos below. The meerschaum disk inset into the bottom of the bowl is an interesting touch. I look forward to loading up a bowl and giving it a test run very soon. At the very least this is a great piece of tobacciana that still leaves a bit of mystery unsolved.
IMG_5251

IMG_5252

IMG_5253

IMG_5254

Restoring a Second Lumberman Deluxe Canadian by Comoys


Blog by Steve Laug

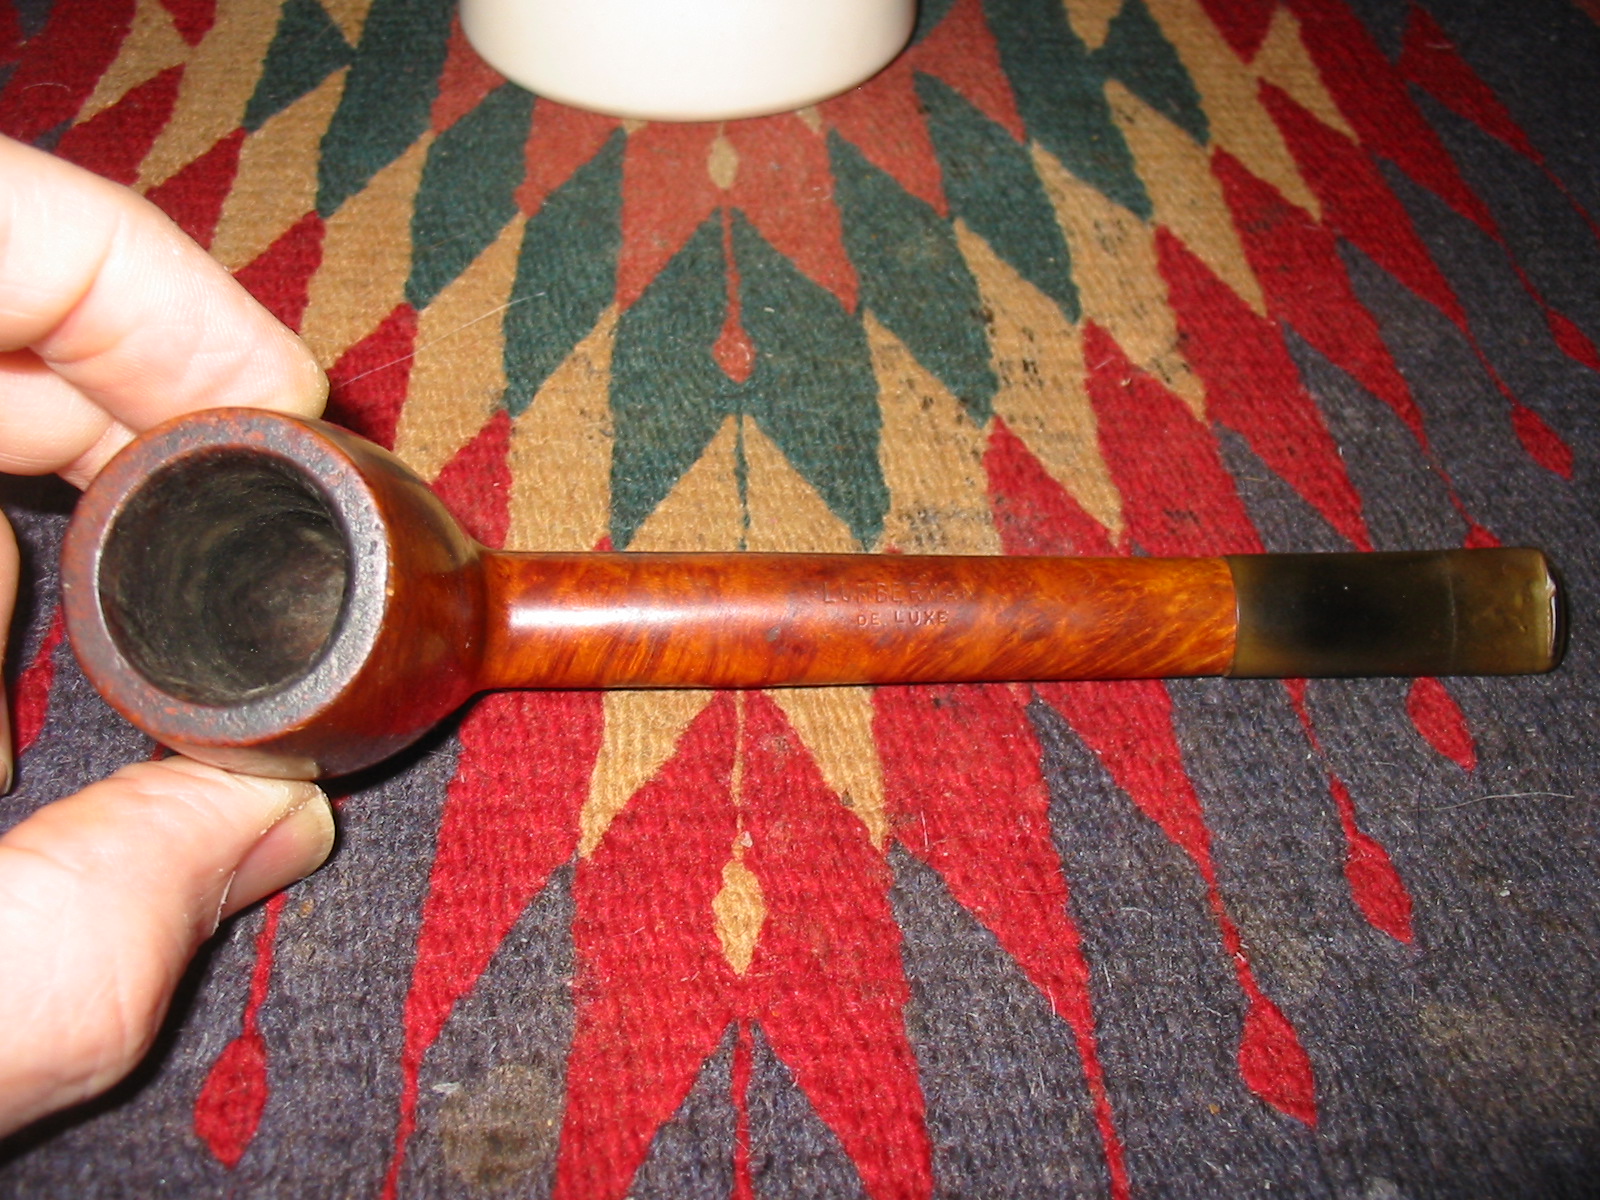
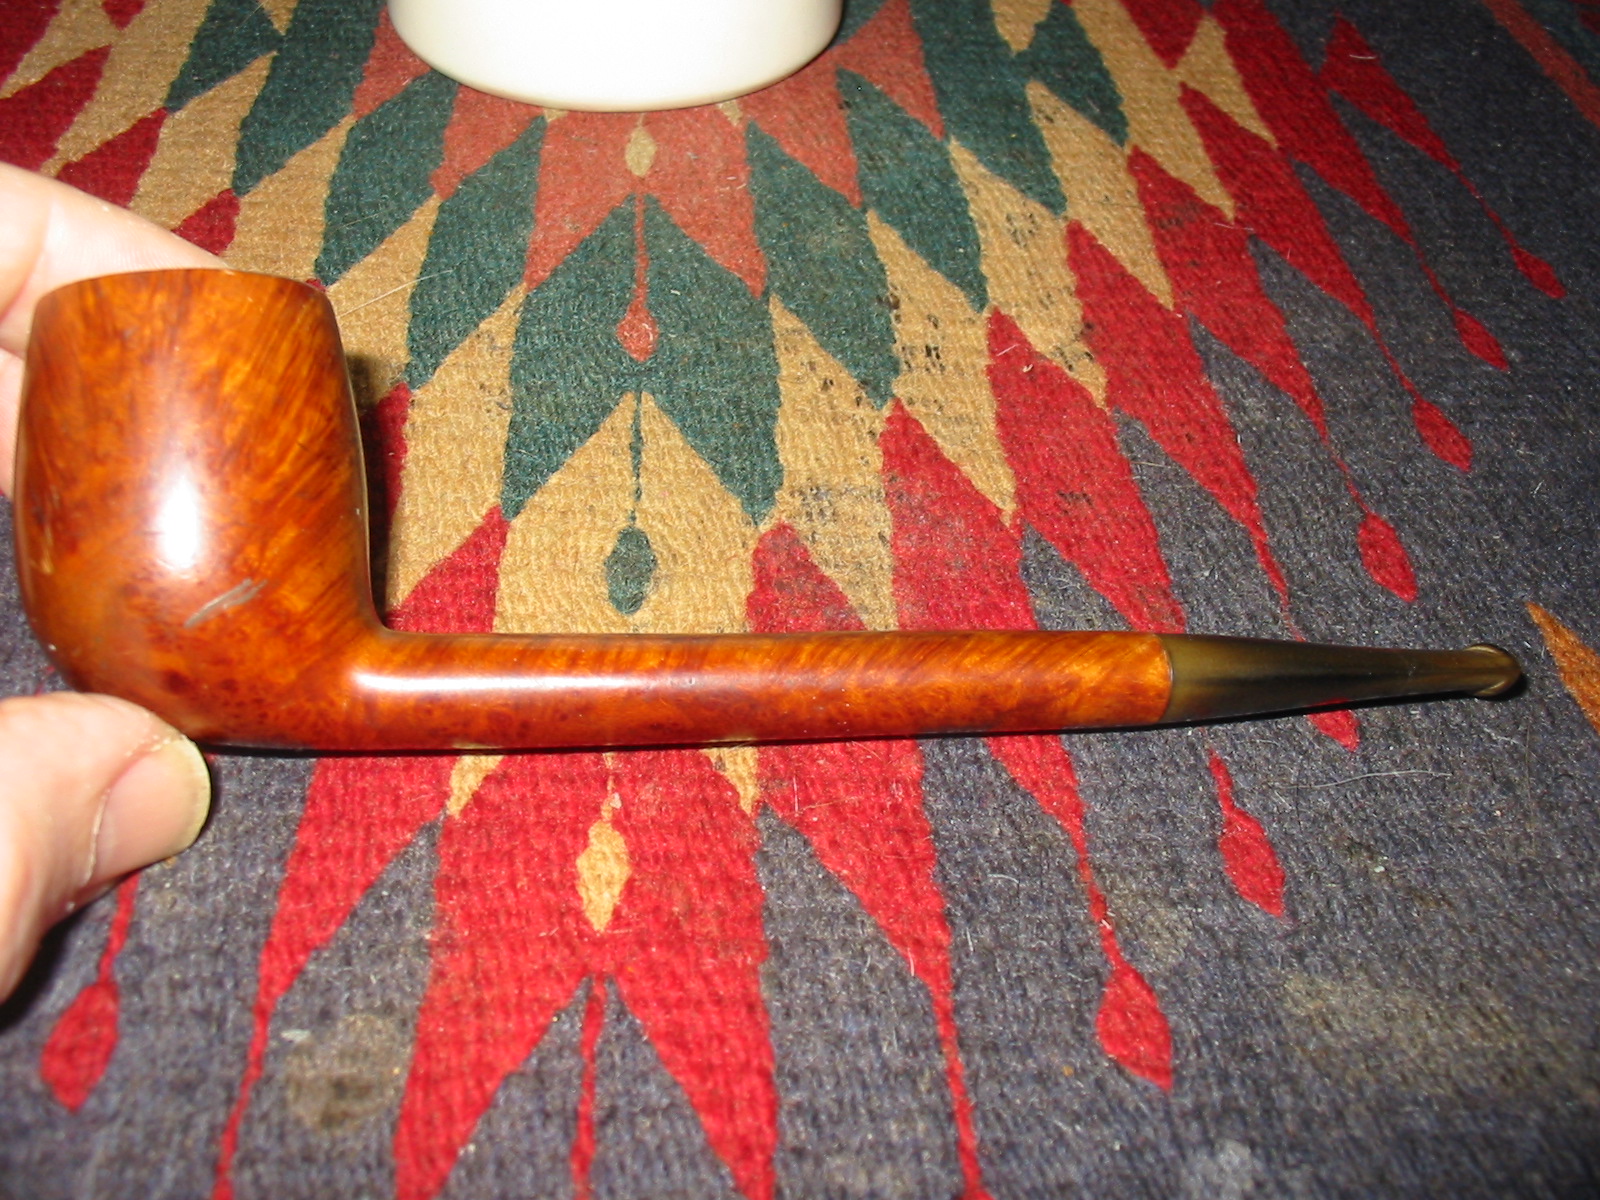
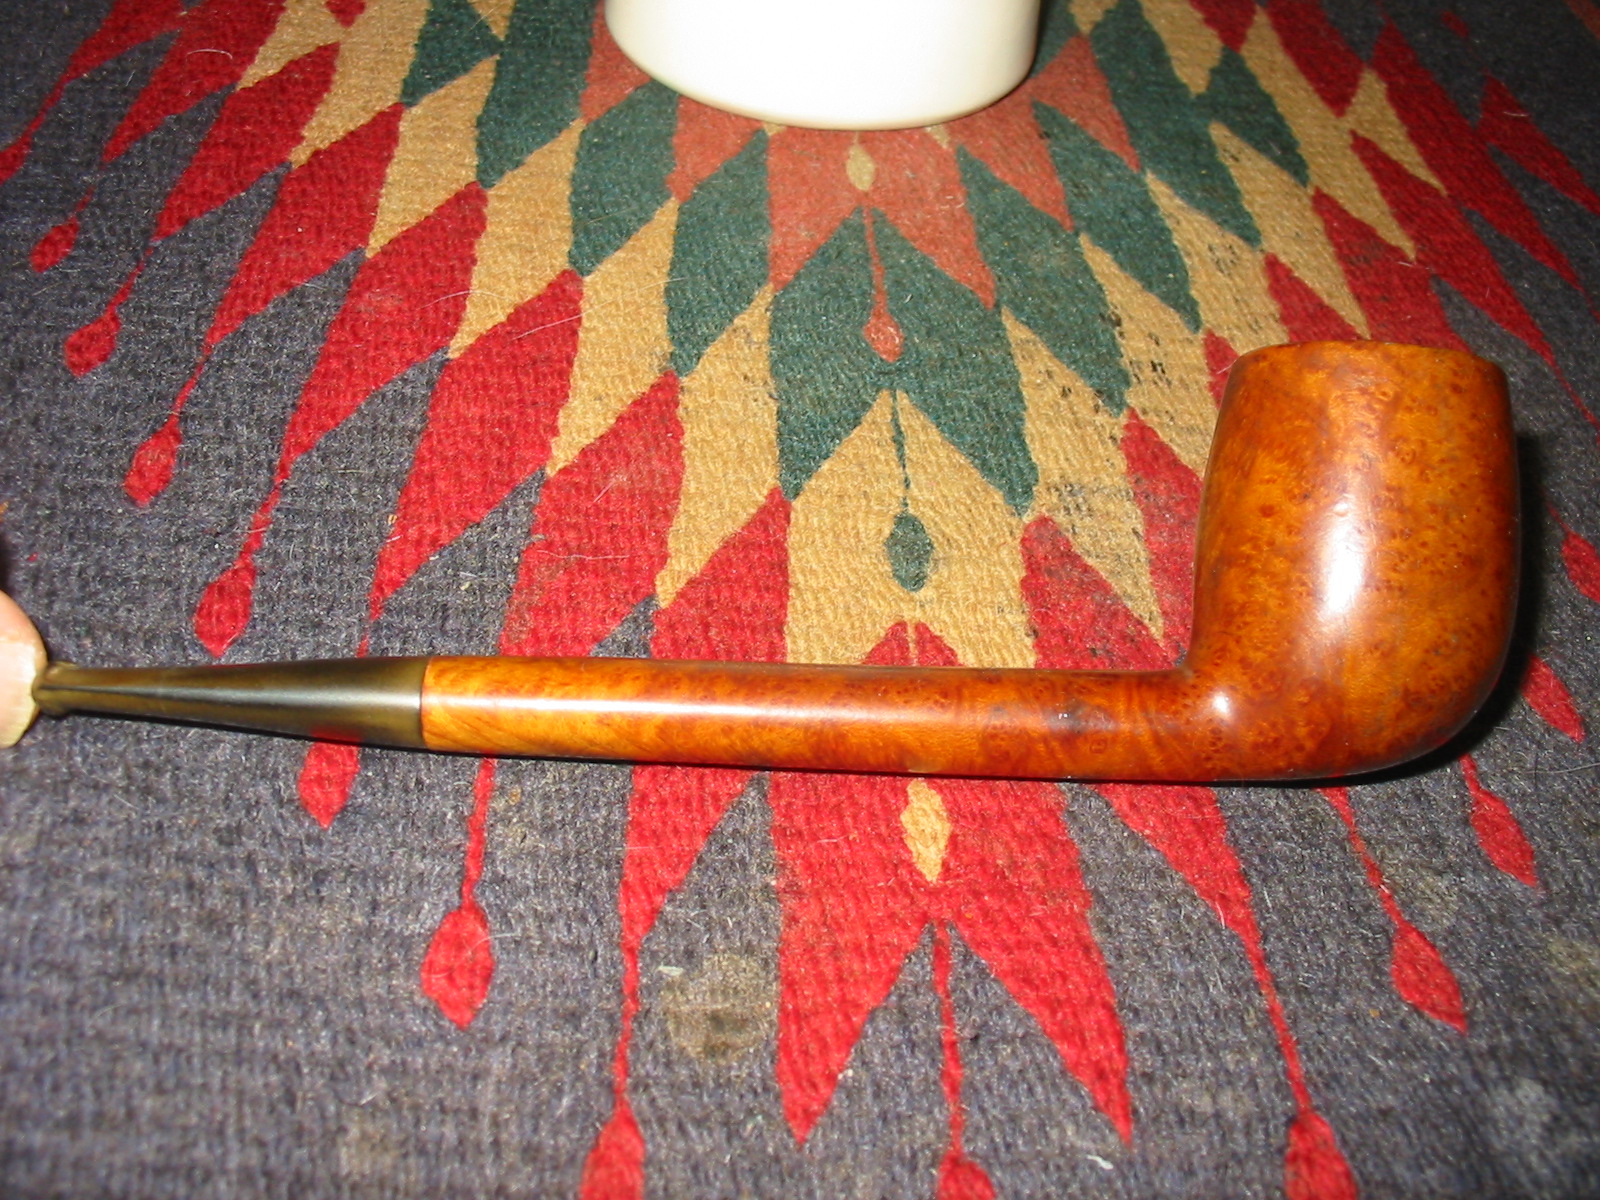
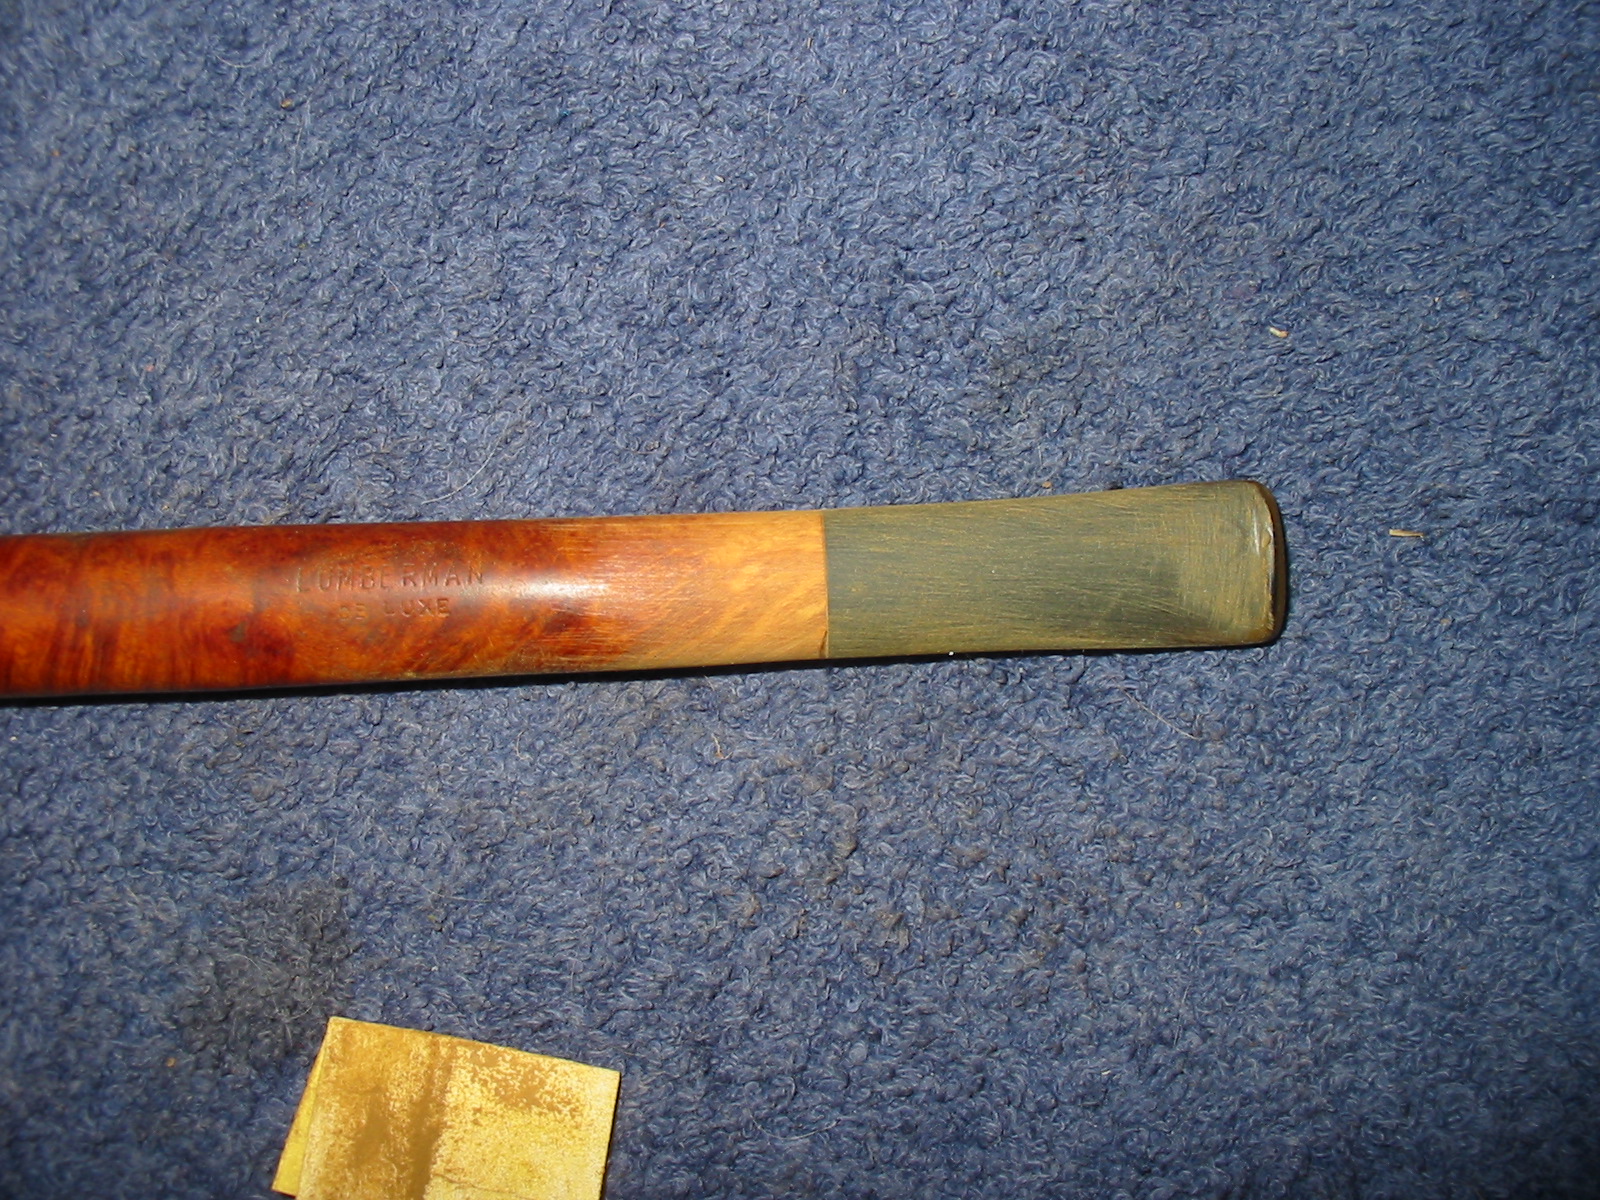
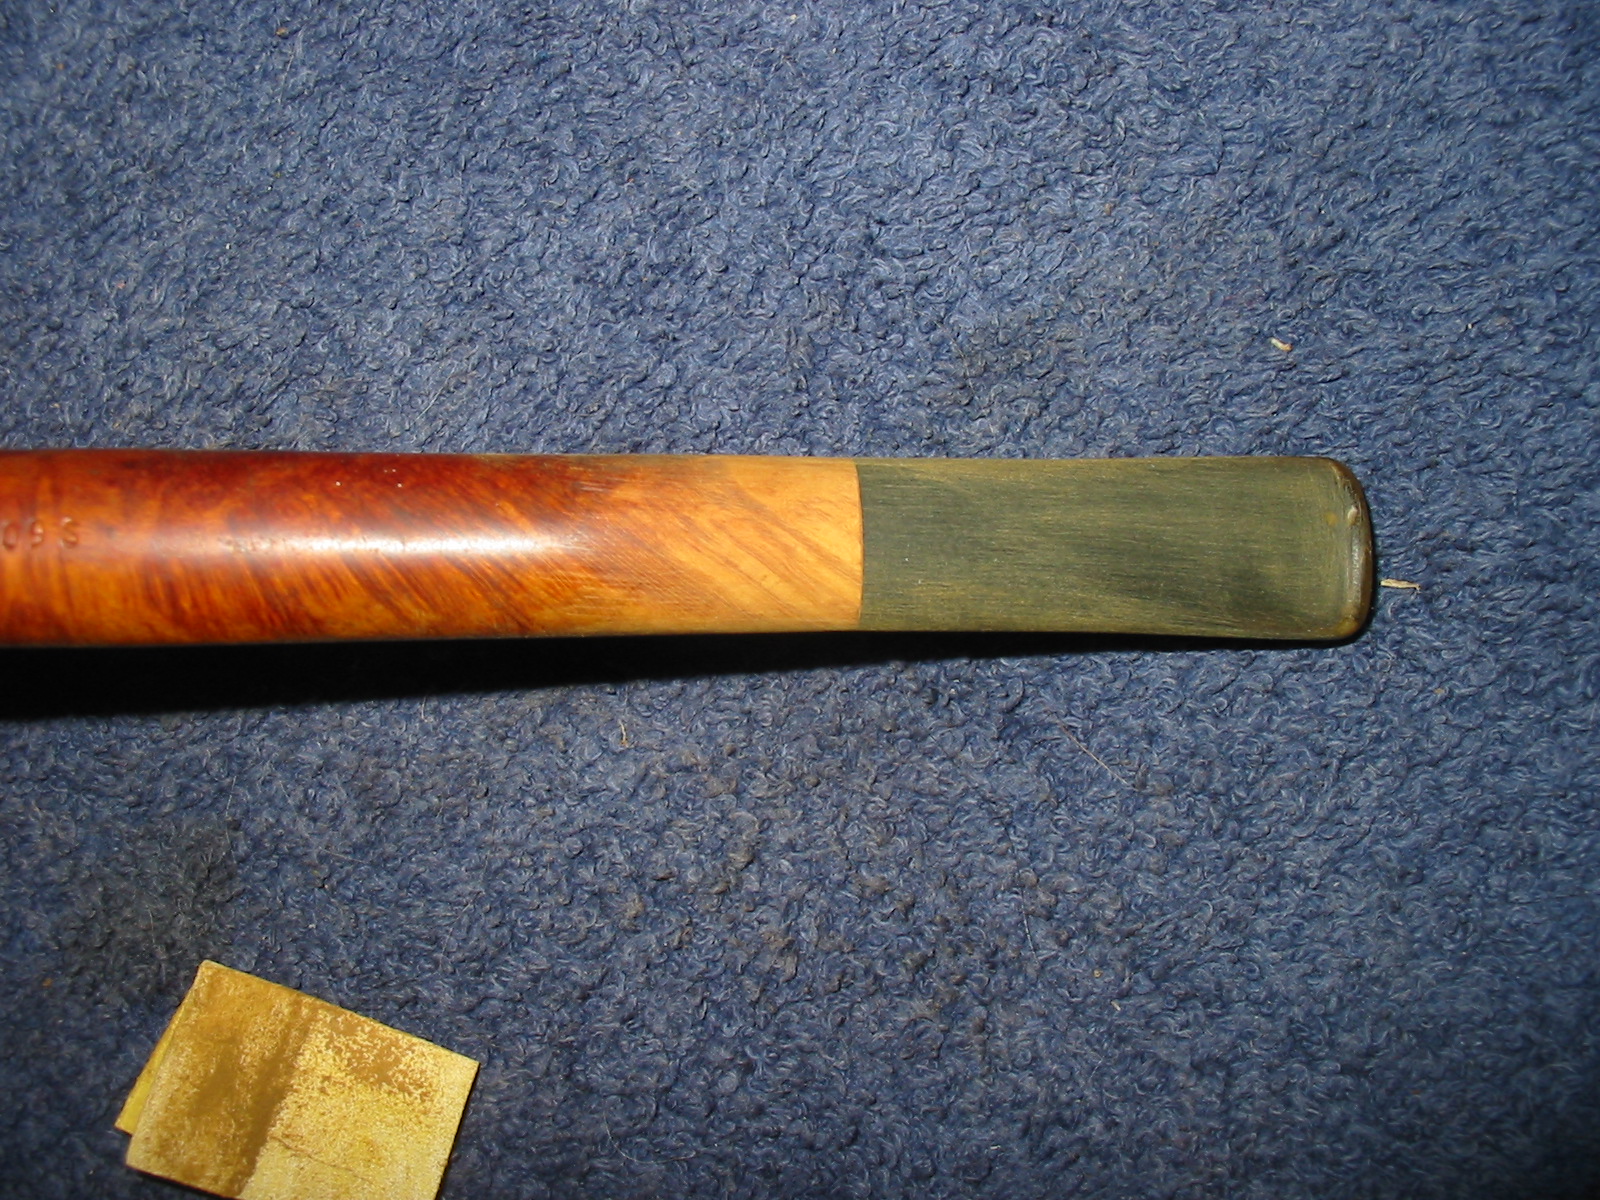
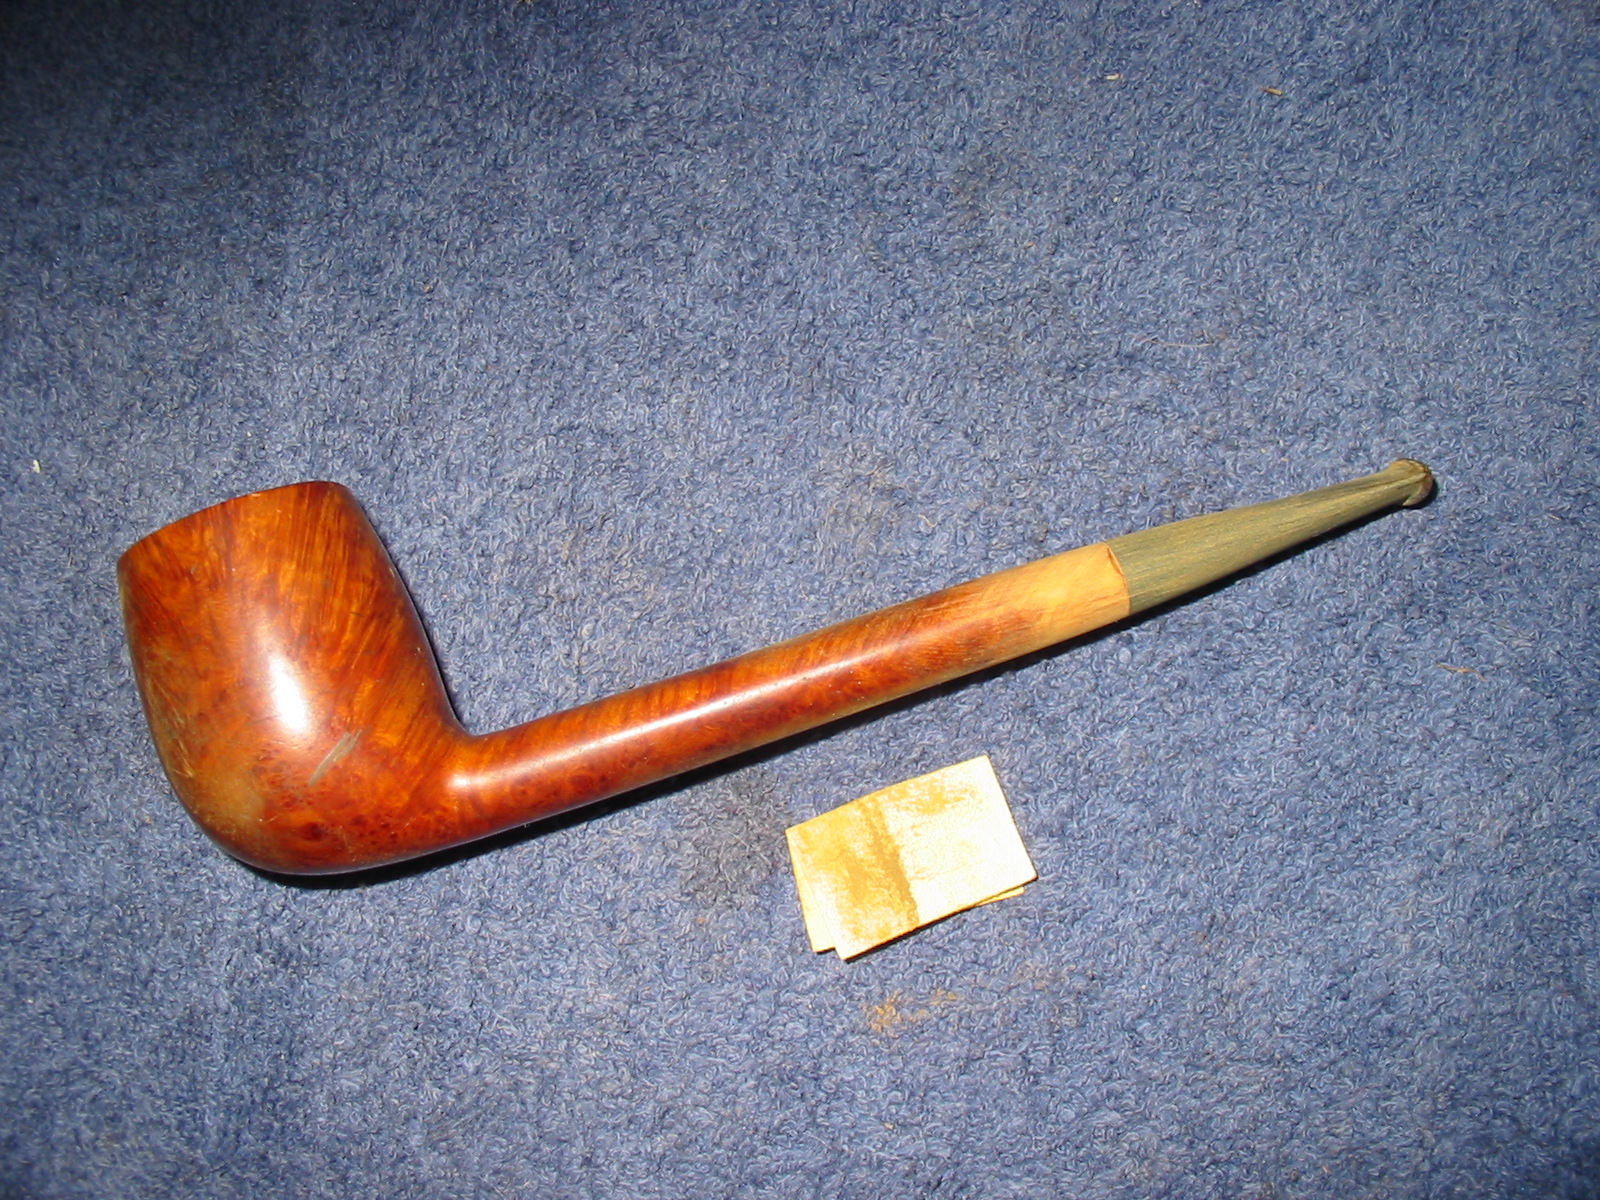
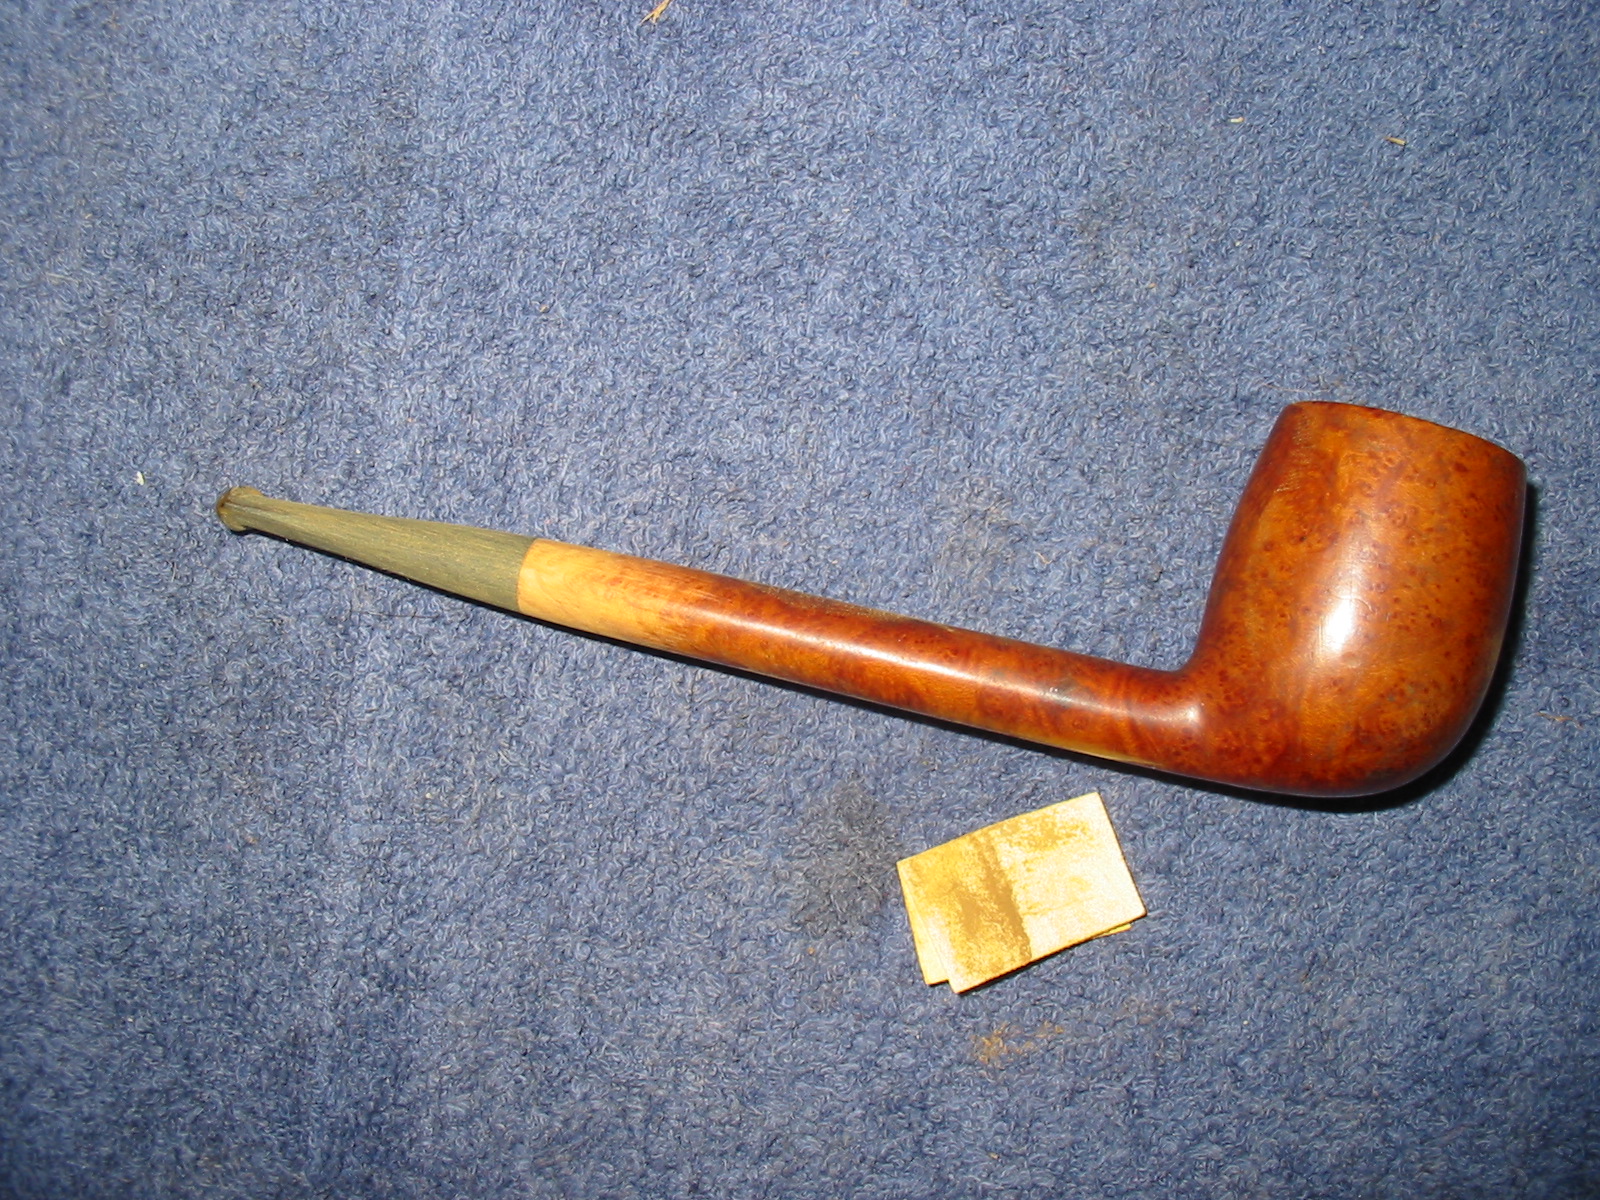
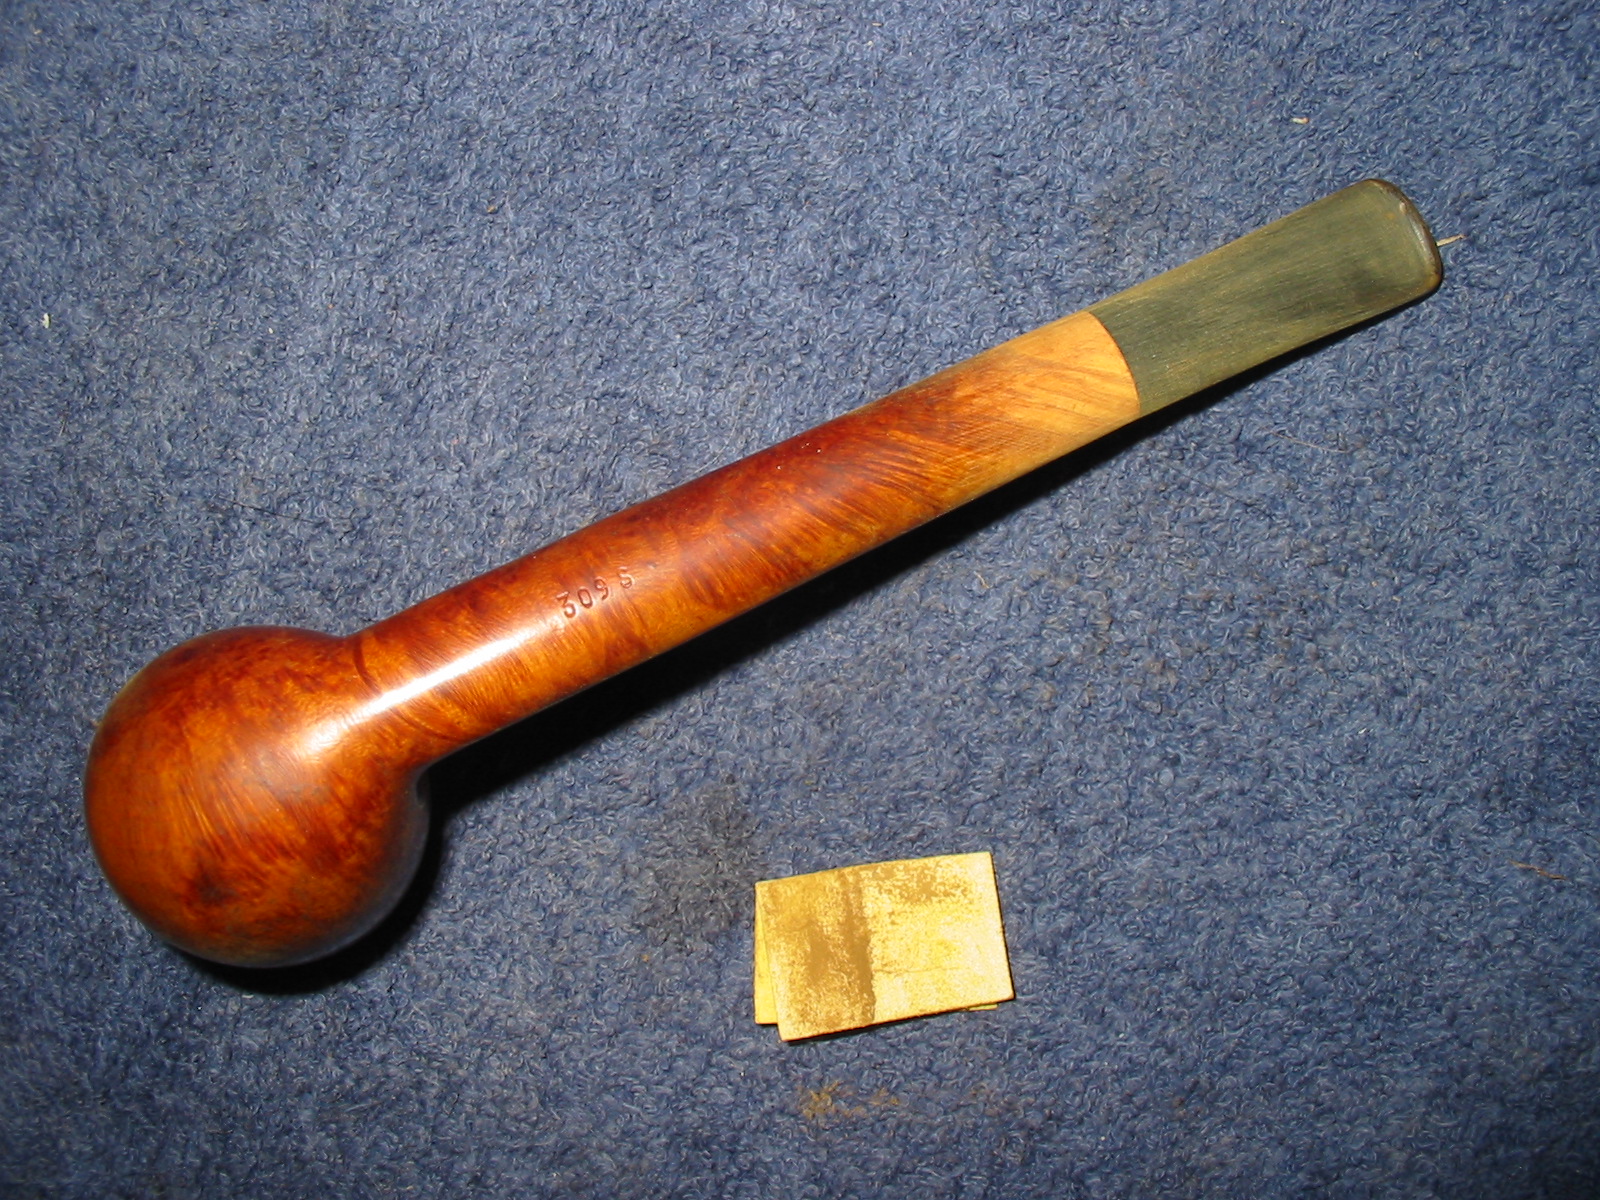
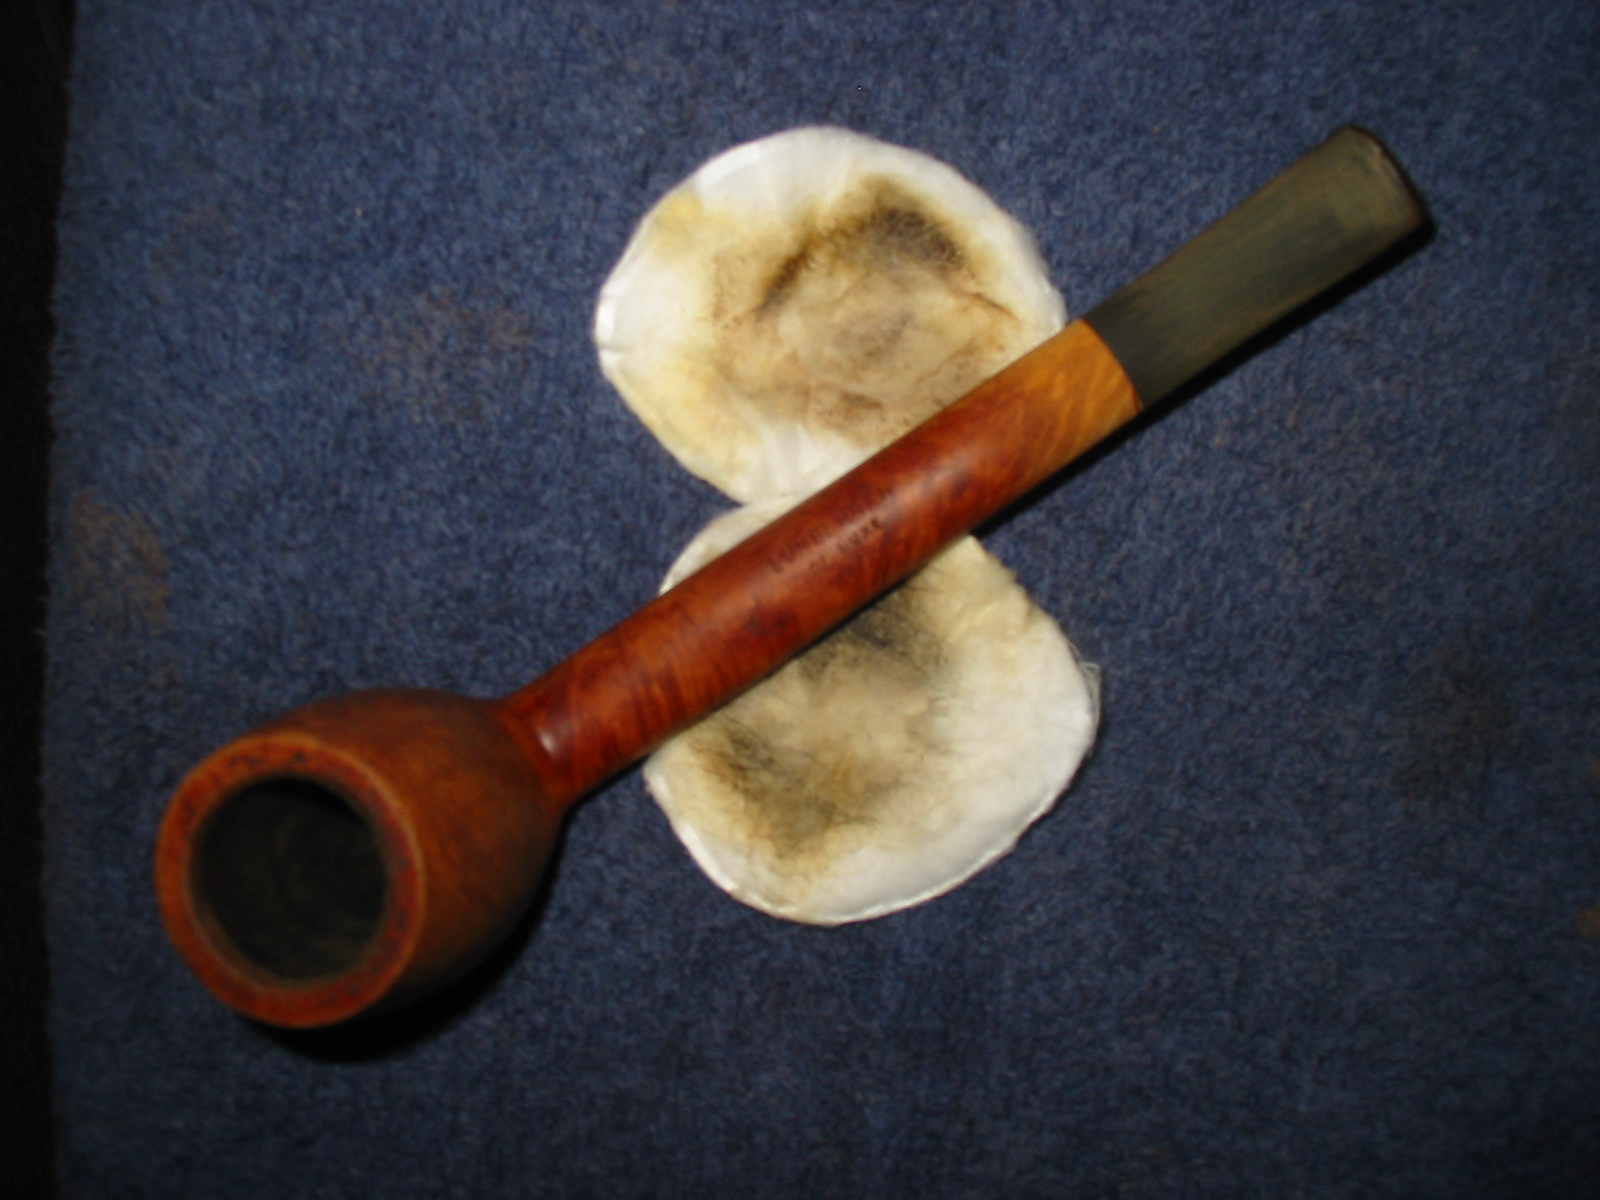
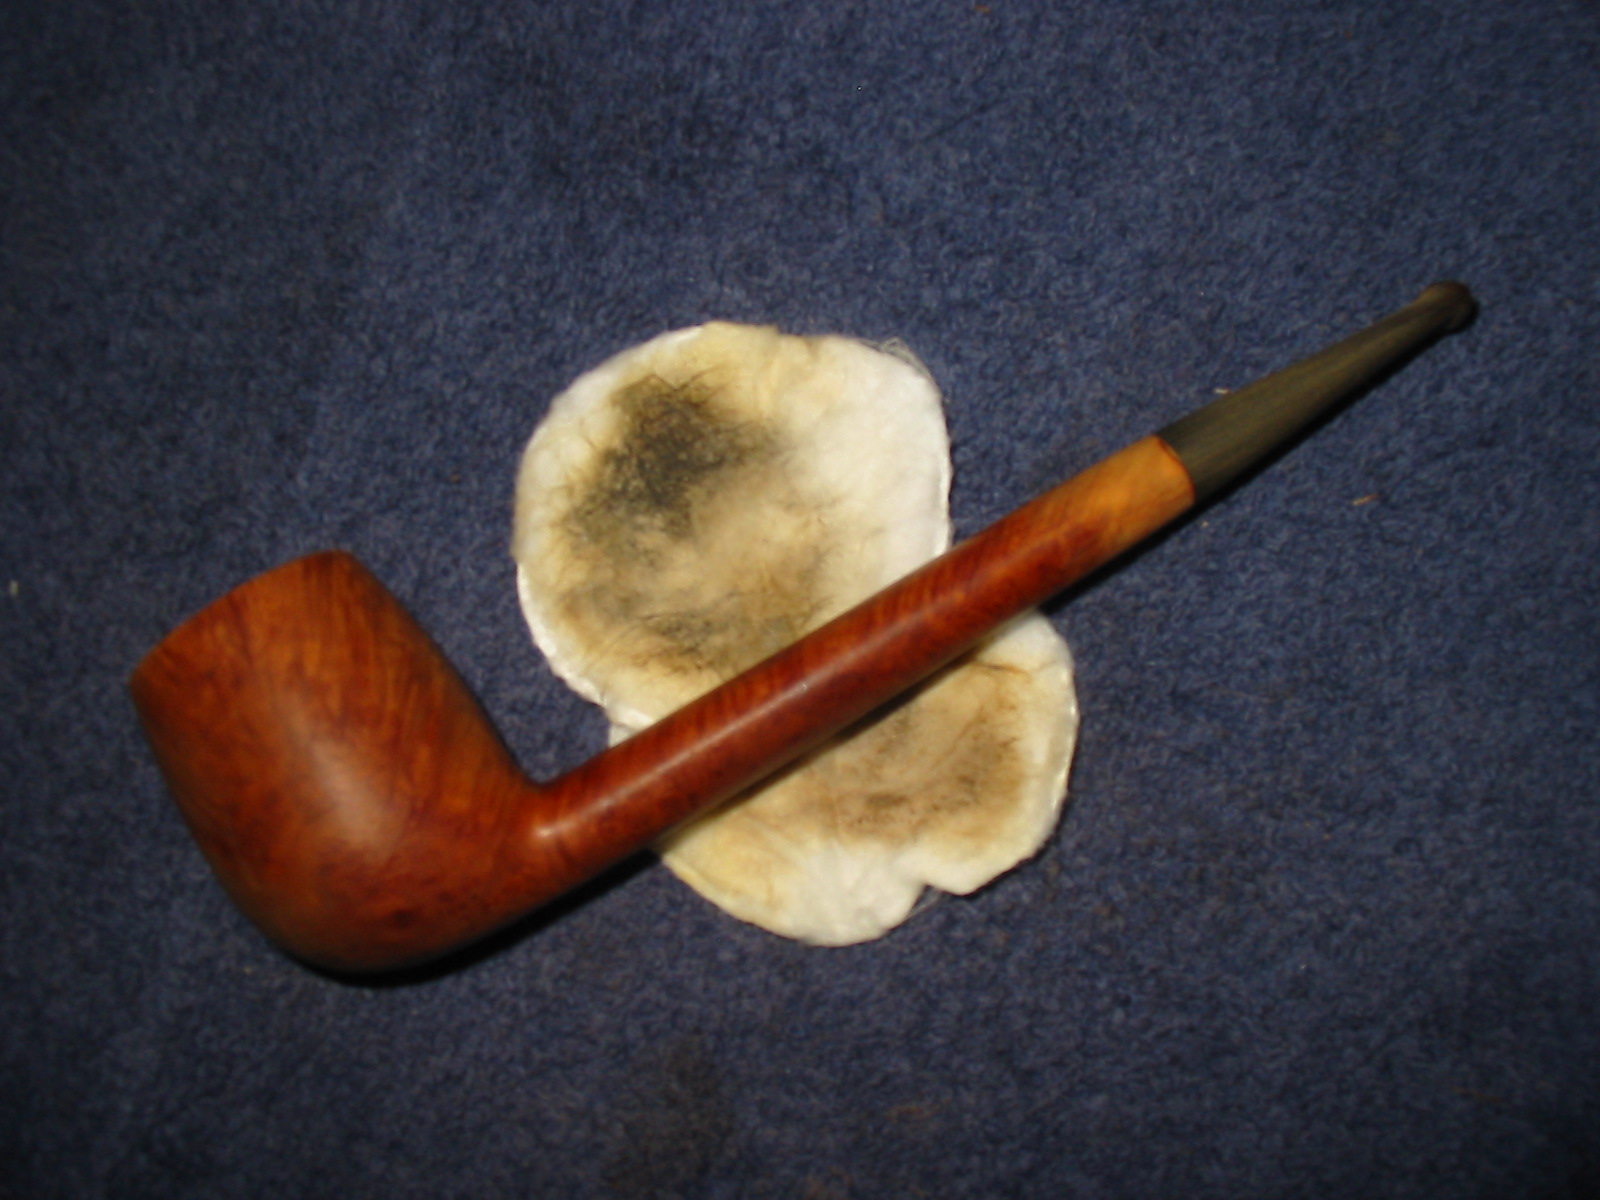
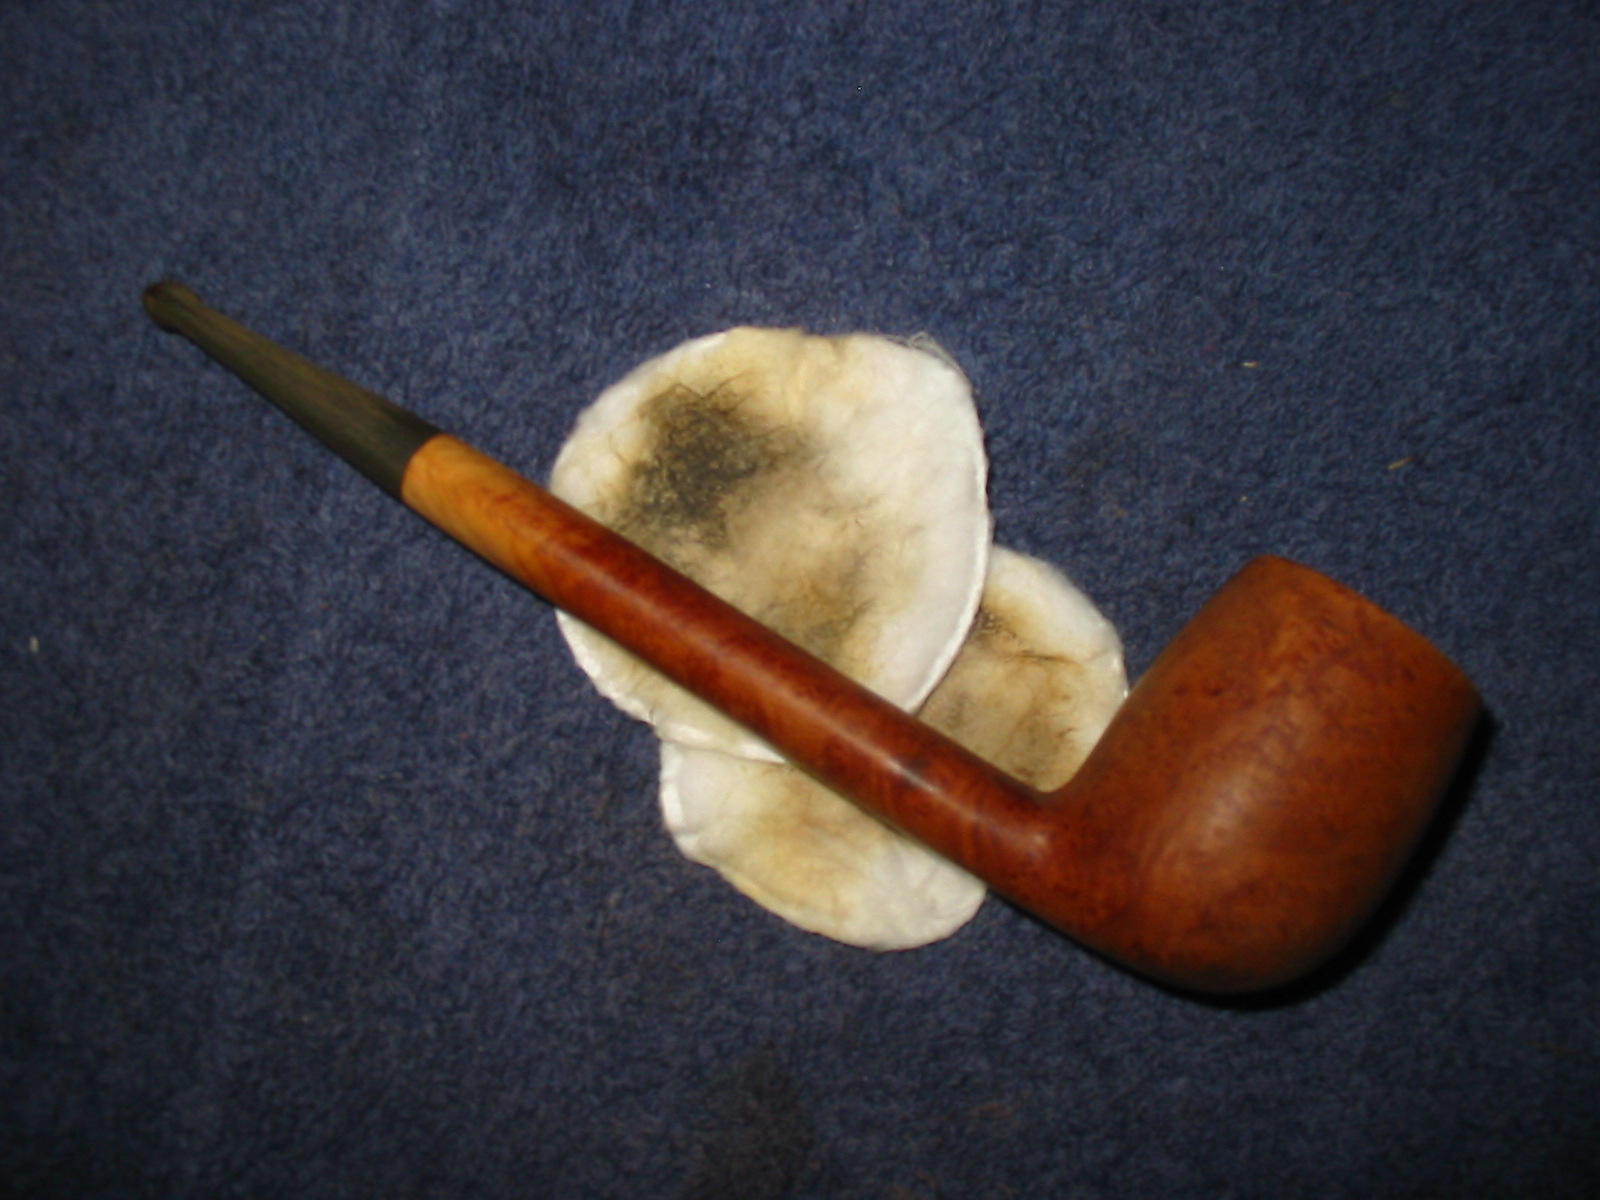
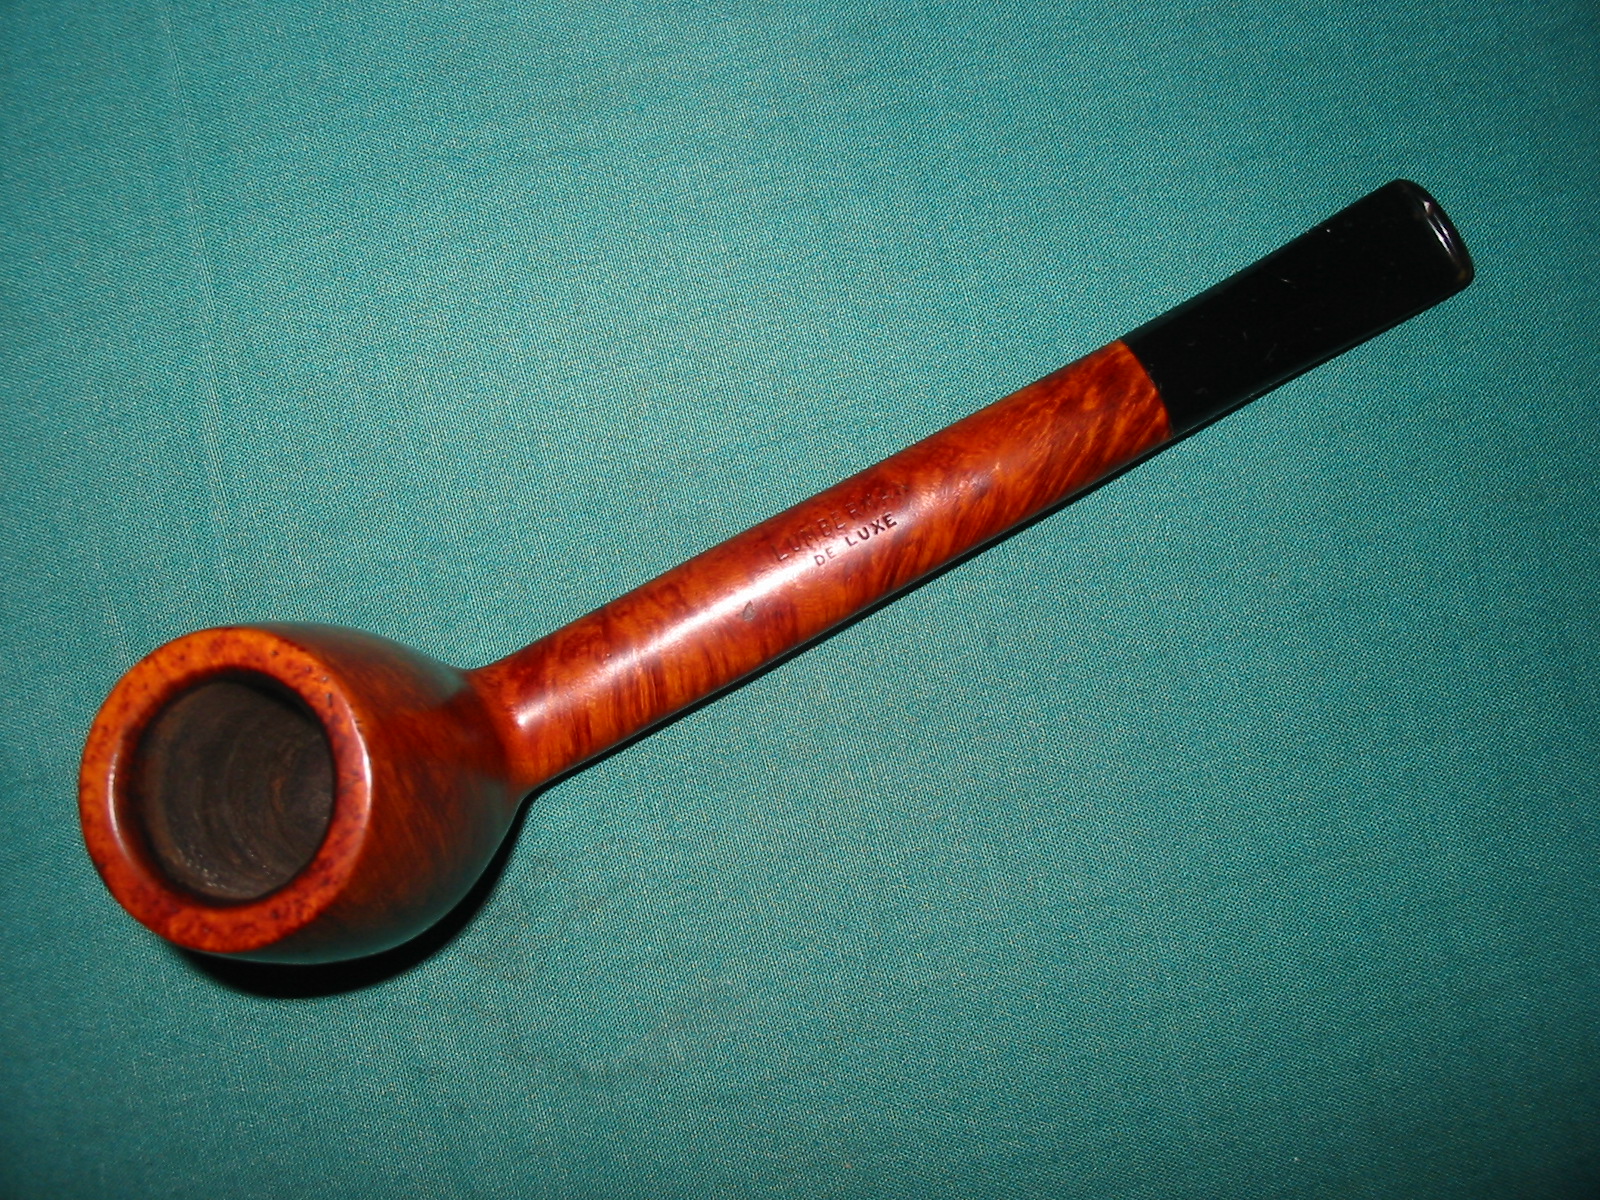
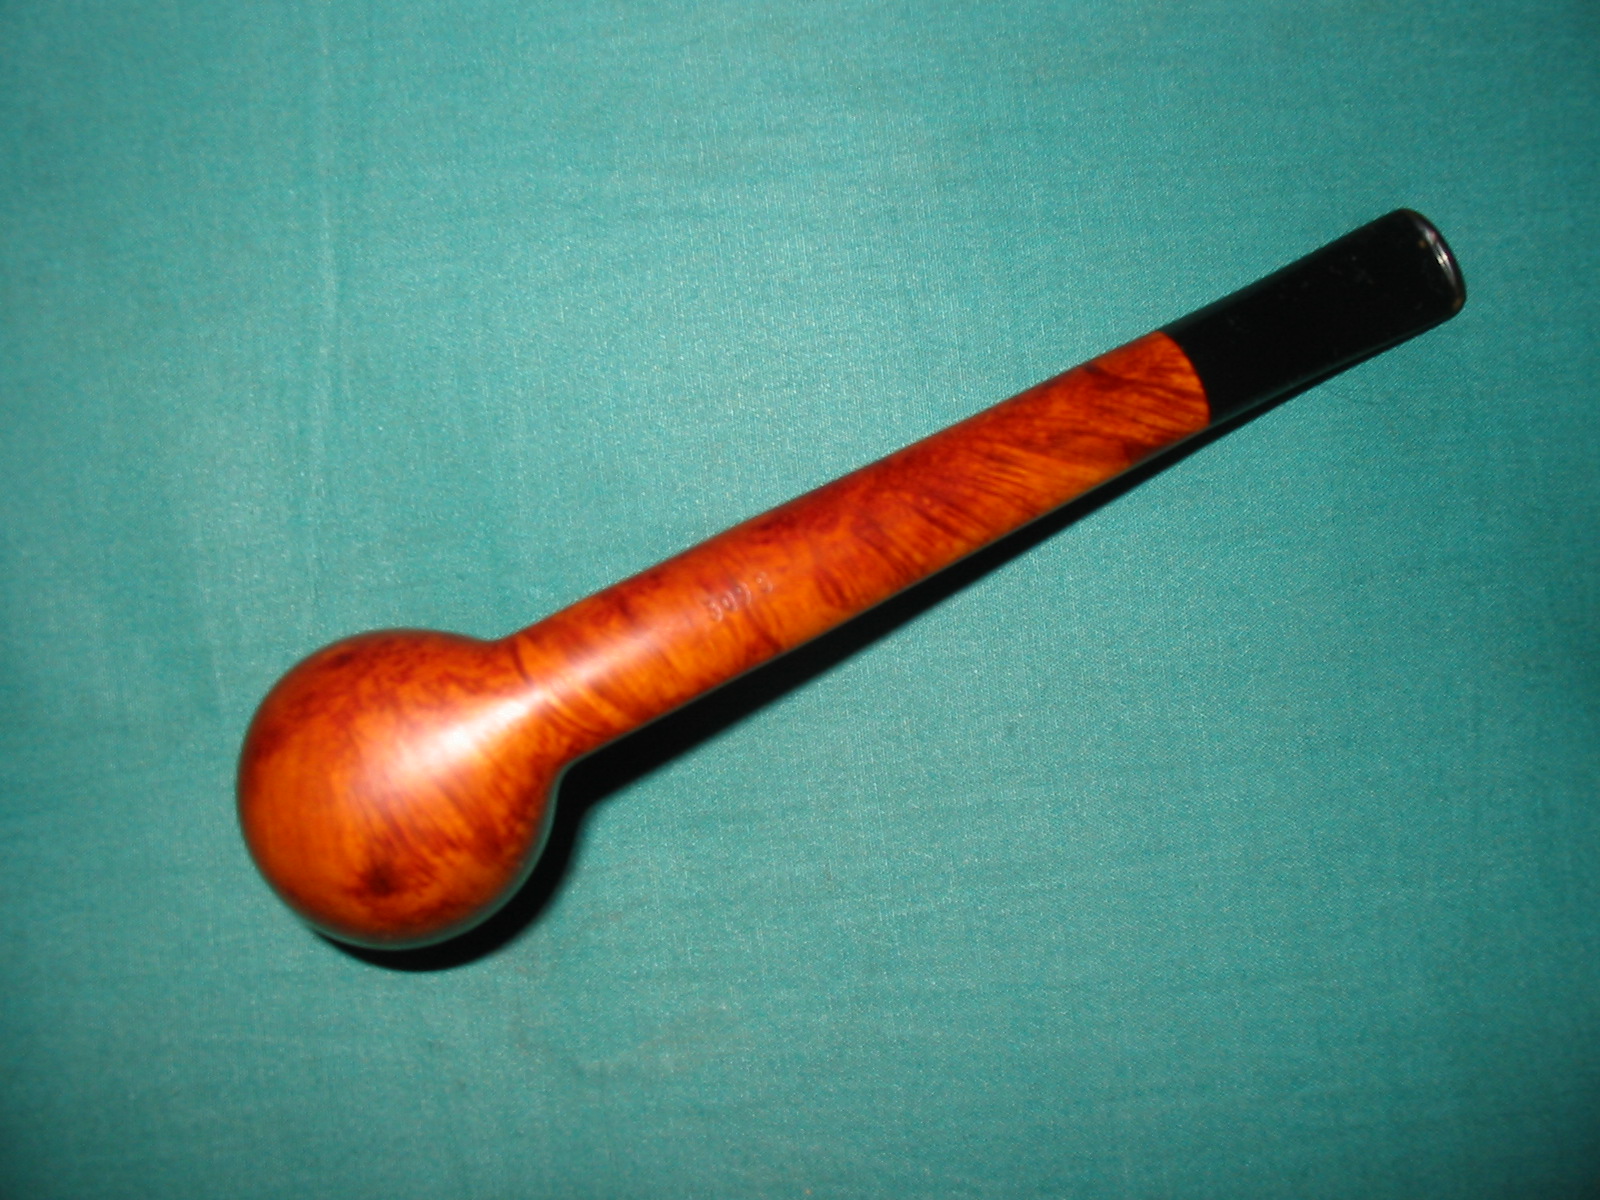
Andrew had a second LUMBERMAN DELUXE that he mentioned to me in a previous email when he sent me the other Lumberman to restem. He graciously gave the second one to me. In the photo below it is the one with the stem. It is slightly larger than the first one and also slightly longer as can be seen from the photo. It is stamped LUMBERMAN over DELUXE on top of the shank and on the underside there is no Made and London circle stamp. It is only stamped 309S. The pipe was in very good shape. There were no cracks in the long shank. There was one small sand pit in the top near the stamping. The bowl was slightly caked and the rim had some carbon buildup and many tiny pin pricks in the surface of the rim. The finish was dirty and had several sticky spots on the sides of the bowl. It was a gummy spot that seemed like the residue left behind by a price sticker. The stem was larger in diameter that the shank. It extended beyond the edge of the shank on both sides of the stem and also slightly on the bottom edge. The top edge fit well. There were also two tooth marks – one on top and on matching on the bottom of the stem near the button.
lumbermans

Before seeing these two pipes I had not heard of the Lumberman brand so Andrew had sent along some information that he had found on the web regarding the brand. He had gleaned the information from a Mr. Can EBay listing. In the previous blog post on the first LUMBERMAN I included Andrew’s information. I am also including it now as a quick reminder of the provenance of the brand. That posting read as follows:

“This Collectible Briar pipe is unique, extremely rare Comoy’s 309XL – a classic Canadian Shape. It has the arched Comoy’s nomenclature stamped over Deluxe (just as it appeared in the early 1930’s) both of which were stamped over Lumberman. For anyone already familiar with the stamping of Comoy Canadians that is enough to recognize that this is a rare and collectible Comoy.”

“During its history, Comoy’s has had three distinct sets of nomenclature, though they became somewhat blended in later years. The earliest Comoy nomenclature either had no Comoy stamping or a scripted, signature like forward leaning Comoy’s beneath which were featured names instead of shape numbers. Few of those names (Like Leman, Naval, Adelaide, and so on) are recognized even by the most ardent collectors. Then after World War I when Comoy began introducing what is sometimes called their Old Nomenclature (featuring the Prima, as the Top of the line with other lines like the Old Bruyere, Grand Slam, Lions Head, Lumberman, Lumberman Special and so forth) and arched Comoy’s stamping was used. In the 1930’s the Prima gave way to the Deluxe as the top of the line Comoy. Then just before World War II newer nomenclature started to appear (like Blue Riband, Specimen Straight Grain, and so on) and the Deluxe was replaced by the Royal Comoy. That New Nomenclature expanded dramatically after the War and blended with the modern nomenclature today.”

“The use of the arched Comoy’s ended with World War II and was replaced after the War with a straight line Comoy’s (along with the now famous country of origin stamping of a circular “Made In London” over a straight line “England”.”

“Prior to World War II with manufacturing facilities in both France and England, Comoy had pipes made in both locations. Most were easily identifiable by their country of origin stamping. There were several versions of Comoy’s Lumberman made in France and/or England. (They might have been the dame pipe but with different nomenclature.) “The Lumberman” and “The Lumberman Special were made in both factories. But none had the arched Comoy’s stamping.”

“After WWII Comoy’s reintroduced the Deluxe, discontinued the arched Comoy’s and continued various versions of the Lumberman. Perhaps Comoy’s best graded Lumberman was stamped Lumberman Deluxe – but it had no Comoy stamping. Lumberman was always stamped over Deluxe.”

“Normally Comoy offered to Canadian sizes designated by shape numbers 296 and 309. The difference was in the length of the Canadians. The 309 shape was Comoy’s longest Canadian and the 296 was shorter. However, the extra long Canadians were upgraded with the additional stamping of XL and the very longest were sometimes stamped XXL. Either upgrade was rare.” – The above was taken from correspondence Andrew included when he sent the pipe to me.

The previous blog post can be found at this link: https://rebornpipes.wordpress.com/2014/01/29/repairing-and-restoring-a-lumberman-deluxe-canadian-by-comoys/

The difference between this pipe and the previous one was that the stamping on the underside of the pipe lacked the Comoy’s circle Made in London stamp and also bore the shape designation of 309 but instead of X or XL it is stamped “S”. It is larger than the previous LUMBERMAN but the stamping appears to be a bit of an anomaly.

The next series of photos show the pipe as it appeared when I received it from Andrew. There was slight oxidation on the stem and the stem was larger as noted above.
IMG_5199

IMG_5200

IMG_5201

IMG_5202

I took several close-up photos to show the fit of the stem and how the sides and the bottom edge of the stem was larger than the diameter of the shank.
IMG_5203

IMG_5204

I refit the stem and sanded the sides of the stem until it matched the shank. I also sanded the shank lightly in order to make a smooth transition between the two. I used 220 grit sandpaper to take off the excess vulcanite and bring the stem in line with the shank. At the same time I sanded the tooth marks on the top and bottom of the stem at the button and was able to remove them.
IMG_5206

IMG_5207

IMG_5210

IMG_5212

I sanded the stem and shank with a medium and a fine grit sanding sponge and then a fine grit sanding block. The refit stem is shown in the next series of four photos.
IMG_5205

IMG_5208

IMG_5209

IMG_5211

I wiped the bowl and shank down with acetone and clean the stem and shank with isopropyl alcohol and pipe cleaners. I reamed the bowl with a PipNet reamer to take the slight cake back to the wood and even the buildup on the walls. It seemed to have a slight ridge of cake mid-bowl and I wanted the walls clean so that I could build up my own cake.
IMG_5213

IMG_5214

IMG_5215

IMG_5216

I sanded the stem down with medium and fine grit sanding sponges and then used my usual array of micromesh sanding pads. I wet sanded with the 1500-2400 grit pads and dry sanded with the 3200-12,000 grit pads.
IMG_5220

IMG_5221

IMG_5222

I rubbed the bowl down with a light coat of olive oil and the stem down with Obsidian Oil. Once it had been absorbed in both places I took the pipe to the buffer and buffed it with White Diamond on the wheel. I gave bowl and stem multiple coats of carnauba wax and then buffed the pipe with a clean flannel buff to give it a finish shine. The finished pipe is shown in the photos below. The fit of the stem matches the lines of the pipe and the oiled finish gives the pipe a look that is fresh and new. It is ready for its new maiden voyage.
IMG_5223

IMG_5224

IMG_5225

IMG_5226

ADDENDUM – I am copying this from the responses below so that it gets more readership.

Here is the info from the link Jacek supplied. Very helpful additional information. Thanks Jacek.
As many realize, Comoy is one of the oldest London Pipemakers with production started in France in 1825. Francois Comoy started making smoking pipes with his brothers in St. Claude, France in 1825. His son, Louis, took over the company and in 1848 helped guide it into the era of power-driven machines beginning what Comoy called a “Century of Progress.” His son, Henri, followed in the footsteps of his father and grandfather and moved Comoy’s to Clerkenwell in the City of London in 1879, and thus began “Comoy’s of London.” And his son, Louis, was the last family member to run the company.

During its’ history, Comoy’s has had three distinct sets of nomenclature, though they became somewhat blended in later years. The earliest Comoy Nomenclature either had no ”Comoy” stamping or a scripted, signature-like (forward leaning) “Comoy’s” beneath which were featured names instead of shape numbers. Few of those names (like the “Leman”, “Naval”, “Adelaide” and so on) are recognized even by the most ardent Comoy collectors. Then after World War I when Comoy began introducing what is sometimes called their “Old Nomenclature” (featuring the “Prima” as “Top-of-the-Line” with other lines like the “Old Bruyere,” “Grand Slam,” “Lions Head,” “LUMBERMAN,” “LUMBERMAN SPECIAL,” and so forth) an ARCHED “COMOY’S” stamping was used. In the 1930s the Prima gave way to the “DE LUXE” as the “Top-of-the-Line” Comoy. Then, just before World War II newer nomenclature started to appear (like “Blue Riband,” “Specimen Straight Grain,” and so on) and the “DE LUXE” was replaced by the “Royal Comoy”. That “New Nomenclature” expanded dramatically after the War and blended with the modern nomenclature of today.

The use of the ARCHED “COMOY’S” ended with World War II and was replaced after the War with a straight line “Comoy’s” (along with the now famous Country of Origin stamping of a circular “Made in London” over a straight line “England”).

Prior to World War II with manufacturing facilities in both France and England, Comoy had pipes made in both locations. Most were easily identifiable by their Country of Origin stamping. There were several versions of Comoy’s “LUMBERMAN” made in France and/or England. (They might have been the same Pipe but with different nomenclature.) “THE LUMBERMAN,” and “THE LUMBERMAN SPECIAL” were made in both factories. But NONE had the ARCHED “COMOY’S” stamping!

After World War II, Comoy reintroduced the “DE LUXE,” discontinued the ARCHED “COMOY’S” and continued various versions of the “LUMBERMAN”! Perhaps Comoy’s” best” graded “LUMBERMAN” was stamped “LUMBERMAN DE LUXE” – – – but it had no “Comoy” stamping. ”LUMBERMAN” was always stamped over “DE LUXE”!!!

Now look at the stamping on this Comoy Canadian – – – the ARCHED “COMOY’S” is stamped OVER “DE LUXE” (just as it would have been on a “Top-of-the-Line” Comoy’s De Luxe” in the early 1930s! In addition, that stamping is OVER “LUMBERMAN”!!! This Canadian is the only one I have ever seen with such stamping(s)!!!

Comoy offered truly elegant Canadians that were always perfectly shaped, light weight and fitted with “wafer thin” mouthpieces that are easy to hold in the mouth. Of course, they came in different lengths and finishes.

Normally, Comoy offered two Canadian sizes designated by Shape Numbers 296 and 309. The difference in the length of the Canadians. The “309” Shape was Comoy’s LONGEST CANADIAN, and the “296” was shorter. However, EXTRA LONG Canadians were ”upgraded” with the additional stamping of “XL” (creating a “309 XL”) and the very longest were sometimes stamped “XXL”!!! Either upgrade was rare, and this exceptional Canadian is stamped “309 XL”!!!

So looking at the title of this description one would expect to see a long, sleek Canadian of special length. It is not! It is a mere 6 3/8” LONG which is barely longer than average for most pipe makers!

The grain is not exceptional nor is the size (although the Bowl is a large Dunhill Group 4/5 Size which is larger than most “average” Canadians). But the Pipe has a HAND RUSTICATED RING around the Rim as well as a small HAND RUSTICATED “ARROWHEAD” or “TRIANGLE” on the bottom of the Shank! Both are unusual for any Comoy and ensure that this Canadian is UNIQUE (if only because no two rustications are identical).

Combining these features, you are looking at an EXCEPTIONALLY RARE, UNIQUE COMOY “LUMBERMAN”!!!

We cannot be certain of a date for this Comoy. It is an ARCHED “COMOY’S” over “DE LUXE” which dates it from the early 1930s. It is also a “LUMBERMAN” with a COMOY’s 3-PIECE “C” LOGO in the Mouthpiece dating it to the post-World War II timeframe; and it has the newer Country of Origin stamping which did not exist before World War II. So it would seem that this Comoy Lumberman/Canadian most likelydates from the late 1940’s which would seem to be the most reasonable time for such a Pipe to appear.

As the pictures reflect, this Canadian remains in PRISTINE CONDITION! The STRONG NOMENCLATURE confirms that! There are NO chips, dents or scratches to detract from the exterior finish. NO varnish, lacquer or shellac has been used to improve the appearance of the Pipe for the pictures (and temporarily fill scratches and toothmarks). And, NO coating has been applied to the inside of the Bowl to hide cracks, heat fissures or even burnouts. The Pipe shines as it did when it left the factory in London over 60 Years Ago!!!

This Canadian measures 6 3/8″ LONG with a Bowl 2″ TALL!!! The nomenclature is crisp and clear: “COMOY’S [arched and over] DE LUXE, LUMBERMAN, MADE IN LONDON [in a circle and over] ENGLAND, 309 XL”. The Famous Comoy’s 3-Piece White “C” Logo is inlaid in the Bit. So what you are viewing is an EXCEPTIONALLY RARE, and COLLECTIBLE COMOY CANADIAN!!! The fact that it is in PRISTINE CONDITION with particularly STRONG NOMENCLATURE makes it worthy of consideration by those desirous of accumulating a special Comoy collection!

Barling’s Guinea Grain Restoration


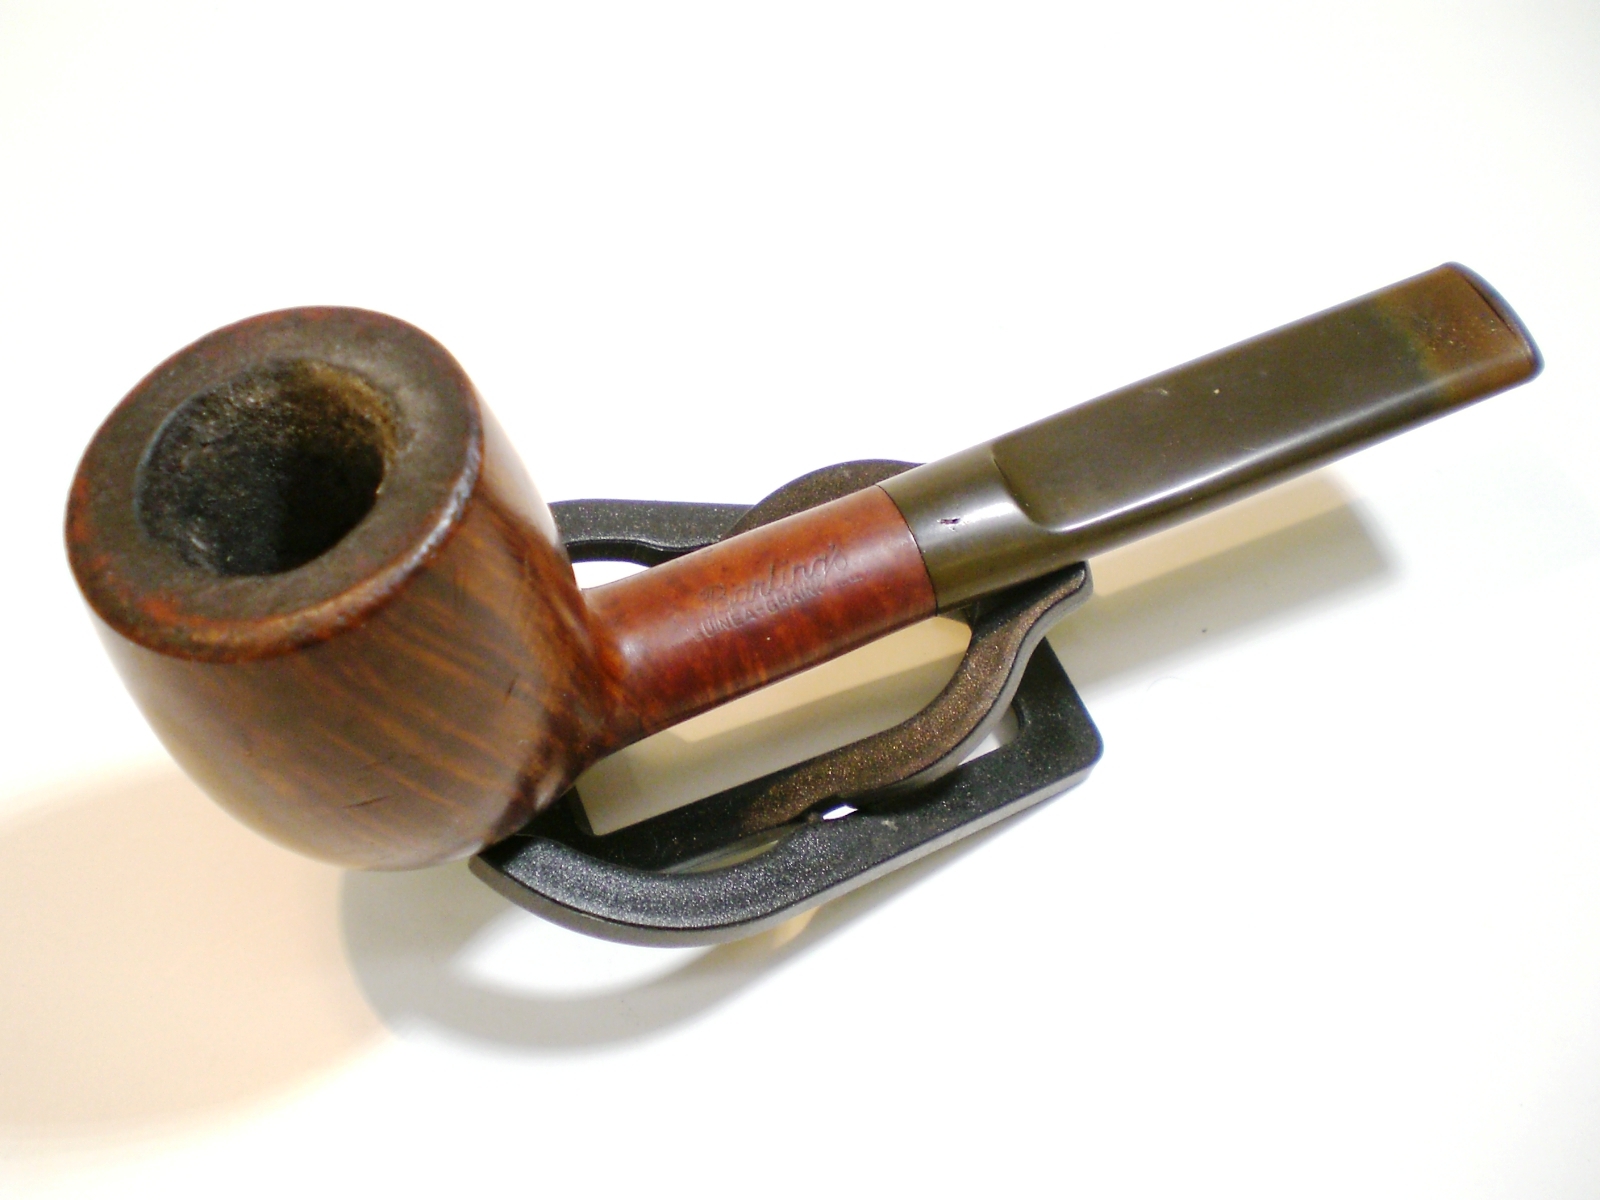
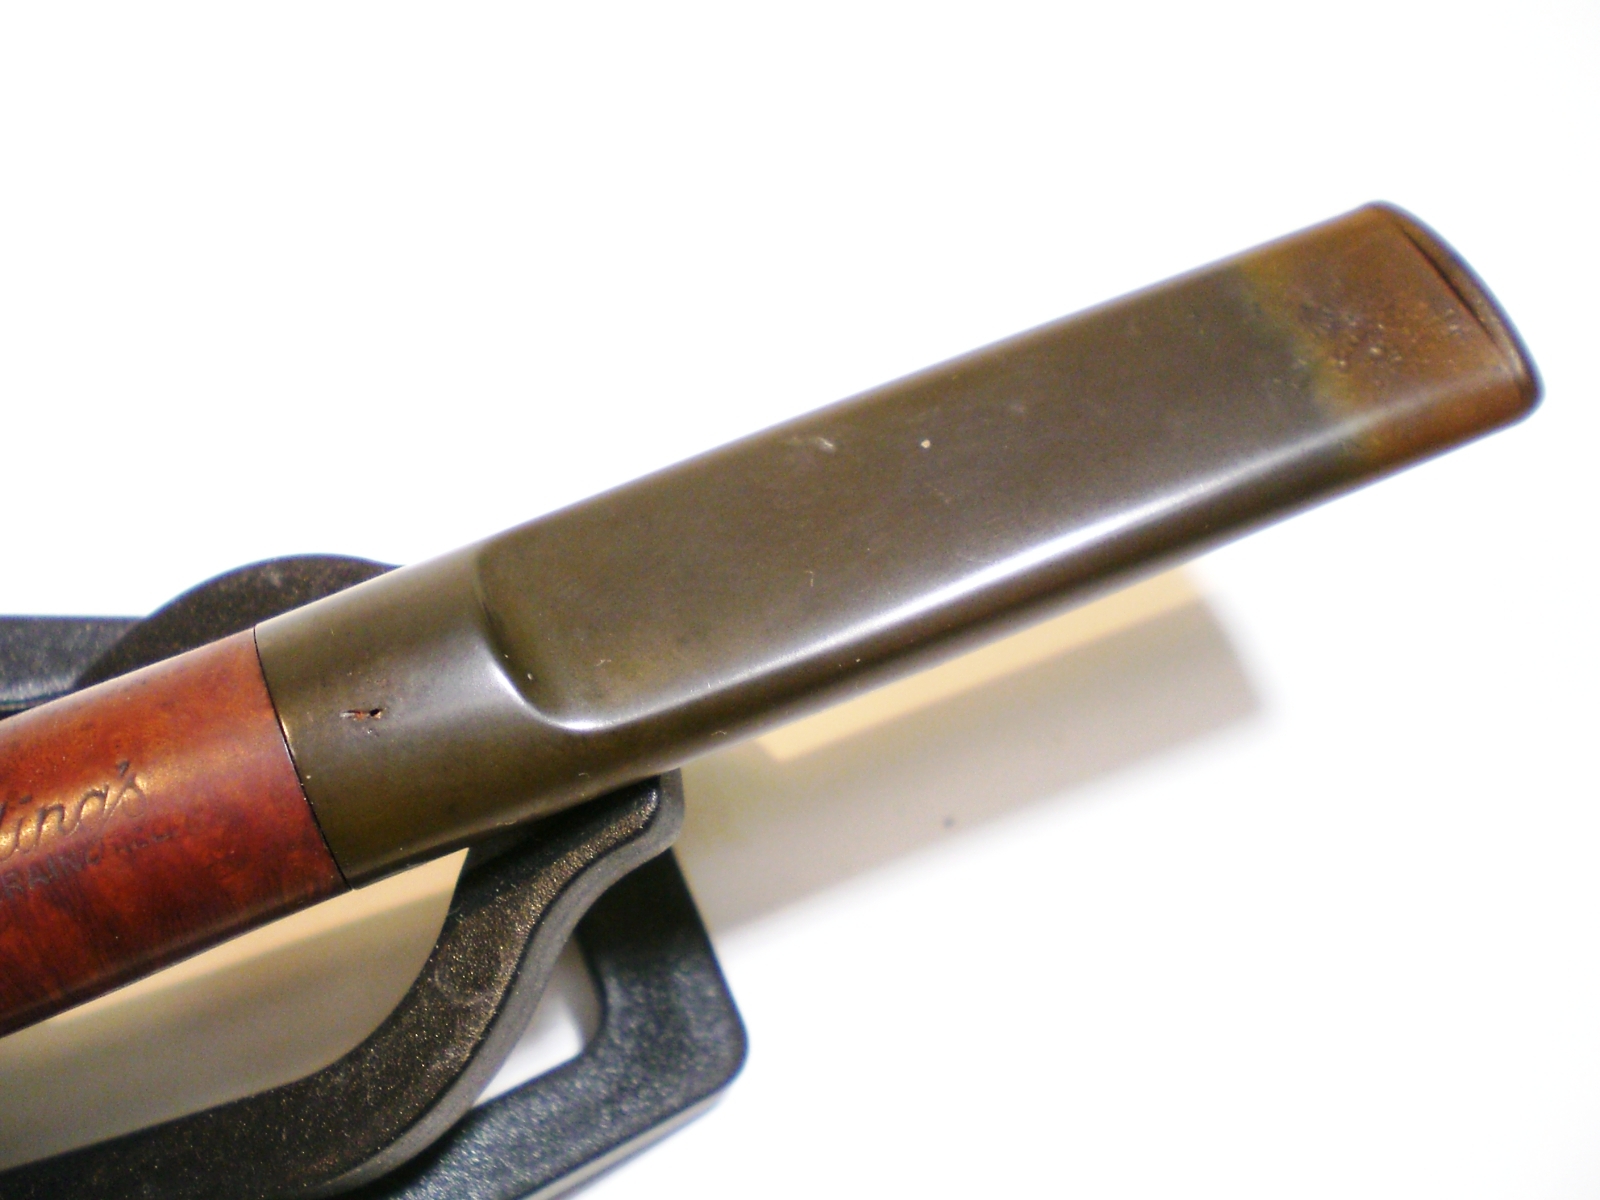
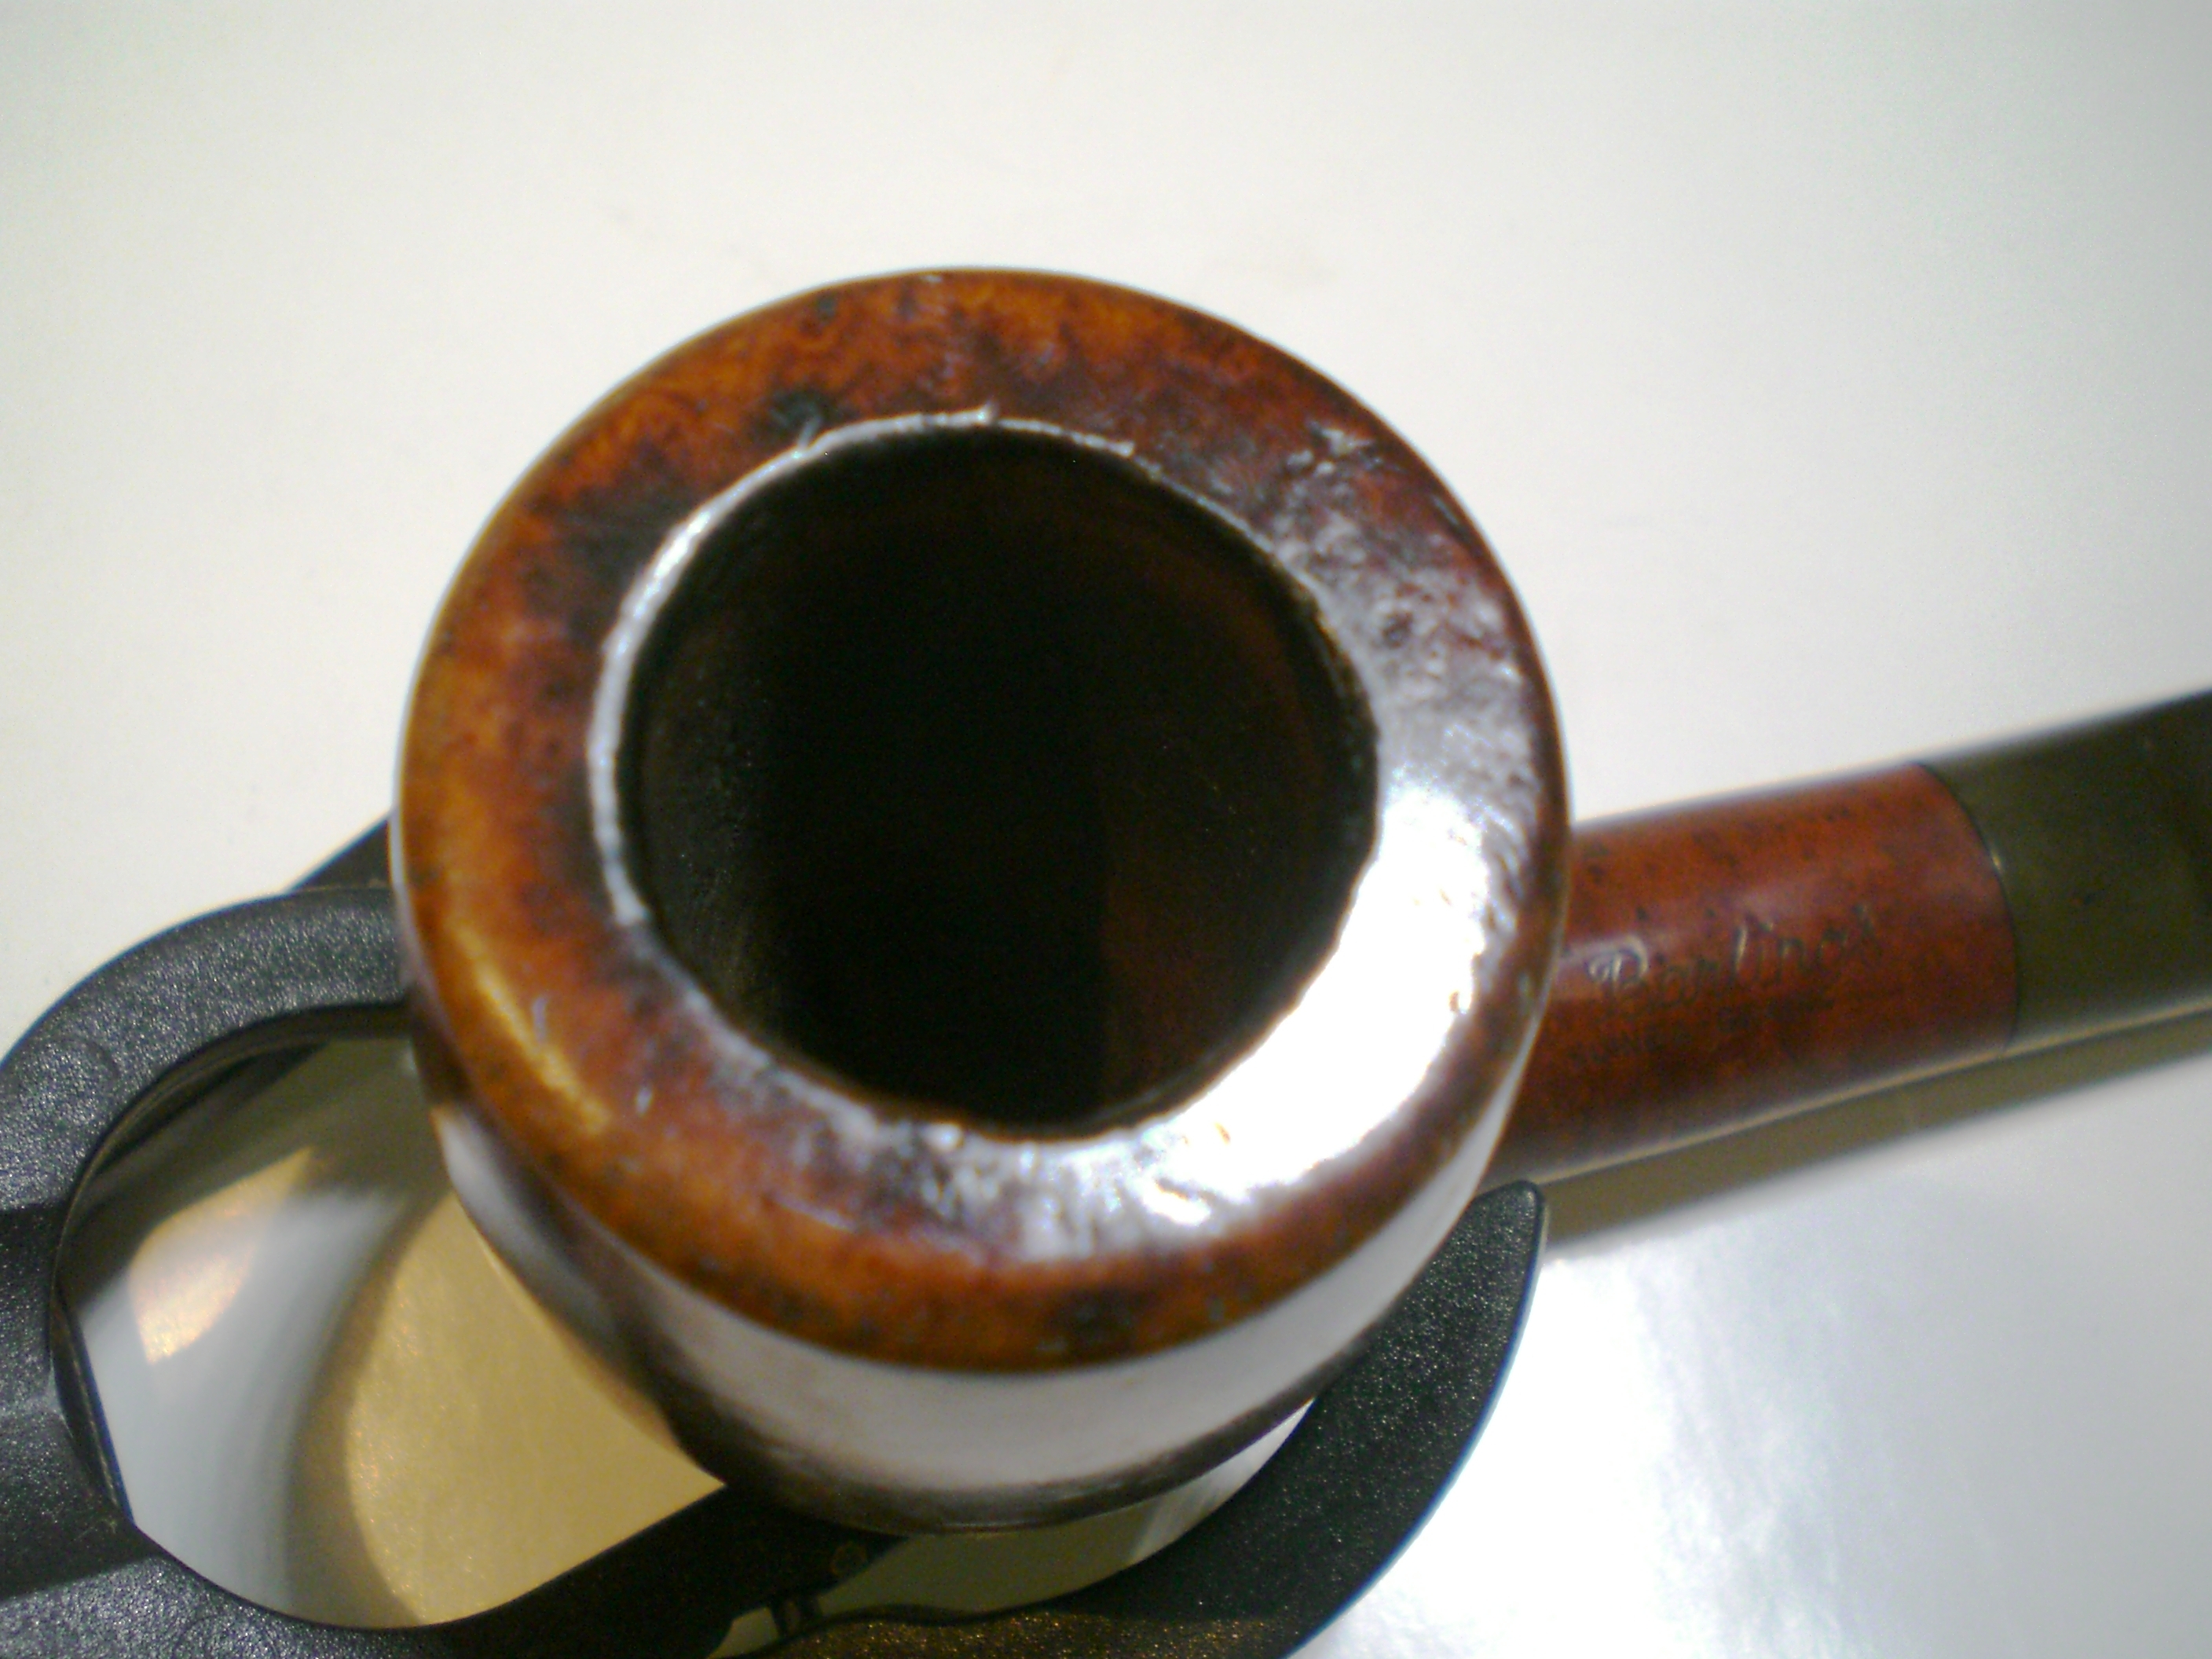
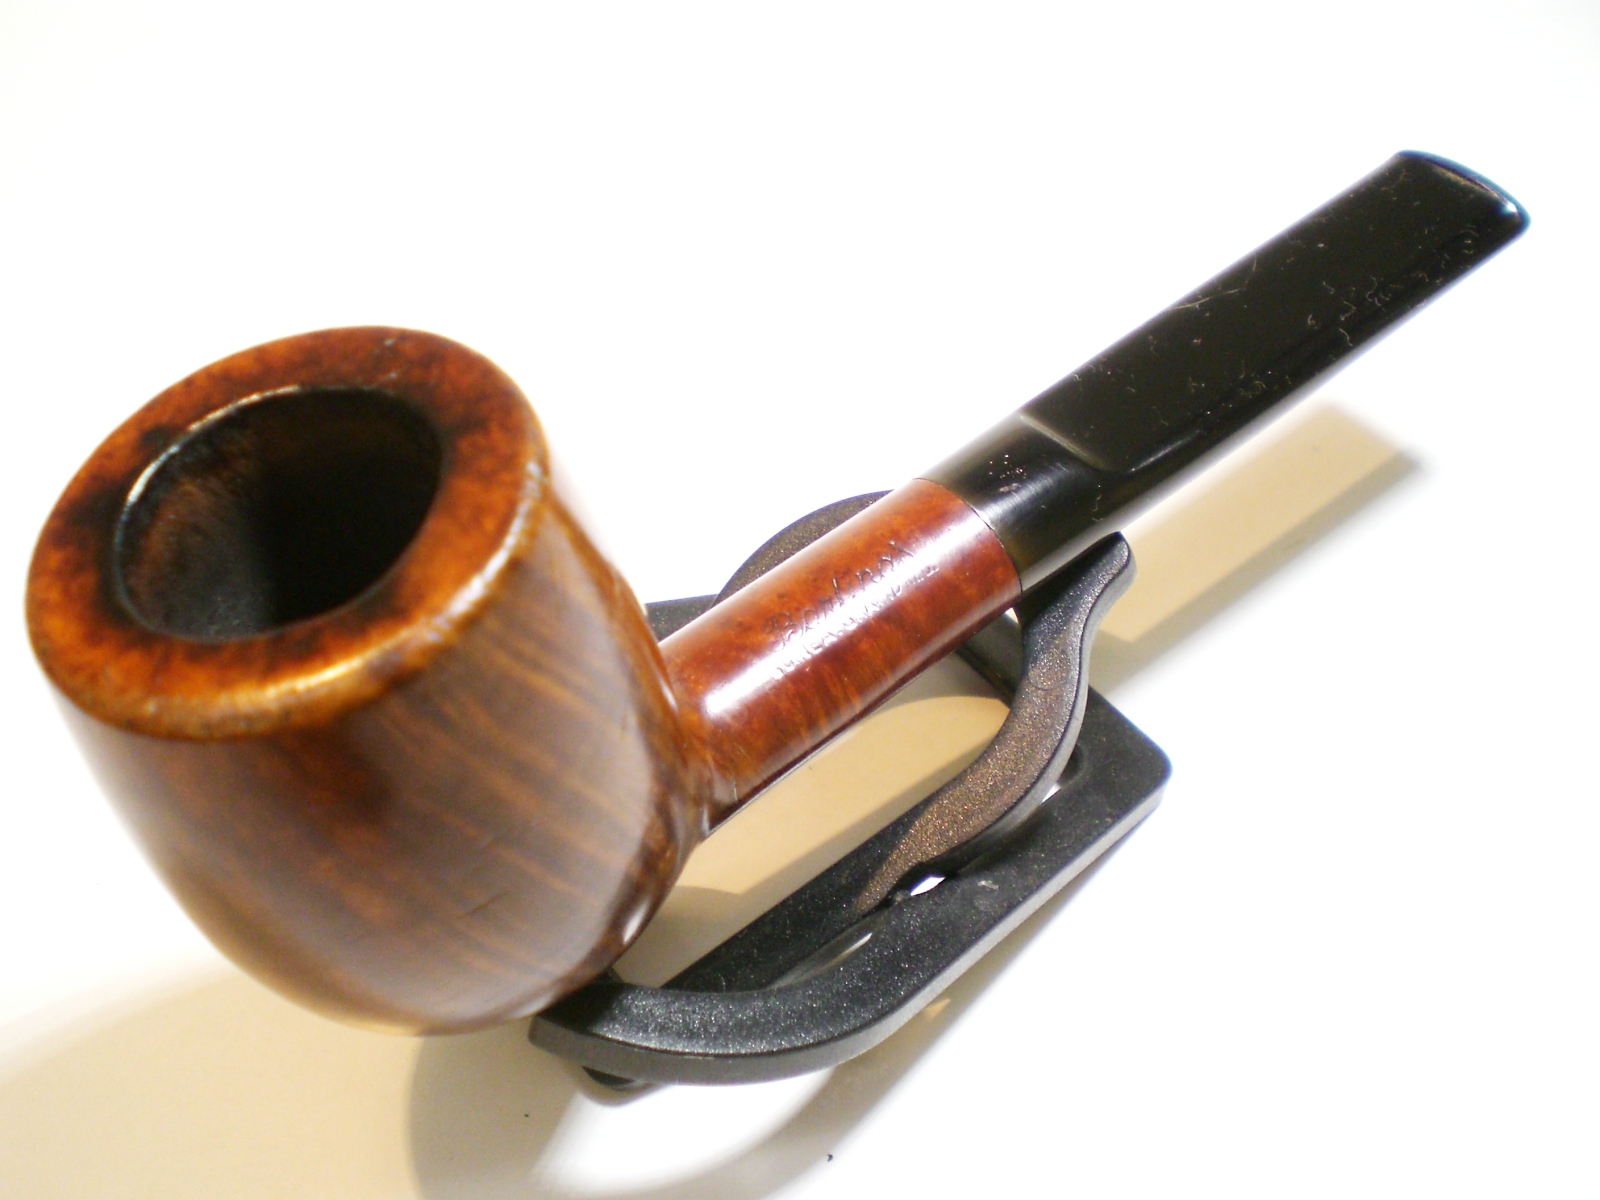
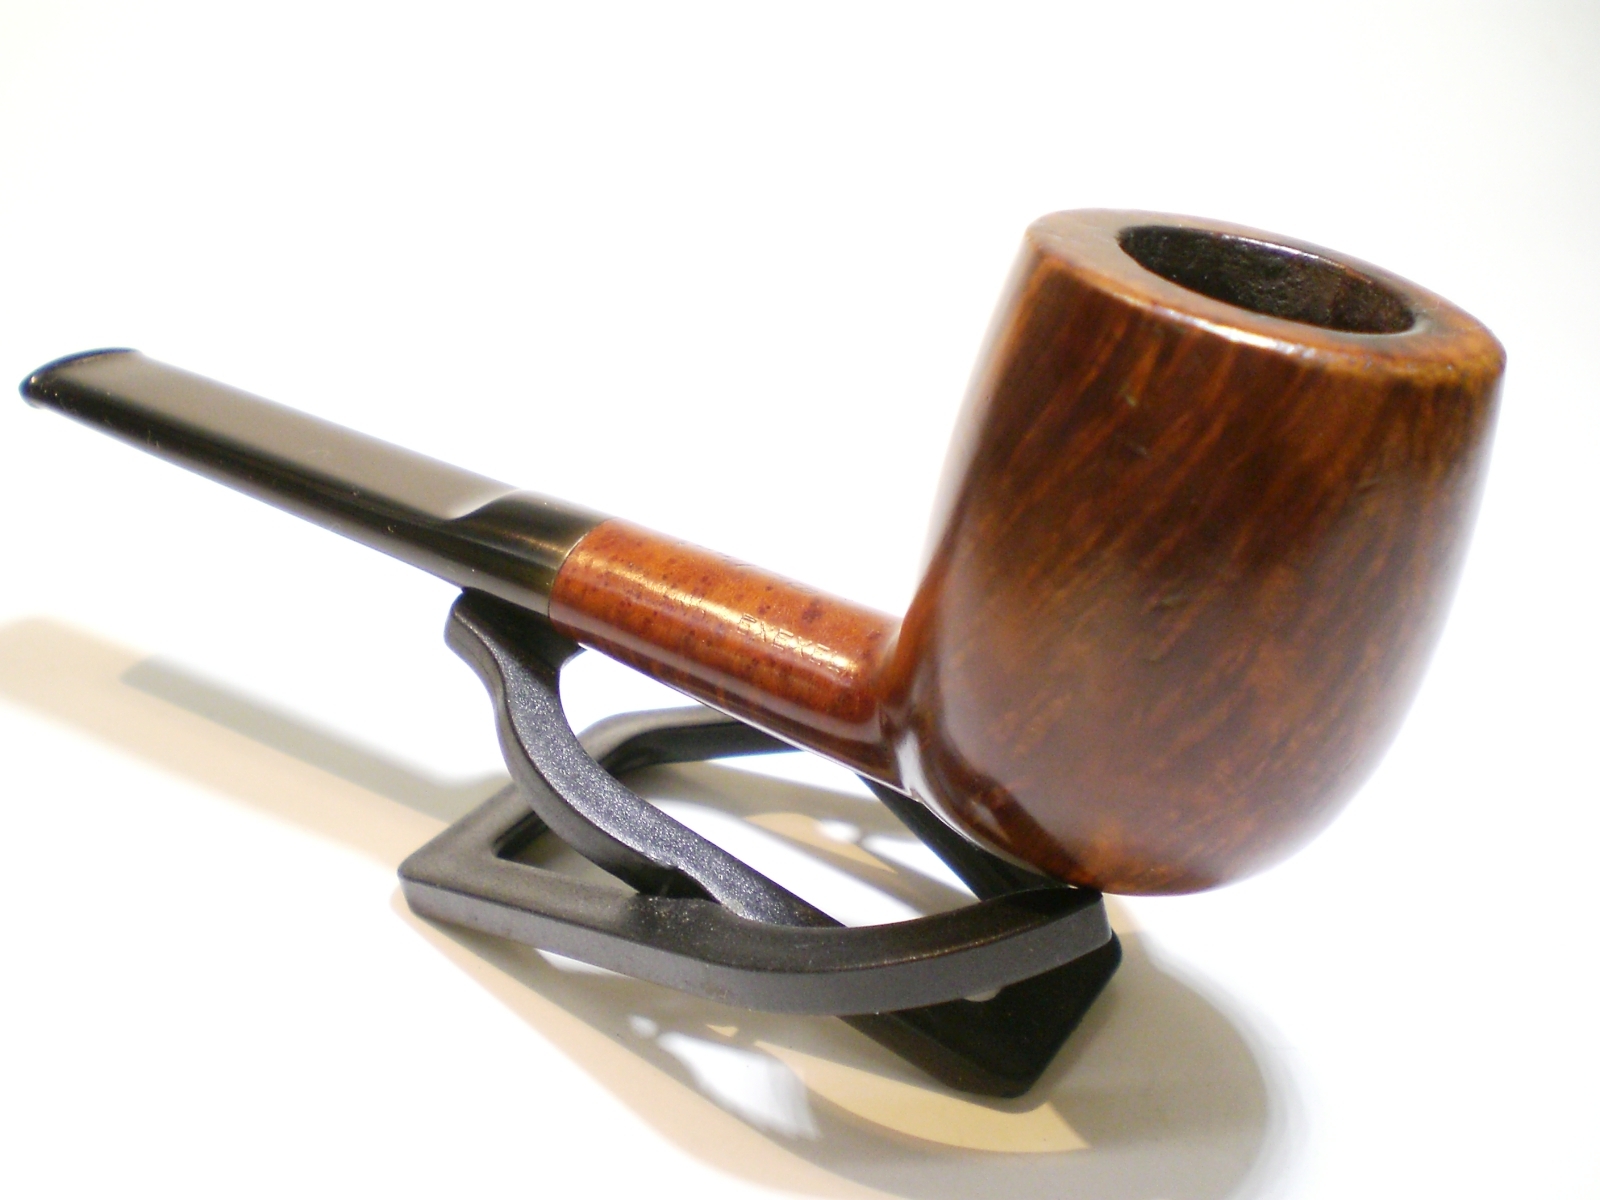
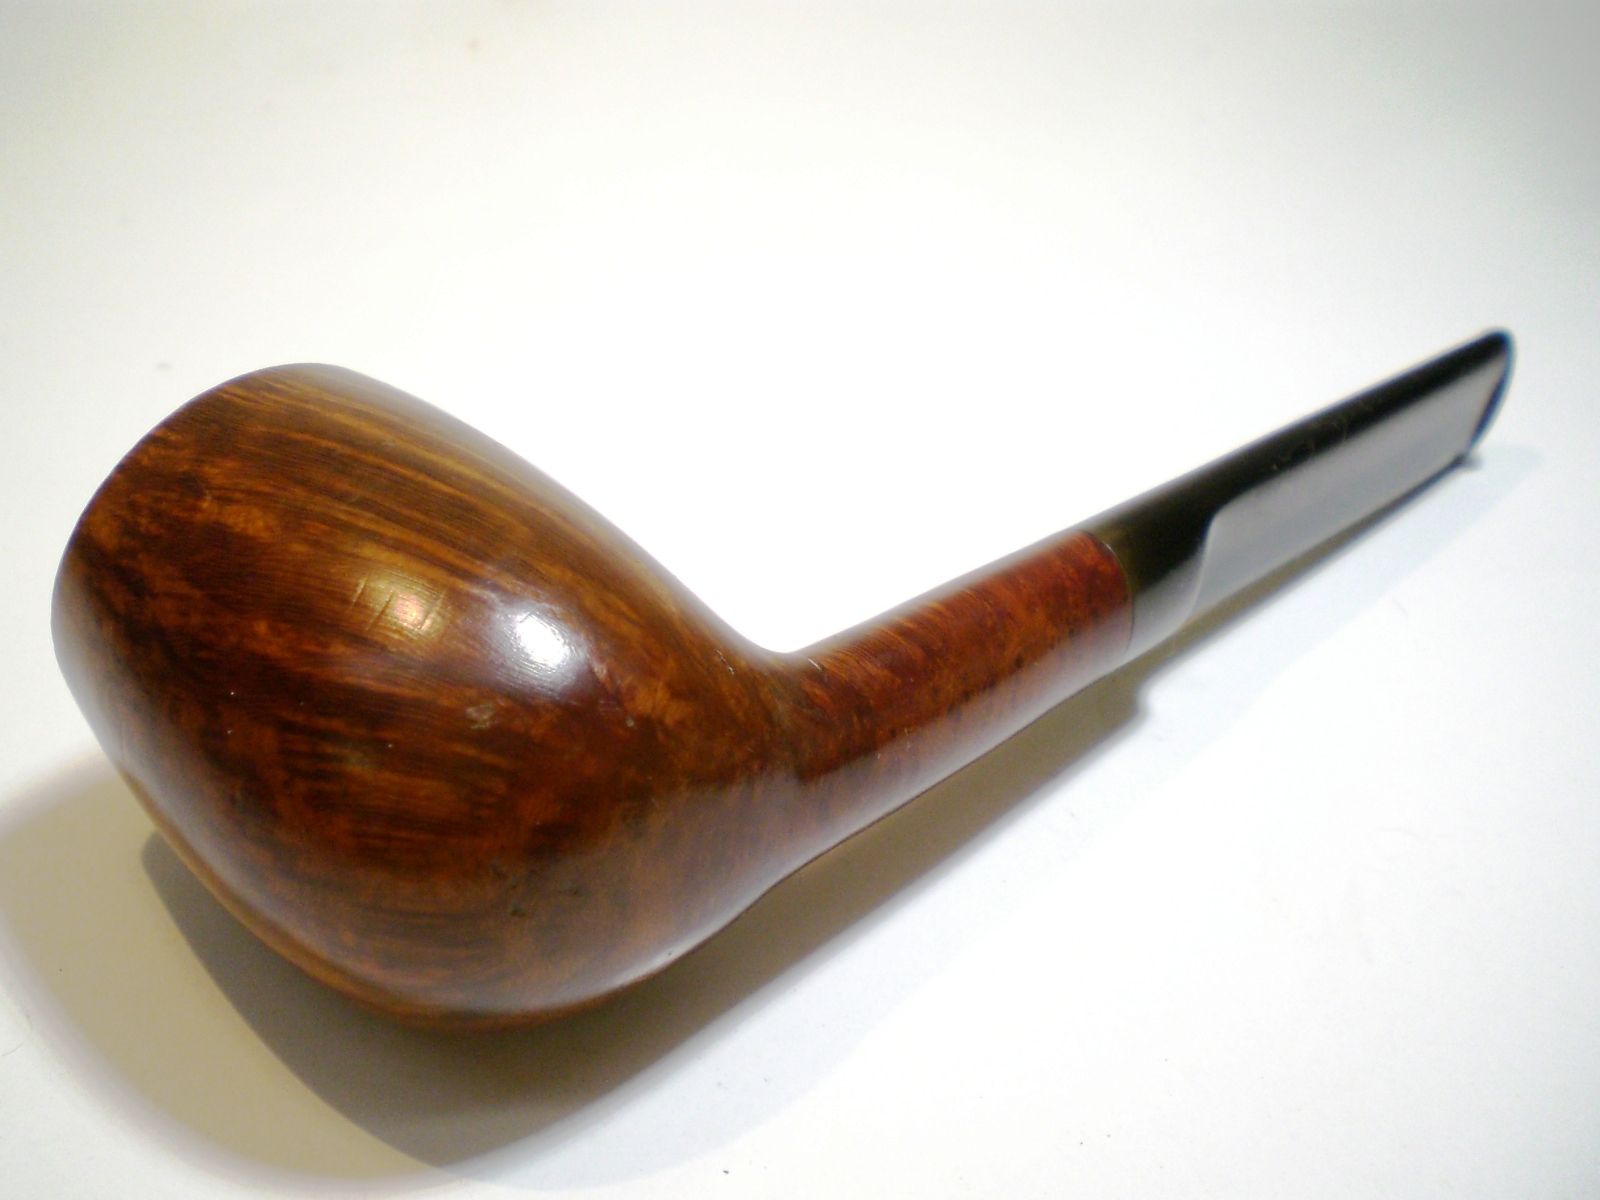
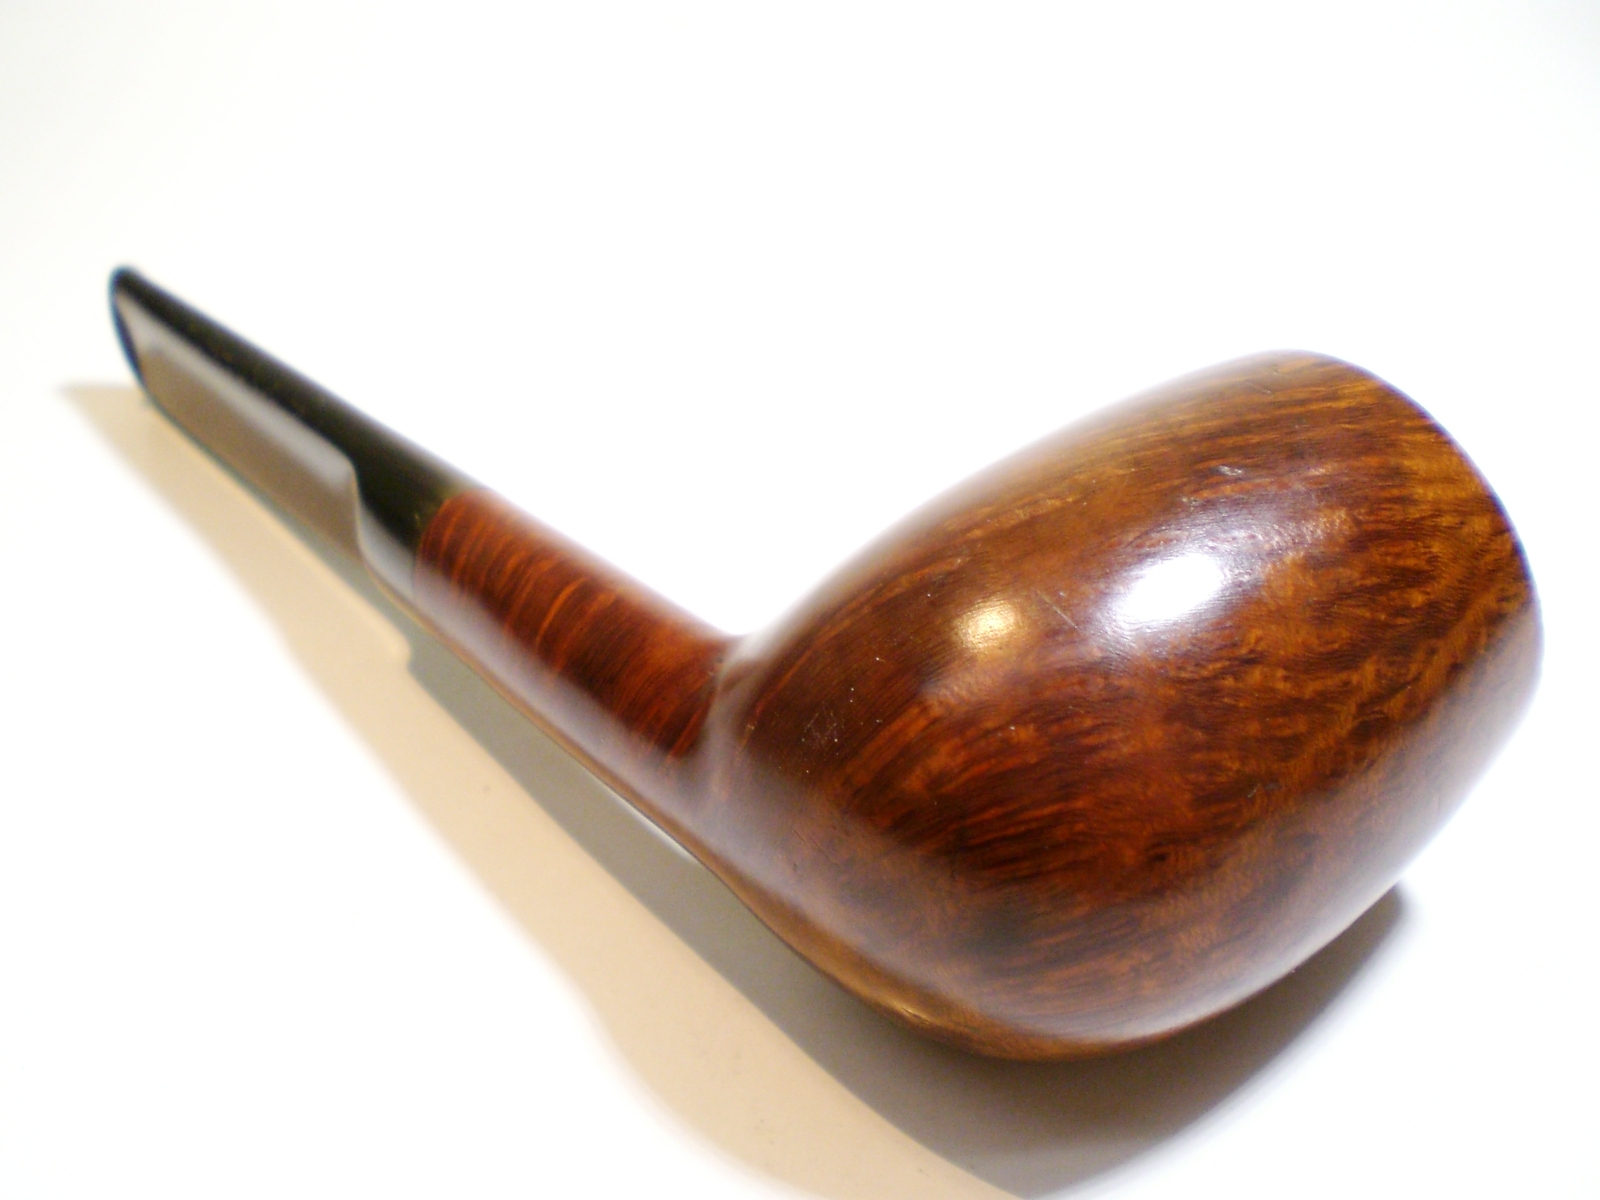
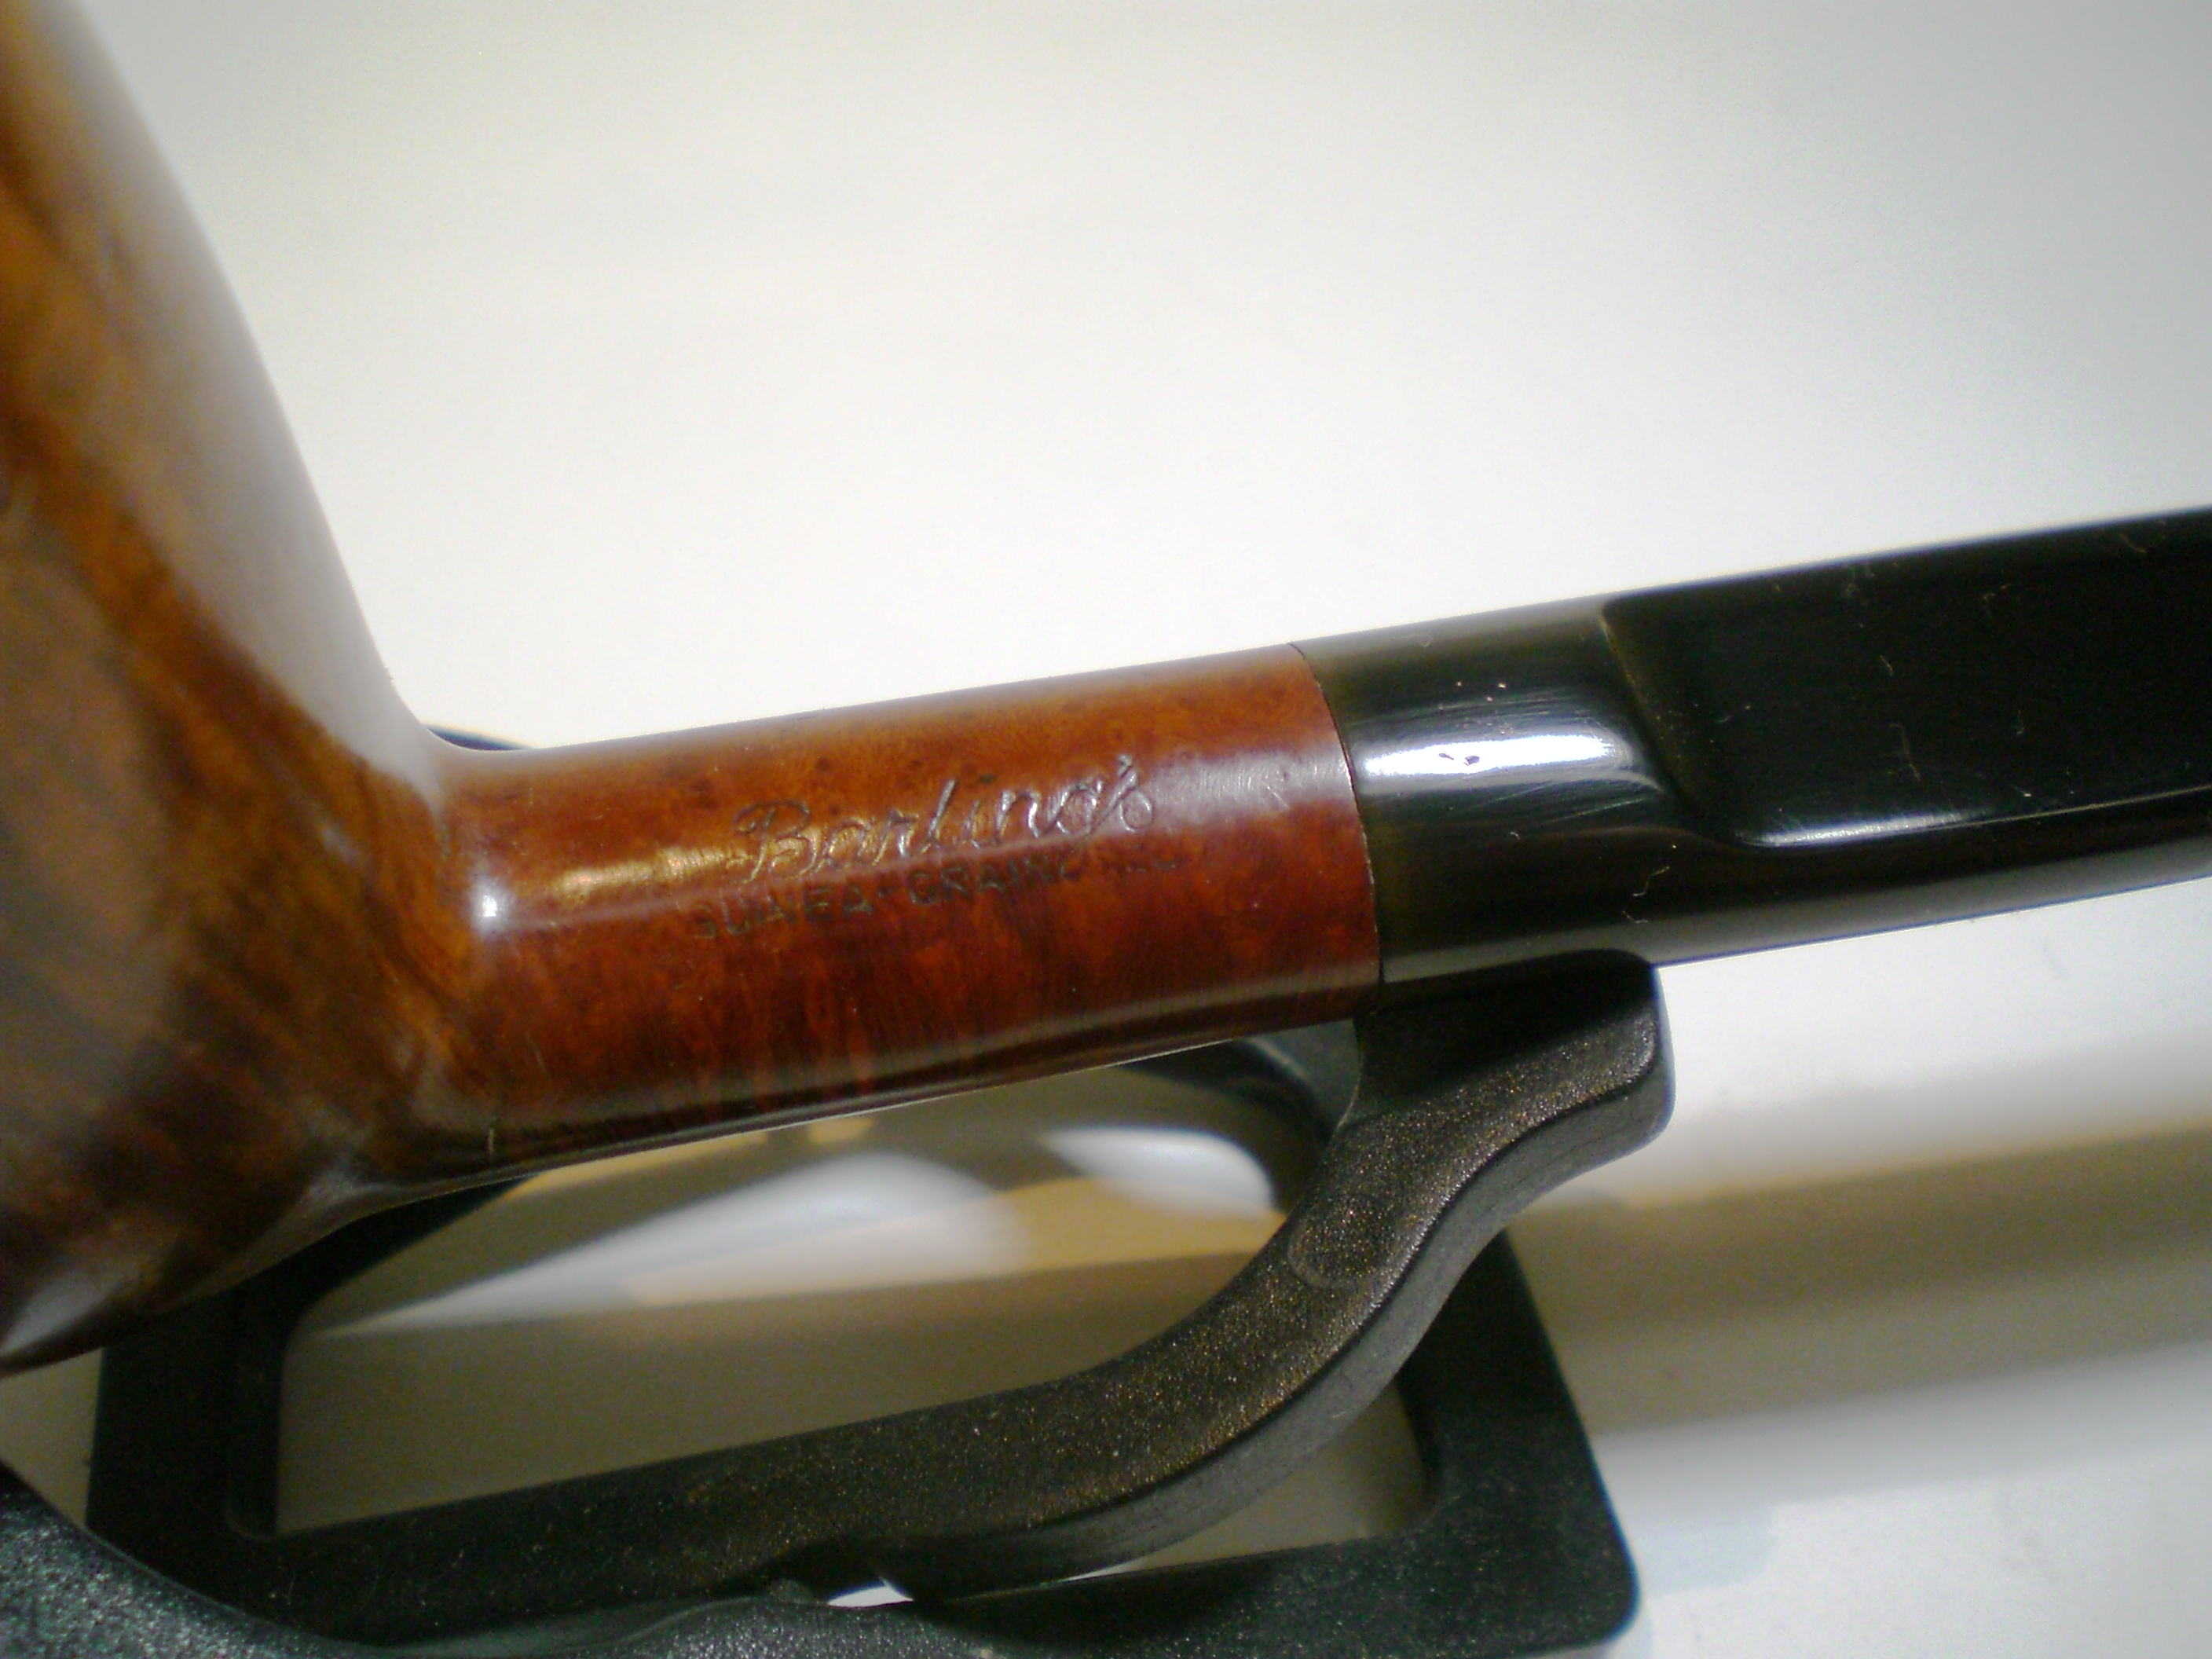
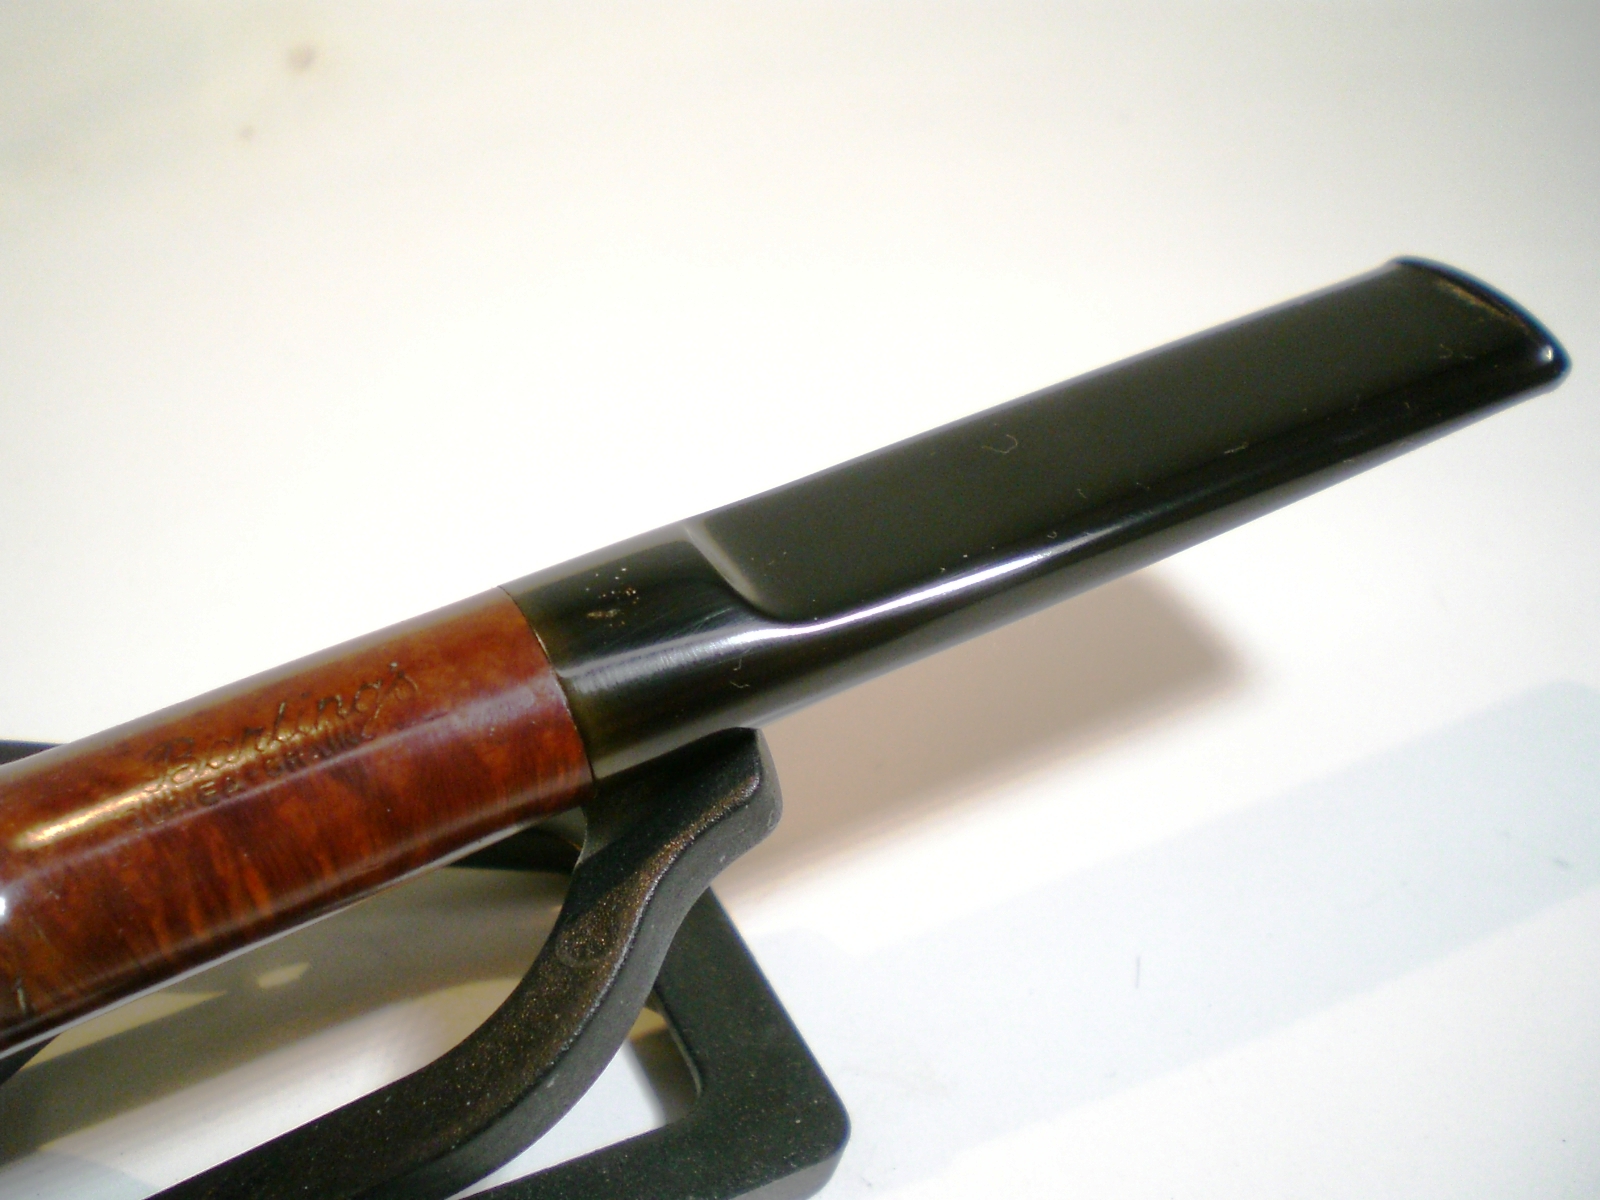
A member on the Pipe Smokers Forum recently acquired this Barling’s “Guinea Grain” pipe and I jumped at the opportunity to restore it for him. I don’t currently own a Barling’s pipe, but recent posts by brand authority, Jesse Silver, had piqued my interest. In conversation with Jesse about the pipe, he shared that “Guinea Grains are a higher grade designation and distinctive for several reasons. They’re the only Family Era pipes with a cursive “Barling’s” logo and they’re the only pipes that Barling also used oil in the curing process to bring out the contrast of the grain.” I enjoyed learning more about this fabled British pipe maker as much as working on it. I need to thank Jesse for his input and information. It is really wonderful to have such a brand authority available for comment. Since the pipe is stamped “Barling’s” in the possessive, Jesse dates the pipe to the 1940’s as a pre-Transition piece. The pipe is stamped EXEXEL, a size grade started in 1940. It also has a very faint “Reg” stamp and the letter “E”. Jesse tells me this is most likely the remnant of EB WB (Edward and William Barling), whose initials form the Barling sterling makers stamp and were used as part of the company nomenclature. Their initials were used on 1940’s era Guinea Grain pipes.

The pipe as I received it.

Barlings_Guinea_Before

Barlings_Guinea_Before (7)

Barlings_Guinea_Before (1)

Barlings_Guinea_Before (5)

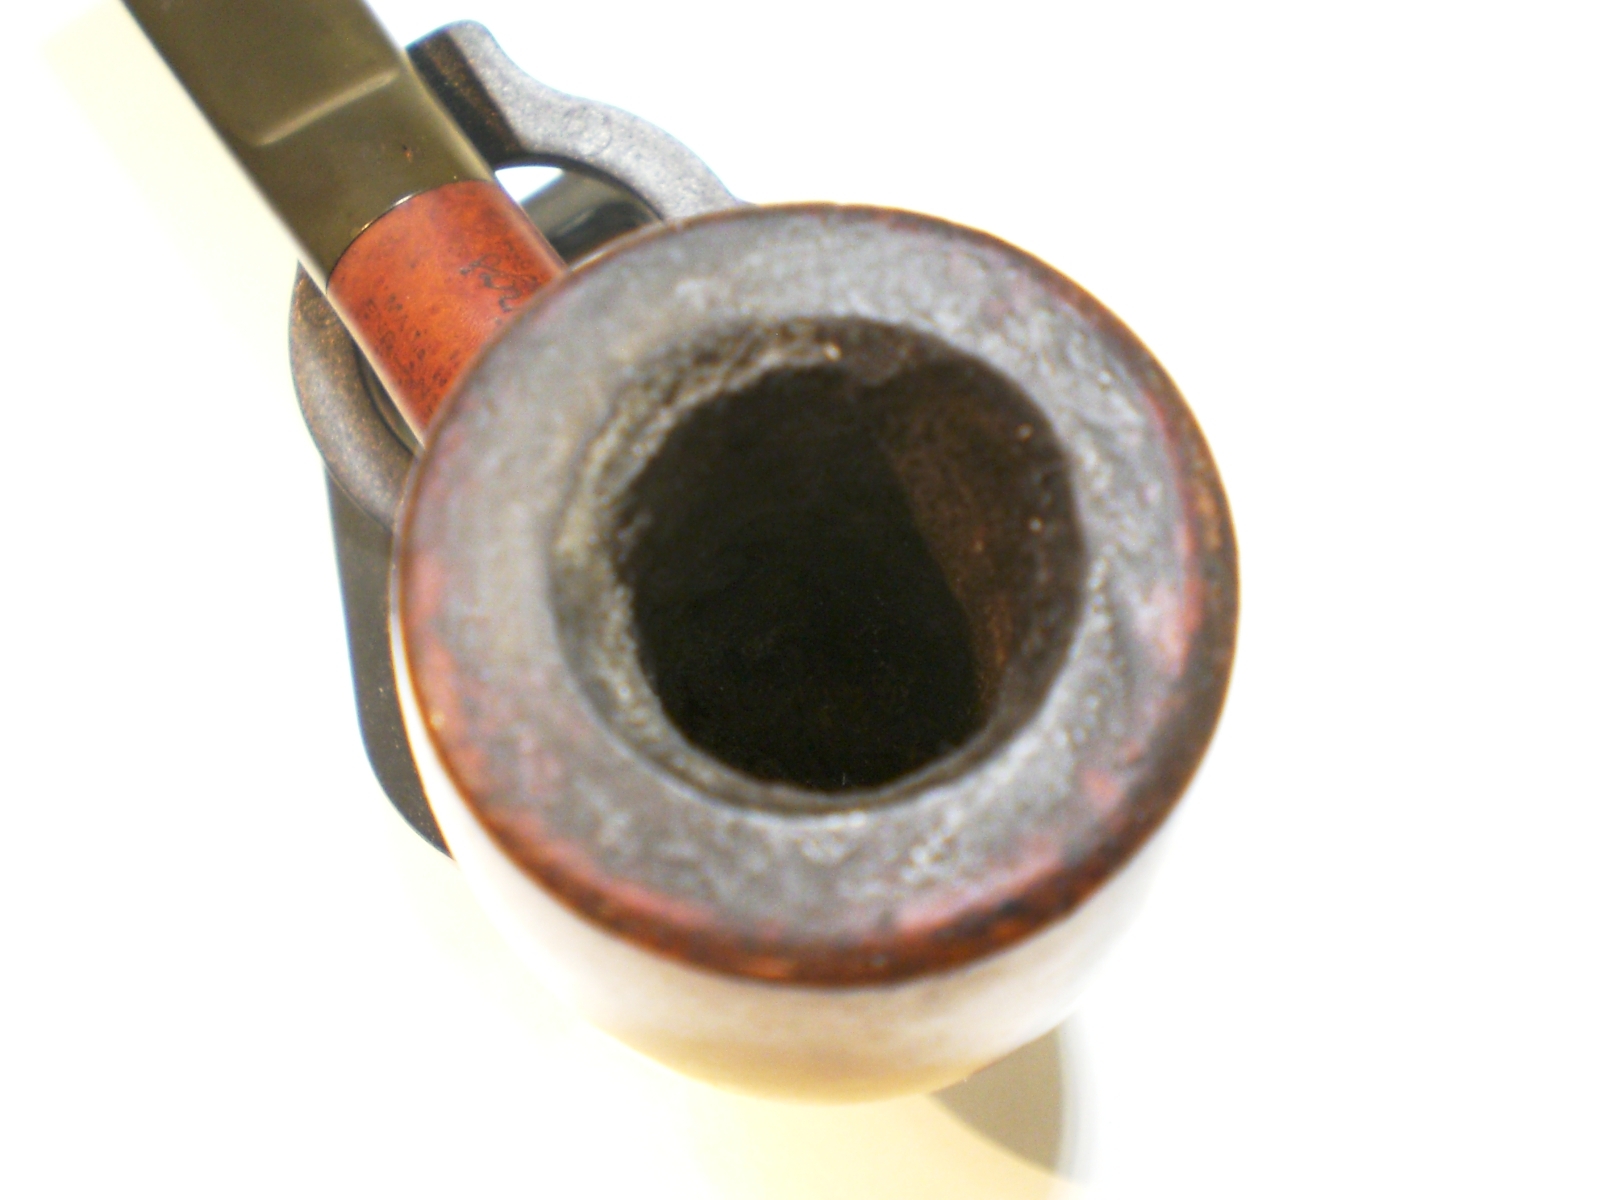
When the pipe arrived, it had heavy tar build-up on the bowl top and many dings and cuts in the briar. The stem was in relatively good condition with only surface teeth abrasions and no dents. Curiously, there was what appeared to be a pinhole near where the Barling’s Cross stem logo would be placed. There was no remnant left of the logo, even under magnification. At first, I thought the stem might be a replacement, but the button ends appears to have the distinctive ovalized and funneled button.

The bowl had a heavy caked which was reamed and then soaked with alcohol and sea salt. While the bowl was reamed a little out of round, the interior of the bowl was in relatively good condition. The bowl top had a number of scars and dings. I have been using Mike Gluklers method of soaking the tar covered bowl tops in just a millimeter or two of distilled water to soften the build-up. I removed it with a cotton cloth using the distilled water. There is some rim darkening, but I didn’t want to sand the rim and restain and think the patina fits the pipe

Barlings_Guinea_Progess (4)

Using a dinner knife heated by a propane torch and a wet cloth, I went to work on the numerous dents and cuts. Some lifted out completely, others were minimized. I wasn’t able to do much about the chatter around the bowl rim. I suspect the previous owner knocked ash out of the bowl. Staying away from the valuable nomenclature, the bowl and rim was buffed with white diamond and several coats of carnuba wax. I gave the nomenclature area a hand-wax with Halycon pipe wax.

I put a drop of black superglue on the hole in the briar. After it was dry, I sanded off the worst of the oxidation with some 800 grit wet paper. I then moved to 1500 and 2000 grades wet paper and finally 8000 and 12000 grades of micromesh. I used a slim knife blade to hold the paper into the button crease to remove that oxidation. Then the stem was buffed lightly with white diamond and finally a plastic polish. The Barling’s stem has a unique feel to it, unlike my similar era Comoys or Charatan stems. The button air hole shapiong shows a lot of care was shown making the stem. (and also makes me think it is an original Barling’s stem).

And finally, the finished pipe.

Barlings_Guinea_Grain_Finished-1

Barlings_Guinea_Grain_Finished-2

Barlings_Guinea_Grain_Finished-4

Barlings_Guinea_Grain_Finished-5

Barlings_Guinea_Grain_Finished-8

Barlings_Guinea_Grain_Finished-7

Barlings_Guinea_Grain_Finished-9

Barlings_Guinea_Grain_Finished-10

Some remarks on dealing with damaged stems of smoking pipes by Jacek A. Rochacki


Blog by Jacek A. Rochacki

This is Jacek’s second article on pipe repairs. I appreciate the slant that Jacek brings to the work of pipe refurbishing. His art restoration background lends itself to some beautiful solutions to the challenges that face the pipe refurbisher that are far different from those that have been used by myself and others as we deal with the work we do. I am very appreciative of Jacek’s willingness to share his methodology with us here on rebornpipes. Thank you Jacek for taking the time to write-up these pieces and sending them to us. They are a significant contribution to our work and love of all things pipe.

We all have known many different ways in which the stems/mouthpieces of our pipes are damaged. Let me indicate some of them: – broken mouthpiece – sometime in the middle, often in the “lip”/”button”area – tooth dent – this is often at the lip/button area and it does not look so nice – different holes/losses, mostly in the lip/button area, often such holes are”bitten up” by willing smoker. – broken tenon (sometime it is stuck/jammed in the shank) Let me begin from few words on materials. In general we deal mostly with vulcanite/ebonite and transparent Perspex (some models of GBD). But those are not the only materials. There are some similar materials like Ashtonite invented by late William “Bill” Ashton Taylor and used in his Ashton pipes; it is a little harder than typical vulcanite/ebonite. In older pipes we often see mouthpieces in yellow color looking like and named “Amber”; these are seldom made of original amber, more often of yellow glass-like material and are hard and break easily. (There are also yellow stems of softer materials like vulcanite/ebonite, and I would proceed with them as I usually proceed with black or Cumberland vulcanite/ebonite). Their tenons are often made of different, more appropriate material for their function, possibly bone, and sometimes such tenons are of screw in type. In some briar pipes tenons are made of metal – aluminum. And I know cases when owner wanted such metal tenons to be removed and changed for tenons made of vulcanite, modern Teflon etc. in belief that these materials will “cooperate” better with briar wood. I mention this not as advice as it is “intrusion” into originality of the pipe but as some kind of curiosity. As a matter of fact I note that even in case of vulcanite mouthpieces there was/is tendency to remove original tenons and fit tenons of Teflon or other modern material. Here is list (partial to be sure) of some of the different kinds of vulcanite/ebonite materials that have been used for mouthpieces:

Ace – American Hard Rubber Co., USA
Super-Ace – American Hard Rubber Co., USA
Amcosite – Siemens Bros. & Co., UK
Bulwark – Redfern’s Rubber Works, UK
Cohardite – Connecticut Hard Rubber Co., USA
Dexonite – Dexine Ltd., UK
Endurance American Hard Rubber Co., USA
Gallia-Rubber – French ebonite
Keramot – Siemens Bros. & Co., UK
Level Chuck – American Hard Rubber Co., USA
Luzerne – Luzerne Rubber, USA
Mercury – American Hard Rubber Co., USA
Navy – American Hard Rubber Co., USA
Onazote – Expanded Rubber Co., UK
Permcol – British Hard Rubber Co., UK
Resiston – American Hard Rubber Co., USA
Rub-Erok – Richardson Co., USA
Rub-Tex – Richardson Co., USA
Solid Rubber – used by some English makers in 1914-1918 years

I have seen these names/markings on stems/mouthpieces of old pipes. Sometimes it is of help in dating and attributing a pipe that is so marked. Remember that vulcanization of natural rubber with sulfur was invented by Charles Goodyear in USA in 1839 and was patented in 1843; in the same year Thomas Hancock patented it in Great Britain. Here is have good source on vulcanite
http://www.seattlepipeclub.org/content.aspx?page_id=22&club_id=969877&module_id=16894

In the’30’s vulcanite of different mixed colors became popular in making pens and is similar to what we see in some mouthpieces of pipes named “Cumberland”.

As vulcanite consists of vulcanized natural rubber, it may be of help to mention that oil (like in old days was used in oil lamps) and/or turpentine may serve as solvents, helpful with restoration if needed be.

I said all this in order to point out the importance of recognizing the material that our mouthpieces are made of in order to find best matching material for making eventual repairs to missing elements etc. The practical solution seems to be making one’s own “stock” of repair materials – simplest would be to collect broken, unrepairable mouthpieces. But there other ways: I found vulcanite rods that were used in schools for experimenting with electricity to be good material for fixing damaged mouthpieces. In the field of transparent materials I have been using old fashioned artificial plastic glass (sometime named Plexiglas) that was used in aviation some half of century ago. It is also important to choose right type of glue.

Beside the matters of tenons, I would briefly divide our work into two categories:
– joining together broken elements
– filling in holes or broken areas.
Of course, in practice these categories will “mix up” together.

In the case of a repairing a stem or mouthpiece that broken in half, the solution is quite simple. What is to be done is to use a strengthening/enforcing invisible element that will serve as sort of “hard core” – constructional element. The simplest way would be to use thin tube of internal diameter corresponding with diameter of the air channel of our mouthpiece. “Walls” of such tube, if it is tube of metal, may be of 0.3 – 0.4 mm in thickness. In order for it be fitted properly, we have to drill a kind of “nest”/mortise/”channel” for it, drilling the air channel with drill bit of proper diameter making this “nest”/mortise as long as required by length of our tube. The choice of such tube is important as not only air but also condensate will be in contact with the tube, so I would avoid brass, copper etc. The best IMO would be a tube of pure silver or high percentage silver alloy, or some aluminum like that which was used by Dunhill for his Inner Tubes, just of larger diameter. Silver tubes may be available in goldsmith’s supply places.

After making proper strengthening/enforcing tube and making sure that all parts fit well, I use simple glue of cyanoacrylic type – kind of “super glue”.

A more advanced way would be to make the strengthening/enforcing/ element – a drilled tube/cylinder from vulcanite/ebonite. It is possible to make it without using a lathe, just the laborious and precise use of files. The starting material could be the broken tenon from unrepairable mouthpiece from our “stock” of materials. The “nests”/mortises in parts to be glued should be of larger/proper diameter, because it is practically impossible to hand make the vulcanite mini tube with walls of 0.3 or similar thickness, so the outer diameter of our vulcanite tube will be larger than in case of metal tube. We make “nests”/mortises/”channels” of required diameter using drill bits of proper diameter. If we are not sure about precision of our fingers necessary for hand making short tube of vulcanite, we may make just a small cylinder of vulcanite of desired size which would make/allow parts to be glued to fit perfectly, and after gluing all parts together, drill the air channel from the tenon side with a long drill bit of right diameter corresponding to diameter of the air channel and in delicate, secure direction-wise way, drill the inserted cylinder through the air channel so the air/draft channel will be “operational” again.

Summary: use the enforcing/strengthening elements and we may be surprised how many unrepairable looking elements may be repaired and then serve really well.

Now for filling in holes or broken areas.

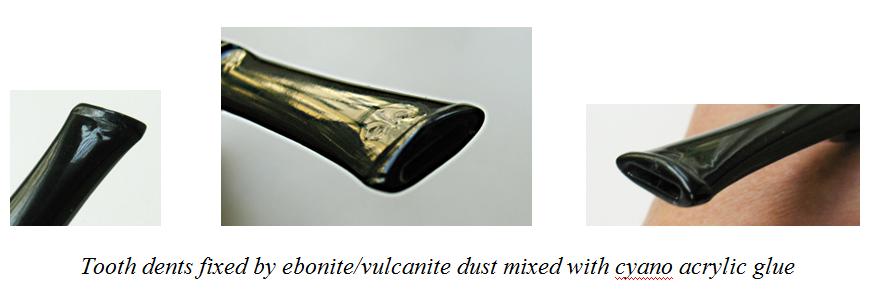
The relatively simple thing seems to be filling in tooth dents. I begin by cleaning the surface of the dent with some sharp tool – scraper or blade of size of small pocket knife, better with rounded tip, such as those found on pipe knives. This is to remove oxidation from the surface that is to be filled. After “cleaning” the surface I take a needle, scraper or similar sharp tool with sharp pointed tip and “score”/”draw” delicate lines/”mini-groves” on the cleaned surface. This is the old trick used in enameling for better adhesion of filling material (extender) that will be “put” on the prepared surface. This material is simple and known us vulcanite dust – the result of filing a properly chosen piece of vulcanite, sometimes it is result of filing the stem that is to be repaired, sometimes we may use another piece of vulcanite from our “stock” if we are sure that it will fit well. Then I mix this dust with cyanoacrylic glue making my “filling material/paste” – kind of putty, and I apply it on scored dent. After some time – rather longer then shorter – say – good couple of hours depending on thickness of the filling, I use a file and sandpaper and finally polish on the patched stem – this is known as the finishing procedures.

After all this please, be prepared for unpleasant surprise at the first glance. The filled up area may be of different color than the color of the stem. Please do not worry! It is not without reason that I have mentioned before that oil (like in old days was used in oil lamps) and/or turpentine may serve as solvents that are helpful with restoration… so a drop of oil or turpentine applied on the repaired area and “distributed”/”smeared” all over will turn the surface of the glued parts to match the rest of the stem. When the surface dries, I would return to delicate polishing and be prepared for repeating such finishing operation as many times as necessary. At very end I would apply a wee drop of olive or proper mineral oil and smear it all over with soft cotton textile; this is old method of conservation of surfaces of objects made of vulcanite/ebonite – “hard rubber”.
Jacek1

This was an easy case. What about situations when the lip or end of the stem/mouthpiece is partly broken, “eaten up”, has holes, or part is missing? Please, take a look at illustrations published by our host at the beginning of his text “Cutting and shaping a new button on a severely damaged stem”
https://rebornpipes.wordpress.com/2014/02/25/cutting-and-shaping-a-new-button/

Instead of cutting/removing the damaged part and carving the lip/button of what is left, I would proceed in different way. Keeping in mind my wish of keeping original dimension, proportions, form, I would try to reconstruct damaged stem/mouthpiece as following:

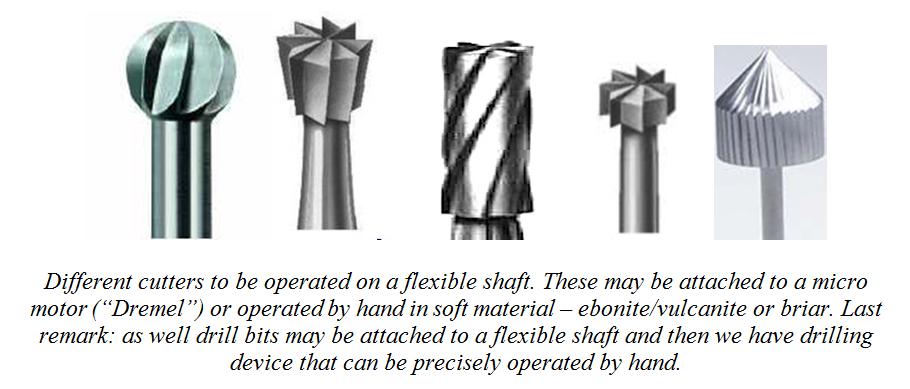
By using sharp cutting tools – engravers/burins, scrapers or in case of better equipped “workshop corner” – cutters, like those used by jewelers for stone settings, or even a sharp pocket knife, a frame saw and needle files I would work on the damaged area making it a proper shape a piece of the same material carved that I will later shape/carve to fit what is missing. The words “making it of proper shape”, may be a subject for another longer text. But as sort of inspiration may be the different ways dentists use to “elaborate” holes in teeth so that the filling will be kept securely in place. In a stem the situation is easier as we have good binding glues and are binding together the same kind of materials – vulcanite/ebonite to vulcanite/ebonite.

When the newly carved material is fixed into the missing area with glue, I work with files and drill bits to achieve desired missing shape. Then I proceed with finishing techniques. Let us look at the pictures:
Jacek2

Jacek3

Jacek4

In case of stems/mouthpieces made of transparent material I have been proceeding as described above, just choosing proper equally transparent material for making missing parts. After polishing the seams are invisible. I would use fast cyanoacrylic glue of kind that creates transparent seams.

In Steve’s article one commenter mentioned a missing lip on his Peterson P-Lip pipe. Again: in glue we trust: just proceed as described above and if the work is done properly, it should be impossible to distinguish reconstructed lip from the rest of the stem by the naked eye. In general, if the whole lip is missing, I would glue in a large piece of matching material and would shape it by files etc. The air channel can be easily drilled (easily as we are dealing with comparatively soft materials) with drill bits of proper diameter.

I would deal with problem with missing or broken tenon in ways described above, depending on particular situation. Sometimes I use the reinforcing “inner tube” glued in place as described above. Other times I drill the “nest”/mortise of a diameter corresponding with diameter of new tenon to let it fit tight and correct/straight then glued in place. The old and best known method of removing broken tenon from the shank is:
– use of strong alcohol to dissolve eventual dried condensate and/or residues that “glued” the broken part in the mortise.
– take a self-tapping screw often used in construction, by woodworkers etc. and screw it into the air channel of broken jammed part in the mortise.
– keeping the head of this screw firmly in place carefully use pliers to twist it out while at the same time pulling on the broken part. If it does not come out it often means that it is still “glued” in place by dried condensate, tars, etc., so go back to the strong alcohol and please, repeat over a couple of hours or even days.

In conclusion I would like to present some simple hand tools that I find useful in working with pipe restoration. I would like also to say, that for cutting vulcanite/ebonite I use the typical jeweler’s frame saw with proper blades, similar to this shown here together with workbench pin and set of blades.
Jacek5

Jacek6

Jacek7

Jacek8

Jacek9

Jacek10

Jacek11

Cutting and shaping a new button on a severely damaged stem


Blog by Steve Laug

I have actually come to enjoy the process of cutting a new button on a stem. It has taken a lot of practice but I can honestly say that I am getting better at it. I still have more to learn; as I am sure will always be the case. But the method I use now can be fine-tuned and personalized by others who choose to use it. That is why I thought that for this article I would walk you through the steps I take when cutting and shaping a new button.

1. A stem that is unrepairable and has sufficient meat to it that if I remove the first ¼ inch or less still has material above and below the airway in the end of the stem. This is a candidate for reshaping and reforming a button. I often take a picture of the remaining button and angles before I trim it back.
Stem1

Stemb

IMG_3458

Hole in stem

2. I cut off the damaged end of the stem using a Dremel with a sanding drum. I know others use various other tools for cutting it off – saws, carving tools, knives, Exacto knives and a variety of others. The idea here is to remove the damaged material just far enough back on the stem to leave a solid base to recarve the button. At this point the goal is to cut off the material and leave a straight line at the end.
Stem4

stem5

Stemc

Stemd

IMG_3842

IMG_3844

IMG_3843

3. Once I have the straight edge I often trim the corners and round them slightly. My goal is to match the original button as much as possible.

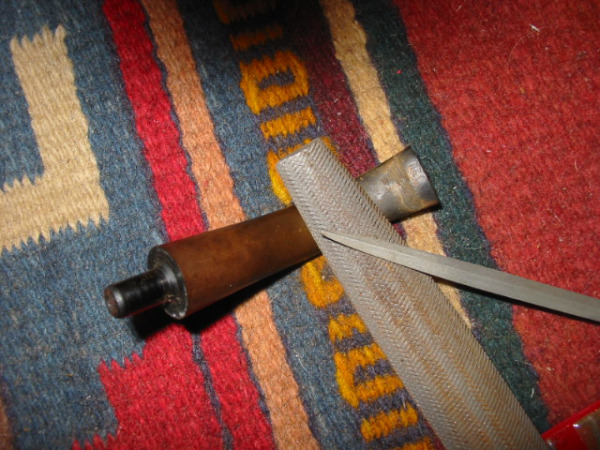
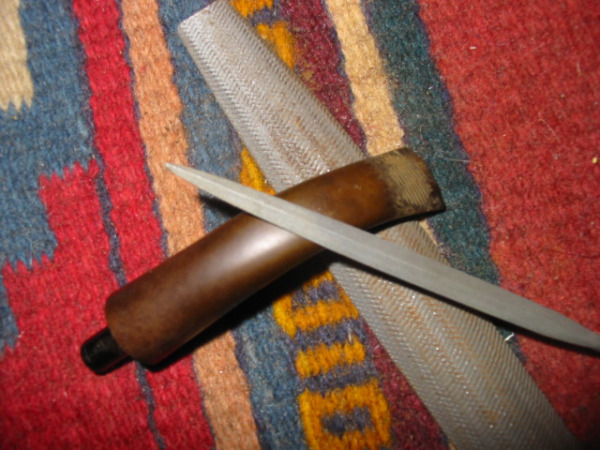
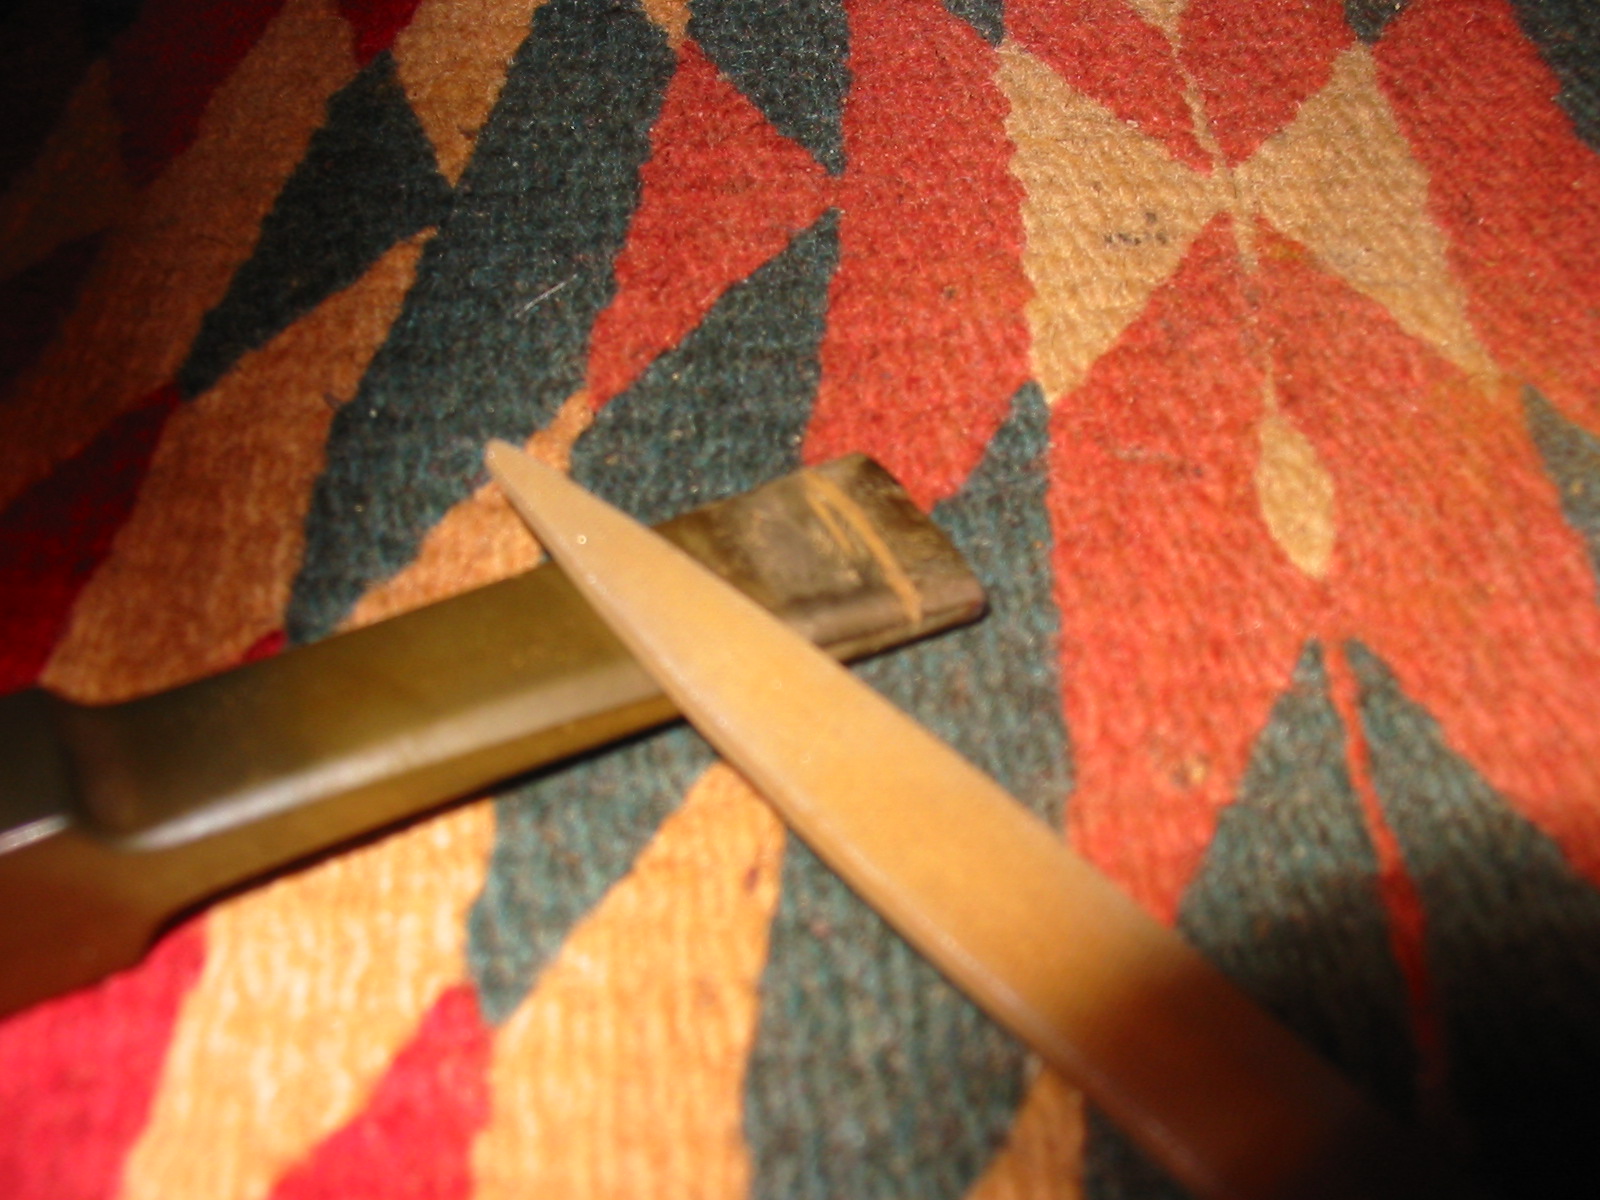
4. I use a sharp, straight rasp or a needle file to cut the sharp edge of the button being careful to align the top and the bottom sides of the stem. At this point I am merely marking the button area. The key here is not to make the button to broad but to aim for the original width from the end of the stem to the edge of the button.
Stem6

Stemf

Stemg

IMG_3847

5. I use the same needle file to carve back the stem angle from about half way up to reduce the angle to the button and give more depth to the button. This involves using the file like a draw knife and working it from mid stem to the edge that you cut with the file.
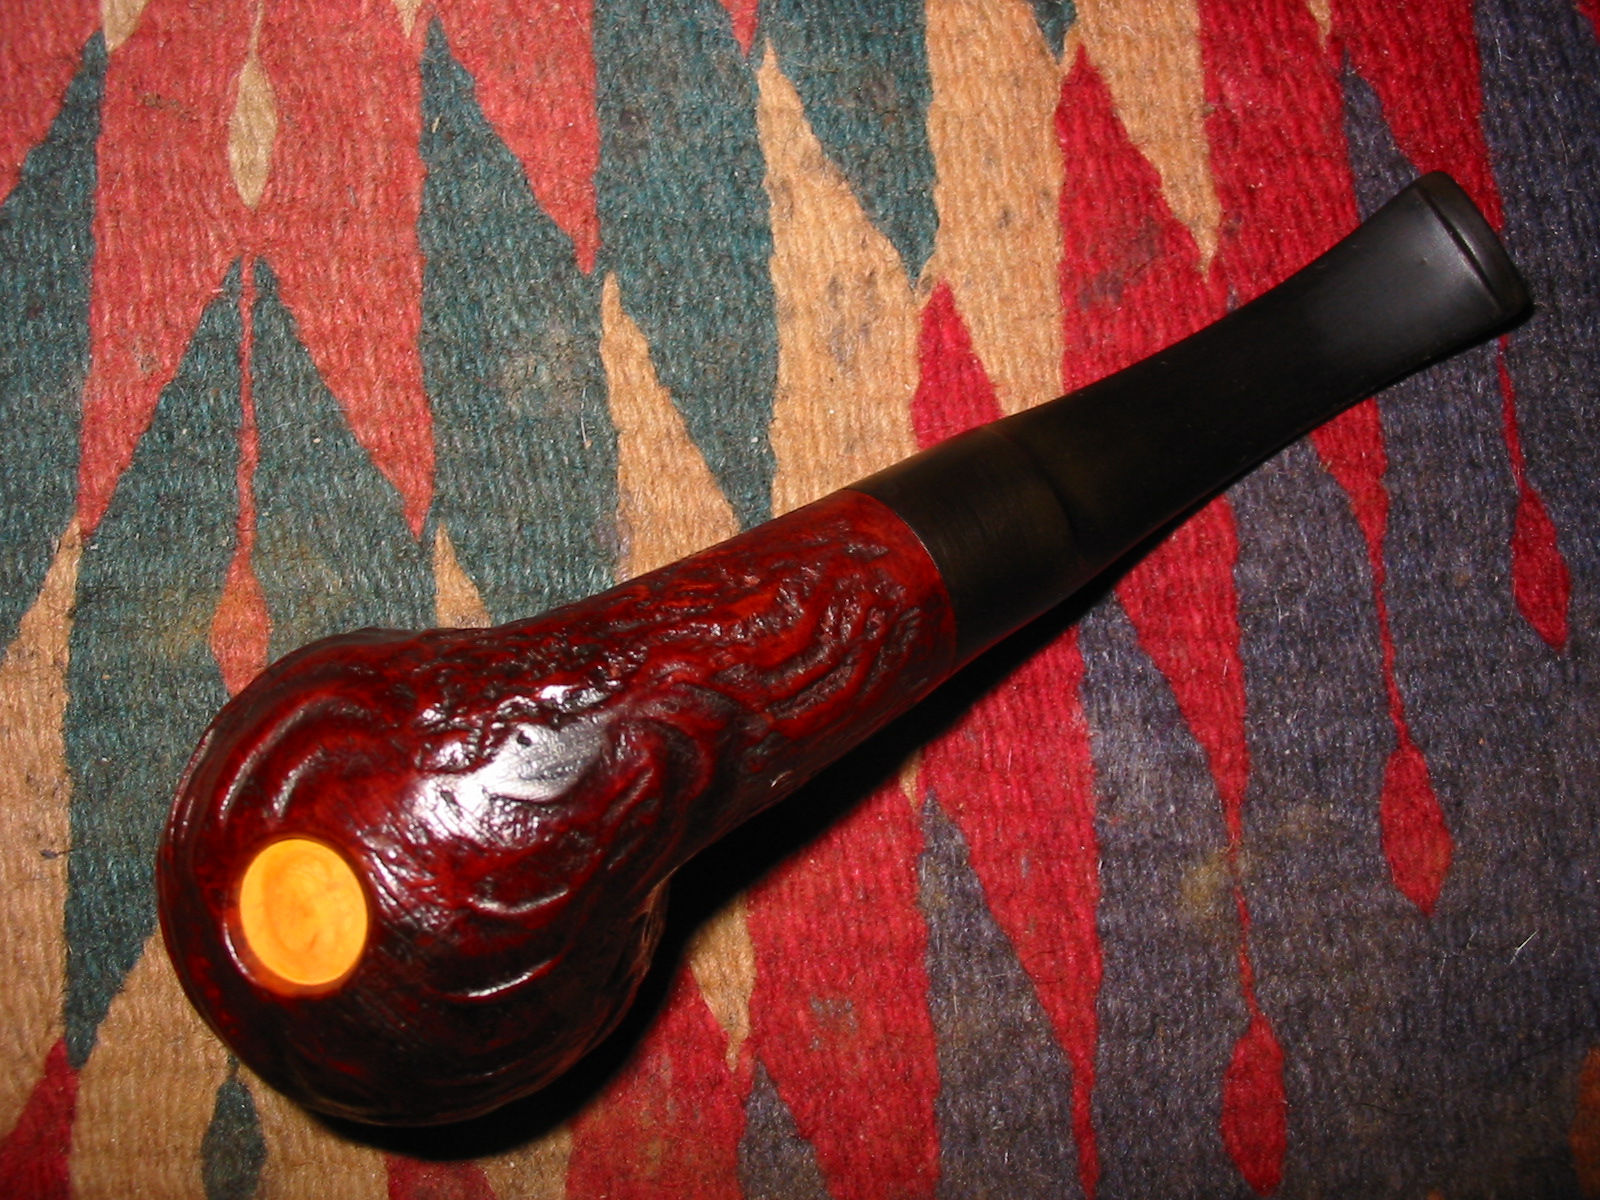
Stem7

Stem8

Stemh

Stemi

IMG_3848

6. I generally start with the top of the stem and then work the underside to match the angles of the top. You have to be careful not to draw too deeply with the file as you work it. The end product of the cutting is a gentle taper that when sanded out looks natural. This process also give shape to the button.
Stemk

7. When I have the taper trimmed and even I work it over with a folded piece of 220 grit sandpaper to remove the file marks. I continue to work and shape the stem. I try to crown the flat blade of the stem slightly by sanding the edges to give the stem a thin profile. This also gives shape to the button.
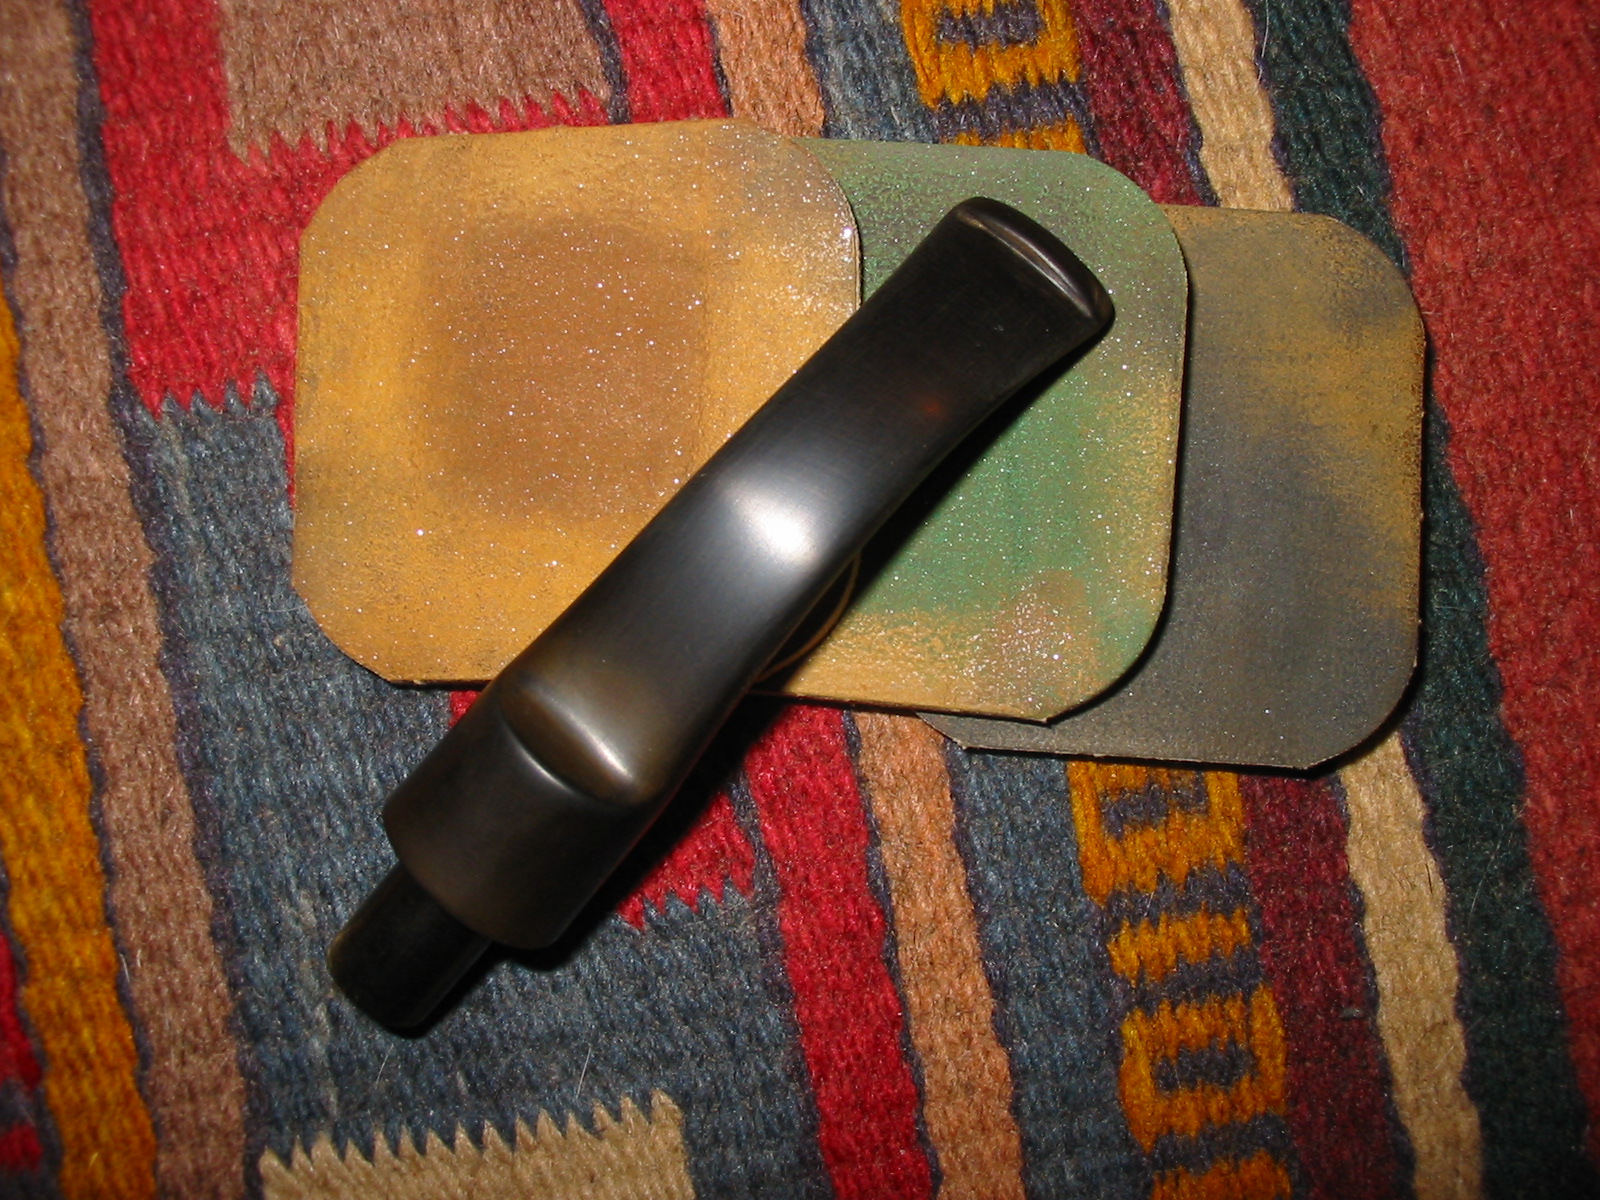
Stem9

Steml

8. I use the sandpaper to also shape the button in a flattened oval or eye shape. If there is room above and below the airway I also gently slope the button toward the end. I am always using the stems and buttons that I have that like as models for the final look of these reshaped buttons.
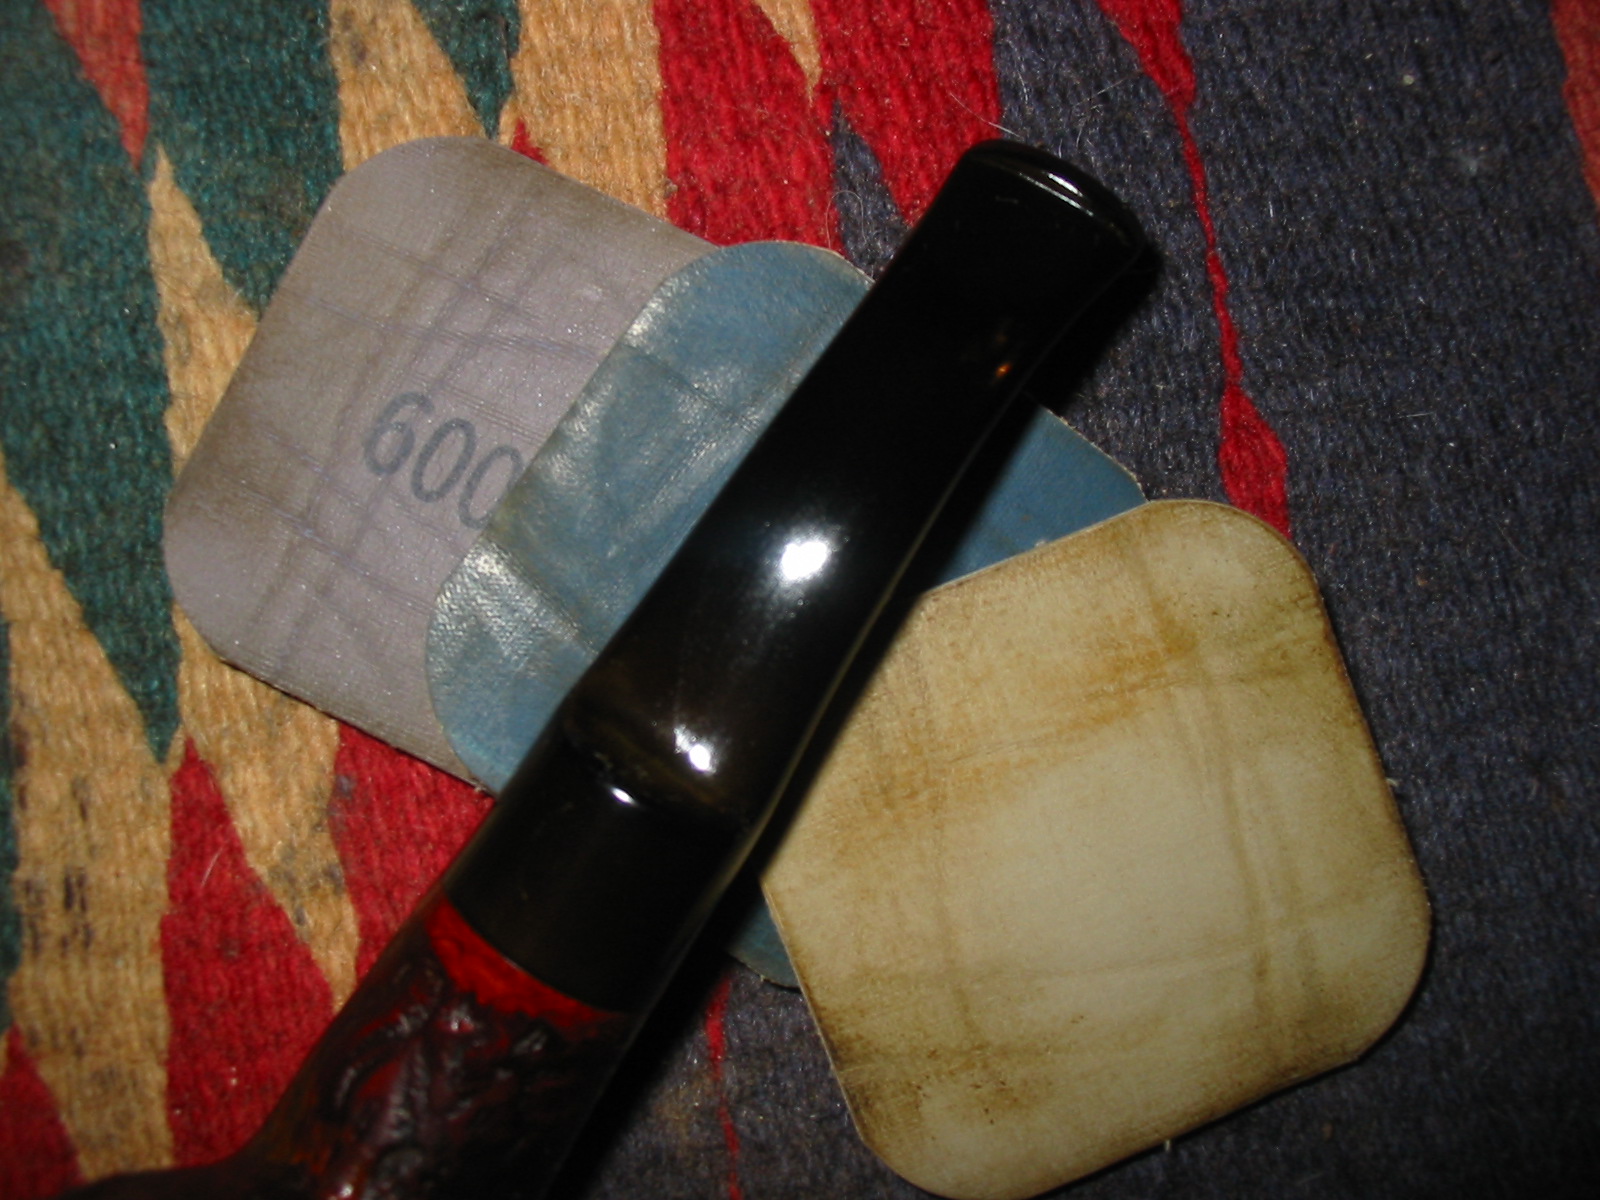
Stem10

Stemm

Stemn

9. I use three different needle files to open up the slot on the end of the button. I first use a round file to open the airway and start to cut the funnel in it. When I am done with this first file the airway is beginning to look oval. I then use a slightly oval needle file to further shape the funnel and widen it toward the outer edges of the button. The third file is a flattened oval that gives me the ability to open the edges of the slot and the funnel so that finished airway has a flattened oval or eye shaped look to it. In general I work so that the slot has a shape similar to the shape of the button.
Steme

Stemp

Stemq

10. I sand the inside of the newly cut airway/funnel with folded sandpaper until it is smooth. I have also used emery boards that I found in the cosmetics department of local drug stores. They are commonly used on fingernails but work well for the inside of the slot.

11. I fine tune the slope of the taper with medium and fine grit sanding sponges to make sure that the slope top and bottom matches. I also work on the sharp angle of the inside edge of the button to give it distinction from the slope of the stem.
Stem13

IMG_3857

12. I sand the stem with micromesh sanding pads from 1500-12,000 grit to polish and bring back the deep shine. I use these on the end of the button and on the edges of the airway to make sure that the slot is smooth.
Stem12

IMG_3861

IMG_3864

IMG_3866

13. I buff the newly cut button and stem with White Diamond and then give it multiple coats of carnauba wax to protect and preserve it.

14. At this point the stem repair is complete and the new button looks like it was designed for the pipe it graces. (In the first photo below the Perspex stem is pictured next to another identical stem in vulcanite. Compare the two buttons.)
redo-on-perspex-stem-012

Stemr

IMG_3871

IMG_3870

IMG_3869

IMG_3868

Some remarks on dealing with cracks and splits in briar pipes – by Jacek A. Rochacki, Bydgoszcz, PL, 2014


This morning I received the following email and article from Jacek A. Rochaki from Poland. I have included Jacek’s email in full as he gives a great introduction to himself. He comments on his English and does not need to as it is very good. Thank you Jacek for a wonderful article on repairing cracks in briar pipes.

My name is Jacek A. Rochacki – Jacek for Friends. I am a retired sculptor, silver and goldsmith, conservator, also author of texts on history, theory and practice of applied art in metal and applied art in general plus on conservation; my second professional “incarnation” is historian of applied art. I have been also teaching these subjects in Denmark and in my native Poland.

My imperfect command of English has prevented me from writing much, but my sincere wish to help in repair/restoration of pipes and thus saving them has prompted me to write some remarks with hope, that you will kindly forgive my eventual linguistic mistakes. Let me say that this text in much shorter form has been already published in English-speaking pipe-internet, unfortunately it somehow disappeared so after revision I decided to make the second edition. I should also say that it should be rather written in past tense, not in present tense, as I am not anymore active in my studio.

With kindest regards, Jacek in Poland
—
Jacek A. Rochacki
Skype: jarochacki

Cracks and/or splits in the stem and in the bowl of briar pipes are often repairable; let me indicate step by step how I have been dealing with such problems. Let me begin by dealing with cracks in the bowl.

1. On the very end of the crack/split the tiny hole should be drilled by a drill of, say, 0.5-0.6 mm in diameter. But kindly keep in mind that this hole should not go through the wall of the bowl just should be drilled deep enough to serve as “stopper” preventing the crack/split to continue. This is an old technique known to woodworkers and restorers/conservators knowledgeable in techniques, tools, workshop of applied art objects. In case of the bowl (or shank) of briar pipe it is not necessary to use the drilling machine but you can twist the drill bit with your fingers.

2. Delicate but thorough cleaning of the crack/split in order to remove any sort of dirt, especially to degrease the crack/split itself and the adjoining/neighboring area. I often use “pure” alcohol, say, 98-99%. Then the cleaned bowl should dry for a period of, say, two-three days.

3. When the crack/split and the adjoining area of the briar is clean and dry, I simply use the properly chosen glue. Some sources recommend the cyano-acrylic glue, possibly in the consistency of gel rather, then in very liquid form. I was told that so called Super Glue should do the job, but I use a two part epoxy resin with a hardener, which meets two conditions: it is heat-resistant, and it creates a “flexible” joint. This is important because during thermal operations (pipe smoking) the briar “works” – gets larger and smaller according to the change of temperature.

The two part epoxy resin which I use, according to the representative of the manufacturer of this glue will be “working” – getting larger and smaller when “exposed” to change of temperatures in a way similar to briar. This very glue – as I’ve been informed – is heat resistant up to 200 C/392 F. Unfortunately I was given the epoxy as a gift in two small samples and not the original jars, so I can’t give more precise information. All I know is that the manufacturer is Chester Molecular Company. So when I have the glue ready, I apply it into the crack/split as deeply as possible; the experienced restorer, “clever with his hands” may even try with utmost possible care to split the crack a little wider in order to let the glue penetrate as deeply as possible. Here I do not have to mention, that it is an extremely risky operation, because the widening of the split may cause the bowl to break! When the glue is applied, you have to press the glued bowl in order to let the glue do its job. I often place the glued bowl (wrapped in some soft textile, leather or felt in order to prevent damage of the surface) in a vice jaws and carefully apply the force; a simpler method would be just to use thread wrapped tightly several times around the glued briar. I let it sit for rather long time to dry thoroughly – details should be provided by the glue manufacturer.
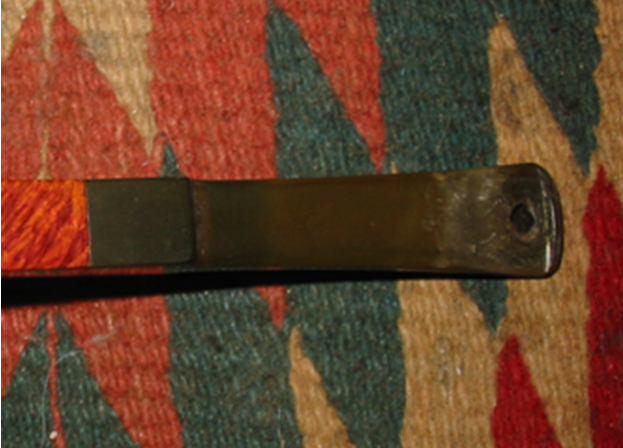
Gluing stems pressed by “force wrapping” with thread

Gluing stems pressed by “force wrapping” with thread

4. When the glued bowl has dried, there is time to clean the surface. At first I would got rid of eventual “overflow” of the glue from the surface by use of engraving tools, scrapers or even ordinary, but sharp pocket knife. Since I often deal with a sandblasted bowl I would not go for sandpapers, just do the job with sharp tools mentioned above, trying to follow texture/grooves of the sandblasted finish. In case of various Dunhills that came through my hands I didn’t find necessary to improve the color by staining the bowl. I just ordinarily use a professional polishing/buffing machine with polishing textile mops with turning with speed of approximately 2200 – 2800 r.p.m. with use of (gradually):
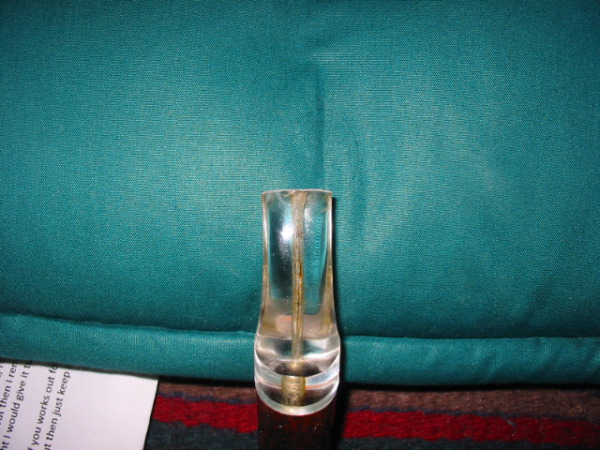
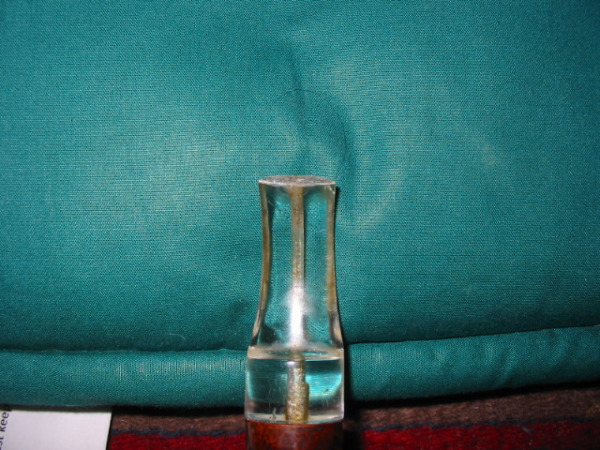
a. A pre-polish paste/material (like German Menzerna, or other modern equivalent of traditional Tripoli compound).

b. A”white” polishing material (like White Dialux (ed. White Diamond in North America).

c. Carnauba wax/resin, known to the pipe world does the job well.

In many cases it is enough; typing this text I am smoking my Dunhill ES Shell Briar, vintage 1967 which came into my possession with a bowl severely damaged, and since I applied the procedures described above it smokes perfect, with no signs of reappearing cracks that are repaired.

Restoration of crack in a Dunhill ES

Restoration of crack in a Dunhill ES

Restored Dunhill ES

Restored Dunhill ES

But in some cases it would not be amiss to enforce the glued bowl by applying the element of metal – possibly of silver of high quality – a ring. In some cases it would make sense to create not just a top ring/band but whole “cap”, sometimeswith metal “mustaches” that will cover and enforce the fixed cracks.

Top “cap” and stem band

Top “cap” and stem band

Band with LK monogram

Band with LK monogram

Top “cap” with “mustaches”

Top “cap” with “mustaches”

Top “cap” with “mustaches”

Top “cap” with “mustaches”

Continuing the topic of repairing cracks or/and splits: I know about different metal – often silver – elements, used in repair procedures. They are used mainly in order to re-enforce the construction/structure weakened by the crack/split/mechanical damage, and to mask the place that has been damaged as well. This simple sentence/statement should be a topic for longer explanation; let me just say, that “silver” – more precisely: the two component alloy of silver and copper is recommended because of its softness – thus it has a better ability for three dimensional forming – but it is also (unfortunately) a good conductor and “keeper” of heat. So I would keep this in mind, and always take this under consideration, when thinking on using large portions of silver element to be fixed on the surface of the bowl. The wrong distribution of the heat may result in a burned/charred smoking chamber at the place, where the fairly large piece of the “heat keeper”=silver element is permanently fixed on the outside of the bowl. I say this with regard to what I read sometimes on the internet about the usage of metal – maybe silver – fairly large elements in the process of repairing such or similar damages.

I believe that we should pay attention to the kind of silver – silver alloy employed in the repairing process. Remember, that the higher amount of pure silver (or gold) in the alloy, the easier the process of forming will go (of course after proper “softening” which goldsmiths and silversmiths call annealing). So I am a smith, who, for dealing with many cases, instead of using “Sterling Silver”, so common these days which is an alloy of 92.5% of pure silver and 7.5% of copper, will go for “old fashioned” alloy once popular among British top silversmiths, named Britannia Standard and which consists of 95.8% of pure silver. For some purposes I would use even pure silver plate or elements like clasps, because of the absence of copper prevents the “bad” chemical processes which may eventually trigger out, when elements containing copper contact with condensate and make foul taste in a carelessly repaired pipe. The higher amount of pure silver or gold in the alloy, the more such alloy is usable for forming.

I mentioned clasps. I use them often when repairing long cracks/splits in the shank of a pipe, especially at the bottom of Canadian shaped pipes, when the use of “traditional” silver or gold band would cover part of the signature or, because of technical reasons I do not want to go over the whole area of the shank at the repaired area. I want to avoid intrusion into the markings area at all costs as I am an applied art conservator. But sometimes it is impossible to make a repair band with sort of “windows” showing the signature – the whole area or part of it. I put strong accent on this aspect as signatures/markings must never be masked/covered/destroyed, like in restoration of other objects of art. I make my clasps usually of 0.4 mm in diameter pure silver wire and I place them in specially elaborated/carved grooves/”nests”, always keeping their tops at the level of briar surface of the repaired area. Then I usually cover the area repaired in such way with very thin (0.3-0.4 mm) plate of silver, leveled up to the surface of the outer briar area at repaired place.

Cracks reinforced by clasps of pure silver in order to avoid bad chemical reaction with condensate and ready for fixing silver plaquettes or repair ring with “window”

Cracks reinforced by clasps of pure silver in order to avoid bad chemical reaction with condensate and ready for fixing silver plaquettes or repair ring with “window”

Cracks reinforced by clasps of pure silver in order to avoid bad chemical reaction with condensate or ready for repair ring with “window” – before and after fixing silver plaquettes or repair ring

Cracks reinforced by clasps of pure silver in order to avoid bad chemical reaction with condensate or ready for repair ring with “window” – before and after fixing silver plaquettes or repair ring

Silver plaquettes with monograms covering cracks fixed with clasps

Silver plaquettes with monograms covering cracks fixed with clasps

Sometimes I put my signature, and even the stamp REP (repaired) on it as it should be done in professional conservation to mark change in the original object, or just an engraved ornament in order to make such plate looking nice. This we may consider as symbolic homage to great British and not only British tradition of silver craft, where the way of placing the hallmarks, maker’s marks etc. used to be an important part of the aesthetics of the composition of the stamped object. And I go similar way in case of repair band/ring if I deal with split at the end of the shank. I believe that we all are familiar with ornamental silver rings; some of them may be repair rings first of all. (The following photos show some of the ornamental rings that I have crafted and used.)
Jacek11

Jacek12

Jacek13

Jacek14

Jacek15

Jacek16

Jacek17

Jacek18

Jacek19

A Call for Written Submissions


reborn logo1

As the founder of the rebornpipes blog I have been excited to read about the refurbishing work that many of you are doing. One of my dreams when I started the blog was to provide a place for the interchange of ideas and methods used by us amateur/hobby refurbishers. To some degree that dream is being met. There are a growing number of refurbishers who are taking the time to write up their work and share their methods here on the blog. I am so thankful for their willingness and generosity in sharing with us all.

Beyond that though it is important to realize that receiving articles from others helps to broaden the base of information available on the blog. It is great to read about your application of some of the methods that we have written about. It is encouraging to see them work for you as well as they have for us. It is also exciting to hear about your own creative solutions to the challenges in our hobby. Thank you for your work.

In this second year of the blog’s life I would love to hear from more of you. If you have articles that you have written about your work or could take the time to document what you are doing as you refurbish old estate pipes please send them to me. Or if try your hand at carving your own pipes why not submit the documentation of that work. It is a pleasure to hear from you all and to see what you are doing. I find it personally encouraging seeing the many people across the globe who are practicing our art.

Articles can be emailed to me at slaug@uniserve.com and I will put them on the blog. Articles should be written in Word or some equivalent word processing program and have the photos of the work inserted in the body of the text or at least attached with notes as to where they fit so that I can insert them for you.

Thanks for considering writing for the blog. The more the merrier who take the time to record their work and share it with others who read the blog regularly. I look forward to hearing from more of you. Why not join the ranks of those who are posting their work here on the blog. Share your skills and learning with us. Though our writers are not paid (neither am I) it is rewarding to be able to share our information with fellow pipemen across the globe and to hear from them.

Out Damned Spot!…or at Least Hide – By Josiah Ruotsinoja


Josiah and I have been emailing back and forth on this old Kaywoodie for quite a while now. I asked him to do a write up for the blog on it as he tried some different ways of minimizing stains to the briar. Each method he used has its own application and effect. Josiah did a great job writing this up and demonstrating the way the method worked and the results of the application. Thanks Josiah for the great work. I look forward to reading more about your refurbishing in the days ahead.

This last August, I acquired a Lot of estate Kaywoodies. All were in fair condition. Some looked like old, loved friends and a couple hardly smoked at all. One was unsmoked with the price sticker still on the stem. I’m guessing that all came from the same estate judging from the burn pattern on the rims. The main issues to be dealt with were the moderate burns on the rim and some spots from sitting in something wet. These spots proved to be the more serious problem, as you may gather from the title.
Among them was this Connoisseur #69 pot.
Josiah1

Josiah2

As you can see, there was quite a lot of grime and a large dark spot on the left side of the bowl. Another, less severe spot was on the bottom of the shank. However, it appeared to be in good condition overall with nice thick walls and no deep dents or scratches. The bowl had some very nice birdseye on both sides. Visions of a nice blond or honey colored stain immediately jumped into my head.

Time to restore! My first steps were to ream the bowl and put it in an alcohol bath and soak the stem in an Oxyclean solution. The stem came clean and polished up nicely without much trouble. I heated up the stinger and screwed it in to the mortise while still warm to correct the alignment.

The grime on the rim came off quickly, but there were a couple pretty deep scorch marks. I started off topping the bowl with 220 grit sandpaper, but it quickly became apparent that it was going to take forever with that fine a grit. So I started over with 80 grit until most of the burn was removed and worked my way up through 600 until it was gone. Then I put a slight bevel on the outer and inner rim.

Now for the real problem. The water marks (I kinda think old motor oil) hadn’t come out in the alcohol bath as I had hoped it would. Having never dealt with removing such marks from wood, I decided I needed to consult someone with more experience. I sent an email off to Steve here at the blog for advice. In response he suggested a few options: lemon juice, bleach, oxalic acid and as a last resort sand paper.

First, I tried lemon juice.That worked to a degree, but the stains were still clearly visible. Here are the marks after the lemon juice.
Josiah3

Josiah4

I figured anything I could see would be more visible after applying stain, but I decided to give it a try anyway. I sanded the entire surface from 220 up to about 6000 grit. I applied stain and flamed it to set the stain. Below is the first attempt…not so successful.
Josiah5

Josiah6

So I sanded off the stain again and went for bleach. I almost ruined the whole project here by leaving the bowl in the bleach too long. It raised the grain quite a bit and penetrated further than I expected.
Josiah7

Josiah8

After sanding, I managed to get most of the white patched off and the surface smooth again.
Josiah9

Josiah10

On to attempt #2 with stain…
Josiah11

Josiah12

Better results, but the stains were still clearly visible. I moved on to oxalic acid crystals. I mixed a paste of crystals and water, applied it, let it dry and sanded the dried mixture off. Use a particle mask when sanding this stuff. It’s not something you want to inhale.
Josiah13

Josiah14

I tried once more with stain and the results were similar to the second attempt. I seem to have lost the pictures for this, but by this time, you get the idea. This last unsuccessful attempt made it clear to me that I must admit defeat and give up my dreams for a shapely blond and give a brunette a try. The repeated sanding, staining and sanding again had taken its toll on the nomenclature and the side profile was starting to flatten out. In order to save the now faint stampings, I chose a nice deep espresso color and success! The pesky spots are now hiding well in the rich stain. I think that only a very well trained eye, or one that knew the stains were there in the first place, would be able to spot them.
Josiah15

Josiah16

So after a lot of work, I have myself a beautiful Kaywoodie pot. Disaster almost struck in its inaugural smoke, however, when the Kaywoodie club fell out of the stem, the original glue having lost its glue-iness after the soak in the Oxyclean. I managed to find it where I had been sitting and it’s safely superglued back in place.

Many thanks to Steve for his suggestions. Even if it didn’t turn out the way I planned originally, I now have options for tackling similar problems in the future and about a pound of oxalic acid to try to remove the stains my 13 year old has left on her bedroom window sill.

Repairing and Restemming an Older Unsmoked Paneled Dublin


This paneled Dublin came to me from Mark Domingues in a package that he sent. I think he sent it for possible briar to be used in the repair of the Peterson Irish Whiskey 999 that I worked on. The shank was quite badly cracked but otherwise this small pipe had not been smoked. The shank and the bowl were absolutely clean and unsmoked! All that sat in the bottom of the bowl was dust. The pipe is quite small as can be seen from my finger and thumb in the photo below. The finish was quite good, just a few small places on the edges of the panels that had rub spots on them. The shank was long so I looked at my options in repairing and restemming it. It was an older unsmoked pipe so it would have been a shame to pitch it in the bin. I could either band it or shorten the shank and then fit the stem.
IMG_5146

The next two photos, though slightly out of focus show the crack in the shank. I opened it up with a dental pick to show the extent of the damage.
IMG_5147

IMG_5148

After looking at the extent of the damage and weighing my options I chose to shorten the length of the shank. It had a deep set mortise so that would not be a problem. If I needed to I could drill it more deeply but time would tell. I decided to use a brass fitting on the shank to give me a straight line to saw. I have seen too many shank shortenings that have come out crooked so I figured a guide would keep the line straight. I used a hack saw with a fine blade to saw off the broken portion.
IMG_5149

IMG_5150

IMG_5151

I used a Dremel to smooth out the end of the shank and remove the small pieces that stayed behind when the cut went through. I left the brass band in place while I sanded the end of the shank. I used a knife with a sharp blade to bevel the inner edge of the end of the mortise to receive the tenon and stem more closely. I liked the look of the brass pressure fitting so I decided to leave it as a band. I glued it in place with wood glue. I used a Dremel to trim off some of the excess on the tenon of the stem from my can and then followed up with a folded piece of 220 grit sandpaper until the tenon fit snugly in the shank.
IMG_5152

IMG_5153

IMG_5154

IMG_5155

IMG_5156

I sanded the stem with 220 grit sandpaper followed by a medium grit and fine grit sanding sponge to remove the scratches and shape the stem at the end next to the band. I also used the Dremel to remove the ridges on the brass pressure fitting and give it a more rounded appearance. I sanded the band with the sandpaper and sanding sponges as well.
IMG_5157

IMG_5158

IMG_5159

IMG_5160

I finished sanding the stem with the micromesh sanding pads to polish it and give it a deep sheen. I wet sanded with 1500-2400 grit pads and dry sanded with 3200-12,000 grit pads. I rubbed the stem down with Obsidian Oil and when it was dry buffed it with White Diamond.
IMG_5161

IMG_5162

IMG_5163

To touch up the rubbed areas on the ridges of the panels I stained the entire bowl with a dark brown aniline stain. I applied with cotton swabs and then flamed it. I hand rubbed the bowl with a soft cotton cloth.
IMG_5164

IMG_5165

IMG_5166

IMG_5167

I took the pipe to the buffer and buffed the stem and bowl with White Diamond. I avoided the band at this point as it leaves behind a black residue when buffed. I removed the stem and buffed the band with Red Tripoli and then lightly buffed it with White Diamond. I gave the entire pipe multiple coats of carnauba wax and buffed to a shine with a clean flannel buff. The finished pipe is shown below. It is ready for that long awaited inaugural bowl of tobacco. I am not sure what I will use to christen this new bowl but once the head cold I have leaves I have several in mind.
IMG_5168

IMG_5169

IMG_5170

IMG_5171