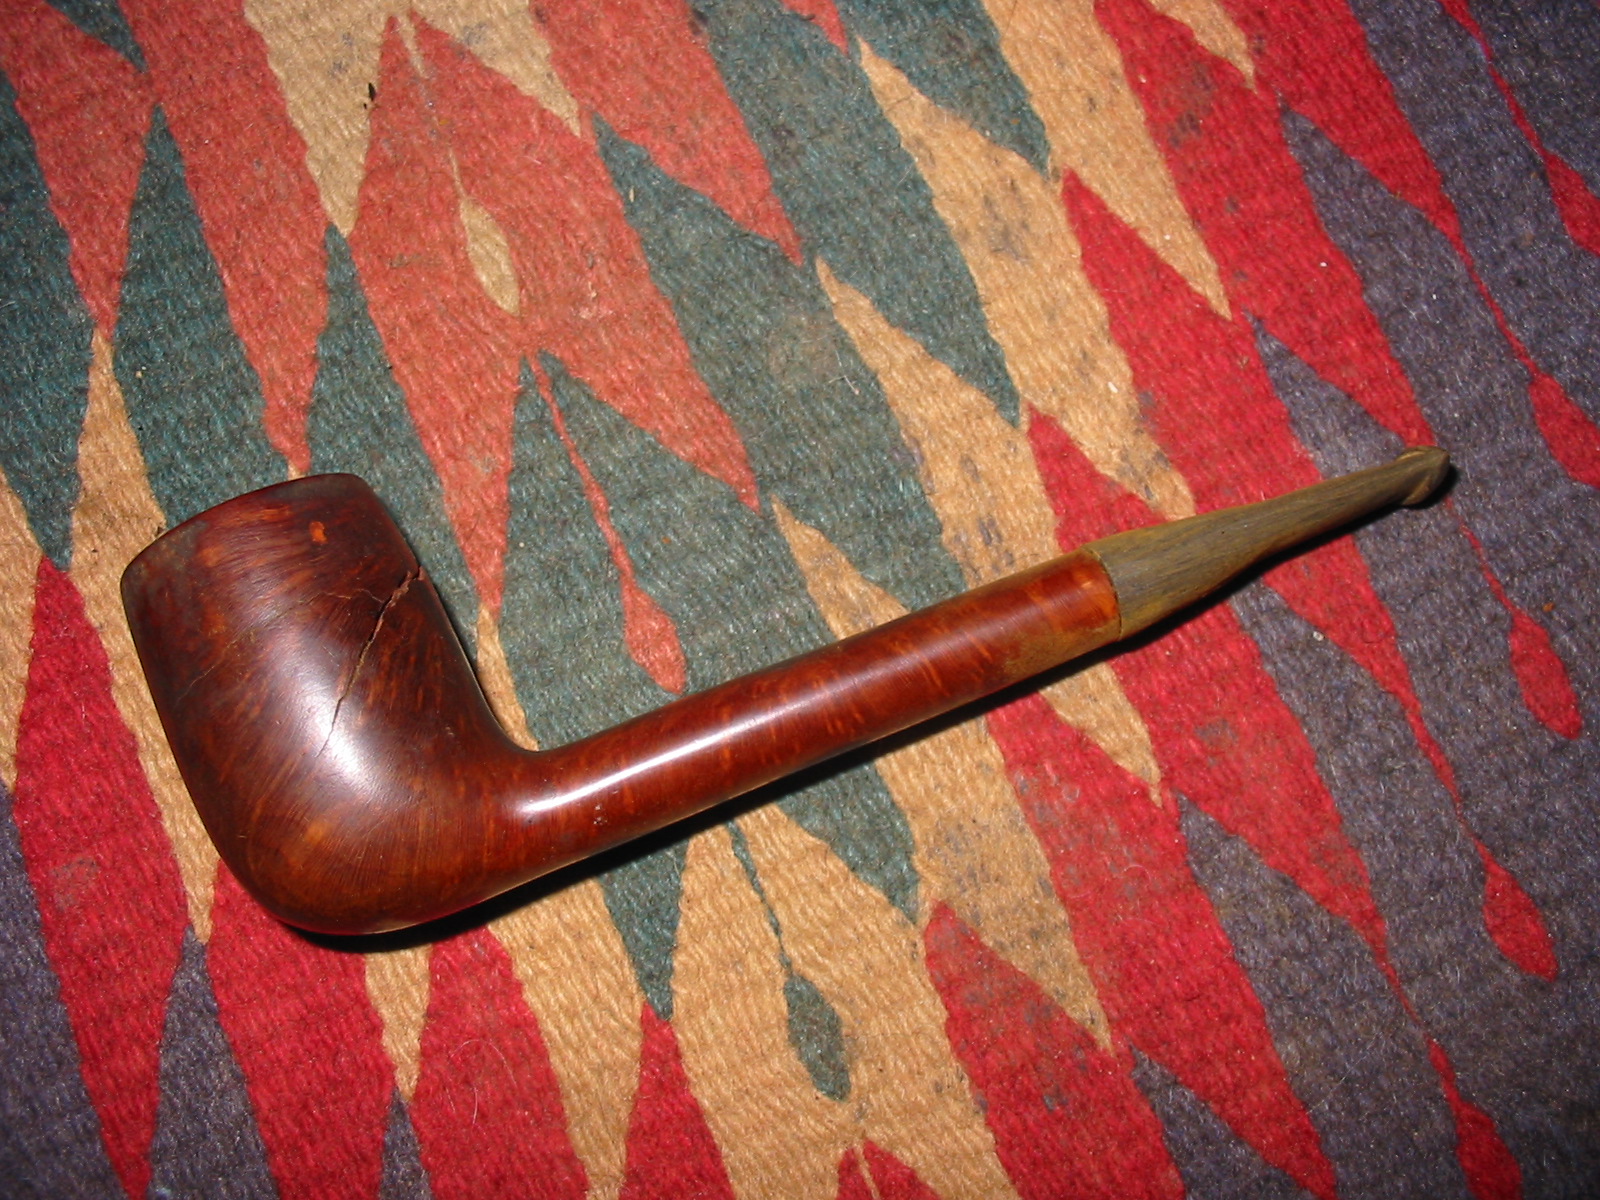
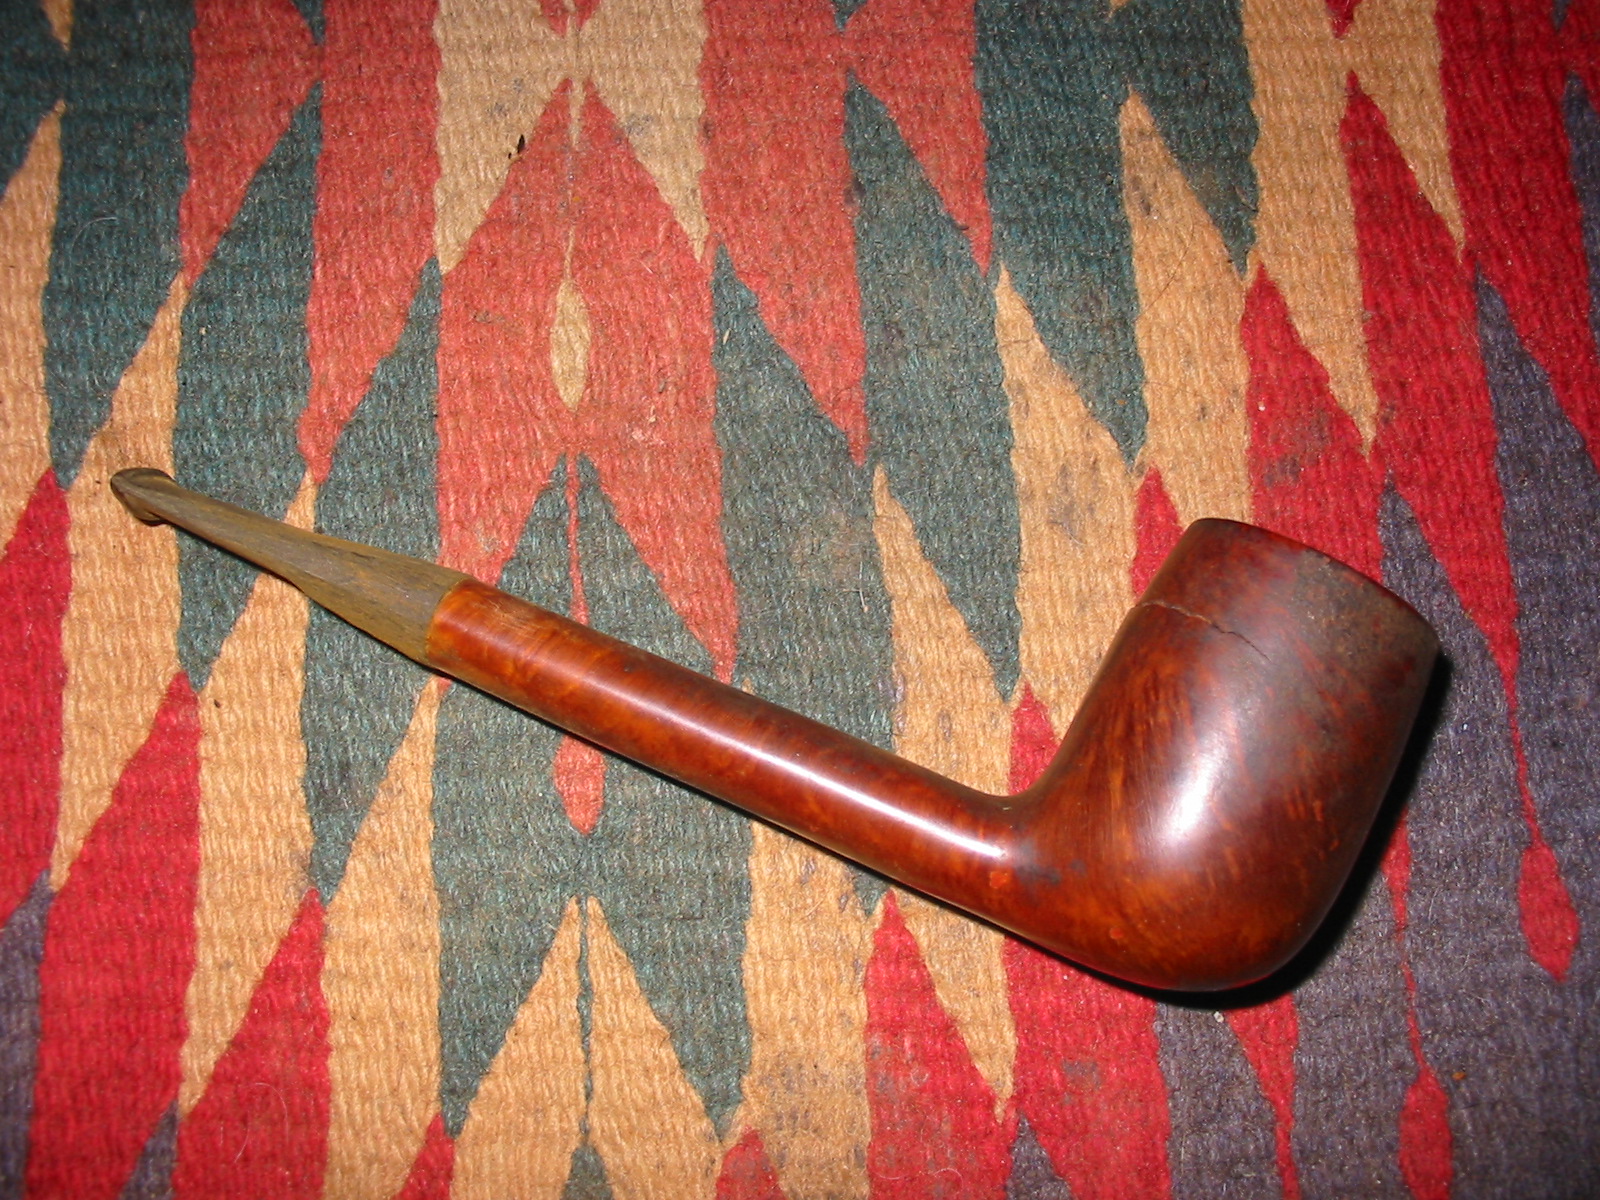
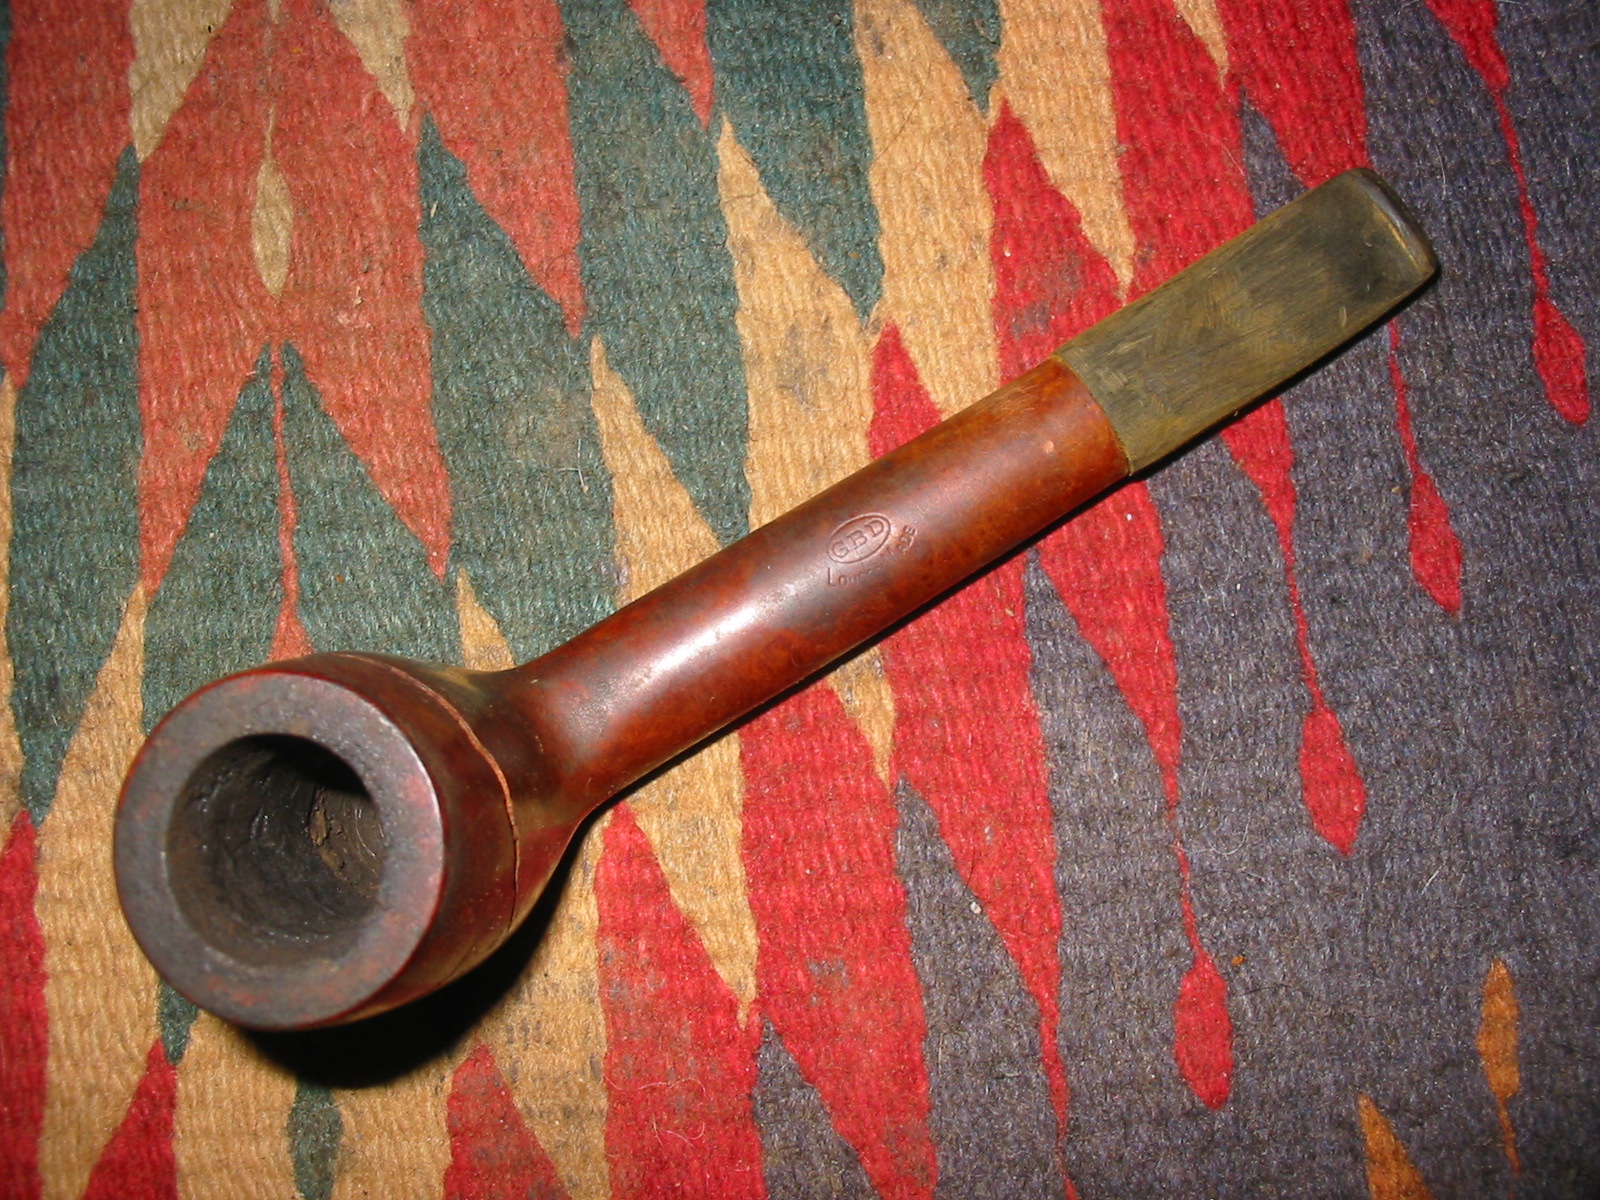
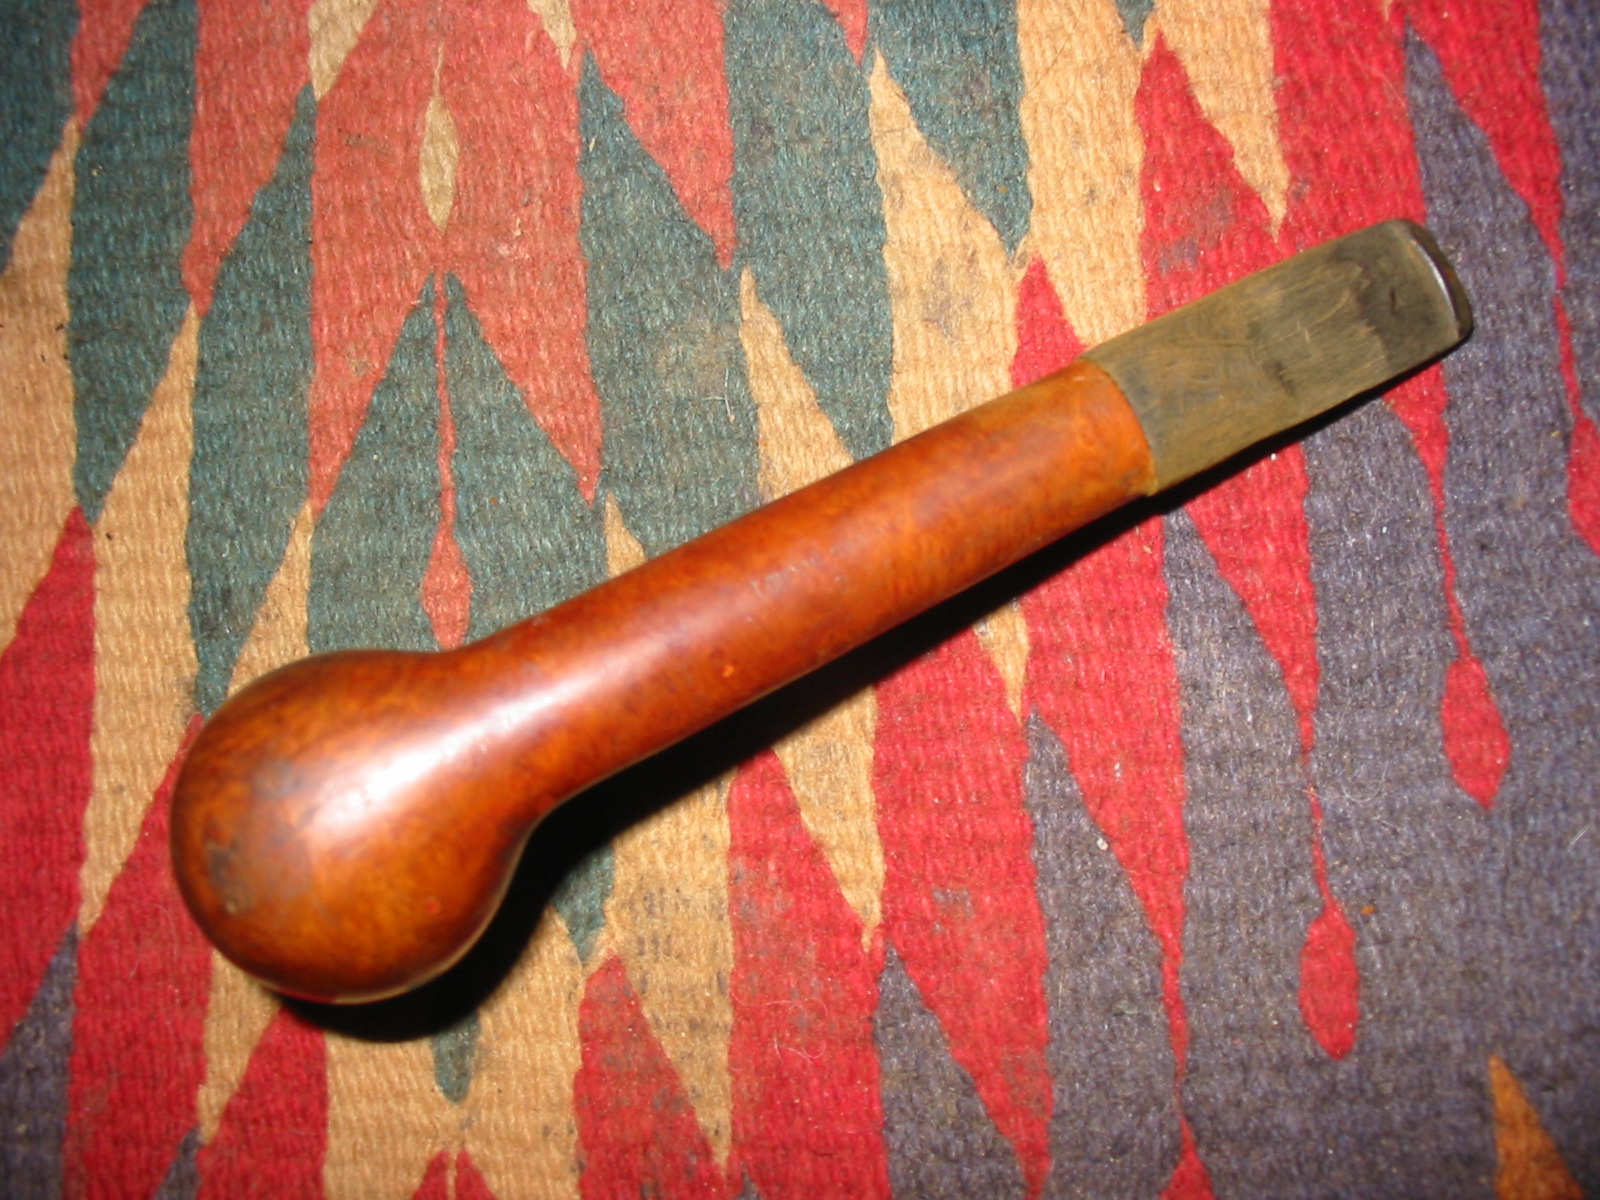
Category Archives: Pipe Refurbishing Essays

Essays and pictorial essays on the art of refurbishing

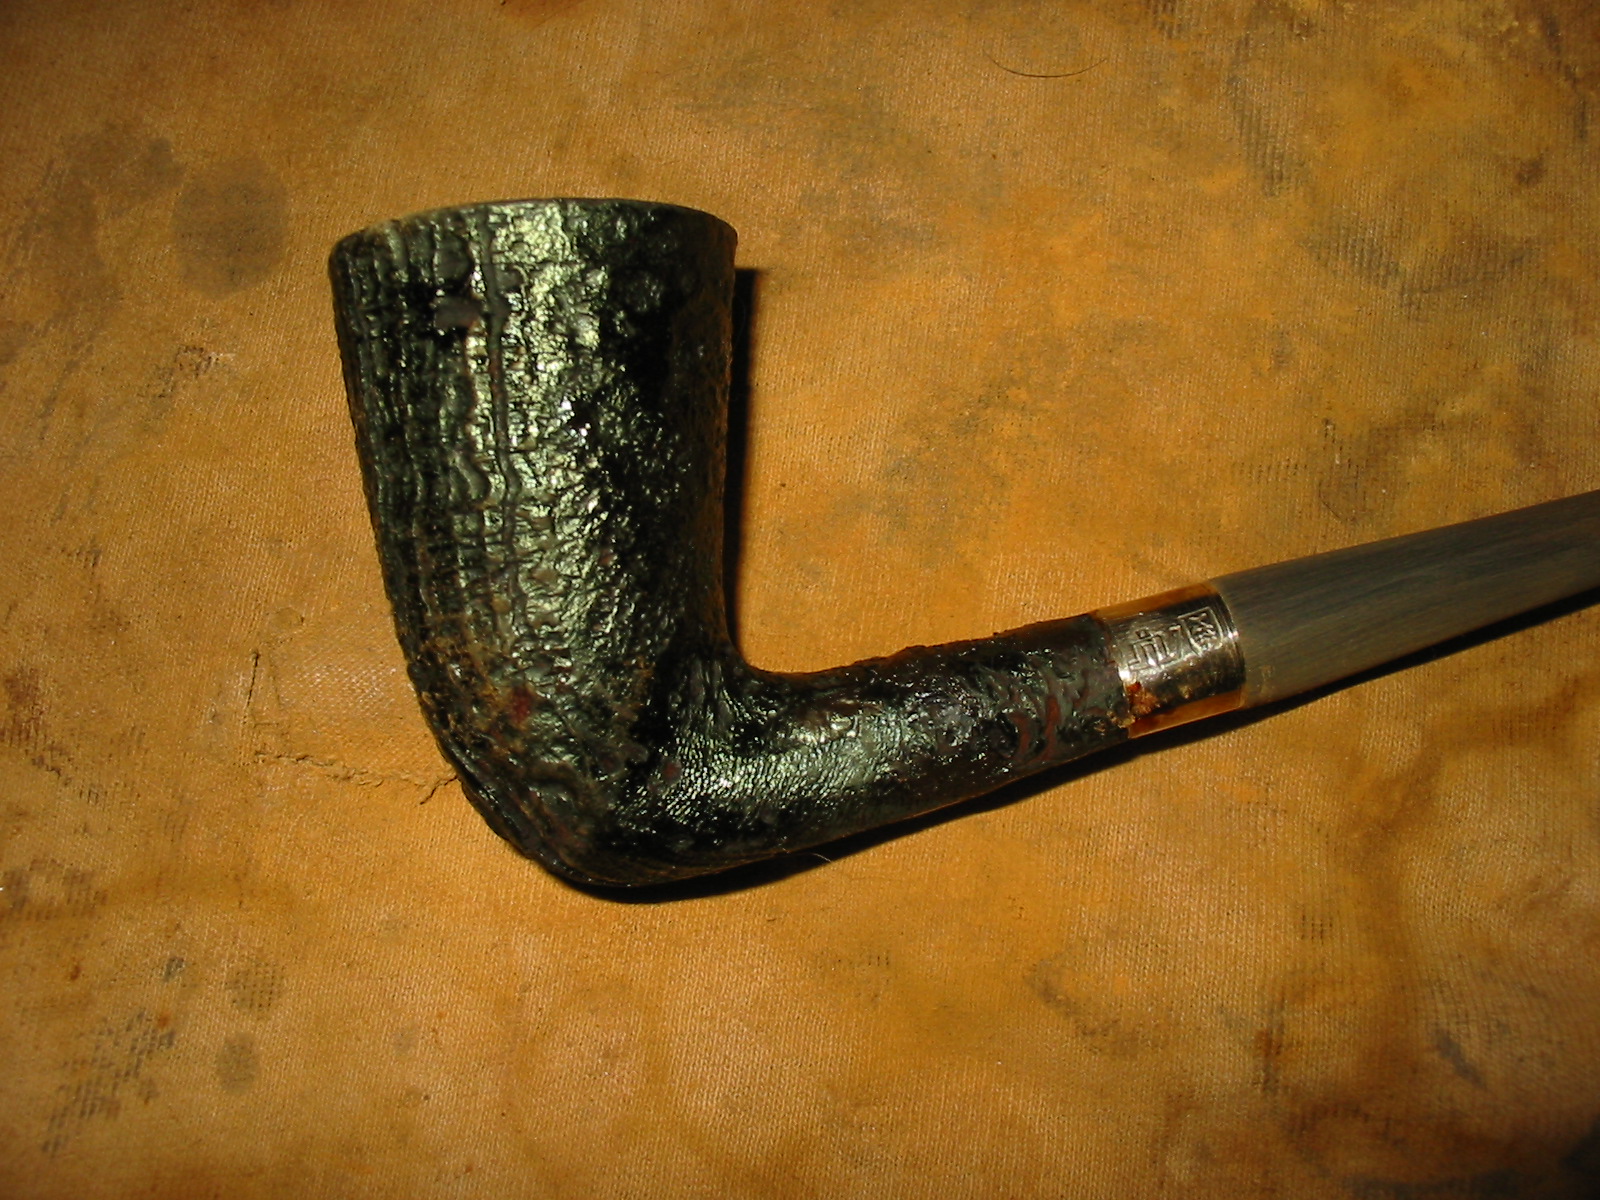
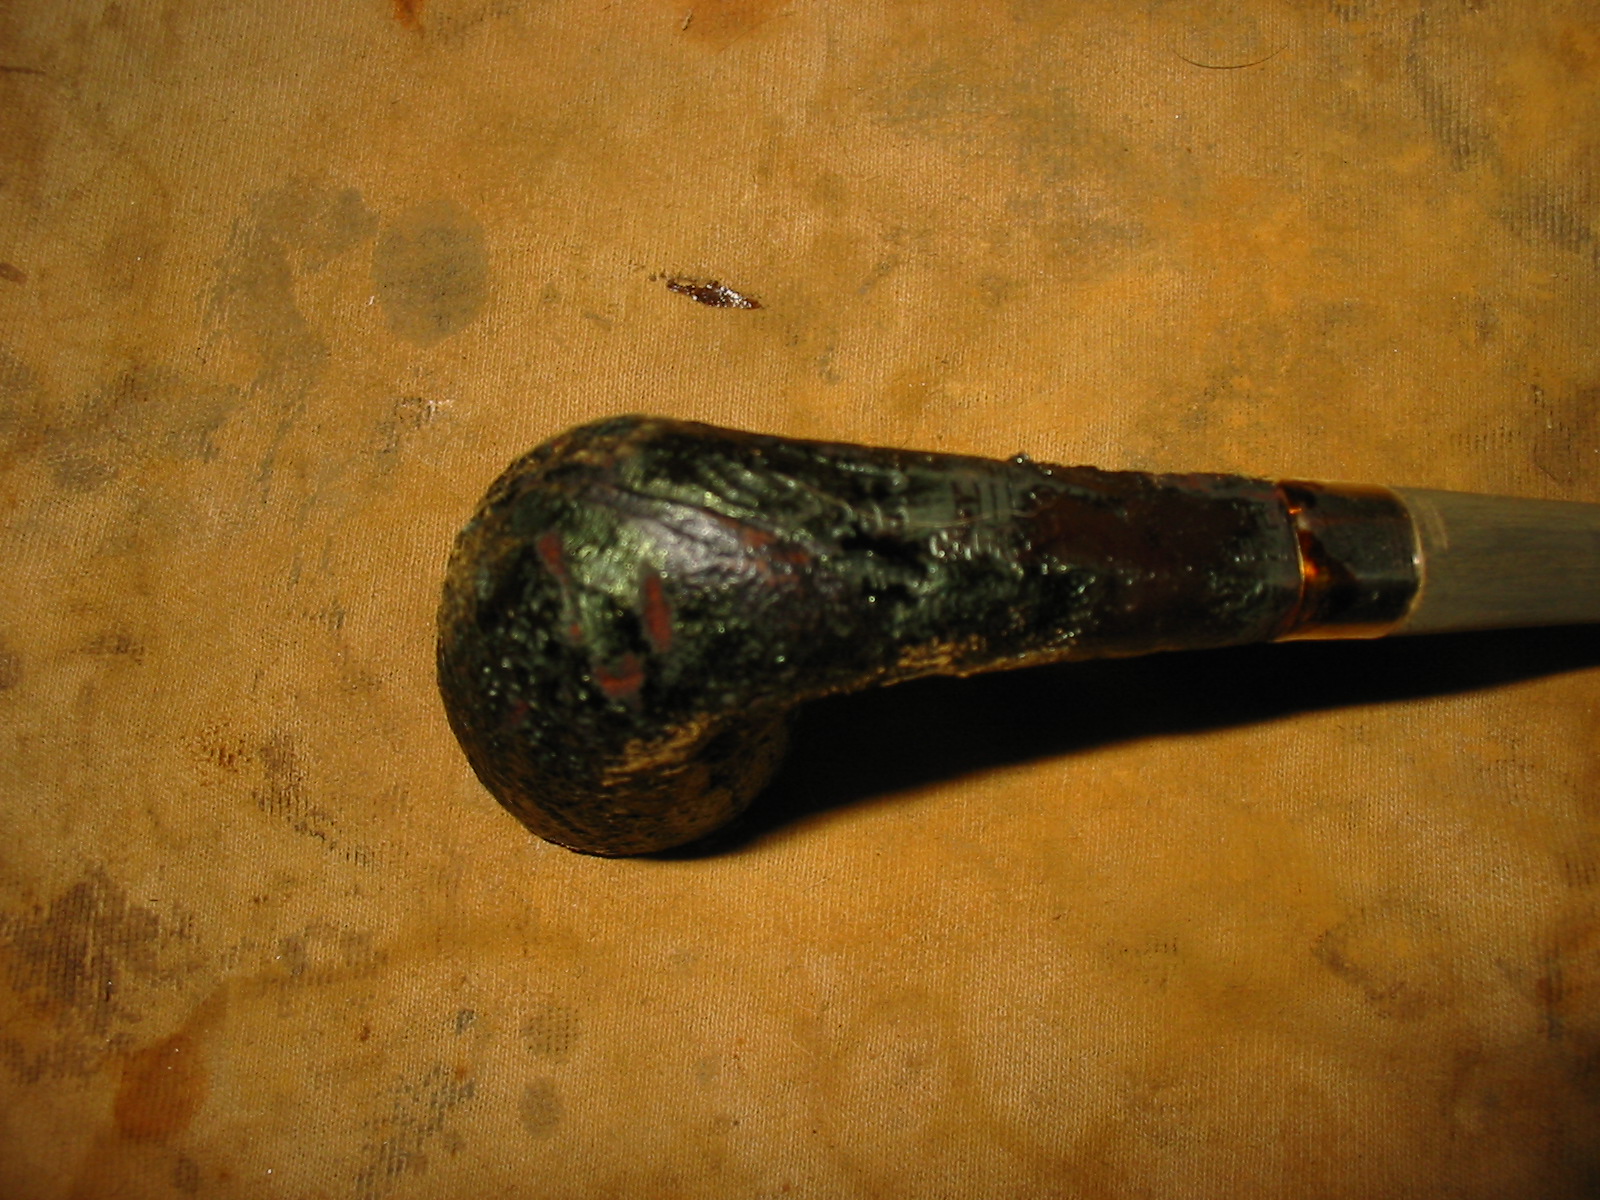
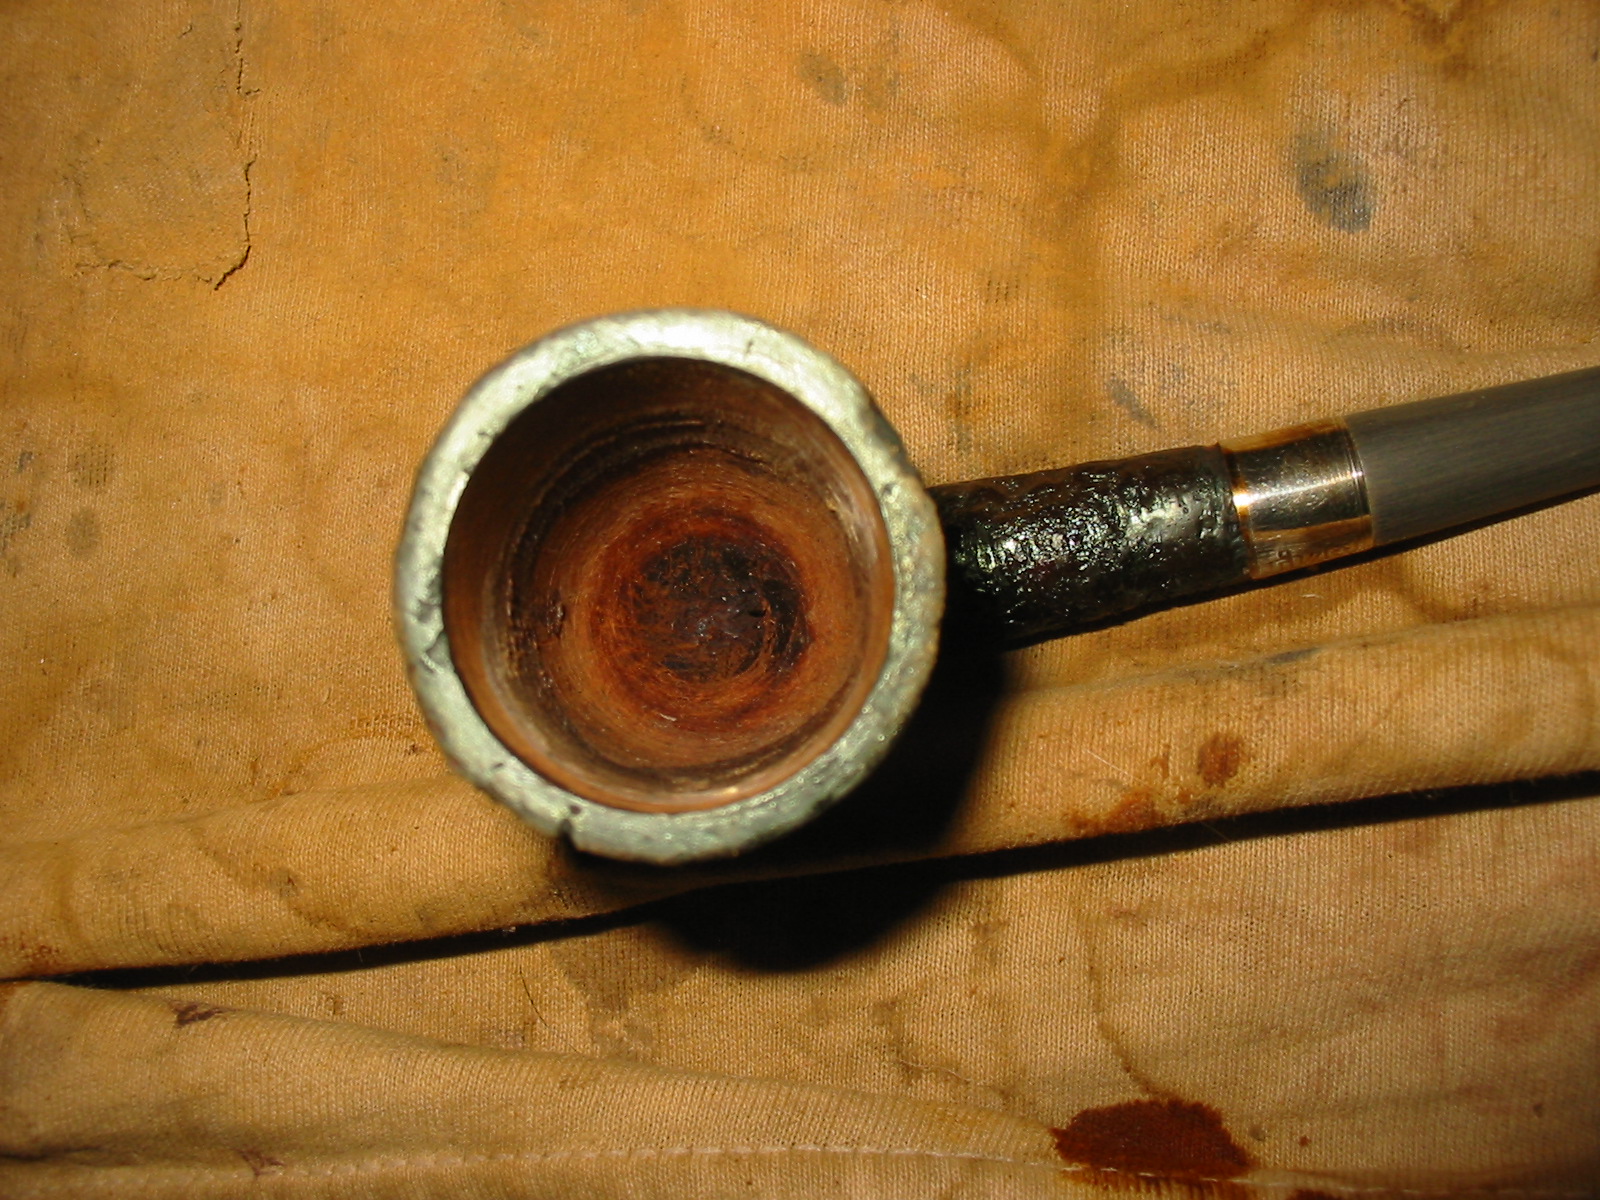
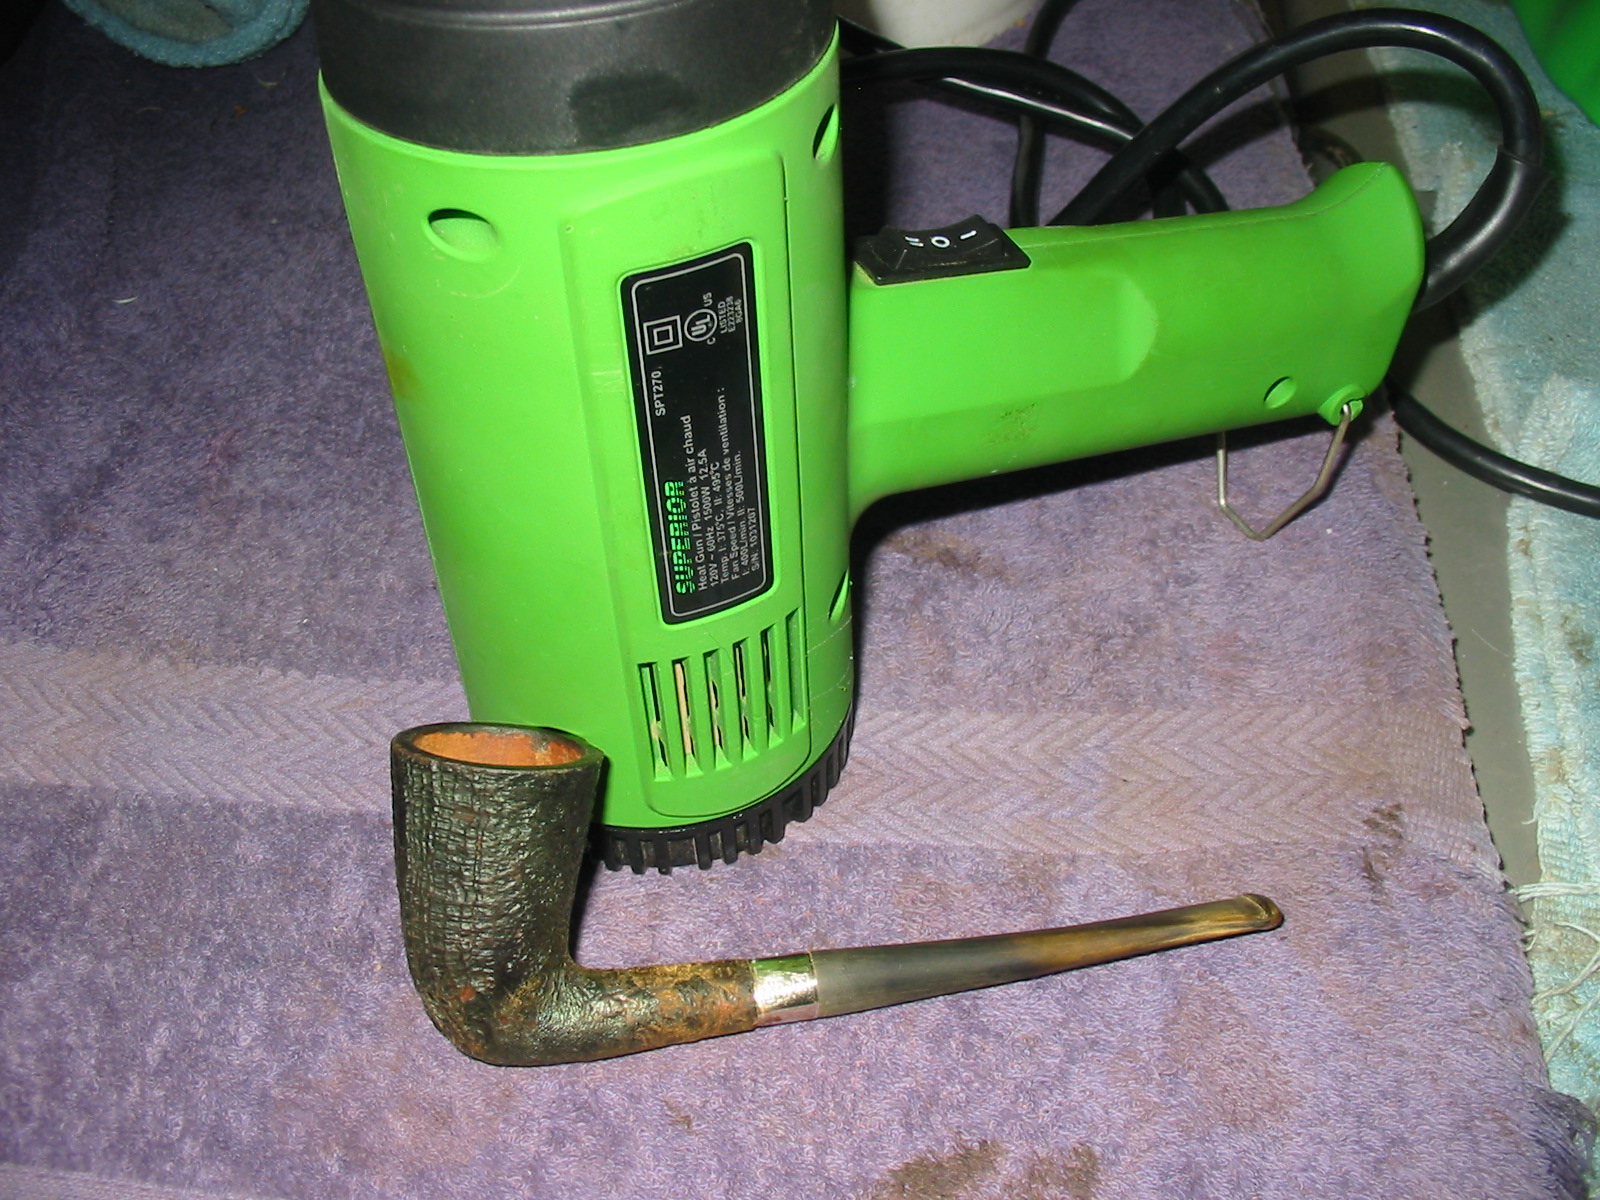
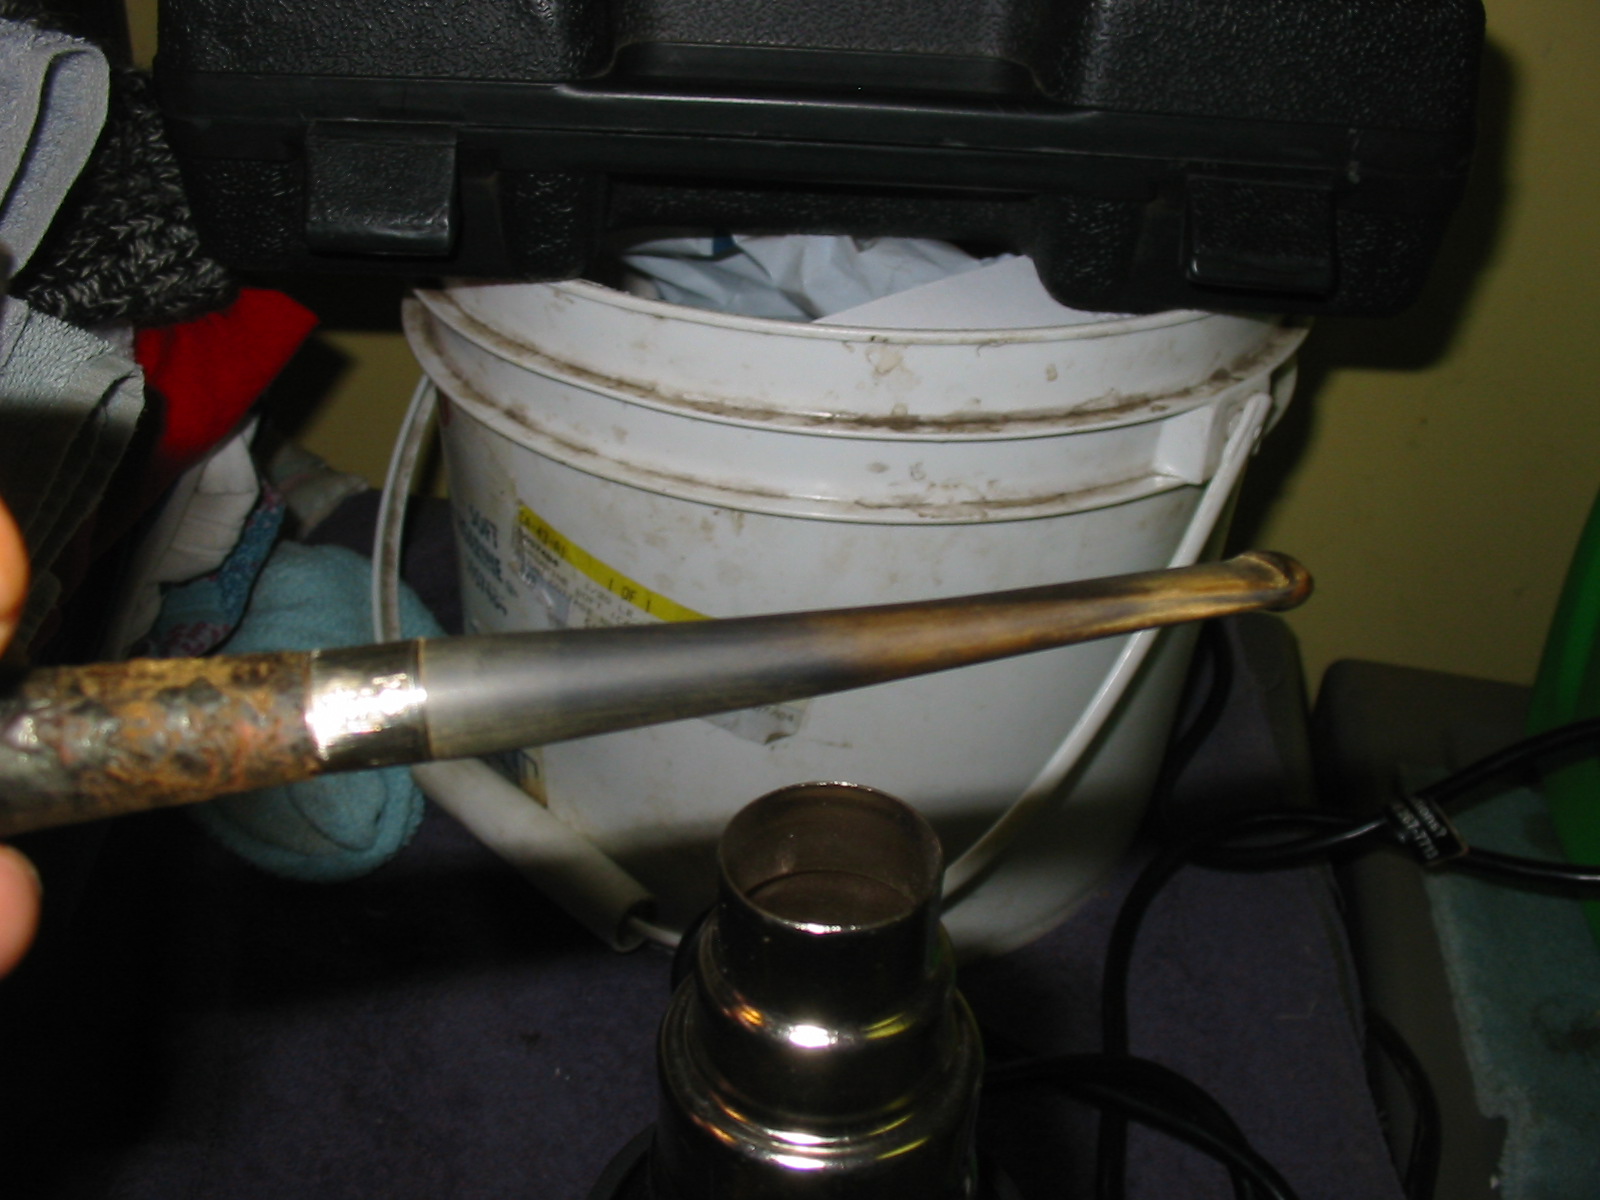
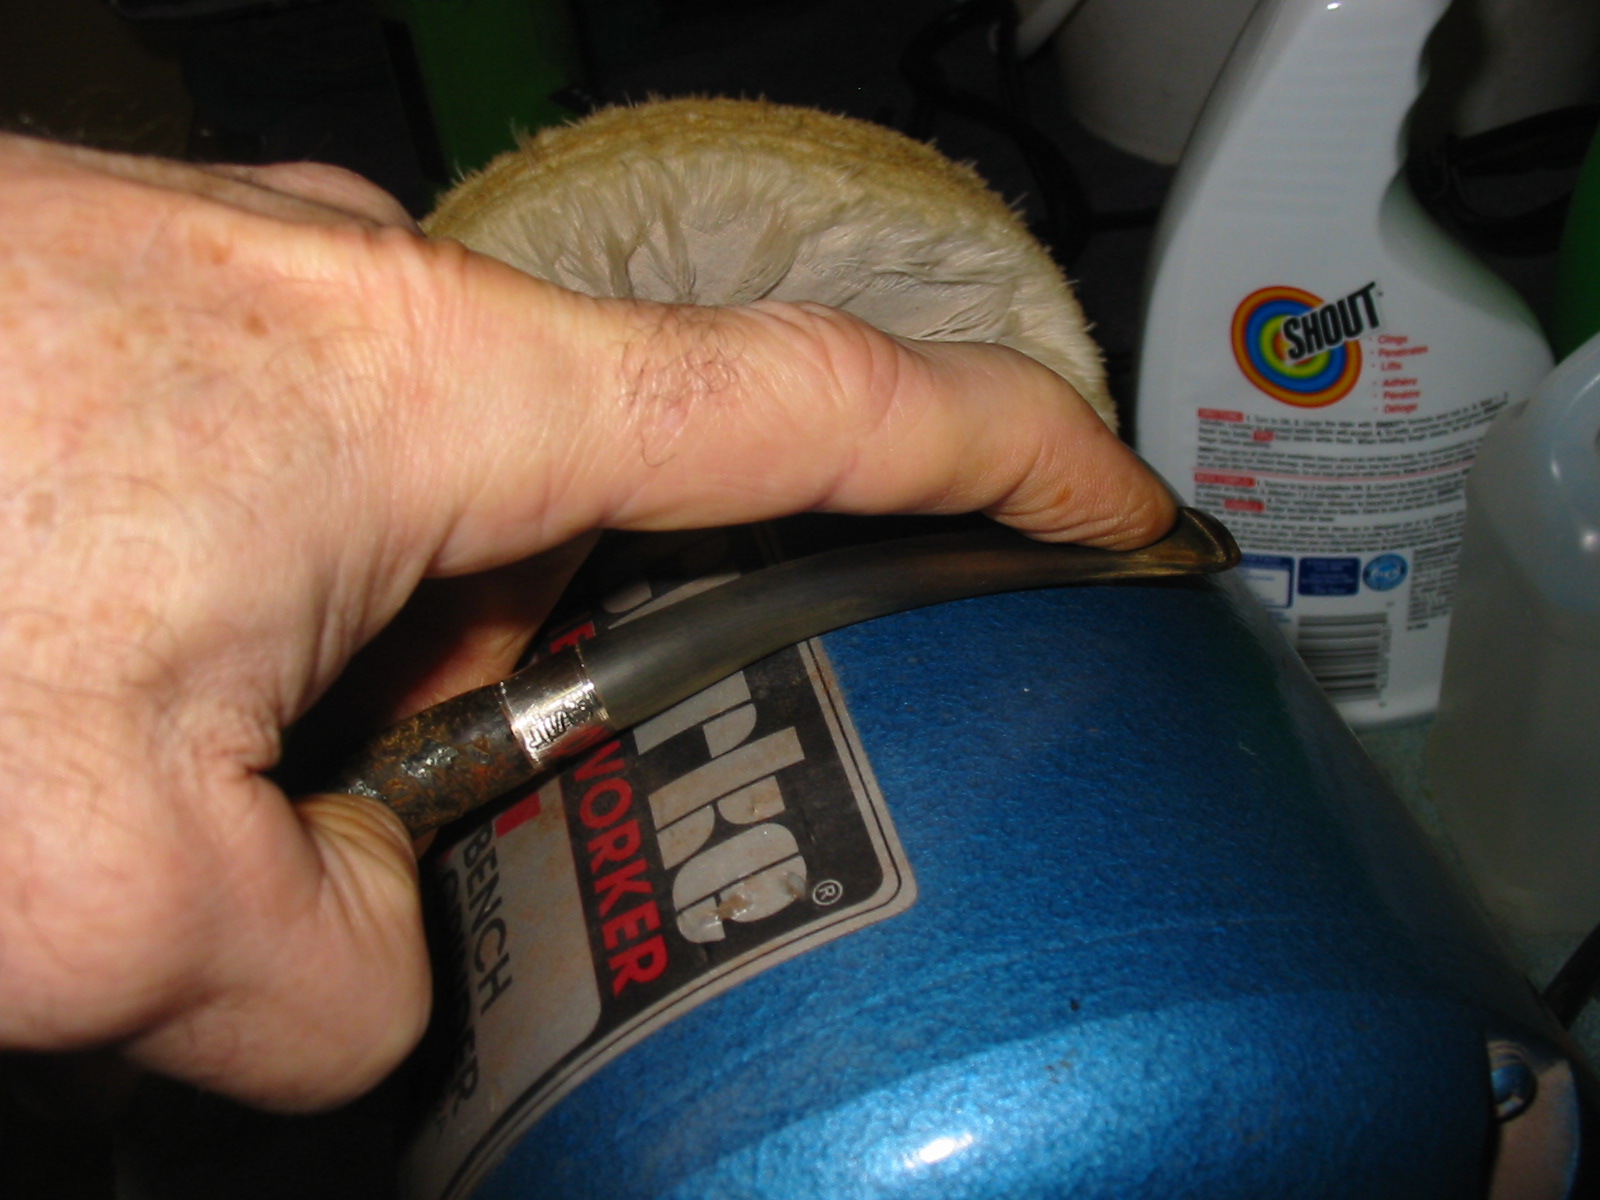
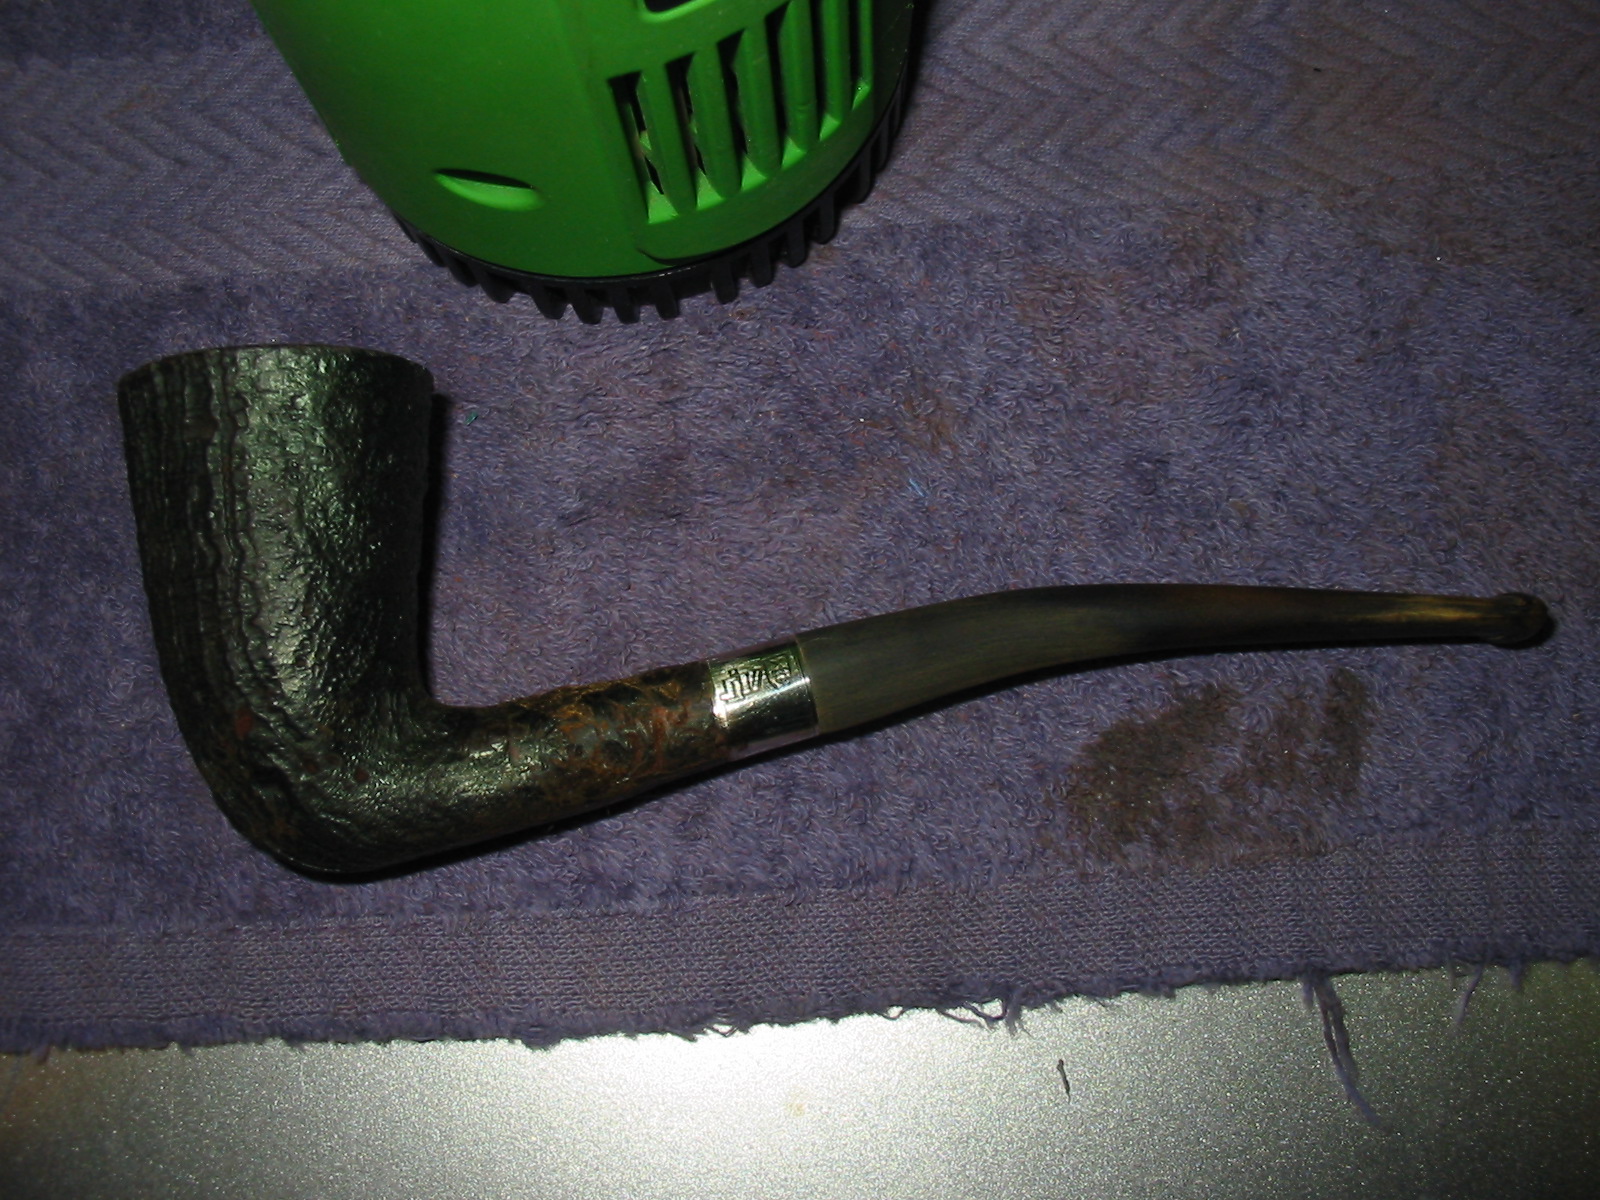
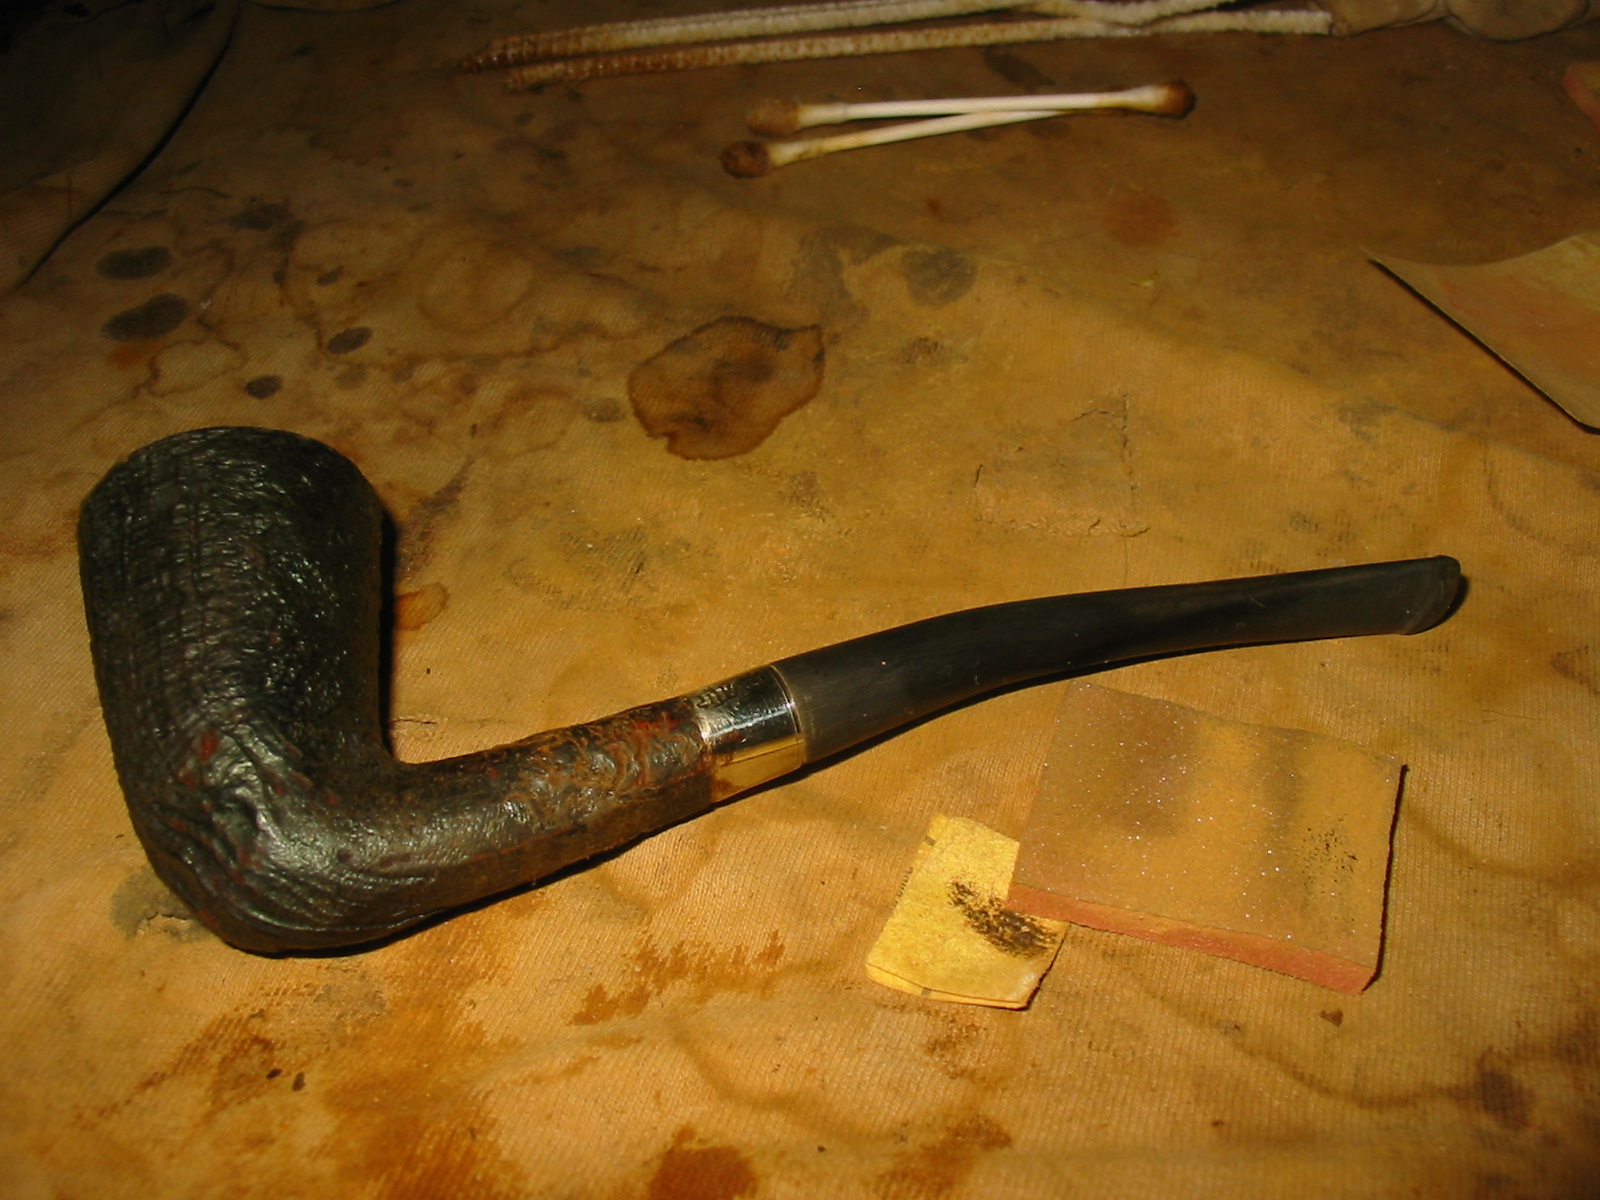
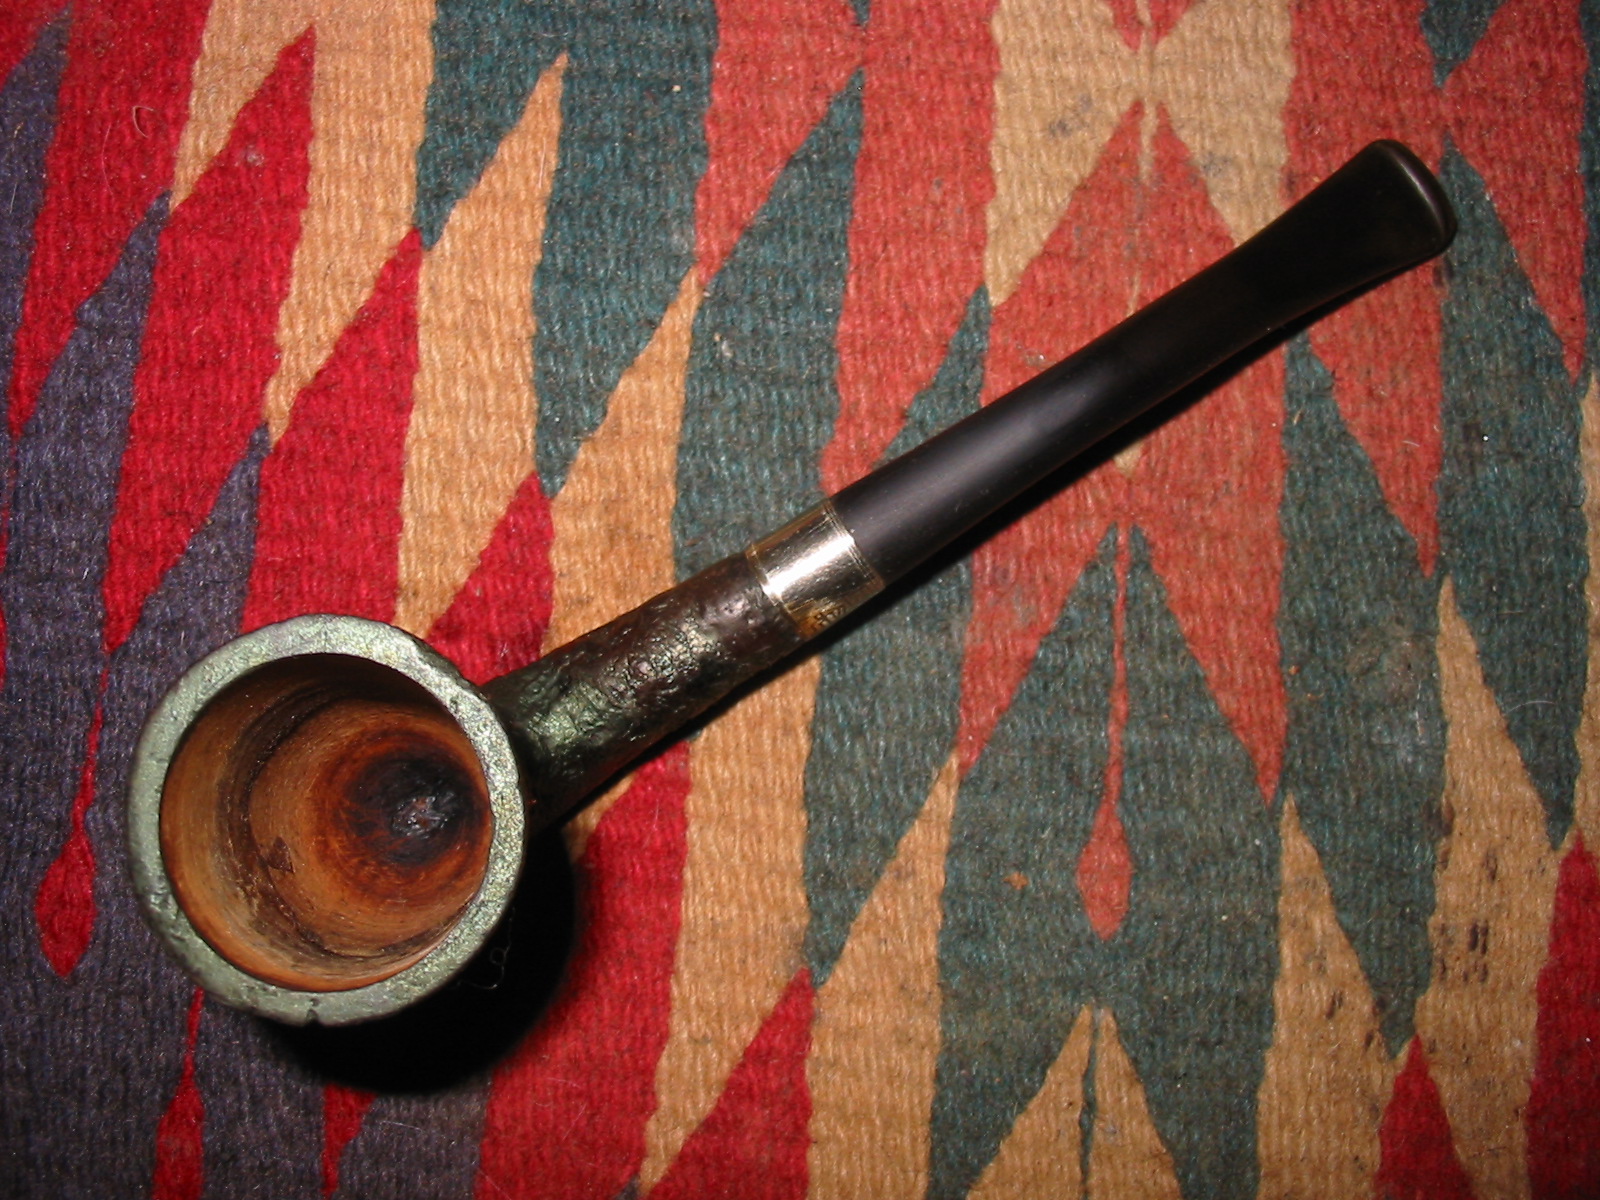
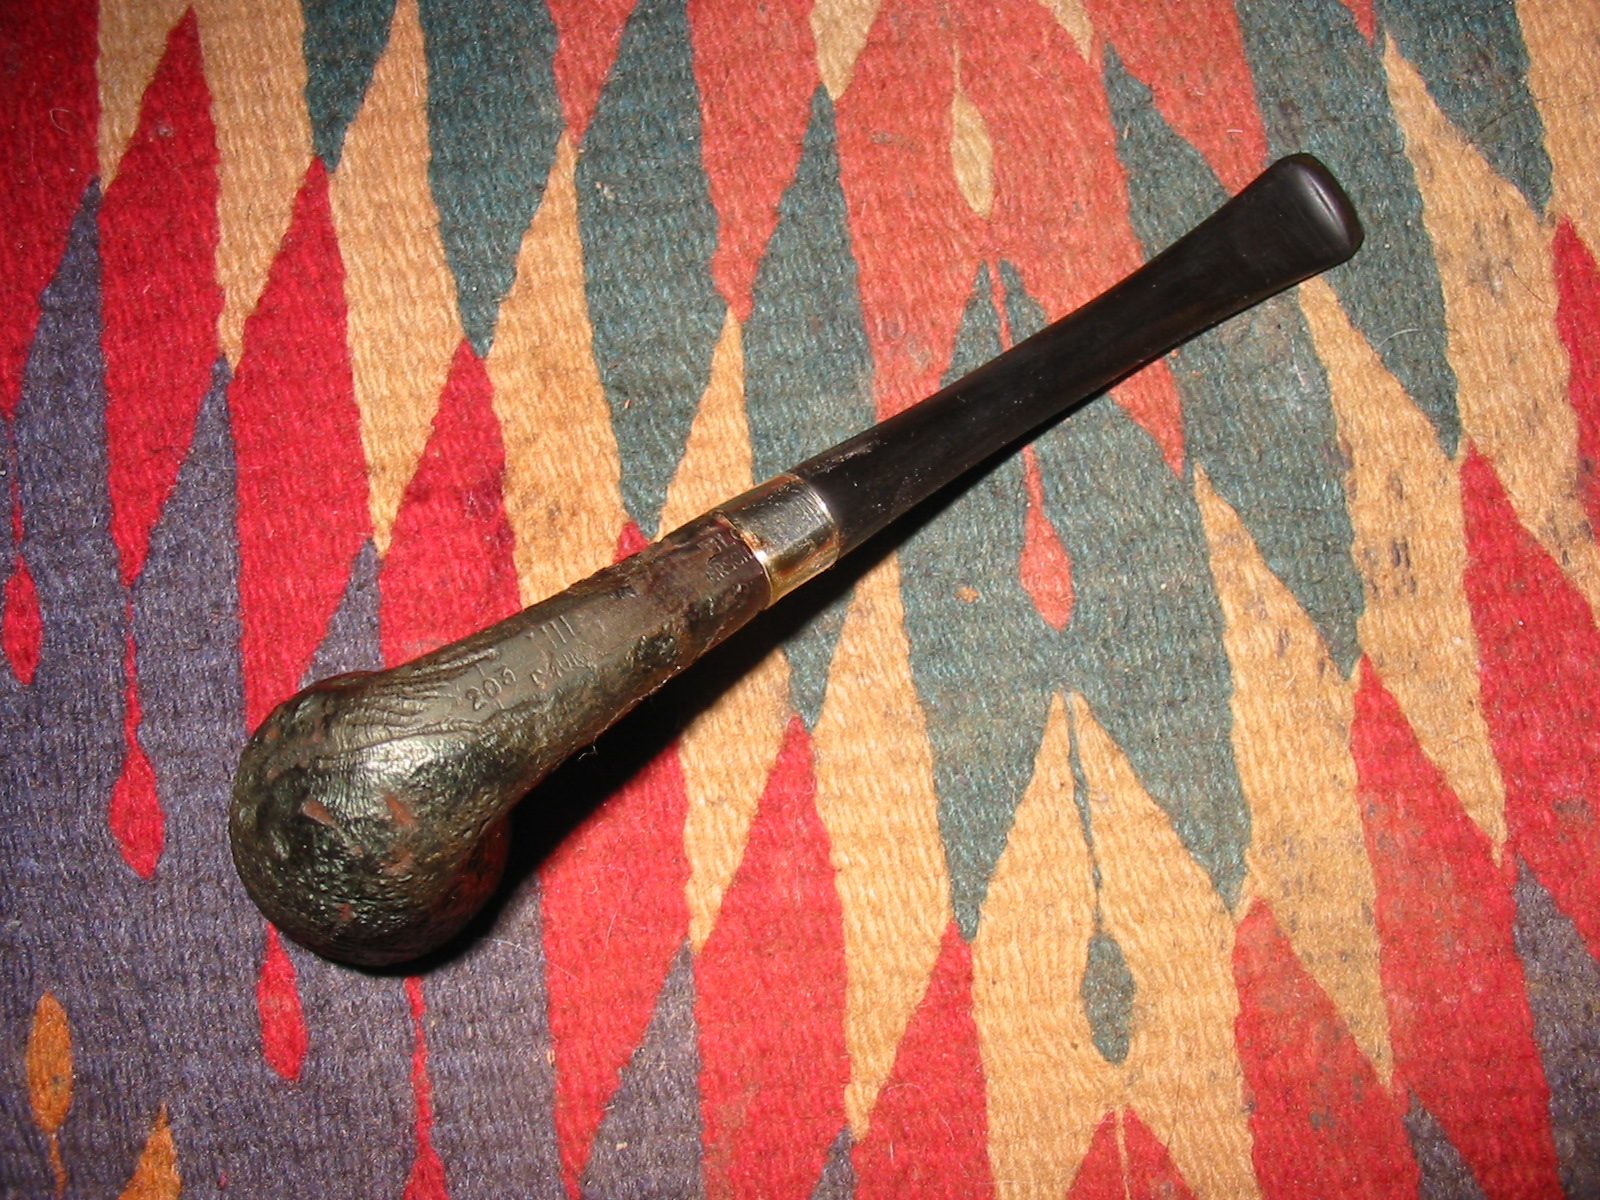
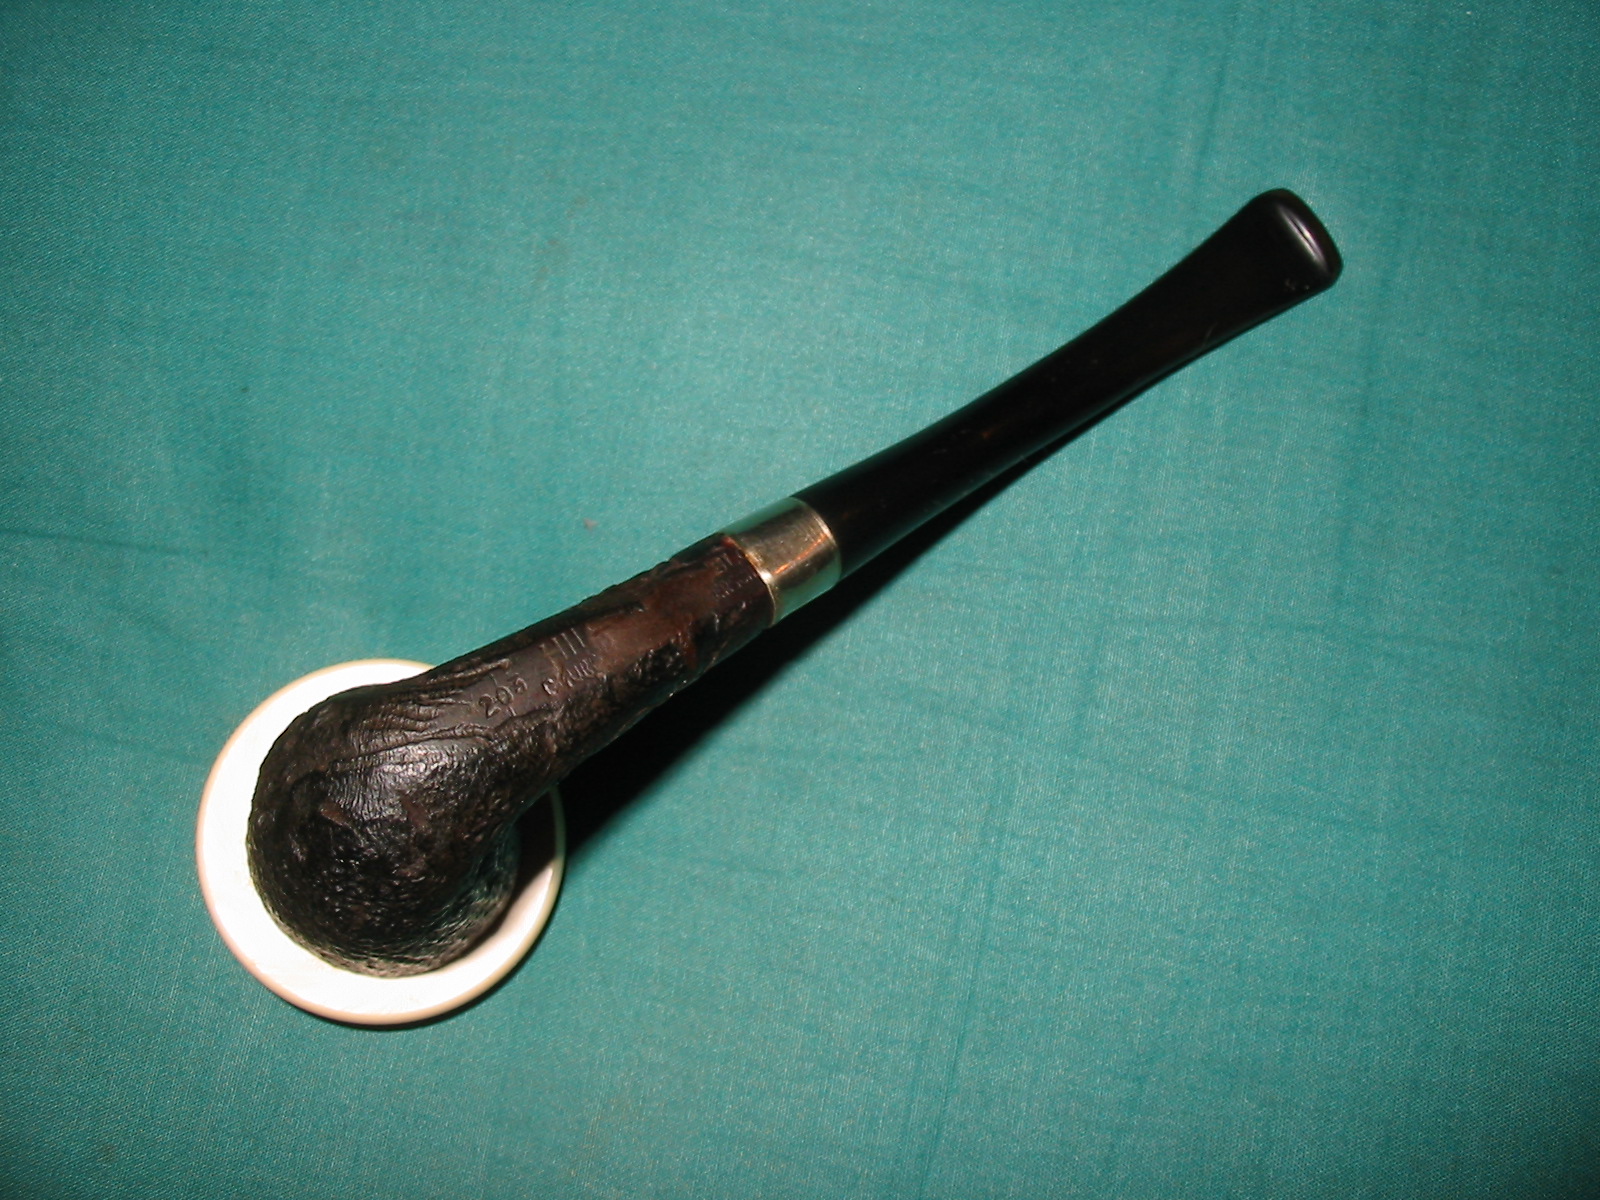
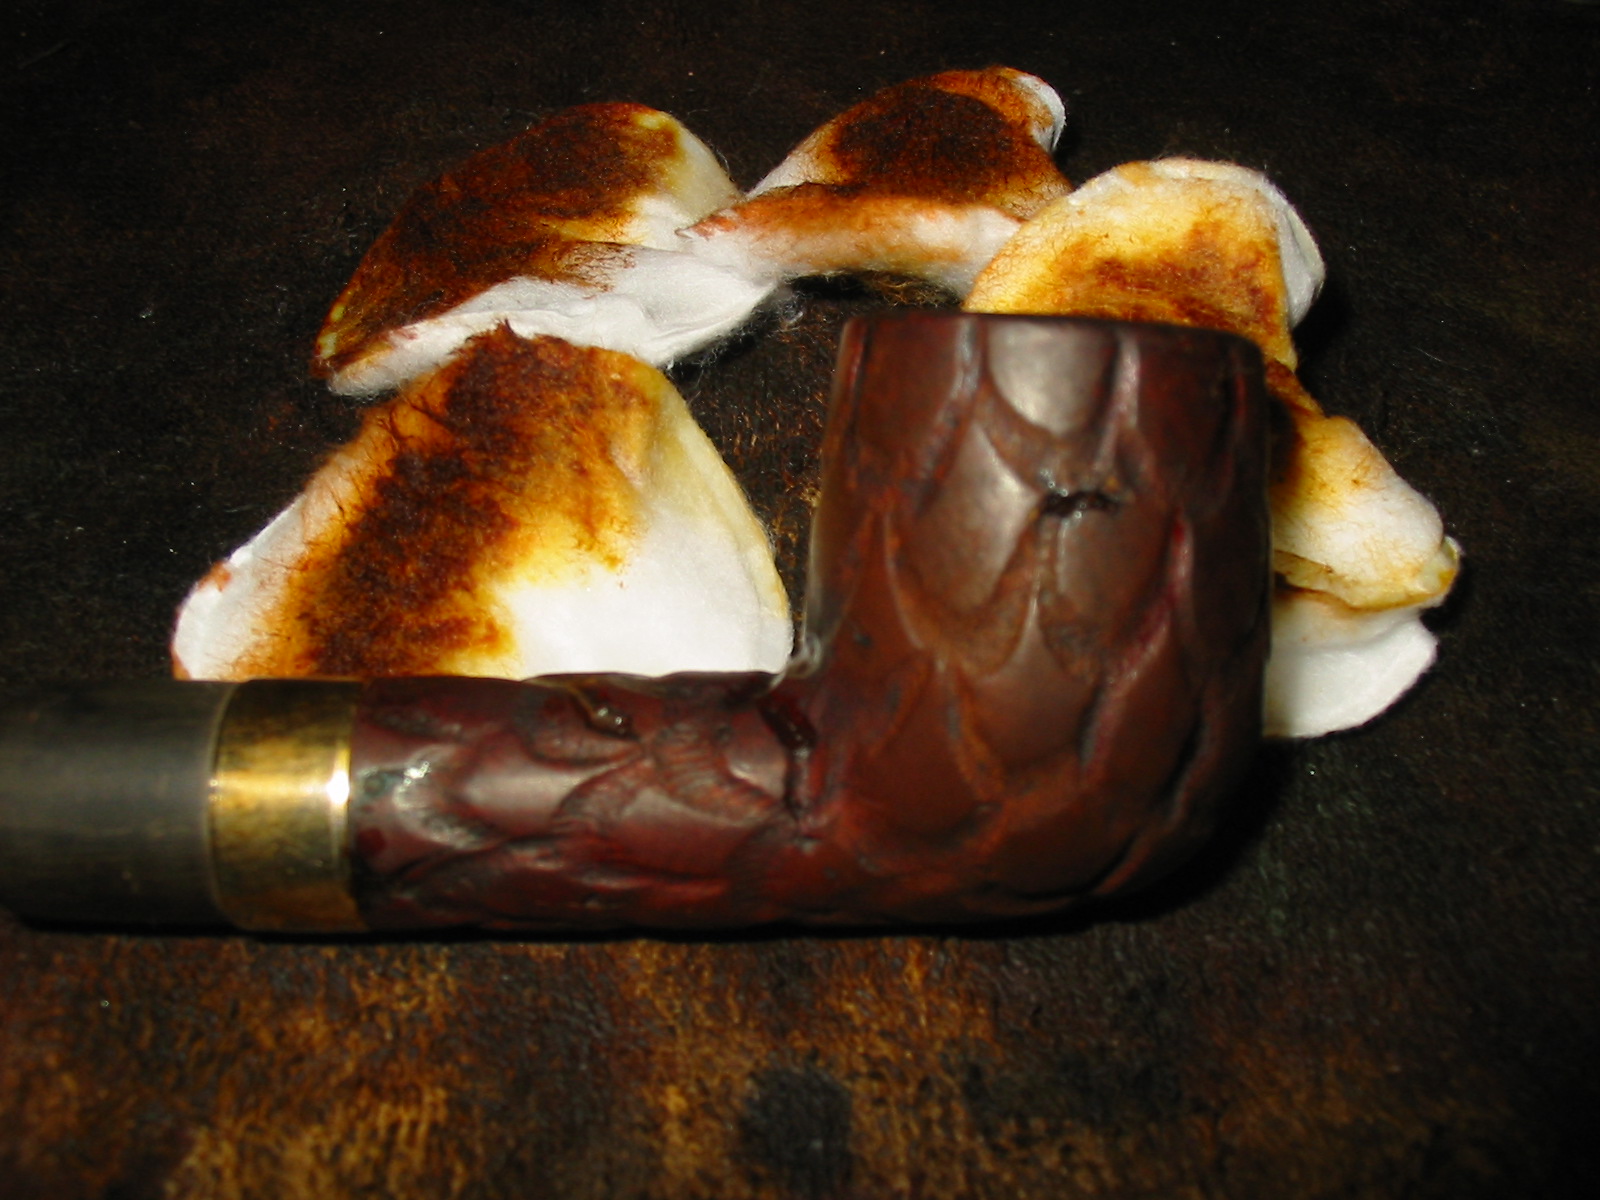
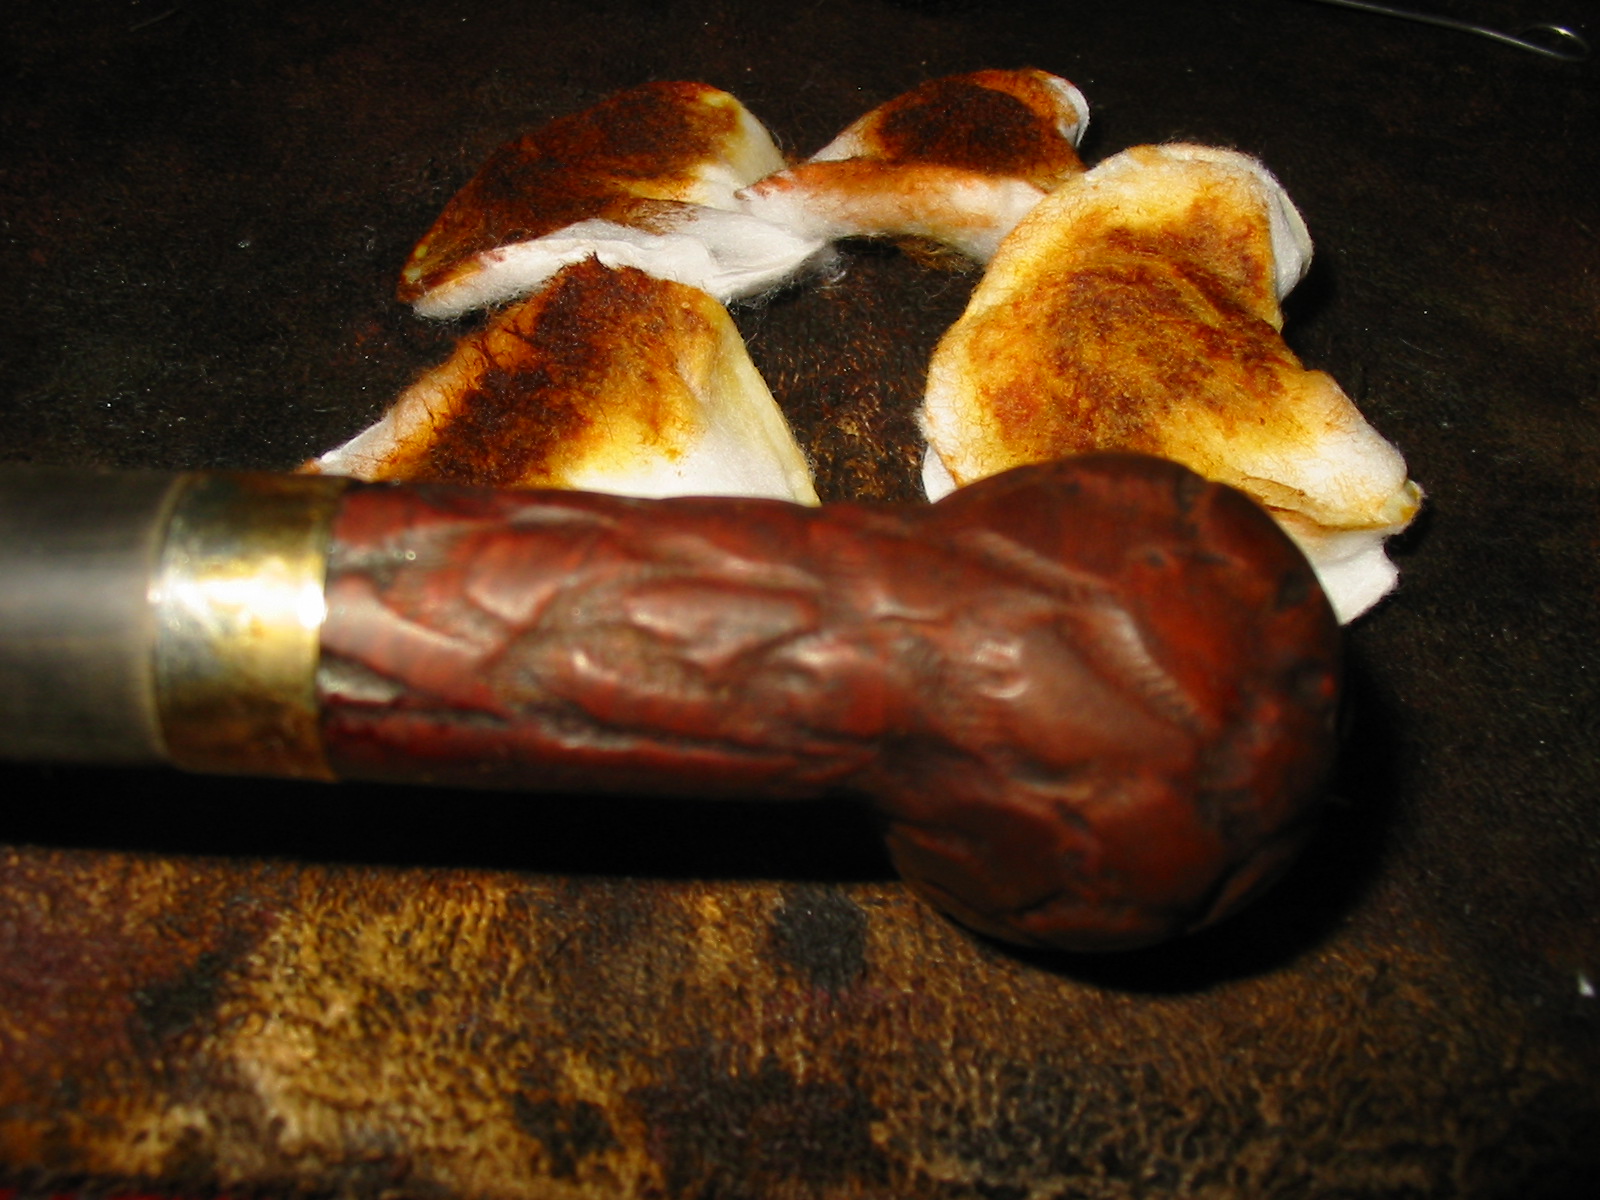
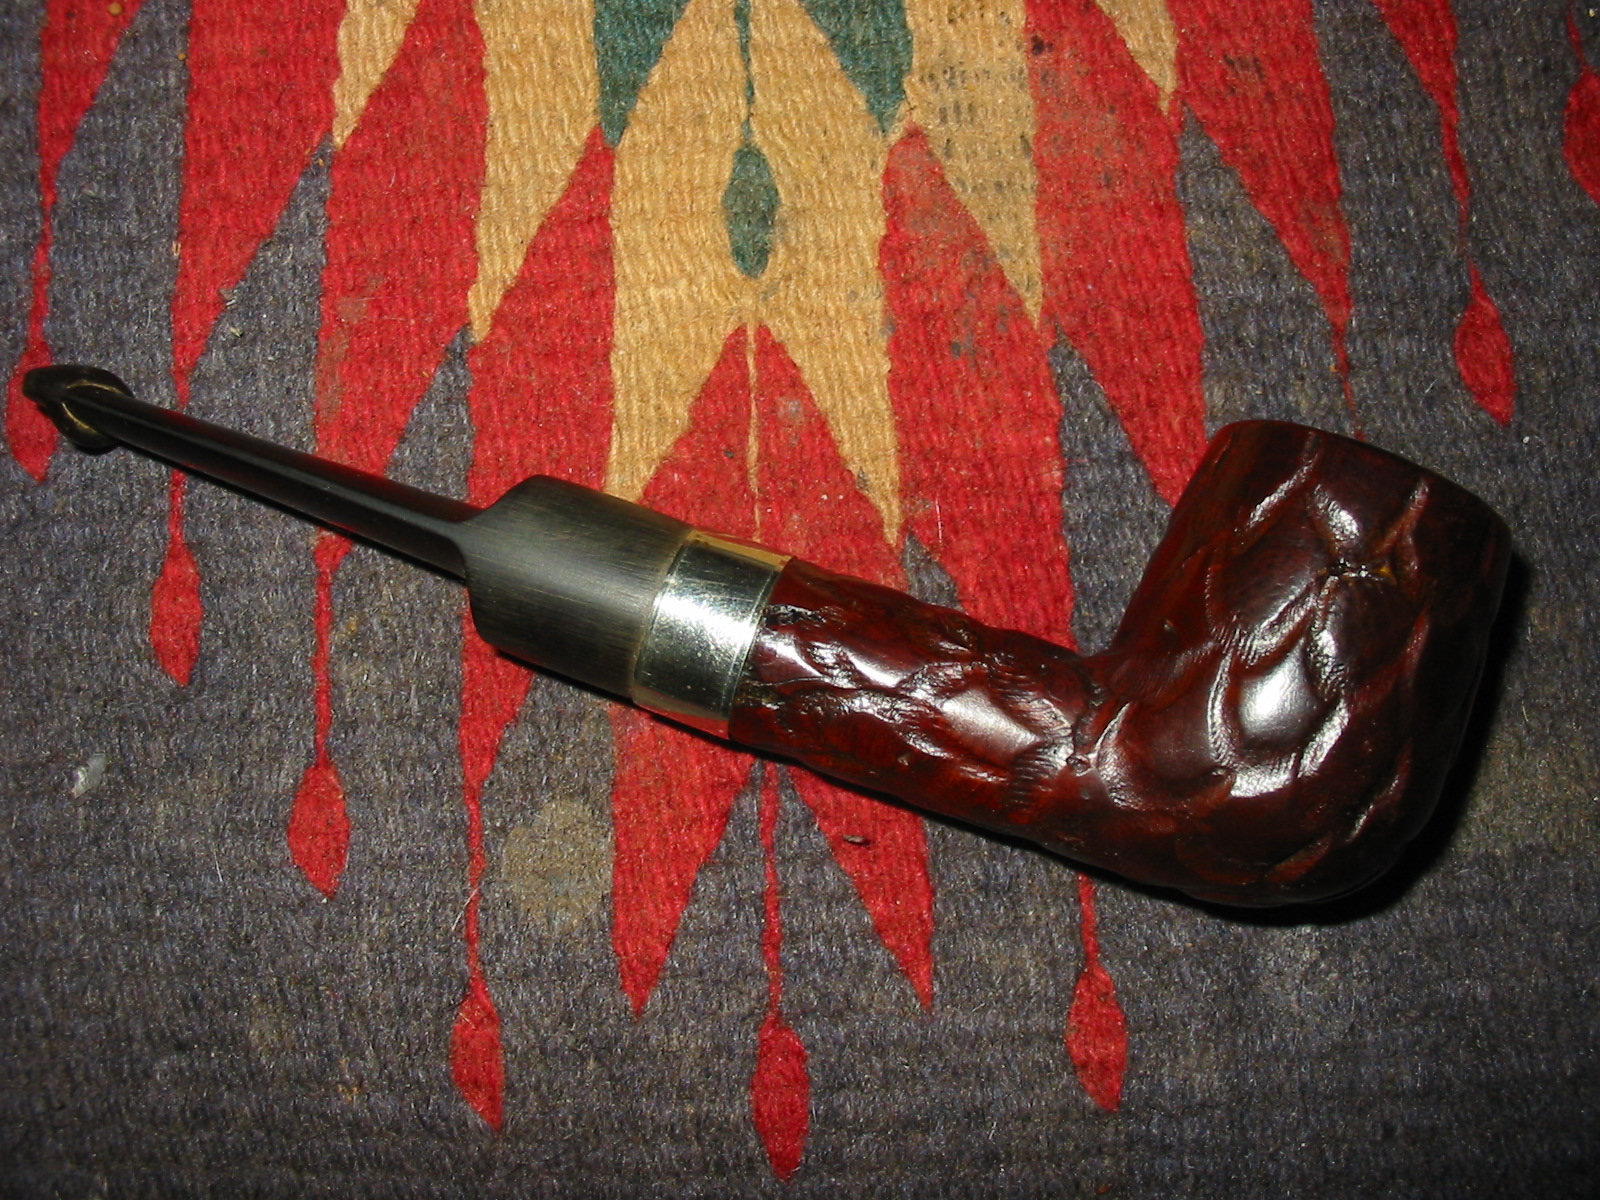
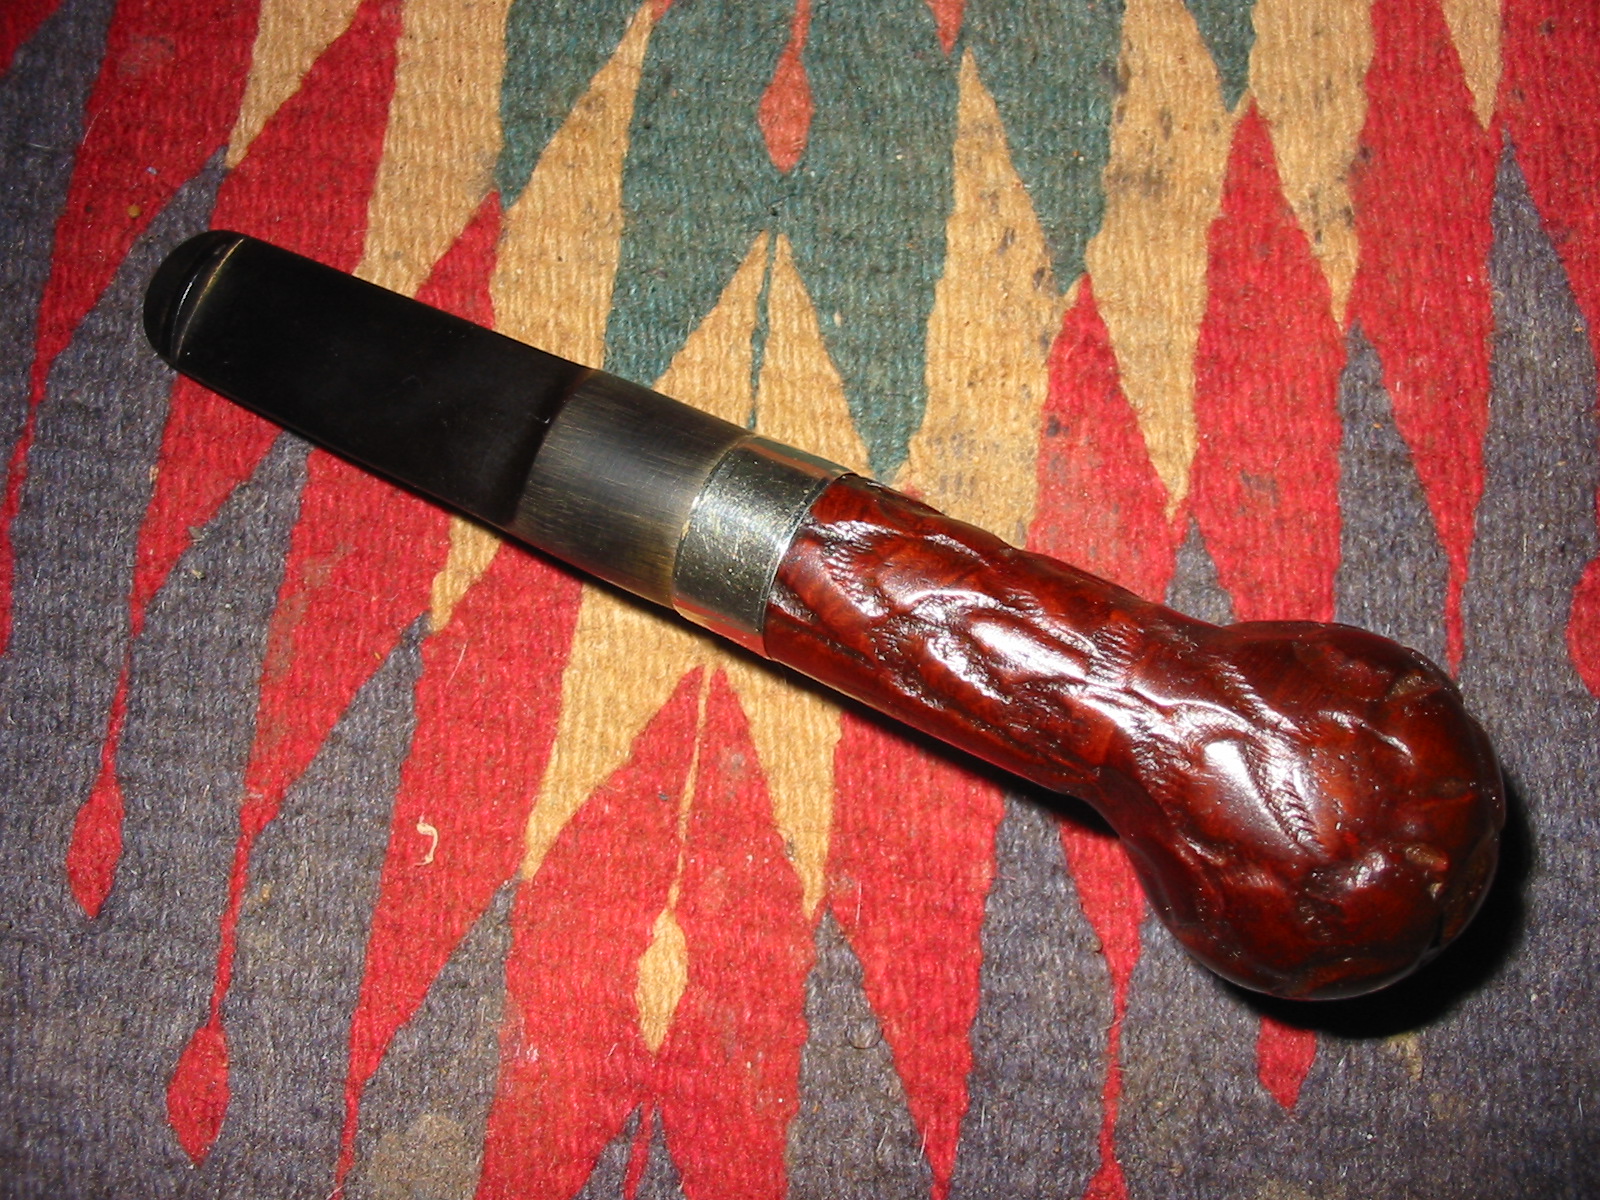
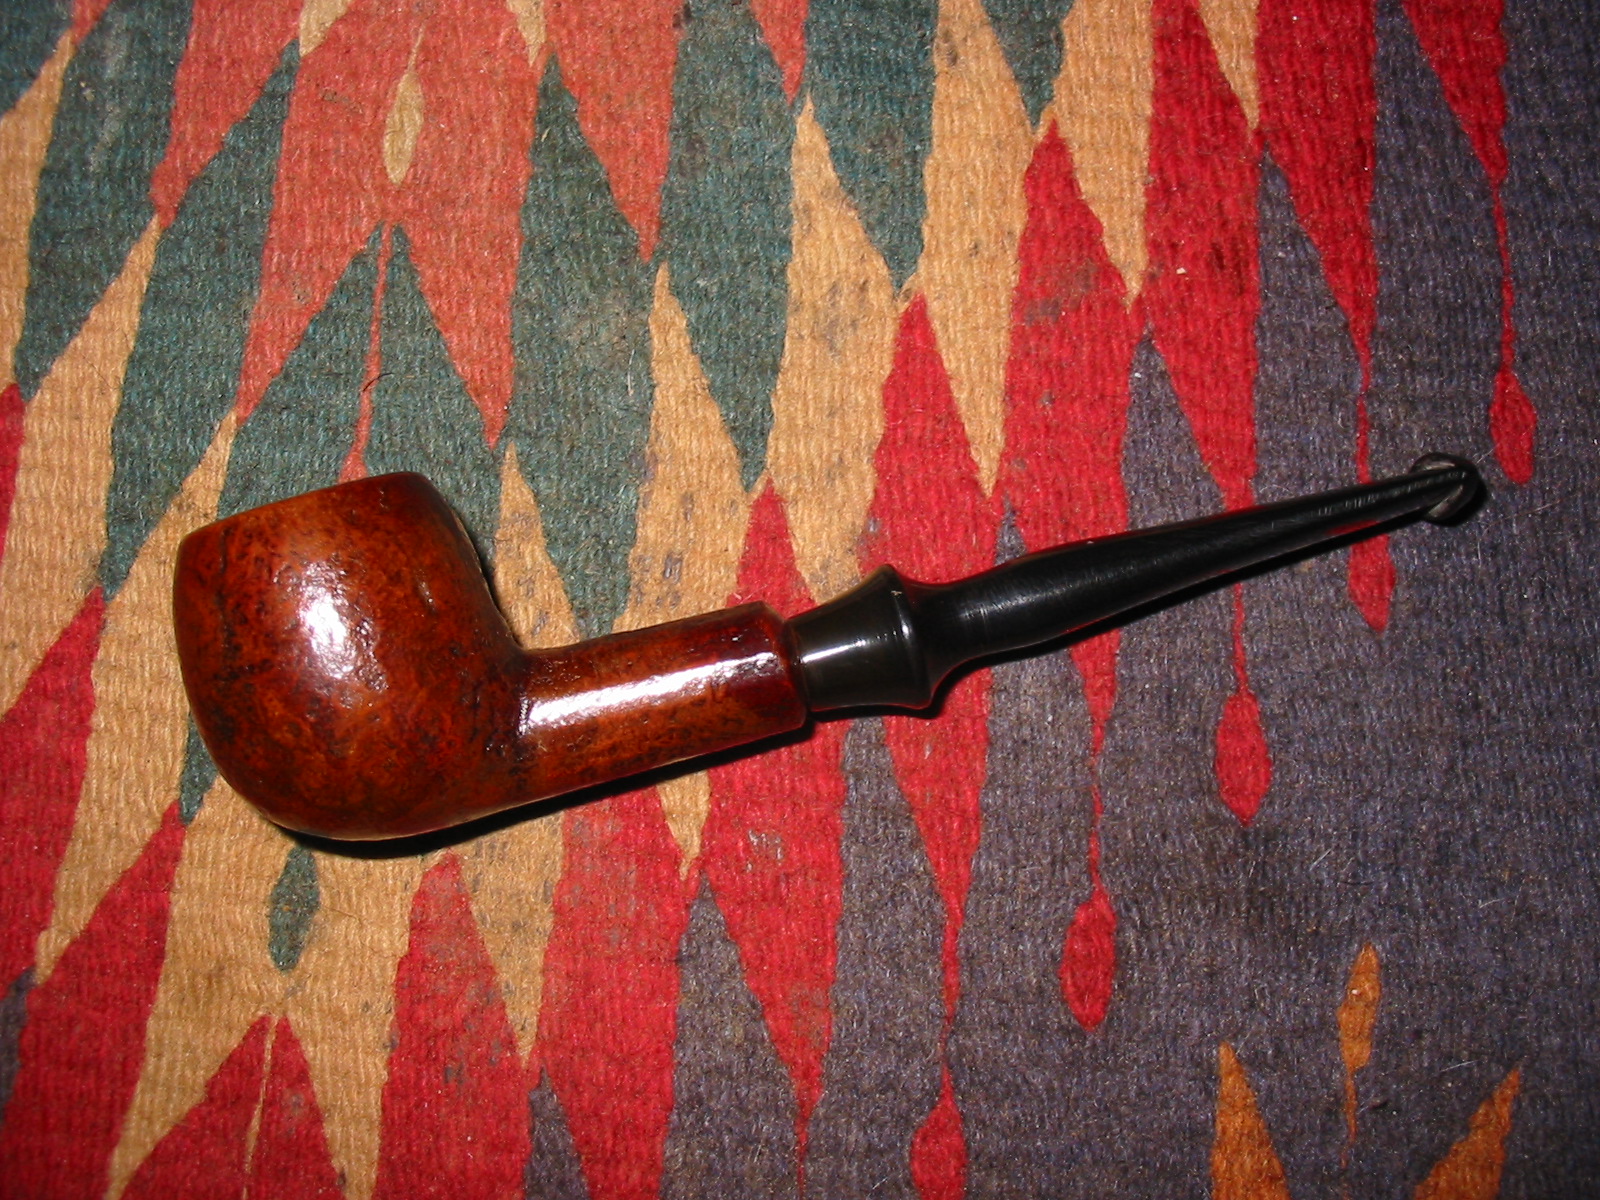
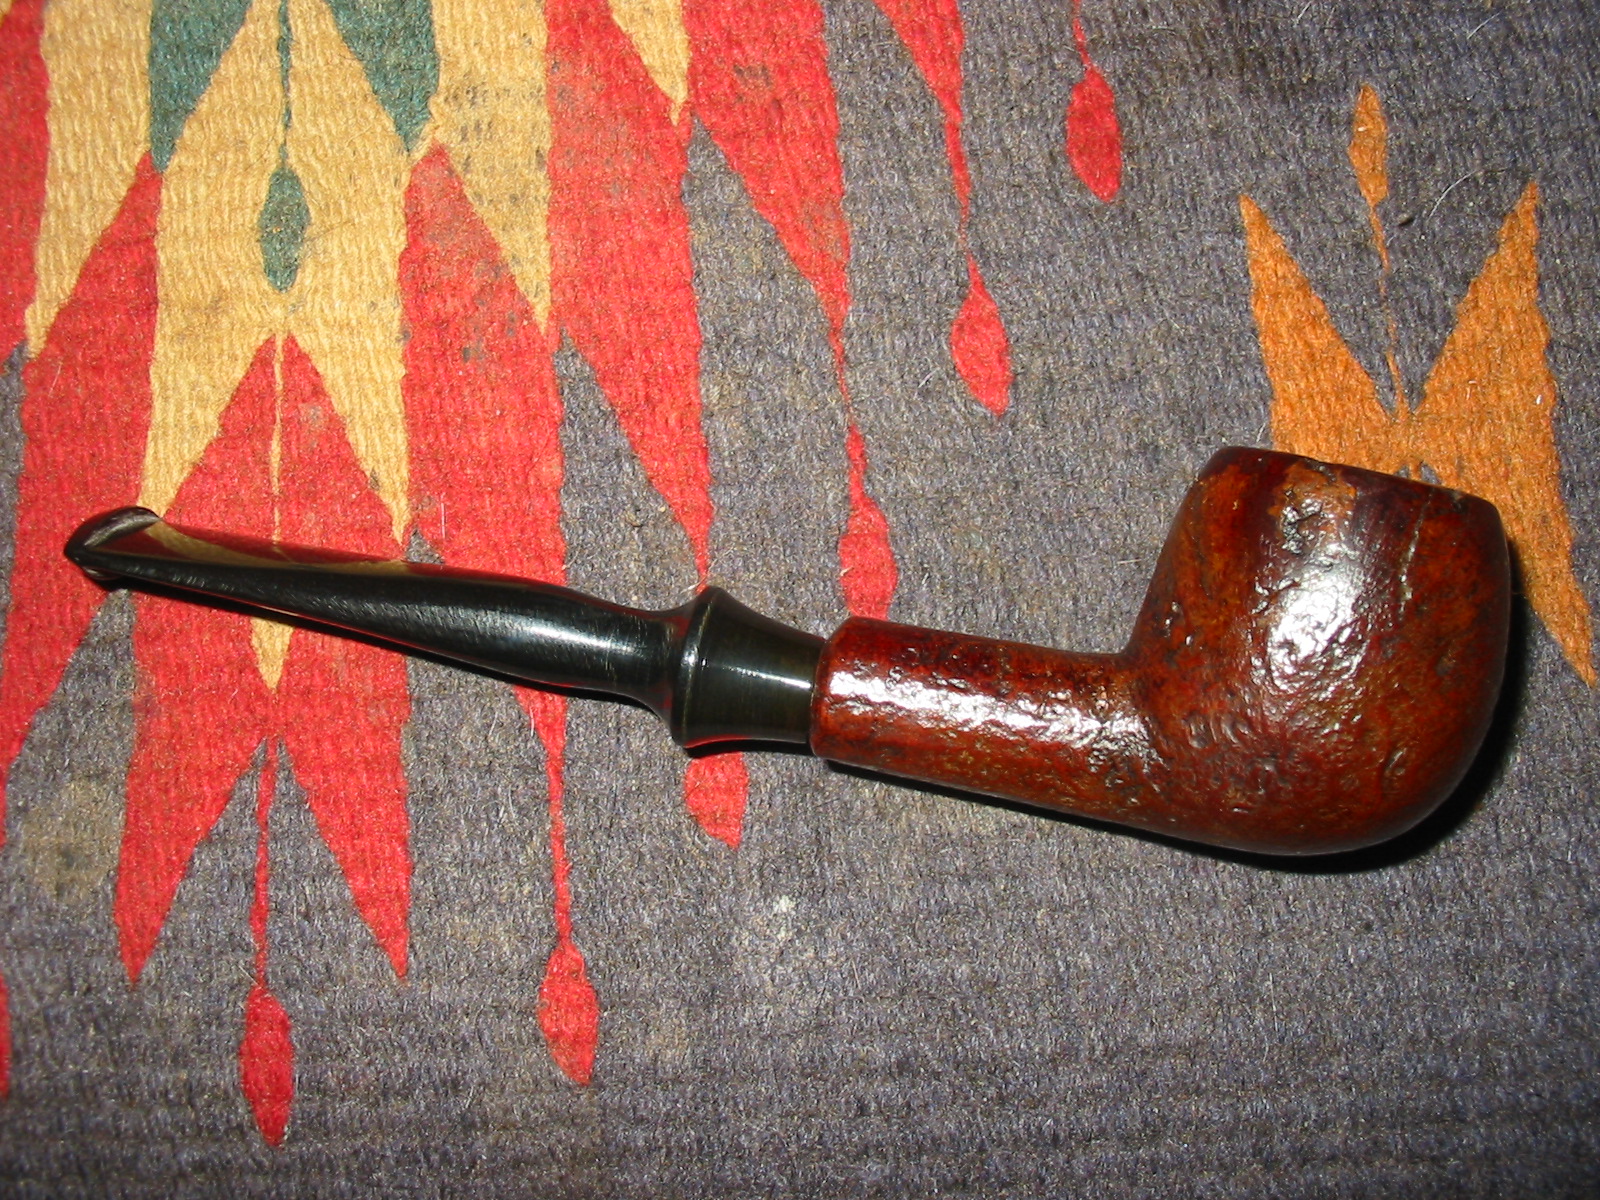
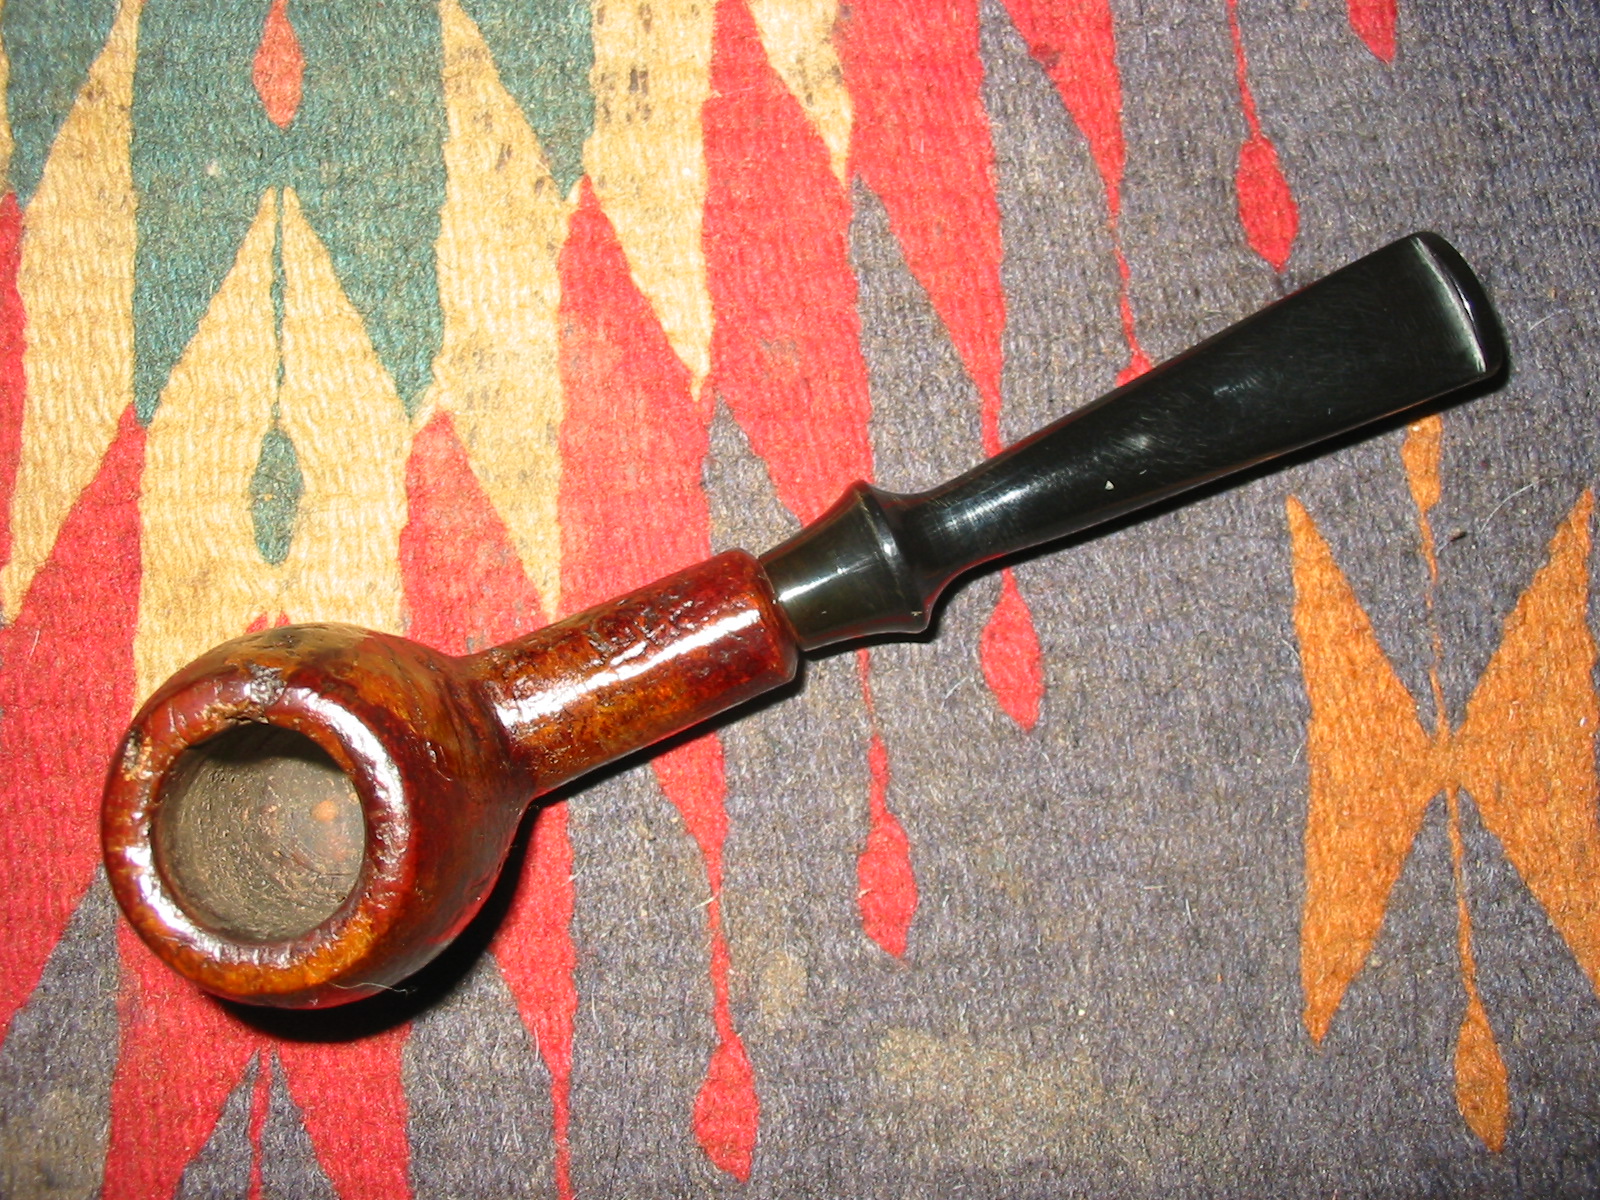
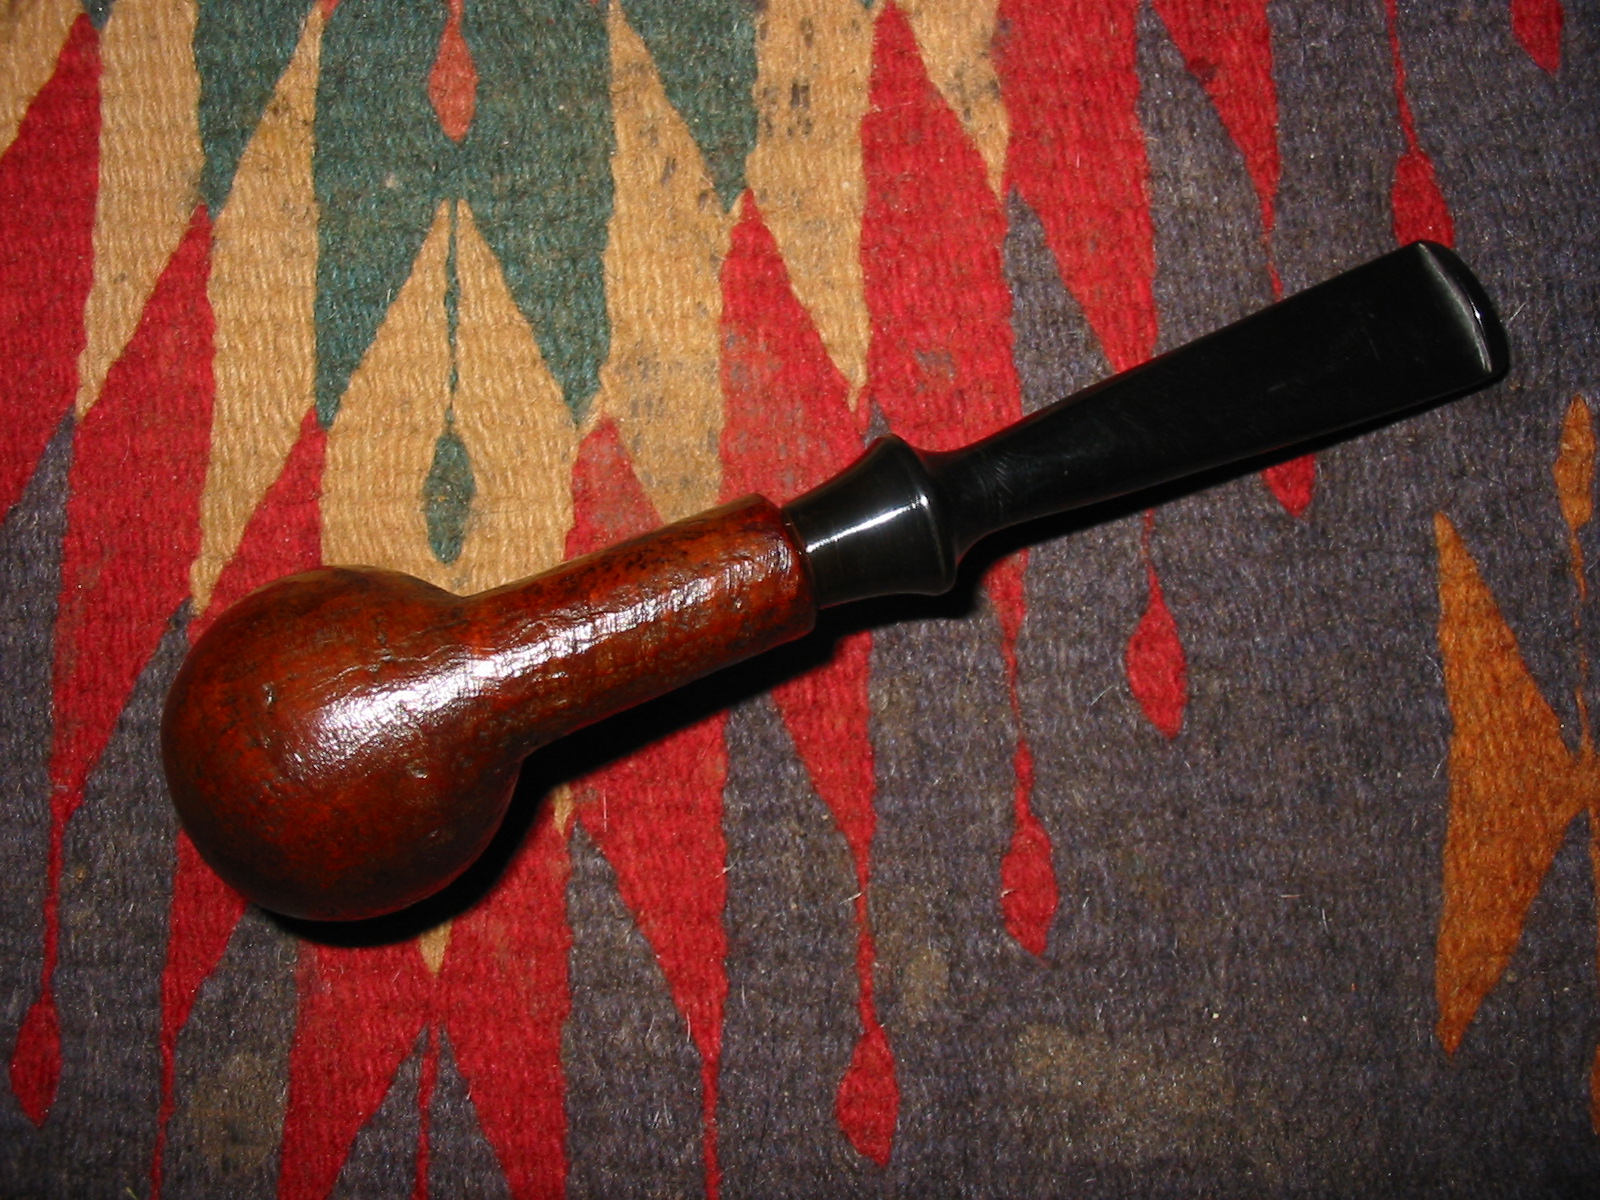
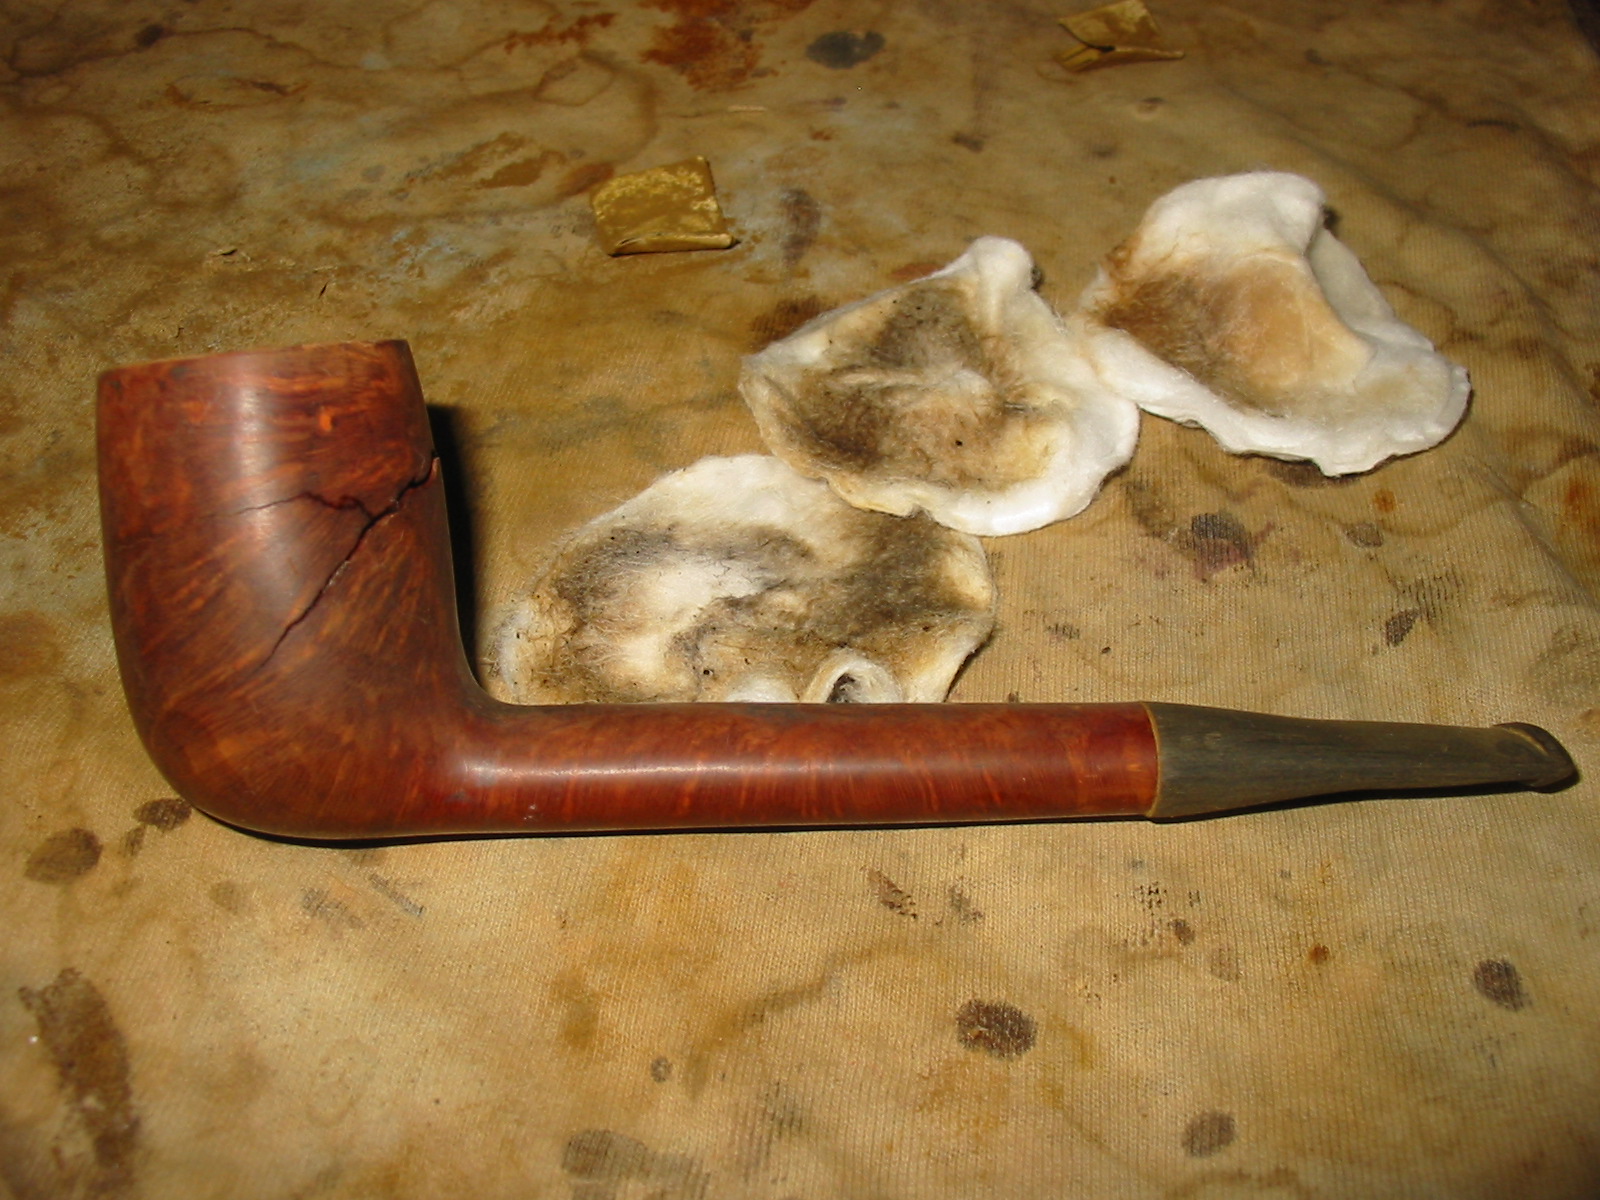
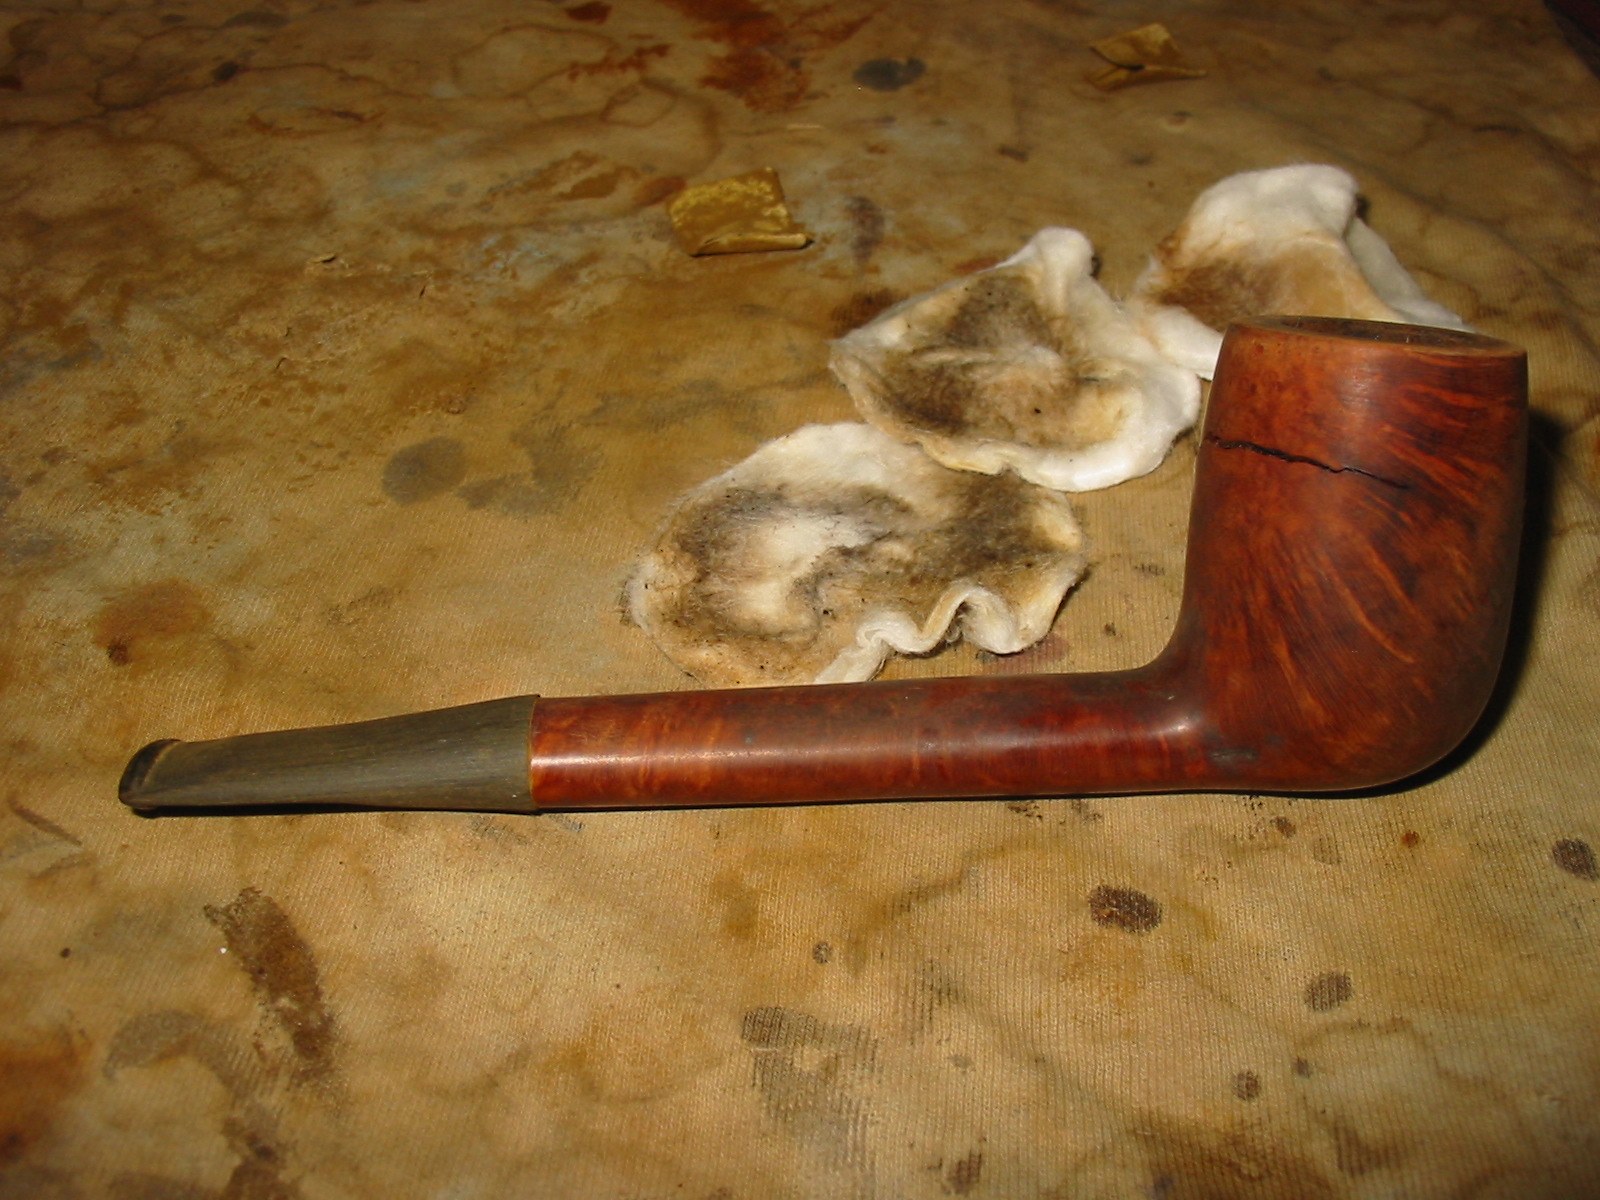
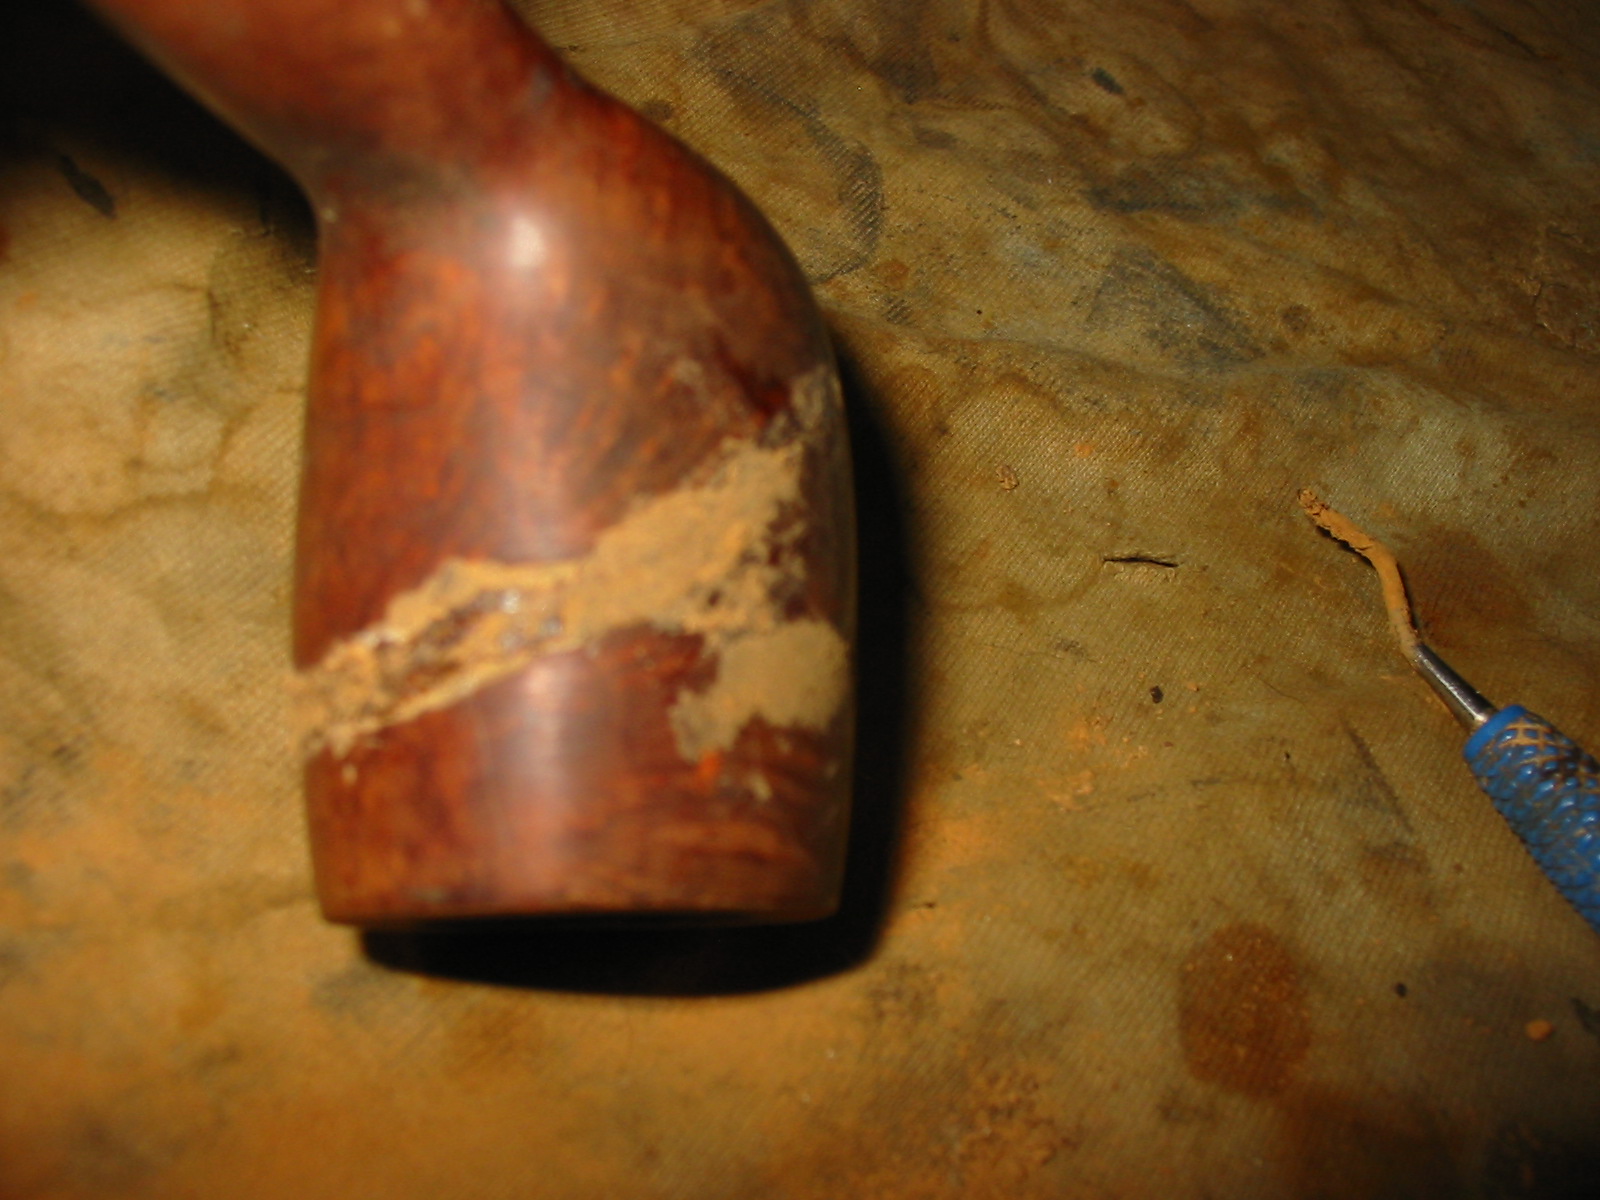
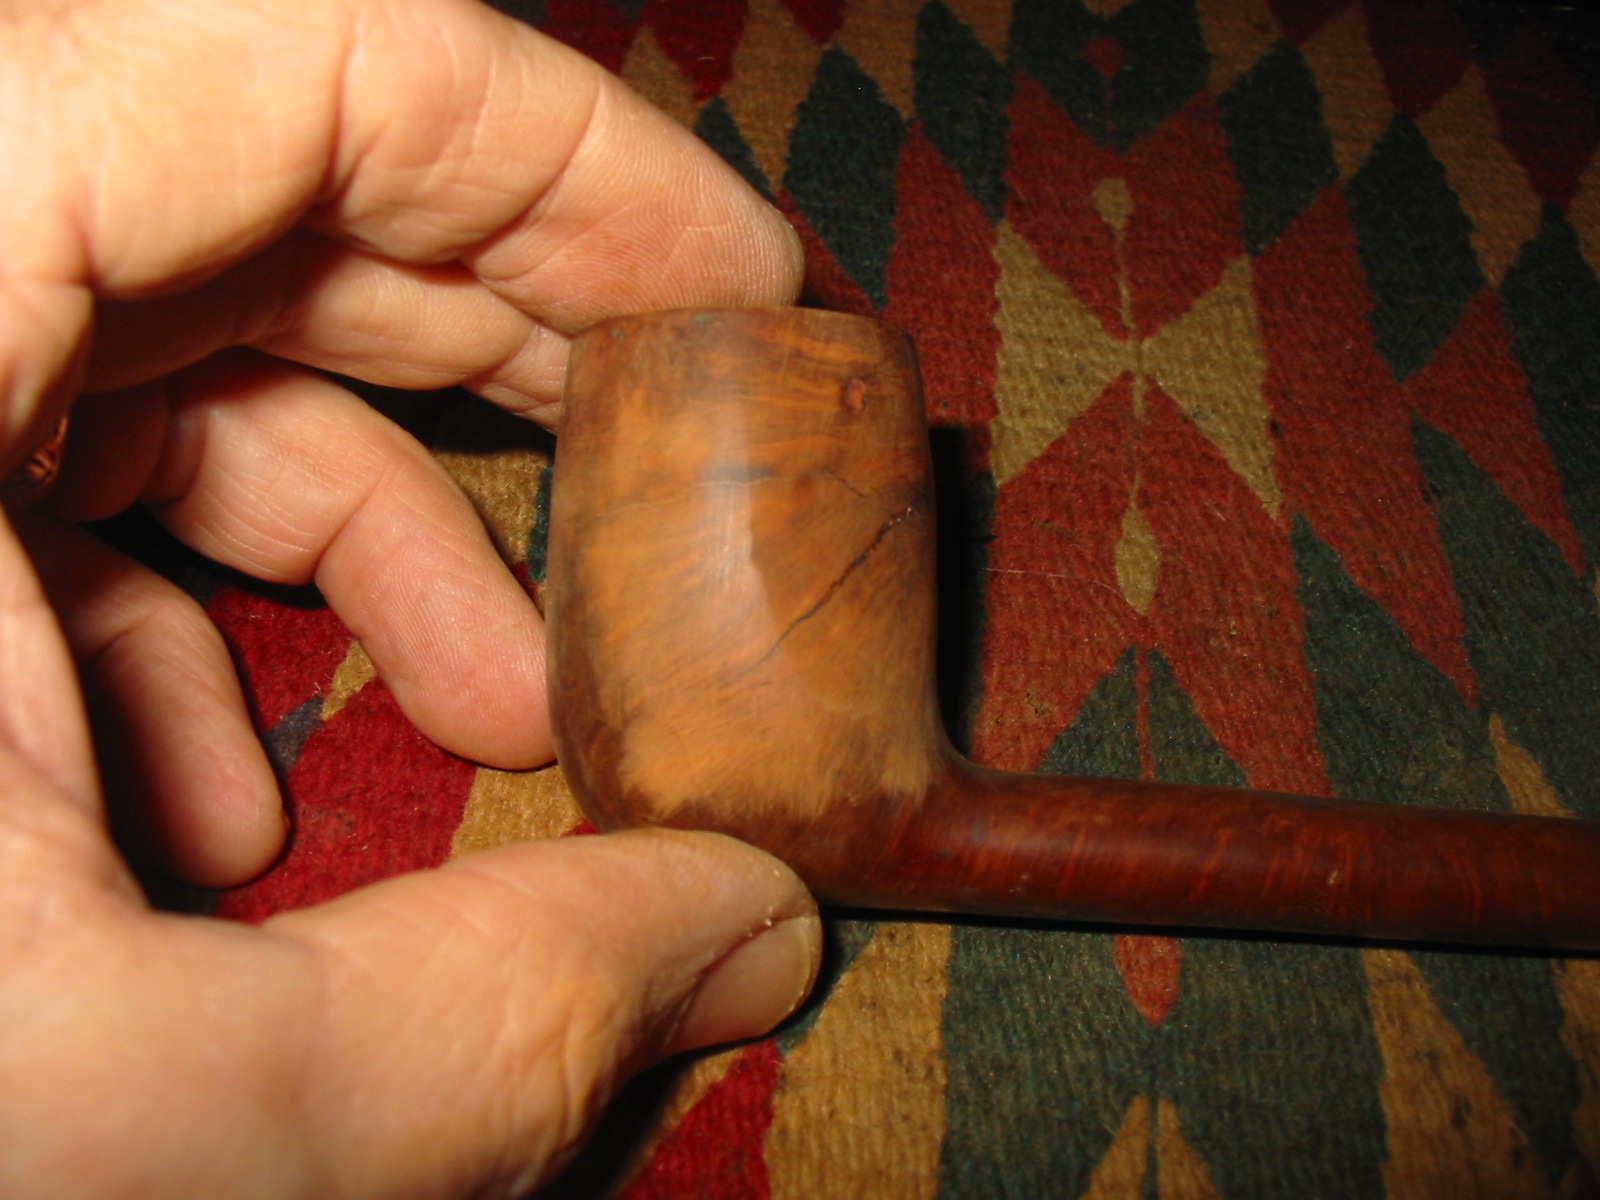
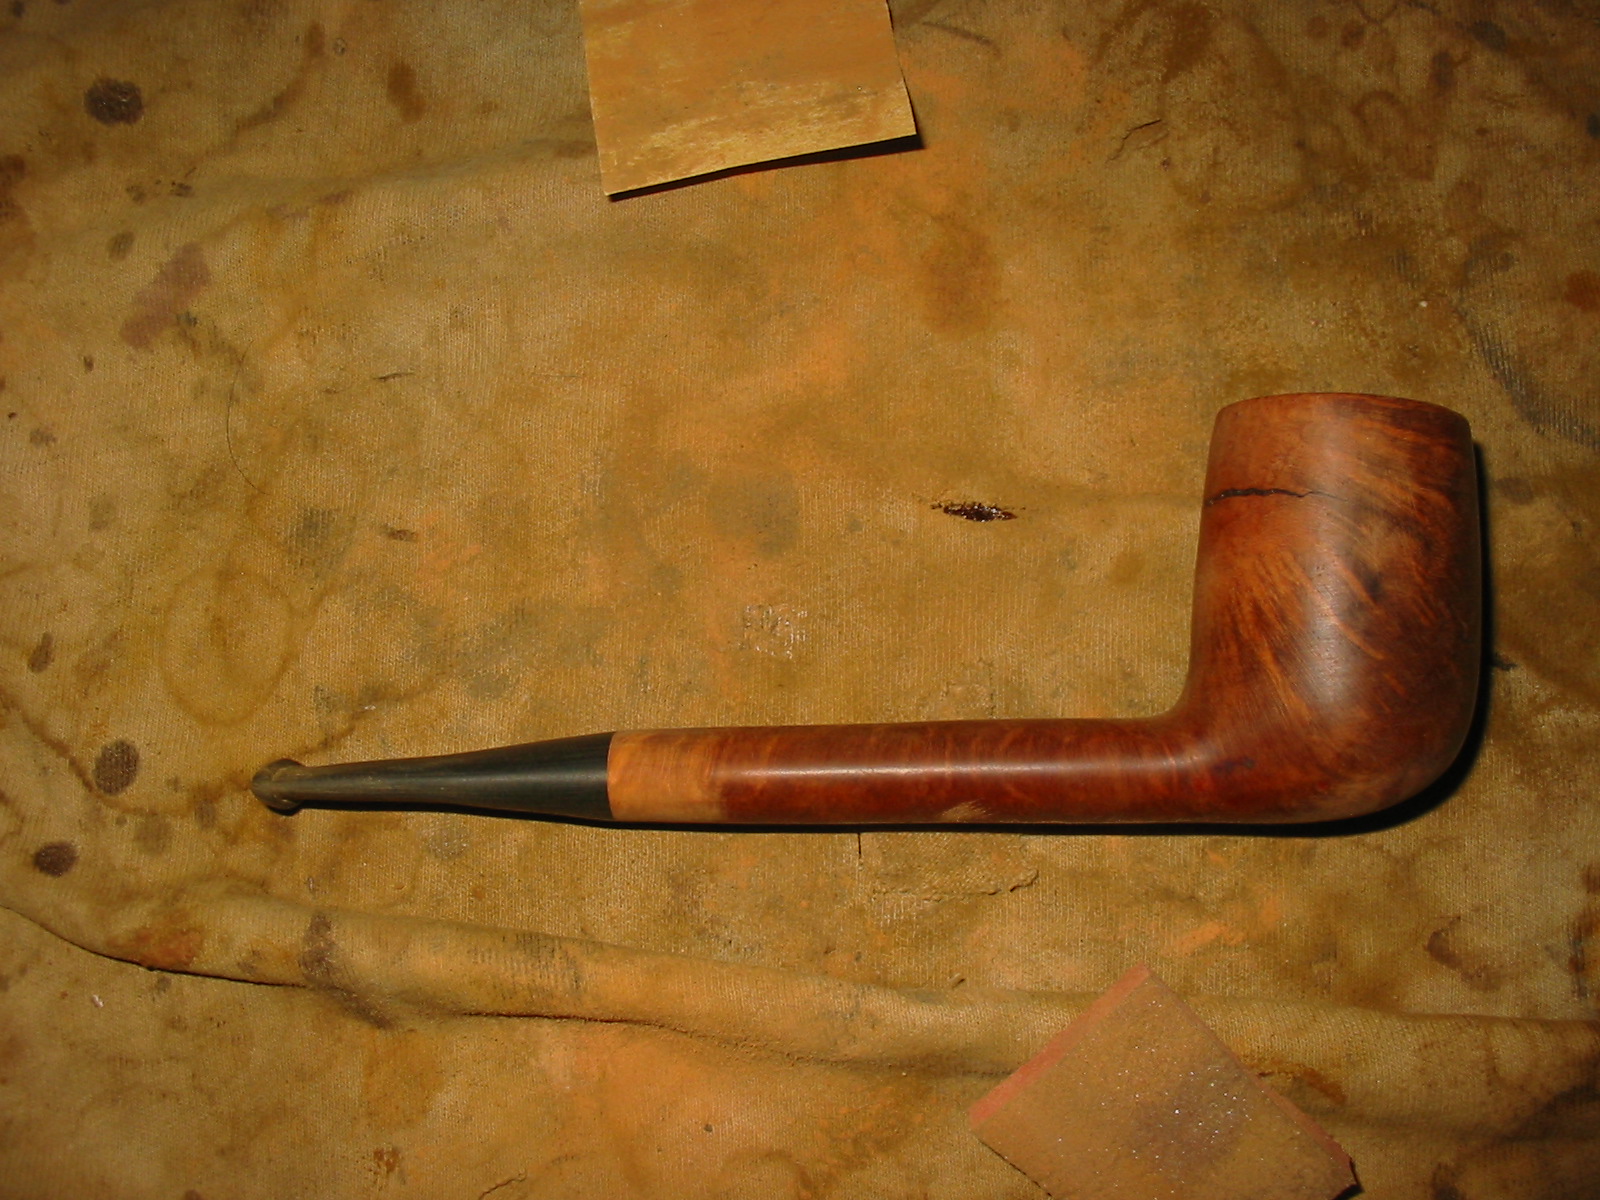
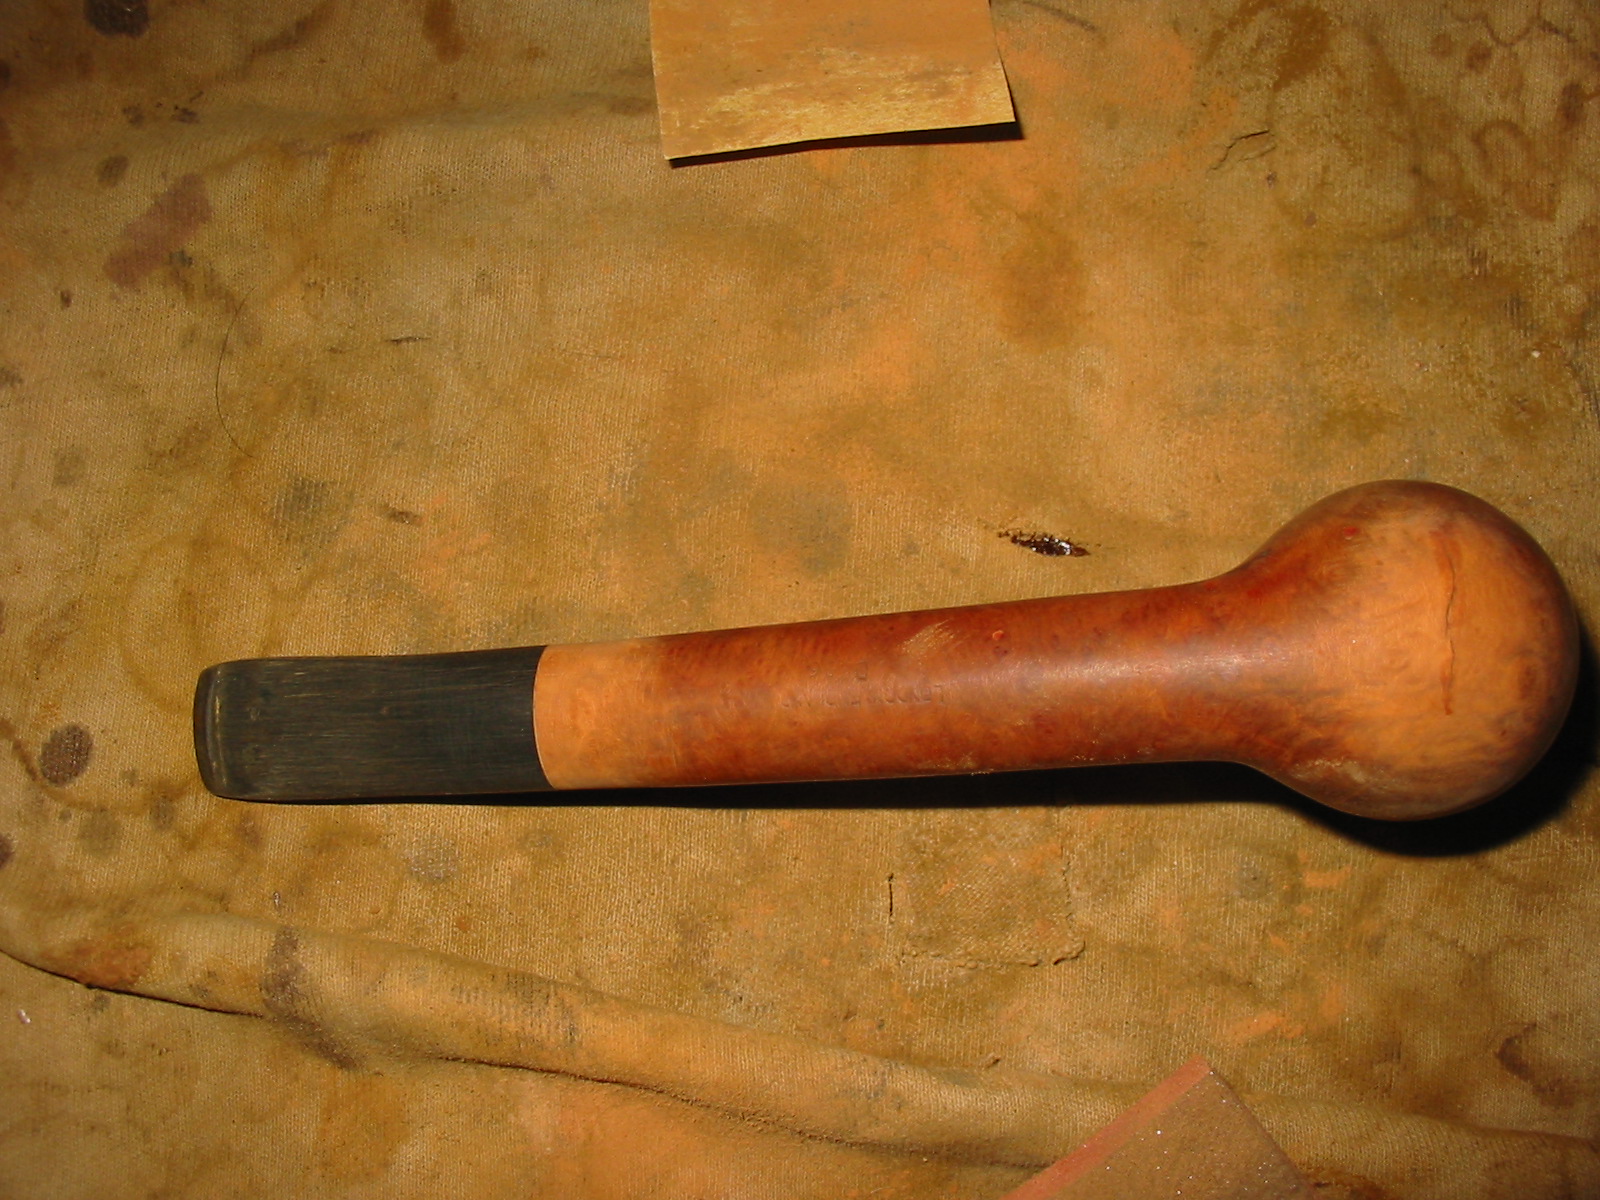
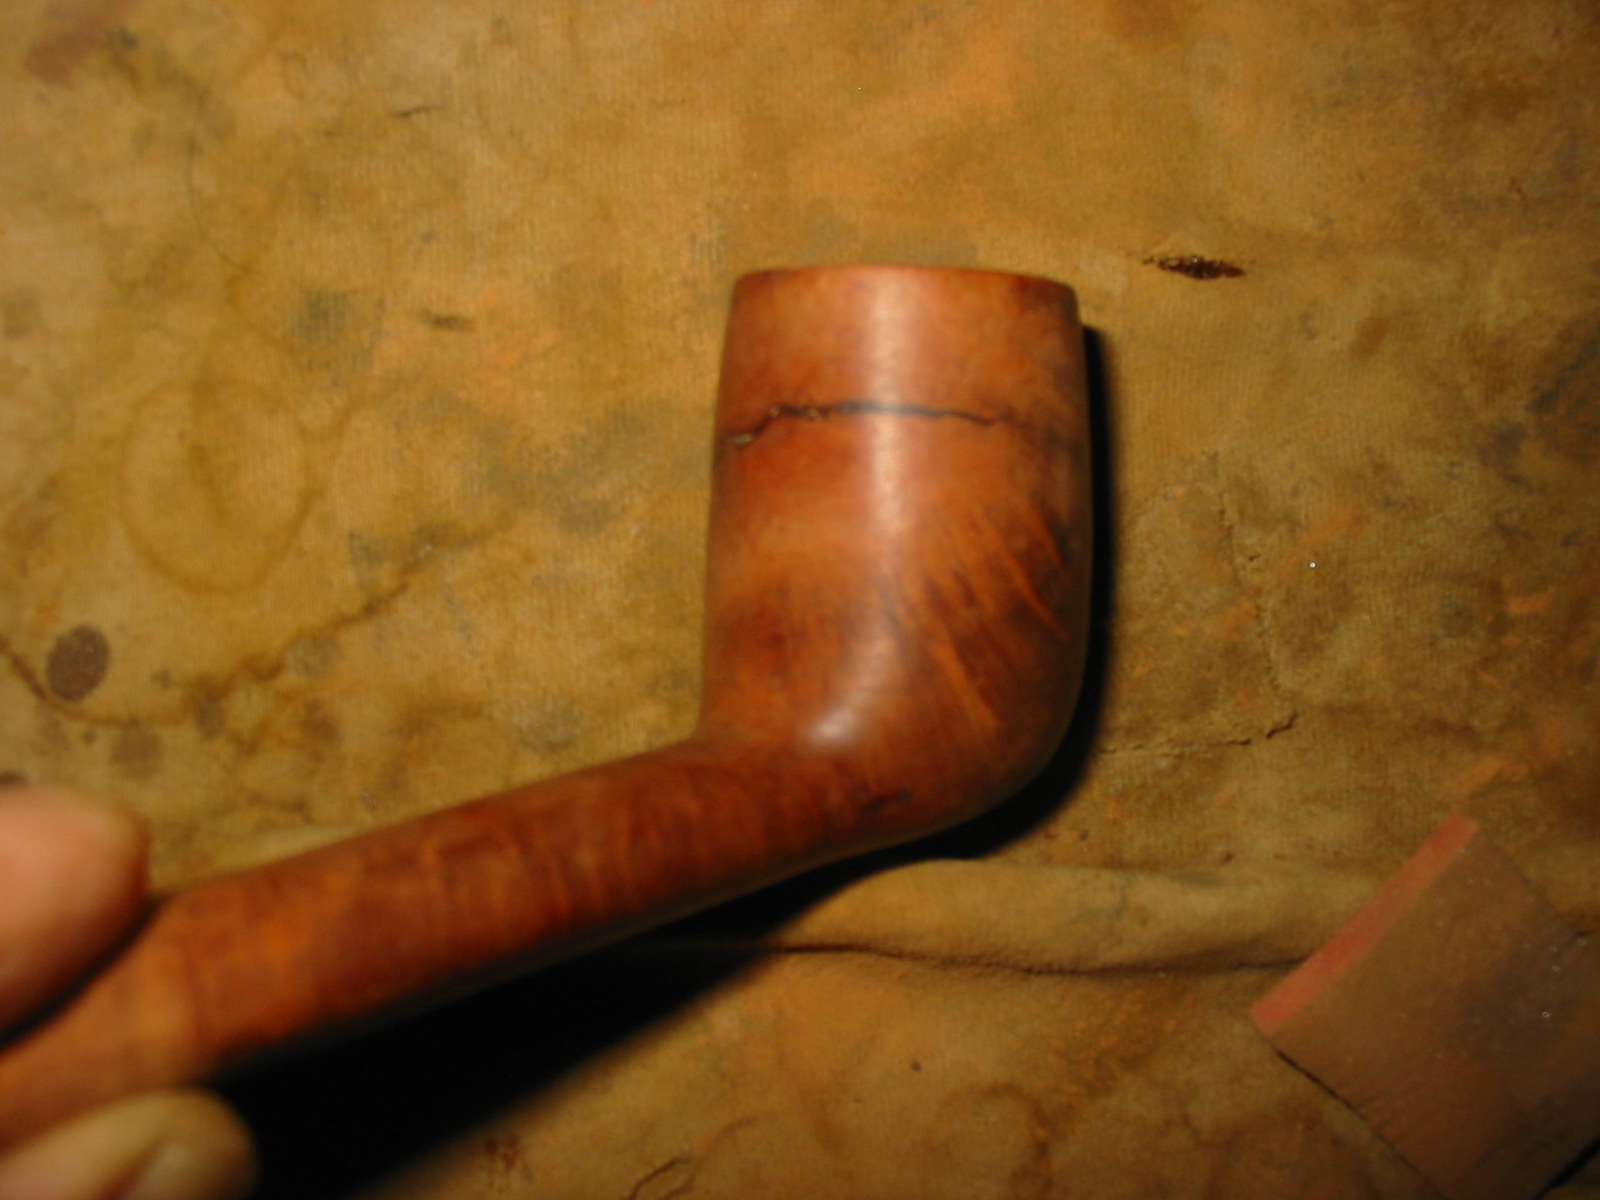
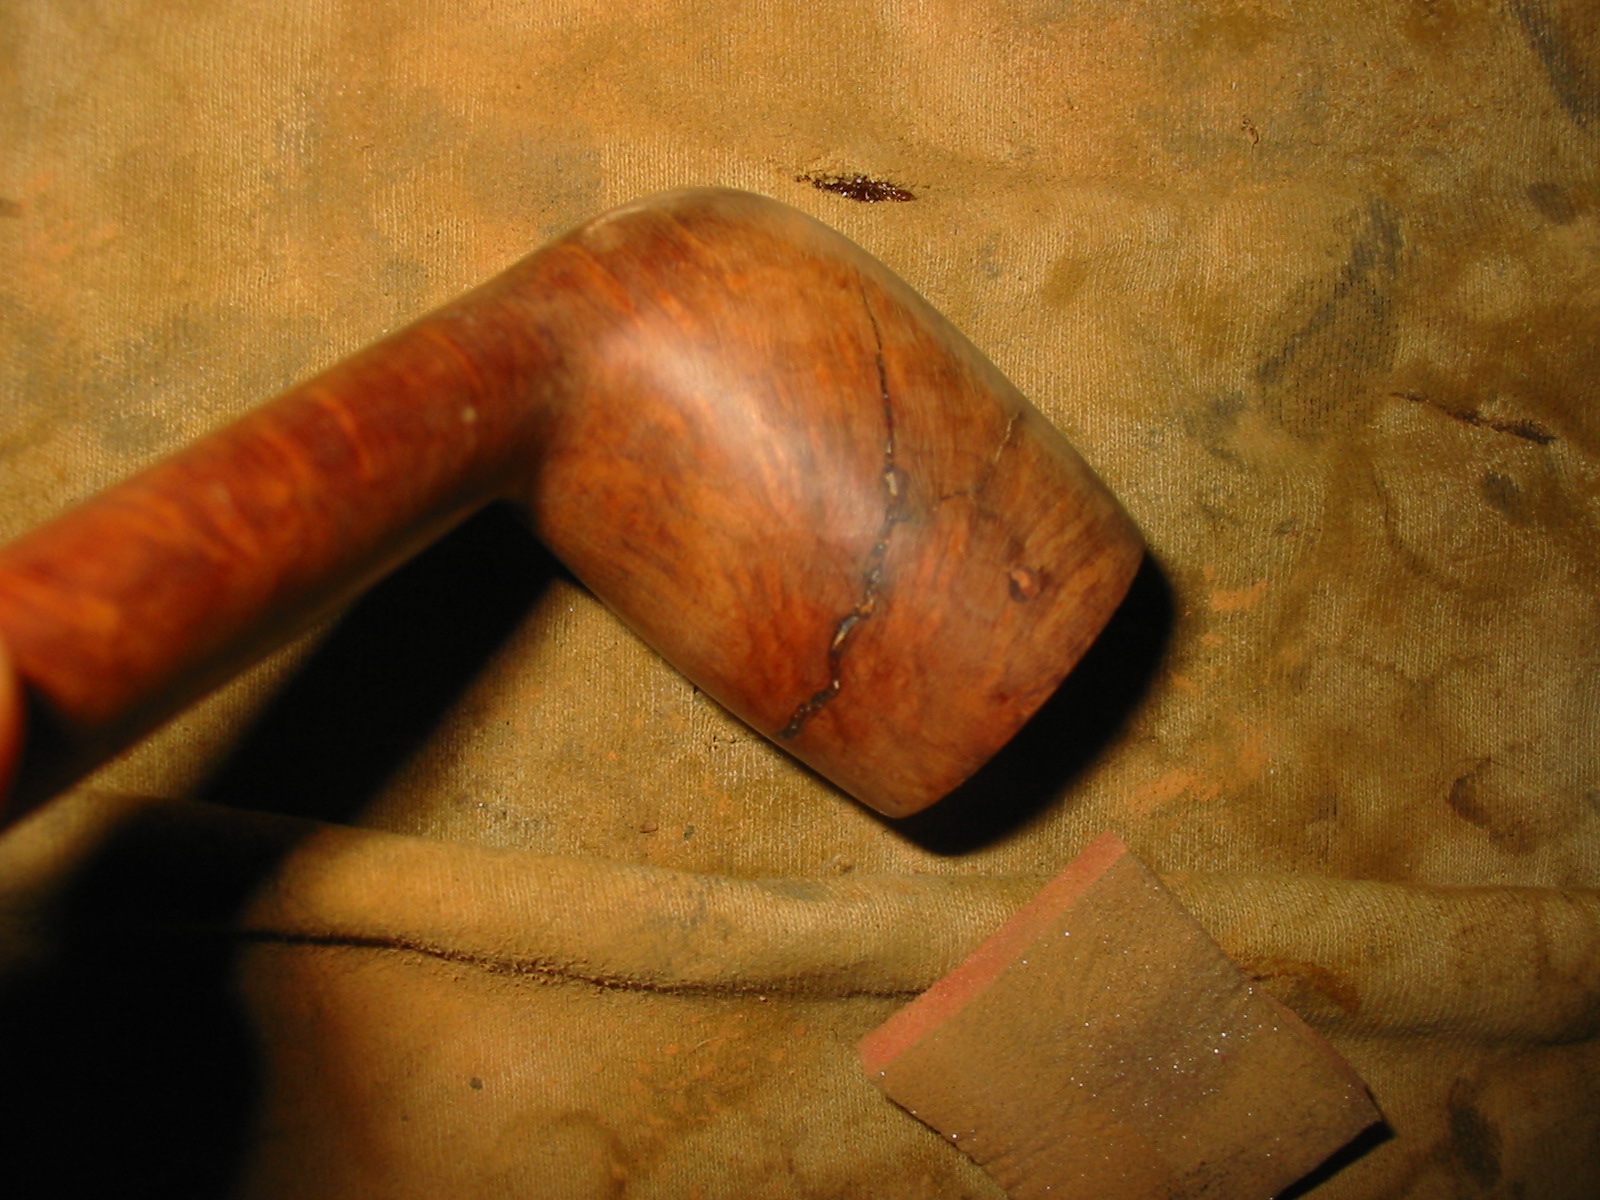
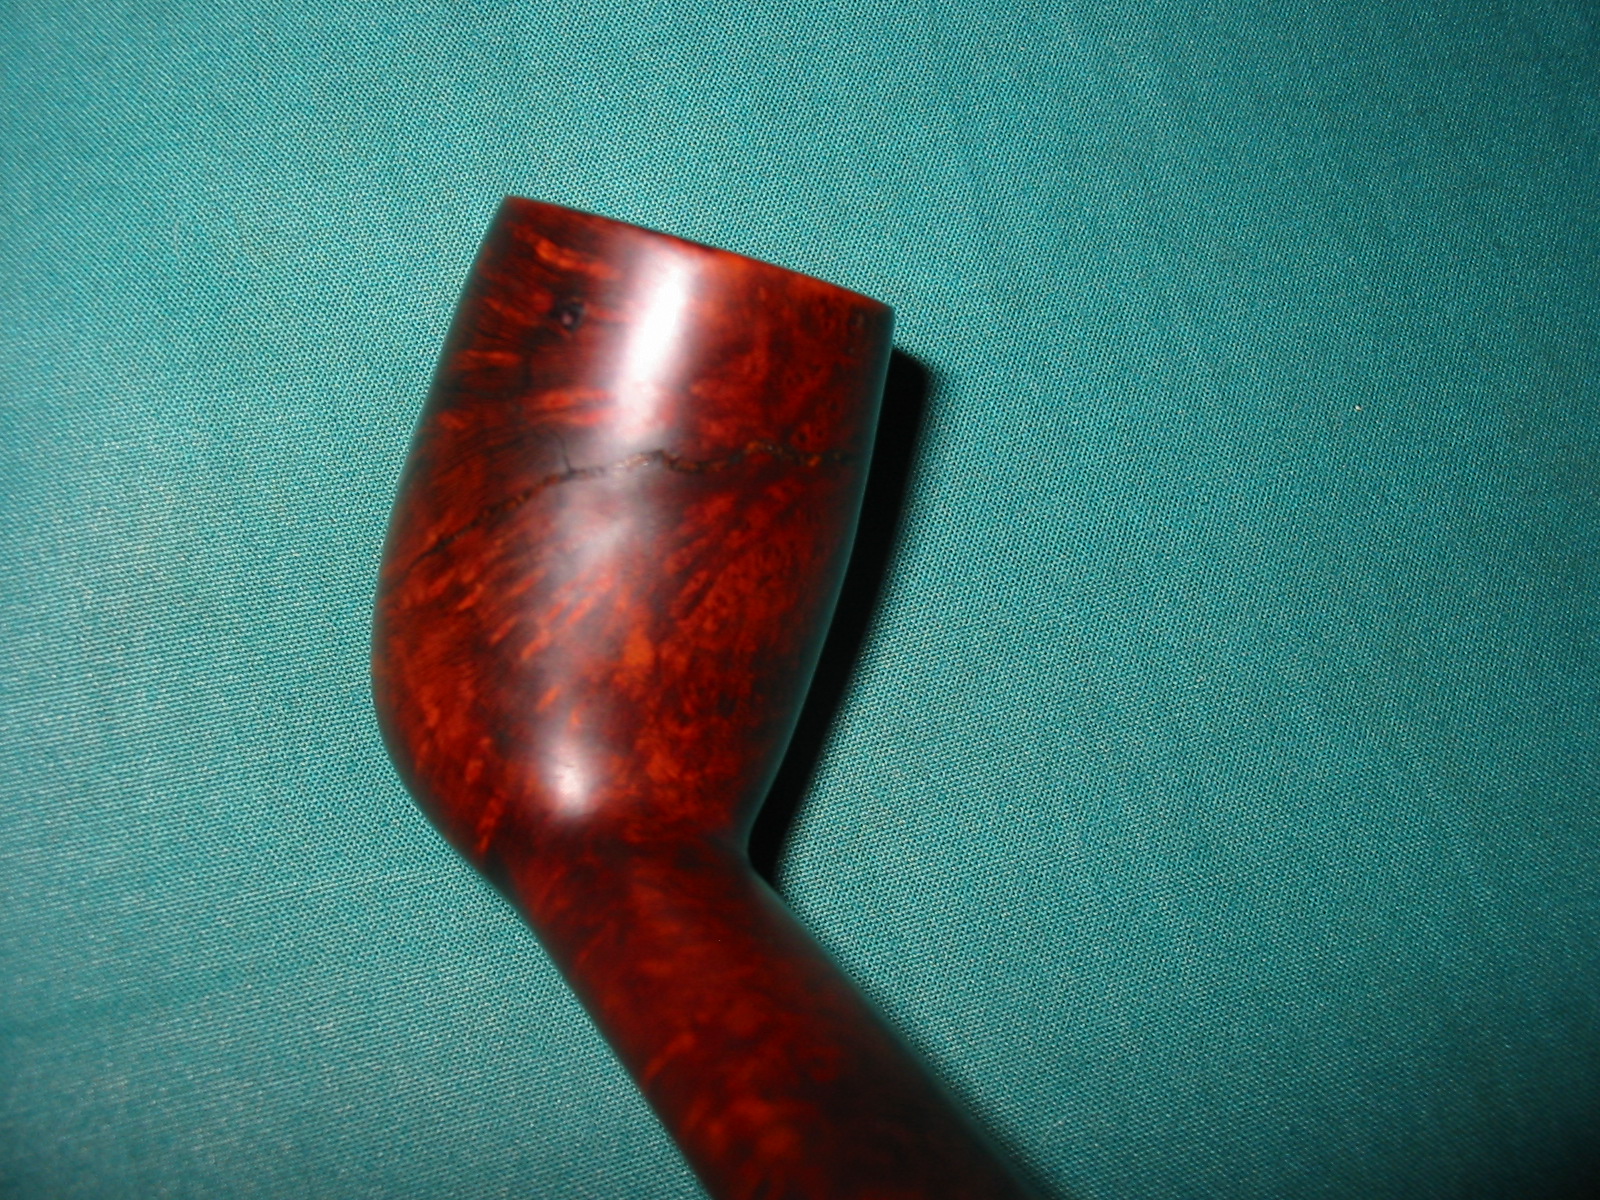
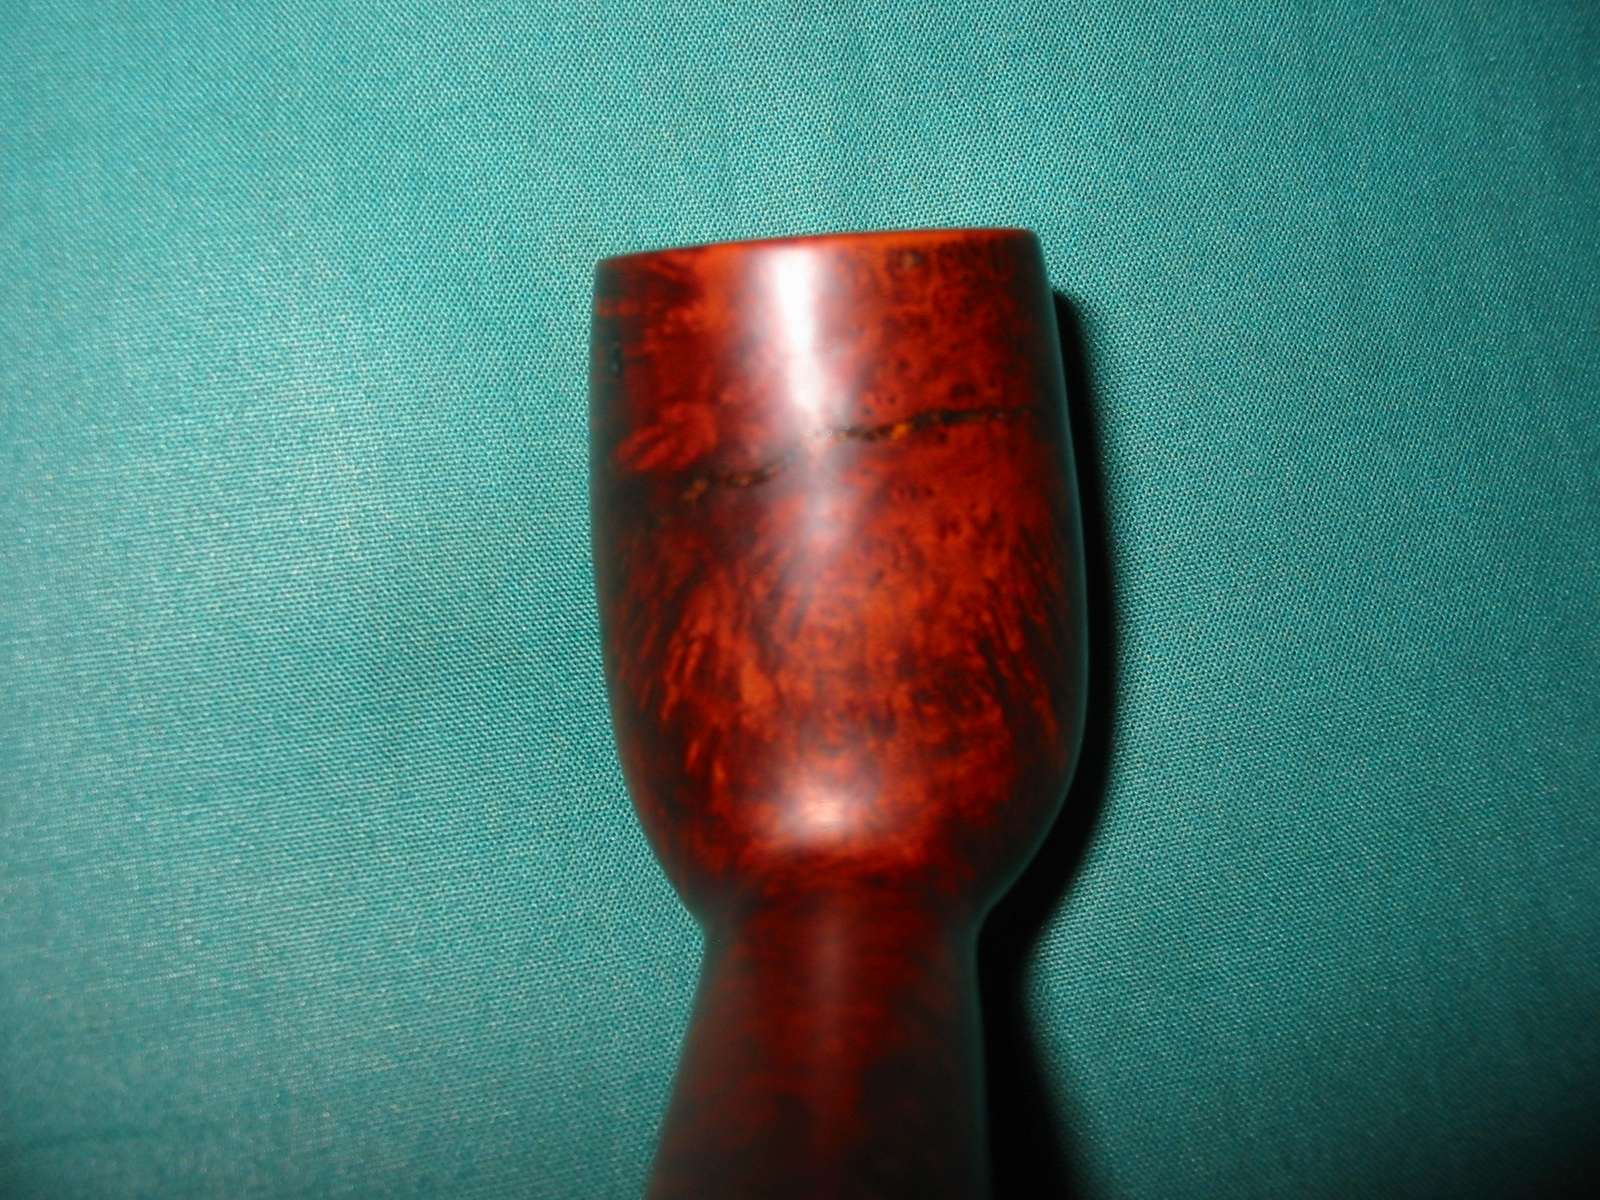
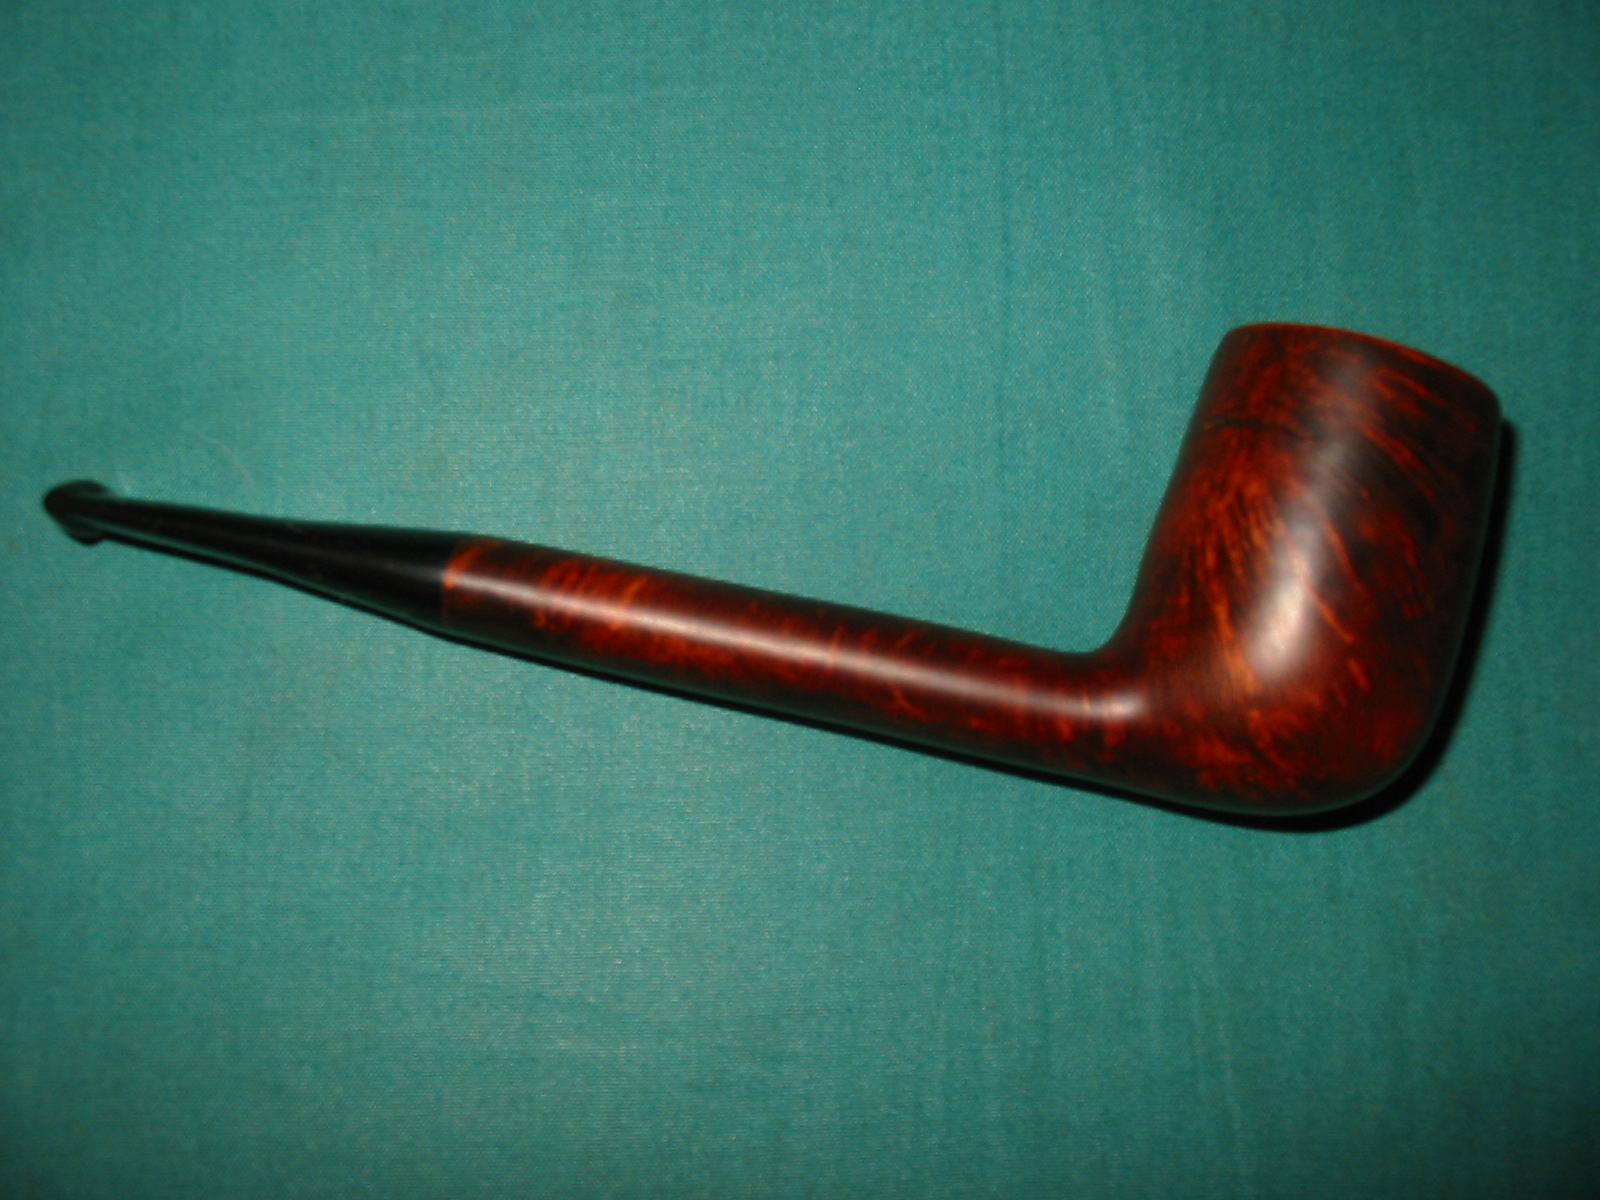
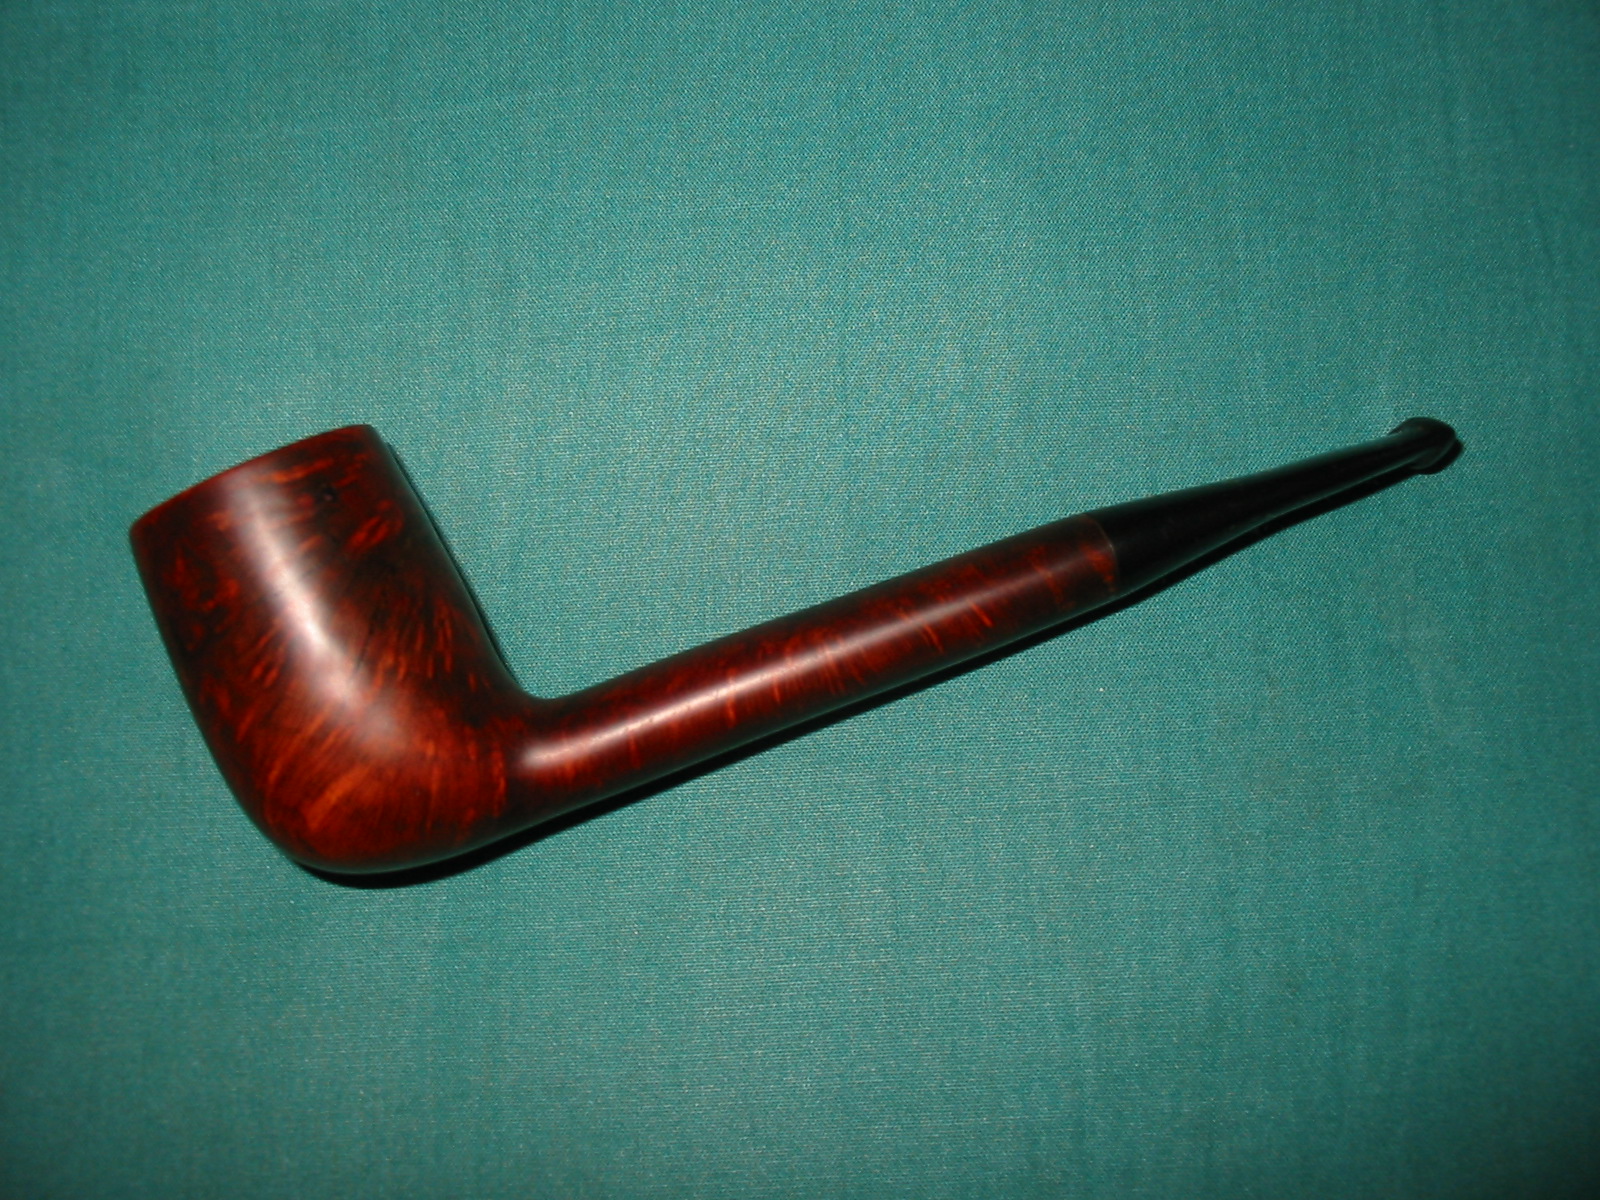
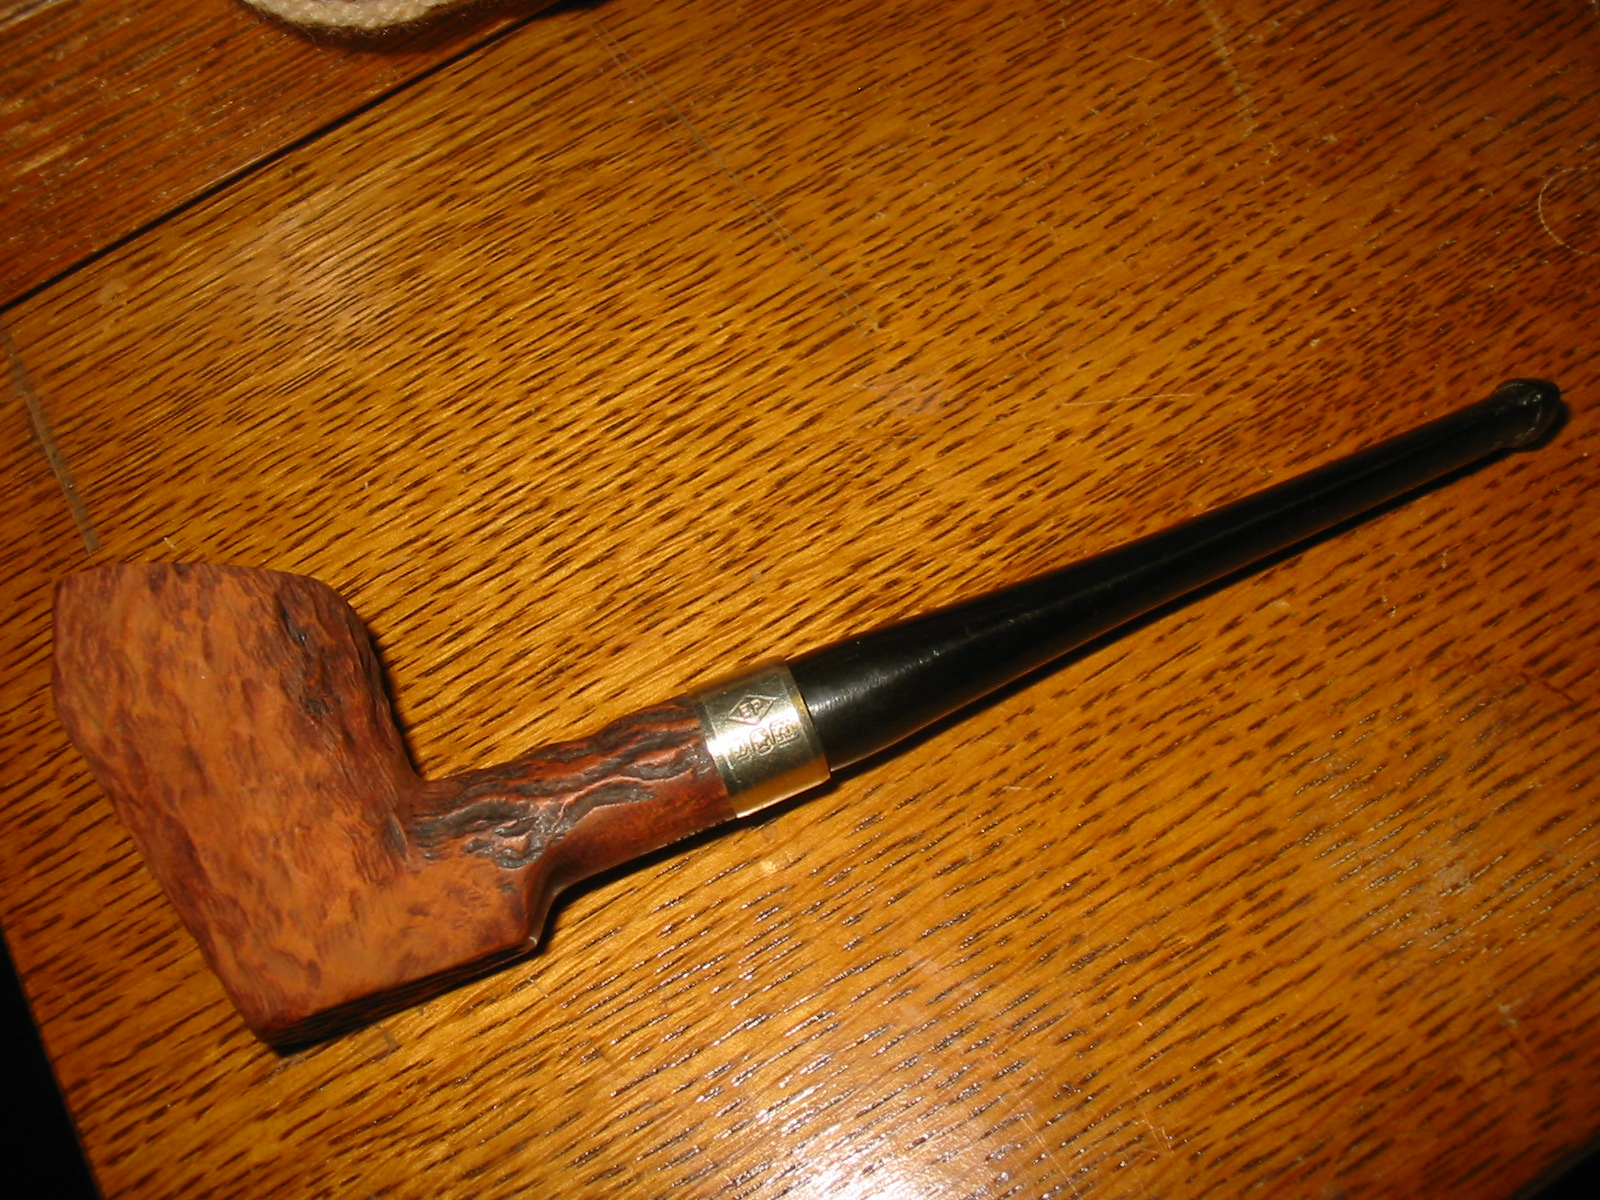
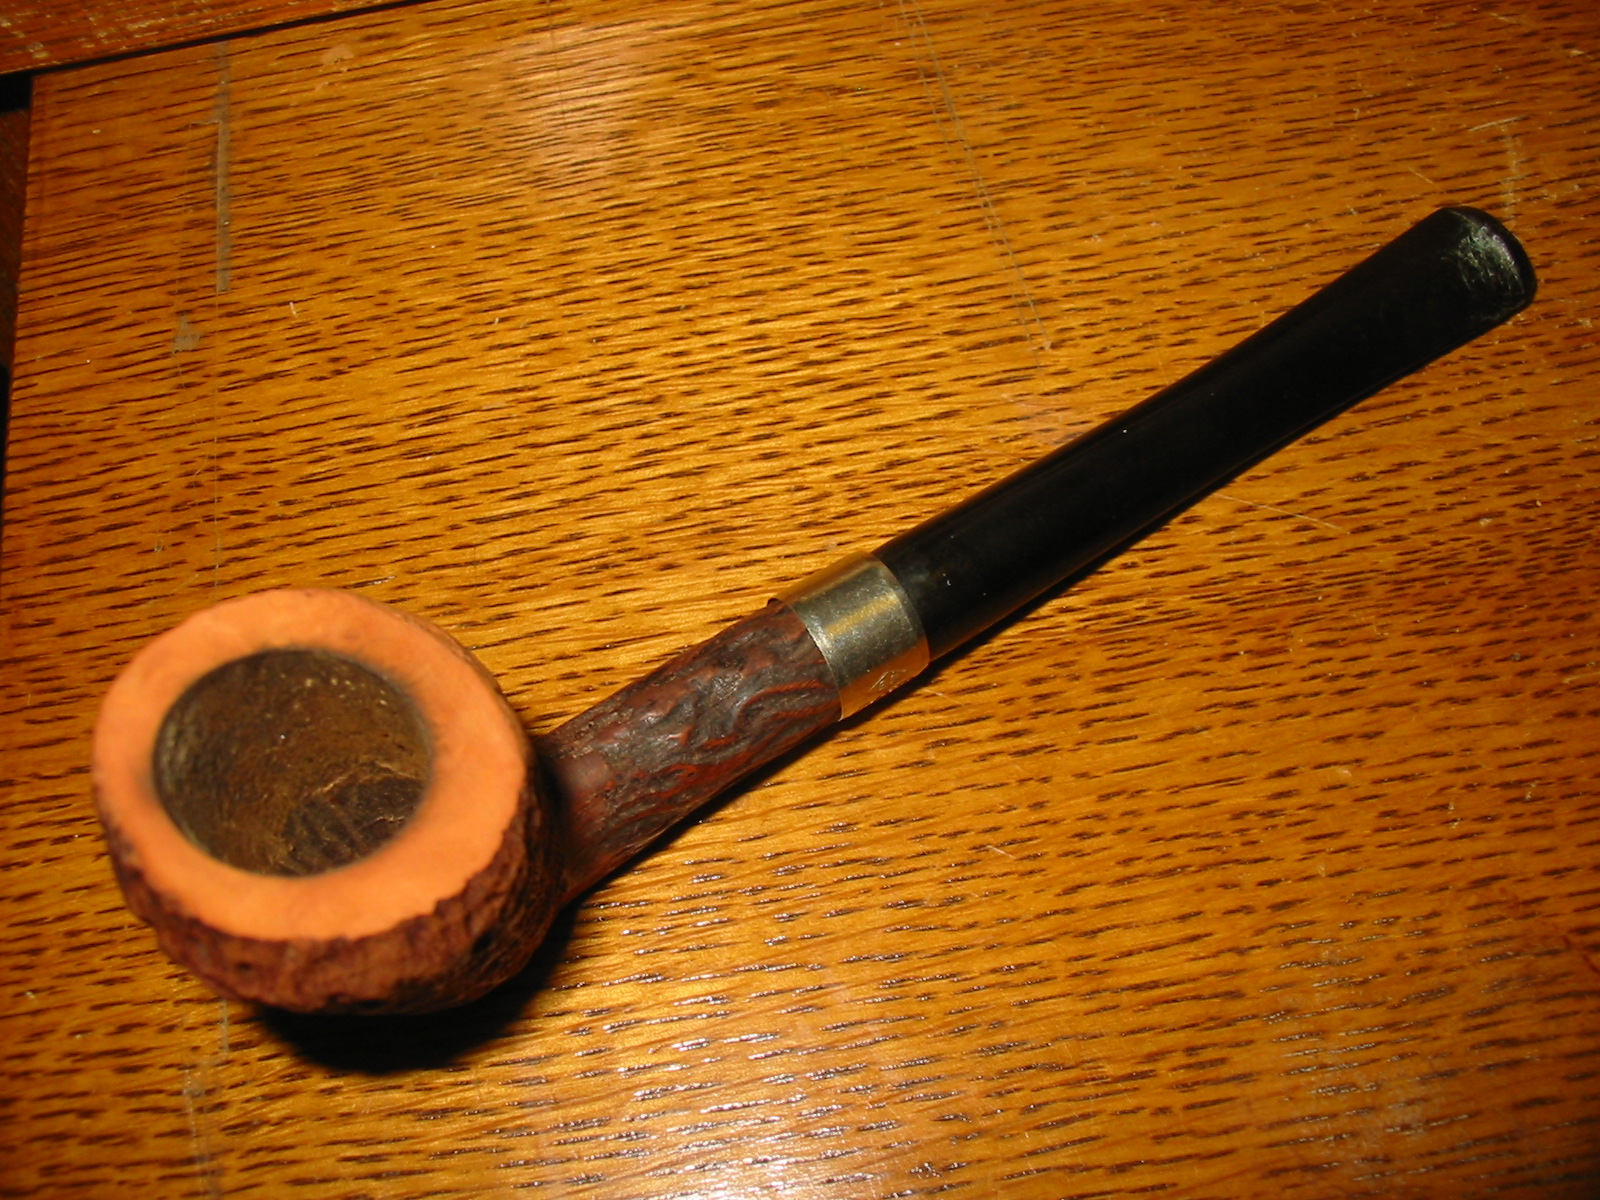
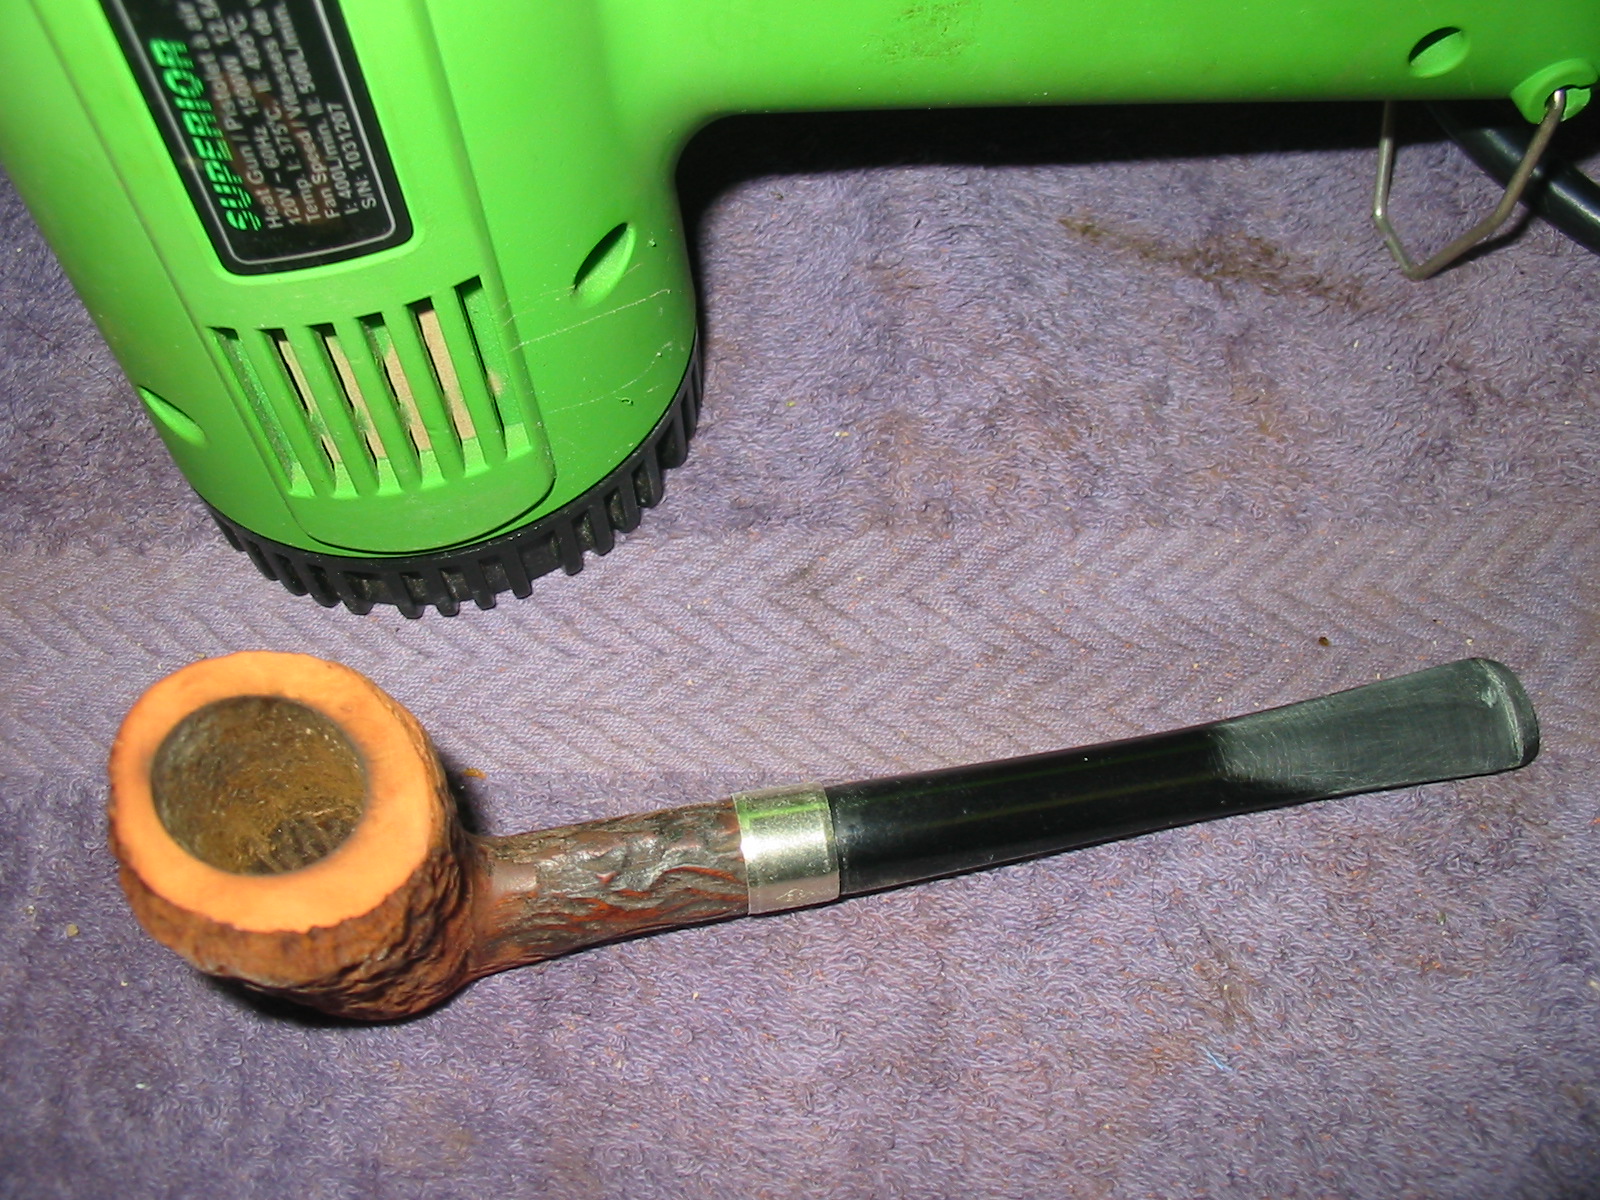
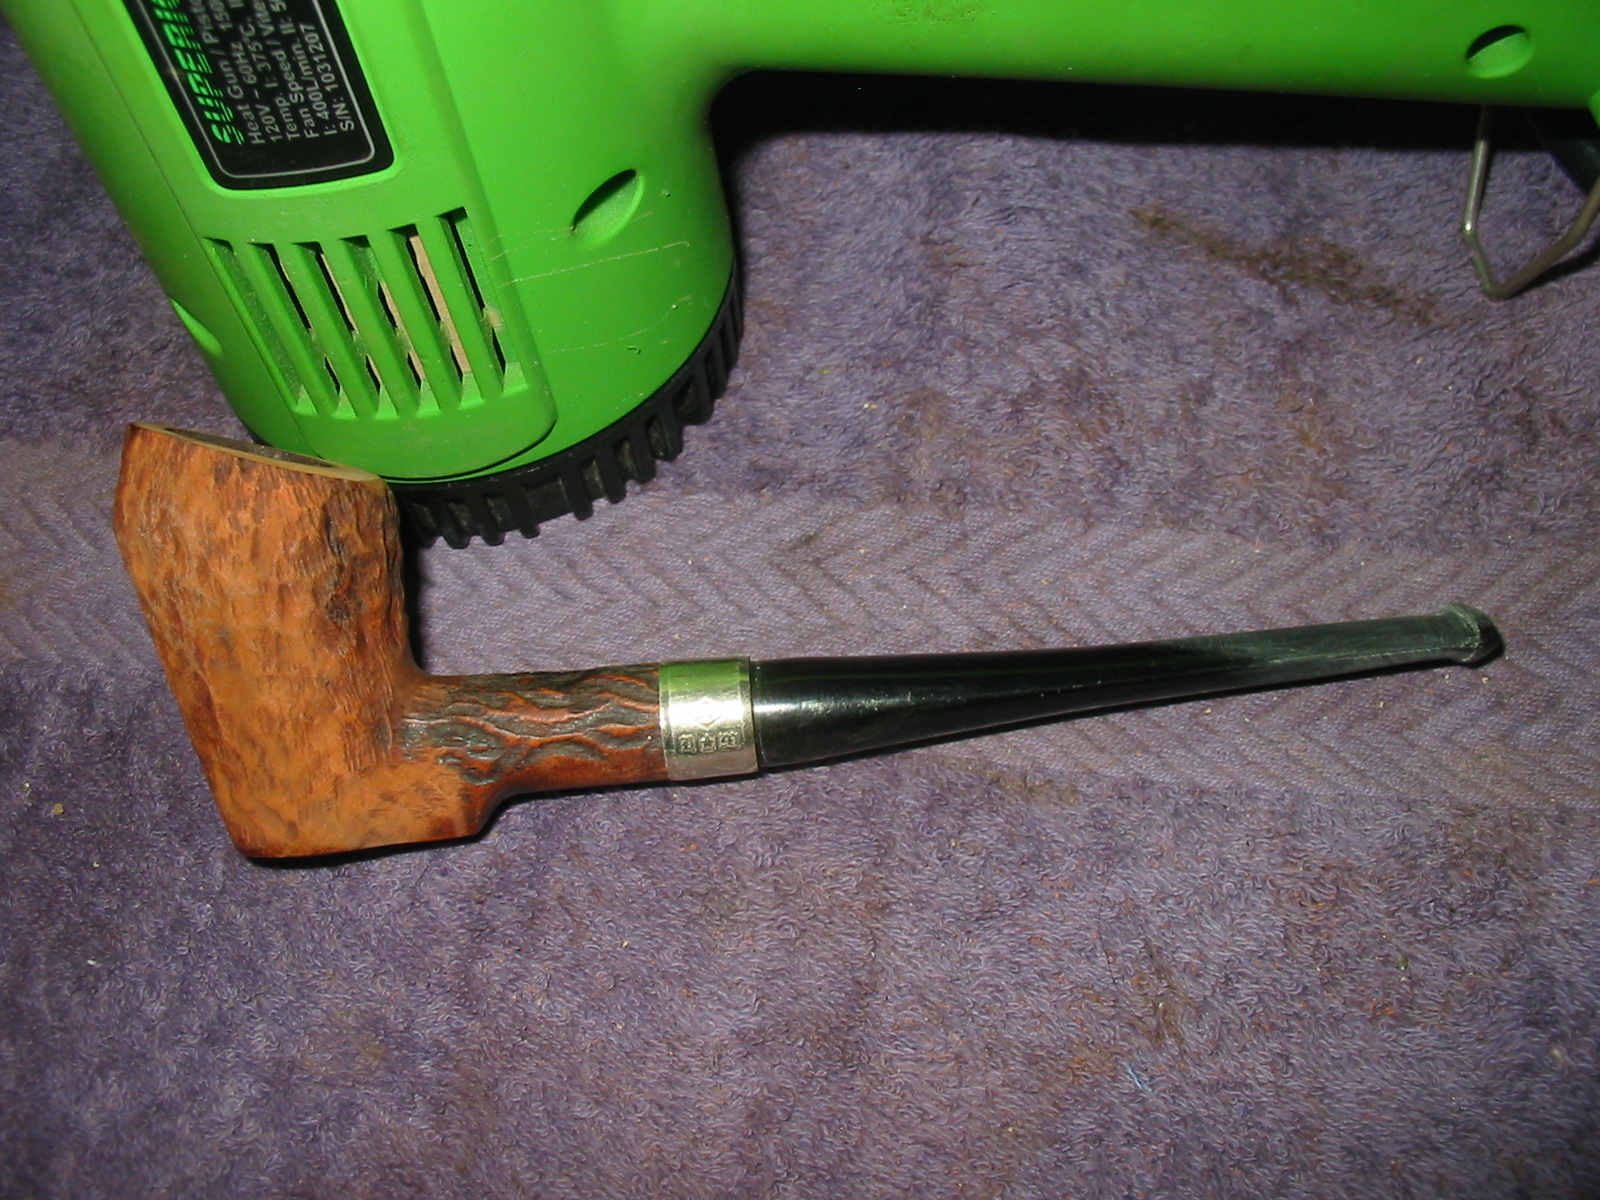
A Hilson Meerlined Tall Dublin Reborn into a Briar Calabash


Blog by Steve Laug

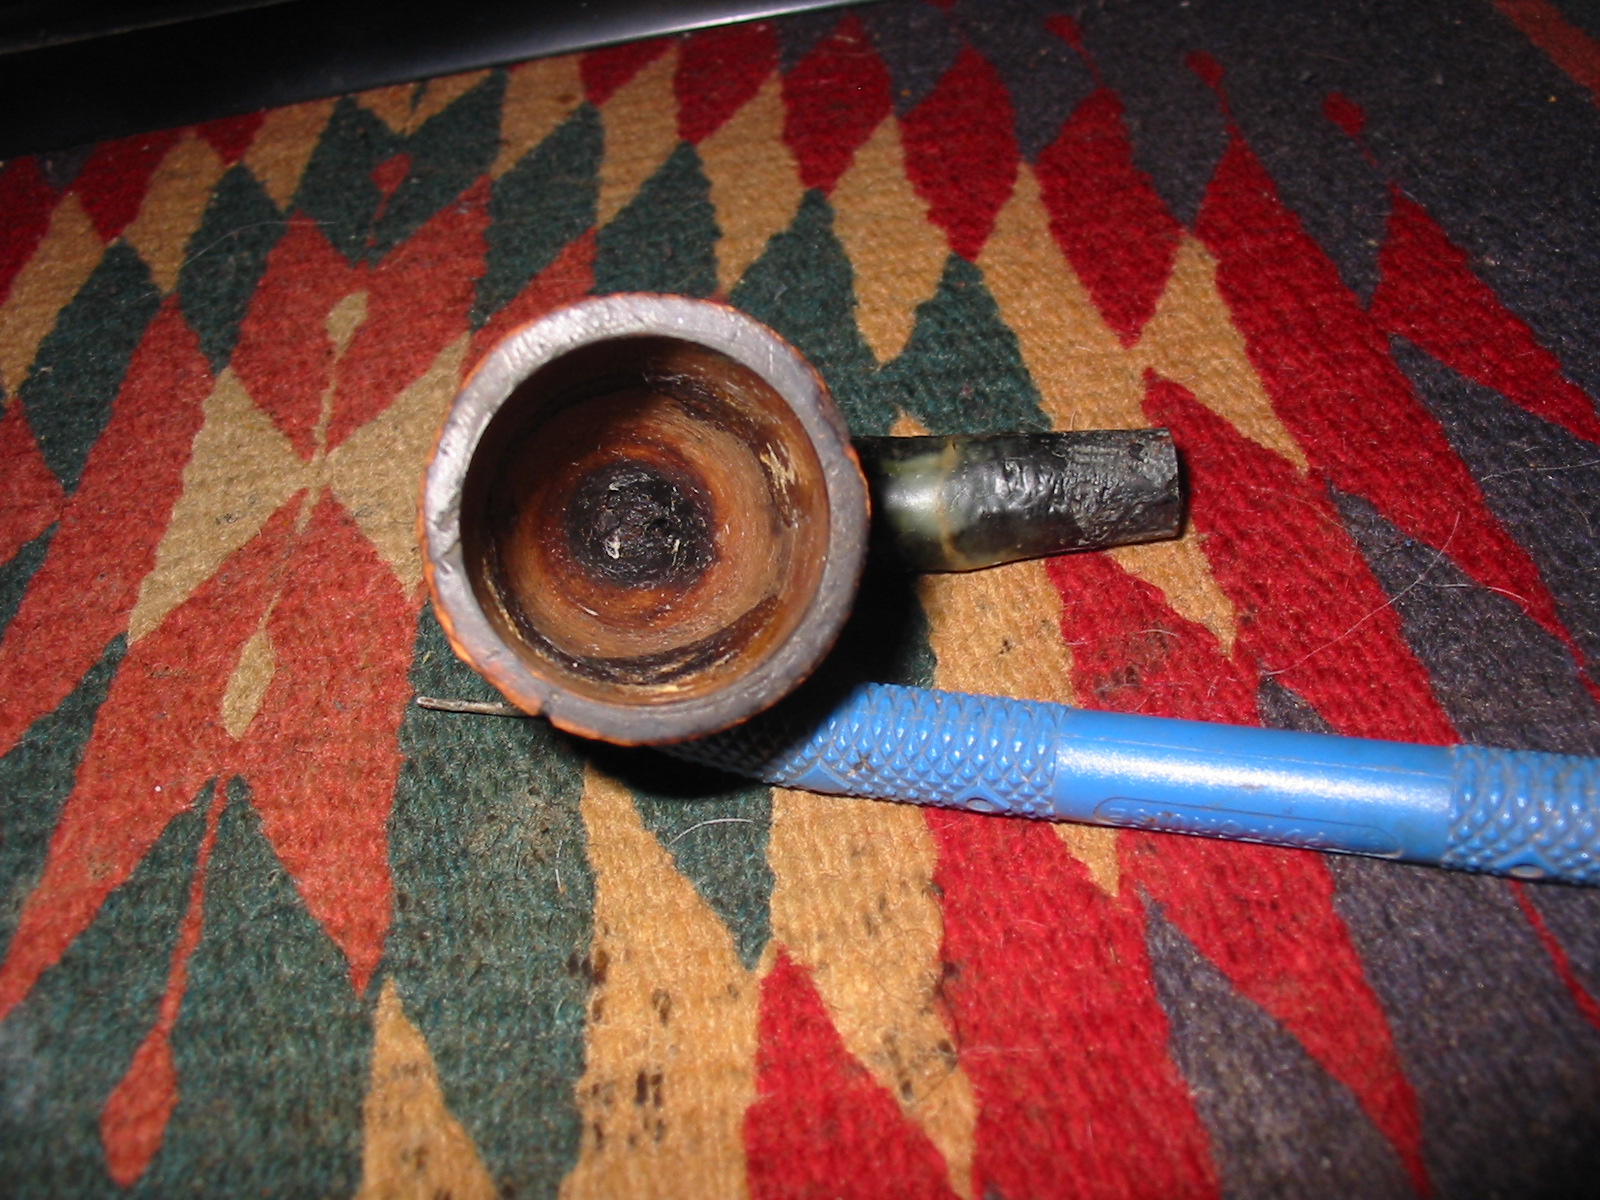
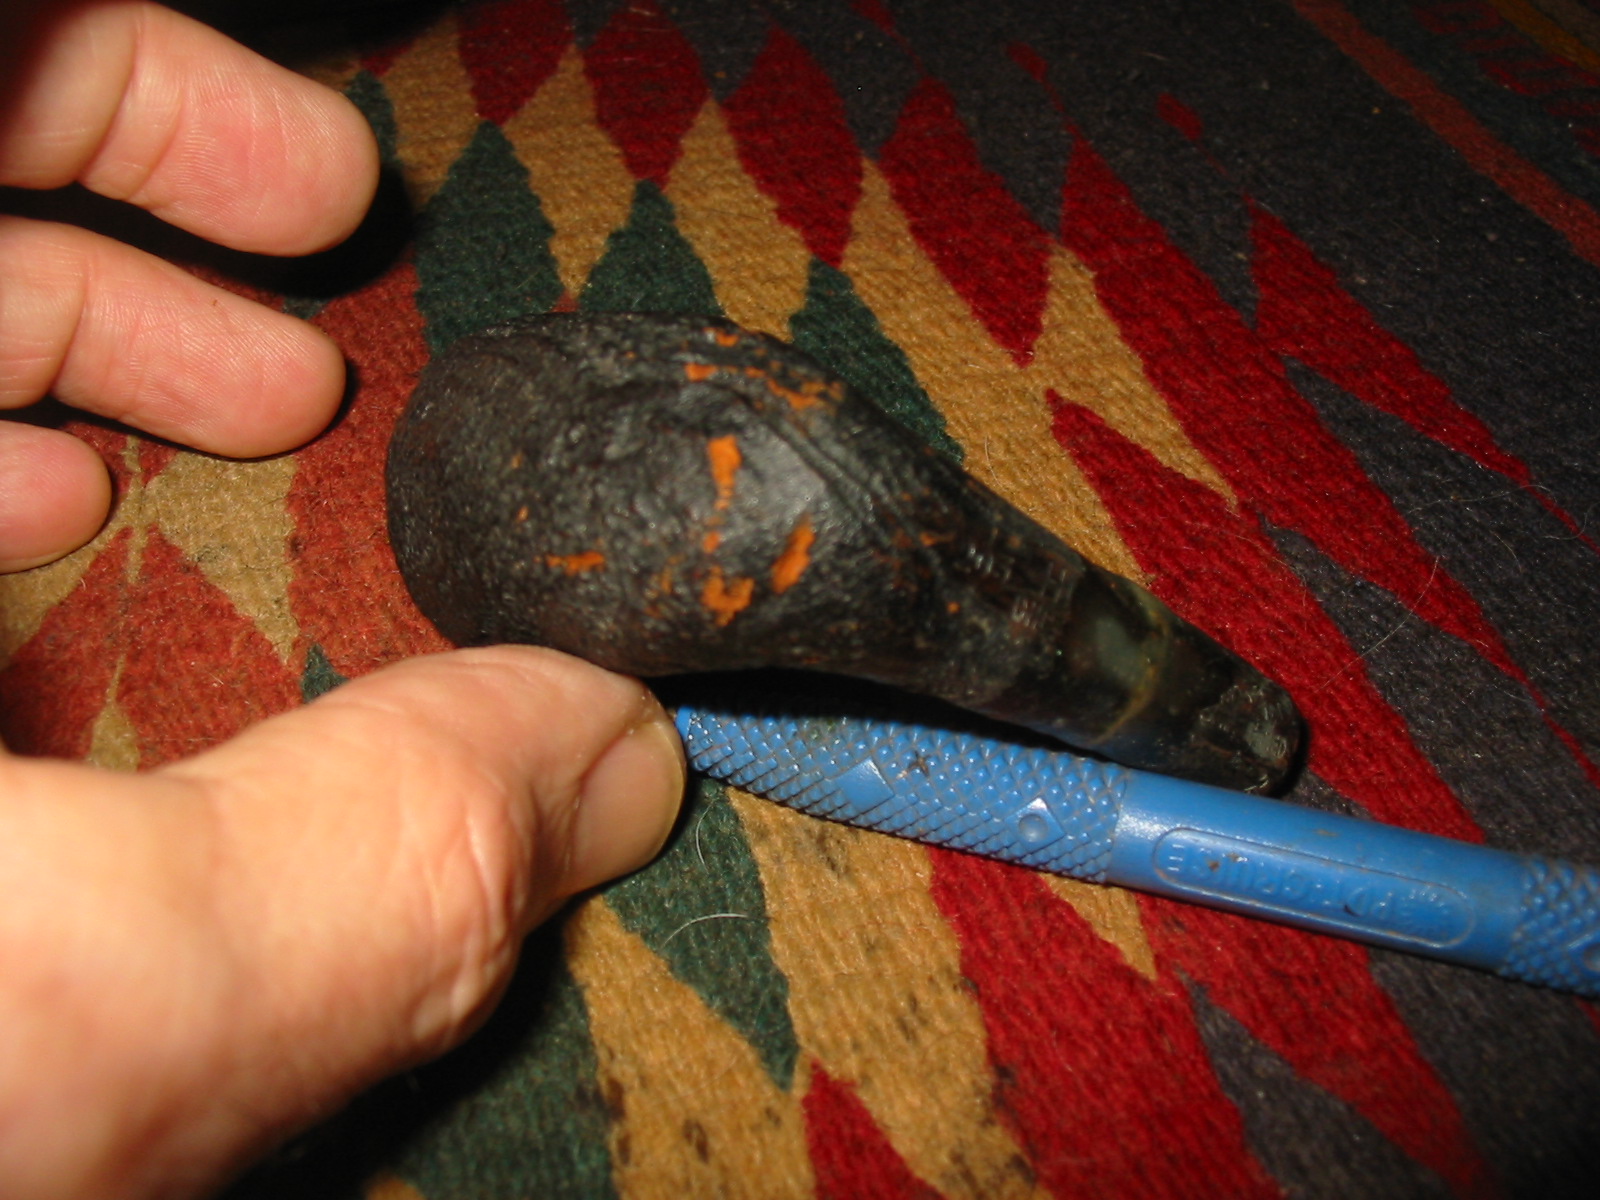
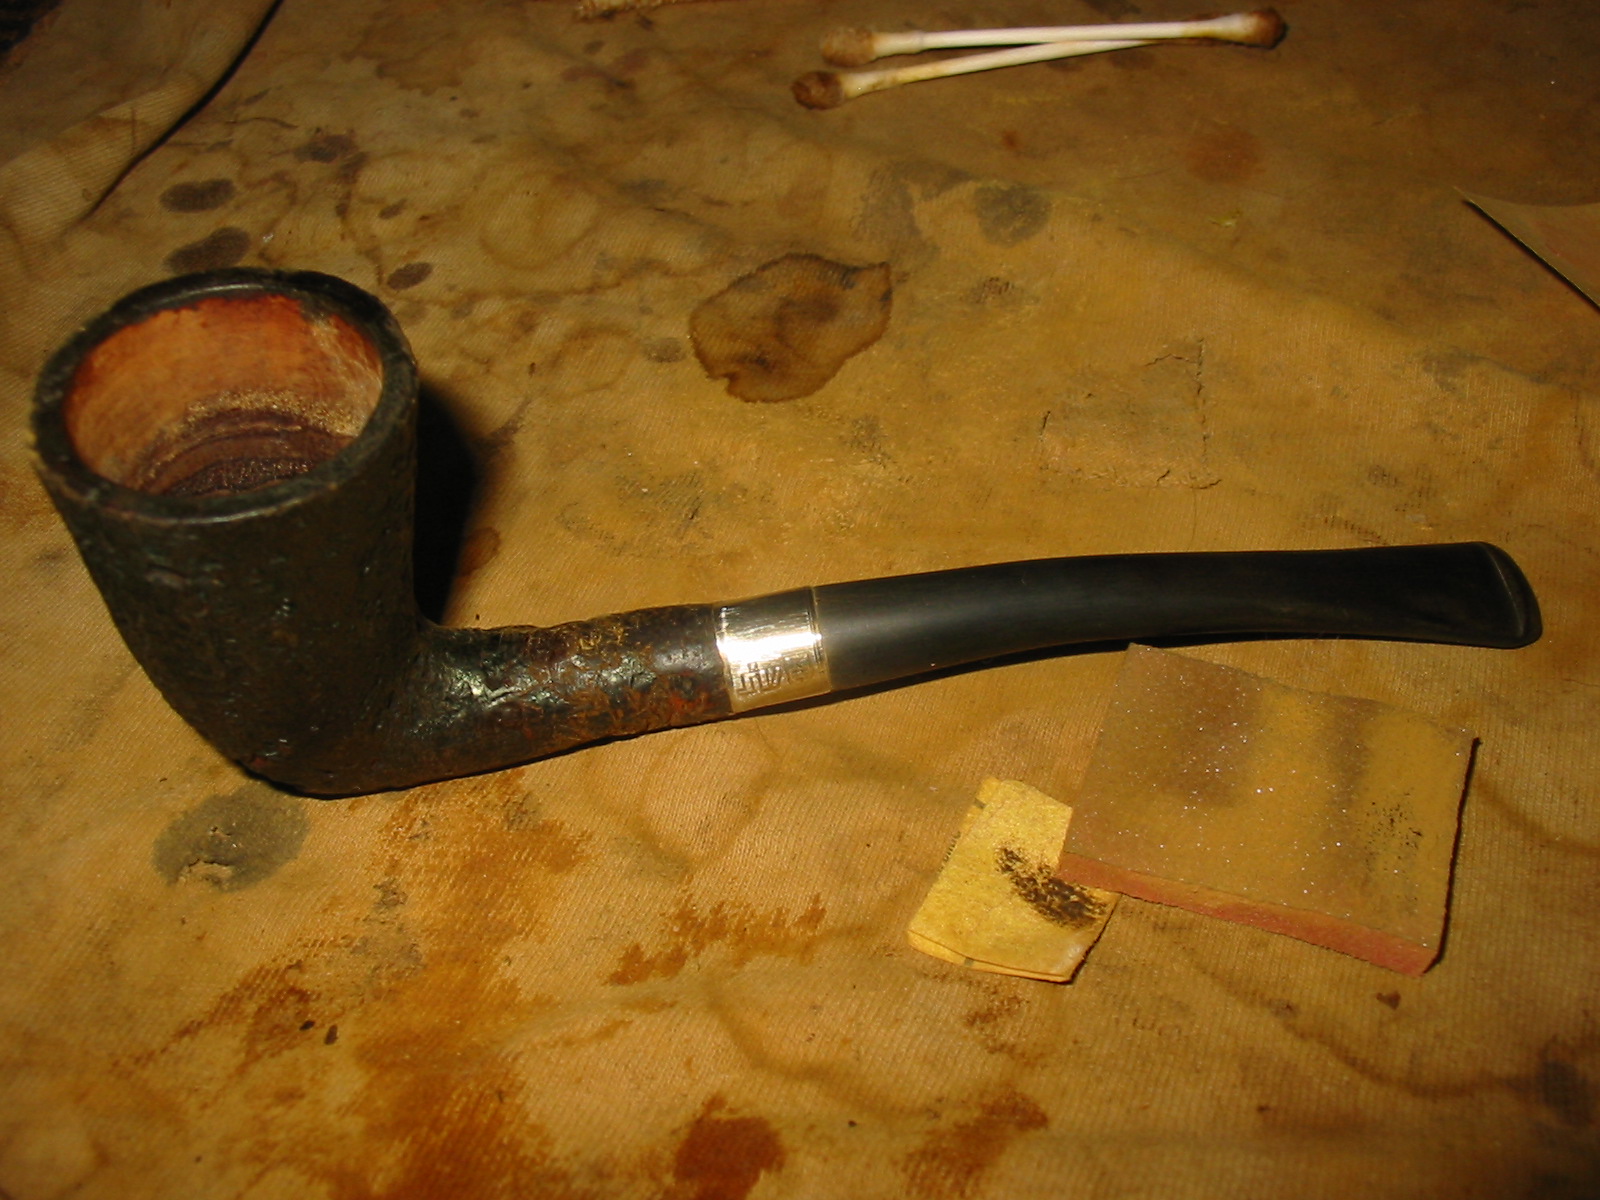
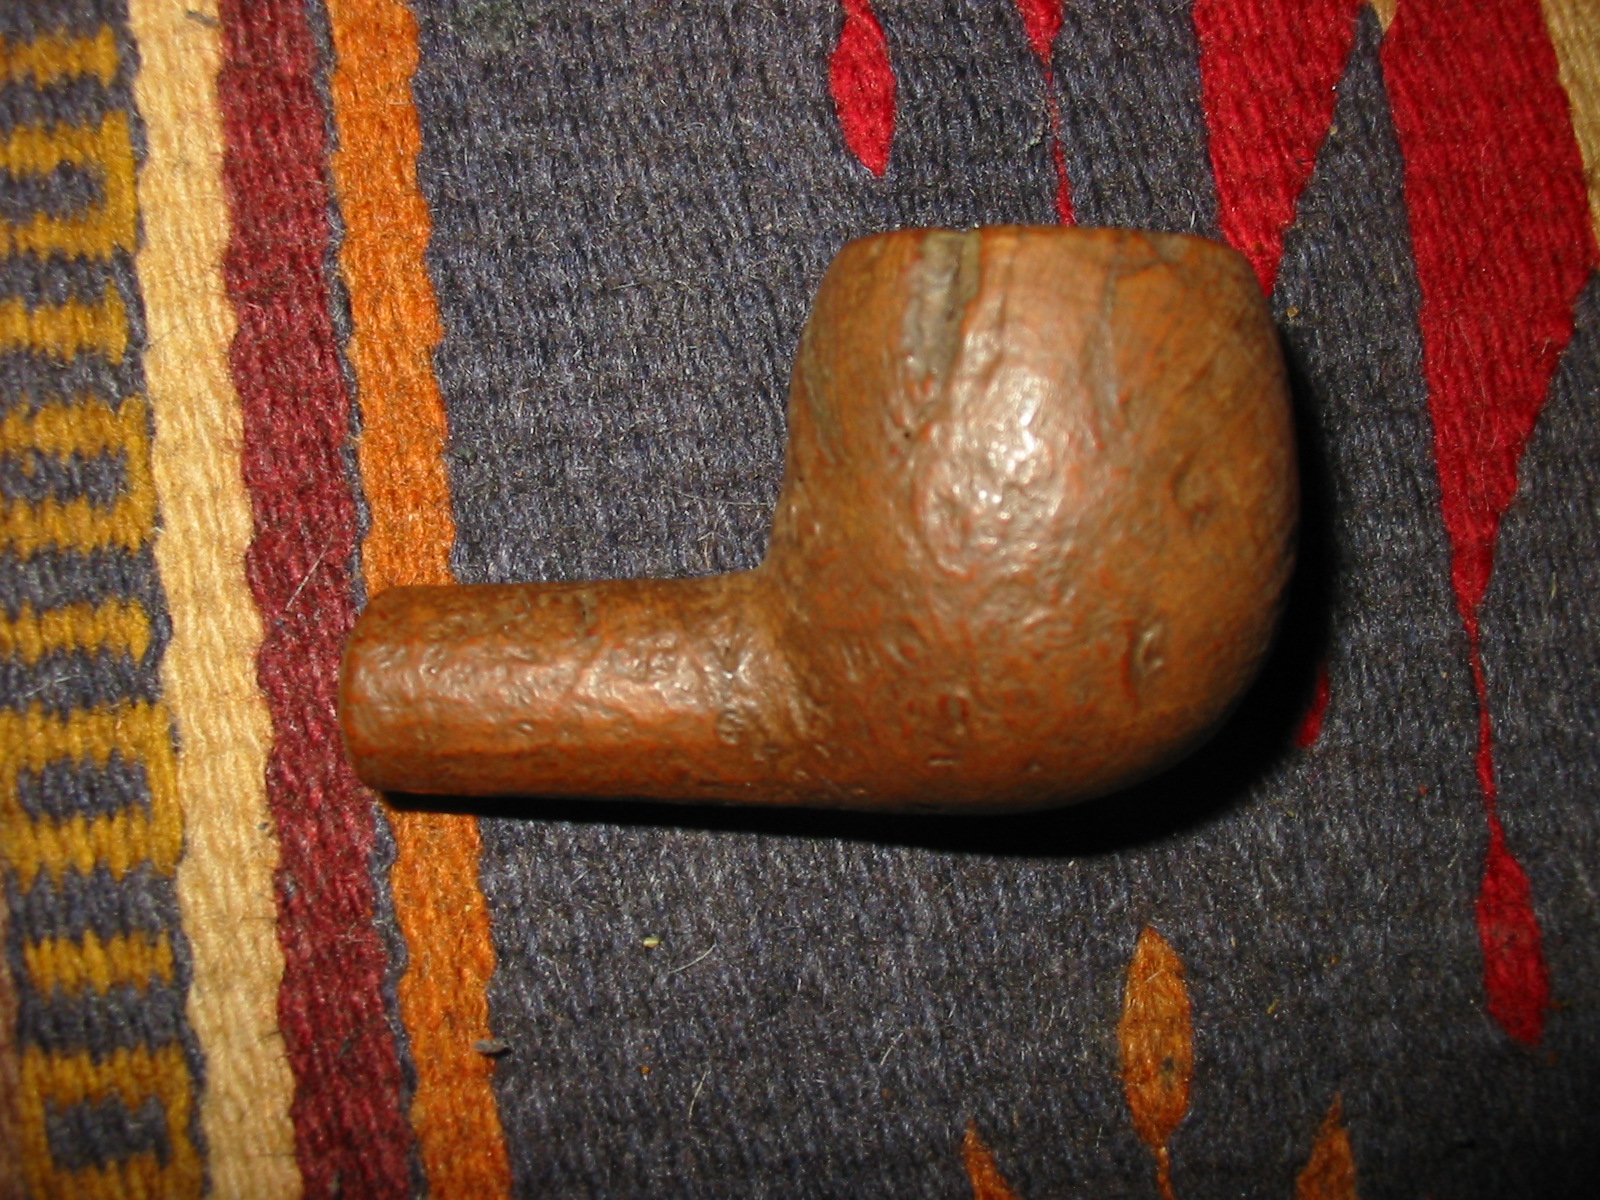
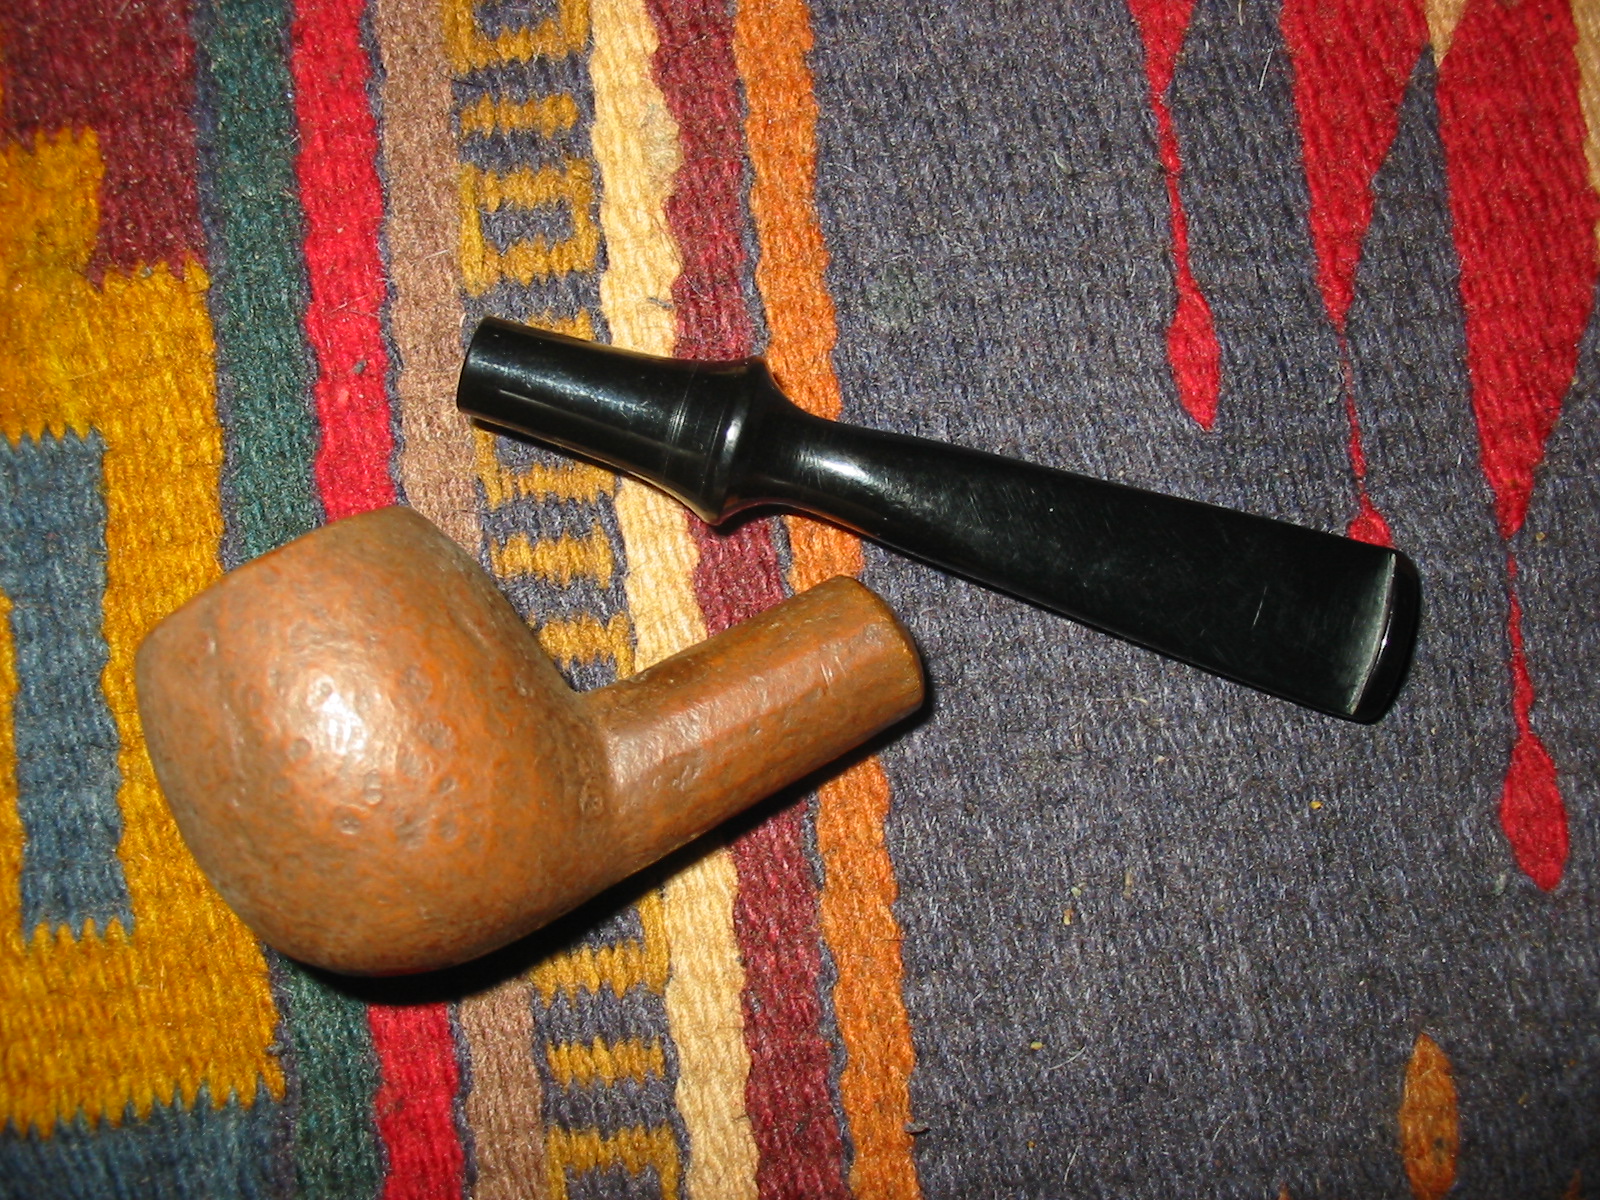
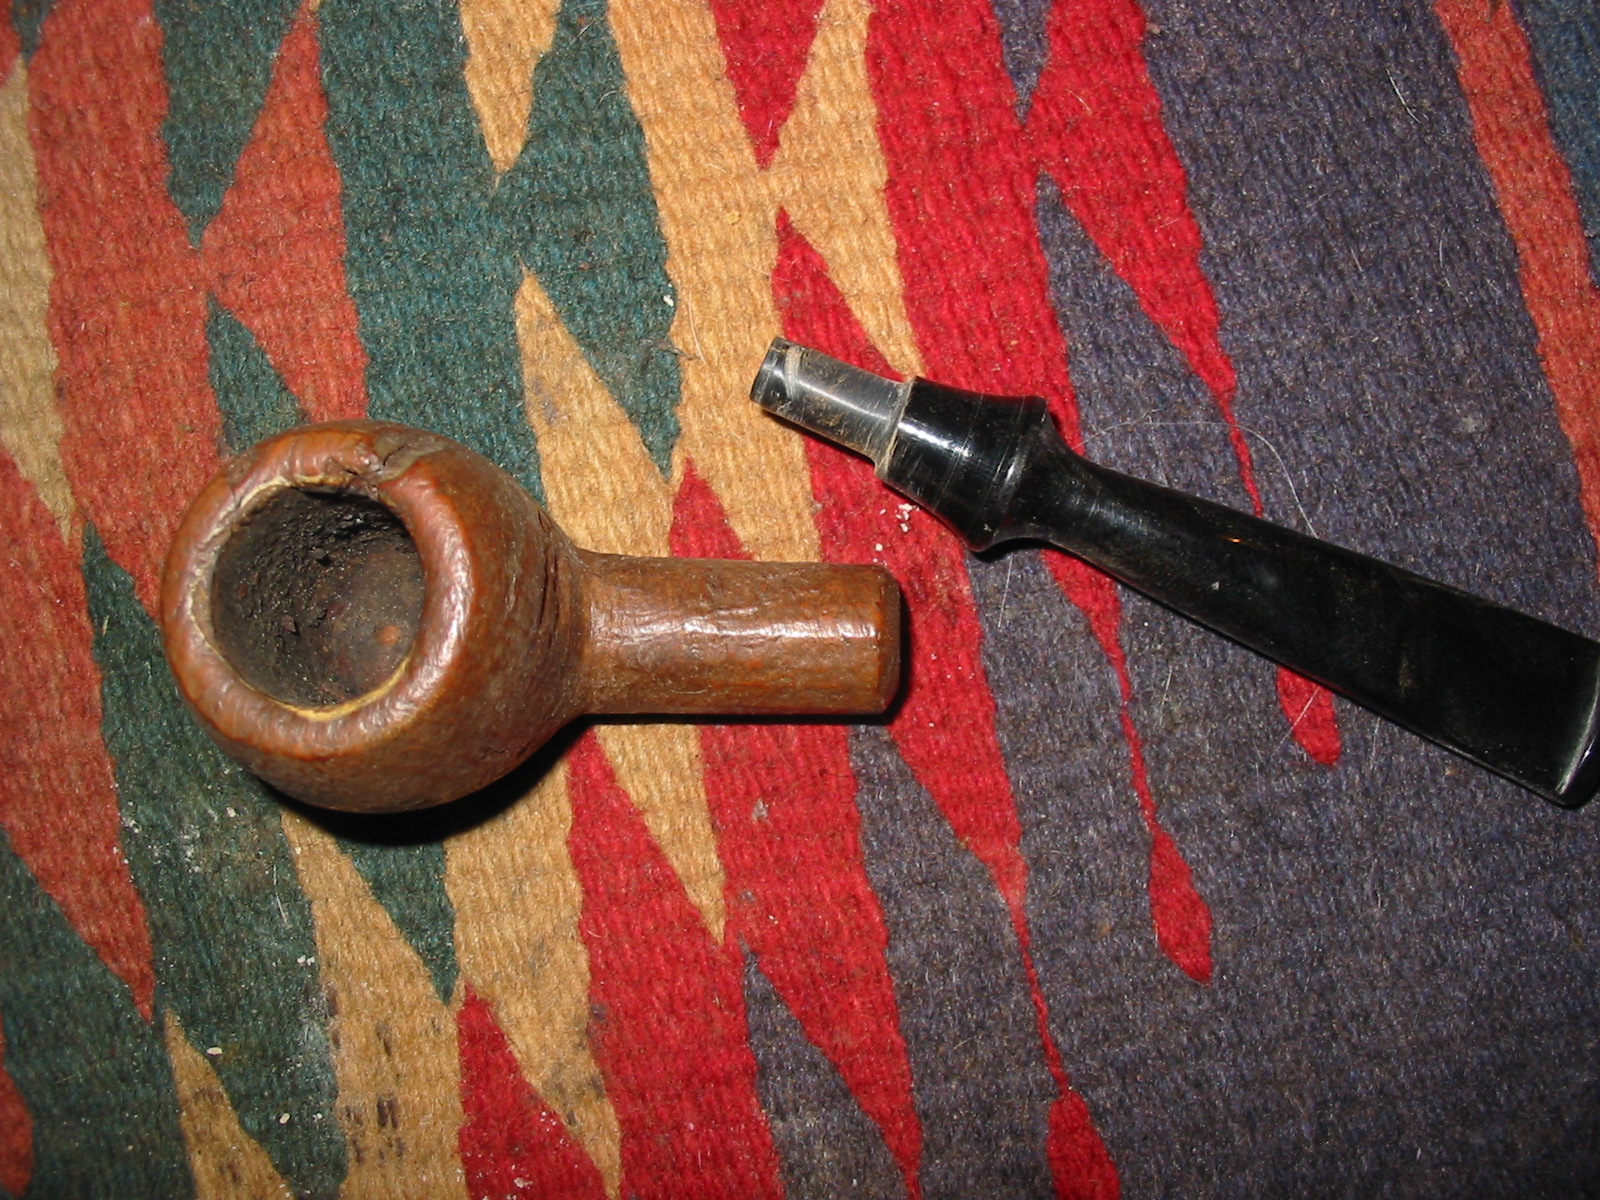
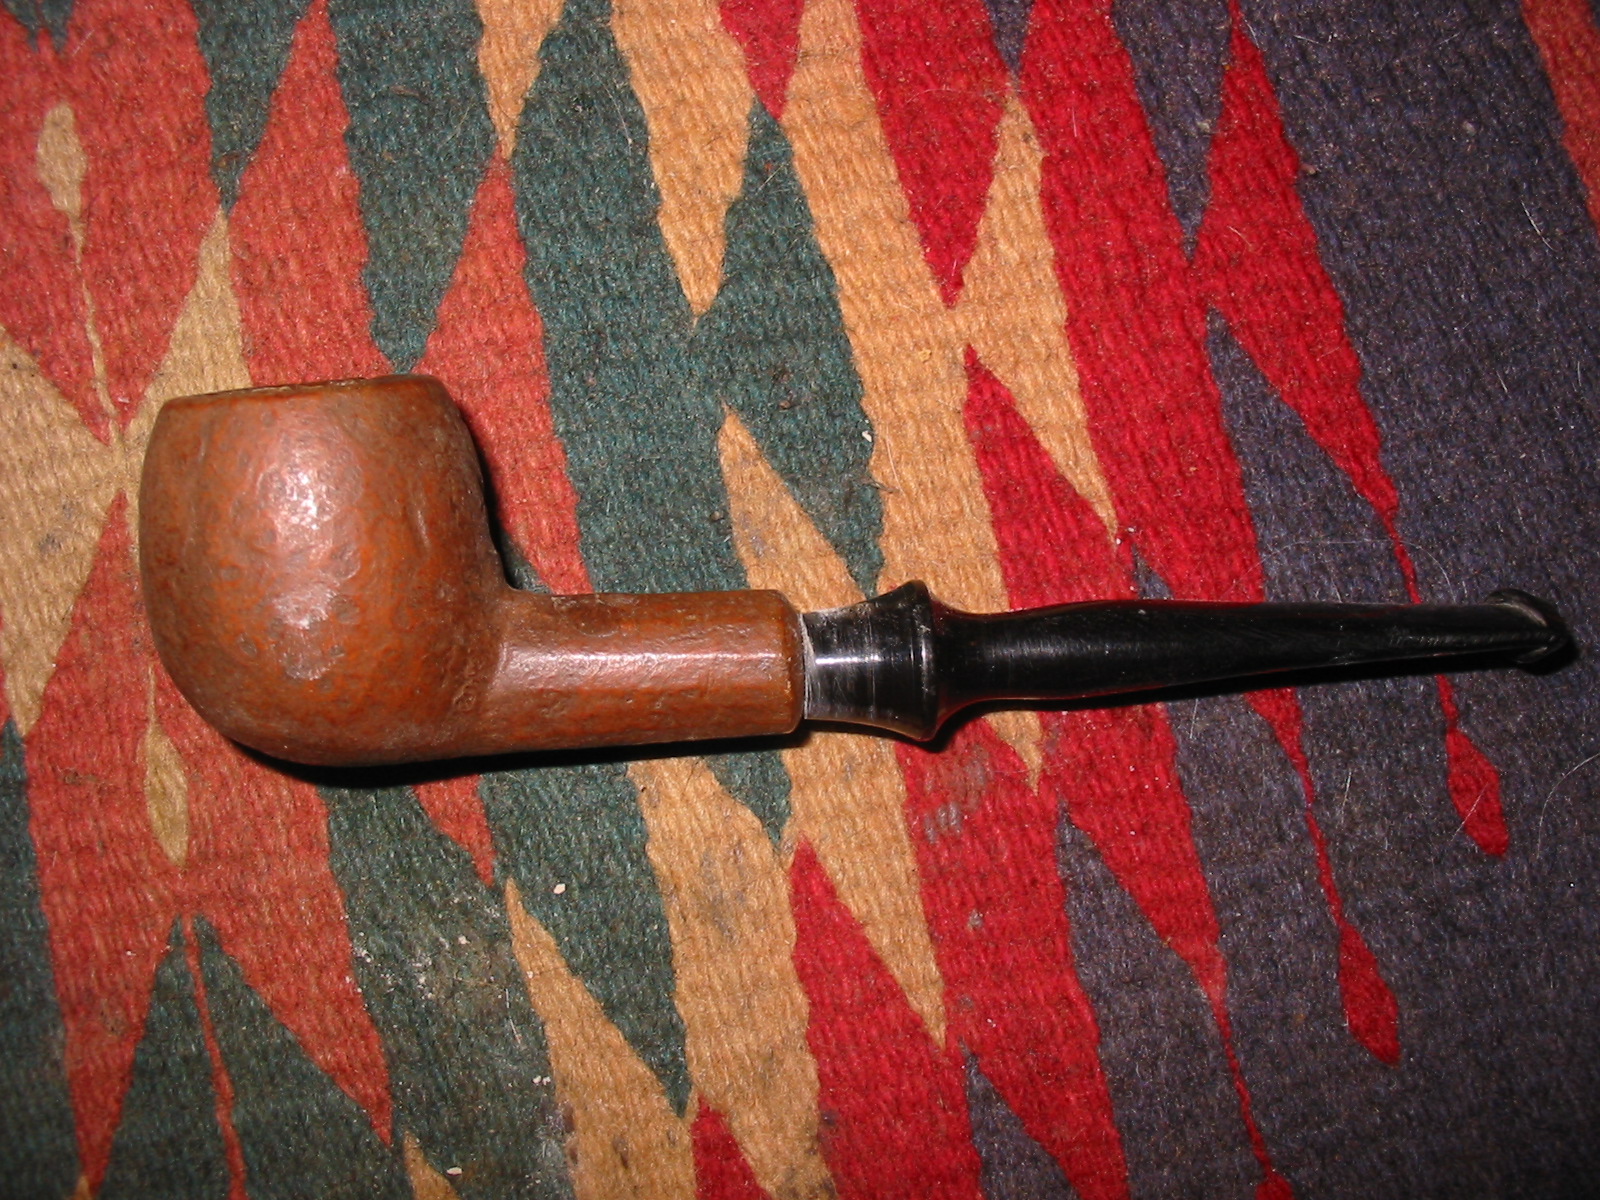
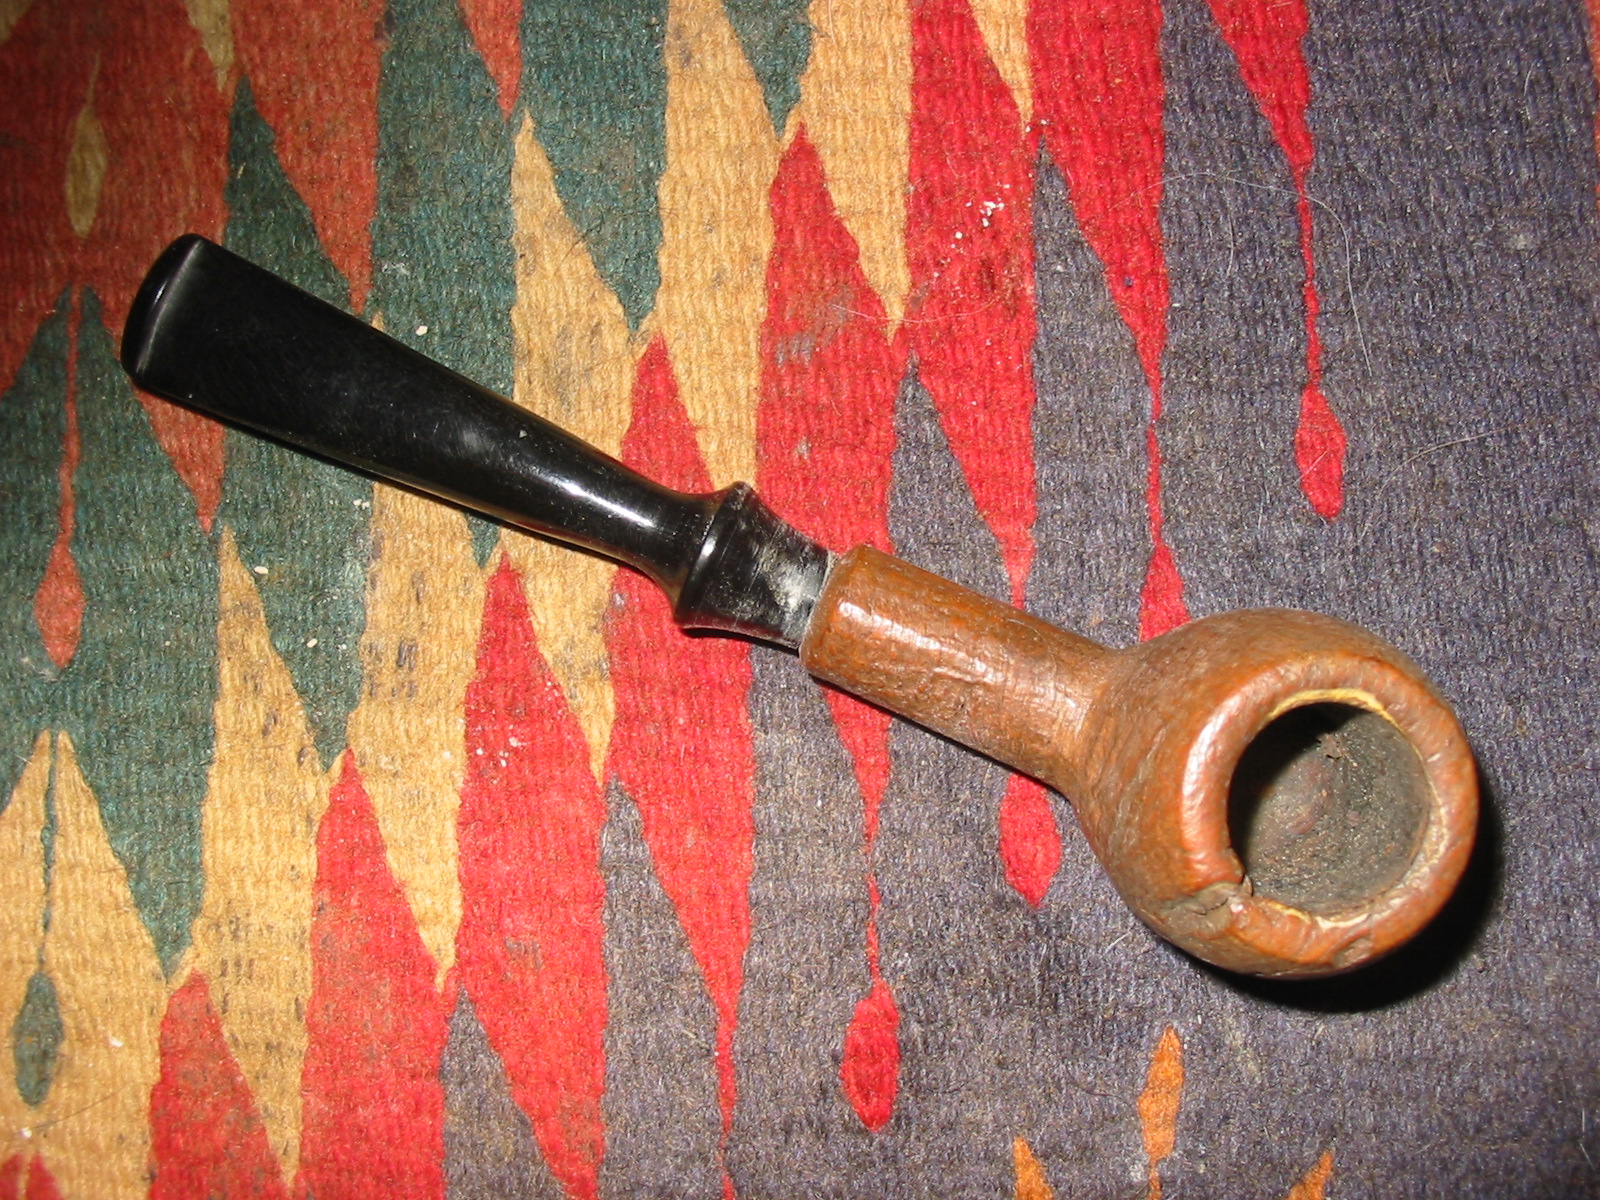
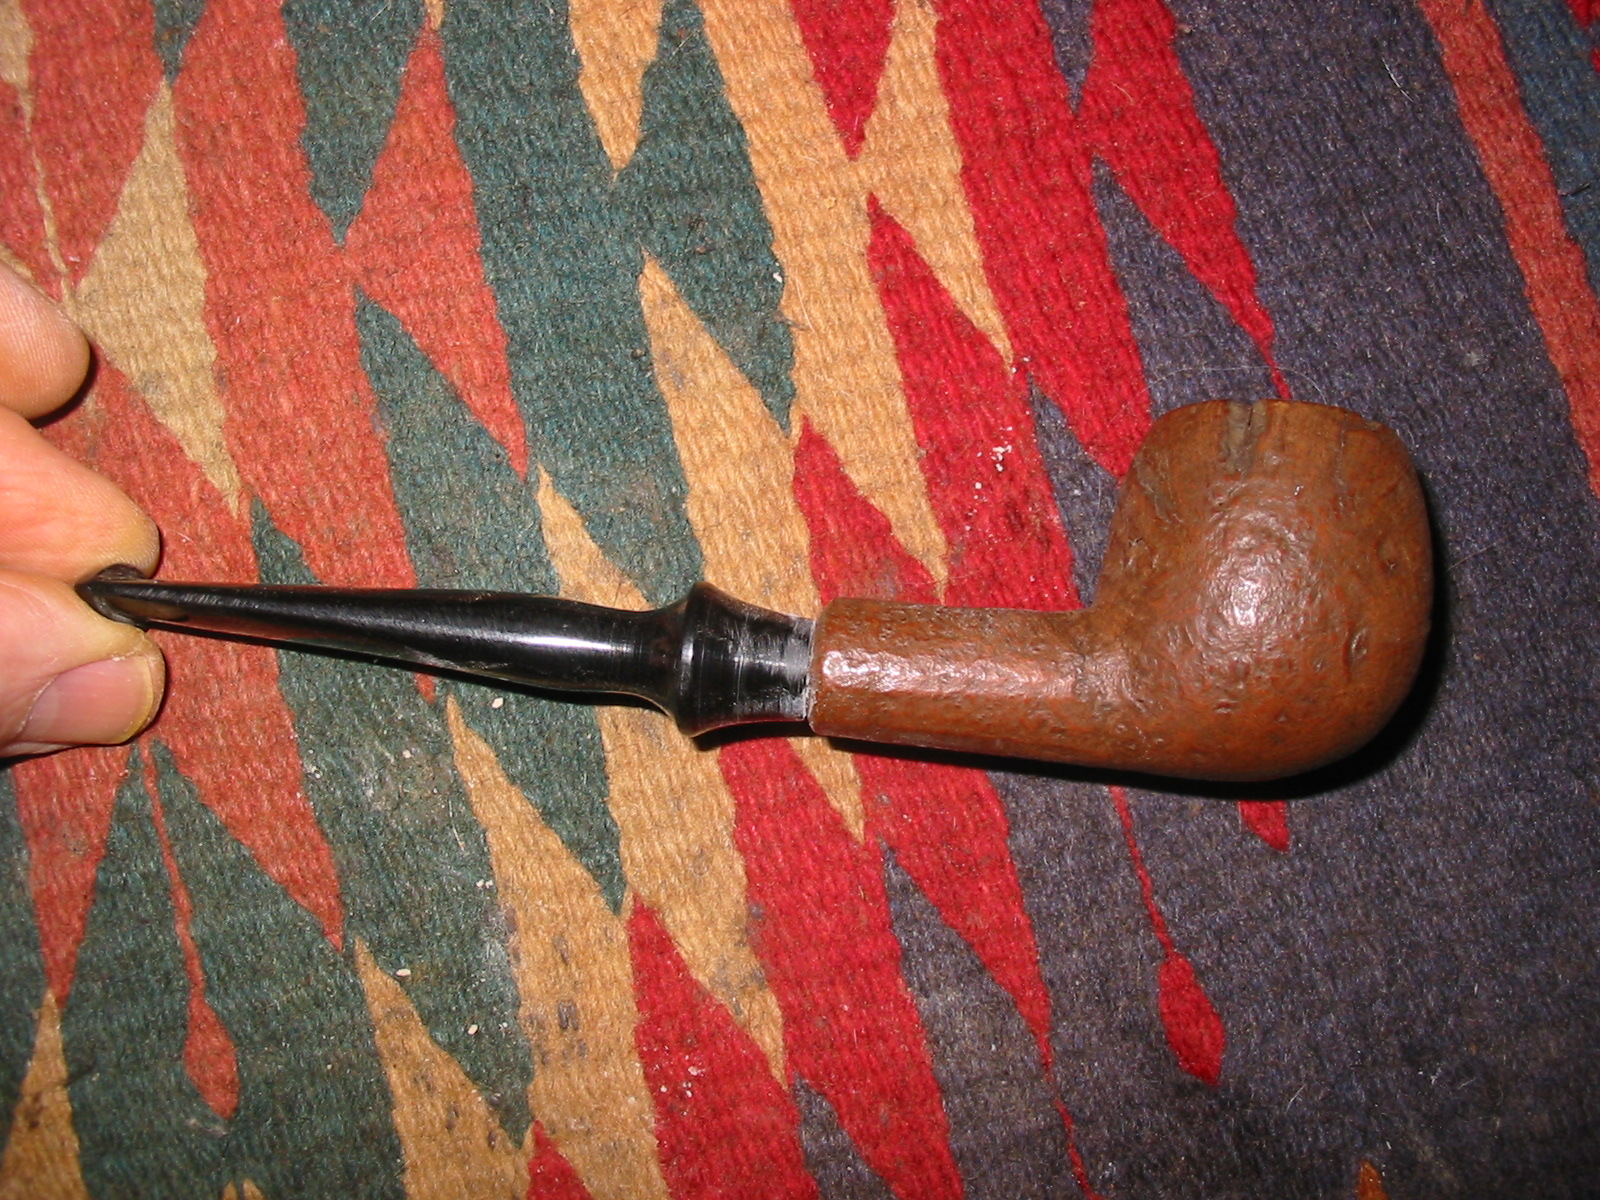
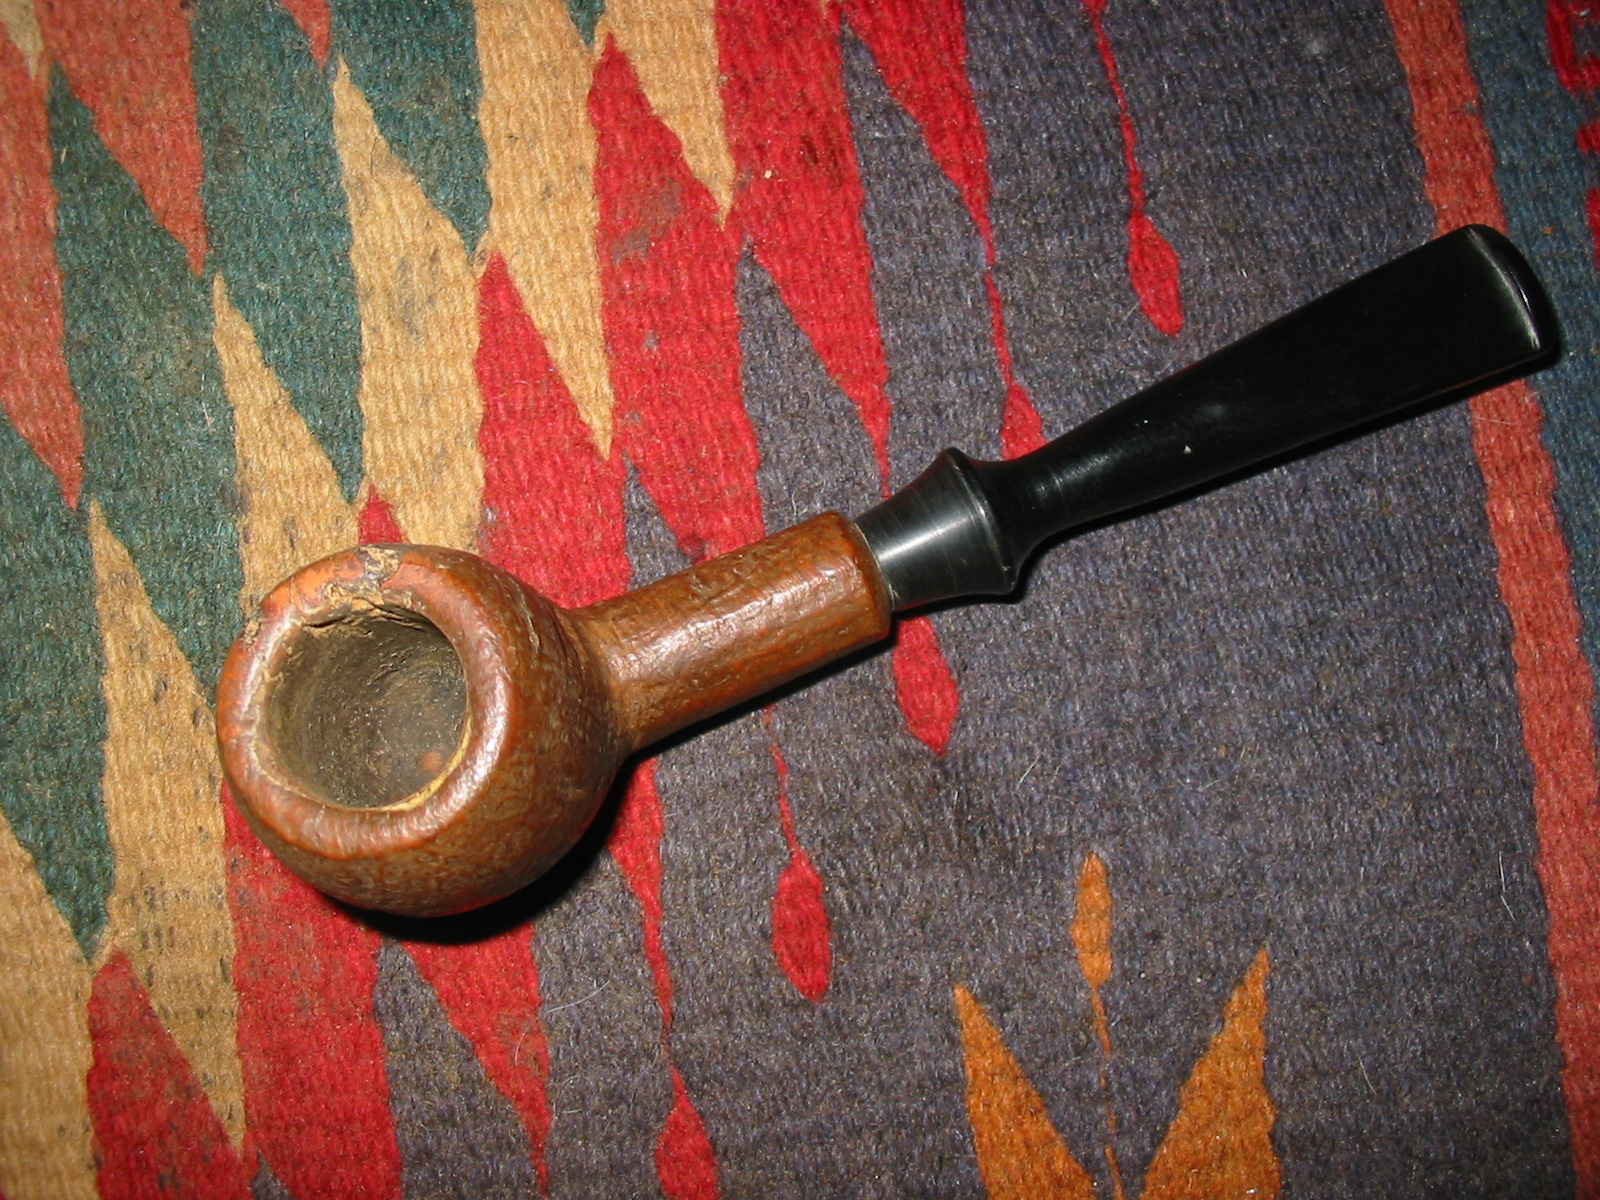
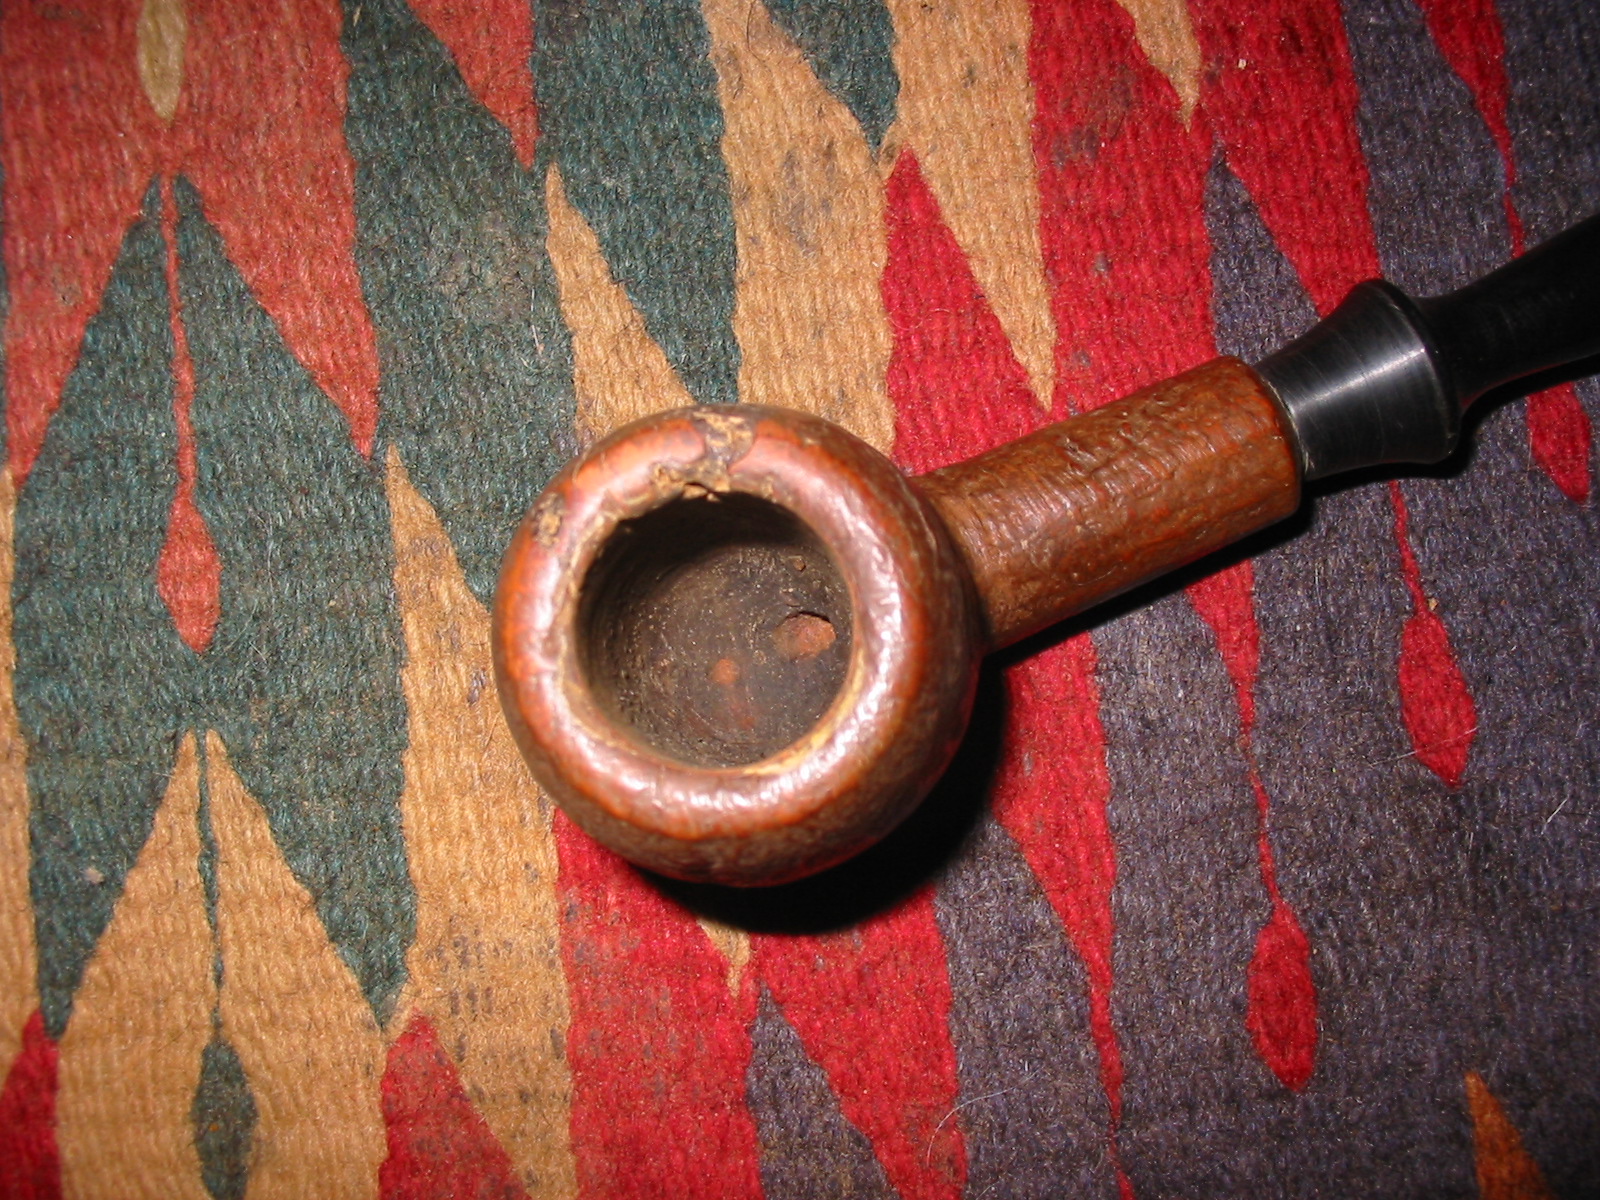
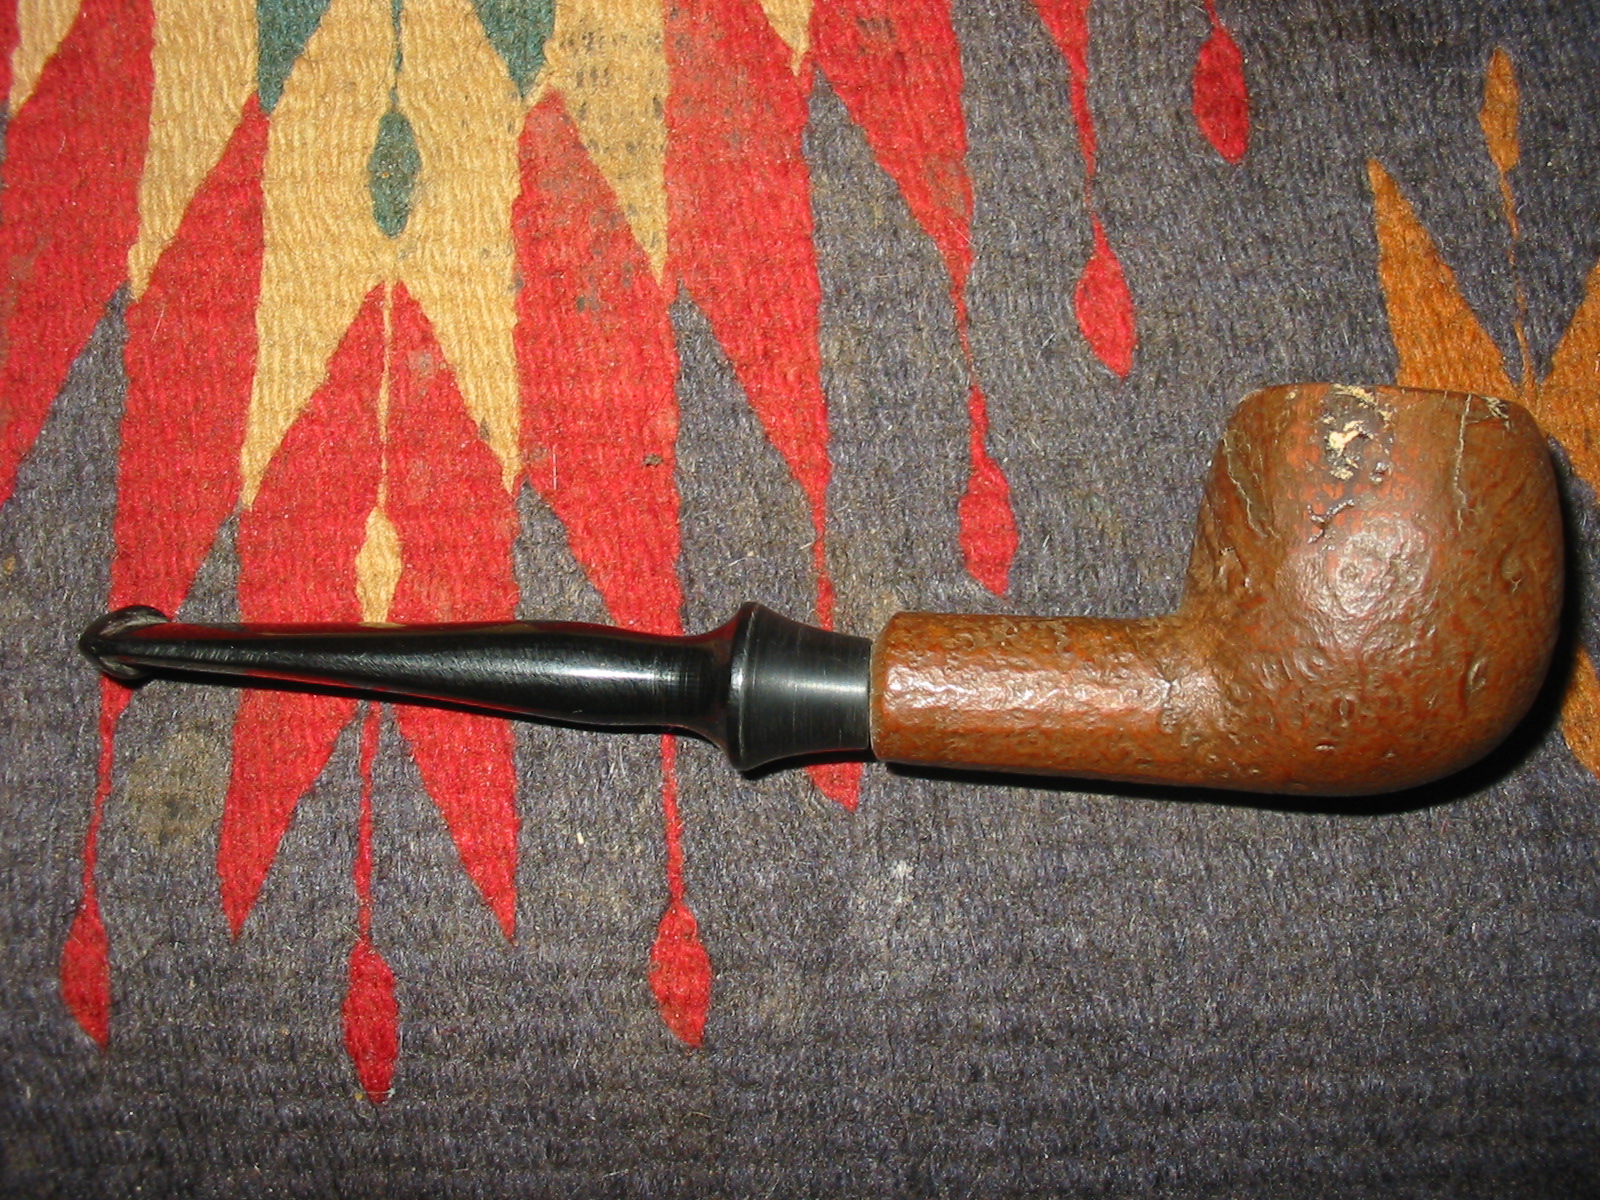
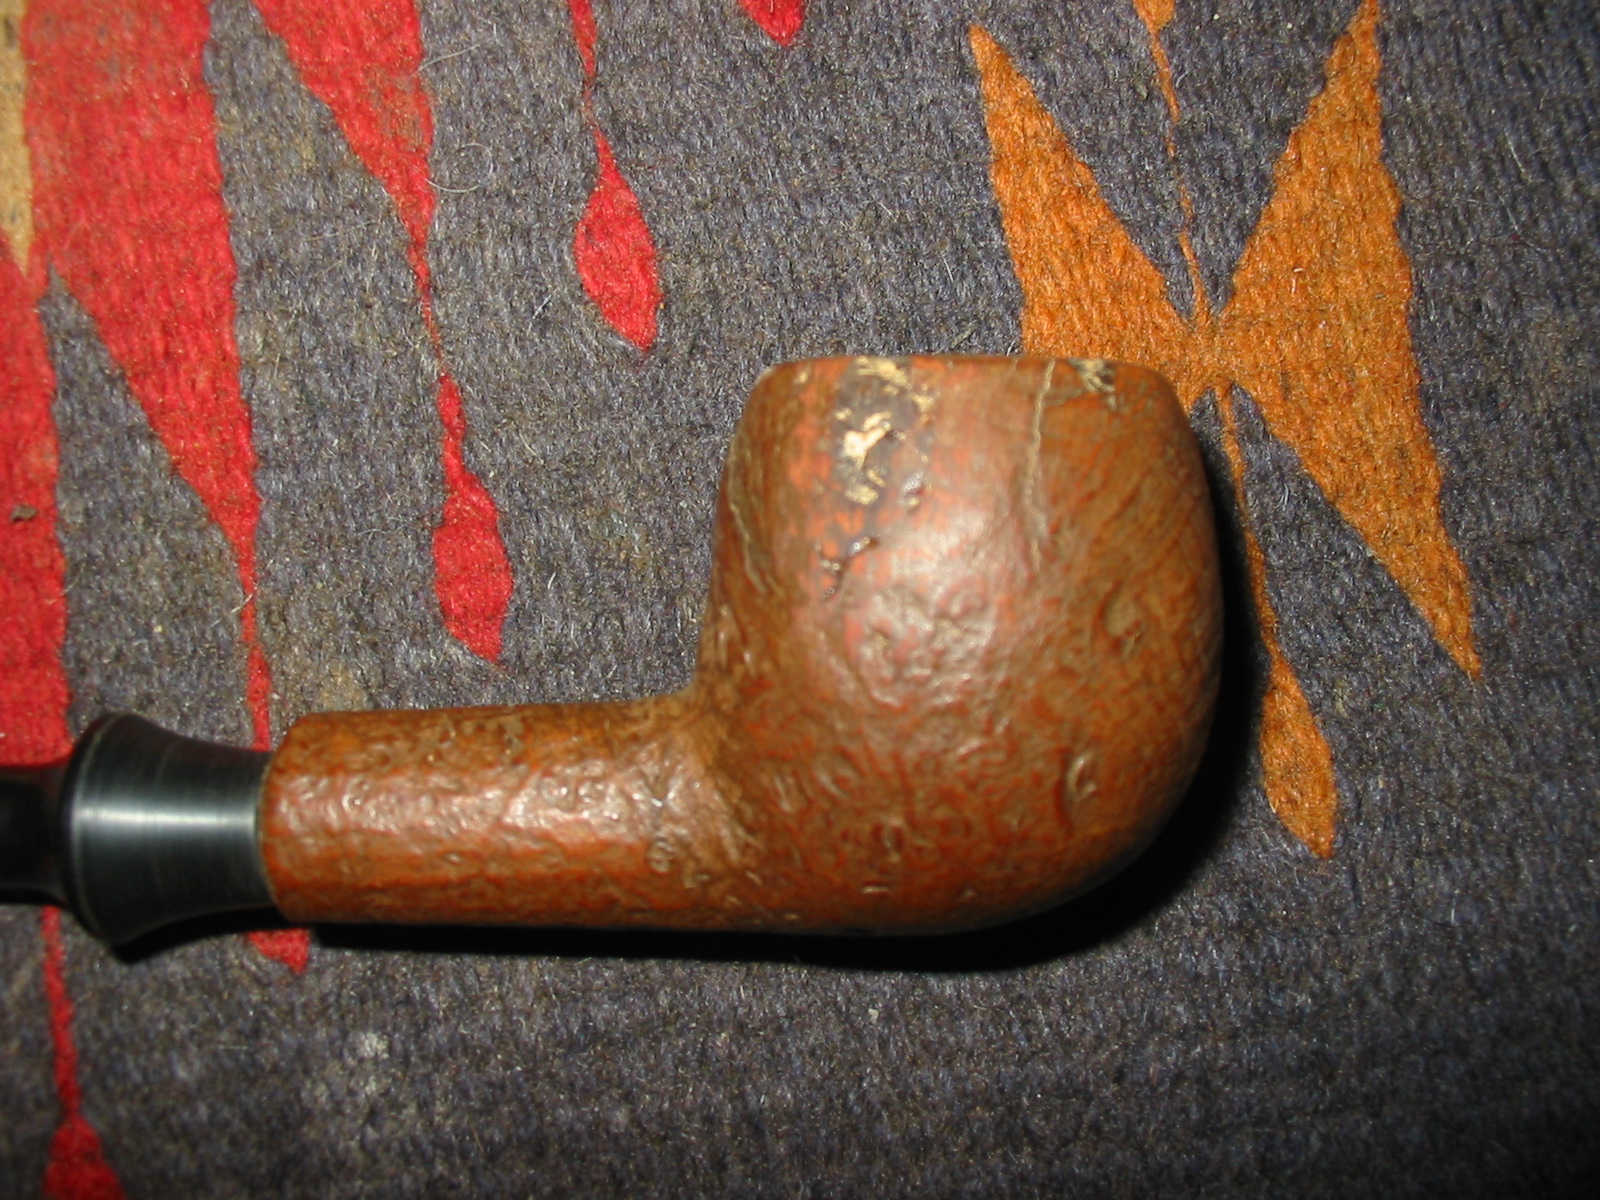
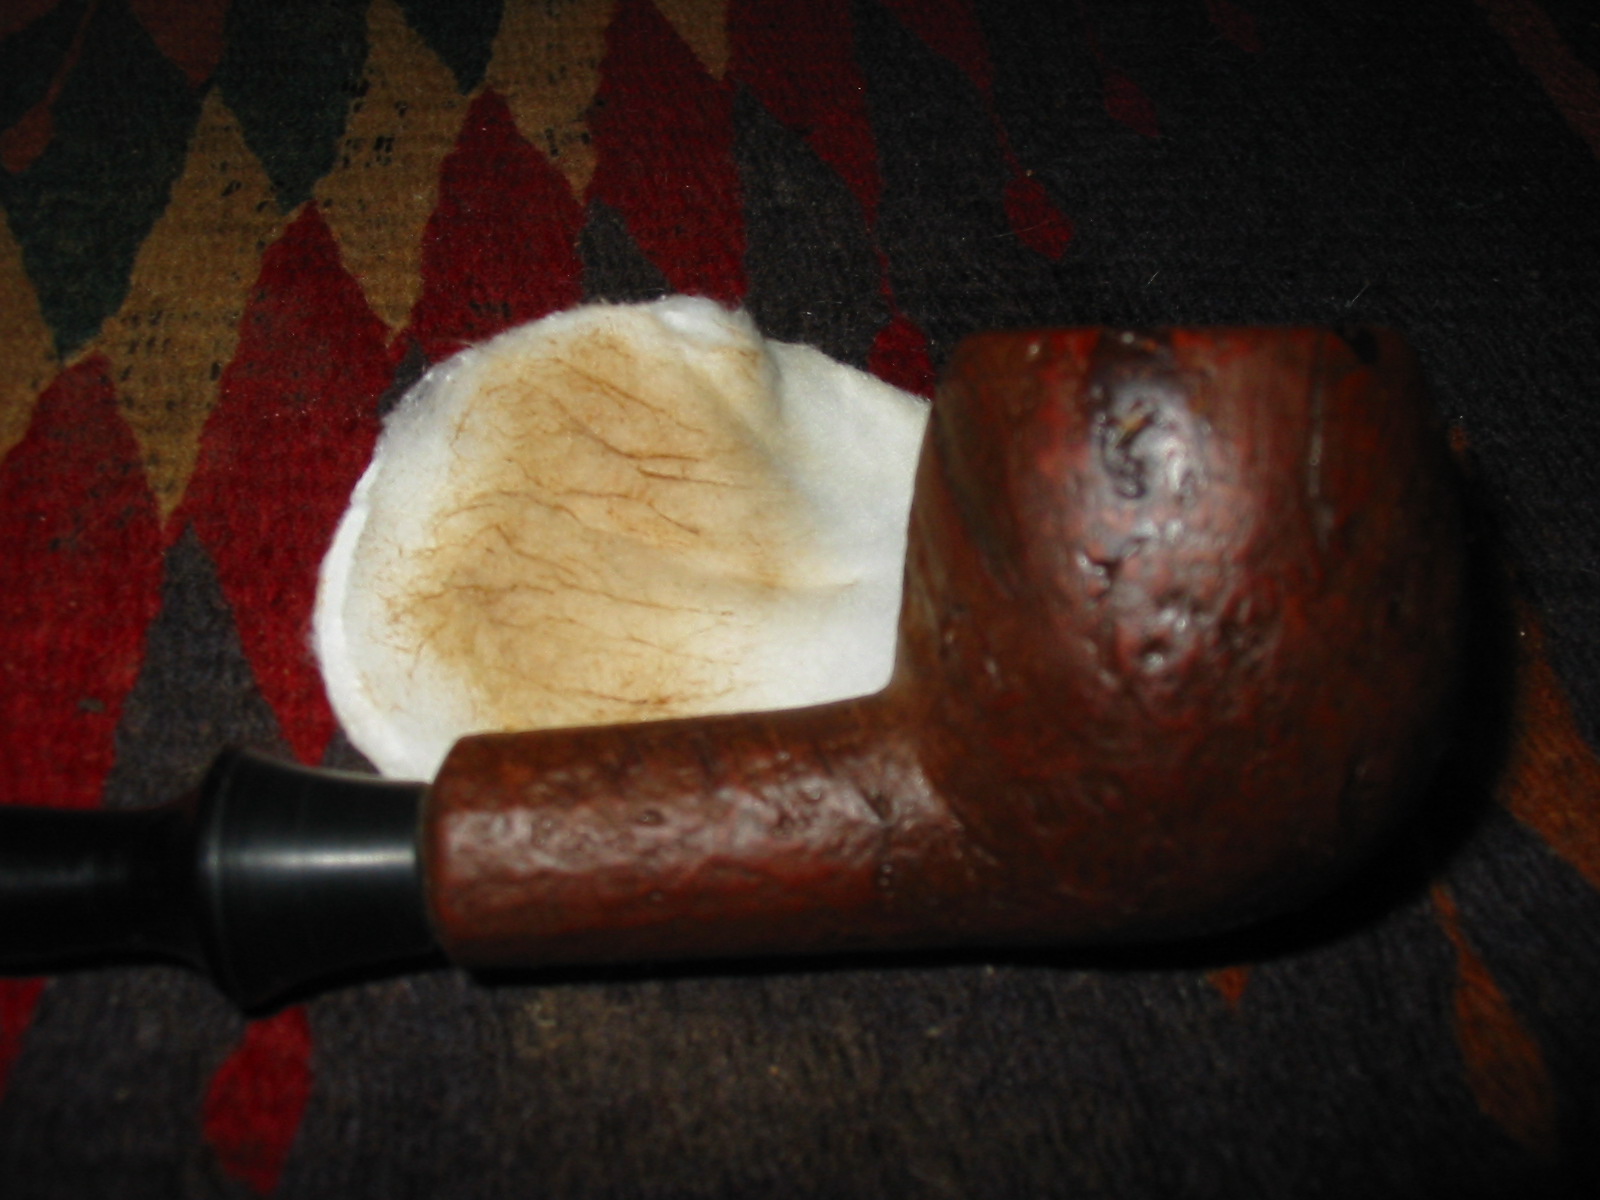
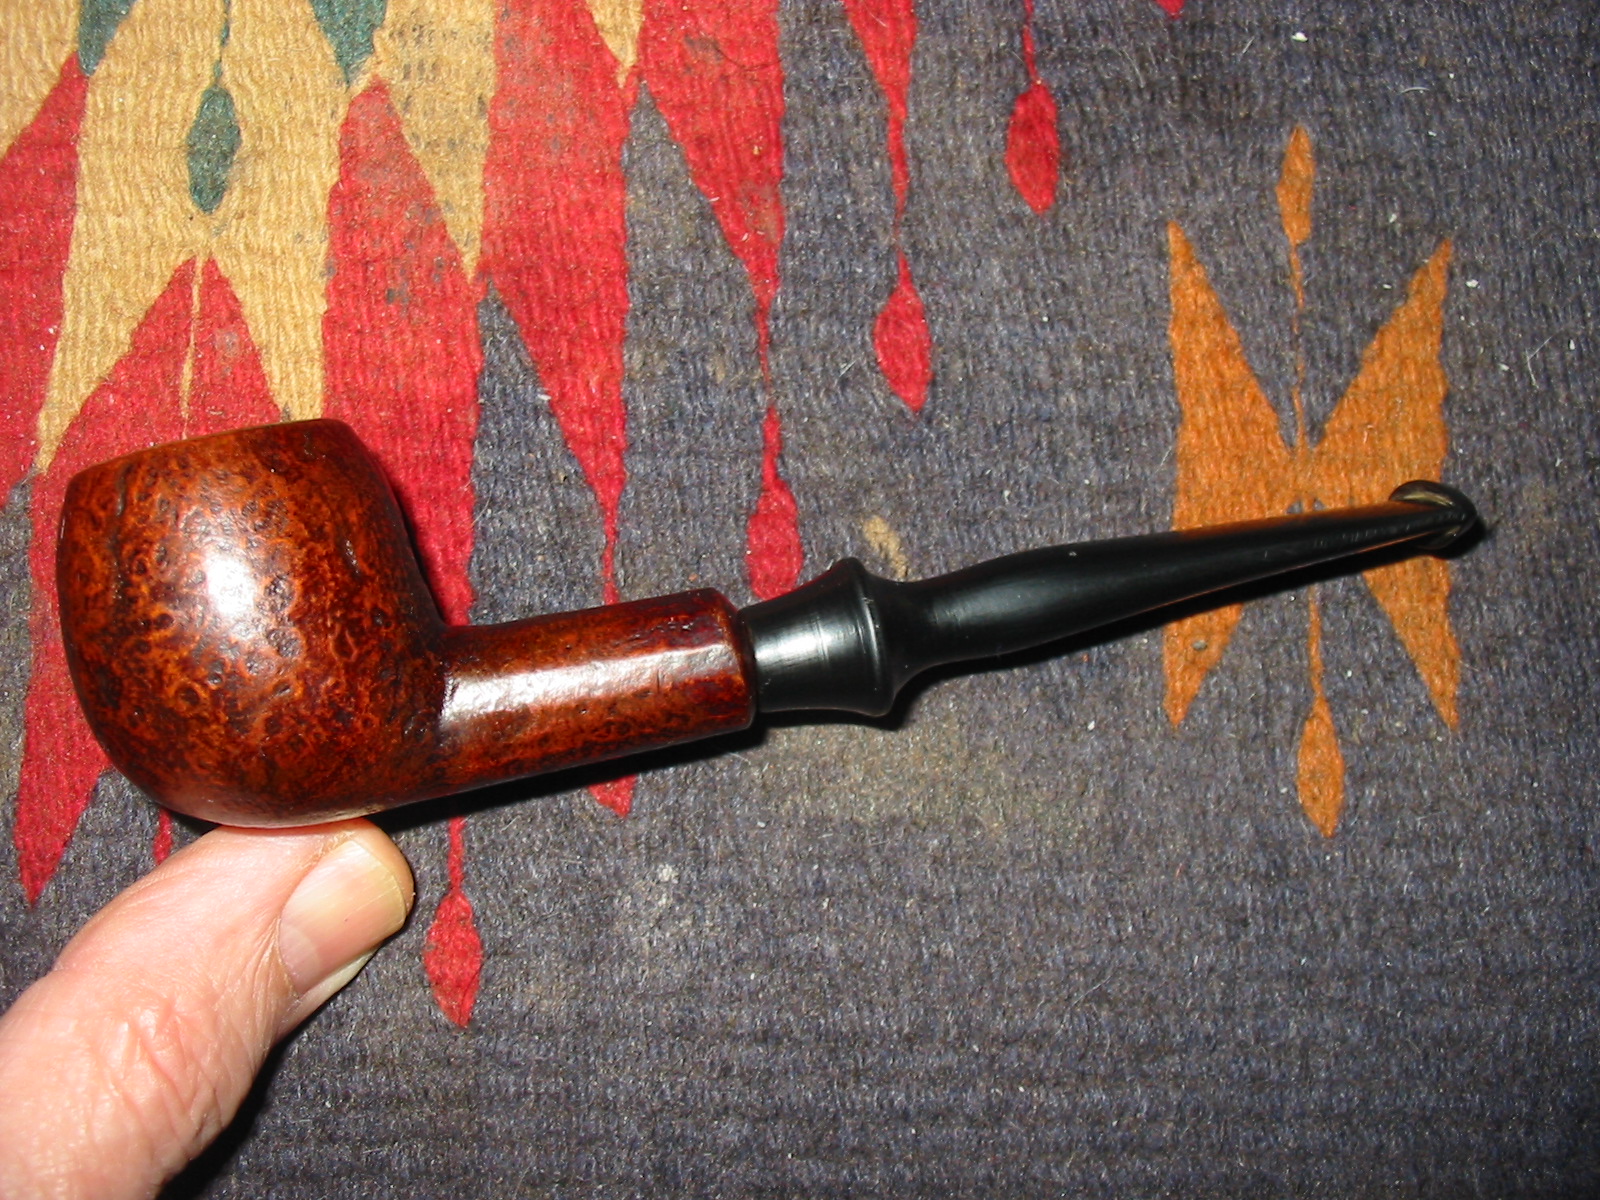
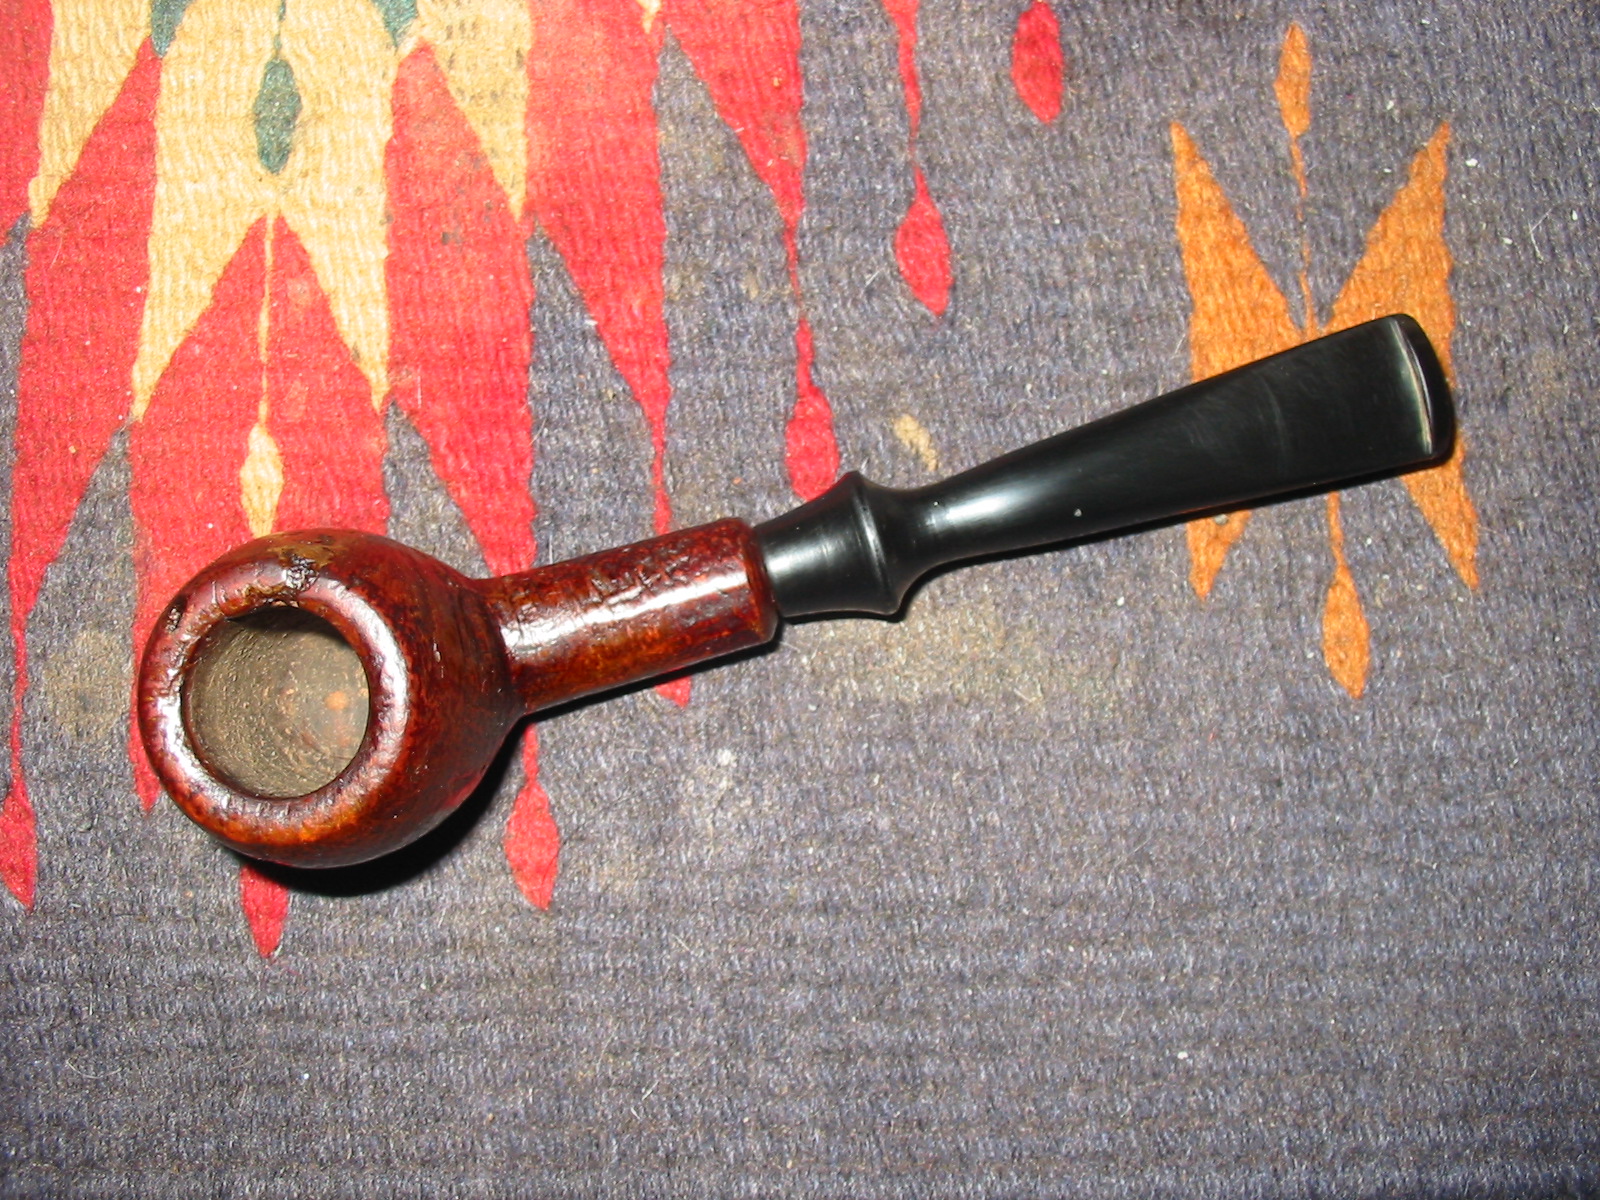
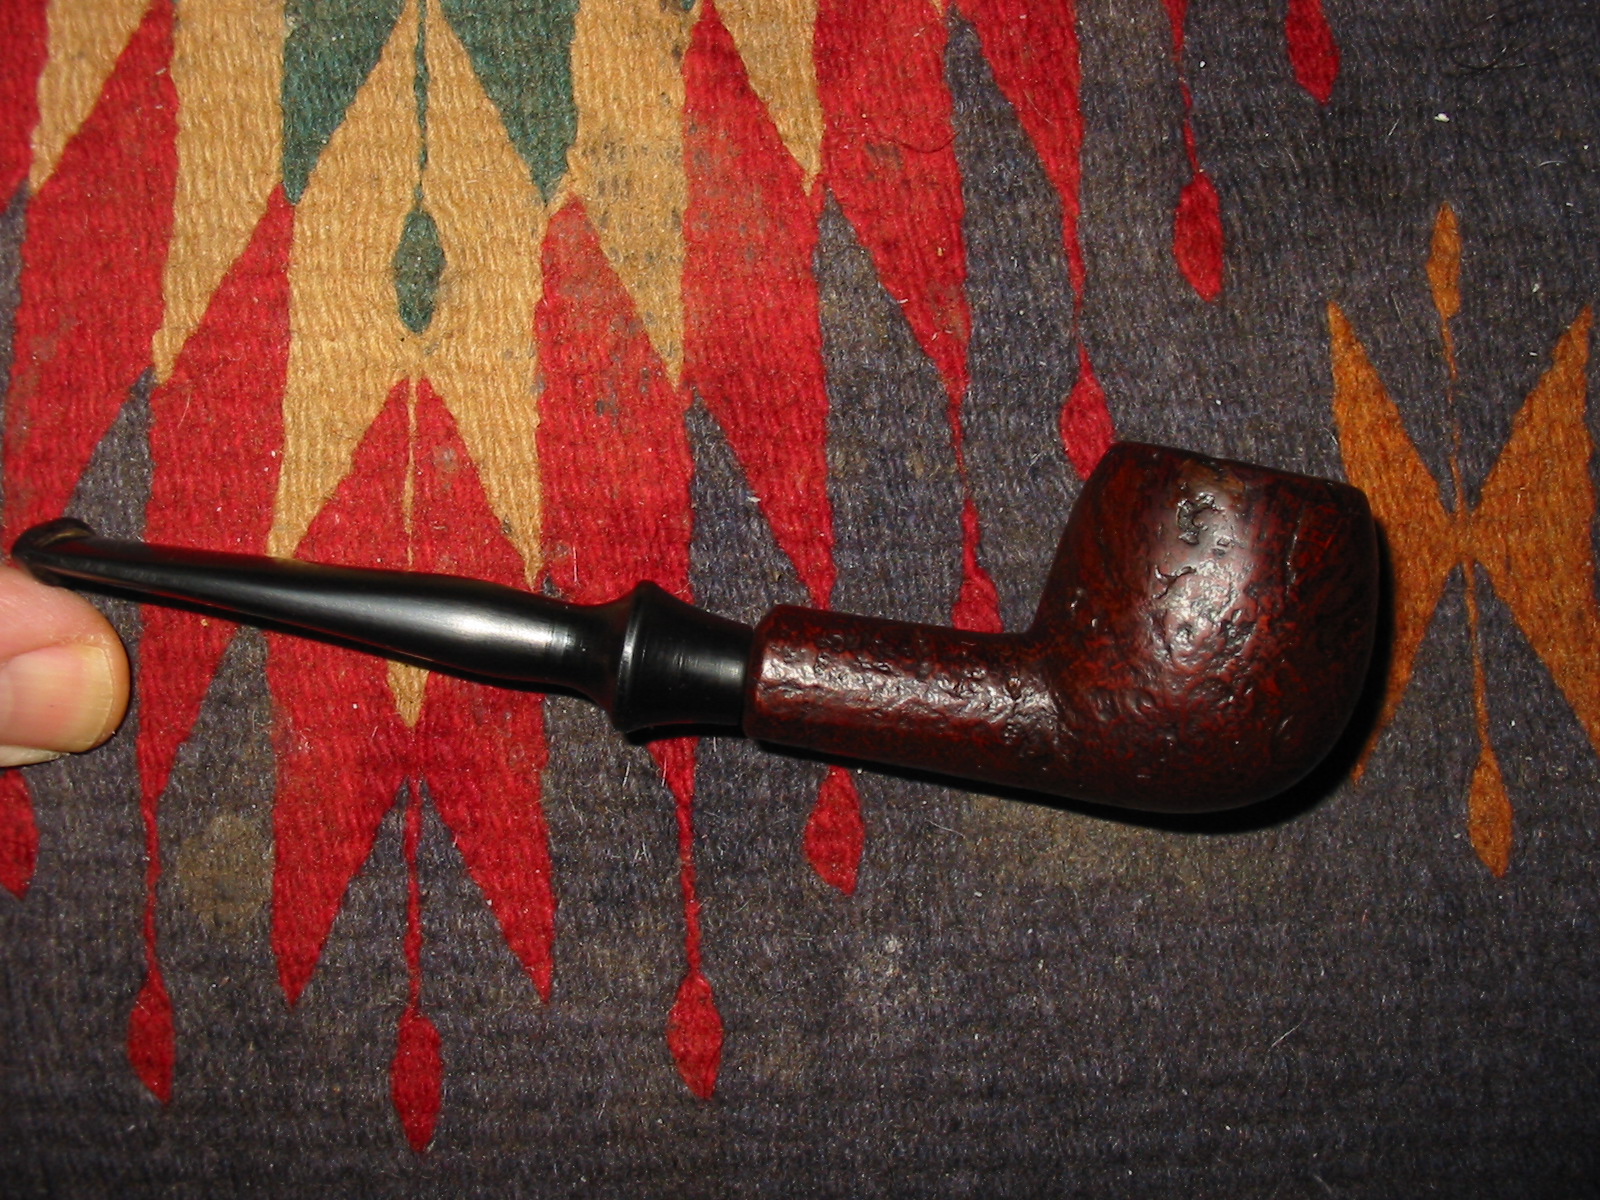
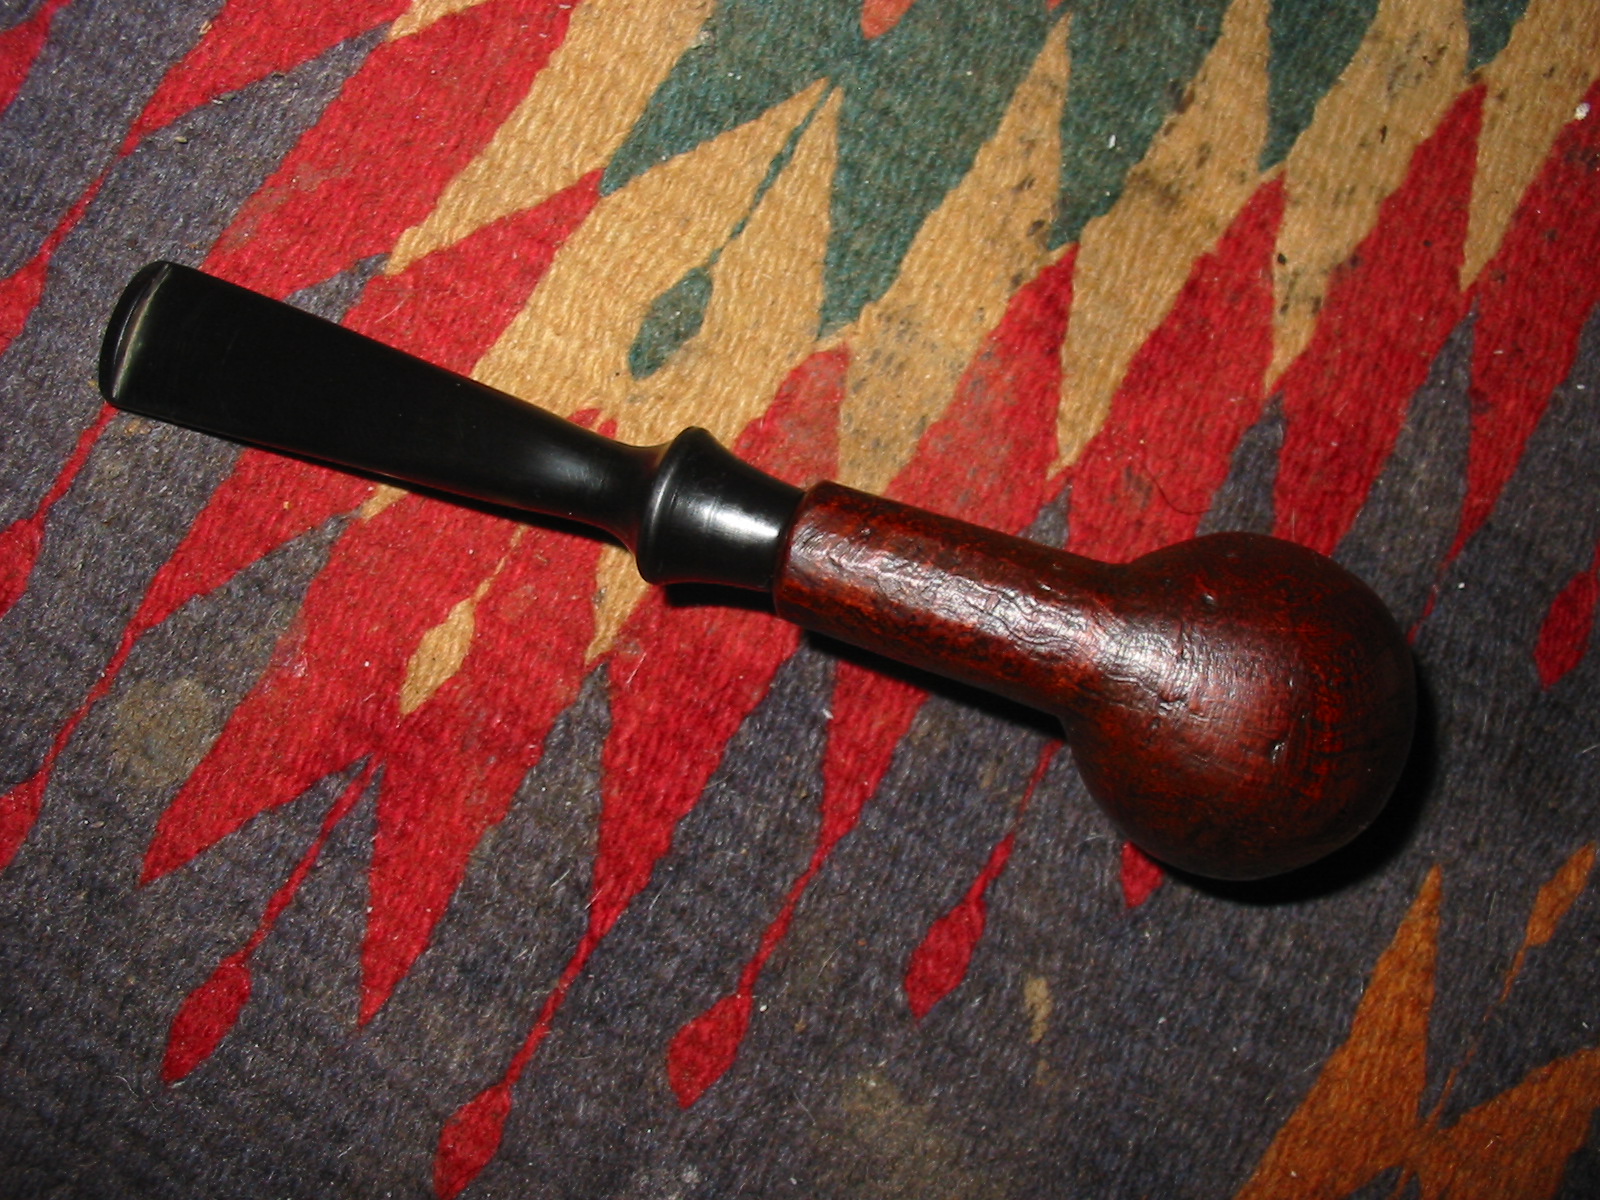
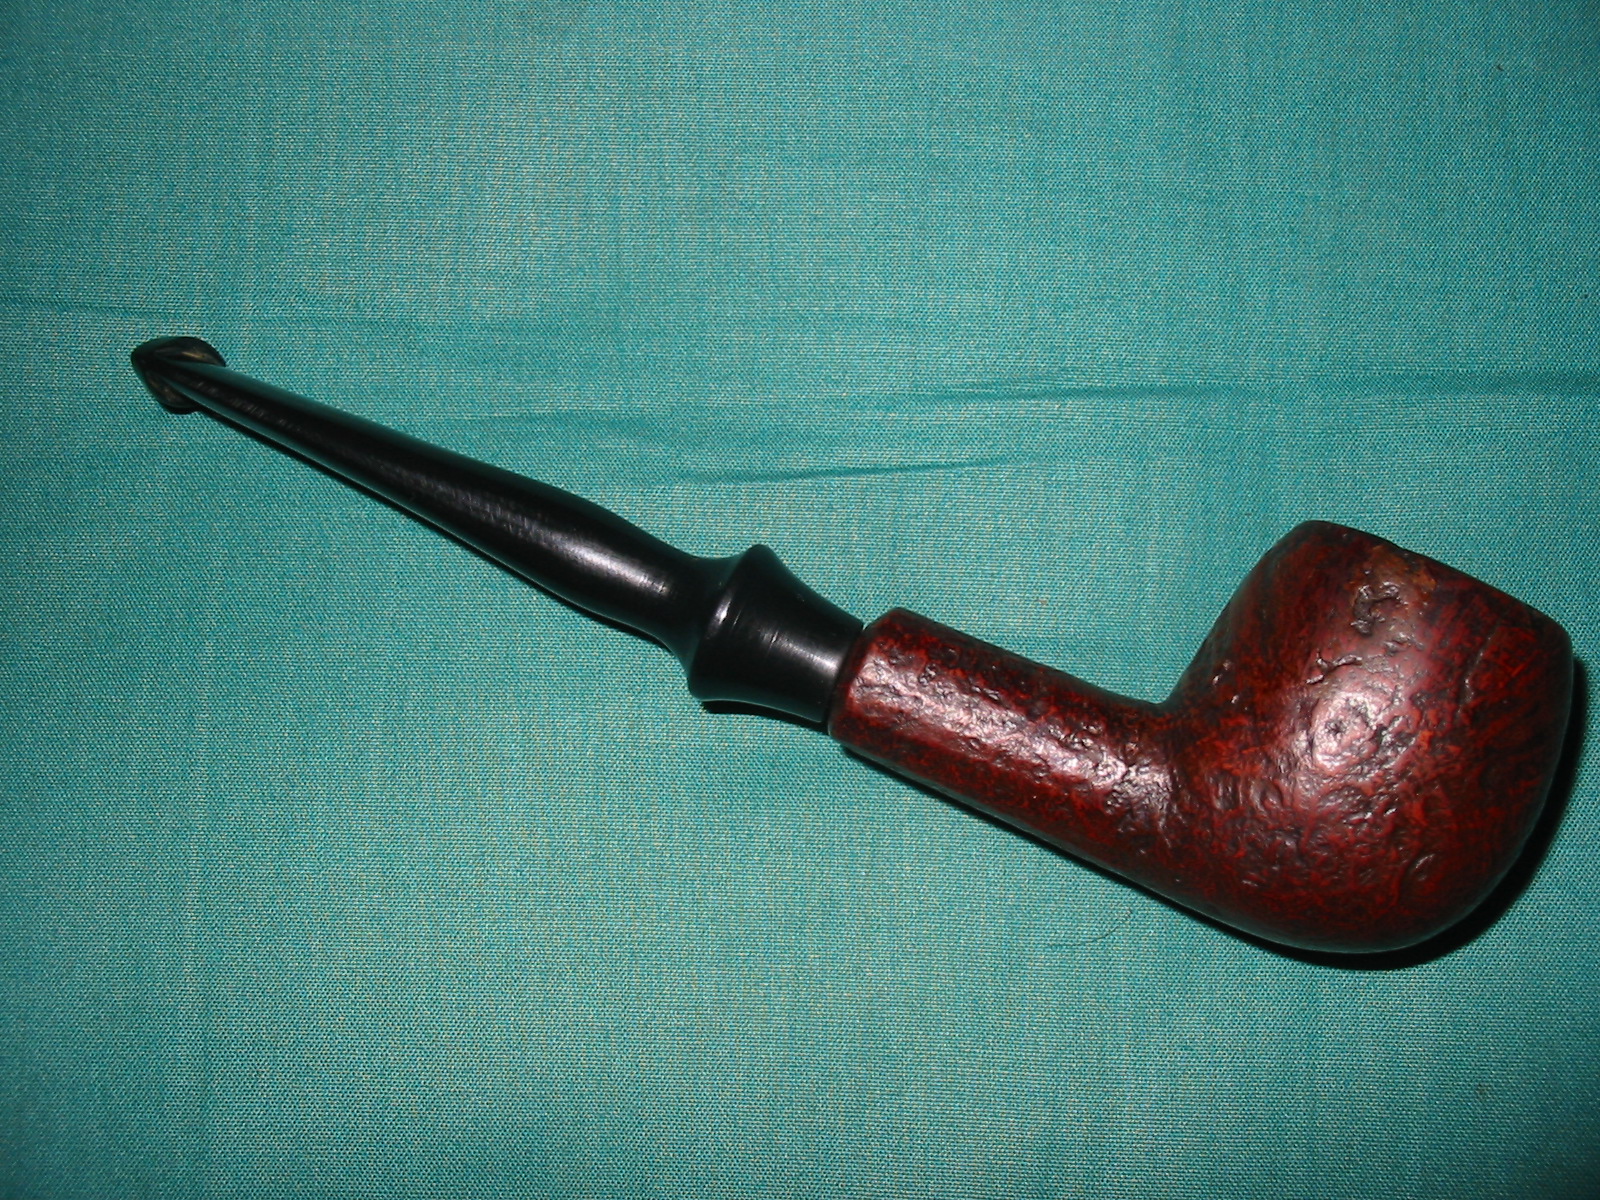
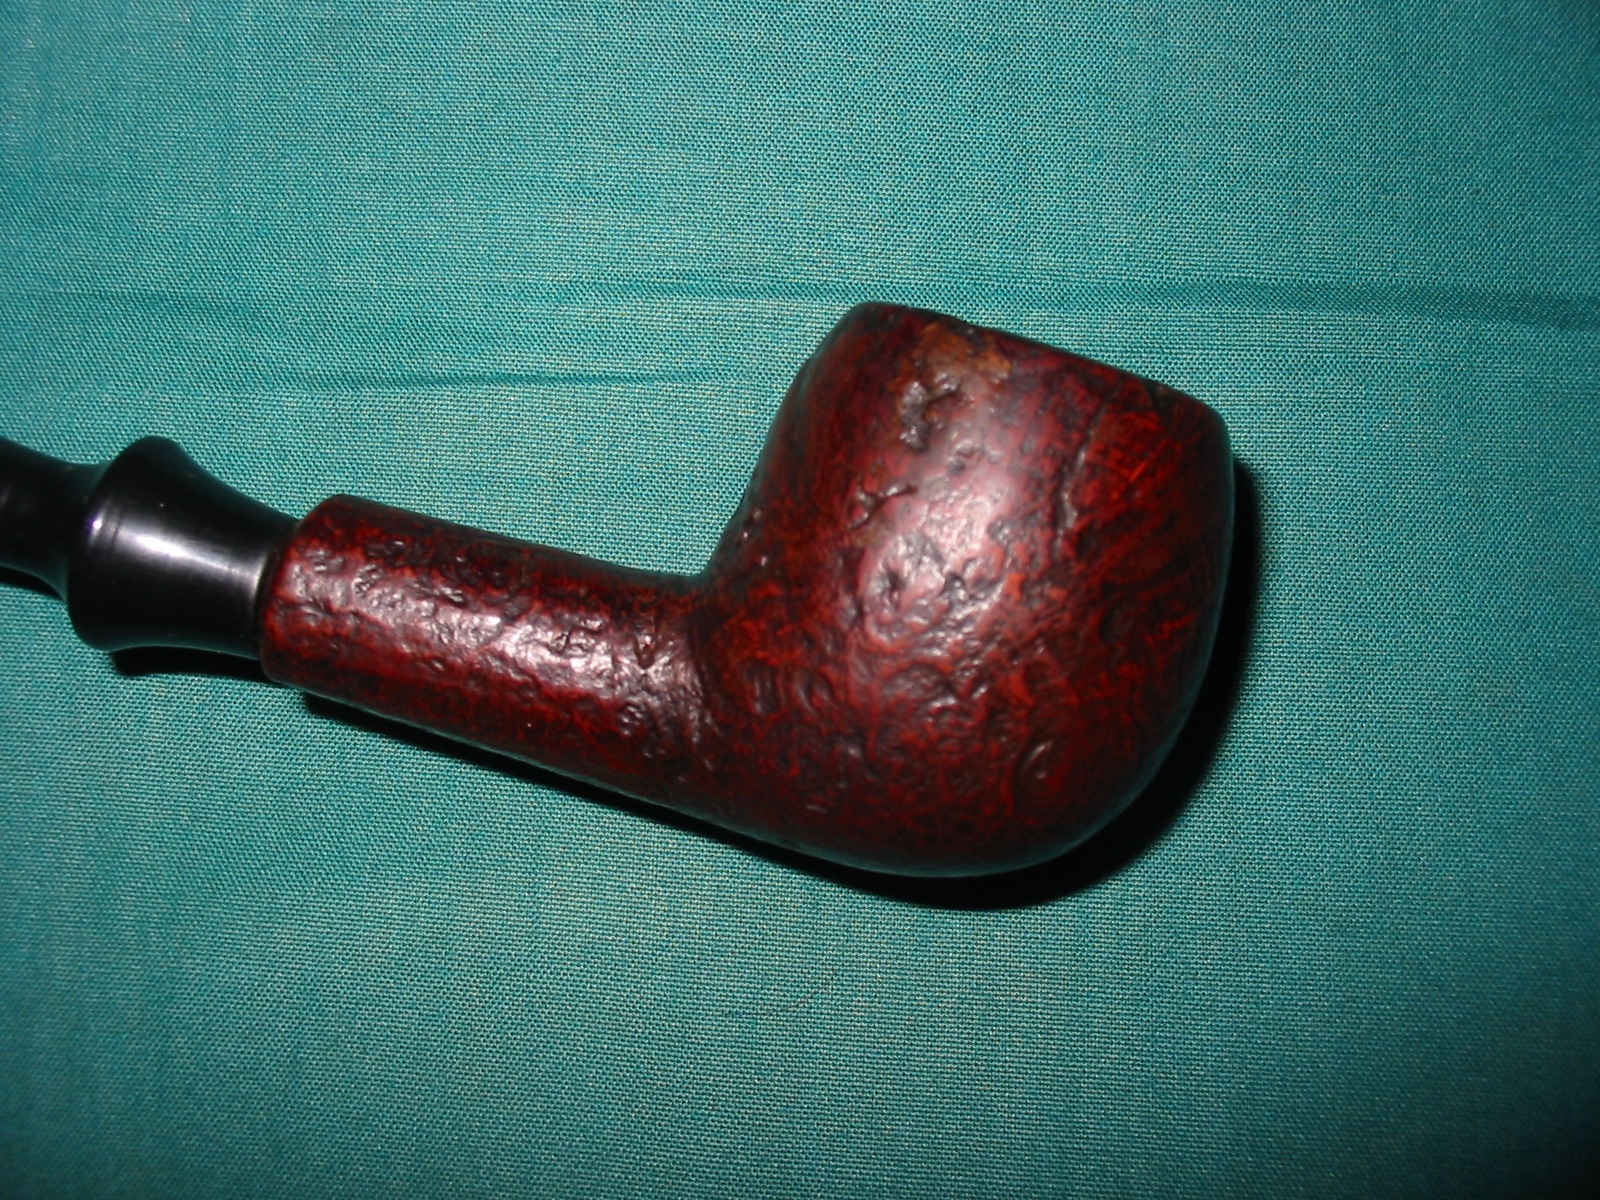
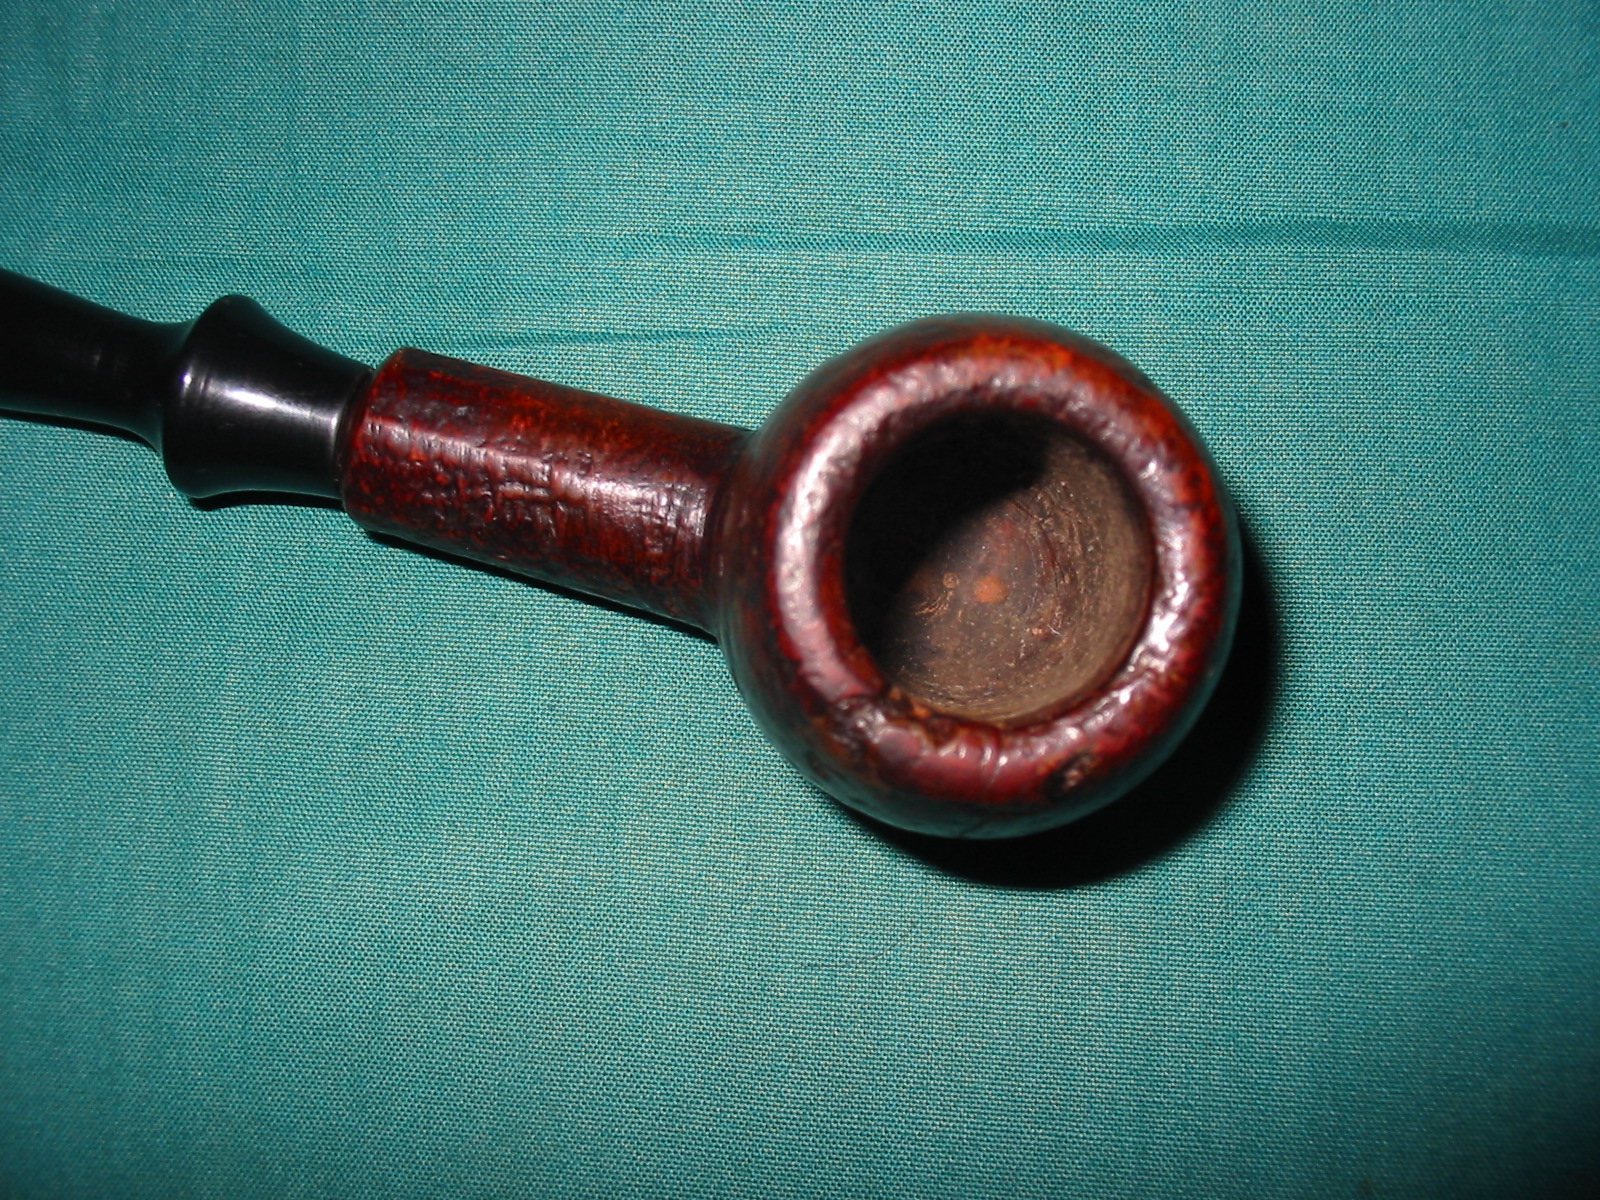
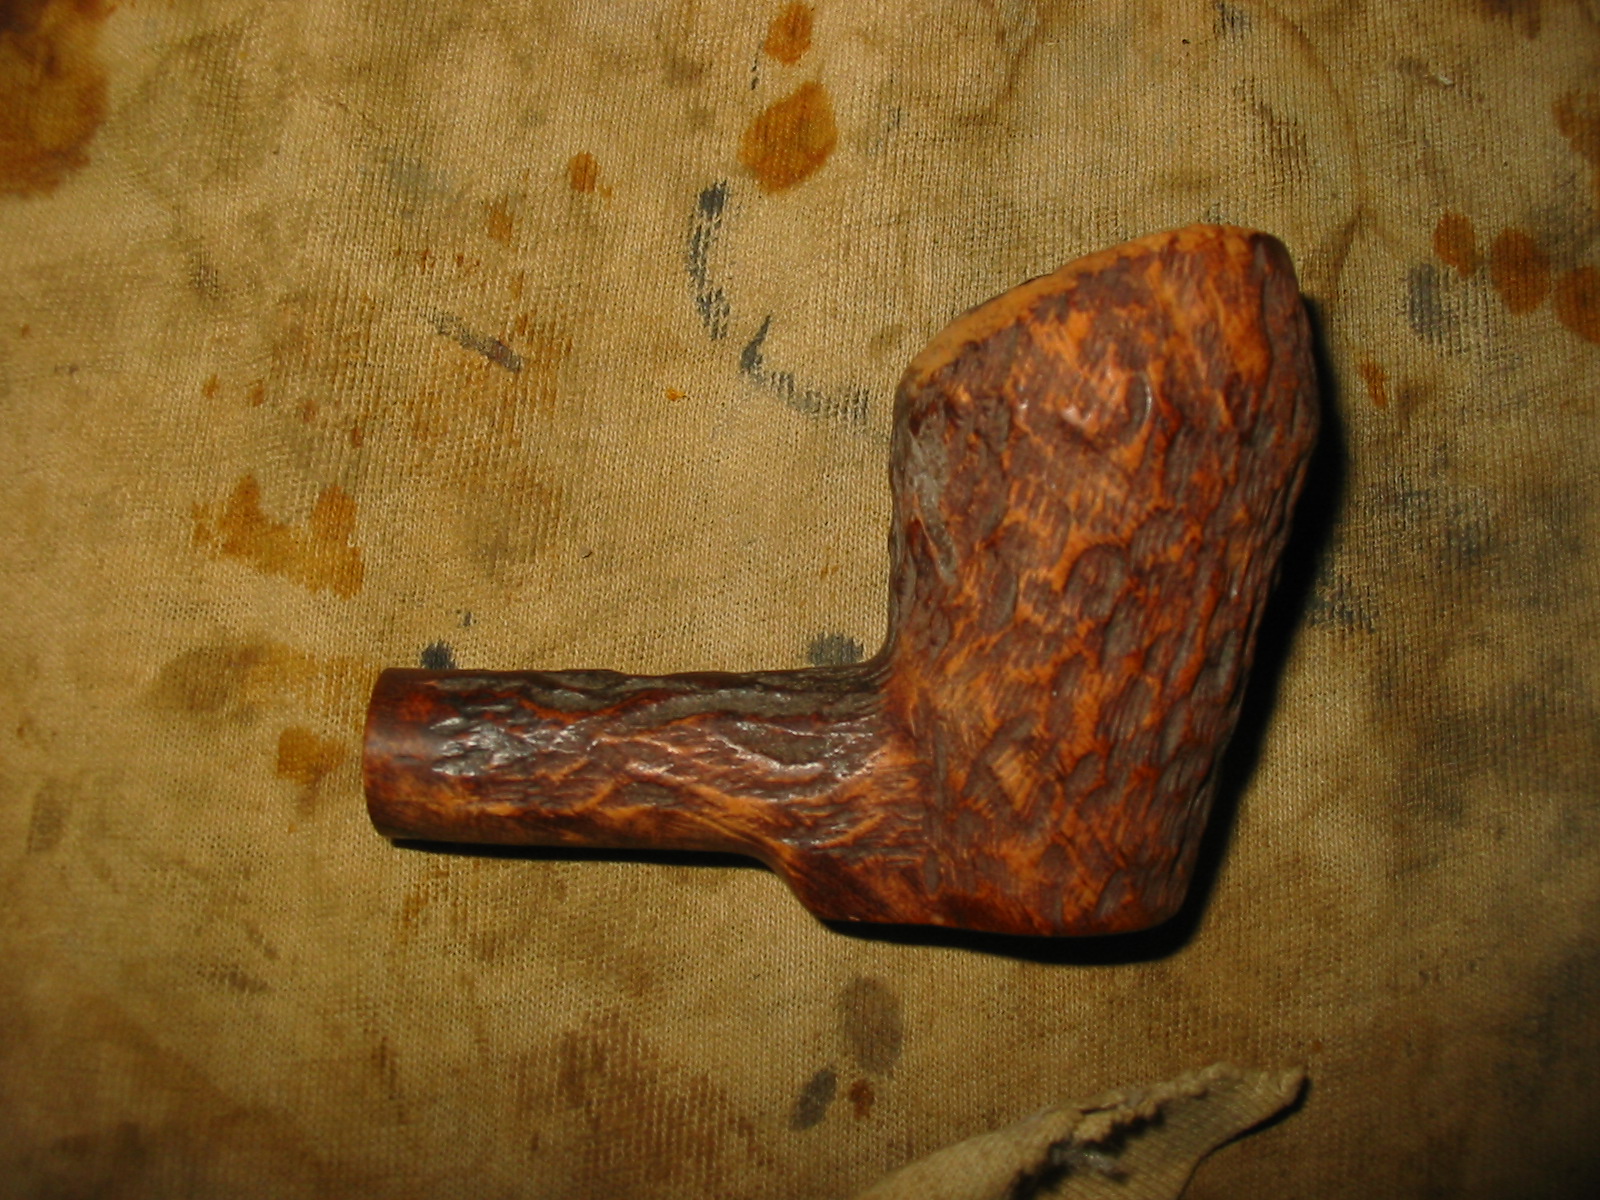
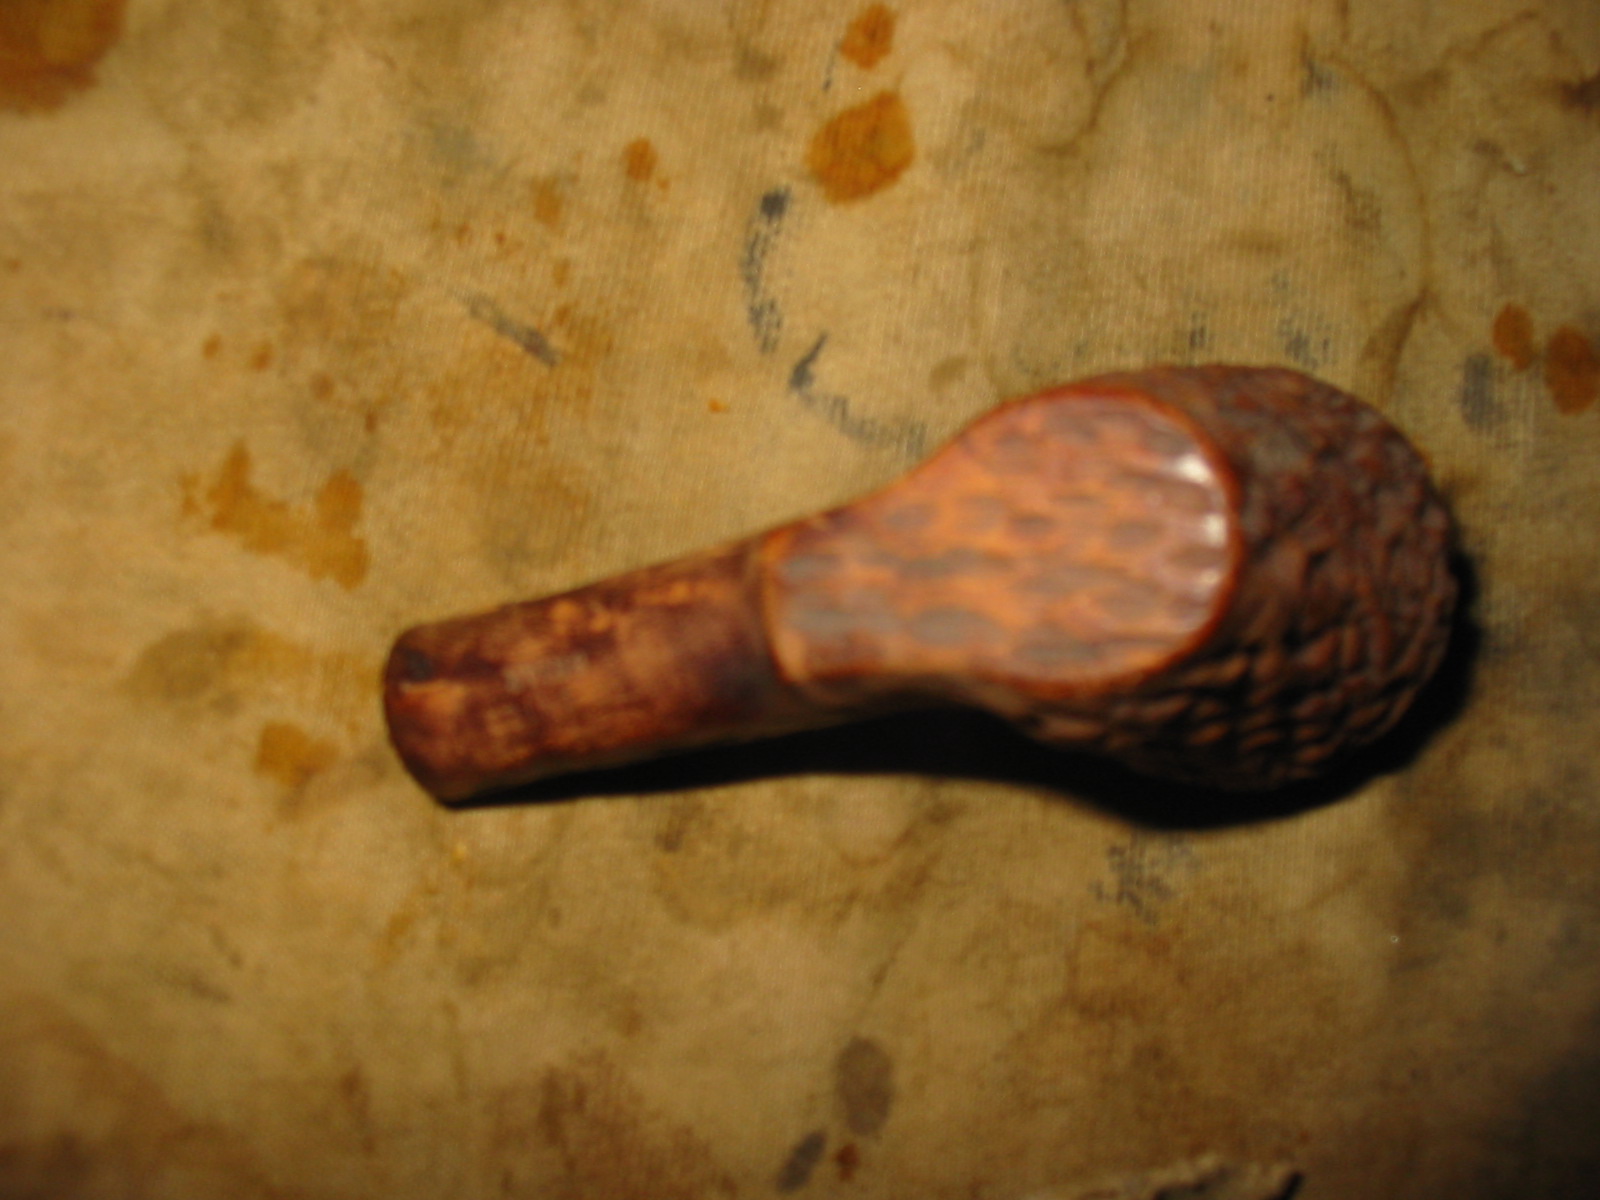
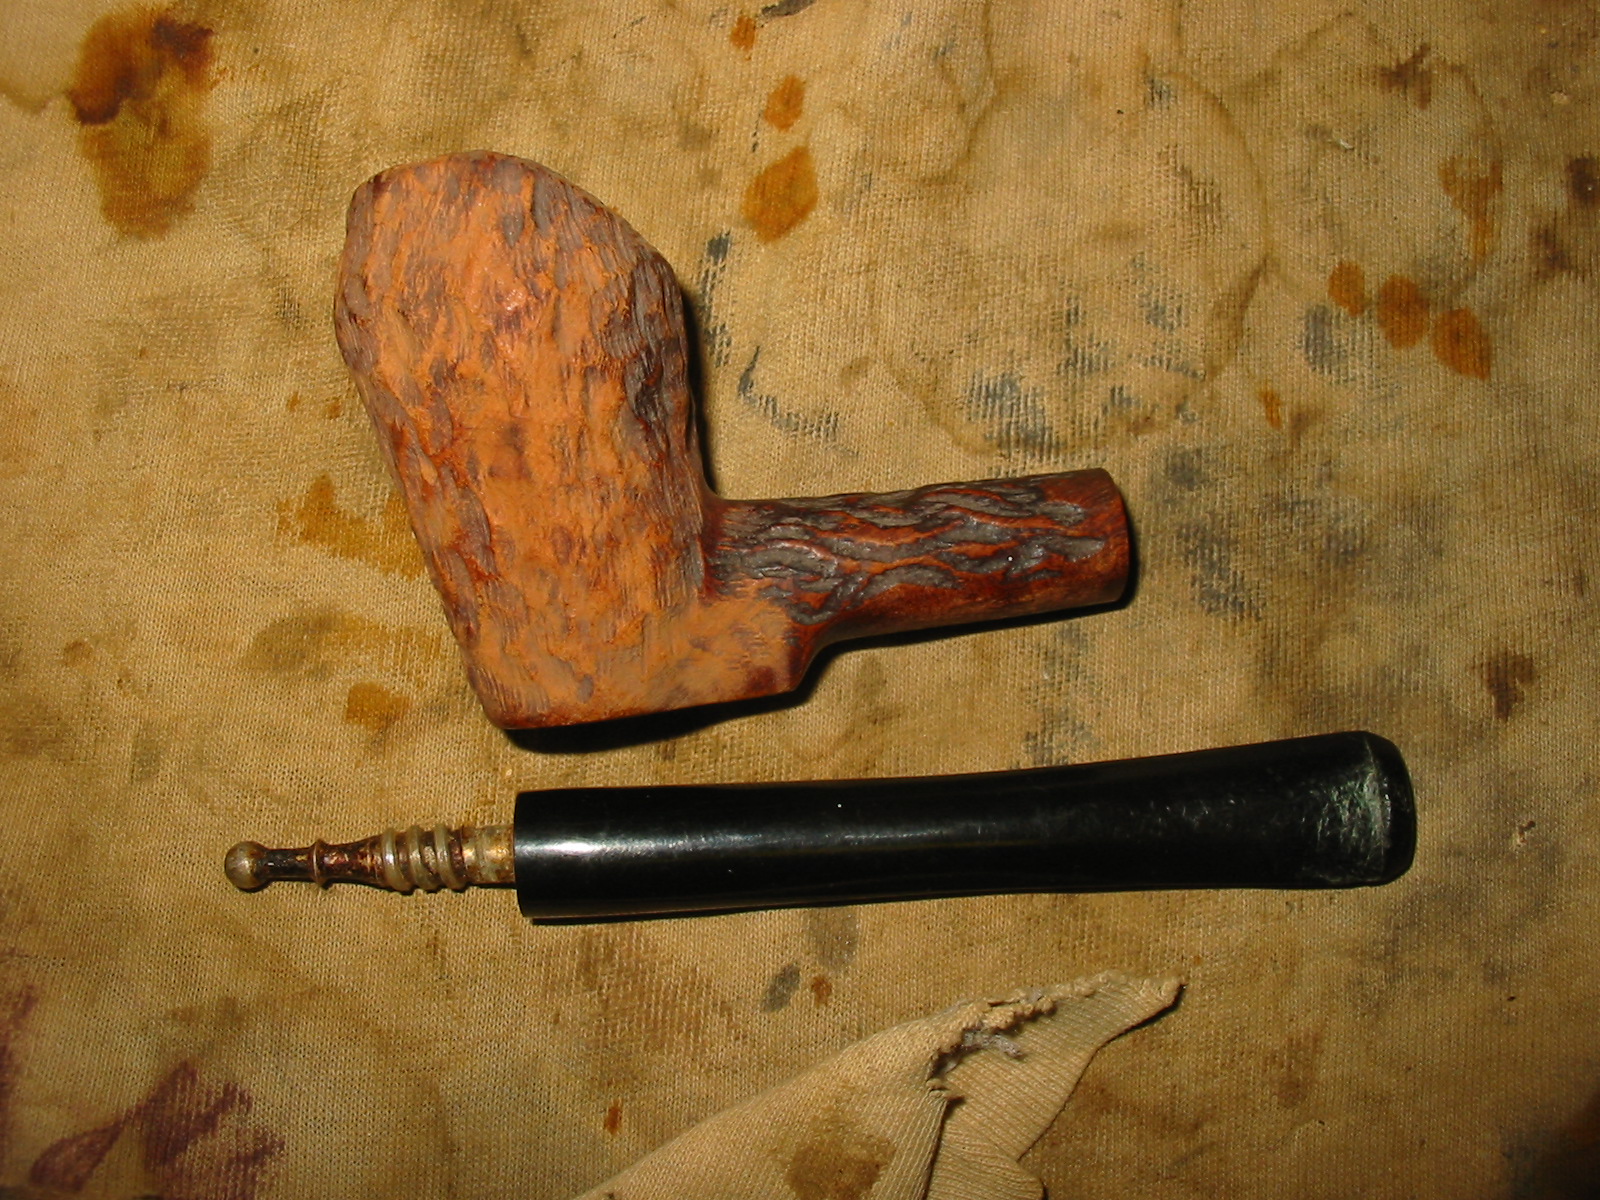
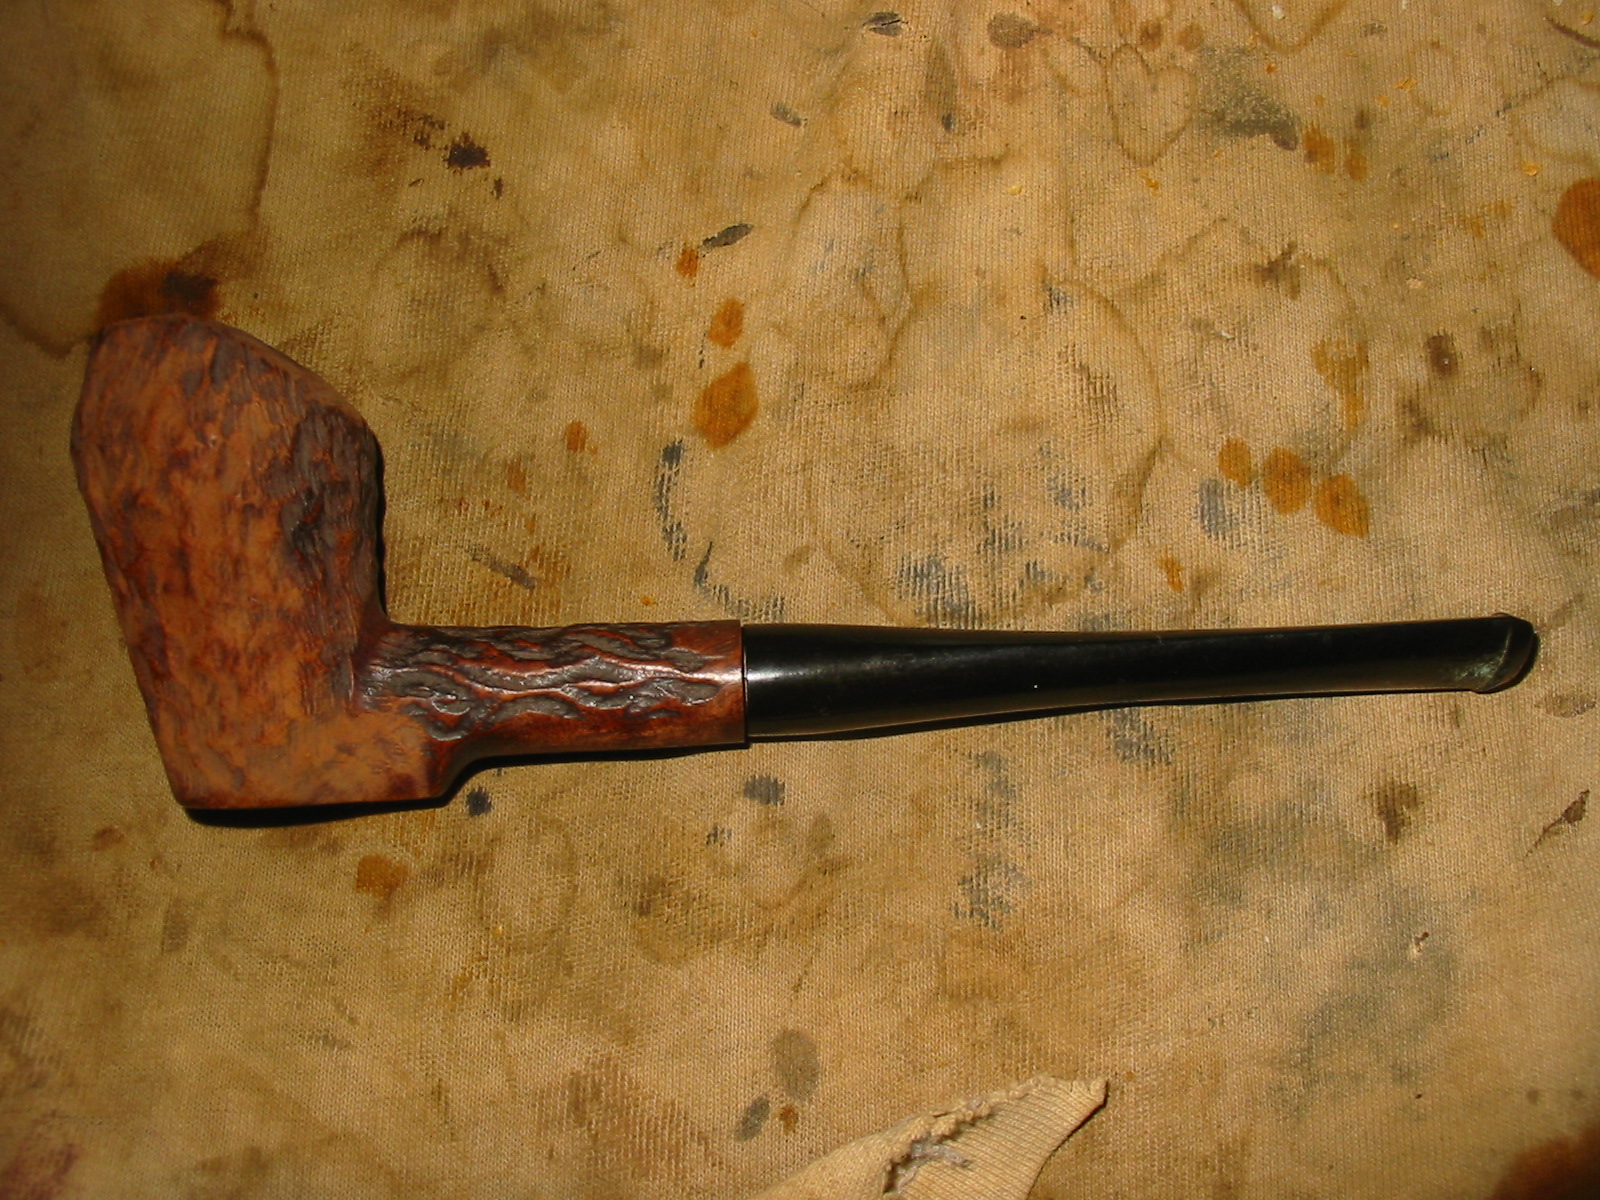
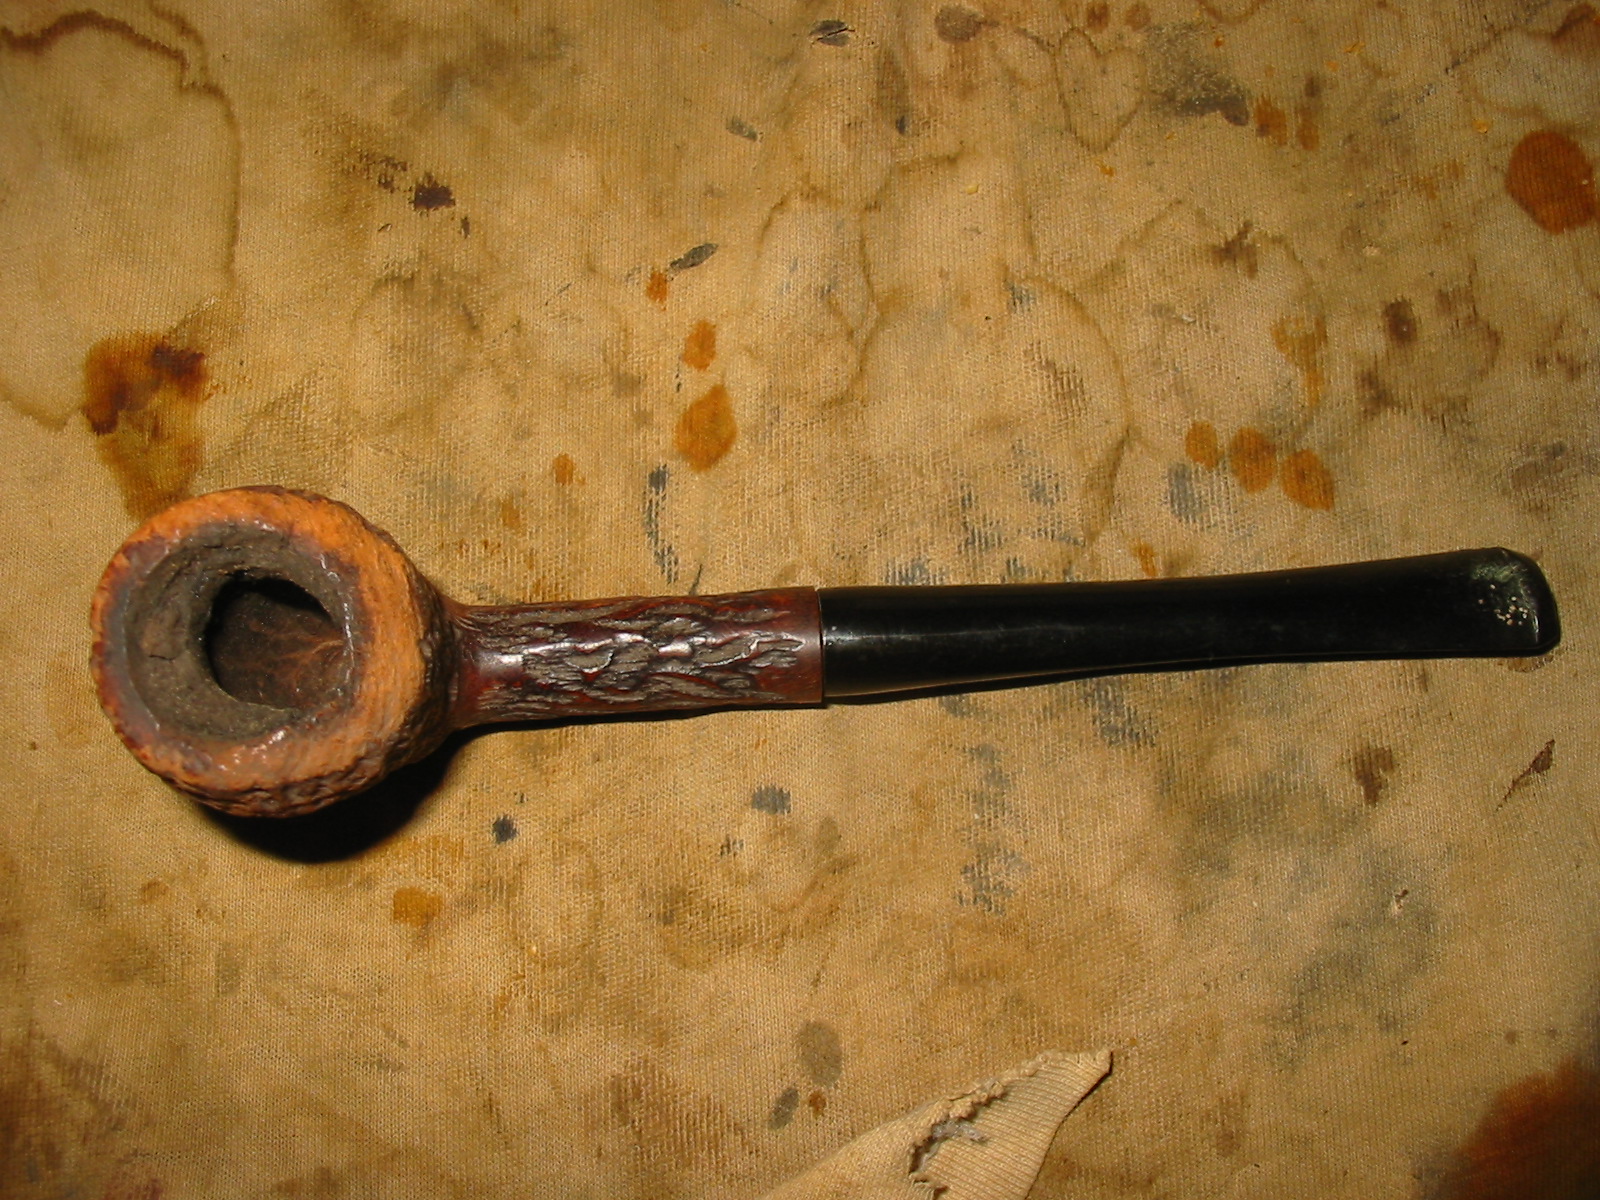
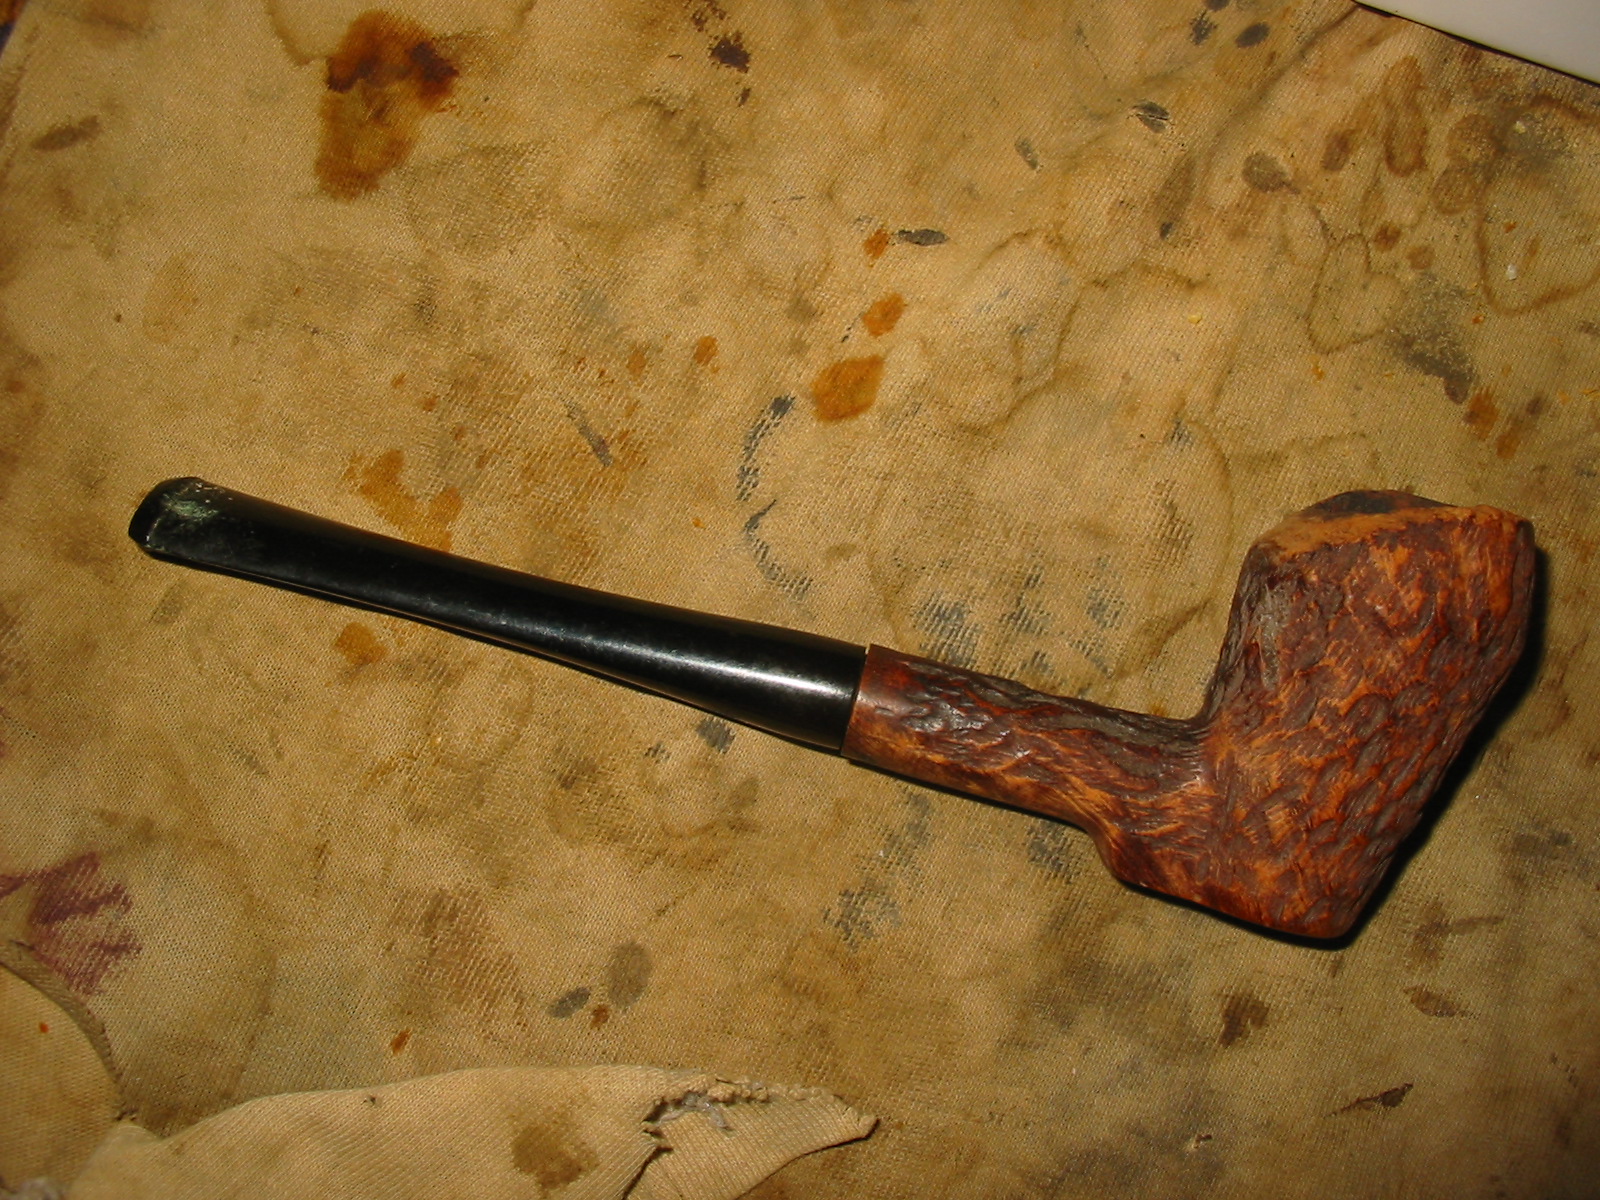
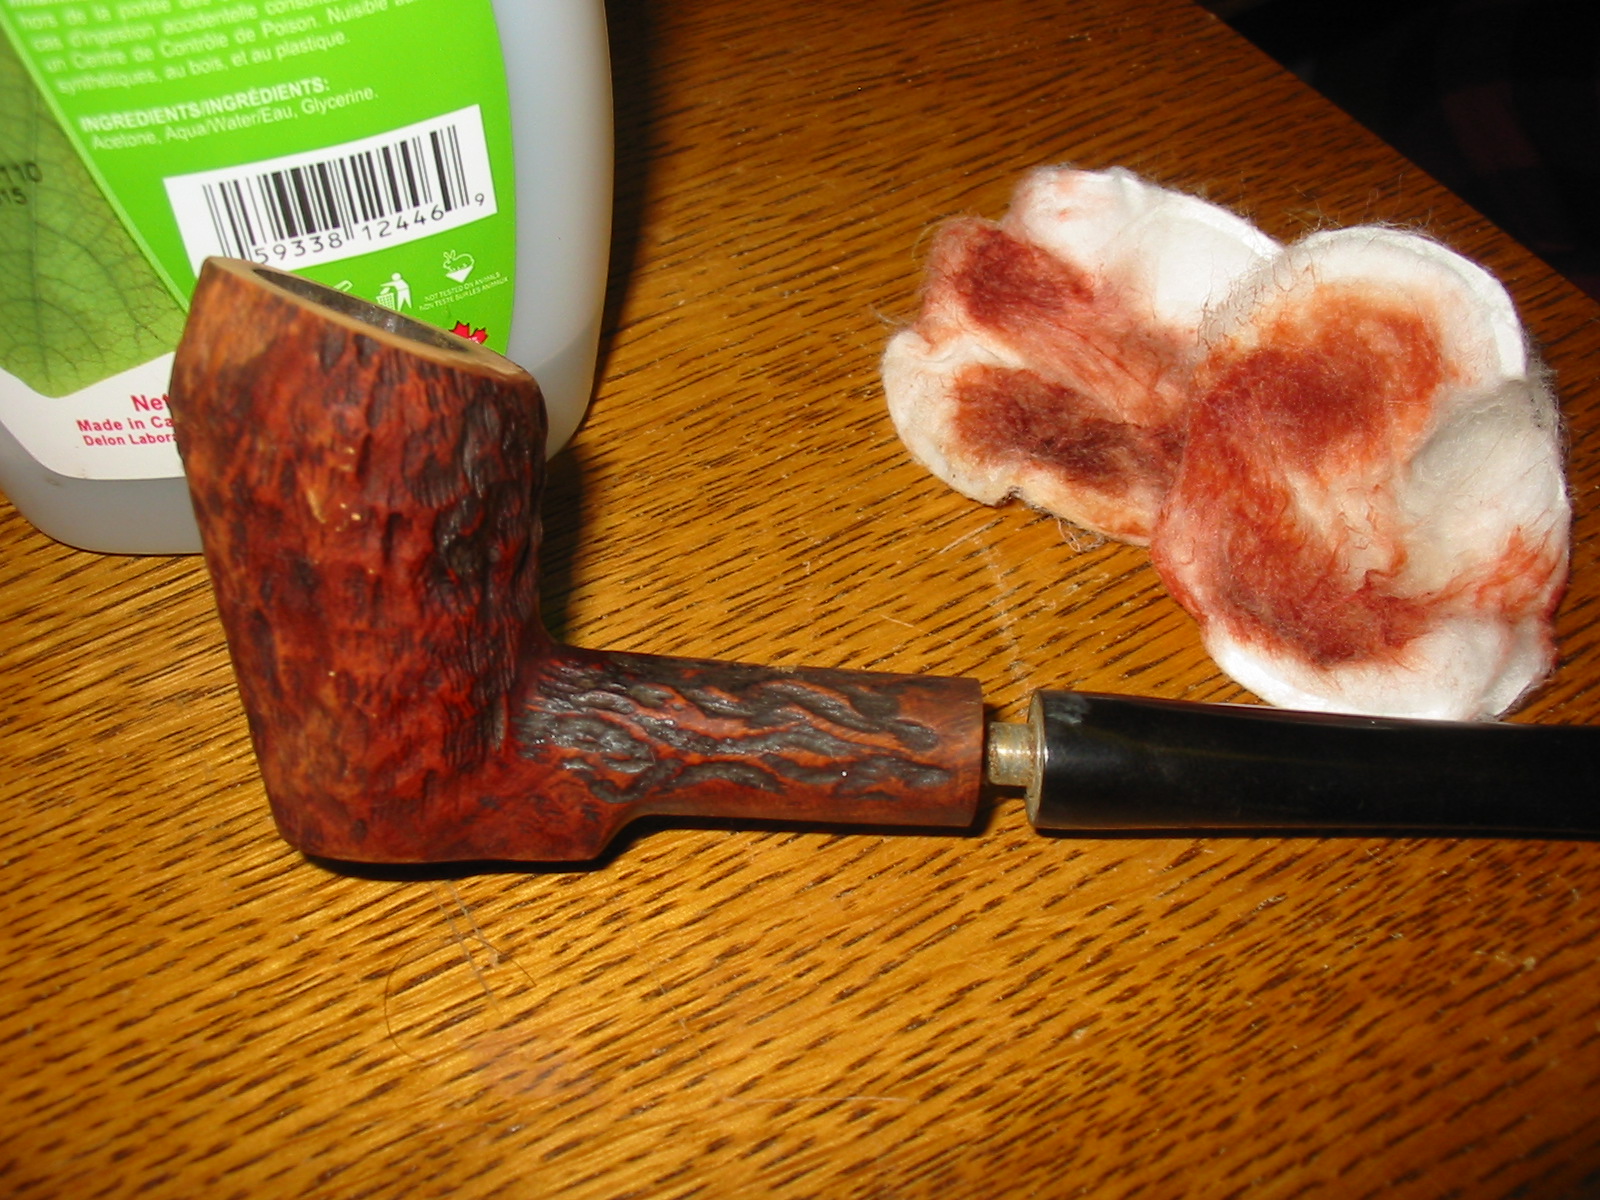
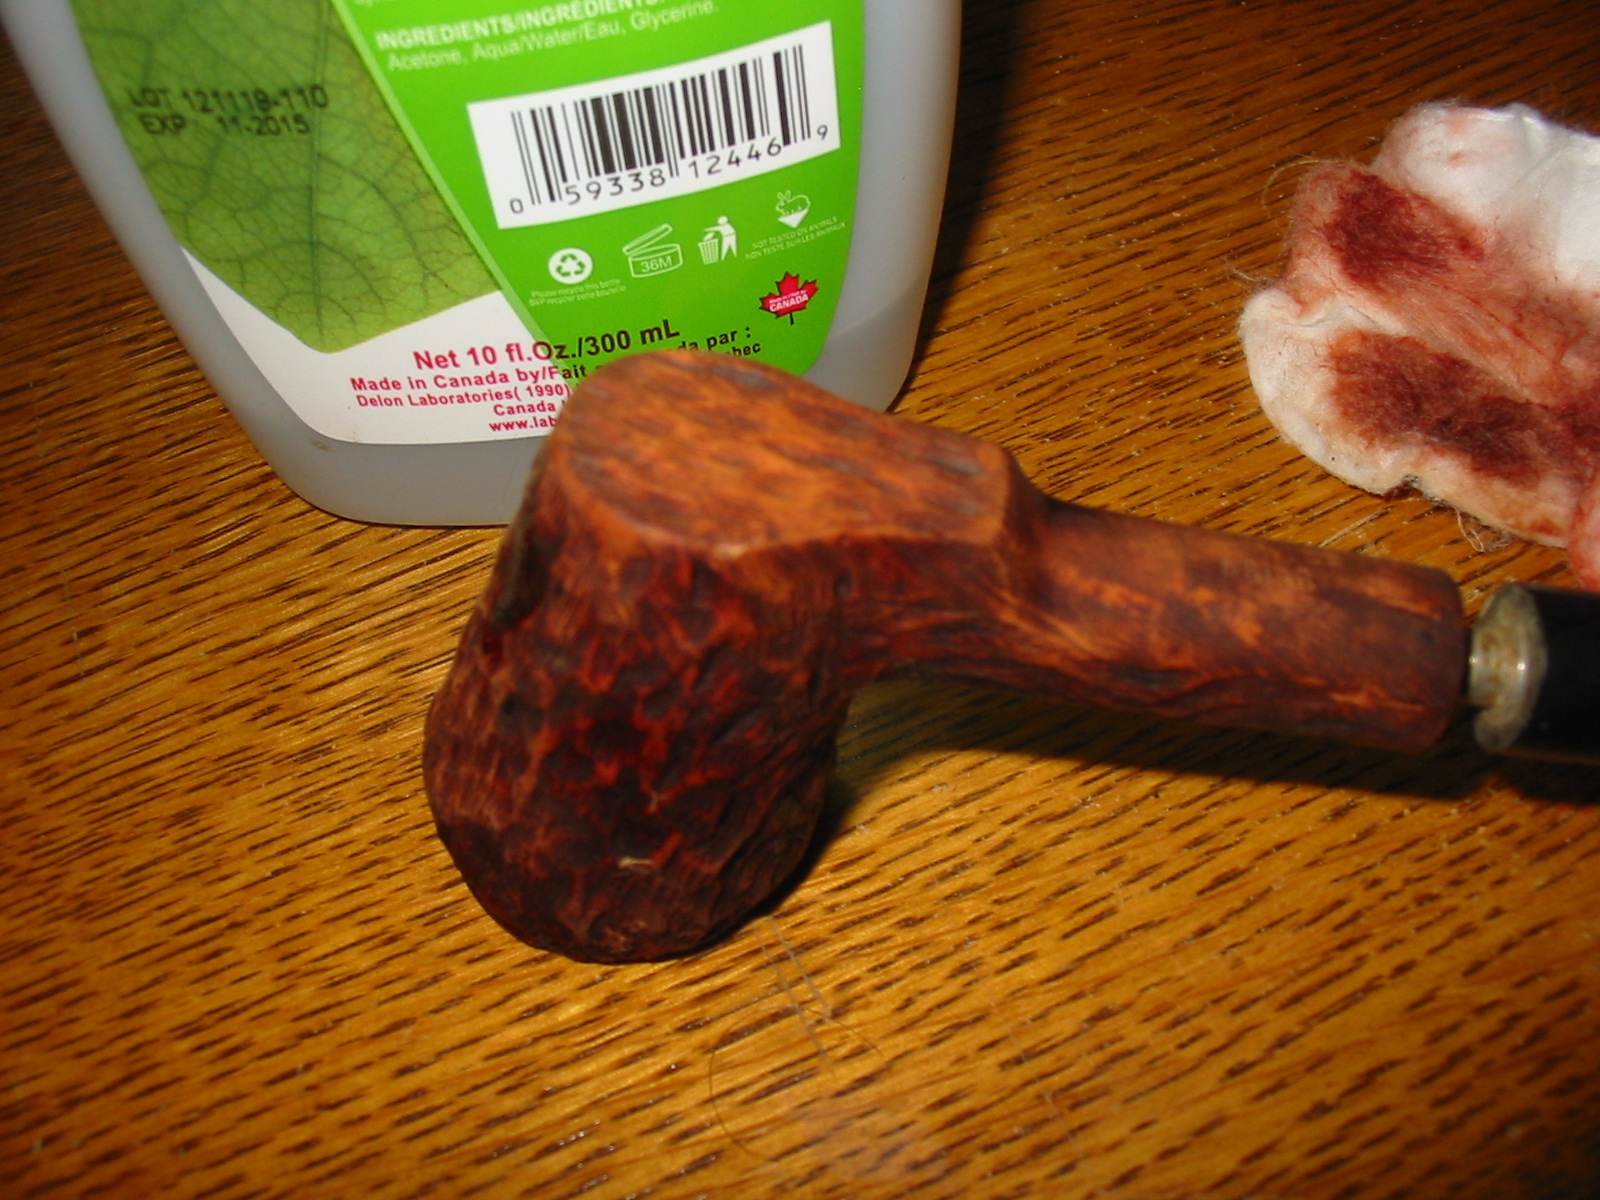
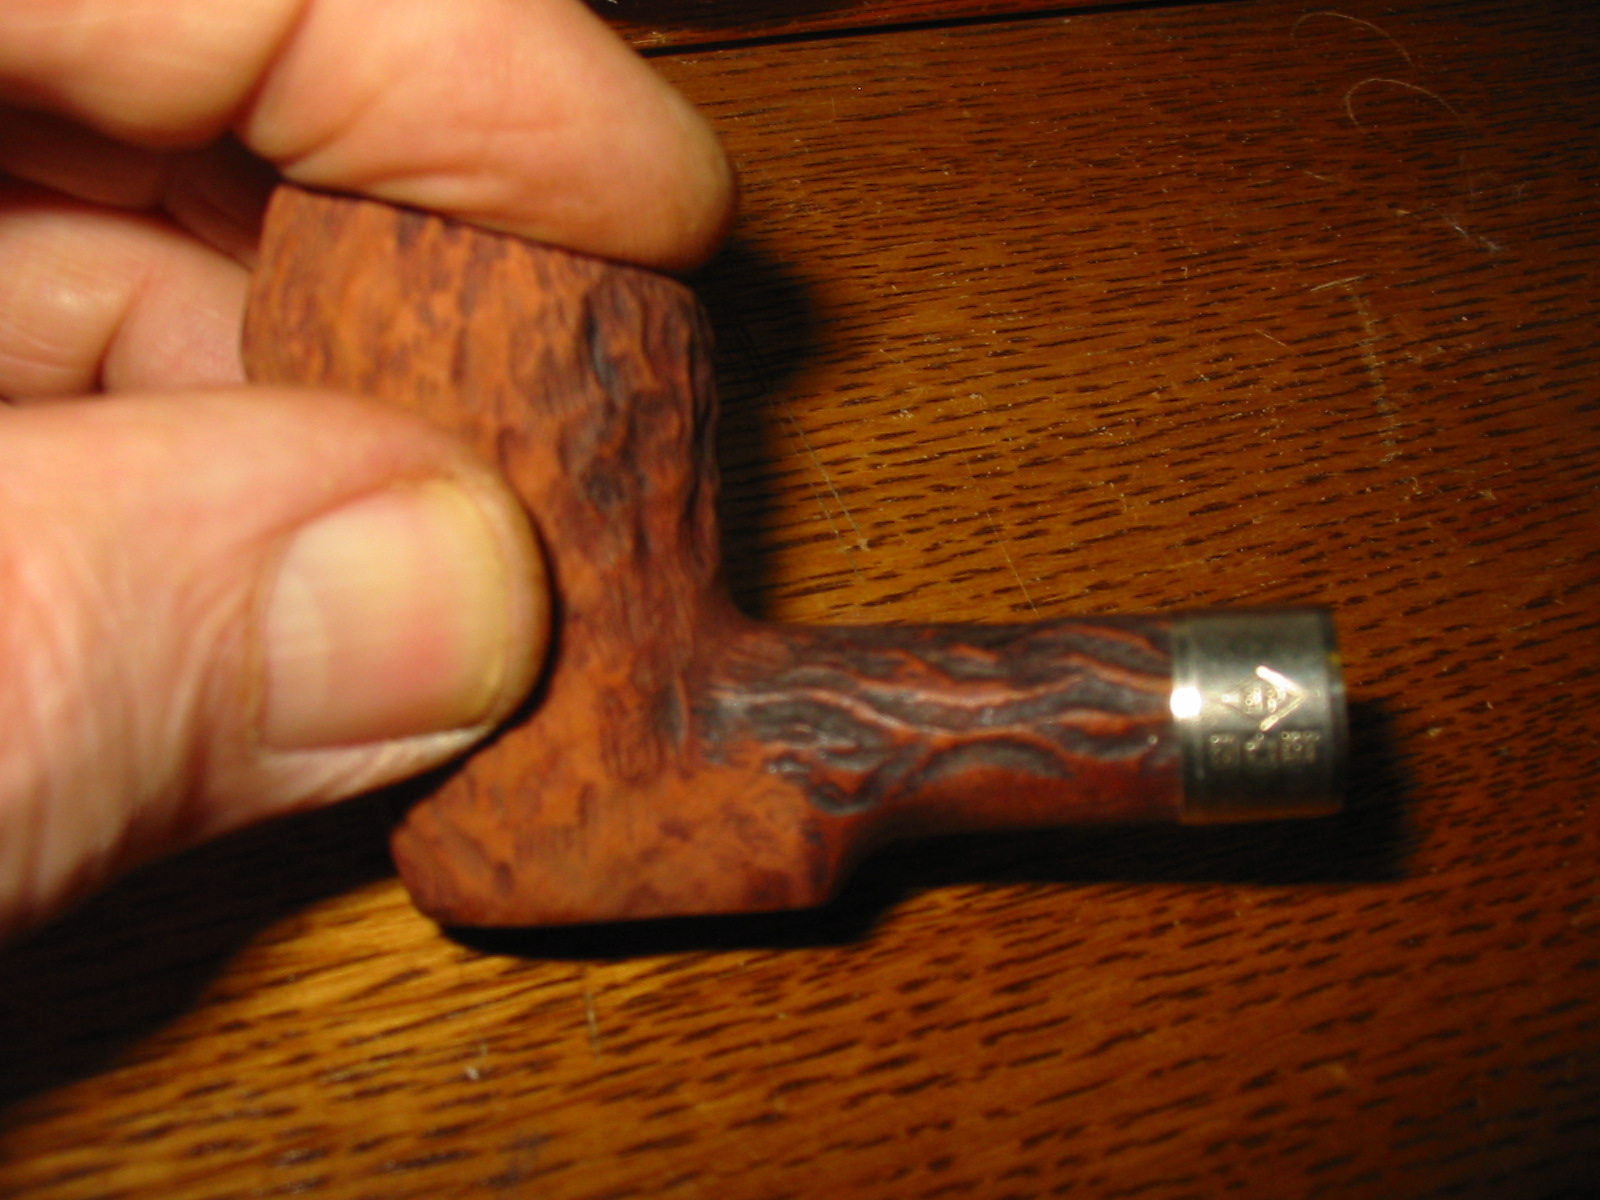
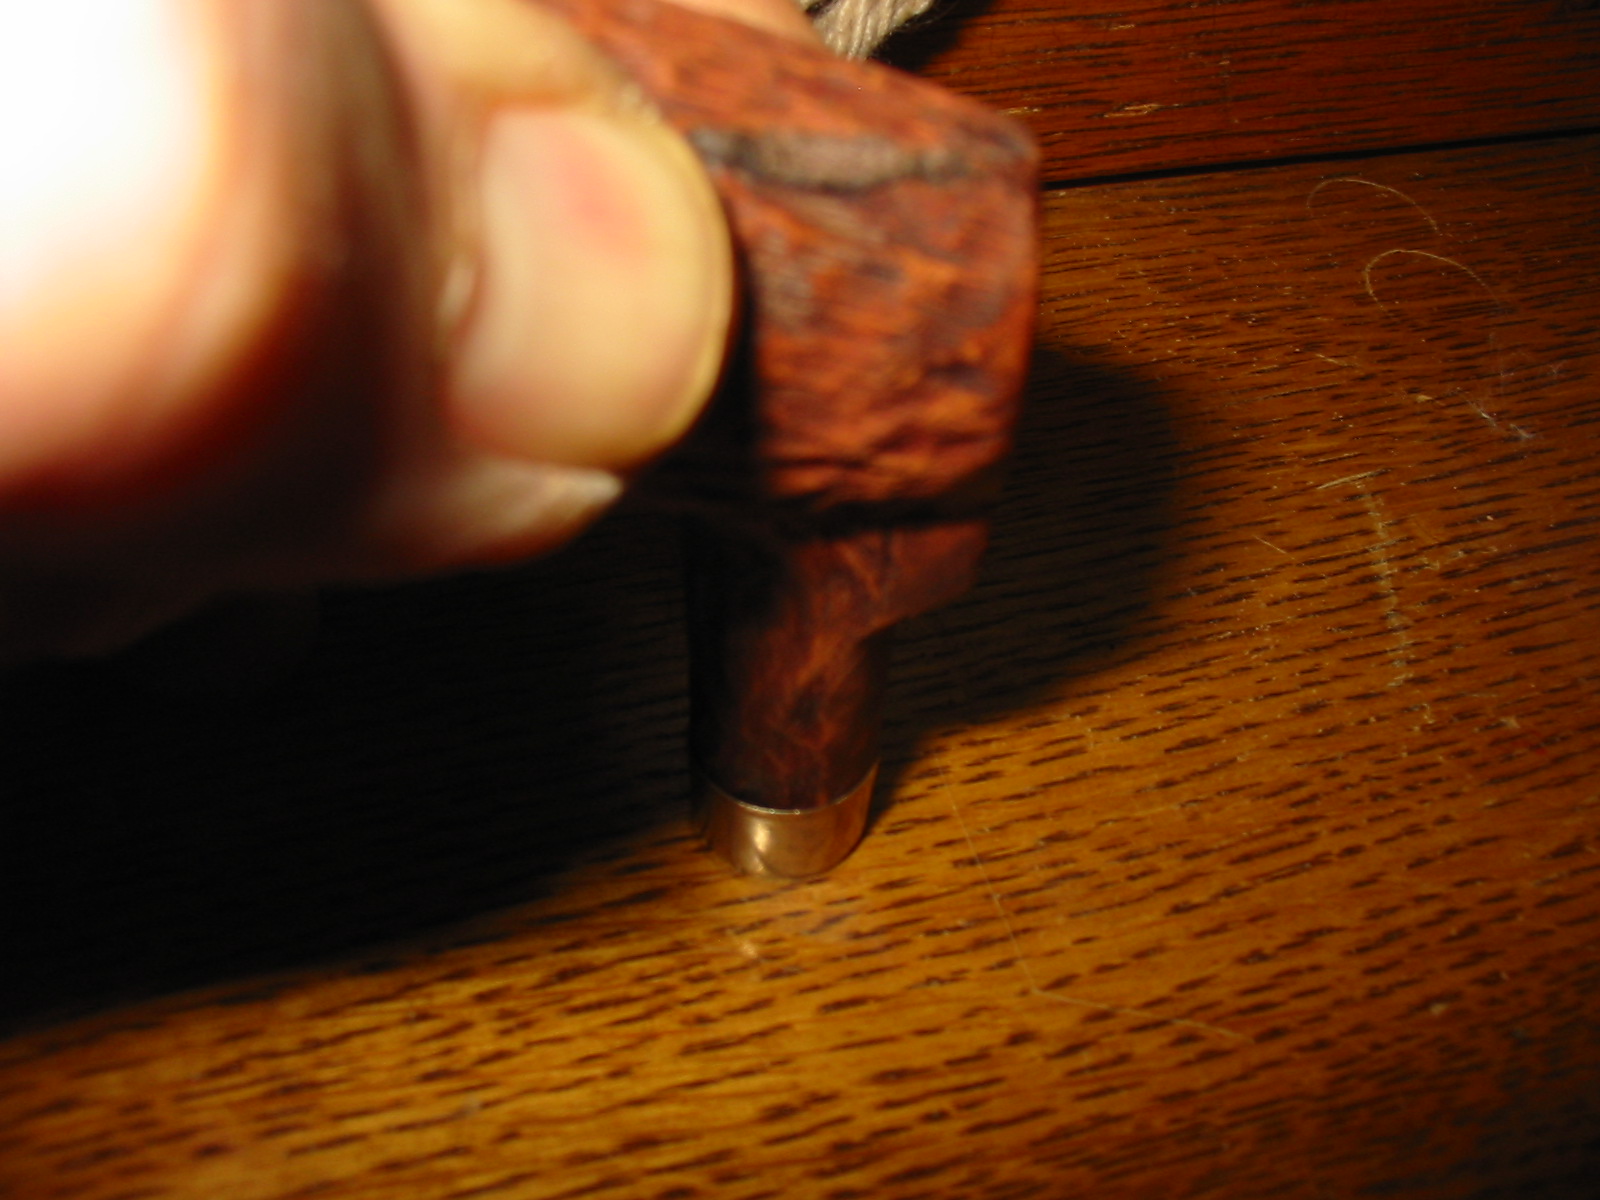
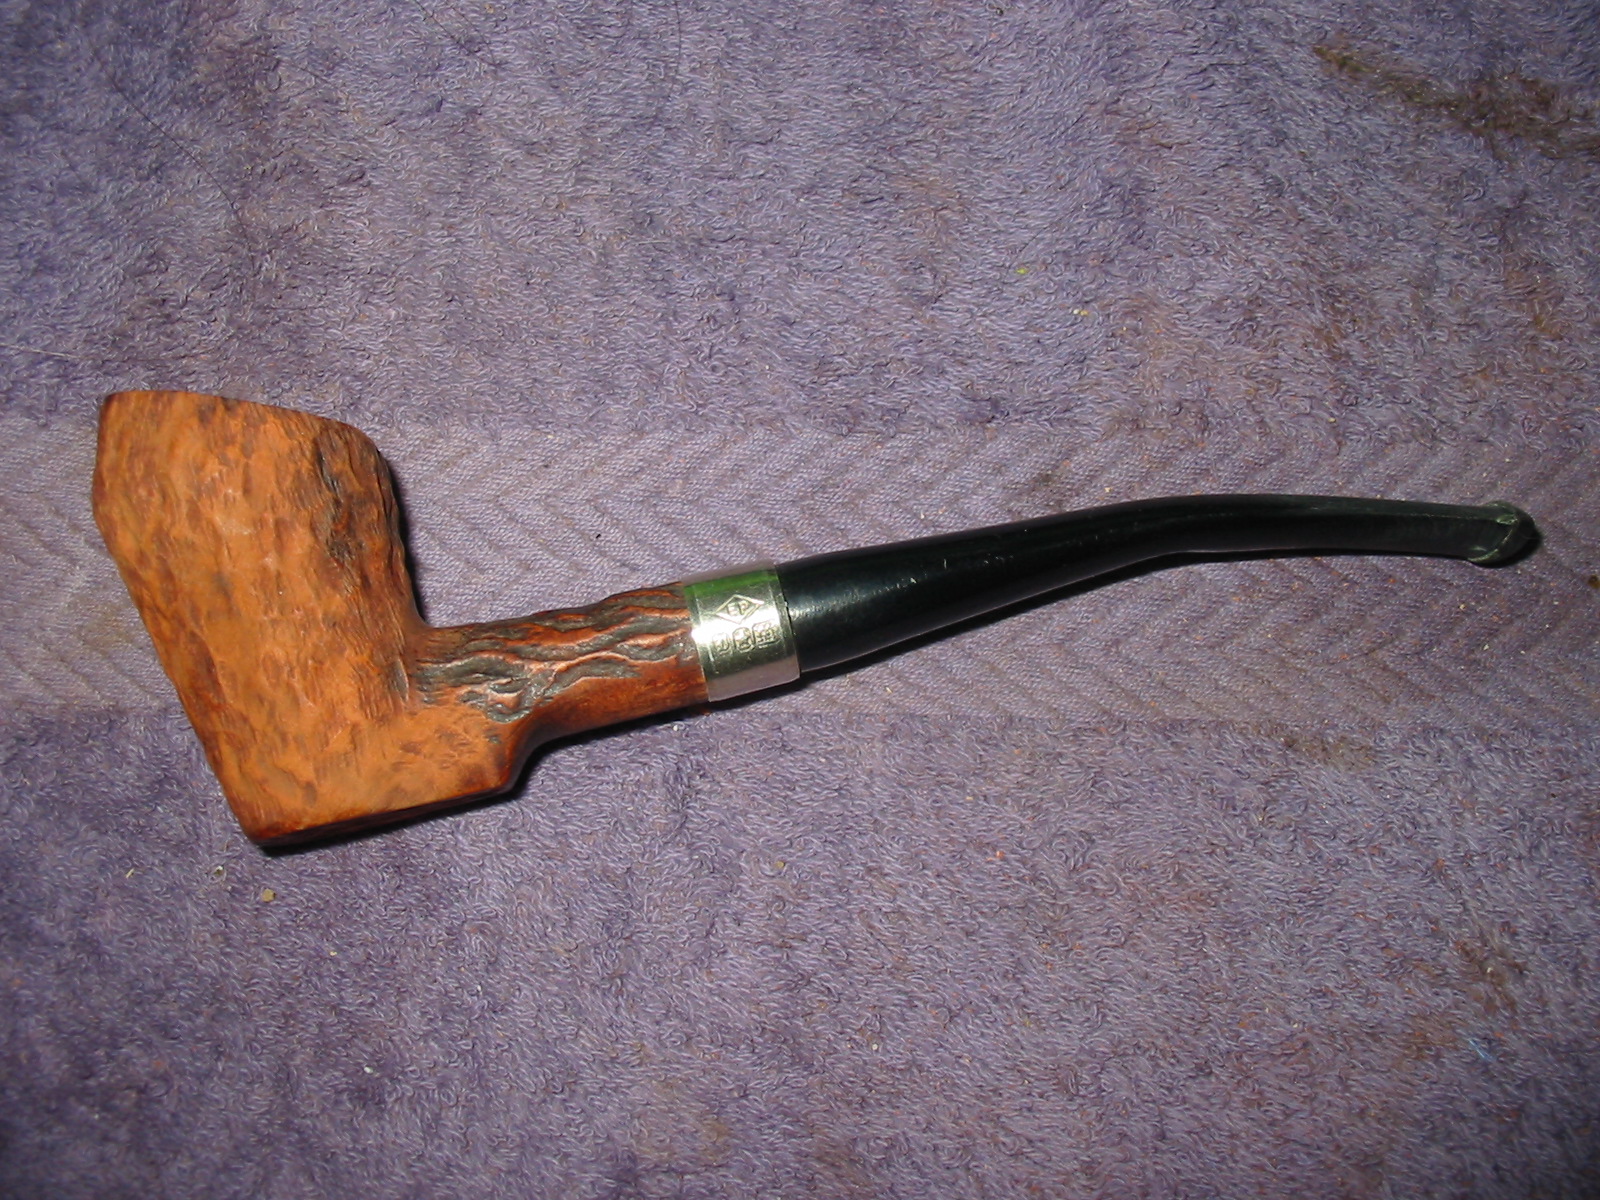
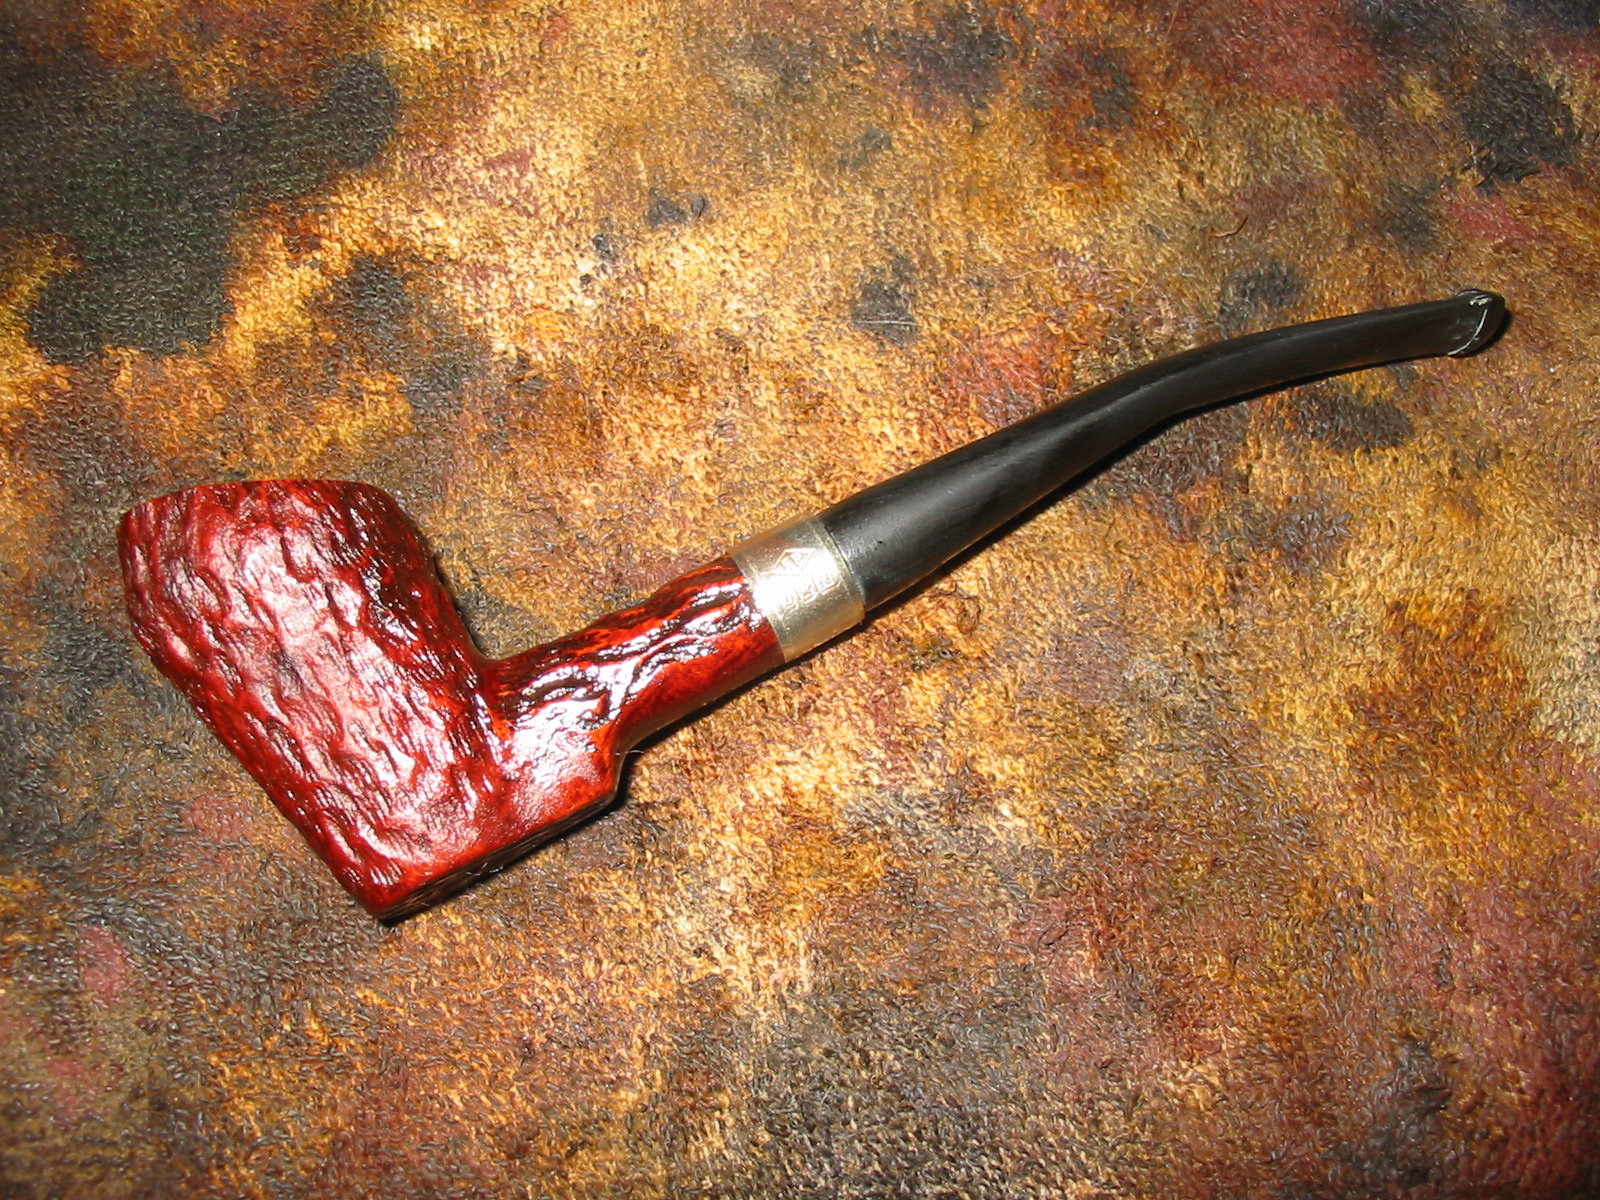
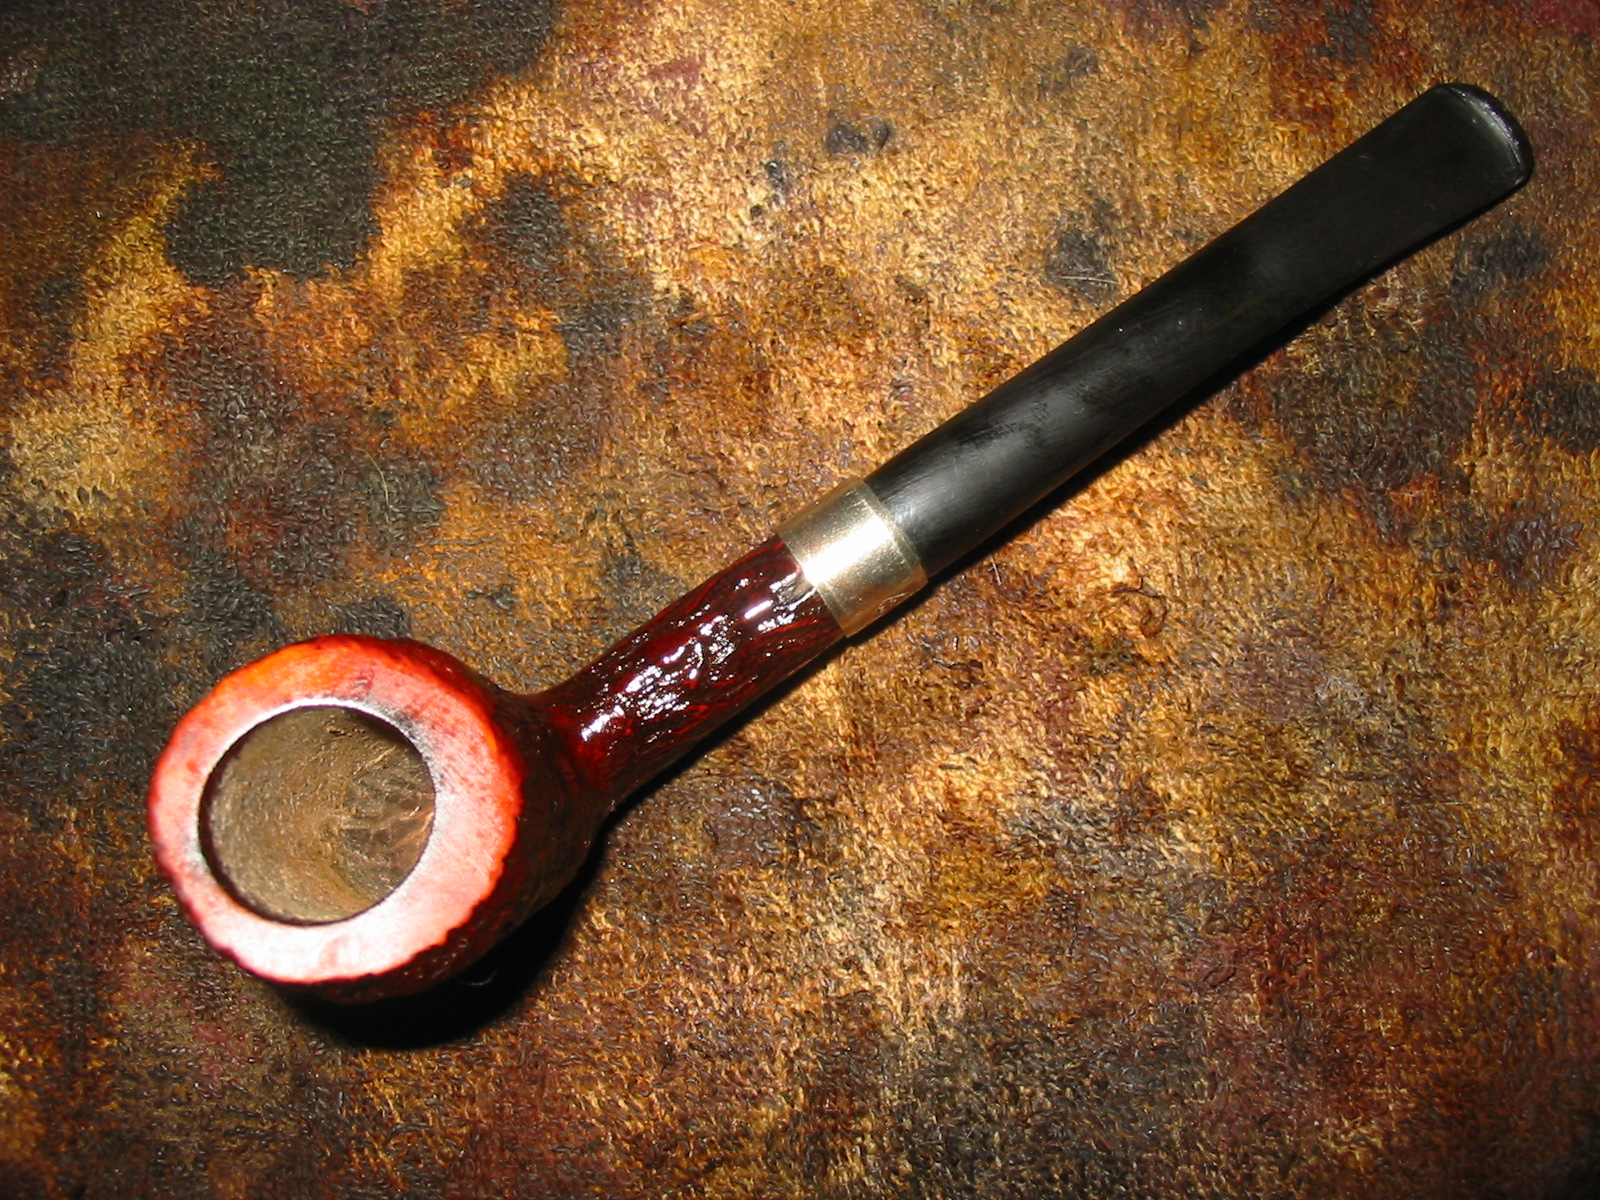
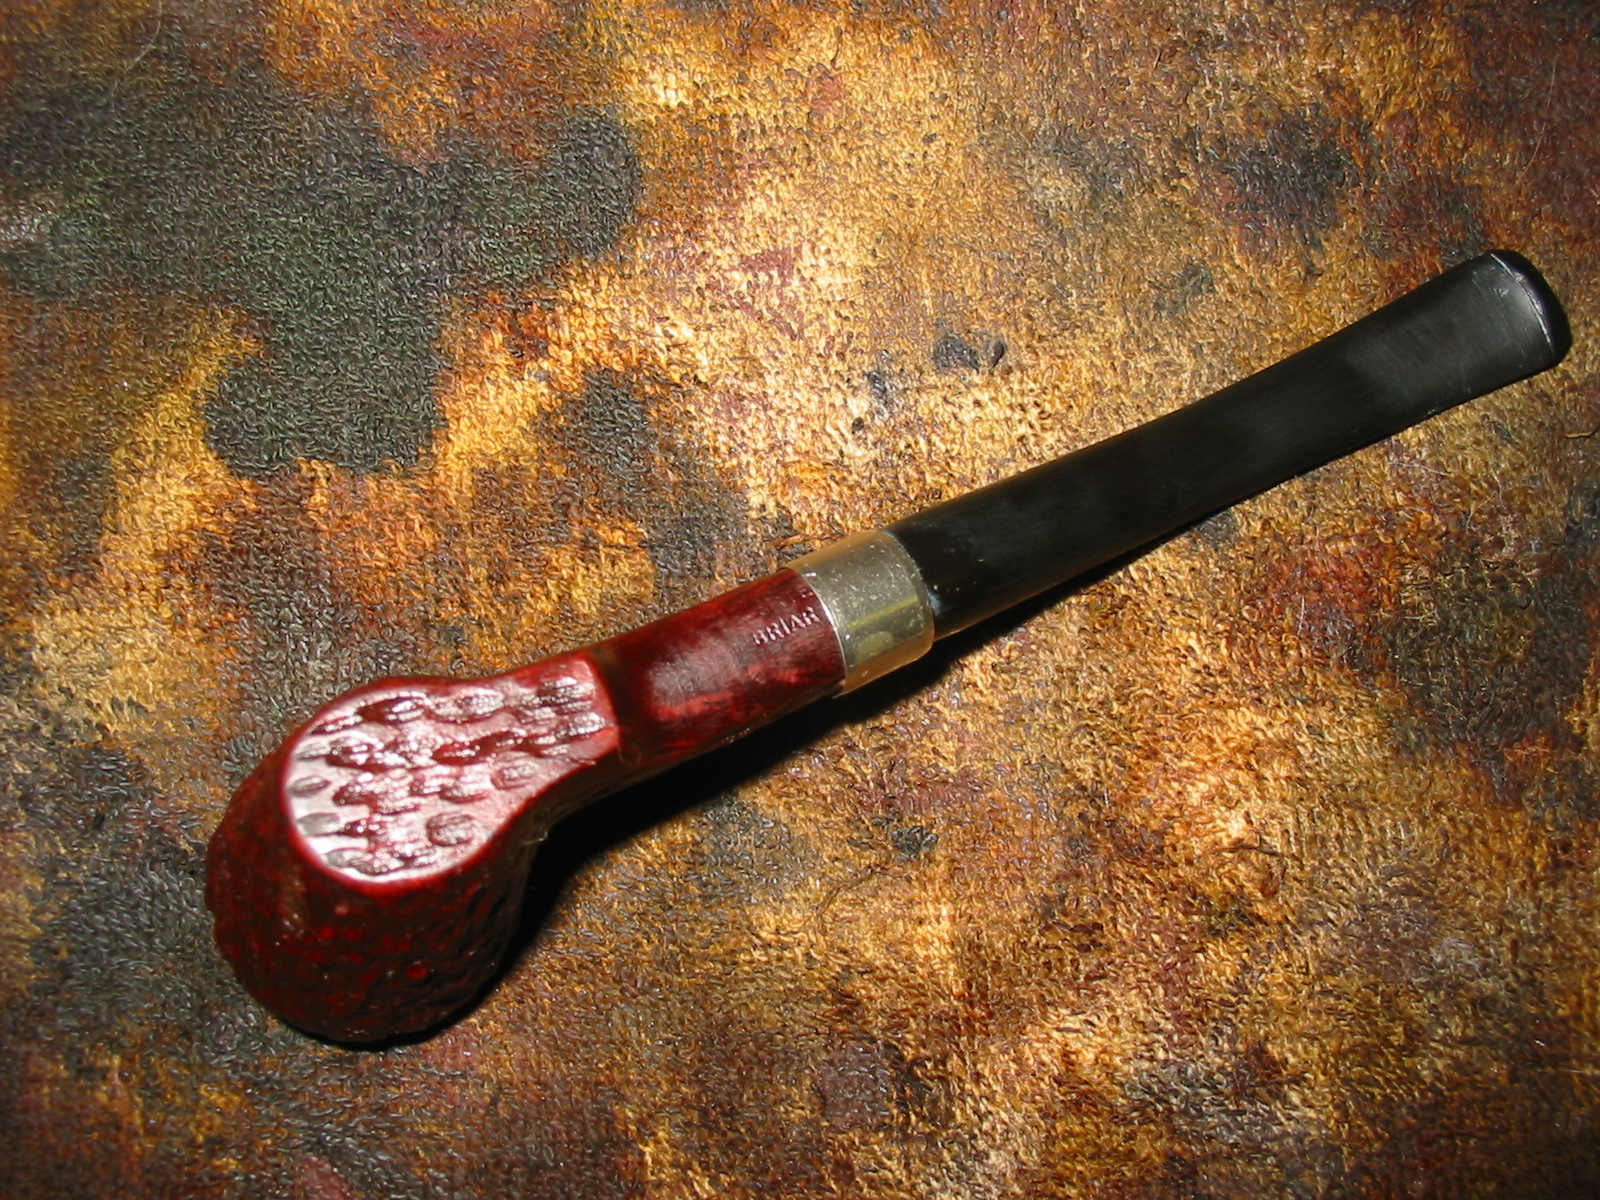
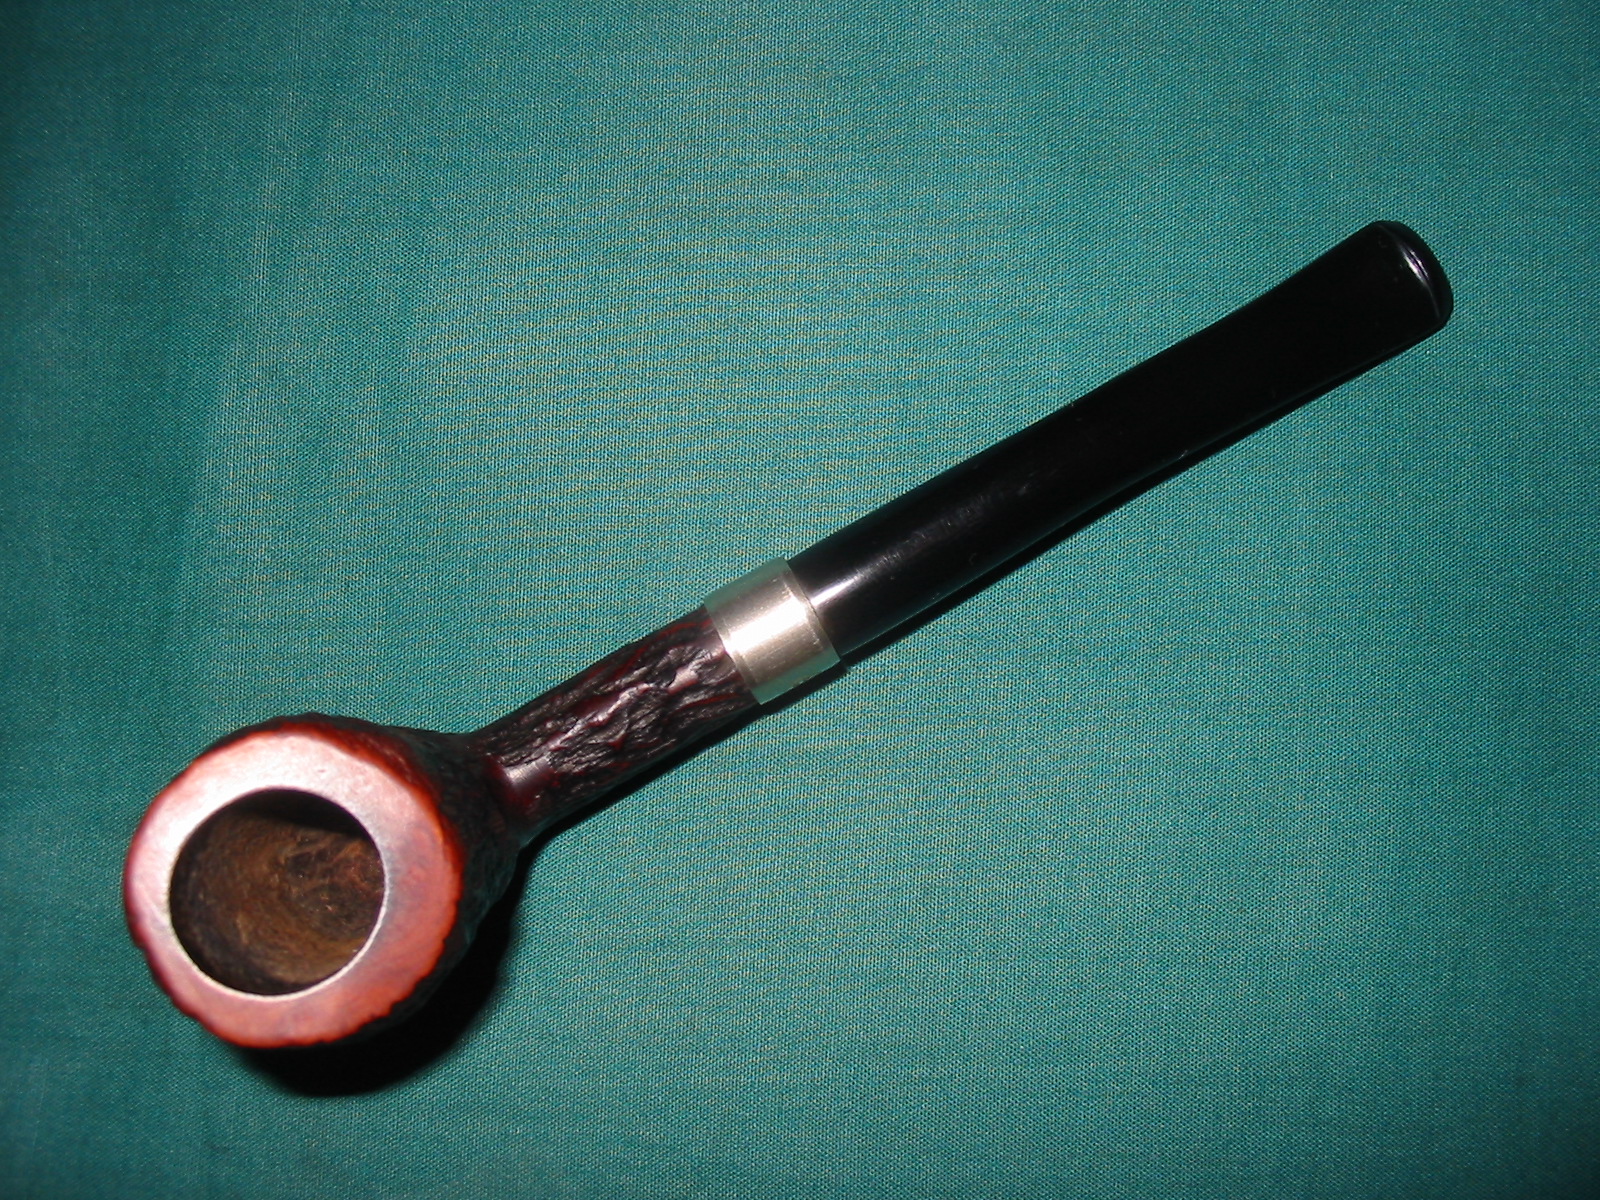
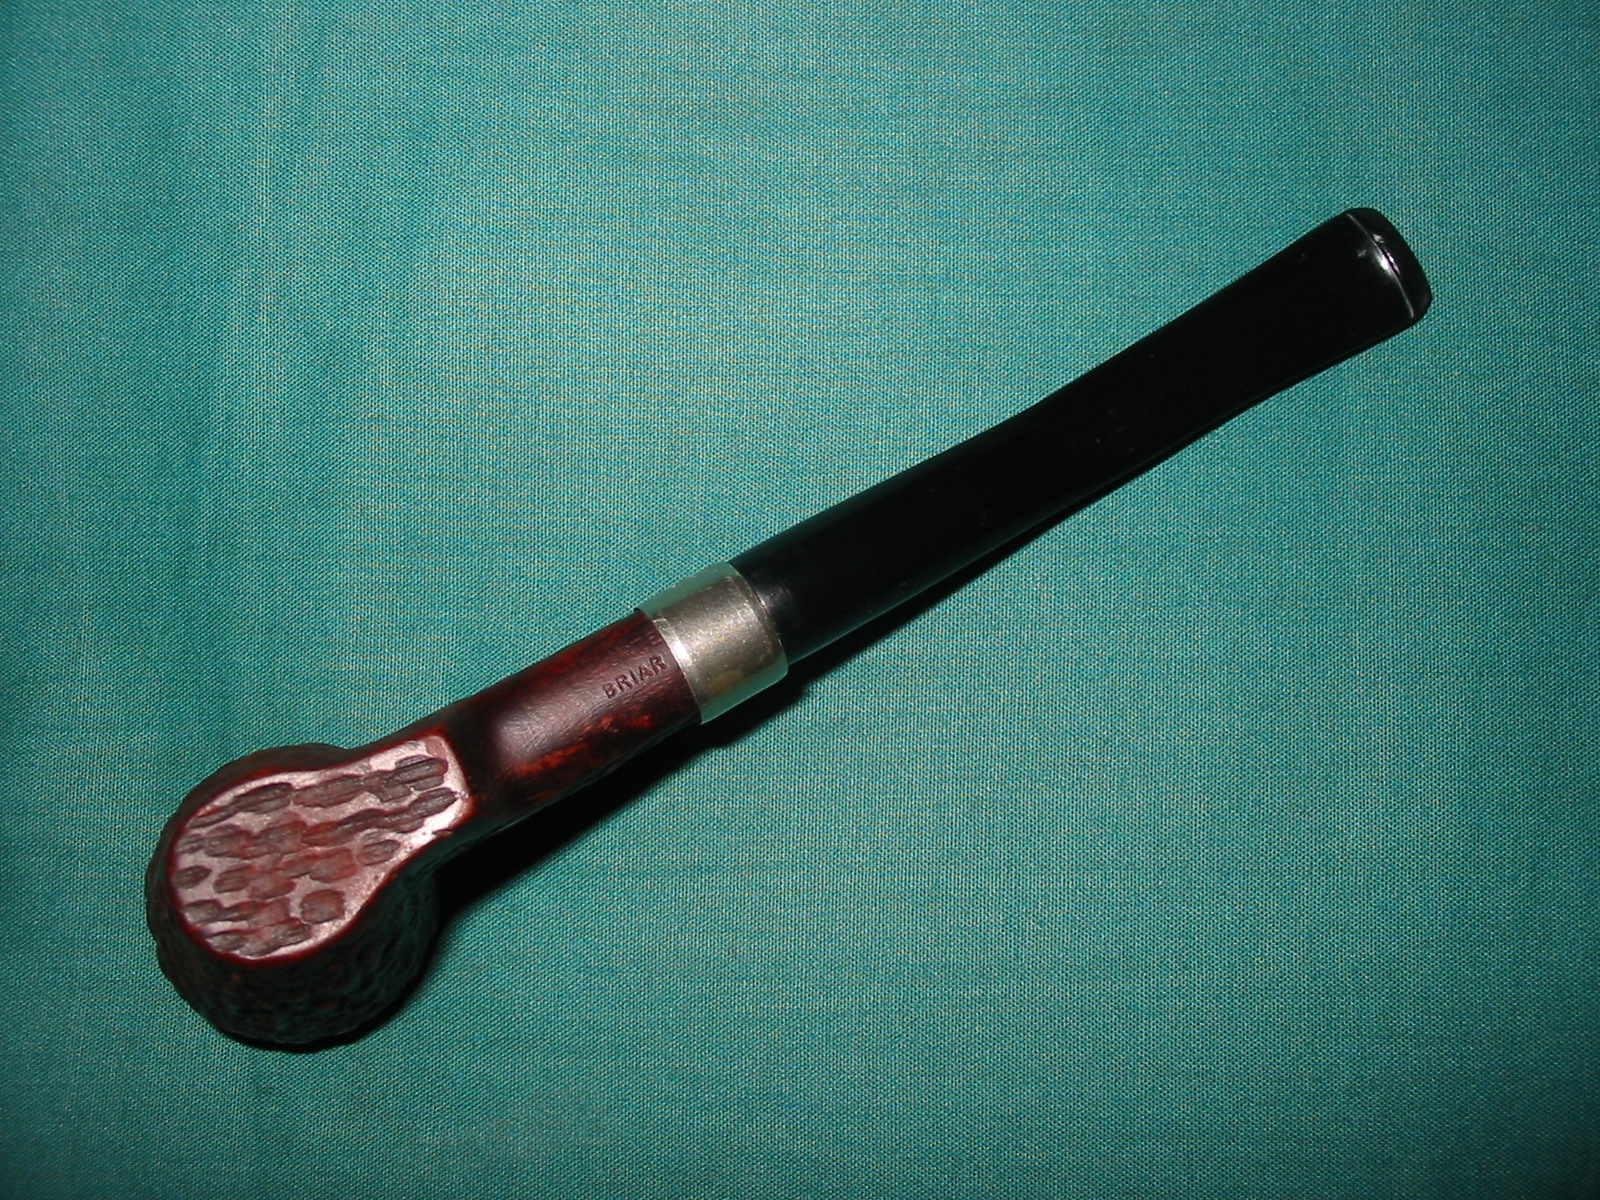
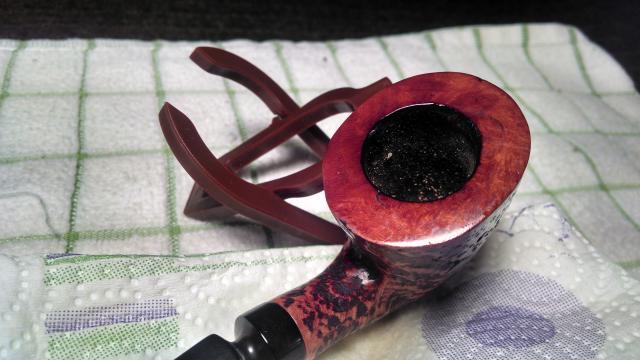
I received this old briar bowl from a friend and decided to see what I could do with it. It was in pretty rough shape. The shank had been damaged and repaired with some kind of epoxy as the gel surface of the crack was hard as rock. The repair was actual the most substantial part of the bowl. The bowl had an amazing deep and craggy blast to it but the finish itself was worn. Fortunately the wear was not deep and the cragginess was not too badly affected. The rim was smooth but the edges were slightly worn. The bottom of the exterior of the bowl showed the most nicks and damage to the finish. There were marks from looked to be a band on the shank. The inside of the bowl was quite clean. Originally it looked as if it had a meerschaum lining and the glue that had held that bowl in place was gone and just a small remnant of the glue was on the interior walls of the bowl. The bottom of the bowl was stained with tobacco so evidently the meerschaum lining must have crack and seepage darkened the bottom of the bowl.
IMG_5393

IMG_5394

IMG_5395

IMG_5396

I cleaned out the inside of the bowl with cotton swabs and isopropyl alcohol. Once I had it clean I worked on the resin on the shank repair. I sanded it until it was flush with the surface of the rest of the shank so that it did not bulge. I continually checked to see if I was weakening the repair but the shank was solid. I used the dental pick and my modified Philips screwdriver rusticator to rusticate the area around the resin repair. I also found a band in my box that fit the shank perfectly and pressed it into place. The band was more for bling than as the shank was not cracked or damaged. I also went through my stem can and found a stem that fit the diameter of the shank, turned it with the PIMO tenon turning tool and fit is in place. It would need to be reduced slightly in diameter to fit well with the band. I wiped down the bowl and shank with isopropyl alcohol on a cotton pad. I did not want to chance acetone as I was worried about it dissolving the resin on the shank repair. As I did not know what was used in the repair I did not want to chance further damage.
IMG_5397

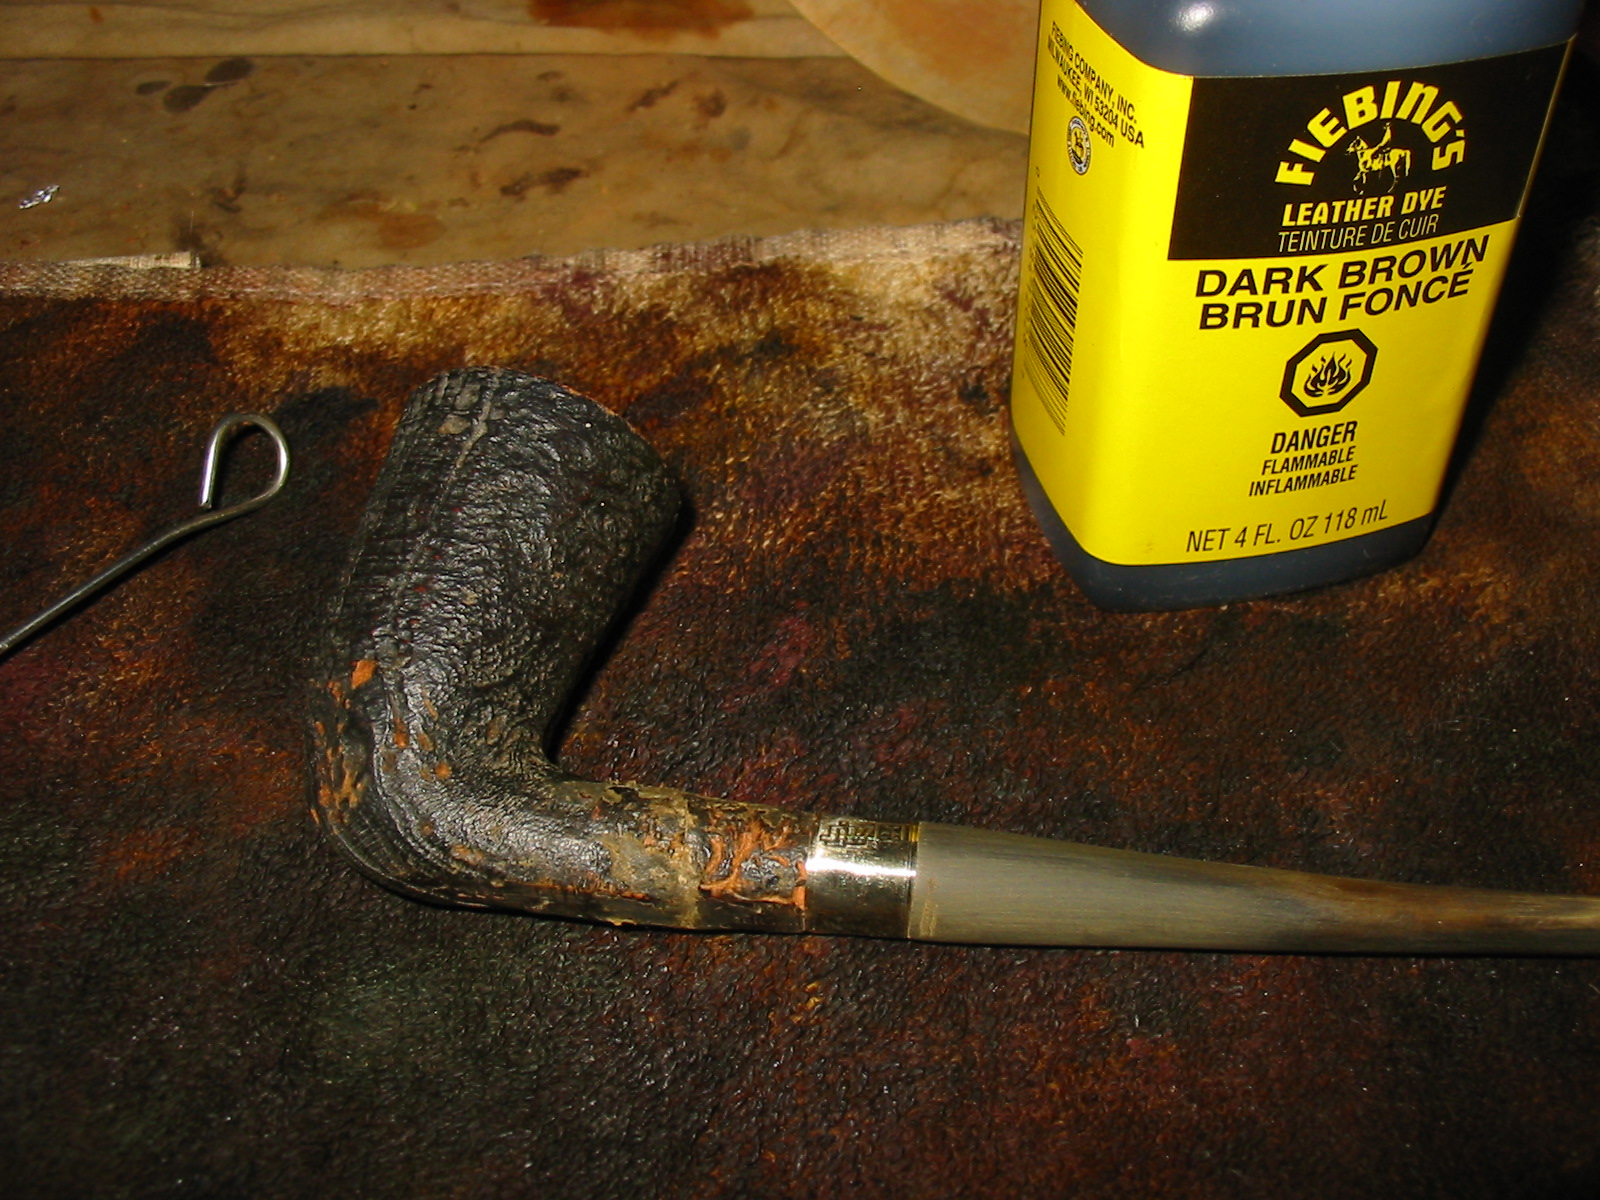
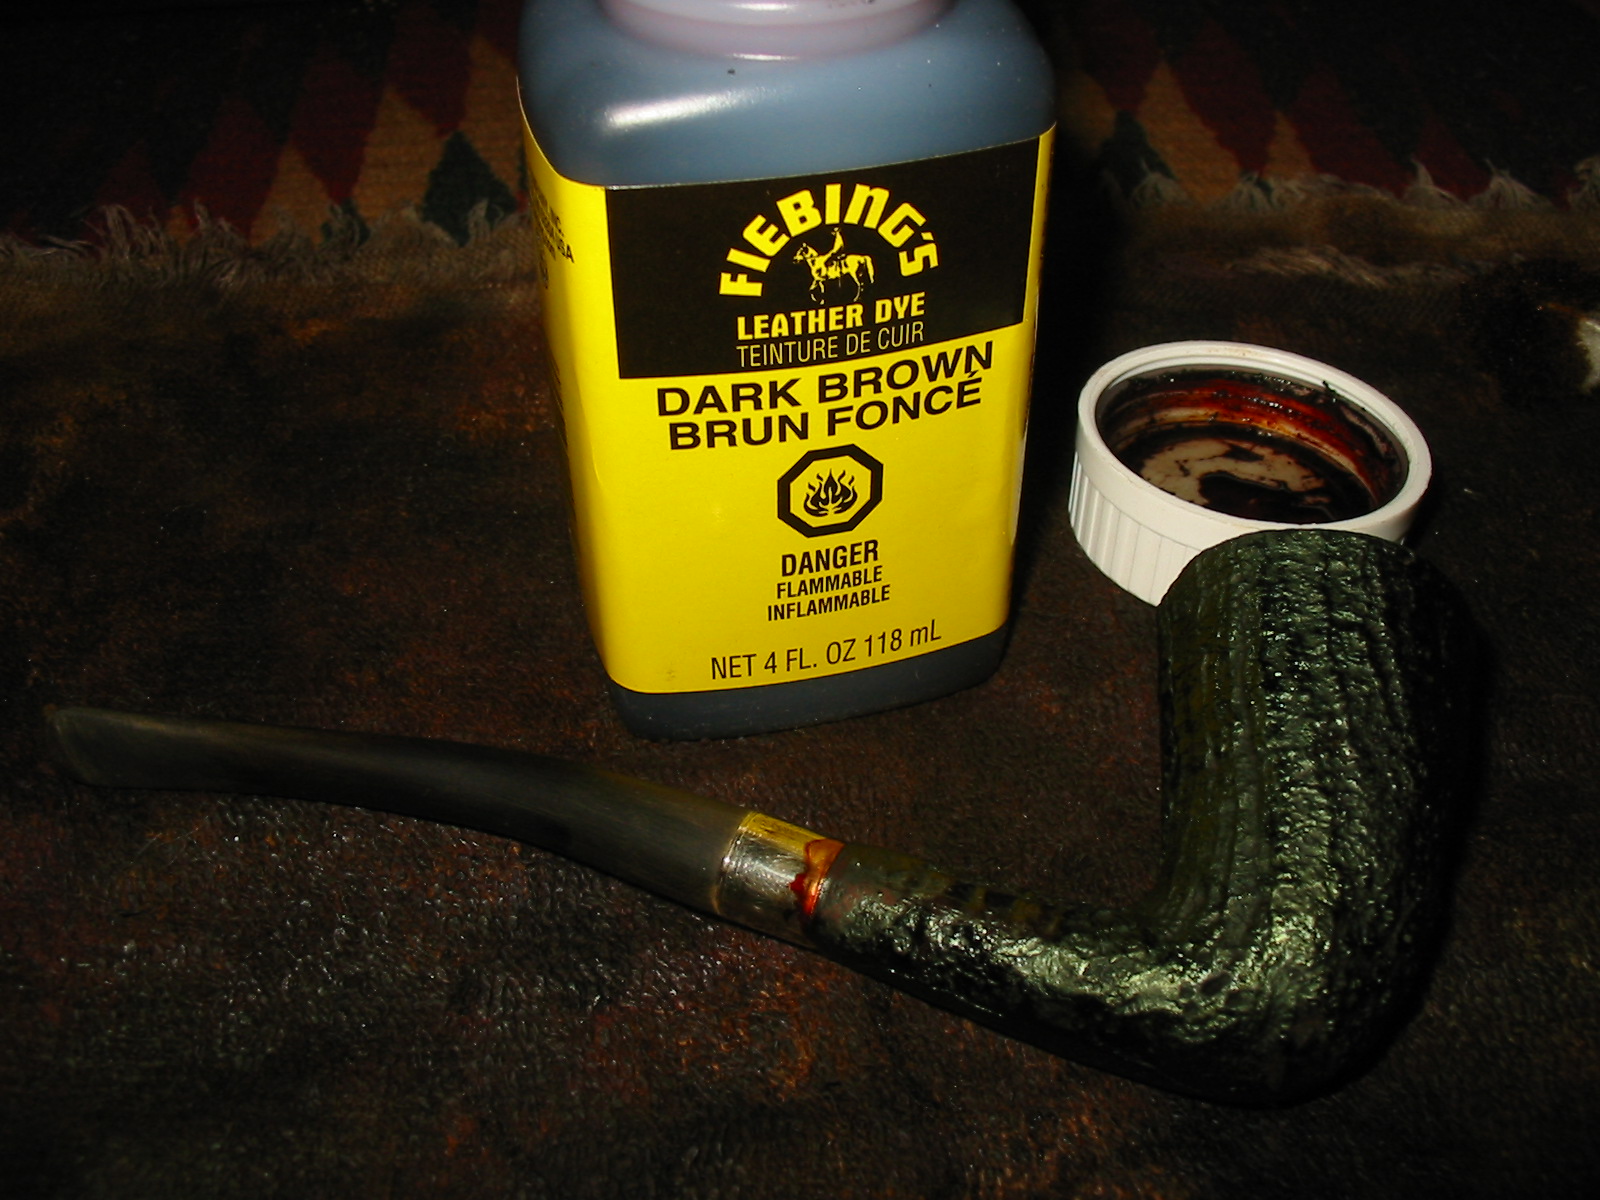
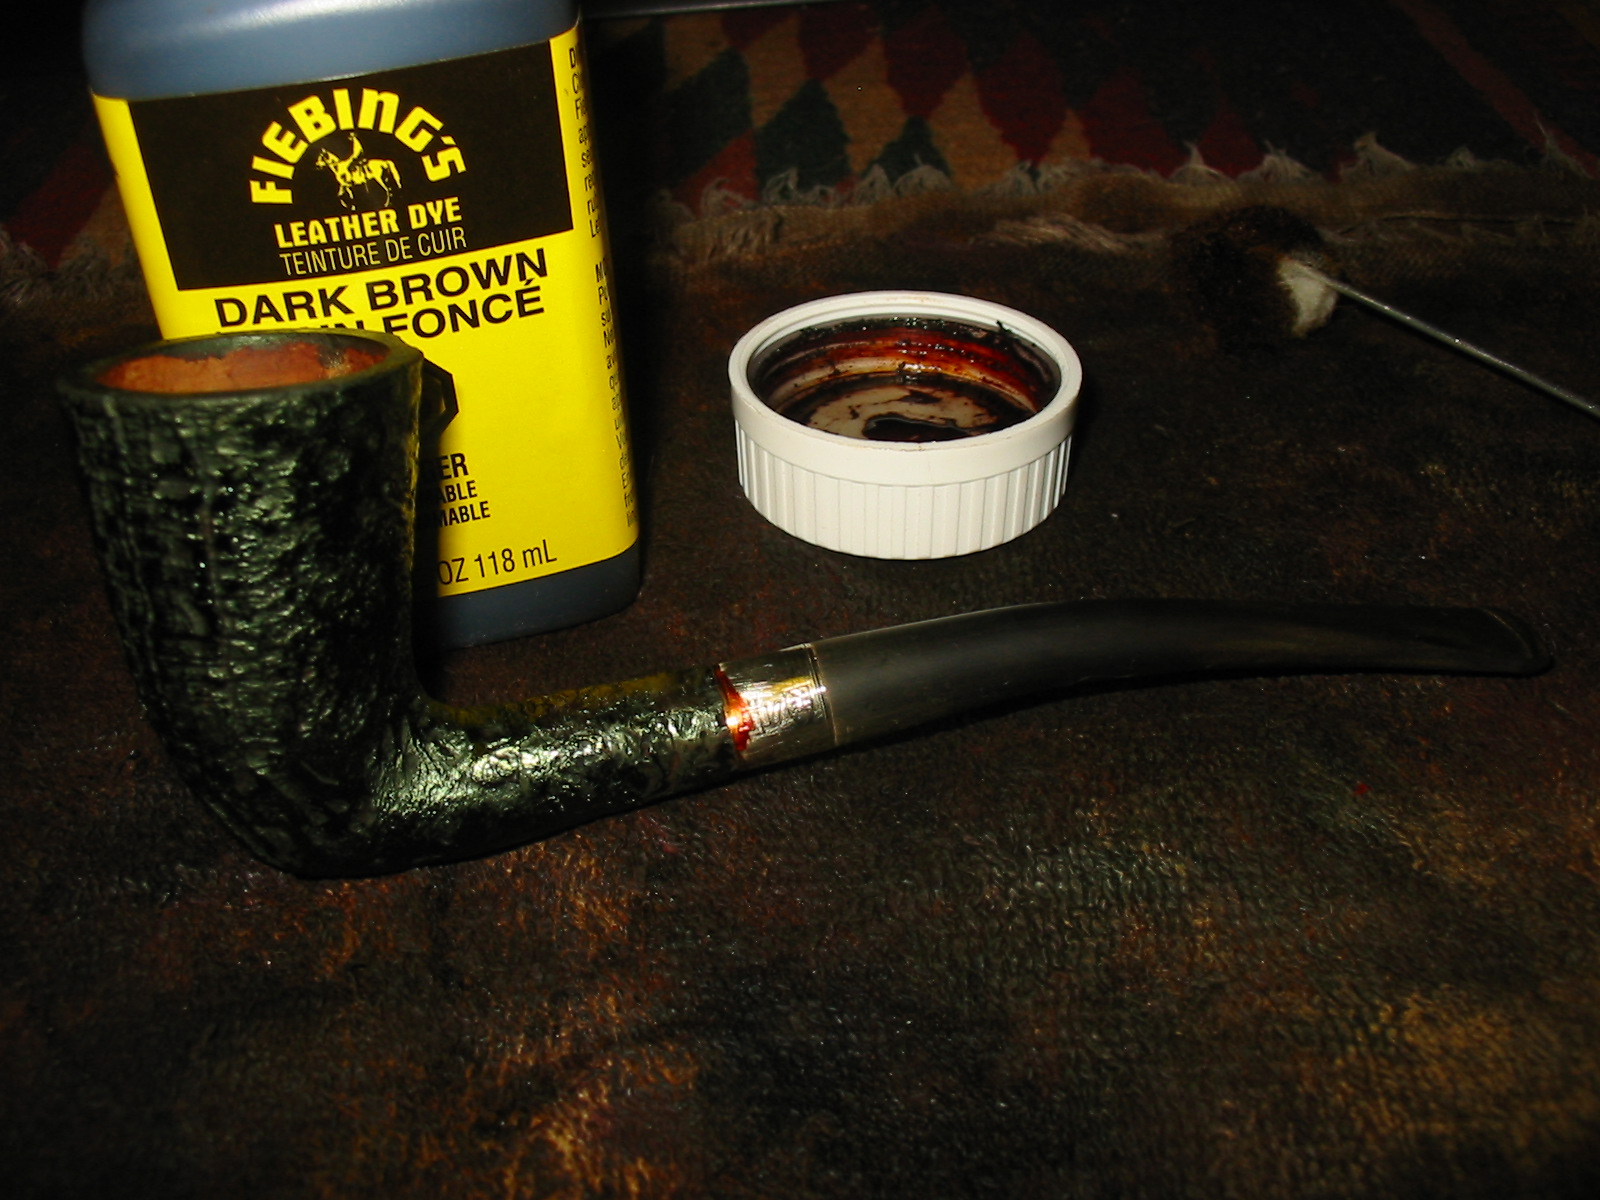
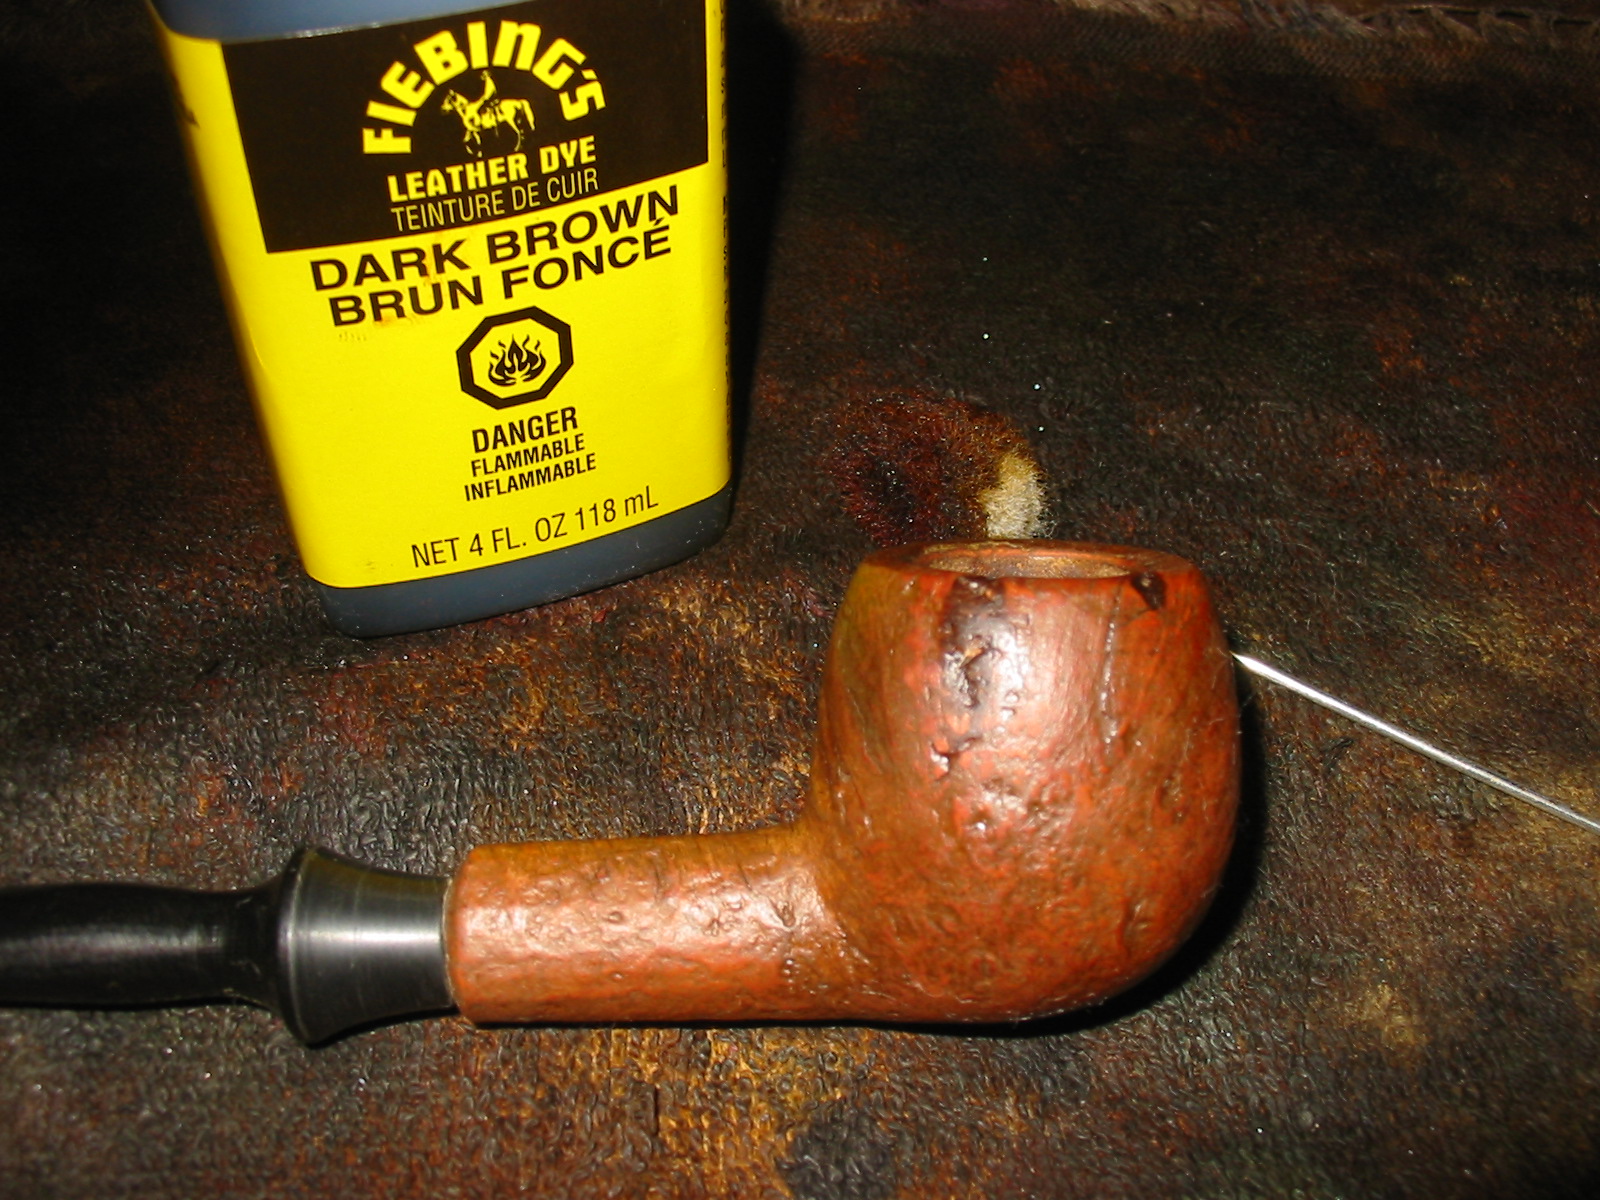
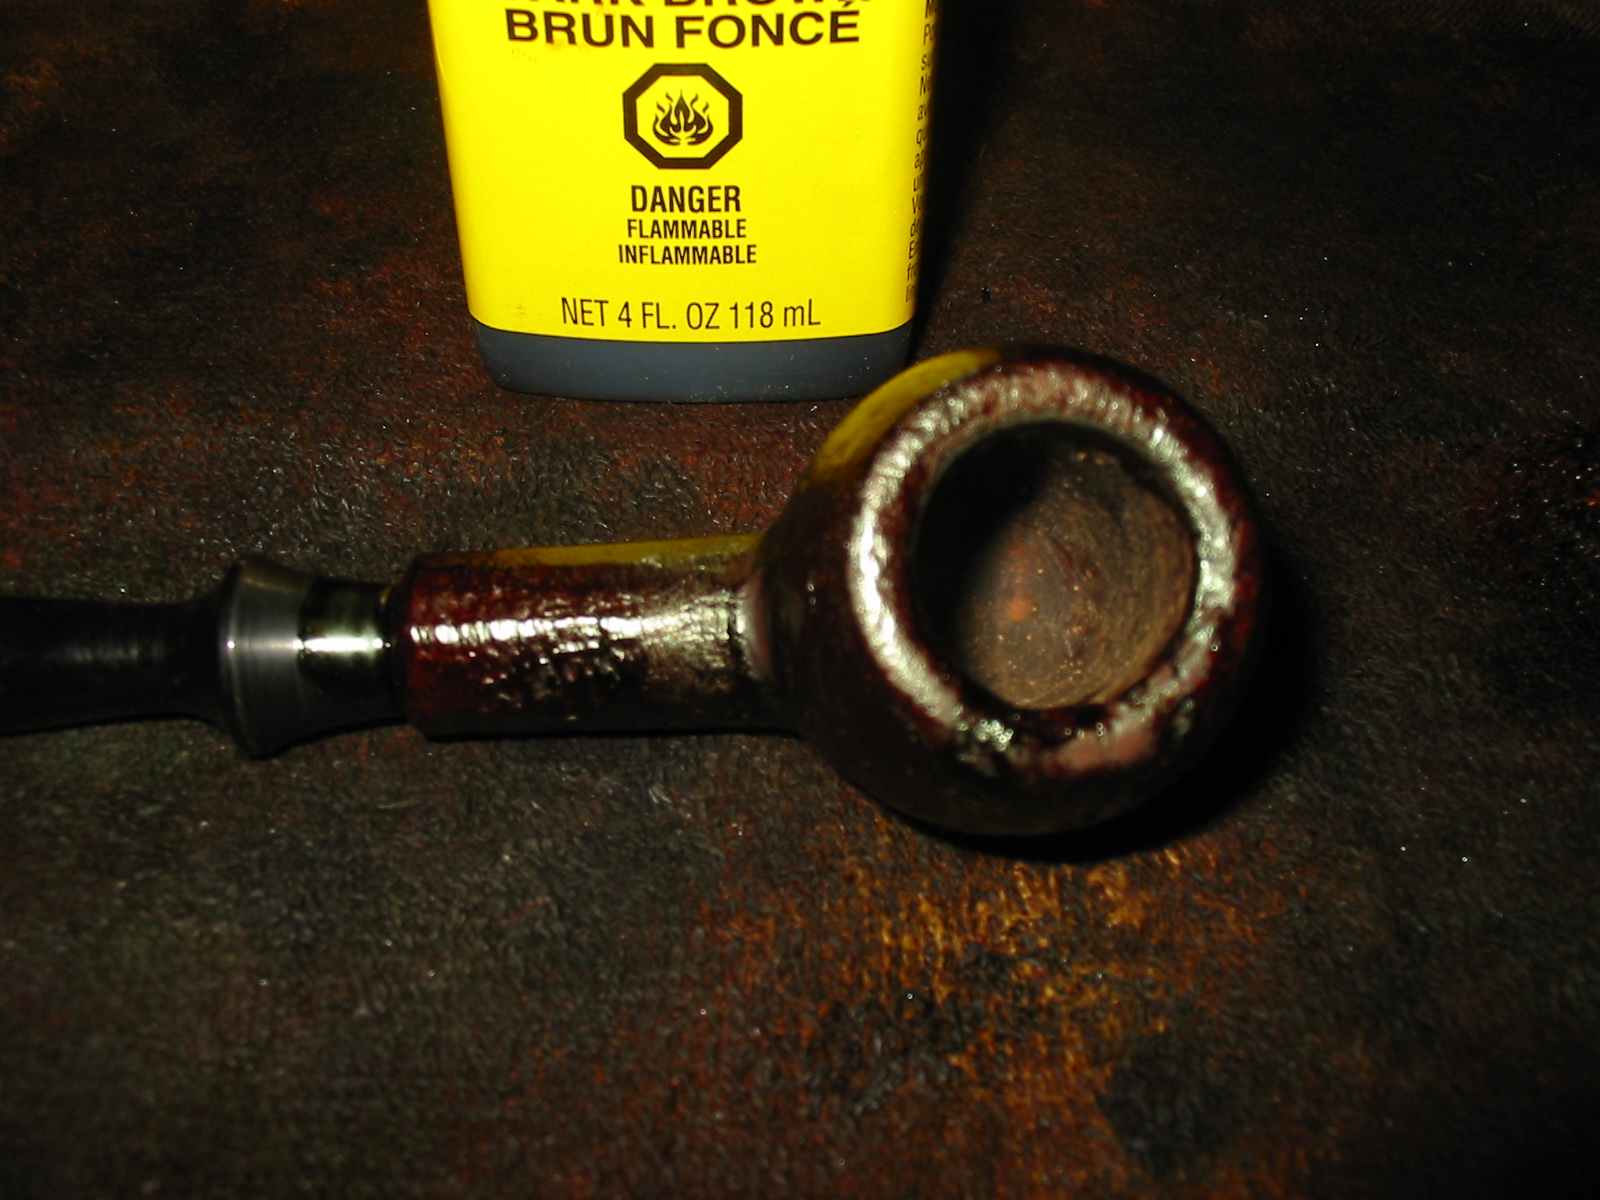
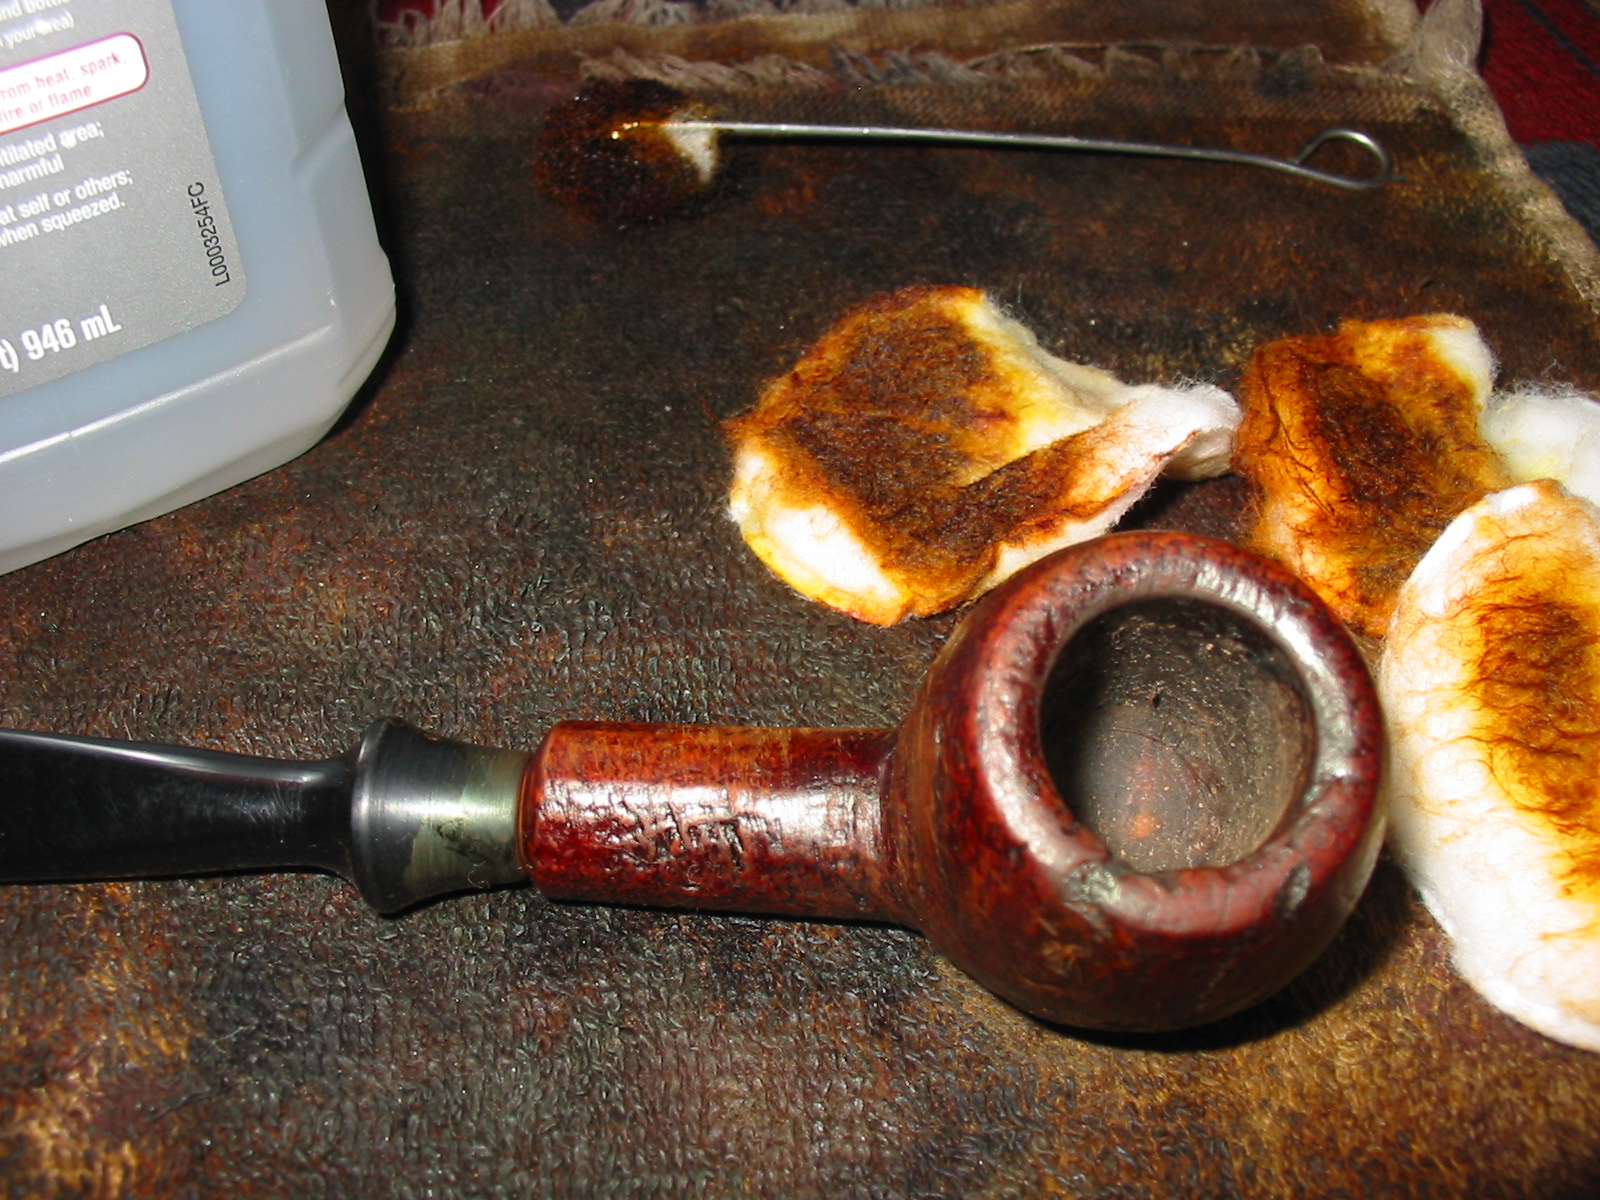
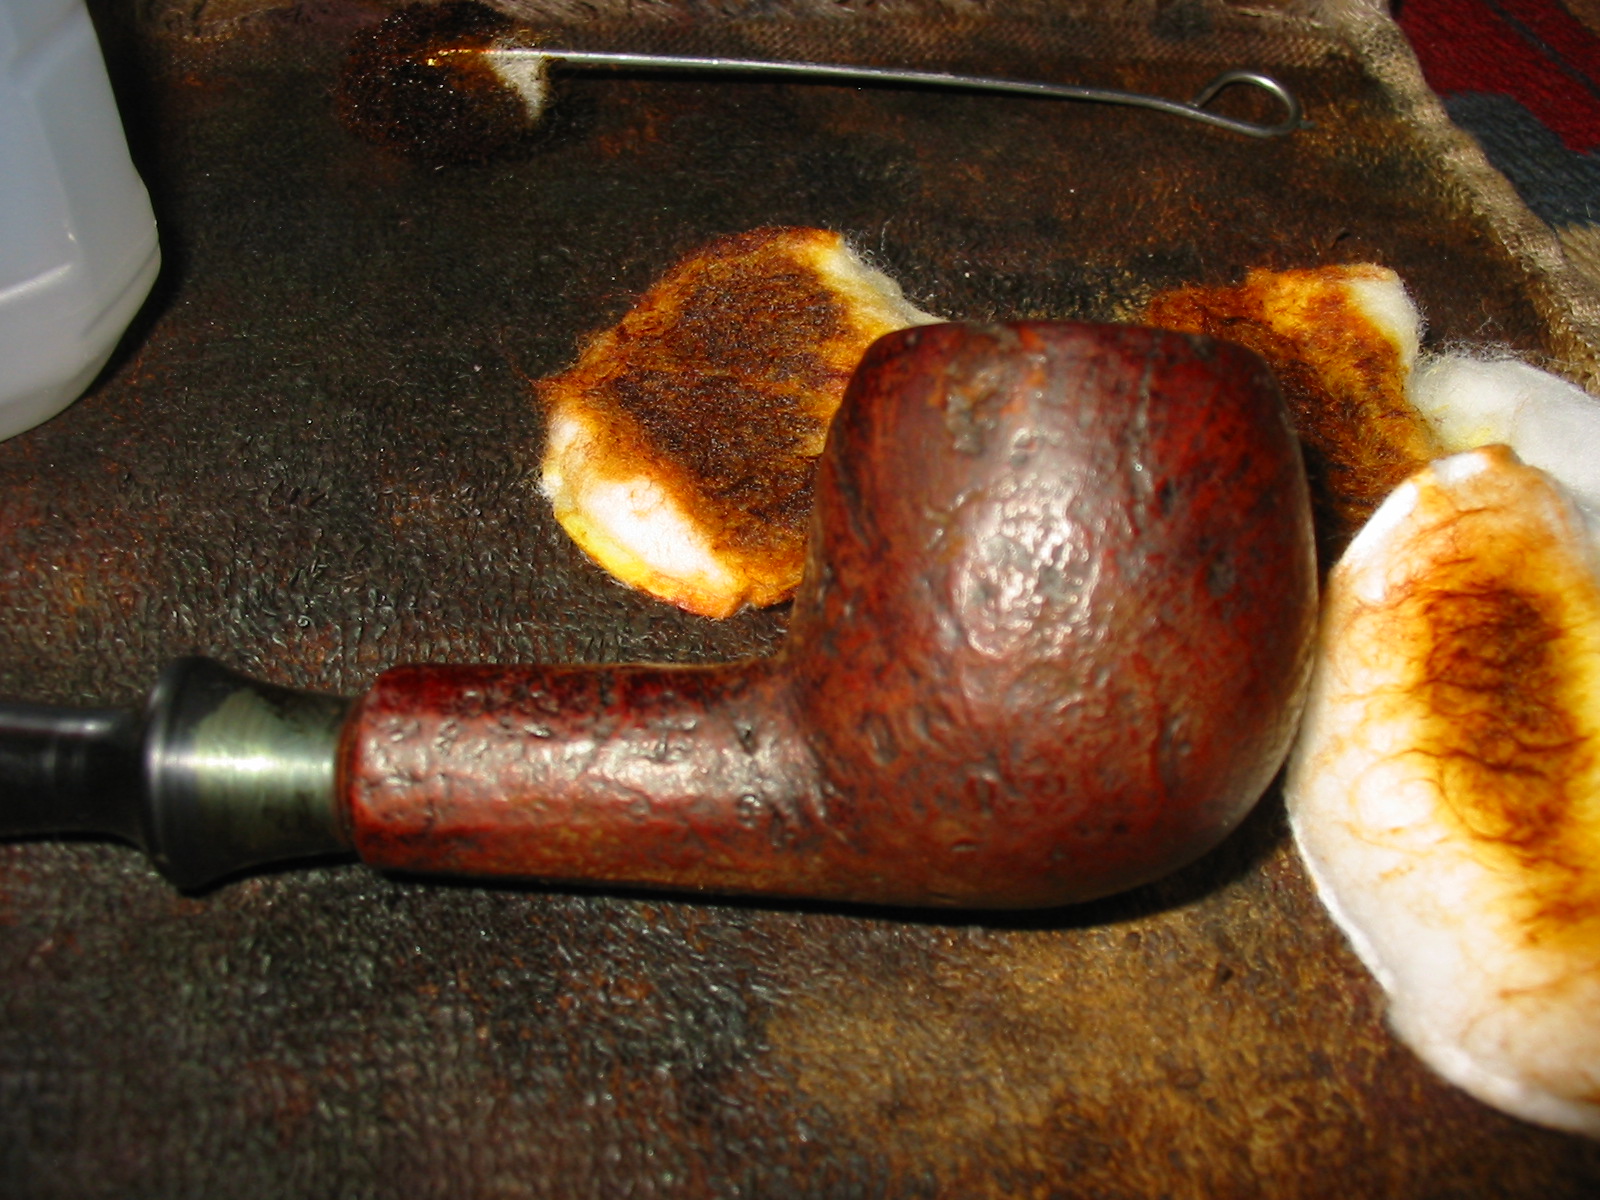
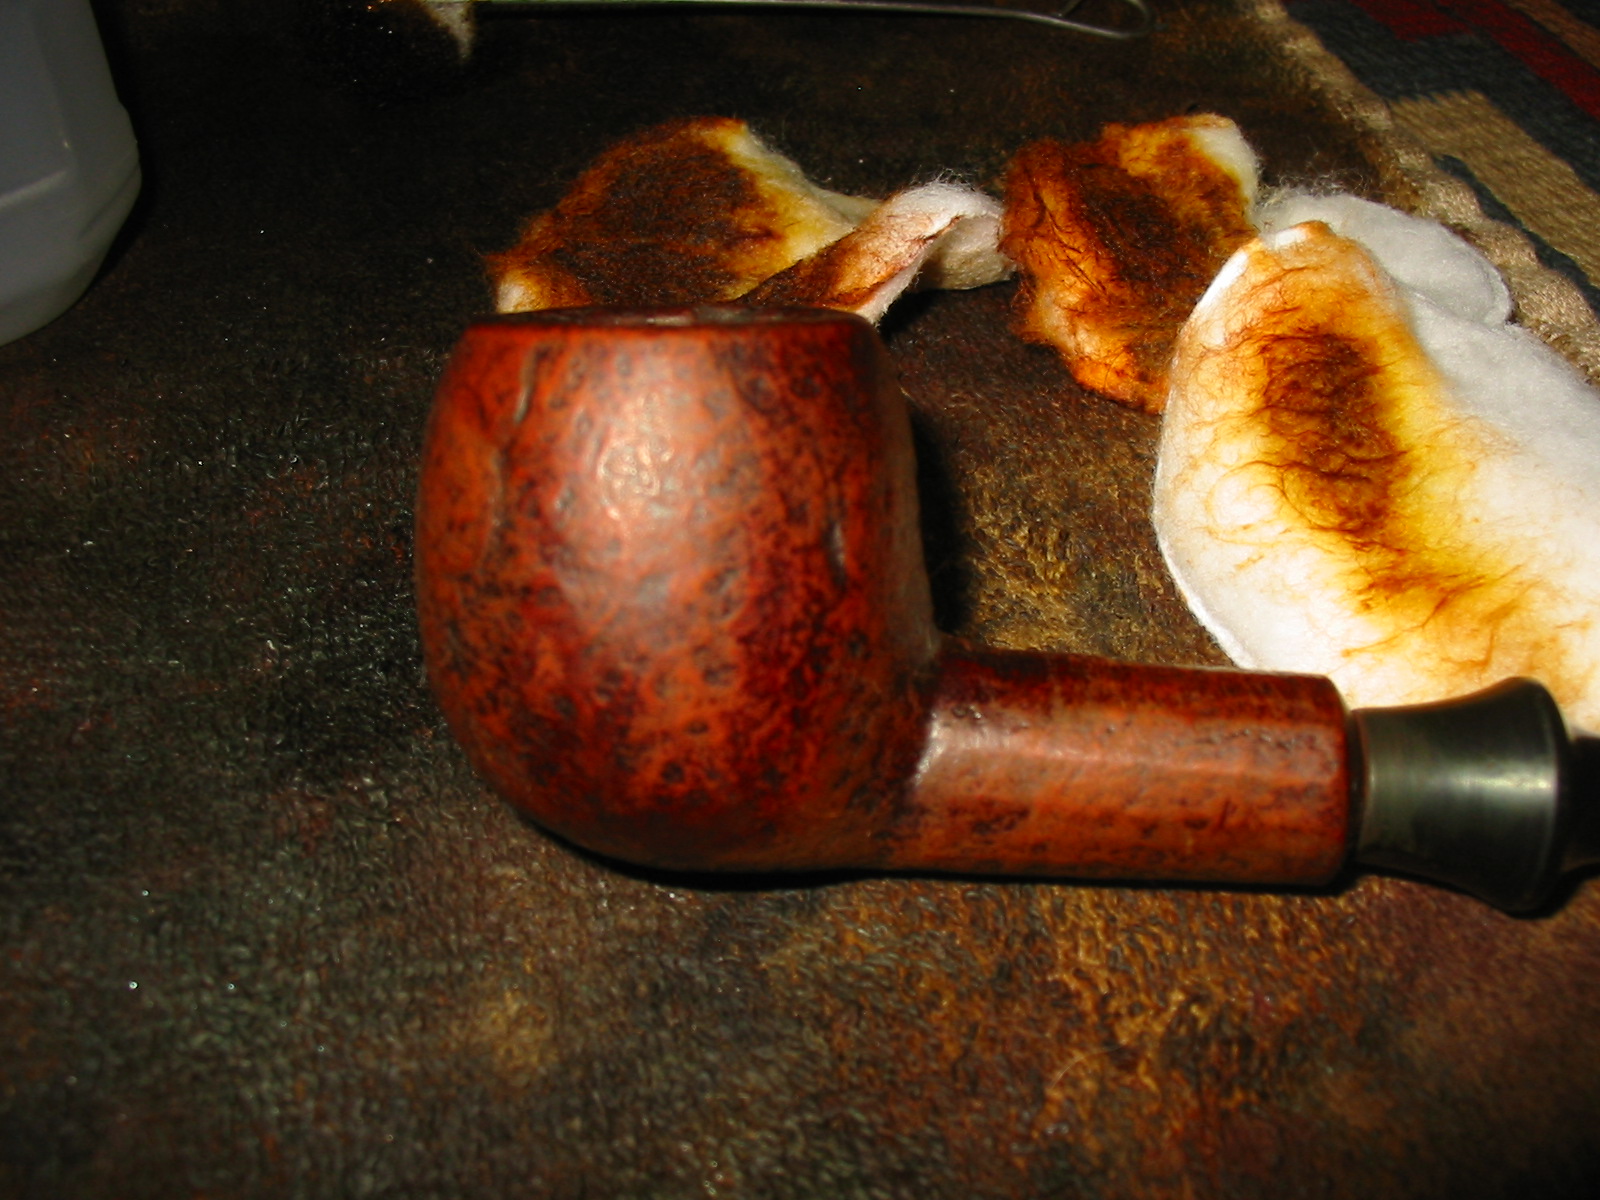
I stained the bowl with a dark brown aniline stain. I applied it, flamed it, applied it again and flamed it again. To get an even coverage on the sandblast finish it would take more than three applications and flamings to make the stain even. The photos below show the bowl after three coats of the stain. It would need to be repeated later in the process to get the rough places stained.
IMG_5398

IMG_5399

IMG_5400

IMG_5401

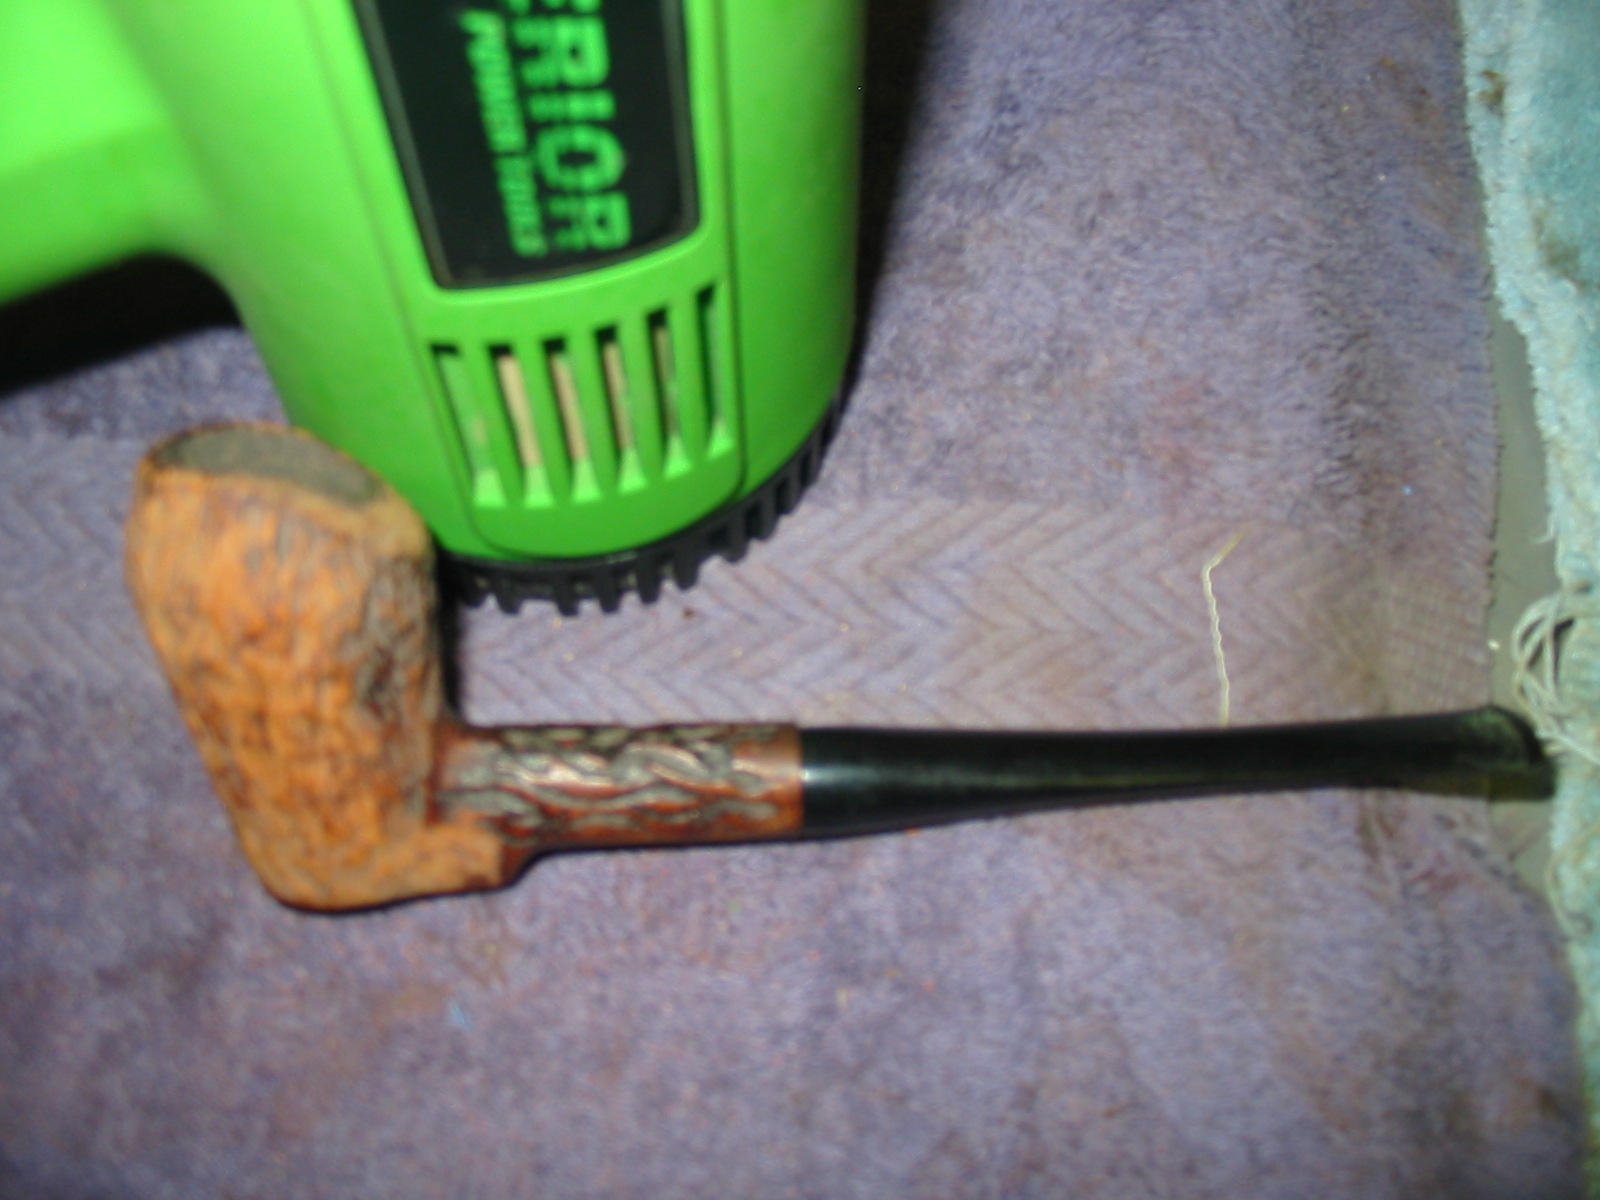
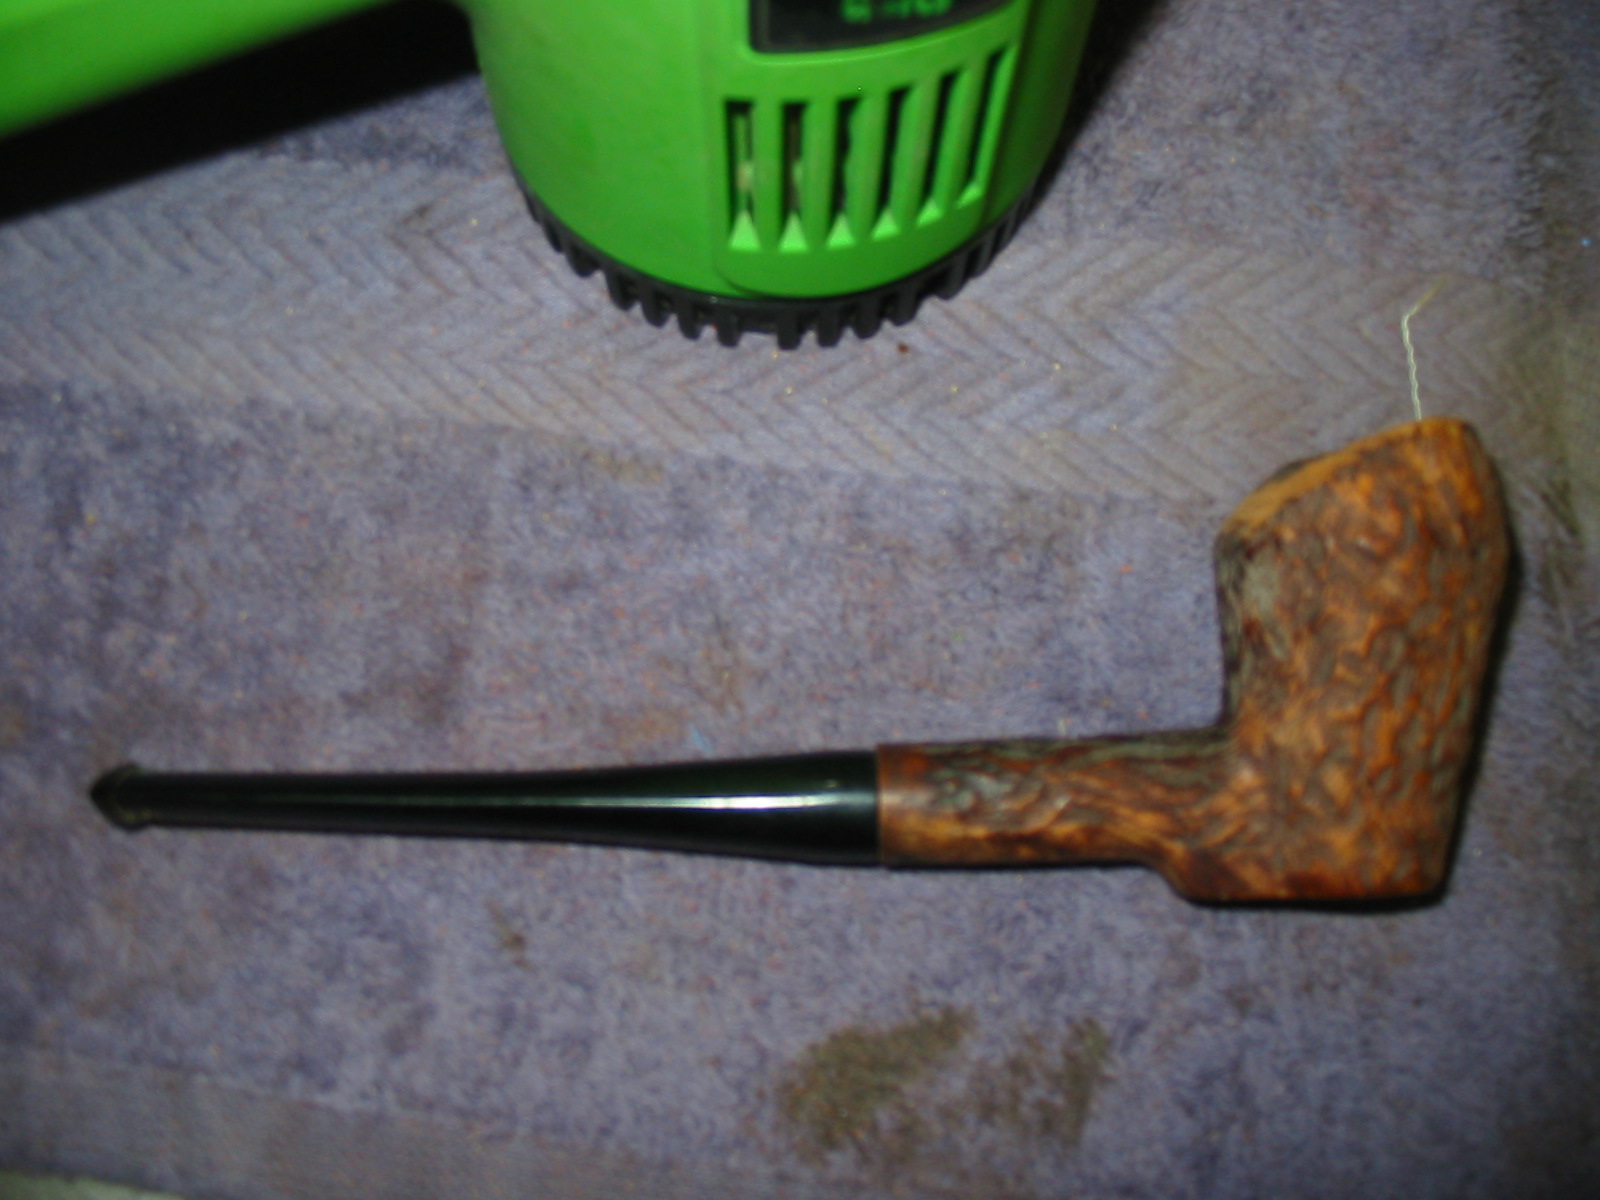
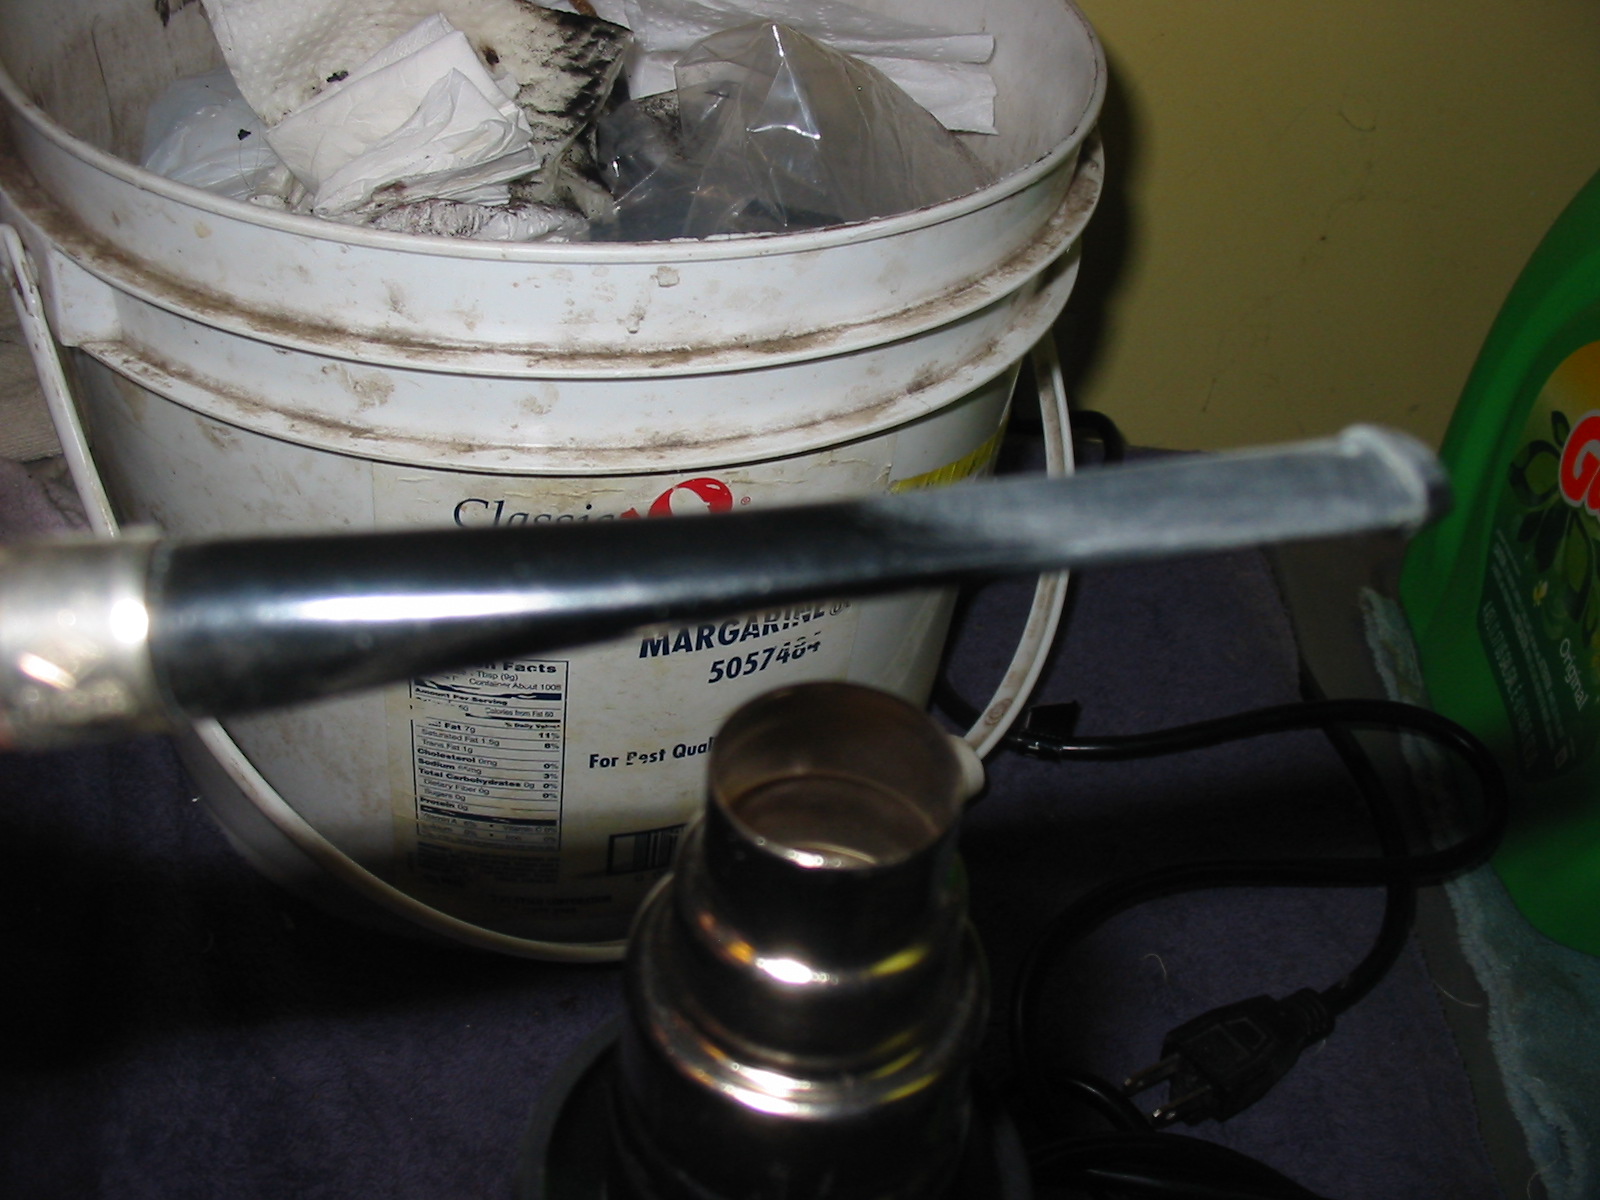
I sanded the stem with 220 grit sandpaper and with a medium and fine grit sanding sponge to make the fit against the band work well. Once the shape and the fit of the stem were correct I used a heat gun to bend the stem to an angle that worked well with the look of this pipe. For the angle I used the curve of my buffer to press the softened stem over. When I had it bent I held it as it cooled and then set the bend with cool water.
IMG_5402

IMG_5403

IMG_5404

IMG_5406

IMG_5407

After bending I resanded the stem with the sandpaper and sanding sponges. Once the majority of the scratches were gone it would need to be sanded with the micromesh sanding pads but I wanted to do some more work on the bowl and shank before finishing the stem.
IMG_5408

IMG_5409

IMG_5410

IMG_5411

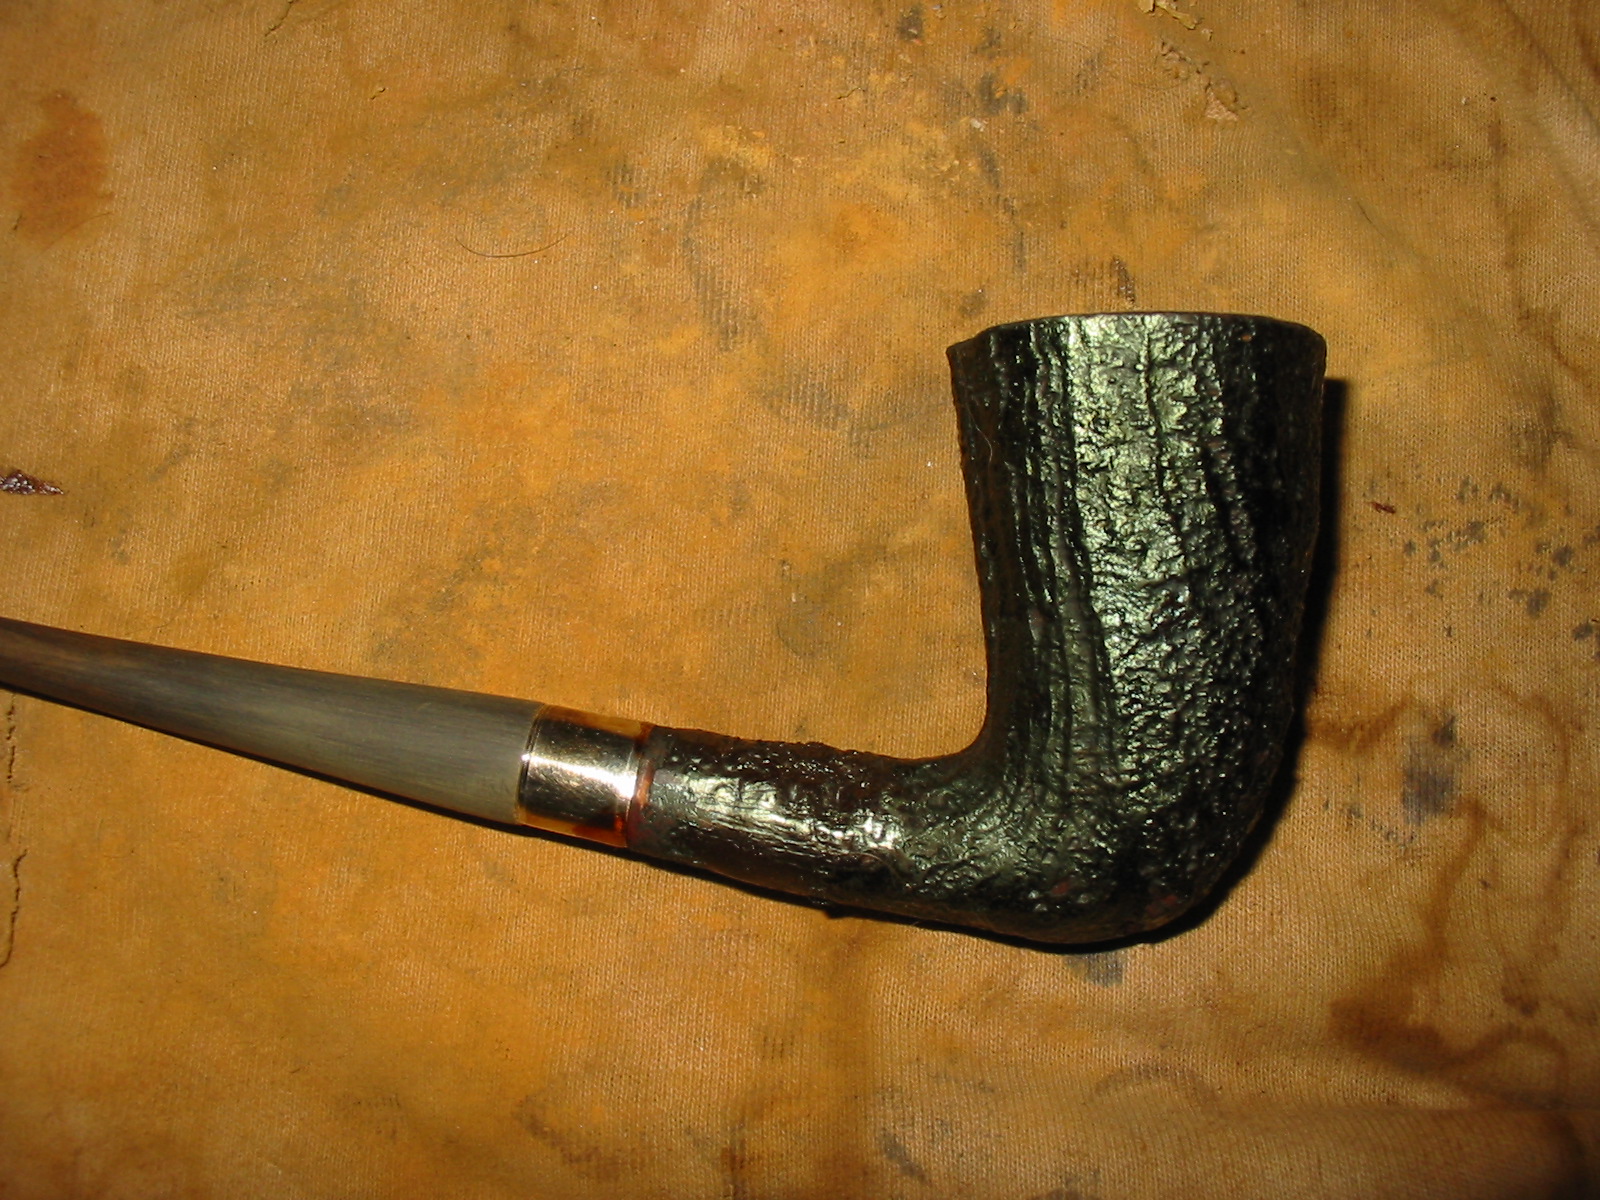
I roughened the shank some more to give it a closer look to the sandblast of the bowl. I heated the bowl with the heat gun to warm up the briar before giving the bowl and shank yet another coat of the aniline stain. I gave it the fourth coat of the stain, flamed it and the coverage was finally what I was looking for on the pipe. The shank and the bowl bottom took the stain this time and matched the rest of the bowl.
IMG_5412

IMG_5413

I hand buffed the bowl with a shoe brush and then gave it a light buff with White Diamond on the buffing wheel. I took it back to the work table and gave it several coats of Halcyon II wax which works well on sandblast and rusticated finishes. I buffed it with the shoe brush to bring up the shine. The next three photos below show the bowl after the final stain and light buff.
IMG_5415

IMG_5416

IMG_5417

At this point in the process I used a cotton swab dipped in stain to touch stain the places on the shank the underside of the bowl that were lighter than the rest of the bowl. I let it dry completely over night and then hand buffed the bowl.

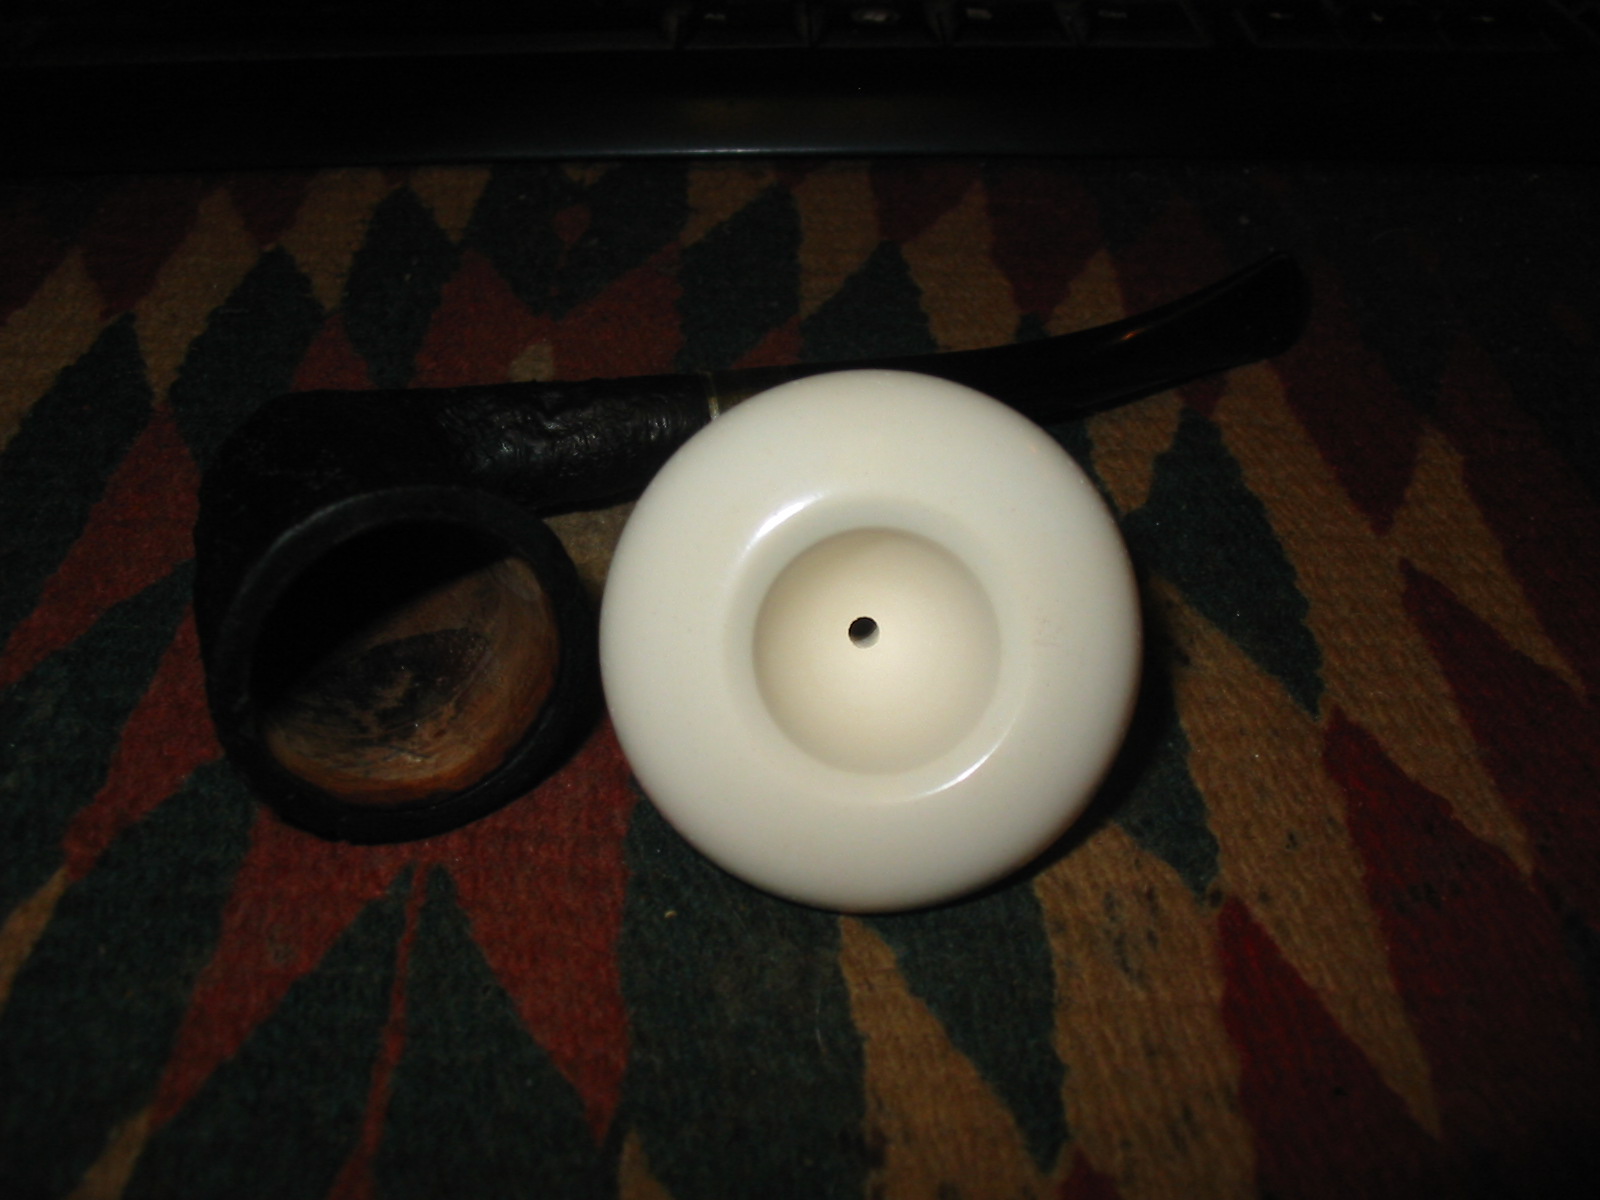
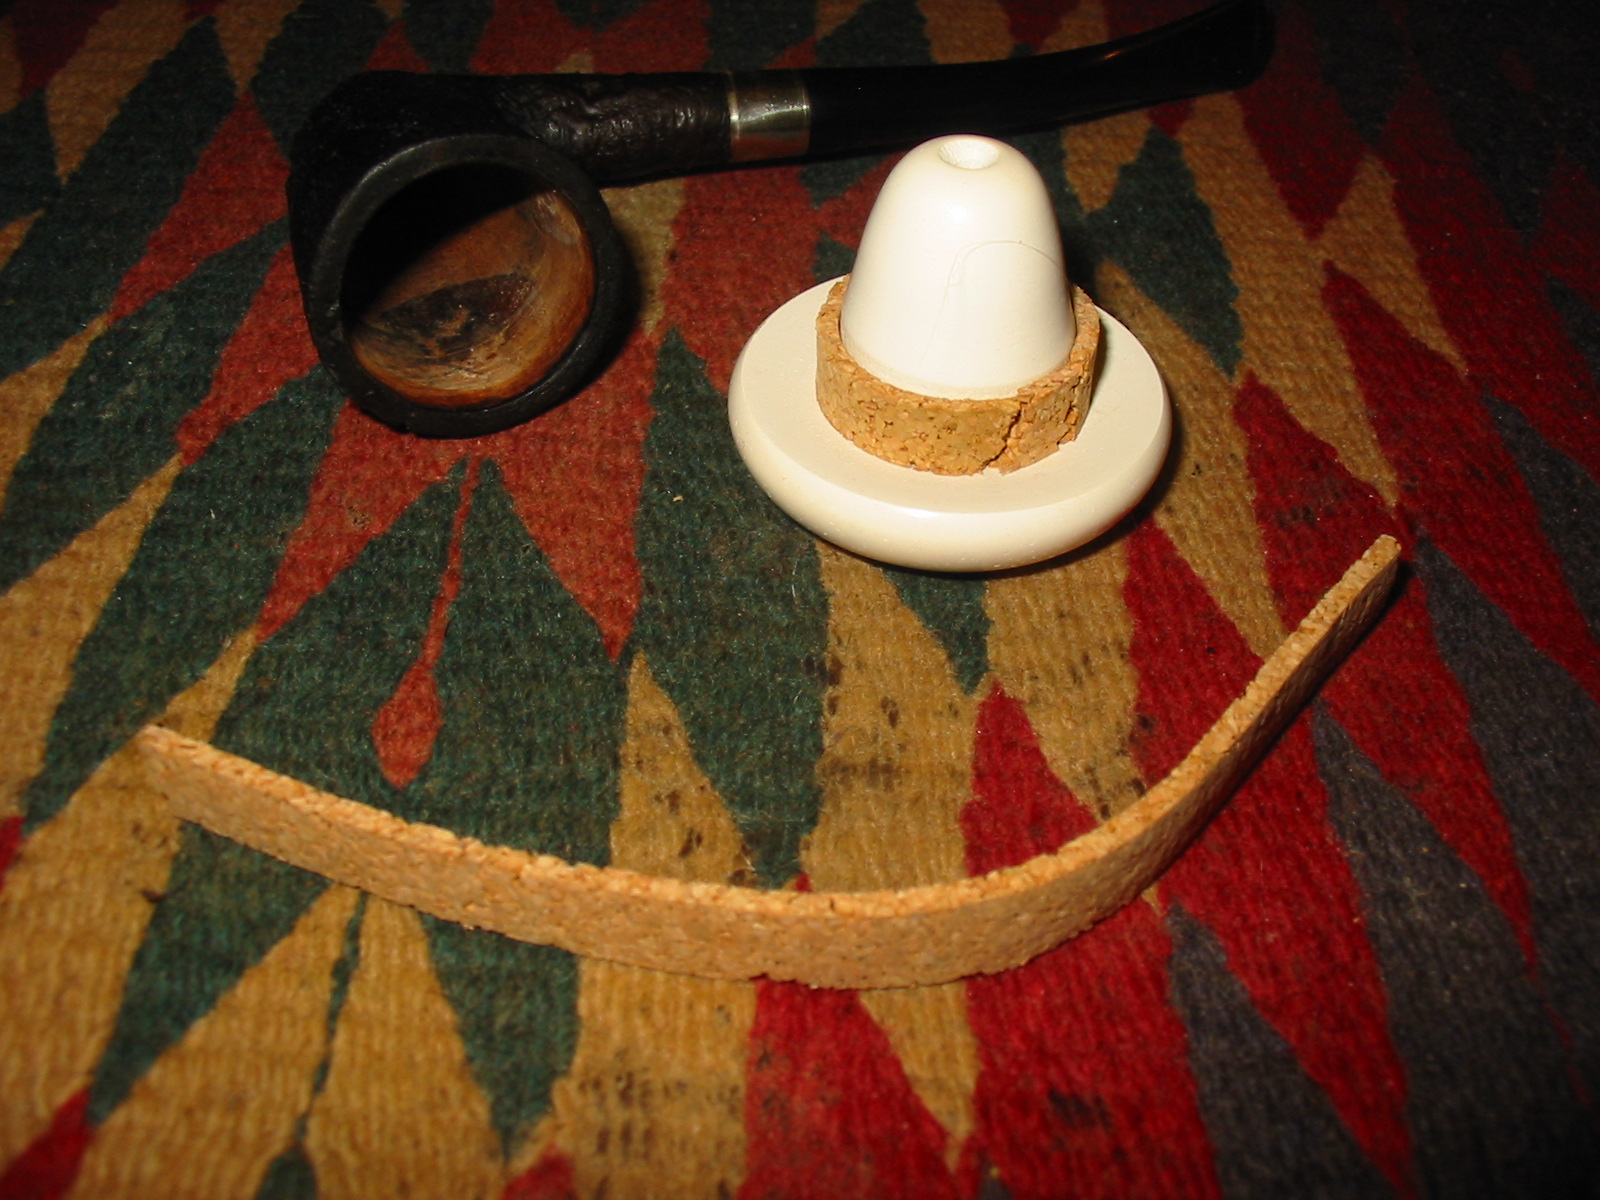
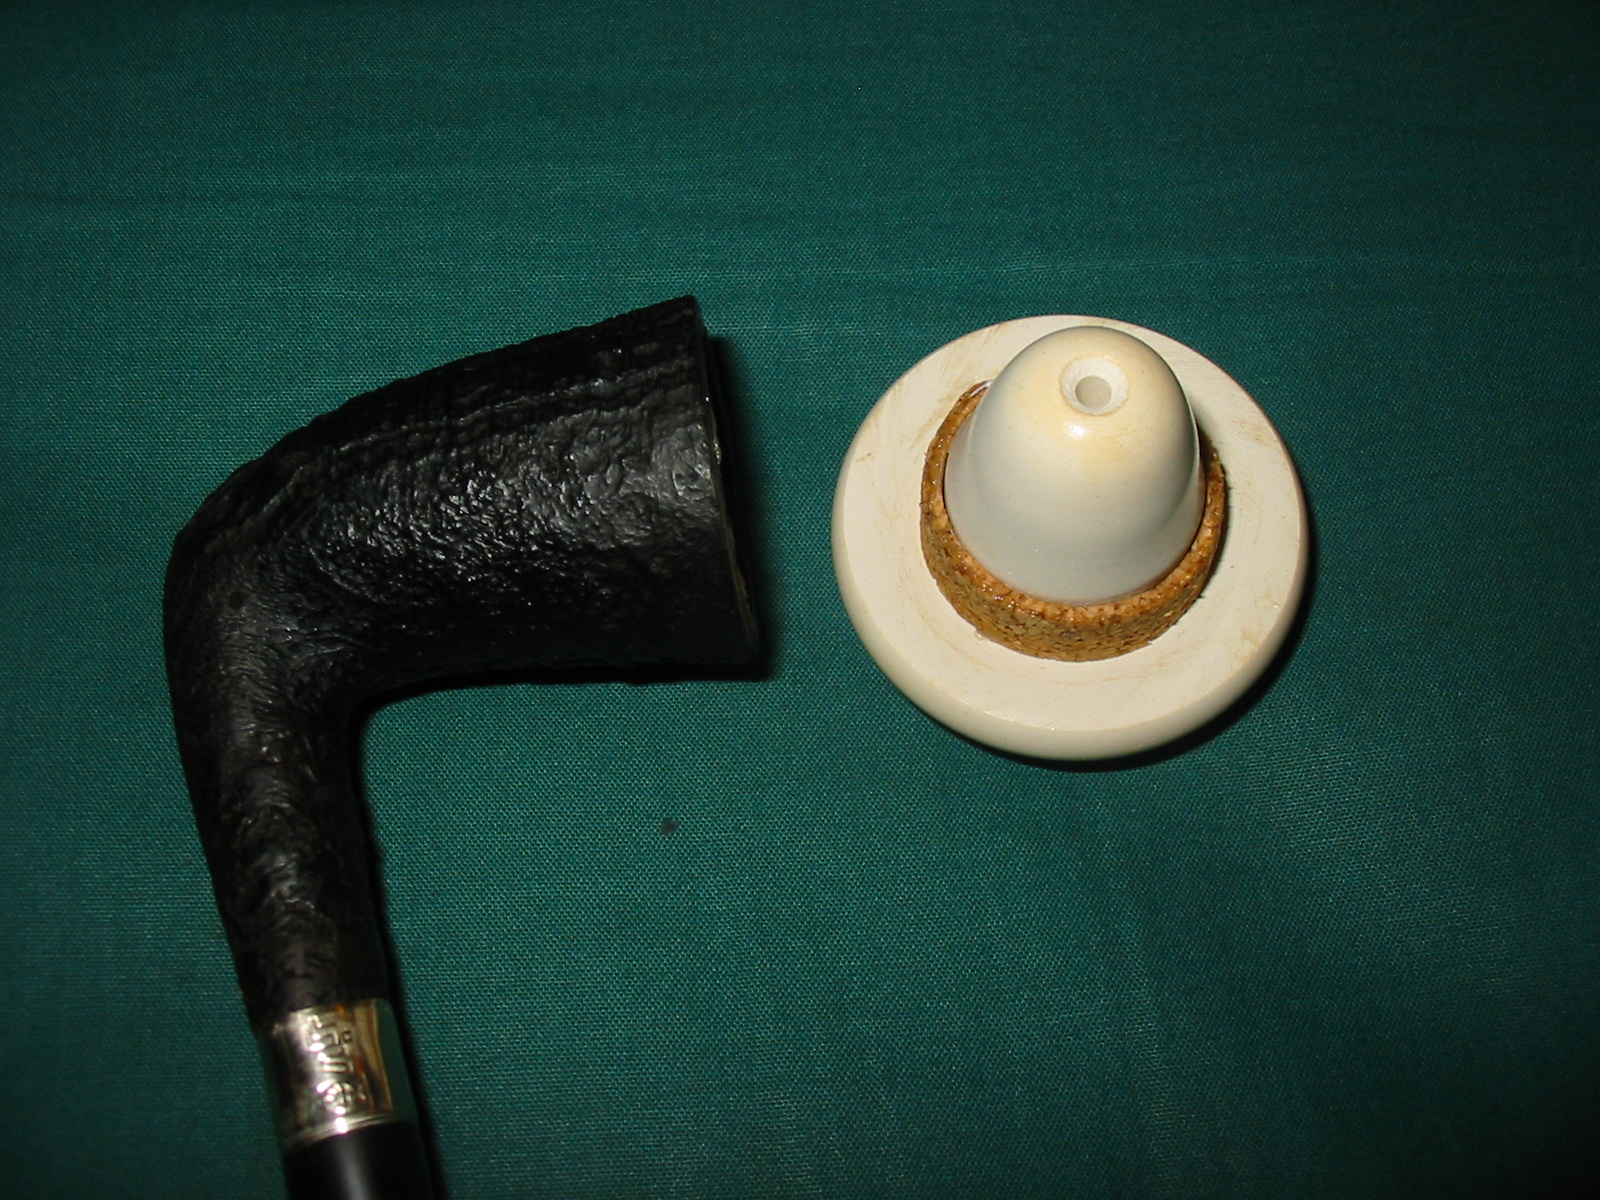
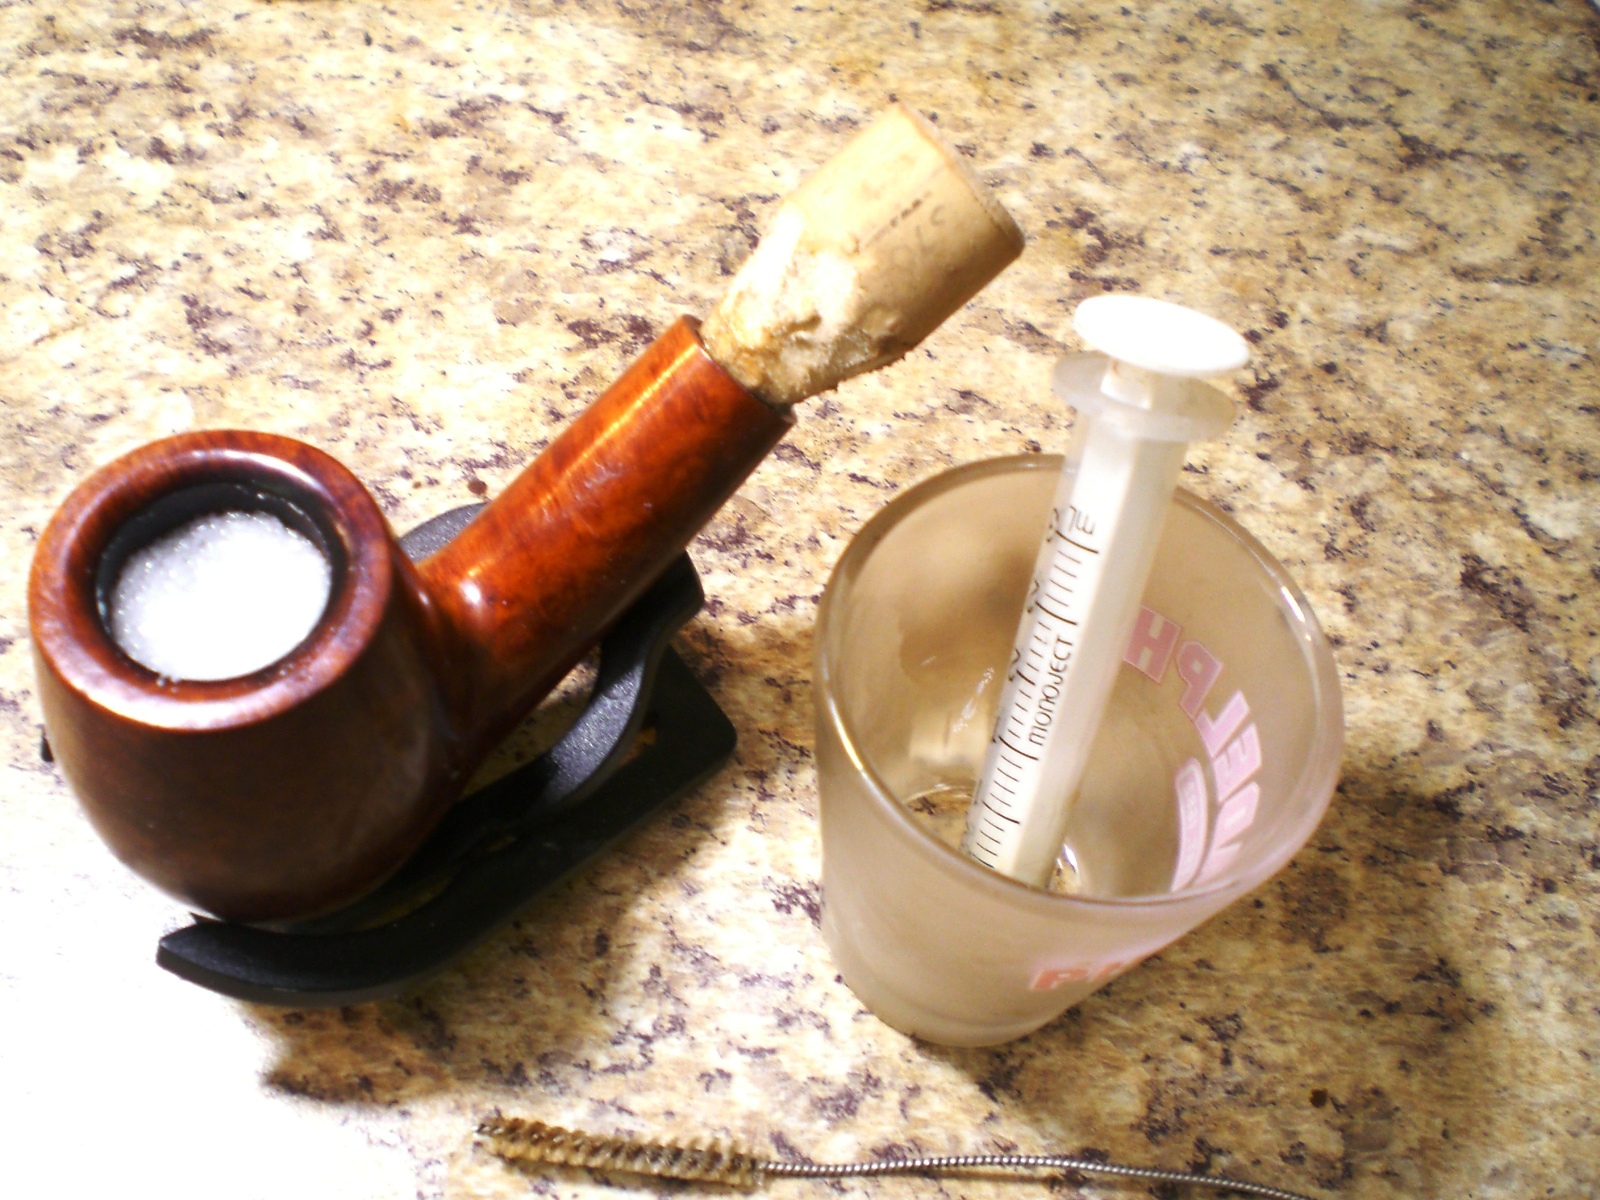
In a phone call with Tim West of J.H. Lowe Pipe Repairs I discussed the possibility of making this pipe a Briar Calabash. I gave Tim the dimensions of the bowl and he happened to have a bowl that was originally made for Pioneer Calabash pipes that was the correct dimensions. He sent along several strips of cork that would be used for making a gasket to give the meerschaum cup a snug fit in the briar bowl.
IMG_5501

I cut a strip of cork and glued it to the bowl with super glue. I used a small piece of the cork to fill the gap between the ends of the strip. Once the glue dried I sanded the cork gasket until it was the proper diameter for the briar bowl.
IMG_5502

IMG_5507

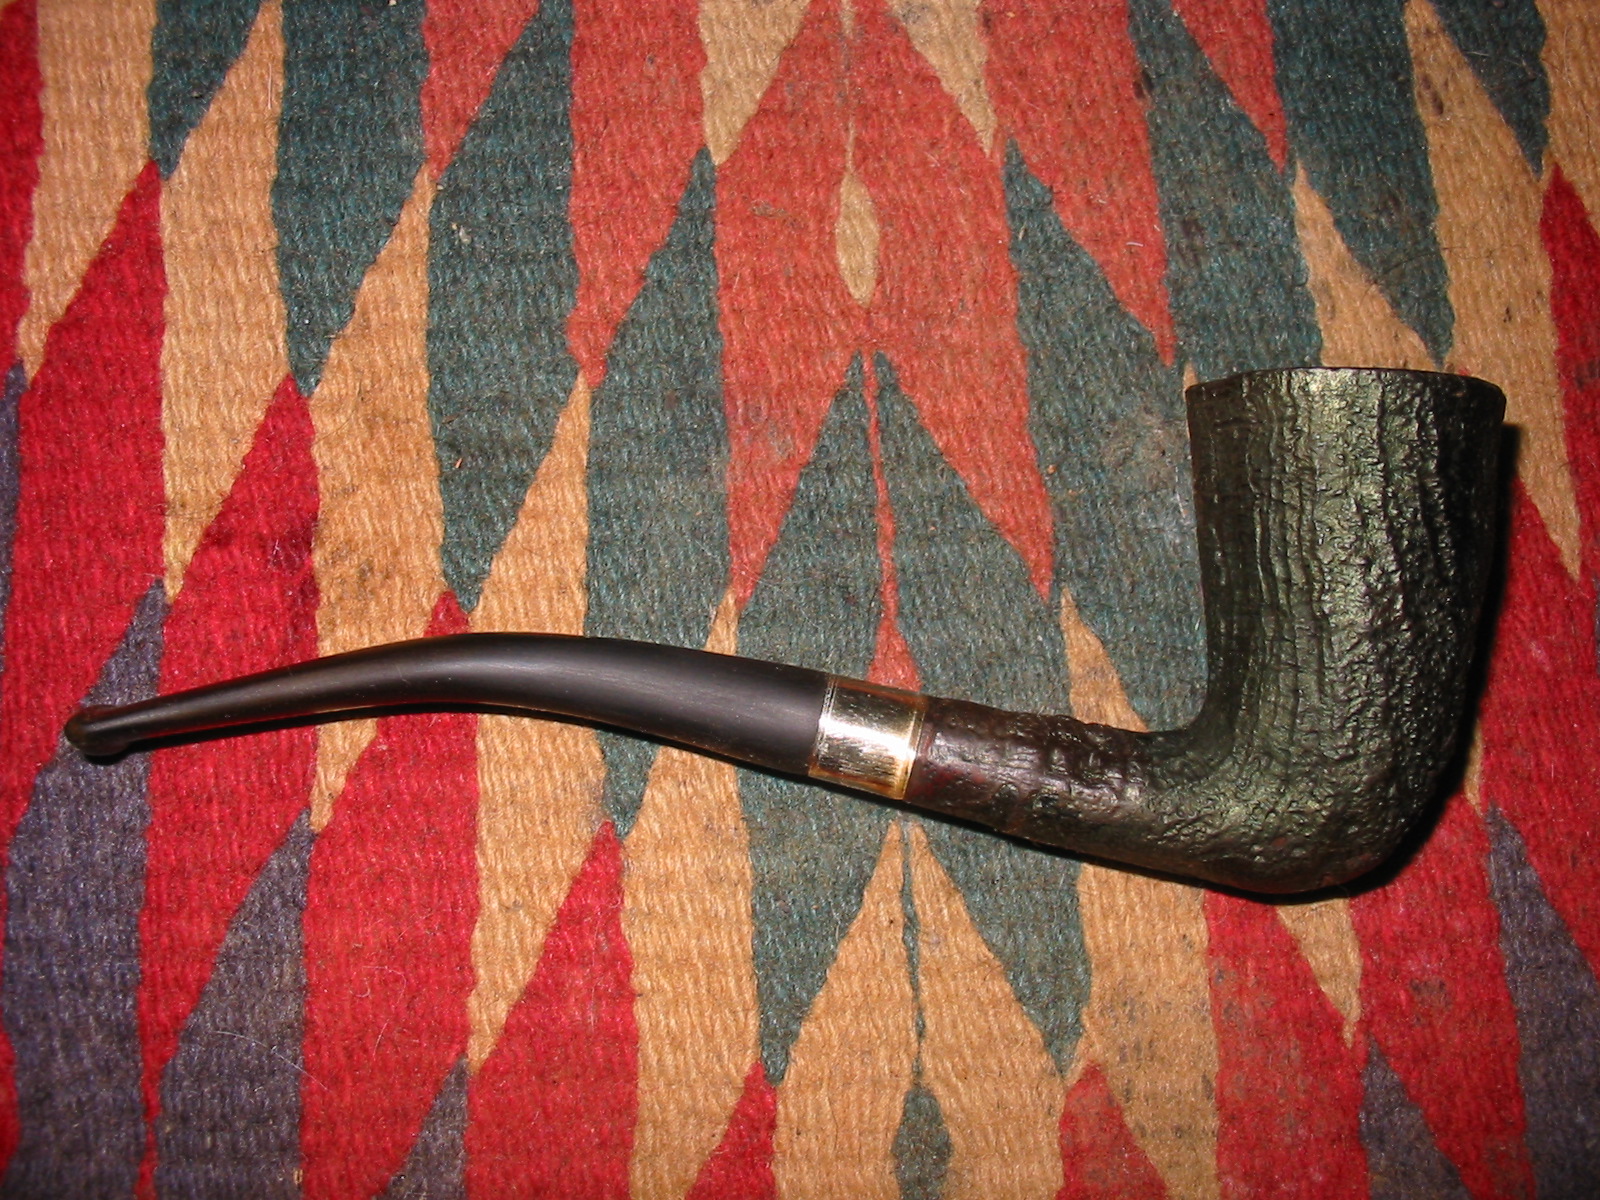
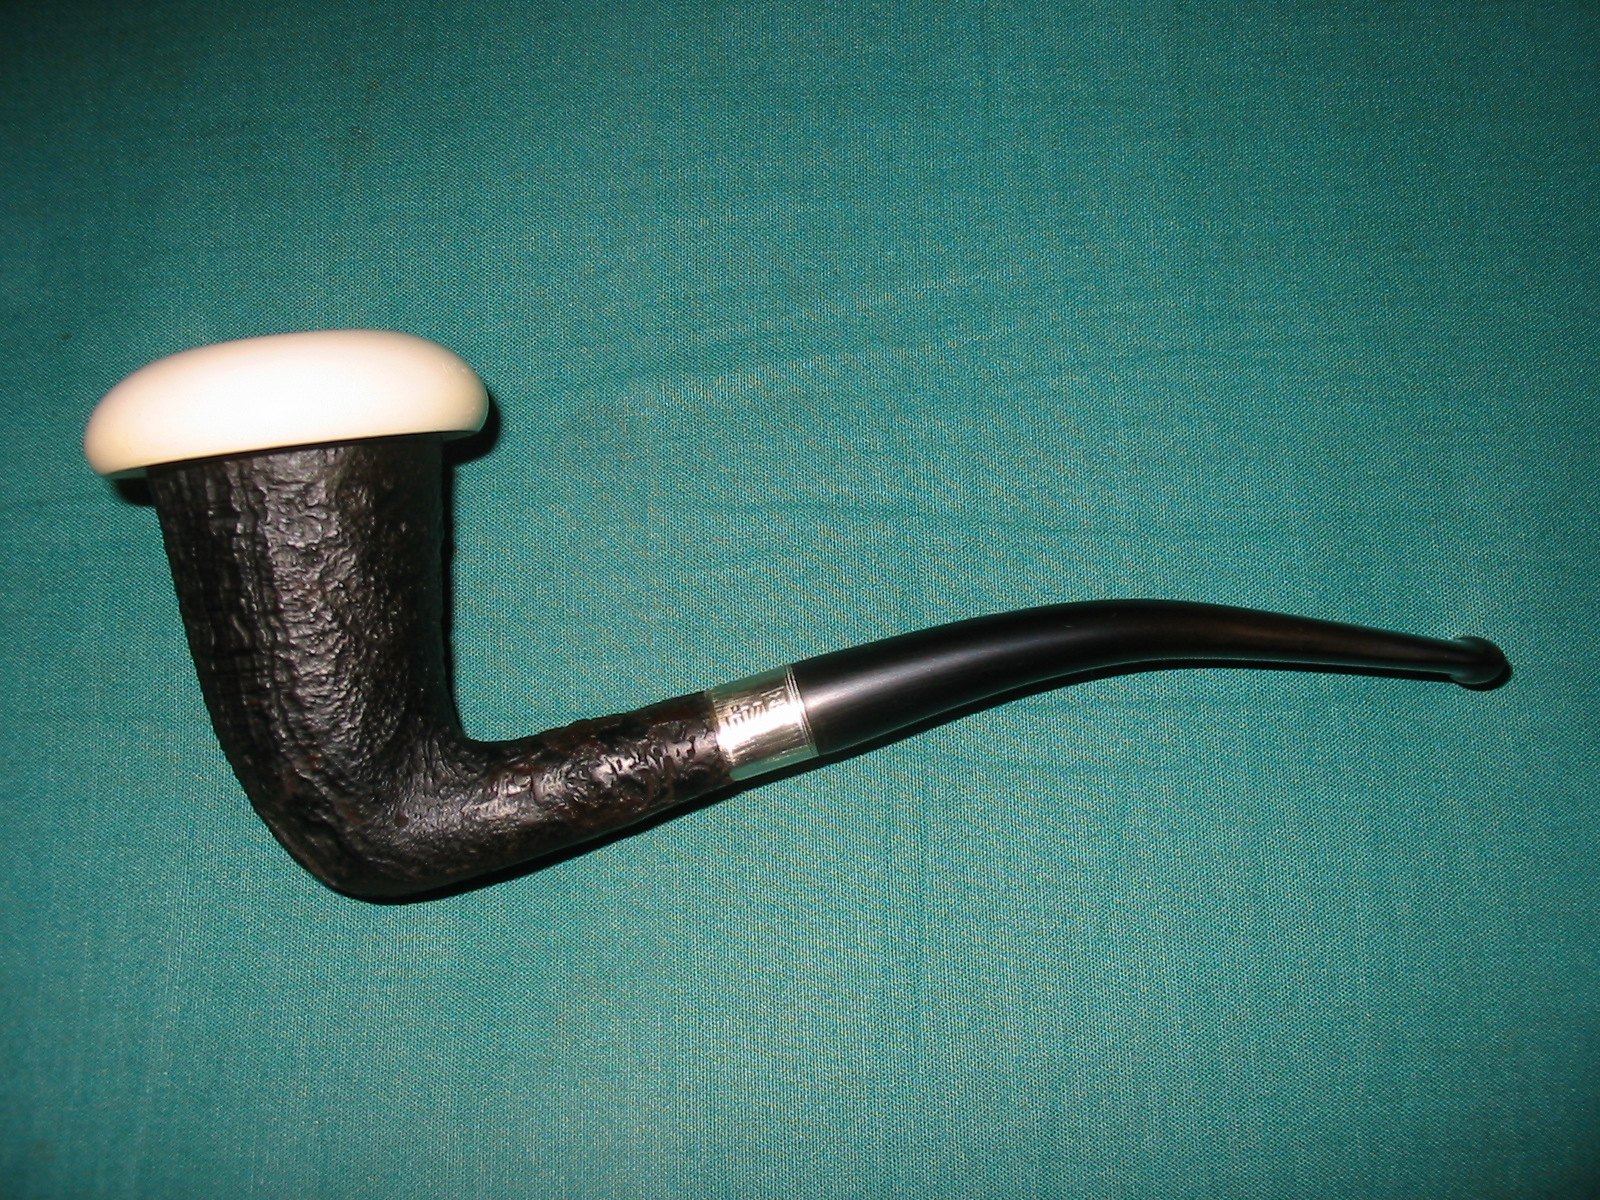
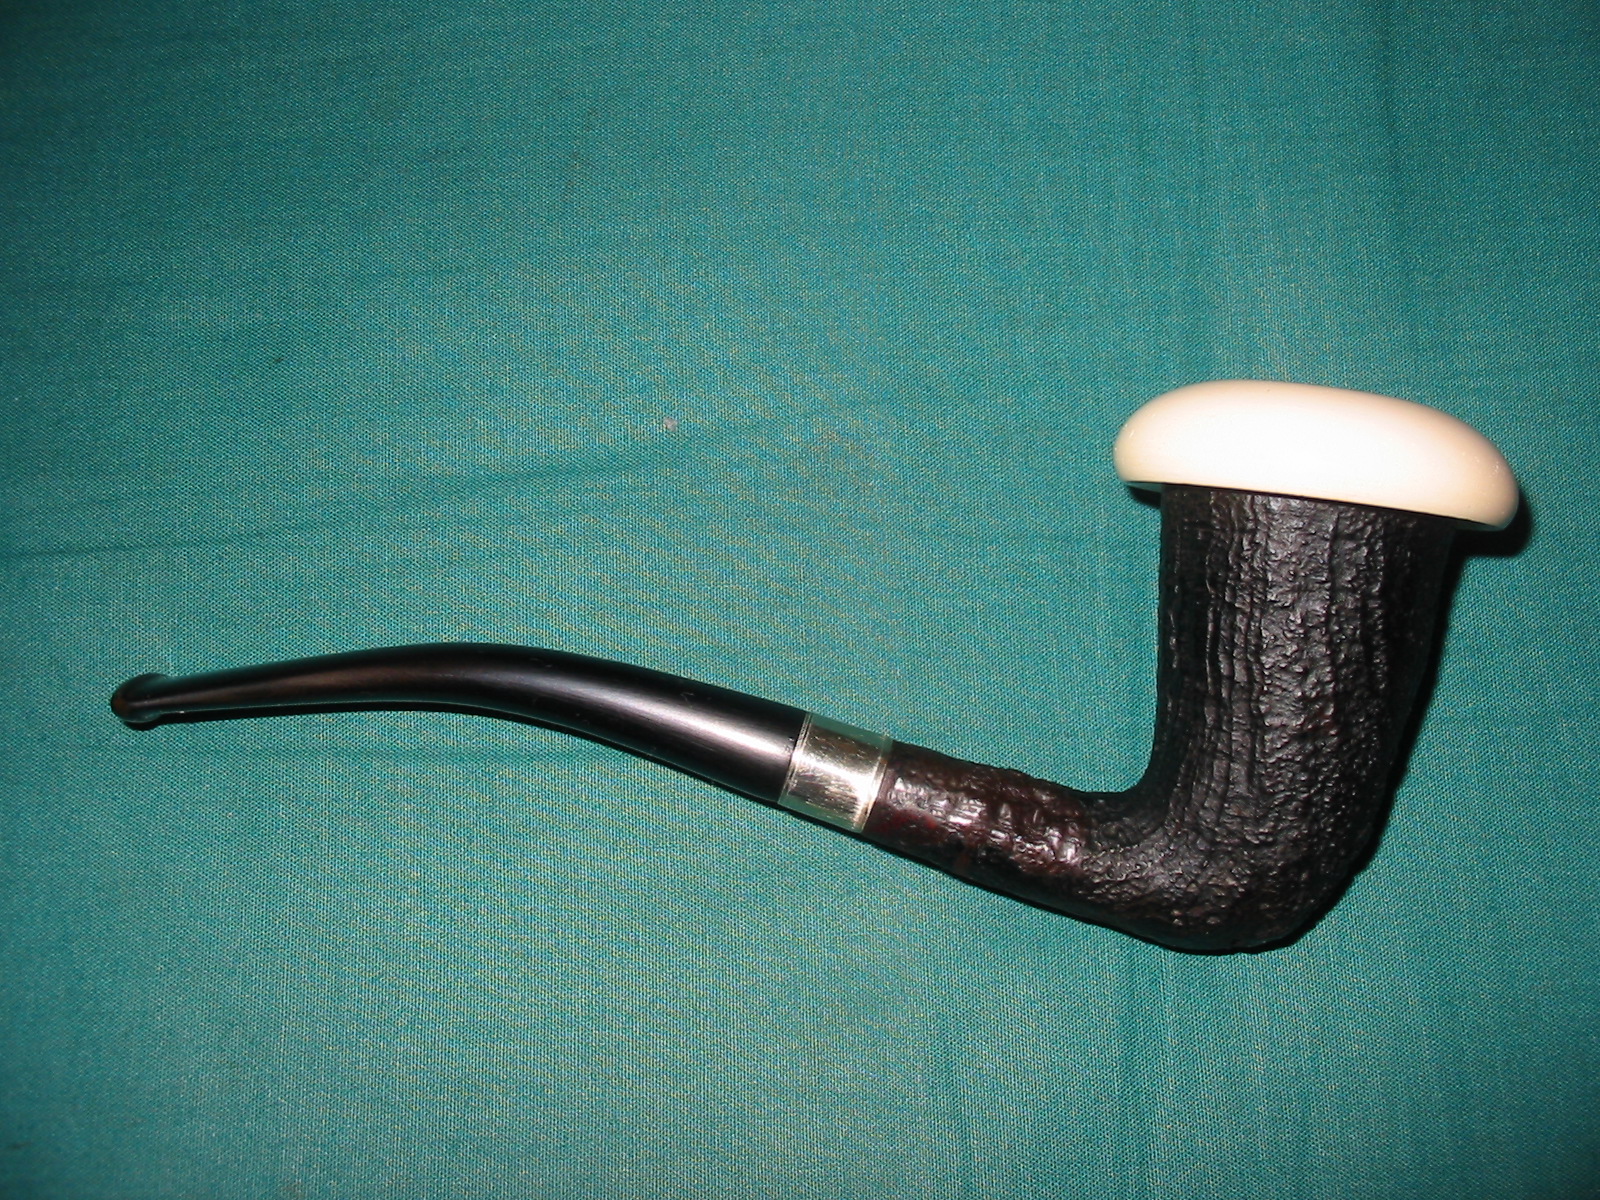
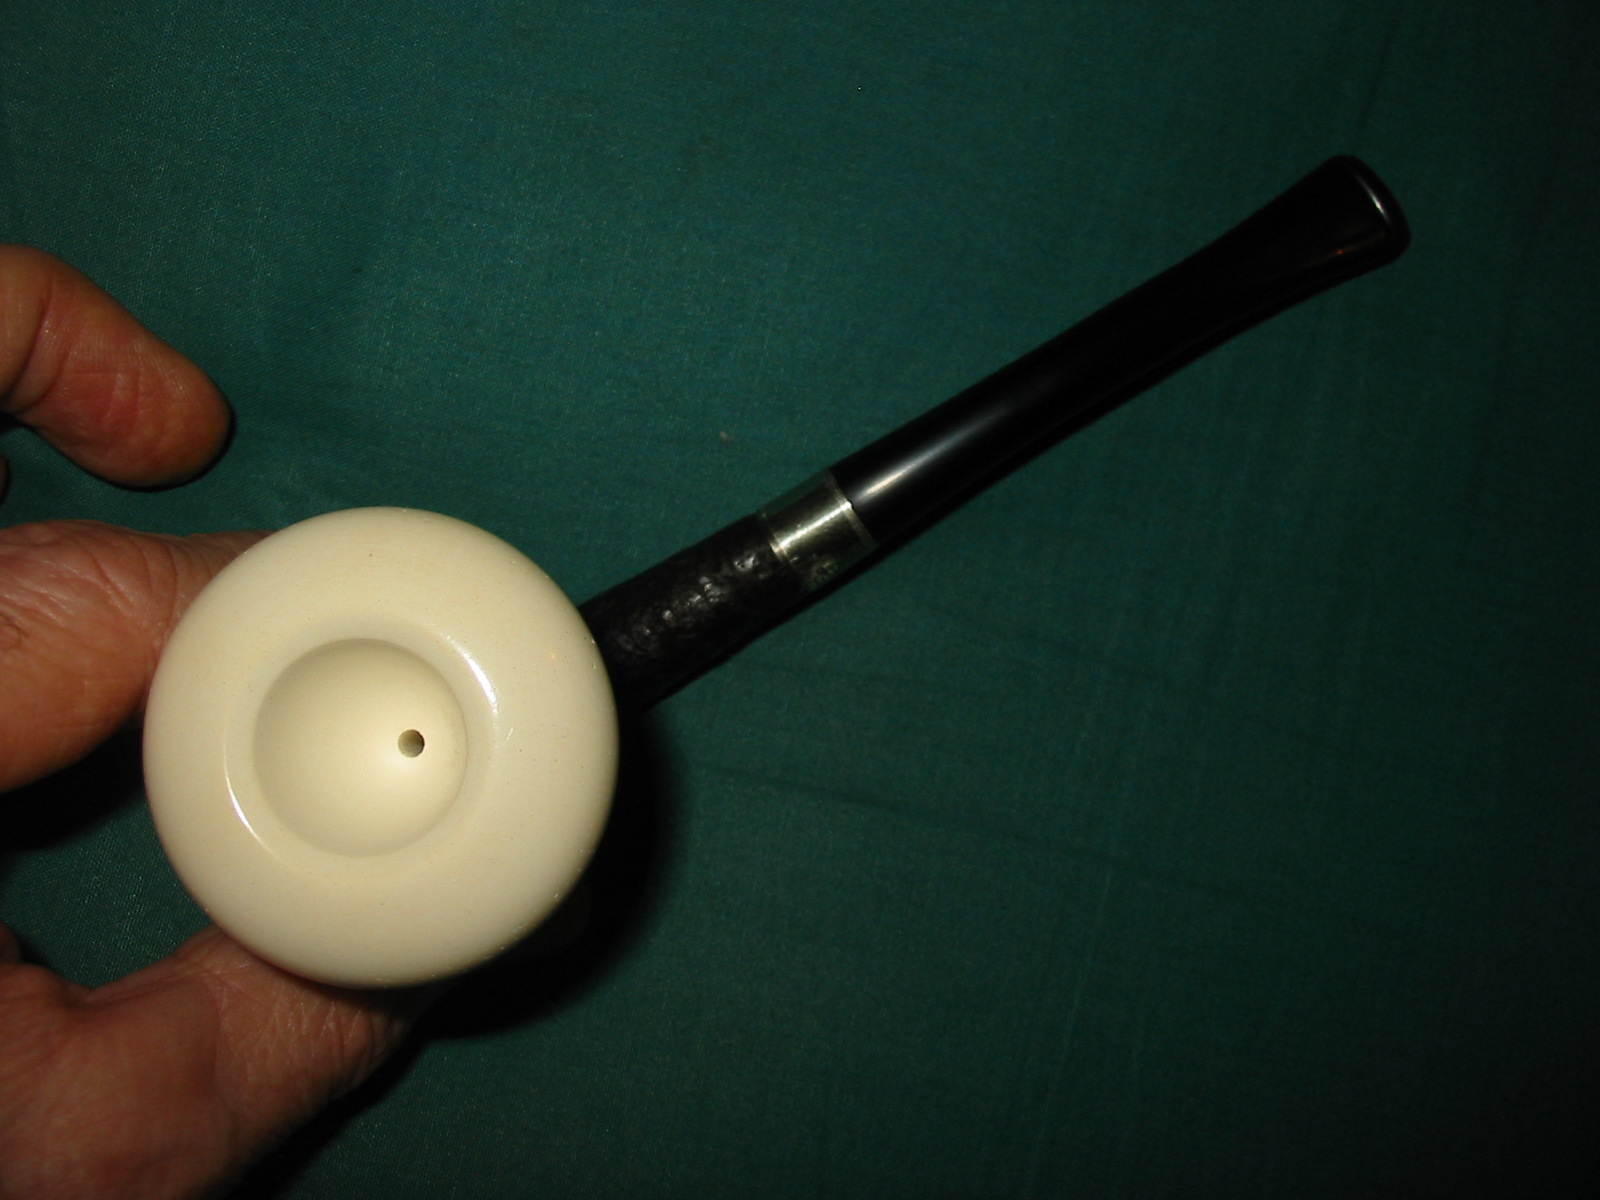
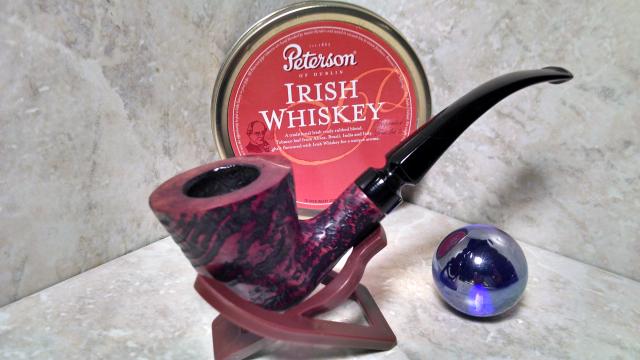
I used some Vaseline and lubricated the cork gasket and then used my finger to coat the inside edge of the briar bowl where the cork would sit. I then pressed the meerschaum cup into place in the briar bowl. The finished Briar Calabash pipe is shown in the photos below. The polished gloss of the white meerschaum bowl looks great against the sandblast dark brown briar bowl. The silver band gives a bit of contrast to the pipe. The draught on the pipe is perfect and the feel of the new Calabash in the hand is great. The pipe is still light in weight and the thin pencil shank and stem work well. Now all that remains is to load it up and have the inaugural smoke.
IMG_5508

IMG_5509

IMG_5510

IMG_5511

Restoring an old Bruyere Extra Chubby Billiard


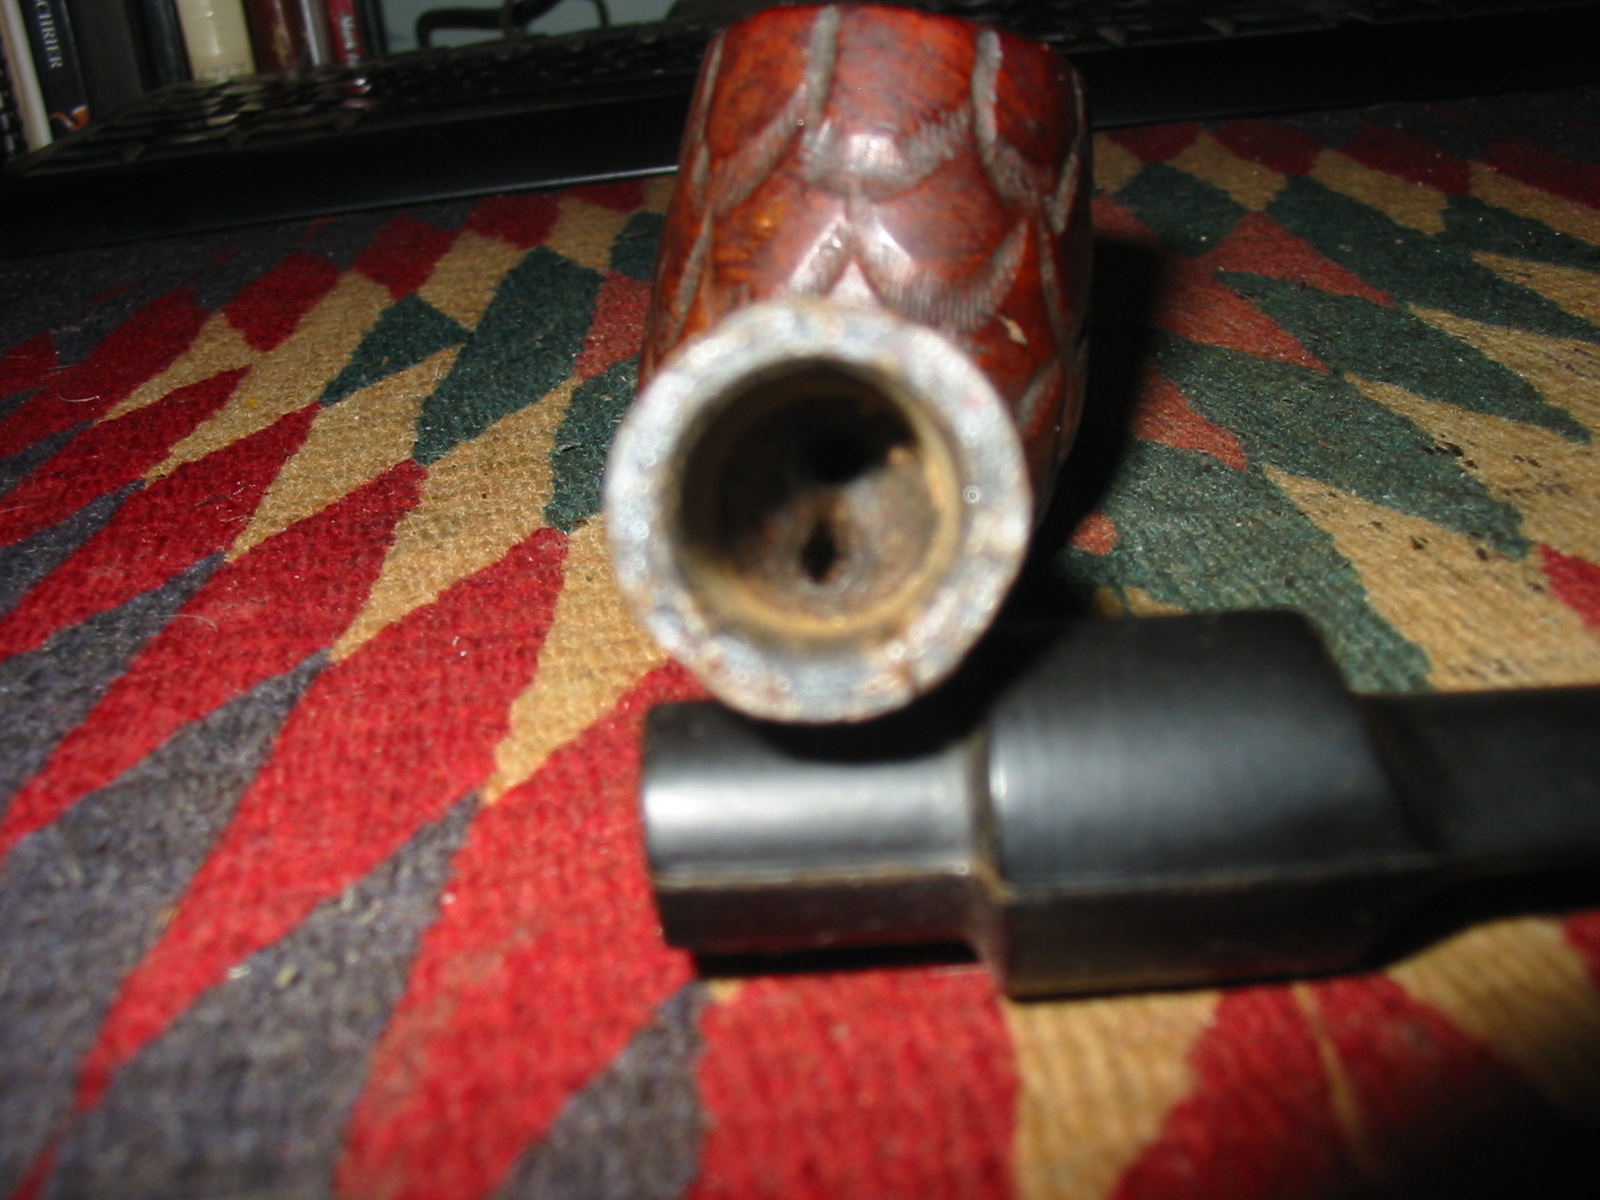
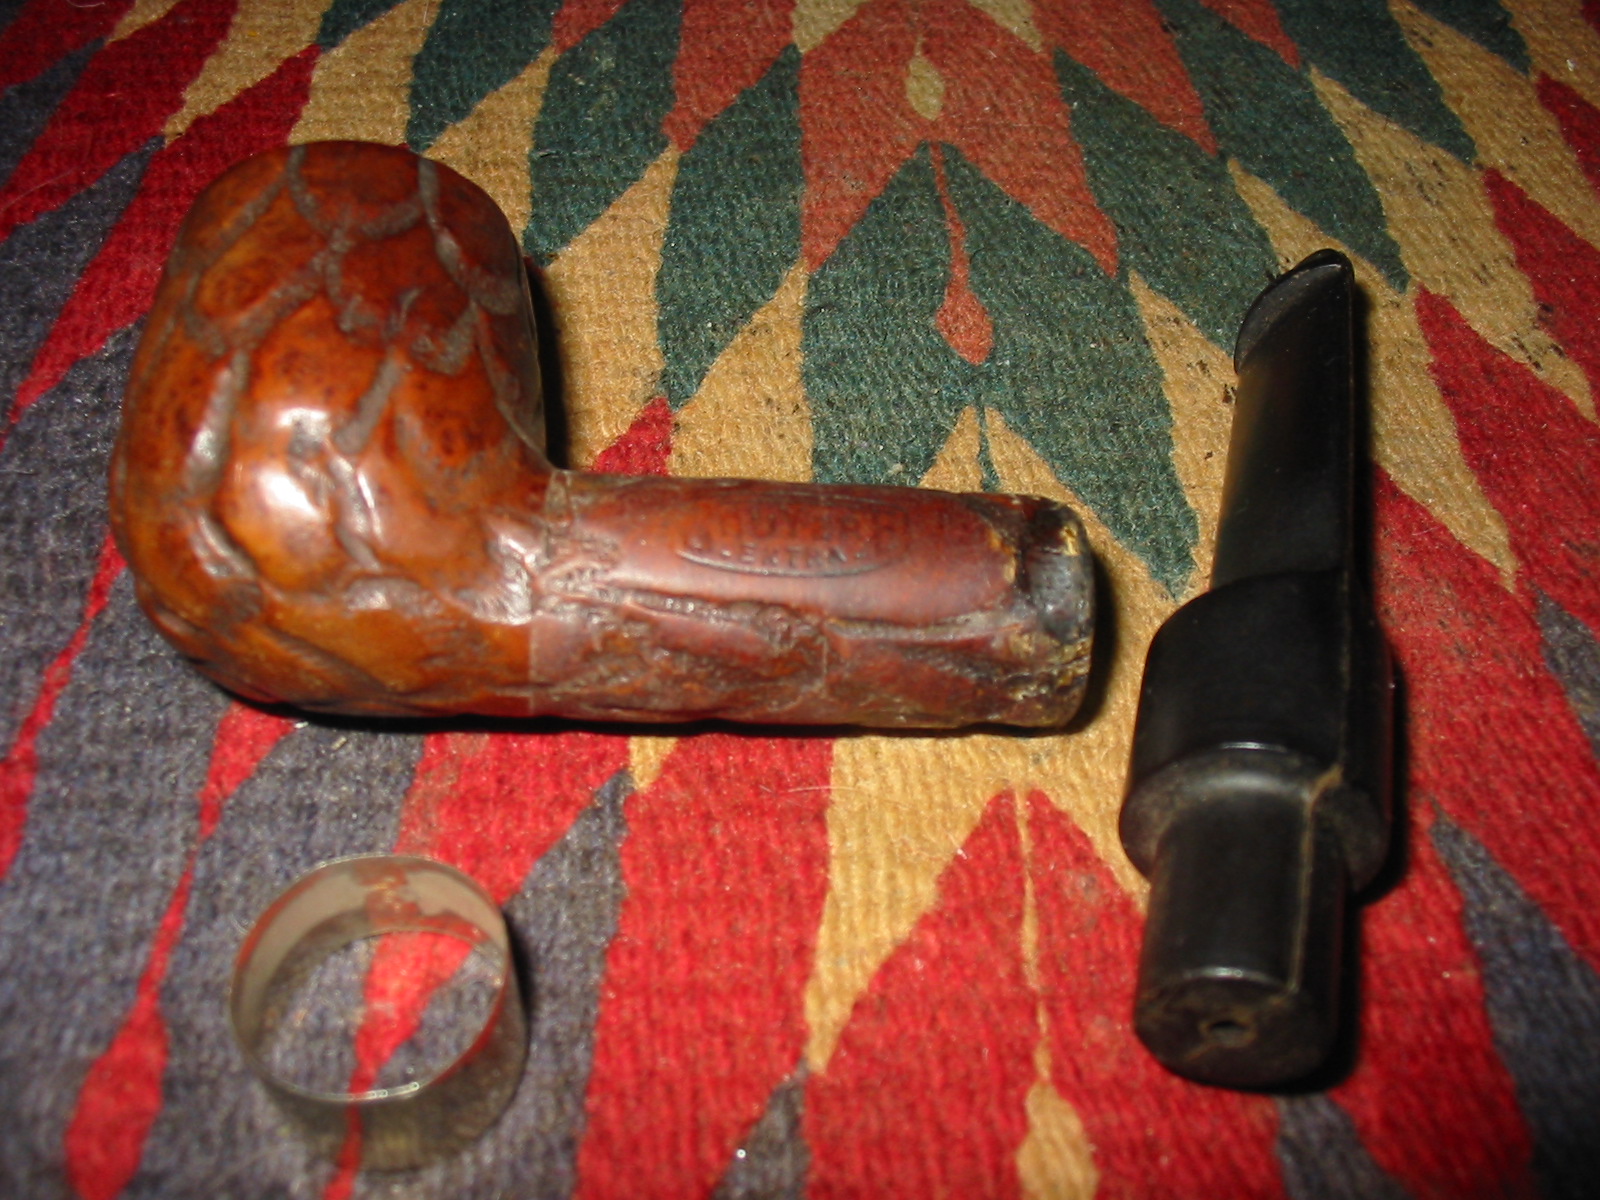
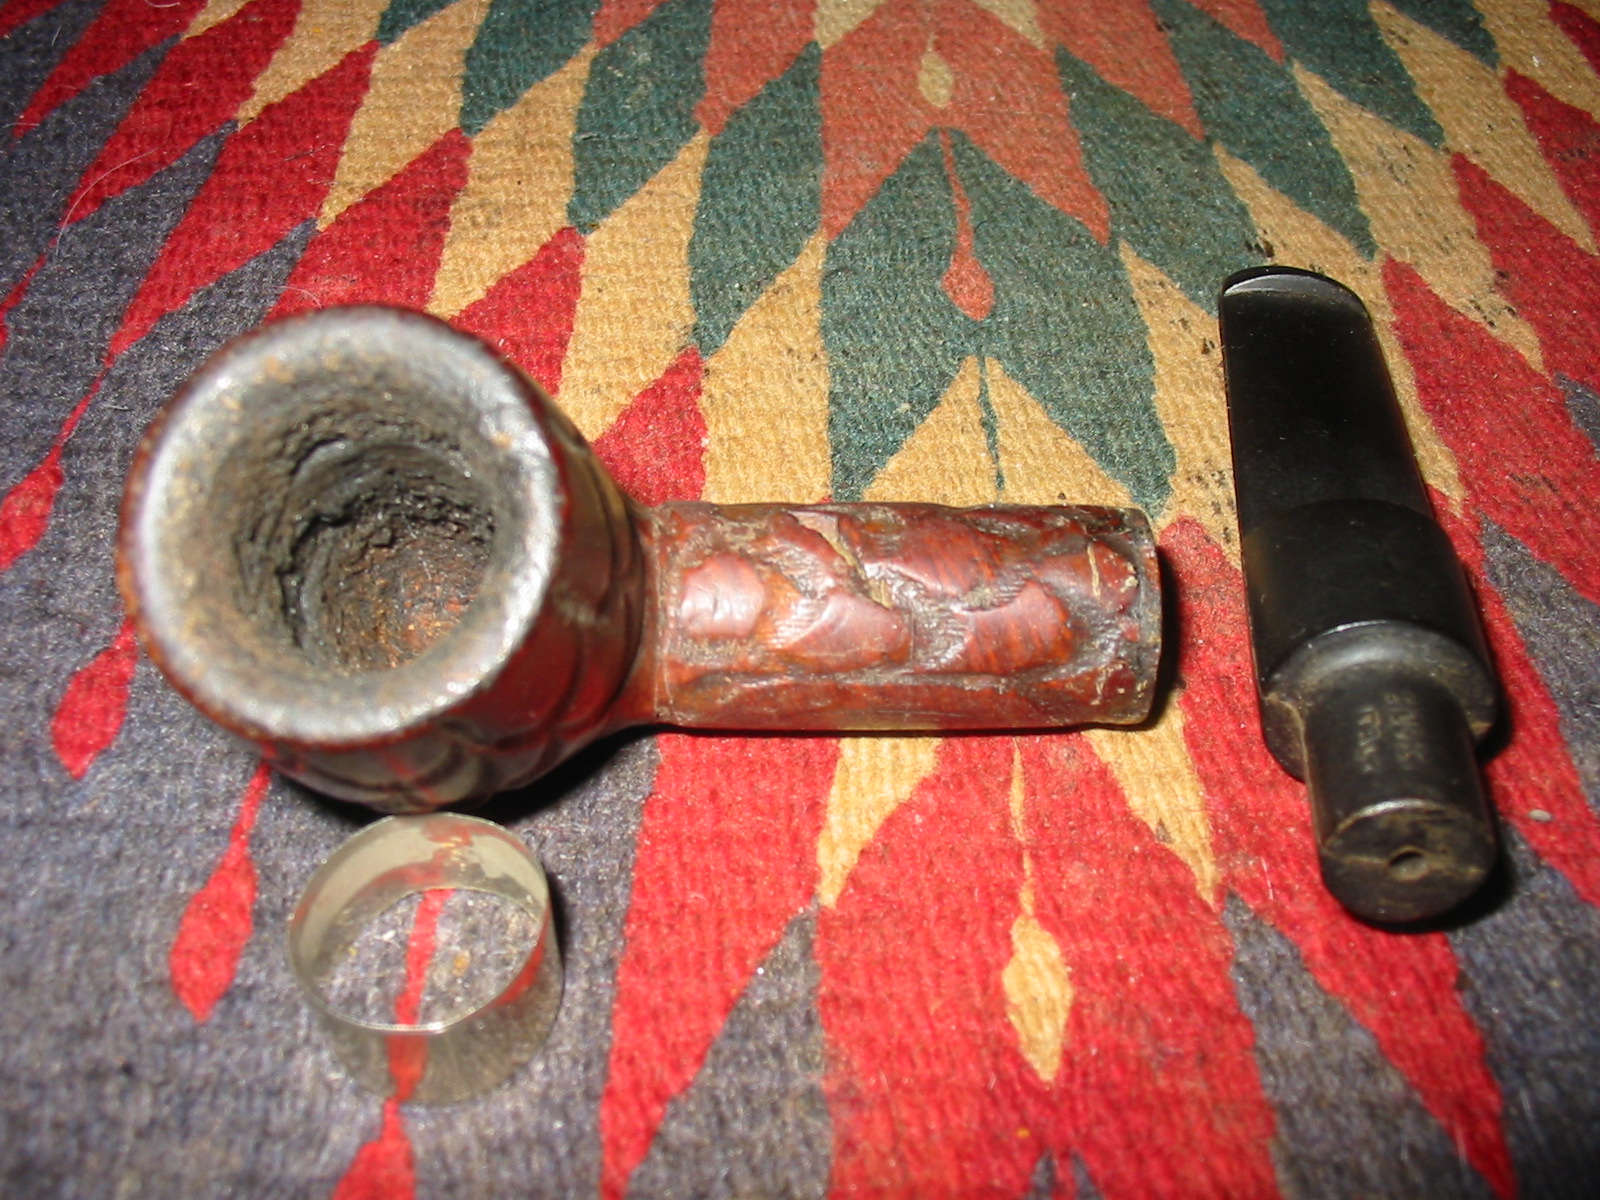
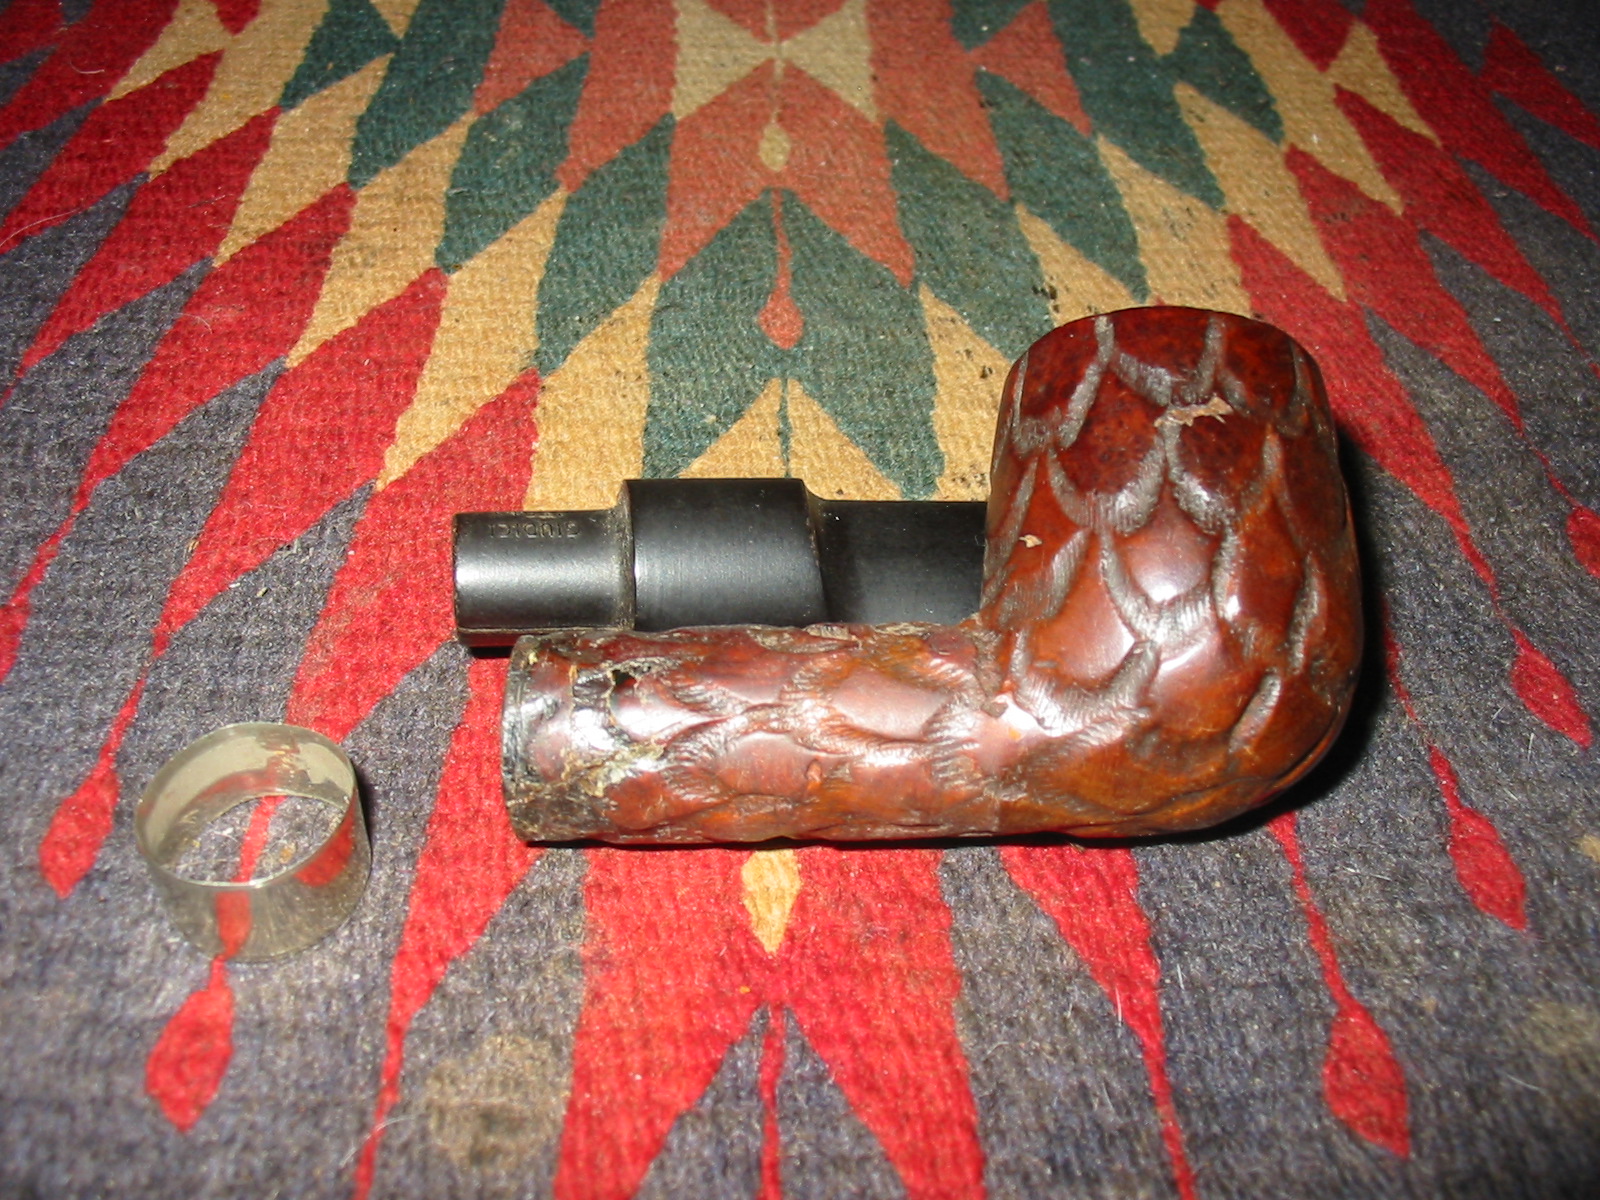
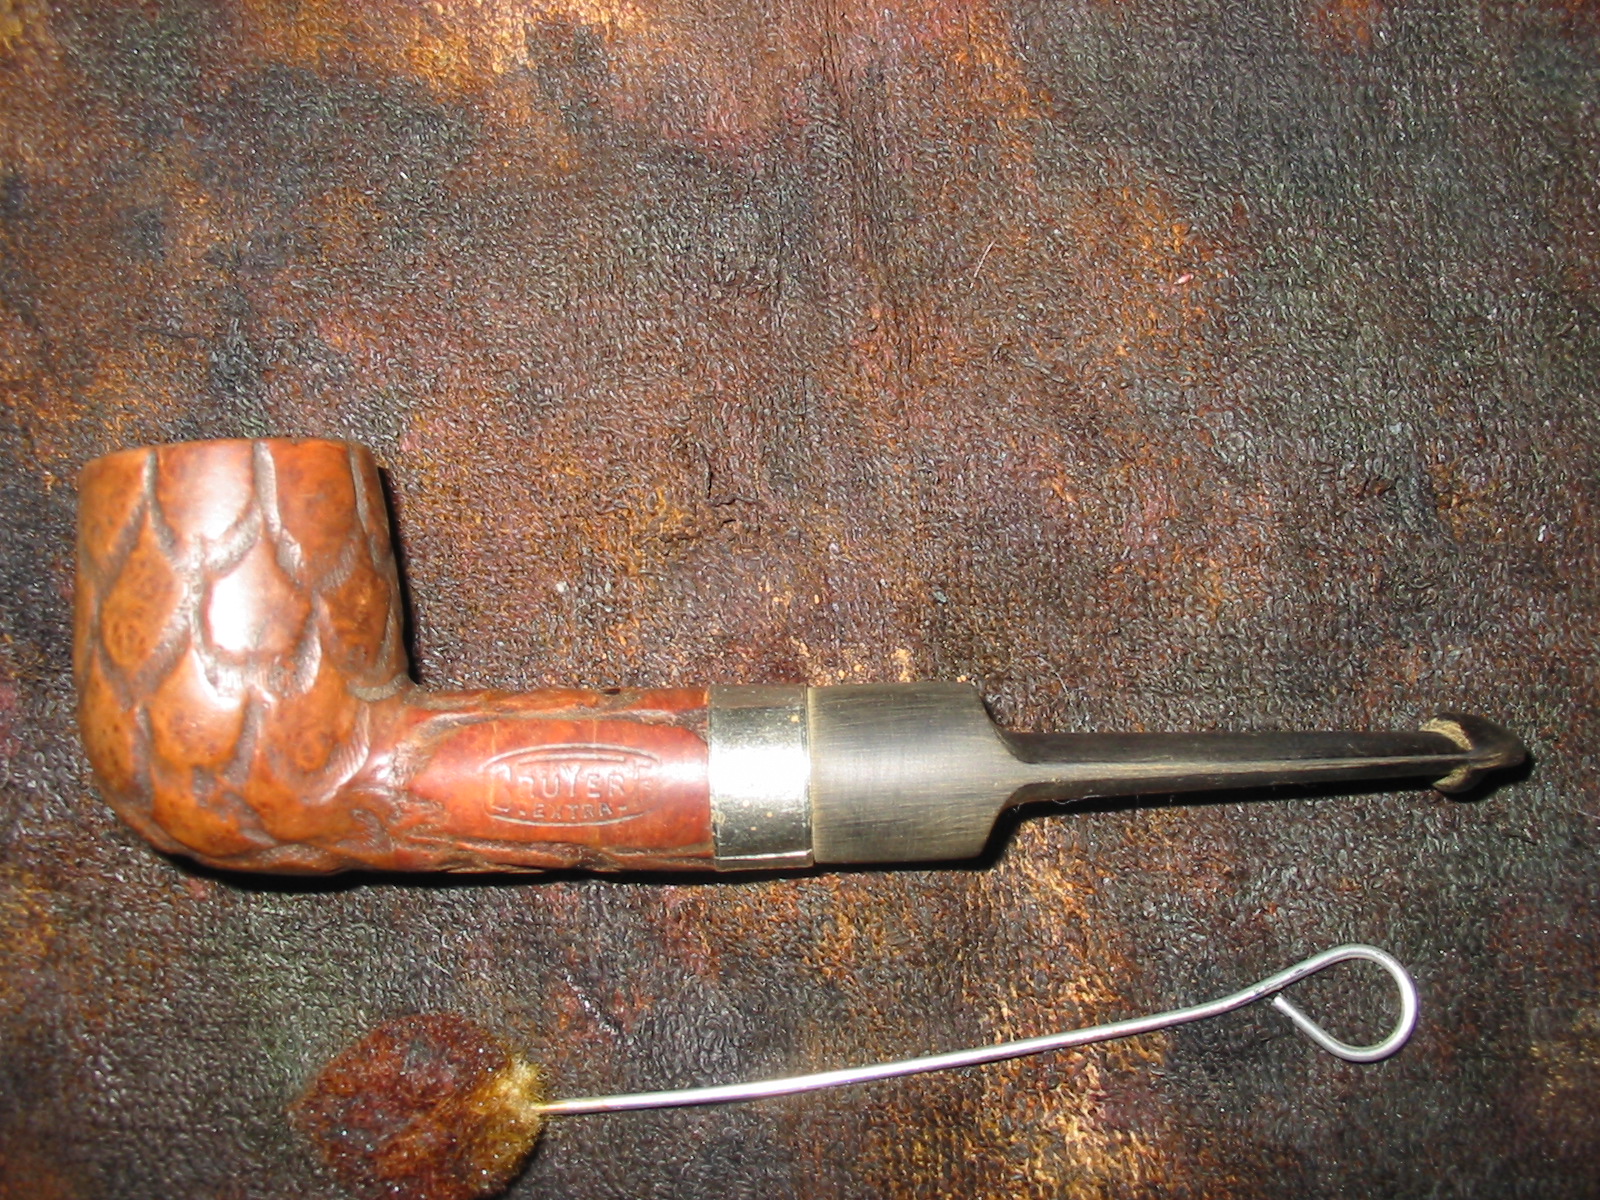
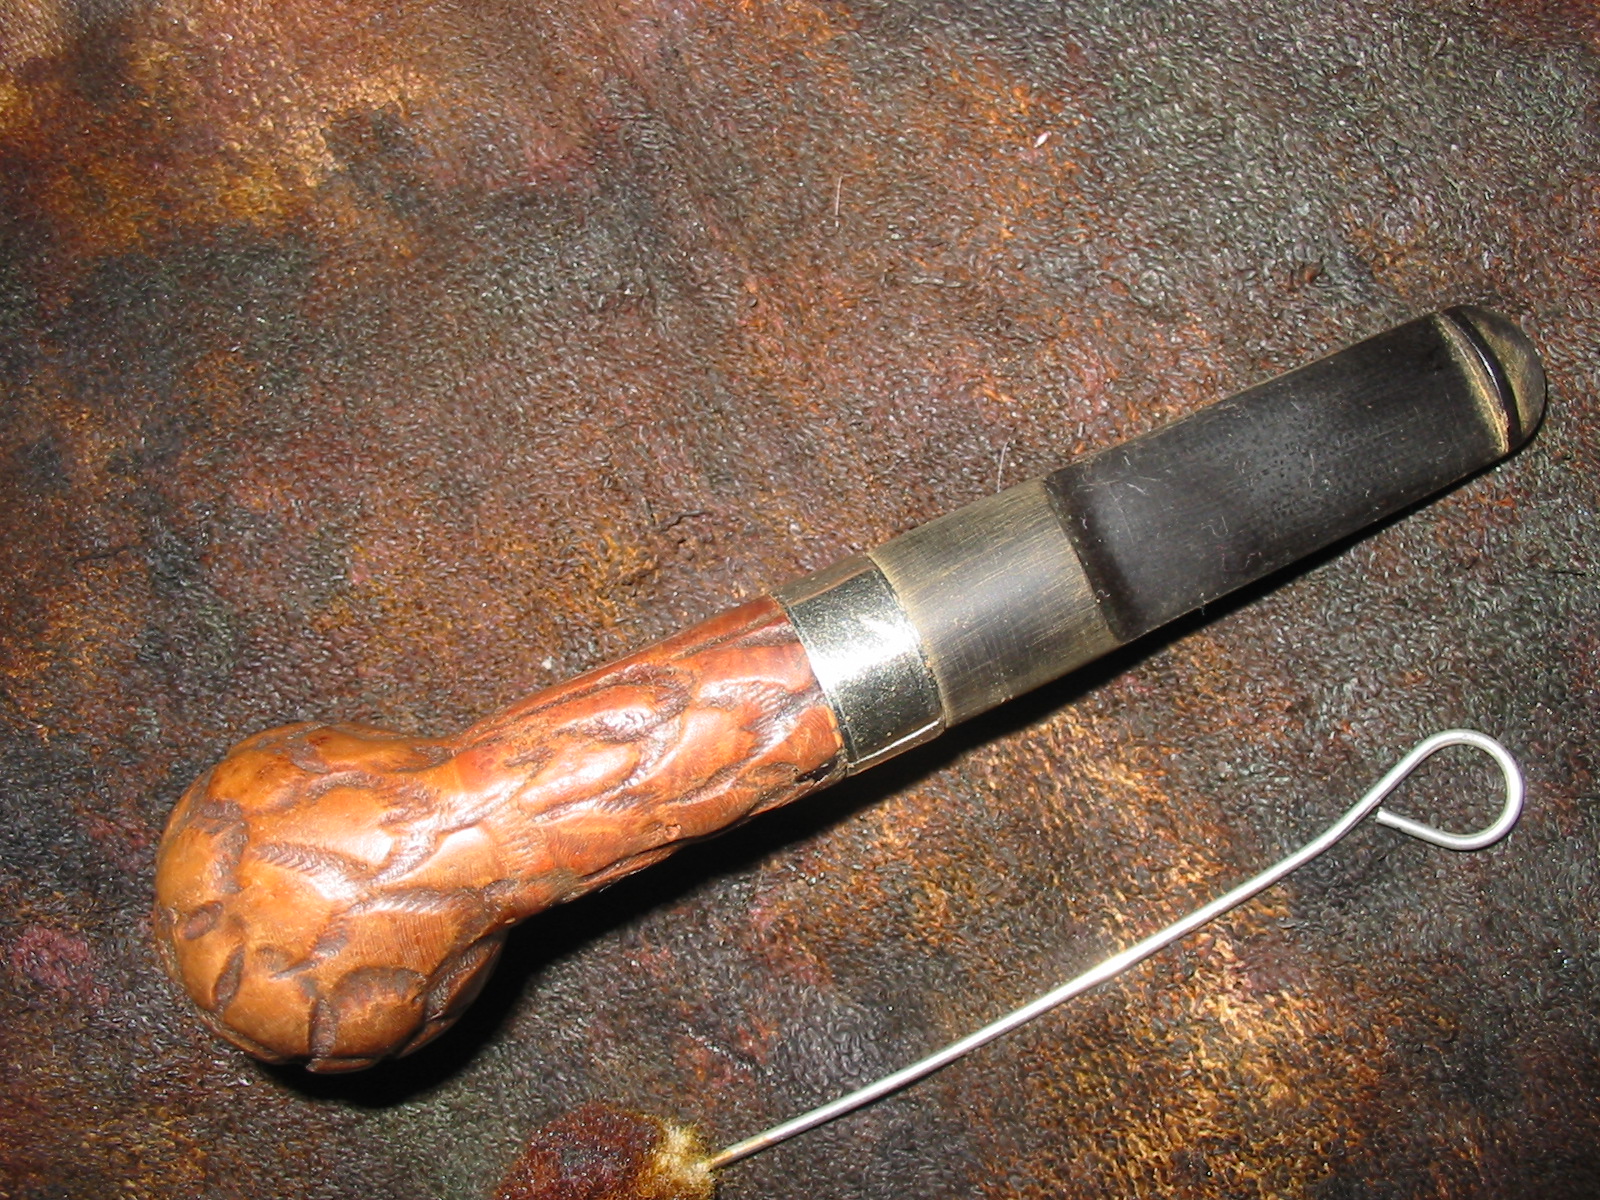
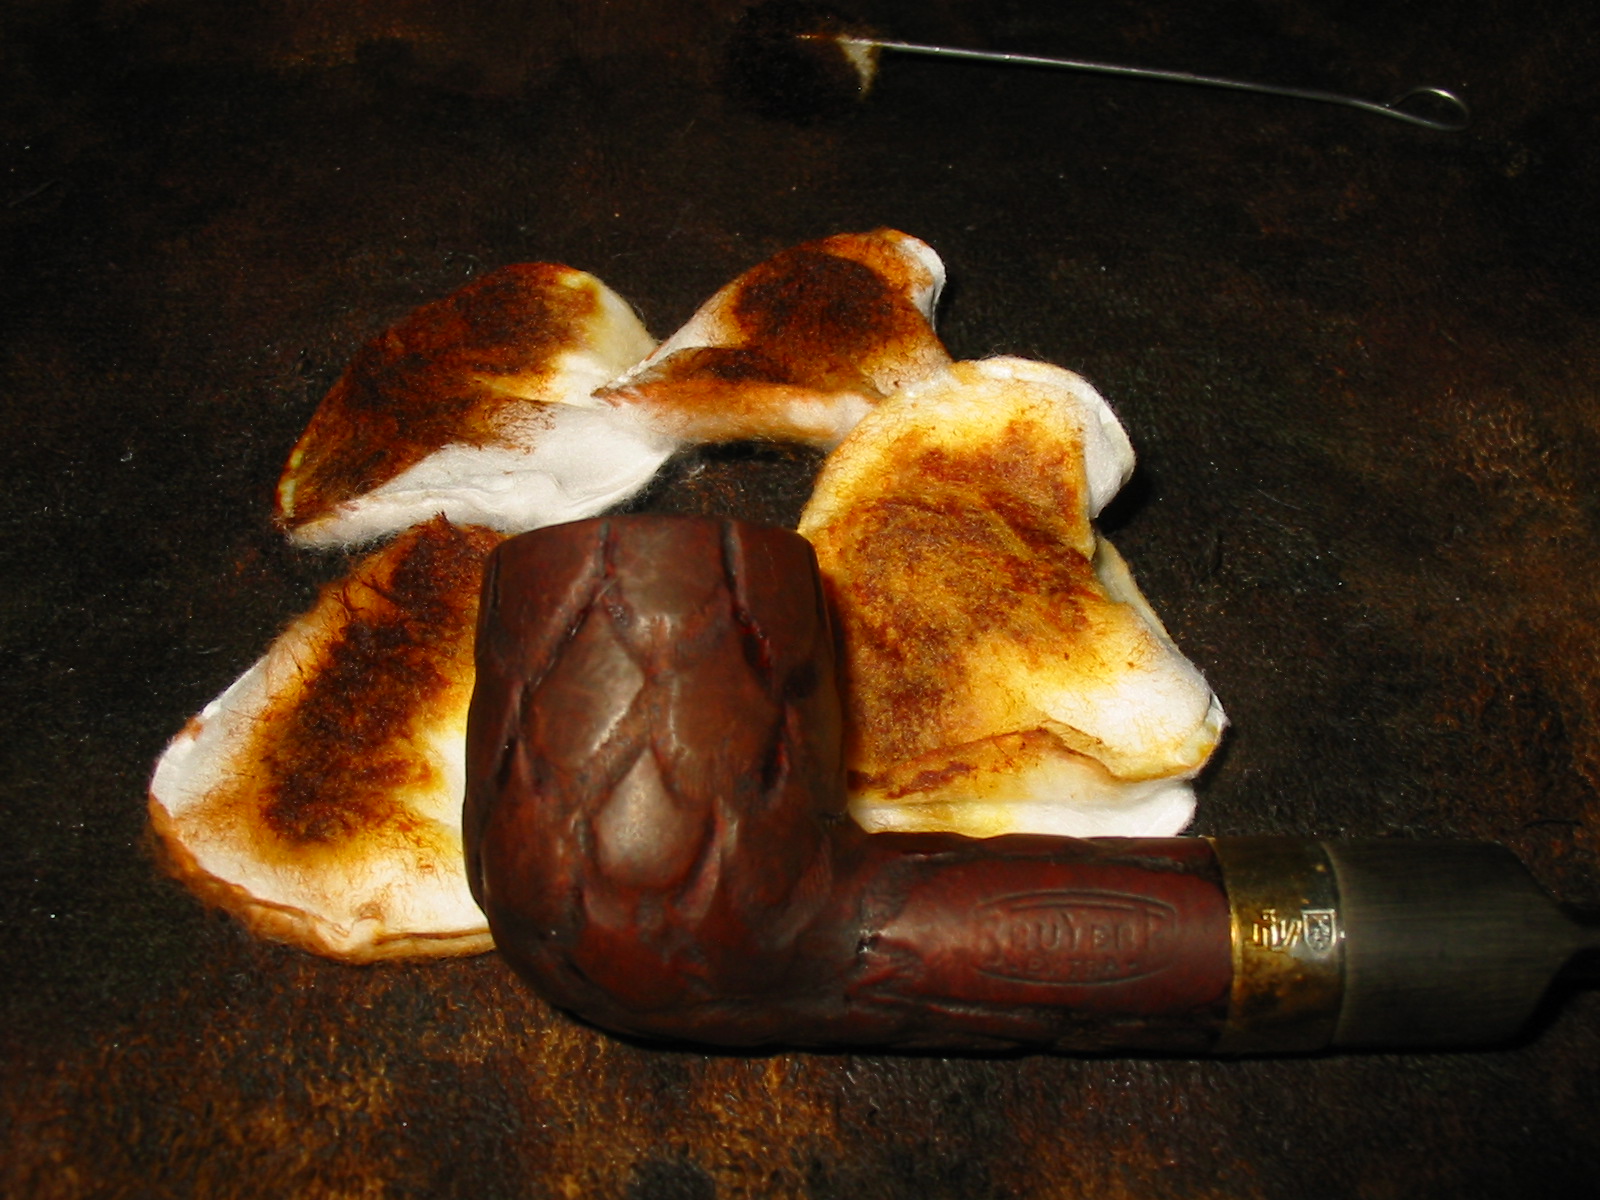
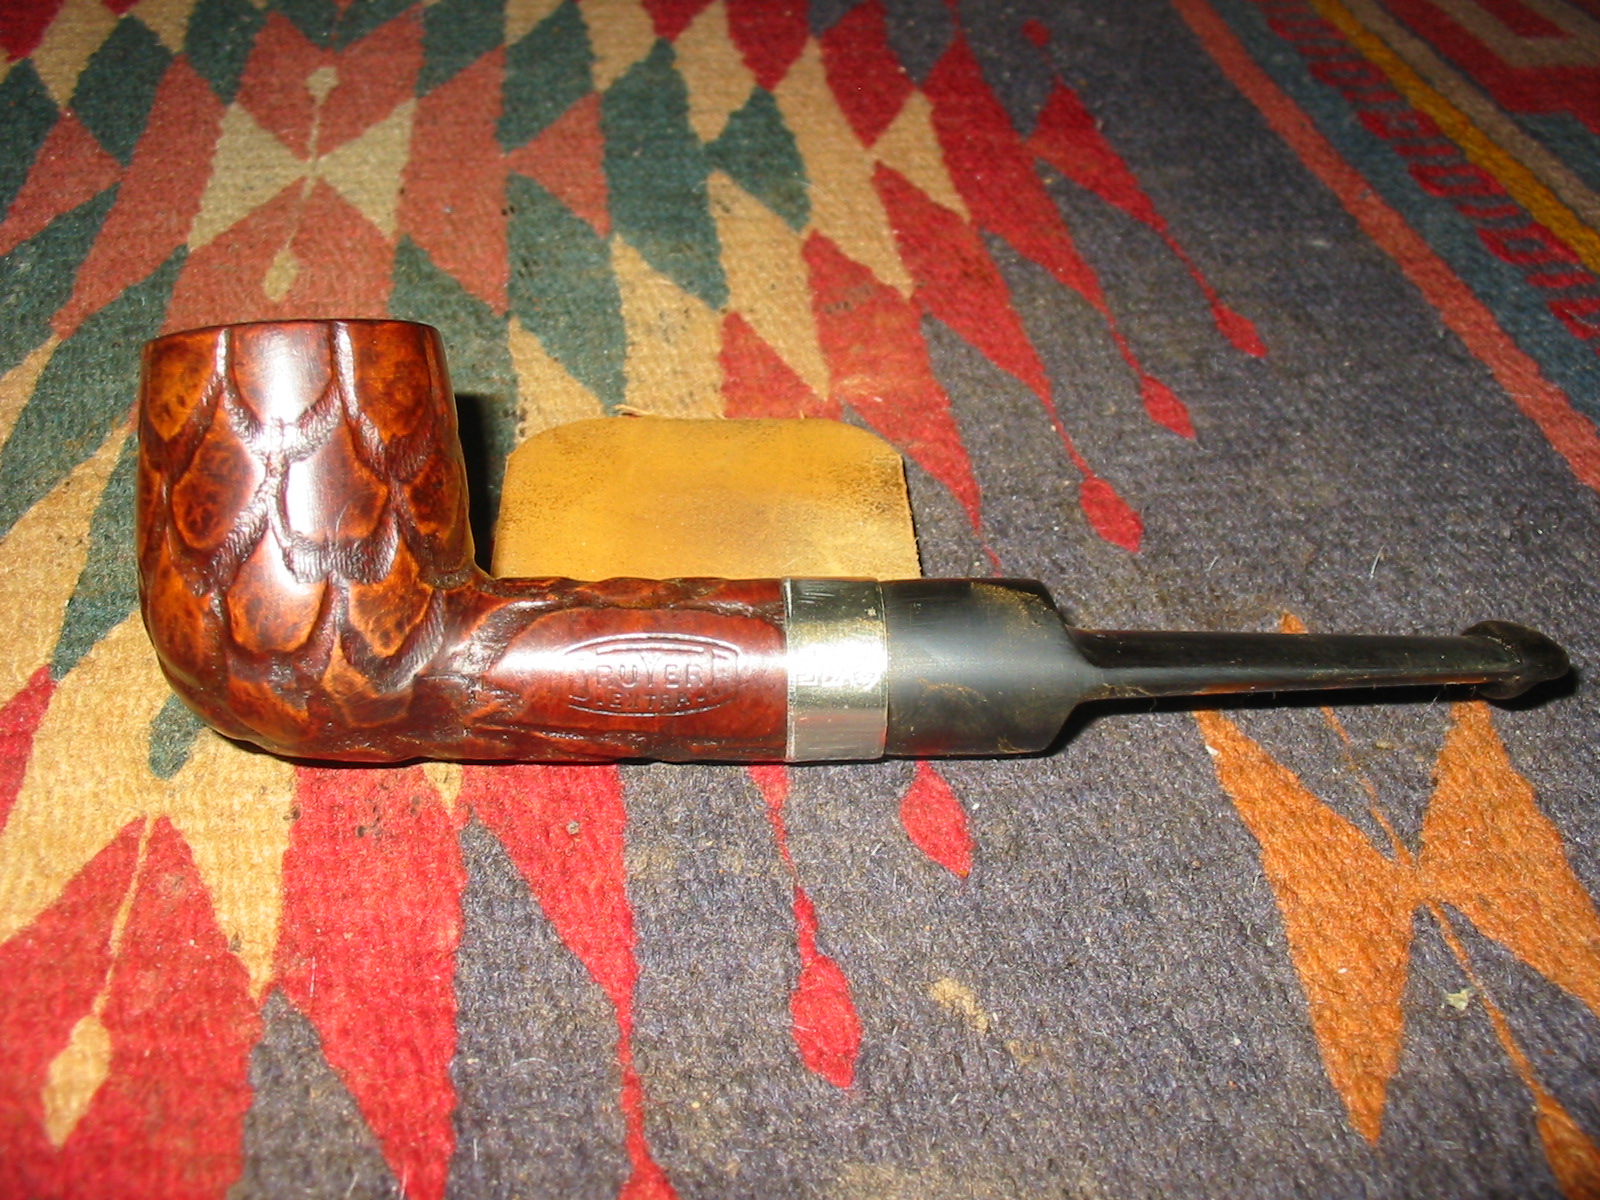
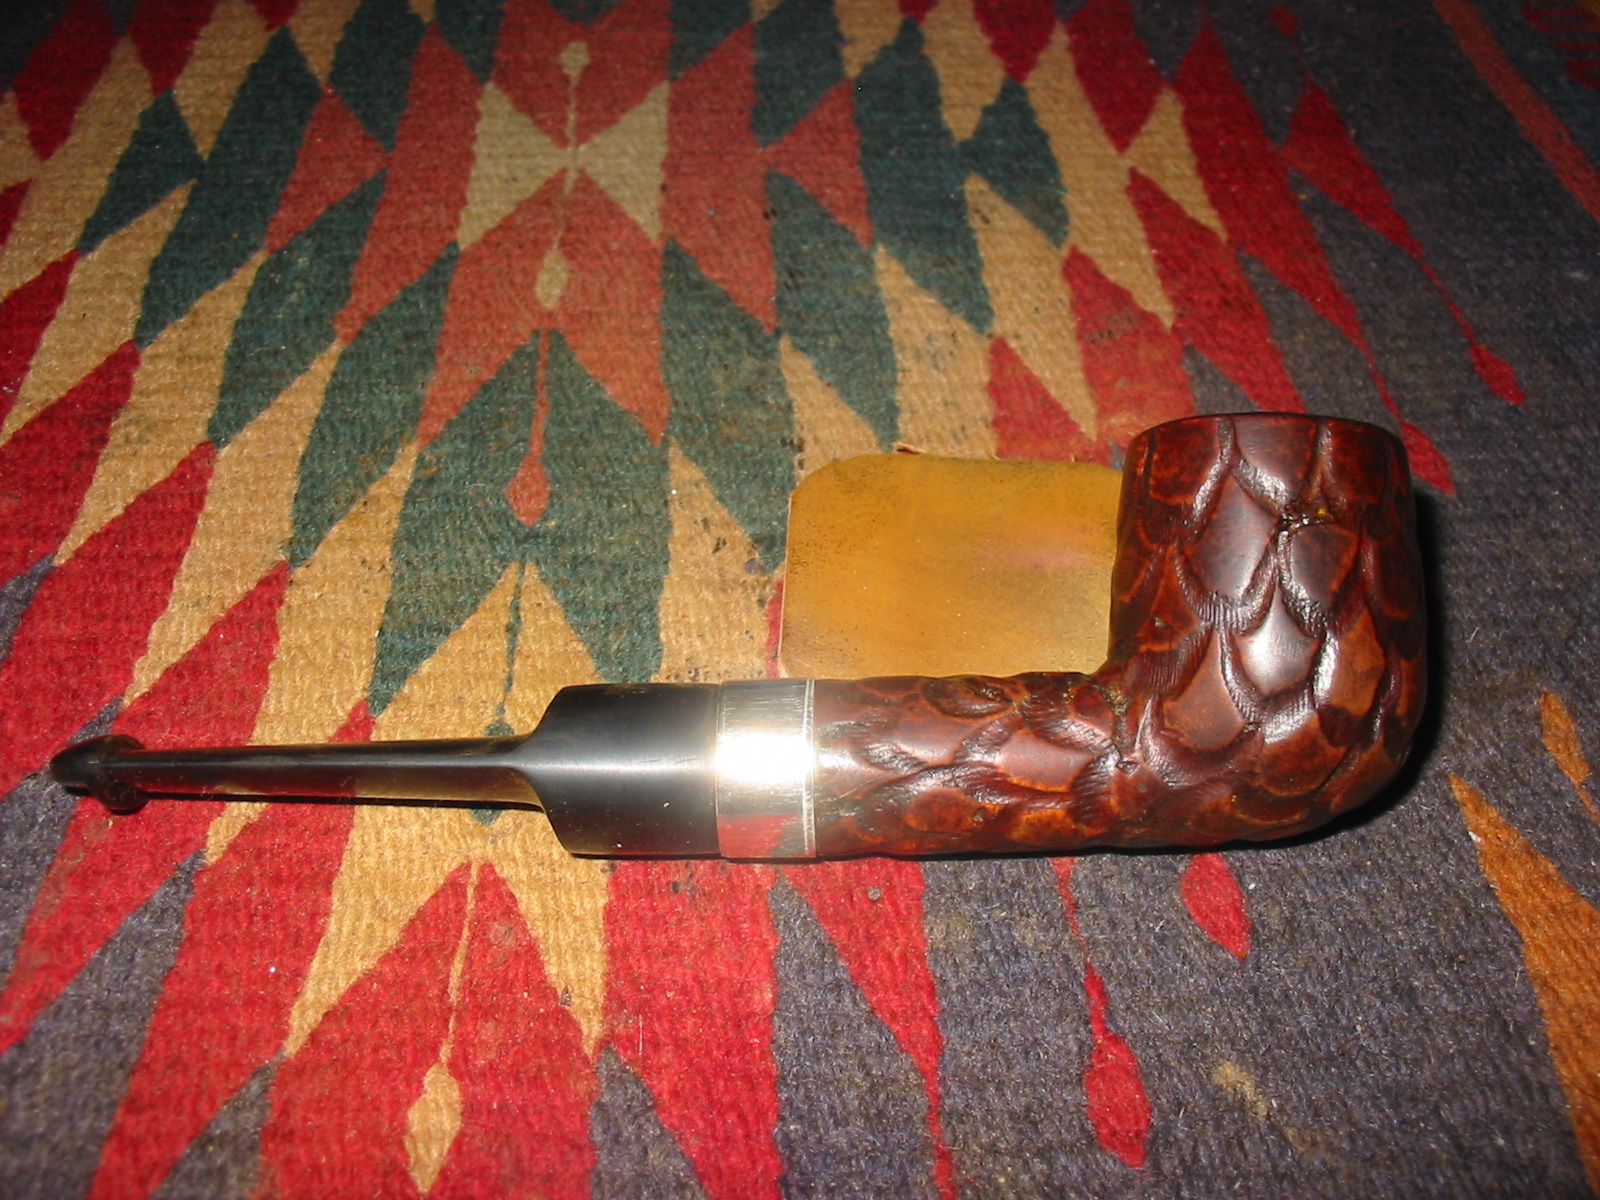
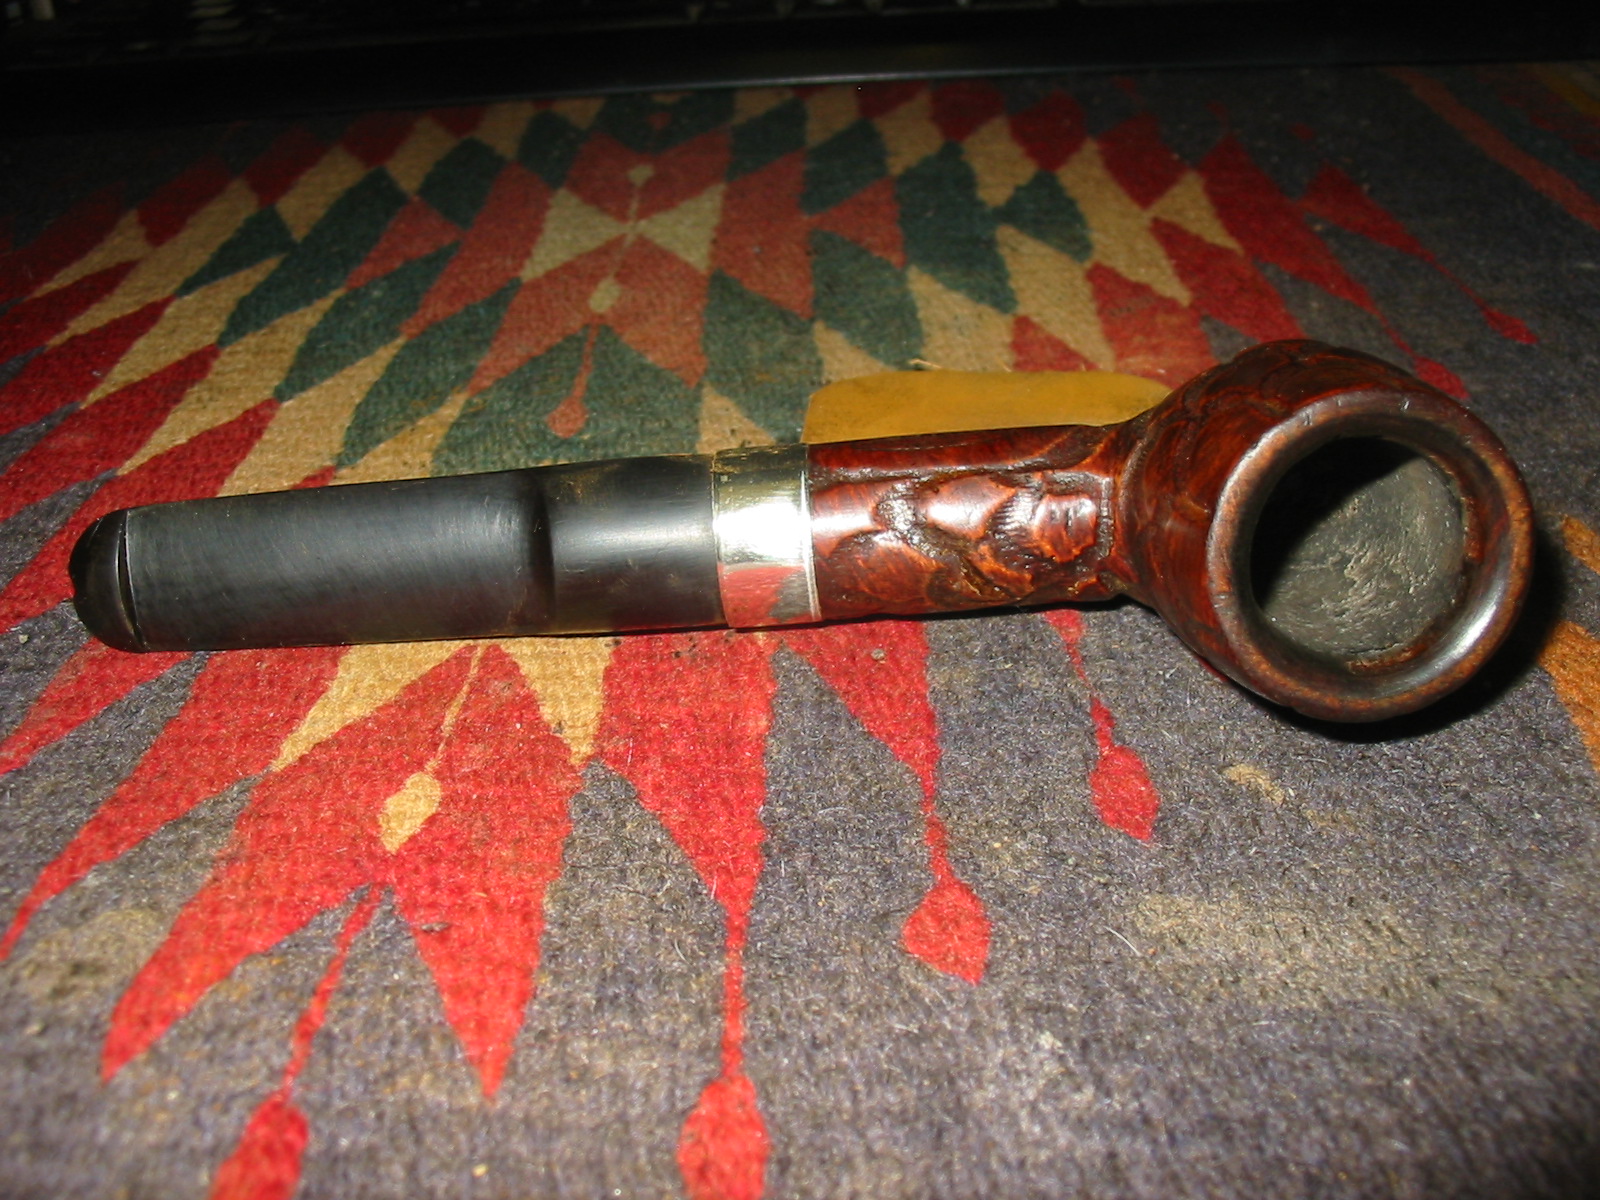
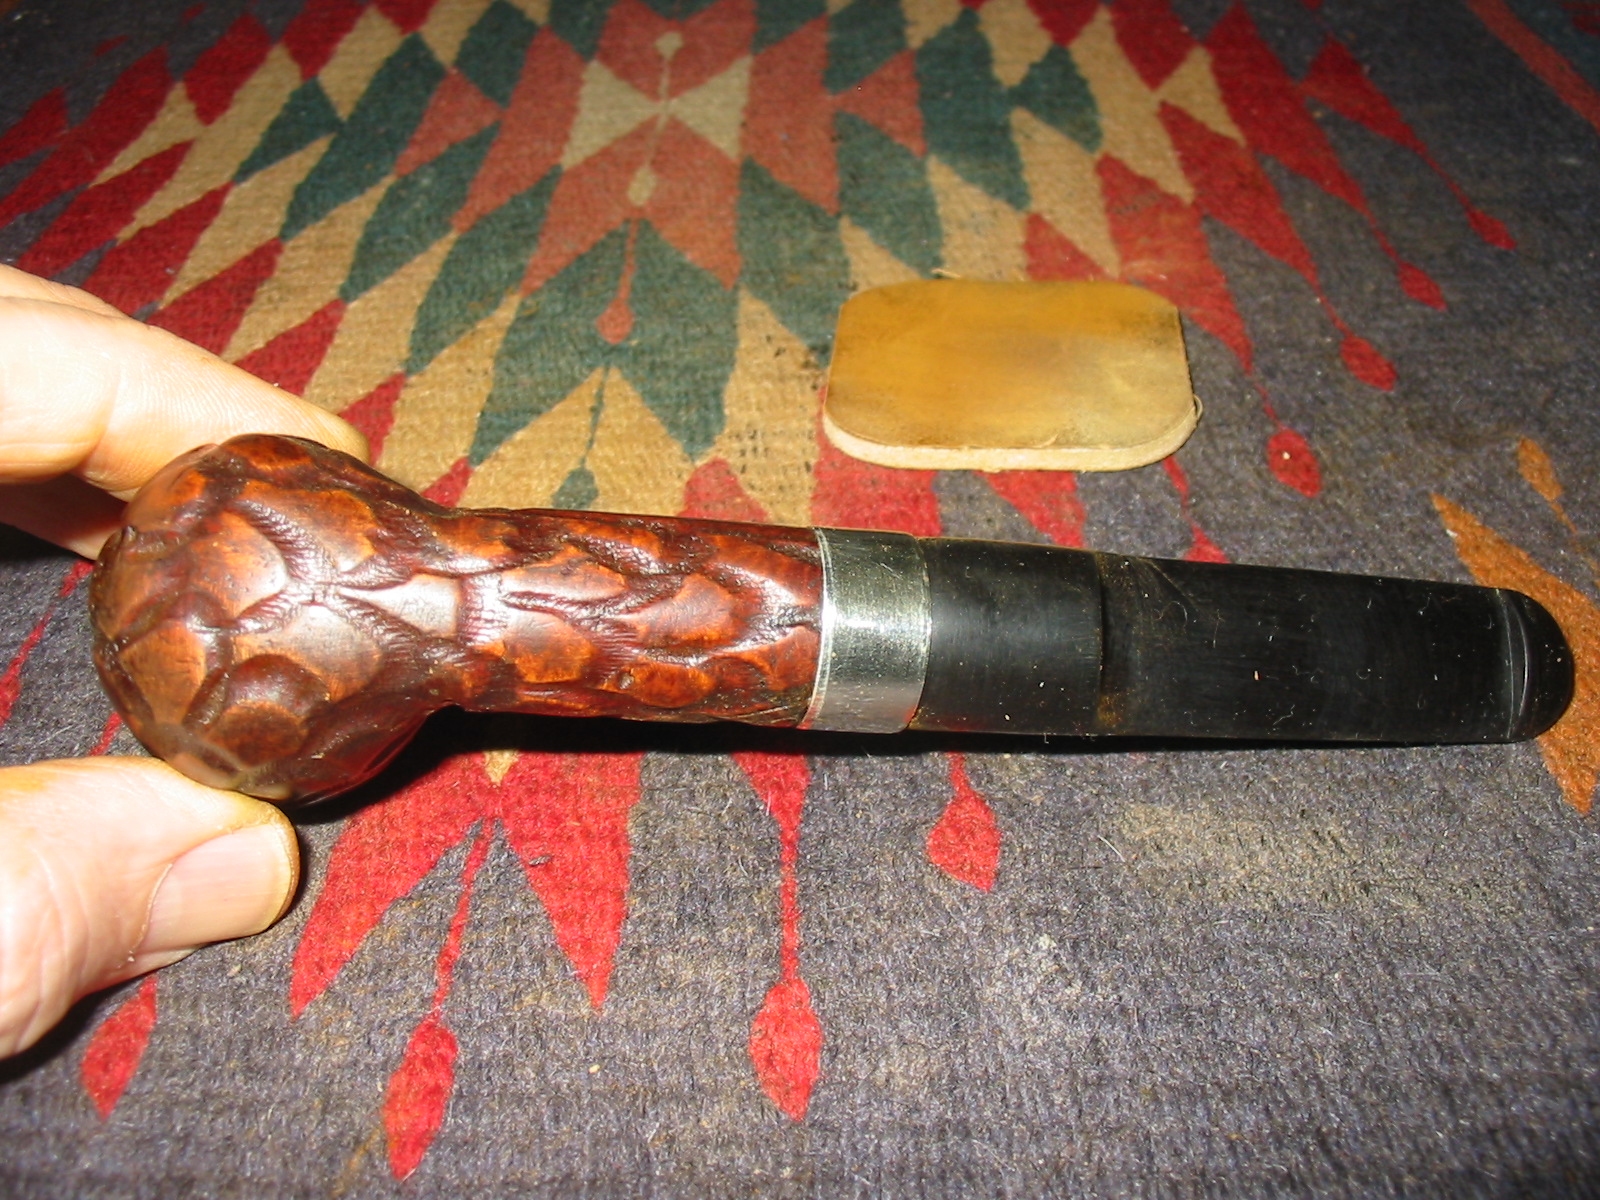
Yet another gift pipe is on the worktable. It is an interesting bowl. The exterior is carved with what looked like scales. There were several sandpits in the trails surrounding the scales. The shank had several cracks and looked as if it had previously sported a band. By appearances the band that was missing looked like it had been original rather than an addition for repairs. But the repairs were there nonetheless. The bowl was caked and the finish very dirty. It was worn away to a large degree. The fascinating part of the bowl was the drilling of the airway. The end of the mortise, which is quite large, is concave. At the end of the concave mortise there are two holes drilled looking like a colon “:”. The top hole is the airway leading into the bowl and the bottom hole is about a ½ inch deep and ends. With a stem in place the mortise looks to serve as a second chamber for cooling the smoke. The shank is stamped Bruyere over Extra in and oval with the ends flattened. There is no other stamping on the shank.
IMG_5462

IMG_5463

I went through my box of bands and found one that would work well on the cracked and repaired shank of the pipe. I also found a stem in my can of stems that would work well with this pipe. The tenon needed to be quite large in diameter to fit the large mortise. The stem I had was a faux Peterson stem. The airway was directly in the end of the button not on the top. Thus the look was Peterson like but the stem was actually a straight airway from tenon to button.
IMG_5460

IMG_5461

IMG_5464

I added some wood glue to the area of the shank that the band would be pressed on and then heated the band and pressed it onto the shank. I reamed the bowl with a PipNet reamer to take the cake back to bare wood. I also scrubbed the rim down as it had a chamfered inner edge around the bowl.
IMG_5466

IMG_5467

I wiped down the bowl with acetone on cotton pads to remove the remnants of the finish and to clean up the debris and dust in the carved trails between the scales on the bowl and shank. I picked out the debris in the flaws in the trails, scratched the surface surrounding the flawed areas and then packed in briar dust with a dental pick and dripped superglue into the dust. I lightly sanded the areas of the fills and wiped the bowl down again with acetone on the cotton pads.
IMG_5468

IMG_5474

IMG_5476

IMG_5477

IMG_5478

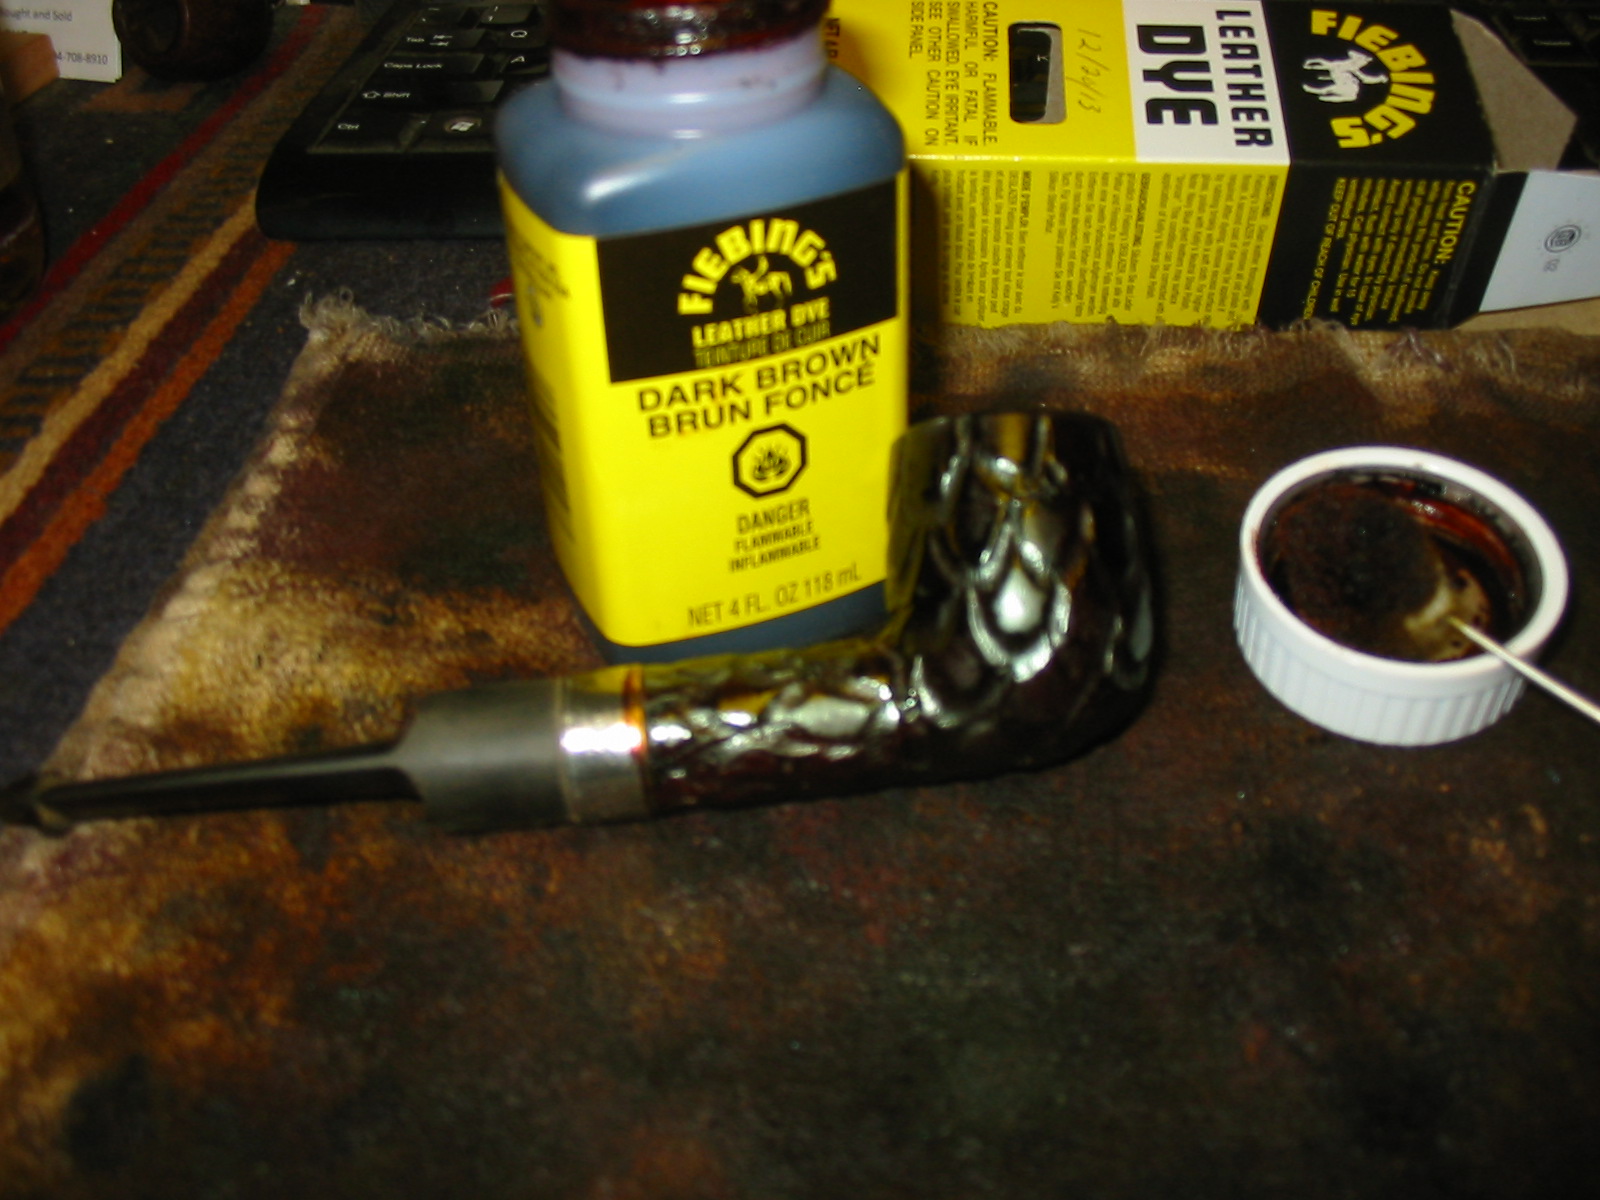
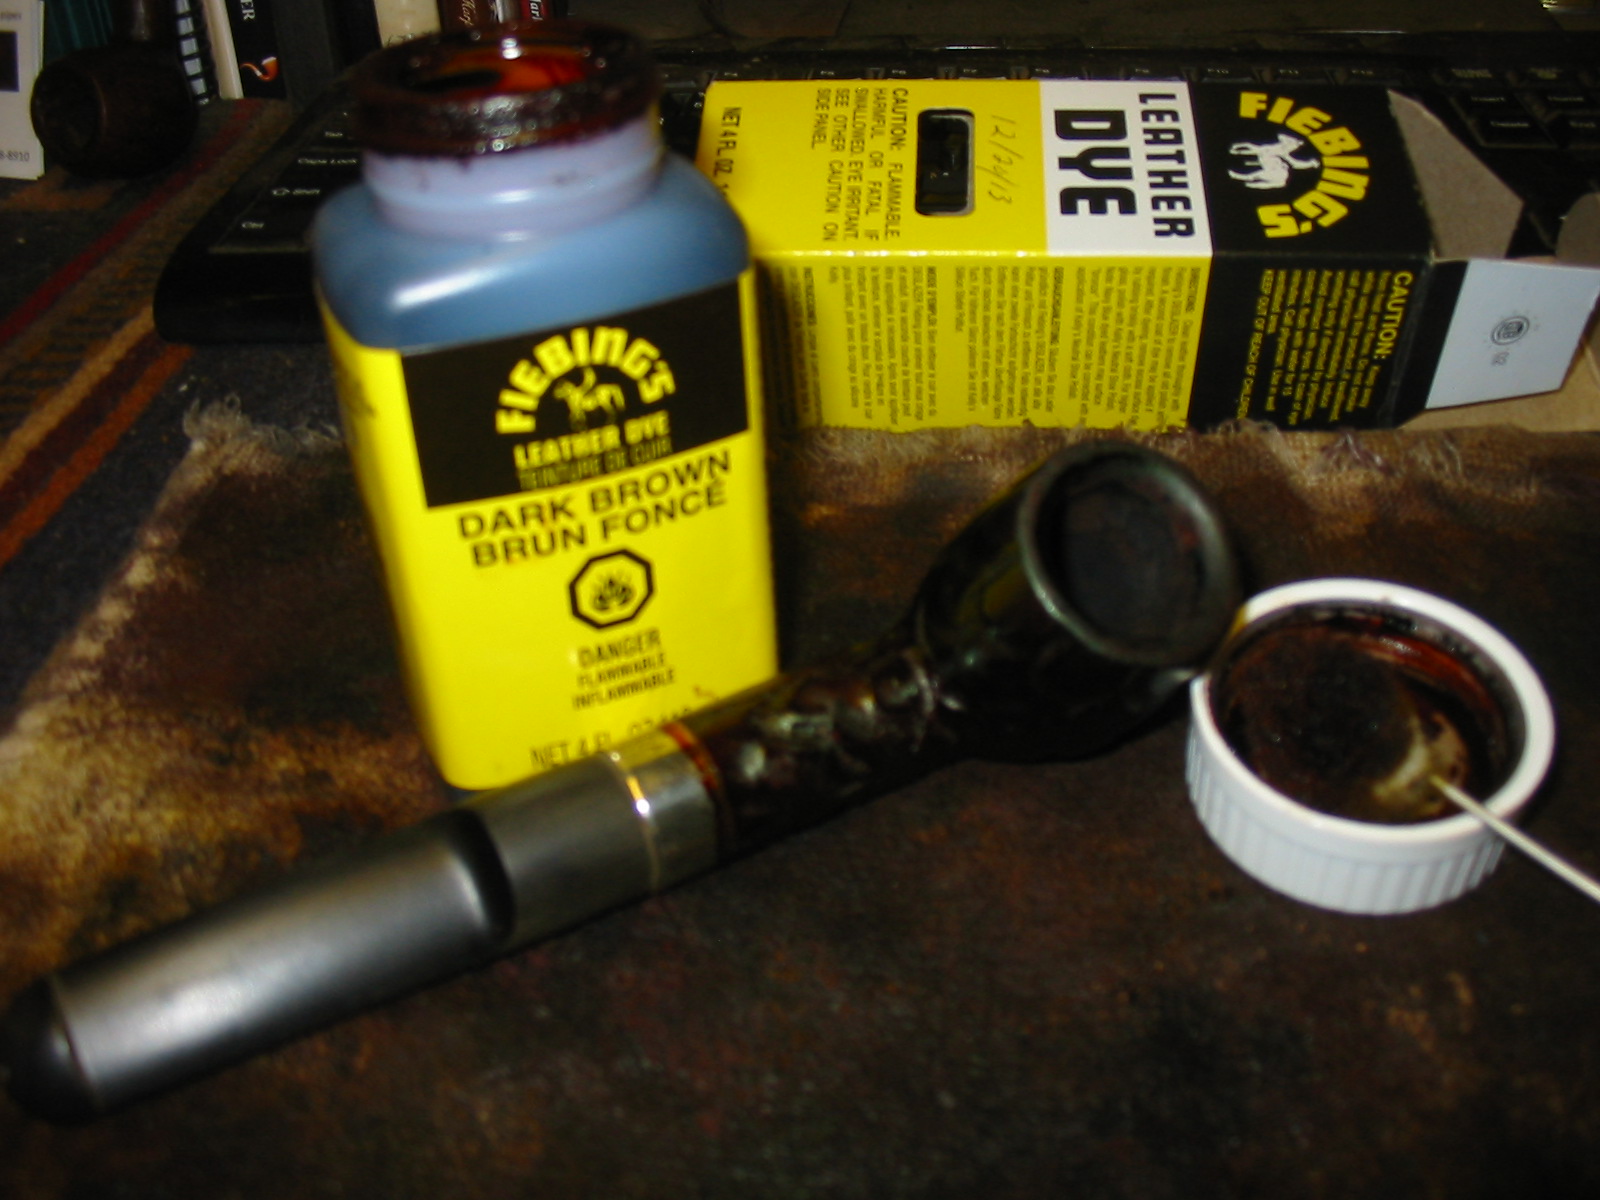
With the repairs completed, the band in place and the stem fitted to the shank it was time to stain the bowl. I wiped it down a final time to remove any remaining dust and debris before staining. I decided to use a dark brown aniline stain and applied it with the dauber that comes with the Feibings Shoe Dyes. The dauber works well on the wider grooves between the carved scales on the finish. I applied the stain, flamed the finish, reapplied the stain and flamed it again until the coverage of the stain was even.
IMG_5479

IMG_5480

I wanted a contrast to the finish – dark stain in the grooves of the trails and a bit more opaque stain on the surface of the scales so I wiped the bowl down with isopropyl alcohol to reduce the stain colour on the smooth surfaces of the finish.
IMG_5481

IMG_5483

IMG_5484

IMG_5485

I buffed the bowl with Red Tripoli and White Diamond on the buffing wheels to polish the bowl and give me an idea of the look of the finish once polished.
IMG_5486

IMG_5487

IMG_5488

IMG_5489

I sanded the smooth surfaces of the bowl with a 1500 grit micromesh sanding pad to further lighten the stain and allow the grain to pop through. The smooth surfaces had birdseye on most of them and I wanted that to stand out on the pipe.
IMG_5490

IMG_5491

IMG_5492

IMG_5493

I sanded the stem with 220 grit sandpaper to make the fit the shank even around the circumference of the saddle portion of the stem. I sanded it with medium and fine grit sanding sponges to remove the deeper scratches on the stem. I then used my normal line of micromesh sanding pads – wet sanding with 1500-2400 grit pads and dry sanding with 3200-12,000 grit pads. I also sanded the nickel band to polish it and remove the small scratches that were present in the finish.
IMG_5494

IMG_5495

IMG_5496

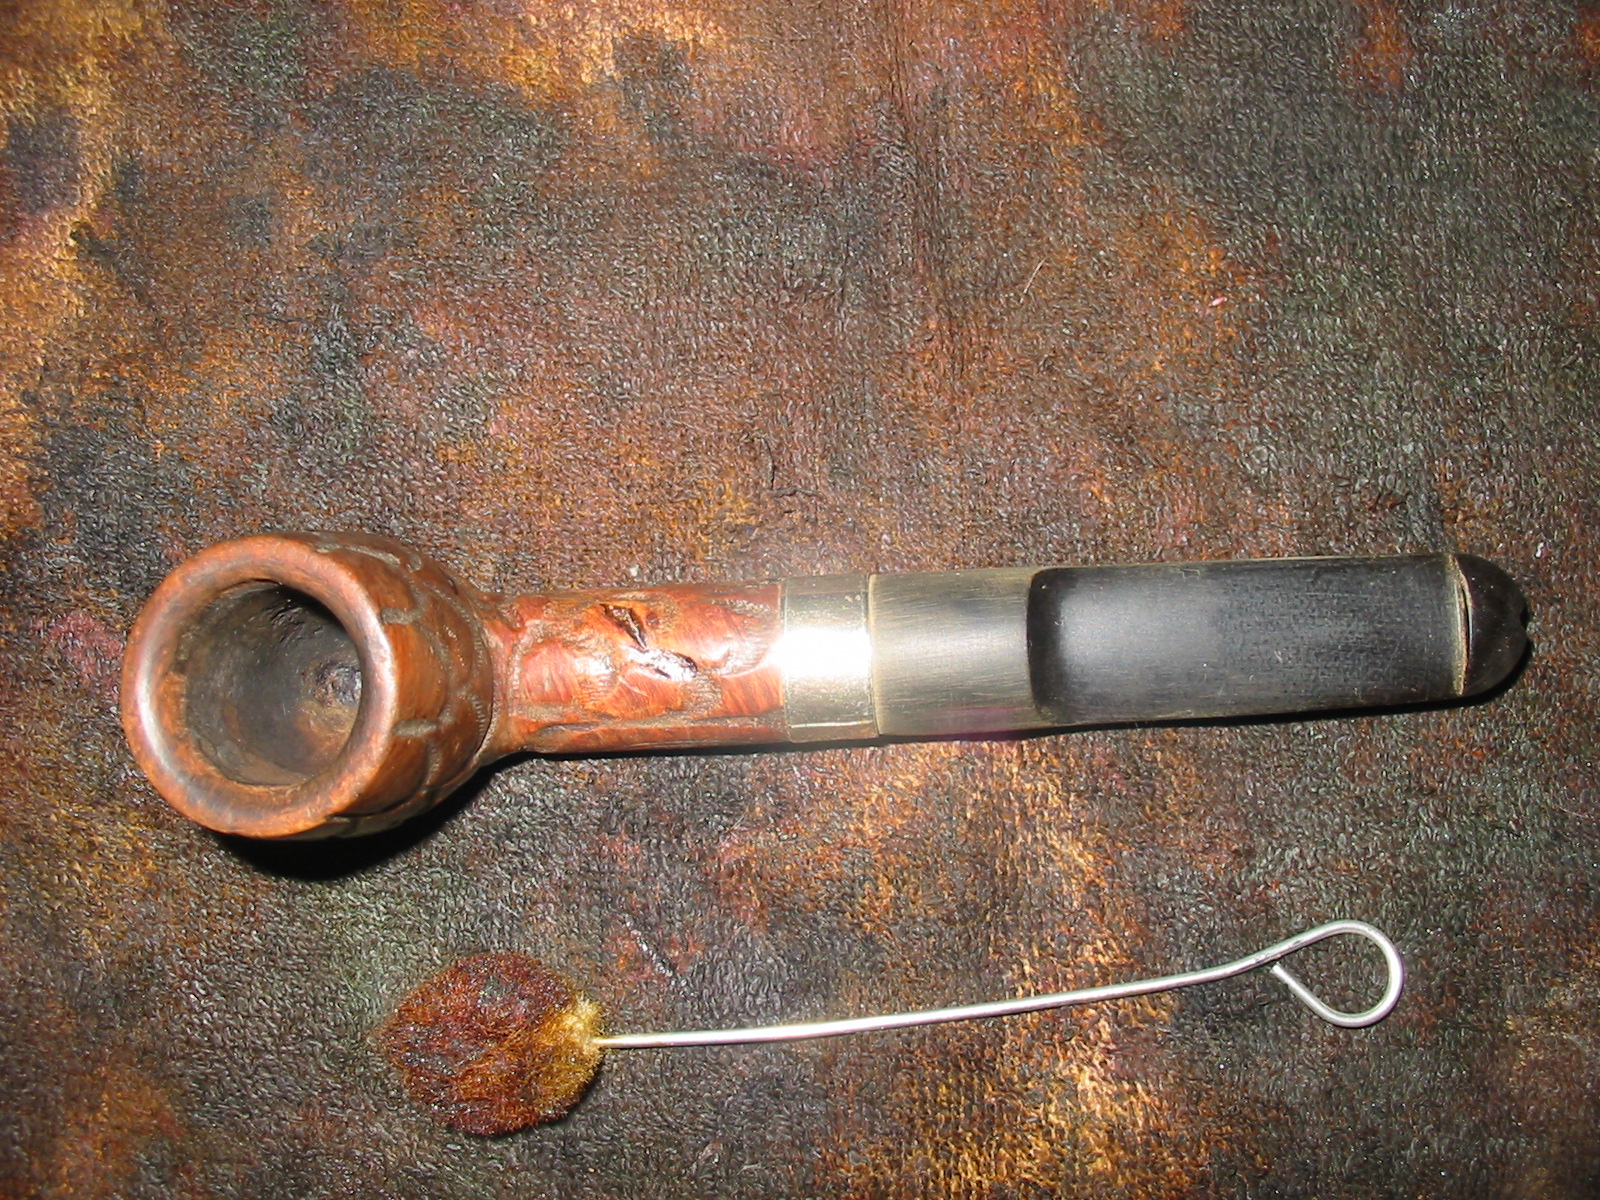
I rubbed the stem down with Obsidian Oil and once it was dry buffed the bowl and stem with White Diamond. I gave the pipe and stem multiple coats of carnauba wax and polished it with a clean flannel buff to finish the process. The old pipe has a new look and a great feel. I look forward to giving it a try to see how the second chamber – the reverse calabash actually works on this pipe. The photos below show the finished pipe ready to use!
IMG_5497

IMG_5498

IMG_5499

IMG_5500

Giving New Life to a no-name Sandblast Apple


I was gifted this old apple bowl. It was a nicely shaped apple with a light sandblast finish. There were some significant problems with flaws and crevices in the bowl. The major flaw was on the right side of the bowl toward the top and on the top of the rim itself. It extended into the bowl for about a ¼ inch. There was no cake or build up and the bowl seemed clean and lightly smoked if smoked at all. It had a rounded shank so it was clear that the original stem had been a stick bit of some sort – though sadly it was lost. I had it sitting in my box of pipes to be refurbed for awhile while I worked on other pipes. Its turn finally came up.
IMG_5419

IMG_5422

IMG_5421

IMG_5420

I went through my can of stems and found the kind of stick bit free hand style stem I thought would look good on this pipe.
IMG_5418

I turned the tenon end of the stem with a PIMO tenon turning tool and then used the Dremel and sanding drum and finally some hand sanding with 220 grit sandpaper to get the stem to fit well in the mortise of the shank. With the fit nice and snug I would need to sand the saddle area and clean up the tenon to make it shine.
IMG_5426

IMG_5427

IMG_5428

IMG_5429

IMG_5430

I cleaned up the crevices with a cotton swab and dental pick and isopropyl alcohol. I then packed some briar dust into the filled crevices and dripped super glue into the briar dust. I repeated the process until the flaws were filled and the surface of the bowl and rim bulged slightly. I sanded the rim and the fill on the side with 220 grit sandpaper to remove the excess fill. I scratched the surface with the dental pick to give it a similar texture to the surround sandblasted bowl. I sanded the saddle on the stem at the same time with 220 grit sandpaper. I finished the repair and the saddle area with a medium and a fine grit sanding sponge.
IMG_5431

IMG_5432

IMG_5433

Once the area was filled and the texture finished it was time to stain the pipe. I decided to use a dark brown aniline stain that I would later wipe down with alcohol to give more transparency and aid in a contrast on the surface of the bowl. I wiped down the surface of the bowl with isopropyl alcohol before staining the bowl to remove the dust. I applied the stain and flamed the bowl and repeated the process until the coverage was even.
IMG_5434

IMG_5435

IMG_5436

IMG_5437

I wiped the bowl down with isopropyl alcohol on cotton pads to give the stain some more transparency and to lighten it.
IMG_5440

IMG_5441

IMG_5442

I buffed the bowl with a light touch on the buffer using White Diamond. I took it back to the work table and hand buffed it with a shoe brush to give it a shine. There were spots on the shank and the bowl where I would need to touch up the stain as it was too light and shiny.
IMG_5443

IMG_5444

IMG_5445

IMG_5446

Once the coverage looked good I gave the bowl a coat of oxblood aniline stain to build a contrast. In the photos below you can see the way it worked to highlight the blast and show the grain. The birdseye grain under the blast on the left side of the bowl showed up with a nice contrast look.
IMG_5447

IMG_5448

IMG_5449

IMG_5450

I worked over the stem with micromesh sanding pads using the 1500-2400 grit pads to sand the surface of the bowl and give it more contrast with the crevices in the blast. I polished the stem with my usual pattern of micromesh pads – wet sanding with the 1500-2400 grit pads and dry sanding with the 3200-12,000 grit pads. I rubbed the stem down with Obsidian Oil and let it soak in. When it had dried I hand buffed the stem.
IMG_5451

IMG_5452

IMG_5453

I buffed the pipe and the stem with White Diamond and then gave it multiple coats of carnauba wax. I buffed it with a clean flannel buff to raise the shine on the bowl. The finished pipe is shown in the photos below.
IMG_5454

IMG_5455

IMG_5456

IMG_5457

In closing I include two photos of the repaired areas of the bowl to show the finished repair. The super glue and briar dust repair worked well and is quite hidden by the stain and finish work. The trick was not to overfill the areas surrounding the crevice so that the filled area would blend into the texture of the bowl. I am pleased with the finished product.
IMG_5458

IMG_5459

Kaywoodie Ruf-Tone


I thought I would share this post on a blog I follow by reserected pipes. In it he comments on using a grinding tip on his Dremel to remove a heavy finish on the old KW spiral. He did a great job on it and I want to direct you to have a look at his work. Thanks.

ReserectedPipes's avatarReserectedPipes

I found this Kaywoodie on eBay a couple of months ago and have been trying to decide what to do with it. It showed OK in the pictures and when I received it it had showed promise.

You can see by the shape of it, the thread style, that it had several different layers of finish on it. The cake in the bowl was irregular but not too bad. The rim is tarred and looked like it had been scraped.

The  first thing I did was to remove the cake and use salt and alcohol to clean it. The rim needed a lot of attention so I sanded it on a table top with 320 grit sand paper.

Next, I took the bowl and soaked it in an alcohol bath to loosen the finish.

Once it came  out of the bath I had to use various means to get the…

View original post 228 more words

An Edwards 7377 Pipe Cleaned & Repaired


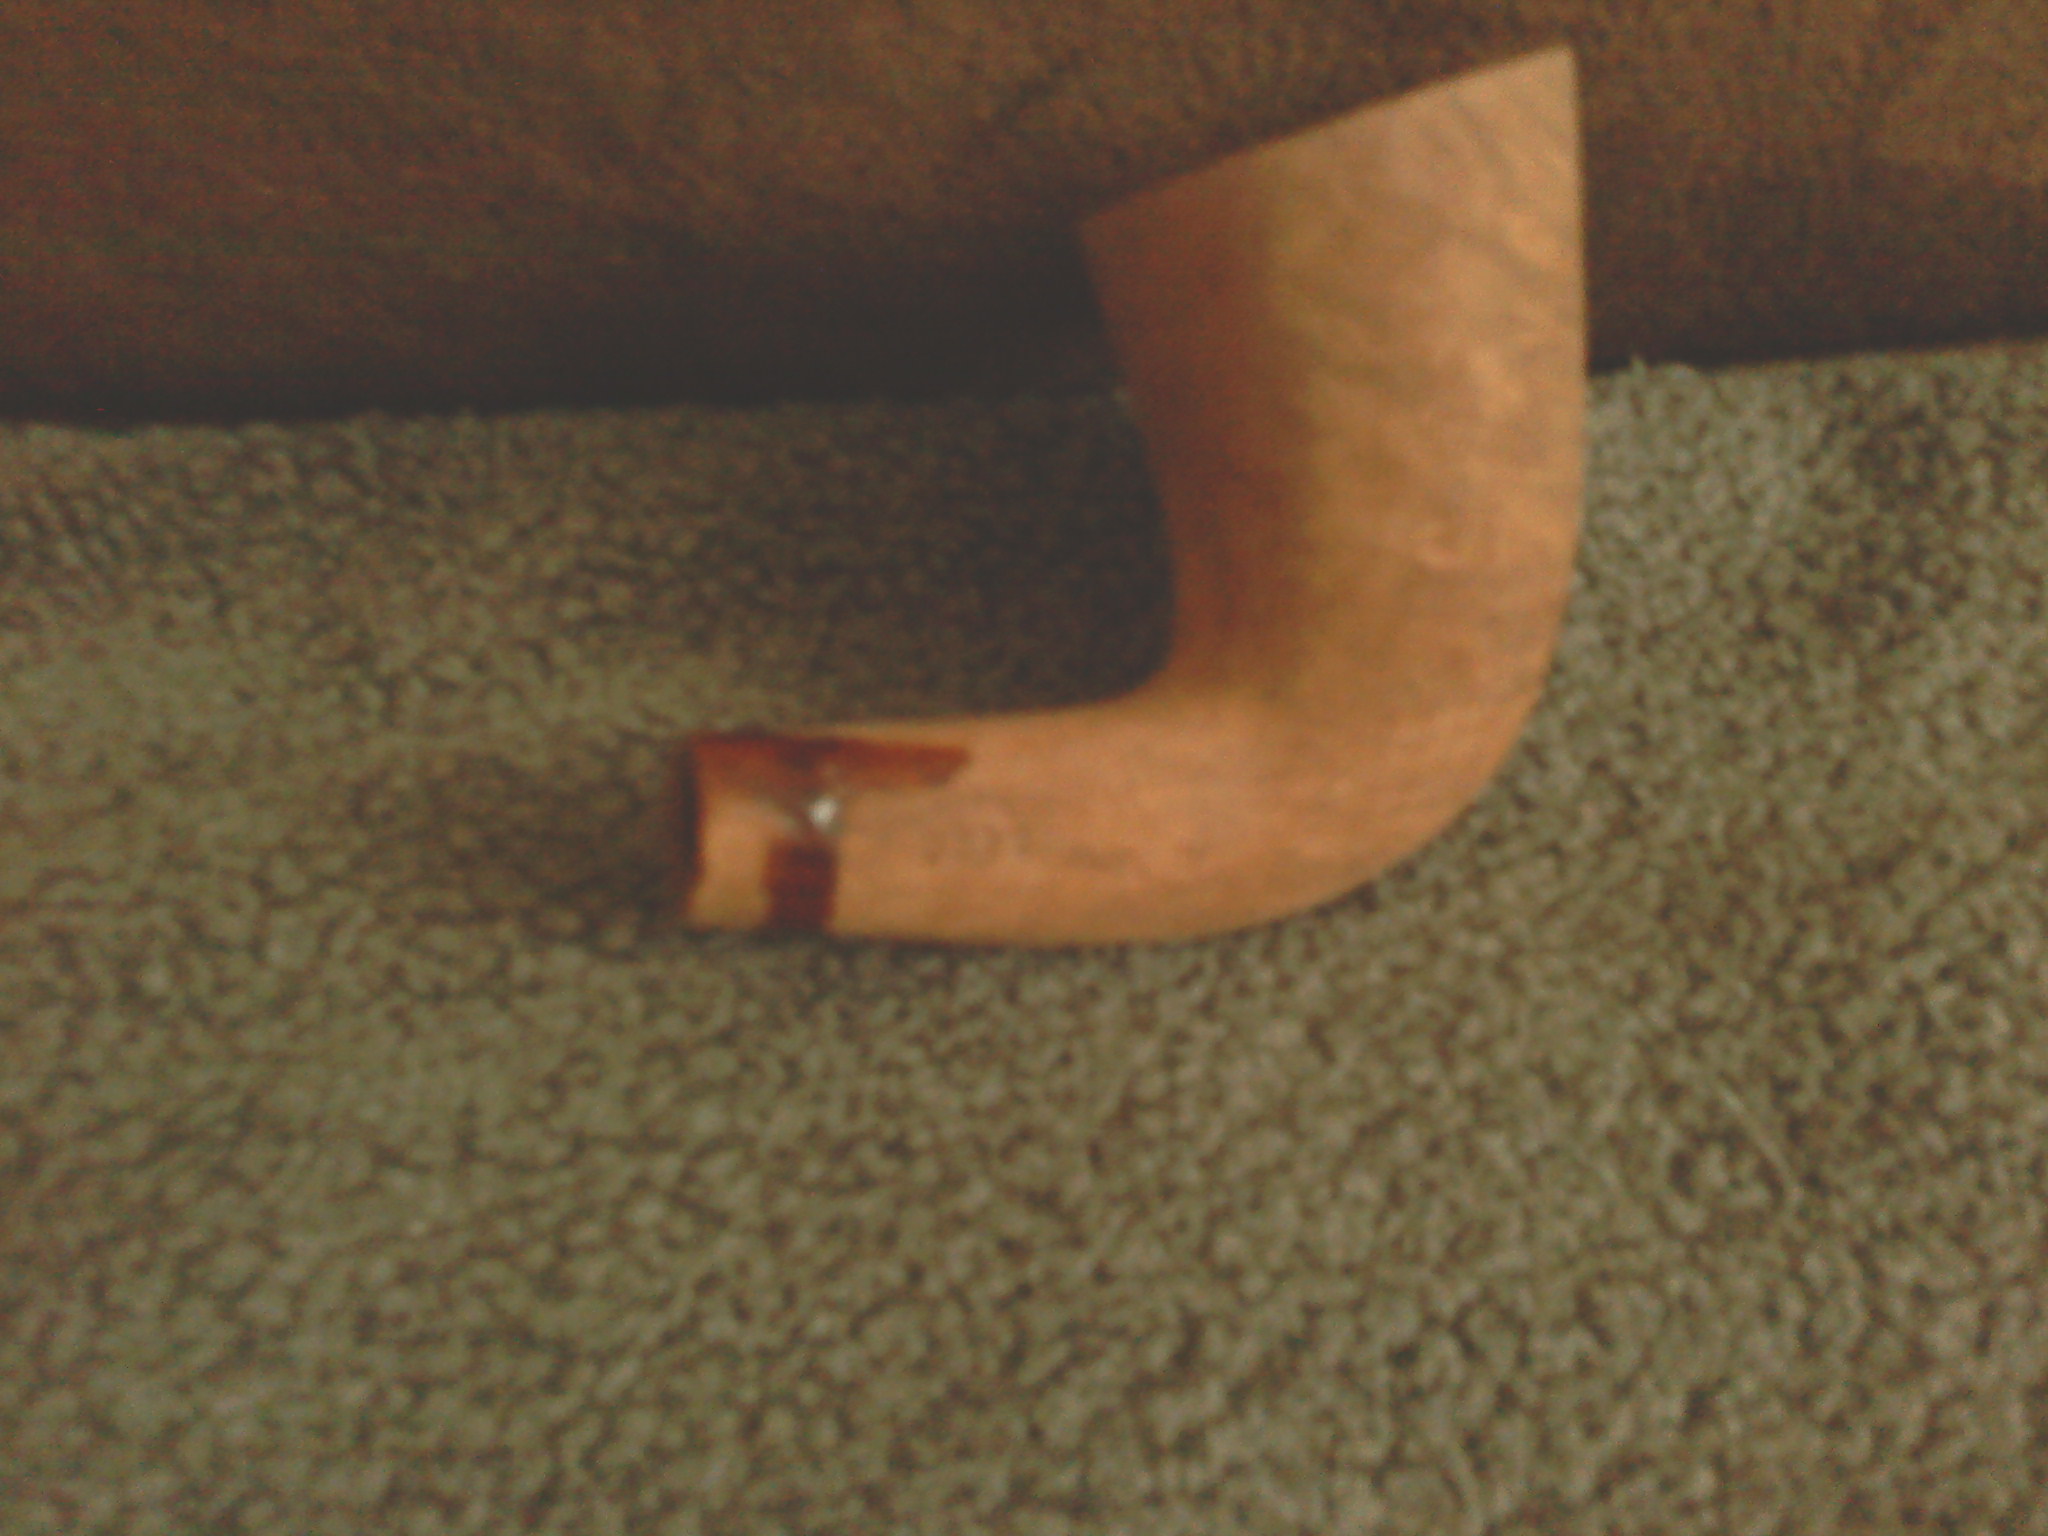
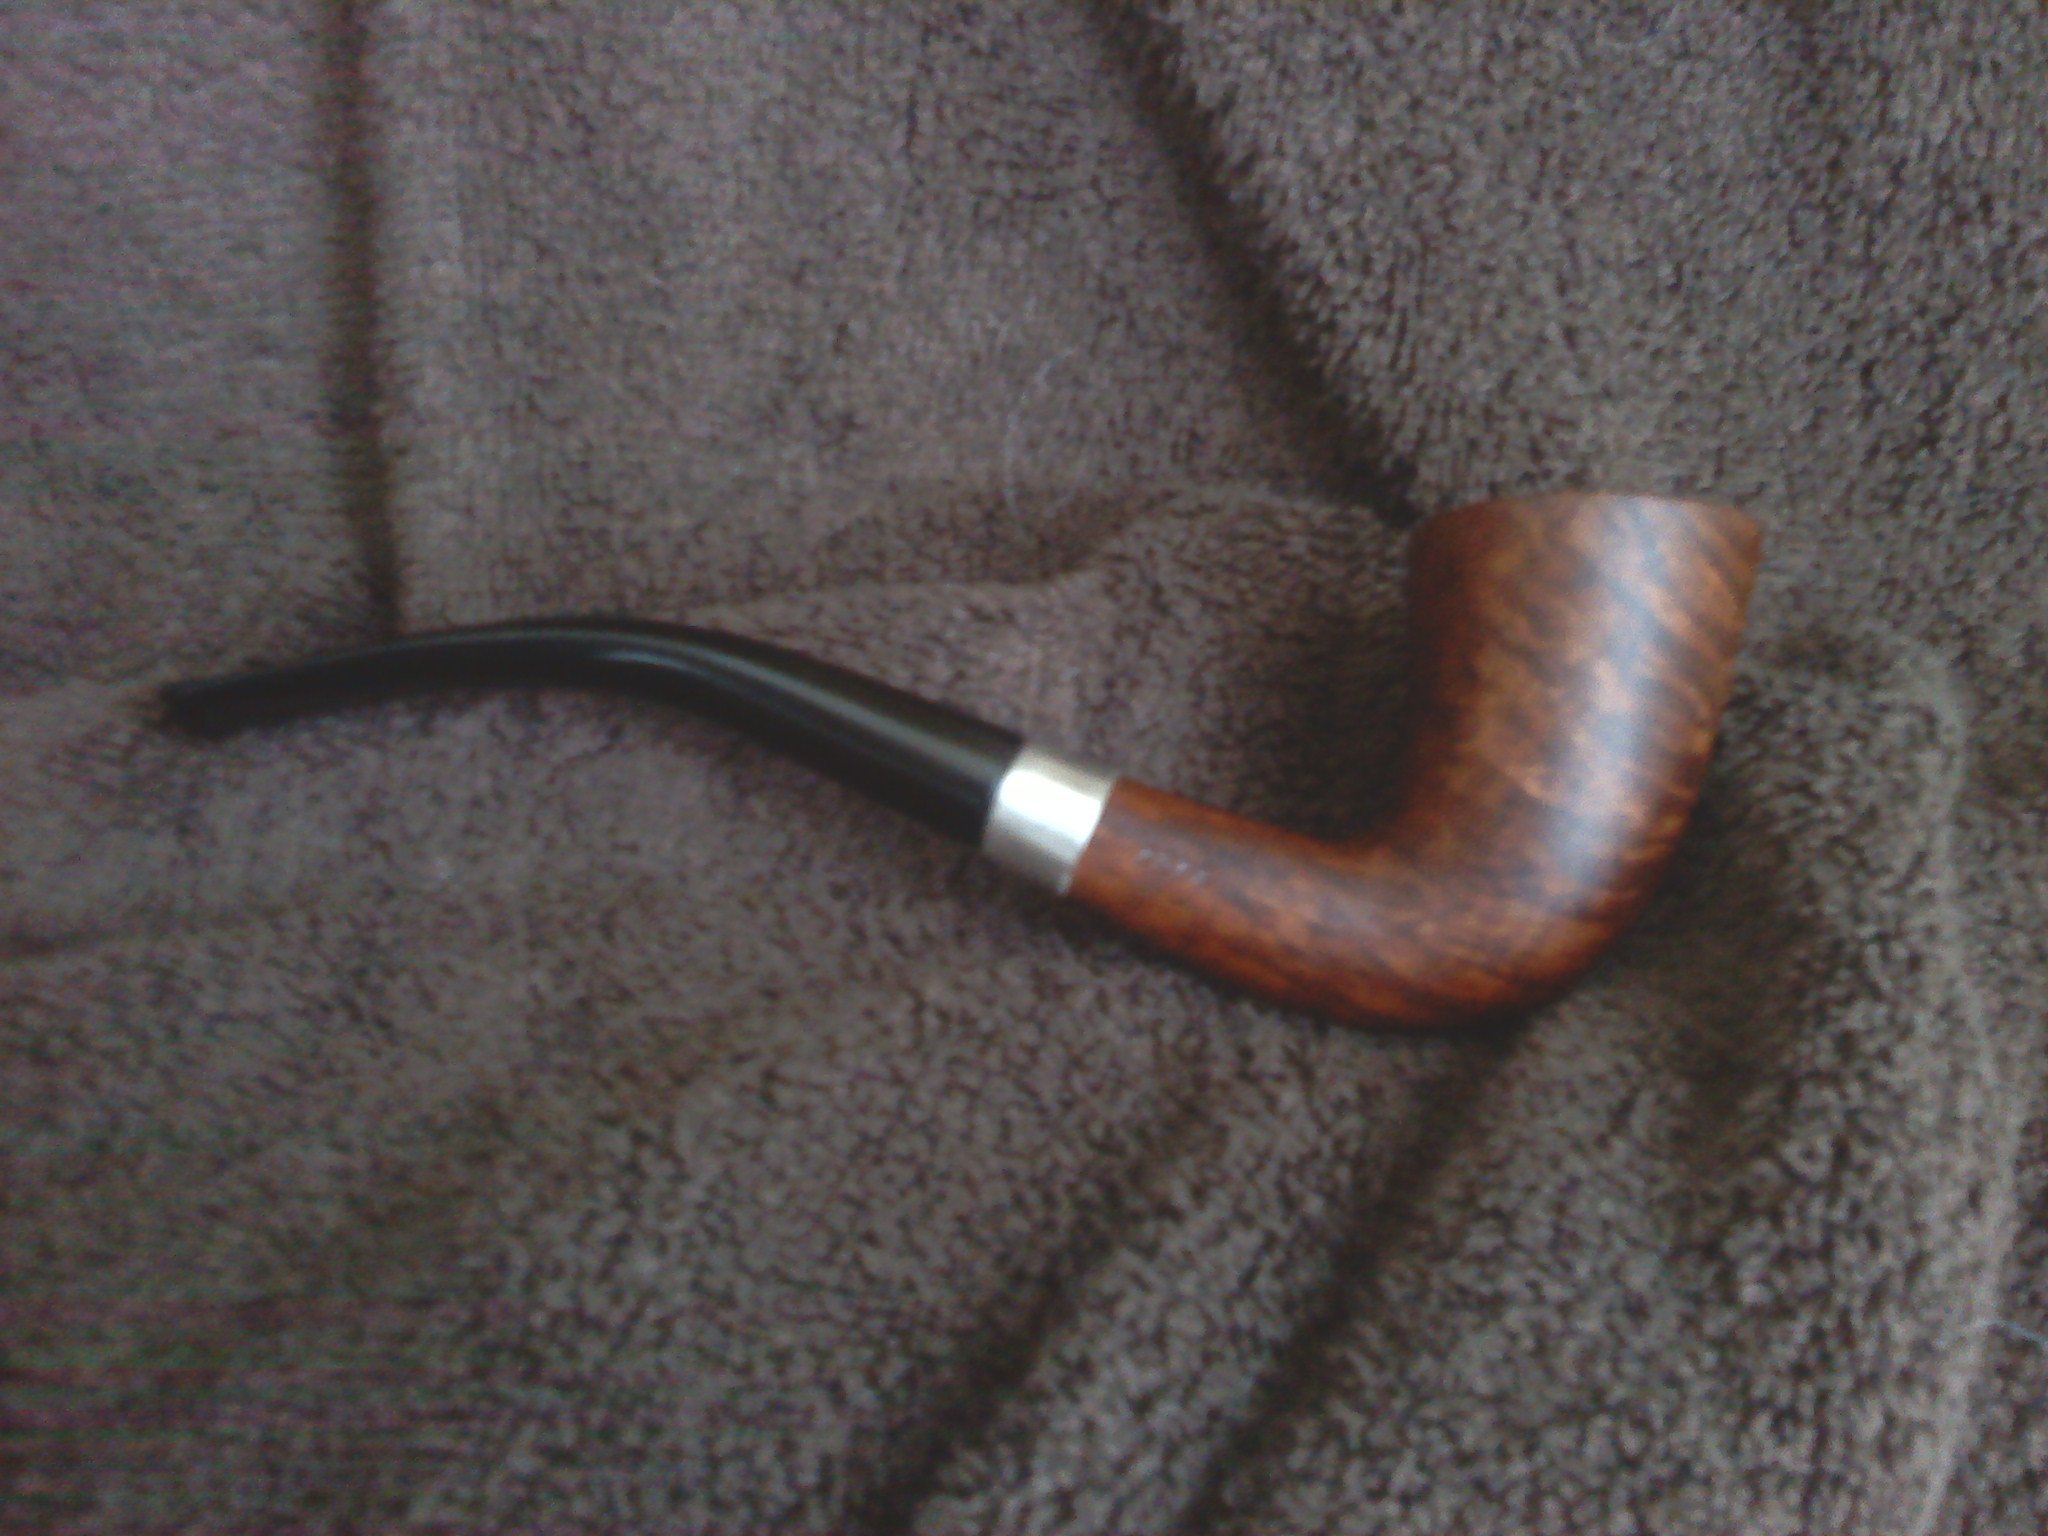
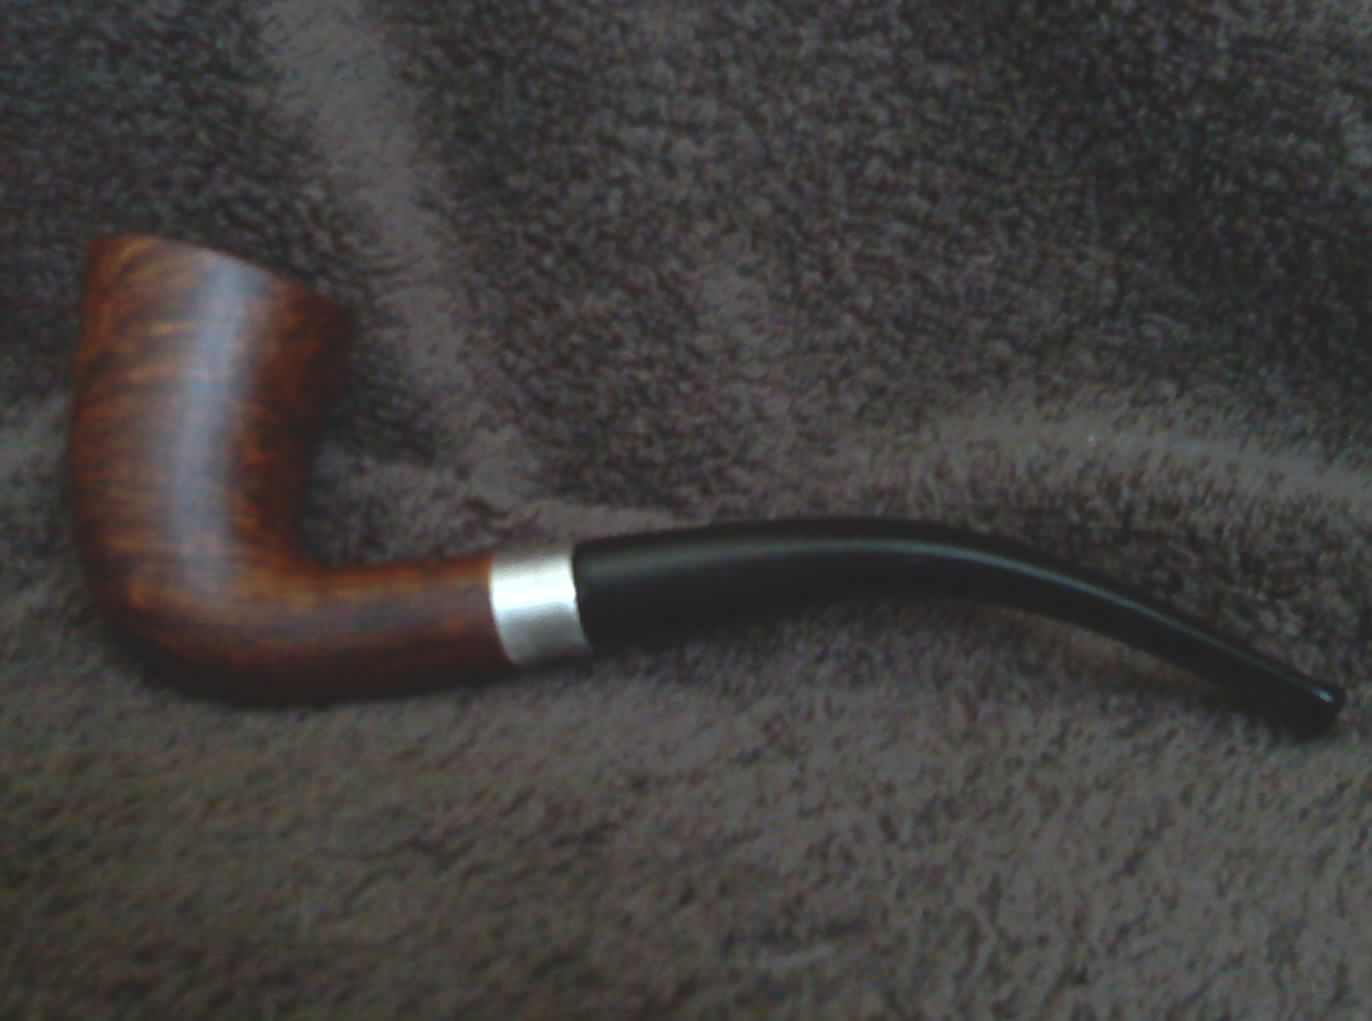
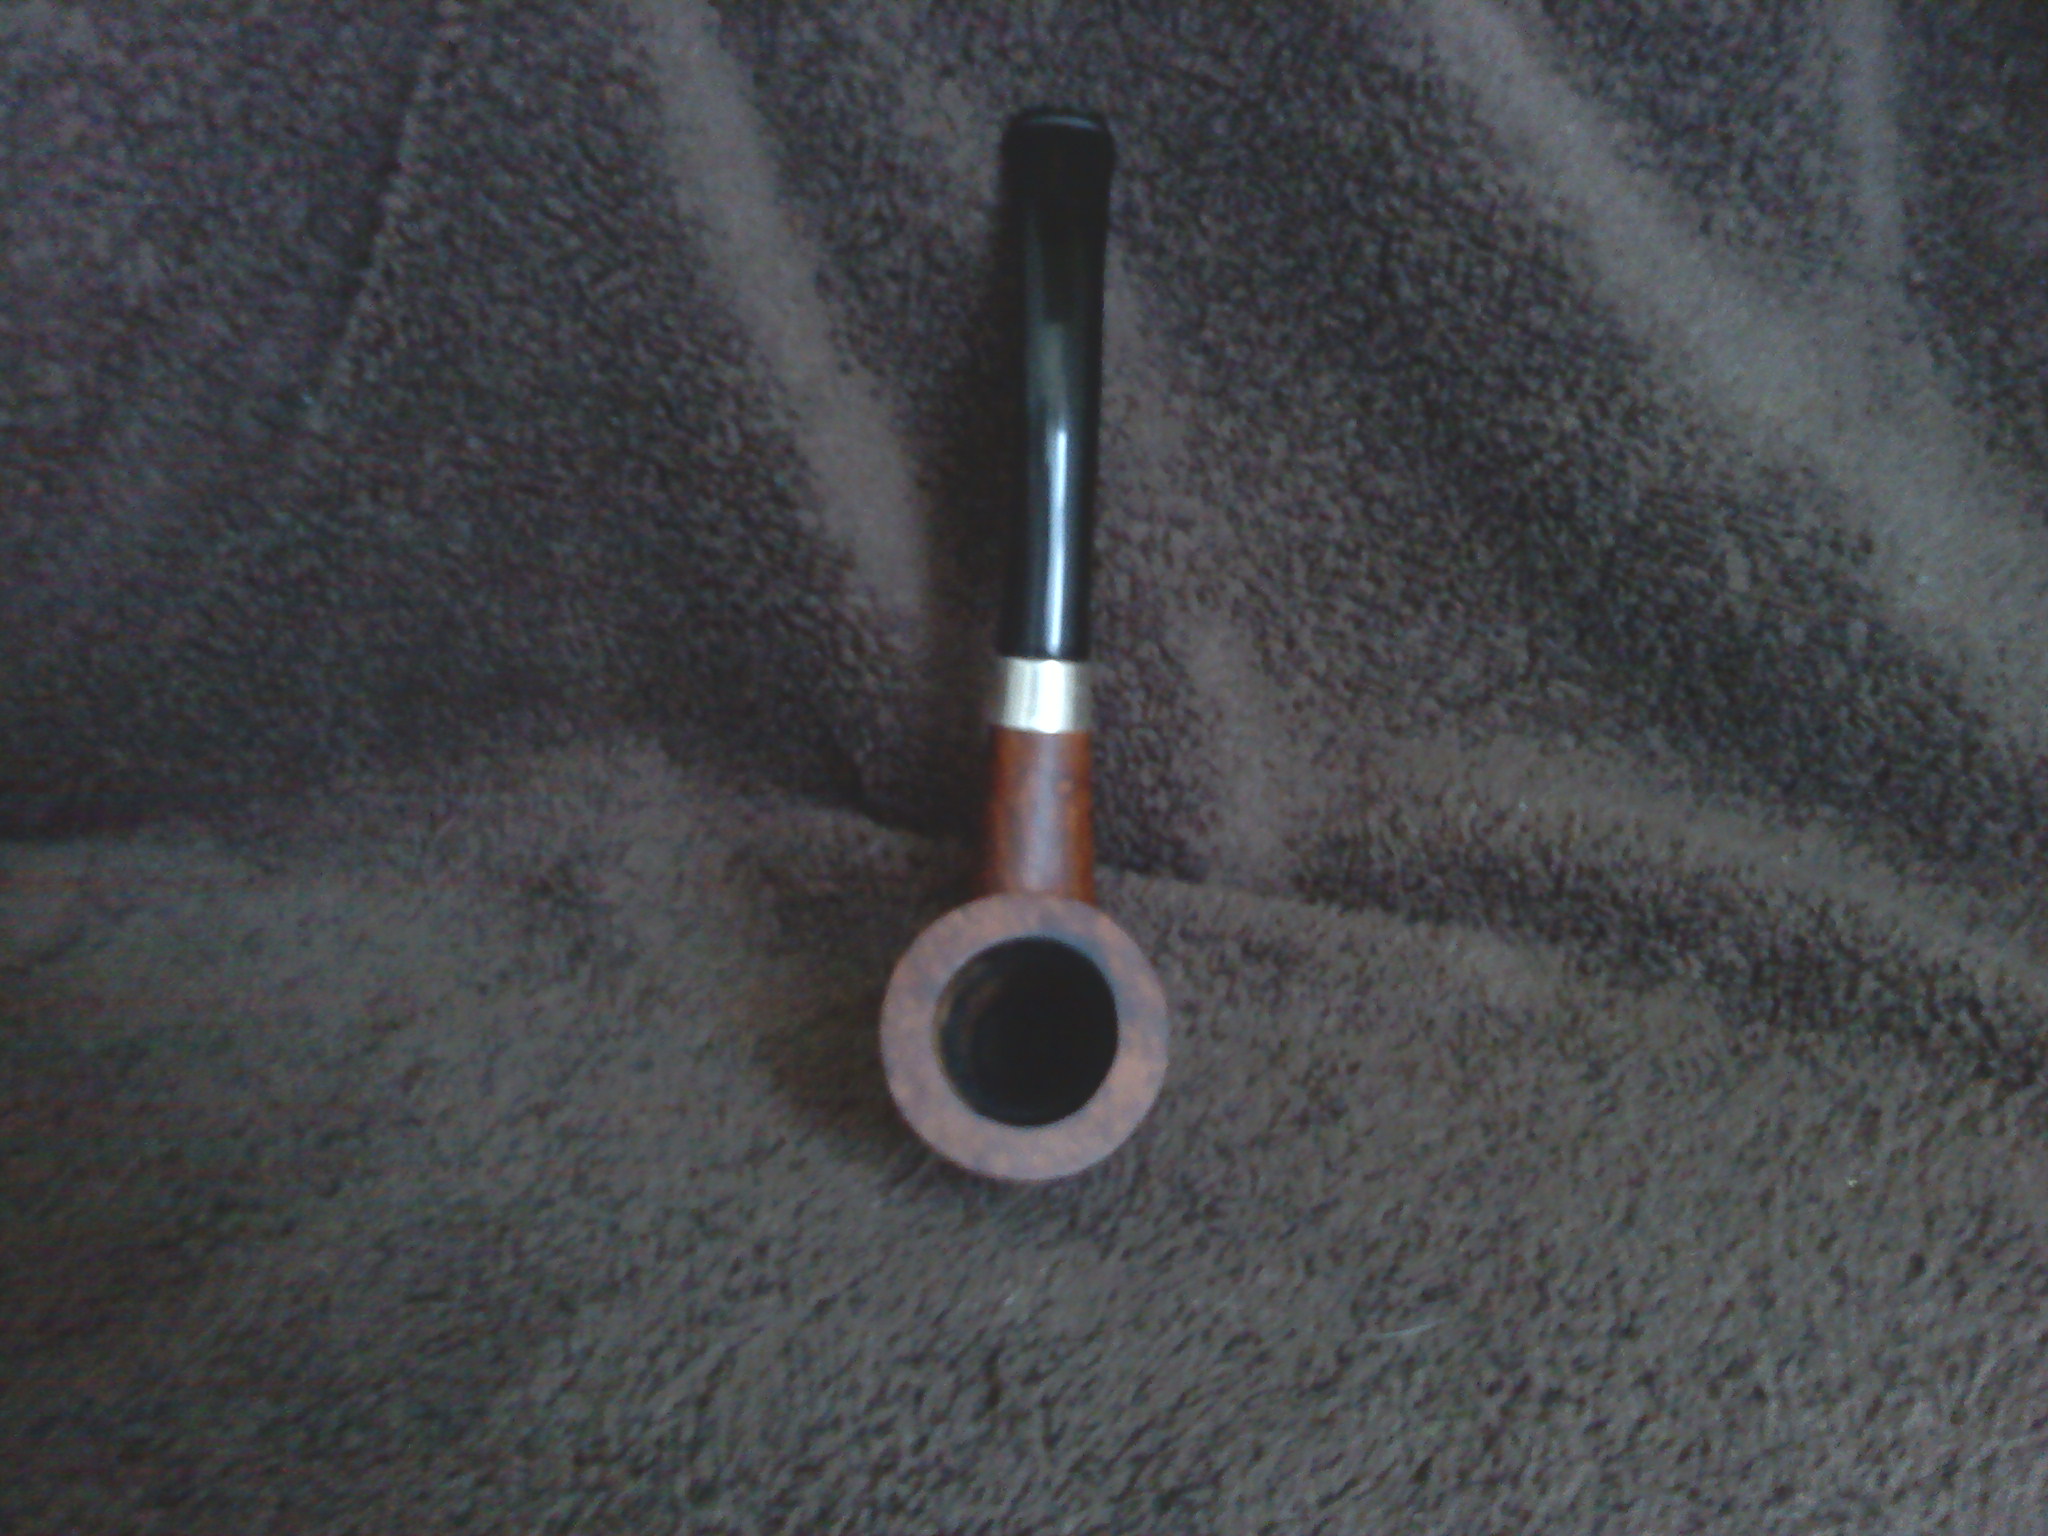
I first talked with Morty from Ontario on Pipe Smokers Unlimited online forums (PSU). She had found an old Altesse Briar with an Amber stem and found that I had the same pipe. In fact from what we could find and the responses we got we had the only two around! We exchanged quite a few emails and I did a few repairs and some stems for her. She has caught the refurbishing bug and has posted quite a few pictures of her work on the PSU Pipe Restoration Forum. She has been smoking a pipe off and on most of her adult life. She enjoys buying old estate pipes and cleaning them up and refurbishing them. She says that she has learned much from the blog and from other members on PSU. I have enjoyed seeing her work and have asked her to write-up some of her work and post it on rebornpipes for others to enjoy. Thanks Morty for being willing to do this for us. Enjoy this first post she has provided. I love the lines of this old pipe and the grain. Morty did a great job on restoring it. Without further introduction I give you Morty’s own words regarding this refurb.

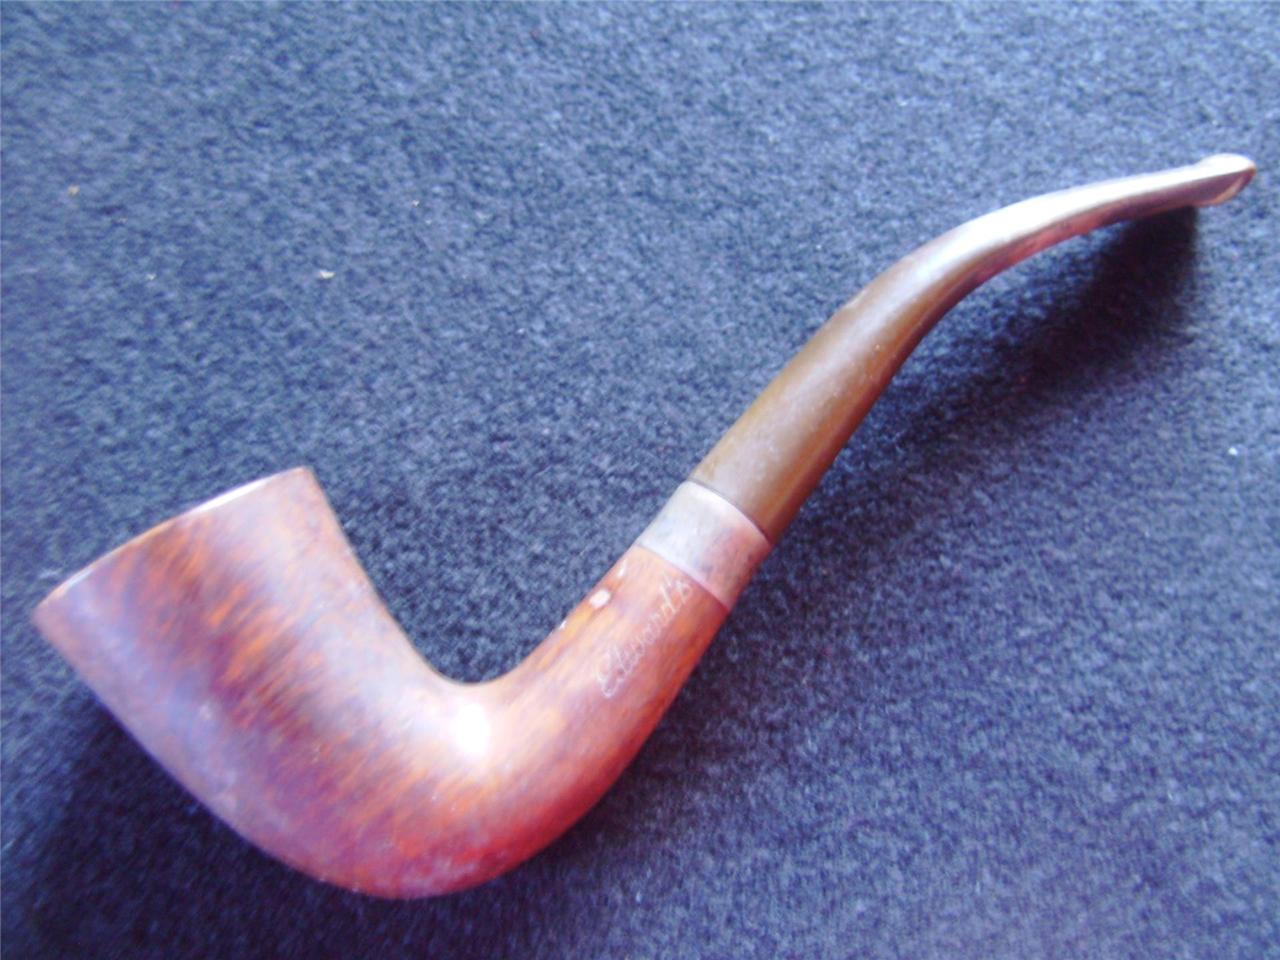
I bought this Edward 7377 Long Bent Stem Pipe that was in bad condition and needed quite a bit of TLC.
morty1

I first reamed the bowl, did an alcohol and salt treatment. The bowl shank had a crack that was mostly covered by the silver band. I sanded the bowl with 100 grit, 220 grit sandpaper, and used medium and fine grit sanding sponges. I also topped the bowl as it had some slight char and some nicks that the topping easily dealt with.

I continued sanding the bowl with very fine grit sand paper before I dealt with the crack.
The crack in parts went right through, I wiped down the bowl with acetone to remove any remaining dirt and dust. I super glued the crack. allowing some to soak through to the inside.
I left this to set overnight.
morty2

I soaked the stem in Oxy Clean overnight as well. The next day I first removed most of the raised oxidation by scrubbing it down with a Magic Eraser, I find this makes the next steps easier and go much more quickly. The Magic Eraser removed most of the oxidation, I wet sanded with 1500 – 2400 grit, dry sanding with 3200 – 12,000 grit micromesh pads. Cleaned the inside of the stem with a test tube brush, and with many soft and bristle pipe cleaners, making sure the button is also spotless. Finally when the pipe cleaners come out spotless I will run a soft pipe cleaner through with Rum 151, this not only sanitizes the stem it can also grab any missed gunk.

I cleaned the silver band with fine steel wool. The next day I worked on the crack that was set now with the super glue. I sanded this down carefully and replaced the now clean silver band. The bowl cleaned up well as did the stem. I decided to use Olive Oil to bring out the grain, but also to darken the bowl a bit. Following Coastie’s (John William’s) method, I applied a small amount, rubbed it in with my hands, removed any excess and let it sit overnight. The next day buffed with a micro fiber cloth, and wow. !!! This had really brought the grain out and left a nice rich color to the bowl. I polished the bowl with Paragon Wax. I am pleased with the results on this very nice old Edwards Pipe.
Morty3

morty4

morty5

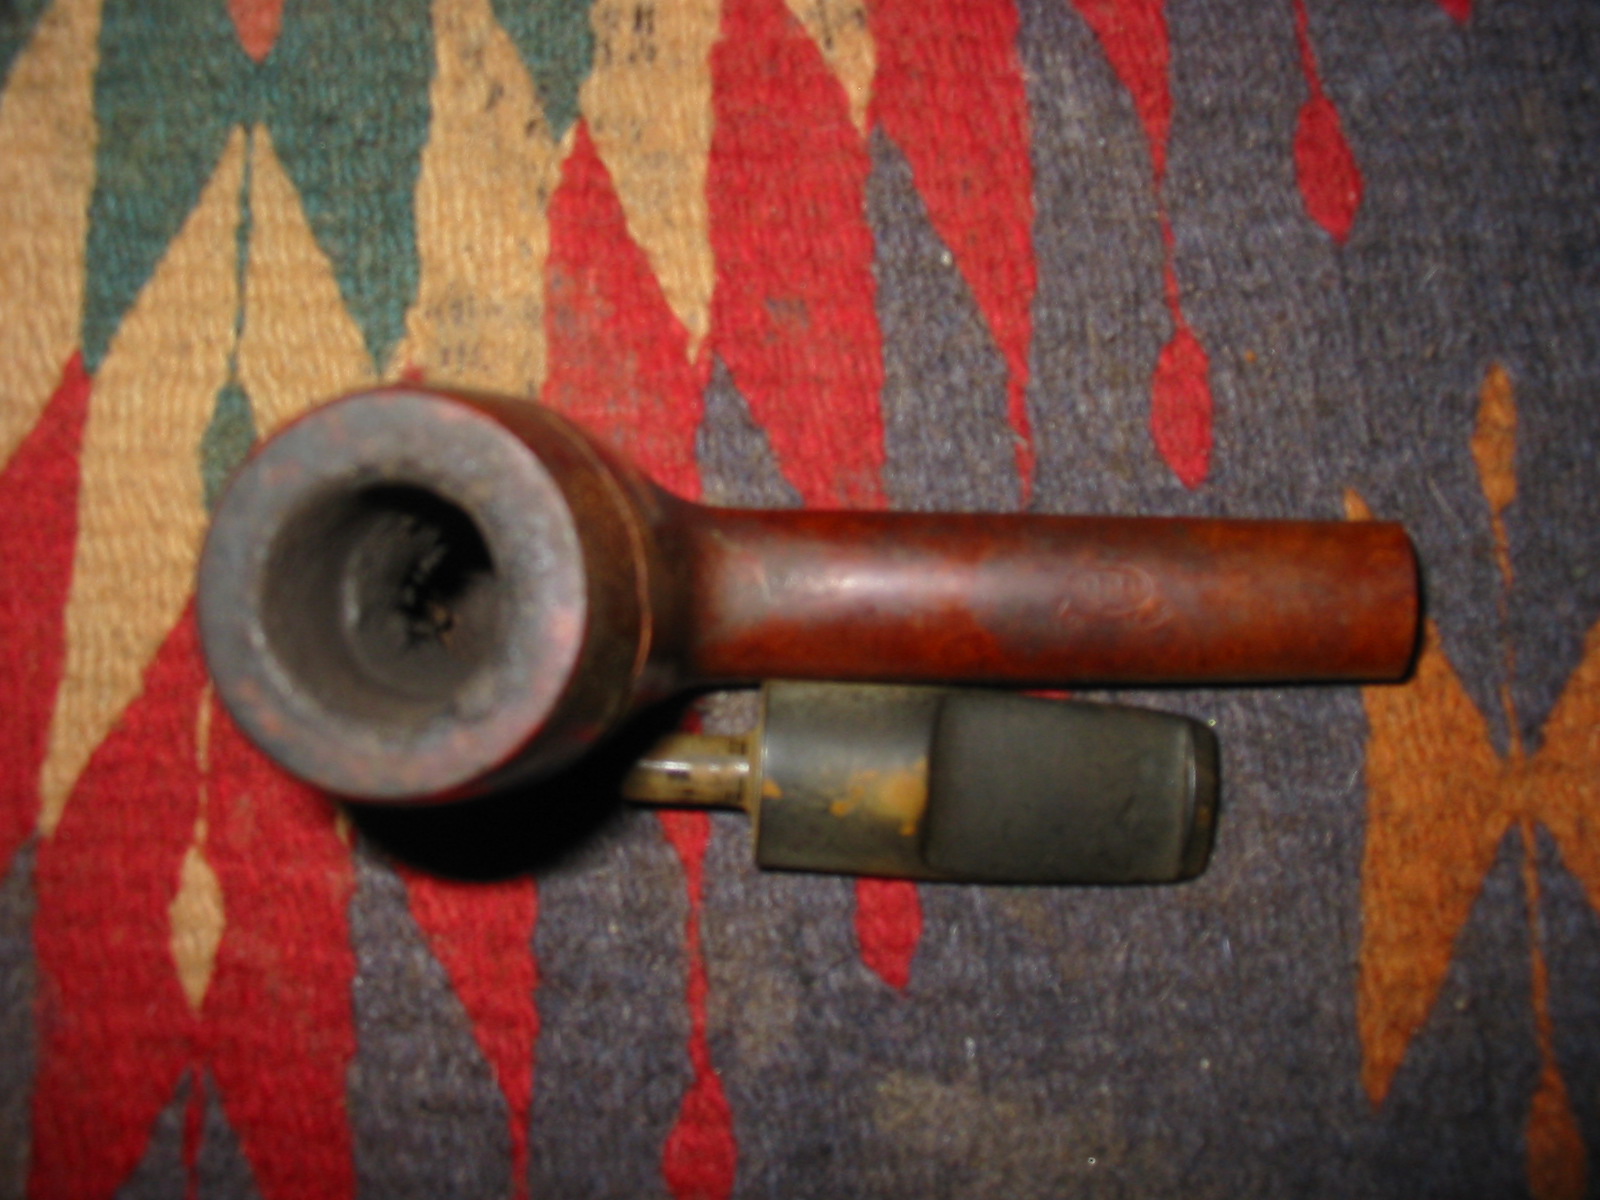
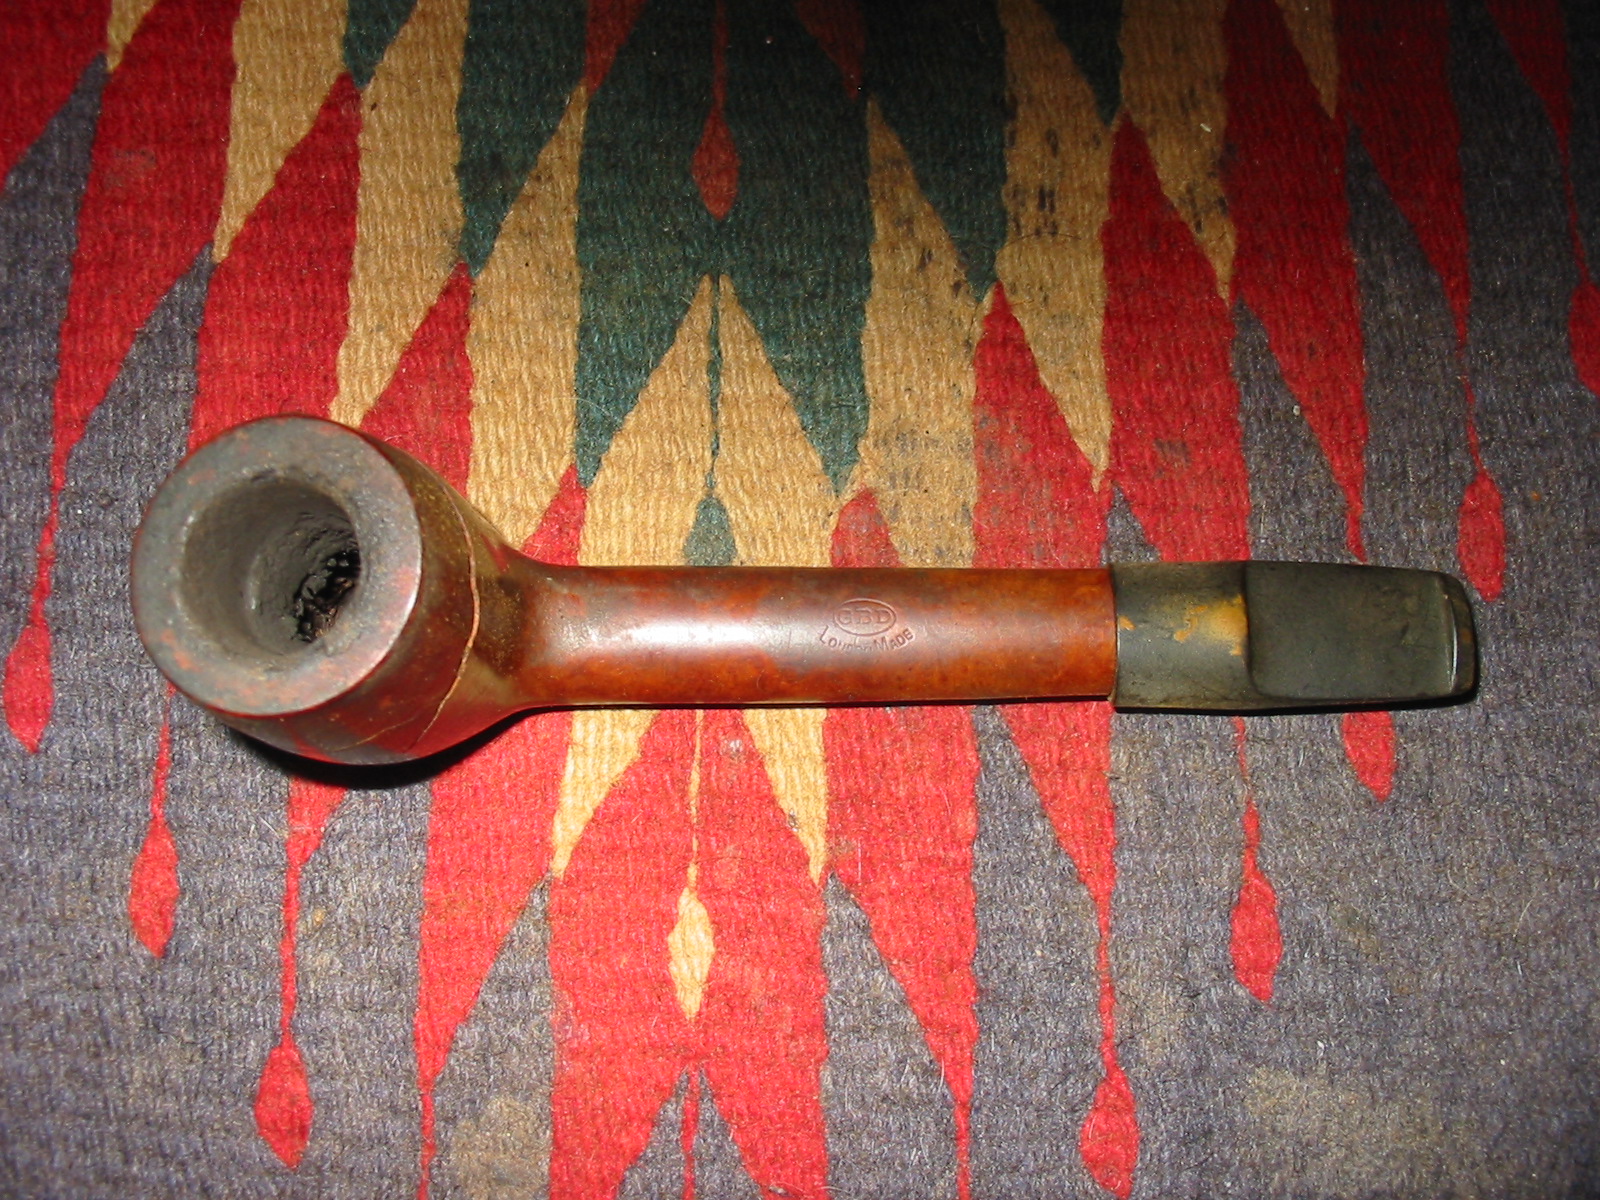
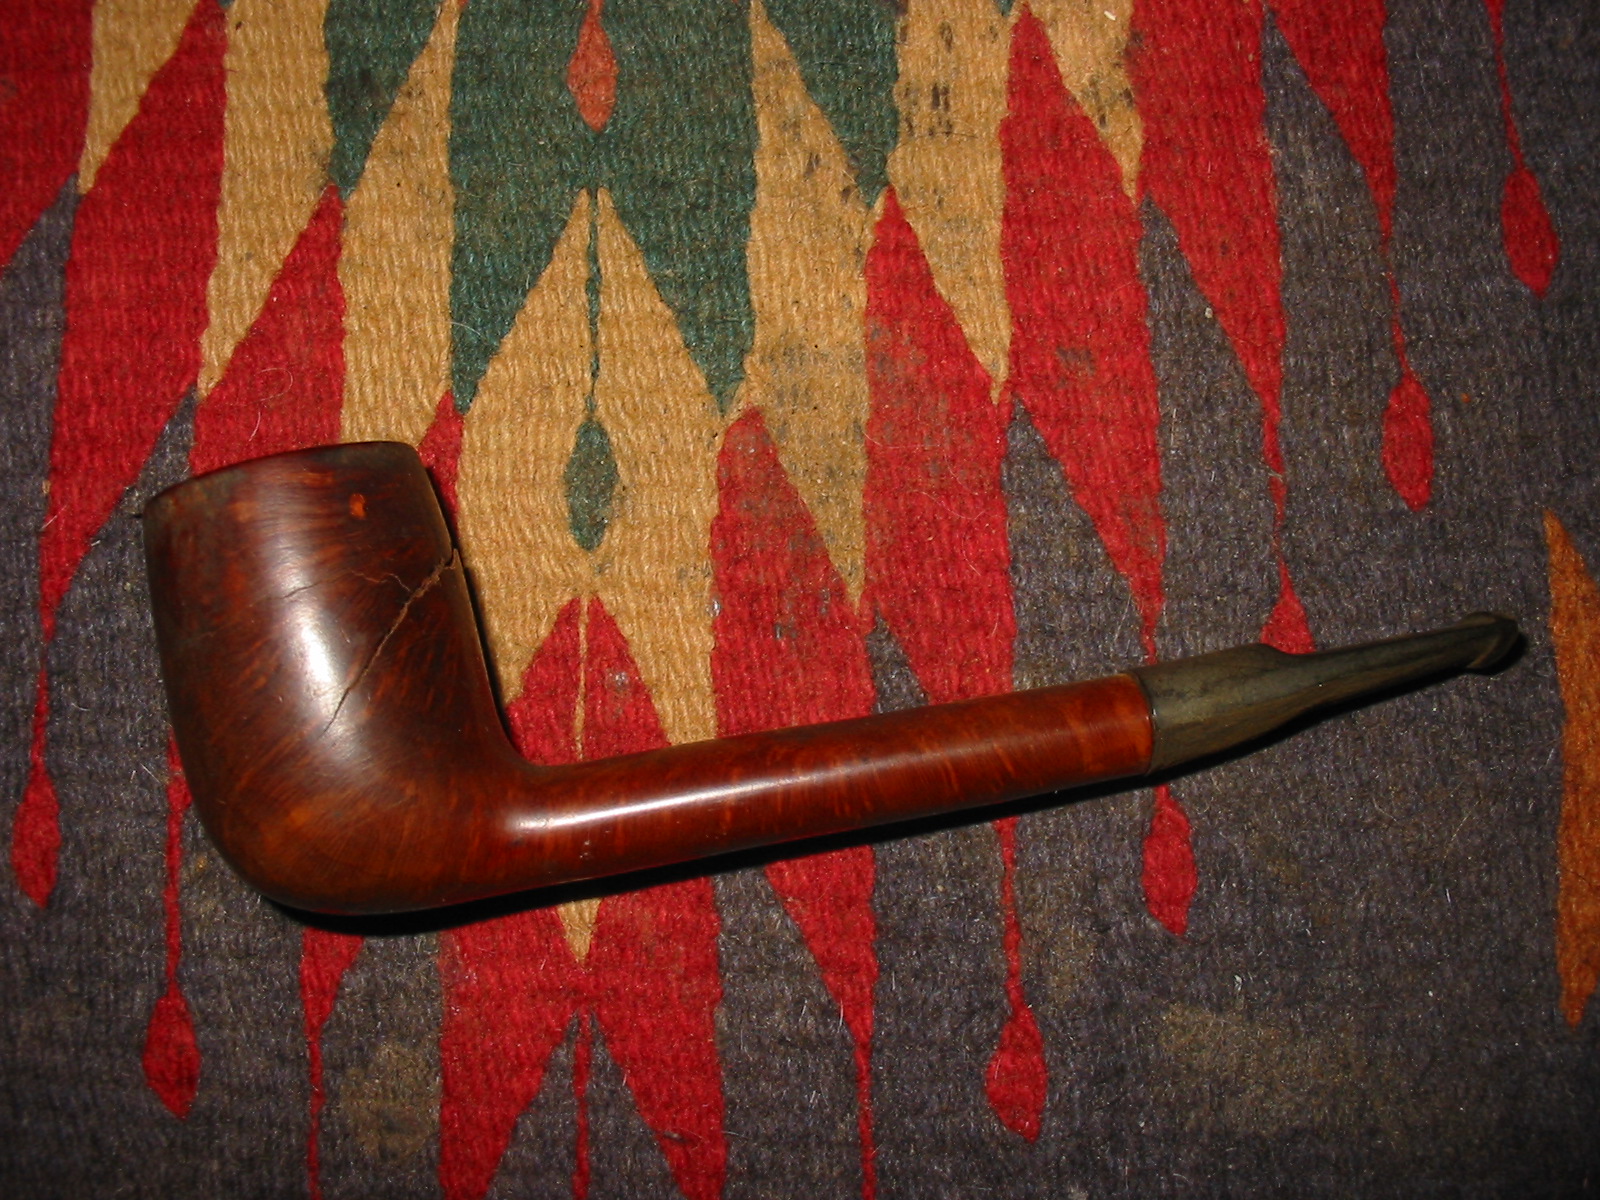
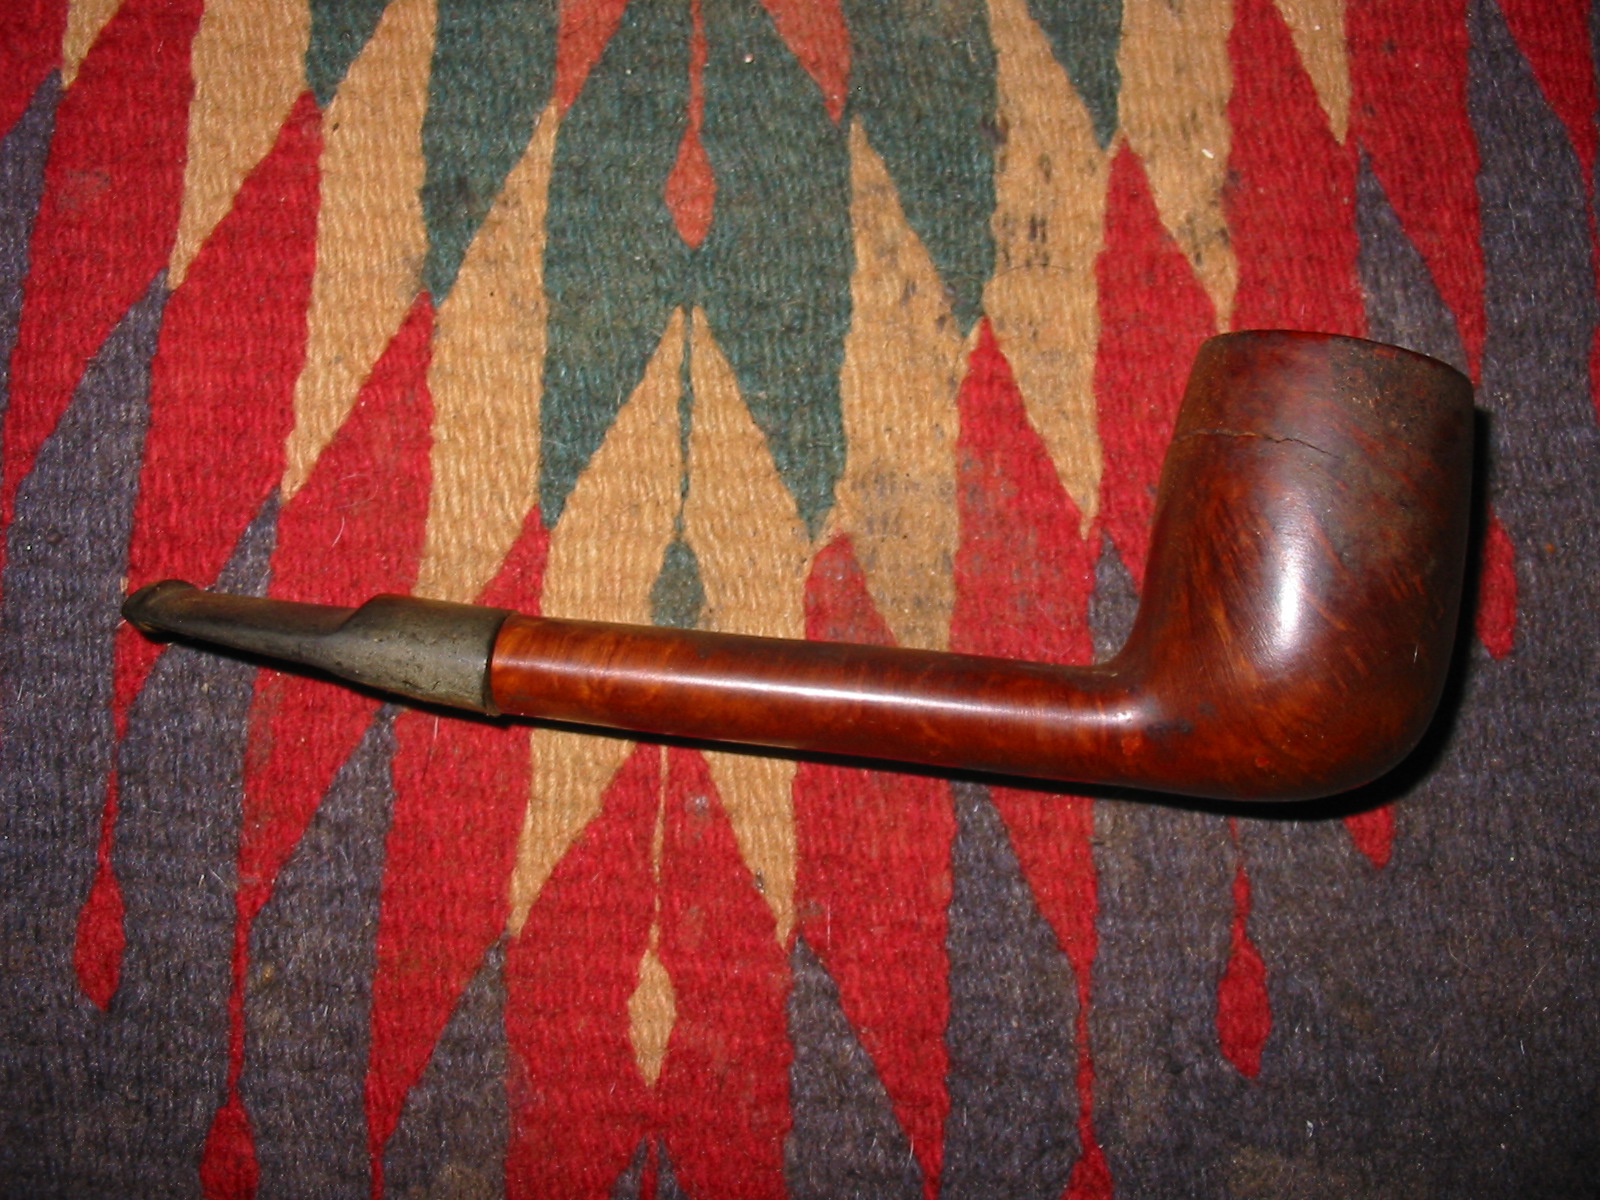
Repairing a Cracked Bowl on a GBD London Made Canadian


Blog by Steve Laug

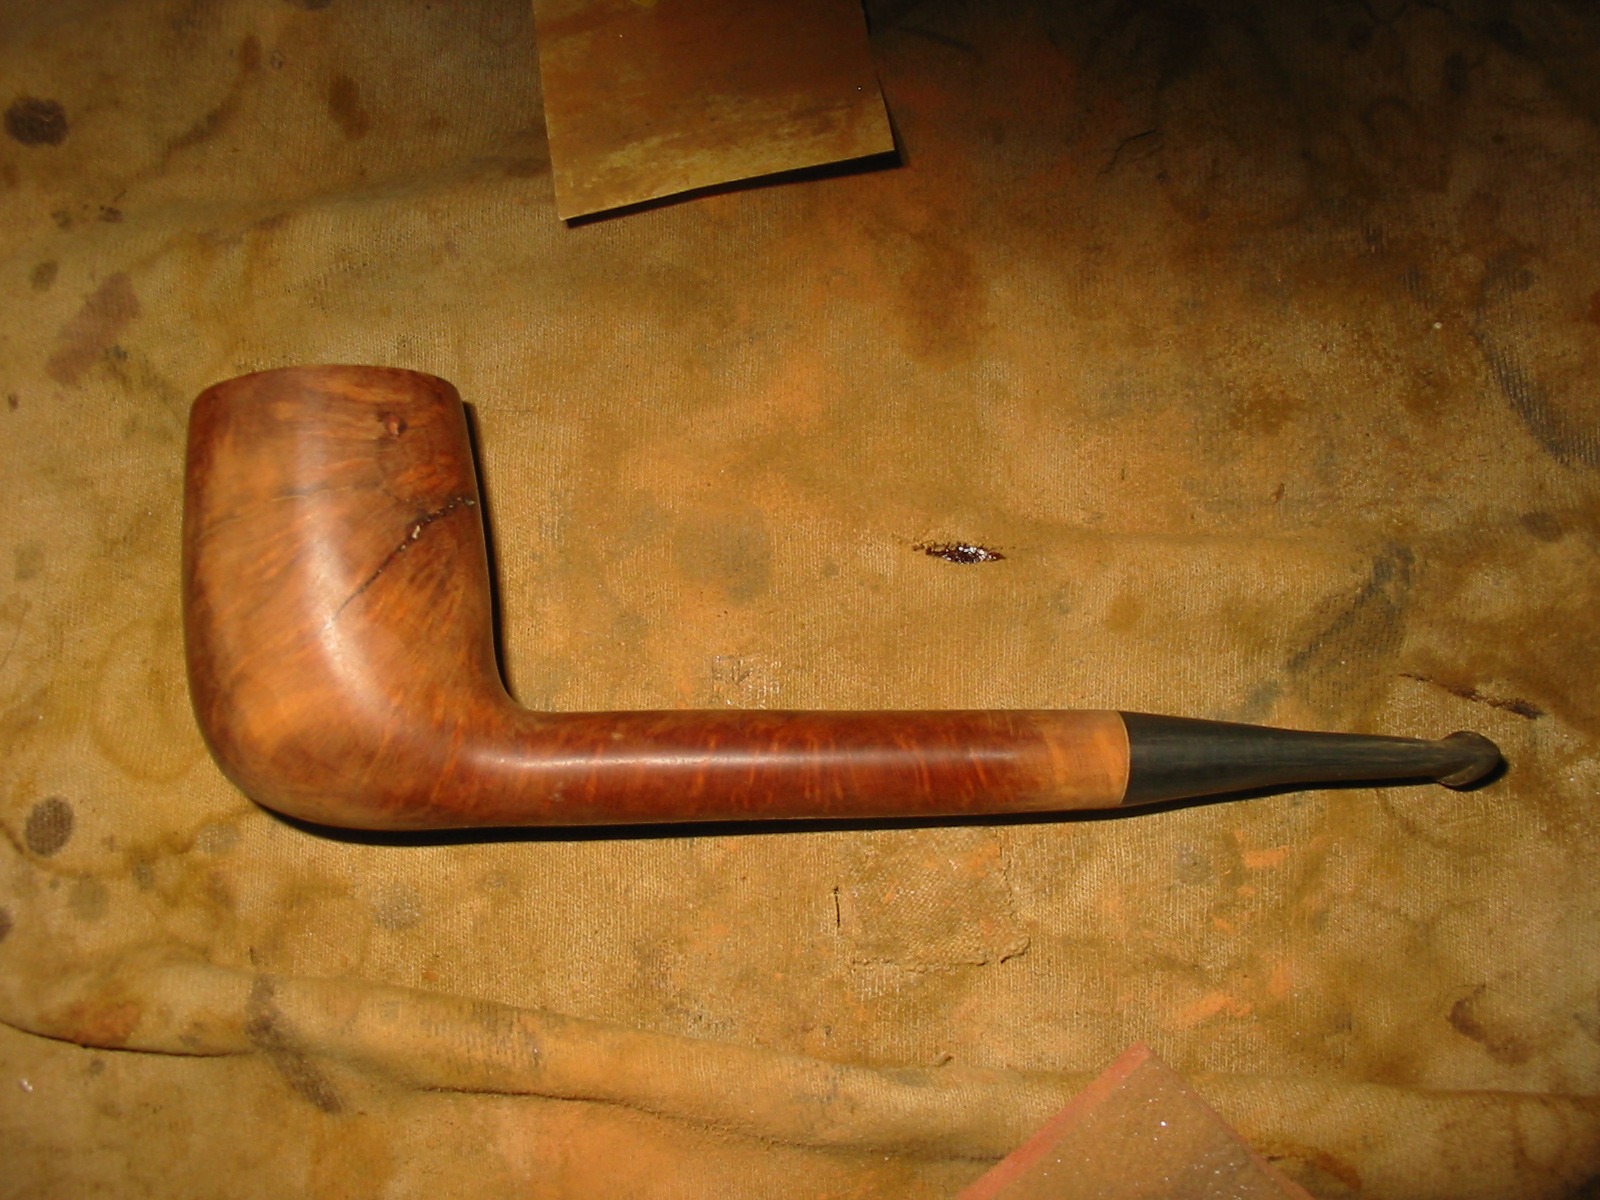
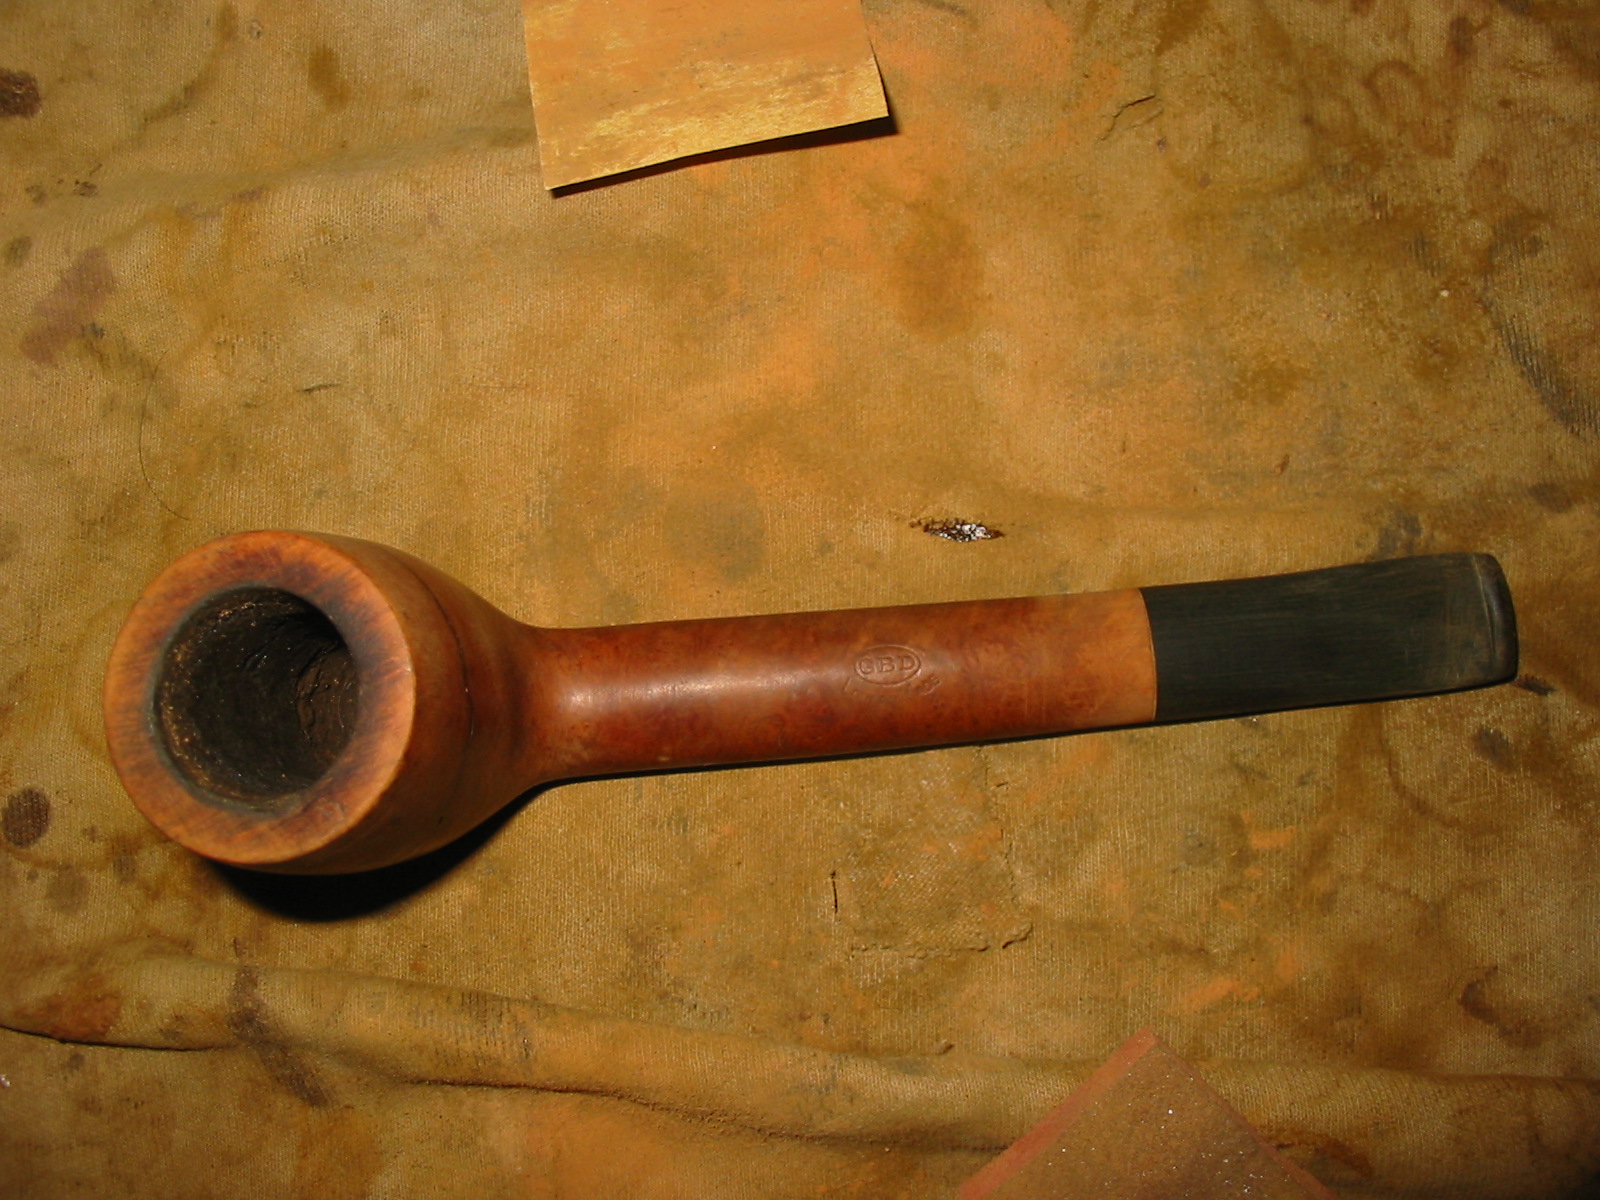
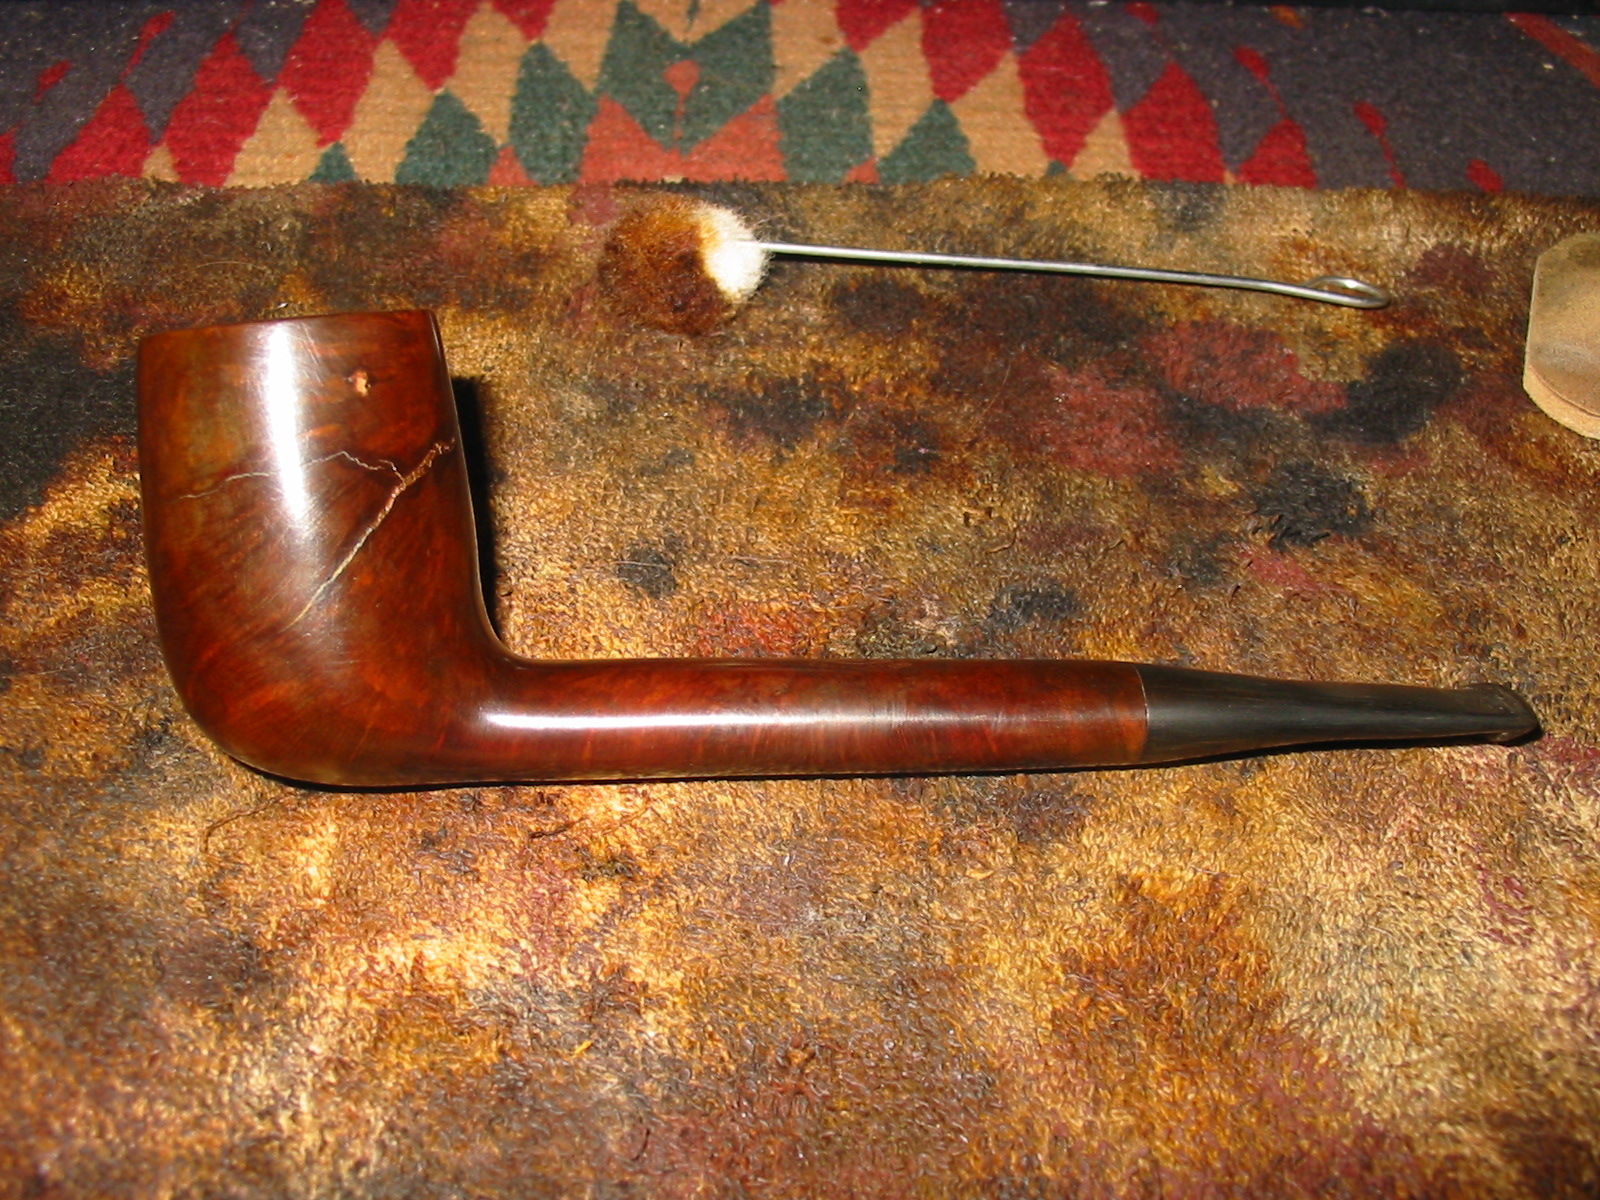
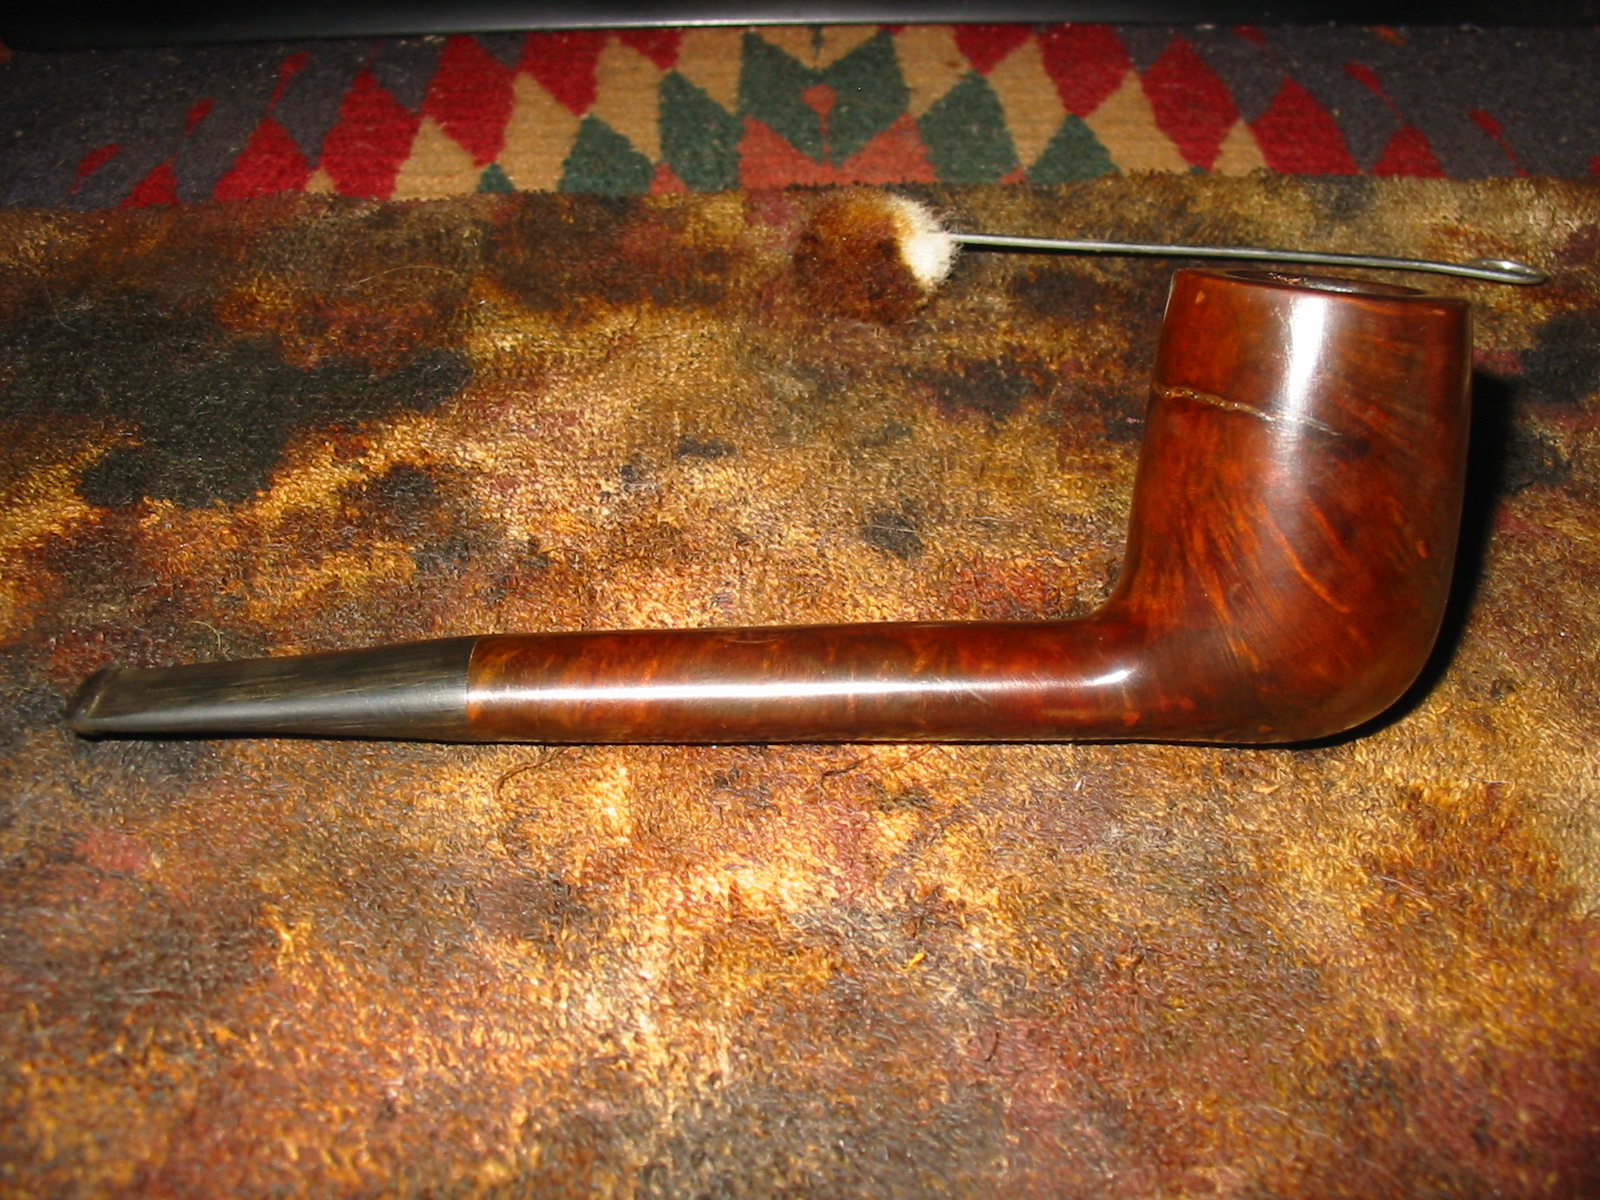
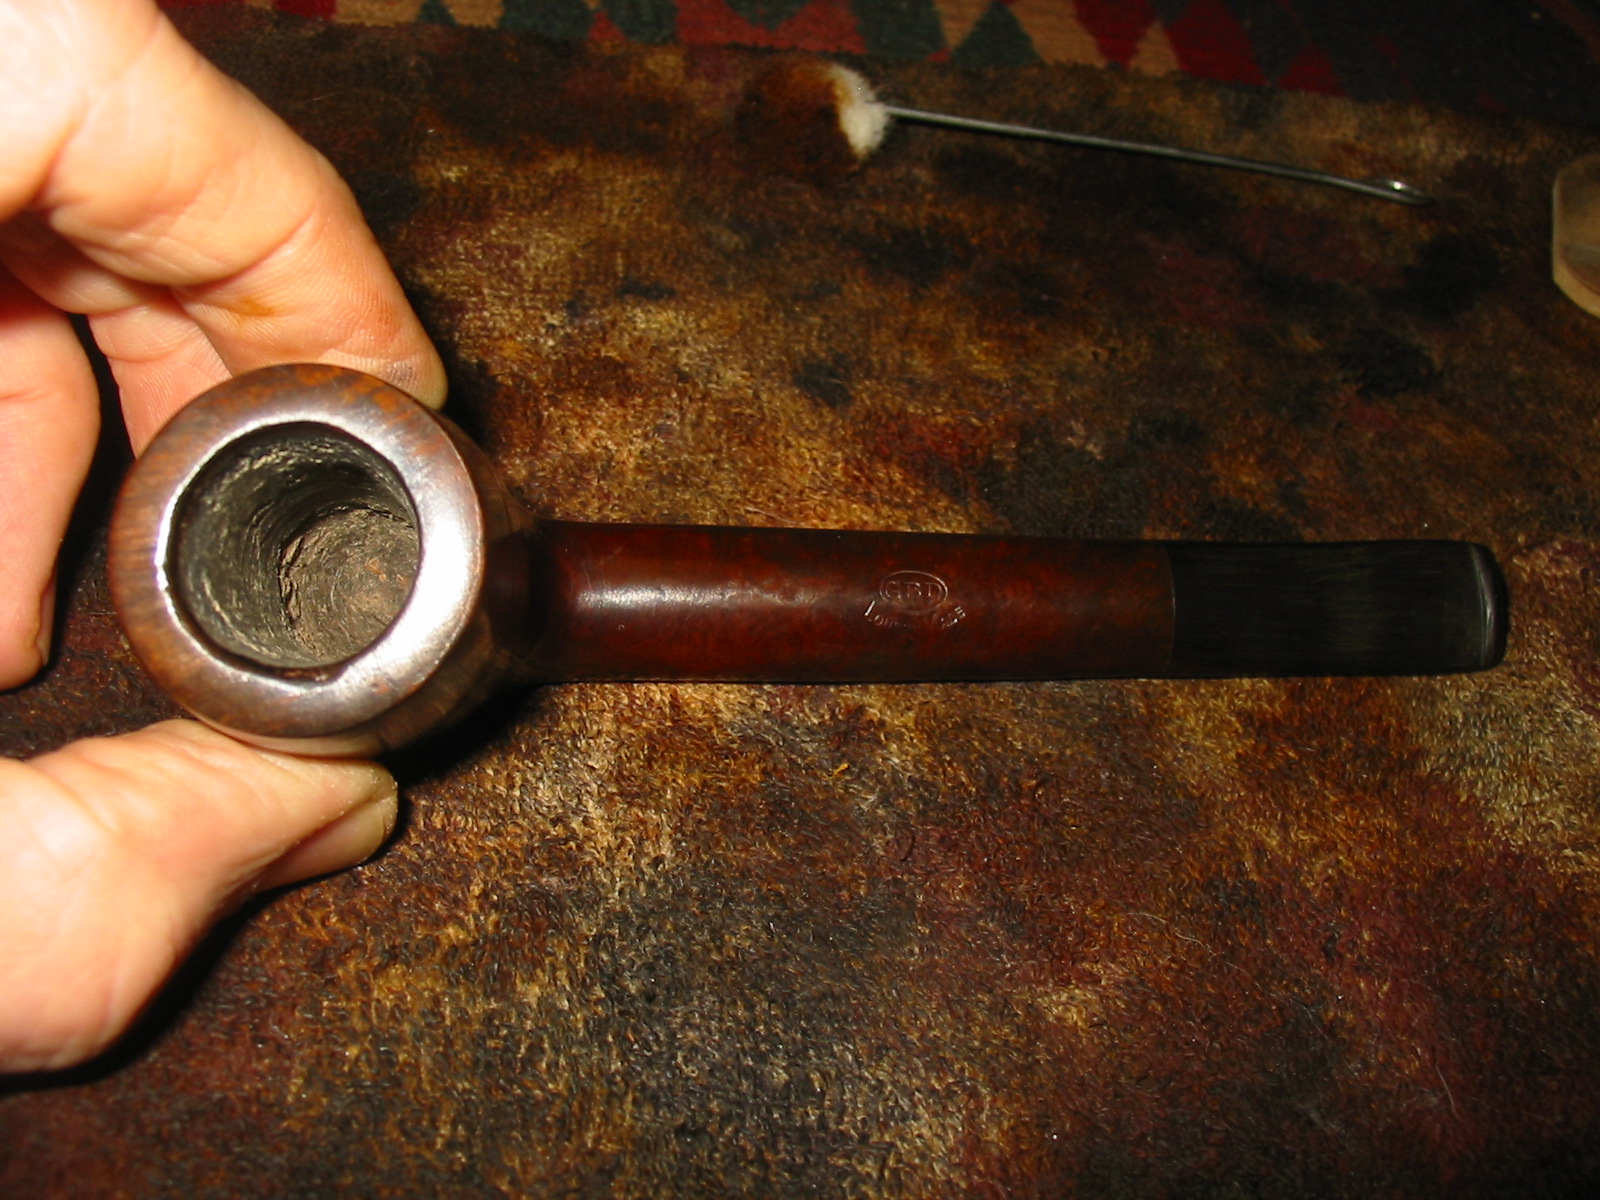
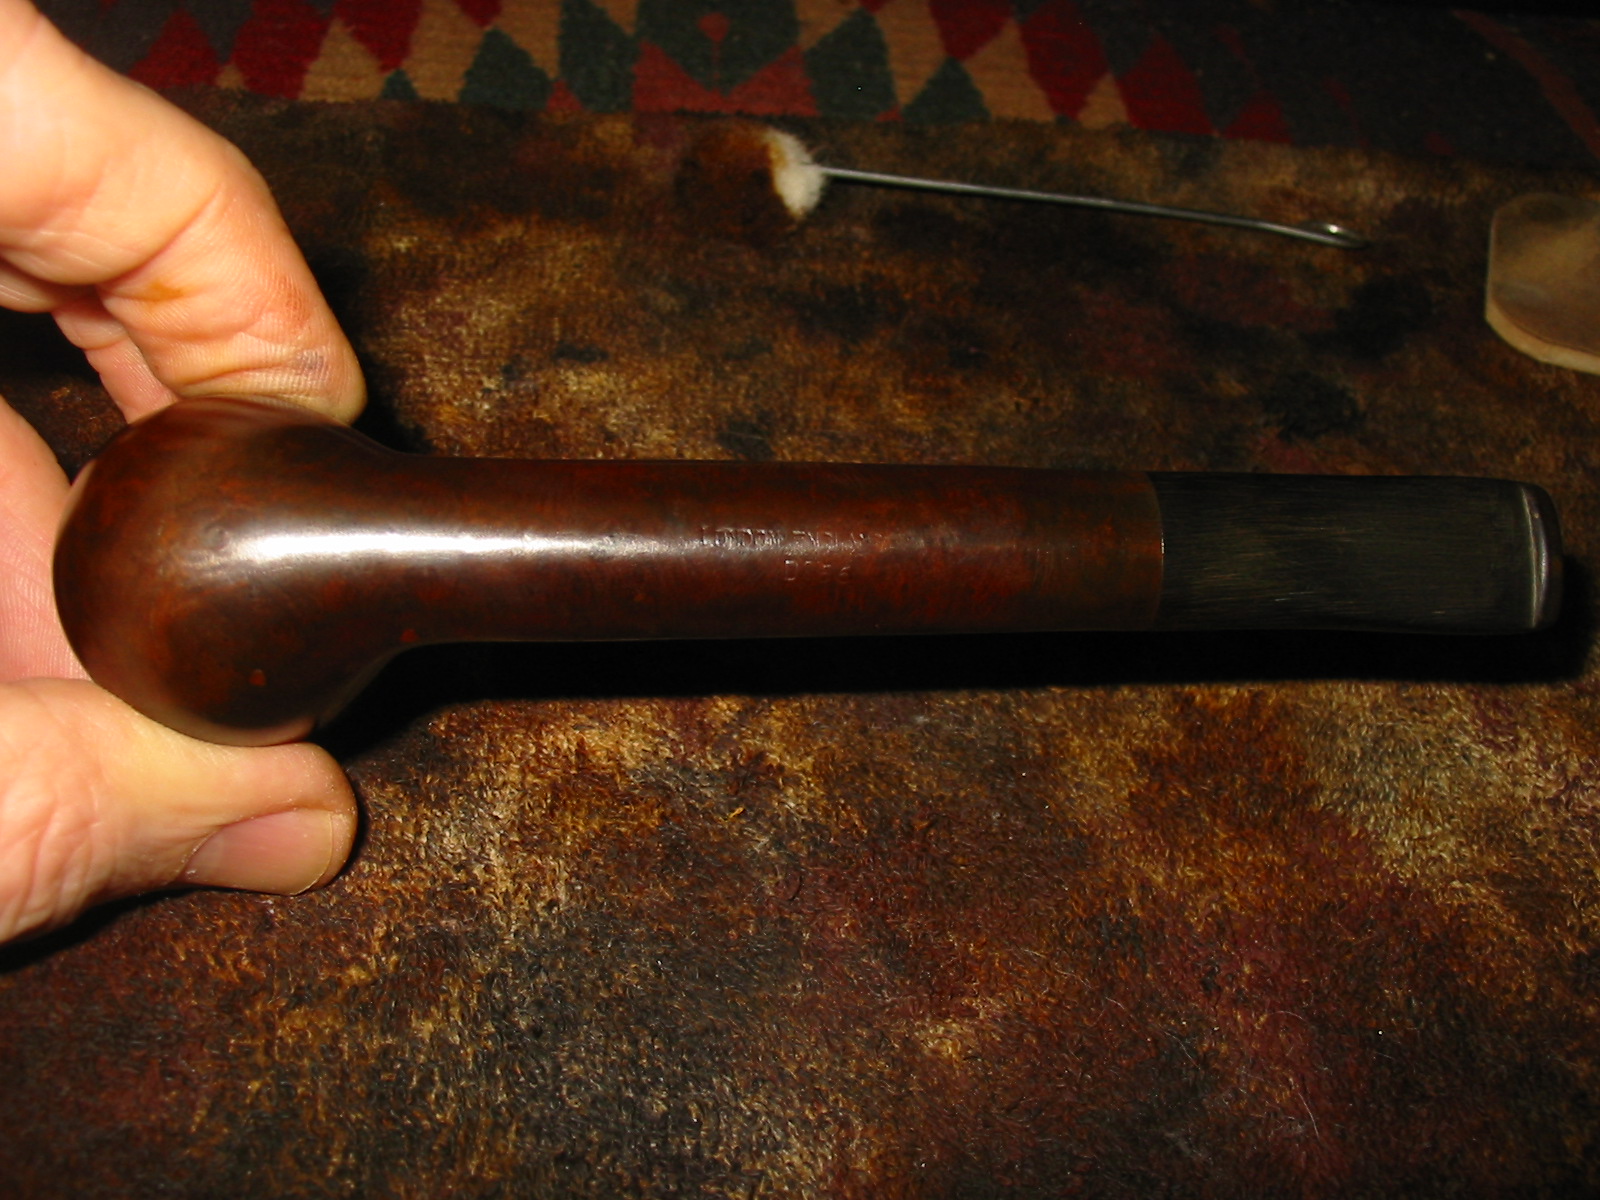
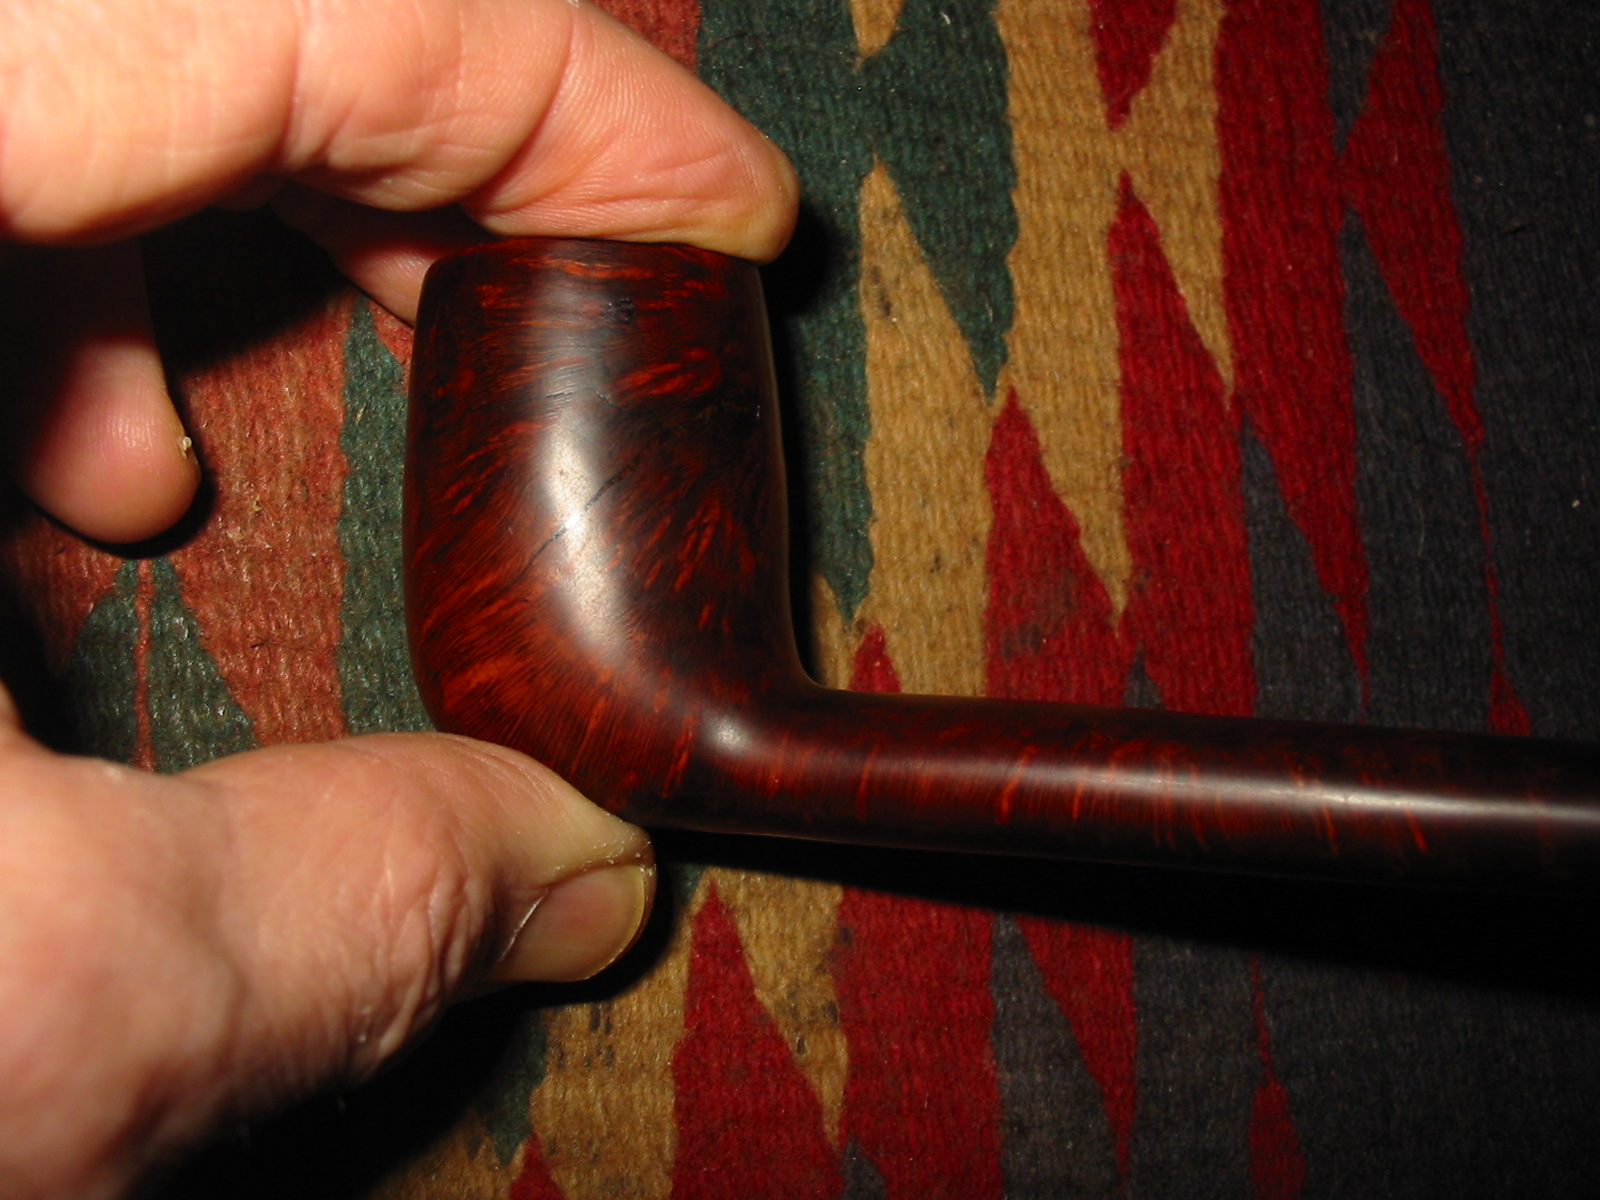
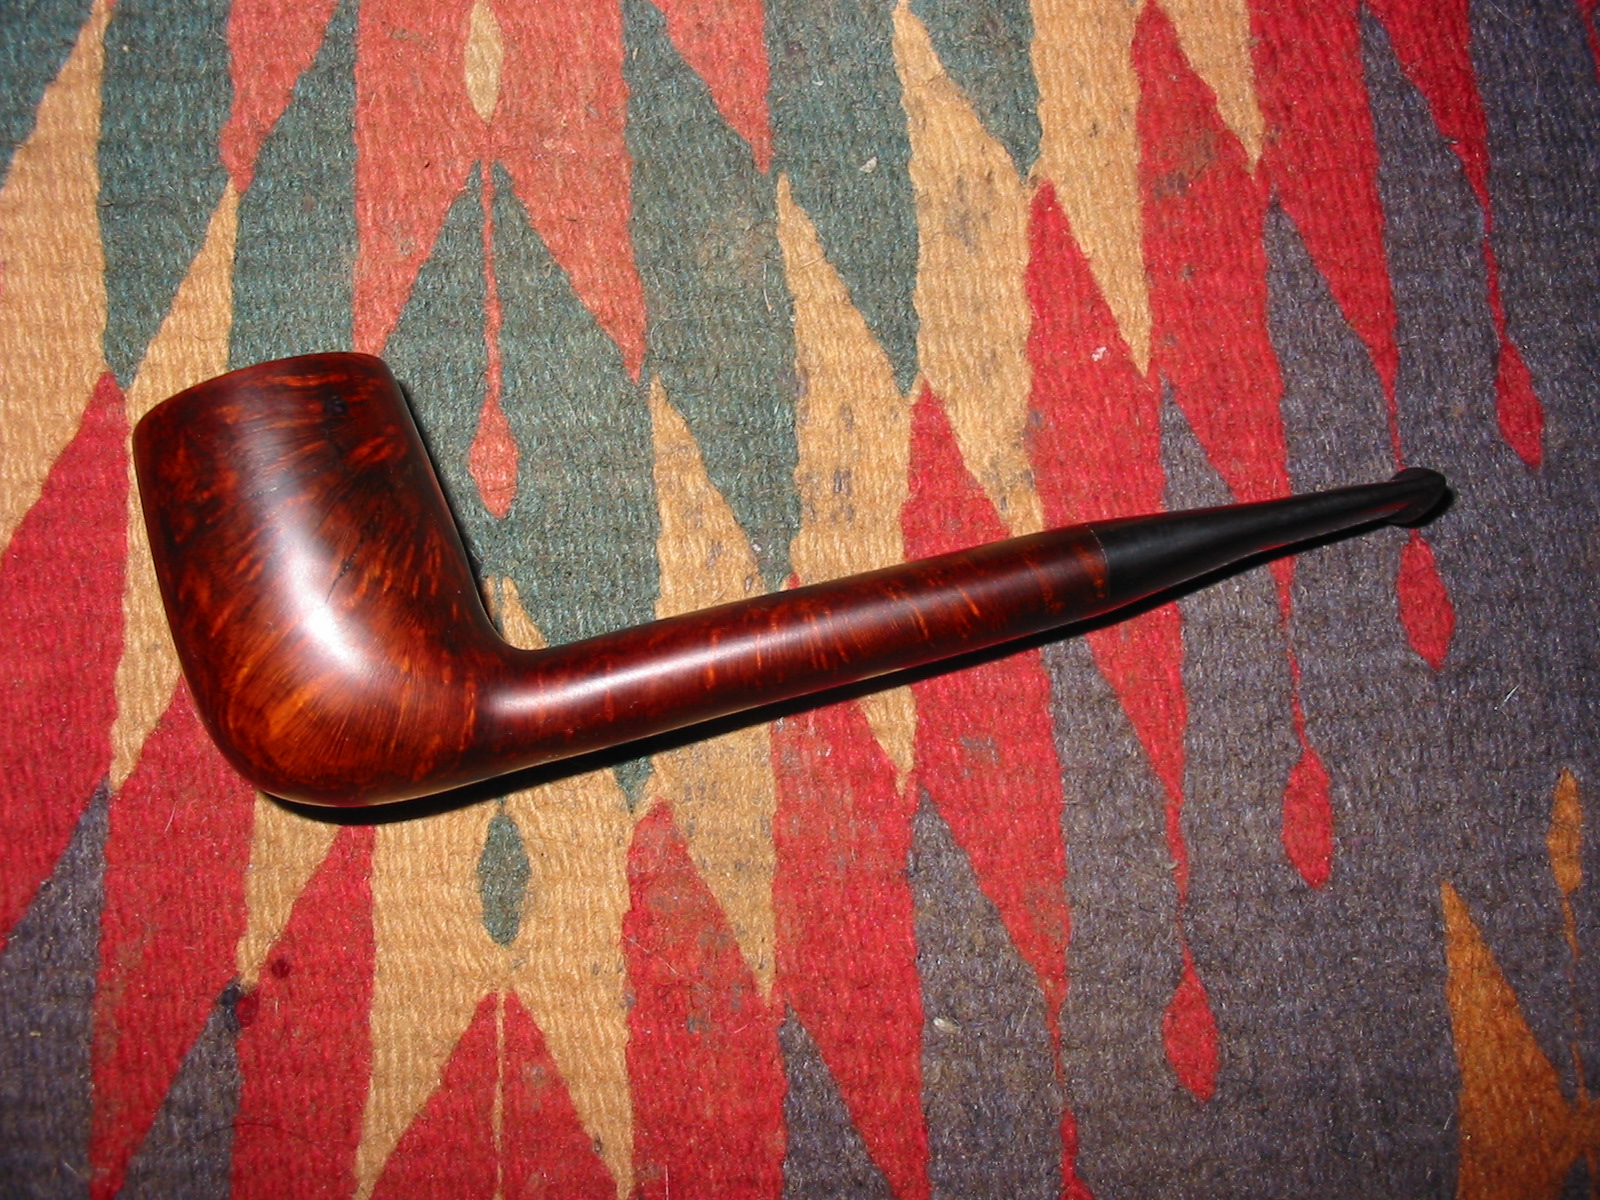
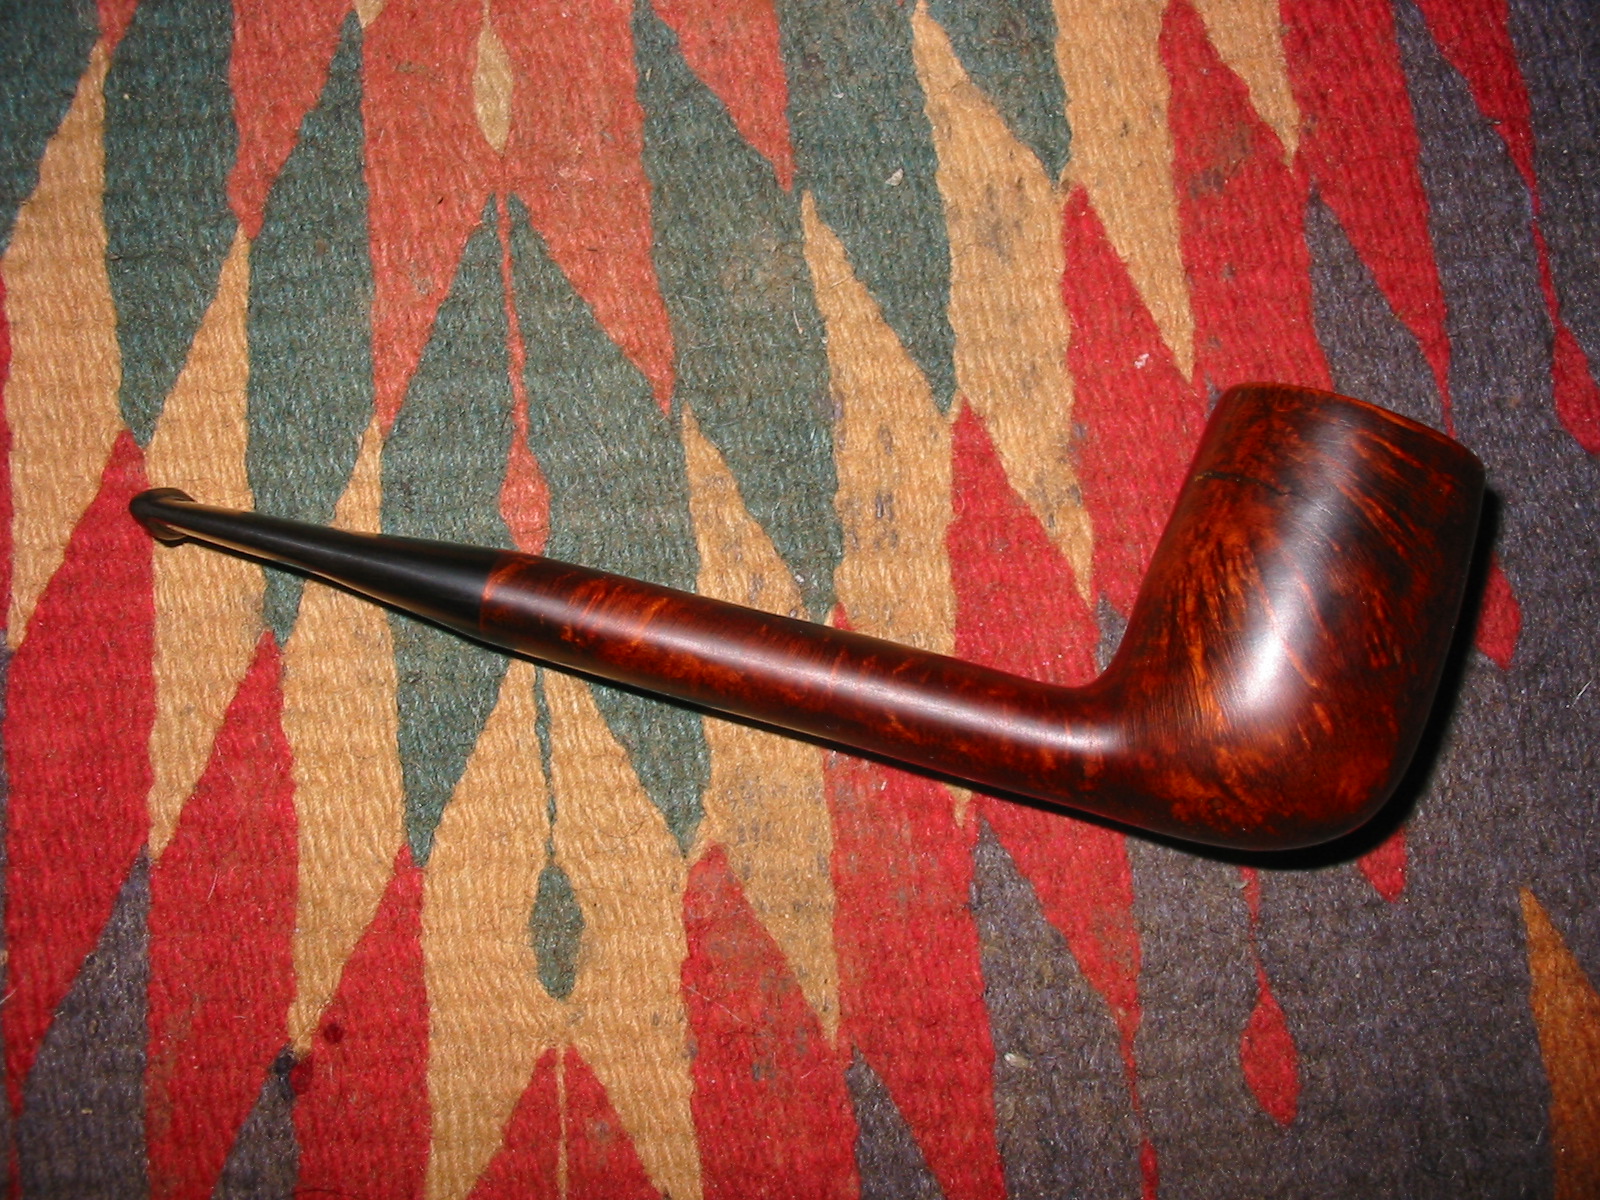
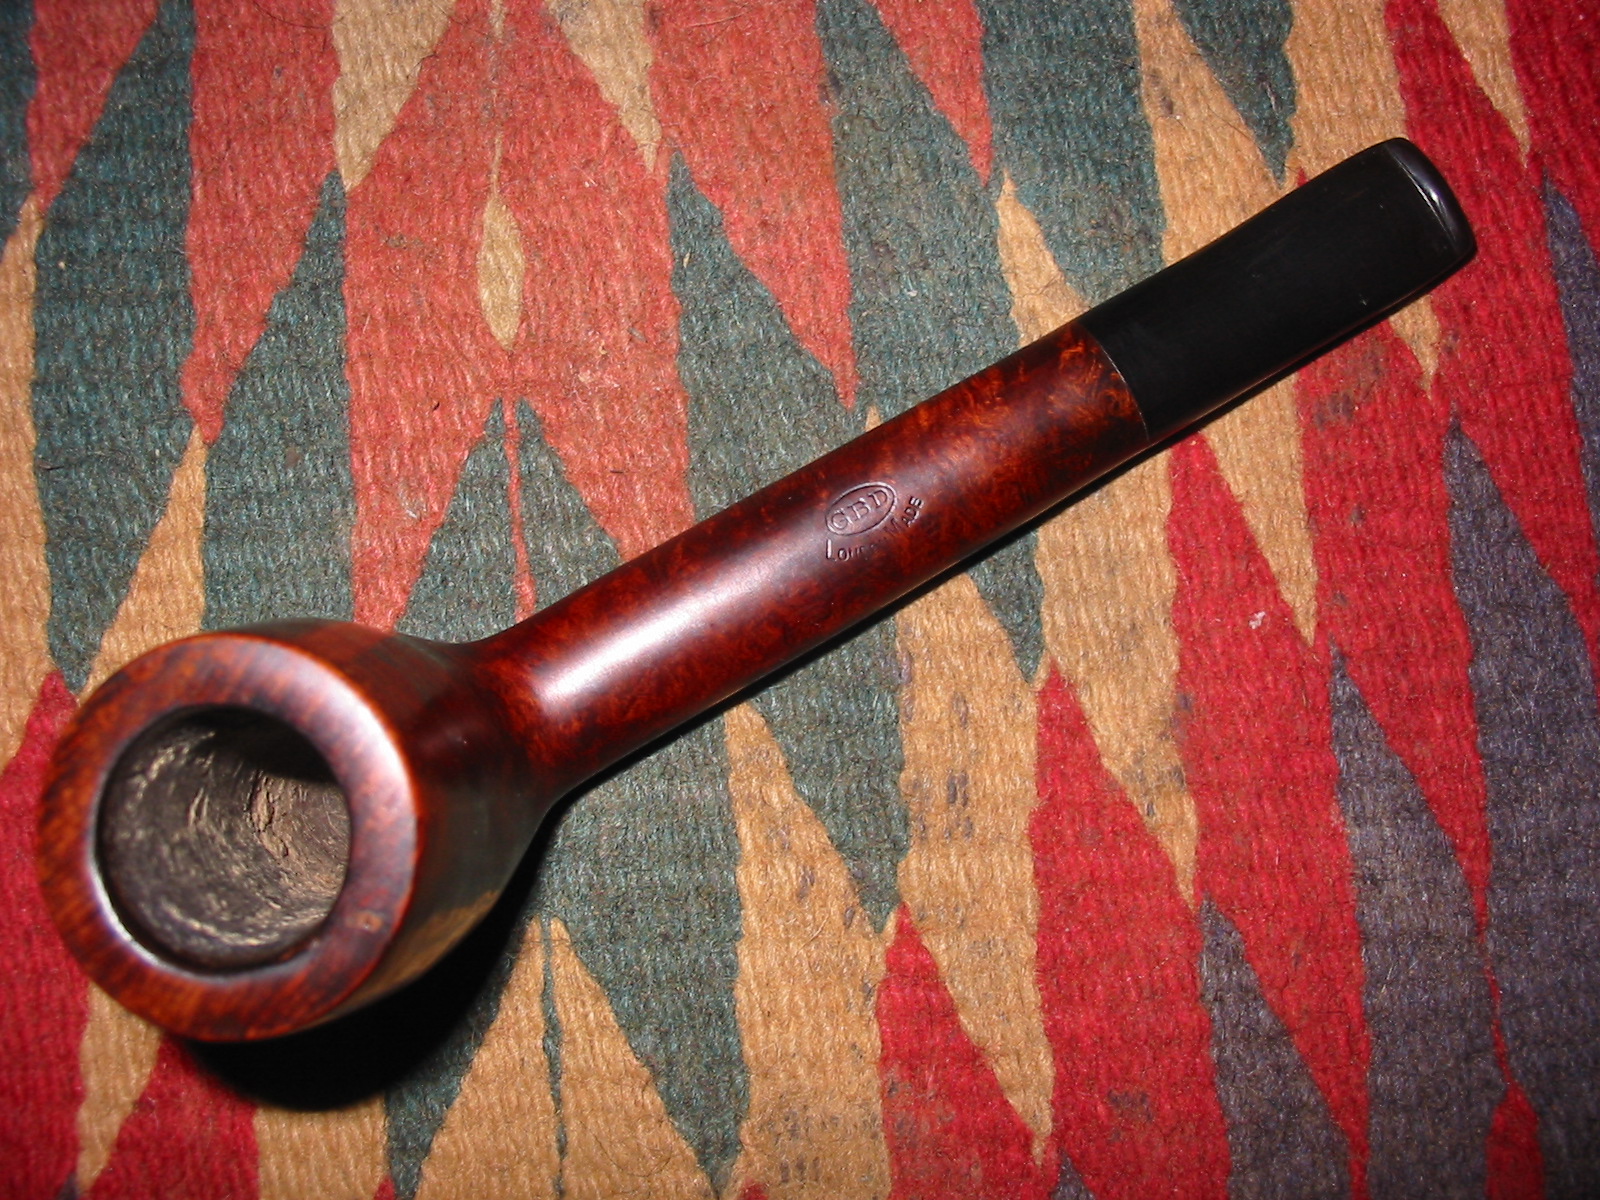
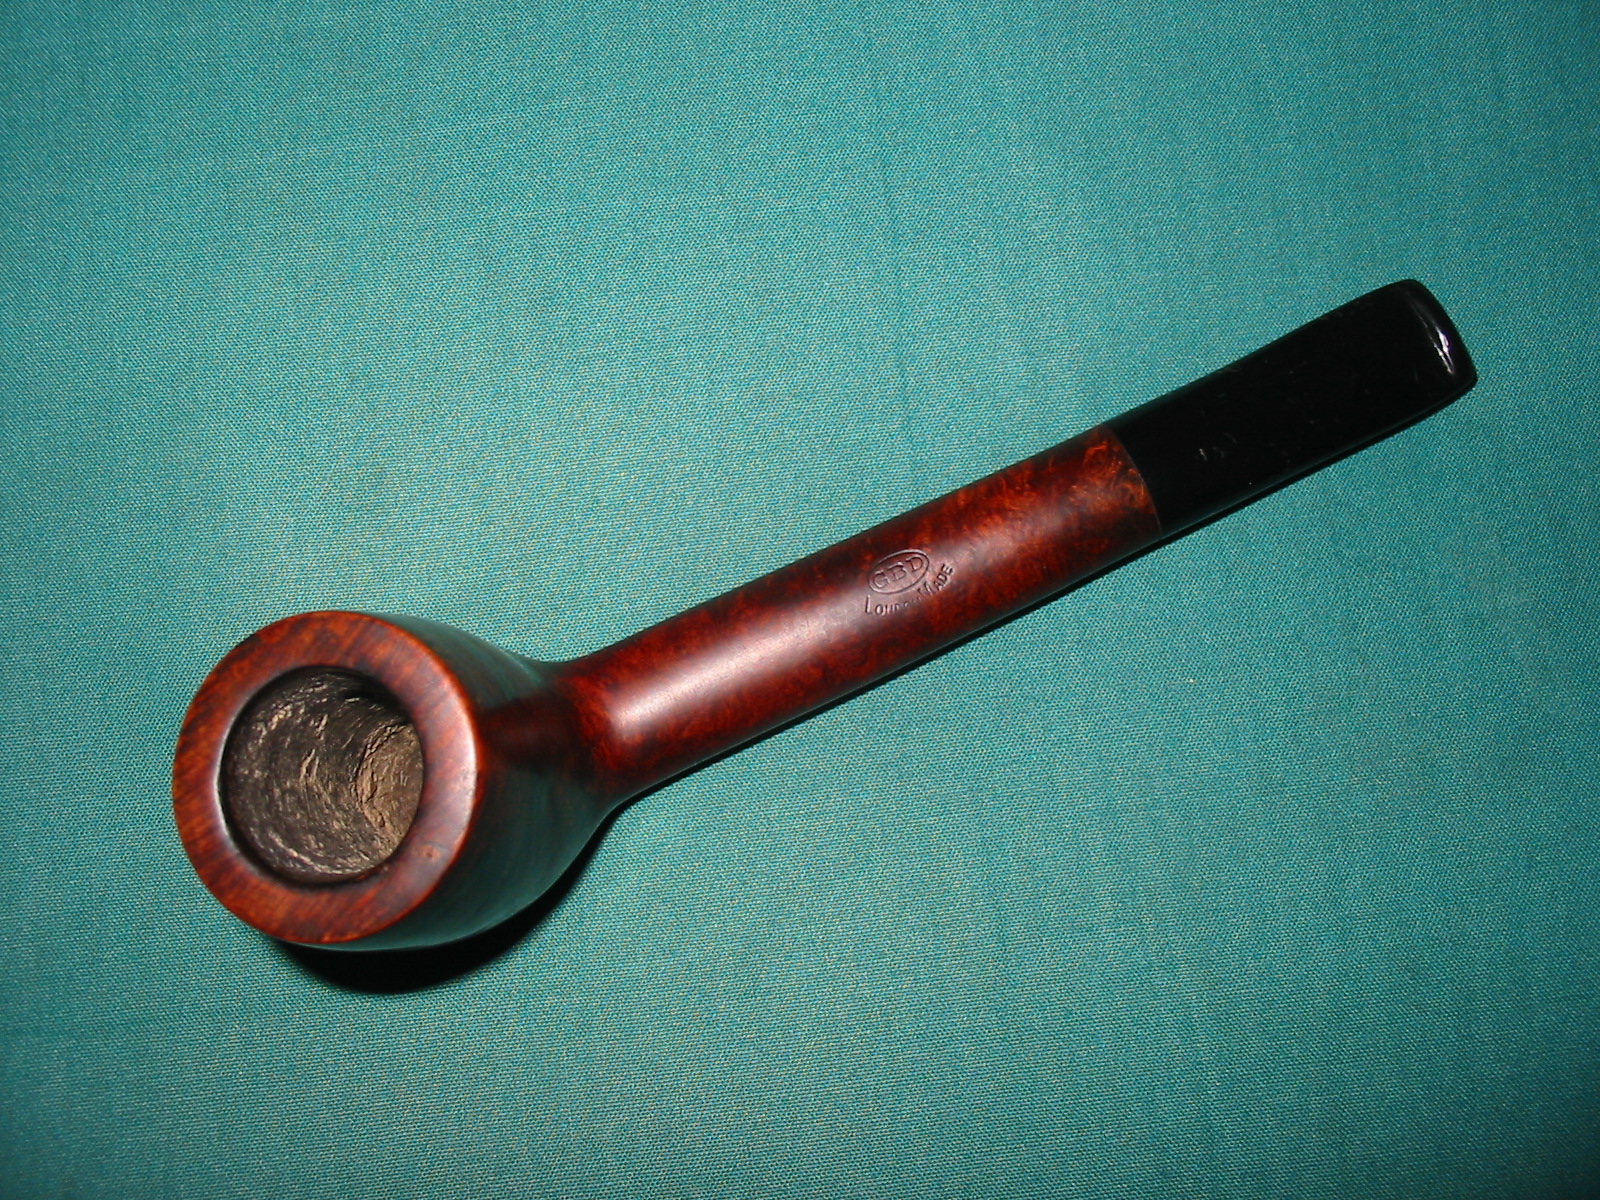
Andrew sent me this old pipe as a bit of a challenge and I thought I would give it a go. This was a great looking pipe at one point in its life – nice grain. It is stamped GBD in the oval on the top of the shank with LONDON MADE in an arc under the oval. That leads me to believe the line is the LONDON MADE rather than the location. On the underside of the shank it is stamped: LONDON ENGLAND over D256. The 256 is the correct shape for an oval shank Canadian but I had not seen the D stamping before a number on GBD pipes.

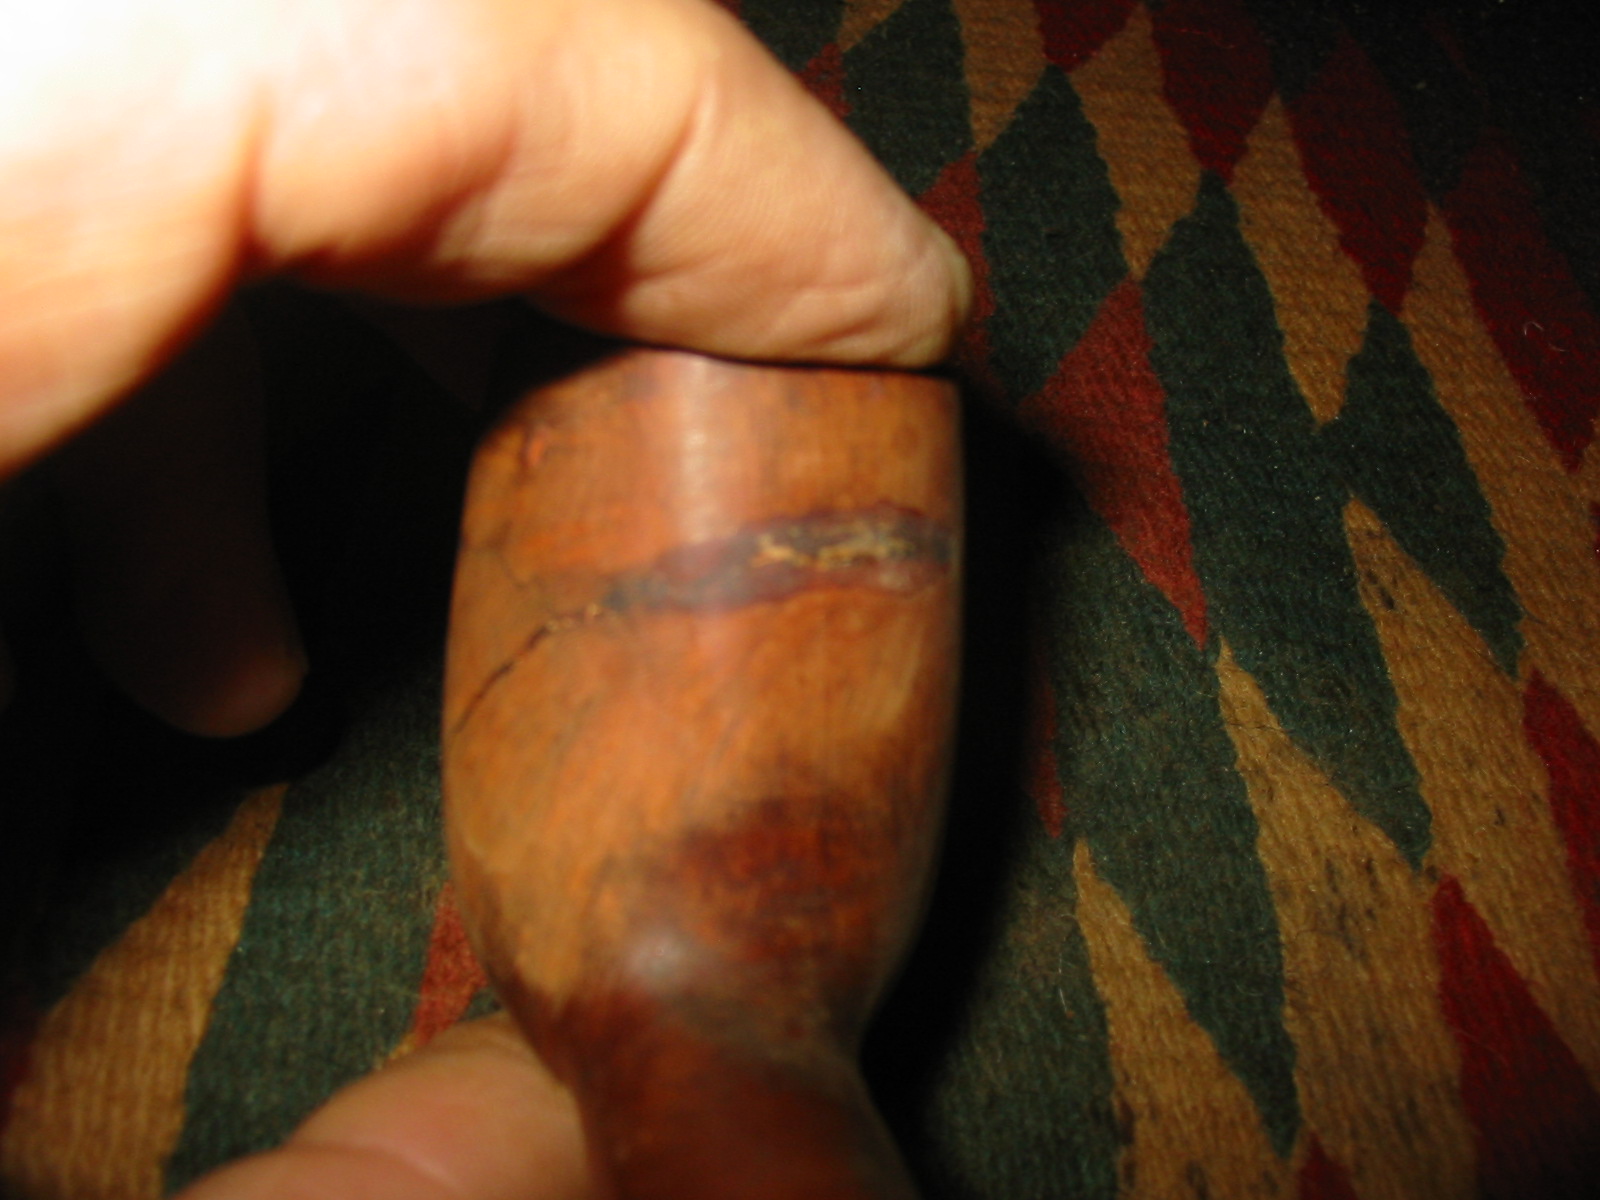
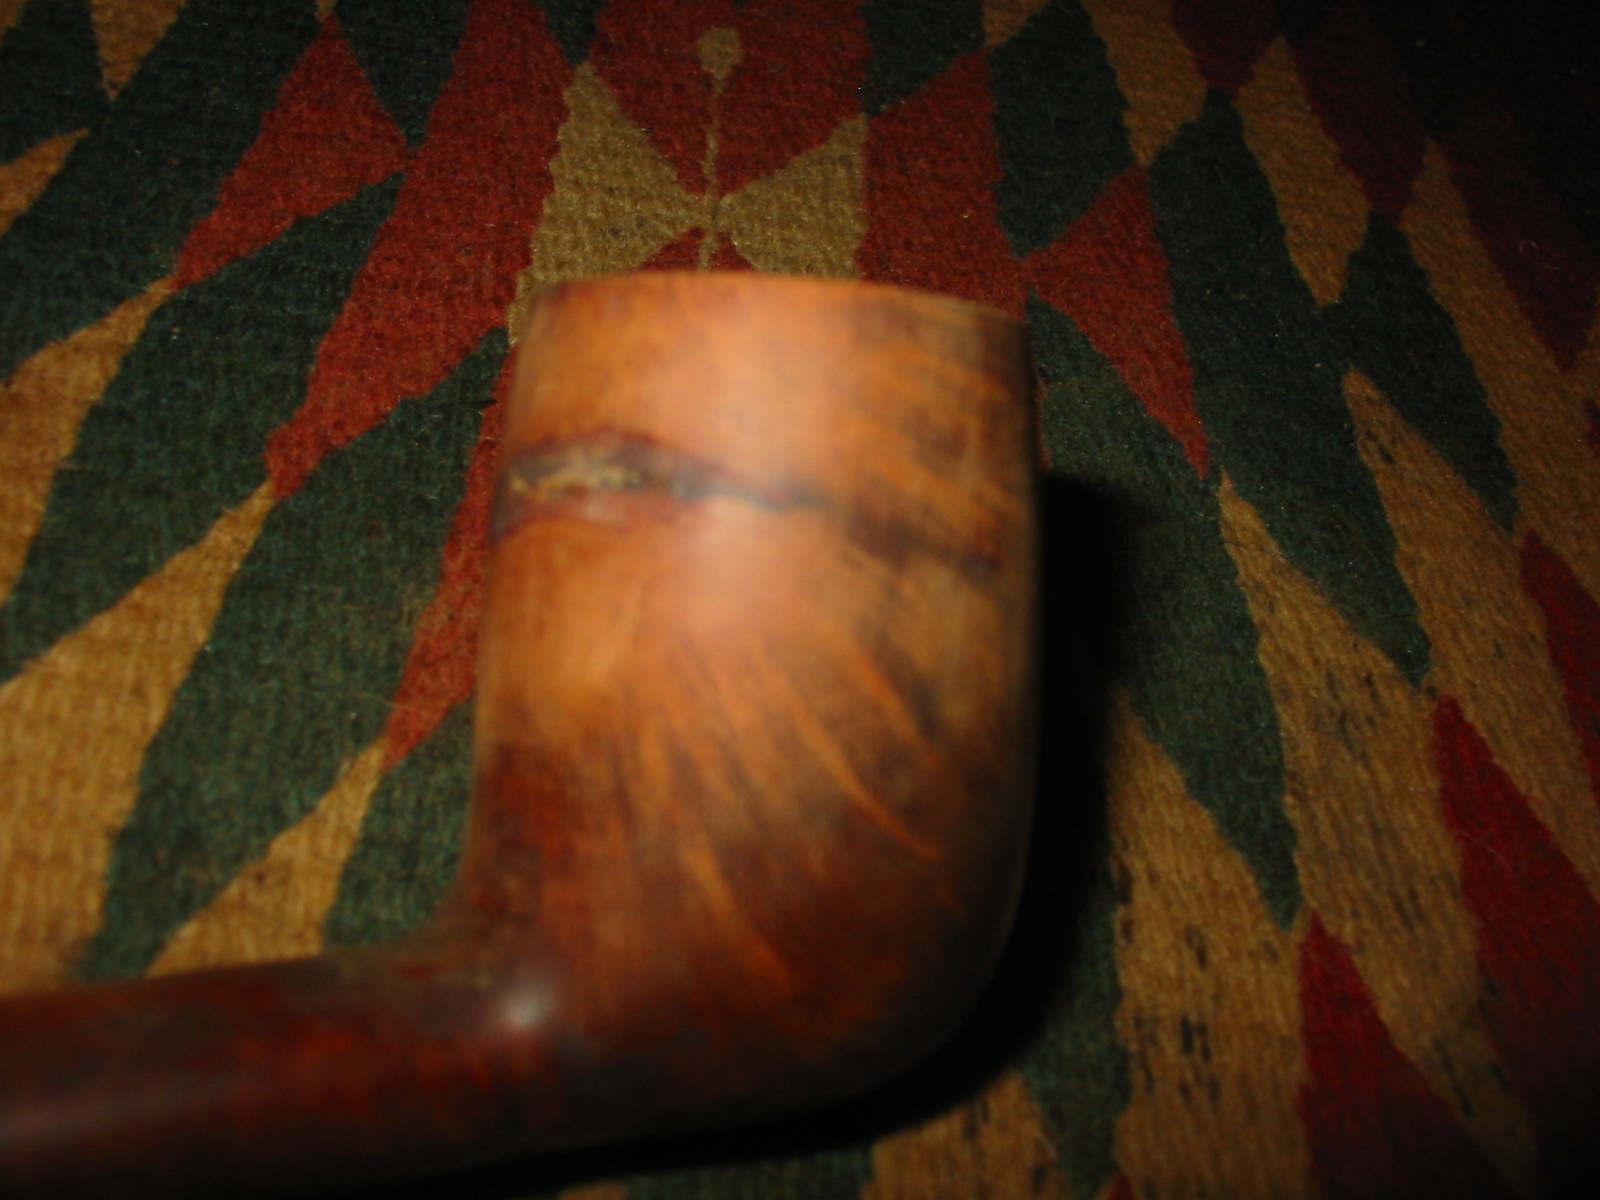
The finish was rough and there was split in the back side of the bowl that ran horizontally in an arc across the bowl about ½ inches from the top. It was as if the grain had separated that way across the back of the bowl. It follows the arc of the grain in that part of the briar. From the main split there was a tiny crack branching off into another line of grain on the left side of the bowl. The weird thing about the split is that it was only external. There was no sign of it inside the bowl after removing the thin cake. The stem was not with the pipe so it would need to be restemmed. I found an old saddle stem in my can of stems that would work for this pipe after I modified it.
IMG_5336

IMG_5337

IMG_5338

IMG_5339

In talking on the phone with Tim West last evening while I was ordering parts for repairs I discussed this pipe with him. He said that in his estimation the crack being only on the outside of the bowl suggested that the issue was a moisture problem.

I shaped the stem with a Dremel and a sanding drum. I removed the saddle on the stem and converted it into a taper shape and also narrowed it to fit the dimensions of the oval shank. The next four photos show the newly fit stem and the rough shaping that I did with the Dremel. All that remained in the stem fit was a lot of hand sanding!
IMG_5343

IMG_5344

IMG_5345

IMG_5346

I reamed the bowl with a PipNet reamer to remove the existing cake and to check the interior walls of the bowl. They were not cracked as noted above. I washed down the pipe with acetone on cotton pads to remove the grime and the finish in preparation for doing the repair on the cracks. I picked out the debris in the cracks with a dental pick and cleaned out the sides and interior of the cracks. I washed that part of the bowl down a final time with acetone to clear away any debris left behind by my picking at it.
IMG_5348

IMG_5349

I packed briar dust into the cracks with a dental pick and then dripped super glue on top of the briar dust to bond it and make a fill for the crack. The next series of photos show the repair at this point from various angles.
IMG_5350

IMG_5351

IMG_5352

Once the glue was dry and the patches were solid I sanded the patch with 220 grit sandpaper to smooth it out to match the surface of the bowl. I sanded it with medium and fine grit sanding sponges afterward to smooth it out further. The next photos show the initial sanding of the patches. There was still much sanding to do and some more filling in spots that were low.
IMG_5353

IMG_5354

IMG_5355

IMG_5356

I sanded the bowl and the new stem further with 220 grit sandpaper to remove the finish and smooth out the transitions. On the crack repair I wanted to even out the transition between the fill and the surrounding briar. On the new stem shank union I wanted to make that transition between the briar and the vulcanite stem seamless.
IMG_5357

IMG_5358

IMG_5359

IMG_5360

The next series of three photos show the newly sanded repair. It looks better but there are still a few areas that will need to be filled and sanded some more.
IMG_5361

IMG_5362

IMG_5363

At this point in the process I was still undecided as to whether I would stain the repaired bowl or rusticate it. I posted on an online forum to see what others thought and the audience was split. I decided to stain it and see how the repair looked. If I changed my mind I could rusticate it later. I wanted to use a contrast stain on the bowl to minimize the look of the crack so I used a black aniline stain to do the undercoat. It would also highlight any areas on the repair that needed more attention. I applied the stain, flamed it and did the same again until the coverage I was looking for was achieved.
IMG_5364

IMG_5365

I took three photos of the repair after staining to show what the repair looked like at this point.
IMG_5366

IMG_5367

IMG_5368

When the stain was dry I wiped it down with isopropyl alcohol to lighten it and bring out the grain. I wanted the black stain to settle into the grain and highlight the stripes. I wiped it down with acetone as well to further lighten the stain. I buffed the pipe with red Tripoli and White Diamond to further lighten the black undercoat. I stained it with a top coat of dark brown aniline stain, flamed and restained it for the coverage I wanted. It must be remembered at this point that this was not the finish coat but merely the way in which the repair is highlighted and makes it clear where I still need to do some work on the fills. The photos below show the repair and make it very clear where there was still work to do. This meant more filling of the crack with briar dust and superglue and more sanding. It also meant that I would need to restain that particular area of the pipe
IMG_5369

IMG_5370

IMG_5371

IMG_5372

Once the pipe was at this point several things stood out to me. I really like the grain patterns on the bowl and shank and I need to continue to work on the patch until it was well blended. So I took it to the buffer and buffed it with White Diamond and then took it back to the work table to do some more work on the patch.I sanded down the area around the repair with 220 grit sandpaper and then packed in more briar dust with the dental pick. I added more superglue until the repair was mounded slightly. While this would take more work in terms of sanding, I knew it would make the patch as perfect as possible.

Once I had the patch sanded back to match the surface of the surrounding briar with the 220 grit sandpaper, I sanded it further with medium and fine grit sanding sponges and then with 1500-2400 grit micromesh sanding pads. The scrathes left behind by the sandpapers disappeared with the micromesh sanding. I restained the area with the black undercoat, sanded it again and then gave it a topcoat of dark brown aniline stain a second time. I did not bother sanding and restaining the whole pipe as my plan was to sand the entire bowl to create the contrast I wanted with the two stains. I sanded the pipe with 1500-2400 grit micromesh sanding pads to blend in the freshly stained portion of the pipe with the rest. The next three photos show the status of the repair at this point.
IMG_5377

IMG_5378

IMG_5379

I continued to sand the bowl and shank being careful around the stamping on the top and bottom of the shank with the micromesh sanding pads until the top stain was almost translucent. I wanted the top coat to be there but I wanted the grain to pop through it. I also wanted the colour to blend in such a way that the dark repair would not be hidden completely but would be minimized. The next four photos show the pipe after all of the sanding and a buff with White Diamond to enhance the shine.
IMG_5373

IMG_5374

IMG_5375

IMG_5376

I worked on the stem to remove several small tooth marks on the underside and one on the topside of the stem. I then sanded the stem with 220 grit sandpaper to further shape it and get the flow of the taper just right. I sanded it with medium and fine grit sanding sponges and then used my normal range of micromesh sanding pads to finish the work. I wet sanded with 1500-2400 grit and then dry sanded with 3200-12,000 grit pads. I rubbed the stem down with Obsidian Oil and let it soak into the vulcanite.
IMG_5382

IMG_5383

IMG_5384

I did some more sanding with micromesh sanding pads on the stem to remove some of the light scratching that showed up under the flash and then buffed the stem and bowl with White Diamond. I gave them both multiple coats of carnauba wax to protect and give it a shine. The first three photos below show the repair as it stands now. The surface of the bowl is smooth to the touch. The light and the dark spots on the repair are some of the briar dust in the patchwork. Some takes the stain and is dark and there seem to always be light spots as well. This old pipe has come a long way since I received it in the mail.
IMG_5389

IMG_5390

IMG_5392

The finished pipe is shown in the next series of four photos. The stem fit came out nicely. The change from a saddle to a taper style worked well. The contrast stain looks great on the pipe. Over all I am well pleased that I decided to stain it and not rusticate it. I look forward to loading up a bowl and enjoying the “new” pipe.
IMG_5385

IMG_5386

IMG_5387

IMG_5388

On Making a Comoy’s “C” Logo – Jacek A. Rochacki


Blog by Jacek A. Rochacki

It is a pleasure to present this third article by Jacek Rochacki. In this article he is responding to a request that came up from several articles here on the blog about restoring Comoy’s pipes. In several of those pipes, particularly the Lumberman pipes, the stems were replacements. Jacek asked about putting the C logo on them. In this piece he gives the step by step procedure for inserting the C logo on a stem. Thank you Jacek for a helpful and timely article. It is greatly appreciated.

Let us begin from excerpt from A HISTORY OF COMOY’S AND A GUIDE TOWARD DATING THE PIPES, by Derek Green. It is published in Pipedia, unfortunately Derek’s internet pages do not exist anymore http://pipedia.org/index.php?title=A_History_Of_Comoy%27s_and_A_Guide_Toward_Dating_the_Pipes&action=edit

Inlaid “C”
“C” was first inlaid in the side of the mouthpiece around 1919. This was a complex inlay needing three drillings. First, a round white inlay was inserted, then the centre of the white was drilled out, and a smaller round black inlay was inserted. Finally, another drilling was made to remove the open part of the “C,” and an even smaller black inlay was inserted. This inlaid “C,” known as the “three-piece C,” was continued until the Cadogan era in the 1980s. However, the “C” in the 1920s and early 30s was much thinner and more delicate than the one post-war. Cadogan first changed the “C” to a single drilling with an inlay that had the “C” in the centre, and more recently it became a laser imprint. I have a cased pair of early 1920’ “Par Excellence” where the “C” is on top of the mouthpiece.
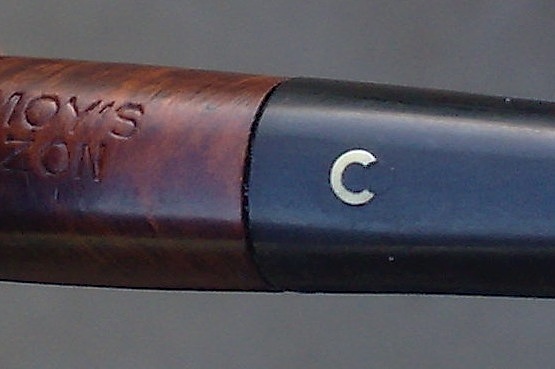
“Three piece C” on one of my Comoy’s
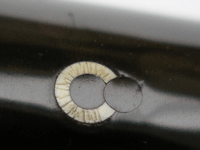
“Three piece C” on one of my Comoy’s

“Three piece C” originally published at the late Derek Green’s pages (sadly no longer existing today), the three elements are better visible here. Cracks on the letter “C” may be a subject for more detailed discussion; we remember such cracks in some old enameled objects, or in inlays of bone or ivory.

“Three piece C” originally published at the late Derek Green’s pages (sadly no longer existing today), the three elements are better visible here. Cracks on the letter “C” may be a subject for more detailed discussion; we remember such cracks in some old enameled objects, or in inlays of bone or ivory.

In order to follow this procedure the following essential tools are necessary:
– drill bit with sharp cutting edges of diameter corresponding with outer diameter of our “C” to be. I call it drill bit No. 1.
– drill bit with sharp cutting edges of diameter corresponding with inner diameter of our “C” to be. Let it be drill bit No. 2.
– drill bit with sharp cutting edges of diameter corresponding with diameter of this smaller black inlay that will remove the open part of the “C”. Let it be drill bit No. 3.
And: a jeweler’s frame saw, files, sandpapers, needle point marker, a drilling device possibly with regulation of rotation speed. Other tools like cutters, scraper, drills of other length and diameters may be of use. An old fashioned hand drill may be helpful because some operations on some materials should be performed at a very low speed.

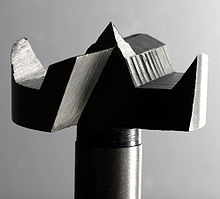
First mark centre of our “C” to be. I do this using an ordinary needle fixed in a wooden handle but with tip slightly rounded. I heat the tip evenly with an ordinary lighter (I have been pipe smoker for years) and with this hot tip I mark a tiny hole, not deep, say, 0.2 mm. This centre mark will “guide” drill bit no.1. Just a few comments regarding drill bits: instead of using drill bits with ordinary/universal cutting edges shape there are other options that work well. Drill bits used in woodworking with “pilot” tip on them (brad point bits or dowelling bits) and Forstner bits of the correct diameter will work.
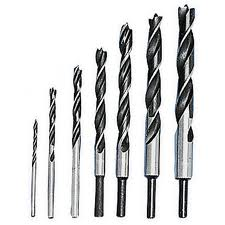
Brad point bits
Brad point bits

Forstner bit

Forstner bit

Another method would be to drill “preliminary” hole with a thin drill bit (say 1.2 – 2.0 mm) and then continue drilling with a cutter like the one below used by jewelers/stone setters for setting precious stones.
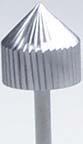
Diamond setting cutter

Diamond setting cutter

Yet another way of drilling the holes would be to use cylindrically shaped cutter after drilling the “preliminary” hole. This “preliminary” hole should be just a little smaller than the outside diameter of the “C” we are making. The diameter of our cylindrical cutter must be exactly the same diameter as that of the outside of our “C”.
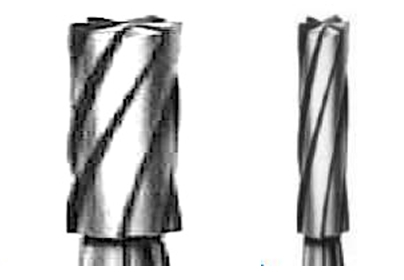
Cylindrical cutters

Cylindrical cutters

When we say “drilling” we have an understood association with a drilling machine. While that is true, let us stop here for a moment. What is a drill bit? It is just a cutter of specific shape, normally used for making holes. If we agree that it is some kind of cutter, then drilling is one of numerous processes within category of machining. http://en.wikipedia.org/wiki/Machining In our case we want to remove the material that we need in order to insert the “C” in a controlled way (subtractive manufacturing).

So the tool must be of proper shape and in best working condition = sharp! It would be going too far in this article to give a precise description on sharpening and maintenance of drills, but let us remember the necessity of using drill bits in best working condition. Basic information on drills including terminology is given on this site: http://en.wikipedia.org/wiki/Drill_bit#Twist_drill_bits

In some situations it is not necessary to operate drill bits or cutters with a drill/drilling device. If the bit is sharp and properly maintained etc., and we work with soft materials like vulcanite etc., it is sometimes OK to operate the drill bit with your fingers. The hole is created by drilling results from the sharpness and the right shape of cutting edges, not by using force. It is like carving with knife: the better and sharper the blade, the less force has to be employed.

When the hole is done/bored, we have to make the round white element to be inlaid. Ideally that would be a white vulcanite/material identical or well matching physical properties of the material of our stem, but I do not know if it is available today. Perhaps it might be found from this site: http://shop.hermanns.dk/group.asp?group=20

The best course would be to find a dealer who provides vulcanite in rods. If the diameter of the rod is bigger then what is needed, it is an easy job to thin it to our desired dimension by fixing a short piece in jaws of our drill (fixed in solid “horizontal stand) or in jaws that are fixed to our grinding/polishing machine, turn it on and while it turns use sandpaper to achieve required result. (I do not intend to convince all of us to begin learning simple turning – maybe we shall return to subject of turning vulcanite on another occasion, but a simple drill fixed in a horizontal stand, powered by electricity may serve as improvised lathe/turning machine!) .

When I had problems obtaining white vulcanite I remembered that it was available in acrylic. Acrylic is available in plates, rods, other forms. http://www.acrylite-shop.com/US/us/index.htm White opaque acrylic also works. If I had problems finding the required material in rods I use plates/sheets with a thickness of more than 3 mm. I cut the small disk of the required diameter with my trained, “sure” hand using a piercing saw or an even better idea would be to use a drill bit in the form of a short steel tube “crowned” with teeth, of inner diameter corresponding with diameter of the hole to be filled. It is the drill bit that reminds me of a hole saw bit without the “pilot” bit in the center.
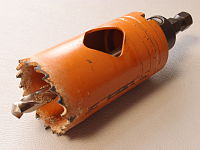
Original hole saw bit with “pilot”

Original hole saw bit with “pilot”

At that time I was working and in constant touch with tool maker so I had my special tools custom made. But later in a distant place, in an improvised workshop, when I was in need of using such tool, I went to metal scrap and found a short piece of tube of hard metal of right diameter for my purpose. Steel would be good, but I learned that brass will also do because vulcanite and acrylic are soft materials. Using a jeweler’s triangular shaped needle file I made teeth, filed them to proper sharp cutting profiles and I had the “tube drill bit” that I need. Using this tool I was able to cut regular round elements.
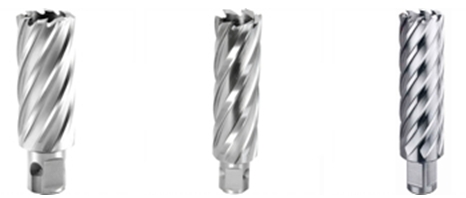
These pictures give a better orientation to the shape of  cutting top/“crown” so please, do not pay attention to the “body” of this tubular cutting tool. Sorry, I am far away from my own workshop and tools so I don’t have exact photos of tools that I write about.

These pictures give a better orientation to the shape of cutting top/“crown” so please, do not pay attention to the “body” of this tubular cutting tool. Sorry, I am far away from my own workshop and tools so I don’t have exact photos of tools that I write about.

When I had finished making the disk/”peg”/round filling element I glued it in the hole and the first part of the work was done.

And one more thing: acrylic is also available in form of powder that is offered with hardener and creates solid material. This technique came to be popular in artistic silver jewelry during ’70s. So this provides another option. You would fill our hole with white acrylic powder, use the hardening liquid and precisely fill up our hole. Attention: some of these materials are of an “aggressive” nature. They sort of “melt in” the “walls” of places to be filled, thus the circle does not have a clean straight line/border but the line/border will look “shadowed”. Keeping this in mind I suggest that you get all the necessary information from the manufacturer or competent dealer on how the “border” between the filling and “mother” material will end up.

Continuing this idea: There are so called cold enamels used in contemporary cheap jewelry or sometimes in repairing objects that were enameled. And other colored artificial materials, some of them are hardened with ultra violet rays. Information on these products can be found here http://www.gesswein.com/p-896-colorit-set.aspx The site may give some orientation regarding this matter.

When our “white large spot” is ready (of course after the filling is hardened or, if glued the glue has created a solid “binding” we have to level it up with files and sanding and buffing etc.) we find and mark the precise center and make another hole by drill bit of proper diameter that I call drill bit No. 2. Then make a black ebonite (or other material the identical color of the stem) “peg”, mini disk or other element for filling using one of techniques mentioned above. This should give you a nice inlay of a white circle on the stem. Then again it involves sanding, buffing etc. to make the surface smooth.

Then mark precisely the place on the right side of the inlaid circle for using drill bit No. 3. Drill the hole and with another very small diameter pin or disk, using one of techniques described above, we “open” the circle giving it the shape of letter C. Then after the final sanding, buffing etc. voila – our inlaid C should be ready.

—

But it is possible to approach the subject in a slightly different way. Let us return to the beginning when we were drilling larger hole by drill bit No. 1. Remember what I said above on “tube”, or “tubular drill bits”. There may be a way to find the tube of hard metal of diameters exactly matching inside and outside diameters of our “C” and of walls of thickness corresponding with thickness of our “C”. In old metalsmithing/goldsmithing/silversmithing/coppersmithing etc. metal handicraft workshops we made short tubes ourselves using so called draw plates and draw tongs or a simple hand powered machine named draw bench. I say this as curiosity, I am far from trying to convince us all to become goldsmiths/metalsmiths, but perhaps a goldsmith performing old style handicraft – if such still exists – would make short piece of tube of brass of requested dimensions. When we have our improvised, but ideal dimensioned “tube drill bit” it should be not too difficult to bore/”carve” the approximately +2 mm deep (of depth) circle of dimensions of our “C” to be. The groove should be filled with powered acrylic or, perhaps better (I mentioned about some “aggressive” acrylics in form of powder) an element made of solid white material.

I would proceed as follows: I would cut/make this white strip of width larger than the depth of the groove taking into consideration the fact that our grooved “O” is carved on a concave surface. The thickness of this white strip should be of width of our groove – the final thickness of the letter “C”. Then I would “soften” this strip with hot water, steam or a heat gun, so that I could form it by using jeweler’s pliers with round conical tips or using as sort of mandrel piece of metal wire of proper diameter. Bicycle or motorcycle spokes of different diameters make very useful mandrels of small diameters. Using these tools I would shape the white strip in the form of circle/ring fitting the carved circle groove and I would glue it in place. After leveling operations such as filling, sanding, buffing etc., I would make the opening of this “O” to make required “C” out of it as I described above.

It would be easier to find a tube of white appropriate material (acrylite) of dimension that is set/determined by our circular groove – maybe something like a cocktail straw – but I am aware that chances are small, so I mention it just for completing indication /description of possible ways of proceeding.

—

All this is OK from the technical point of view, but there is another aspect to consider. This is the aspect of the authenticity of signature or logo. When making copy of an original there are ways of “marking” the final product so that it is clear that our work is a copy and not a falsification. One of ways of such “marking” is to make a small change of dimensions in comparison to original. Here our wish of having a “clear conscience” meets the eventual problems of finding drill bits and materials in rods of dimensions that correspond exactly with dimensions of original “C” on Comoy’s pipes. I believe that this is one of situations where these two aspects meet and stay together in harmony.

Giving New Life to an Old, Tired Unique


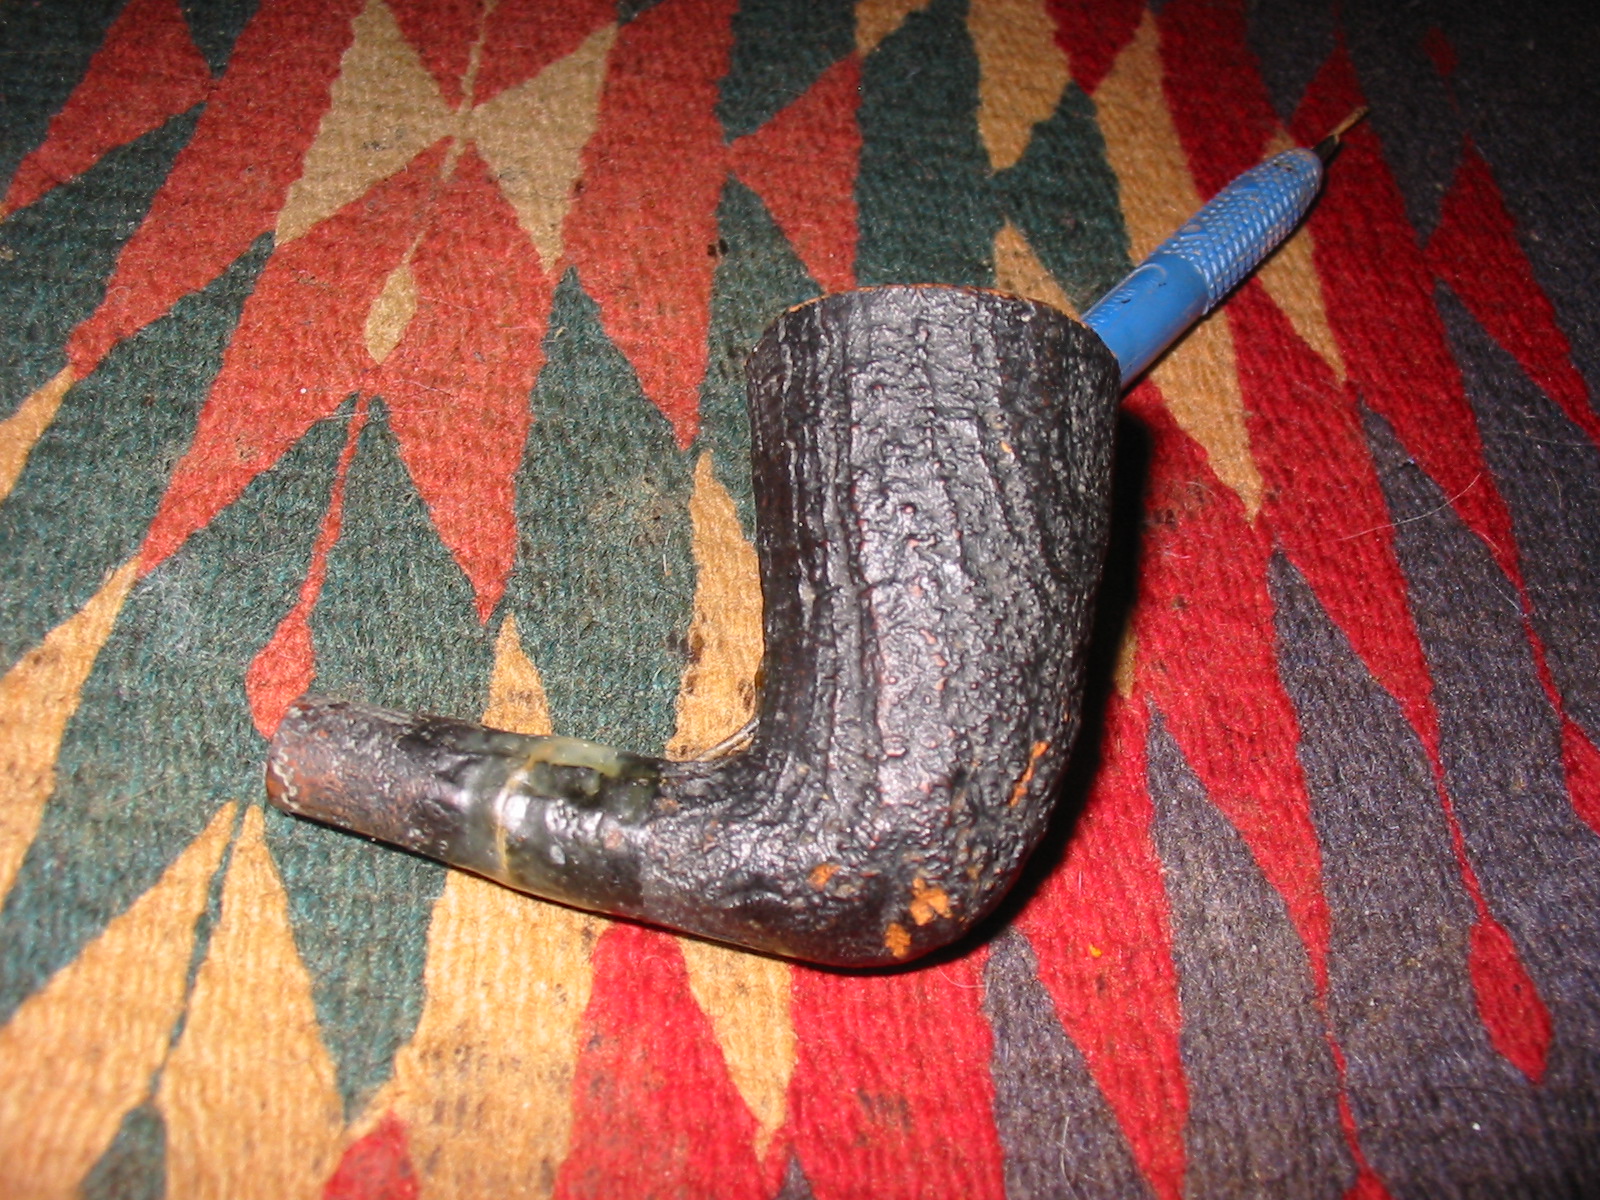
I am not sure who the maker of this pipe original was. It has some rustication patterns that remind me of Dr. Grabow. It has a metal screw mount mortise. The flat base that extends from the bottom of the bowl backward toward the stem also has similarities to a Grabow shape. But this one is only stamped Imported Briar on the bottom of the shank. When I received it the bowl was in rough shape. The finish was gone. The stem was gone, the rim was a beaten and worn down mess. I think originally the rim was probably straight across but it was worn and beaten to the point that it was now angled. If indeed it was originally angled then the rim was badly beaten. Either way it was rough. The cake in the bowl was quite thick. The internals of the shank and airway were quite clean – that was a surprise. The briar was solid and relatively thick and sound.
IMG_5281

IMG_5282

IMG_5283

IMG_5284

As I looked at it and studied it there was something about it that drew me to the shape. The wear and tear still did not hide the fact that there was some life still left in this old pipe. I went through my can of stems and found an old screw mount stem. The stinger apparatus on it was slightly different than the old Grabows that I had seen but it would work. The draw on the stem was very constricted anyway so I figured I would end up cutting the stinger off and drilling out the metal tenon. The stem has lots of tooth marks and chatter but was solid. It was a nylon stem and not vulcanite so it was a little trickier to work with. The diameter was also slightly off and the stem was overturned once it was on the shank.
IMG_5285

IMG_5286

IMG_5287

IMG_5288

I heated the metal tenon with a heat gun until the glue softened and then turned it in the shank until it lined up. This type of tenon is actually very easy to realign.
IMG_5290

IMG_5291

IMG_5292

Once the stem was aligned I reamed the bowl with a PipNet reamer and heads taking the bowl back to bare wood. I wanted to see what the shape of the bowl under the cake was like to assess whether I wanted to continue to put time into the pipe. The interior bowl was actually in excellent shape under the cake. This pipe must have been a good smoker – someone’s favourite pipe.
IMG_5300

IMG_5301

I set up a topping board and sanded the rim at the angle of the bowl to even out the top and to minimize the damage. The back edge was very ragged from tapping the pipe out, or using it as a hammer! It took some time to get the top flat and the angle correct from the back of the bowl to the front edge.
IMG_5302

IMG_5303

I wiped the bowl down with acetone on cotton pads to clean up the grime in the grooves of the rustication and to even out the remaining stain coat. There was also some varnish left on the shank that I wanted to remove.
IMG_5304

IMG_5305

IMG_5306

Once the finish was gone I experimented with a metal band. The shank was not cracked or broken. It was solid but I wanted to see what the shiny silver would look like against the rugged rustication. I also wanted to minimize the slight difference in the diameter of the shank and the stem. I decided I liked the look of the band so I heated it with the heat gun and pressed it into place on the shank. I liked the finished look of the nickel band. I feel it gives a bit of bling to a rough looking pipe.
IMG_5307

IMG_5308

I screwed the stem in place to have a look at the fit and finish of the pipe as a whole. I thought to myself that it would work well. I would need to give the stem a bend to make a correct fit to the sitter style of the bowl but it would work.
IMG_5309

IMG_5310

I decided to sand out the tooth marks and chatter as much as possible. I was hoping that the heat would lift the marks a bit. I heated the stem with a heat gun to do the bending. I bent it over a rolling pin. It took awhile for the nylon to be flexible enough to bend. Bending nylon stems is far trickier than vulcanite. It does not seem to have the memory of vulcanite so once bent it remains even if heated and has to be pressed back into shape. It also kinks very easily so you have to be very careful when bending it. I have also found that the wire in a pipe cleaner heats up and the pipe cleaner can stick to the inside of the stem. All of the above make it a pain to bend this type of stem.
IMG_5313

IMG_5314

IMG_5315

I finished the bend and set it with cold water. I was not happy with the overall look and flow of the stem. The bend was correct in terms of allowing the pipe to sit flat on the bottom of the bowl with the tip of the button arching to touch as well but the flow/arch of the stem was not right. I reheated and tried it a second time and still it did not quite work. I decided to stop and revisit that later.
IMG_5316

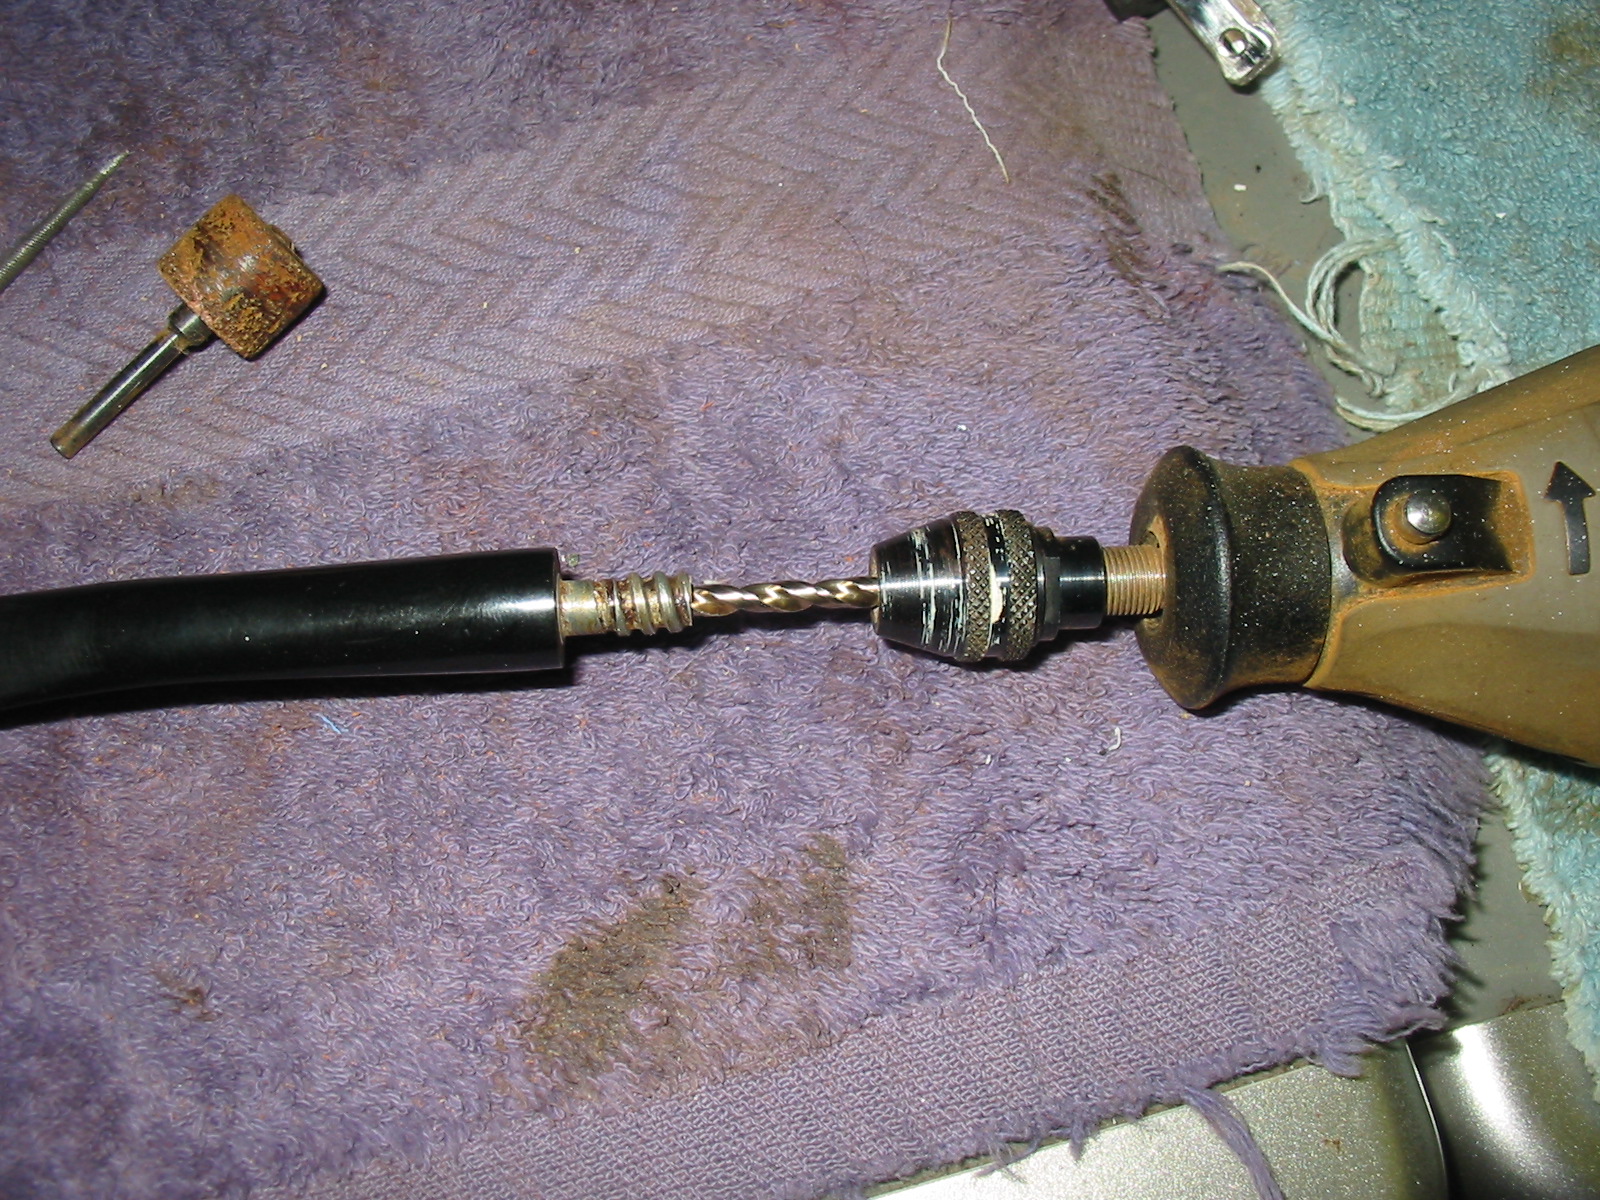
The draught on the pipe bowl was wide open and easy but the stem itself was very constricted. The stinger apparatus had a slotted entry into the stem. It was very narrow and seemed to extend quite a distance up the stem. A pipe cleaner would not pass through the stem and the stinger. I decided to sacrifice the stinger end so I sawed it off with a hack saw and then drilled out the airway in the metal tenon. As can be seen in the photo below the drill bit went a long ways into the stem before it broke through the slotted airway. Once I had opened the airway in the stem and removed the stinger the draught on the pipe was excellent – open all the way and passing a pipe cleaner with ease.
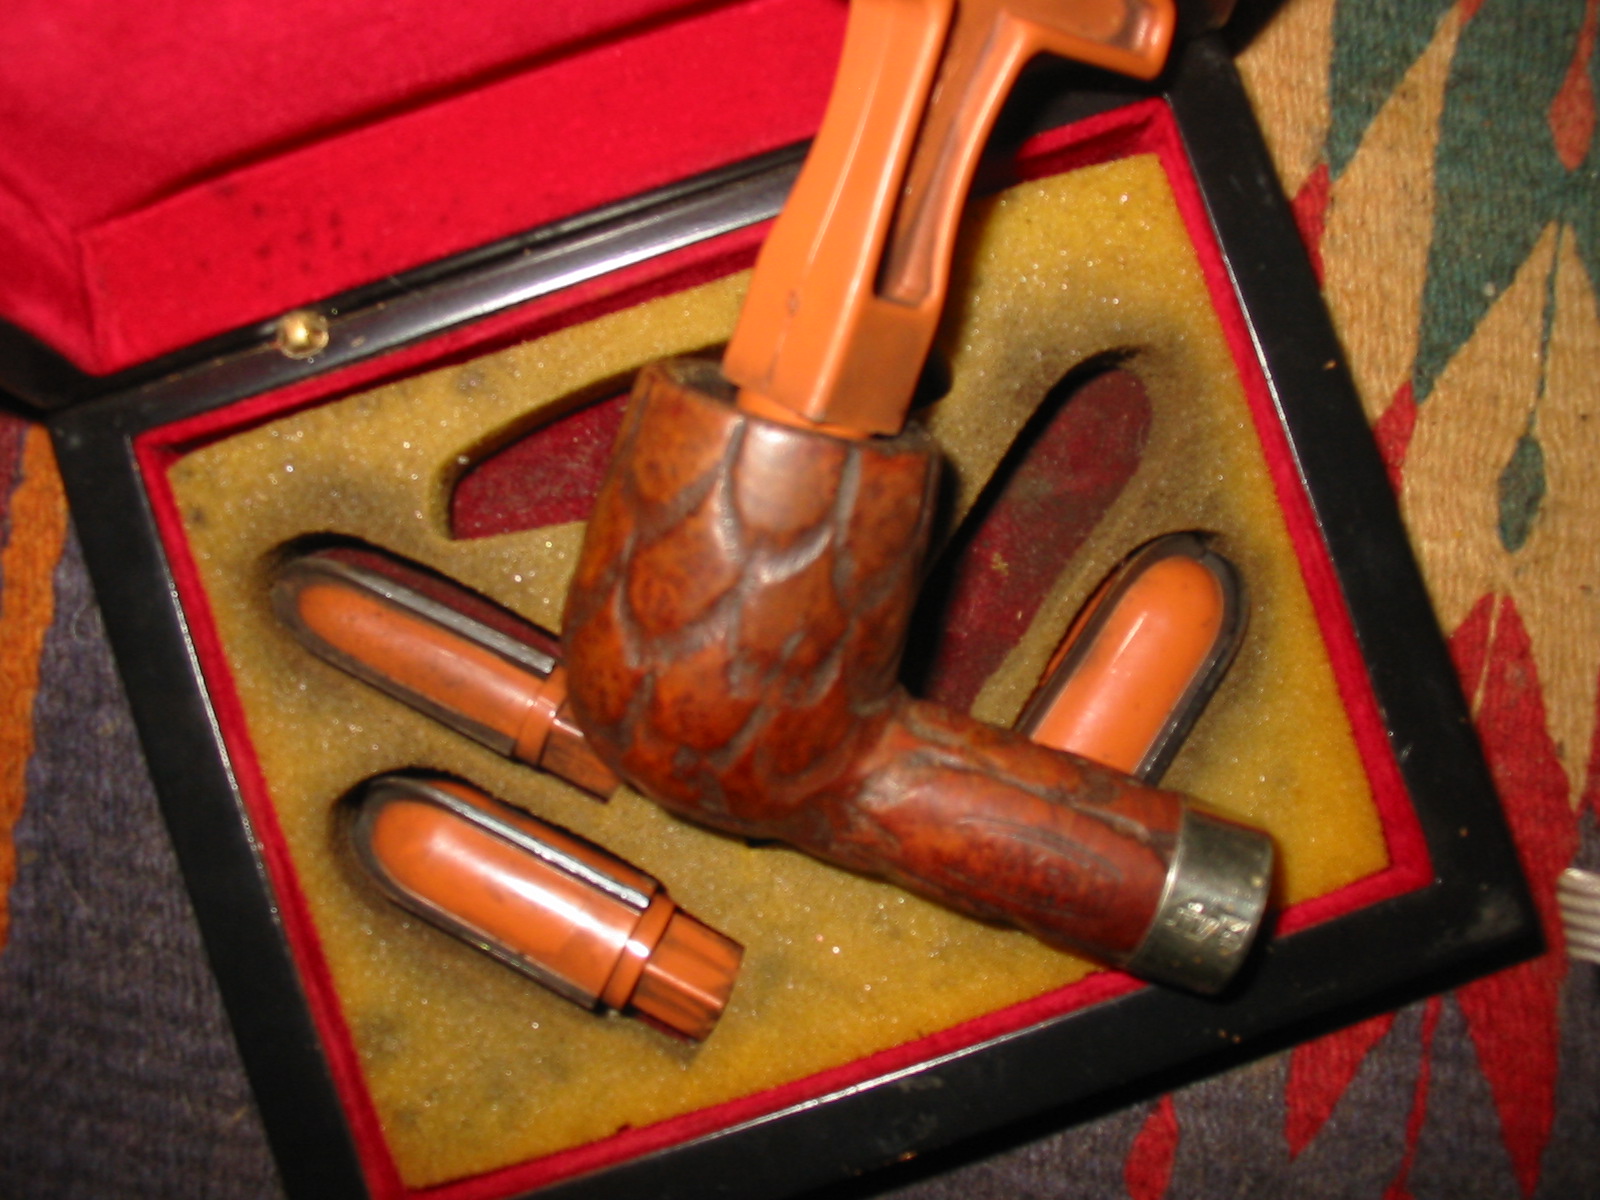
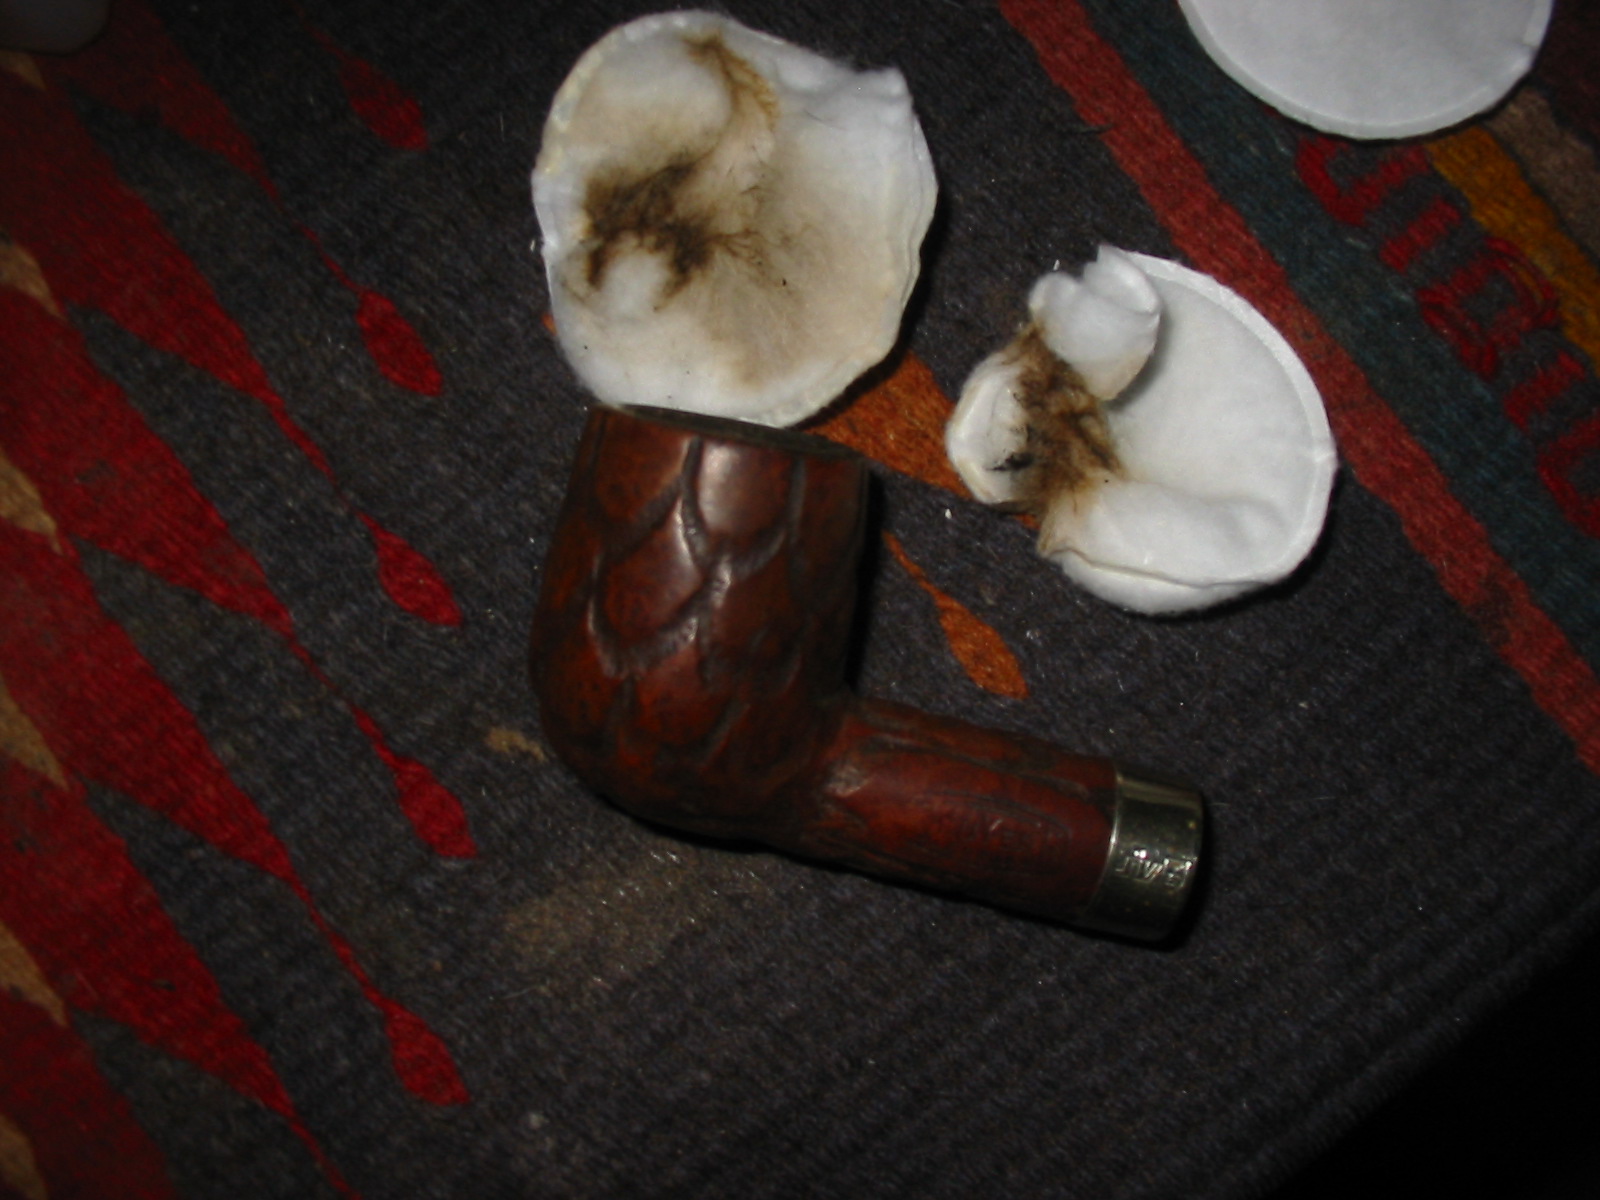
IMG_5317

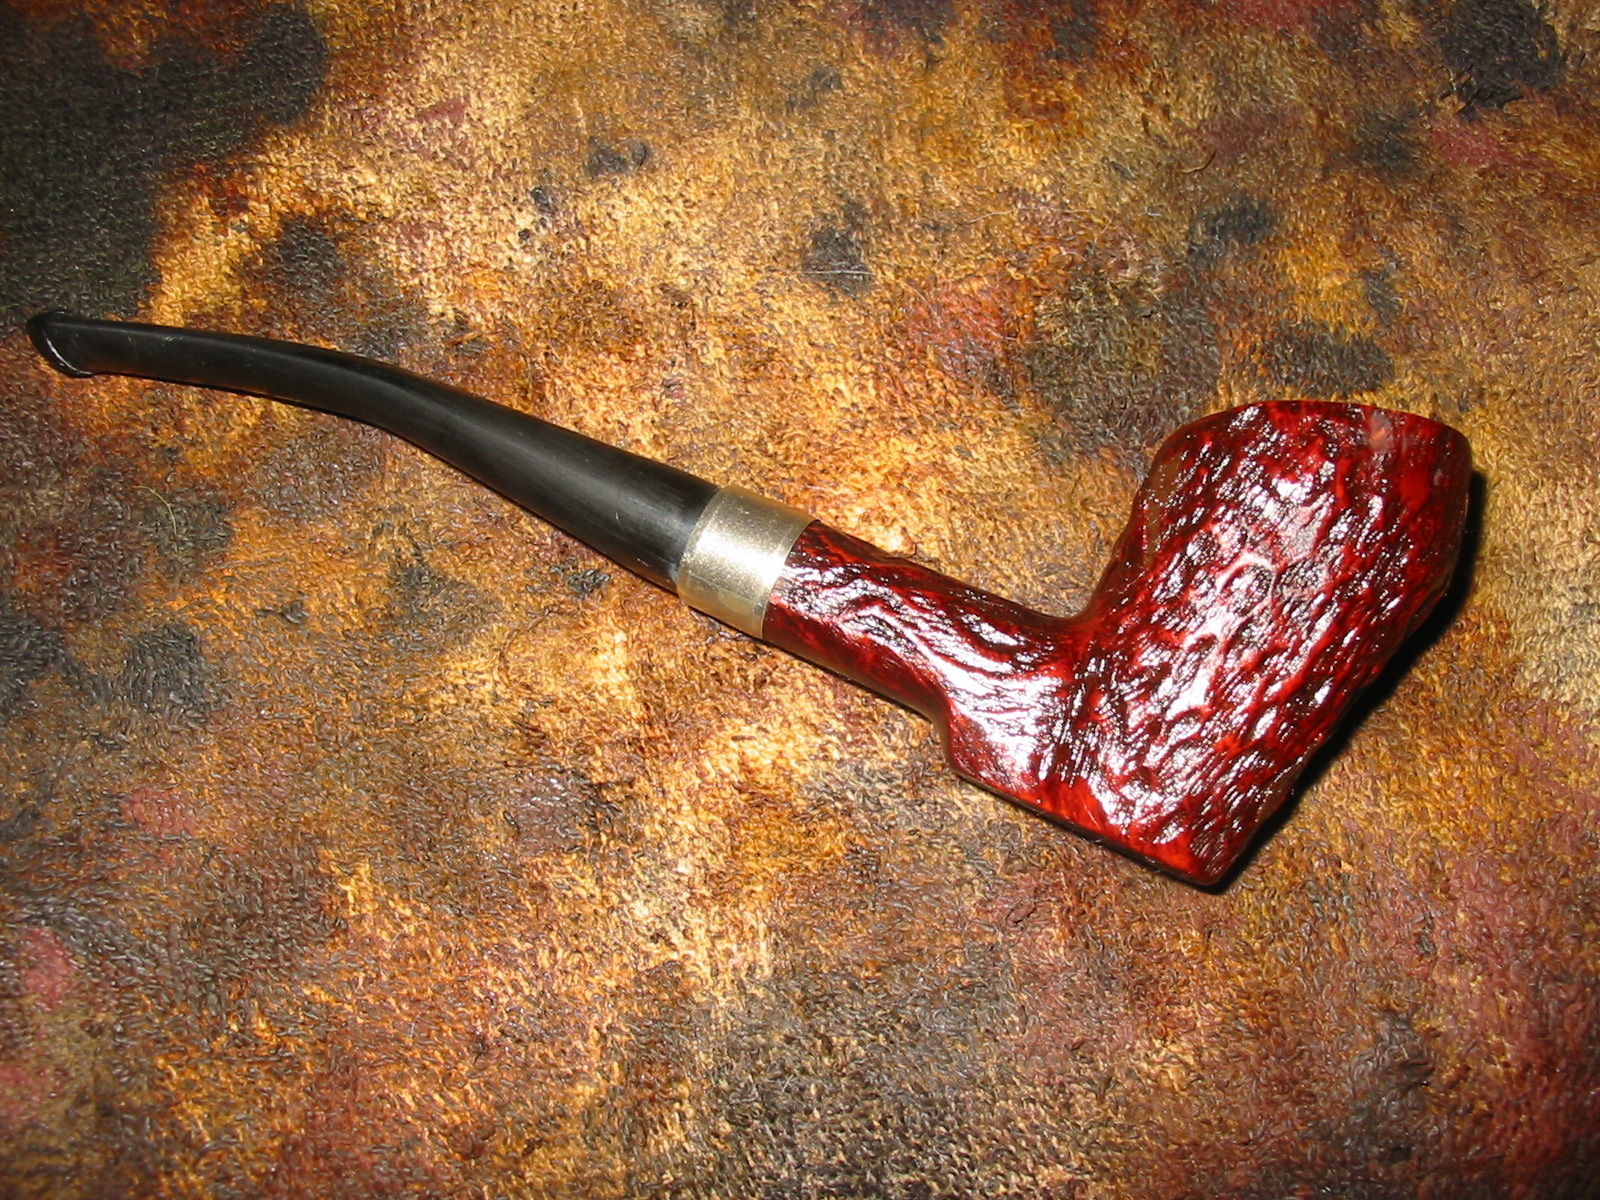
I stained the bowl with an oxblood aniline based stain. I flamed it and restained until it was well covered. I then buffed the bowl with White Diamond on the buffing wheel. The photos below show the bowl after the staining and buffing. The colour of the briar after the stain coat was workable. The black undertones that were deep in the grooves of the rustication worked well with the red of the oxblood stain. The rim colour matched the bowl and the birdseye grain showed nicely on the flat of the rim.
IMG_5318

IMG_5319

IMG_5320

IMG_5321

The stem being nylon required all handwork. I could not use the buffer on it as it would melt and make more work than I desired to do on this pipe. Before I sanded it I used the heat gun to rebend the stem and get the angles and bend correct. Once I had that done I sanded it with 220 grit sandpaper and then with a medium and a fine grit sanding sponge. I then sanded the stem with my usual array of micromesh sanding pads – wet sanding with 1500-2400 grit pads and dry sanding with 3200-12,000 grit pads.
IMG_5325

IMG_5326

IMG_5327

I rubbed the nylon down with Obsidian Oil and once it was soaked in I hand buffed it with Paragon Wax. I gave it multiple coats of the wax to preserve it. I buffed the bowl with White Diamond and then gave it multiple coats of carnauba wax with a light touch to keep the wax from building up deep in the grooves of the rustication. The next series of photos show the finished pipe. The side profile photos show the pipe in the sitter position and also from an angle. The top and bottom view photos show the new finish on the rim and the shape of the bottom of the pipe. This old worn pipe is now freshly reworked and ready to give many more years of service.
IMG_5328

IMG_5333

IMG_5329

IMG_5332

IMG_5330

IMG_5331

Giving a Contrasting Look to a Hilson Viva 272 Sandblast Dublin – John Williams (aka Coastie)


I like contrast, and I like smooth rims. Contrast is just so much more attractive to my eye, and smooth rims are so much easier to clean. So when my good friend Holymolar, from the Pipe Smoker Unlimited Forum gifted this Hilson Viva 272 Sandblast Dublin in black, with a sandblast rim, the gears starting turning in my head. Every time I would smoke this pipe I would find myself staring at it and pondering what I was going to do.
John1

Then one evening I came up with a plan and set that plan into motion. Obviously the first thing that had to go was the sandblast on the bowl rim. So I pulled out the sanding board and a sheet of 320 grit and starting sanding away. Slowly and steadily the sandblast disappeared and left me with a nice smooth rim. Just what I like. If you use this technique make sure you keep your bowl rim completely flat on the sandpaper, sand in the same direction throughout and keep a check on your progress. No sense in taking off more than you need to. This technique also works very good when removing char from the rim.
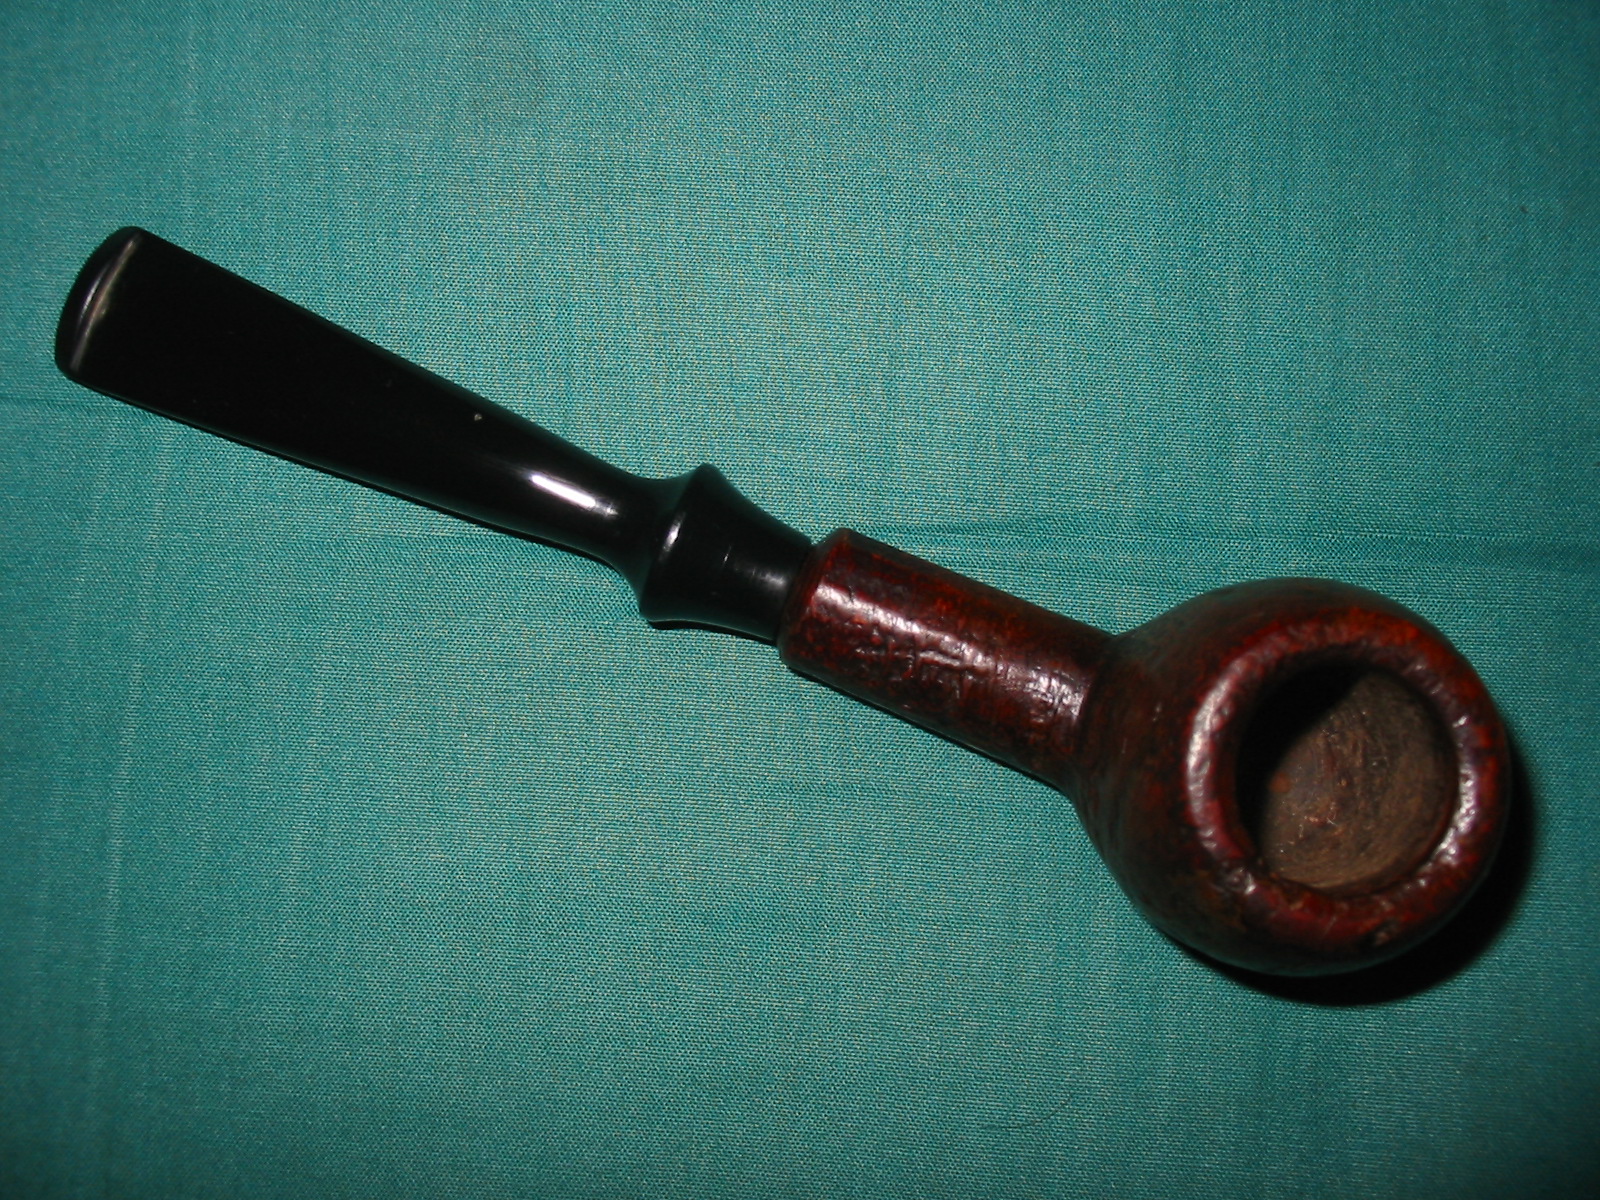
John2

John3

Now that the bowl rim was smooth and tidy, time to add some contrast. This is pretty easy to do on a sandblast finish. I took some 320 grit sandpaper and simply gave the pipe a good rub down until I had the degree of contrast I was looking for. Once the 320 took the finish off in the appropriate places I finished prepping the finish with 400, 500, 1000, then 1200 grit. Then switched to micromesh pads and went through the series; 1500, 1800, 2400, 3200, 3600, 4000, 6000, 8000, and finally 12000. Make sure you wipe down the surface well with a microfiber towel between each grit. What you will have when done is a very smooth surface that is ready for application of a finish.
John4

I decided that instead of applying a dye I would make the grain in the bare areas pop with an application of olive oil. A good olive oil rub down will reveal grain that you never would have seen any other way, and it adds an amazing color to the briar. After applying the olive oil and rubbing it in good, thoroughly wipe off the excess and let the pipe rest overnight. Then rub the pipe down good with a microfiber towel and remove any left over oil. When you are done you should not be able to feel any oily residue. If you follow this strictly then there is no danger of your pipe getting sticky or gooey when exposed to heat from smoking. I have used this technique on a lot of my pipes, that I smoke daily, and have never had an issue. Try it, you’ll like it.
In this first pic you can see the change in briar color where I applied the oil as compared to the shank that has not been oiled yet. And the bowl rim is so much better smooth with a good color to the briar.
John5

John6

And of the course the final step to the process is a good buffing. Since this pipe is a sandblast I decided not to use White Diamond or carnauba on the body of the pipe as it would simply build up in the sandblast texture and look bad. So I applied a couple of light coats of Halcyon II wax, by hand, let it dry between coats and buffed it out with a clean microfiber towel. The bowl rim, since it is nice and smooth got treated to a buffing with White Diamond to bring out the shine, the 3 coats of carnauba wax.

Now it is all done and I can smoke it and enjoy the beauty of the briar.
John7

John8

Sasieni “Viscount Lascelles” XS Restoration


Blog by Al Jones

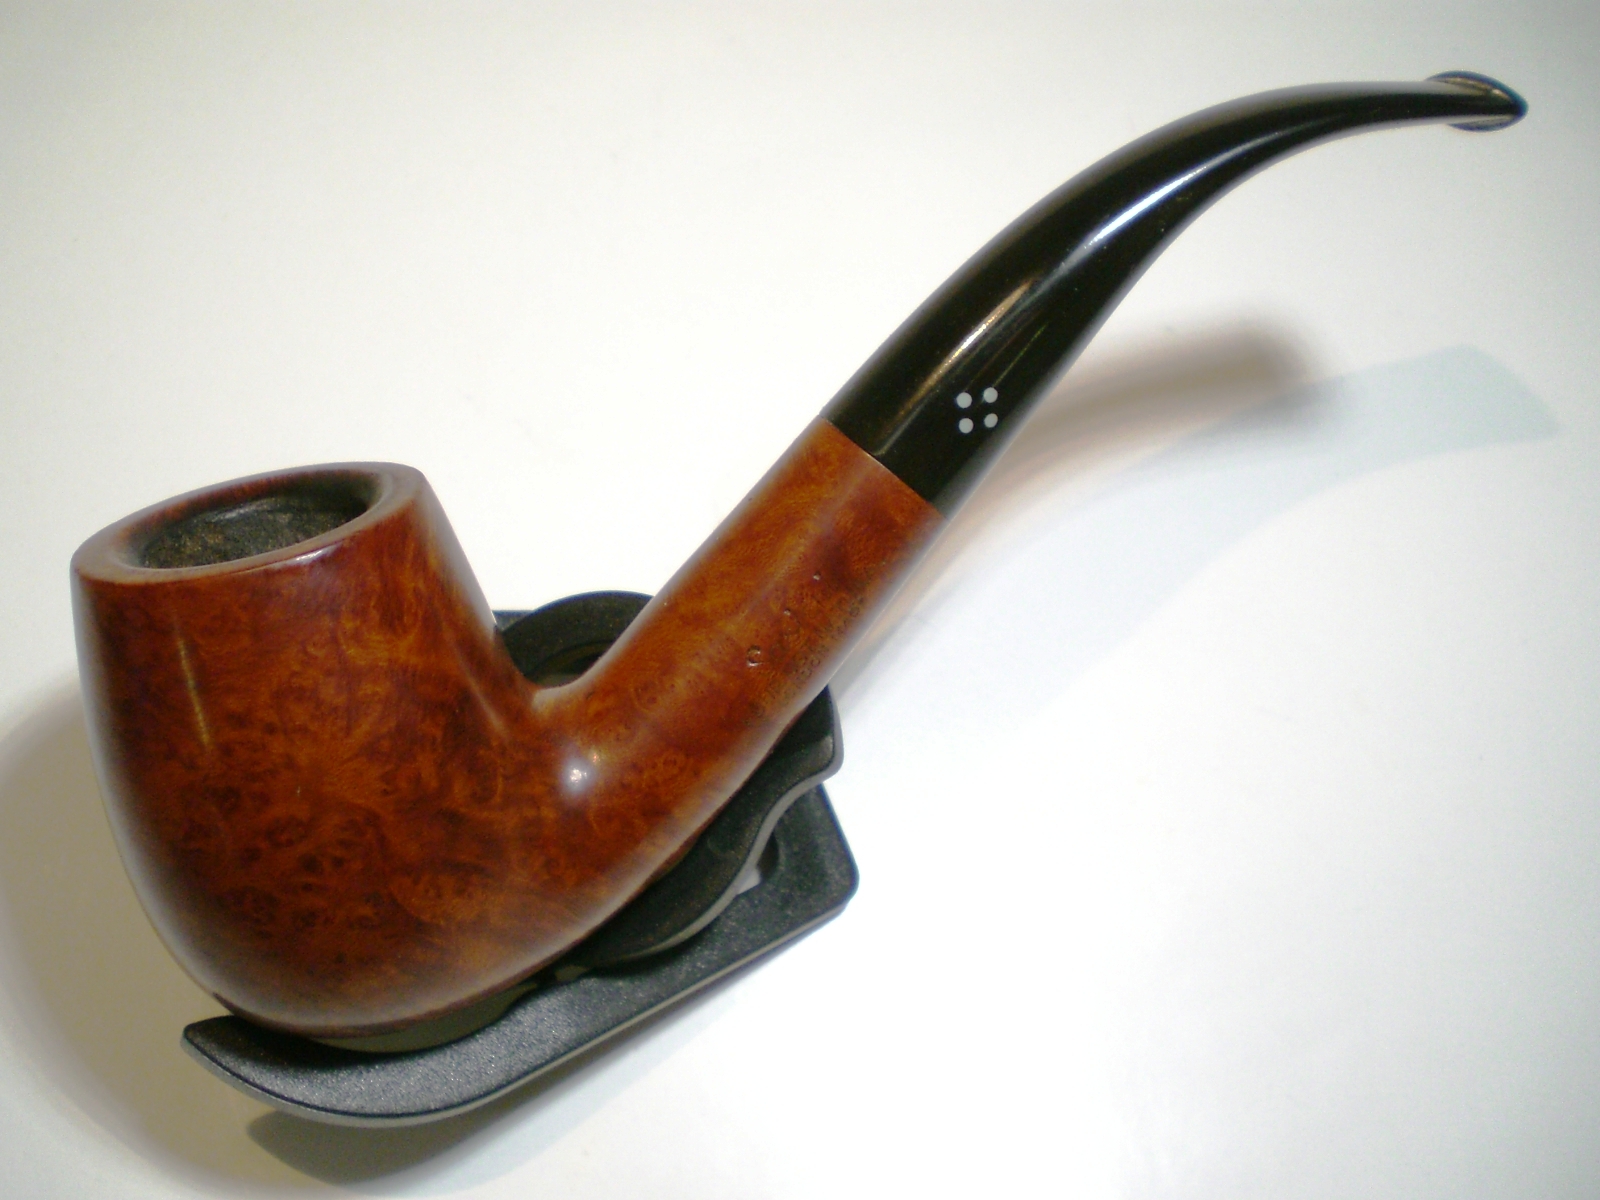
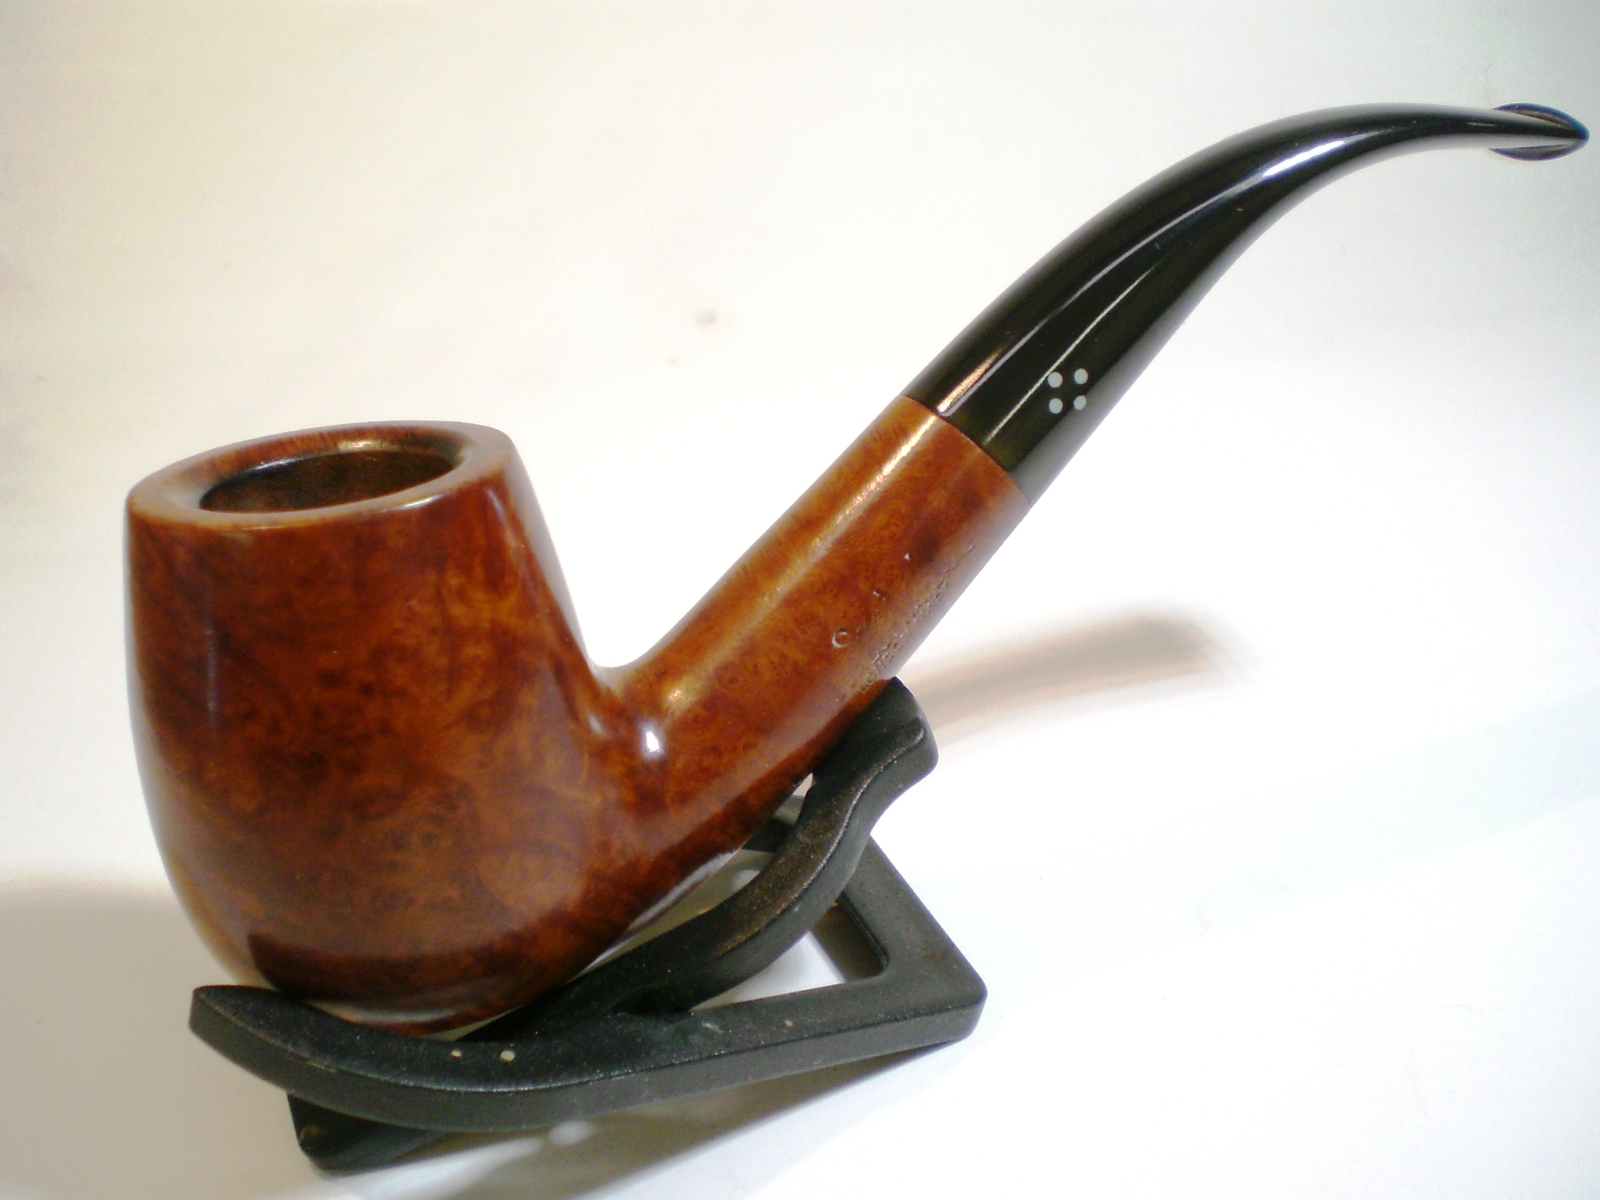
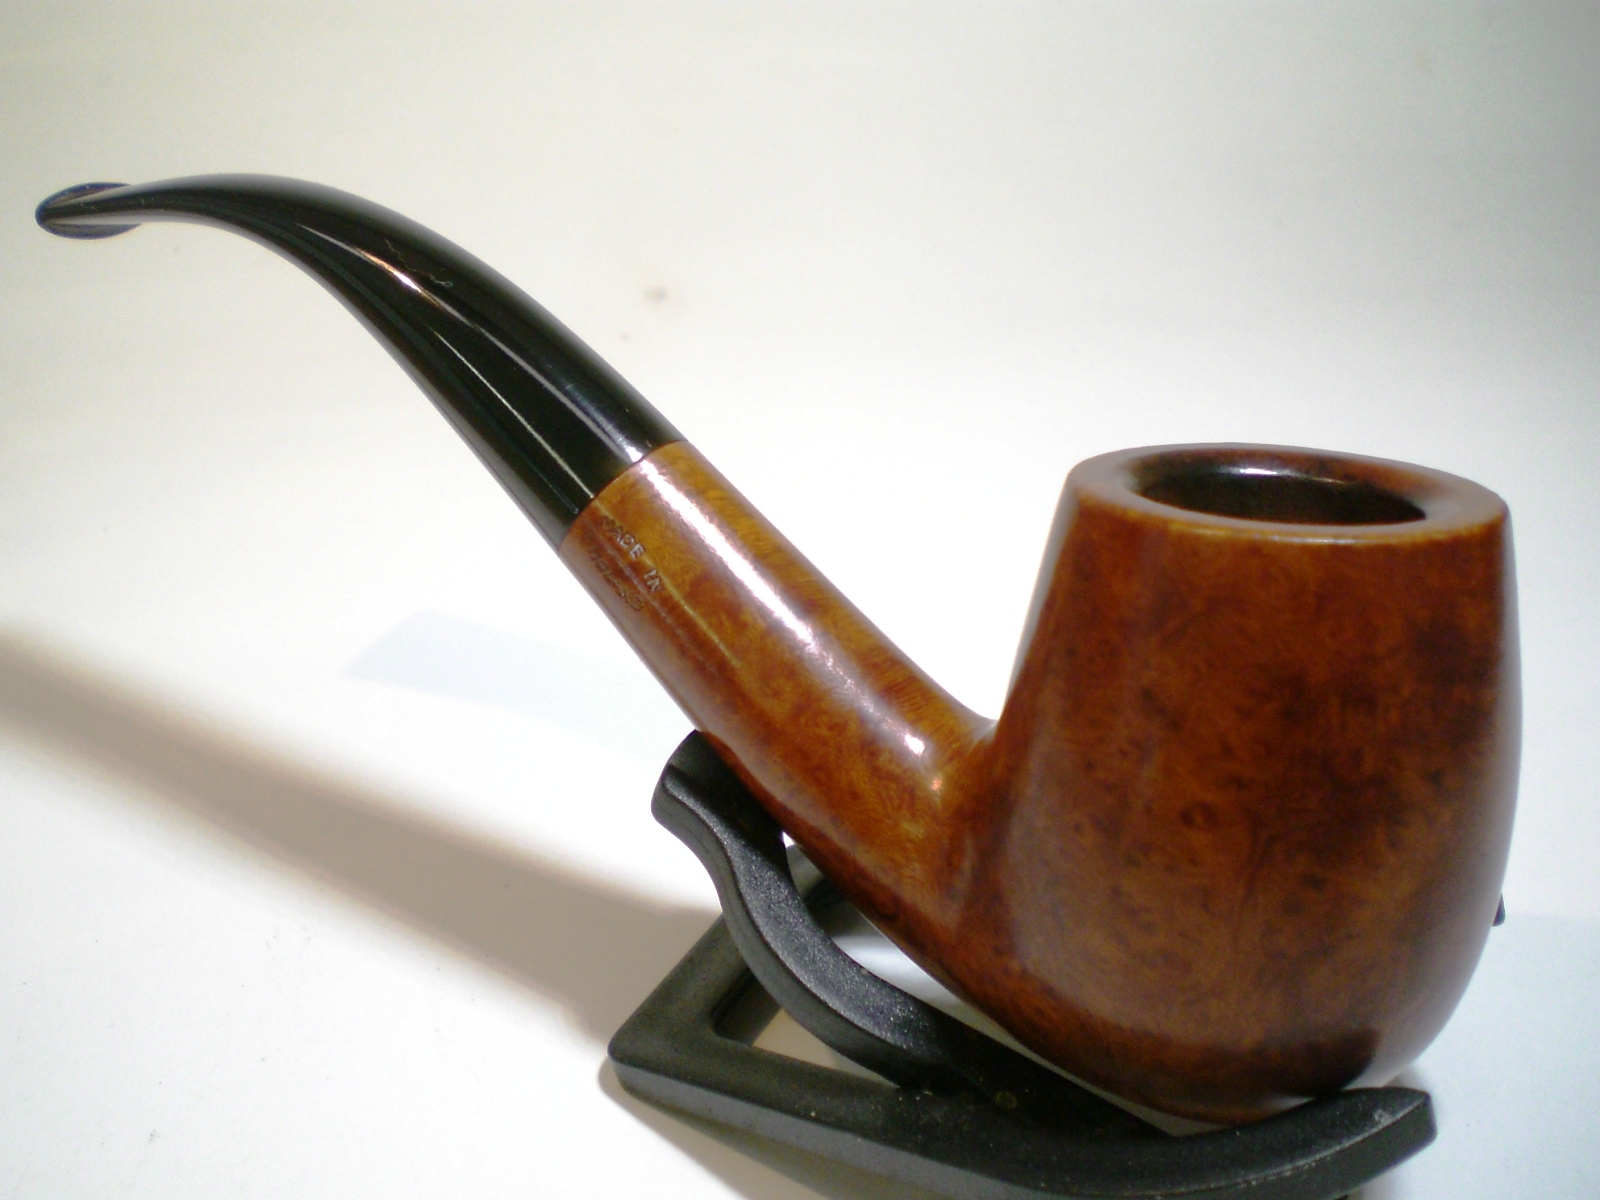
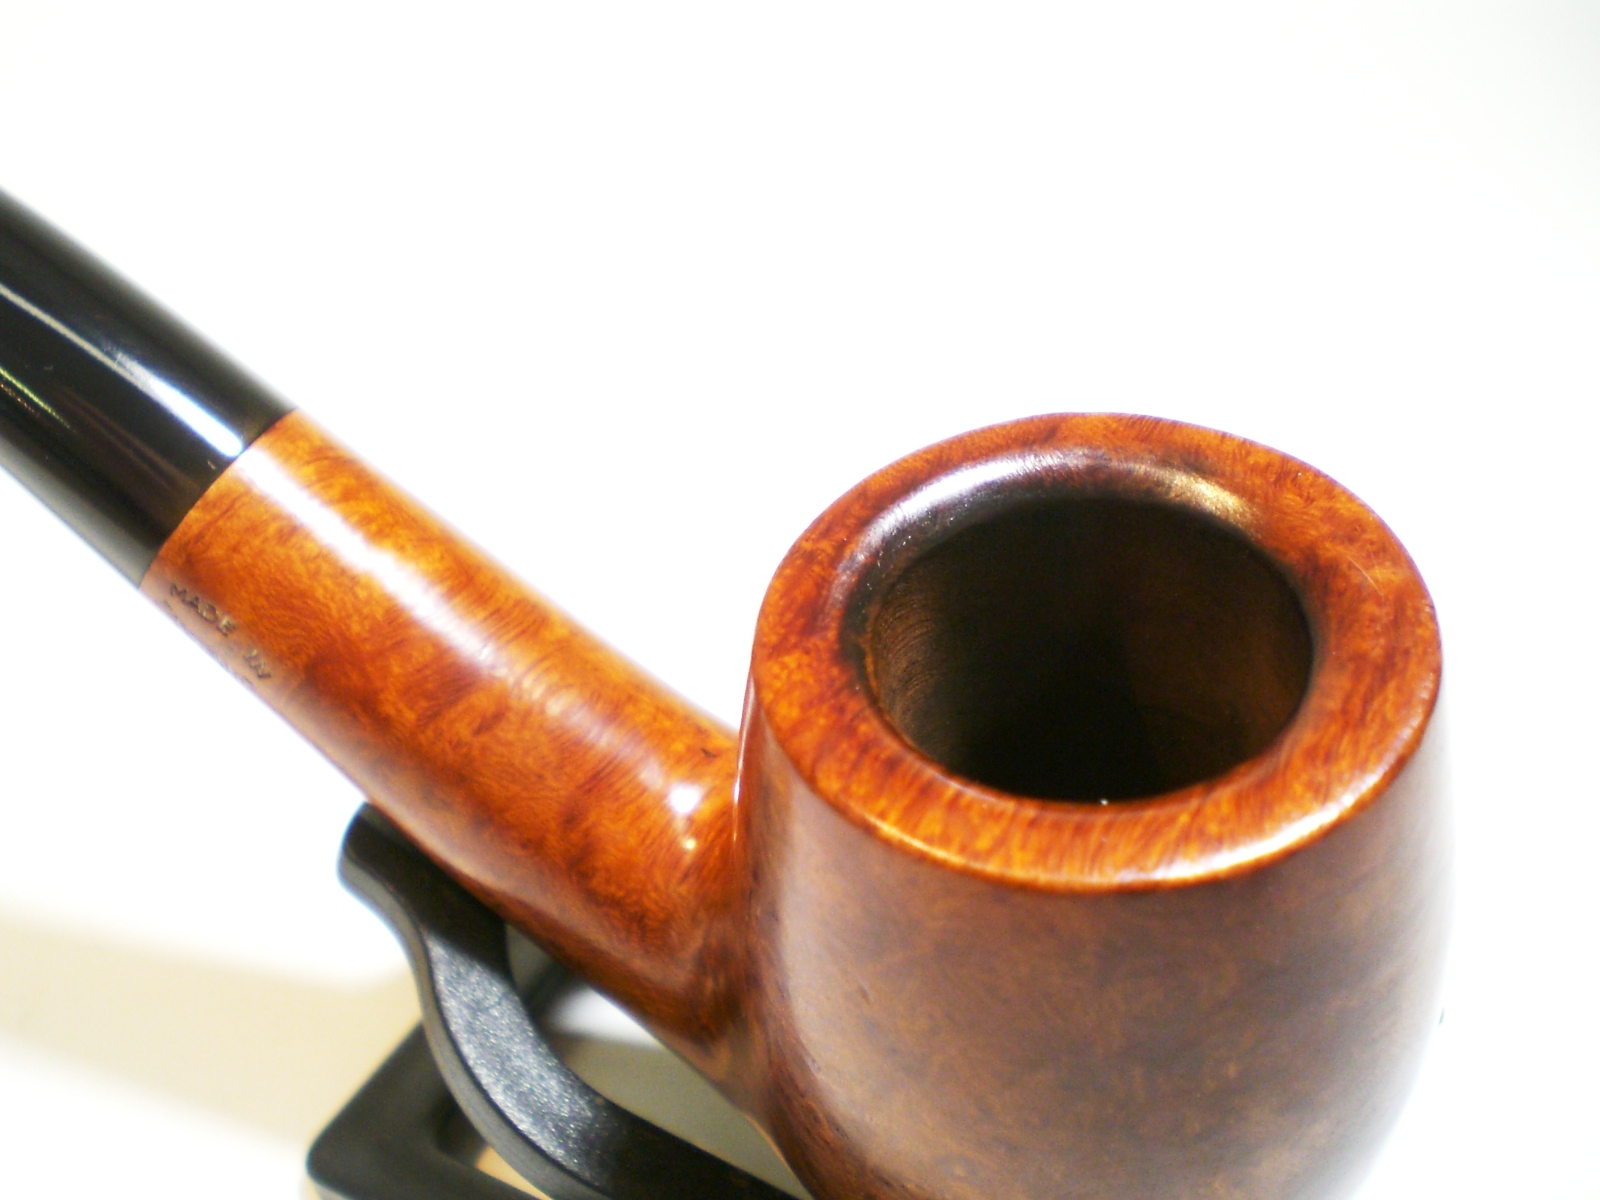
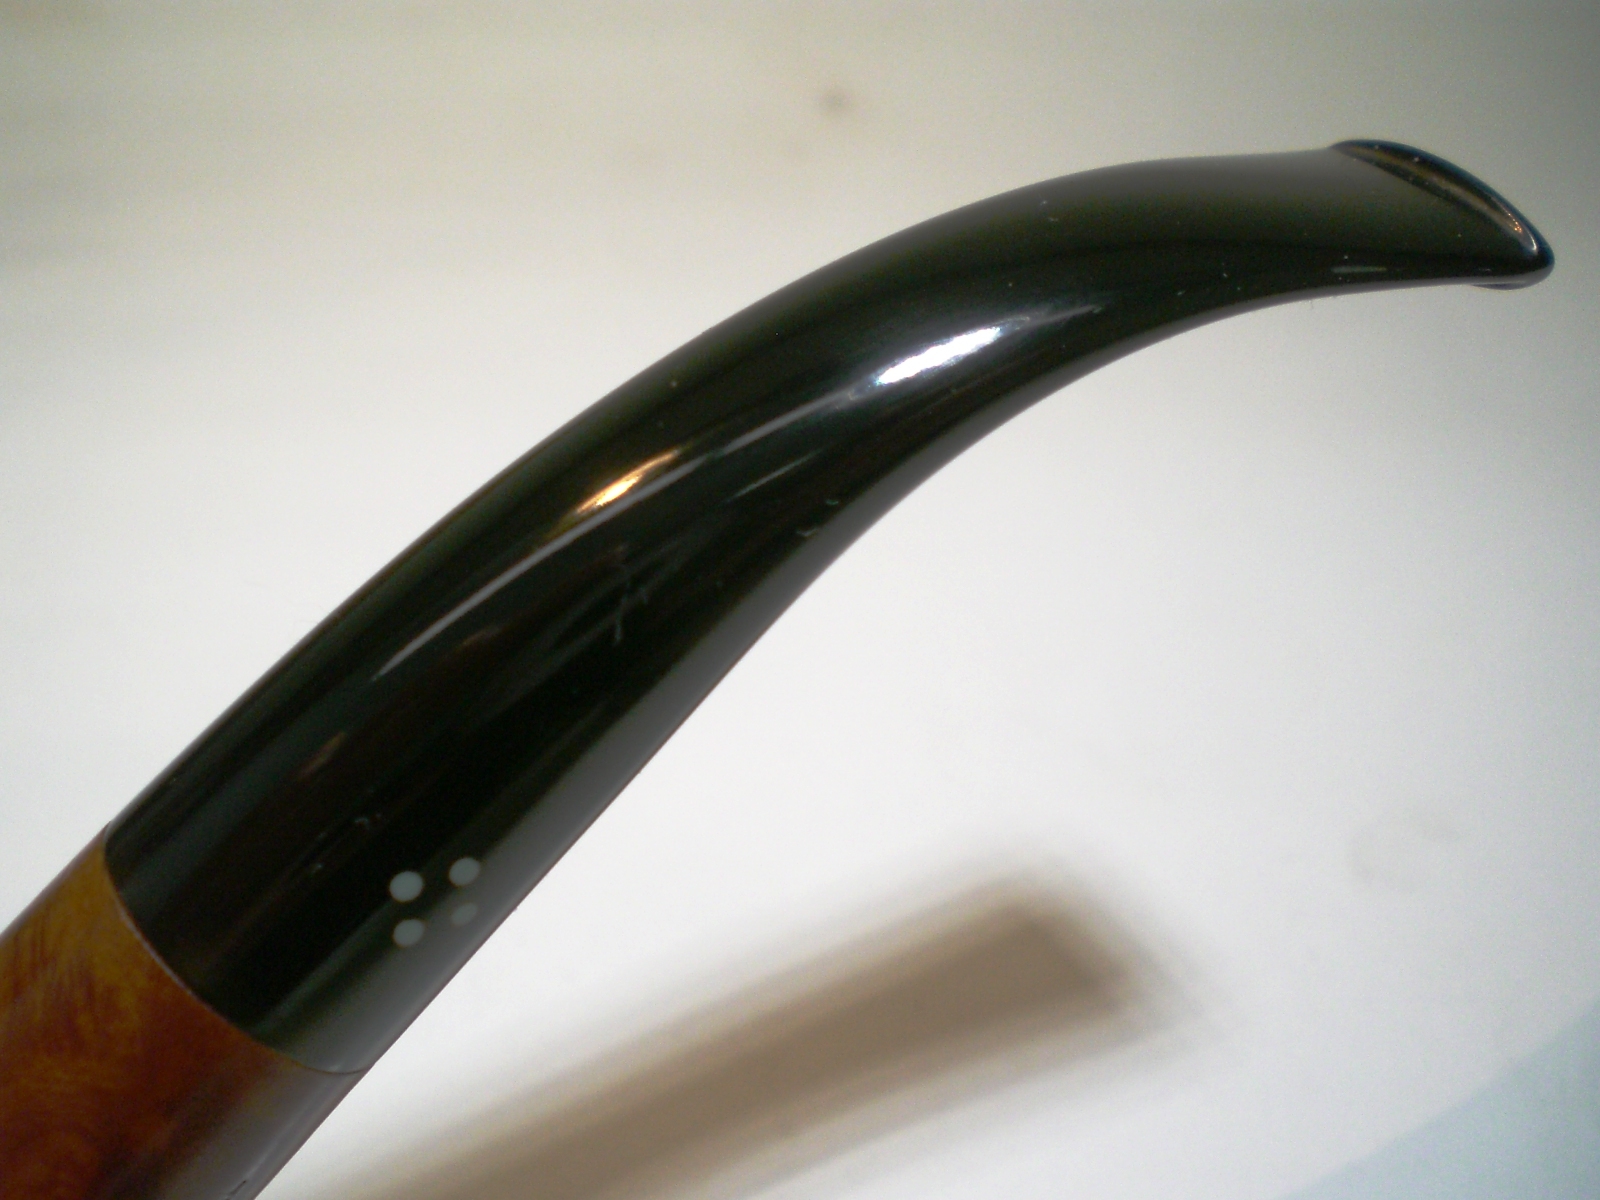
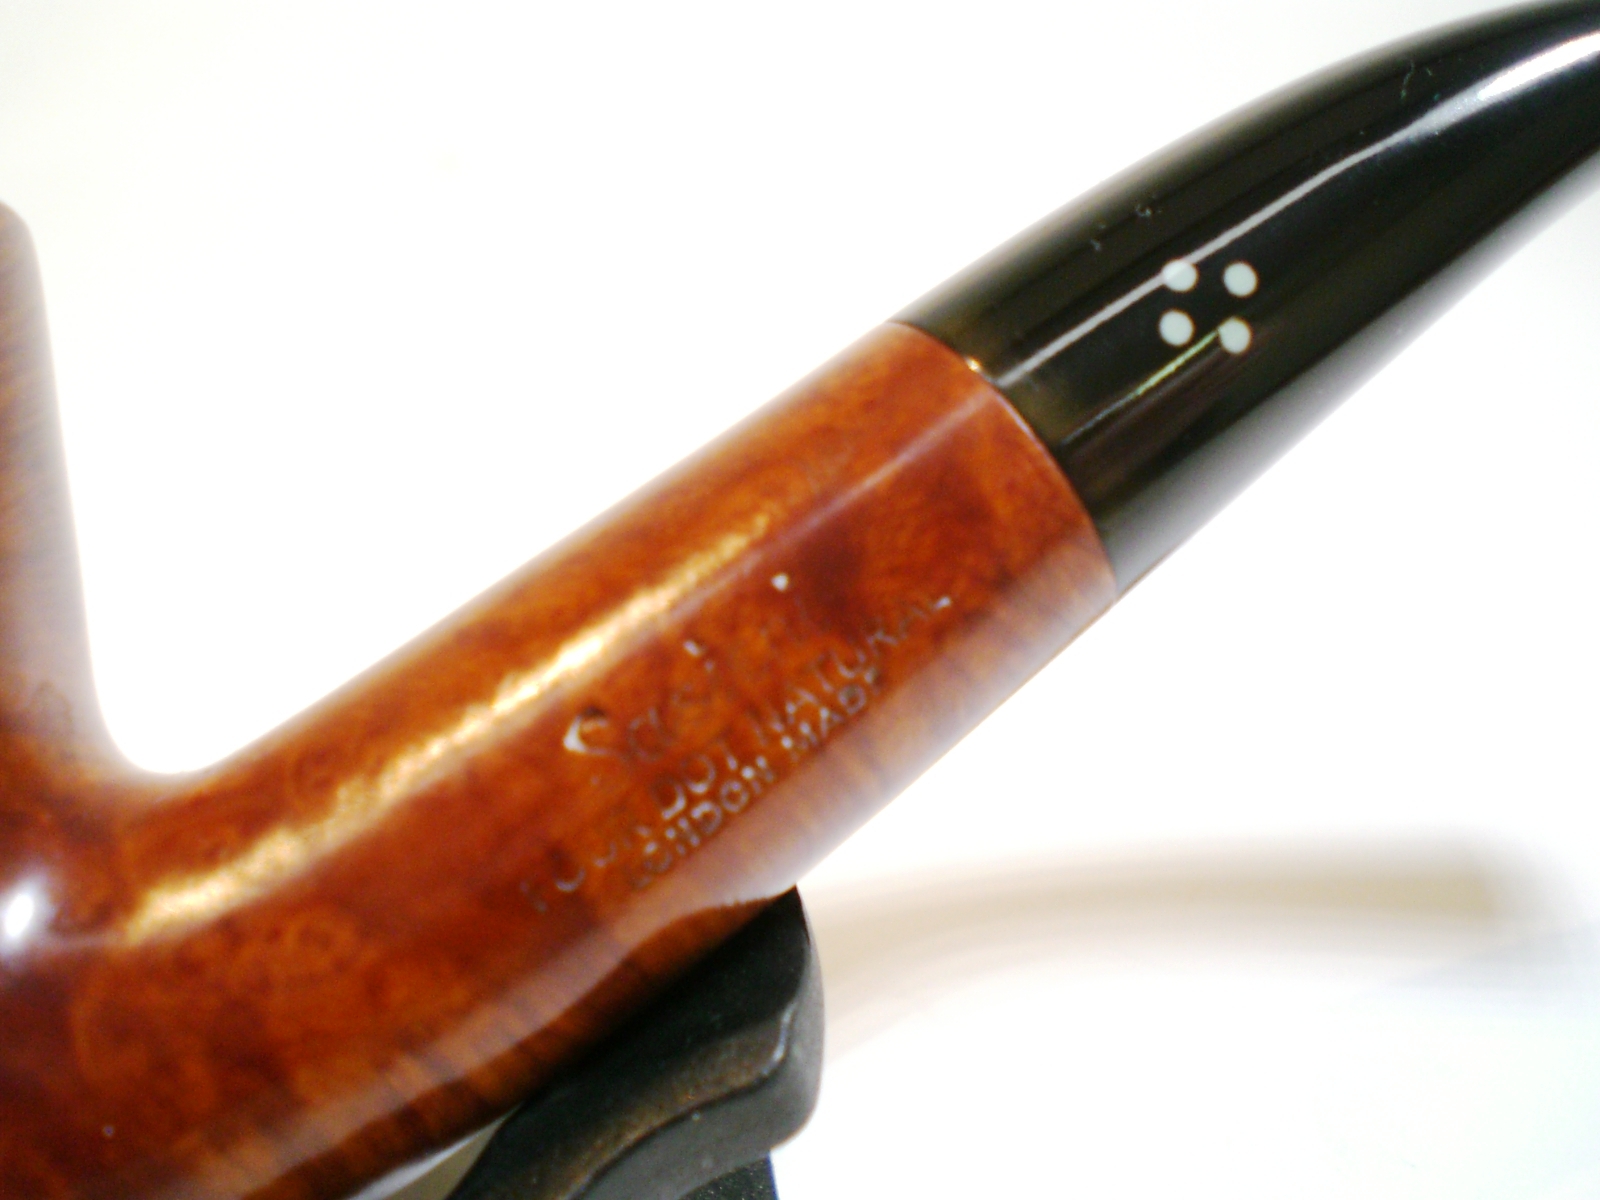
I picked up this Sasieni Four Dot Natural at the NYC show yesterday. It looked to be in very good condition, requiring only a mild clean-up. I knew from the “Four Dot” “London Made” stamping that it was made between 1946 and 1979. The pipe has the football shaped “Made In London” stamp on the other side and “XS”. Curiously, it was missing the name of a London town. At home, I could see some additional stamping and with a magnifying glass, I could read “Viscount Lascelles”. I googled that name and discovered that according to the Stephen Smith article, the Viscount Lascelles was the model name and a rare model.

http://murderofravens.org/my-sasieni-pipe-article/

The bowl had some build-up on the top which I thought might be some scorching. The stem had the faintest of teeth marks and was in overall excellent shape and only lightly oxidized.

Sasieni_Four_Dot_XS_Before

Sasieni_Four_Dot_XS_Before (1)

Sasieni_Four_Dot_XS_Before (3)

Sasieni_Four_Dot_XS_Before (8)

Sasieni_Four_Dot_XS_Before (2)

I reamed the cake from the bowl and I could see despite the thick cake, the bowl was in very good condition. Most of the build-up on the bowl top rubbed off with some distilled water and a soft cloth. I soaked the bowl with some 91 proof alcohol and sea salt. The shank was cleaned with a bristle brush and alcohol.

Sasieni_Four_Dot_XS_Before (7)

The bowl didn’t need much else and was buffed lightly with White Diamond and then carnuba wax. I stayed away from the nomenclature to preserve it.

The stem was sanded with 1500 and 2000 grit paper, then 8000 and 12,000 grade micromesh sheets. I buffed it lightly with white diamond and then a plastic polish.

I hand waxed the briar with some Paragon wax.

Here is the finished pipe.

Sasieni_Four_Dot_XS_Finished

Sasieni_Four_Dot_XS_Finished (4)

Sasieni_Four_Dot_XS_Finished (7)

Sasieni_Four_Dot_XS_Finished (6)

Sasieni_Four_Dot_XS_Finished (5)

Sasieni_Four_Dot_XS_Finished (3)

Sasieni_Four_Dot_XS_Finished (1)