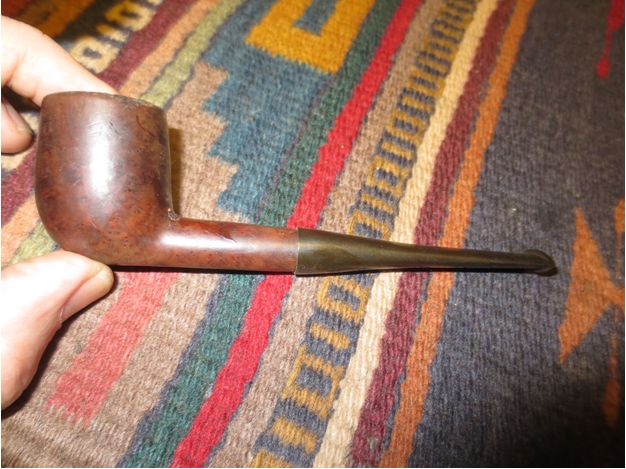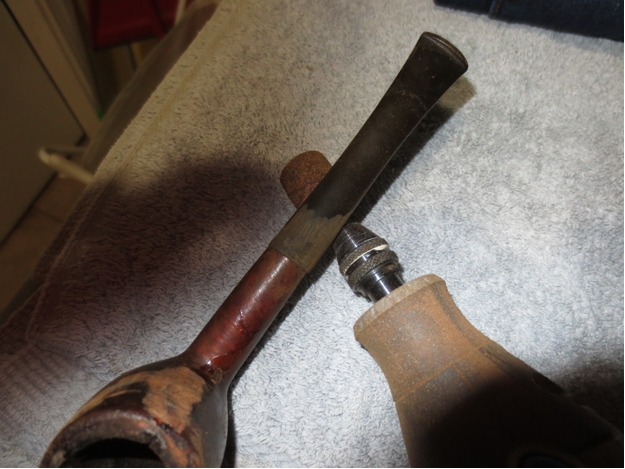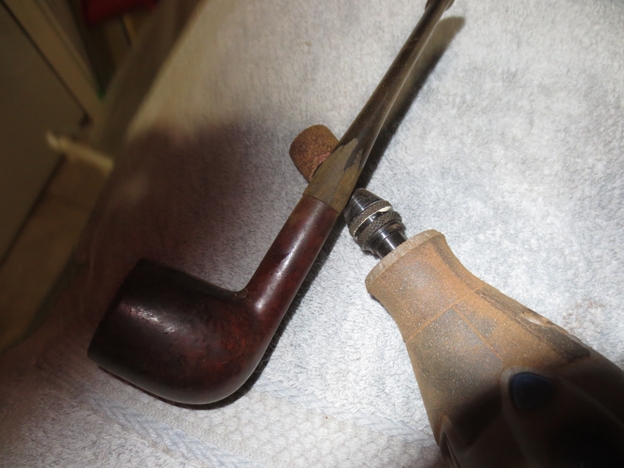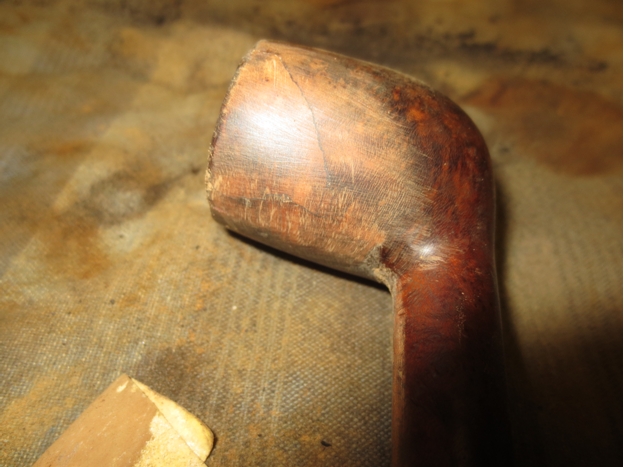
Category Archives: Pipe Refurbishing Essays

Essays and pictorial essays on the art of refurbishing

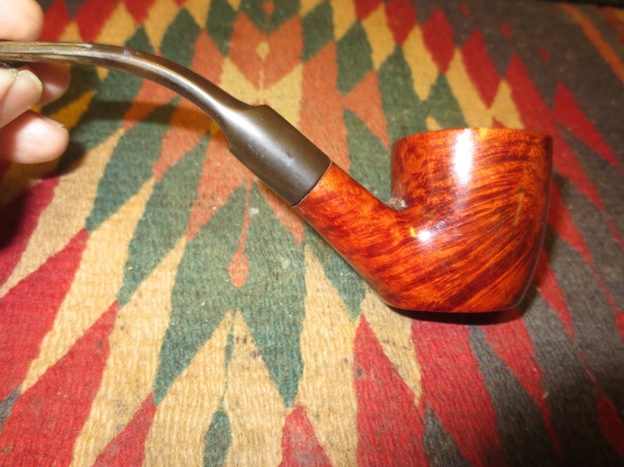
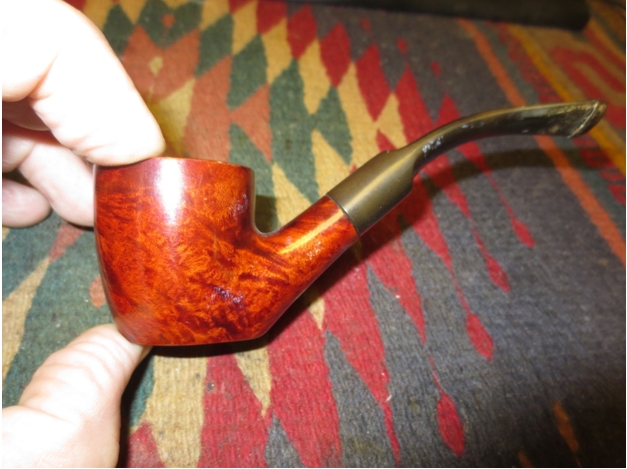
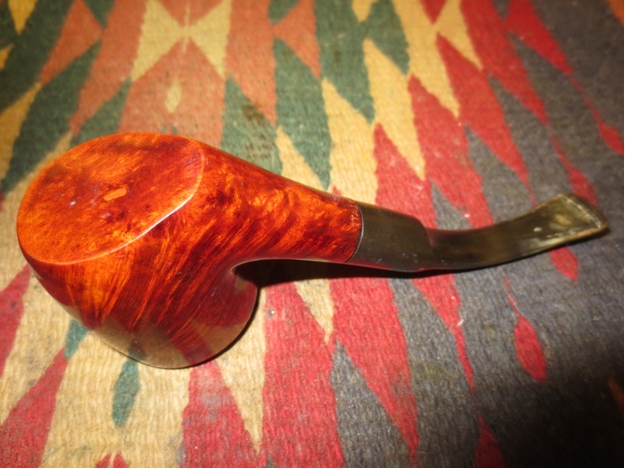
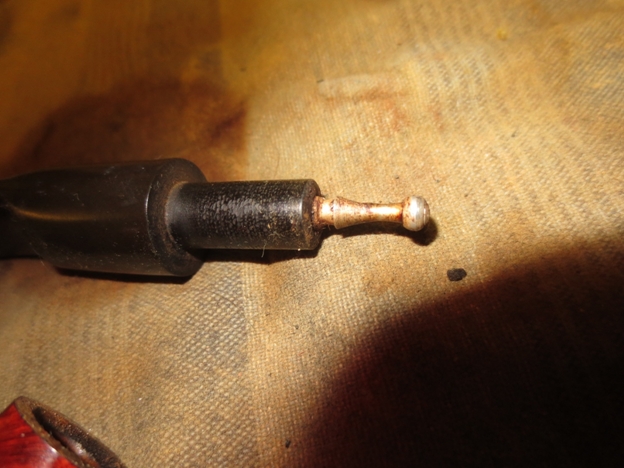
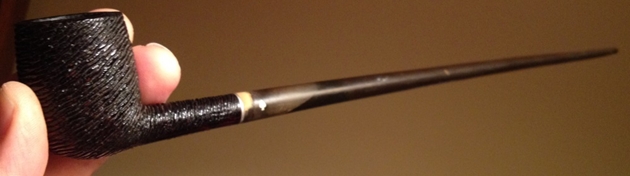
Using Charcoal & Cyanoacrylate glue to do a Stem Repair on a Dr. Grabow Starfire Churchwarden


Blog by Joe Mansueto -“JoeMan” (Dr. Grabow Collectors Forum)

Joe sent me the following email and an attached link for the article that follows. He has done some excellent work and I have followed it on Pipe Smokers Forums and also on the Dr. Grabow Collectors Forum. It is a pleasure to be able to post his work here on rebornpipes. Welcome and thank you Joe.

“Steve – I’ve looked in on your blog a number of times. Thanks for posting some really good information, and featuring the work of other guys in the field. One of the things I learned here which I had not done before was the use of Plaster of Paris to mend cracked / broken meer-lined bowls. That was helpful…and I think that was one of your own posts. I’d been looking for a better solution…thanks.”

“I’m not looking to get published so much as I’m happy to help other guys with refurb processes. I learned a LOT of things from others who’ve been at it for many years more than I, and have also developed a few of my own techniques…as I’m sure most of us have! Cleaning out gunk…refitting a stem…rusticating….topping a bowl…staining…refinishing…de-oxidizing stems…repairing chips…etc…these are all things I do on a regular basis. Recently, I took my hand to making pipes, and made 2 of them during a stay-home vacation…came out pretty good! But, I see myself primarily as a refurb guy…I really enjoy making an old broken-down relic of a pipe gleam again. If I were to count, I suppose I’ve refurbished most of a thousand pipes over the last 4 years. No…I don’t have 1,000 pipes…most have gone to others by way of sale, trade or gift. I suppose I do have 200 pipes in my collection however.”

“One of the things that most refurb guys seem to struggle with most is chewed / eaten stems. Those nasty tooth indentations…or worse yet…missing chunks from the button. I’ve heard of guys using super-glue, heat, JB Weld, vulcanite dust & glue, and other mad-scientist approaches. There are many good approaches to repairing a stem. The most effective approach I’ve personally found is Cyanoacrylate and activated charcoal. Ed James (AKA Ozark Southpaw online) is just about the best talent I’ve seen in all-things pipes. He too learned from others over many years, but what an innovator this gentleman is. I visited his shop when I was on the road over 2 years ago, and I’ve learned a lot from him. One of his own experiments a few years ago was mixing CA with activated charcoal and comparing the result with other repairs. It was a great discovery, and at the time he did it and shared it on the forum, I’d not seen anyone else doing it that way. I’m not saying it’s the ‘best method’…because you know how some pipe guys can get into struggles over their method being best…but I’ve personally not seen anything more successful. Ed James has not done too many of these CA/charcoal repairs himself…but once he discovered, tested and shared it, I took it and ran with it. Do with this info as you please or nothing at all…but here is one example of the process…”

“At the time of that Starfire churchwarden refurb, I had done a couple hundred stem repairs. Since the time of that refurb, I’ve surely done a couple hundred more, and have tweaked my own process here and there. I’ve done some of these repairs on pipes for myself, but more for pipes which I’ve then sold, as well as others who bring them to me. This one served as a good example, since it was one of the worst cases that I documented. Most of those I’ve done, I’ve not documented at all.” – Joe Mansueto “JoeMan” (Dr. Grabow Collectors Forum)

Here is Joe’s blog:

Just recently got this pipe from Sam (DG forum name SamCoffeeMan – hasn’t been here in a while) along with the Grabow Unique. When I expressed interest in it…Sam said that he’d “cut off 1/2” of the stem, and file out a new button. I said…nnnooooo…leave it original and I’ll fix it.

I am sure the stem is original to the pipe. The stem is identical to the stem on my Linkman Grabow 6033, it is perfectly registered, and the wire carving is that of an ‘early’ Starfire, as you’ll see below. That said, this was surely among the last of the churchwardens to leave the Grabow factory.
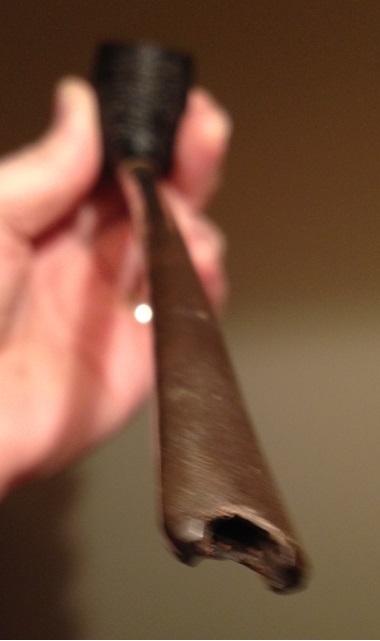
Joe1 The previous owner should have had a sandwich instead of smoking this pipe…Joe2
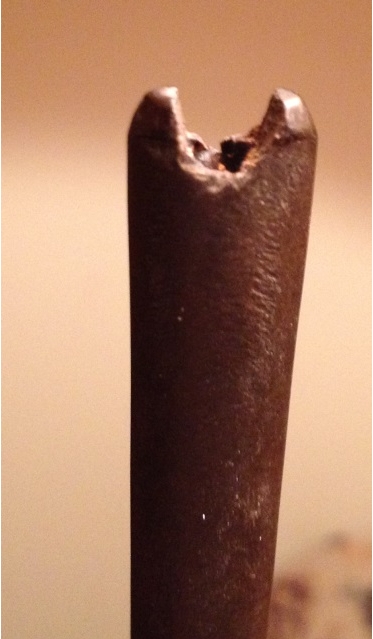
Joe3 This can be fixed!

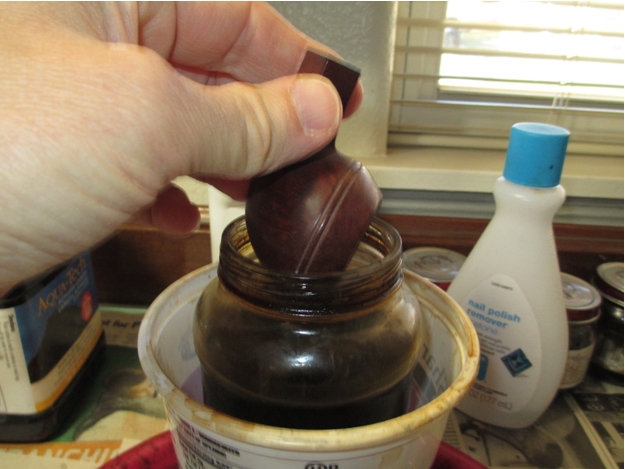
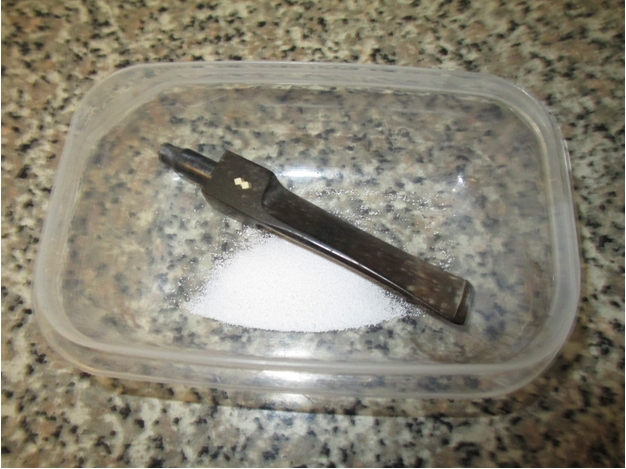
Bleach soak first, then an isopropyl alcohol scrub of the surgery site to assure the CA will stick best.

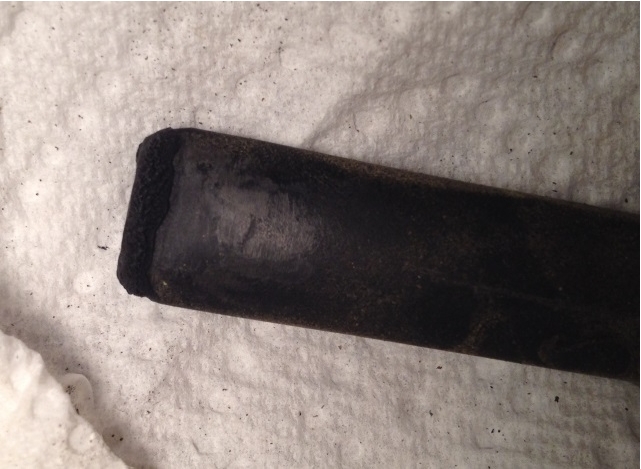
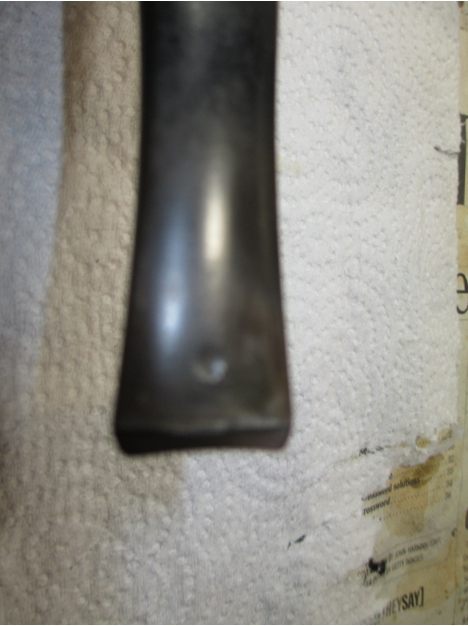
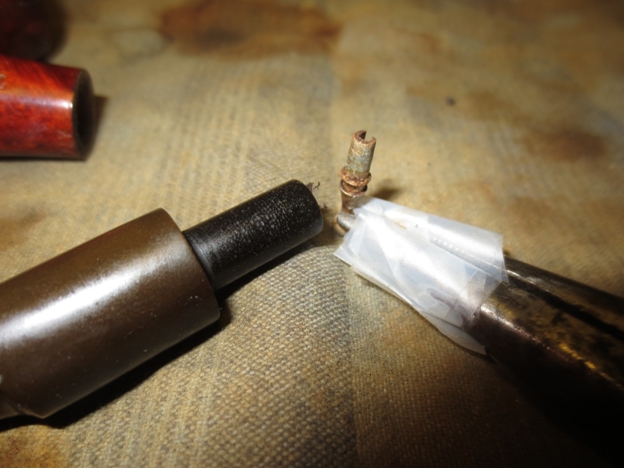
The form I used is 2 thicknesses of cereal box cardboard, cut to the shape of the tapered slot opening, wrapped in shiny packing tape. Since both sides of the button were nearly identically eaten, there was nothing to keep the form properly seated. So, I taped the form to a pipe cleaner and pulled it into place as tight as I could, then centered it top to bottom…if that makes sense.Joe4 CA mixed with activated charcoal, applied in multiple layers…Joe6
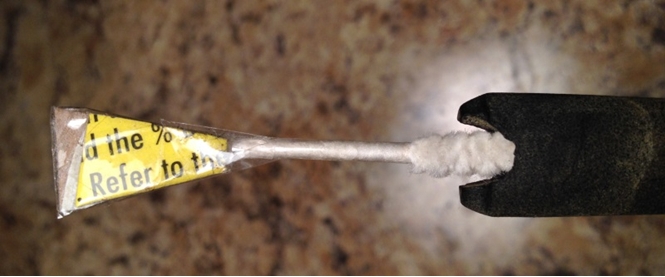
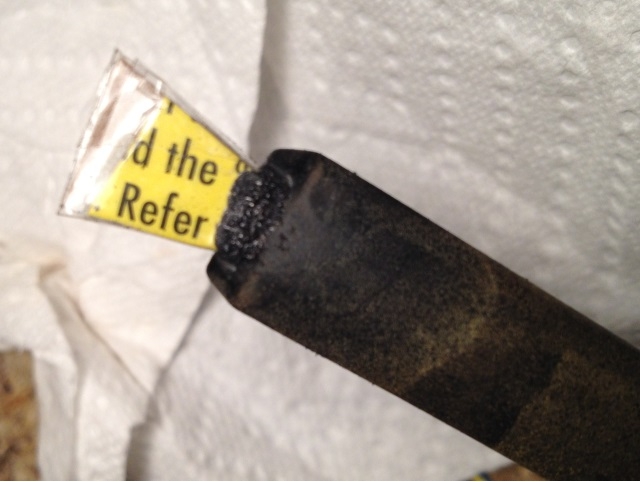
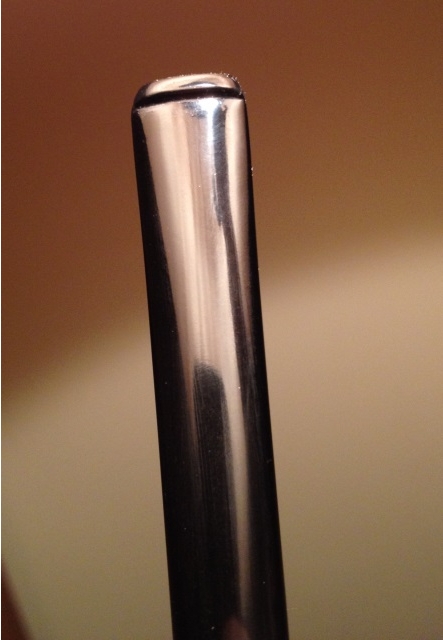
Joe7 Using a needle file to shape between layers…Joe7 Just about done shaping, ready for multiple-stage wet sanding…Joe8 Buffing…done.Joe9

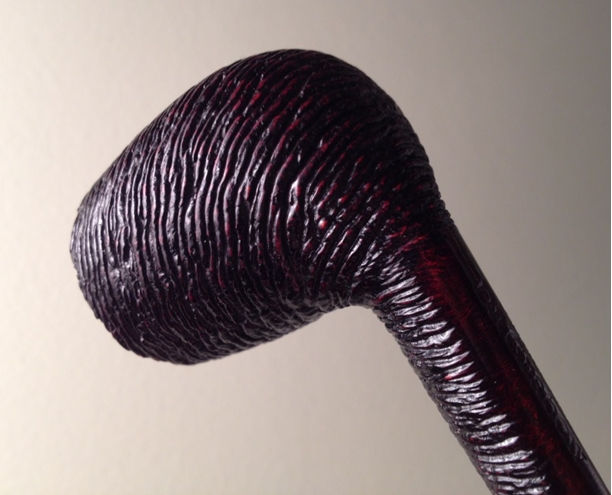
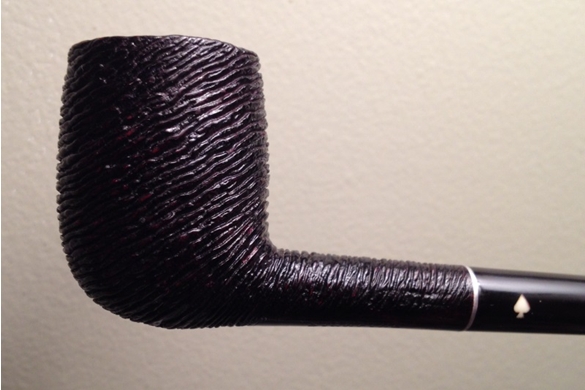
Joe10 Some of you will know which shape number this medium billiard would be. Bowl height is nearly 1 3/4″, ID is 3/4. Overall length is 11 3/4″.Joe11 This is an older Starfire for sure. It’s got the very deep wire carving which is continuous over the entire pipe as I believe Tom pointed out about Belvedere.Joe12
Joe13 This was originally posted on The Dr. Grabows Collectors Forum. Here is the link: http://drgrabows.myfreeforum.org/sutra87253.php#87253
A Hand Made Marvic & Purdy Billiard 15


Blog by Troy Wilburn

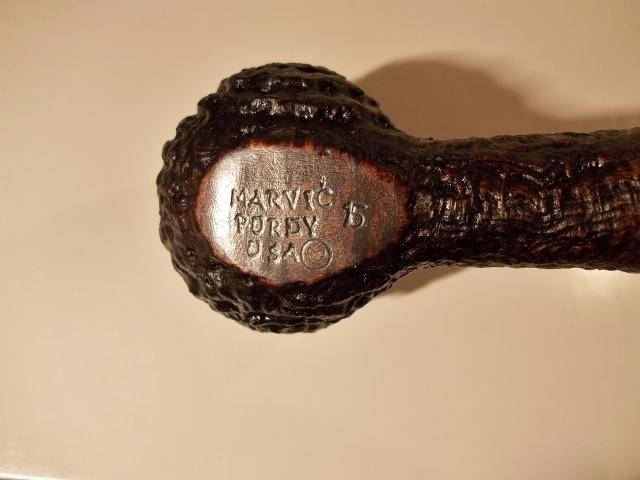
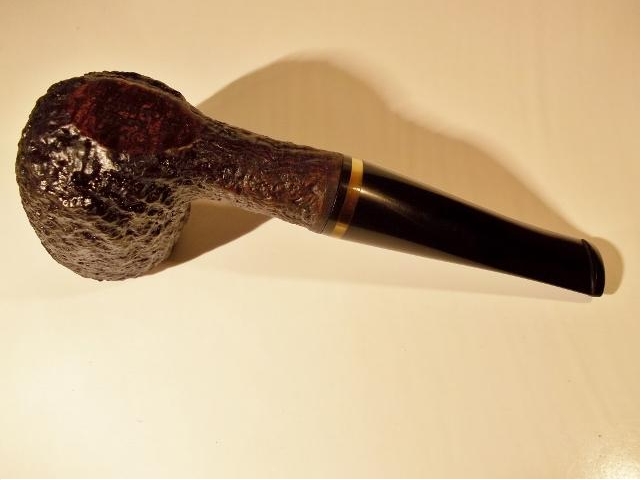
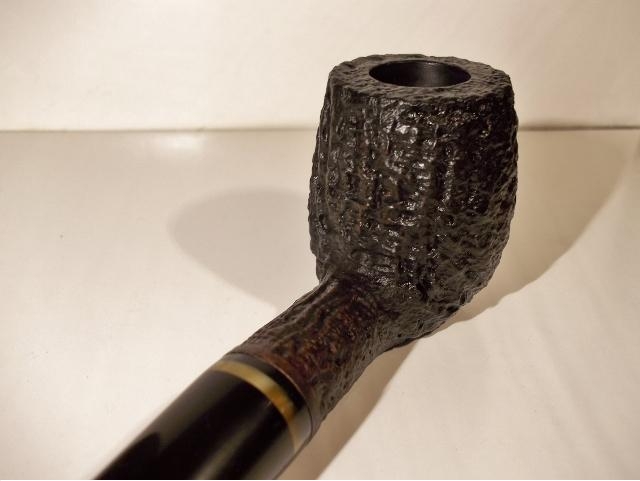
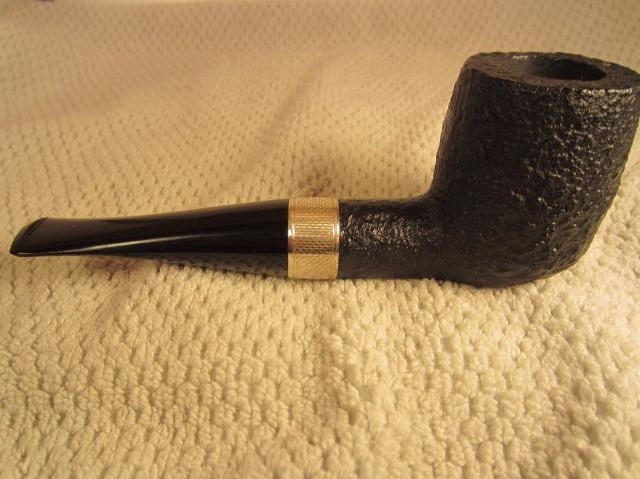
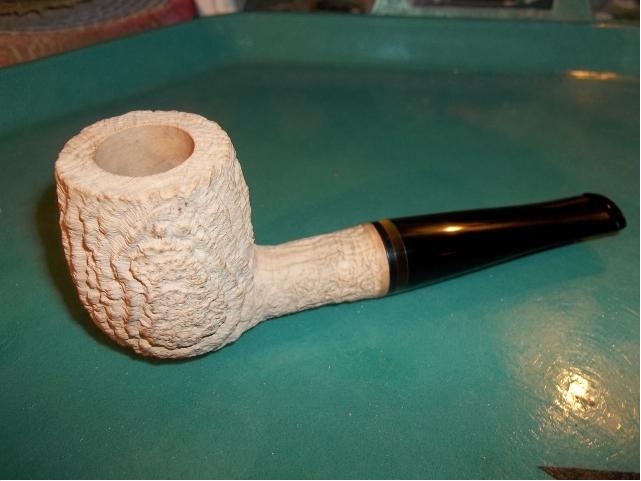
A short time back I was doing one of my favorite past times and that’s scanning for pipes on eBay. I spotted this Charatan and was just infatuated with it. The shape, style and blast just really drew my attention but I knew that it was beyond my budget.Blast1 So I got the idea to contact a friend of mine on the Dr. Grabow Collectors Forum, Gary Balestrieri Jr. Gary is a truck driver and a pipe carver who owns Marvic Pipes. I asked him if he could carve me a pipe based on that Charatan but unfinished. I suggested a narrow yellow acrylic band instead of a metal band as the only major change. To my happiness he agreed.

I then contacted another friend of mine from the forum, Carl Purdy, who does some fine sand blast work on pipes. I have posted some of his work before on here on the Jobey Lumberman I restored and he sandblasted.

With both on board to do the work for me, it was agreed that the pipe would be mailed to Carl after Gary carved it and then mailed to me and I would put the finish on it.

Well I got it in the mail last Saturday and I must say that I was giddy at such nice work they both did on this pipe for me. Gary nailed the shape and Carl did a masterful job on the blast. I’m very proud of both of them and honored to own this pipe now. I now have a pipe that to me is a 100 times better than that Charatan and it cost me half the price that pipe sold for. It was made with care by two friends and I consider that the most important aspect of his pipe.

This is what the pipe looked like when it arrived in the mail.Blast2

Blast3

Blast4

Blast5 I was expecting just a plain yellow band on the stem but Gary used some kind of acrylic that changes from black to yellow. It was an unexpected and nice touch.

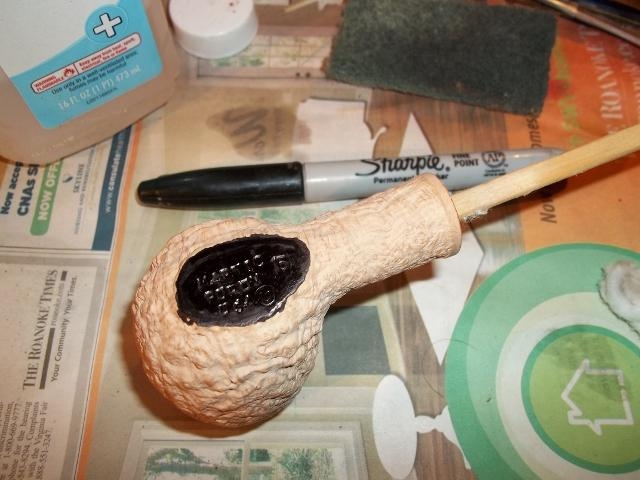
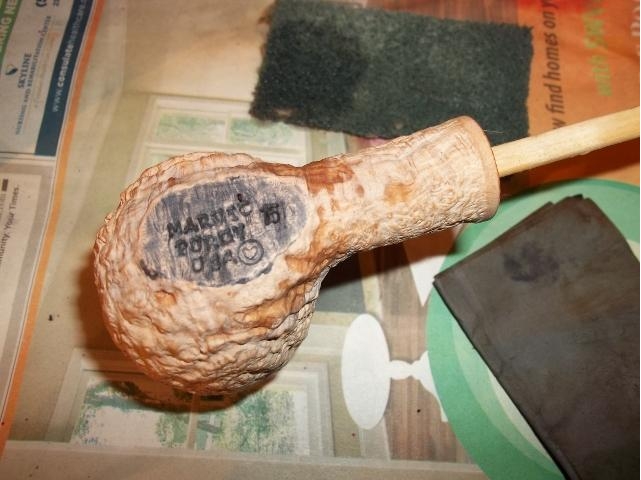
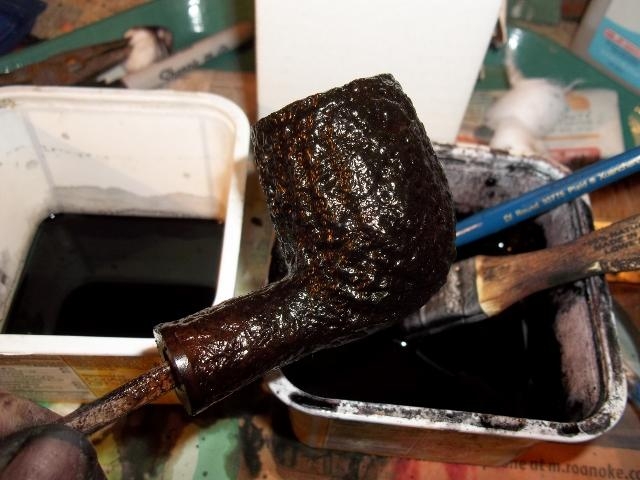
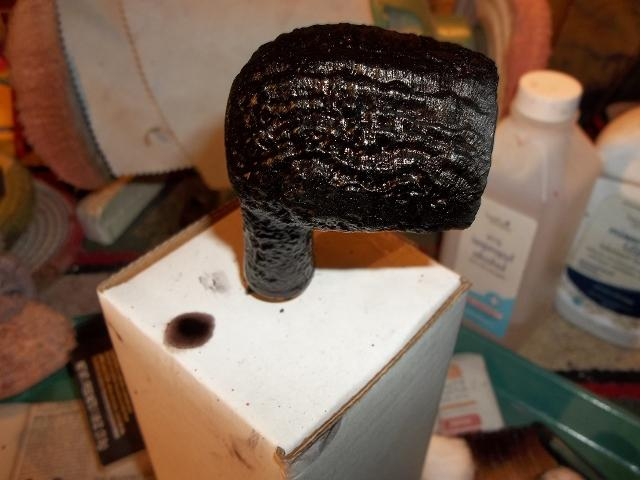
I was just going to stain the pipe a plain jet black, but after seeing the blast I decided to see if I could do a kind of Dunhill Shell look to make it more interesting and high end looking. The first thing I did was carve a holder out of a corn dog stick – nothing but the best high end equipment on my kitchen table you know. Then I wiped it down with 91% alcohol to make sure that there were no contaminants on the briar. I also rubbed the bowl with a Scotch Brite pad to soften the sharp edges on the blast.Blast6 I then did some contrast staining on the stamping using a black sharpie as I wanted the stampings to stand out. I was also glad to see both Gary and Carl’s name stamped on the pipe. That was another very nice touch.Blast7 Then I wet sanded the smooth area with very lightly using 91% alcohol.Blast8 Then to make sure that the dye would not penetrate too deeply and turn the whole smooth area black I took mineral oil and painted it on with a Q tip.Blast9 I mixed up some black RIT dye and applied several coats to the bowl until it suited me.Blast10 I set the pipe to dry in my high tech drying rack disguised as a cardboard box.Blast11 I wiped down the bowl with mineral oil and checked over the colour. It looked good. Now it was ready for some wax.Blast12 I buffed it kind of heavy on the first coat to take some color off and to get that shell look to the briar. On a sandblasted pipe after several initial coats of wax I heat it over my stove to melt the wax into all the crevices. Then I buff it with a few more coats and repeat the process until it builds up to my liking.Blast13 Here is the pipe after a couple of hours of buffing and waxing.Blast14

Blast15

Blast16

Blast17

Blast18

Blast19

Blast20

Blast21

Blast22 The pipe is a fantastic smoker and already after only a couple of ounces or so of tobacco smoked through it is beginning to break in. The draw is very easy and butter smooth. The pipe almost seems to smoke itself. I can only imagine how it will smoke after several more ounces are smoked through it.

Gary did perfection on the mechanics of the pipe and Carl put a world class looking blast on it. I couldn’t have asked for a better pipe. It turned out beyond my expectations. This will always be a cherished pipe to me. I have to add that the pictures just do not do it justice.

Concerning the Rising Popularity of Churchwardens in General, a Little about Their History and the Cleanup of a Barely Smoked Savinelli Rustic Aged Briar


Guest Blog by Robert M. Boughton

Member, North American Society of Pipe Collectors
http://www.naspc.org
http://www.roadrunnerpipes.com
http://about.me/boughtonrobert
Photos © the Author, except as noted

“The supreme accomplishment is to blur the line between work and play.”
― Arnold J. Toynbee (1889-1975), British historian

INTRODUCTION
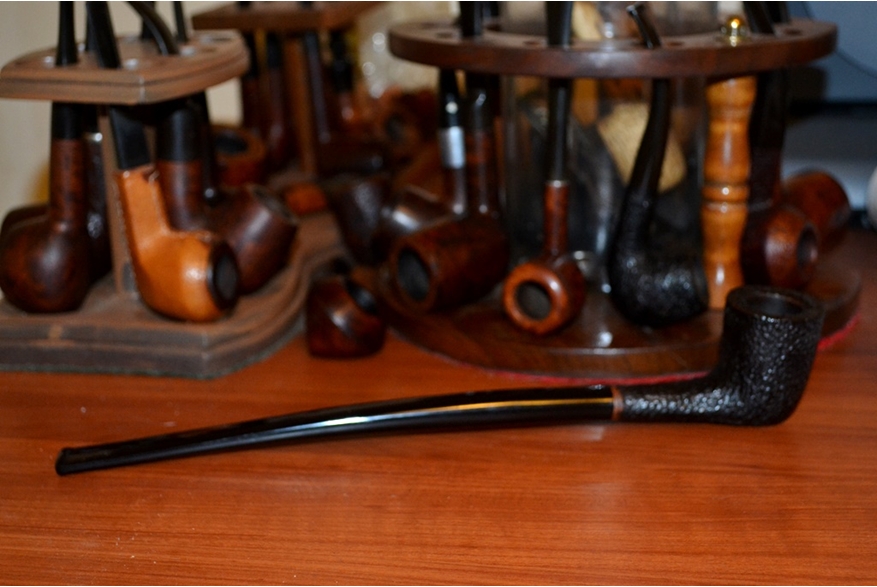
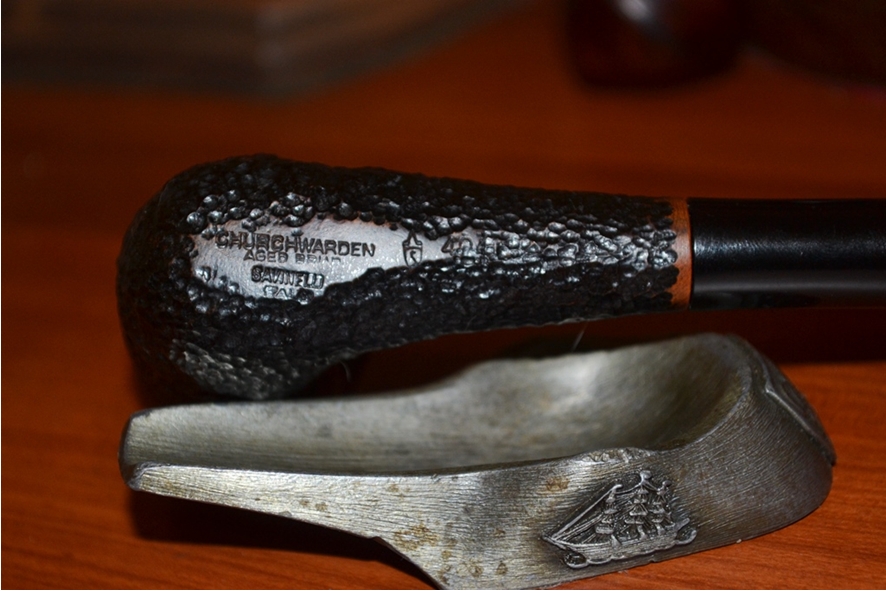
If ever a pipe found its way into my possession and was sheer play and no work to clean up, this black Savinelli Rustic Aged Briar Dublin Churchwarden is it. I bought the long, sleek, exquisite example of the fine Italian pipe crafter’s genuine labor as a perfect addition, not to my own collection but to the growing and diversifying line of brands and styles I sell. Based on the requests I have received for churchwardens in general, as well as my eavesdropping at the local tobacconist I favor, this classic old style appears to be experiencing a comeback in popularity.

Perhaps the shift in supply and demand – as well as the corresponding rise in average churchwarden prices, at my preferred tobacconist and online, compared to the not so distant past – are due in part to the timeless popularity of the classic fantasy novels of J.R.R. Tolkien, starting with “The Hobbit” [1937] and “The Lord of the Rings” trilogy [1954-1955]. This year, in fact, marks the sixtieth anniversary of “LOTR,” and the recent releases of movie versions of both of these can only have spurred interest in the centuries-old pipe shape thanks to the churchwarden-puffing Hobbits, wizards, elves, dwarves and – yes – men. Or maybe the increase in sales and prices is just a sign of greater discernment among pipe enjoyers, and those new to the pleasure in particular, who seek the smoother, cooler satisfaction of a good tobacco’s flavor that the longer shank and bit can provide.

Whatever the cause of this apparent resurgence, I am doing my best to follow the tide by locating and restoring more of this venerable style’s many examples at affordable prices. I already went so far as to clean up a beloved but no longer often enjoyed Clark’s Favorite from my own collection. I bought the lovely pipe several years ago, restored, for about $40 (at which time a quick check online showed the same but new pipe on sale at $69) and sold it to a prospective customer who was bent on a medium-length church or nothing.Rob1 I still miss the Clark’s Favorite, which I supposed I could always replace for the new price noted above. Today, the same smooth version, with its orange-black acrylic bit, is on sale for $112 compared to the MSRP of $140.

Savinelli for one, seeming to recognize the inconvenience of carrying a long, fixed-bit church about town to enjoy on the go, now offers a nice selection of “Tandem” versions that can be enjoyed at home in their full glory and, when traveling anywhere, with a second short bit. The model shown below, the Tandem Rusticated #112, comes with two completely separate bits – the longer Vulcanite and the shorter acrylic.Rob2 This particular Tandem, by the way, is now on sale for $108 as opposed to its regular price of $130.

There are, however, still other “churchwardens” with the two bits combined as one, where the entire bit can be twisted off at the shank and the shorter part at the top, with the button, replaced in the shank. Of course, these models carry a higher price tag. Take, for example, this adjustable Cassano smooth billiard, which I bought last night at my tobacconist’s shop for $175. The full churchwarden large poker is 13” in length, and the smaller option is 8½”.Rob3

Rob4

Rob5 A BIT OF HISTORY
The churchwarden is one of the oldest of pipe shapes. The earliest use was in the Orient, where the bowls were likely made (for the most part to smoke opium) not only of known materials – including amber, ivory, various metals such as brass, different kinds of wood, bone and clay – but also jade and other exotic minerals. The bits (without buttons) often matched the bowls, although combinations of brass, wood, bone and/or ivory were not uncommon.

However, the clay bowl and long wooden shank without a bit was the design adopted and quickly adapted in late 18th or early 19th century Europe. So popular were the original Western World churchwardens that many Eastern European taverns kept supplies on hand for their customers’ use, and the habit of biting off the end of the wood shank for a fresh smoke developed. Until the mid- to late-1800s, clay bowls with wood shanks, open where the bit would now be found, remained the prevailing materials of construction.

As for the origin of the name churchwarden, there are three main theories, given here in reverse order of likelihood: the first, that smoking was permitted almost everywhere, including churches, in those dear lost days, and the long length and design of the pipe allowed it to rest on the pews; the second, that certain individuals, erroneously called churchwardens and trusted with guarding England’s churches in the 1800s, very much enjoyed their pipes and fancied the popular style, and the third, that real churchwardens (who by every official definition were not guards but honorary officers of local parishes or district churches entrusted with administrative and other minor duties) became known for their love of the pipe later named for them.

And contrary to popular myth created by various actors who have performed the role of Sir Arthur Conan Doyle’s brilliant mystery solving character, Sherlock Holmes, using fancy Gourd Calabashes or sundry churchwardens as props – which falsehood was adored and perpetuated by generations of Sherlockian fans – these are the facts: the shape or material of pipe most often cited by Holmes’ fictional chronicler, Dr. John H. Watson, was cherry wood (six references), followed by several mentions of standard-sized clay pipes and some appearances of briars. You can read the entire “Adventures of Sherlock Holmes” at https://www.gutenberg.org/files/1661/1661-h/1661-h.htm and locate all of them yourselves.

THE CLEANING
Rob6

Rob7

Rob8

Rob9

Rob10

Rob11

Rob12 To start on an honest note, I only show the few following steps needed to clean this almost-new Savinelli Rustic Dublin Churchwarden beauty for the sake of showing the pipe itself and the ease with which it was spruced up. The bit had no signs whatsoever of having been touched by any hands, much less placed in a mouth and smoked. In other words, its outside was buffed to the highest sheen, as if it came fresh from the factory in Barasso, Italy, in the Varese province. And so I began by running a long, soft cleaner dipped in alcohol once through the 7½” bit, which was all but 3” of the total length, removing the smallest amount of tobacco residue, and again for good measure.

The rim had minor blackening, not part of the stain. I removed that with a quick brush using 1800 micromesh and proceeded to the chamber. Two easy turns of a reamer followed by about 30 seconds of sanding with 200-grit paper and then 320 made the chamber as smooth as it ever was.

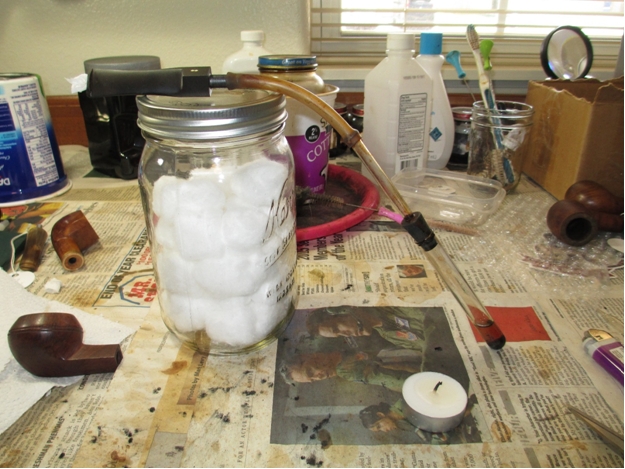
For the sake of thoroughness, I attached an otherwise useless small bit with a tenon that fit the shank and retorted the inner shank and chamber. To my amazement, one Pyrex test tube of boiled Everclear came back from the first passage with the lightest shade of brown, and despite about six more tries to make the alcohol darker, the barely tested briar was clean.

Then I noticed a spot on the outer edge of the shank opening that appeared to be smooth and dark red. With a small scrap of super fine steel wool, I probed the narrow strip of briar around the opening and watched it come clean. Below are before and after photos.Rob13

Rob14 I could have left the briar in the excellent shape it already was, but as chance happened, I had just received my order of a new jar of Halcyon II wax, and had to try it out. Therefore, I gave the wood a spin on the clean buffer and with one finger applied a dab of the Halcyon as far as it would spread before adding a smidge more to finish coating the bowl, shank and rim. Setting the wood on a cotton rag, I waited about 10 minutes and again took the duller-looking briar for a fast spin on the clean wheel. Whether or not these steps were necessary, here are the final results.Rob15

Rob16

Rob17

Rob18

Rob19

Rob20

Rob21 CONCLUSION
That is all.

SOURCES
(in haphazard order)

http://www.onlineoriental.com/Merchant2/merchant.mv?Screen=CTGY&Store_Code=1&Category_Code=14
http://www.quora.com/What-kinds-of-pipes-did-Sherlock-Holmes-smoke-according-to-Sir-Arthur-Conan-Doyles-writings
http://www.sherlockian-sherlock.com/jeremy-brett-churchwarden-pipe.php
http://www.pipedia.org/wiki/Churchwarden_Pipes

Guide to Tobacco Pipes & Pipe Smoking


http://www.smokingpipes.com/pipes/new/savinelli/index.cfm?tag=Clark’s%20Favorite
http://www.smokingpipes.com/pipes/new/savinelli/moreinfo.cfm?product_id=160492

Mixing an Organic Bowl Coating for a Repaired Pipe


Blog by Steve Laug

I have used a homemade bowl coating on the inside of pipe bowls that have had varying degrees of damage. This bowl lining is a way of adding a layer of protection to the briar until a natural cake is formed to insulate the walls of the pipe. I remember getting the recipe for this mixture from a pipemaker friend of mine. I have since modified it slightly to make it work better for me.

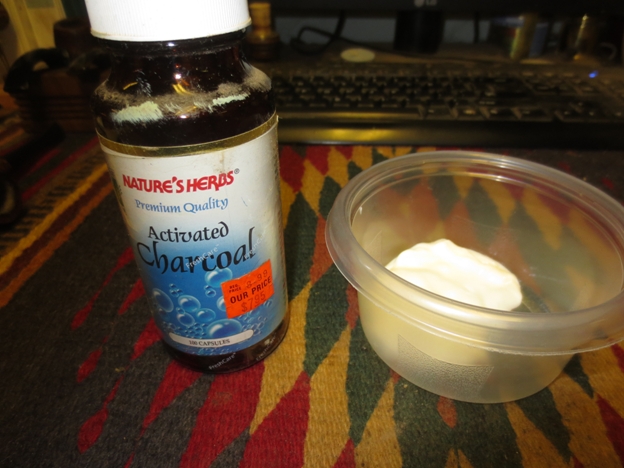
The mixture has two basic components – sour cream and activated charcoal. You can also substitute plain unsweetened yoghurt for the sour cream. I know that sounds utterly disgusting to you who are reading this and you have visions of it spoiling and stinking up your pipe permanently. You must be thinking the same thing I did when I heard about the combination. I remember thinking, “Forget about worrying about ghosting your pipe from tobacco, now you are asking me to put dairy products in my pipe”. I can tell you from quite a few years of using the recipe that you do not need worry about that. The amount of the mixture that you are putting in the bowl of your pipe is negligible and when it dries/cures it creates an almost rubber bowl coating that leaves no residual taste in the bowl.

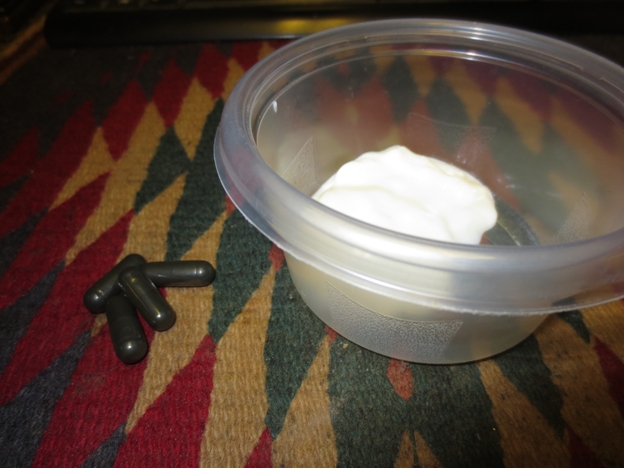
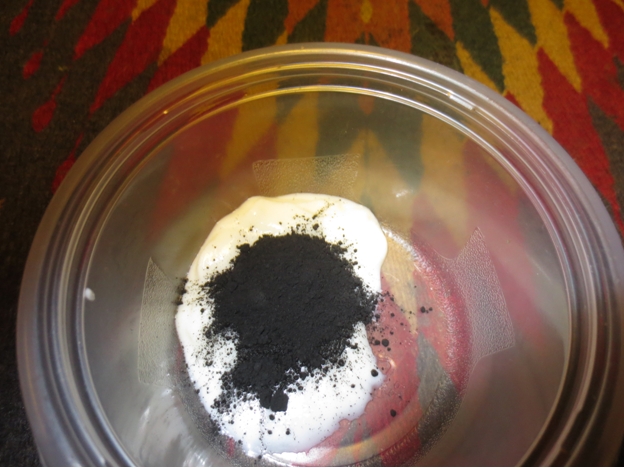
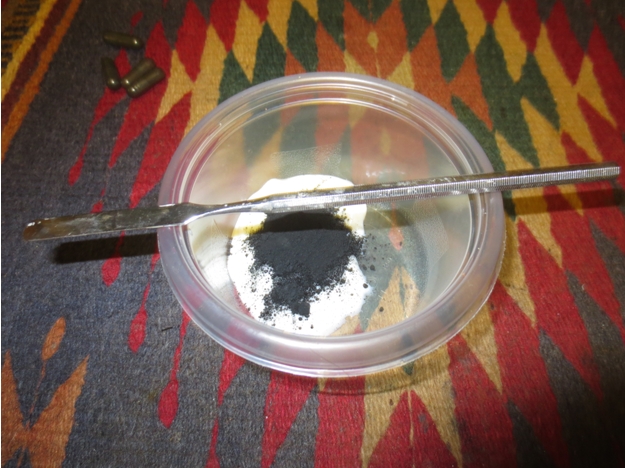
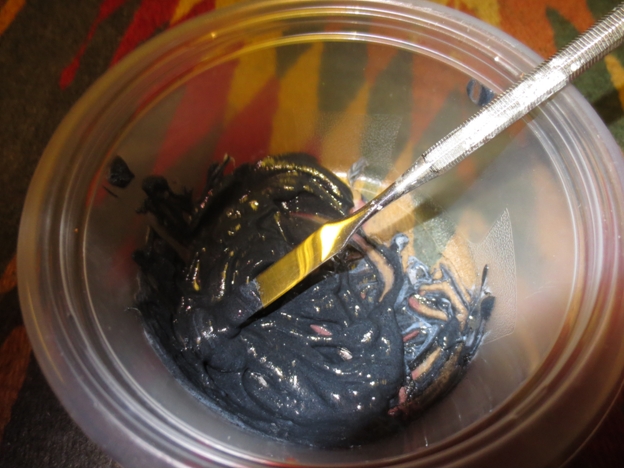
My pipe maker friend used a charcoal for aquarium filters that he bought at Walmart and then ground it with a mortar and pestle to a powder before using it. That was too much of a mess to my liking and added yet another thing to clean up after the work. So I buy activated charcoal capsules from the health food section of a local pharmacy and use those instead. Not only is it cleaner but I also find that the food grade charcoal is ground much finer than I can grind the aquarium grade. I have had a jar of capsules that I have been using for over 10 years and still have lots left for future mixtures.Jack46 I generally mix the charcoal from four capsules with two table spoons of sour cream. I have yet to get the exact amount of mix that I need per bowl but I often will coat several bowls at a time so very little goes to waste.Jack47 I open the charcoal capsules and shake out the contents on top of the sour cream. I choose a bowl that is large enough to allow me to stir the parts together easily.Jack48 I have a dentist’s spatula that I got as a gift from holymolar for the mixing tool.Jack49I stir in the charcoal until the mixture is evenly blended and no white sour cream is showing. The paste that is created is a dark grey/black in colour and is thick enough that it will stick to the walls of the pipe bowl.Jack50 I use the spatula to apply it to the walls of the bowl. I spread it on fairly thick and don’t worry about it clumping or bunching up. I am more concerned with getting the mix on the walls at this point in the process than I am in spreading it out evenly throughout the bowl.Jack51

Jack52Once it is in the bowl I use a folded pipe cleaner to spread it around evenly on the sides and bottom of the bowl. I always put a pipe cleaner in the airway to keep the mixture out of the airway at the bowl bottom. I work the paste until it is evenly spread out and the entire bowl surface is covered.Jack53
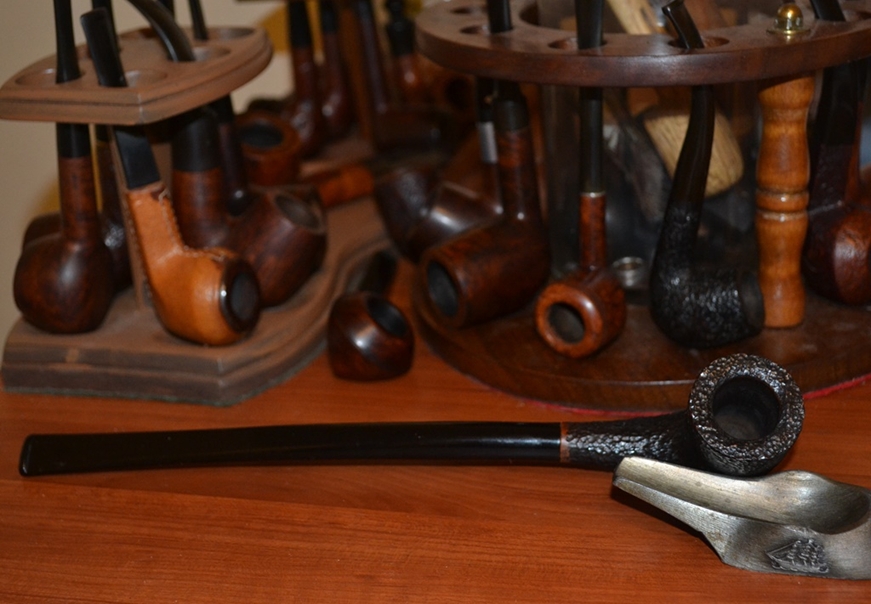
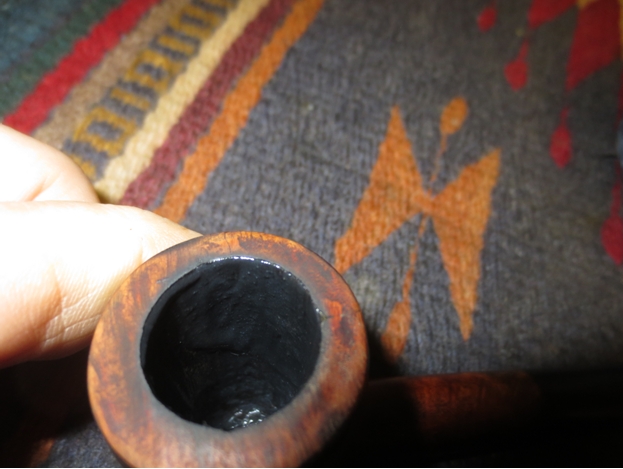
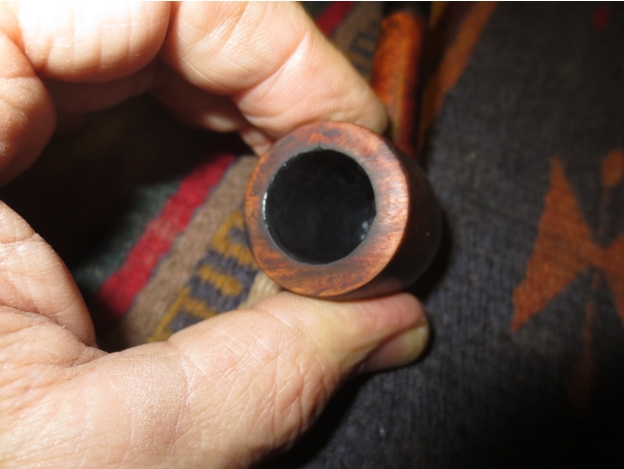
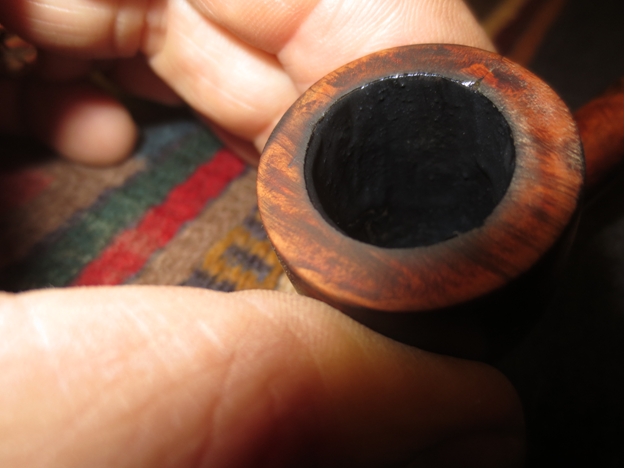
Jack54 I then set the bowl upright on a pipe rest to dry and cure. In 24 hours the surface is dry to touch. In 48 hours it is ready to smoke. I load a bowl carefully and when I am smoking it I am careful to not scratch the surface with my tamper for the first few bowls. When I tap out the dottle at the end of the smoke I am careful to not damage the bowl coating until I have run at least 6-9 bowls through it. At that point it is hardened sufficiently and the new cake has begun to form on top of the coating.Jack66 Even the finely ground charcoal powder leaves a rough surface on the side of the bowl. I have found that the rough surface is what facilitates the building of a good cake in the bowl.Jack69 I used this bowl coating for quite a few years now with no ill effect. It works well to protect the bowl of damaged pipes and give them time to build up a cake that protects the briar from burn out. If there is any residual taste (and honestly I can’t taste one) it is short lived as the tobacco is burned in the bowl. It has worked well from me and I thought I would pass it on. If it works for you that is great. If you choose to not use it that too is fine.

Restoring a Heritage Heirloom 98S Bulldog


Blog by Andrew Selking

I am always on the lookout for high quality American pipes that have yet to gain the popularity of some of the more well-known European makes. Heritage pipes appeal to my sense of American pride, craftsmanship, and value. These pipes were made in the Kaywoodie factory, but on a completely separate line. Heritage pipes were Kaywoodie’s answer to Dunhill. According to one of their brochures, Heritage pipes were made from “briar burls seasoned and cured for up to 8 months,” with only “one briar bowl in over 300 selected to bear the Heritage name.” “Heritage stems are custom fitted with the finest hand finished Para-Rubber stems. Mouthpieces are wafer thin and concave.”

The Heritage line began in the early 1960’s, with the trademark issued in 1964. The line was started at the request of Stephen Ogdon, (who worked for Kaywoodie in 1962). Mr. Ogdon had previous experience working for Dunhill, either running the New York store or working for Dunhill North America. Mr. Ogden was made President of Heritage Pi pes, Inc., Kaywoodie Tobacco Co.,Inc. and Kaywoodie Products Inc. as well as a Vice President of S.M. Frank & Co. Heritage Pipes were produced from 1964 until 1970 (Source Kaywoodie.myfreeforum.org).

Here is a link to a Heritage brochure:

The Wonderful World of Heritage Briars

The best part about Heritage pipes is, for the most part other collectors have yet to discover them and you can still find one for a reasonable price. I found this fantastic bulldog in a lot of pipes otherwise unremarkable pipes. It had a good bit of cake, some tooth marks, and what looked like mold on the stem.Andrew1

Andrew2

Andrew3
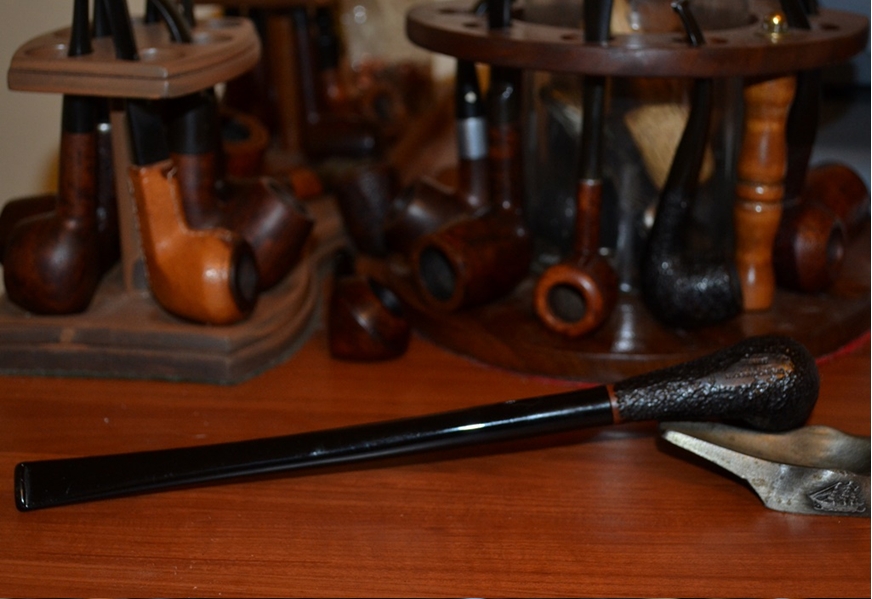
Andrew4 With concerns about cleanliness in mind, I dropped the bowl into the alcohol bath.Andrew5 I also soaked the stem in Oxyclean.Andrew6 After soaking overnight, I used my Castelford reamer to clean the cake.Andrew7 I checked the cleanliness of the shank with a brush and was pleasantly surprised.Andrew8 I retorted the shank, sorry no pictures this time, and after a few q-tips and fuzzy sticks the shank was clean.Andrew9 Next I retorted the stem.Andrew10 It was also relatively clean; this was a fuzzy stick dipped in alcohol right after the retort.Andrew11 I used two fuzzy sticks dipped in alcohol just to make sure.Andrew12 I wanted to tackle the grime on the bowl and tar on the rim, so I used 0000 steel wool and acetone.Andrew13 Next I turned my attention to the stem. I used 400 grit wet/dry sand paper with water, followed by 1500-2400 grit micro mesh pads with water.Andrew14 Since the stem had some tooth marks, I mixed up some clear CA glue and ground charcoal. I applied the glue with a straight pin and added accelerator to dry it. I used a small flat file to shape the repairs followed by sanding with 400 grit and micro mesh pads.

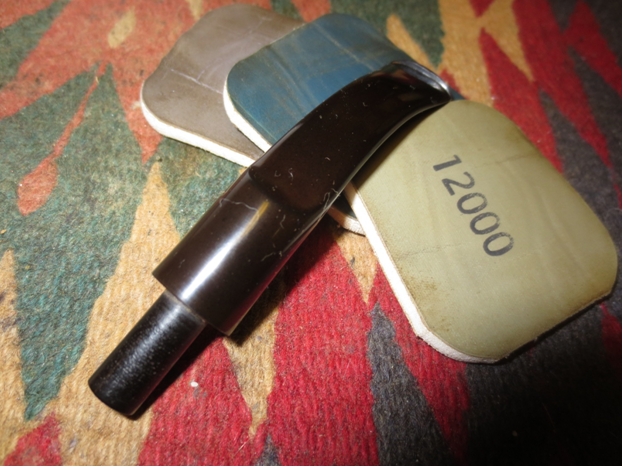
The bowl had some scratches and was darker than I preferred, so I used a progression of 1500-12,000 grit micro mesh pads to get it ready for polishing. I buffed the bowl on the wheel and used the rotary tool on the stem. Here is the final result.Andrew15

Andrew16

Andrew17

Andrew18

Andrew19 Thanks for looking.

A Bit of an Experiment – Restoring a Broken Bowl on a Hardcastles Jack o’ London Billiard


Blog by Steve Laug

Having had a long week at work with nary a break in the busyness I needed a bit of a diversion on the weekend. I had an old Hardcastle’s Jack o’ London billiard in the cupboard that I probably should have thrown away but did not. I picked up the nice little billiard on one of my pipe hunts months ago. When I reamed it after I brought it home the bowl cracked and a large piece fell out of the right back side of the bowl. Up on examination it was on its way to being a burn out as the interior wall on the crack was charred and damaged. I took pictures of the bowl to show the damage at that time. For some reason I did not throw it away but rather put it in the cupboard and figured I could use the briar for other repairs.

But this weekend I took it out and decided to experiment with it and see what I could do with the damaged bowl. I debated whether to cannibalize it and save the parts or to rework it. I had already scavenged the stem and reused it on another Hardcastle’s pipe bowl that I restored so I only had the bowl. If the repair worked I would have to fit a new stem on the pipe before I could smoke it.

Here are some photos I took when the bowl cracked during the initial reaming. I took quite a few because I had not had that happen before in my experience. Looking at the photos you can clearly see the damage to both the remaining bowl and the chunk of briar that fell out. It was seriously damaged and one that I seriously considered throwing away that day. The rim was a mess as well besides being cracked and broken and the inner edge was out of round and the top beaten around the outer edge. The bowl was heavily caked and it looked to have been a good smoking pipe for the previous pipeman. There were even some fragments of unsmoked tobacco in the bottom of the bowl.Jack1

Jack2

Jack3

Jack4

Jack5

Jack6 Out of boredom and the need for something to keep my hands busy while my dog was being groomed I decided to experiment with repairs on the bowl. I cleaned up the broken pieces of the briar both the edges on the bowl and broken pieces with alcohol and cotton swabs and picked out any remaining loose pieces of briar or charred pieces of briar. I knew that I could easily patch the external side of the bowl and make it look acceptable but I was not sure what I would do with the internal side. I used a pen knife to scrape out the remaining cake in the bowl and to make sure there was no loose carbon that would get in the way of the repair before gluing in the piece. I applied clear super glue to both the bowl and the chunk of briar being careful to keep it out of the interior of the bowl and pressed the piece in place. In the photos below you can see how the glue ran down the exterior of the back side of the bowl but not on the inside.Jack7

Jack8 I applied some more glue to the cracks on the outside of the bowl so that I could push briar dust into any spaces or chips in the briar between the pieces.Jack9

Jack10 With the chunk of briar glued in place and the external cracks patched it was time to look at the damage on the inside of the bowl and determine what to do. I know that in the past I have used J.B. Weld and Greg and others have used fireplace cement to repair the inside surfaces of the bowl but I had in mind a different experiment. Both the J.B. Weld and the fireplace cement dry and are neutral after curing. They are both impervious to heat or moisture but I wanted to see if I could use all natural substances and work a repair that would hold up. I knew that only time would tell if it actually worked but I figured that I had nothing to lose with this old pipe. If it did not work it would go back to the scrap yard and come back to life in repairs on other pipes. But if it did work I would have a useable yard pipe that I could smoke while working with little concern of damaging or ruining it in the process. Too me it was worth a try.

The next series of two photos show the inside of the bowl. The cracks and damage to the inside of the bowl was quite extensive. But it was still worth trying a repair.Jack11

Jack12 I fit a stem on the shank from my can of stems with minimal sanding of the tenon for a good fit in the shank. The diameter of the stem would need to be adjusted but that would not be too much of a problem.Jack13

Jack14

Jack15 The next two photos show the variation in diameter of the shank and the stem.Jack16

Jack17 I use a Dremel and sanding drum to take down the excess material as close to the shank as possible without damaging the shank. I also decided to use the Dremel and sanding drum on the overflow of super glue and briar dust on the outside of the bowl as I planned on sanding the bowl anyway.Jack18

Jack19

Jack20

Jack21 Once I had the fit of the stem close and the majority of the glue and briar dust patch smoothed out I took it back to the work table and sanded both the bowl and the stem with 220 grit sandpaper to smooth out the scratches in the briar and the vulcanite.Jack22

Jack23 The rim needed to be topped to smooth out the damage to the top and the outer edges. I set up the topping board with 220 grit sandpaper and pressed the bowl flat against the sandpaper. I sanded it in a circular motion until I had removed the damaged rim surface and the damaged out edge.Jack24

Jack25

Jack26 I forgot to take a photo of the rim at this point but you can see in the photos of the staining that it is sharp and clean on the outer edge. I sanded the briar with a medium and a fine grit sanding sponge to minimize the scratches even more and then heated the bowl before I applied a dark brown aniline stain. I applied the stain, flamed it and repeated the process until I had good even coverage on the bowl.Jack27

Jack28 The dark brown stain was quite opaque so I wiped down the bowl with isopropyl alcohol on cotton pads to remove and thin down the stain coat.Jack29

Jack30 The top of the rim can be seen in the next photo. The damage to the rim top has been minimized and the surface is smooth. There is still some damage on the inner edge but that will be addressed when I do the internal repairs to the bowl walls.Jack31 I buffed the bowl with Red Tripoli and then wiped it down again with alcohol. The colour was just what I was looking for at this point in the process. It was a rich brown stain that allowed the grain – birdseye and mixed to show through the finish. It also did a decent job covering the repair to the other side of the bowl.Jack32

Jack33

Jack34

Jack35 I buffed it again with White Diamond to raise the shine. The stem still needed some fine tuning for a better fit against the shank and some sanding to remove the oxidation and scratches but the pipe was beginning to look good.Jack36

Jack37

Jack38

Jack39 I took the next close up photos to show the work that still needed to be done on the rim and the look of the repairs on the right side of the bowl. The bowl surface and rim surface was very smooth but still needed to be sanded with micromesh pads to take out the scratches and polish the briar to a deep shine.Jack40

Jack41 With exterior at a good place to take a break it was time to address the inside of the bowl. I mixed a batch of pipe mud using cigar ash and water. I mixed it to a thicker than usual consistency so that I could press it into the damaged area of the bowl wall. I did not want it runny or soupy but I still wanted it wet enough that the mud was well mixed and would stick. I painted it on the wall in the damaged area with a folded pipe cleaner and pressed it into the cracks with the spoon end of a pipe nail. I also pressed it in with the end of my finger. I repeated the application of the mud until the surface of the wall was smooth and showed no pits or divots. I set the bowl aside to dry over night as I wanted the mud to harden and also wanted to see if it was solidly stuck in the damaged areas.Jack42

Jack43 In the morning, after curing over night I inspected the patch on the inside of the bowl. I used my dental pick to make sure that the patch was well set in the divots in the wall of the bowl and then smooth out the surface with a pen knife.Jack44

Jack45 I let it dry for about four more hours while I did other things and then decided to mix a batch of bowl coating to paint the bowl interior. I mix a batch of bowl coating using sour cream and activated charcoal powder. I use a finely ground powder that comes in capsules.Jack46

Jack47 I take apart the capsules and dump the charcoal powder into the sour cream.Jack48 I use a dental spatula to mix the charcoal and sour cream into a black paste. I work the paste until all the sour cream and charcoal are combined.Jack49

Jack50 I used the spatula to apply the paste to the walls of the pipe and then smoothed it out using a folded pipe cleaner.Jack51 The entire bowl is coated with the paste and after smoothing it out with the pipe cleaner looks like a dark grey almost black coating around the sides and bottom of the bowl. I put a pipe cleaner in the airway so that I would not get the paste in the airway when smoothing it out.Jack52

Jack53
Jack54 I wiped down the top of the rim with a bit of saliva on a cotton pad and then set the bowl aside to let the coating cure. Once the coating cured it would provide a protective layer over the bowl interior and facilitate the buildup of a new cake.

While the bowl coating was drying I worked on the stem. I sanded it with 220 grit sandpaper with a plastic washer between the shank and stem to smooth out the transition between the two. When I had finished sanding the stem with the 220 grit sandpaper I sanded it with a medium and a fine grit sanding sponge.
Jack55

Jack56

Jack57

Jack58 I wet sanded the stem with 1500-2400 grit micromesh sanding pads to minimize the scratches.Jack59 I dry sanded the stem with 3200-4000 grit micromesh sanding pads and then buffed the stem with Red Tripoli to further polish the stem.Jack60 I brought it back to the work table and dry sanded it with 6000-12,000 grit sanding pads. I buffed the stem with Blue Diamond on the wheel and then rubbed it down with Obsidian Oil and let it soak in.Jack61 I sanded the bowl and shank with micromesh sanding pads – wet sanding 1500-2400 grit pads and dry sanding with 3200-12,000 grit pads. I buffed the bowl with Blue Diamond to polish the briar. There are some fine scratches that seem to be around the junction of the shank and stem. I buffed it with Red Tripoli again and with White Diamond and then with Blue Diamond. I polished the stem and bowl with carnauba wax and buffed it to a shine with a clean buffing pad to raise the shine. The finished pipe is shown in the photos below.Jack62

Jack63

Jack64

Jack65 The next photos are close up pictures of the repair. They also that the carbon/sour cream bowl coating has dried and is a dark grey colour. The cracks on the exterior are smooth to touch and do not feel like cracks. The repairs to the top of the rim still show as a red coloured spot at the back of the rim. The stain took to the patch a little lighter than the rest of the bowl. It is smooth to the touch but still shows. The internal bowl coating has dried to the touch and gives a nice coat that is cover the repairs on the bowl wall. The carbon bowl coating has small particles of carbon in the finish. These will provide something for the new cake to bind to when it is smoked. All that remains is to let the coating cure for a few days and then load a bowl and smoke it.Jack66

Jack67

Jack68

Jack69

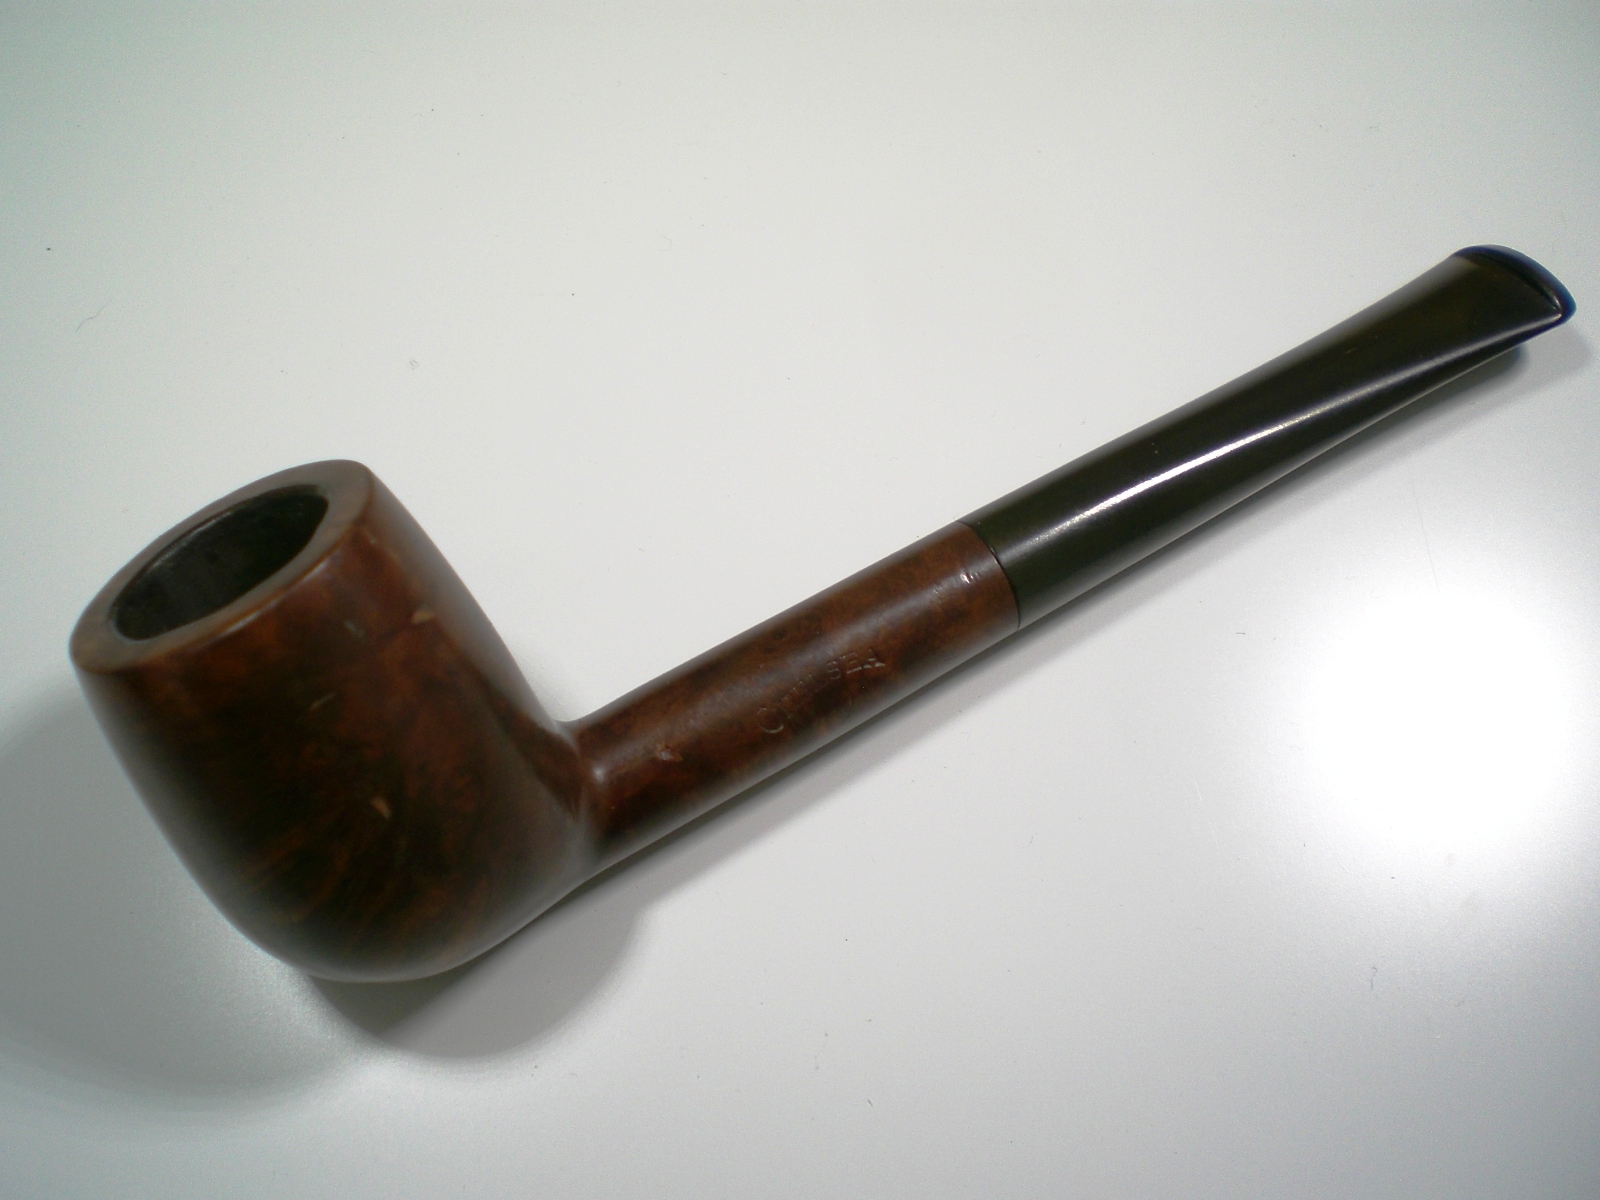
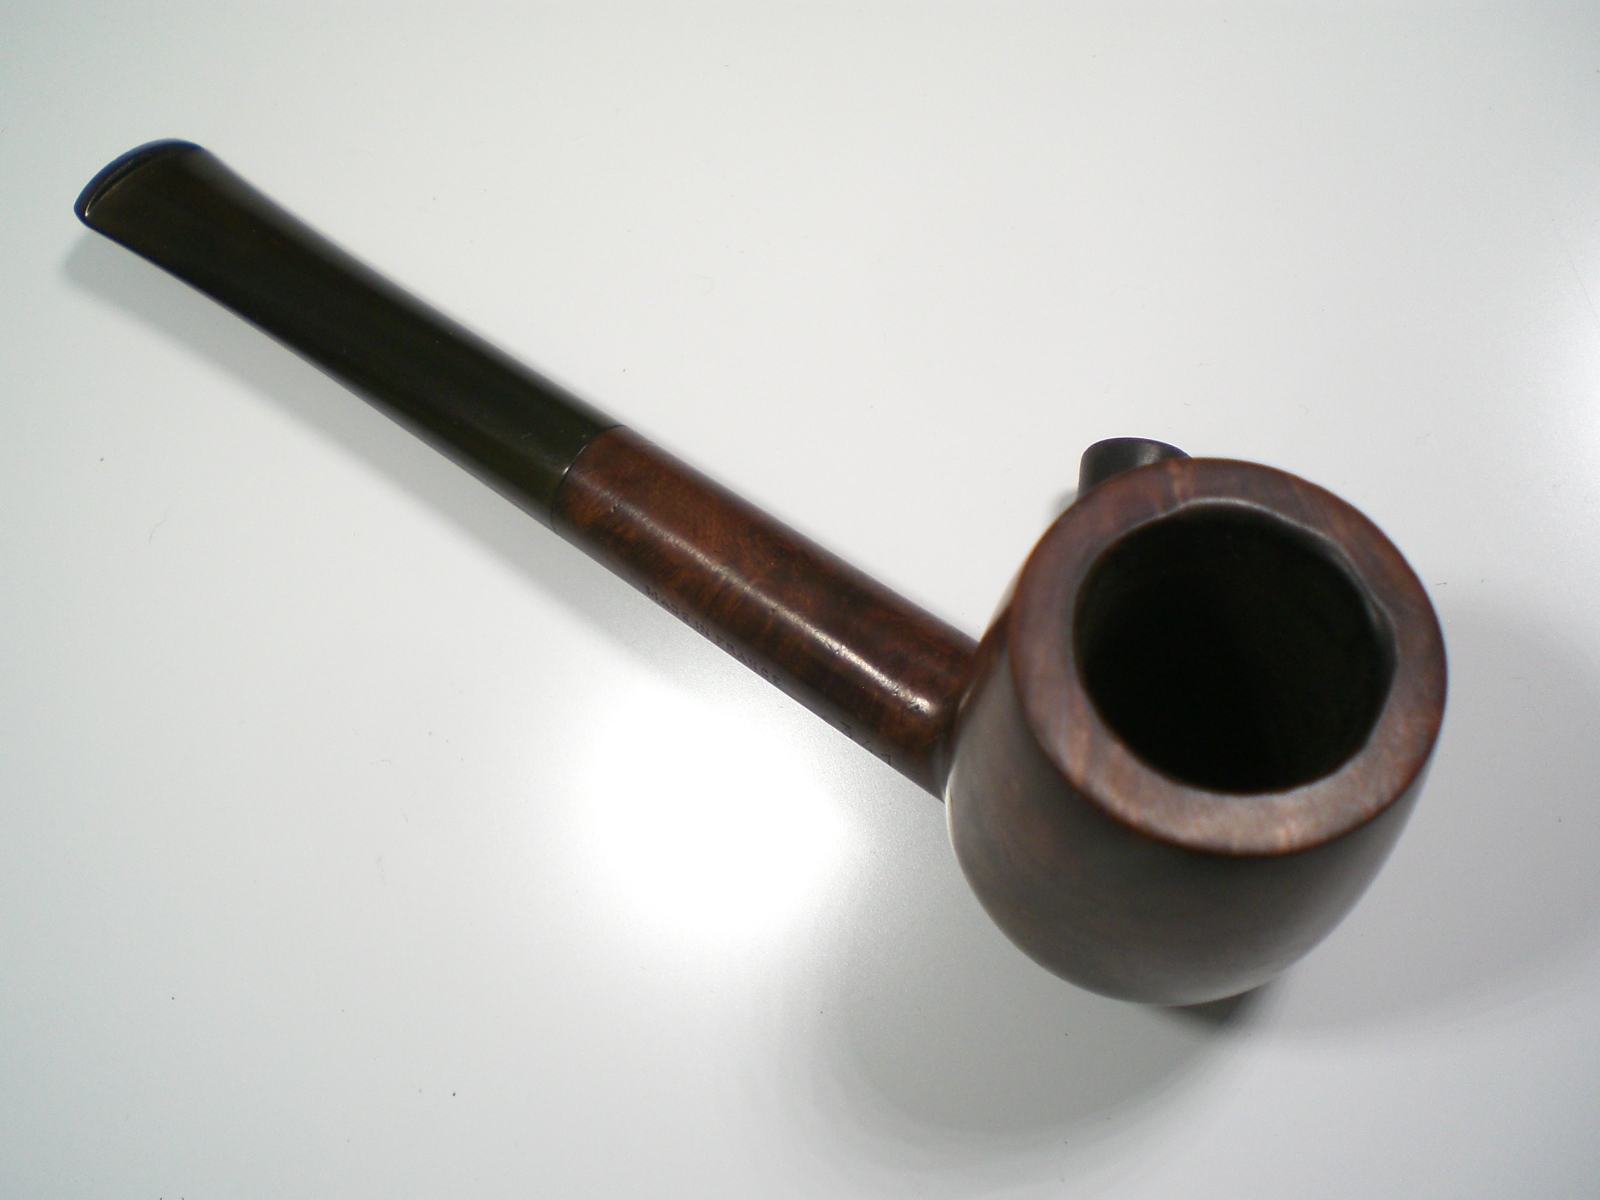
“Chelsea” Birthday Gift Pipe


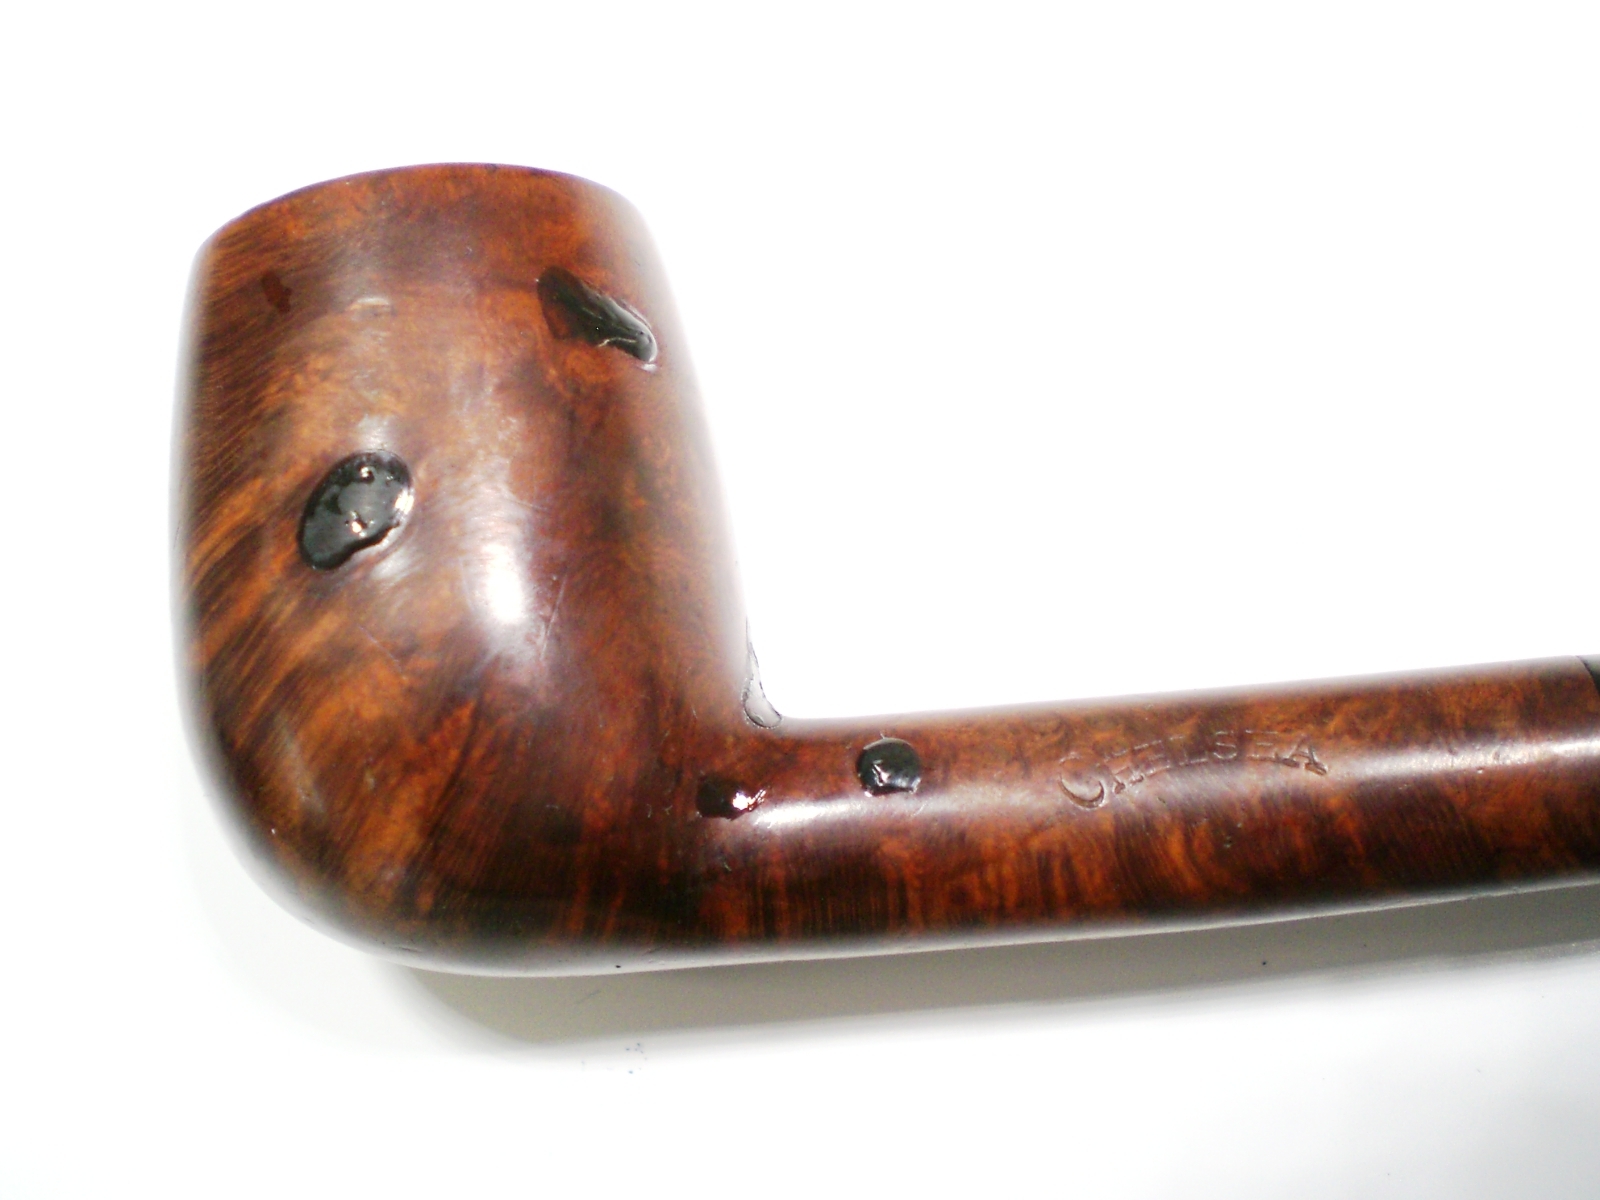
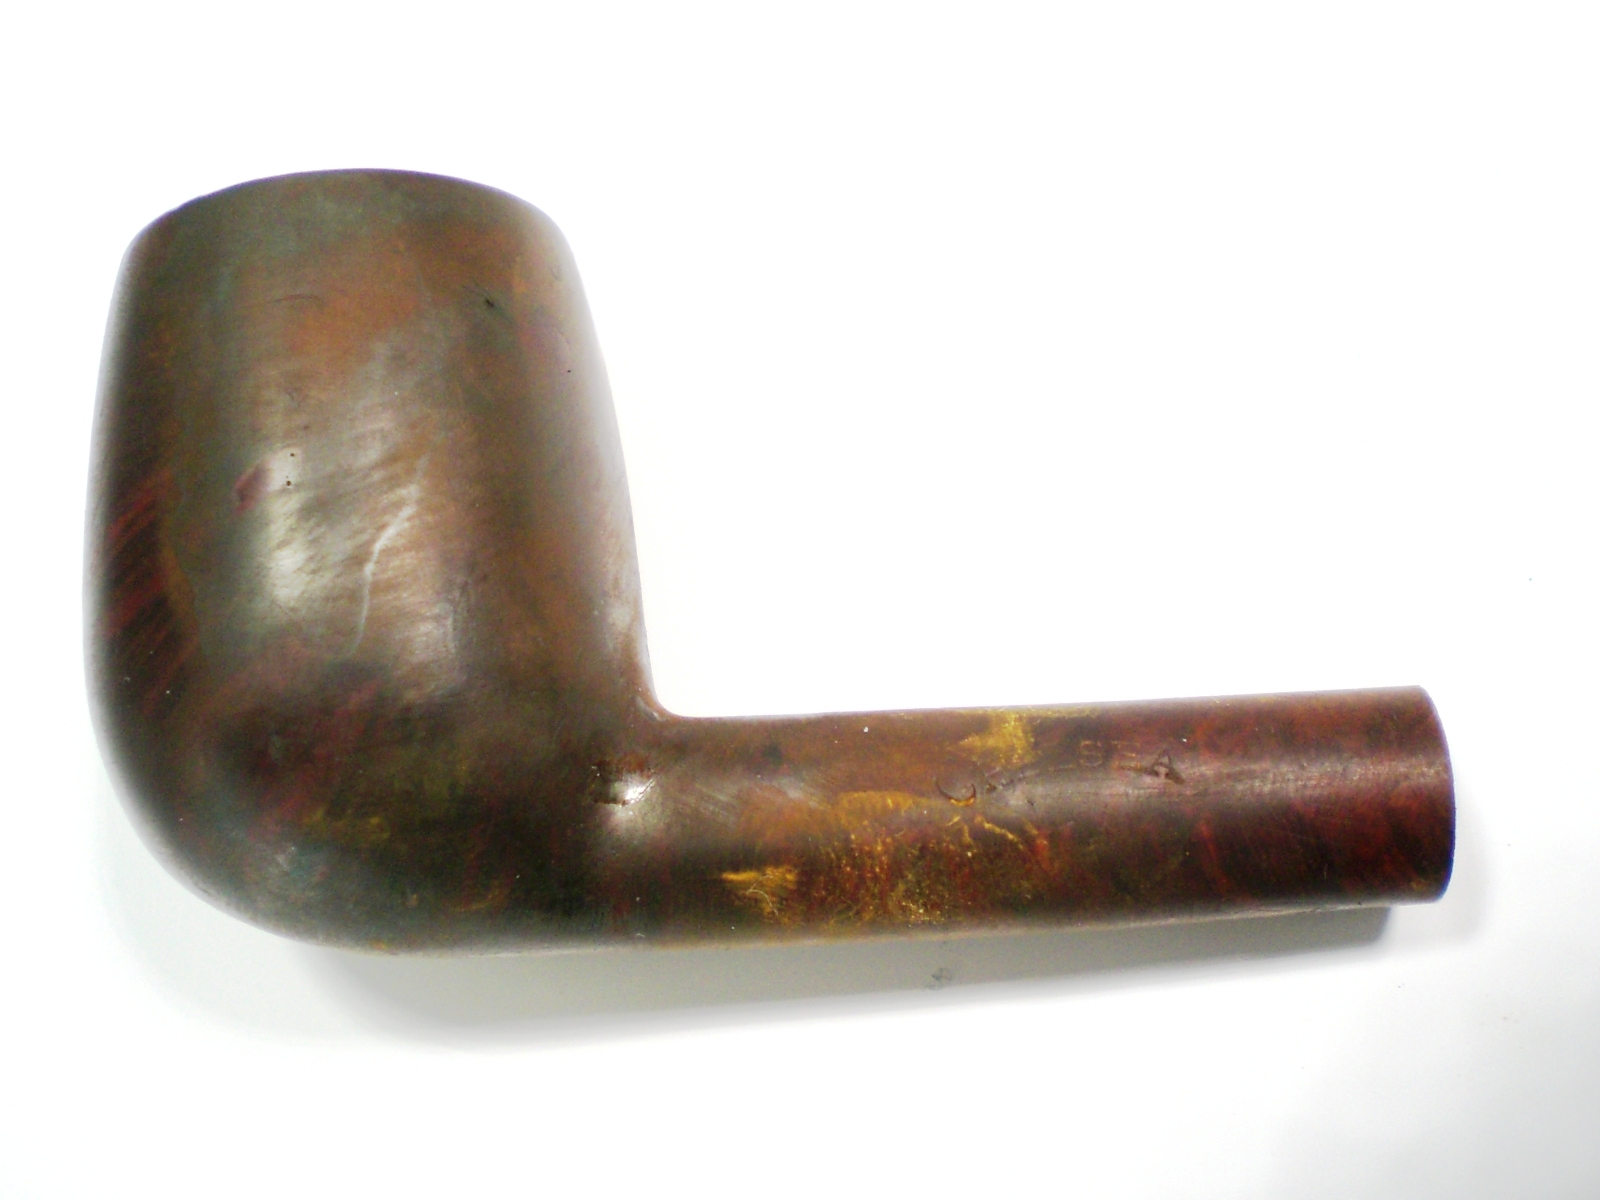
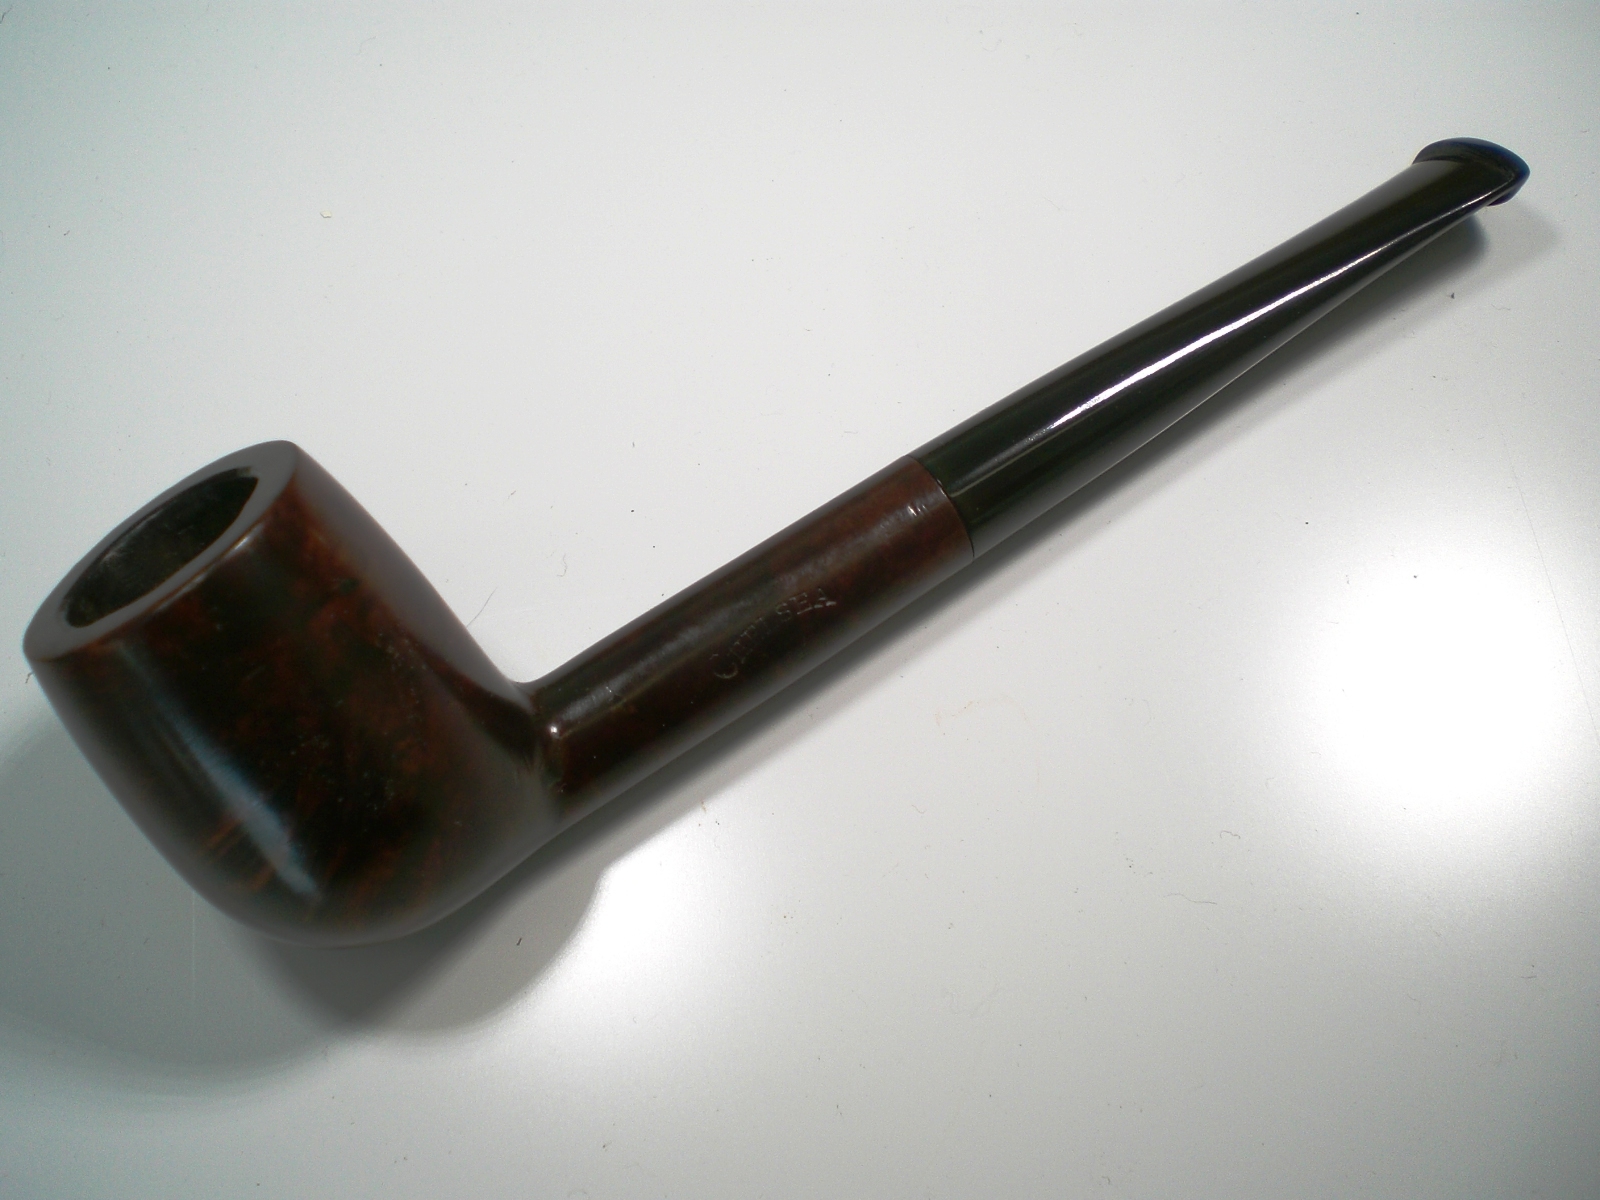
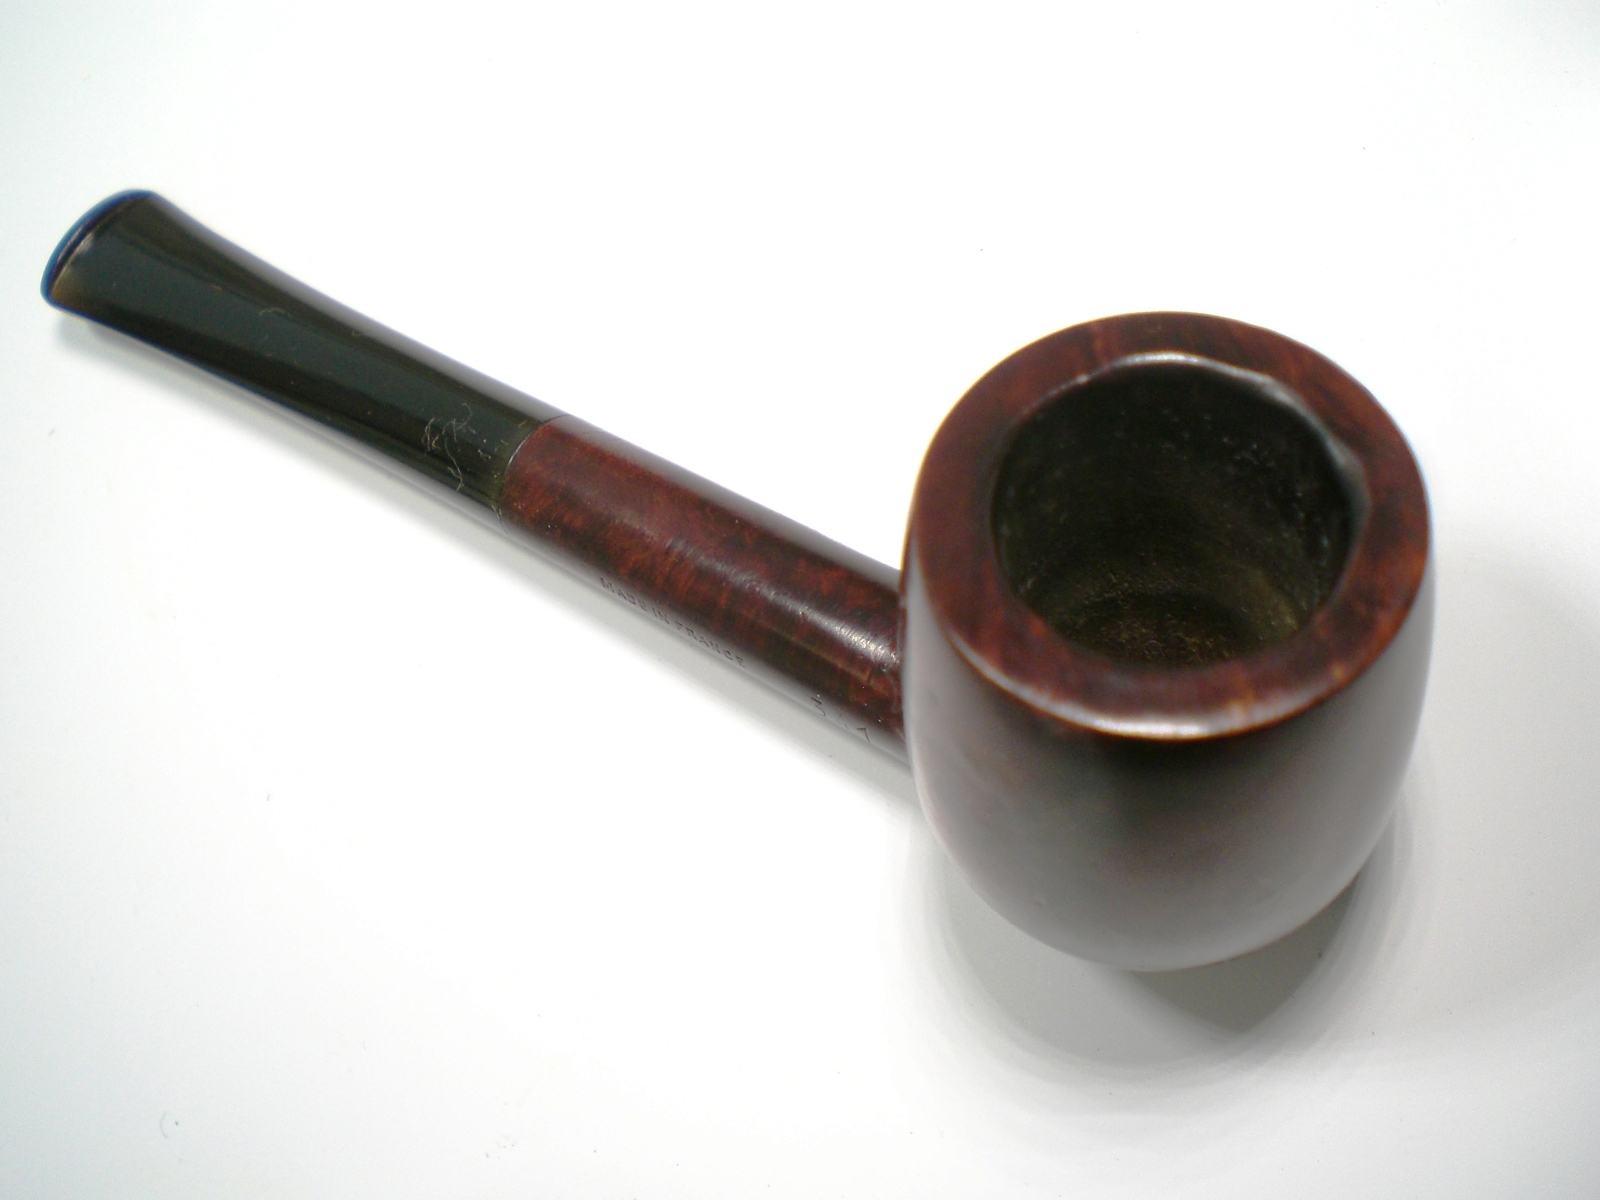
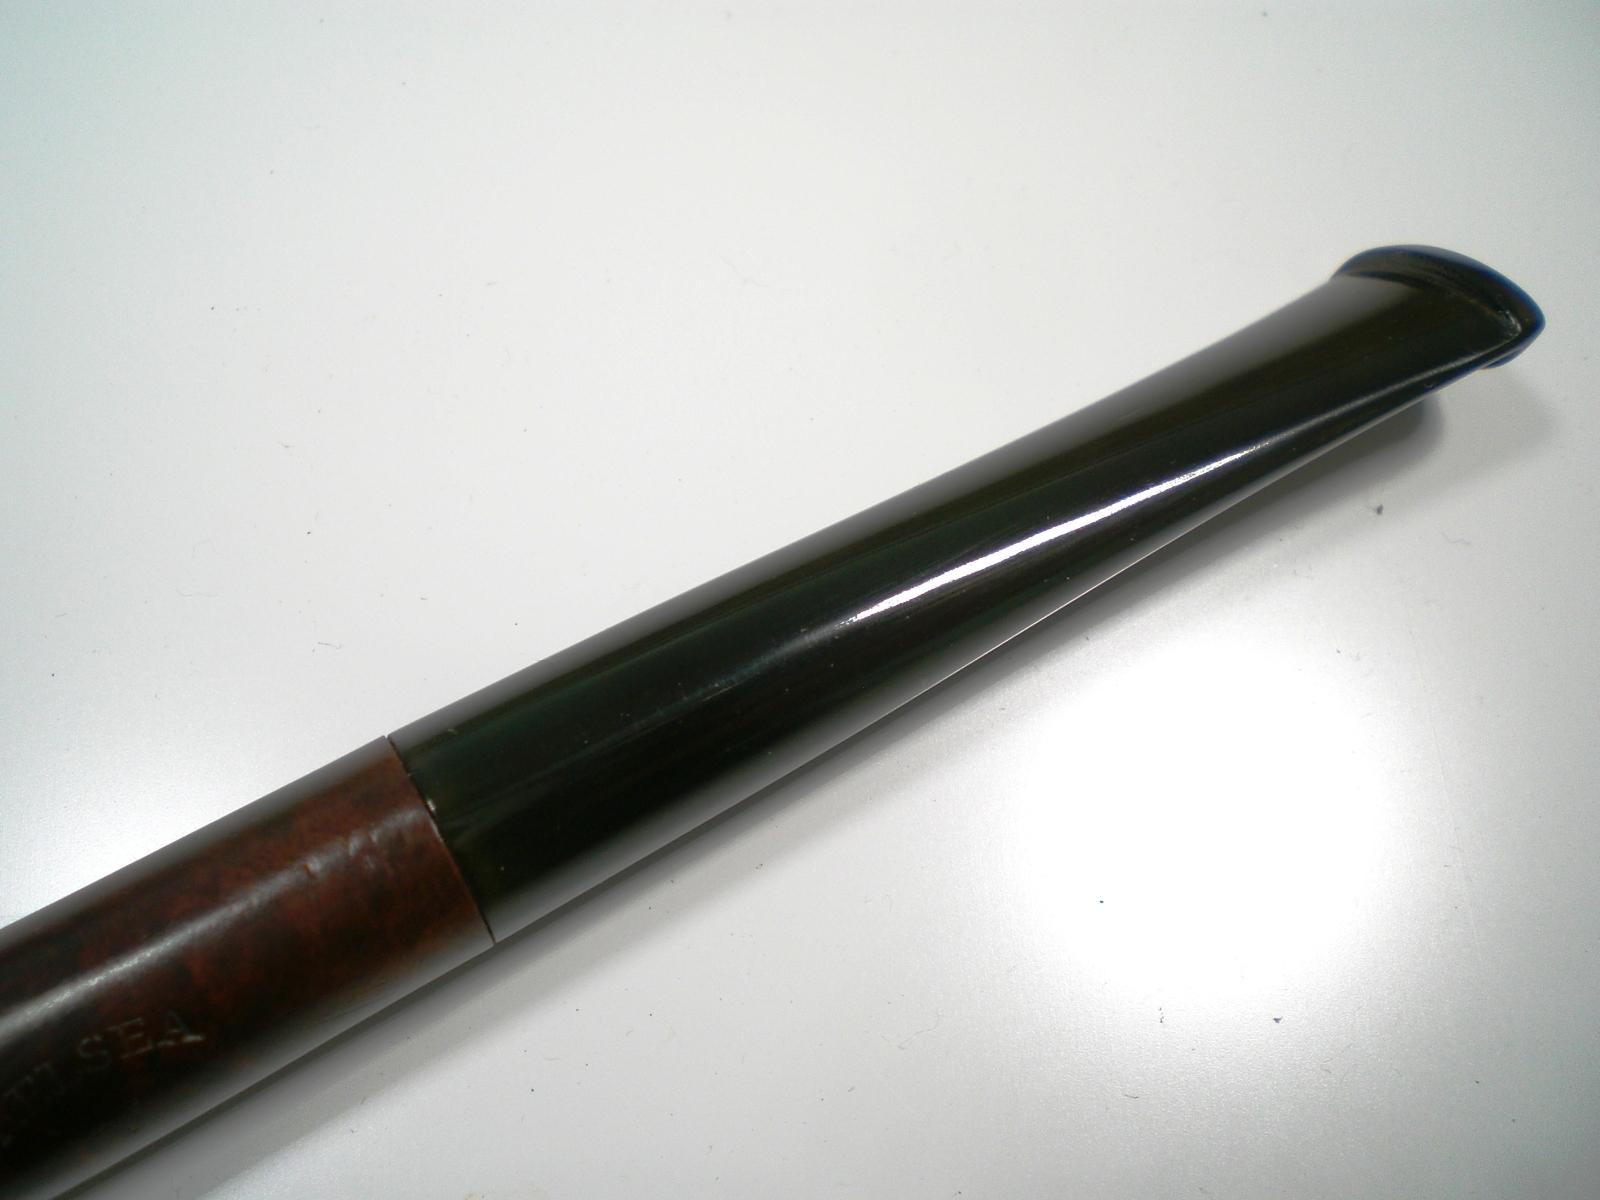
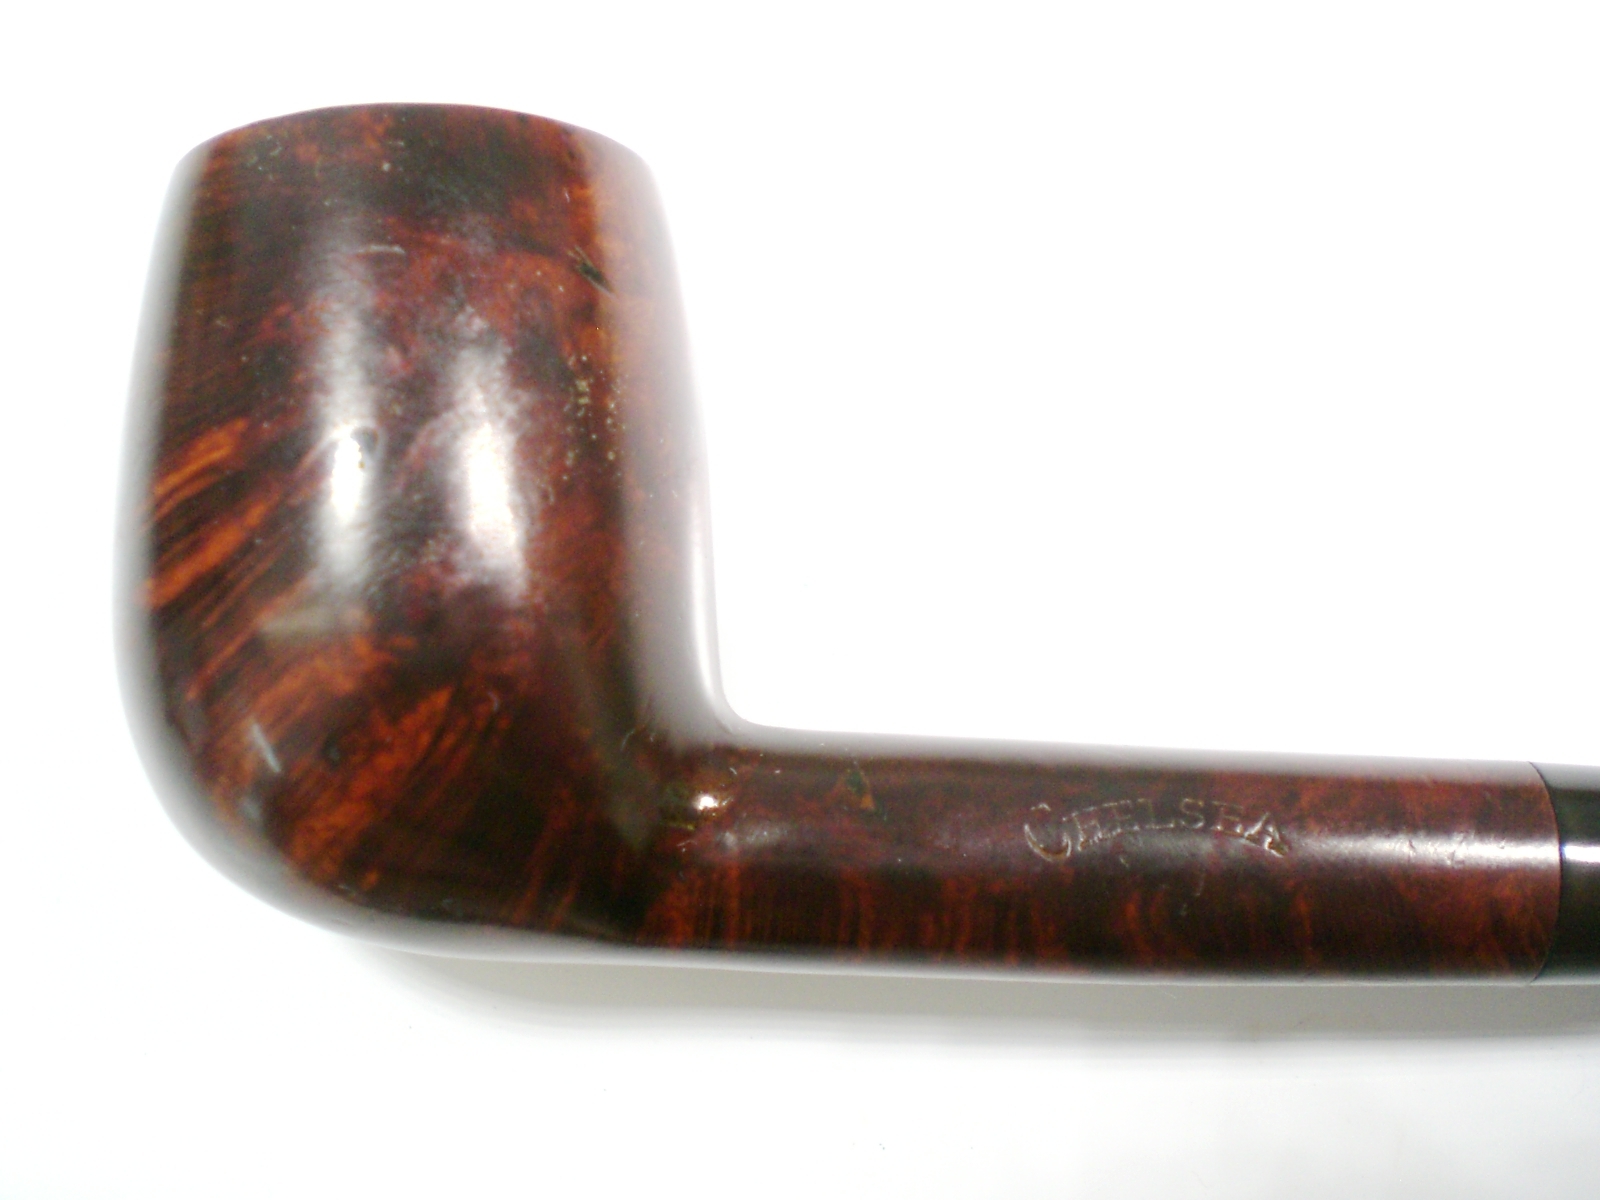
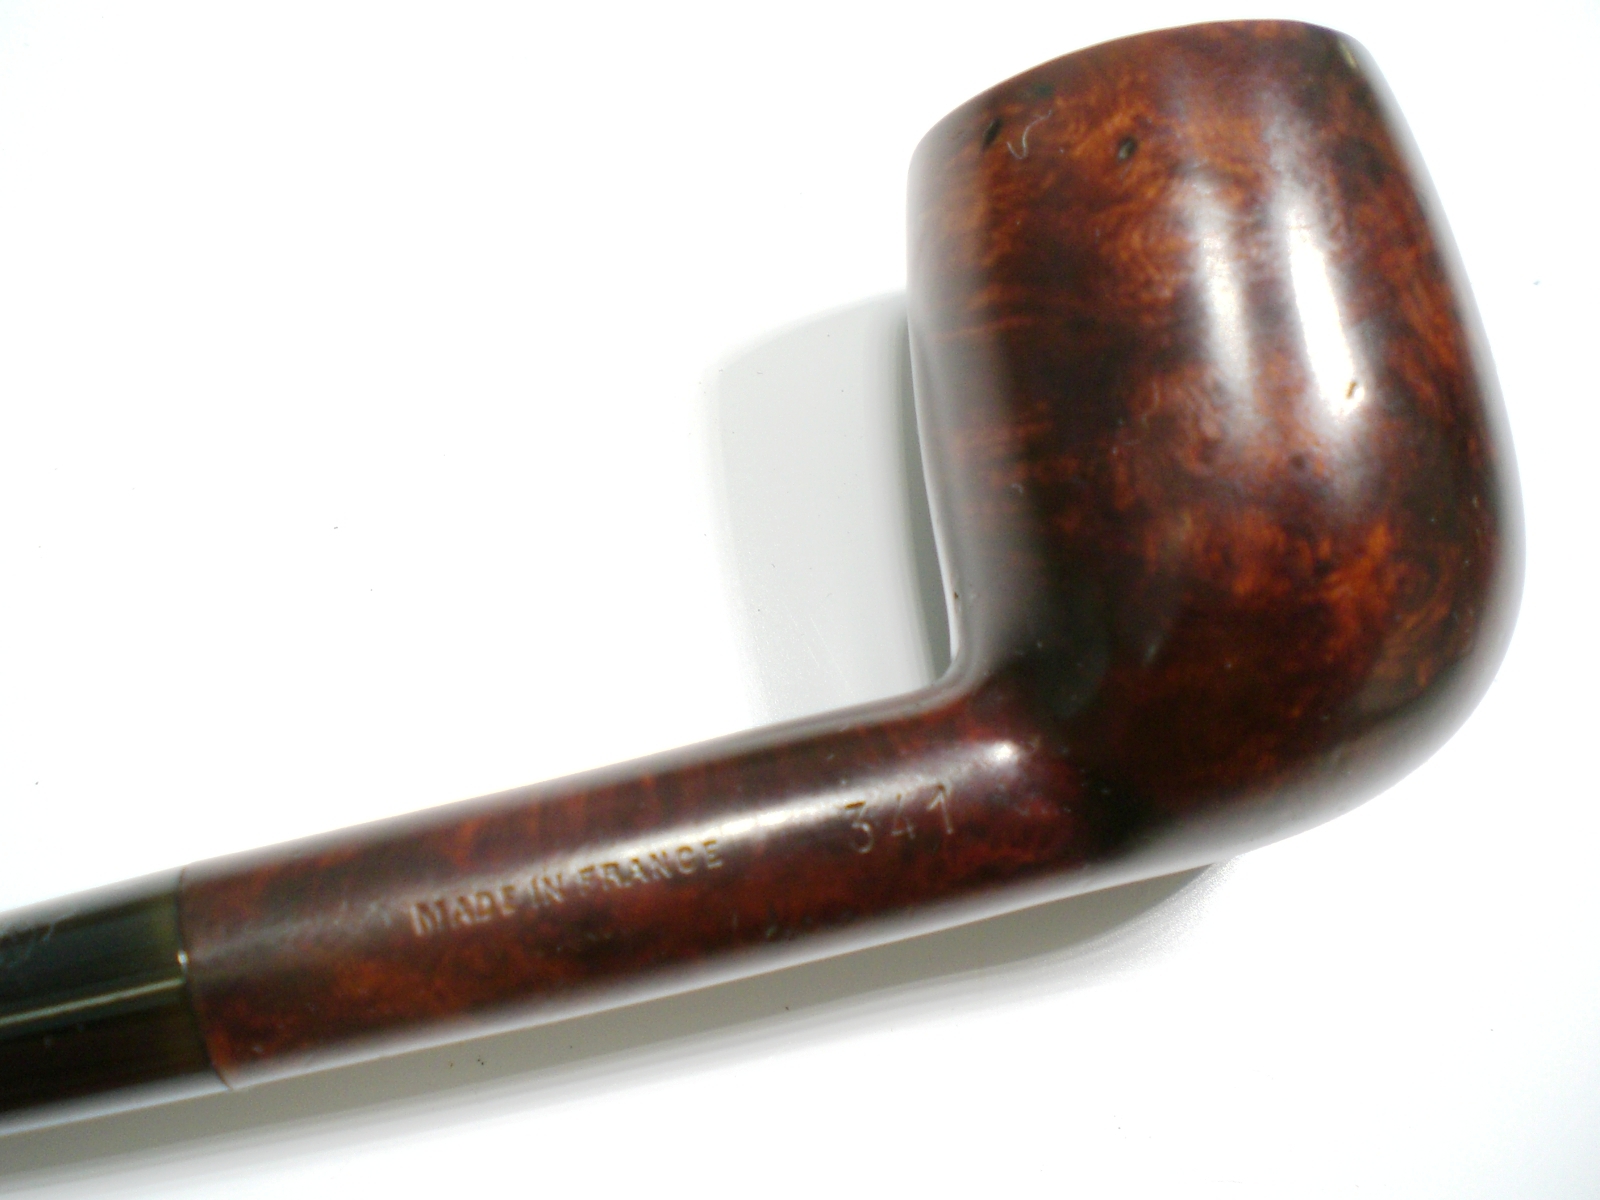
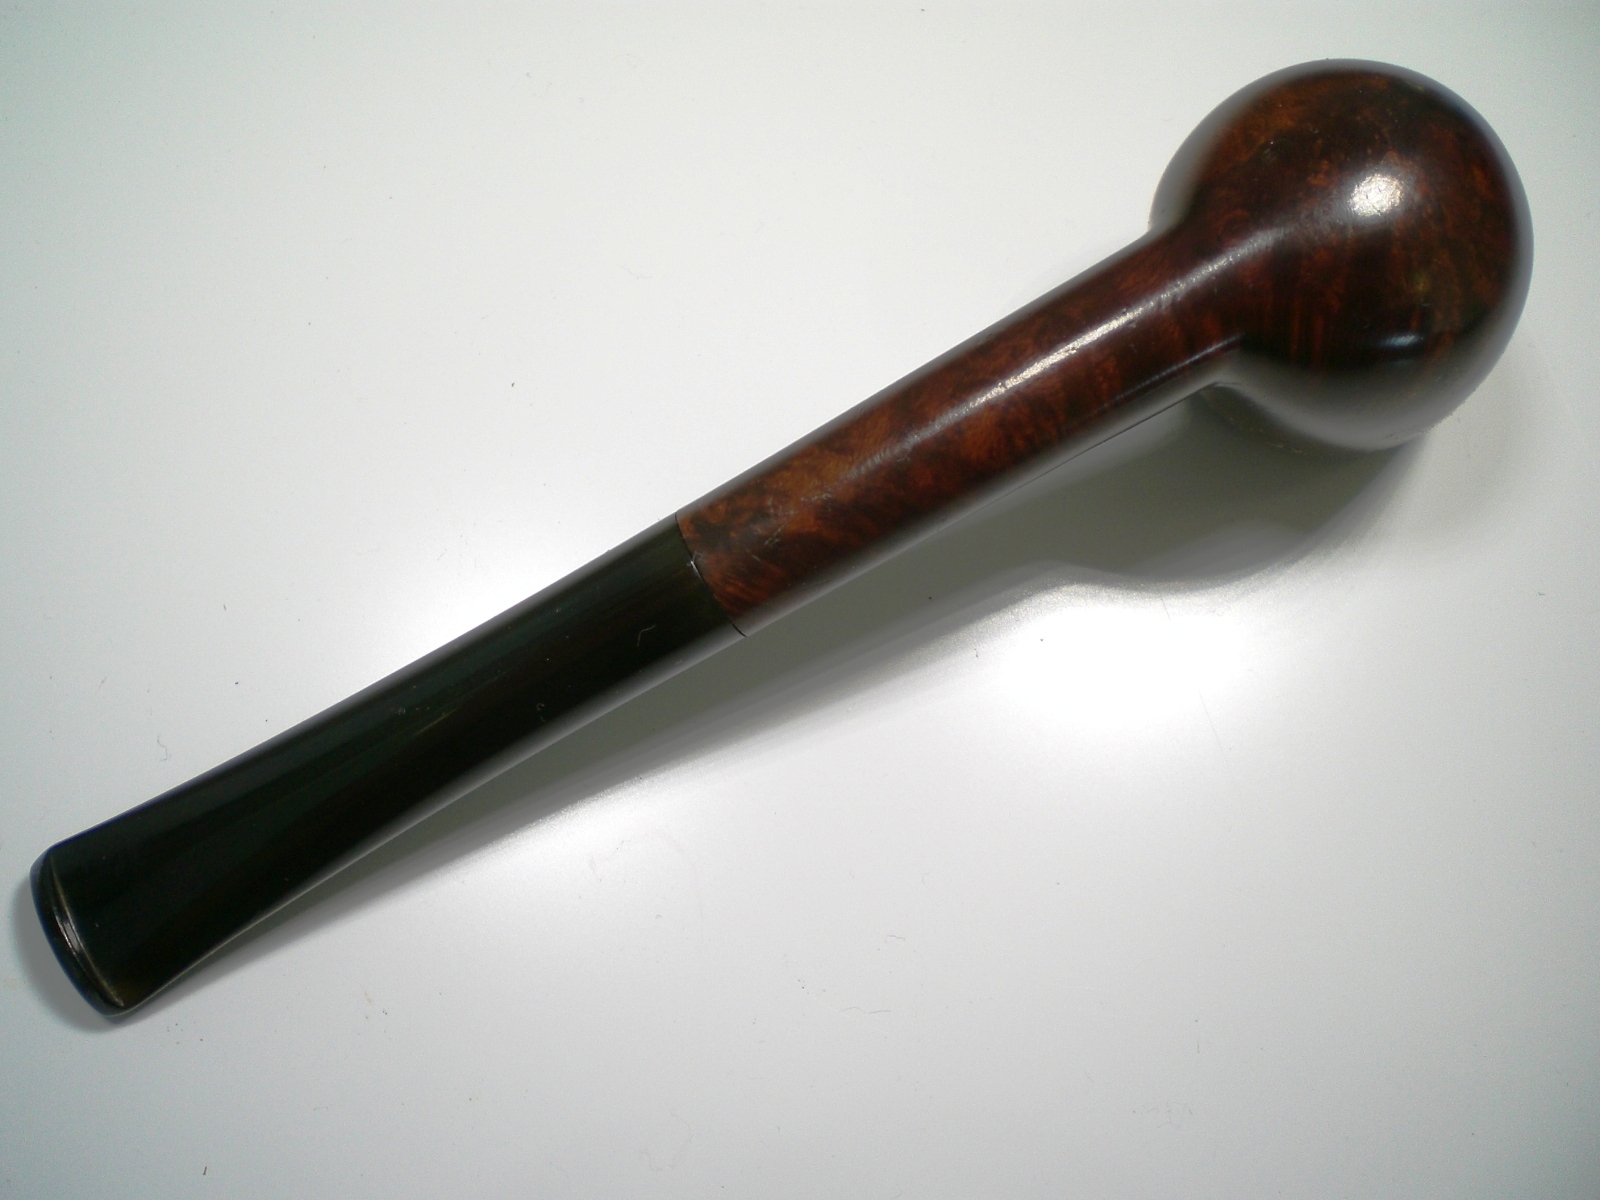
My youngest daughter’s name is Chelsea and she is married to a fine young man who also enjoys a pipe.  He’s received several of my restorations in the past few years.  A few months ago, I stumbled across this “Chelsea” stamped pipe and decided it would be part of his birthday present this year.  He and my wife share the same day in April, so I can never forget his special day.

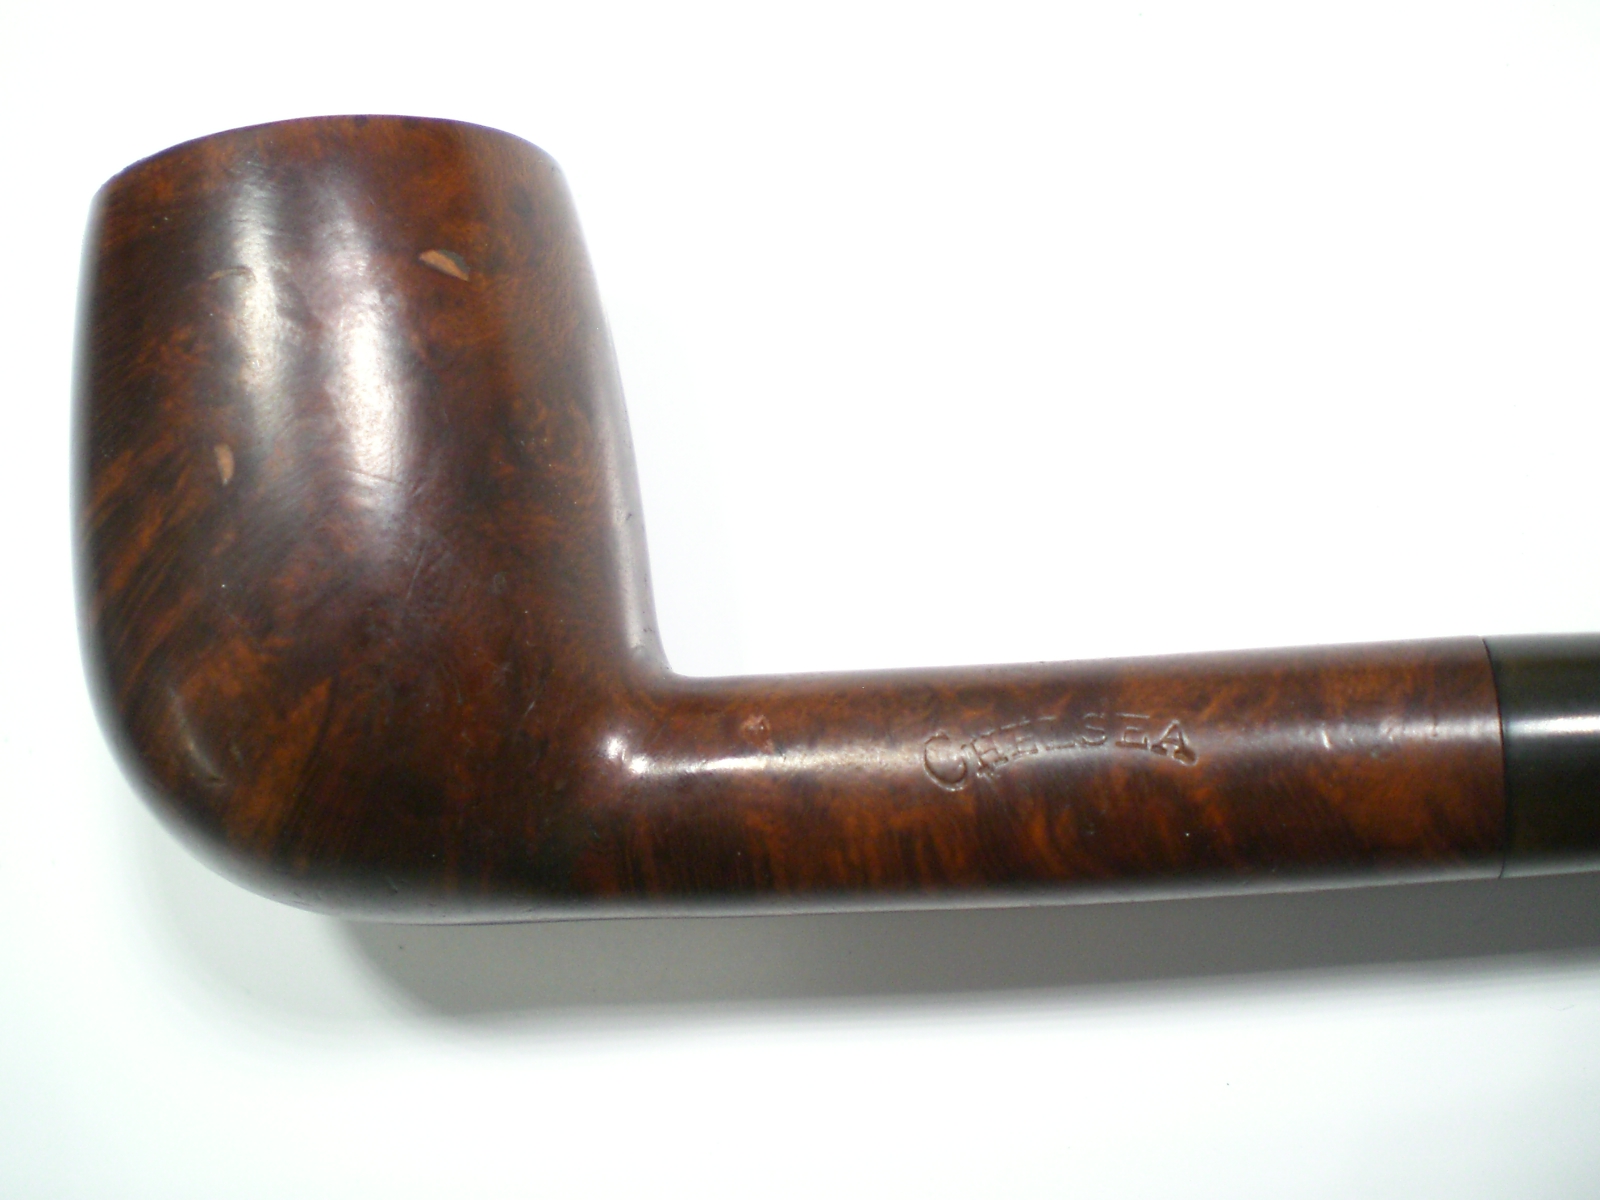
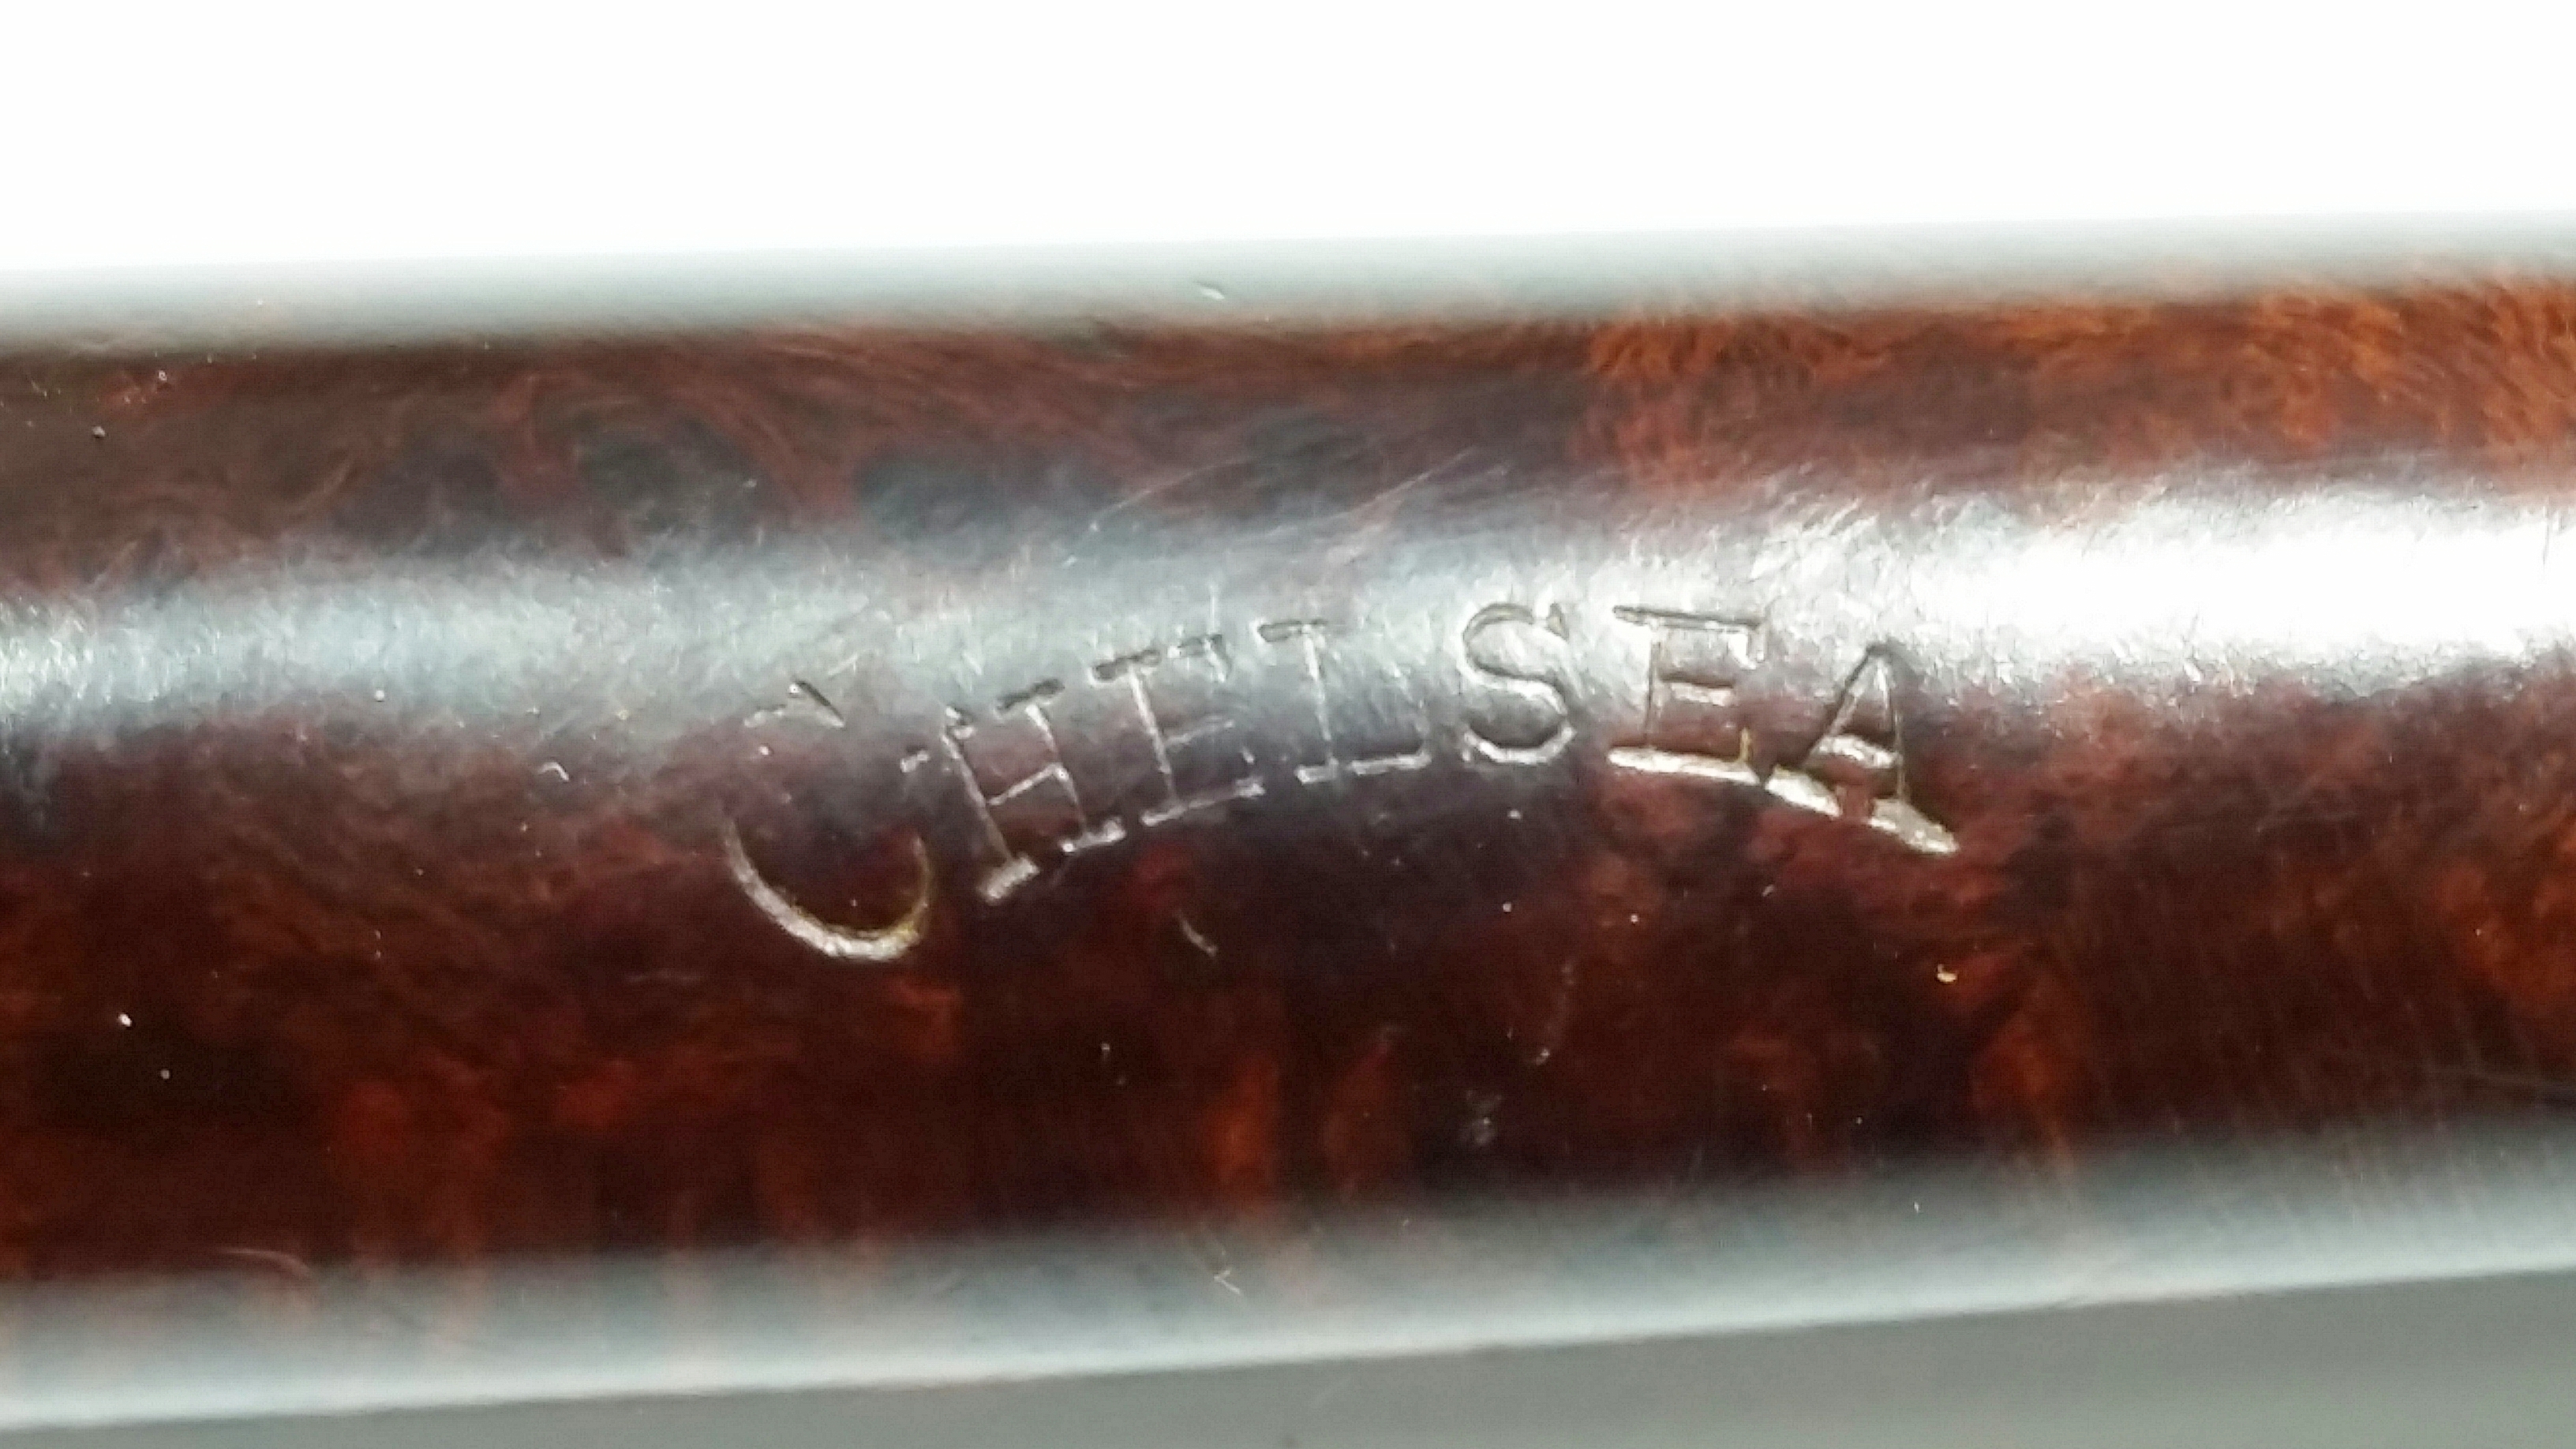
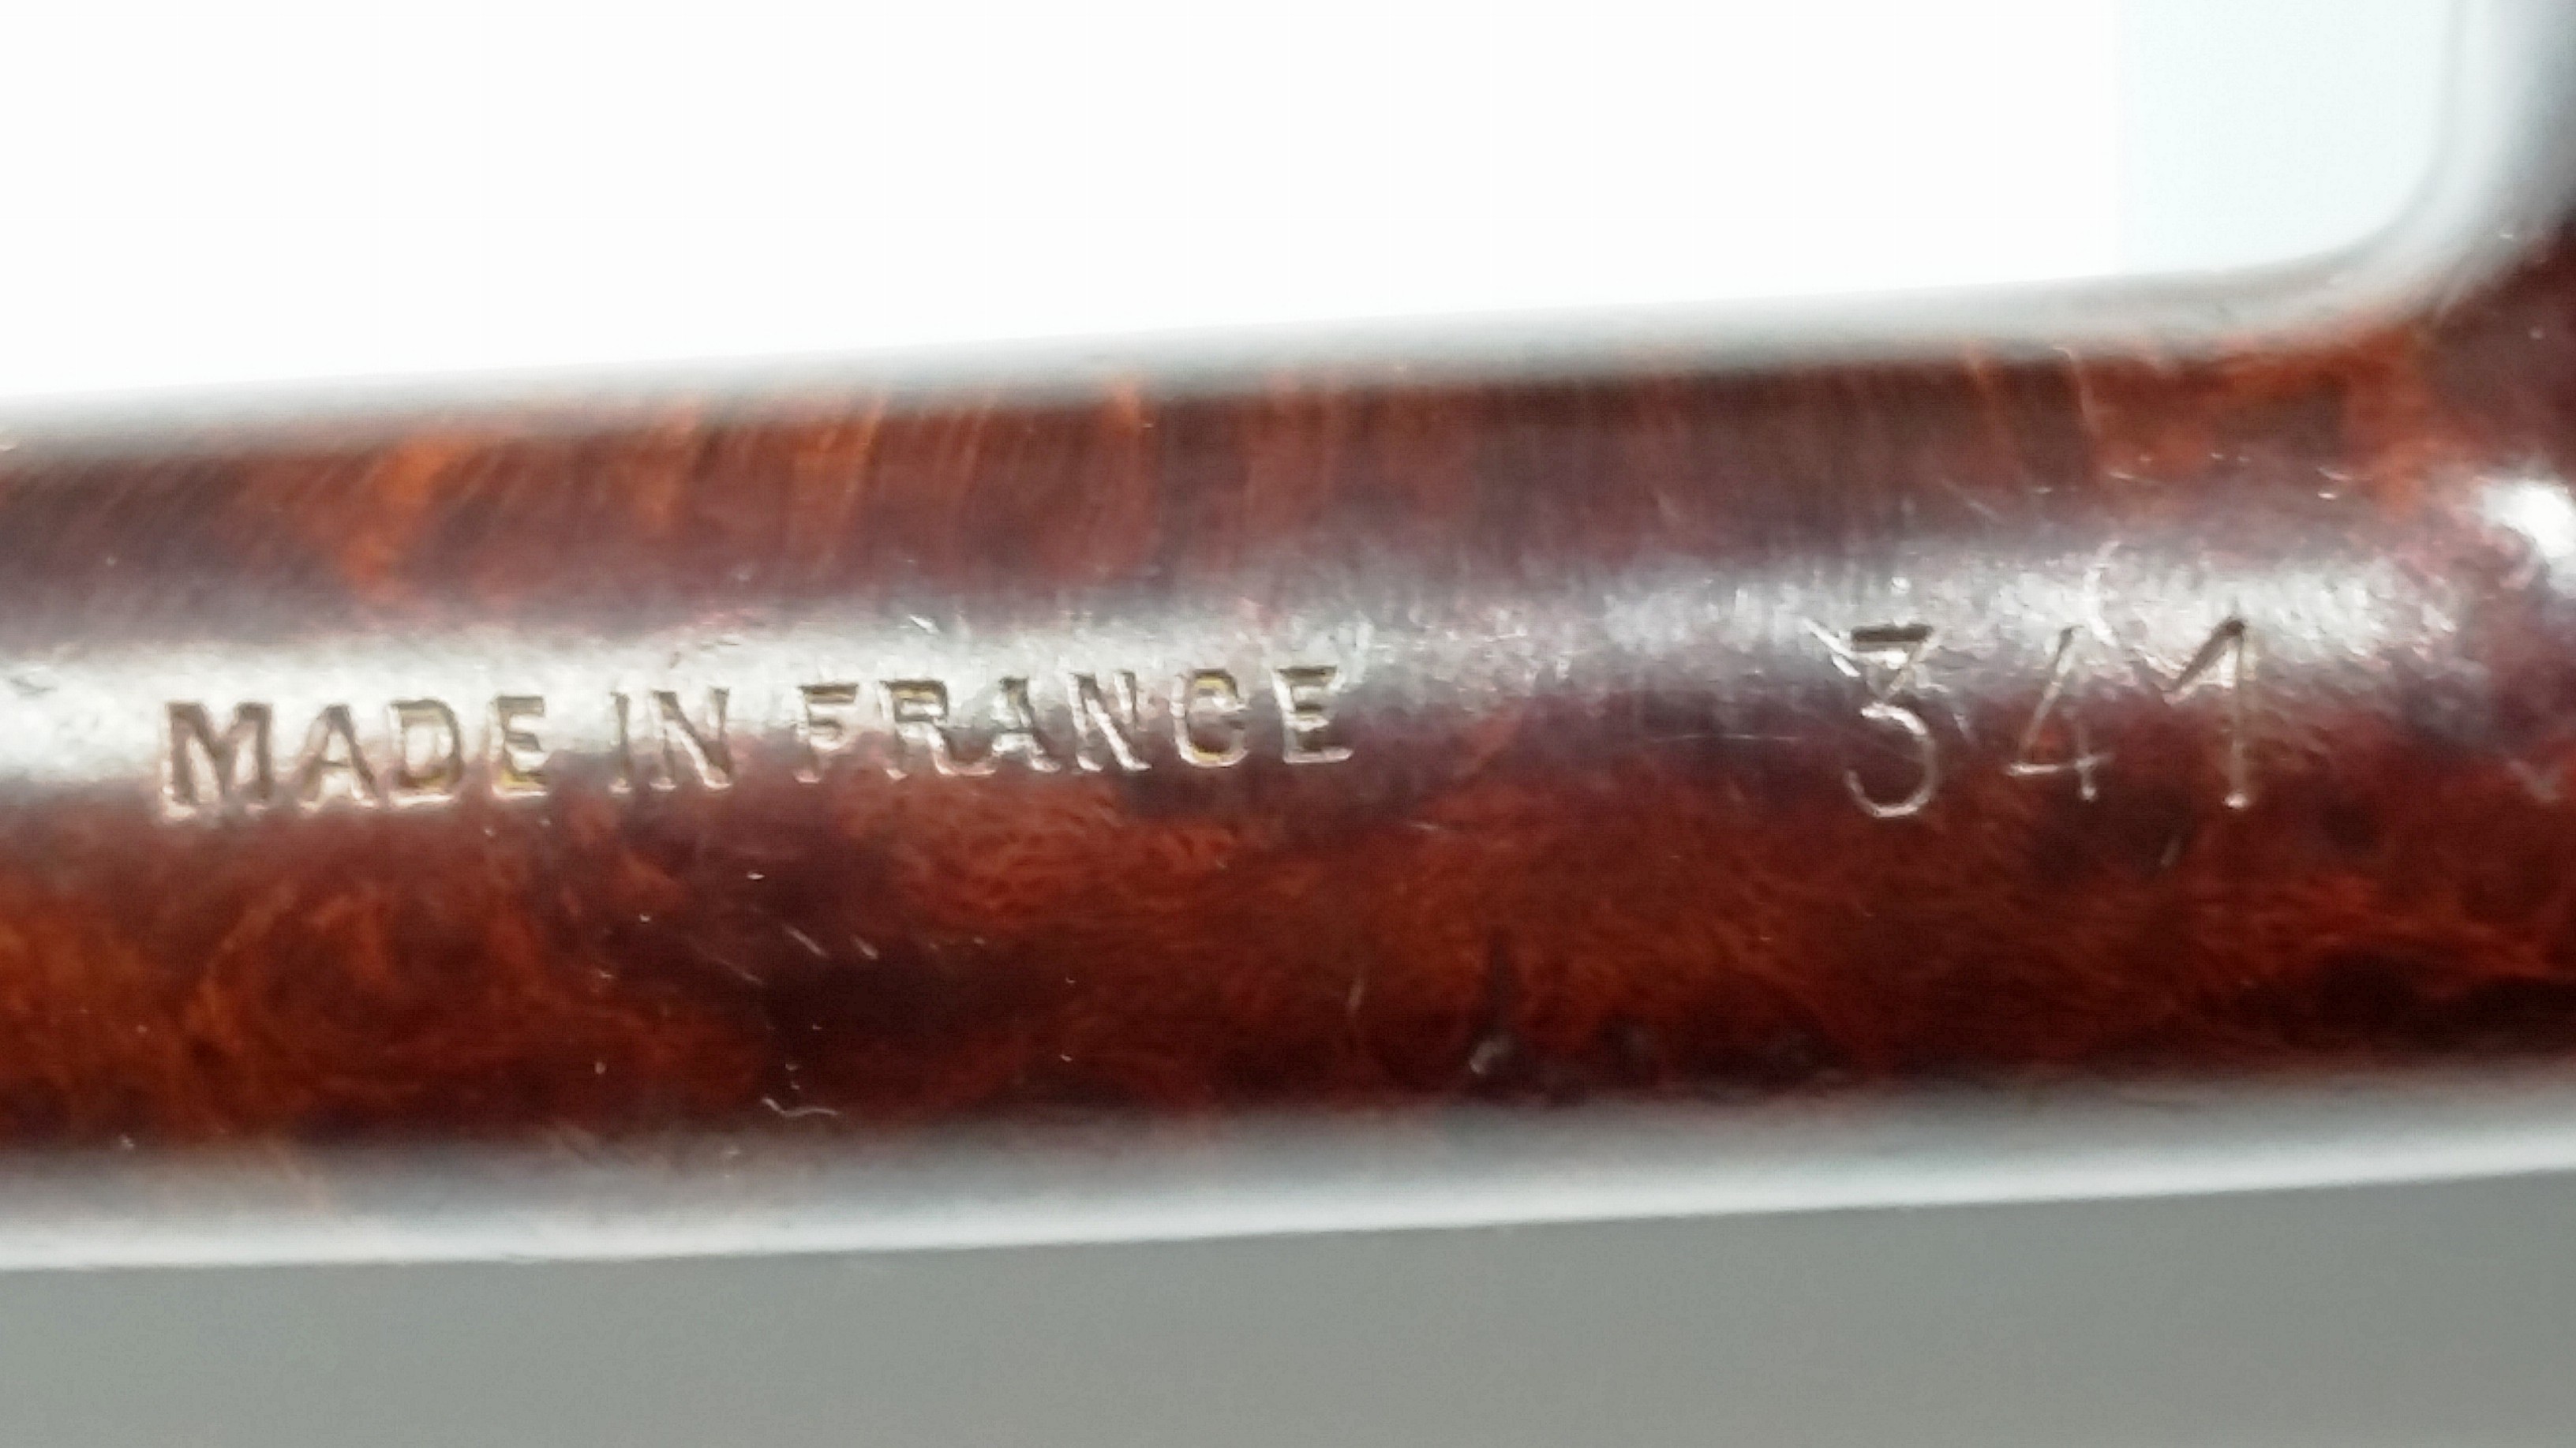
The pipe is stamped “Chelsea” and “Made in France  341”.  I’ve seen references to the Chelsea brand as being an Comoy’s second and indeed the shape 341 is listed on their shape chart as a small billiard.  I was unable to find a Comoy’s version of this shape anywhere on the web.  The stem material and finish definitely have a Comoy’s feel.

The pipe was in good shape, but some light oxidation and a very mild cake.  The bowl had several ugly fills.

Chelsea_Before Chelsea_Before (2) Chelsea_Before (4) Chelsea_Before (3) Chelsea_Before (1)

After the pipe was reamed, I used a small dental pick to remove the fill material.  I put several drops of the black superglue on those spots and applied a spritz of accelerator (I still have not acquired a proper application tool for the accelerator).   I used 800 grit paper to sand smooth the glue spots, than up to 1500 wet paper.  The second picture shows the spots sanded smooth.

Chelsea_Fills_Fix

Chelsea_Fills_Fix (1)

I applied a Medium Brown Fieblings stain to the bowl and set it with a match.  After it dried, I buffed it out with some Tripoli and then White Diamond to smooth out the stain color.  This hid the fills nicely.

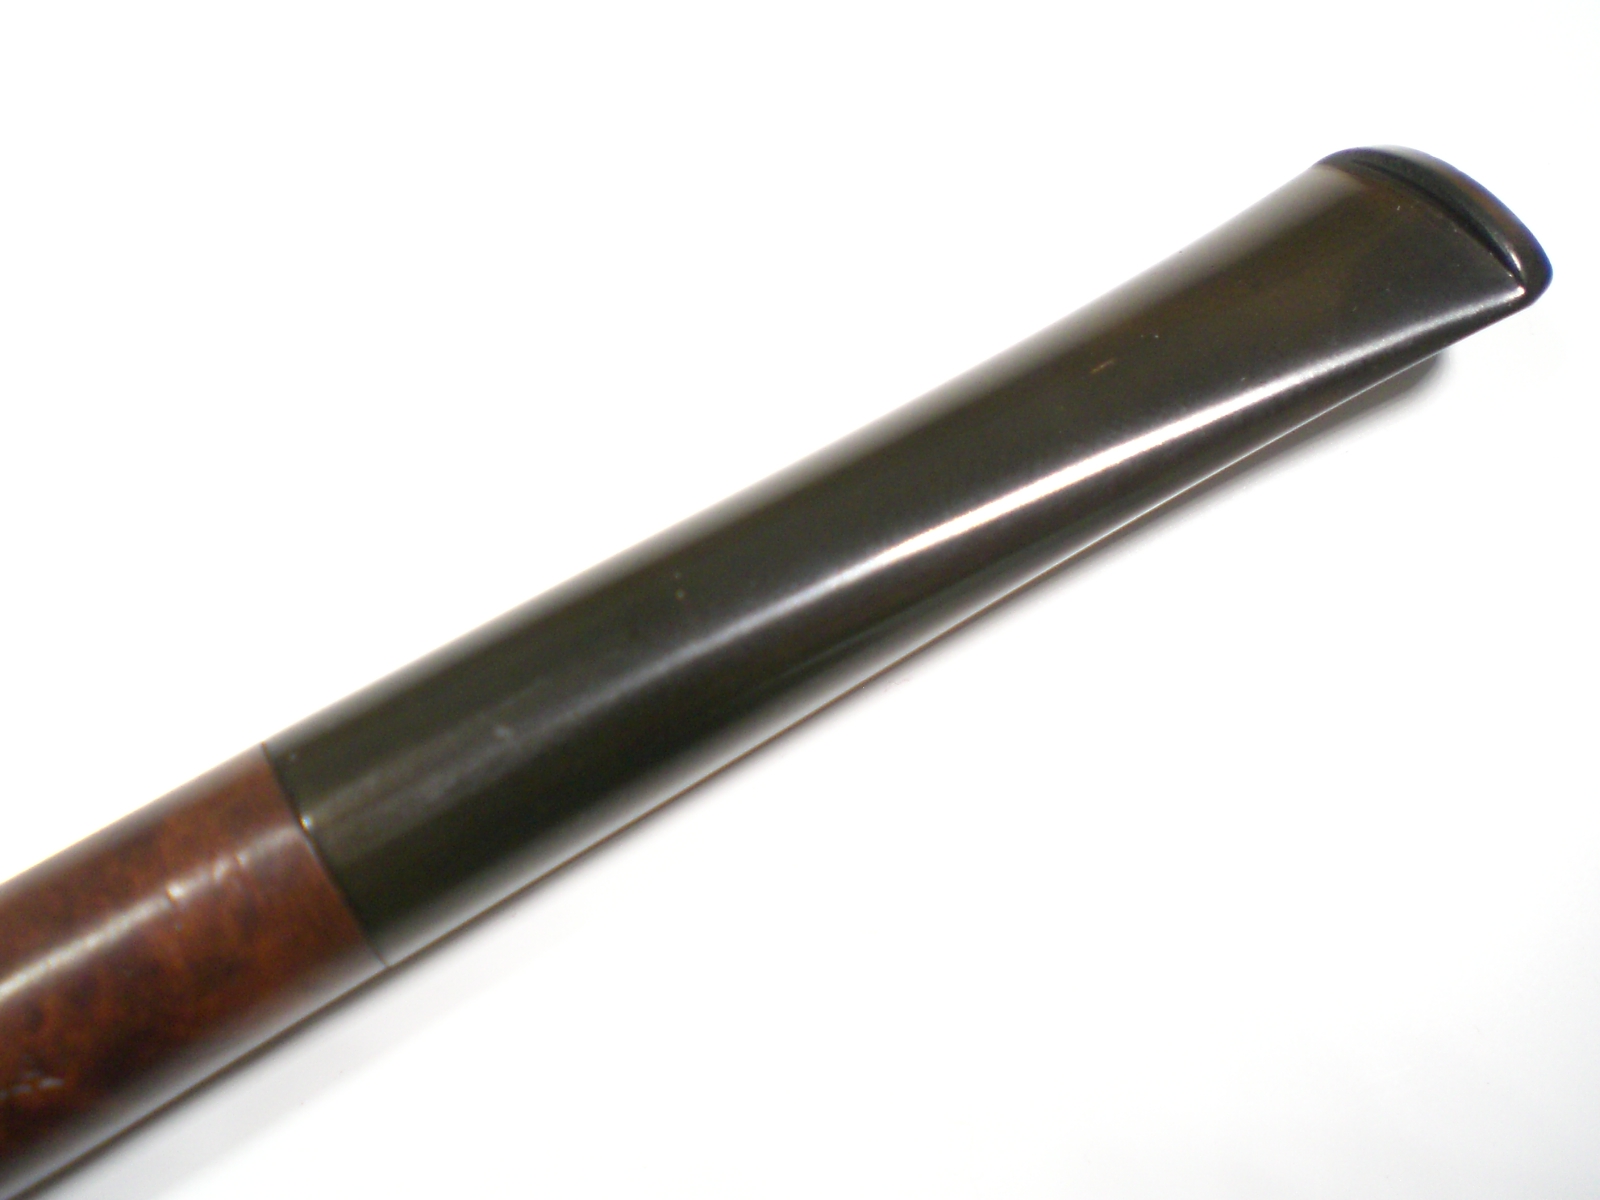
The stem was an easy fix, first using some 800 grit paper to remove the mild oxidation.  Then up thru 1500 and 2000 grade wet papers, followed by 8000 and 12000 grade micromesh.  The mounted on the briar, the stem was buffed with White Diamond and Meguiars Plastic polish.   The bowl was buffed with several coats of carnuba wax.

Chelsea_Finished Chelsea_Finished (5) Chelsea_Finished (1) Chelsea_Finished (2) Chelsea_Finished (3) Chelsea_Finished (4) Chelsea_Nomenclature 1 Chelsea_Nomenclature 2

My daughter and son-in-law live in New Orleans, so the pipe will be packed and sent out in the mail tomorrow.  I wish that I could be there to celebrate with him person, but we’ll see him soon.

Restoring a Monster KBB Yello Bole Imperial Rusticated Billiard


Blog by Troy Wilburn

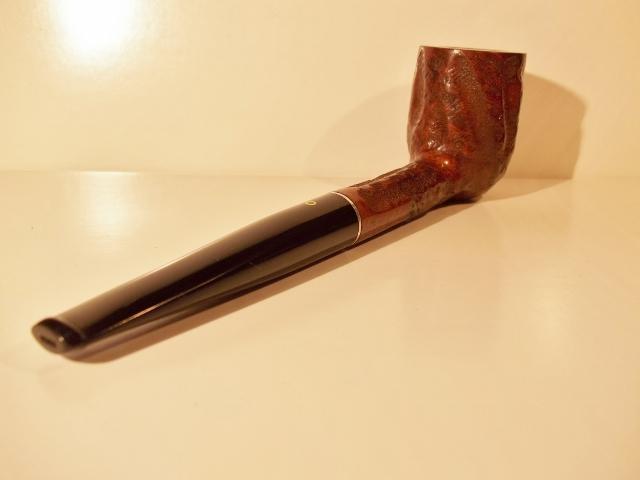
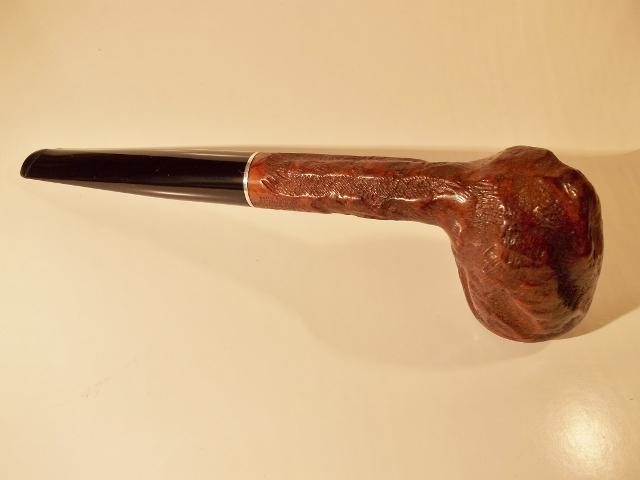
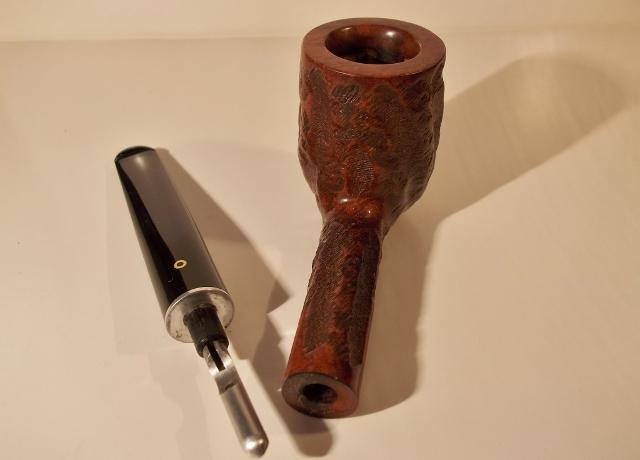
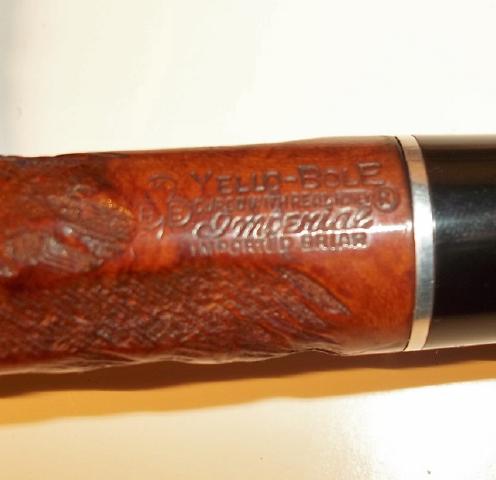
I picked up this huge pipe from a friend of mine on the Dr. Grabow Collectors Forum. This pipe isn’t a magnum it’s a howitzer! It is 7 ½ inches long and has an almost 2 ½ inch tall bowl. The pipe was nice but had some issues. The top of the rim and the inner edge had been hacked up. The stem also has some heavy nicks and dings in it. It was really clean though and I had very little to do as far as getting the inside clean.

Here are some photos of the pipe before I worked on it.Troy1

Troy2

Troy3

Troy4 As I stated above the top of the rim and the inner edge were badly hacked.Troy5 I began by working on the rim. I topped it and made a large concave inner rim. I don’t know if it came like this from the factory or not but it has one now. I took it down with 80 grit sandpaper and then a lot of sanding with 120 grit sandpaper.Troy6

Troy7 After I had finished rough shaping the rim I did LOTS and LOTS more sanding from 400 grit sandpaper all the way up to 2000 grit sandpaper. I used mineral oil as a lubricant for the sandpaper and also to bring out the colour of the natural wood. Troy8

Troy9

Troy10 I soaked the stem in alcohol and then scrubbed it with a green scouring pad. I cleaned it out with pipe cleaners.Troy11 The stem had several tooth marks and gouges on the top and the bottom side next to the button.Troy12

Troy13 I filed out the tooth marks and reshaped the button.Troy14 Here is a little trick that some of you may know, but I came up with it in working on the last few pipes. I thought I would share it here. After filing the stem I take a lighter and work the flame back and forth across the file marks. The heat from the lighter helps to blend in the file marks and makes it easier to sand them out.

Here is a photo of the stem before I used the lighter.Troy15 Here is a photo of the stem after using the lighter.Troy16 I buffed the rim with Brown Tripoli a few times to get rid of the fine sanding marks. I could not get the pads into the concave inner rim so I waxed it by hand with paste wax several times.Troy17 With the initial sanding and cleaning of the stem done, I still had a lot more sanding to do. There were lots of scratches and dings in it. I began sanding with 400 grit sandpaper and worked my way up to 2500 grit sandpaper.Troy18 I put the stem back on the bowl and got it ready for the final buffing and waxing.Troy19 Here are photos of the pipe after it had been buffed and polished.Troy20

Troy21

Troy22

Troy23

Troy24

Troy25

Troy26

Troy27

Troy28

Troy29

Troy30

Troy31 To give an idea of the size of this pipe and put it in perspective here is a photo of it next to a Yello Bole Hand Made Poker I have. As most of you would know, a Hand Made is not a small pipe by any means. This billiard almost dwarfs it.Troy32

Rejuvenating an Italian Sitter stamped MAT


Blog by Steve Laug

I am finally working on the last of the pipes that I picked up on craigslist – a sitter that is stamped MAT and Italy. It was my least favourite shape in the lot. I left it to the very end to work on. It is shown in the photo below in the middle of the left column.craig5 It was a bit of a mess. The stem was stuck in the shank and was oxidized. It also had some tooth chatter. Once again there was the calcification on the stem that comes when a softie is left in place on the stem. The bowl had a shiny varnish finish but that was dulled with a lot of tars and oils. The rim was caked with a very hard, thick coat of tars and oil – lava over flow from the bowl. The bowl itself was caked. There were quite a few fills in the bowl on bottom and on the back side of the bowl near the shank. There was also an area of fills on the top of the rim and a small crack that had been filled on the back side of the bowl near the rim.Mat1

Mat2

Mat3

Mat4

Mat5 I put the pipe in the freezer for an hour to loosen the stem. After an hour of cooling I was able to twist the stem out of the shank. I was a little surprised to find a very short – ½ inch stinger in the end of the tenon.Mat6

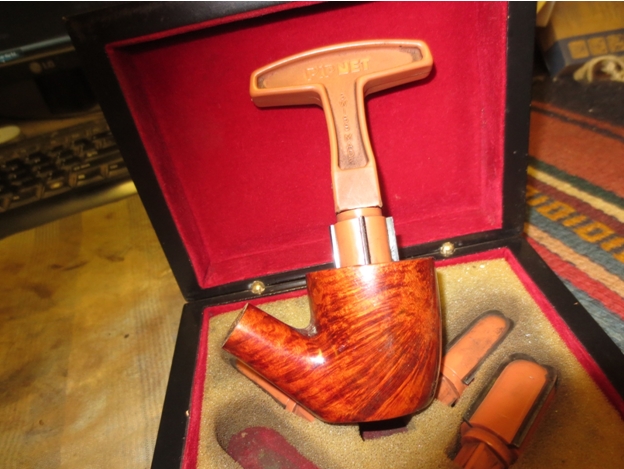
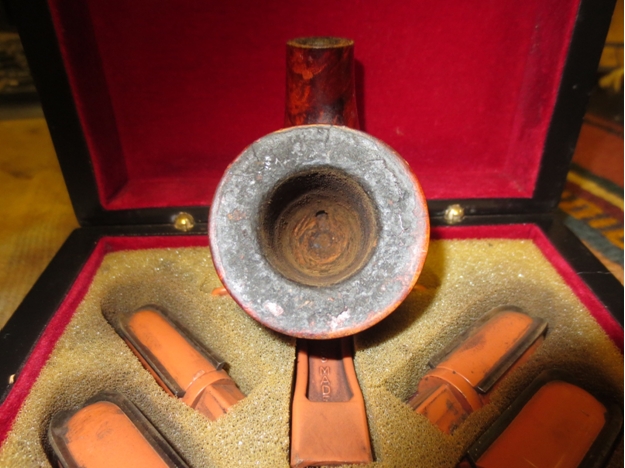
Mat7 I heated the stinger with a lighter and then twisted it out of the tenon with a pair of pliers on which I had wrapped tape around the jaws. This tape prevented the jaws from damaging the aluminum stinger.Mat8 I set the stem aside and reamed the bowl with a PipNet reamer. I used three of the four cutting heads to remove the cake from the bowl. With the small crack on the back edge of the bowl I wanted to expose the interior of the bowl and check out the interior for cracks.Mat9

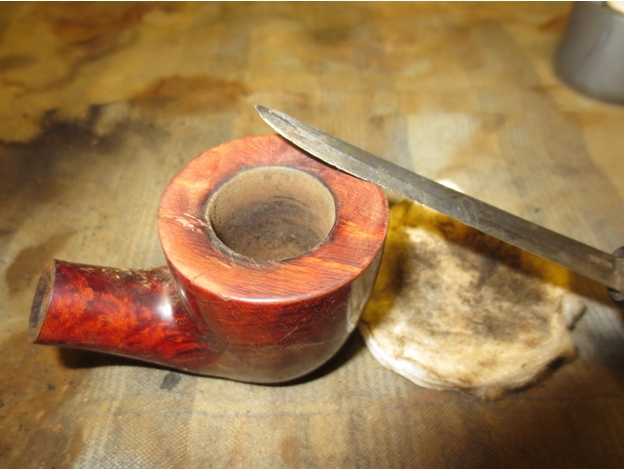
Mat10 To remove the hard lava from the rim I used a sharp blade pressed flat against the rim to scrape away the buildup. I scraped and then wiped it down with alcohol to soften the tars. I continue until I had removed the cake. In doing so I found that just above the crack on the back of the bowl was an area of several small fills that were on the rim.Mat11 I scrubbed the surface of the bowl with acetone on cotton pads to remove the varnish that was on the finish. I wanted to get underneath that finish so that I could do a repair on the small crack and also get to the surface of the briar. I personally do not like the thick varnish coats that are on some pipes.Mat12

Mat13

Mat14

Mat15

Mat16 I cleaned out the small crack with a dental pick and alcohol. I drilled a tiny hole at the bottom of the crack to stop it from spreading. Once it was clean I stuffed briar dust into the crack and then dripped some super glue on to the rim and the side of the bowl to fill in the crack.Mat17

Mat18 I sanded the rim and the repaired area with 220 grit sandpaper and then with a medium and a fine grit sanding sponge to smooth out the surface. I cleaned out the shank and the stem with pipe cleaners, cotton swabs and alcohol.Mat19

Mat20 I sanded the stem with 220 grit sandpaper to remove the tooth chatter and light tooth marks. I also sanded it to remove the oxidation. I followed that by sanding with a medium and a fine grit sanding sponge.Mat21

Mat22 I buffed the stem with red Tripoli to break through the oxidation. I sanded the stem with micromesh sanding pads – wet sanding with 1500-2400 grit pads.Mat23 I rubbed the stem down with Obsidian Oil and then buffed it a second time. I dry sanded with 3200-12,000 grit micromesh sanding pads.Mat24

Mat25 I used some dark cherry stain that I had on hand – this stain is a water based stain and matched the colour of the original bowl. I applied the stain with a folded pipe cleaner and once I had covered the bowl I let it sit for a few moments before wiping it off.Mat26

Mat27

Mat28

Mat29

Mat30 I wiped down the pipe with a cotton cloth to remove the excess stain and give it a light hand buff.Mat31

Mat32

Mat33

Mat34

Mat35

Mat36

Mat37

Mat38 I buffed the pipe and stem on the buffing wheel using pads charged with red Tripoli and with Blue Diamond. I gave the pipe multiple coats of carnauba wax and then buffed it with a clean flannel buffing pad to give it a shine. The finished pipe is shown below.Mat39

Mat40

Mat41

Mat42