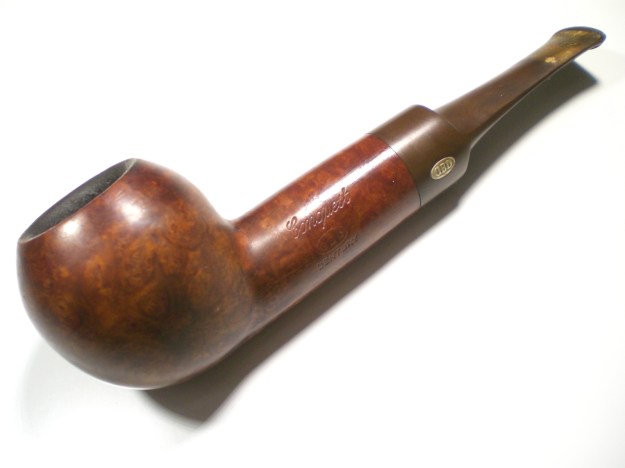
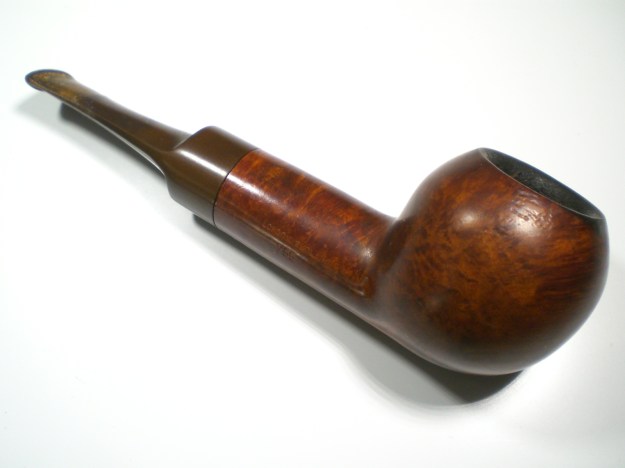
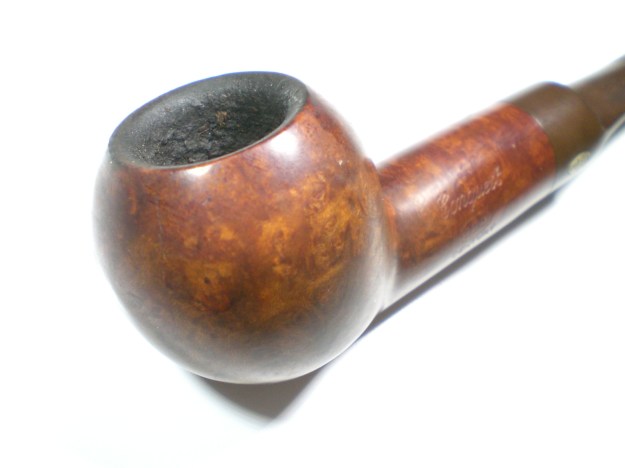
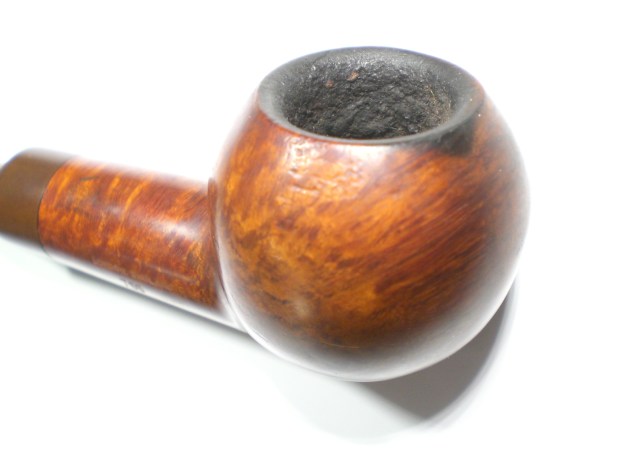
Category Archives: Pipe Refurbishing Essays

Essays and pictorial essays on the art of refurbishing

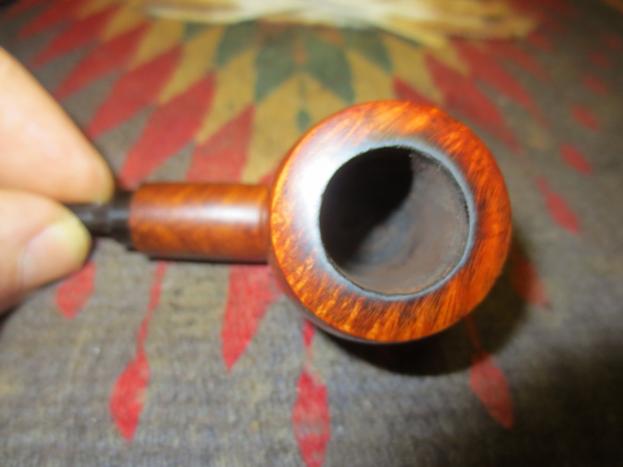
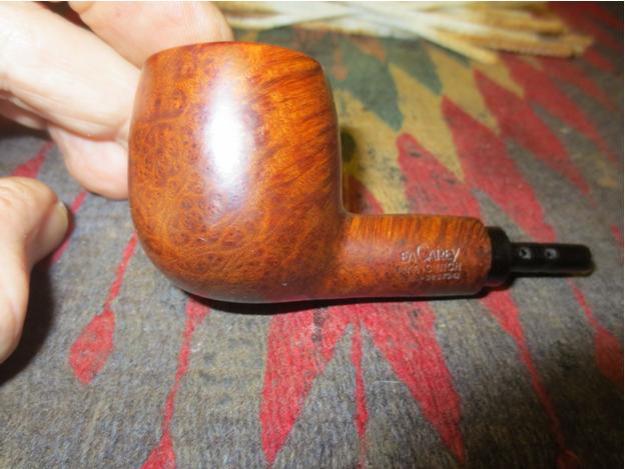
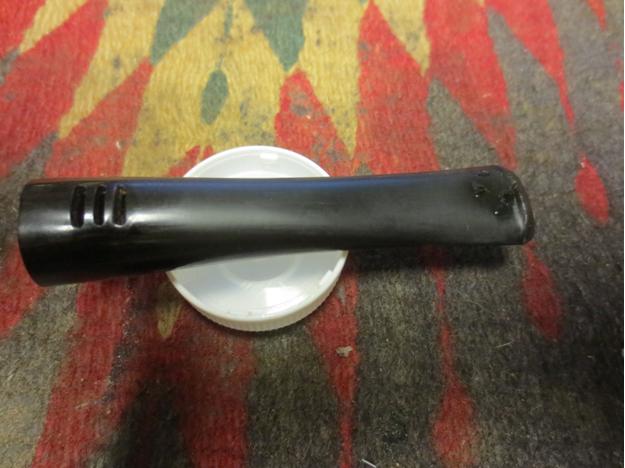
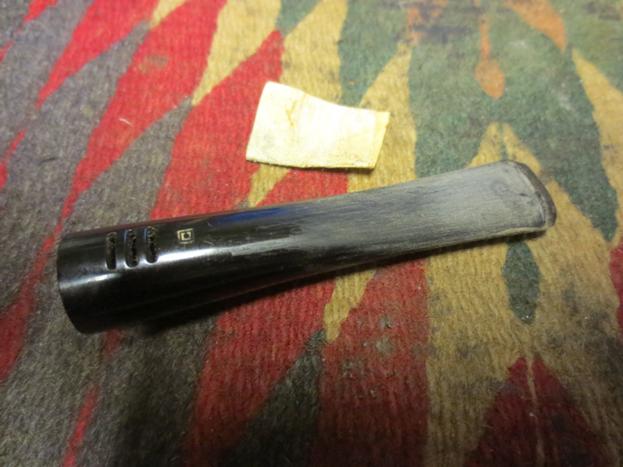
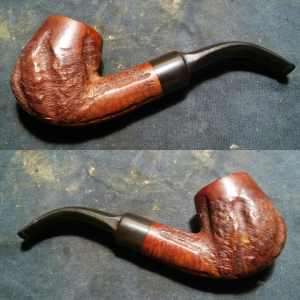
Another Painful 70s Era E.A. Carey Magic Inch Apple Restored


Blog by Steve Laug

Reading the title of this blog you might wonder why I called it another painful Carey pipe. As this refurb description unfolds I think it will become clear what I mean by the title. In the Montana pipes that my brother Jeff sent me there were four E.A. Carey Magic Inch Patent pipes. I worked on the first one in the photo below, the Freehand and found that the bowl was a piece of cake. Getting the plastic apparatus cleaned in the shank was a challenge that took a lot of pipe cleaner and patience to move through. Because of that I have honestly been avoiding working on any of the others in the foursome. I have worked on a lot of others that have been sitting just because the cleaning is a pain, but more importantly trying to clean up the chewed up stems and getting any kind of shine on them is painstaking. The plastic cleans up well enough and I am able to repair the bite marks. The dents will not raise with heat, the inside of the stem takes a lot of scrubbing and is cavernous so lots of cotton swabs are sacrificed and lots of pipe cleaners. The plastic does not take kindly to the boiling alcohol of a retort so I am left to do the work by hand. Then once cleaned polishing the stem feels like an impossible challenge. I don’t remember how many hours of sanding with micromesh pads and then carefully, lightly buffing with the buffer went into bringing the shine on the Freehand so the lot just sat taunting me in my refurb box.

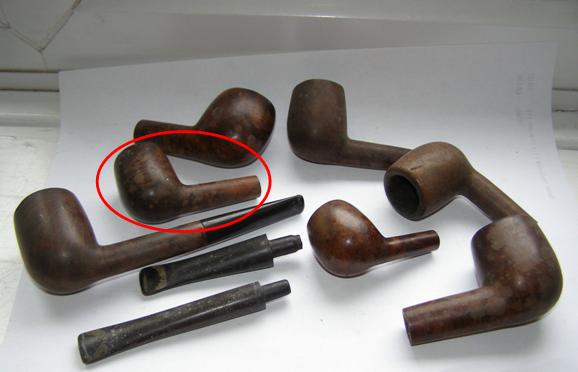
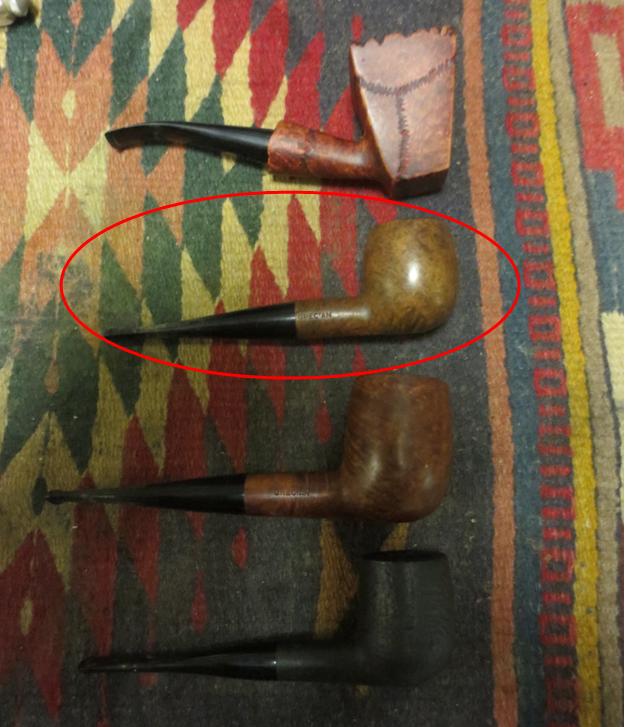
Finally, a few days ago I went through the remaining threesome to see if I had any sudden urge to work on one of them. I looked them over one at a time, examining the internals, the condition of the rim and the briar and also the stem….argghh. The stems on all of them have identical chew and bite marks. All were a mess. One of them stood out to me though and I ventured into working on it. It is the second pipe down from the top in the photo below (I have circled it in red).Carey4
Carey5Before I jumped into working on it I figured I better take some of the advice noted in the photo to the left. These Carey’s are time consuming and I find myself frustrated often in the process of polishing the stem.

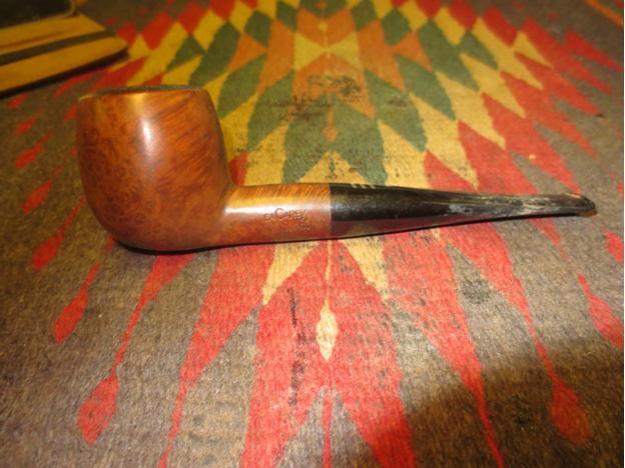
I knew without looking to deeply at this old pipe that it would be another one that drove me to the edge. The finish on the briar was dull and dirty. There was some interesting grain poking through – birdseye on the sides and cross grain on the back and front. The stamping was very clean and sharp. The rim was crowned and had a significant lava overflow build up on the top. The good thing was that there was no damage to either the inner or outer edge of the rim. The bowl still was half full of unsmoked tobacco but appeared to be heavily caked. It was hard and dense. The stem was a mess. Once I took it off the apparatus extending from the shank there was still a dirty papyrate filter in place on the tube. The inside of the stem was dark and oily. The outside was covered with deep tooth marks and also a generous case of tooth chatter. There was also a gummy substance on the clean top half of each stem that probably came from price tags that were in place at the antique shop where my brother found them.Carey6
Carey9

Carey8

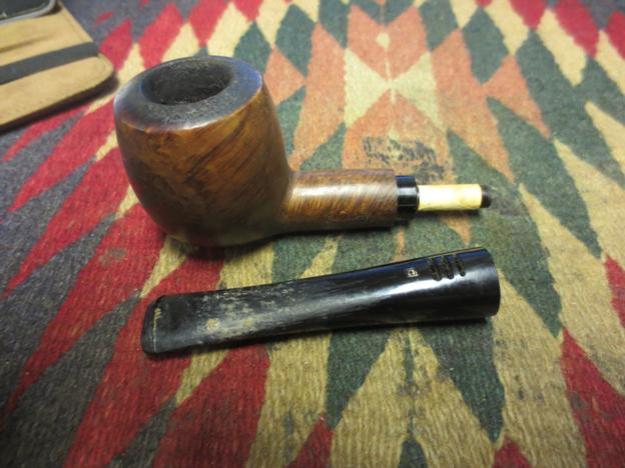
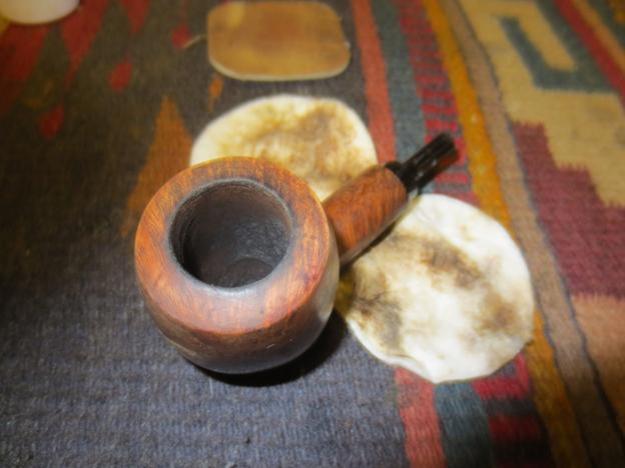
Carey7 I took the next two photos to show the set up of the apparatus with the papyrate filter in place and the state of the bowl and the rim.Carey10
Carey11 The lava overflow on the rim took a lot of elbow grease to scrub it clean. I used Murphy’s Oil Soap and cotton pads to scrub it until I had it clean. I wiped down the rest of the bowl with the soap and then rinsed it with running water. I dried of the bowl and then cleaned out the shank with pipe cleaners and alcohol.Carey14
Carey15 With the briar clean and the internals of the bowl and shank clean I gave the bowl a light wipe down with olive oil so that I could see the grain more clearly. I took the next photos to show the beauty of this bowl.Carey16
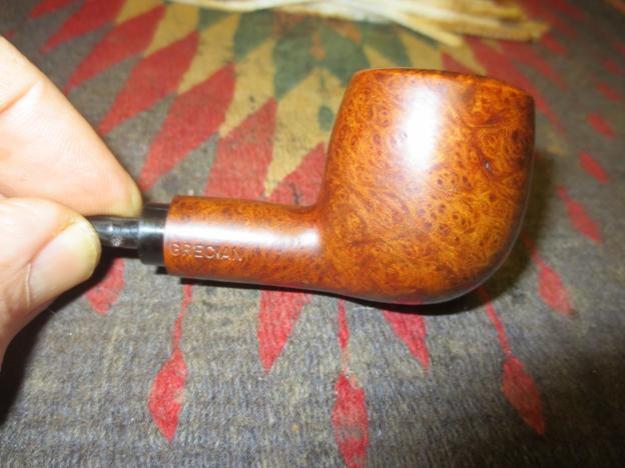
Carey17

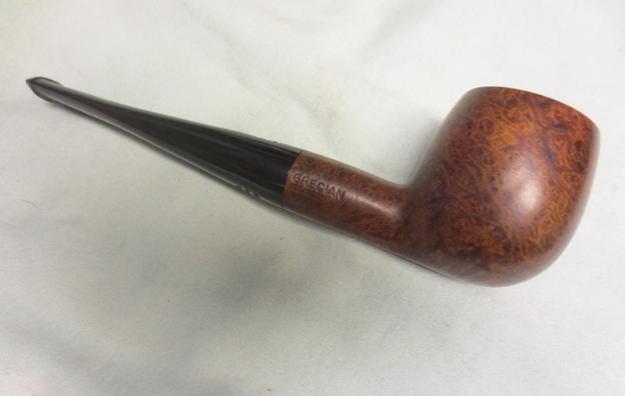
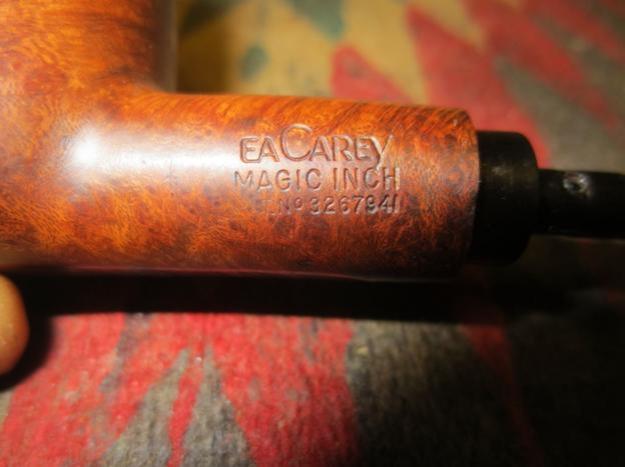
Carey18 The next photo shows the stamping on the left side of the shank. The right side is stamped Grecian.Carey19 I set the bowl aside to work on the stem. I sanded it with 220 grit sandpaper and a fine grit sanding sponge to clean off the tooth chatter and the grime. I wiped it down with alcohol on the outside to prepare it or the repairs on the deep tooth marks. I used black super glue and put drops into the dents, leaving a bubble so that when it dried and shrunk down the dents would be filled and could be sanded.Carey20
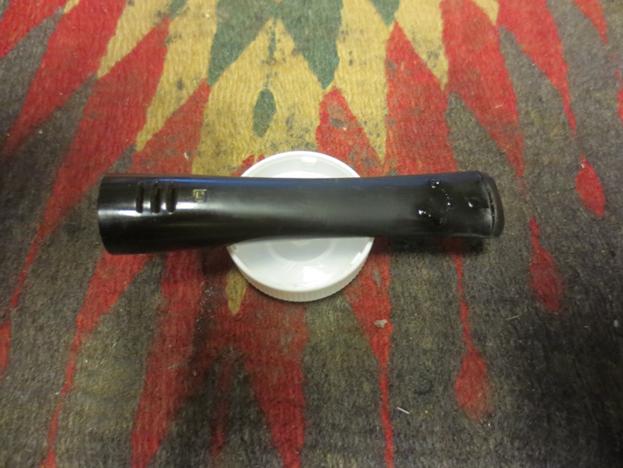
Carey21 When the glue dried I sanded the stem with 220 grit sandpaper once again to blend the patches into the surface of the stem.Carey22
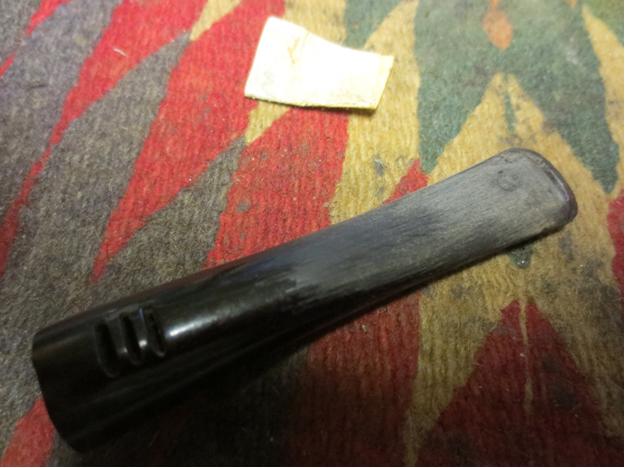
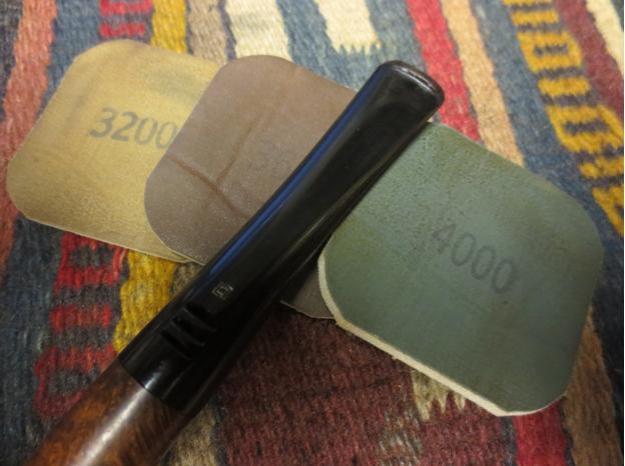
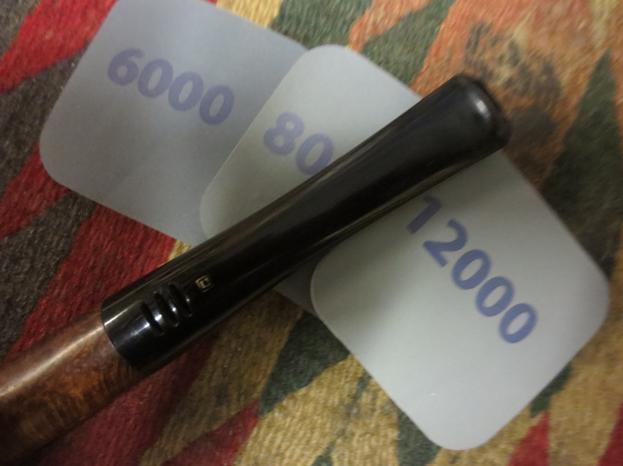
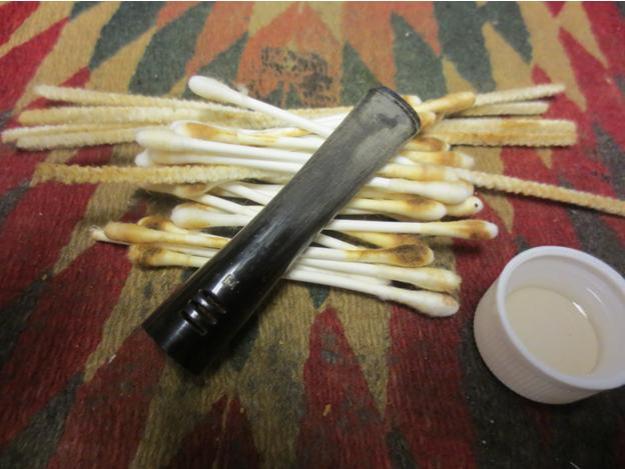
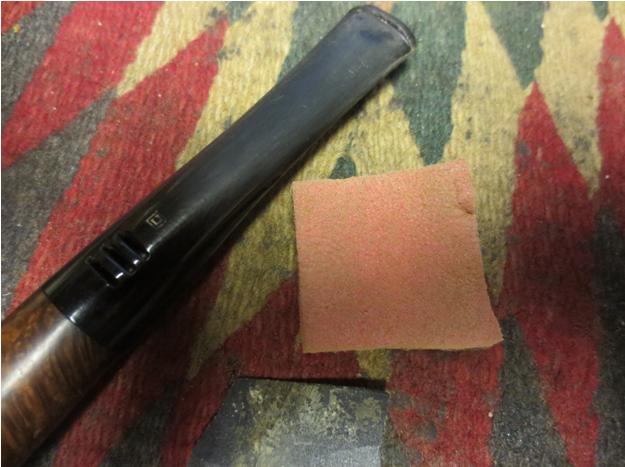
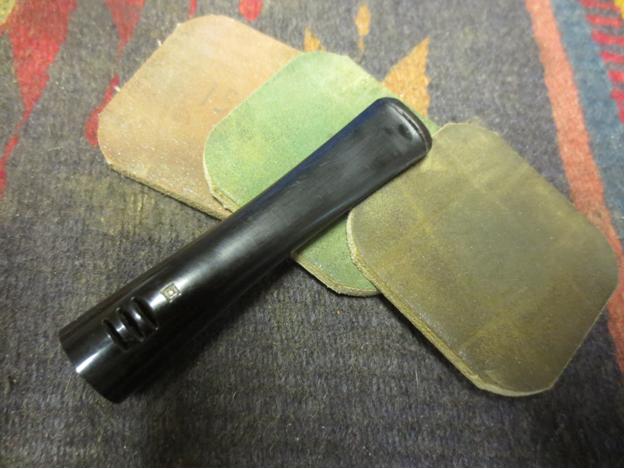
Carey23 Before going any further I decided it was time to clean out the inside of the stem. I used cotton swabs, pipe cleaners and alcohol to clean out the internals.Carey24 With the inside cleaned and the repairs smoothed out I sanded the stem with a medium and a fine grit sanding sponge. They removed many of the scratches and the stem was beginning to take shape. I was not getting too excited however as this was when the tedious work really started.Carey25 I wet sanded the stem with 1500-2400 grit micromesh sanding pads and then gave the stem a coat of Obsidian Oil. It does not absorb into the stem material so I use it to give me more bite between the various grit pads of micromesh. I dry sanded with 3200-4000 grit pads and gave it another coat of oil. I buffed it lightly with White Diamond and then finished sanding with 6000-12000 grit pads. I gave it a last coat of oil to wipe down the dust and then hand buffed it.Carey26
Carey27

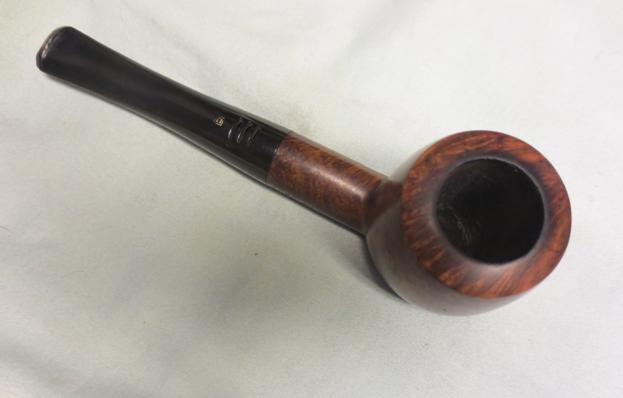
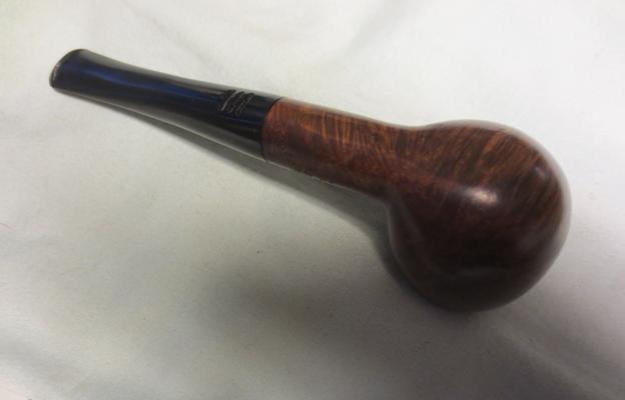
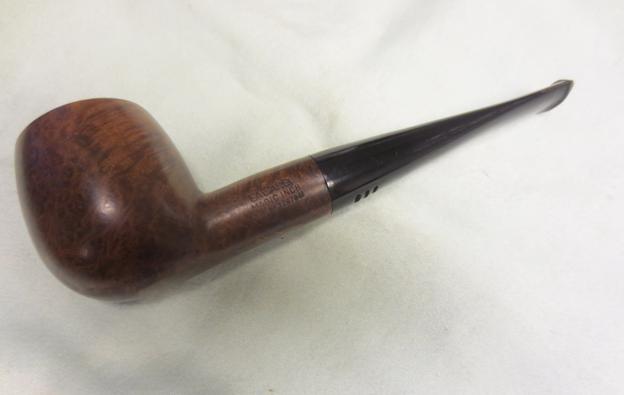
Carey28 I buffed the pipe with Blue Diamond Polish on the wheel and then gave it multiple coats of carnauba wax. I buffed it with a clean flannel buff and then buffed it by hand with a microfibre cloth. I don’t know how many hours I have in this stem but it certainly seemed to take forever. The bowl cleaned up great and the briar is quite remarkable. The beauty of the grain comes through clearly and the finished pipe looks great. I have two more Carey’s to clean up but I think I will wait awhile to tackle them. This one gets me half way through the lot. The finished pipe is shown in the photos below. Thanks for looking.Carey29
Carey30

Carey31

Carey32

Carey33

Carey34

Carey35

The Rebirth of a GBD Pedigree Regent Billiard


Charles and I are guest blogging on each others sites this weekend. If you haven’t yet, wander over the DadsPipes to read the full post!

Charles Lemon's avatar

Blog by Steve Laug

Charles Lemon of DadsPipes and I thought it would be cool to do a guest blog post on each other’s blog. Charles sent me his post yesterday and I posted it last evening. Now it was my turn to send one to him. I chose this little nondescript pipe bowl to restem and restore before I knew that I was working on something more than it appeared. As a bowl it epitomizes what I love doing with these tired, worn pipes at rebornpipes. Thank you Charles, for the opportunity of putting a post on your blog. Enjoy the rebirth. — Steve

Yet another mystery pipe from the Ebay purchase of bowls. I had no idea what the stamping was when I first received it and figured it must be one that had the finish so worn that I would never be able to tell. Today under…

View original post 869 more words

Quick Clean up , Pre-Transition Sasieni two dot 73


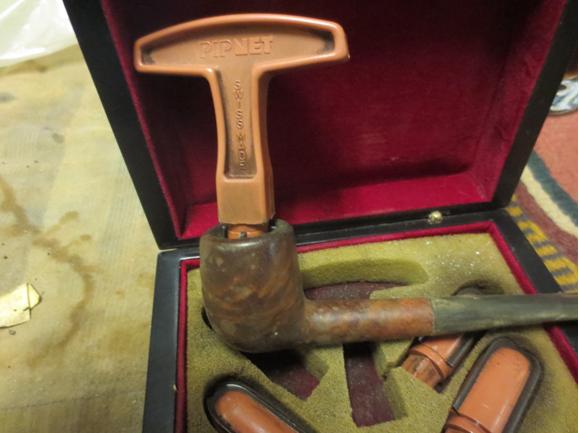
Nicely done. I love the finished look of this one. I have had both reamers and have been using a PipNet for many years now. It wins hands down in terms of longevity and cutting.

pipesrevival's avatarPipesRevival

Pre-Transition Sasieni Two Dot 73
(1961-1979)

20160107_135420~2

The baby blue dots,
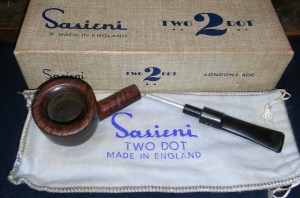
I’ve always been a fan of Sasieni pipes and there history. In fact the kick off to my estate refurbishing and collecting stated with a lot of pipes from a friends fathers estate. Included was nine or ten boxed smoked and Un-Smoked Sasieni two dot pipes. Many had the dreaded pink filler but a few I could never figure out why they were two dot and not four . I have two left in my collection , one Un-smoked Two Dot Oom Paul 80sxs with one small spot of filler and the one I’m writing about a thick walled, stubby Two dot 73. For life of me I cannot find one flaw, its been in the rack about three years now and with winter here I thought I could use a nose warmer. 

The unappreciated subject
PhotoGrid_1452201260114PhotoGrid_1452201373889PhotoGrid_1452201308354

She was redone five…

View original post 489 more words

Custombilt Bent Billiard (rich era)


This by far is one of my favourites that you have done. Very good work. Thought I would share this on rebornpipes.

pipesrevival's avatarPipesRevival

The scoundrel Pipes

The pipes I received from fellow blogger Clint of Pipe Scoundrel are complete. They have a new home and are ready to be enjoyed once again. This trio of Bilts has been an eye opener, I believe there will be many more Rich era Custombilts in my future.

The last pipe as received

20160104_222830~2

The nomenclature was stamped unevenly but I could still make out the tell tail (S) of Eugene Rich era Bilts.

PhotoGrid_1451965163069PhotoGrid_1451965201323PhotoGrid_145196517494120160104_222954~2

The last of the trio a large bent billiard. Much like the last shes in pretty descent shape. The cake is a little thicker, the tennon would need tightening, rim tar&char, there is a little filler present and light chatter.

20160105_080059~220160105_111226~2

I started off with the smallest attachment of my Castleford reamer and moving on to the largest that the chamber would except in this case it was one up from the first. I finished…

View original post 786 more words

GBD 755 Century “Conquest” Restoration


By Al Jones

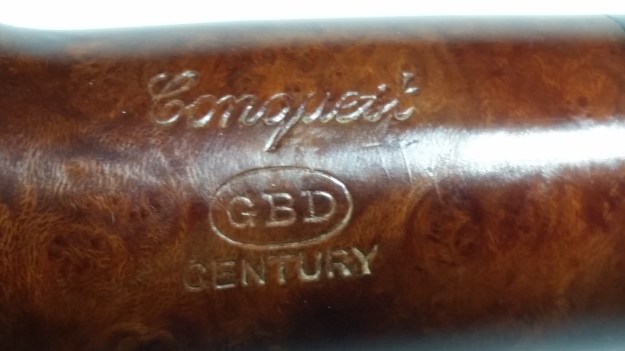
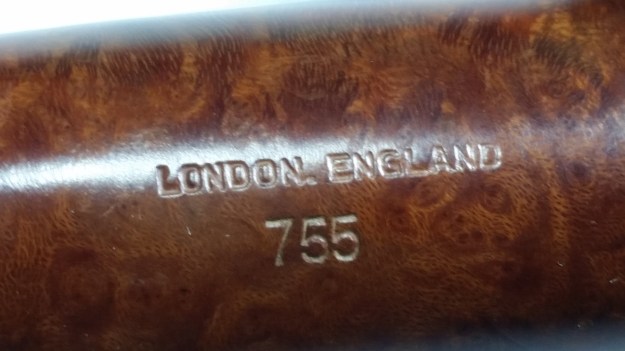
A member of the PipesMagazine.com forums brought my attention to this pipe, which was being sold on Etsy. While this shape is not in my typical wheelhouse, it was one that I had not seen previously. The 755 shape is not listed on the old shape chart but I found another one sold by SmokingPipes. To this point, I’ve not seen this GBD Shape. The “Century” finish was seen in GBD catalogs starting in 1950, which was also the year they celebrated 100 years of pipe making. The catalog describes the finish as “”A golden finish created to celebrate over a century of manufacturing the finest briar pipes.” I would call this shape a Lovat.
The “Conquest” script stamp denoted a plus-sized GBD pipe. Conquest is the smallest of the three plus sizes, followed by Collector and Colossus sizes.

The pipe had some issues with the bowl, including what looked like scorch mark on one part of the rim. There were a few dents on another part of the bowl. The stem, while oxidized was in very good overall condition. The nomenclature was in excellent shape.

GBD_755_Century_Conquest_Before (1)

GBD_755_Century_Conquest_Before (5)

GBD_755_Century_Conquest_Before (2)

GBD_755_Century_Conquest_Before (6)

GBD_755_Century_Conquest_Before (3)

GBD_755_Century_Conquest_Before (4)

GBD_755_Century_Conquest_Before (7)

The build-up on the rim came off nicley using a piece of 6000 grit micromesh and then a light buff with Tripoli on the wheel. The scorch mark was also greatly minimized. Not completely, but not enough remained to cause the bowl to need stripped and restained. The dents on the bowl were removed using steam on a wet cloth using an iron set on “High”.

GBD_755_Century_Work-Bowl (1)

GBD_755_Century_Work-Bowl (2)

The bowl was then reamed and soak with alcohol and sea salt. Following the soak, the bowl was buffed with White Diamond and several coats of carnuba wax. The interior of the bowl was in excellent shape and it is drilled perfectly.

While doing work to the bowl, the stem was soaked in a mild Oxy-Clean solution. I put a dab of grease on the GBD stem logo. Mounting the stem back to the bowl, I removed the oxidation with some 800 grit wet paper. This was followed by 1500 and 2000 grade paper, then 8,000 and 12,000 grade micromesh sheets. The stem was then buffed with White Diamond and Meguiars Plastic Polish.

Here is the finished pipe. I initially bought this one to clean and resell, but there’s something about the shape that now, I’m not sure that it will be sold.

GBD_755_Century_Conquest_Finish (1)

GBD_755_Century_Conquest_Finish (5)

GBD_755_Century_Conquest_Finish (2)

GBD_755_Century_Conquest_Finish (6)

GBD_755_Century_Conquest_Finish (4)

GBD_755_Century_Conquest_Finish (7)

GBD_755_Century_Conquest_Finish (3)

GBD_755_Century_Conquest_Finish (8)

GBD_755_Century_Conquest_Finish (11)

GBD_755_Century_Conquest_Finish (12)
GBD_755_Century_Conquest_Finish (1)

Custombilt Clean up (Rich era)


Great job again. got to love those old CB pipes. They are great smoking machines. Well done

pipesrevival's avatarPipesRevival

The scoundrel Pipes

Two down one to go it seems fitting to keep plugging away at the pipes I received from fellow blogger Pipe Scoundrel.

20160103_105200~2

Custombilt Eugene Rich Years.

1946-1952

My original impressions of Custombilt pipes was anything post Mincer was not worth my time or efforts but I’ve been wrong before. The change of hands did not necessarily mean a change in quality, yes the dash was eliminated and the rustication was not quiet as deep but big , thick and chunky they still are. I now have four in my ever-growing collection drilled perfect and not one ounce filler to be found. Eugene J Rich INC definitely did the Custombilt name justice.

Pipe As Received

PhotoGrid_1451839361020PhotoGrid_1451839409791PhotoGrid_1451839430908

The next was in beautiful used condition and unlike the first was lacking any paint which would make for an easier start. A Little rim tar&char , thin cake and light stem…

View original post 692 more words

Happy New Year and Happy New Life for a Brigham 613


This is an educational one for me – never tried re-pegging a Brigham. Charles does a great job and shows how it is done. Thanks Charles

Charles Lemon's avatar

It’s 2016! May it be a great year for all of you and yours. I thought I’d start the year off right with a restoration that gives many new years to a classic Canadian-made pipe.

This restoration was easily one of the most ambitious and challenging pipe refurbishments I have undertaken to date. A fellow member of the Brothers of Briar pipe forum contacted me before the Holidays asking for help with a Brigham pipe bowl he had found in a local antique shop. He had just the stummel, no stem, but the bowl was stamped “Brigham” over “Made in Canada” on the left shank and “613” on the bottom shank. He had stumbled across a rather rare find – a 6-Dot Brigham Straight Grain carved in Toronto before Brigham moved production to Italy. The “Made in Canada” stamp places the pipe somewhere in the earlier post-Patent Era (from 1955…

View original post 1,034 more words

Breathing New Life into a mystery pipe and in the process finding out that it is a GBD


Blog by Steve Laug

I picked up this bowl in a purchase of bowls on EBay recently. All of them had a broken tenon in the shank and this one was no different. All of the bowls had stamping that was pretty unreadable or not present at all. This one had very faint stamping. When I first looked at it I put it aside and was in no rush to restem another bowl. Yesterday I took it out of the box and had a look at it through a lens with a bright light. I was pretty surprised to see that there was a faint GBD in an oval and underneath that it was stamped PREMIER and under that London Made. The shape number on the other side of the shank and any other stamping was gone. In the next three photos below it is circled in red – in the first it is the second bowl down in the left hand column. In the second it is the second one down and in the third it is at the top of the photo in the middle.GBD1
GBD2

GBD3 It was in pretty rough shape but underneath the grime there was a classic shaped billiard that was just waiting to be reborn. The finish on the bowl was worn, tired and water spotted. The rim was very rough from tapping out and was rounded on the edges. The bowl was caked but it also had about a half bowl of unsmoked tobacco. It also had the tenon broken off in the shank of the pipe. It almost looked as if the owner had dropped it mid smoke and the stem broke off and he just laid it aside. There were some serious deep gouges in the bottom right side of the bowl. It looked as if it was part of the fallout when the pipe was dropped. The photos below show what the pipe looked like when I received it. You can also see why I missed the stamping on the side of the shank.GBD4

GBD5

GBD6 When it arrived I used my usual process and pulled the broken tenons from all of the shanks. I used a screwdriver, pliers and a drywall screw. I thread the screw into the airway on the broken tenon and then use the pliers to wiggle it free. You can see how it works in the photos below. I removed five broken tenons in a matter of moments.GBD7

GBD8 At this point I put all five bowls away and did not look at them for almost a month. The past two days I have been through them and already restemmed the tiny apple. This one came out next from the box. I wet the stem and looked at it through a lens with a bright light. That is when I discovered that the mystery pipe was a GBD. There was no shape number but it was a petite billiard. I had a stem in my stem can that was nearly perfect for the pipe. It did not have a GBD logo but it fit really well. I only needed to shorten the length of the tenon and the left side of the stem to get a perfect fit.GBD9

GBD10 I wiped down the bowl with acetone to see what I was working with under the grime. I took a few photos of the bowl to show what it looked like.GBD11

GBD14

GBD13

GBD12 I shortened the tenon and the fit was great against the shank. Now all that remained was to sand and clean the stem.GBD15 I used a dental pick to remove the dottle from the bowl. You can see the amount of unburned tobacco that remained in the bowl. I think my theory of being dropped mid smoke was pretty accurate. I reamed the bowl with a PipNet reamer and took the cake back to bare briar. The bowl was between the smallest sized cutting head and the second one so I could only do a part of the job with the reamer. The round bowl made it not feasible to work with the KLEENREEM reamer. I cleaned up what remained with a pen knife to smooth out the walls of the pipe.GBD16

GBD17

GBD18 In the photo above shows the damage to rim top and the inner and outer edge of the rim. I decided to top the bowl to clean up as much as possible of the rim damage.GBD19

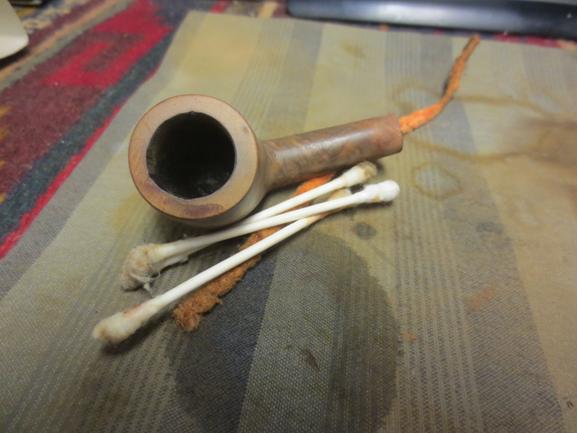
GBD20 I repaired the deep gouges on the right side of the bowl with superglue and briar dust. I would have tried to steam them out but they had sharp edges on all of the marks and steaming would not have raised them. I sanded the dried repairs with 220 grit sandpaper to blend them into the surface of the briar. You will see in later picture what that looked like.GBD21 I started to clean out the shank and stem with pipe cleaners, cotton swabs and alcohol and soon began to realize that it was far dirtier than I initially expected.GBD22

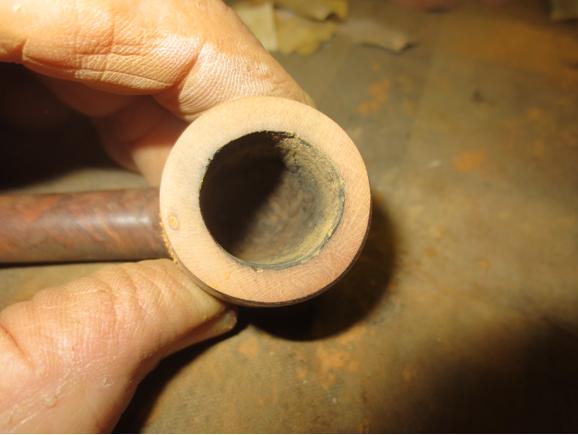
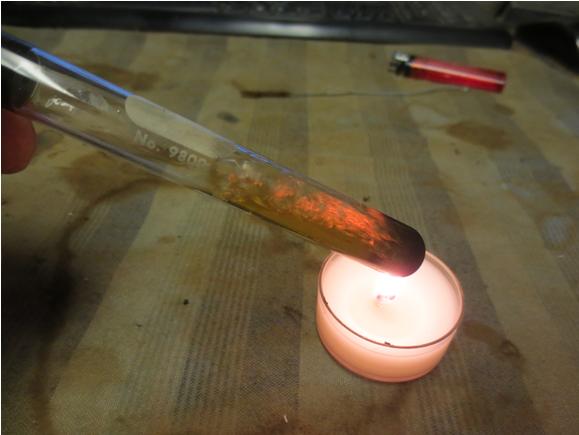
GBD23 I put the stem on the shank and set up the pipe retort. I boiled three test tubes of alcohol through the bowl and stem until it finally came out clear. The second photo is a cool picture of the boiling alcohol. I had to include it!GBD24

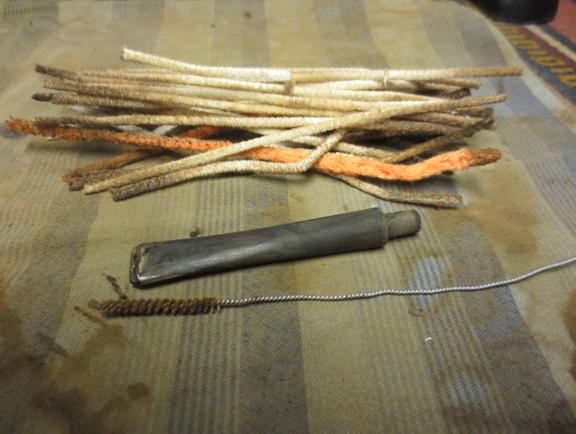
GBD25 I ran pipe cleaners, a shank brush, cotton swabs and alcohol through the stem and shank to remove what was left behind by the retort and was pleased to see how clean it was. One surprise to me was the red stain that came out of the shank. Evidently the pipe had originally been stained with a oxblood stain. You would never have guessed that looking at what I started with. Now that the internals were clean I took a series of photos of the pipe to show where it stood at this point. In these photos you can see the repairs on the right side of the bowl.GBD26

GBD27

GBD28

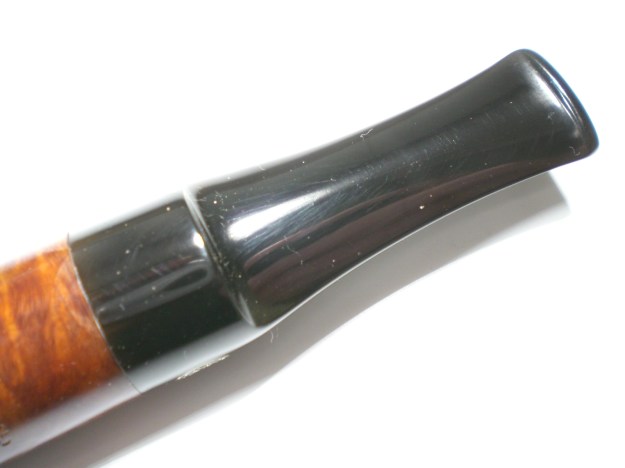
GBD29 Now it was time to polish the stem and work on the finish of the pipe. I worked on the stem with 220 grit sandpaper and a medium and fine grit sanding sponge to remove the grime and the oxidation on the stem. I don’t know what was on this stem but it was tacky, gummed up the sandpaper and was hard to clean. I wiped it down with alcohol and then repeated the sanding. I was able to remove the oxidation and the tooth chatter at the button. I sanded the stem with micromesh sanding pads – wet sanding with 1500-2400 grit pads and then giving the stem a coat of Obsidian Oil. I dry sanded with 3200-4000 grit pads and gave it another coat of oil. I finished with 6000-12000 grit pads and gave it a final coat of the oil. I let that dry.GBD30
GBD31

GBD32 I sanded the bowl with 1500-4000 grit micromesh to smooth out the sanding marks. I wiped the bowl down with a tack cloth and then gave it a coat of Cherry stain mixed with Danish Oil. I buffed it by hand and gave it a second coat. I set it aside to dry. Once it was dry I buffed it by hand with a soft microfibre cloth.GBD33

GBD34

GBD35

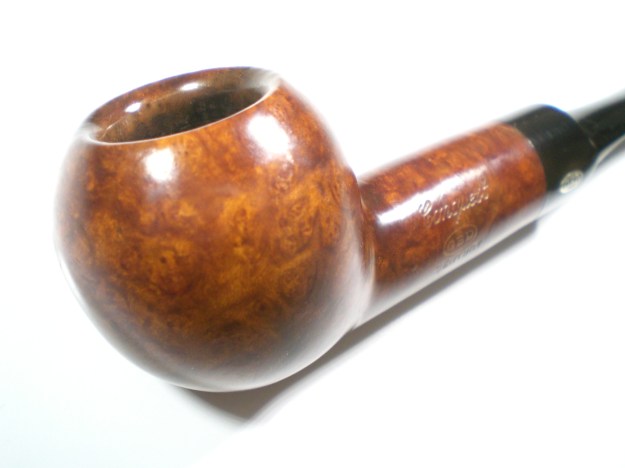
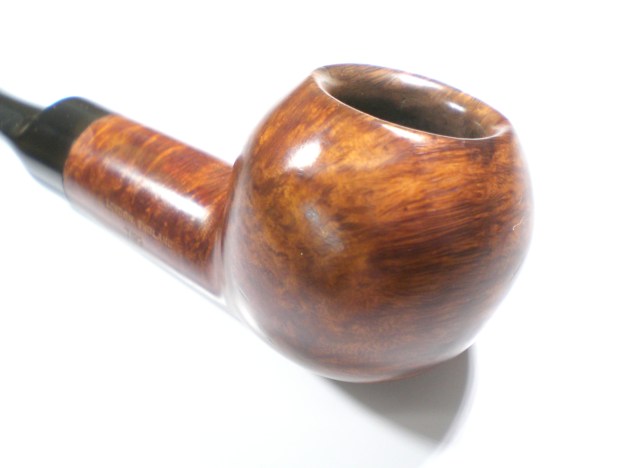
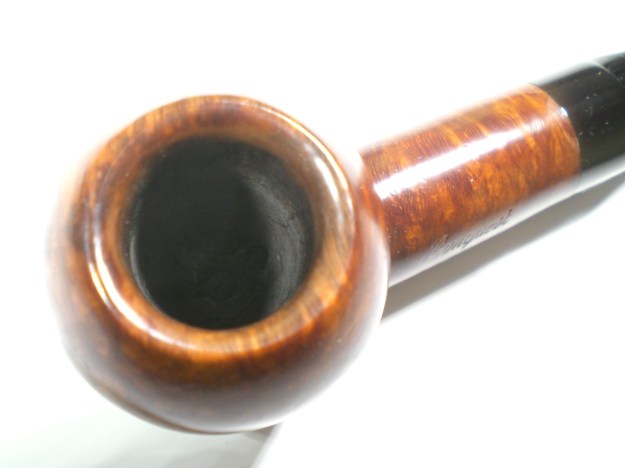
GBD36 I put the stem on the pipe and then buffed the stem and bowl with Blue Diamond on the wheel and then gave the bowl and stem several coats of carnauba wax. I buffed it with a clean flannel buff to raise the shine. I hand buffed it with a microfibre cloth to give a deeper shine to the pipe. The finished pipe is shown in the photos below.The cherry stain brings out the grain and at the same time hides the repairs. While the pipe will never win any contests for beauty or perfection that must have once accompanied the PREMIER it is nonetheless fully functional and should deliver the next pipe man who owns a decent smoke at a decent price. Thanks for looking.GBD37

GBD38

GBD39

GBD40

GBD41

GBD42

GBD43

Cleaning an American Made Selected Bulldog


Blog by Steve Laug

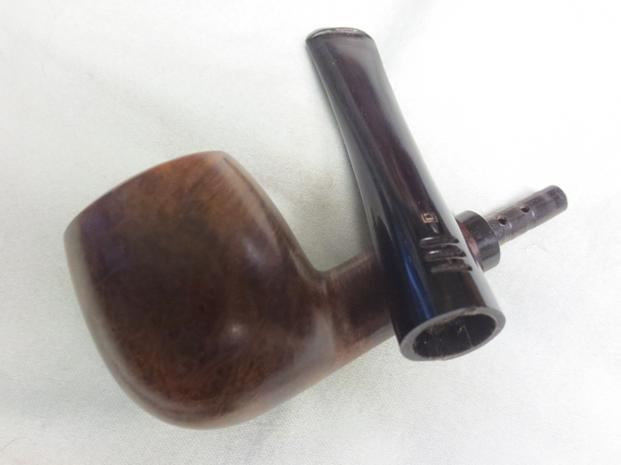
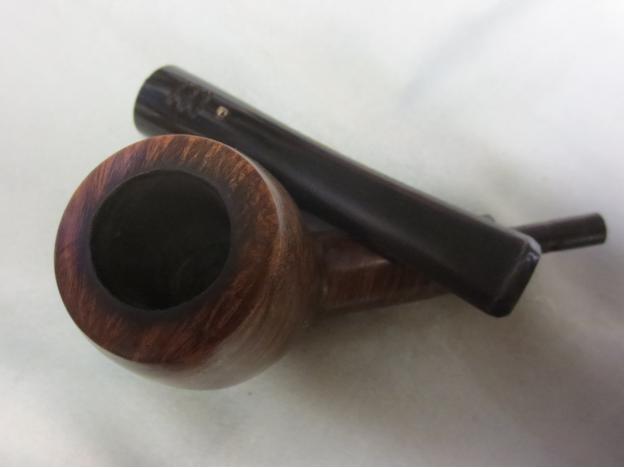
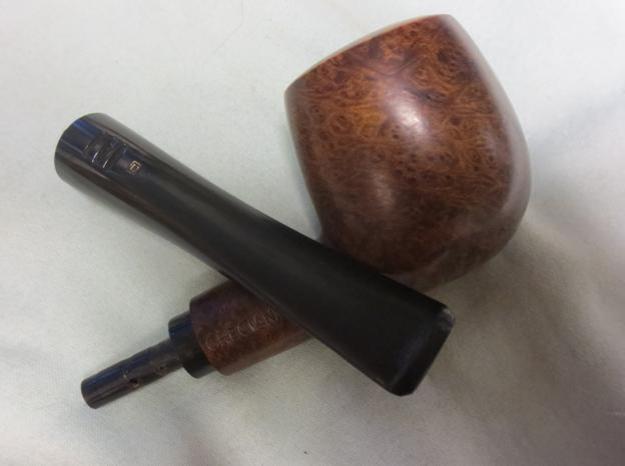
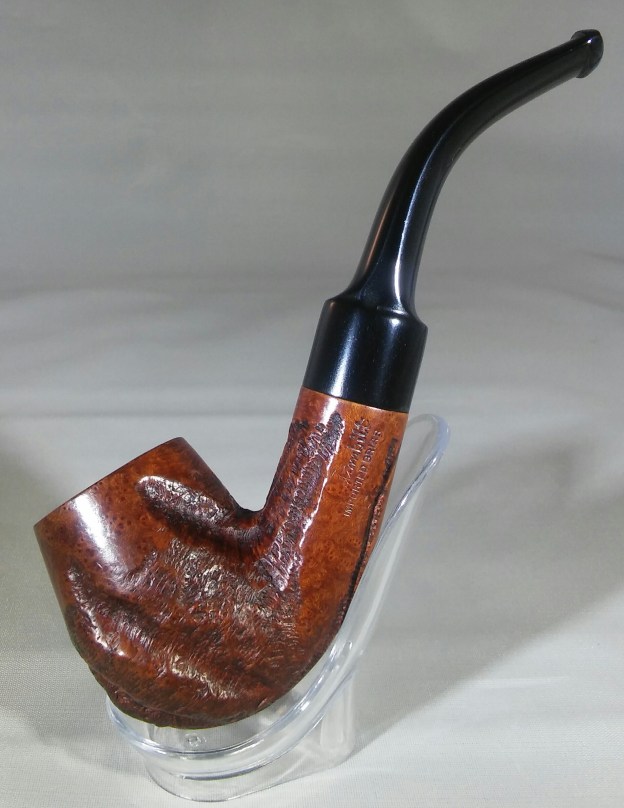
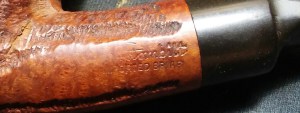
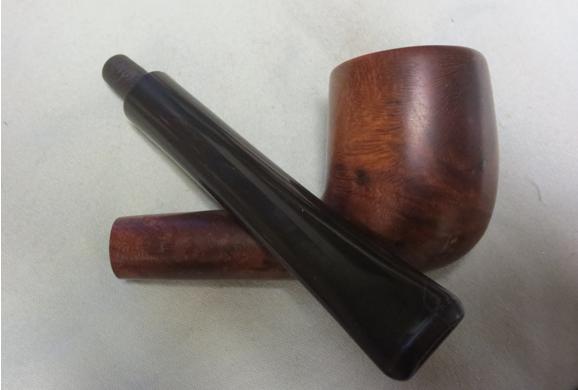
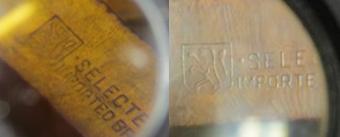
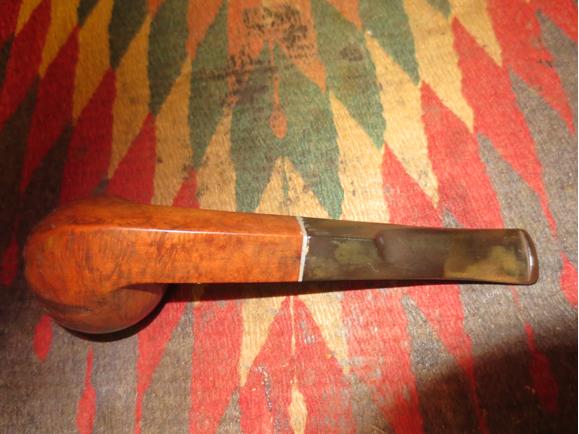
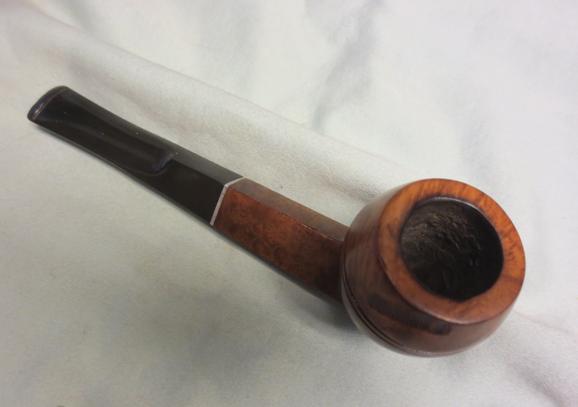
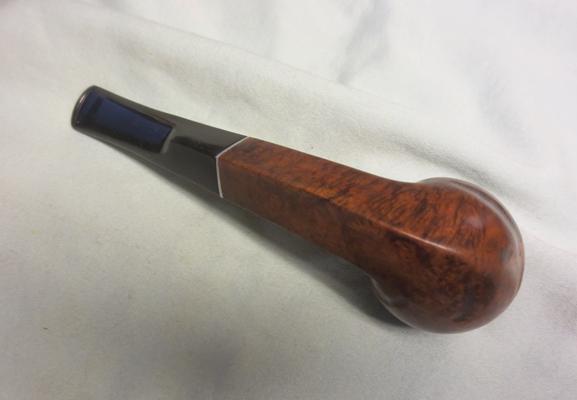
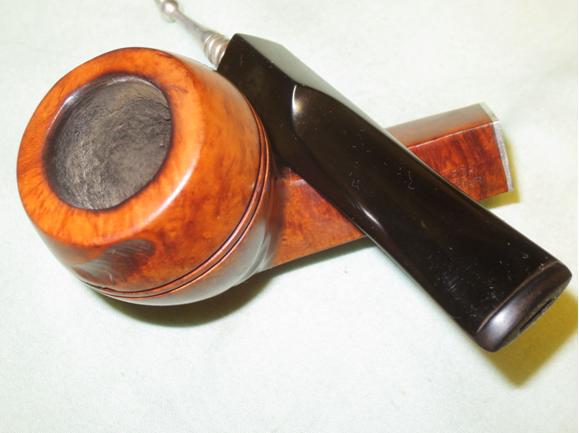
I have had a straight bulldog in the refurbishing box for a long time now. It is an interesting older pipe that has the characteristic worm trail rustication on the sides of the bowl and cap but total only 5 trails. The rest of the bowl is a nice piece of briar. The shank is smooth with no rustication. It appears to be unstained and natural or if stained a light tan colour. The trails on the bowl sides and cap are slightly darker in colour. The bowl was lightly smoked and the bottom half still clean briar. There was no cake in the bowl. There was some burning on the inner edge of the rim on the back left side of the bowl. The stamping on the shank of this bulldog is standing lion inside of a shield and next to that – SELECTED – over Imported Briar. I have searched on the web and in my books for this logo and cannot find it or the company it refers to. Any help would be appreciated. select1 The stem was in good shape with a little oxidation but no teeth marks except for two on top of the button itself. There was an internal stinger apparatus and a metal threaded tenon. The tenon screwed into a metal insert in the shank. The airway from the mortise to the back of the bowl was quite open to give room for the stinger apparatus. I took the following photos of the pipe when I brought it to the work table this morning.Select2

Select3

Select4

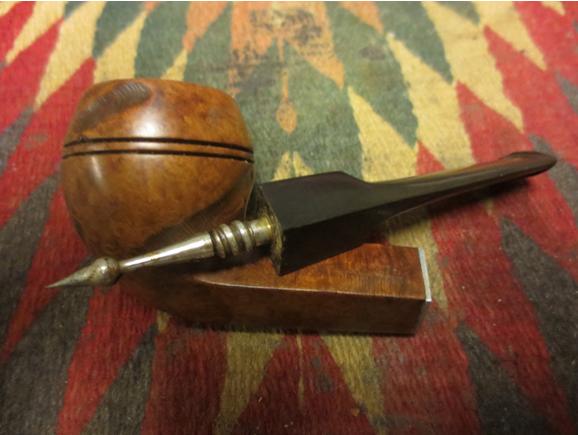
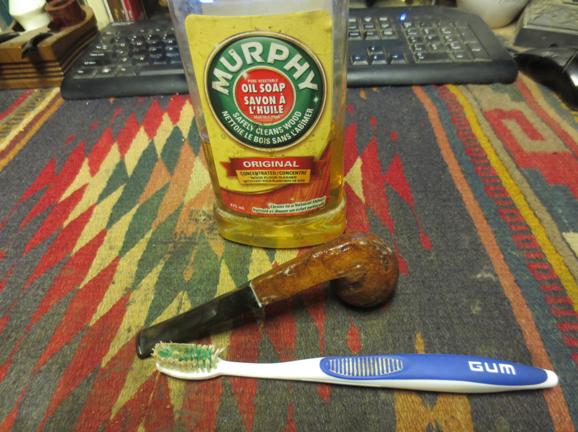
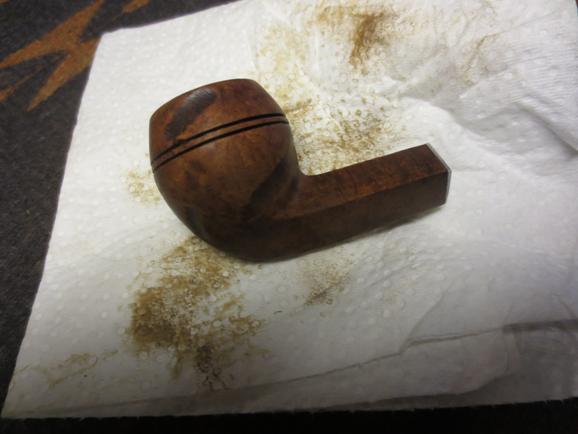
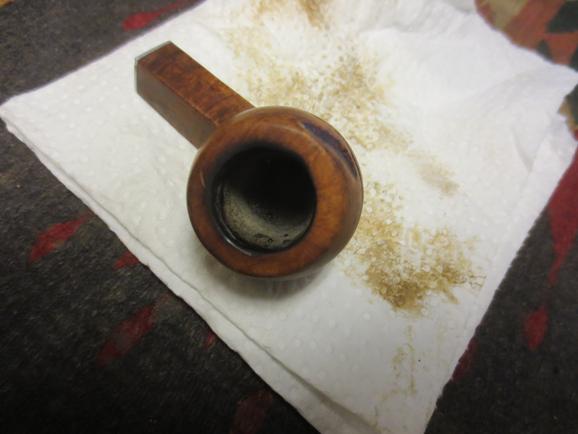
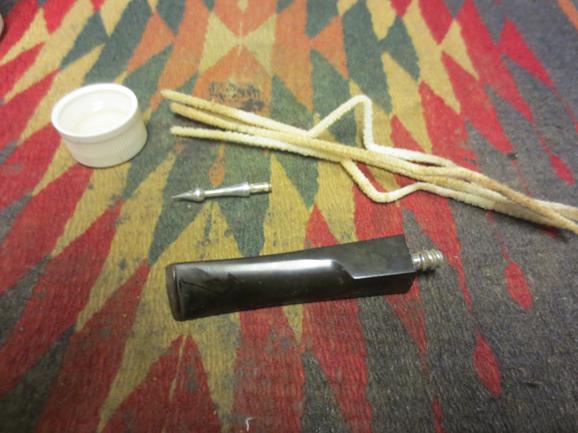
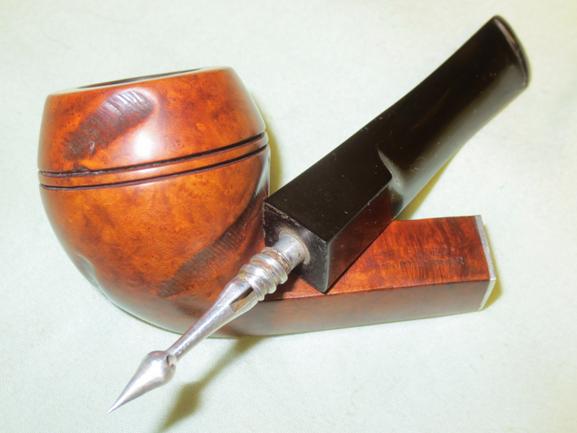
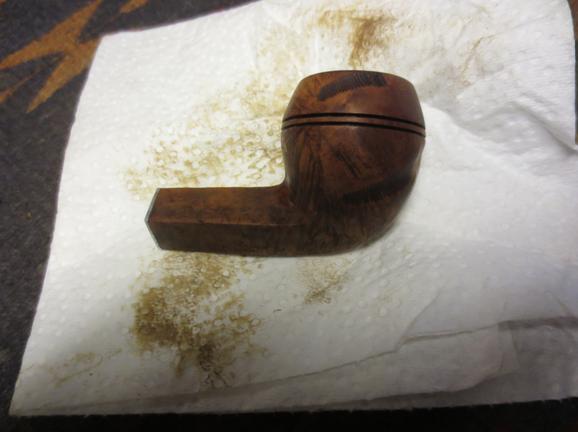
Select5 I took the pipe apart to show the inner apparatus on the stinger. It is unusual in terms of shape. The spear end is very sharp! It is pressure fit into the stem so it should come out for a thorough cleaning of the stem.Select6 The briar was dirty and had what appeared to be the gum from a price tag stuck to it in several places. I scrubbed the bowl and rim with a tooth brush and Murphy’s Oil Soap to clean off the grime.Select7 I wiped it down with a paper towel. A lot of grit and grime came off. I rinsed it with warm running water and dried it off with a towel. The photos below show the grime on the paper towel and the clean bowl.Select8

Select9

Select10

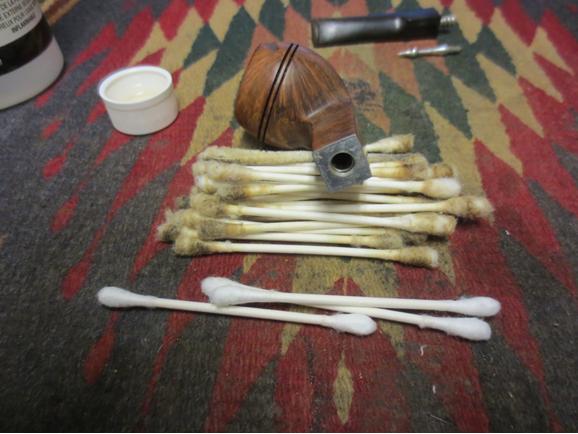
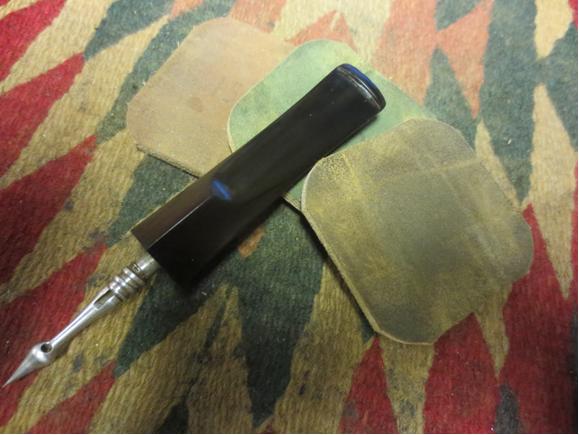
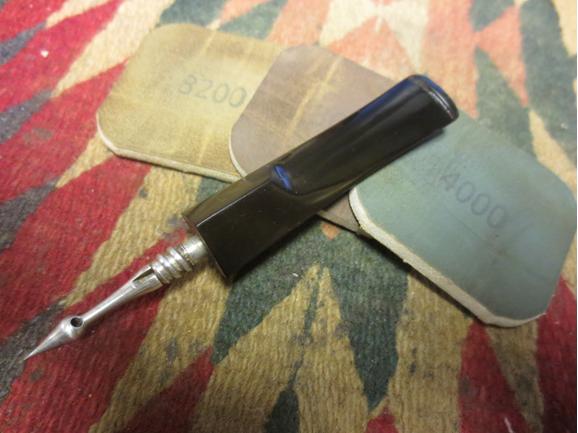
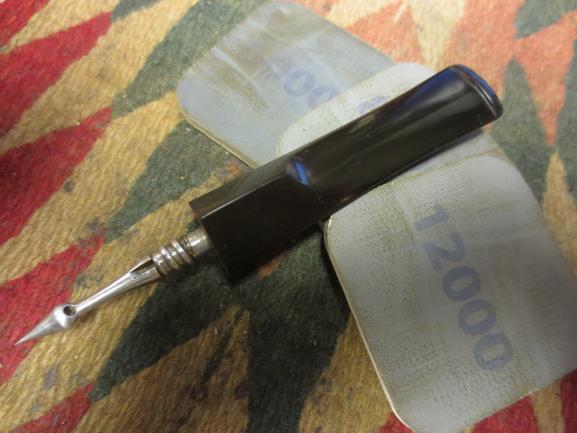
Select11 I heated the stinger with a lighter to soften the tars that held it in the threaded tenon. Once it was warmed I wiggled the stinger free and was able to clean it and the tenon.Select12 I scrubbed the inside of the tenon and the airway in the stem with pipe cleaners and alcohol. I used a brass bristle brush to clean the stinger and the threads on the tenon.Select13 The inside of the shank was wide open and served as a chamber for the stinger. It worked like a condensation chamber to collect the moisture before the smoke move through the holes and slot in the stinger and up the stem. Because of that it was very dirty. I cleaned the bowl and the shank with pipe cleaners, cotton swabs and alcohol until no more grime would come out. The photo below shows the first batch of swabs. There were about that many more used before it was clean.Select14 I lightly sanded the stem with 220 grit sandpaper to break up the oxidation and then with a medium and a fine grit sanding sponge. I wet sanded it with 1500-2400 grit micromesh sanding pads and then gave it a coat of Obsidian Oil. I dry sanded the stem with 3200-4000 grit micromesh pads and then gave it another coat of oil. I finished sanding with 6000-12000 grit pads and gave it a final coat of Obsidian Oil. I set it aside to dry.Select15

Select16

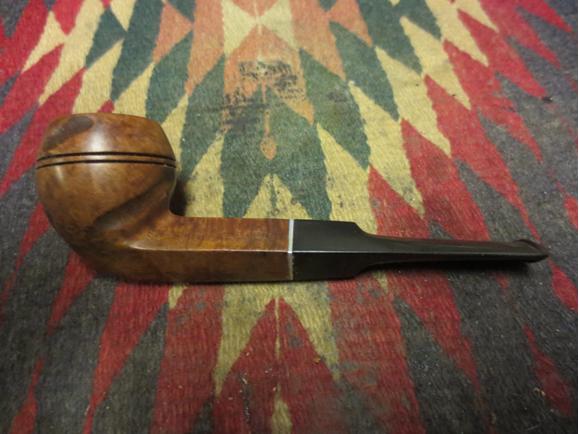
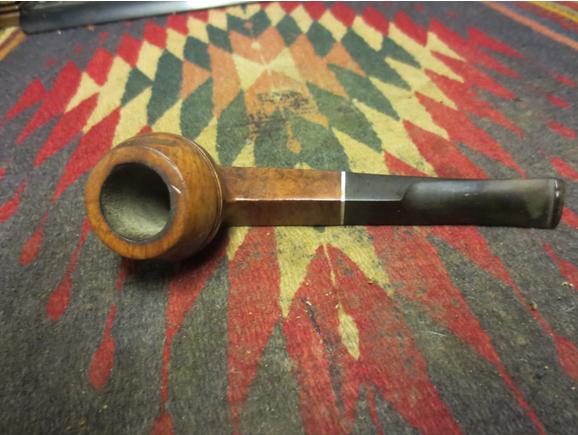
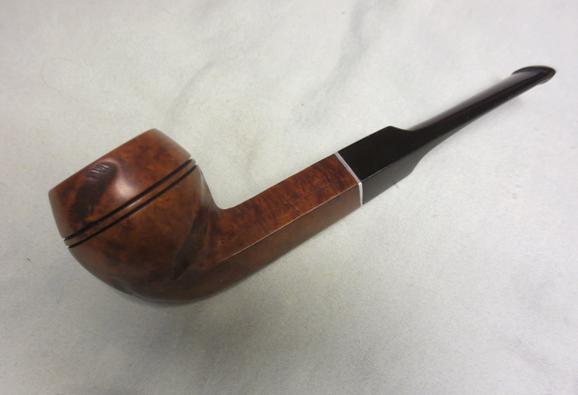
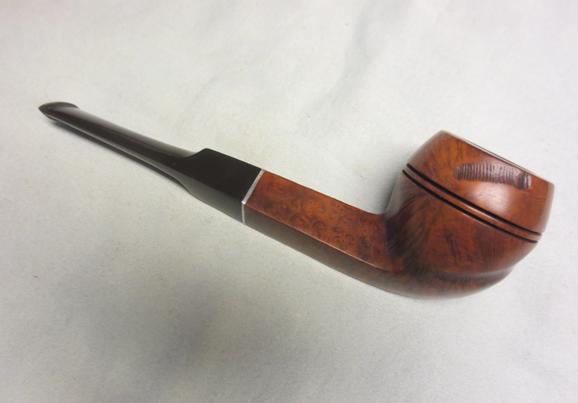
Select17 I put the pipe back together and buffed it on the wheel with Blue Diamond and gave it several coats of carnauba wax. I buffed it with a clean flannel buff to give it a shine. I brought it back to the work table and hand buffed it with a microfibre cloth. The finished pipe is shown below. Thanks for looking.Select18

Select19

Select20

Select21

Select22

Select23