Category Archives: Examples of Refurbished Pipes

In this section of the blog you will find before and after pictures of pipes that I have reworked. In each of them I give a summary of the work done to them. There are tips on working with different materials in these posts as well. For instance I have posted two horn stem pipes that I did work on the horn stems to removed tooth damage.

Reclaiming a Mistreated Royal Danish 29 Billiard


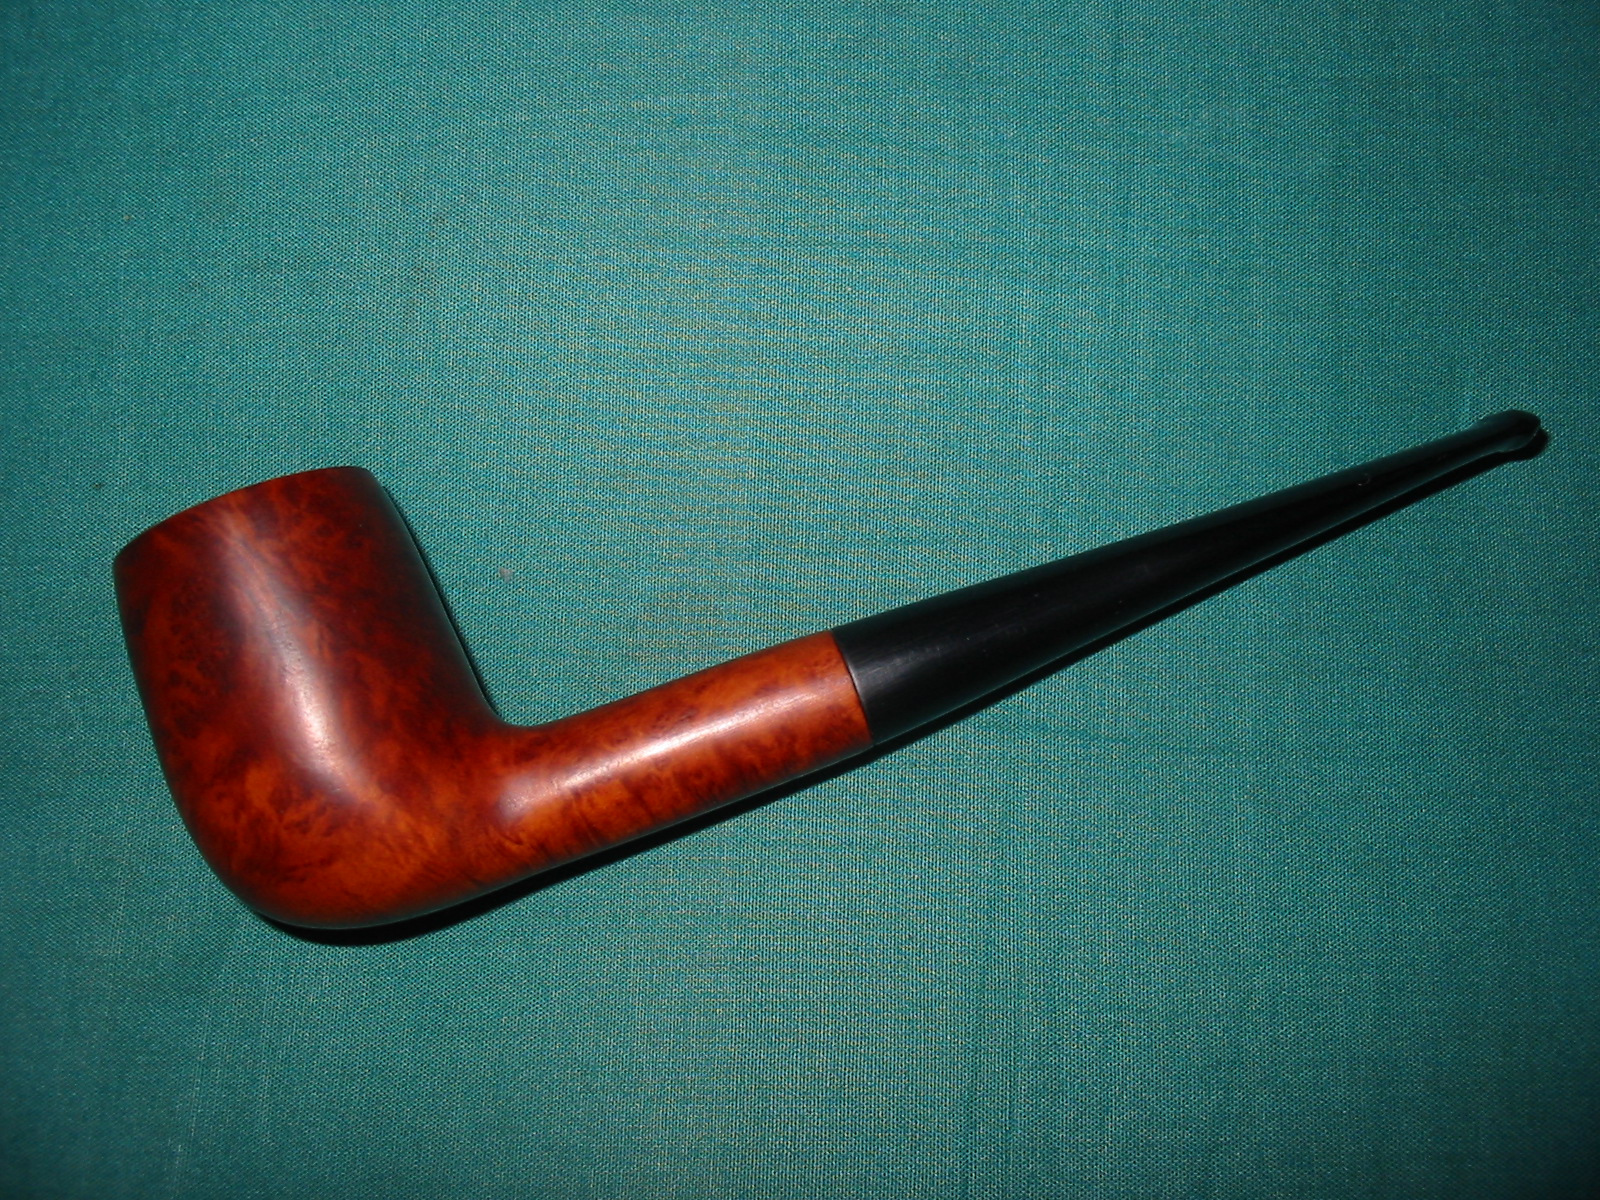
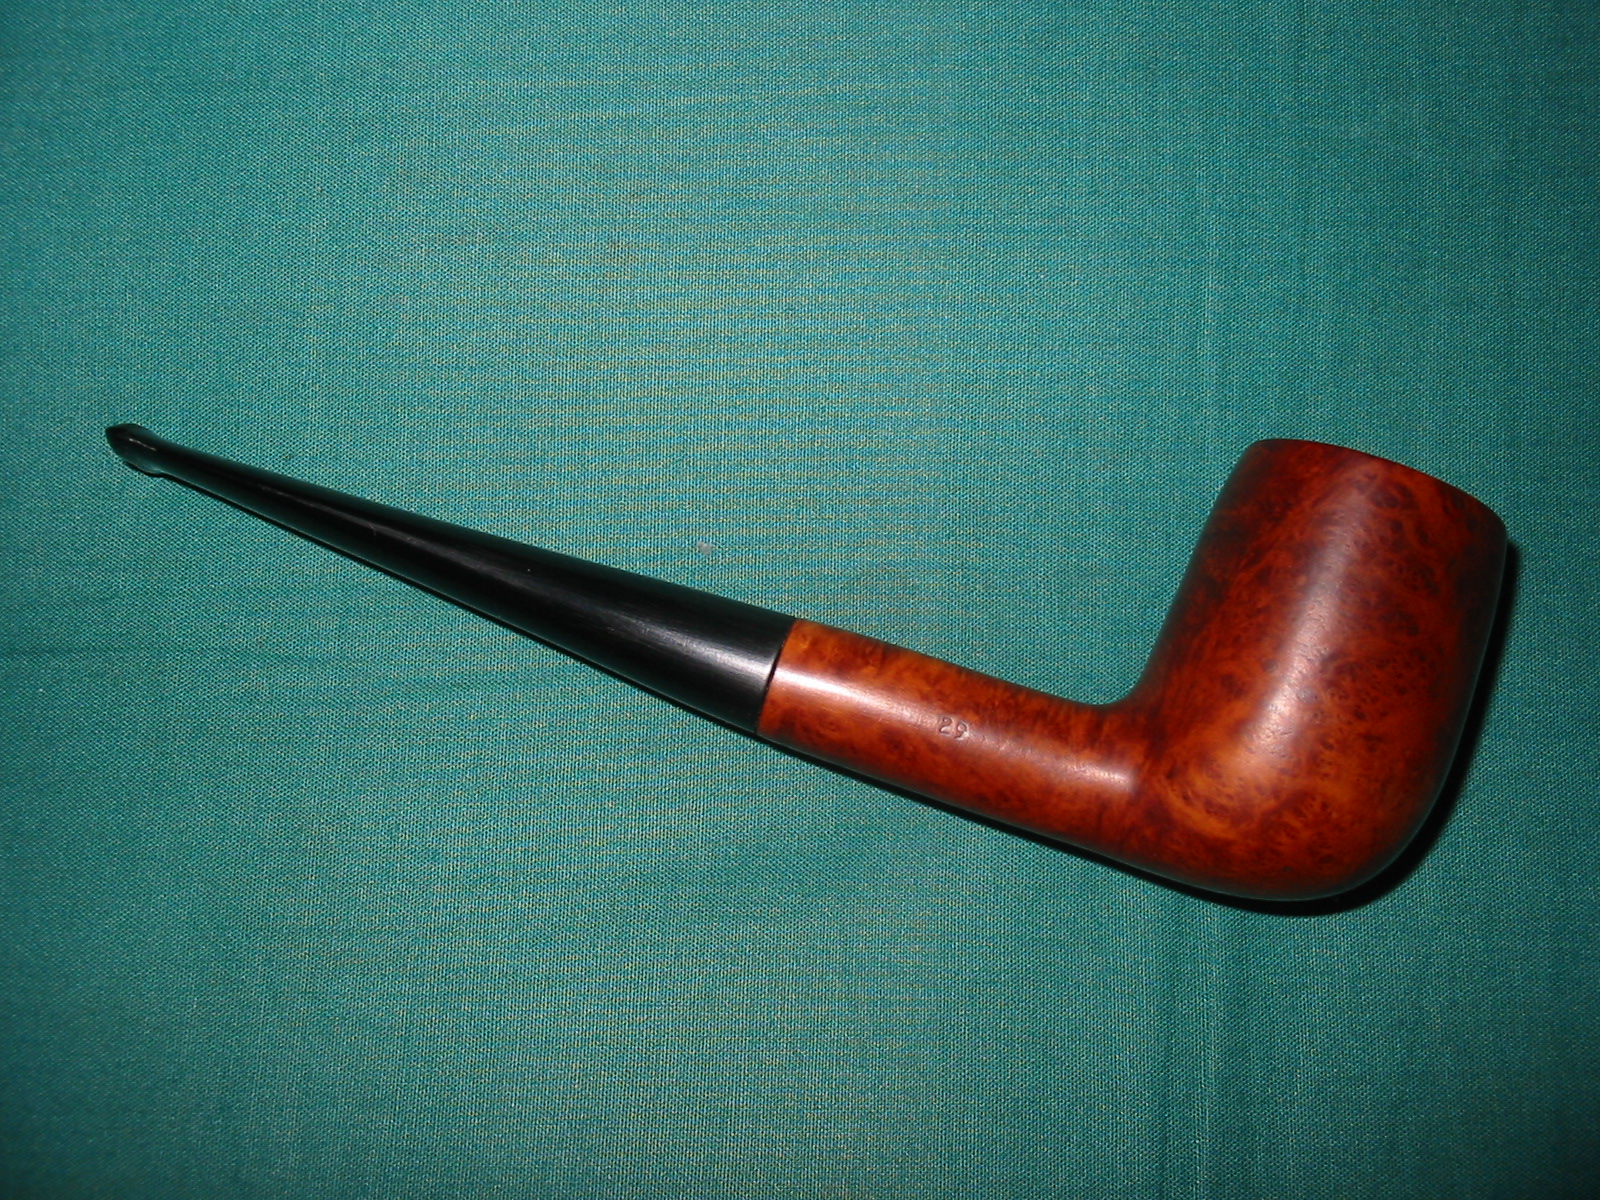
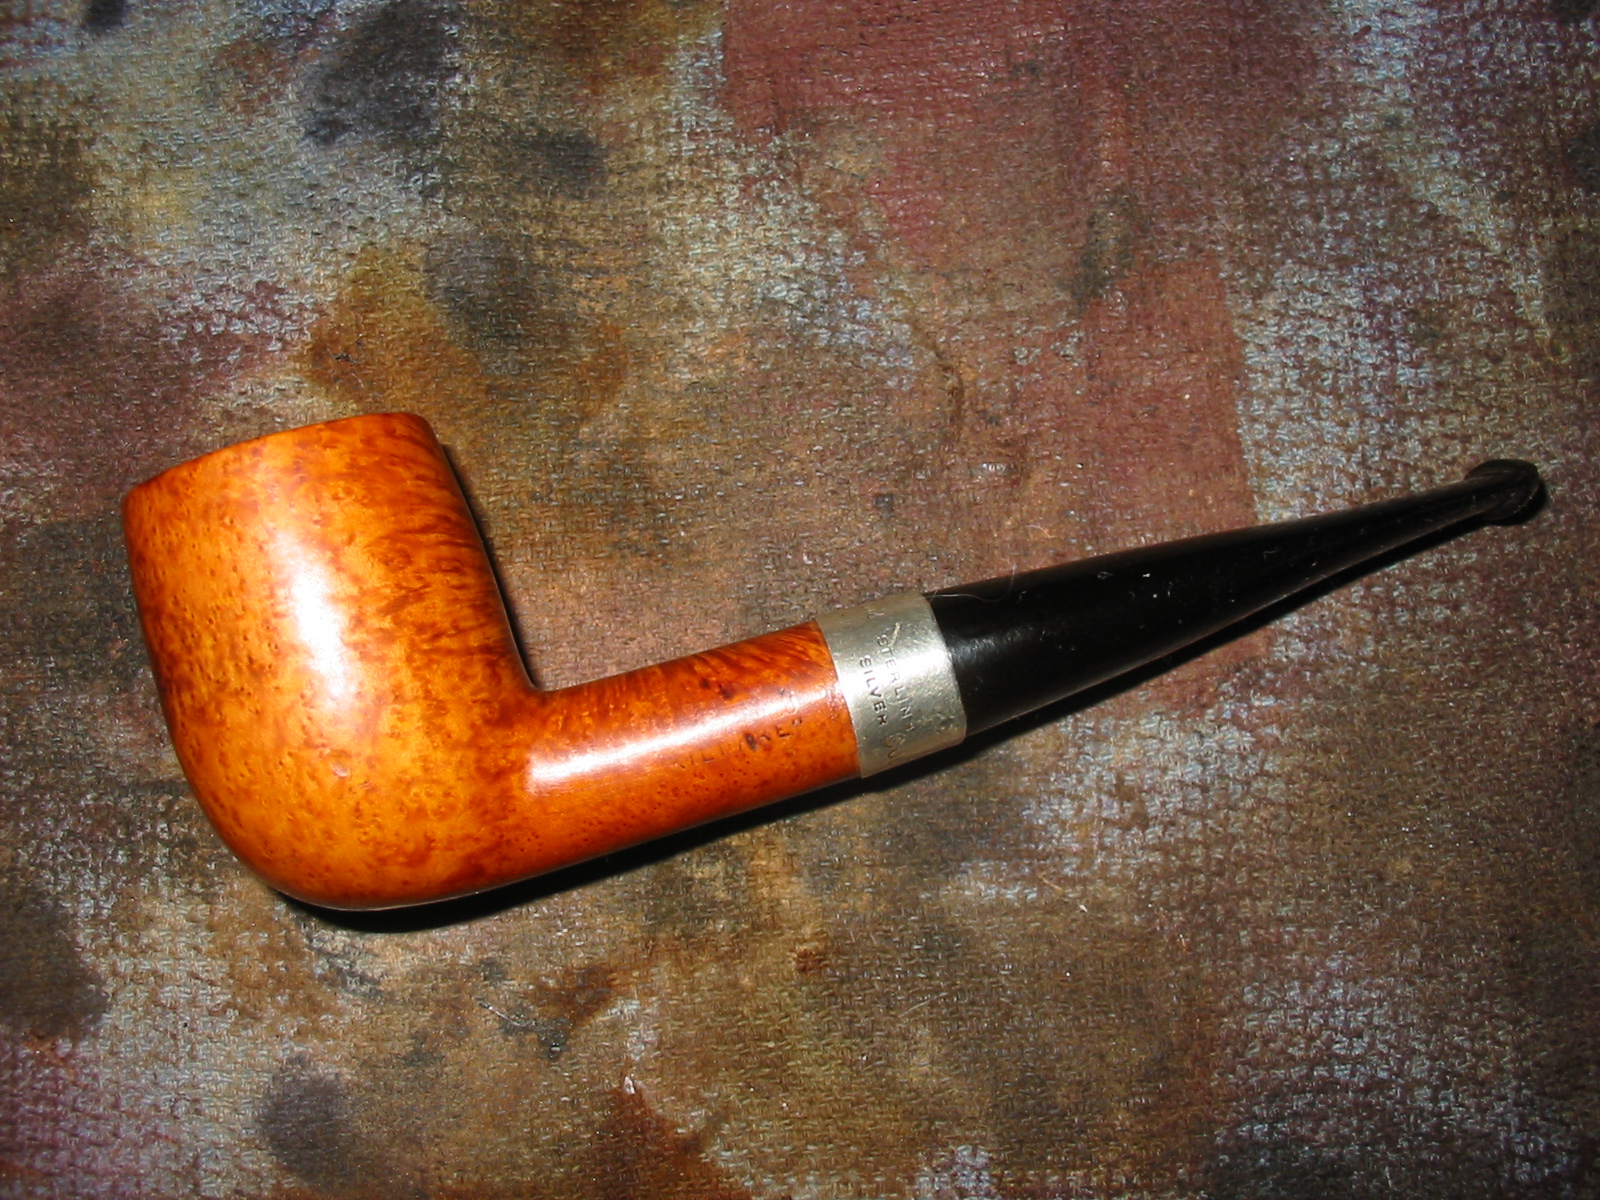
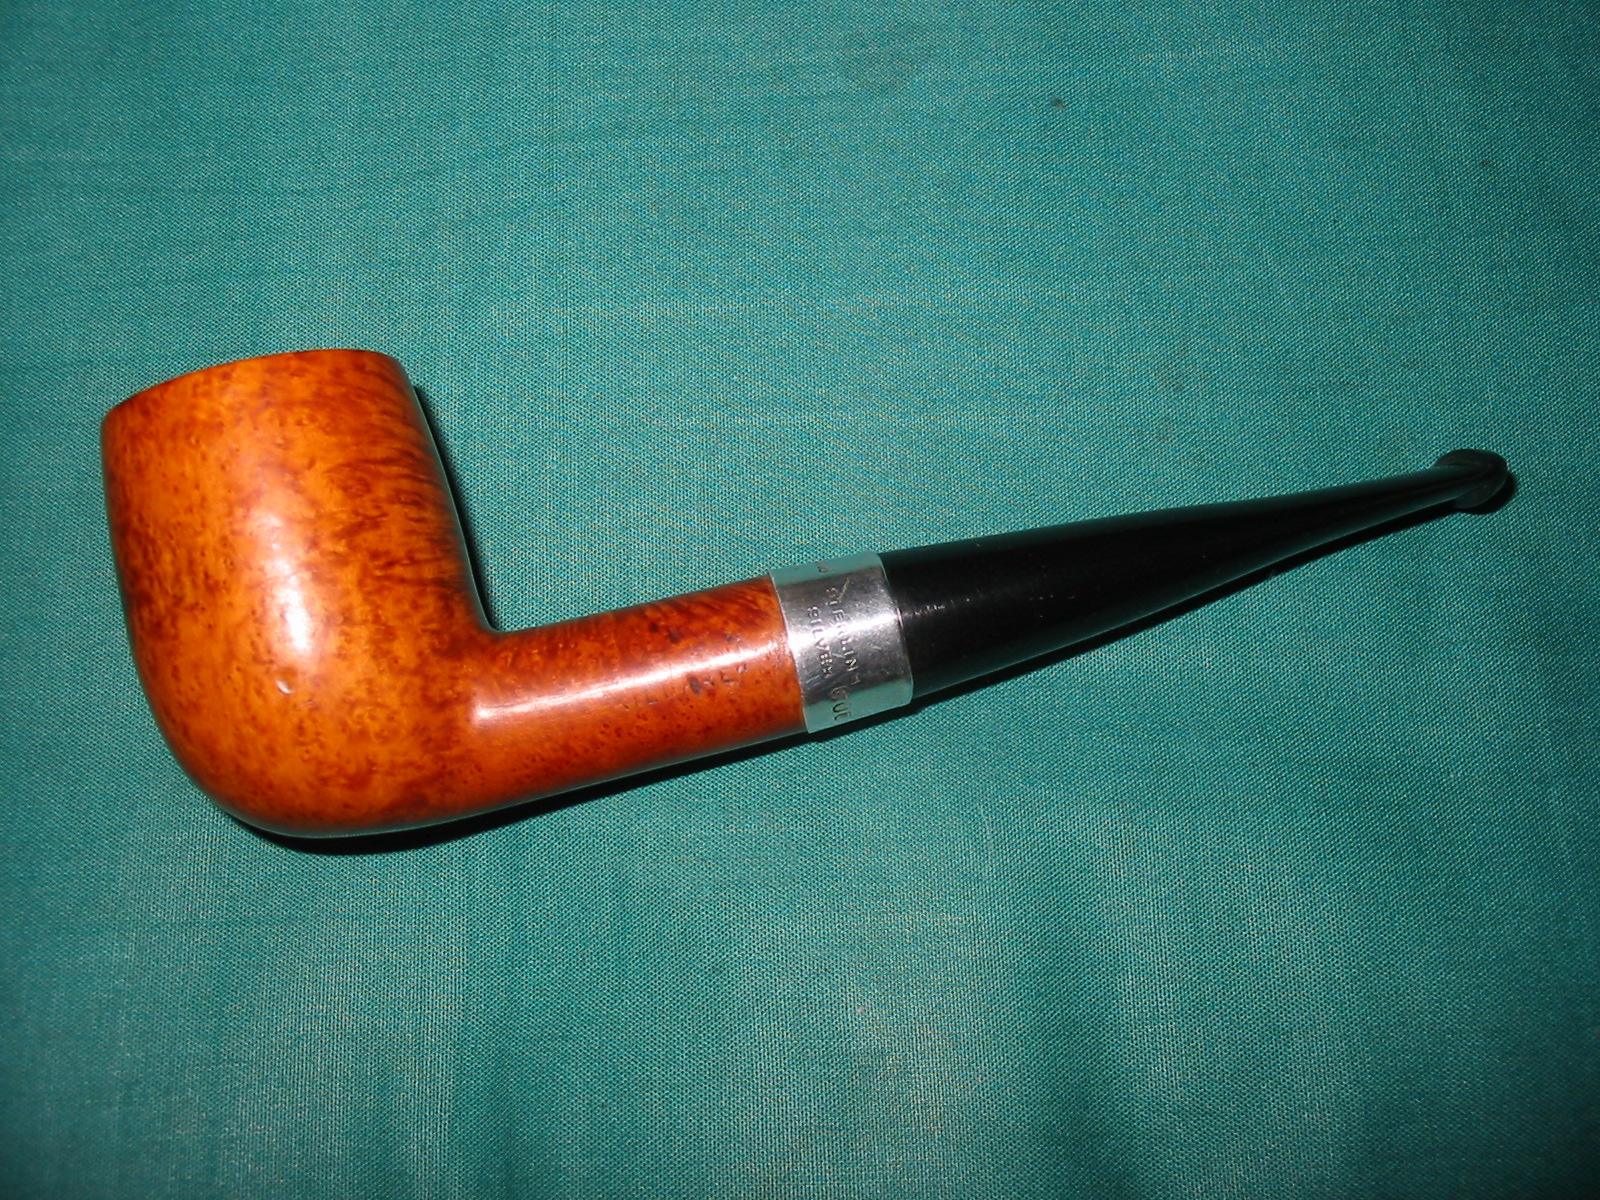
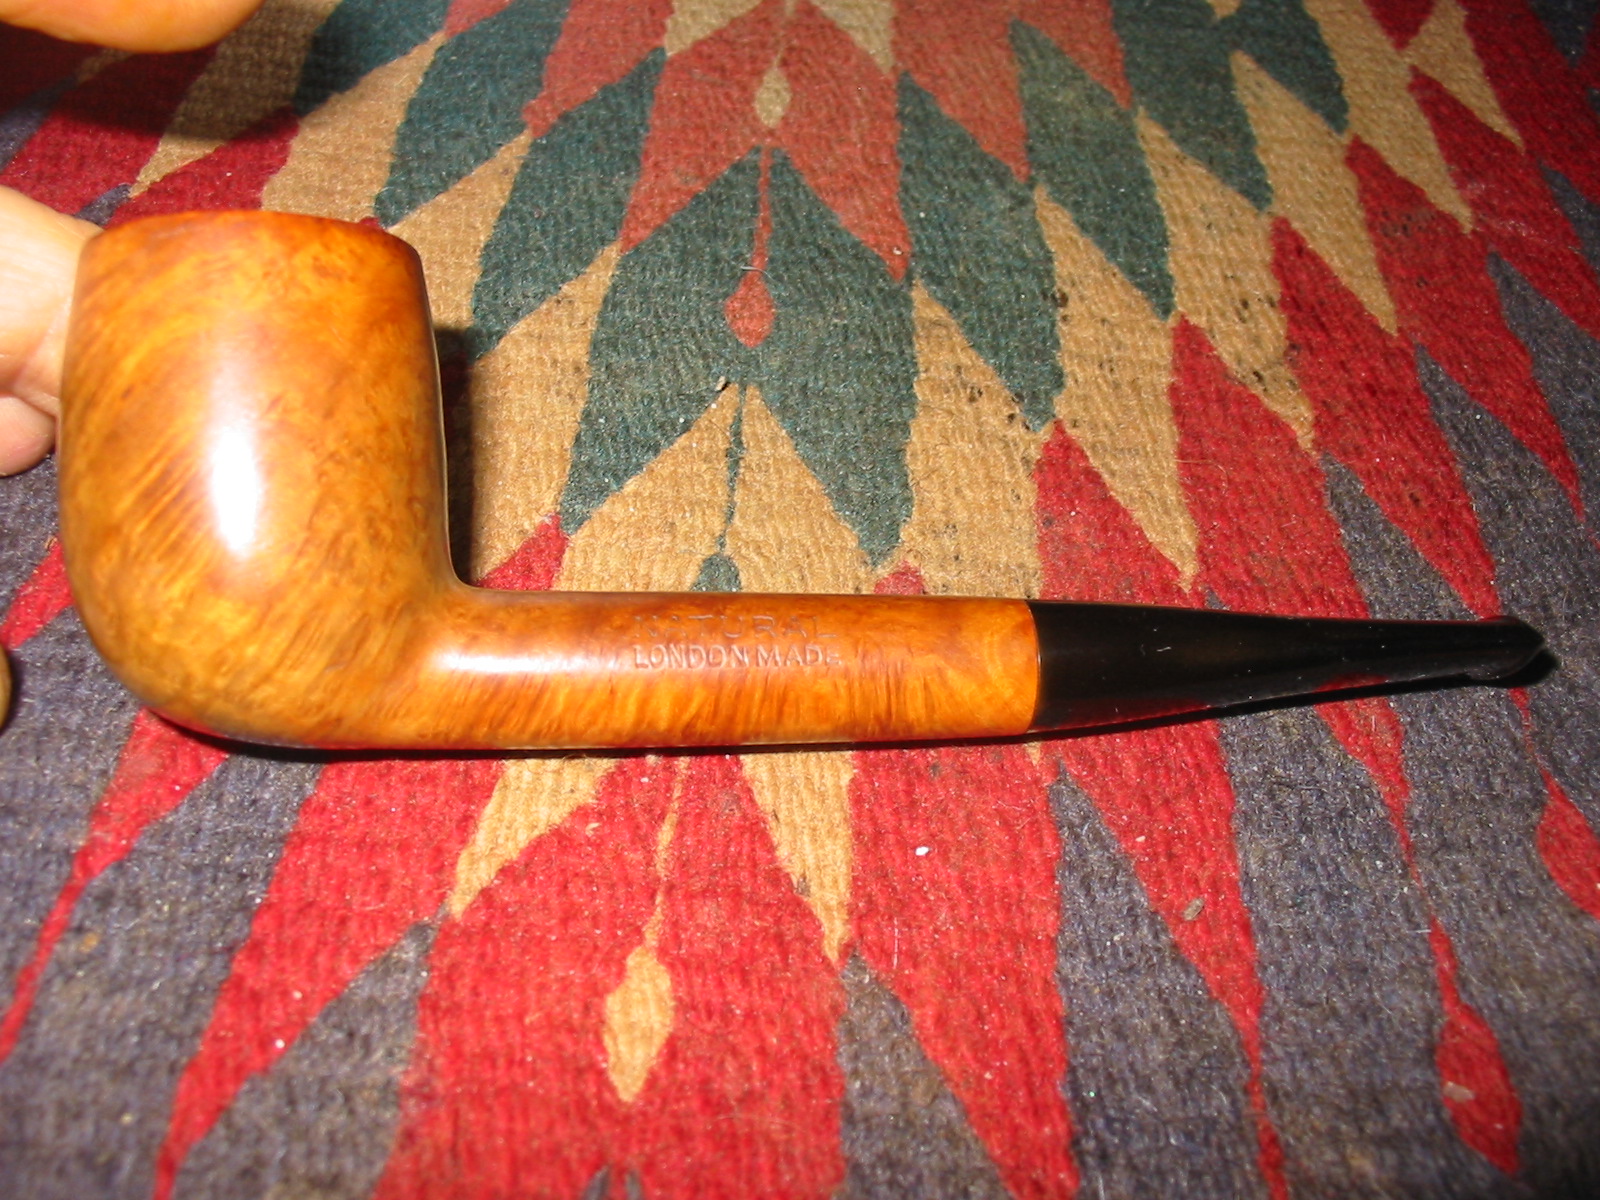
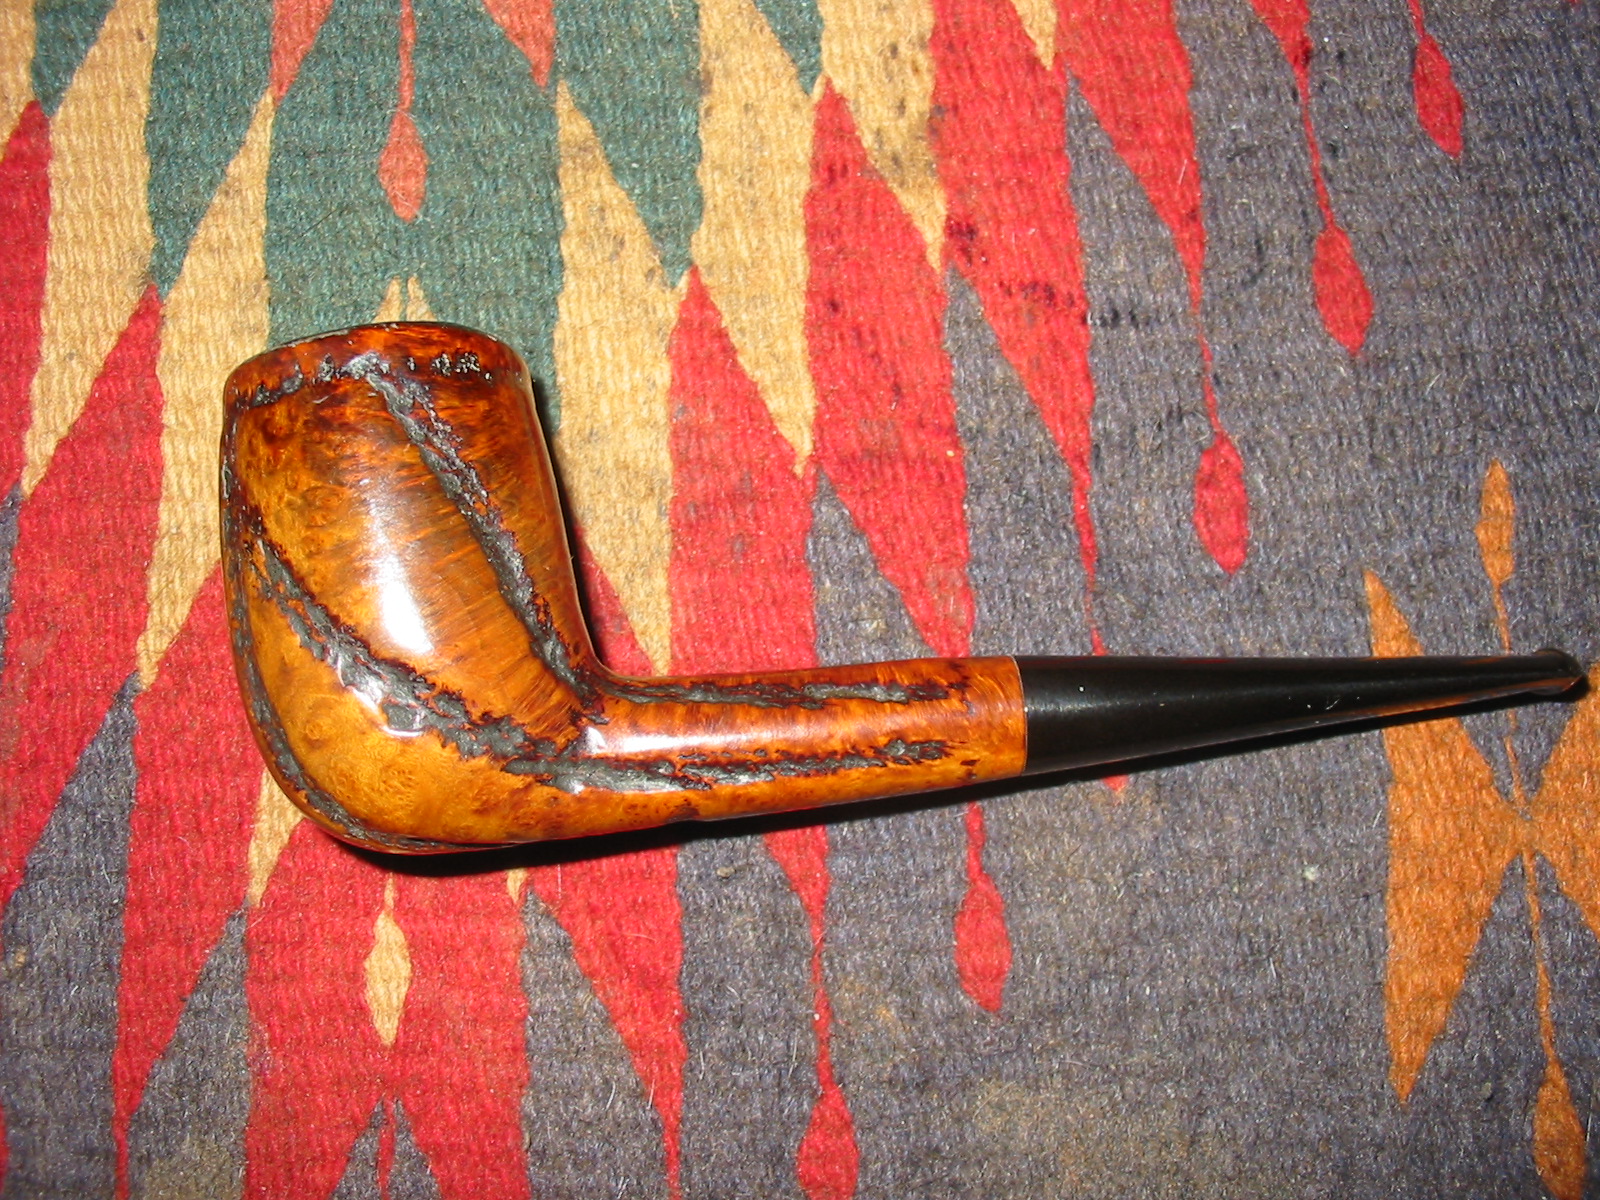
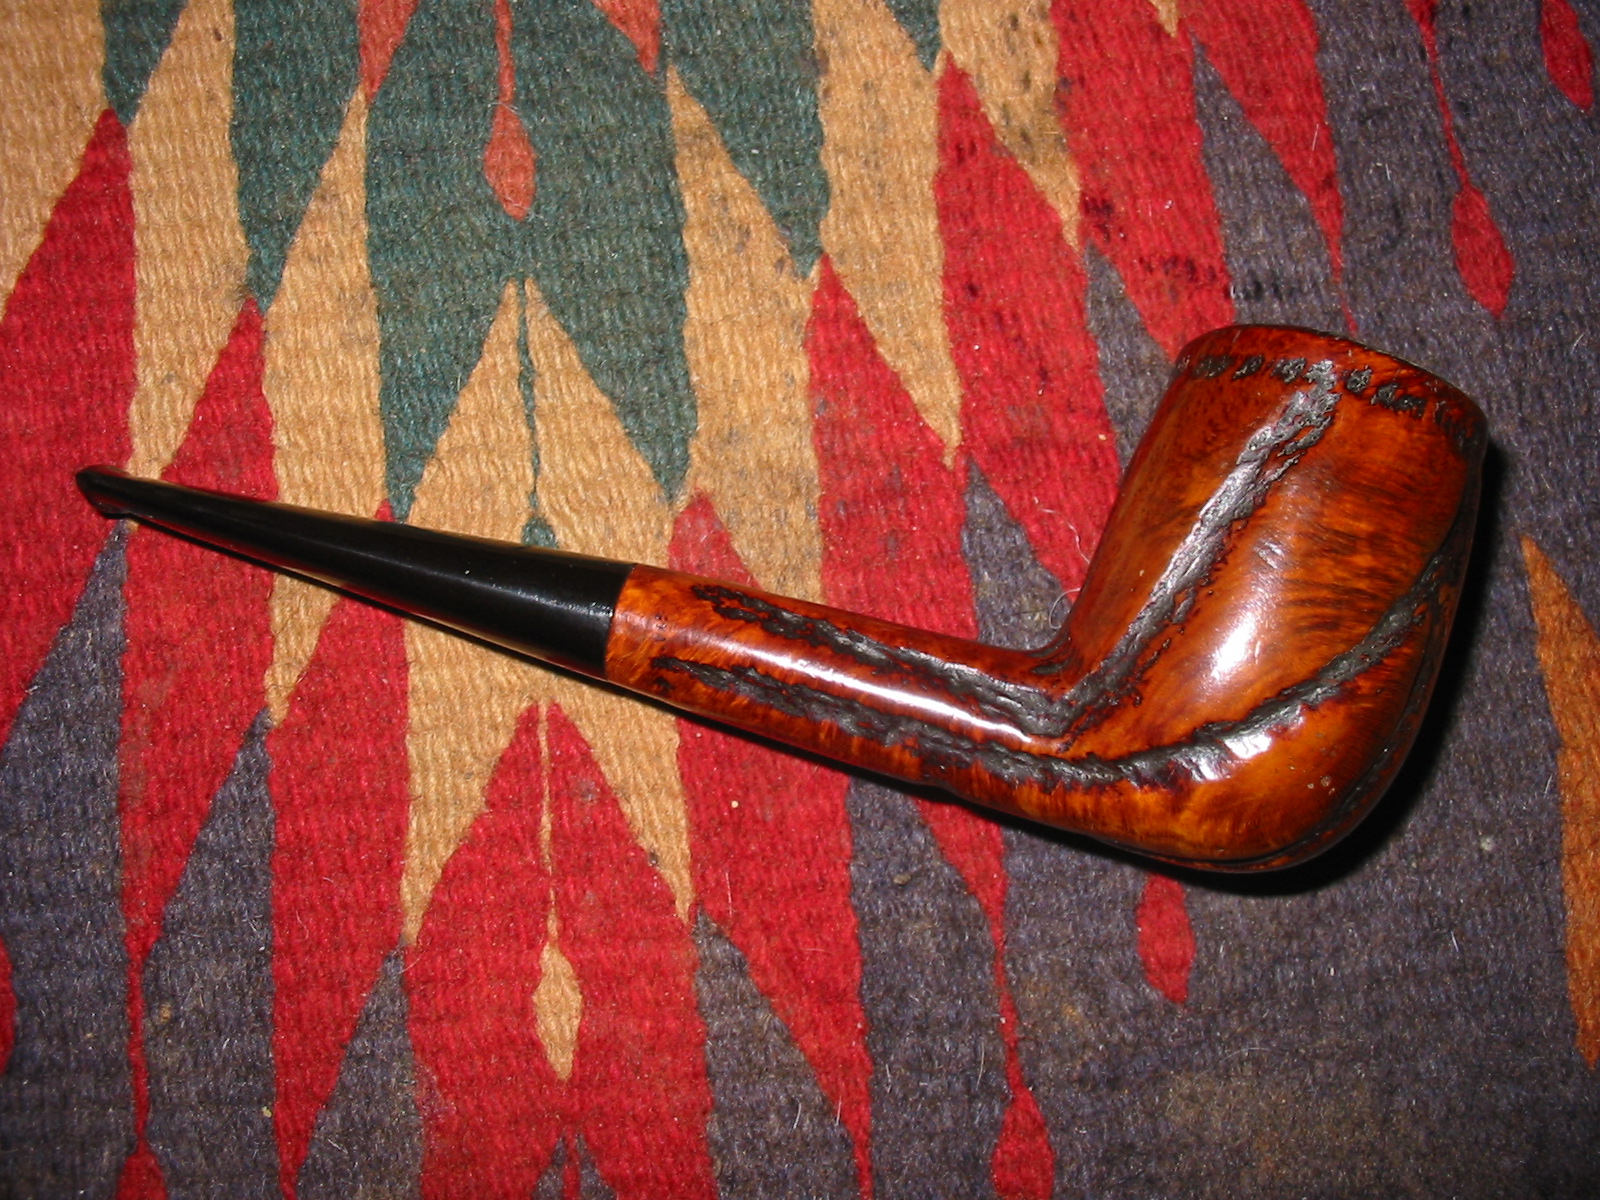
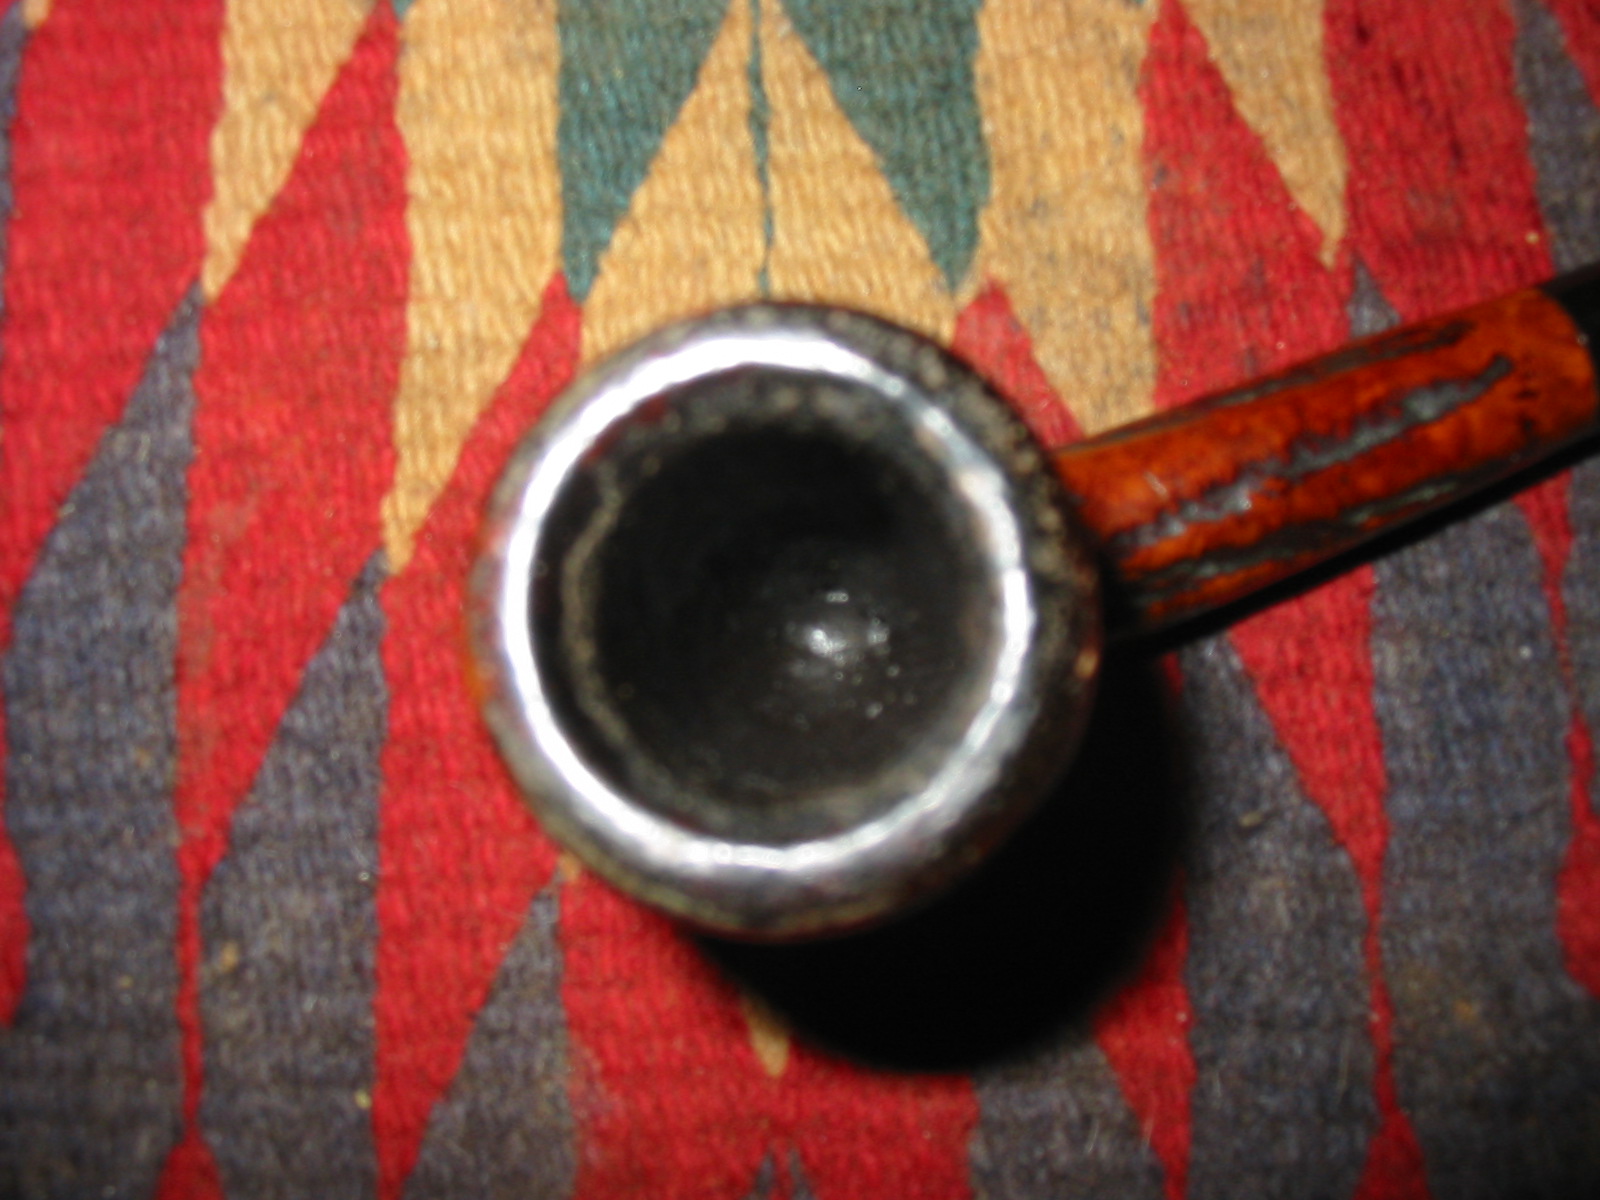
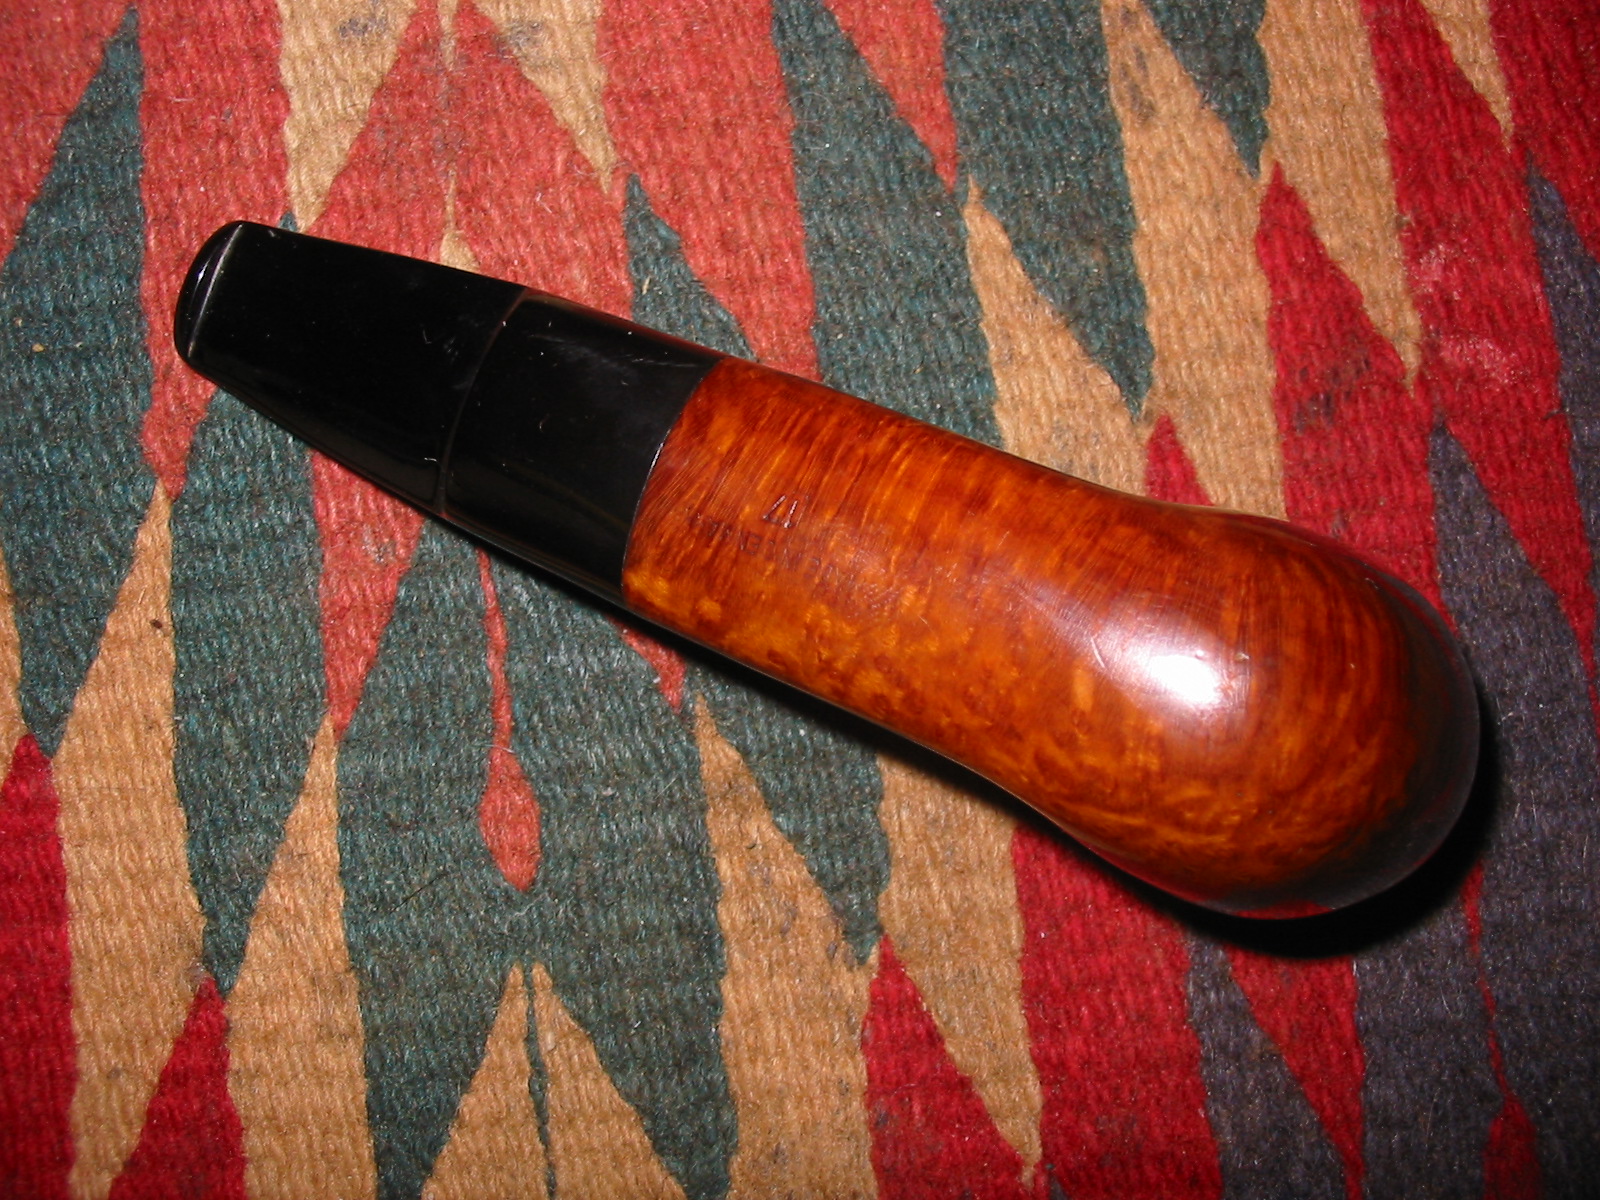
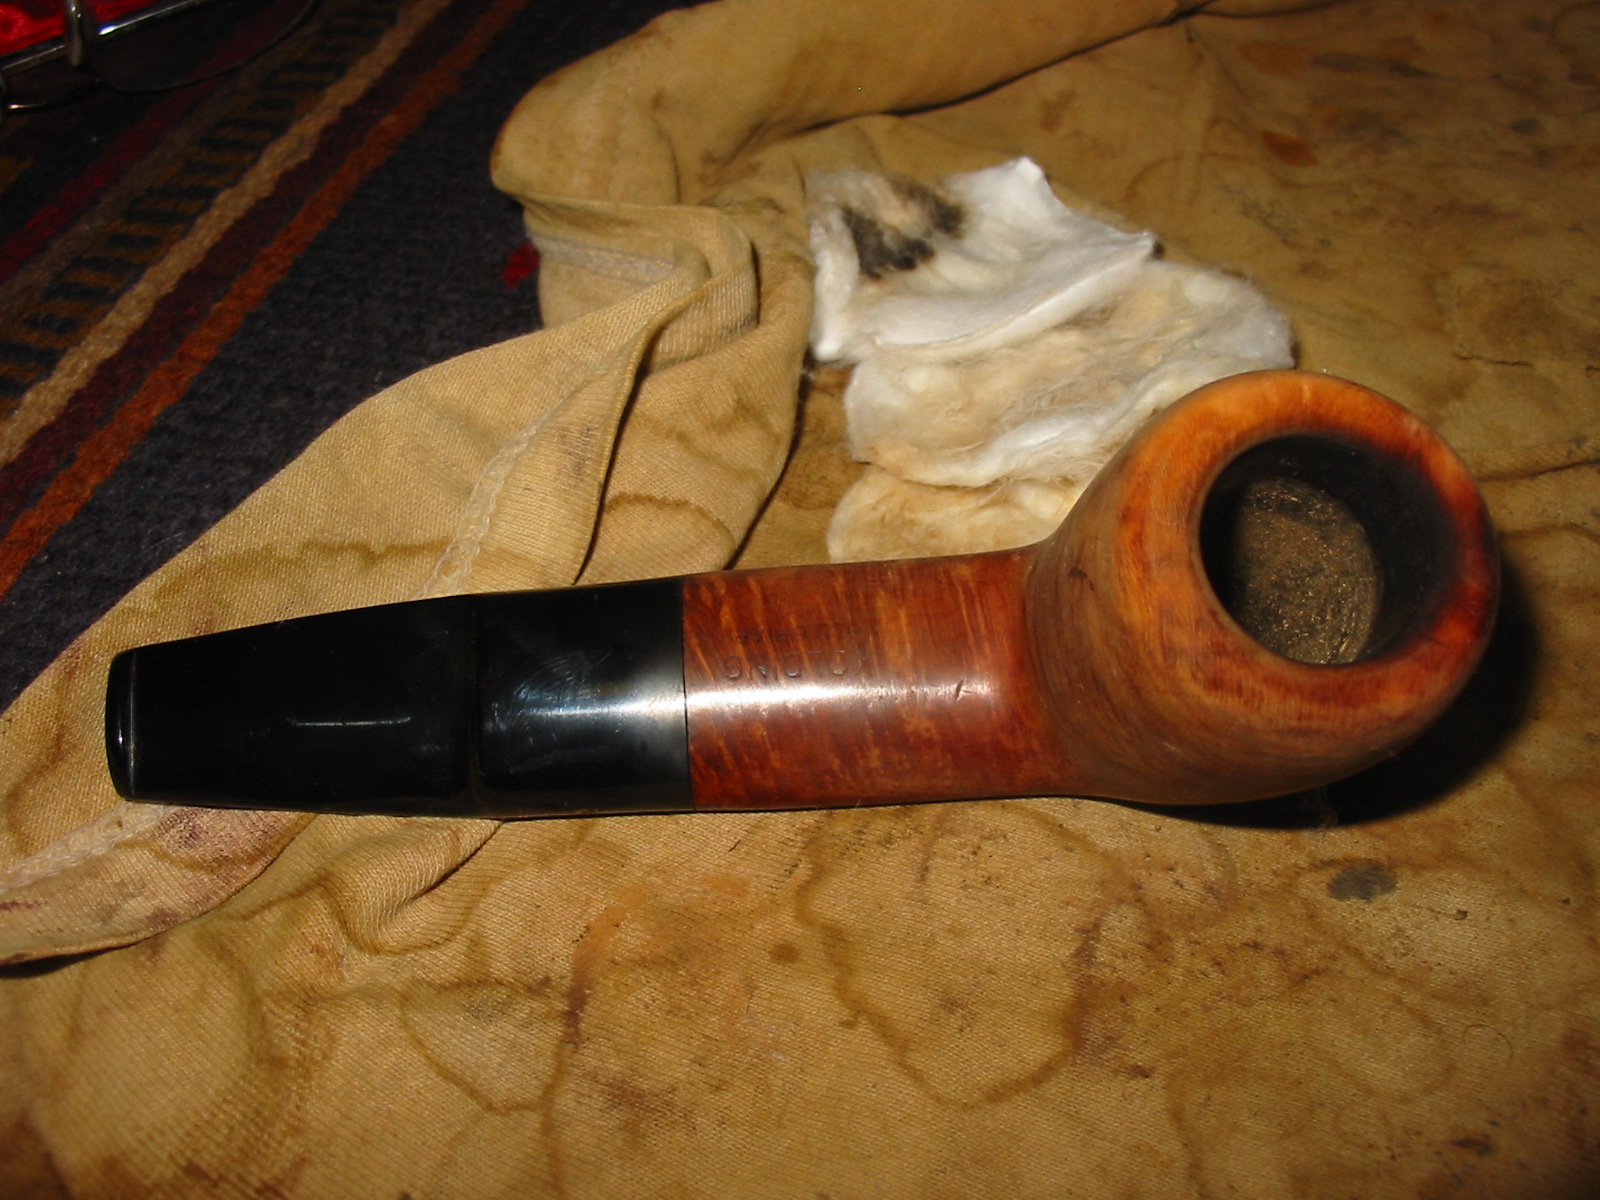
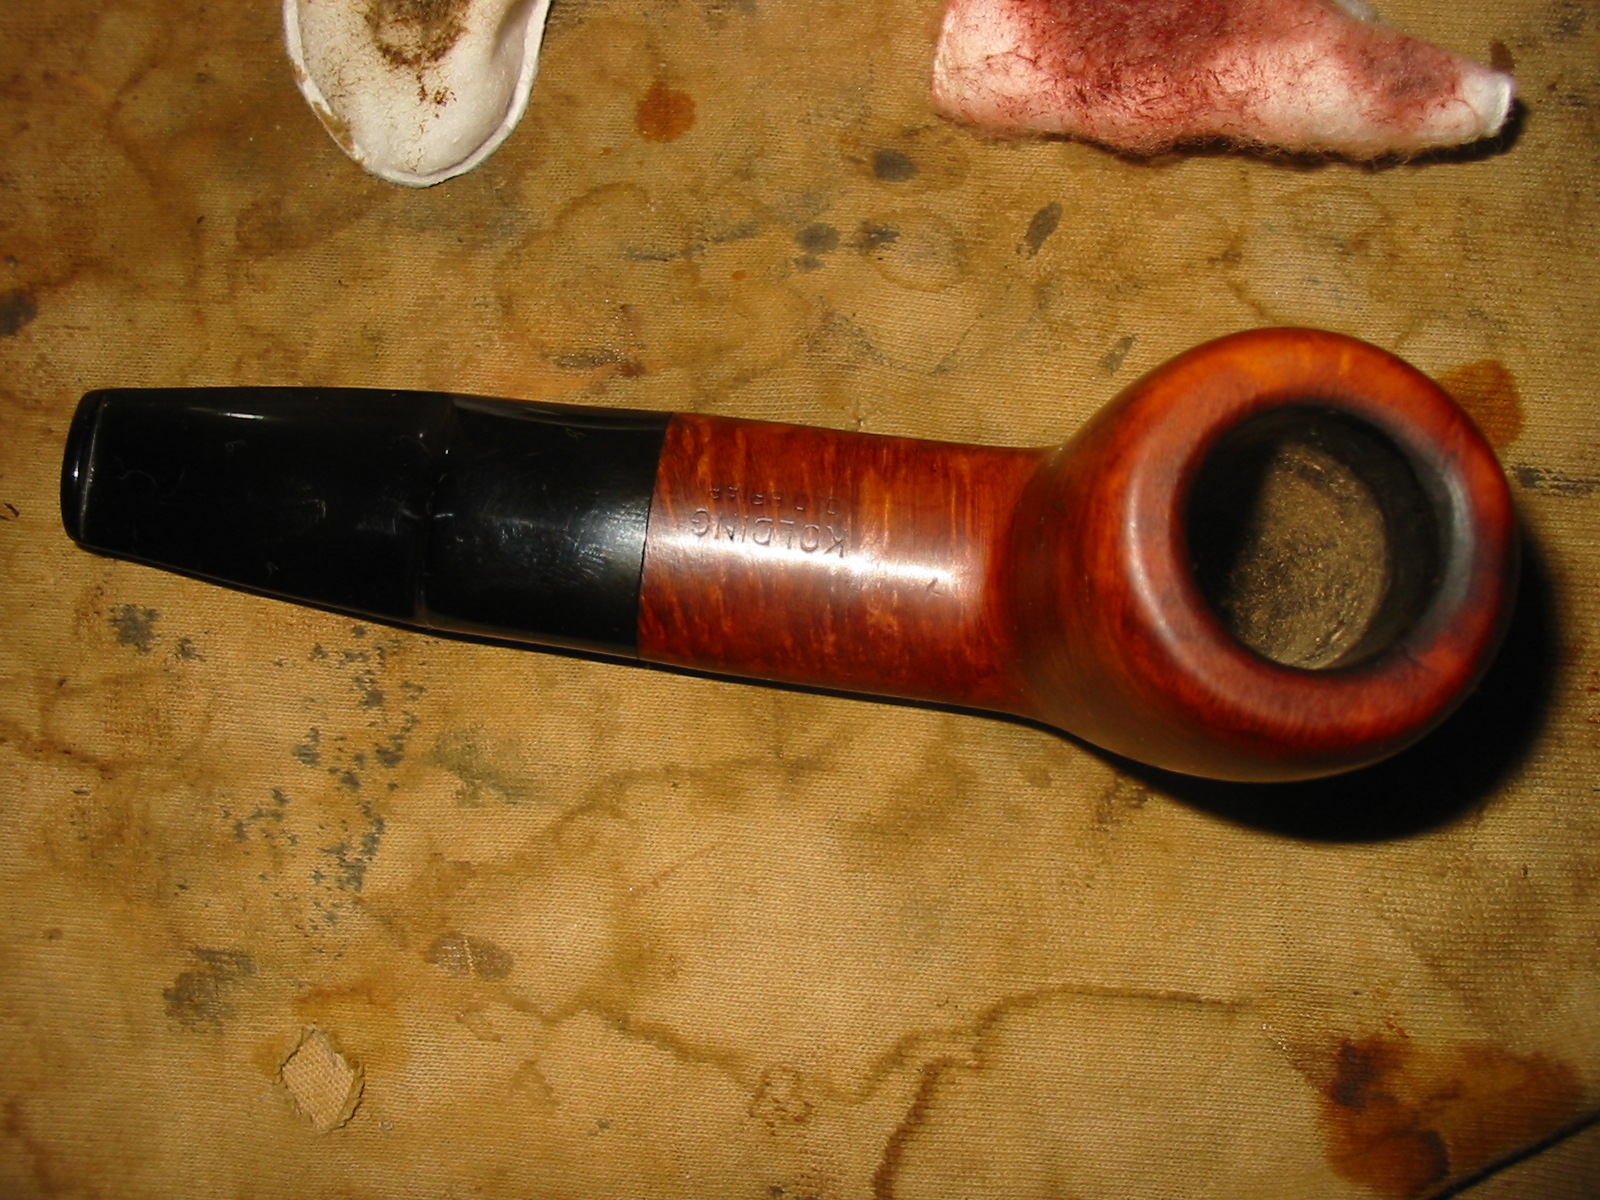
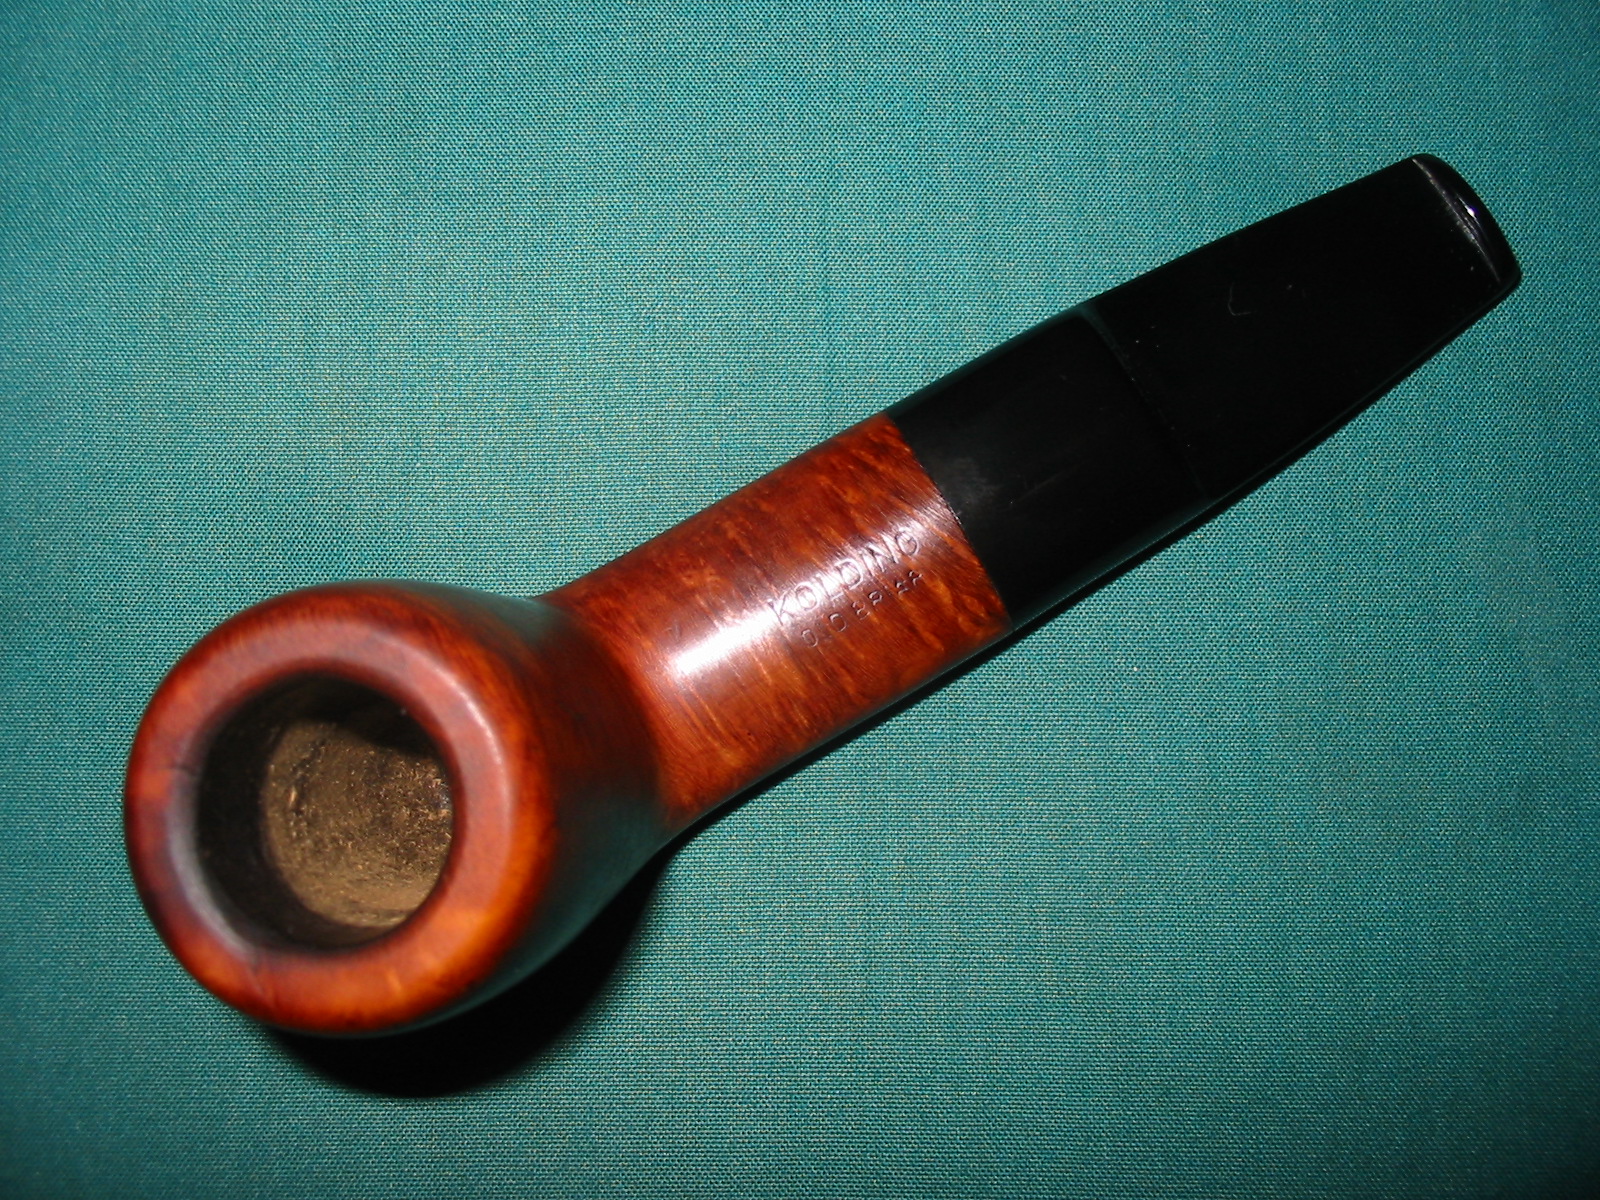
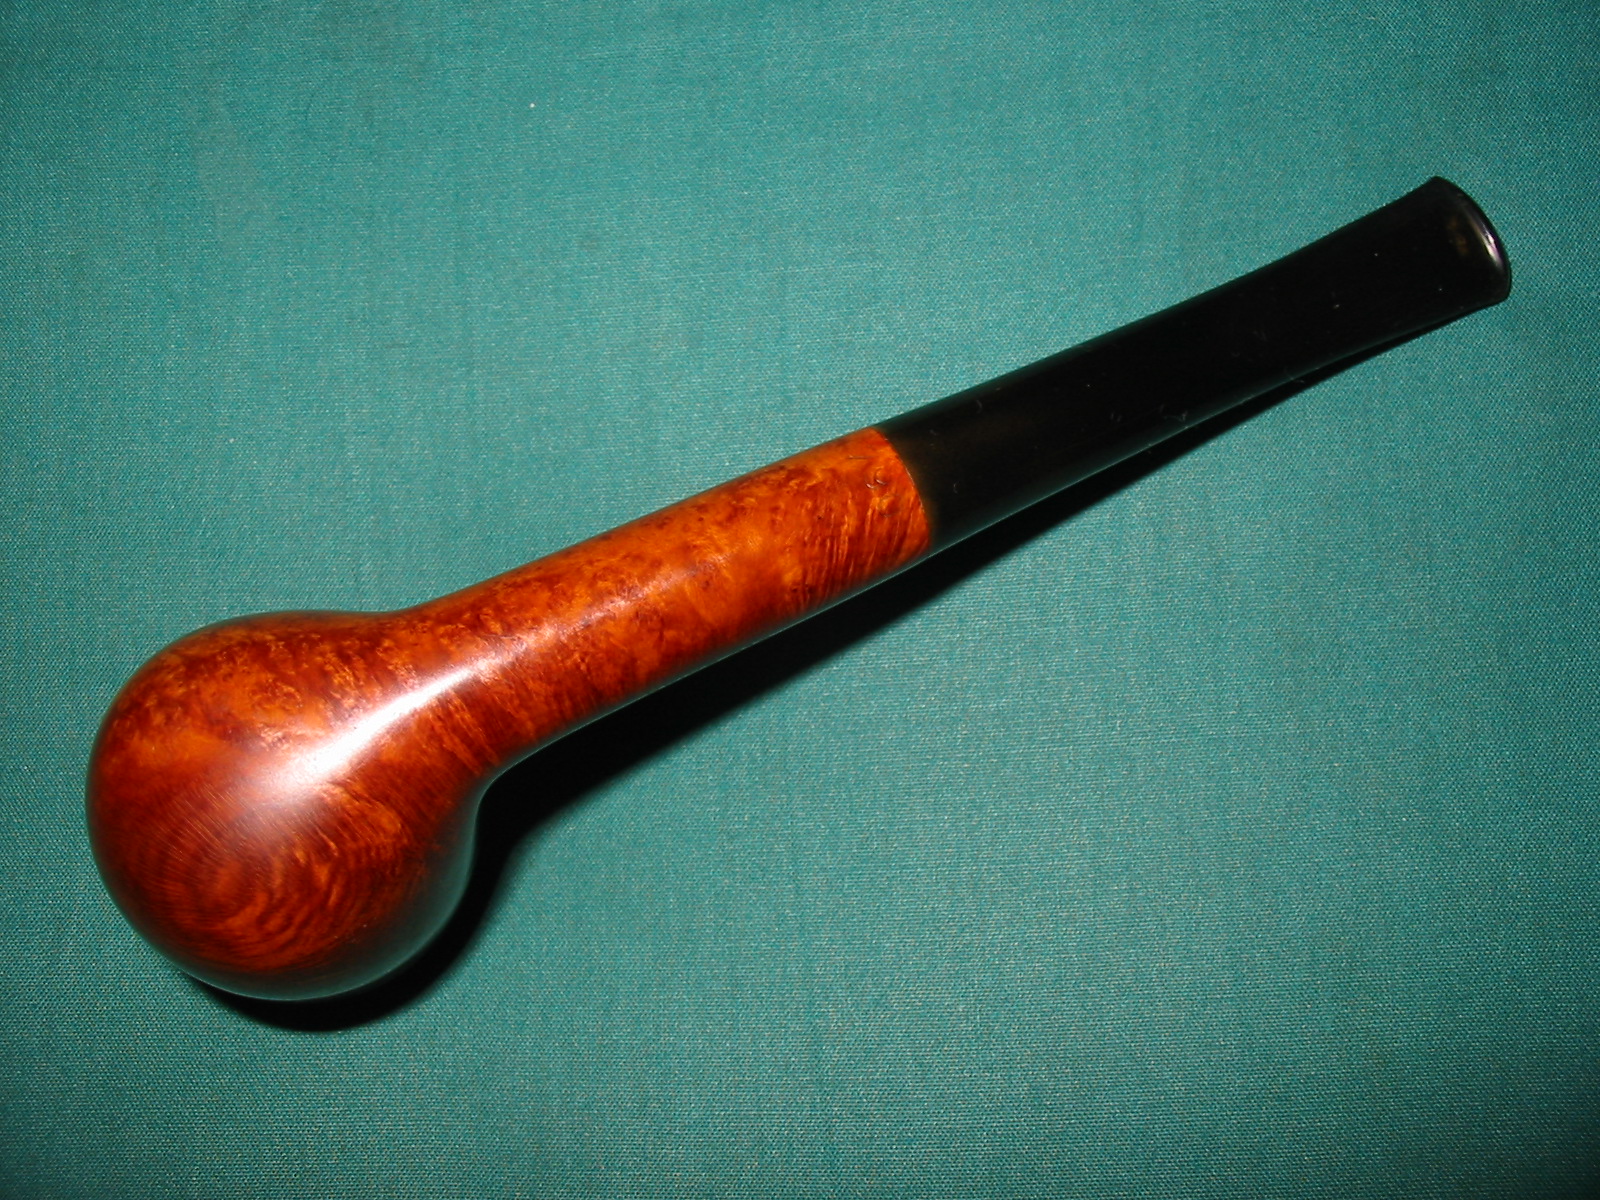
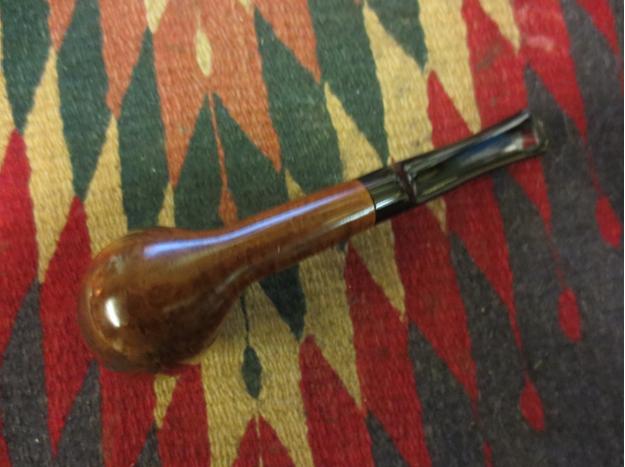
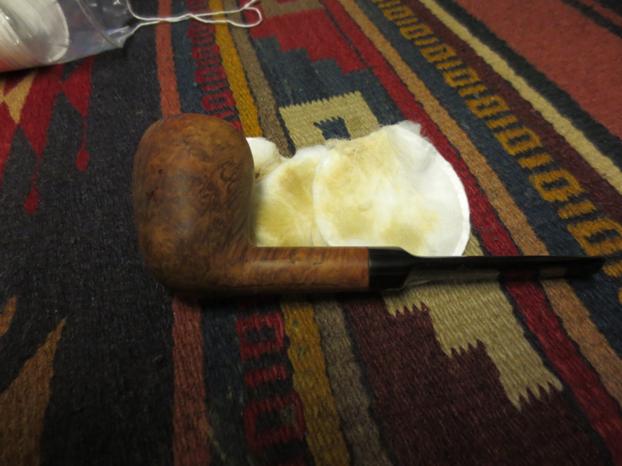
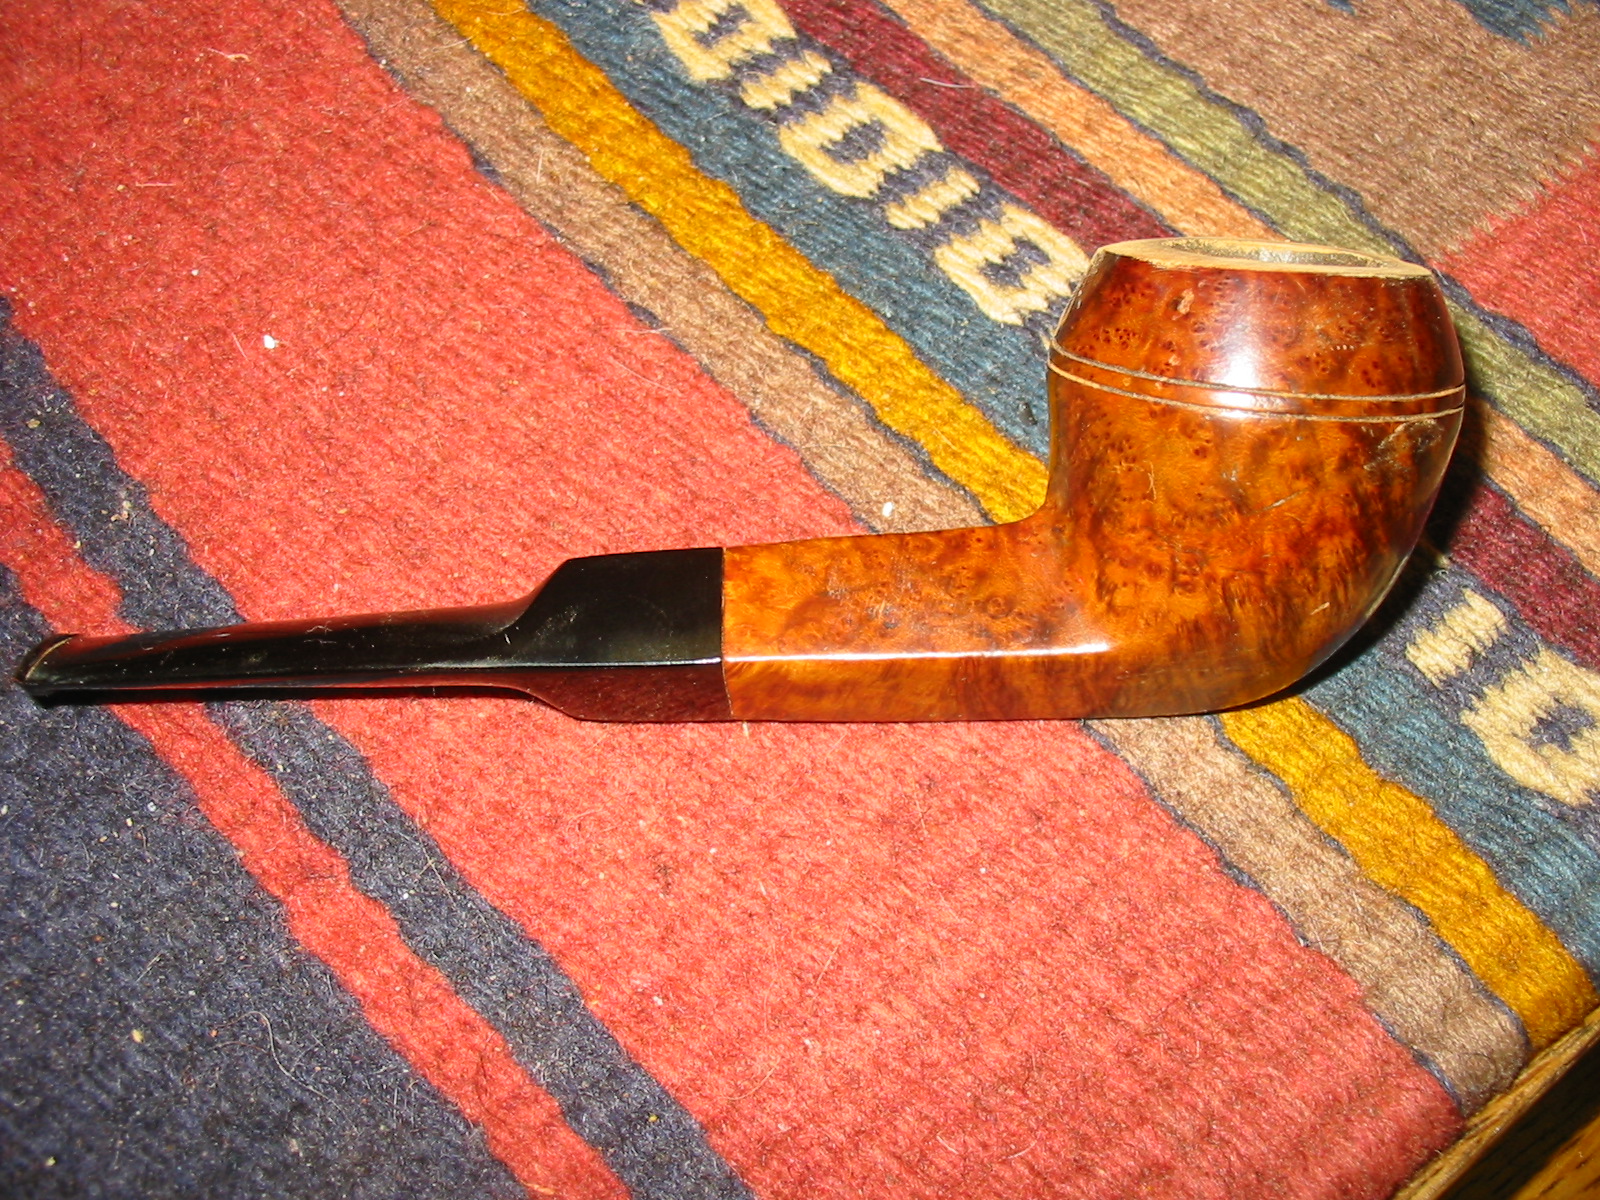
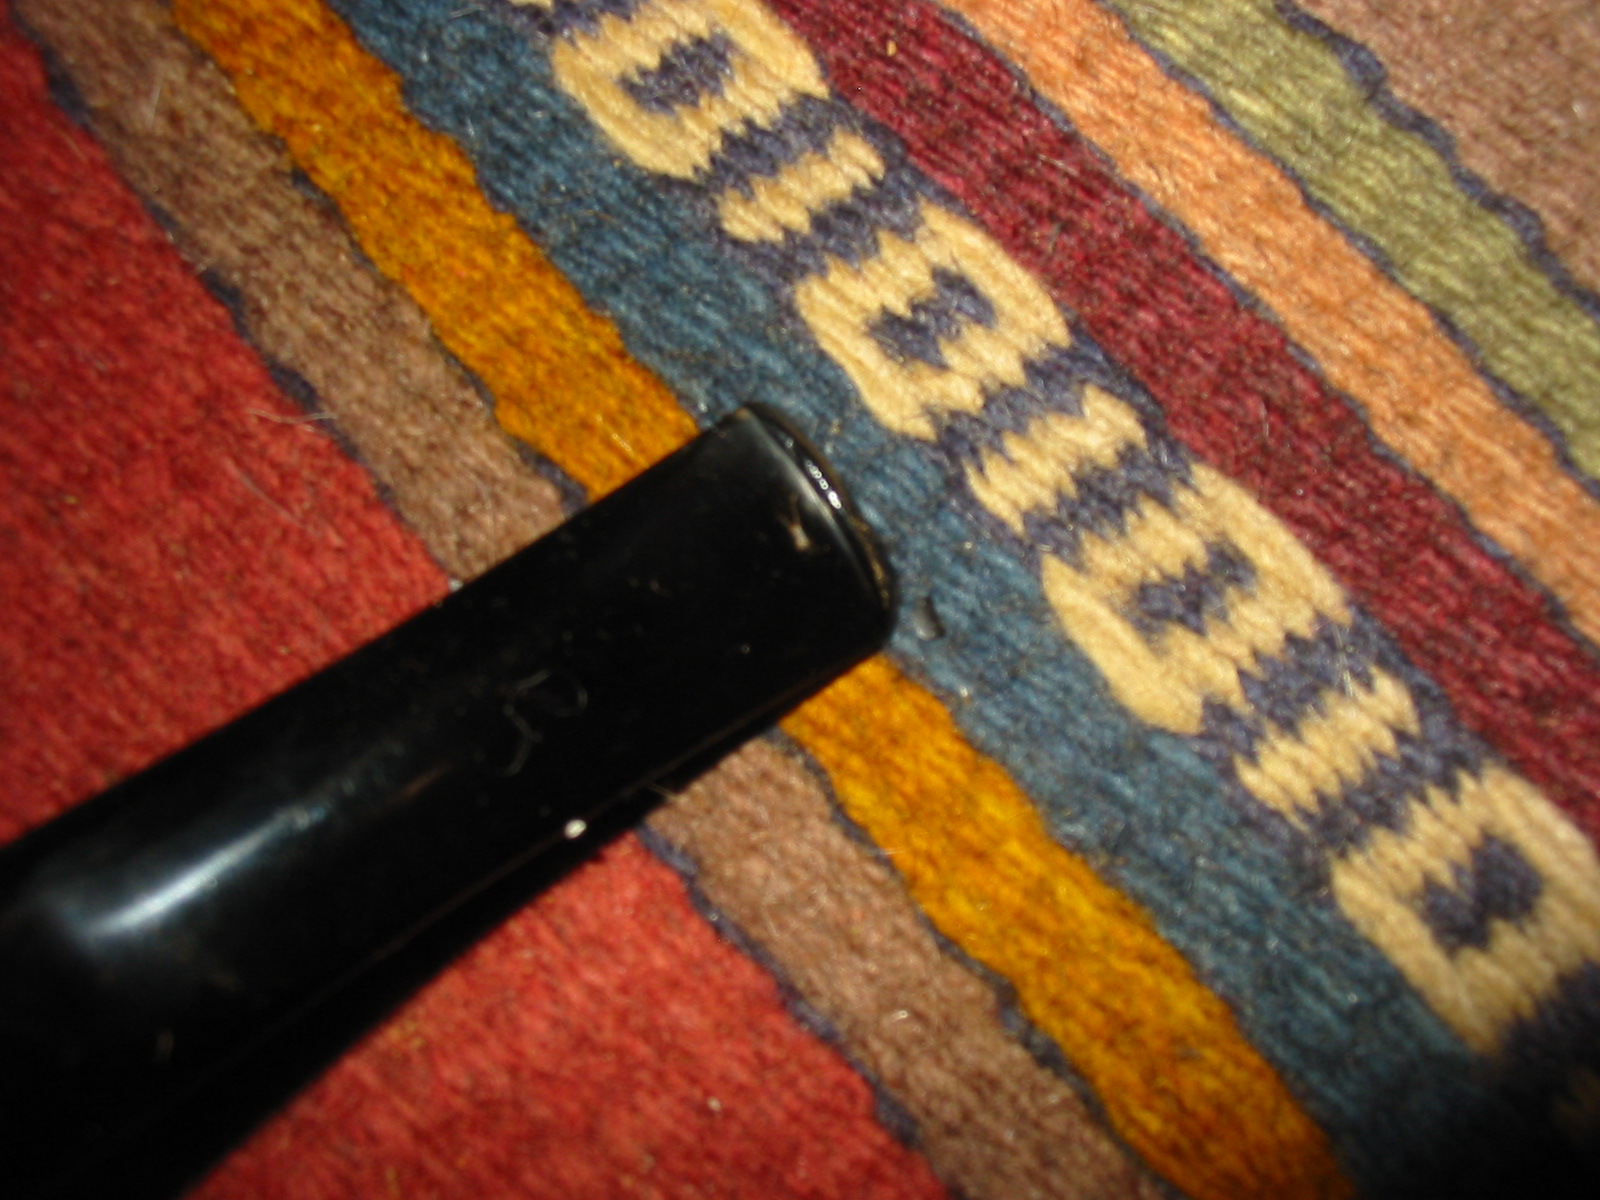
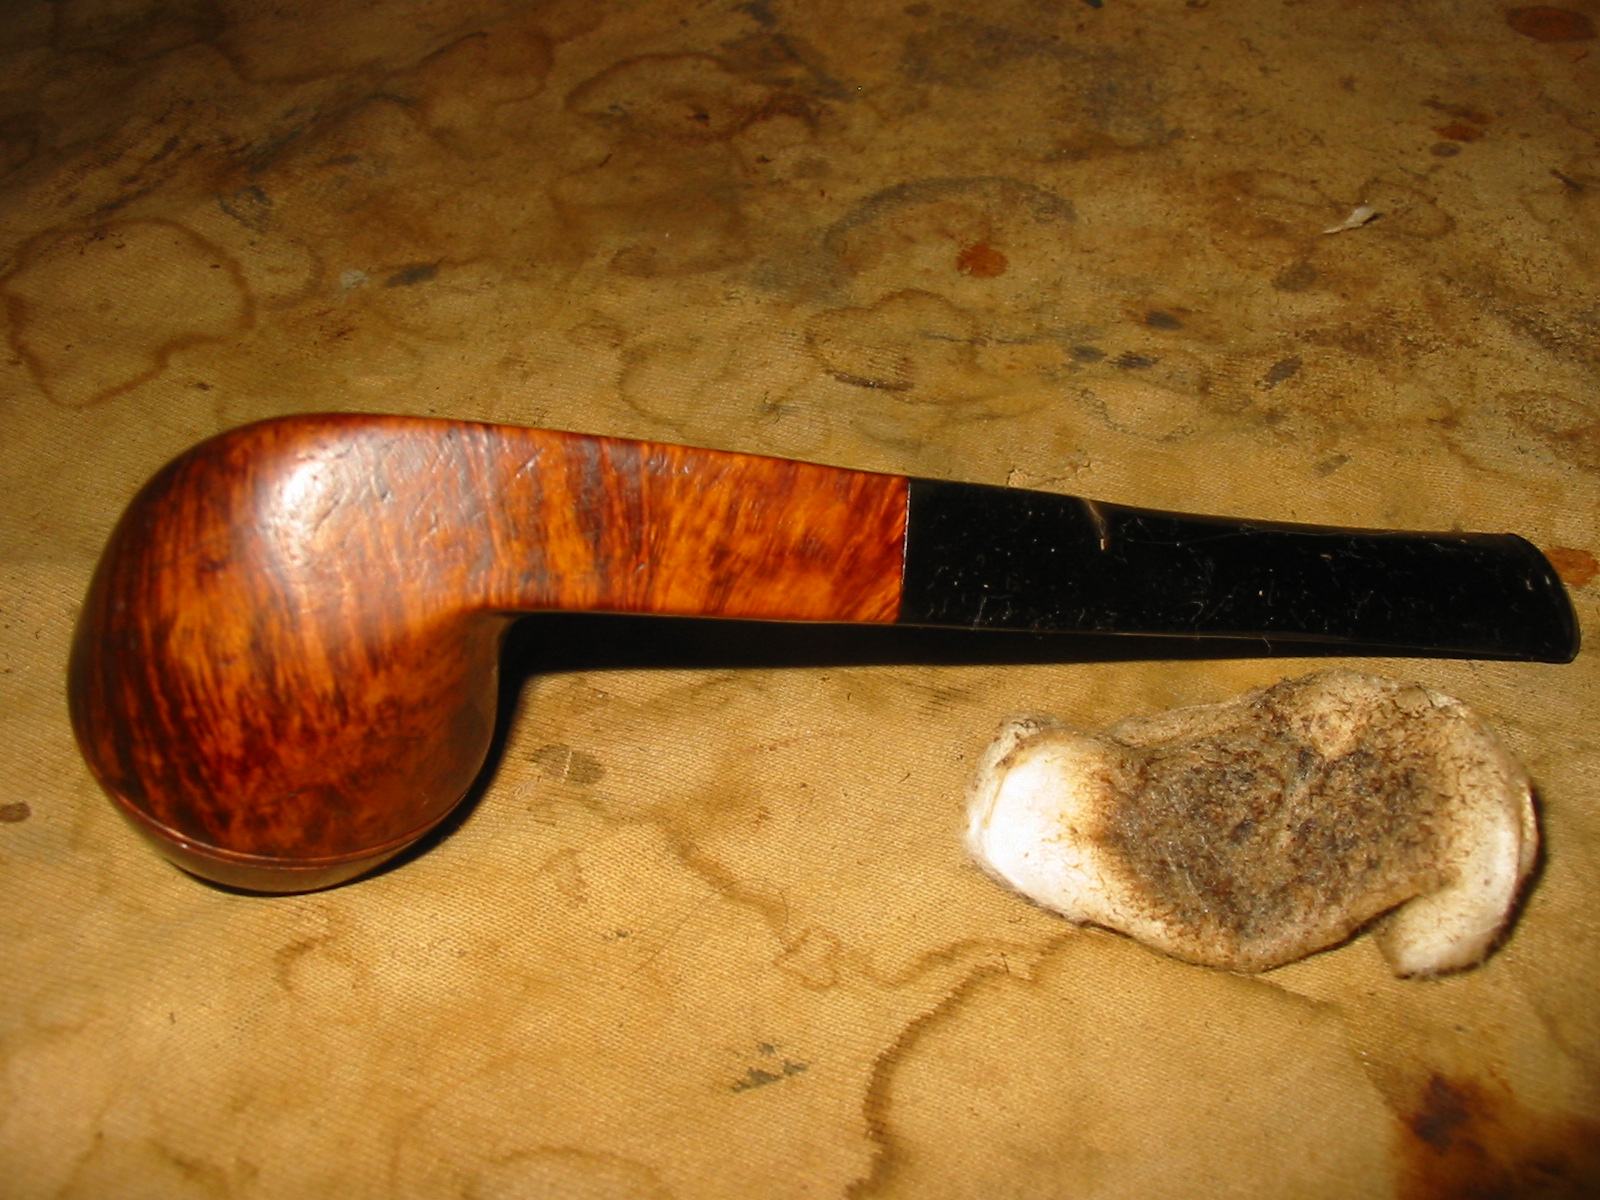
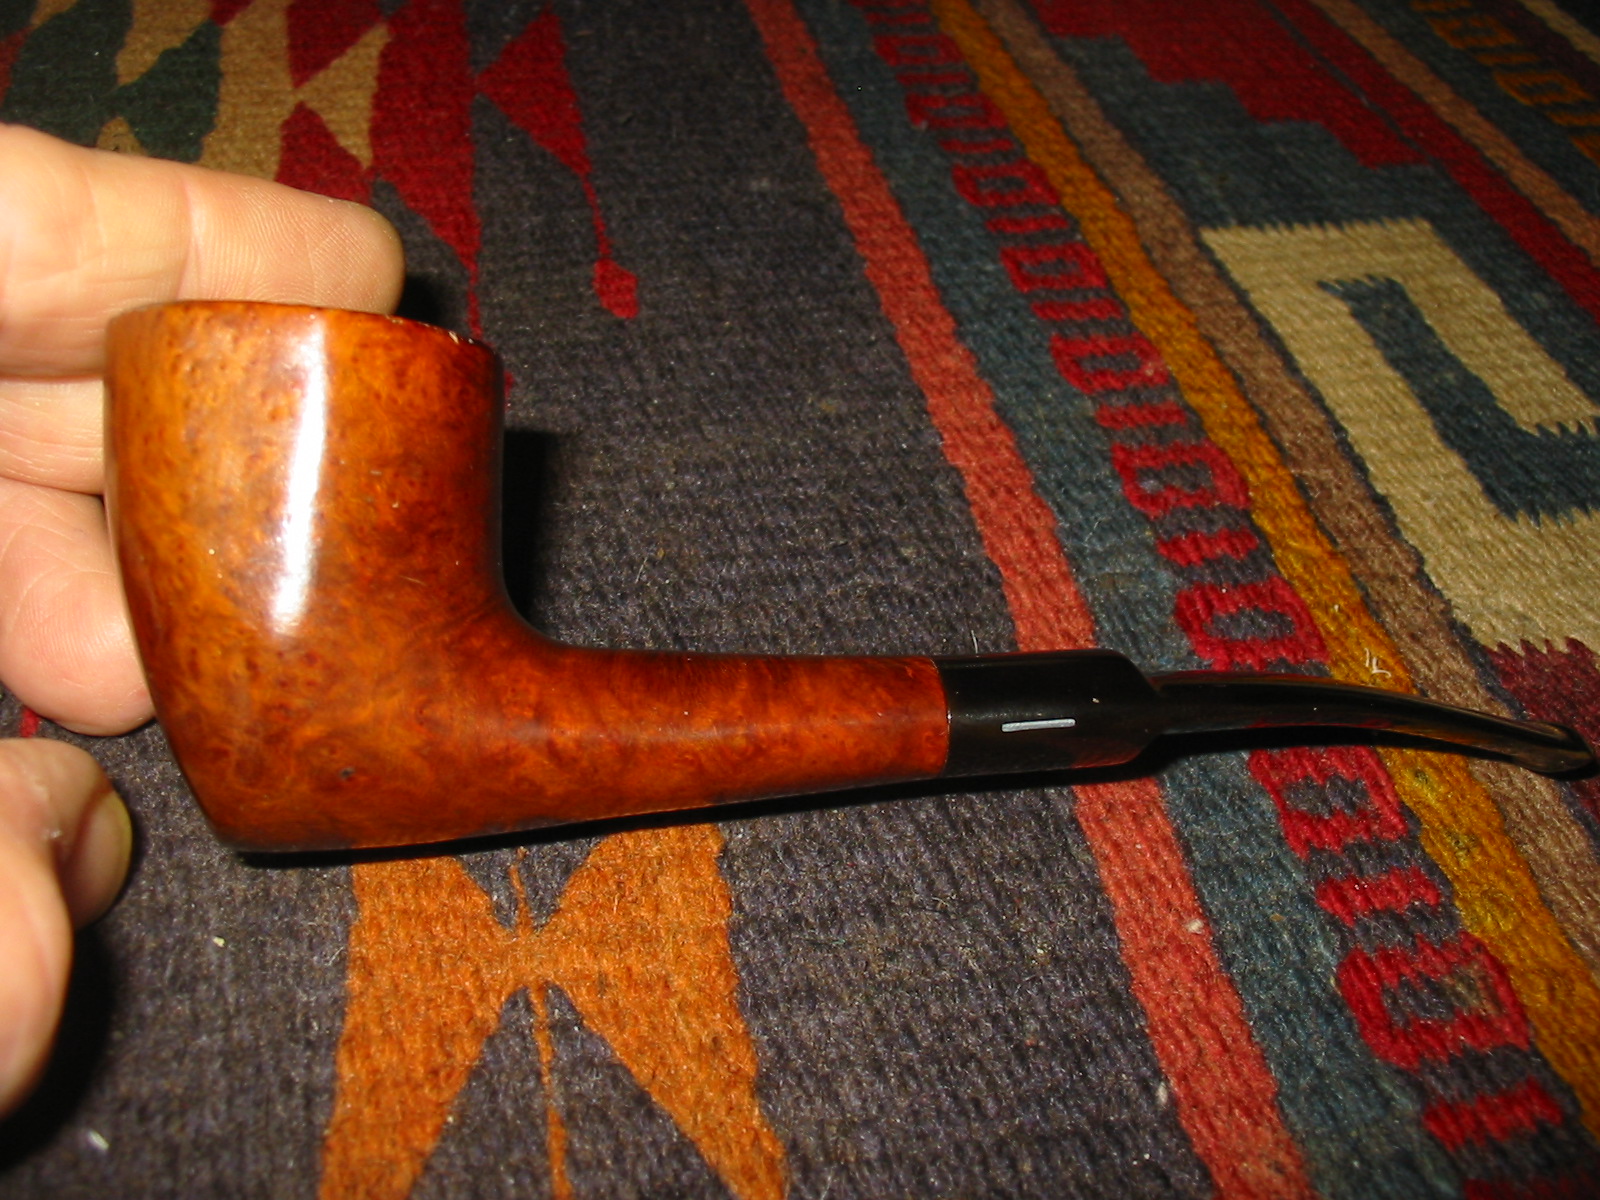
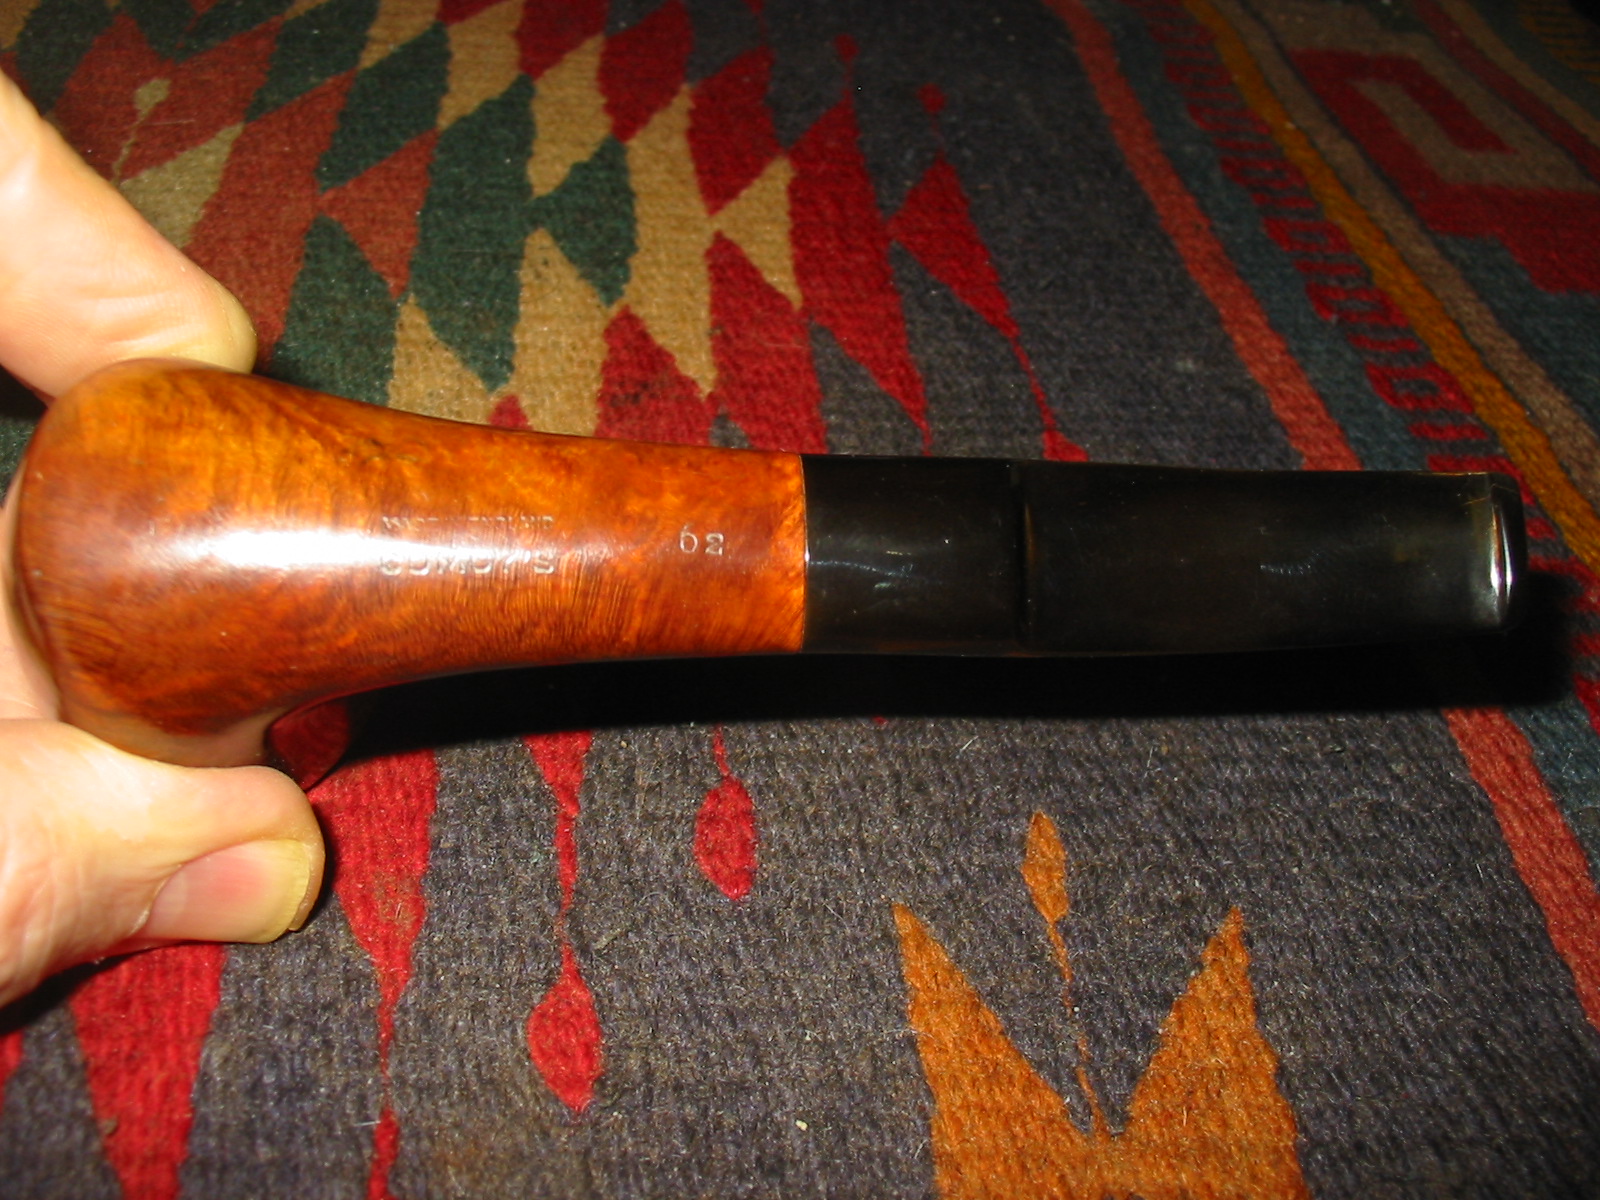
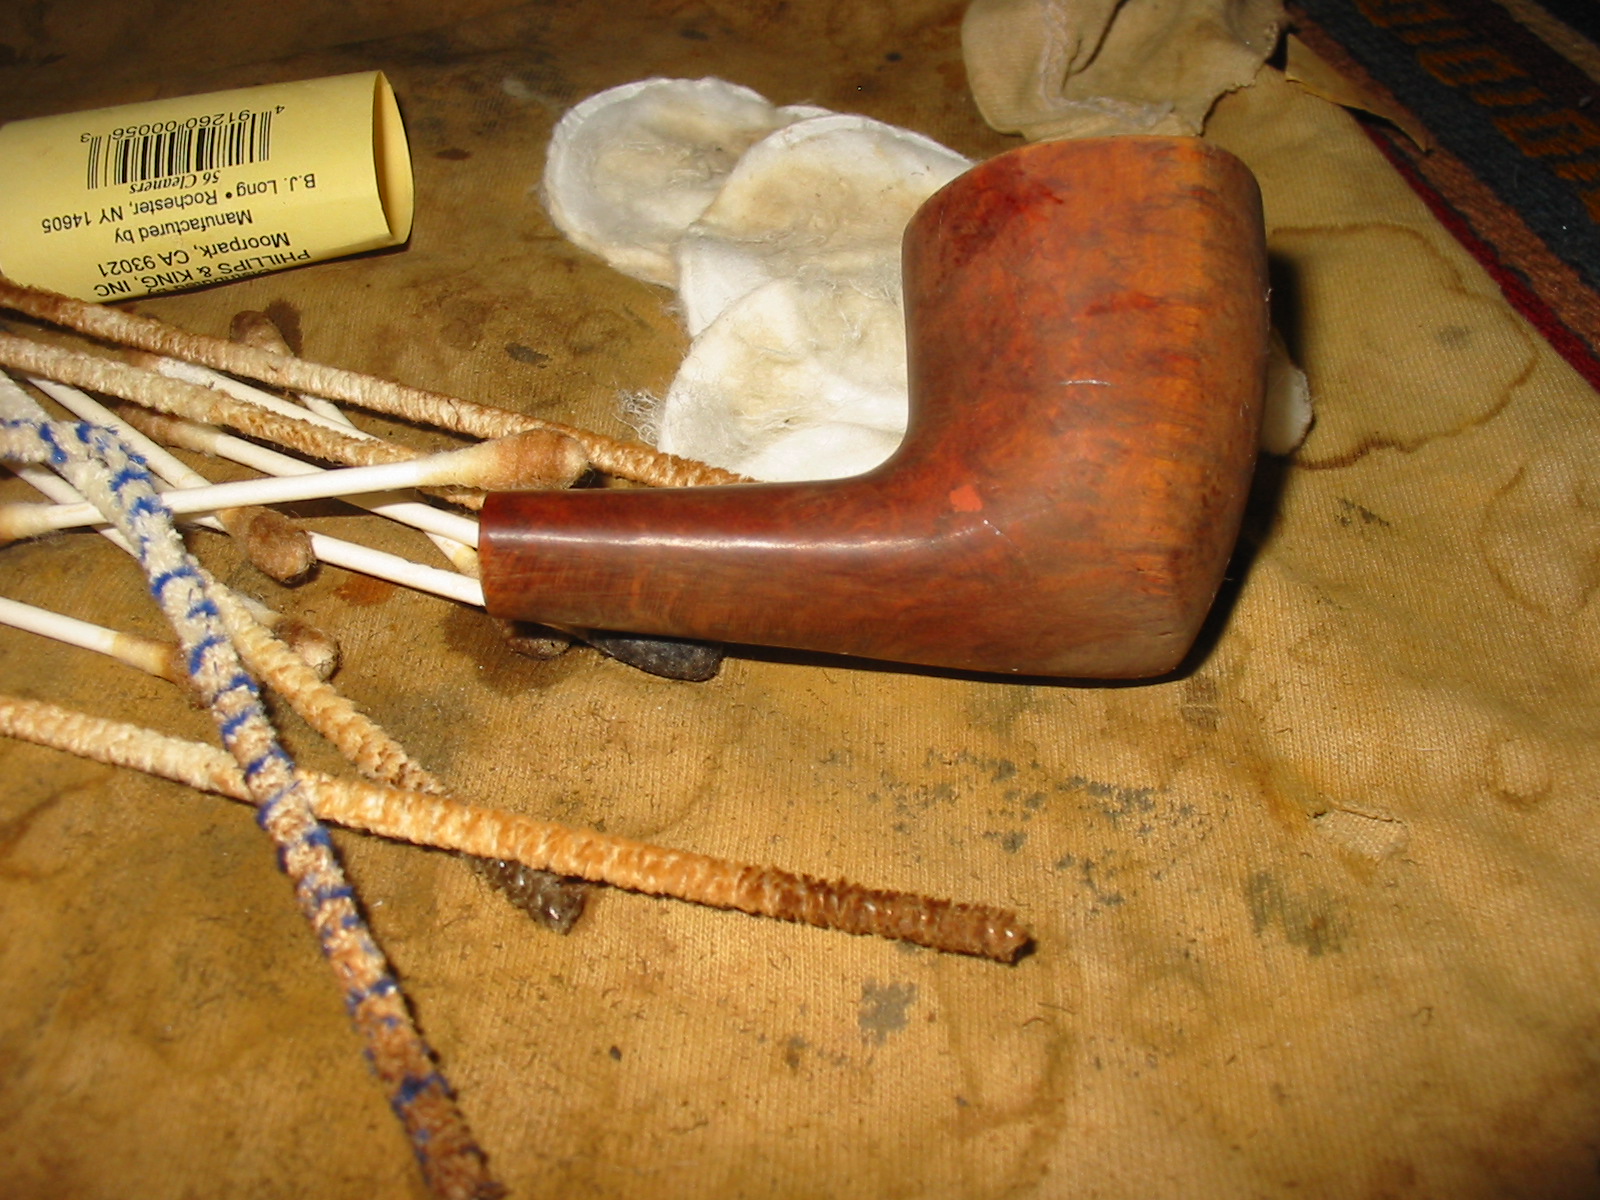
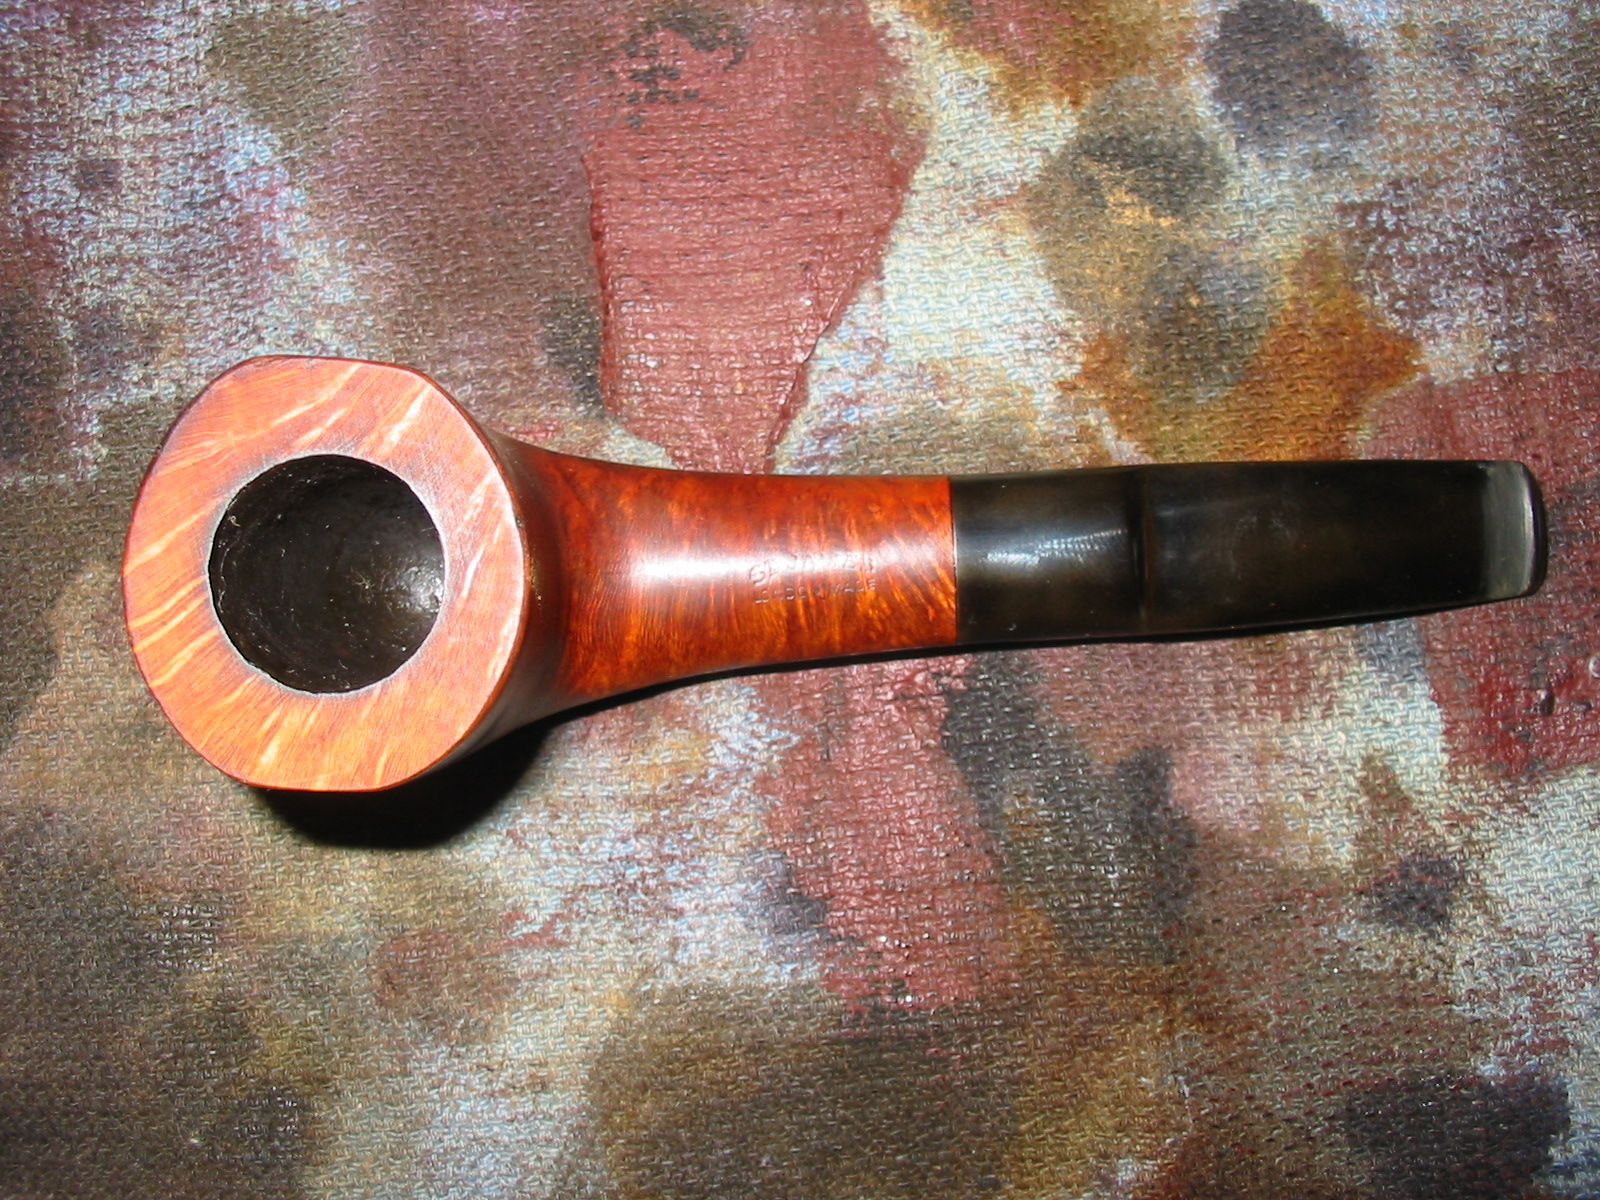
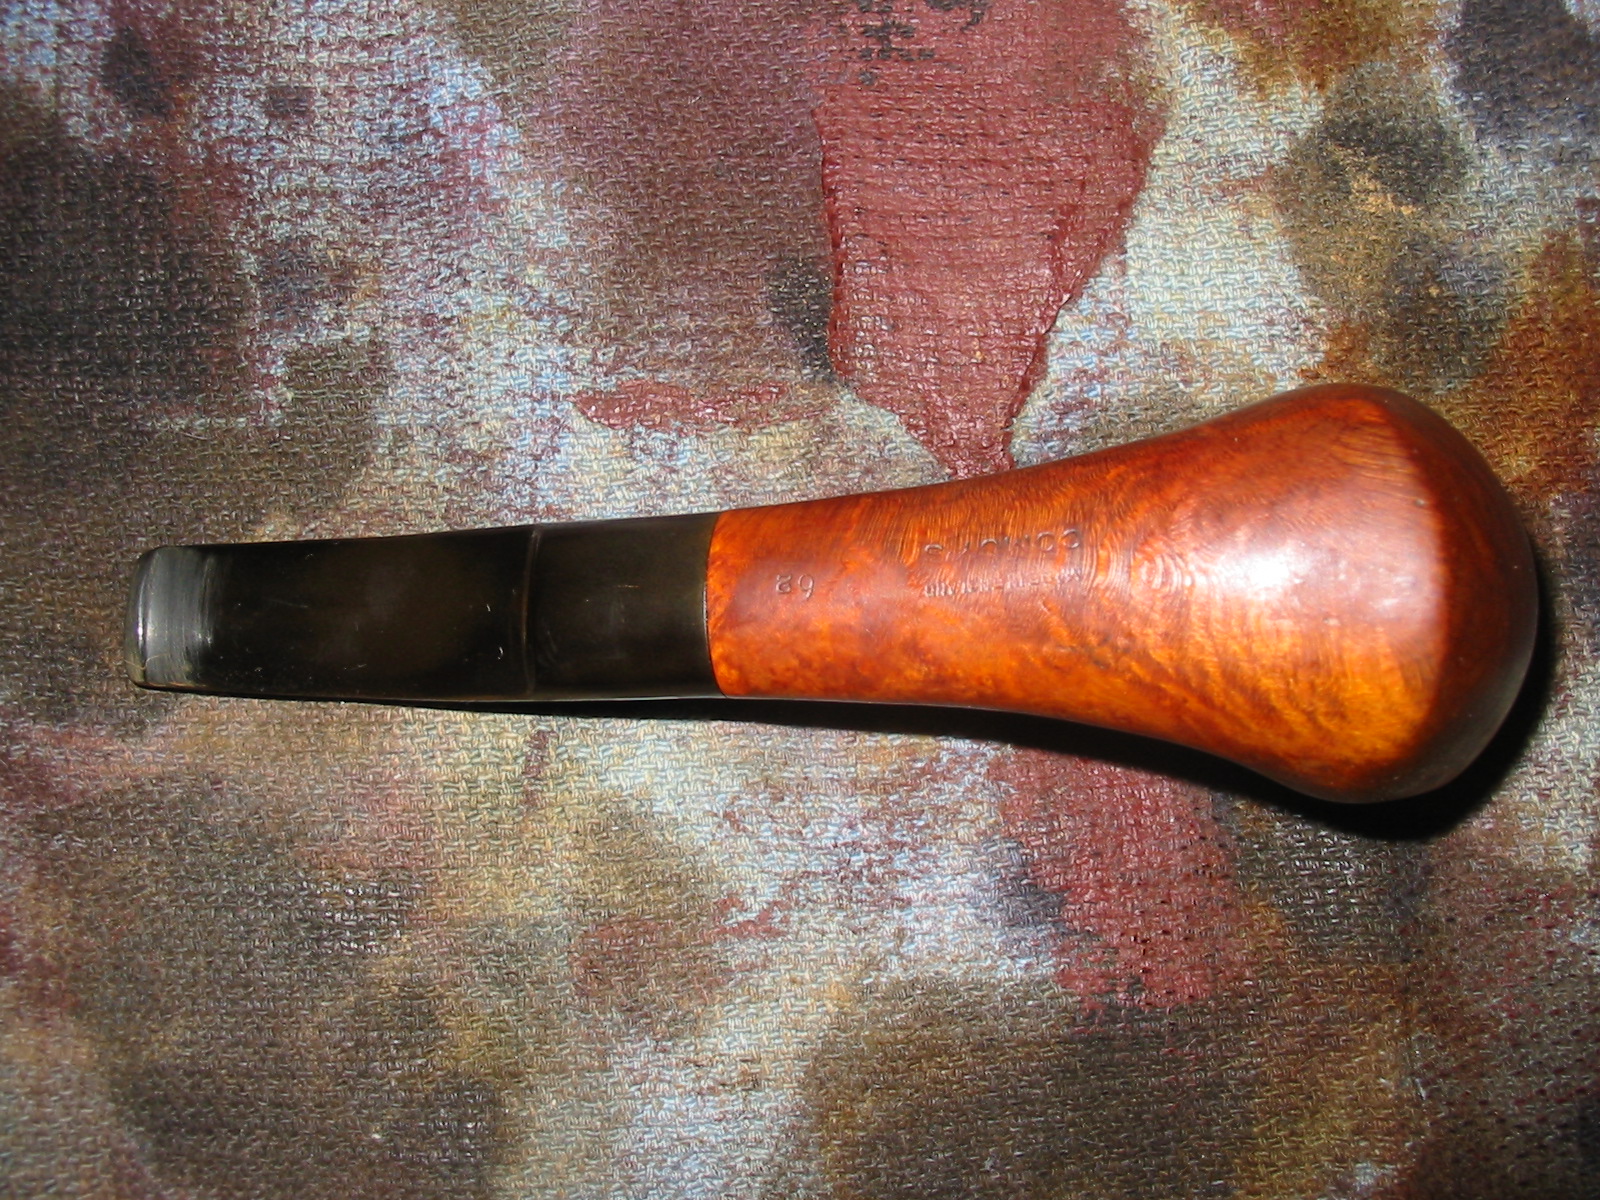
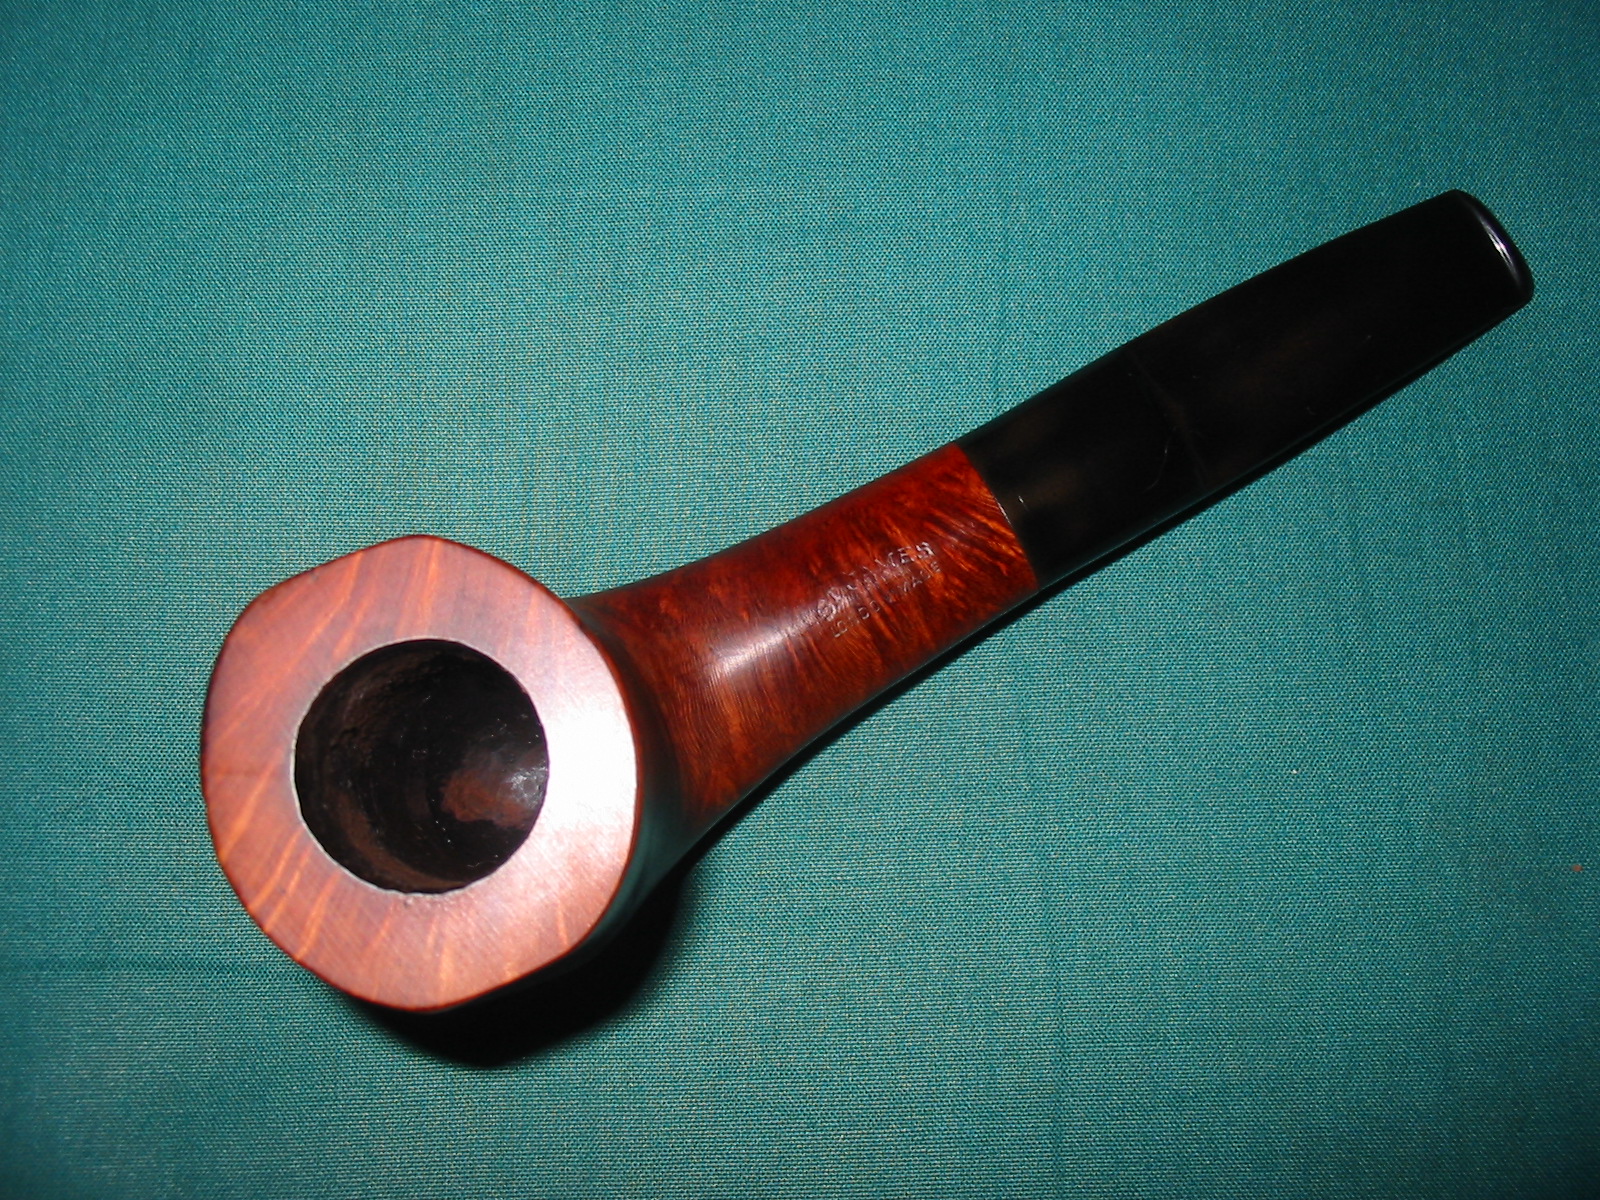
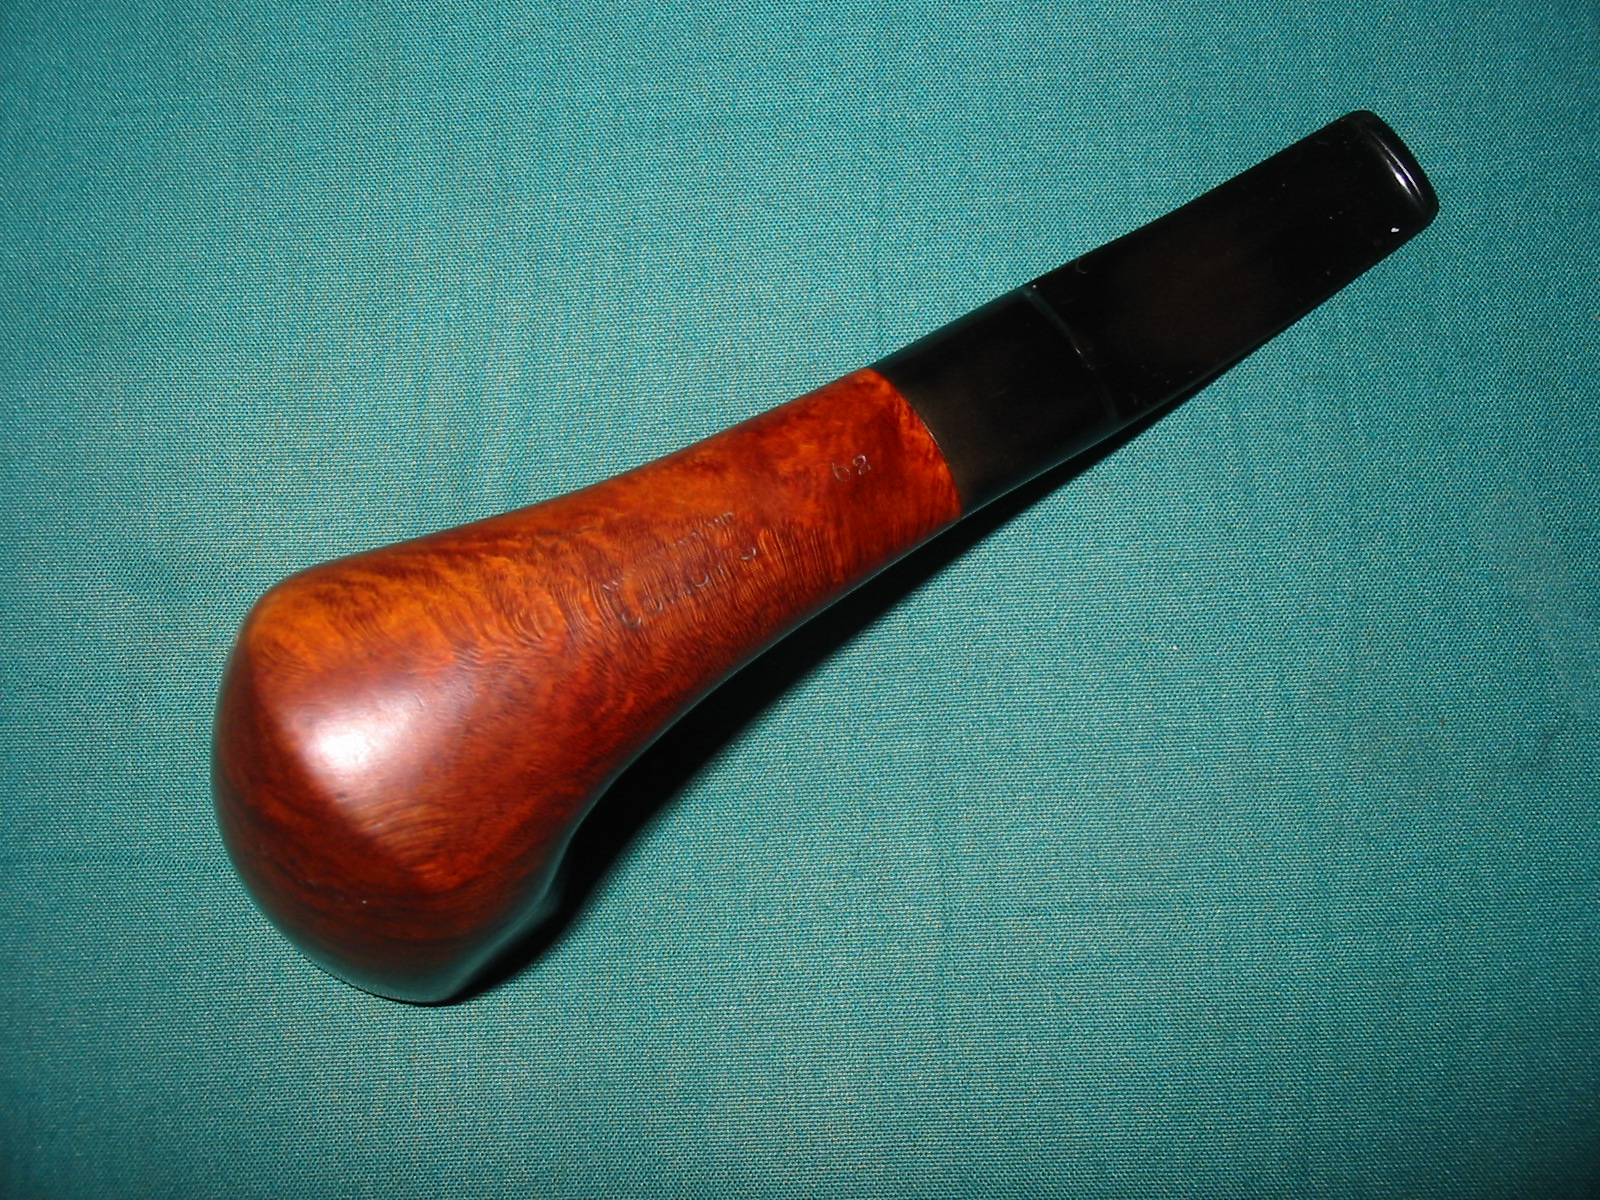
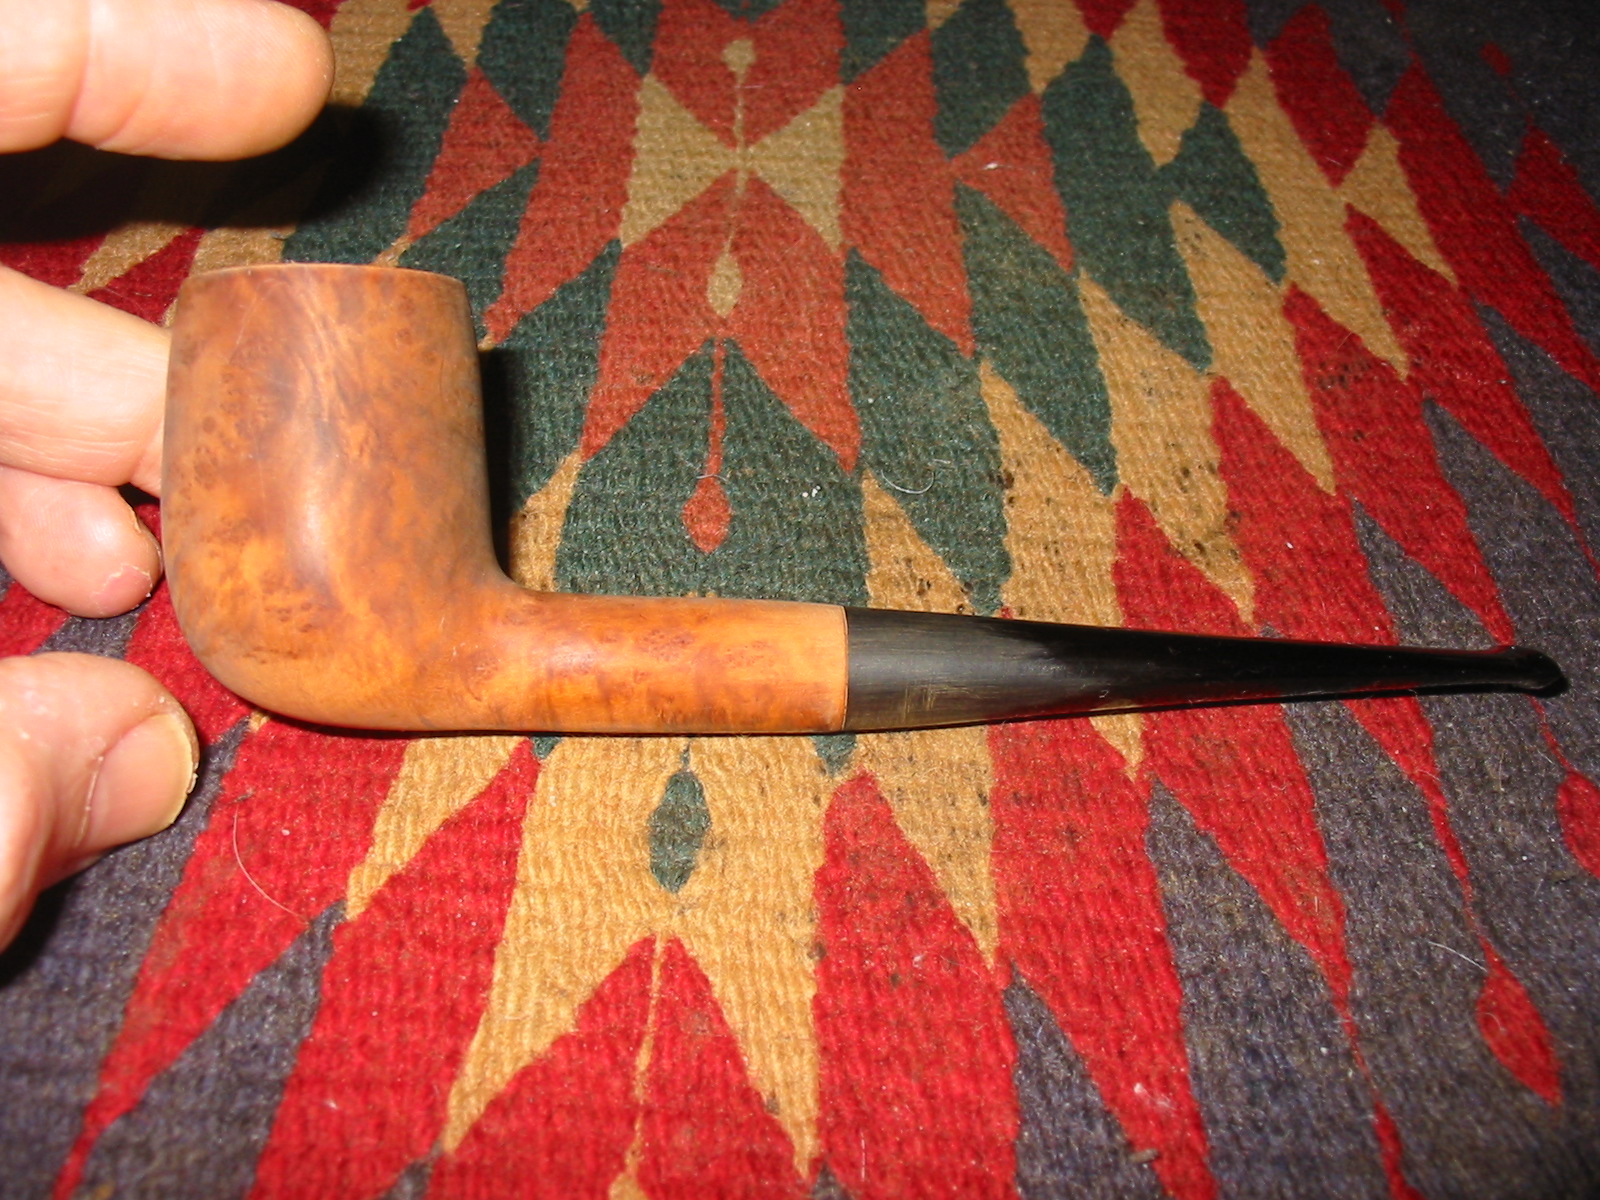
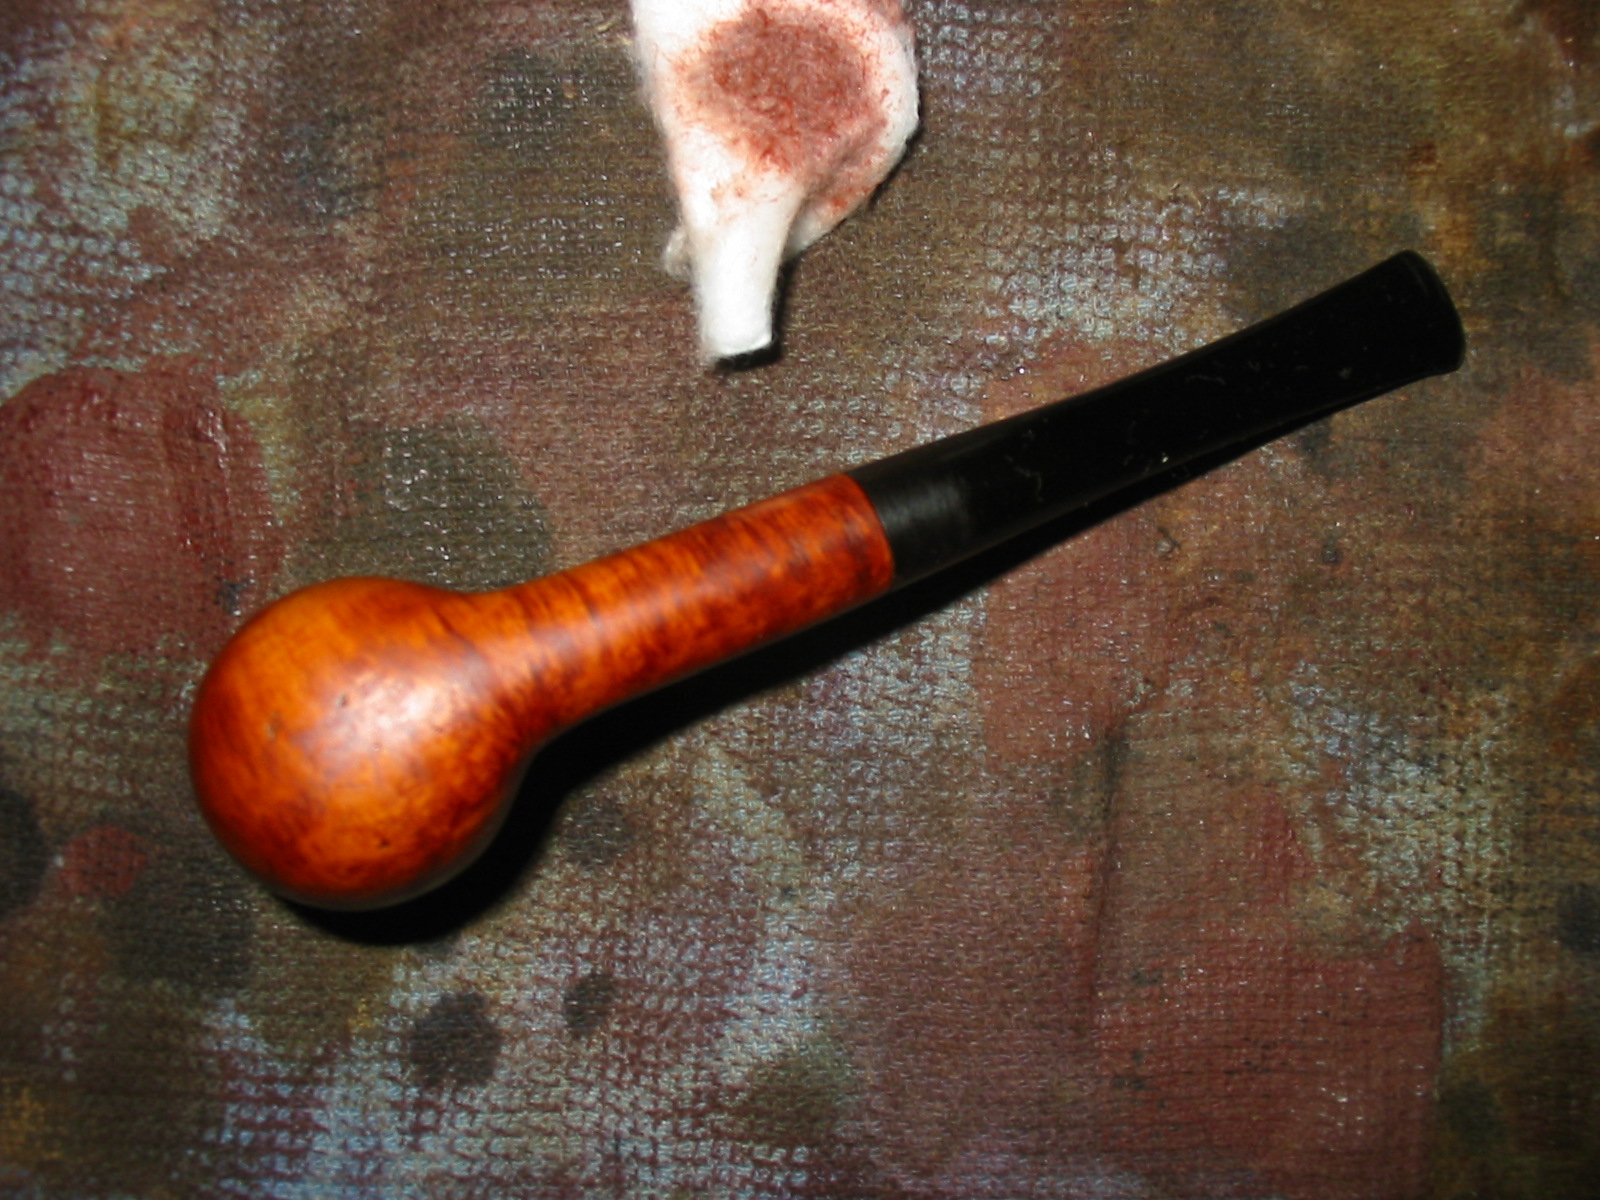
This is the last of the Vancouver Pipe Club pipes that I decided to rework. It is stamped on the bottom of the shank near the stem Royal Danish over Made in Denmark. On the right side of the shank, mid shank it is stamped 29 which I assume is the shape number. Like the others in this lot it was coated with a thick coat of varnish. The finish under the varnish was dirty and there were finger prints in the varnish coat – like it had been handled while wet. The rim looked like someone had used it for a hammer and had a thick coat of tars on the rim under the varnish. Not only were there marks on the surface of the rim but the inner and outer edges were also rough and damaged. The stem is a replacement and it was poorly fitted to the shank. The person who had restemmed it had left the shank pitted with small divots and out of round. The stem itself was no longer round but in different spots than the shank. It had not been sanded on the underside at the shank because of the close stamping on the end of the shank. Instead it had ripples and grooves left in the vulcanite that made it feel very rough in that portion of the stem. The bowl was coated with the same black rubbery substance.
IMG_4373

IMG_4375

IMG_4378

IMG_4379

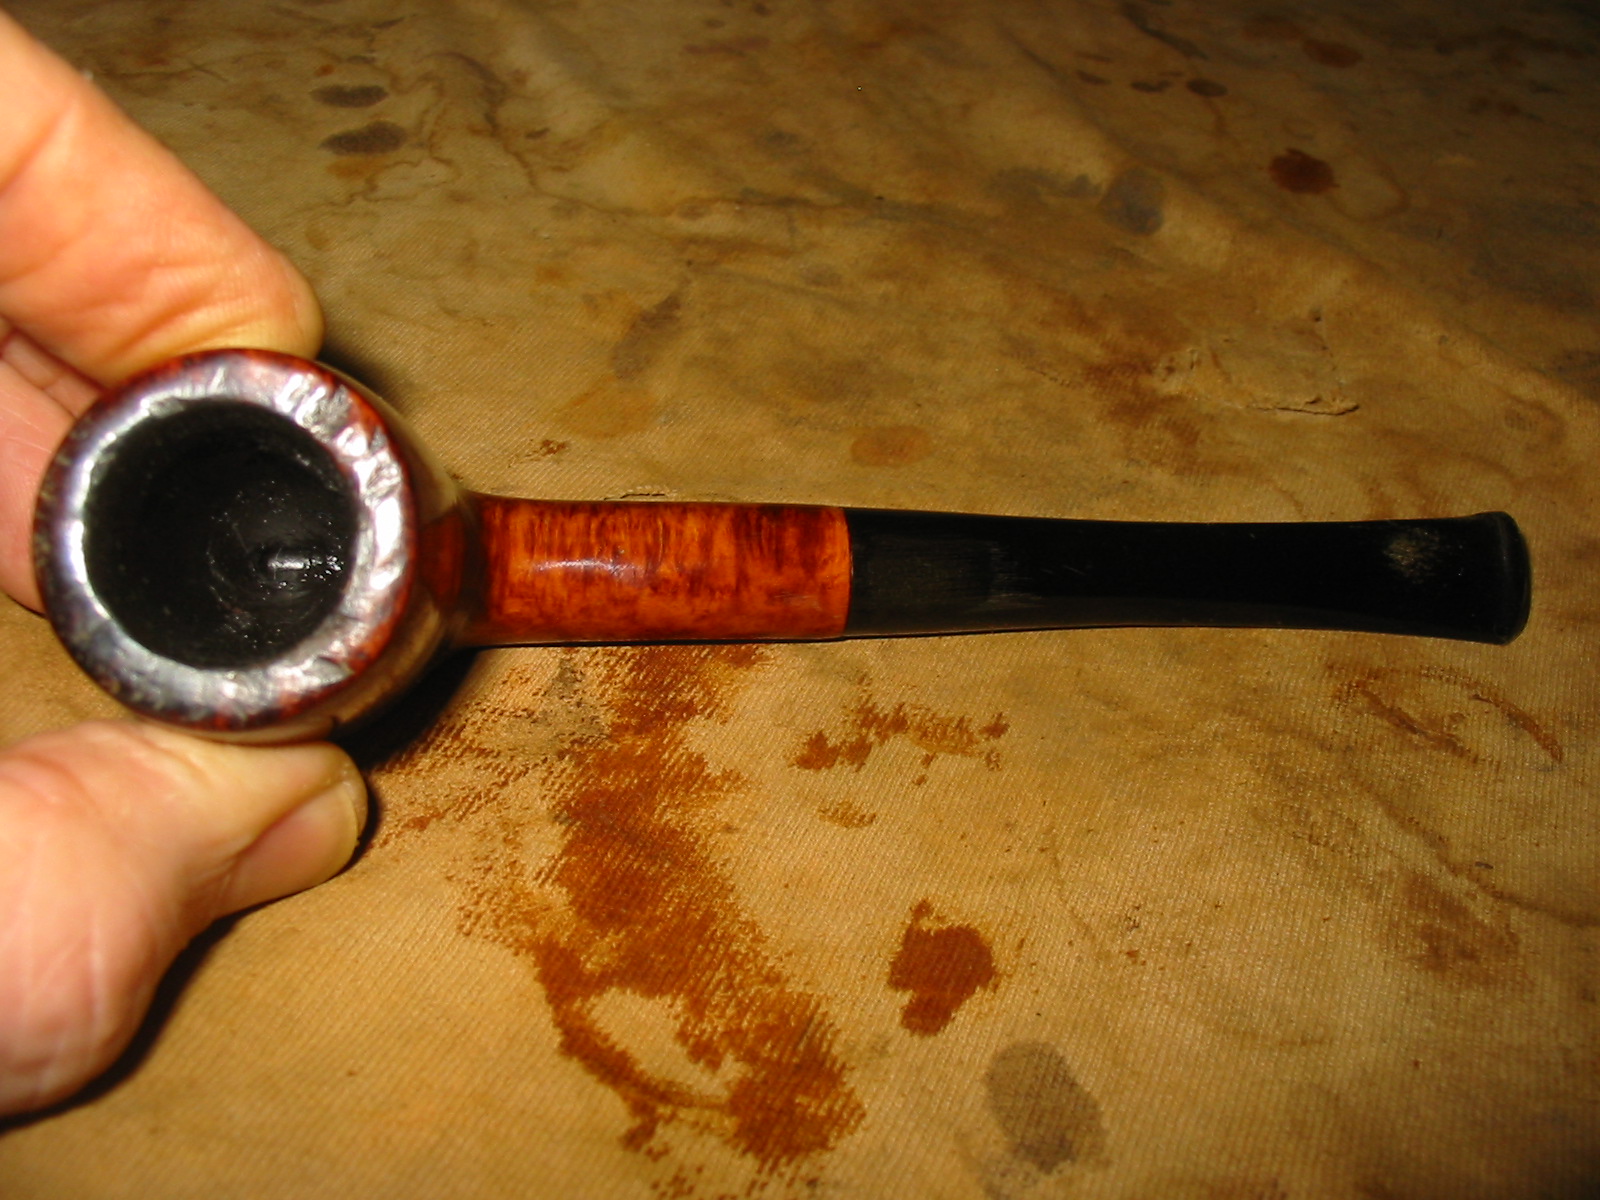
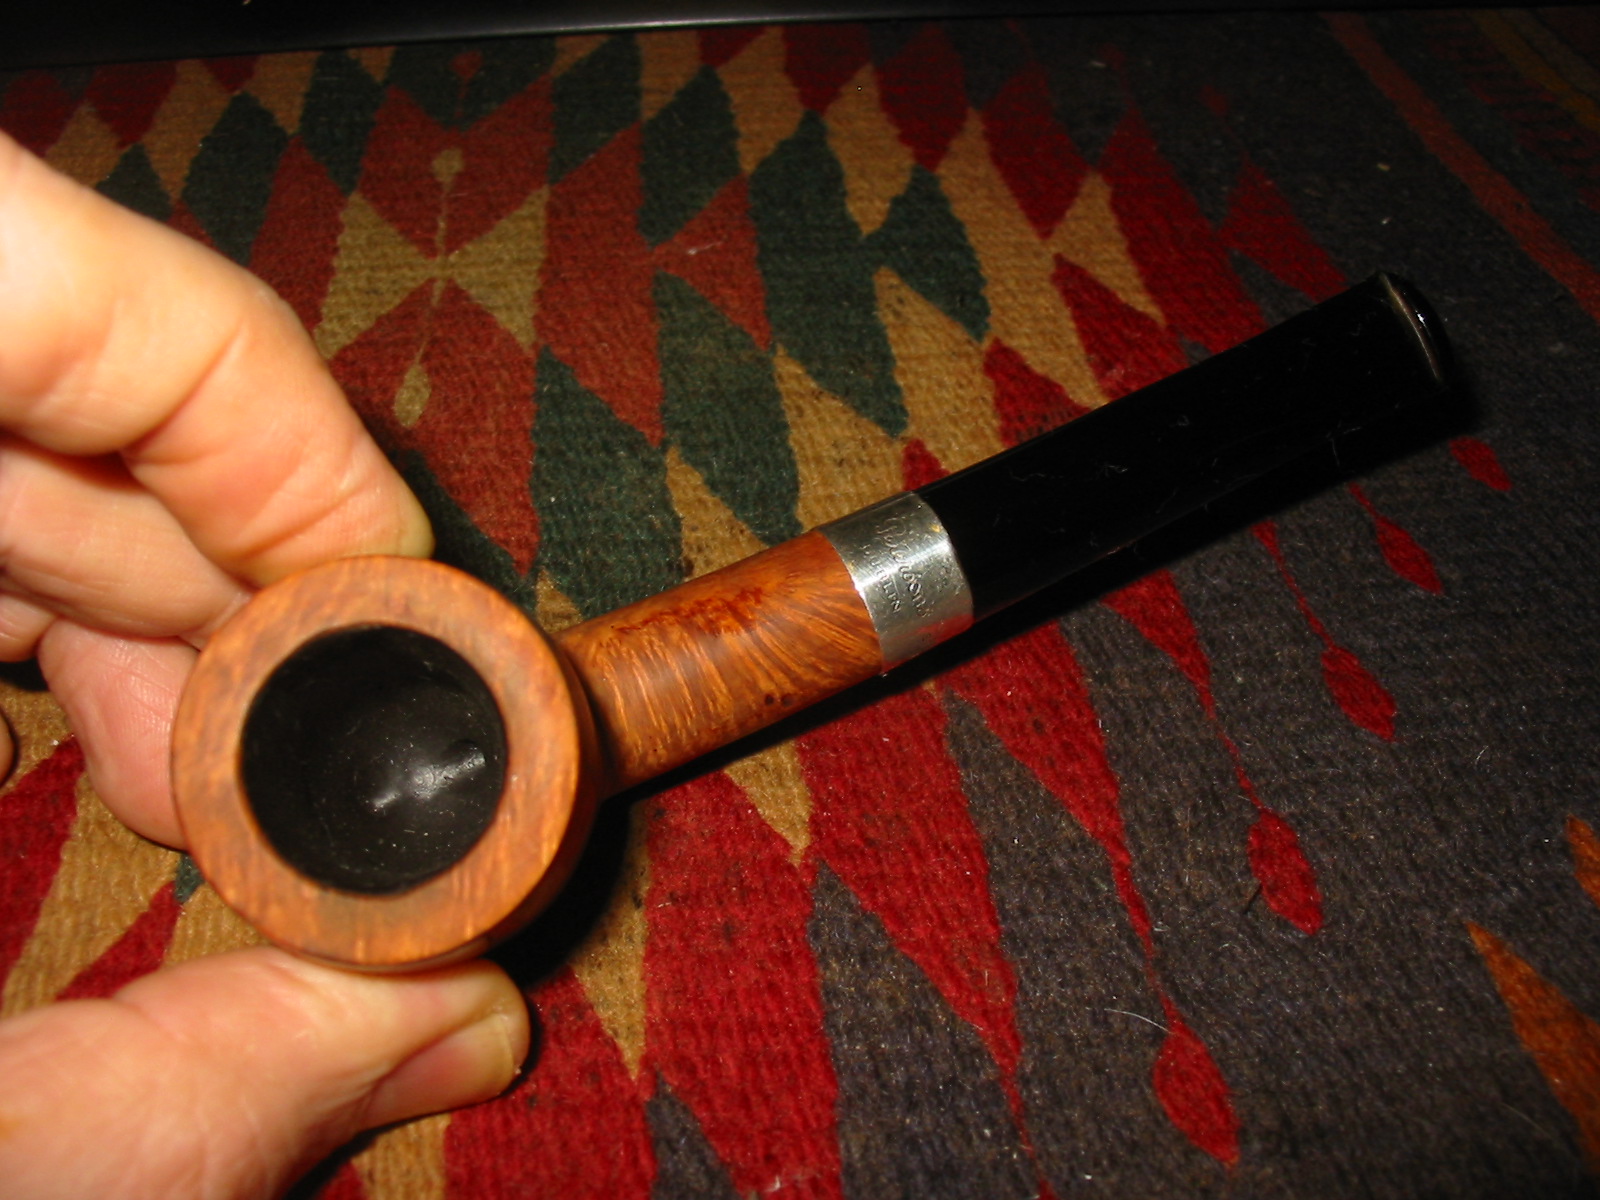
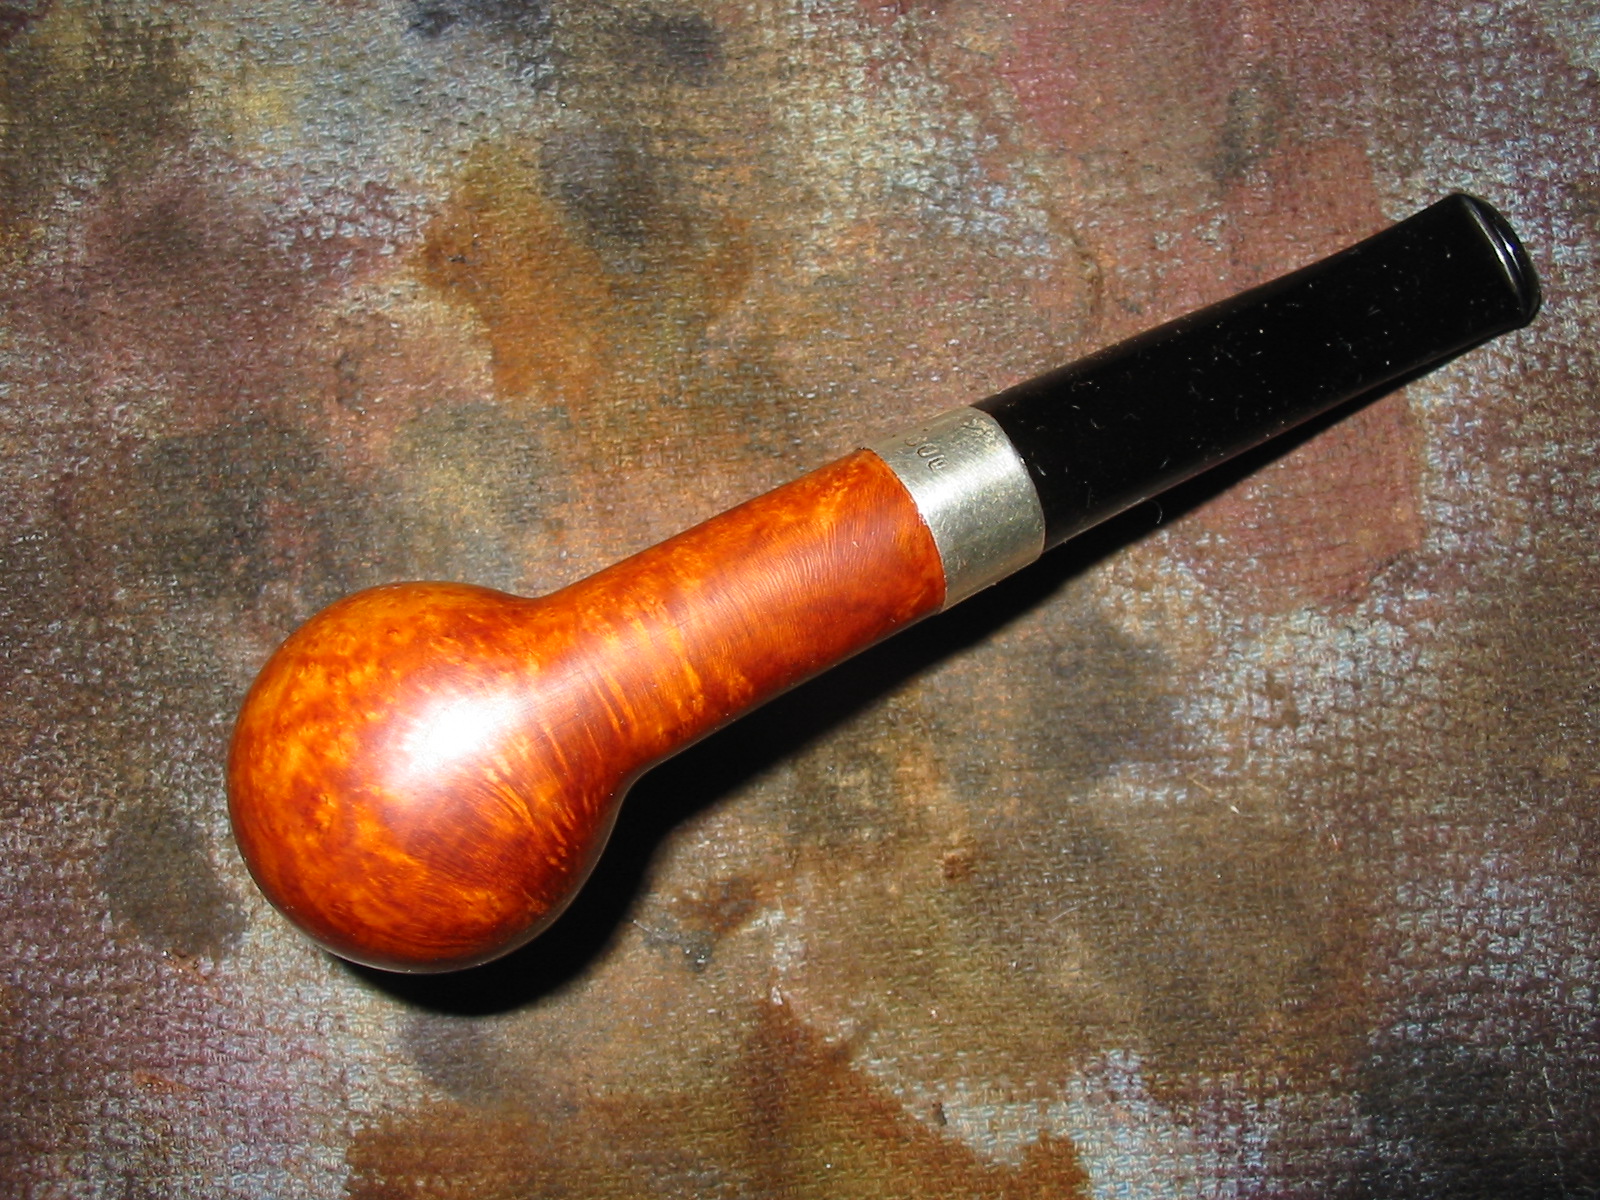
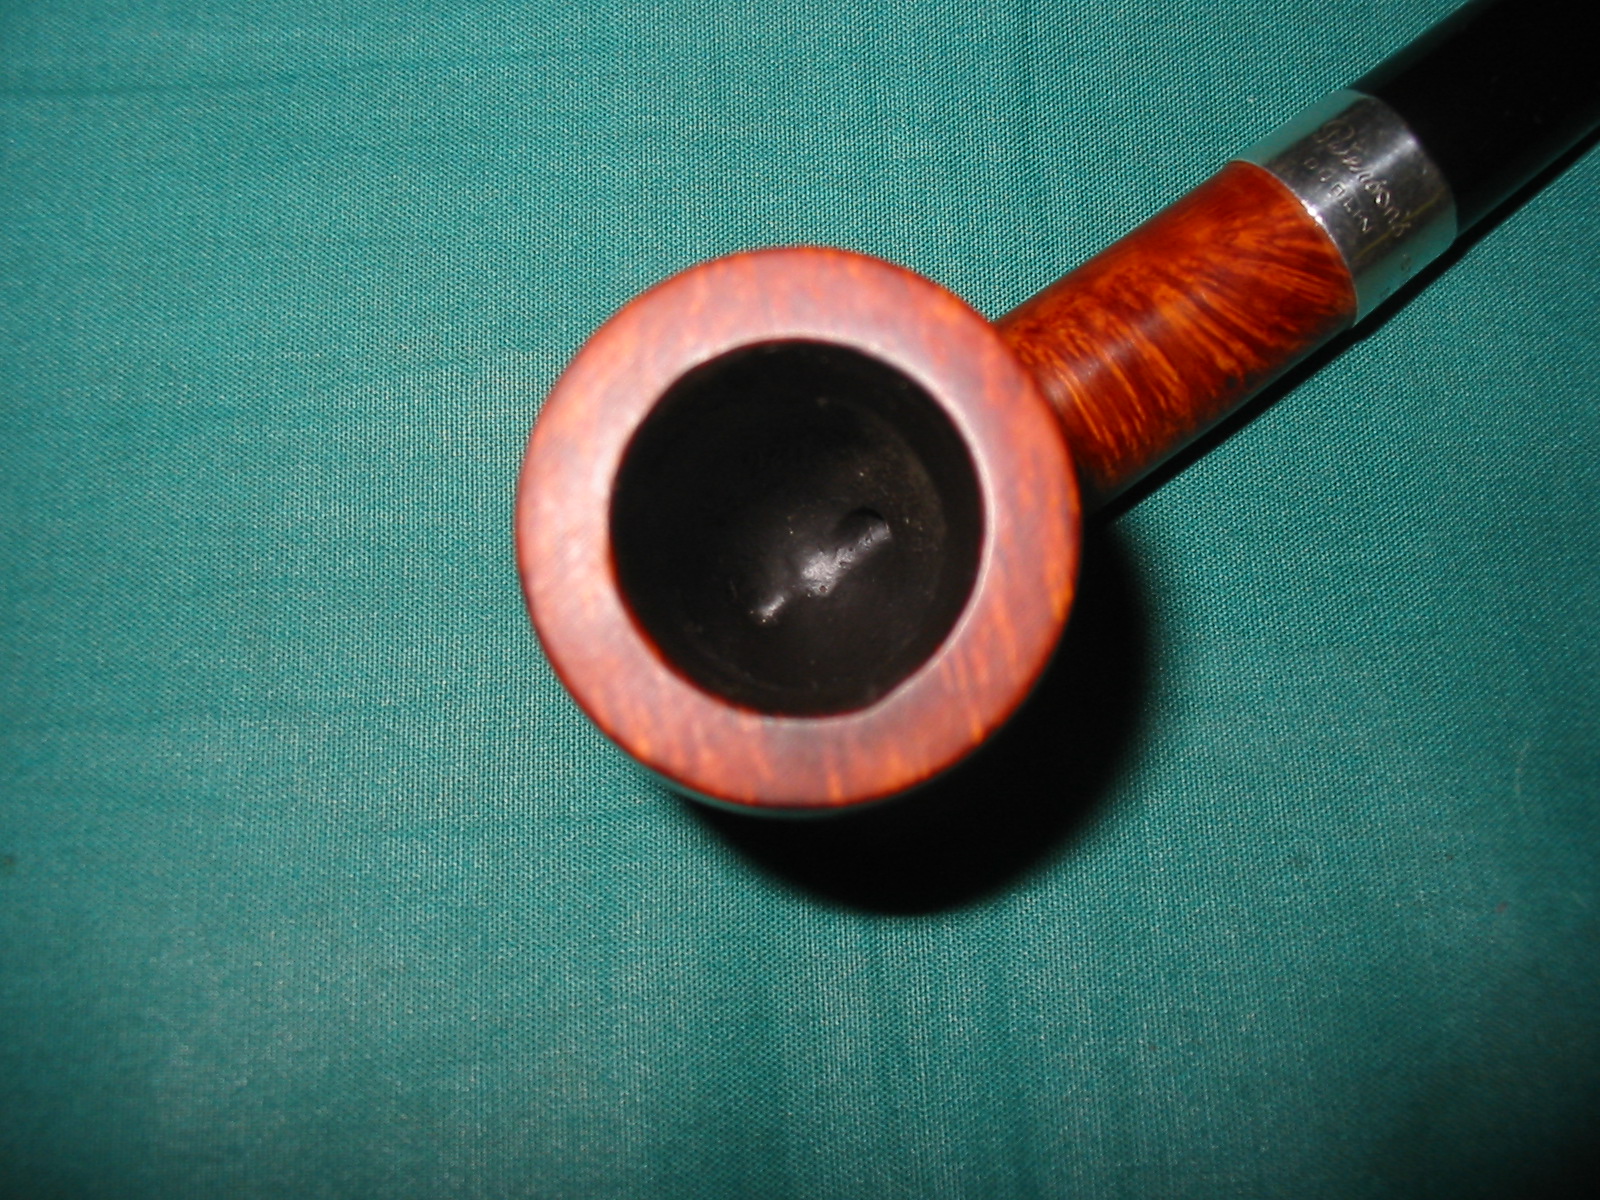
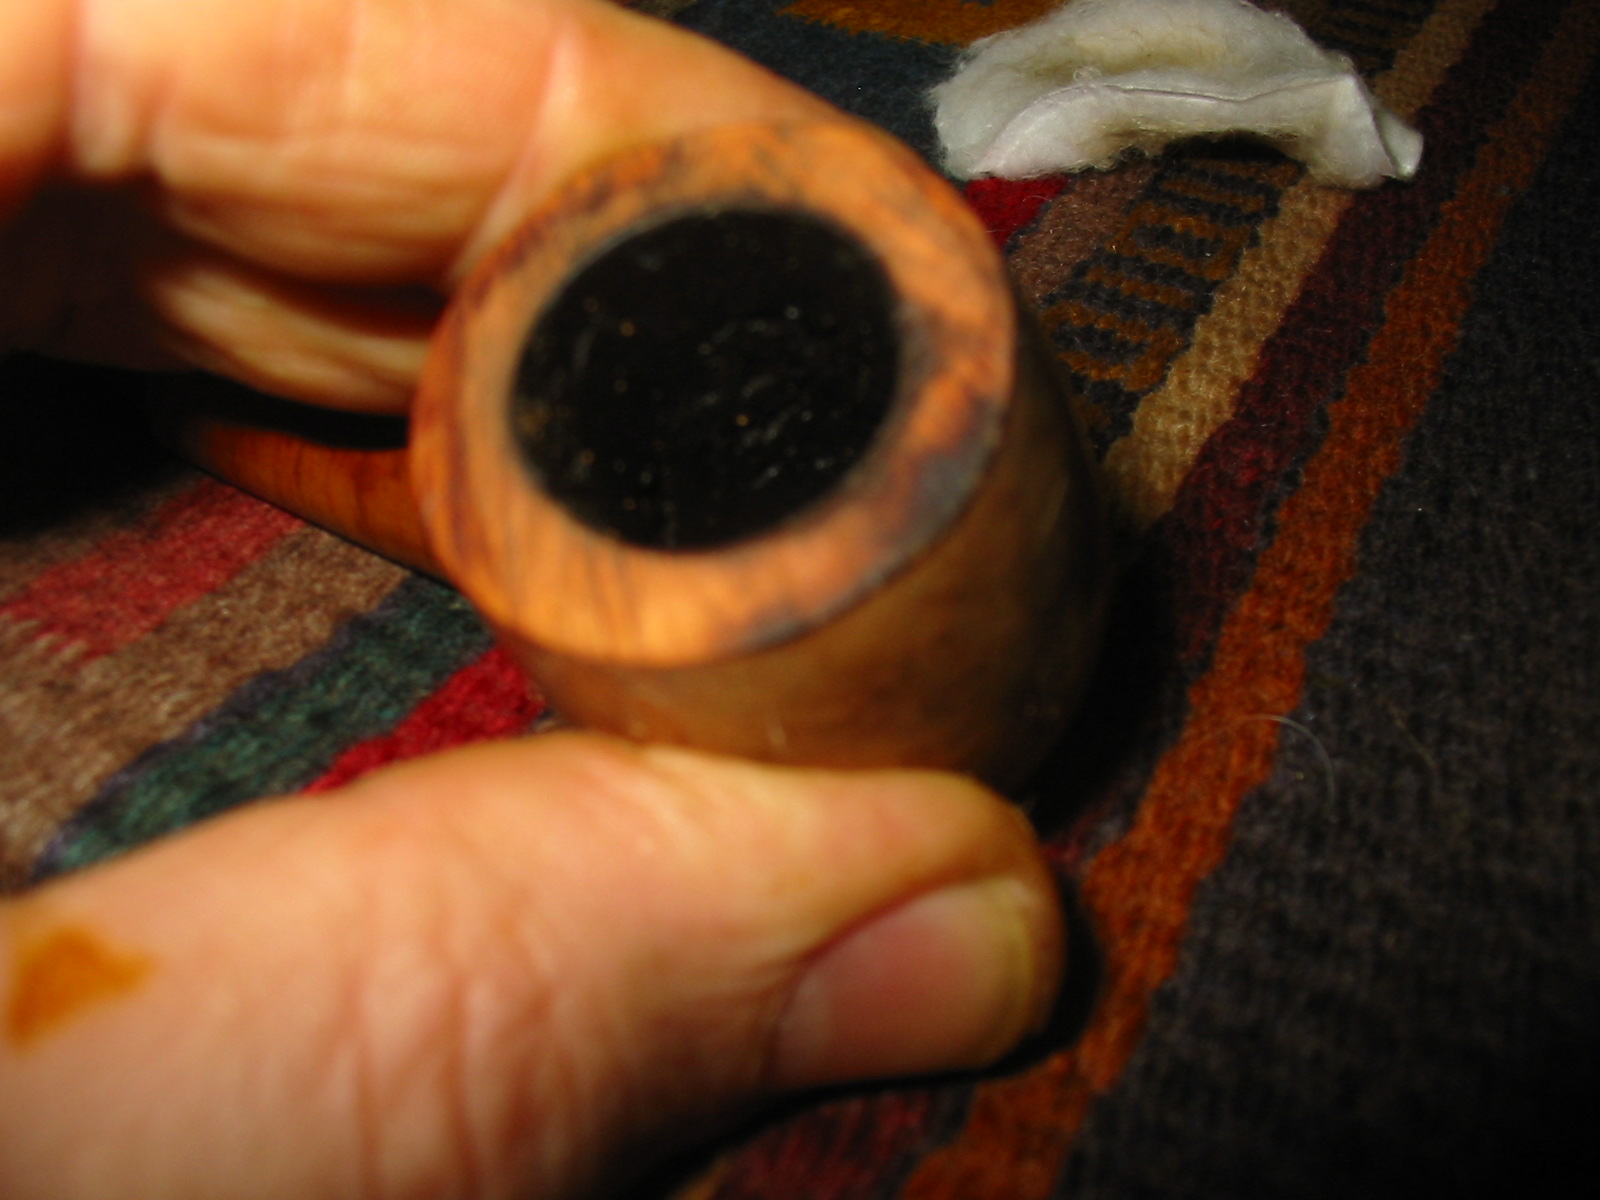
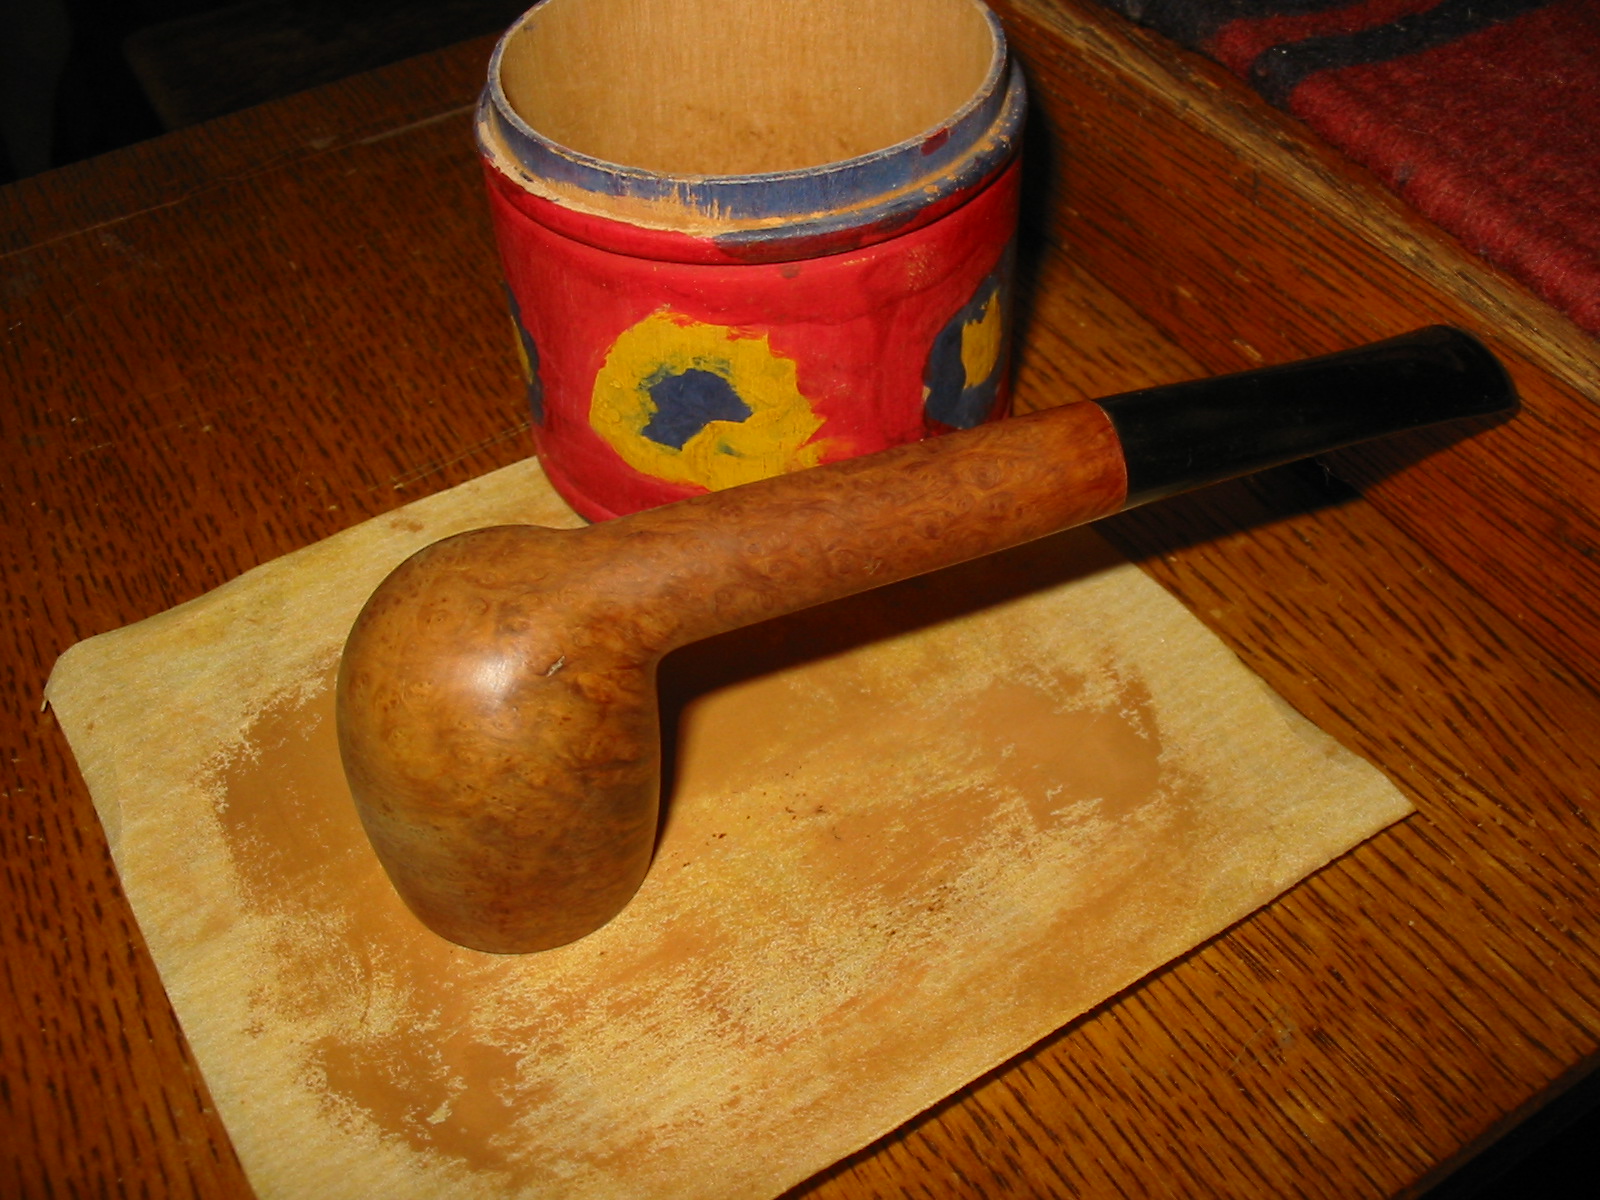
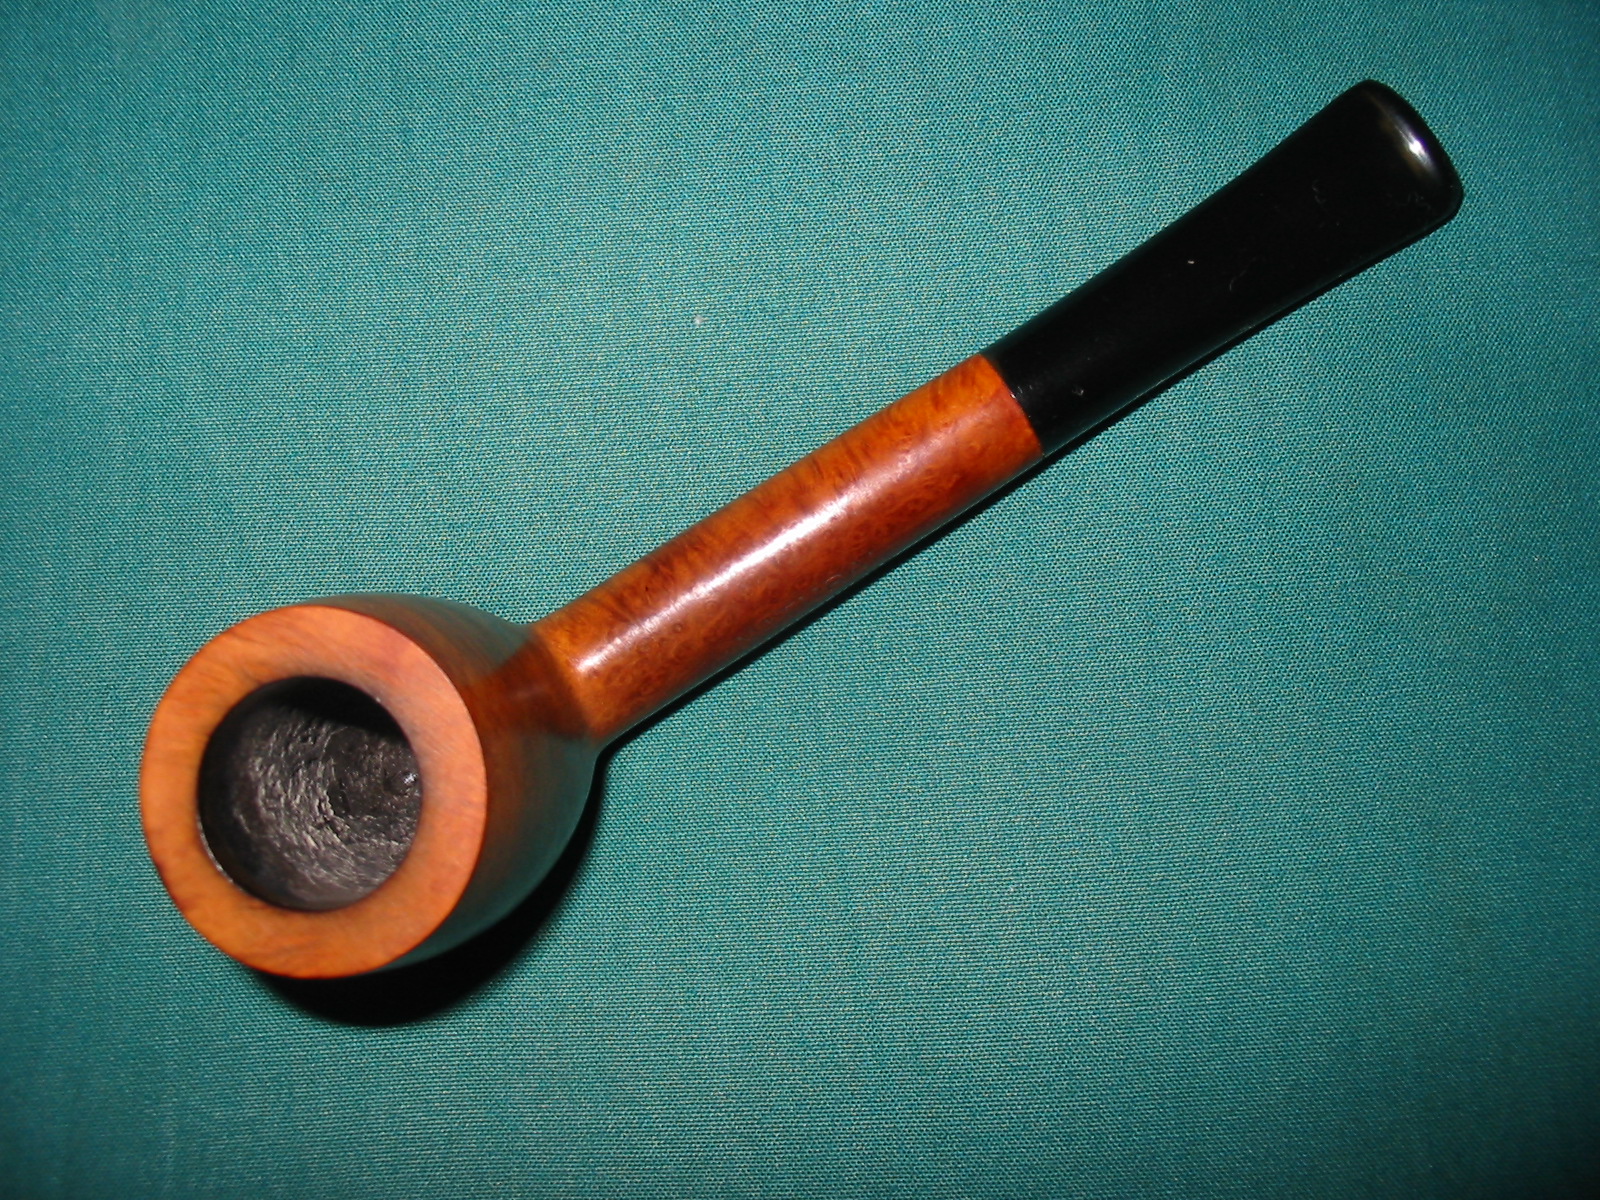
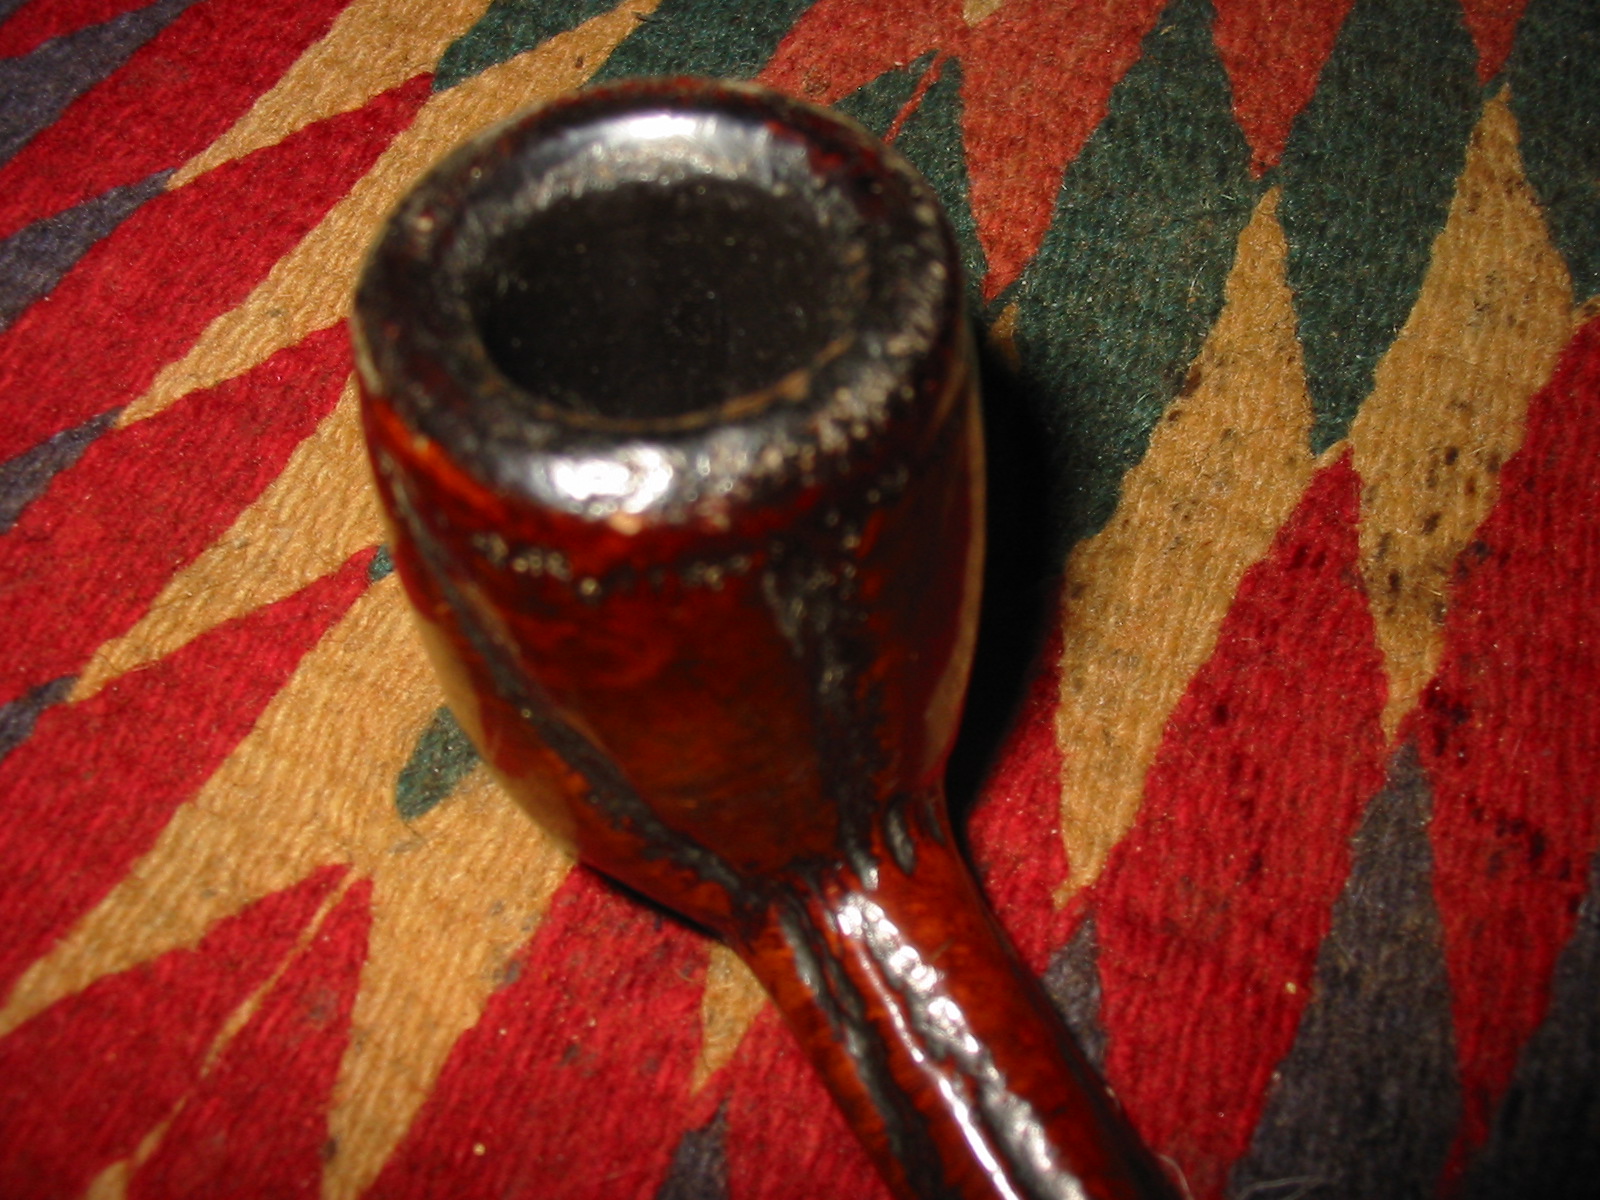
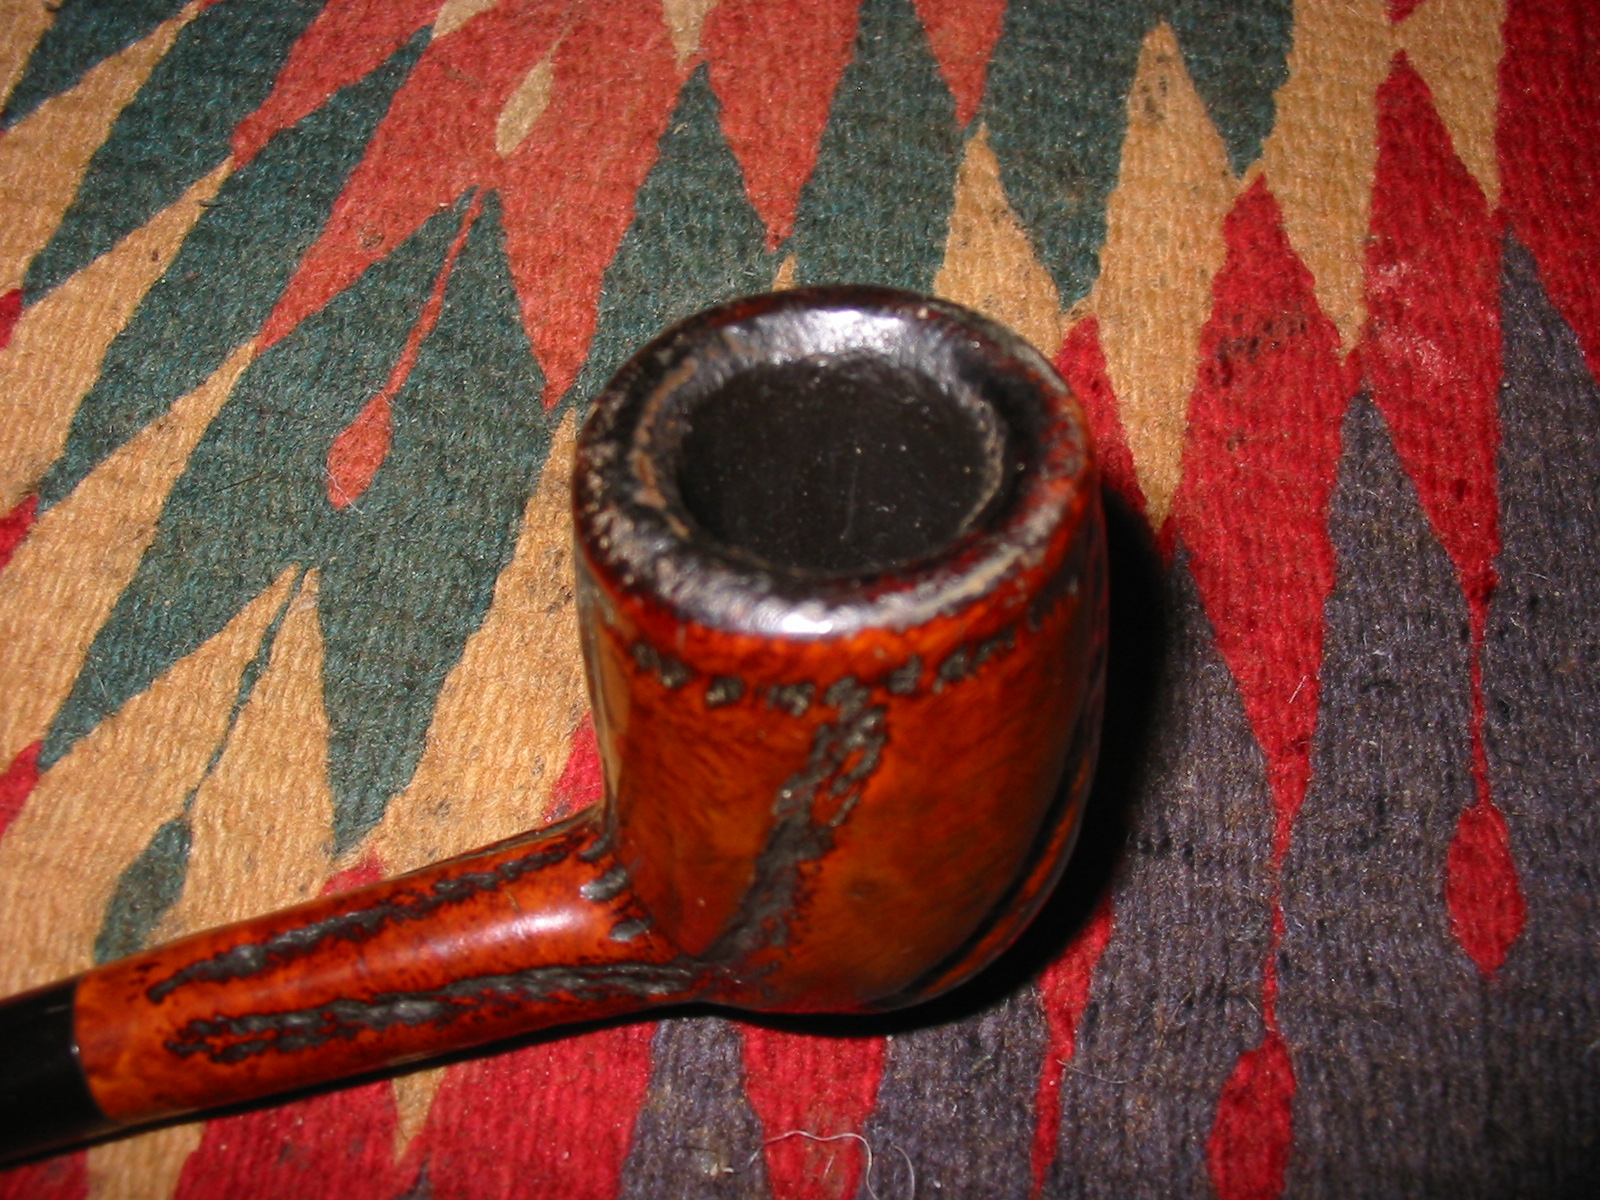
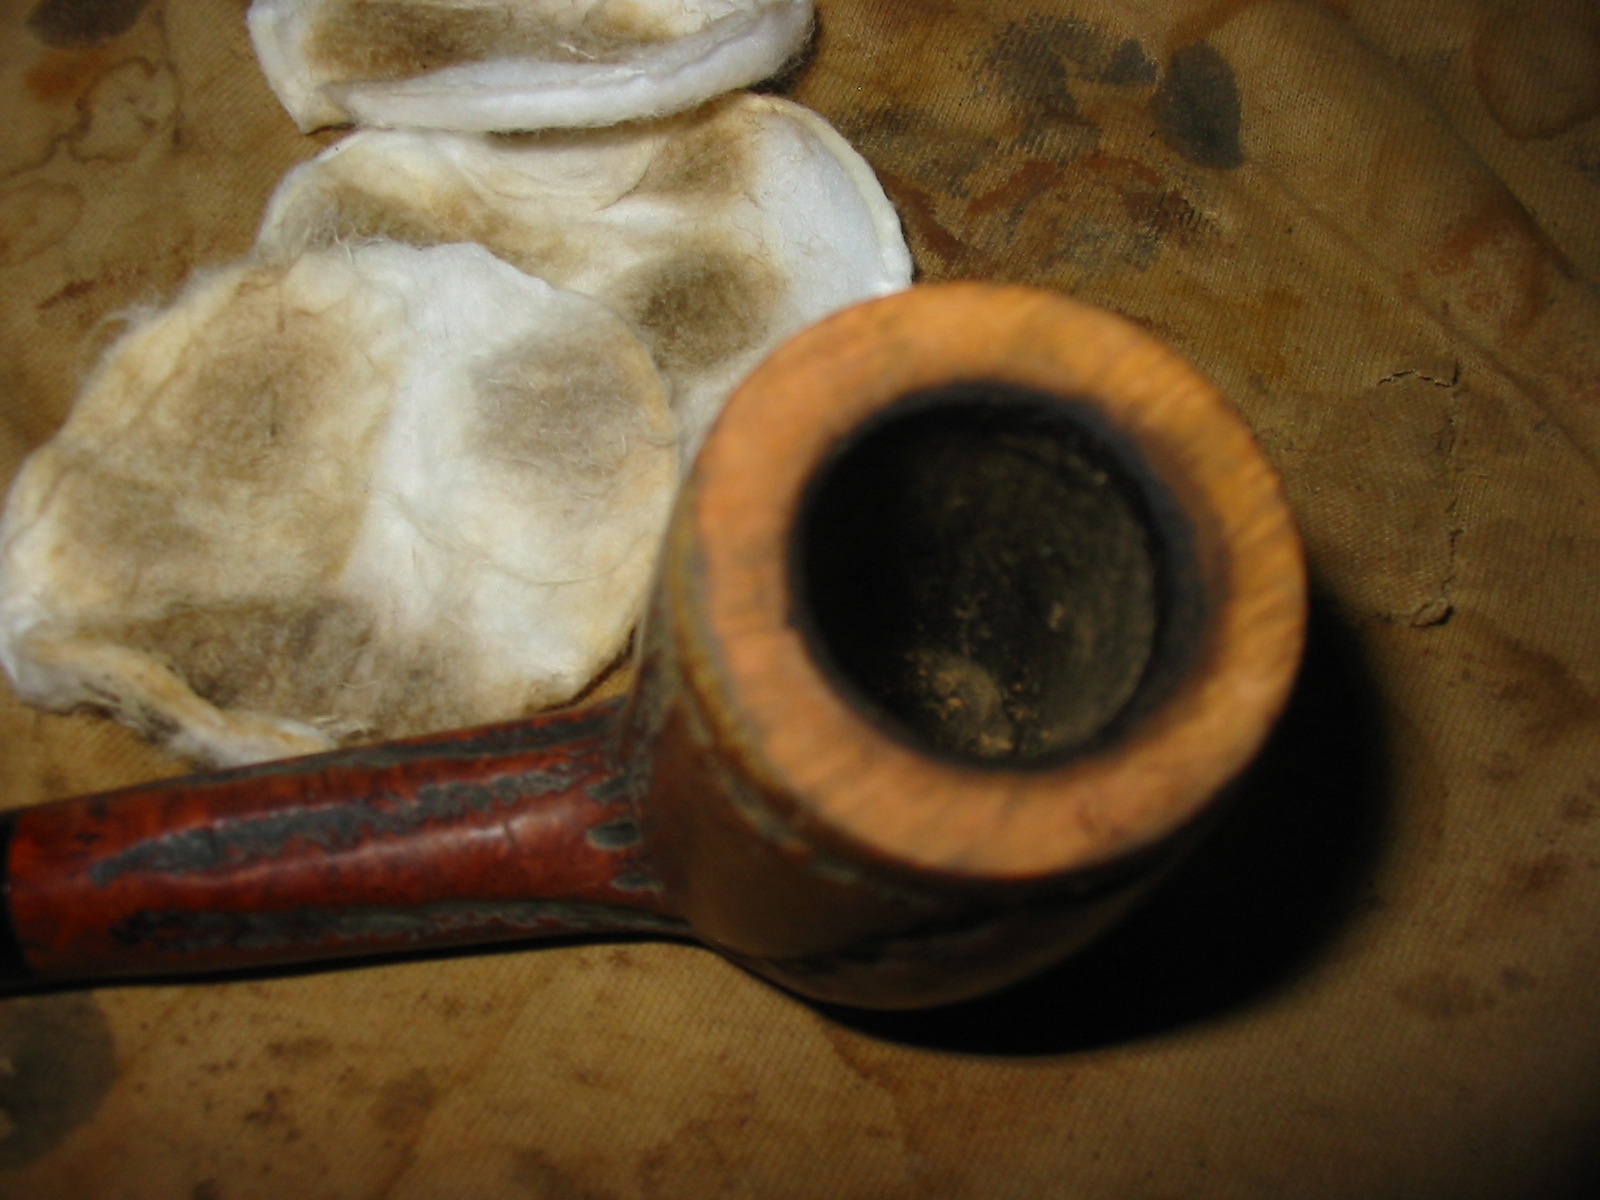
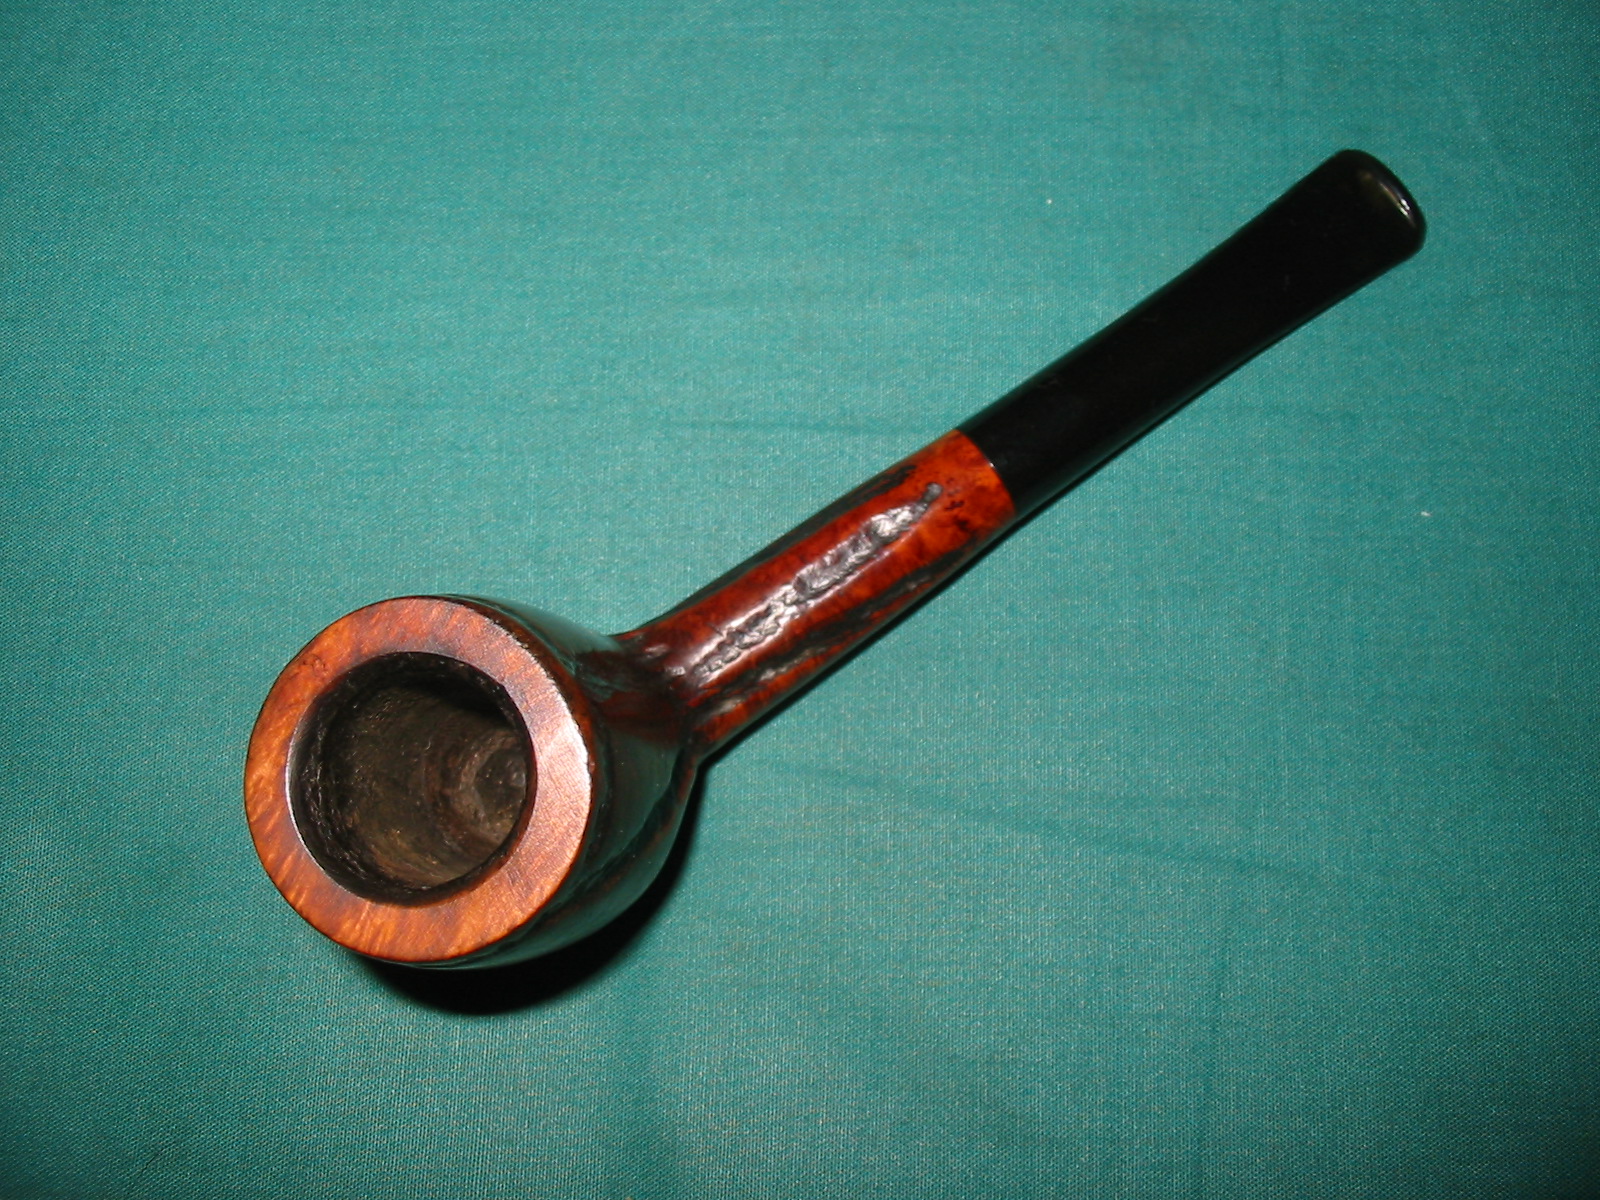
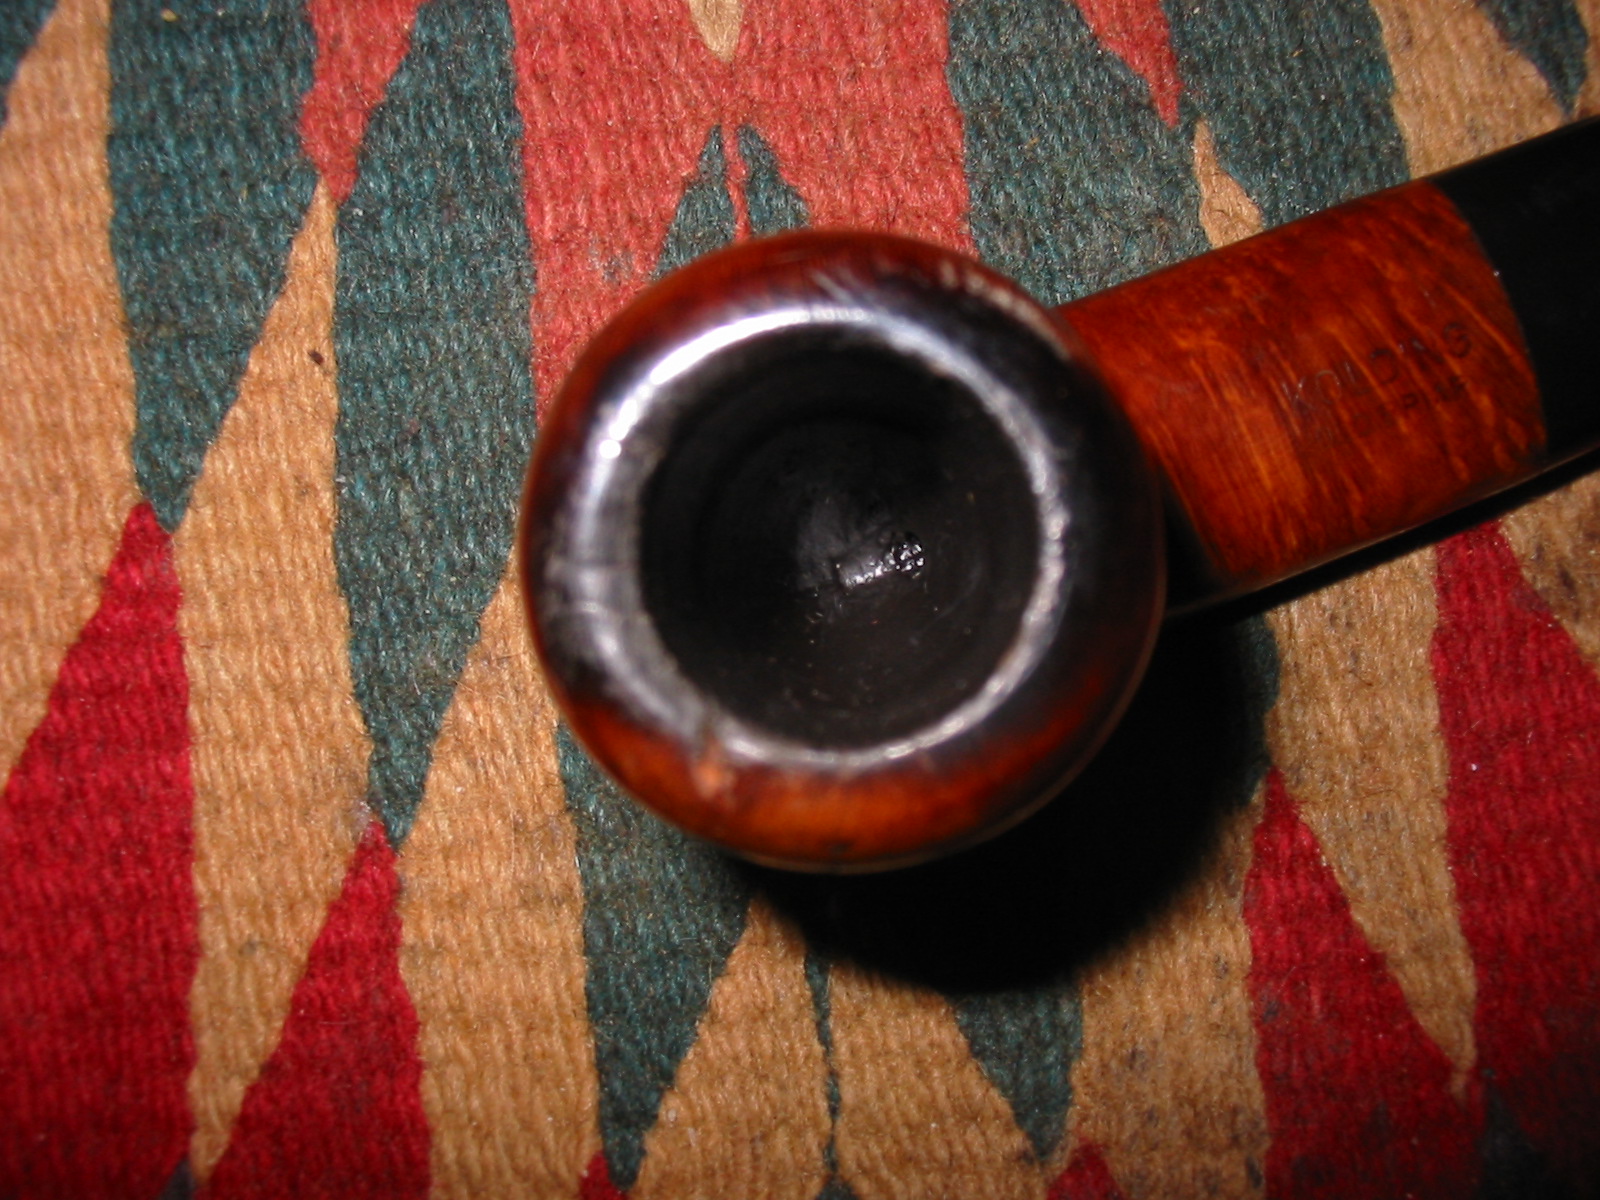
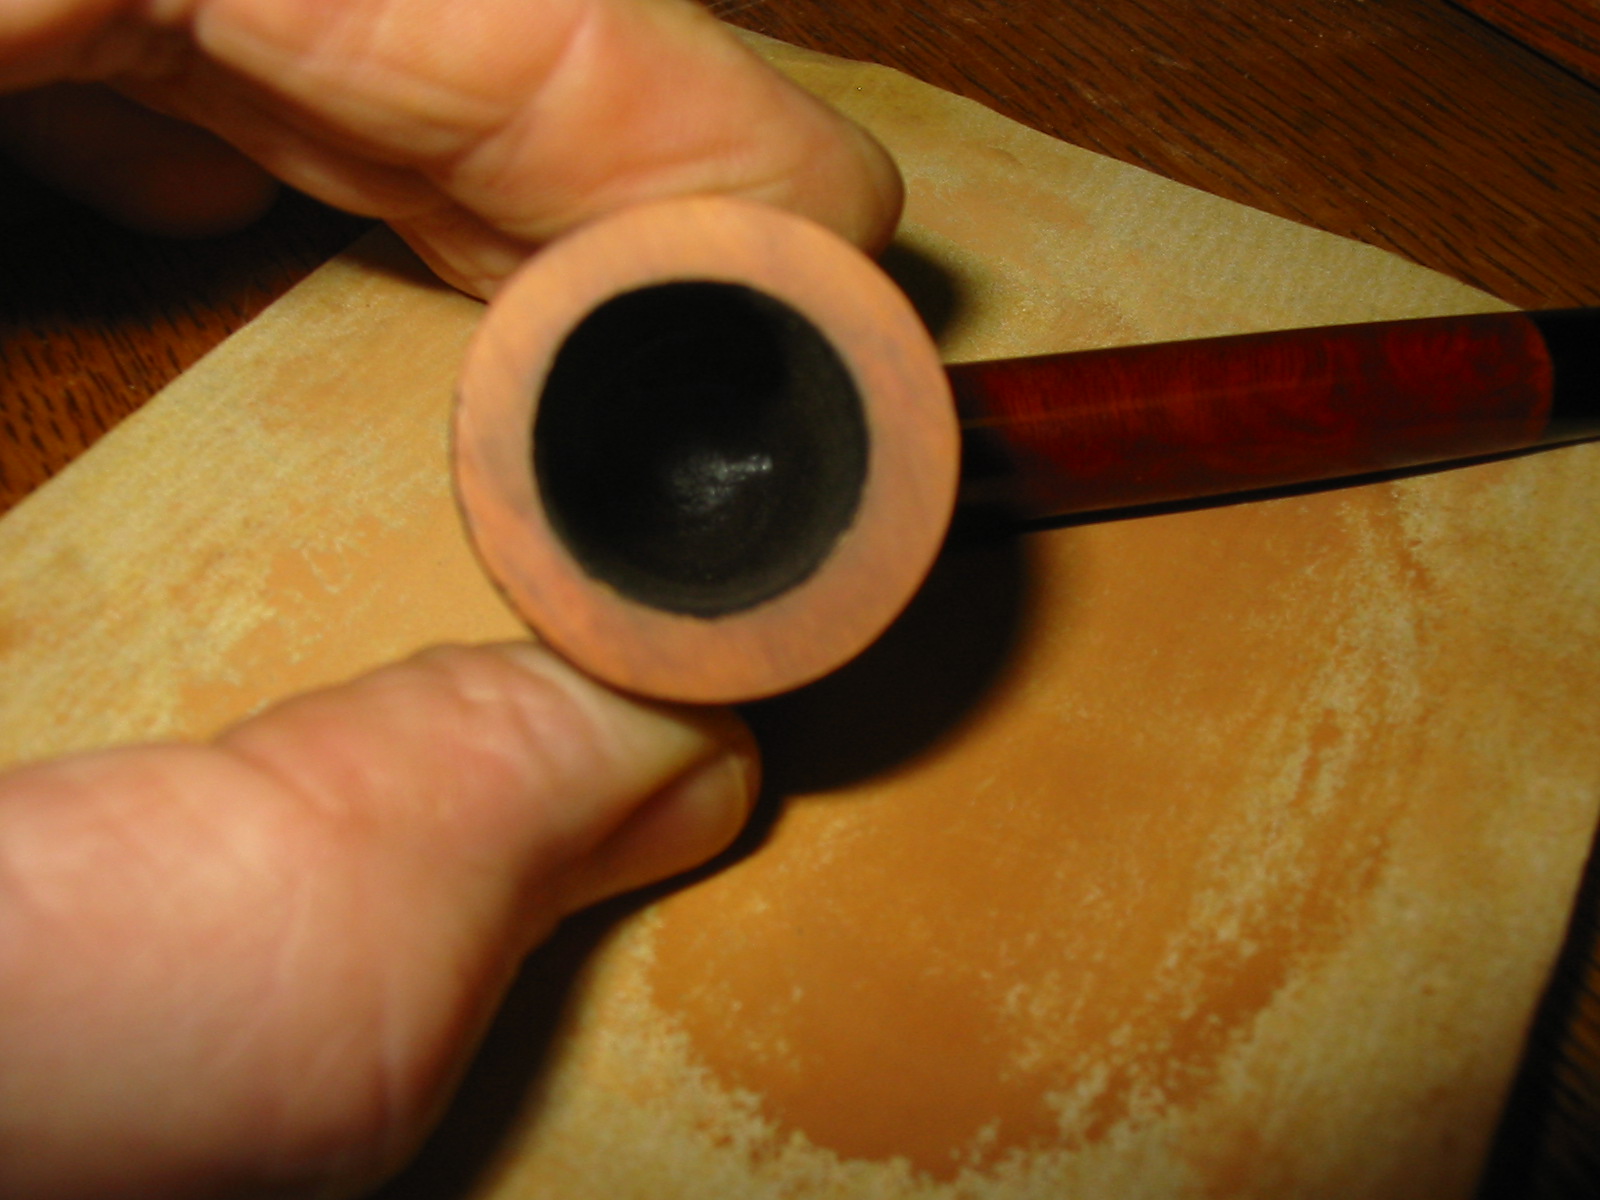
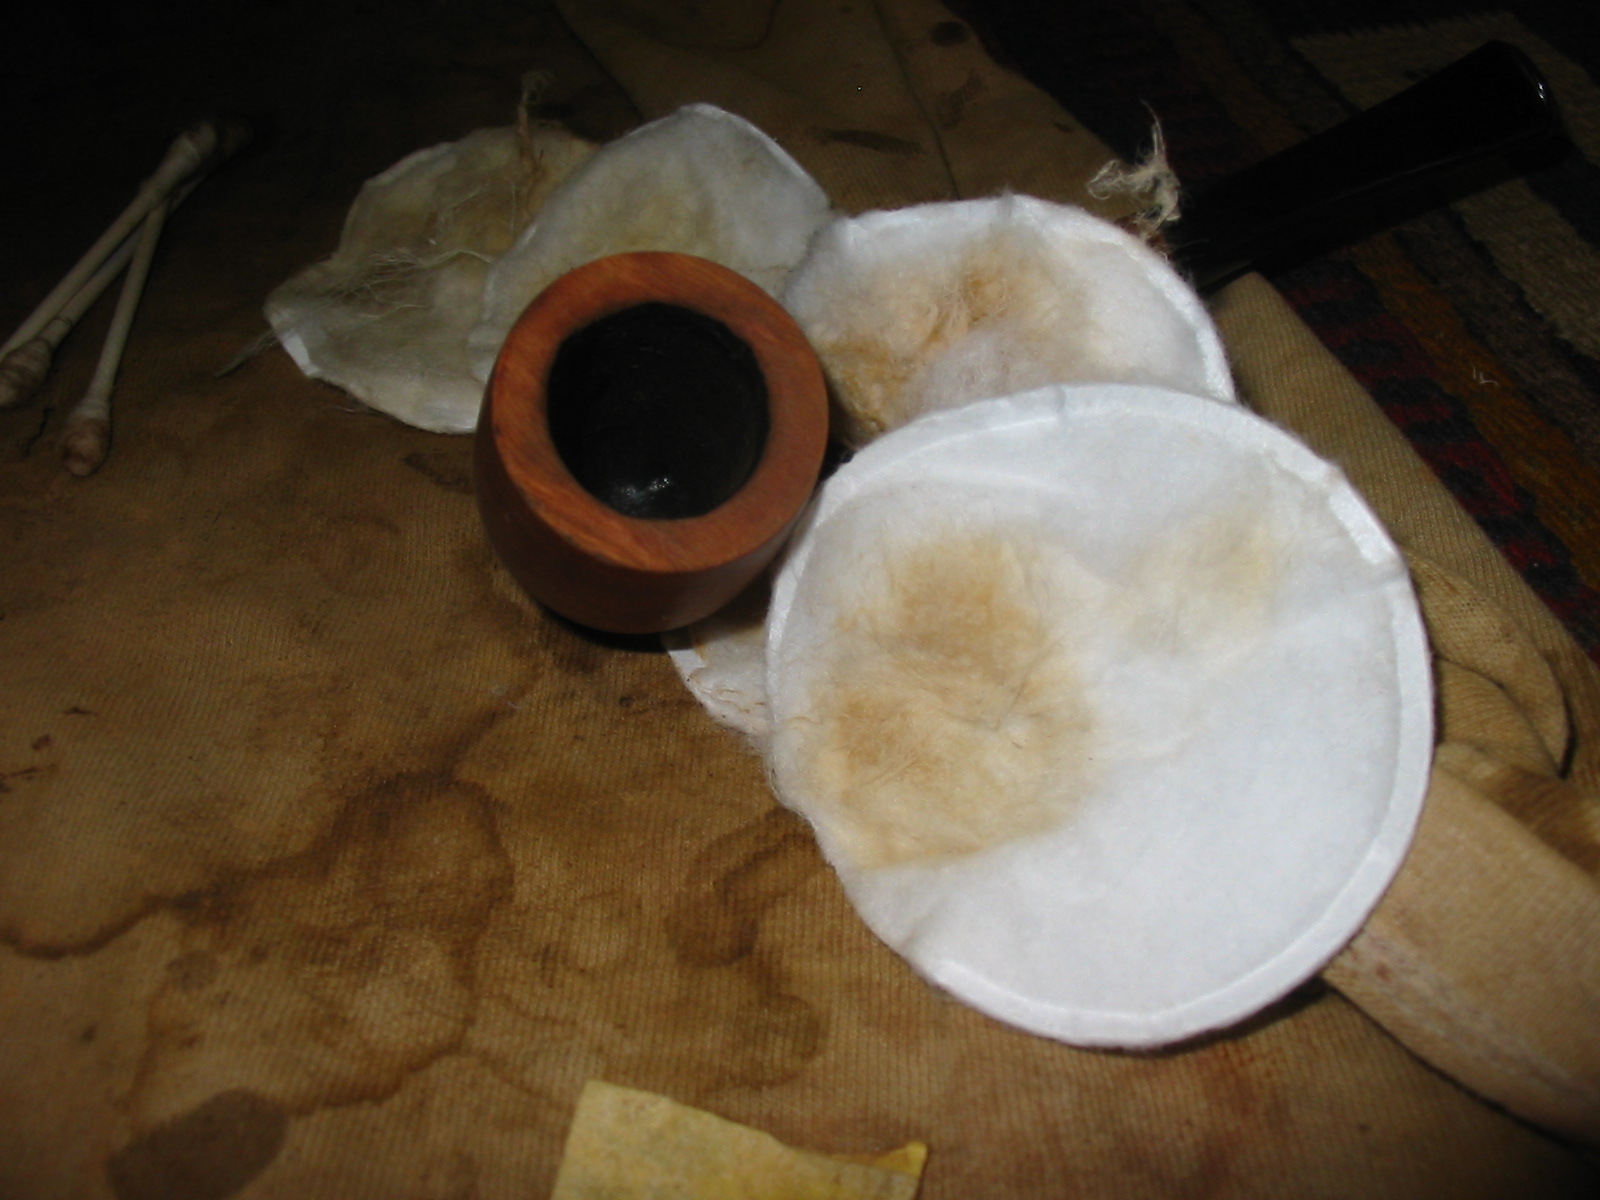
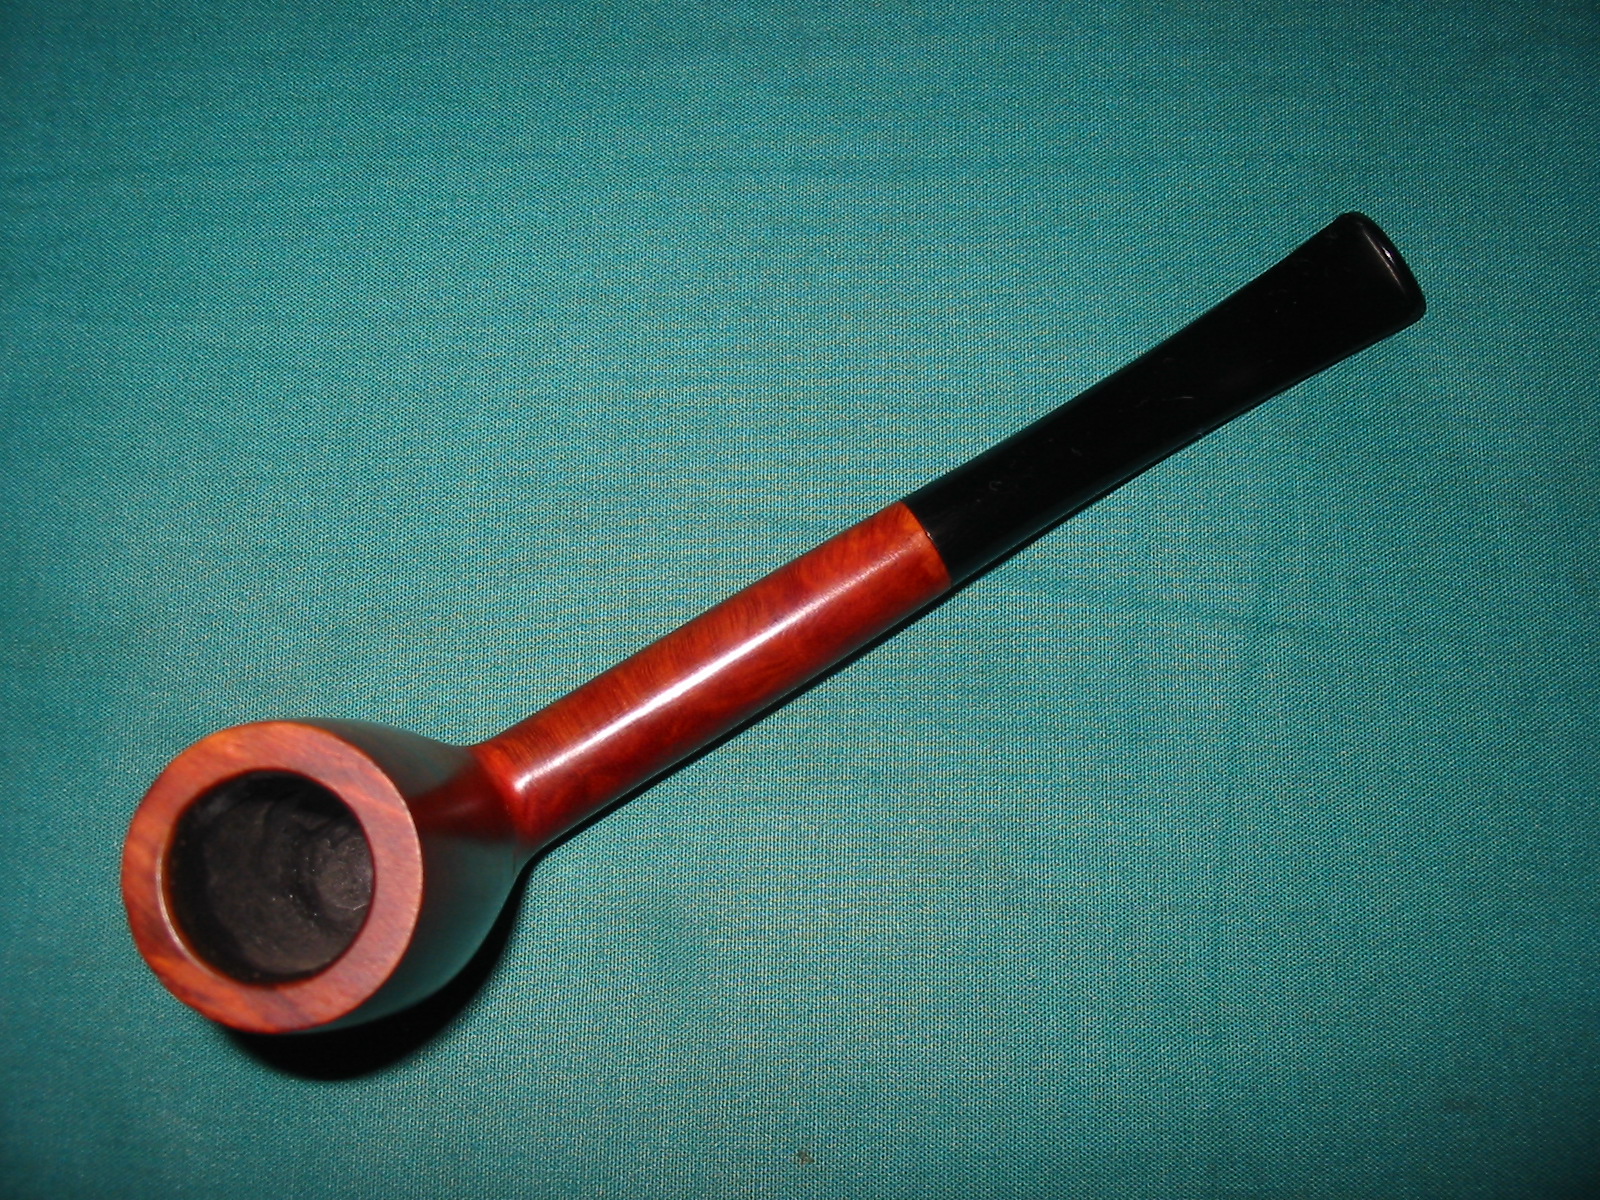
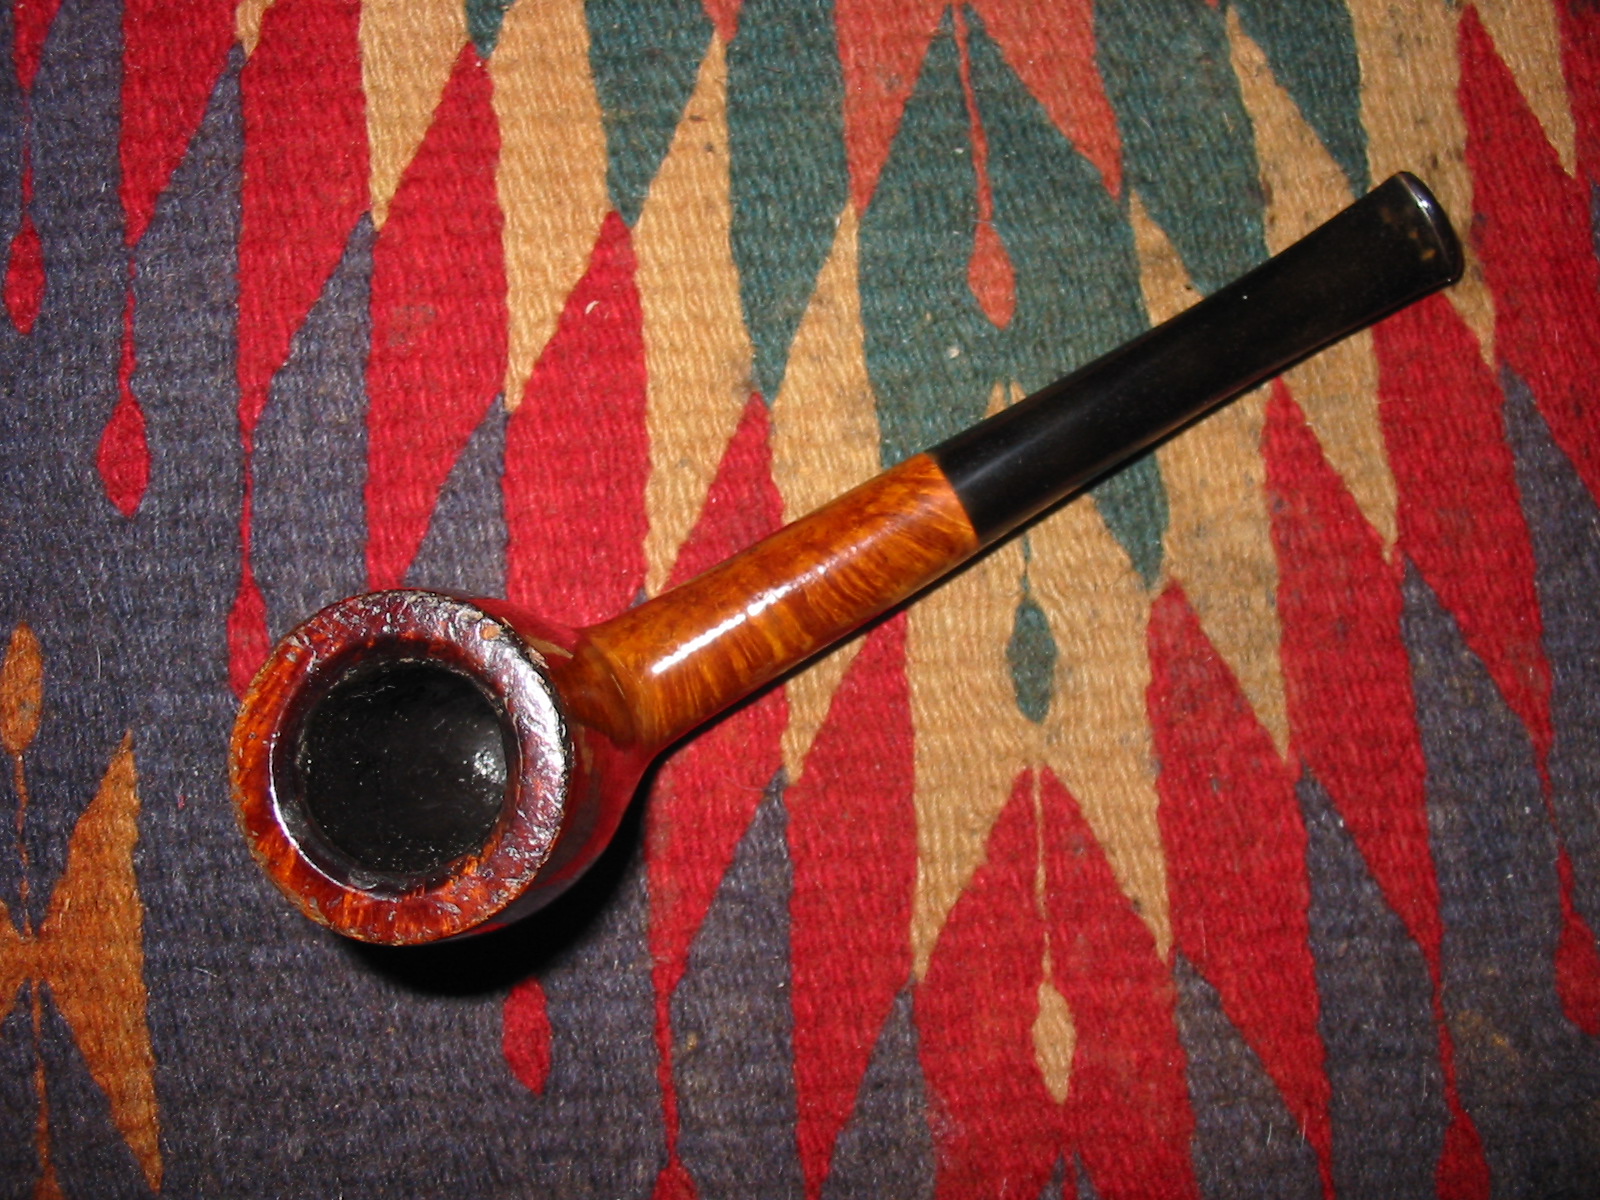
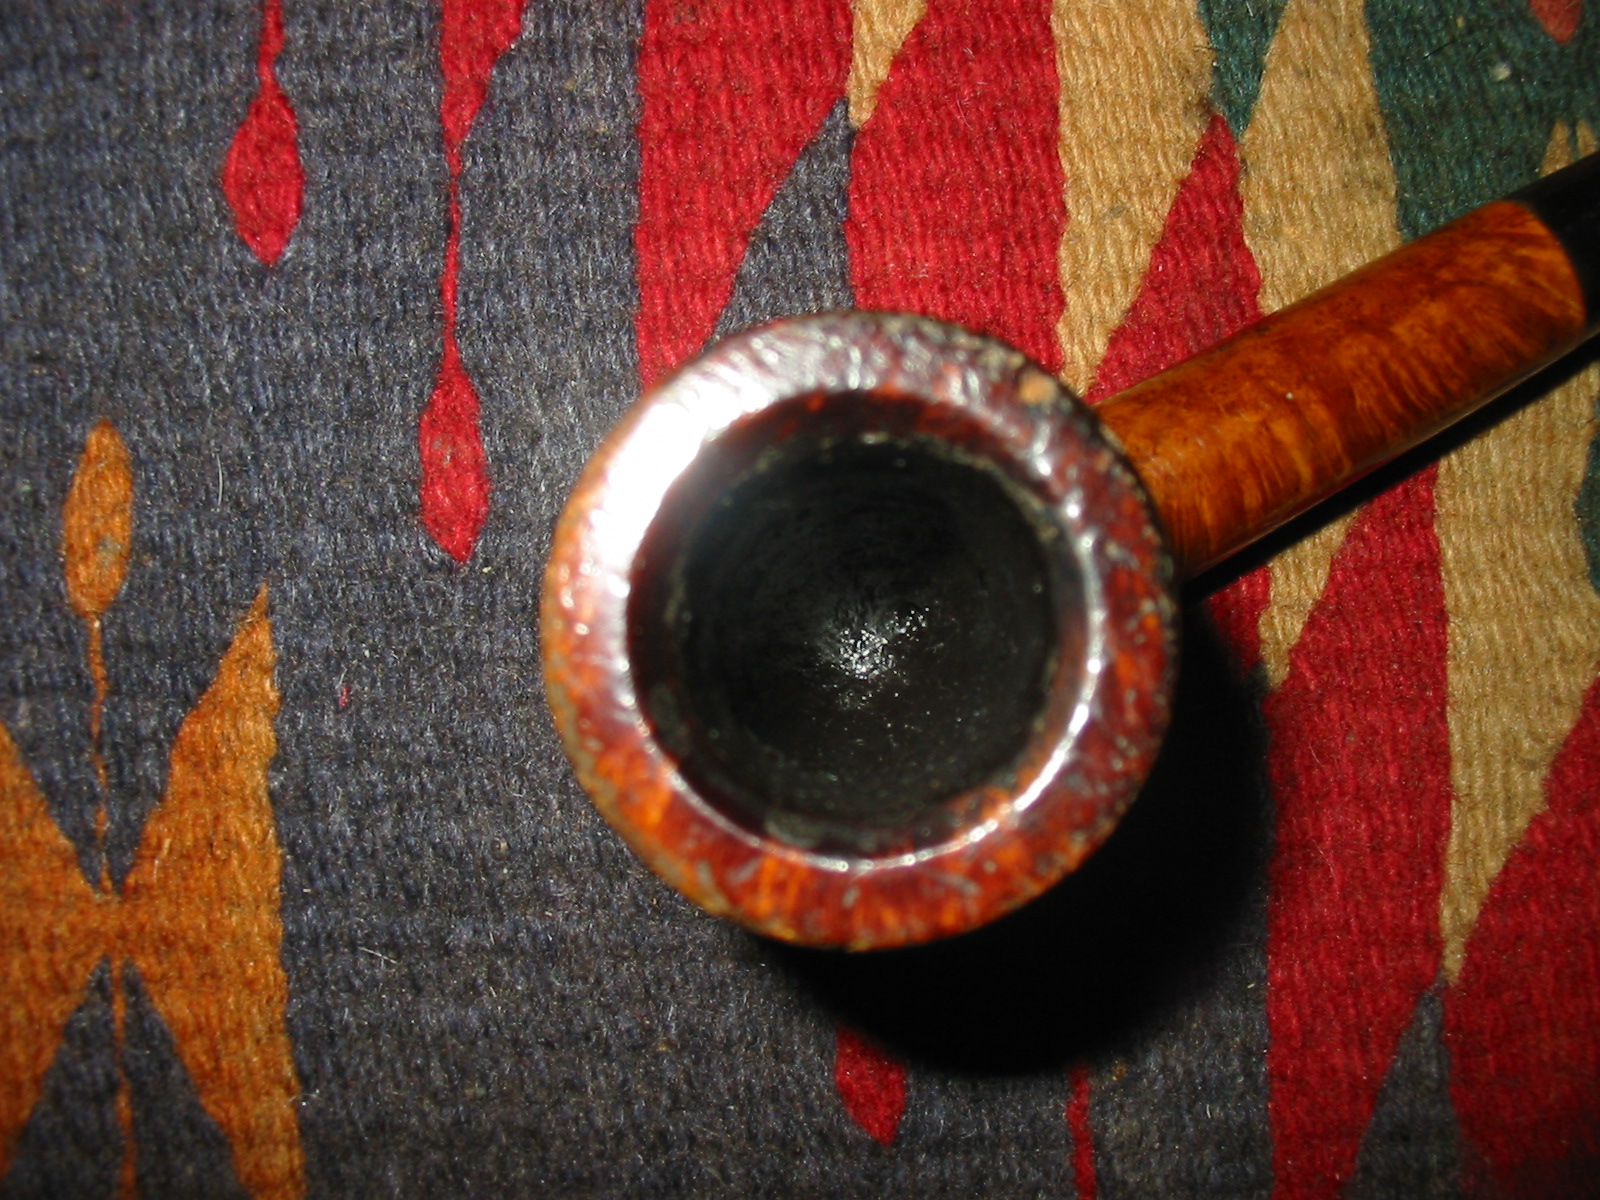
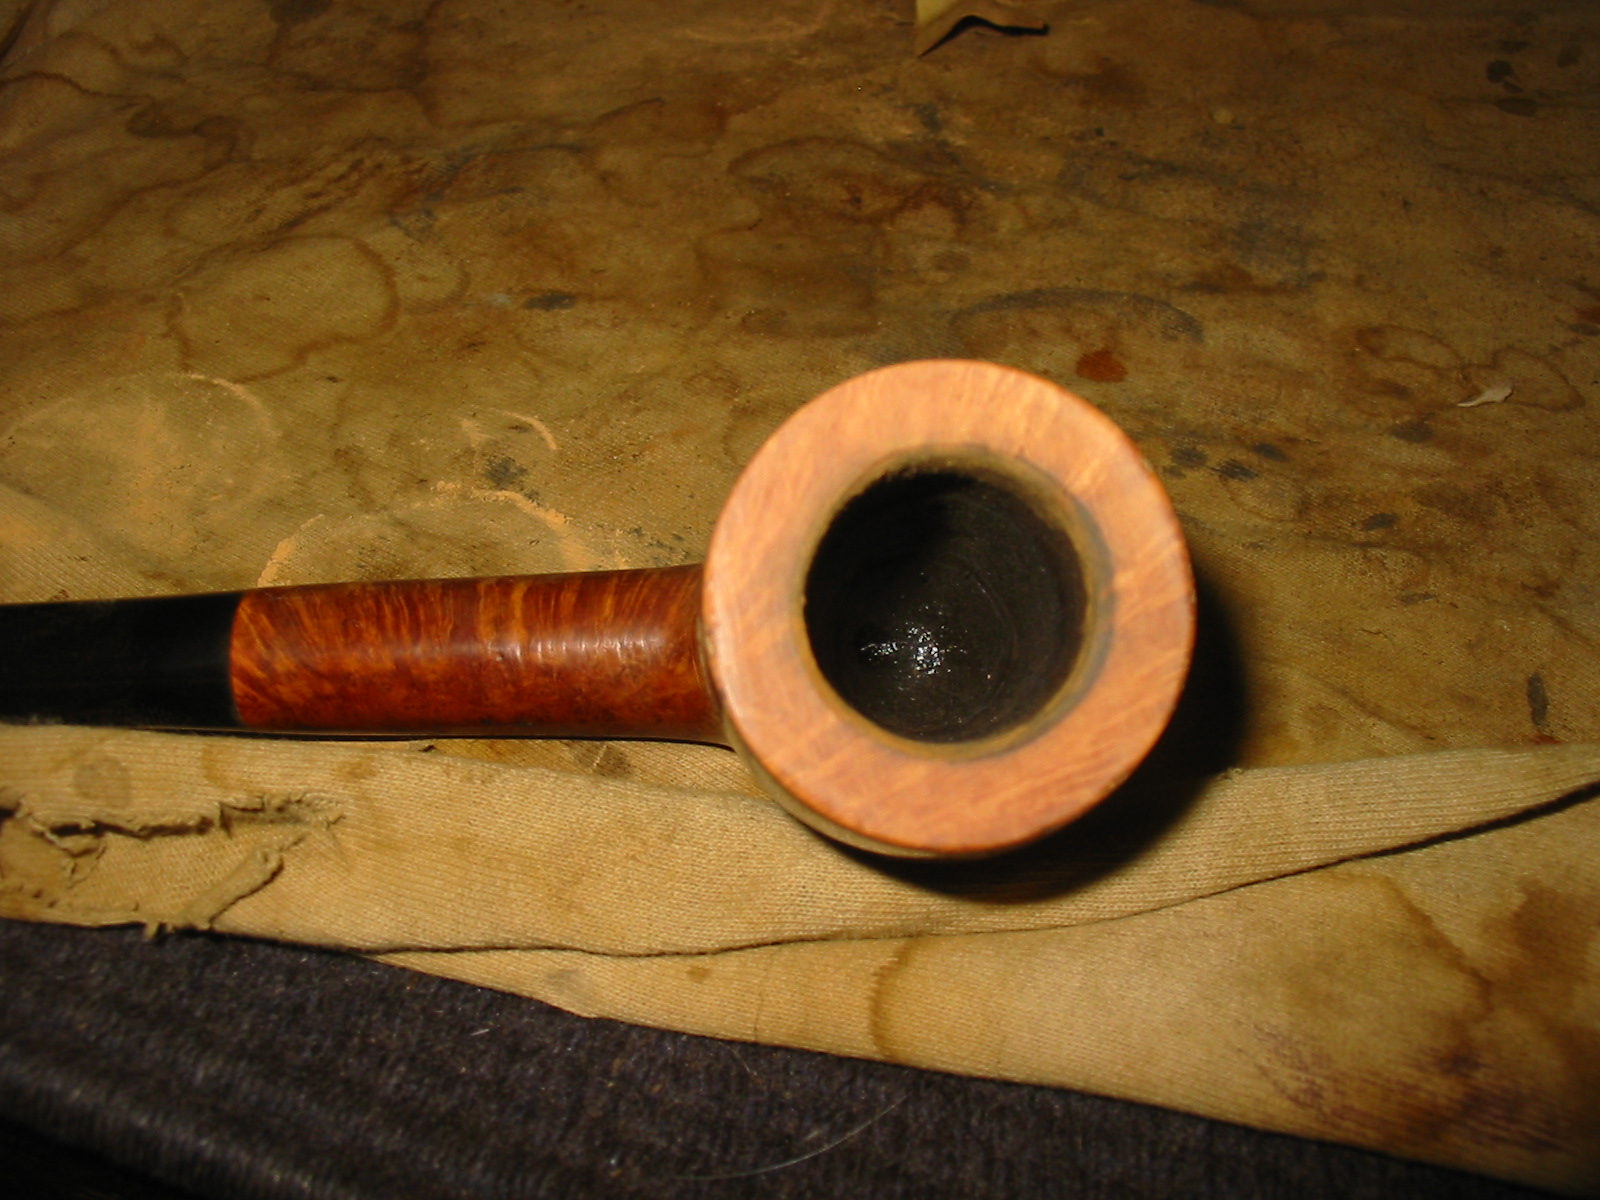
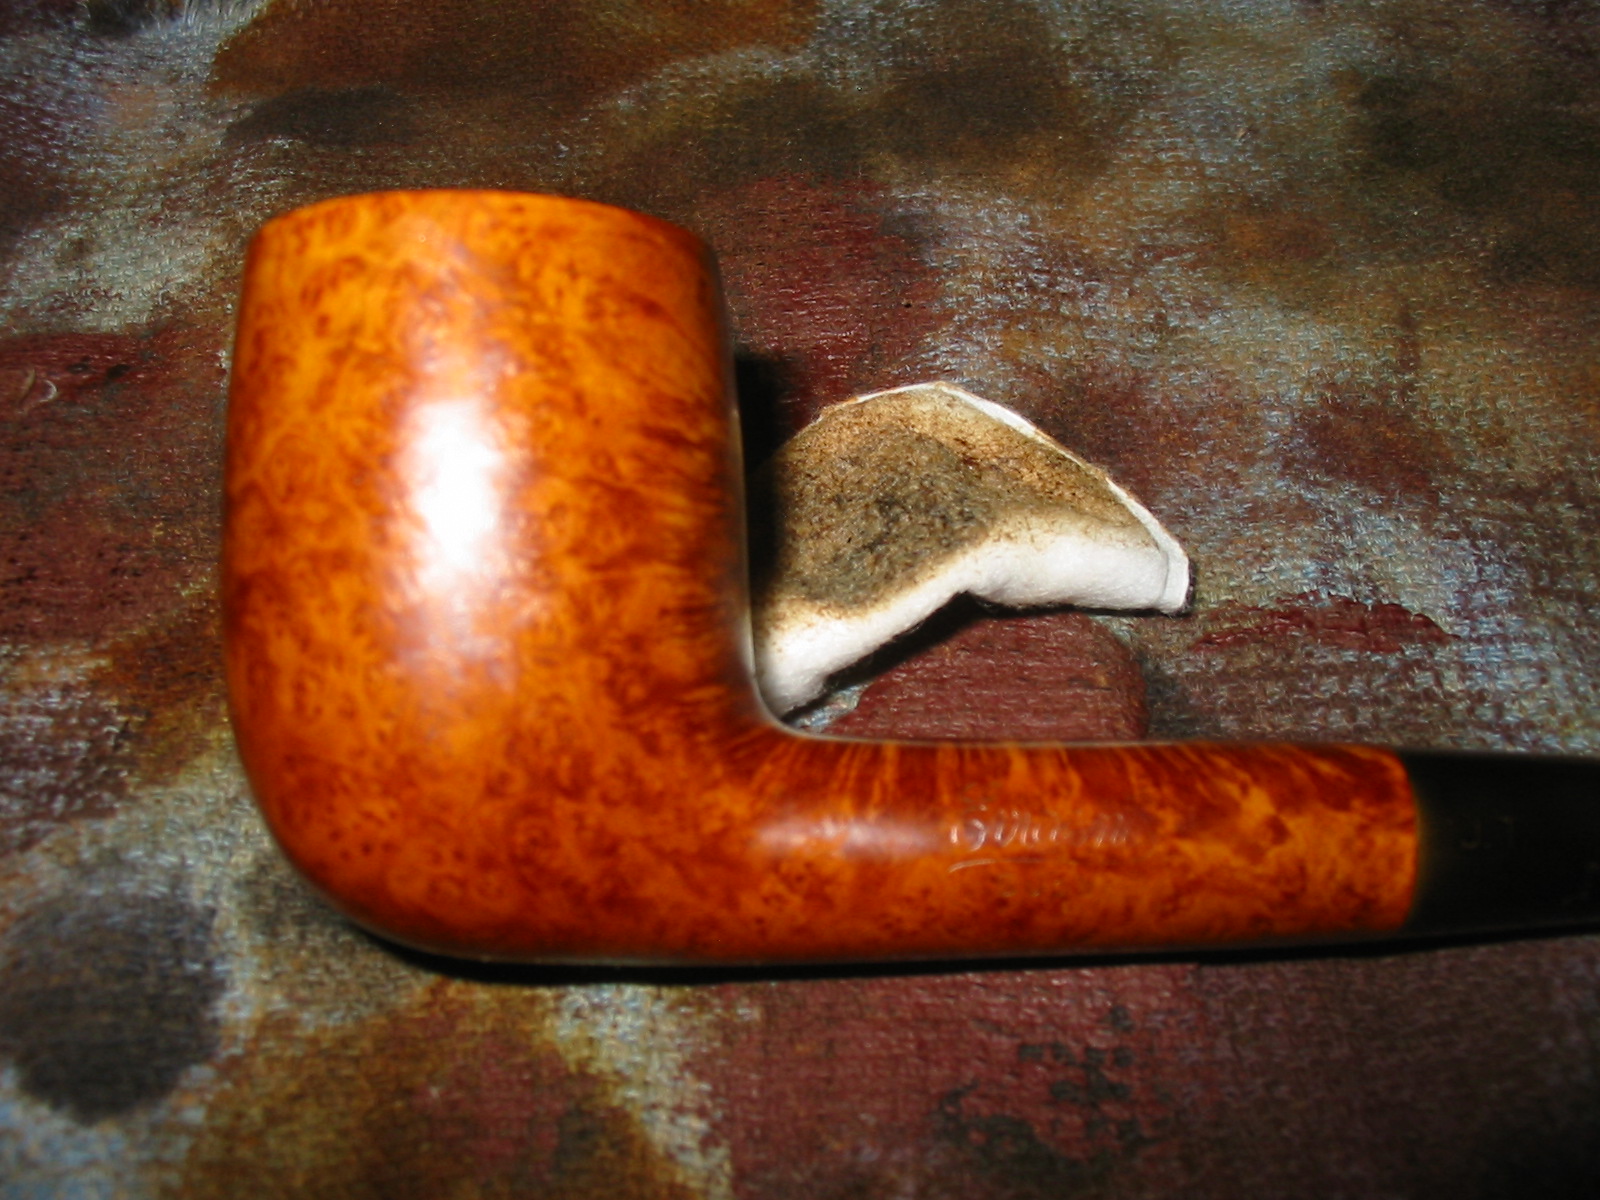
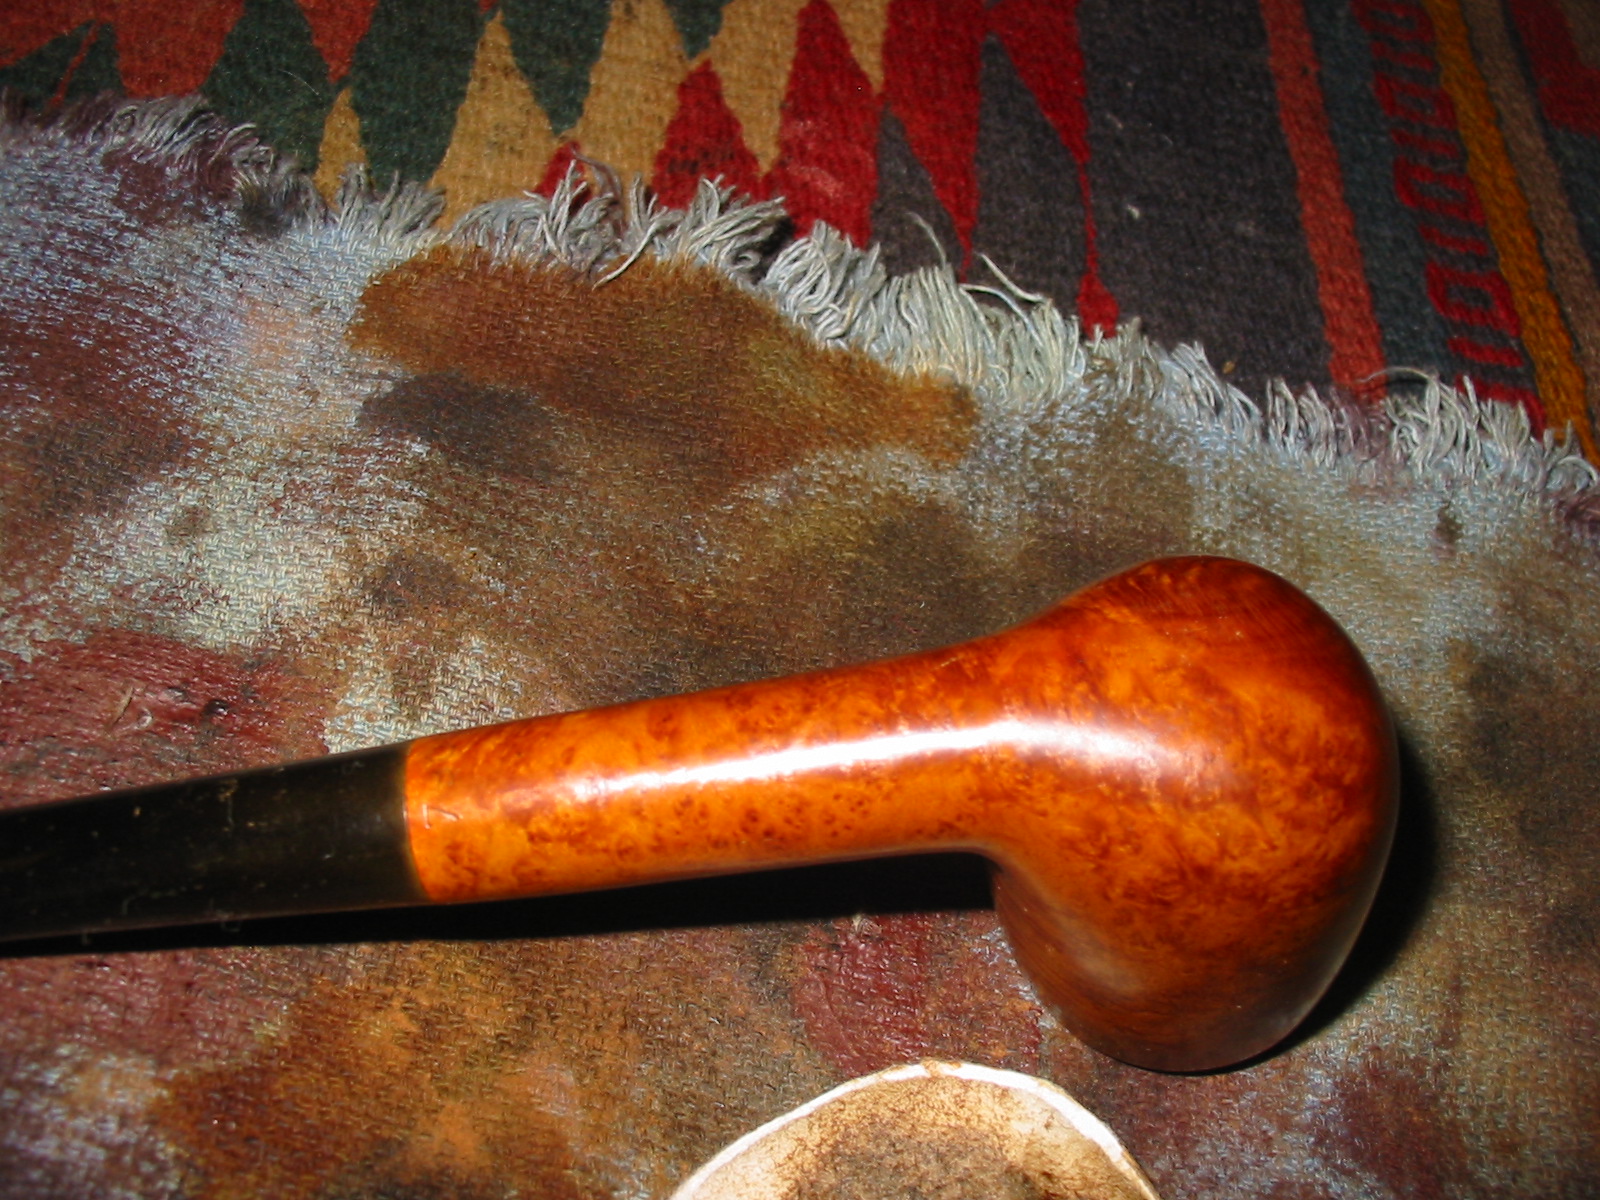
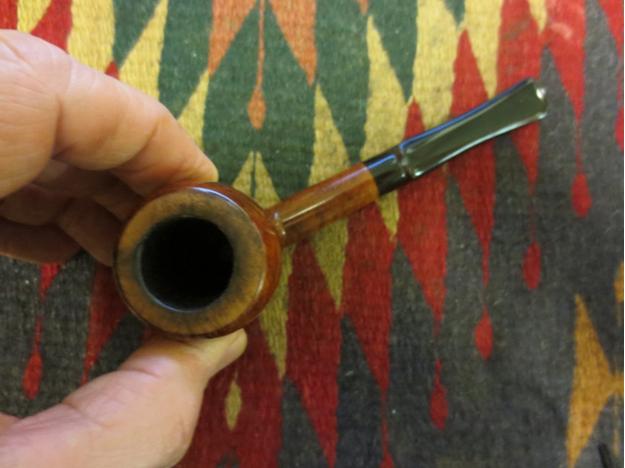
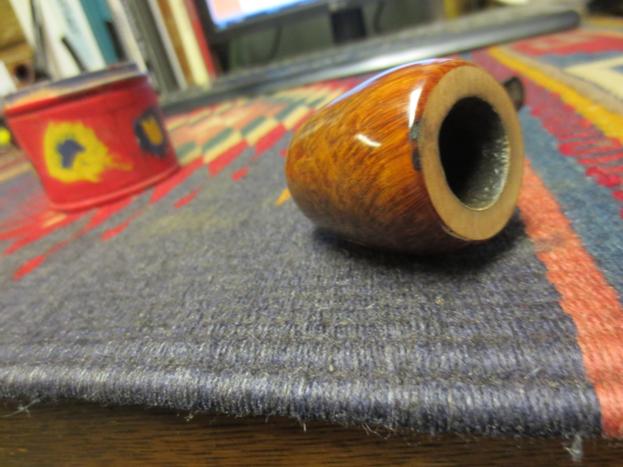
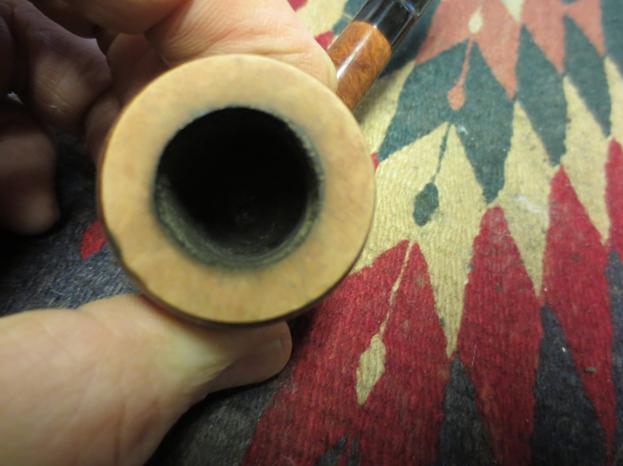
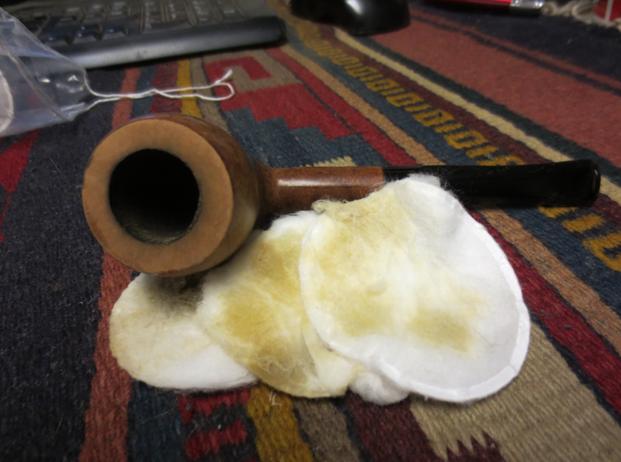
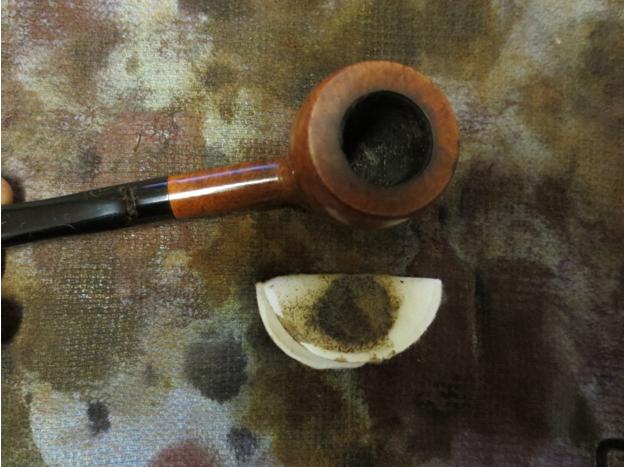
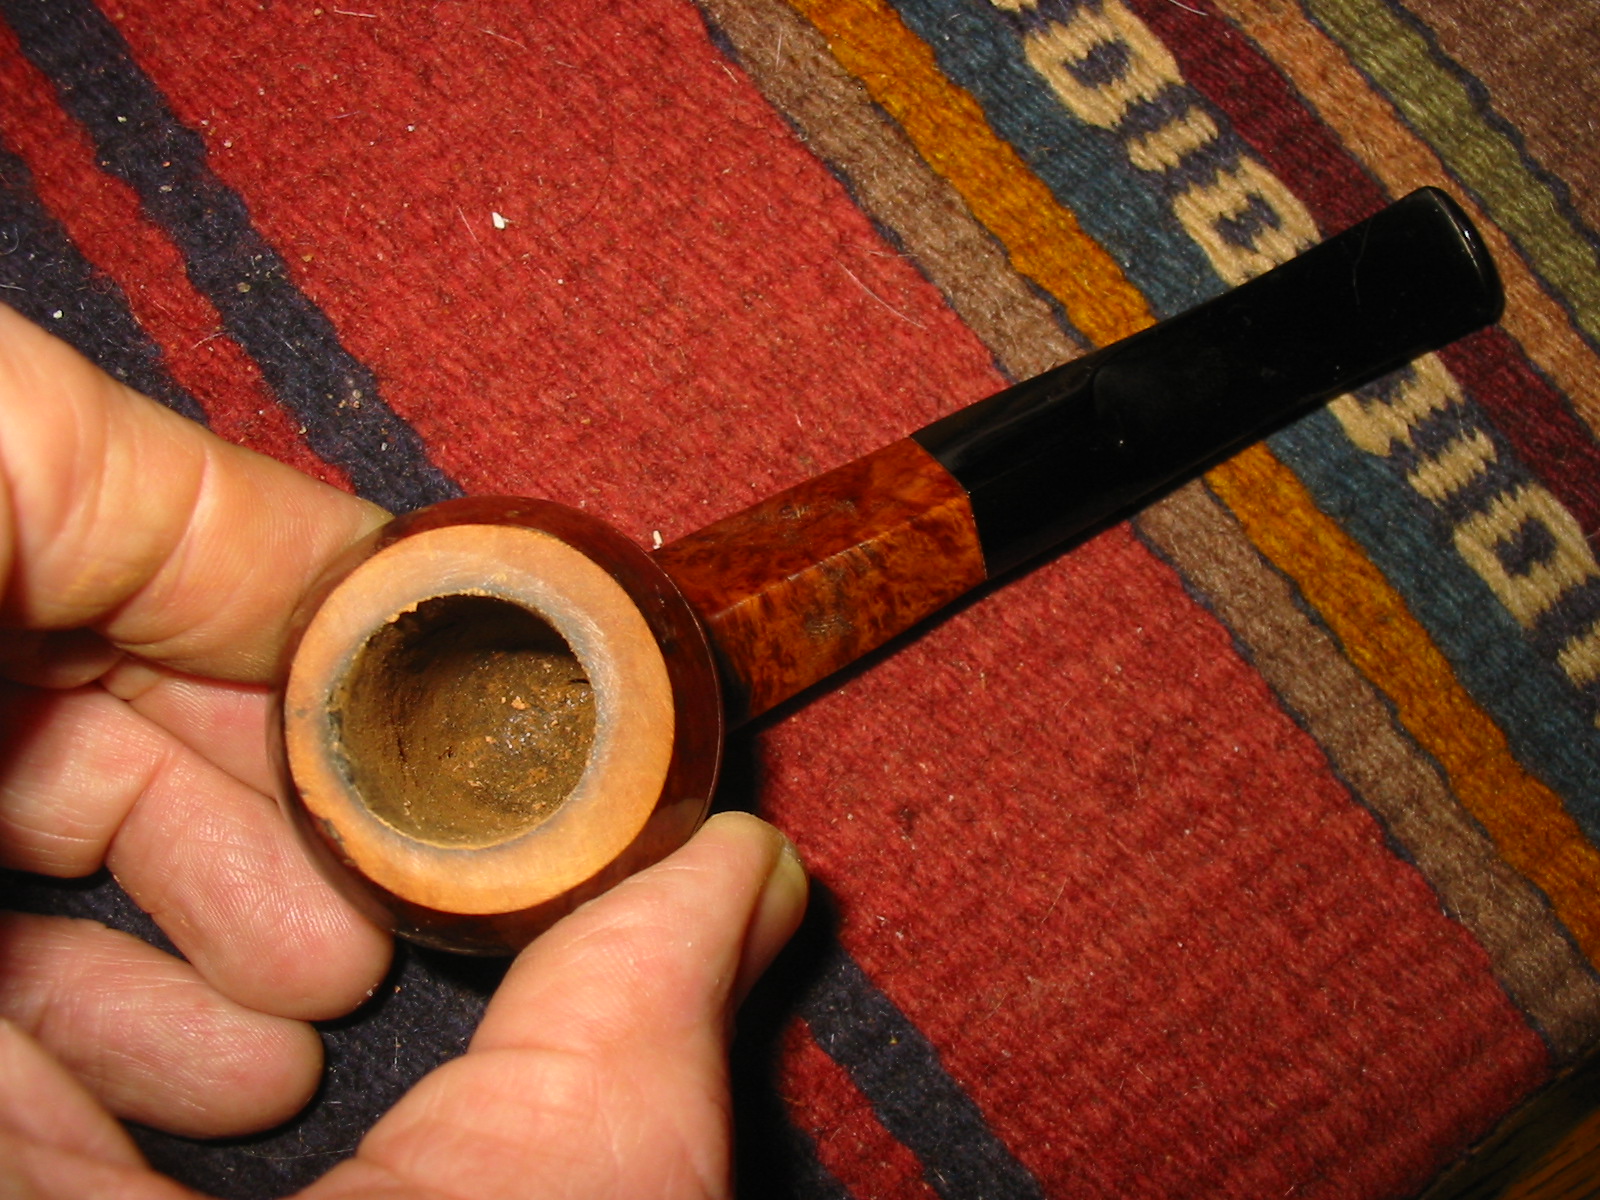
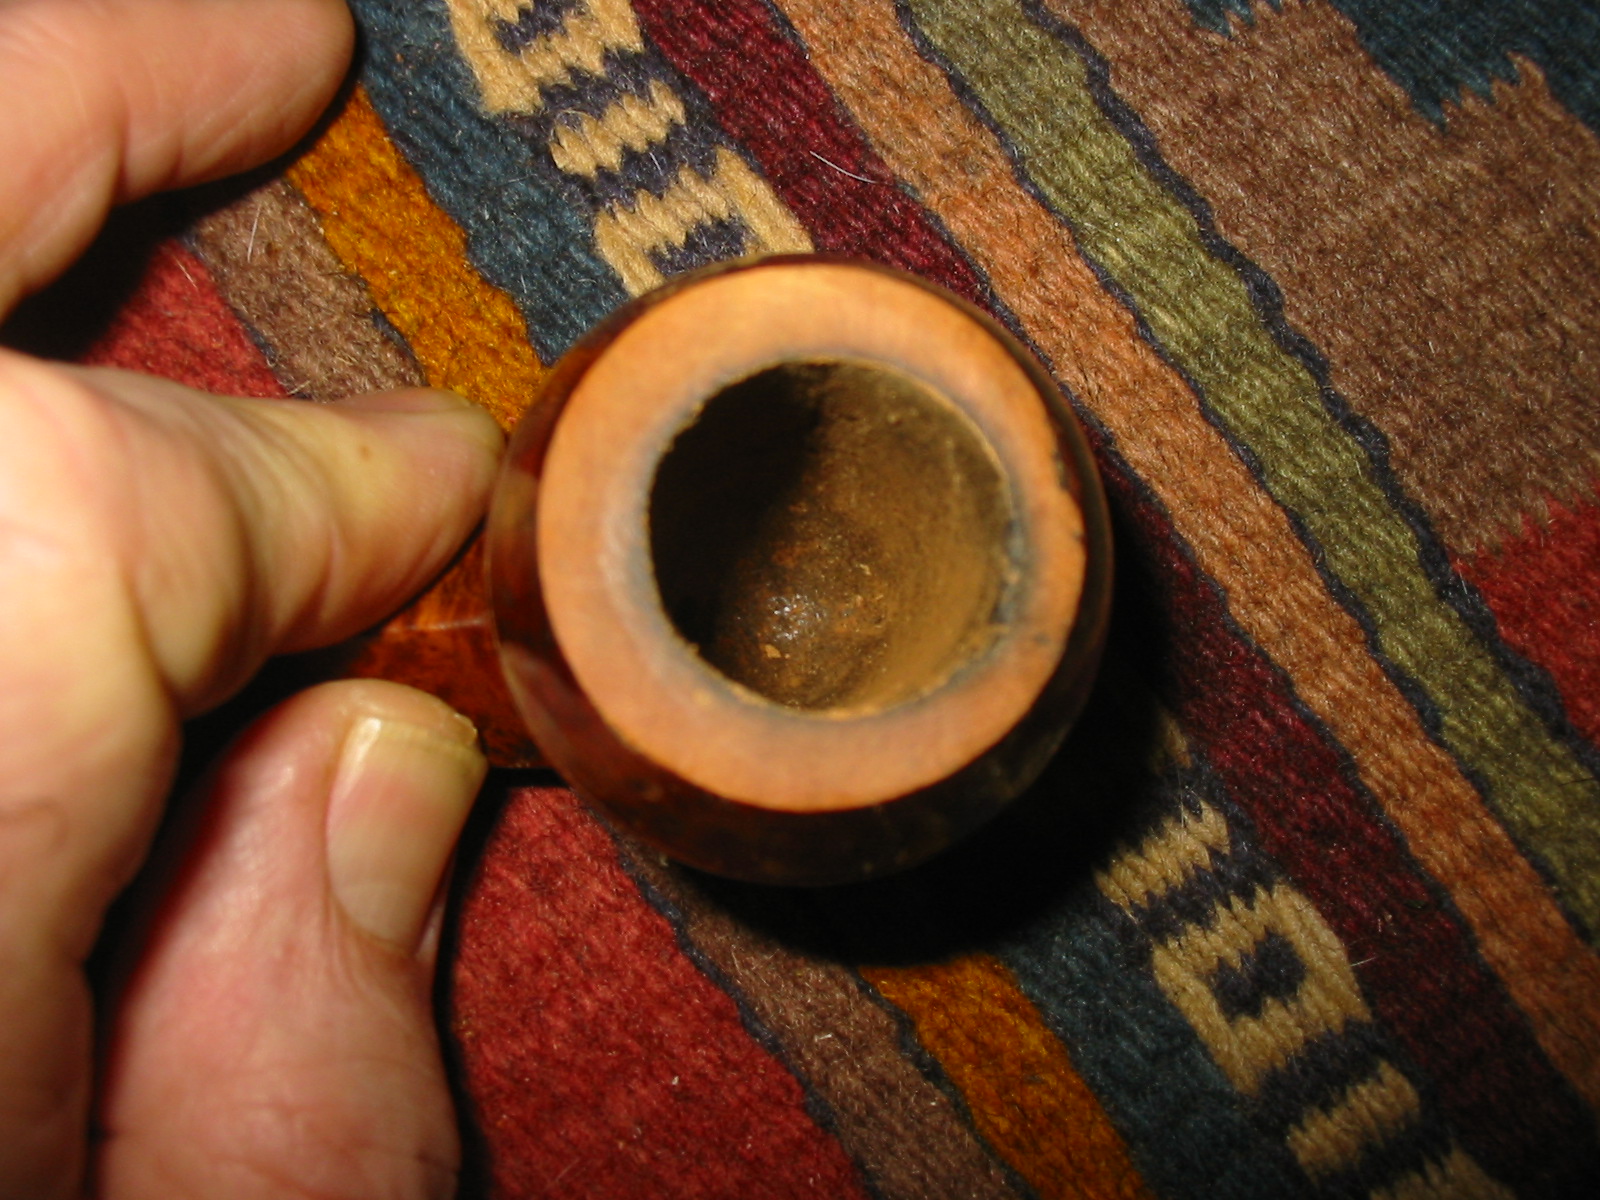
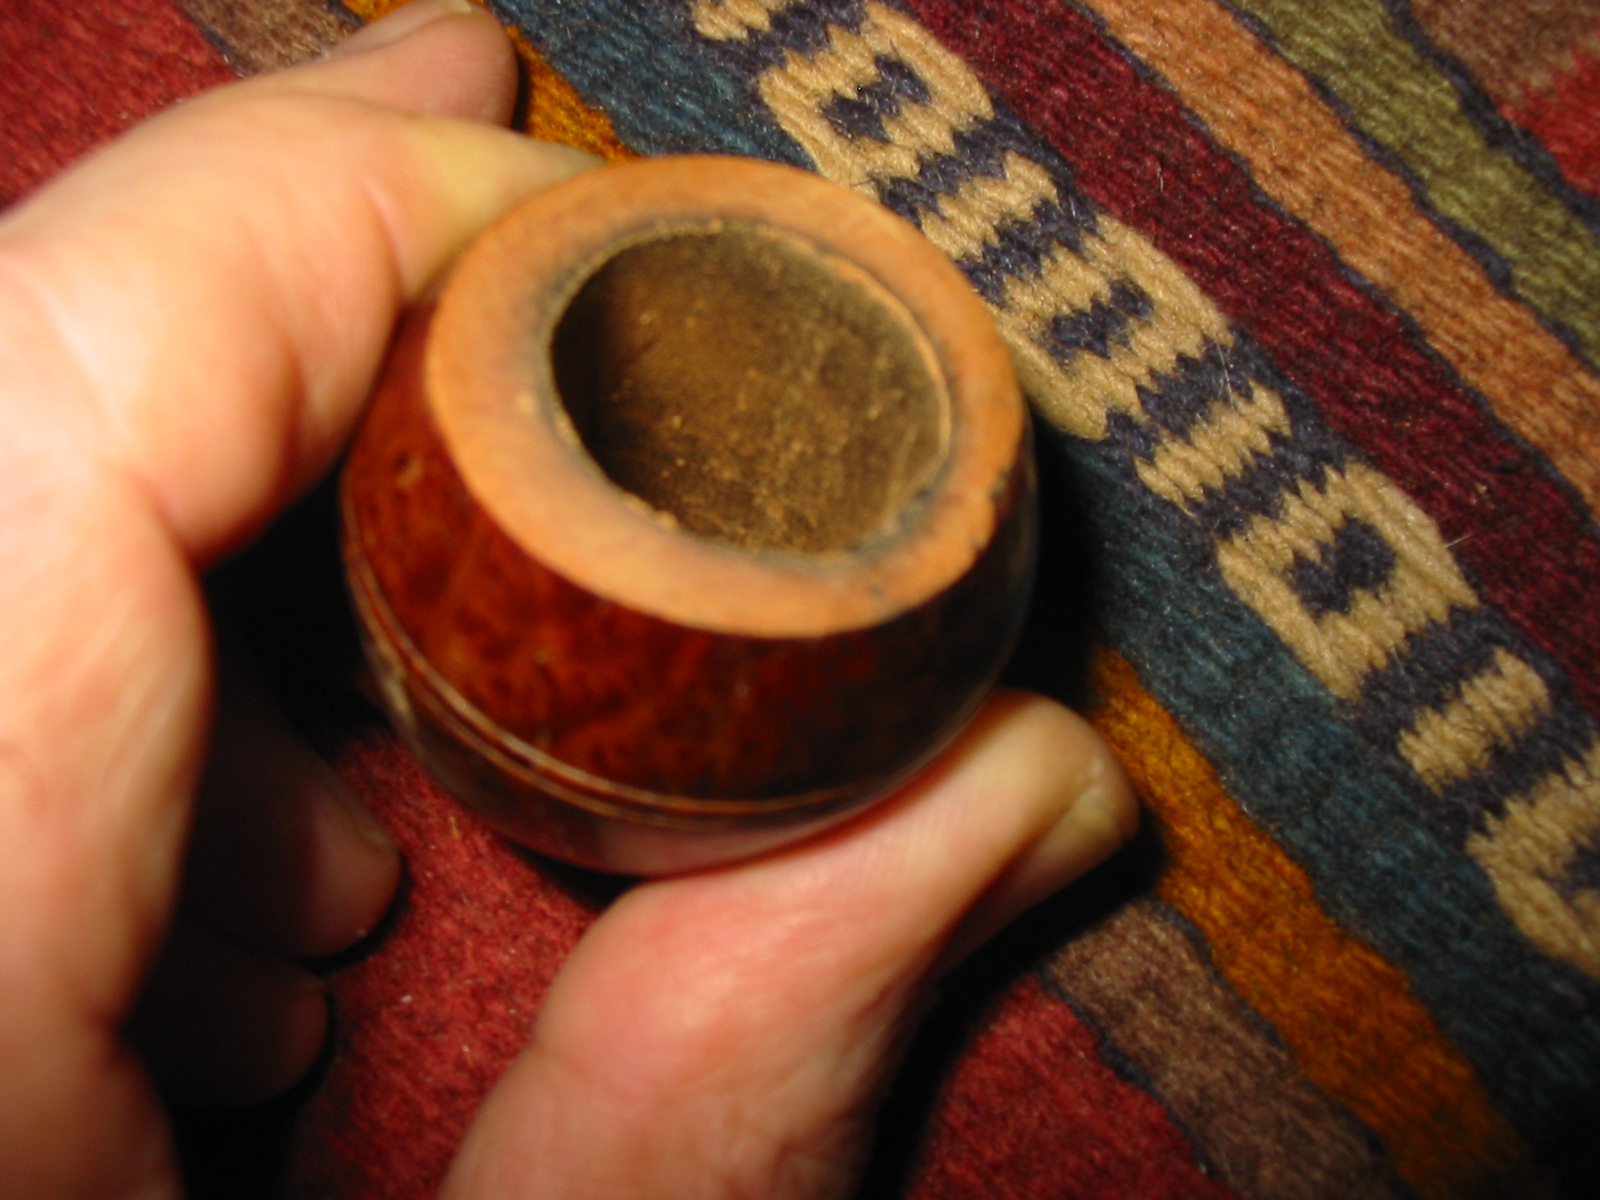
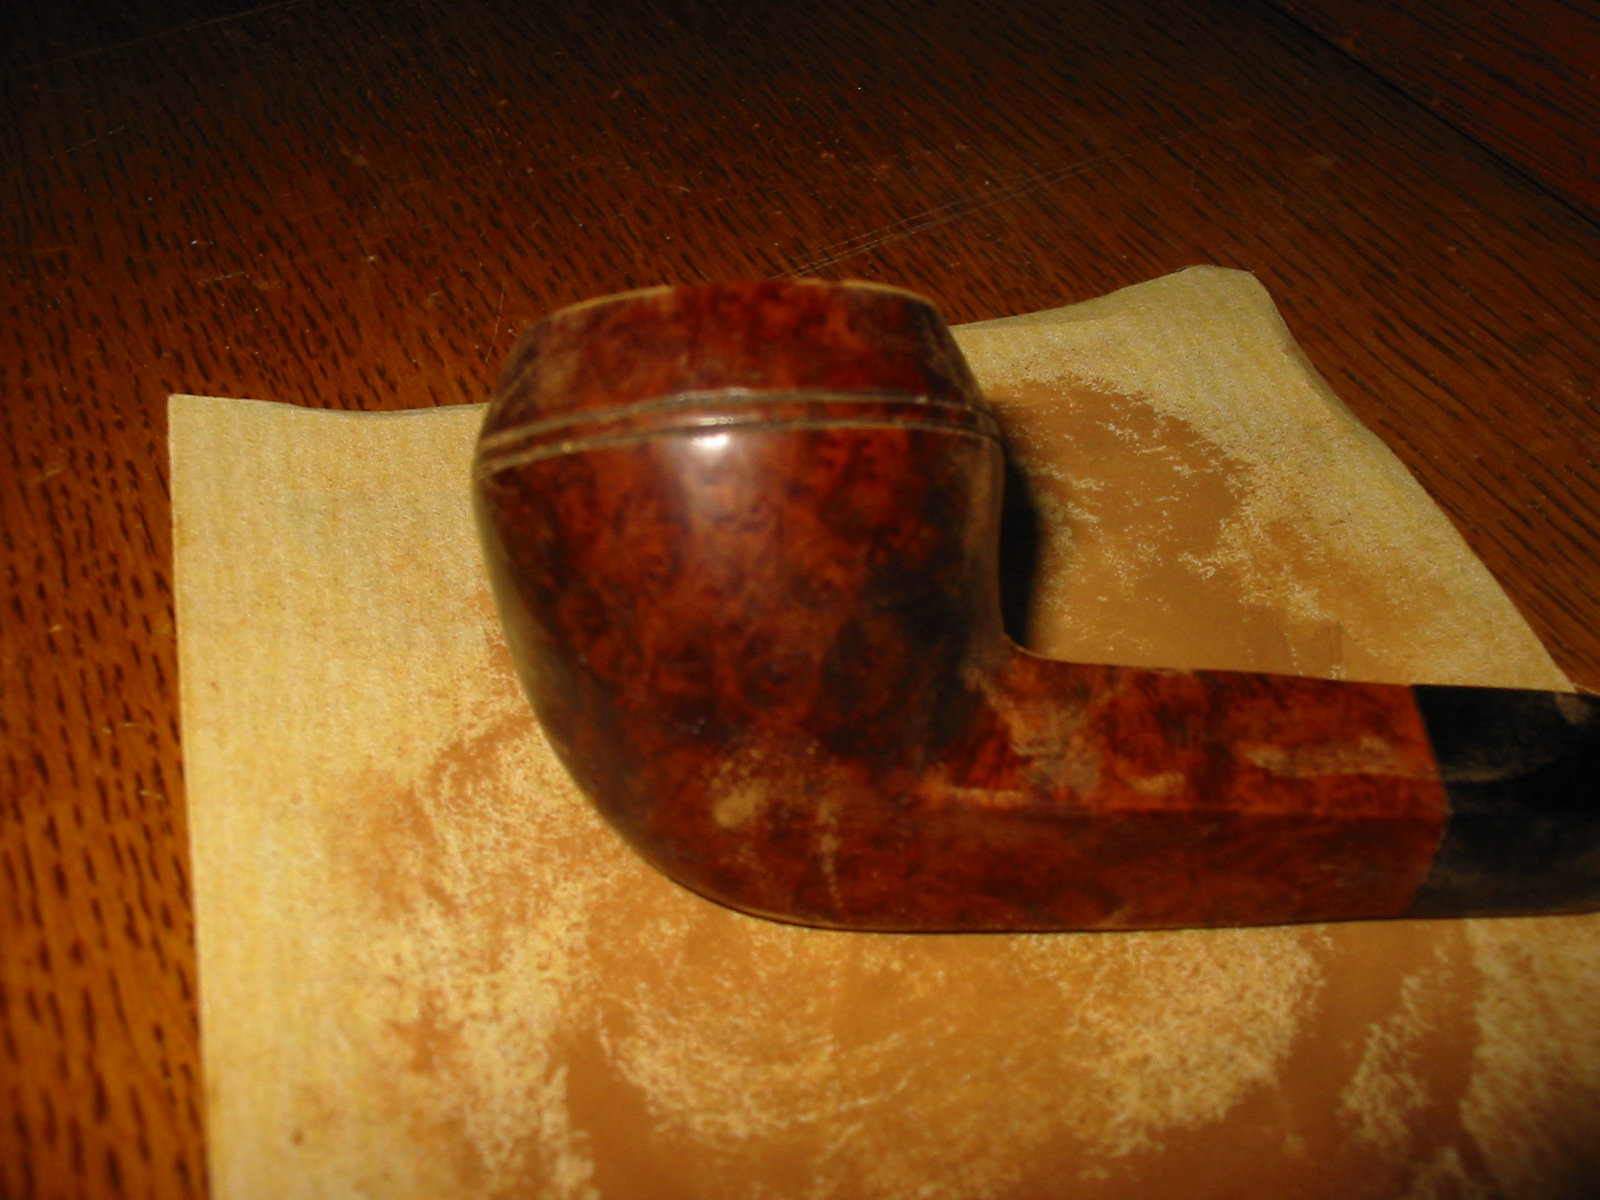
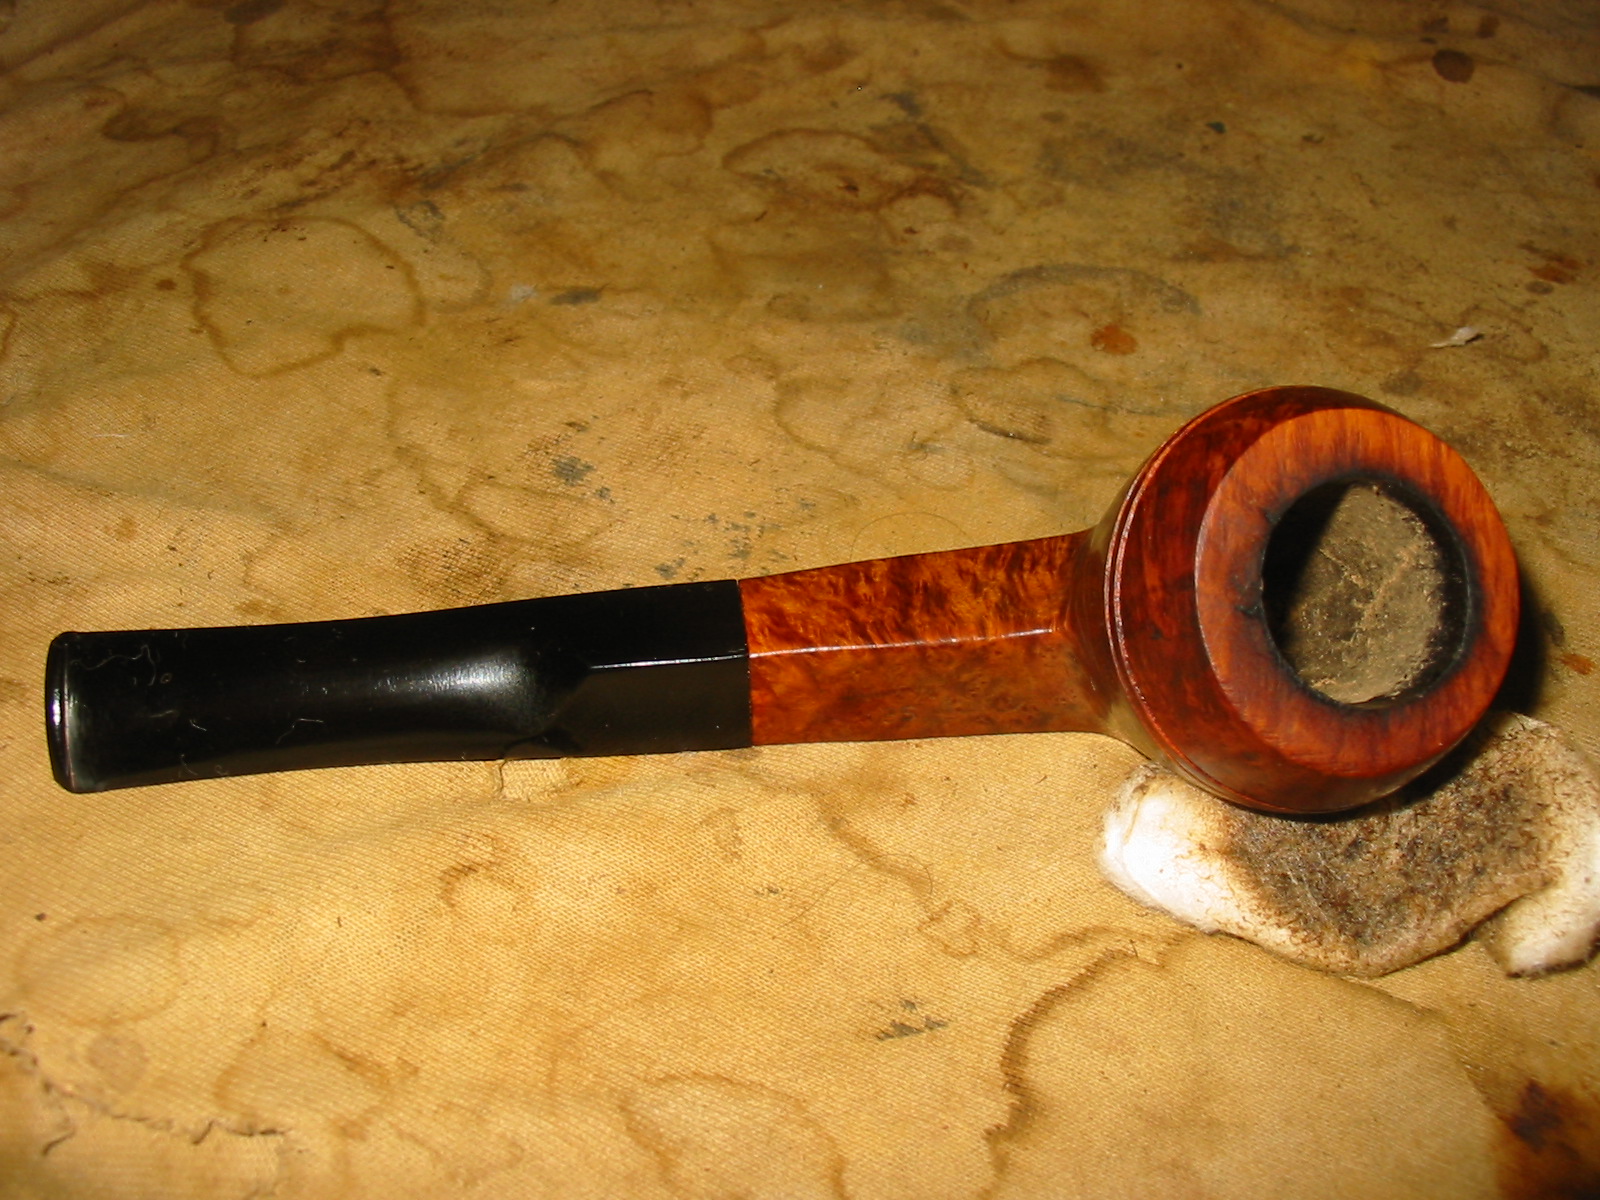
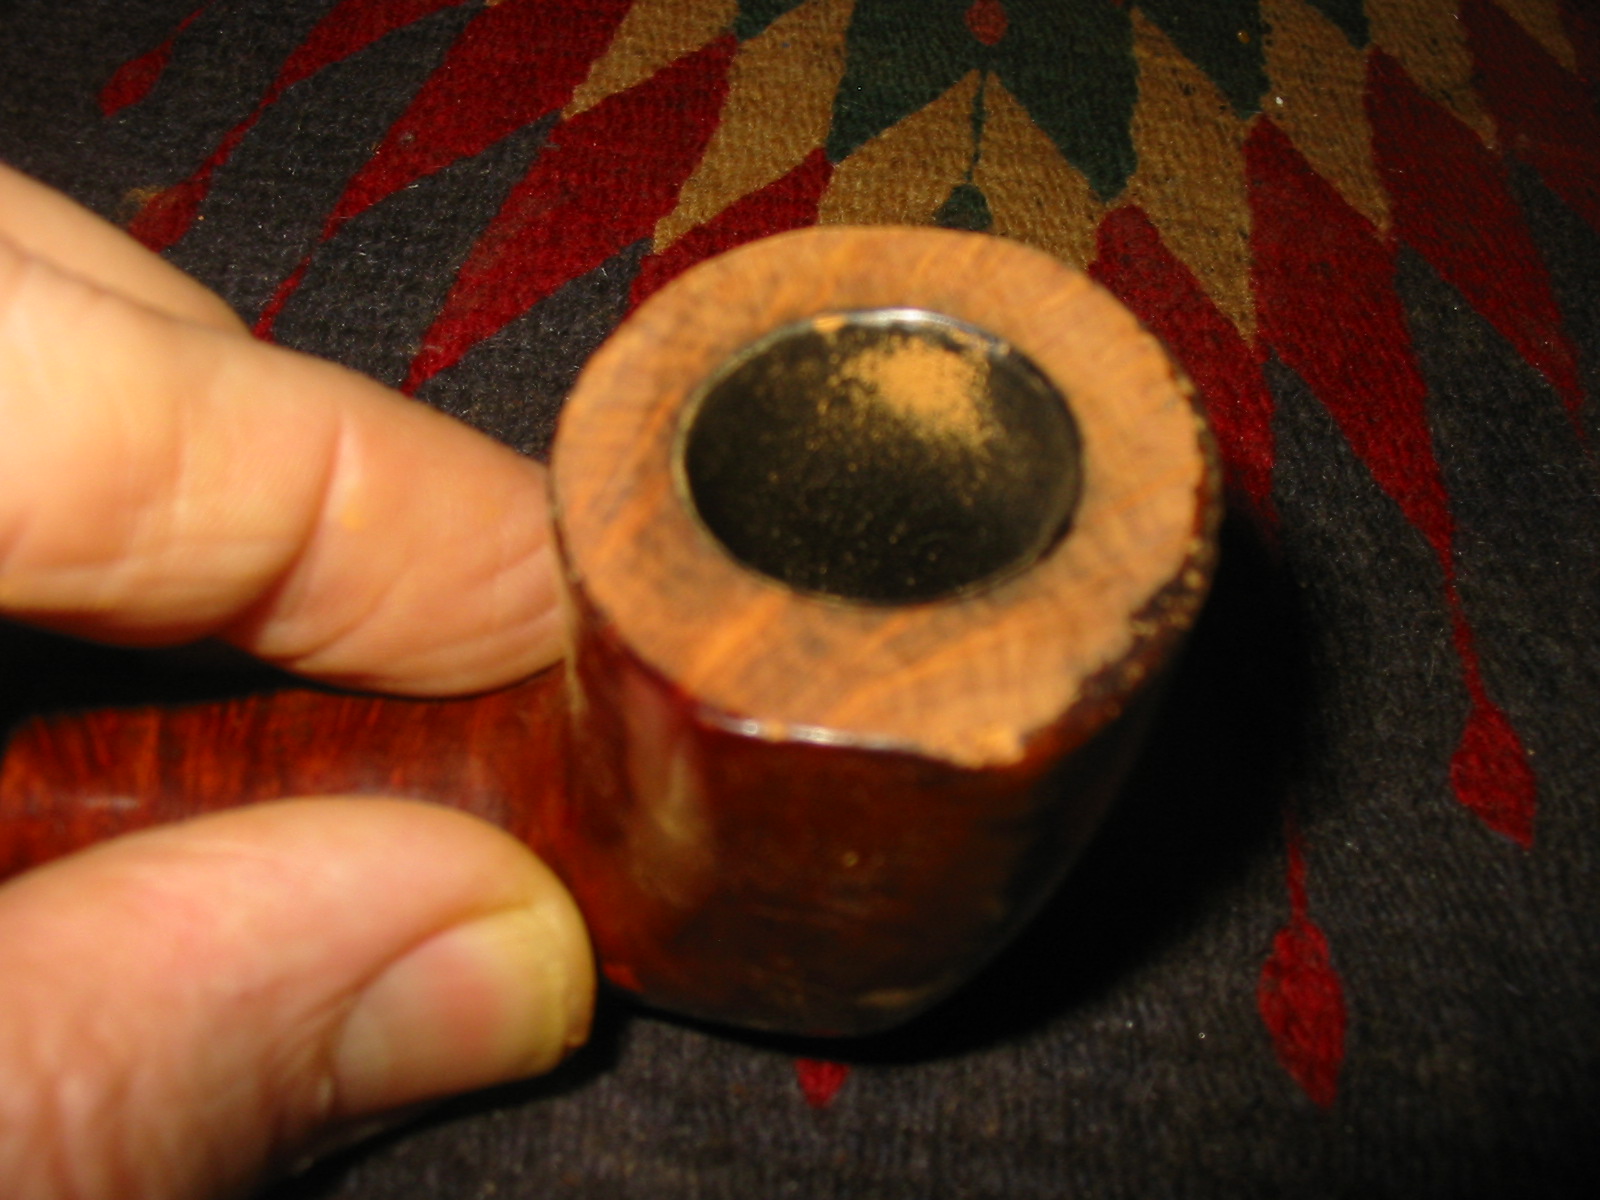
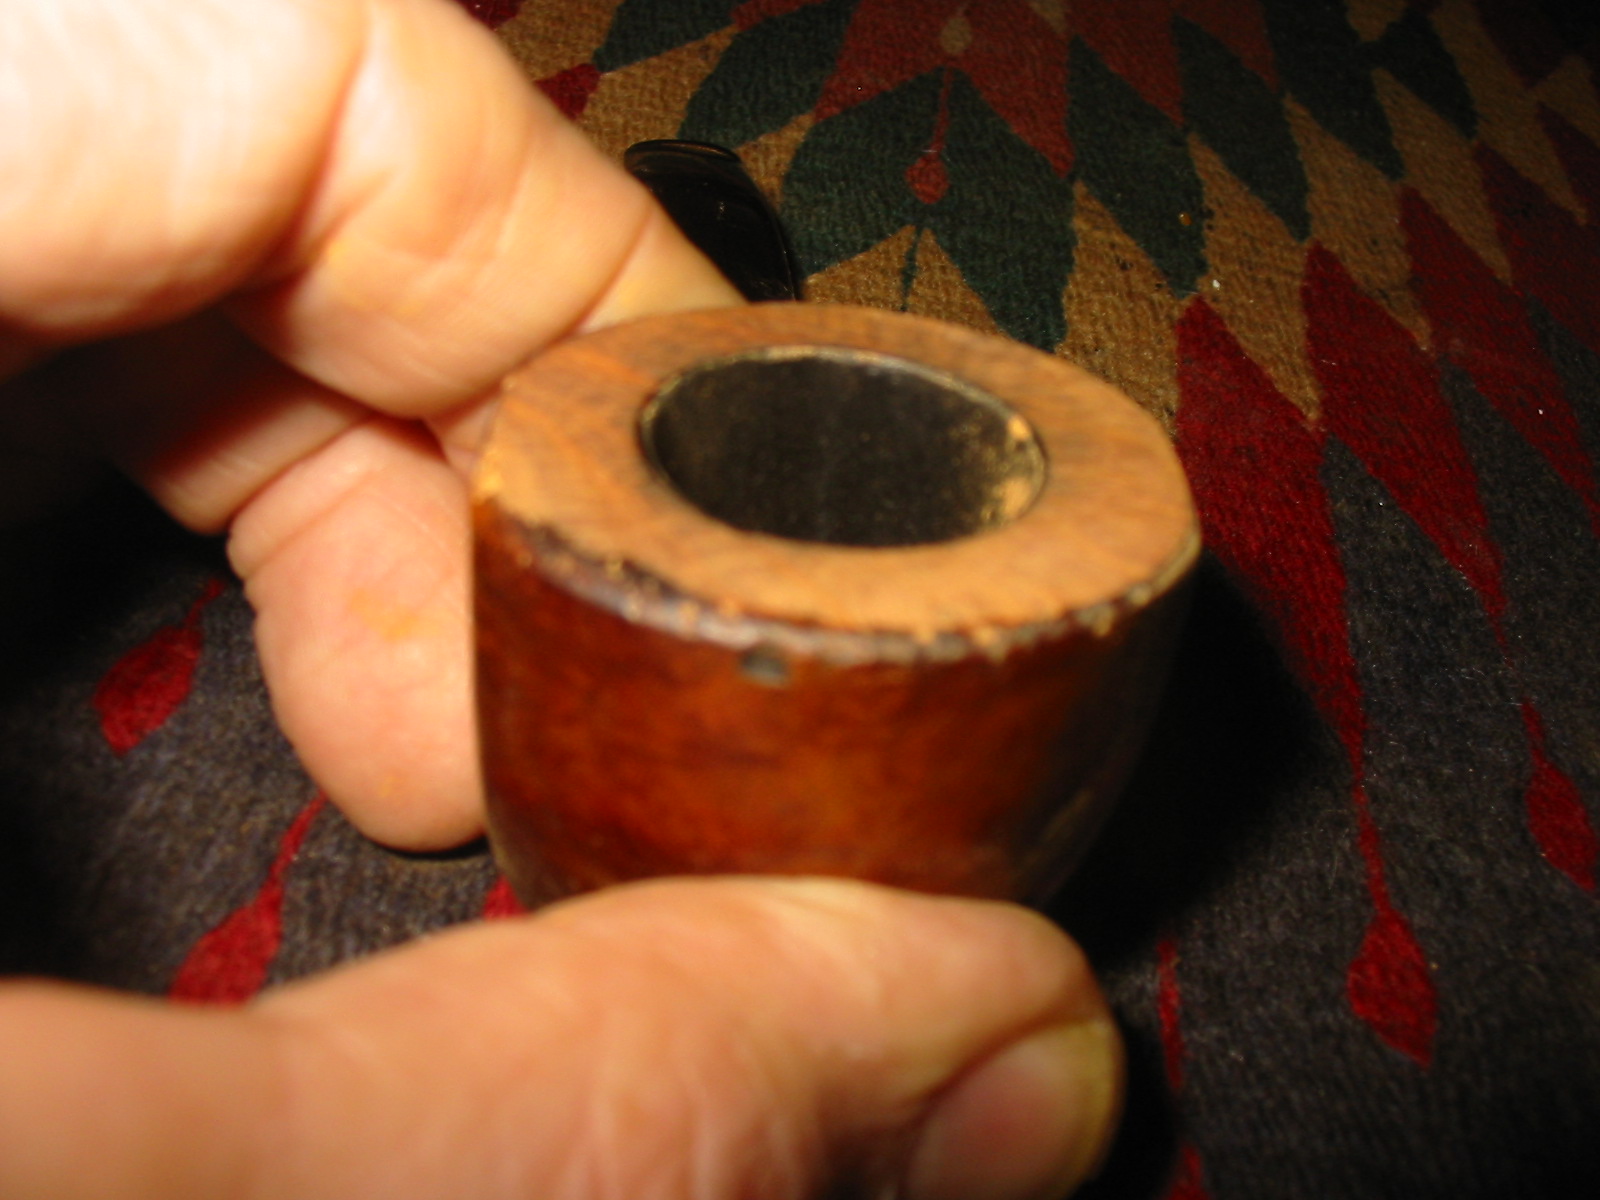
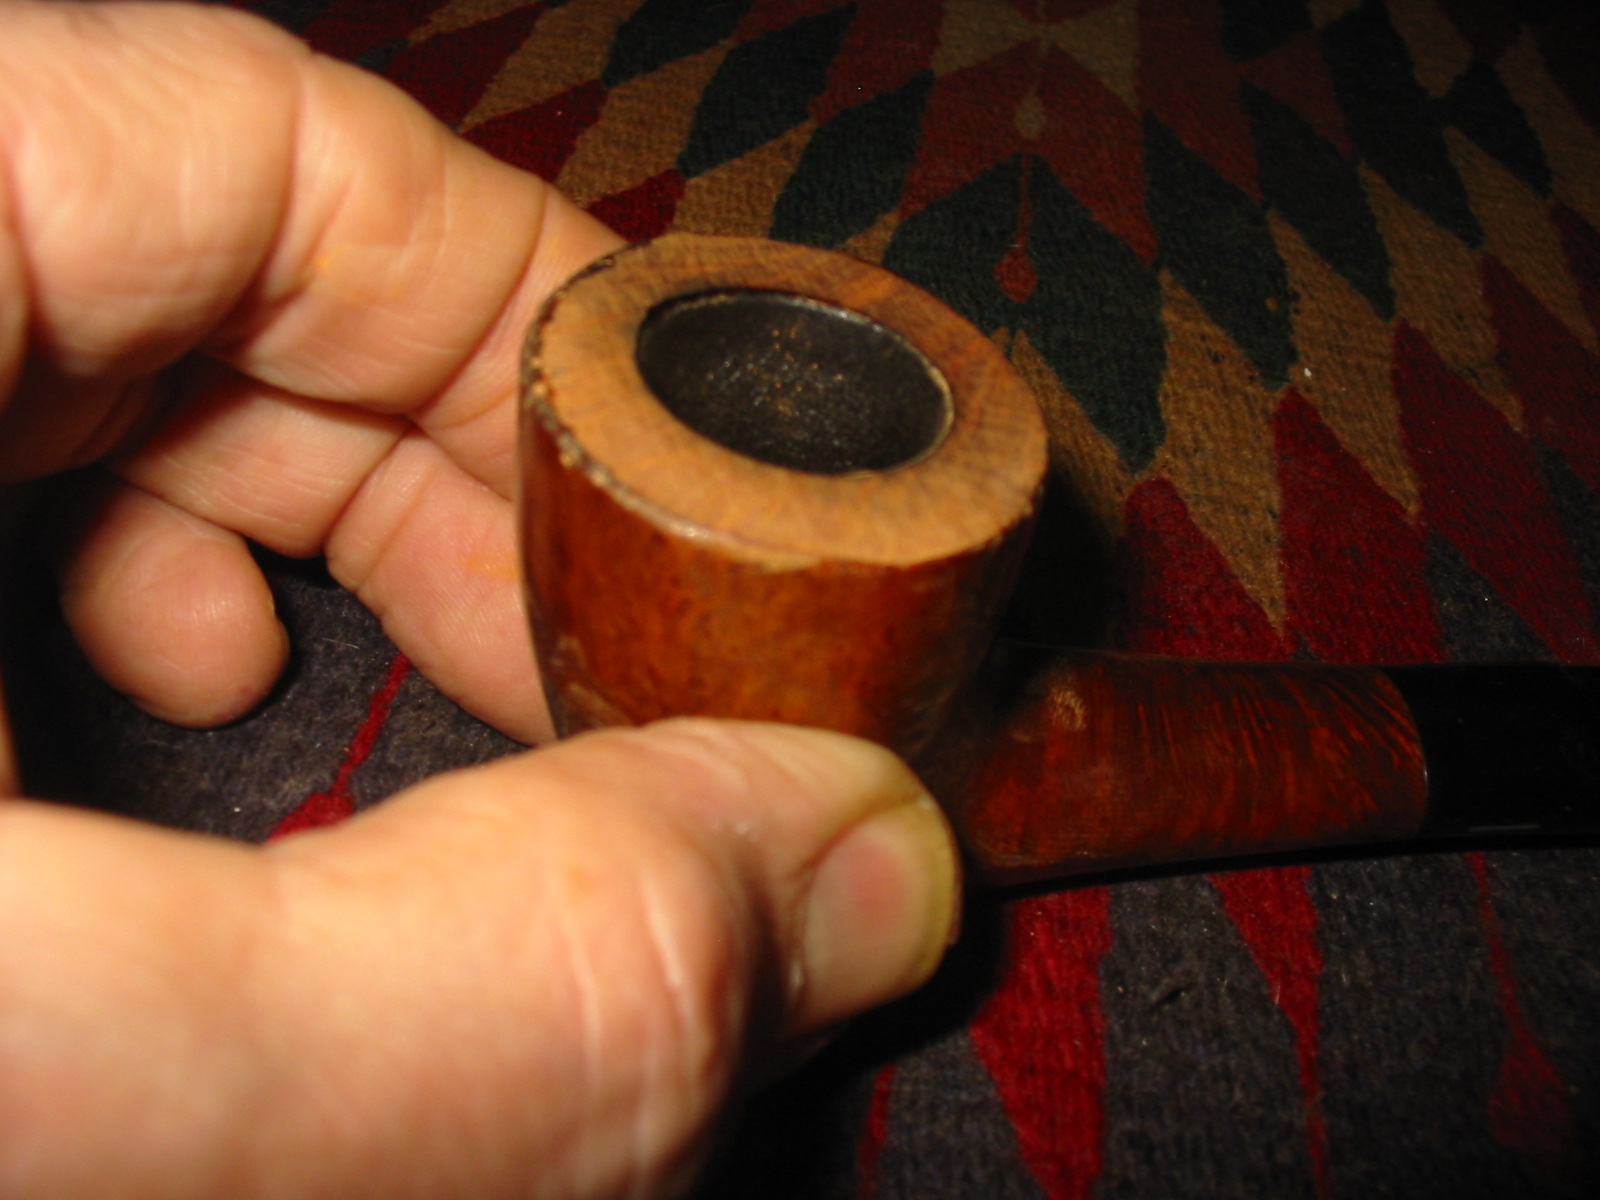
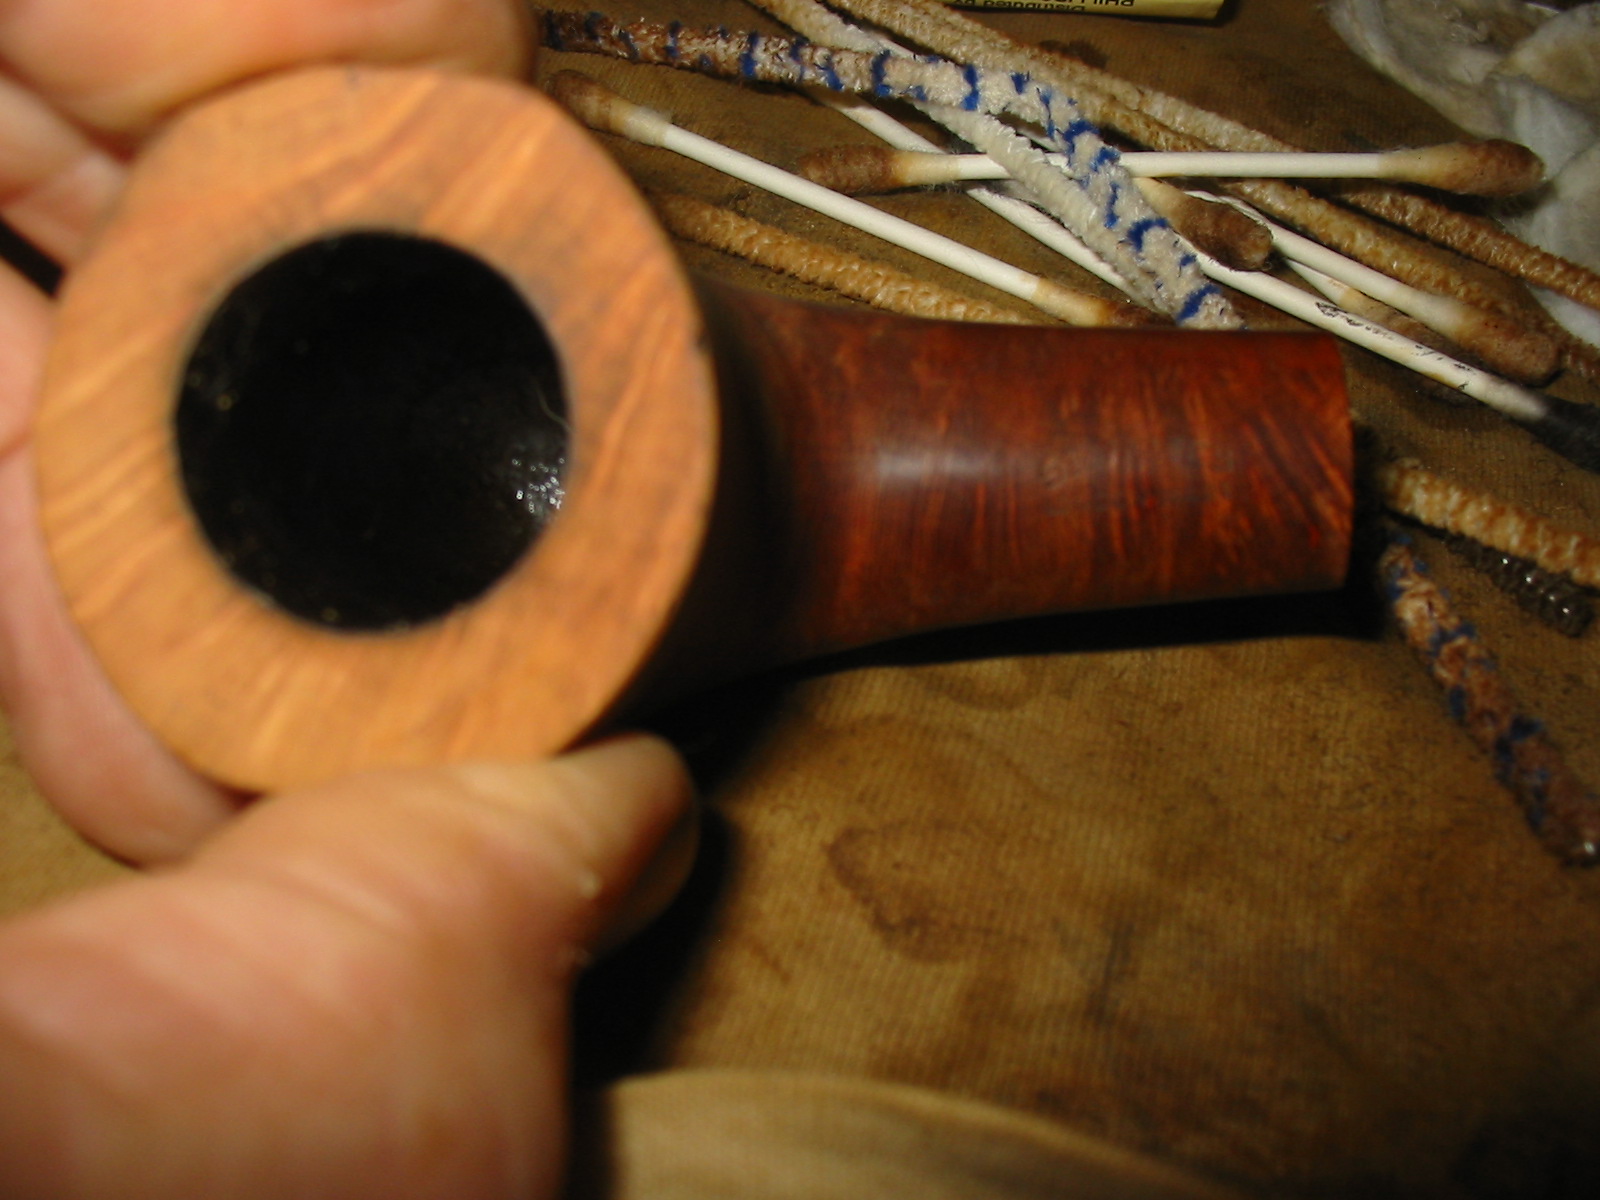
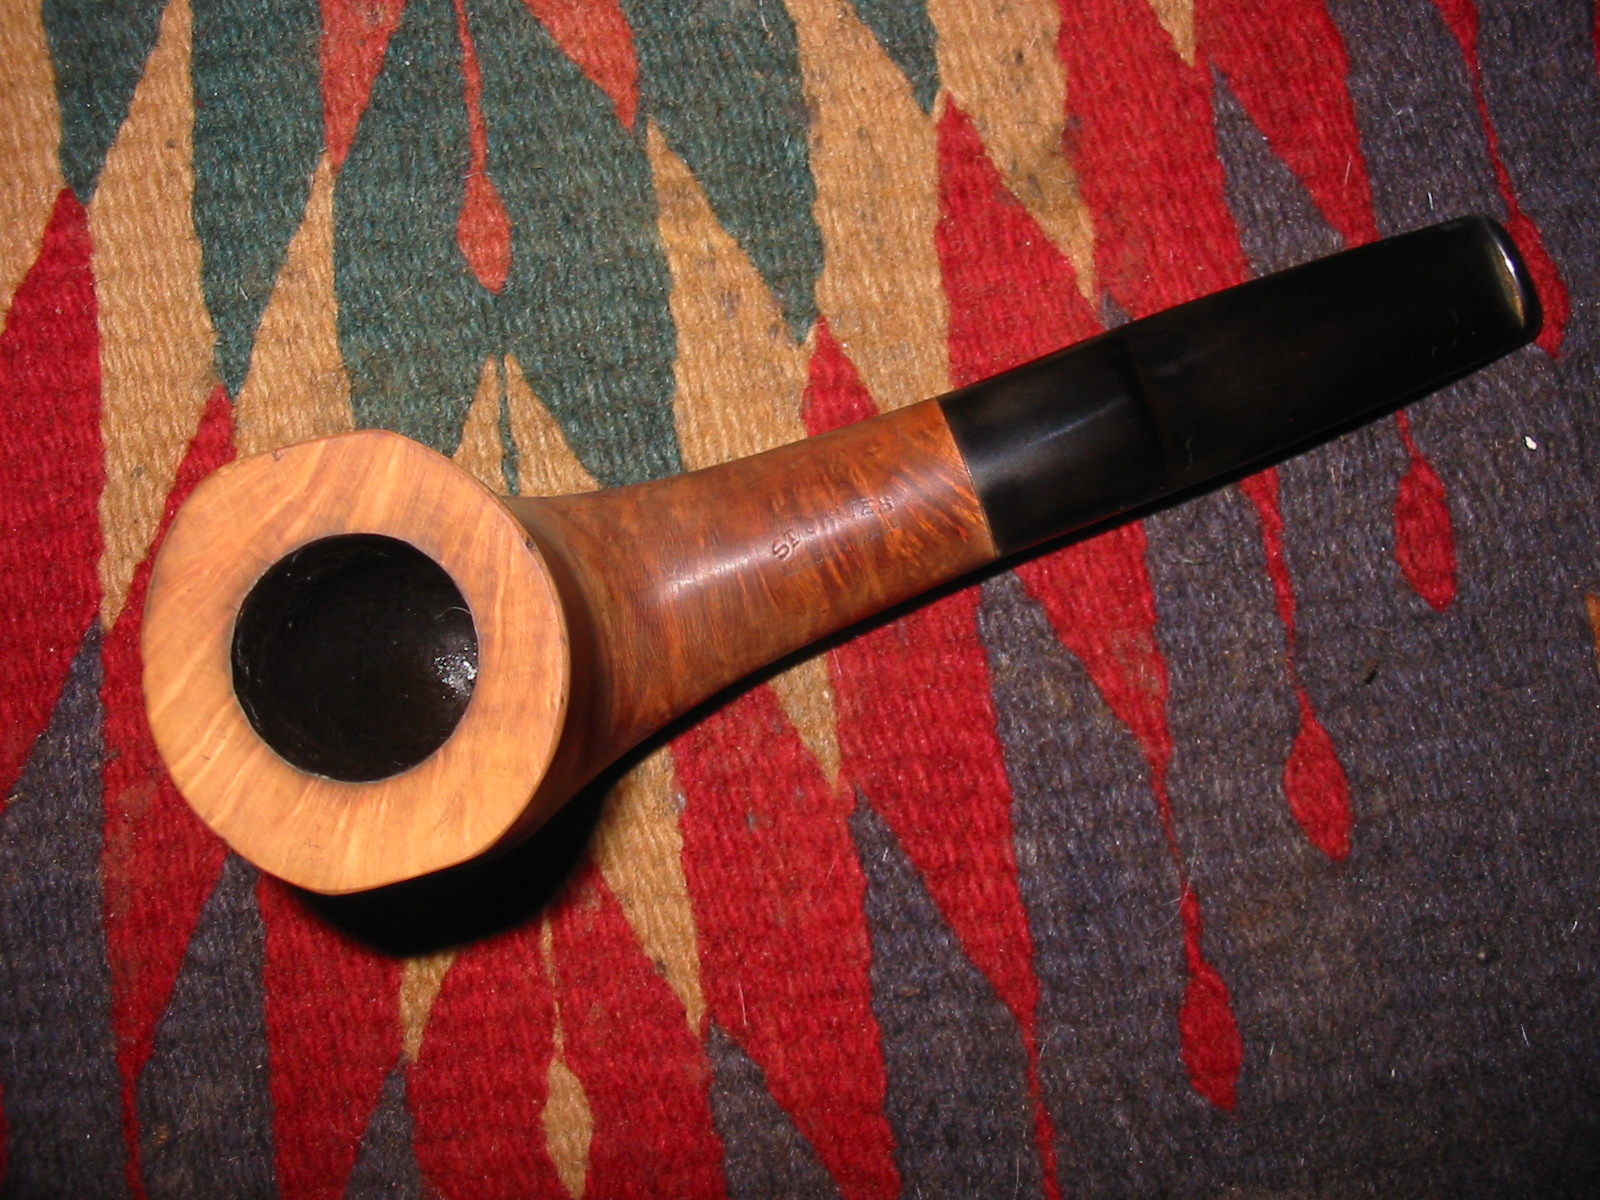
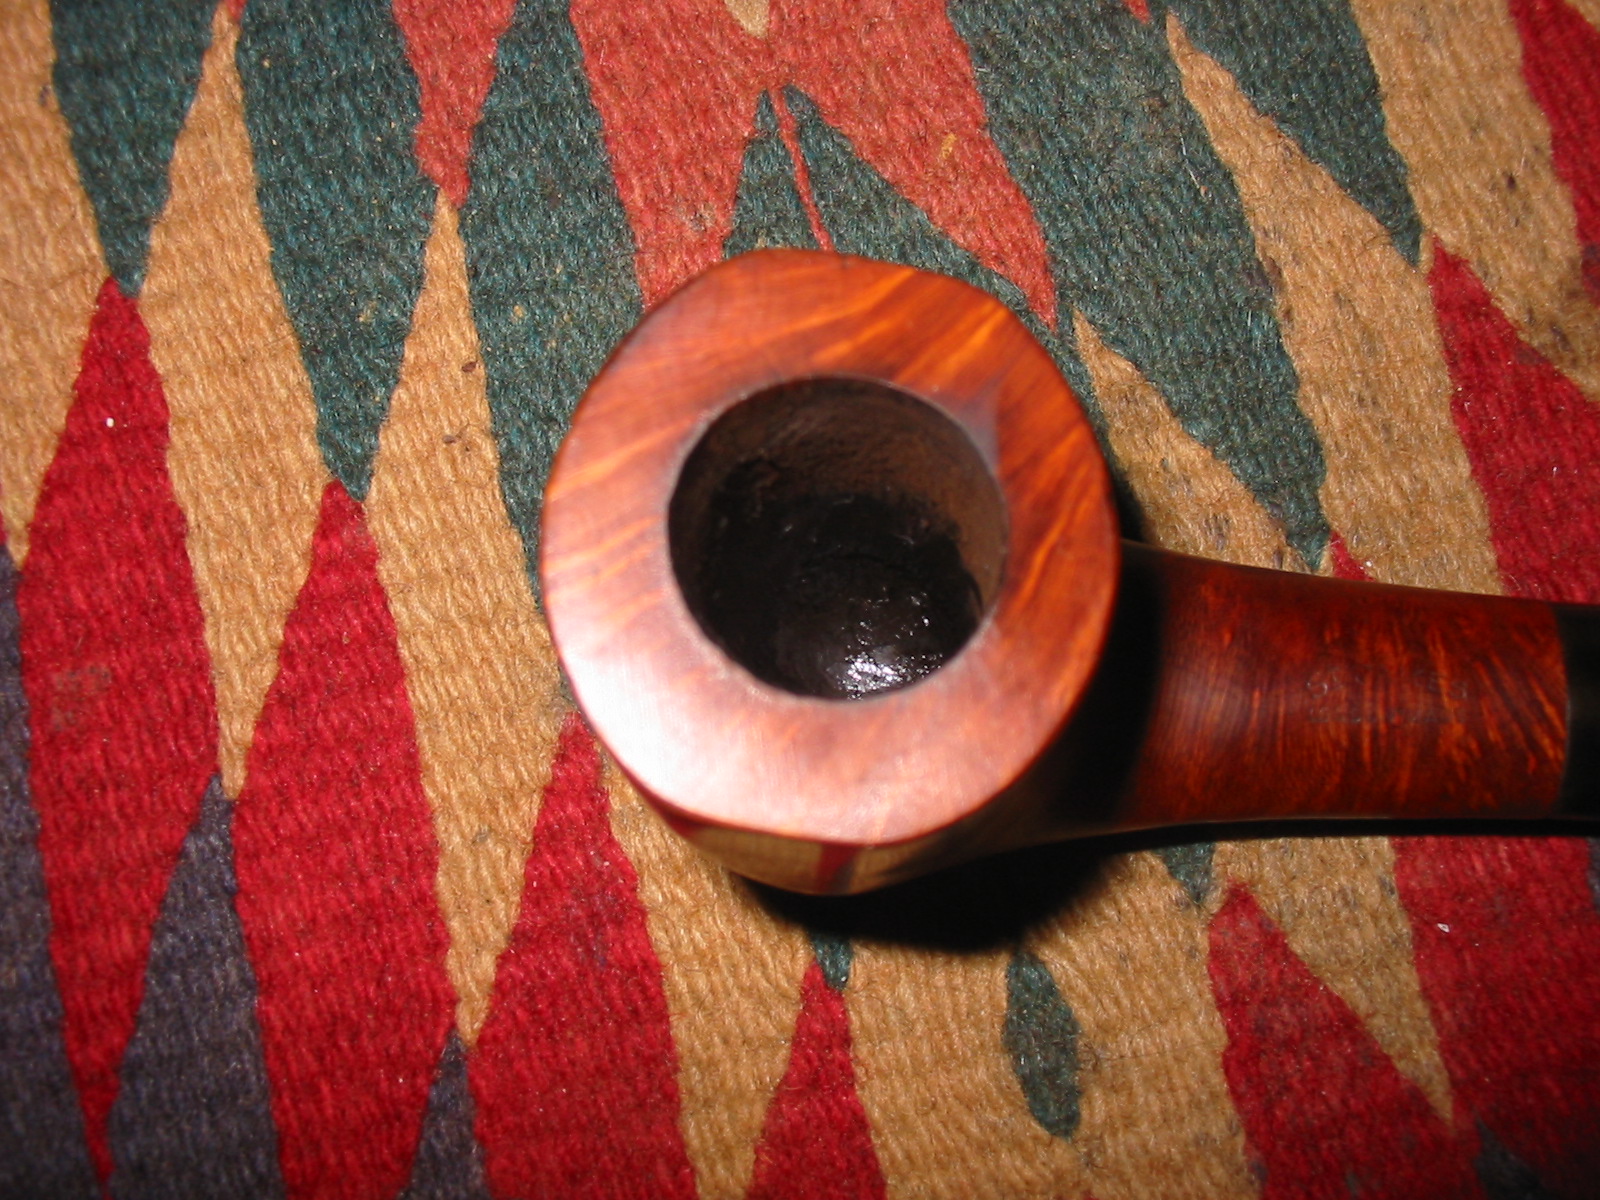
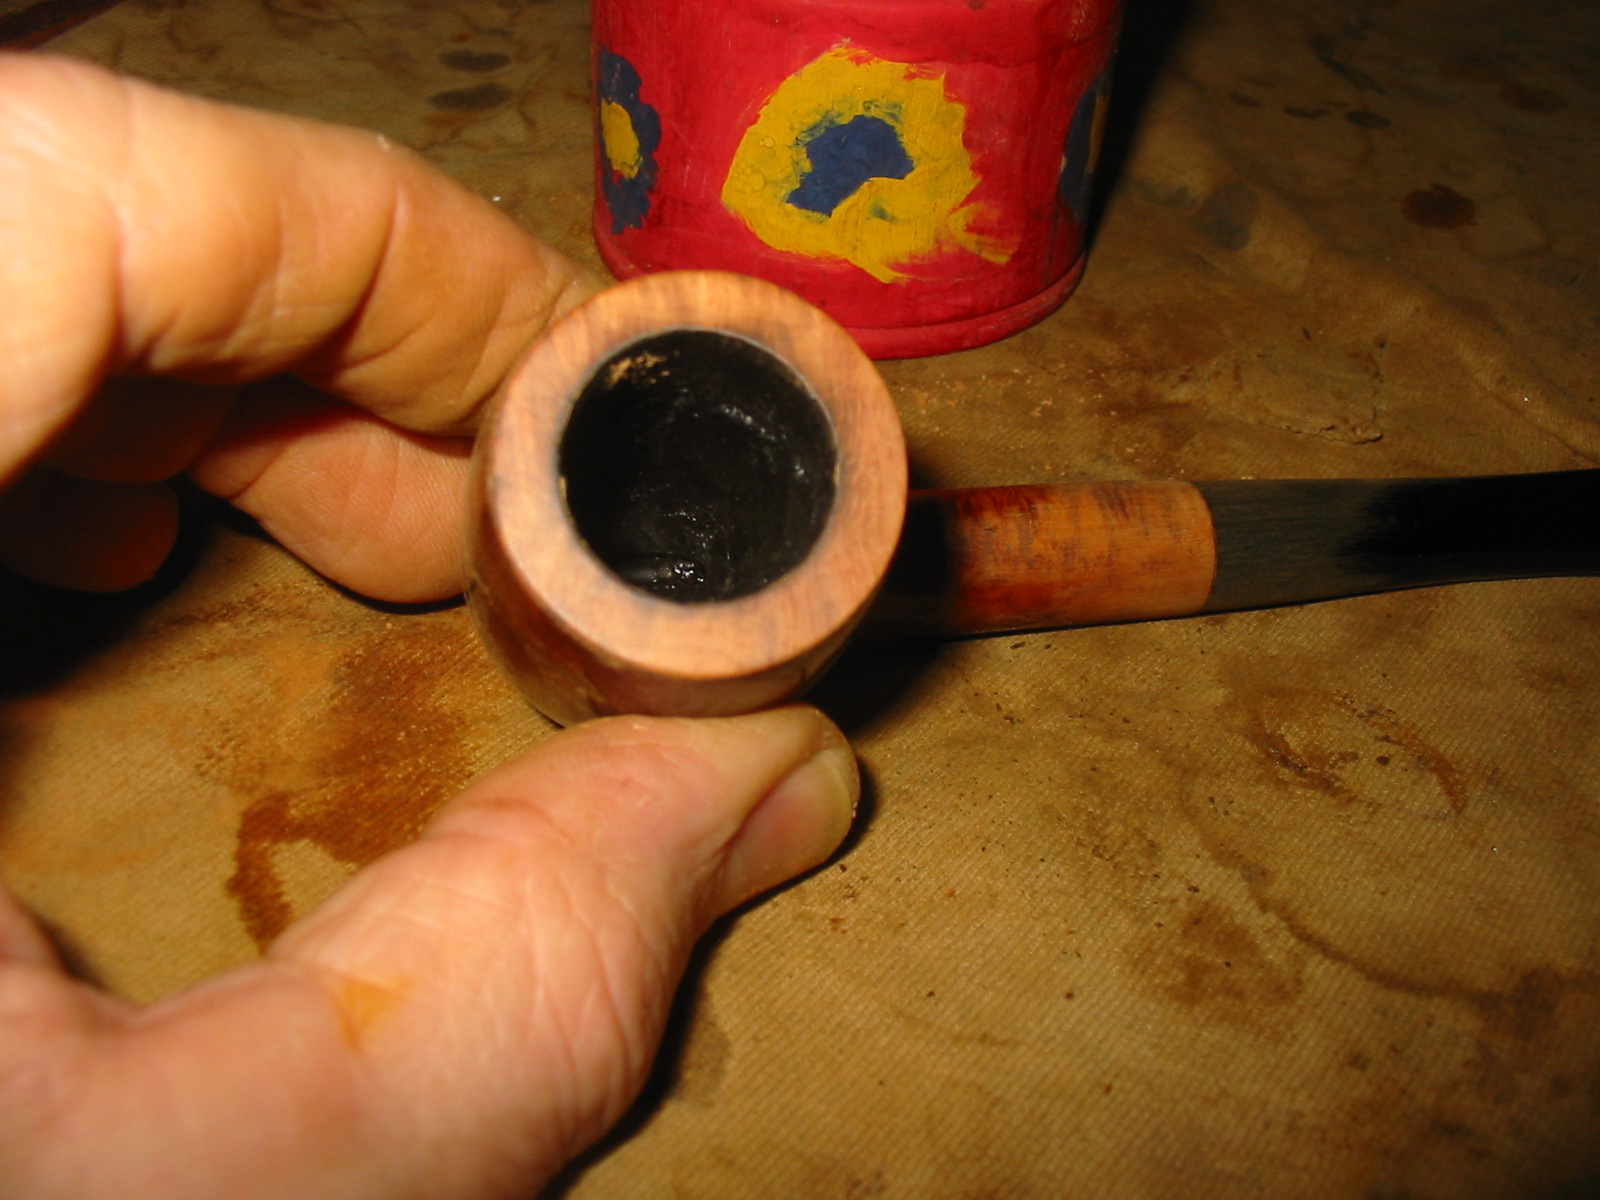
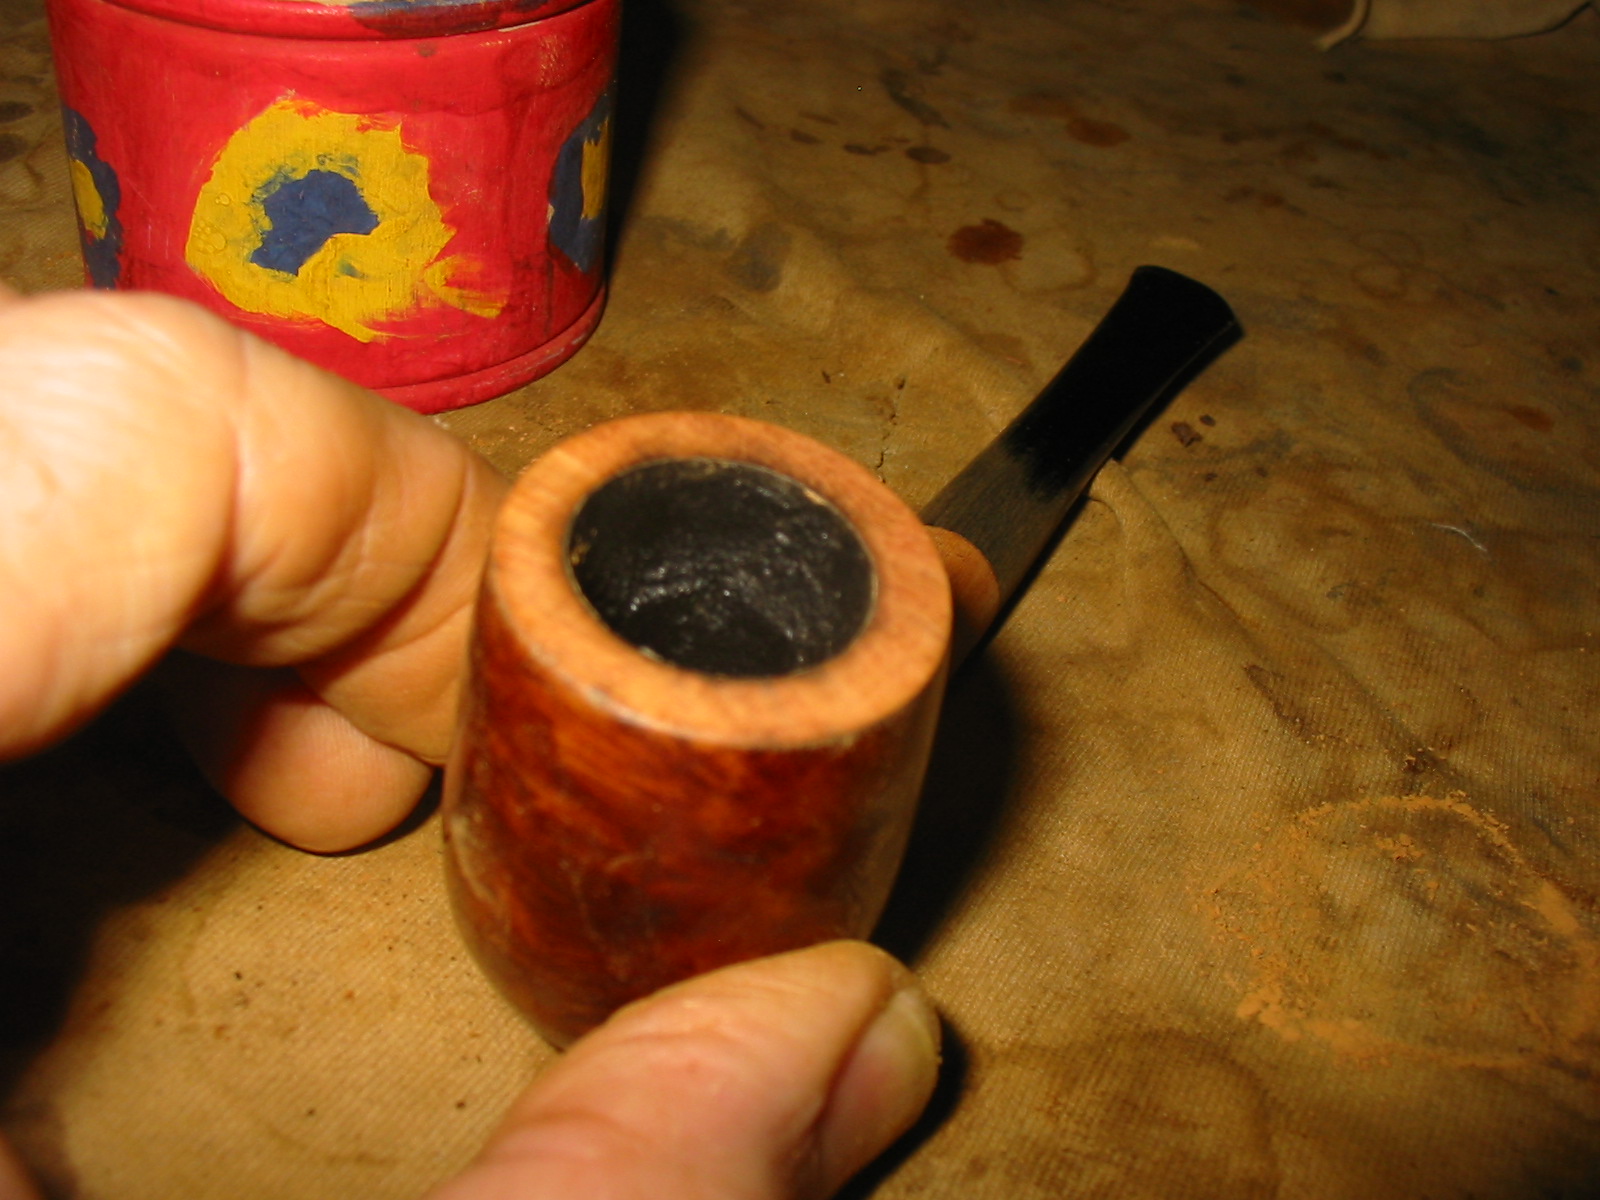
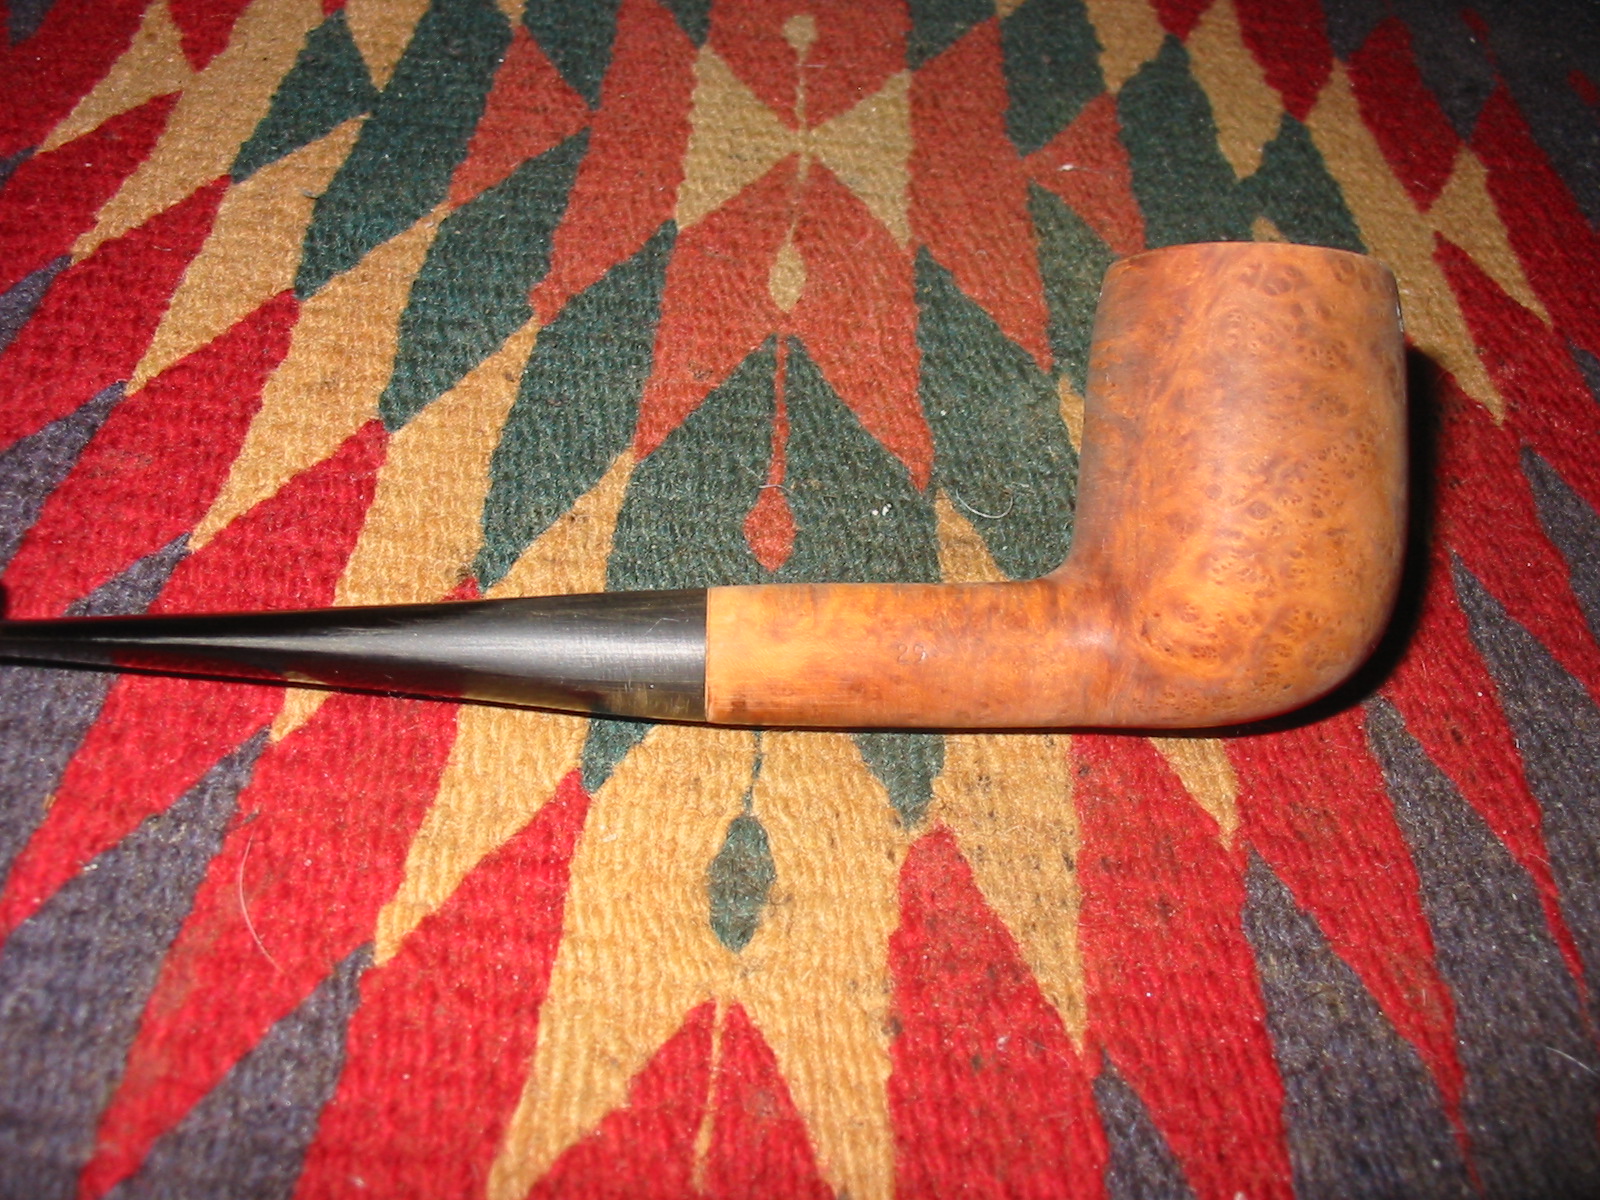
The next photo shows the condition of the rim and what led me to top the bowl and refinish this pipe. It had great overall structure but needed some TLC to bring it to the next level and make it a pleasure to have and to hold.
IMG_4380

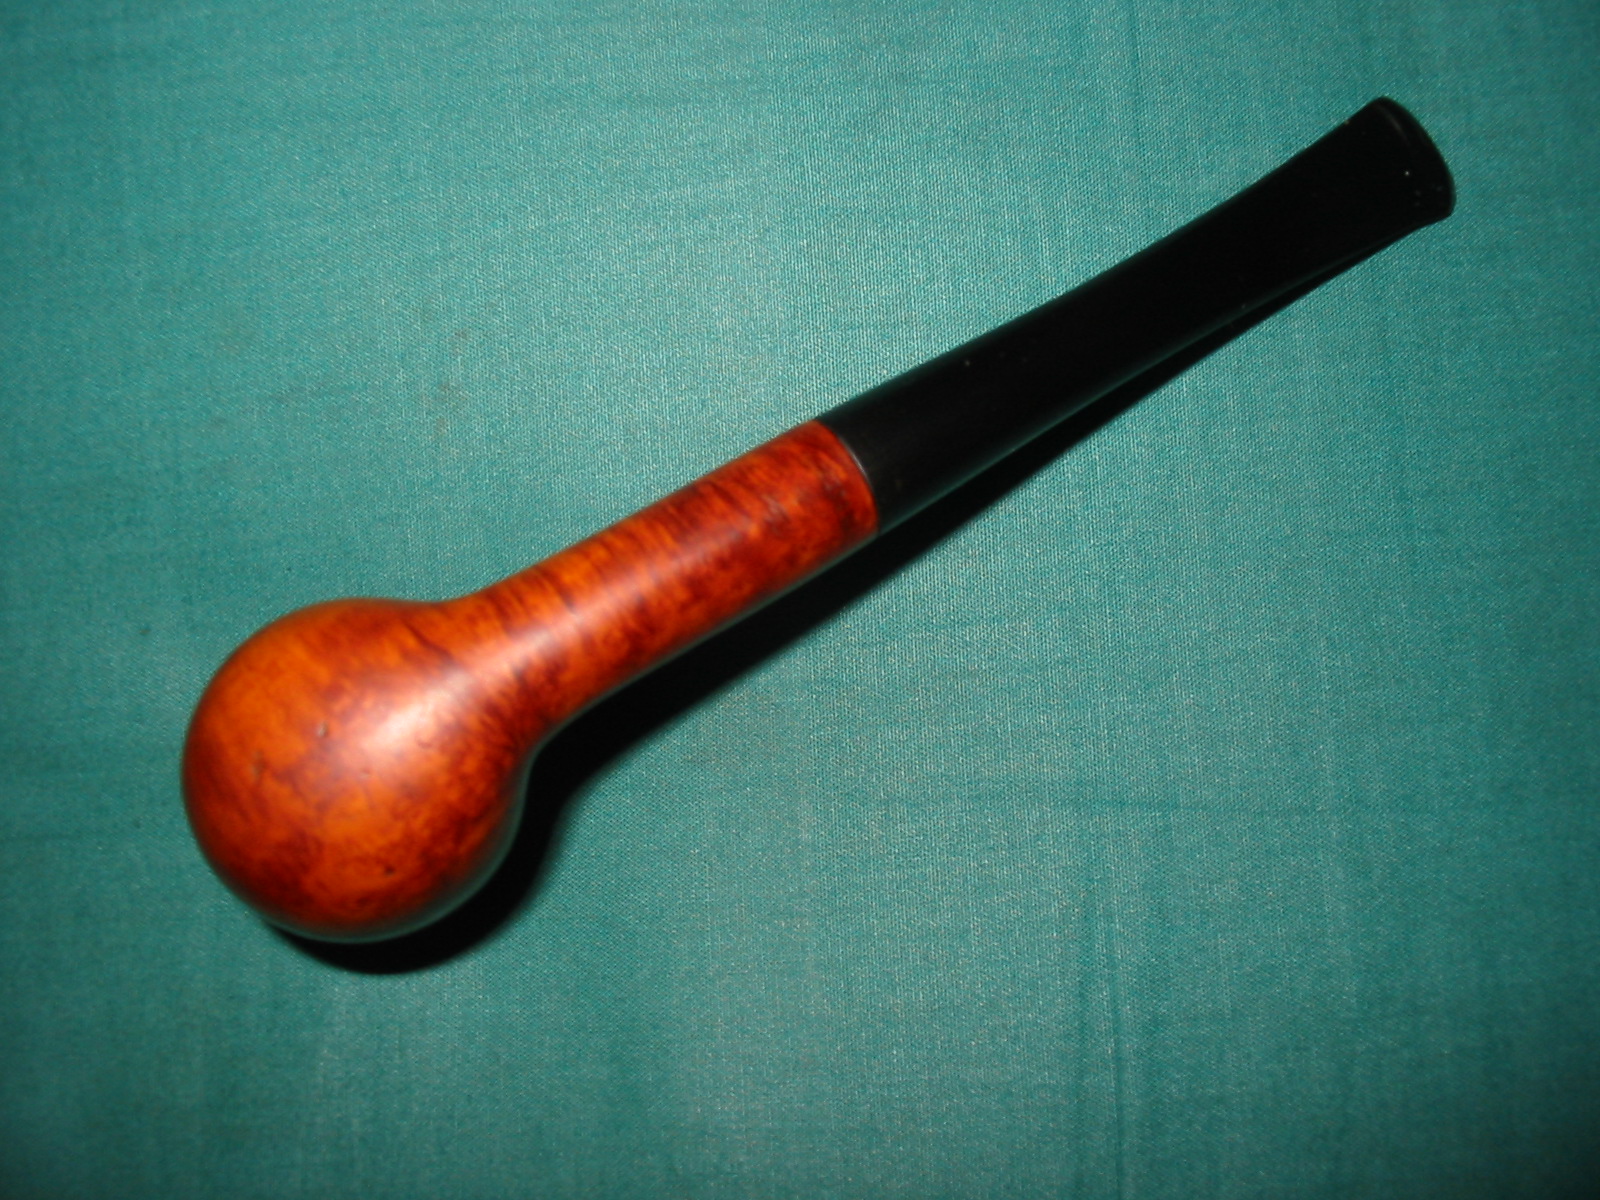
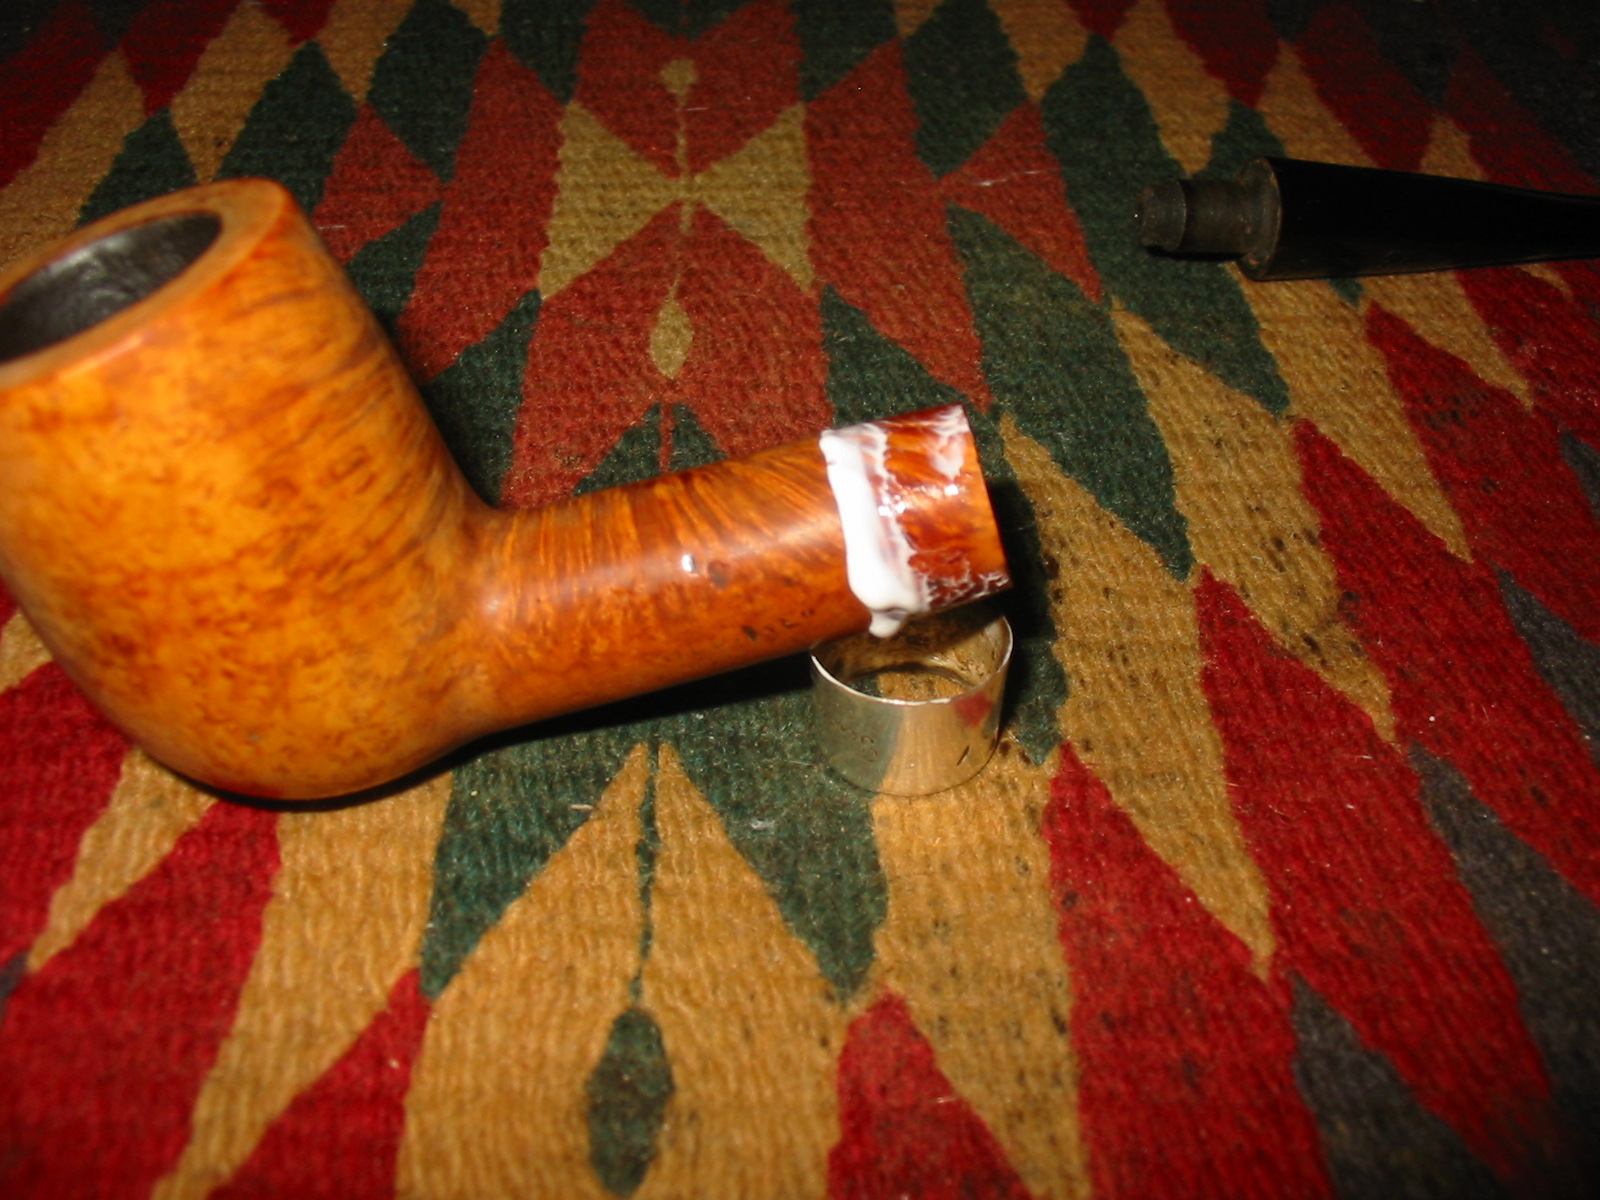
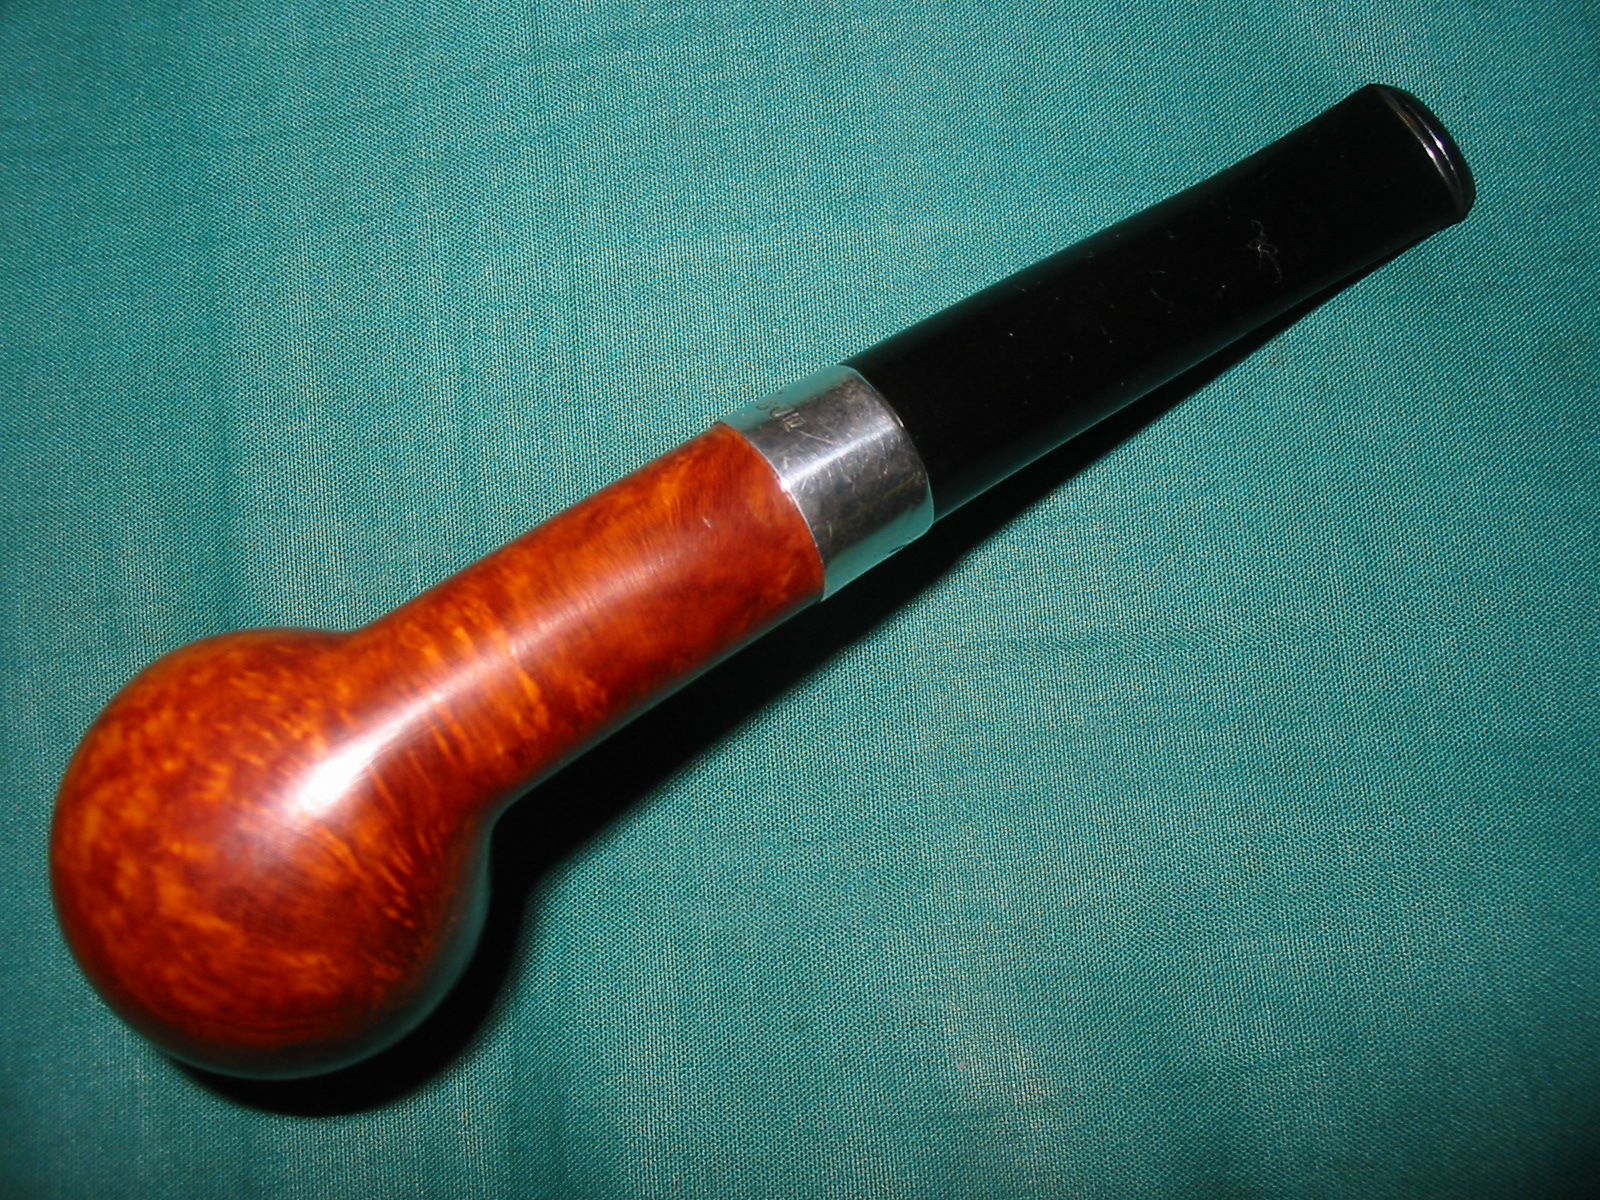
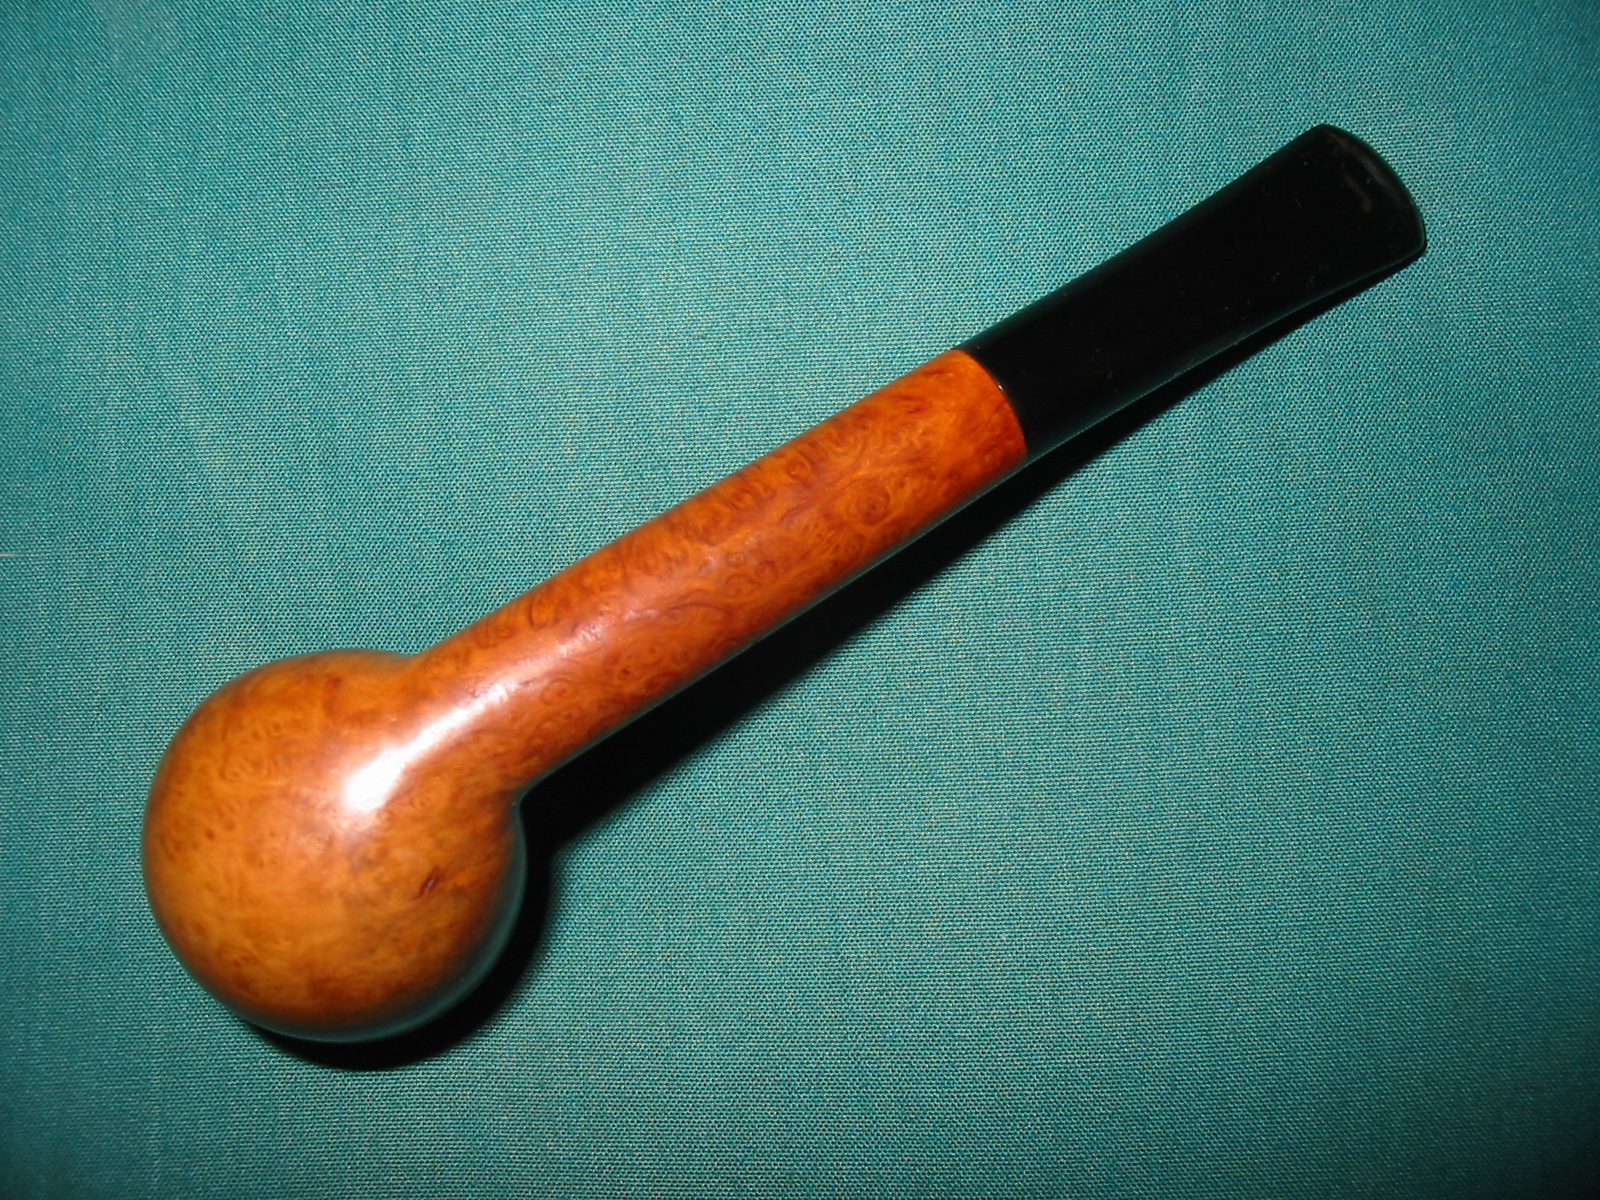
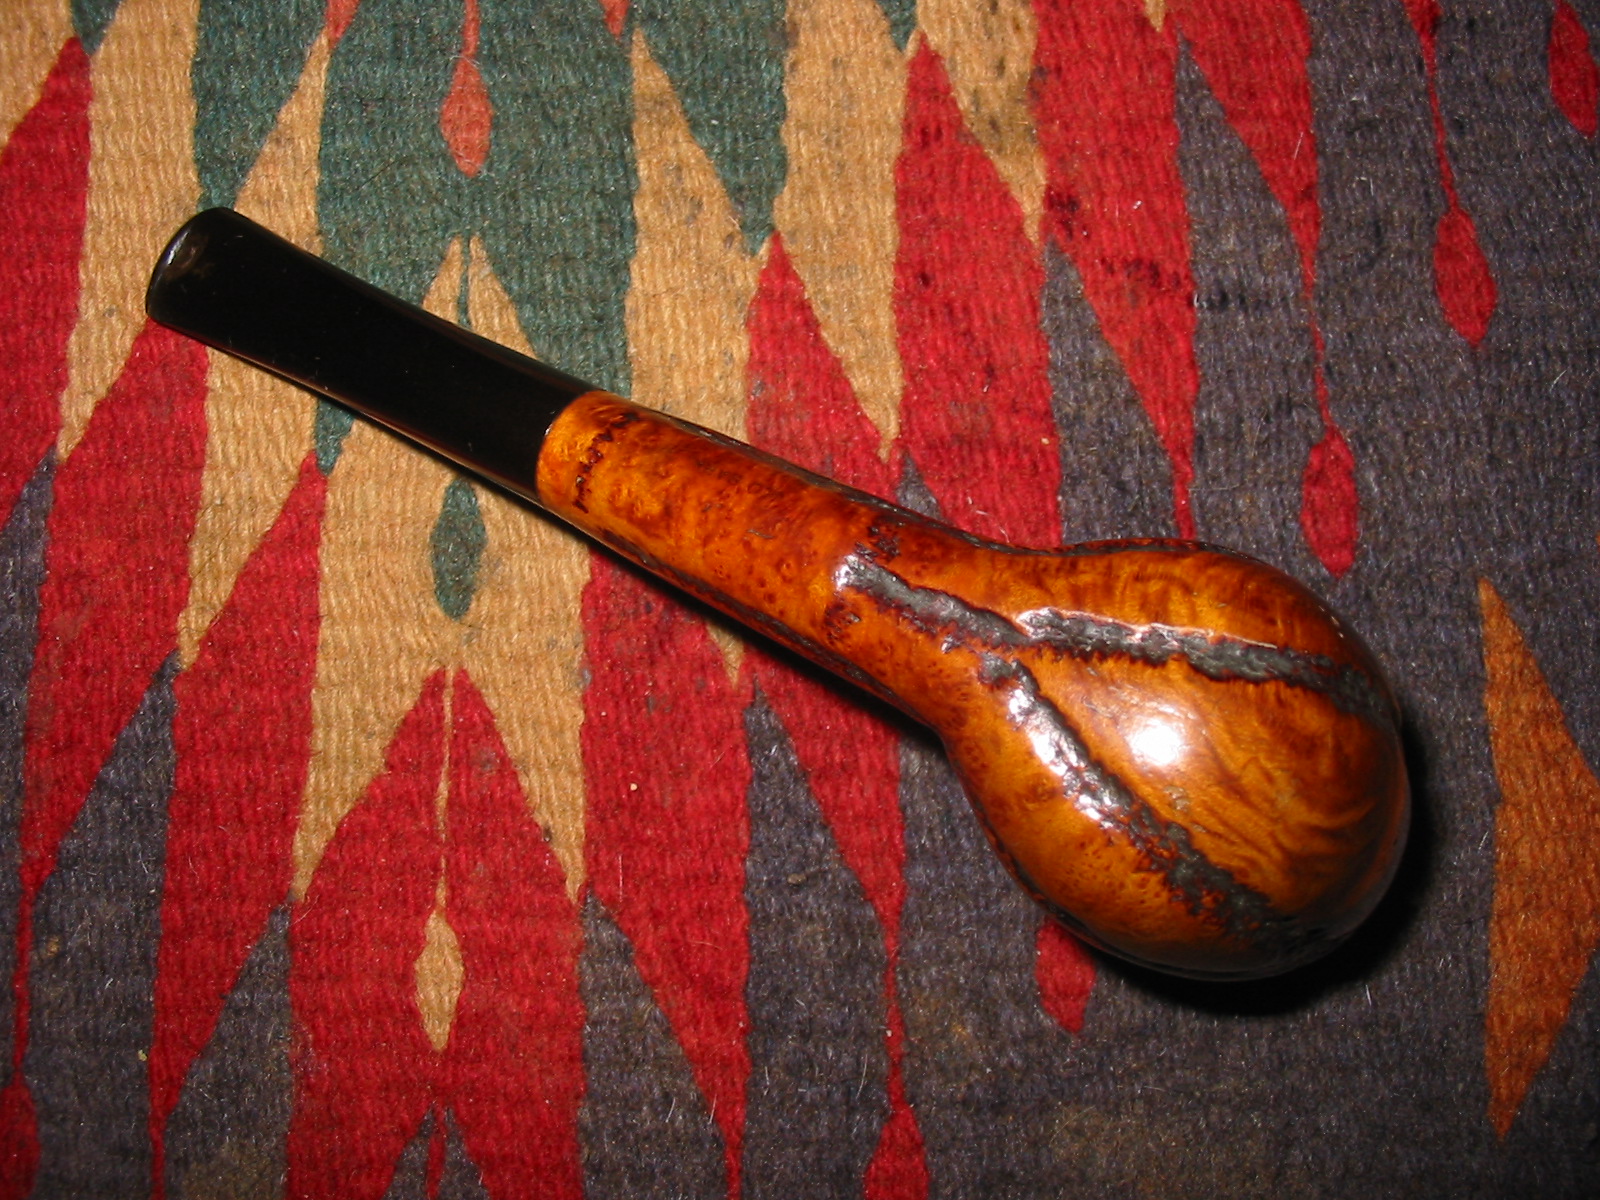
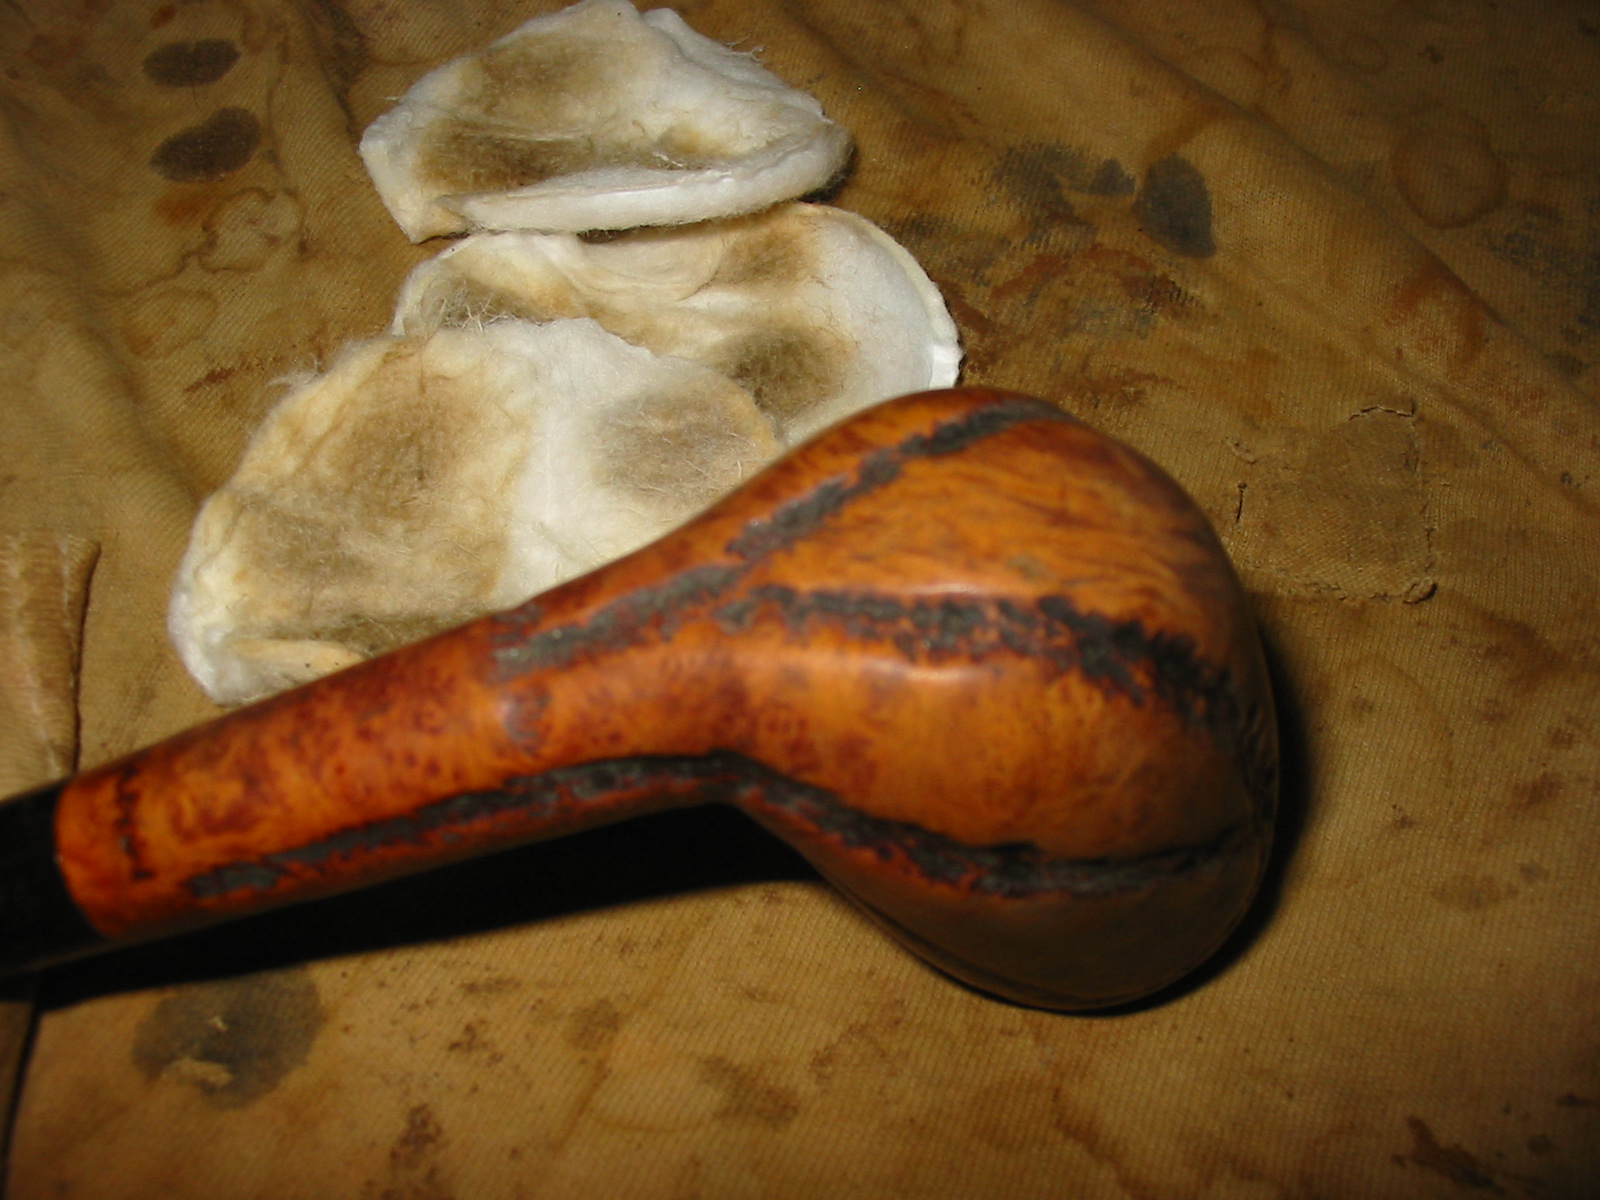
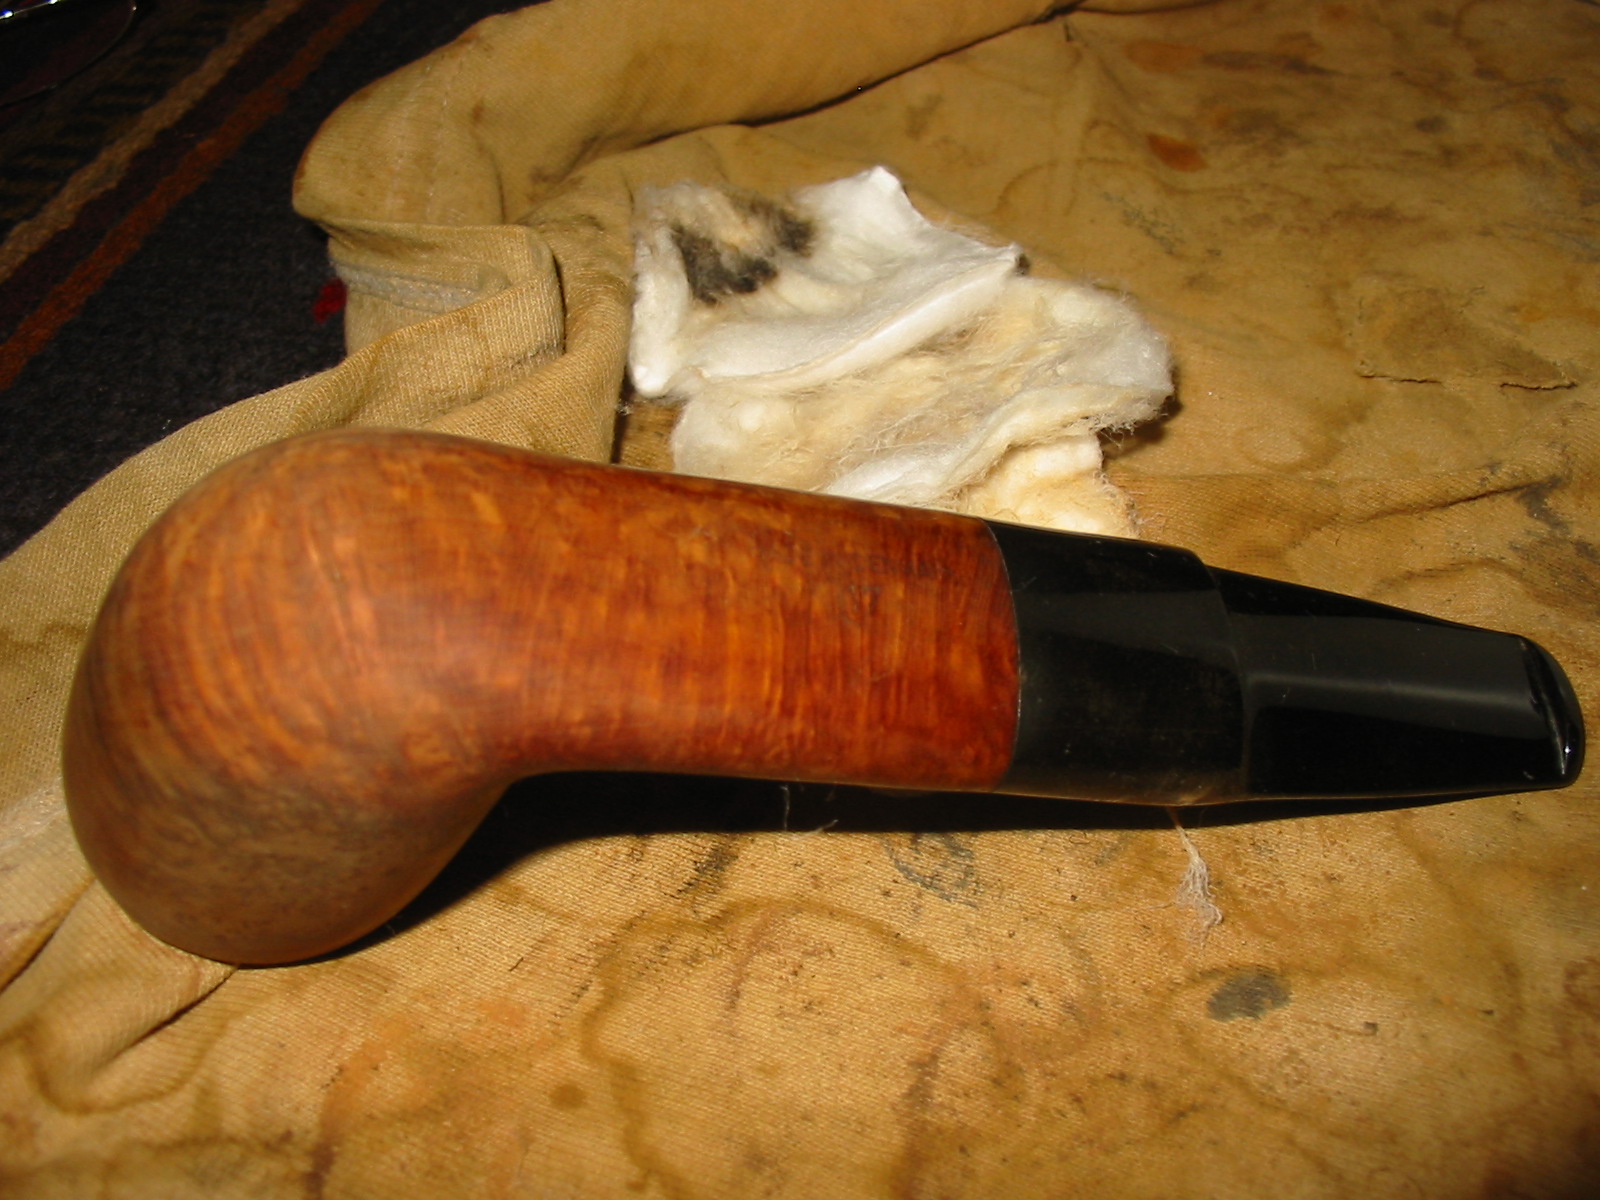
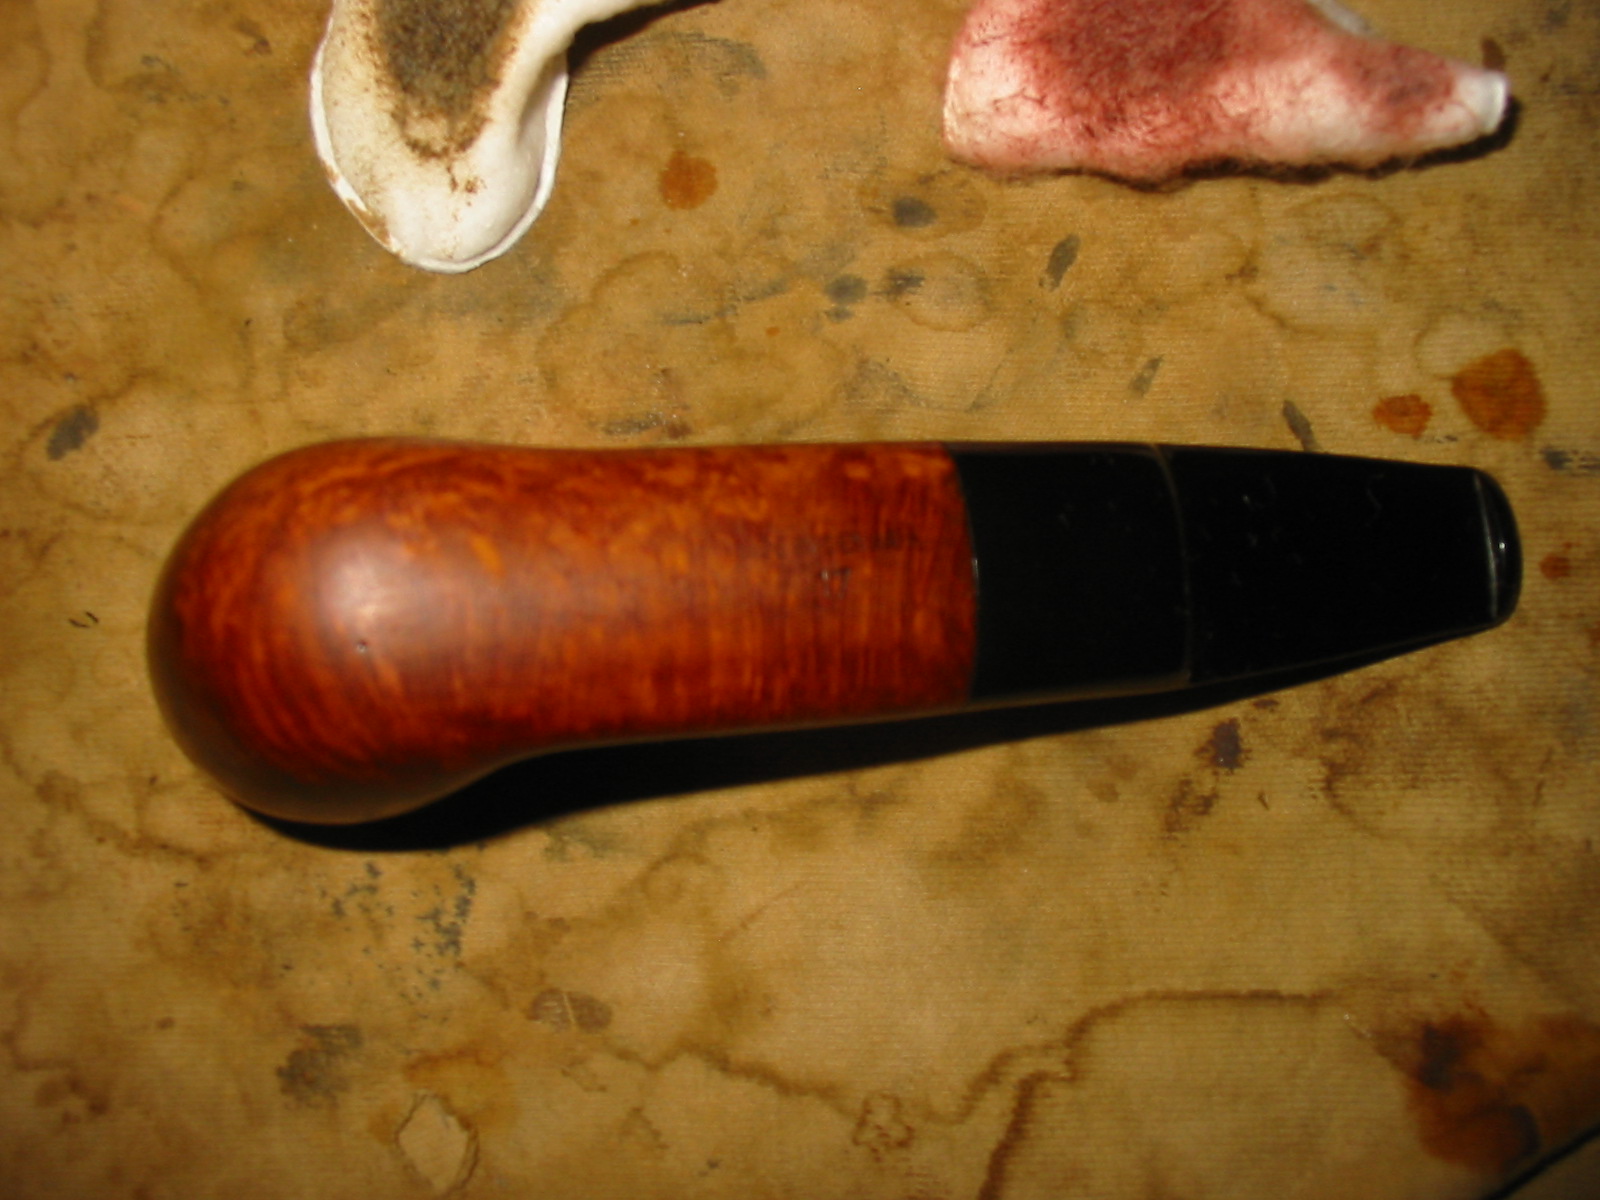
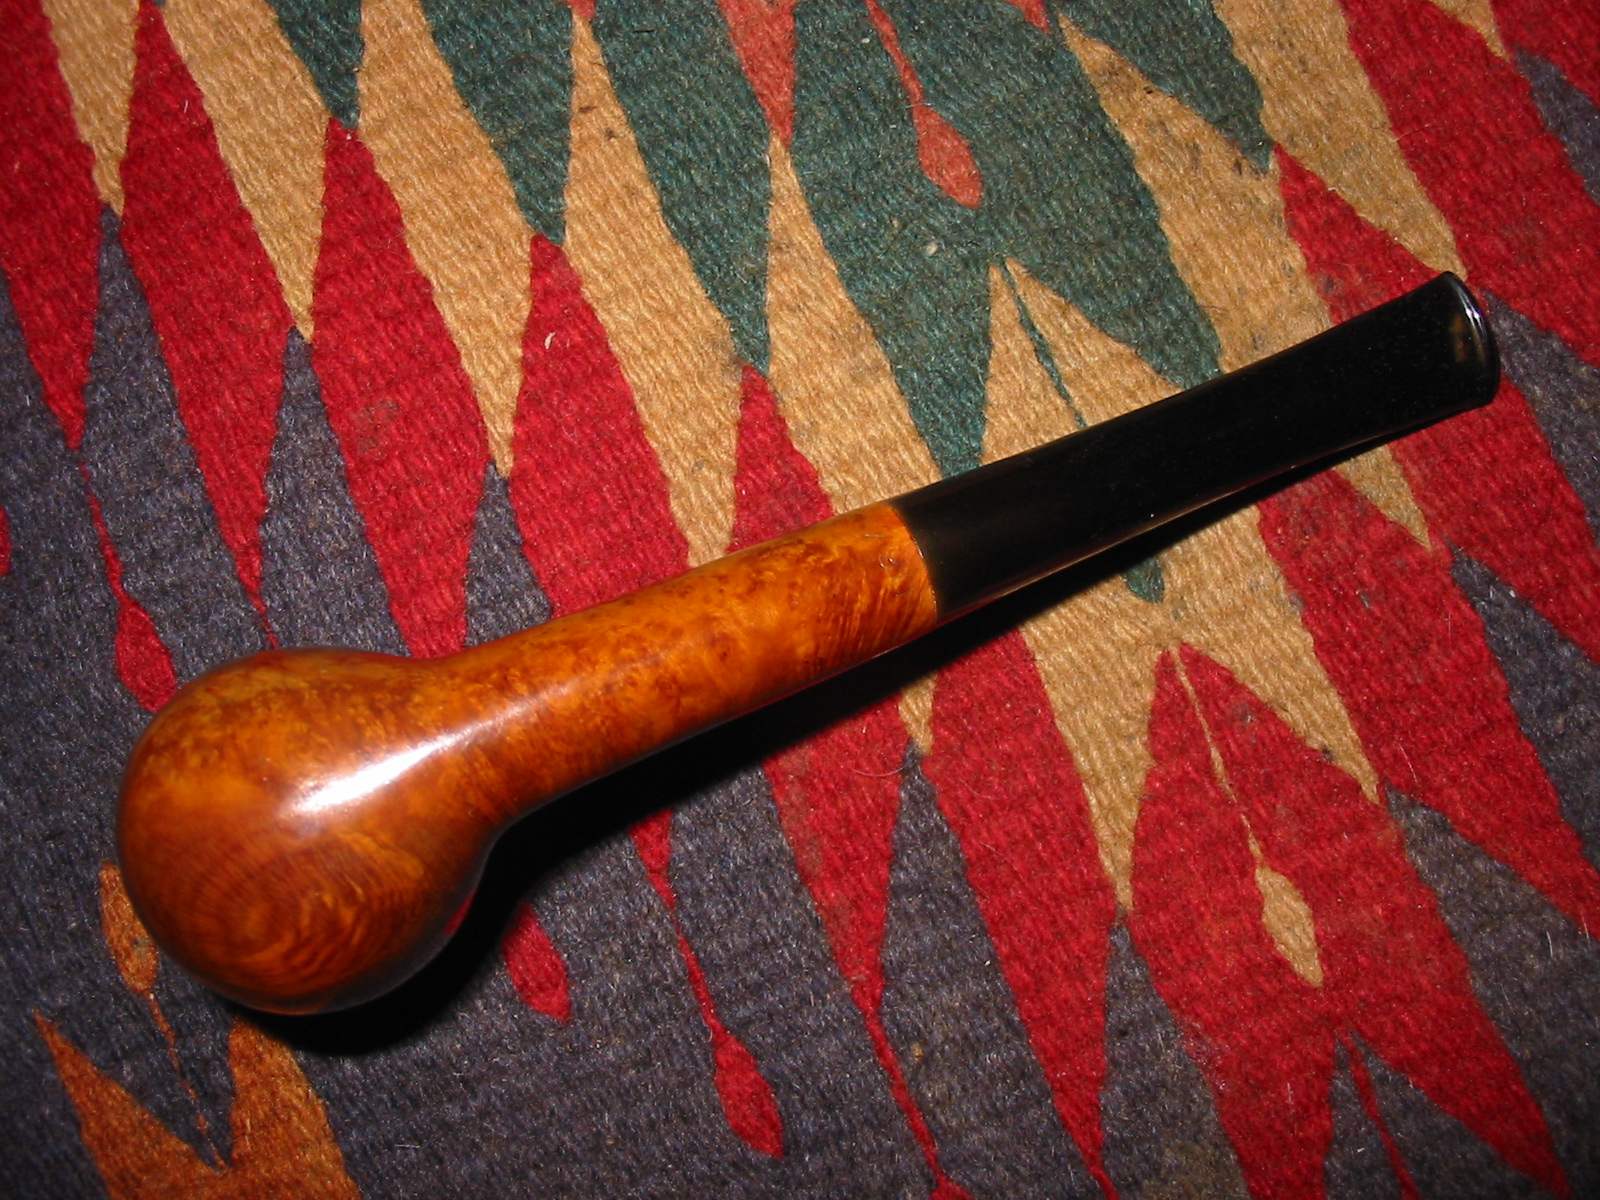
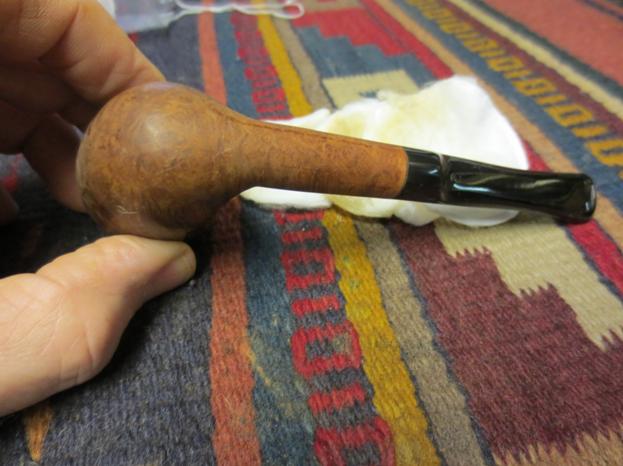
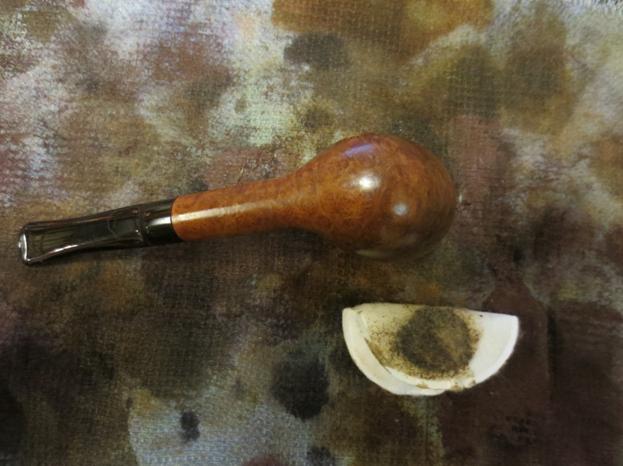
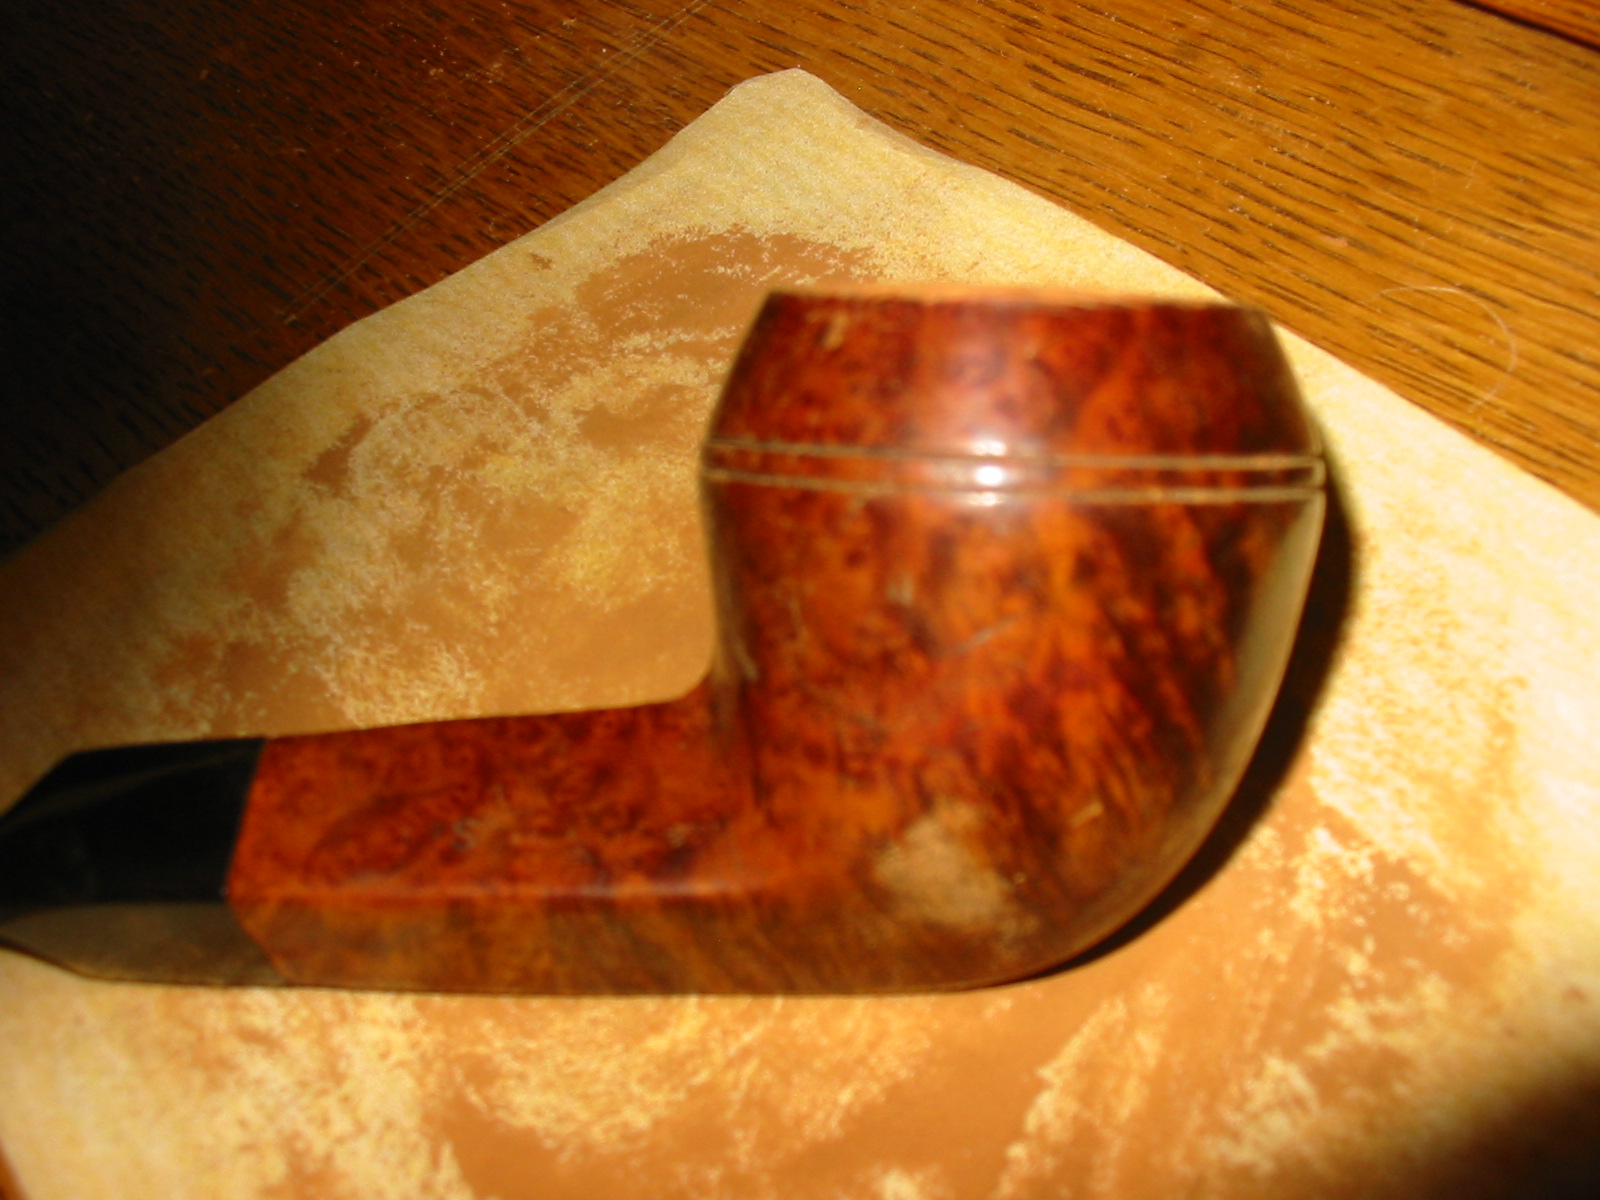
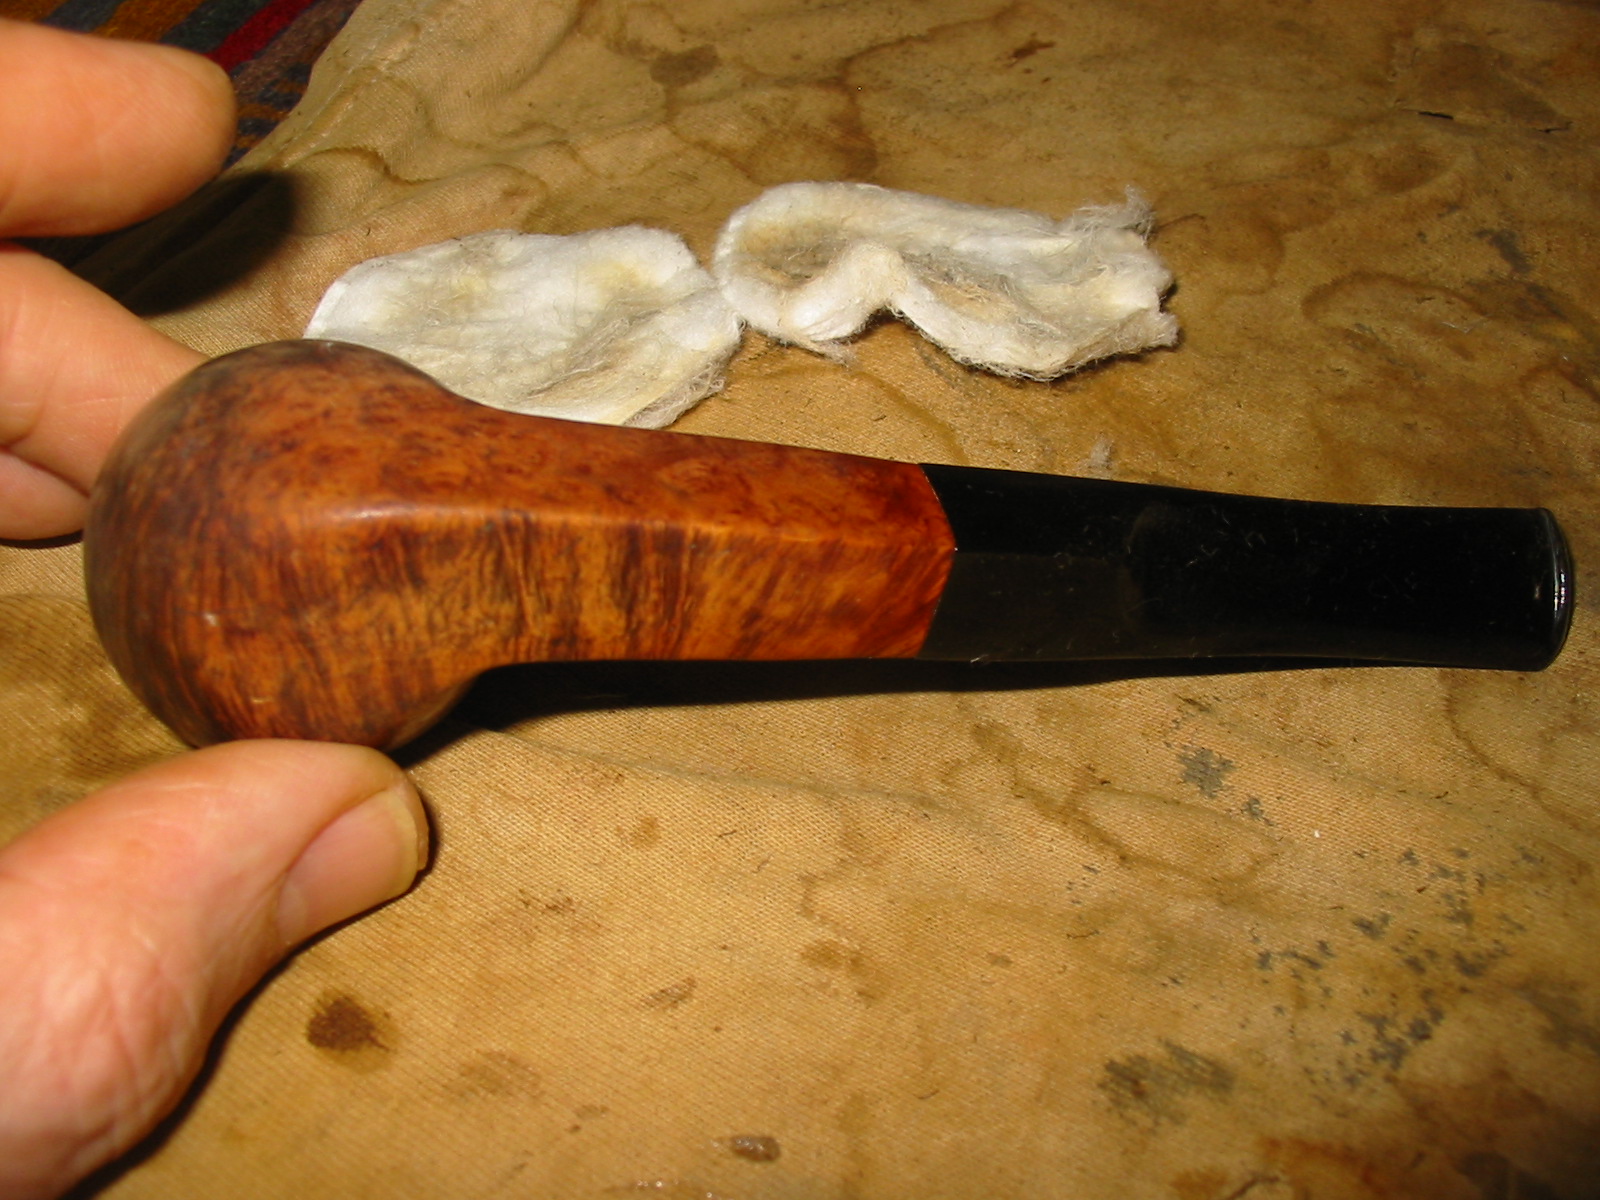
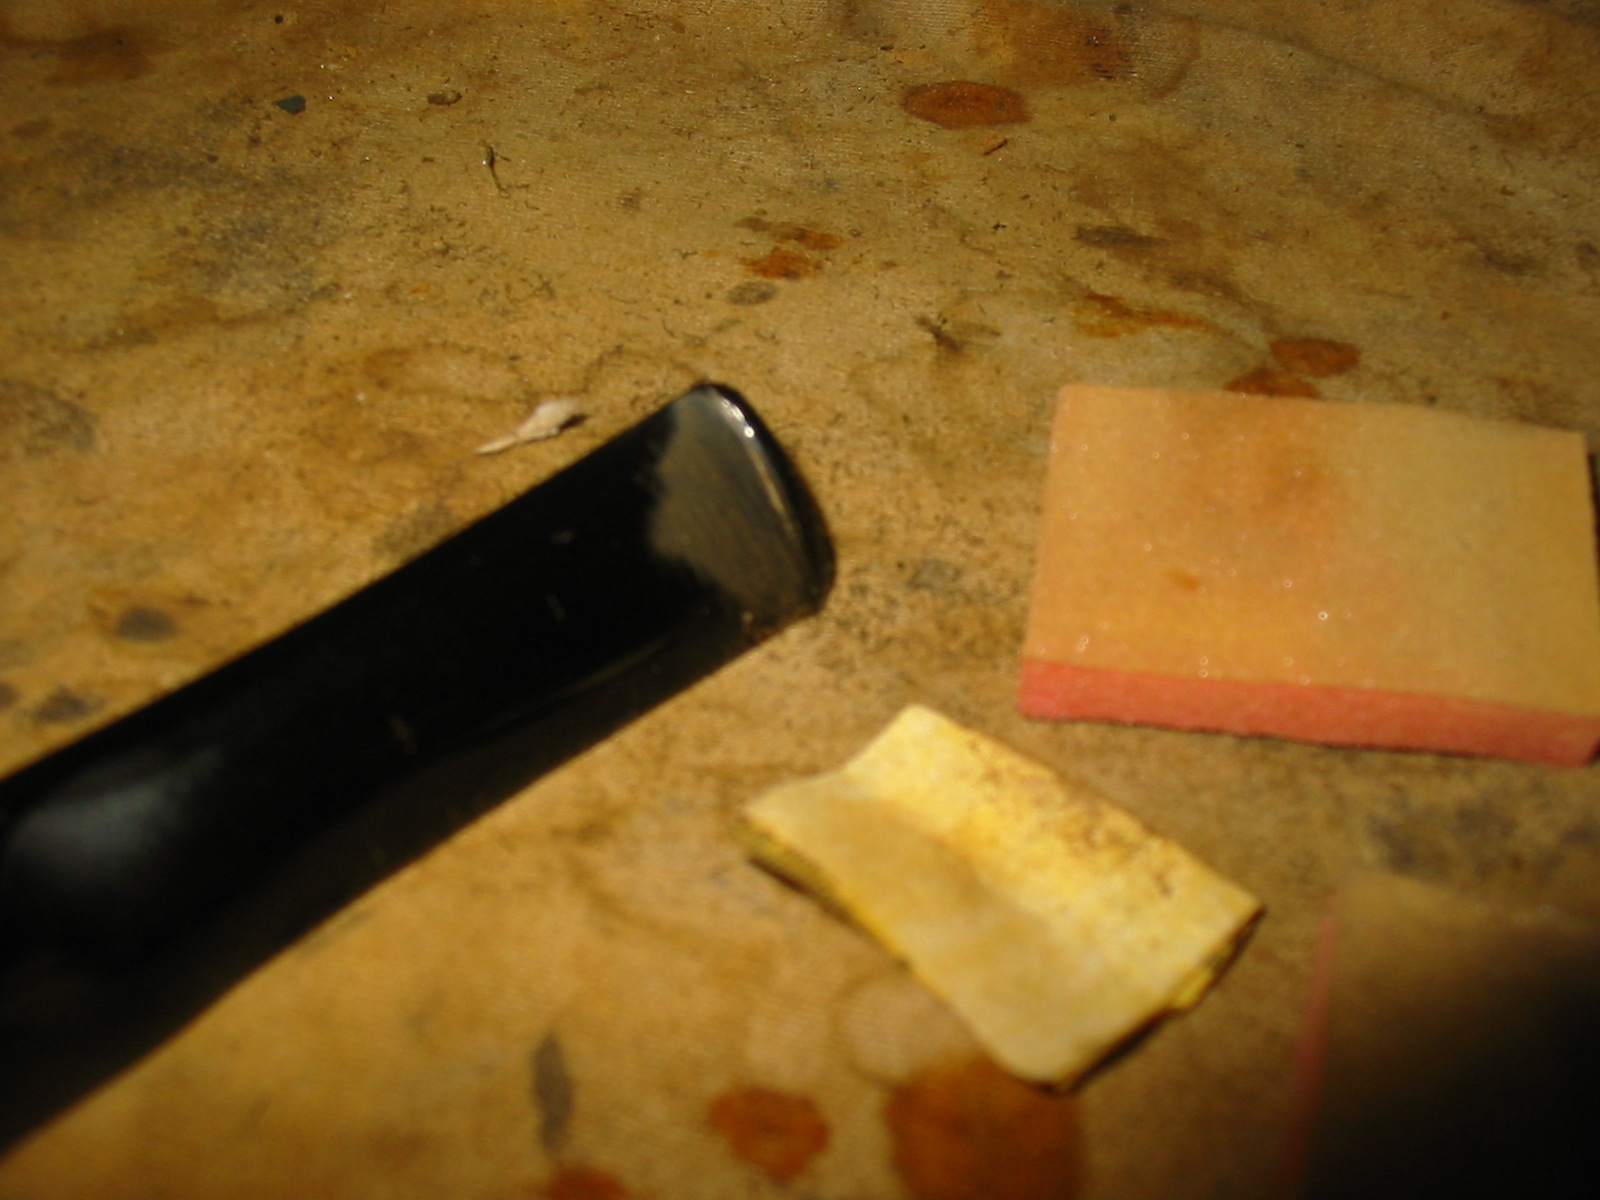
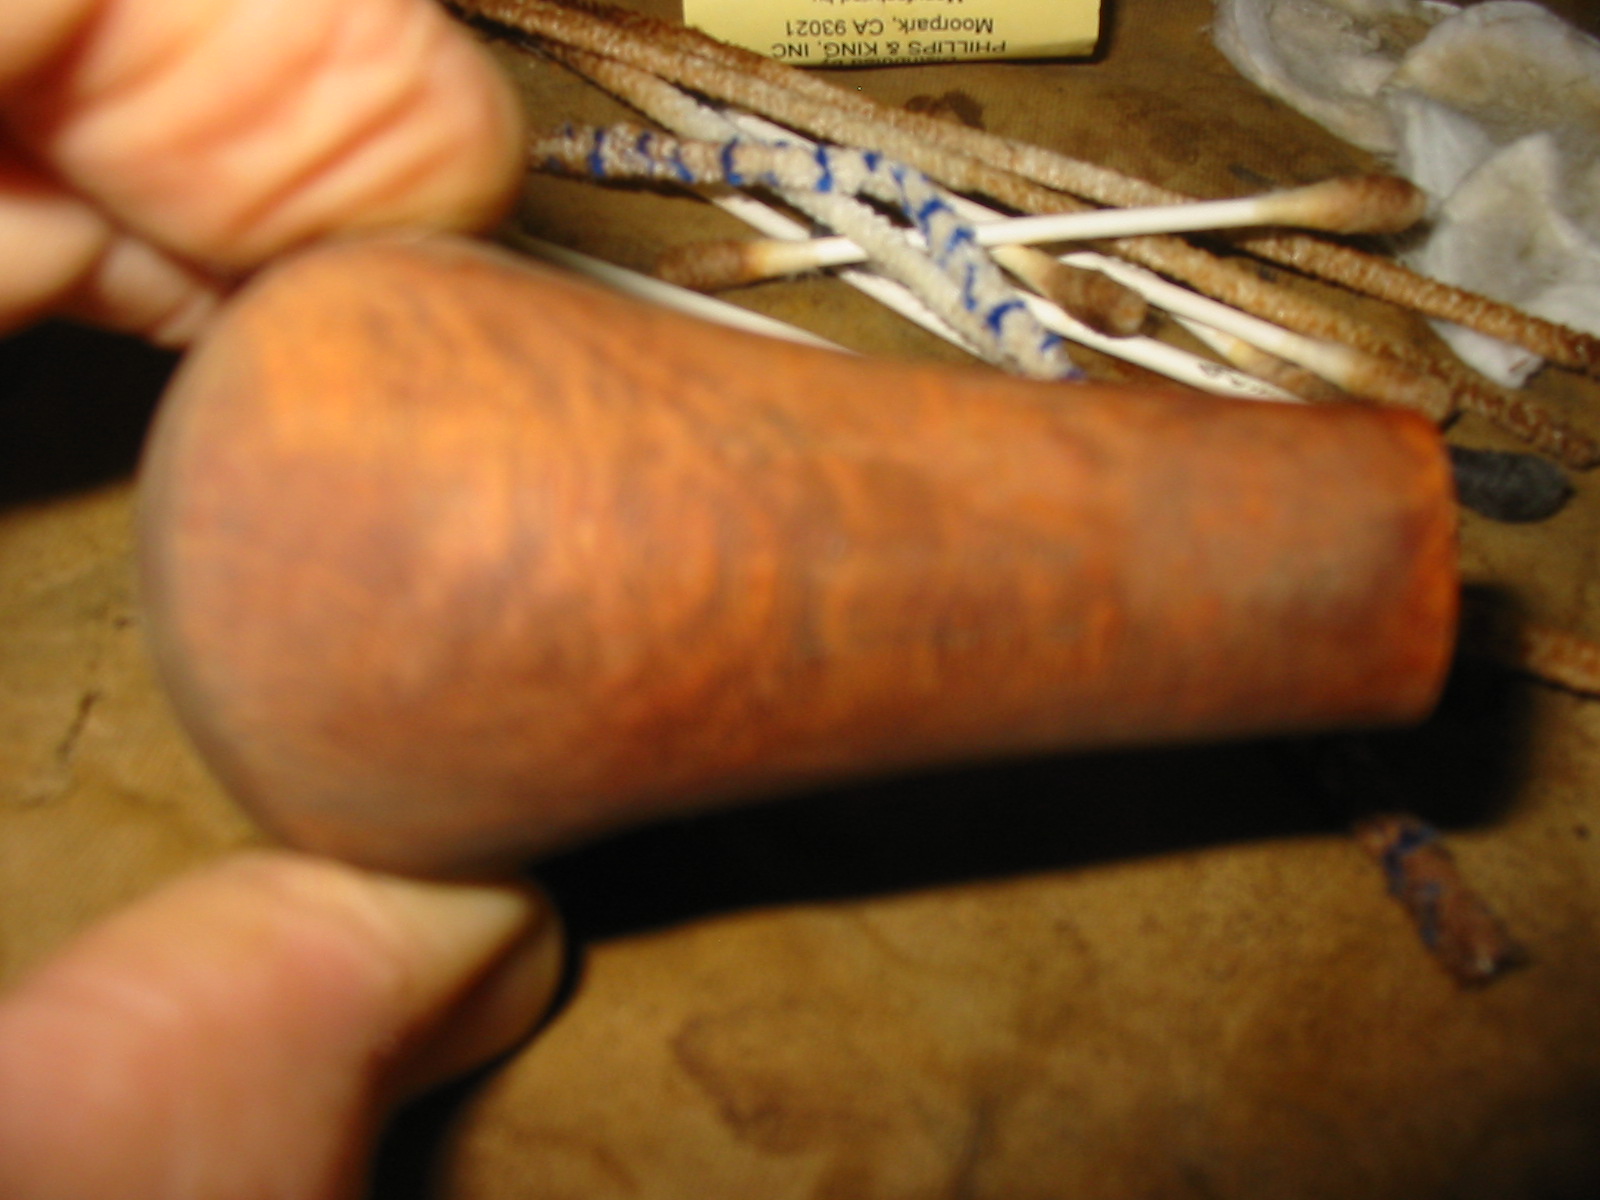
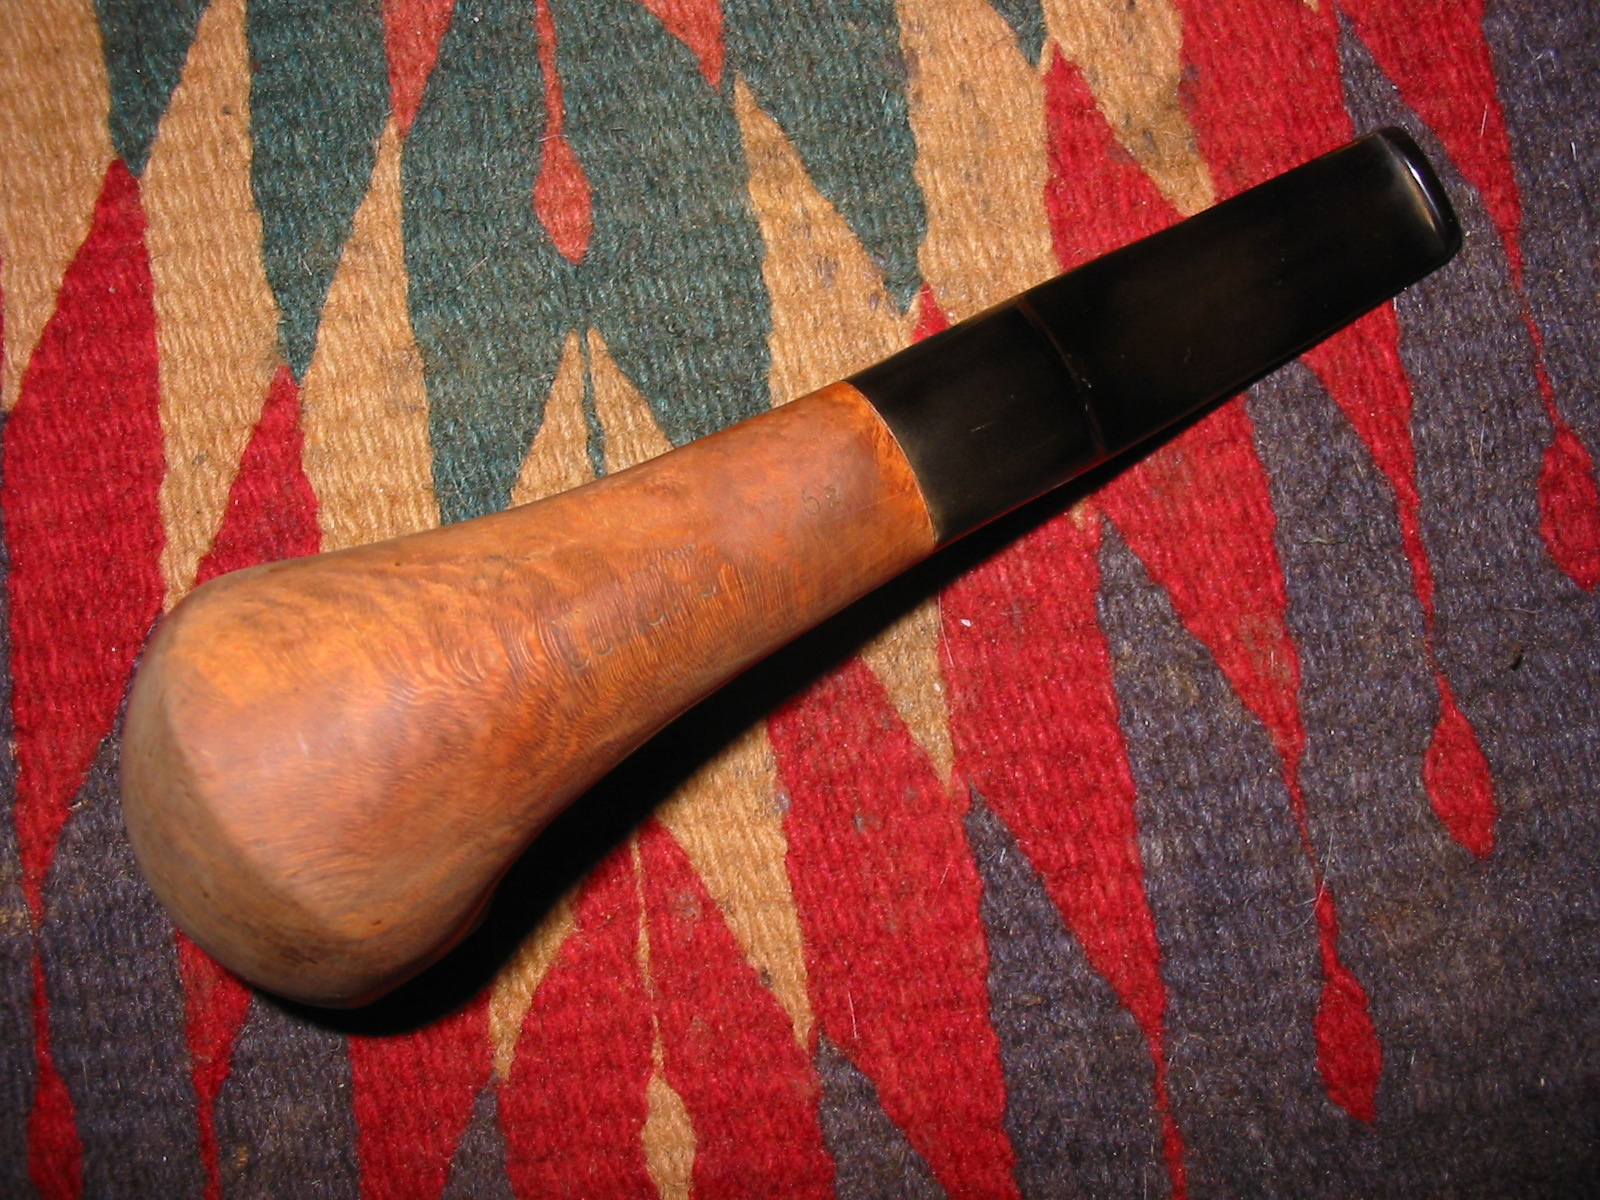
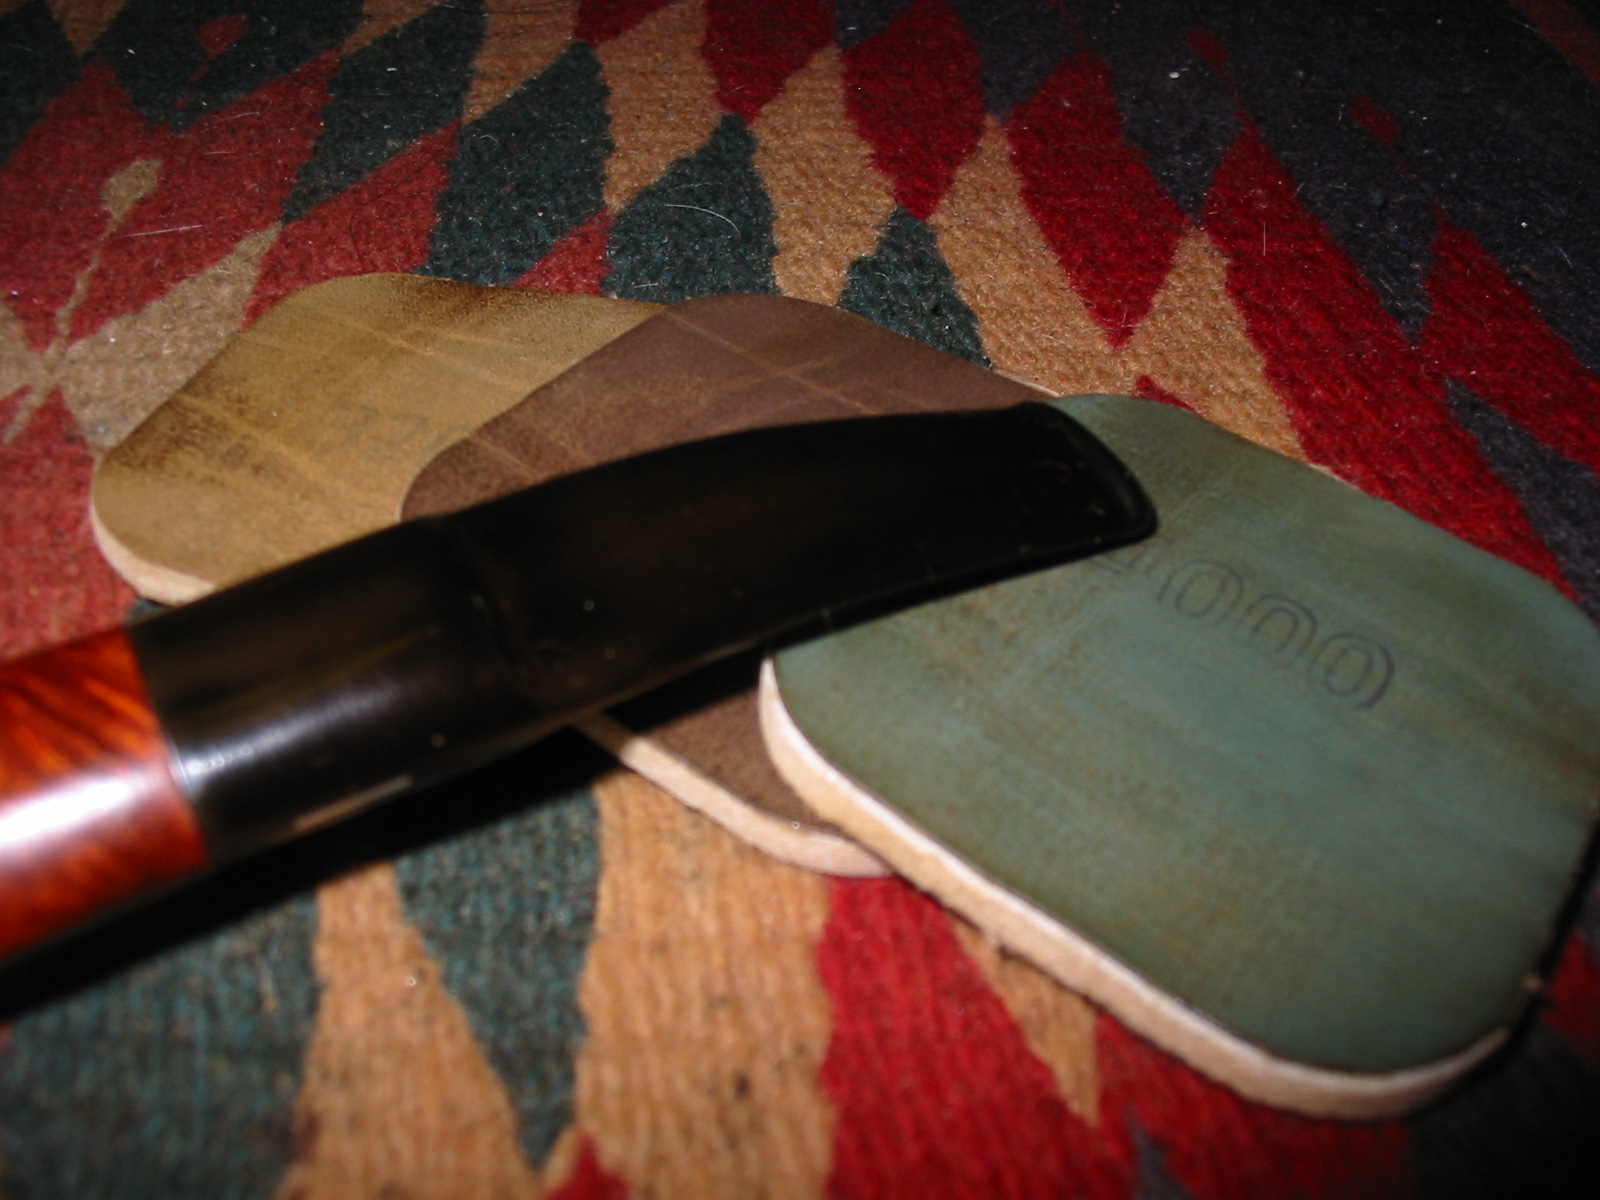
I used 220 grit sandpaper to work on the stem shank junction and try to smooth things out. Though it is hard to see in the photos the transition was a mix of hills and valleys. It was very rough and uneven all around that portion of the top and sides of the shank. The stem itself was poorly finished as well at that point. There were sanding marks and gouges in its surface that paralleled the shank. The shoulders of the stem were rounded as well so the fit to the shank was odd. I worked on the shank stem fit before turning to the bowl rim.
IMG_4382

IMG_4383

IMG_4386

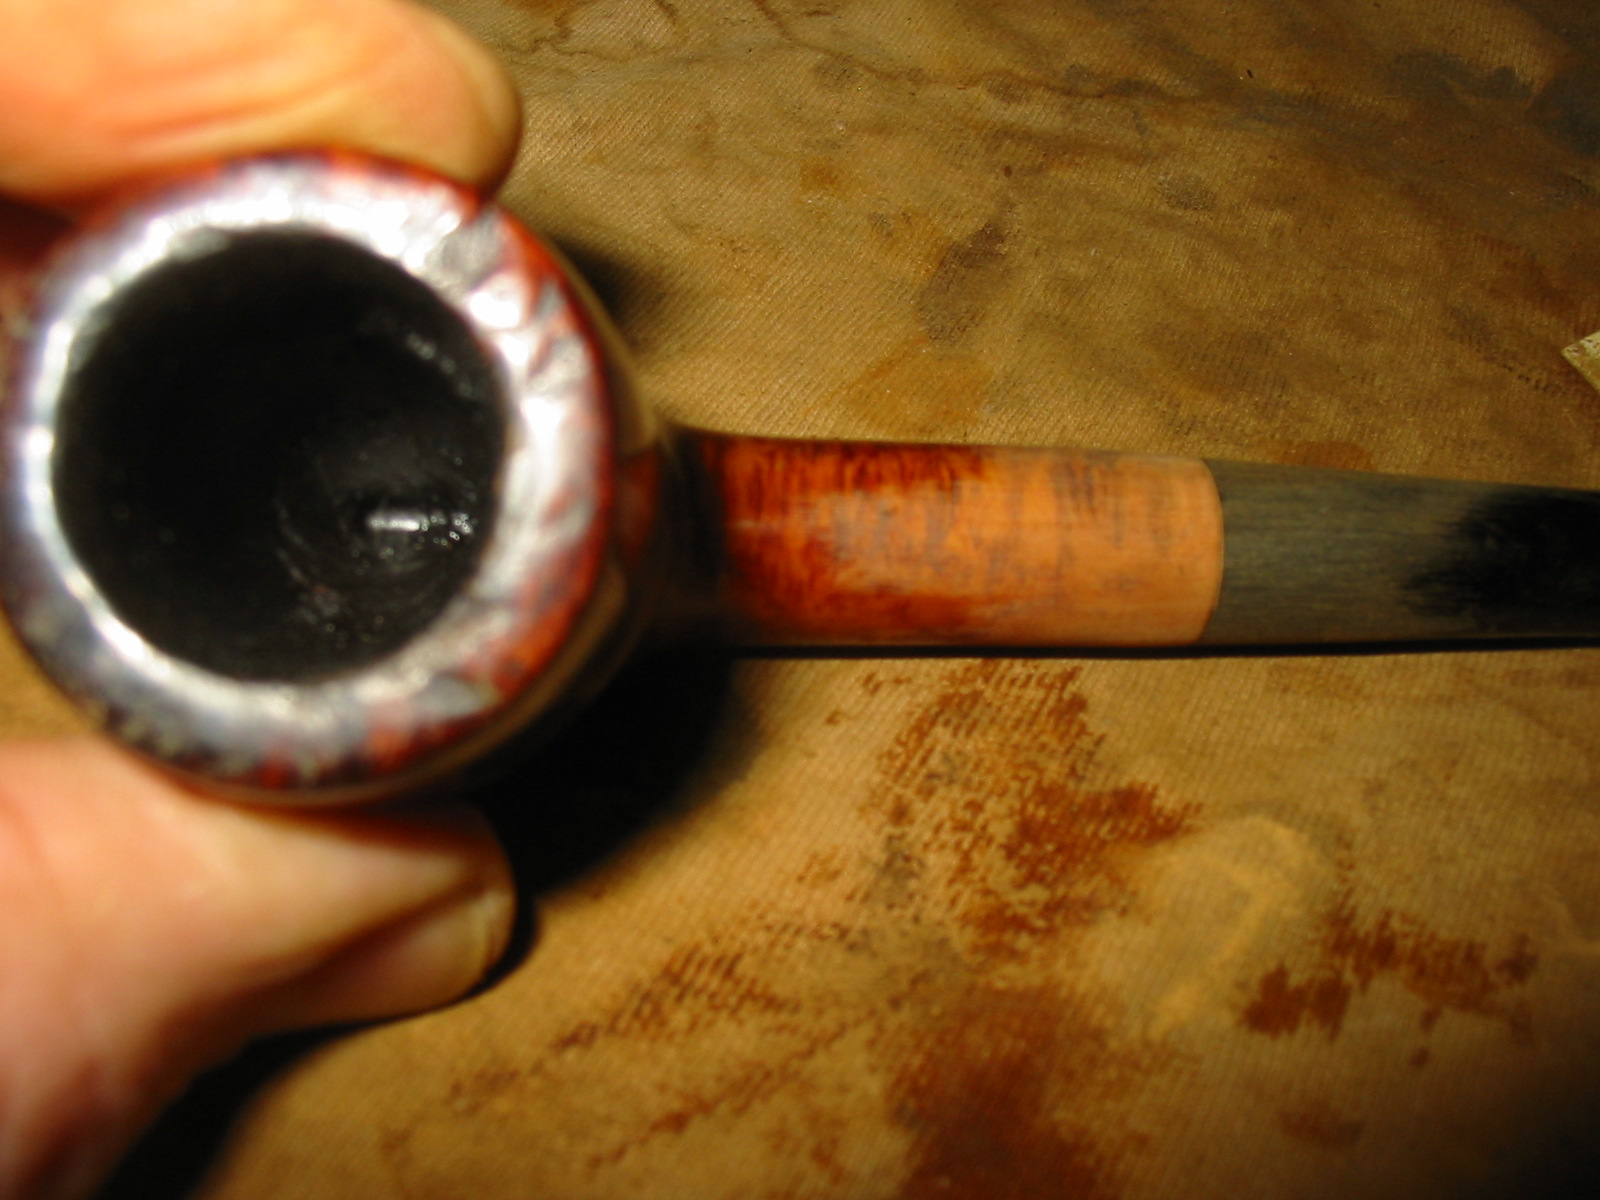
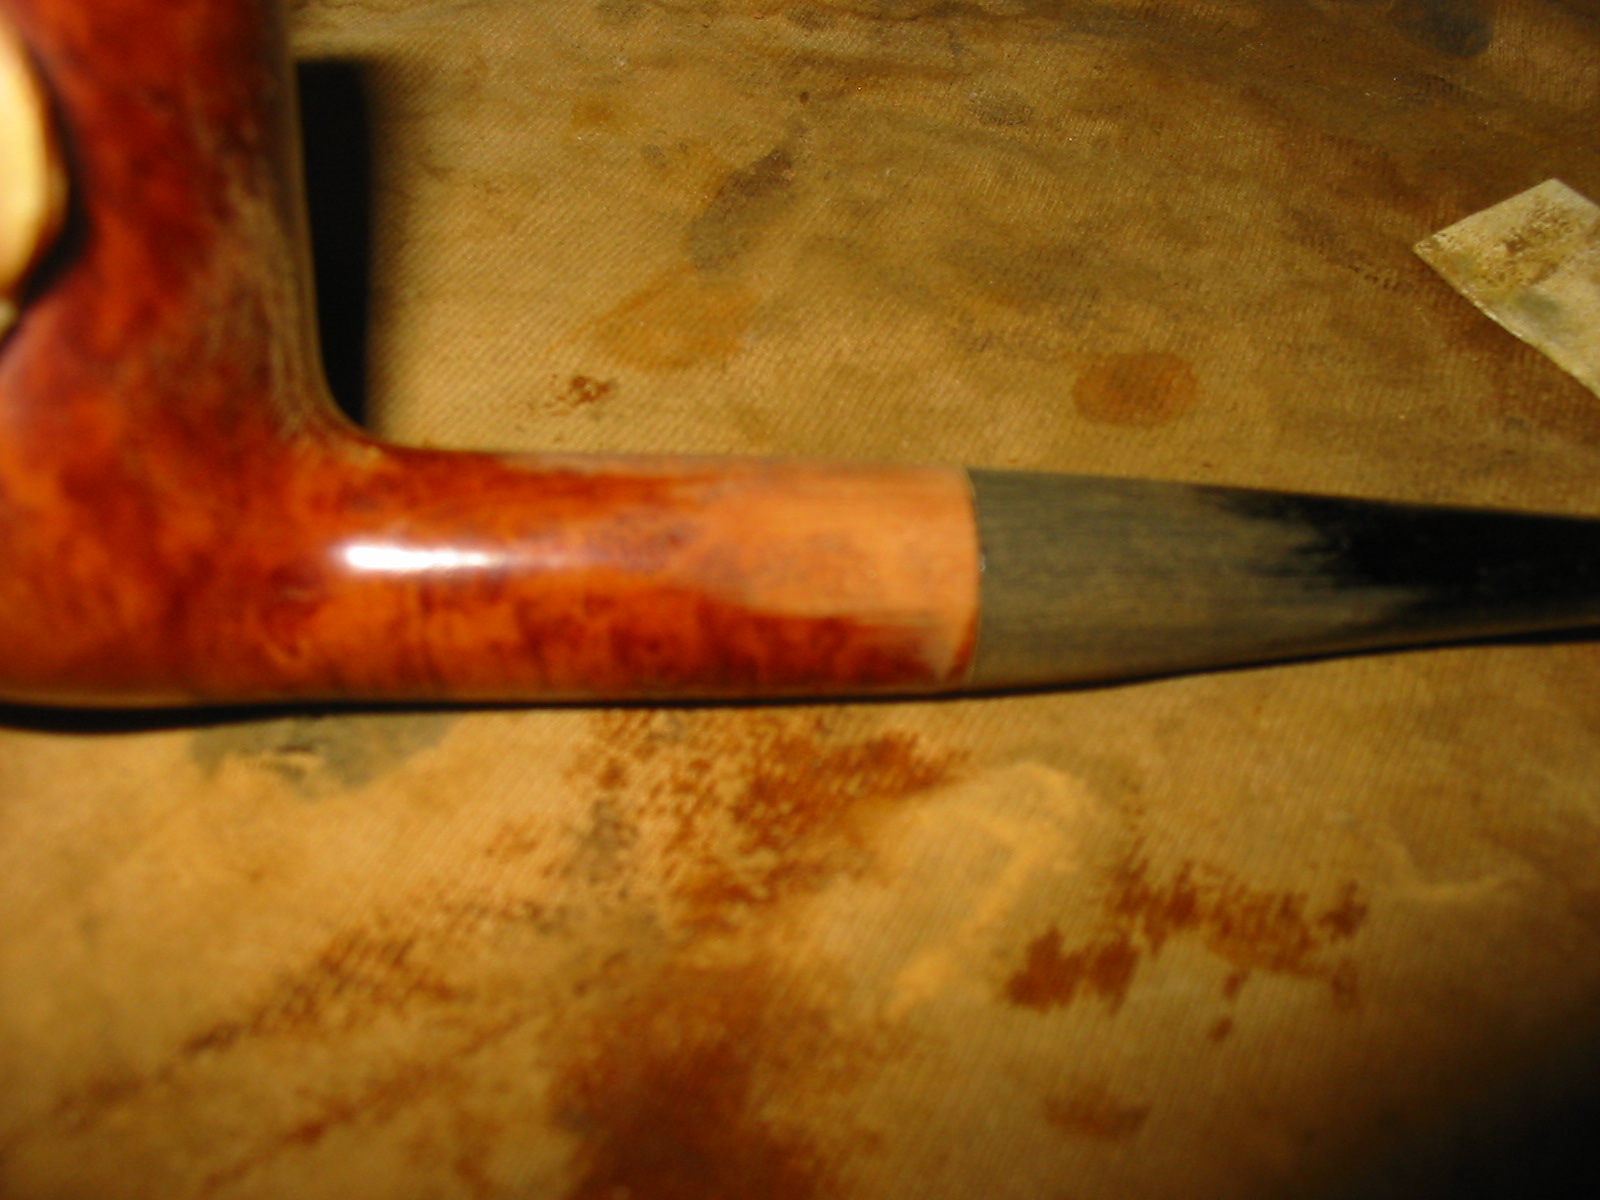
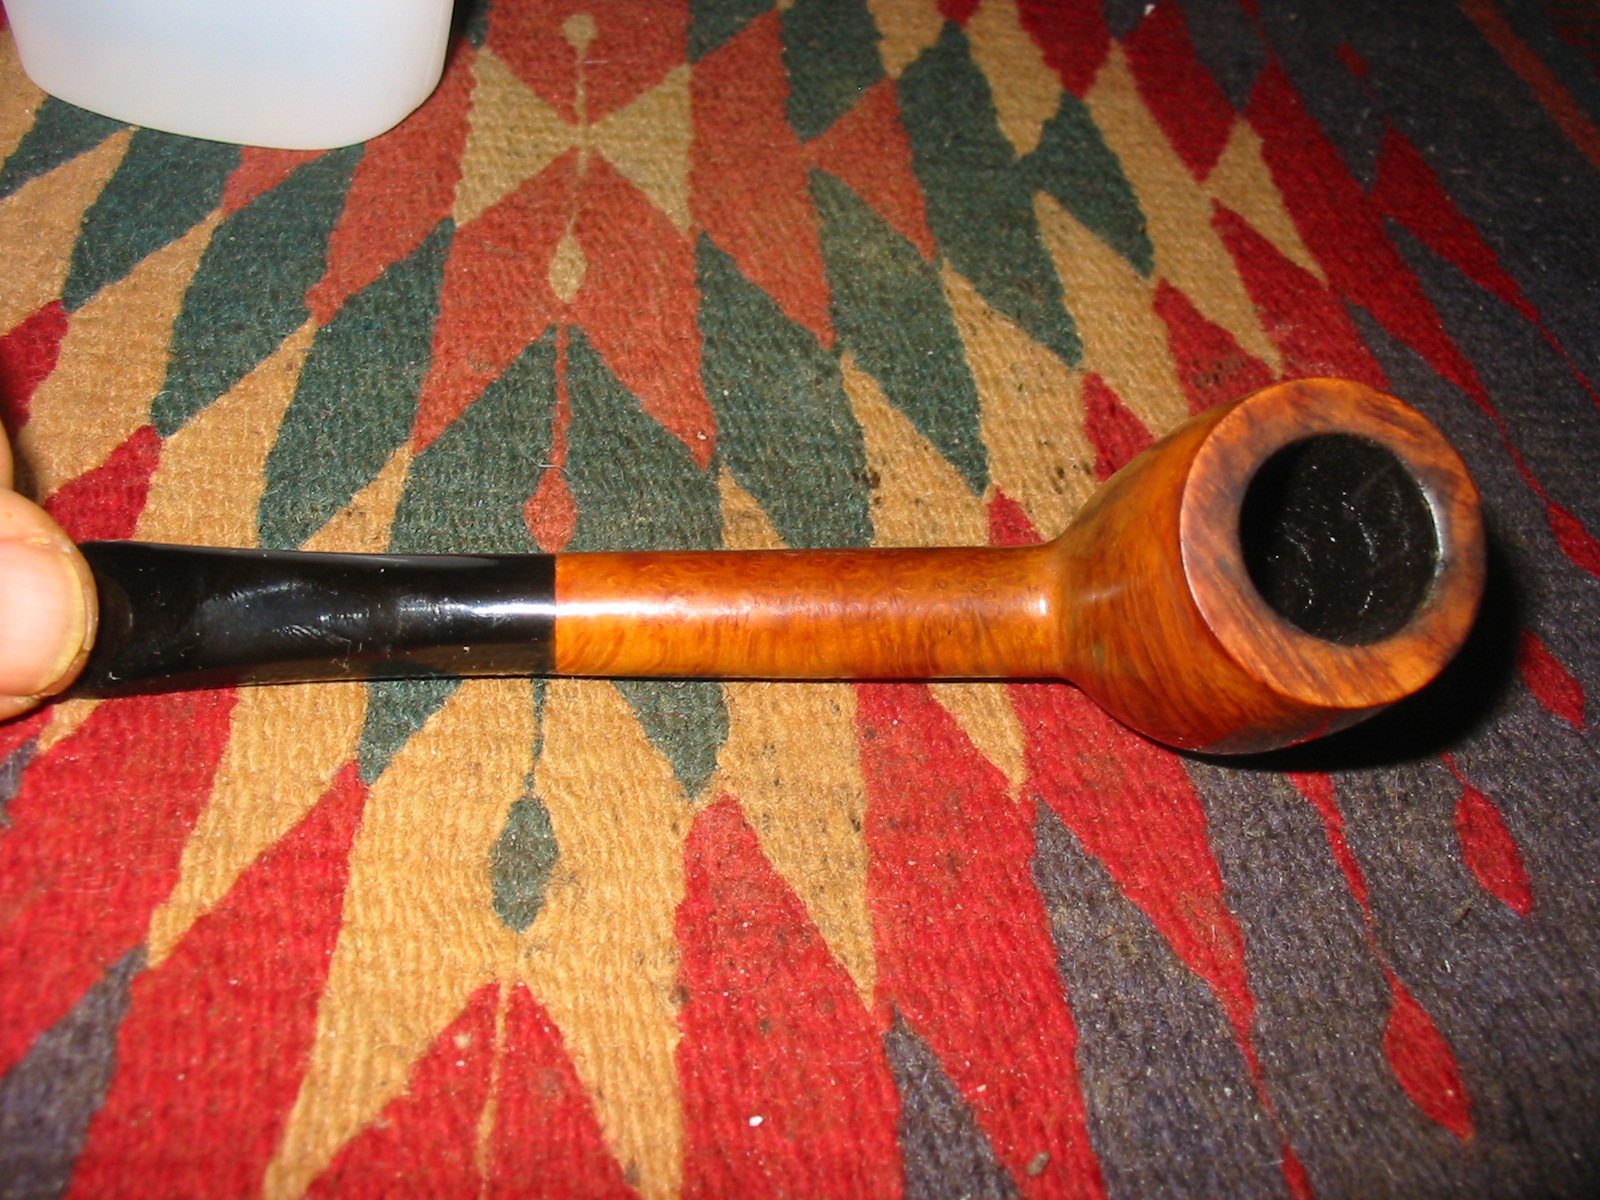
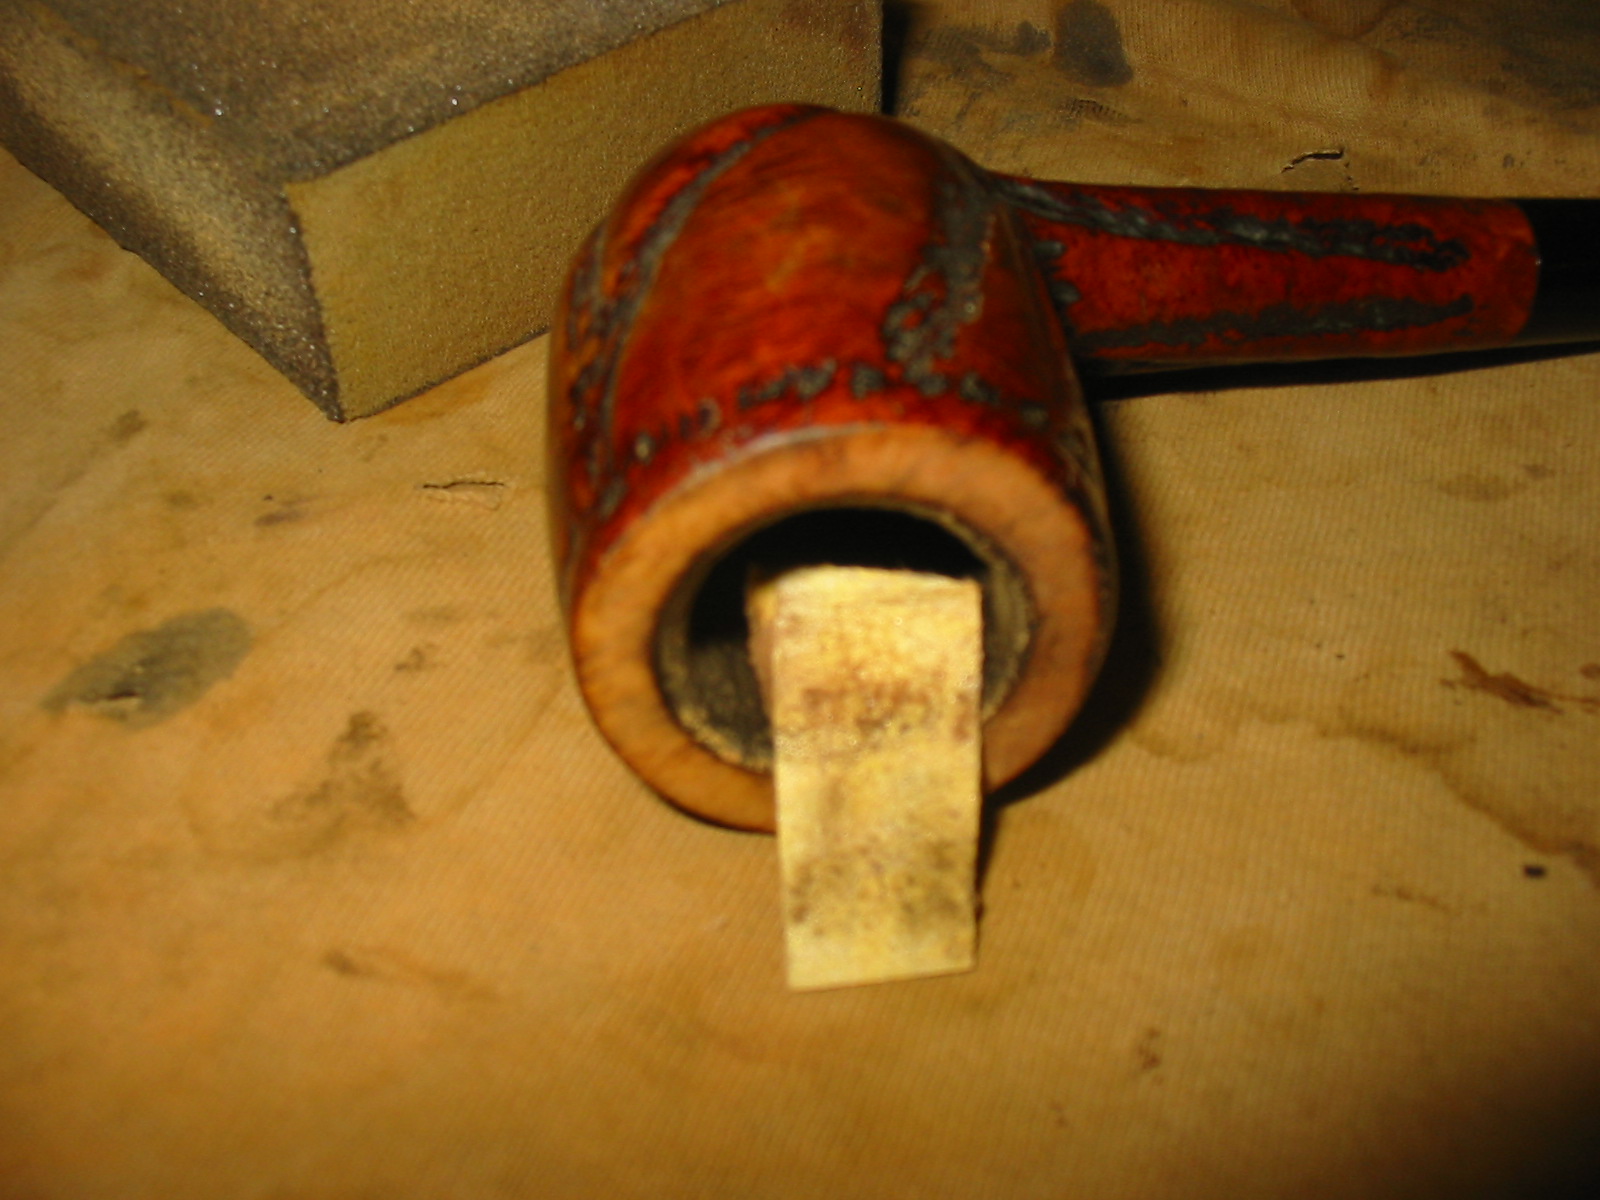
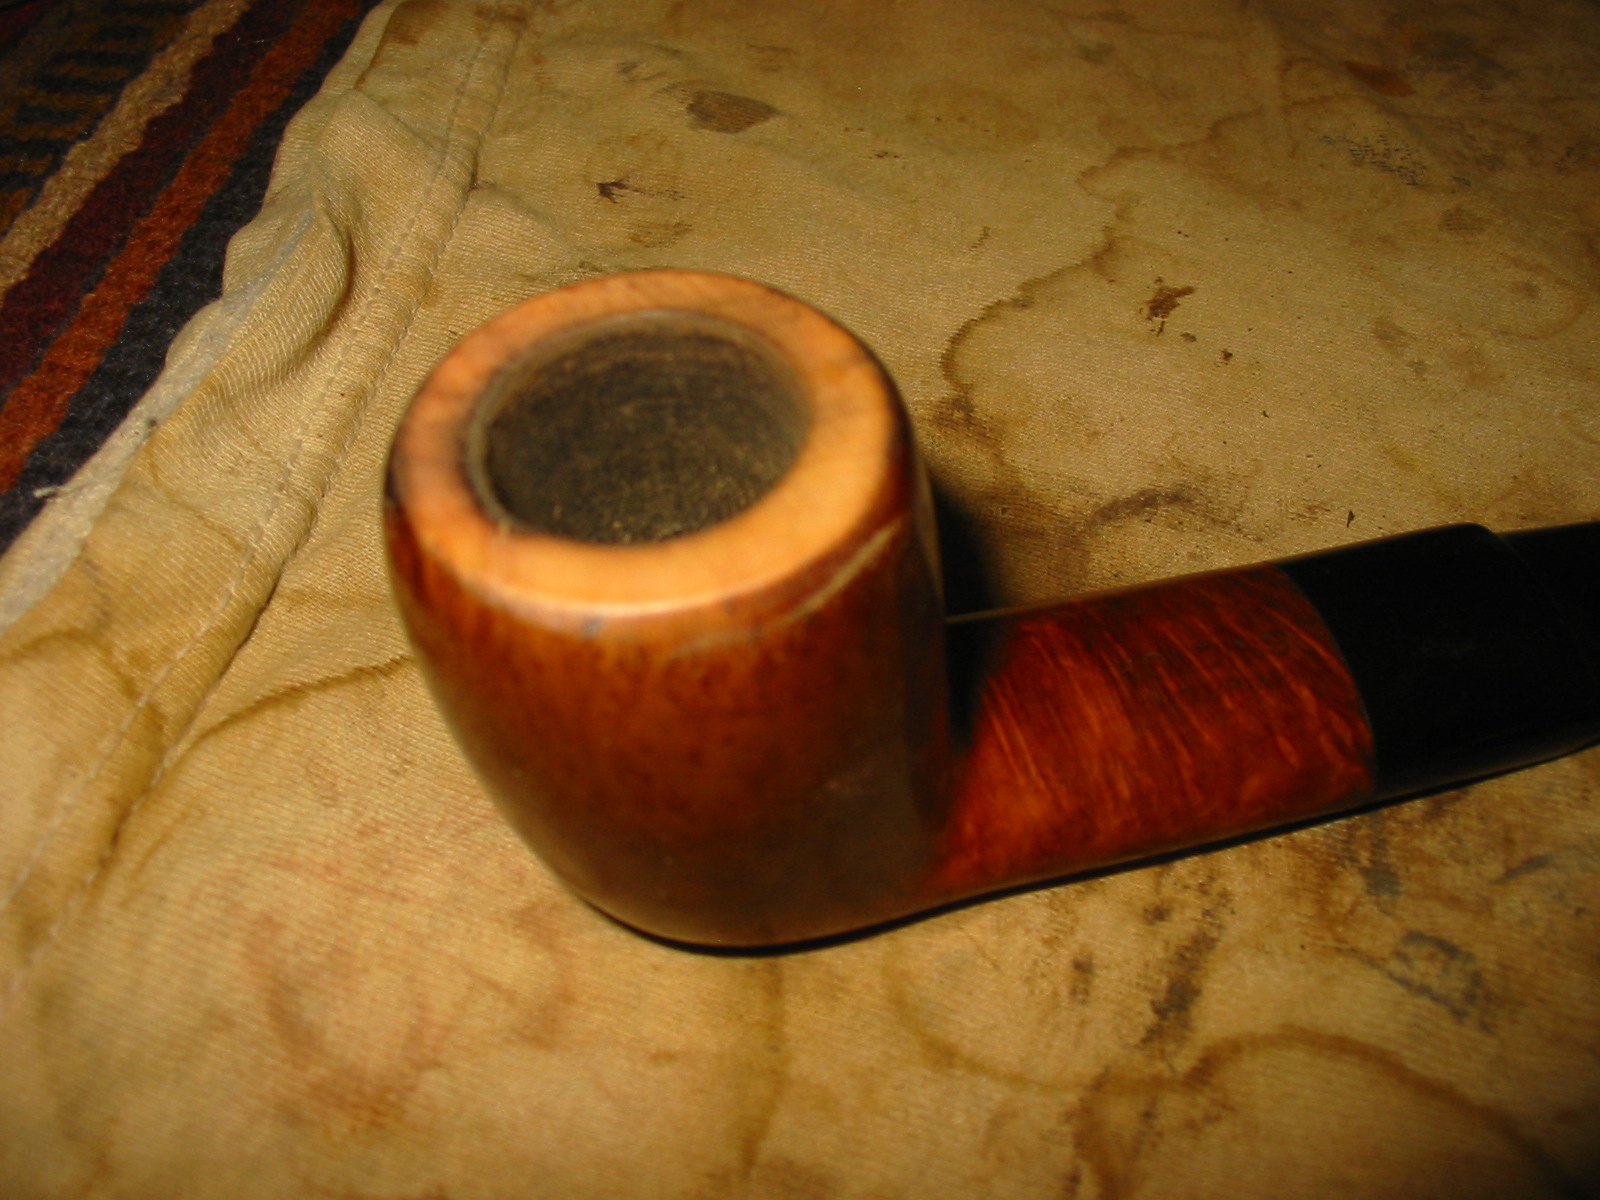
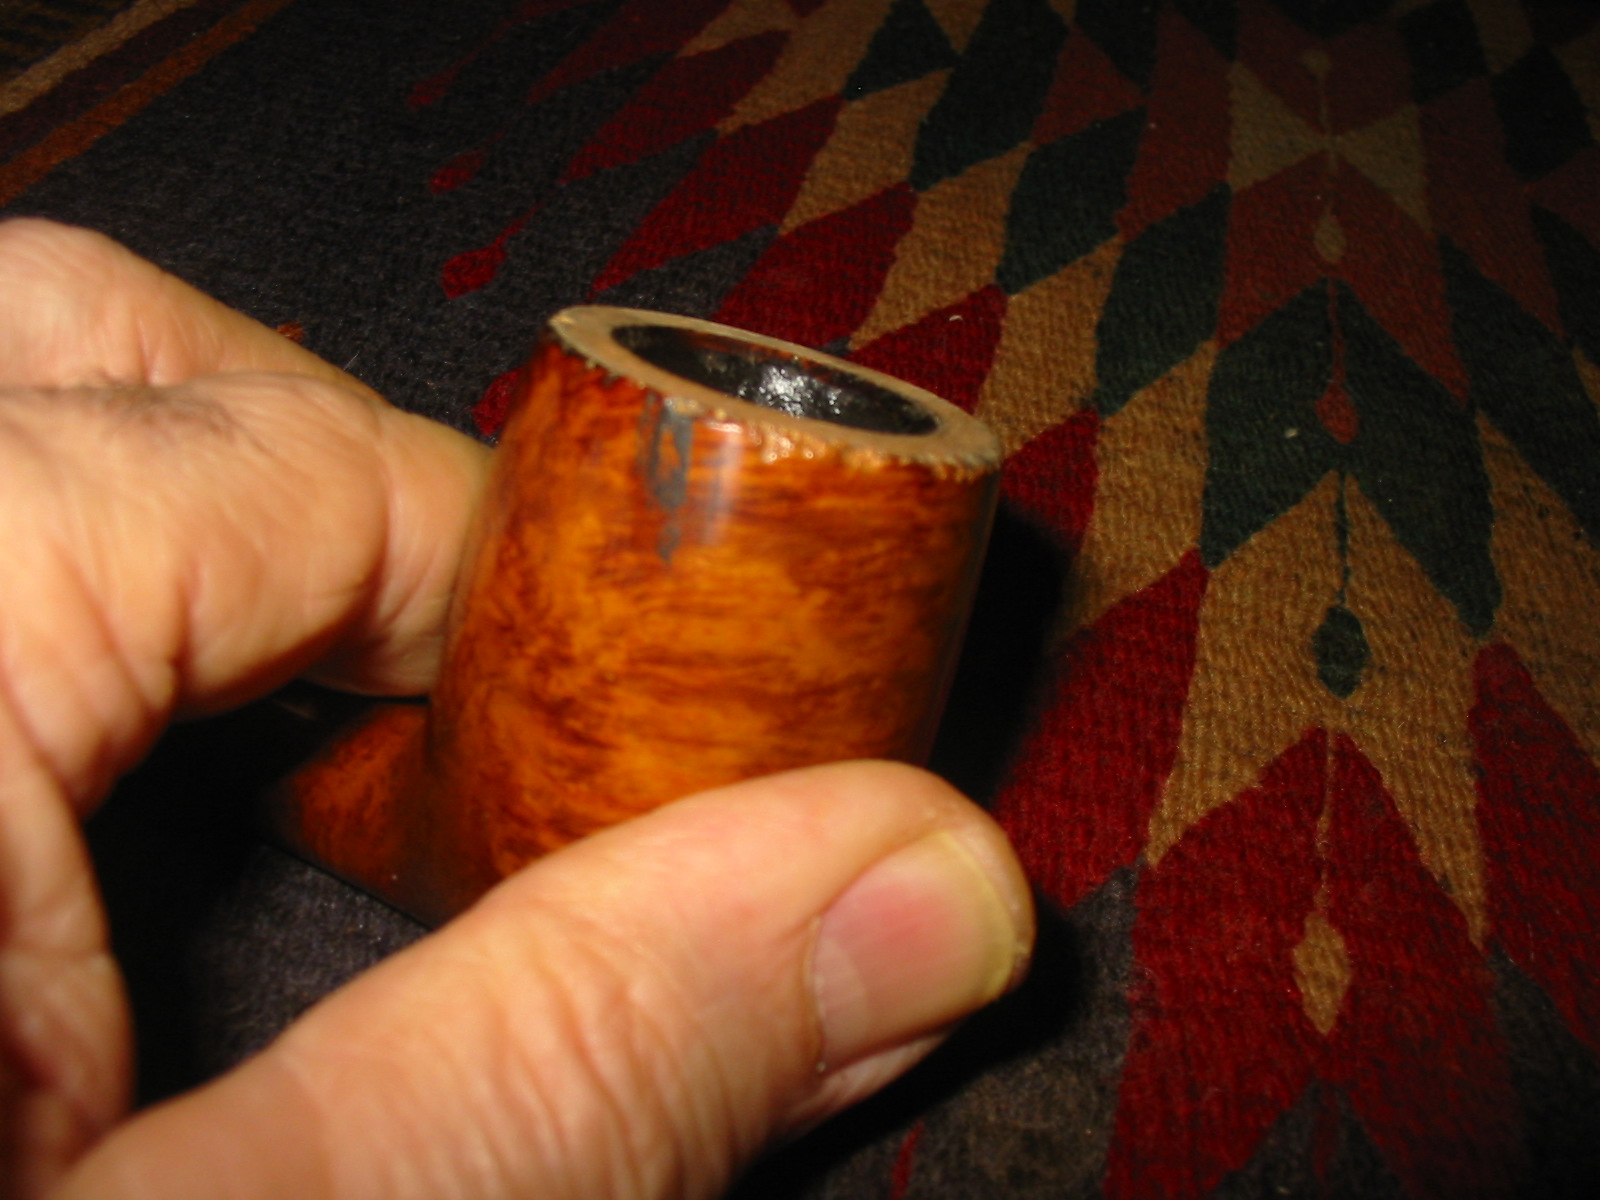
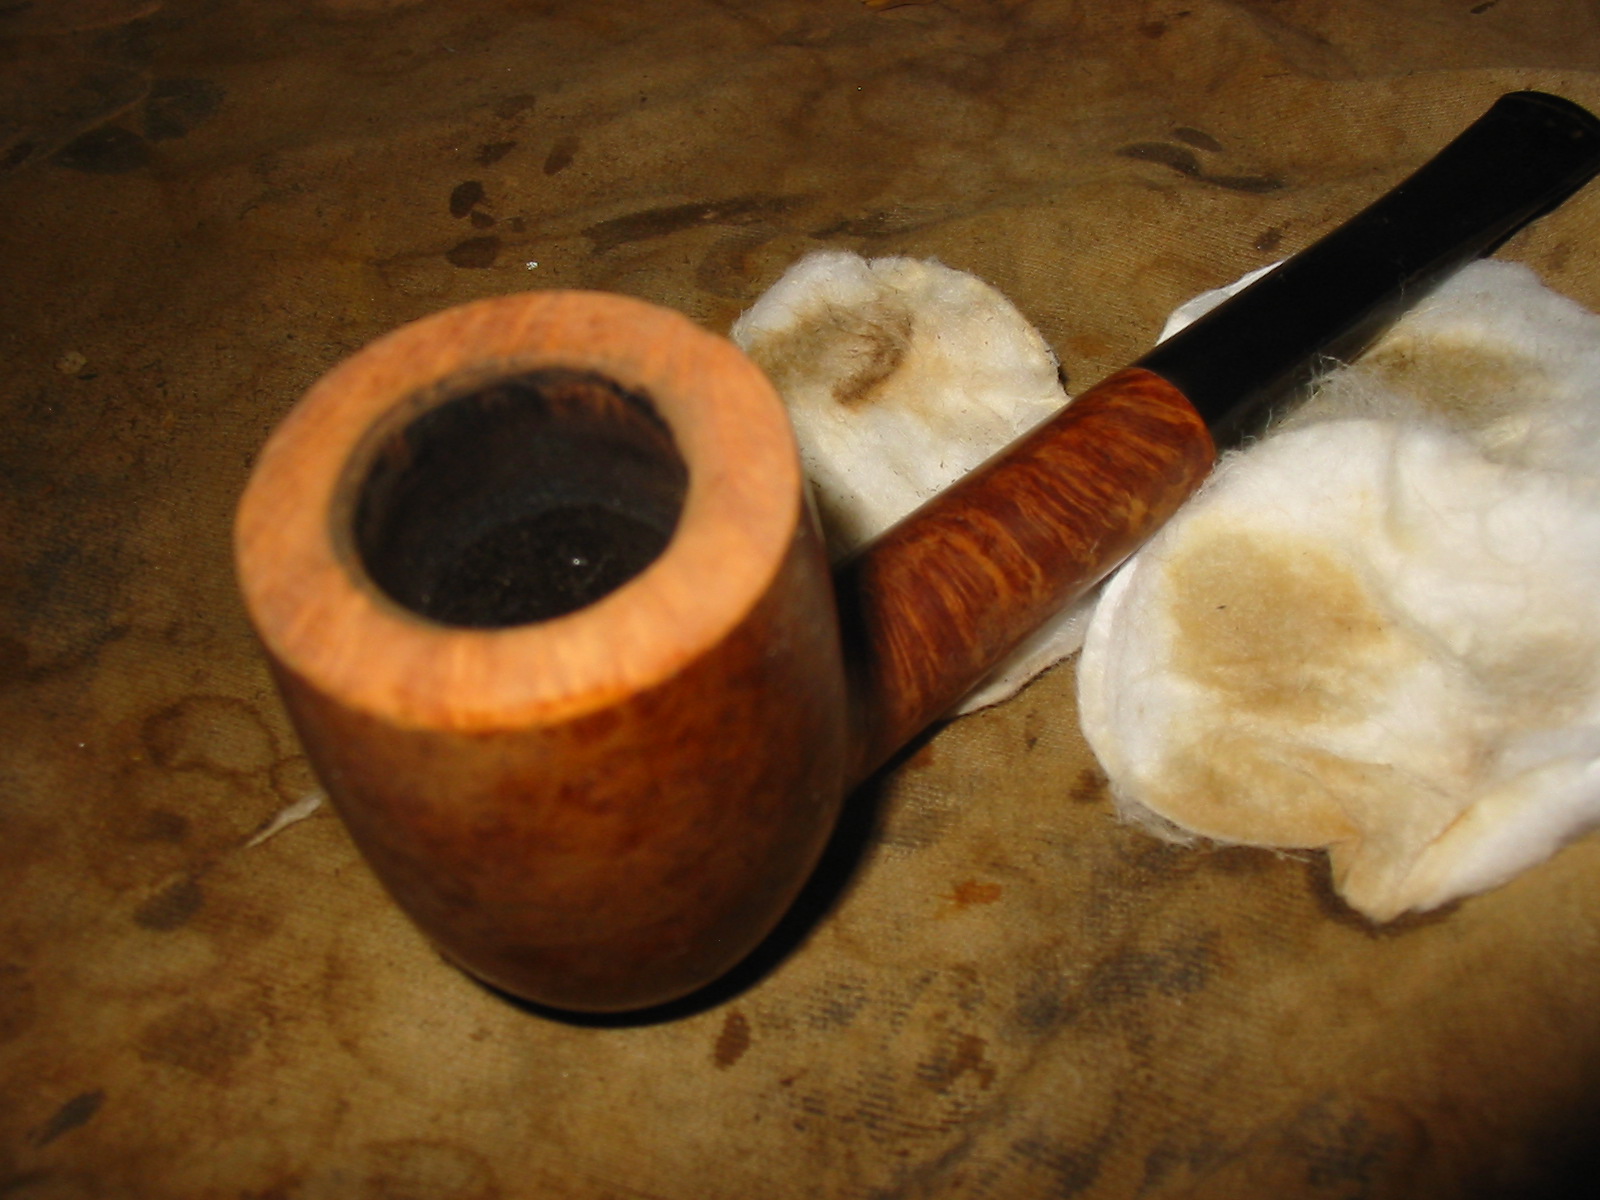
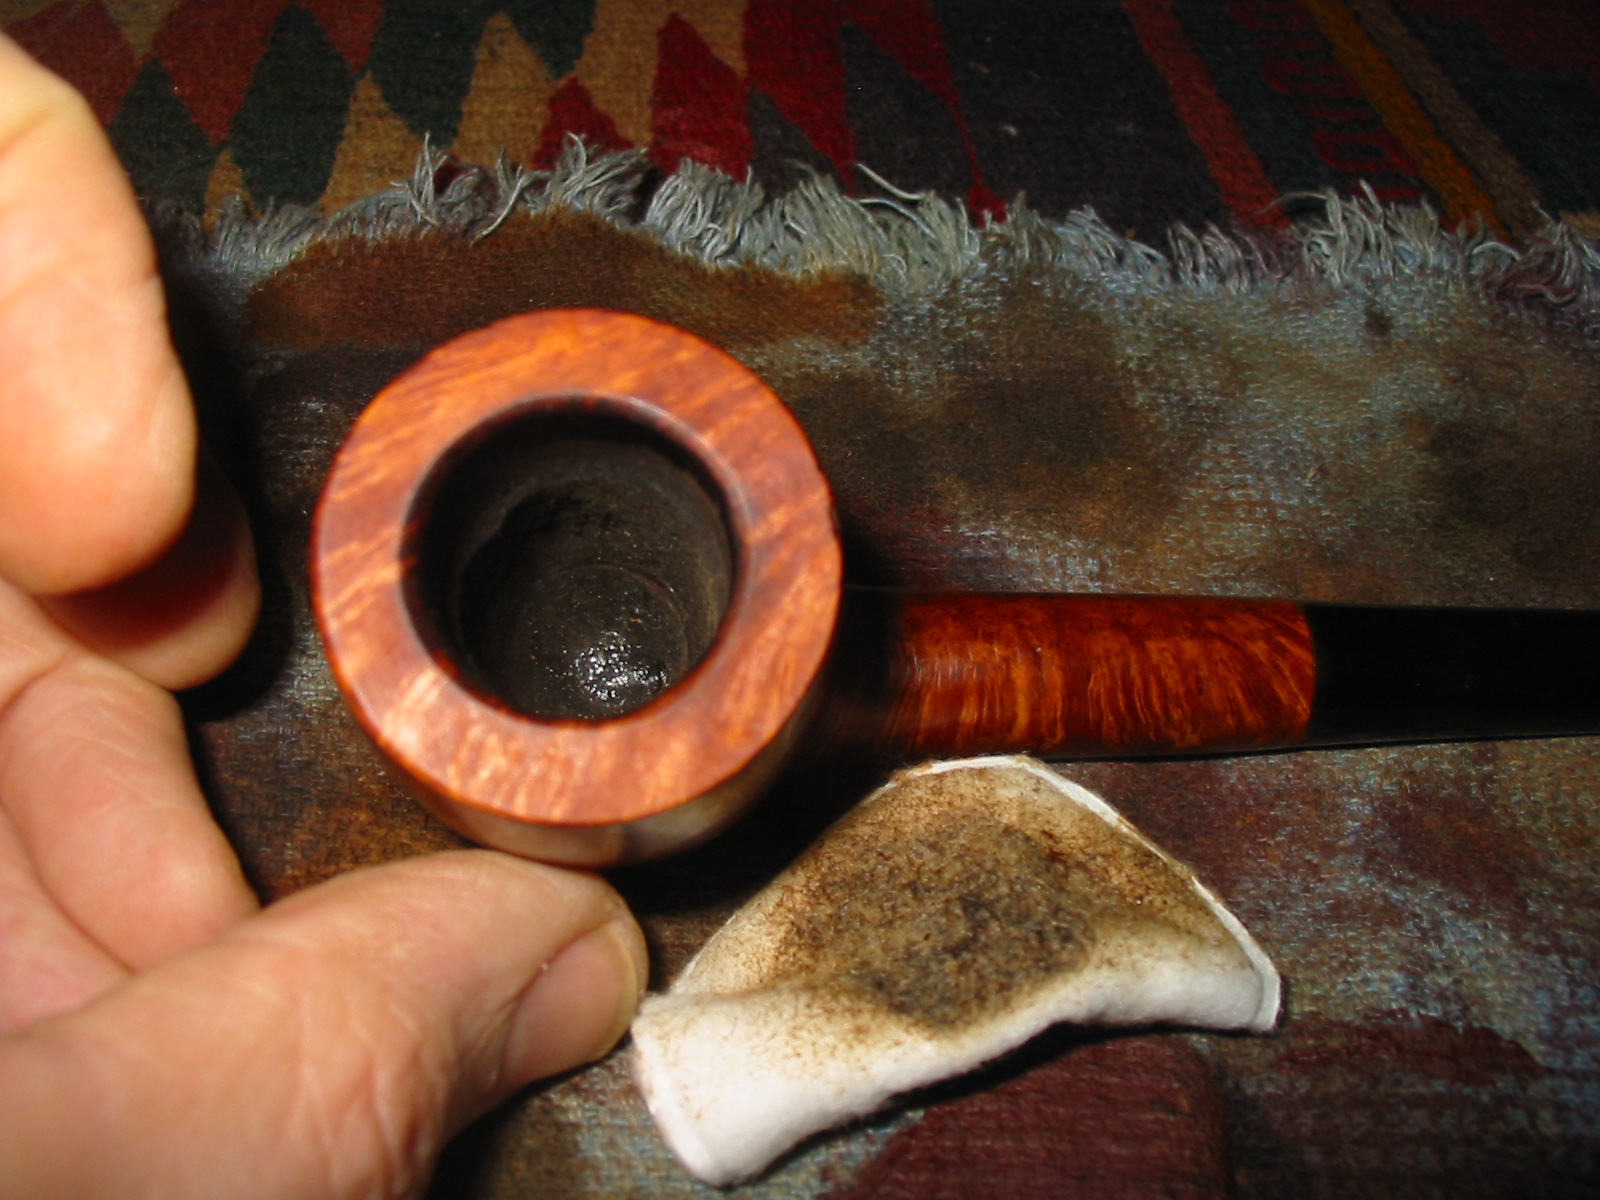
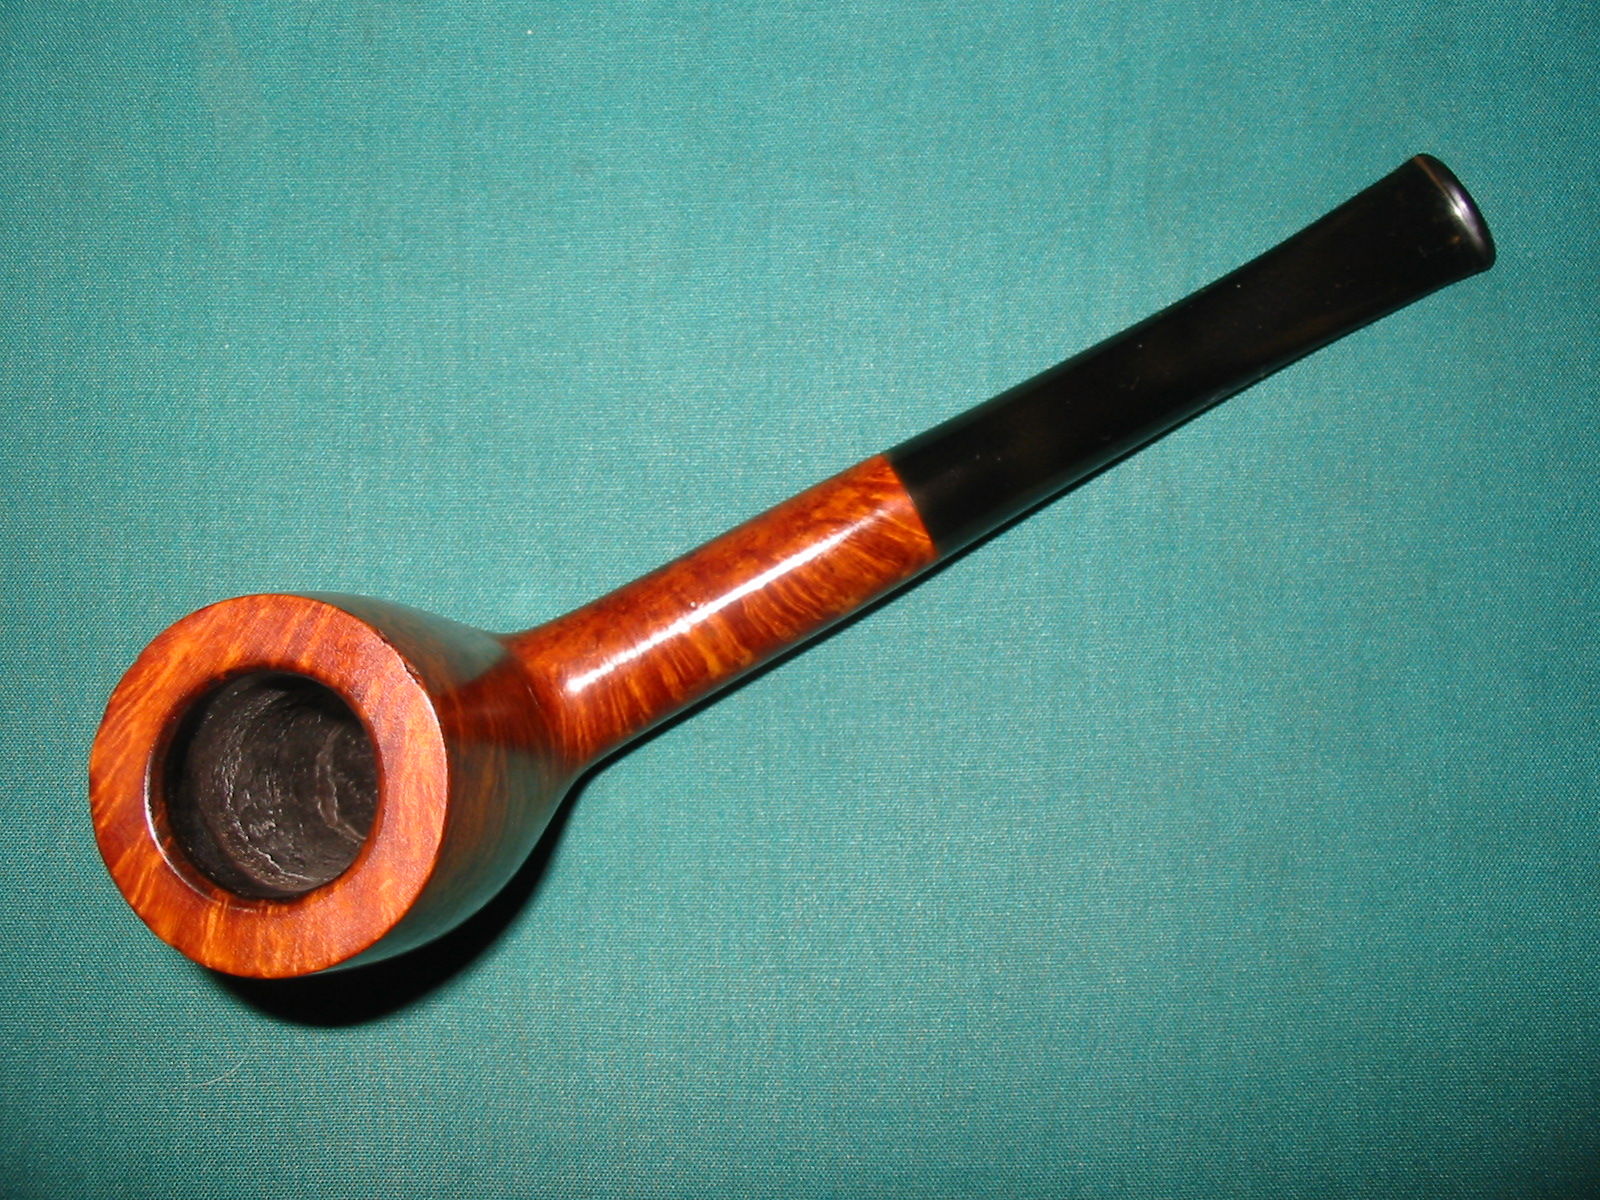
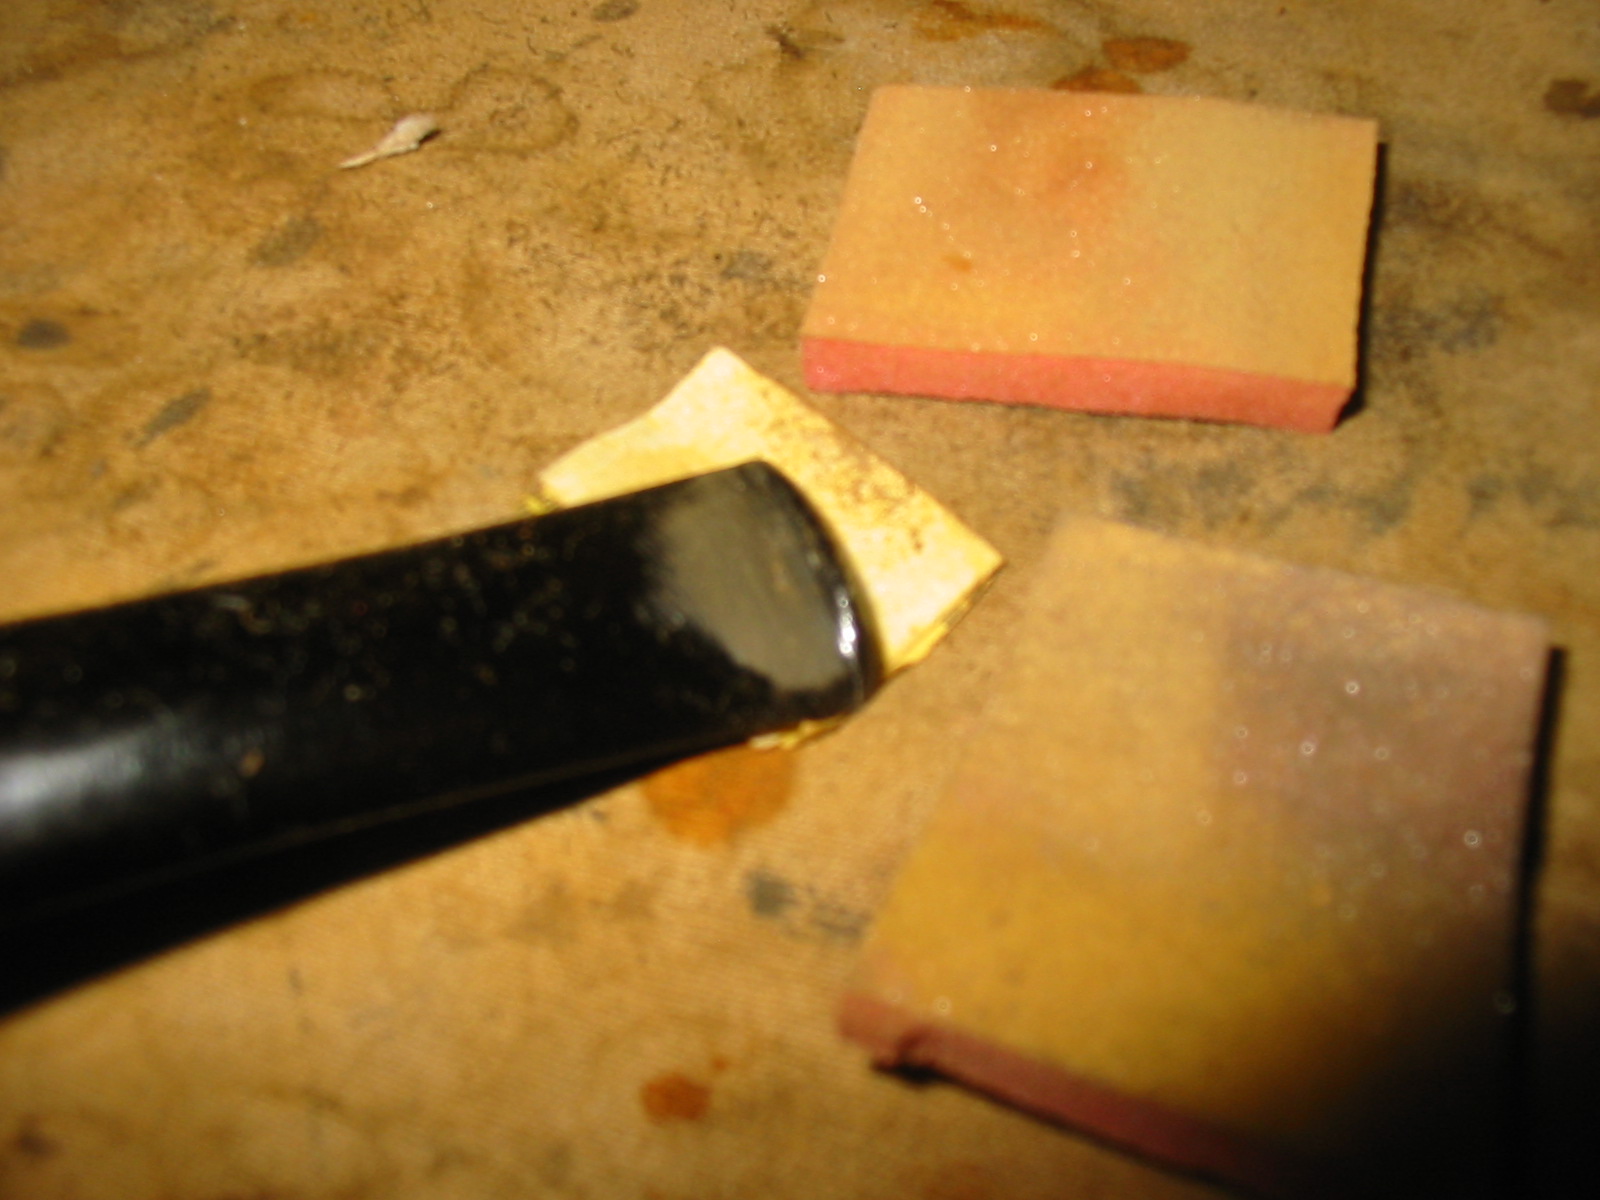
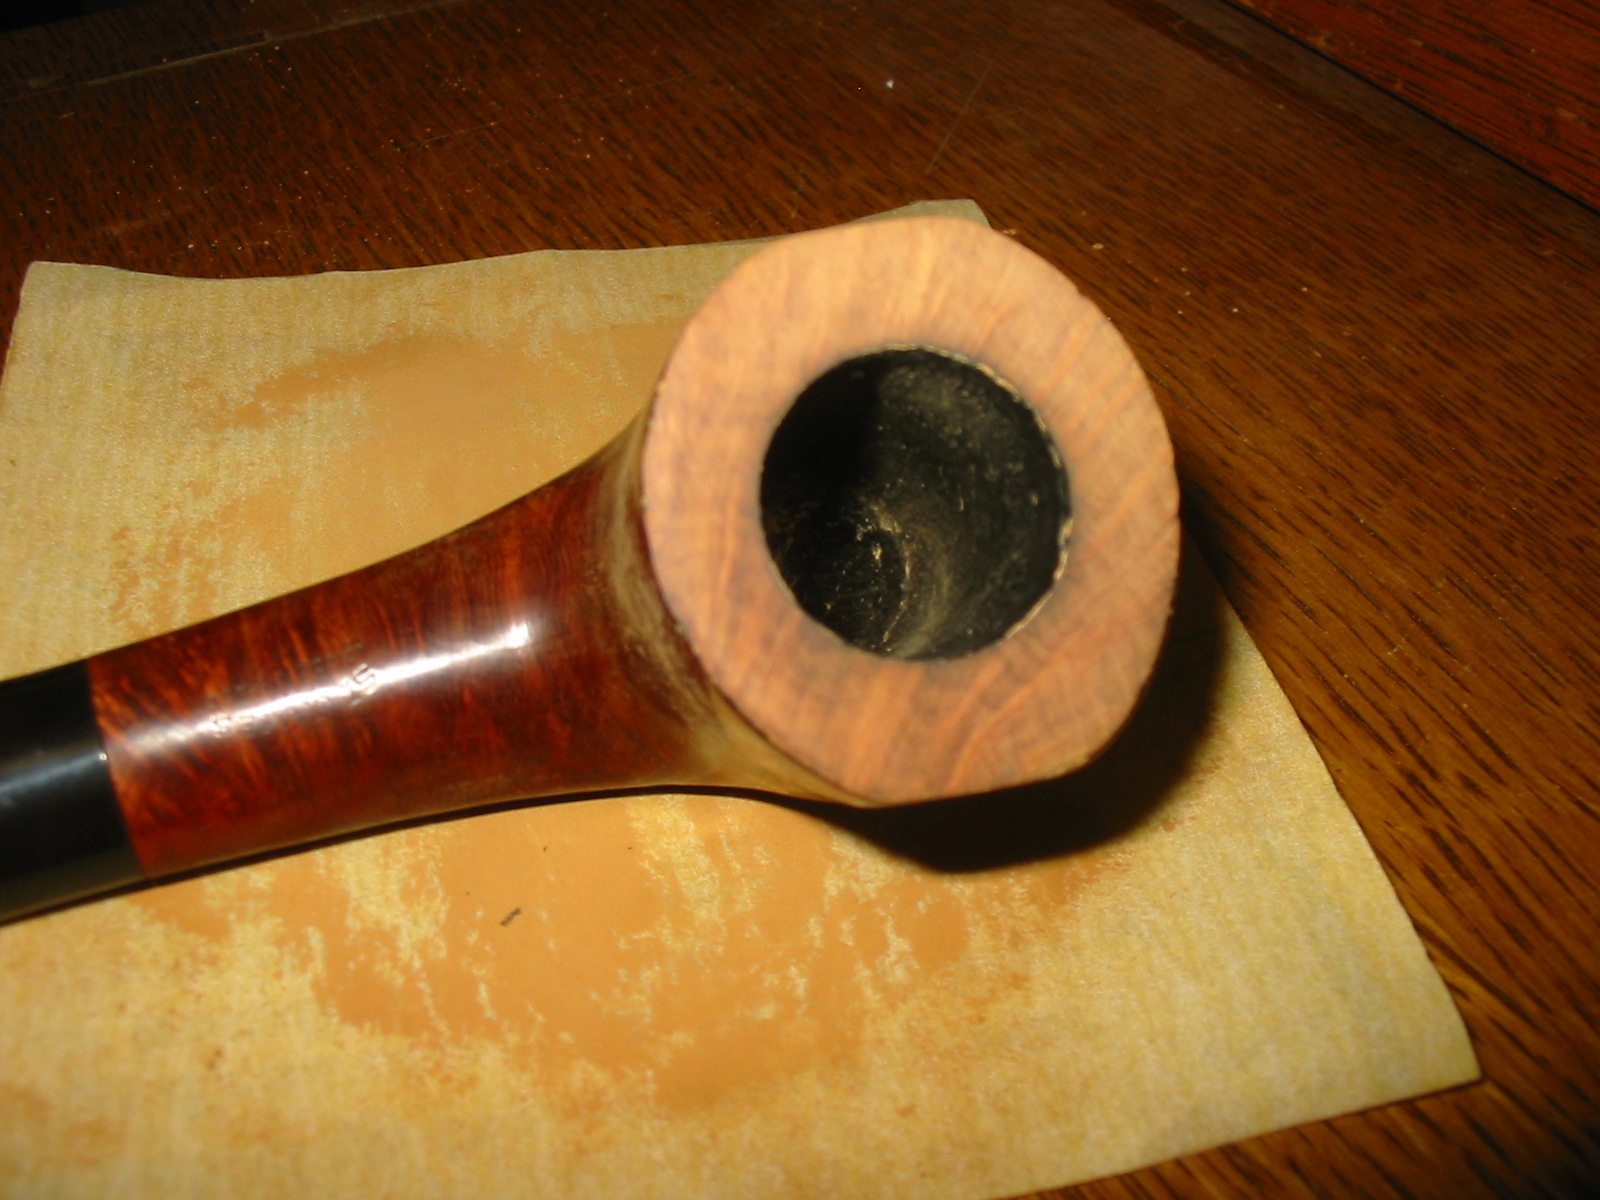
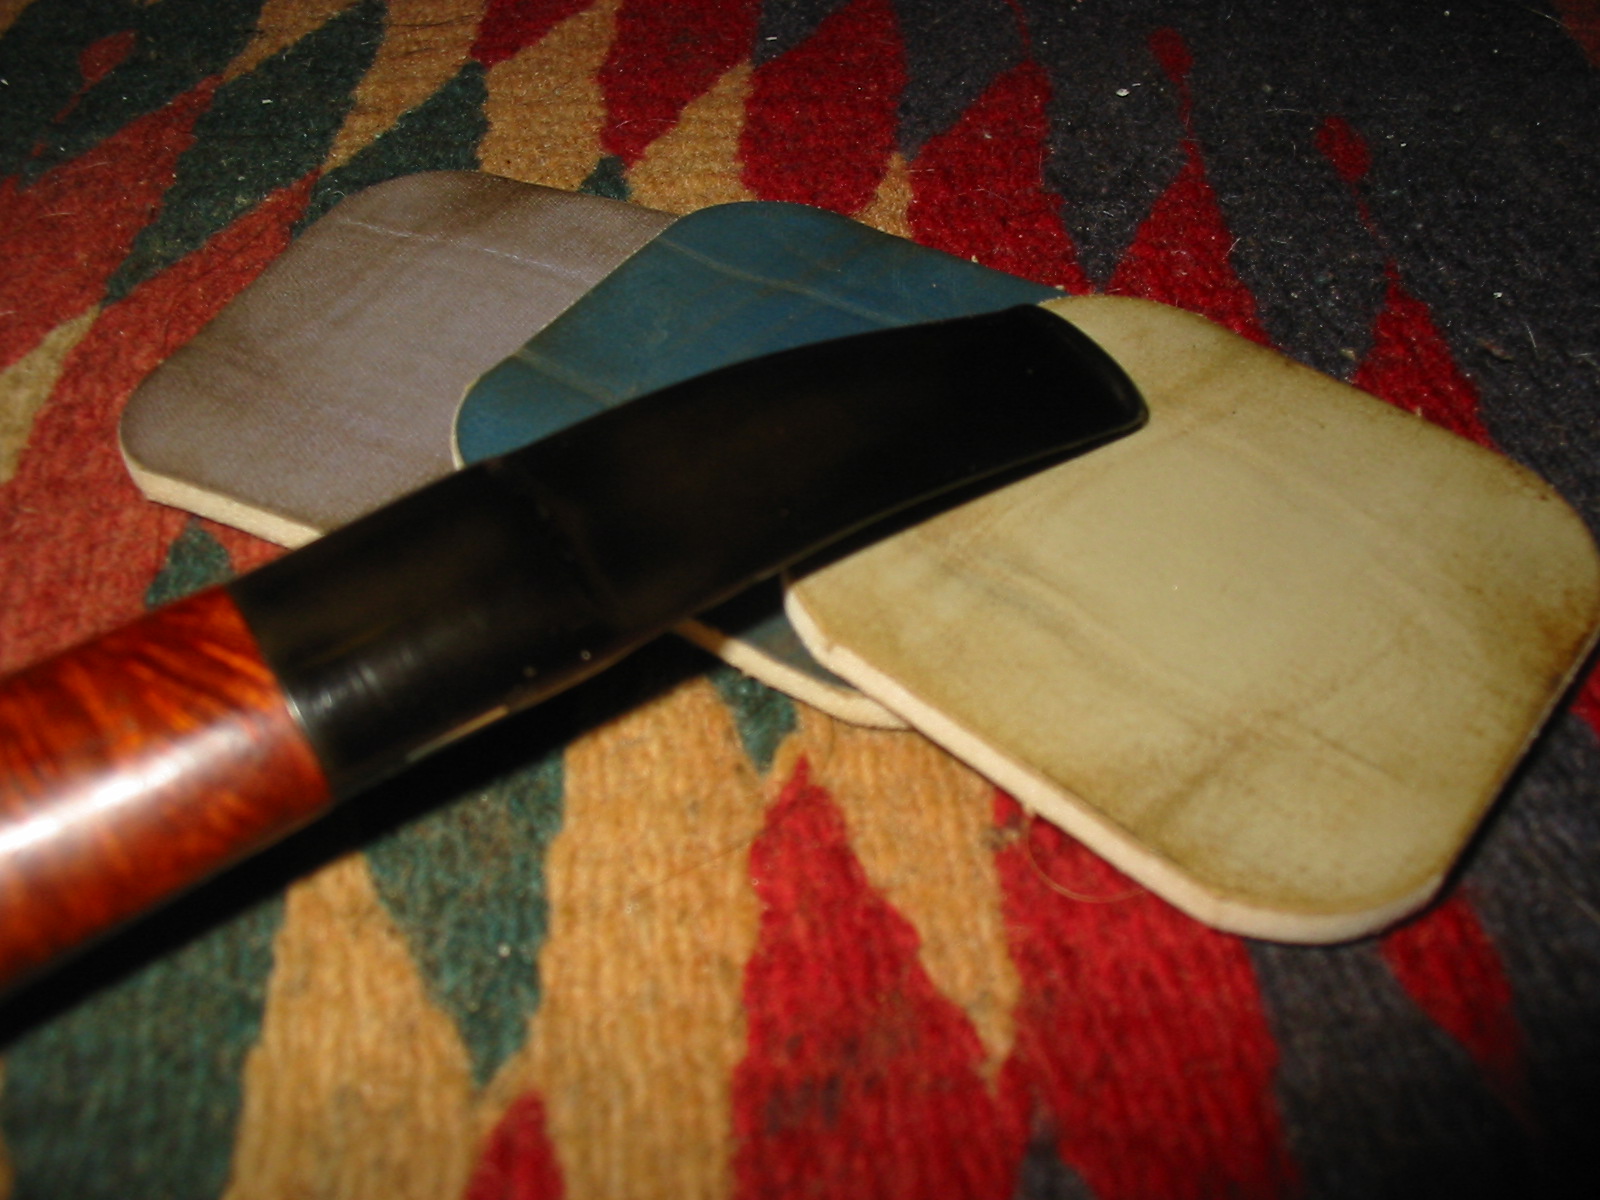
The underside of the shank was quite tedious to work on as the stamping was faint at that point and very close to the end of the shank. I had to use a folded piece of sandpaper and carefully sand the stem and shank for a good clean fit. I worked to smooth out the transition as much as possible and minimize the rounded edges of the stem. I wanted the fit to be even and tight. Once the transition between the shank and stem were smooth and the feel seamless to touch I moved on to top the bowl. I set up my topping board and a piece of 220 grit sandpaper and began to work on the top of the bowl. I sanded it until it was flat and the outer edges of the bowl were clean and sharp. I used a folded piece of sandpaper on the inner edge to clean up some of the damage and sharpen the angles.
IMG_4387

IMG_4388

IMG_4389

IMG_4390

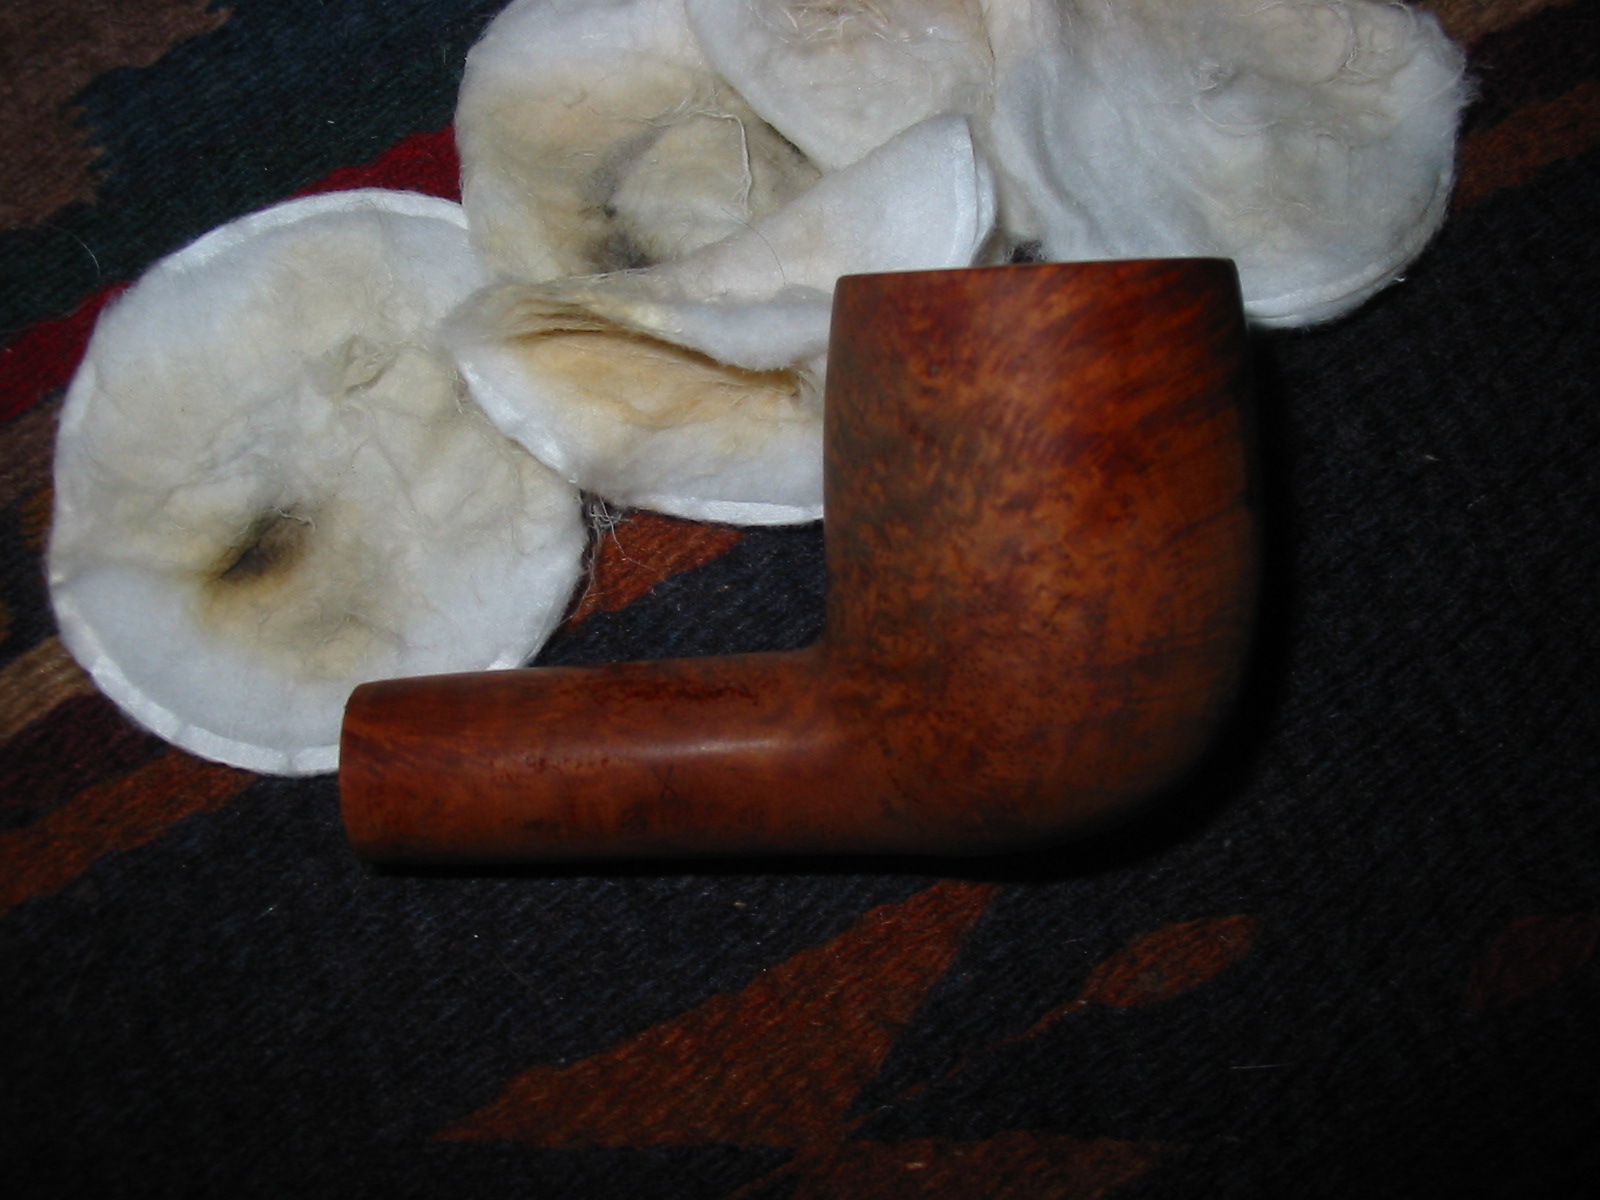
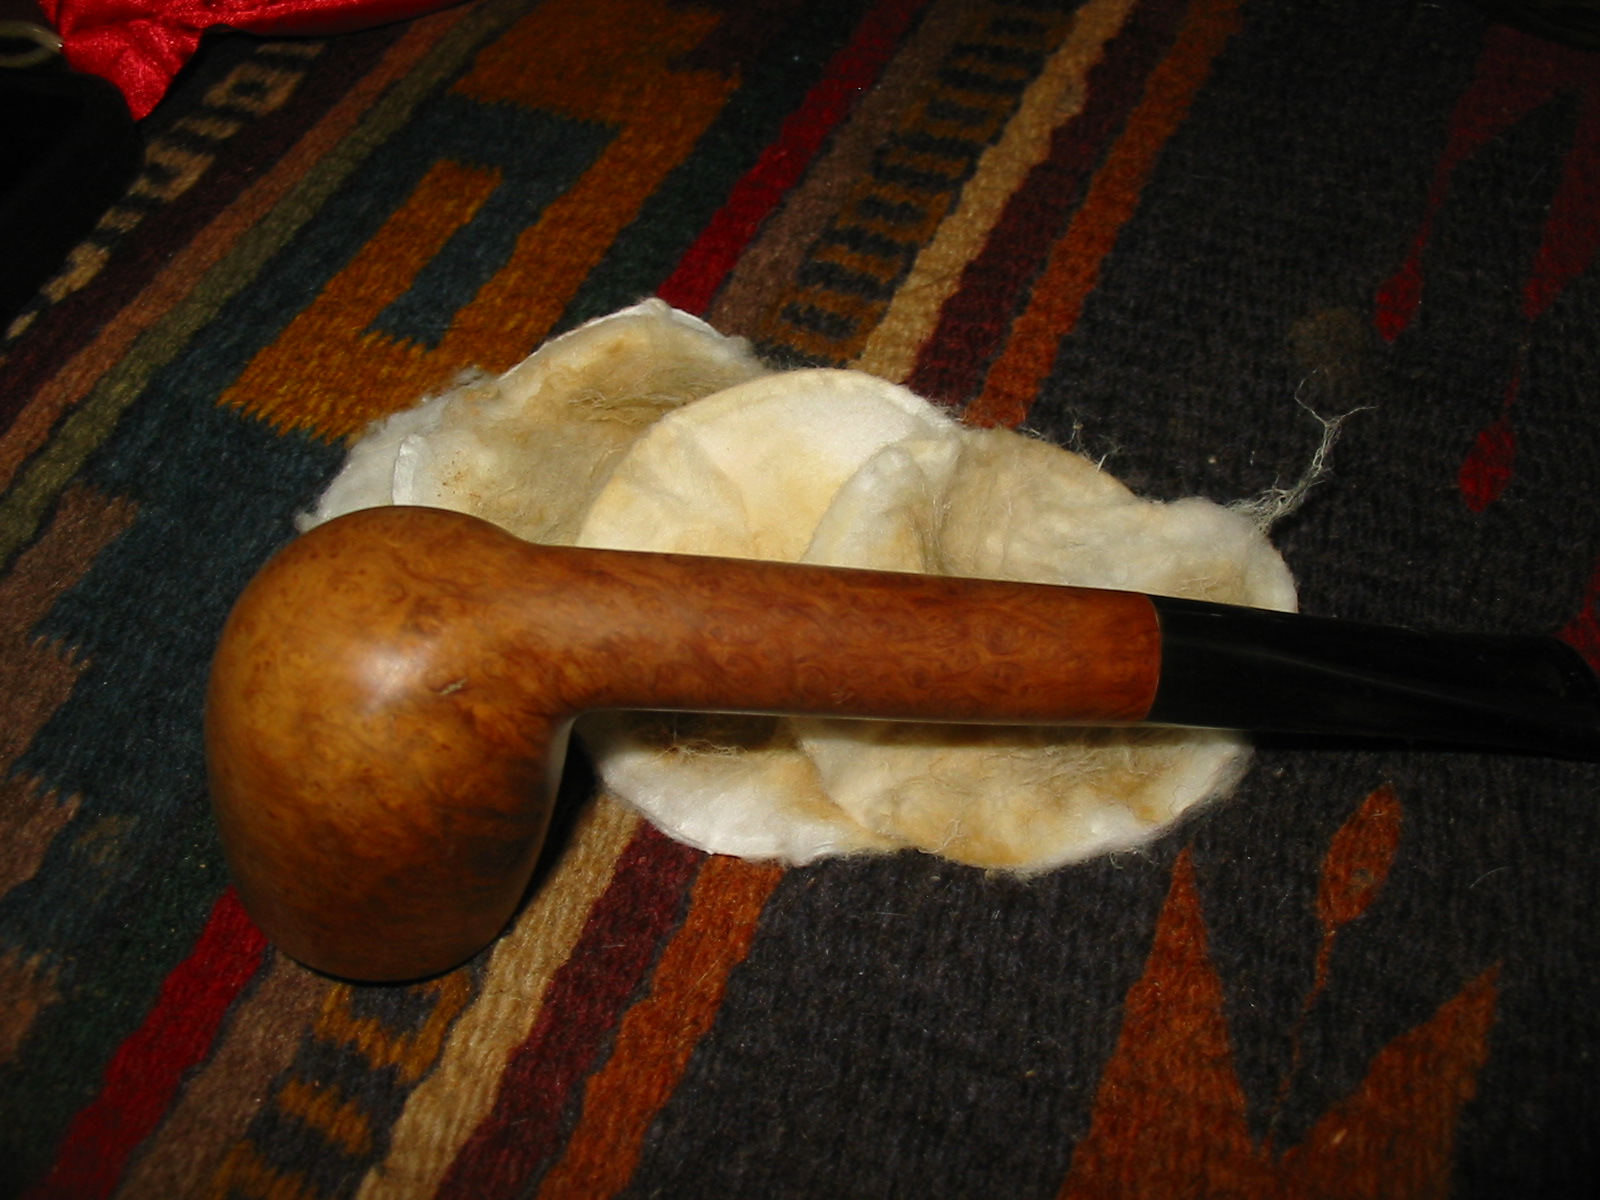
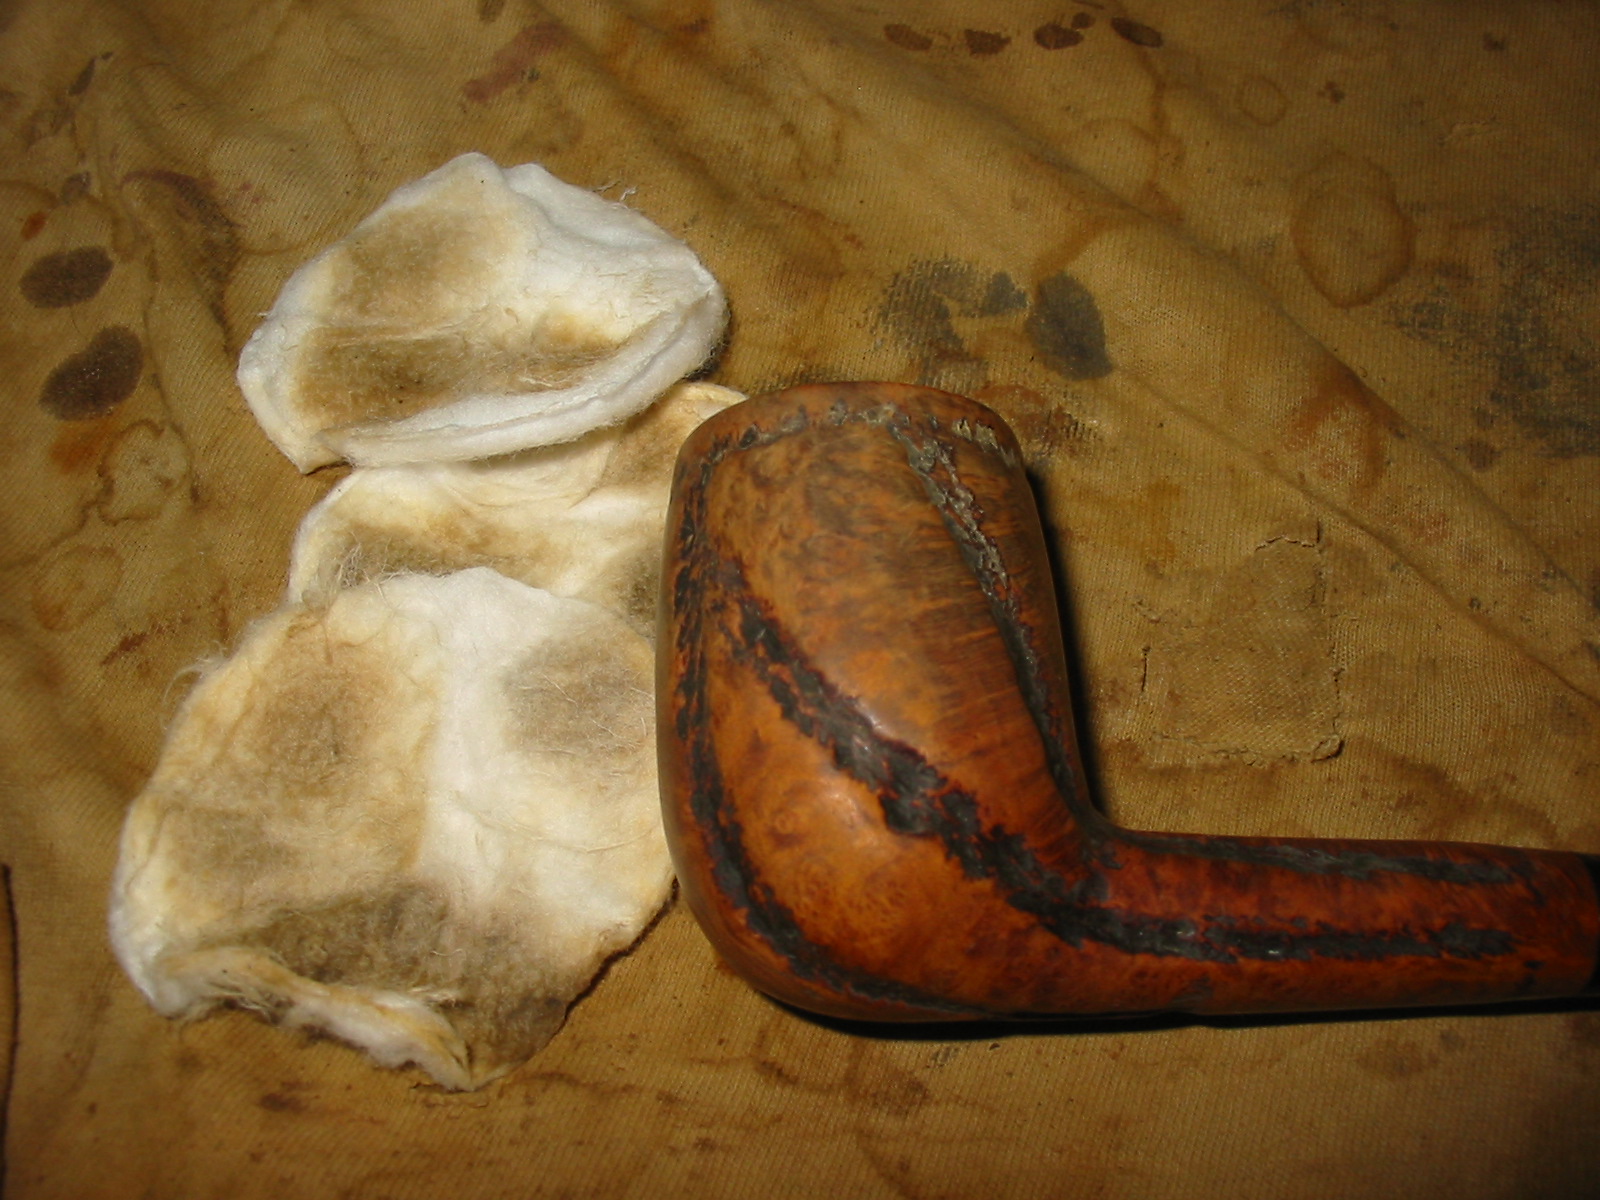
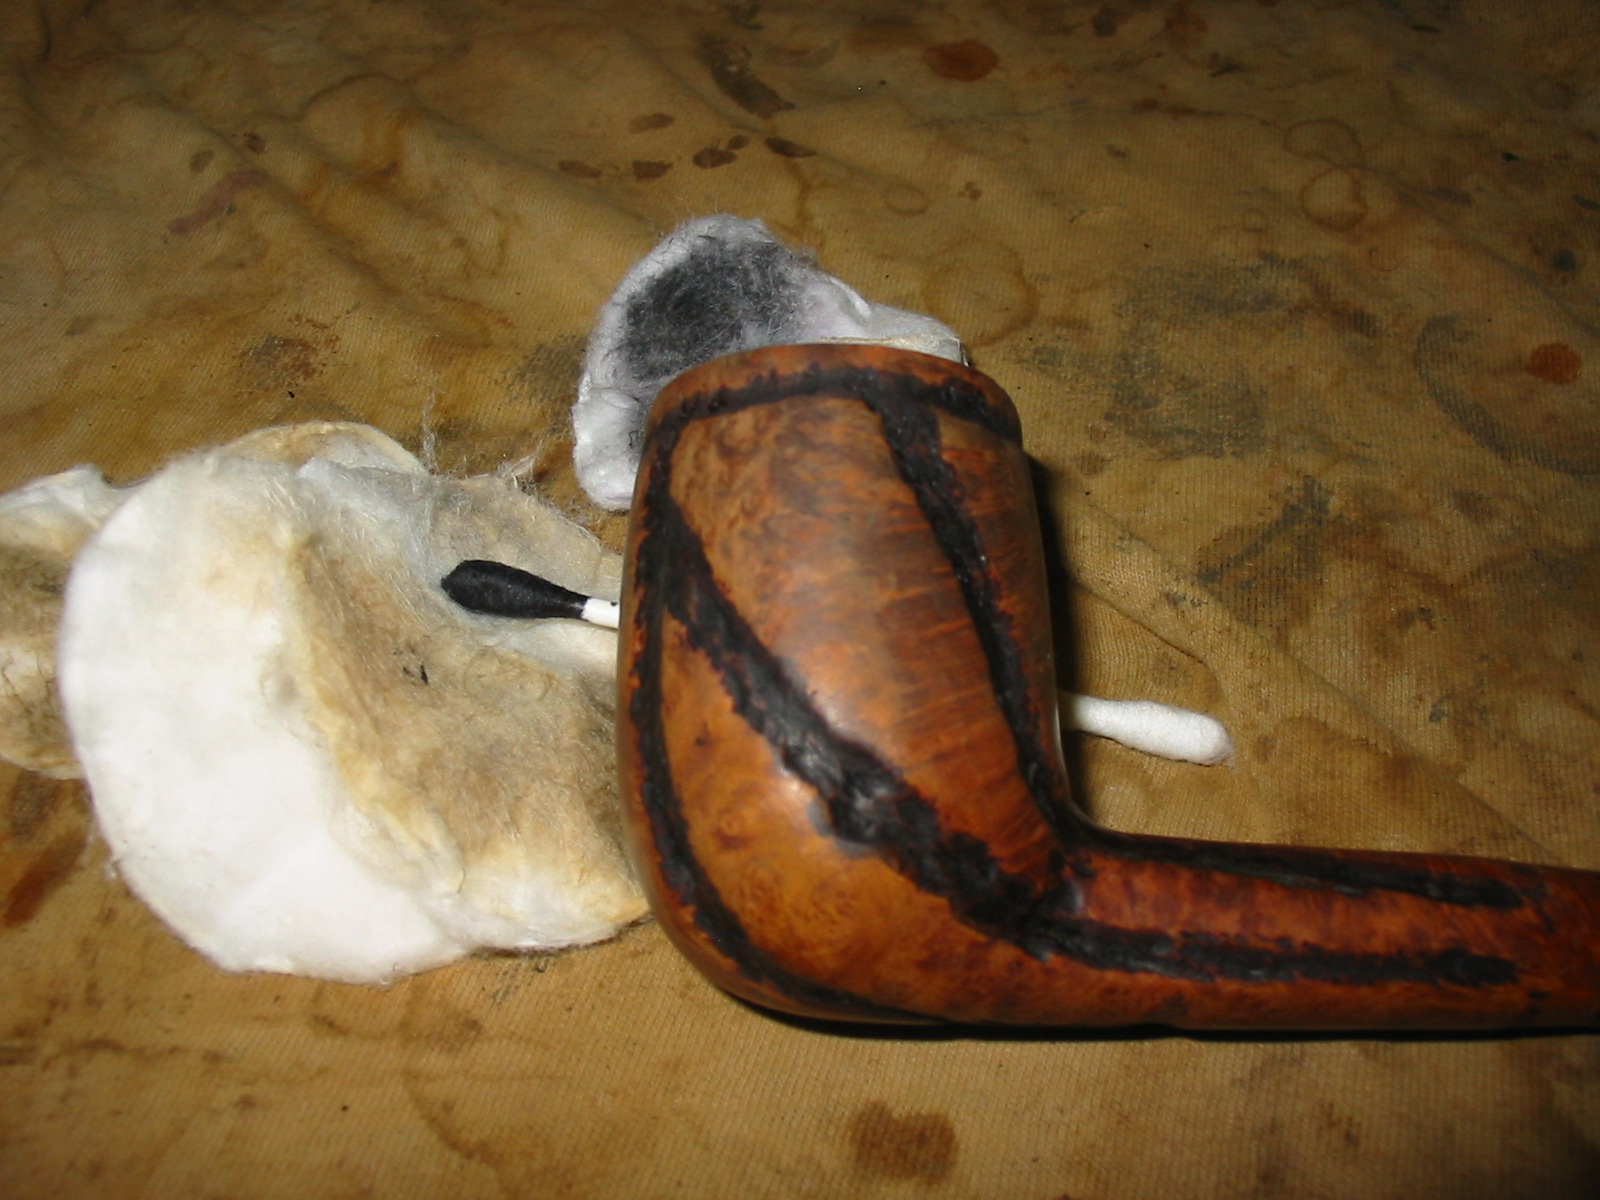
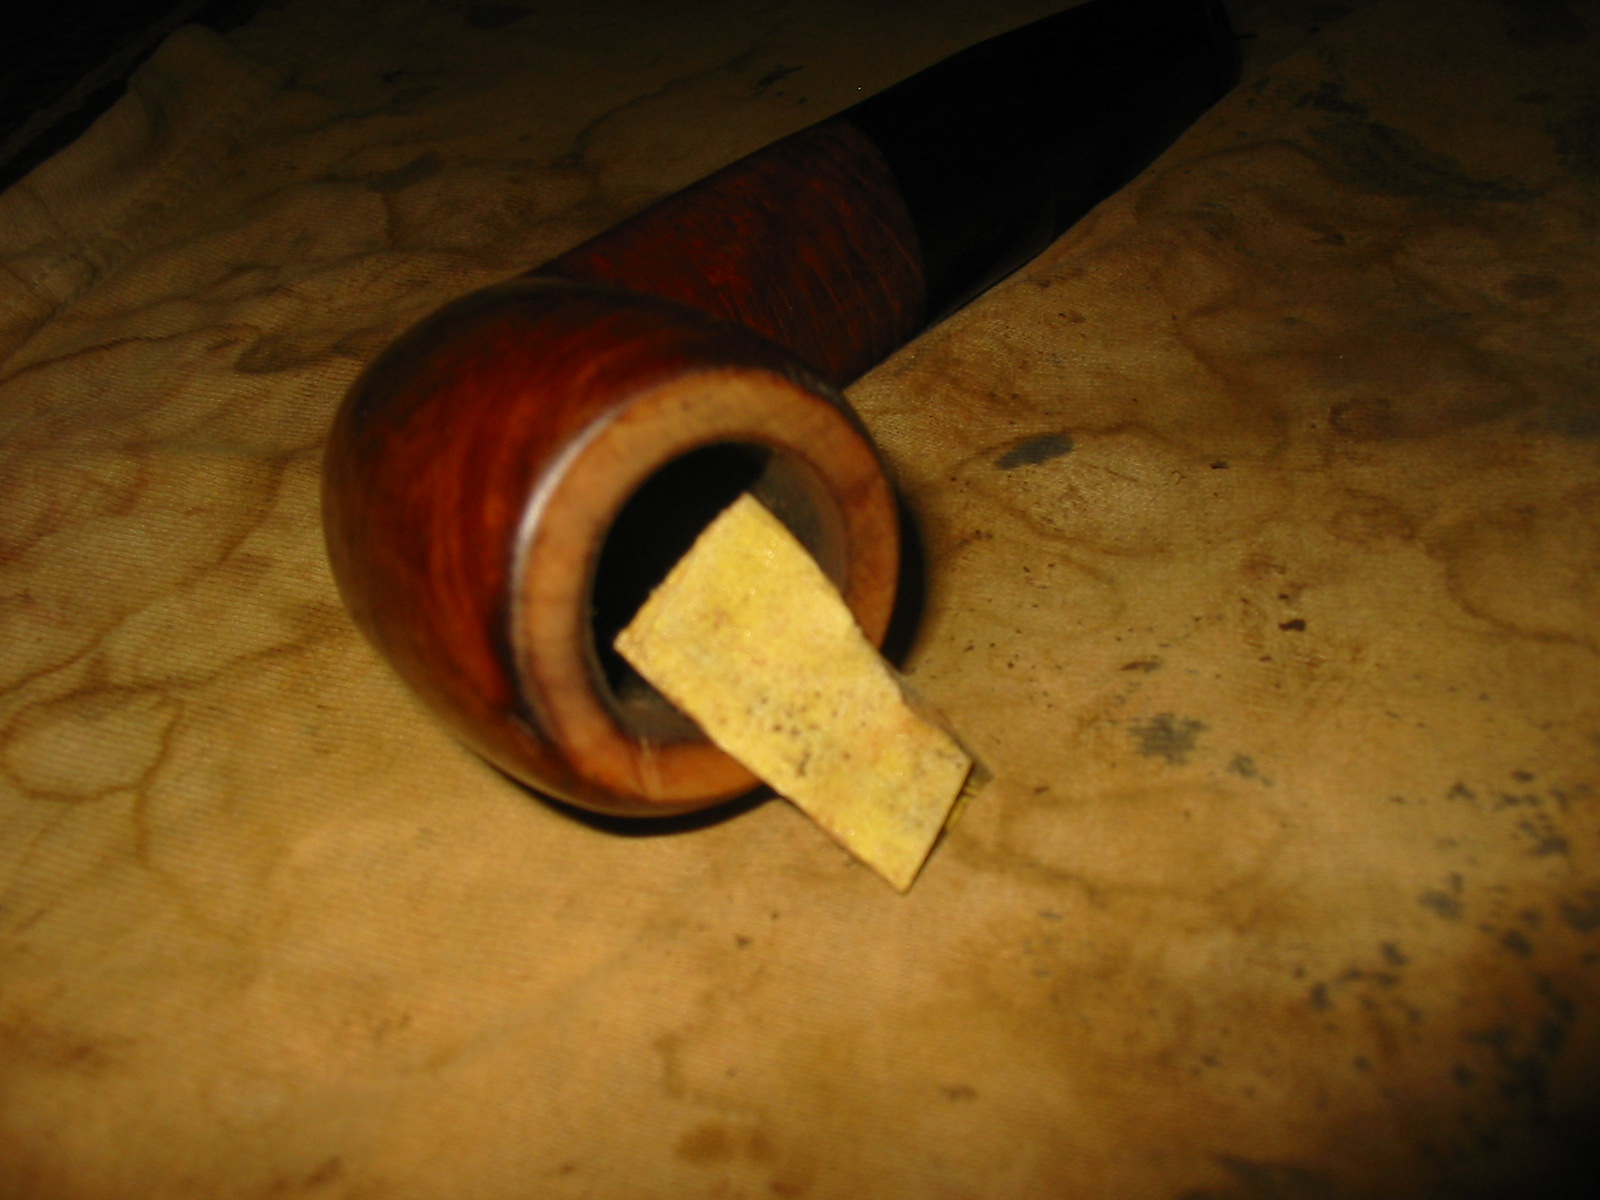
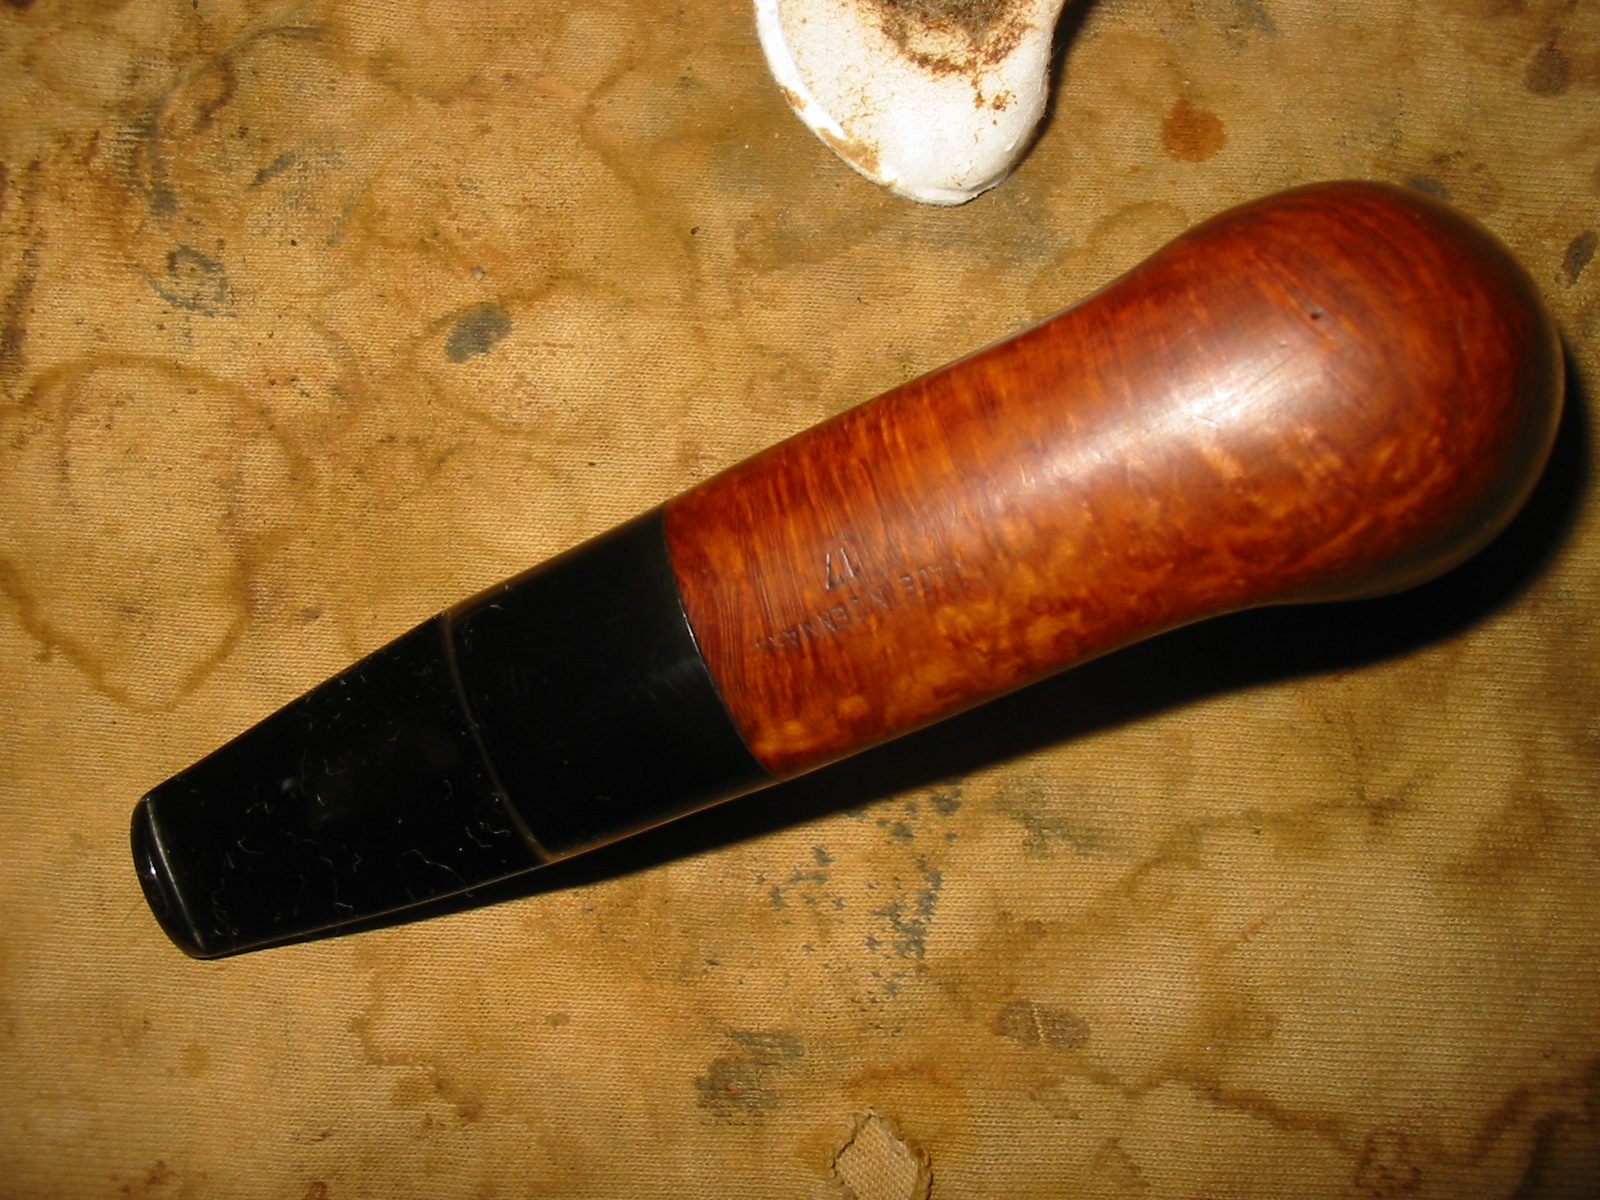
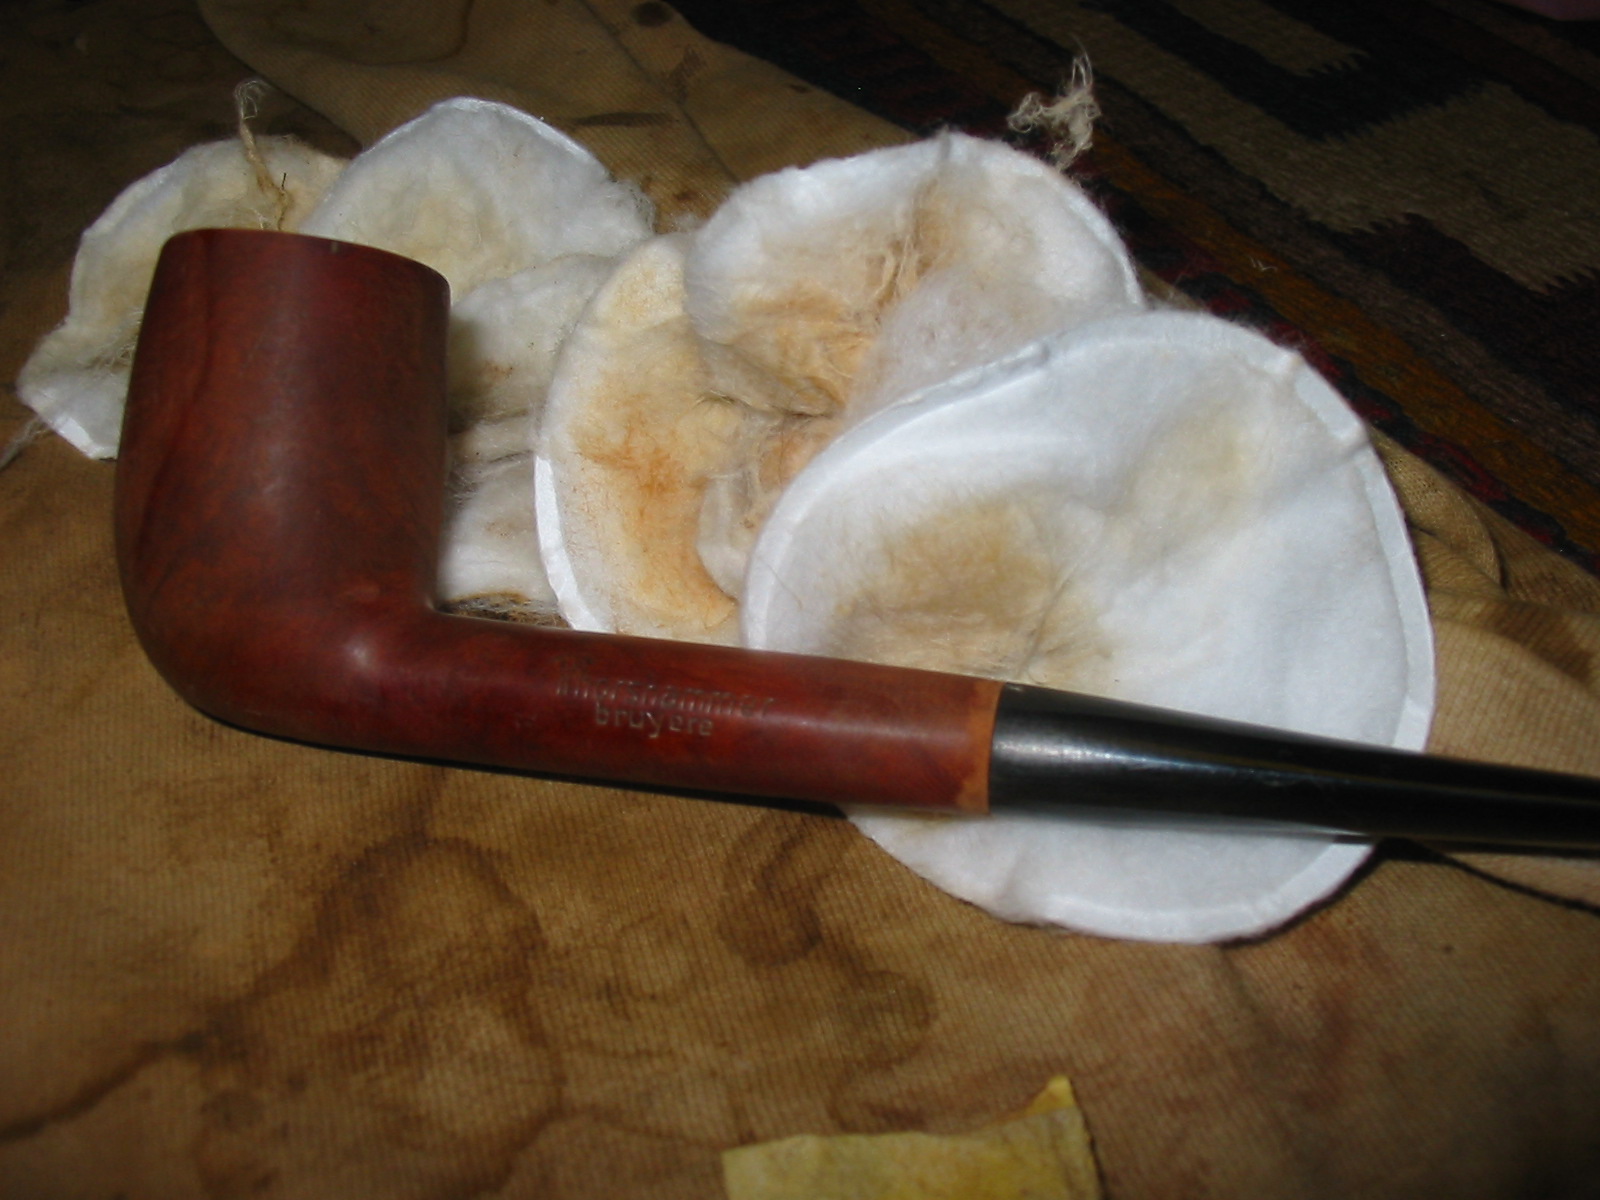
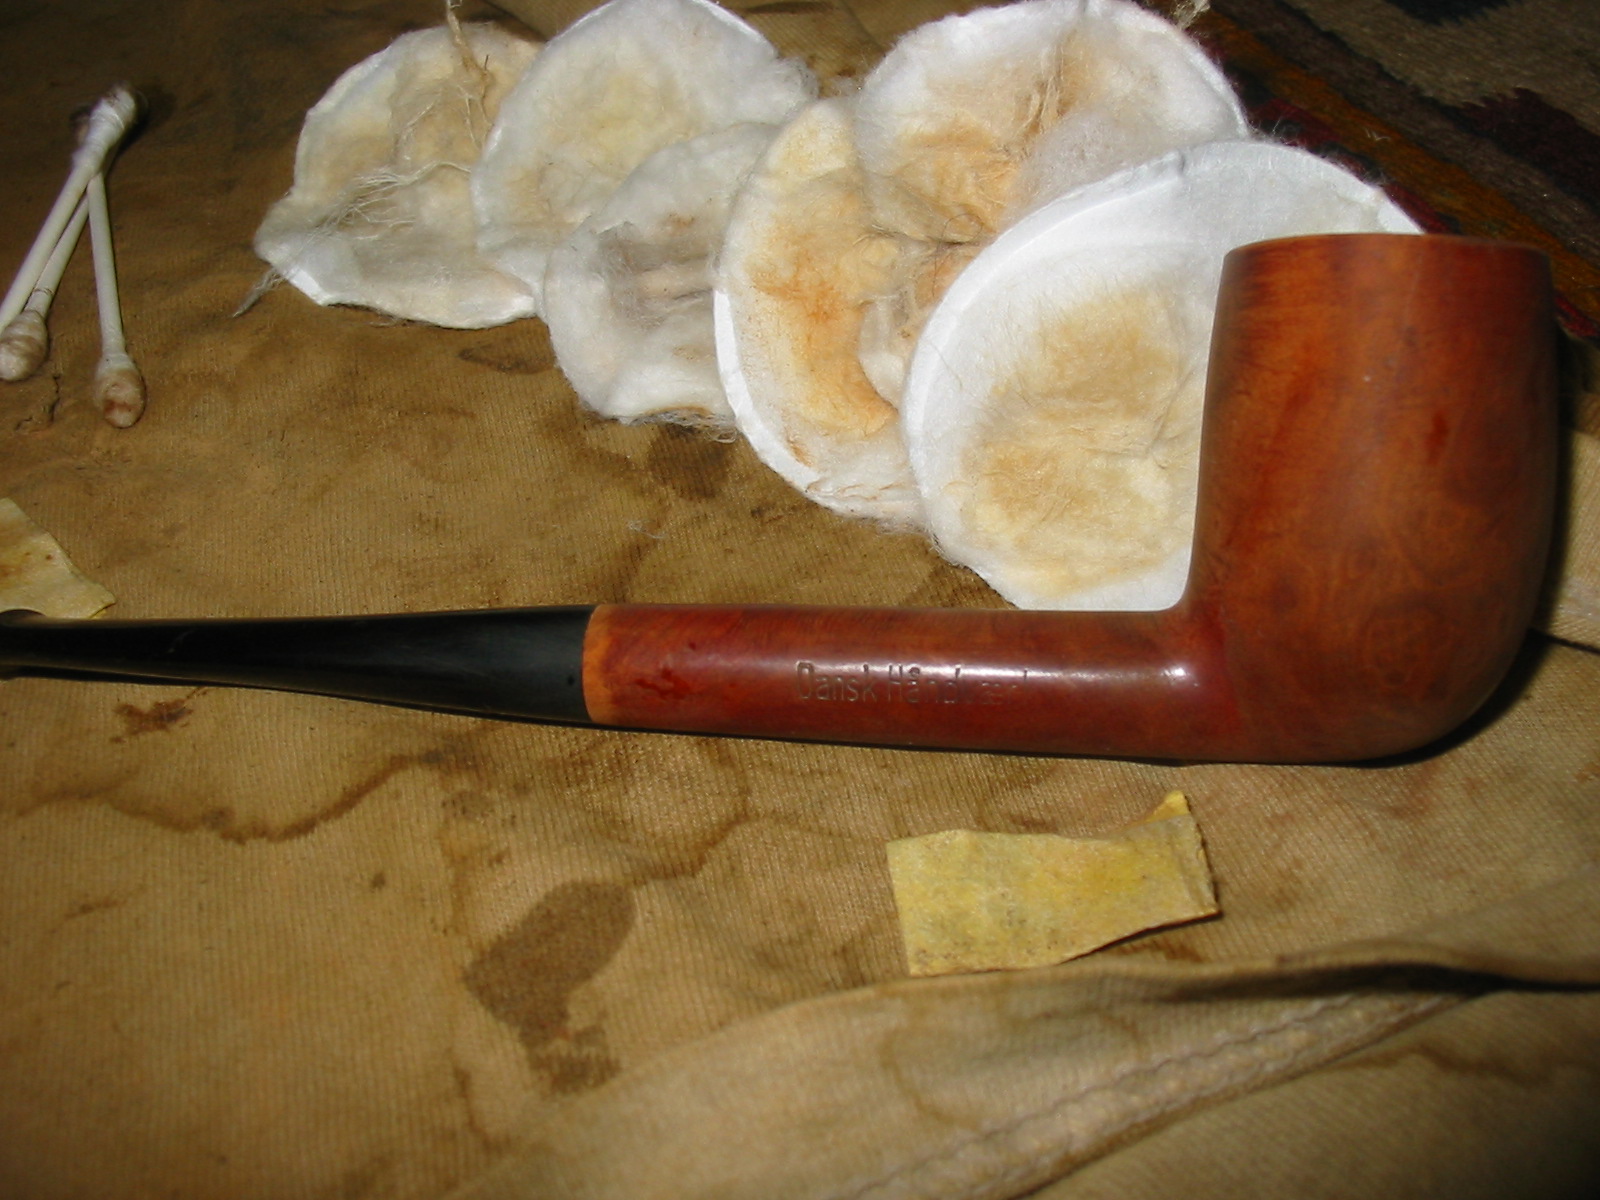
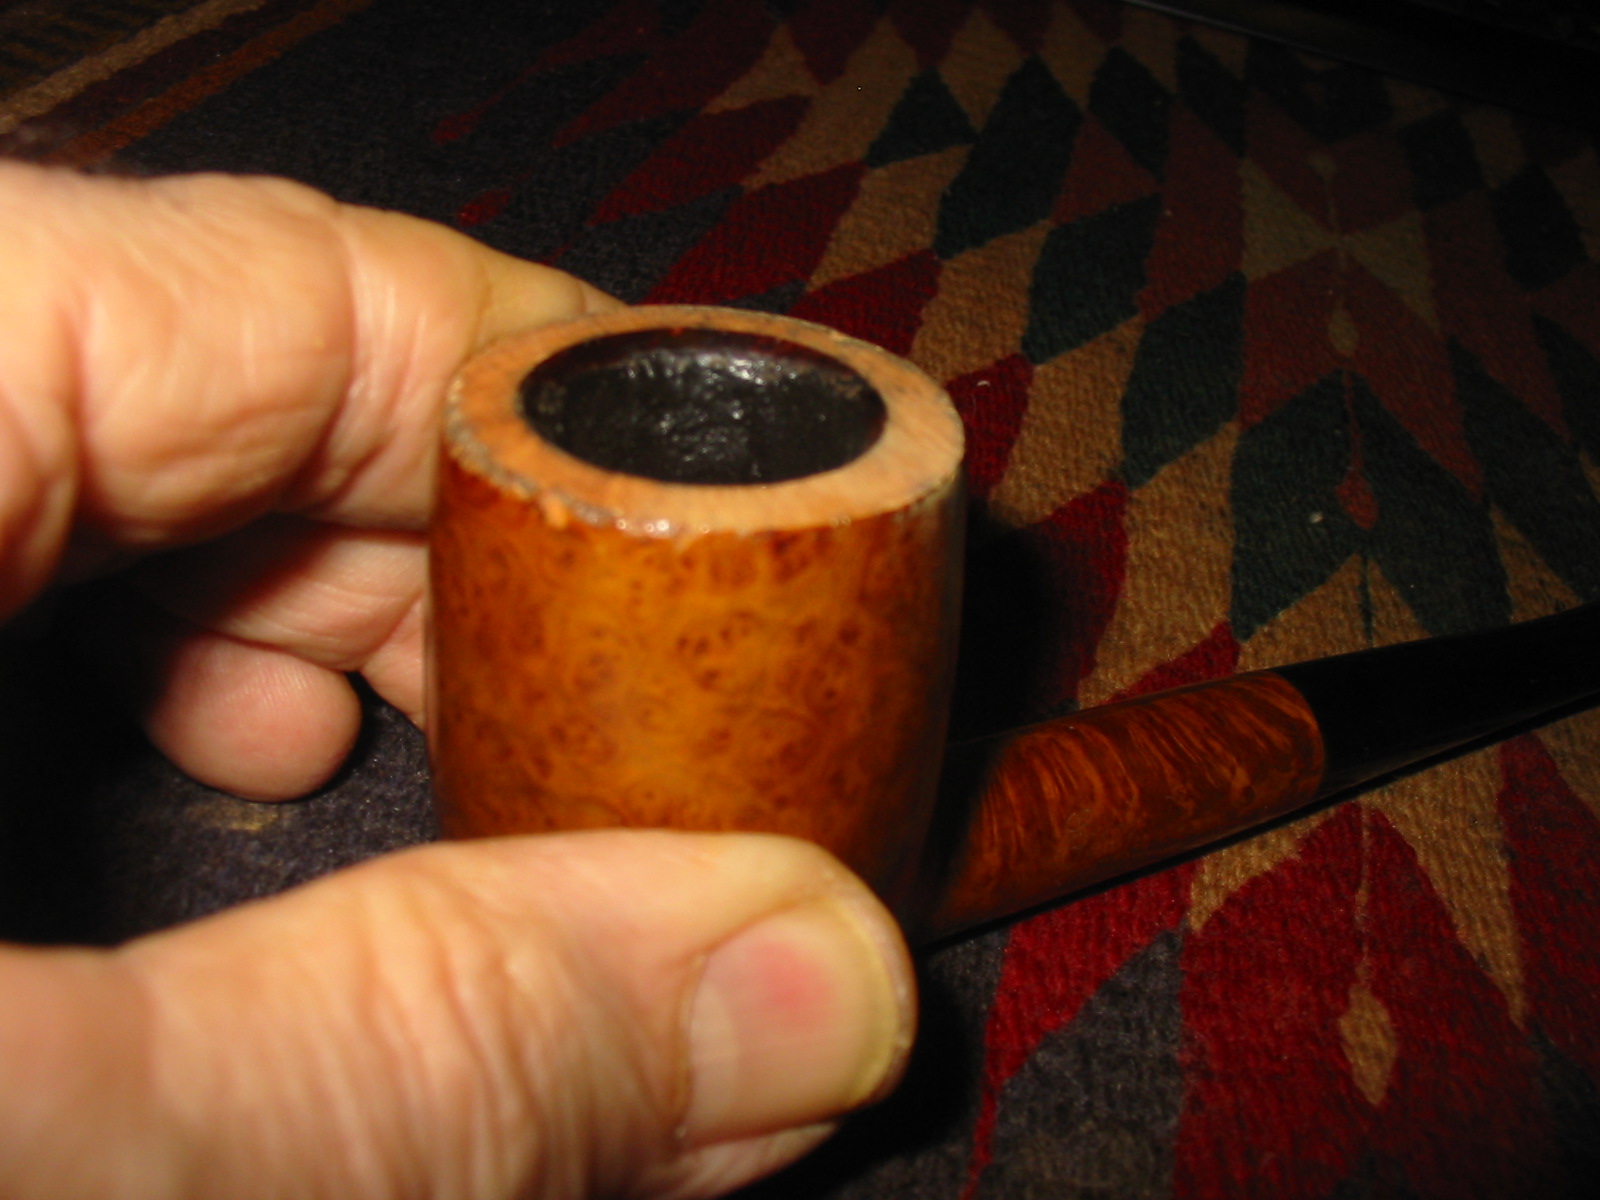
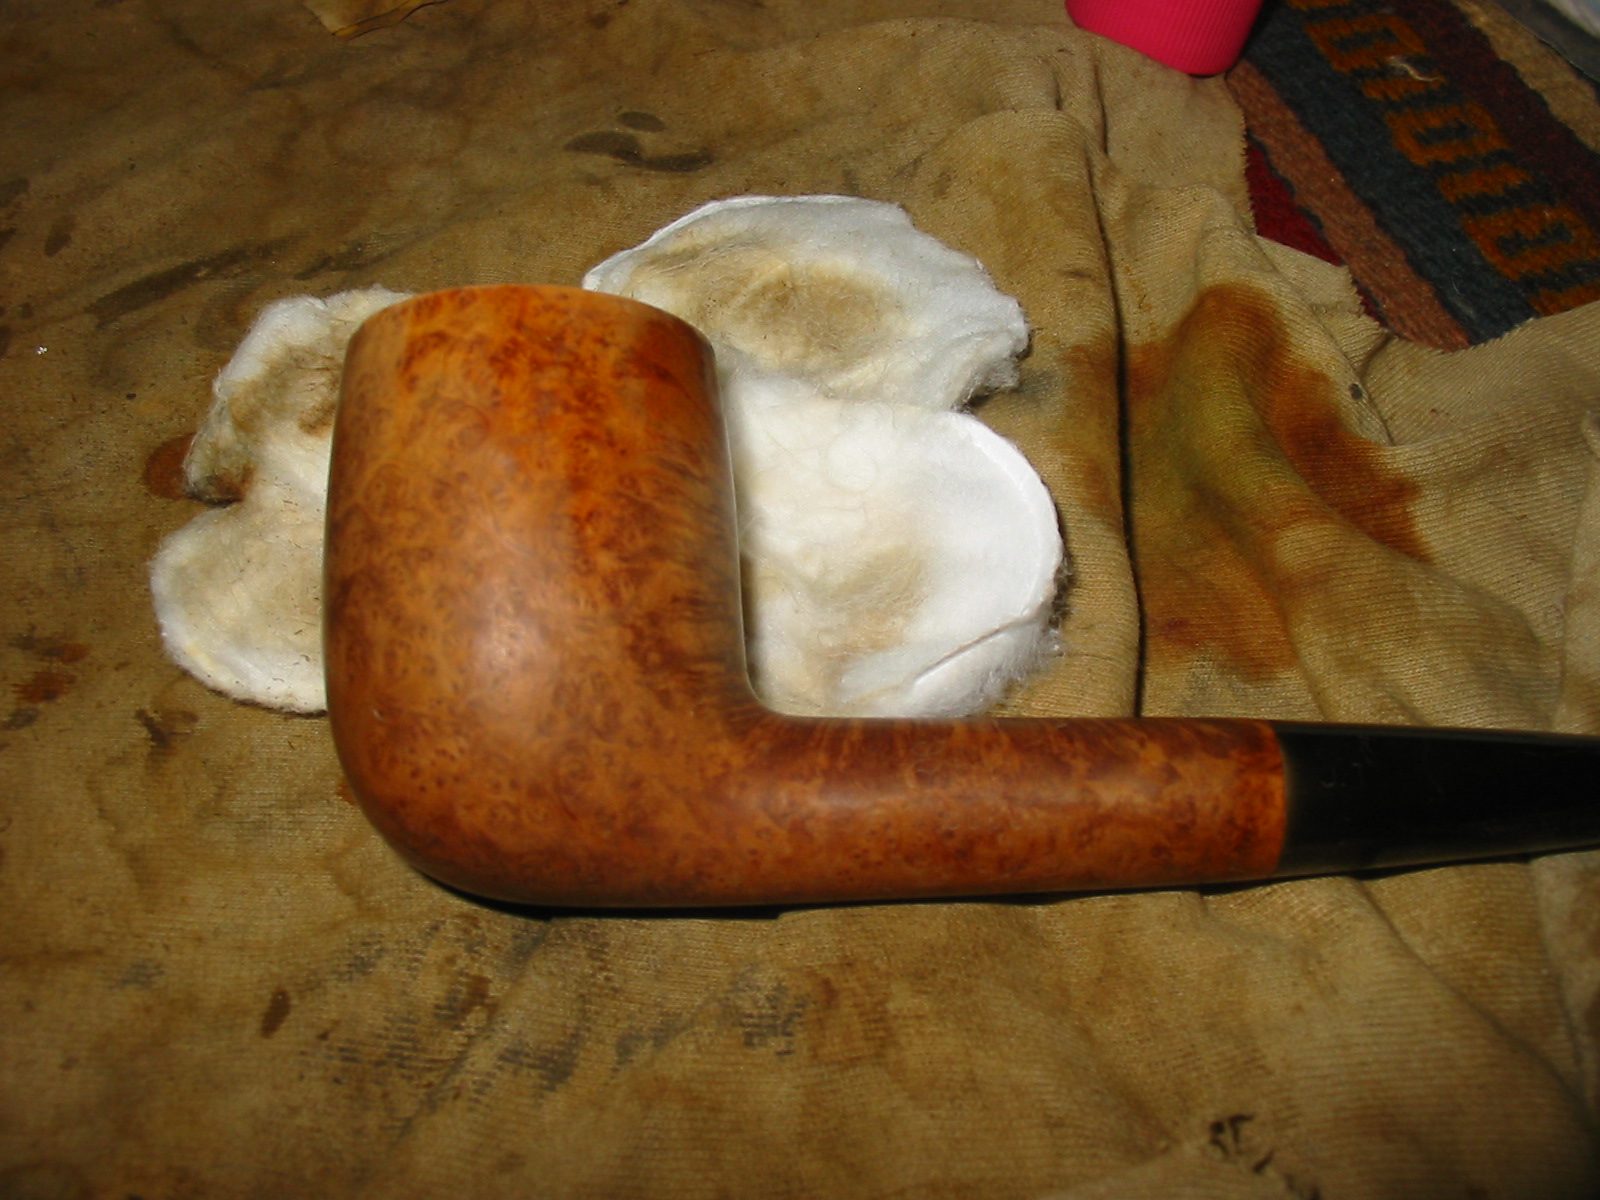
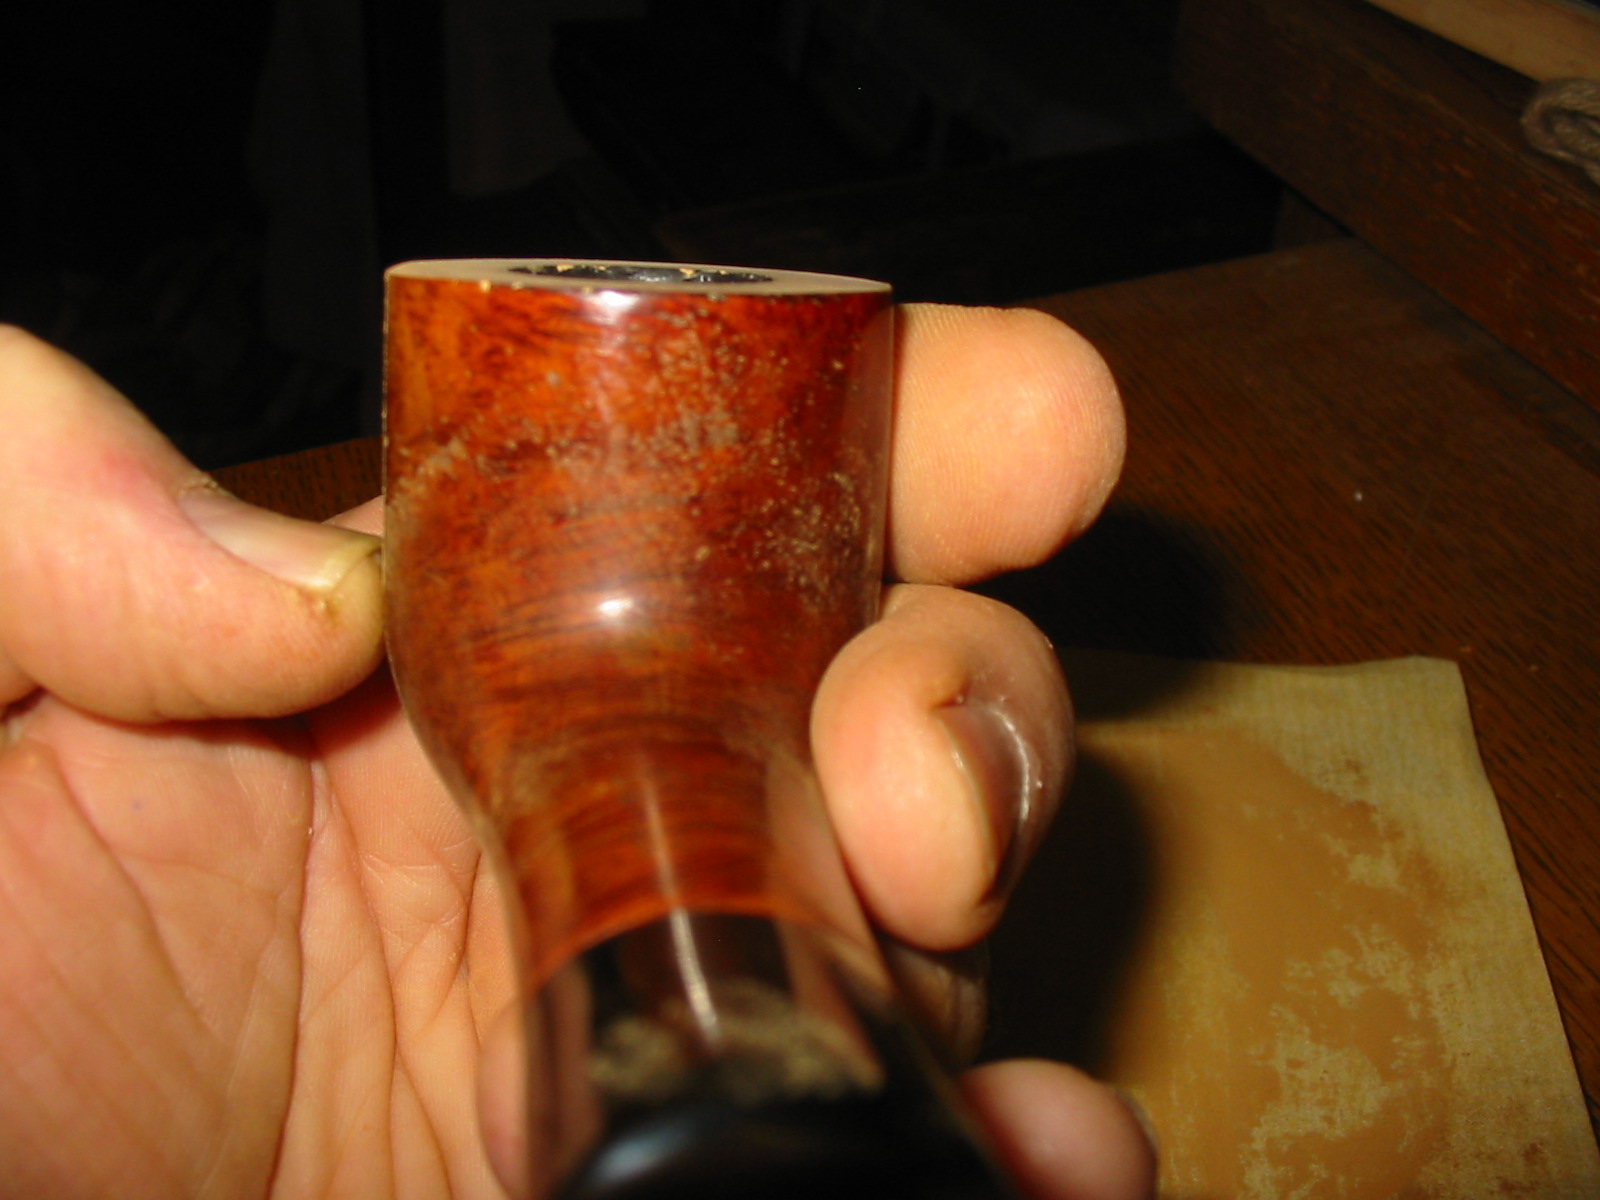
I wiped the bowl down with acetone on cotton pads to remove the varnish and the finish and bring the briar back to an even tone throughout the pipe. It always makes the staining easier when you rework the entirety of the bowl and the overall condition of this pipe demanded that kind of work.
IMG_4392

IMG_4393

IMG_4394

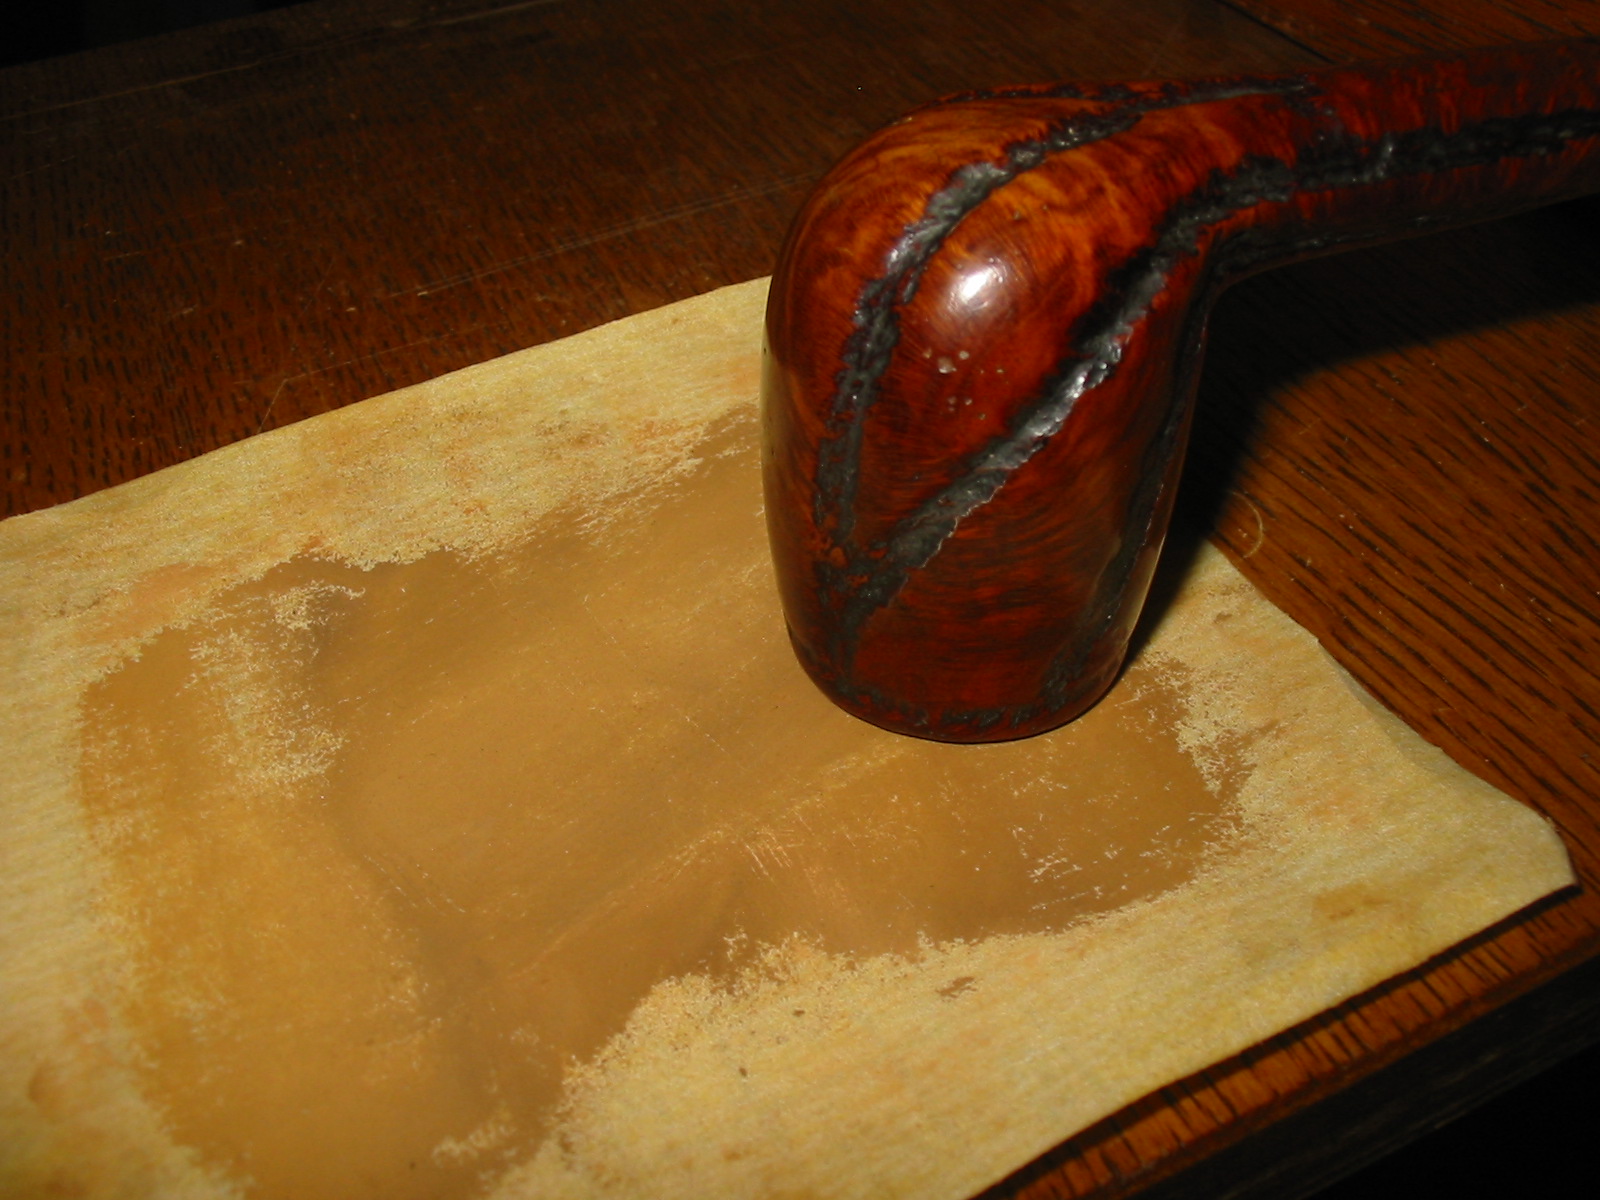
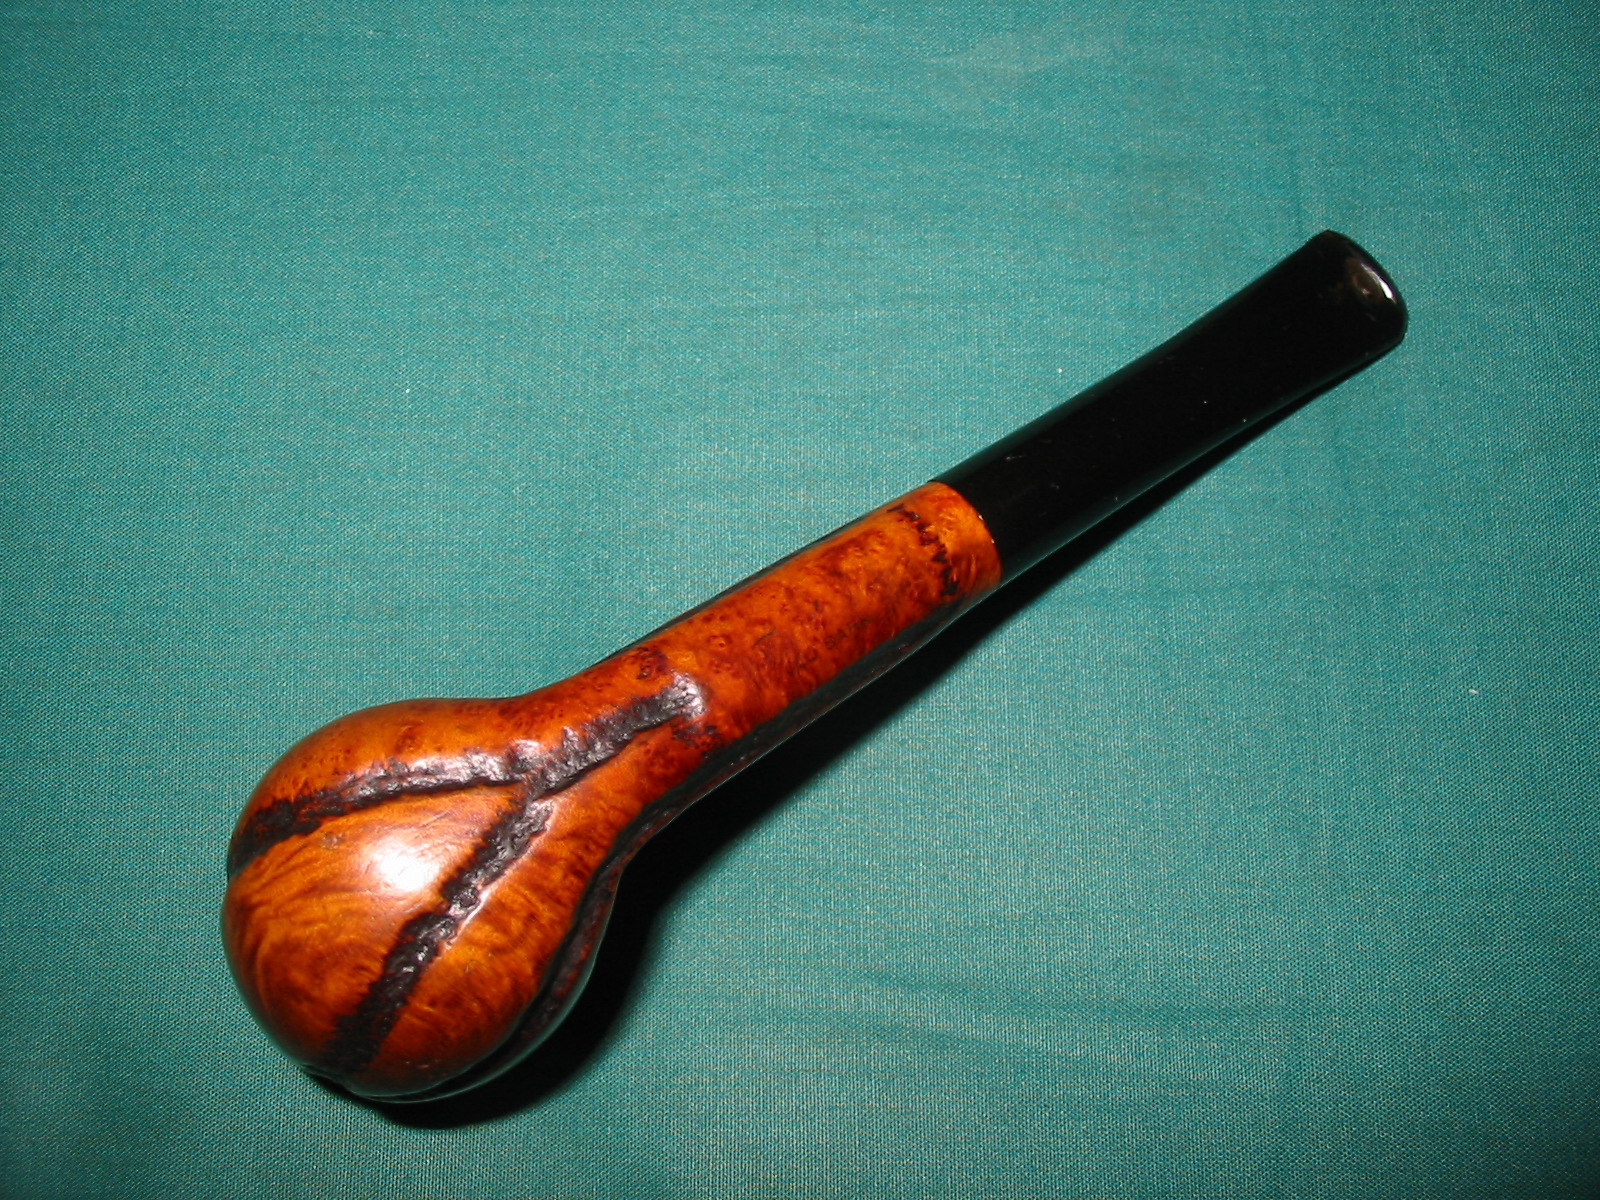
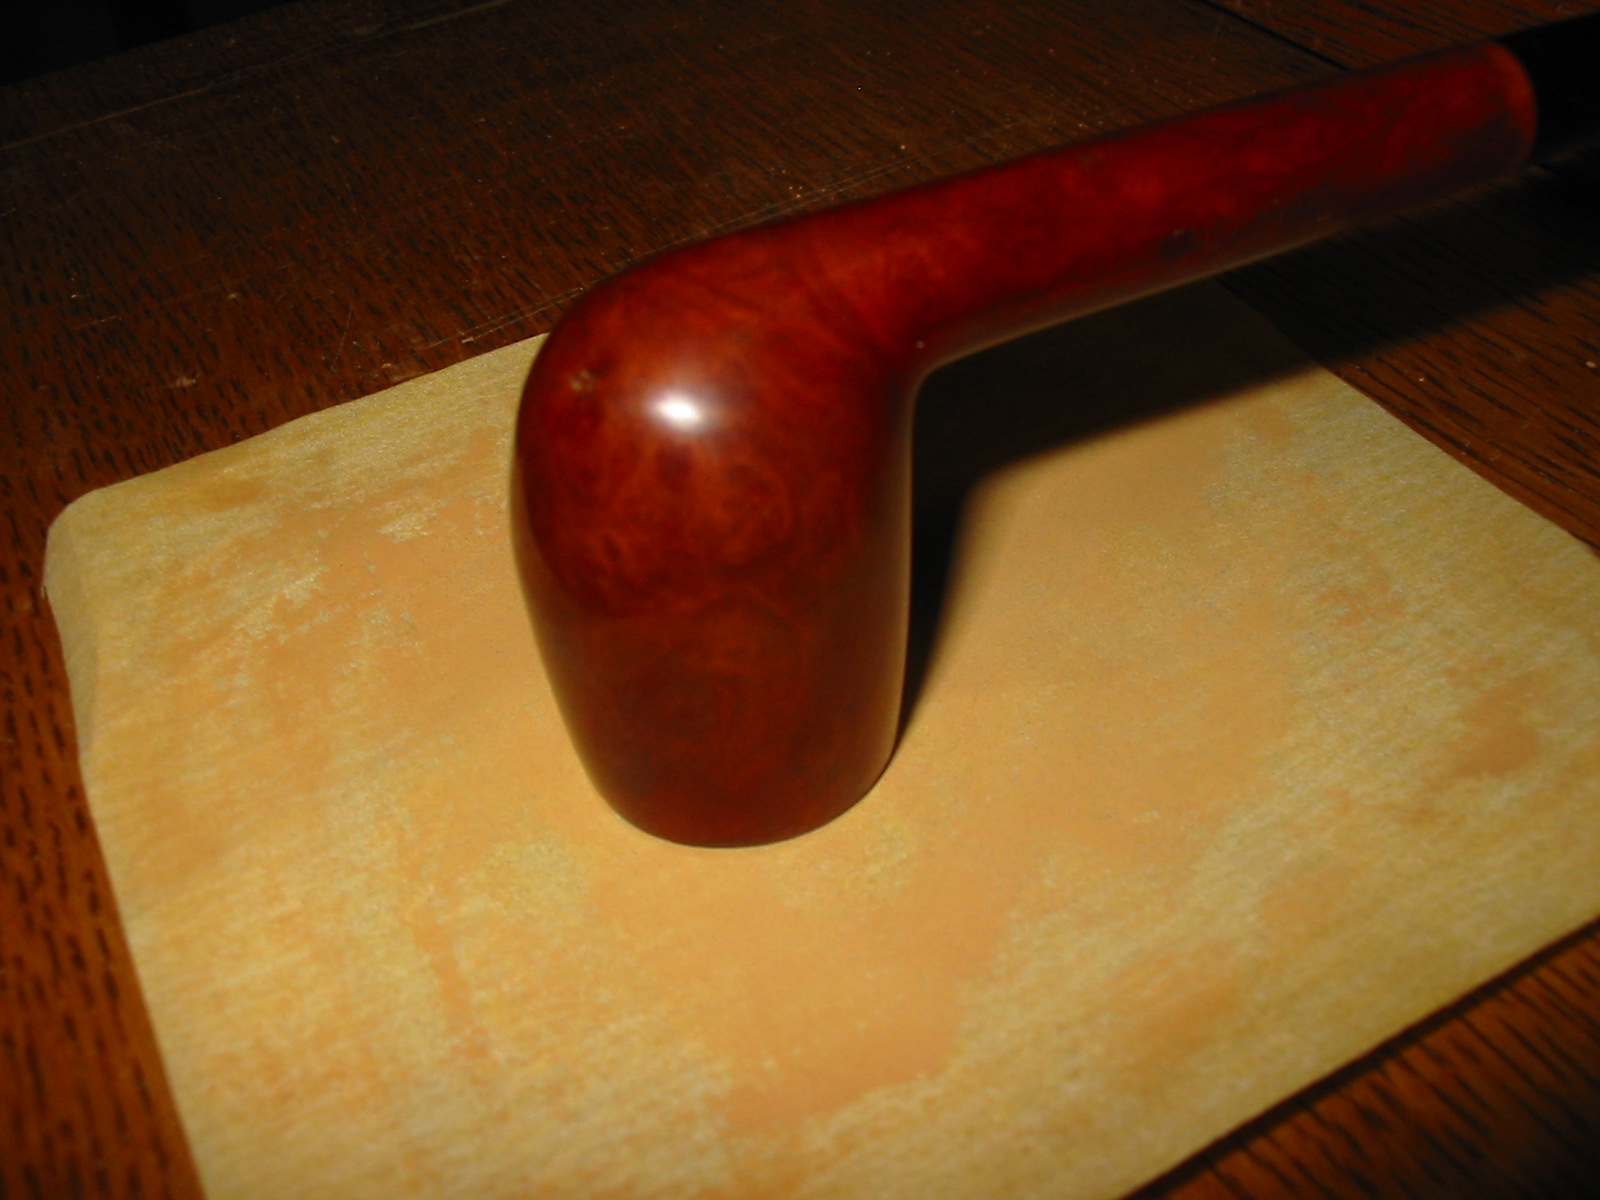
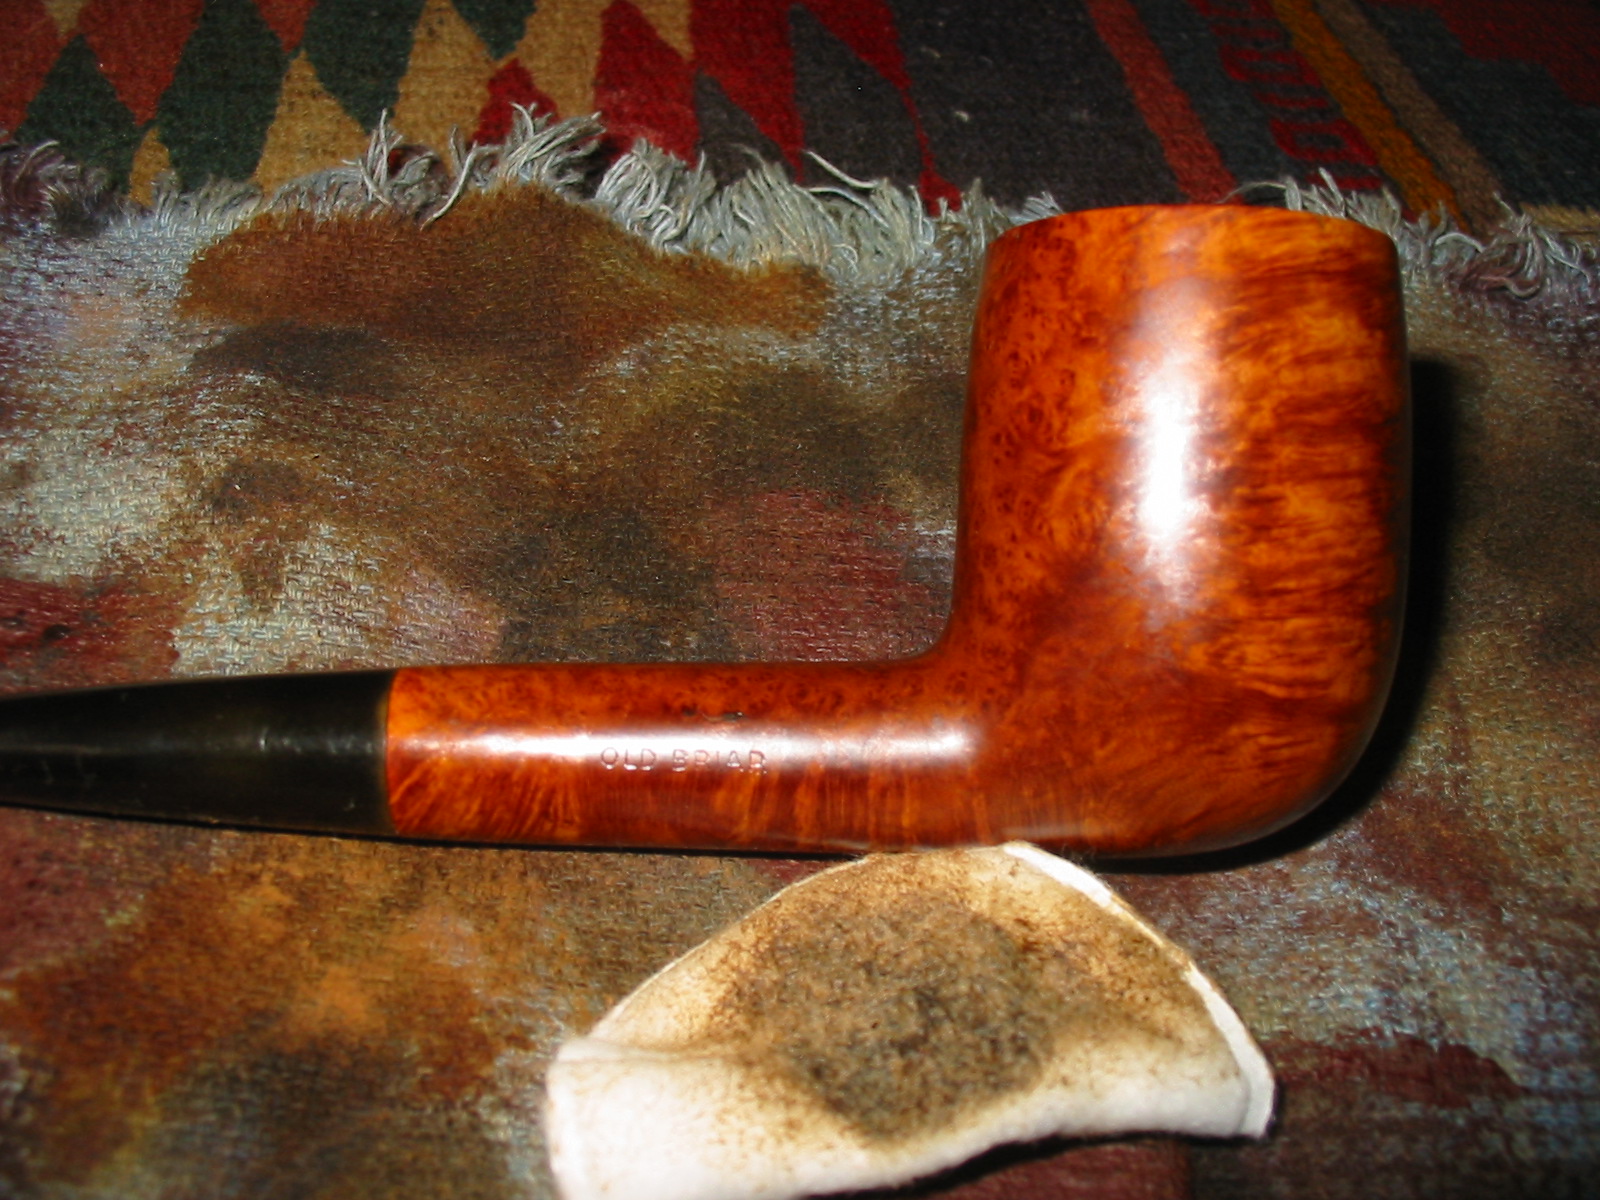
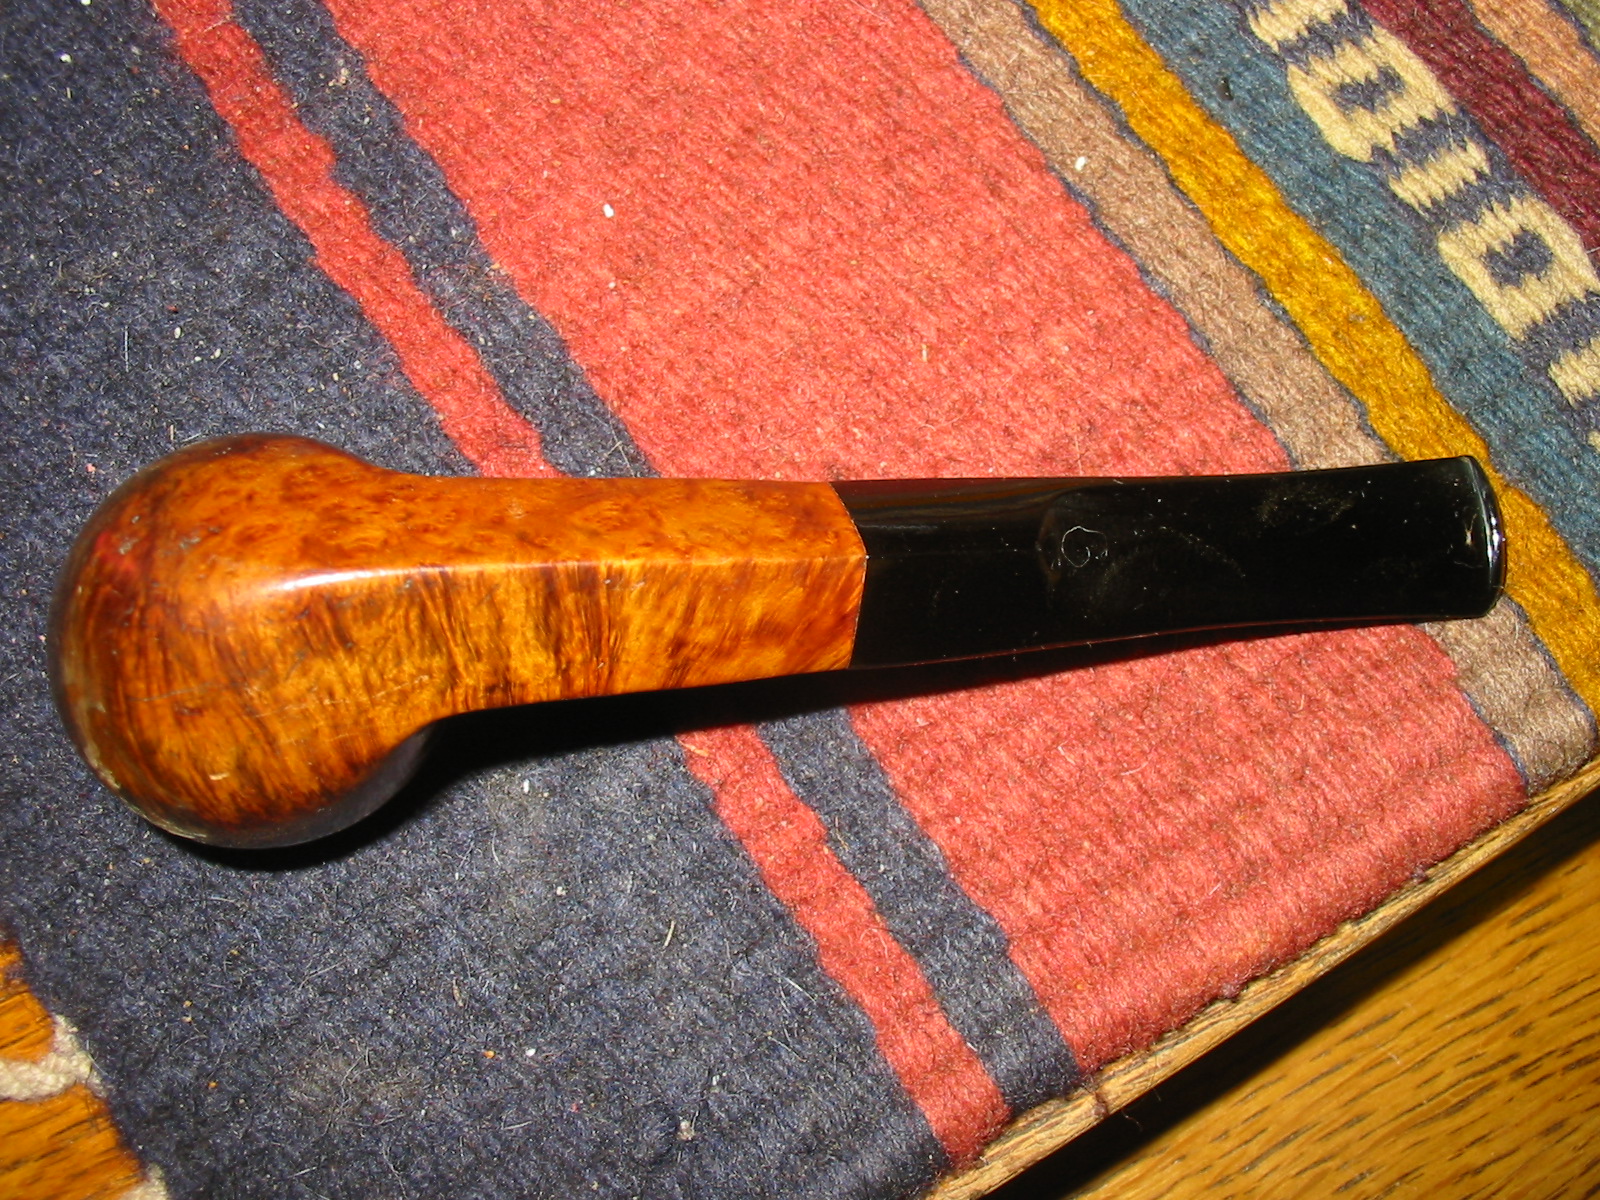
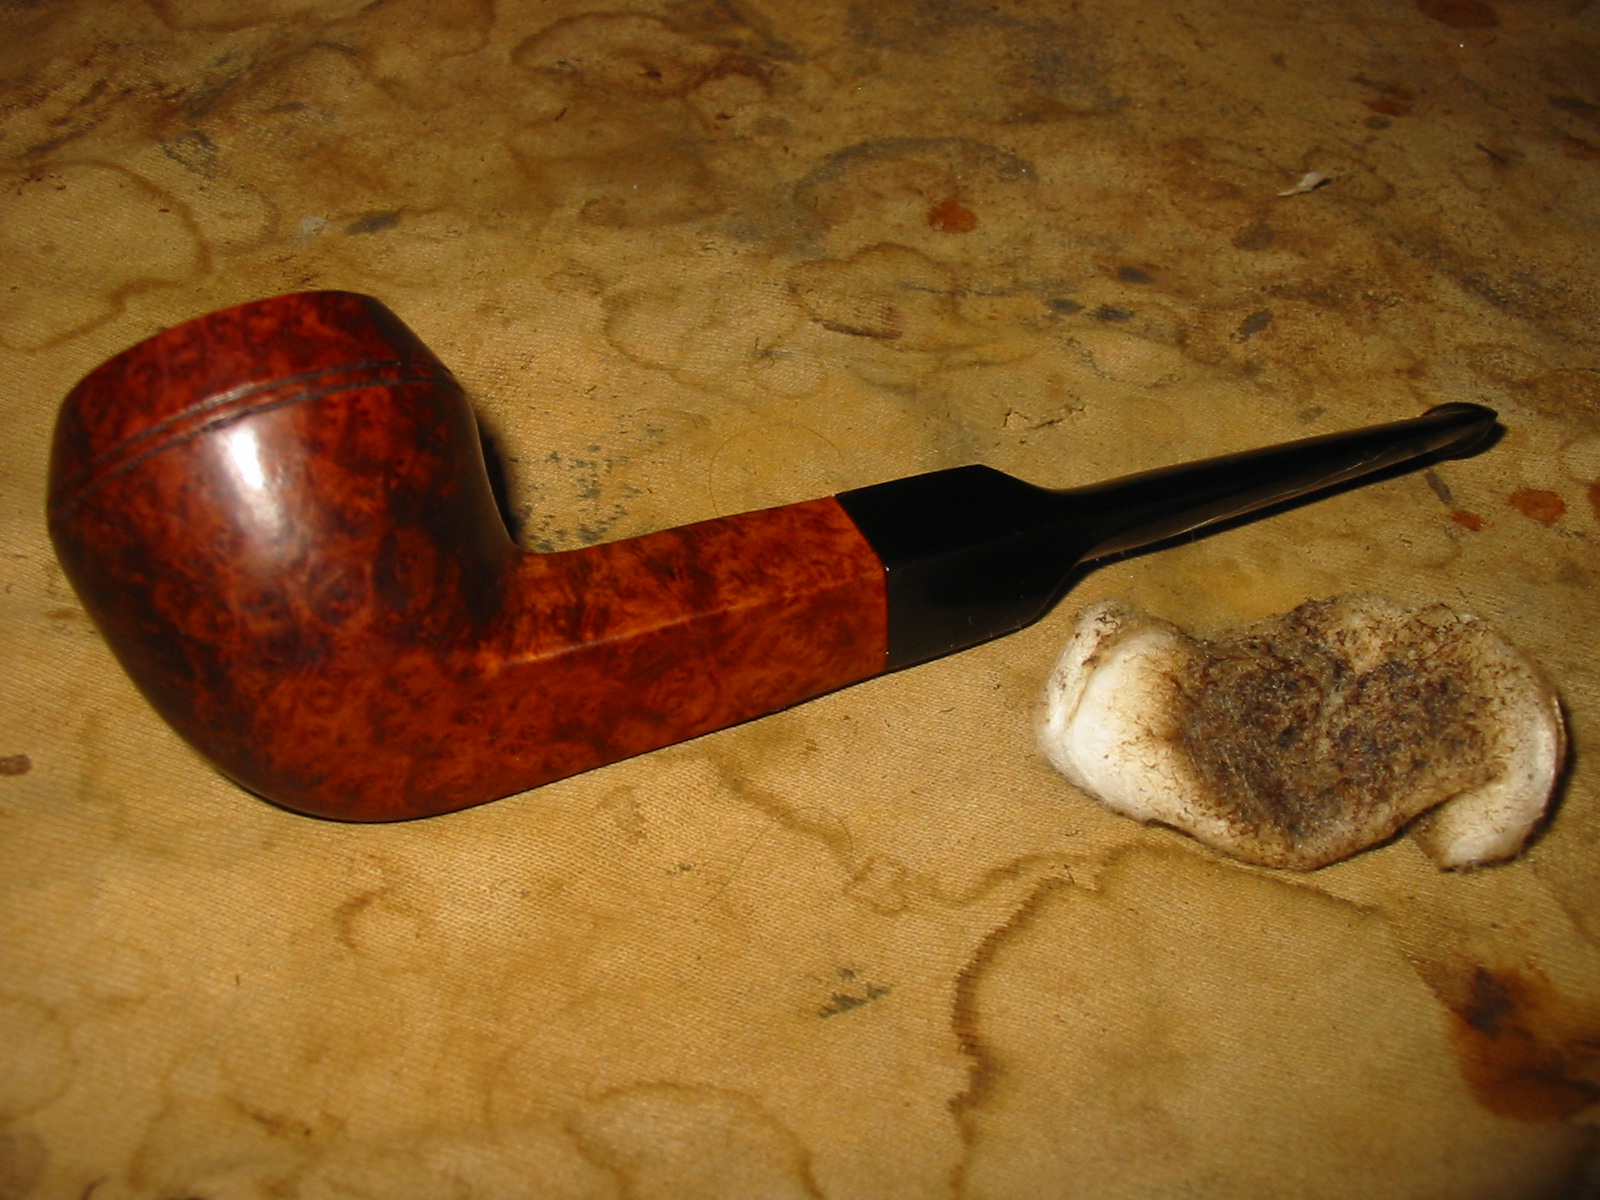
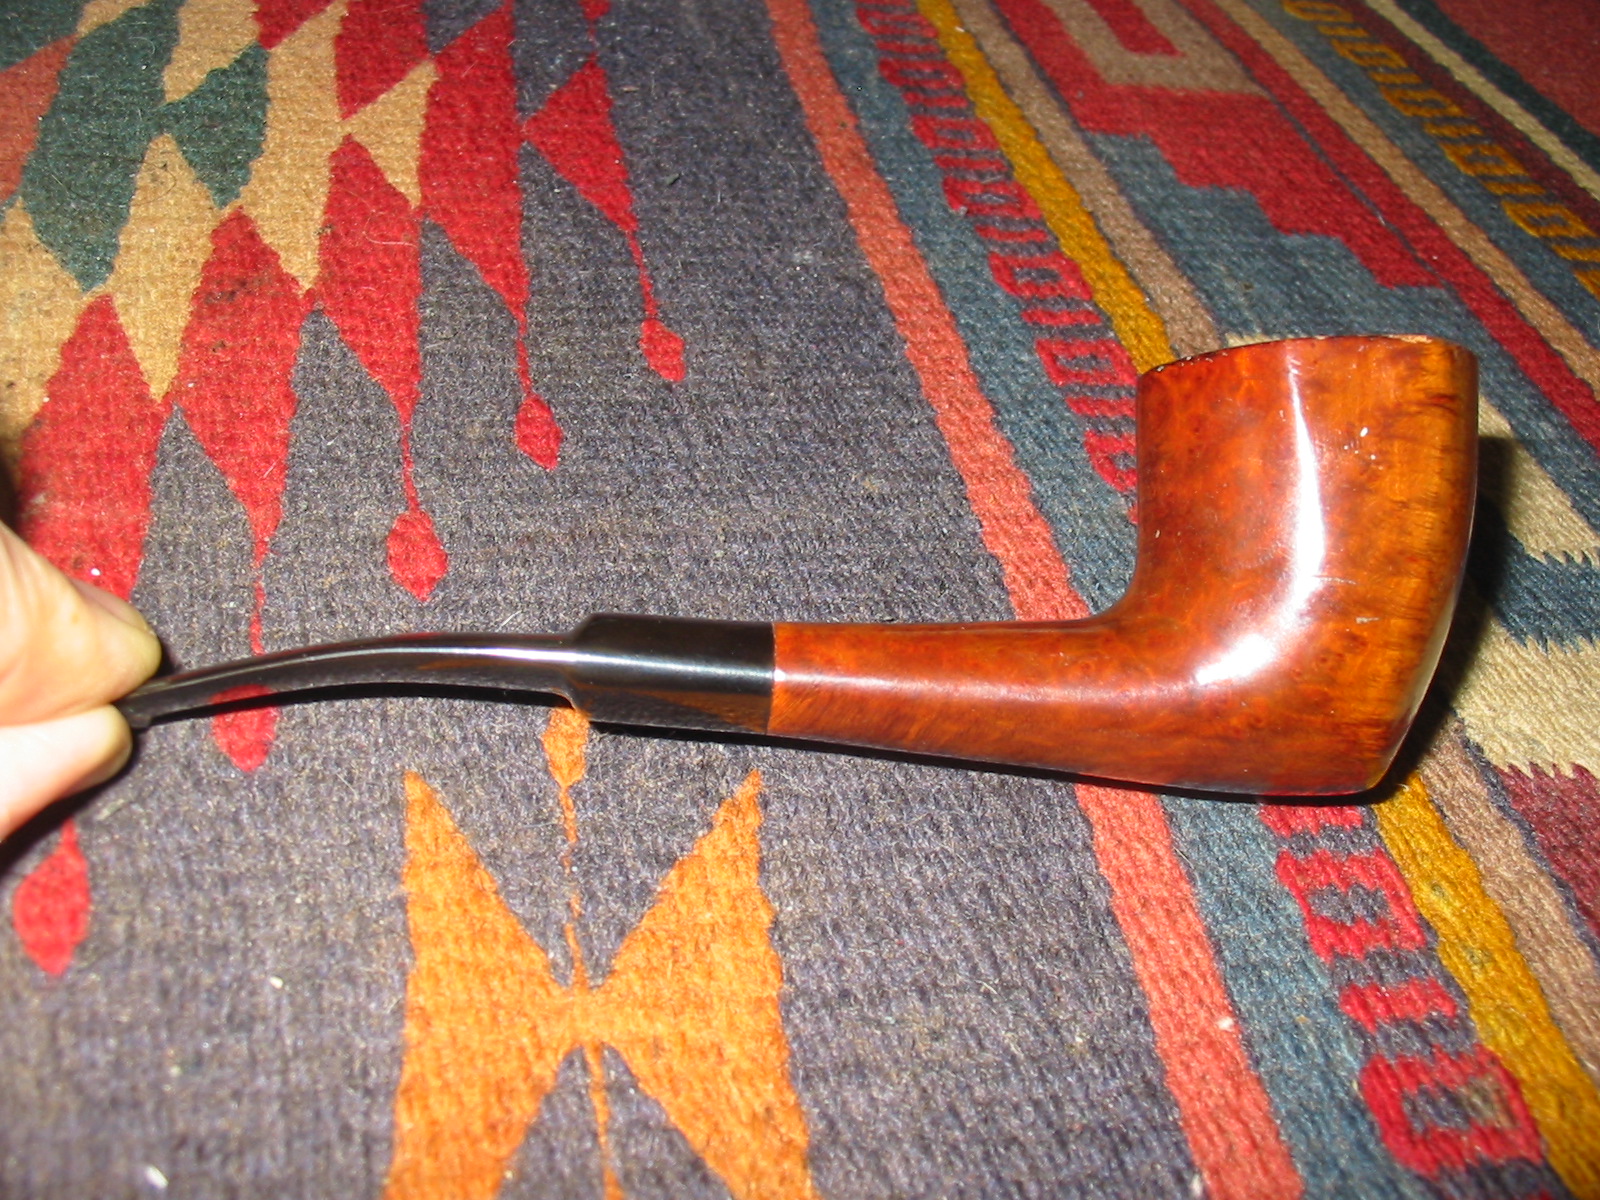
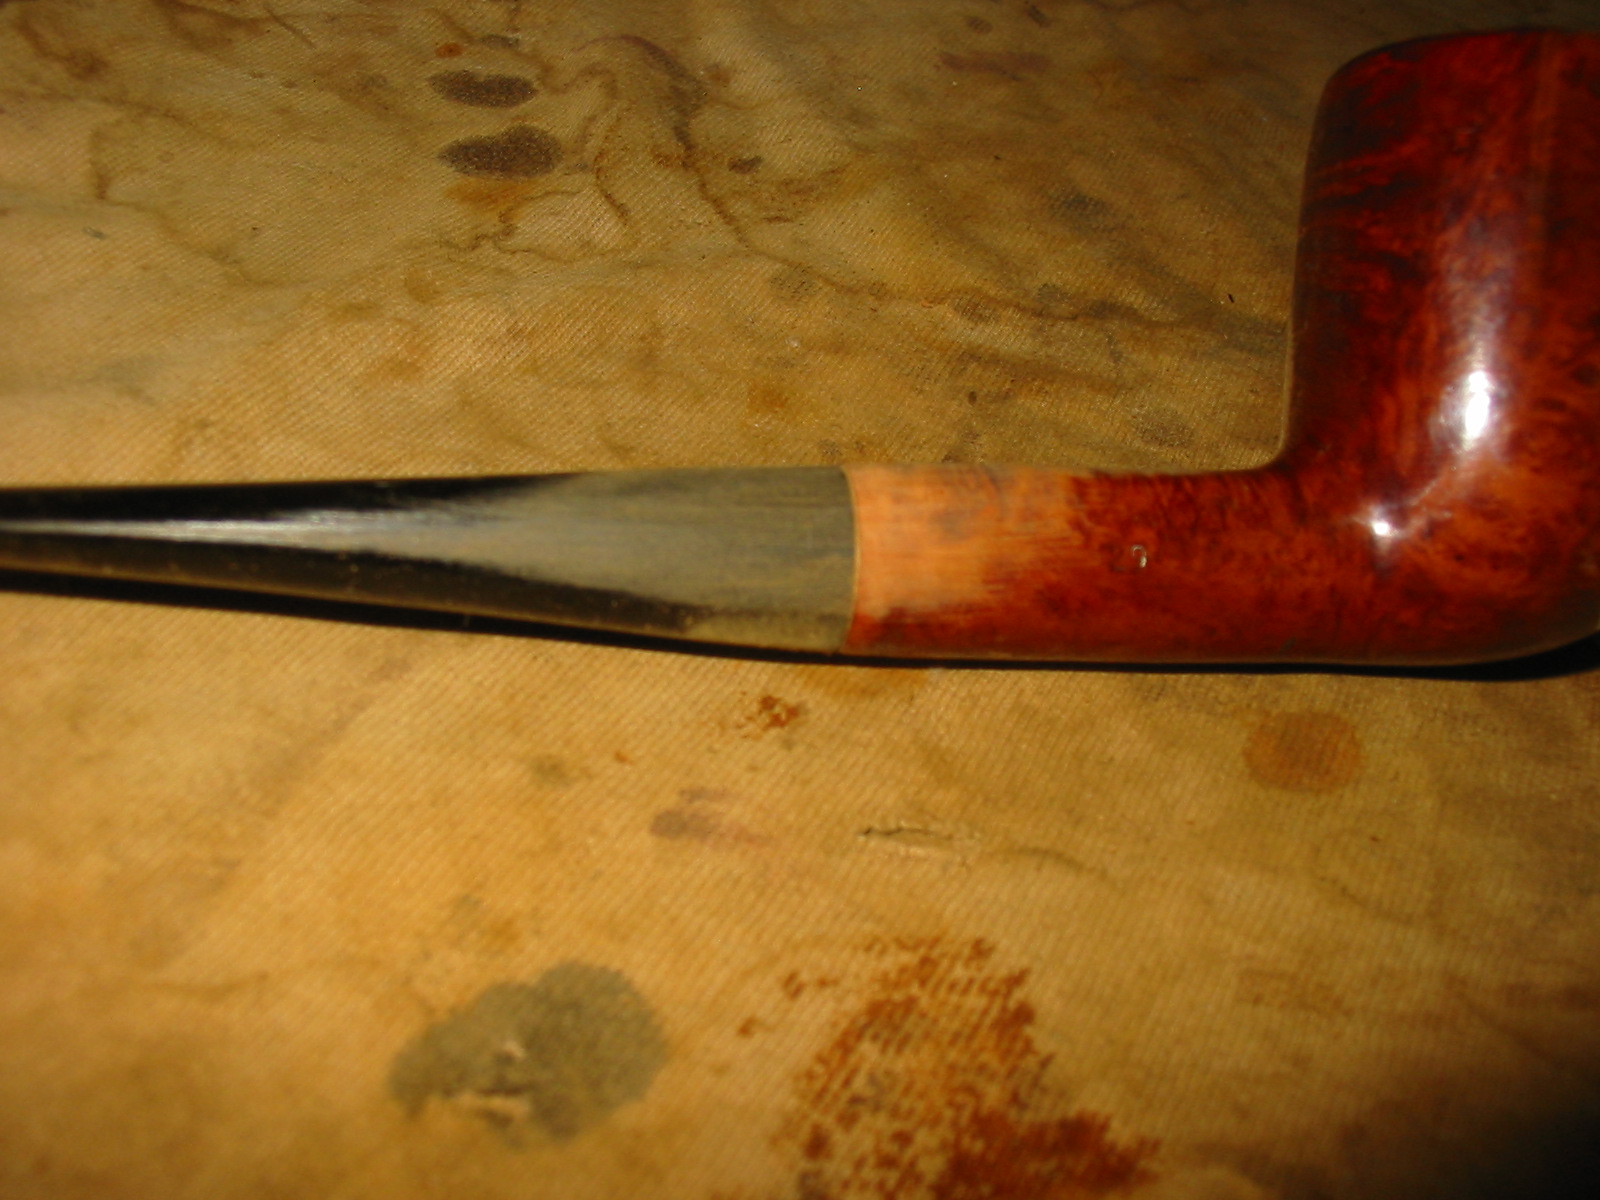
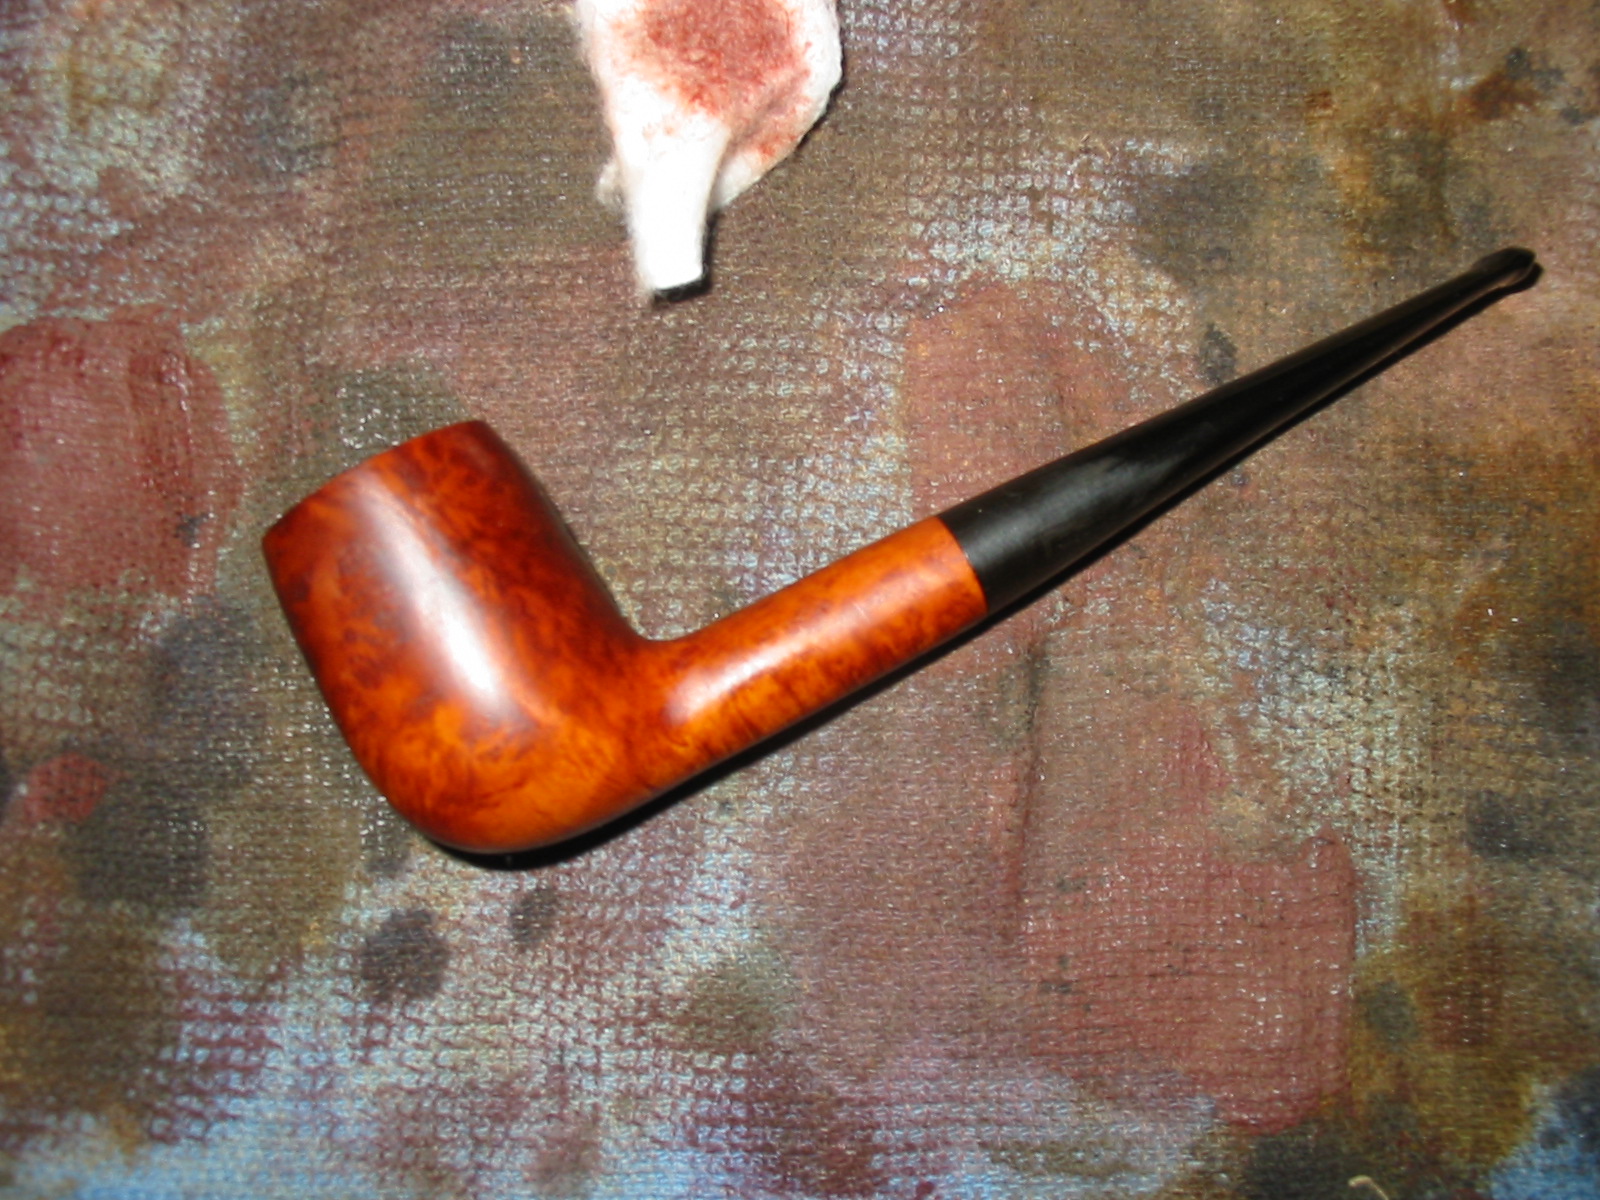
I used a MinWax Red Mahogany stain on the bowl to approximate the reddish colour of the original stain. I rubbed it on and off with a cotton pad until I had the colour I was looking for. When the stain was dry I hand buffed it with a soft cloth to bring out a shine. I set the bowl aside while I worked on the stem.
IMG_4396

IMG_4397

IMG_4398

IMG_4400

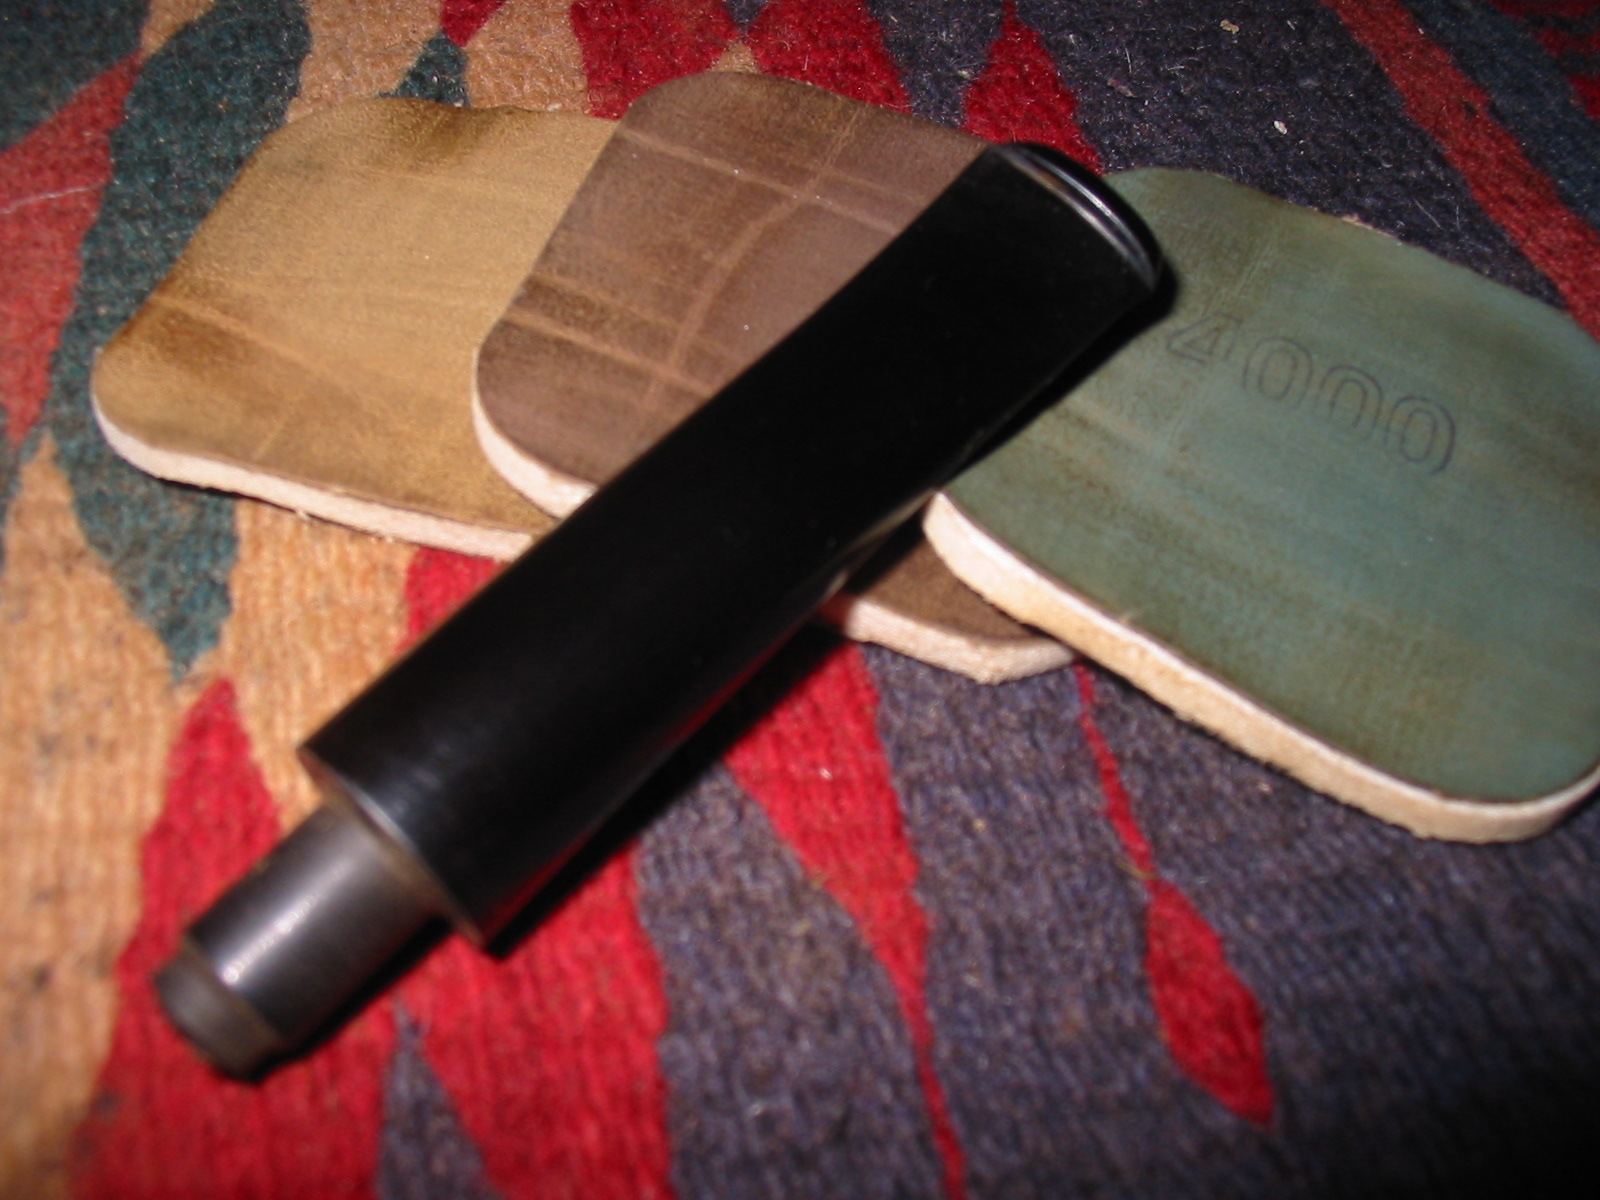
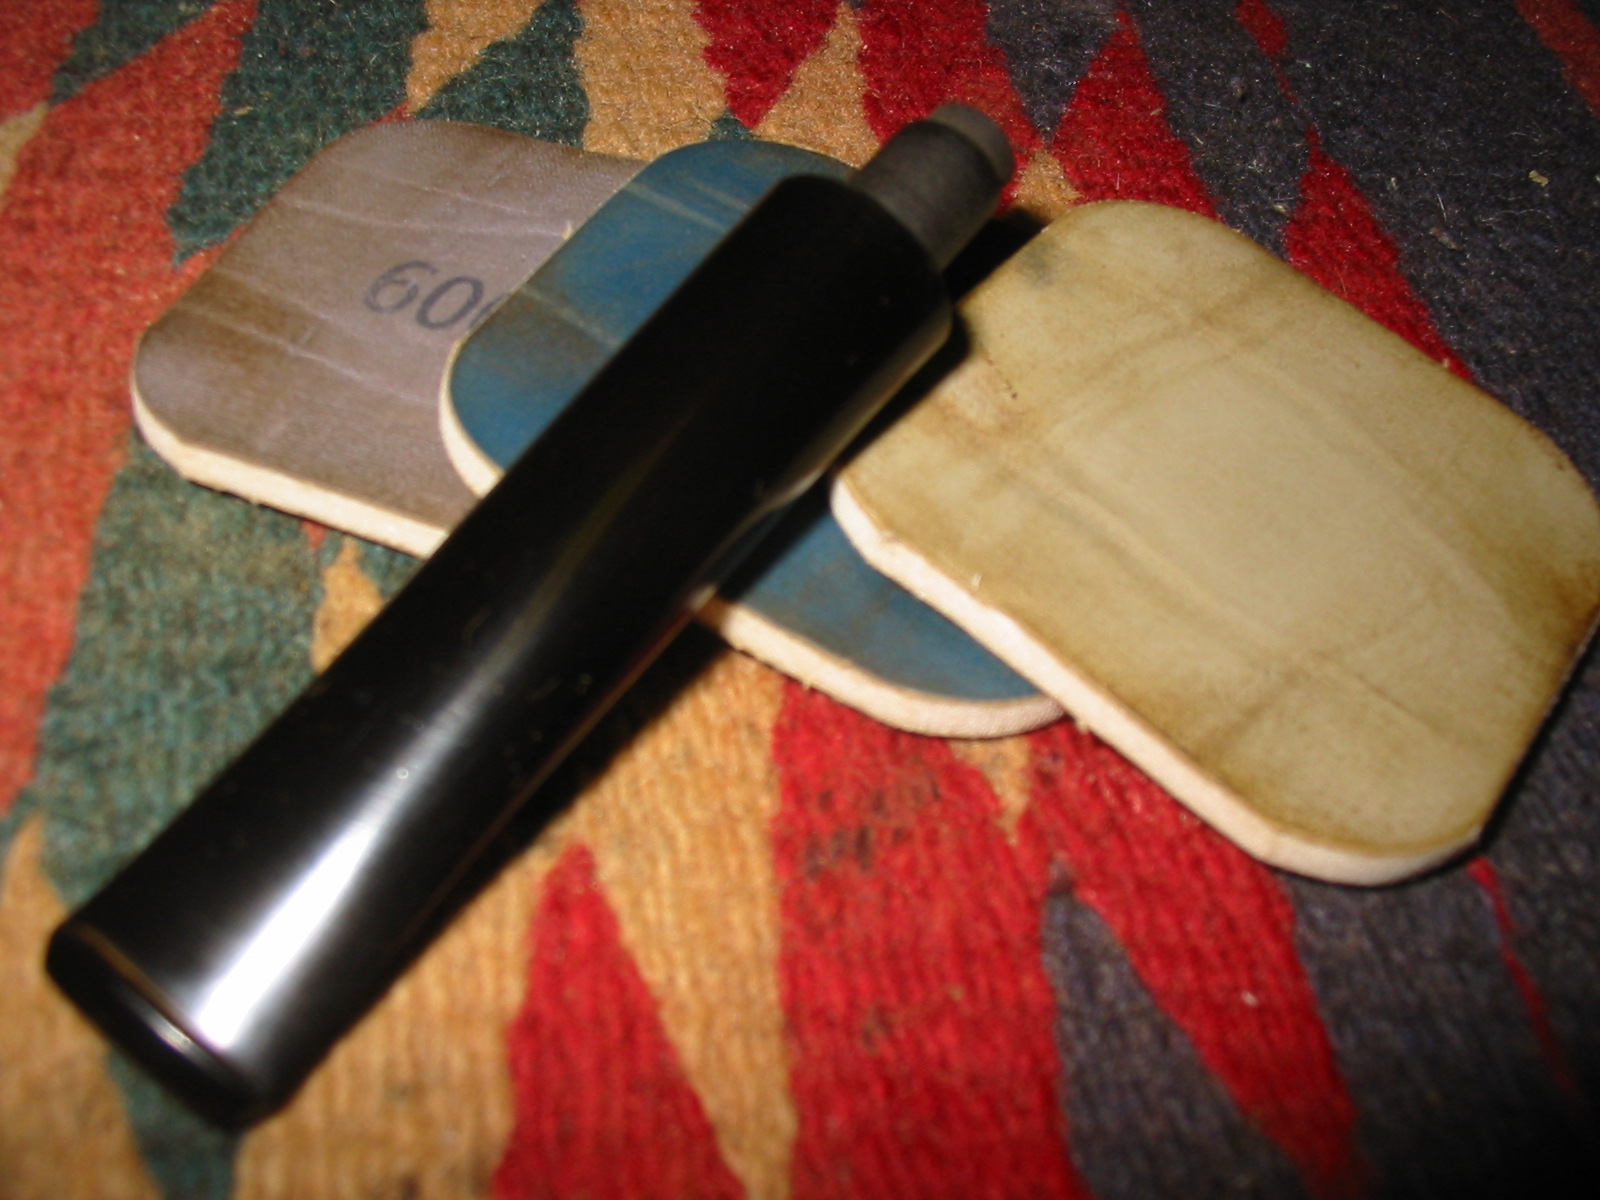
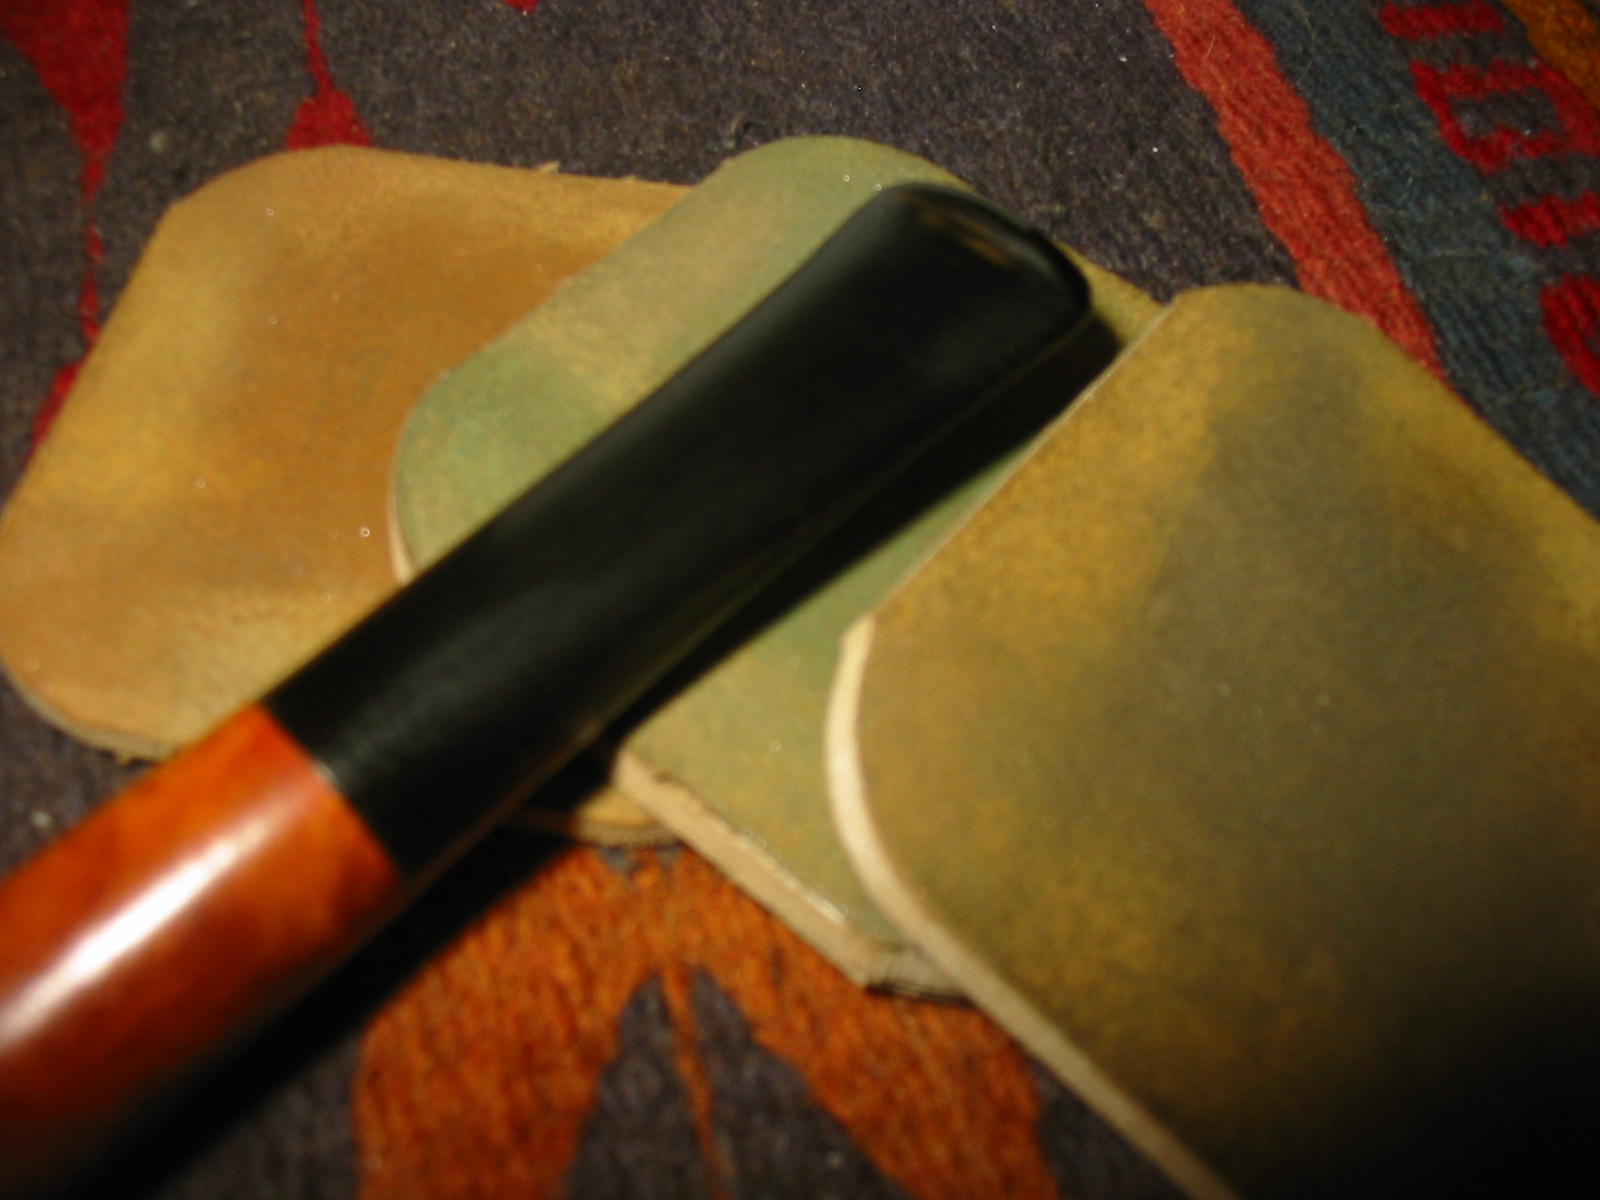
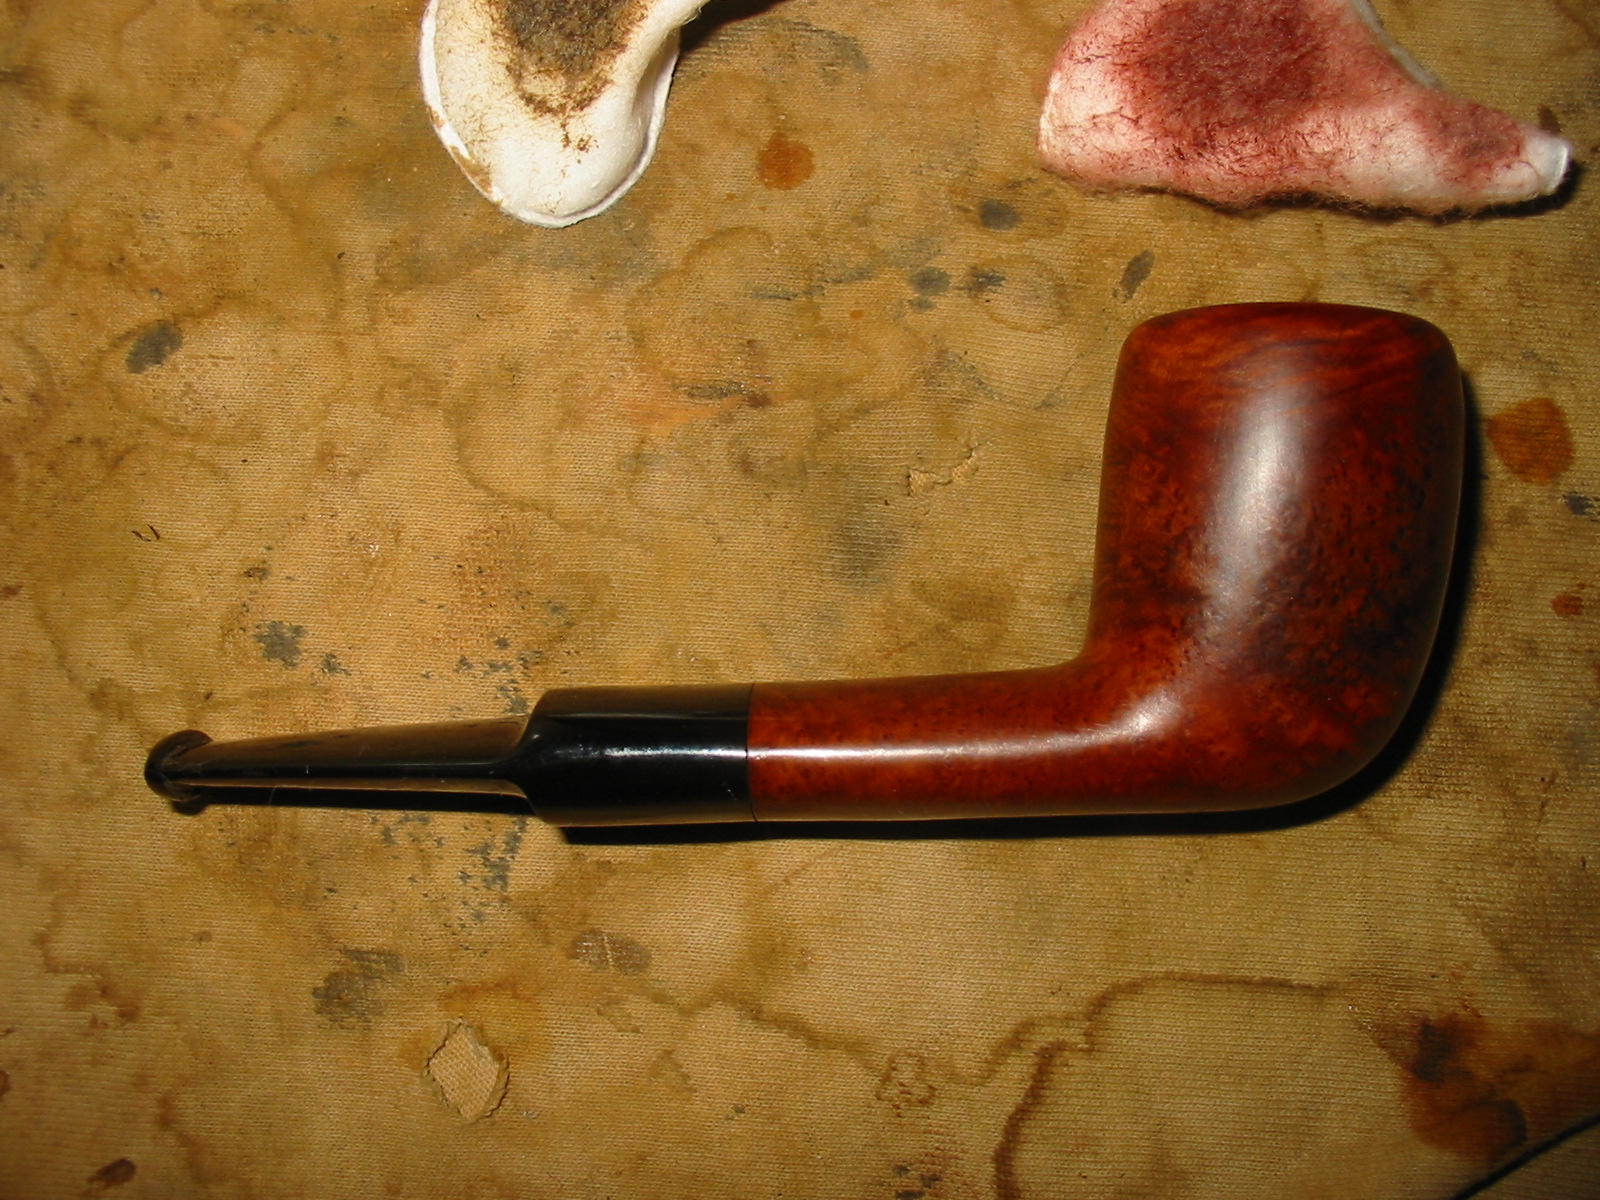
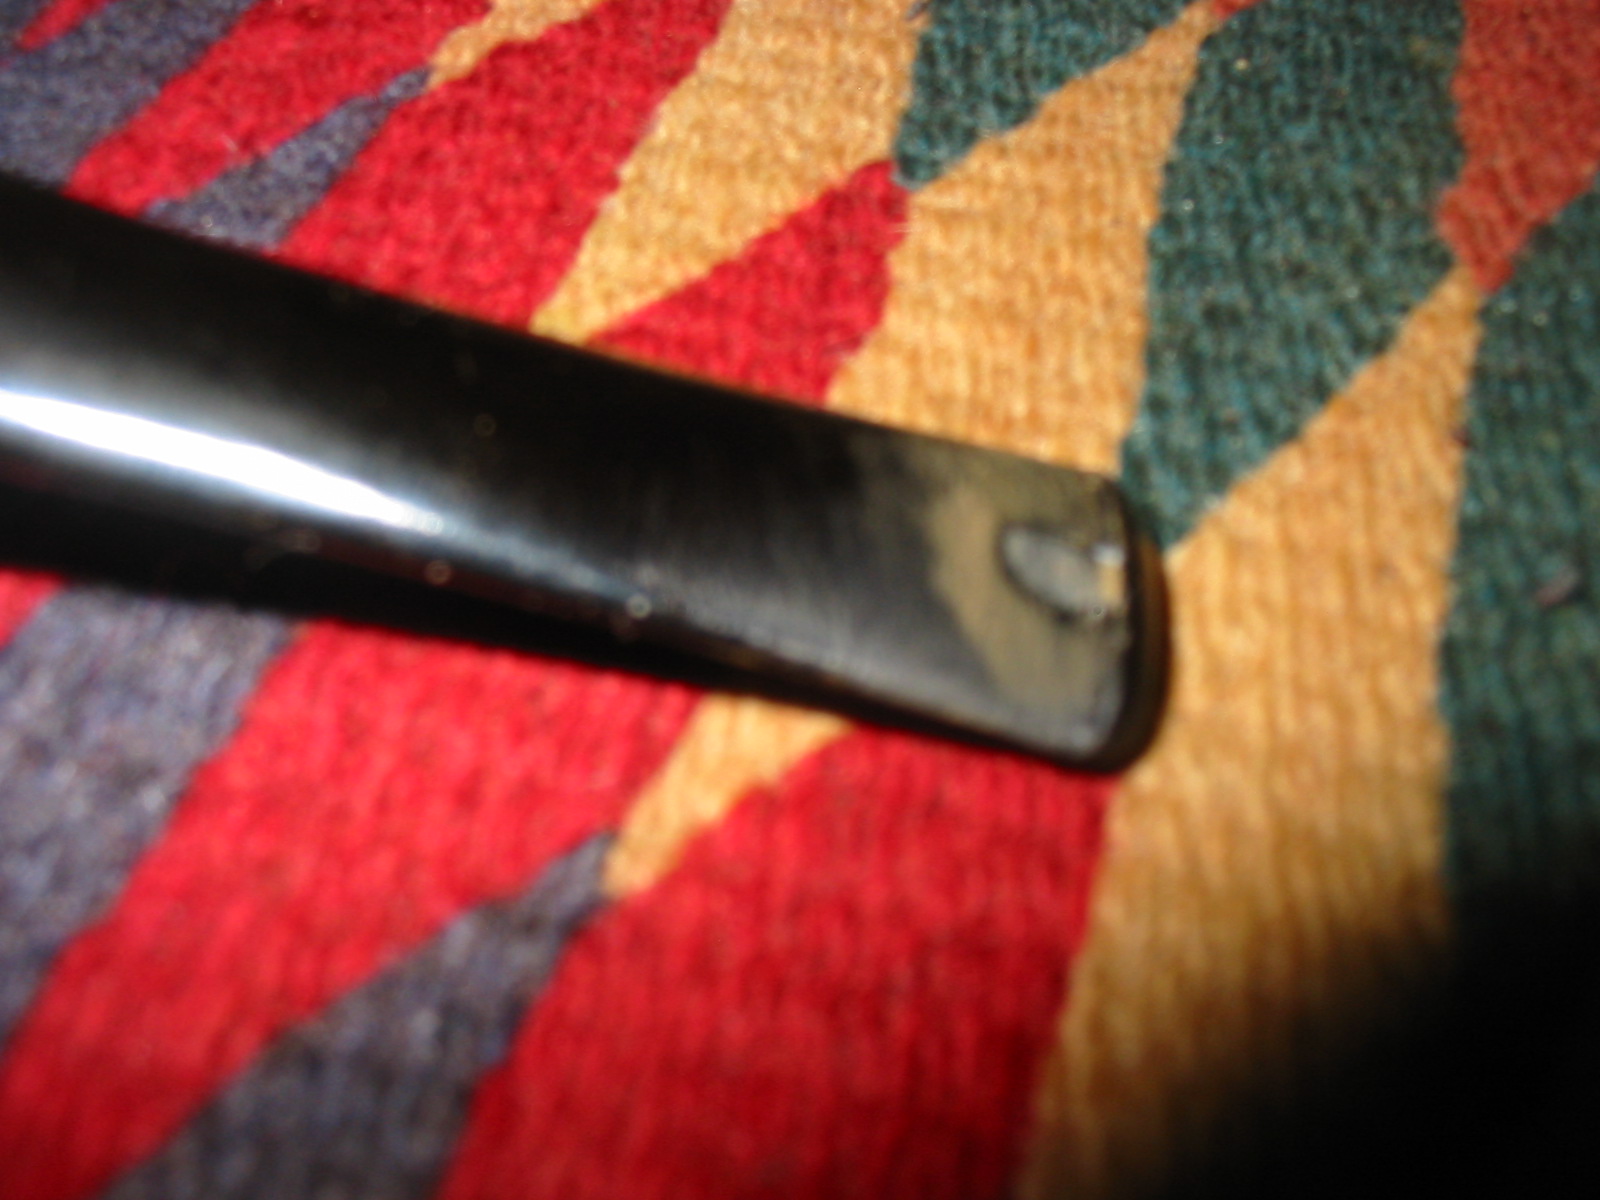
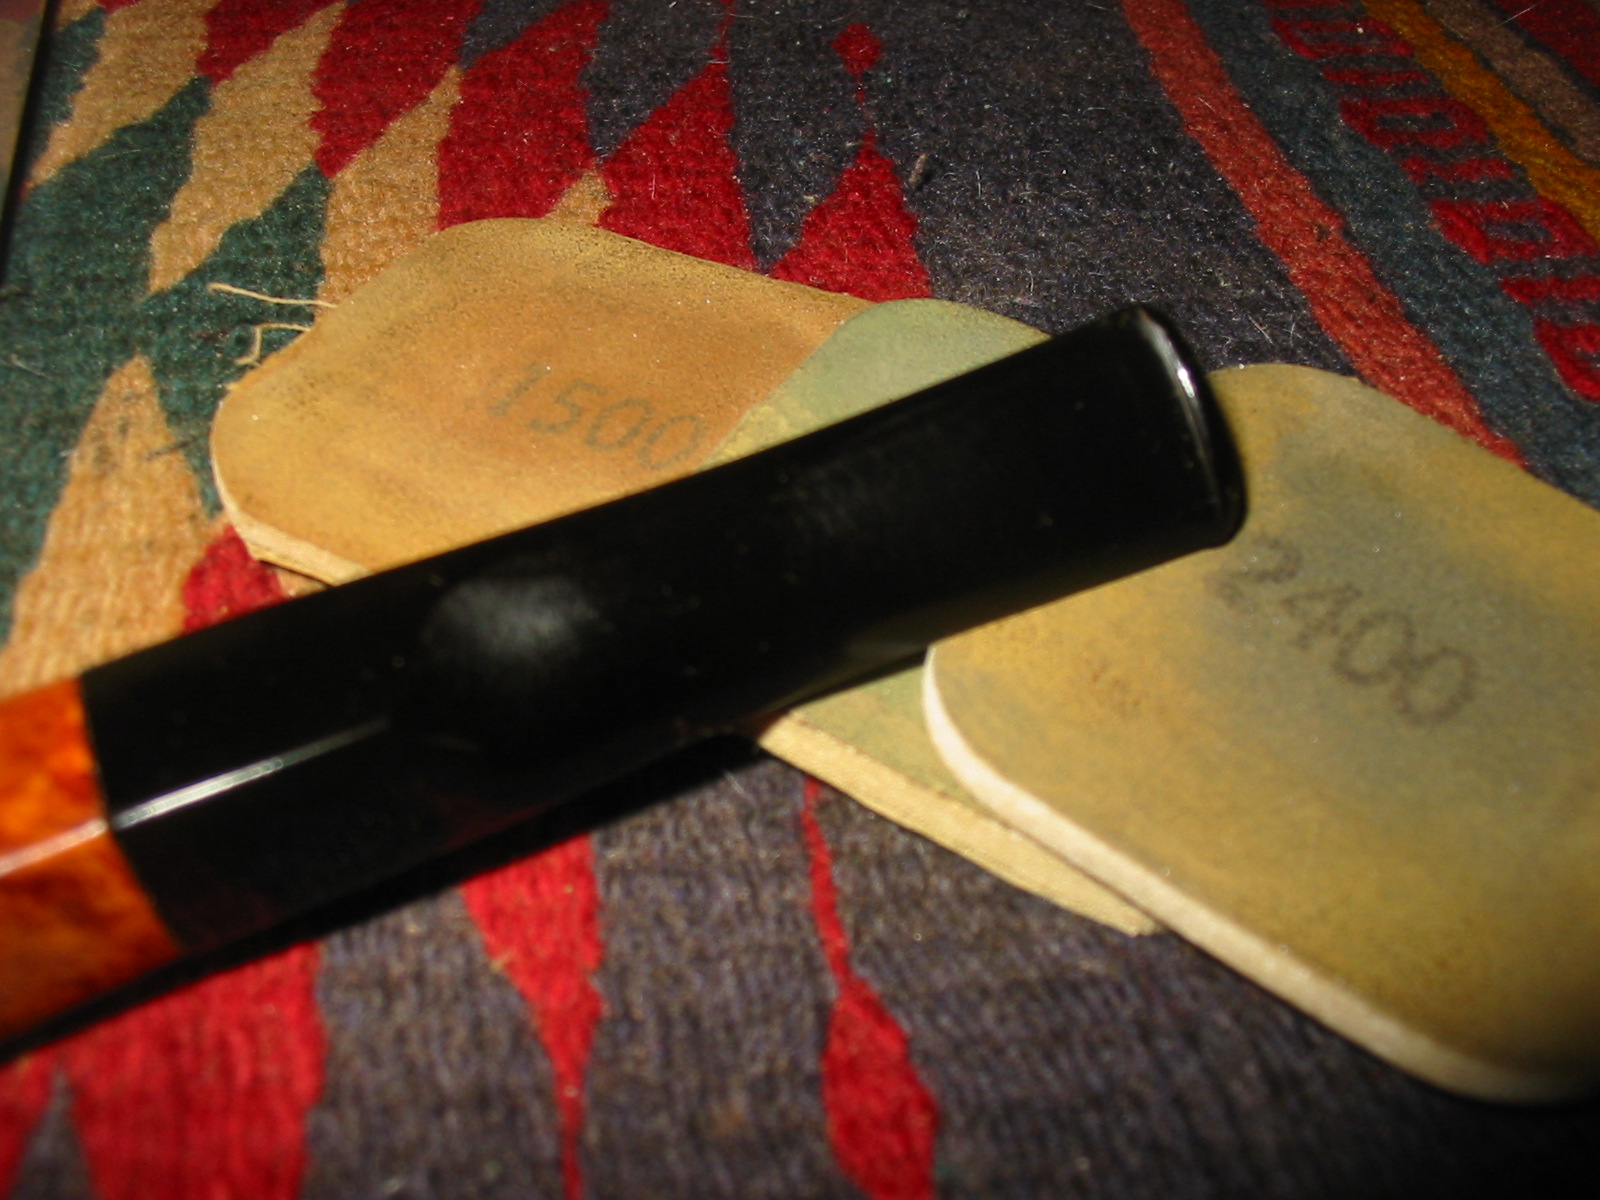
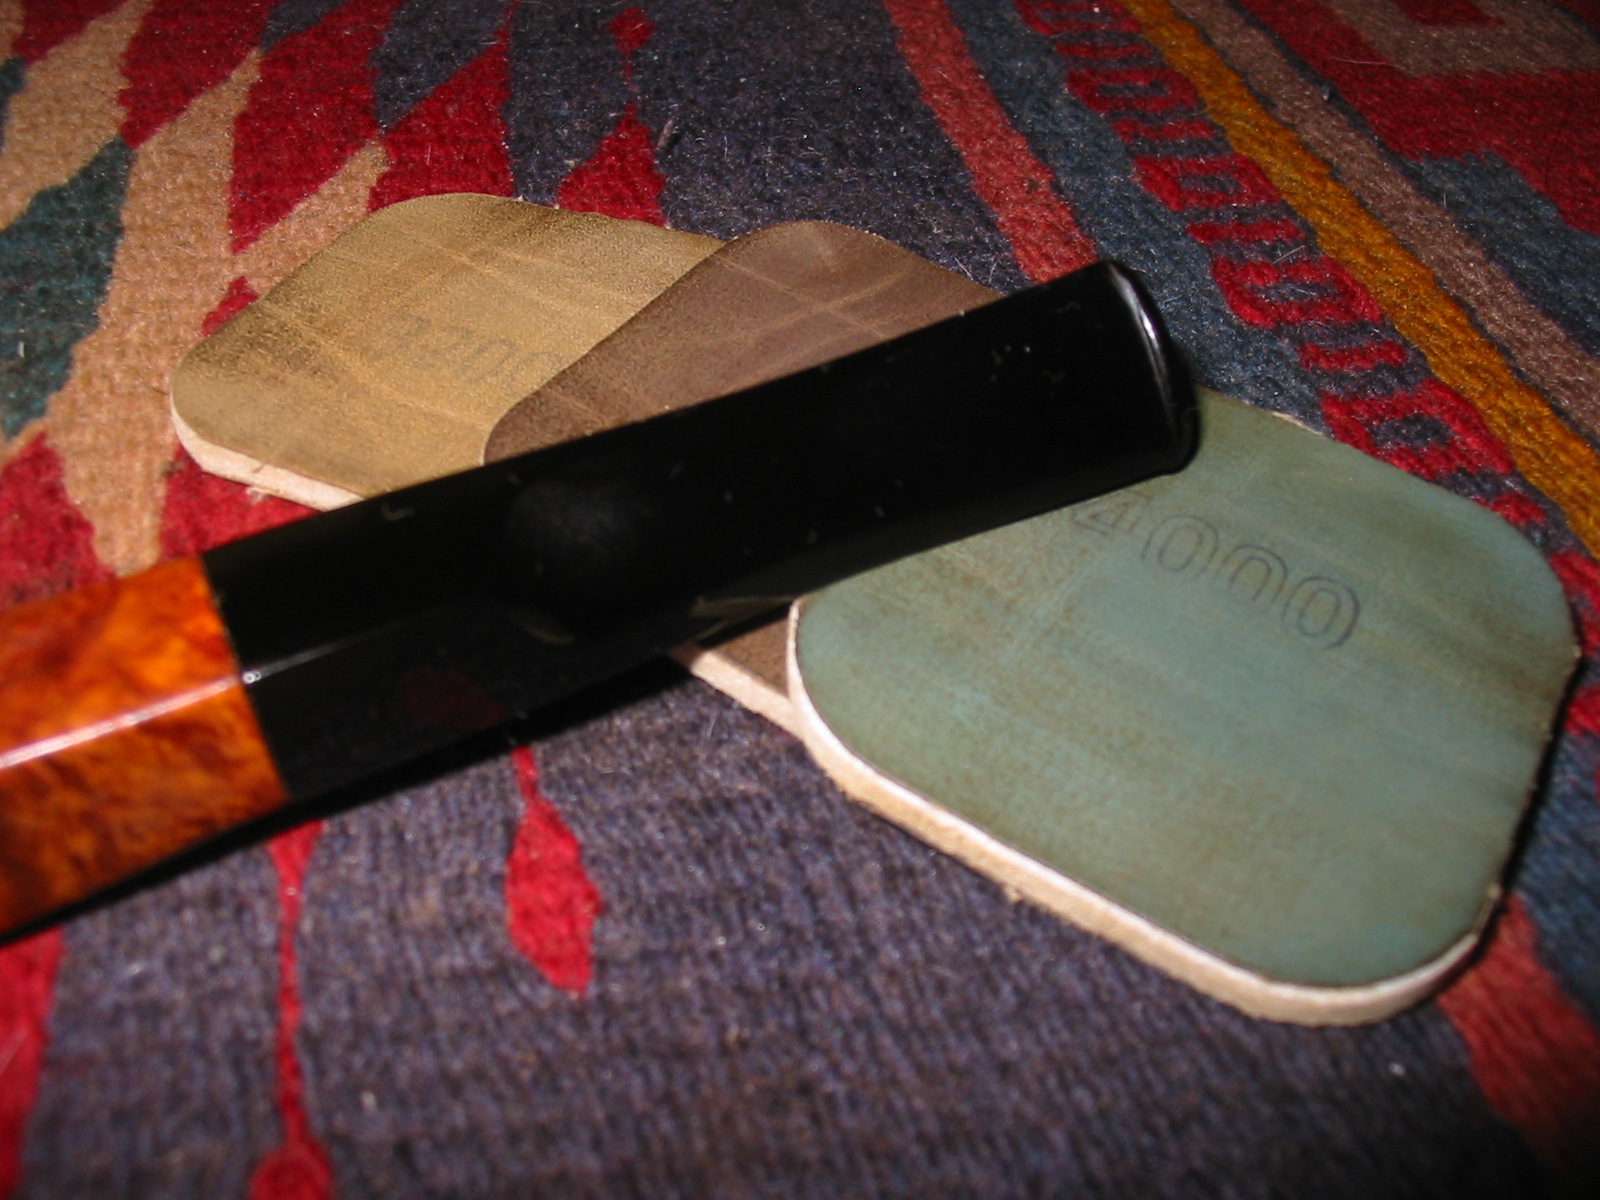
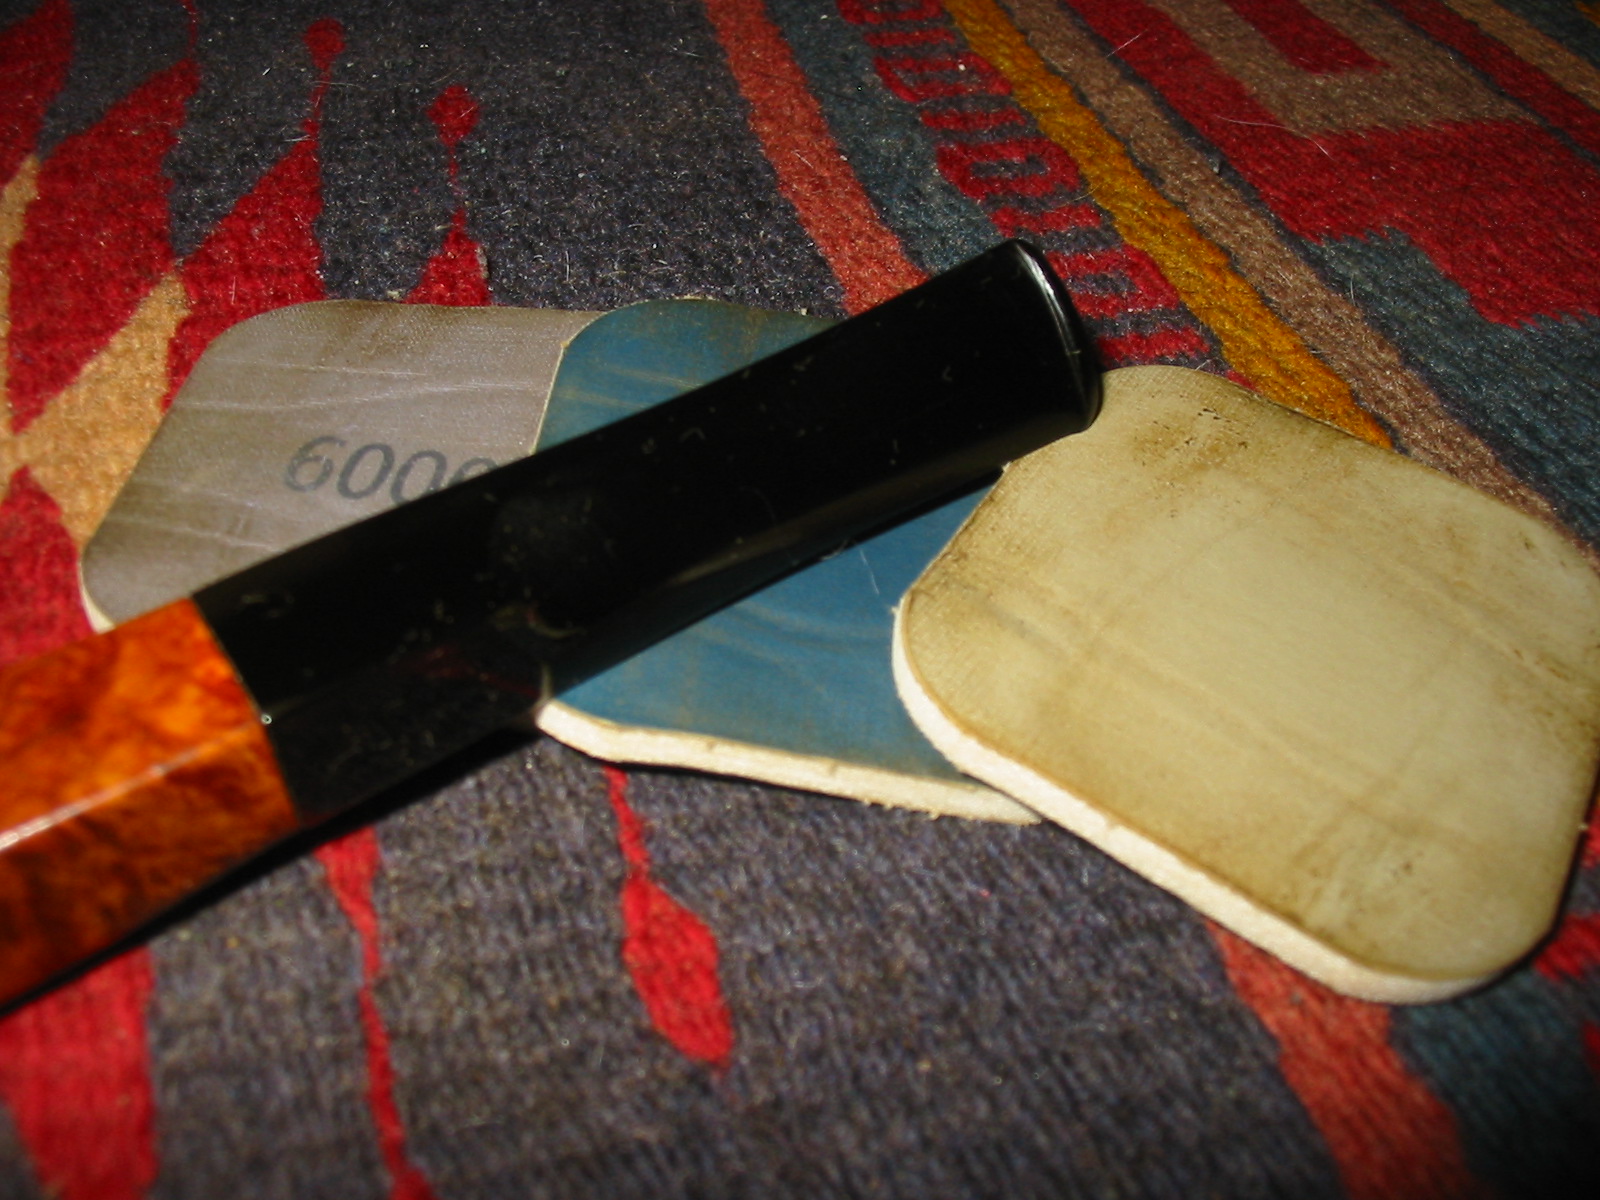
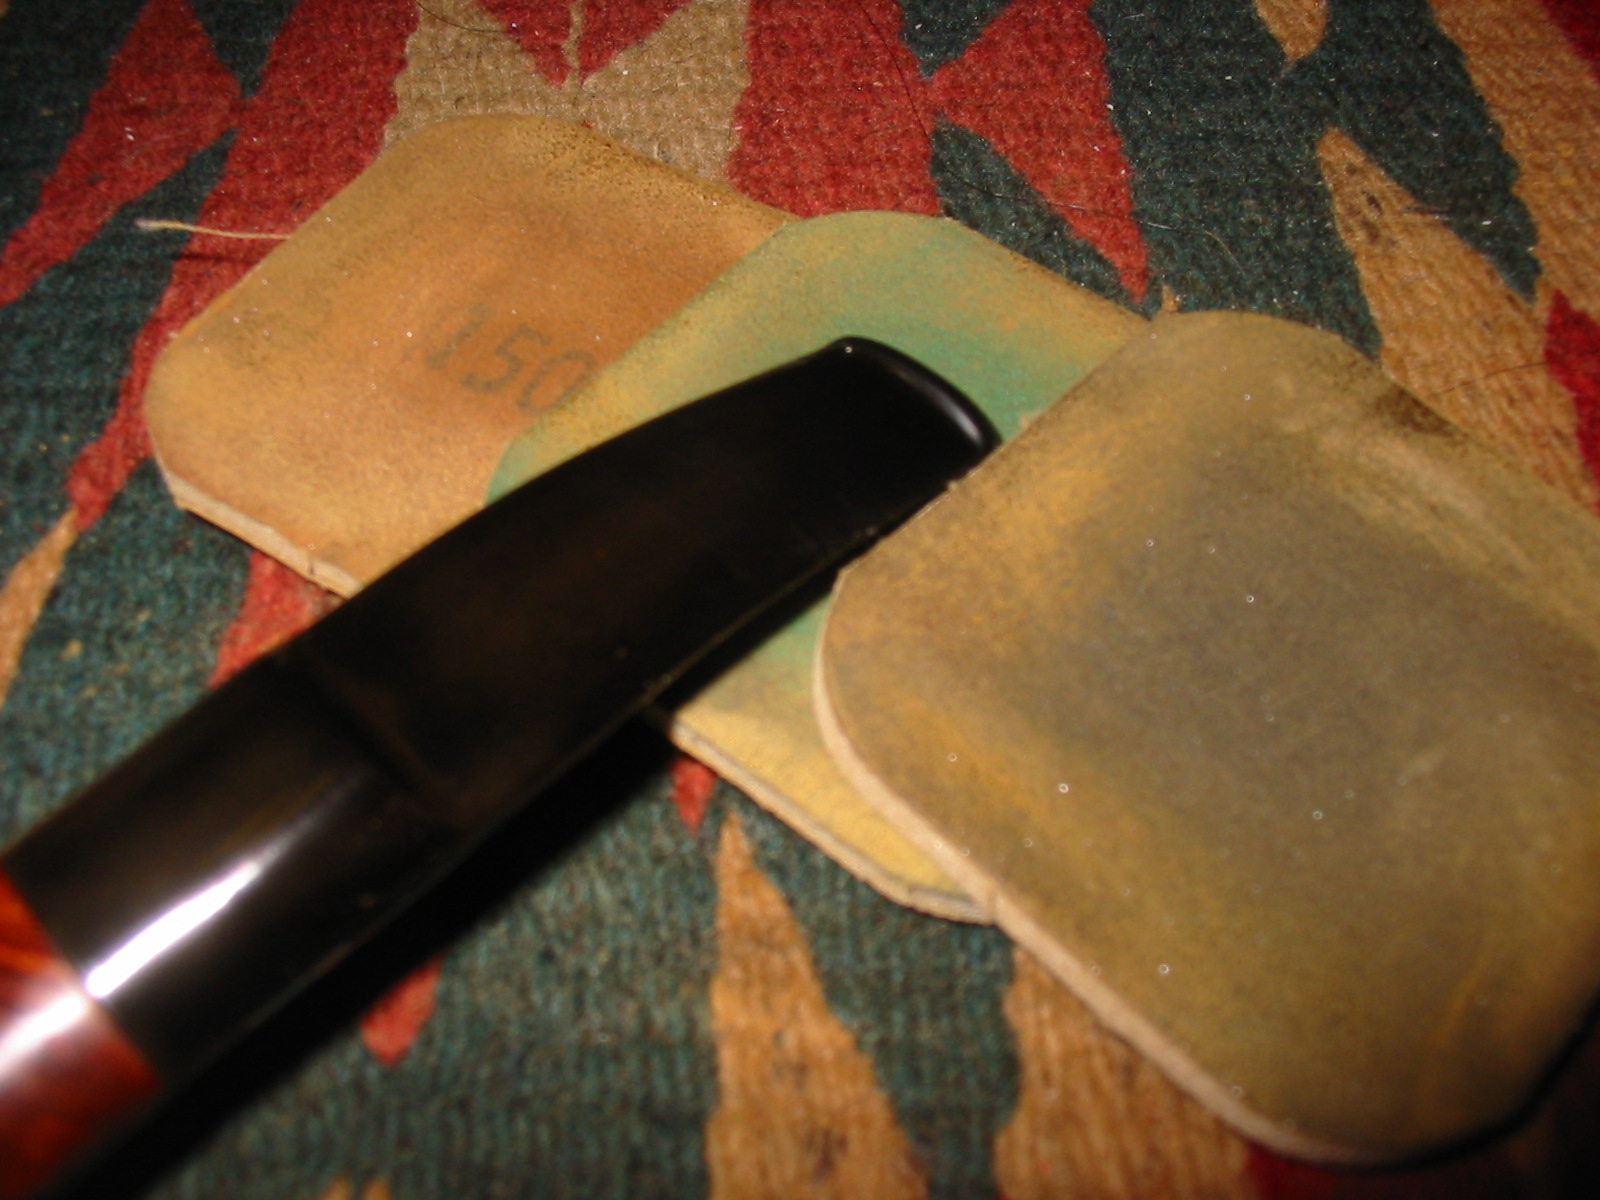
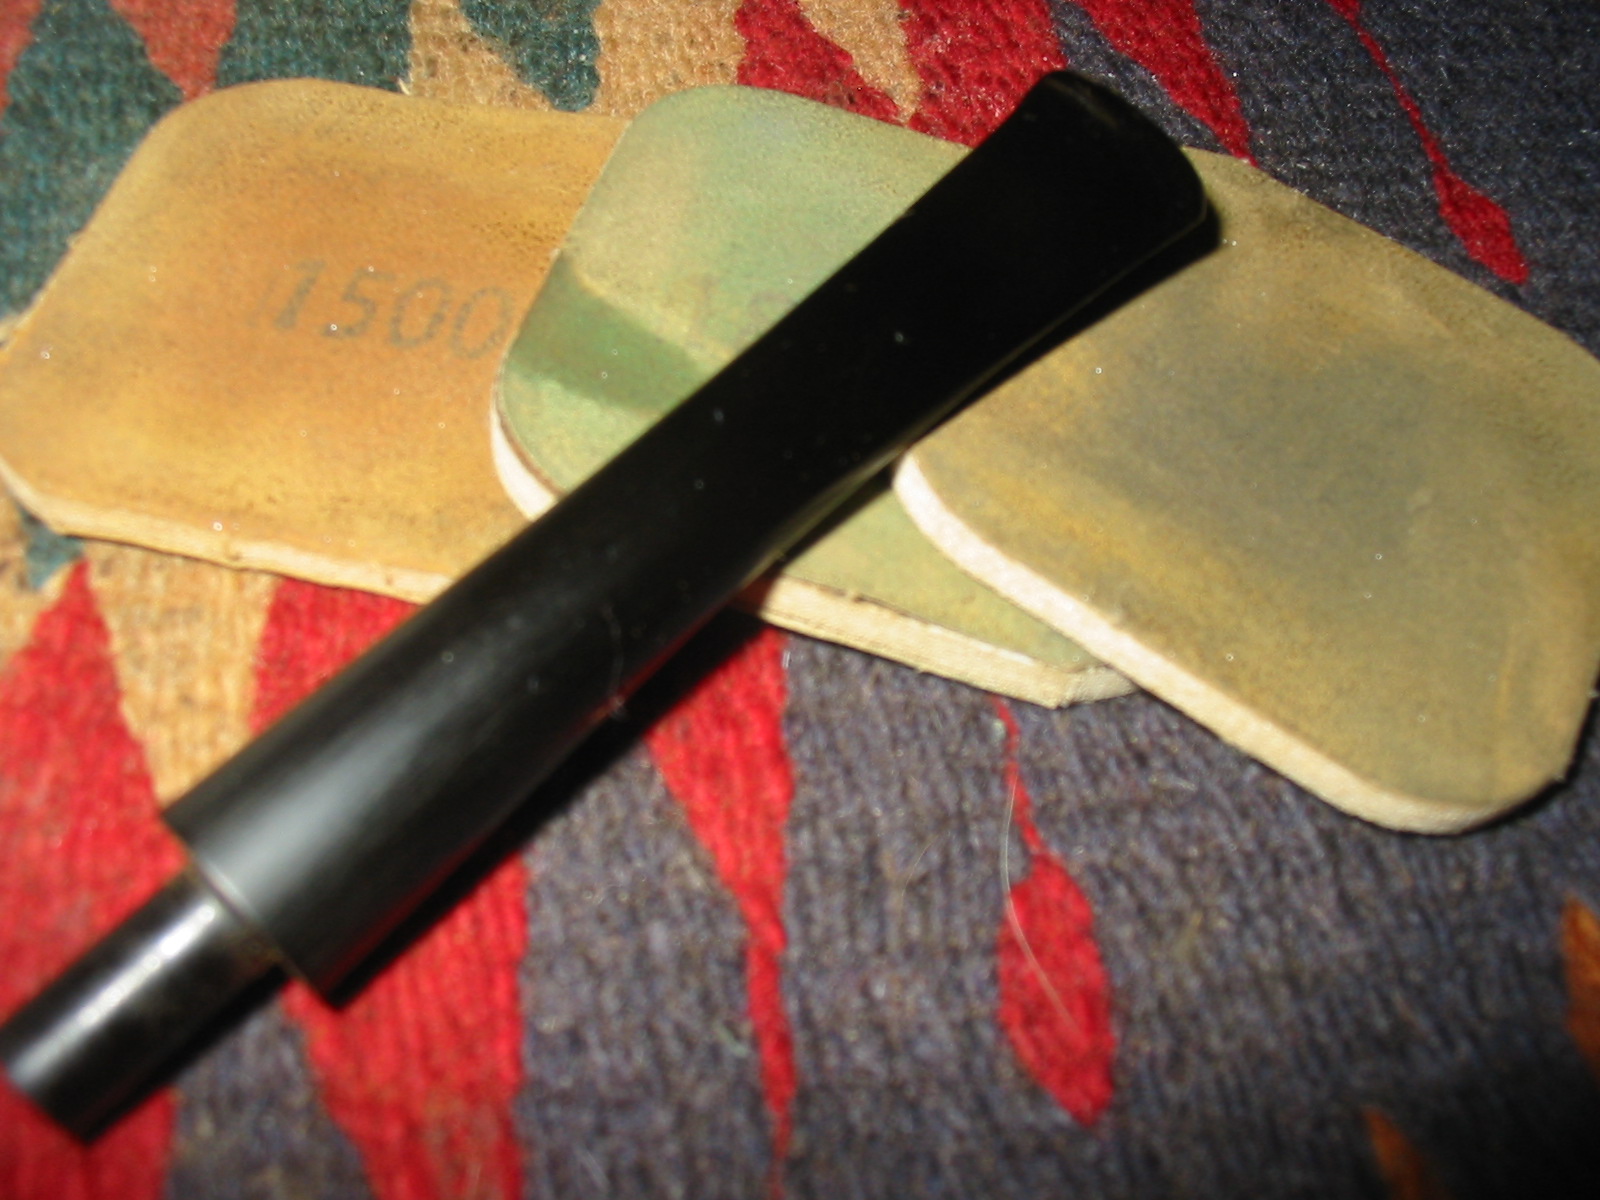
I sanded the marks out of the stem on the underside near the shank and in several spots on the taper mid stem with 220 grit sandpaper and then with a fine grit sanding sponge. I then used my usual array of micromesh sanding pads – wet sanding with 1500-2400 grit pads and dry sanding with 3200-12,000 grit pads.
IMG_4404

IMG_4406

IMG_4408

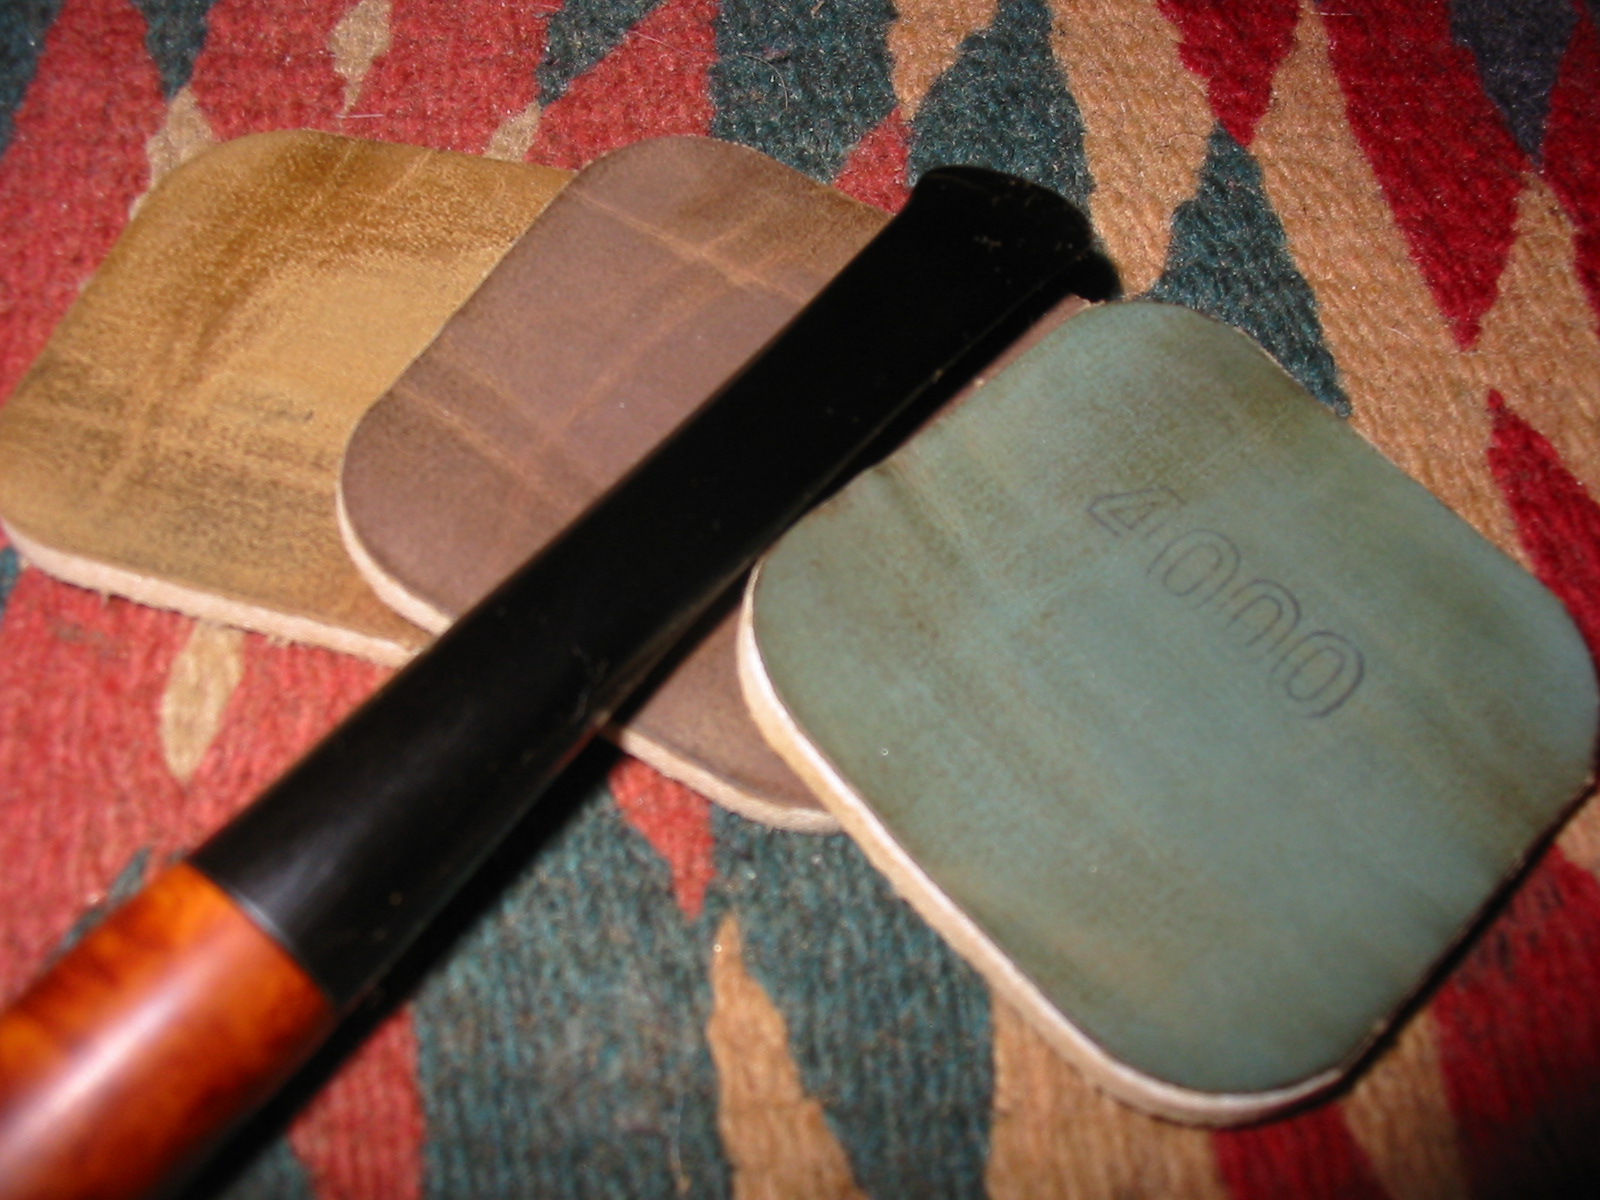
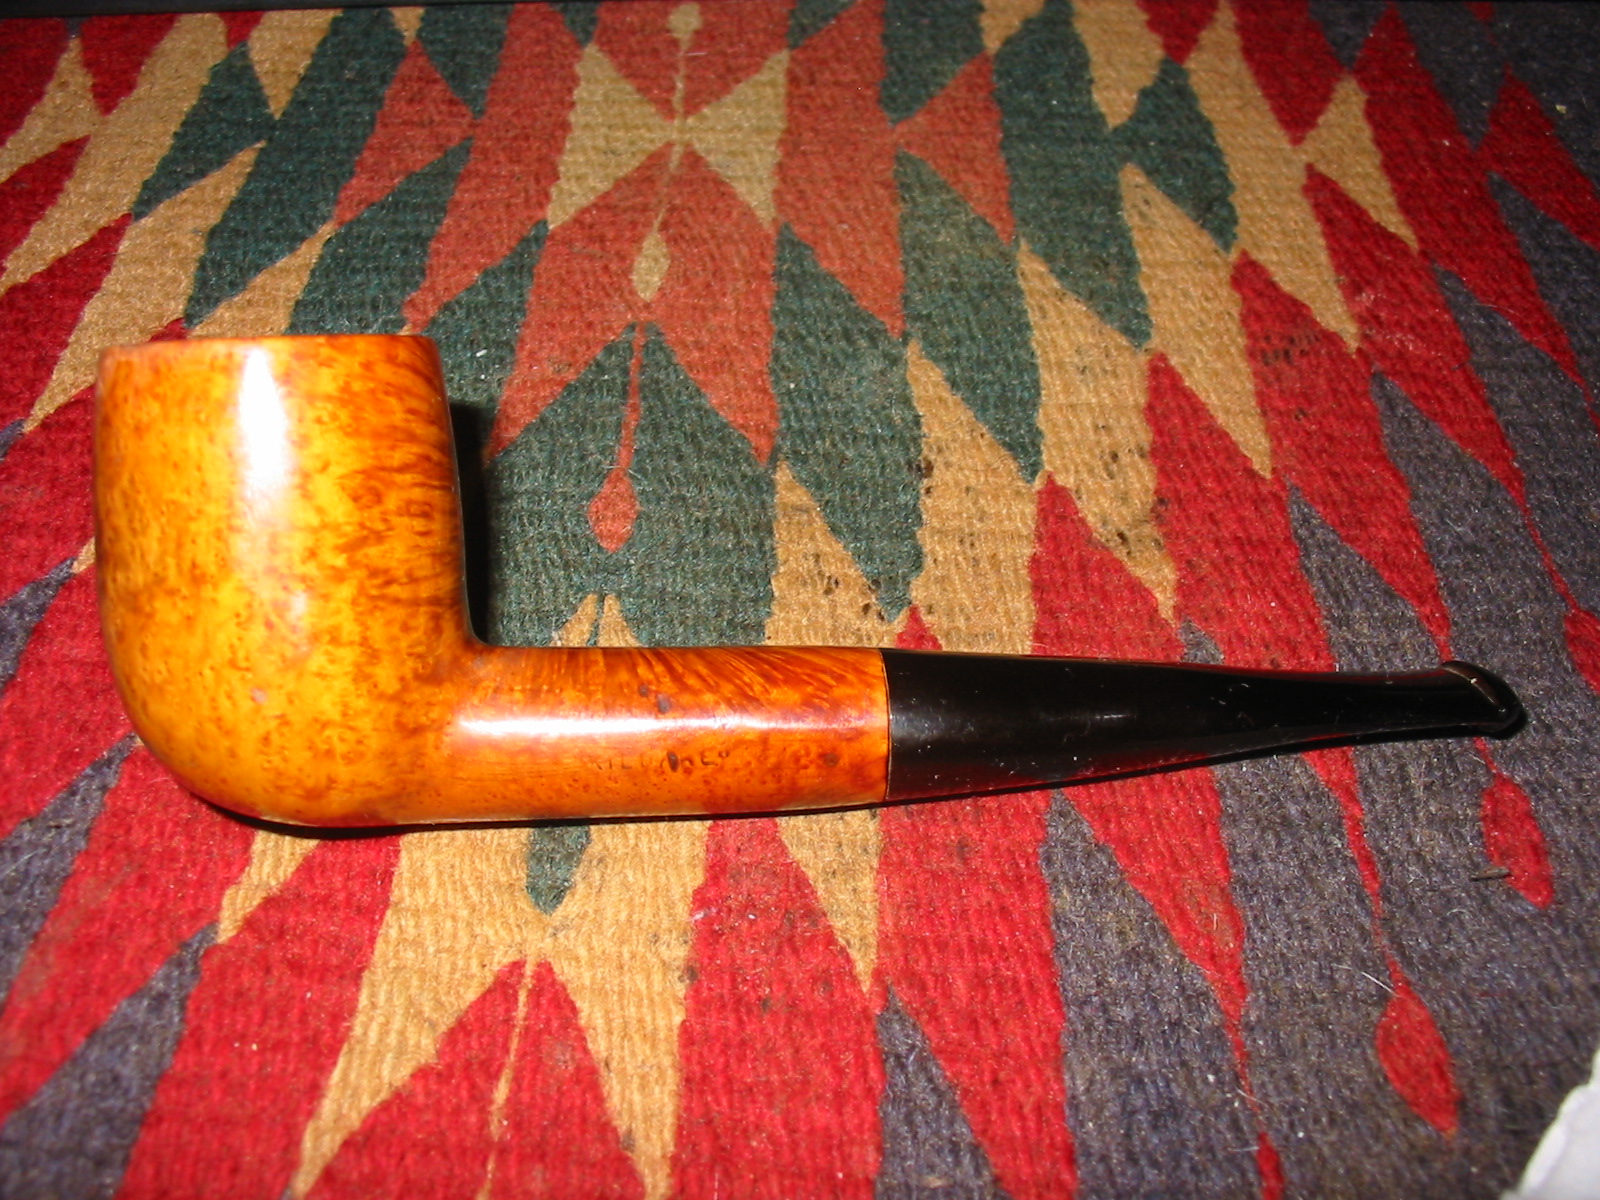
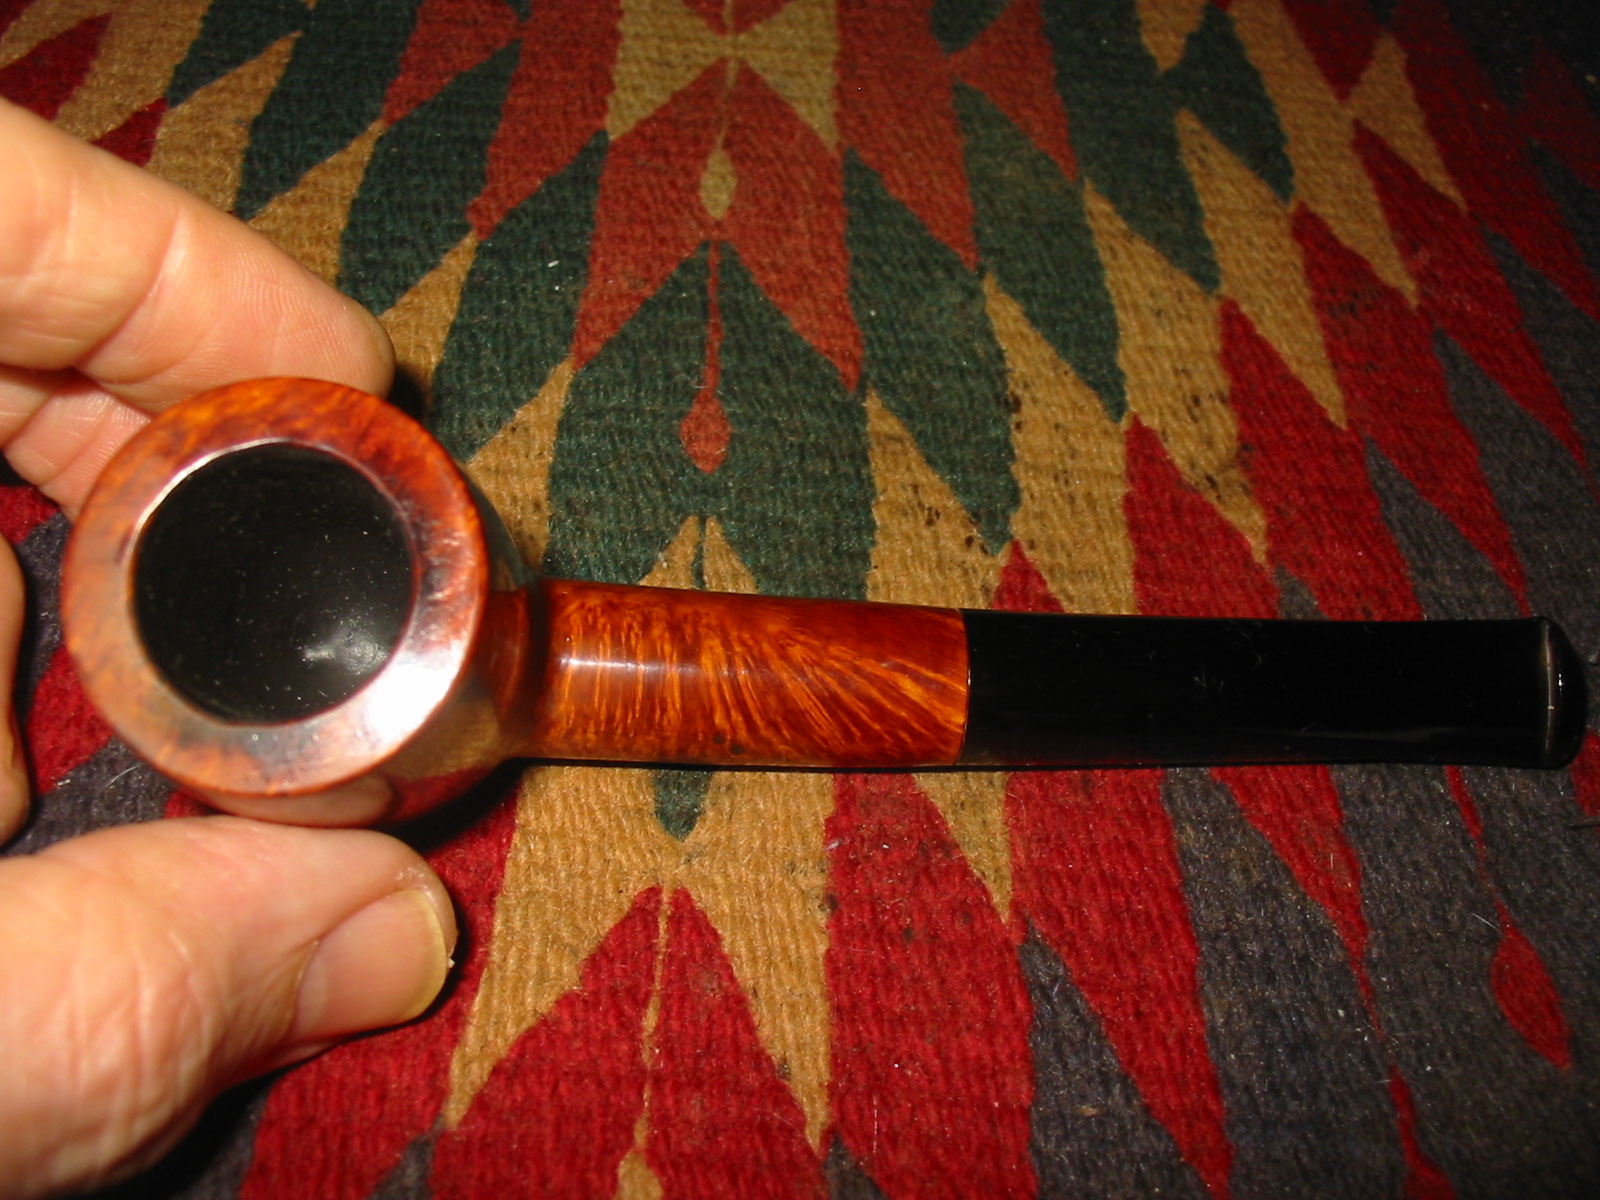
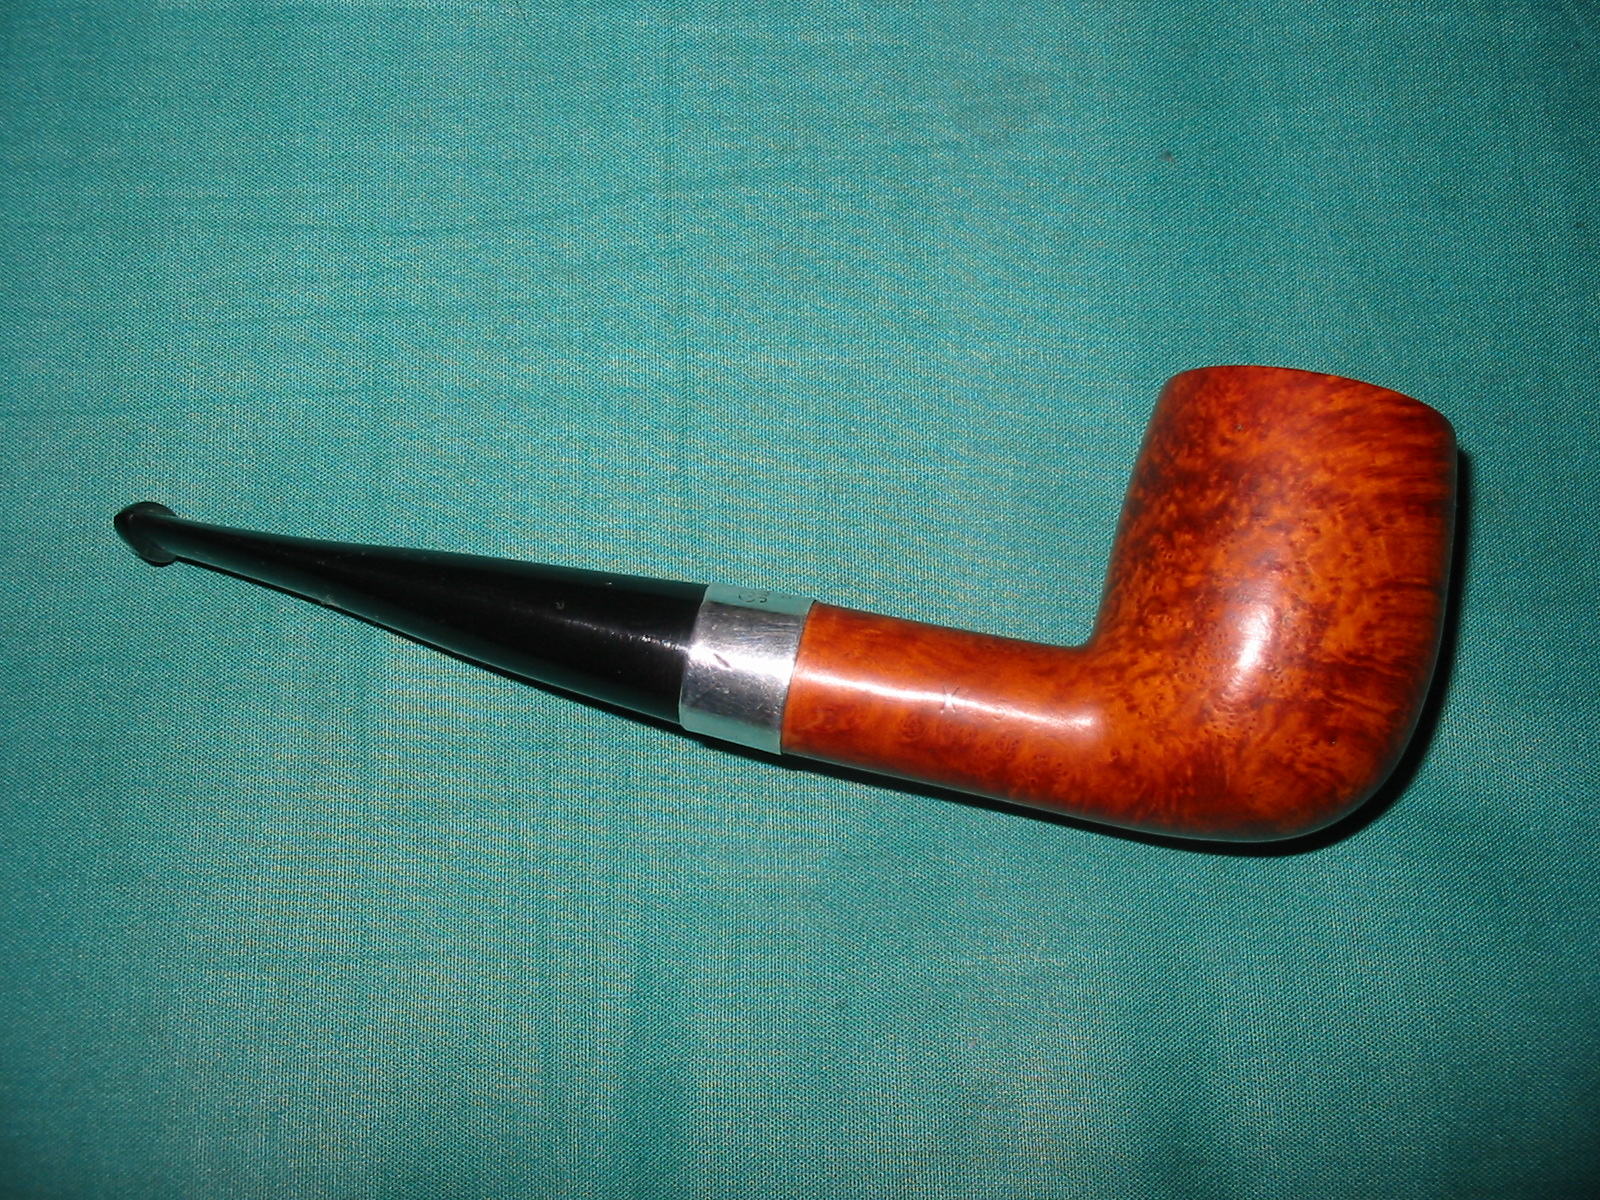
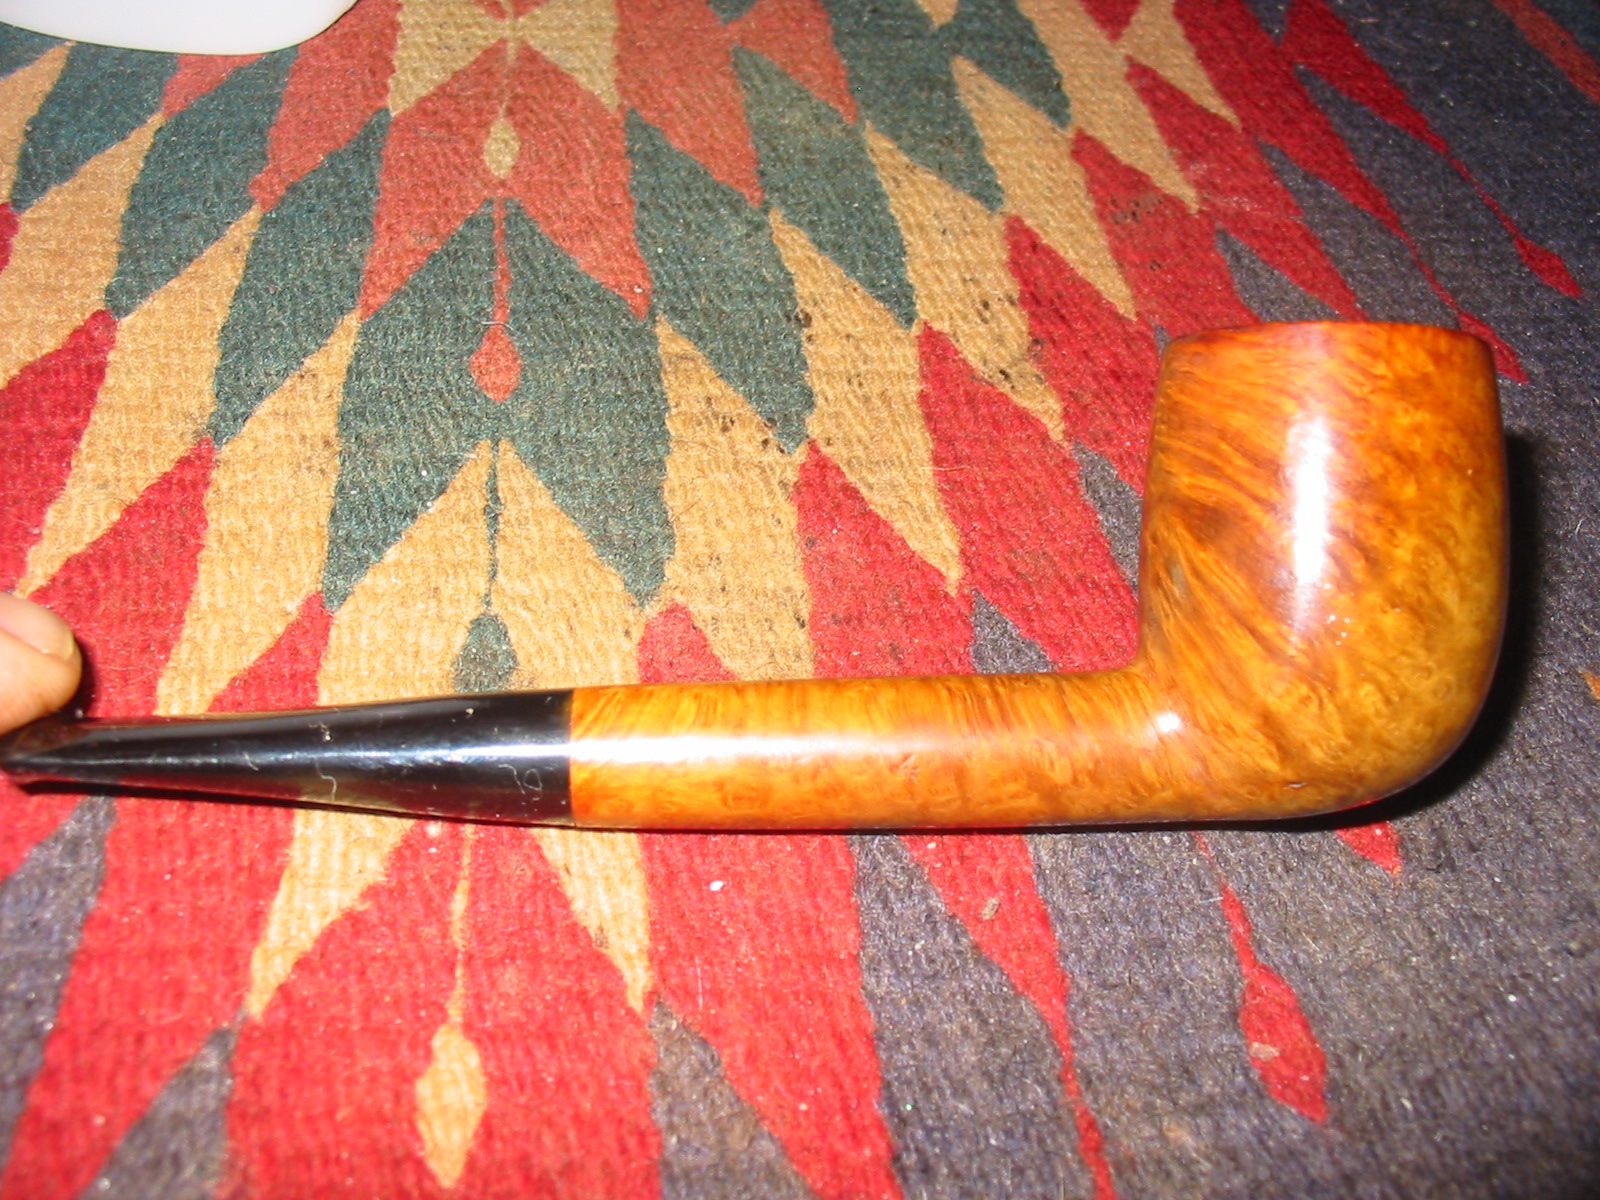
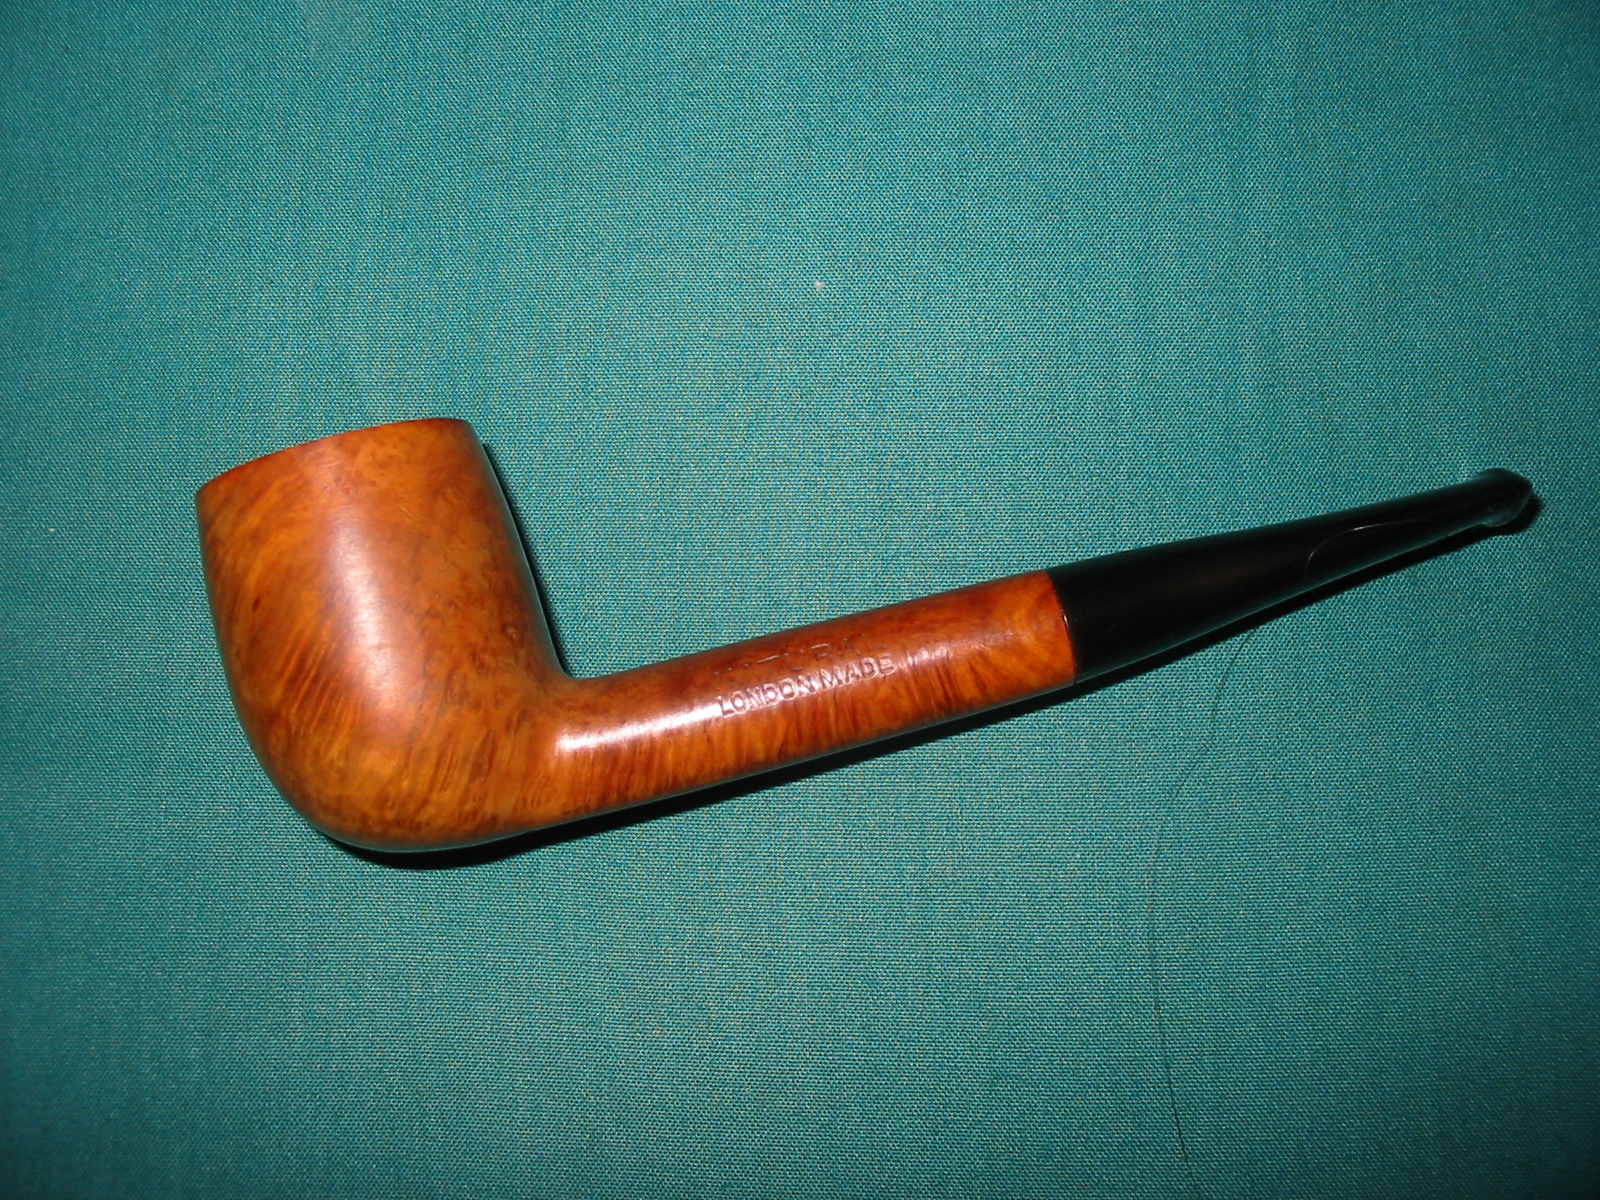
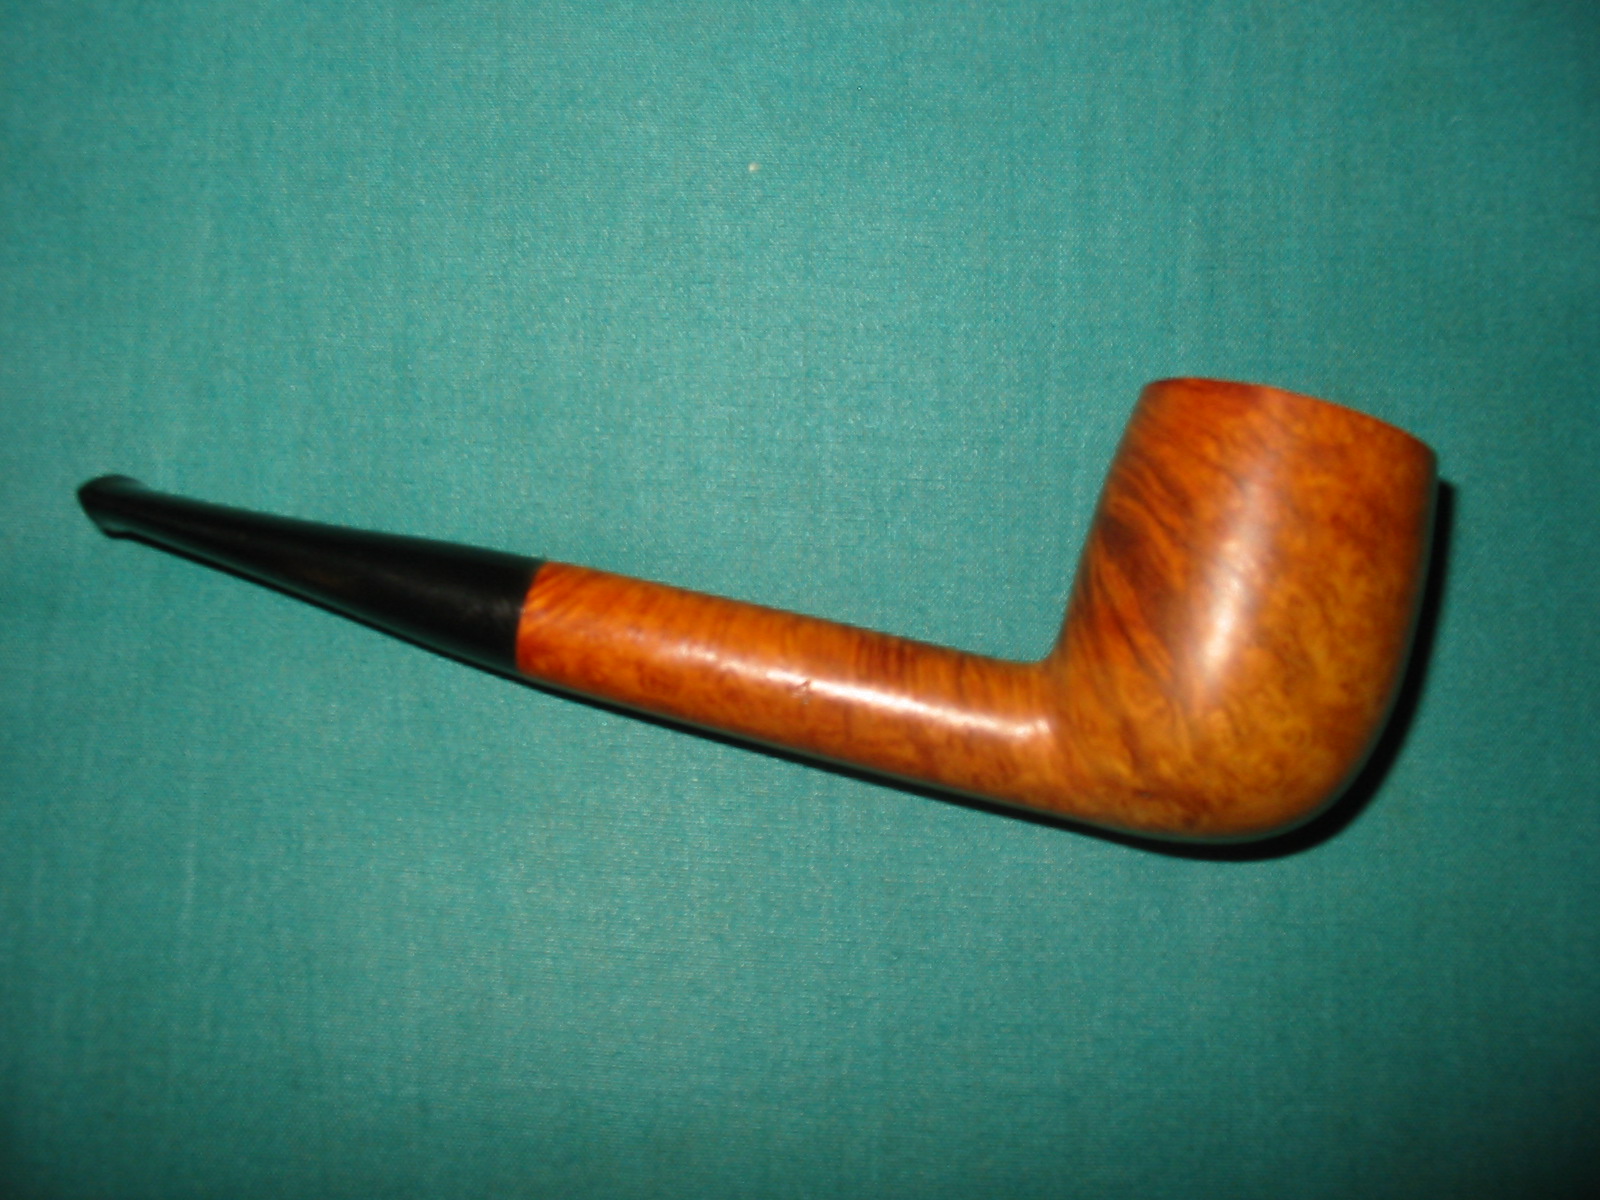
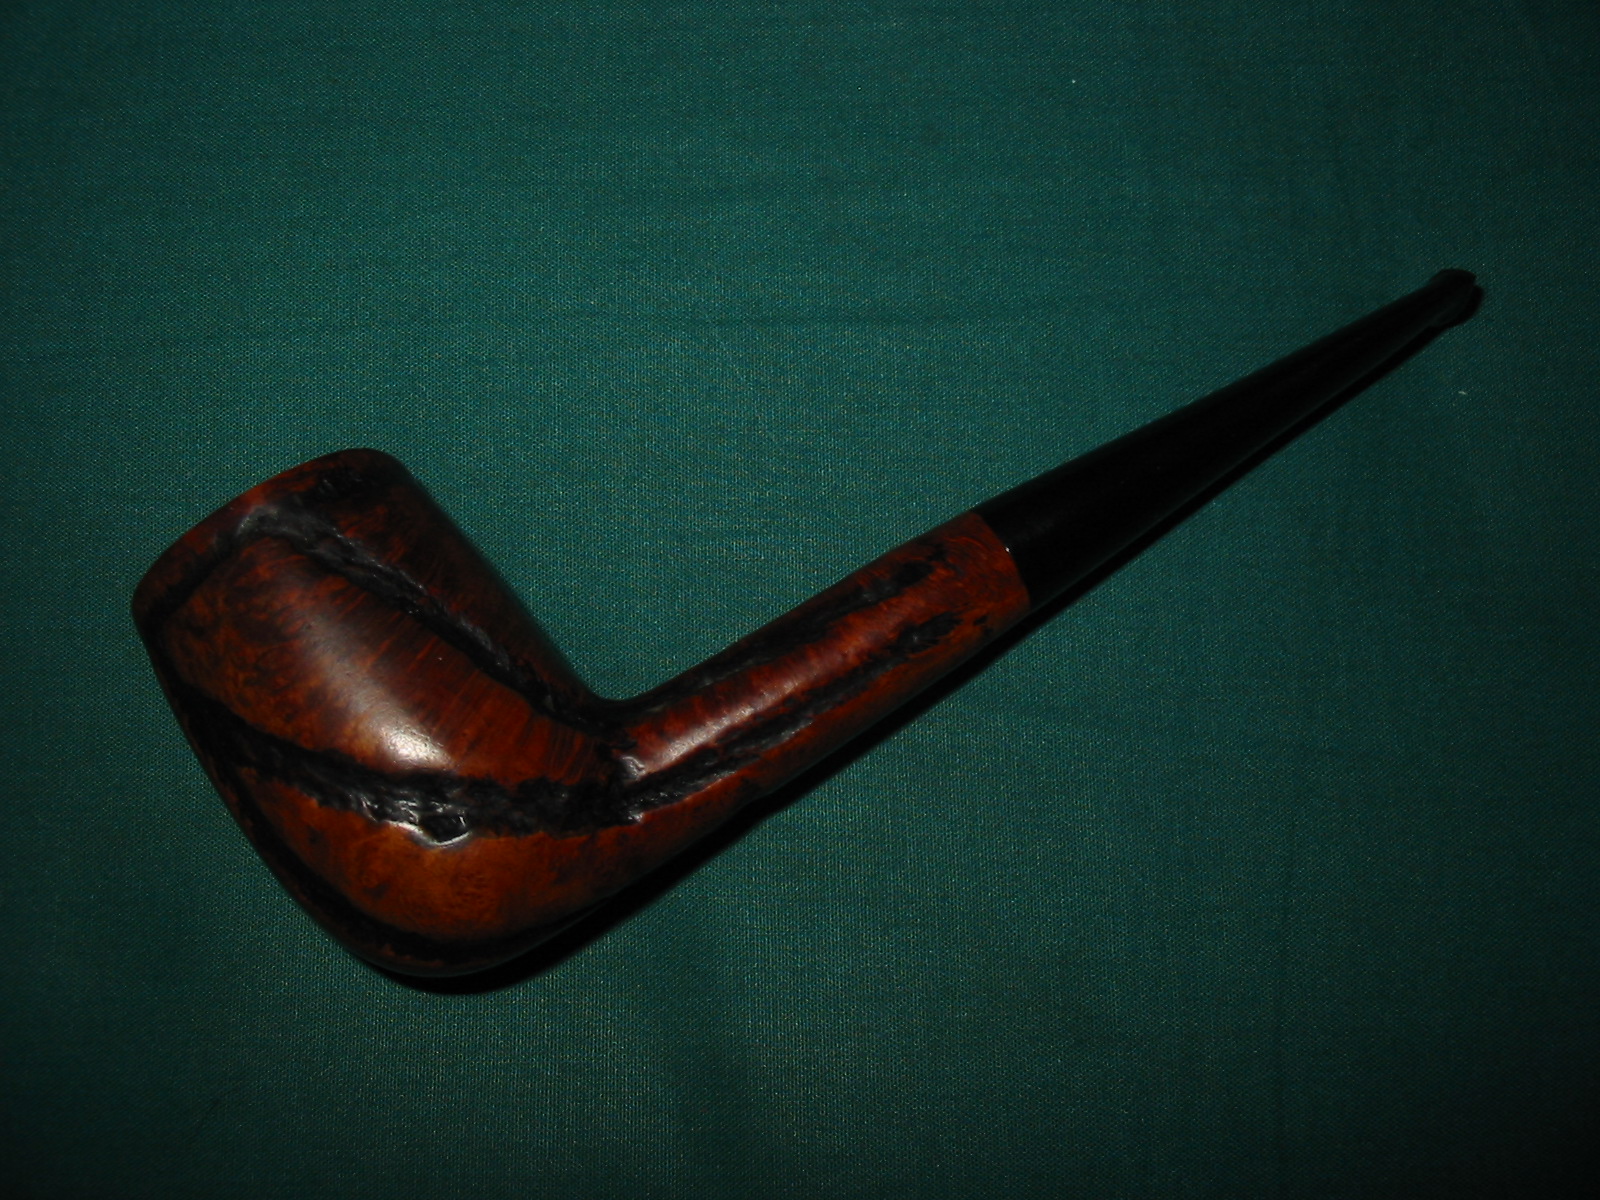
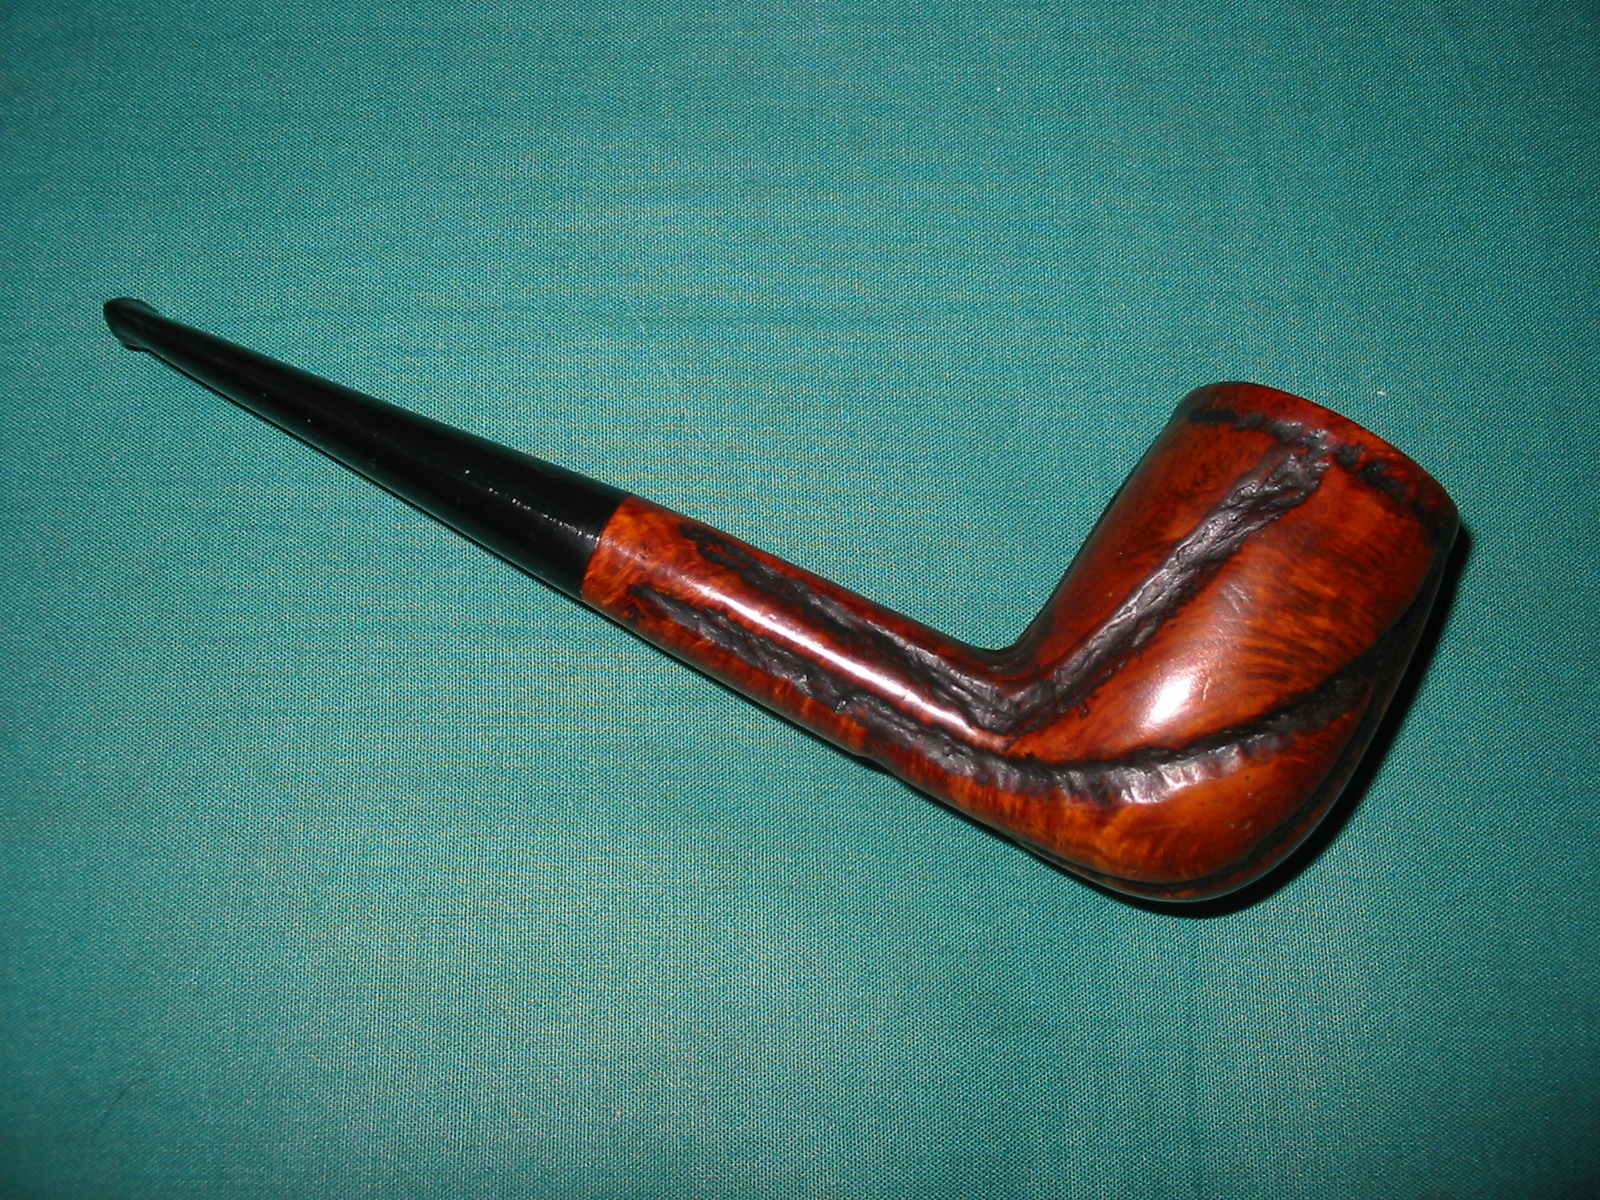
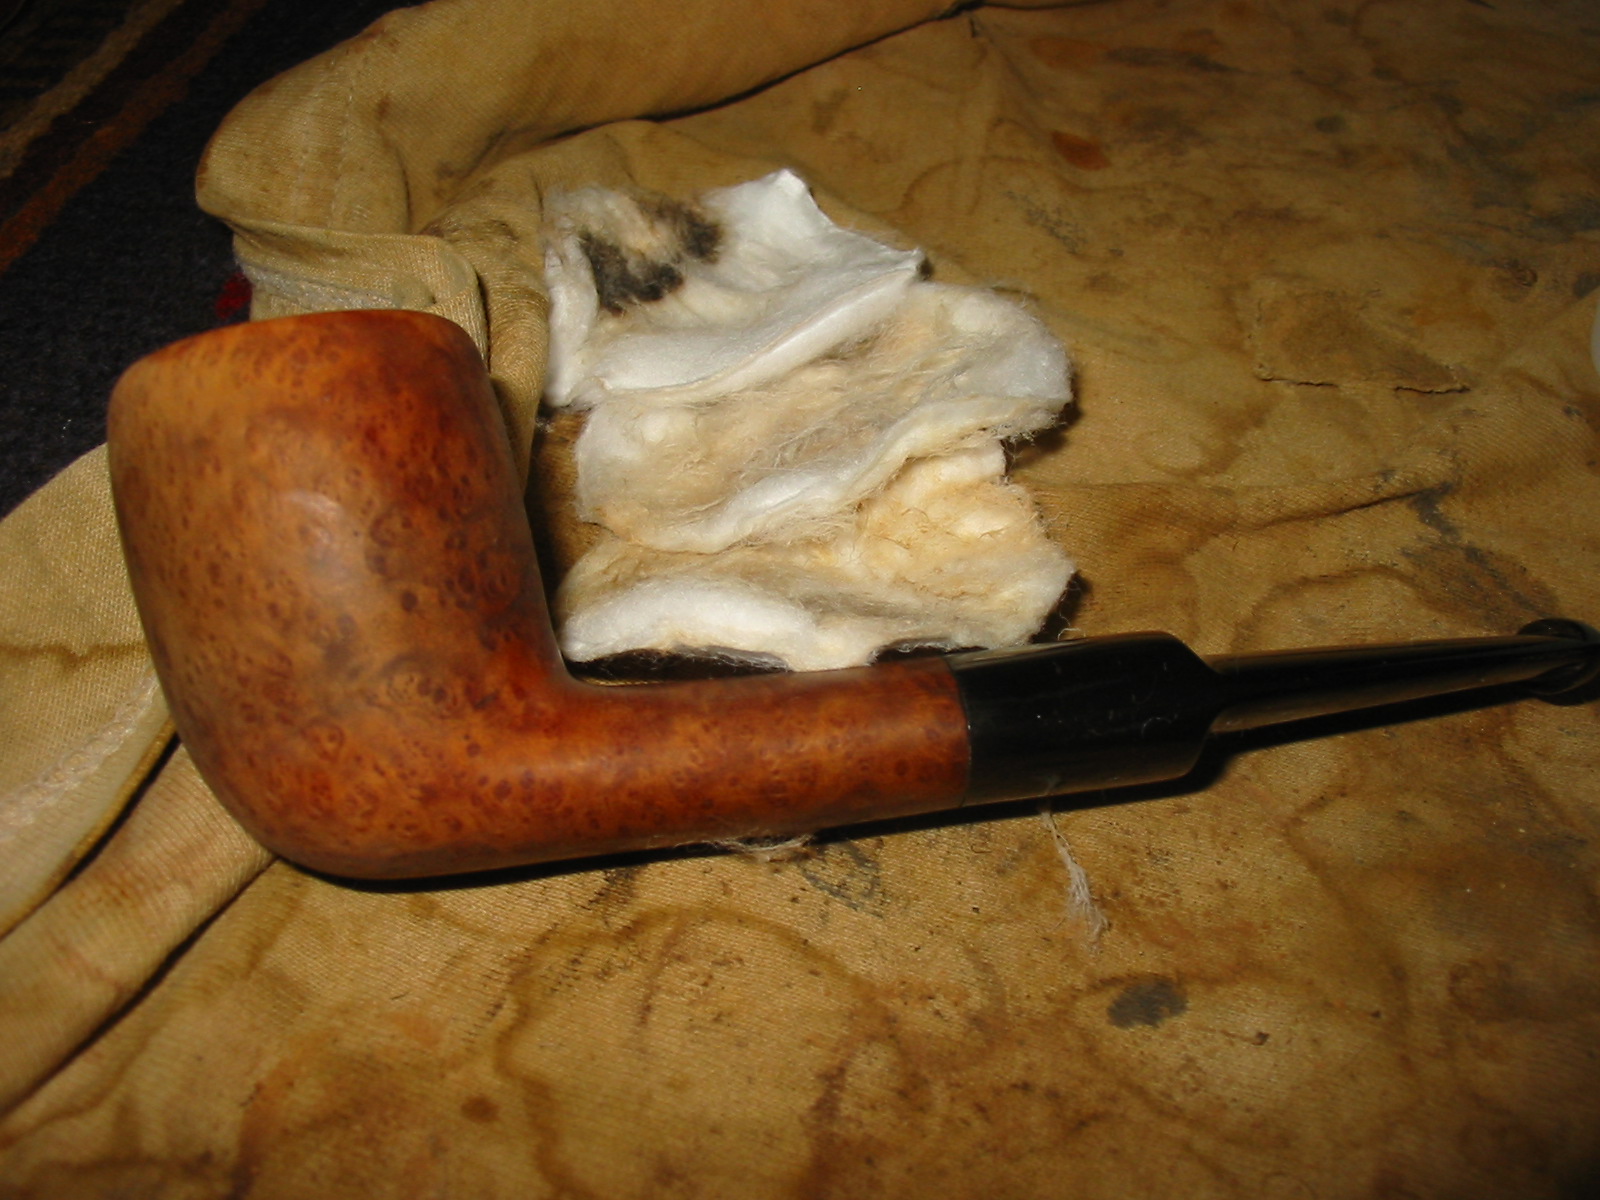
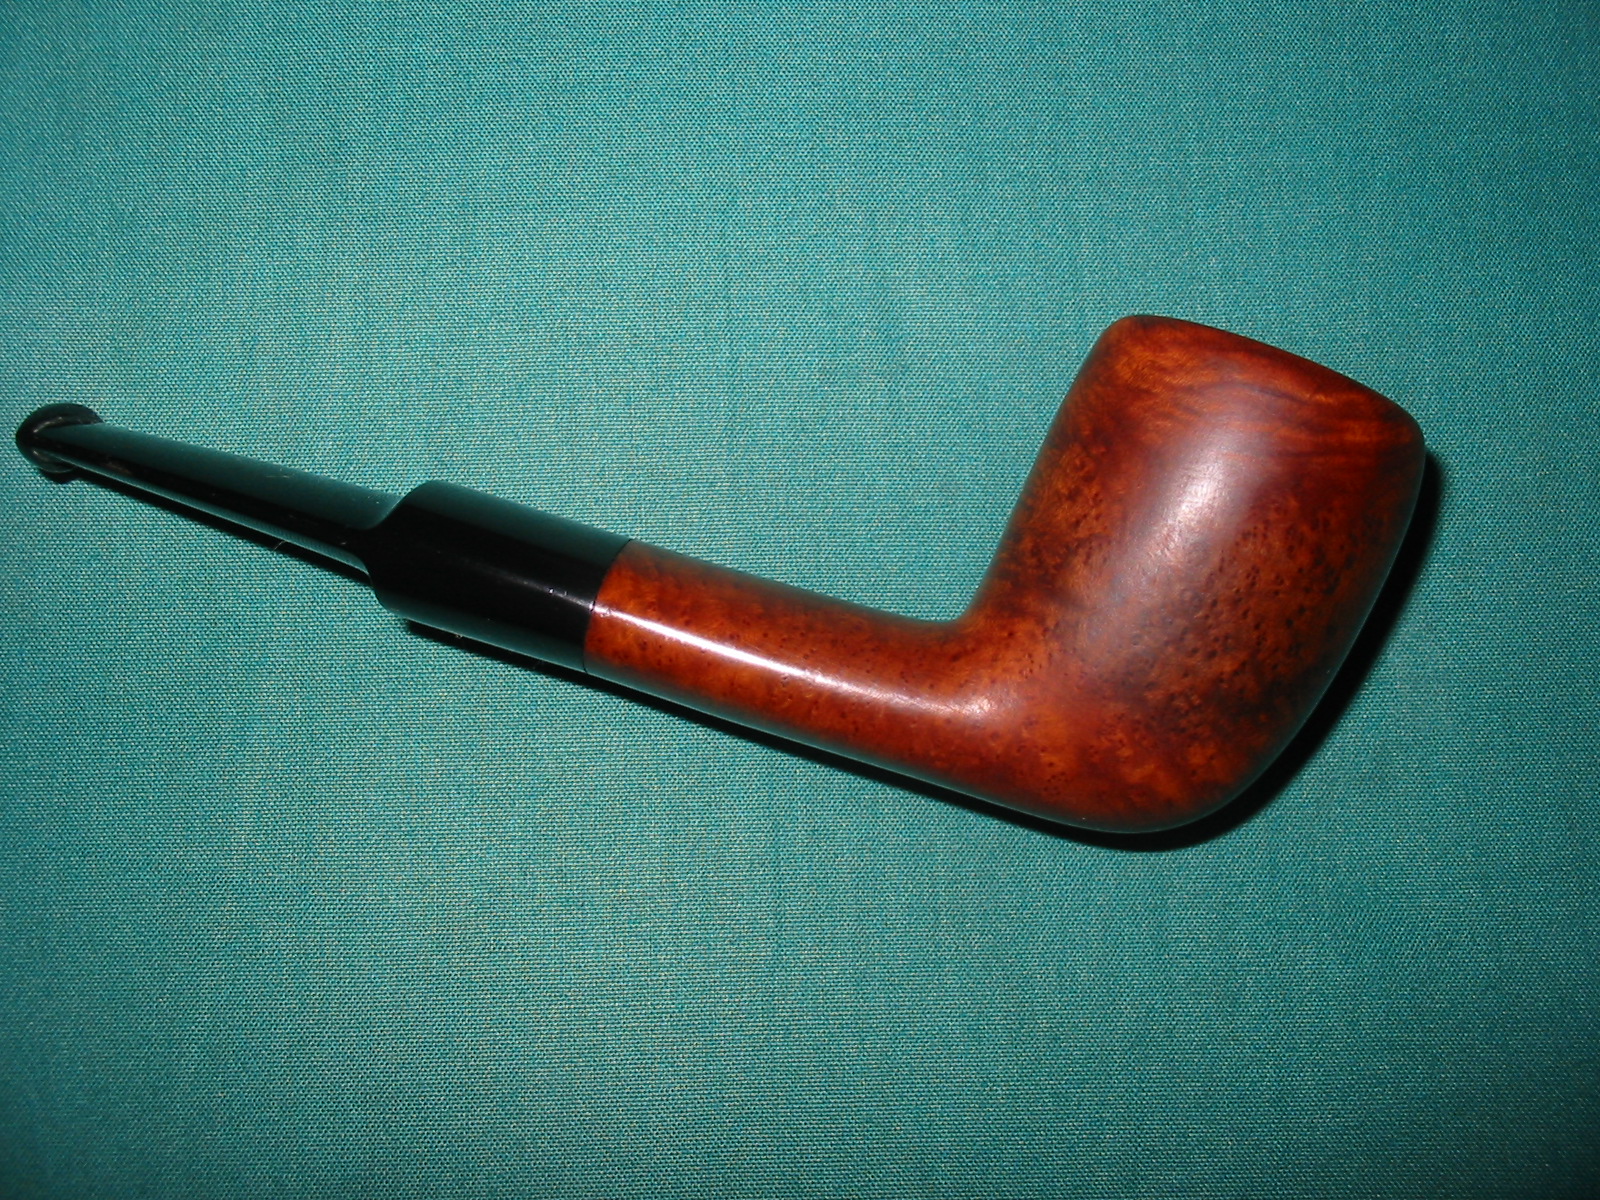
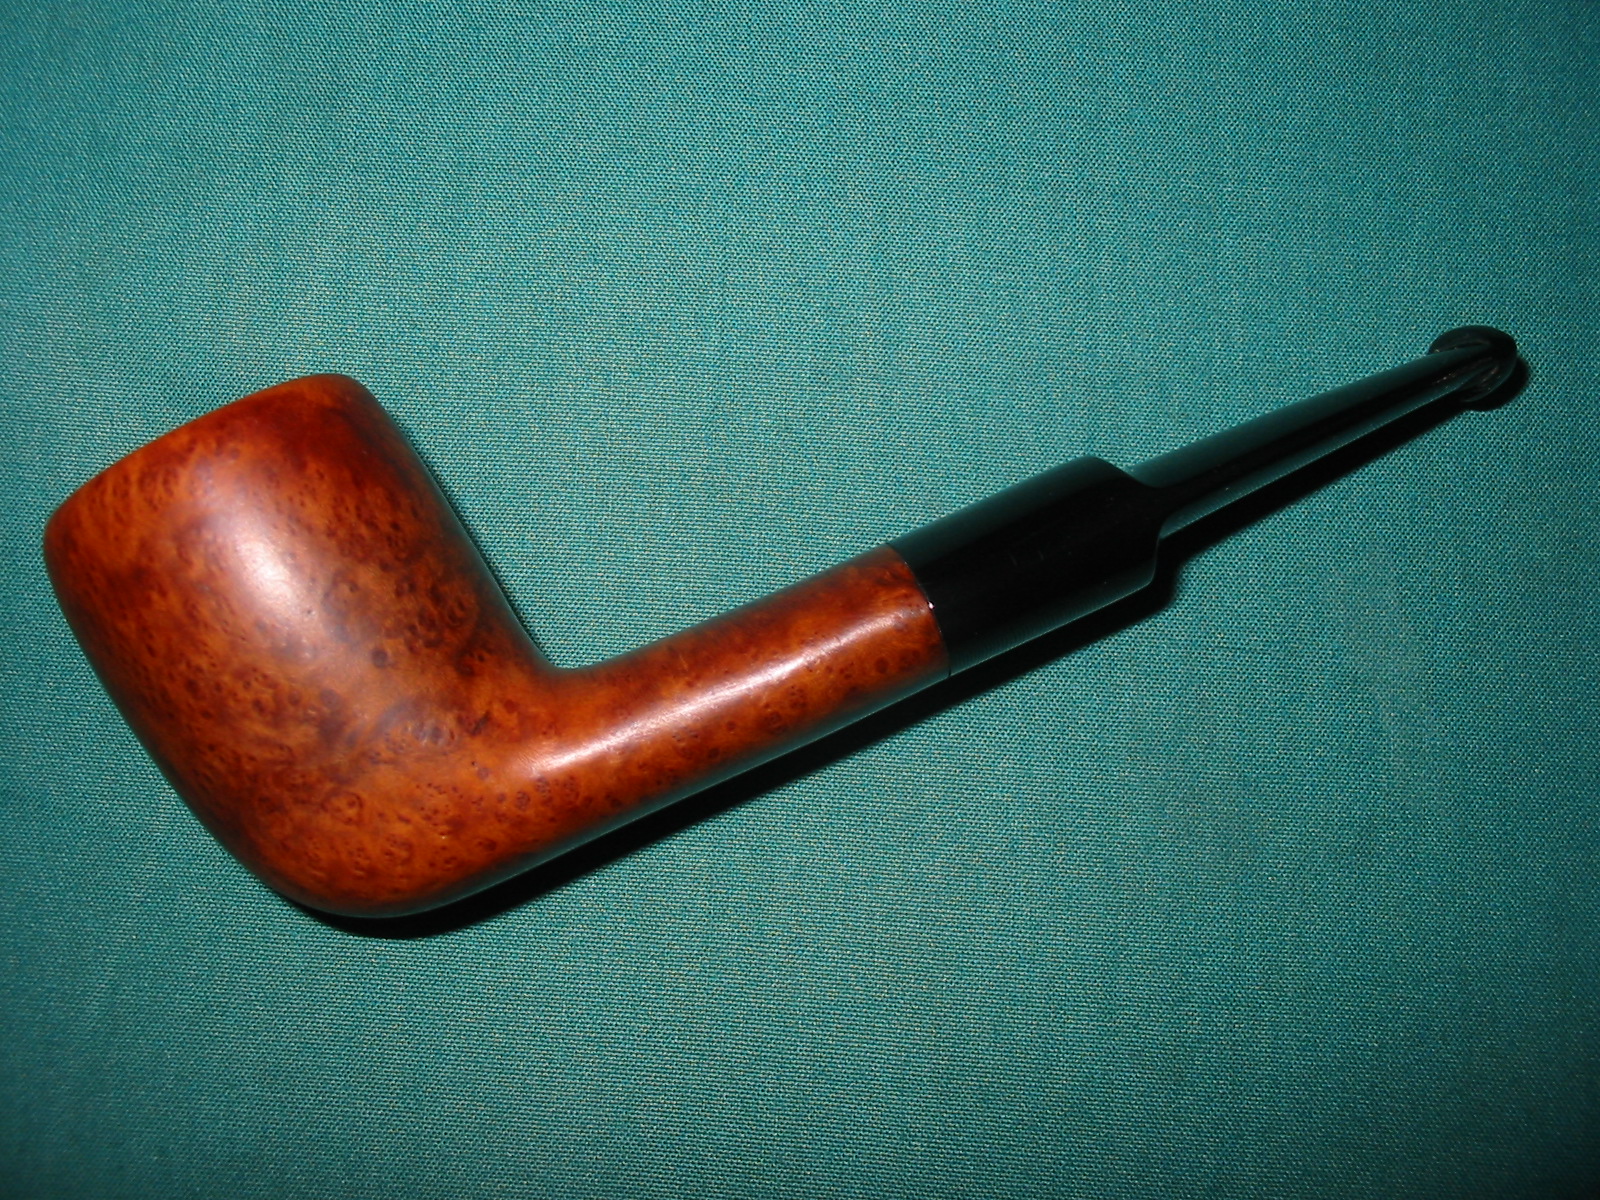
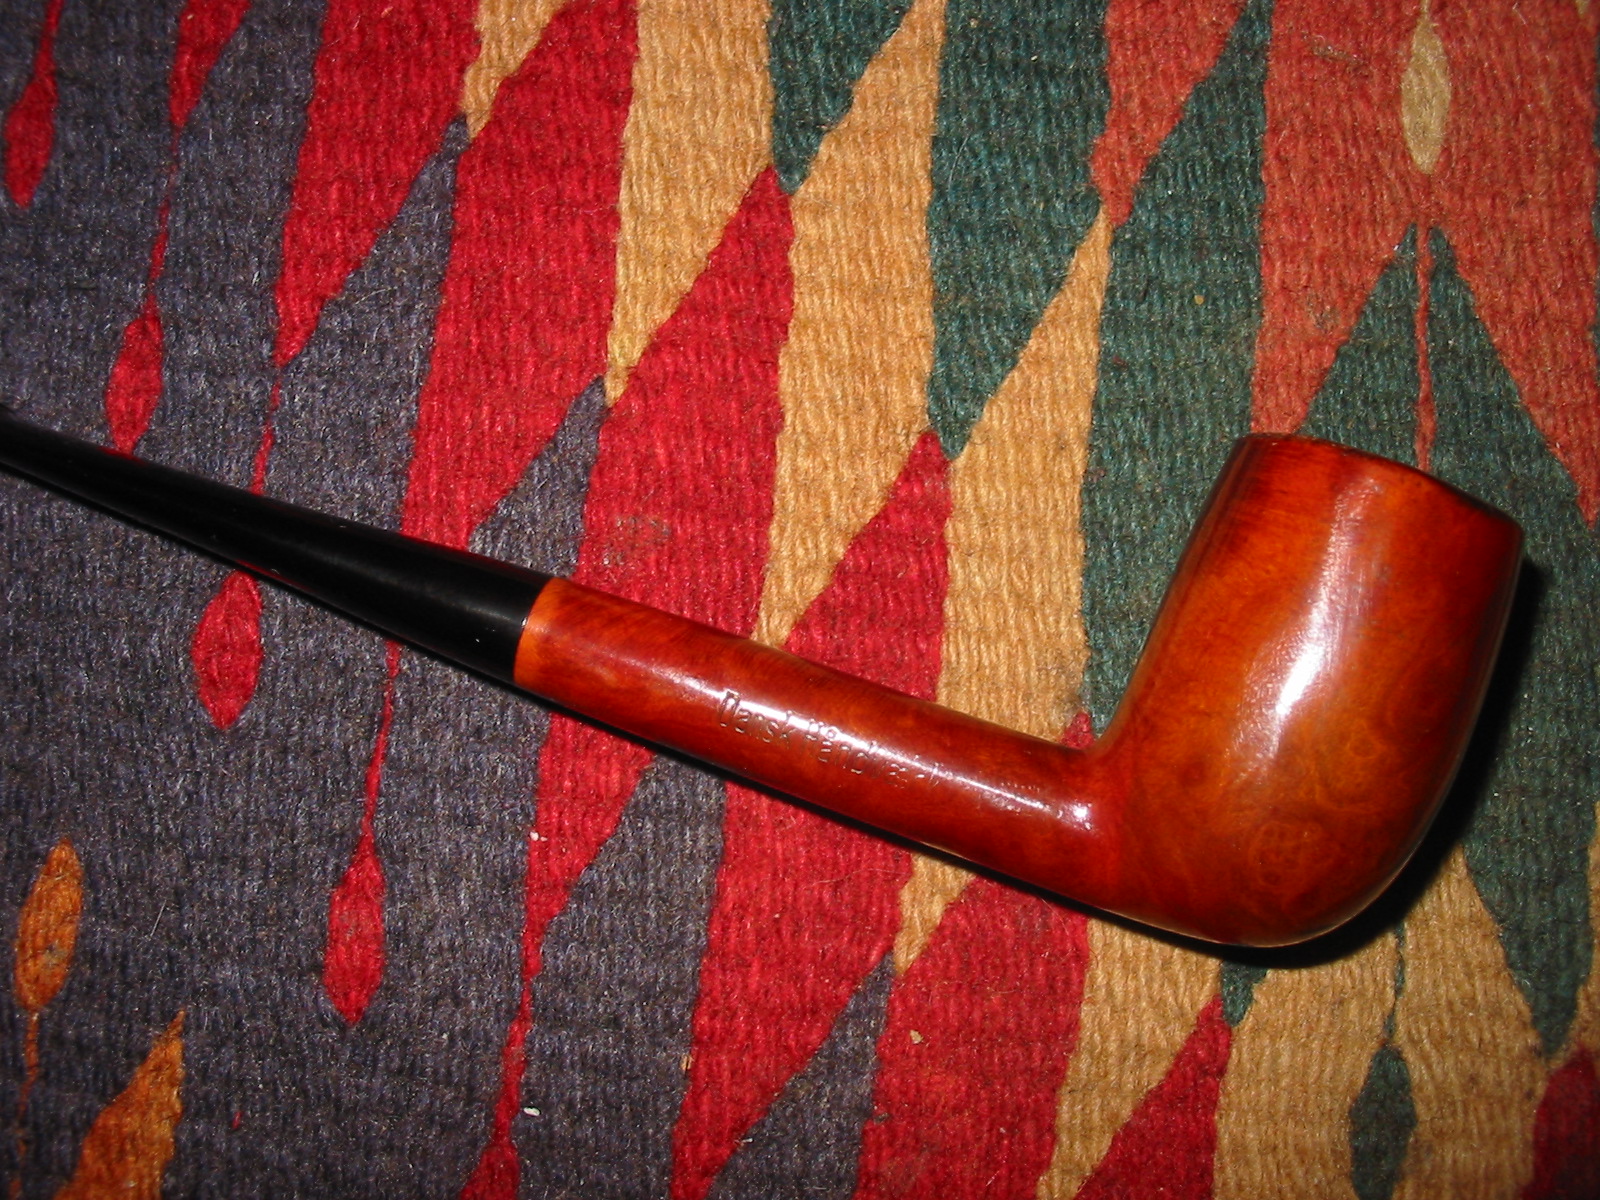
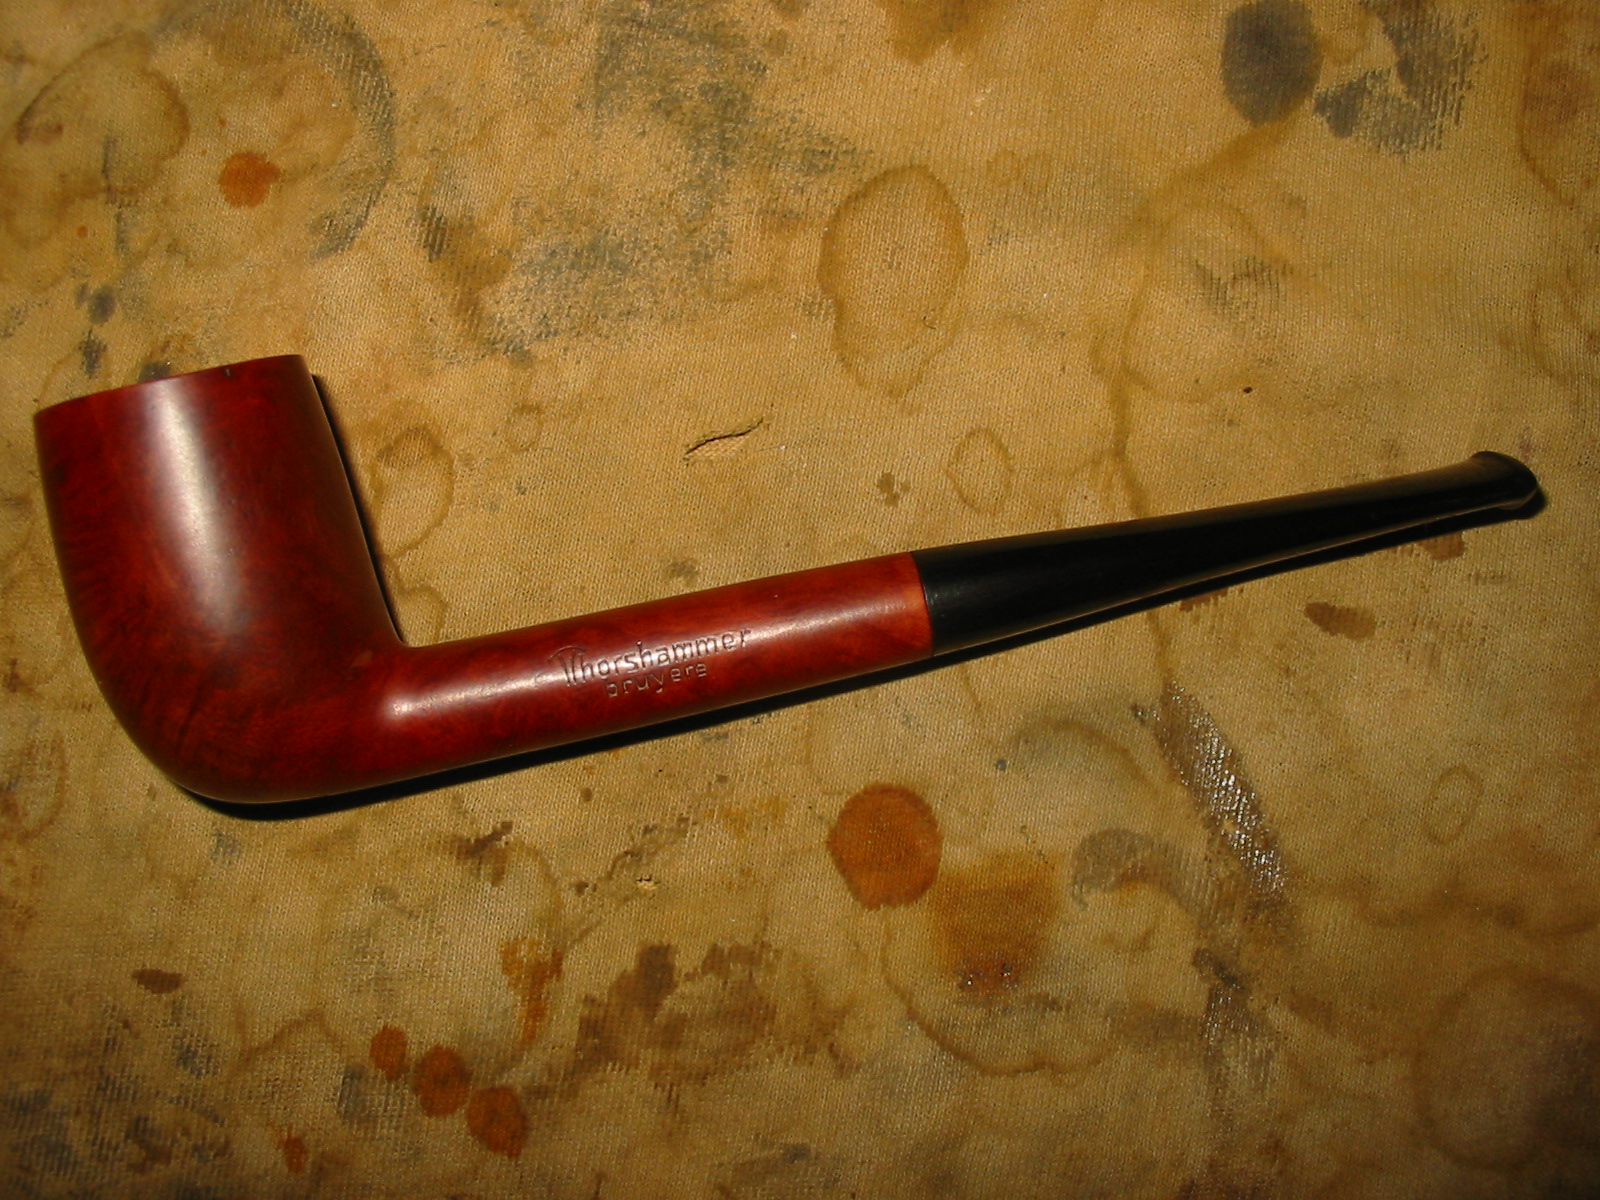
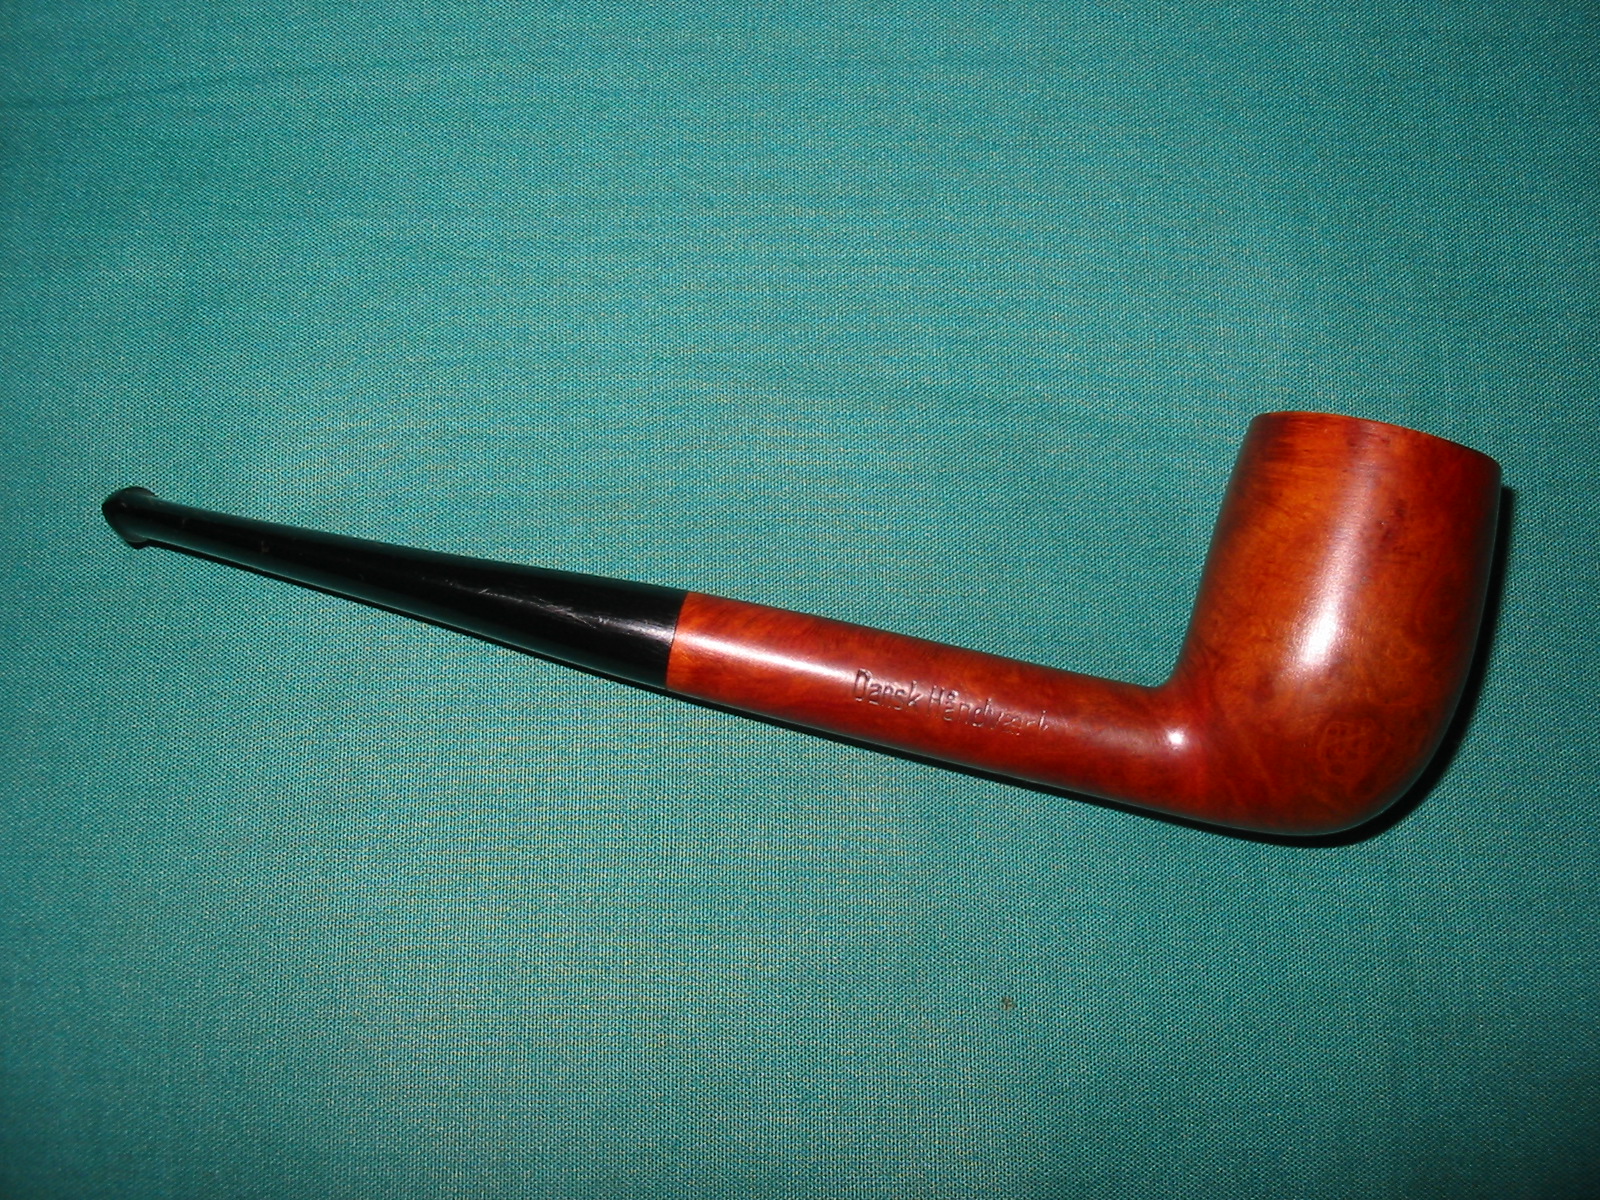
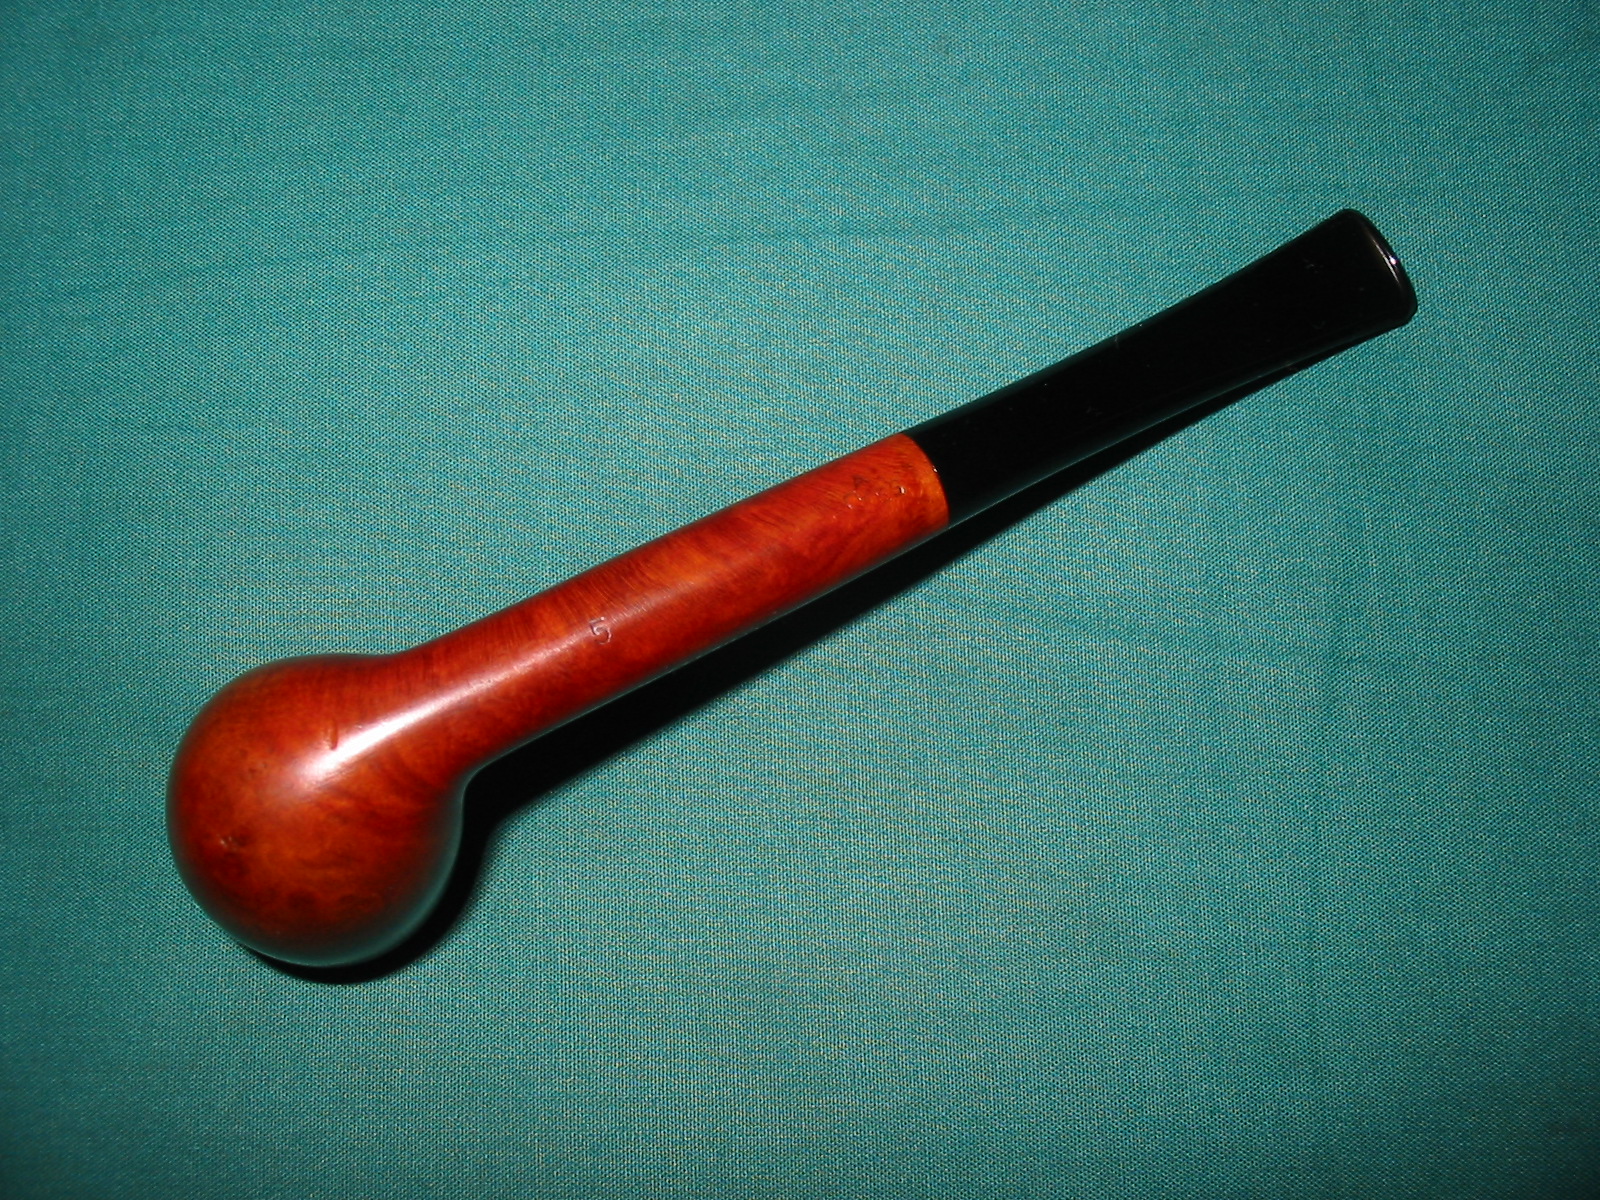
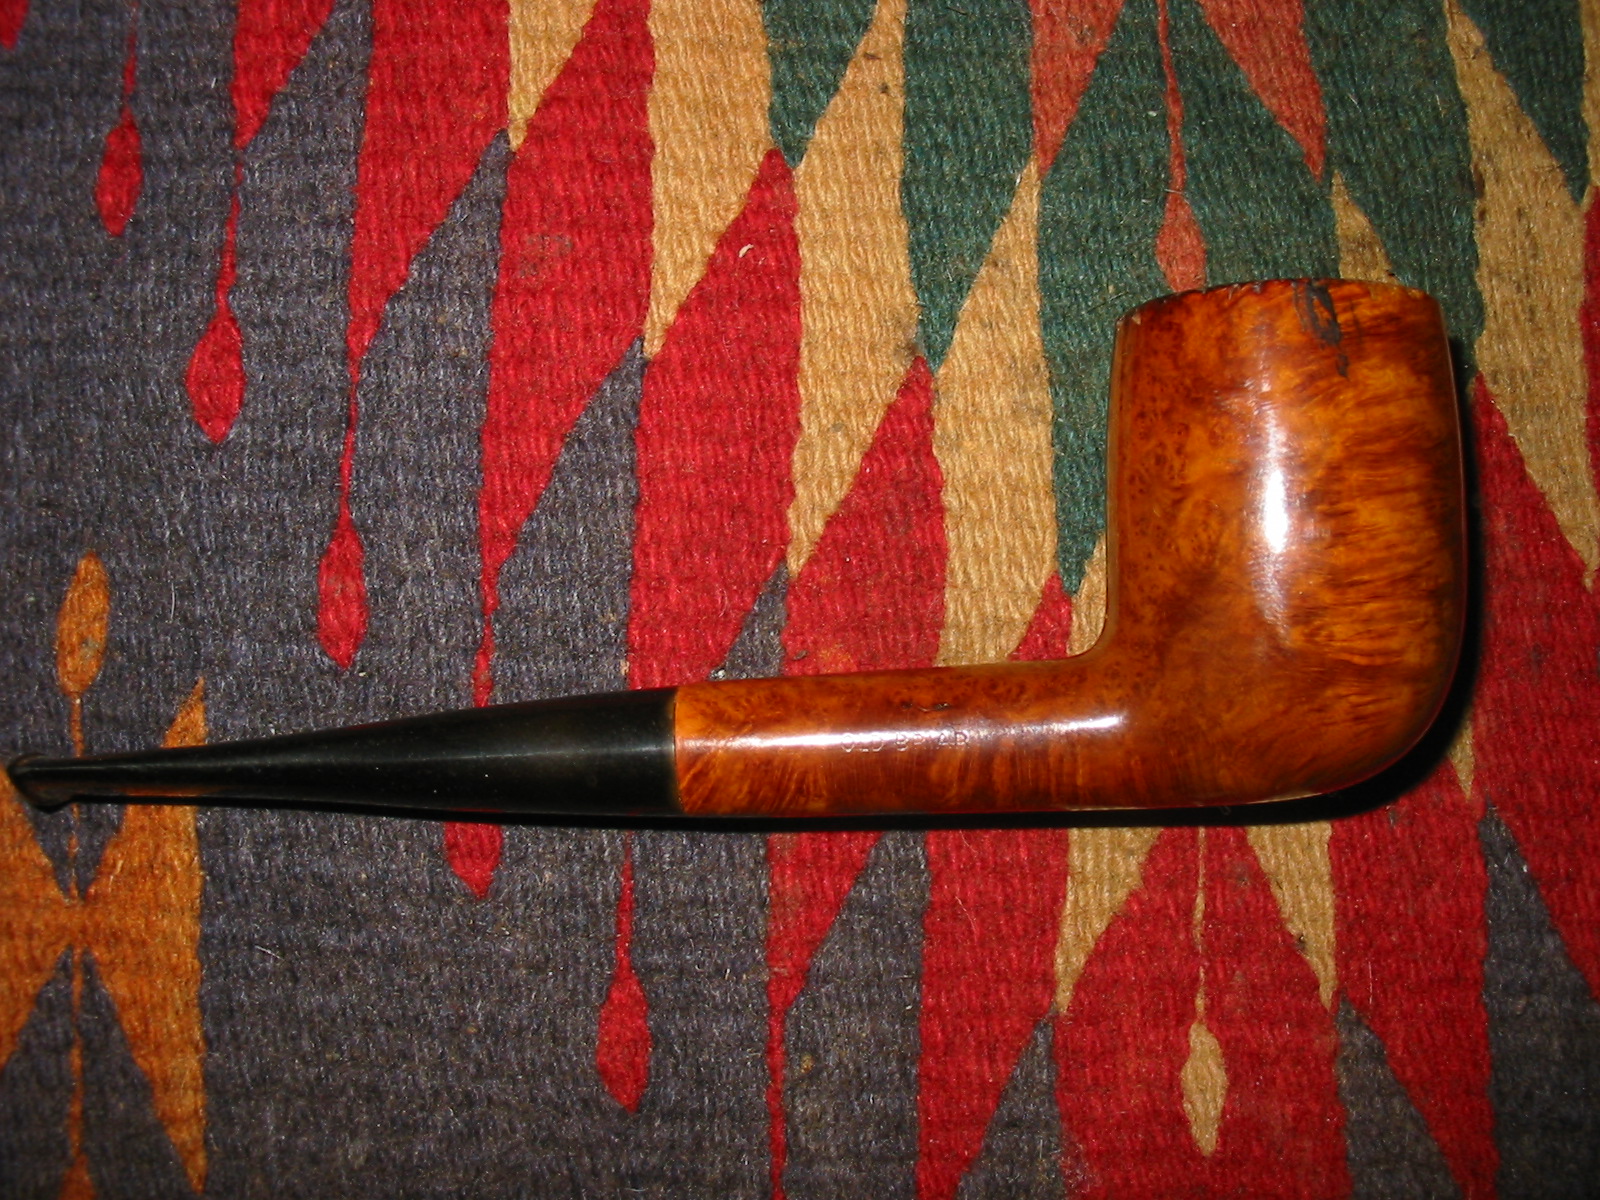
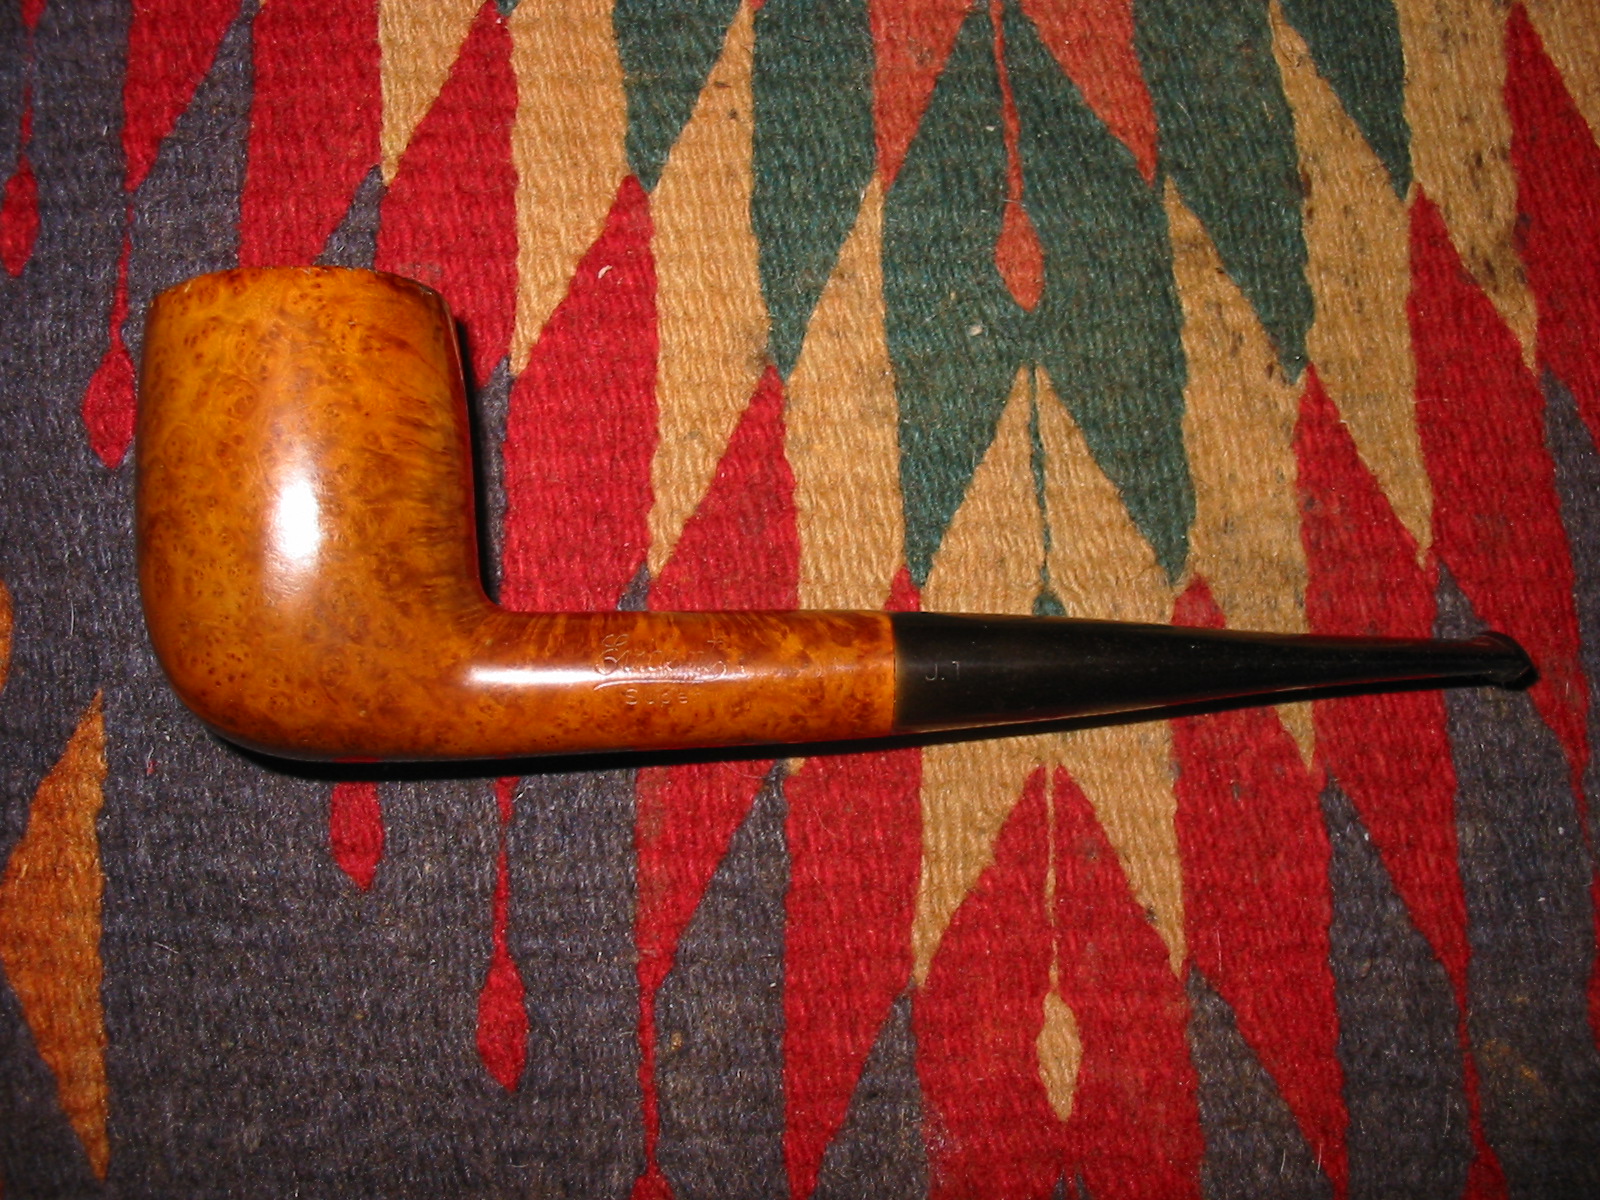
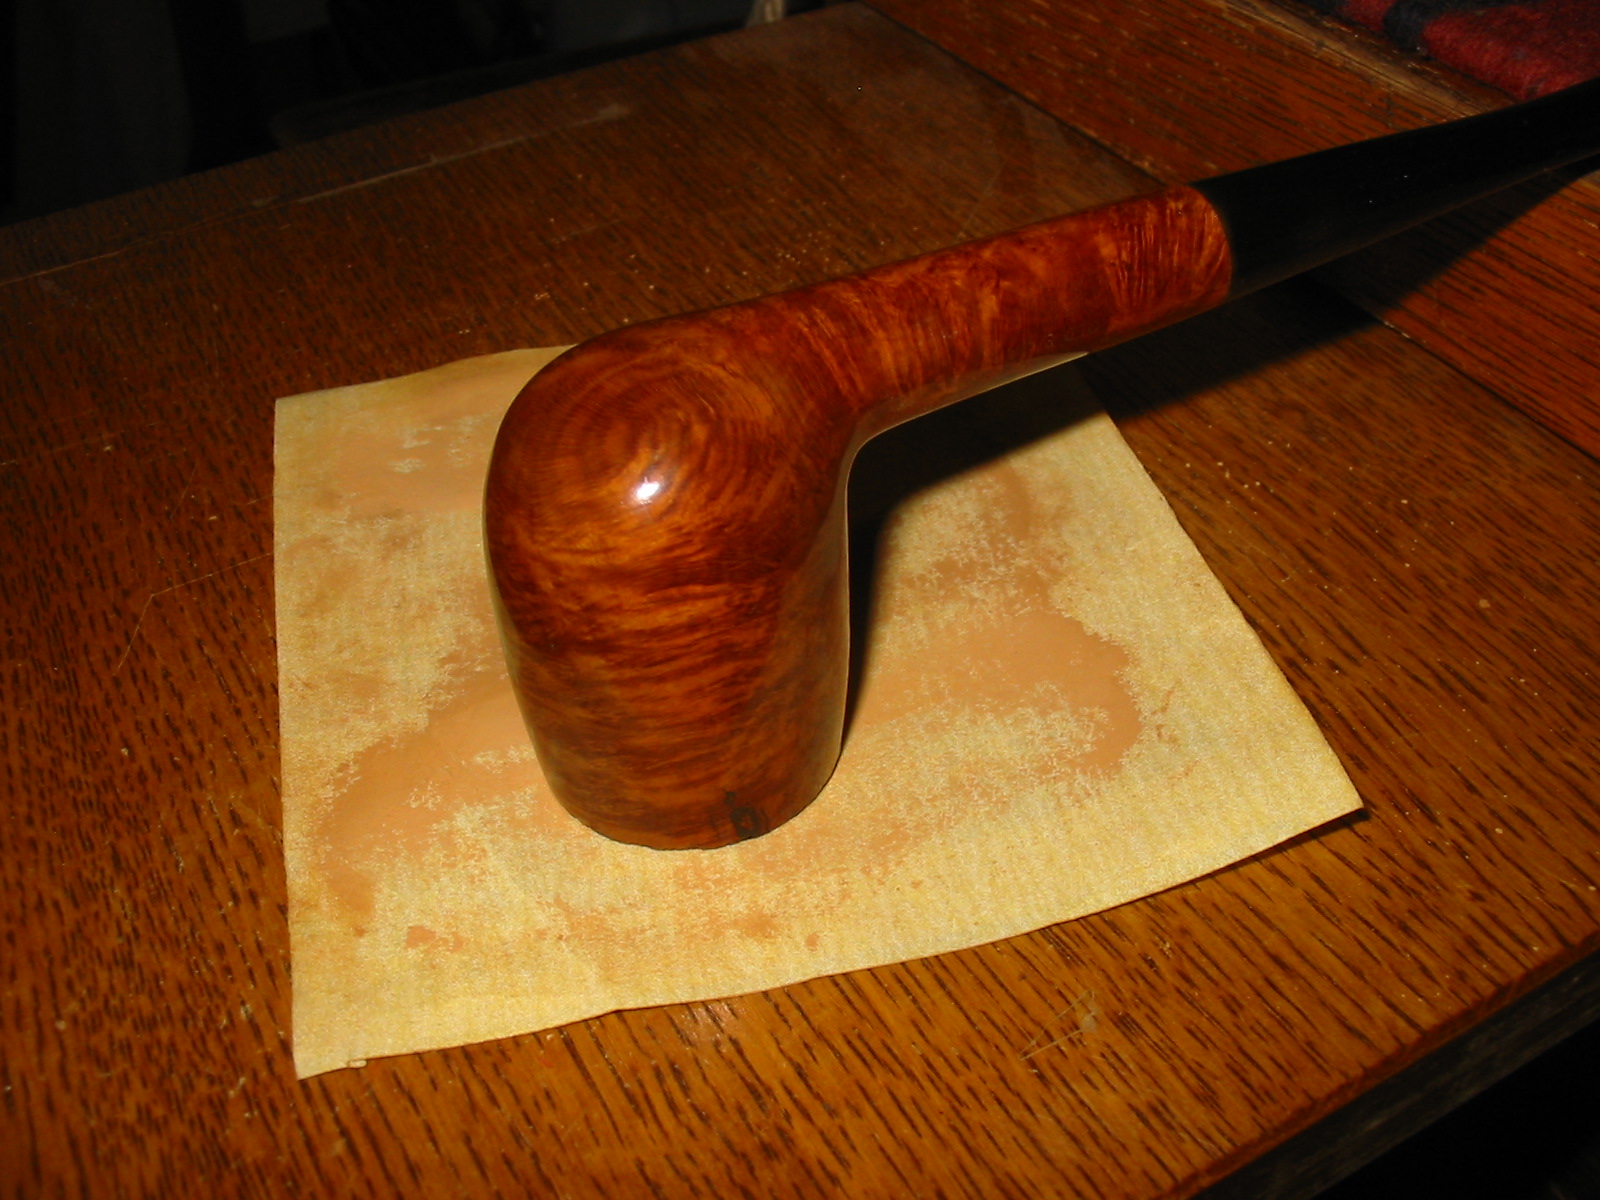
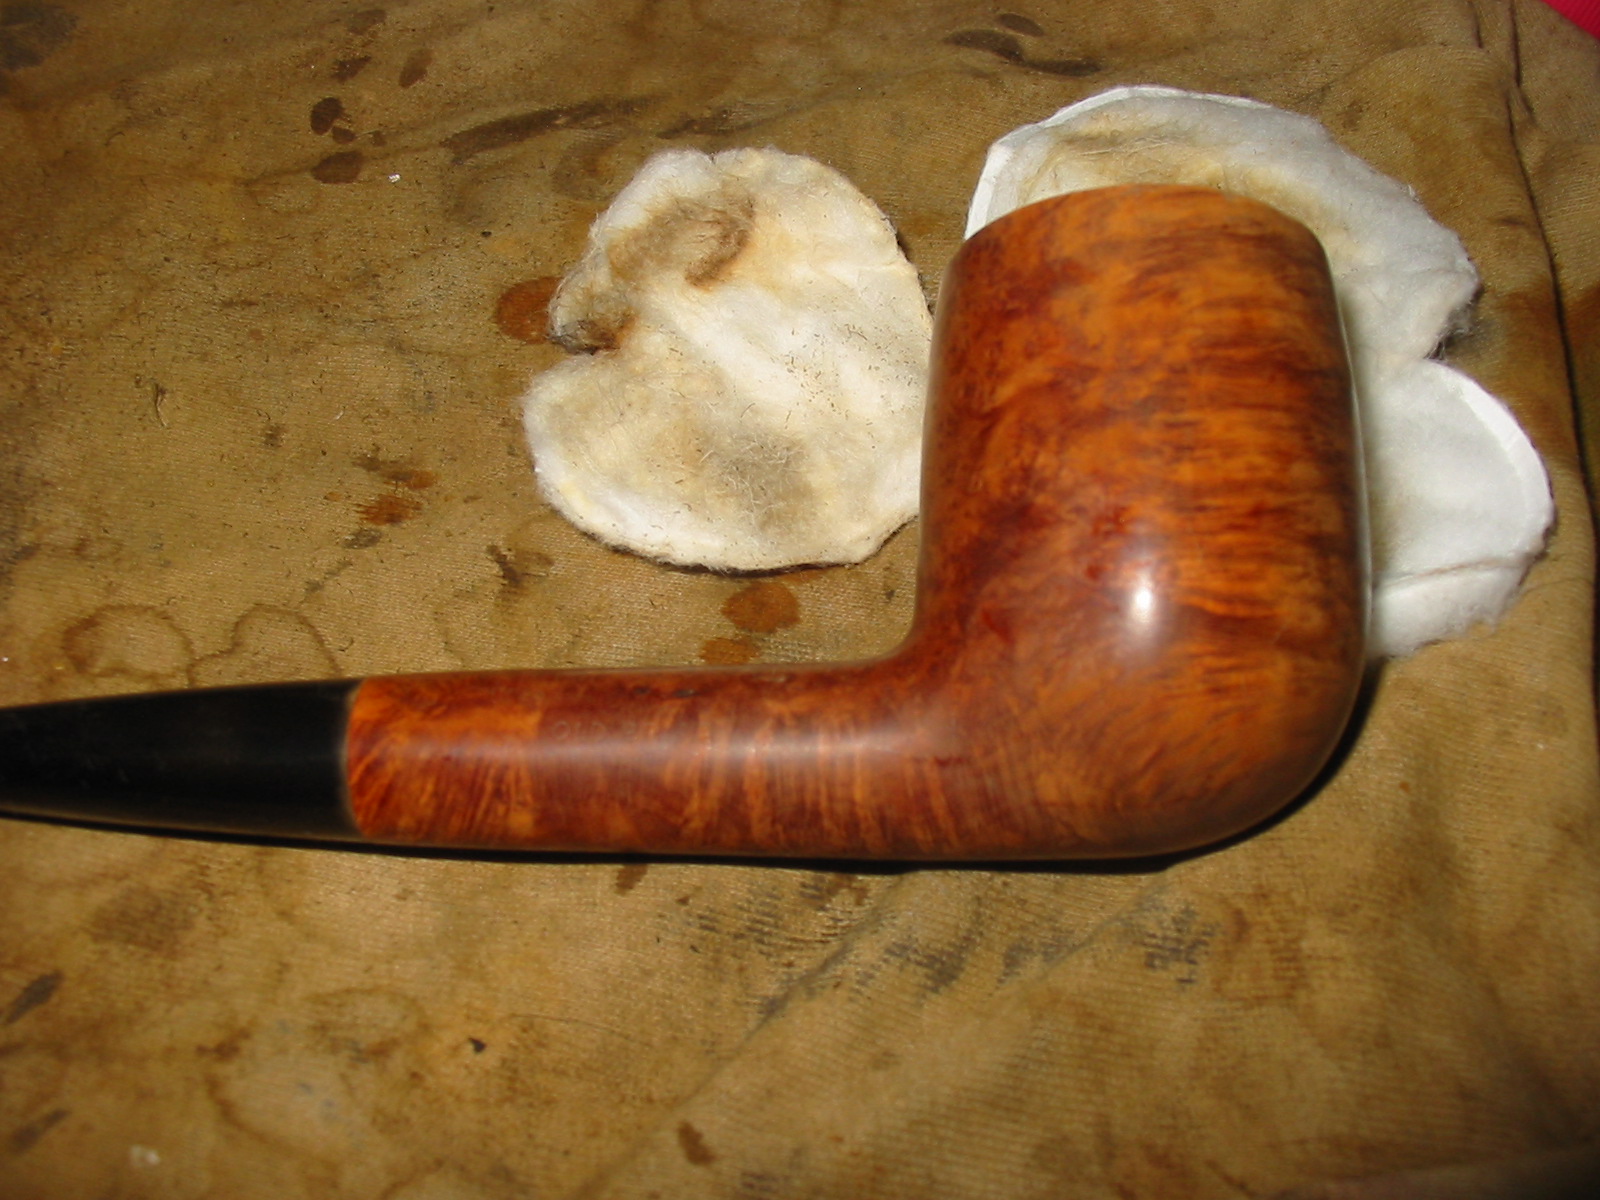
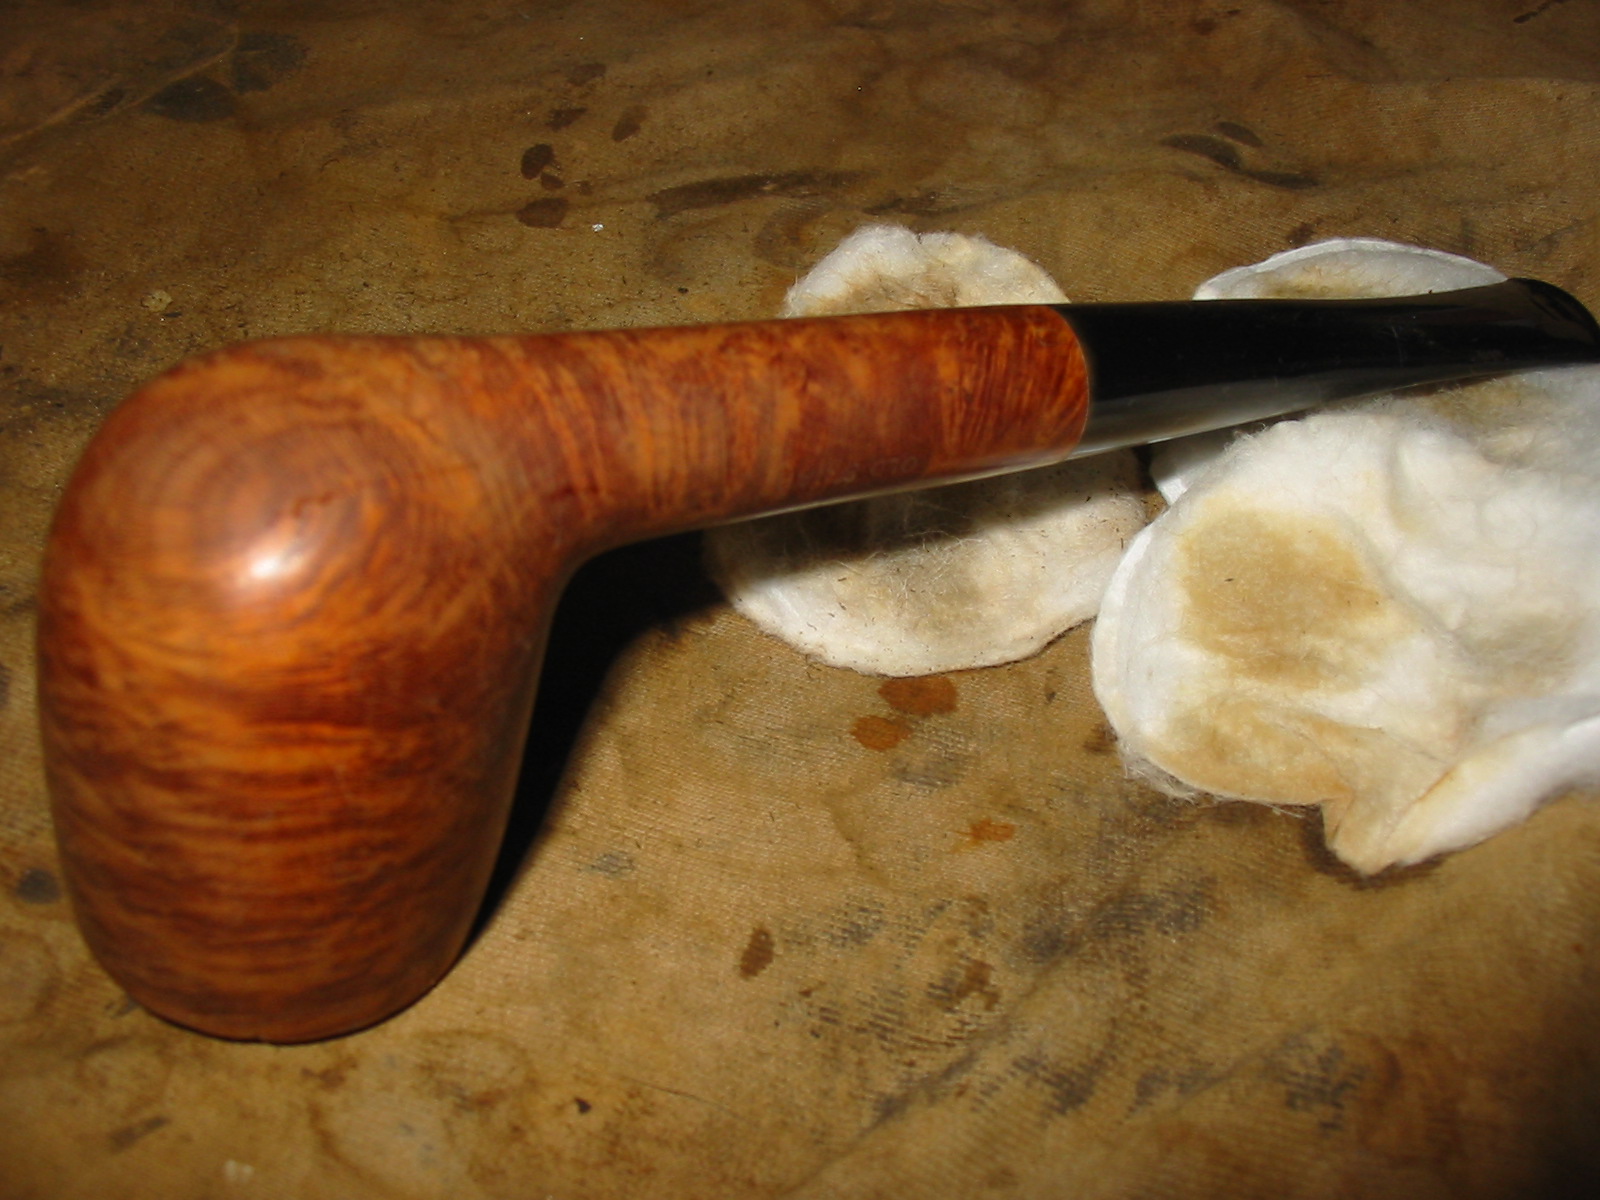
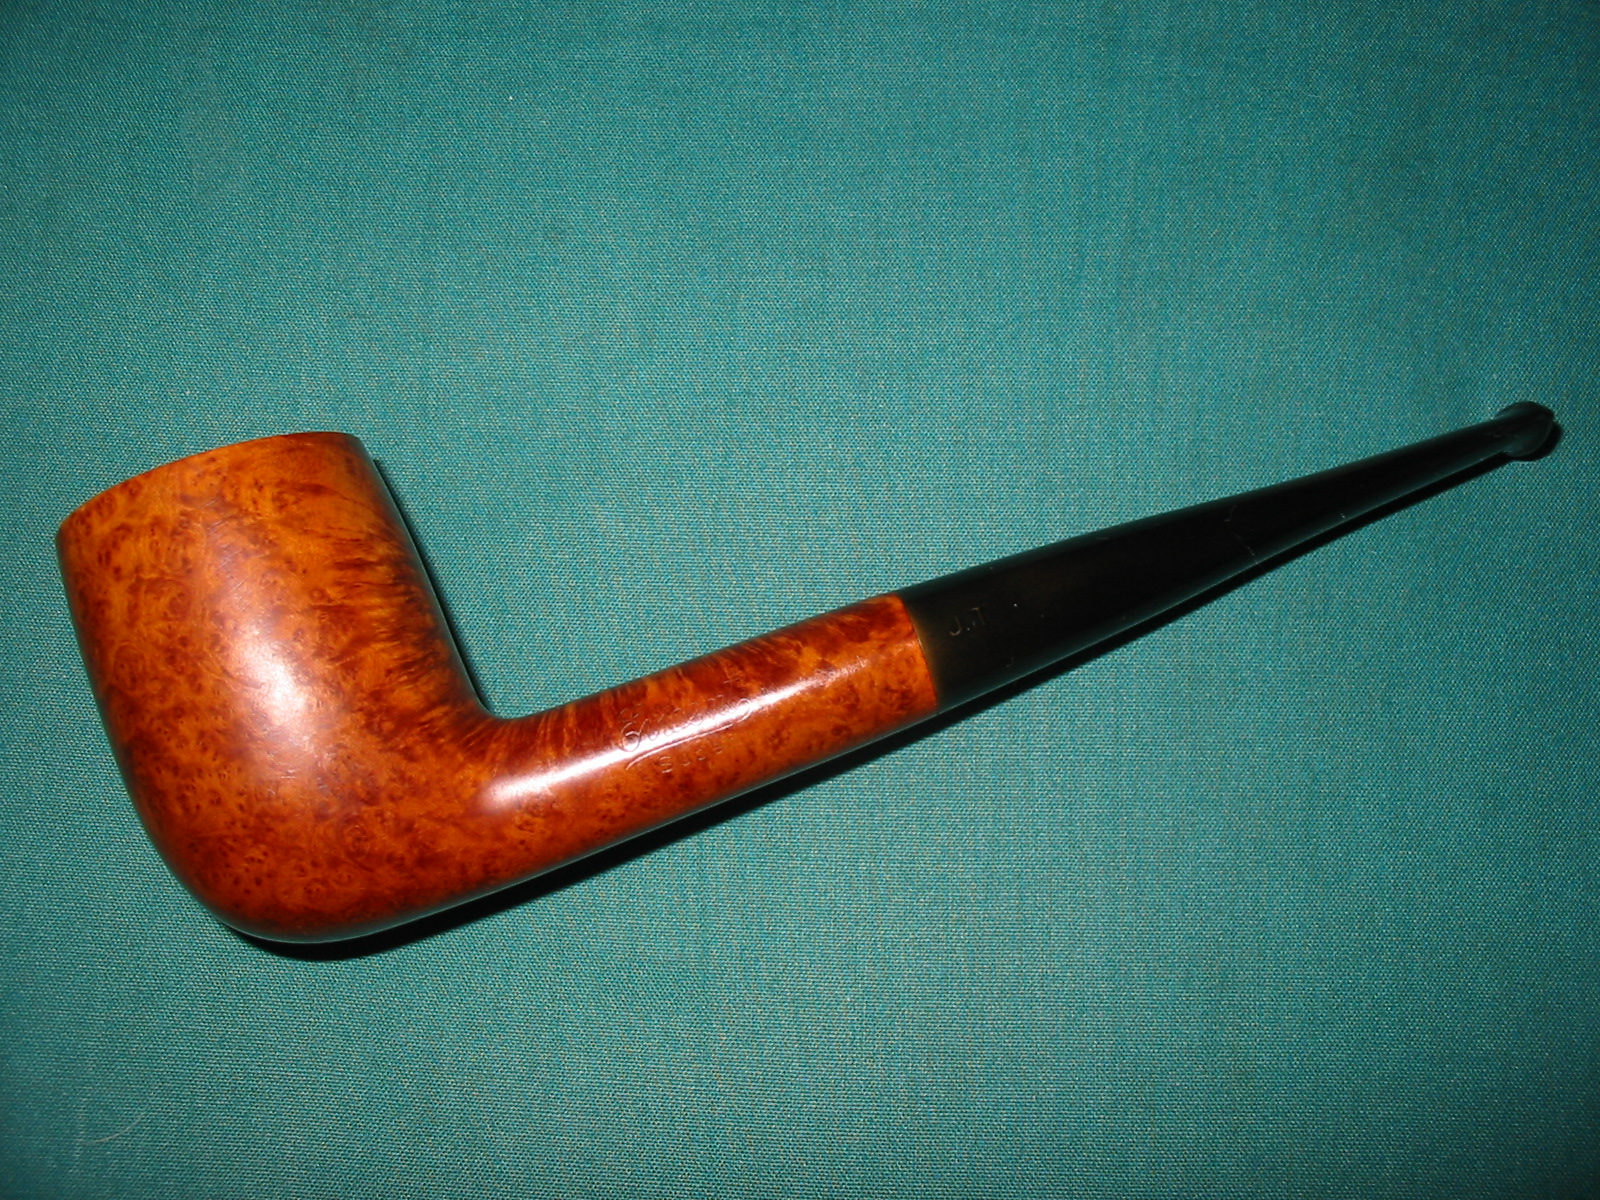
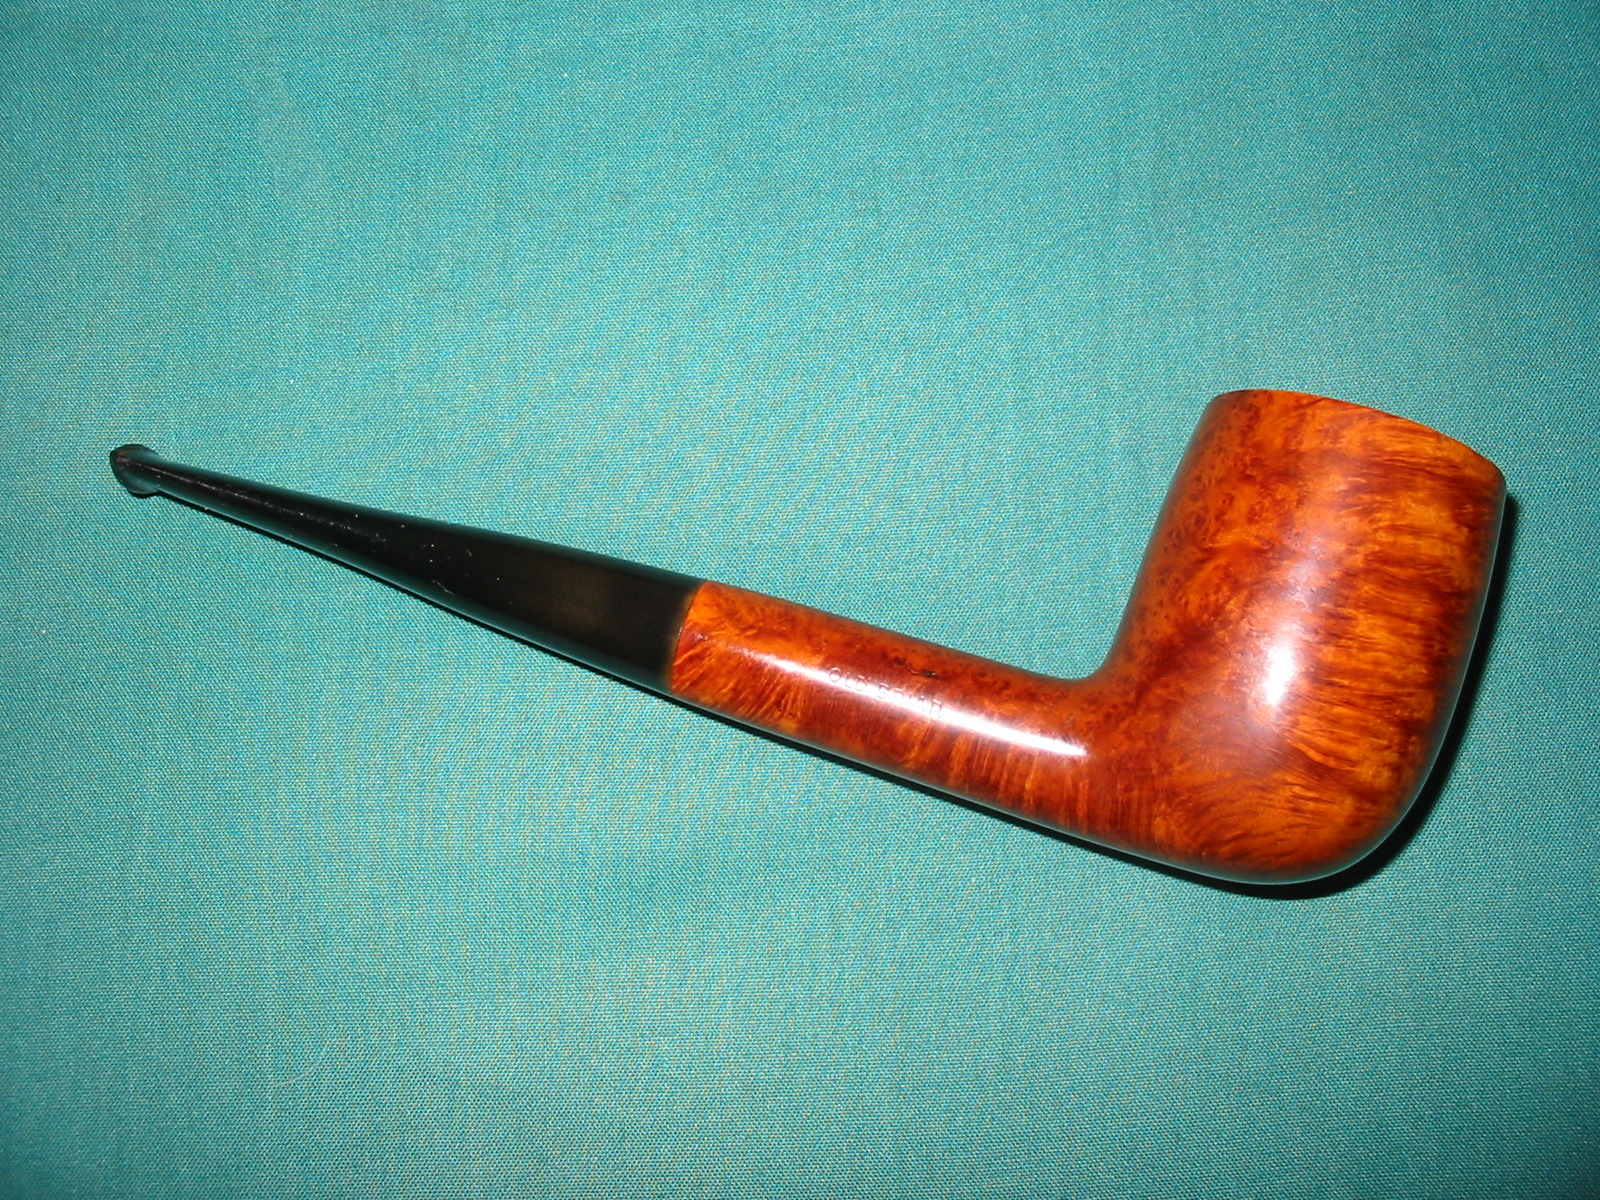
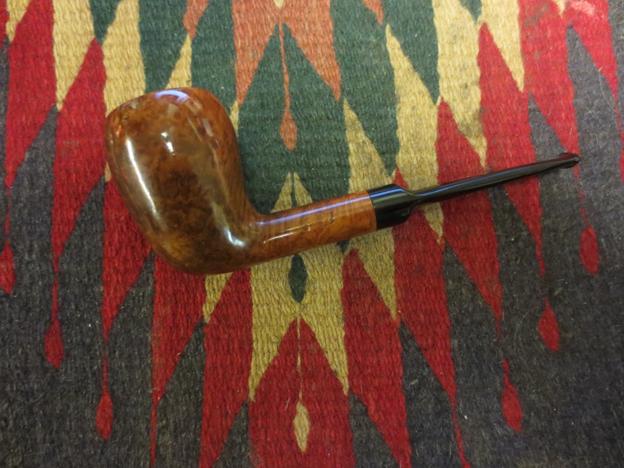
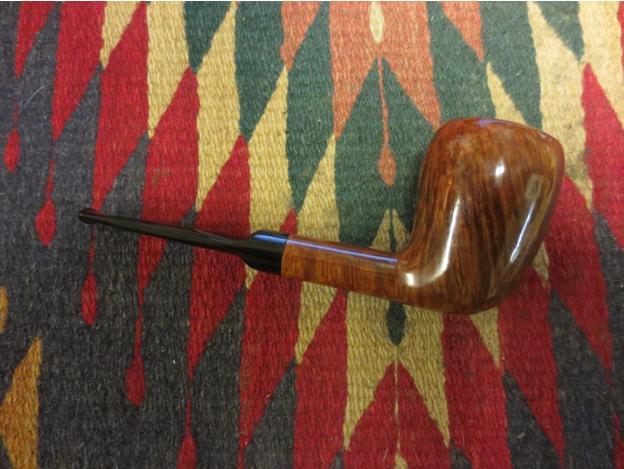
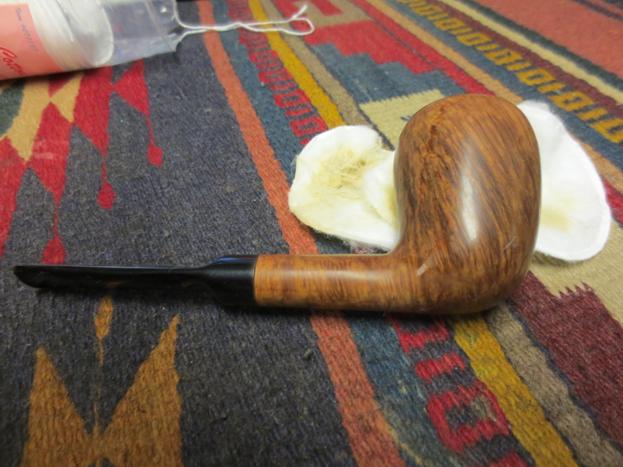
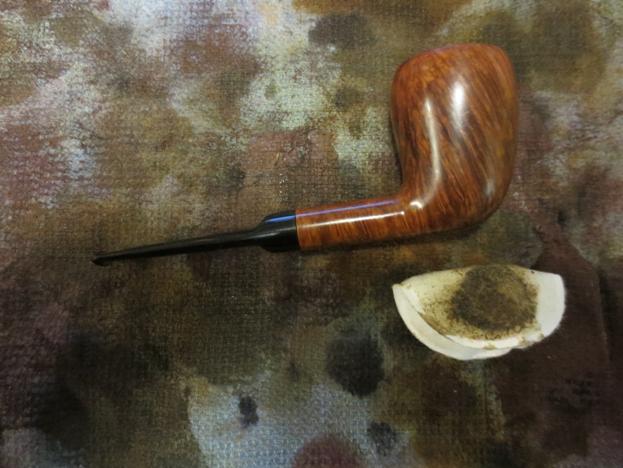
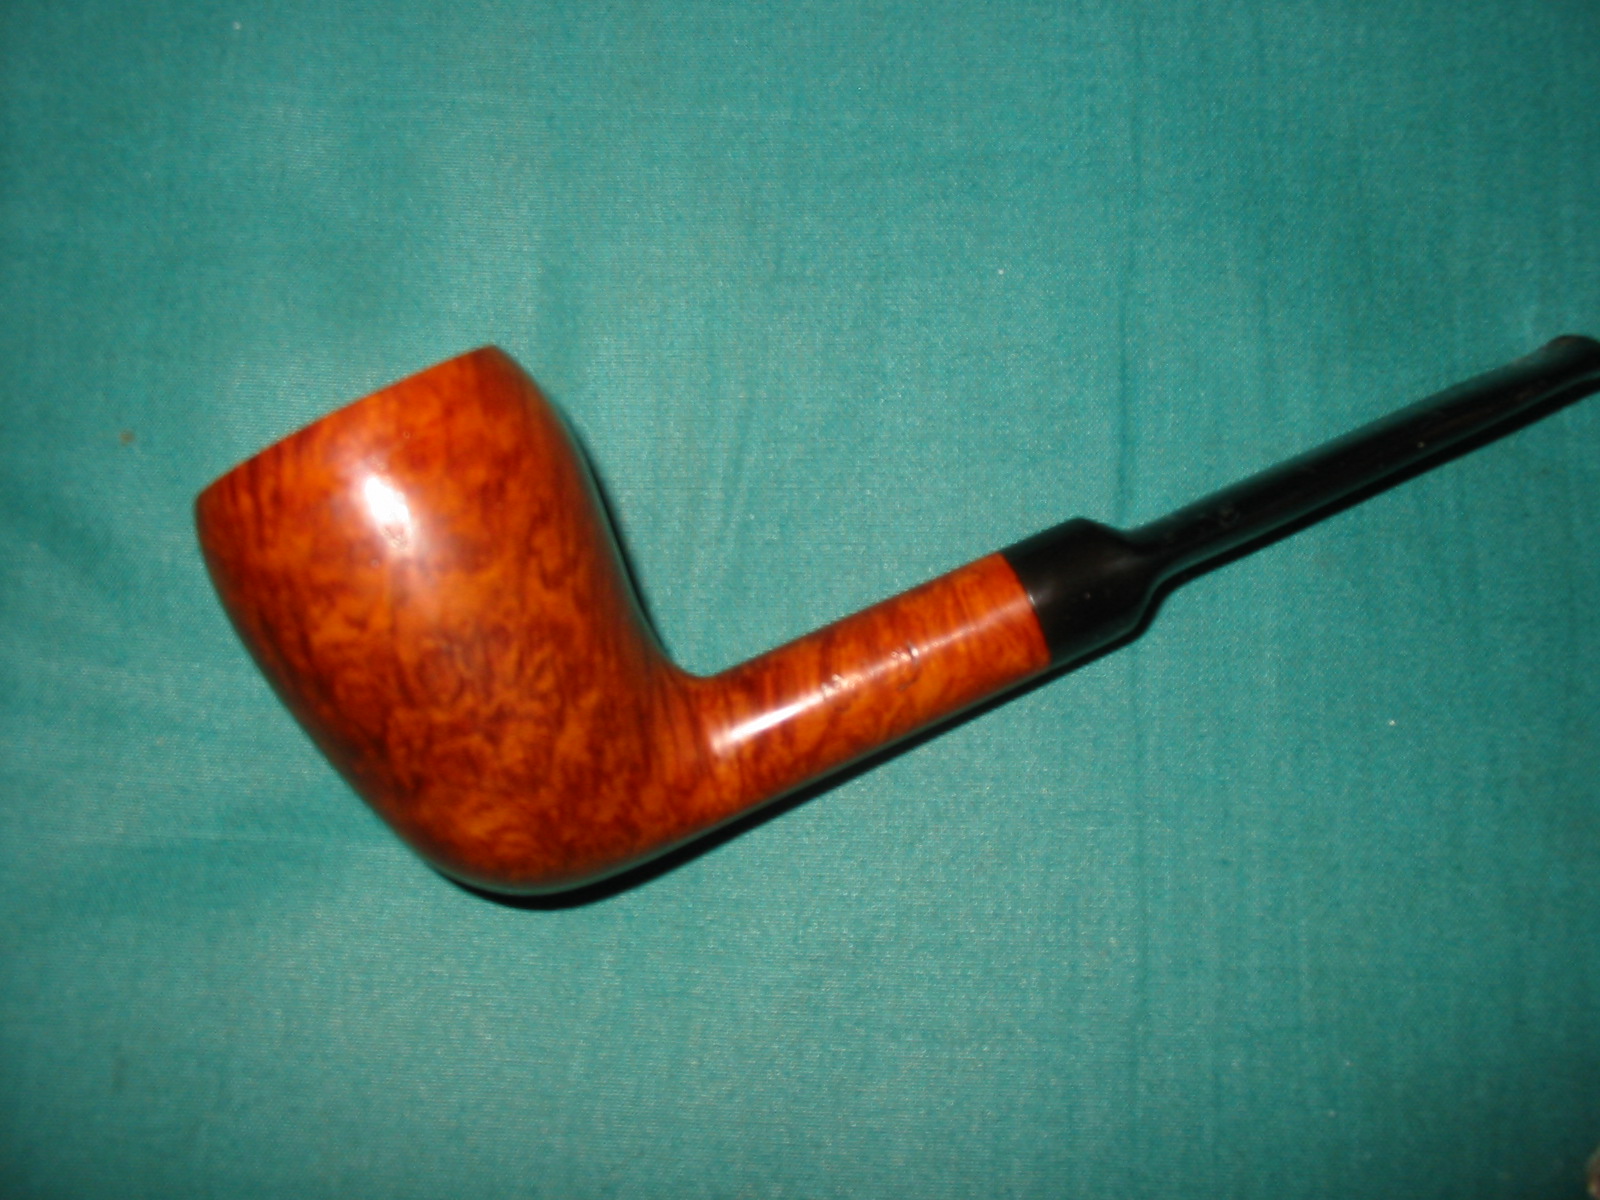
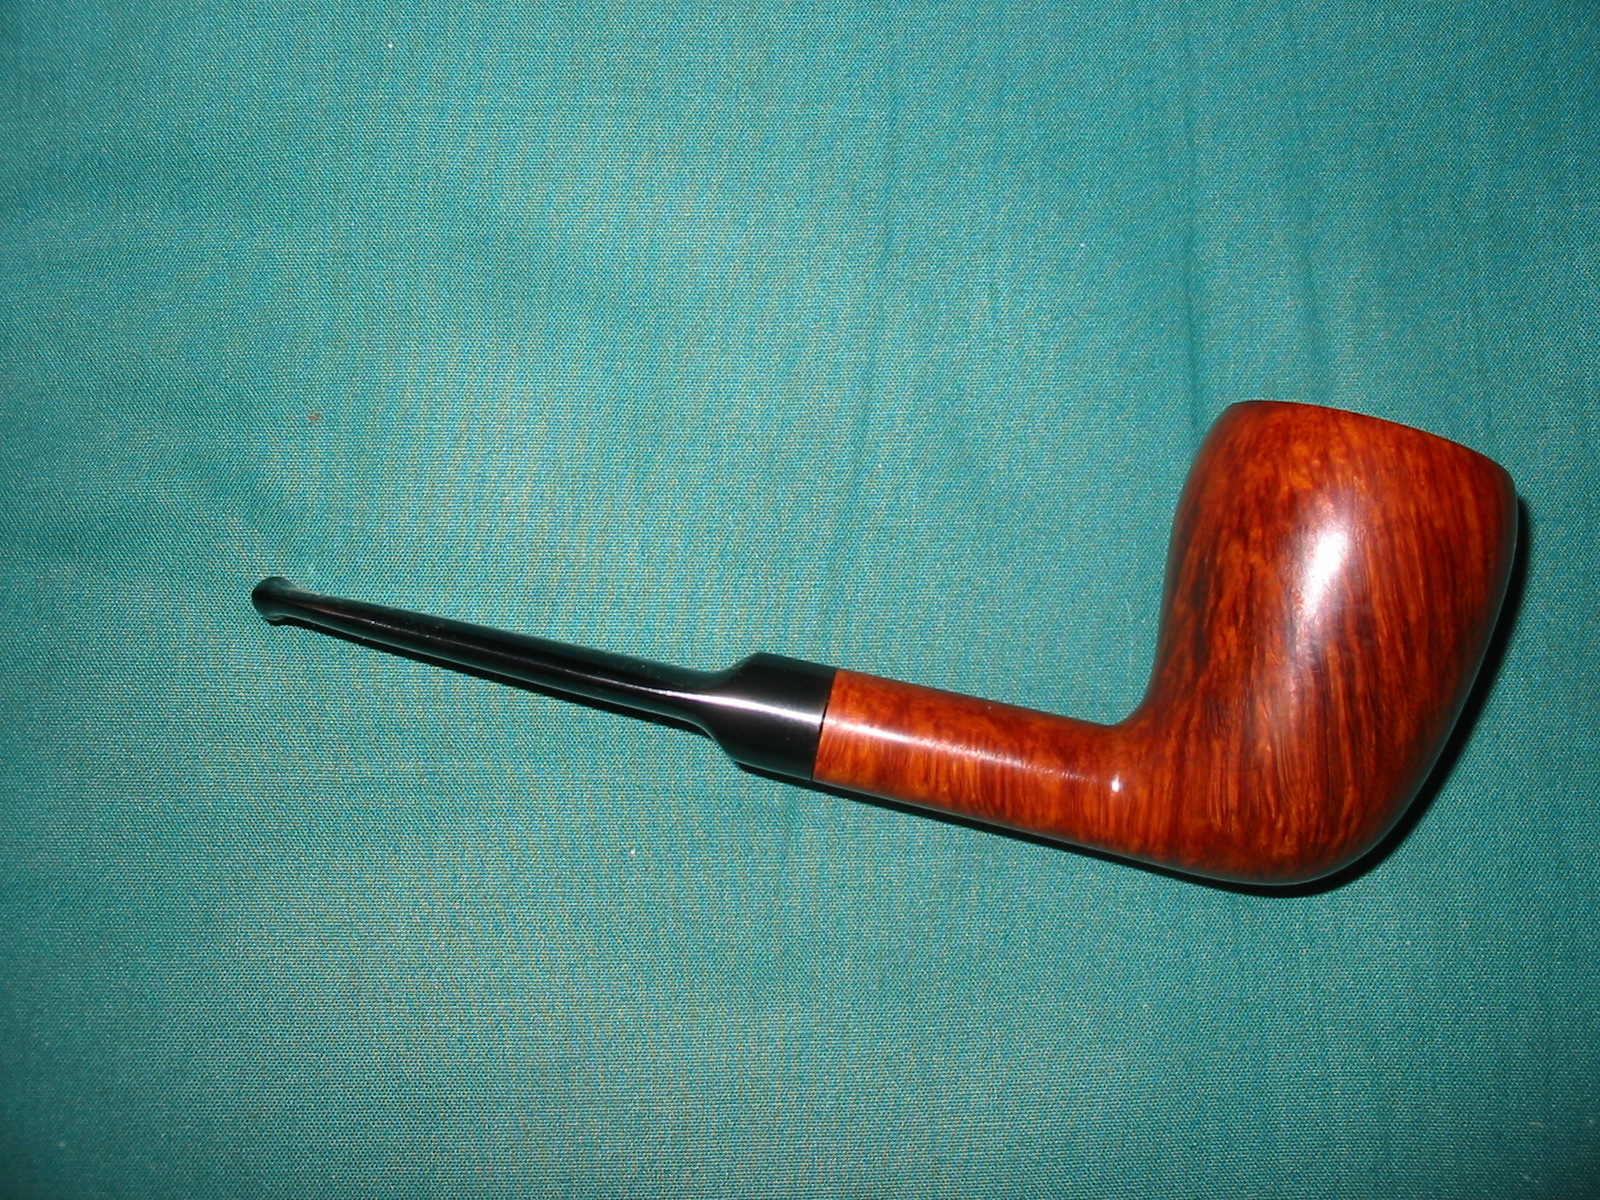
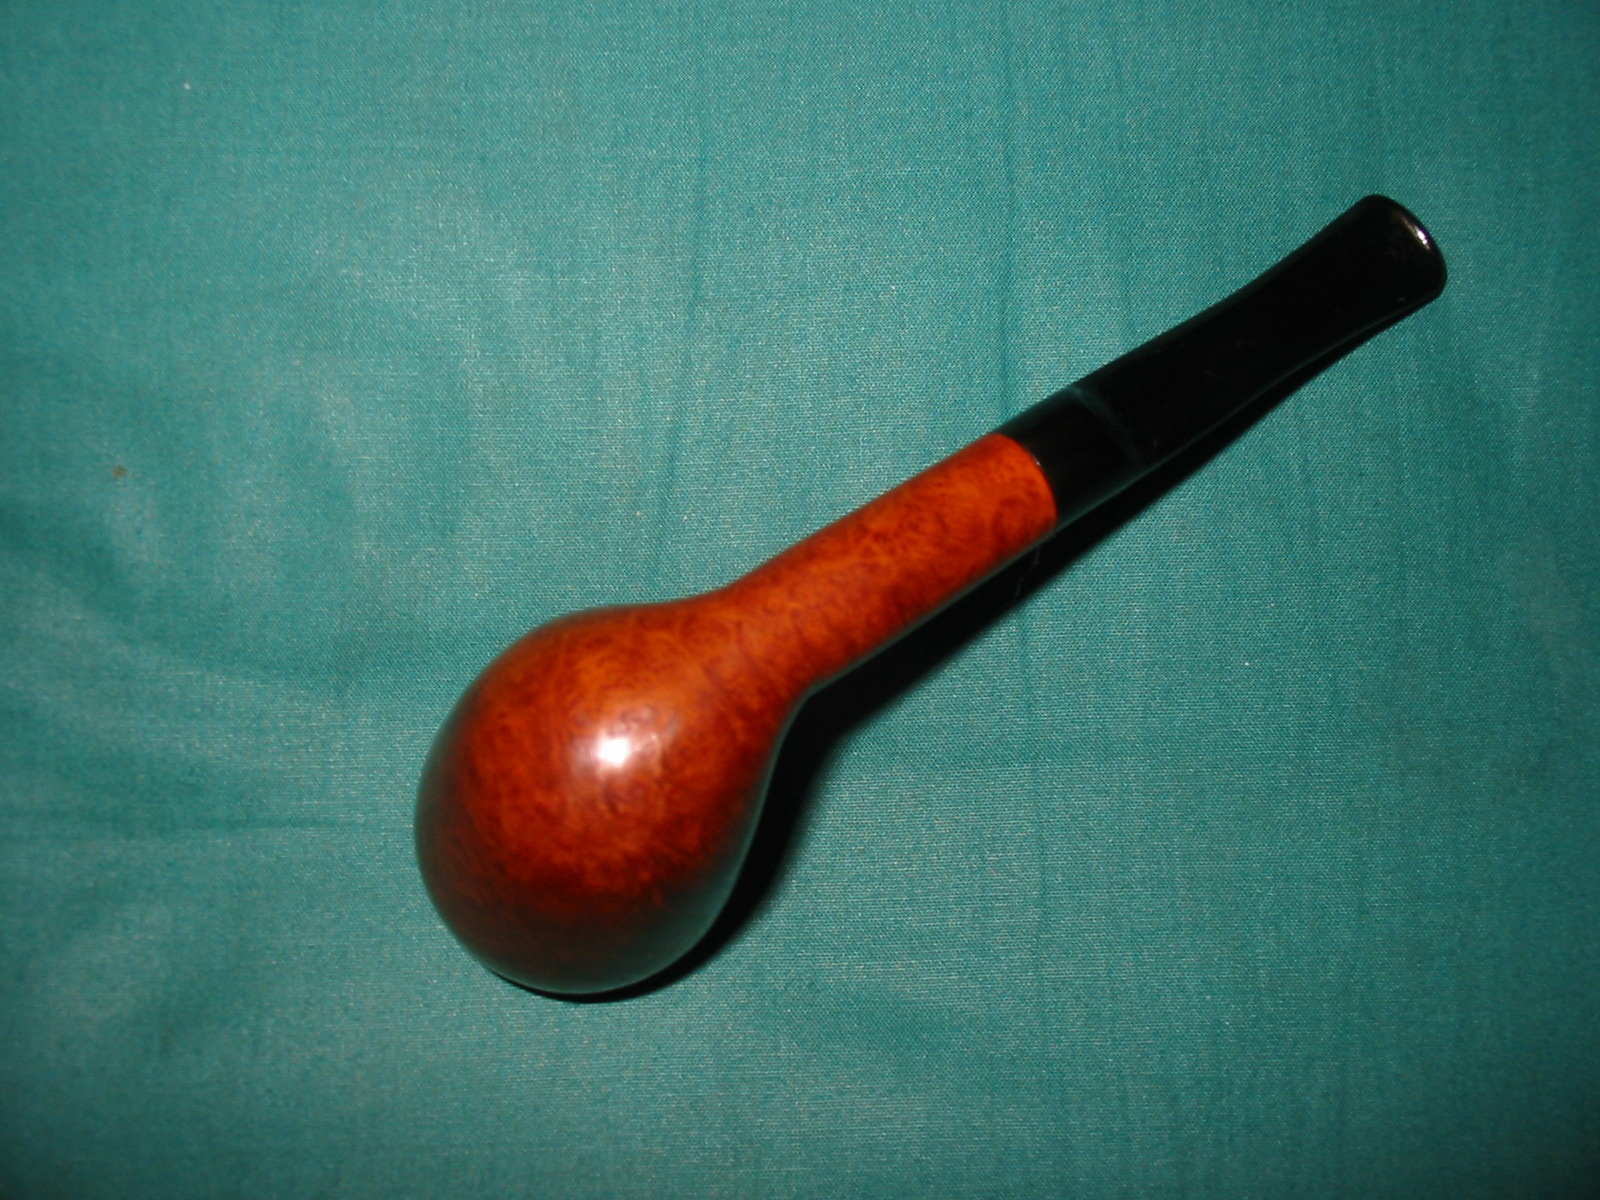
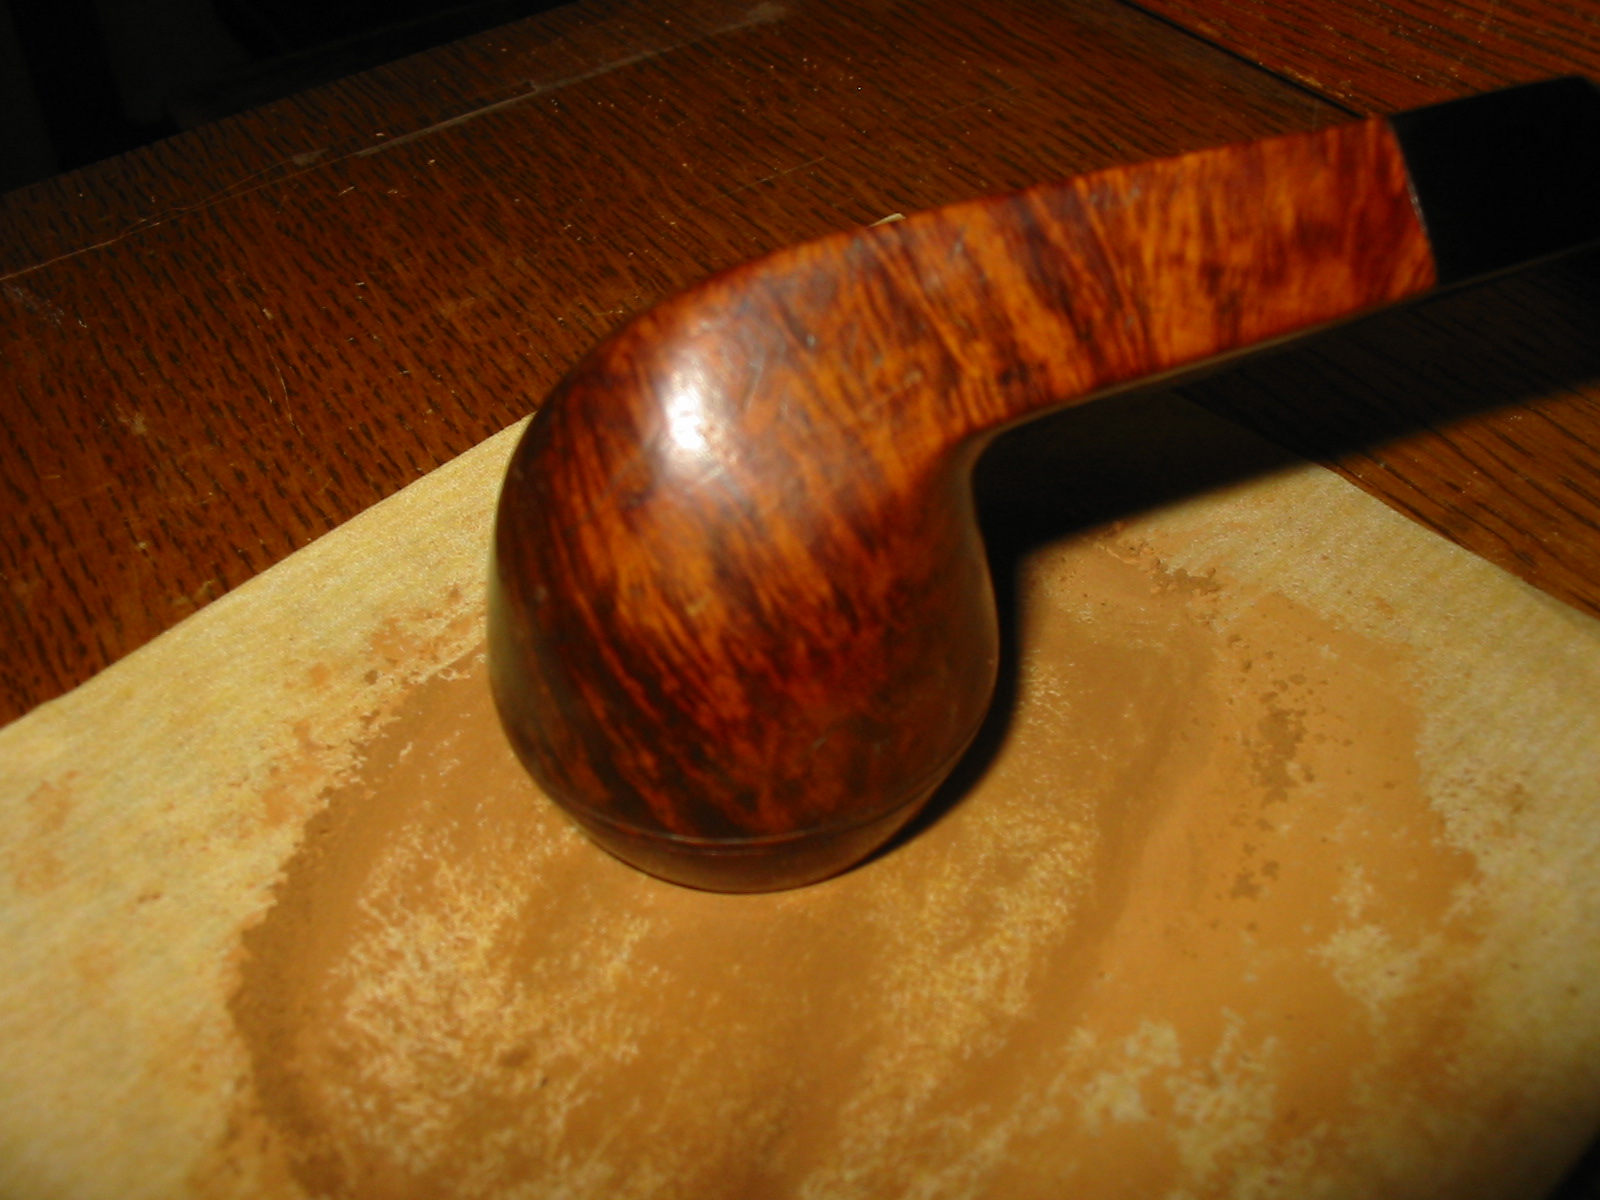
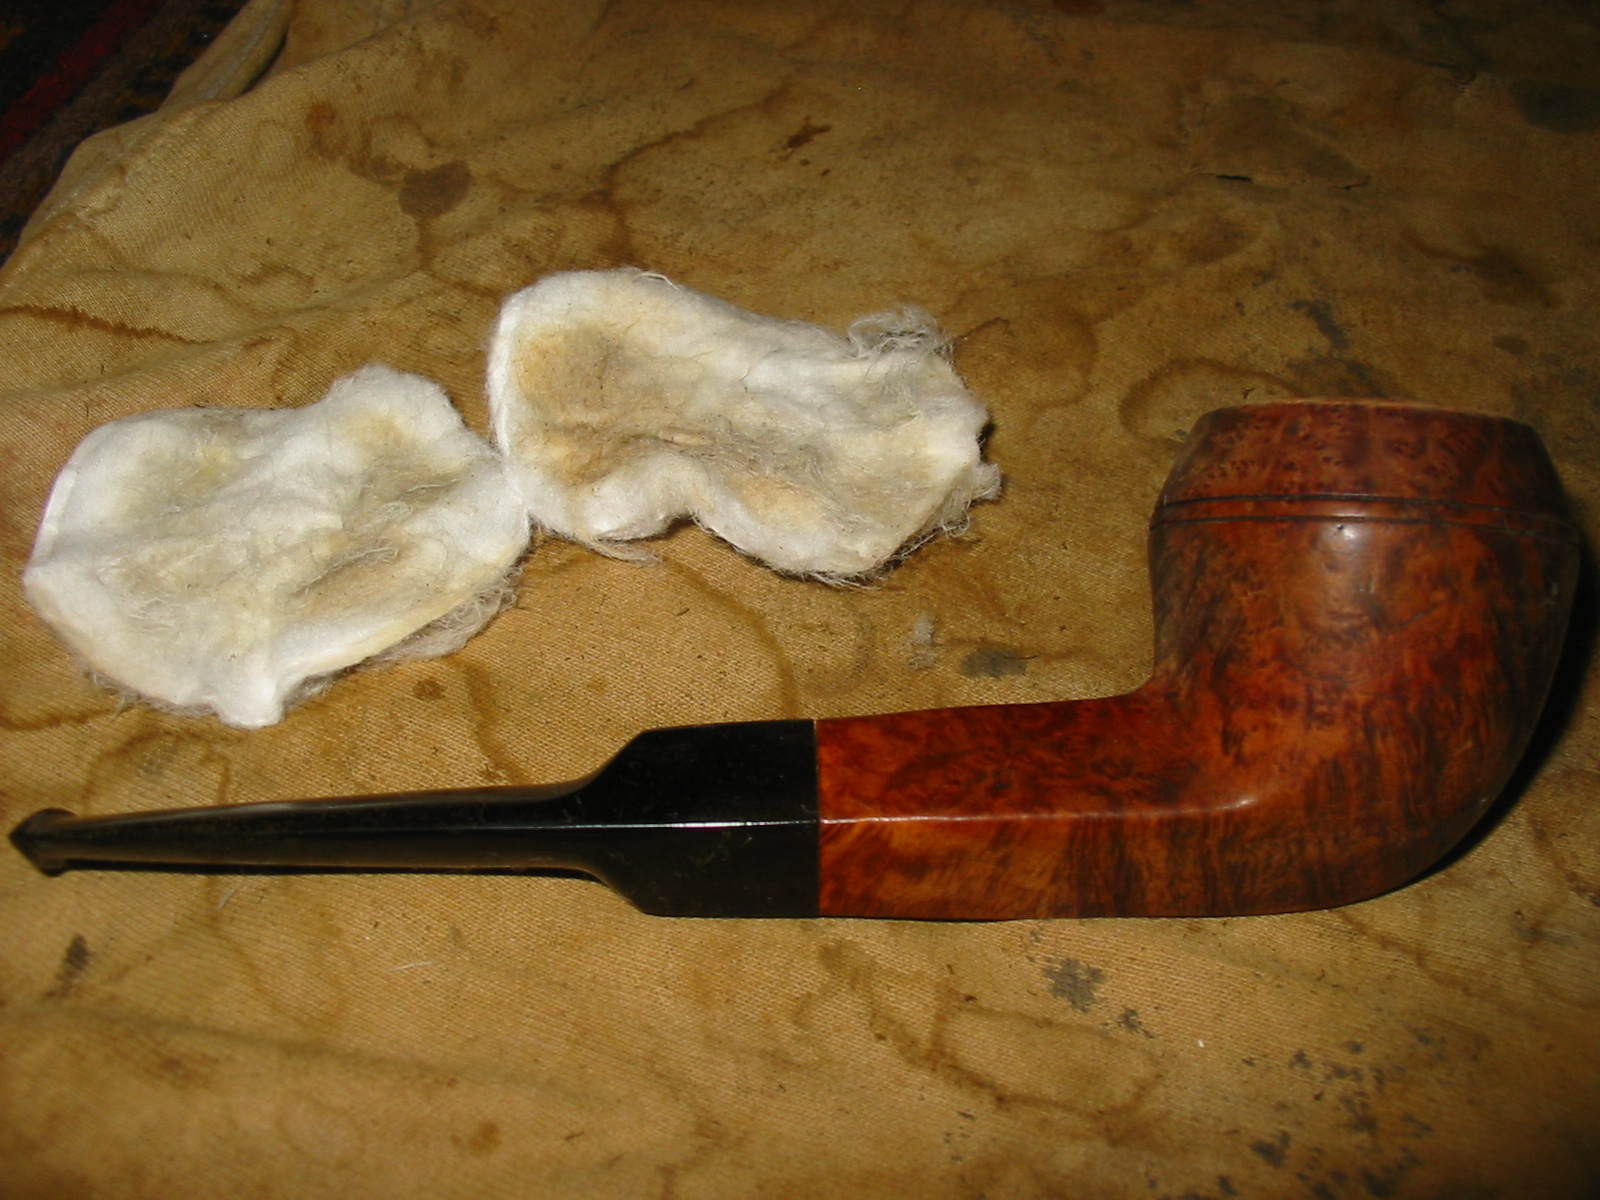
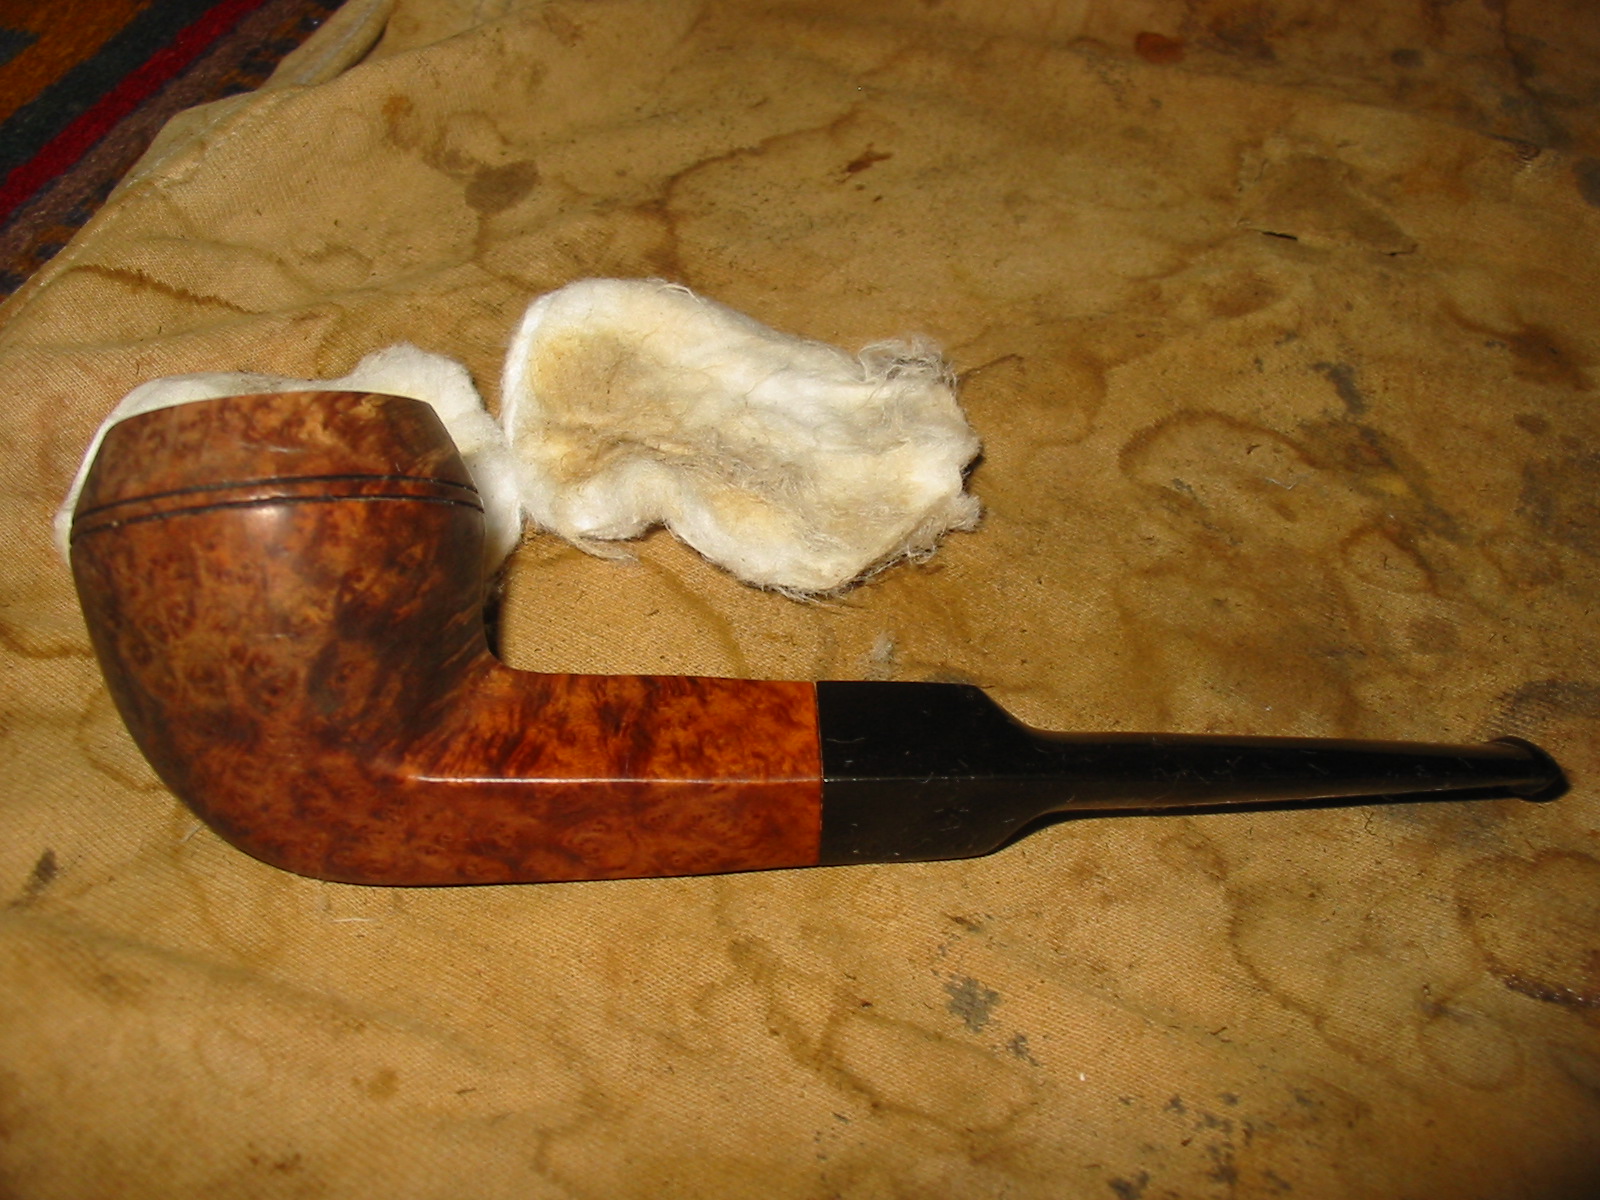
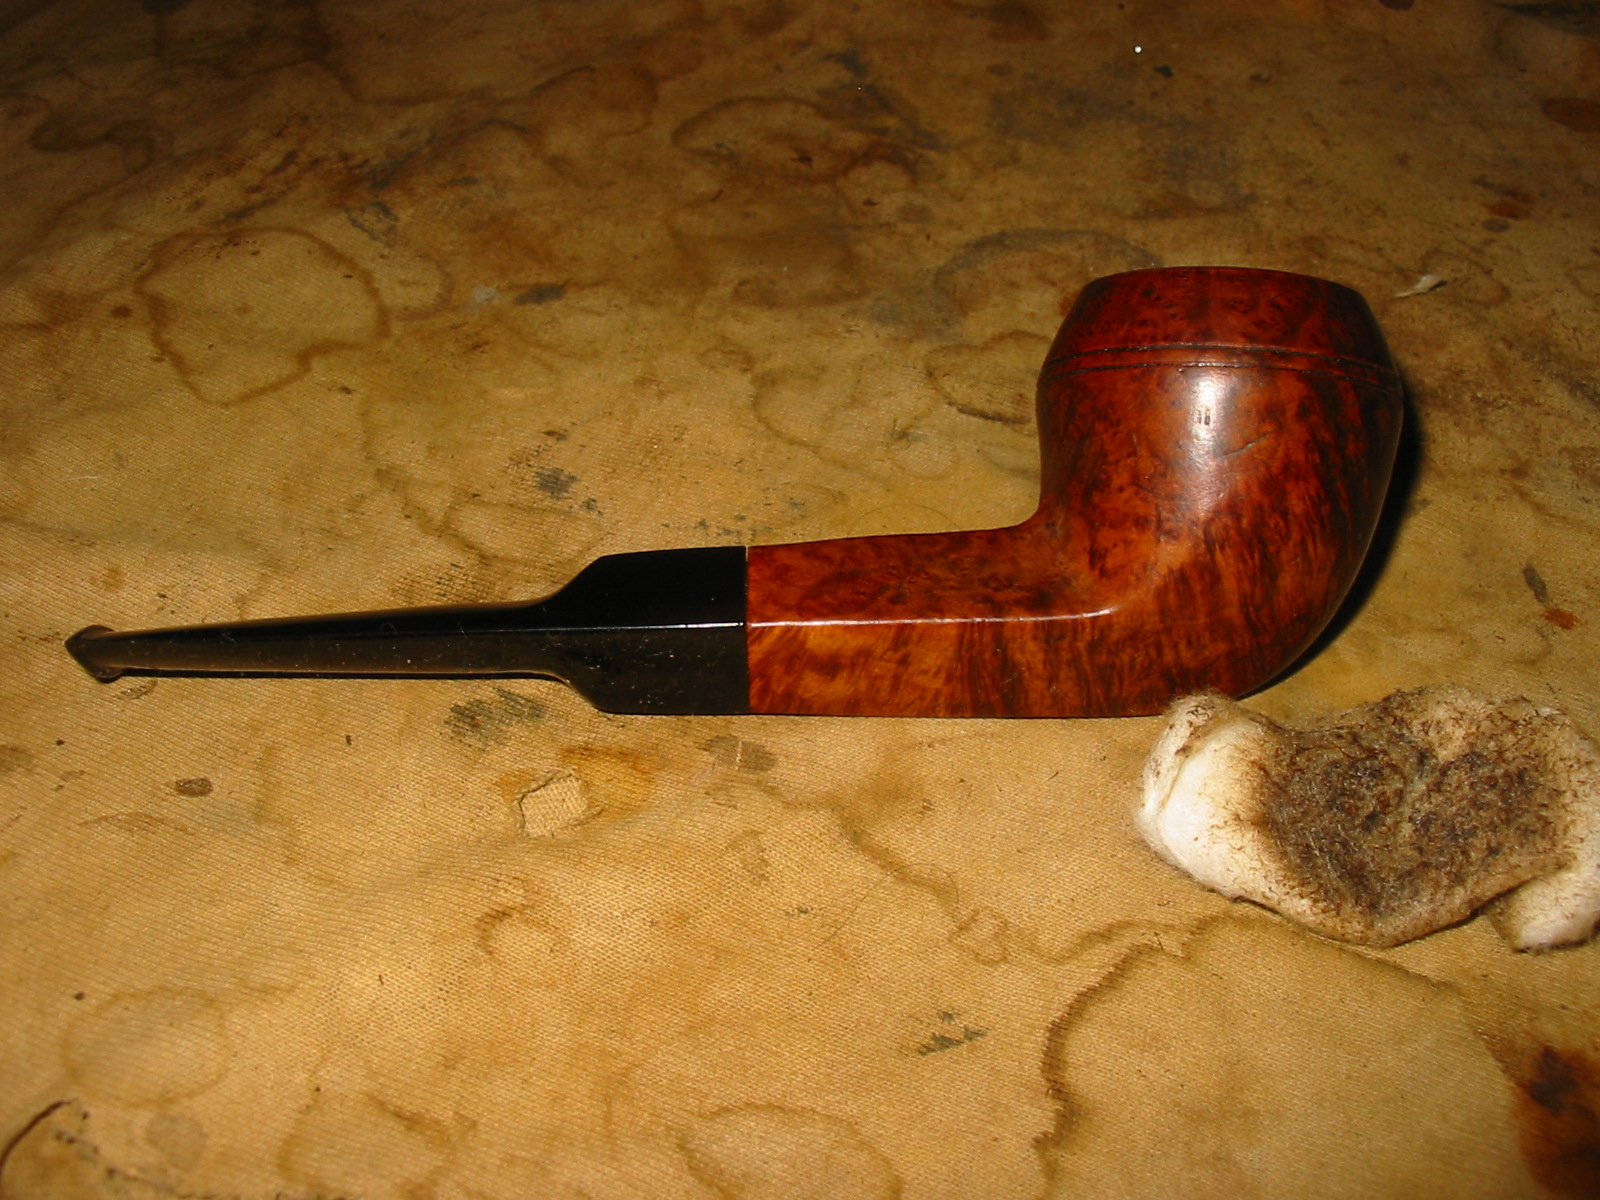
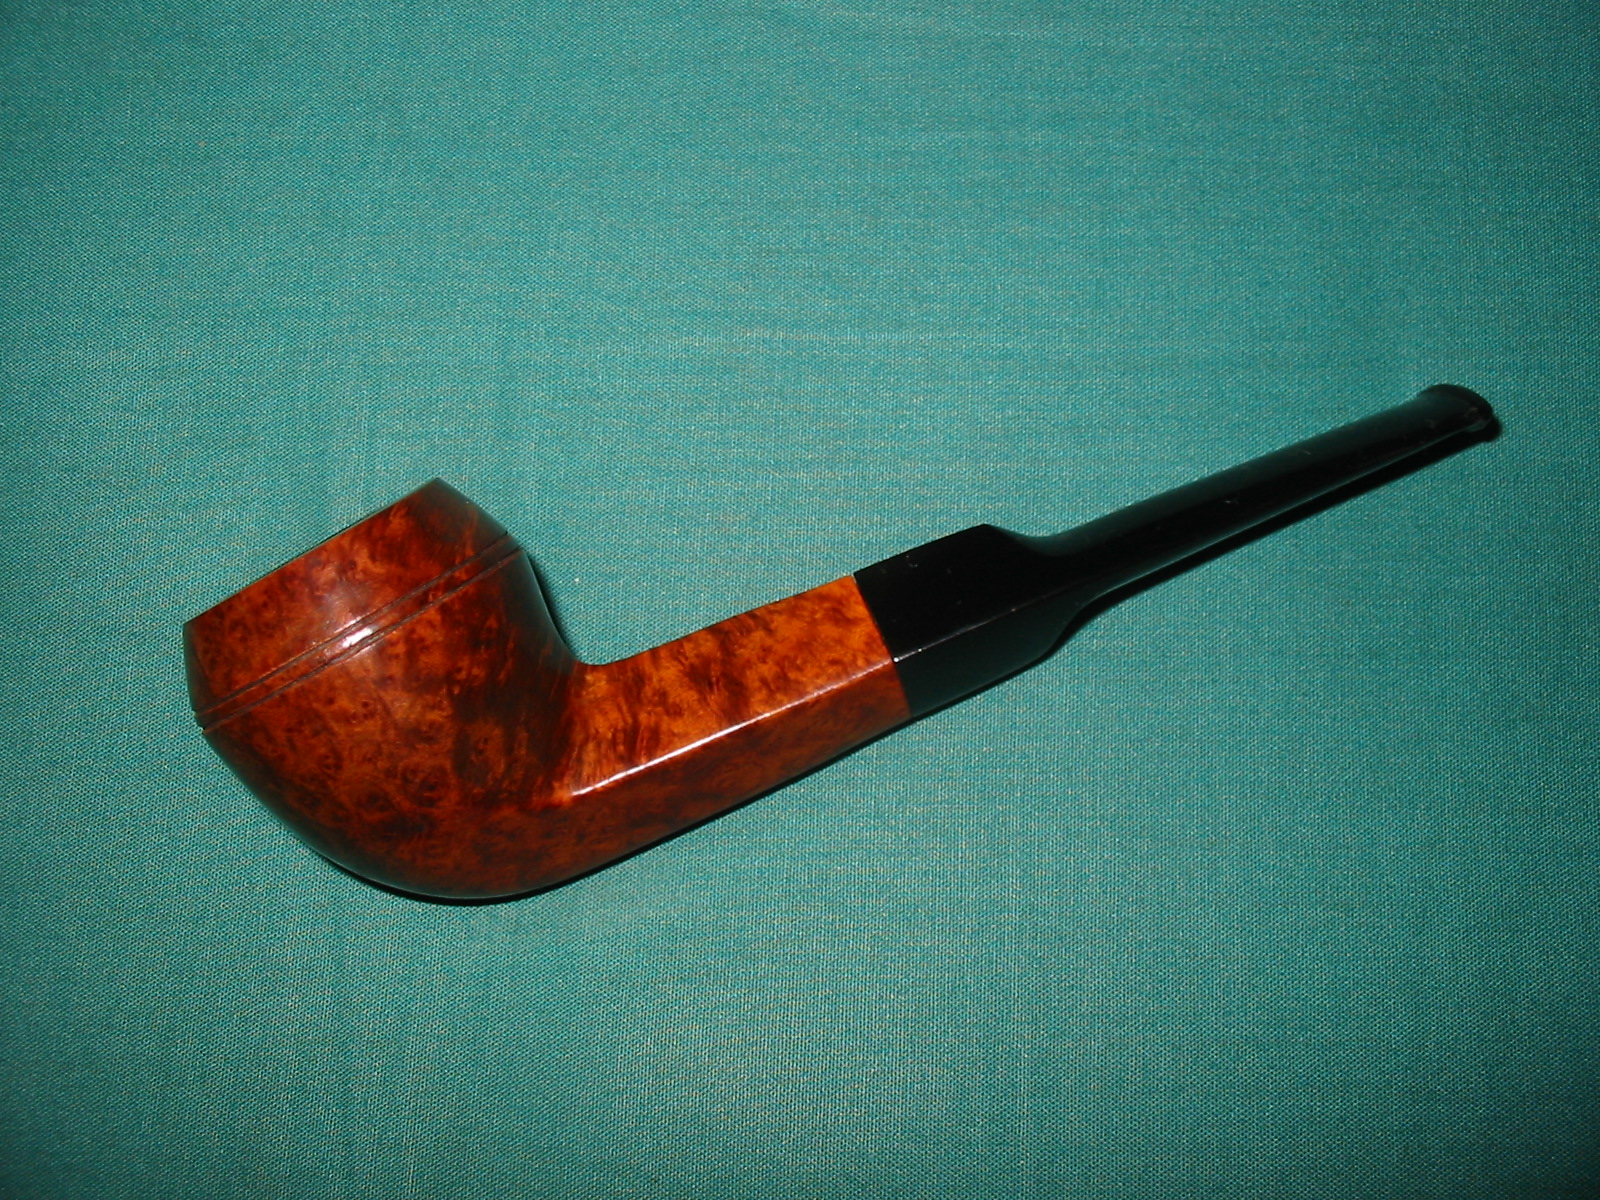
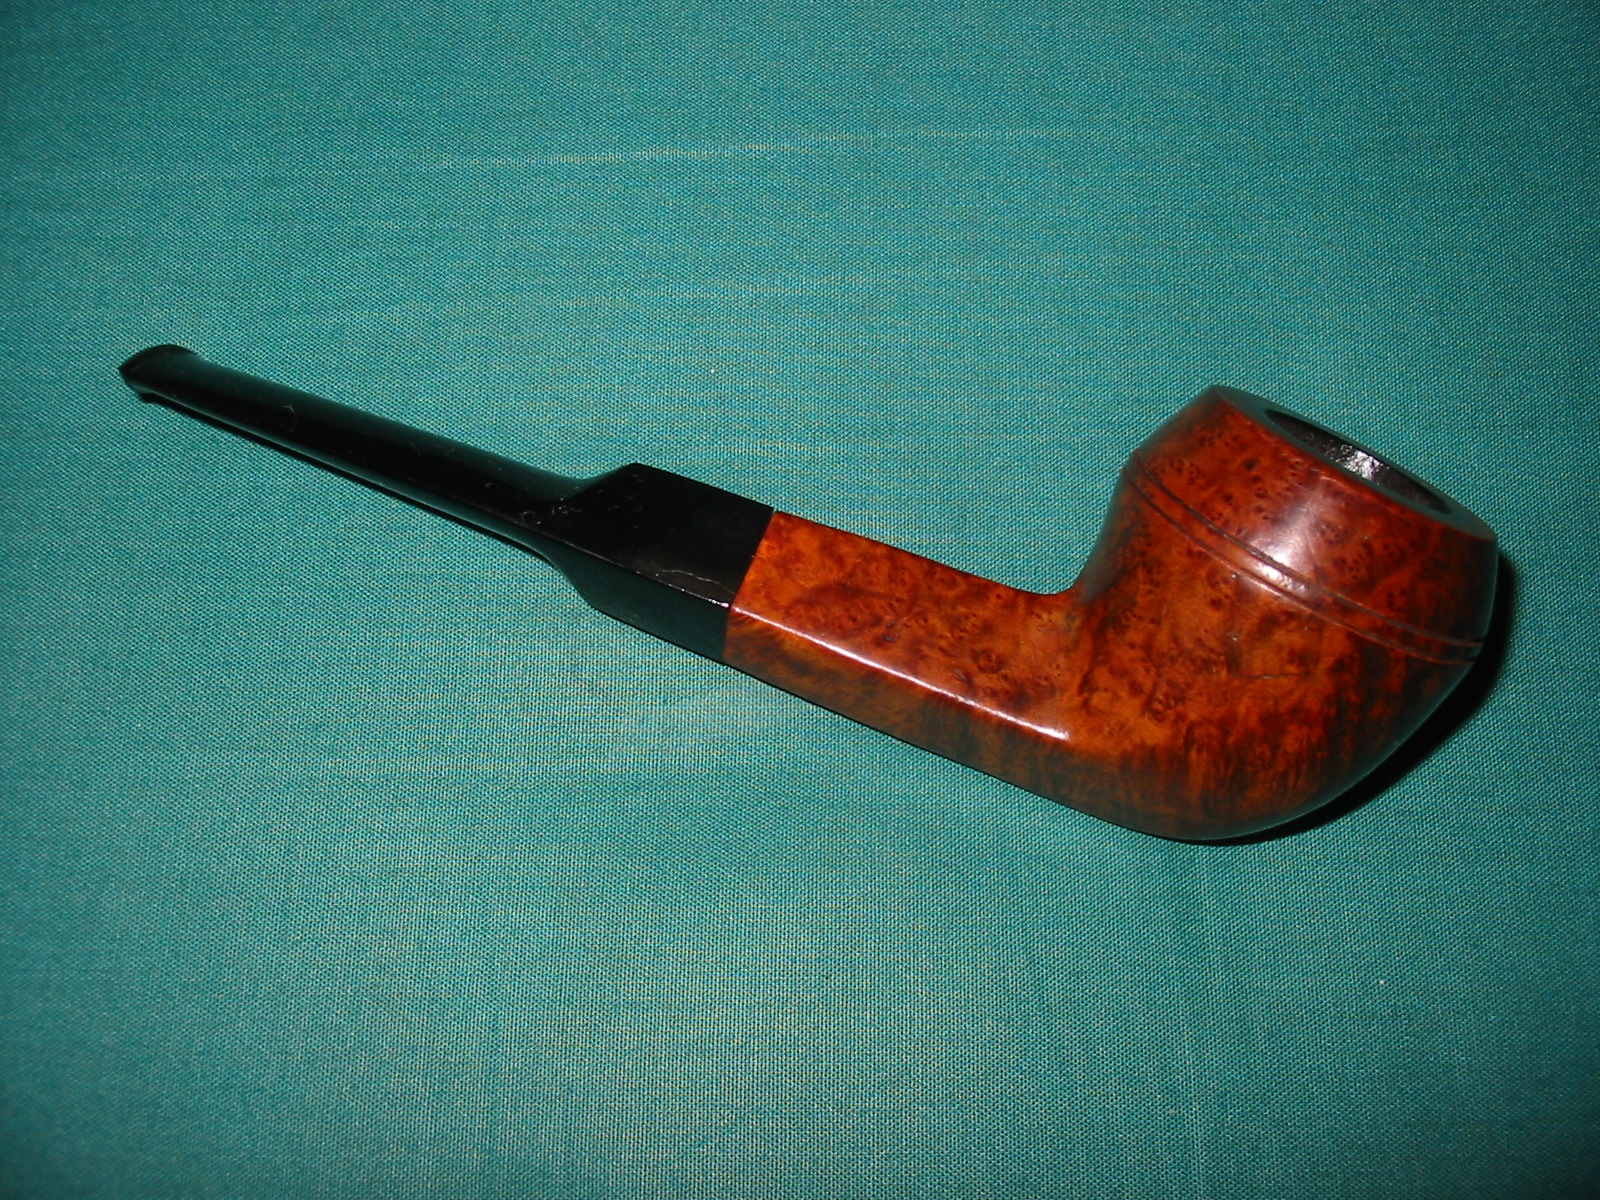
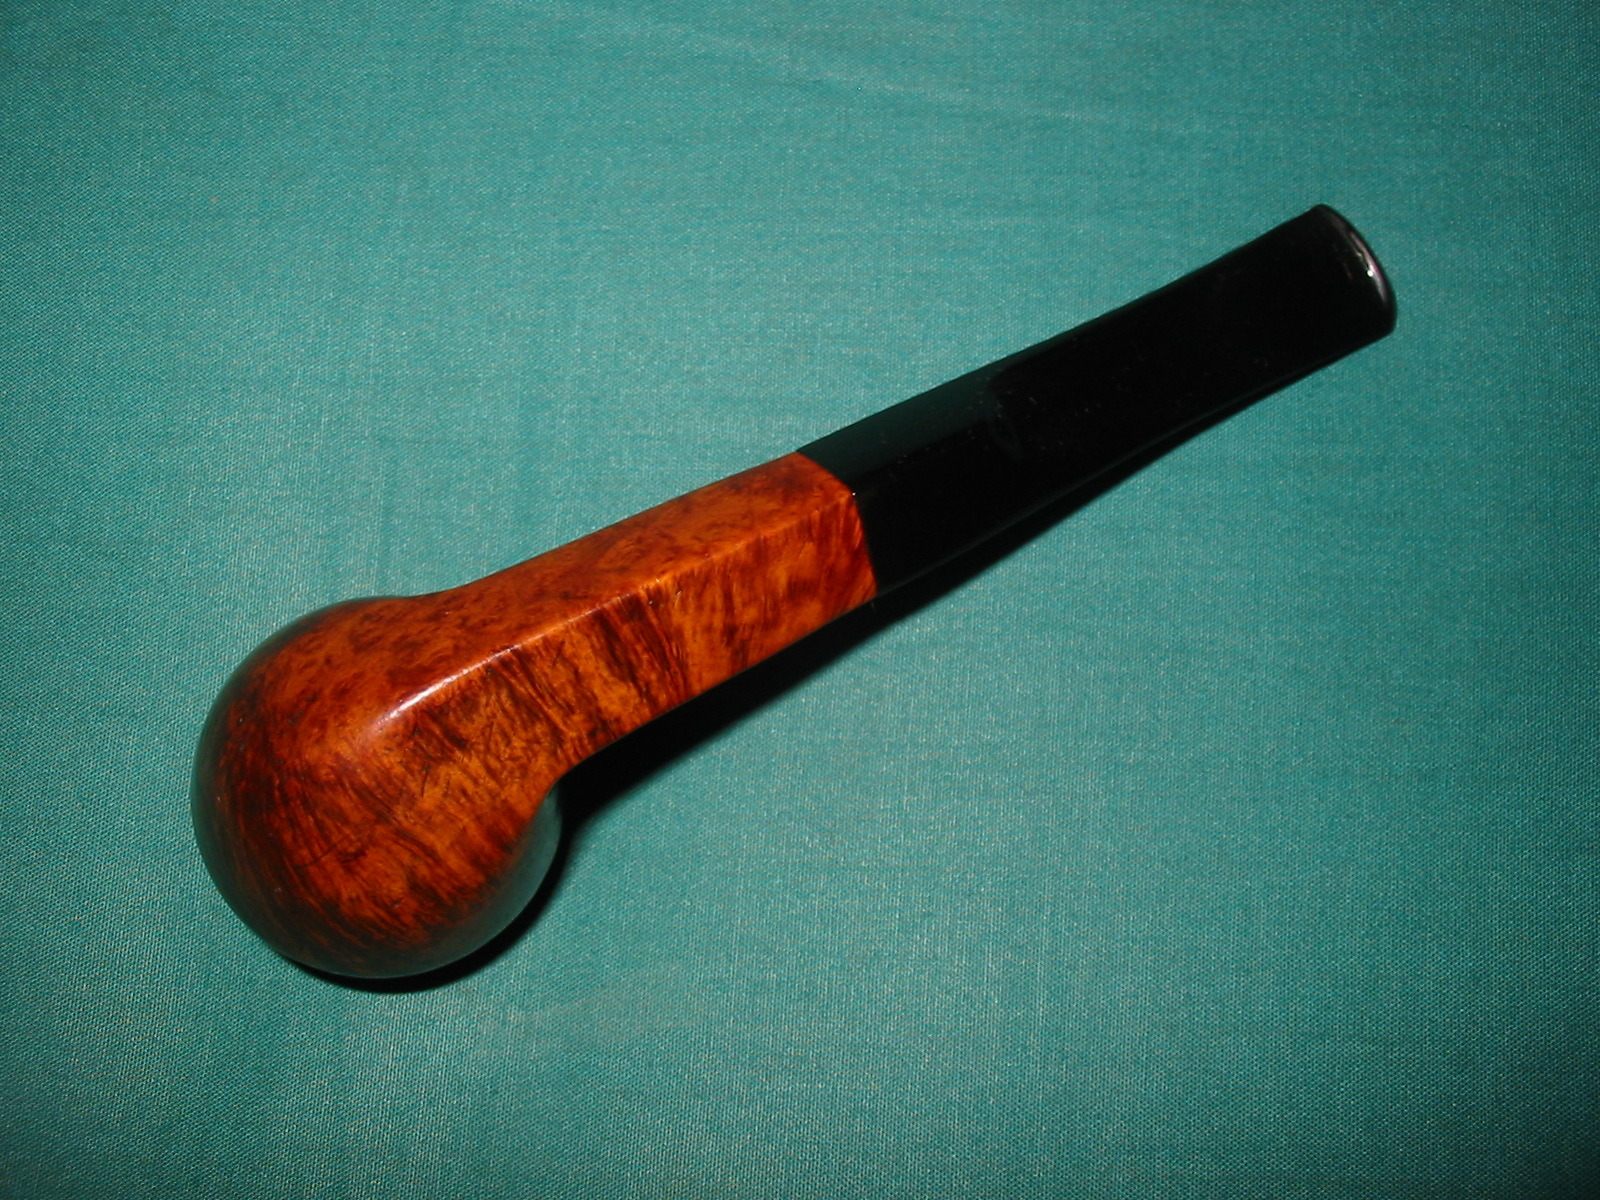
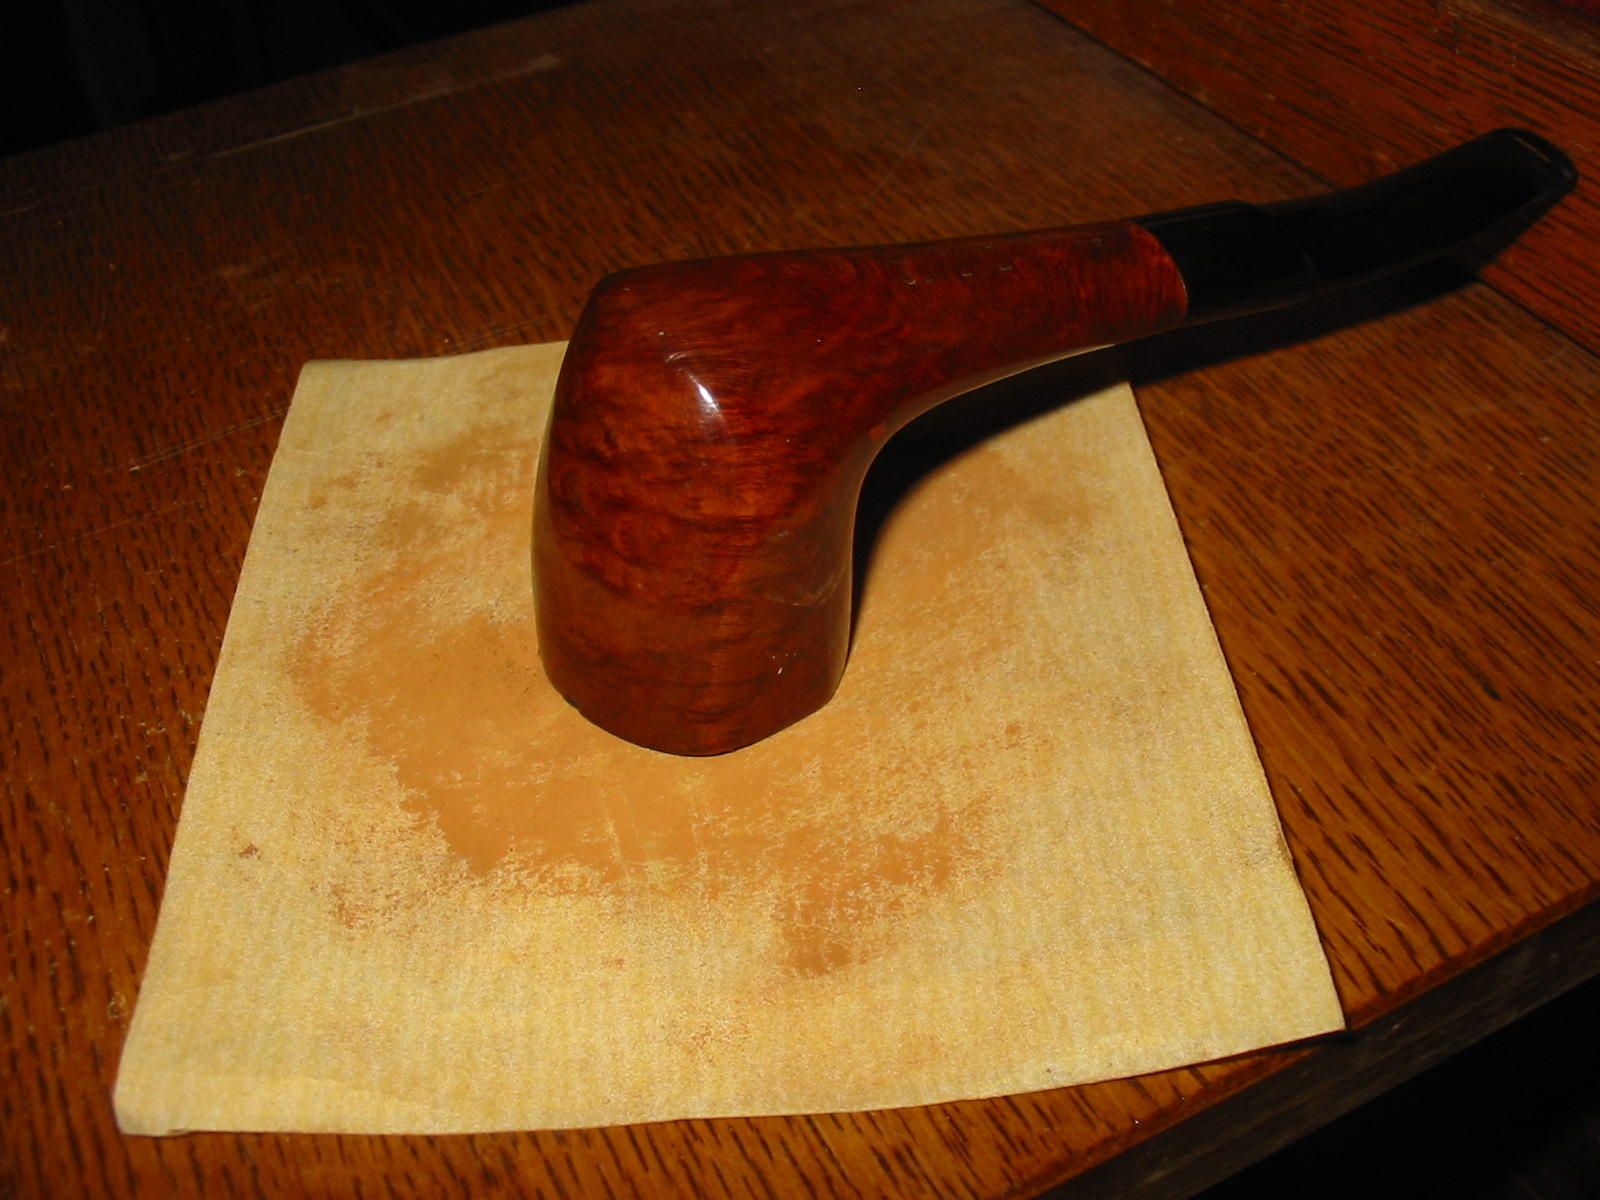
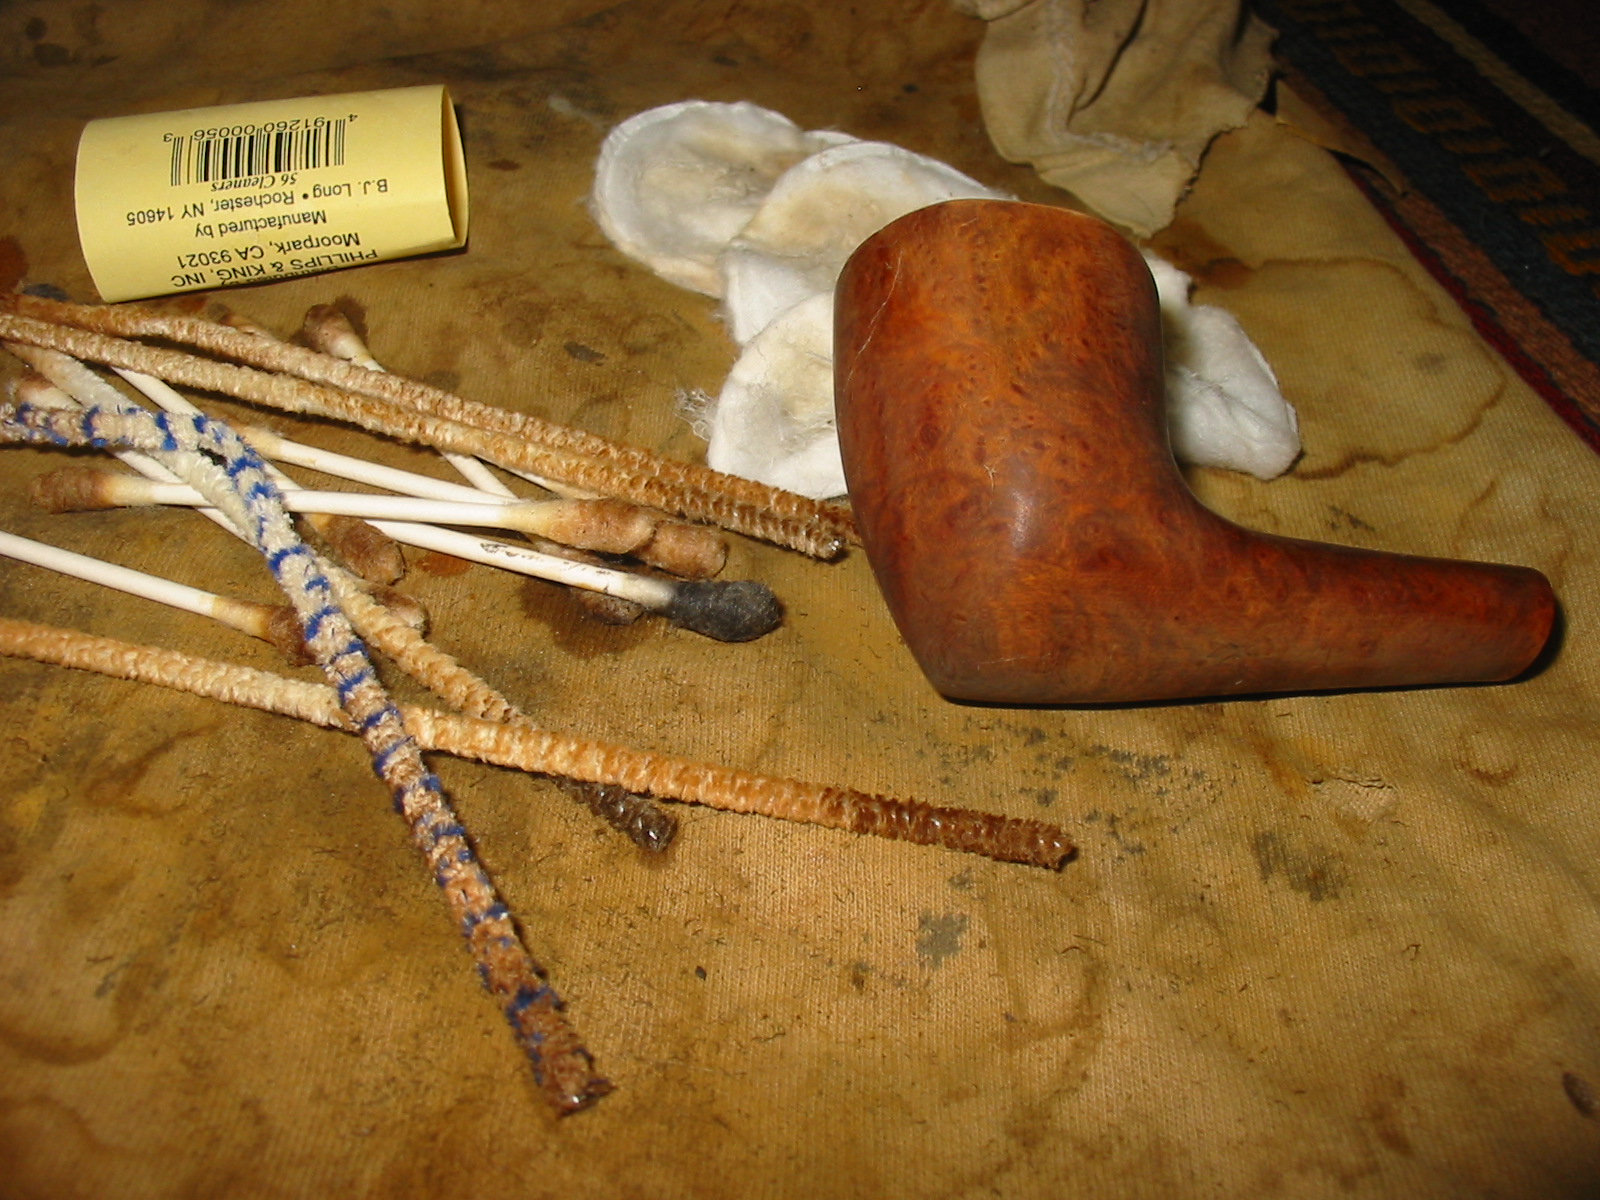
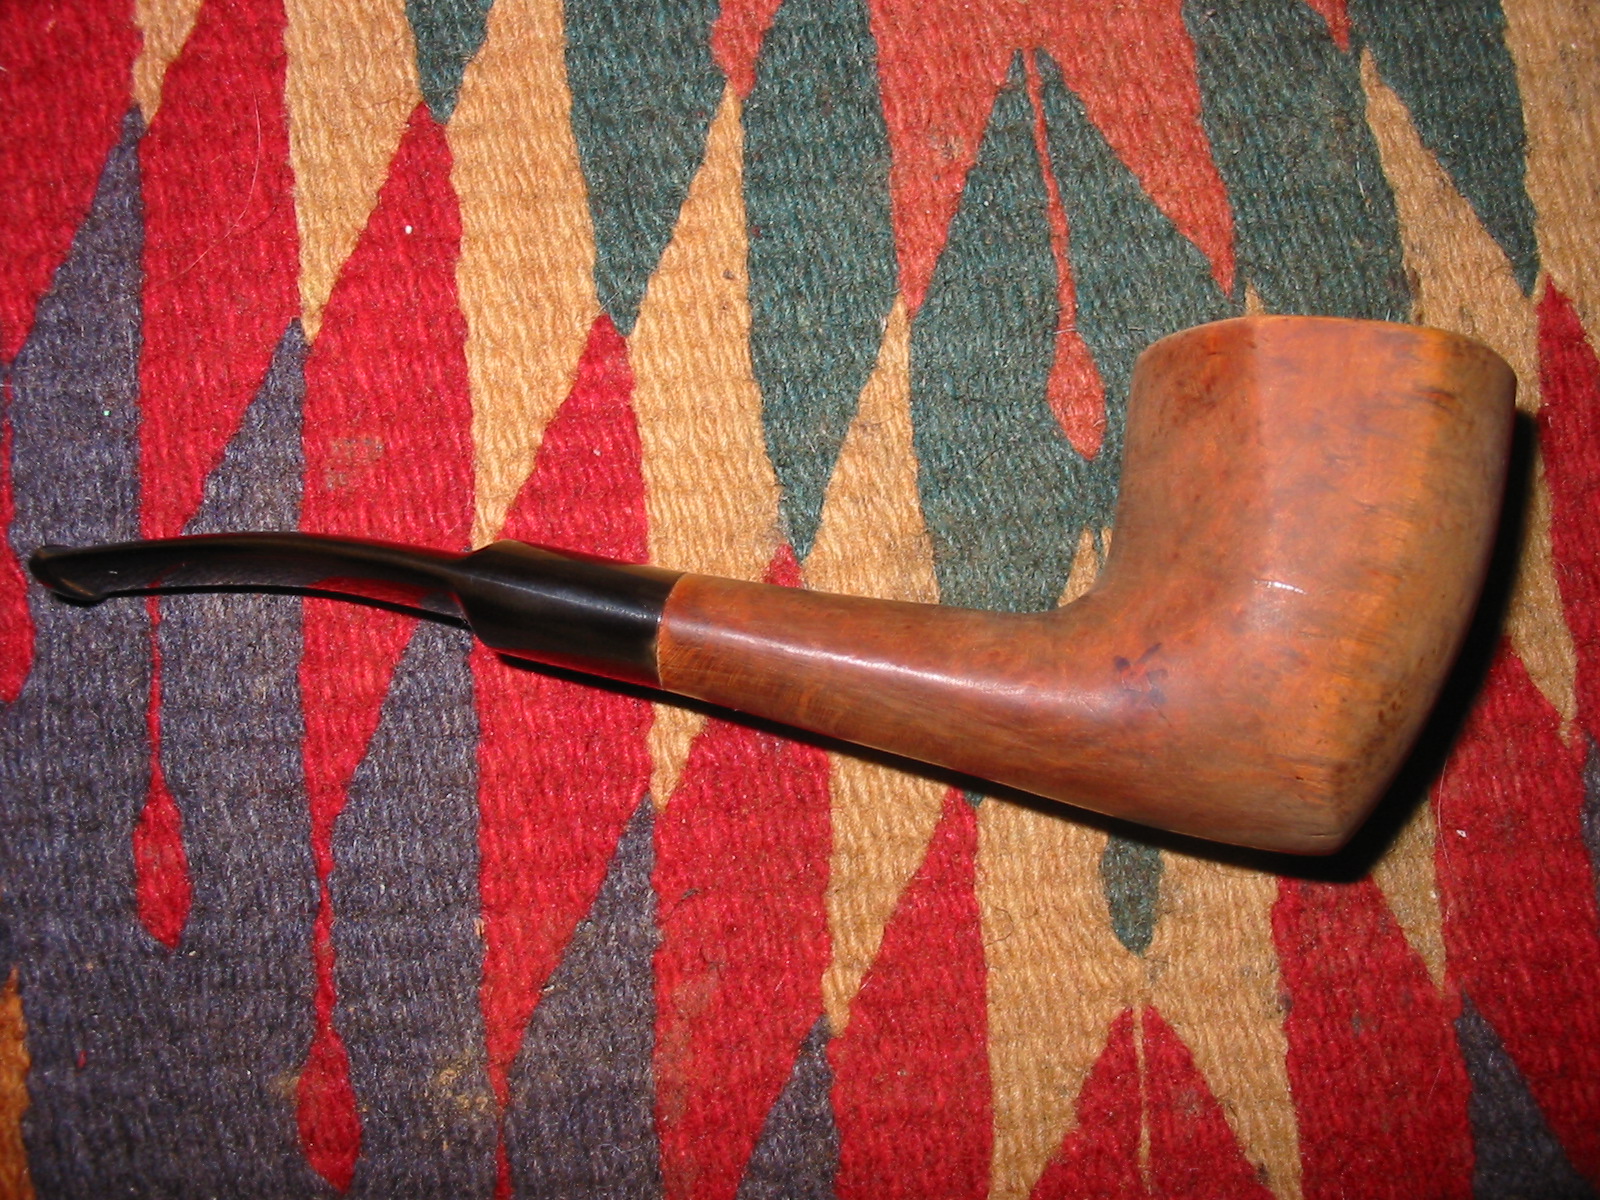
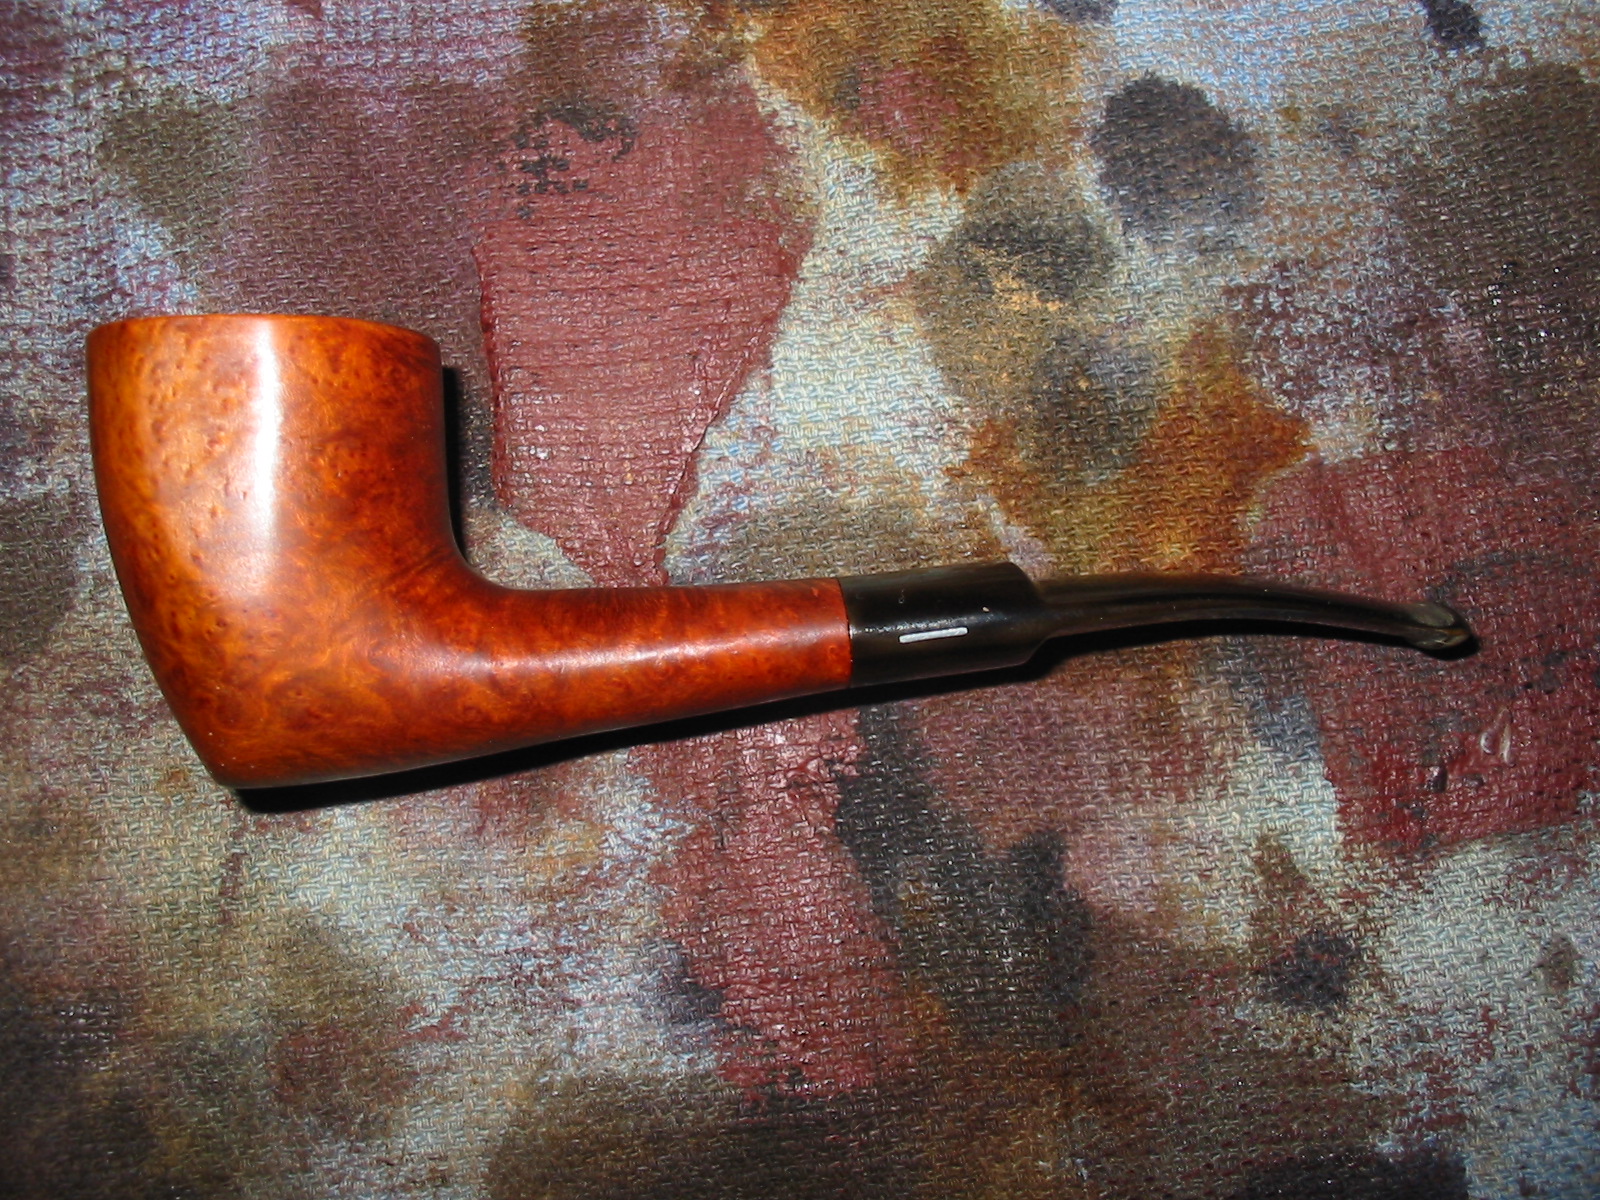
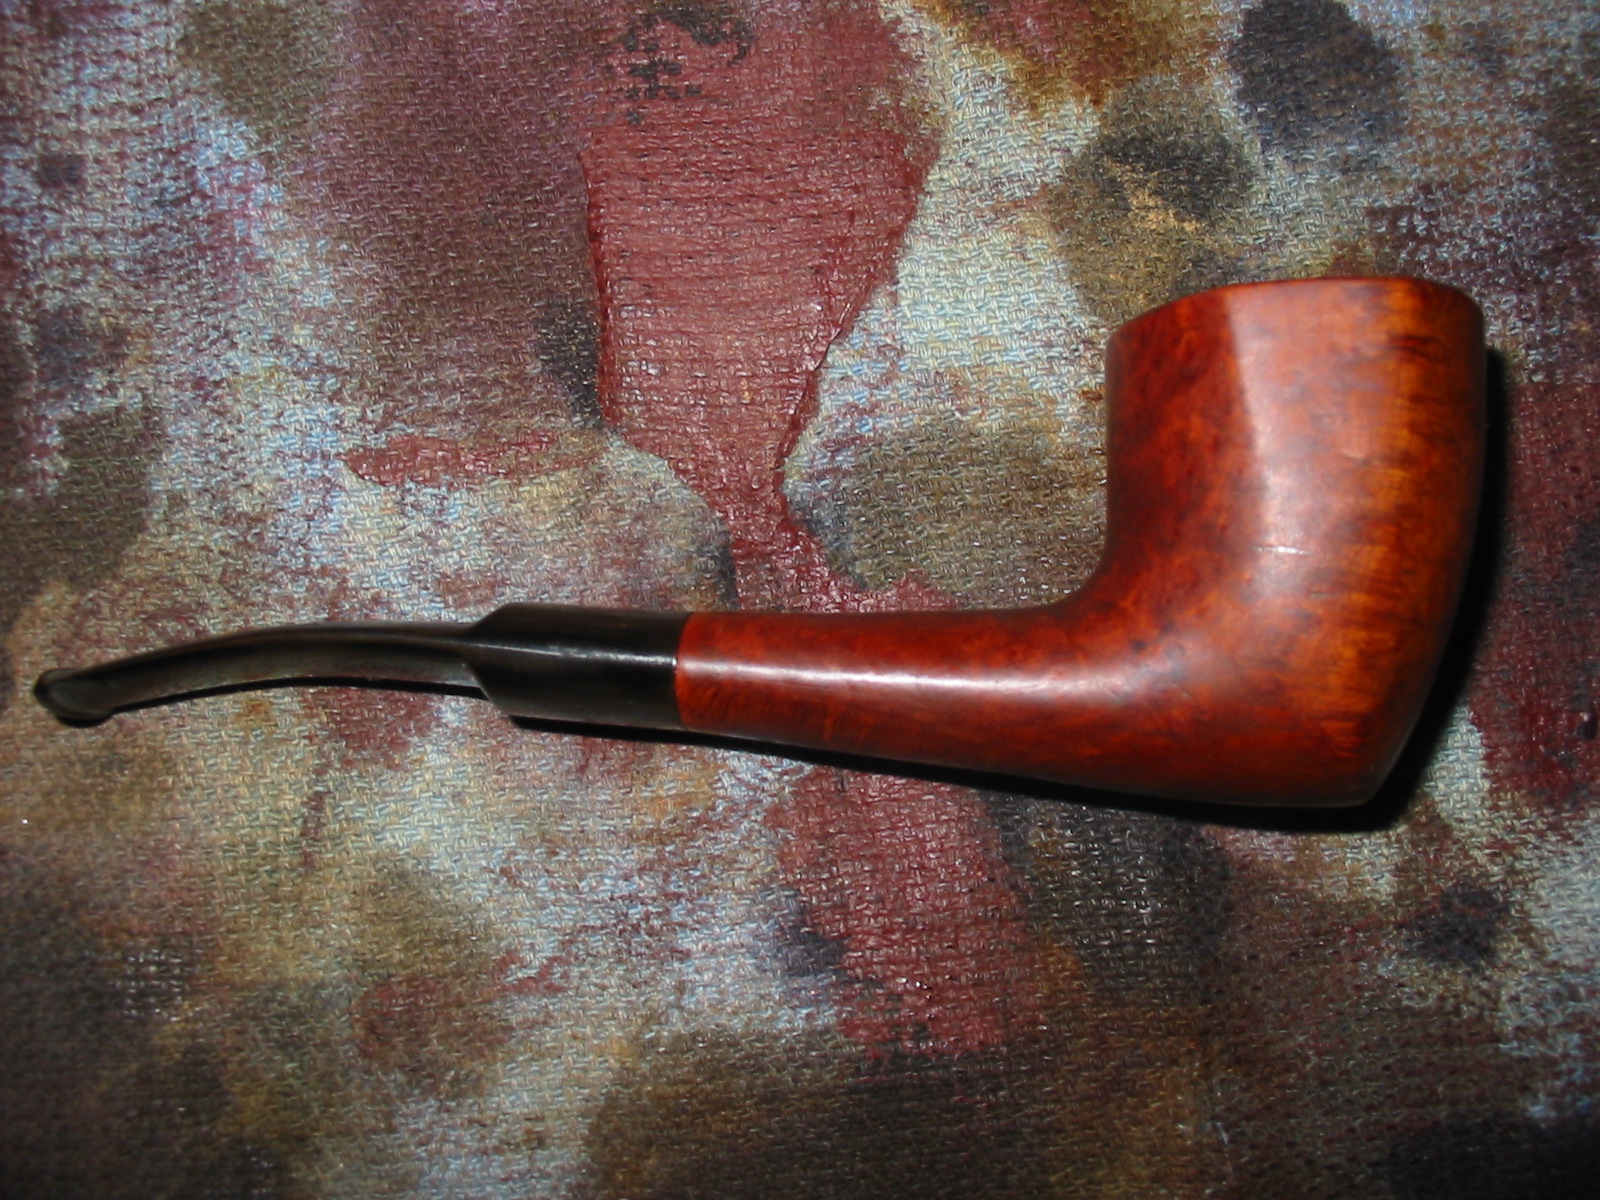
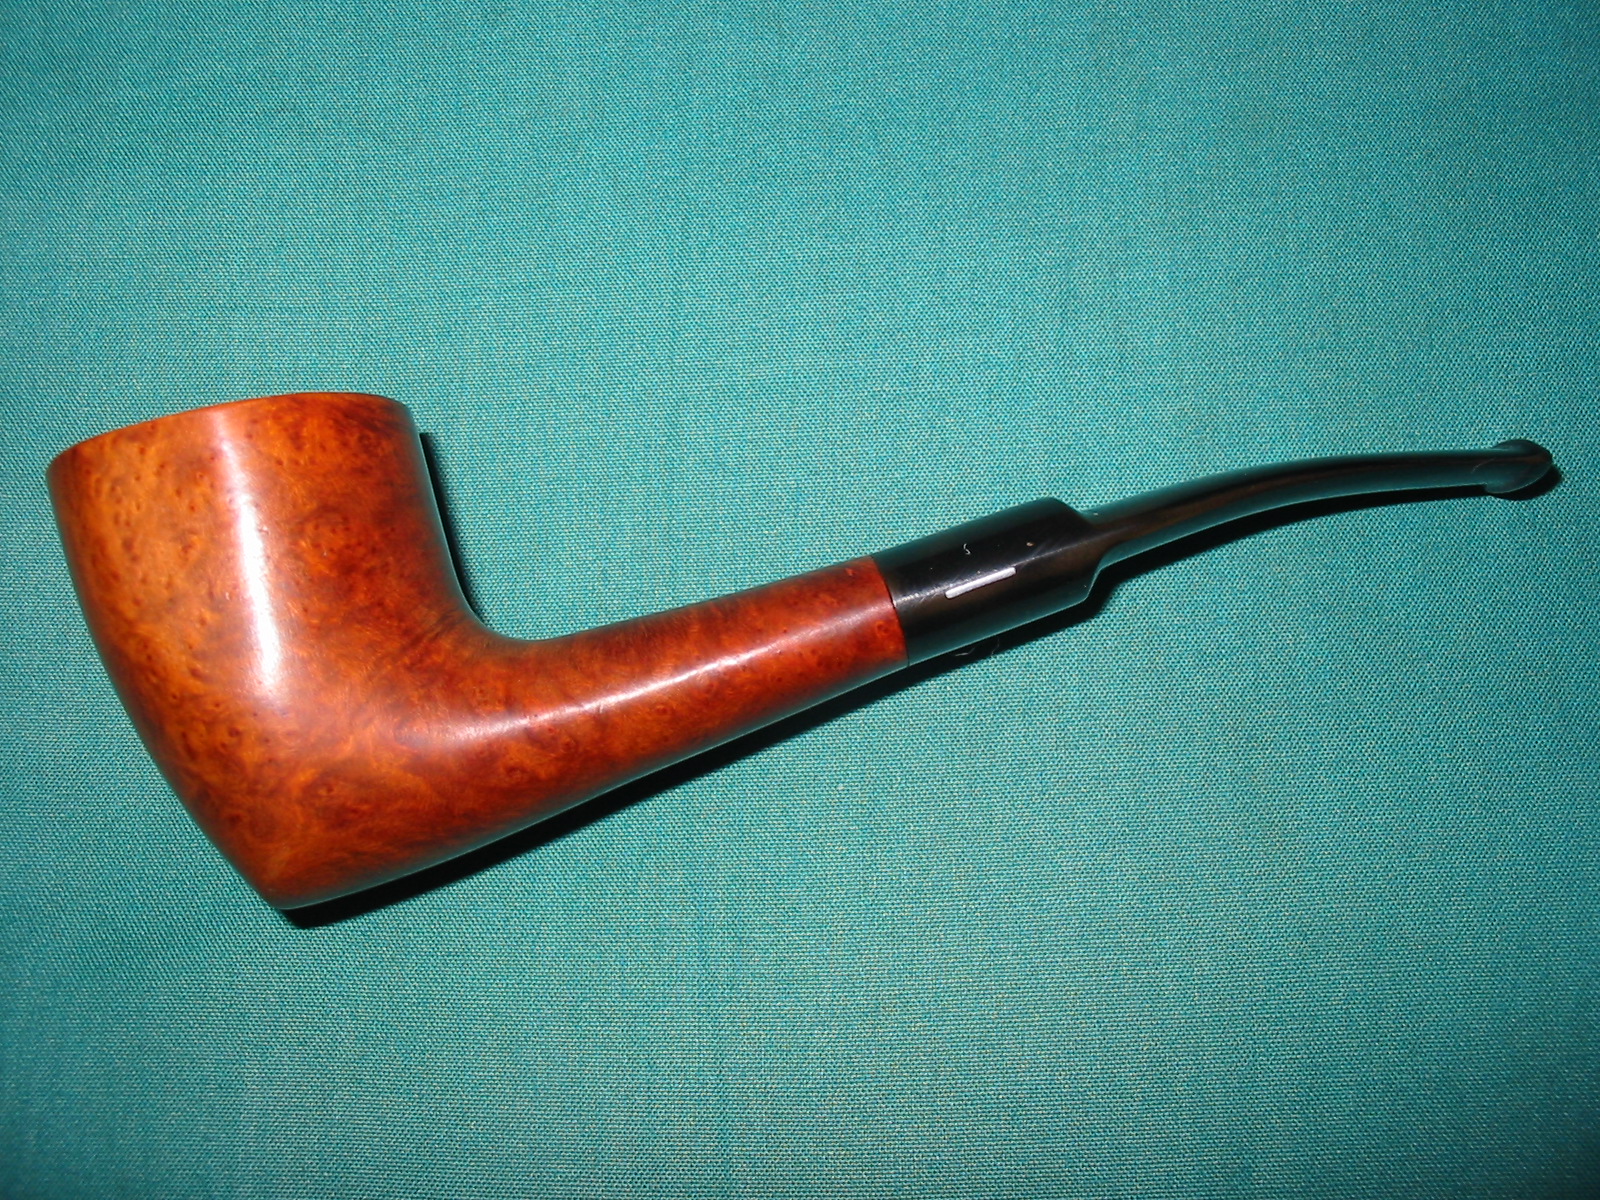
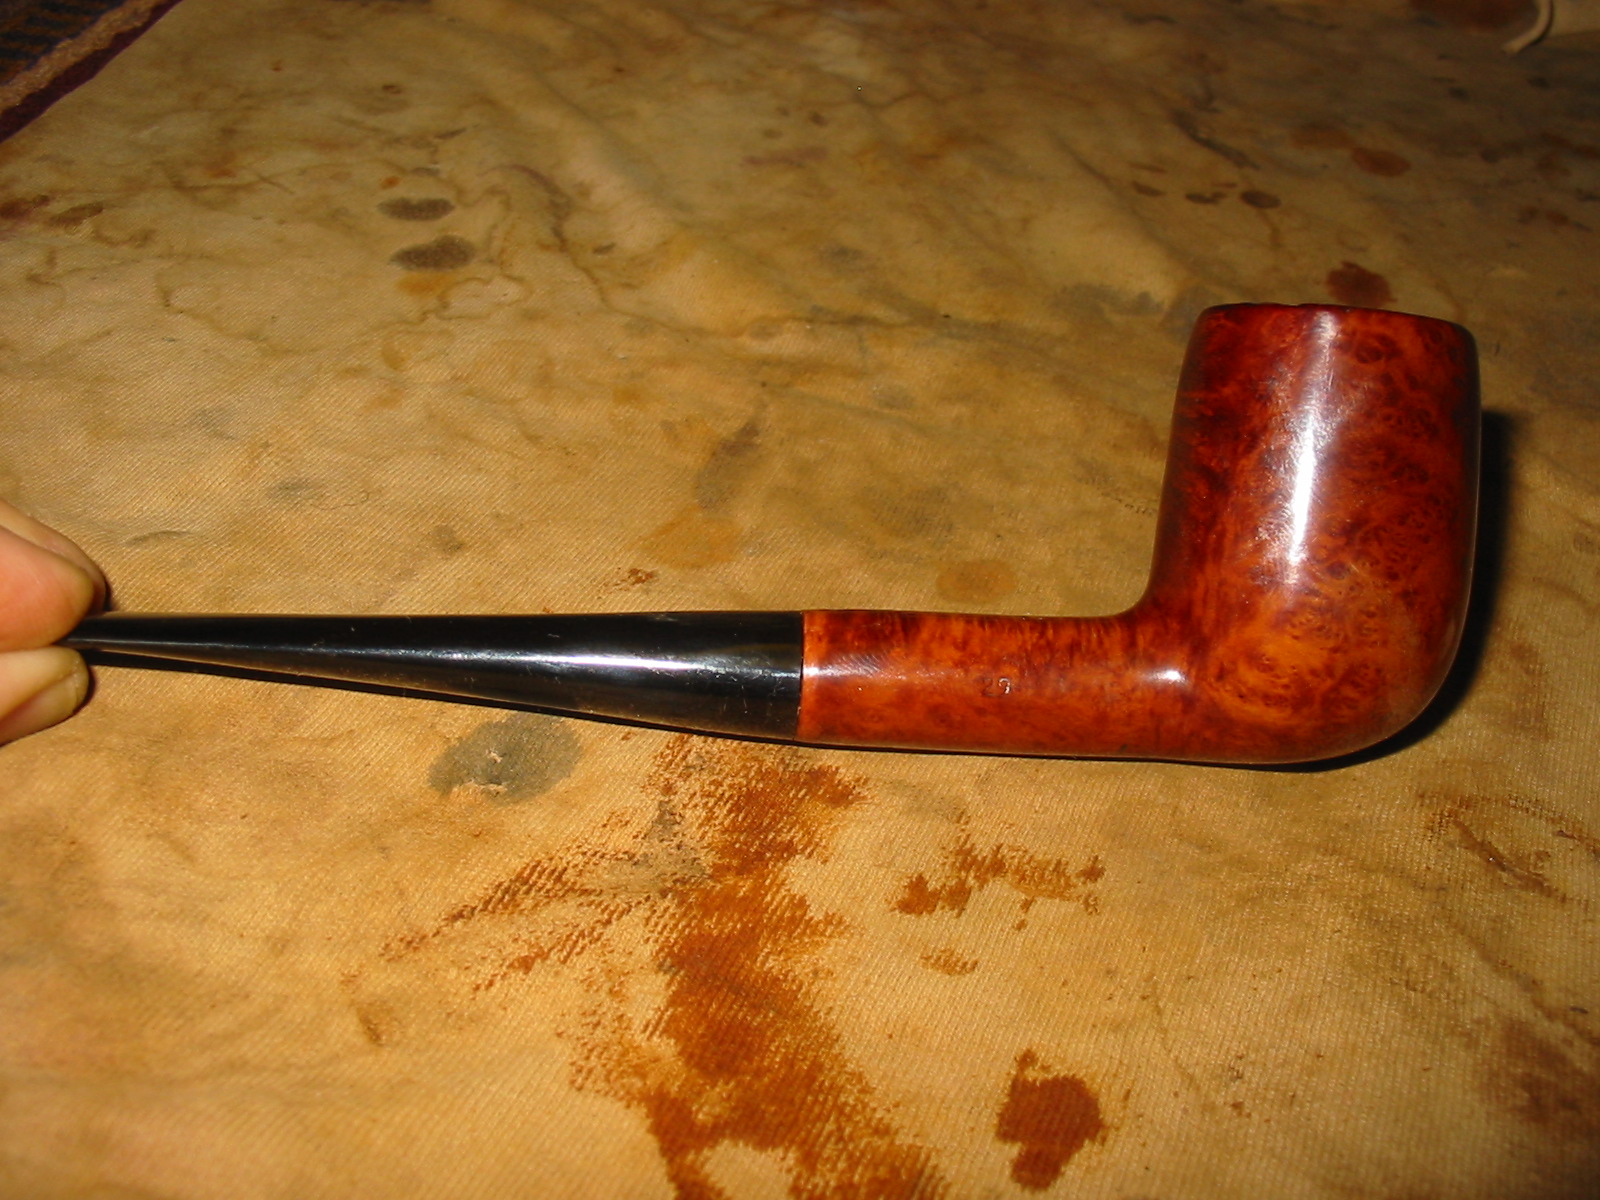
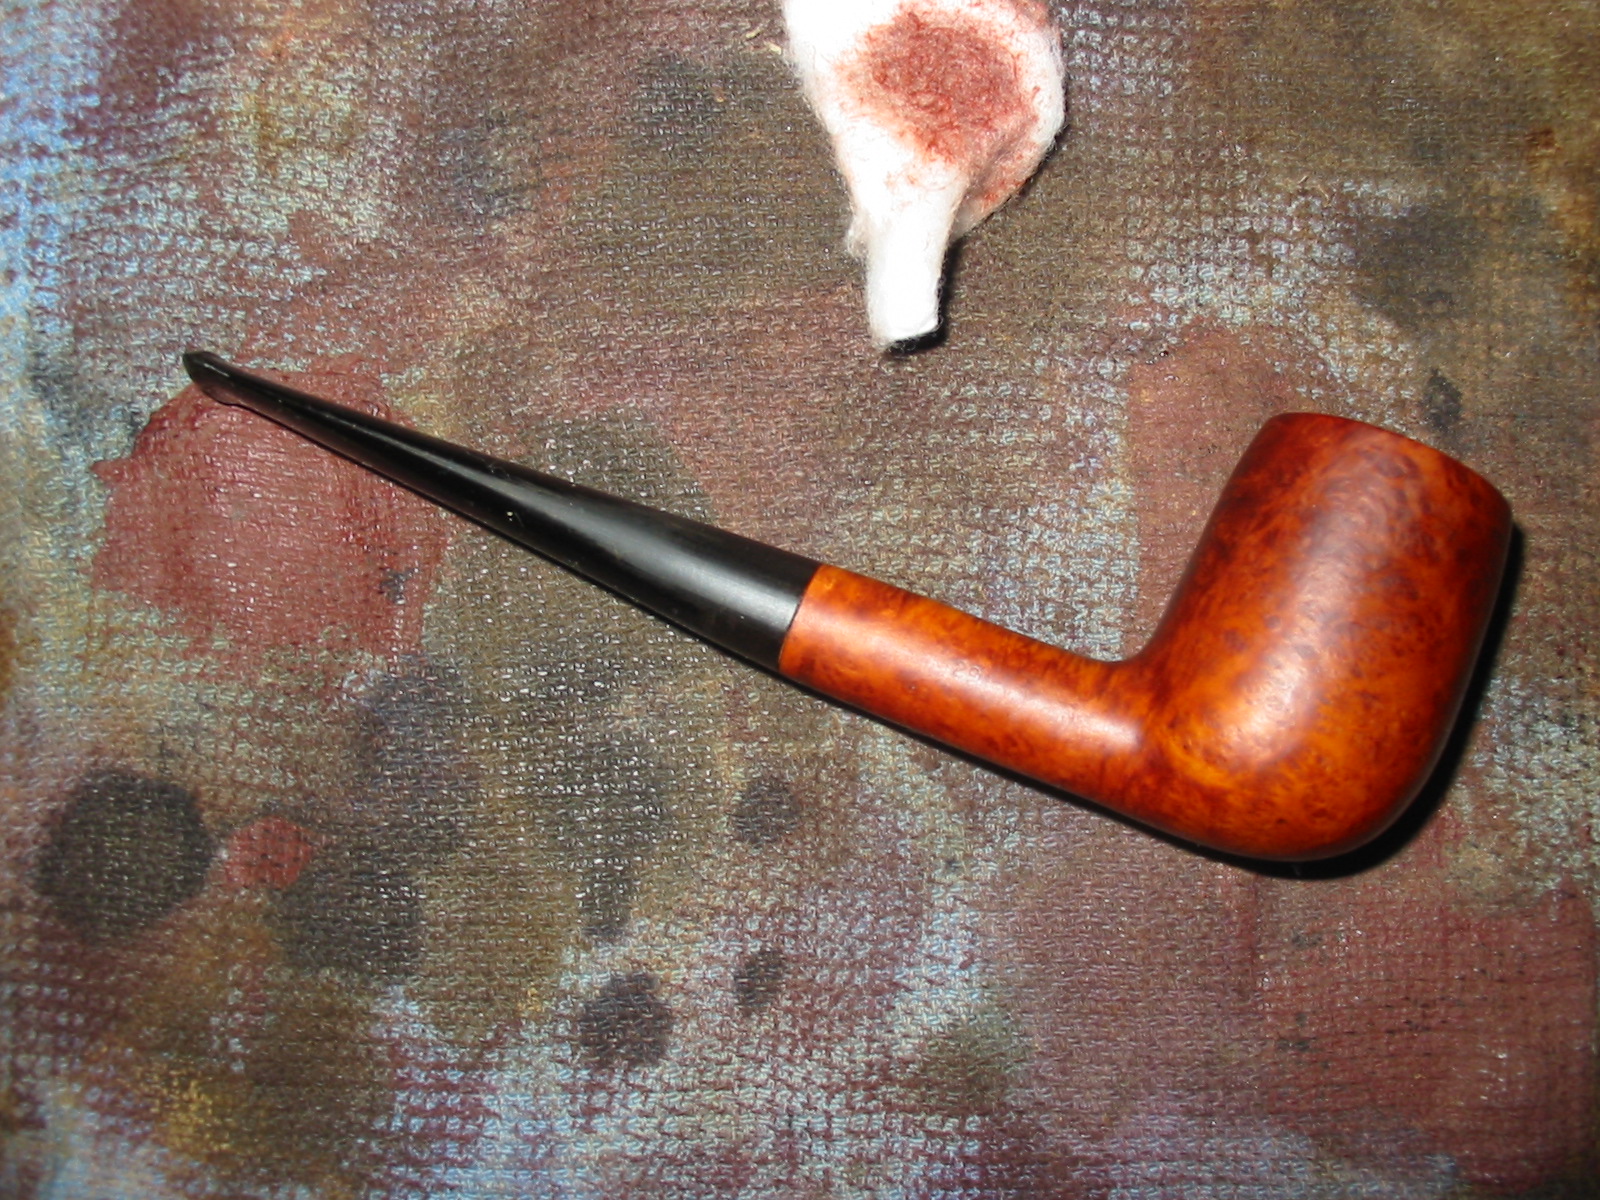
After sanding with the final grit of micromesh pads I rubbed down the stem with Obsidian Oil and then when it had dried took the pipe to the buffer. I lightly buffed the stem and bowl with White Diamond and then gave the pipe multiple coats of carnauba wax. The finished pipe is shown below and to my eye looks much better after the makeover. I think this is yet another pipe that will find a new home among the members of the Vancouver Pipe Club.
IMG_4409

IMG_4410

IMG_4411

IMG_4412

Reworking a Peterson’s Kildare X105


I picked up this old pipe primarily for the shape. It has the chunky look I like in a pipe. The bowl has some nice grain on it and that was attractive as well. The stamping was too faint to read in the shop but when I got home with a bright light and a loupe I was able to see the stamping more clearly – though it is very faint. The left side of the shank says Peterson’s over Kildare and the right side says Made in England and the shape number of X105 (at least that is what the stamping of the number looks like). The pipe was in decent shape and would clean up quite nicely. The finish was not too bad though the previous restorer had given it a coat of varnish or something that was quite heavy. There were finger prints still in the varnish coat. The bowl was reamed and clean and the shank quite clean. The rim had some buildup that had been varnished over which gave it a damaged appearance. The stem seems like a replacement but I cannot be sure as the fit is very well done. It was in great shape with minimal oxidation and slight pitting on the surface of the vulcanite. There were not any tooth marks or chatter.
IMG_4342

IMG_4343

IMG_4344

I decided to remove the varnish coat (it seems like I have had to do that a lot lately with the pipes I am reworking for the pipe club). I wiped down the bowl with acetone and cotton pads until I had removed the varnish and the stain. I scrubbed the rim with the acetone and pads as well to remove the buildup under the varnish. It came of quite easily and turned out to be undamaged. There was a slight darkening of the rim on the left side toward the front but no damage to the area.
IMG_4345

IMG_4346

IMG_4347

IMG_4349

While I was working on it I remembered that I had picked up a Peterson sterling silver band that would probably fit this pipe very well. I dug it out of my box of bands and gave it a try on the shank. It fit perfectly on the shank. I like the look of the bling and the added perk of it being a Peterson stamped sterling silver band was bonus!
IMG_4350

IMG_4351

IMG_4352

I put wood glue on the shank to anchor the band (no repairs were necessary and the band was purely adornment) and pressed the band into place. I rotated it so that the Peterson engraving was on the top of the shank.
IMG_4353

I stained the bowl with MinWax Medium Walnut and Red Mahogany stain to get a reddish brown tint to the briar. I rubbed it on the pipe and then off again. I did the same with both colours. When it was dry I hand buffed it with a soft cotton cloth.
IMG_4357

IMG_4358

IMG_4359

IMG_4360

The stem was lightly oxidized and slightly pitted so I decided to work it over with the micromesh sanding pads. I used the usual method I have developed as a habit over the years and wet sanded with 1500-2400 grit pads and dry sanded with 3200-12,000 grit pads. I buffed the stem with White Diamond and rubbed in some Obsidian Oil to preserve the vulcanite.
IMG_4362

IMG_4363

IMG_4364

When the stem was done I reinserted it into the shank and buffed the entire pipe with White Diamond. I avoided buffing the silver as I find that it darkens the wheels and also the wood and vulcanite on both sides of the band. So once I had finished buffing the pipe I gave it multiple coats of carnauba wax and then buffed it with a clean flannel buff. I took it back to the work table and polished the silver band with a jeweler’s cloth and then applied some wax on the band to slow down the oxidation of the silver. The finished pipe is pictured below. I also have included a picture of the finished rim to show the cleanup results. The pipe is cleaned and ready to be smoked. The addition of the silver band worked well in my opinion and I like the finished look of the old timer quite a bit.
IMG_4365

IMG_4366

IMG_4367

IMG_4368

IMG_4369

Restoring a Natural Liverpool


The pipe was in good shape. The finish was covered with a coat of varnish and under that there were soiled marks on the sides of the bowl. The rim had burn marks on the outer front edge. And there was slight darkening on the surface of the rim. The stem was clean with some slight tooth marks on the top and bottom of the stem that had been sanded previously. The stem also had some scratches and gouges in the surfaces in the middle of the top taper. The pipe is stamped NATURAL over London Made on the left side of the shank and there are no shape stamp numbers on the right side or underneath. I believe that the original finish was unstained, hence the natural stamping.
IMG_4320

IMG_4321

IMG_4322

IMG_4323

I have included the close-up photo of the rim below to show the burn damage on the front edge and the other damage on the surface and inner edge of the bowl.
IMG_4324

I topped the bowl with sandpaper on a flat board to remove the damage and the burn marks. Once that was finished the top looked like new with good sharp edges on the inside and outside of the rim.
IMG_4325

IMG_4326

I reamed the bowl with a PipNet reamer and took the cake back to bare wood. I wiped down the bowl with acetone on cotton pads to remove the varnish and the grime underneath. It took a few pads to clean off the finish, but once it was done the pipe looked good.
IMG_4328

IMG_4329

IMG_4330

I used my usual array of micromesh sanding pads to clean up the stem – wet sanding with 1500-2400 grit pads and dry sanding with 3200-12,000 grit pads.
IMG_4331

IMG_4333

IMG_4335

Once I had finished sanding the stem I rubbed it down with Obsidian Oil and then buffed the whole pipe with White Diamond. I gave it multiple coats of carnauba wax and buffed it with a clean flannel buff. The finished pipe is pictured below. The grain stands out nicely on this old pipe and the natural finish highlights that.
IMG_4336

IMG_4338

IMG_4339

IMG_4340

Topping and Refinishing a No-name Worm Trail Billiard


There are a few of the pipes in the Vancouver Pipe Club lot that just don’t do anything for me. One of them was this large billiard – no name. There are several others in the lot that have the same finish and bear the stamping of Partner. It has some nice wedges of smooth grained briar in between the rustication pattern on the bowl. That pattern is what really does not work for me – I call the pattern worm trails because that is what they look like to me. This old pipe has been restemmed somewhere along the way and the person who did the work sanded the shank down to fit the stem – one of my pet peeves! I think there is little that is more irritating in my work of restoration than working on pipes that have been “butchered” to make a stem fit. Why not hack the stem to fit the shank instead of the shank to fit the stem? Hmmm. I will never understand that really. But that is irreparable. The bowl itself had the standard coat of varnish over the bowl and rim – even over the buildup on the rim. The rim was a mess, lots of damage to the outer edge of the bowl and to the top and the bevel in the bowl.
IMG_4239

IMG_4240

IMG_4241

IMG_4242

I took several close-up photos of the damage to the rim to give a general idea of what I was starting with on this old pipe.
IMG_4243

IMG_4244

IMG_4245

I topped the bowl with my sandpaper and board setup. I sanded until the top was flat and the majority of the damage was minized. I also evened out the bevel on the inner edge of the rim with folded sandpaper to match all the way around the bowl.
IMG_4246

IMG_4247

IMG_4248

Once I finished with the 220 grit sandpaper I sanded the rim and bevel with a fine grit sanding block to smooth out the scratches. I wiped the bowl down with acetone on cotton pads to remove the varnish and the finish as much as possible. I also reamed the bowl with a PipNet reamer to remove the black rubbery bowl coating.
IMG_4249

IMG_4250

IMG_4252

IMG_4253

When the finish was gone, I decided to highlight the “worm trails” and give them some character in the finished bowl. I used a cotton swab and some black aniline stain to paint the trails around the bowl. To dull them a bit and lighten them I wiped them down with a cotton pad and Everclear.
IMG_4255

IMG_4257

I stained the bowl with MinWax Red Mahogany and Medium Walnut. I wanted to highlight the reds in the briar but not have it an oxblood colour so I use the two stains. I applied the red first and then the walnut stain.
IMG_4258

When the stain was dry I buffed the pipe with White Diamond on the wheel and then gave it multiple coats of carnauba wax to give it protection and a shine. The finished pipe is shown below. With the addition of this one to the Pipe Club box I am getting closer to finishing this project – I think maybe four or five left that desperately need some work and perhaps a few others that will need a touch up. Hopefully someone will like the “worm trails” more than I do.
IMG_4259

IMG_4260

IMG_4261

IMG_4262

Topped, Reshaped and Restored a Kolding Old Briar 17


This old Kolding Old Briar is also one of the pipes that belong to the Vancouver Pipe Club lot. It is stamped Kolding over Old Briar on the top of the shank and Made in Denmark over 17 on the underside of the shank. I have a very similar pipe to this one made by Stanwell – same overall shape and oval flat saddle stem. Mine is a great smoking pipe. This one appears to have been much-loved as well. As with the others in this lot it was in dire need of attention. The briar had been given the standard coat of varnish that is on all of them. The varnish is put over the top of some buildup on the rim and some significant rim damage to the top and the edges of the bowl. There was a small piece of briar missing from one spot on the left front side of the bowl’s outer rim. The inner rim also was rough. The bowl had been coated with a black rubbery bowl coating. The stem was in very good shape with no tooth marks or damage and no oxidation.
IMG_4204

IMG_4205

IMG_4206

IMG_4207

The close up photo below shows the rim damage – both burning, buildup and marks that went quite deep and broke the grain of the briar. Steaming would not work to lift the damage on this rim as it was compromised.
IMG_4208

Topping this bowl would be far more involved than the previous bowls I had topped. It needed to be topped to remove the damage to the surface, flattened to take care of the deep cuts in the briar, and then the inner edge beveled and the outer edge rounded. I set up my topping board and sandpaper and began to sand the top of the bowl.
IMG_4209

I took it down far enough to remove the damaged portions of the rim and then worked to bevel the inner edge with a folded piece of sandpaper. I sanded the rim and the inner bevel with a medium and then a fine grit sanding block. I also used the block to reshape the curve of the outer edge of the rim into the flow of the bowl.
IMG_4210

IMG_4211

IMG_4212

IMG_4214

I wiped the pipe down with acetone on cotton pads to remove the varnish and the finish on the remainder of the pipe in preparation for the new coat of stain.
IMG_4215

IMG_4216

IMG_4217

IMG_4218

I decided to use two different colours of stain to restain the pipe. The first stain was a MinWax Medium Walnut stain. I rubbed it on and then rubbed it off. I buffed the pipe with White Diamond to polish the briar before giving it the second colour of stain.
IMG_4219

IMG_4220

IMG_4222

IMG_4223

For the second stain I used MinWax Red Mahogany stain. I rubbed it into the bowl and then rubbed it off. I polished the pipe with a soft cloth. I rubbed down the stem with Obsidian Oil and hand buffed the stem.
IMG_4224

IMG_4225

IMG_4227

IMG_4228

I buffed the bowl and stem with White Diamond again and then gave the bowl and stem multiple coats of carnauba wax. I gave it a final buff with a clean flannel buffing pad. The finished pipe is shown below. It will now join the others in the Pipe Club box until I finish those that remain. I love the rounded look of the bowl top and the bevel on the rim as it adds to the feel of the pipe. I think this one will also bring a good return for the club.
IMG_4231

IMG_4232

IMG_4236

IMG_4238

Topping and Refinishing a Dansk Handvaerk Thorshammer Bruyere


This is yet another one of the Vancouver Pipe Club lot – it is stamped on the left side of the long shank Thorshammer over Bruyere. On the right side it is stamped Dansk Handvaerk. On the underside of the shank is an interesting stamping next to the stem shank junction – it reads A/ES with the / being the image of a pipe. It also has the shape number 5 on the underside. The shape is either a long shanked billiard or a long stemmed lumberman or Liverpool. When I took it out of the box the finish had a coating of varnish that had the fingerprints of the varnisher imprinted in them. The pipe has a small band of light briar near the stem. I thought that maybe this was done when the pipe was restemmed, but upon examination I believe the stem is the original. The light band could also have been a thin silver band or such but that was missing. The rim was a mess as with the majority of the pipes I am doing for the club box. The outer edge had burn marks on the right side and had been badly beaten against whatever the smoker used to empty his bowl. It was missing chunks of briar and steaming would not bring out the damage. The finish was also spotty under the varnish so I decided to strip the bowl and start over.
IMG_4180

IMG_4181

IMG_4183

IMG_4184

The picture below gives a fairly good view of the damage to the rim. In later photos of the topping process I show a few more of the damaged areas of the rim.
IMG_4185

I set up my topping board and sandpaper and began to top the bowl. I checked often to make sure that I would stop at the right point in the process. I wanted to remove as little of the height of the bowl as possible while smoothing out the damaged areas.
IMG_4186

The next two photos show the outer edge damage after a little bit of sanding on the board. It was really quite rough to the touch as I ran my fingers around the bowl.
IMG_4187

IMG_4189

I continued to sand the top of the bowl until the damage was minimized. I sanded it with a fine grit sanding block afterwards to smooth out the scratches left behind by the sandpaper. I also beveled the inner edge of the rim with a folded piece of sandpaper to smooth out that area as well. This will become visible in the later photos.
IMG_4190

I wiped the bowl down with acetone on a cotton pad to remove the varnish and the stain. I sanded the bowl with a fine grit sanding sponge to remove the stubborn varnish areas and then scrubbed it down with acetone again. Once I had the finish removed the bowl was ready to be stained.
IMG_4191

IMG_4192

IMG_4193

For ease of use, since I have a lot of these to do for the pipe club stash, I am using MinWax stain. On this one I gave it a coat of Red Mahogany stain followed by a coat of Medium Walnut stain. I rubbed them on and off to get the colour I wanted. The area at the stem junction stubbornly refused to take much of the stain no matter how much I coaxed it and heated it. In the photos below the lighter area at that point is better though still visible to me.
IMG_4194

IMG_4195

IMG_4196

IMG_4199

I rubbed down the stem with Obsidian Oil and rubbed it into the vulcanite. Once it was dry I buffed the pipe with White Diamond and then gave it multiple coats of caranauba wax to protect and give it a shine. The rim came out exceptionally well and the stain coat looks far better than when I started. The red Mahogany stain kept the red undertones that were present in the original stain coat. I finished buffing with a clean flannel buff to give it a shine. The finished pipe is shown in the photos below. It is ready to go back in the box of finished pipes for the Pipe Club. Still a few more pipes to fix and work on before I send them back to the club for sale or their fund-raising use.
IMG_4200

IMG_4201

IMG_4202

IMG_4203

Topping and Refinishing an Evident Super Billiard


This is yet another of the pipes from the lot of Vancouver Pipe Club pipes that I have been working on. This is not a brand that I have ever heard of and I cannot find any information on the web regarding it. If anyone reading this has any information on the brand please leave a comment and give us a few clues. The pipe is stamped on the left side of the shank Evident in script over Super in block print. On the right side of the shank it is stamped Old Briar. On the underside of the shank next to the stem it is stamped 760. The finish was covered with the standard varnish and the bowl coated with the black rubberized bowl coating. The rim was in very rough shape – the inner bevel was in good shape with minor nicks to it but the outer edge of the bowl had been hammered all around the top. There was also spillage from the bowl coating on the side of the bowl on the back and right side. The stem was clean other than some very minimal tooth chatter near the button. It seems to have a light stamp on the left side – the letters J.T.
IMG_4146

IMG_4147

IMG_4148

IMG_4149

I took some close up photos of the rim and edges of the bowl before and during the time I was topping it to give a clear picture of the damage that had been done to this pipe. The first photo below is a close up of the rim. It was an absolute mess and the edges of the bowl was hammered and broken.
IMG_4150

I set up my topping board and sandpaper and began the process of topping the bowl. I took some photos after I first started to show clearly the edge damage.
IMG_4153

IMG_4154

IMG_4155

IMG_4156

I topped the bowl until the majority of the rim damage was gone. I then used a folded piece of sandpaper to re-bevel the inner edge of the rim. I used a sanding block to smooth out the rough edges that remained after topping the bowl. I decided that if I were to top the bowl to totally remove all of the damage it would change the profile too dramatically so I took the majority of the damage down and then lightly rounded the outer edge of the bowl with the sanding block.
IMG_4157

I wiped the bowl down with acetone on cotton pads to remove the varnish, bowl coating spillage and old stain. I reamed the pipe with the PipNet reamer to remove the black bowl coating and cleaned up the inside of the bowl with some Everclear.
IMG_4158

IMG_4159

IMG_4160

IMG_4161

As mentioned before I have been using a MinWax Medium Walnut stain as it is quick and easy to use on these pipes that I am working through for the club. It does a great job, the colour matches the old original stain quite well and it is a simple application – rub on and off. Each successive coat adds depth and richness to the final colour.
IMG_4162

IMG_4163

IMG_4164

IMG_4165

I sanded the tooth chatter on the stem to remove it and sanded it with micromesh sanding pads to polish the stem. I took the pipe to the buffer and buffed the bowl and stem with red Tripoli and then White Diamond. Once I had finished I rubbed the stem down with Obsidian Oil and rubbed it into the vulcanite. I buffed the stem and bowl one last time with White Diamond and then gave it multiple coats of carnauba wax. I finished with a soft flannel buff on the wheel. The finished pipe is shown in the photos below. It is ready to join the other finished pipes in the box of pipes for the Pipe Club. I look forward to seeing what they do with the lot.
IMG_4167

IMG_4169

IMG_4170

IMG_4171

Topped and Refinished a Valby Acorn


This is another one that is from the Vancouver Pipe Club lot of donated pipes. The stamping on this one is quite faint. It looks to me to be Valby. Some of the letters in the stamp over lap making it harder to read. The rim had been topped but not finished. There were still burn marks remaining on the outer edge of the rim. As with the others in this lot the finish was coated with varnish making it perpetually shiny. The rim had some as well but it was still in rough shape. The bowl had been coated with the same black bowl coating. I decided to rework the topping job, remove as many of the burn marks on the front edge of the bowl as possible and refinish the pipe. The stem was in great shape and showed no oxidation or tooth marks.
Valley1

Valley2

Valley3

Valley4

I took the photo below to show the state of the rim. The photo does not do justice to the unfinished nature of the topping. The burn marks are visible in the second photo below on the front edge of the rim both inside and outside. The rest of the rim had scratches from the previous topping and the finish was dull.
Valley5

Valley7

I topped the bowl on the flat board and sandpaper until I had removed the burned portion of the rim and had evened out the top surface. The topping from before had not taken off enough of the damaged portion to be even across the surface.
Valley6

Valley8

I wiped the bowl and rim down with acetone on a cotton pad to remove the varnish coat and the finish so that I could restain and get a good even coat of stain.
Valley9

Valley10

Valley11

Valley12

I restained the pipe with MinWax Medium Walnut stain – rubbed it on and off repeatedly until I had a good even coverage on the pipe.
Valley13

Valley14

Valley15

Valley16

When I had finished with the staining, I took it to the buffer and buffed with White Diamond to smooth out the finish and give it a shine. I chose the stain I did because of the transparency and how well it matched the original stain. I gave the pipe and stem multiple coats of carnauba wax and finish with a soft flannel buff. The finished pipe is shown below and is ready to go back in the box for the Pipe Club to sell.
Valley17

Valley18

Valley19

Valley20

Reworking a Poorly Done Topping Job on a Bulldog of Unknown Make


This poor old bulldog came in the pipes that were donated to the Vancouver Pipe Club and I decided to work on it and see if I could repair some of the damage that had been done when someone tried to top it in the past. The rim looked as if whoever topped it tried to do it by hand and not on a flat board. Because of that the surface of the rim was wavy with high and low spots and the outer edge was lower than the inner edge in several places. The top was also at a slight angle as the sanding had not been done on a flat surface.

The first two photos below show the damage to the rim from the side profile. Note the wavy surface of the rim. The third photo shows some damage on the underside of the stem next to the button and the fourth photo shows the rim from the top view. In that photo the bowl appears to be seriously out of round and the front edge seems thinner than the rest of the bowl. This is a bit of an illusion due to the poorly executed sanding on the rim. The way the bowl had been sanded left the front of the bowl lower than the back of the bowl thus creating the appearance of a thin wall. The stamping on it had been buffed out on the left side of the shank and on the right side I could still see very faintly London England over 403S. I am uncertain of the maker. I checked the Comoy’s shape number chart, the GBD and the Orlik shape number charts and there is no such number. Perhaps other may have some idea of the maker.
IMG_3999

IMG_4000

IMG_4001

IMG_4002

I took a two close up photos of the top of the rim to show the damage more clearly. There was also significant burn damage to the front inner edge of the rim. Fortunately this damage was only surface and a retopping would take care of most of it.
IMG_4004

IMG_4005

I also took a close up photo of the end of the stem next to the button to show the tooth marks on the underside next to the button.
IMG_4006

I set up my topping board and sandpaper to work on the rim and repair the damage. It took care to keep the high point of the bowl flat against the surface of the paper and sand until the rim flattened out. This took more time than usual as I had to continually check to see if the rounded spots, low dips and angle sanding of the rim surface were being removed. I also wanted to remove the burn damage as much as possible. The next five photos show the process and the results of the sanding. The profile views show the repair of the outer edge to a flat straight surface with a sharp edge. The top view shows the more even distribution of the thickness of the wall and the removed burned area on the front of the bowl.
IMG_4008

IMG_4010

IMG_4011

IMG_4014

I wiped the bowl down with acetone on cotton pads to remove the varnish and the remaining finish on the bowl so that it would be easier to match the colour of the bowl and the newly topped rim.
IMG_4015

IMG_4016

IMG_4017

IMG_4018

I sanded the rim with a fine grit sandpaper and wet sanded with a 1500 grit micromesh sanding pad to remove scratches and prepare the rim for staining. I stained the bowl and rim with MinWax Medium Walnut Stain and rubbed it on to the pipe and rubbed it off until I had achieved the colour and coverage that I wanted.
IMG_4019

IMG_4020

IMG_4021

IMG_4022

I sanded the damaged areas on the topside and the underside of the stem near the button to remove the tooth marks. I started with 220 grit sandpaper and then a medium grit sanding sponge to repair the tooth damage.
IMG_4023

IMG_4024

The mark on the underside was deep and once I had sanded and cleaned it I put a drop of super glue on it to build up the divot. Once it was dry I sanded it again with 220 grit sandpaper and the sanding sponge to blend it into the surface of the stem.
IMG_4027

IMG_4029

IMG_4030

I used my usual array of micromesh sanding pads to polish the stem repair – wet sanding with 1500-2400 grit sanding pads and then dry sanding with 3200-12,000 grit pads. I buffed the stem with red Tripoli and White Diamond and then rubbed it down with Obsidian Oil. When it was dry I rubbed the stem down and reinserted it in the pipe.
IMG_4031

IMG_4033

IMG_4036

I buffed the pipe and stem with White Diamond and then gave it multiple coats of carnauba wax. I finished the buffing with a clean flannel buff to give it a shine. The finished pipe is pictured below. It is ready to go back to the Pipe Club and will make someone a nice pipe.
IMG_4038

IMG_4039

IMG_4040

IMG_4041

Comoy’s St. James Shape 62 Restored


This oddly shaped Comoy’s came to me in a lot that was donated years ago to the Vancouver Pipe Club. It has been sitting for a long time needing a bit of care to bring it back to life before going to the Club to be sold or given away. It is stamped on the top of the shank, St. James in an arc over London Made in a straight line. On the underside of the shank it is stamped Made in England by Comoy’s followed by 62. The finish was rough on this one; the top of the rim had been beaten against something hard and had damaged the outer edge to the point that it was no longer sharp. The inner edge of the rim was not too bad but the bowl had been coated with a black rubbery bowl coating that was grim. There was one rather large fill on the right side of the bowl near the shank/bowl junction. The stem had some oxidation next to the button and some small tooth chatter there as well. The stem also had one silver bar inset in the vulcanite on the left side. It is not a logo that I have come to associate with Comoy’s but rather with Savinelli. I am not certain the stem is original. Perhaps someone here can shed some light on the stem logo and this particular line of Made in England by Comoy’s Pipes.
IMG_3960

IMG_3961

IMG_3962

I decided to top the bowl and try to repair the outer rim damage. It was truly a mess. In the next photos you will see the set up for topping and also several photos of the bowl rim as I began to sand it out. The sanding dust stuck to the bowl coating.
IMG_3963

IMG_3964

IMG_3966

IMG_3967

IMG_3969

IMG_3971

IMG_3972

When I finally got the topping done to the point where the rim was more smooth and crisp I also sanded the outer edge to minimize some of the deeper chips and rough areas that I left because I did not want to top too much of the bowl. I then cleaned out the bowl and the shank and wiped the bowl down with acetone on cotton pads to remove the varnish coat that had been put on the bowl. I reamed out the bowl coating with a PipNet reamer as I wanted to remove the sticky black substance and wanted to see what the walls of the bowl looked like underneath the ooze.
IMG_3973

IMG_3974

IMG_3976

IMG_3977

I sanded the bowl and rim with a medium grit sanding sponge and then with a 1500 grit micromesh sanding pad to remove the scratching that was present under the finish and that left behind by the sanding sponge. I wiped it down a final time with acetone on a cotton pad to clean and prepare it for restaining.
IMG_3978

IMG_3981

IMG_3982

IMG_3983

I used a black permanent marker to bring grain lines into the fill area and minimize the way it stood out. In the second photo you can see the effect of the marker and stain on the fill near the bowl/shank junction. Previously it had stood out and now it was muted. I restained the bowl with MinWax Medium Walnut stain. I rubbed it on with a cotton pad and wiped it off with a cloth and repeated the process until the stain had given the bowl a good coverage. I sanded the oxidation and tooth marks near the button on the top and the bottom of the stem with the medium grit sanding sponge.
IMG_3985

IMG_3986

IMG_3987

IMG_3988

I took the next photo to show the improvement to the damaged rim and the clean edges that were now present. The stain did a great job in bringing out the grain on the rim. It follows the pattern of the grain on the shank.
IMG_3989

I buffed the stem with red Tripoli and then sanded it with my usual array of micromesh sanding pads – wet sanding with 1200-2400 grit pads and dry sanding with 3200-12,000 grit pads. I buffed the stem with White Diamond and rubbed in a coating of Obsidian Oil to protect against further oxidation.
IMG_3990

IMG_3991

IMG_3992

I buffed the pipe with White Diamond and then gave it multiple coats of carnauba wax. I finished by buffing it with a soft flannel buff. The finished pipe is shown below. Soon it will go the Pipe Club for their benefit.
IMG_3993

IMG_3994

IMG_3997

IMG_3998