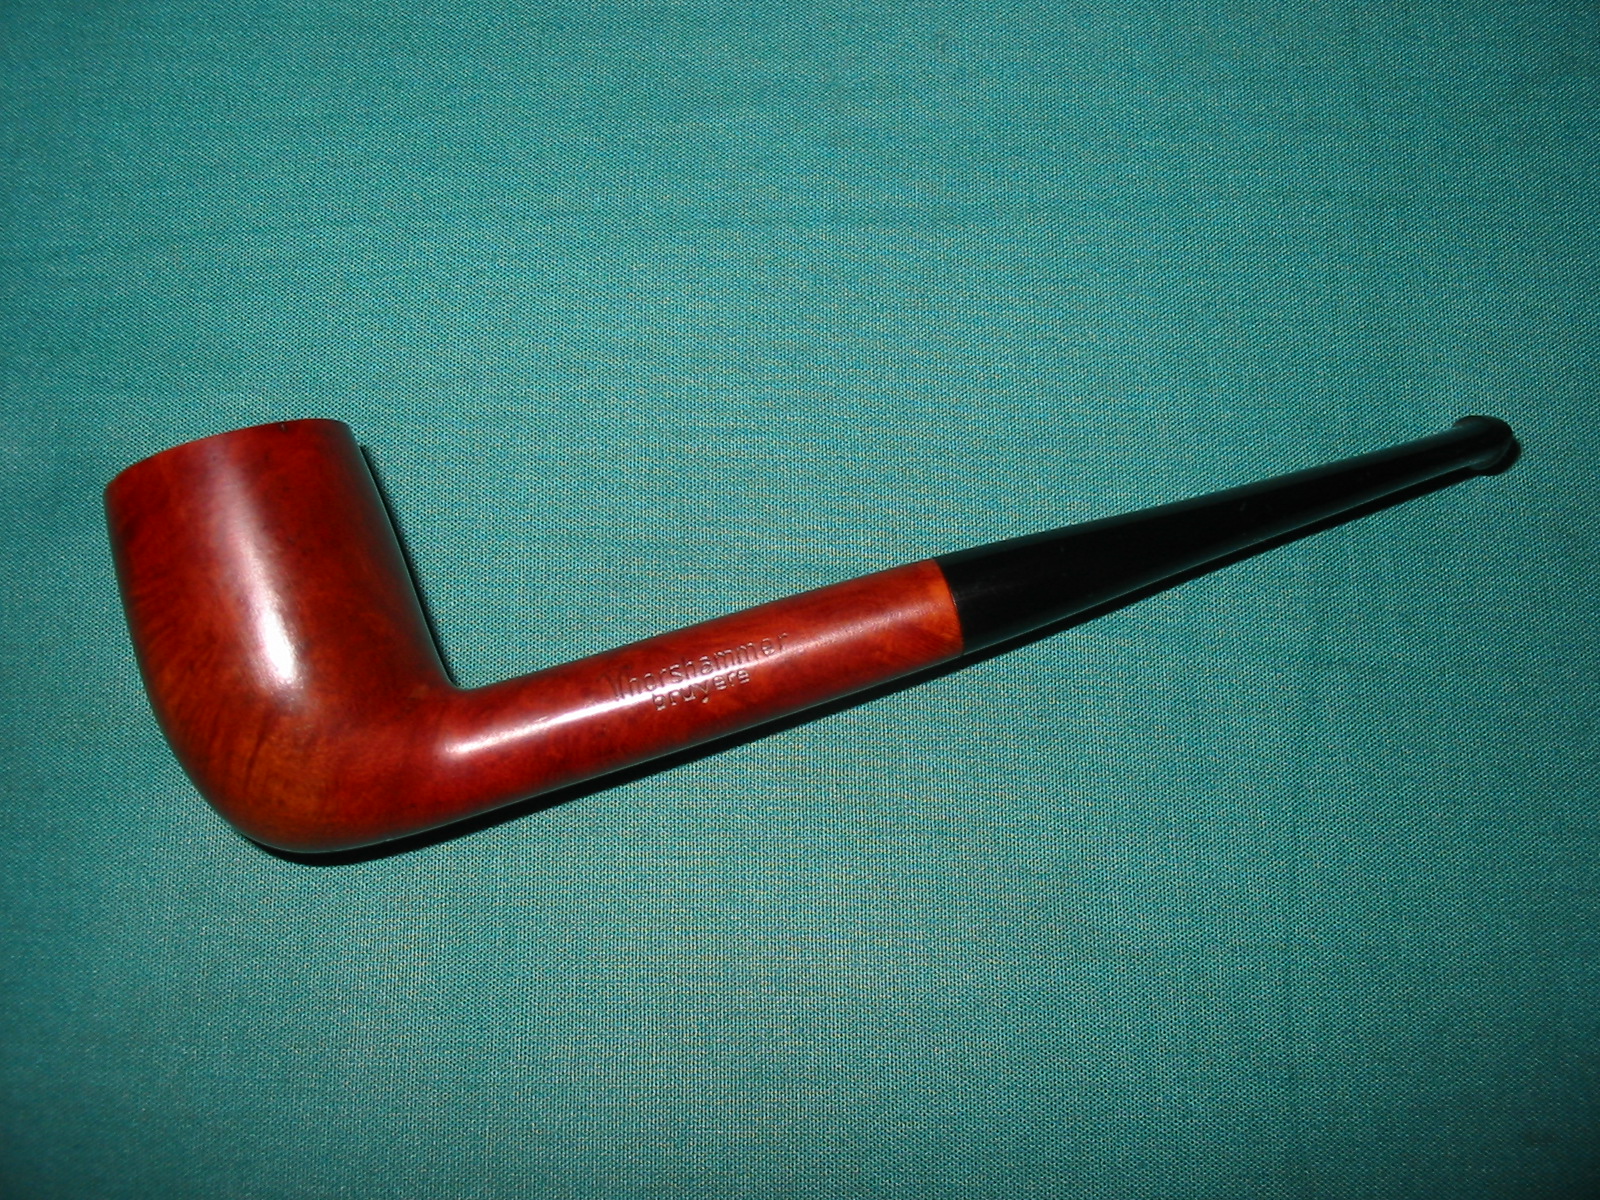
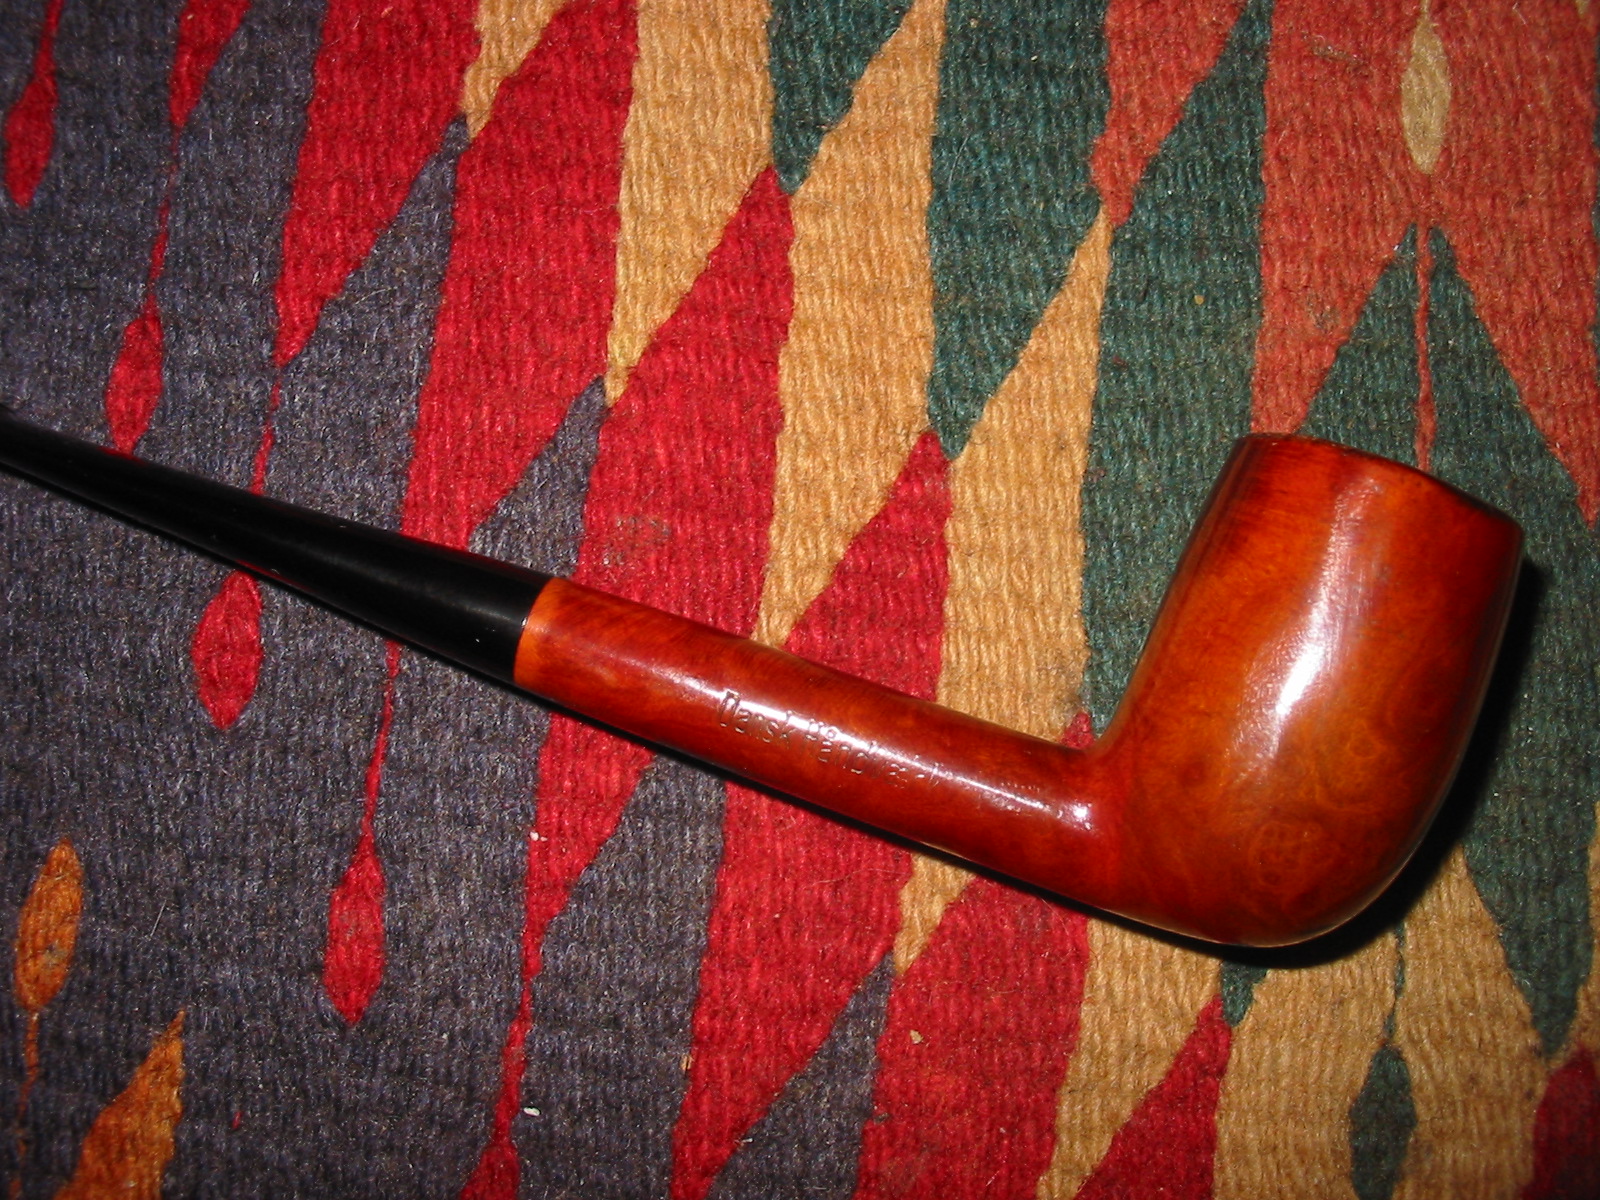
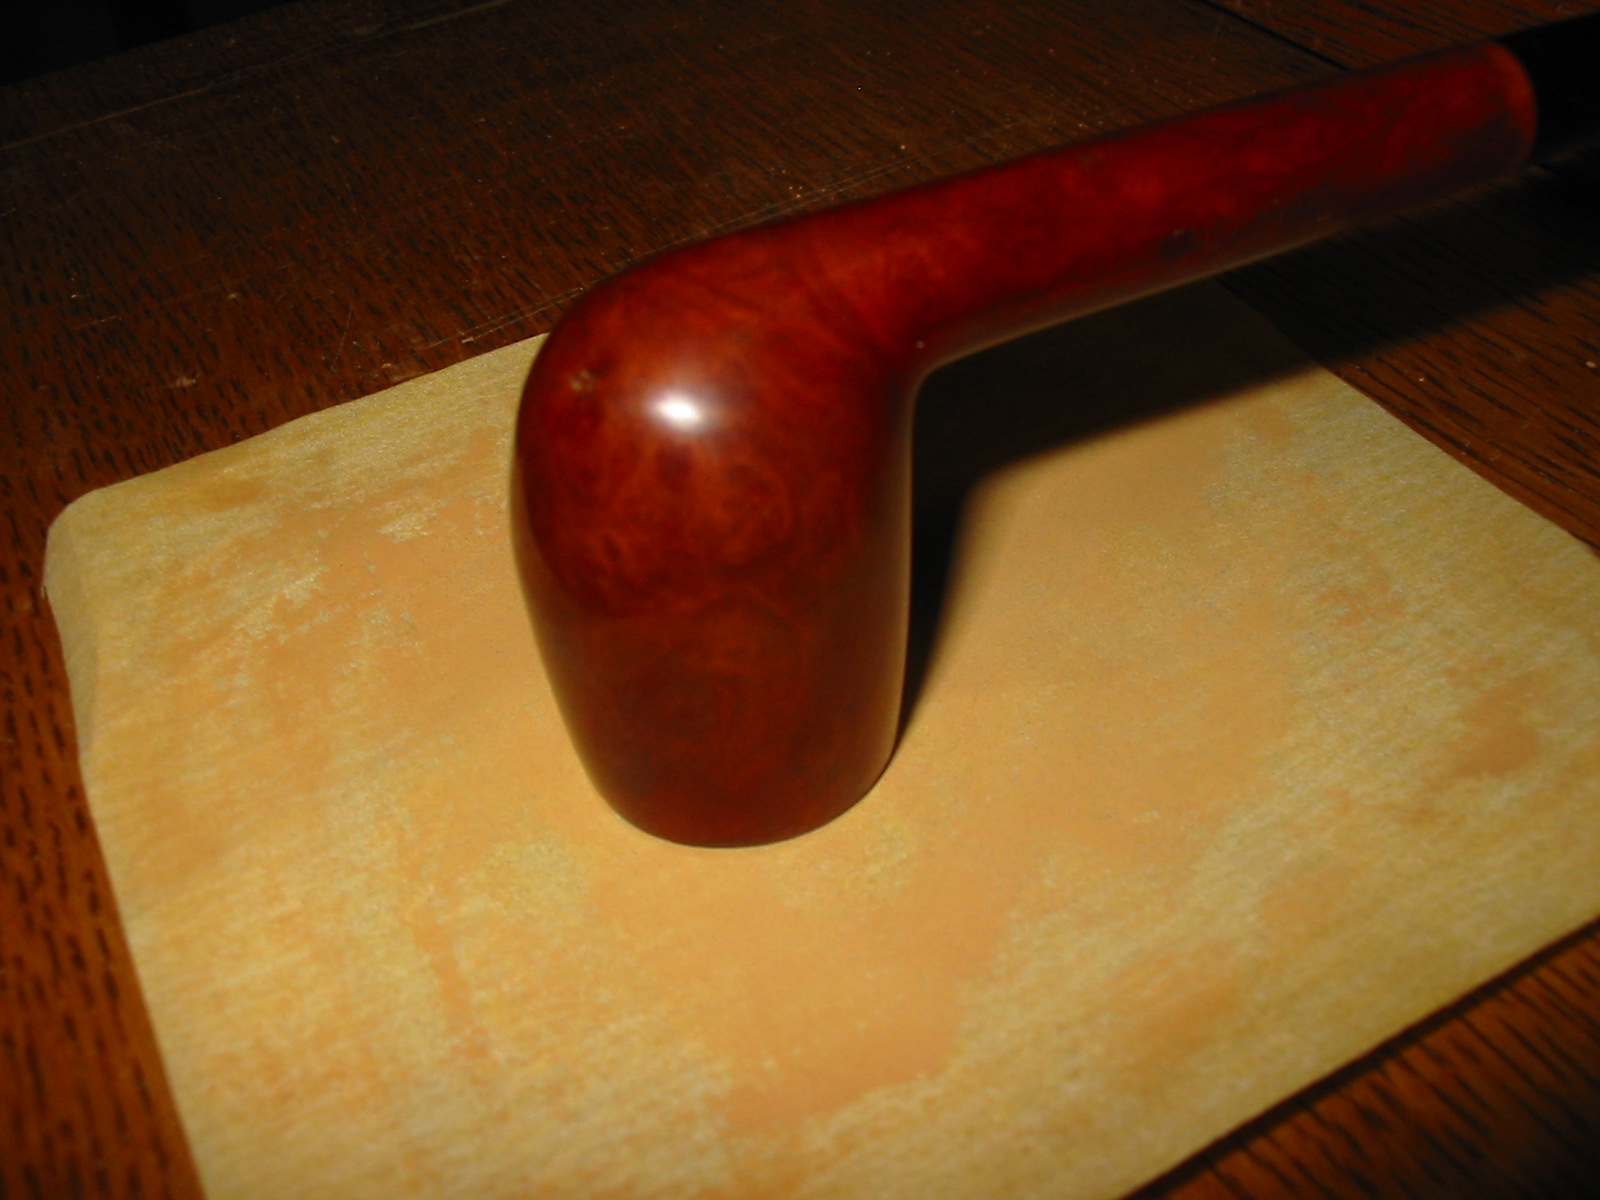
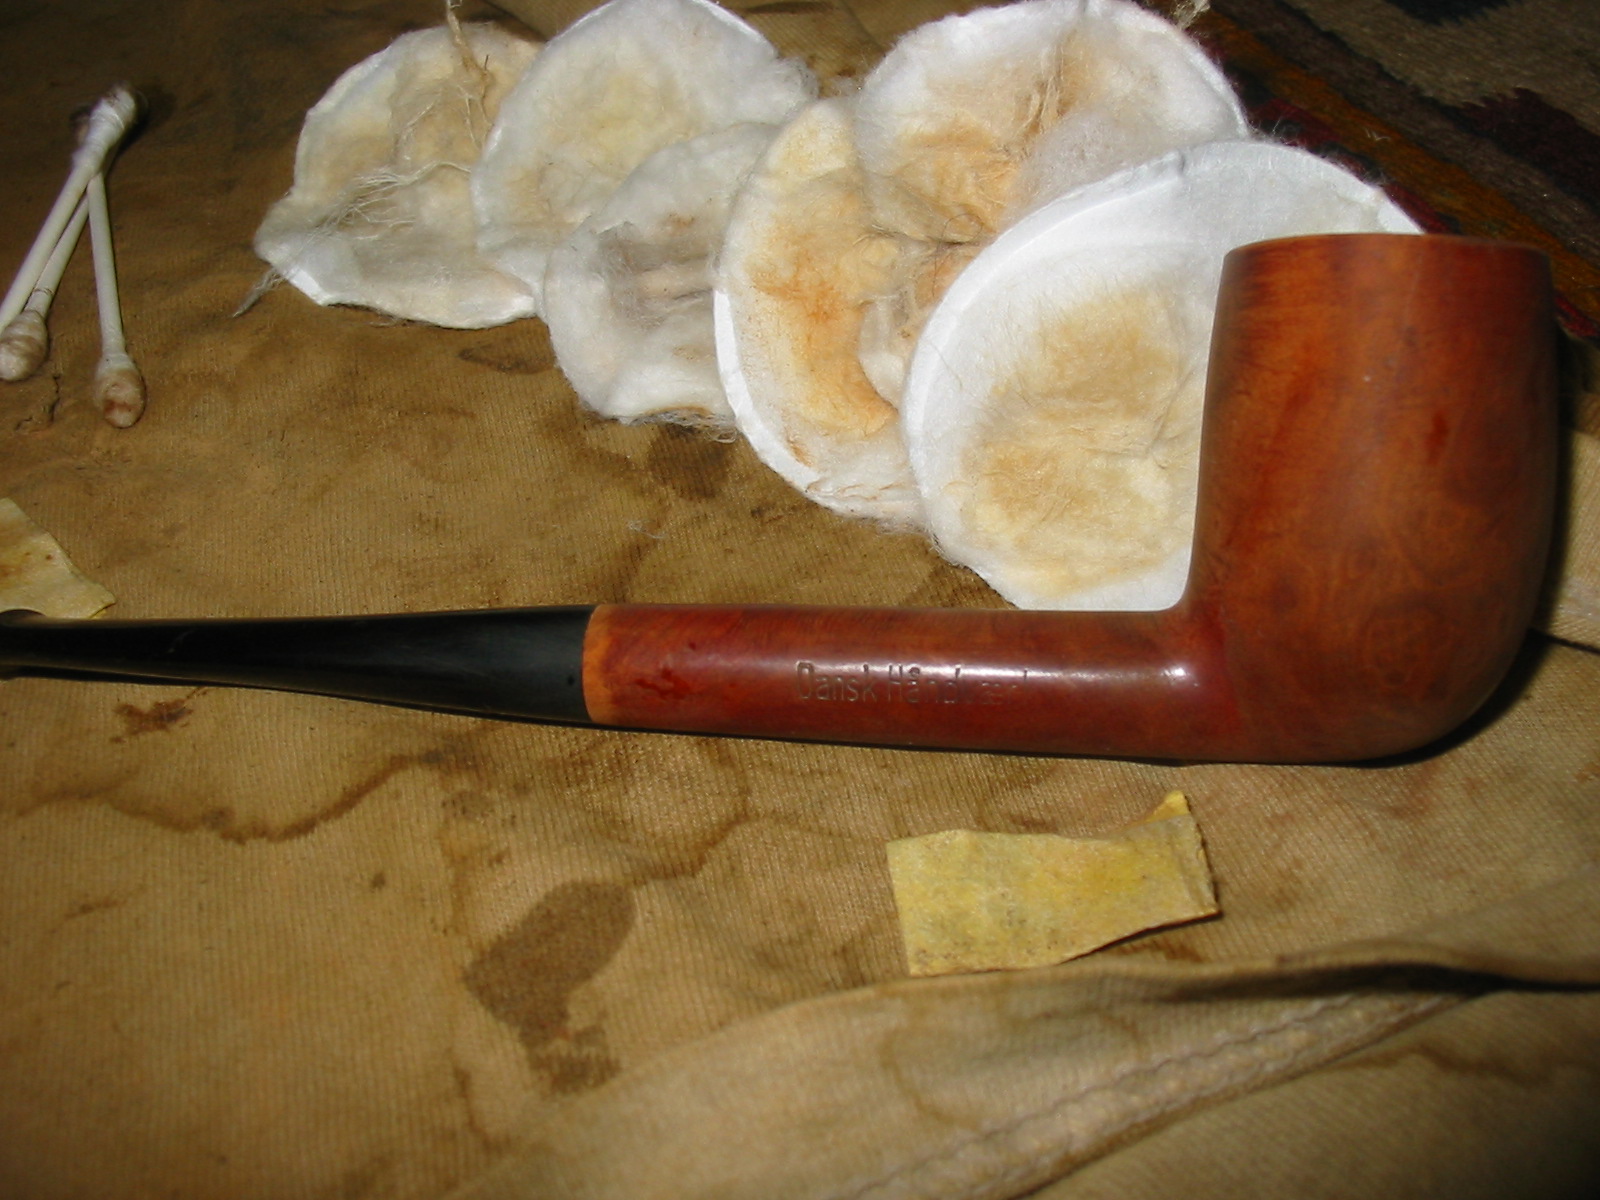
This is yet another one of the Vancouver Pipe Club lot – it is stamped on the left side of the long shank Thorshammer over Bruyere. On the right side it is stamped Dansk Handvaerk. On the underside of the shank is an interesting stamping next to the stem shank junction – it reads A/ES with the / being the image of a pipe. It also has the shape number 5 on the underside. The shape is either a long shanked billiard or a long stemmed lumberman or Liverpool. When I took it out of the box the finish had a coating of varnish that had the fingerprints of the varnisher imprinted in them. The pipe has a small band of light briar near the stem. I thought that maybe this was done when the pipe was restemmed, but upon examination I believe the stem is the original. The light band could also have been a thin silver band or such but that was missing. The rim was a mess as with the majority of the pipes I am doing for the club box. The outer edge had burn marks on the right side and had been badly beaten against whatever the smoker used to empty his bowl. It was missing chunks of briar and steaming would not bring out the damage. The finish was also spotty under the varnish so I decided to strip the bowl and start over.


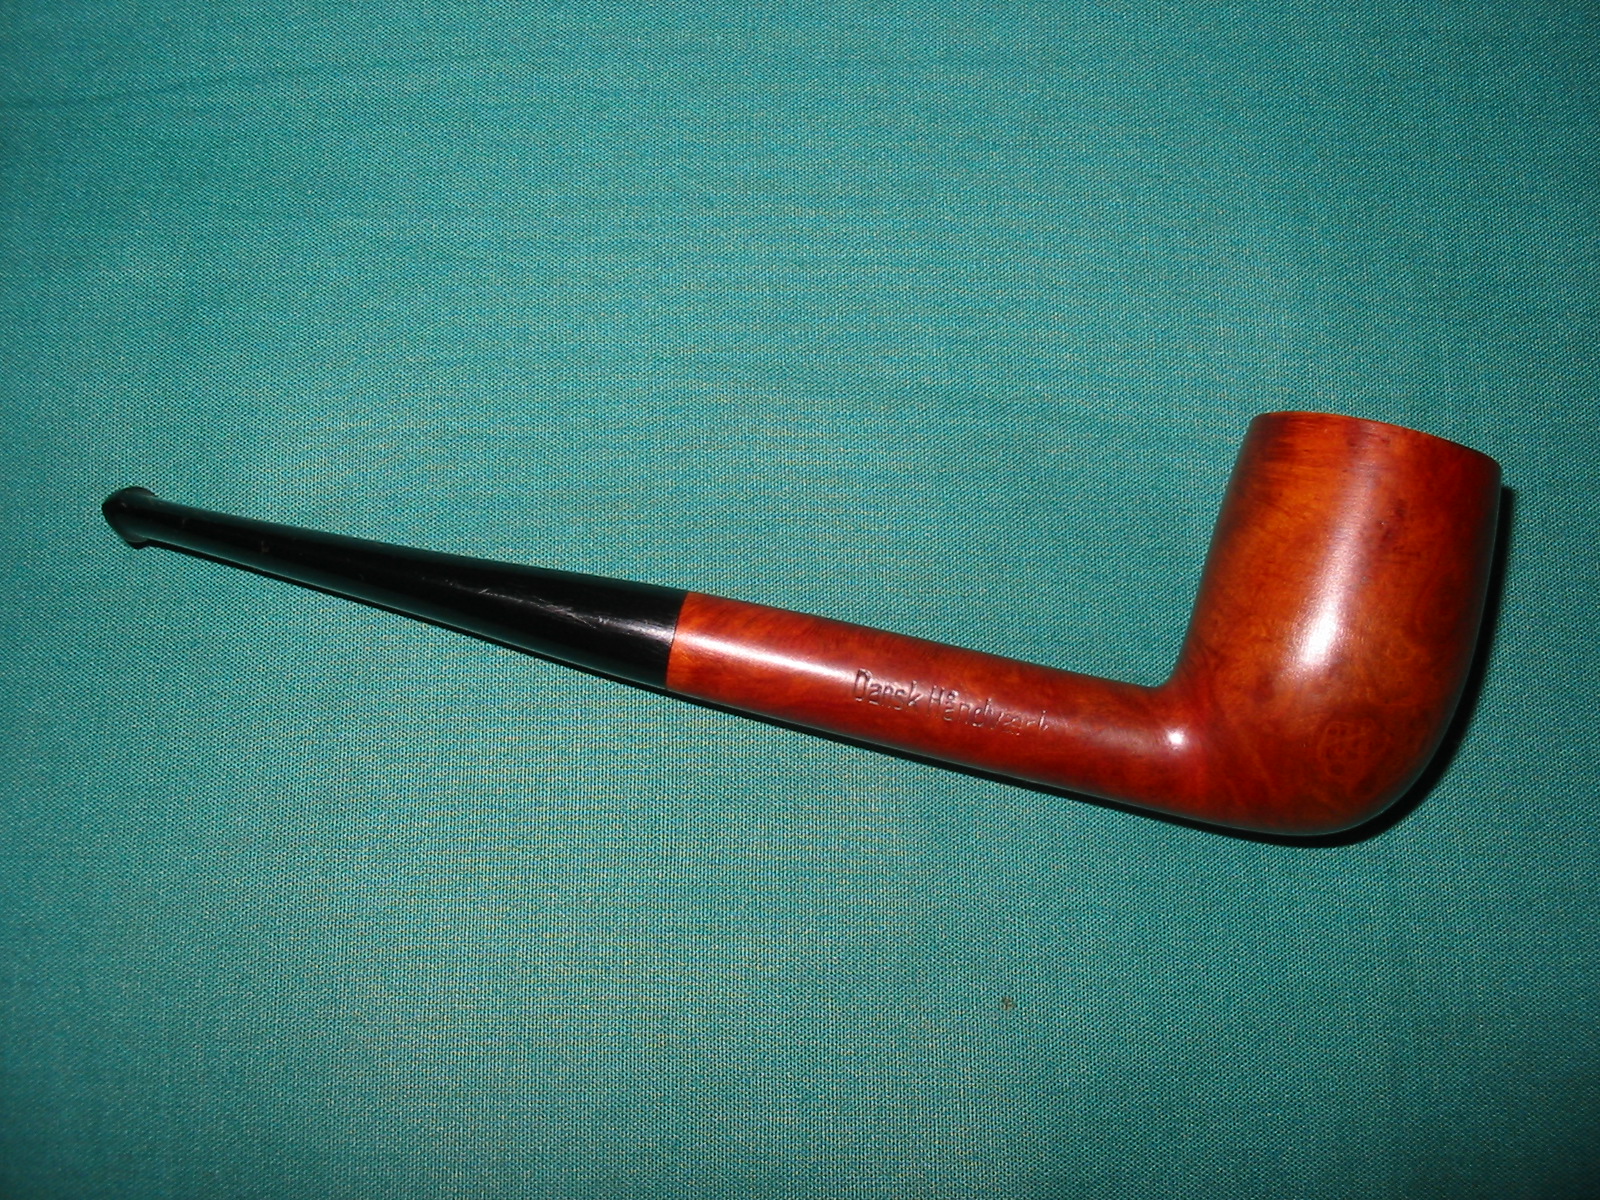
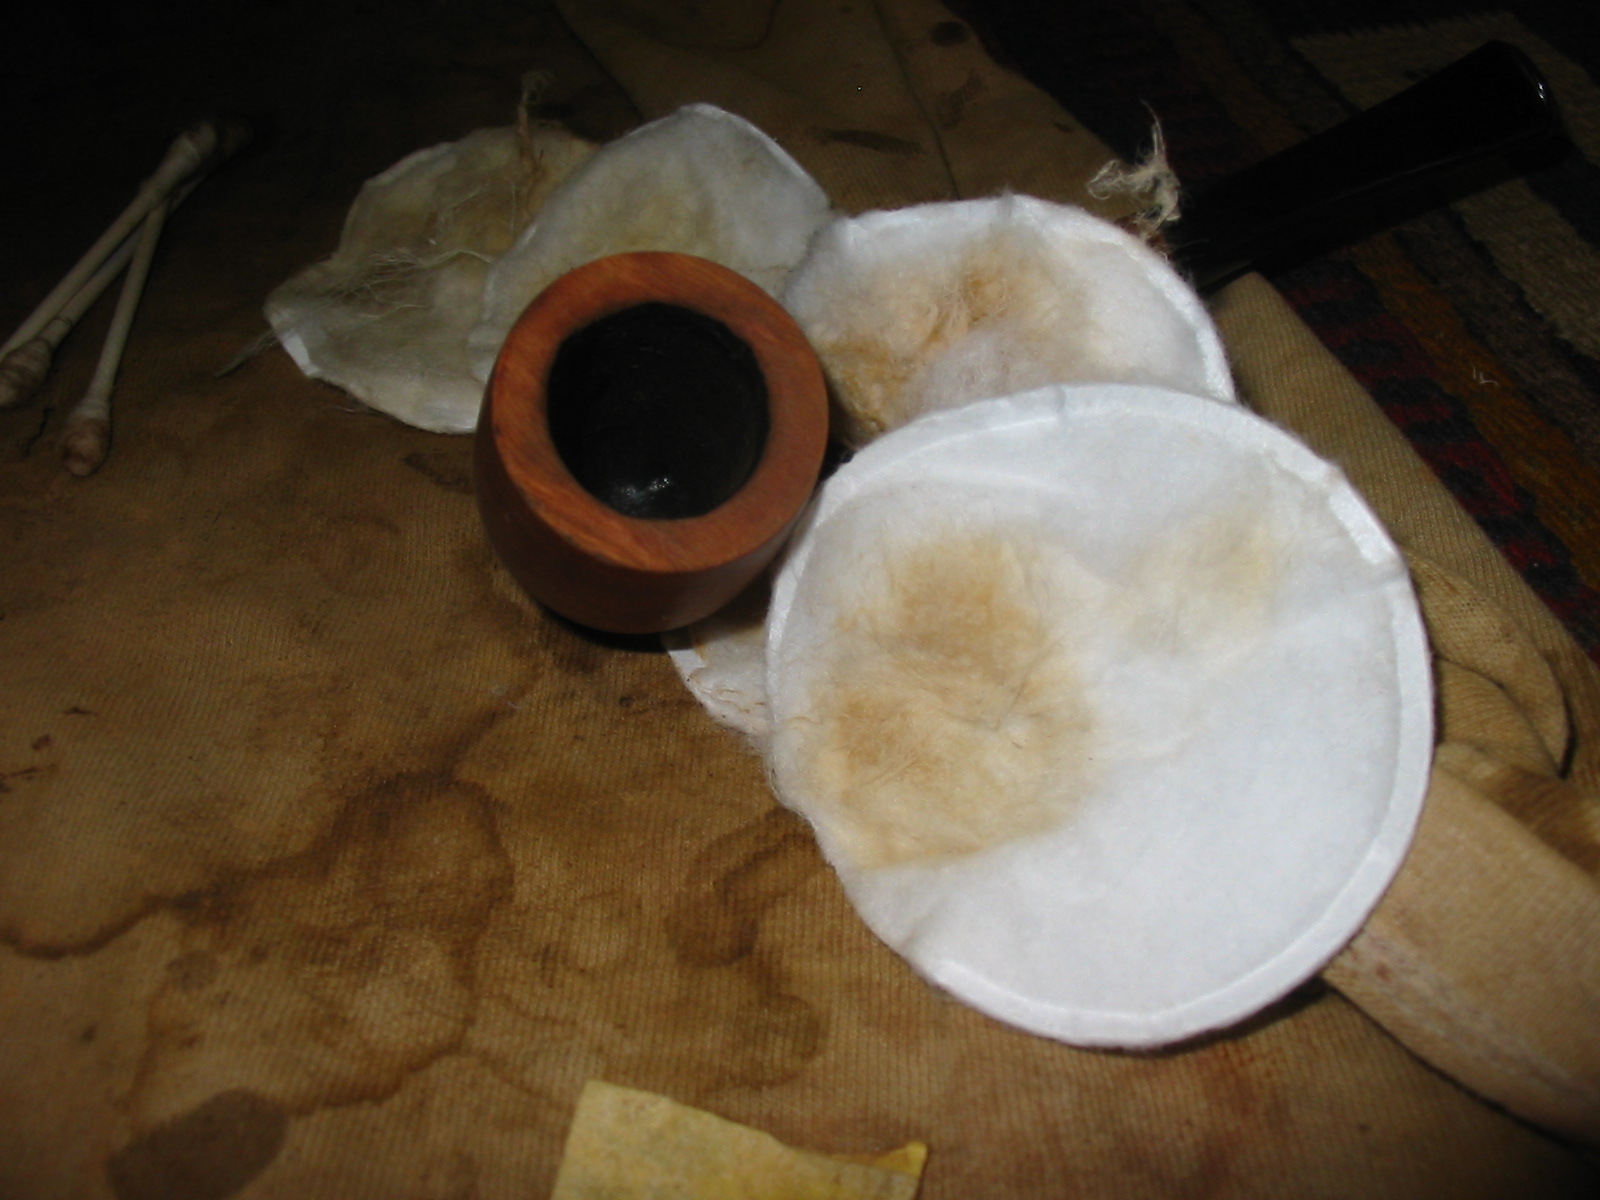
The picture below gives a fairly good view of the damage to the rim. In later photos of the topping process I show a few more of the damaged areas of the rim.

I set up my topping board and sandpaper and began to top the bowl. I checked often to make sure that I would stop at the right point in the process. I wanted to remove as little of the height of the bowl as possible while smoothing out the damaged areas.
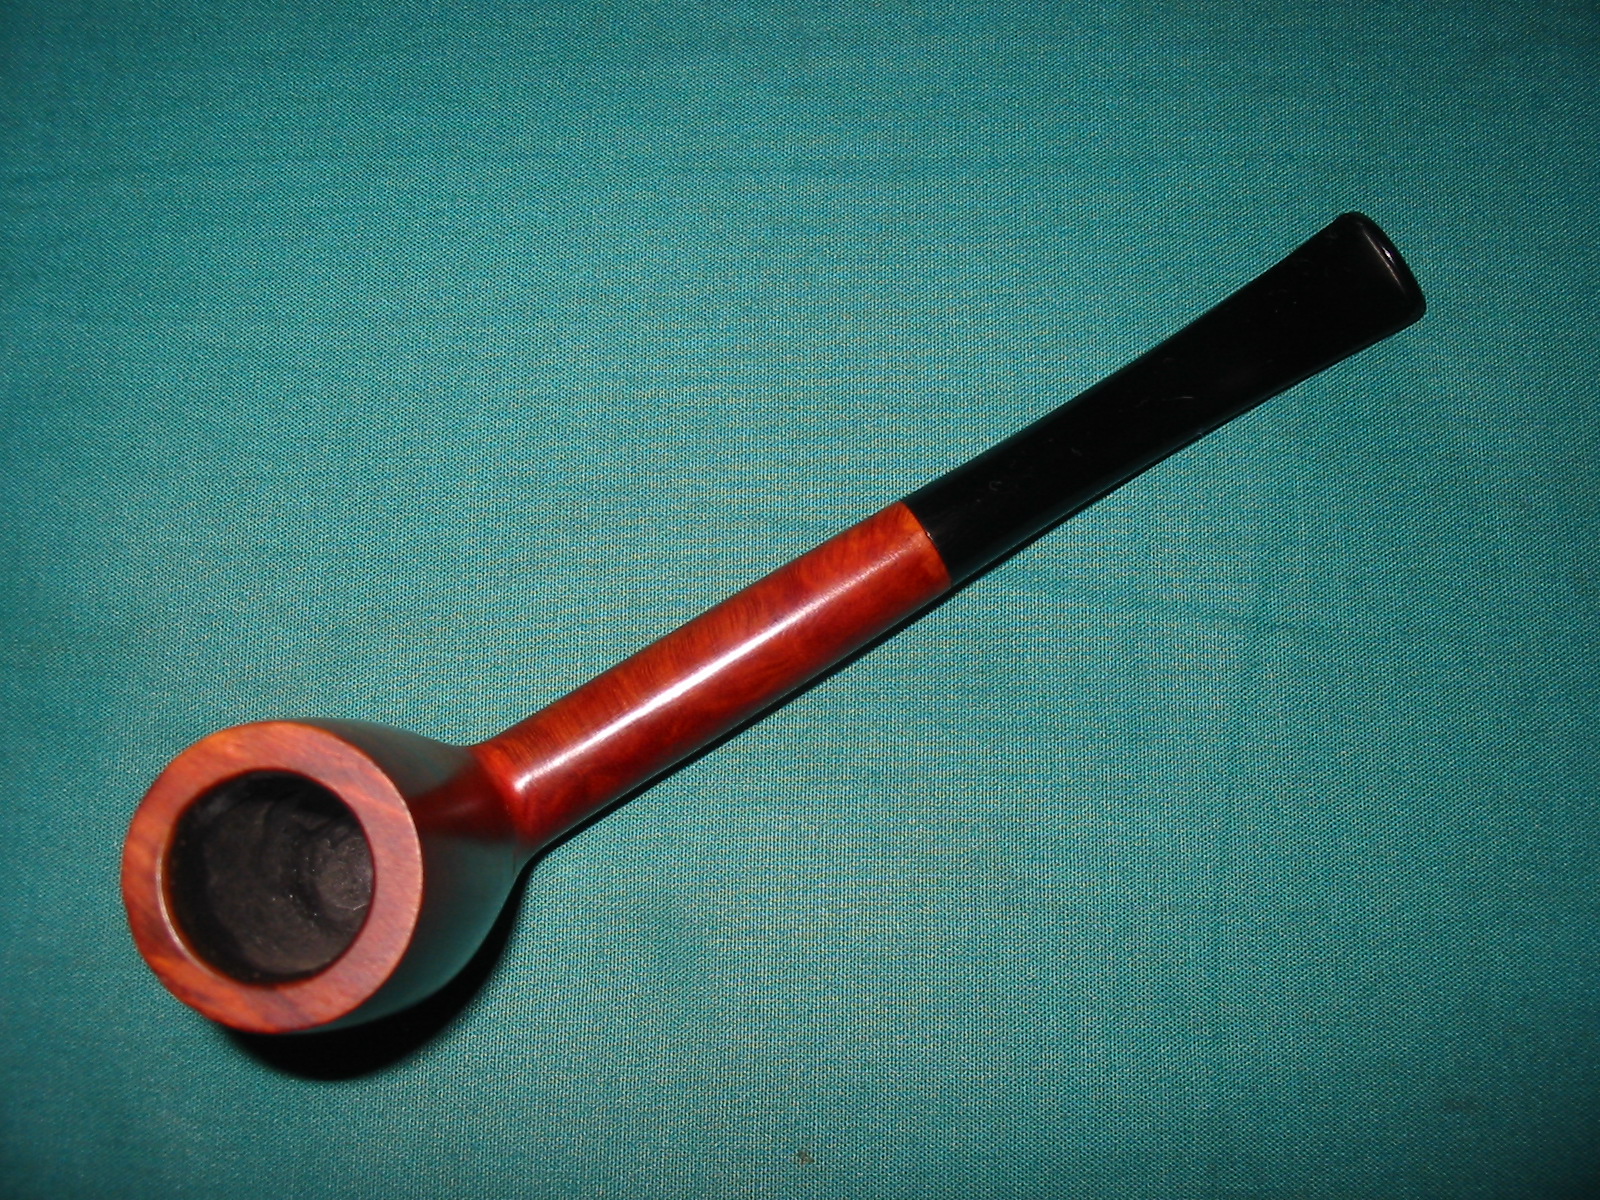
The next two photos show the outer edge damage after a little bit of sanding on the board. It was really quite rough to the touch as I ran my fingers around the bowl.


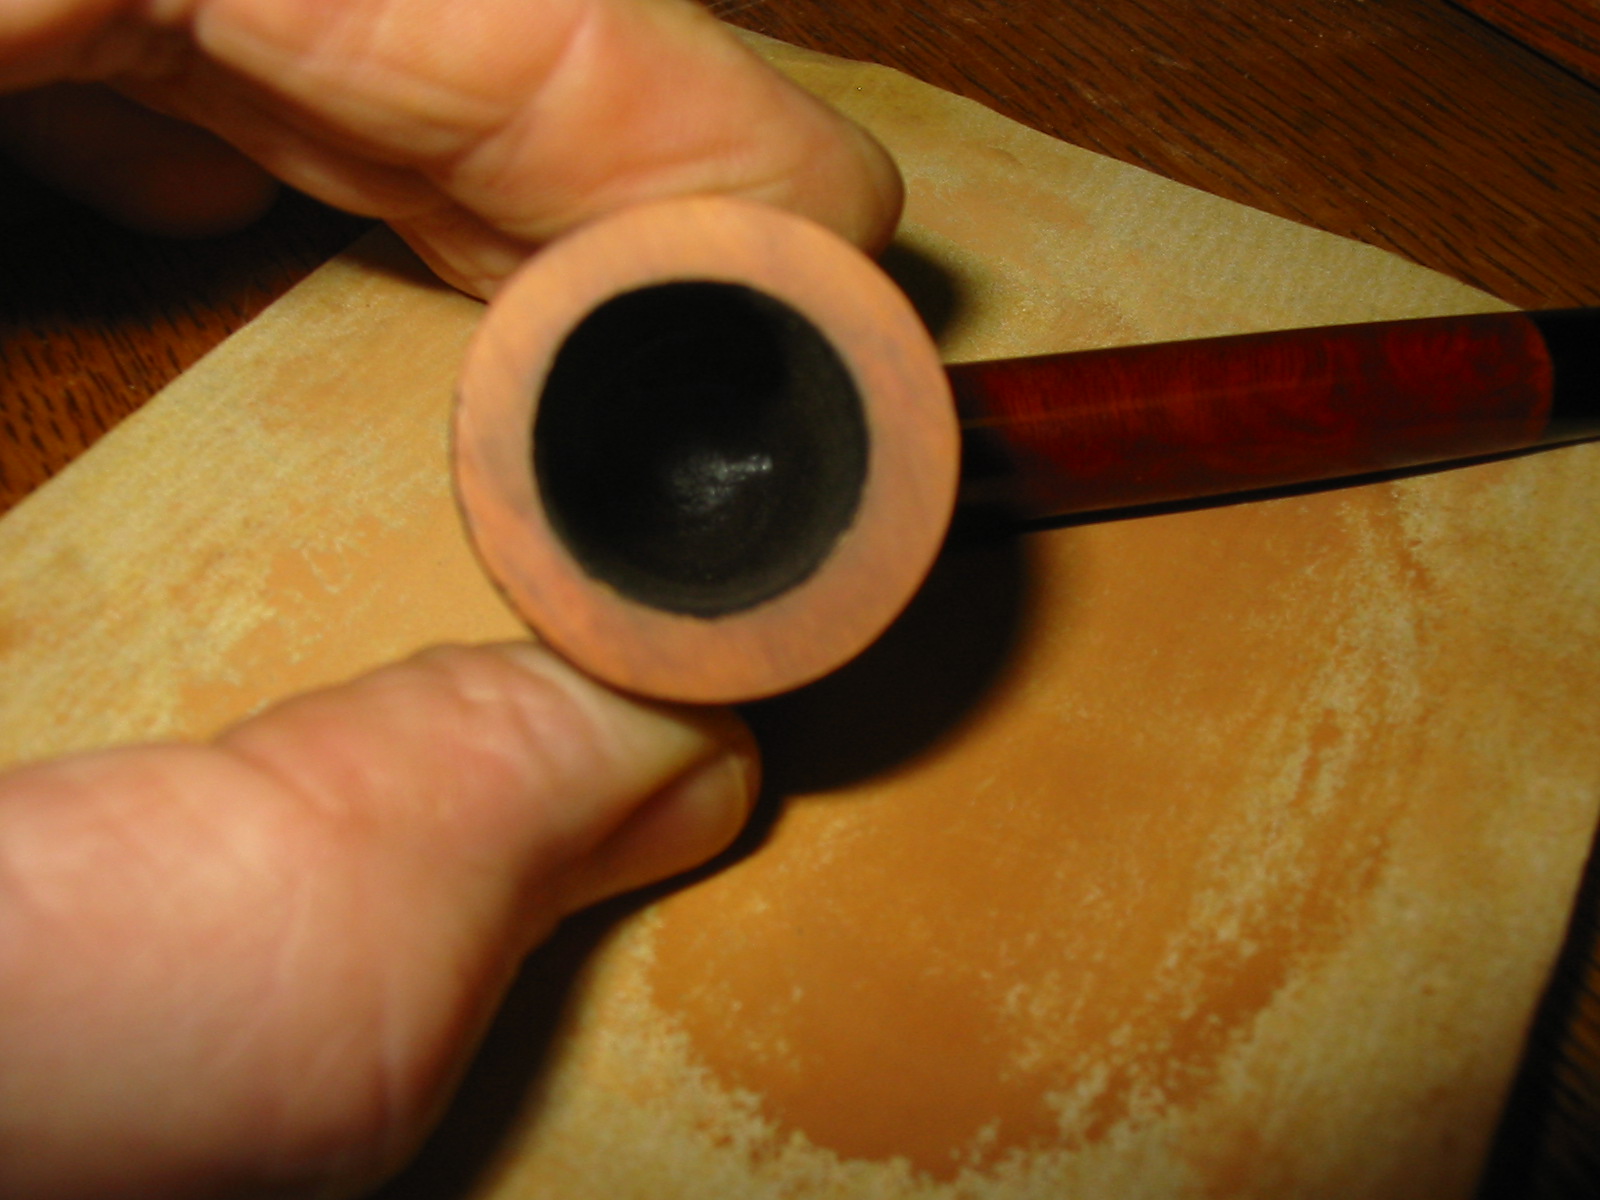
I continued to sand the top of the bowl until the damage was minimized. I sanded it with a fine grit sanding block afterwards to smooth out the scratches left behind by the sandpaper. I also beveled the inner edge of the rim with a folded piece of sandpaper to smooth out that area as well. This will become visible in the later photos.
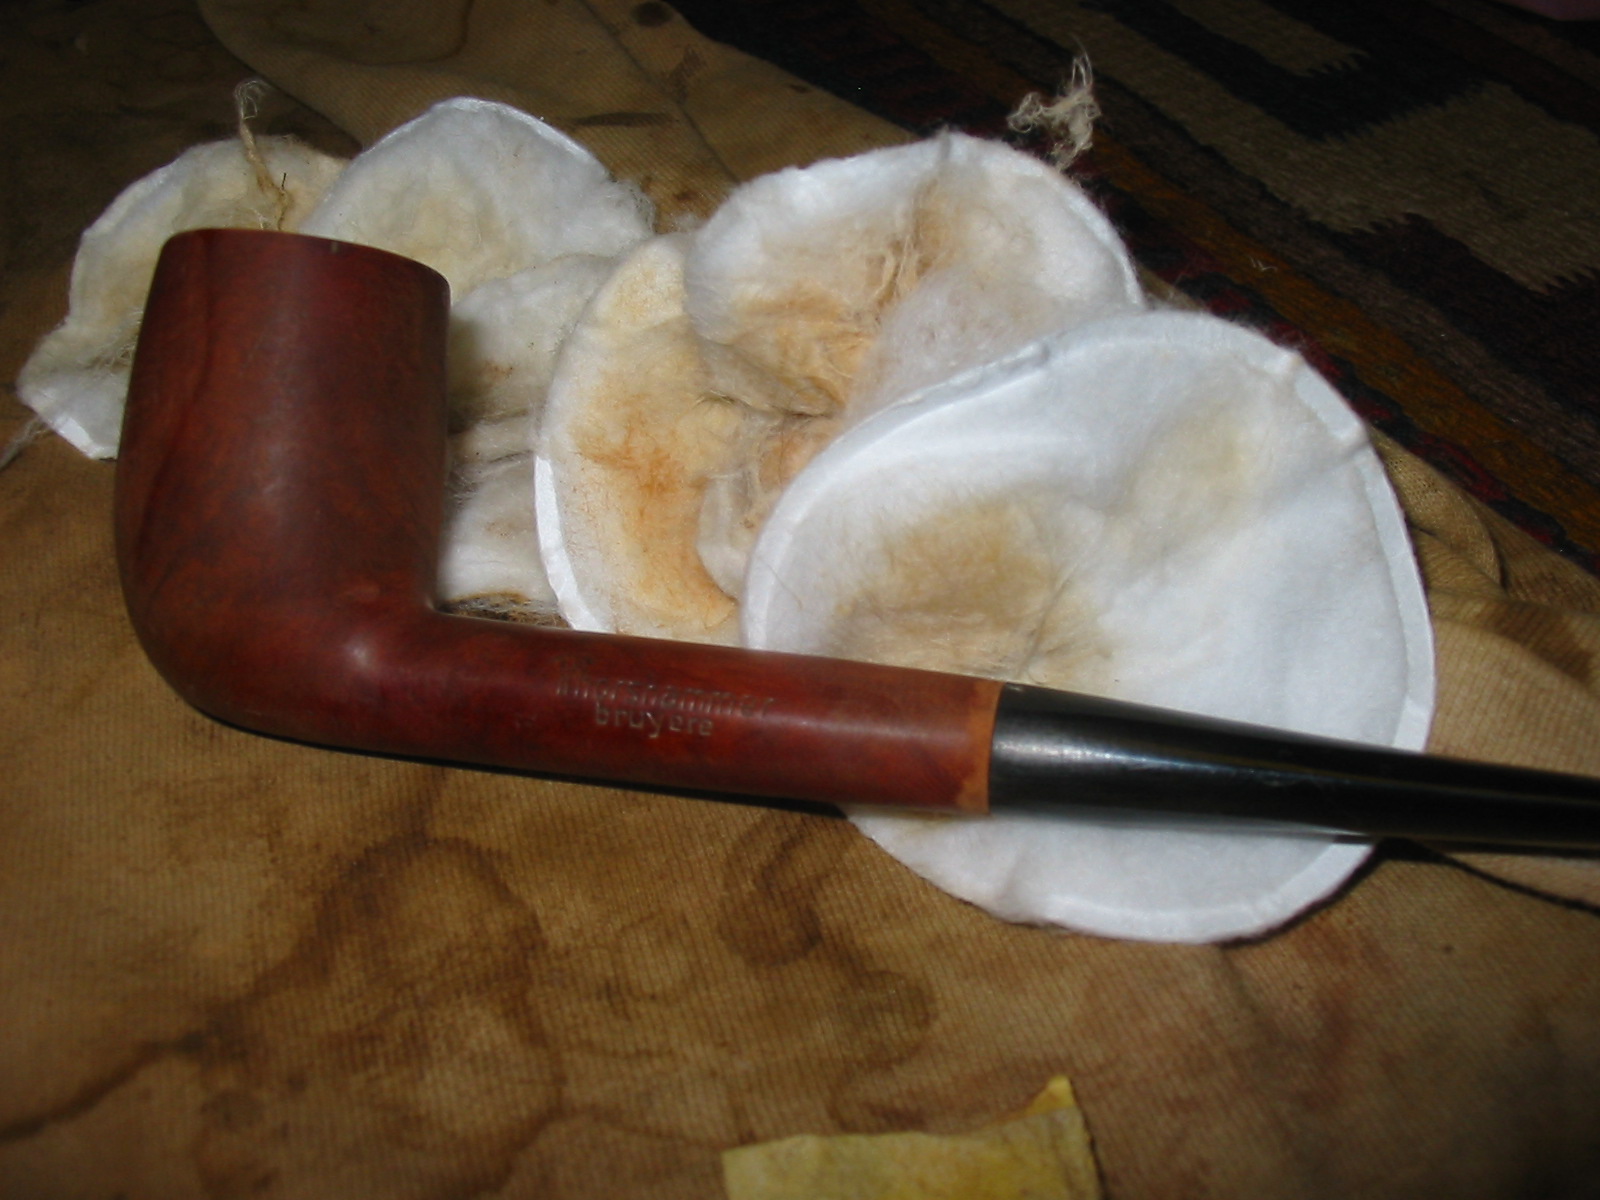
I wiped the bowl down with acetone on a cotton pad to remove the varnish and the stain. I sanded the bowl with a fine grit sanding sponge to remove the stubborn varnish areas and then scrubbed it down with acetone again. Once I had the finish removed the bowl was ready to be stained.
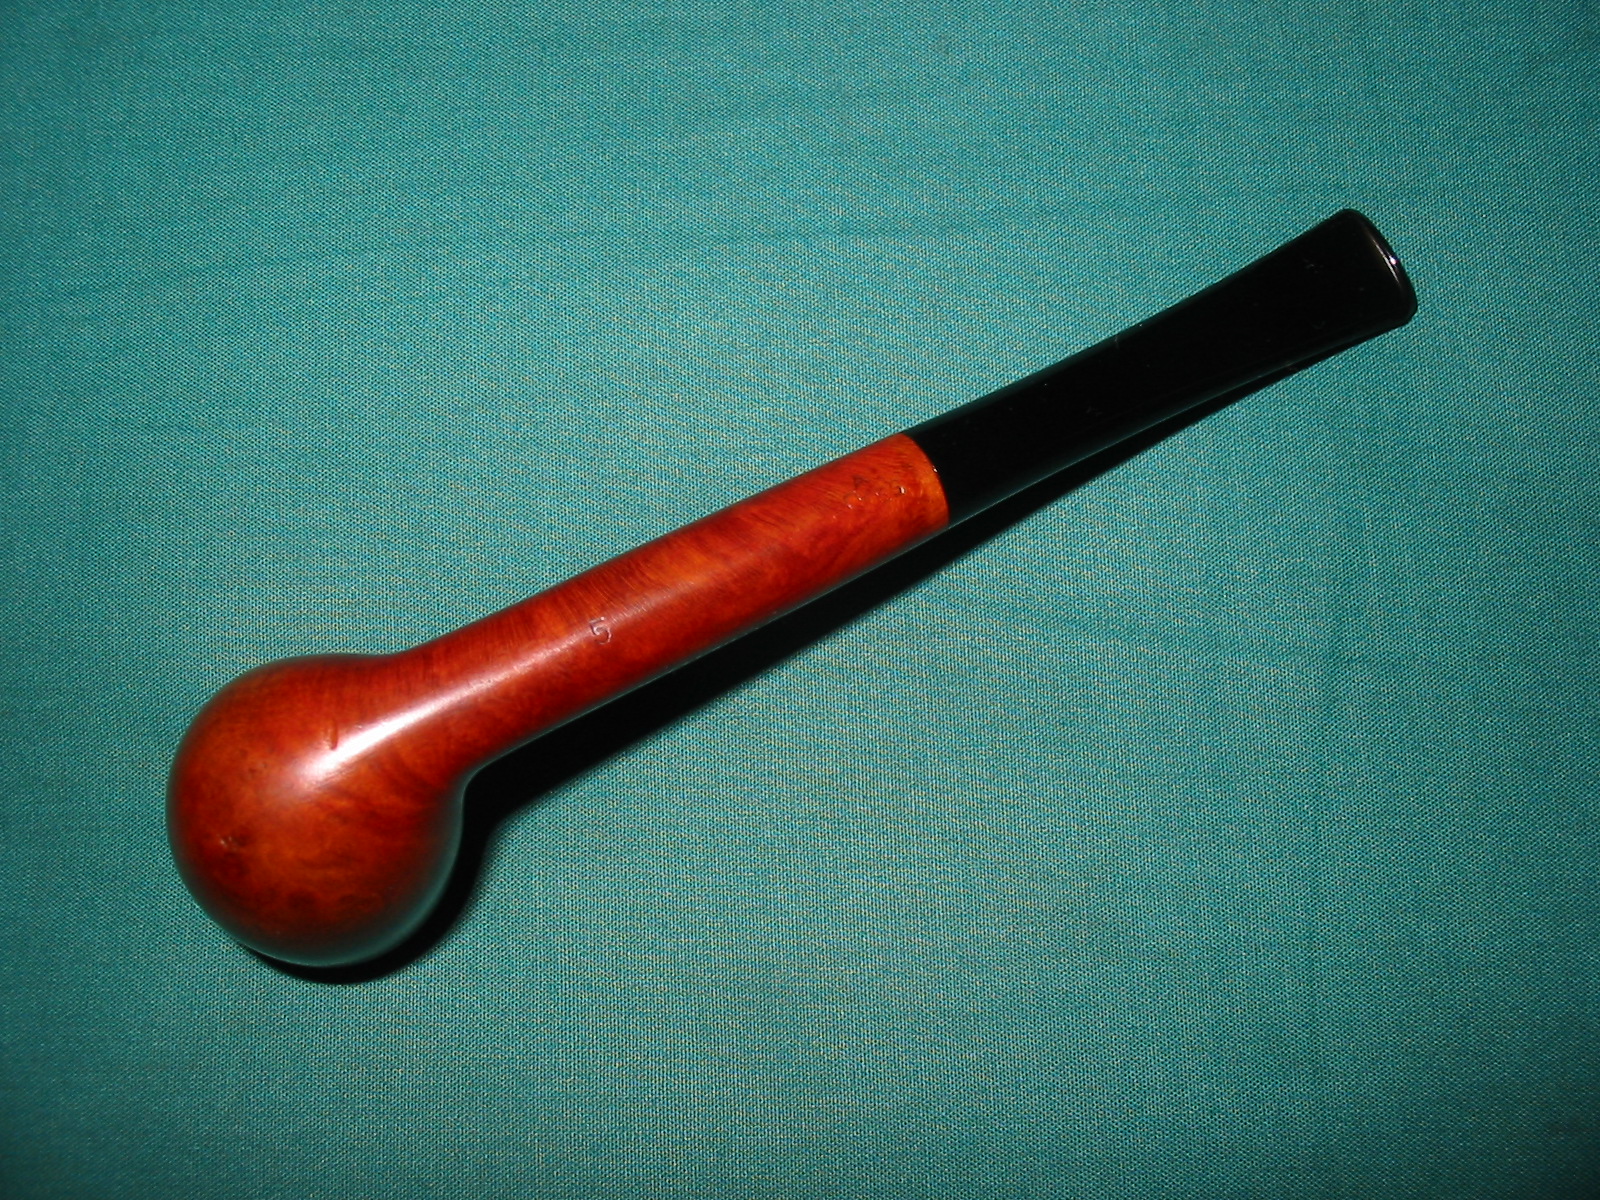
For ease of use, since I have a lot of these to do for the pipe club stash, I am using MinWax stain. On this one I gave it a coat of Red Mahogany stain followed by a coat of Medium Walnut stain. I rubbed them on and off to get the colour I wanted. The area at the stem junction stubbornly refused to take much of the stain no matter how much I coaxed it and heated it. In the photos below the lighter area at that point is better though still visible to me.
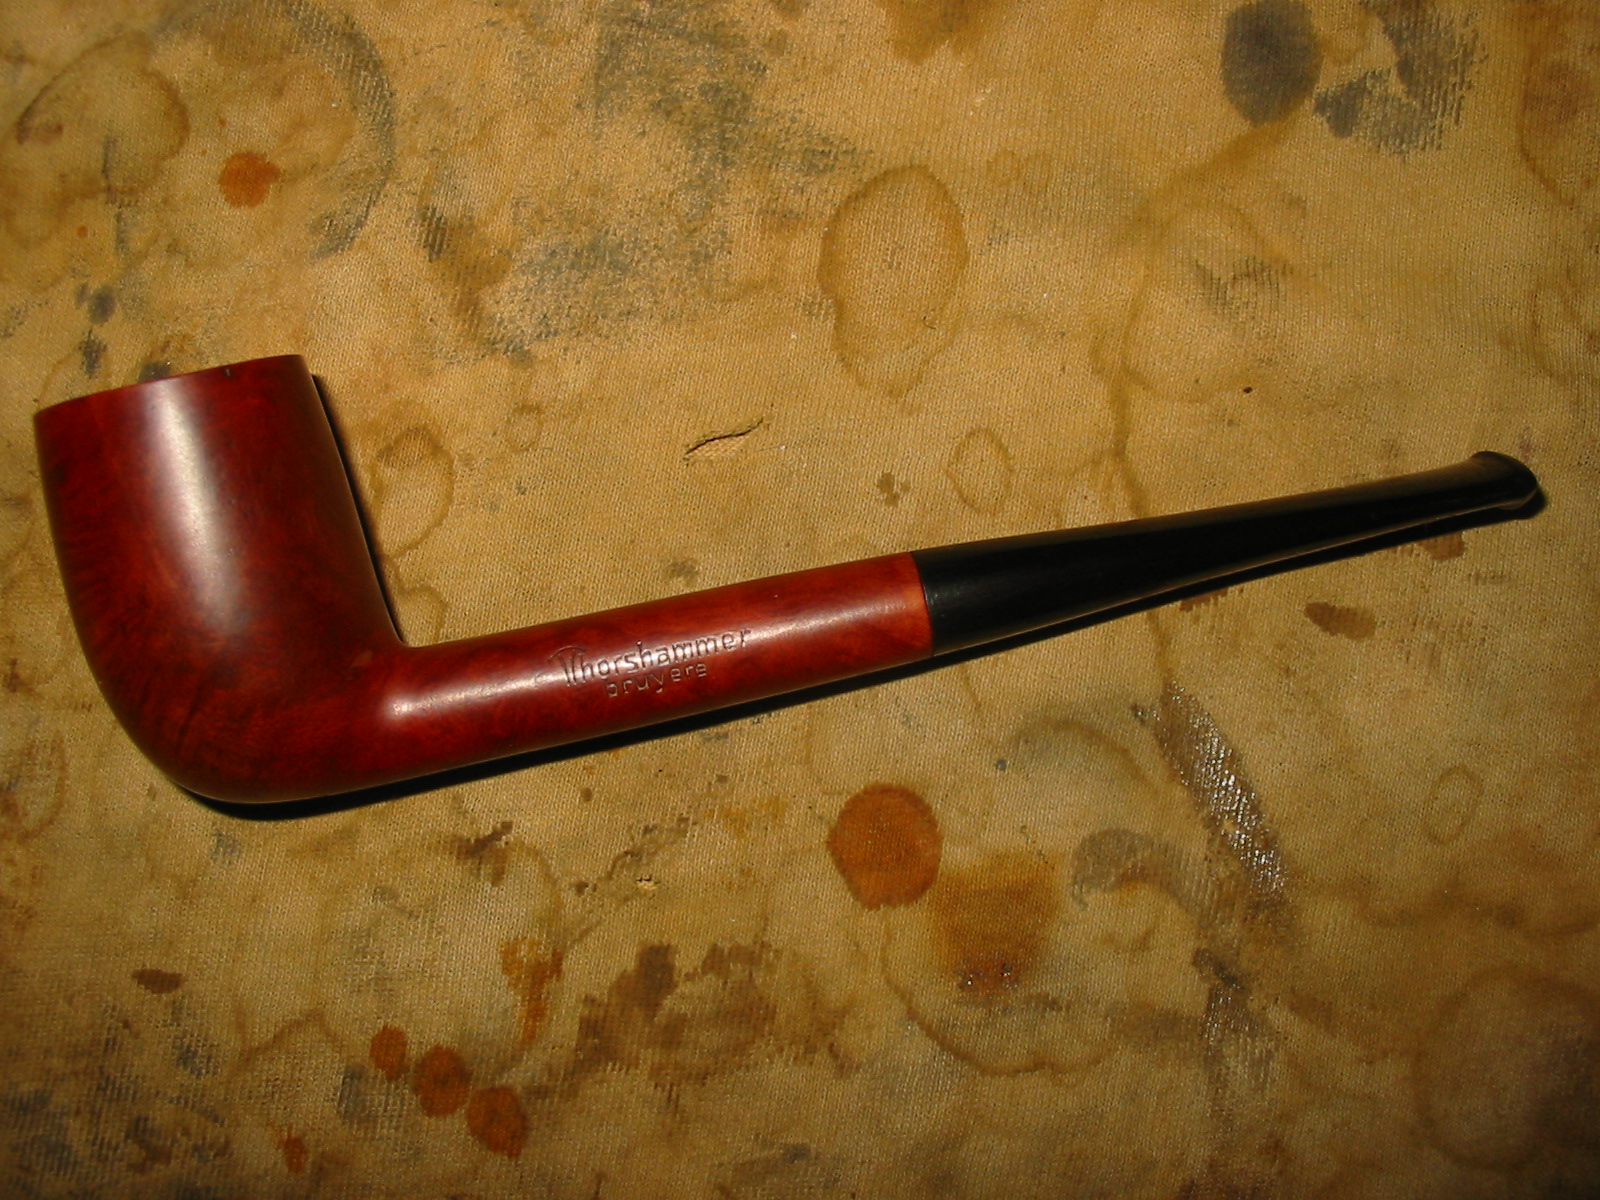


I rubbed down the stem with Obsidian Oil and rubbed it into the vulcanite. Once it was dry I buffed the pipe with White Diamond and then gave it multiple coats of caranauba wax to protect and give it a shine. The rim came out exceptionally well and the stain coat looks far better than when I started. The red Mahogany stain kept the red undertones that were present in the original stain coat. I finished buffing with a clean flannel buff to give it a shine. The finished pipe is shown in the photos below. It is ready to go back in the box of finished pipes for the Pipe Club. Still a few more pipes to fix and work on before I send them back to the club for sale or their fund-raising use.