Author Archives: upshallfan

Unknown's avatar

About upshallfan

Moderator on the PipesMagazine forum since 2011. Guest contributor on the Reborn Pipes Blog by Steve Laug.

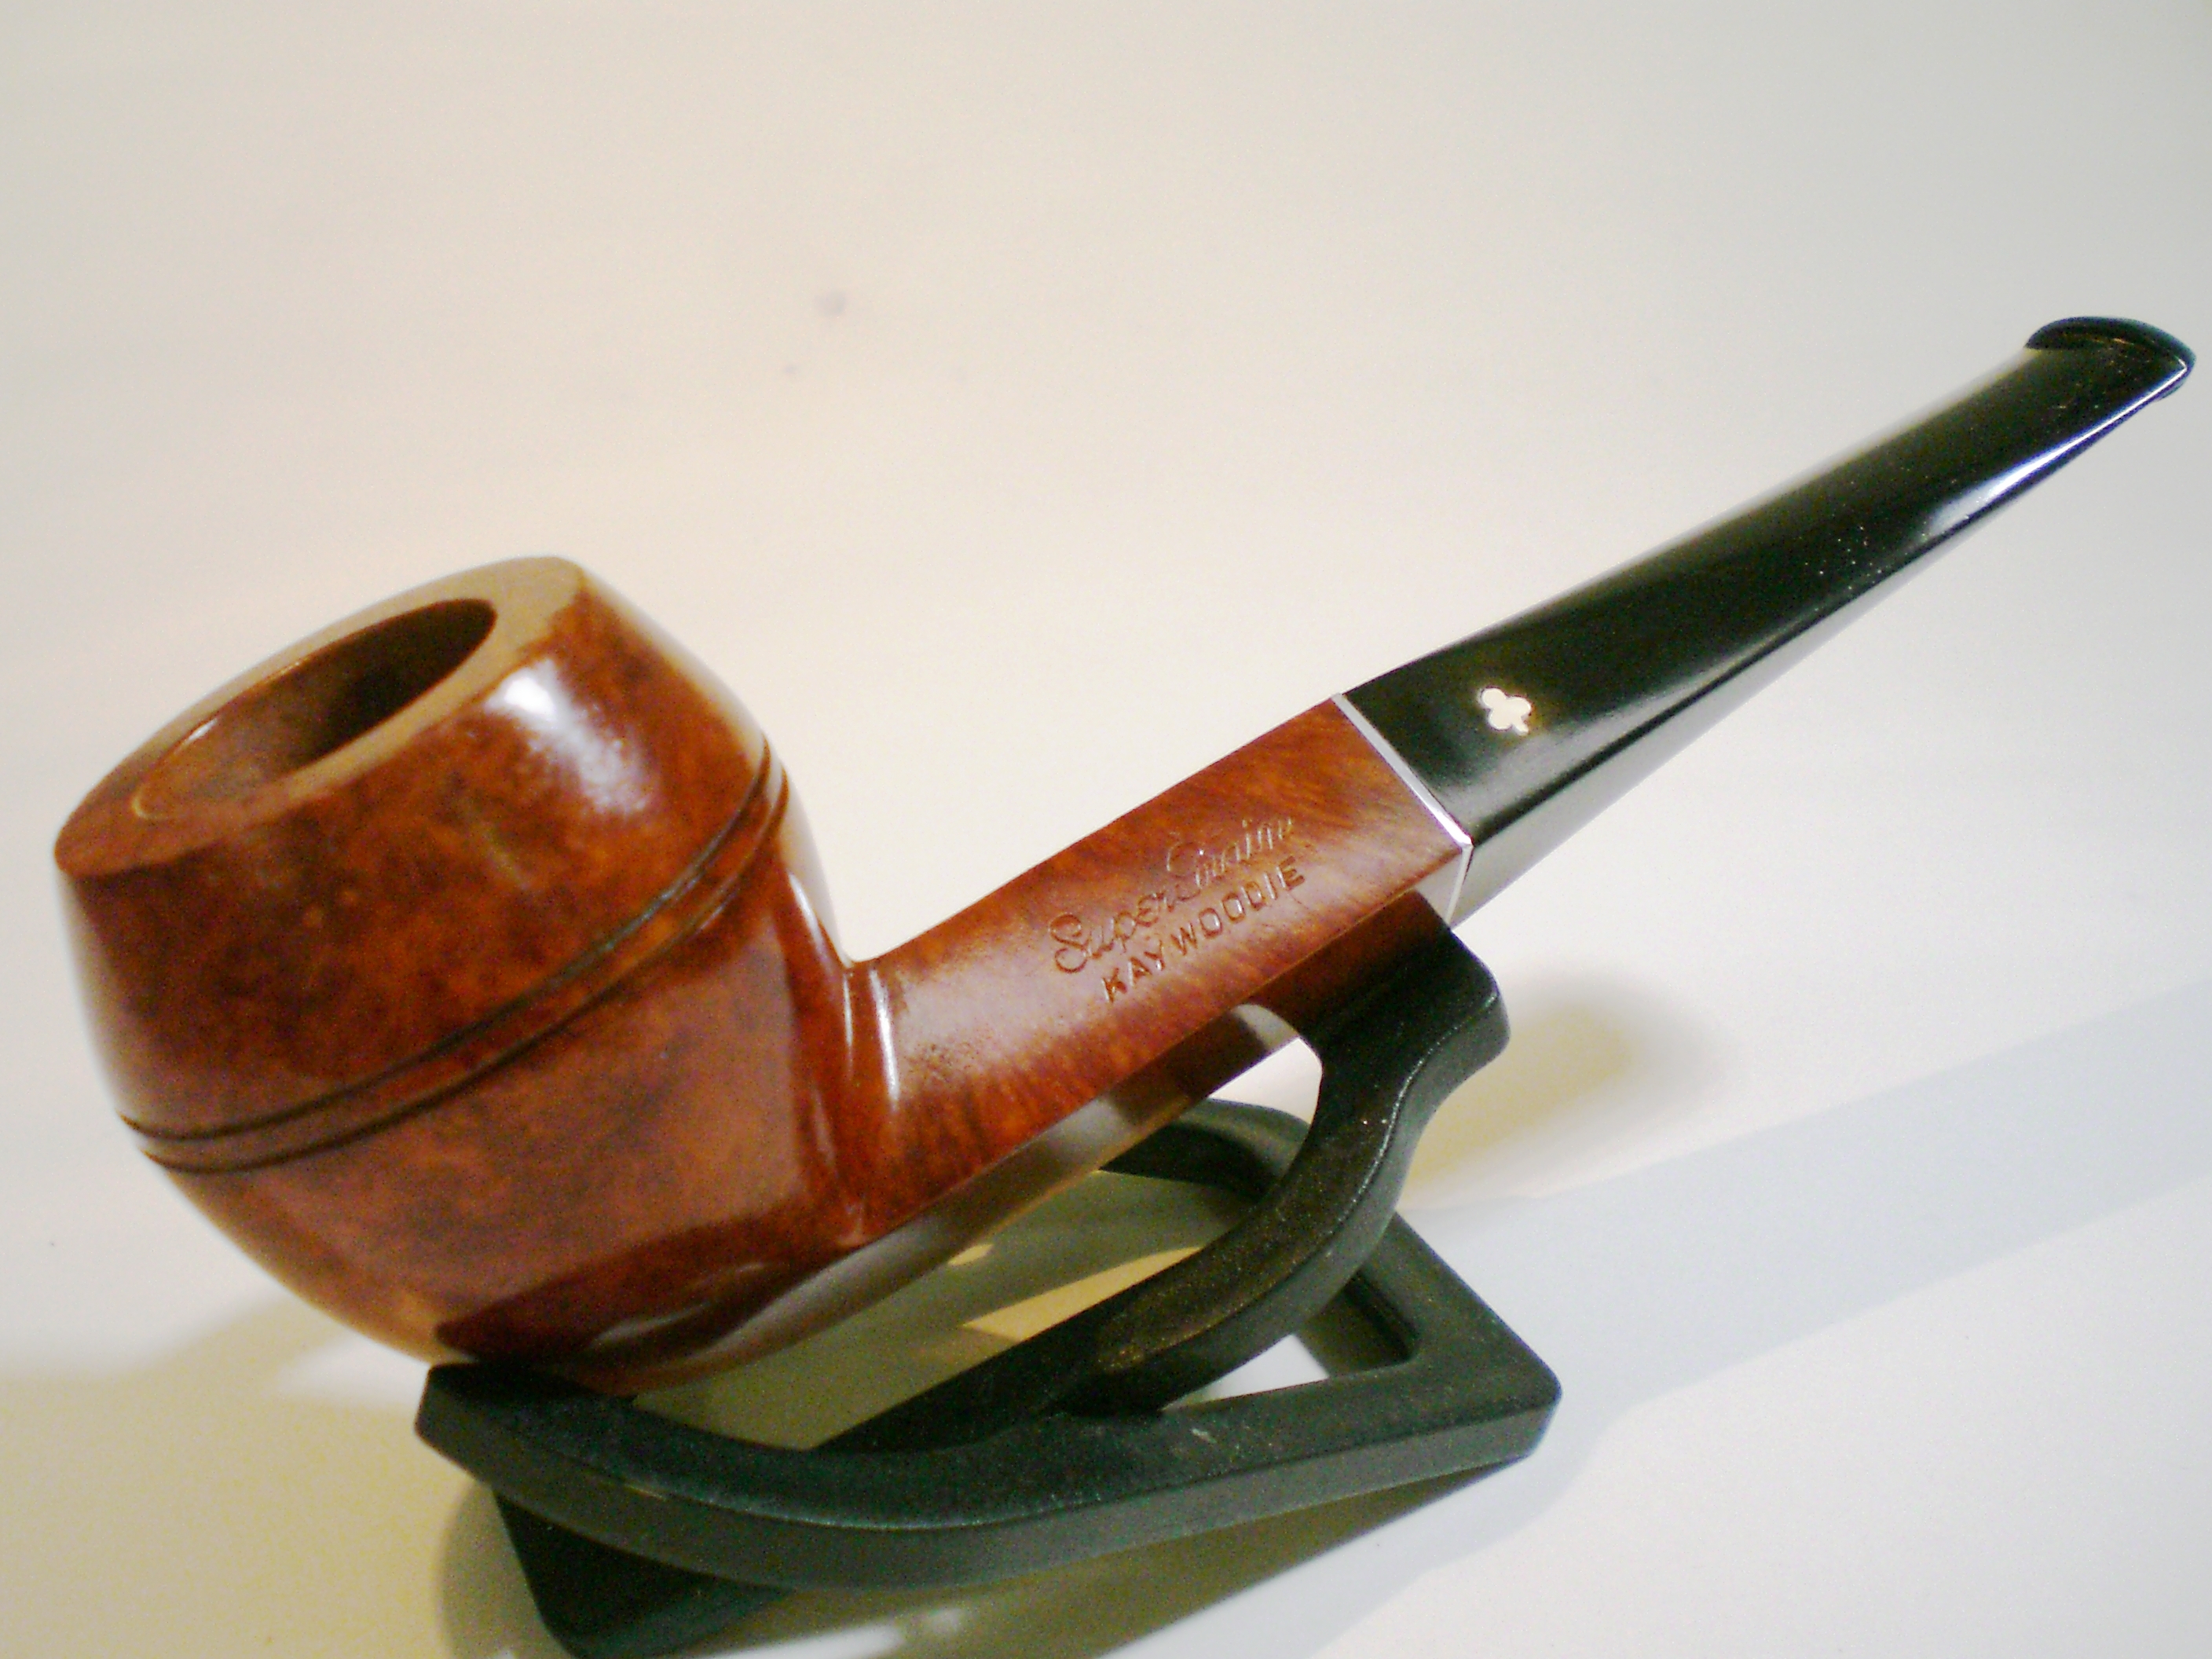
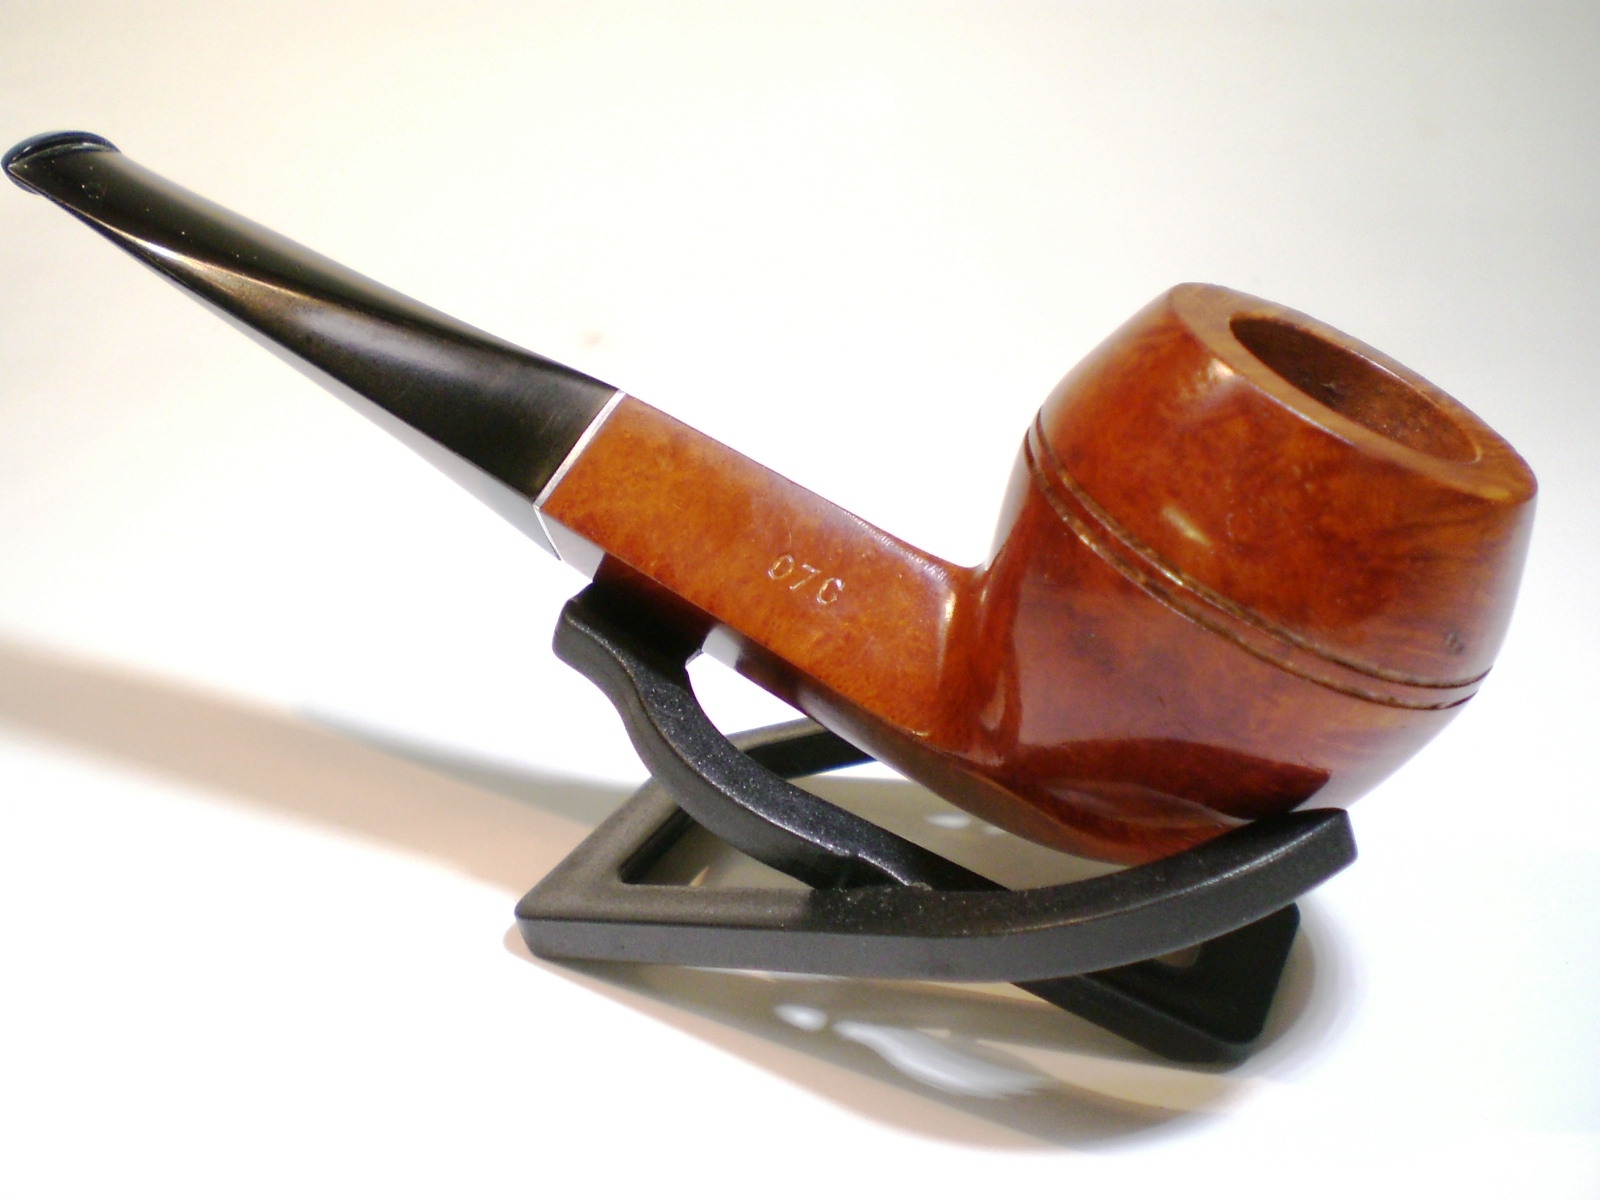
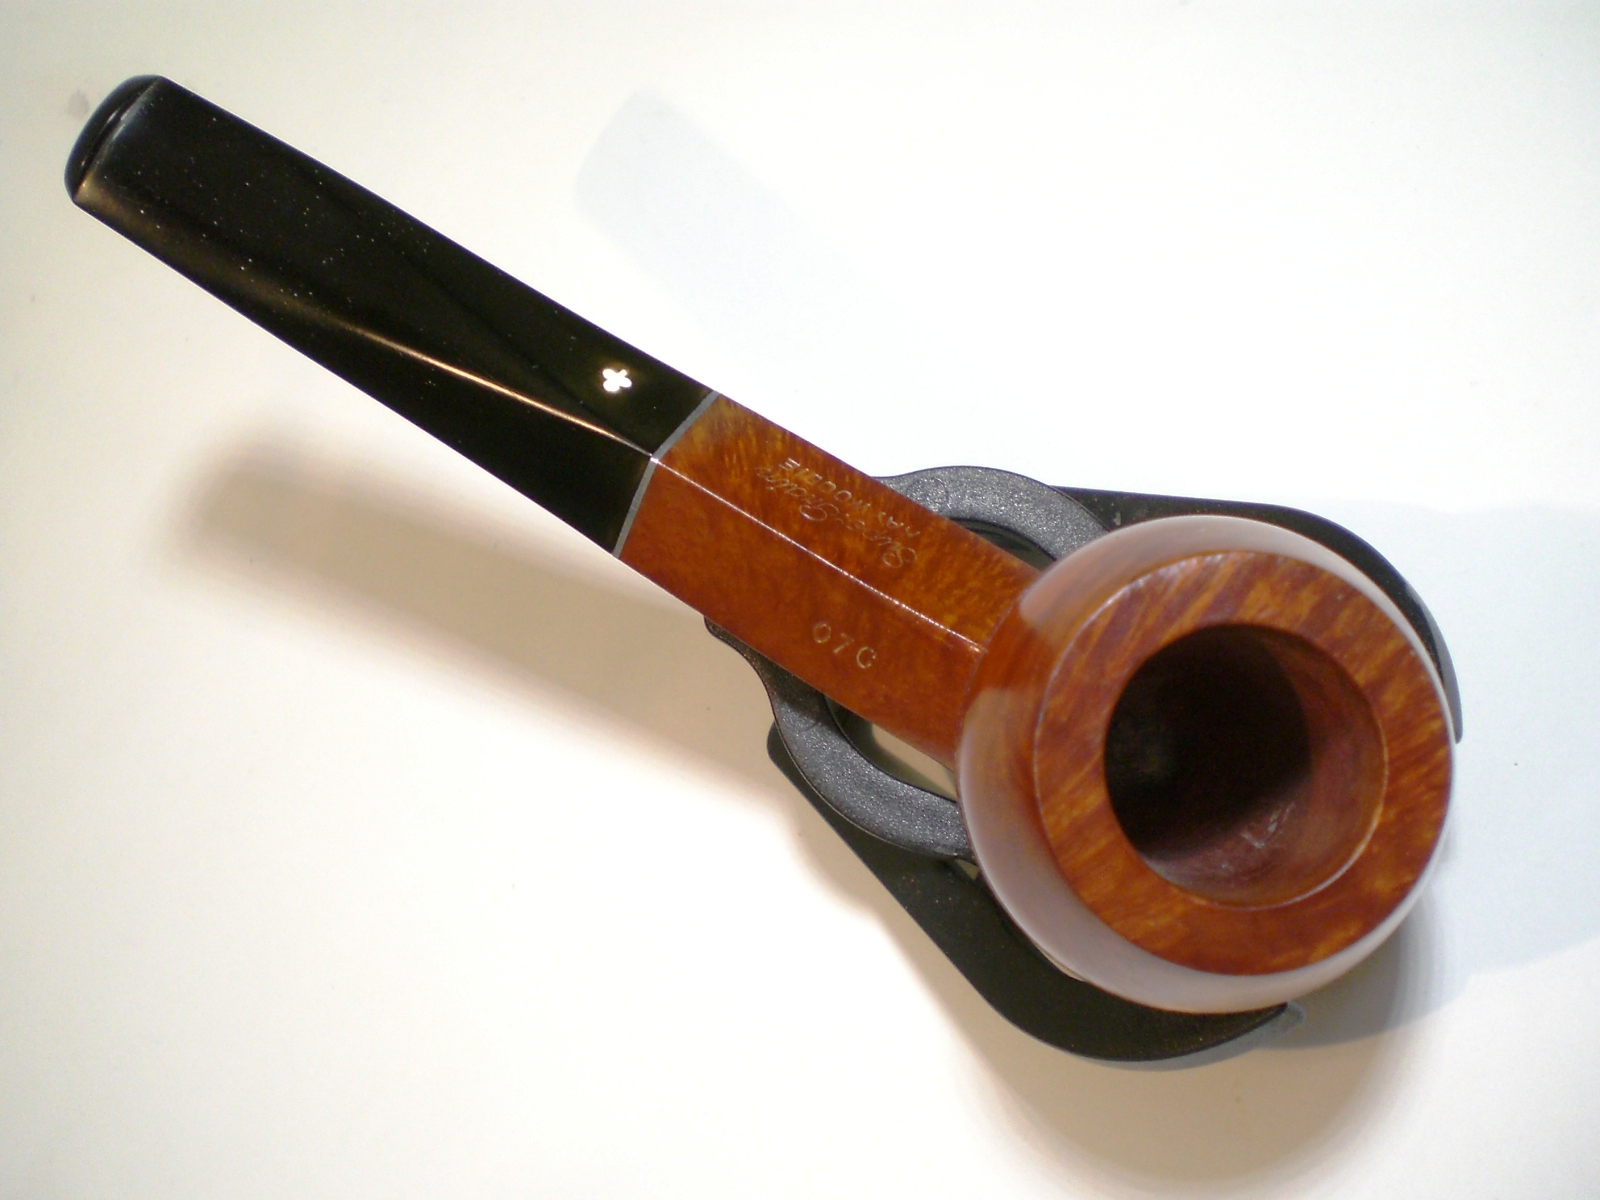
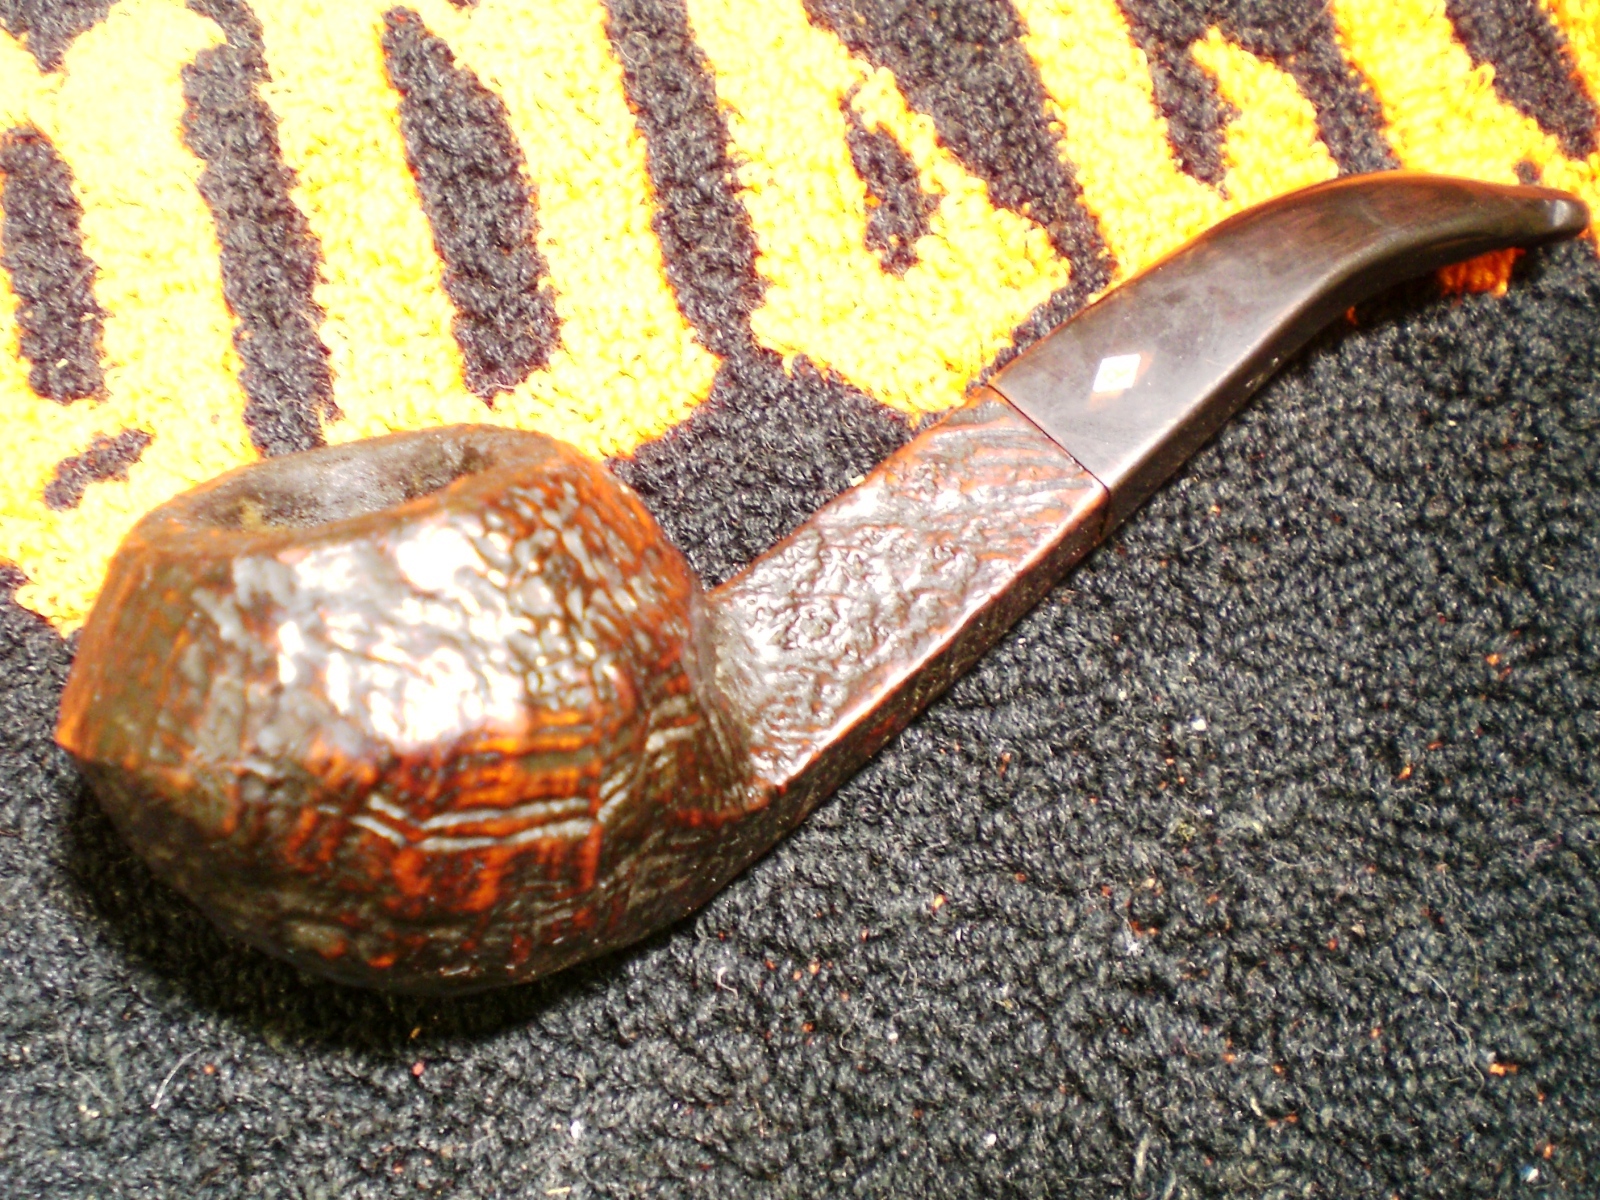
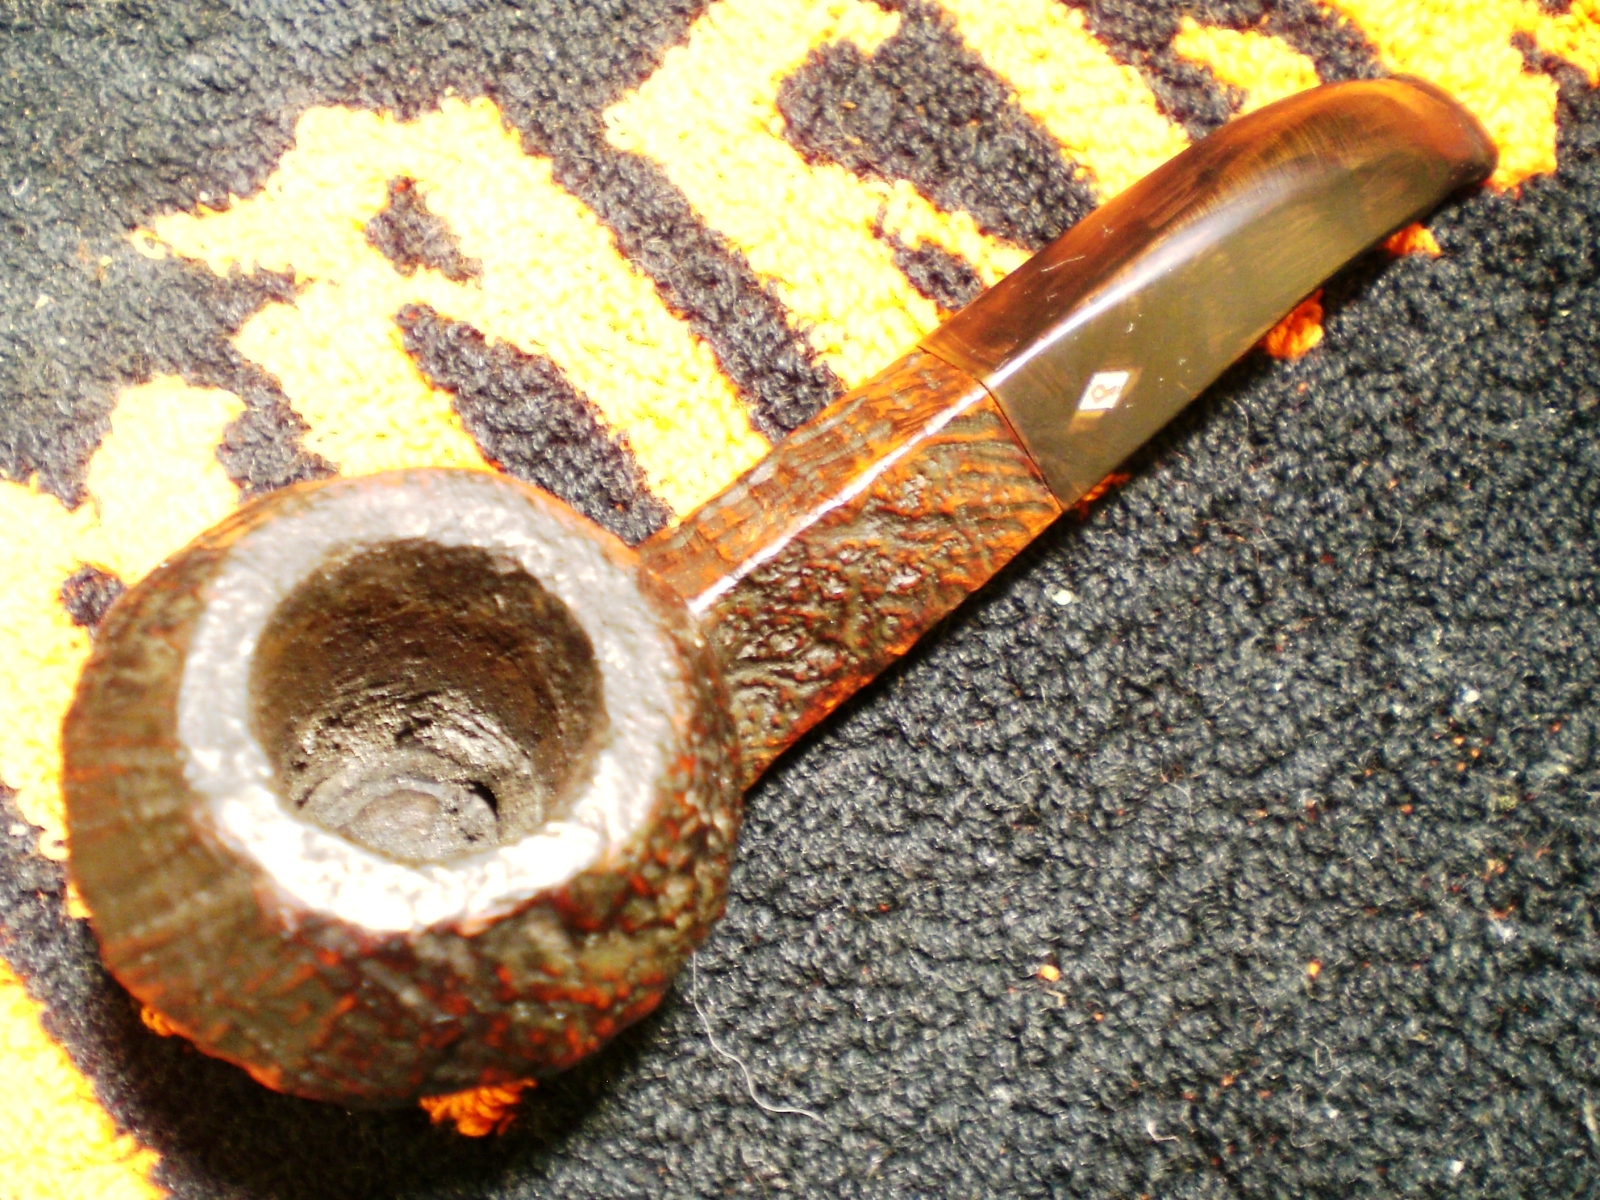
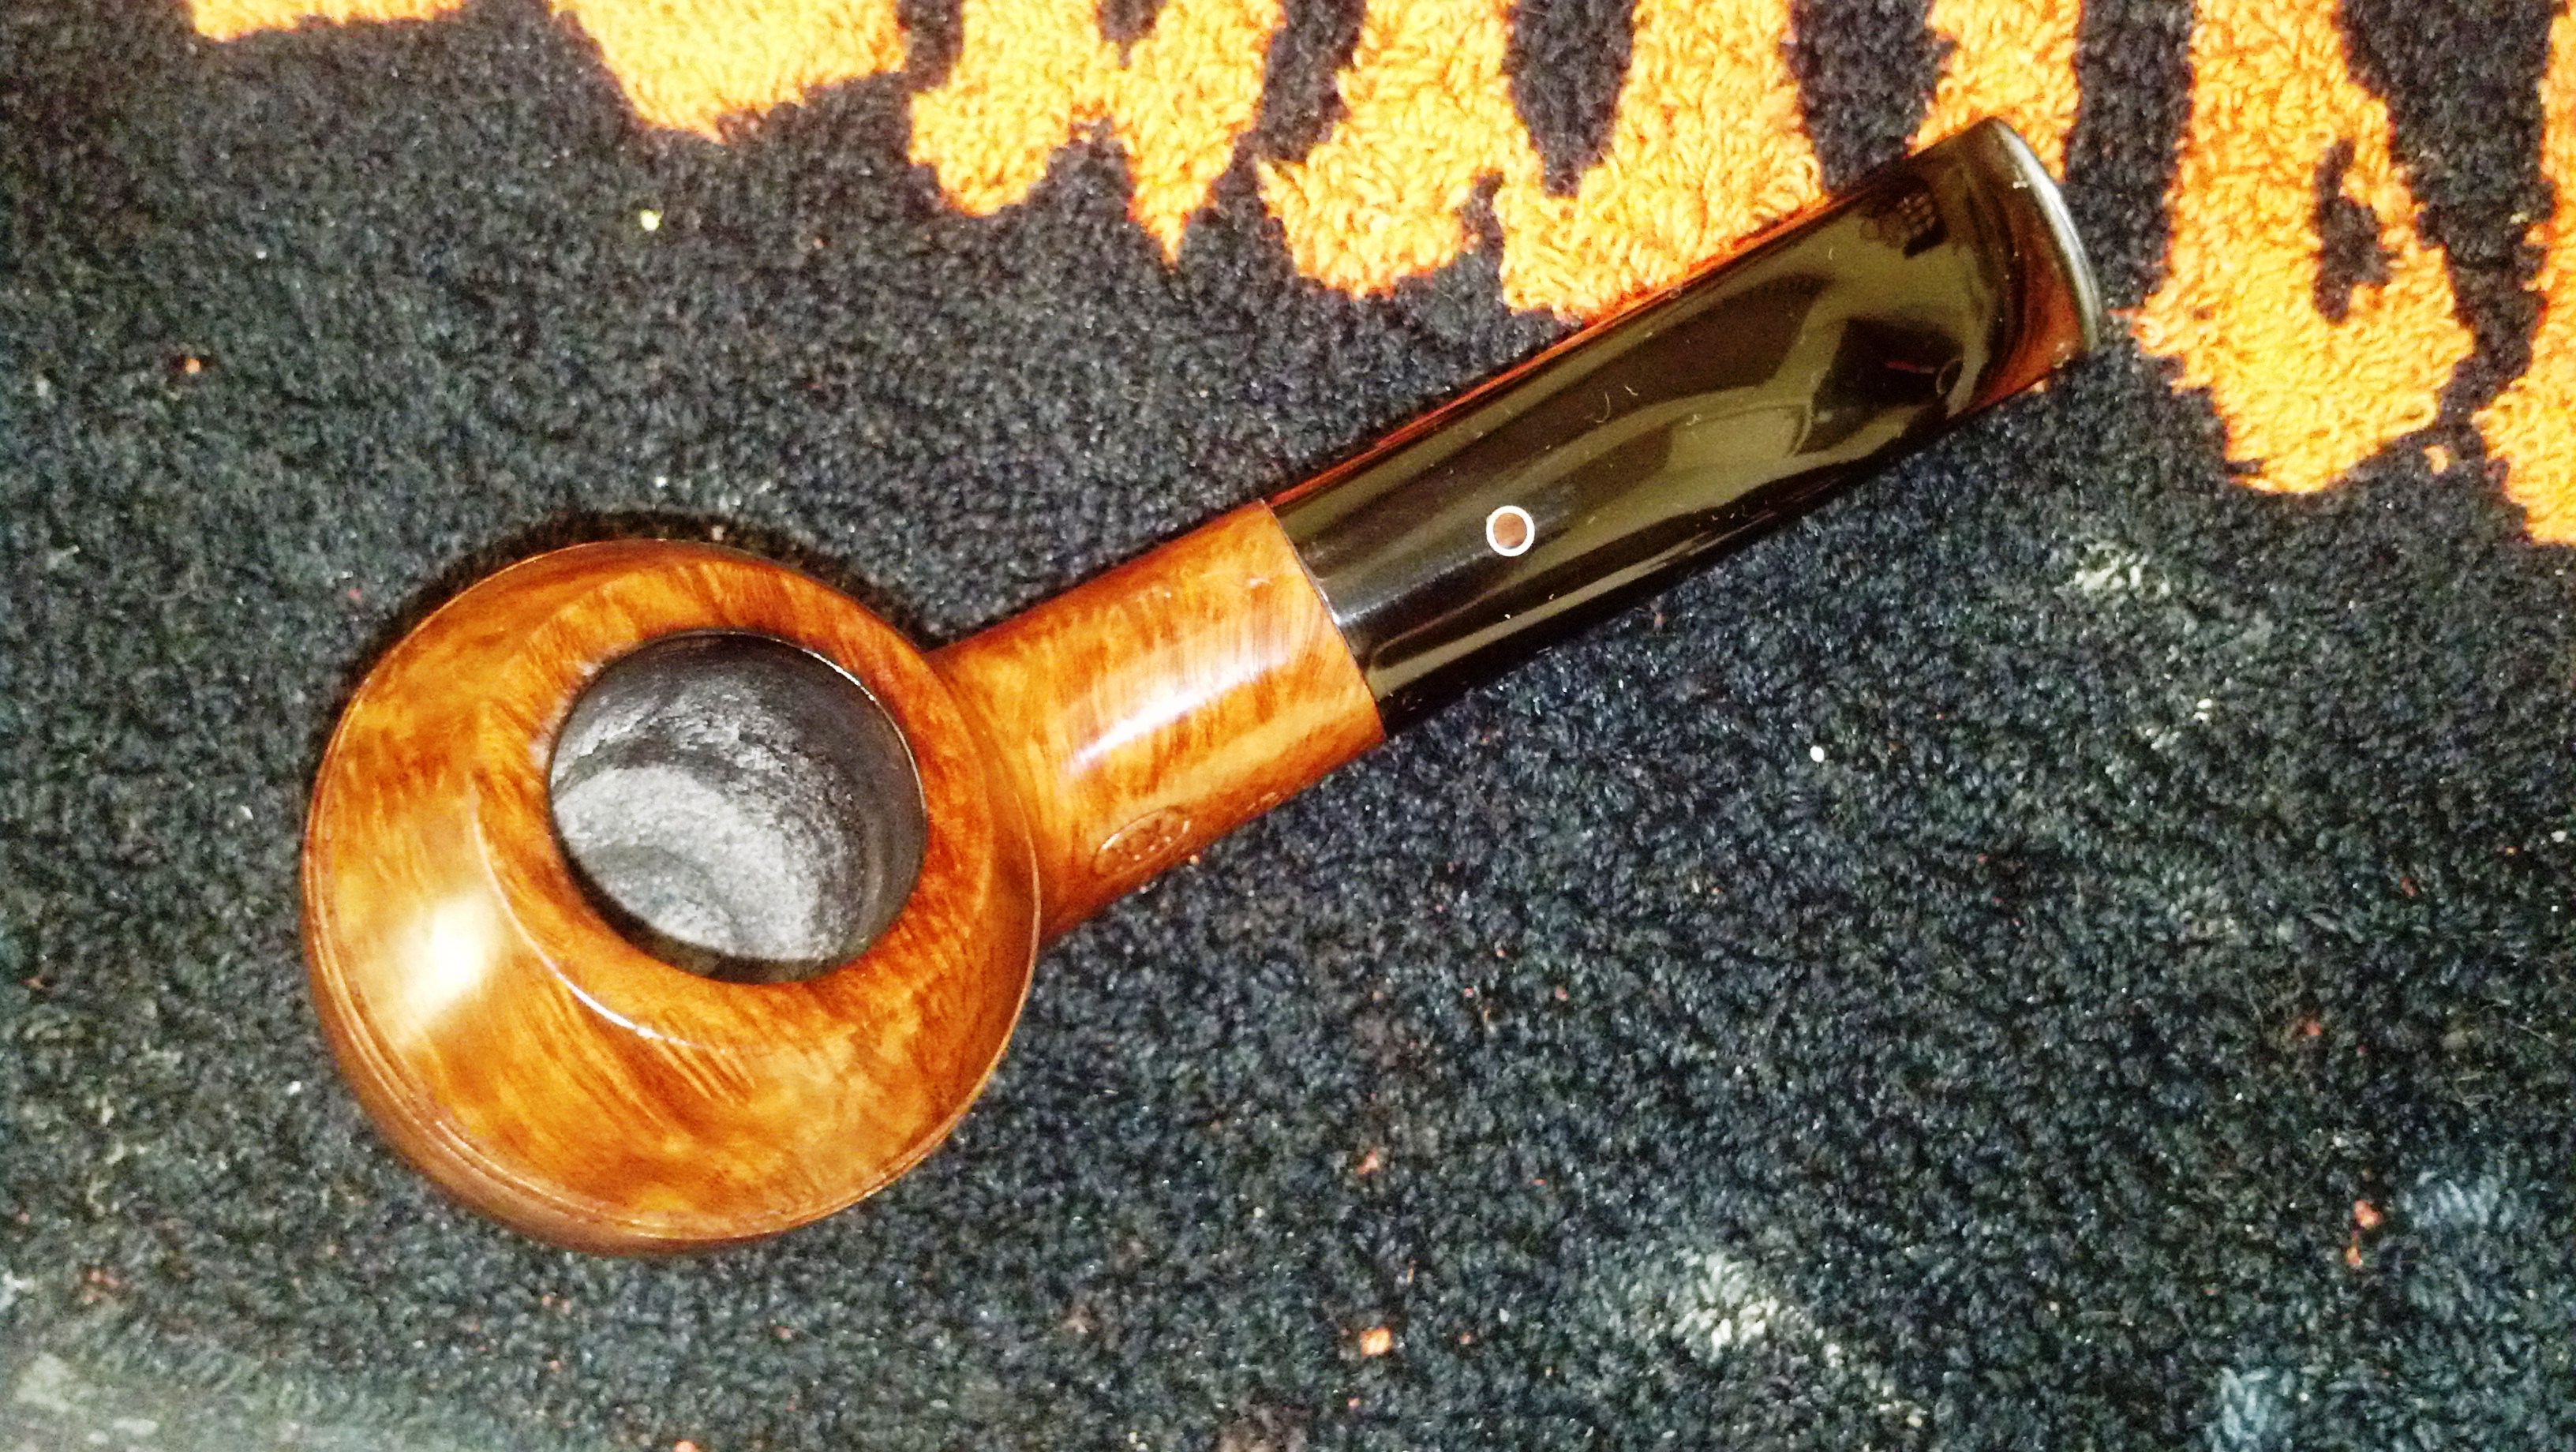
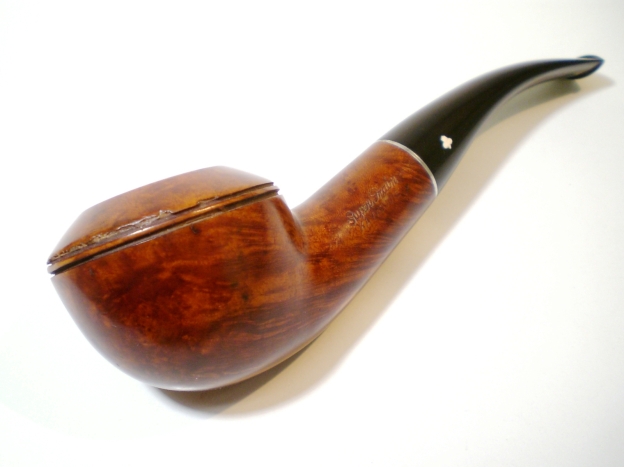
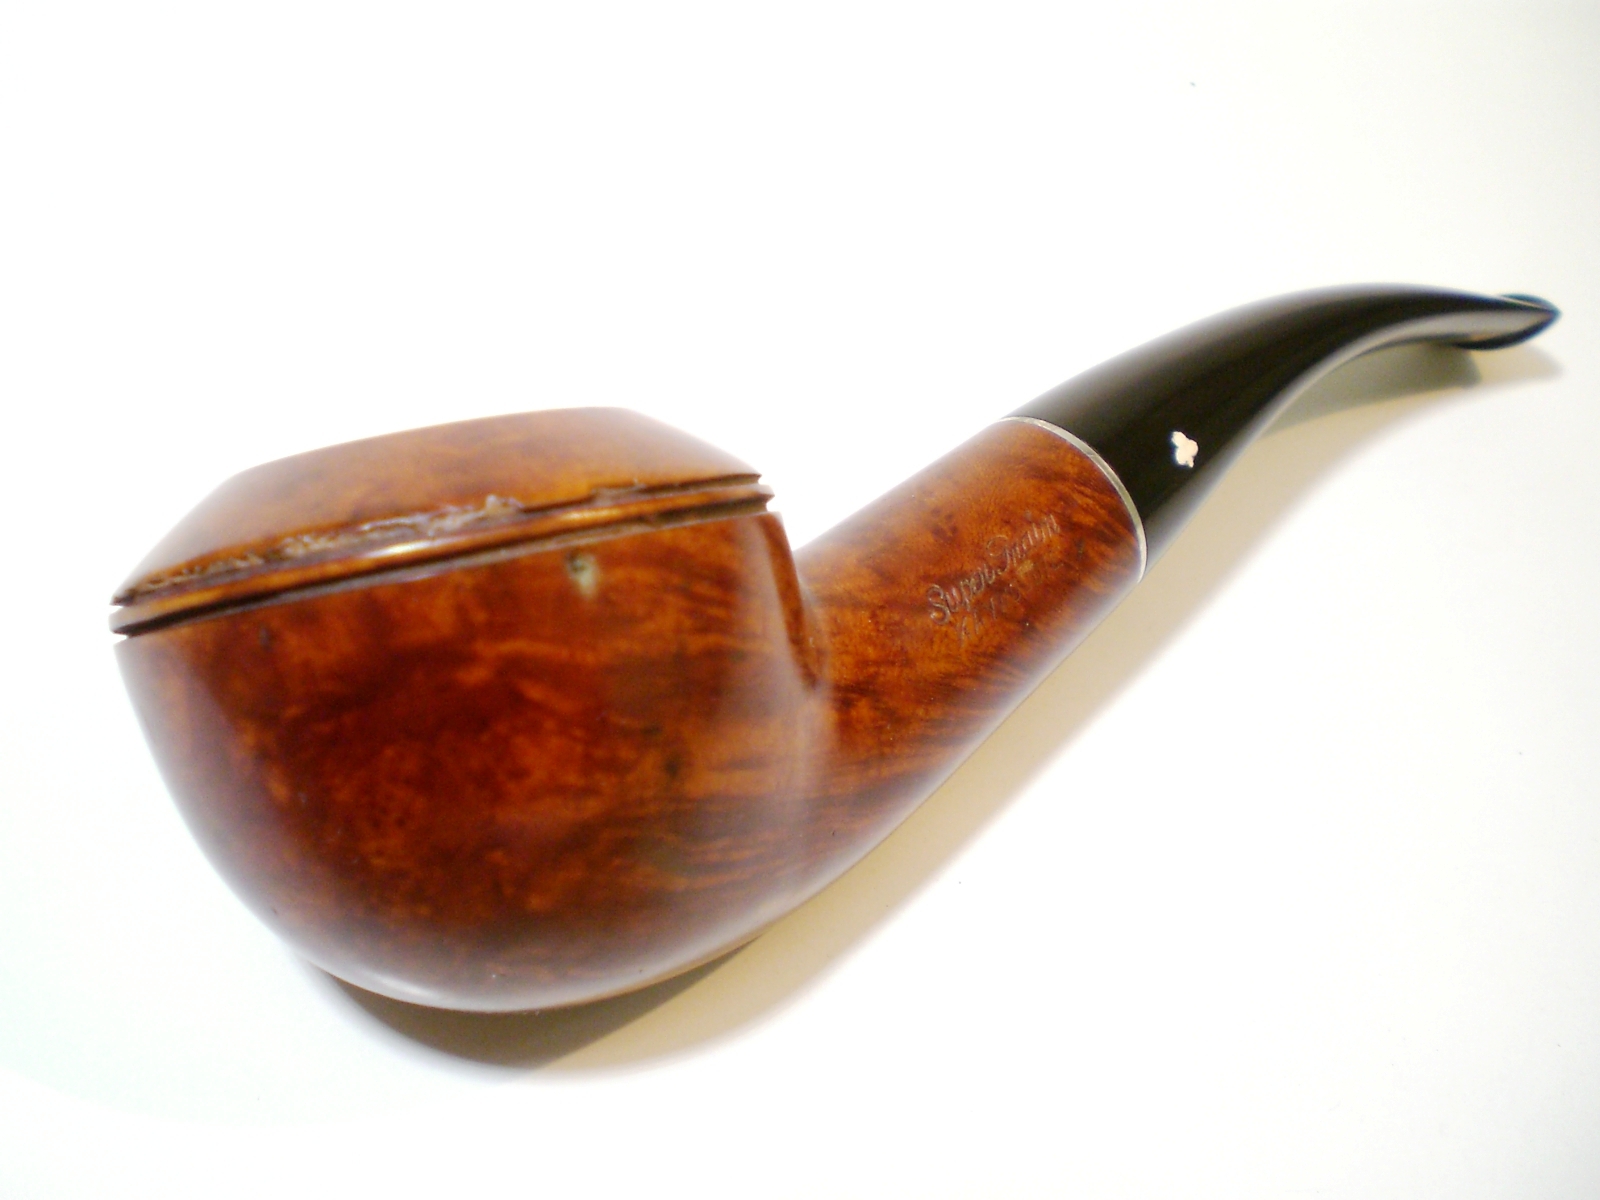
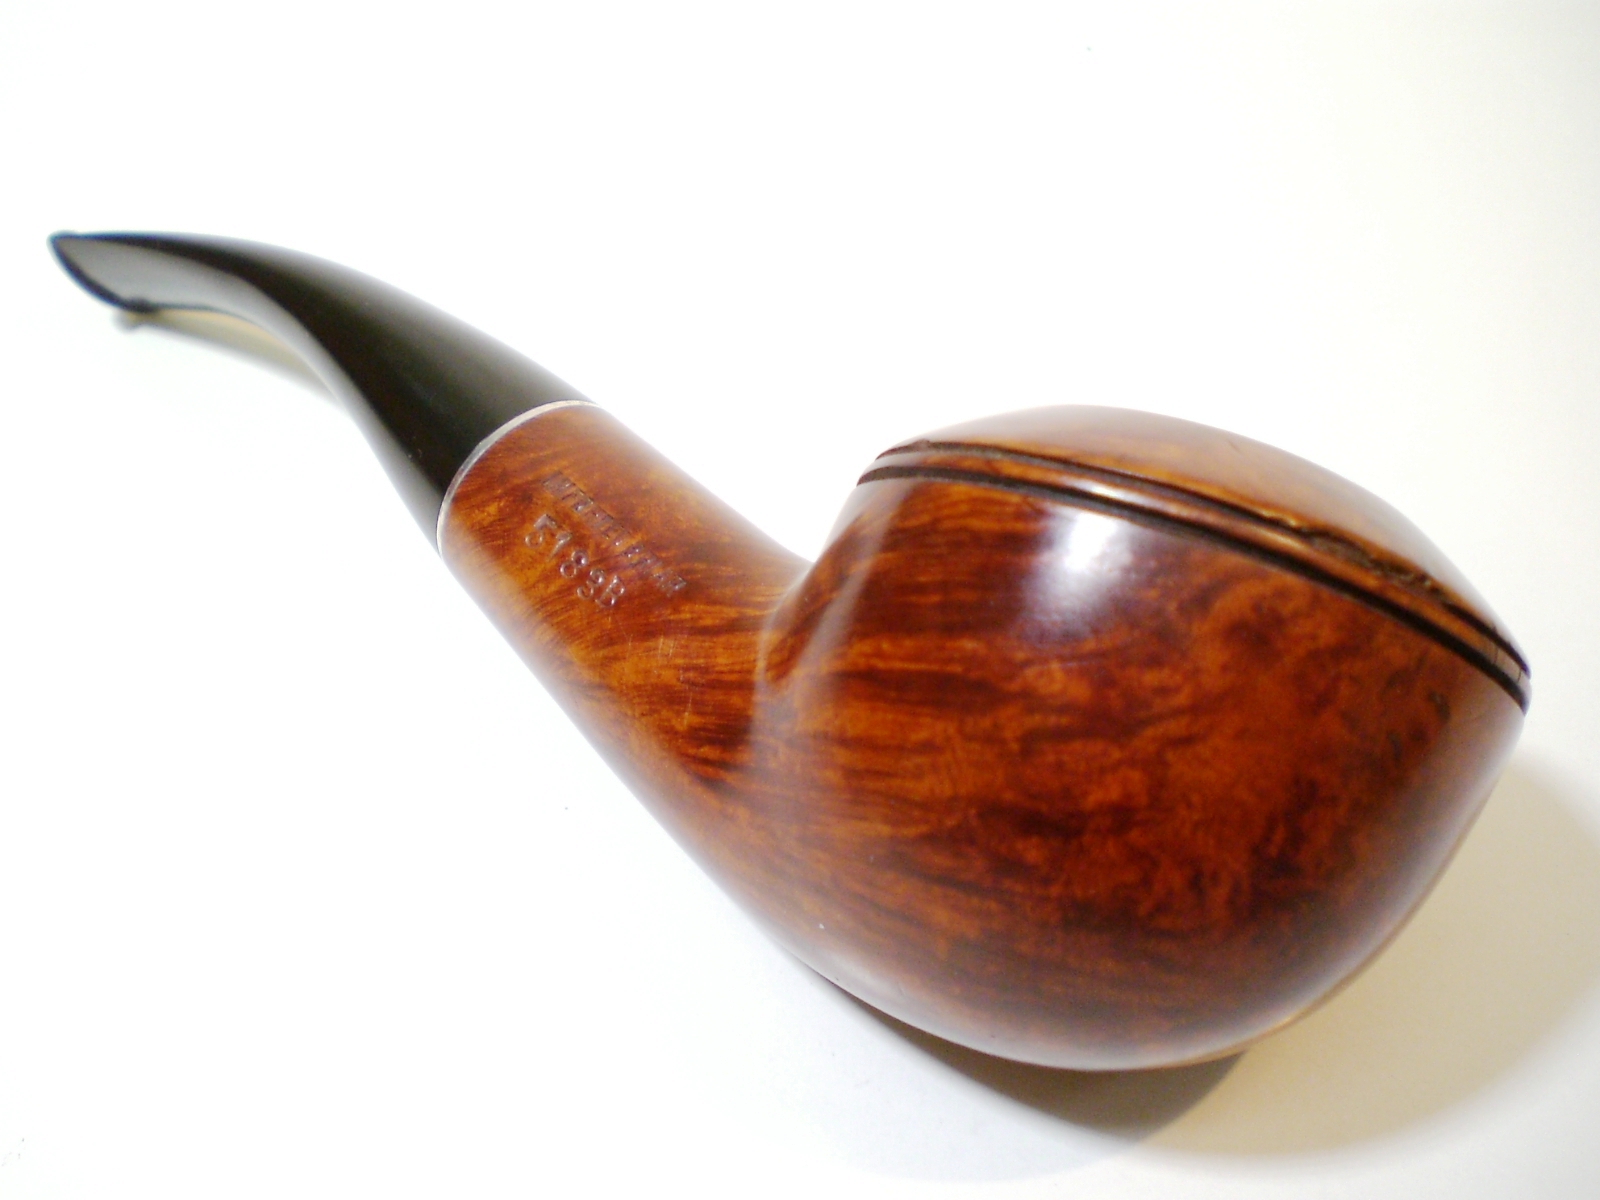
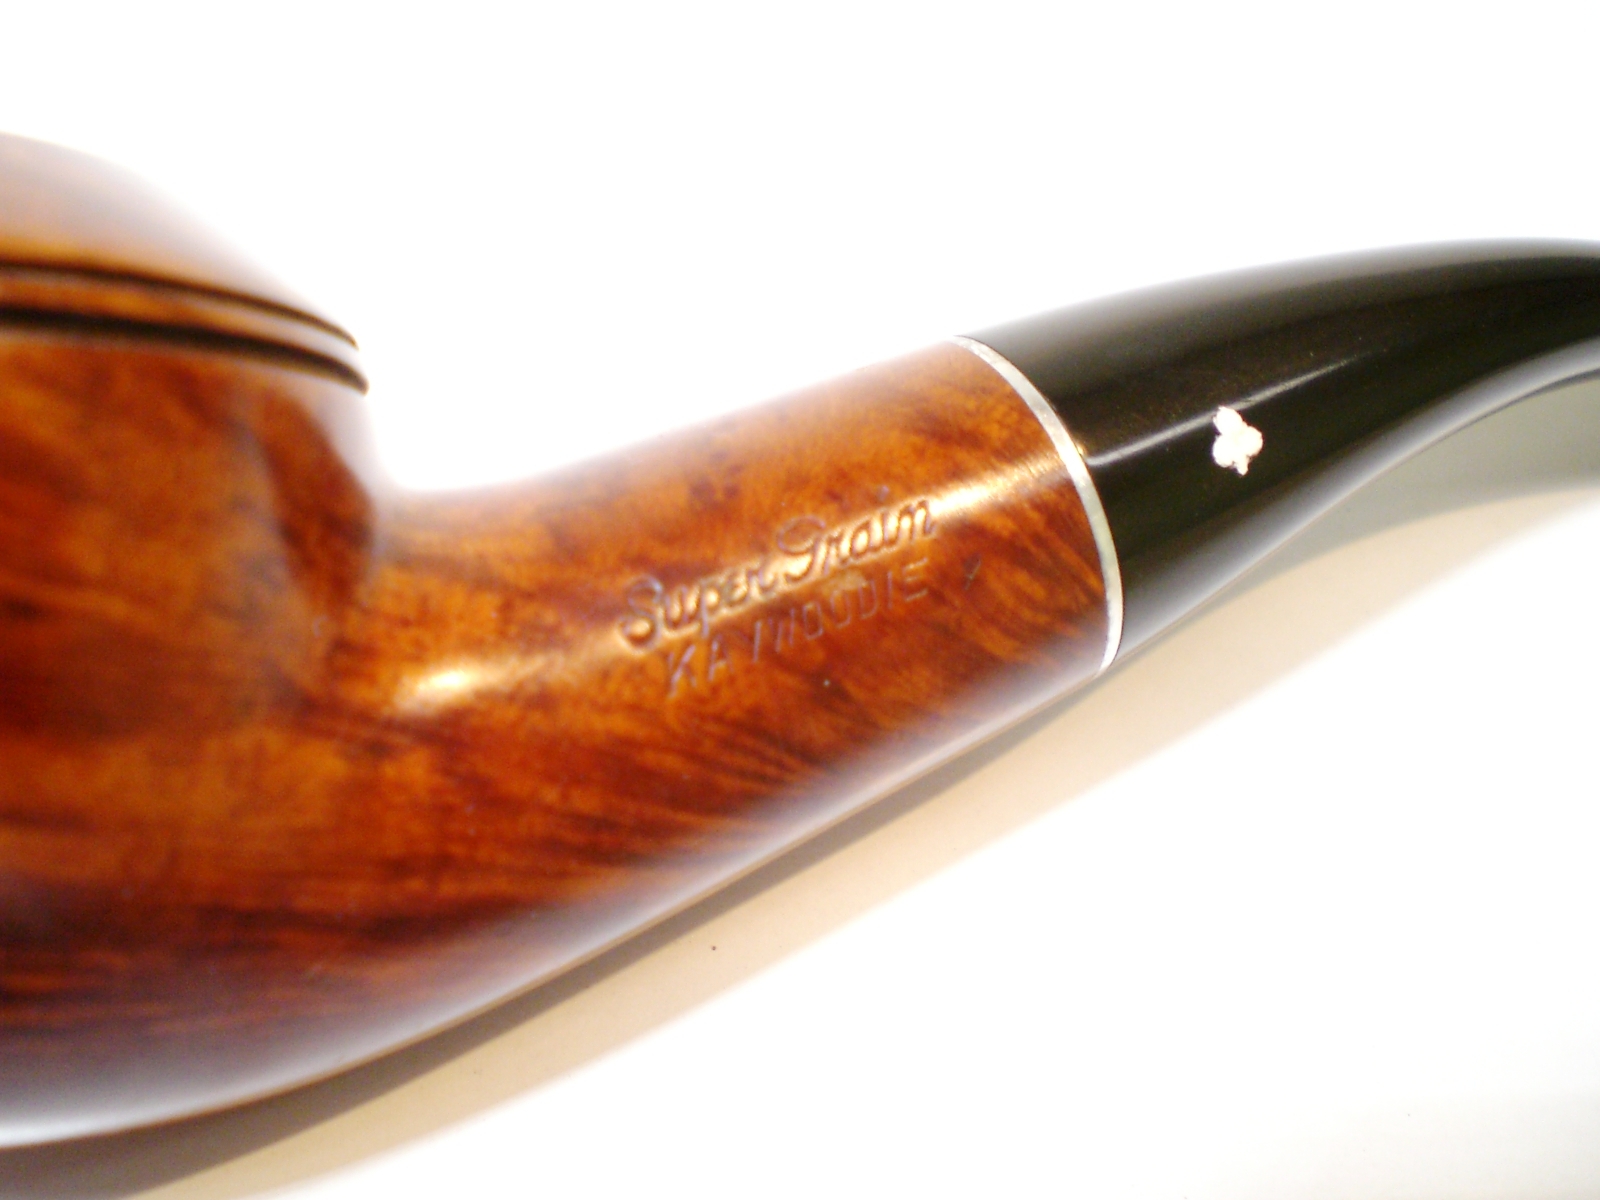
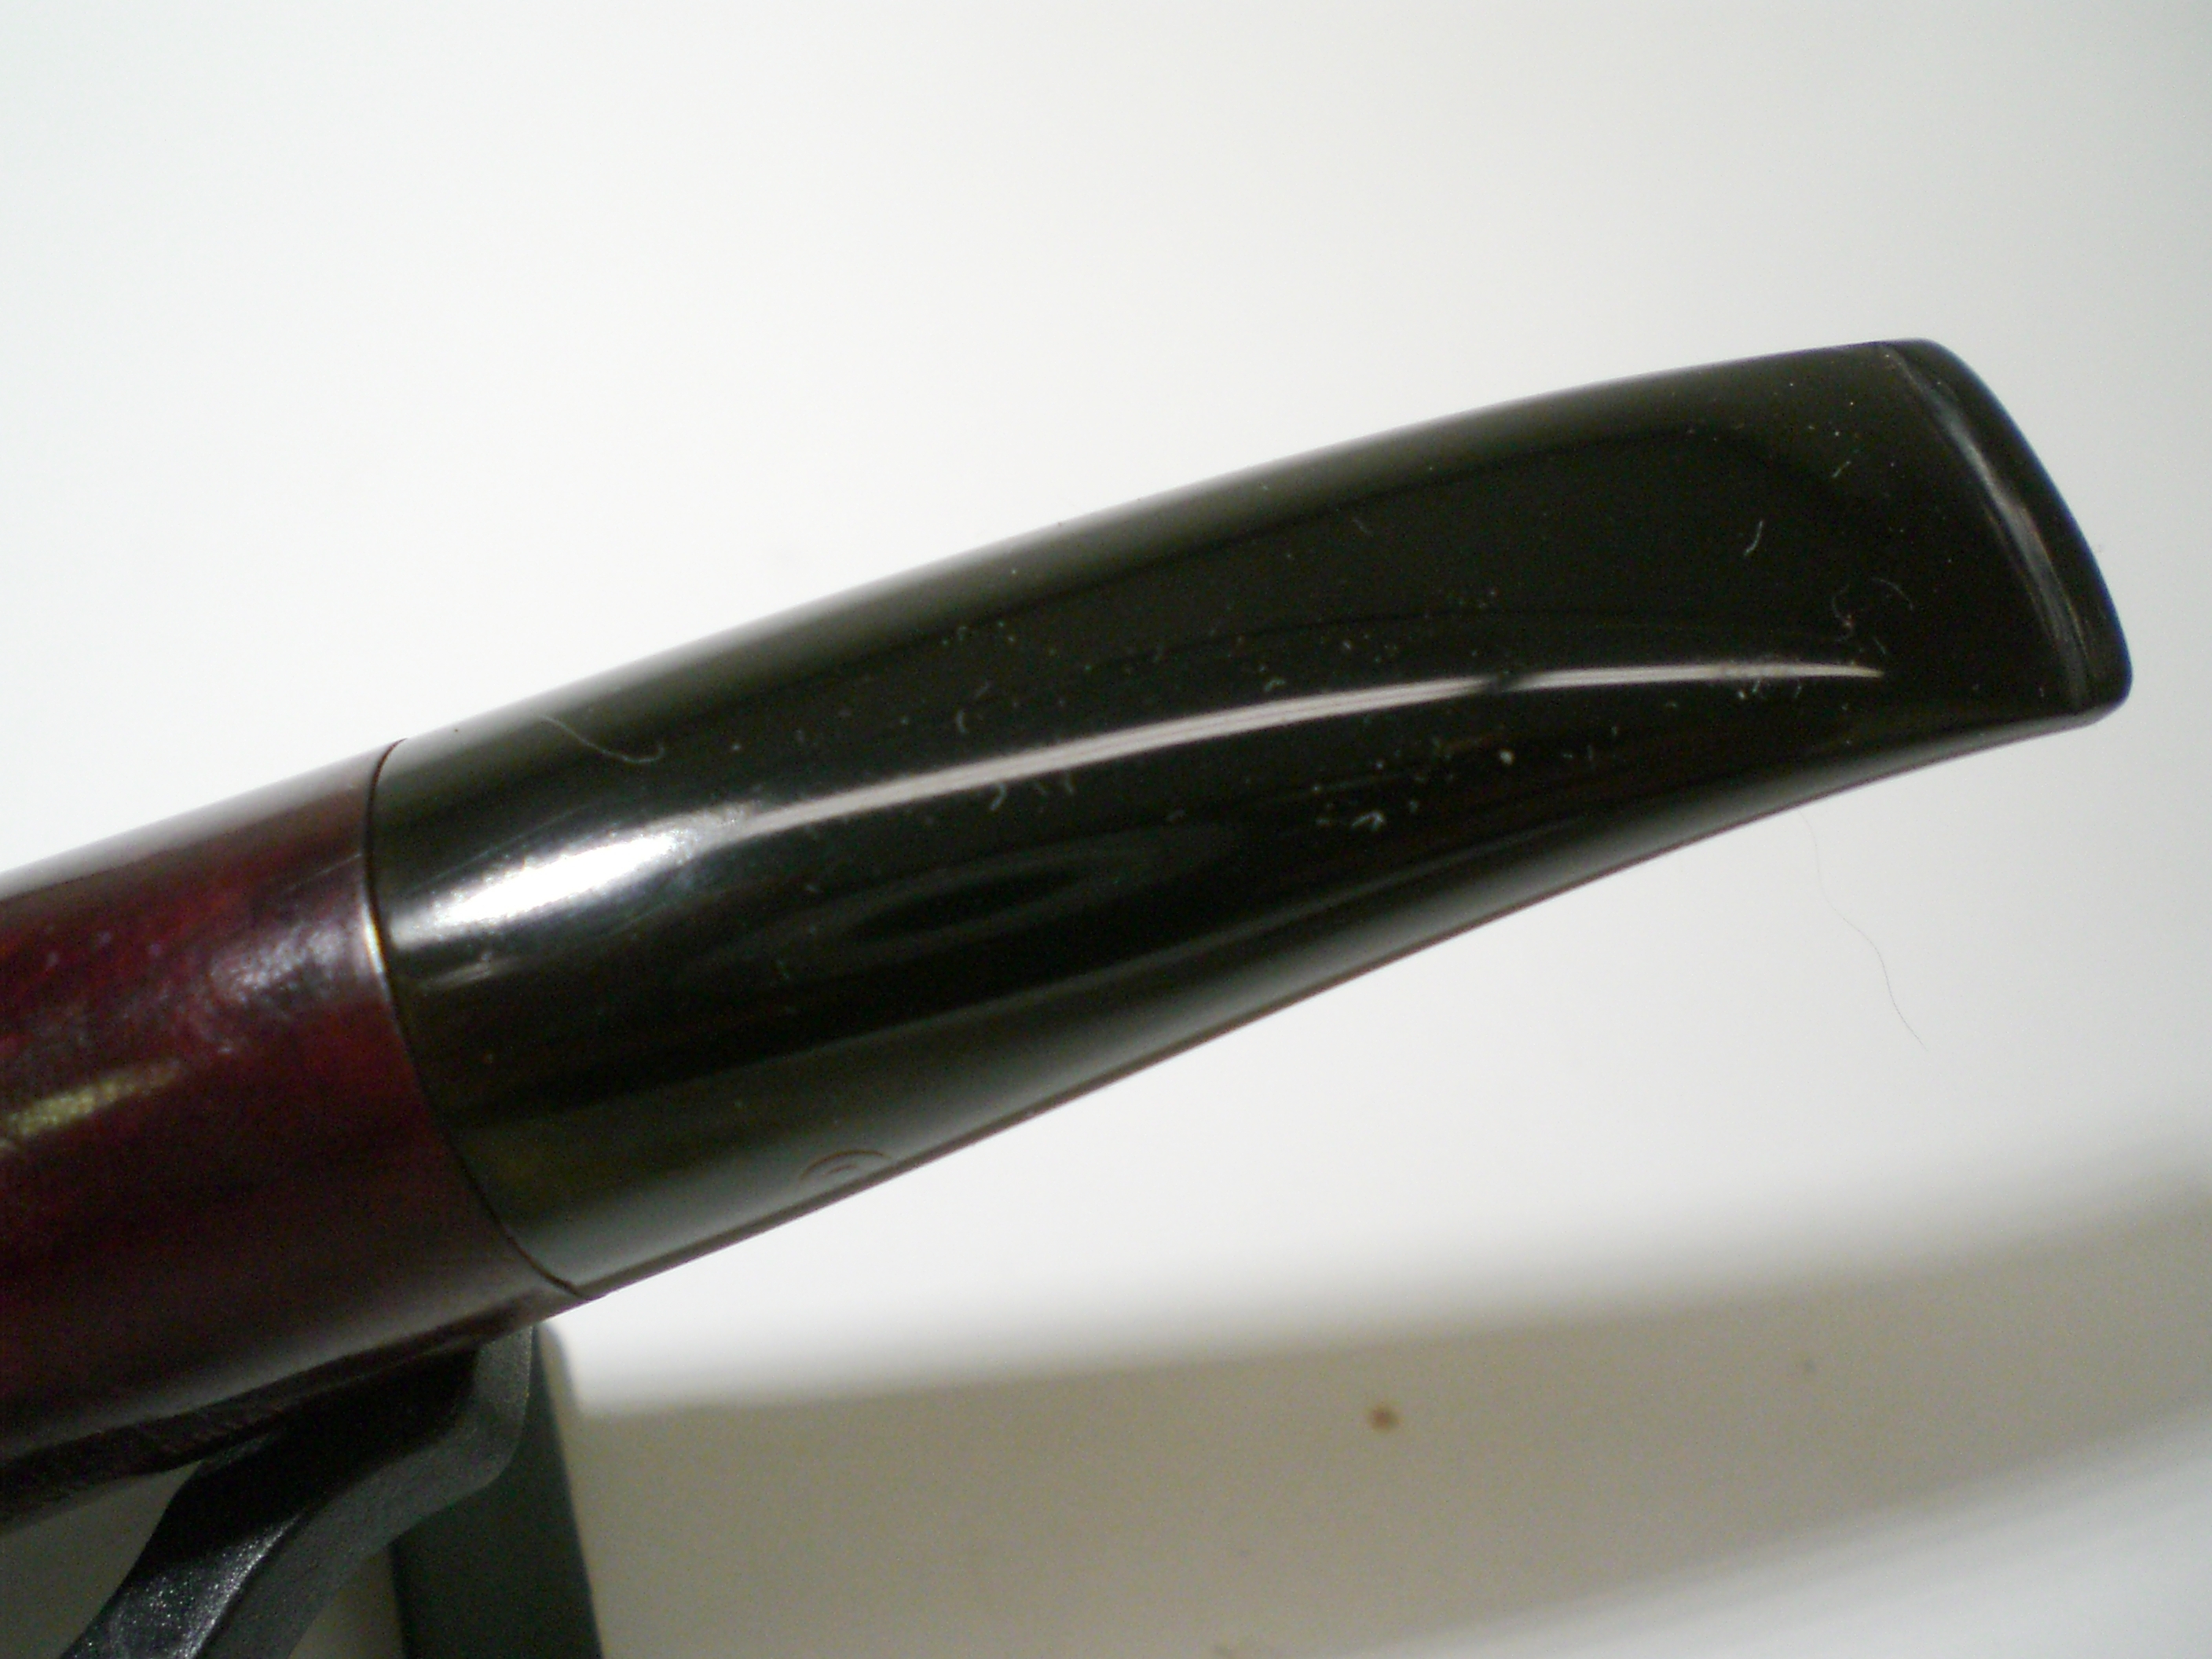
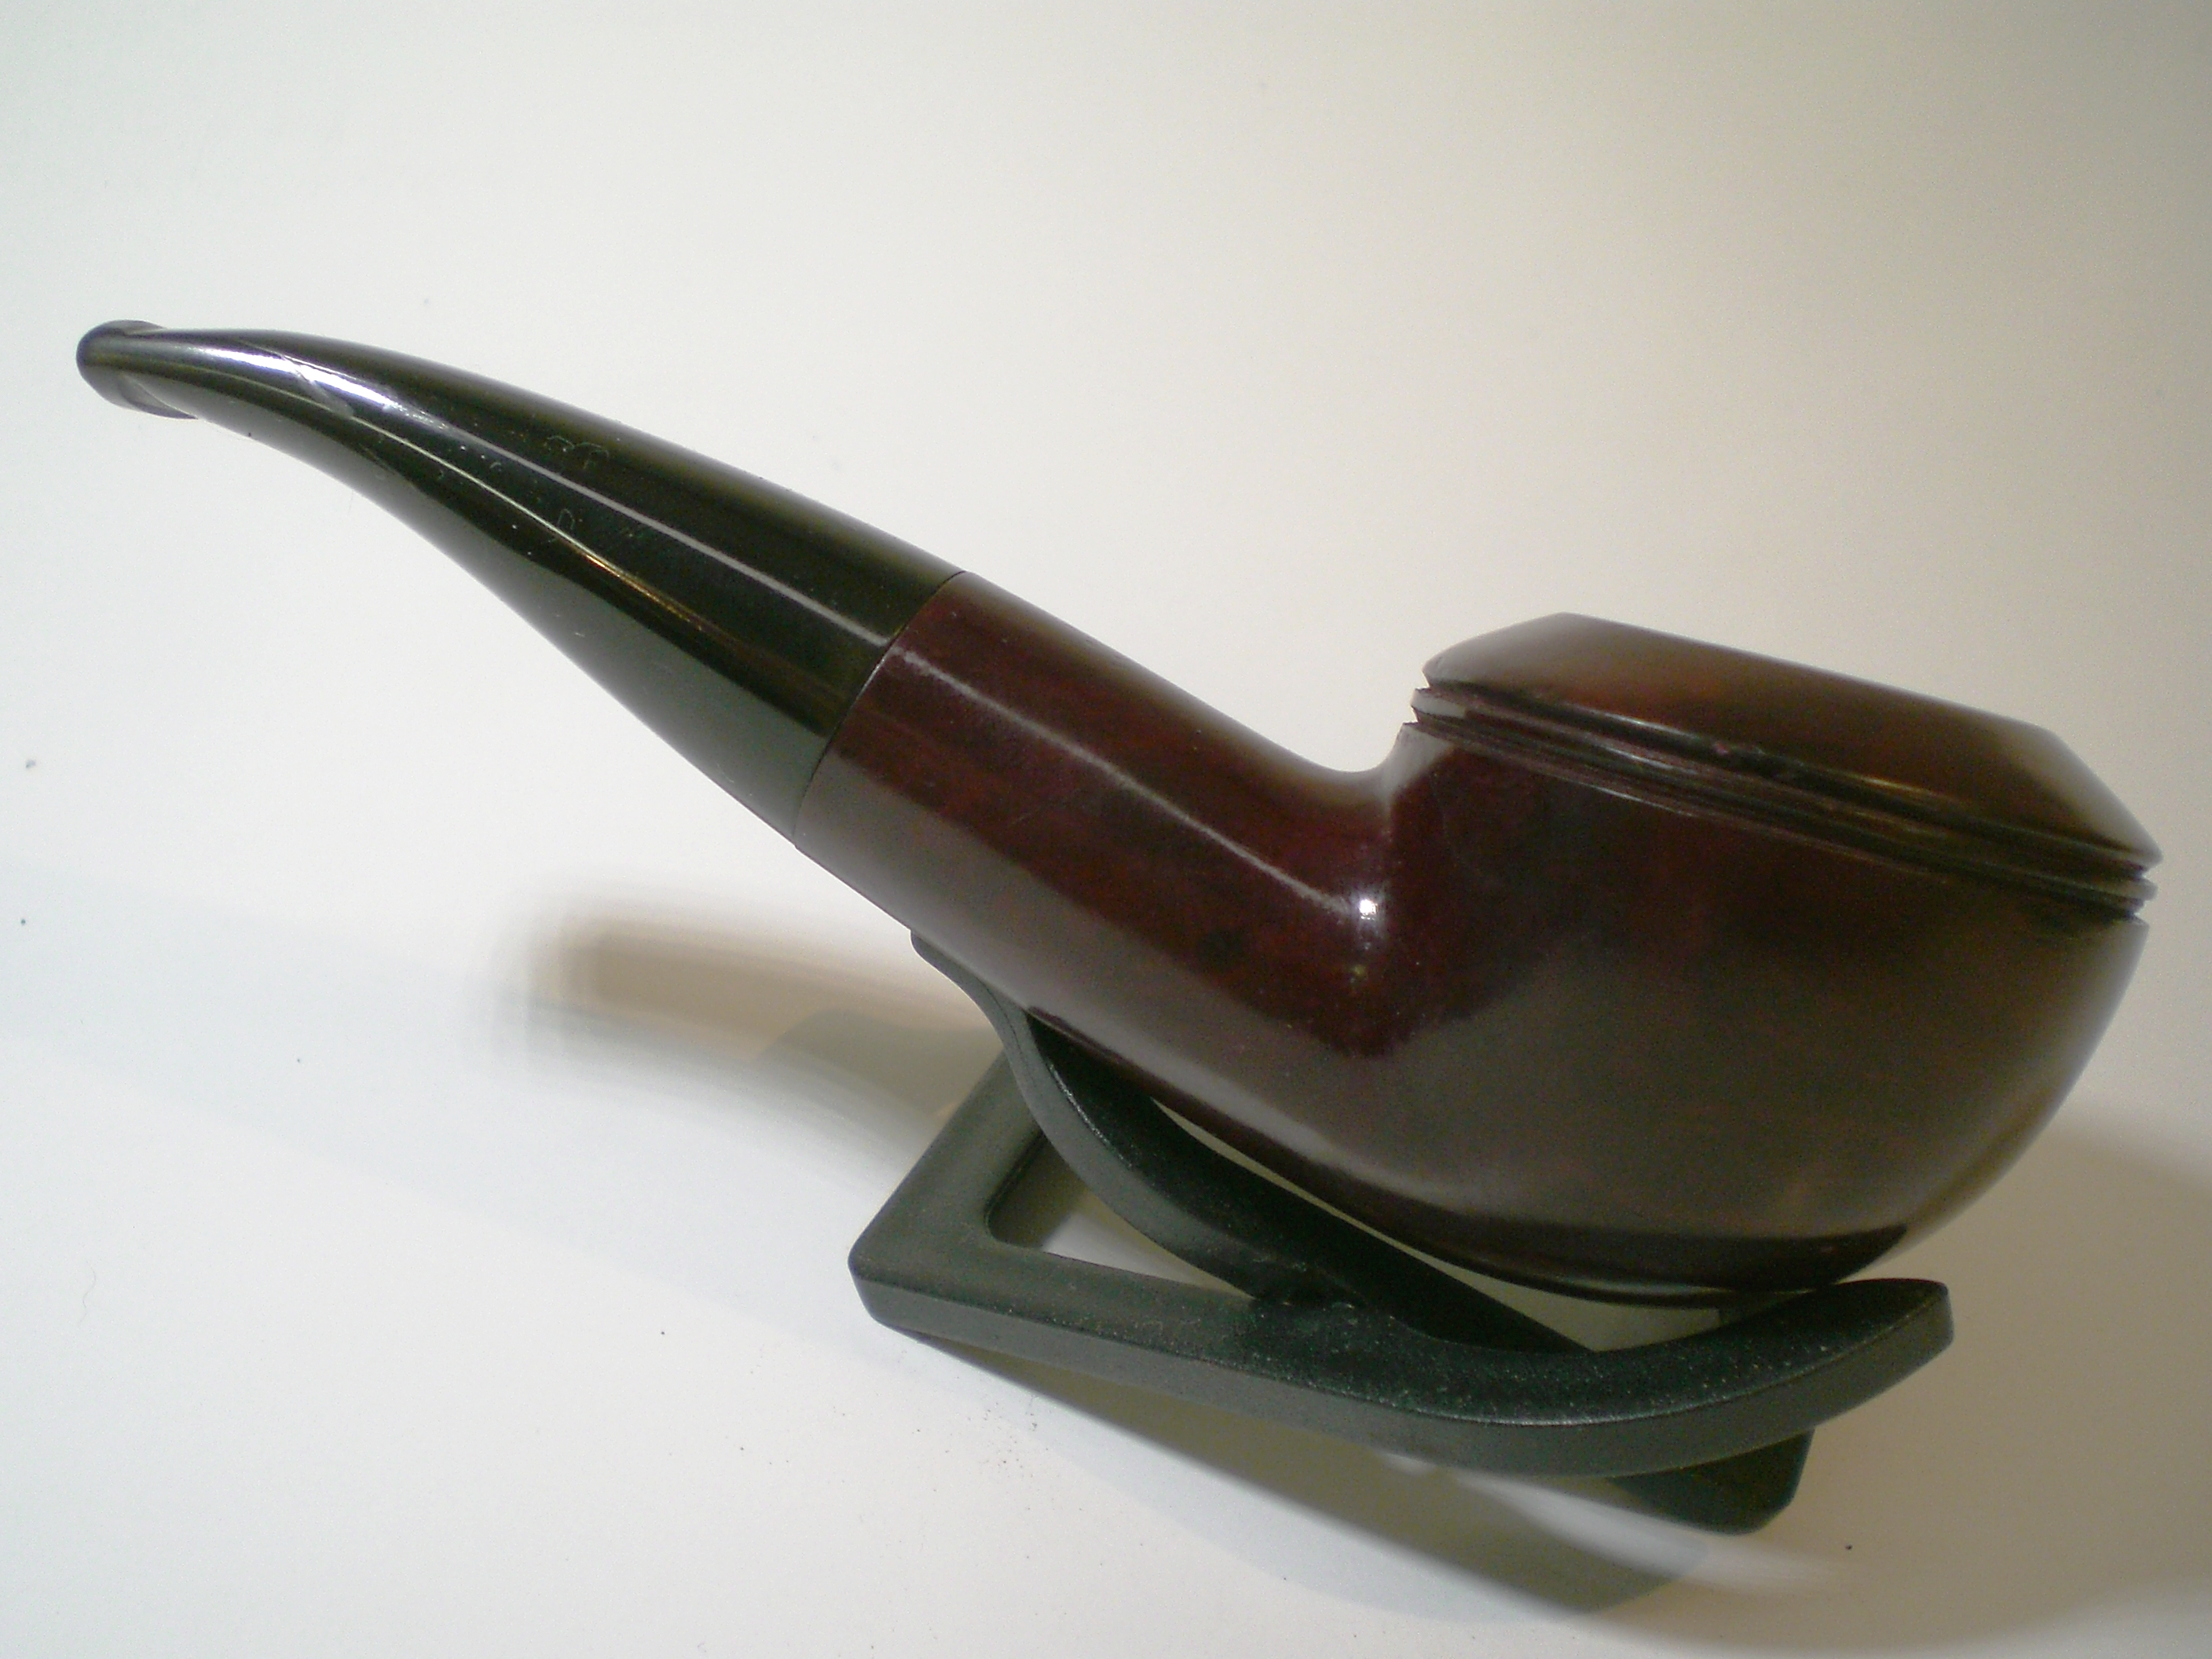
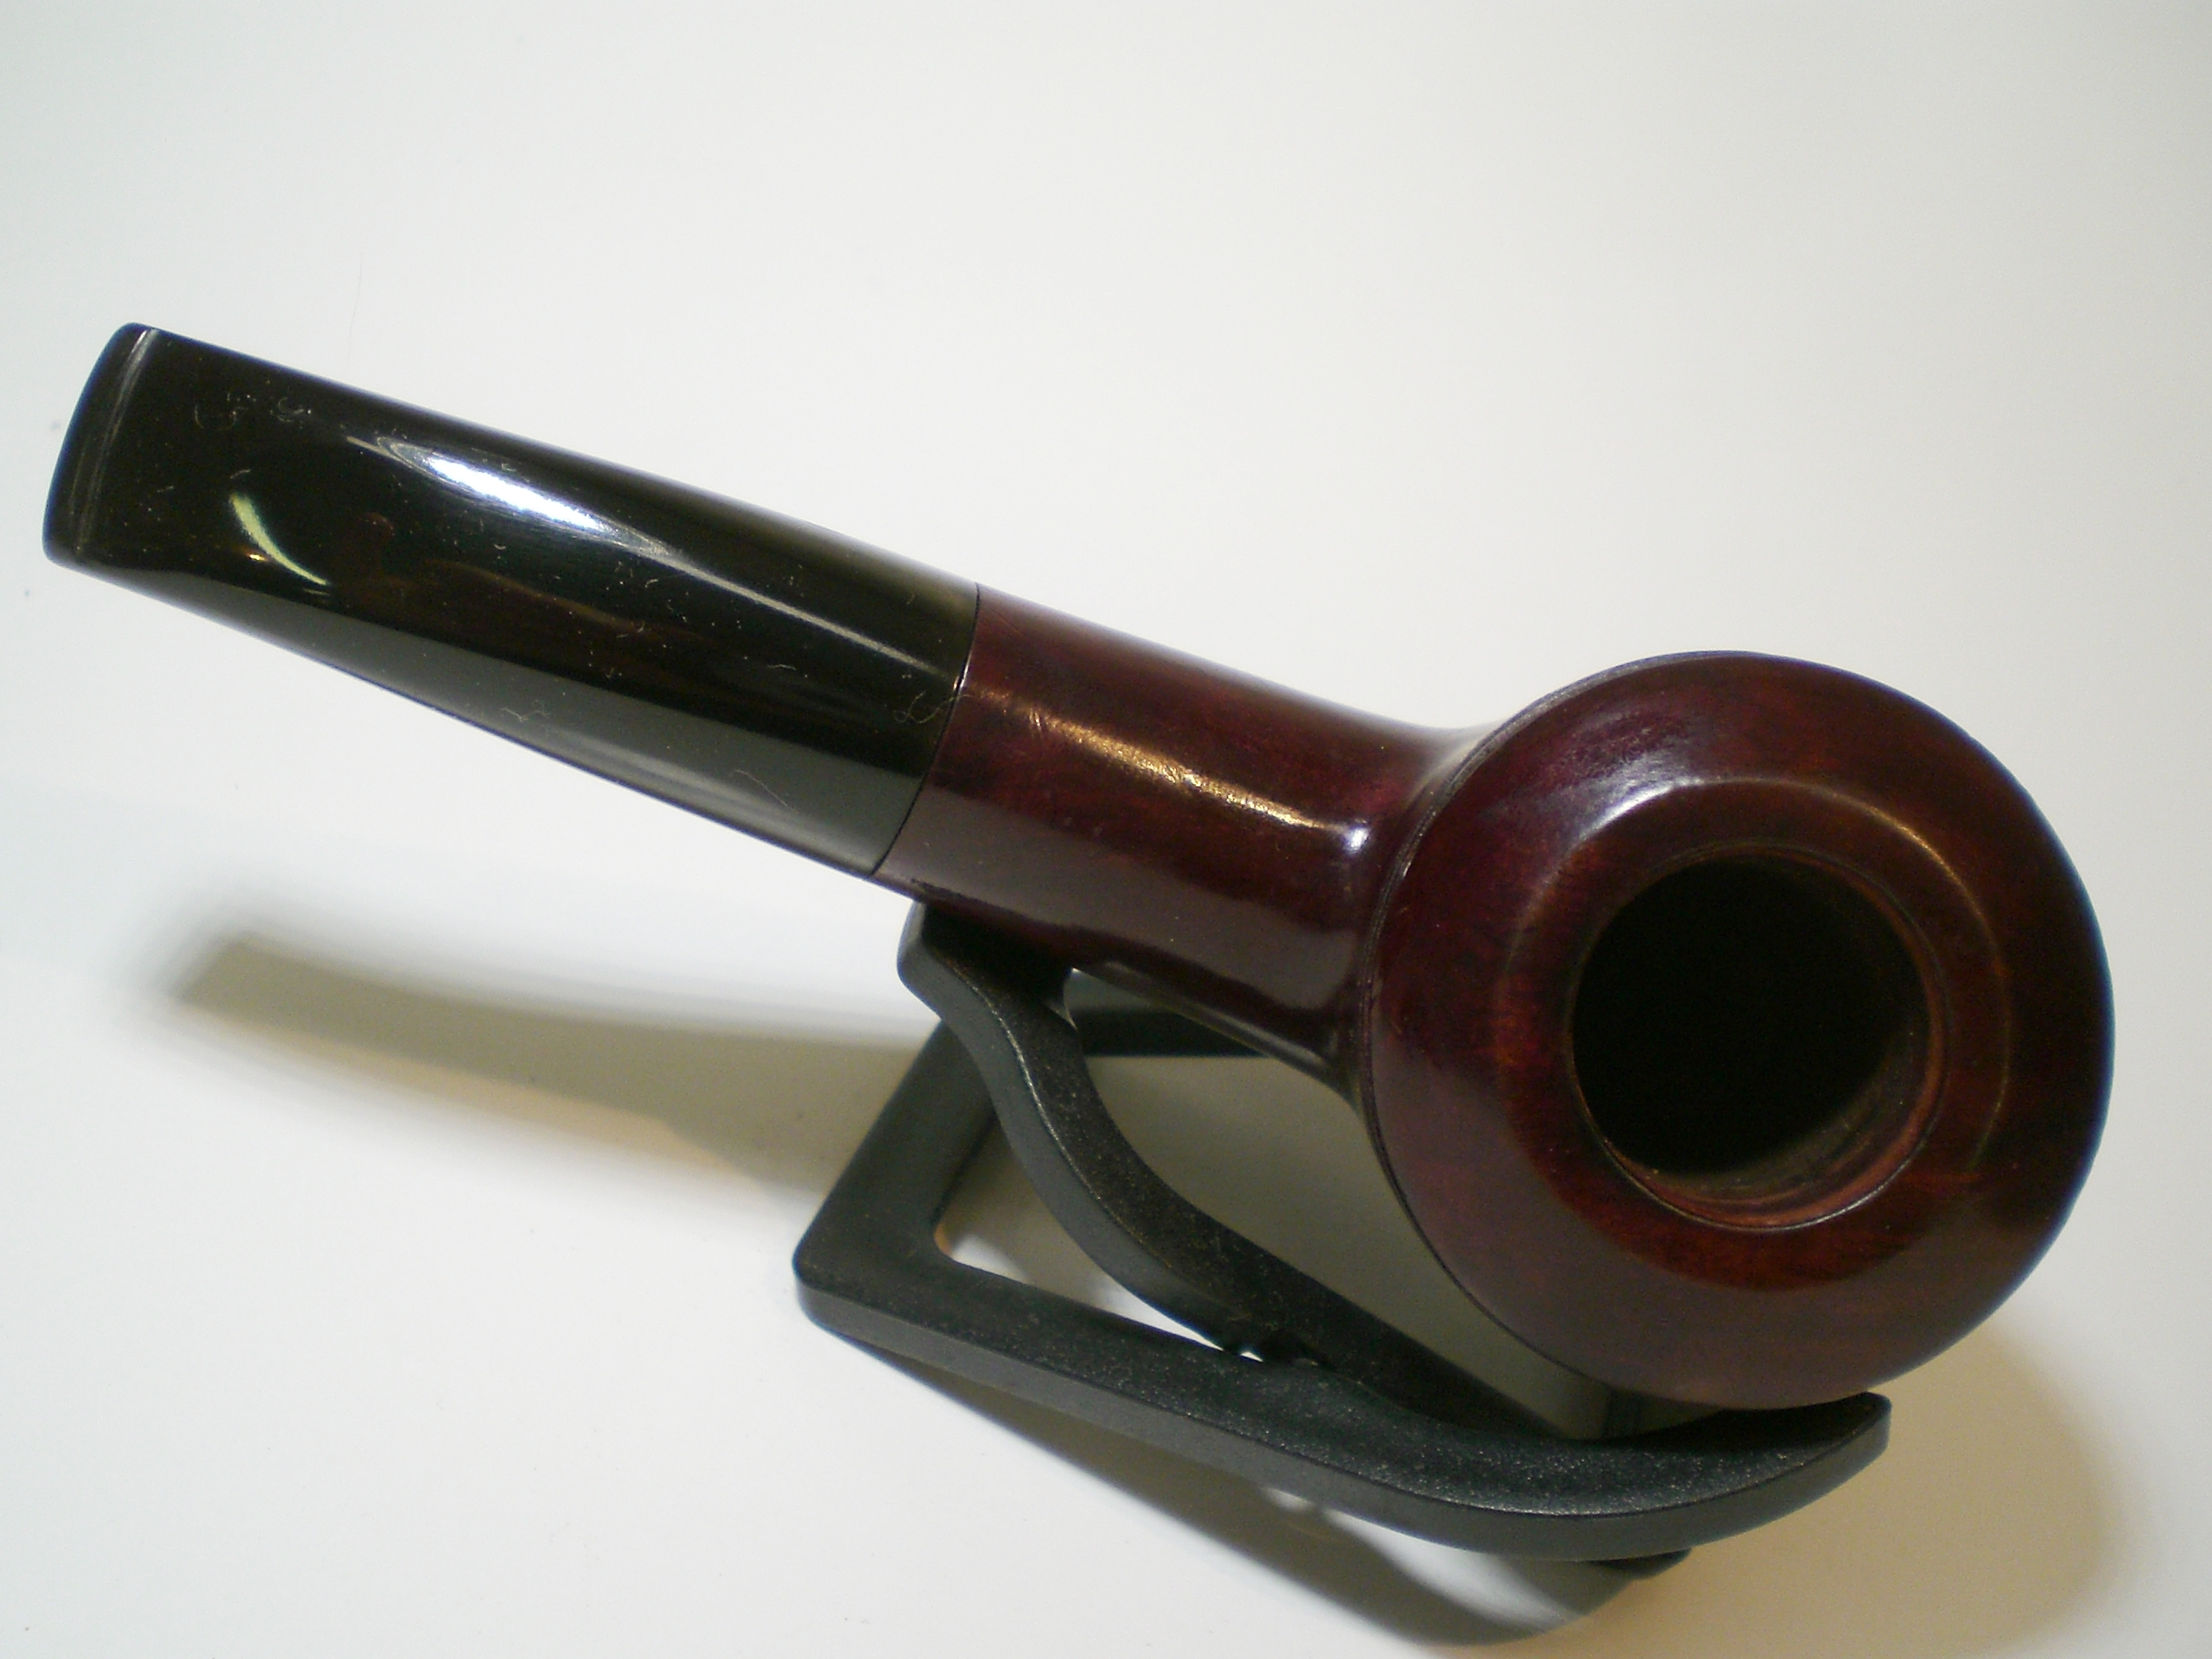
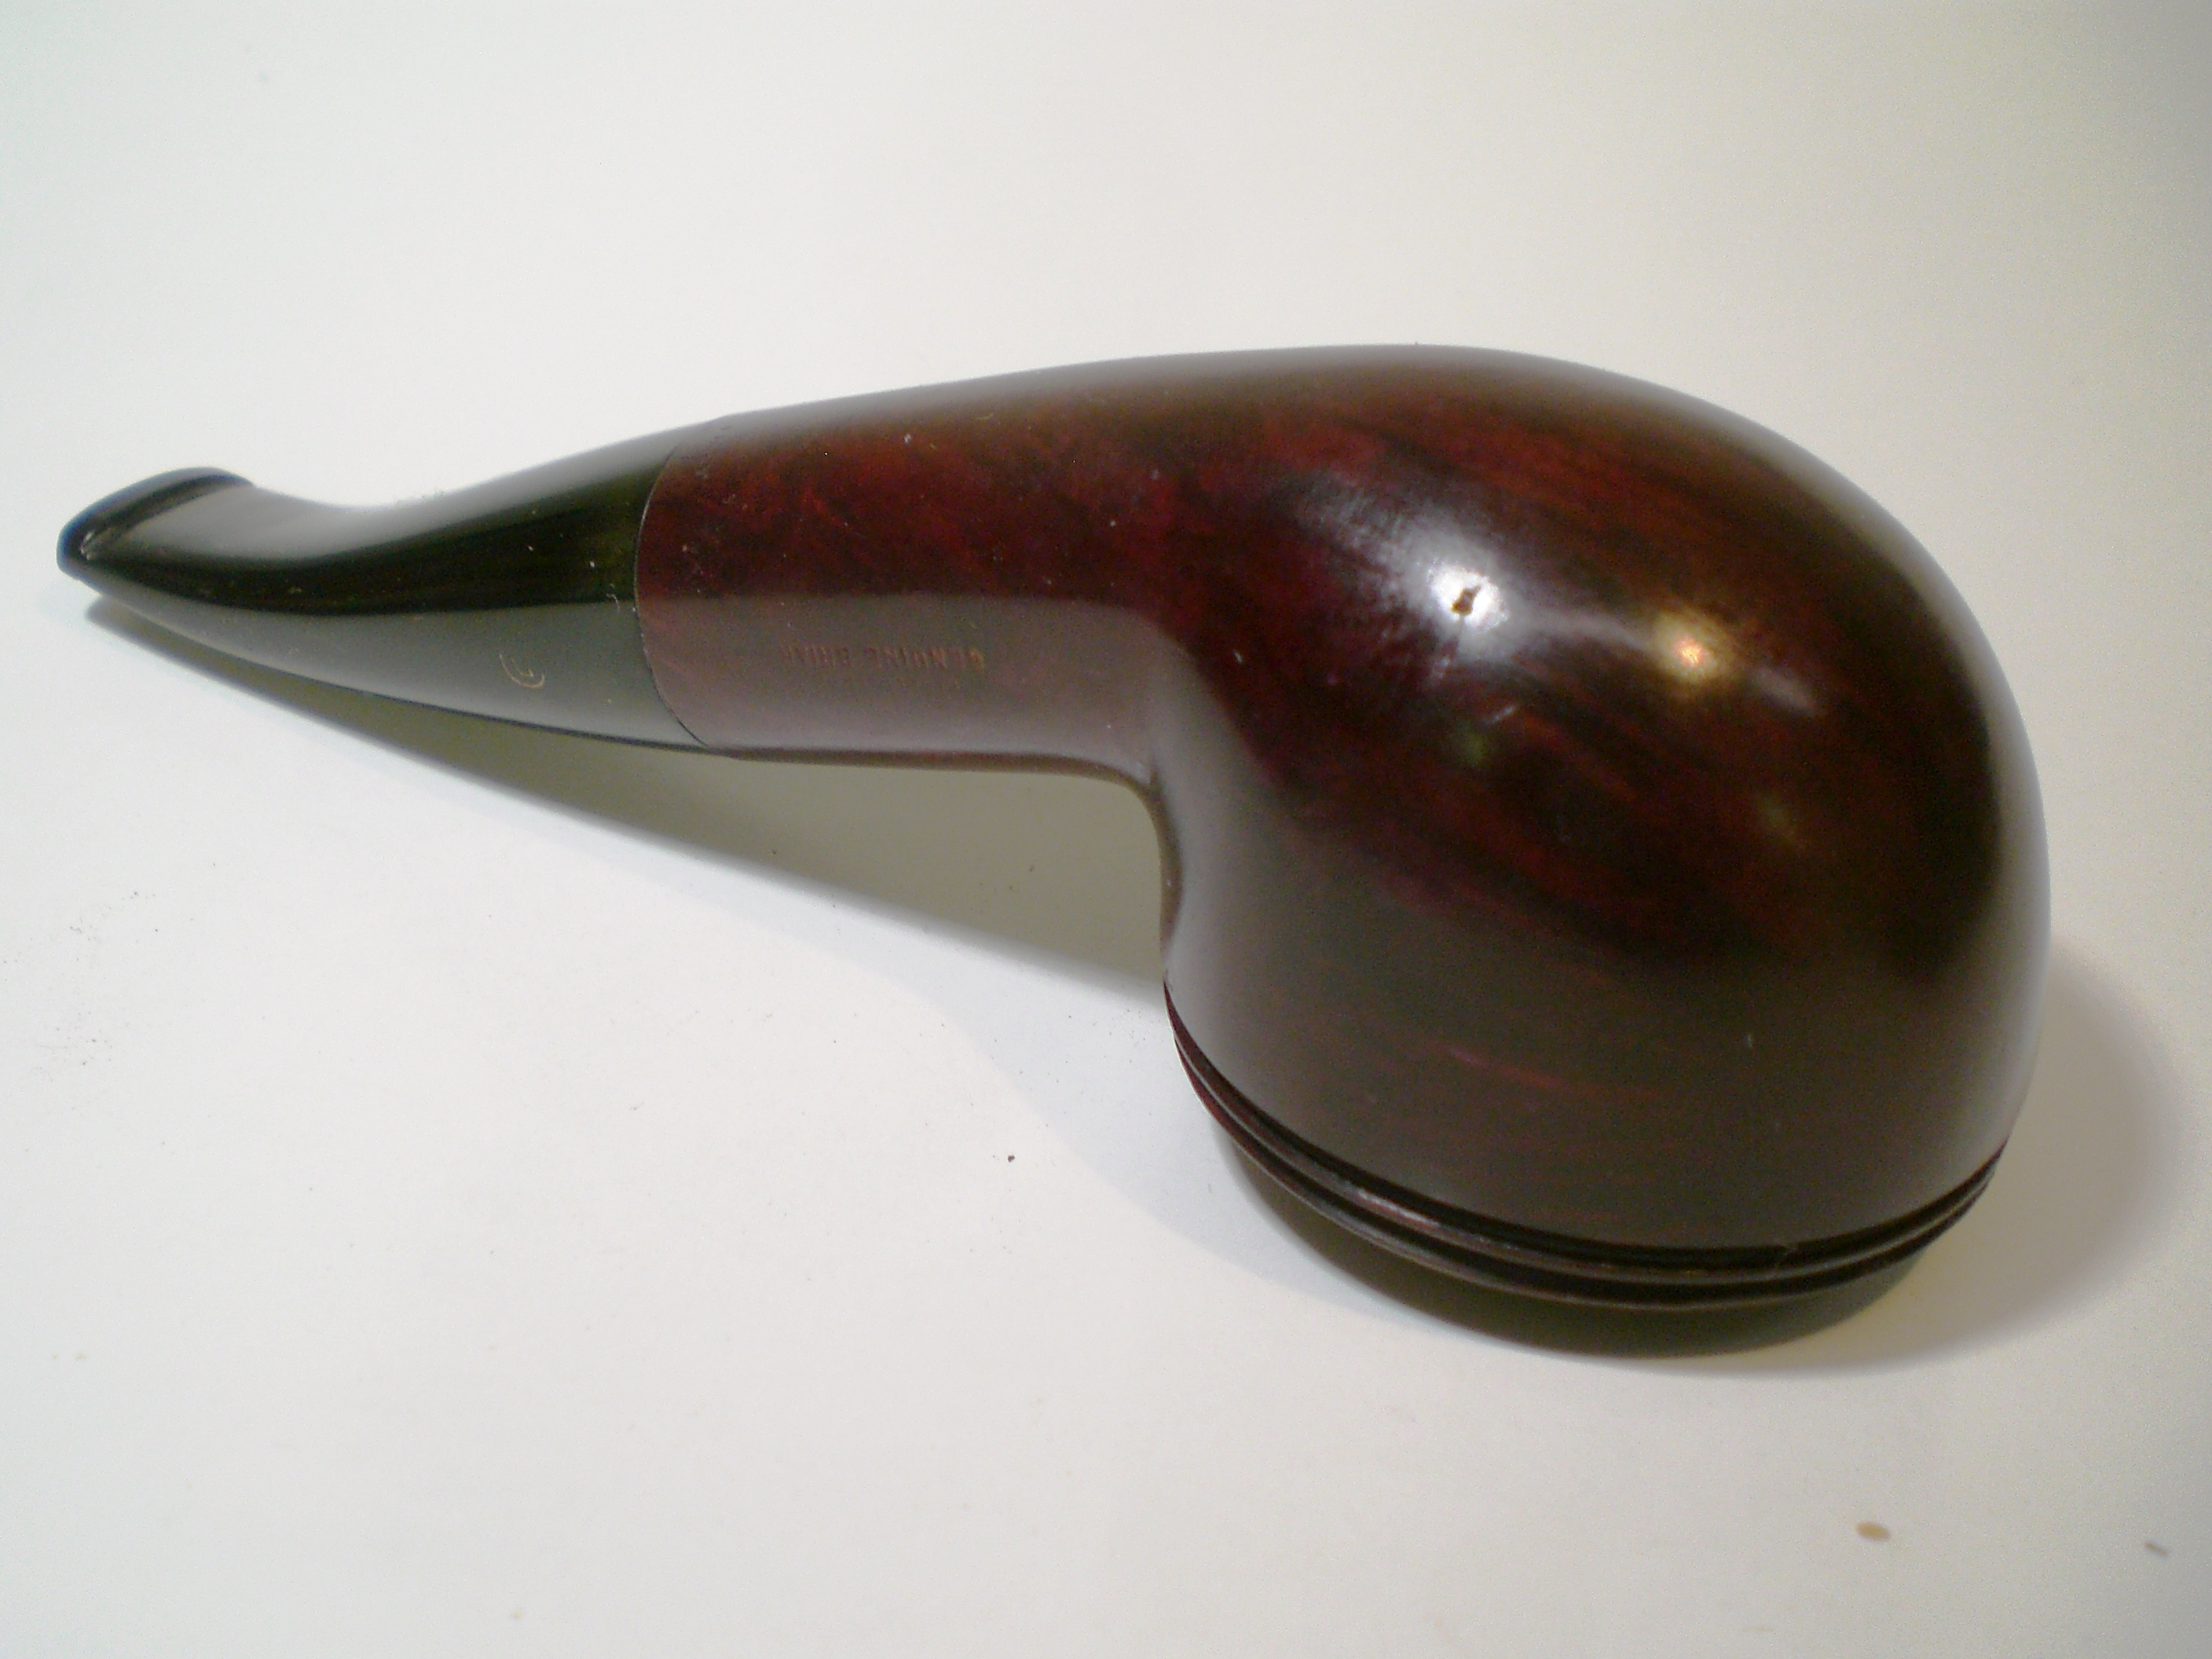
Kaywoodie Super Grain 07C Restored (Unsmoked)


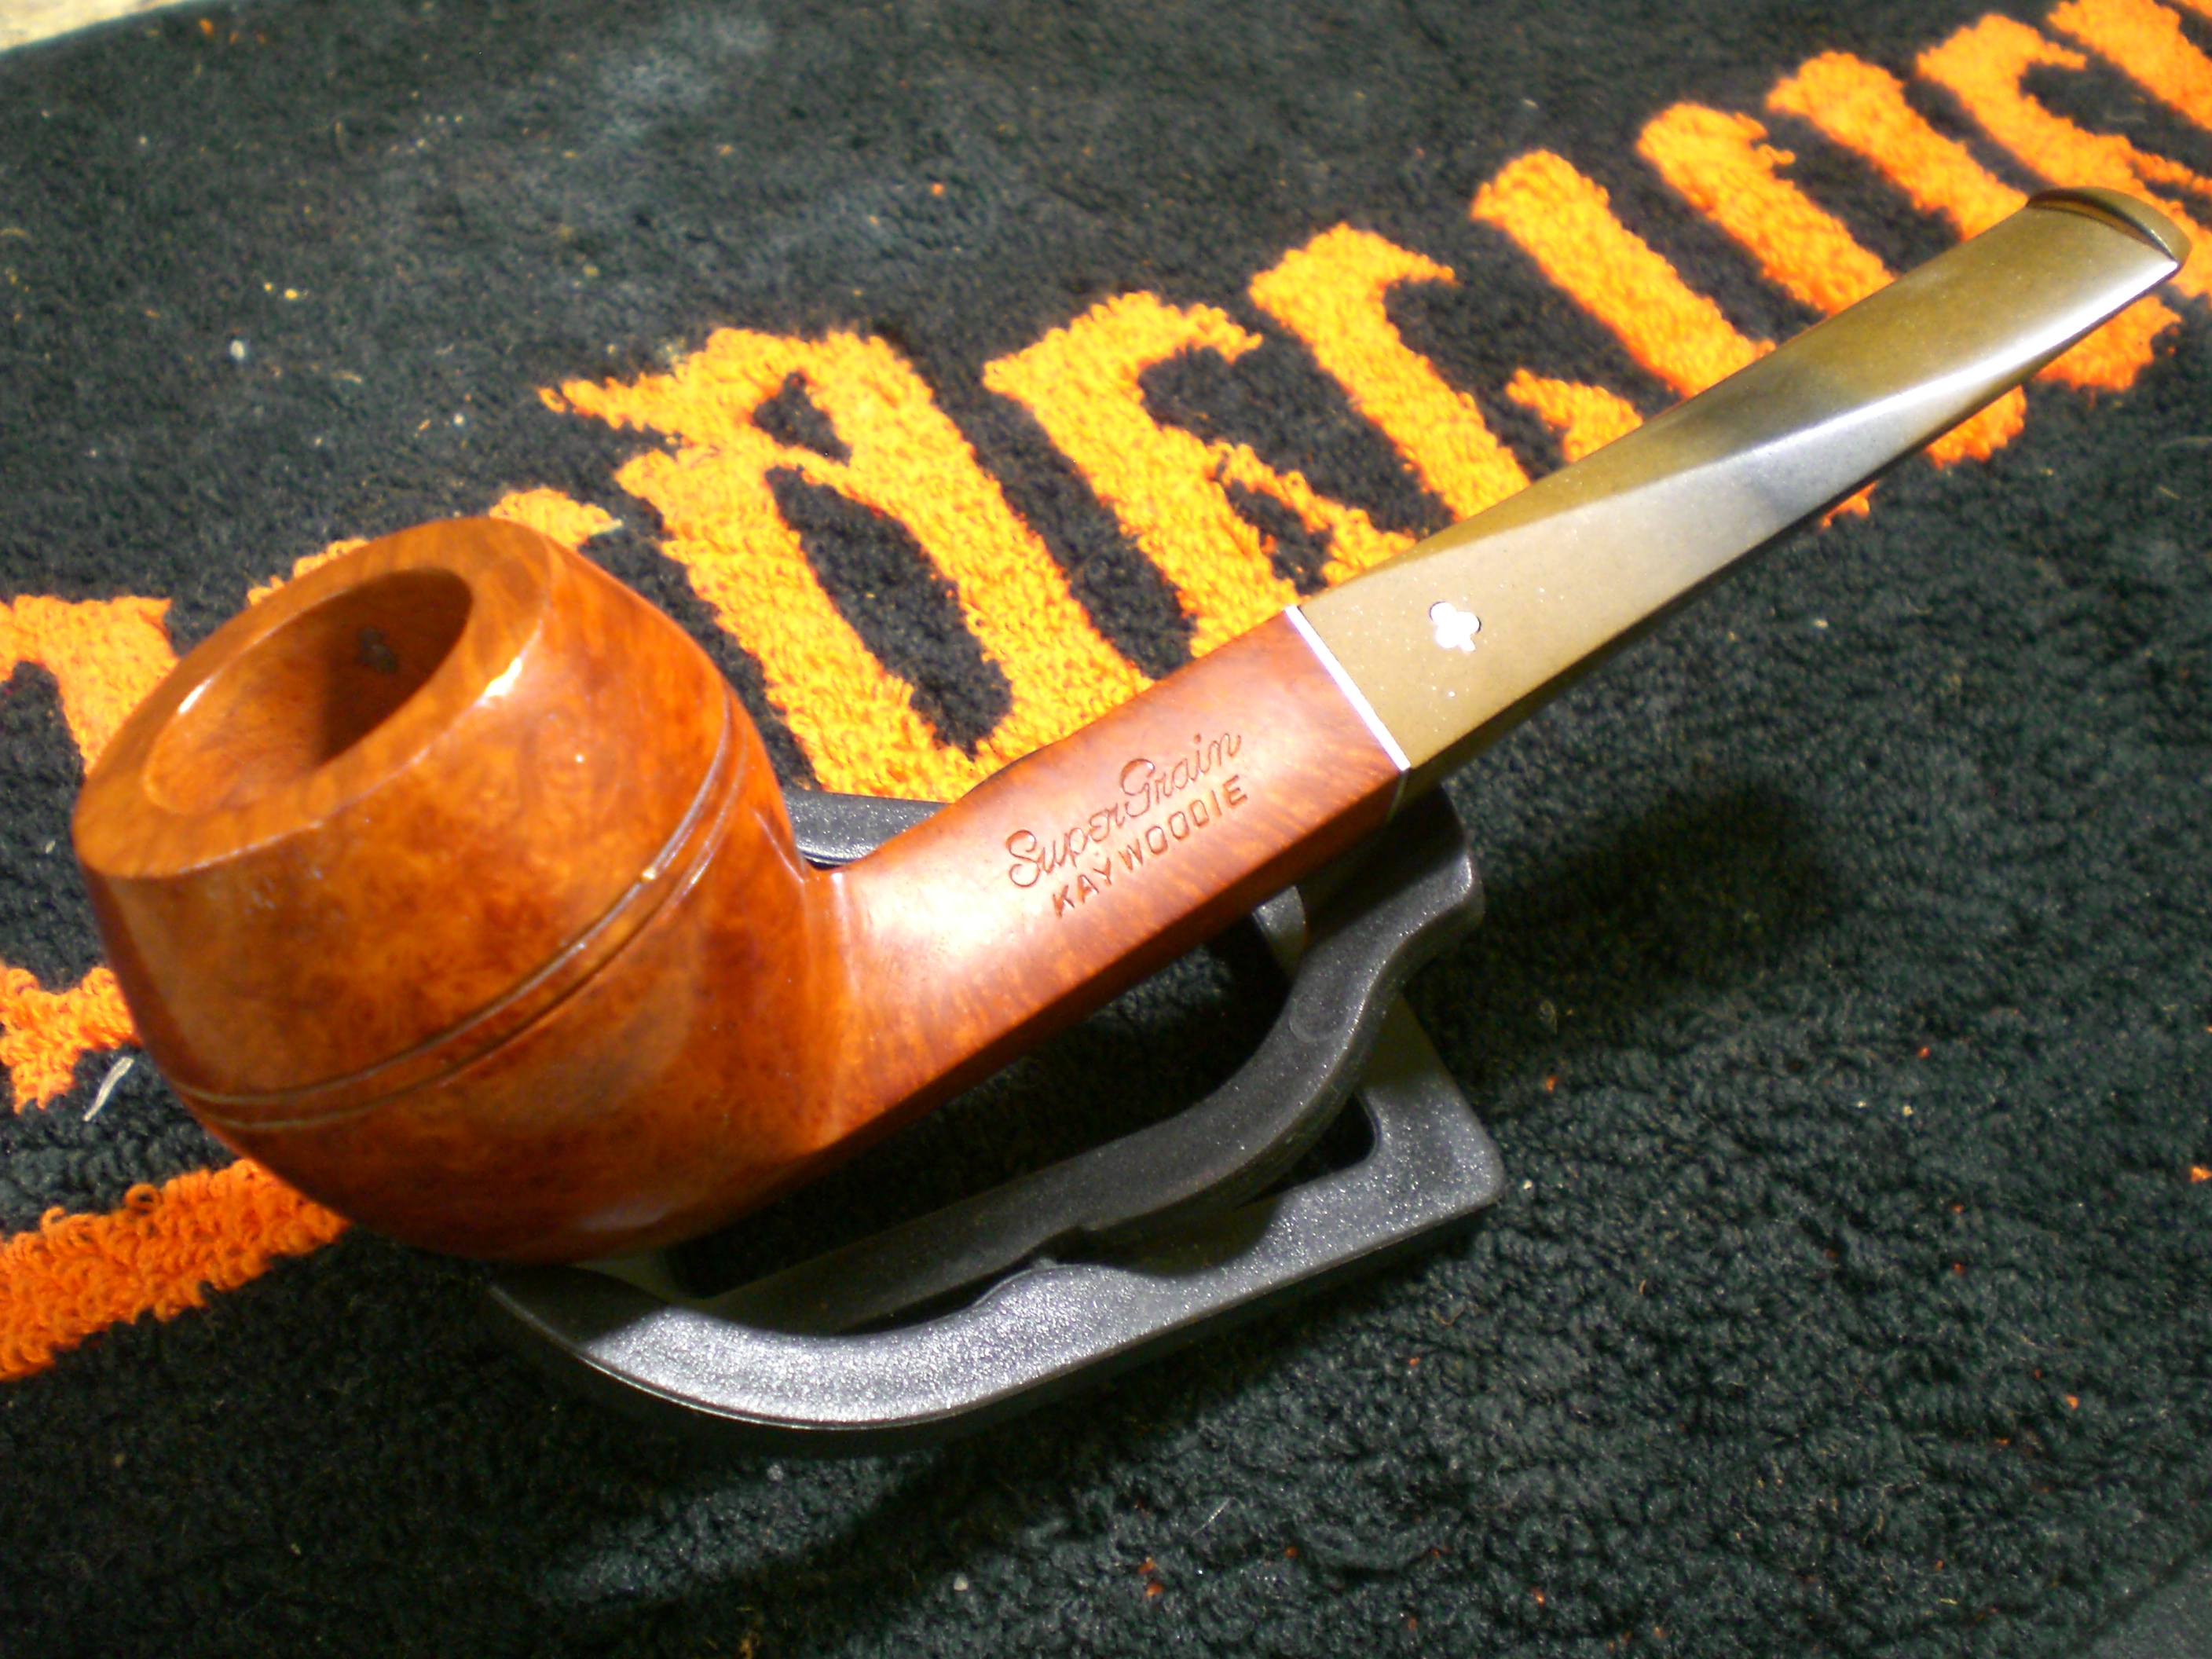
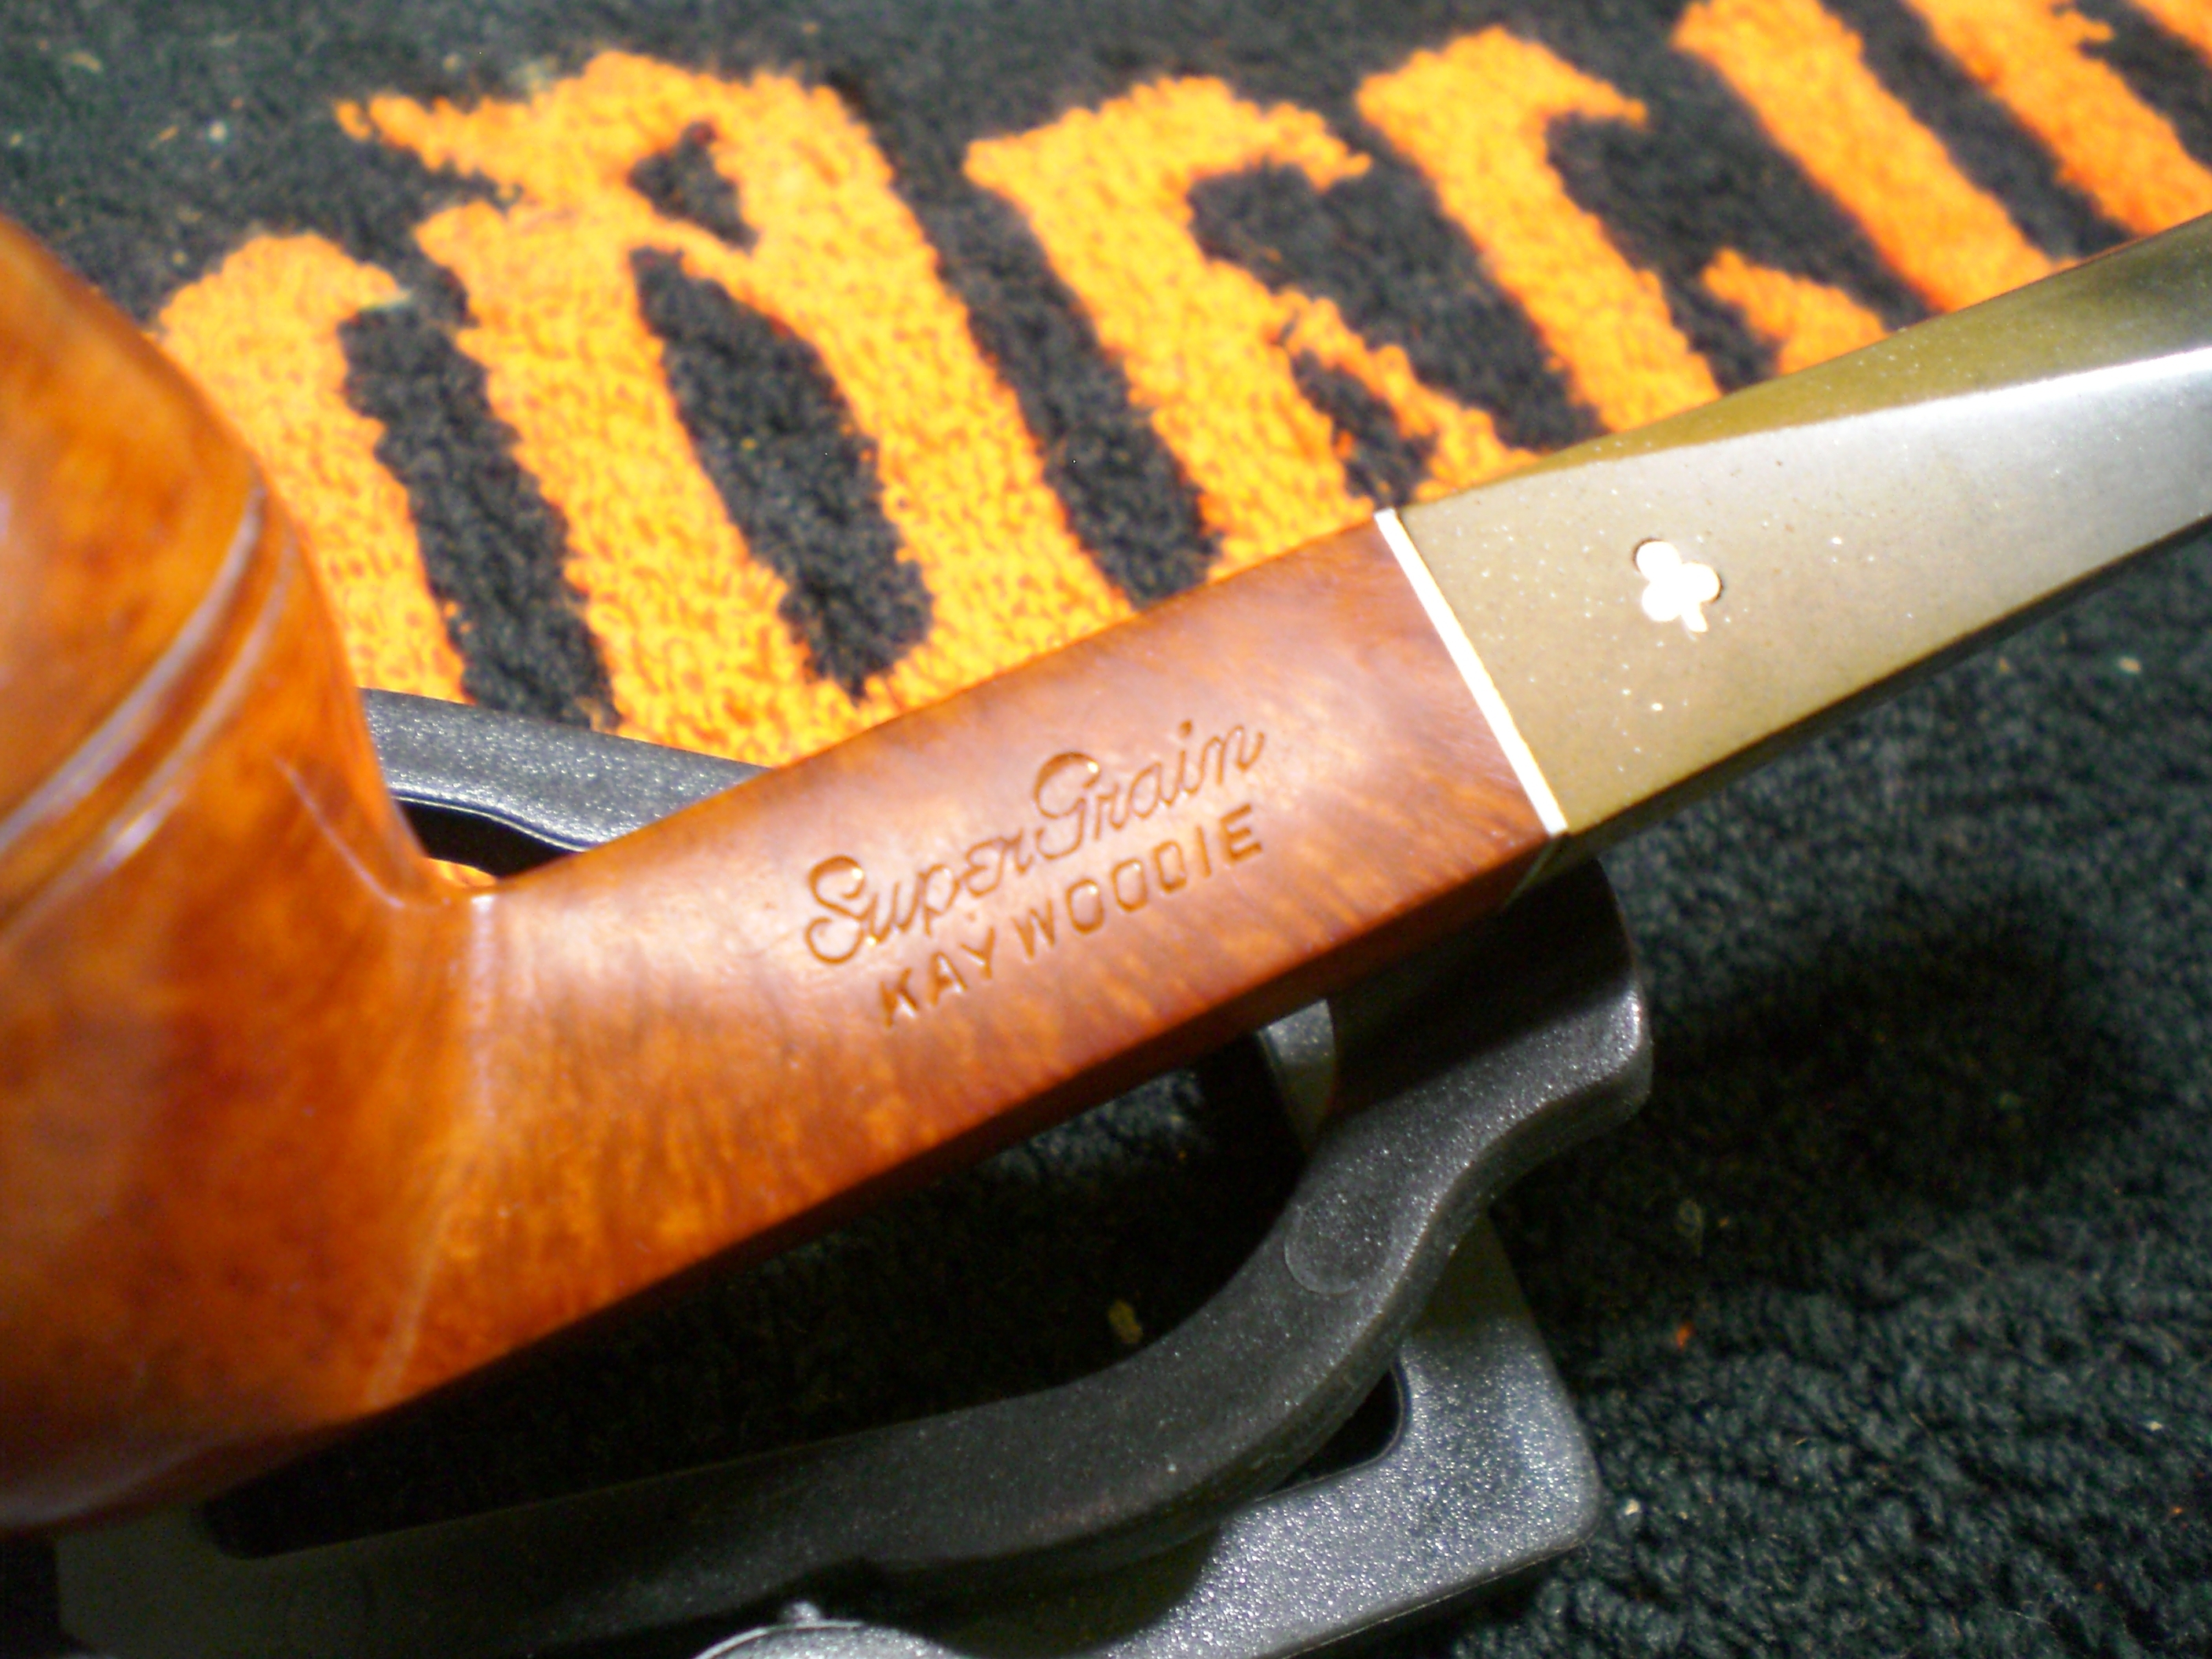
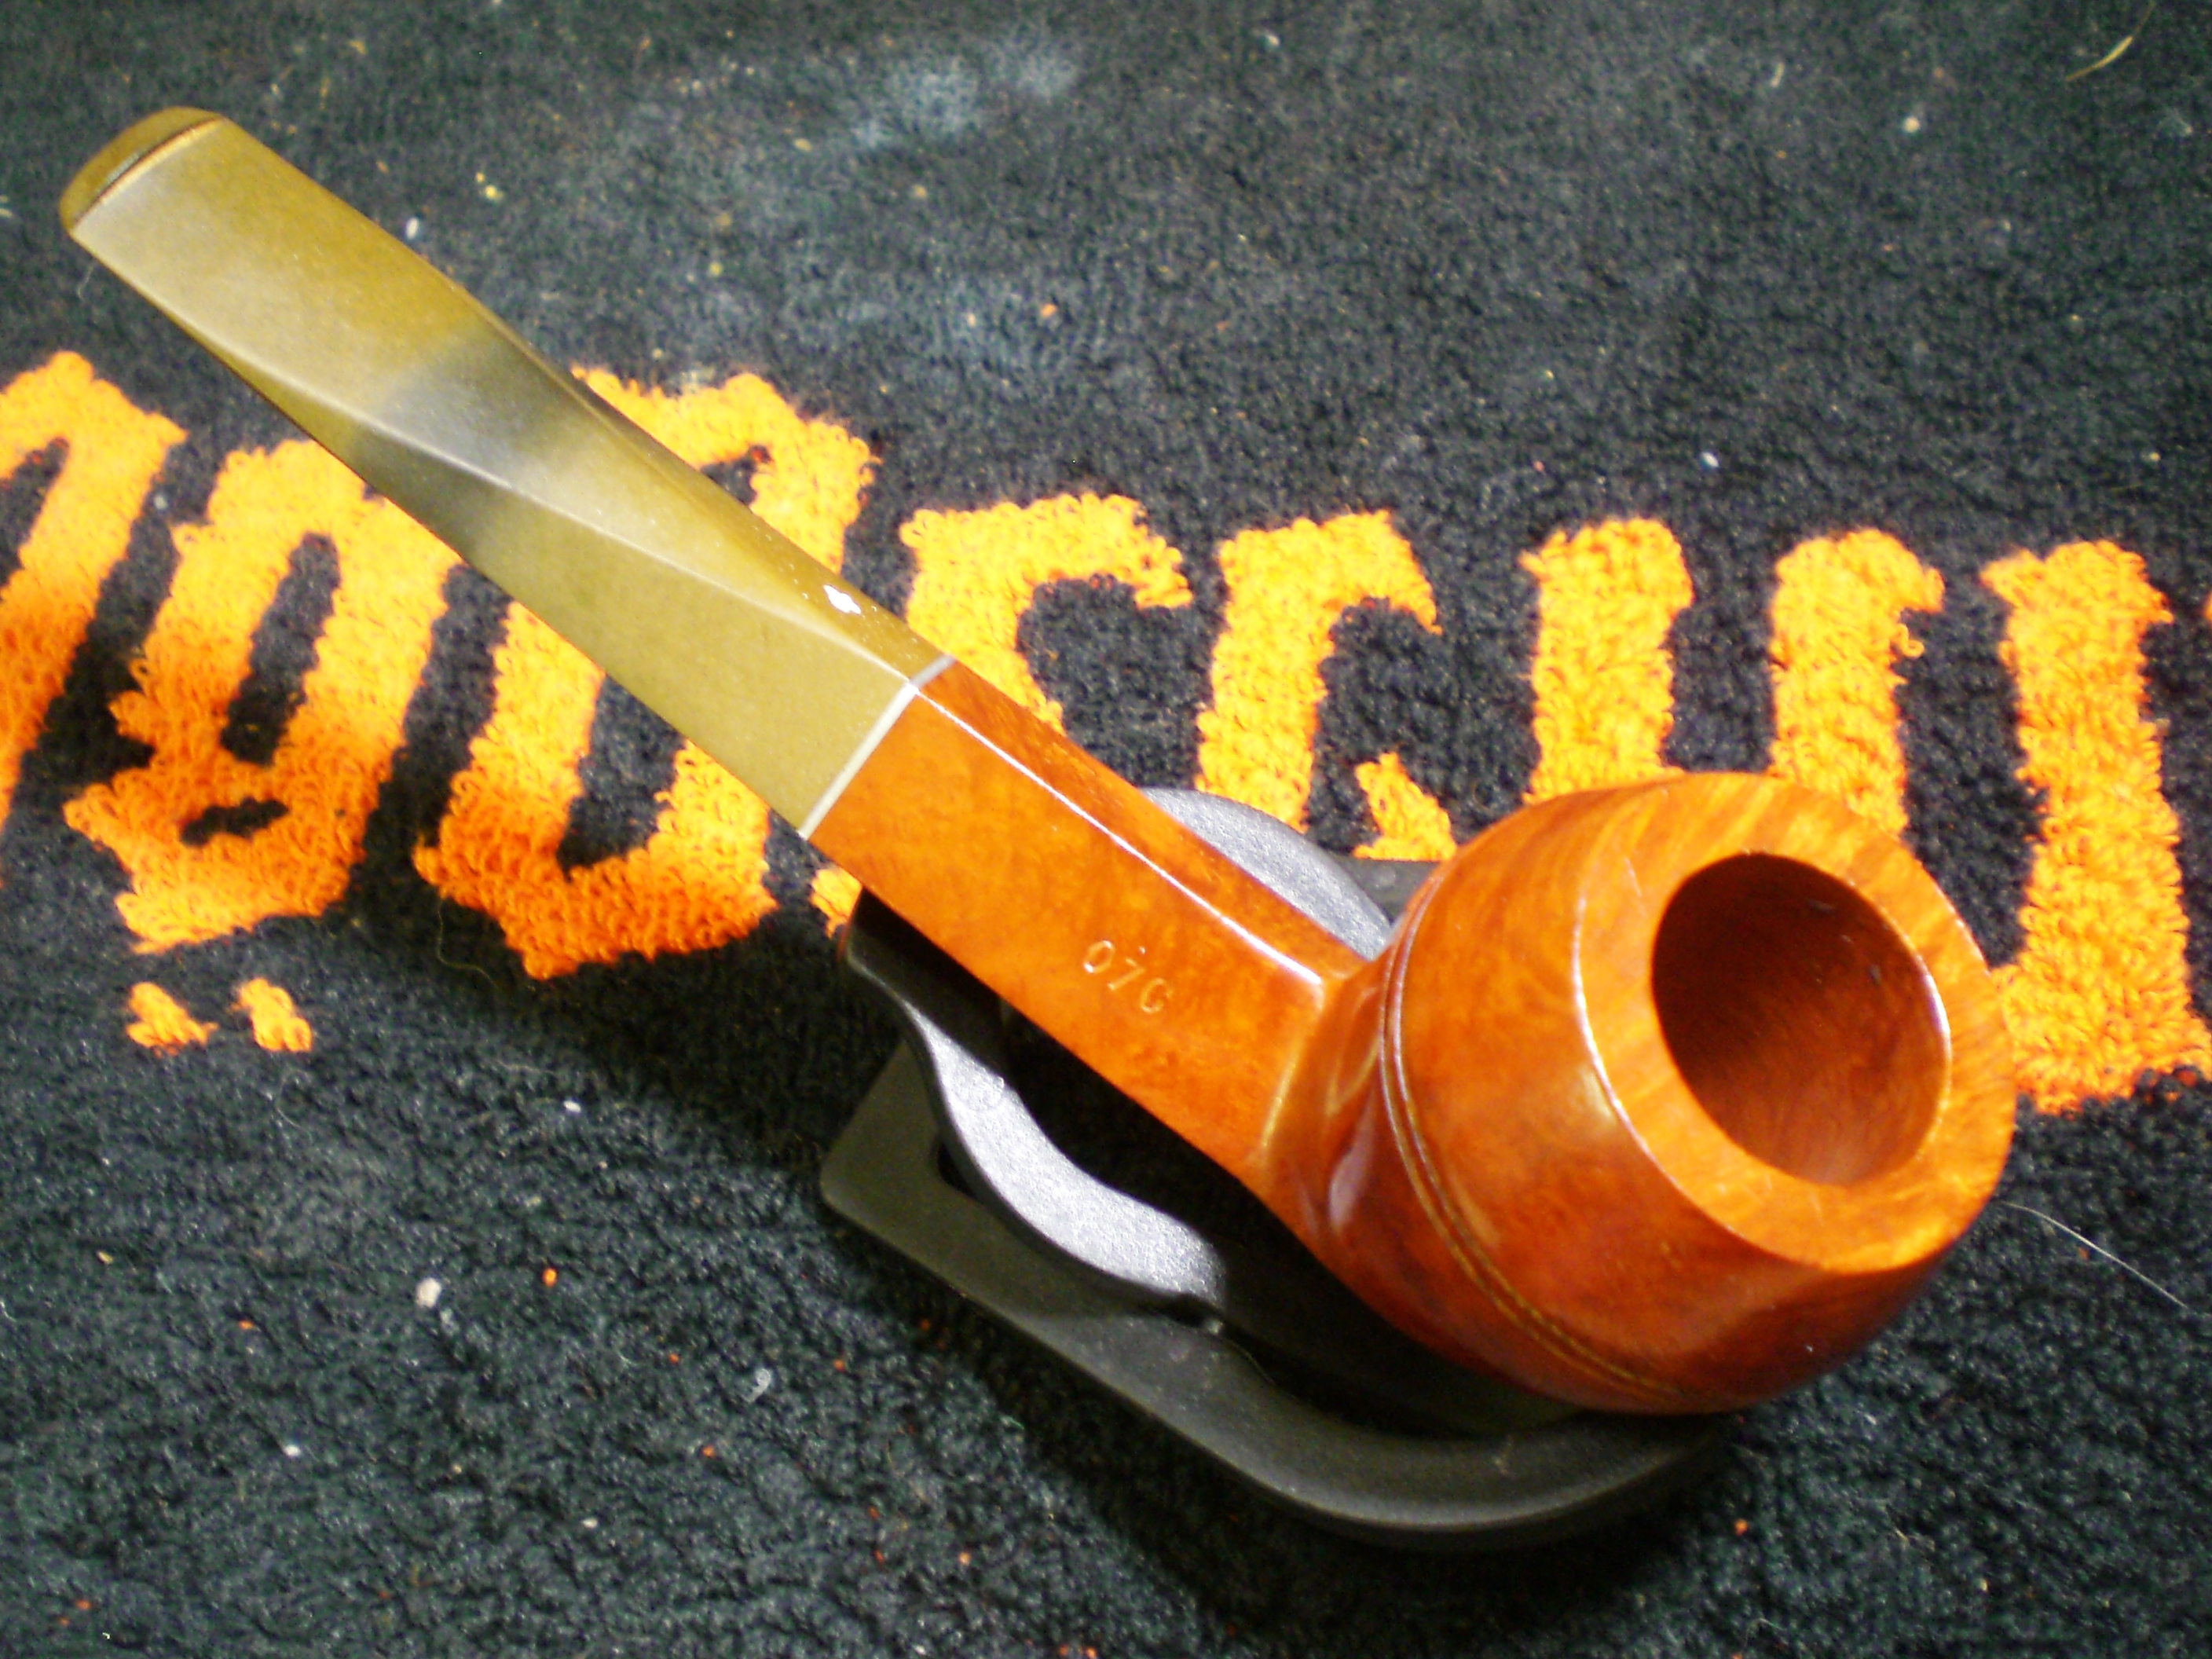
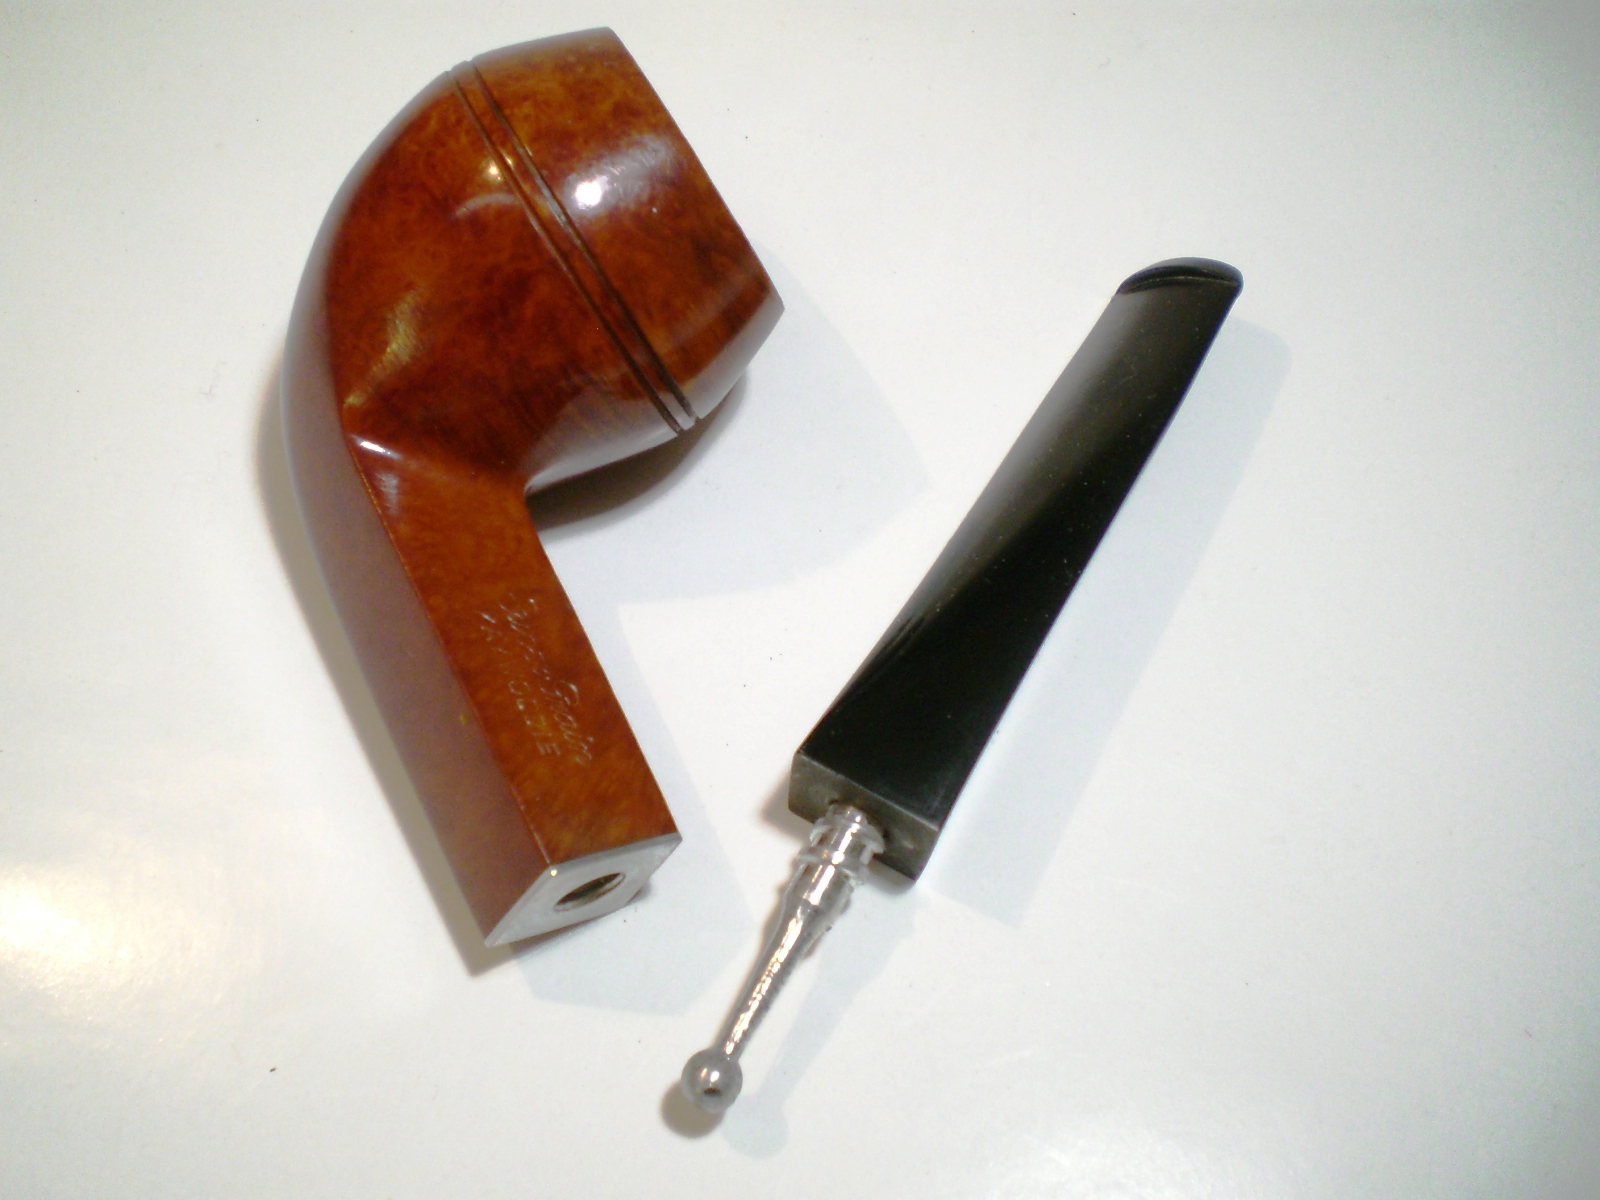
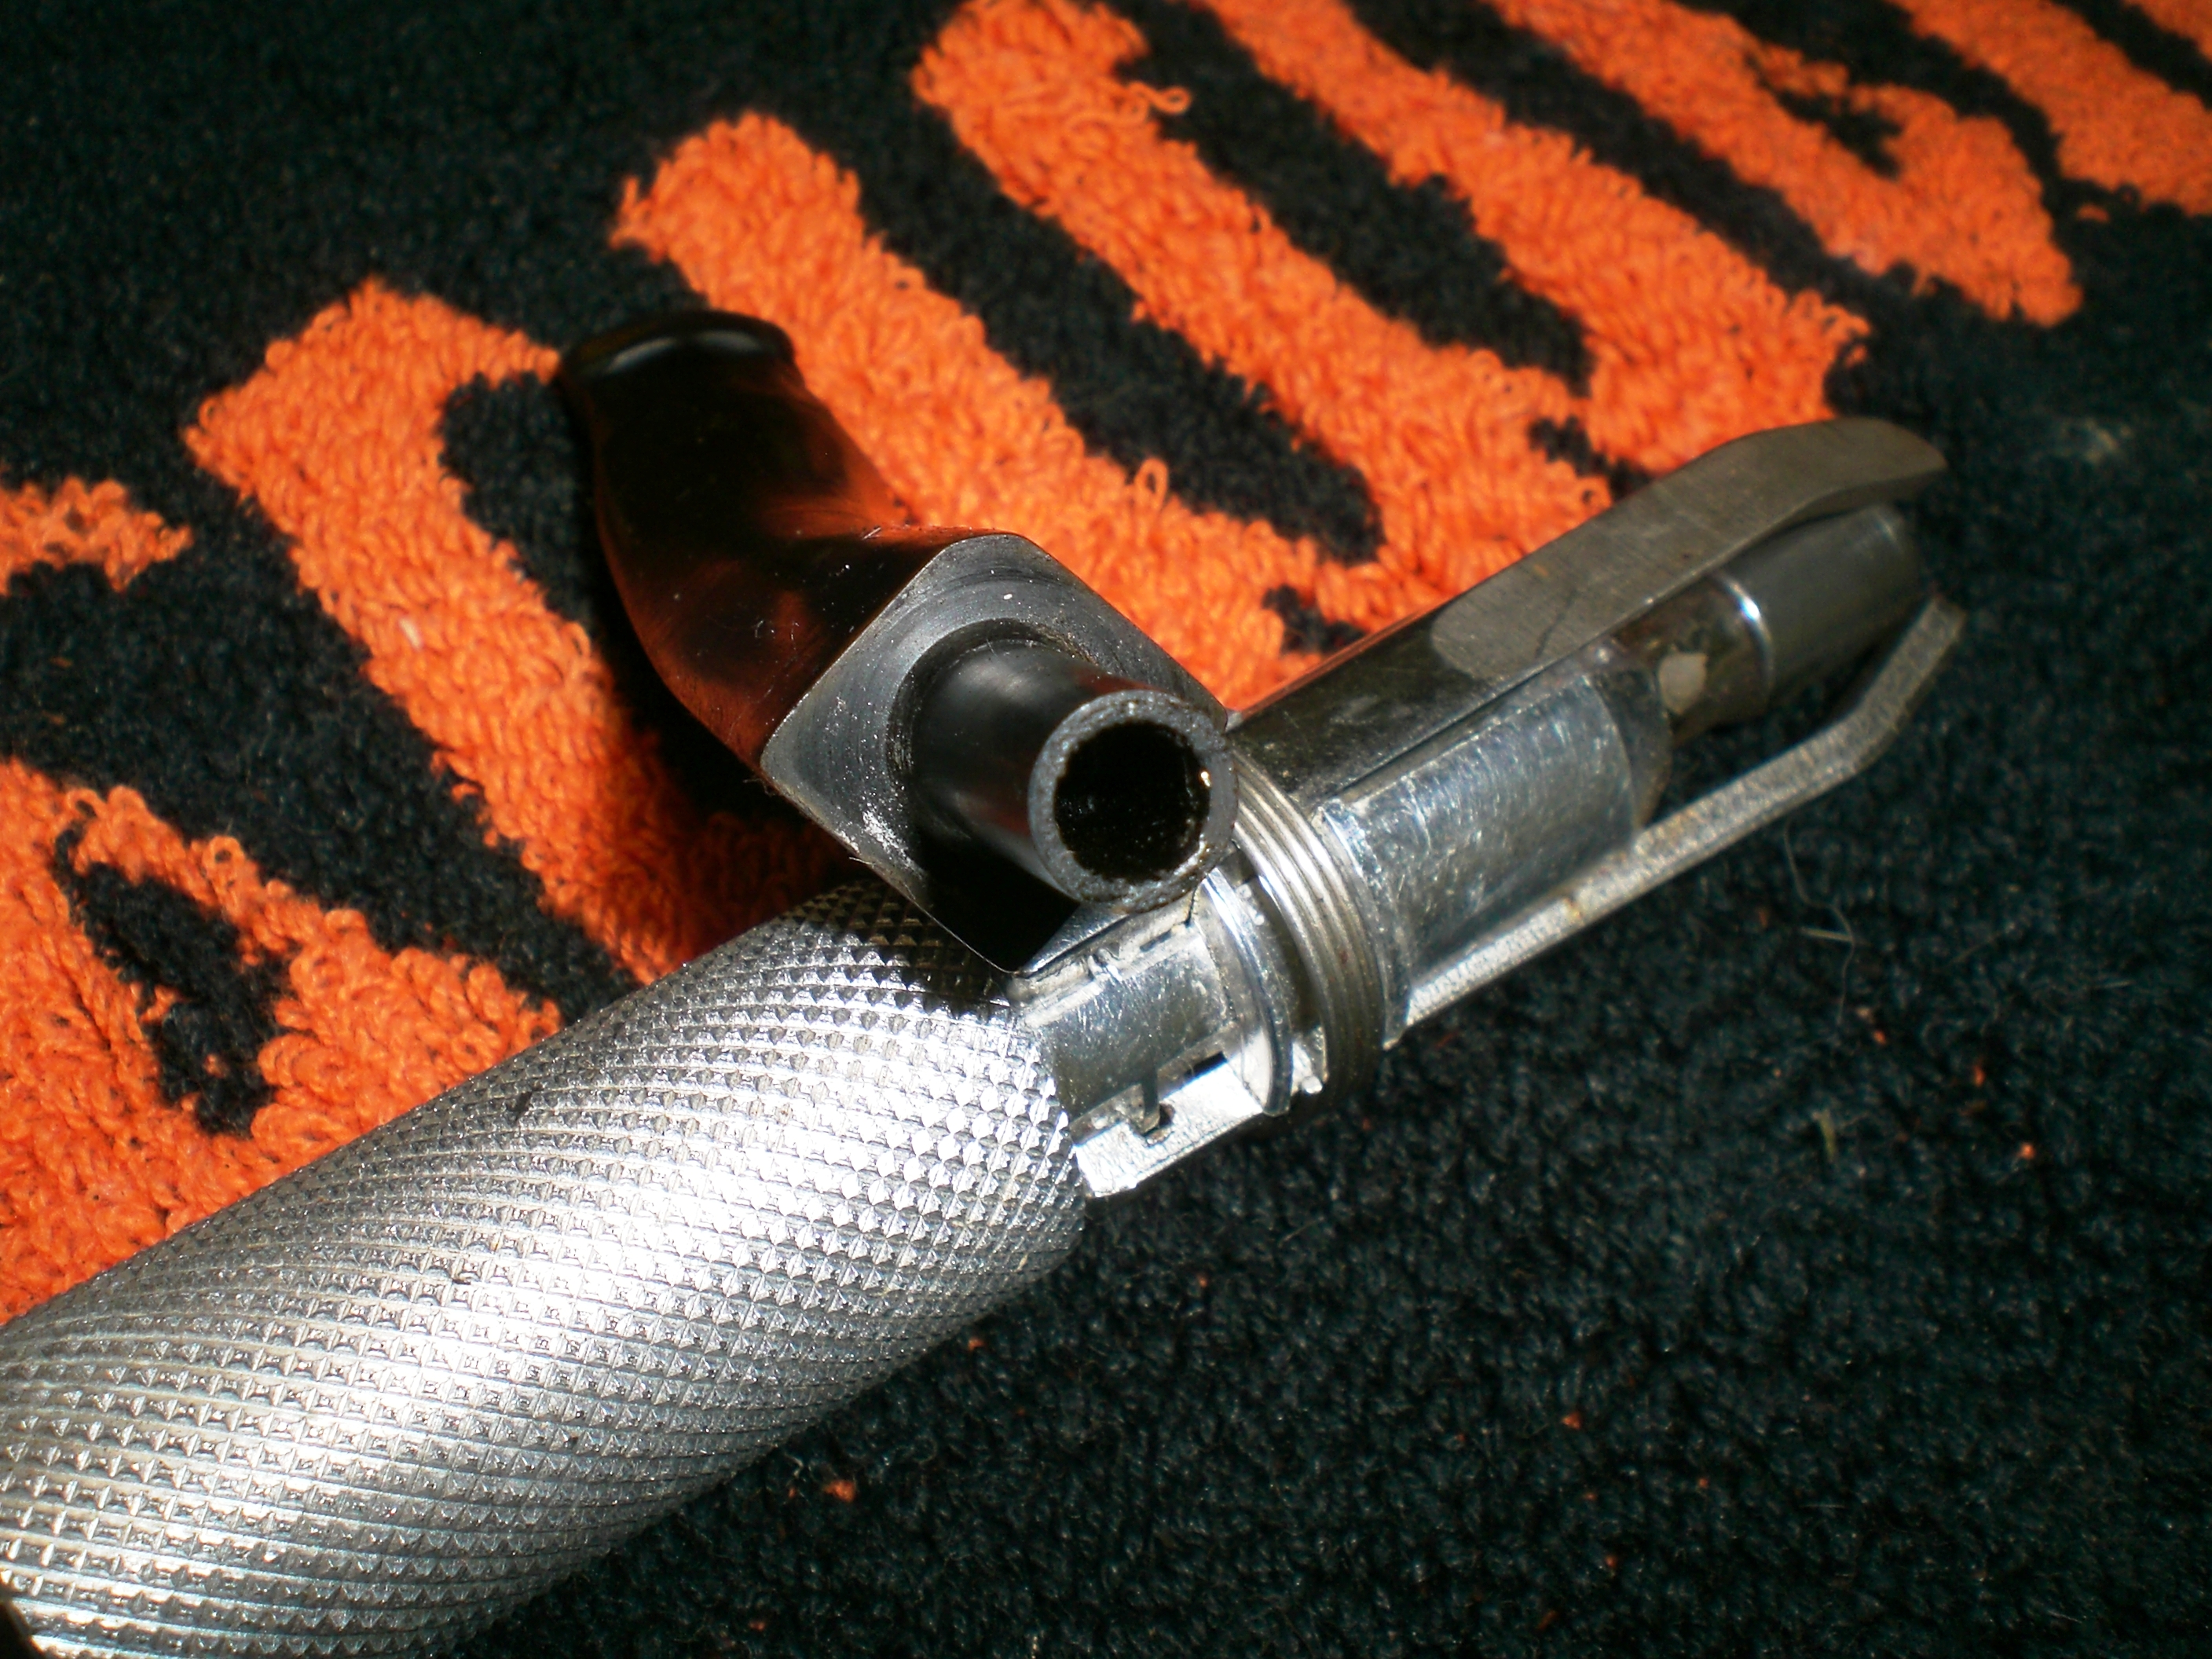
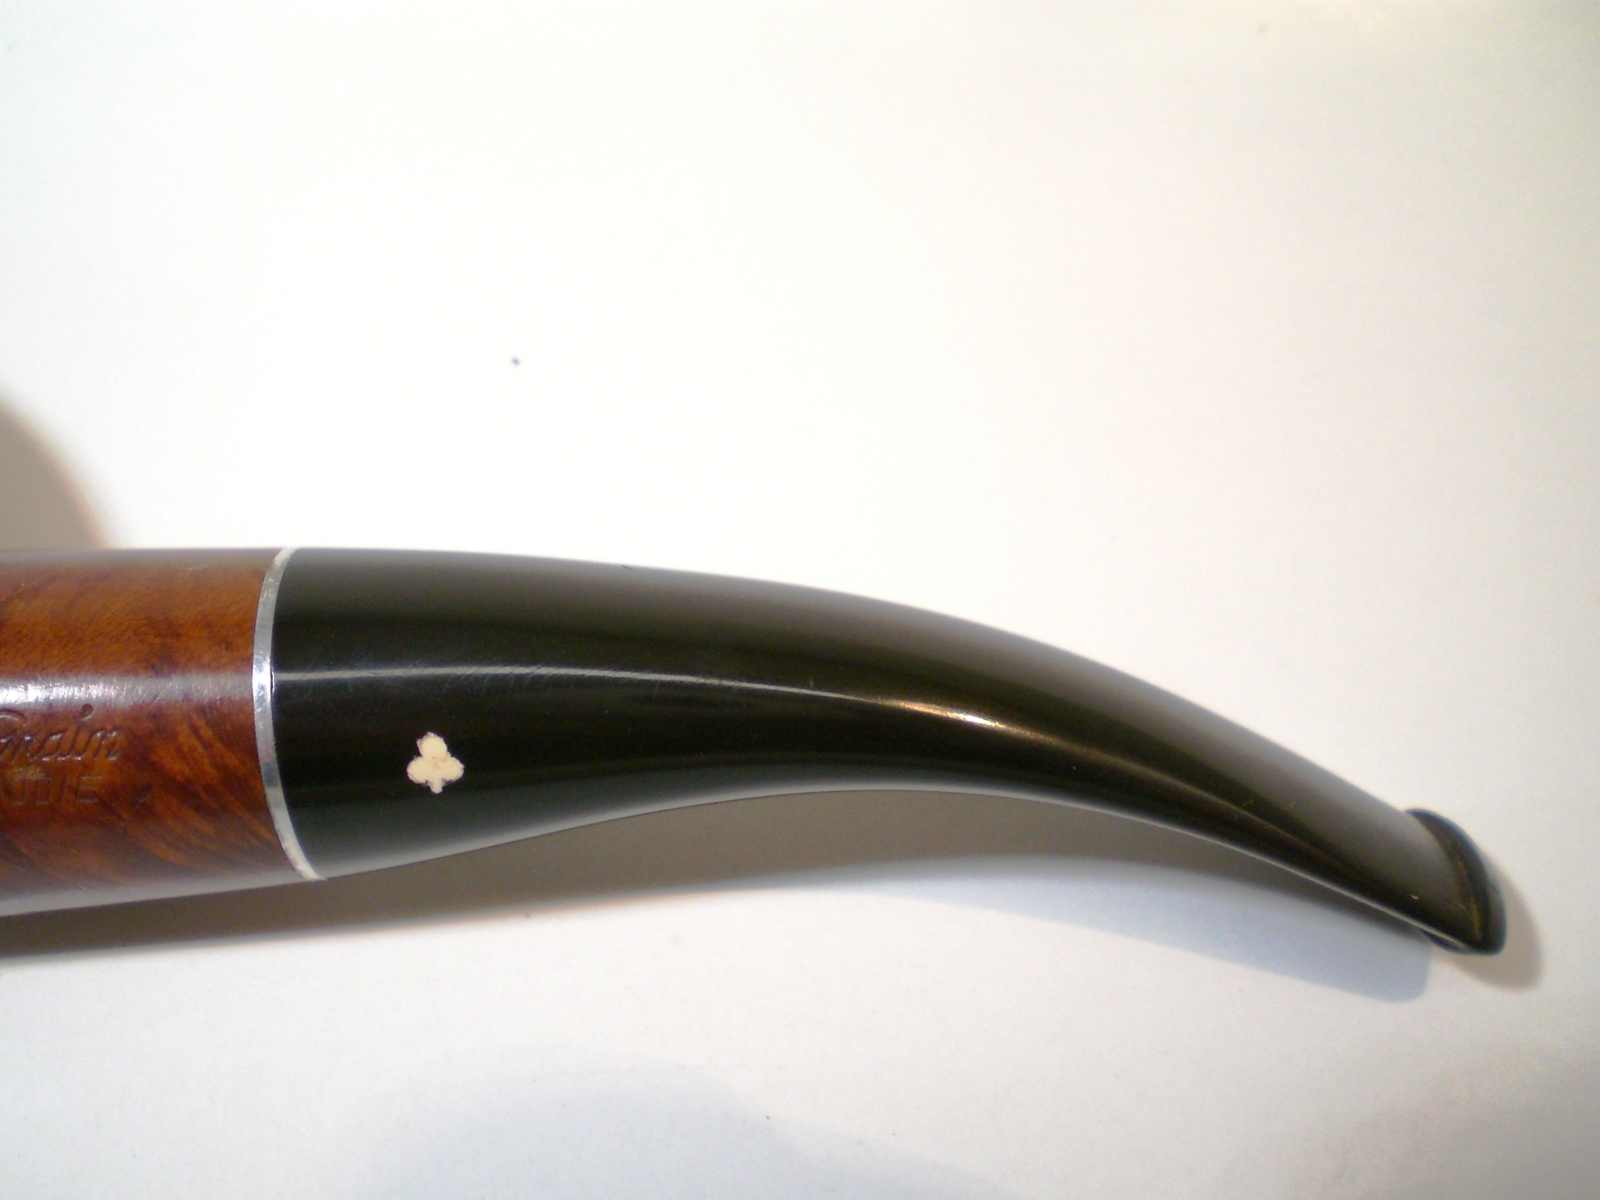
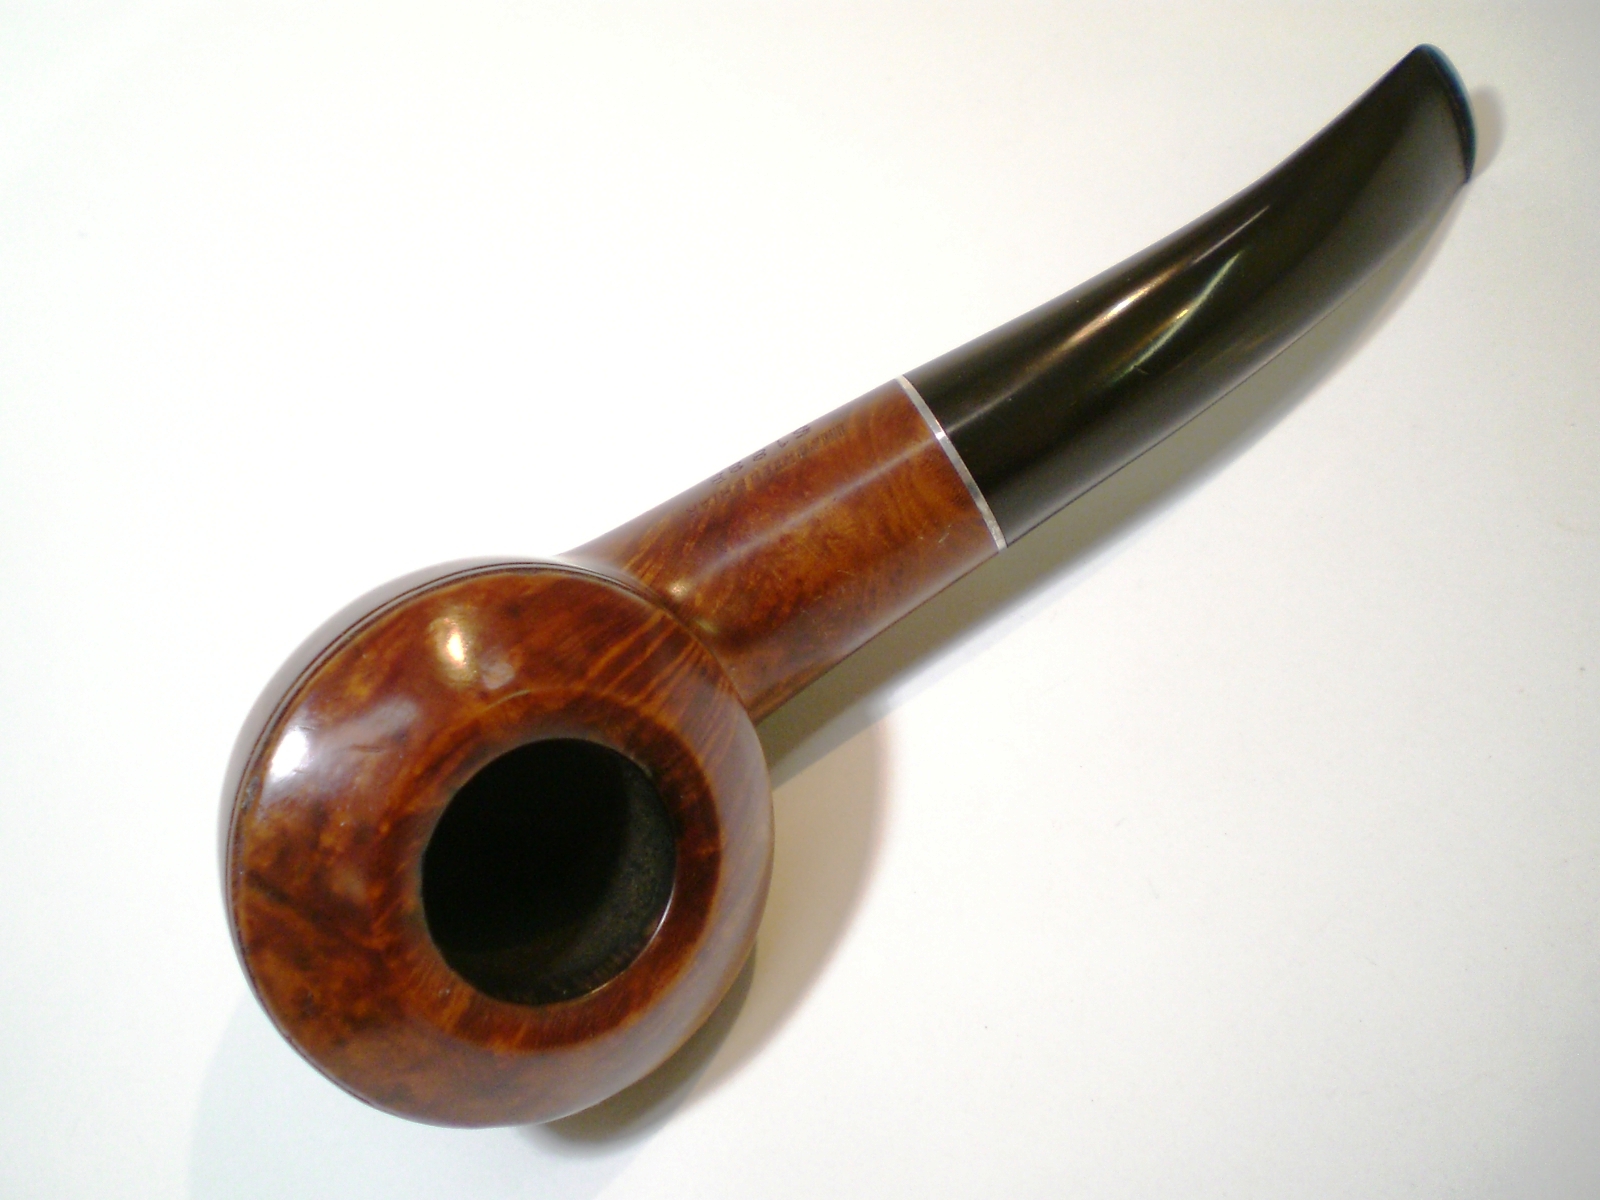
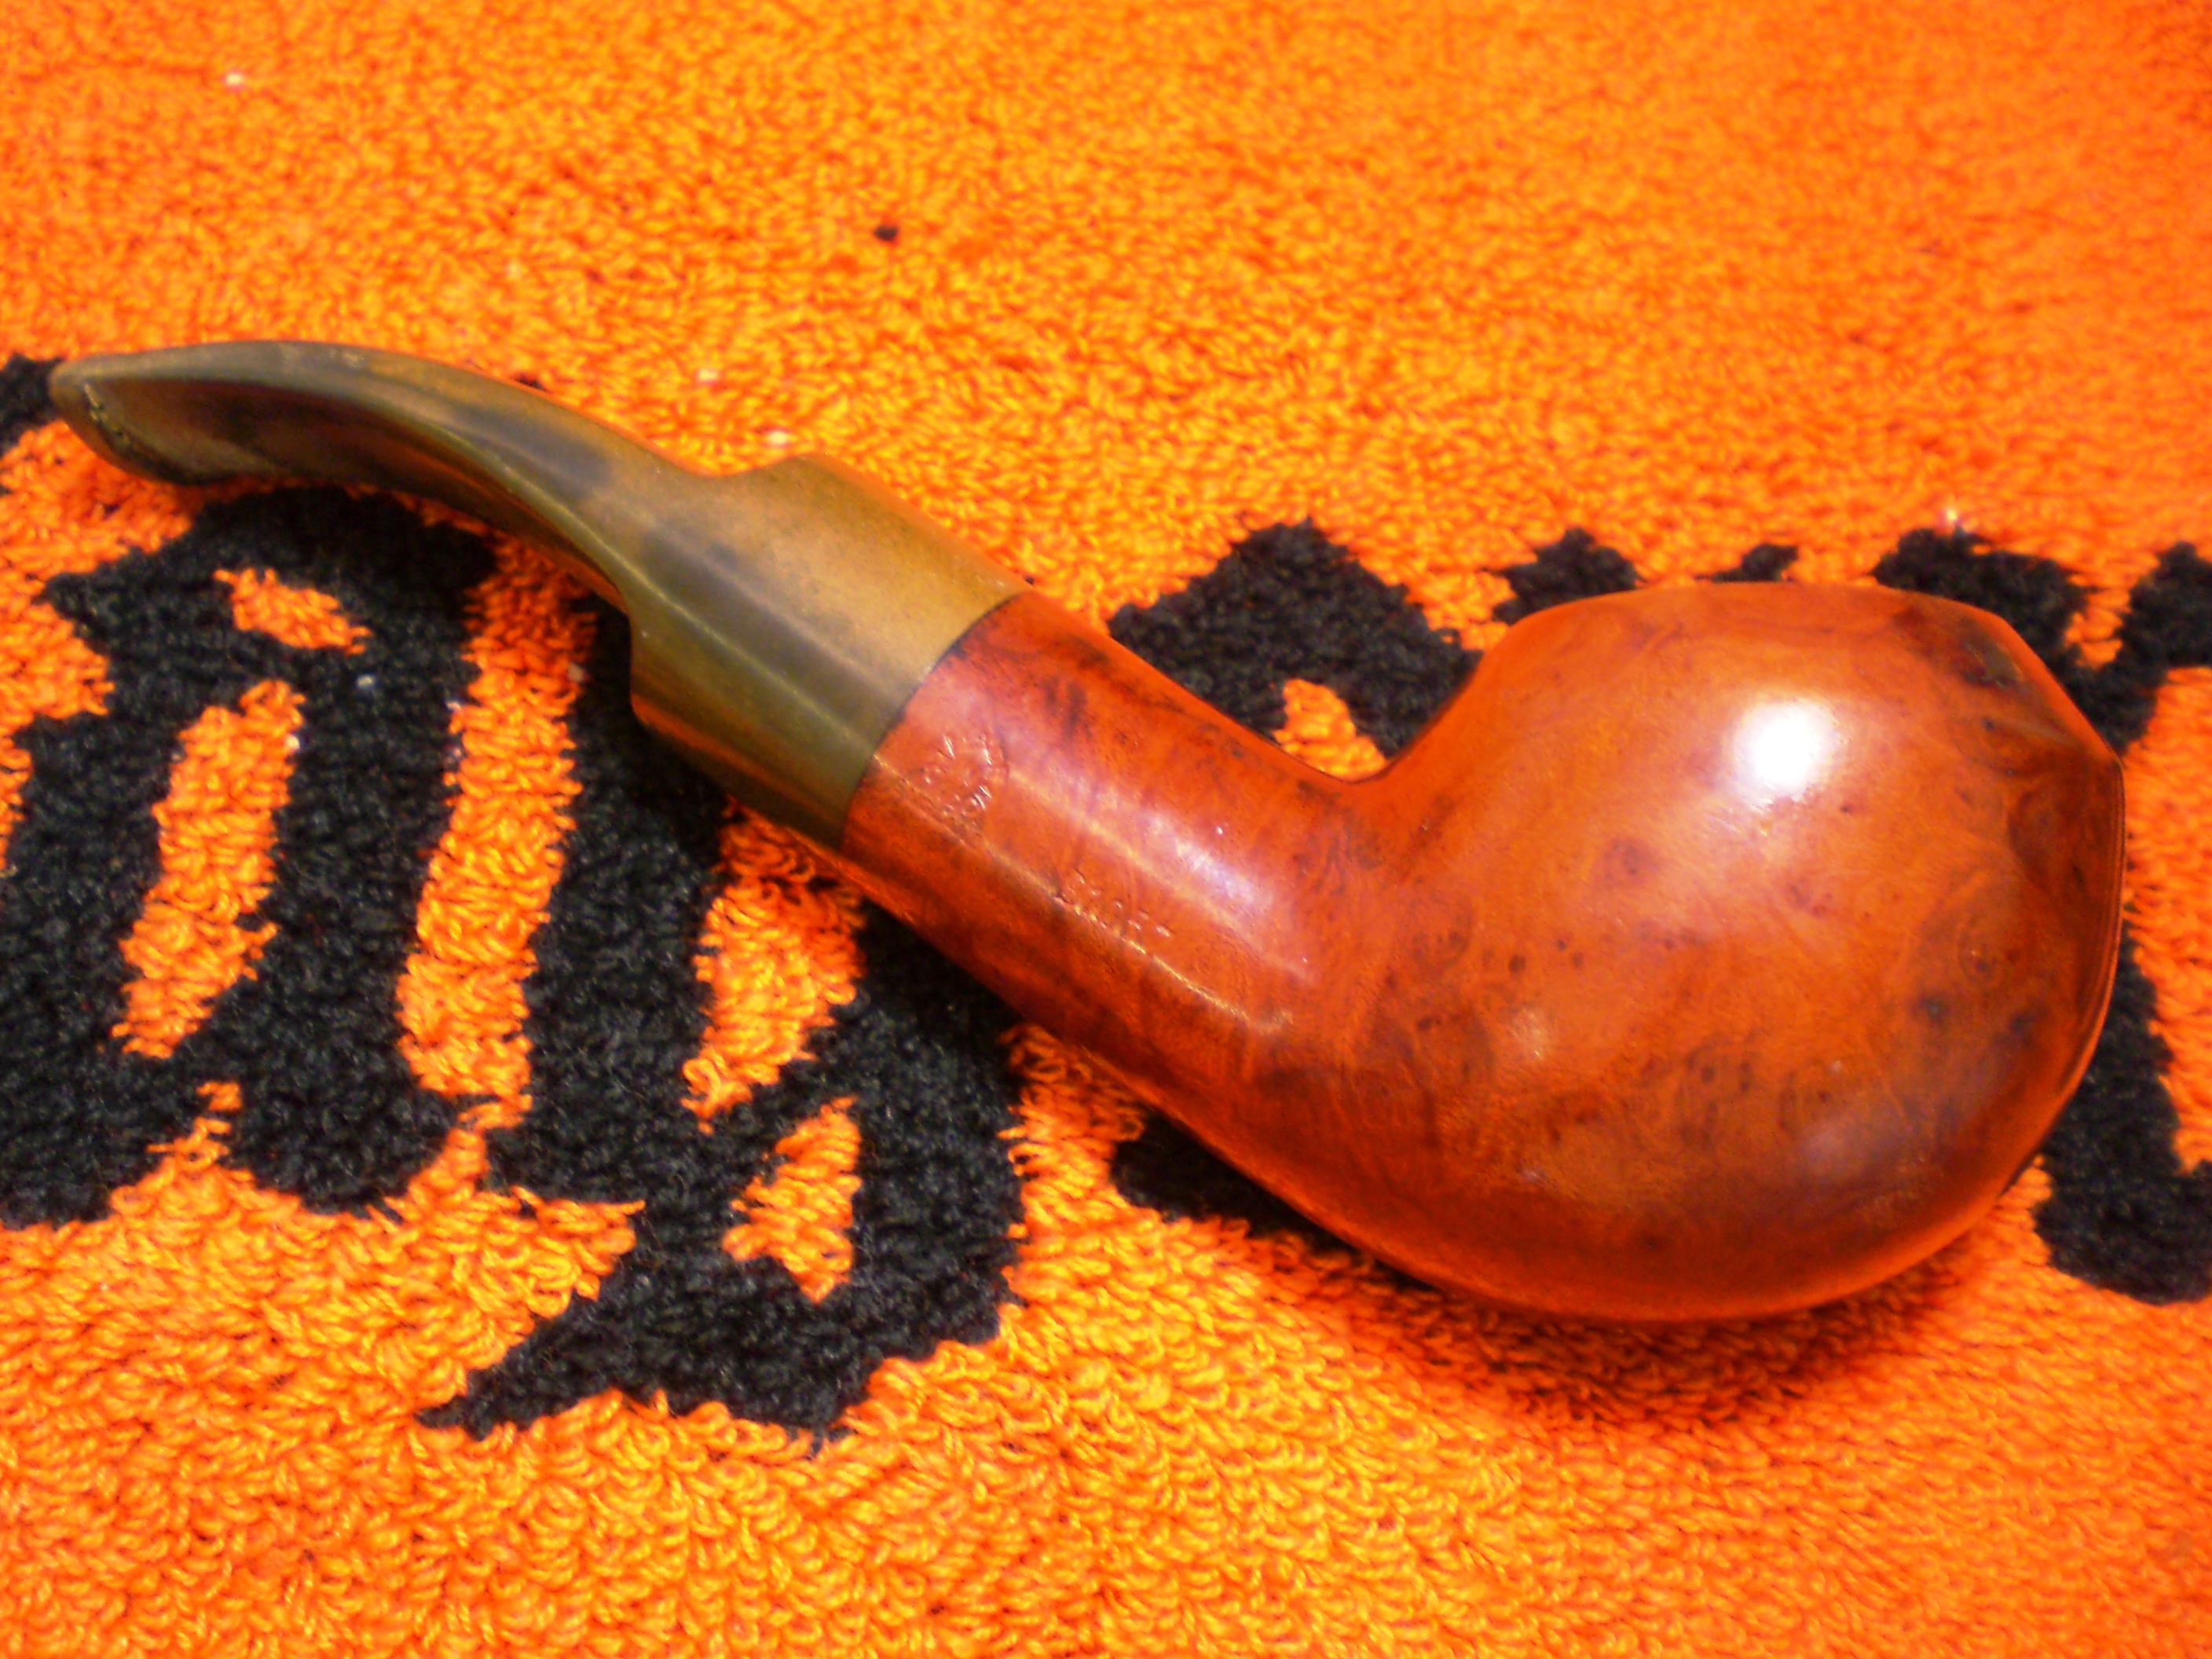
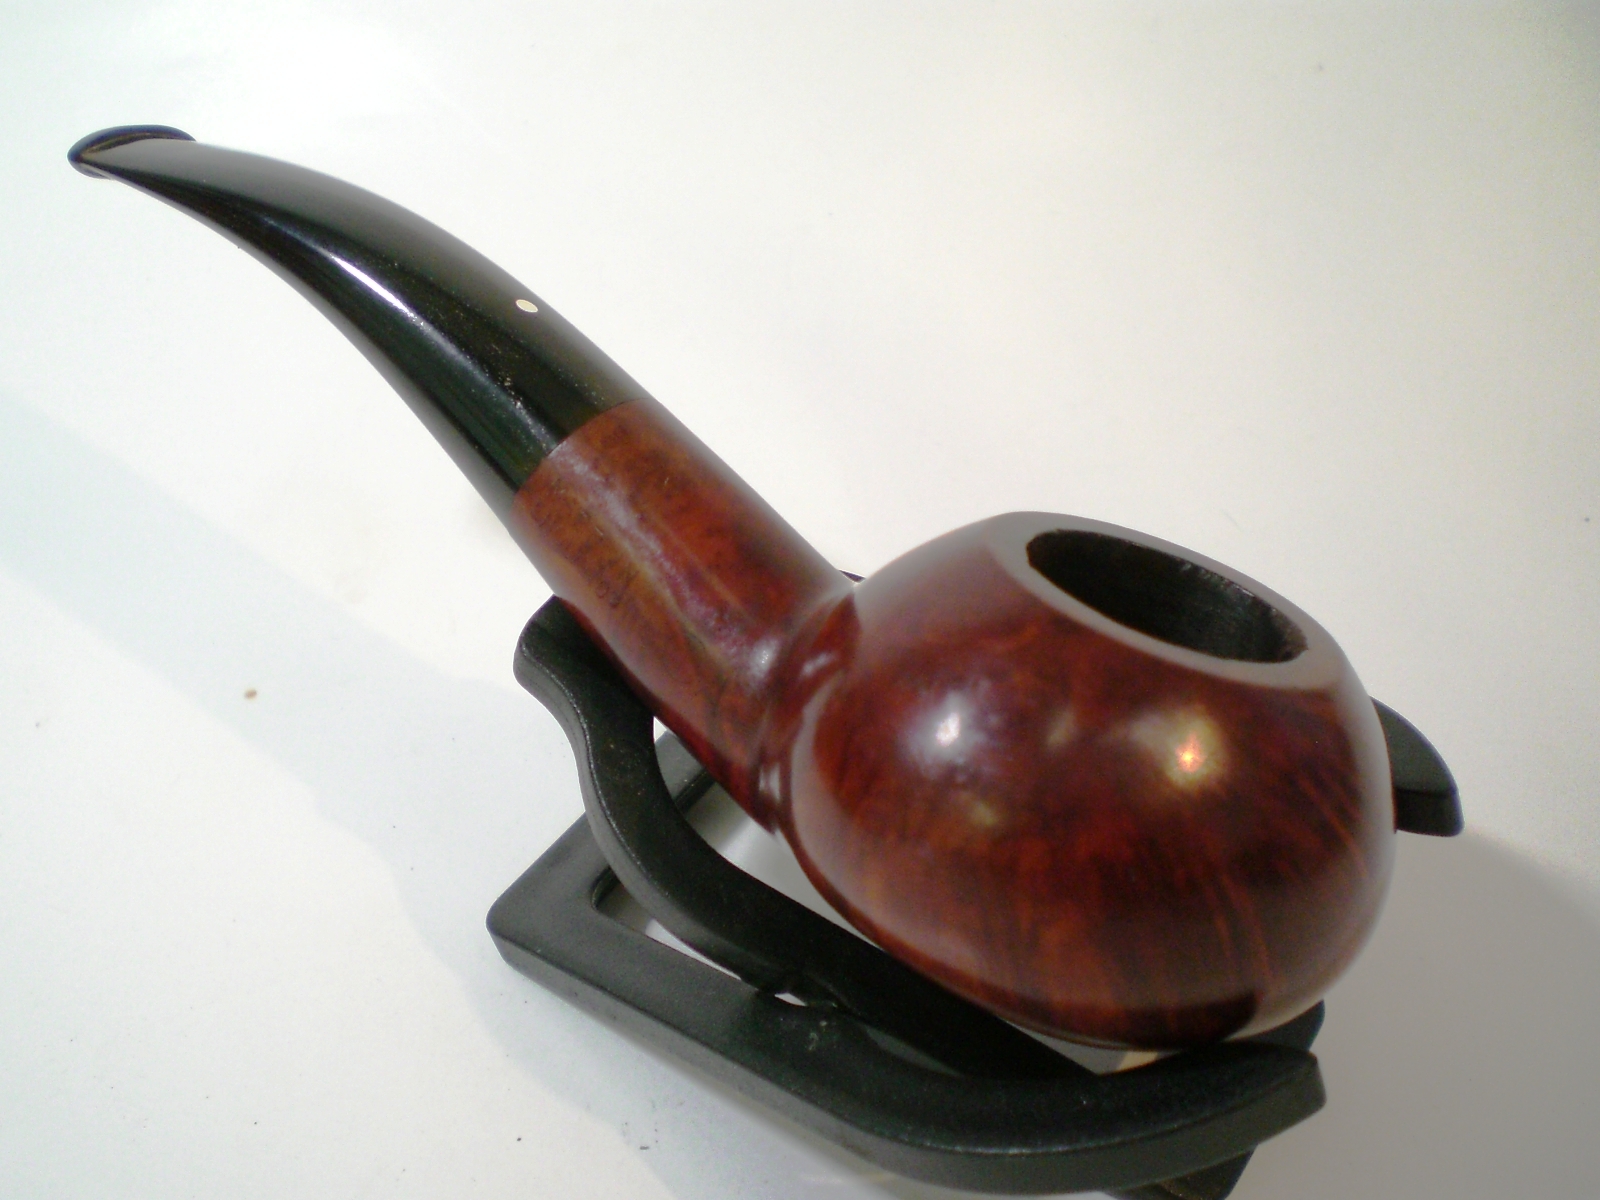
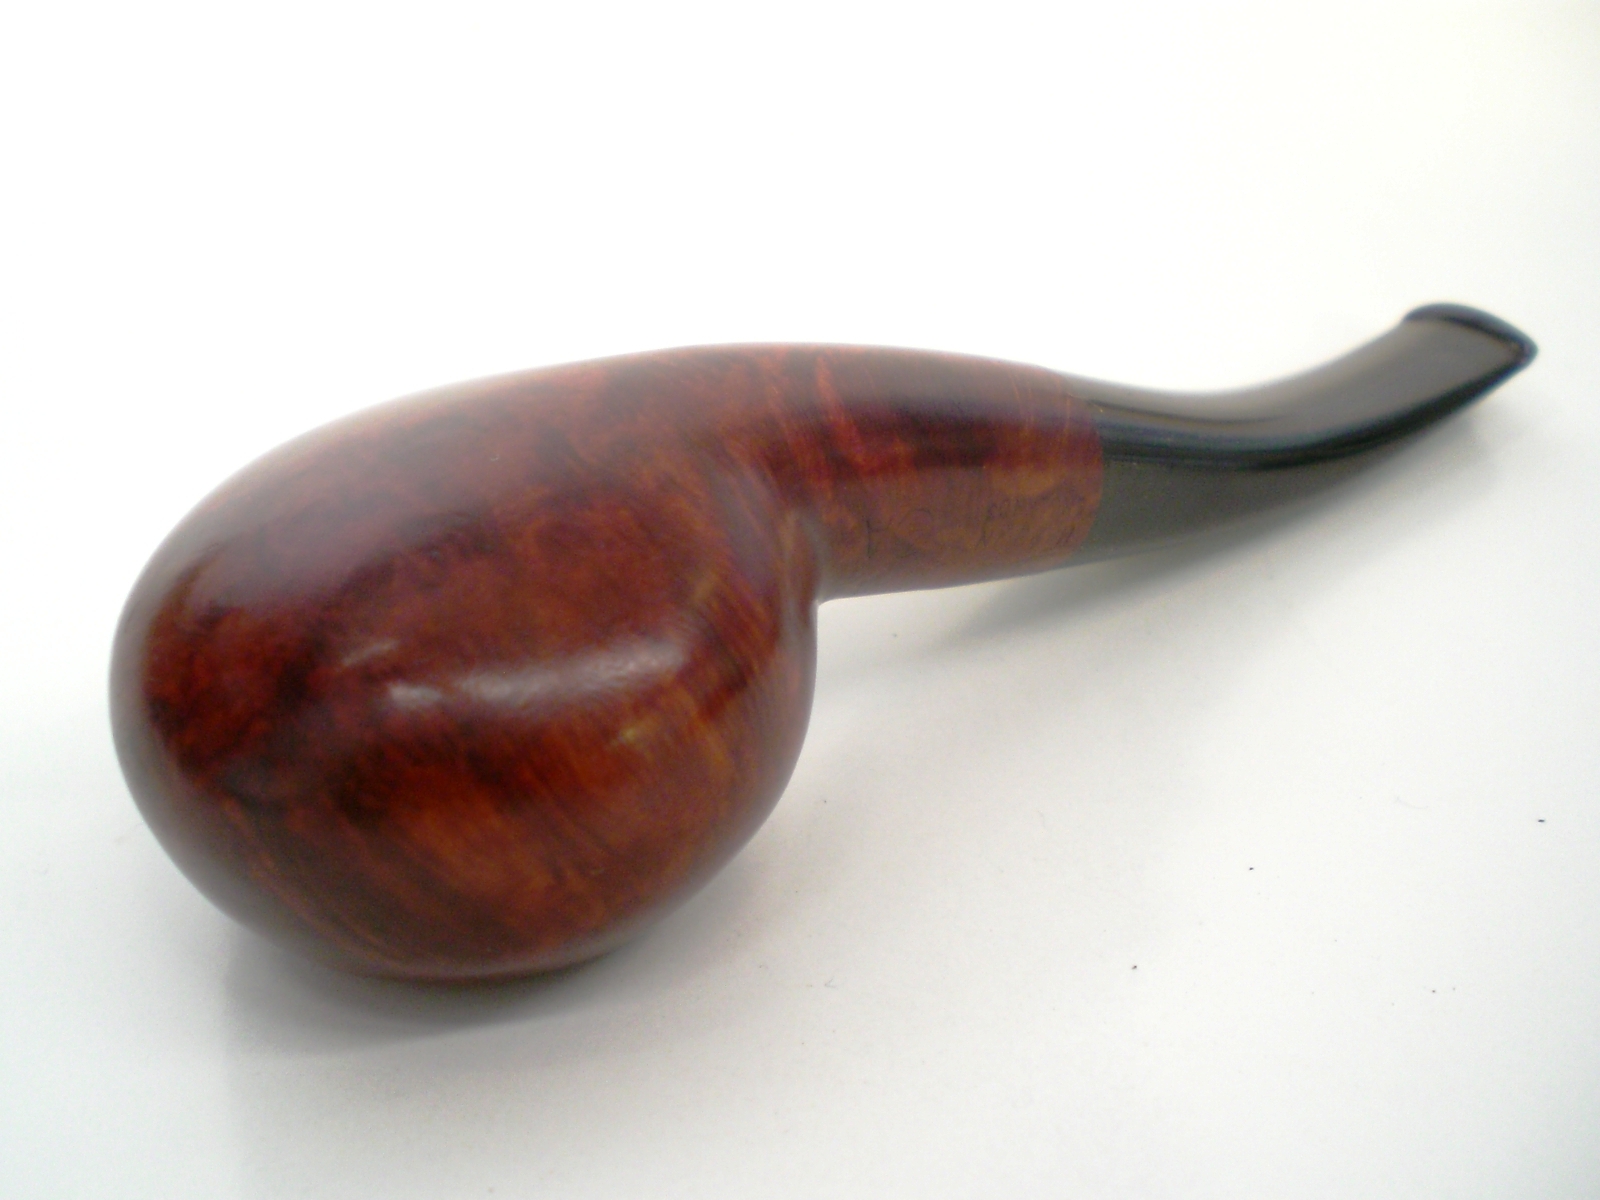
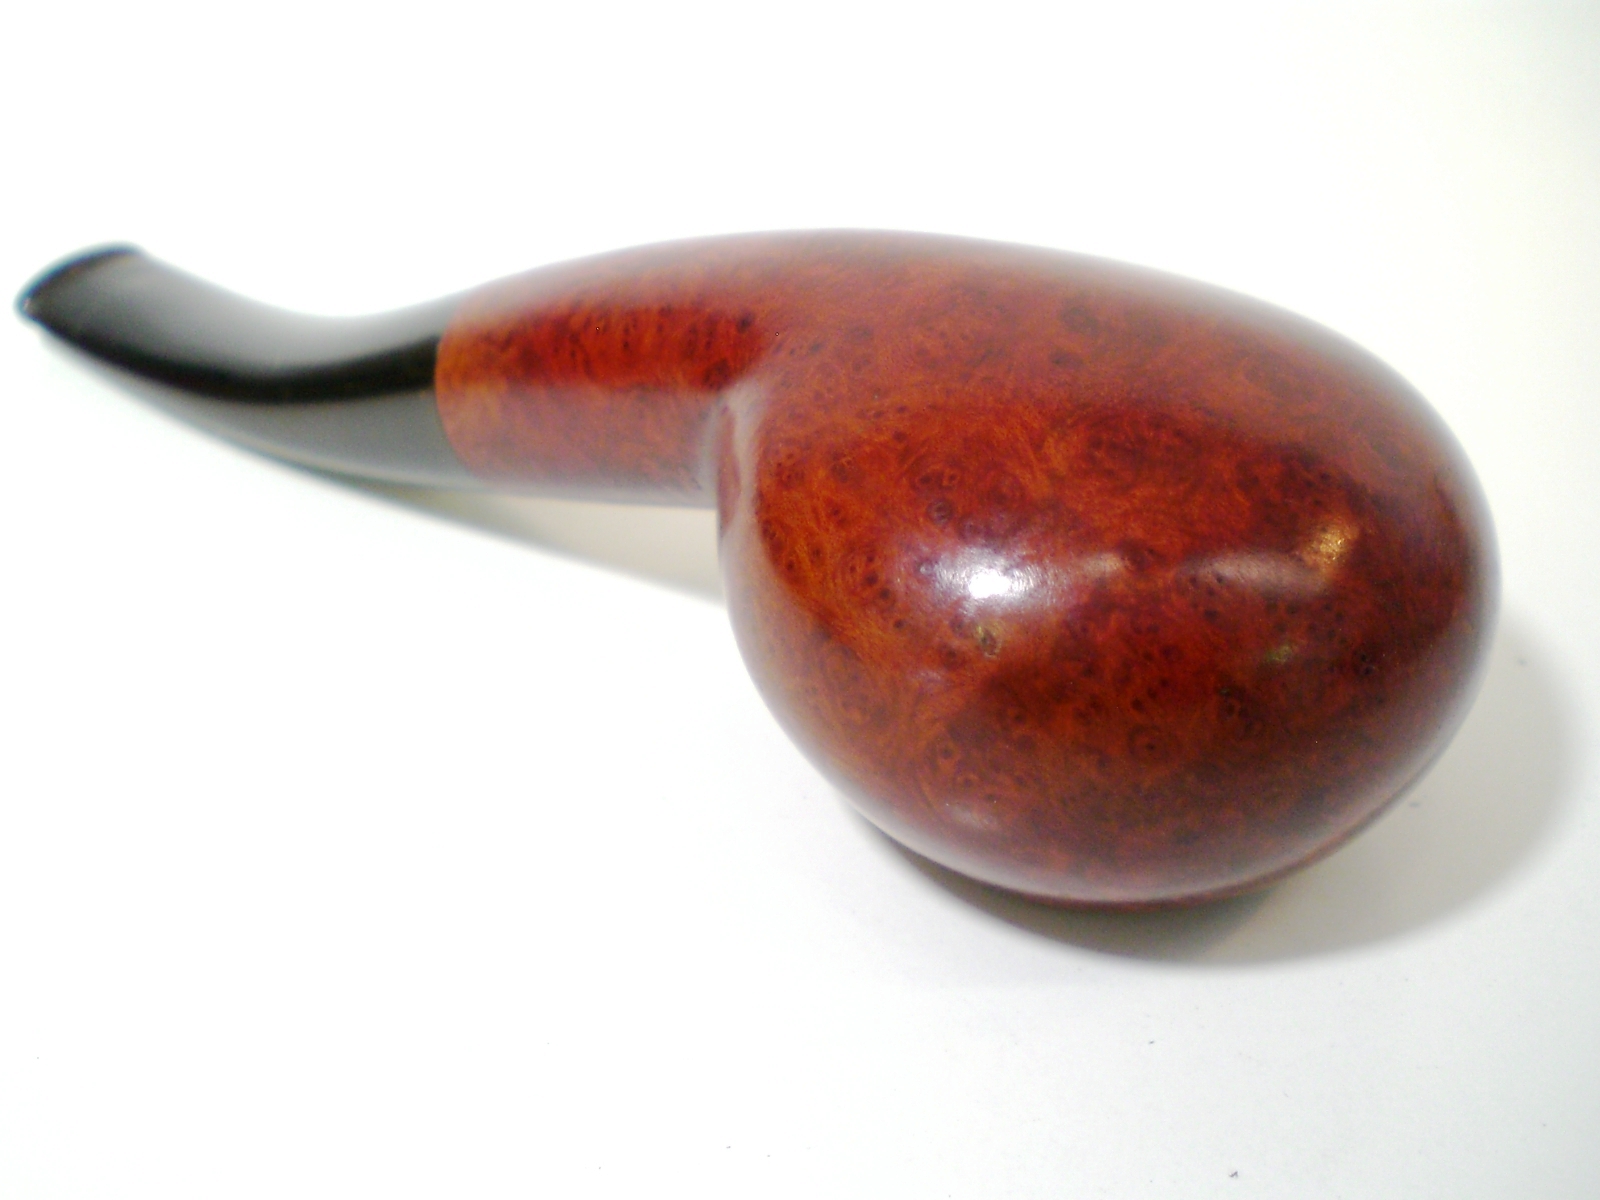
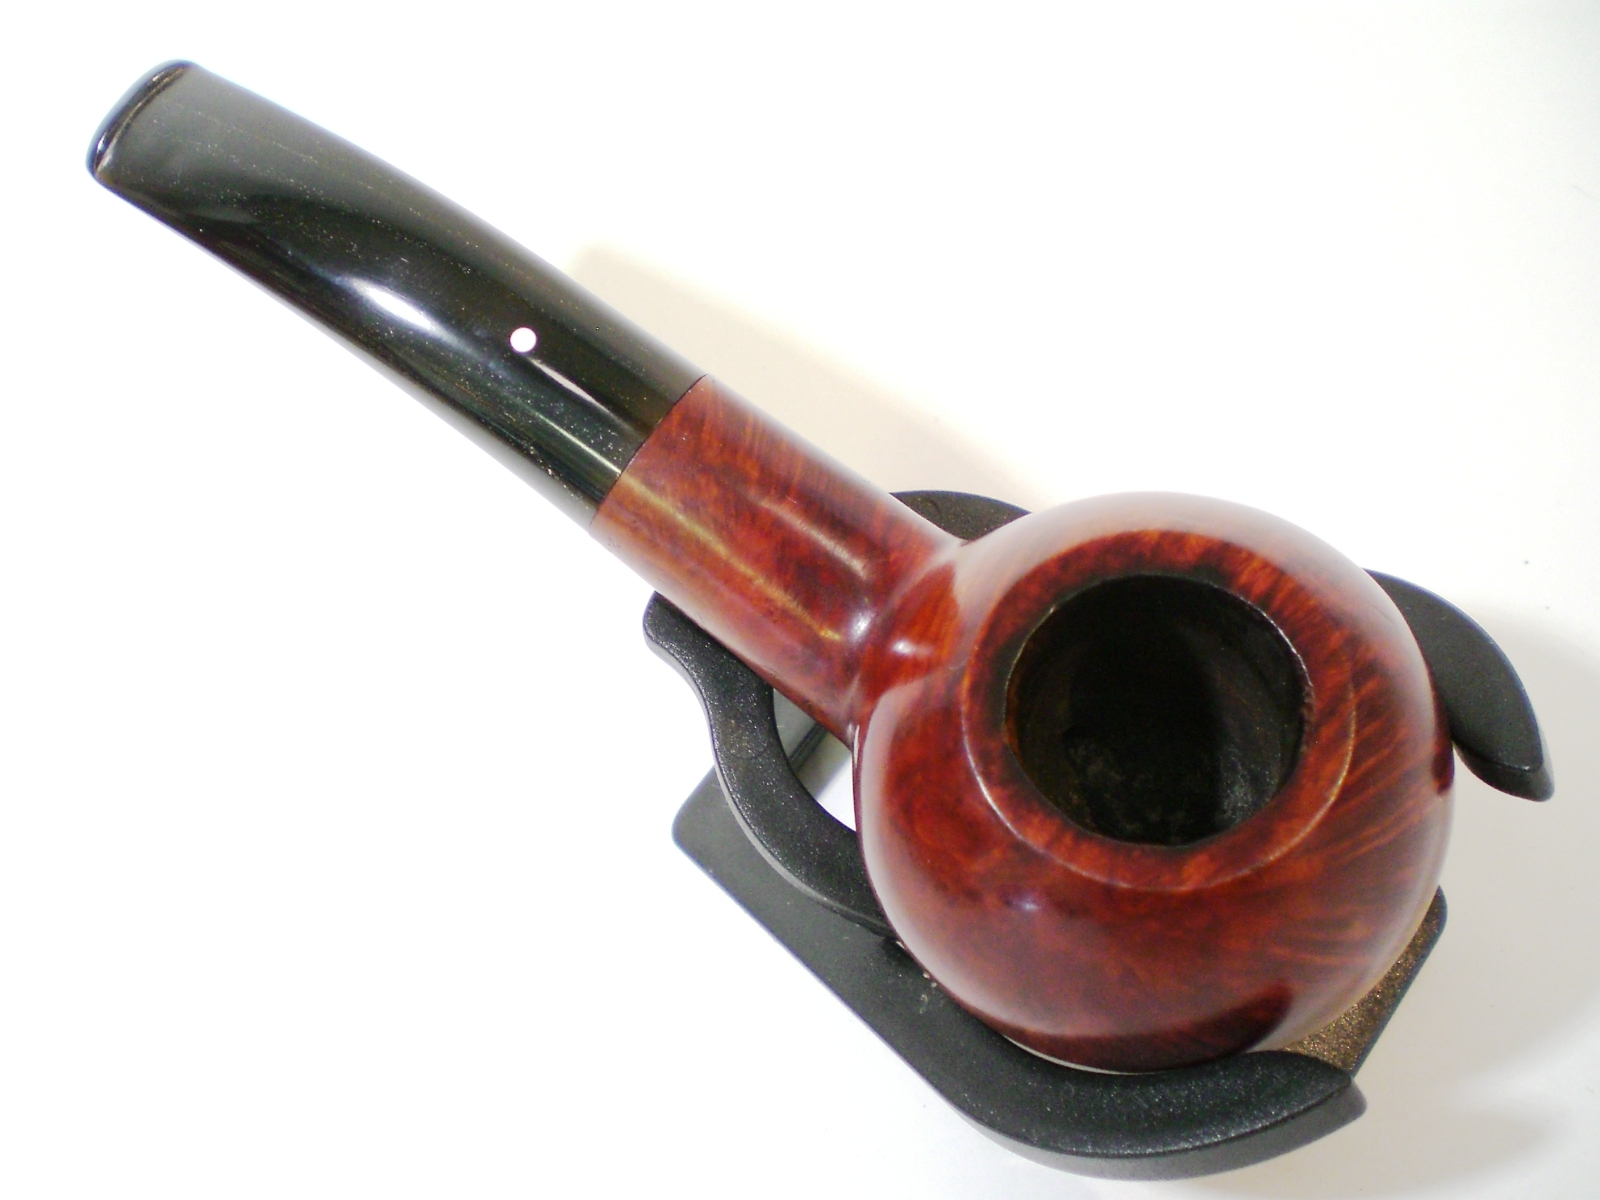
I found this unsmoked Kaywoodie Super Grain 07C on Ebay. It has a four-hole, “Drinkless” stamped stinger. That and the three digit shape number help identify the timer period when it was made. Hacker sais the 07C bulldog was made from 1947 and that style stinger was discontinued by Kaywoodie in 1954.

Kaywoodie_07C_Before (1)

Kaywoodie_07C_Before (3)

Kaywoodie_07C_Before (4)

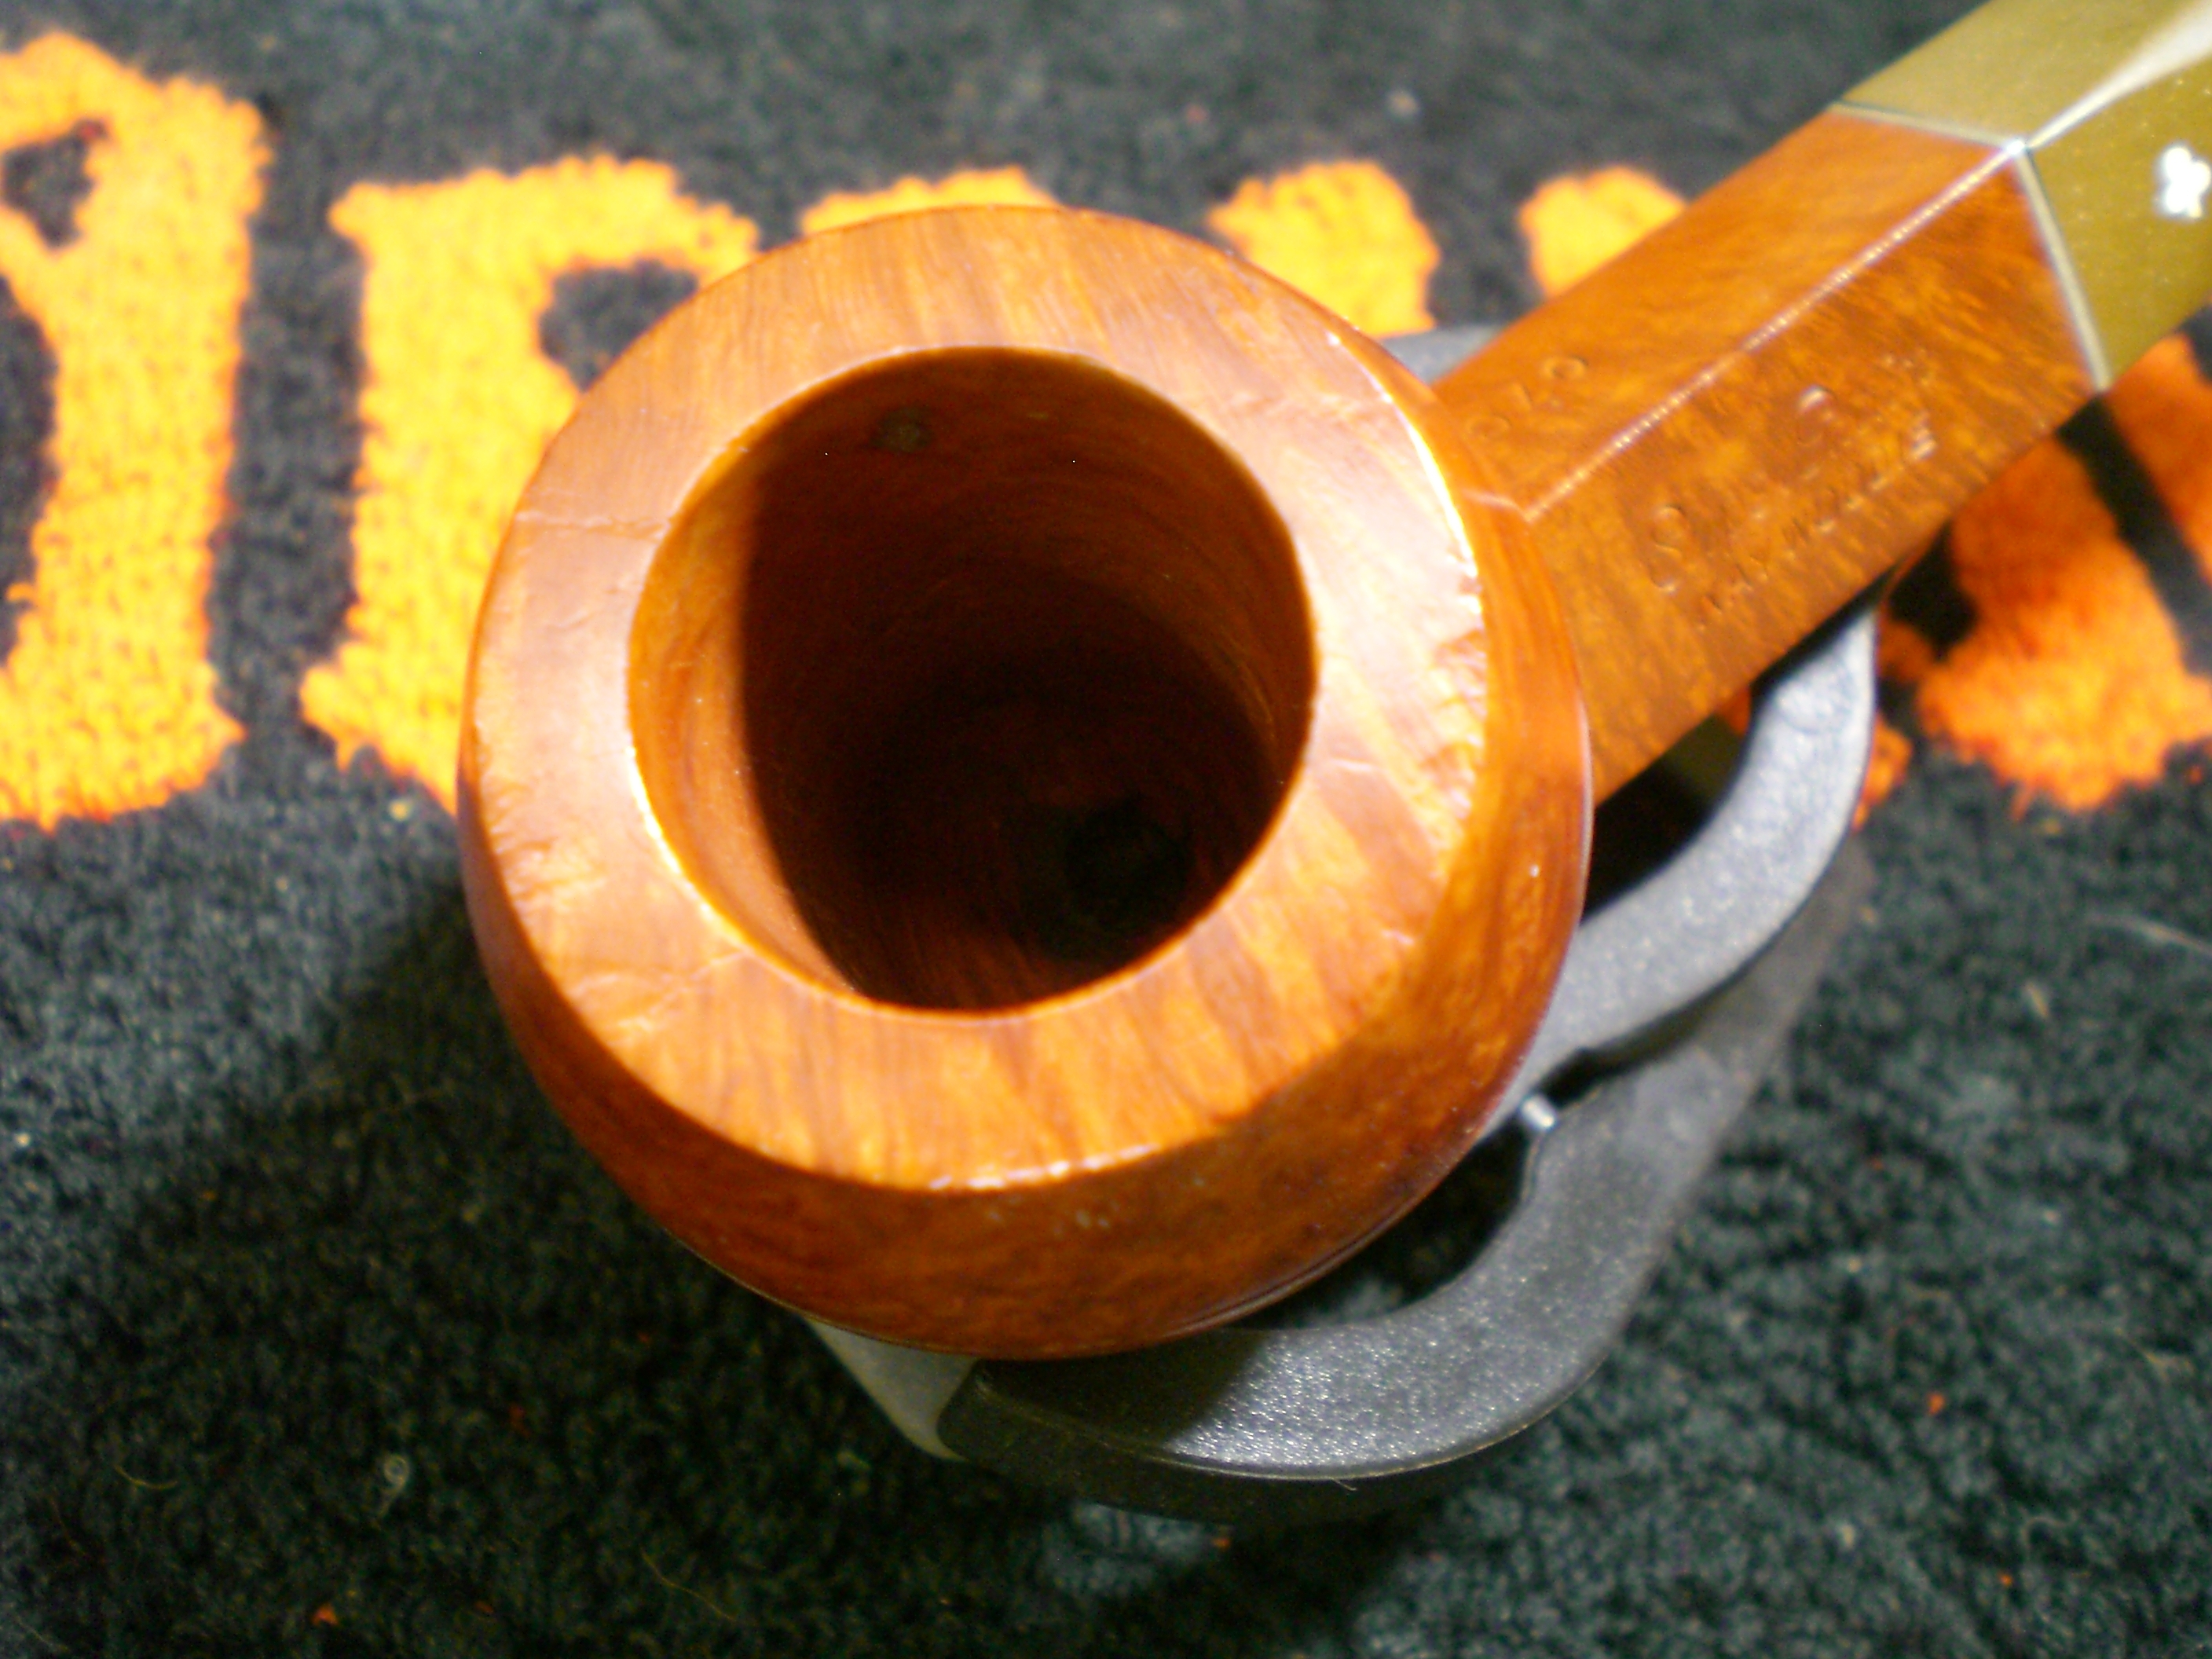
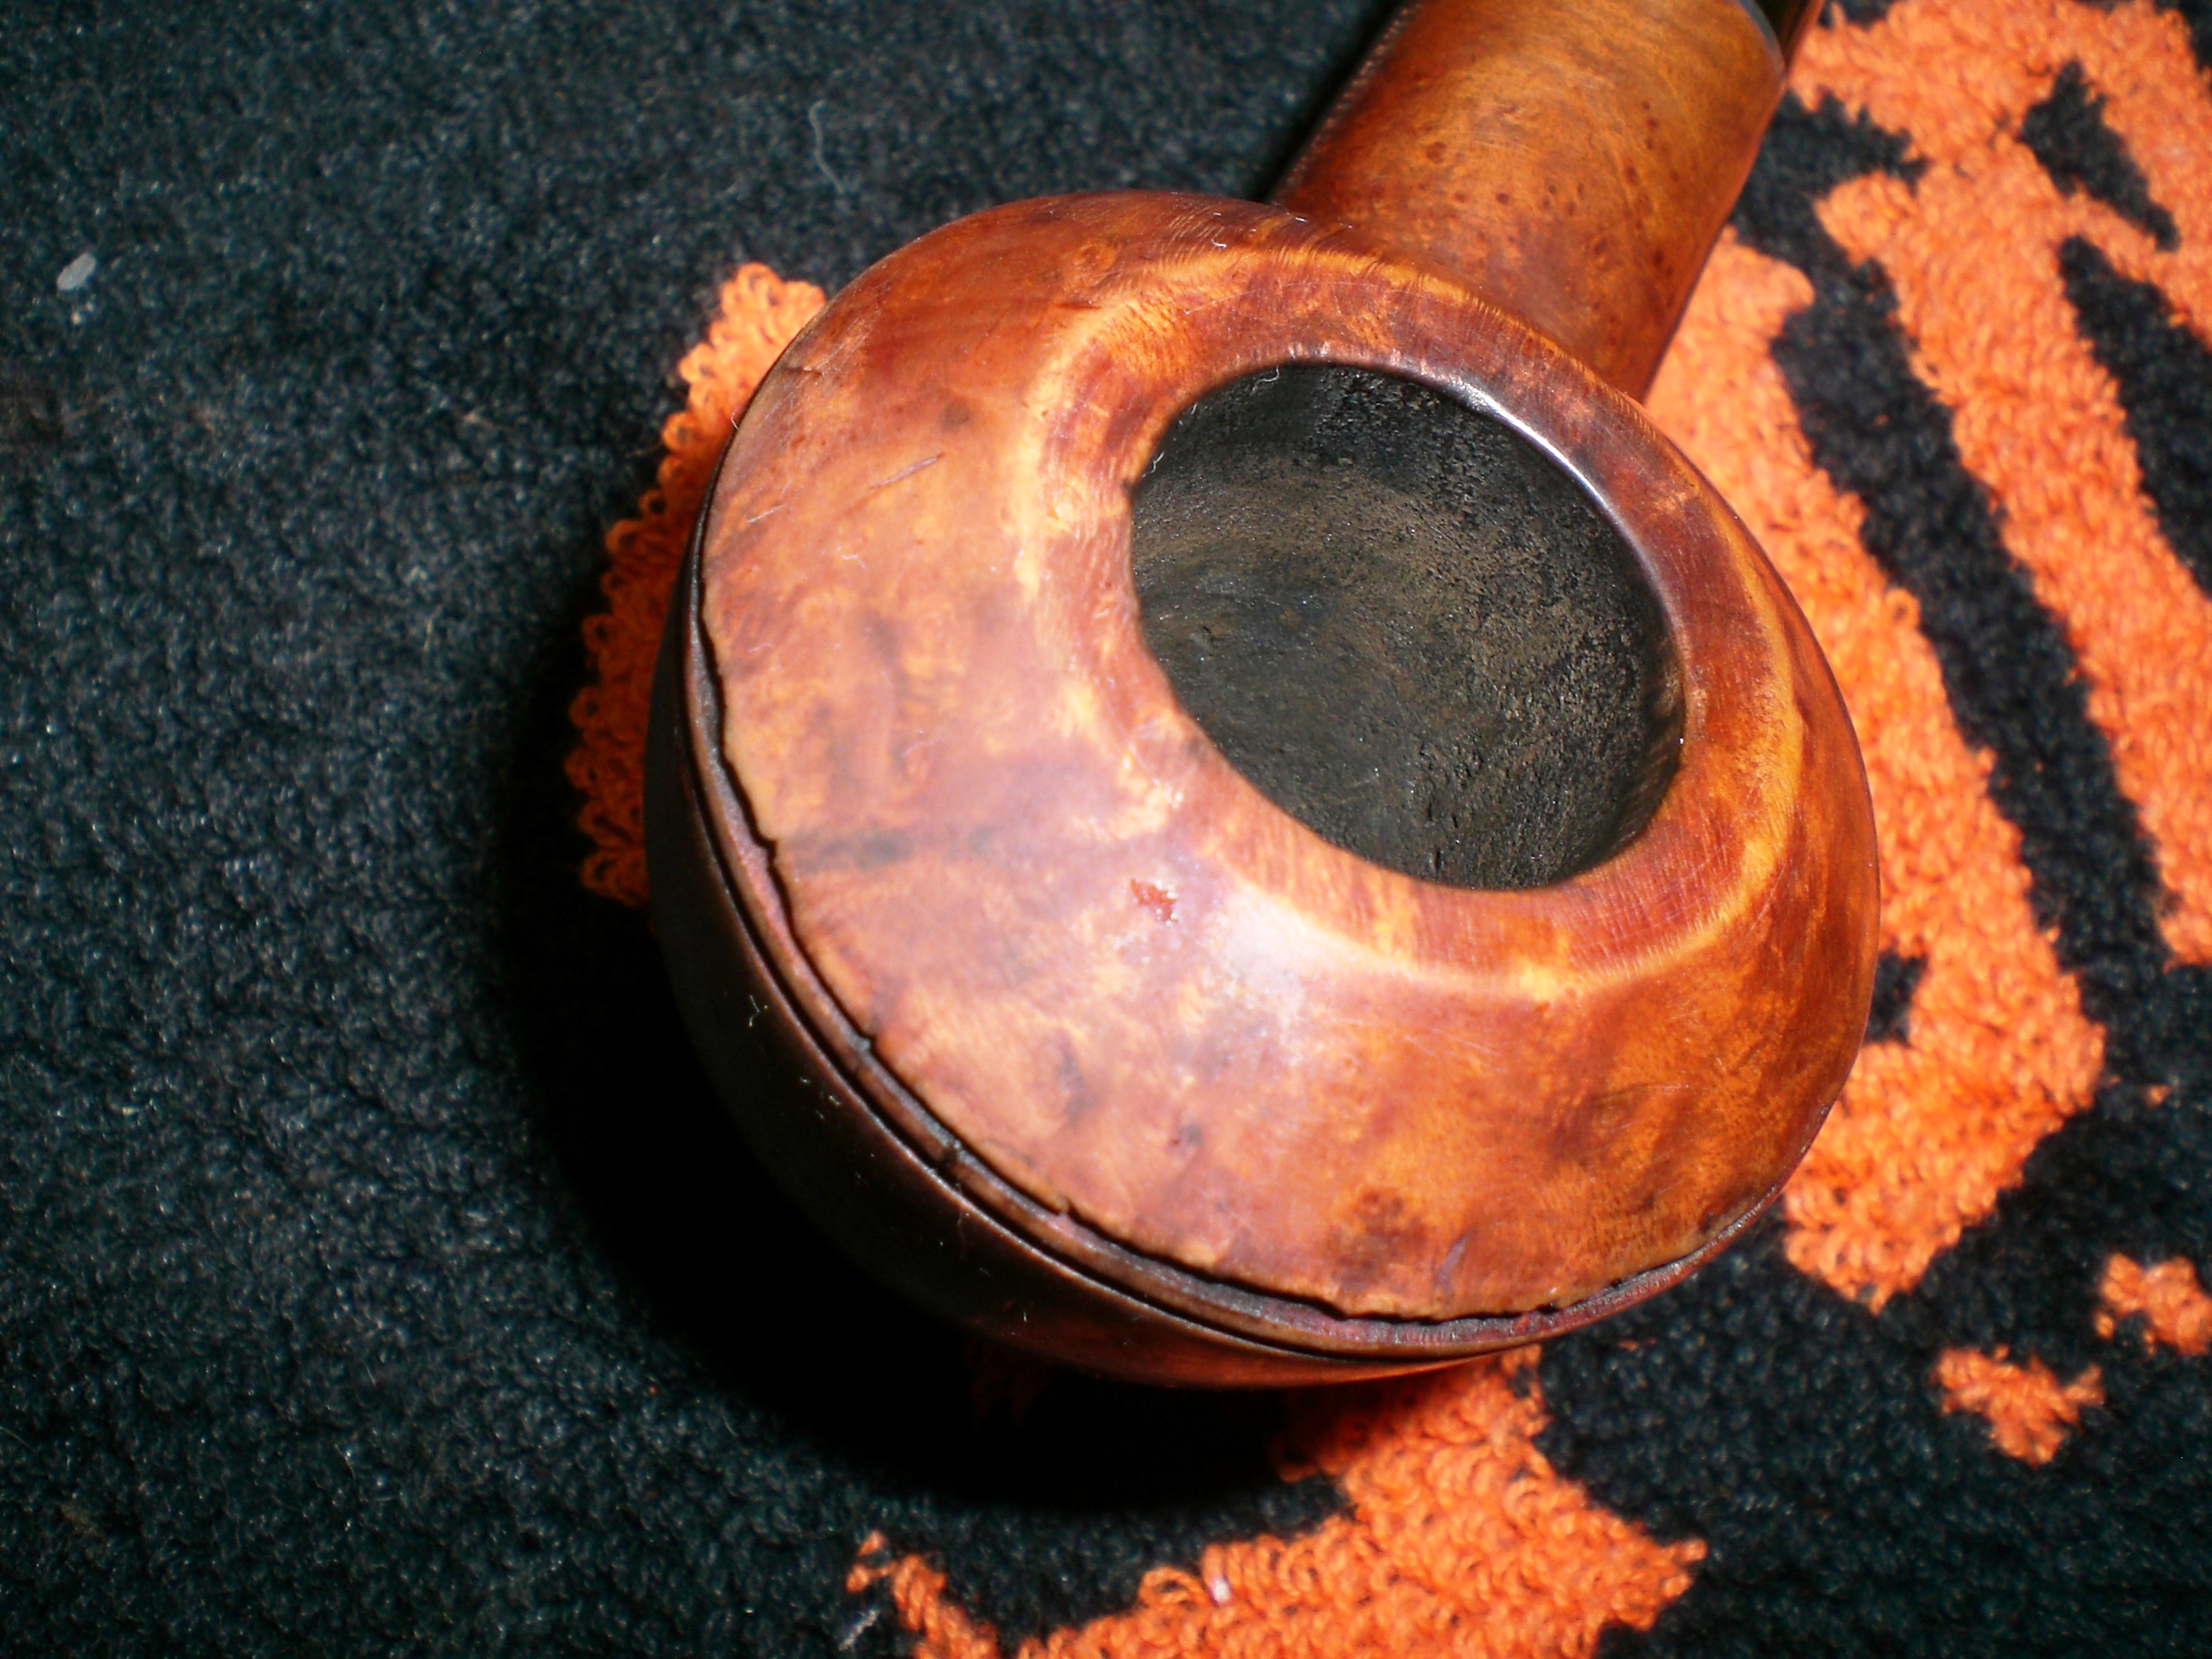
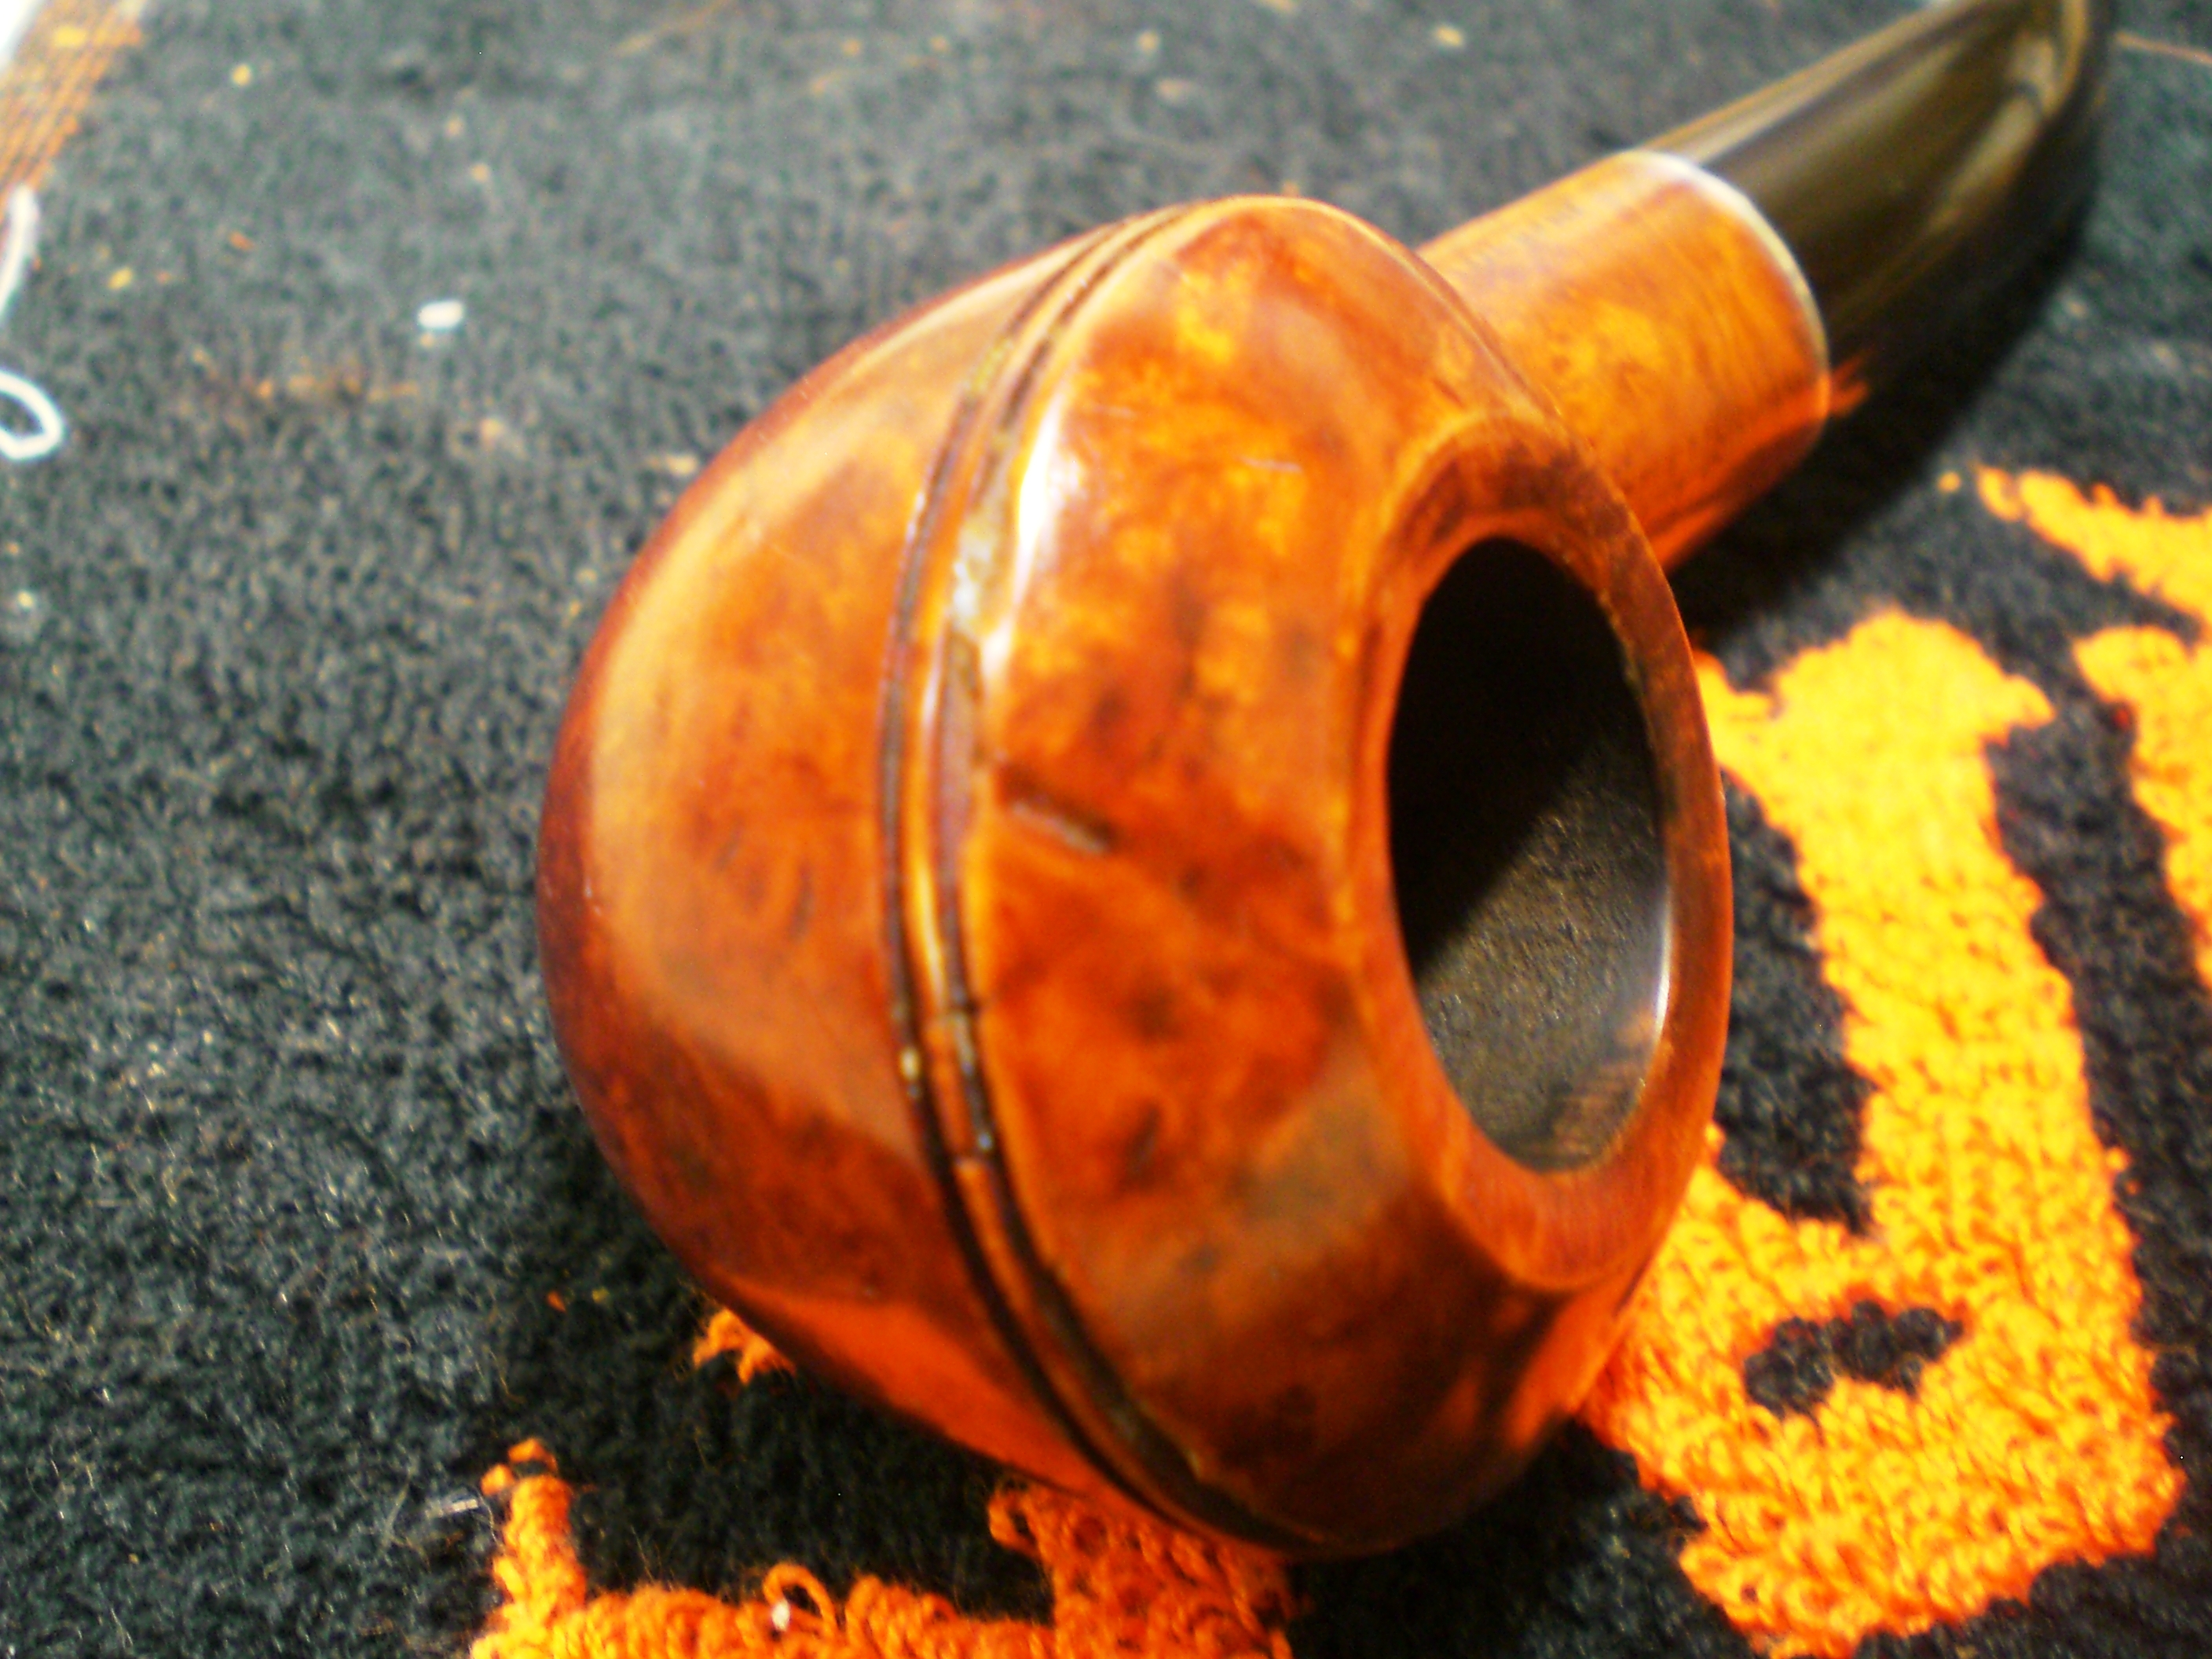
The bowl top had some dings from handling or bouncing around someones drawer for 50 plus years.

Kaywoodie_07C_Before (6)

Using a propane torch, old butter knife, and a small piece of wet cloth, I was able to steam out all of the dents on the bowl top. I heat the knife tip until it is glowing orange, than place the wet cloth (folded over twice) on the dent, then press the hot tip into the cloth. This causes the damp cloth to steam, which usually makes the dents spring back nicely.

Kaywoodie_07C_Finished (11)

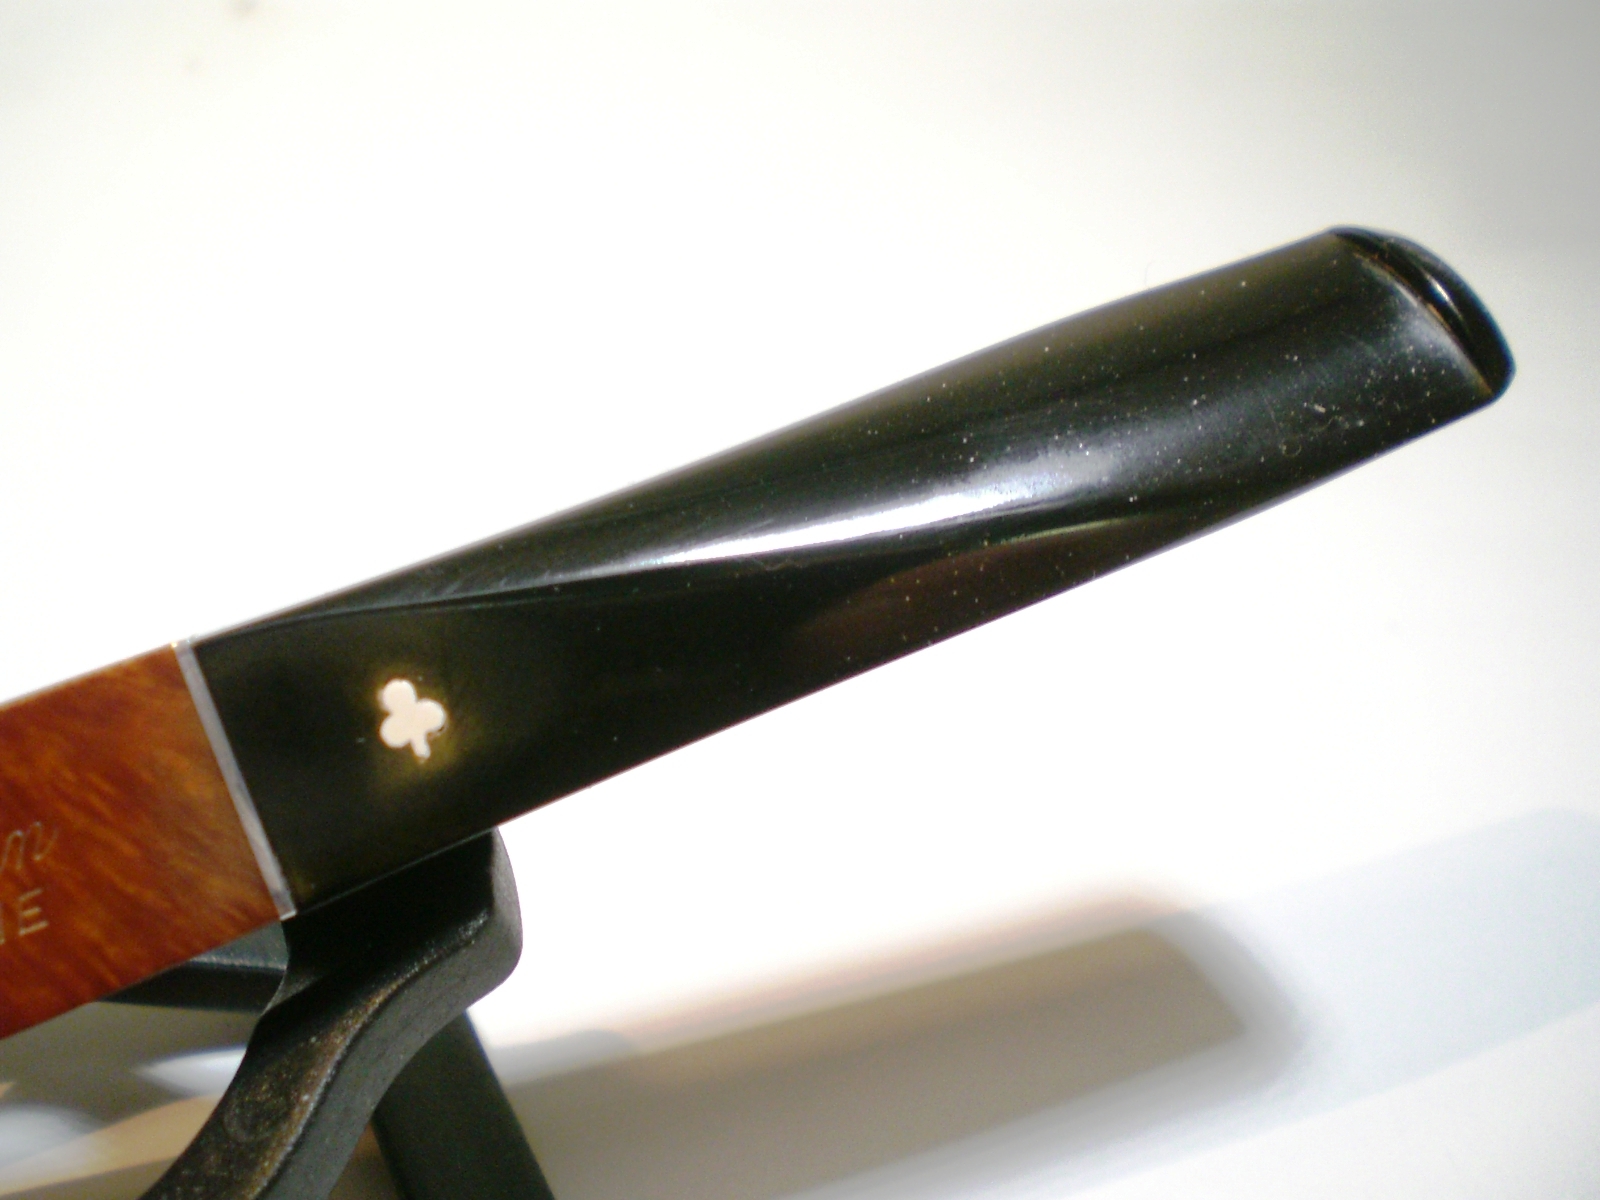
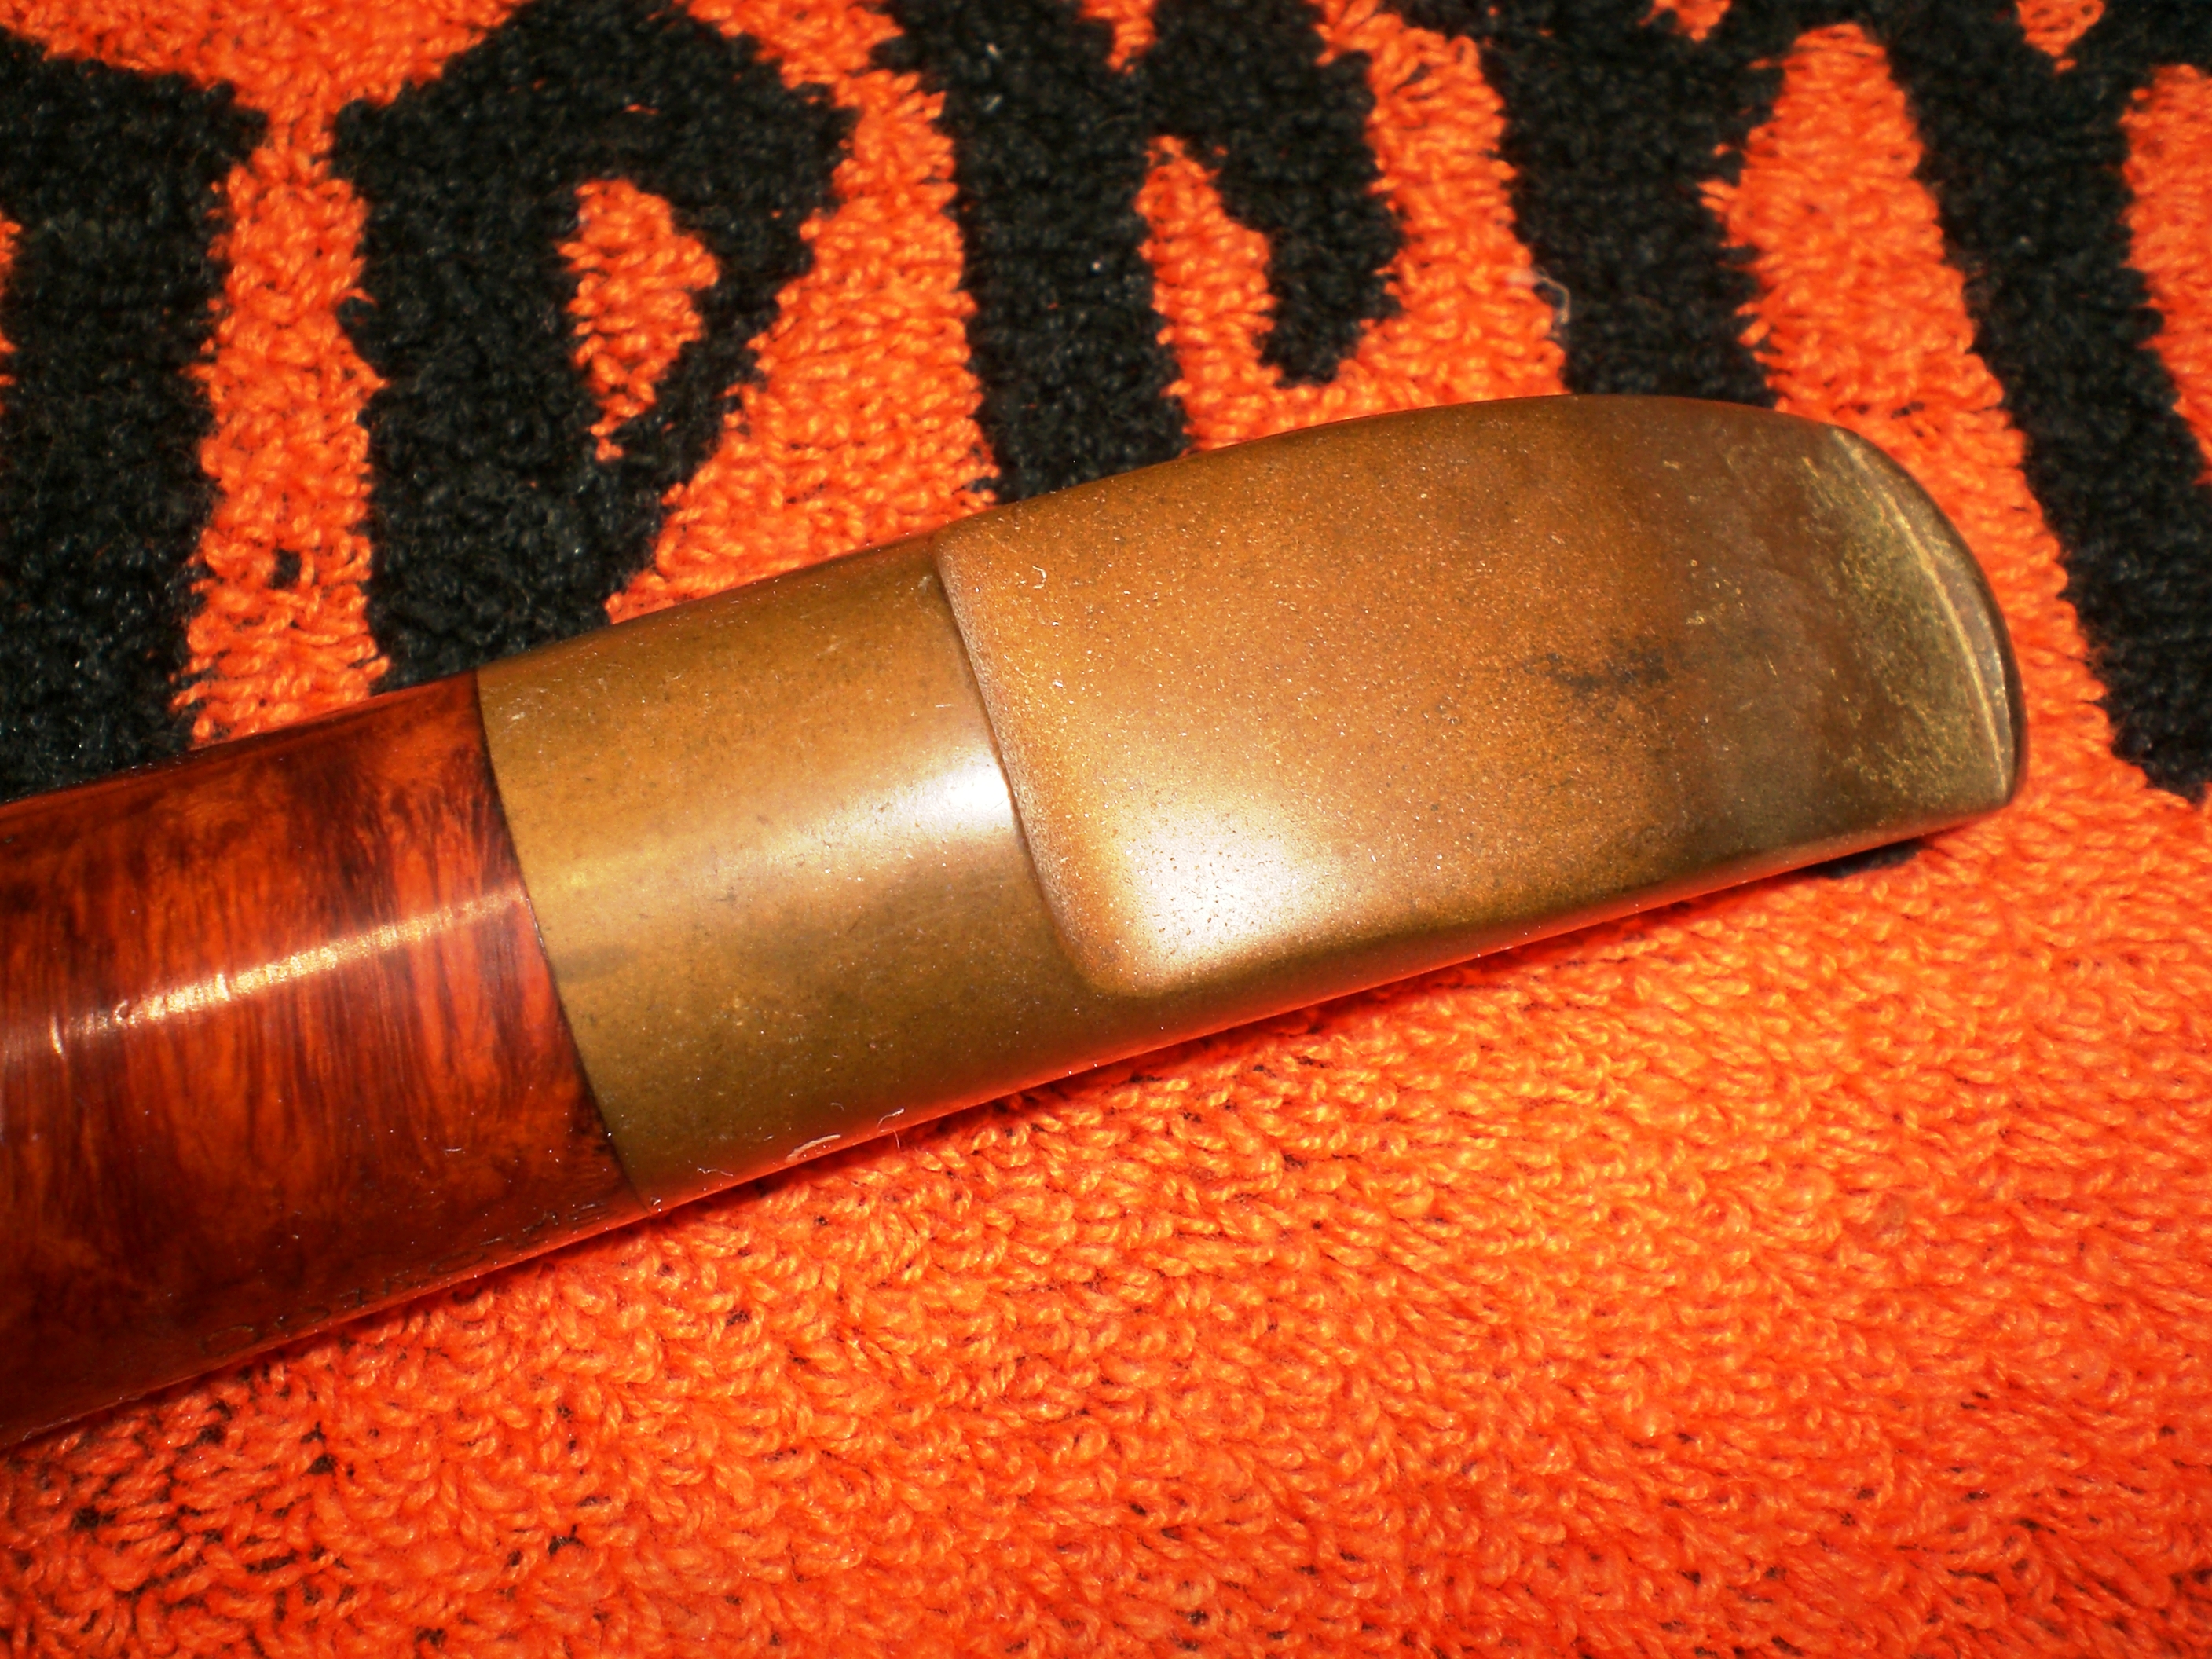
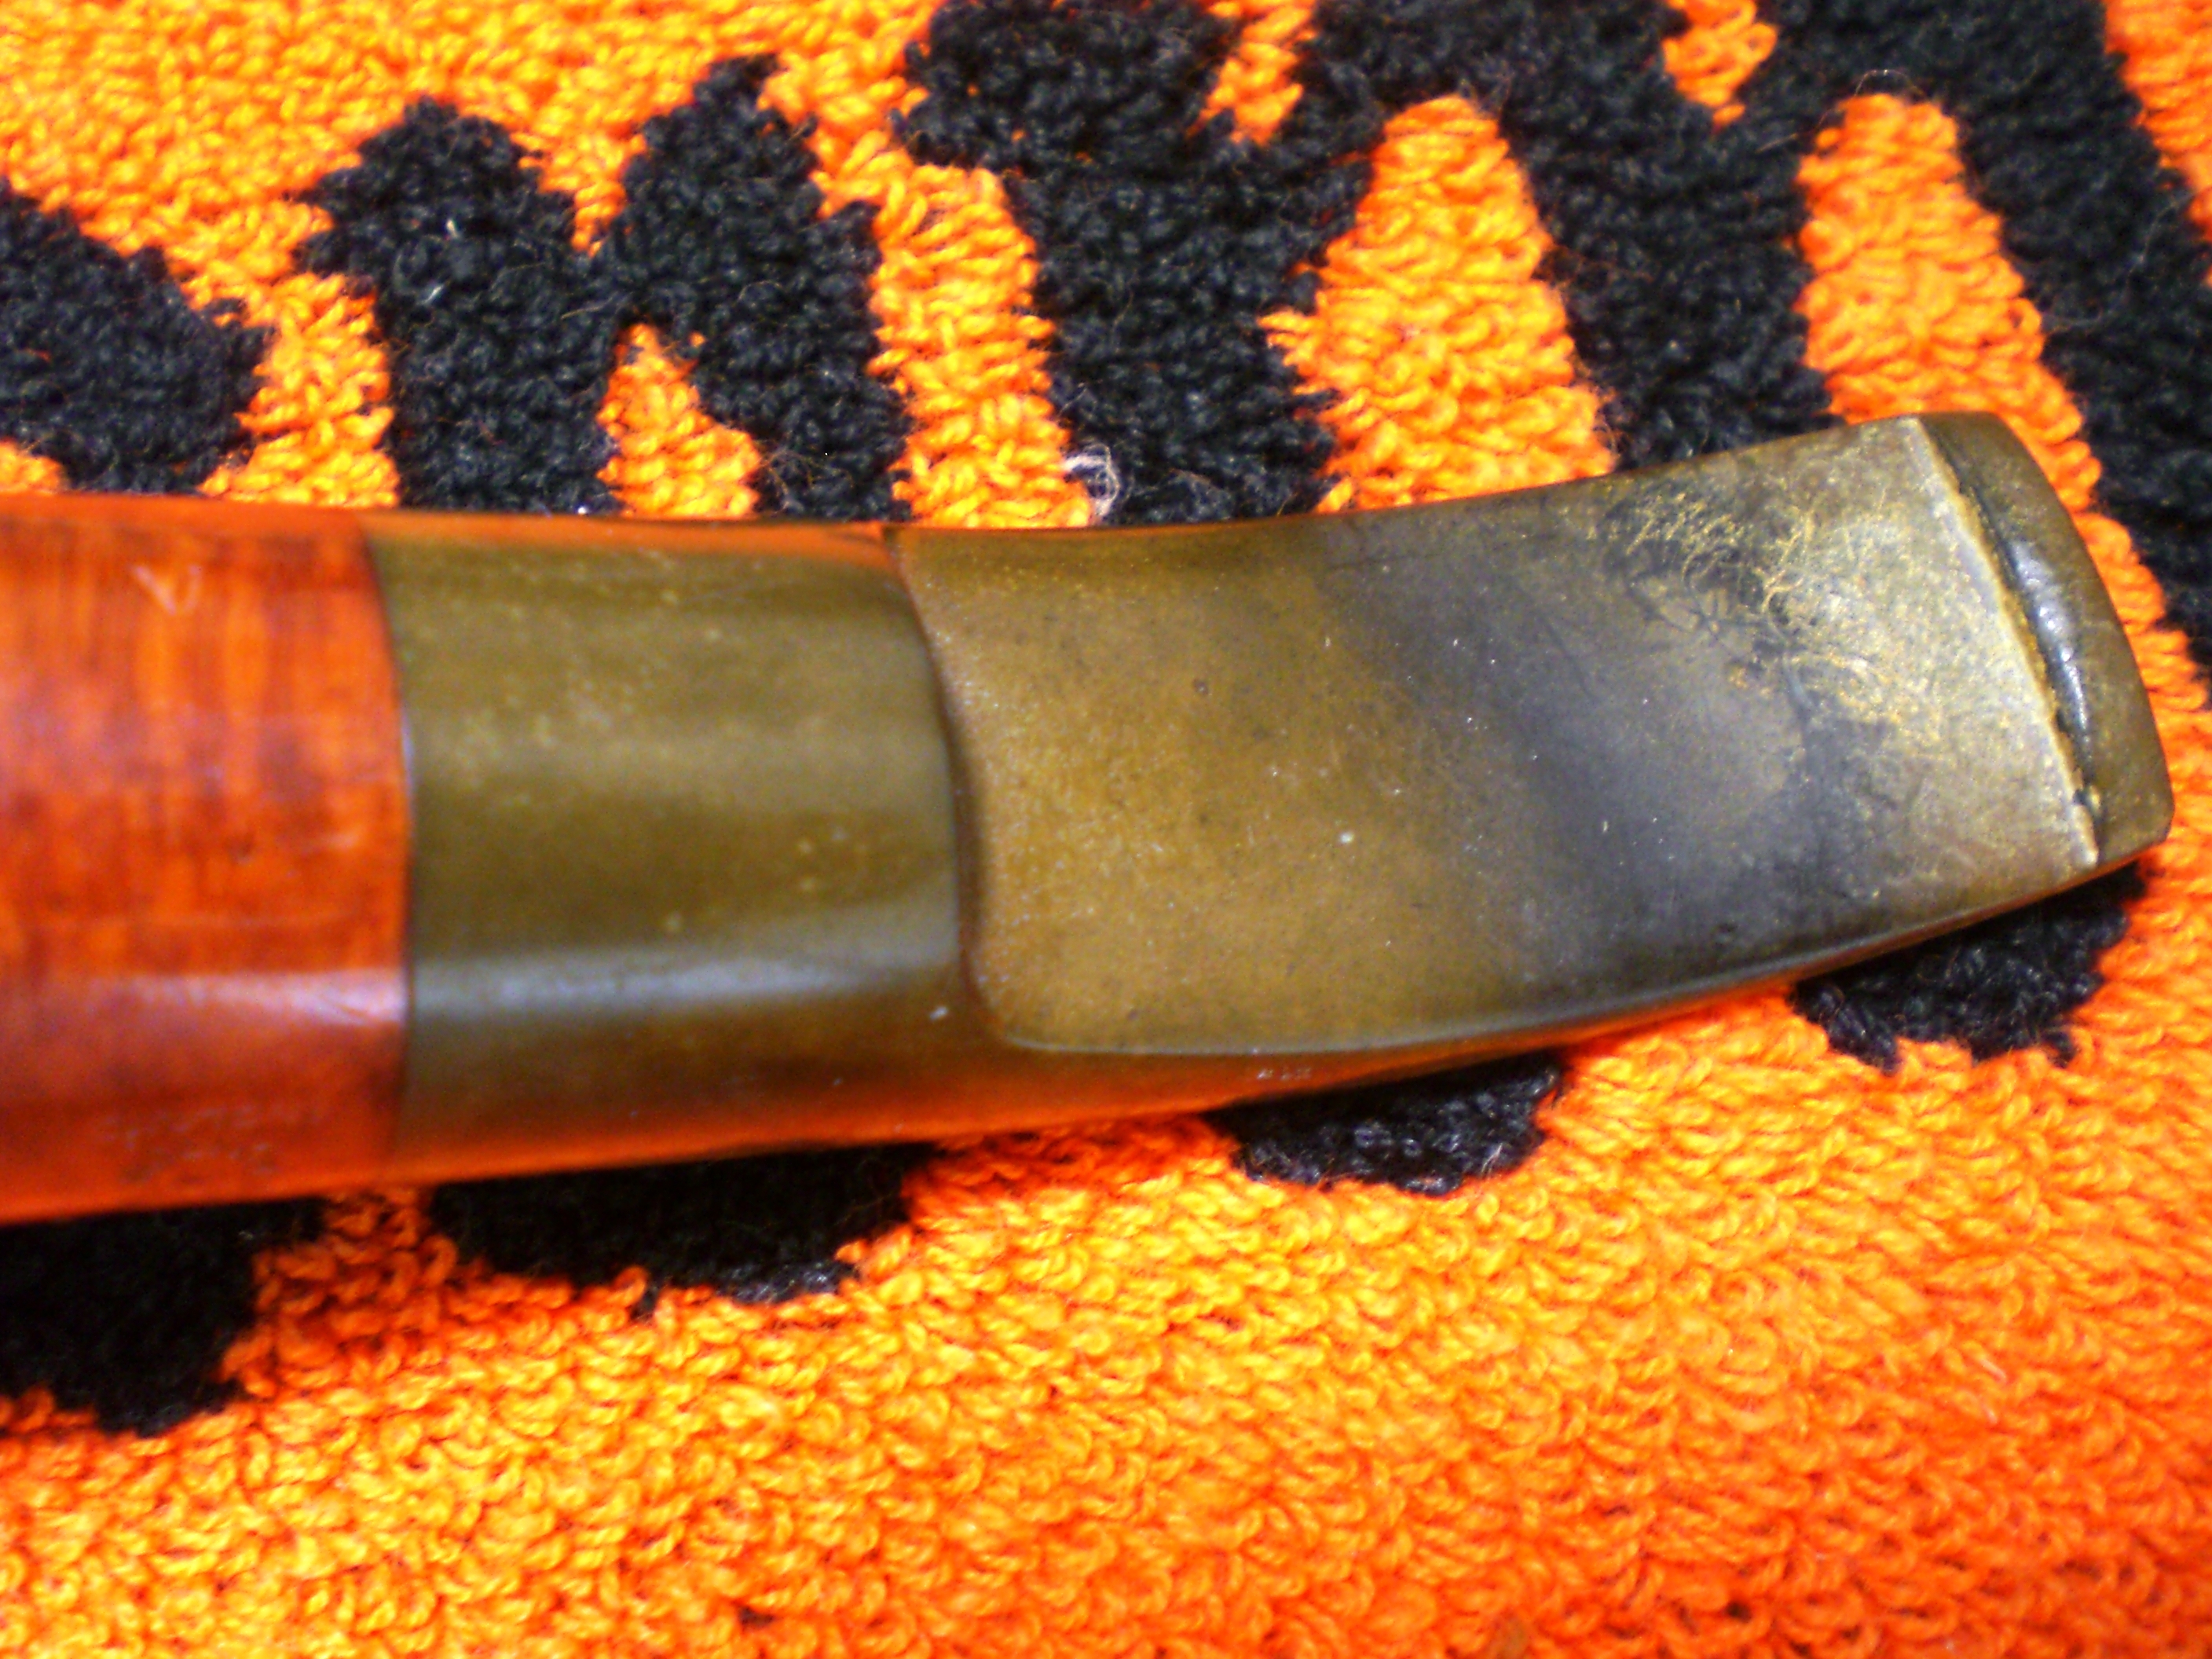
The stem was oxidized but mint. The “Drinkless” engraving on the four-hole stinger was also like new. I removed the oxidation with 800 grit paper. I use a Popsicle stick to maintain the angles on the bulldog stem. Working around the logo was a little tricky. Then, I finished the stem with 2000 grit paper, followed by the 8000 and 12000 grade micromesh sheets. I then lightly buffed the stem with white diamond rouge and an automotive plastic polish.

The briar only needed a light buff with white diamond and then a few coats of carnuba wax. The bowl has several visible fills. Removing the oxidation revealed some “freckles” in the vulcanite, which I’ve learned is not uncommon on Kaywoodie or Doctor Grabow stems of that era.

Kaywoodie_07C_Finished (2)

Kaywoodie_07C_Finished (5)

Kaywoodie_07C_Finished (7)

Kaywoodie_07C_Finished (8)

Kaywoodie_07C_Finished (10)

1938 Parker Bulldog Restored


Blog by Al Jones

One of my pipe buddies, Dave, sent me this 1938 Parker bulldog to restore. I had not yet worked on a Parker yet, but know they have a loyal following of collectors. Dave always seems to chose interesting pipes to send me and this one was no exception.

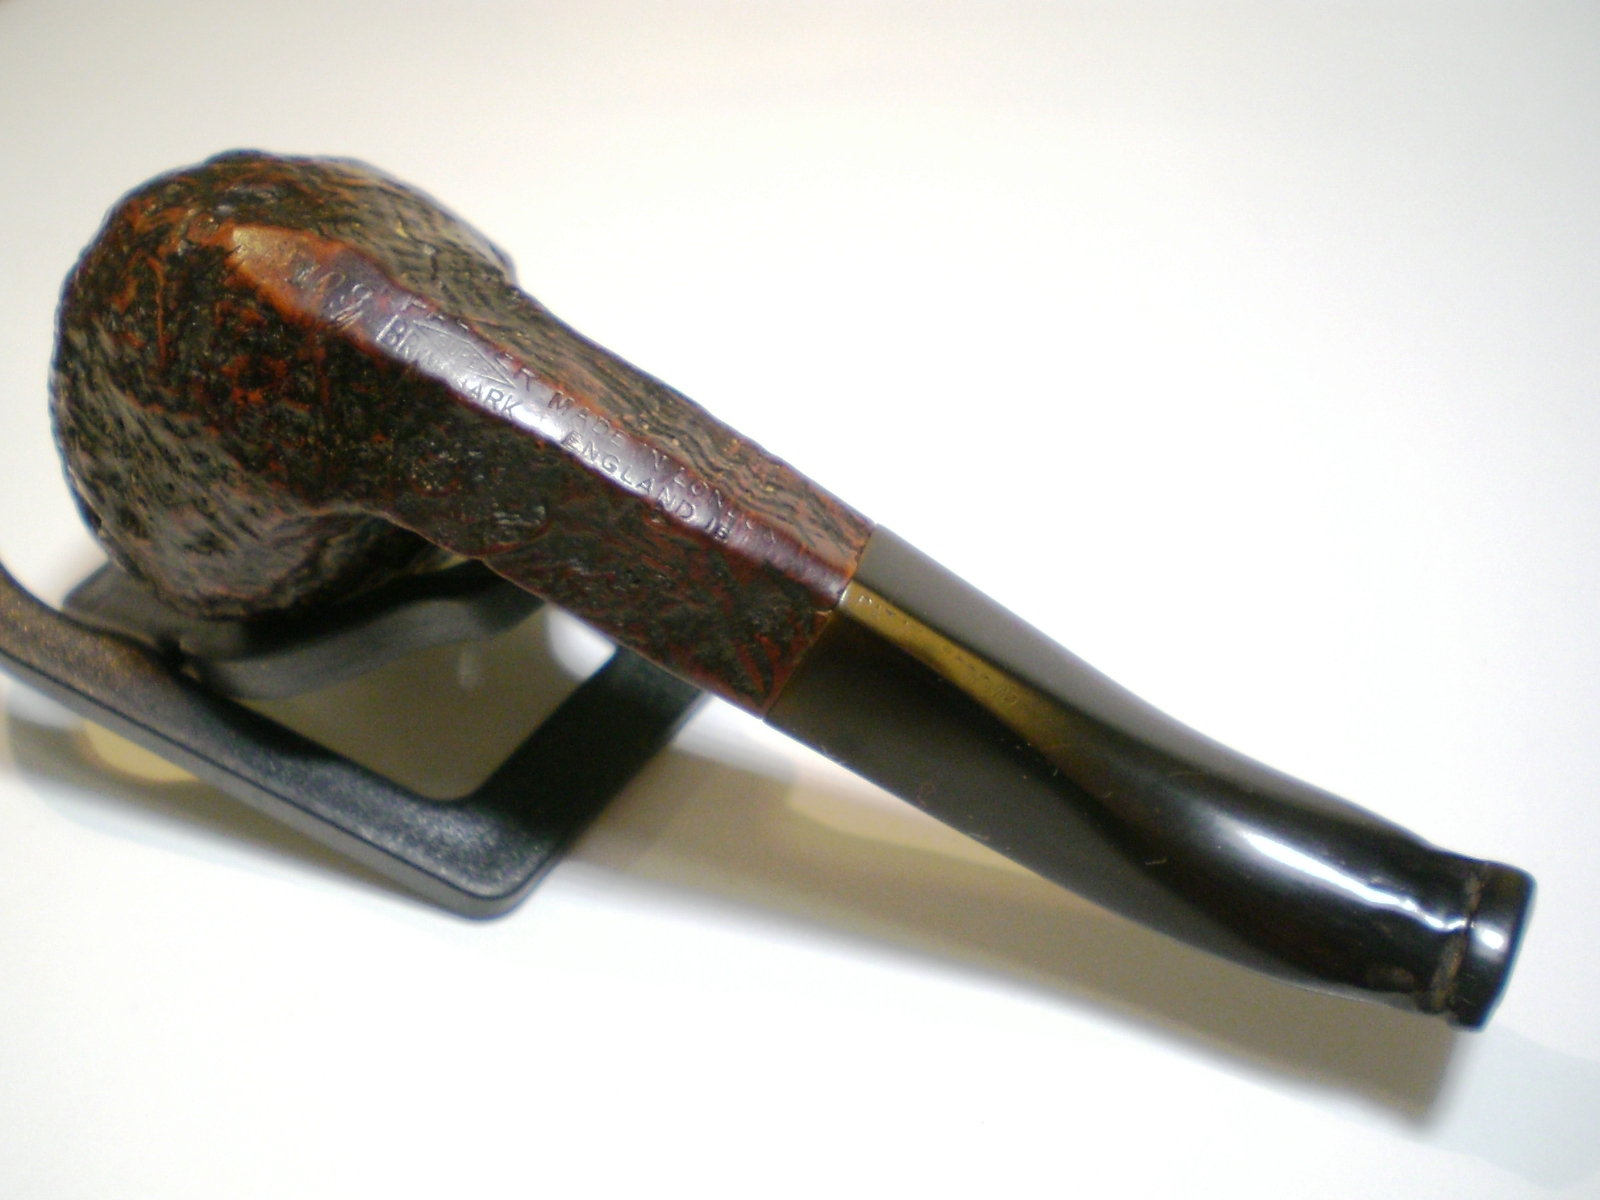
Dave had determined the pipe was made in 1938 but after looking over the Parker page in Pipepedia, I wasn’t sure. This pipe was stamped “Parker” and not the possesive “Parker’s”. Pipepedia says this about the stamping:

Prior to World War II, the possessive PARKER’S stamp was used. However, at least some pipes were stamped with the non-possessive as early as 1936.

I confirmed with a Parker collector that the singular “Parker” was indeed used before WWII. The pipe is stamped 15, which is added to 1925 (starting with 2), so the date of manufacture is indeed 1938.

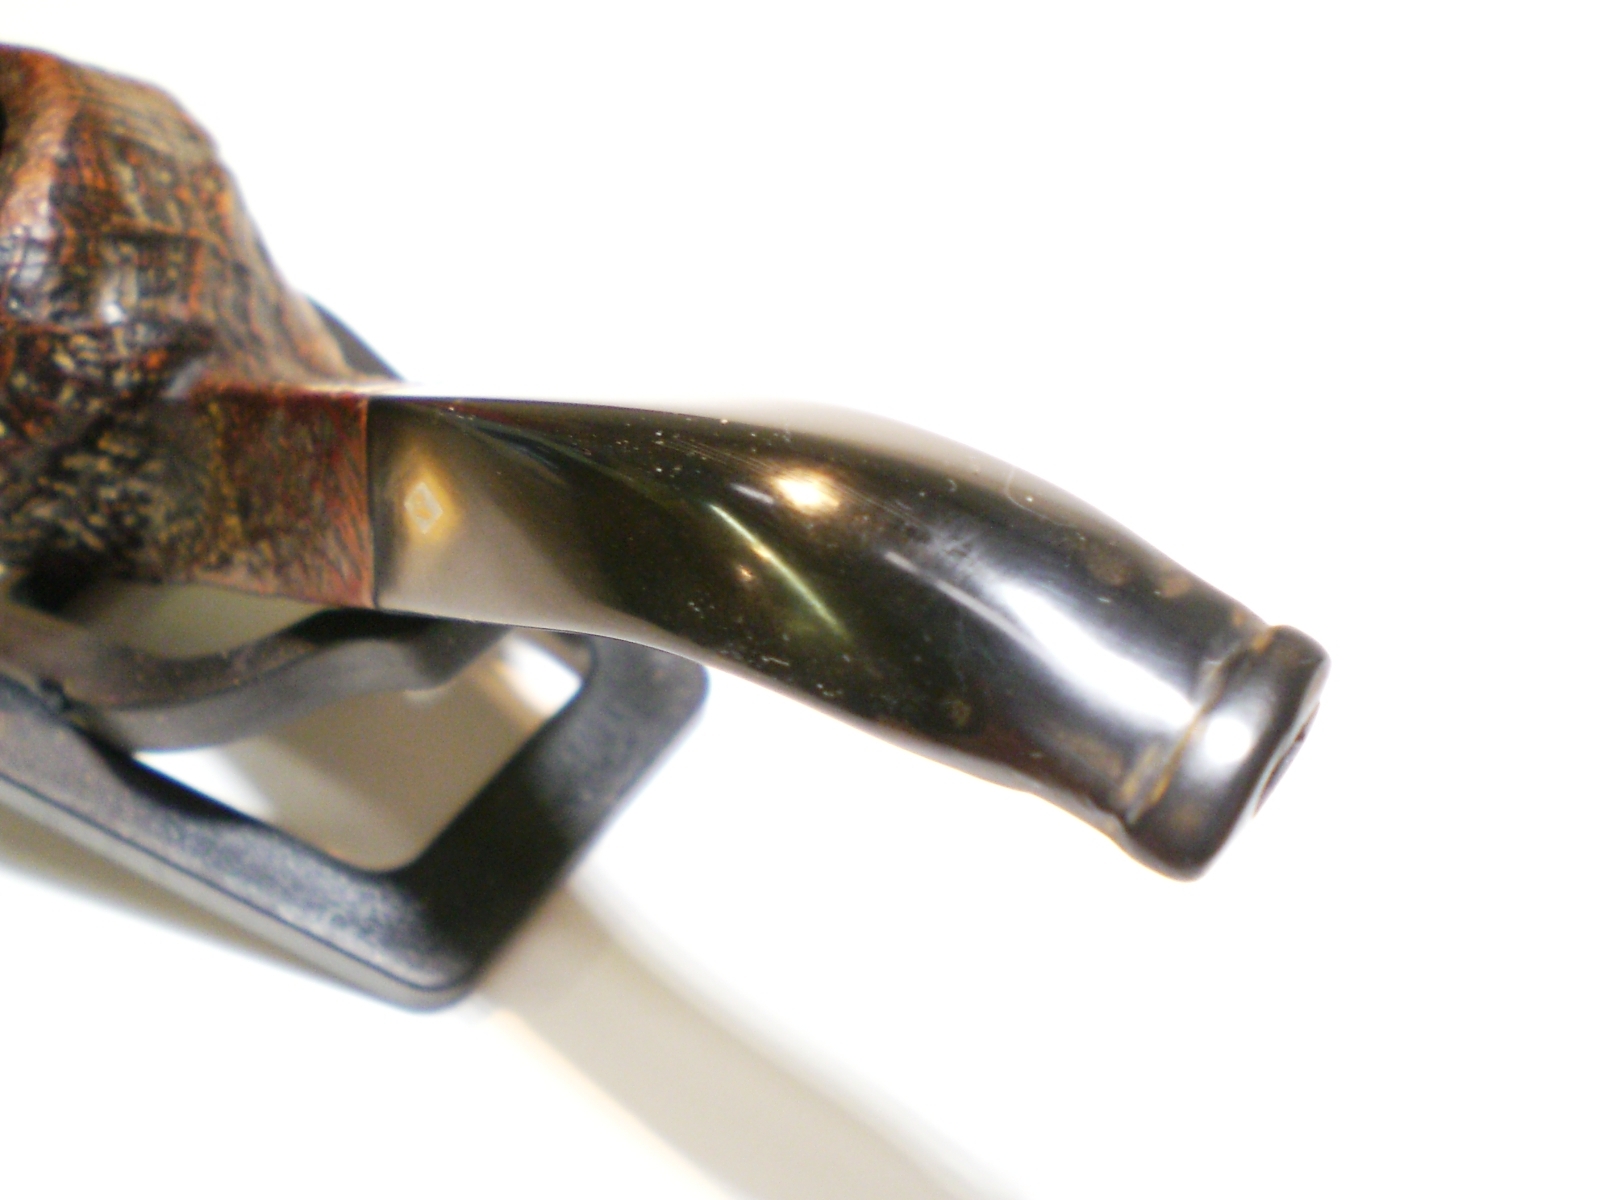
The briar was a bit worn but some heavy tar build-up on the bowl top. The stem had some curious striations and the button looked odd.

Parker_109_Restore (3)

Parker_109_Restore

Parker_109_Restore (2)

I reamed the bowl and filled it with isopropyl alcohol and sea salt. After soaking for several hours, I cleaned the build-up off the bowl top, which was quite stubborn. Some of the stain on the bowl edge was lightened in this process, but the bowl top was relative undamaged by use. I used some Medium Brown stain to darken the lightened areas and it blended in quite well. I applied some carnuba wax with a loose cotton wheel, then a coat of Halycon wax by hand.

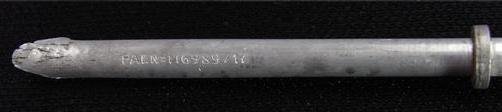
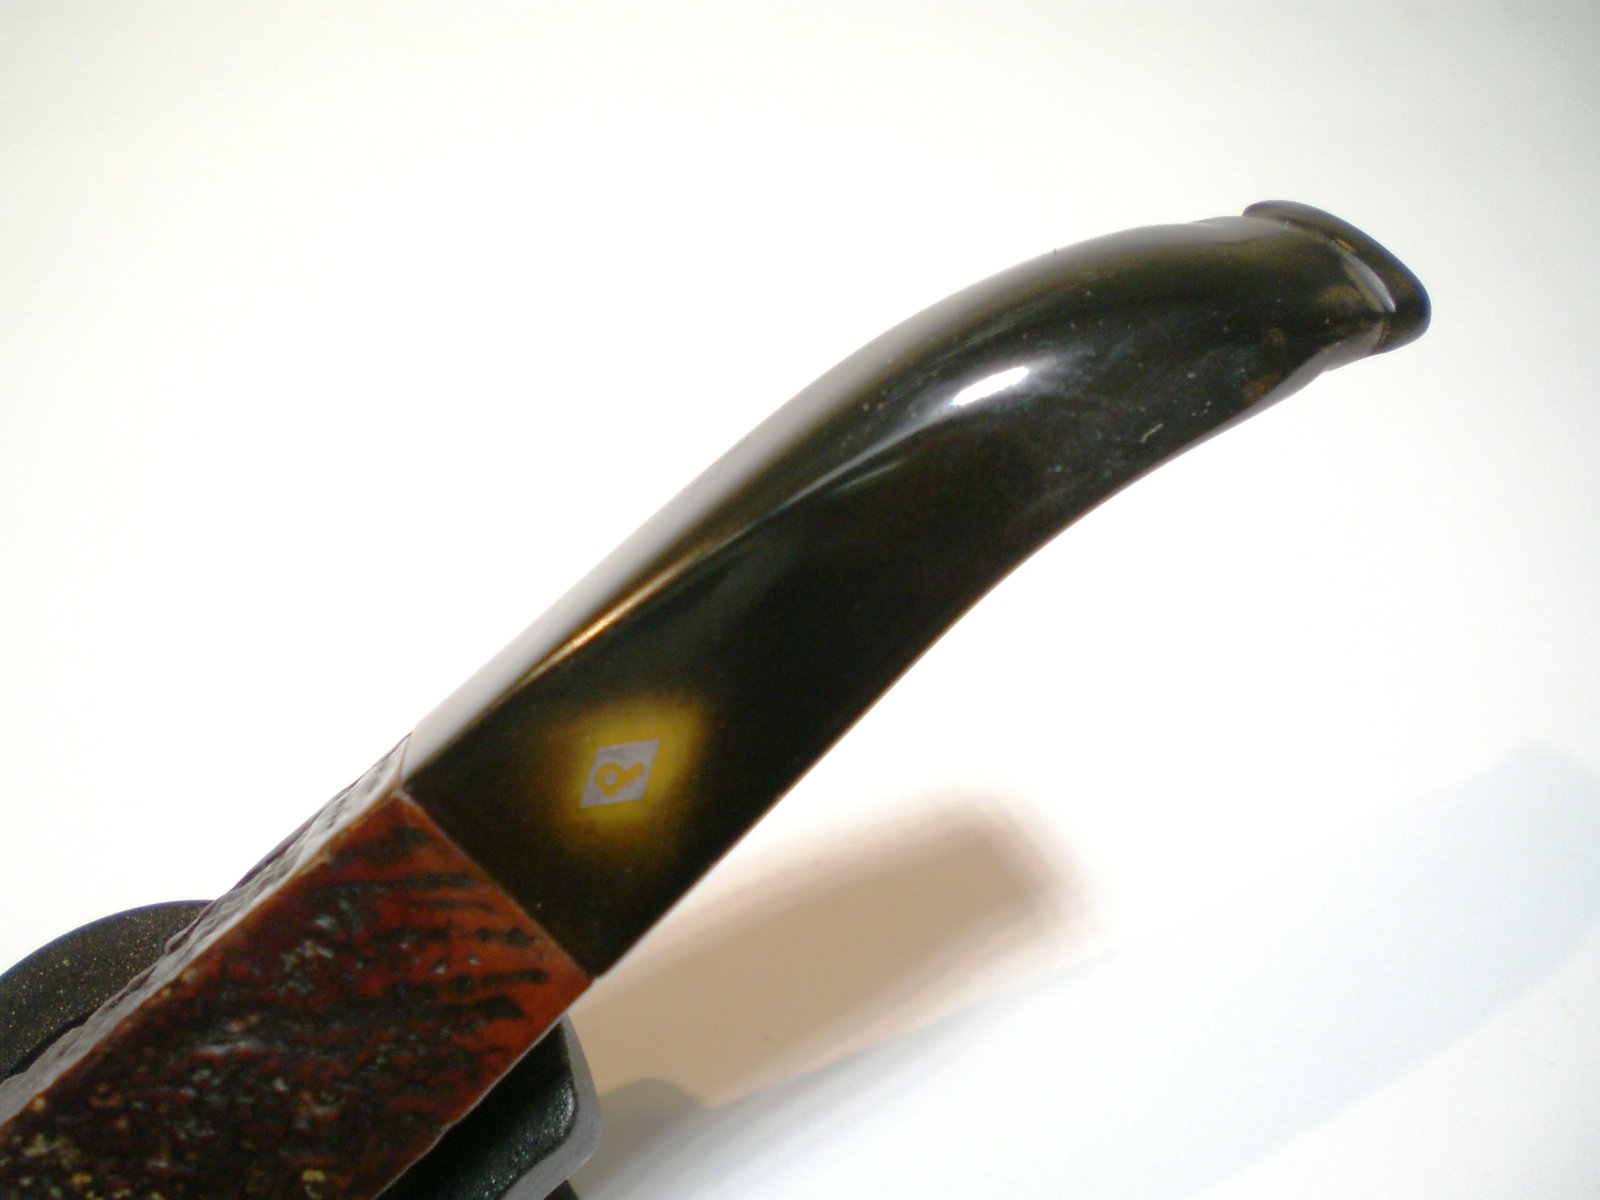
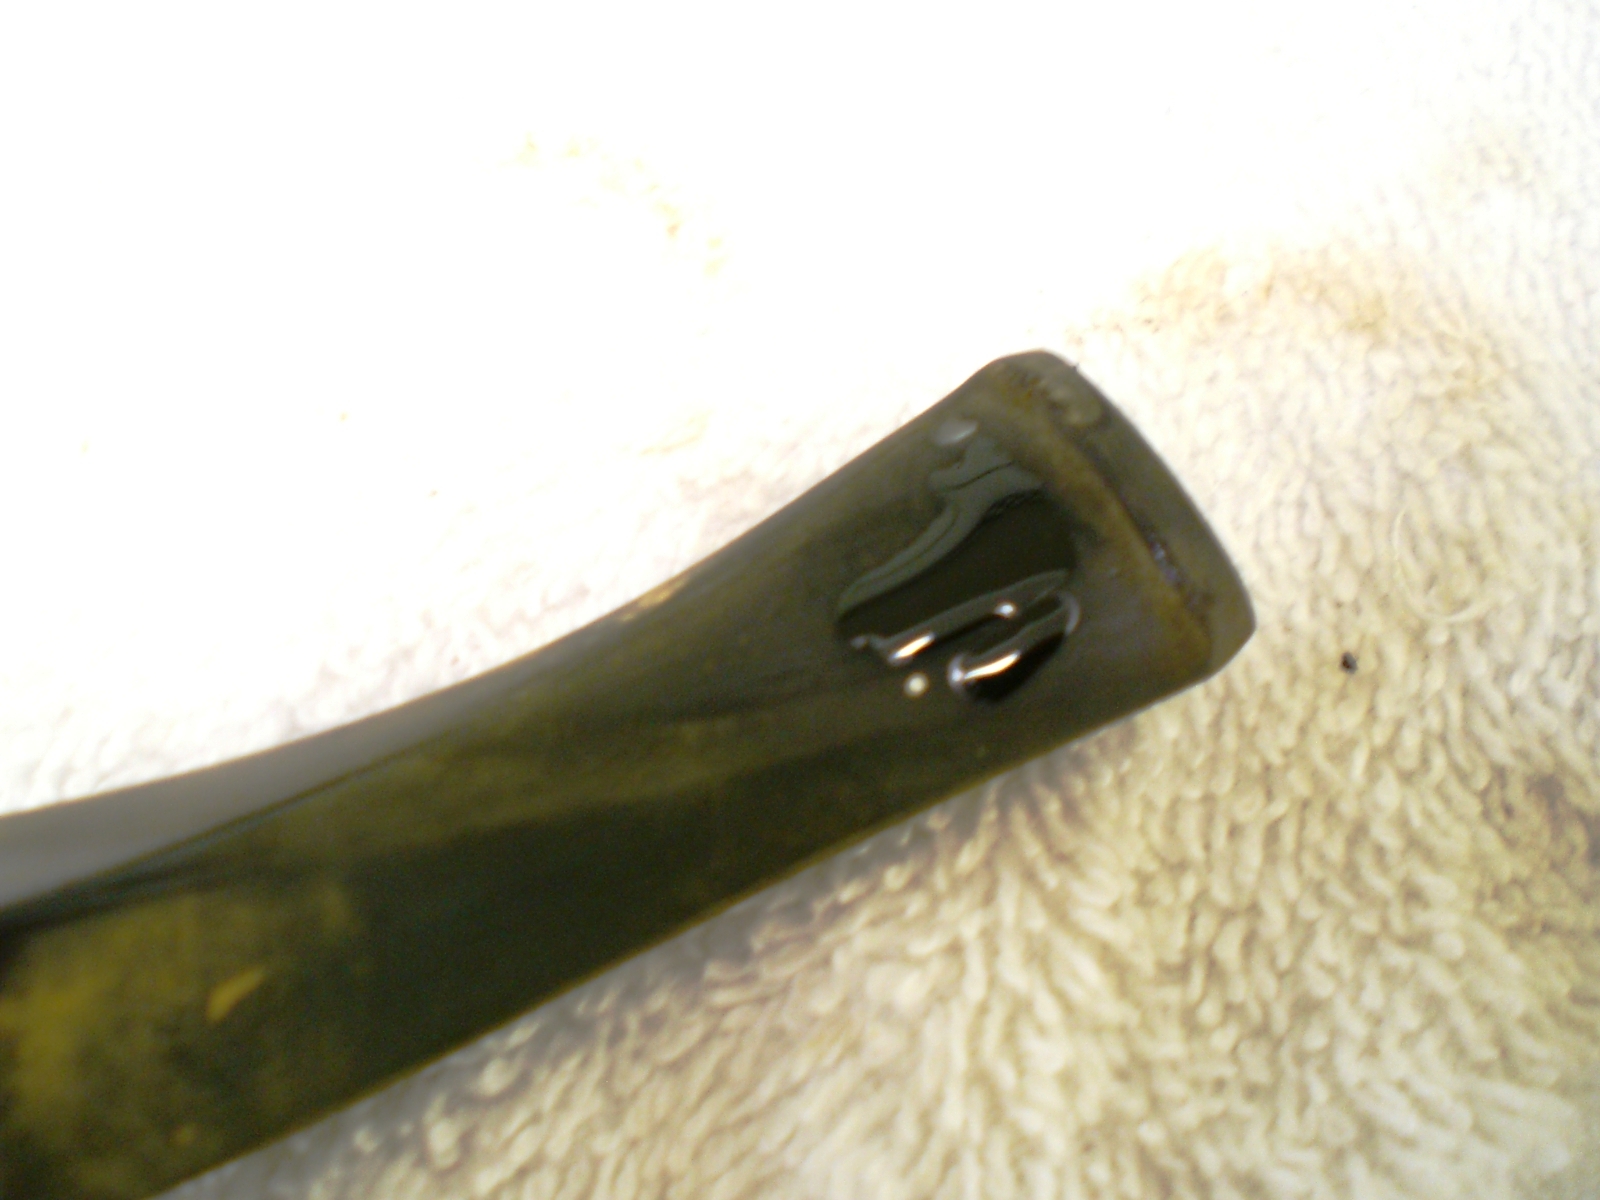
When working on the stem, I discovered someone had “colored” it black with a permanent marker or similar. Thankfully, they worked around the “P” stem logo. I used 600 and then 800 grit paper to remove the black and some of the rough marks and scrapes on the stem. The button looks very odd and has been carved a little. Perhaps it was damaged and someone cut out the damaged areas? Or, are older Parker buttons shaped this way? Surprisingly, I did not find much Parker information on the web. The pipe also appears to be drilled for a filter or possibly a Dunhill-like innertube? The stem has a Patent Number stamped on it: 116989/17

Parker_109_Restore (5)

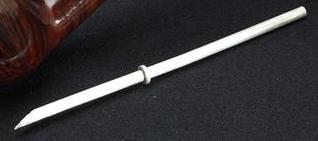
A member on the PipesMagazine.com forum, MisterLowerCase, posted this picture of a Parker innertube, which matches the Patent Number.

Parker_Innertube_Cropped2

Parker_Innertube_Cropped

After the wet sandpaper, I used 8,000 and then 12,000 grit paper to bring up the shine. The stem was then buffed lightly with white diamond.

Parker_109_Finished (4)

Parker_109_Finished (5)

Parker_109_Finished (6)

Parker_109_Finished (2)

Parker_109_Finished (3)

Fixed a Stem Gap on an Ashton


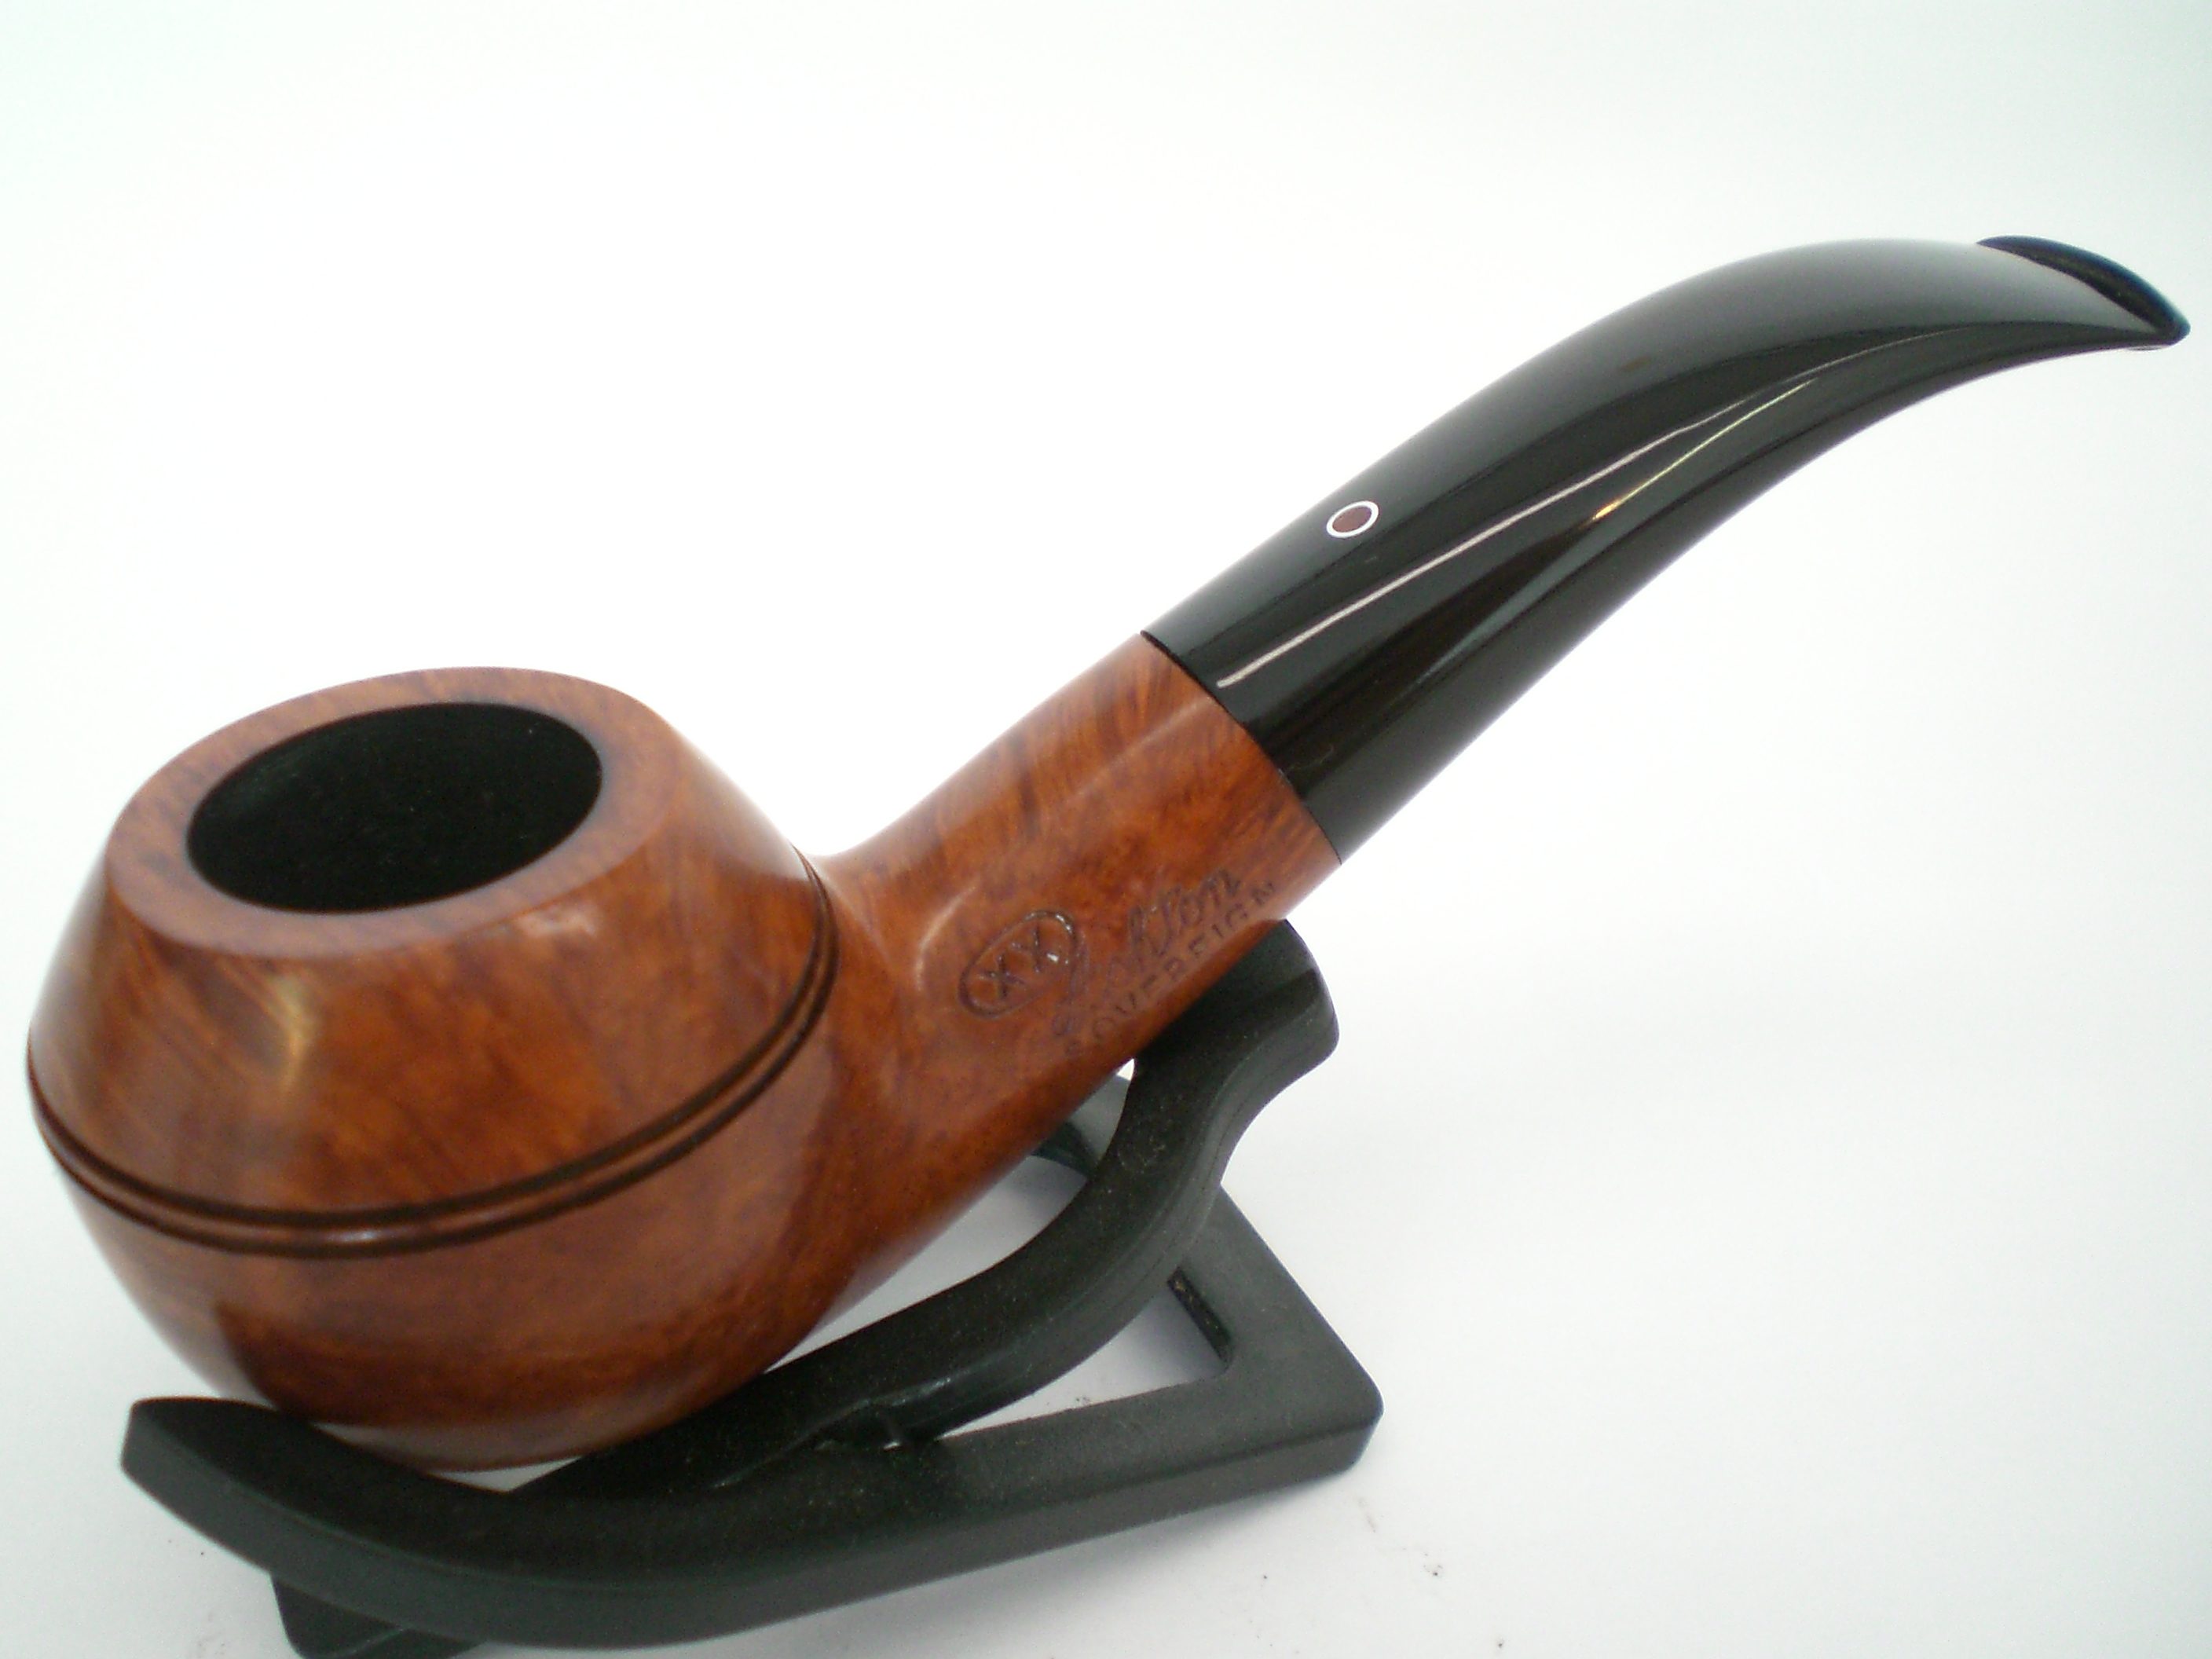
This Ashton Sovereign was purchased as an estate, and I’ve owned it for several years. The pipe smokes great and the size is perfect (XX). I’m not sure if the stem is acrylic or “Ashtonite” as Jimmy Craig seems to use both materials. The pipe had a fairly large gap at the top of the stem that has bothered me since I took it out of the shipping box and every time I smoke it. Here’s a shot of the pipe which shows the gap.

Ashton_Sovereign_Rhodesian_XX_2011_Gallery

This morning, I decided to try and re-angle the tenon to reduce the gap. I warmed some water in our Sunbeam “Hotshot” water heater. I dipped the tenon in the water, right to the edge of the stem and held it in for about 30 seconds. I inserted the stem into the shank and it went snugly up to the shank. This evening it appears my fix held.

I was surprised that the hot water made the stem very dull and at first I was worried that it might be permanent. I was able to buff that section of the stem (mounted to the pipe) with some White diamond rouge, which brought back the shine.

Ashto_Stem_Fix (2)

Ashto_Stem_Fix

Ashto_Stem_Fix (1)

Kaywoodie 5183B – 75 Year Old Briar


By Al Jones

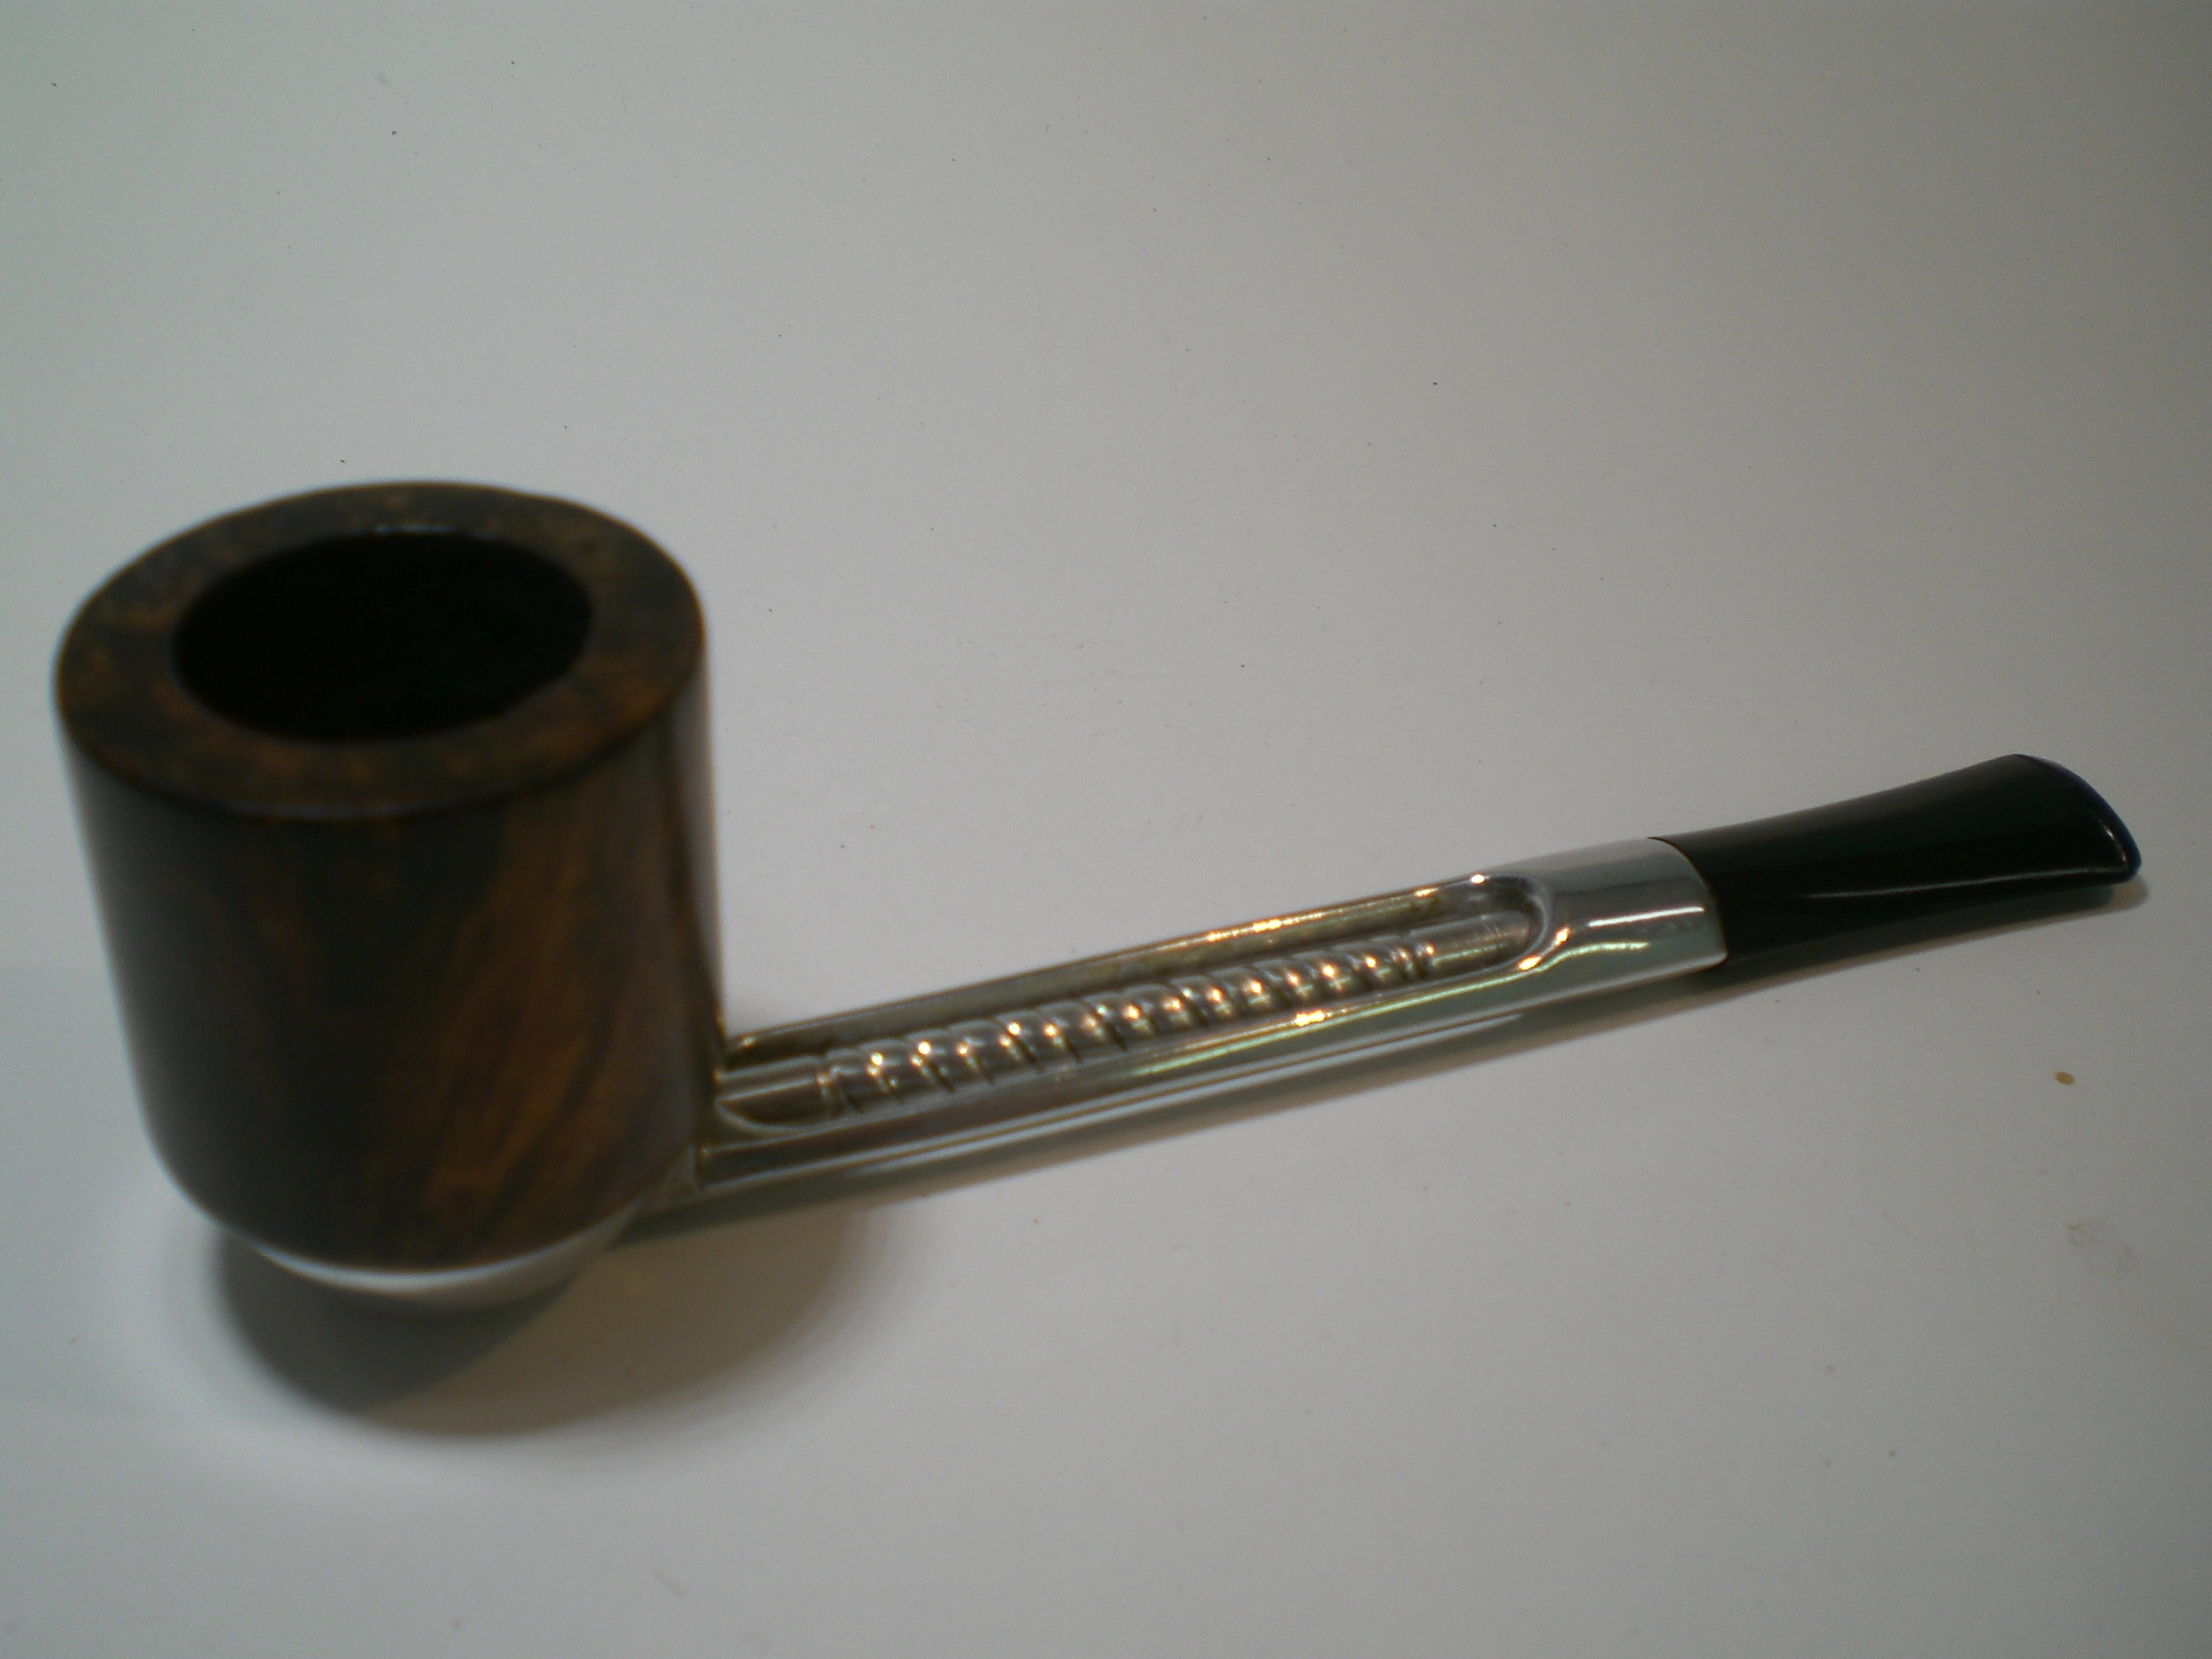
I love the tapered Rhodesian shape and have been keeping an eye out for a Kaywoodie 5183B. The four digit Kaywoodies with “Drinkless” stamped stingers were made in the 1930’s.

I found this one on Ebay last week. It was sold by Dave Whitney. Dave is the contributor to “The Pipe Collector” (NASPC newsletter) and has written a book on estate pipe restoration called “Old Briar”.

Dave has this pipe listed as being made in 1938. From my research, and comments from other collectors, it seems a 1937-1938 is correct. The pipe is stamped “Imported Briar”.

The pipe was in overall excellent condition. Dave tells he found it in a box lot and the tobacco chamber was completely with cake build-up. The screw-in stem has the four-hole stinger intact. The beading on the bowl is degraded somewhat. There was one dent on the bowl top, which had colored darker than the rest of the briar. I was able to steam that dent out. I heat the tip of an old kitchen knife (OK, don’t tell my wife, it’s not that old..) with a propane torch and use a wet piece of cotton cloth. I double the cloth over as not to scorch the wood. The steam generated by the wet cloth causes the wood to rise to its original position. After the wood has been steamed, I buff the area with white diamond to bring back the shine and then with several coats of carnuba wax to protect it.

Kaywoodie_5138B (3)

Kaywoodie_5138B (2)

Here are some other pictures of the pipe. This is my first vintage Kaywoodie (I have a 2005 POY Rhodesian) and only “stinger” pipe in my collection. I smoked it today and found it smokes quite well. The bowl requires a light pack and the draw doesn’t feel restricted in any way. It does seem to like a slow puffing cadence. This is a rather large pipe, weighing approximately 60 grams and very close in size to the GBD 9438

Kaywoodie_5138B (4)

Kaywoodie_5138B (7)

Kaywoodie_5138B (6)

Kaywoodie_5138B (5)

Kaywoodie_5138B (8)

Kaywoodie_5183B_Ebay4

Comoys Rhodesian Restoration


Blog by Al Jones

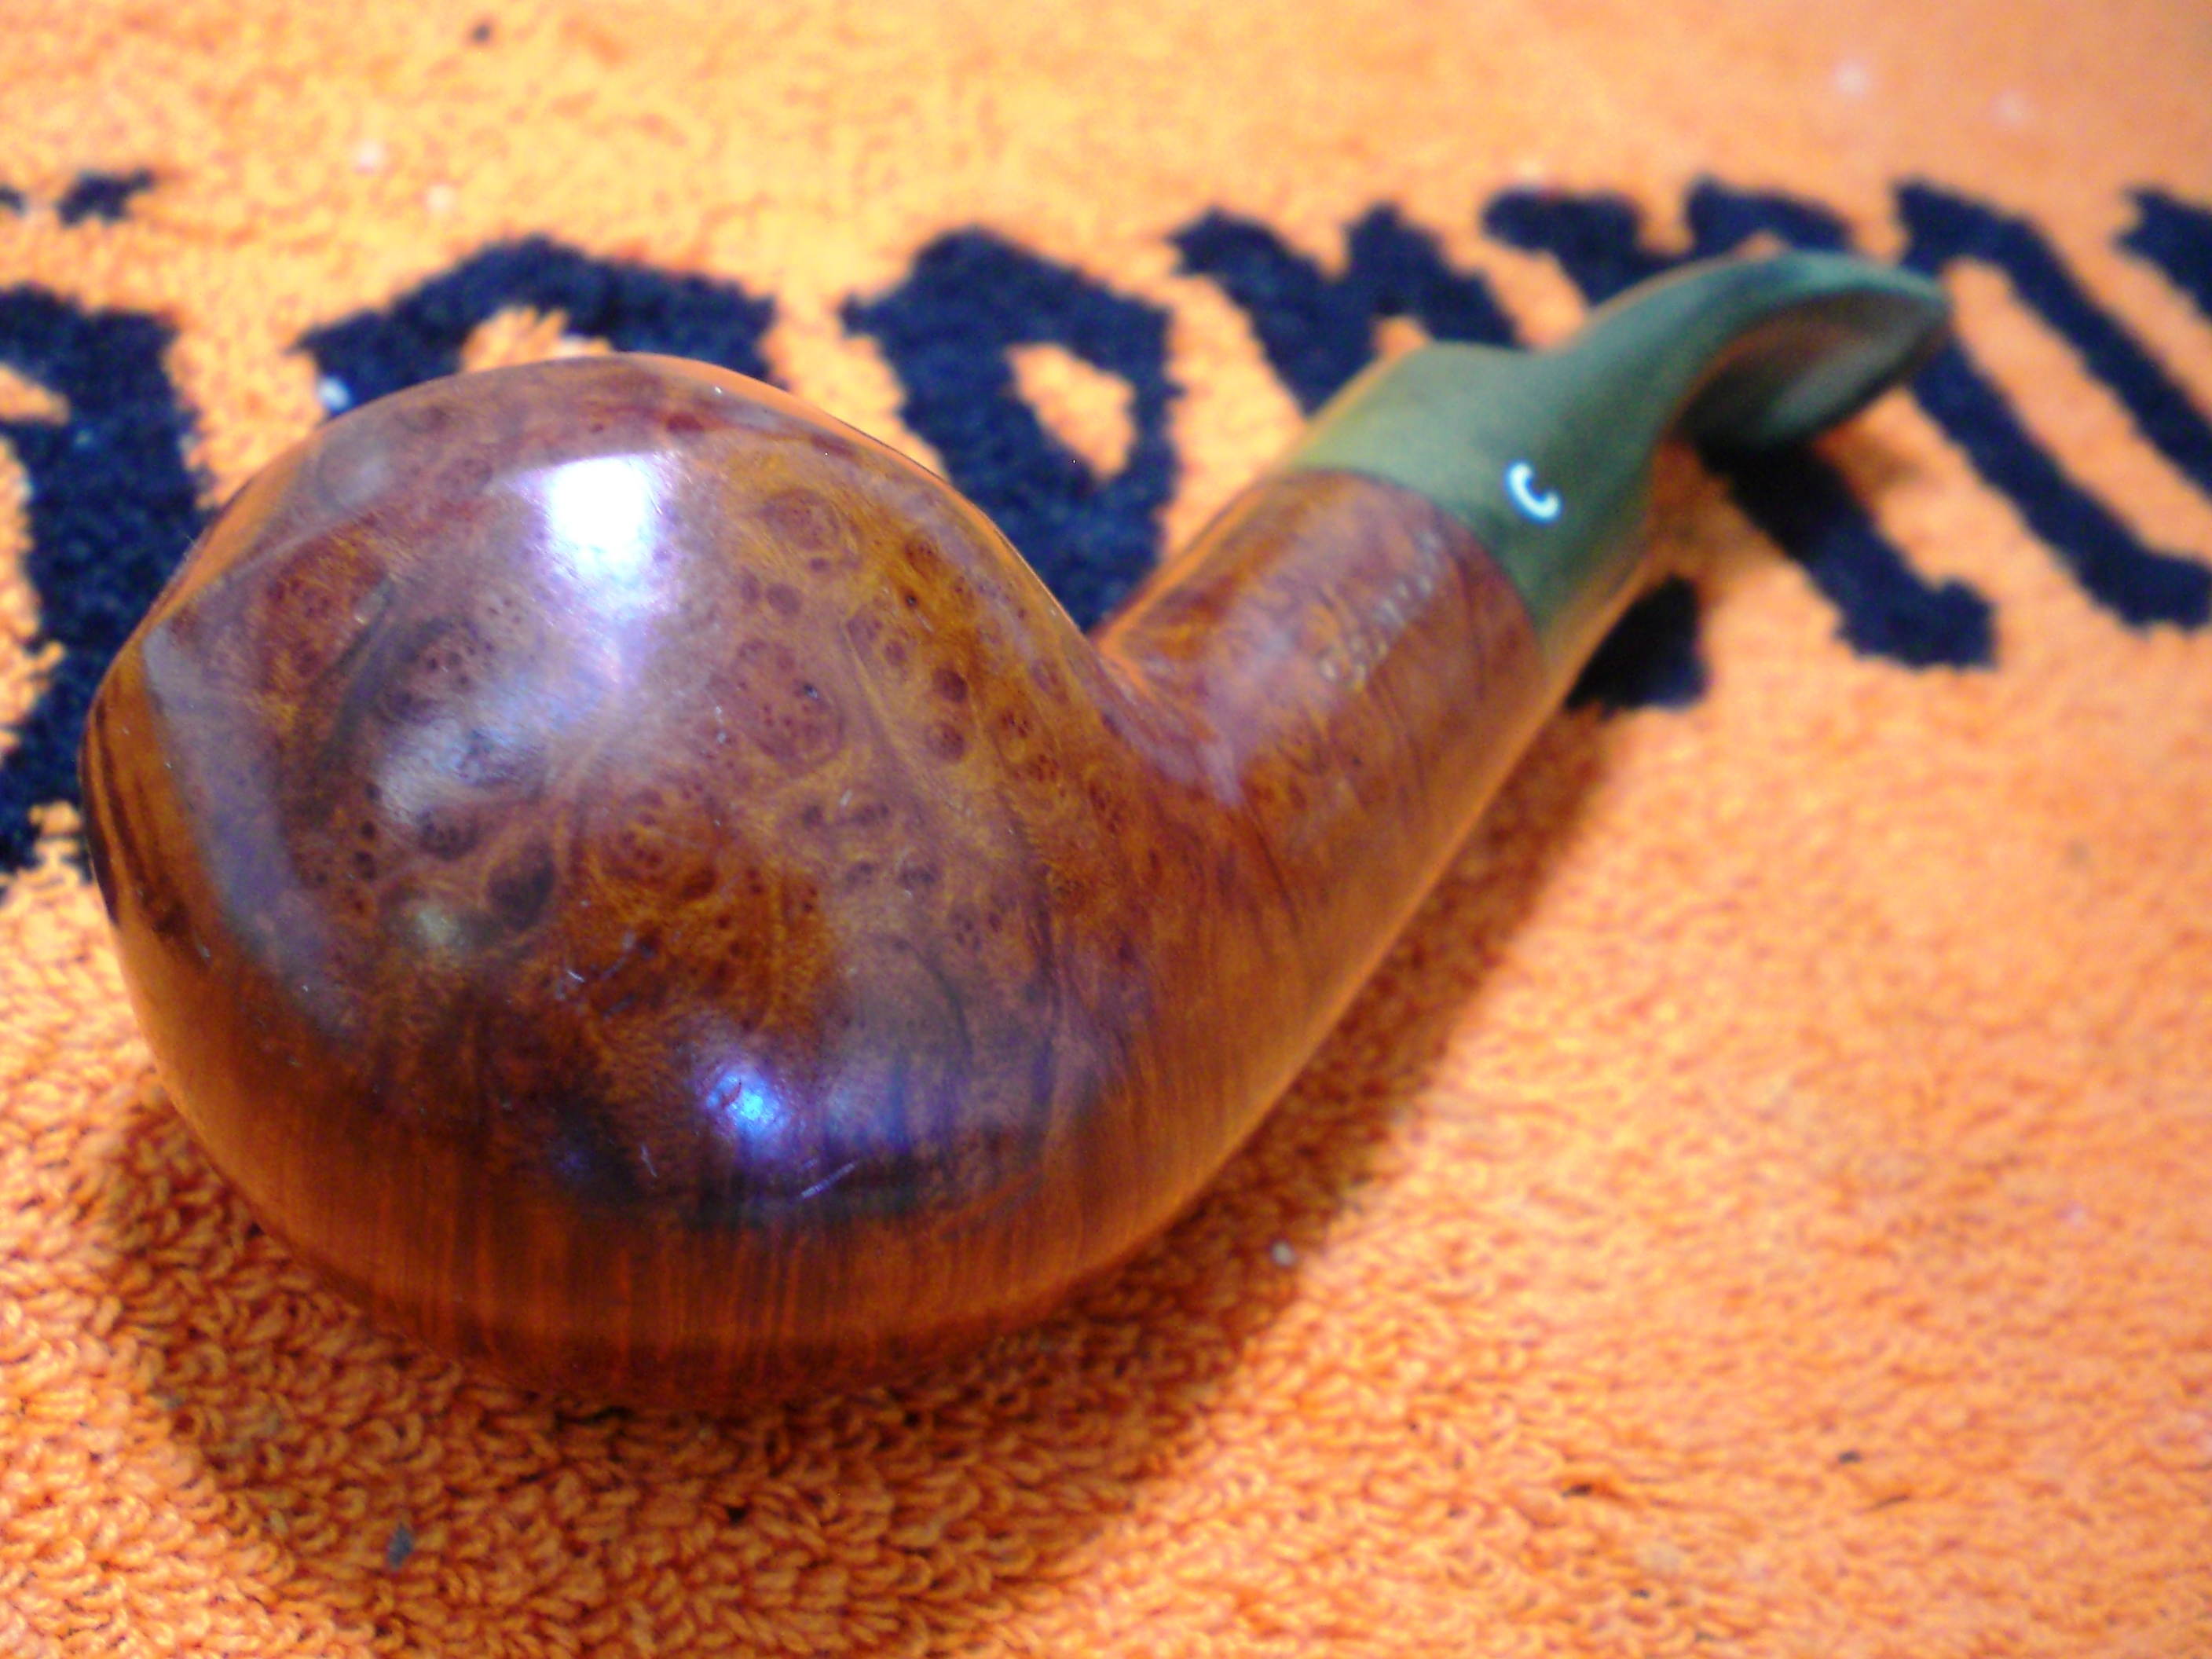
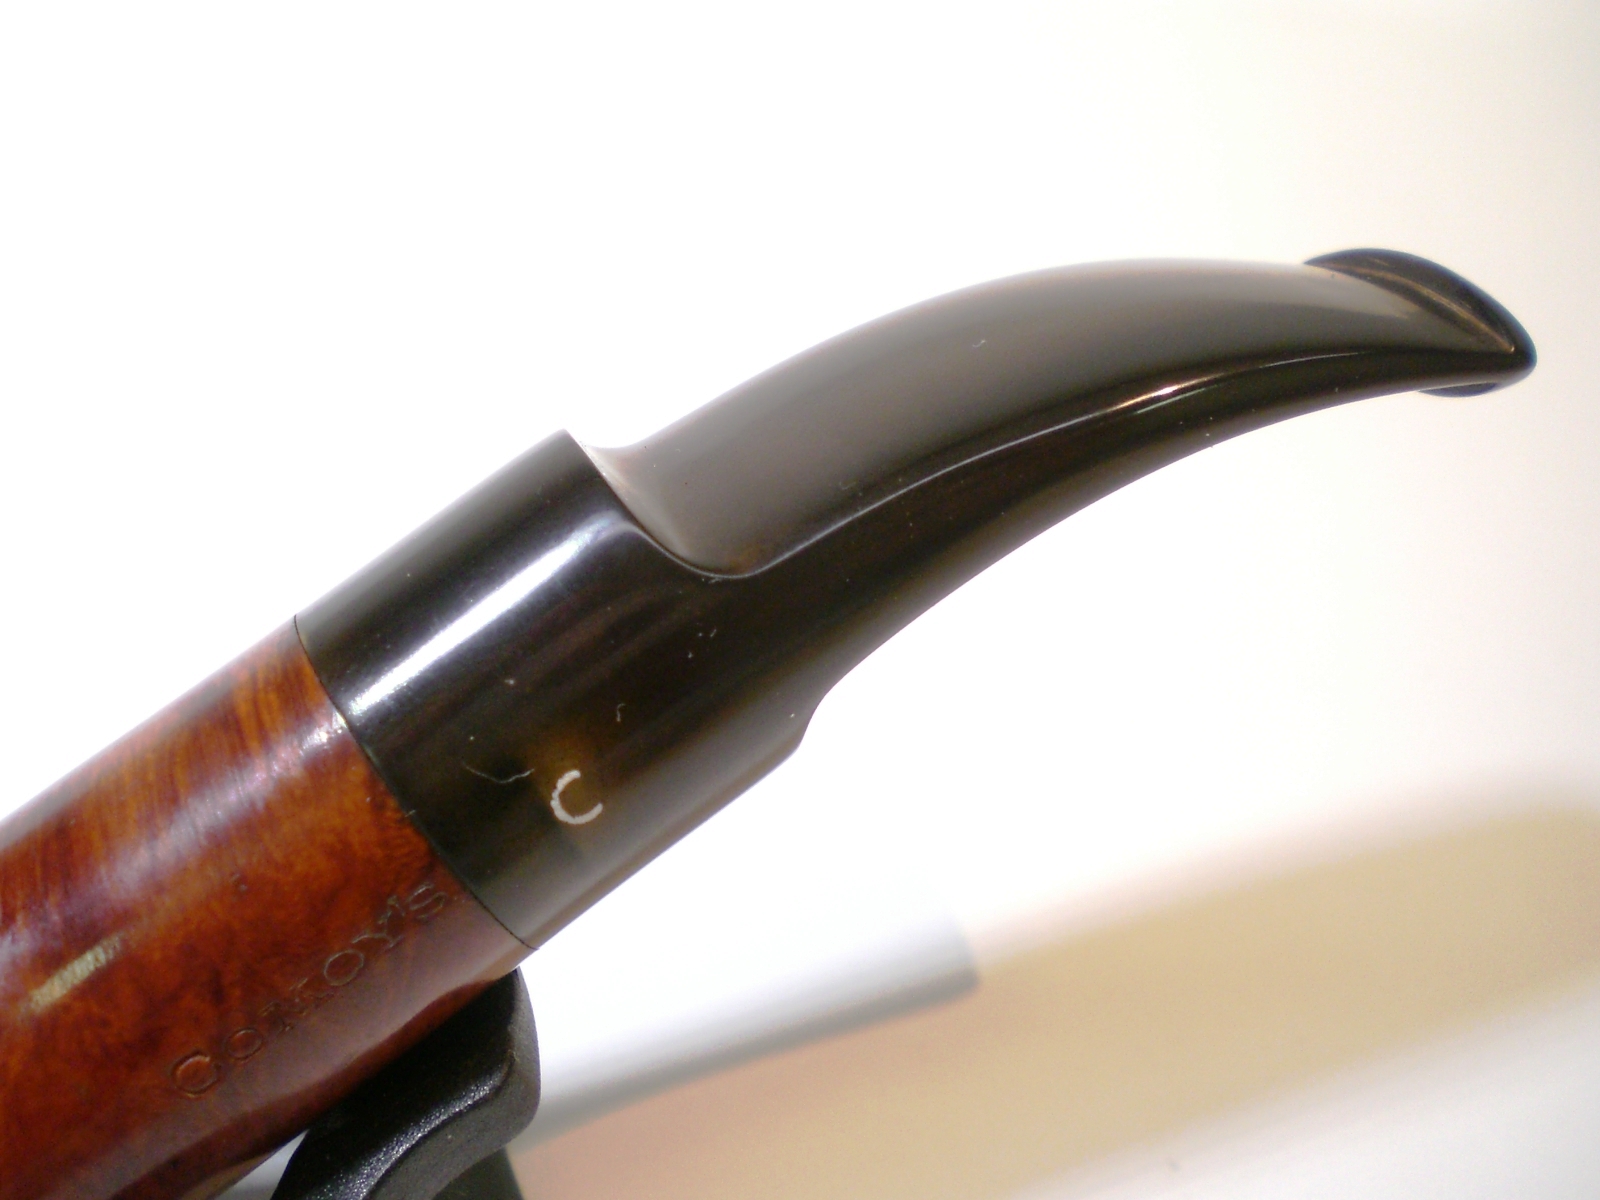
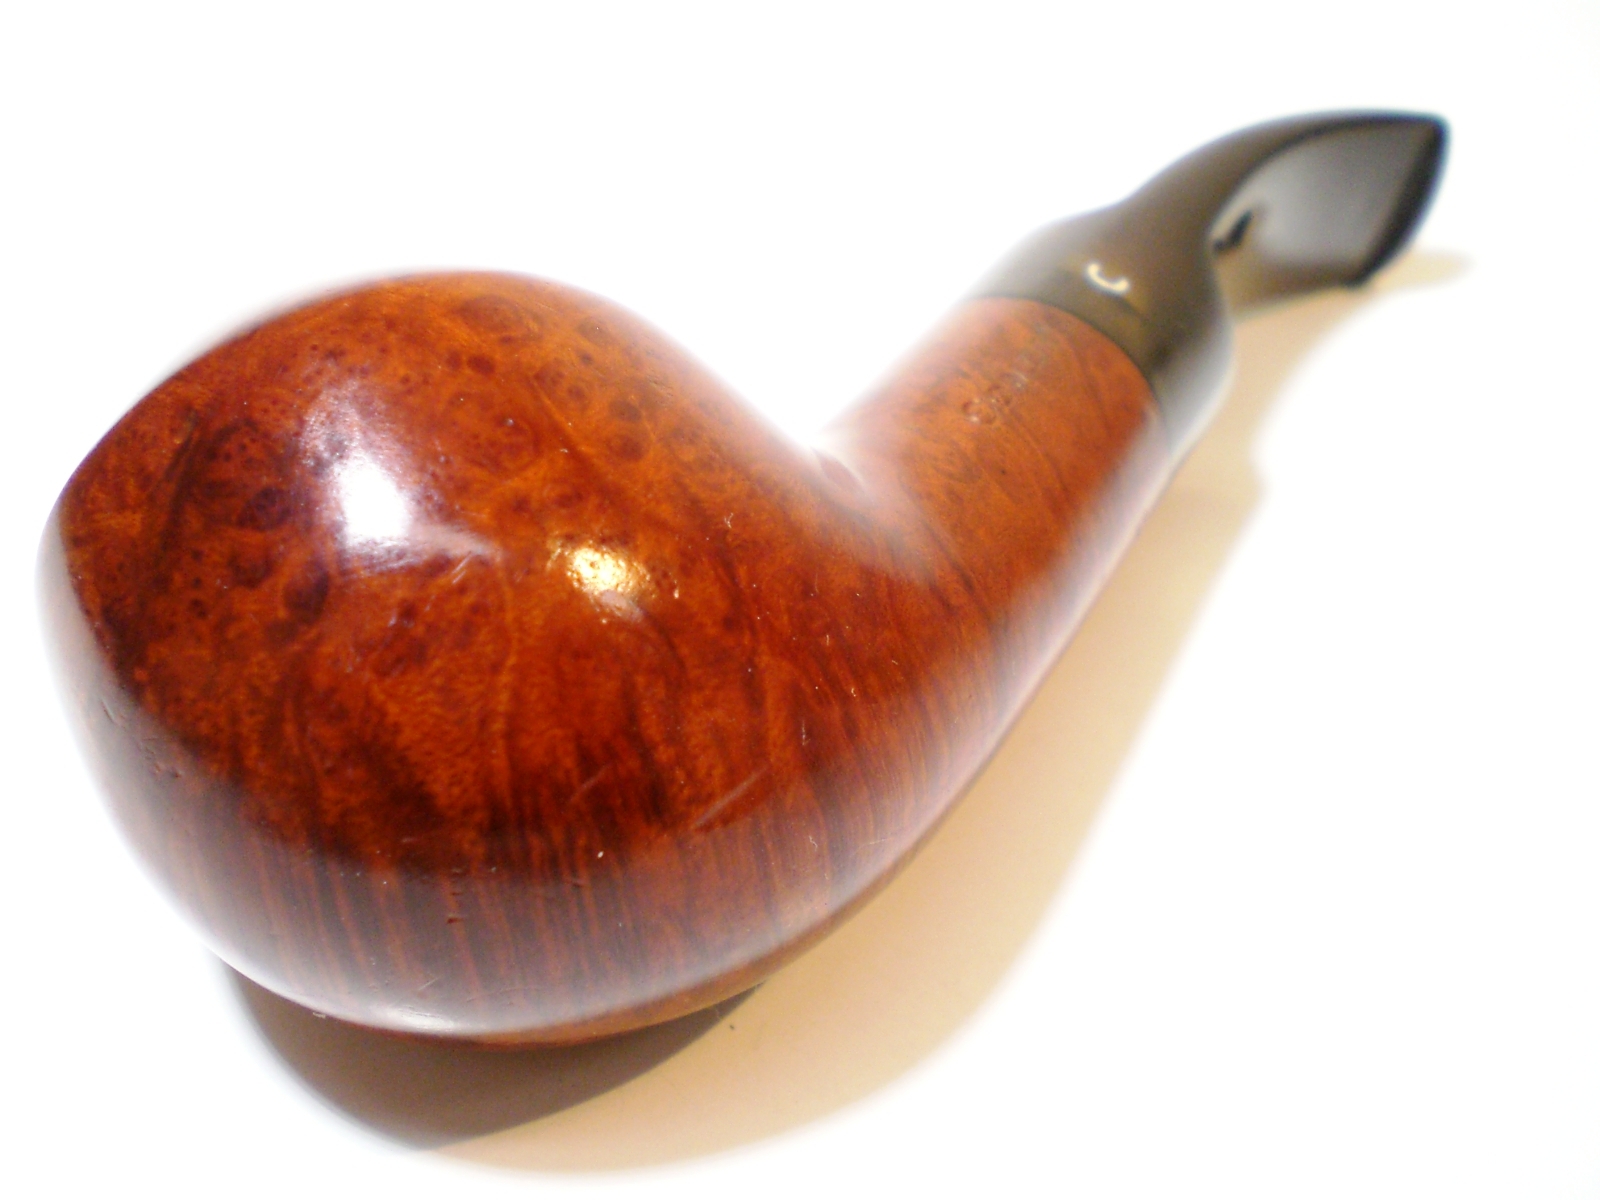
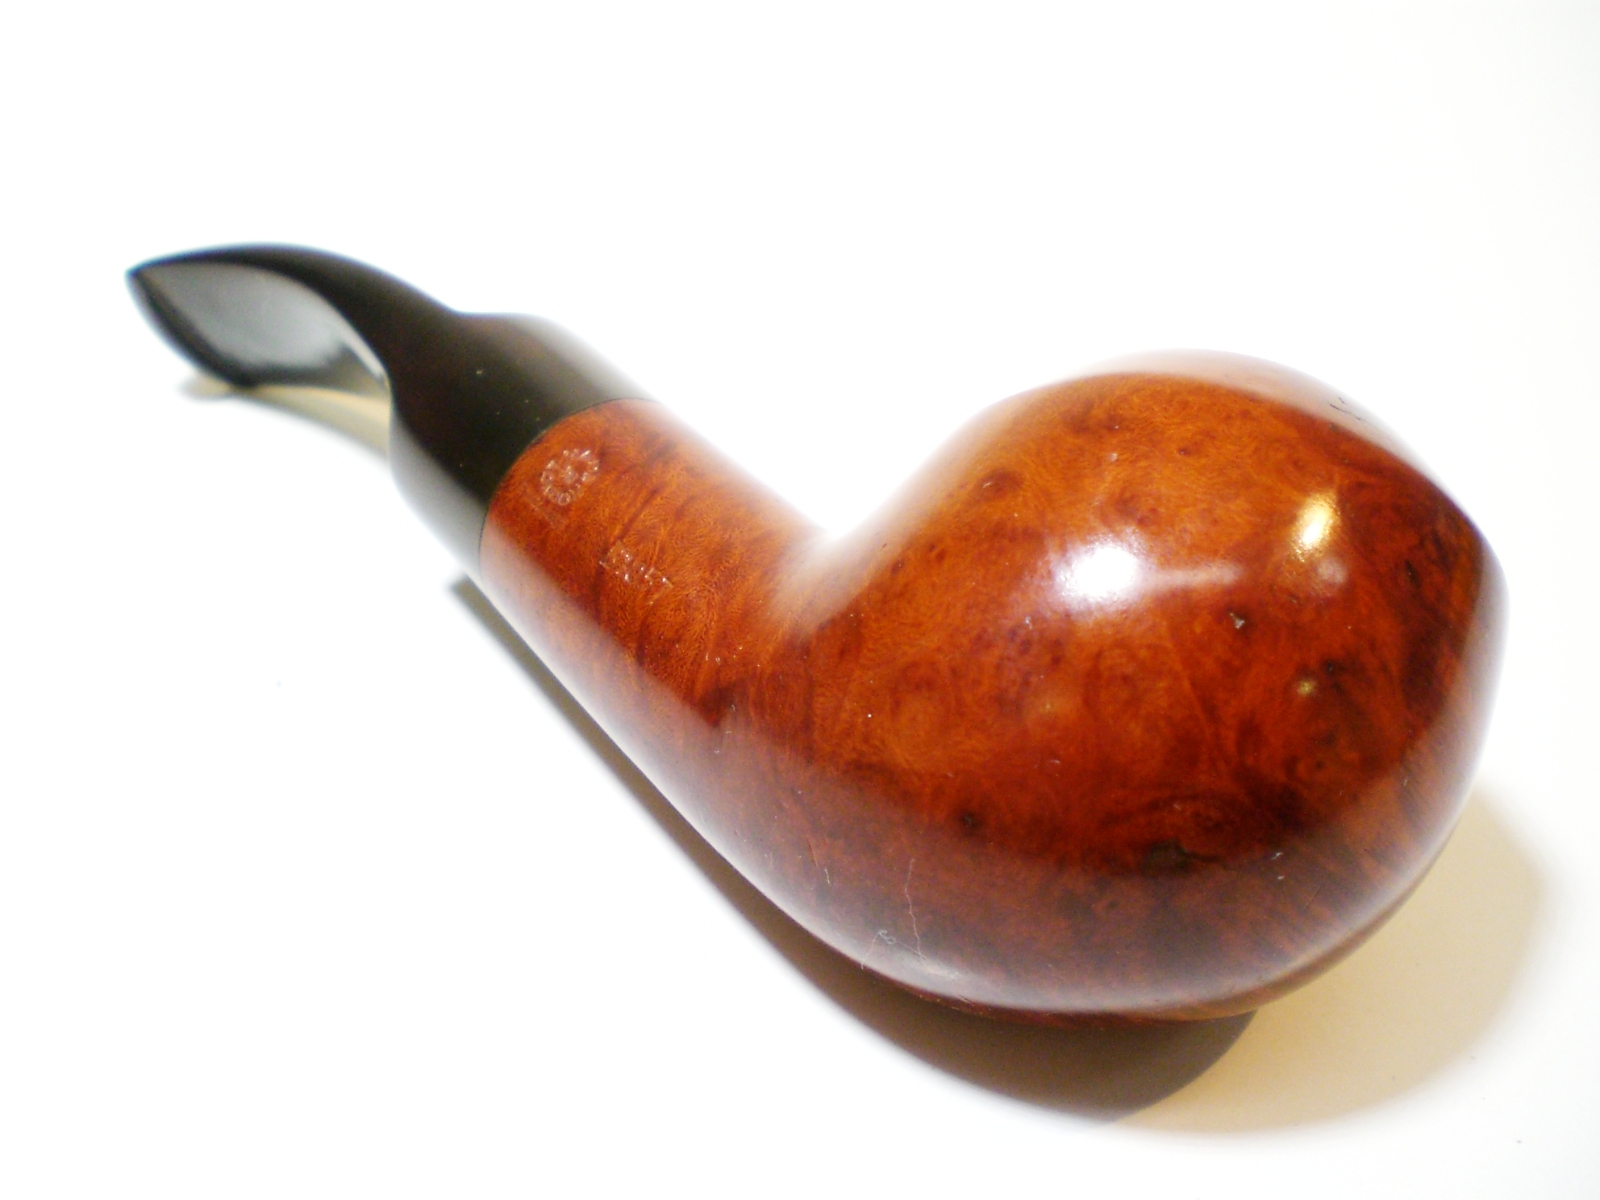
I was looking for a Christmas pipe to restore for my future son-in-law and spied this neat, chubby Comoys Rhodesian on Ebay. It is a Cadogan era Comoys with a stamped C stem logo and has shape number B1057. The shape and size remind me of the GBD 9438, but without the beading on the bowl. He has a 9438 from last Christmas, so this Comoys will make a good rack mate for it.

Comoys_B1057_Before

Comoys_B1057_Before (4)

Comoys_B1057_Before (3)

Comoys_B1057_Before (1)

Comoys_B1057_Before (5)

Comoys_B1057_Before (8)

The pipe was in pretty good shape with a little tar buildup on the bowl rim and a heavily oxidized stem. There were some teeth abrasions on the stem, but they were minimal with no heavy indention’s. Stem fitment was great. The pipe passes a cleaner nicely appears to be drilled well. The bowl showed very light use and was easy to clean.

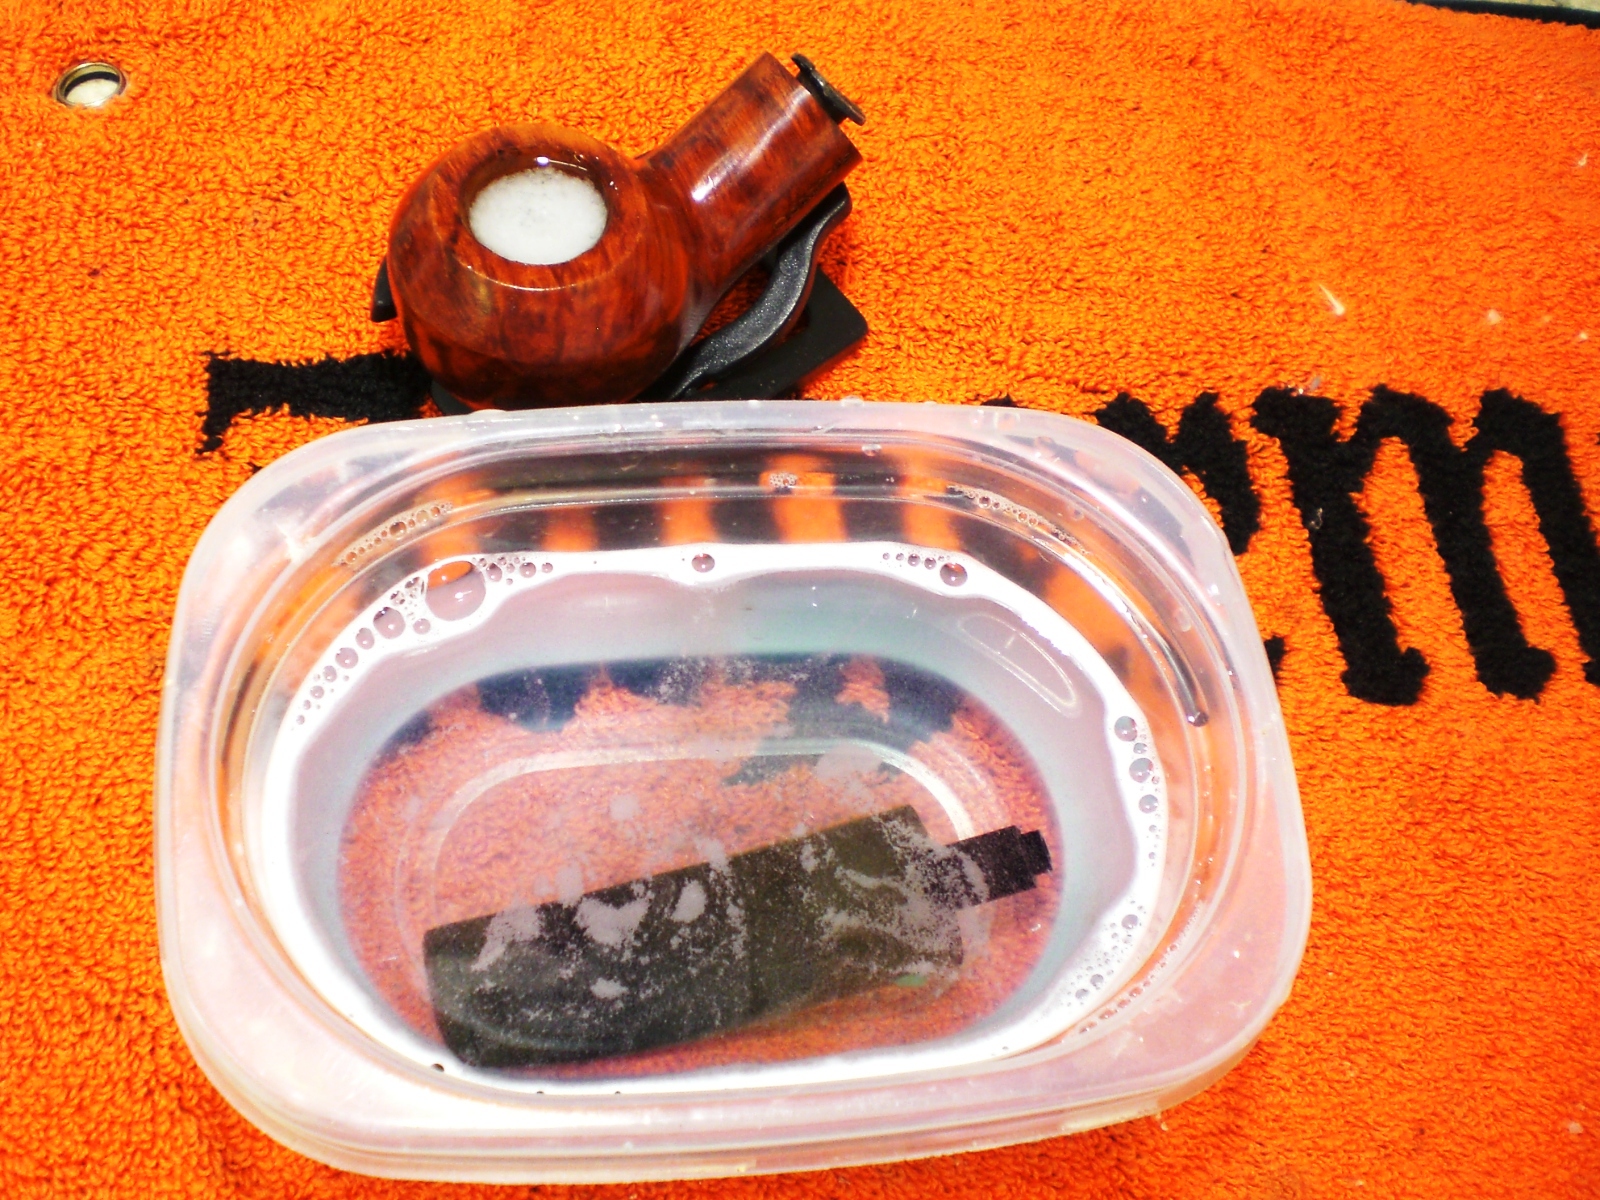
I soaked the bowl with 91% isopropyl alcohol and the stem in a mild Oxy-Clean solution. I put a dab of grease on the stem logo.

Comoys_B1057_Progress

The bowl didn’t take much, I buffed it with some white diamond and then red rouge, followed by several coats of carnuba wax. There are a few fills, but they blended in nicely and aren’t too noticeable.

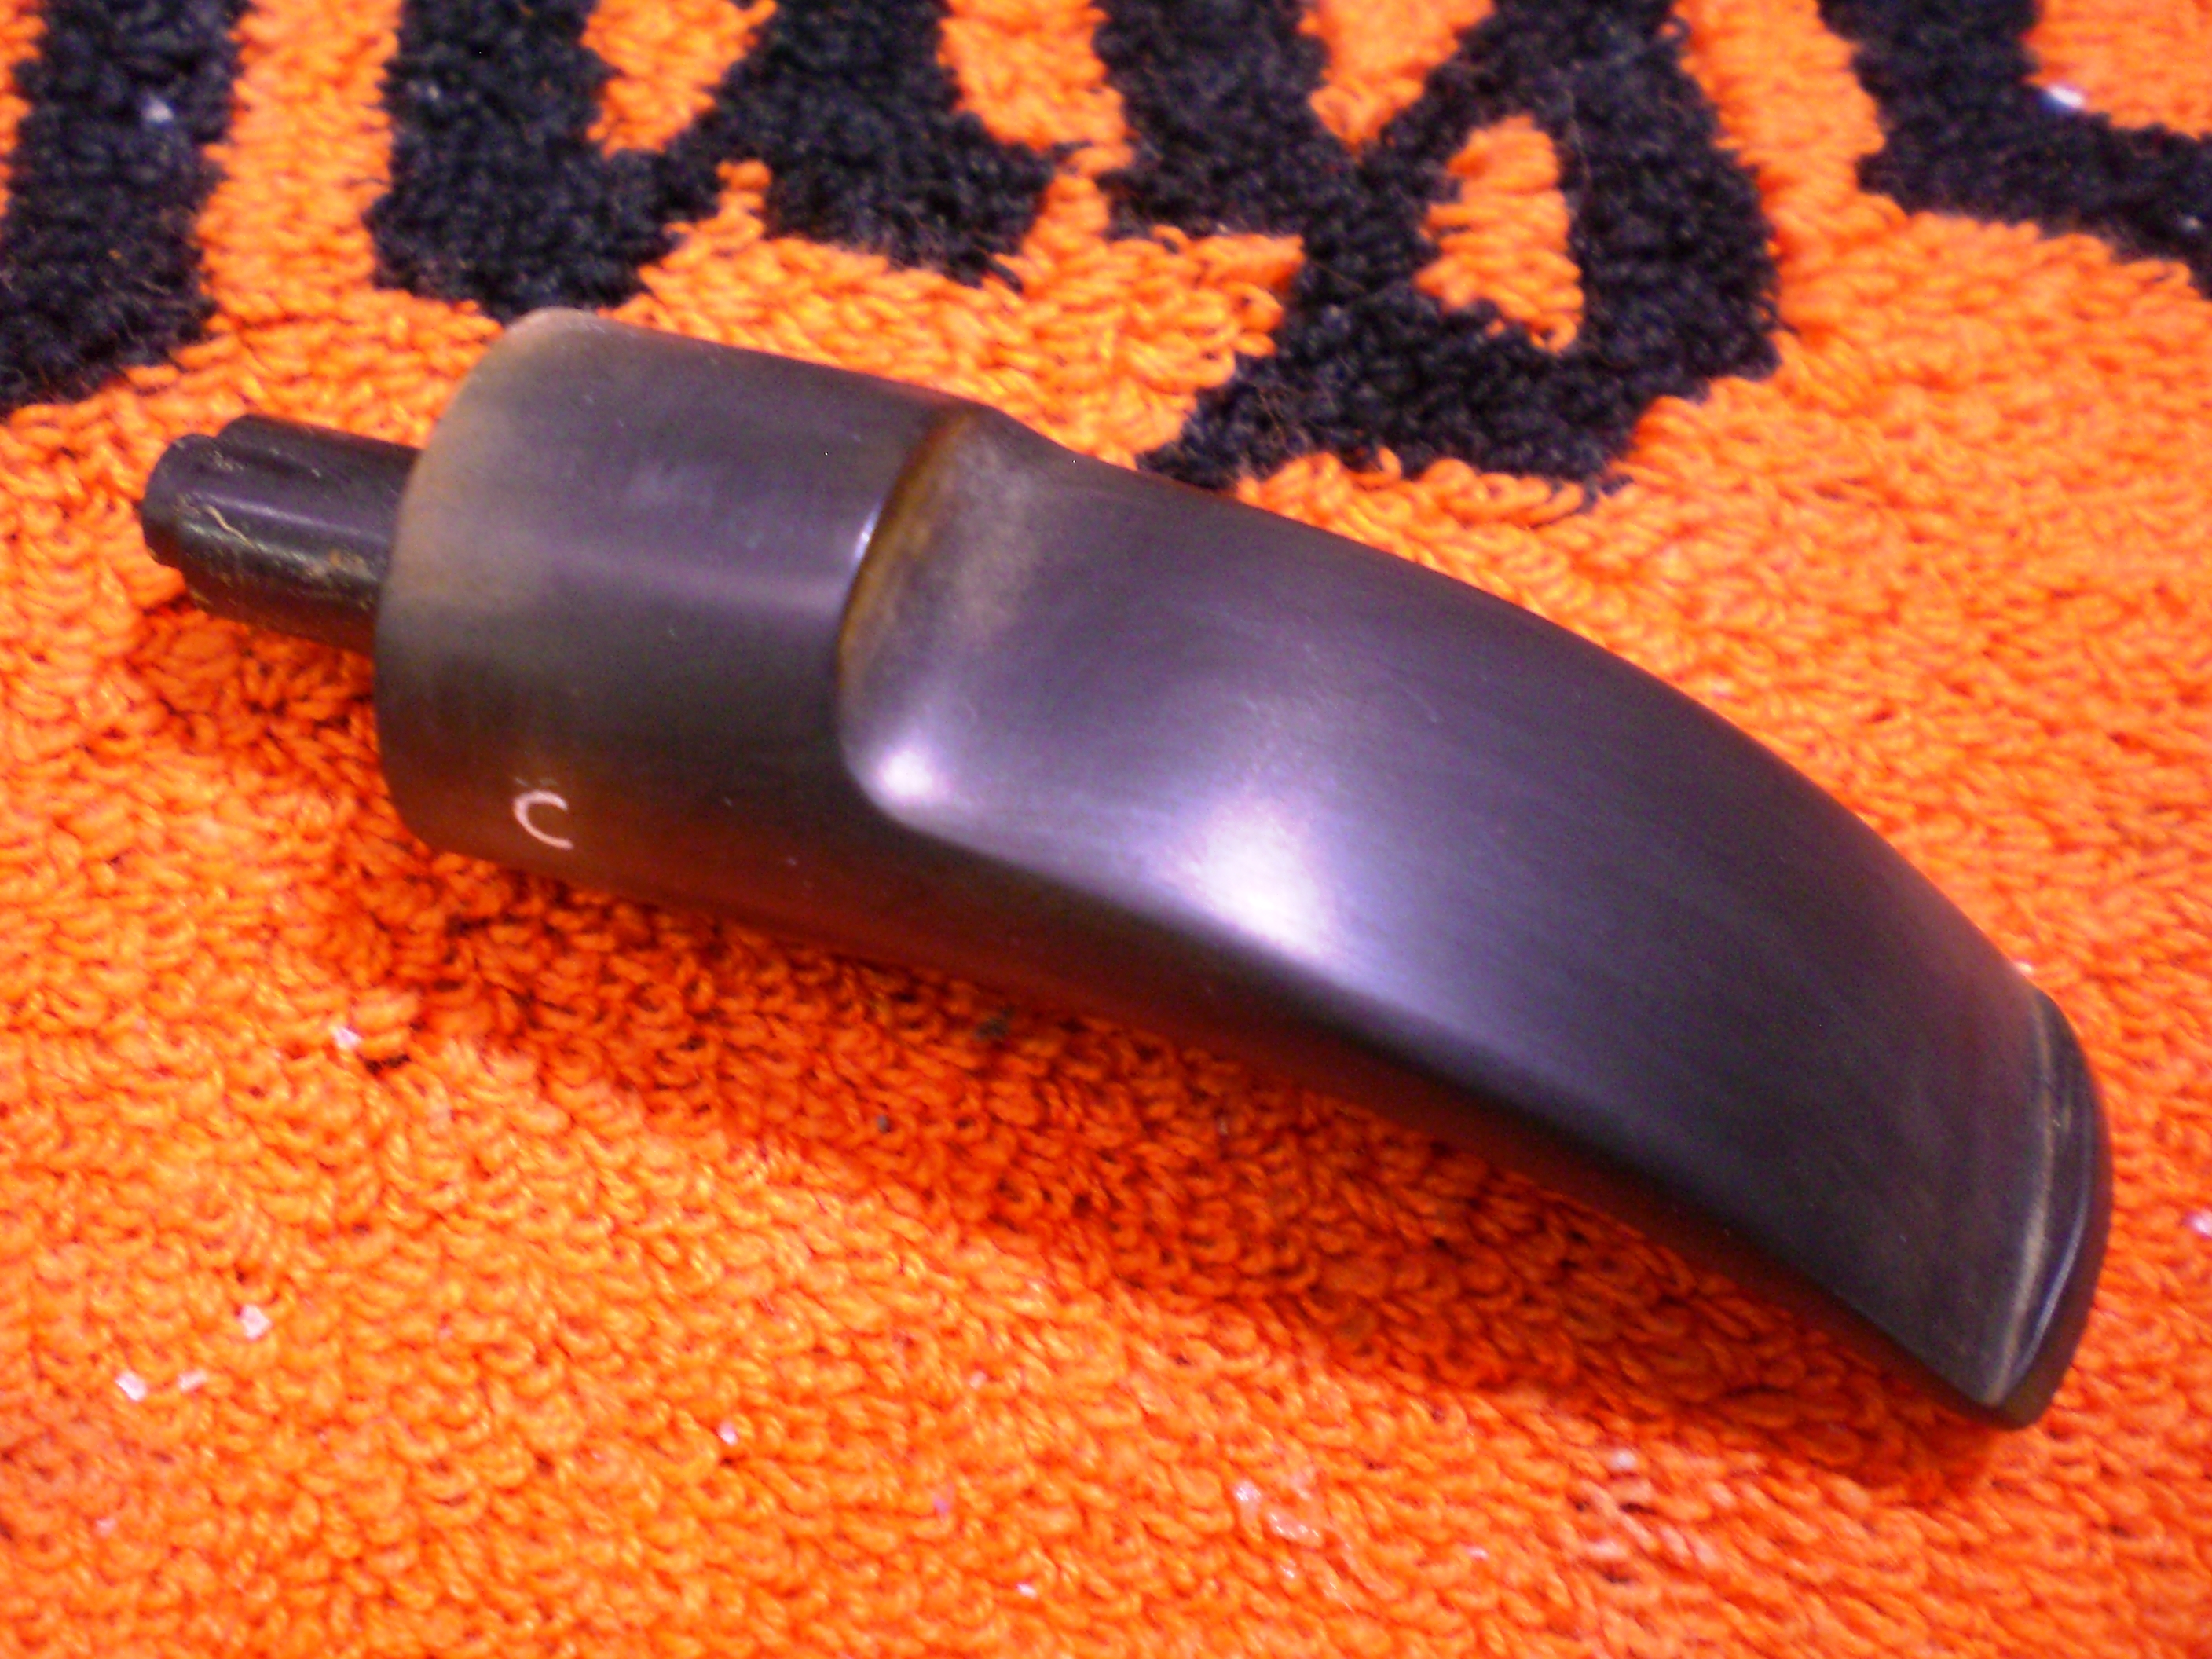
I used 800 grit wet paper to remove the first layer of oxidation. That was followed by 1500 and 2000 grade wet papers. Working around a stamped C logo is always a little tricky and I don’t think you can get all the oxidation without damaging the letter. The stem was then sanded with 8000 and 12000 grade micromesh. I then buffed the stem with white diamond and red rouge. Below is the stem after the 800 grit wet paper.

Comoys_B1057_Progress (1)

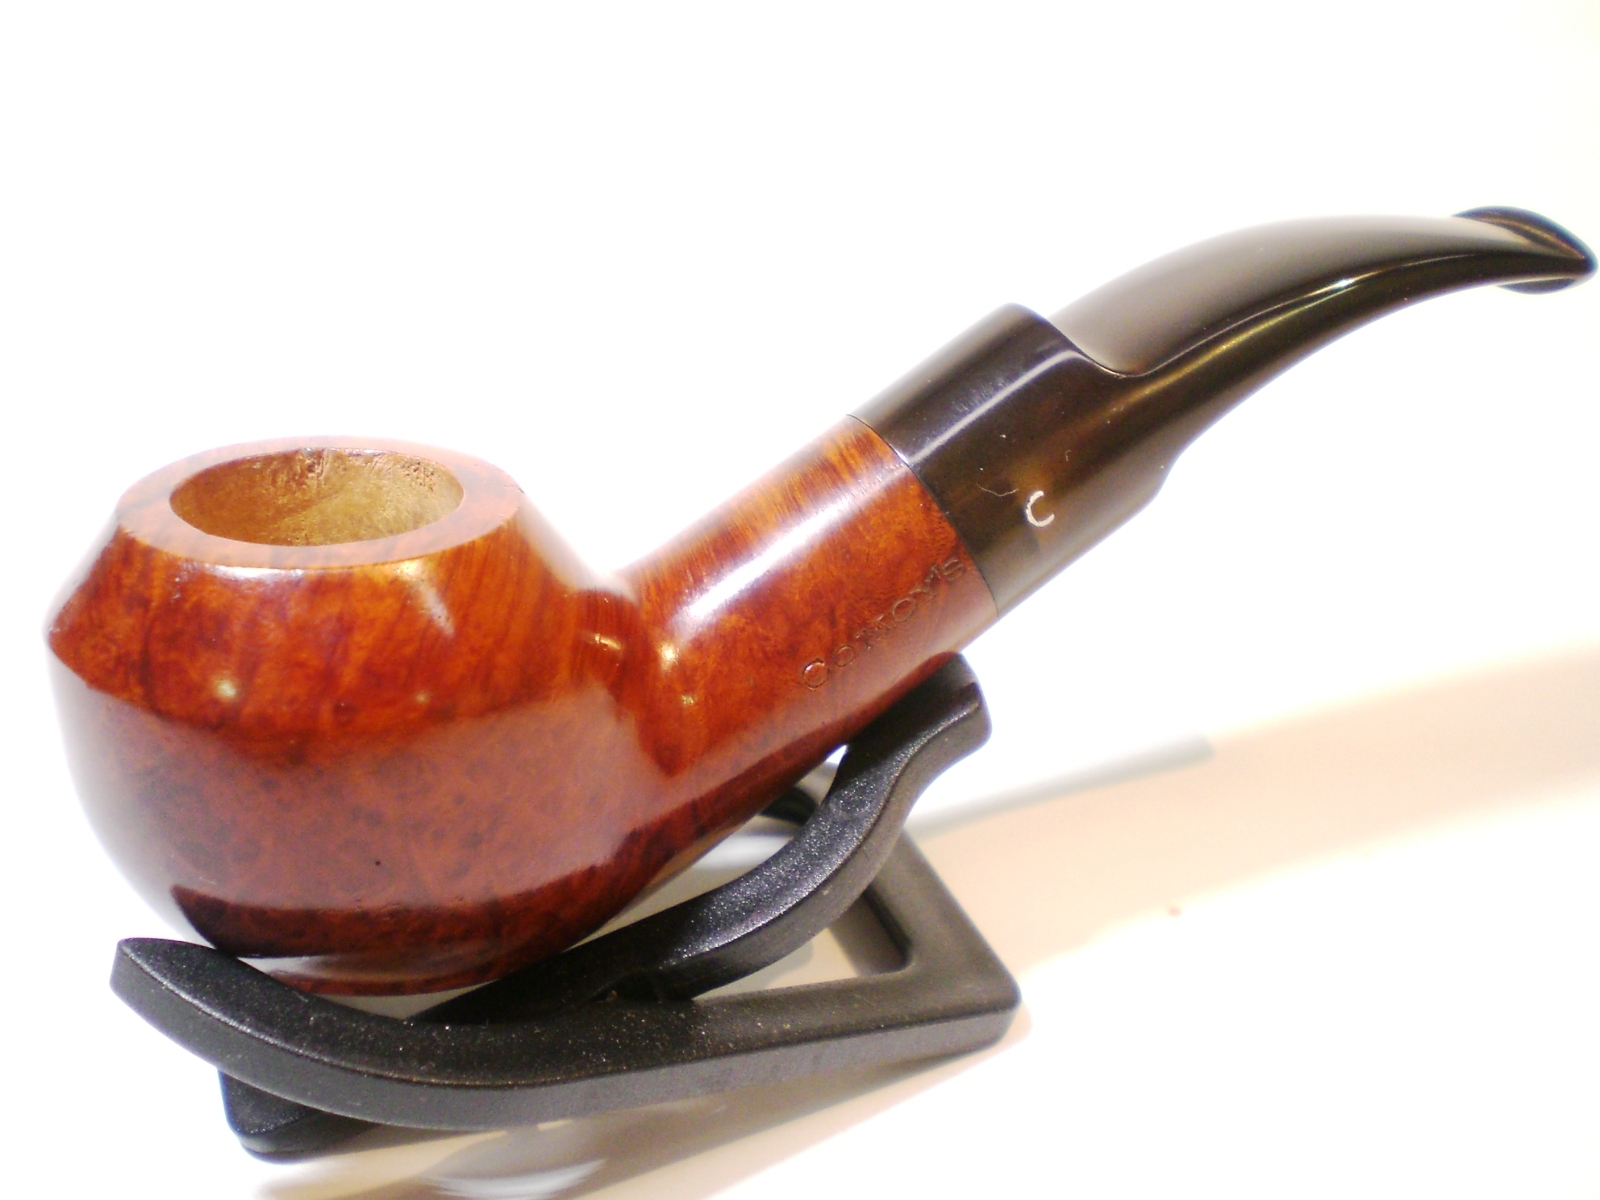
Here’s the finished pipe, ready to be wrapped for Christmas morning…shhhh, don’t tell!

Comoys_B1057_Finished

Comoys_B1057_Finished (5)

Comoys_B1057_Finished (1)

Comoys_B1057_Finished (2)

Comoys_B1057_Finished (4)

Comoys_B1057_Finished (3)

Dorset “Genuine Briar” Rhodesian


By Al Jones (aka “Upshallfan”)

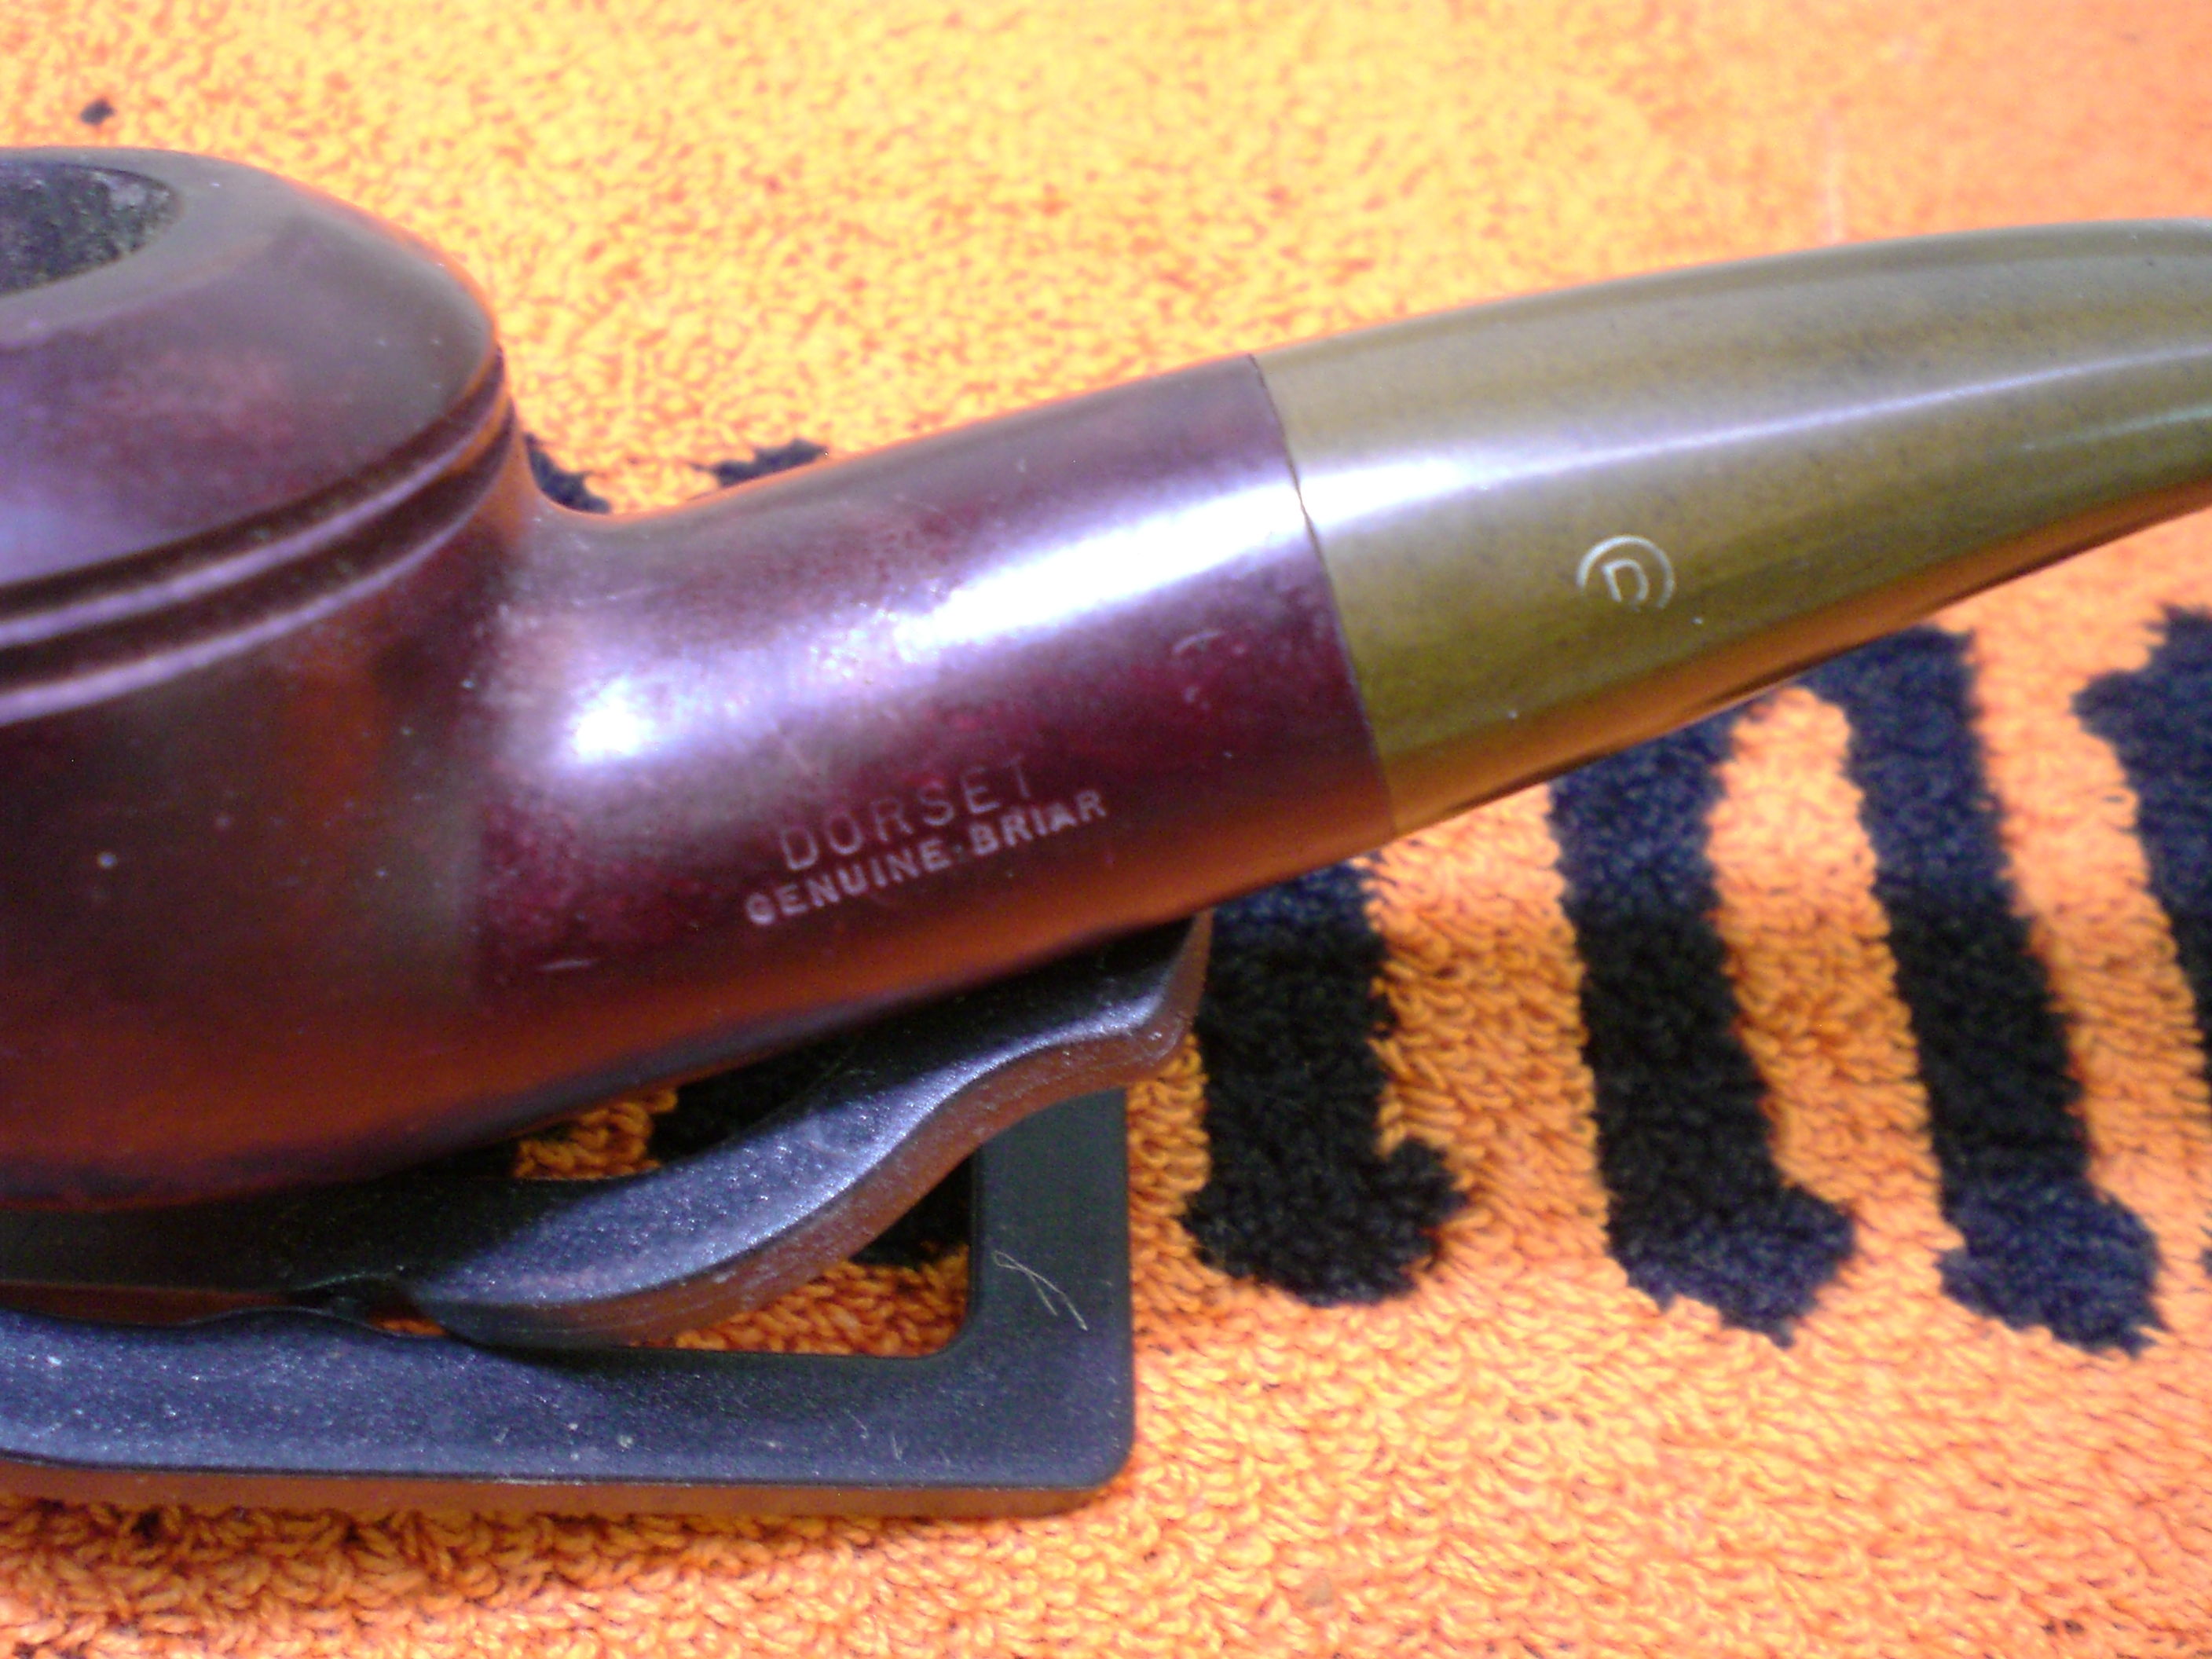
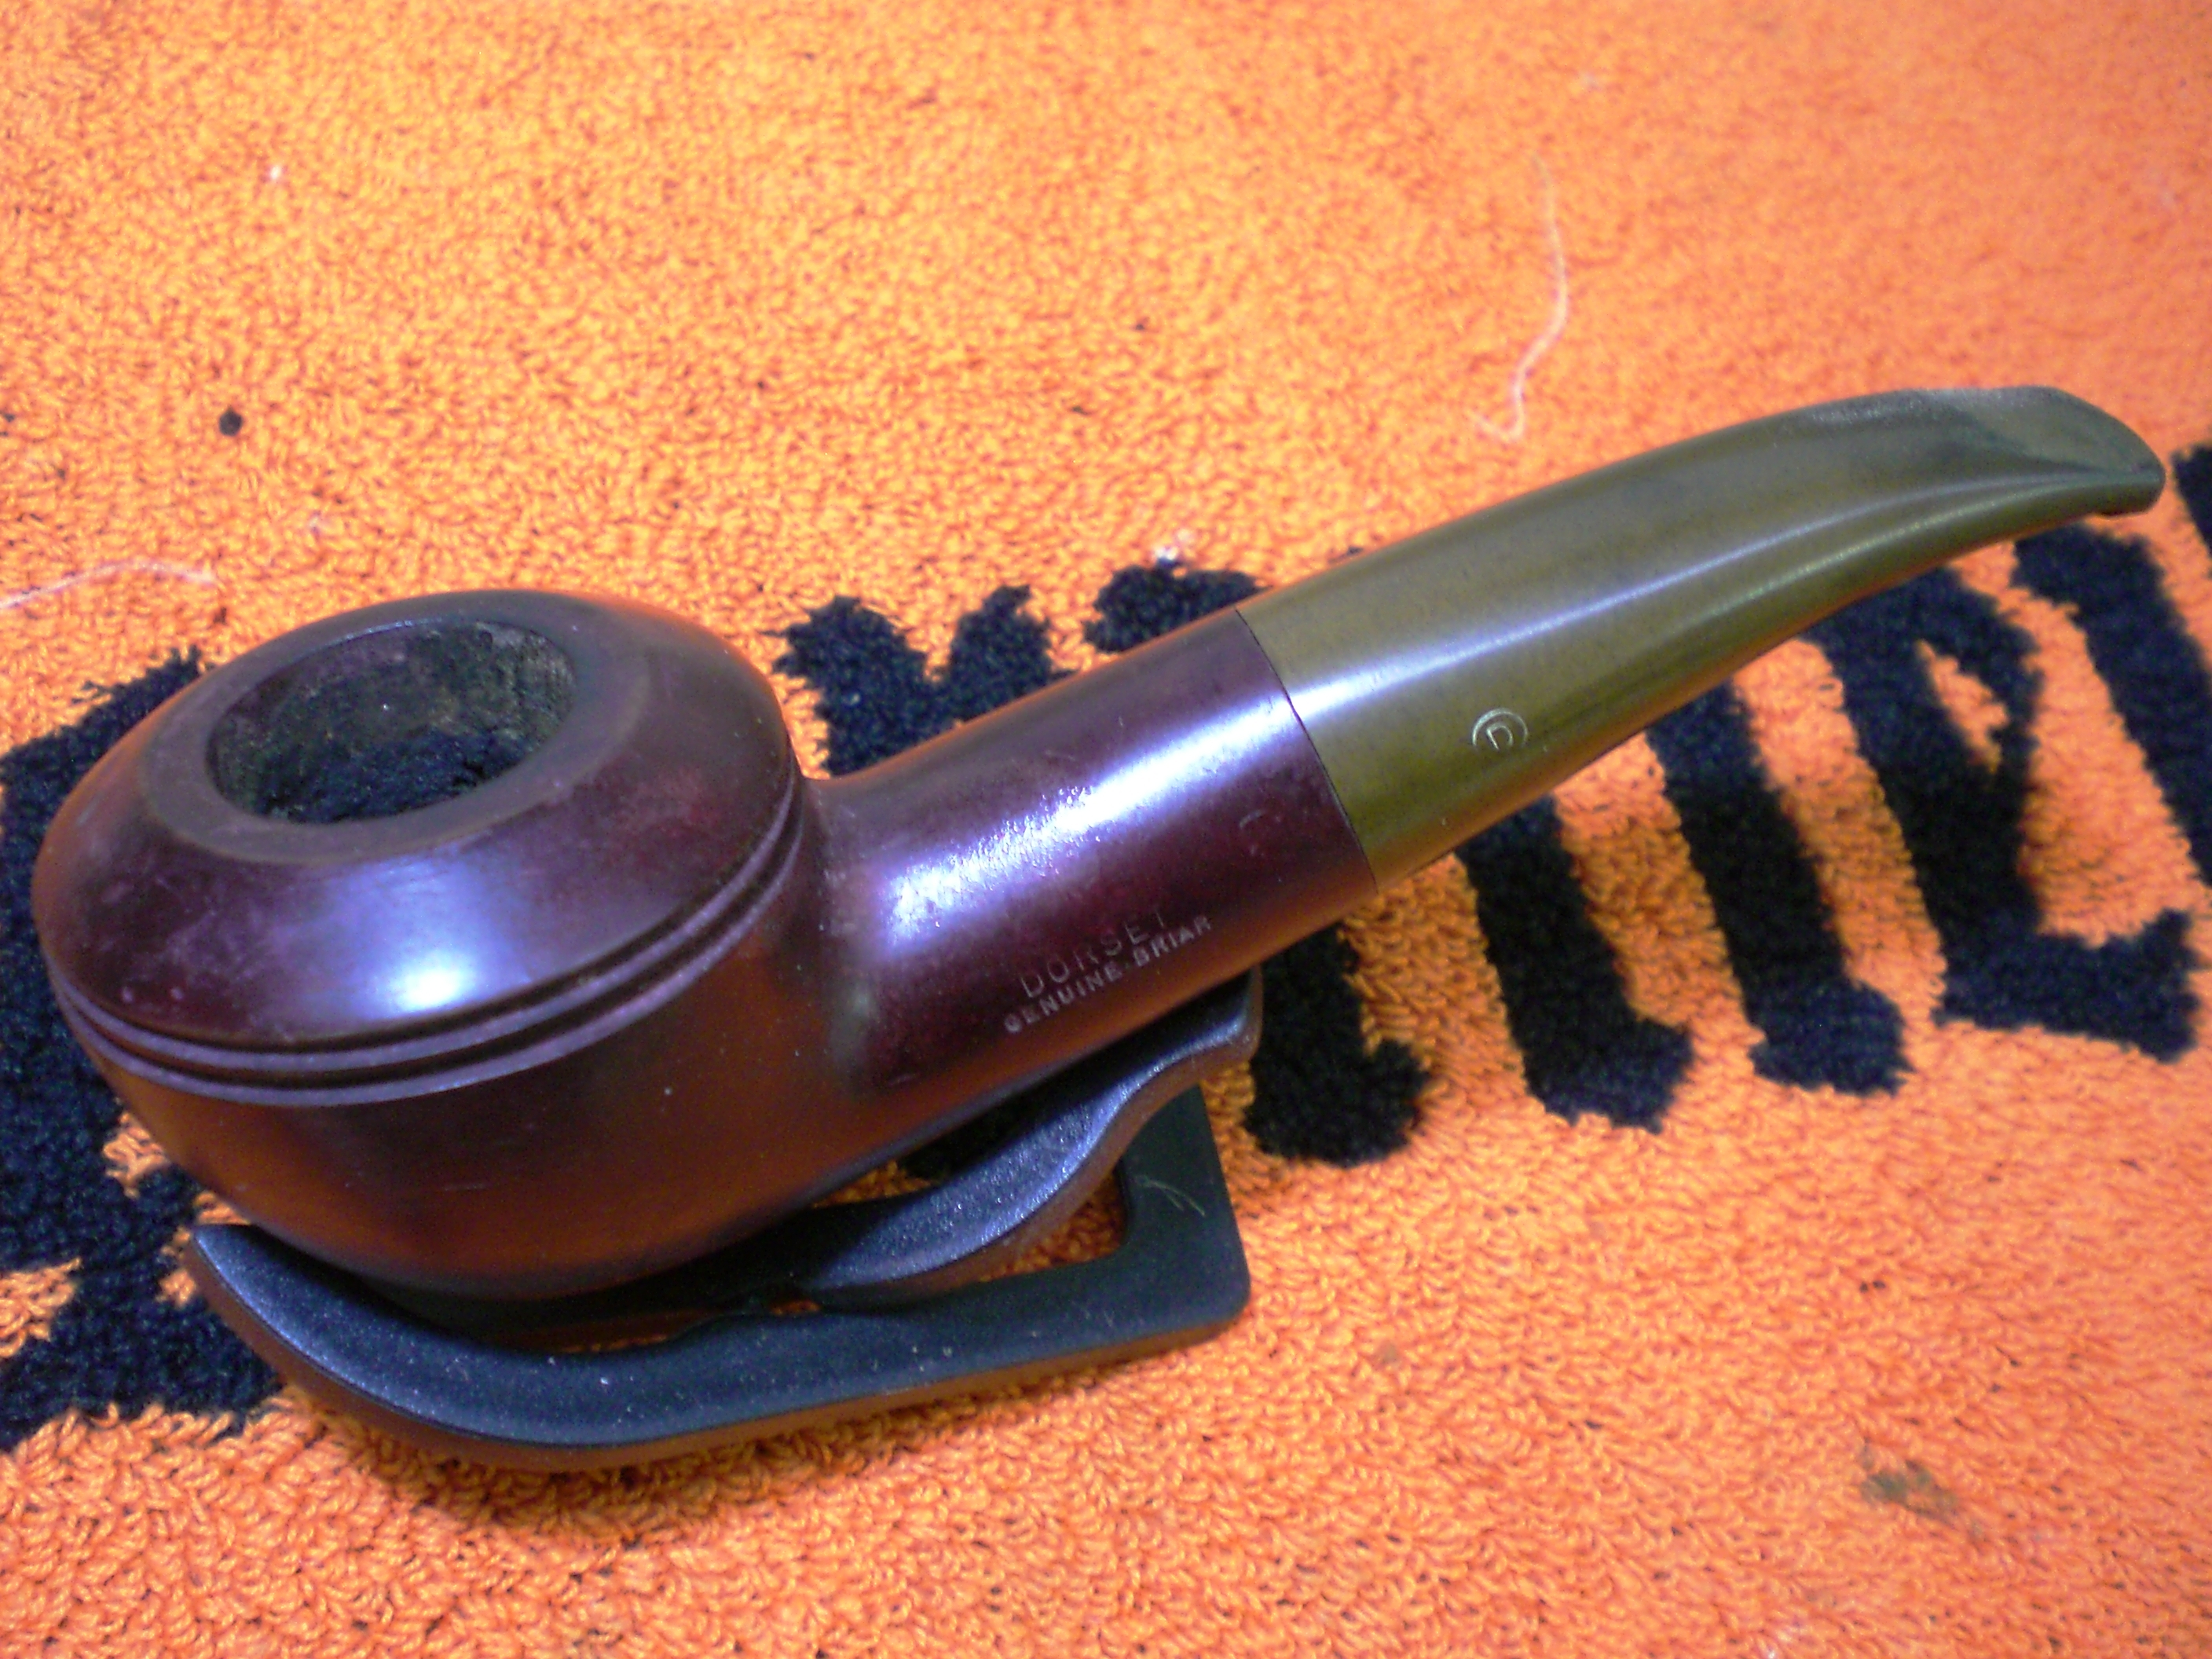
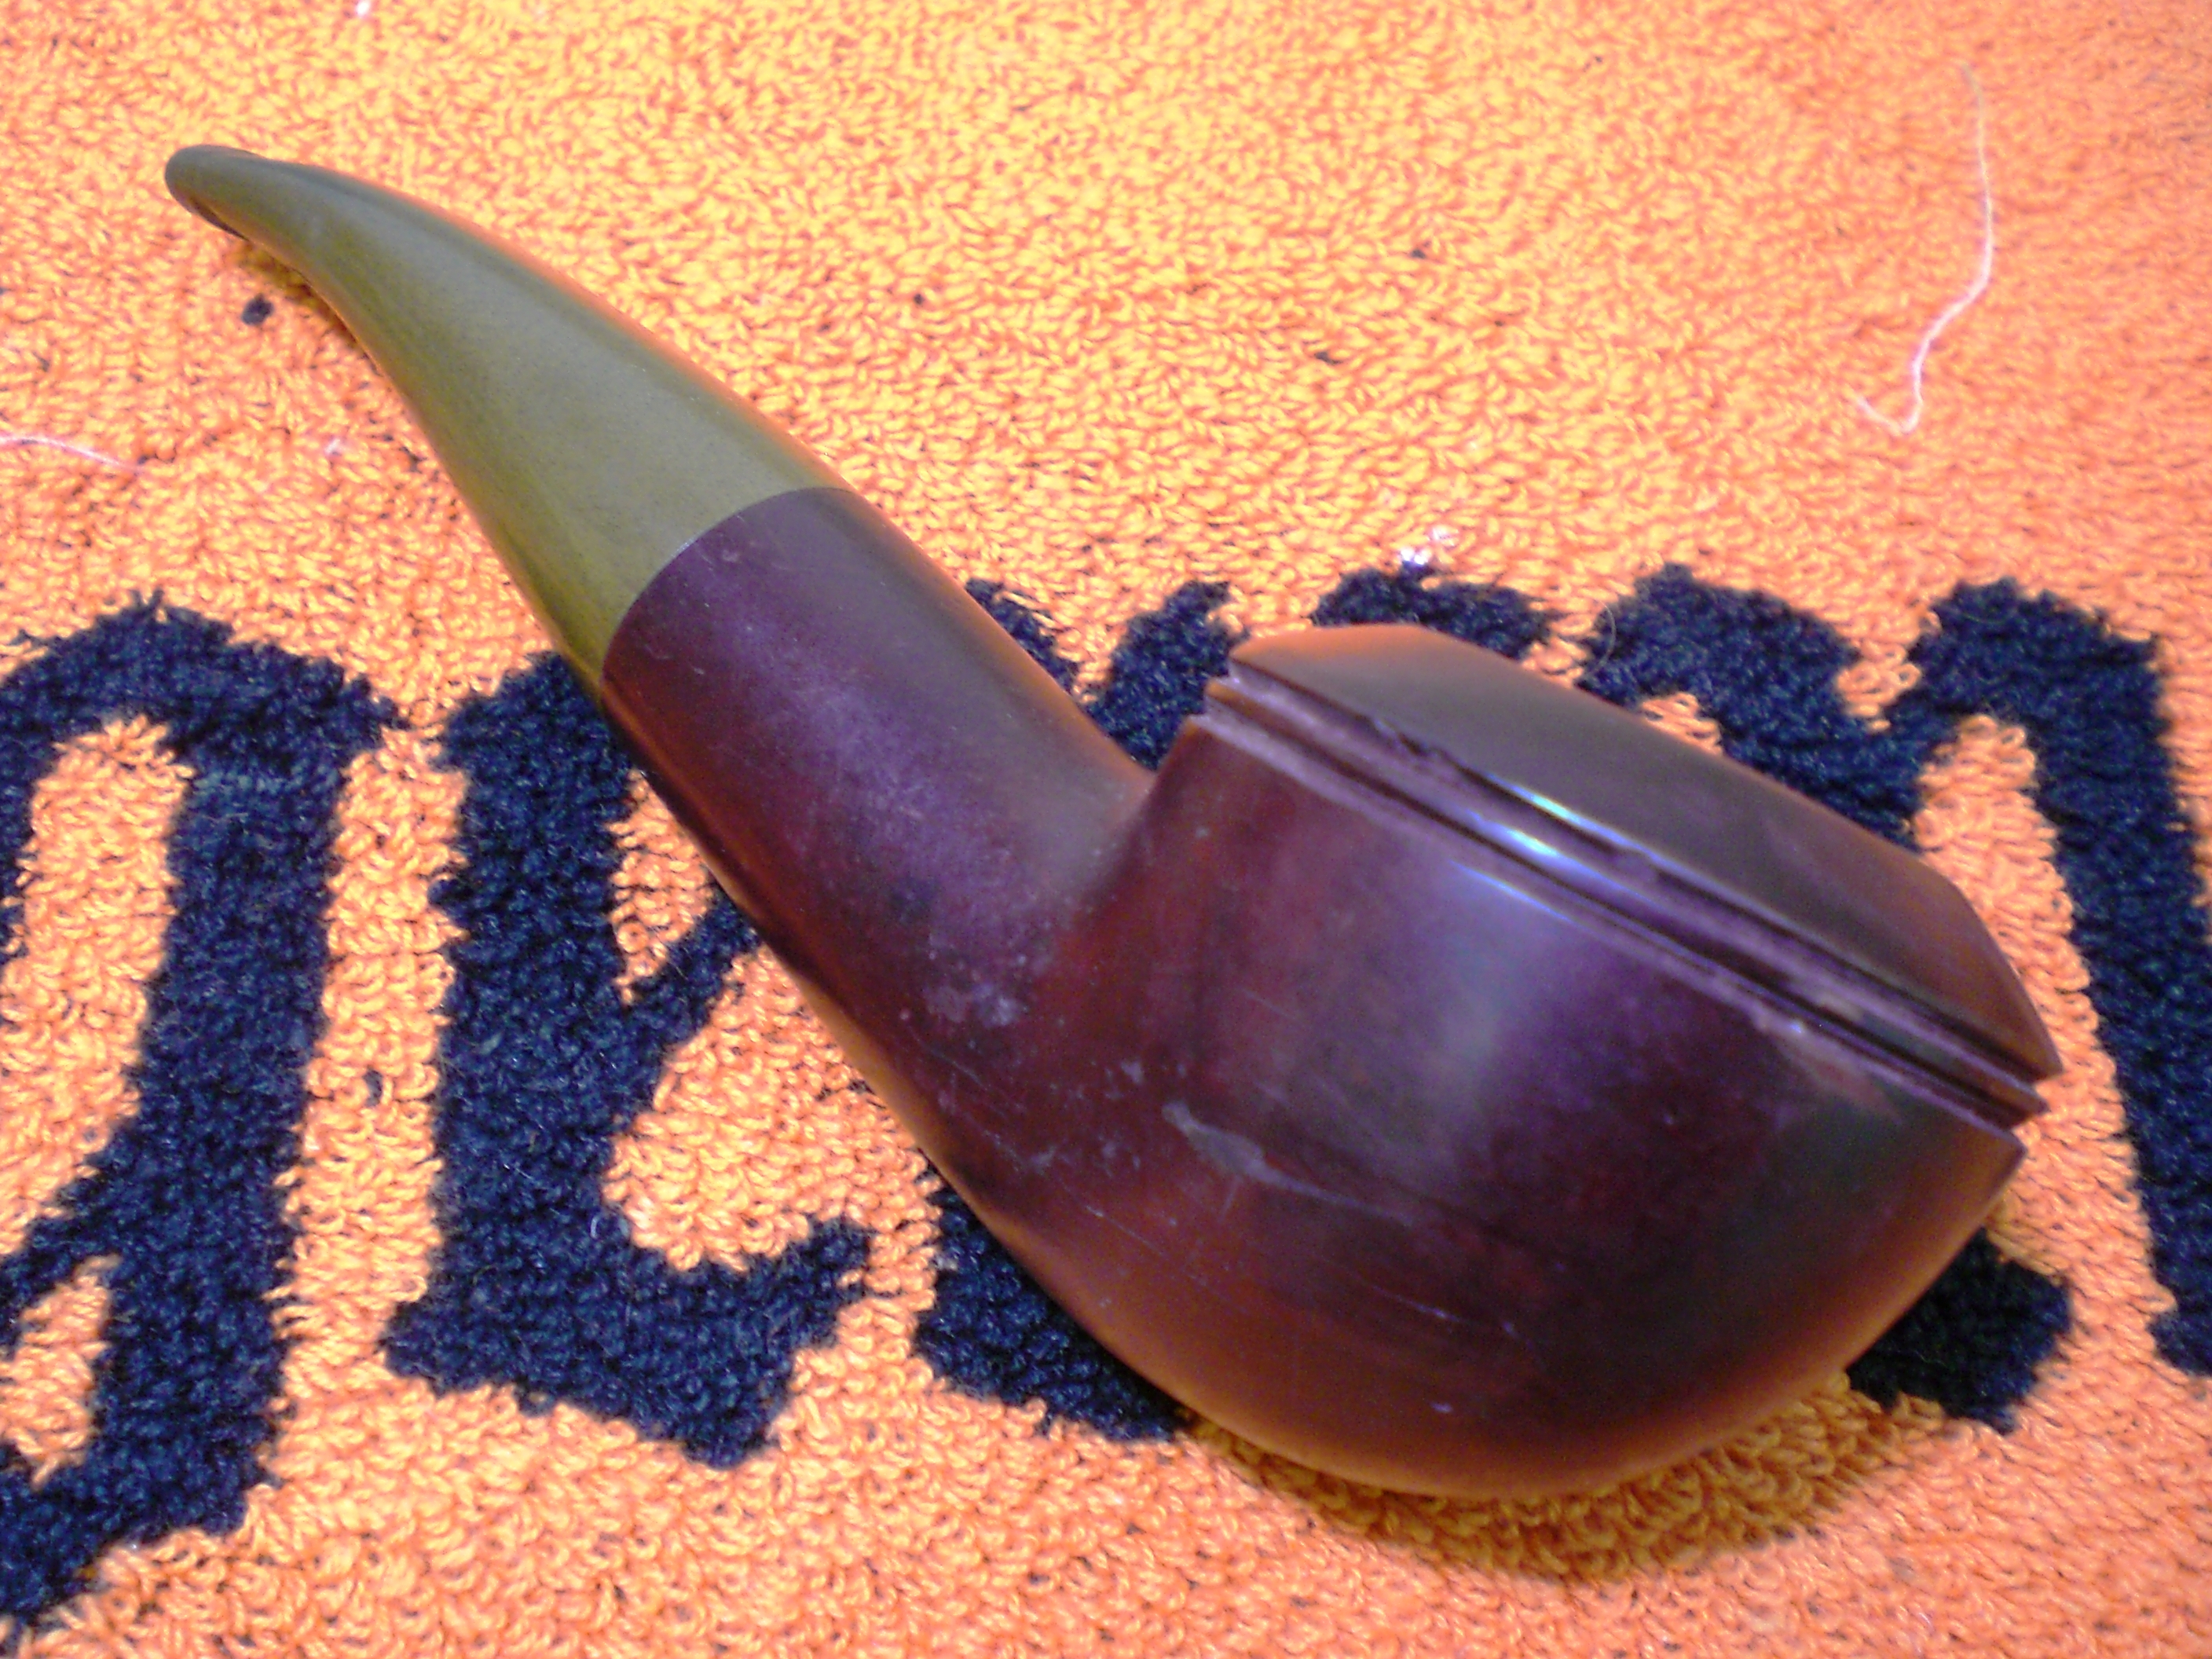
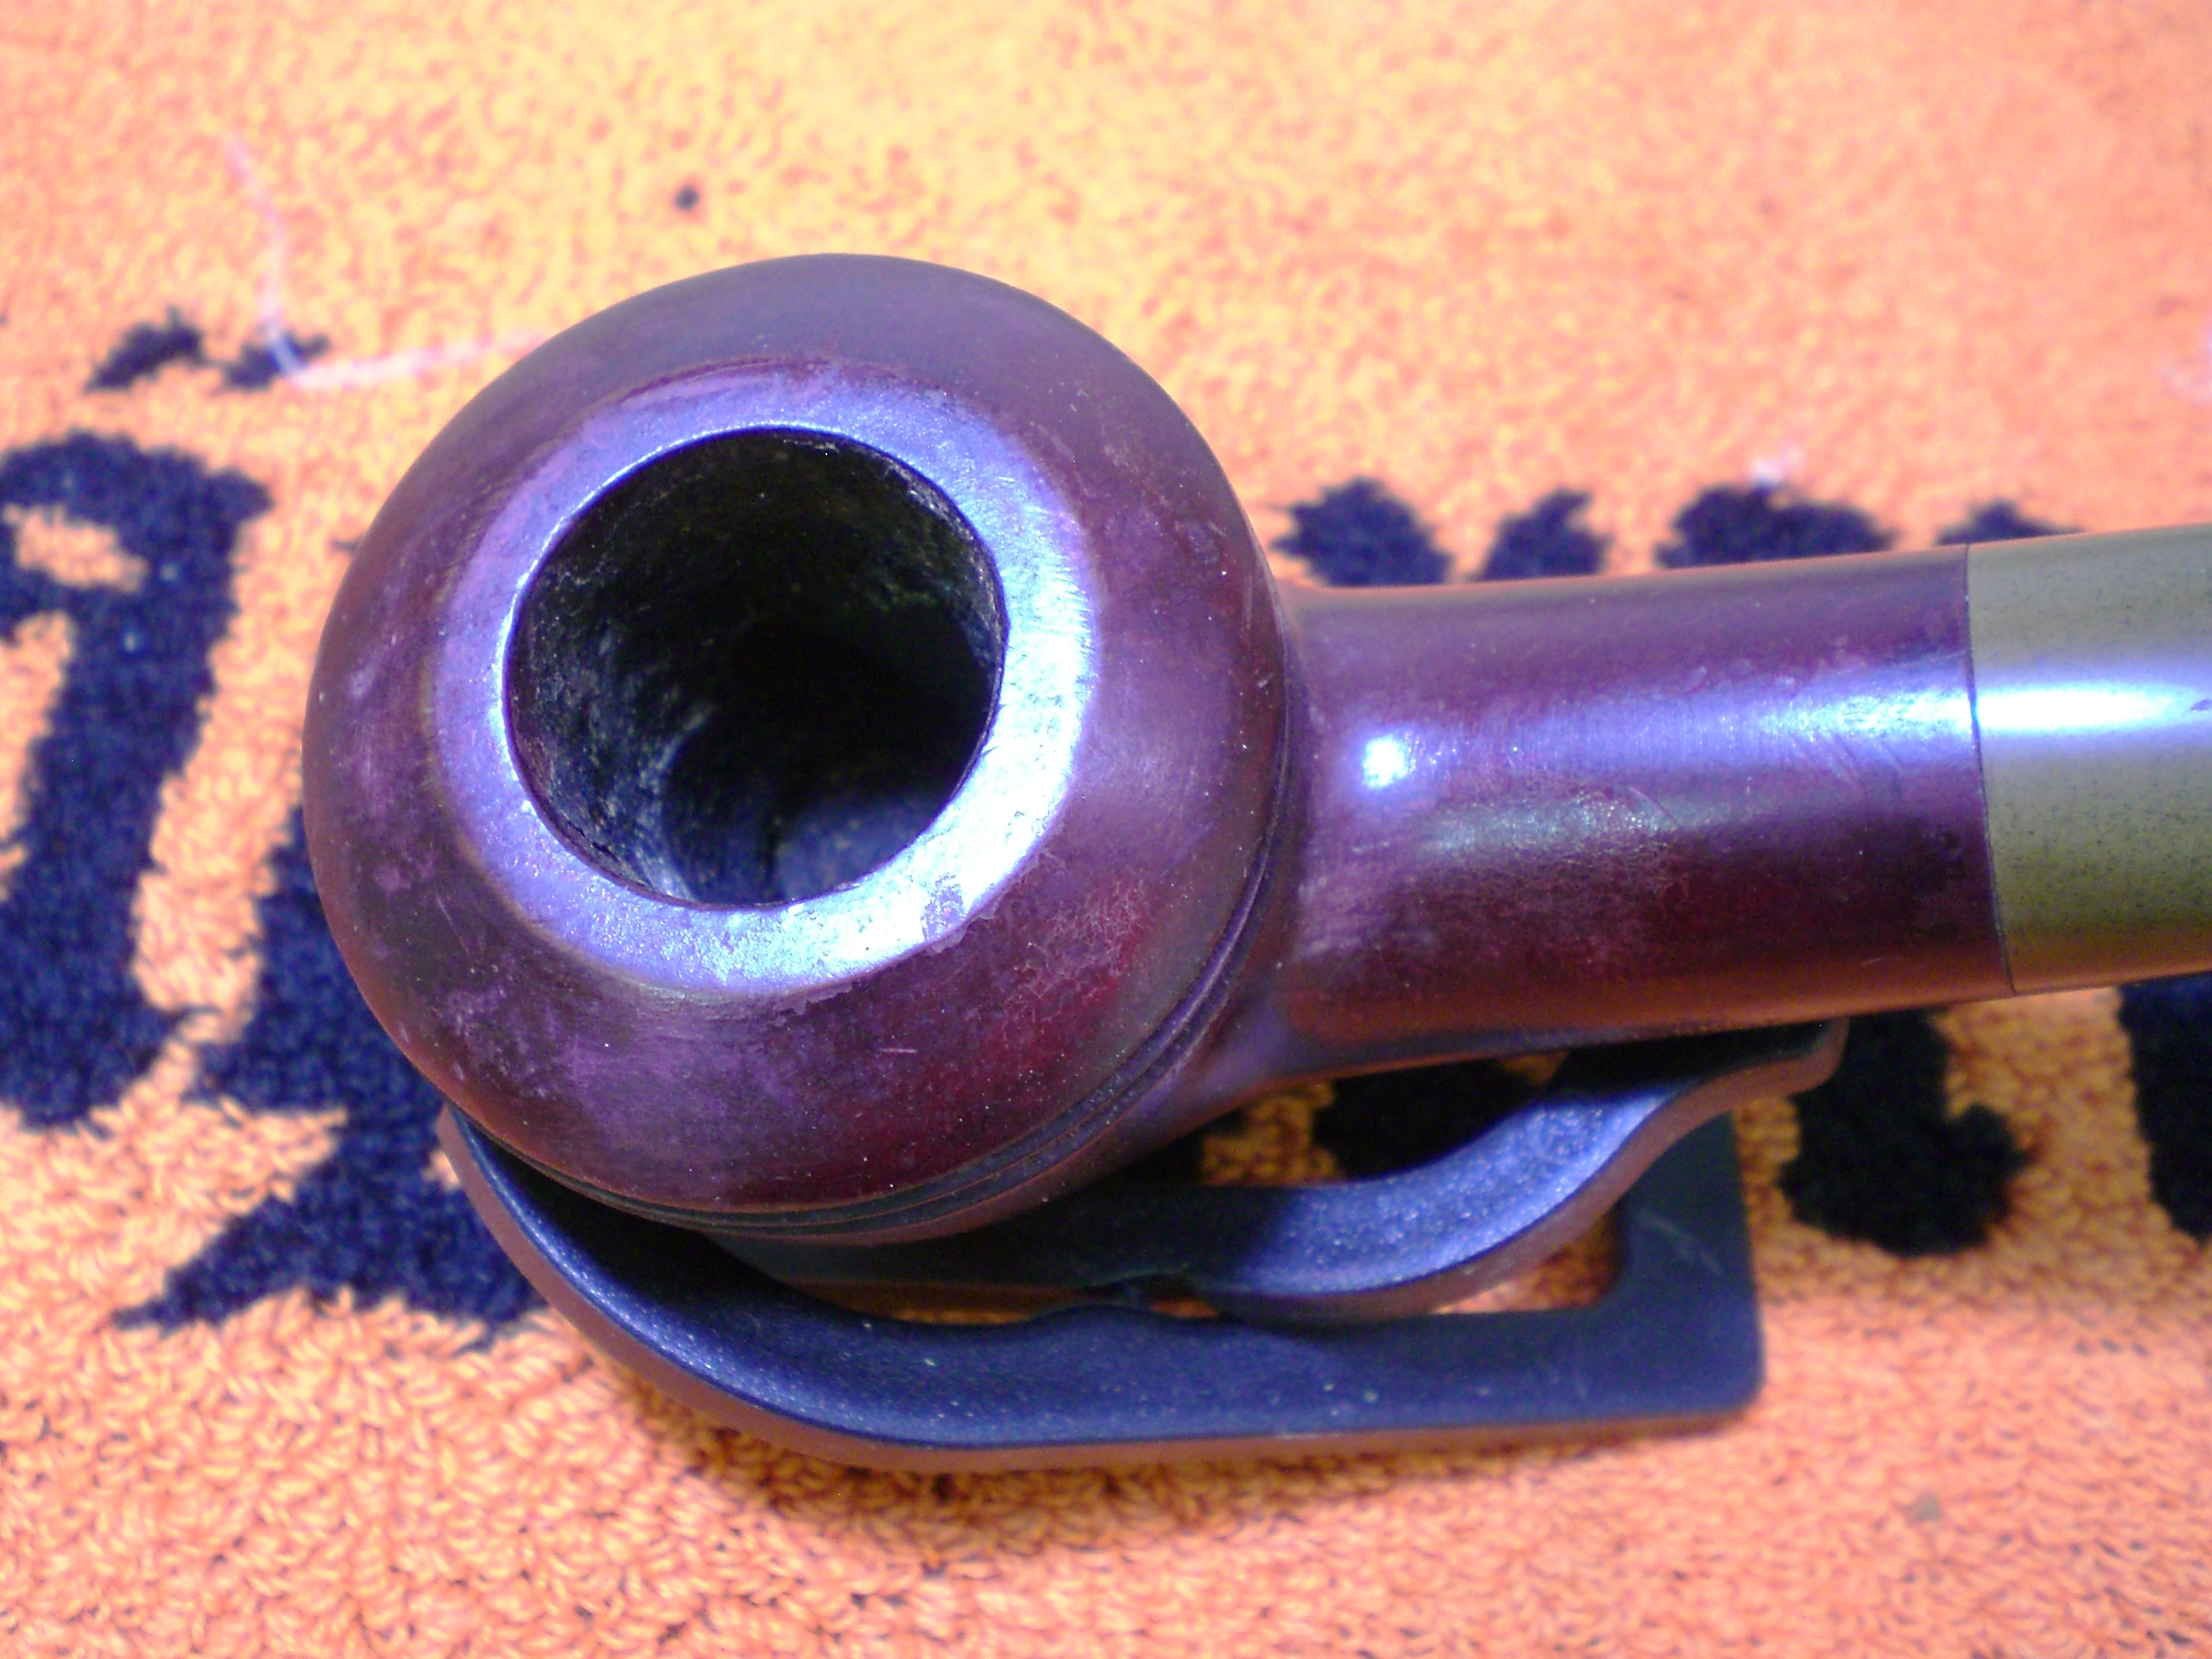
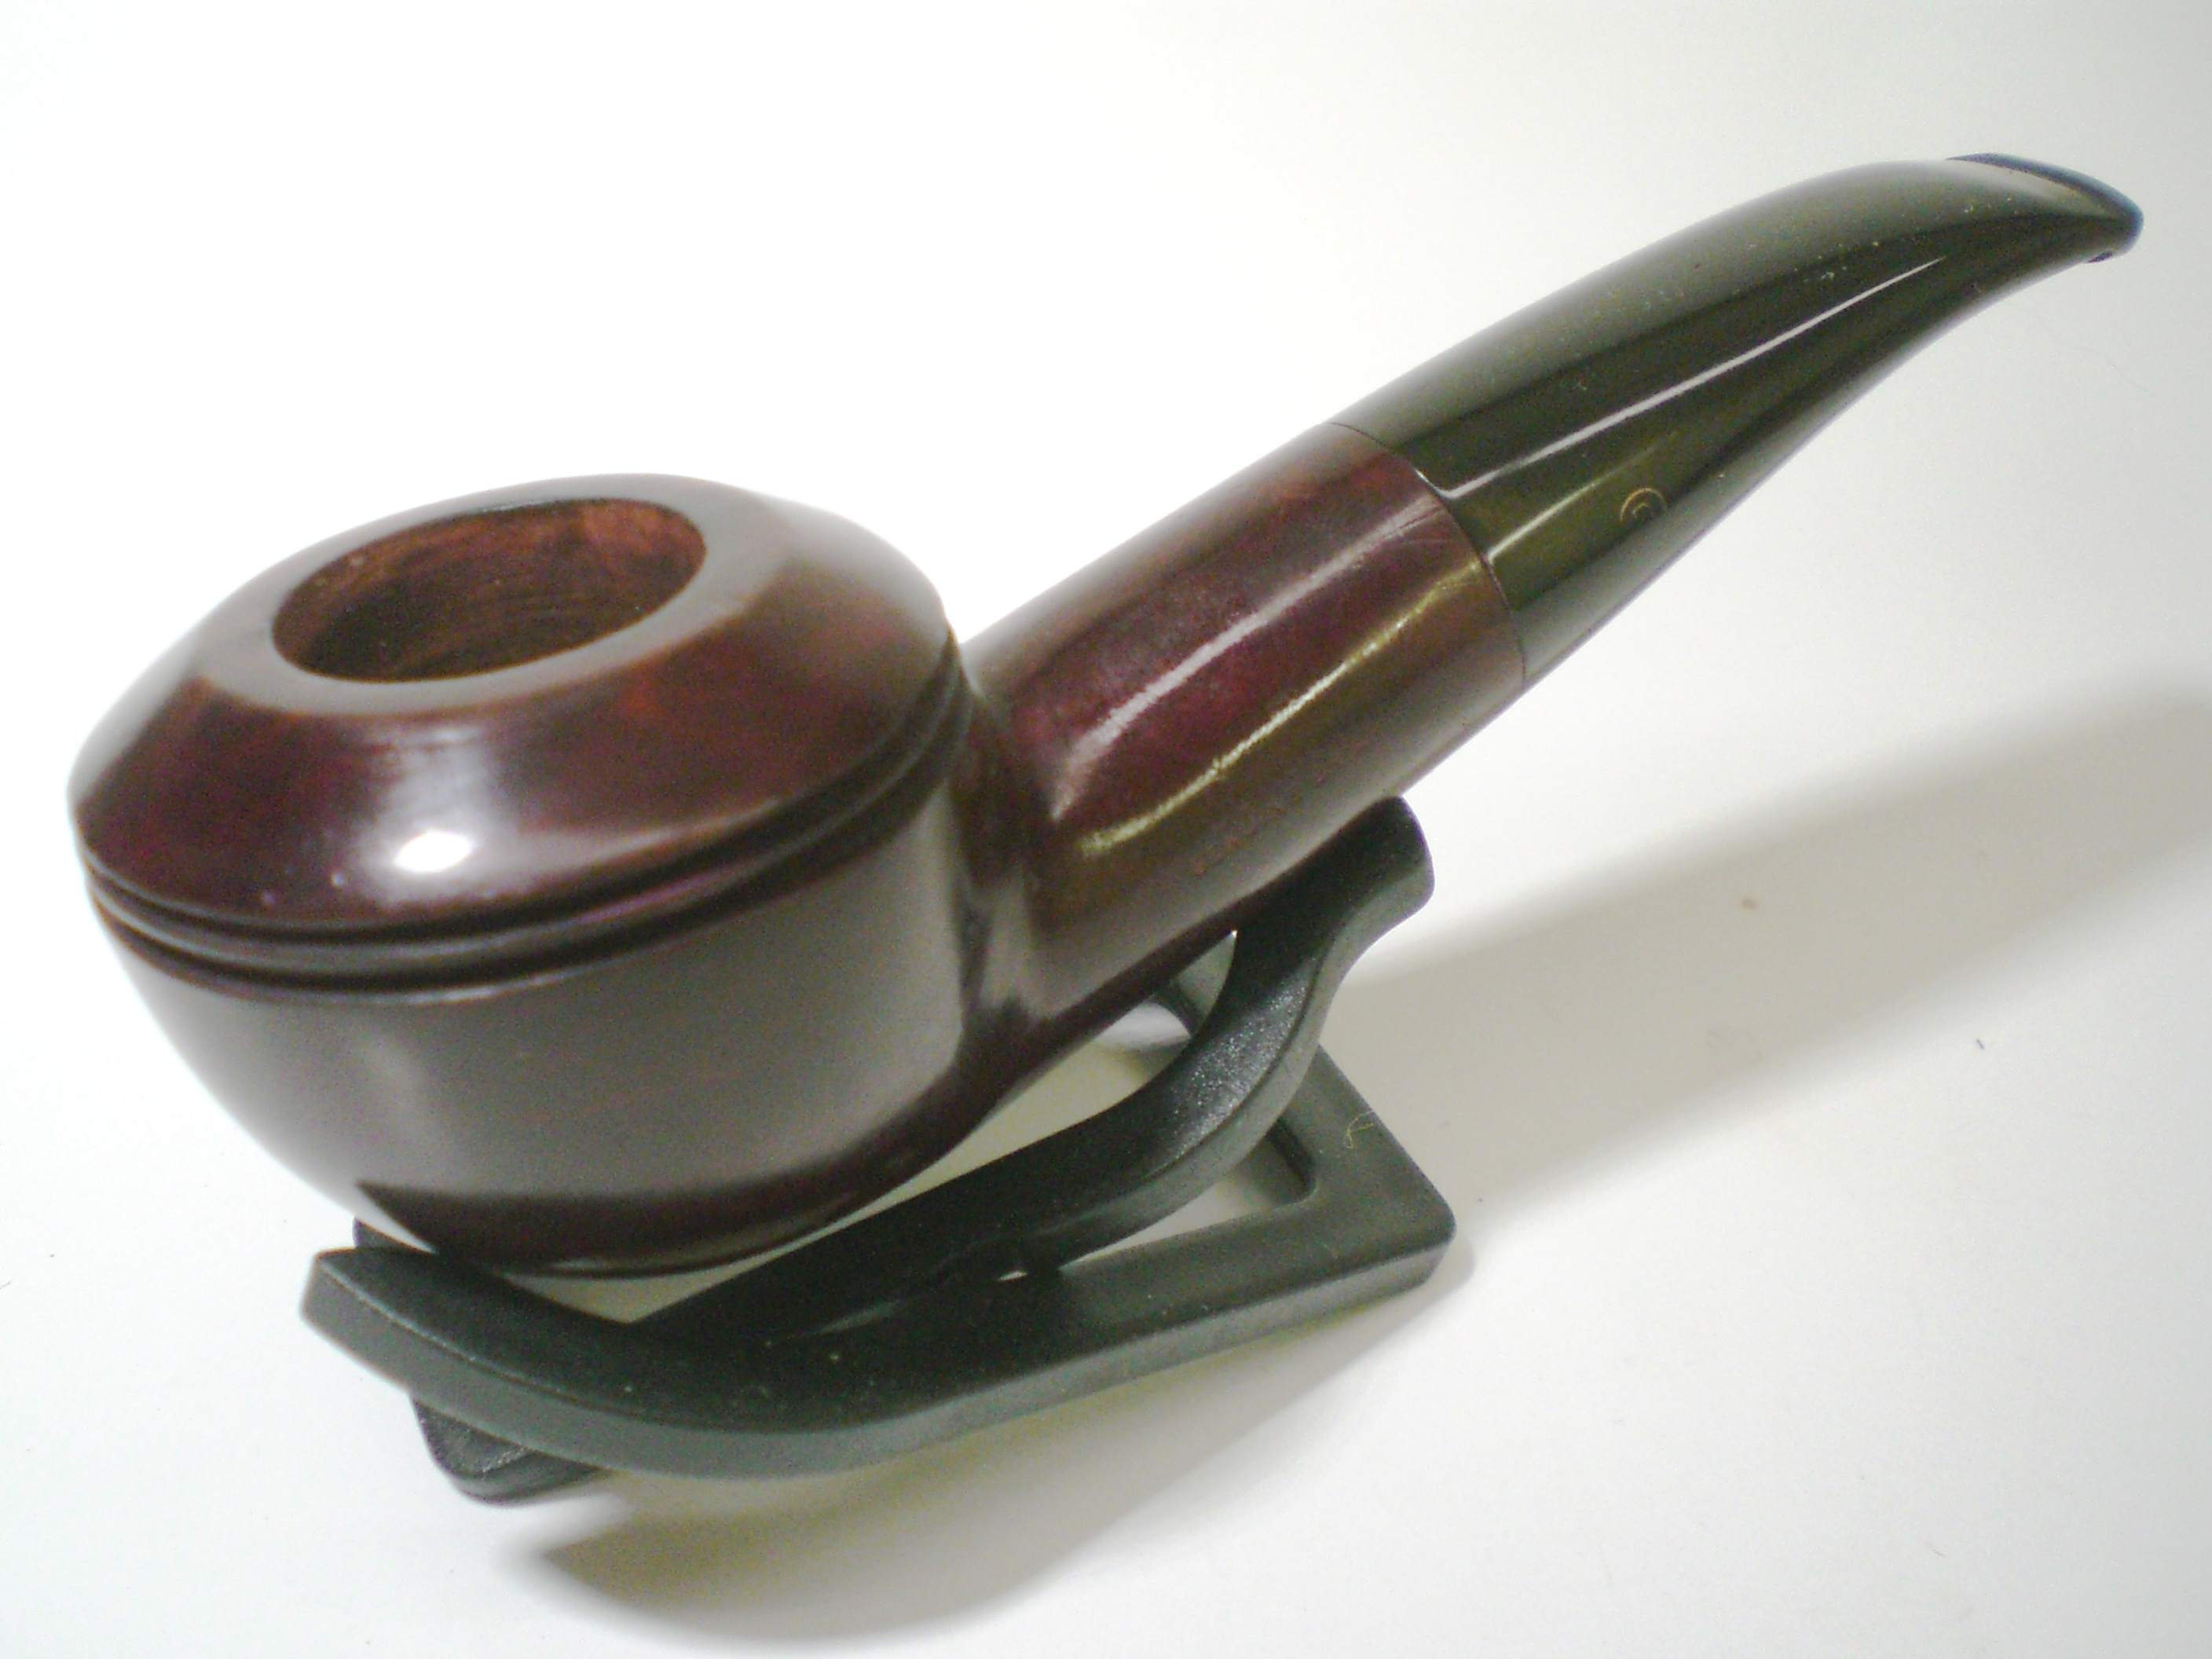
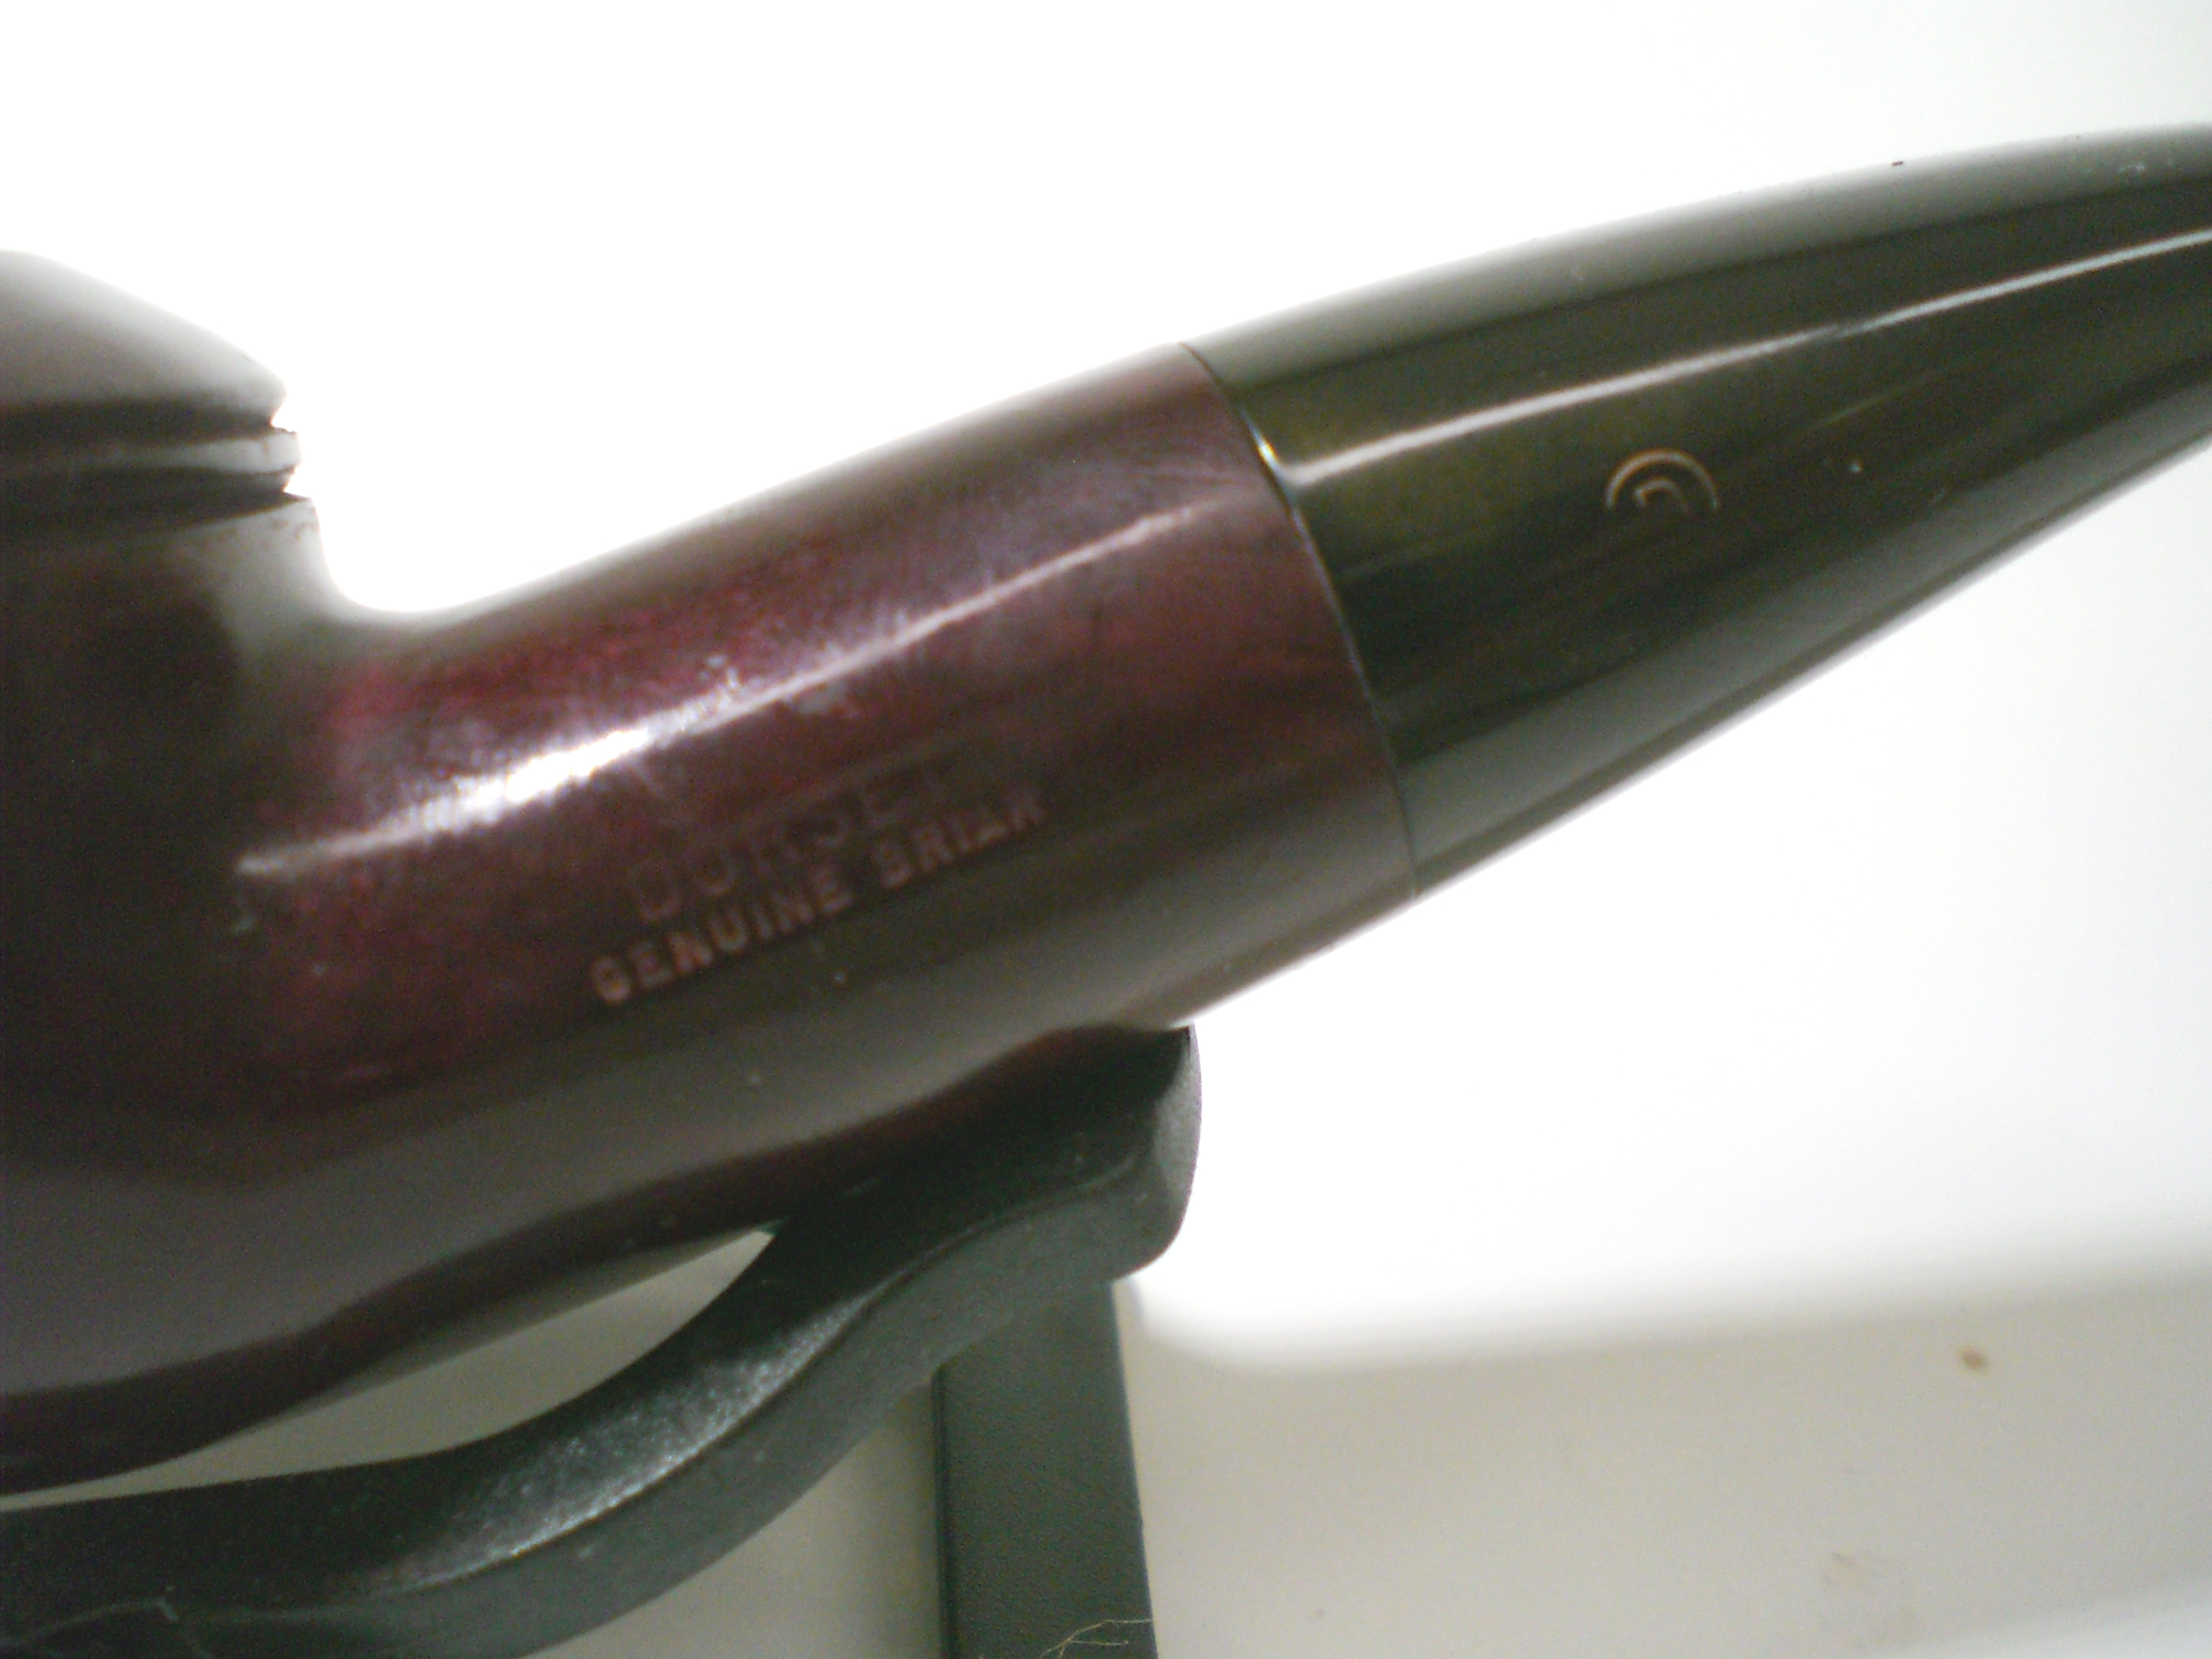
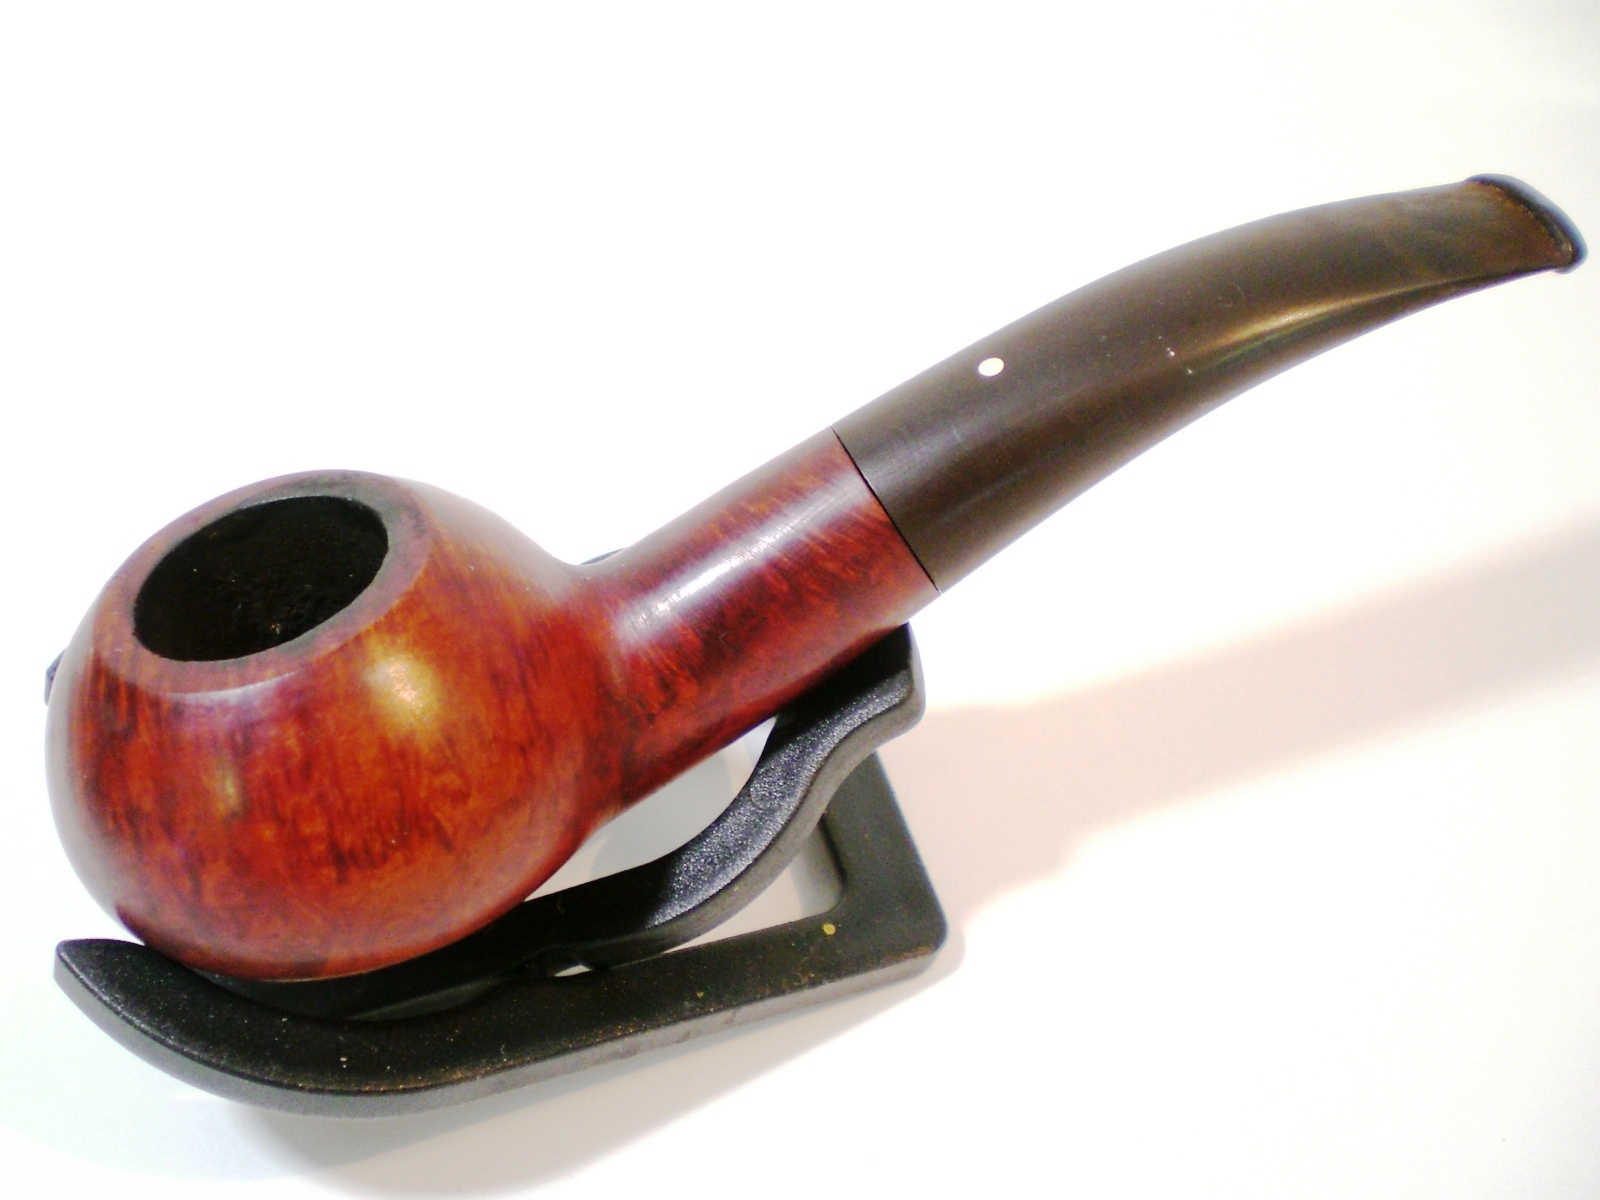
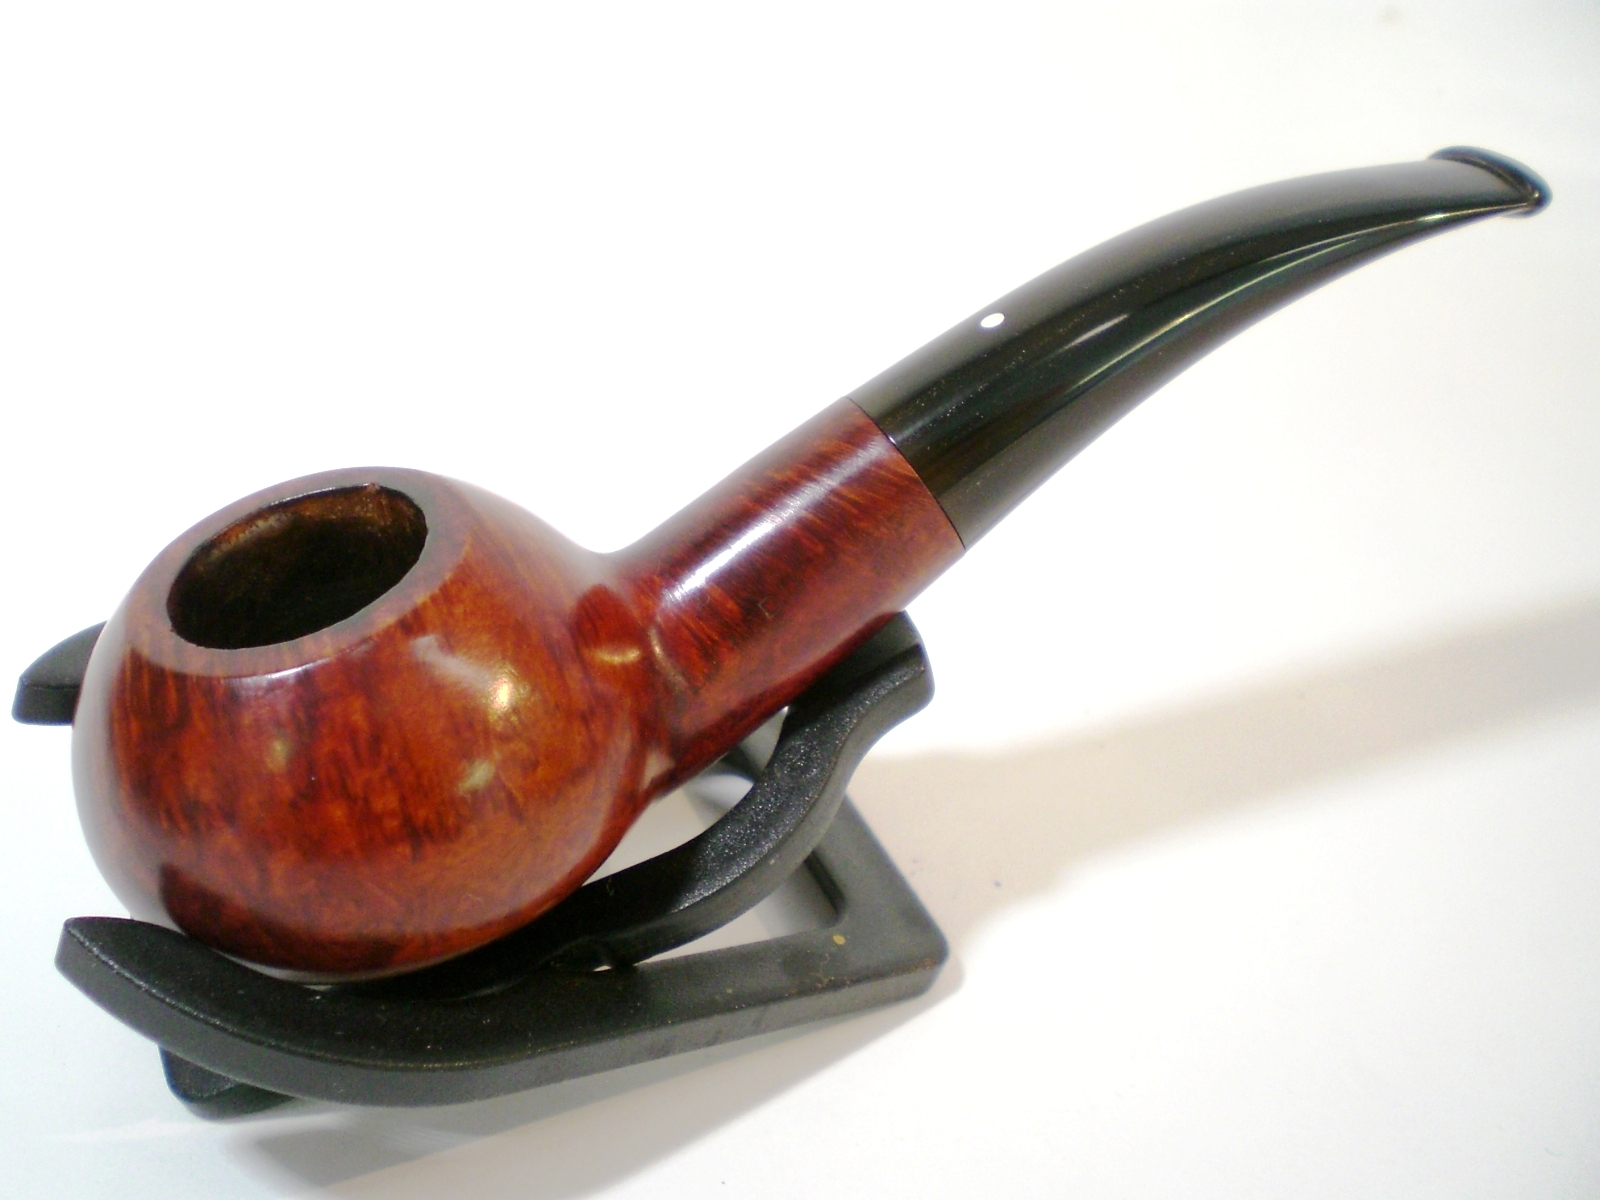
I found this unknown to me pipe on Ebay. It looked to be in decent condition and it is a shape that I love (tapered stem Rhodesian). The pipe had a dark red finish, with a few fills but they were covered up nicely. The stem fitment was excellent and also in overall very good condition. I was hoping that this would be a relatively easy restoration.

Dorset_Rhodesian (1)

Dorset_Rhodesian

Dorset_Rhodesian (3)

Dorset_Rhodesian (5)

Dorset_Rhodesian (6)

Dorset_Rhodesian (2)

Dorset_Rhodesian (8)

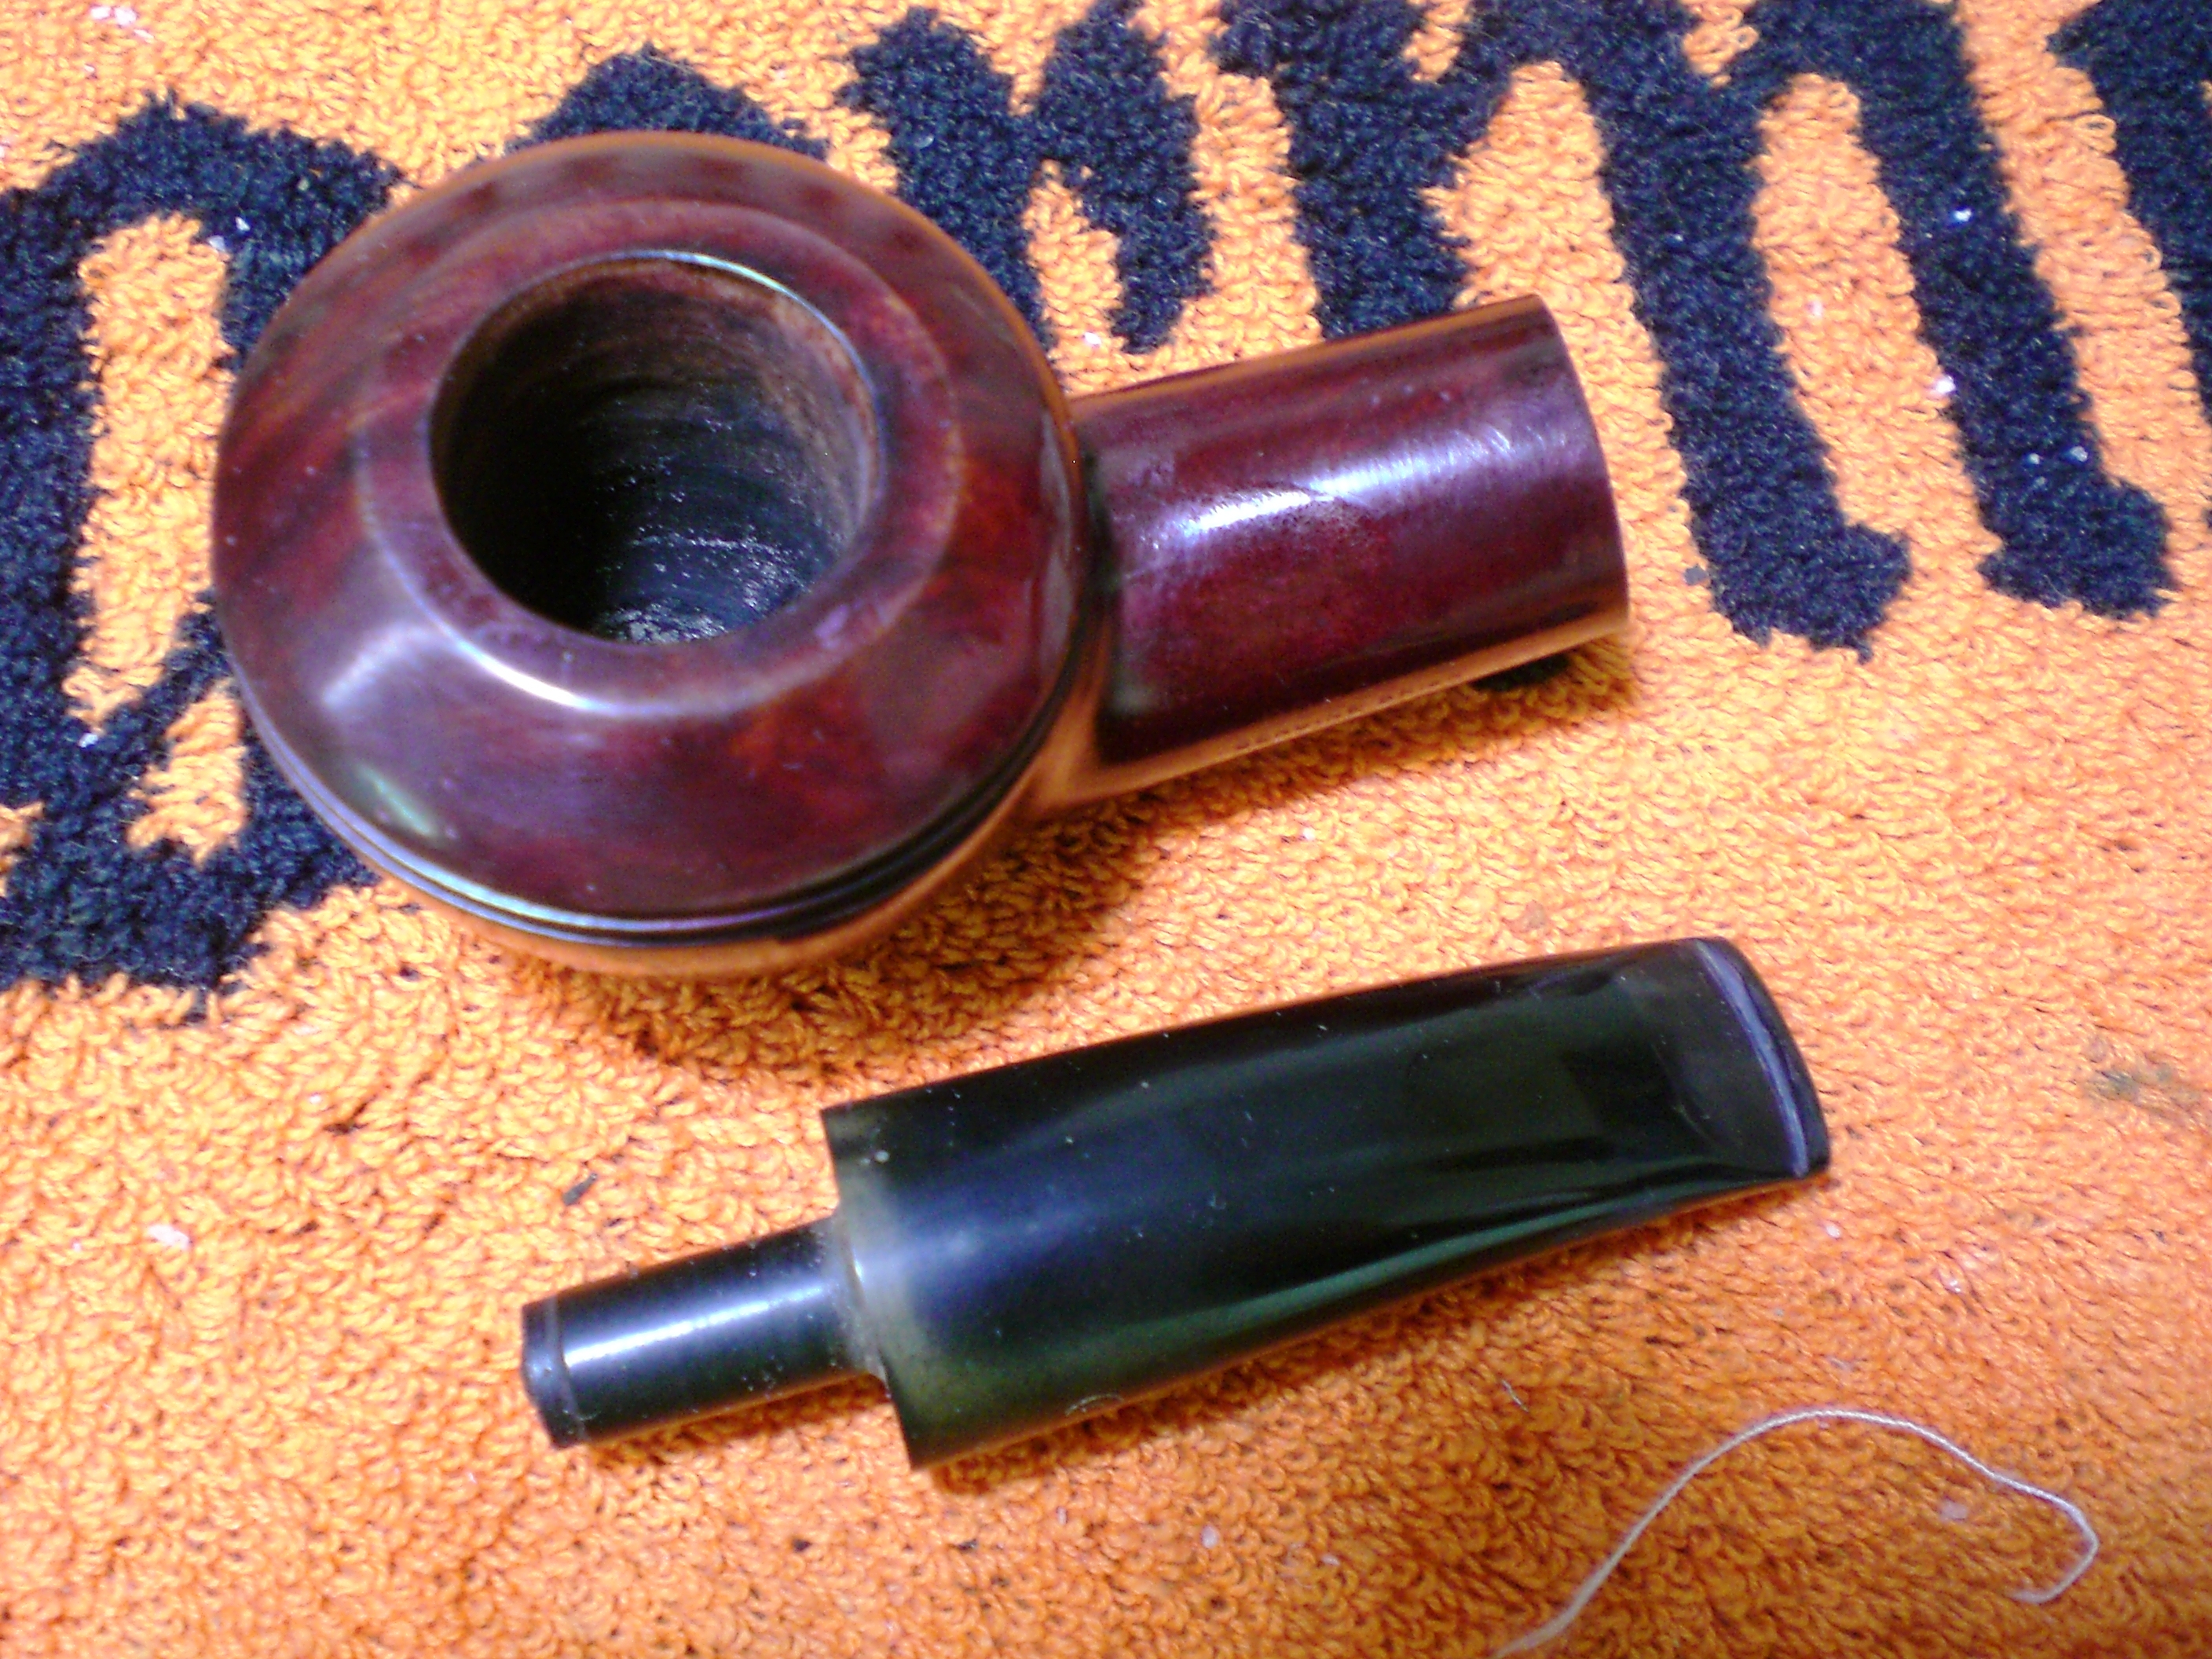
I reamed the light cake from the bowl and soaked it for several hours with isopropyl alcohol and sea salt. The bowl only required a light buff with white diamond to bring back the shine, after which I applied several coats of carnuba wax. The bowl had some scuff marks but they came out nicely. The beading around the bowl was in excellent condition.

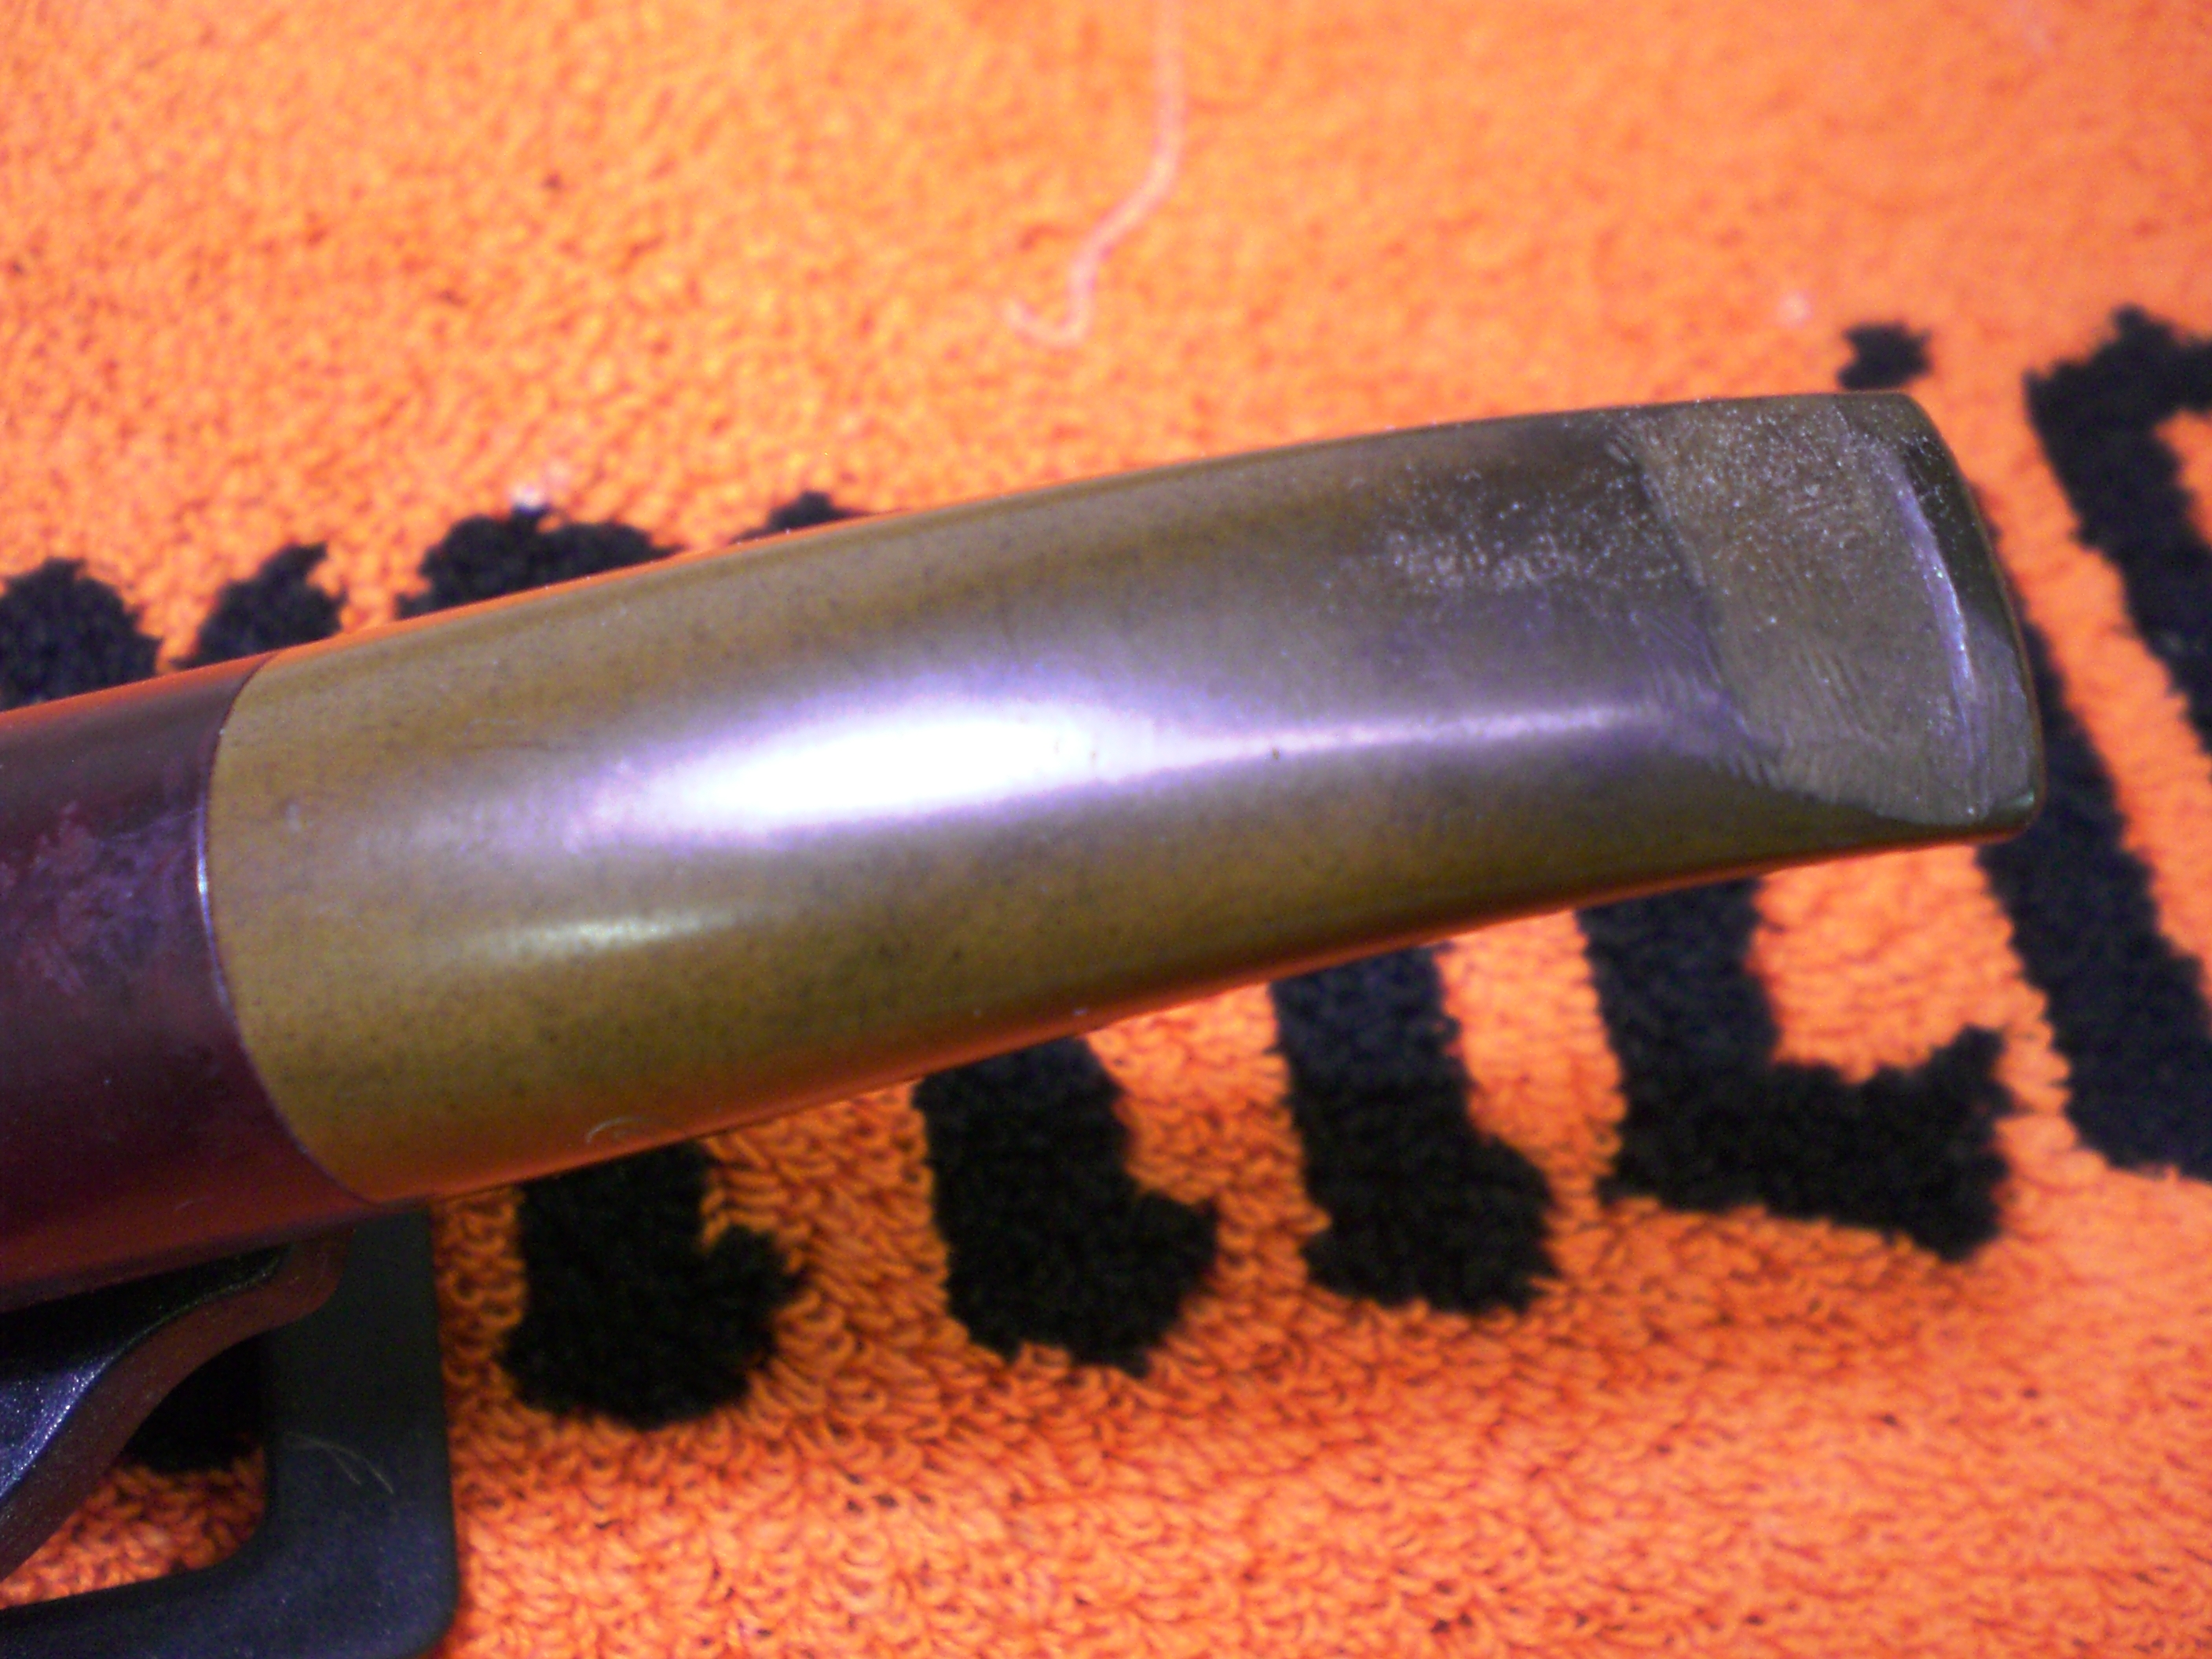
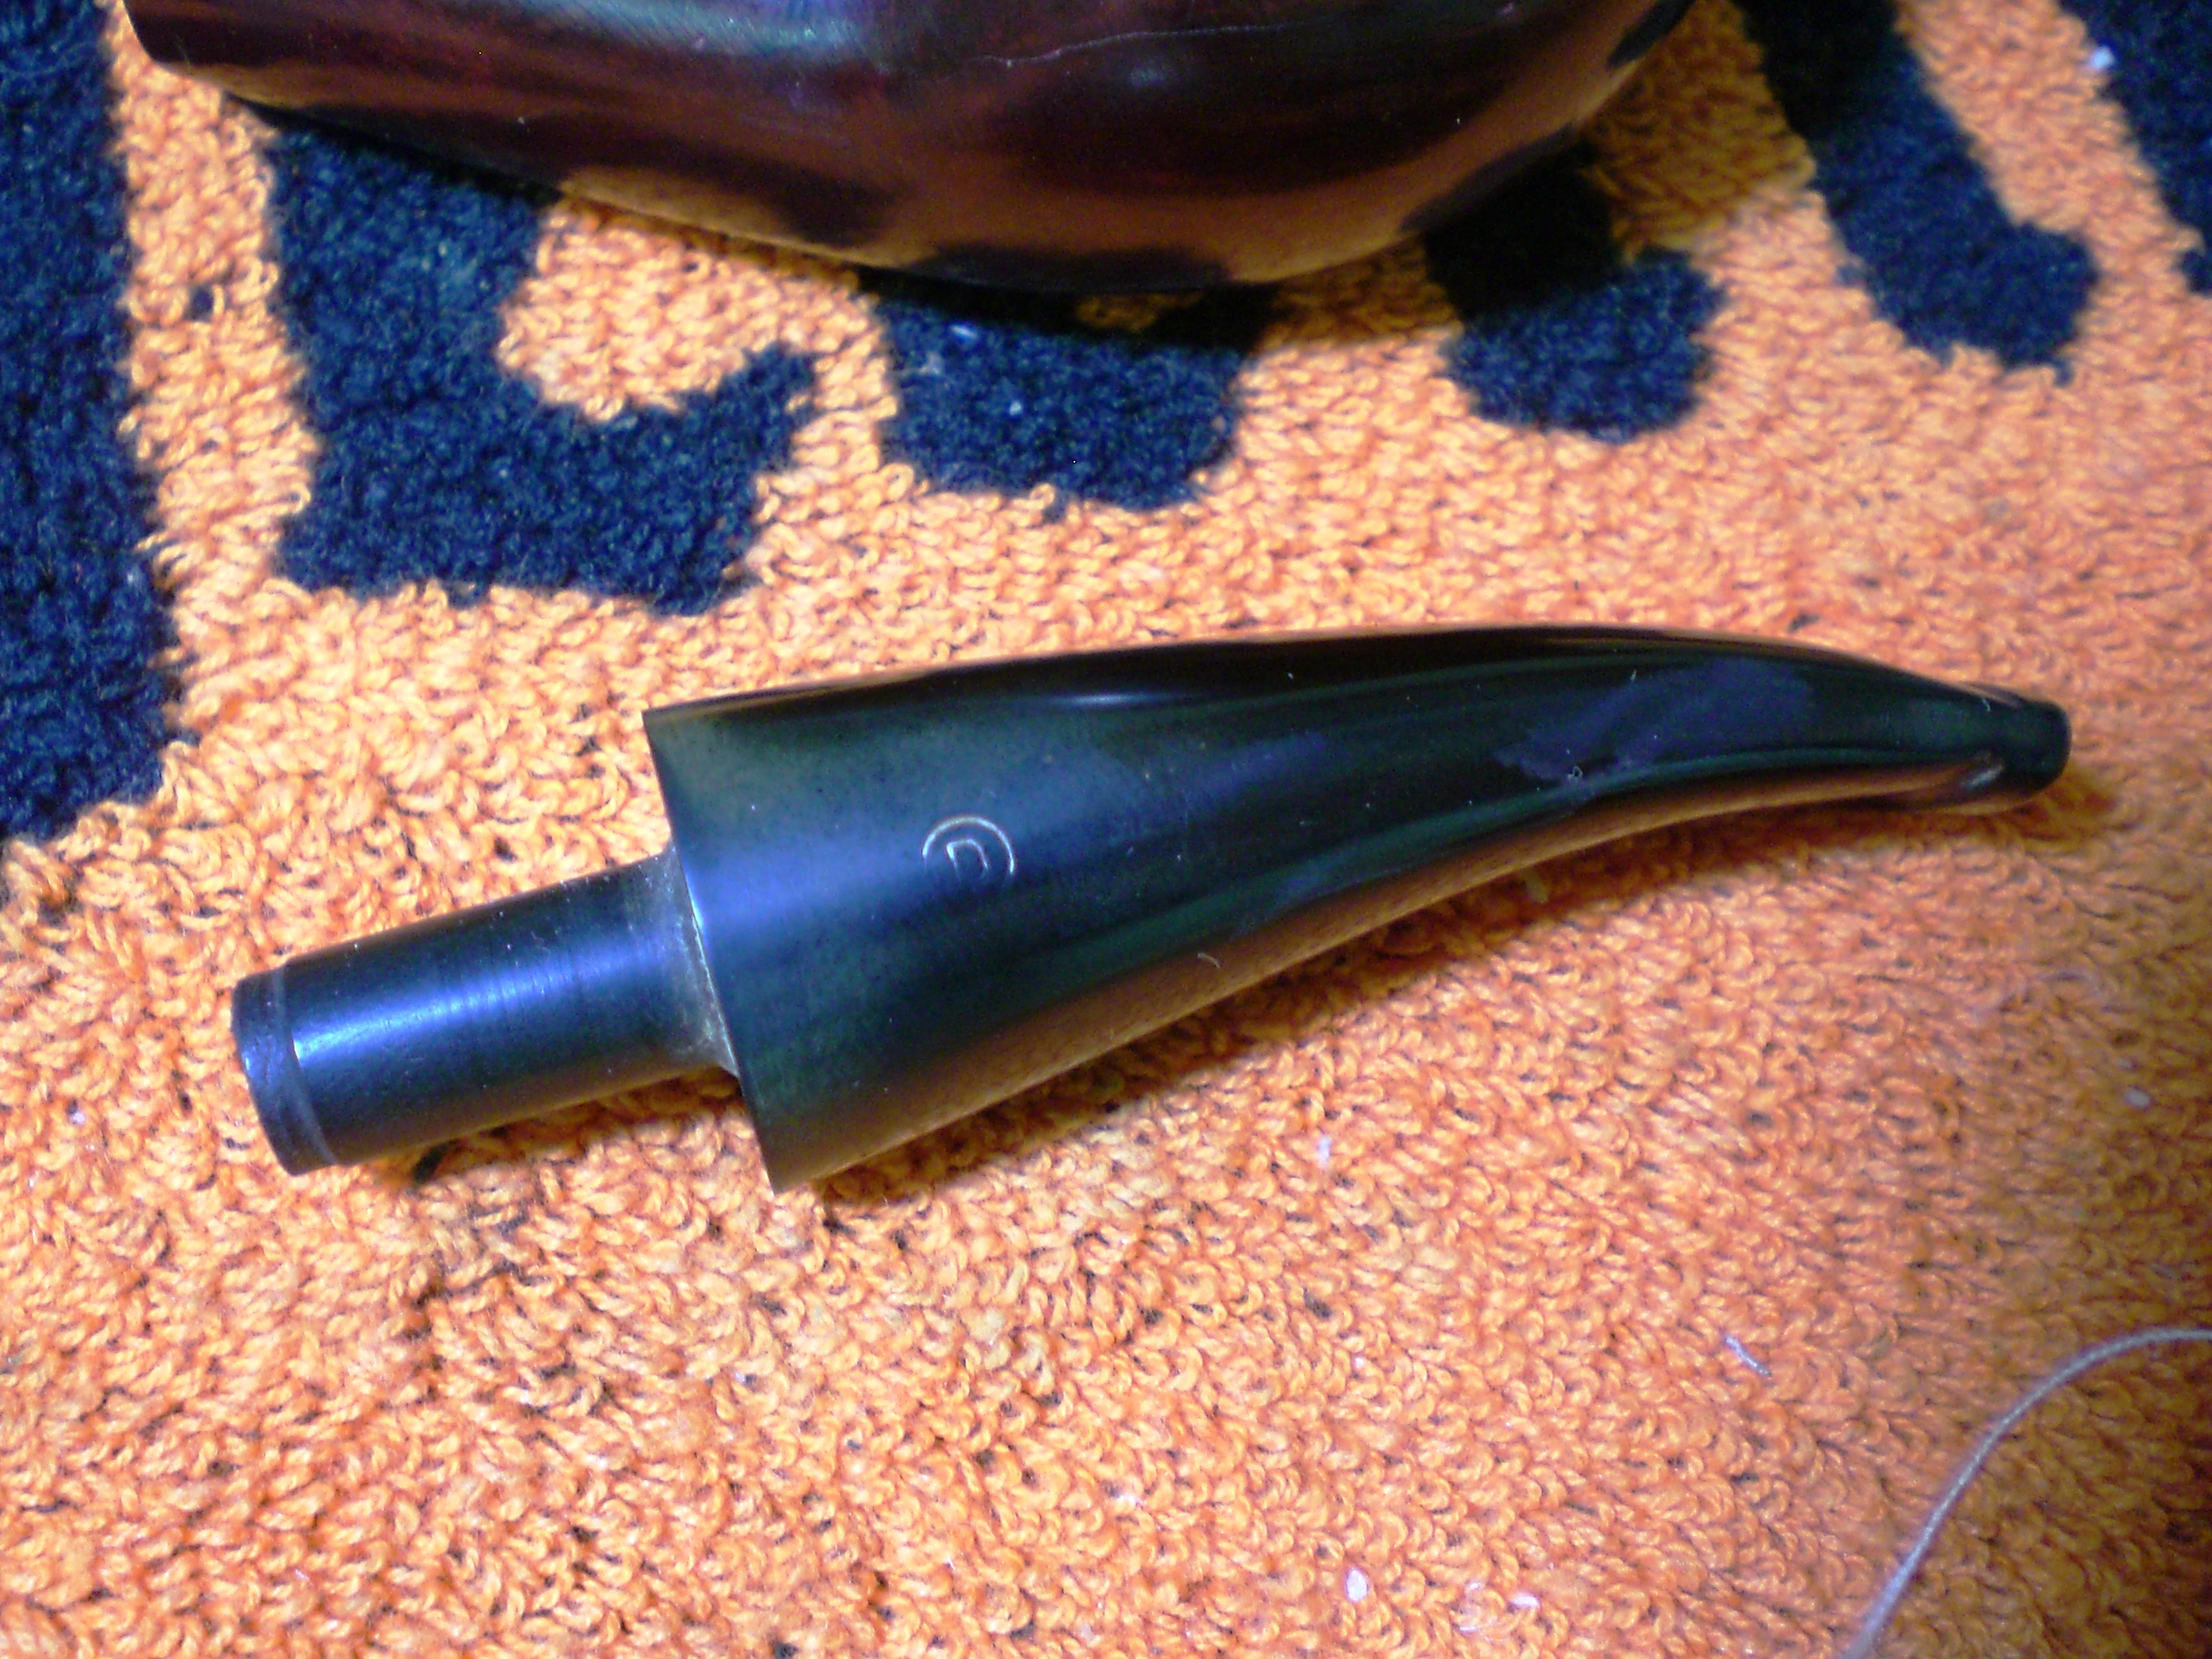
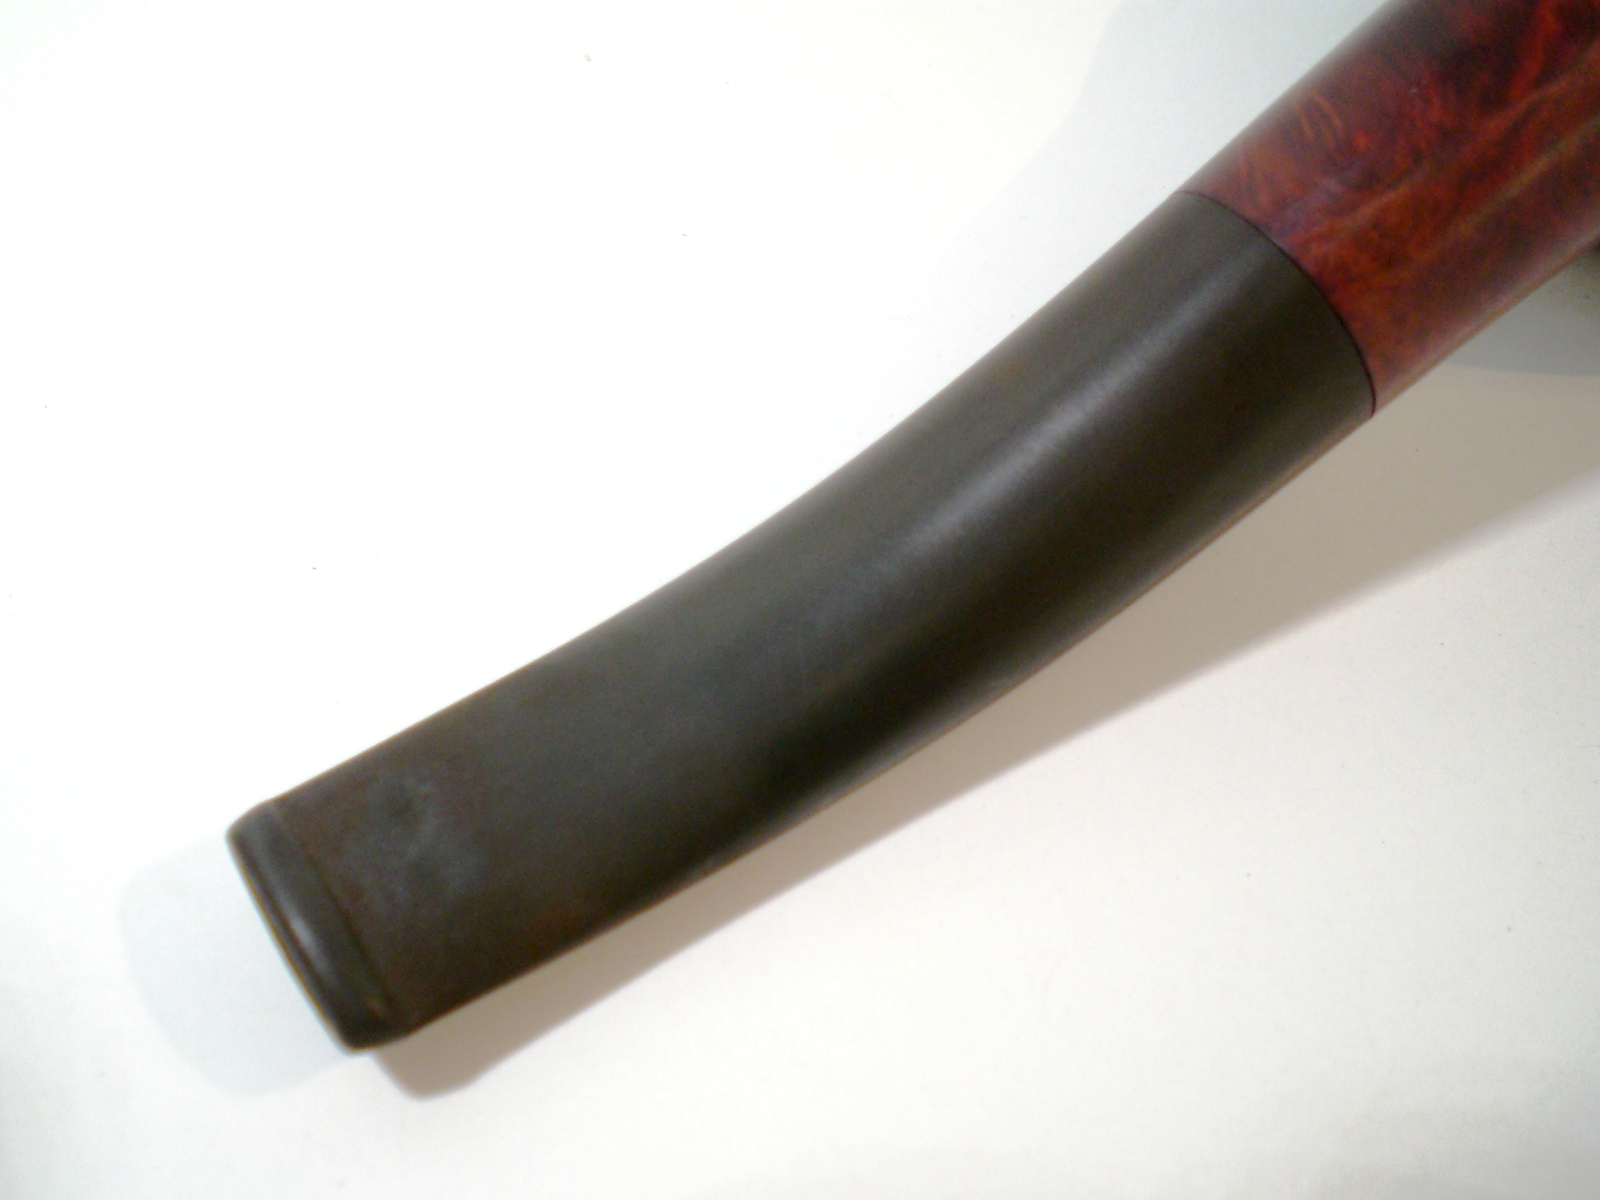
The stem was badly oxidized, but in great shape. I soaked it in a mild oxyclean solution, then used first 800 then 1500 and 2000 grit wet sandpaper to remove the oxidation. After which I sanded it with 8000 and 12000 grade micromesh paper. The stem was inserted back onto the bowl for work around the shank end and I was careful not to damage the “D” stem stamp. I then buffed the stem with white diamond and red rouge, followed by a buff using automotive plastic polish. The stem came back quite nicely. Here is the stem before moving to the buffing wheel.

Dorset_Rhodesian (9)

Overall, I was very pleased with the finish of the pipe. It was delivered to the new owner this weekend, and they were also pleased with the appearance and how it smoked.

Dorset_Rhodesian (10)

Dorset_Rhodesian (11)

Dorset_Rhodesian (12)

Dorset_Rhodesian (13)

Dorset_Rhodesian (14)

Dorset_Rhodesian (15)

Dorset_Rhodesian (16)

Falcon Restored


Blog by Al Jones (aka “upshallfan”)

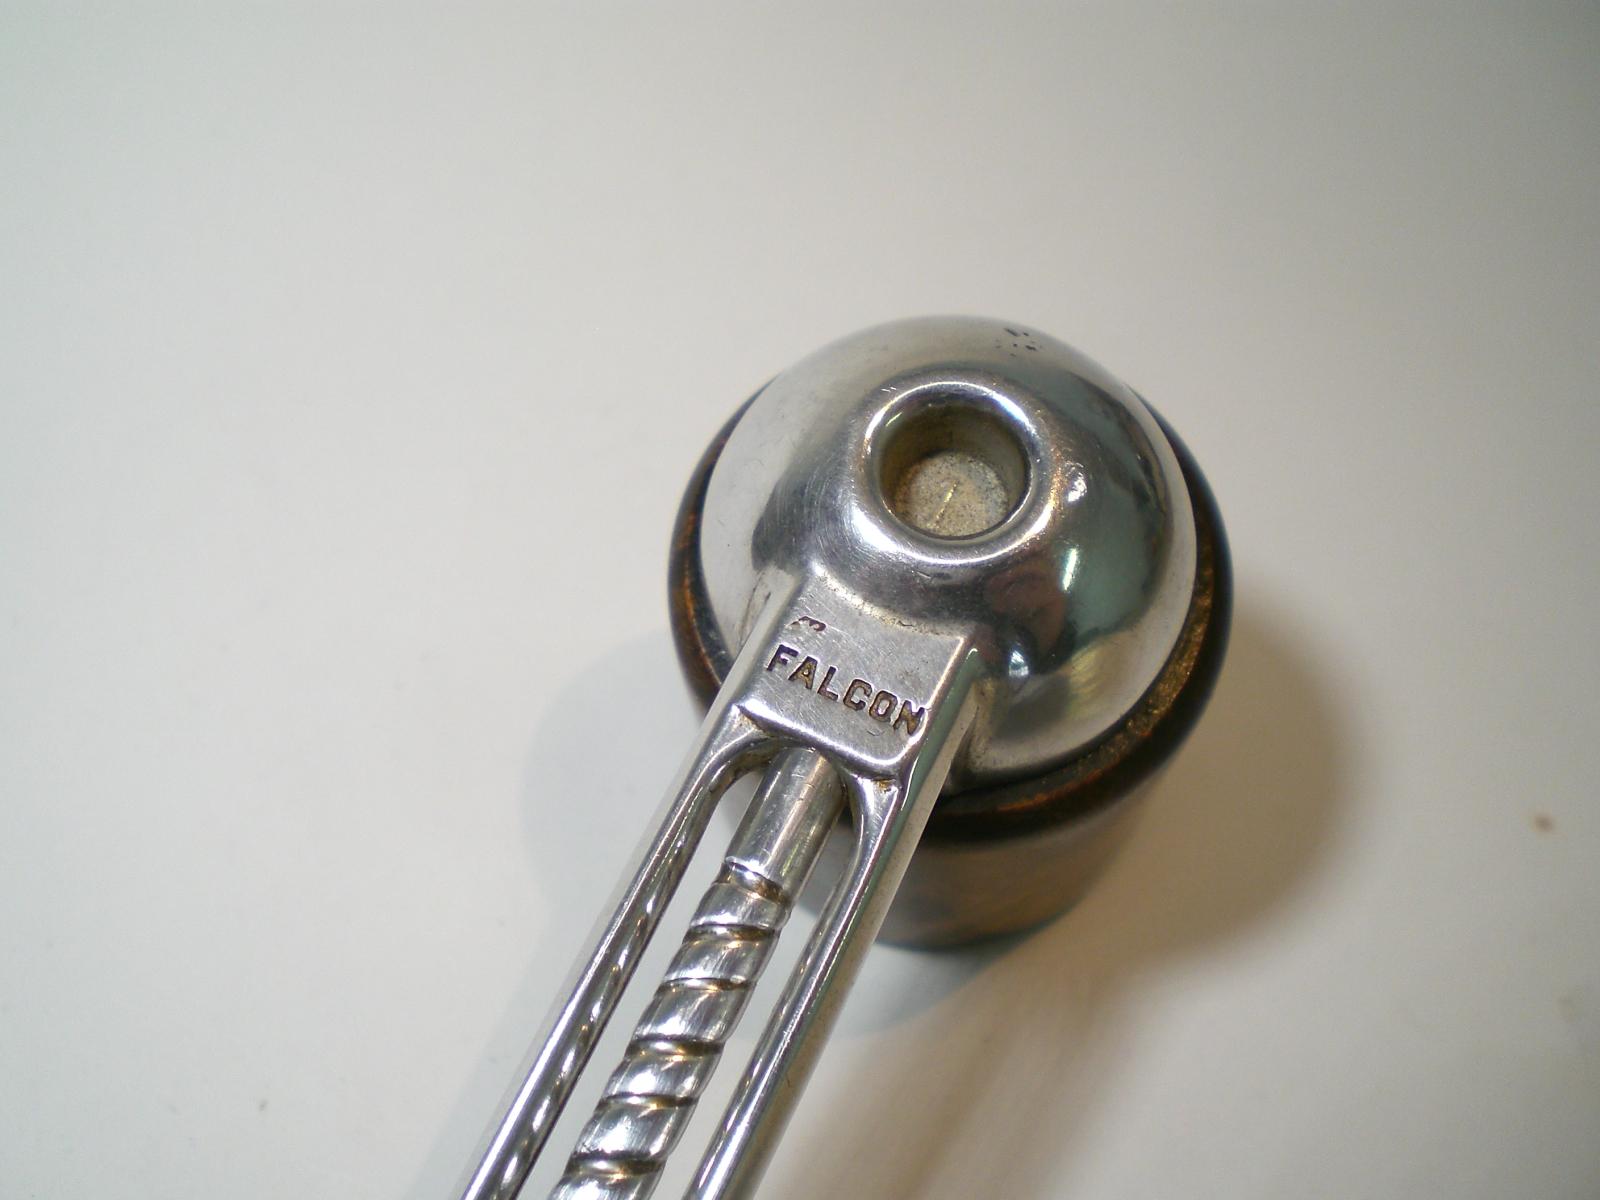
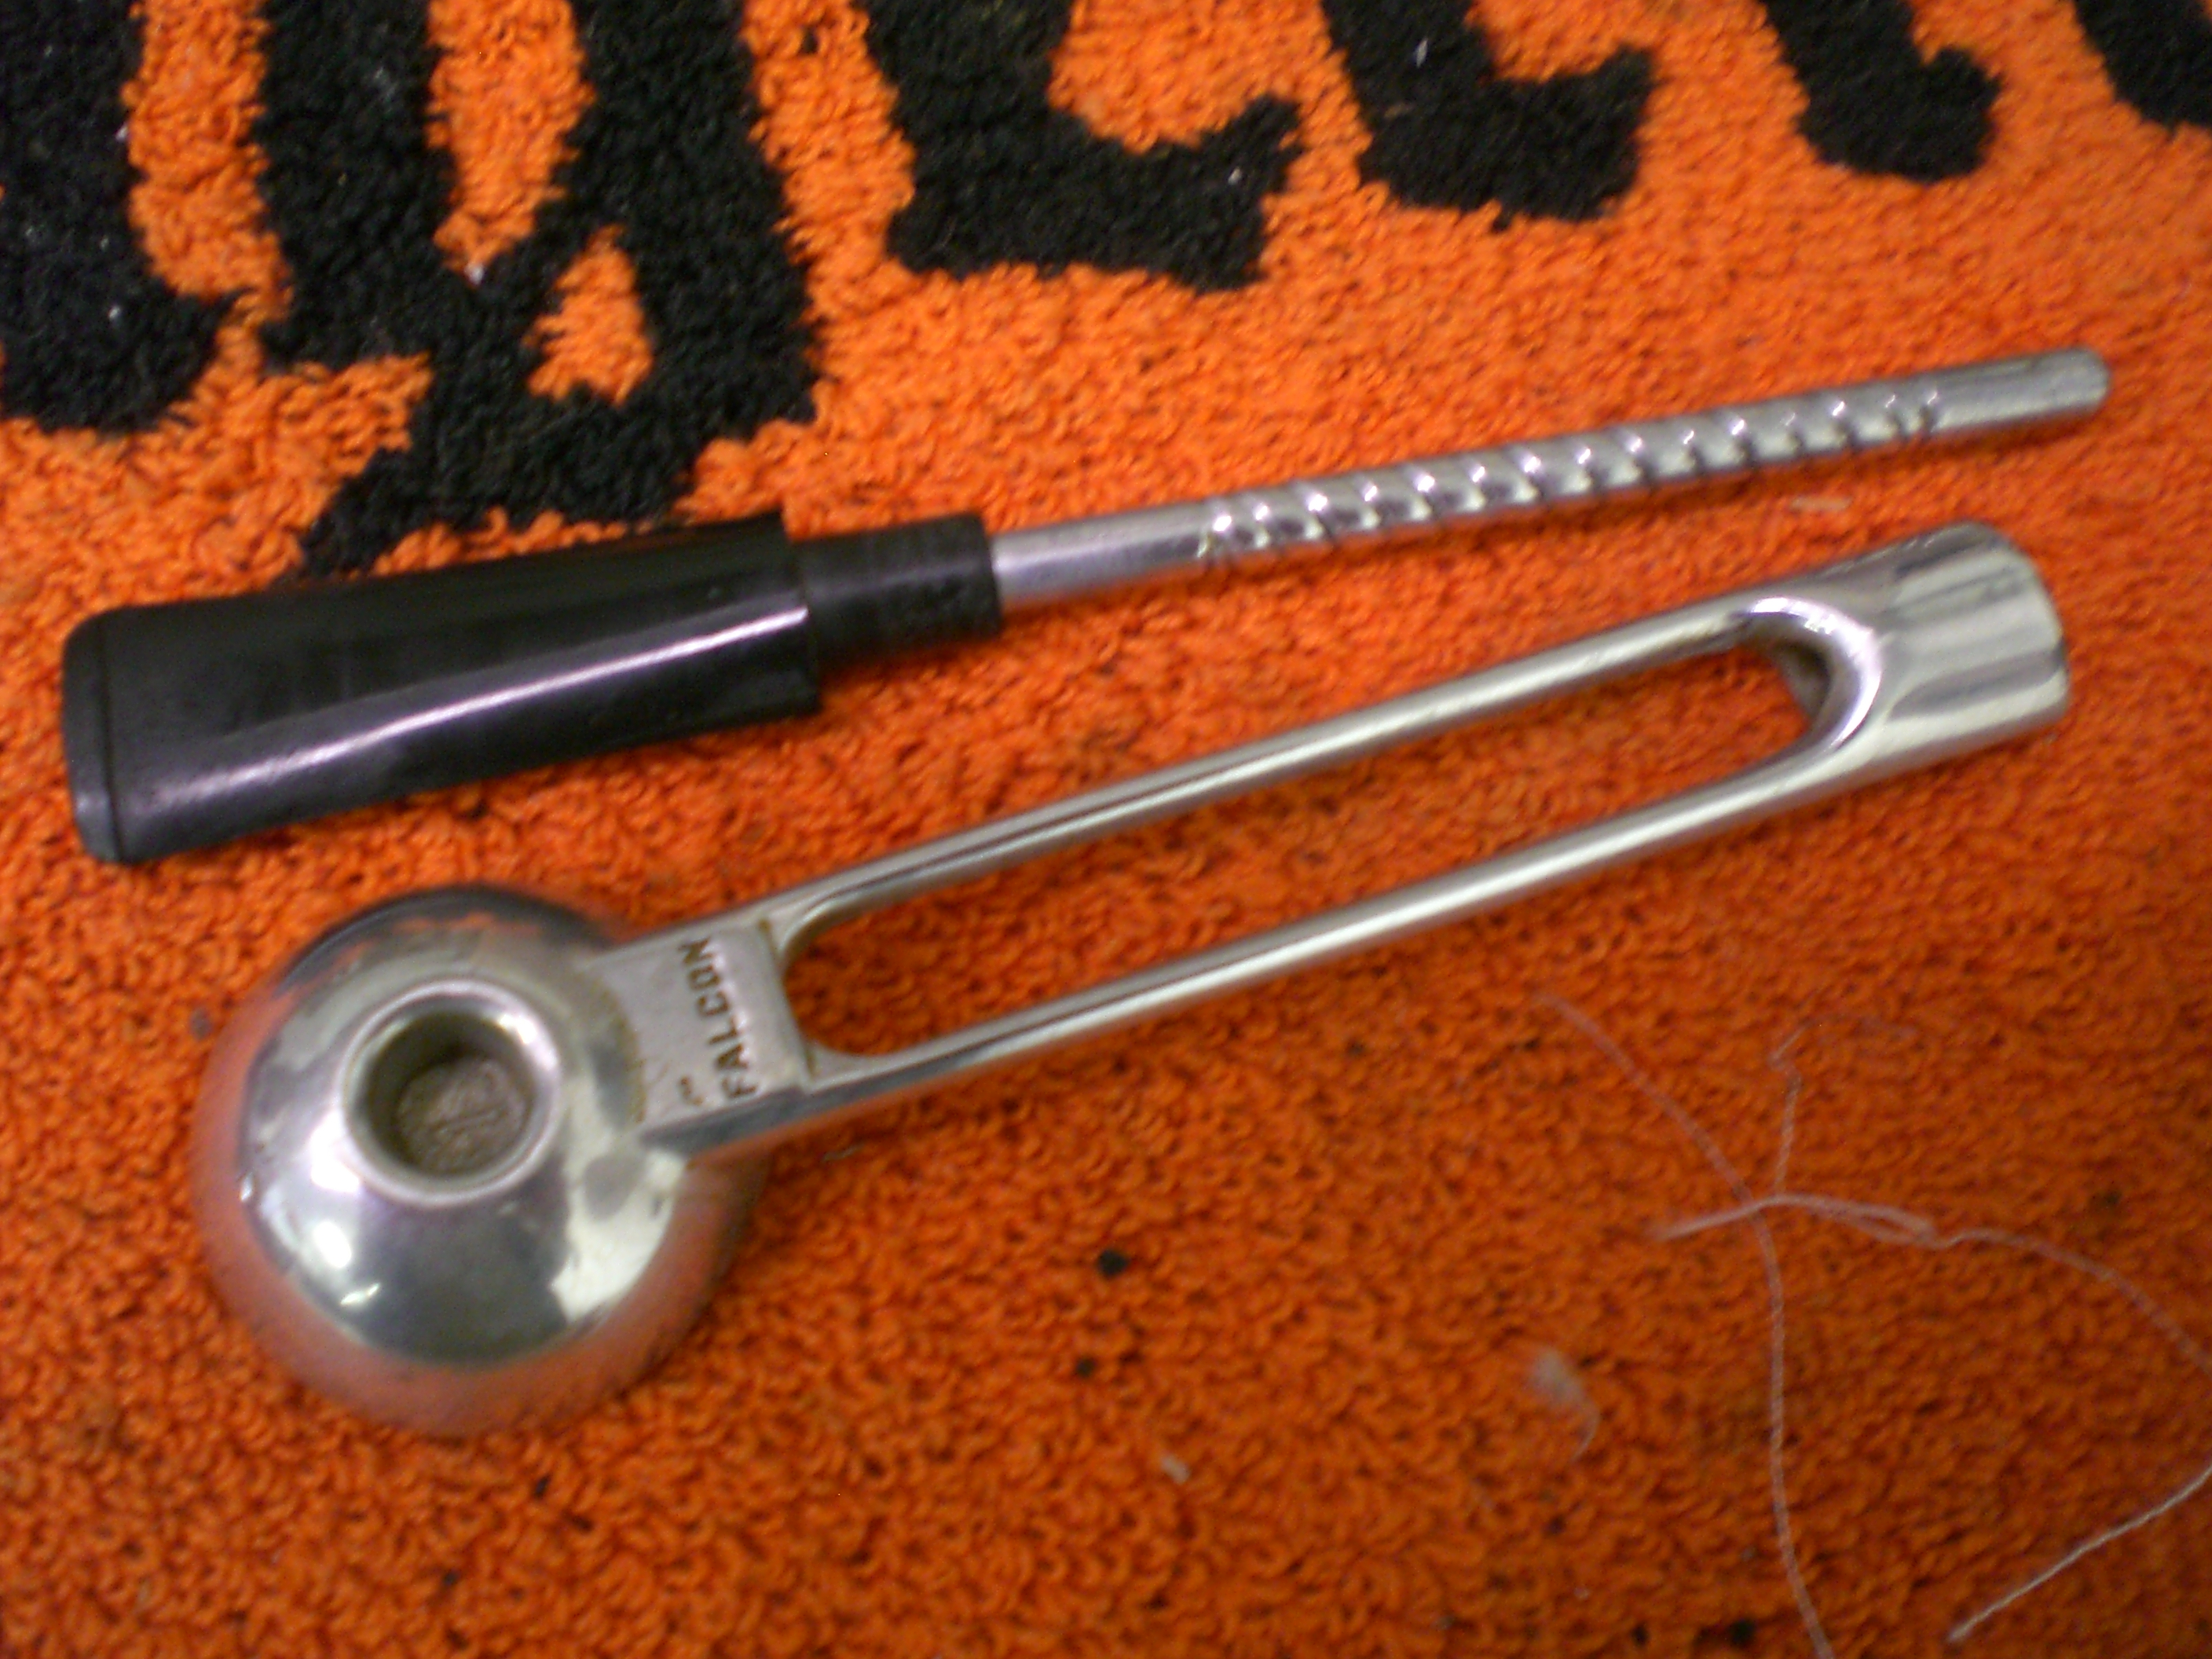
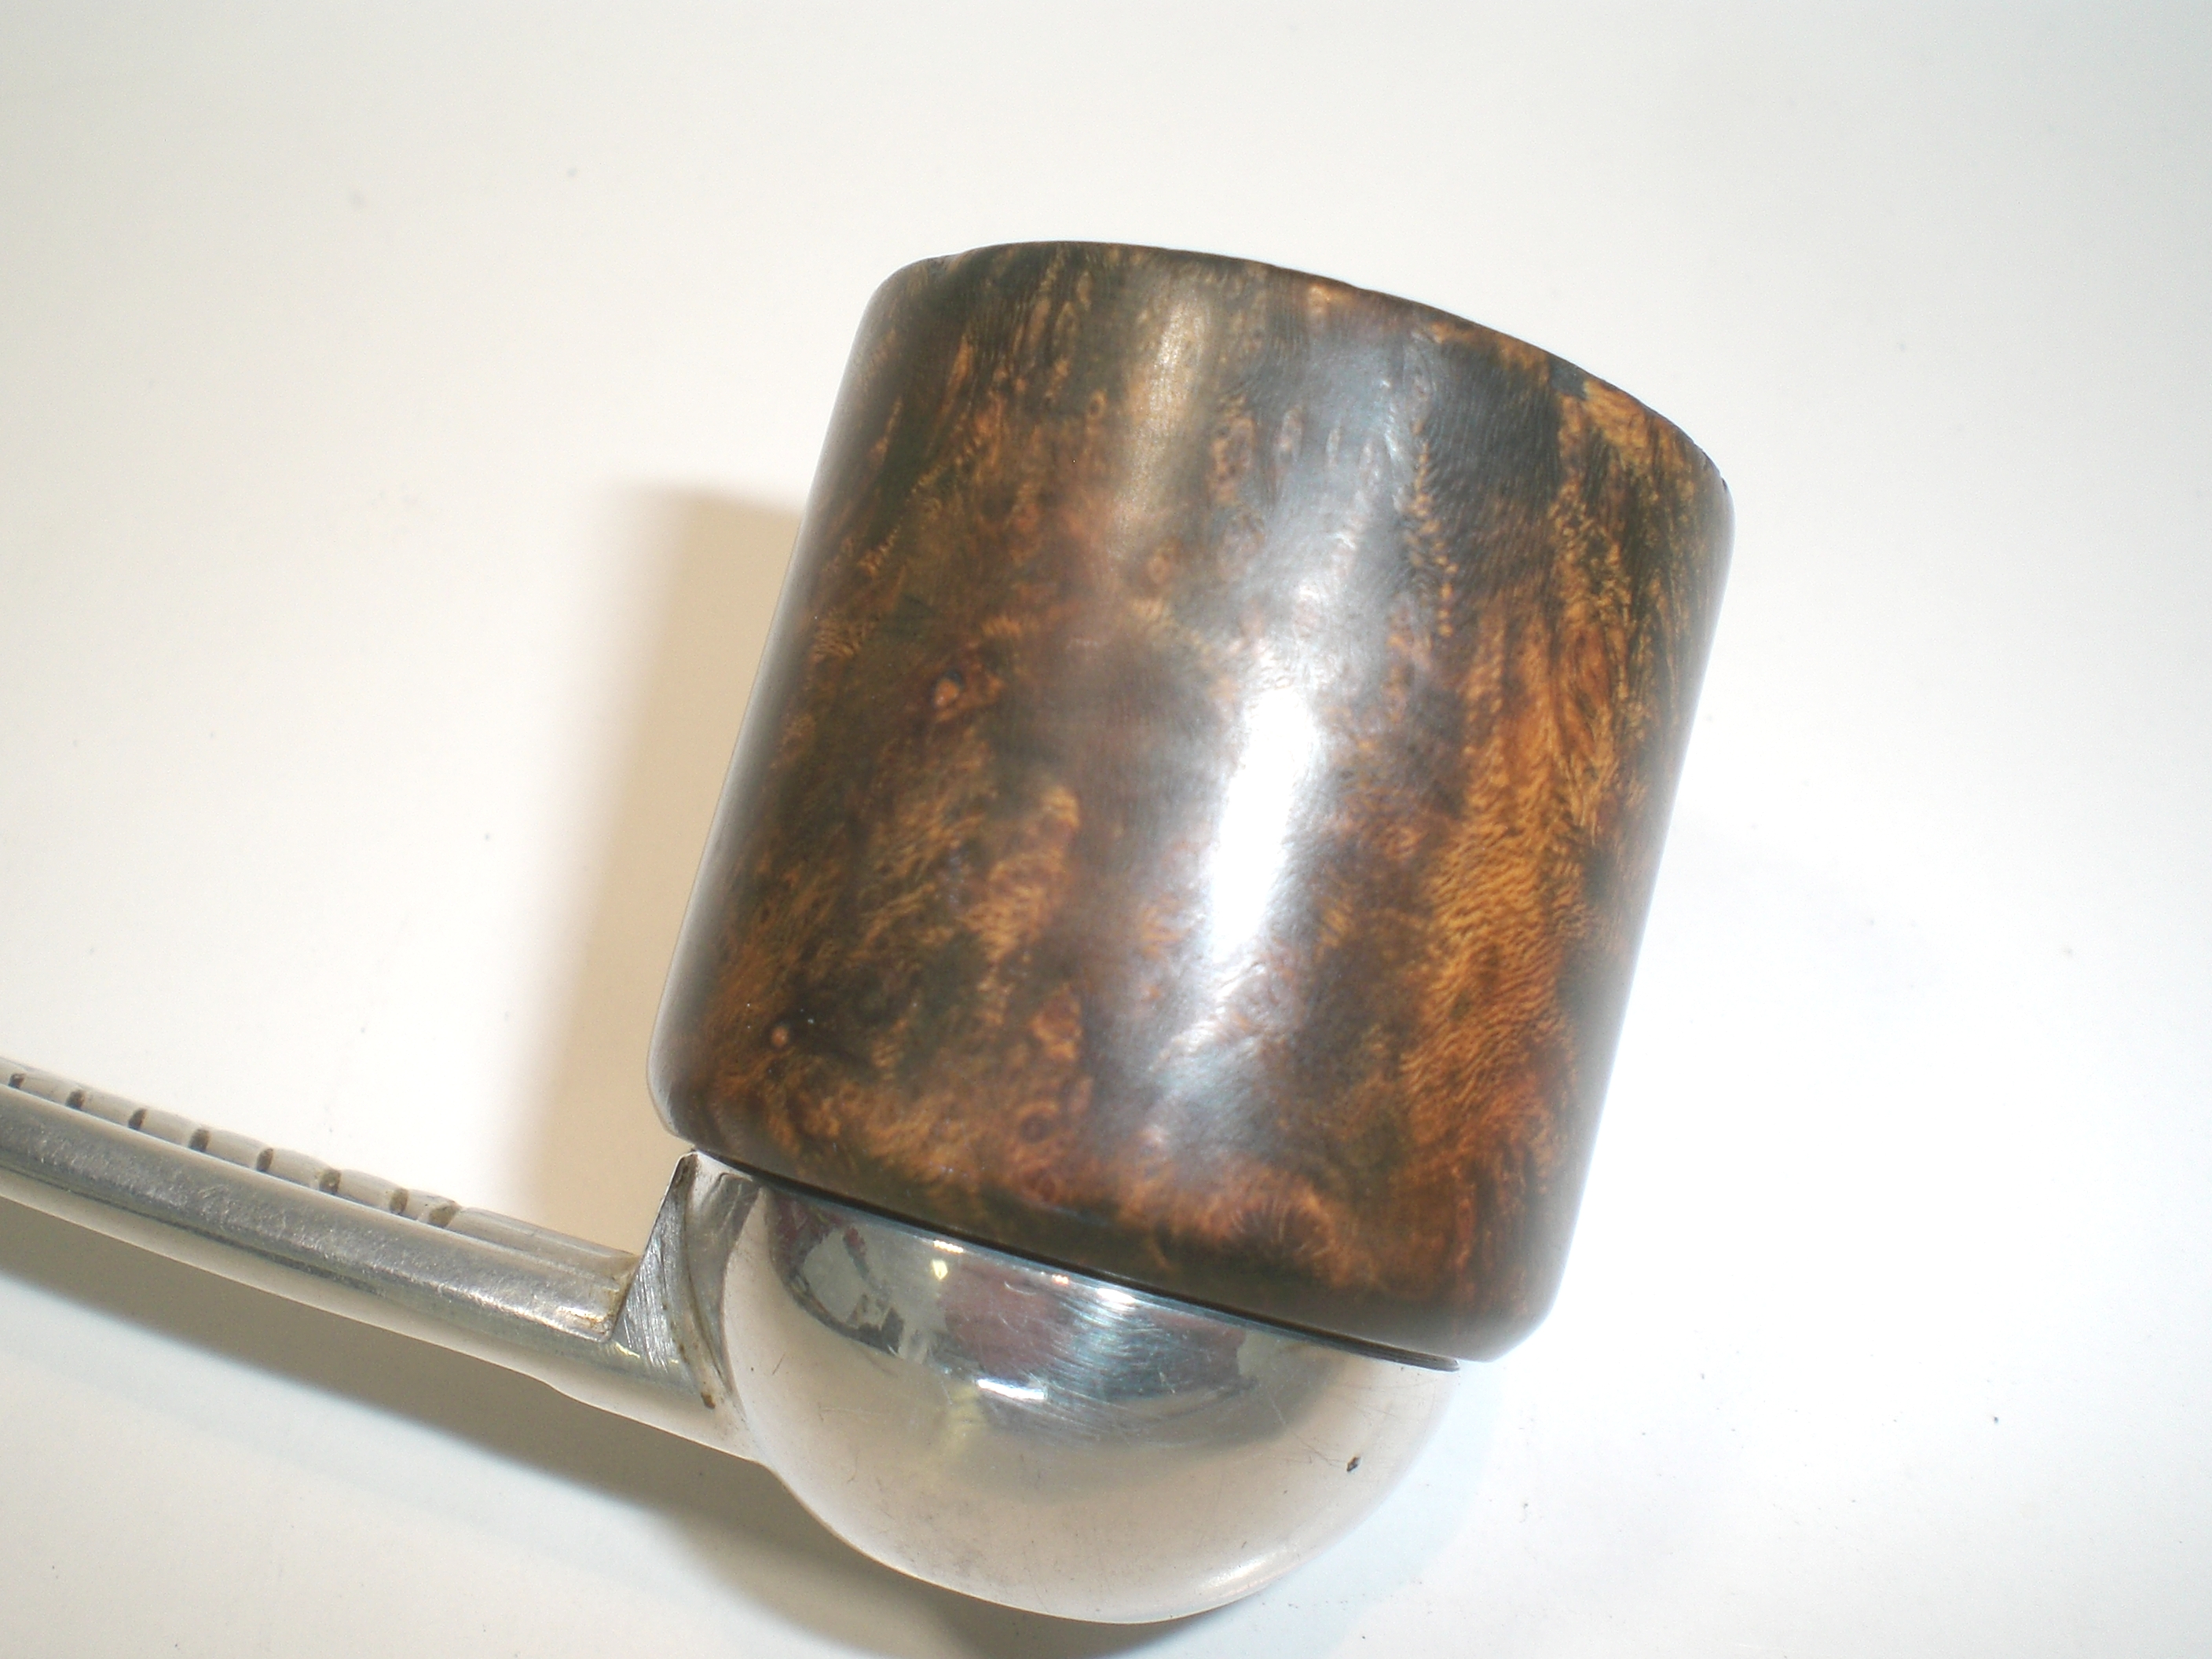
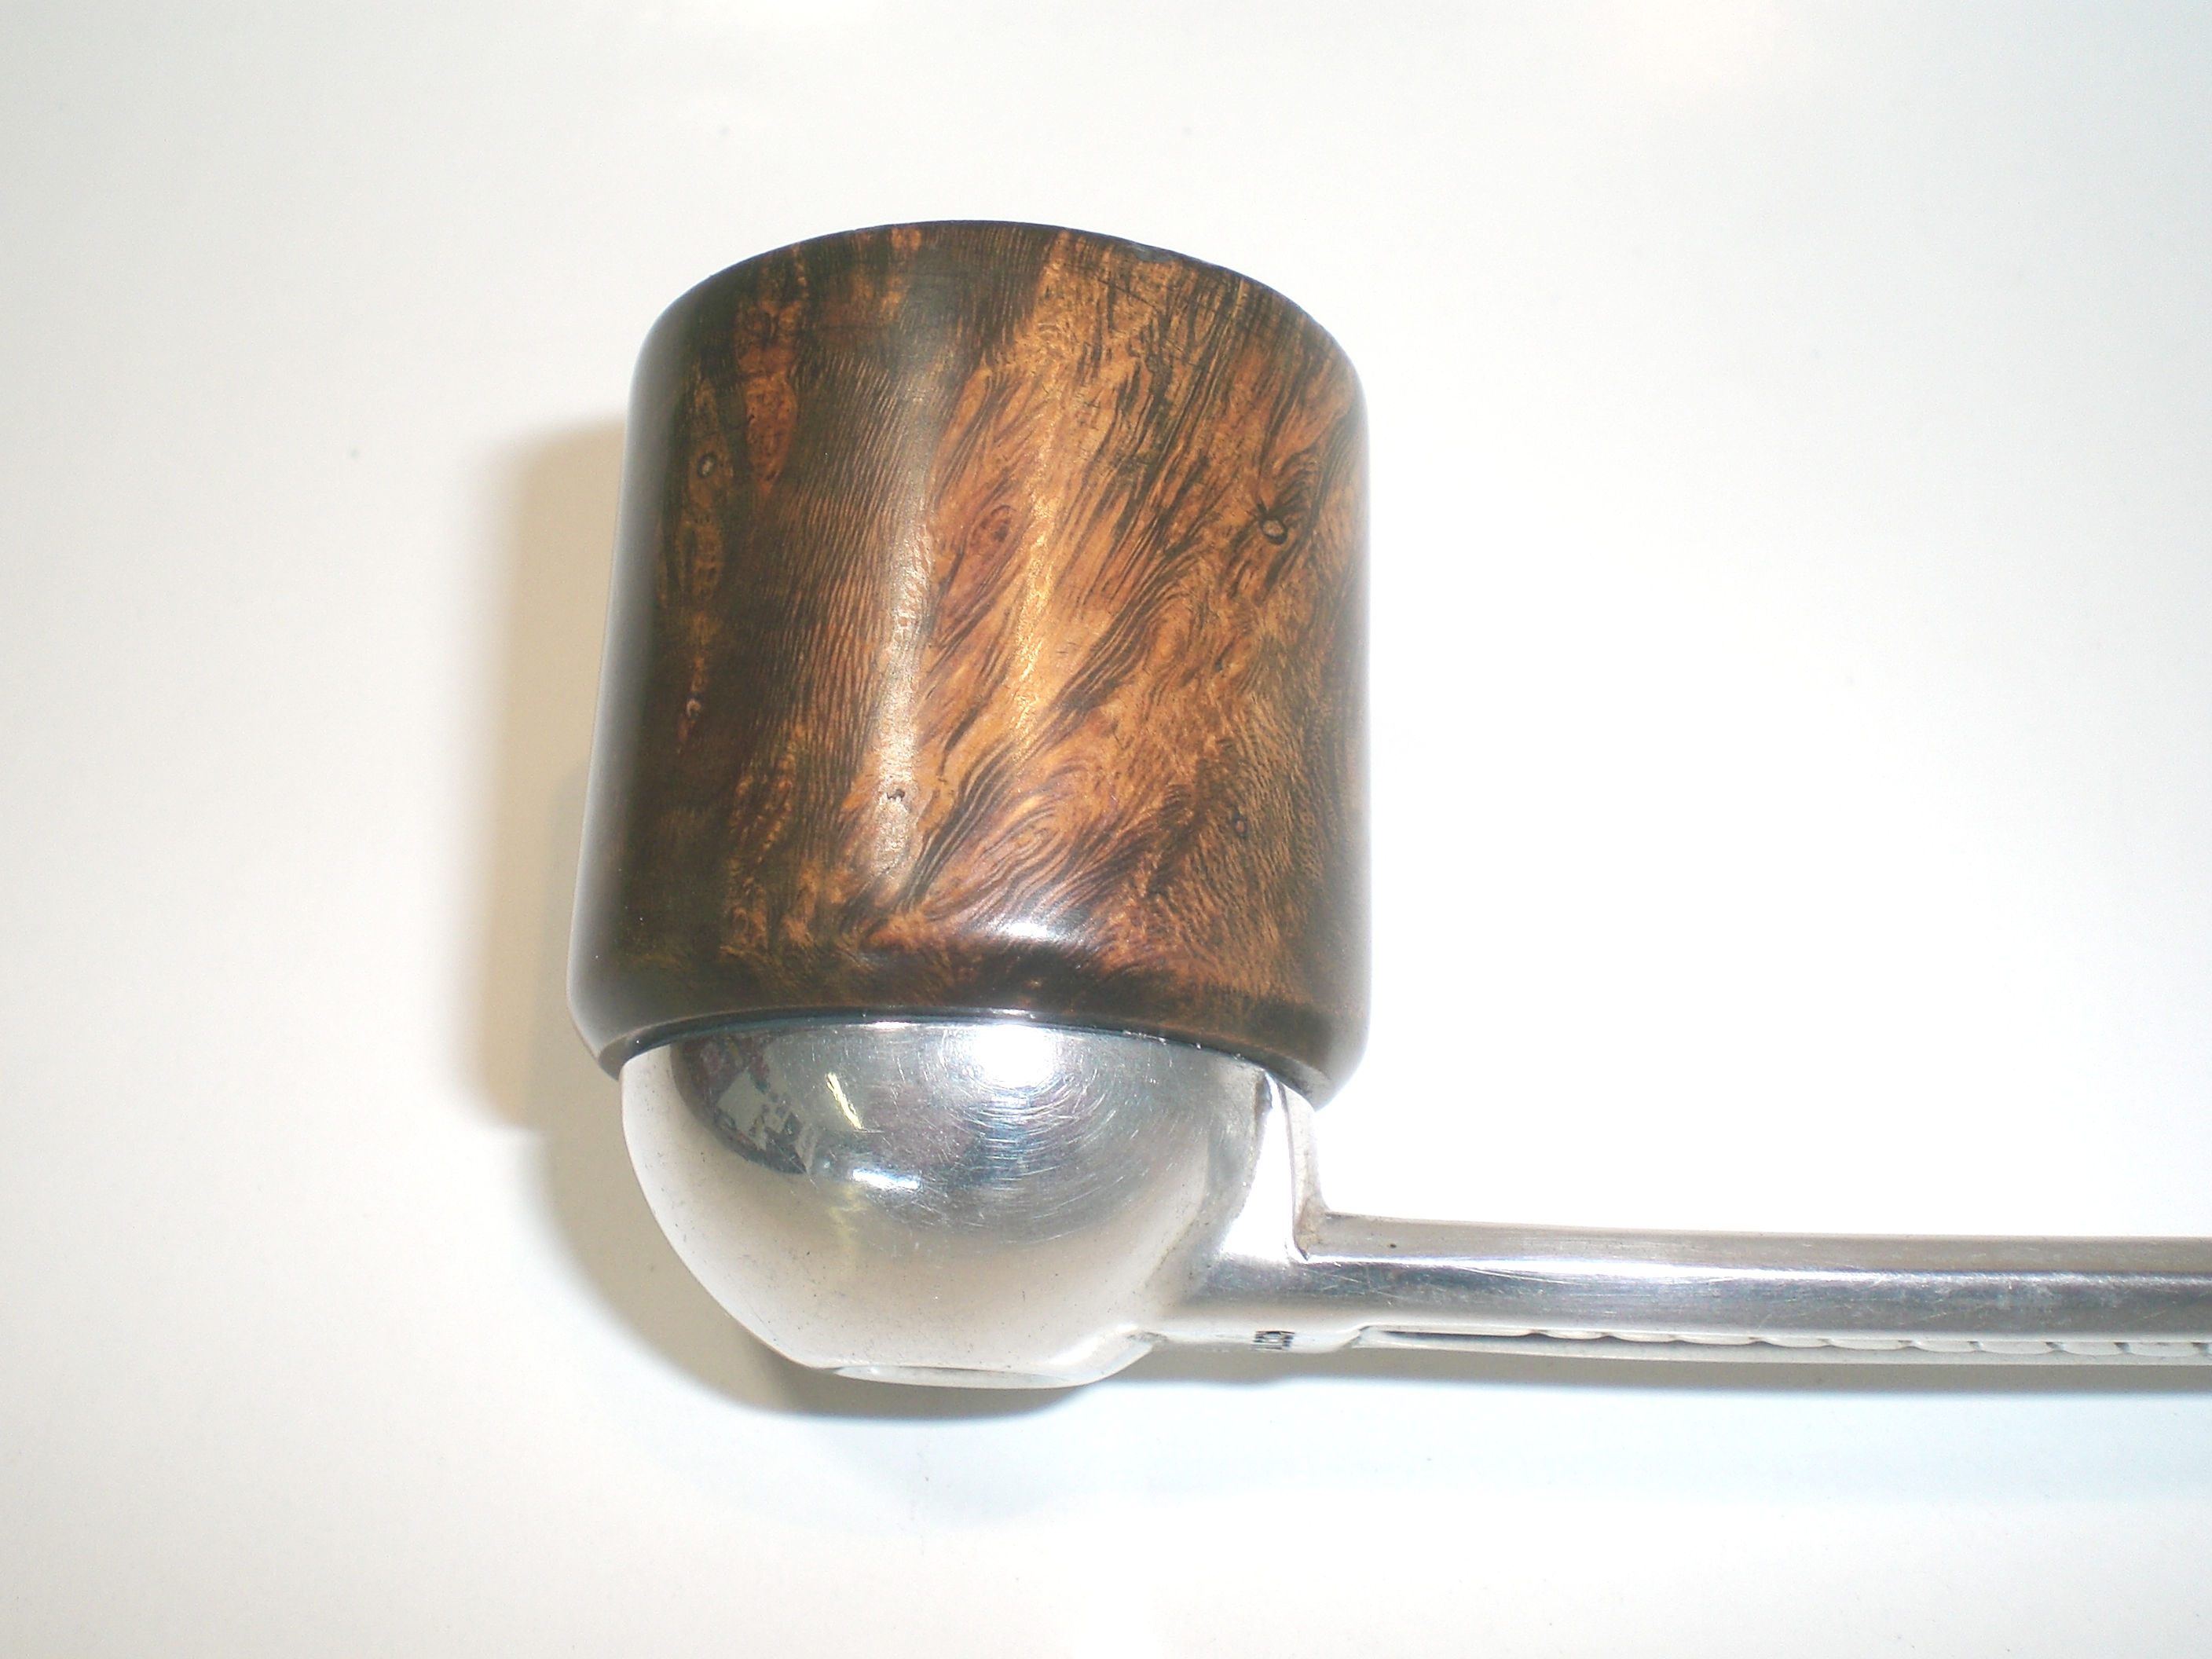
We had some glorious weather in the Maryland/Virgina area in September and one beautiful Sunday, the wife and I drove down to Winchester, VA in the MGB. We toured Patsy Cline’s home (that has been on our list). Winchester is also home to JB Hayes Tobacconist, a fine pipe shop. I didn’t find anything there, but we also made several antique/junk shop stops as I was on the hunt for an old cabinet to re-purpose for my pipe collection. I didn’t have any luck with a cabinet, but did spy this old Falcon in a case. For a few bucks, it was mine ($3 from memory).

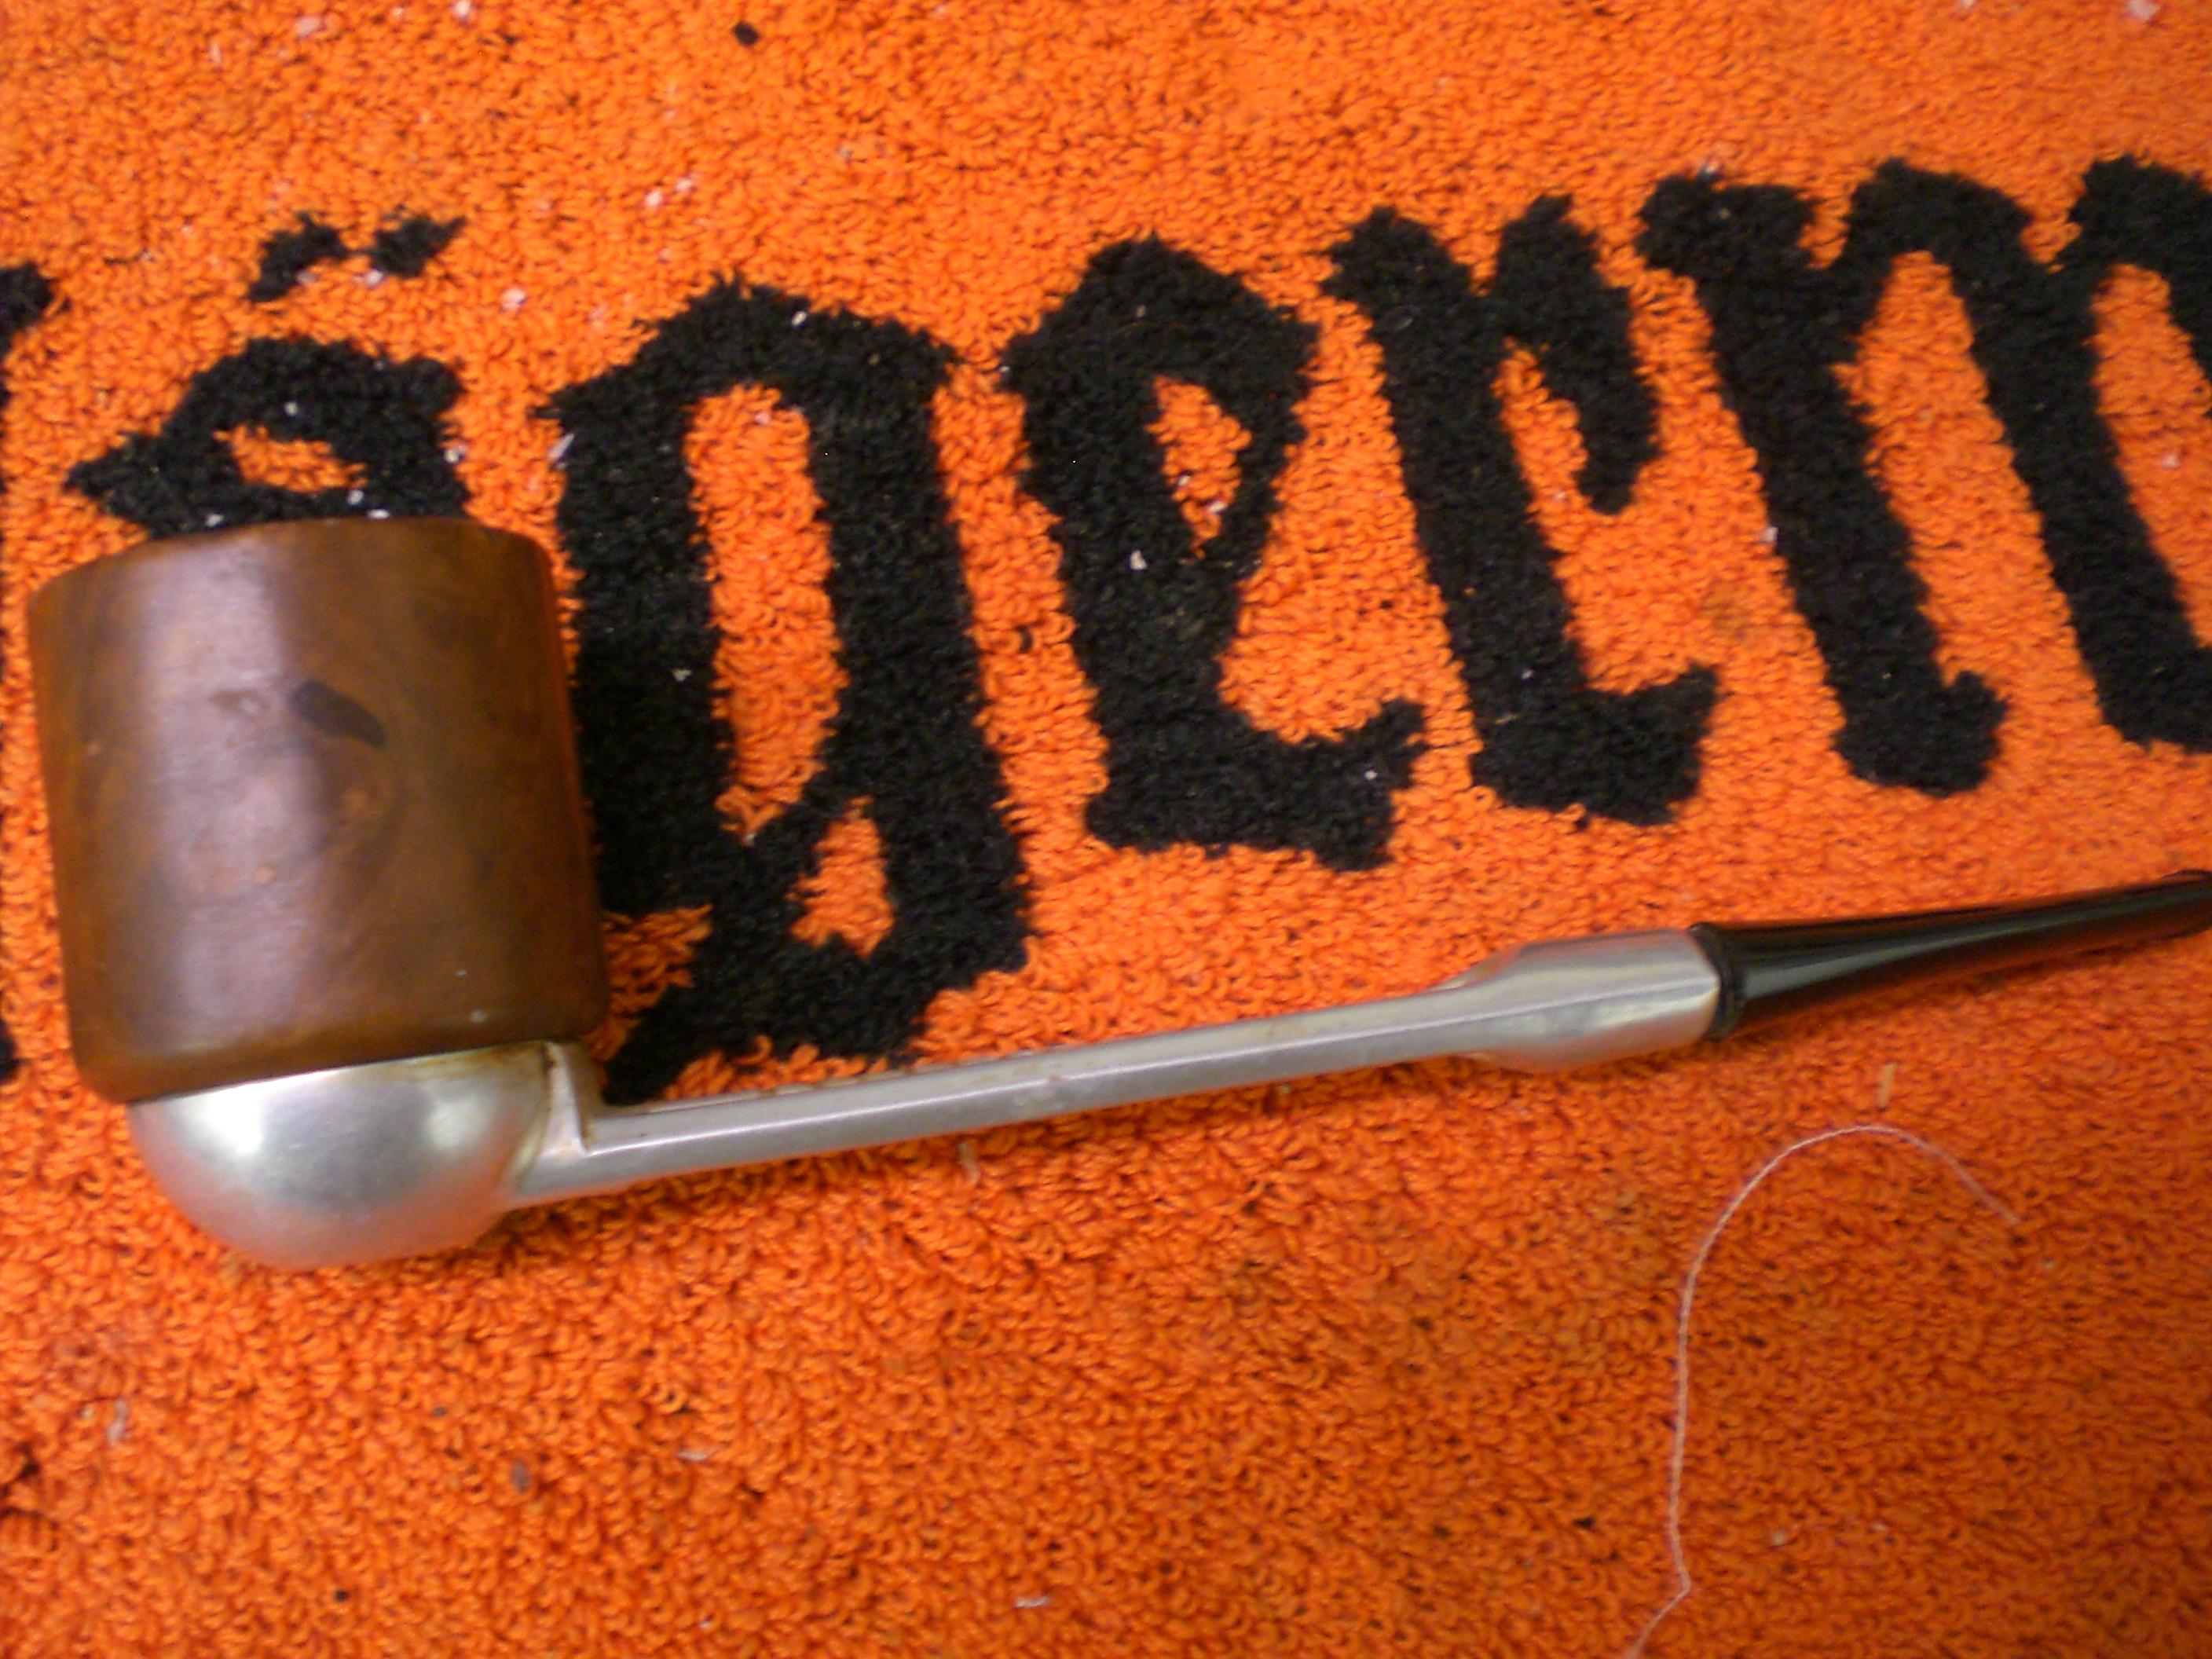
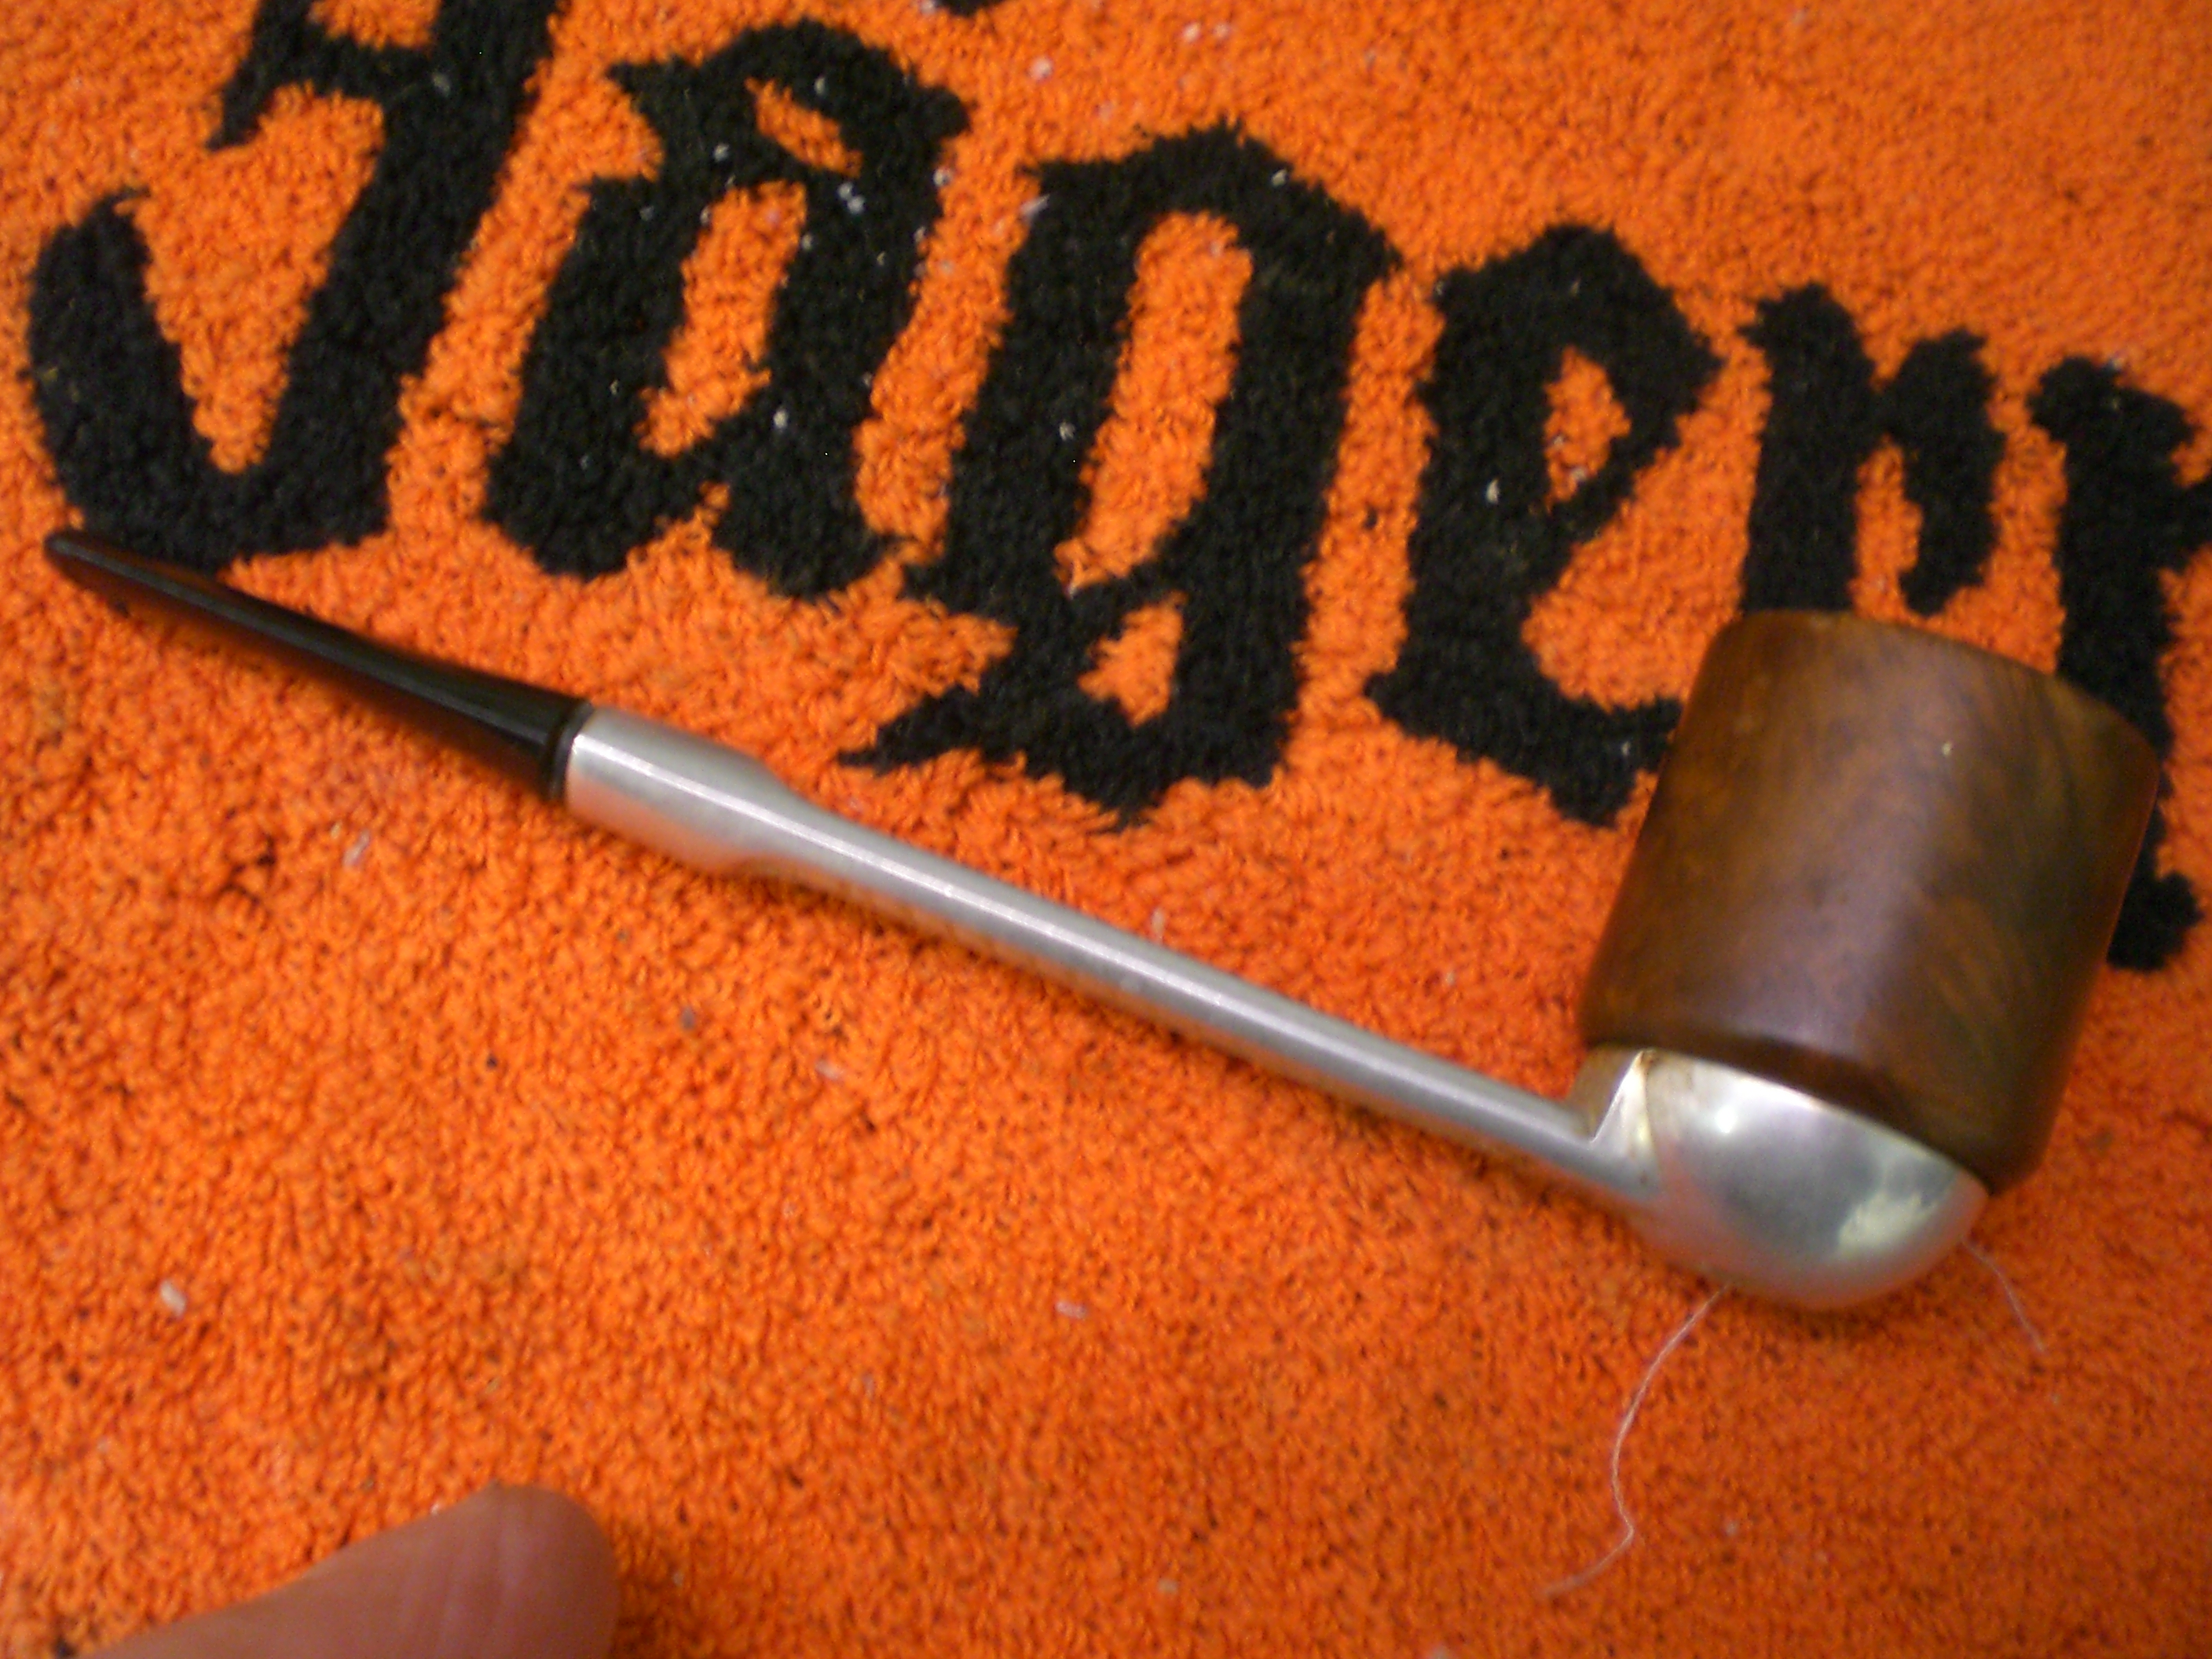
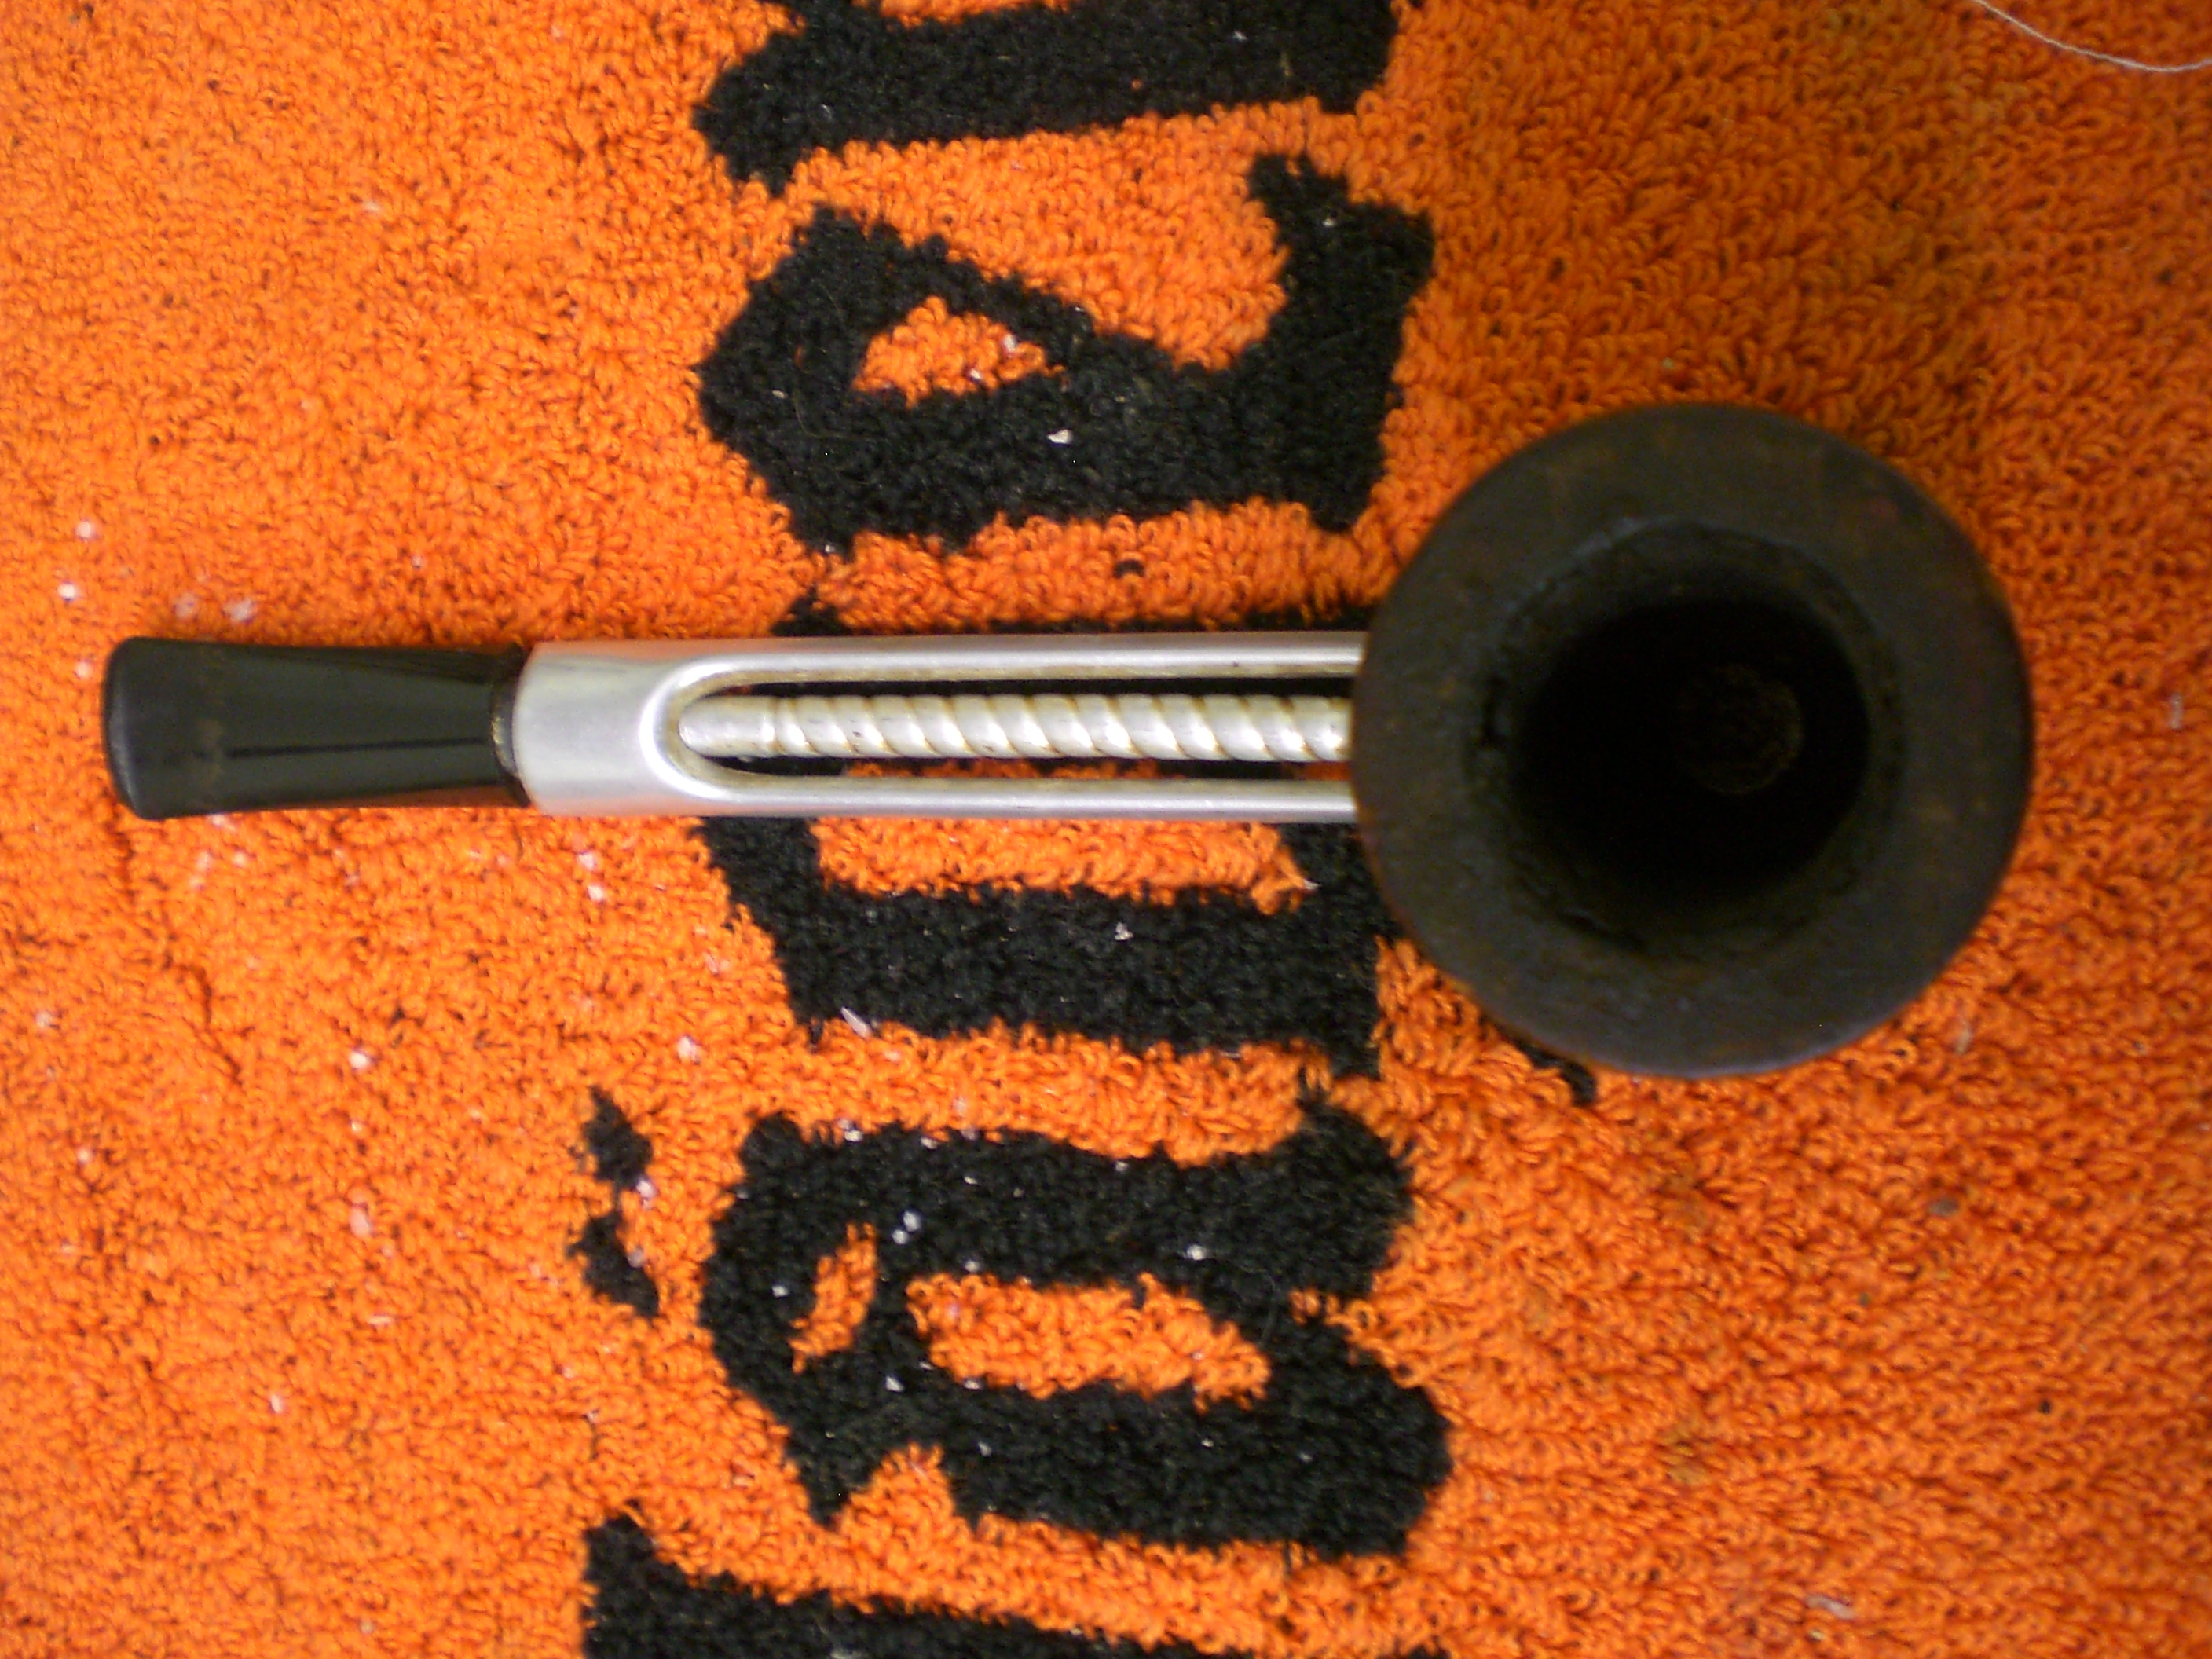
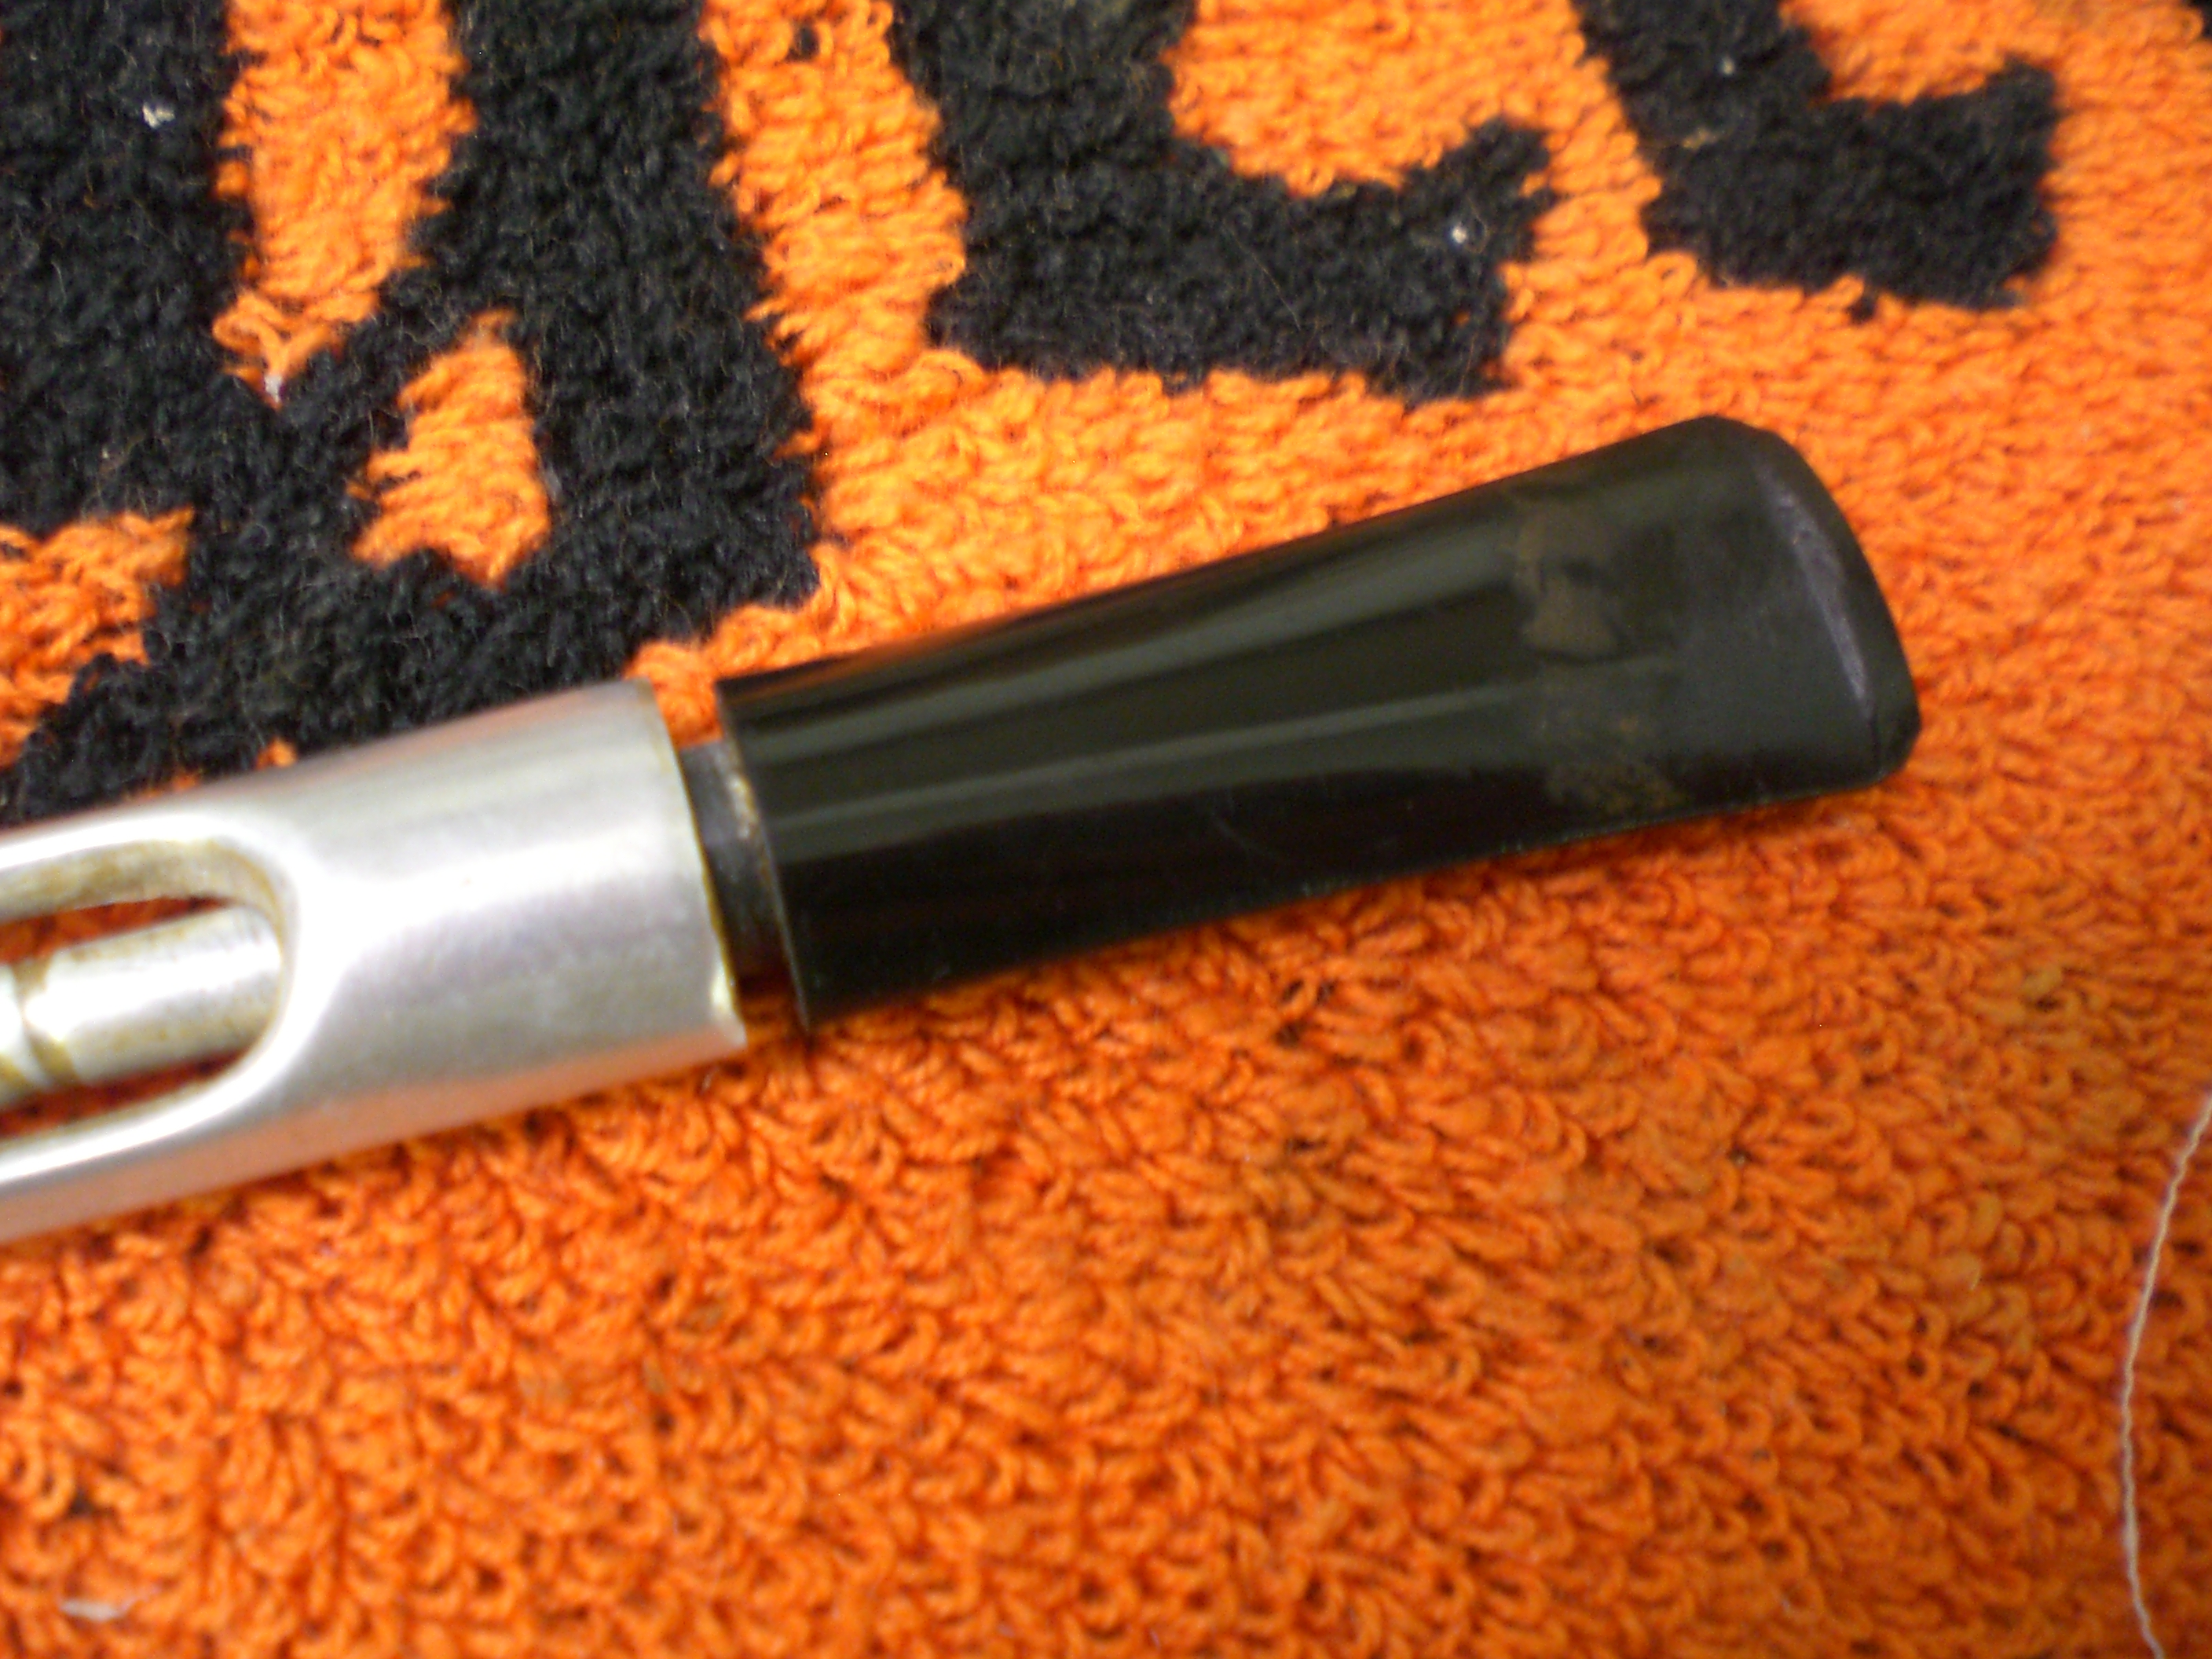
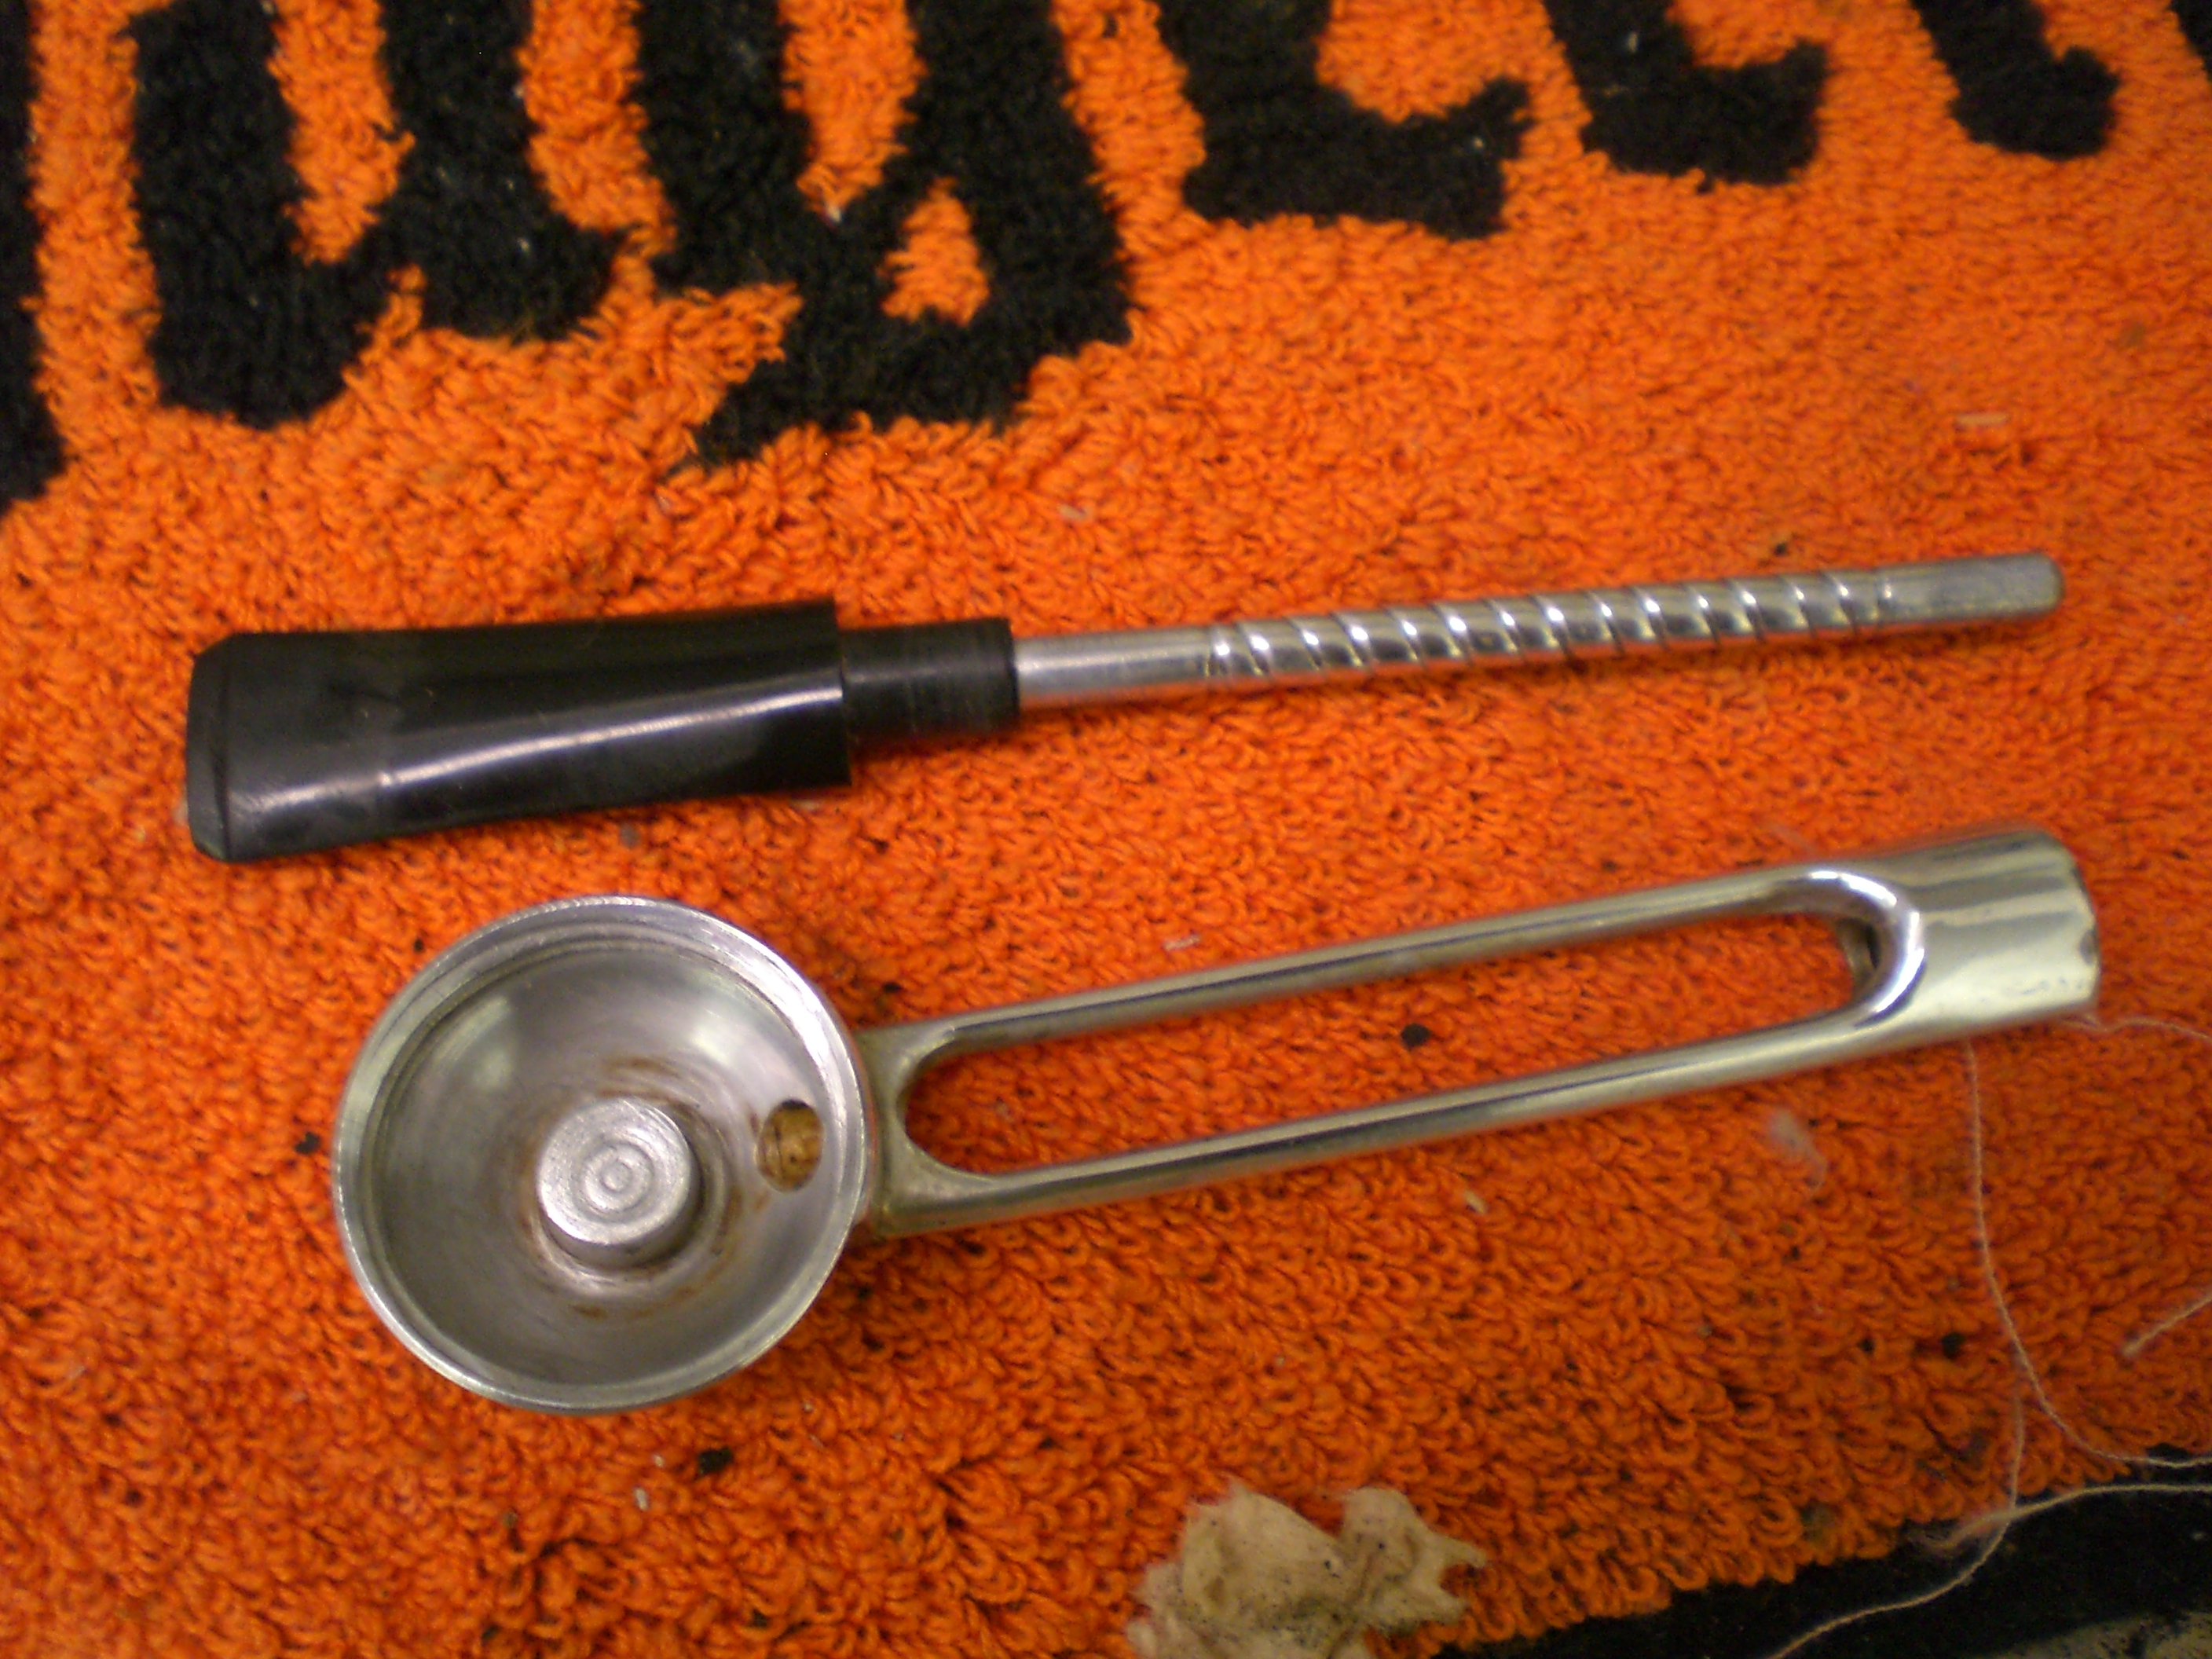
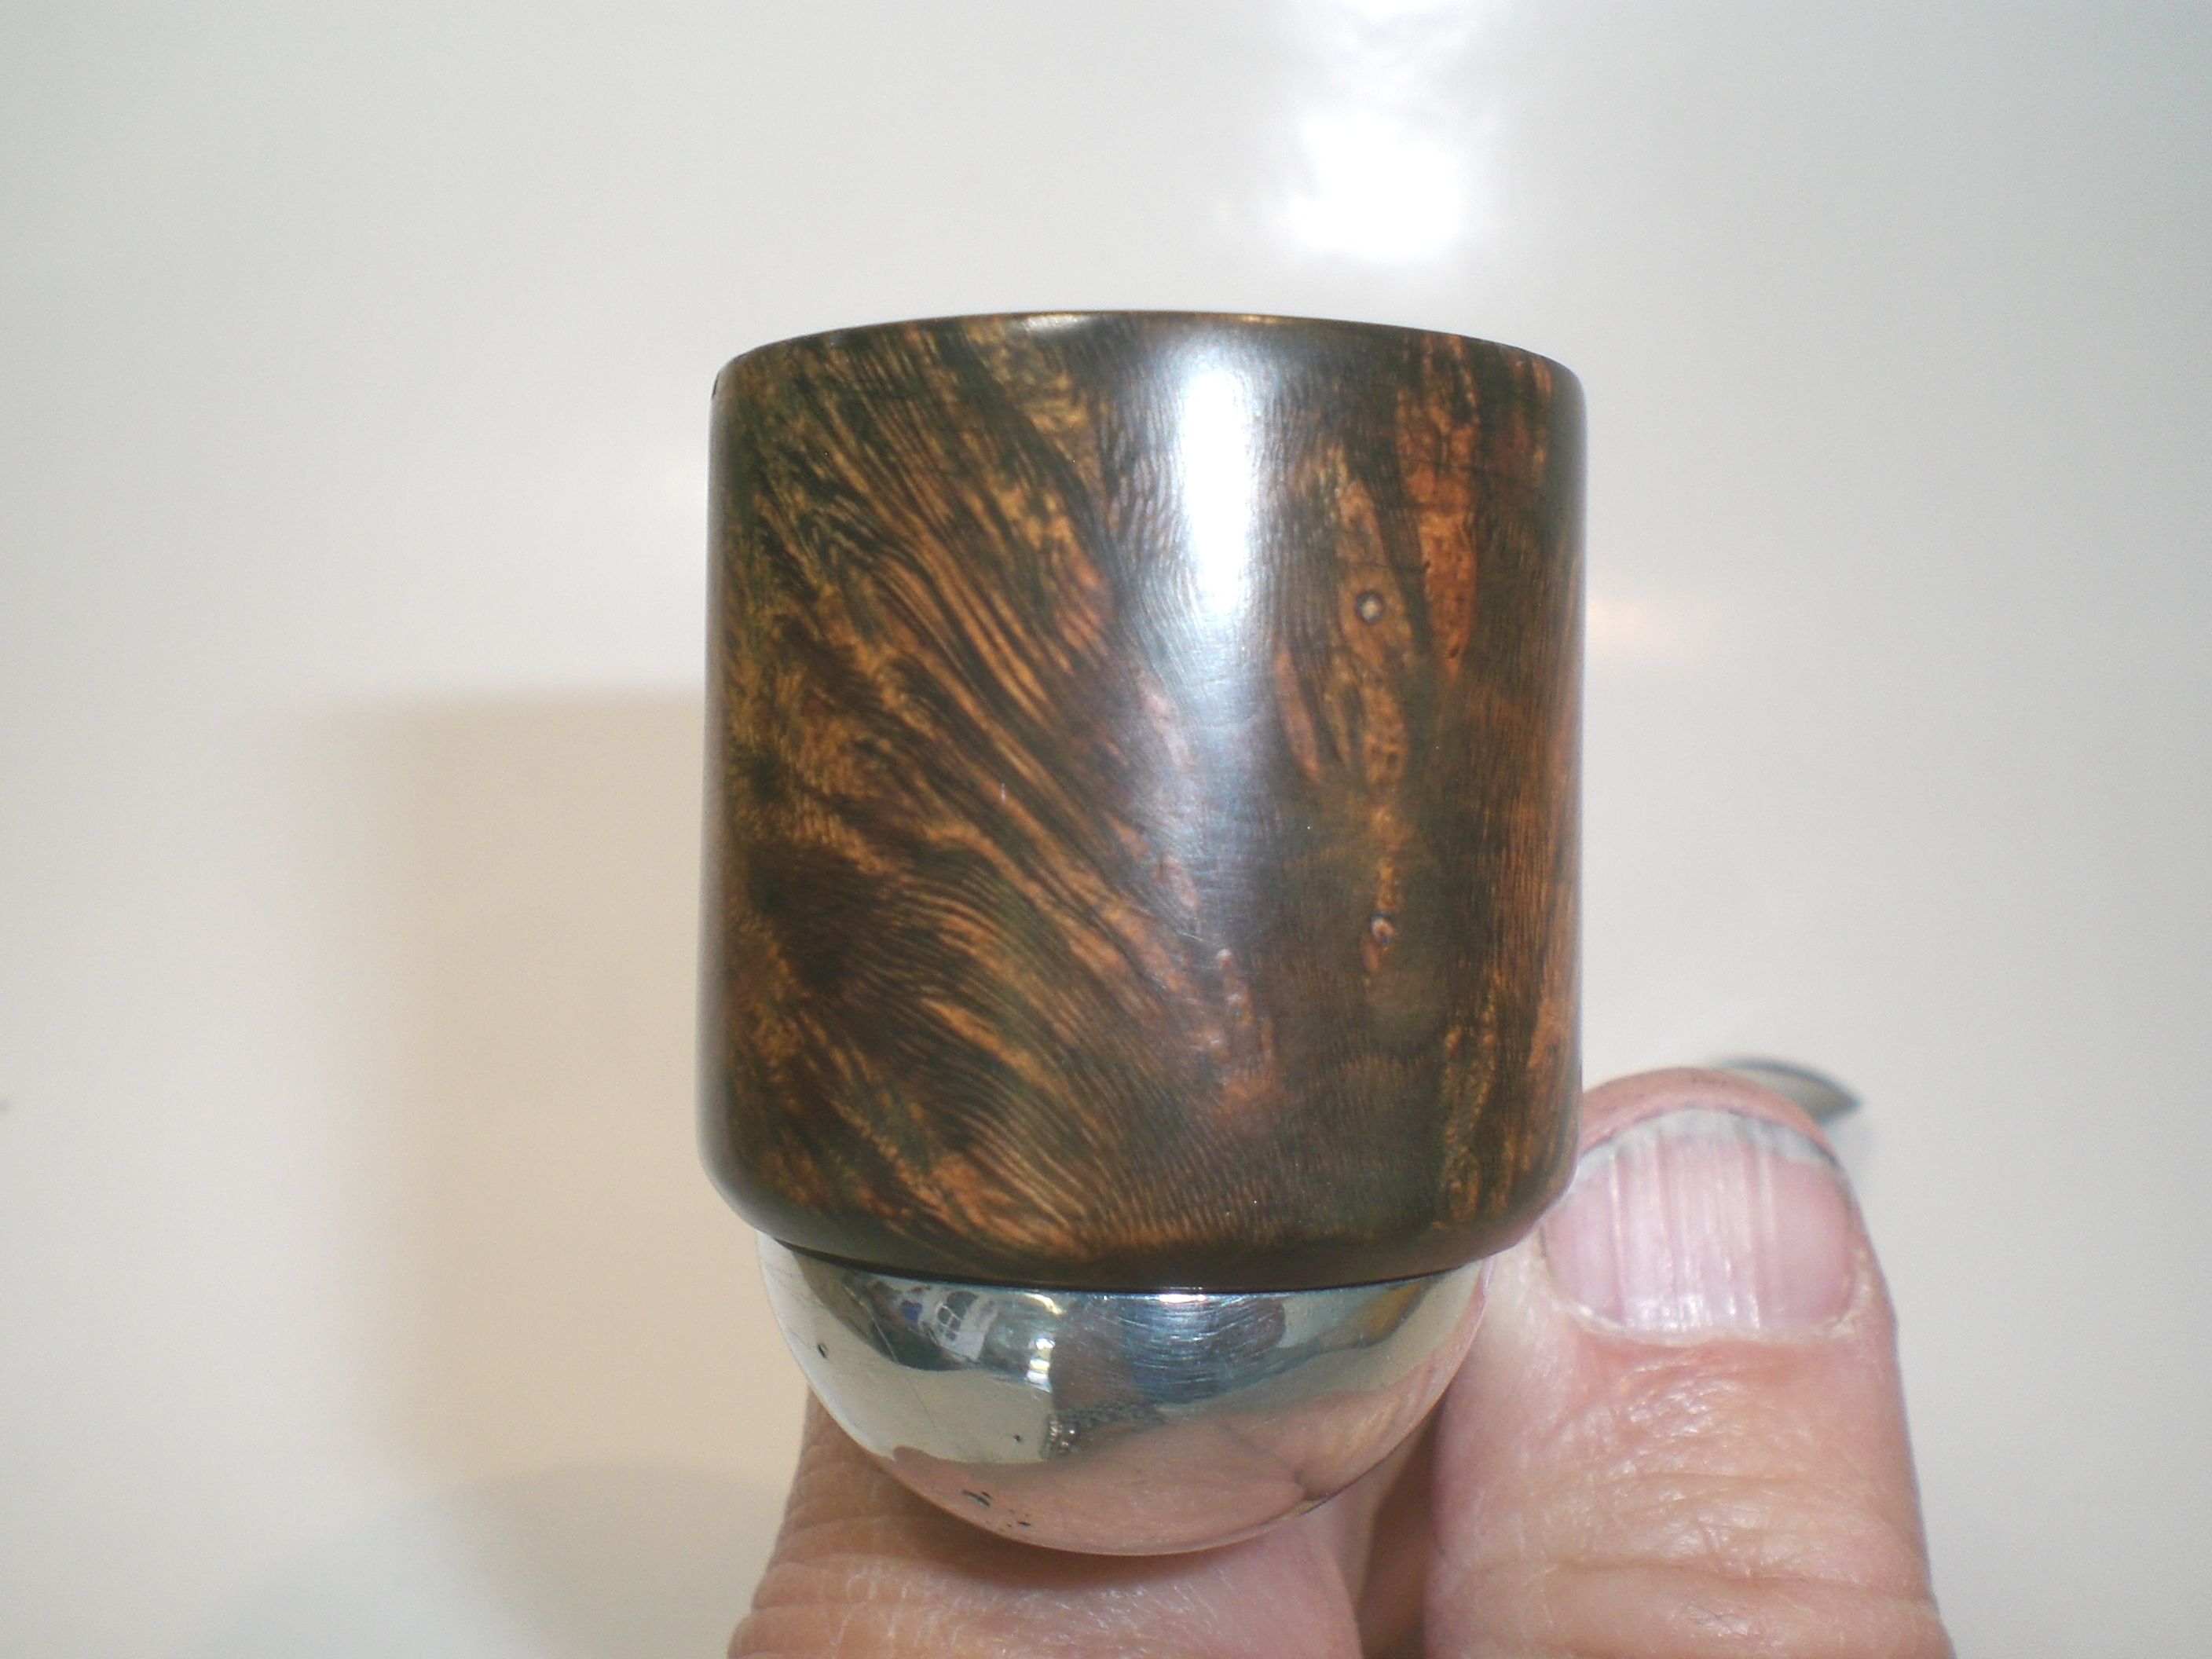
The bowl top was pretty beat up and scorched, but the rest of the pipe and stem looked in decent shape. I had never seen a metal pipe in person to this point and was curious as to how it was assembled or if it held any restoration challenges. Here are some pictures of the pipe as I found it.

Falcon_Before

Falcon_Before (1)

Falcon_Before (2)

Falcon_Before (3)

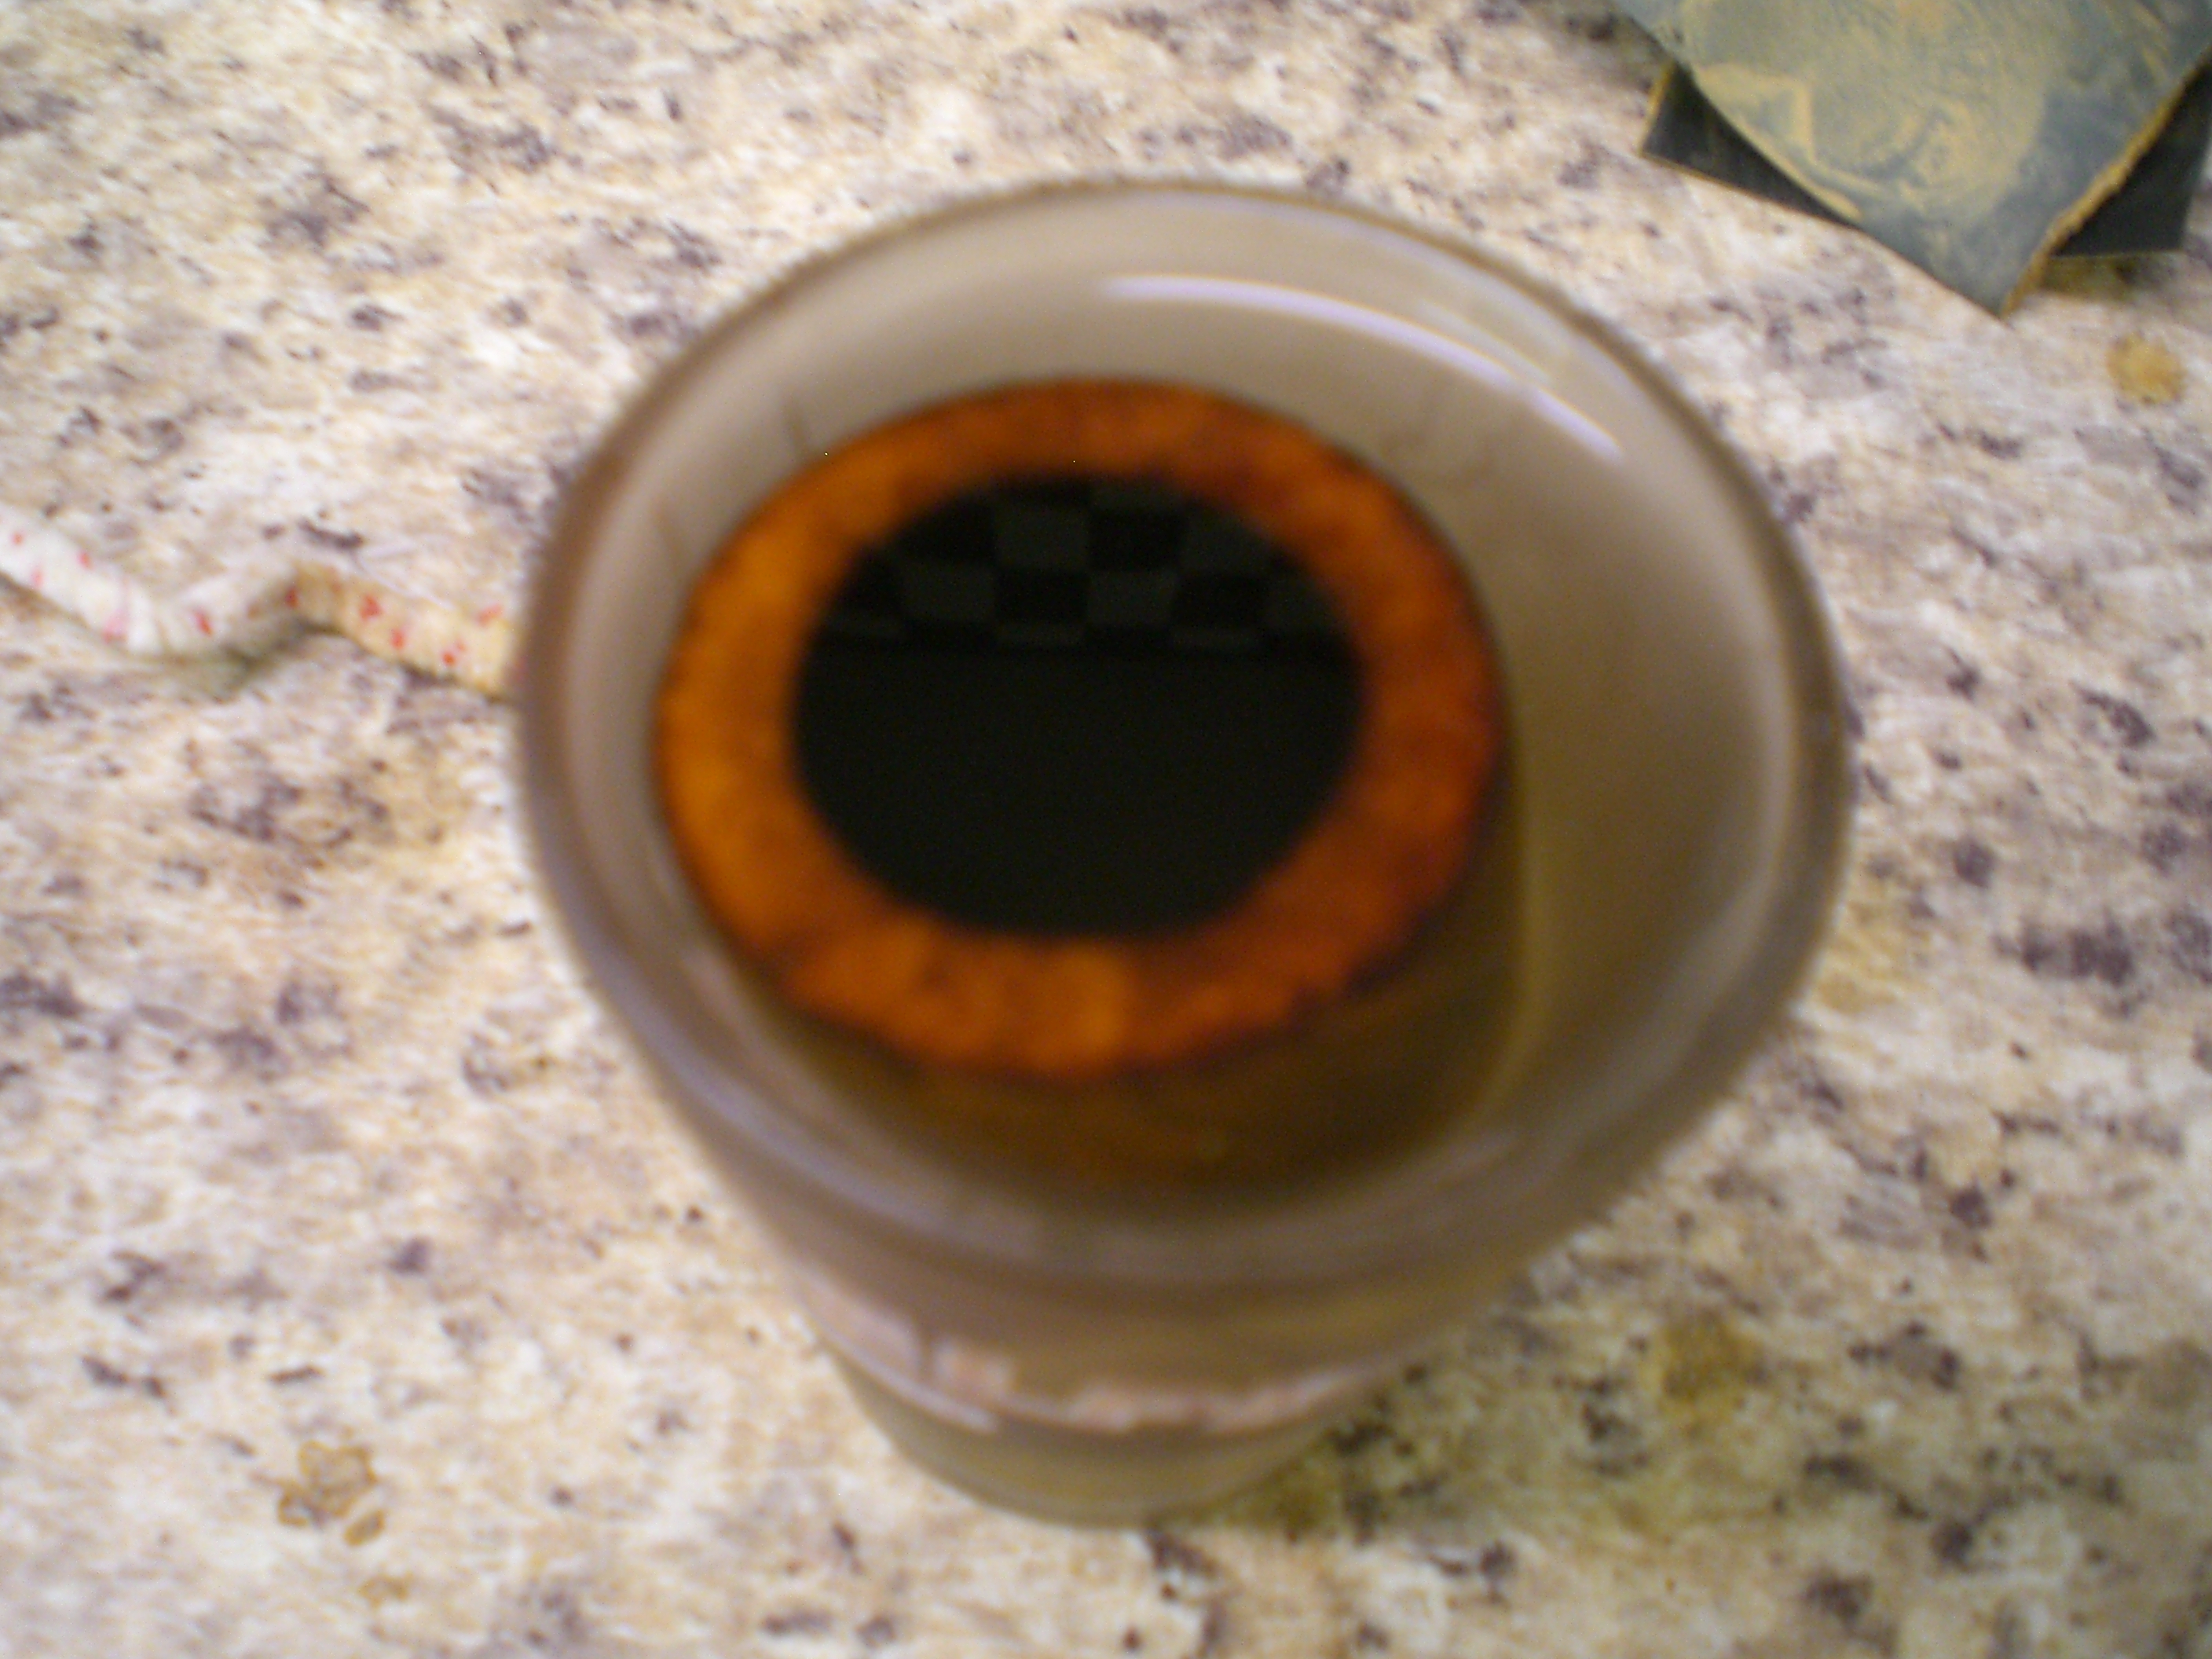
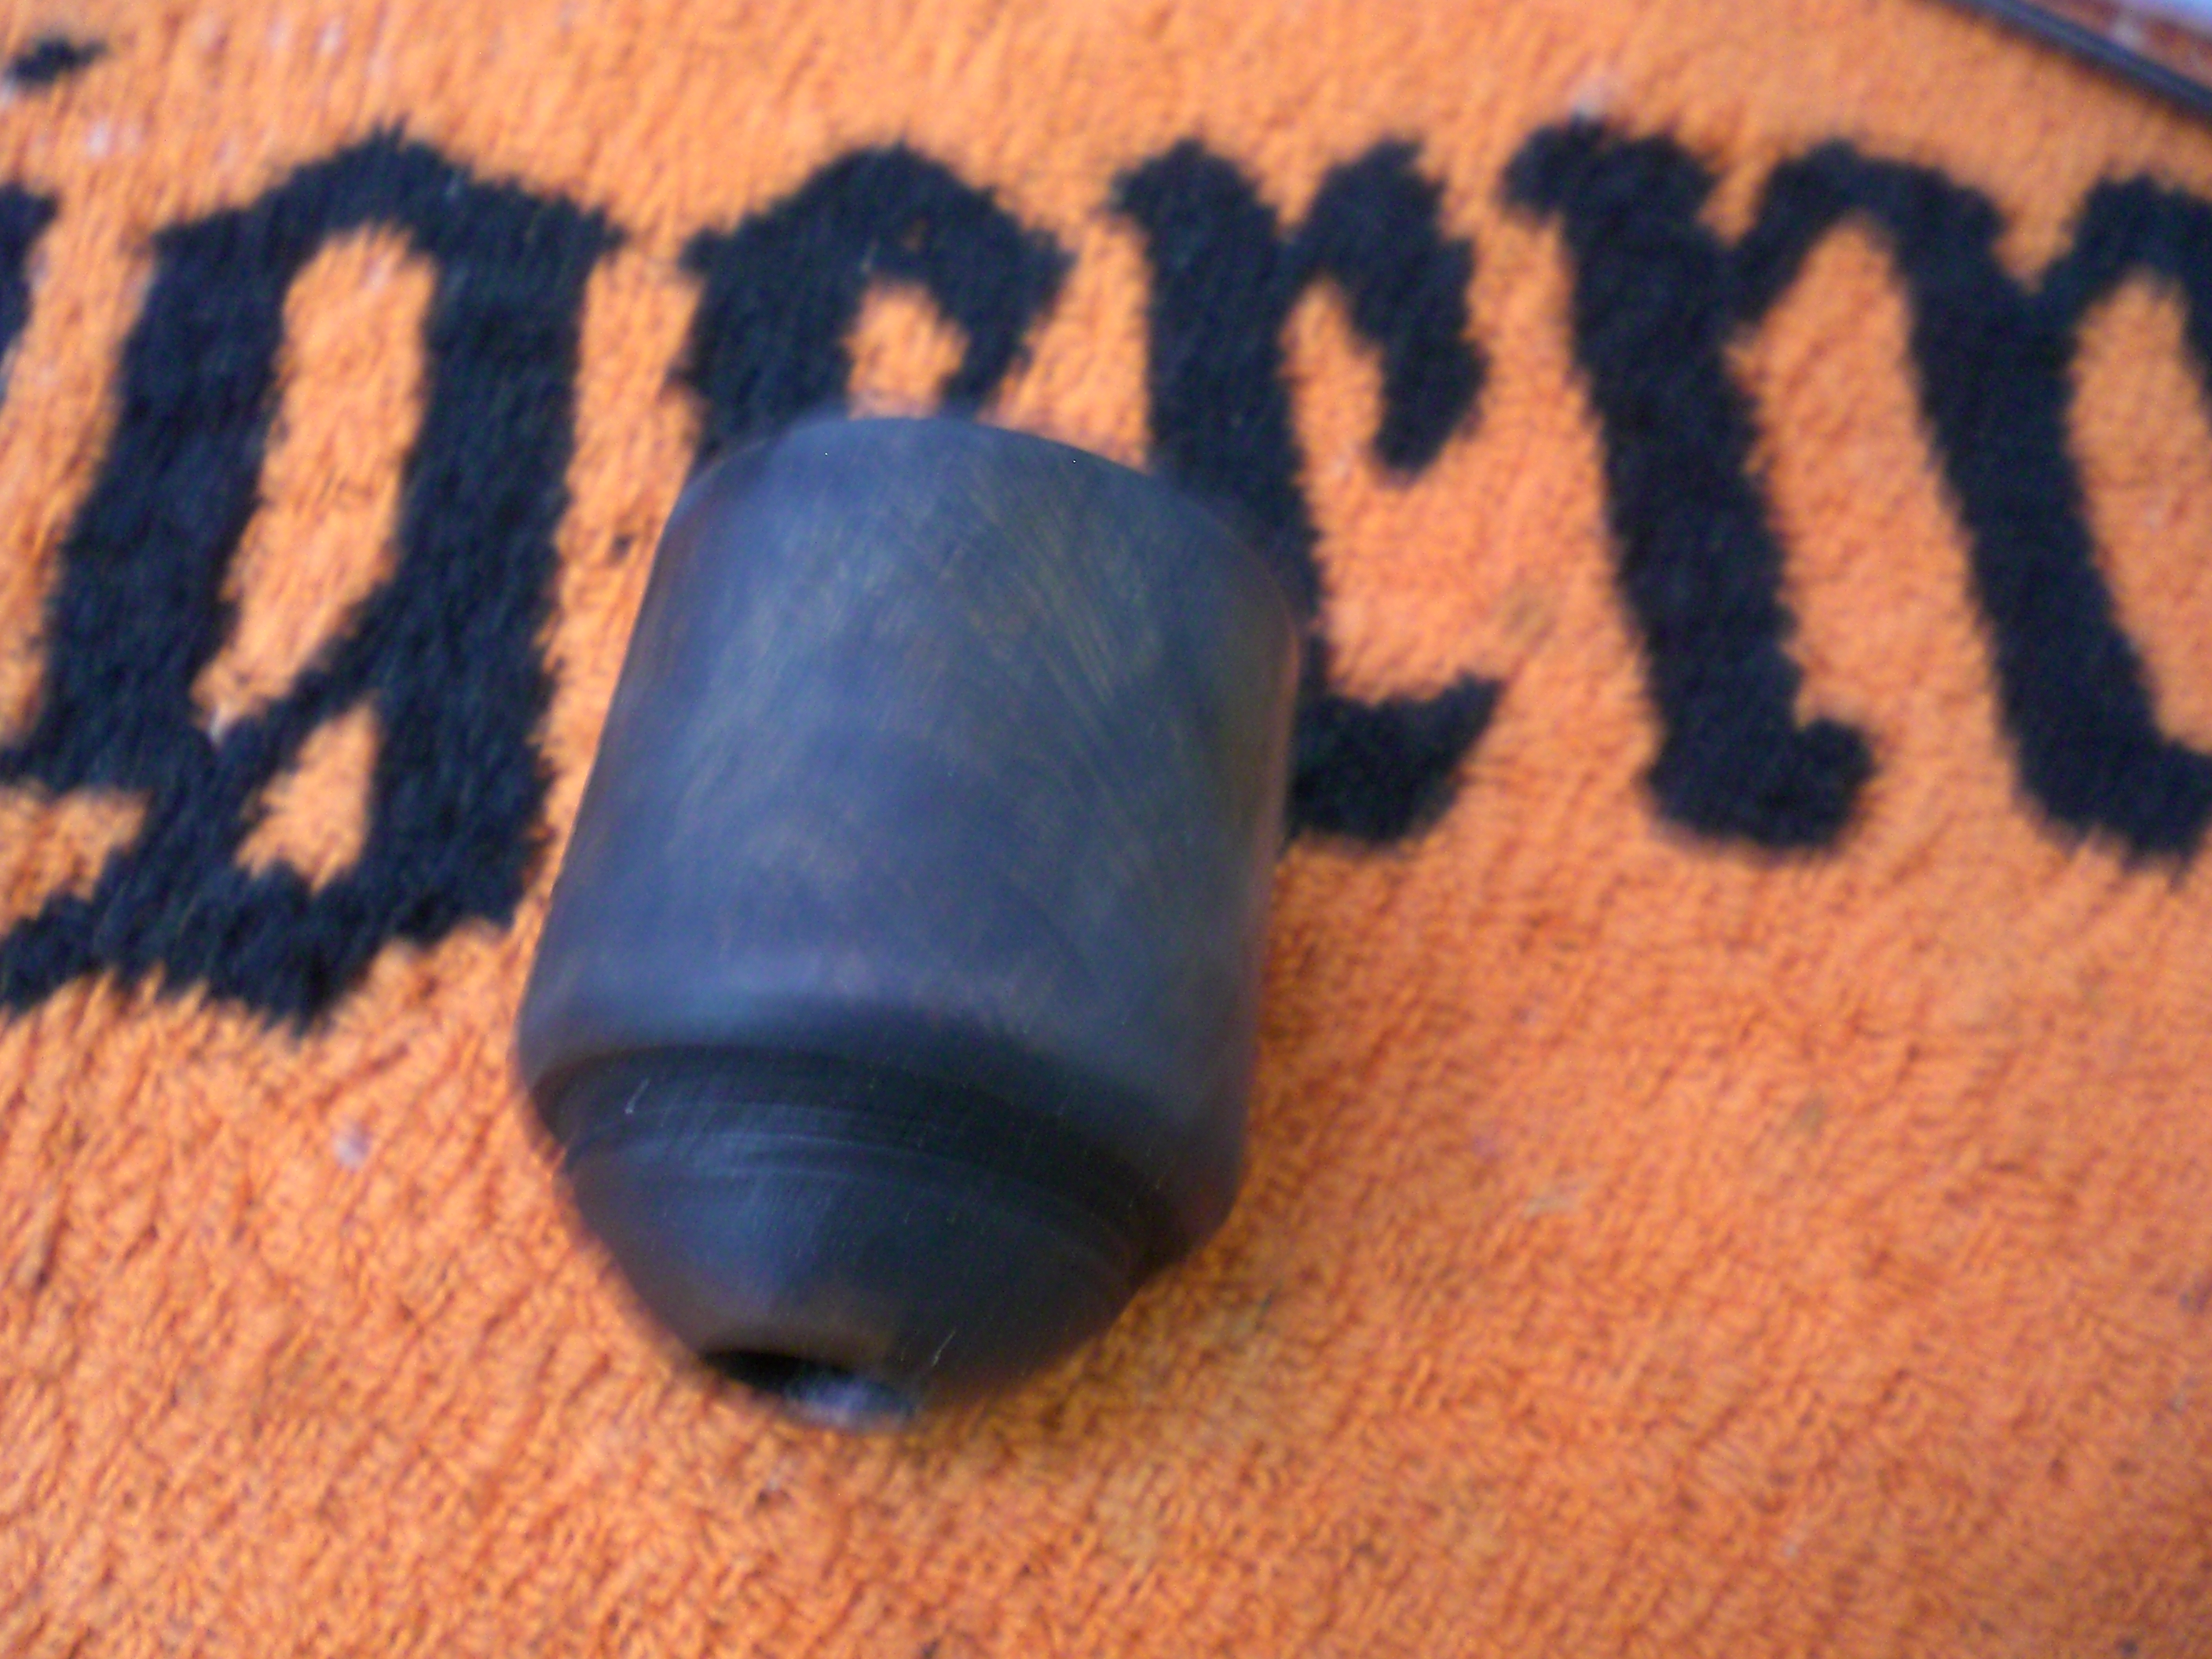
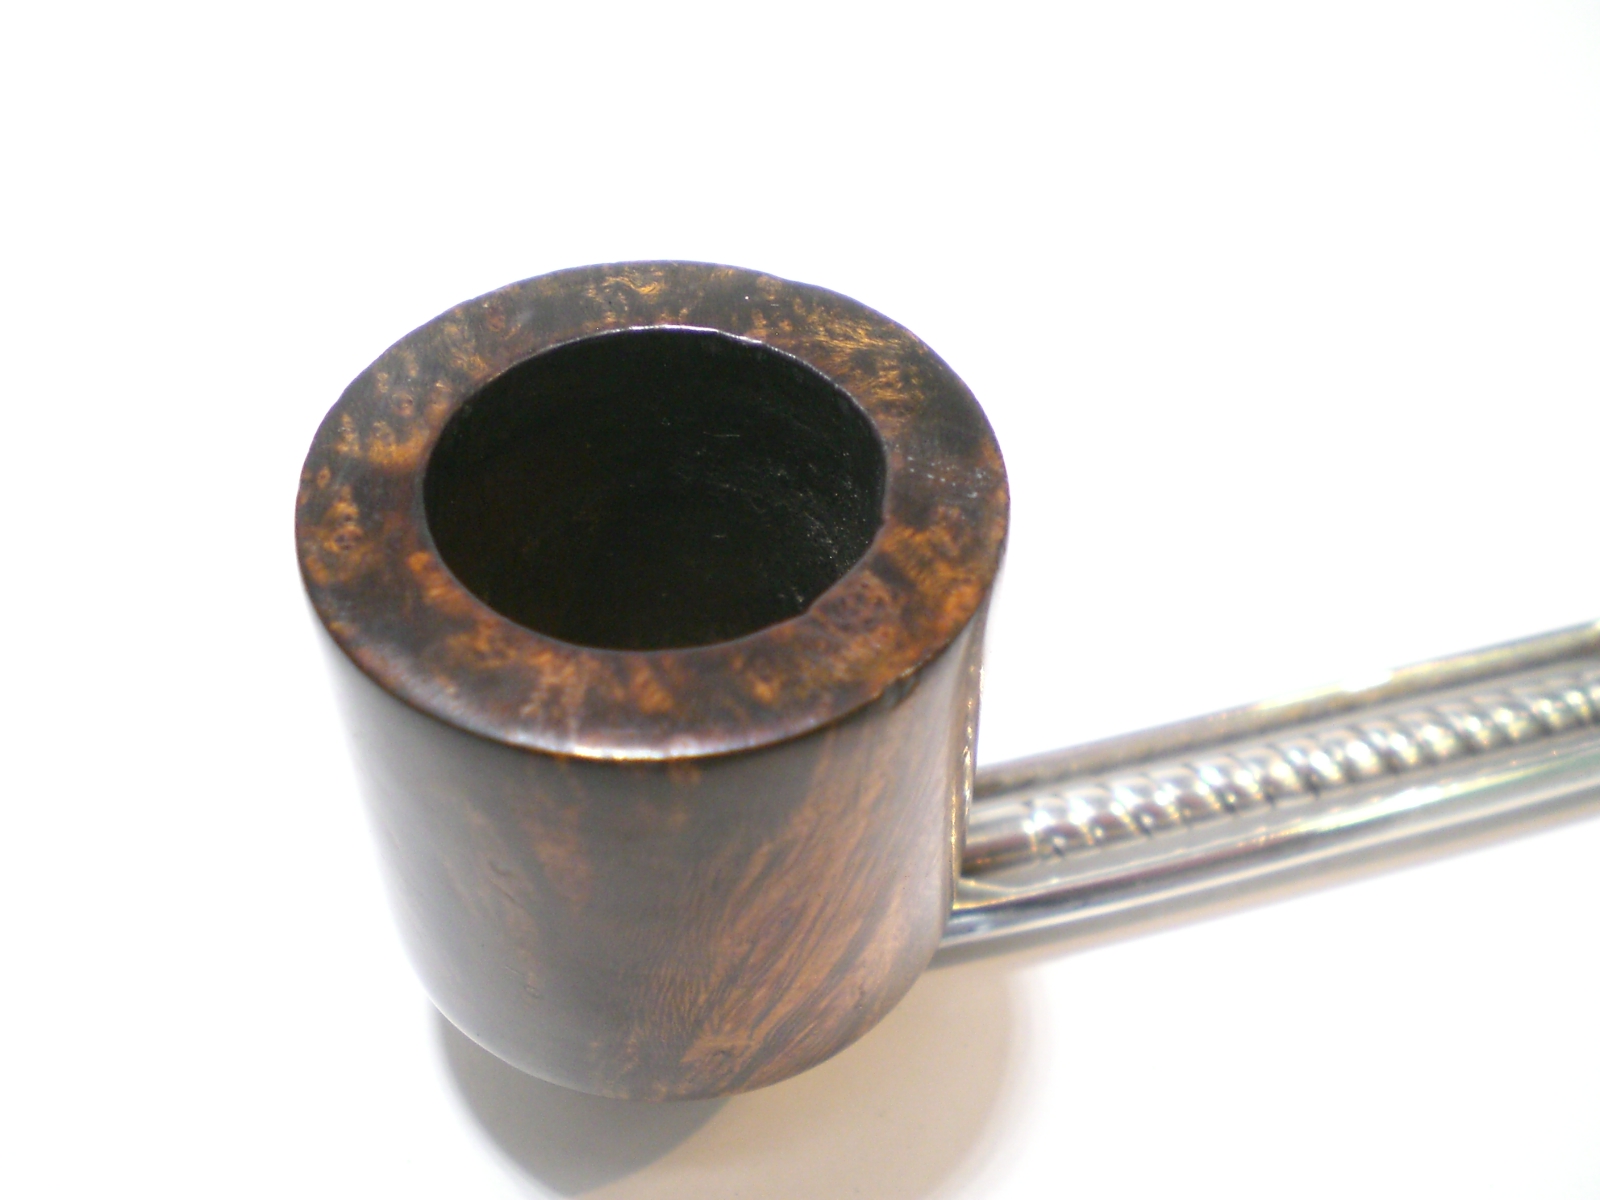
The pipe broke down without drama and the bowl top screwed off nicely, but the threads were just about perfect. I reamed the bowl, which has a fairly thick cake. The bowl was quite tall and I thought it would look best topped and refinished. I sanded the bowl top smooth with some 320 grit paper flat on my workbench, followed by 800 grit wet paper, using water. I immersed the bowl in a shot glass full of isopropyl alcohol, you can’t do that with a briar pipe!

Falcon_Progress (2)

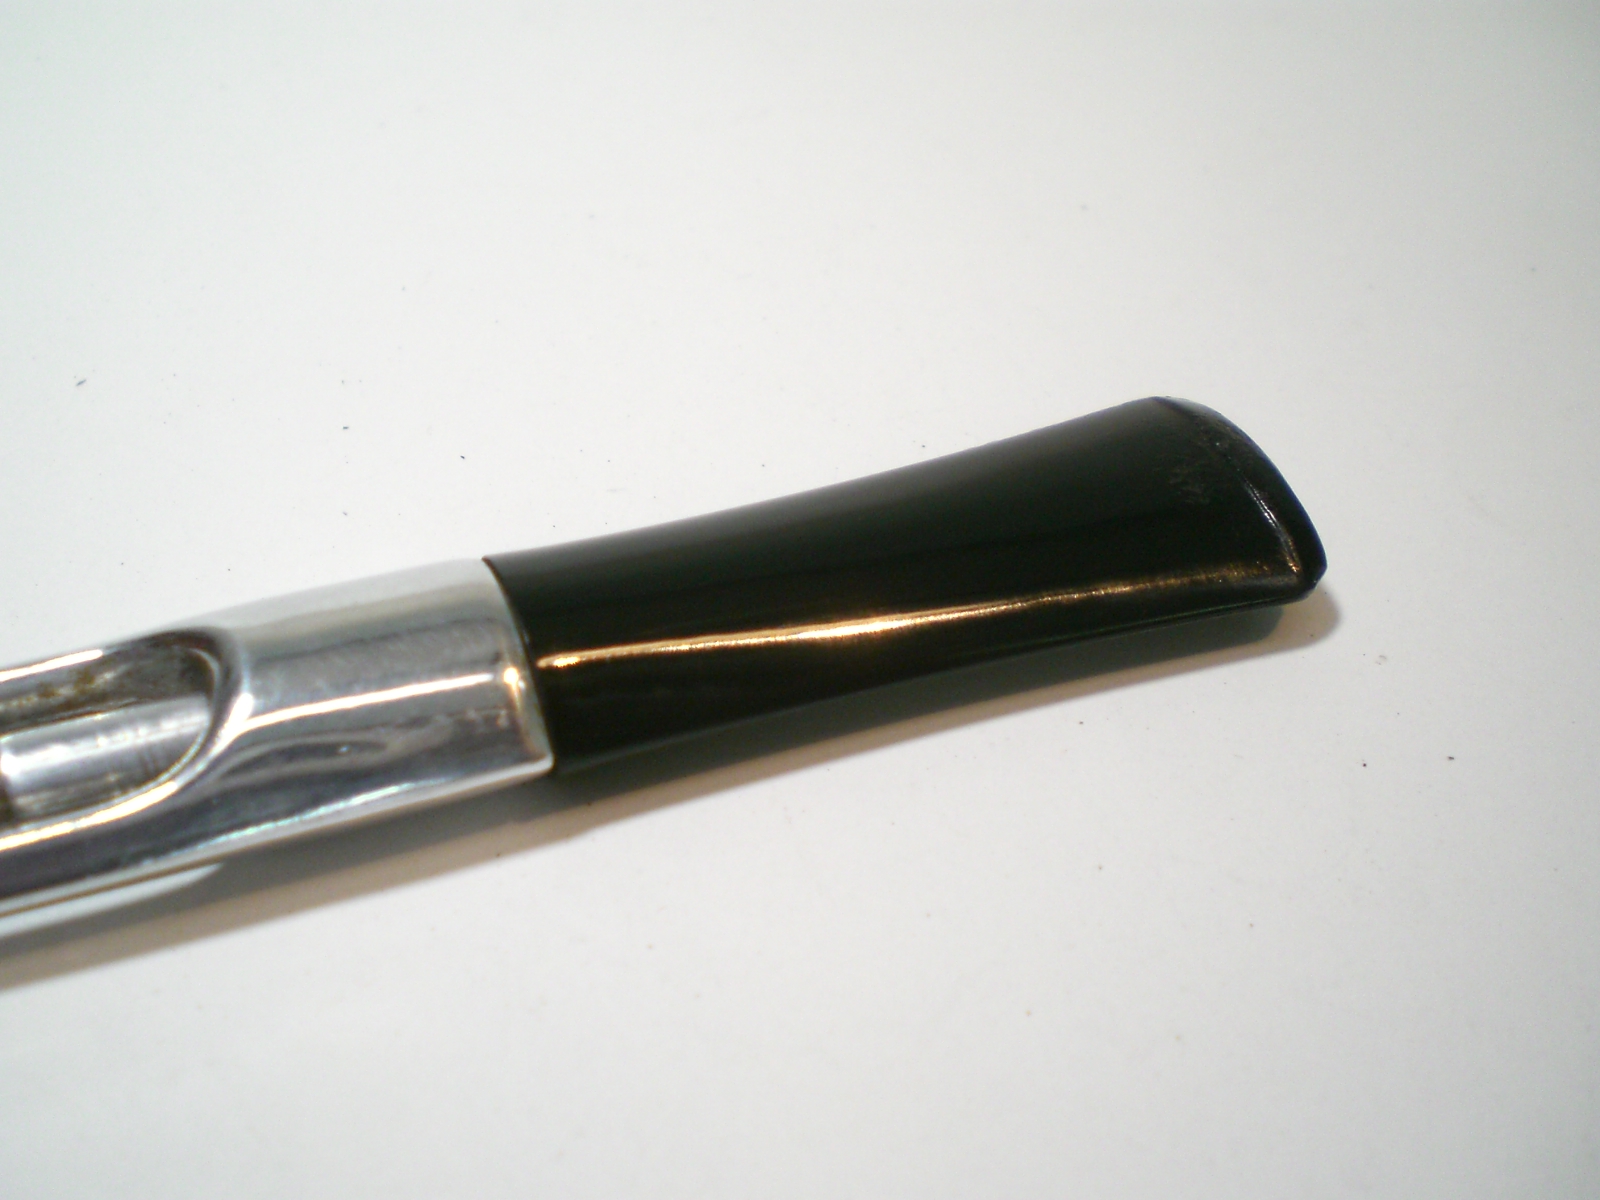
While the pipe bowl was soaking, I turned my attention to the metal bowl and stem. The stem had some teeth abrasions but no real dents. To me, the stem was somewhat “plasticky” but the fellow who ended up purchasing this one said they are quite durable and clenching doesn’t seem to harm them. The bottom of the metal bowl had some mild build-up, which I removed with some fine steel wool. I buffed the metal parts with white diamond and then red rouge. The metal shined up nicely, but I suspect will dull quickly over time.

Falcon_Progress

Falcon_Finished (6)

Falcon_Progress (1)

I used 1500 and then 2000 grit wet sandpaper on the stem and was able to remove most of the abrasions. I then polished it with 8000 and 12000 grit micromesh cloth. It was also buffed with white diamond.

Falcon_Finished (1)

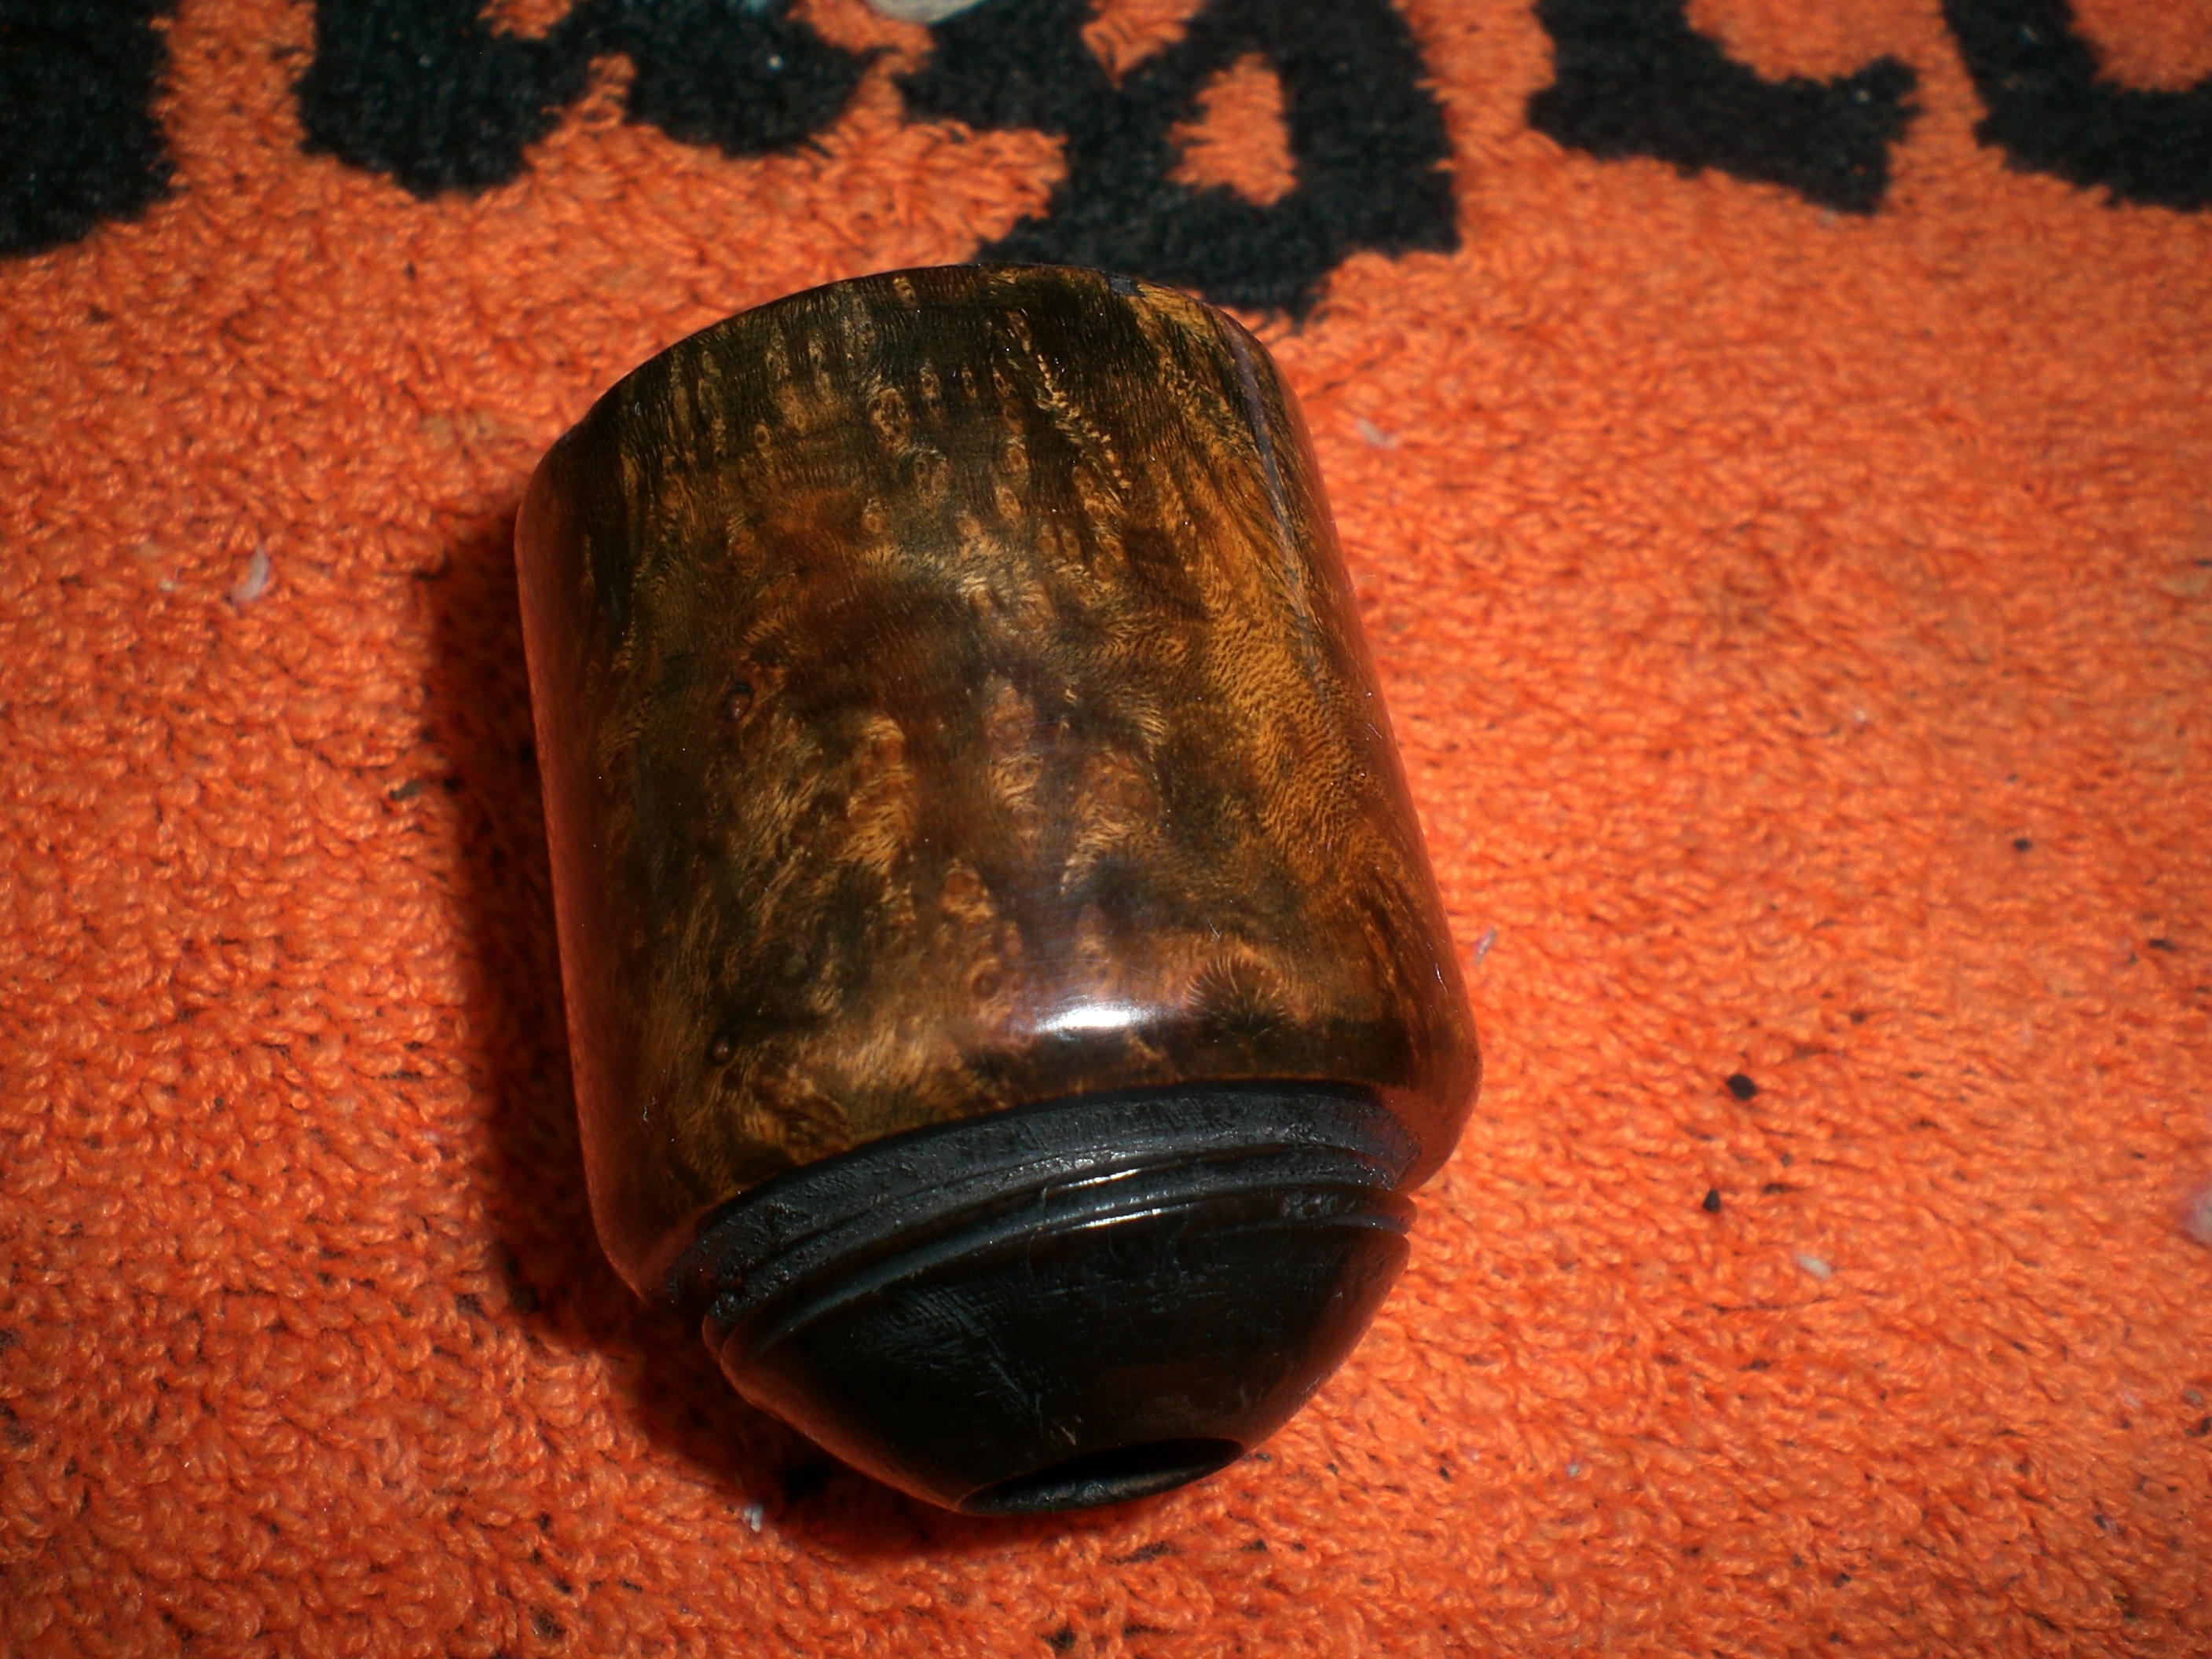
Once the bowl was soaked, the stain sanded off nicely with 800 grit paper. This revealed a number of fills. I decided a two-stage stain would cover up those fills nicely. I warmed the bowl with a hair dryer, then applied a full coat of black stain. I lit the stain with flame to “set” it into the grain. After it dried, I sanded the stain off with alcohol and 800 grit paper. I then removed more of the black stain with tripoli on the buffer. A very light, almost transparent coat of brown stain was applied over the black.

Falcon_Progress (3)

Falcon_Progress (5)

Once dry, the bowl was buffed with white diamond and then several coats of carnuba wax. I’m very pleased with the finish and the two stage stain hid the fills nicely.

Falcon_Bowl_Pix (2)

Falcon_Bowl_Pix (1)

Falcon_Bowl_Pix

Falcon_Finished (2)

And finally the finished pipe.

Falcon_Finished

’63 Dunhill 552 Restoration


Blog by Al Jones

I found this 1963 Dunhill shape 552 on Ebay last week. The auction ended early in the week at an odd time and it went largely unnoticed. It looked to be in pretty decent shape, but with some bite marks on the bottom of the stem. It is a Group 4 pipe in Bruyere finish (A = Bruyere) At first, I thought it was a Rhodesian, then later thought it looked more like a tomato. Neill Archer Roan commented that it had some Diplomat DNA.

The pipe was delivered today. It was pretty much as pictured, but I also discovered it is a 6 mm filter pipe. The briar was in great shape, with a little tar and rim darkening. There were no dings or bruises to deal with. The stem was also in decent shape and only lightly oxidized. There were a few light teeth marks on both sides of the stem, and all but one lifted out with some heat from a lighter flame.

Dunhill_522_Before (1)

Dunhill_522_Before (3)

Dunhill_522_Before

dunhill_rhodesian-5dunhill_rhodesian-4Dunhill_522_Before (2)

The bowl had a fairly thick cake and I reamed it with my Castleford bit set. The bowl was then soaked with Everclear and sea salt.

I polished the stem with some 800 grit wet paper, followed by 1500 and 2000 grade. Then I moved to the micromesh, 8000 and 12000 grades were used. I gave the stem a light buff (mounted to the briar) with some White Diamond. I have a bar of jewelers “Red” rouge on order and I’m curious to see how it compares to the White Diamond for finish work. The stem has some odd marks in the vulcanite, almost like an imperfection. I could not remove them by sanding or buffing.

I polished briar lightly with some 8000 grade micromesh, keeping away from the weak nomenclature. I then buffed the bowl, again lightly with White diamond and then several coats of carnuba wax.

After searching online for several days, I couldn’t find out much about this shape. I found only one other shape 552, a shell finish pipe sold at an Ebay auction in 2007. The 552 is also not on any Dunhill shape chart (Loring, etc.). On the SmokersForums.uk in the “Streets of London” social group, one member there, dmcmtk (Dave) said he has a shape 556 from 1963. He had heard Dunhill was experimenting with shape variations at this time and perhaps my 552 was part of that experimentation. I have emails out to several Dunhill collectors, but haven’t yet received a reply. If you know anything about this shape number, please comment.

Here’s the finished pipe.

Dunhill_522_Finished_Gallery

Dunhill_522_Finished (3)

Dunhill_522_Finished (4)

Dunhill_522_Finished (5)

Dunhill_522_Finished (1)

Dunhill_522_Finished (2)

Charatan’s Make 109 Rhodesian Restoration


Blog by Al Jones

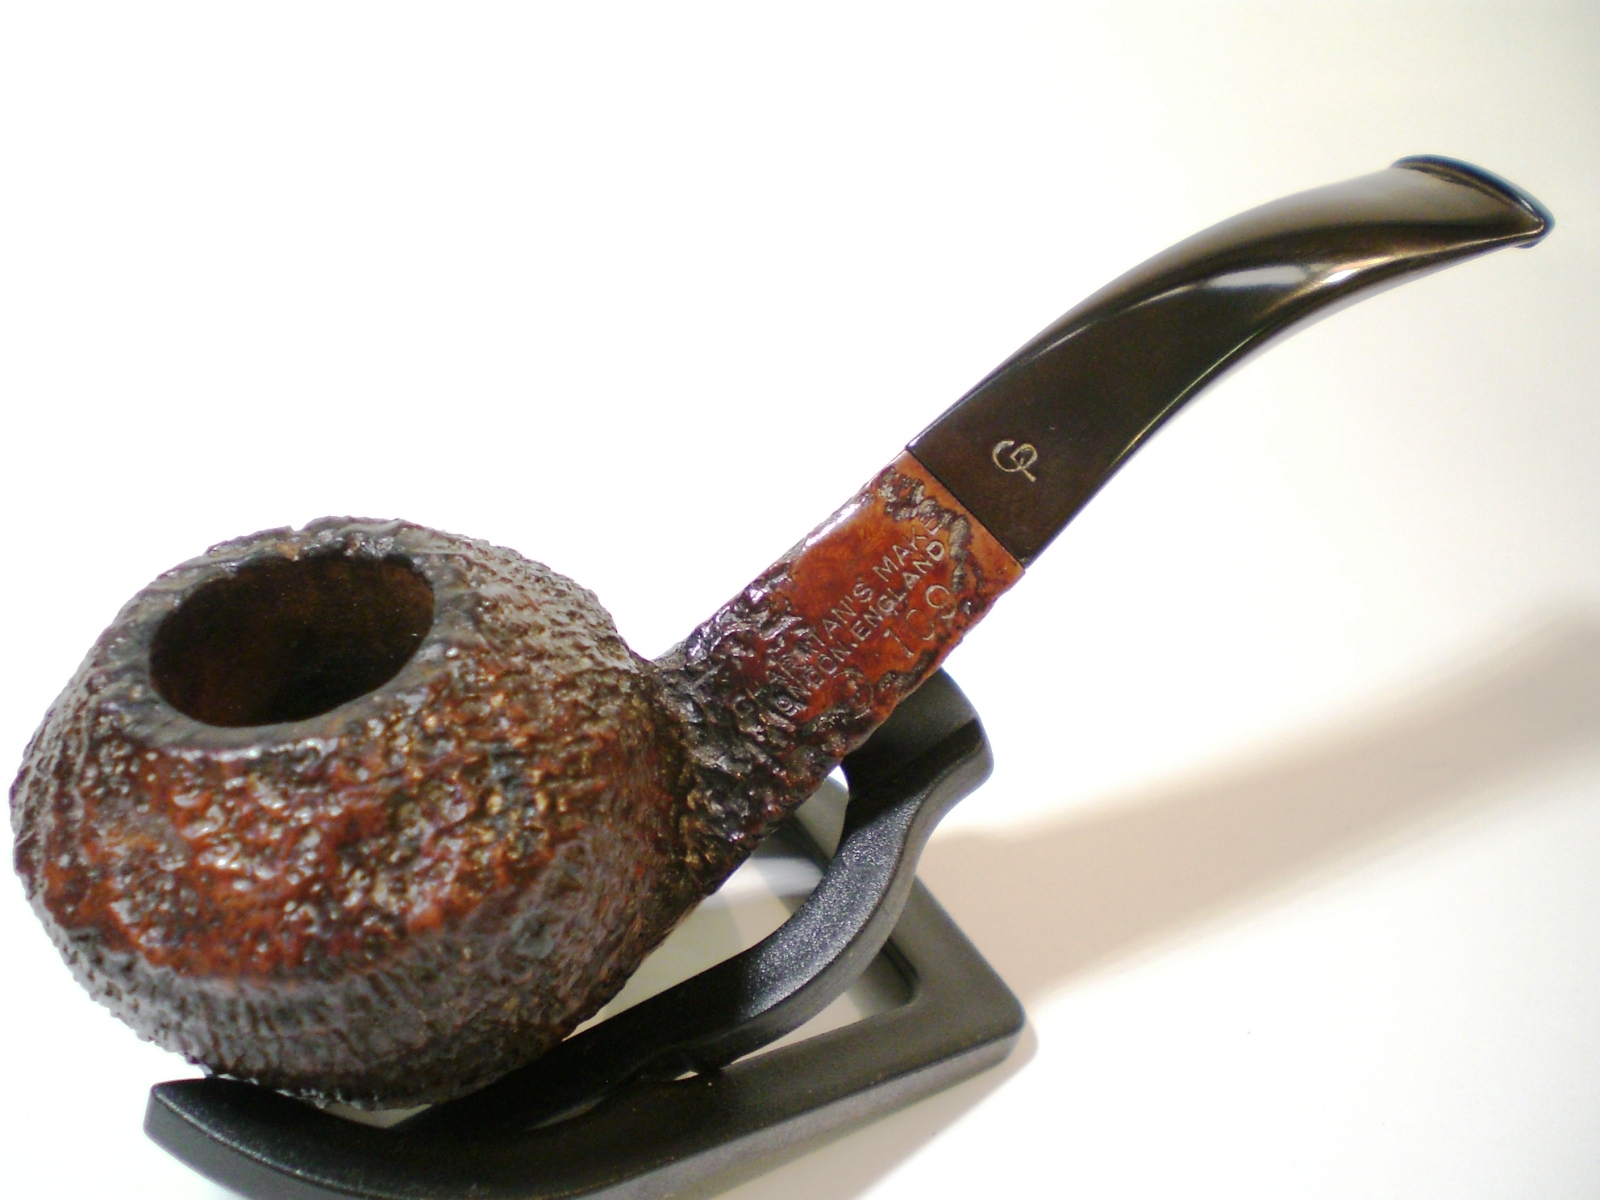
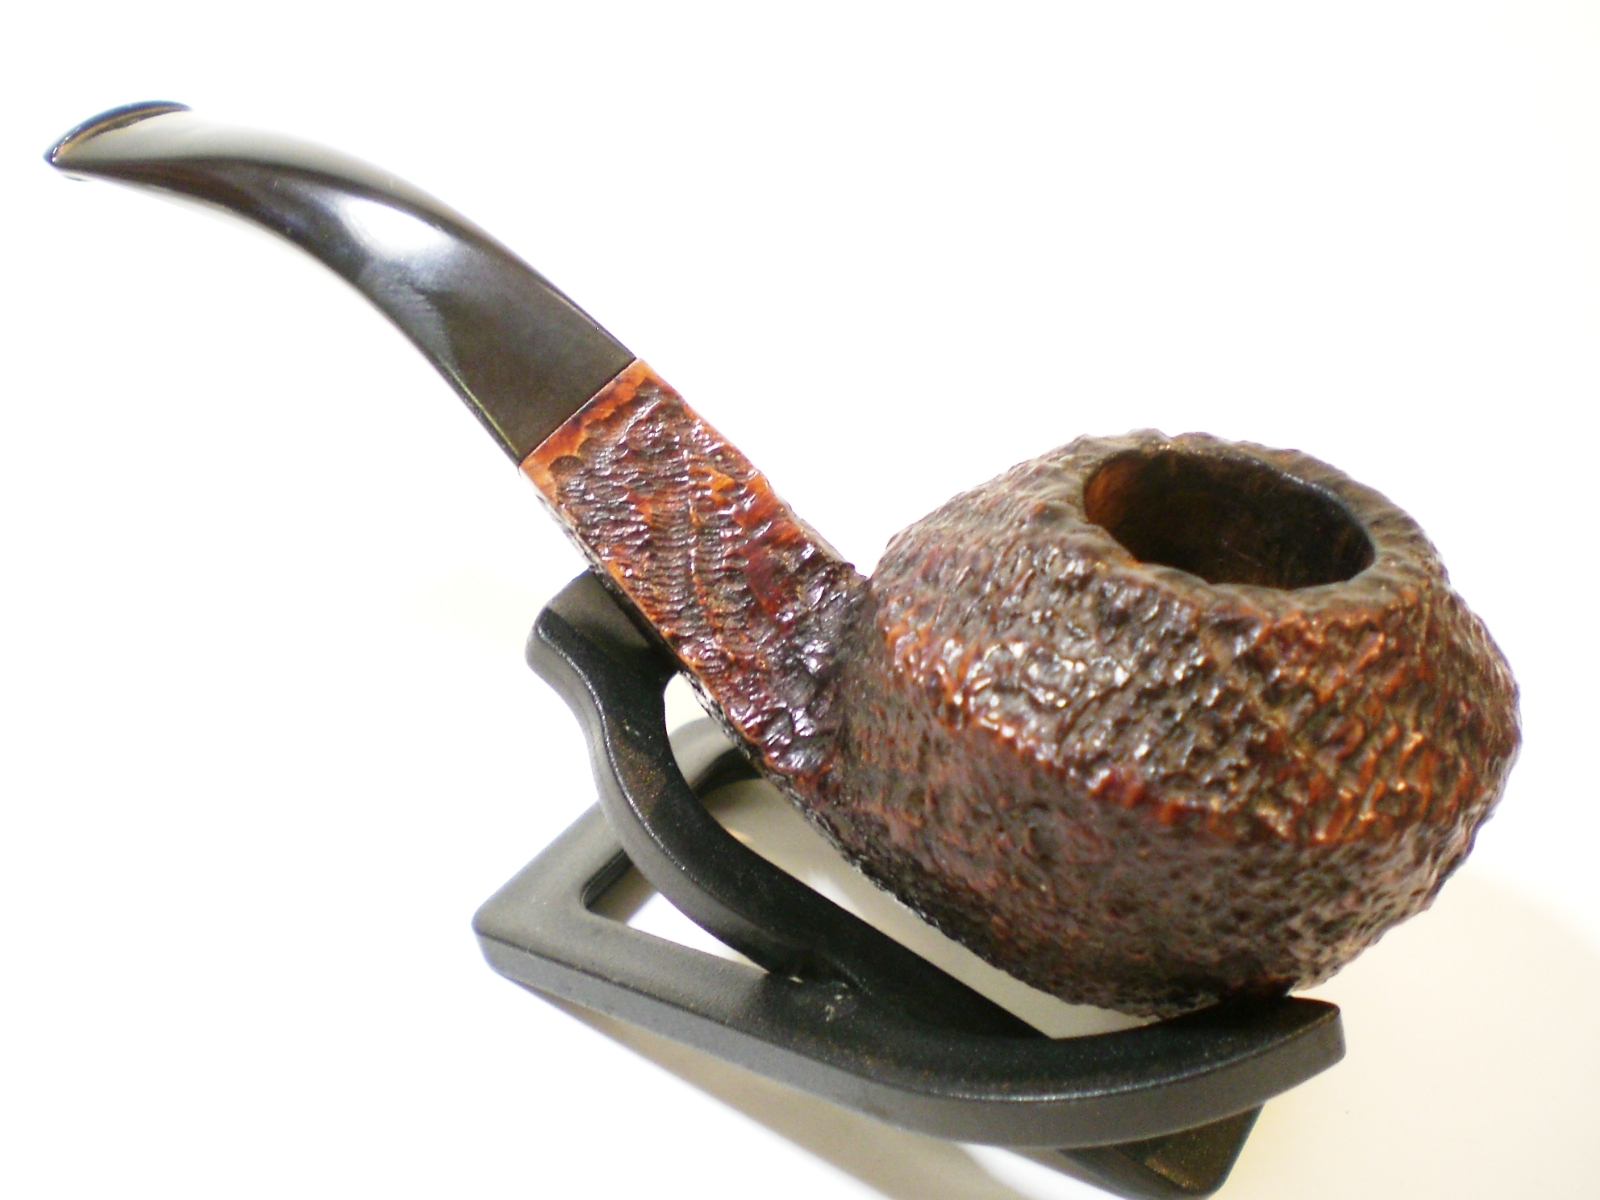
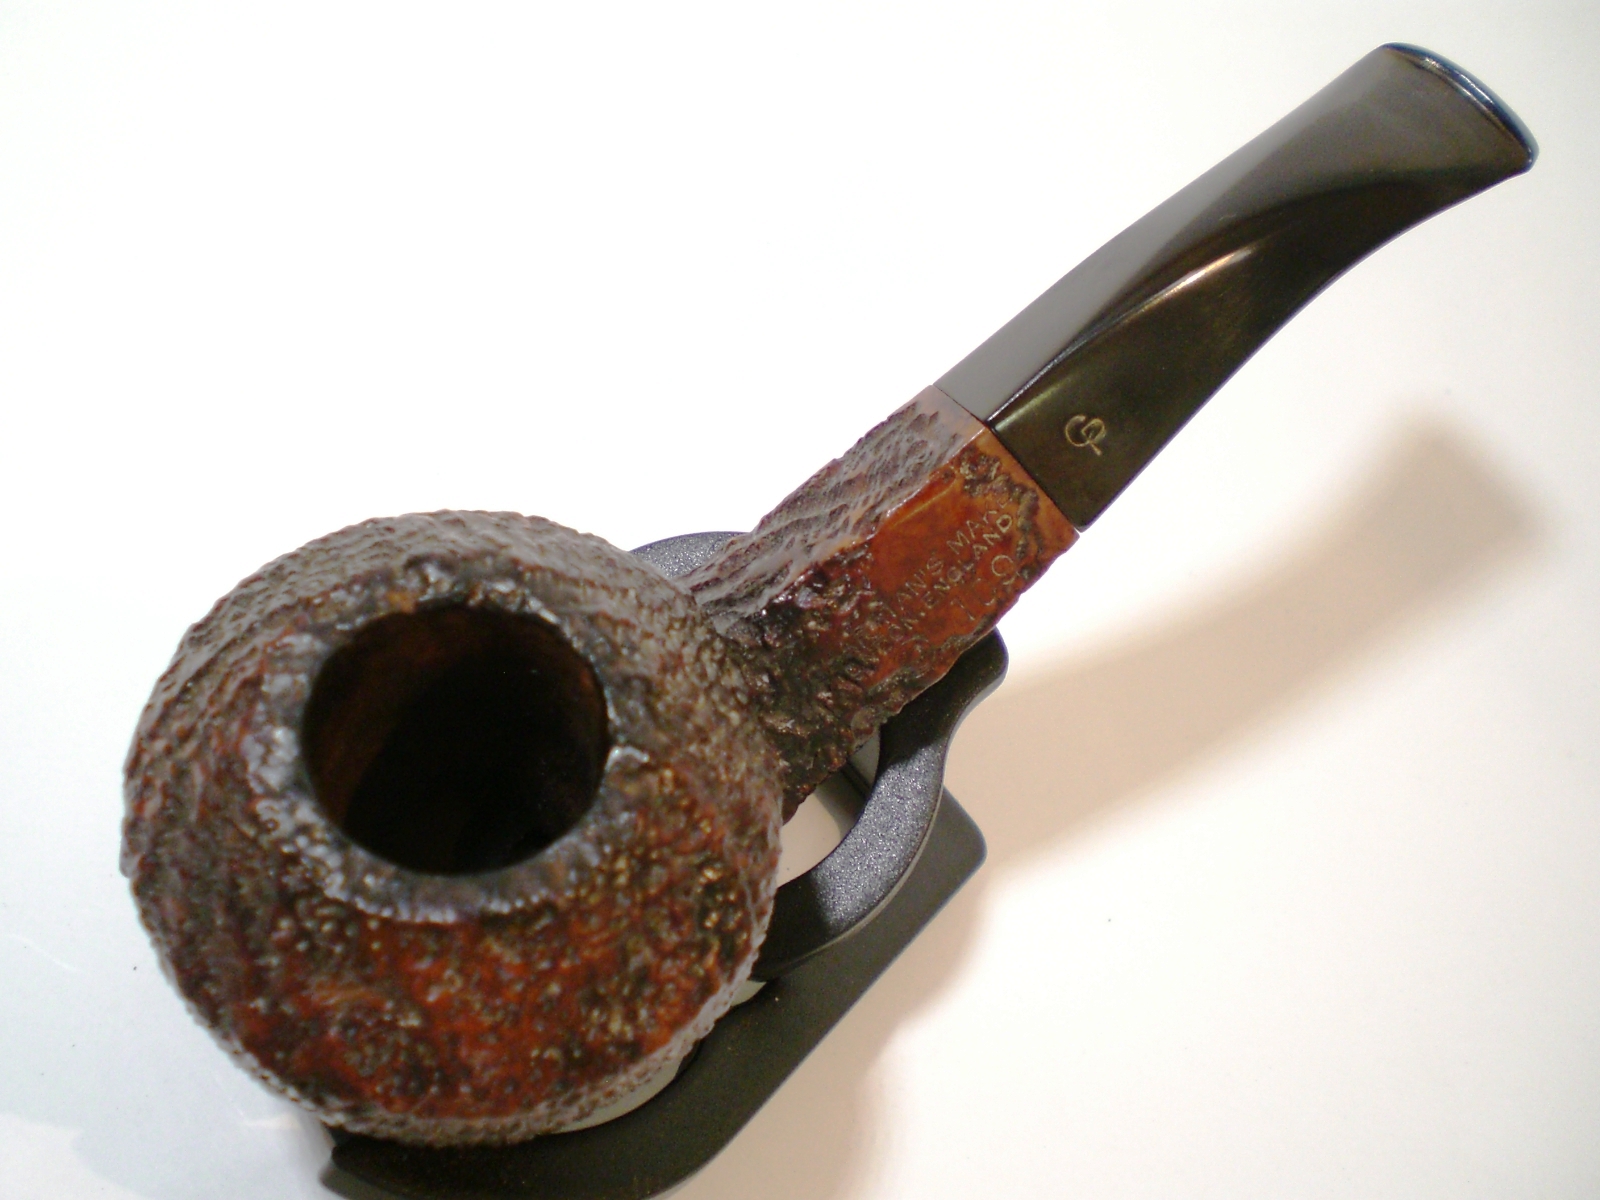
I have been a fan of the Charatan Shape 109, but rarely see them become available. This one was recently posted on Ebay. It is a Lane era pipe, with the L stamp, but it has a tapered stem versus the more common Double Comfort. I think the Double Comfort stem on Chartan Bulldog or Rhodesian stems look a little ungainly, so this one was very appealing. The pipes small size was a definite appeal. It is similar to a Group 4 Dunhill or XX Ashton. The pipe weighs approximately 45 grams, which is my right in my sweet spot.

The Ebay pictures for the pipe weren’t very detailed and there were some pretty deep teeth marks on the bottom of the stem. The pips is stamped:
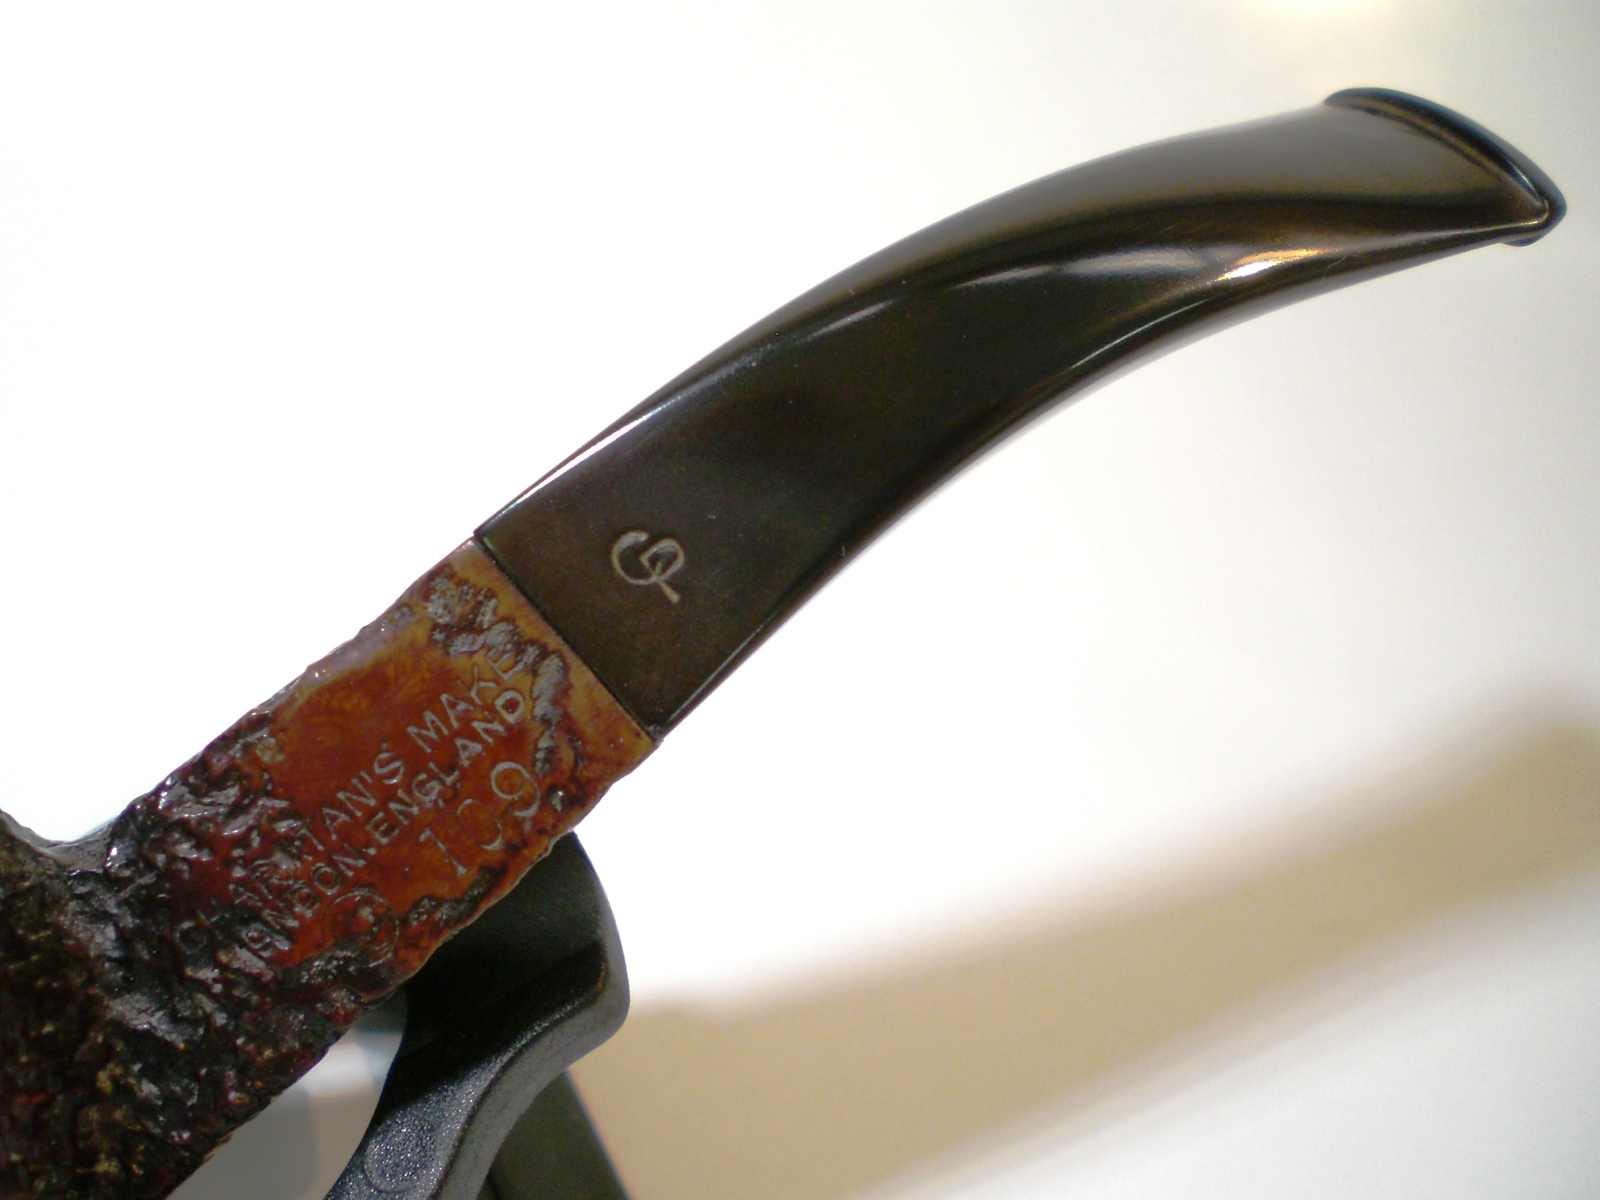
Charatan’s Make
London England
109 and the L stamp

I’ve learned that Charatan pipes stamped in this manner were known as having the “Rough” grade. From a somewhat controversial web article by Ivy Ryan, I’ve learned that:
“Sandblasted pipes stamped Charatan’s Make over London England and a number are one version of the famous “Rough” grade. These were apprentice pipes that didn’t come out well
enough to be graded but were still eminently smokable. To save the wood and give the
less-well-off a quality smoke, Charatan would first hand rusticate the pipe gently, then sandblast
it. (Due to Dunhill’s patent, they couldn’t simply blast the pipe, and the rustication made for a very
different blast.)”

The “L” in circle stamp denotes a pipe imported into USA by Lane Ltd between 1955 and 1988. If anyone has information to narrow down that range, please chime in.

Here is the pipe as it was delivered. The nomenclature on the stem was in decent shape but it had some heavy tooth waves on top and heavy indention’s underneath.

Charatan_109_Before

Charatan_109_Before (1)

Charatan_109_Before (2)

Charatan_109_Before (3)

Once again, I employed the Stew-Mac black superglue to repair the teeth marks on the bottom of stem. The first photo shows the application of the superglue and the second shows it sanded smooth with 800 grit sandpaper.

Charatan_109_Stem

Charatan_109_Stem (1)

I reamed the bowl and soaked it with alcohol and sea salt. There was some tar build up on the bowl top, but that was removed with a very mild oxy-clean solution and a cloth.

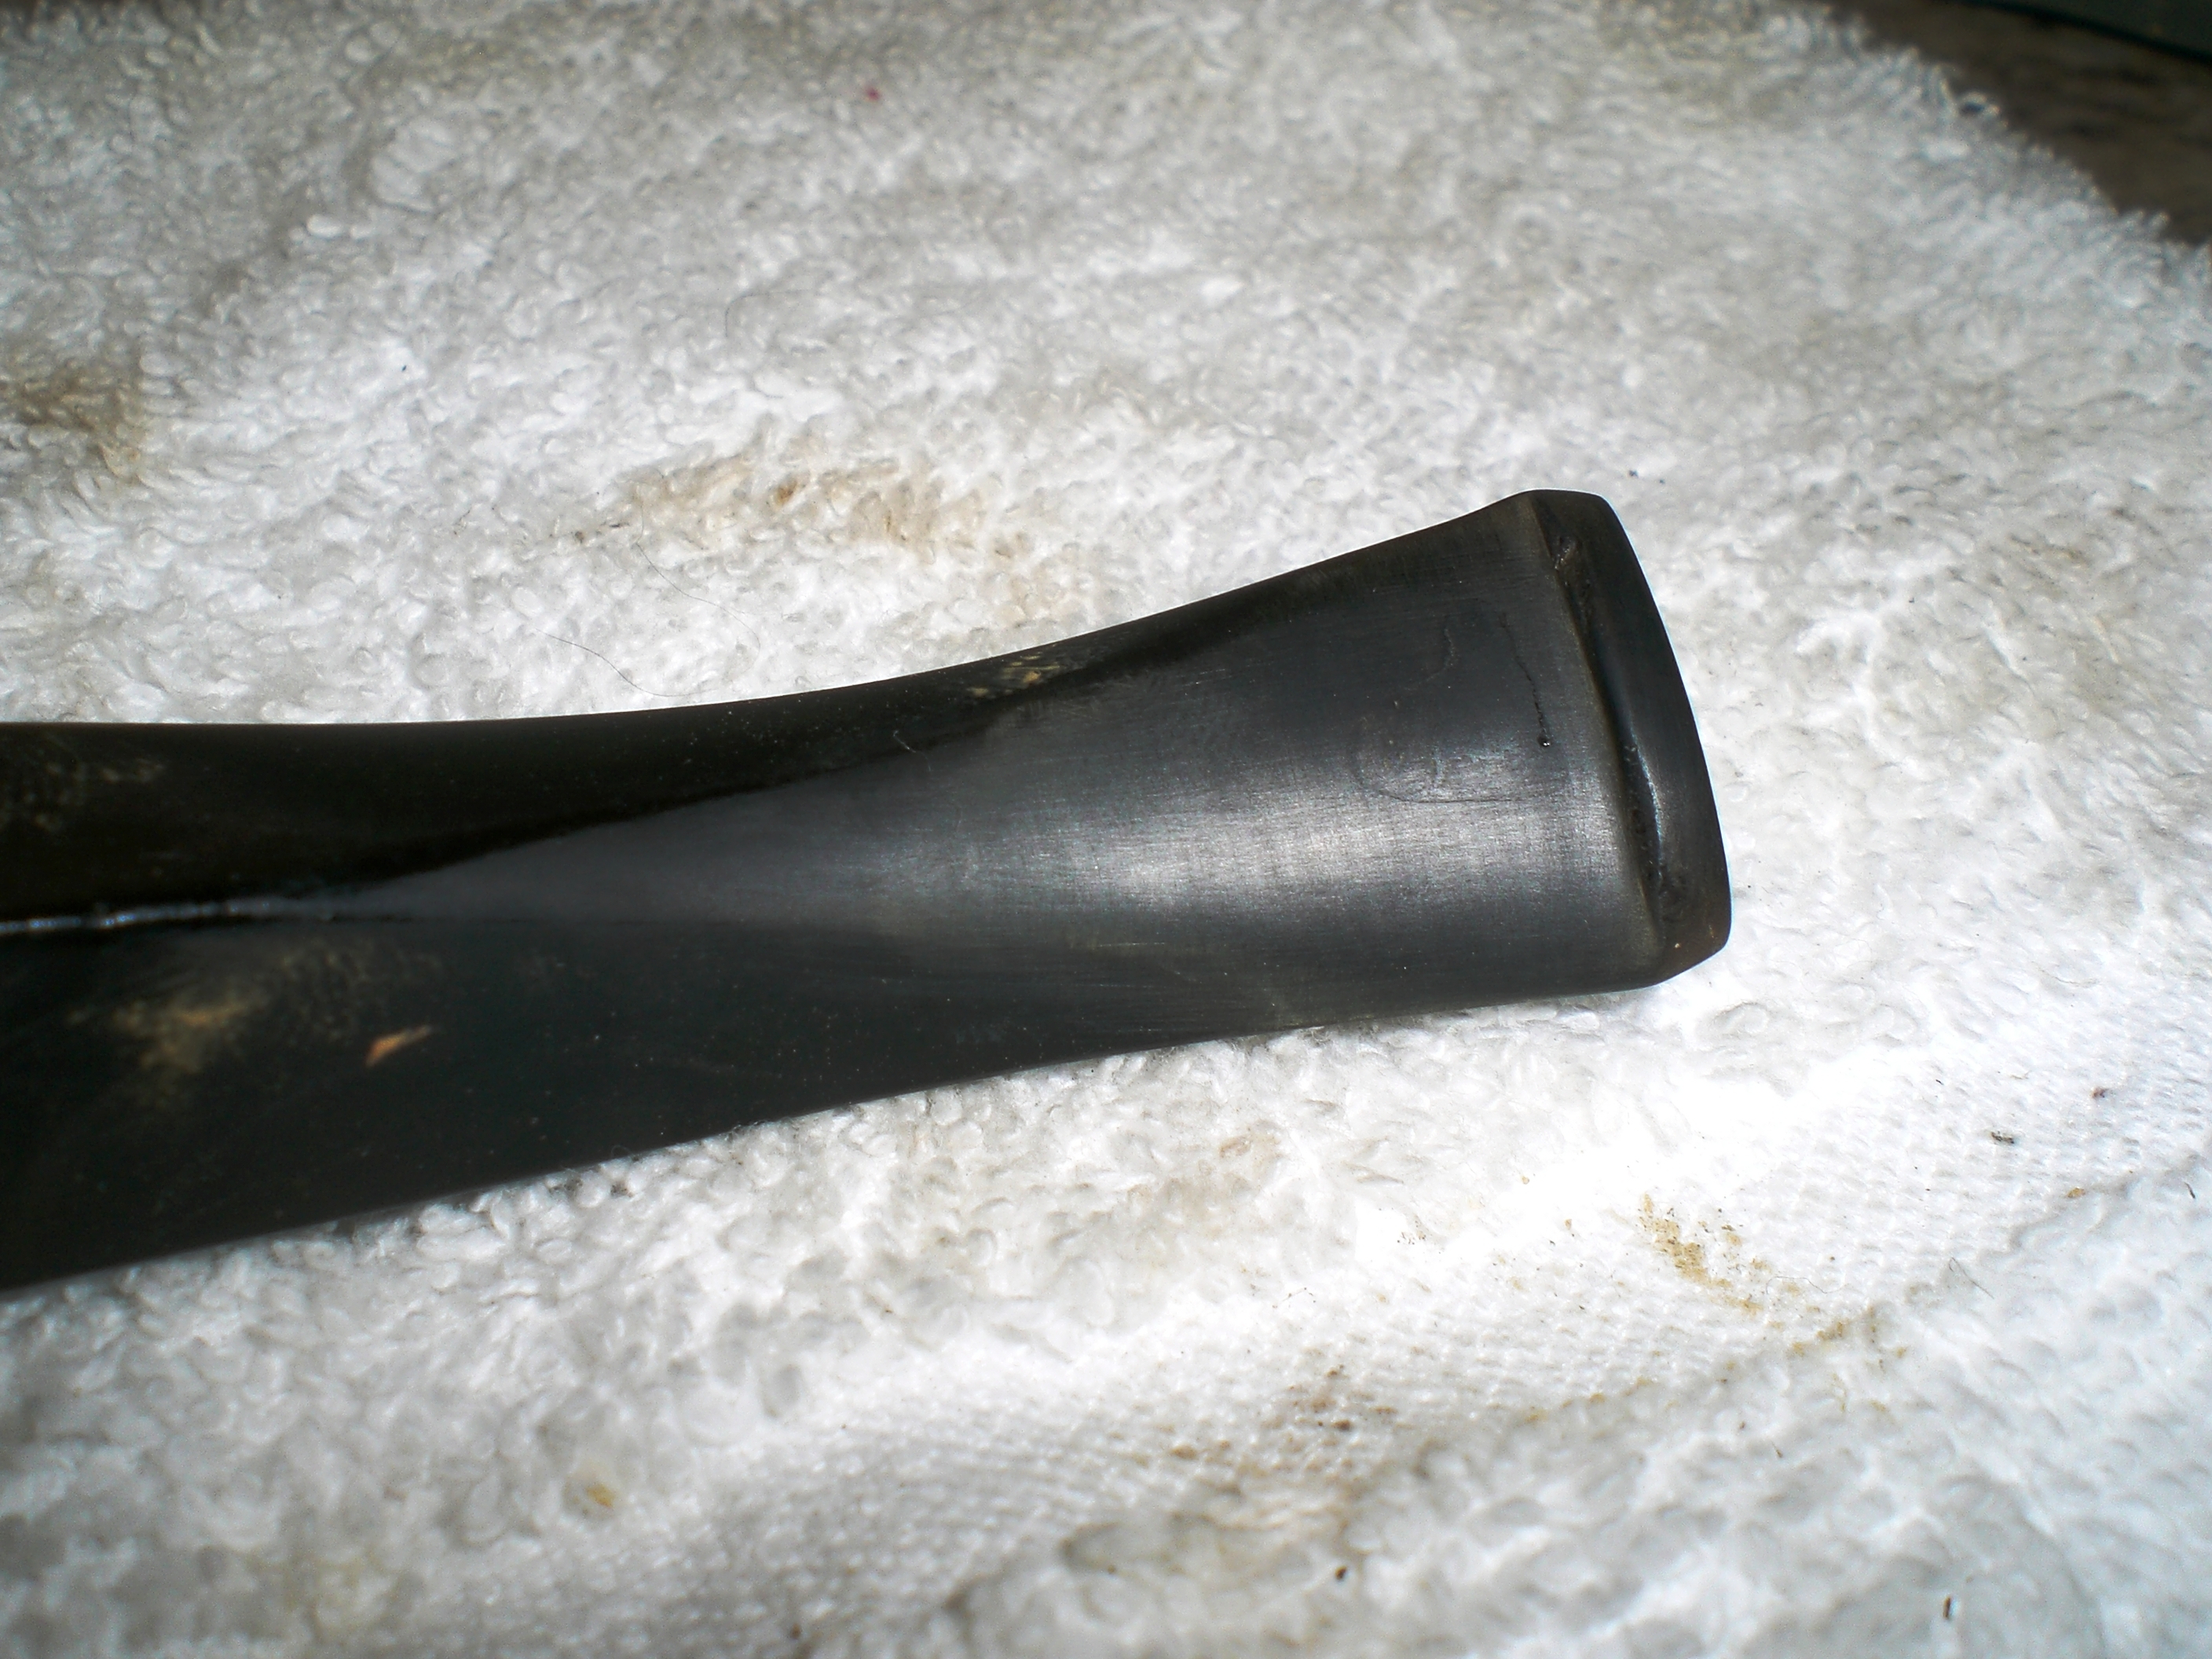
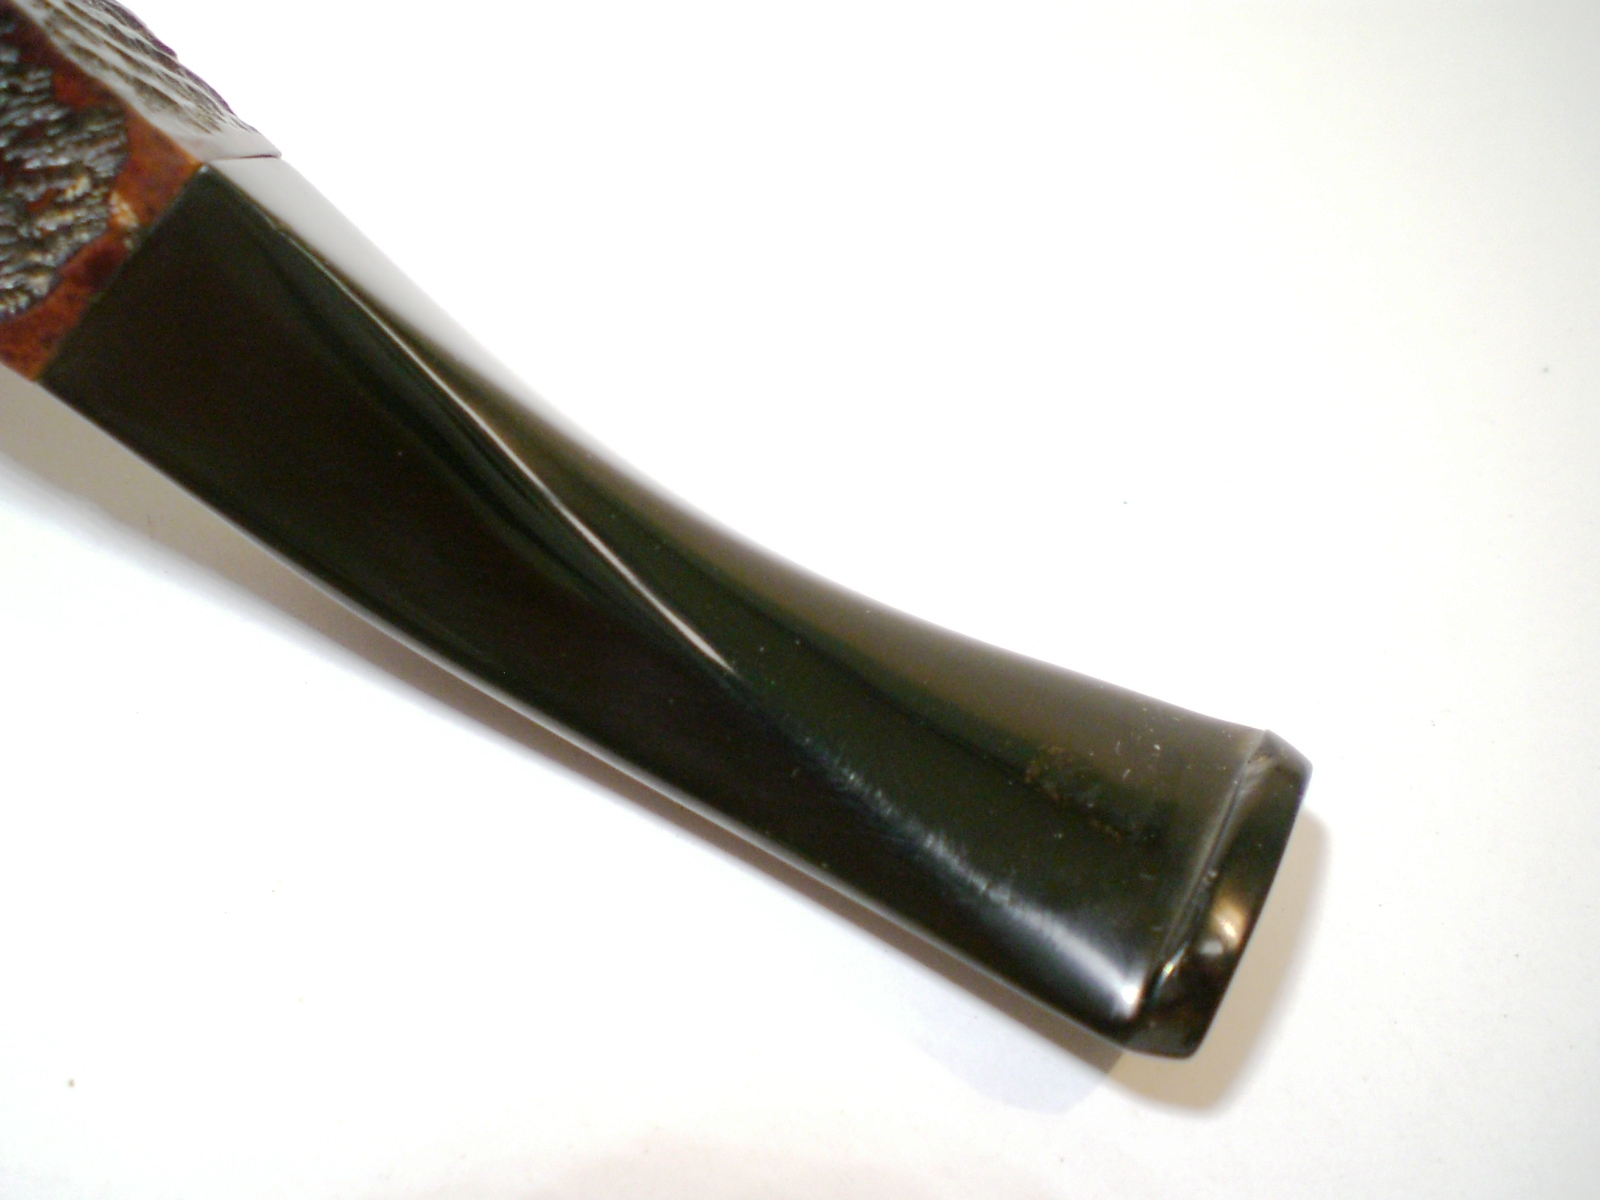
I removed the oxidation on the stem with 800 grit wet sandpaper, then progressed thru the 1500 and 2000 grade paper. Most of the waves came off the top of the stem and the marks underneath blended in nicely with the superglue. The button was in good shape. I stayed away from the CP stem logo. The stem was then buffed lightly with white diamond rouge.

I finished the bowl with some Halycon wax, worked into the bowl with an old toothbrush polished by hand

Here is the finished pipe.

Charatan_109_Gallery
Charatan_109_Finished (5)
Charatan_109_Finished (8)
Charatan_109_Finished (3)

Charatan_109_Finished (1)

My Buffing Motor & Work Station Setup – Updated May 2025


Blog by Al Jones

Al_Pipes_@SMALL

See the June 2017 Updates at the bottom of this page
I get a lot of requests about my buffing station, so I thought an entry here on the blog would be handy to use as a point of reference. I do my pipe work in my garage which is well-lit. I have a small Coleman propane heater to warm up the space during the winter months.

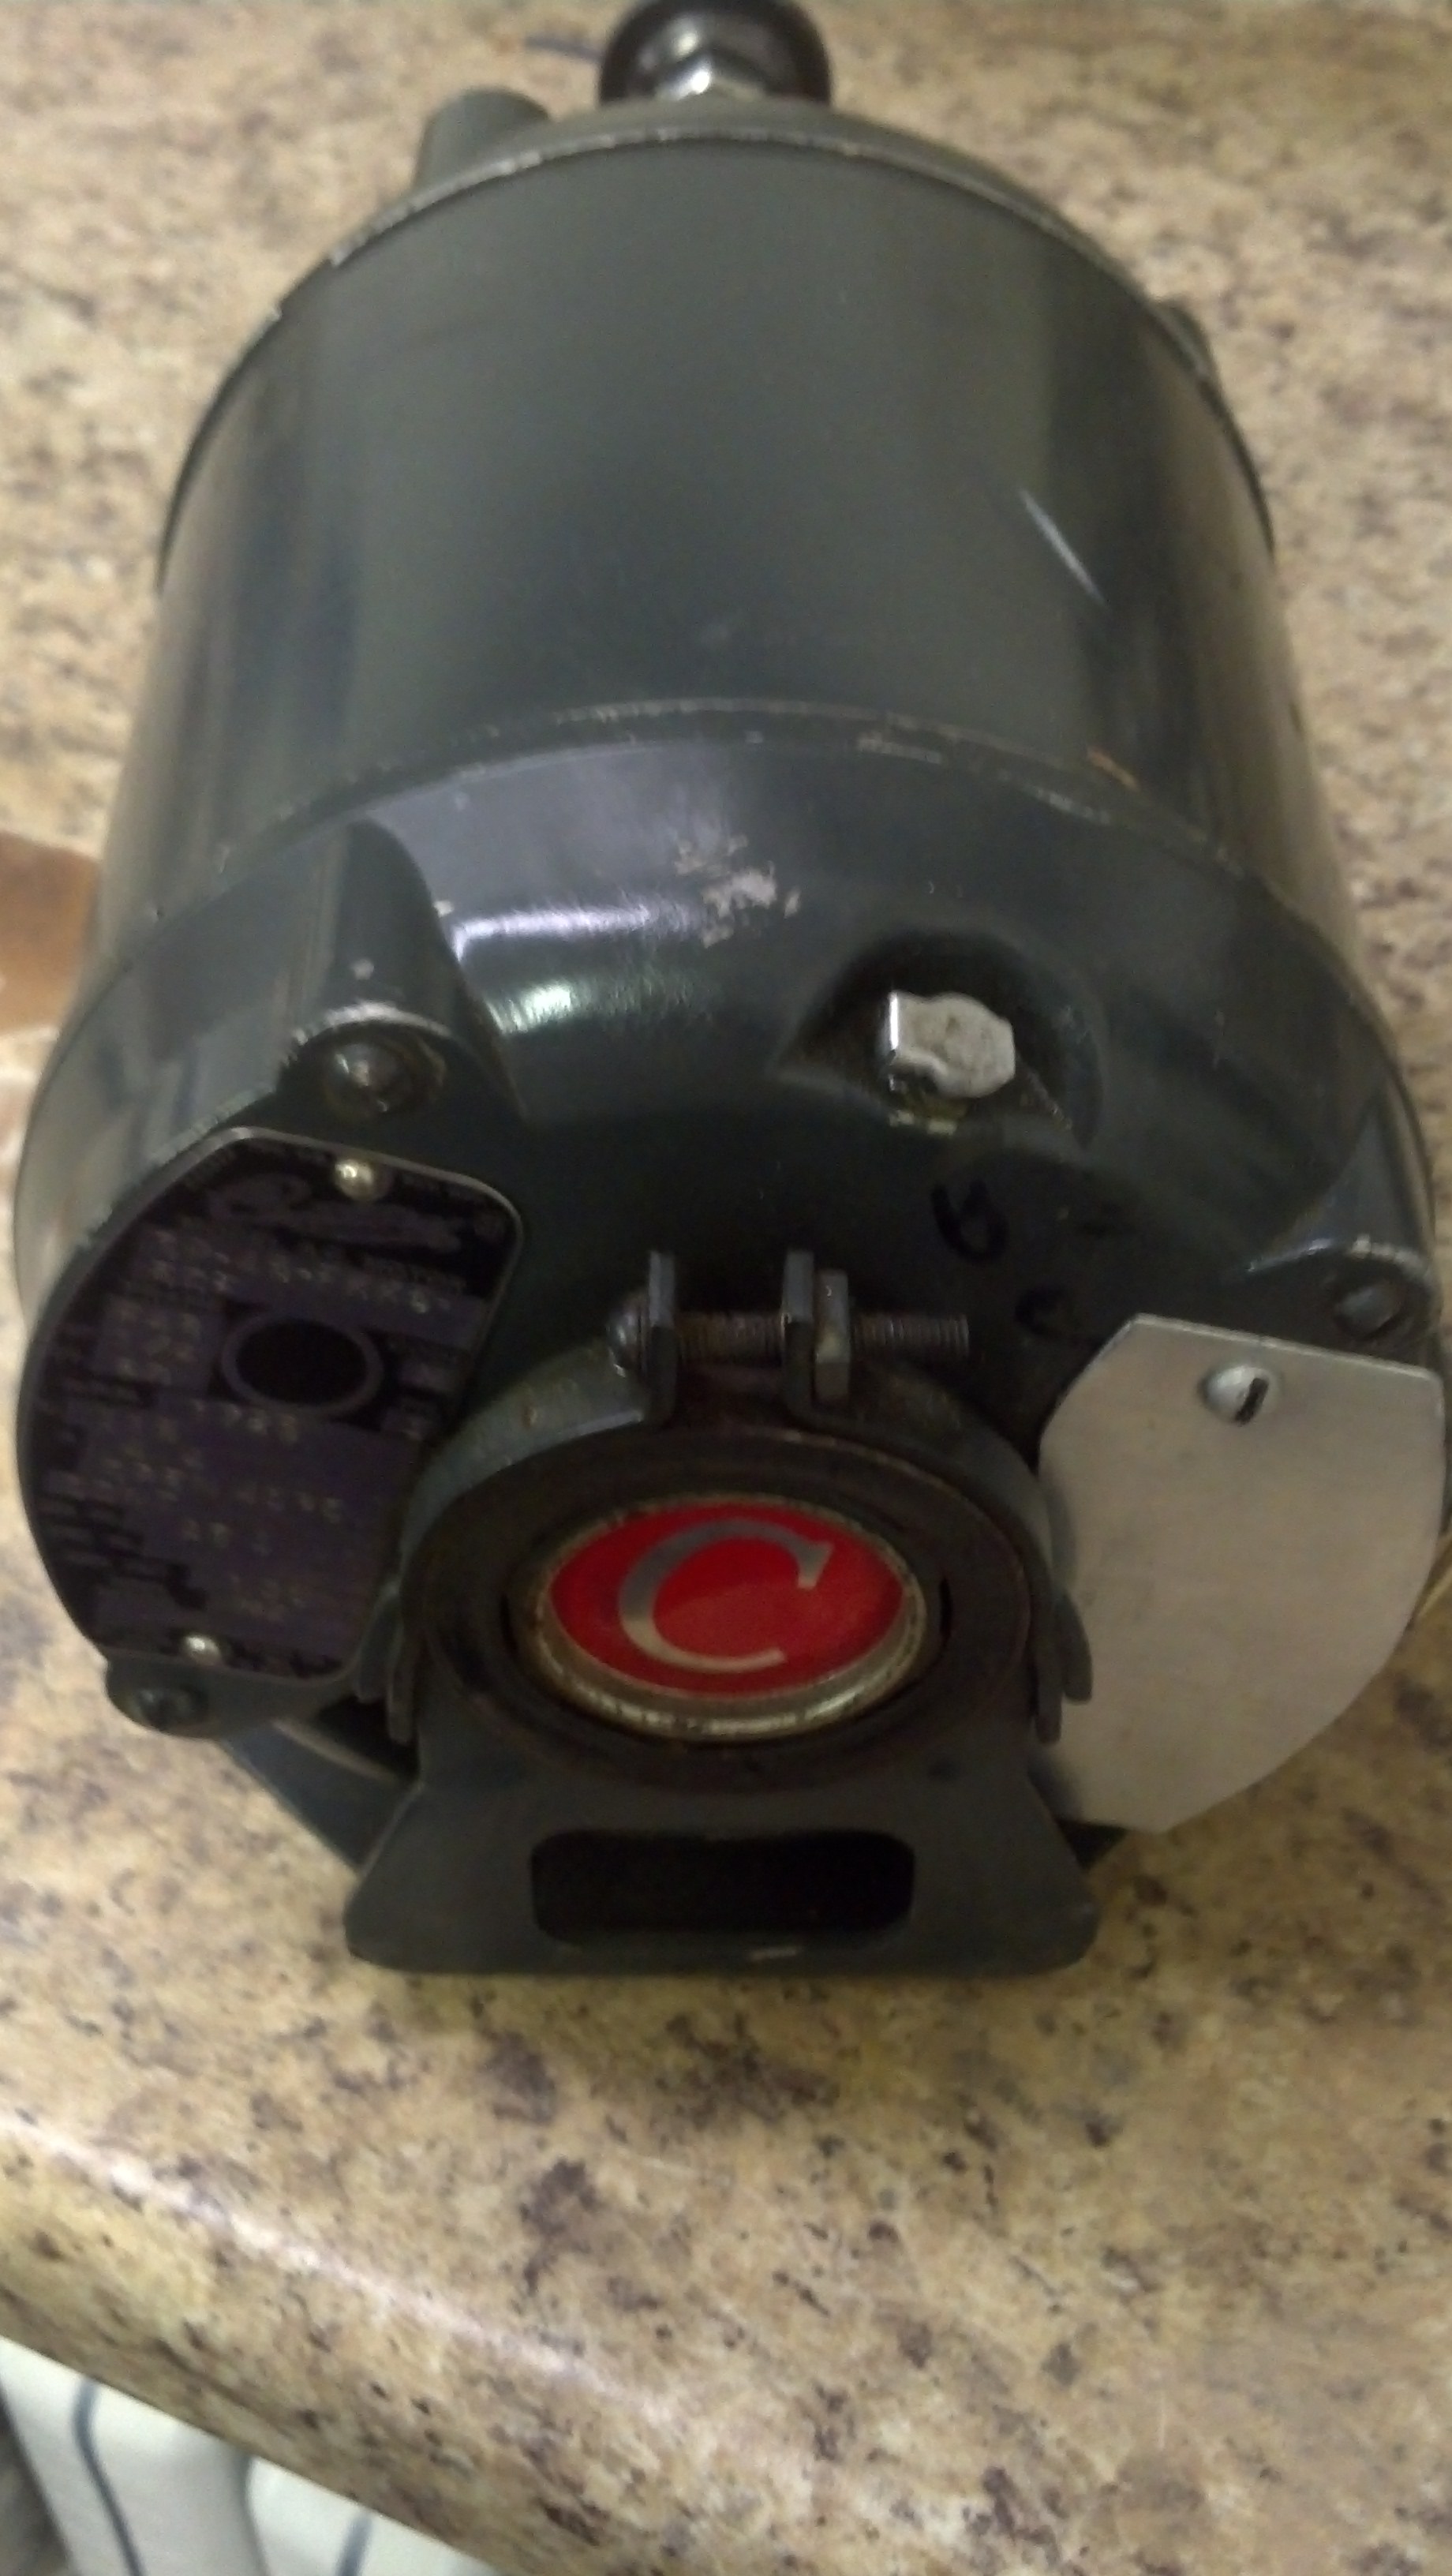
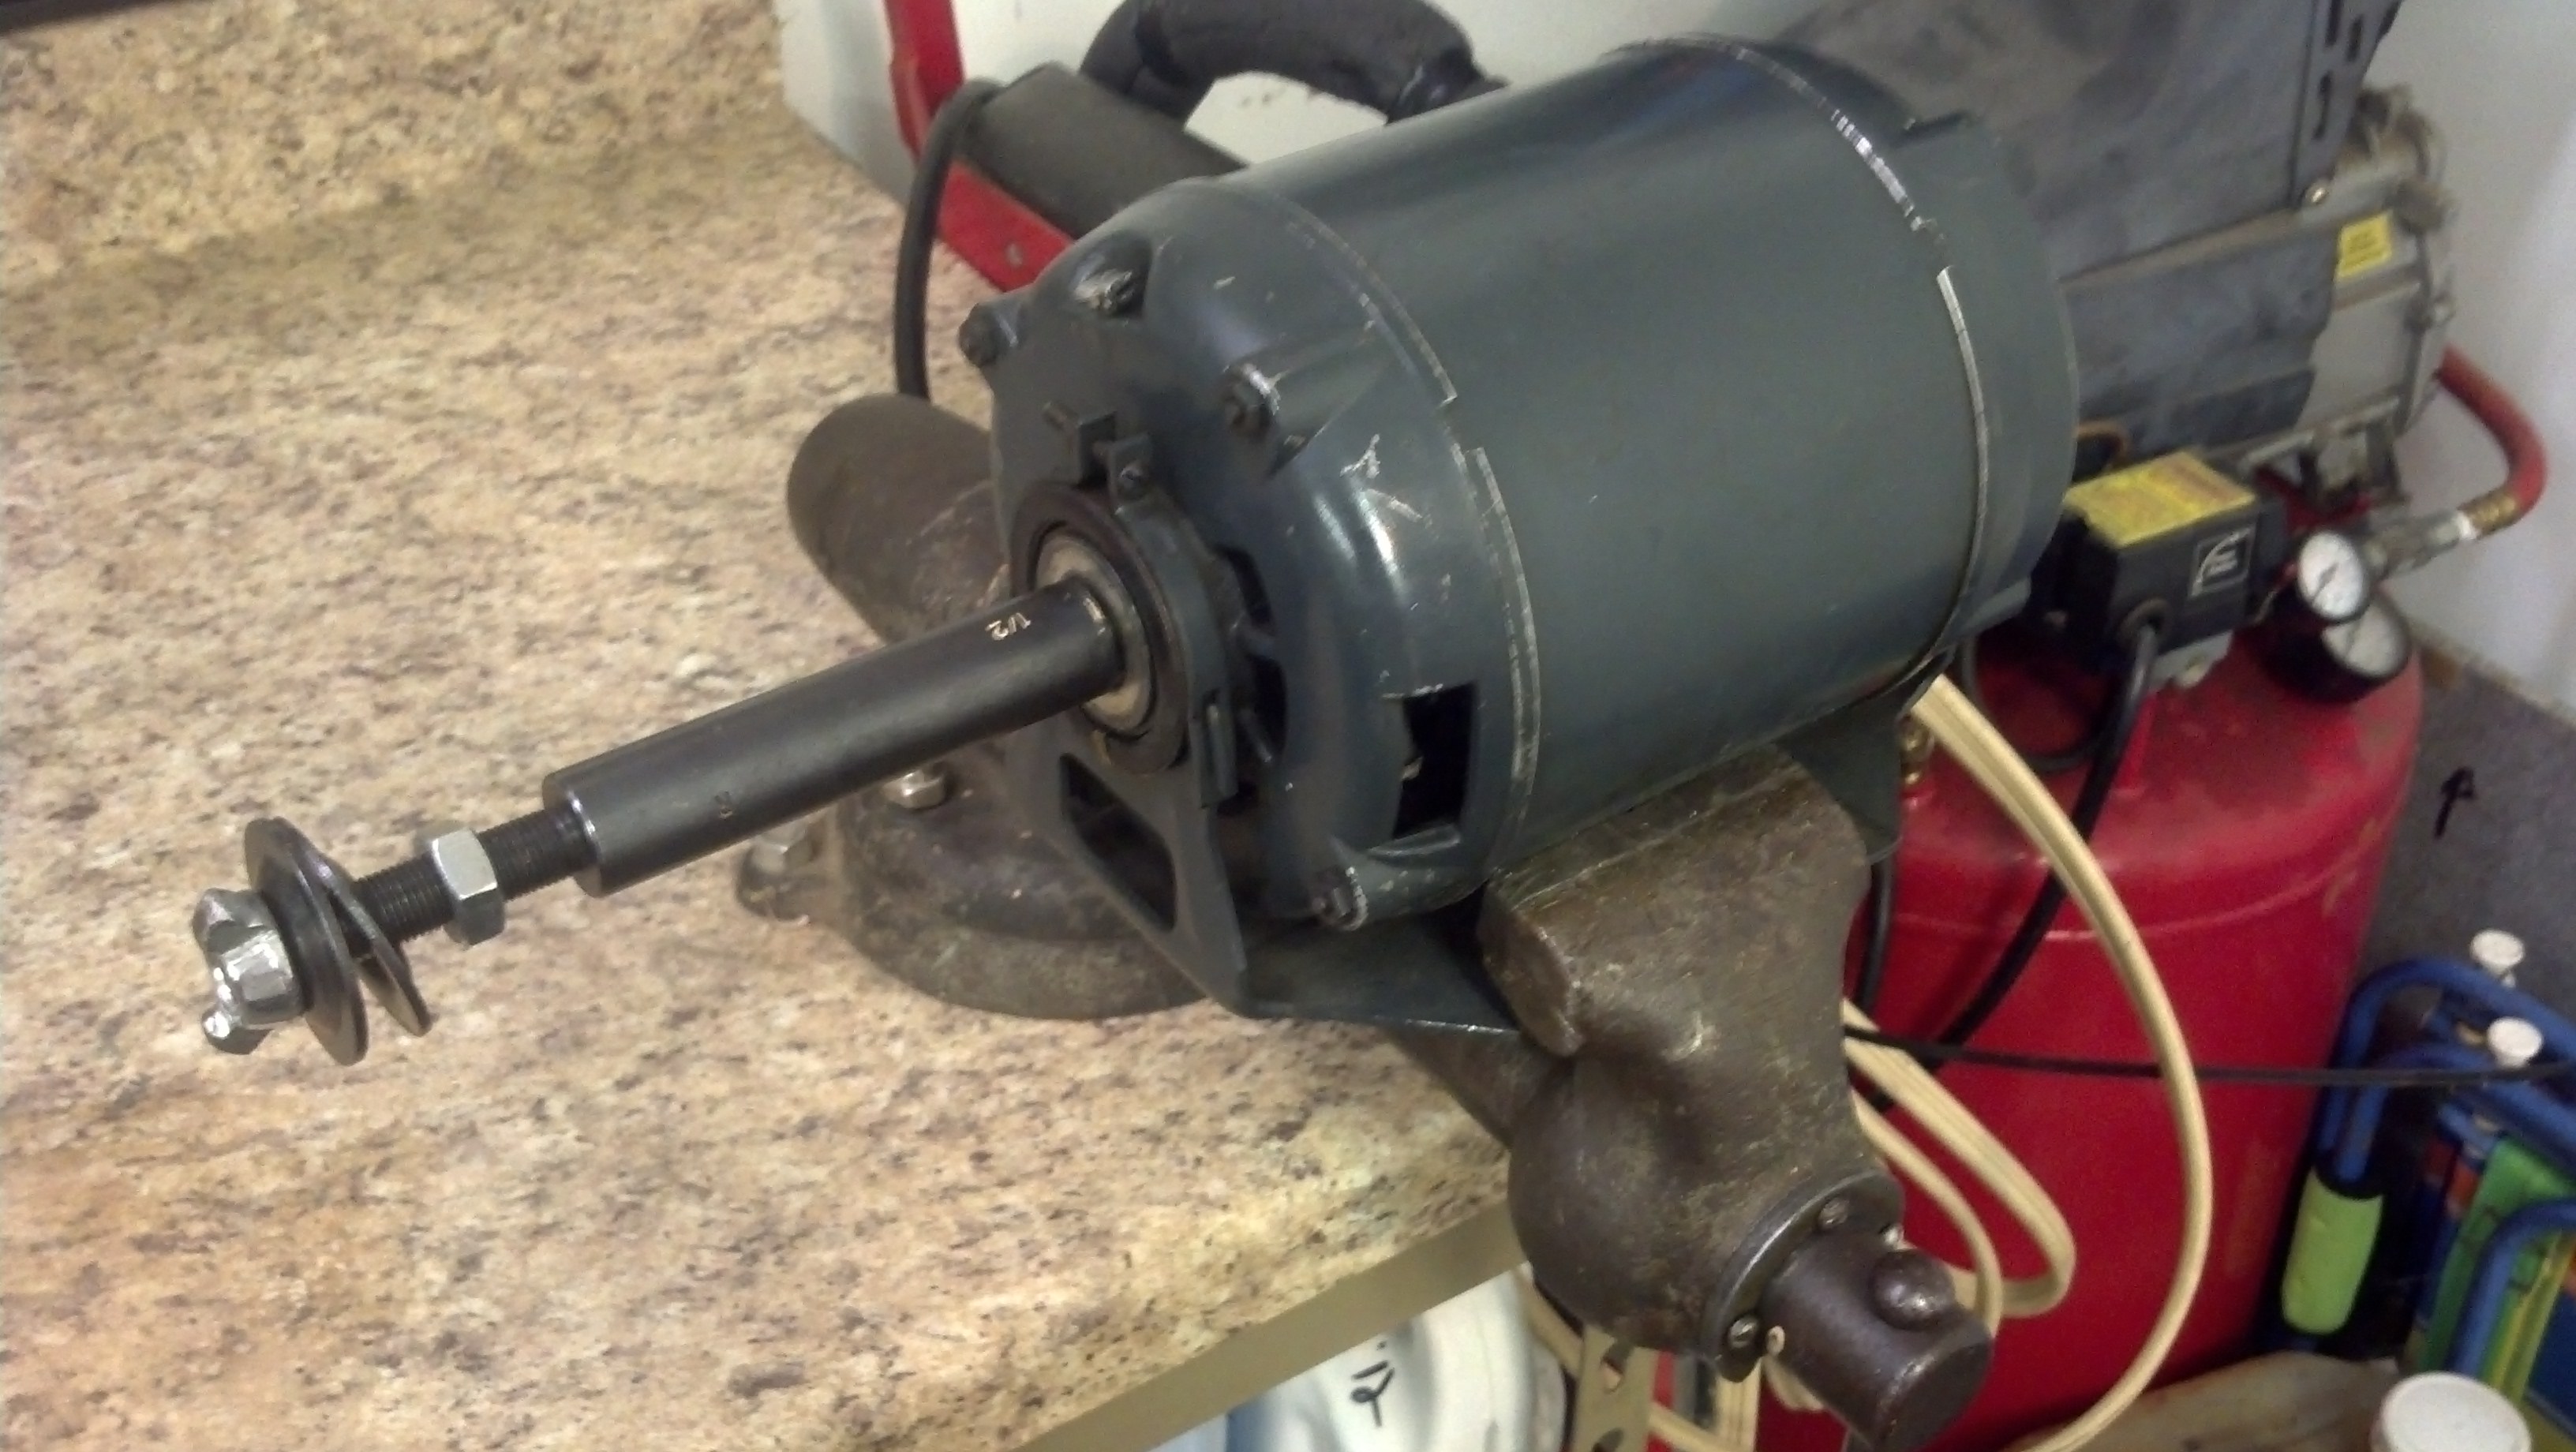
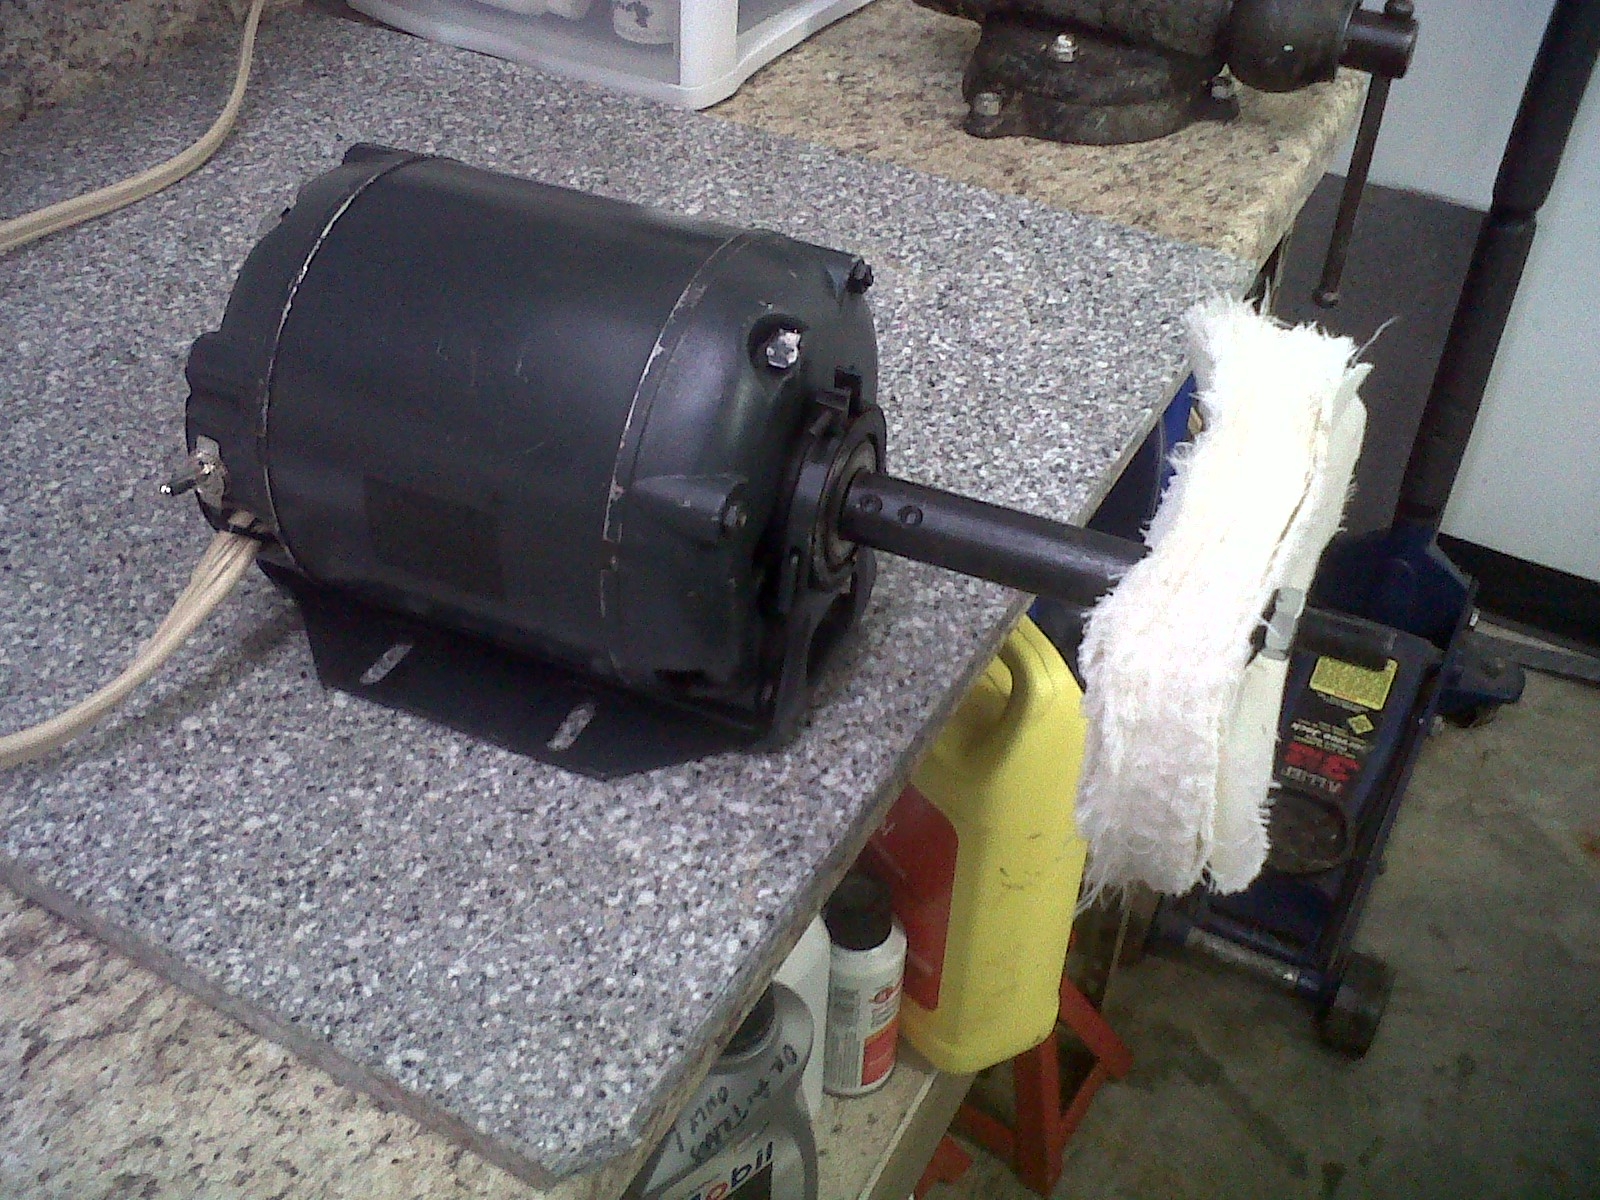
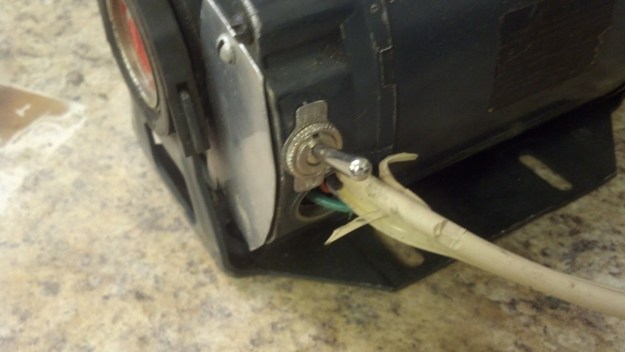
For a buffing motor, I use an old Century brand motor that I found in my parent’s basement. I believe it was used on their old furnace motor or a back-up. It is a 1725 rpm, 1/4 hp motor. I wired an old appliance cord for power. It does not have a capacitor start, which would be nice. It does have two oil ports, which apparently aren’t used on modern motors.
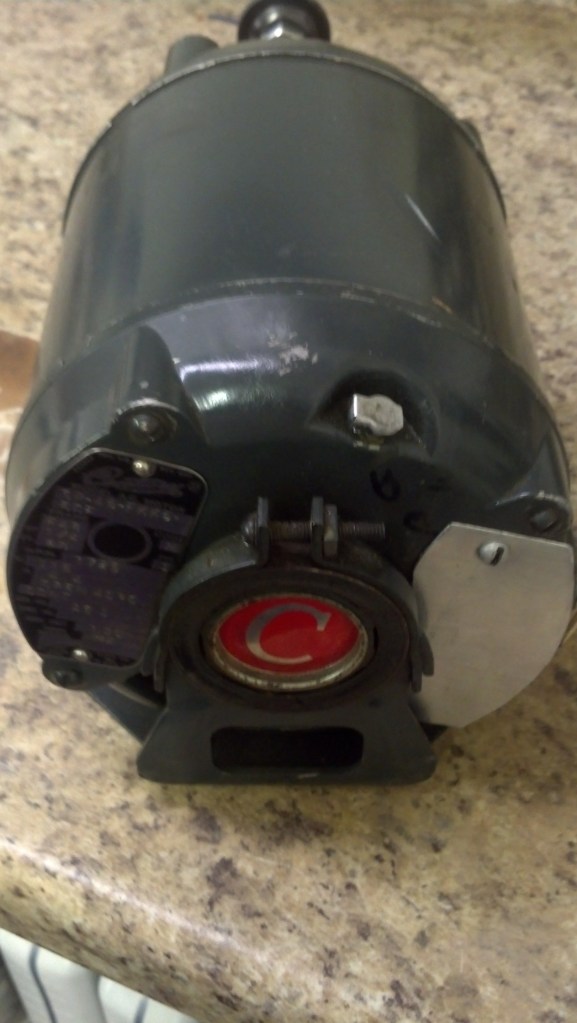
IMG_20130819_214553_507

IMG_20130819_214532_867

I bought a 1/2″ arbor extension from Jestco Products. This bolts to the motor shaft and allowed for a buffing pad to be mounted. I also use Jestco for my buffing pads. I use 6″ wide pads. They make left or right thread arbors. A dual shaft motor would be a nice upgrade, in order to keep two pads mounted. A nut holds the pad in the arbor, I replaced it with a wing-nut to allow for easy hand changes. The pad only needs to be held snugly in place. I ground the wing-nut down a bit to make sure it wouldn’t inadvertently hit the pipe or stem.

Jestco is also a good source for bars of rouge. I get carnuba bars from my local Woodcraft store. The bars pictured below have been in use for three years and would seemingly last many more years.

I mount the buffer in my bench mounted vise. When not needed, I can easily pull it off and store it under my bench. Below is the link for Jestco Products.
http://www.jestcoproducts.com/index.php?act=viewProd&productId=40
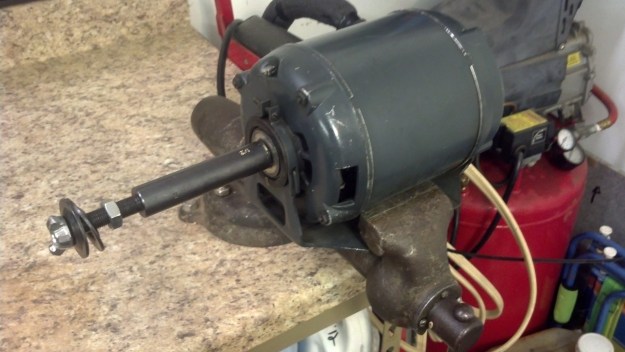
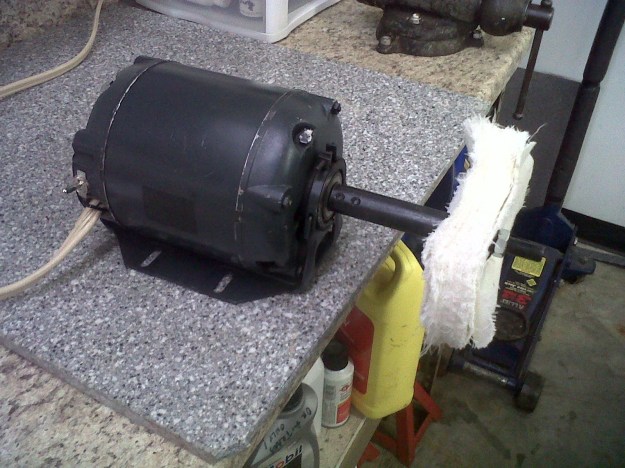
IMG_20130819_214801_262

Buffing_Station

Jestco_Arbor_Extension

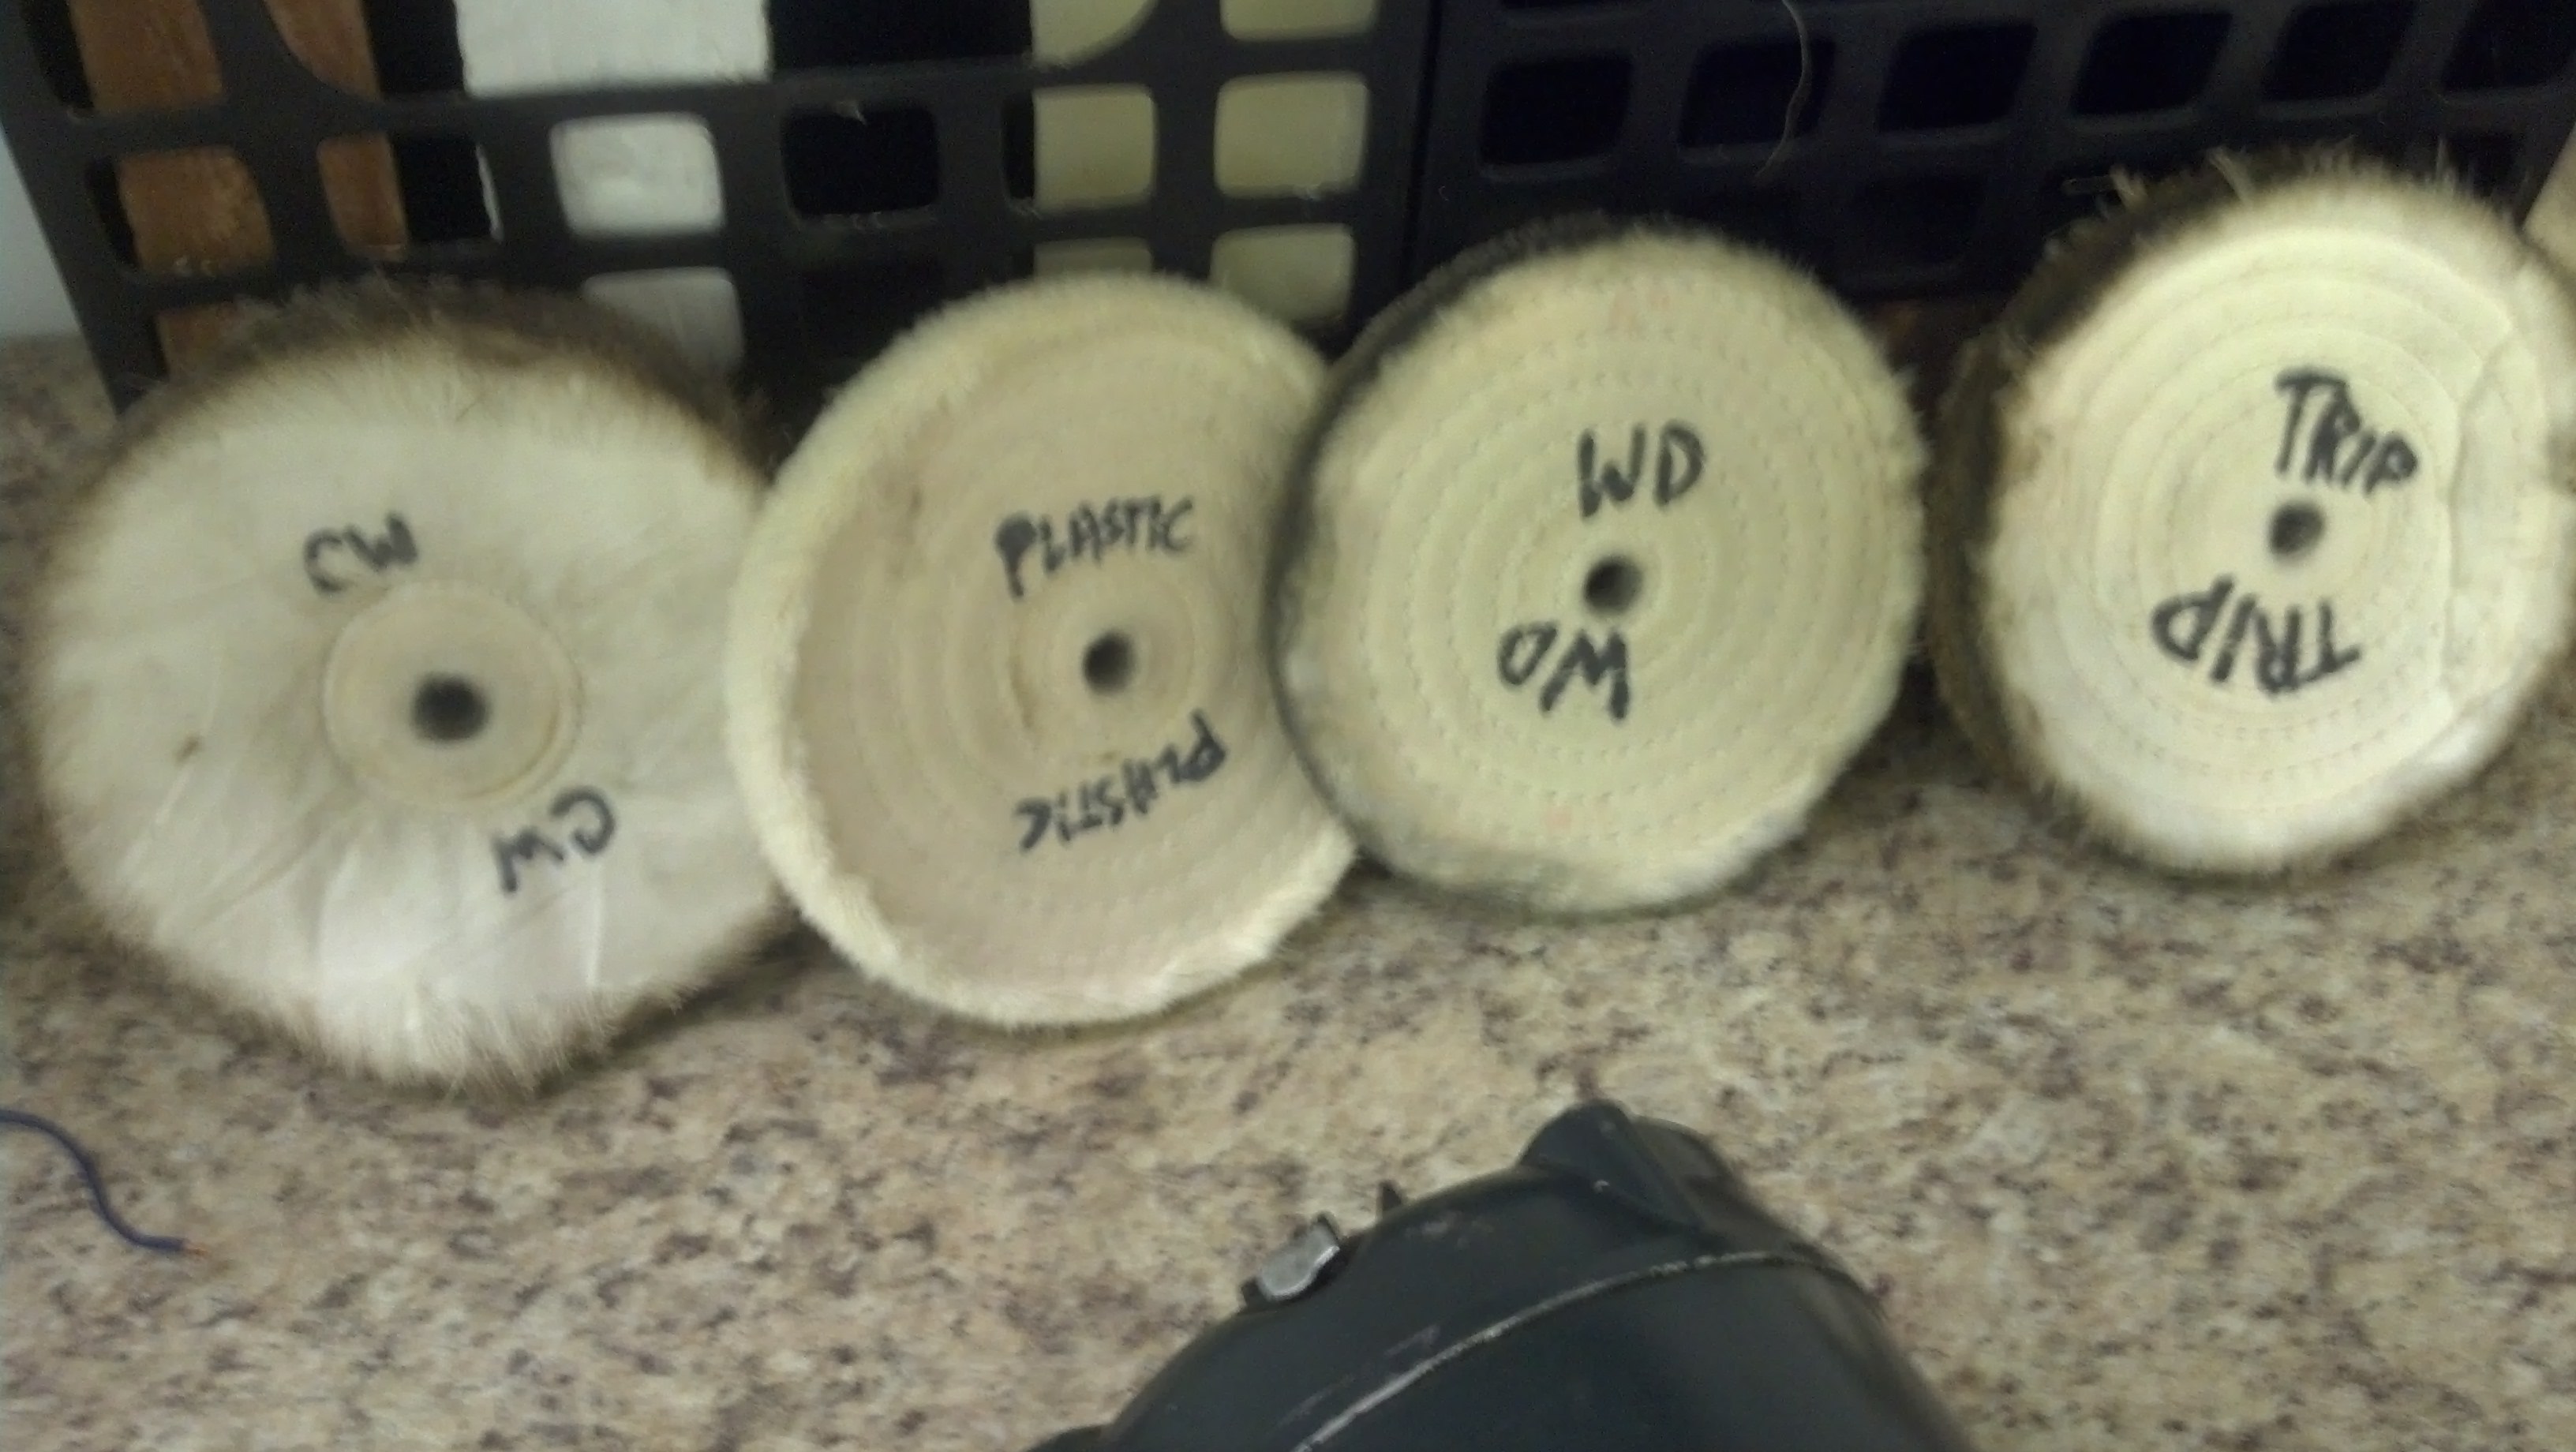
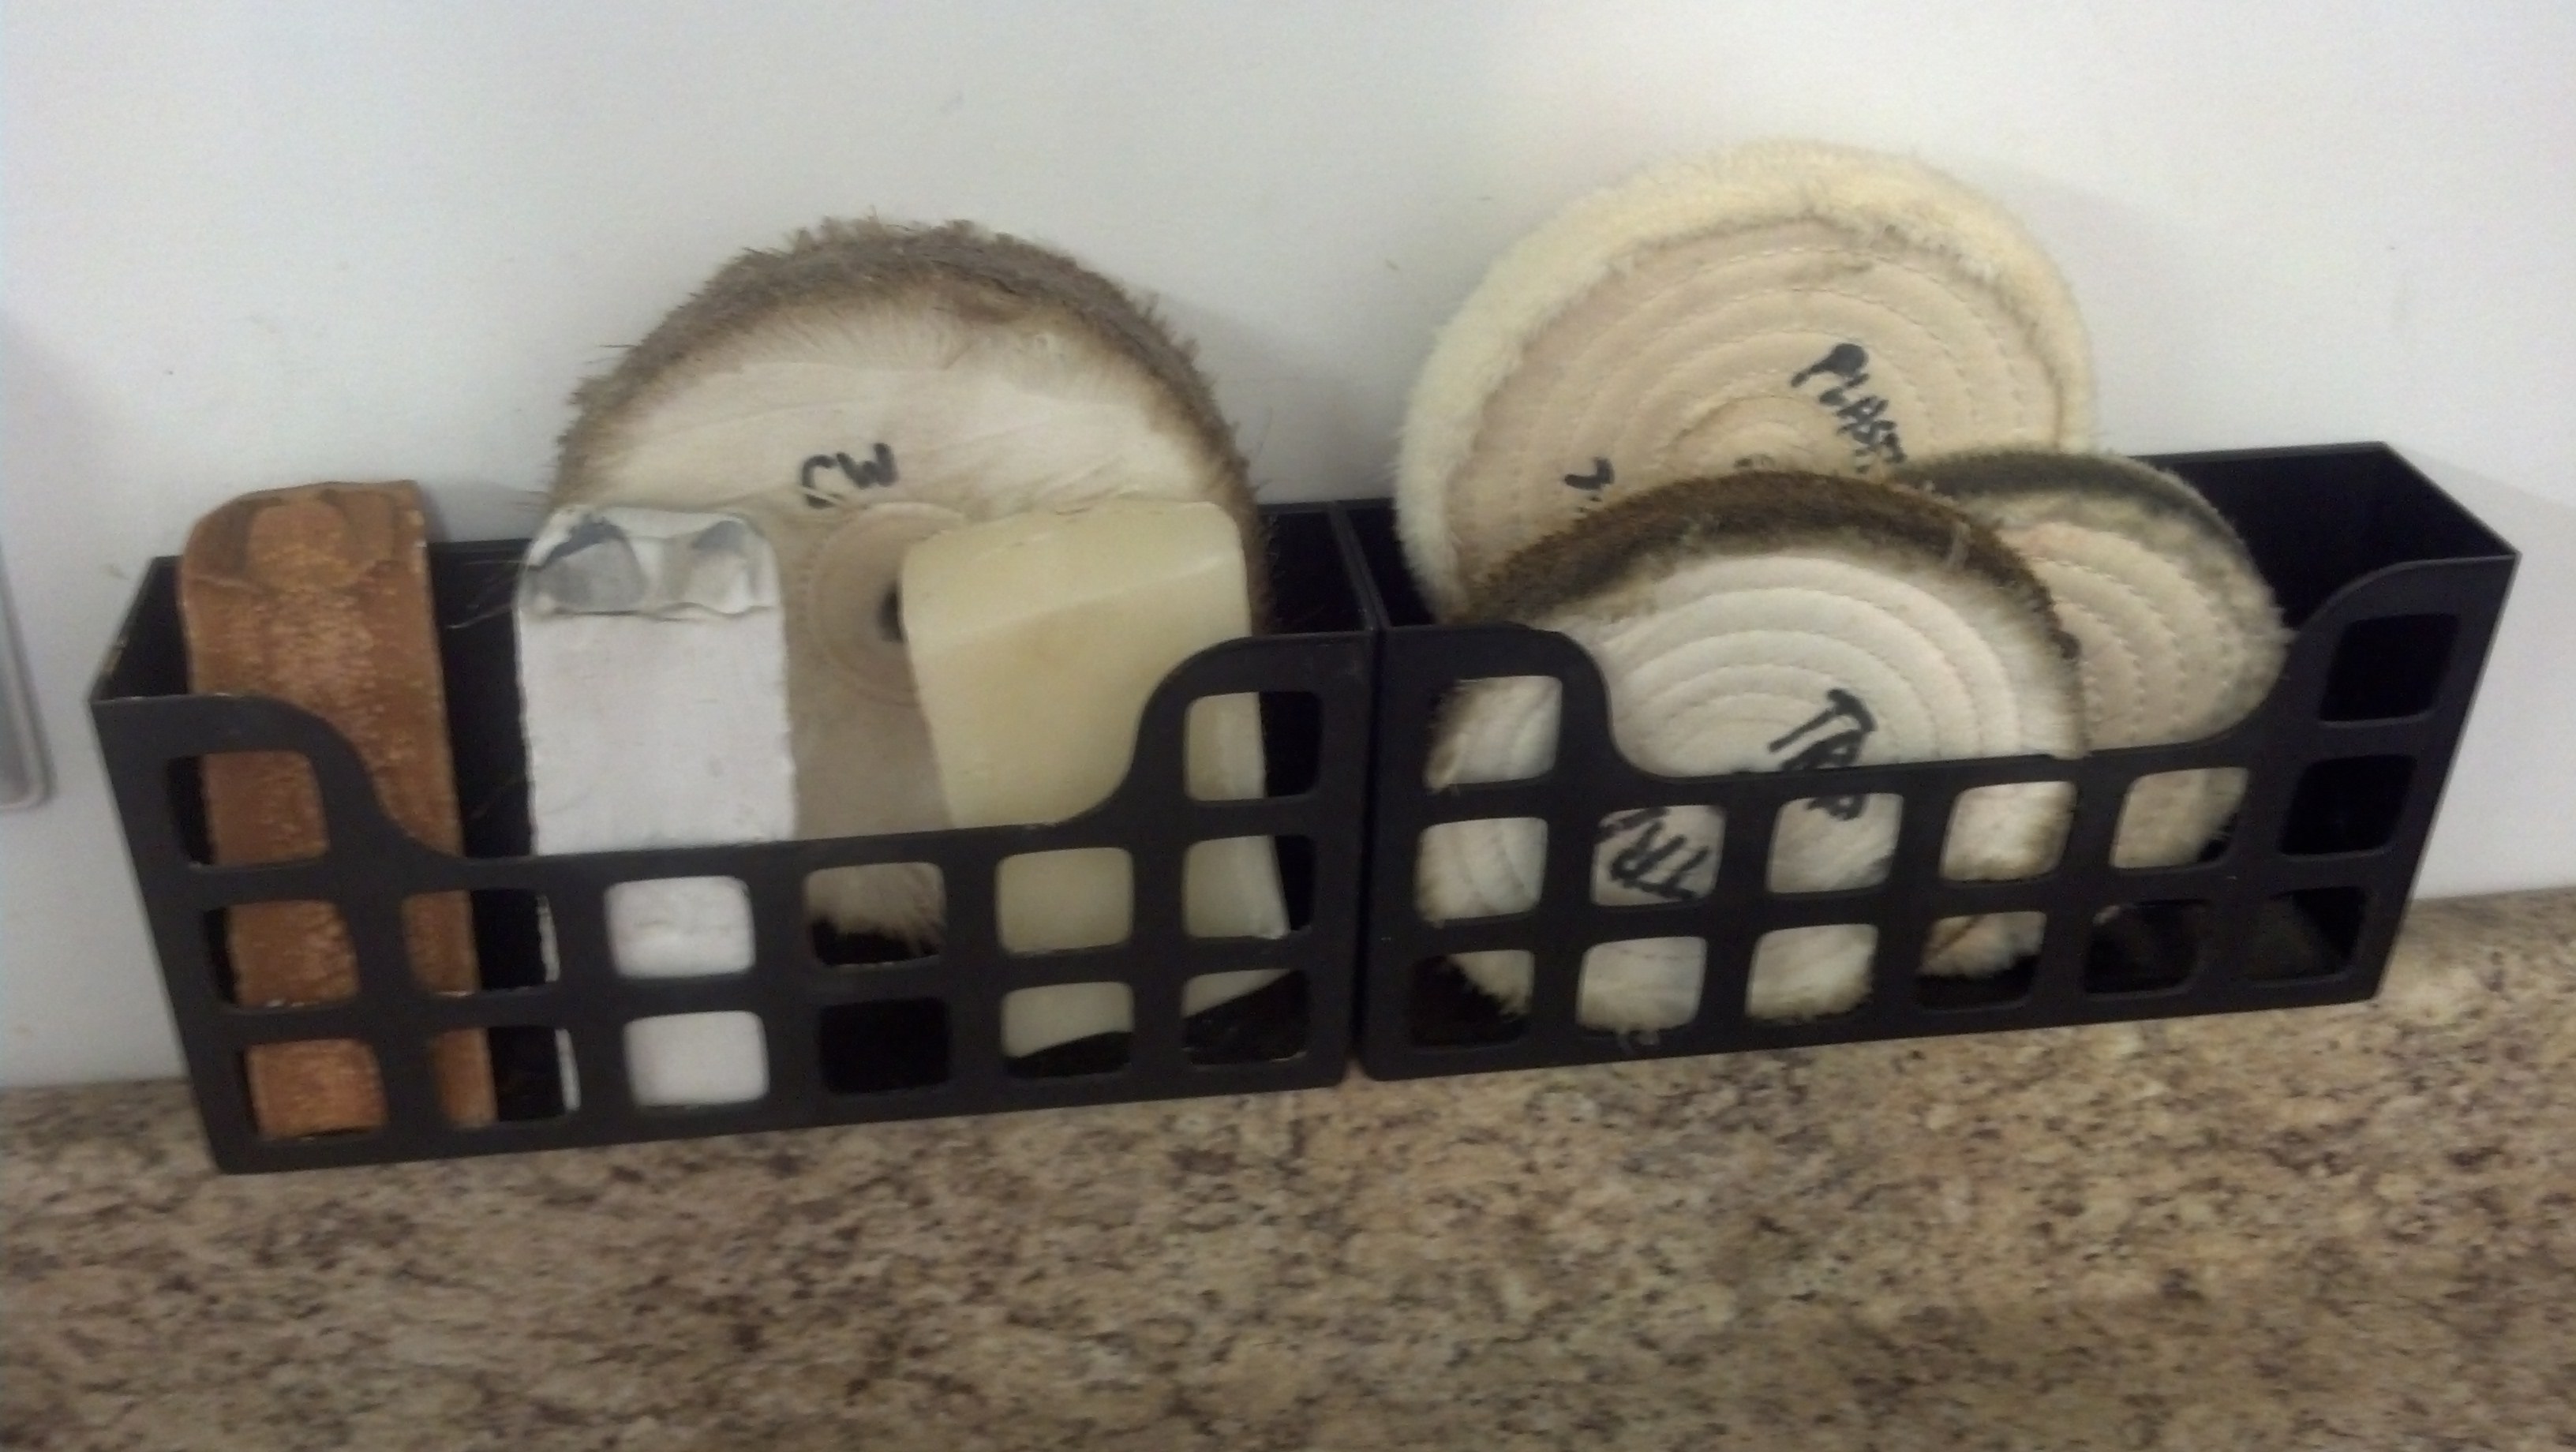
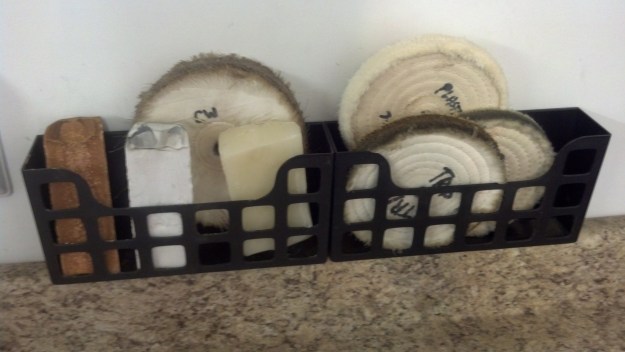
I keep my bars of rouge and pads in plastic holders above the bench. There are pads for Carnuba wax (loose cotton), Tripoli, White Diamond and Plastic Polish (sewn cotton buffs)
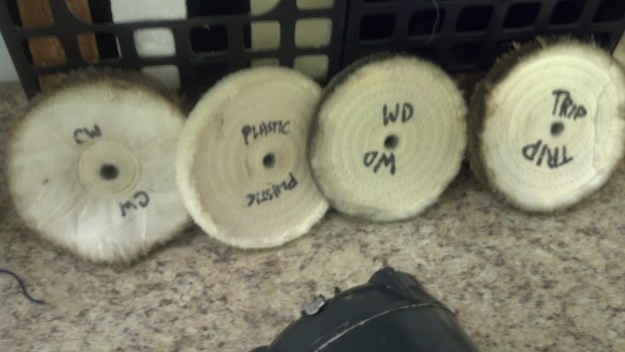
IMG_20130819_214710_043

IMG_20130819_214648_885

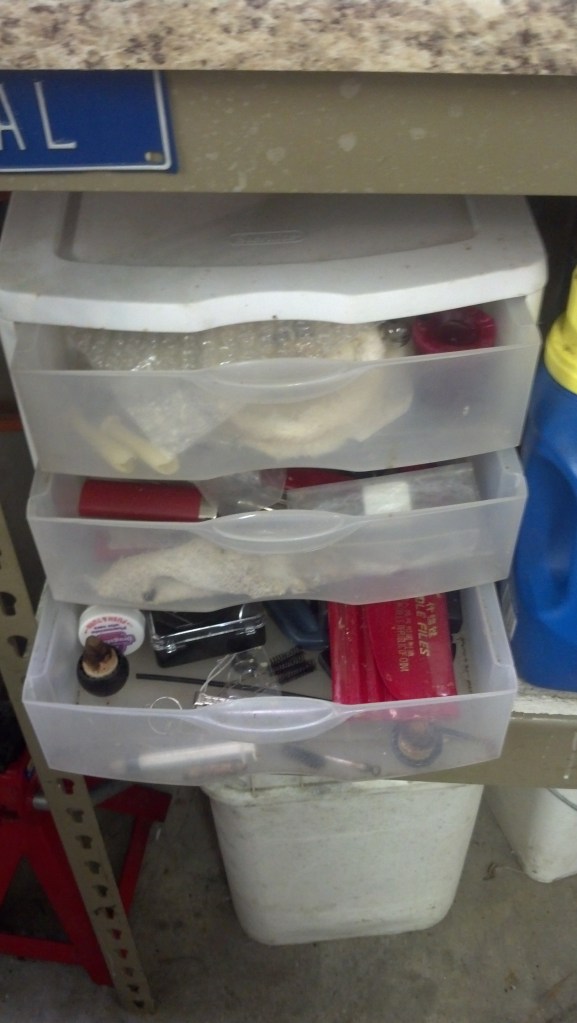
I have a small, plastic, three drawer cabinet under my work bench for my reamers, needle files, etc. I also keep my supply of micromesh paper there along with my retort.
IMG_20130819_214826_767

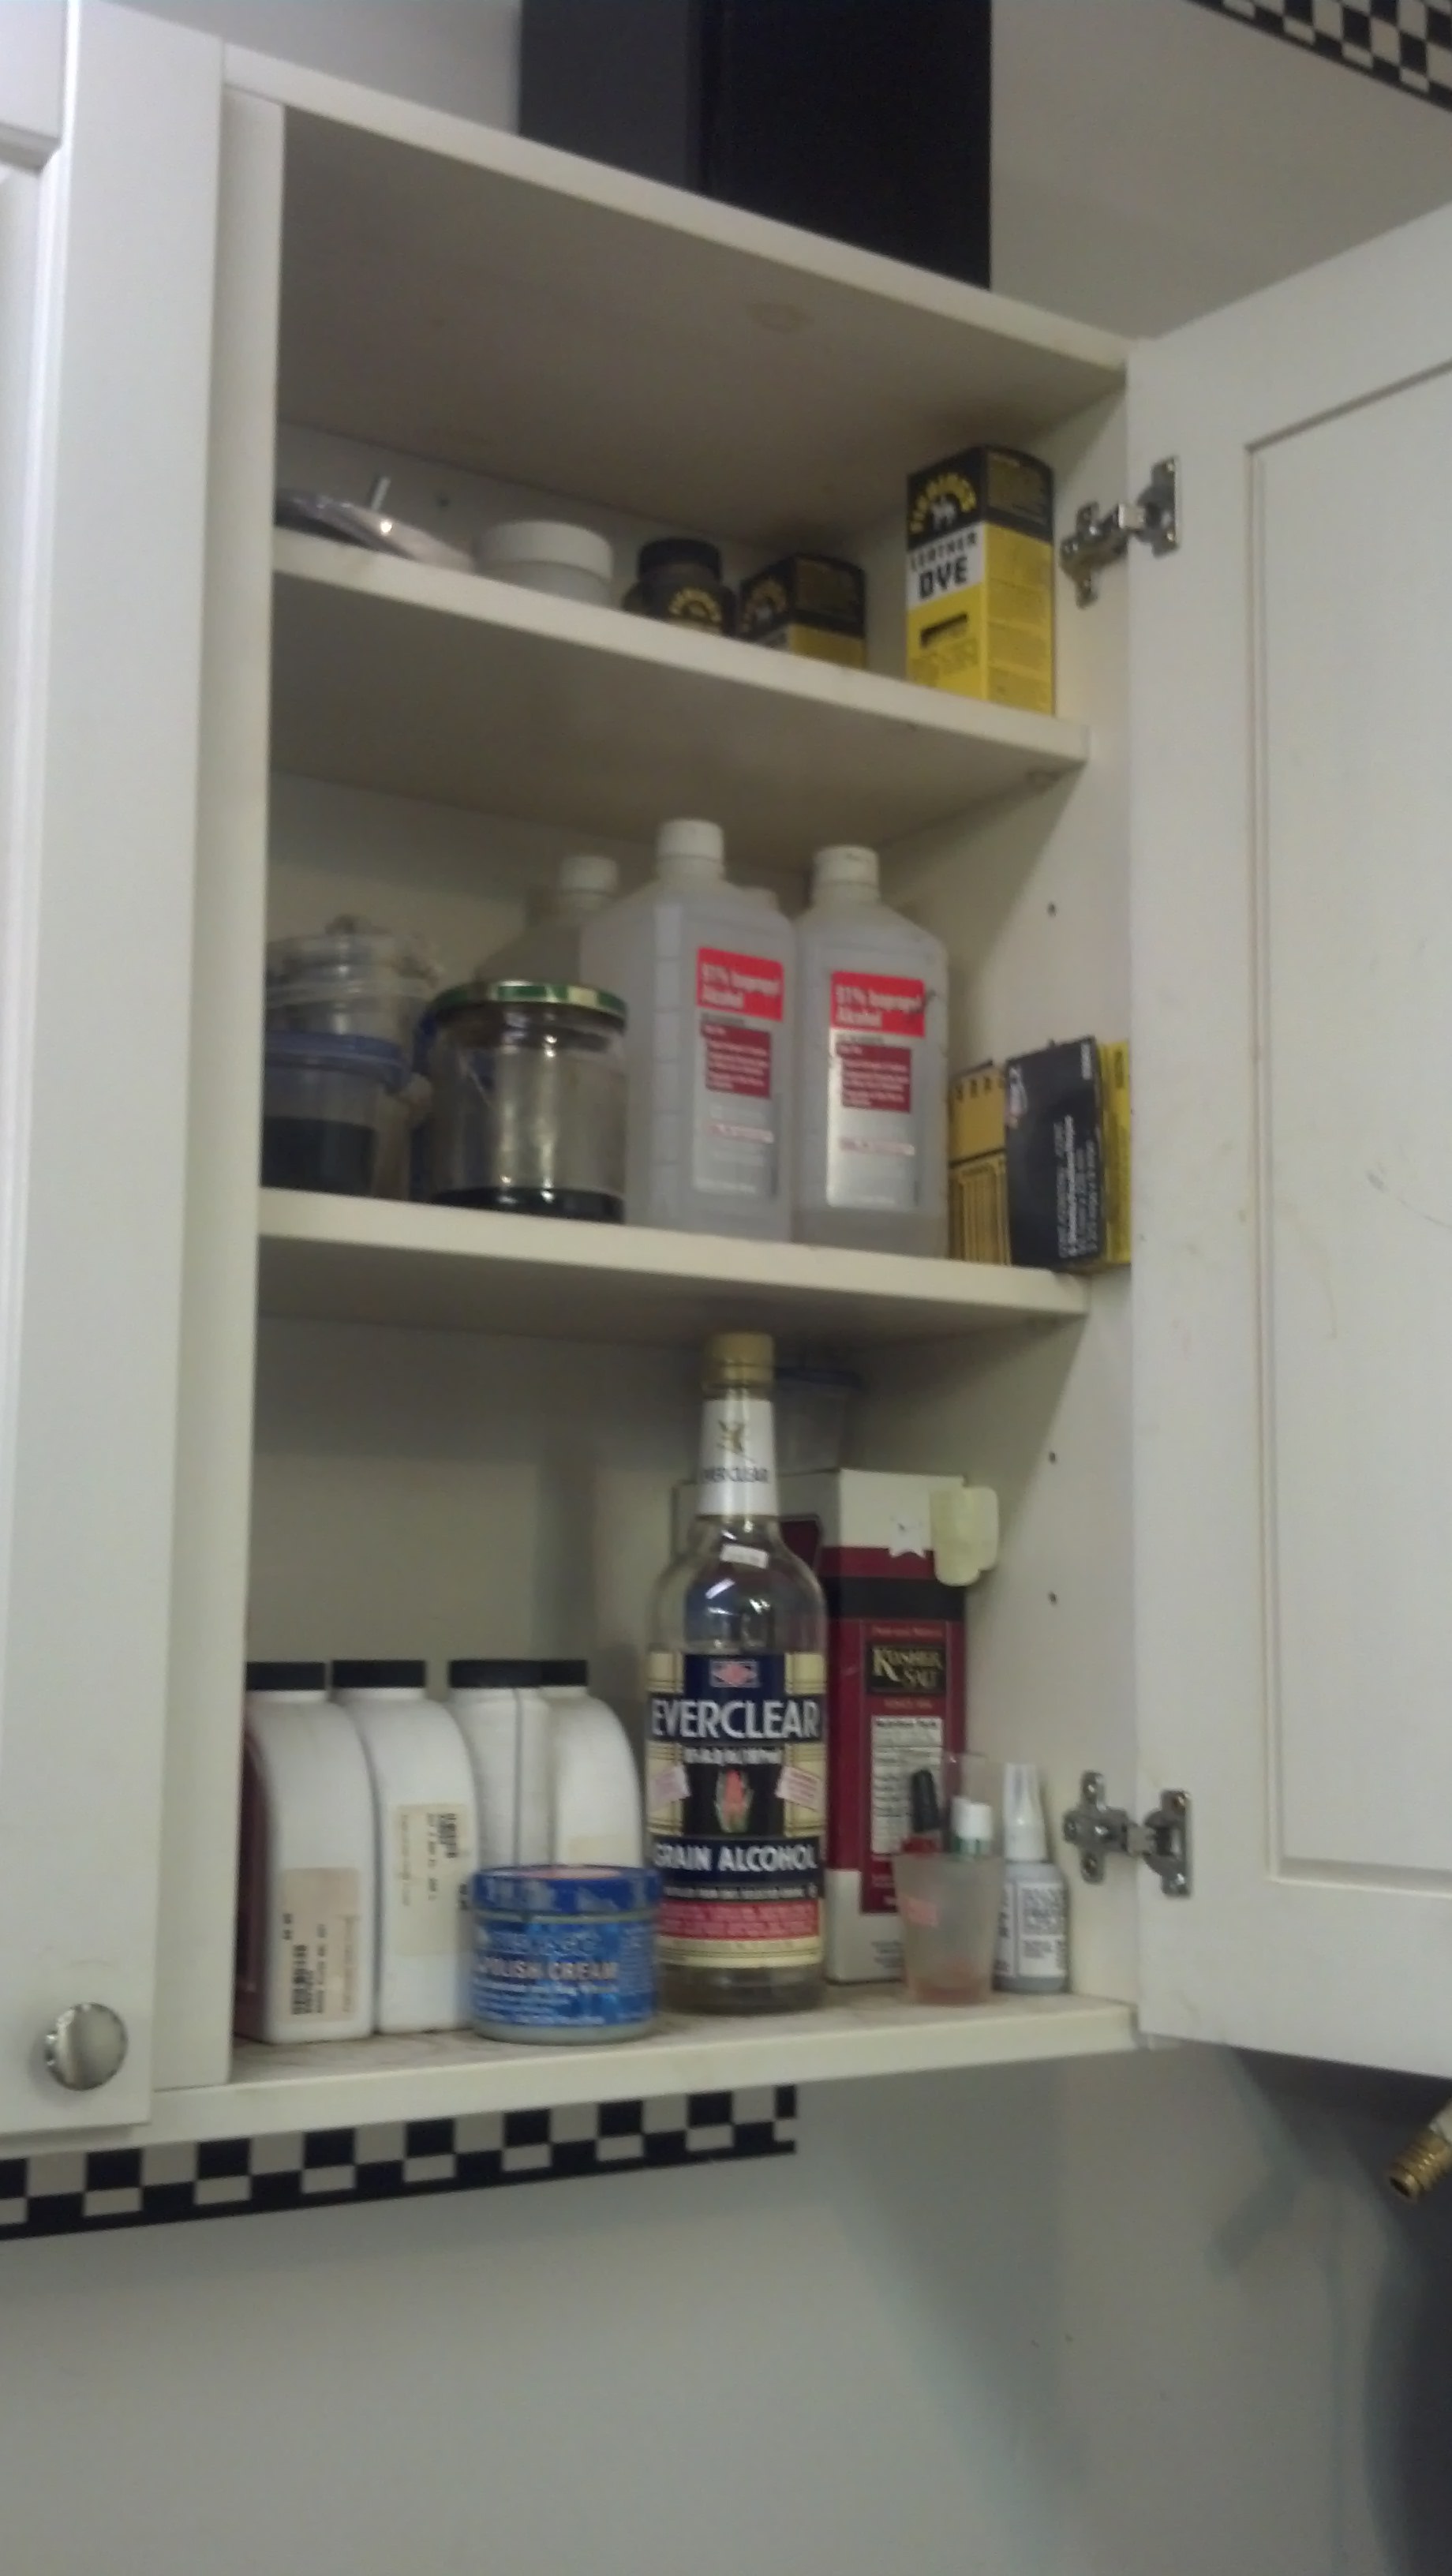
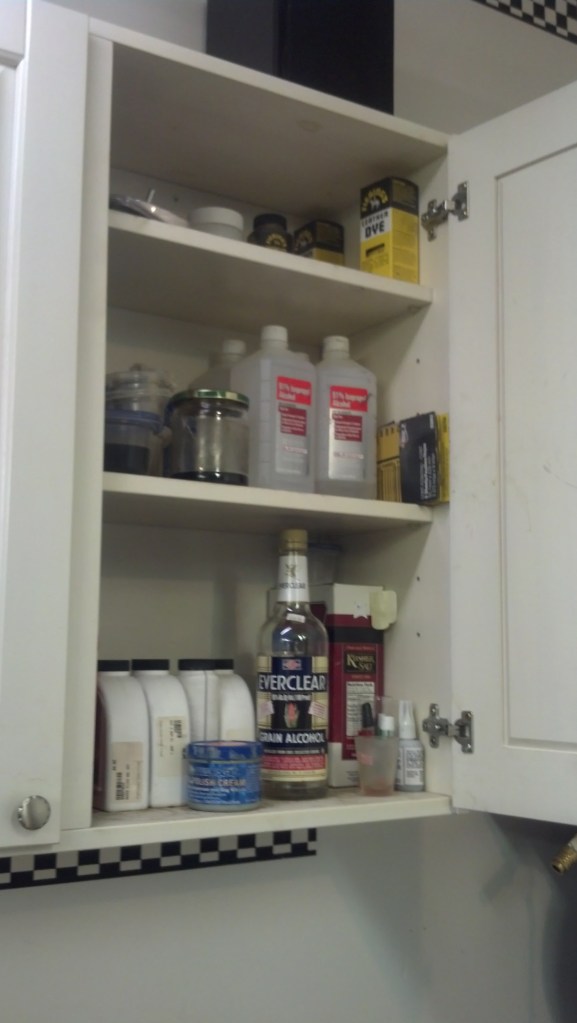
Other supplies are kept in a cabinet above the work bench, alcohol, stain, etc.
IMG_20130819_214840_516

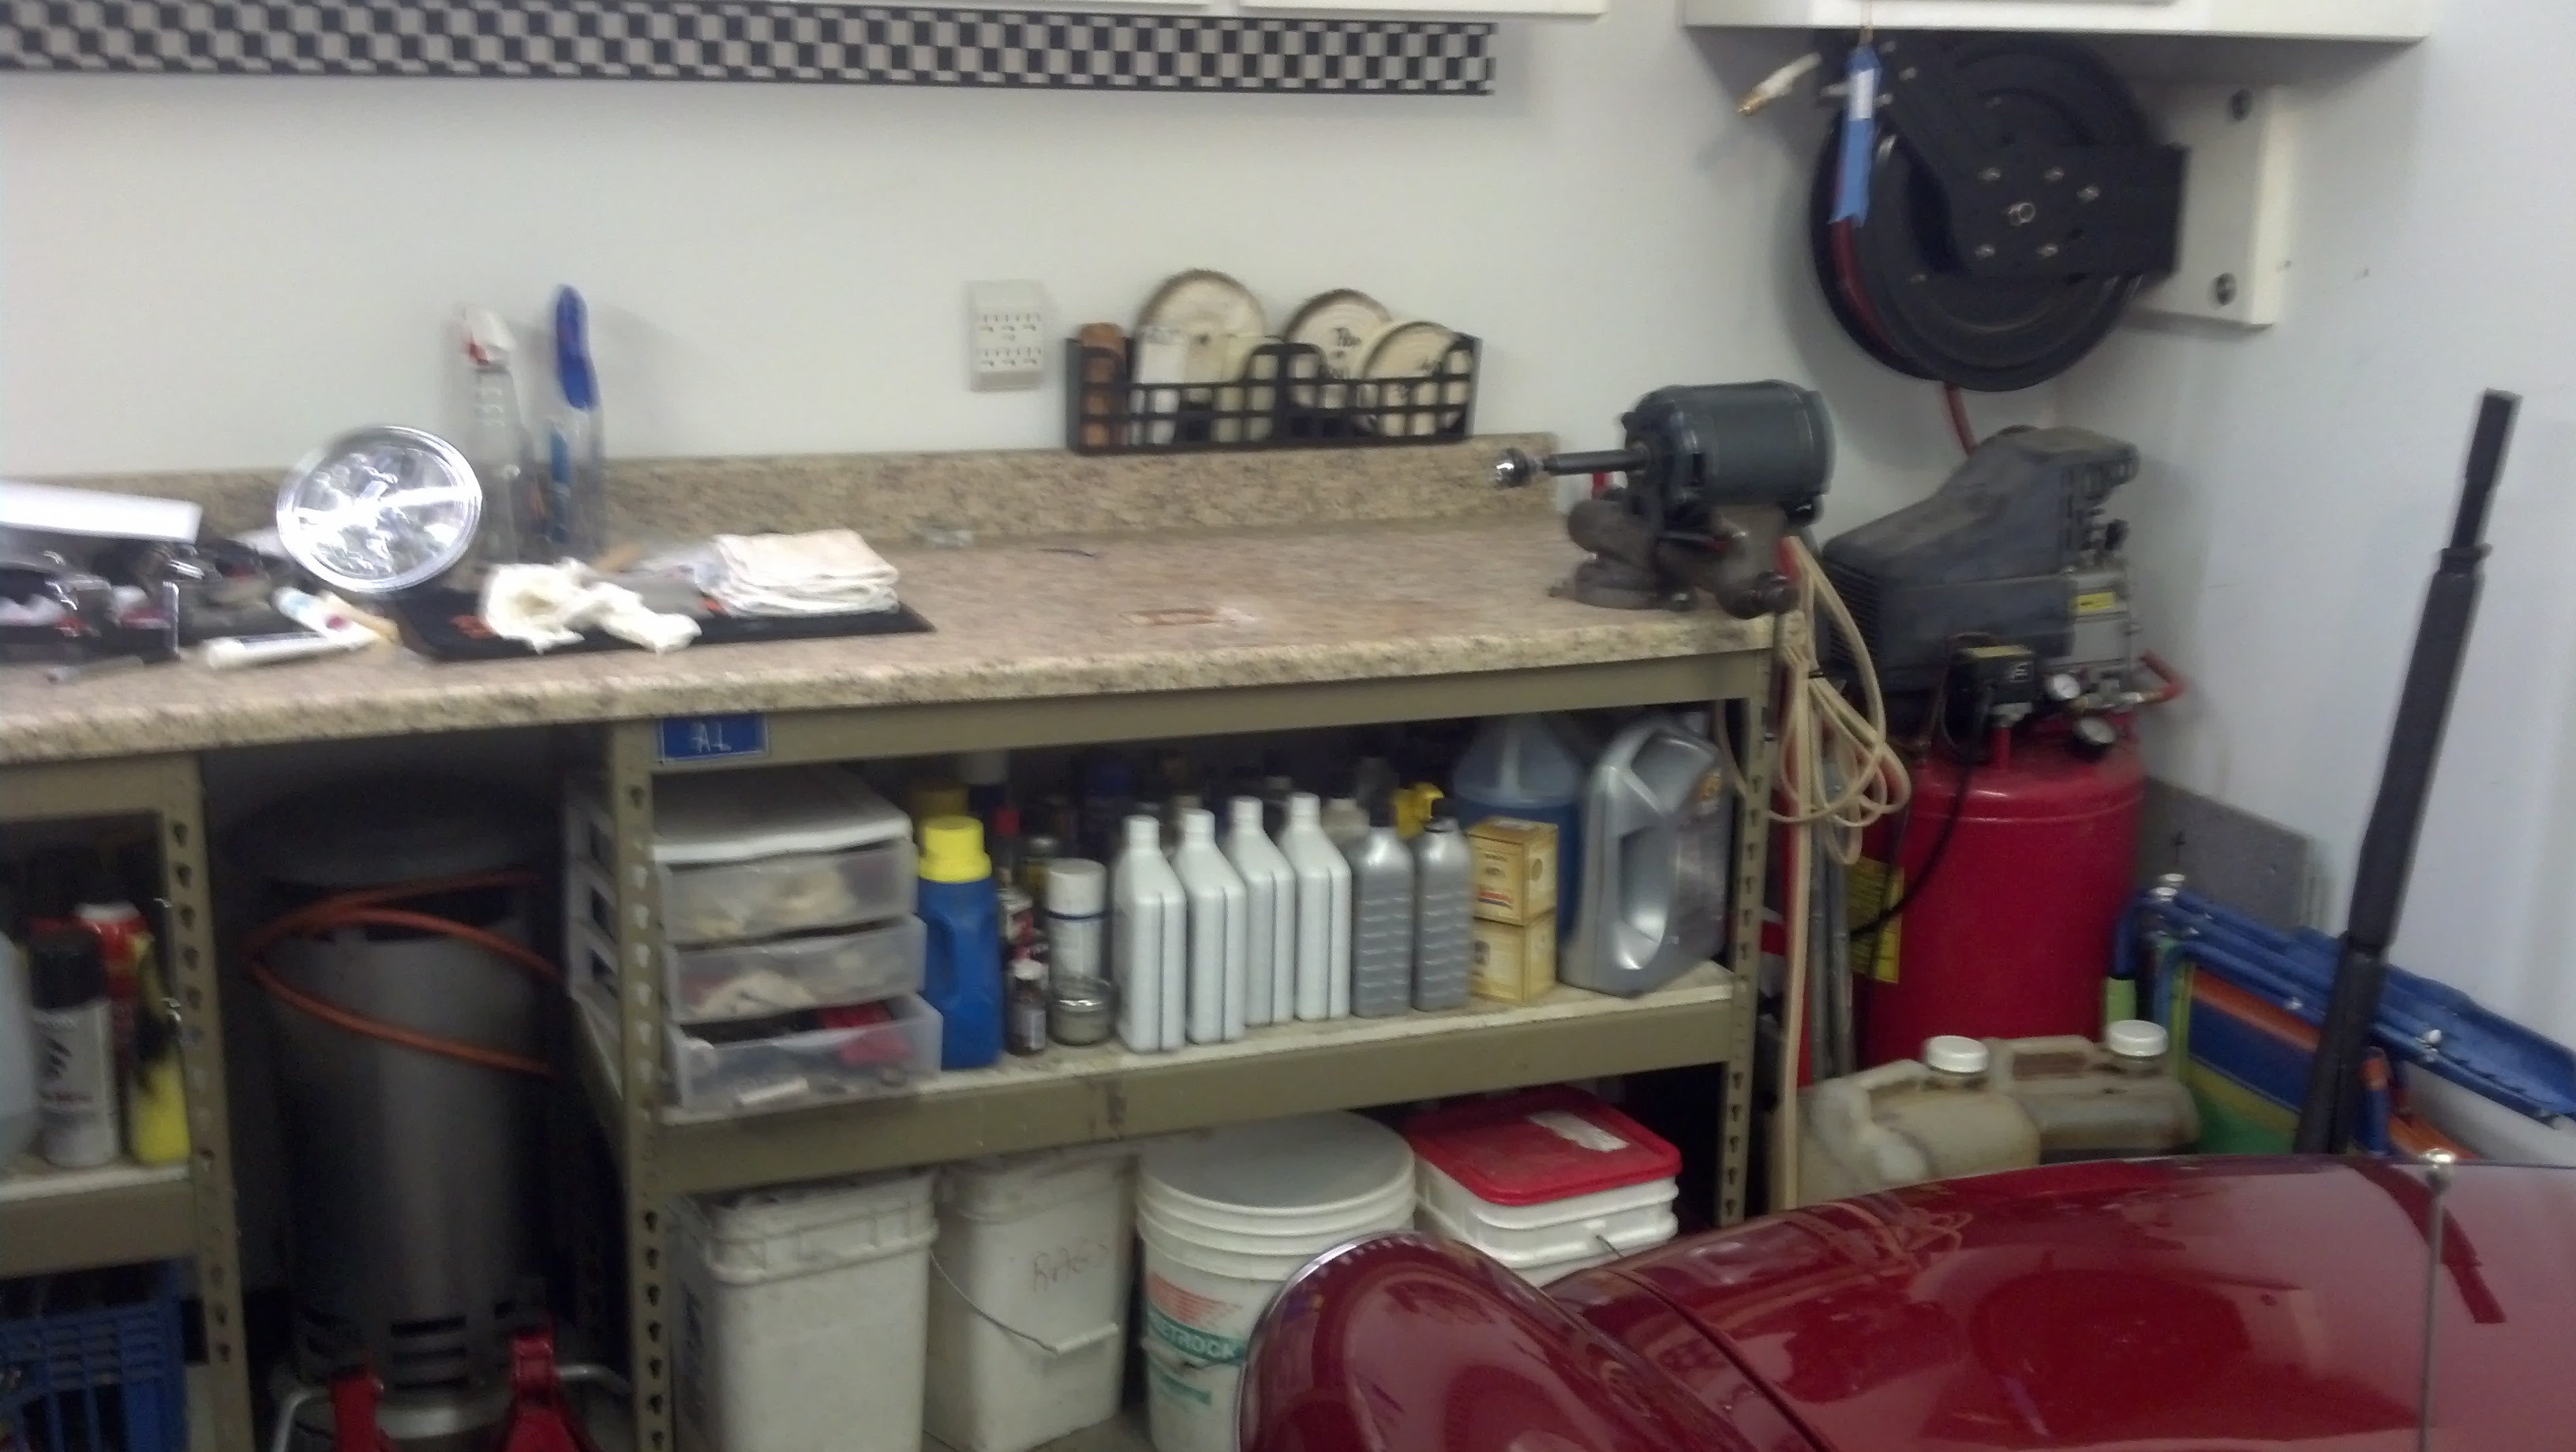
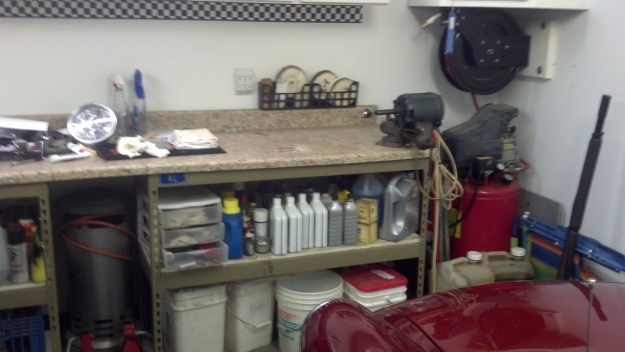
Below is the entire work area. I share the work space for my car and motorcycle mechanical work but my pipe supplies don’t take up much space. Everything is easily stored off the work bench, when it is needed for big mechanical jobs.
IMG_20130819_214914_894

Updated – June 2017

I’ve made a number of changes to my pipe restoration station since writing this blog entry on 2013.  I’ve been doing enough pipe work that my shared car, pipe and general work bench was getting cramped.  I sold my motorcycles, but kept the MGB.  That freed up a generous area of the shop that I could dedicate to my pipe work station and a winter smoking area.

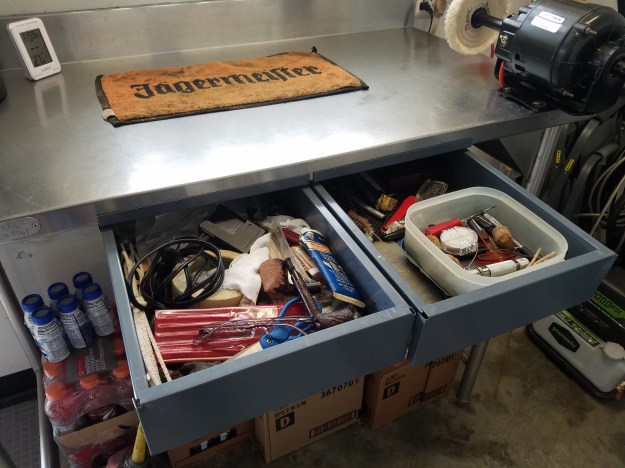
in 2016, During a restaurant remodel,  I happened across a small, stainless steel  work table  that was going to be discarded.  It had a 39″ height, which was perfect for pipe work (no need to stoop too low).   I found a pair of inexpensive drawers from a hardware company, which was perfect for small tool  storage, files, sandpaper, etc.   The table is positioned under the only window in the garage, which is nice for some additional light.
20170617_120046

I bolted my single arbor, 1725 rpm-1/4 hp motor to the work bench and installed some pockets to hold the pads and rouge/wax sticks.  A cabinet mounted above allowed for plenty of storage for the other items.  I added a two-bulb fluorescent light above the bench.

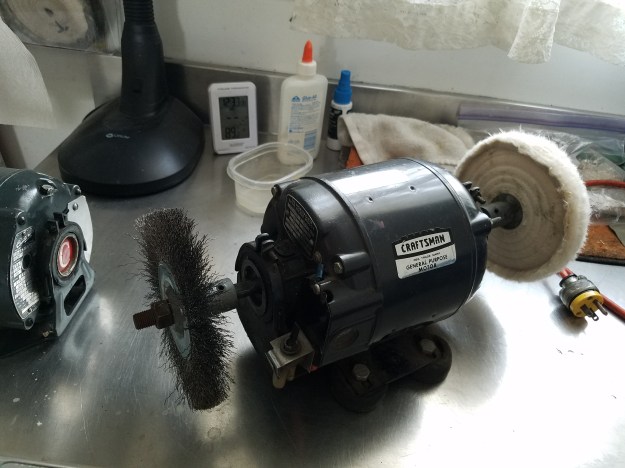
This setup served me well but I always wished for a dual-arbor motor to reduce the pad changes (my three most commonly used pads: Carnuba wax, White Diamond, Plastic Polish).  In June 2017, on Facebook of all places, I found a local man selling out an old workshop.  He had what appeared to be an old motor for sale.  I inquired about the specs, which turned out to be perfect:  1725 rpm and 1/2 horse-power.  The motor was an old Craftsman, and had two oil ports.  Modern  motors have eliminated the oil ports for supposedly “lifetime bearings”.  I prefer the oil port motors.  Here is the motor as received, with short arbors and an exterior mount power switch.
20170613_123452

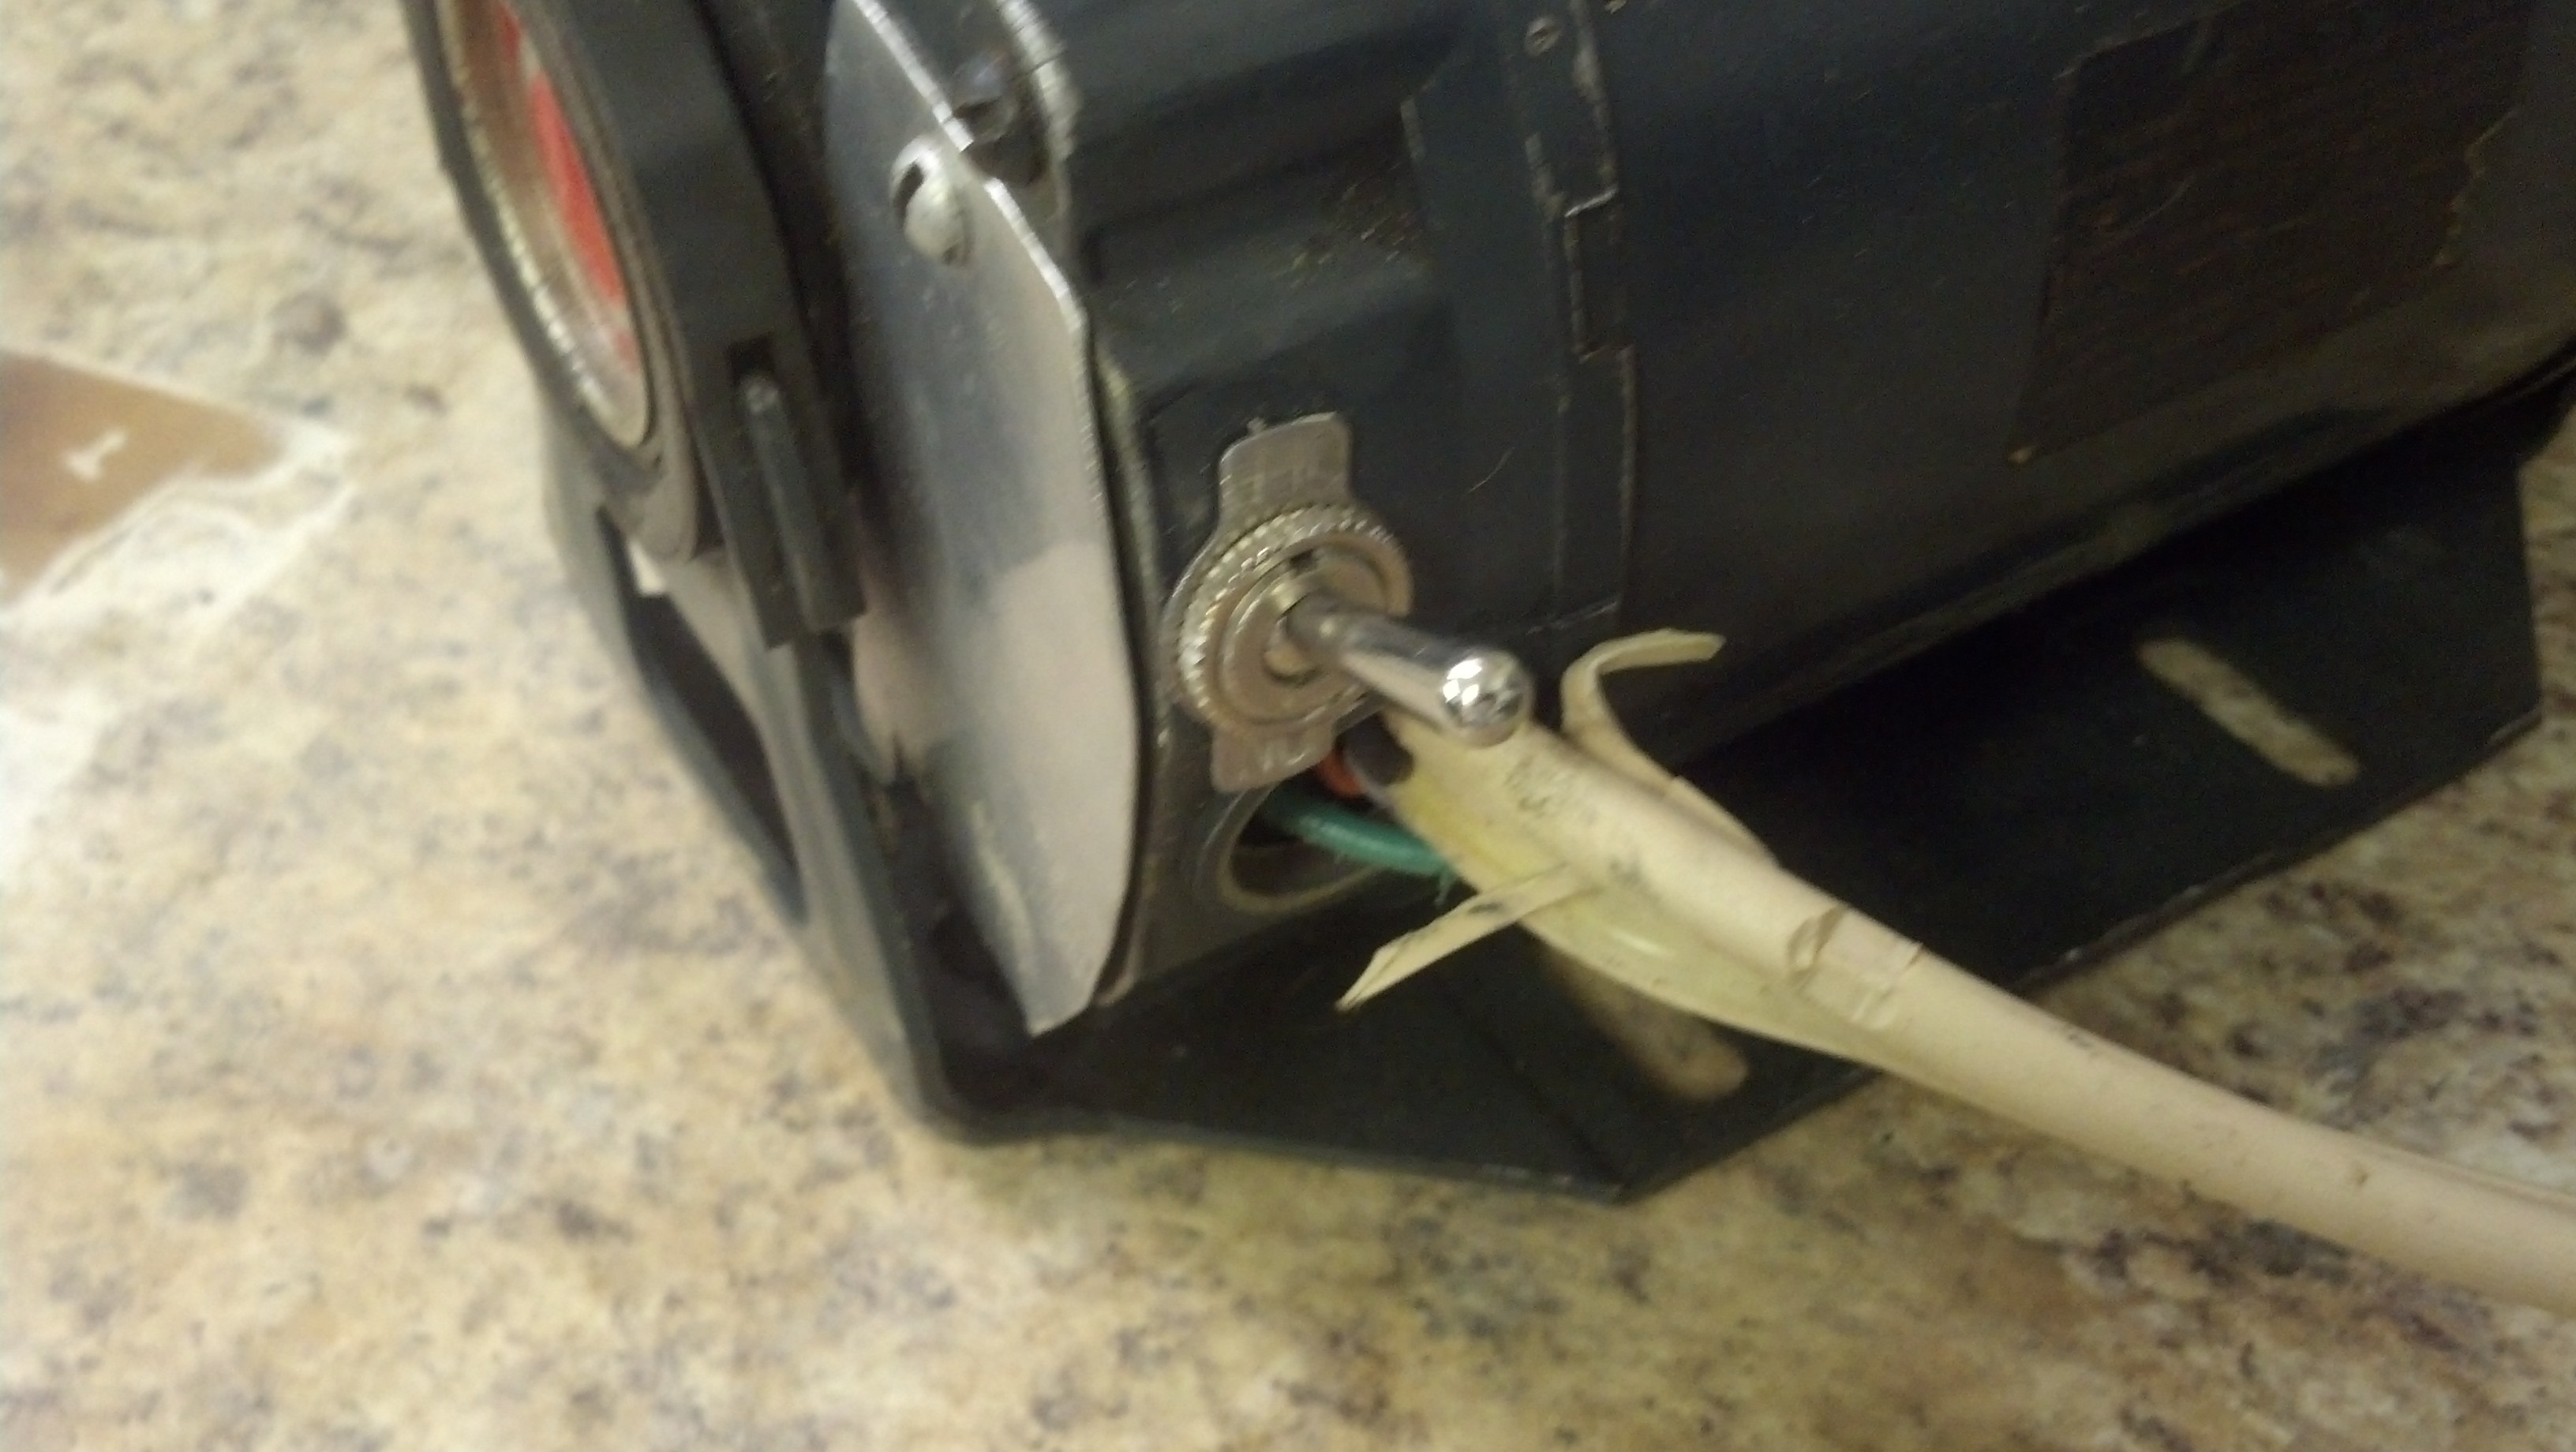
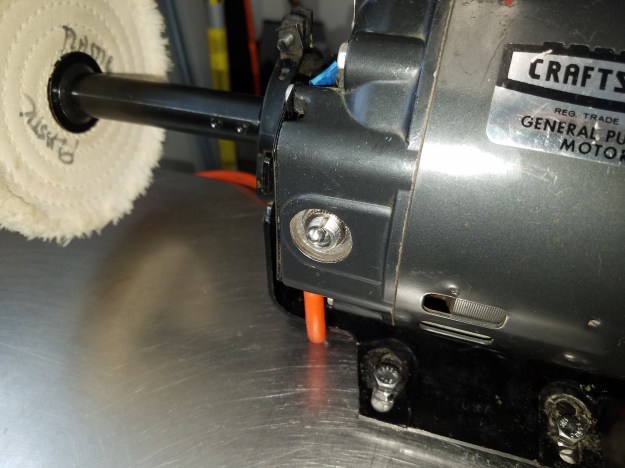
Like my other motor, this one did not have a capacitor start, and a cheap, plastic switch mounted on the exterior.  I sourced a heavy-duty, double-insulated metal switch from Lowes, which is also on the other motor.
20170617_115830

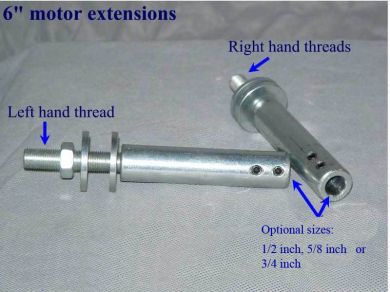
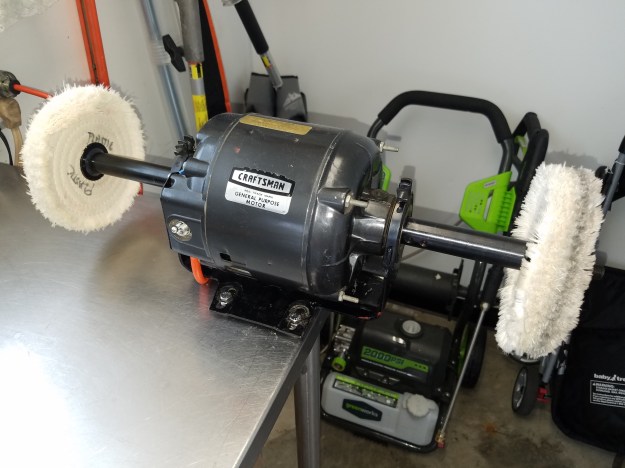
Once again, I sourced extended  arbor mounts from Jestco Supply.  They are the only ones to make 6″ extensions that I have found.   This motor had 1/2″ and 5/8″ arbors, which Jestco sold in right and left hand options.  The webpage for Jestco is below, I highly recommend this vendor for all of your buffing supplies, service and quality is first rate.

Jestco Supply – Buffing Accessories
20170617_115825

My next decision was how to mount the motor.  I like having the pad off the table surface to give me plenty of working room.  The motor spins clock-wise, away from the operator and I usually have the pipe or stem around the 7 o’clock position.  With two arbors,  I decided  to remove the rubber feet,  install four bolts and then drill four matching holes in the table.  The buffer simply sets down in the four holes and I can rotate the buffer 180 degrees to  use the other pad.
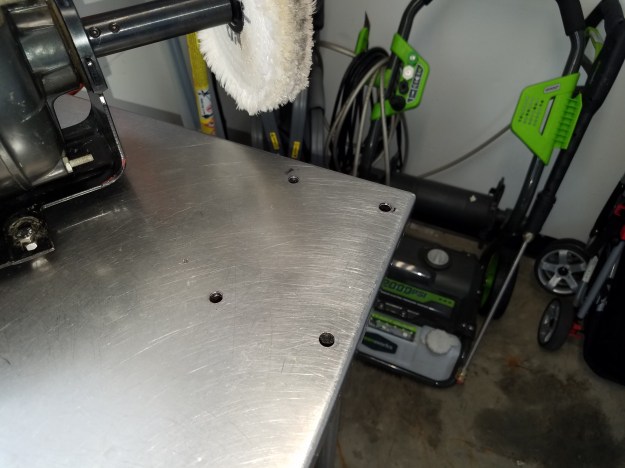
20170617_115841

Drilling stainless isn’t easy.  I used a small, good bit for the pilot hole, with some WD40 on the bit and table surface to keep the bit from burning up.  You need to drill at a relatively slow speed.  I used a “step bit” to enlarge the holes, which was done quite fast (also with lubrication).

Below is my cabinet with extra supplies.
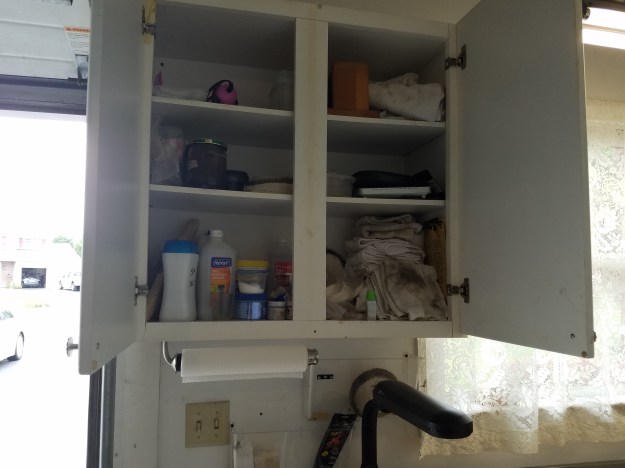
20170617_115922

Below is the finished station.  I mounted a paper-towel holder under the shelf.  I use a lot of paper towels during the stem standing process, to keep the water from damaging the stain of the briar.  I may upgrade the light to a four-tube fixture for the winter, when the garage is closed up and a bit darker.
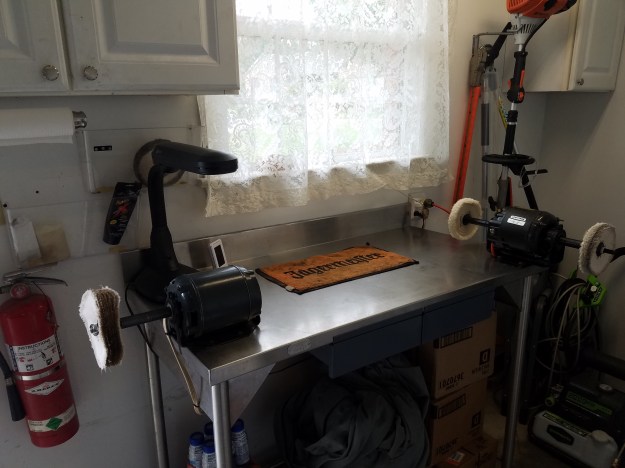
20170617_115909

Update – May 2025

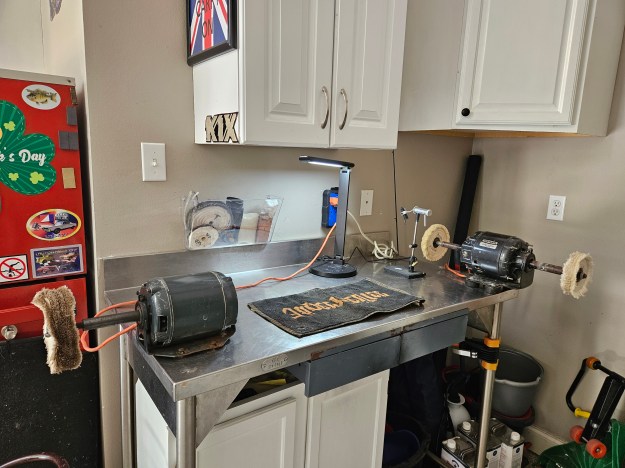
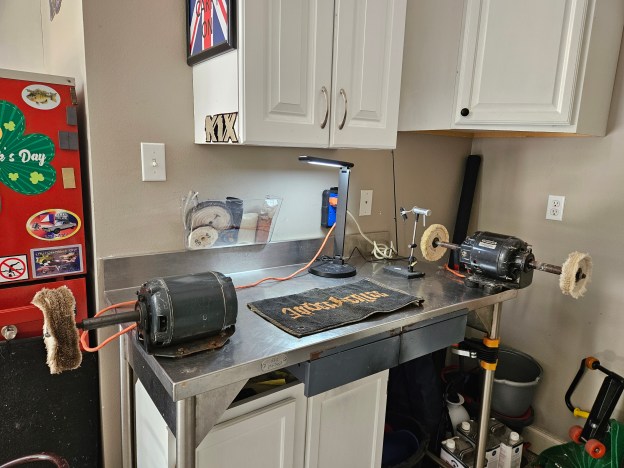
We moved from Maryland to Louisiana in August of 2024.  I brought my shop table down and basically set it up the same way down here.   I purchased some used cabinets and was lucky to find a garage that had a similar work area and a laundry tub sink.
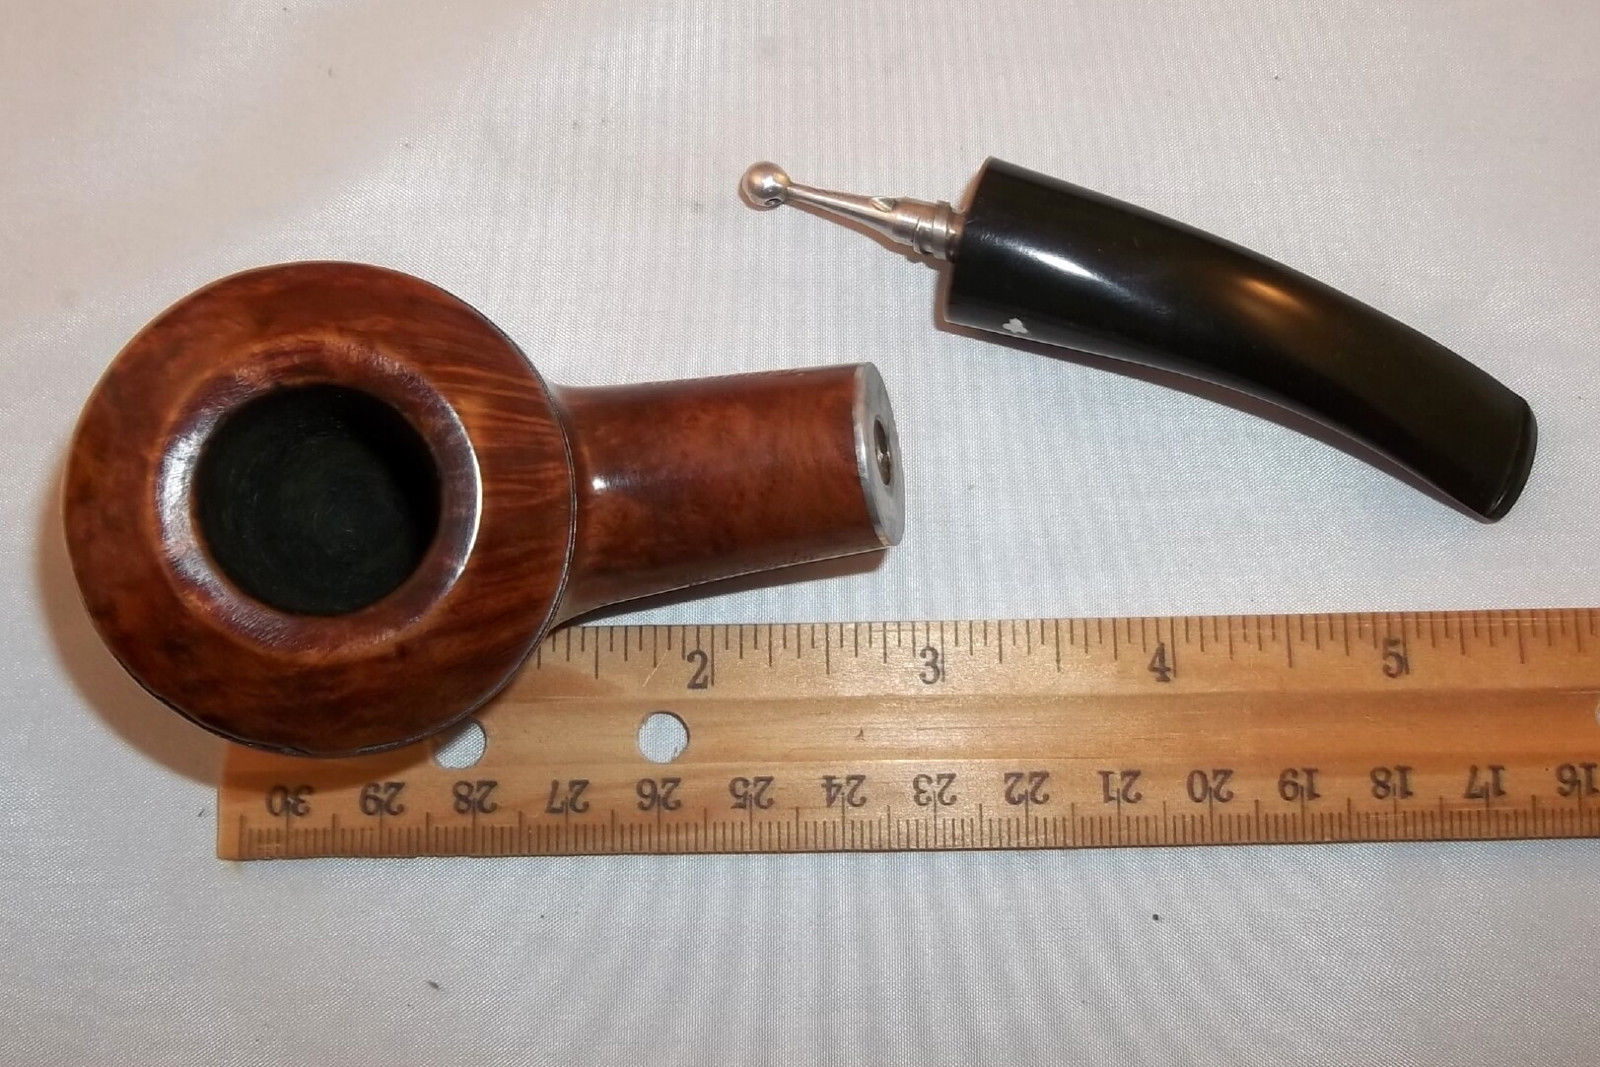
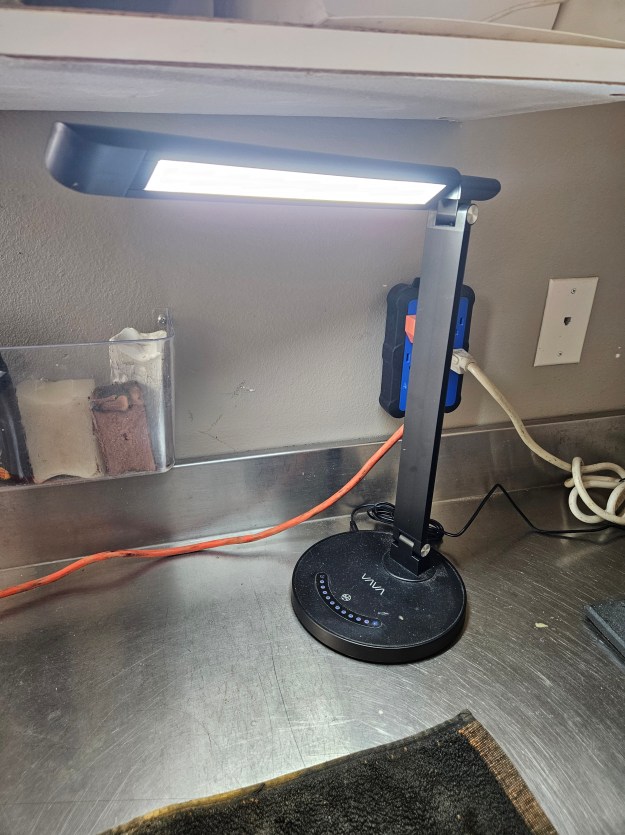
I started fly-fishing down here (after a 25 year hiatus).  So the work table does dual duty for pipes and fly-tying.  I added a nice bright LED lamp.

The white box in the bottom right of the cabinet is my photo light-box.