Author Archives: upshallfan

Unknown's avatar

About upshallfan

Moderator on the PipesMagazine forum since 2011. Guest contributor on the Reborn Pipes Blog by Steve Laug.

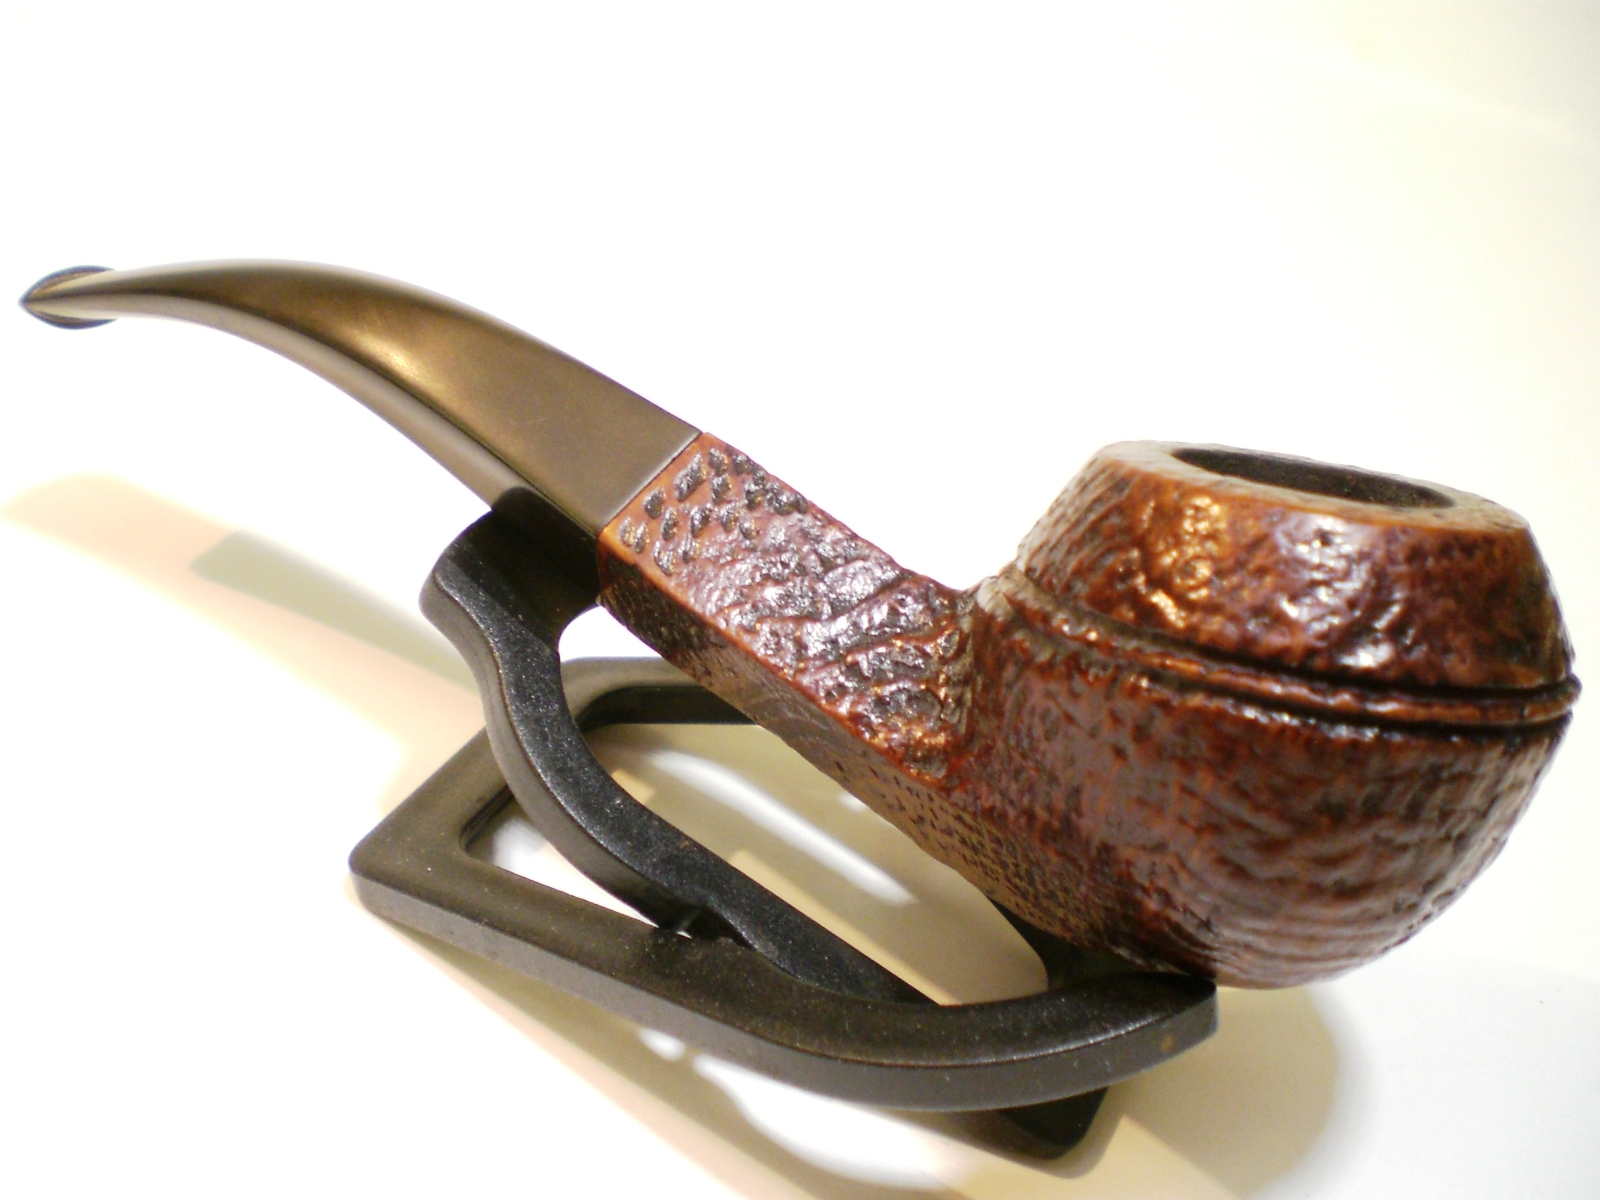
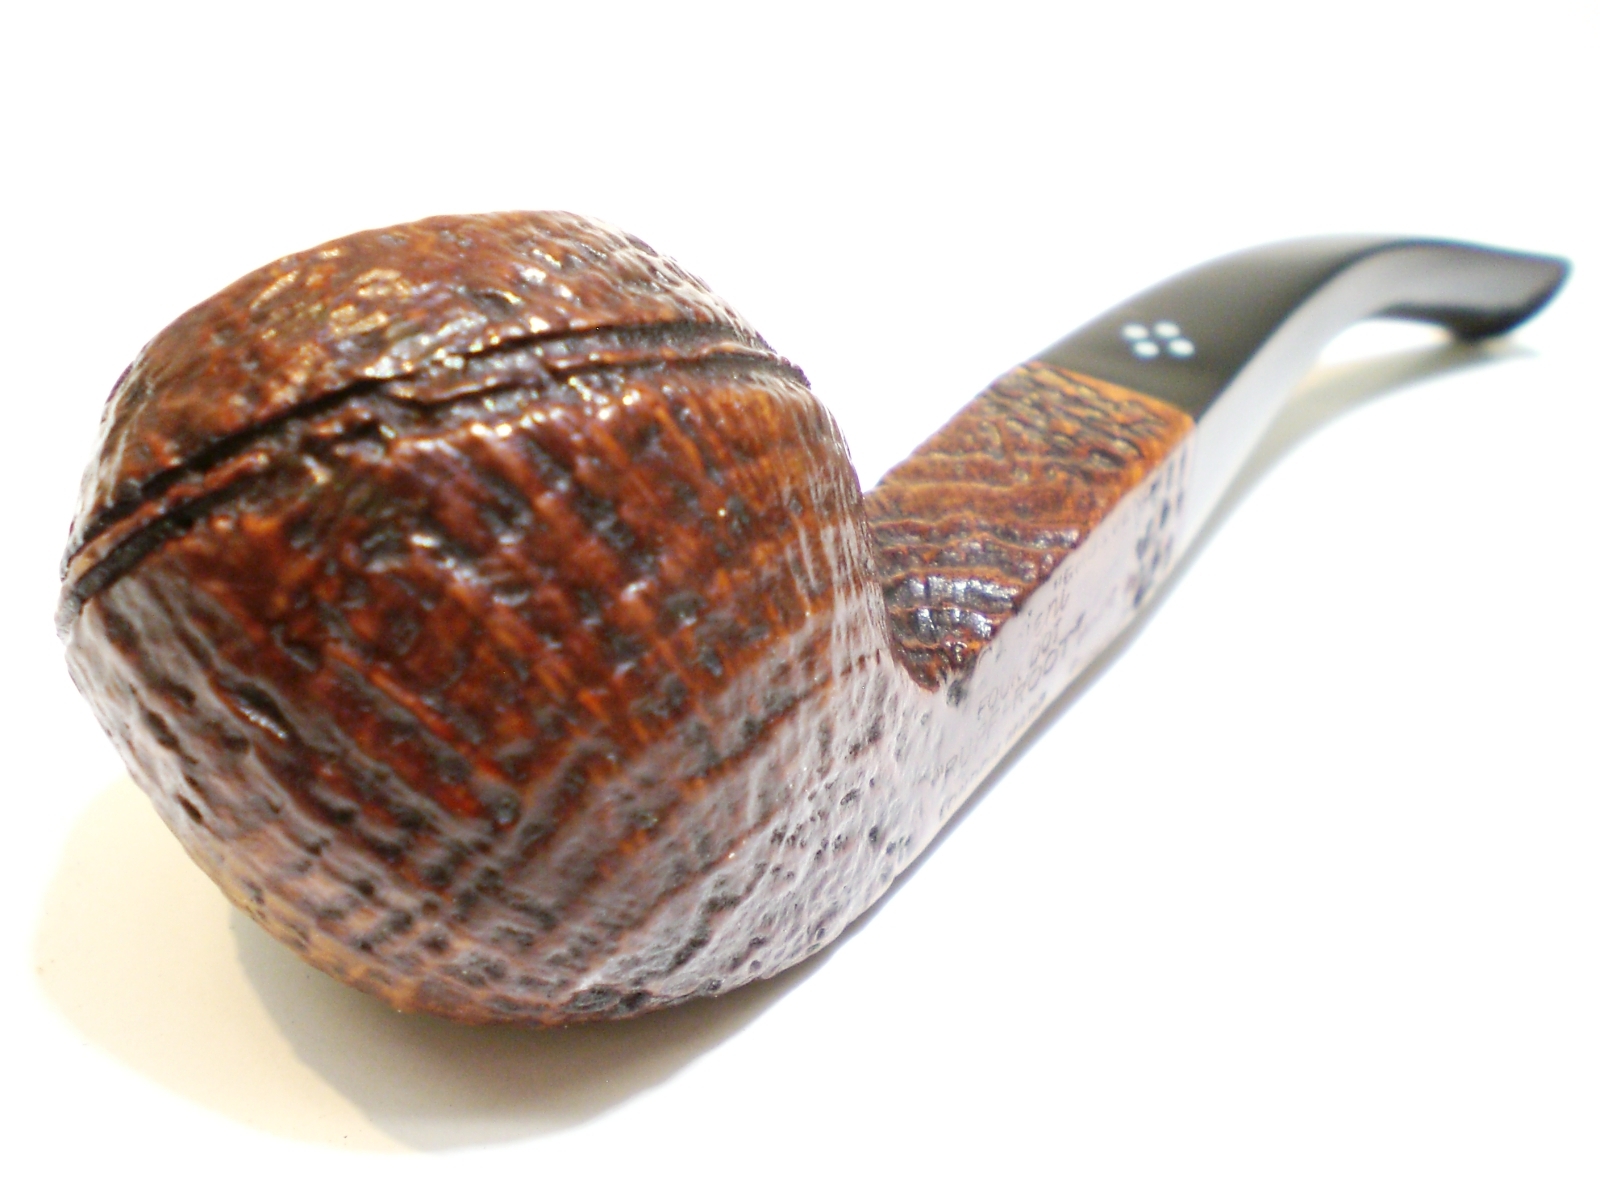
Sasieni Four Dot Grosvenor Ruff Root Restoration


Blog by Al Jones

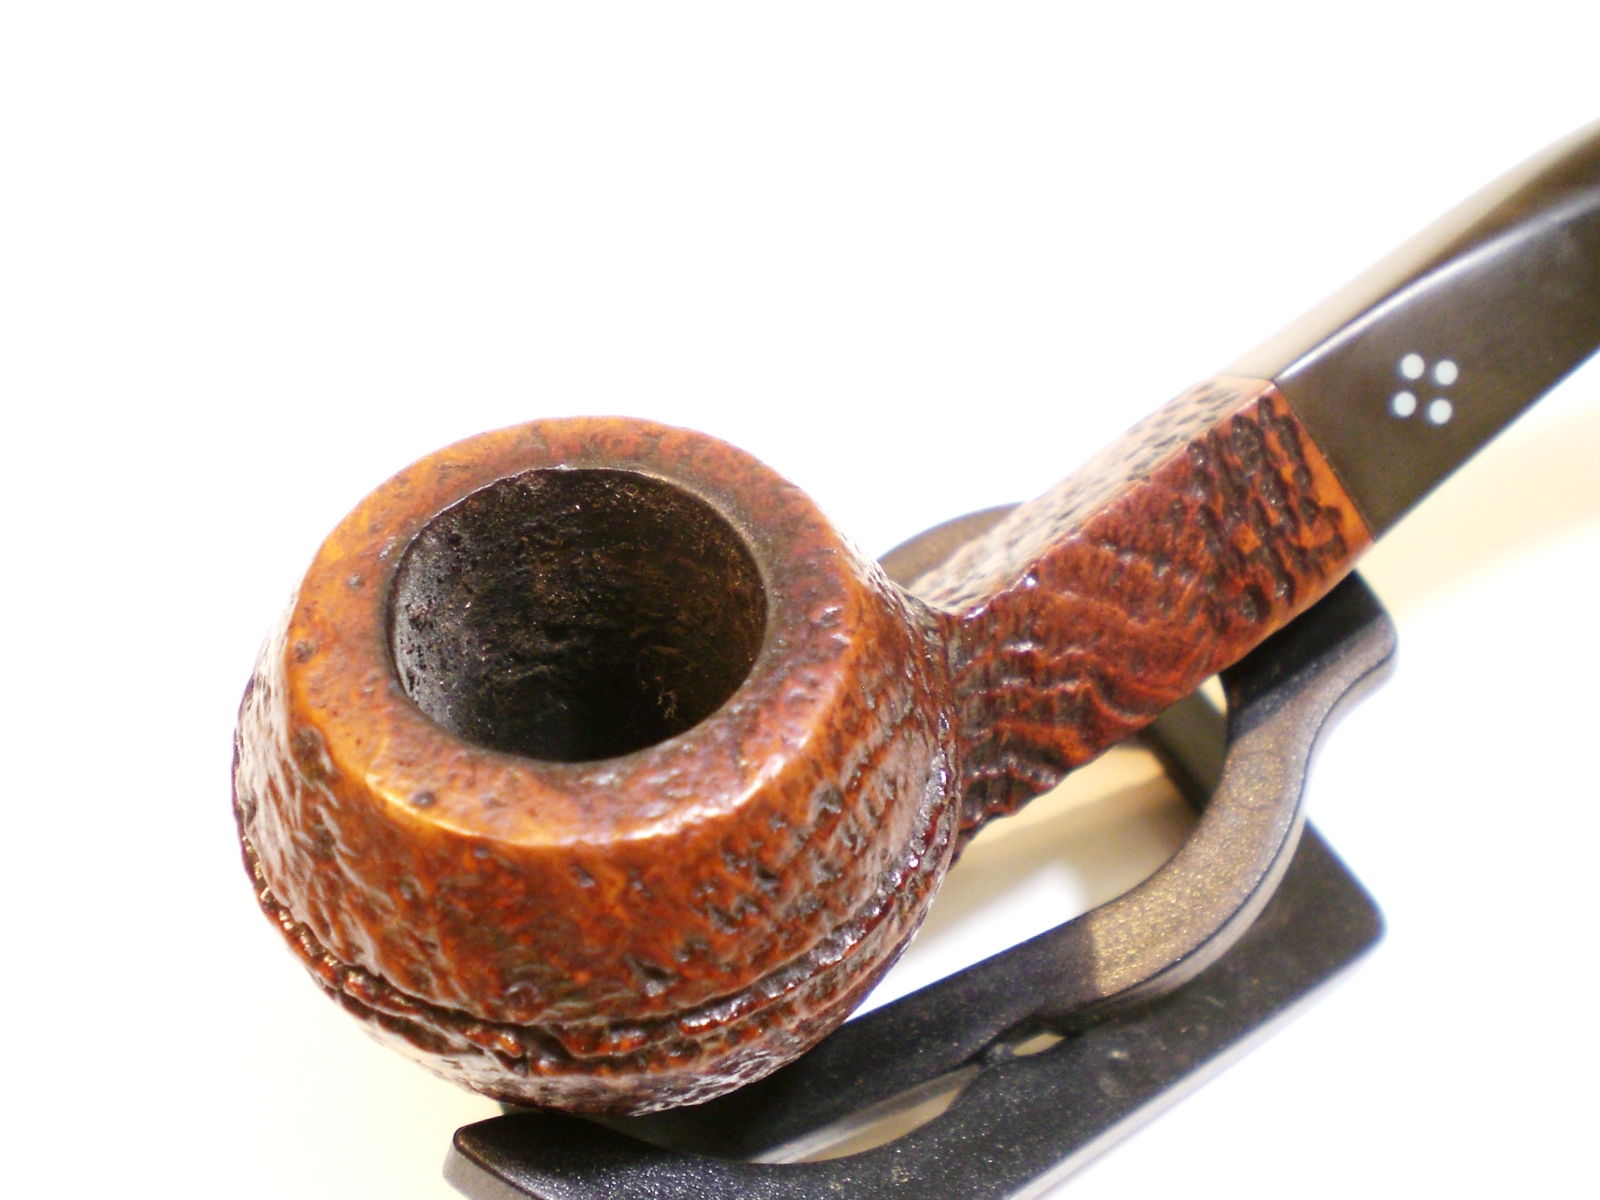
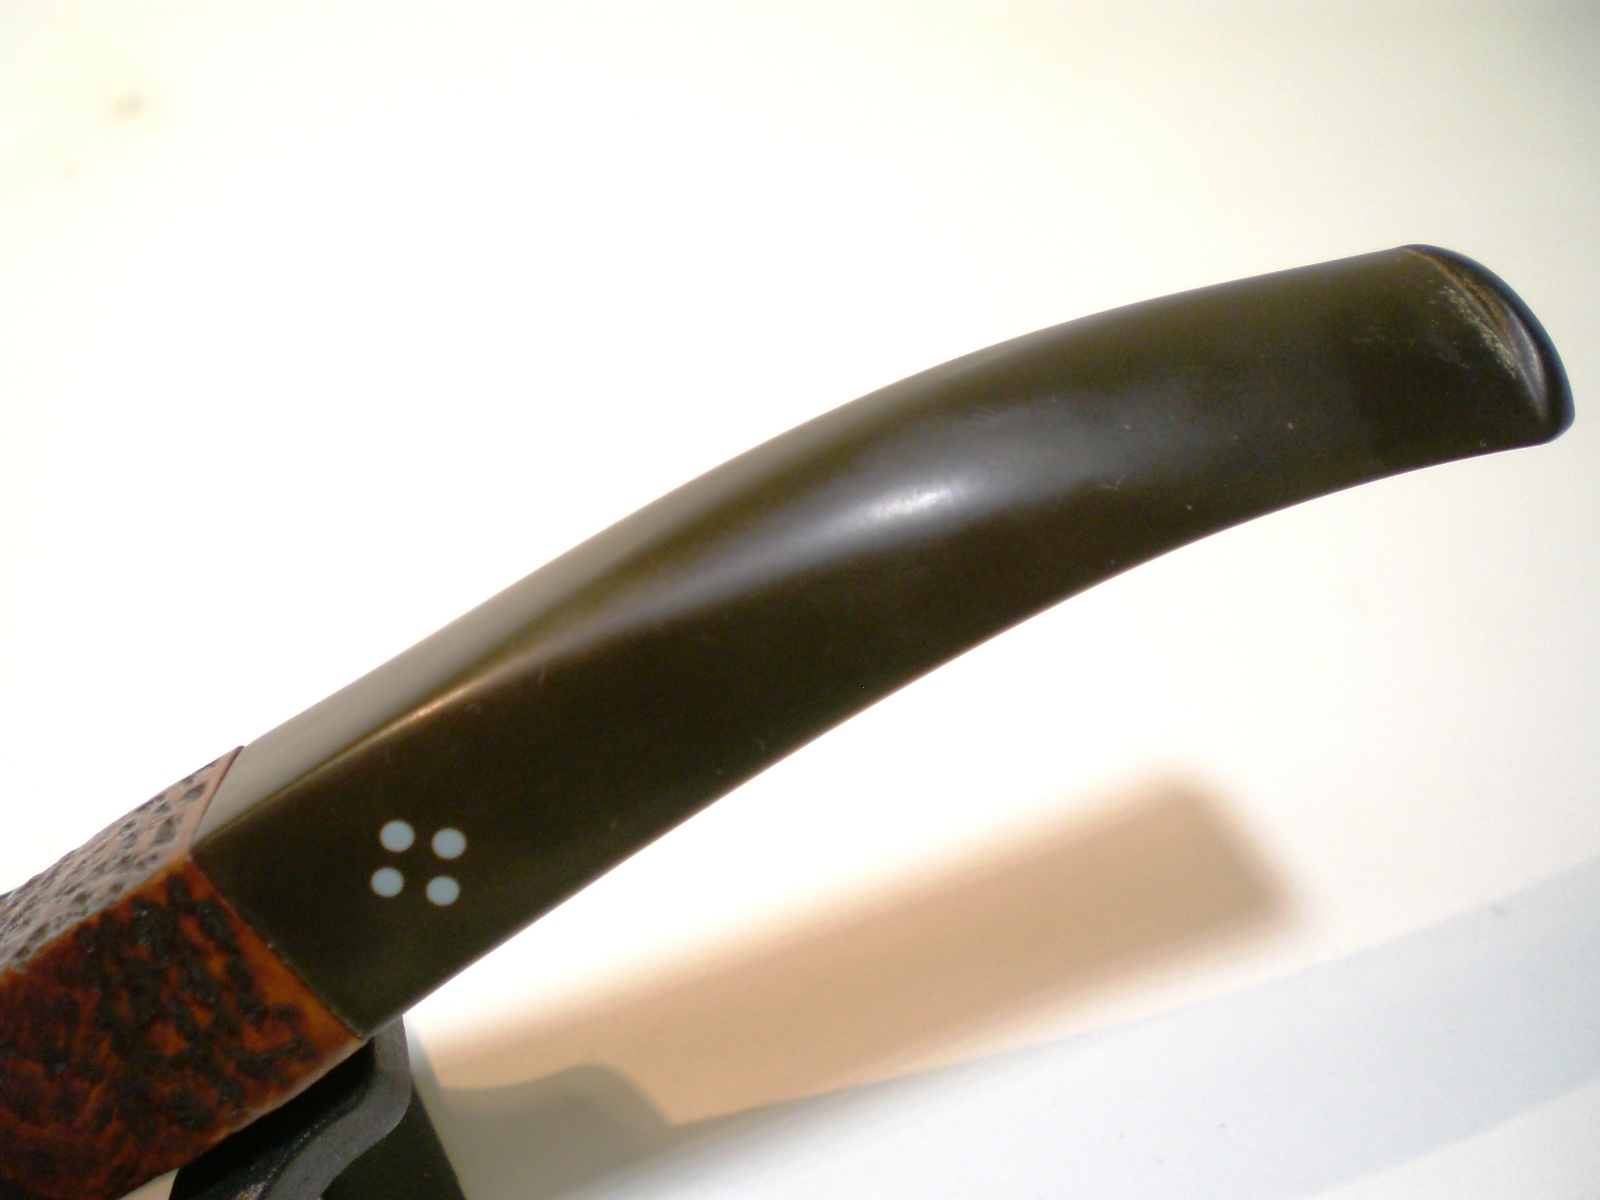
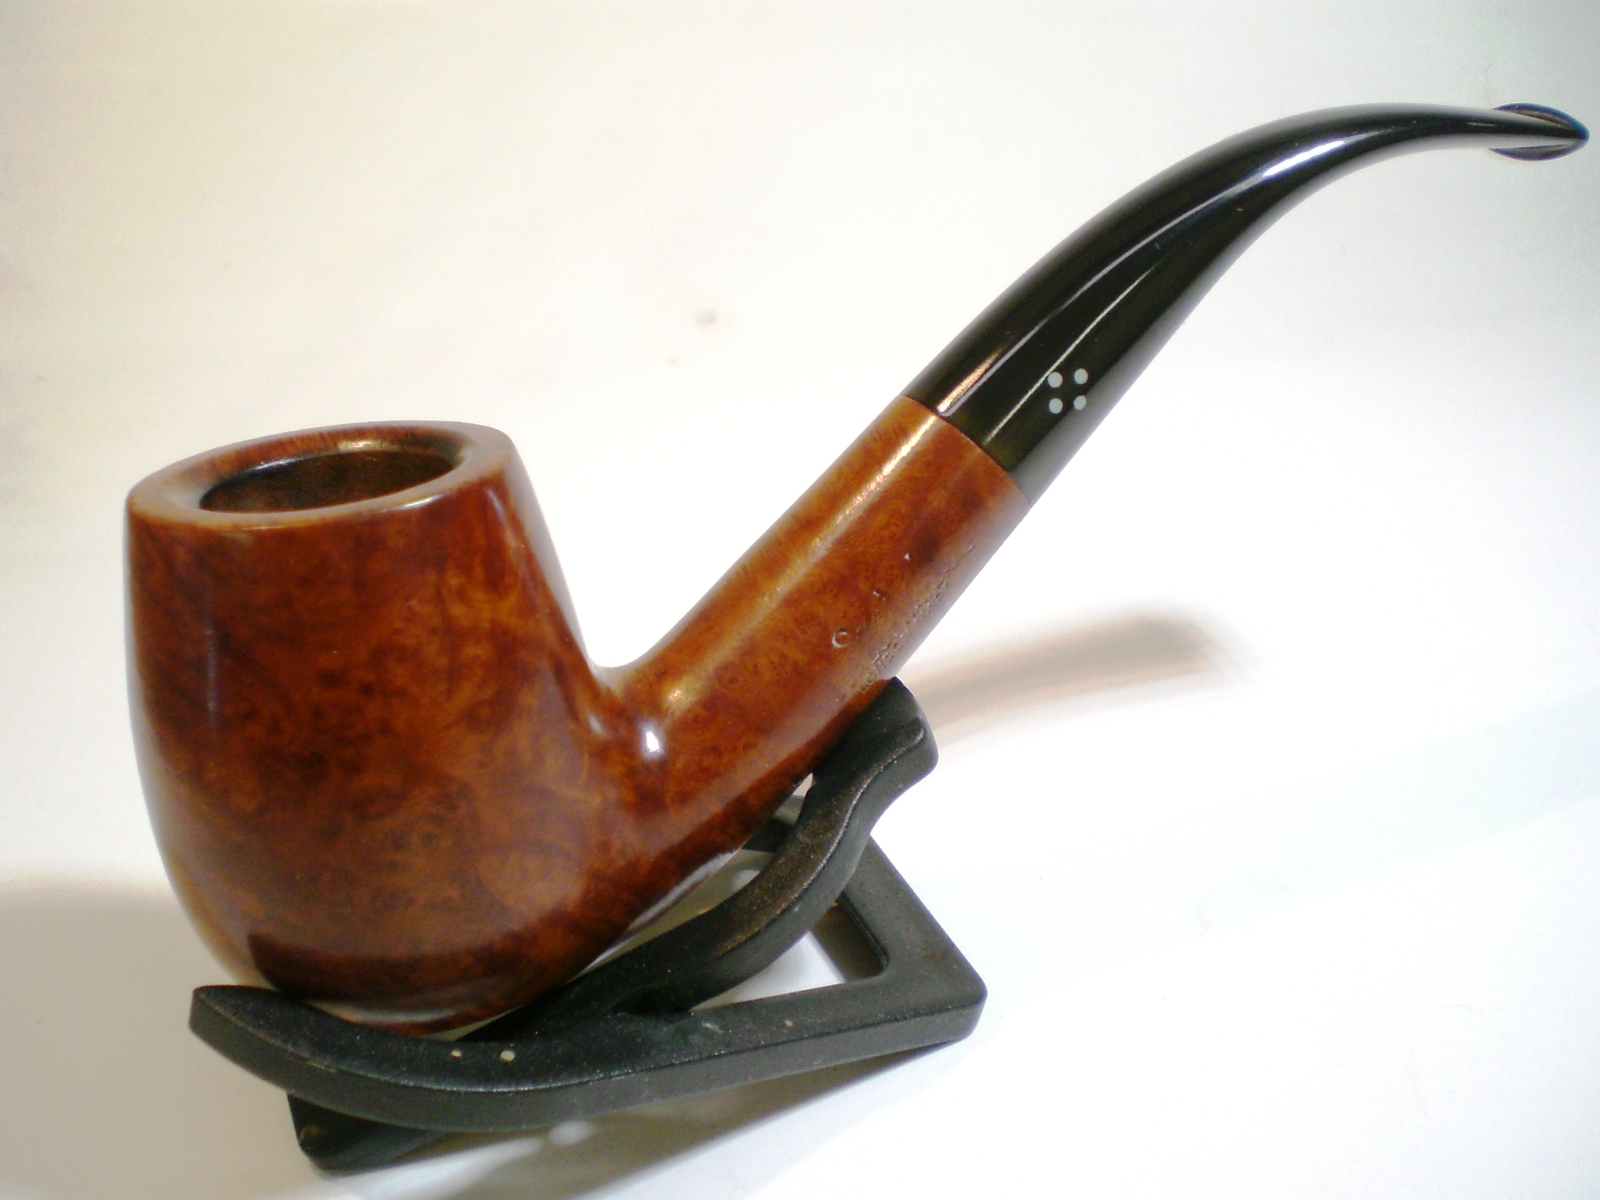
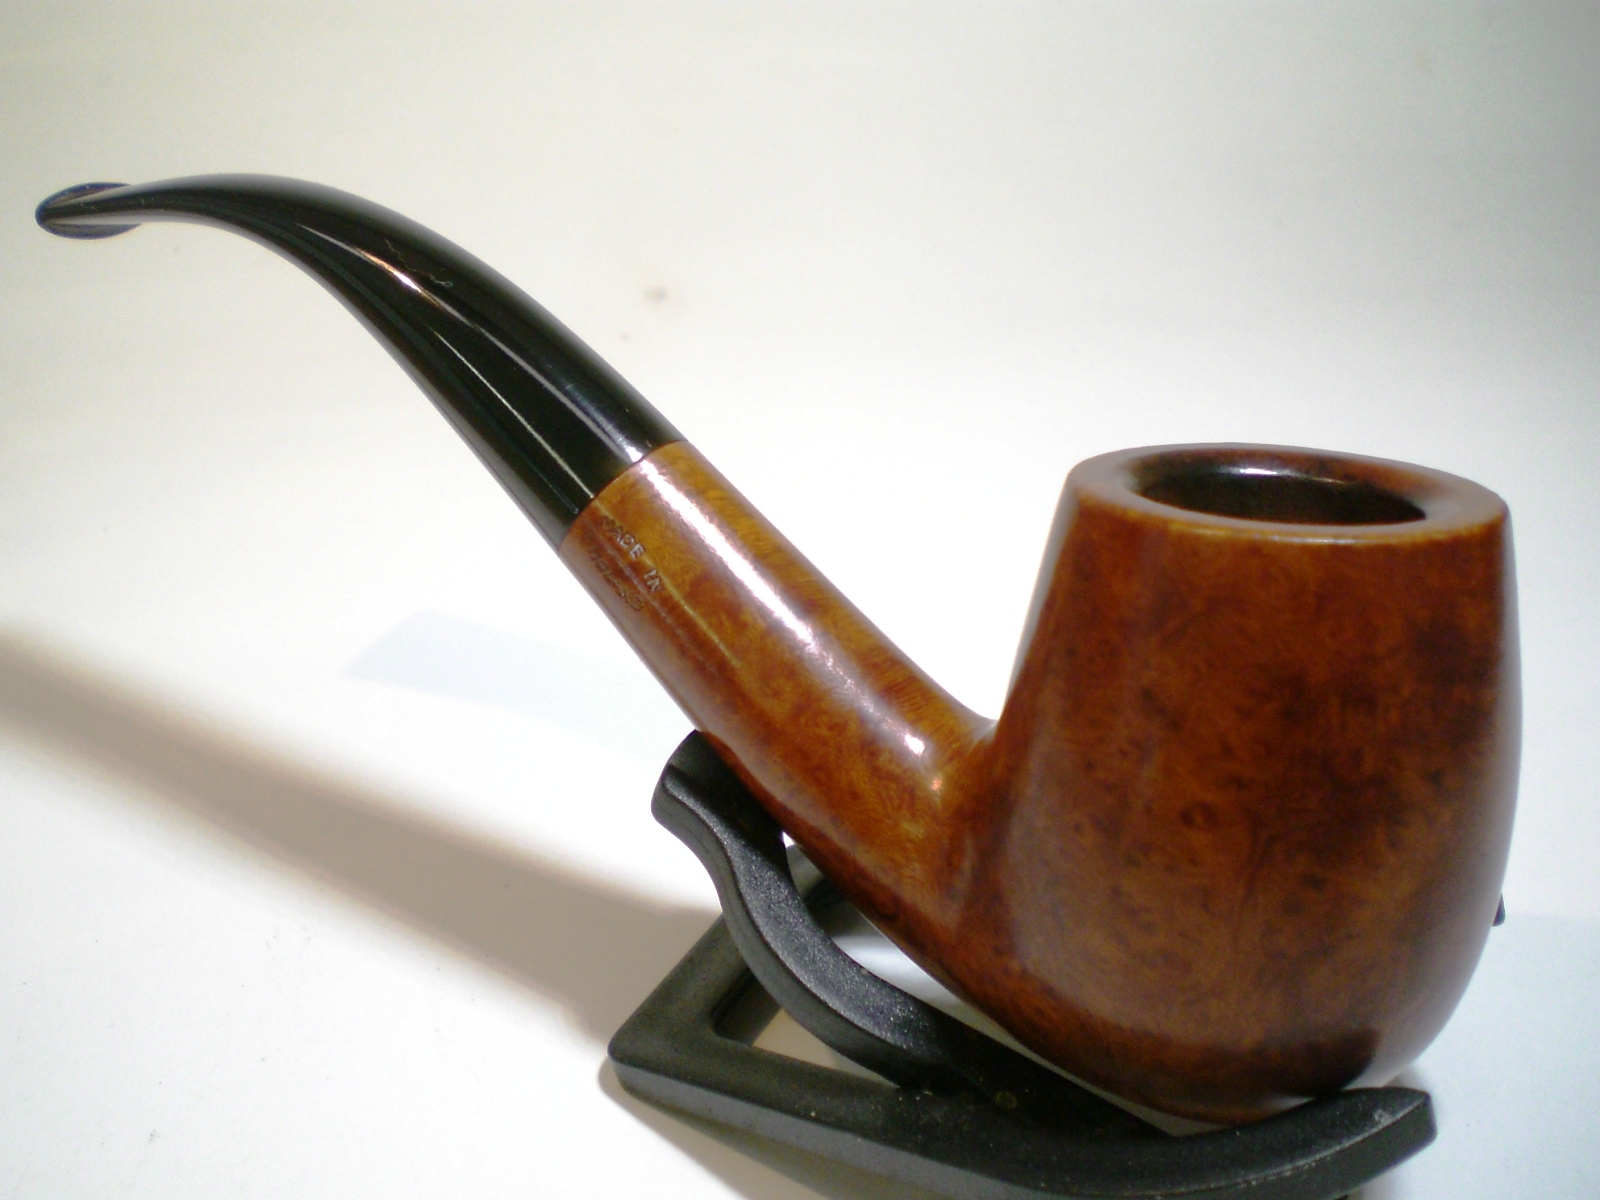
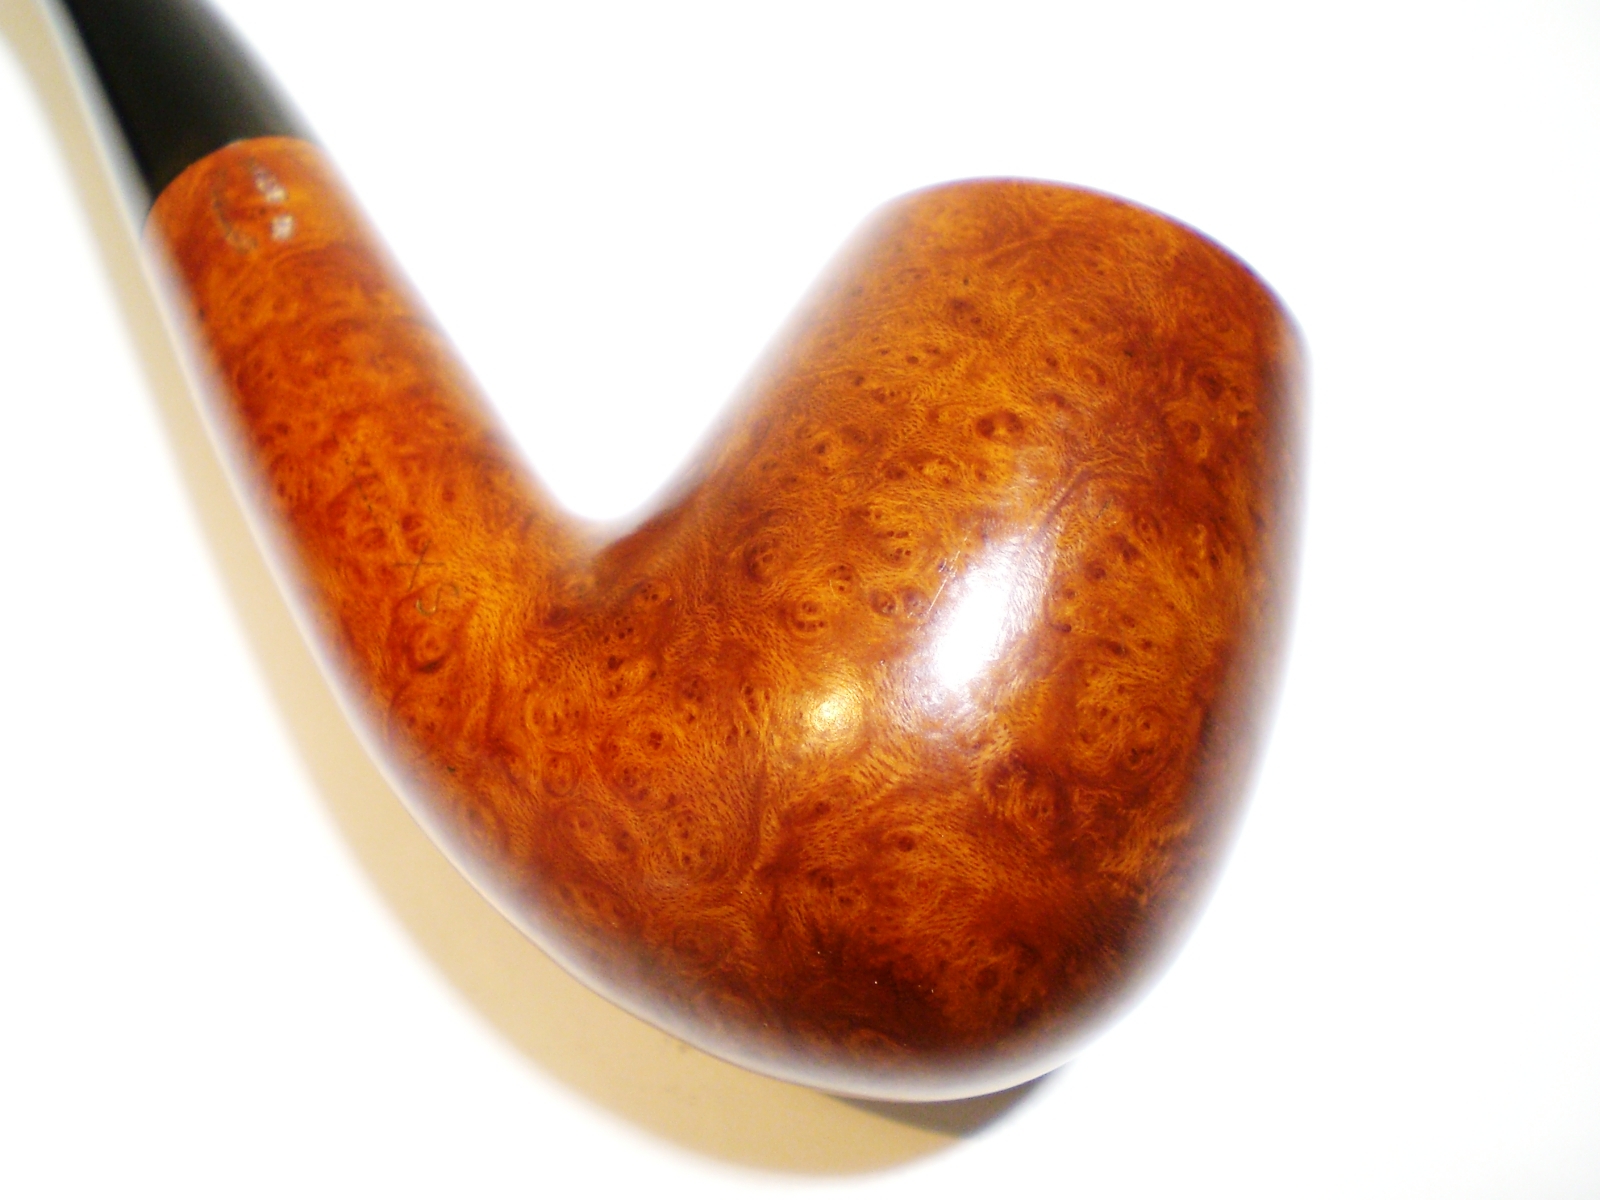
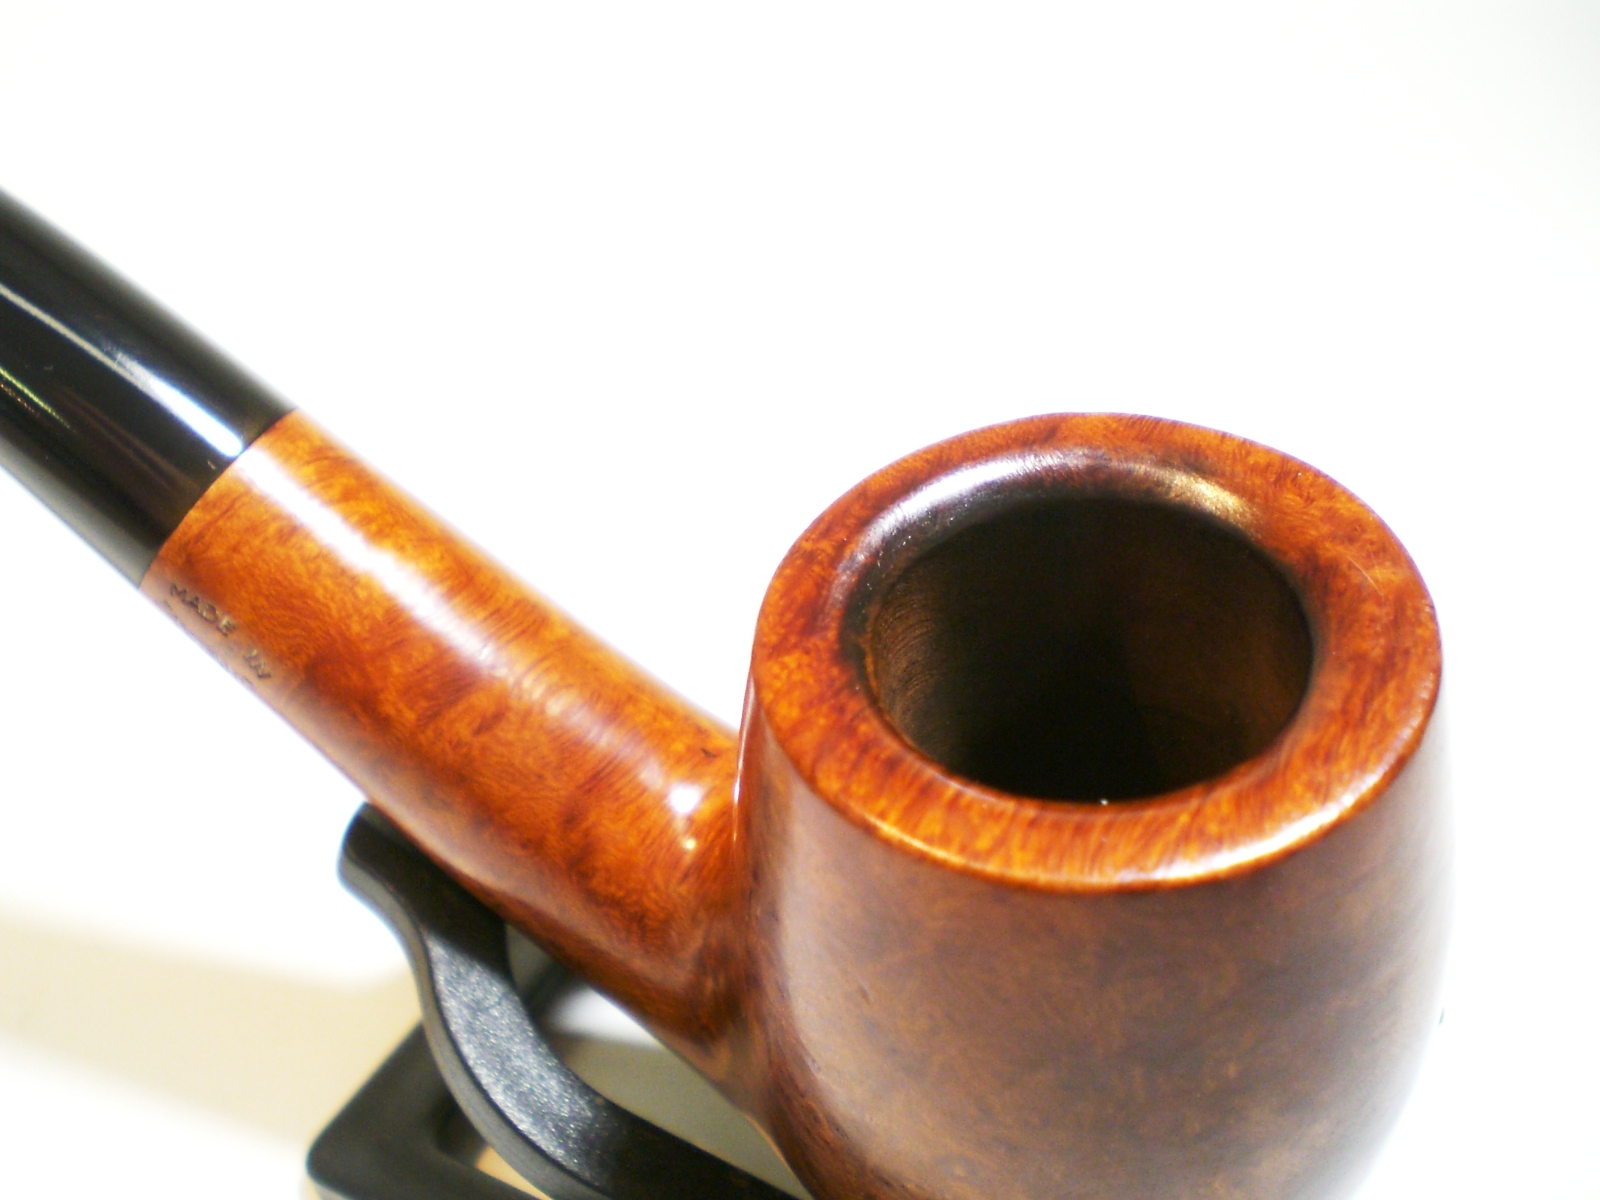
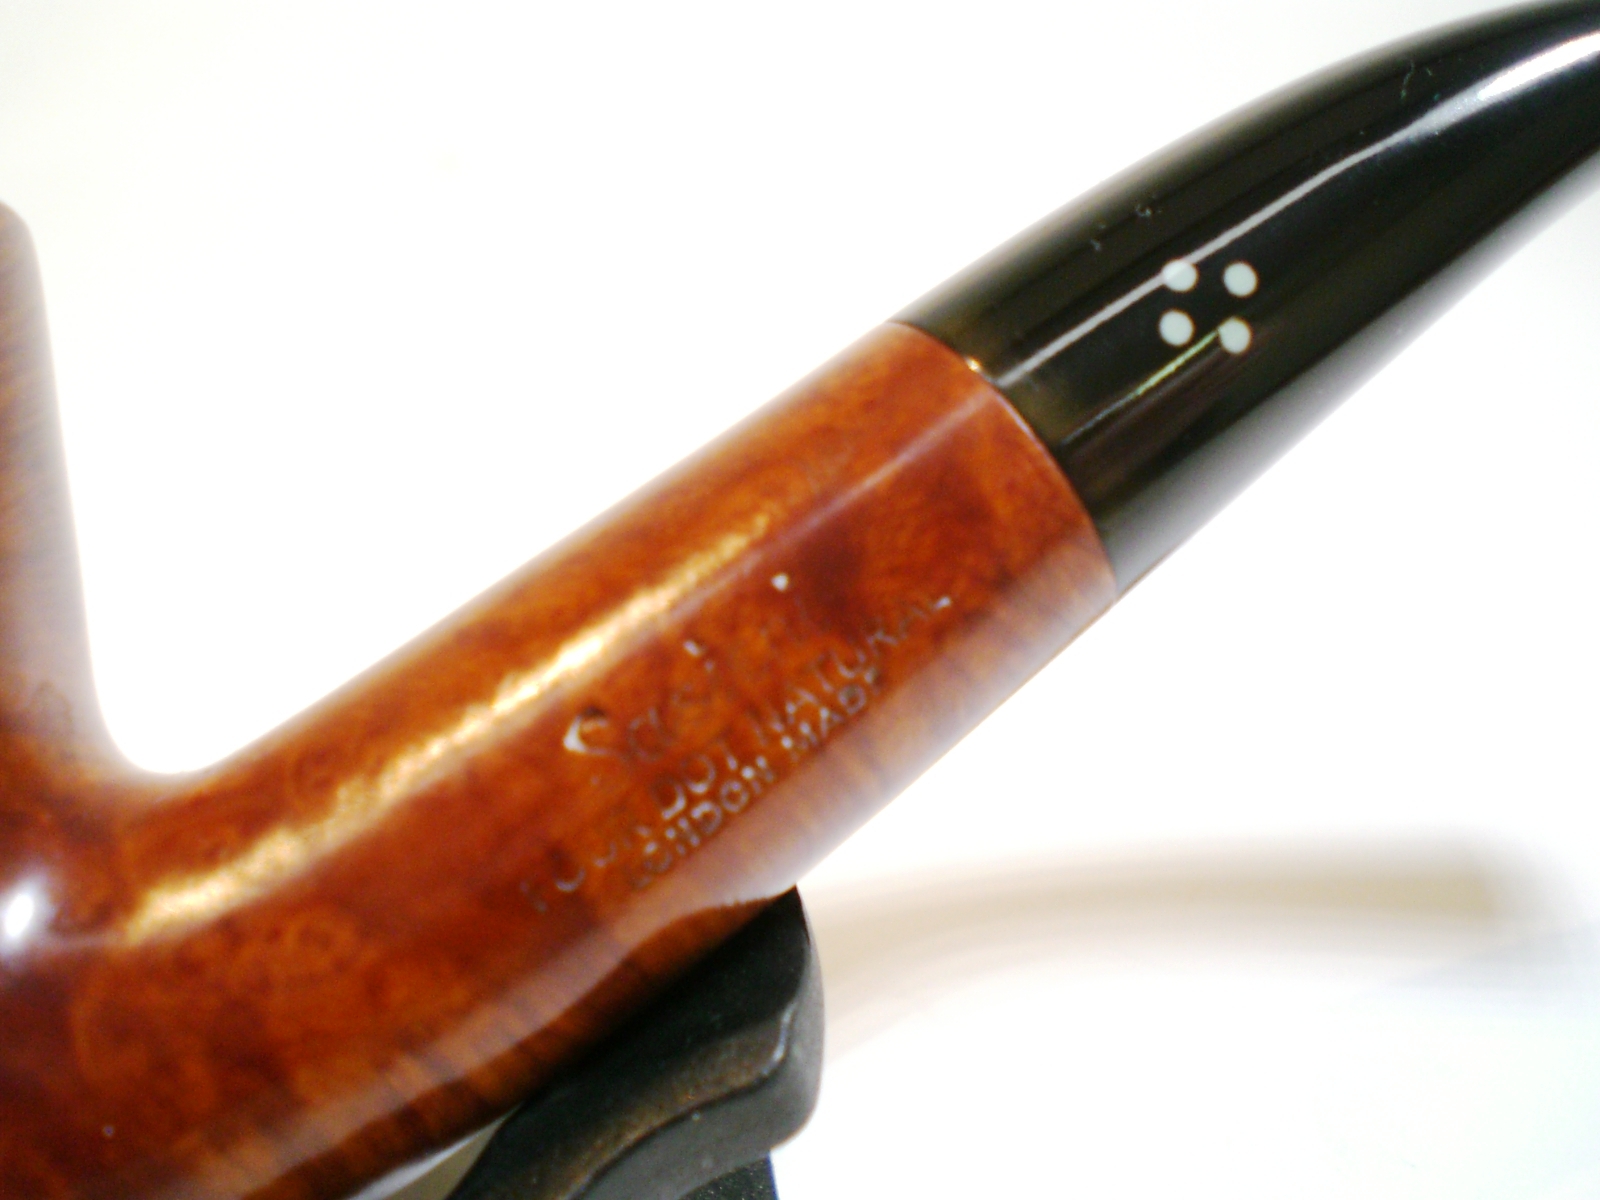
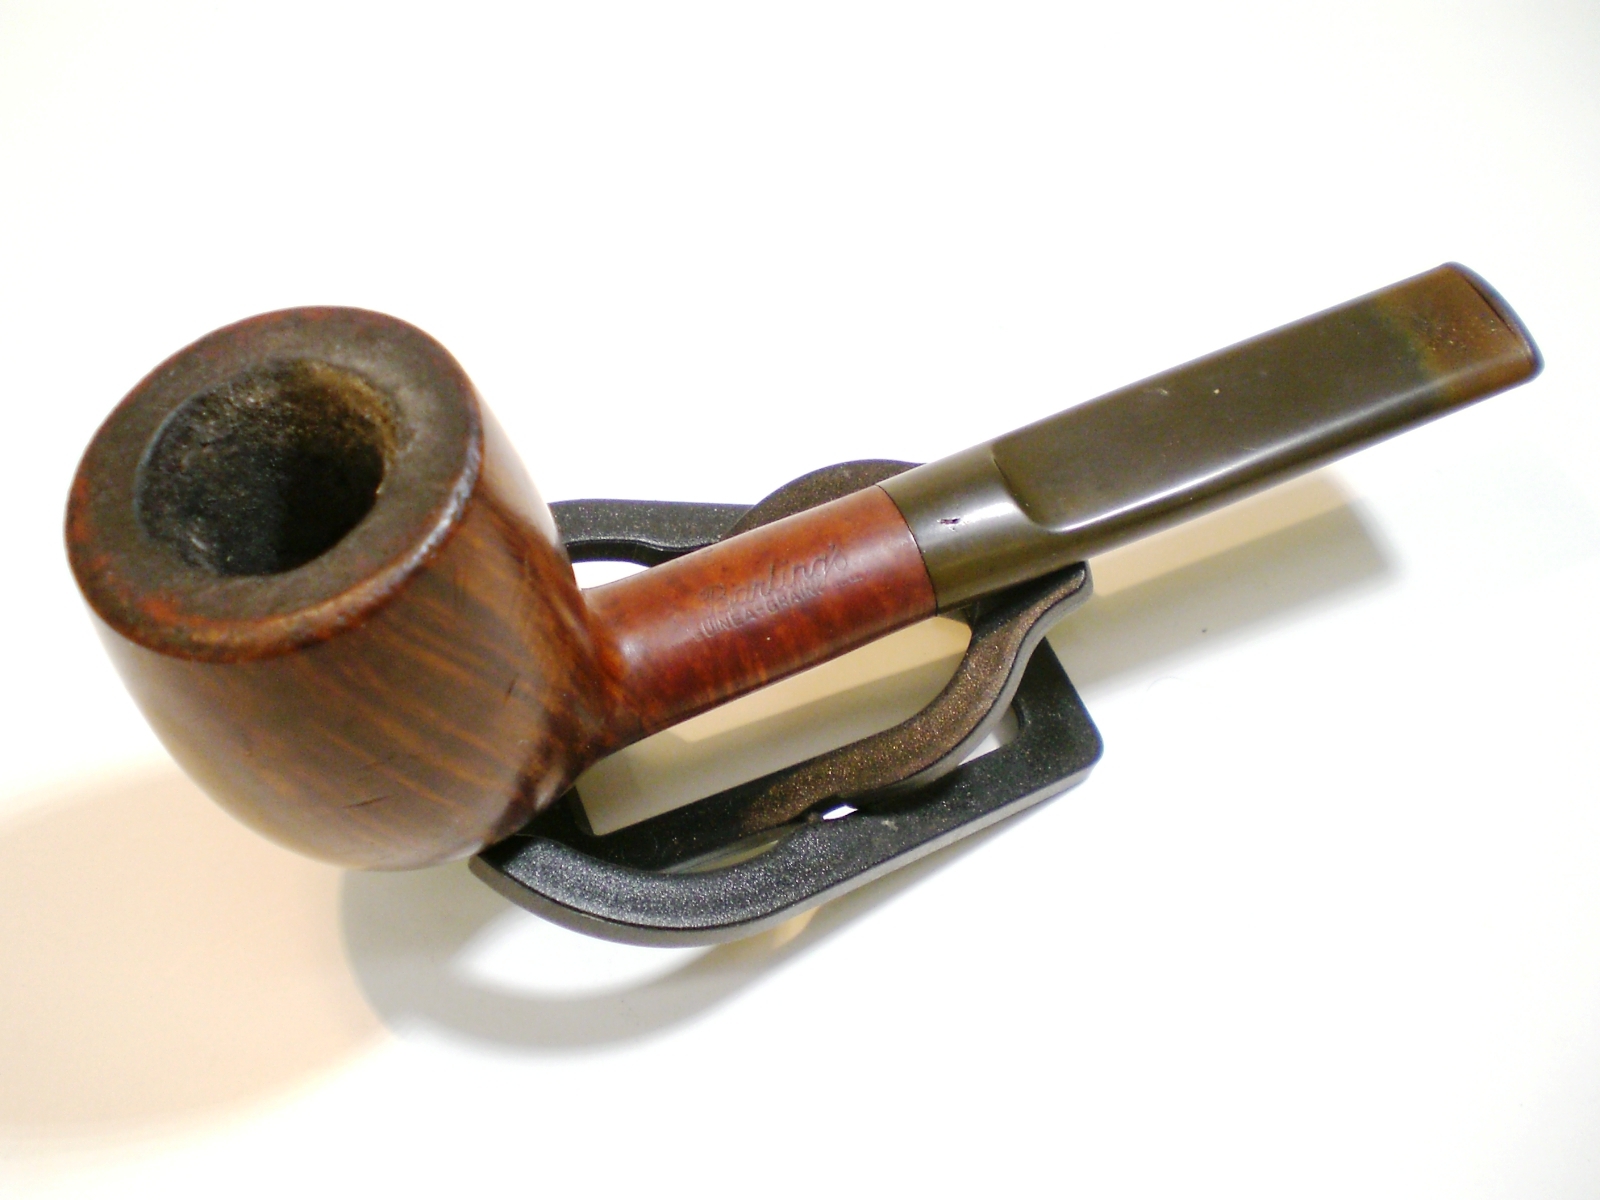
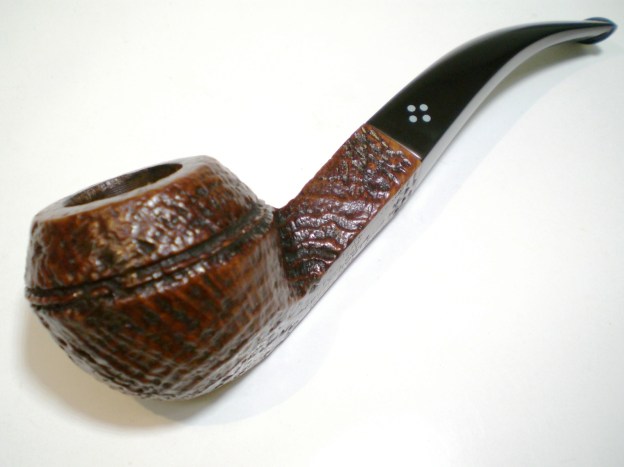
I’m a big fan of the pre-transition era Sasieni “Four Dot” pipes. This era was from 1946 to 1979 and while that makes a precise dating impossible, I’ve found them to be very well made and excellent smoking pipes. This Grosvenor Ruff Root Bulldog showed up on Ebay last week, complete with small and somewhat fuzzy photographs. From what I could see, the pipe looked solid and it pretty much flew under the radar. When the pipe arrived, it was easy to see that I had made a wise choice. The stem was only slightly oxidized with no teeth marks or other damage. The nomenclature was very clear and complete. The first picture was from the eBay ad.

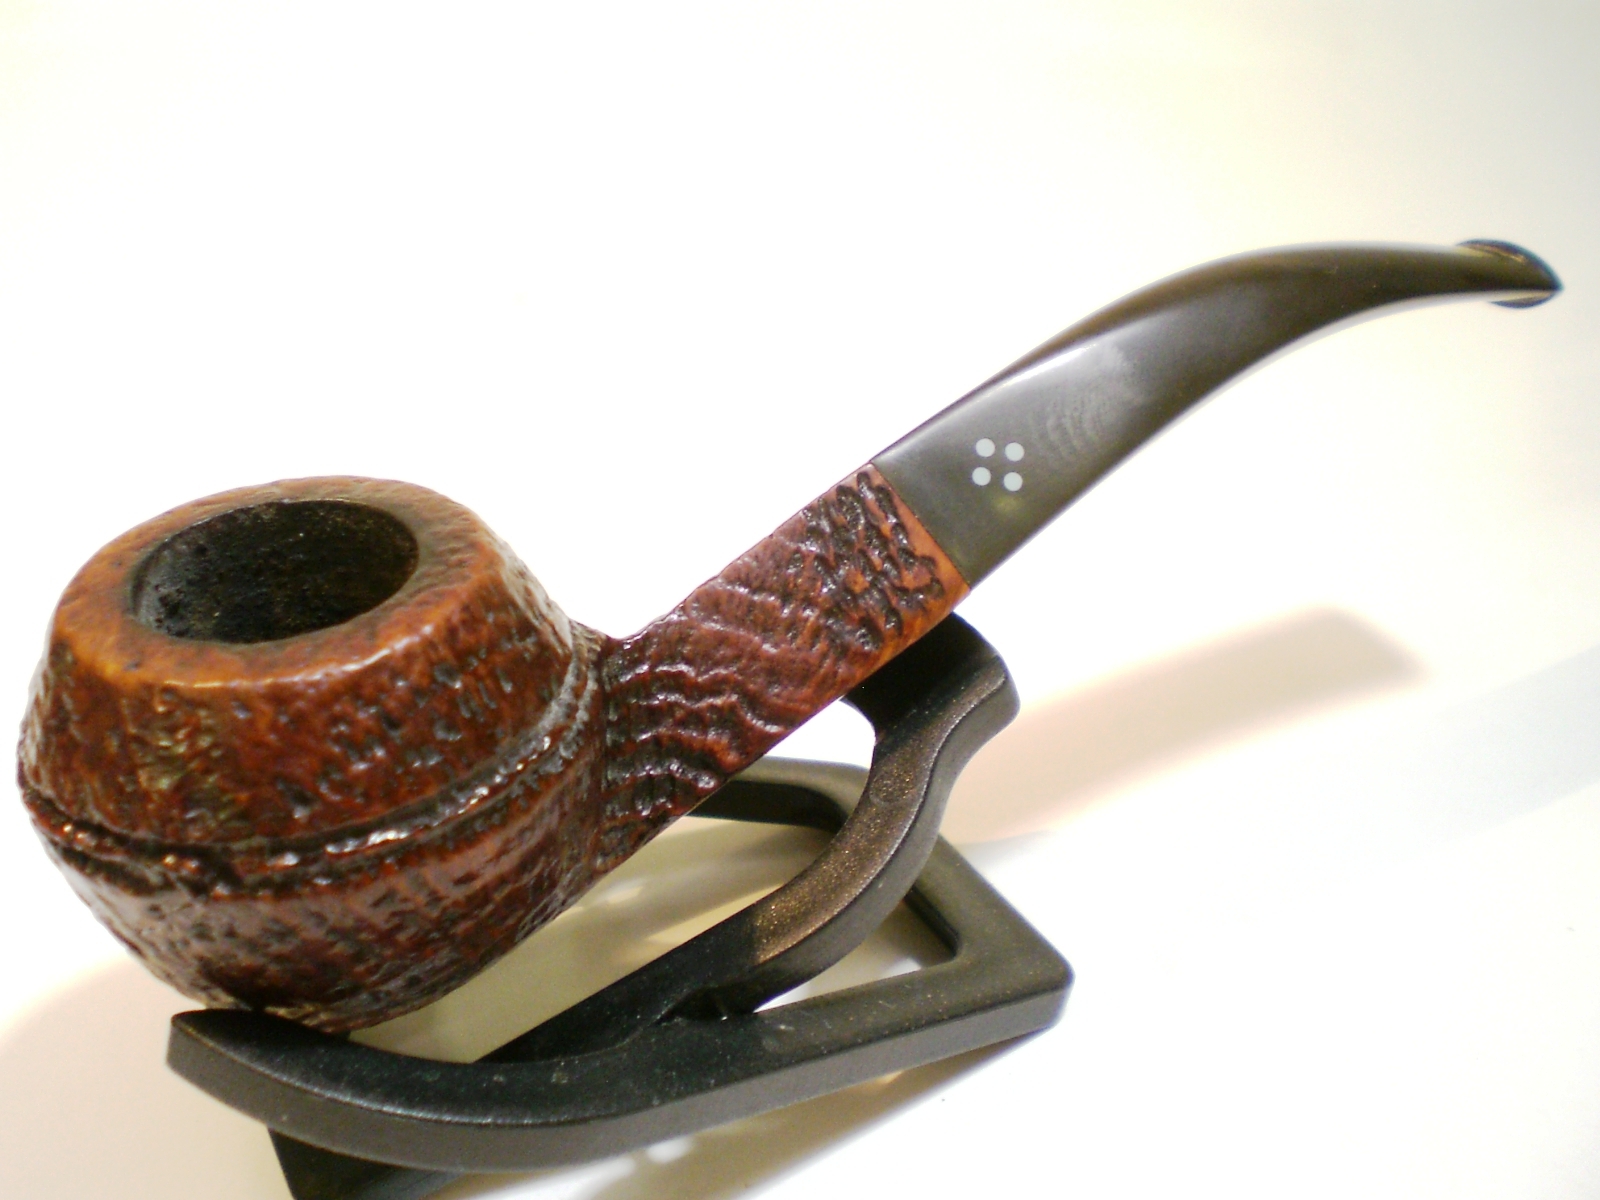
Sasieni_Grosvenor_Ruff_Root5

Sasieni_Grosvenor_Ruff_Root_Before

Sasieni_Grosvenor_Ruff_Root_Before (3)

Sasieni_Grosvenor_Ruff_Root_Before (1)

Sasieni_Grosvenor_Ruff_Root_Before (2)

I own a Sasieni Grosvenor Walnut, an “S” model, which indicates the tapered stem. But, my favorite pipes are Bulldog or Rhodesians with a tapered stem.
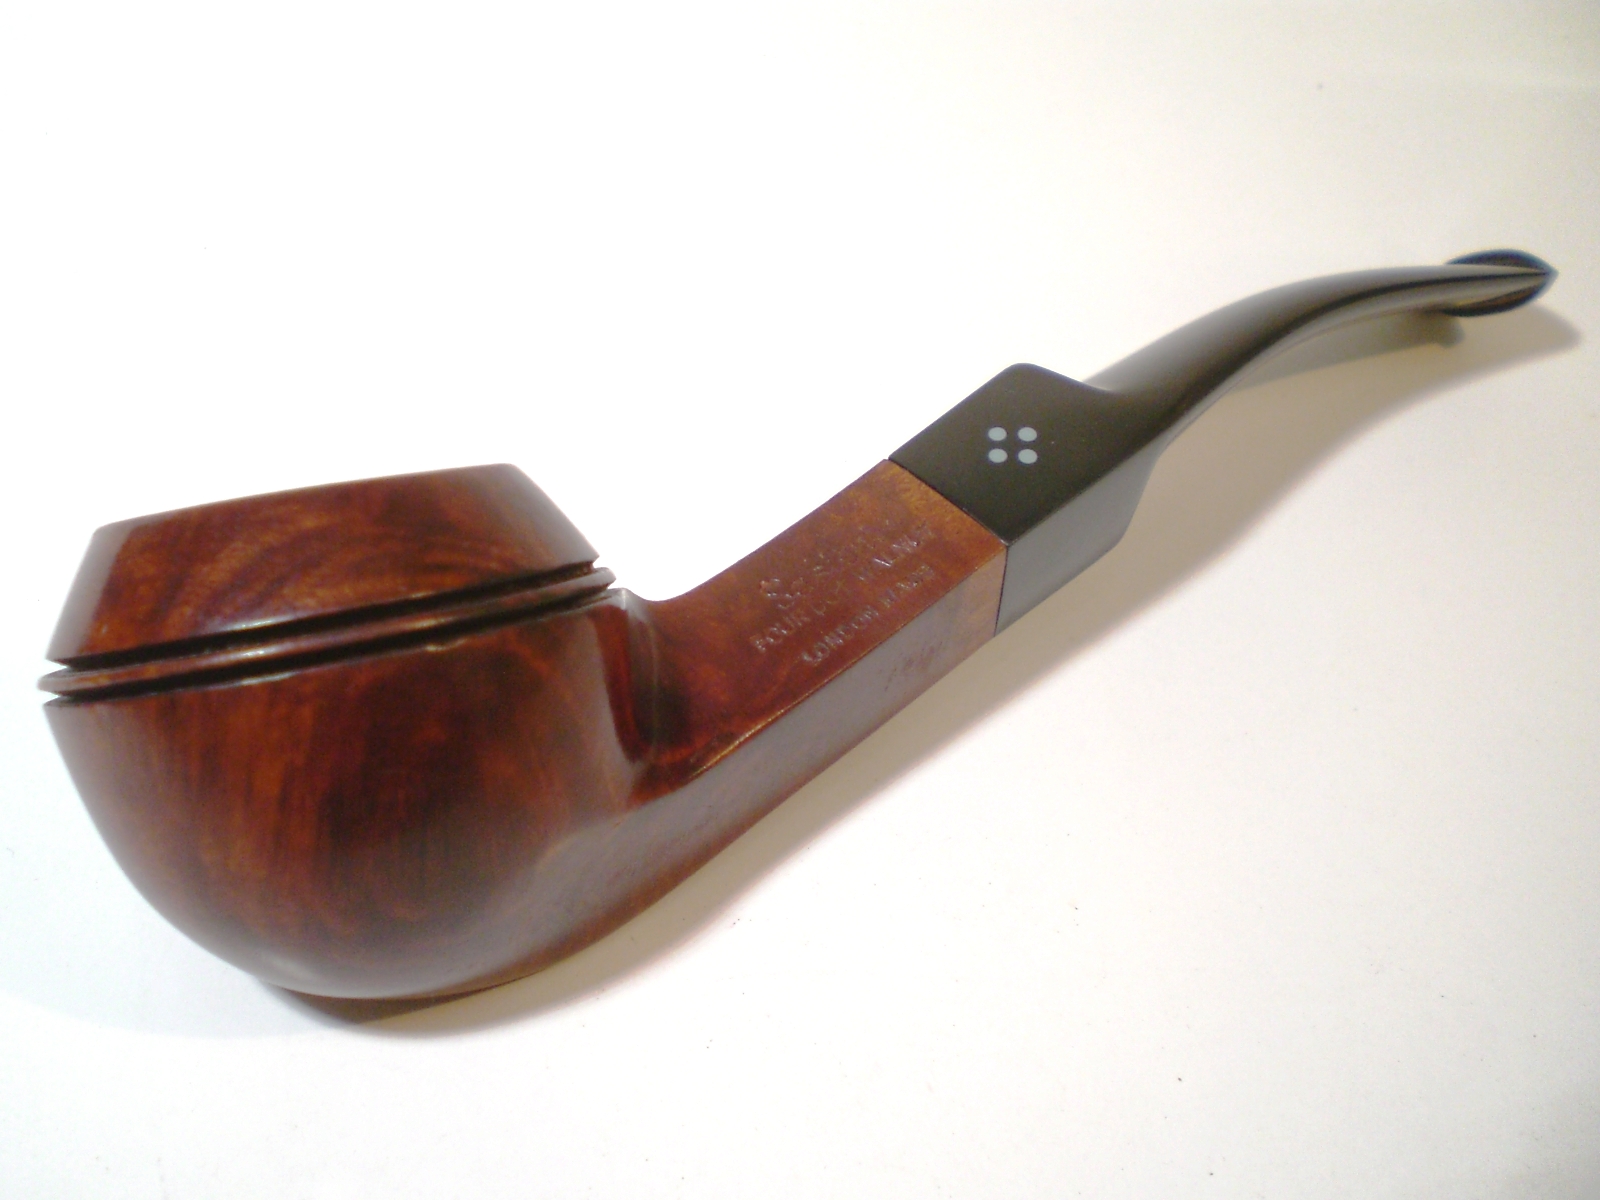
Sasieni_Grosvenor-S_Gallery

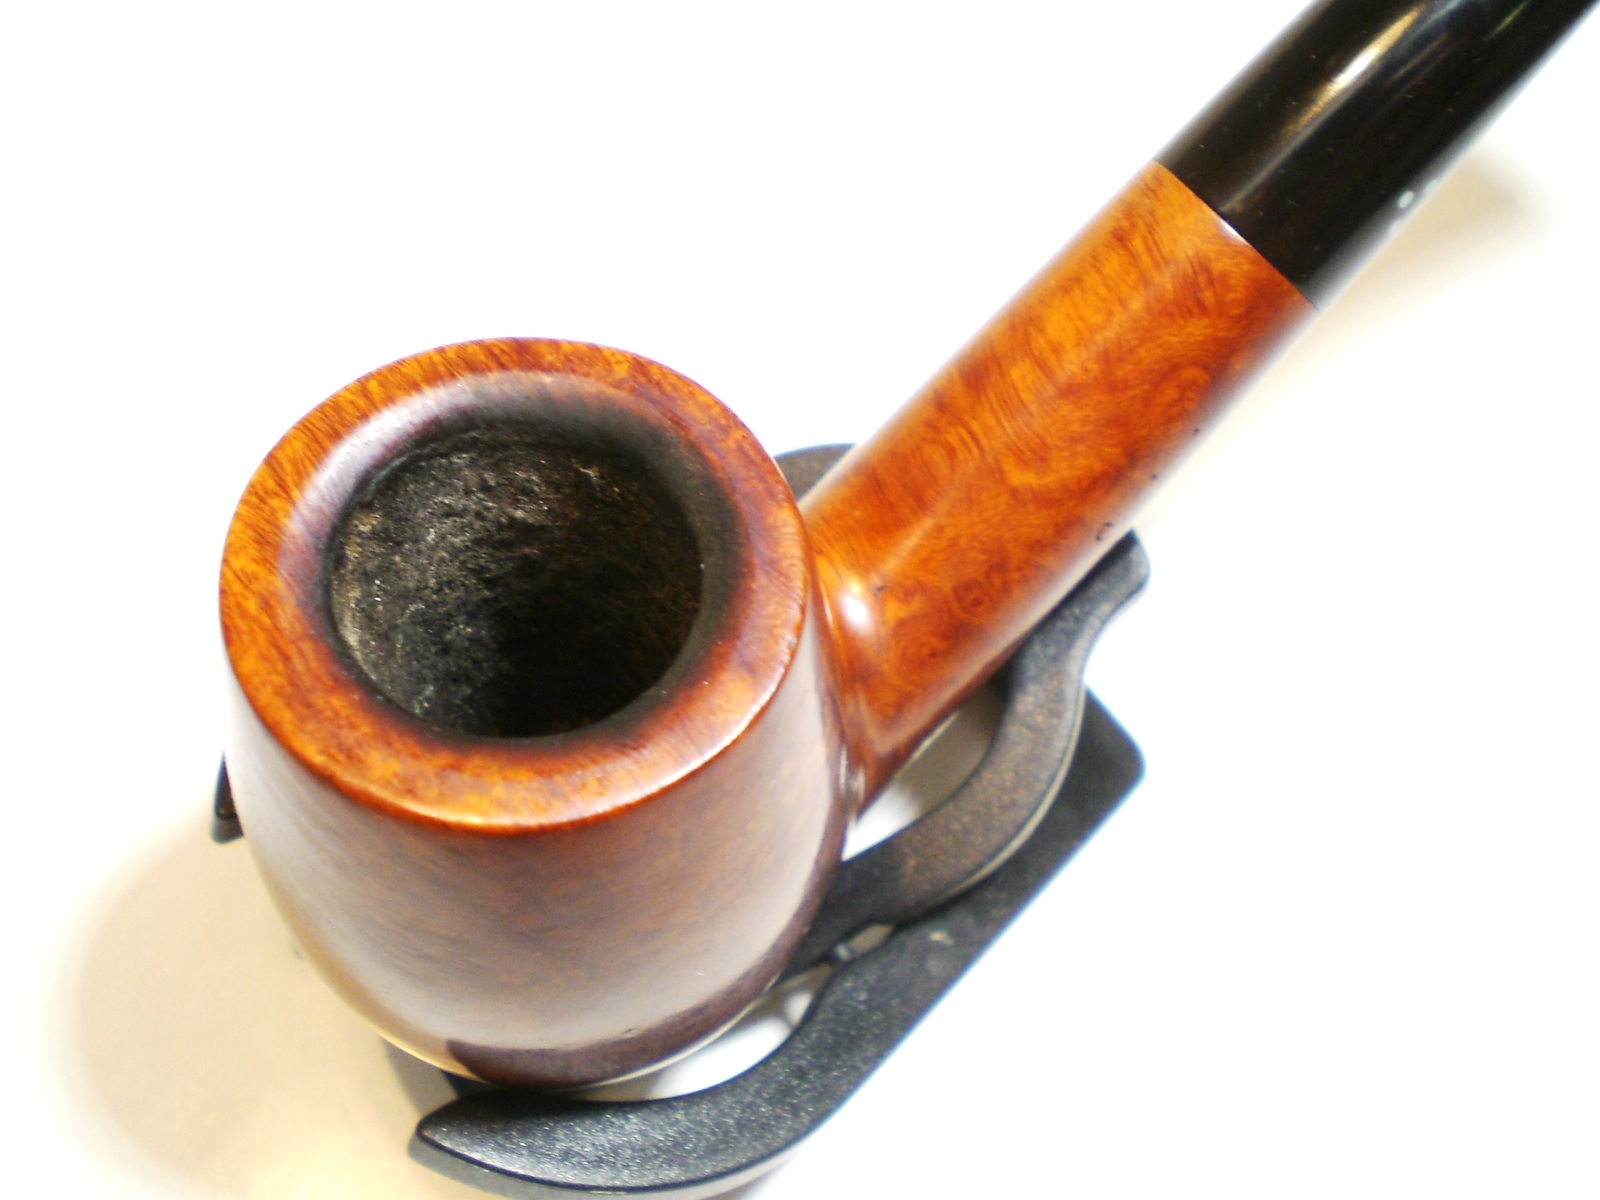
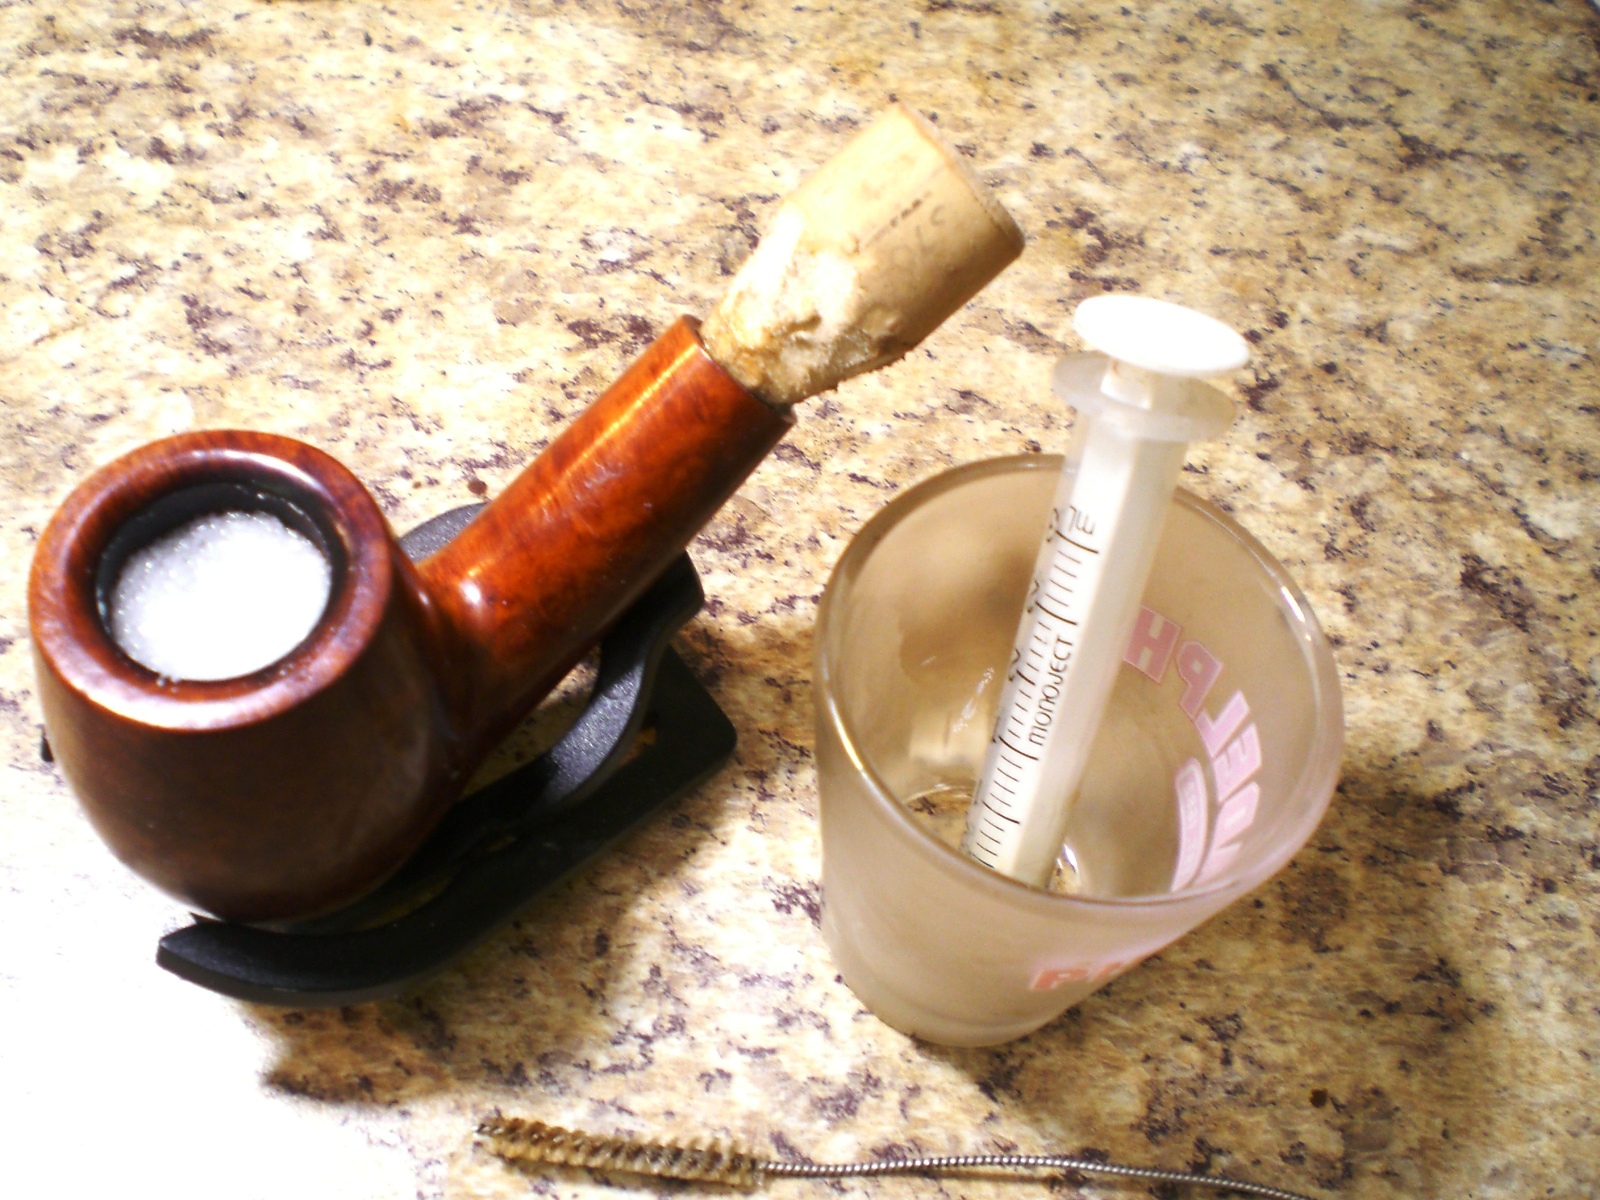
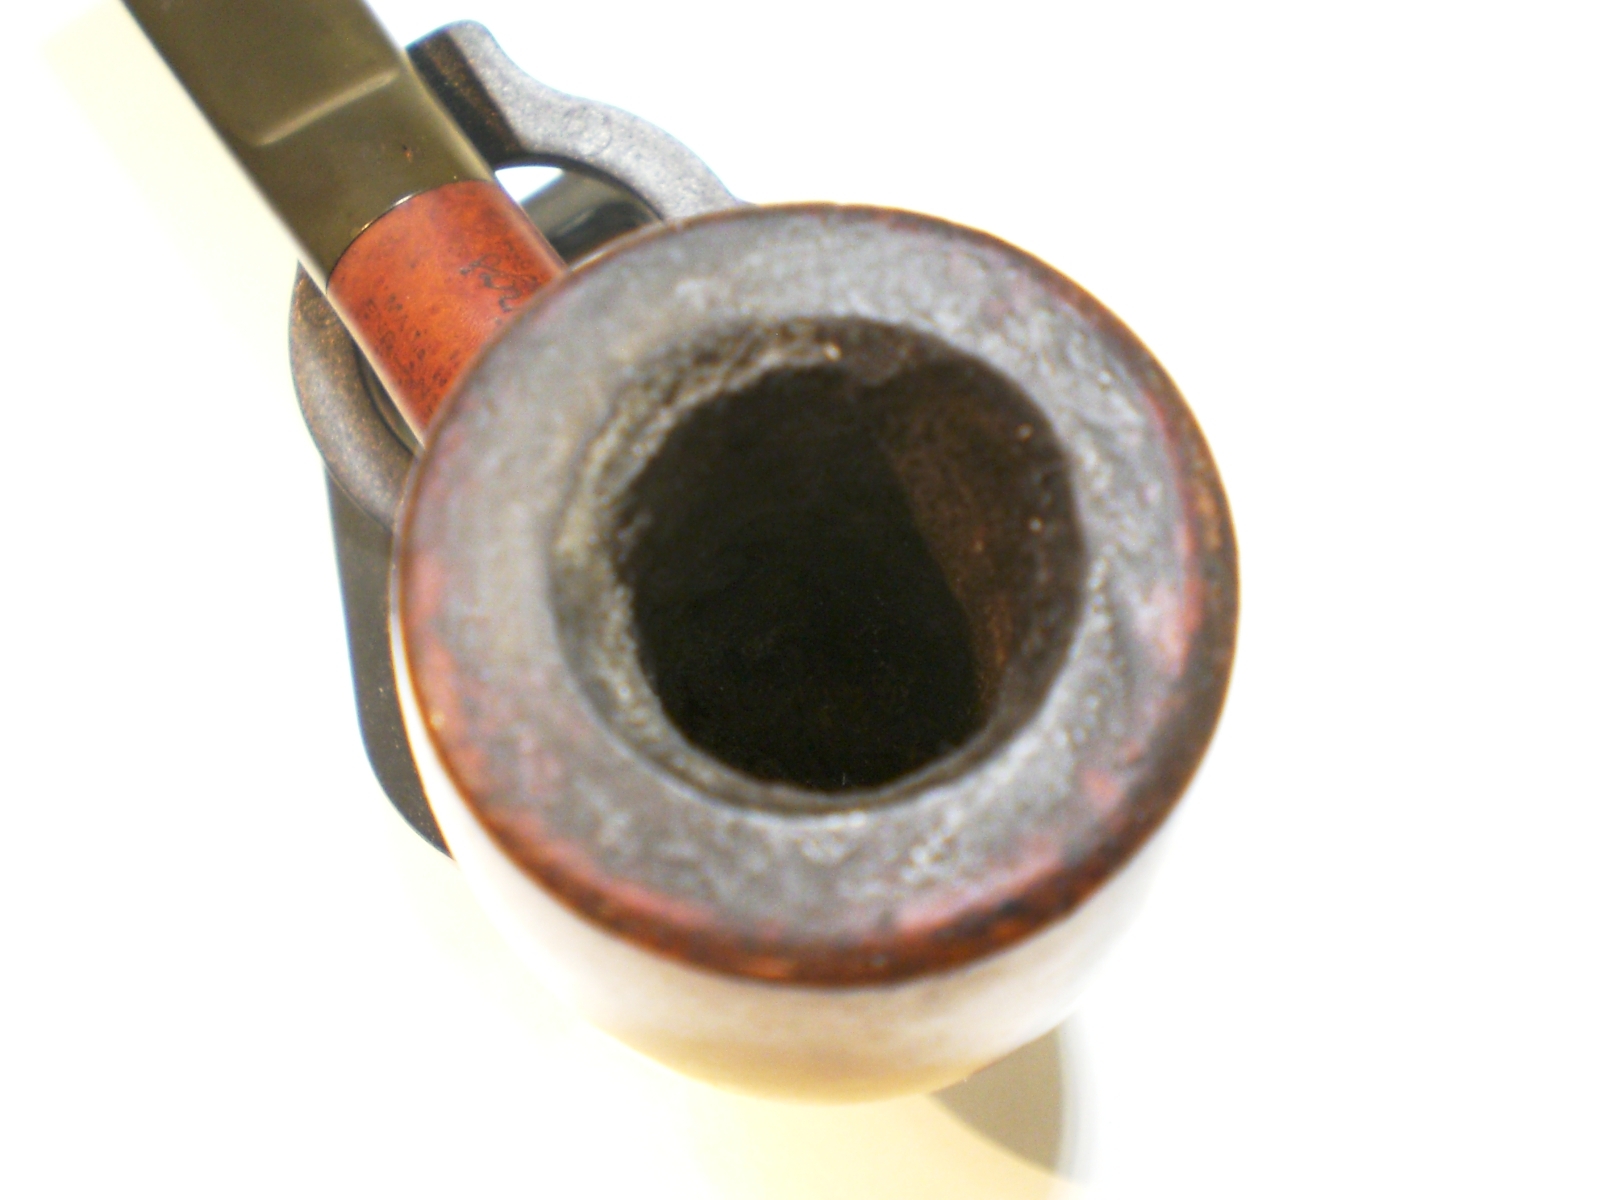
The bowl had only a slight cake and the shank was very clean. I carefully reamed the cake out and soaked the bowl with some alcohol and sea salt.

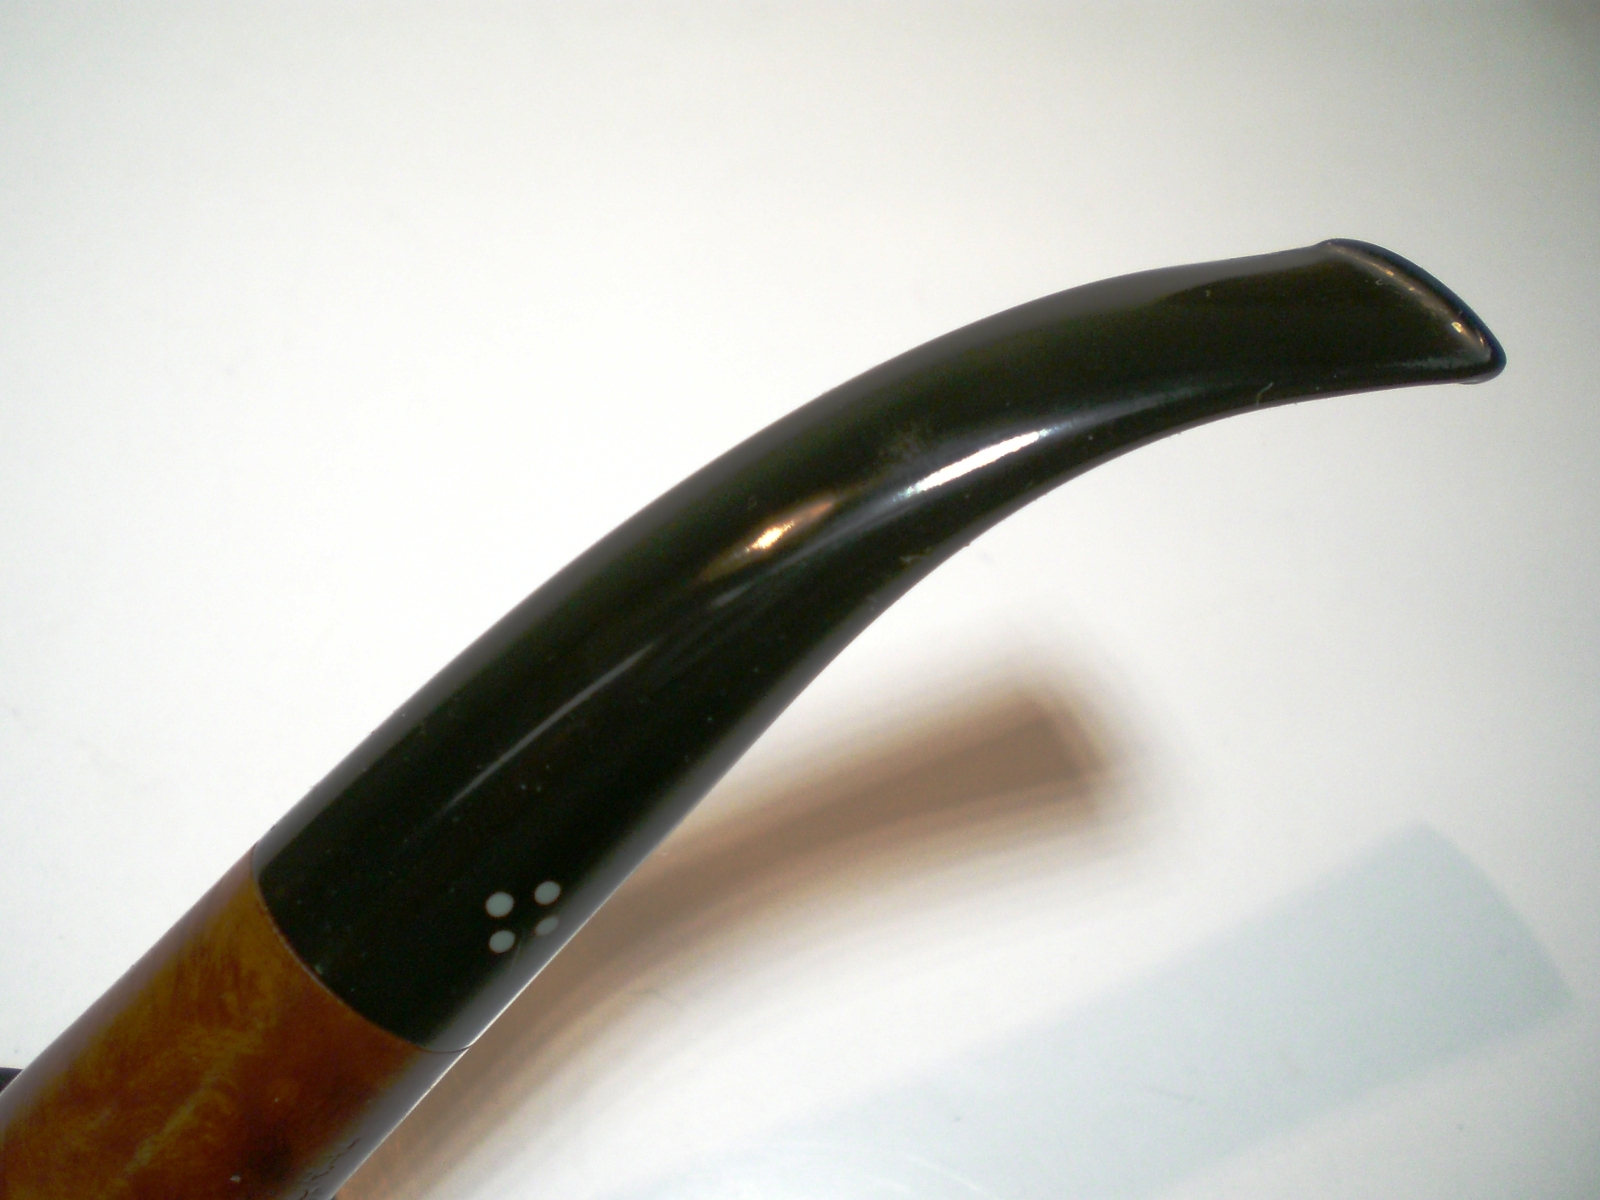
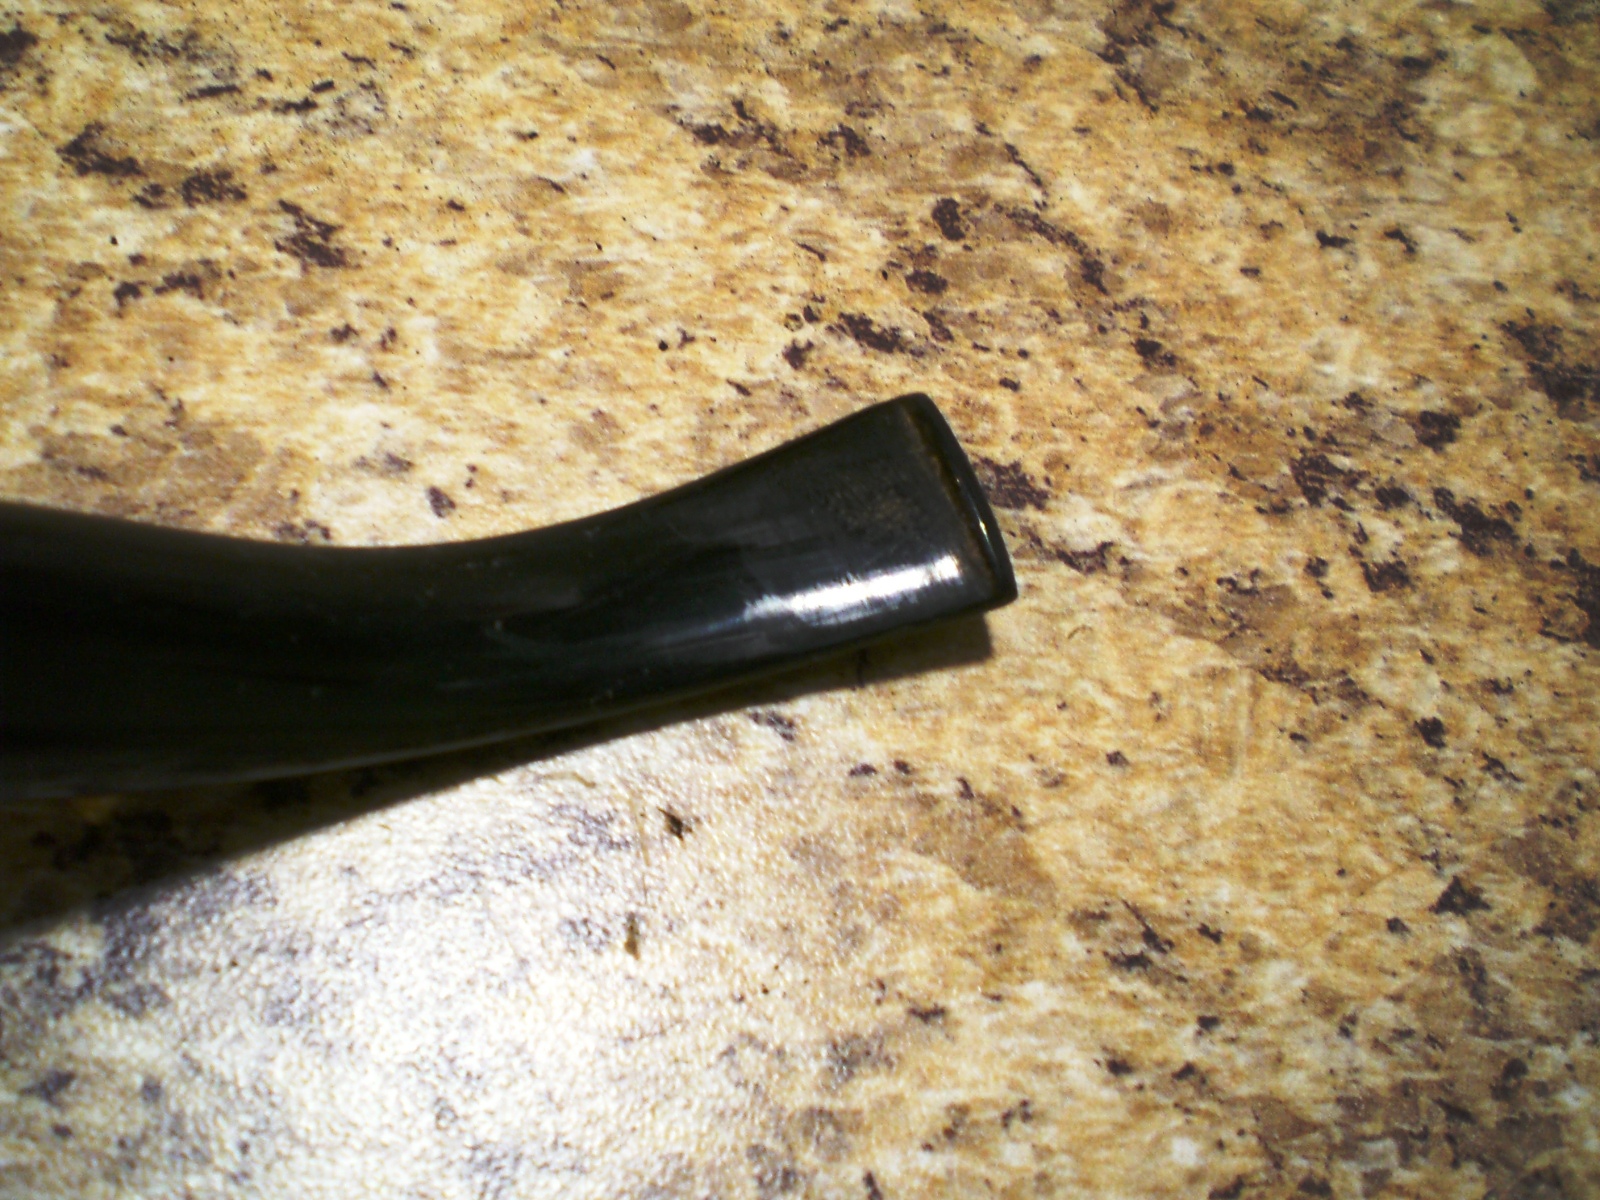
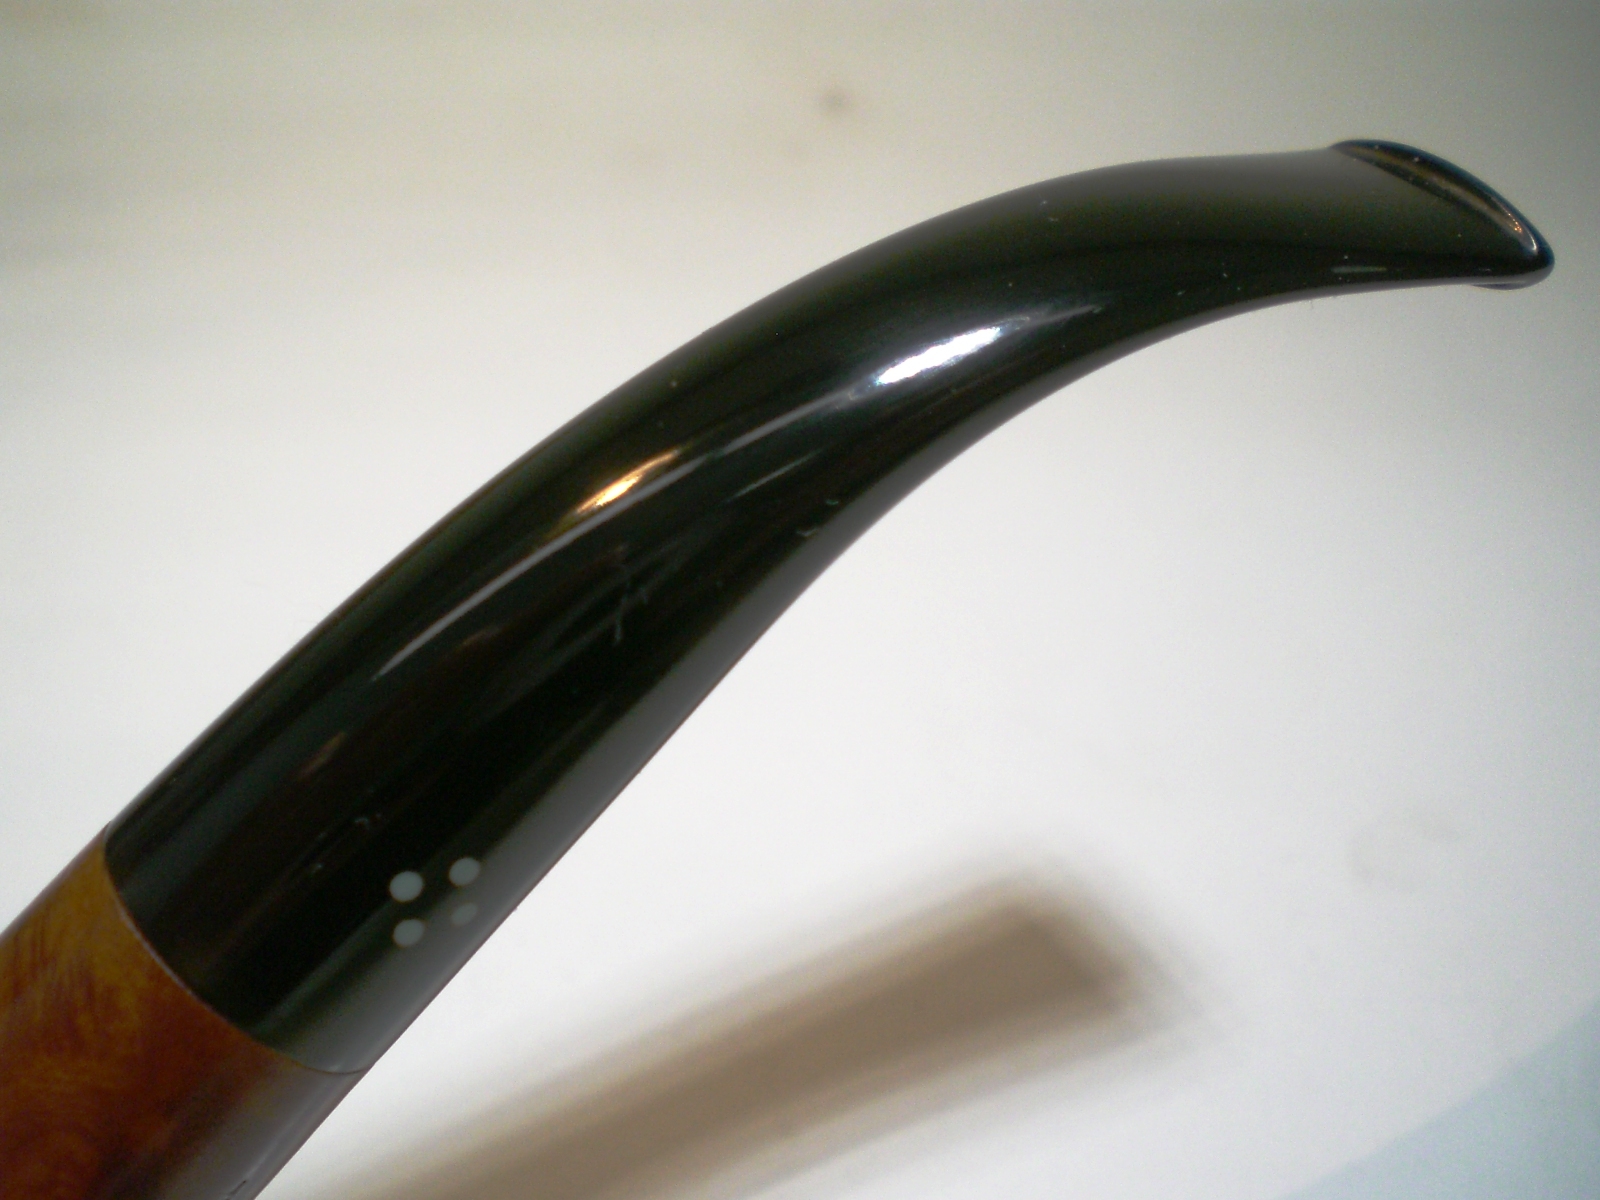
I polished the stem with 800 grit paper, then 1500 and 2000 grade wet paper. Then I moved to the 8000 and 12000 grade micromesh paper, also wet. The stem was lightly buffed with white diamond. I’ve learned that the light blue Sasieni stem dots can fade over time, but the color of these dots was perfect.

I polished the bowl by hand with some Halycon wax and the pipe was complete, a very easy restoration.
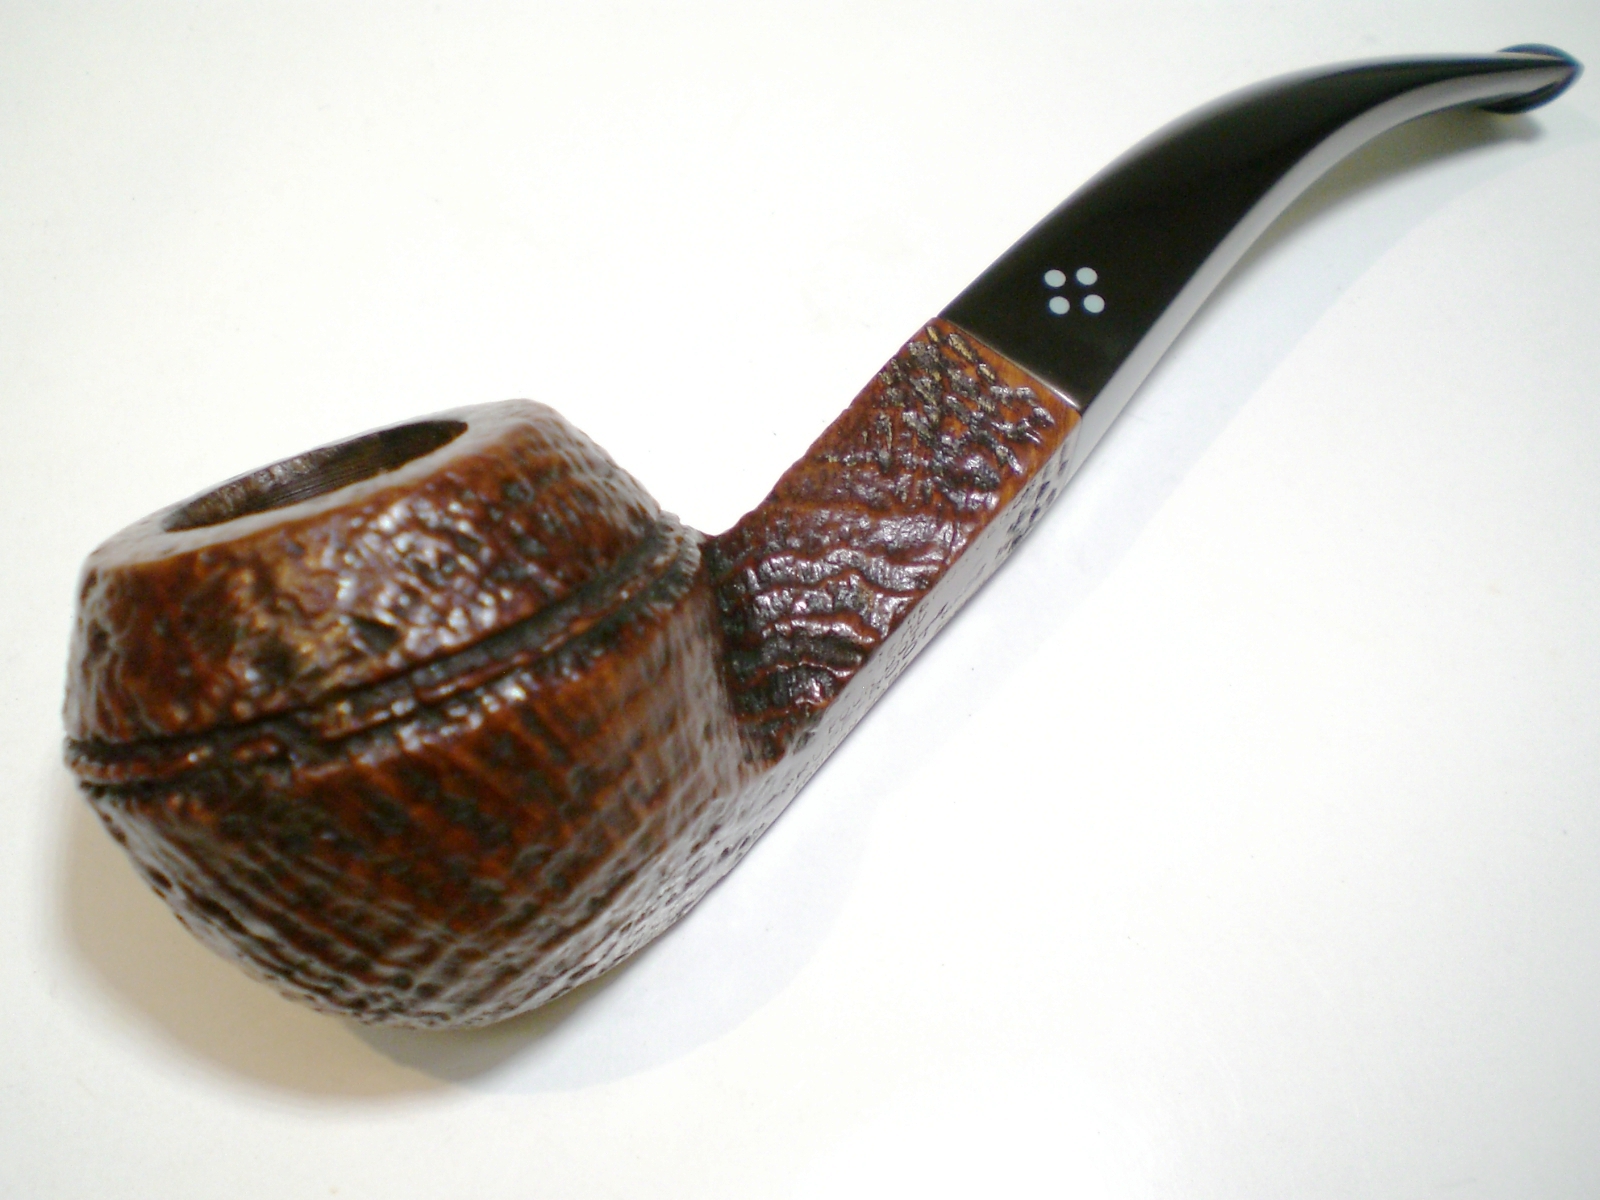
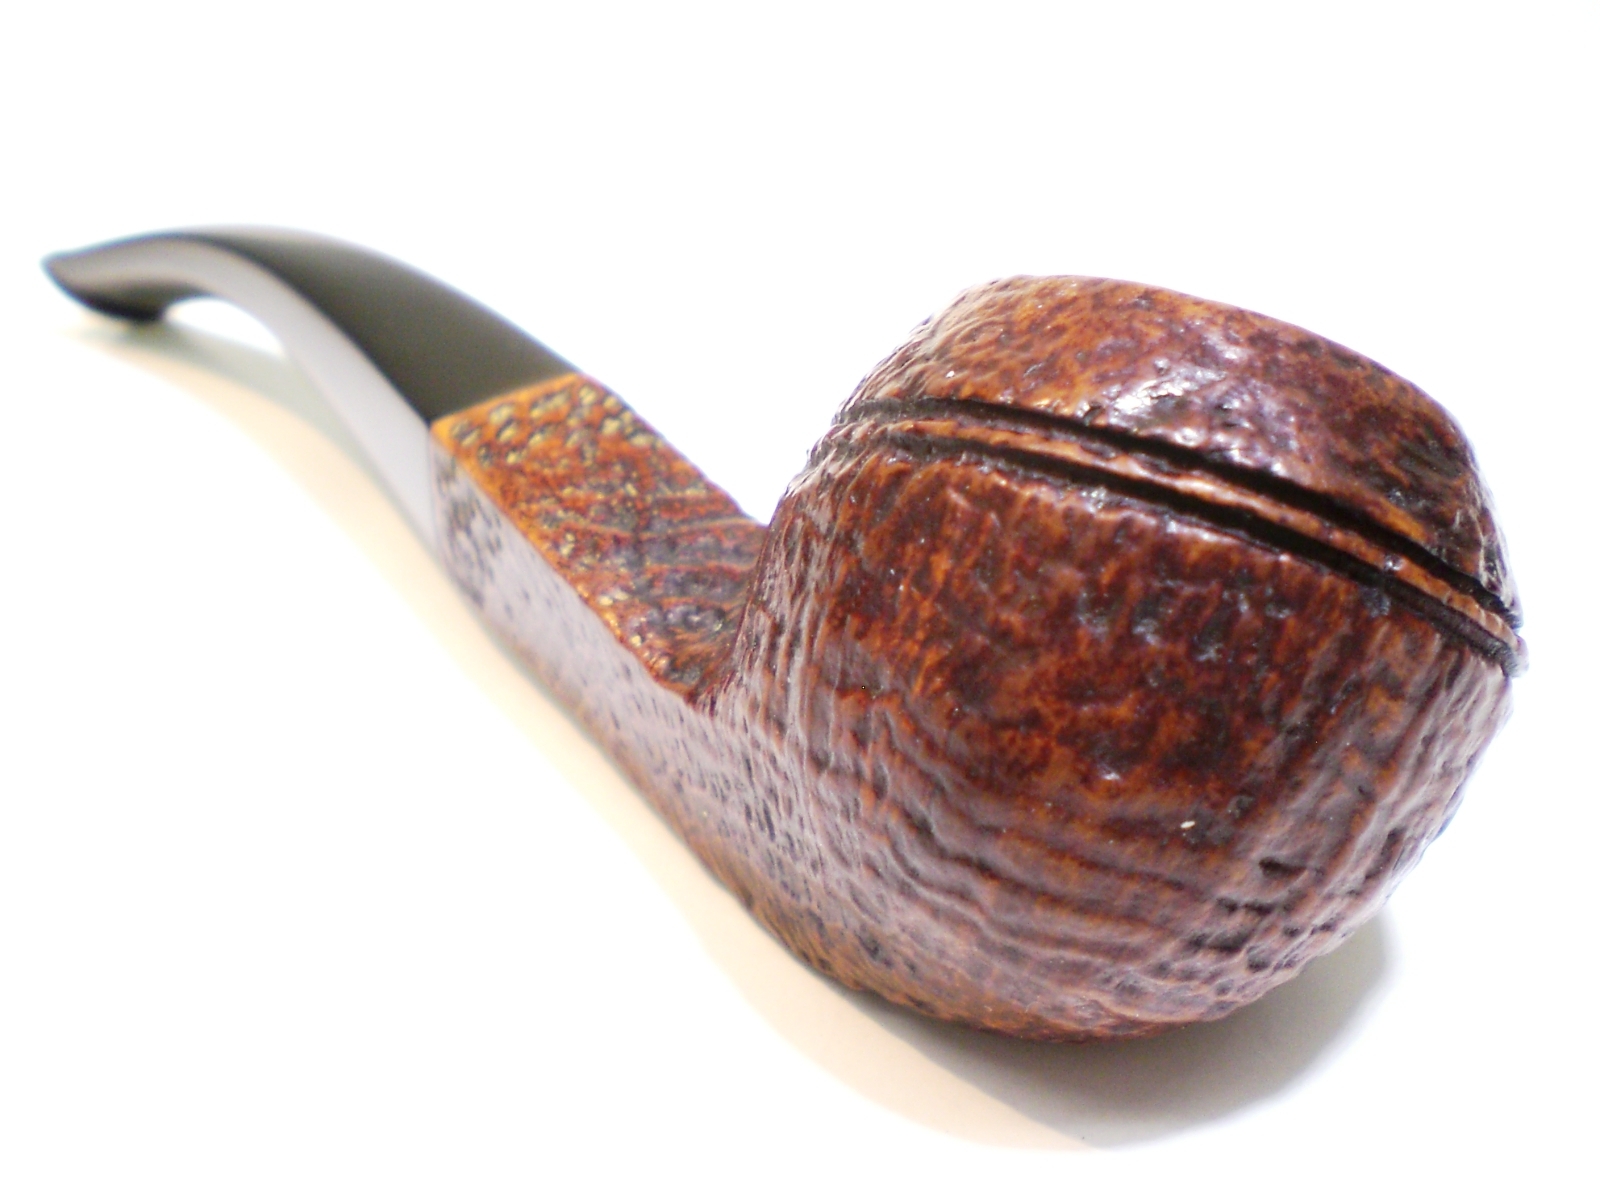
Sasieni_Grosvenor_Ruff-Root_Gallery

Sasieni_Grosvenor_Ruff-Root_Finished (8)

Sasieni_Grosvenor_Ruff-Root_Finished (9)

Sasieni_Grosvenor_Ruff-Root_Finished (3)

Sasieni_Grosvenor_Ruff-Root_Finished (1)

Kaywoodie Supergrain 13B (3 Hole Stinger)


Blog by Al Jones

This pipe was a wonderful gift from member “irish: on the PipesMagazine forums. He has an impressive collection of Kaywoodies that spans the decades. His collection can be viewed here:
http://pipesmagazine.com/forums/topic/kaywoodie-collection-pictures

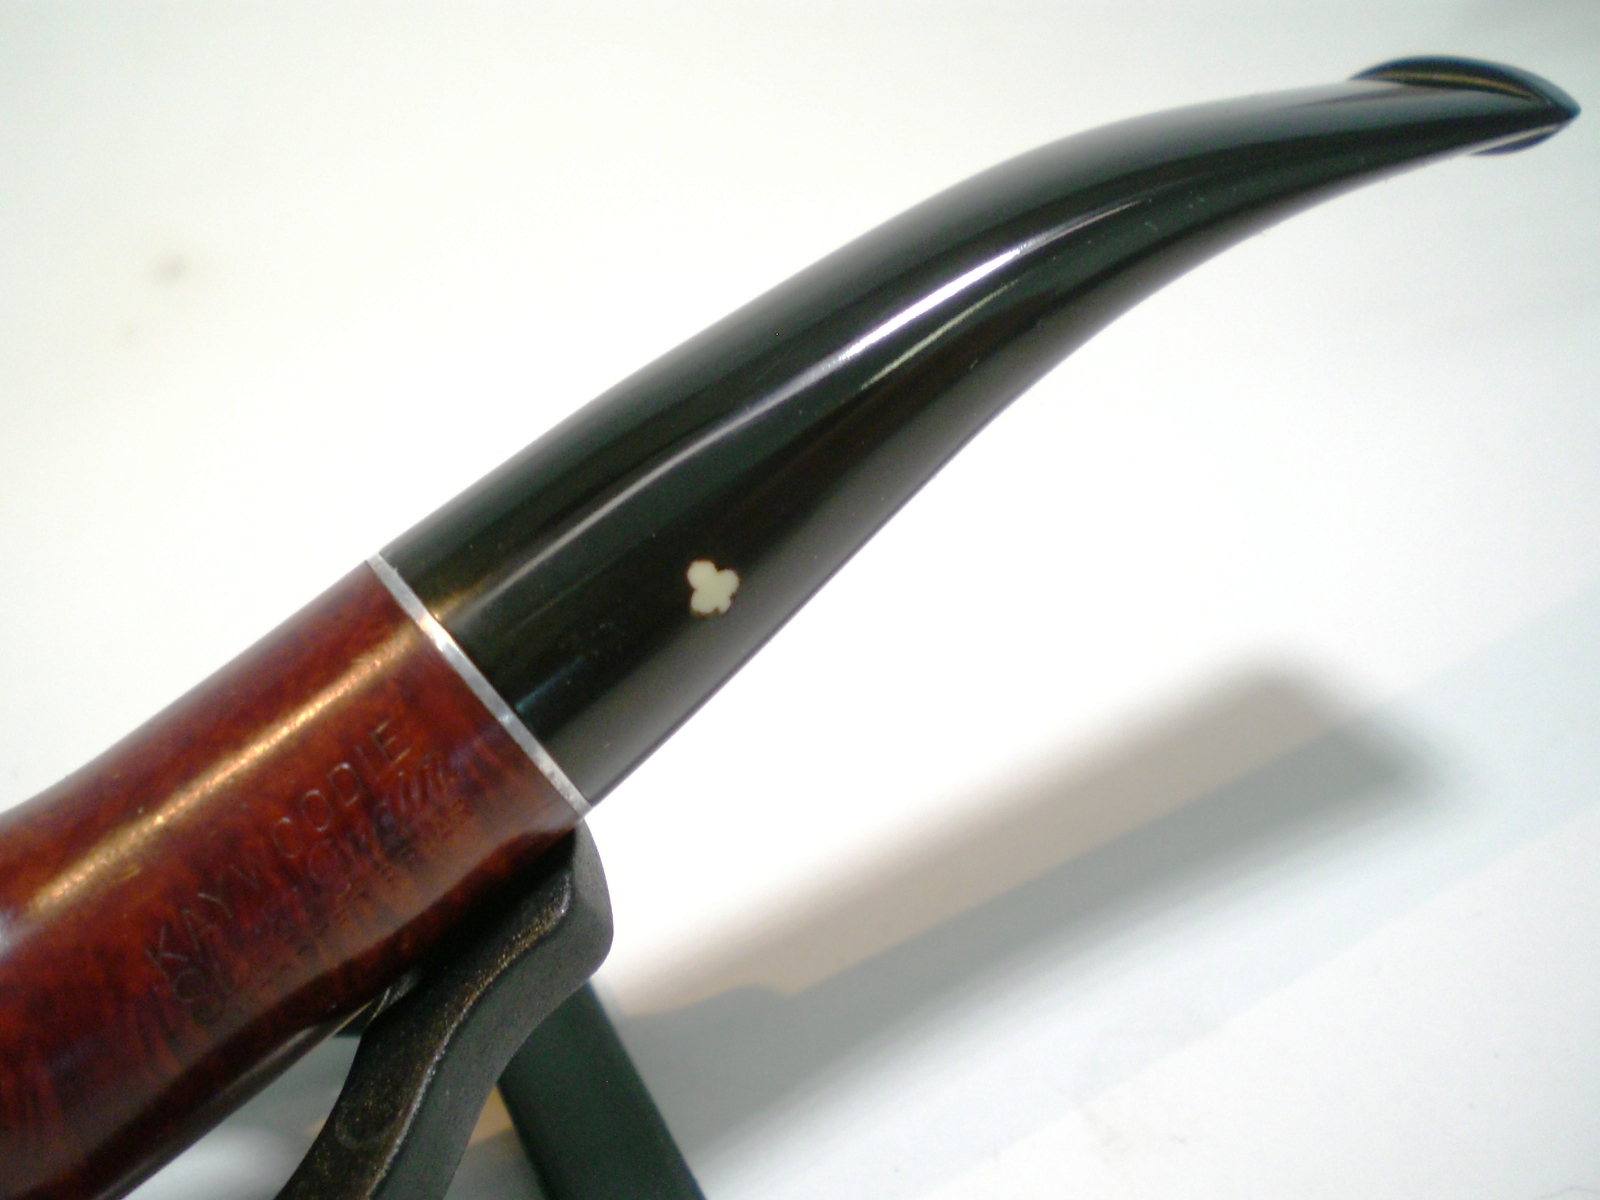
It wasn’t much of a restoration, as the pipe was in immaculate condition. I soaked the bowl in alcohol and sea salt, but really didn’t need that effort. I touched up the stem a bit with 1000>1500>2000 grit paper, than the 8000 and 12000 grades of micromesh. I gave the bowl a light buff with White Diamond and then a few coats of carnuba wax.

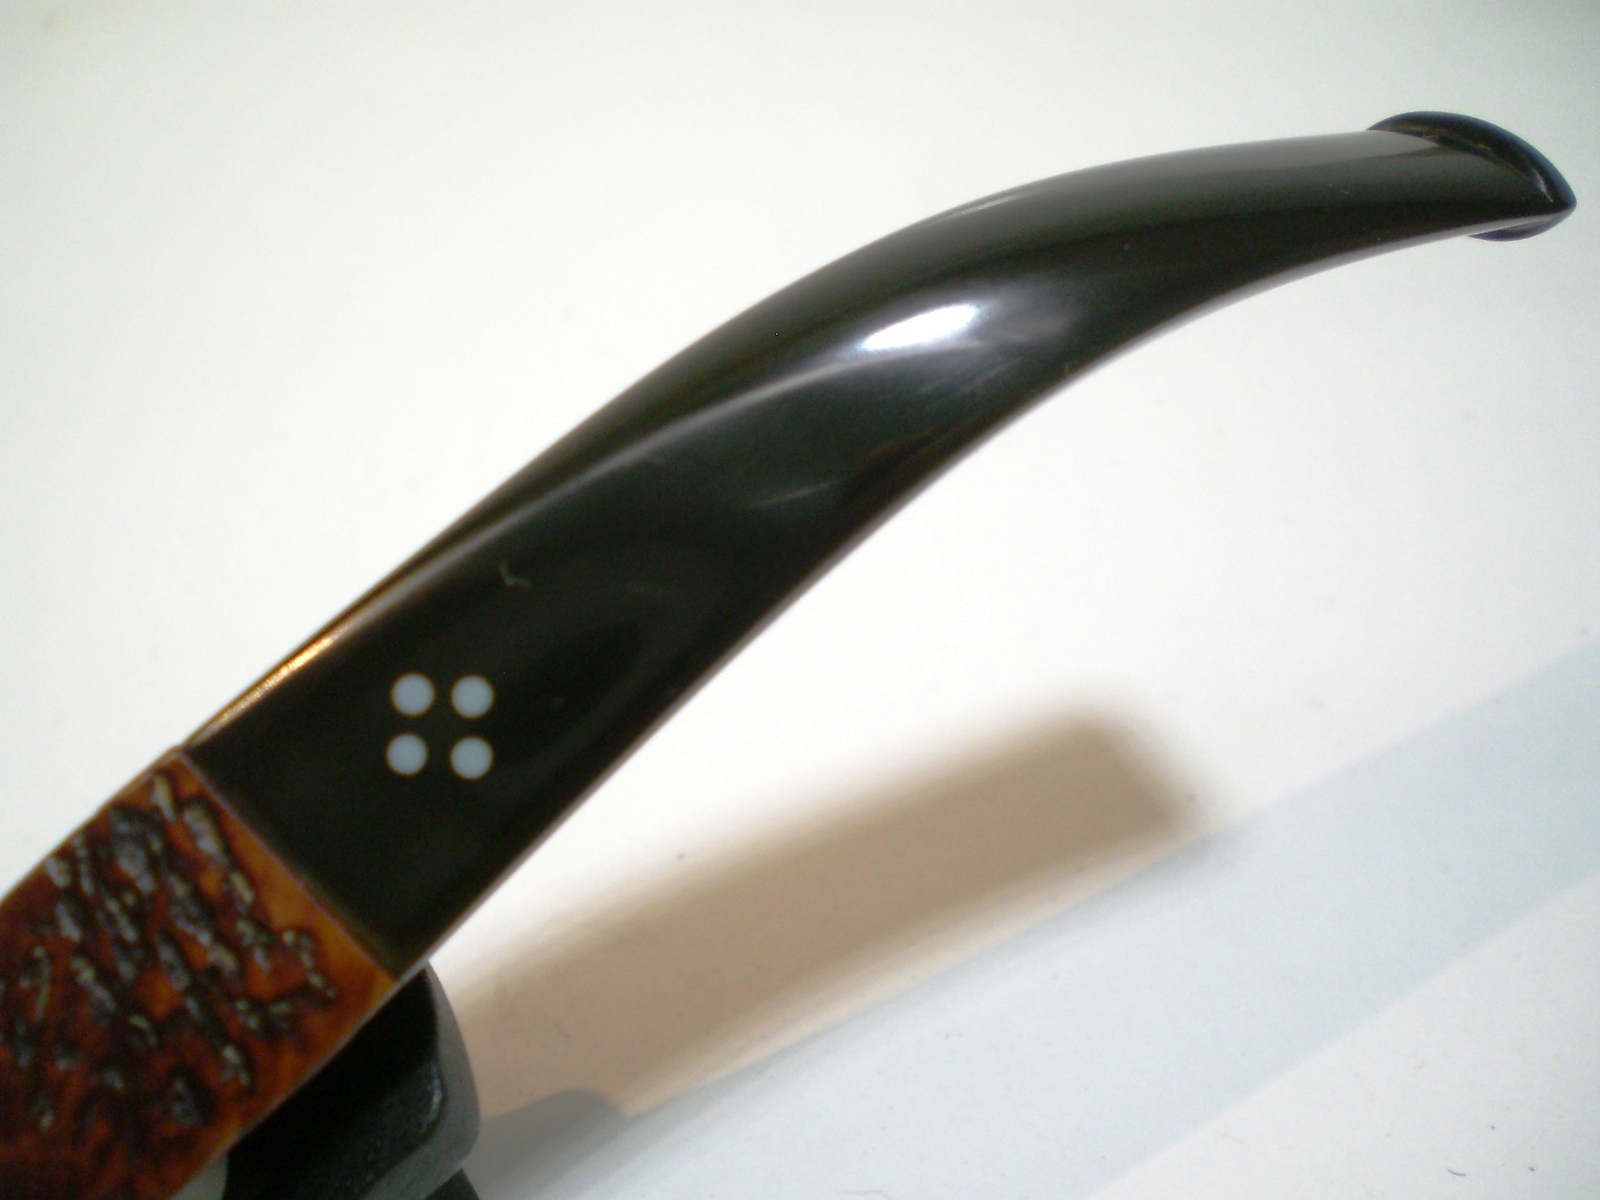
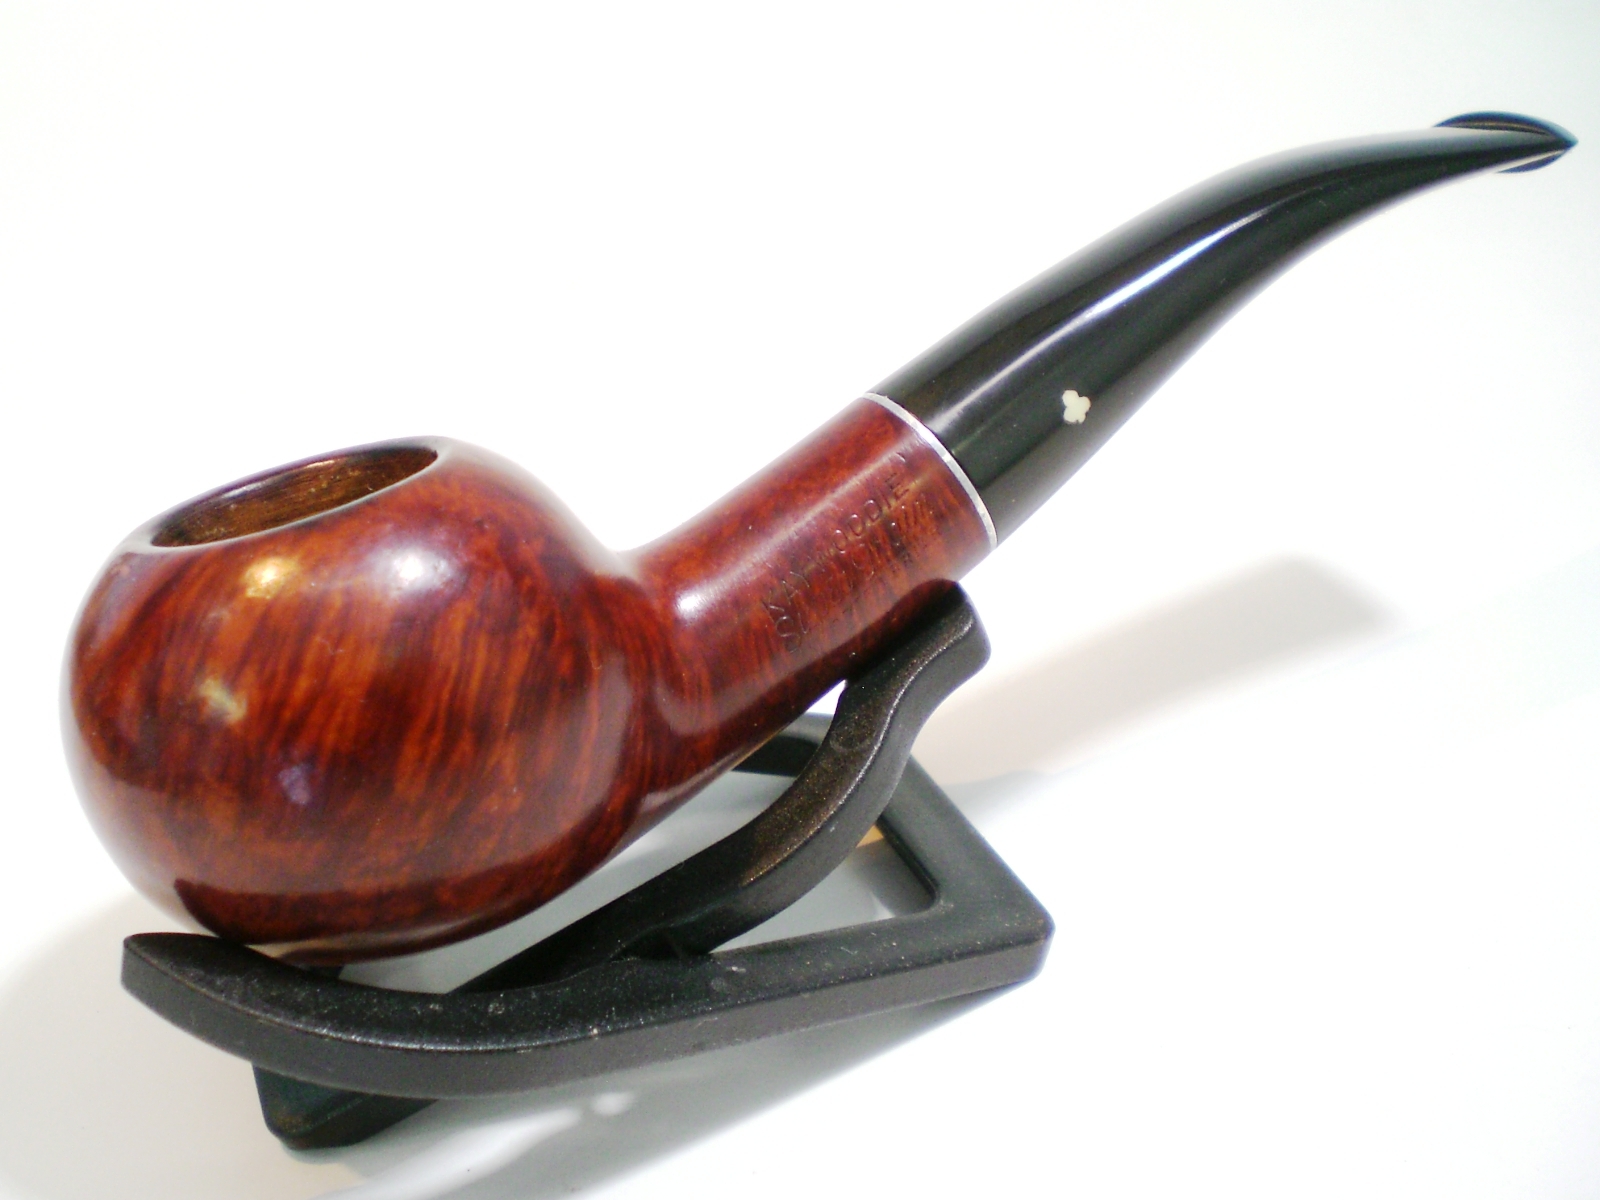
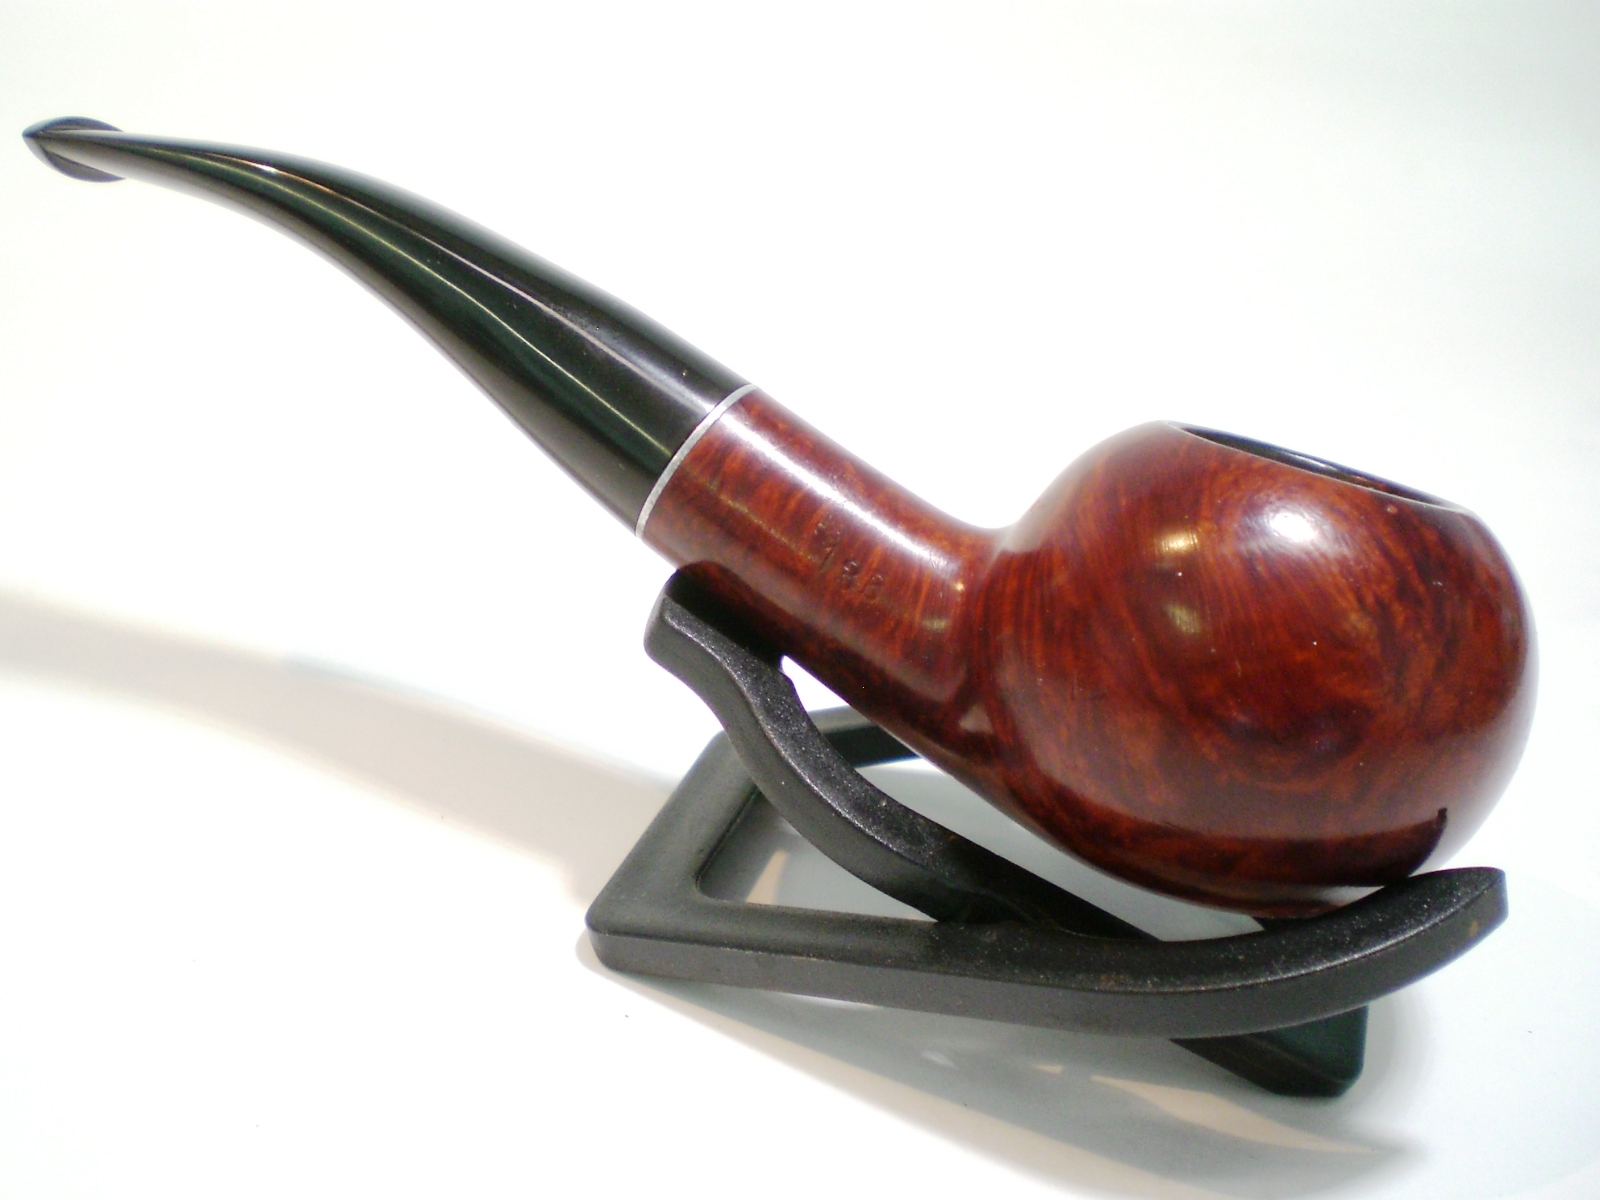
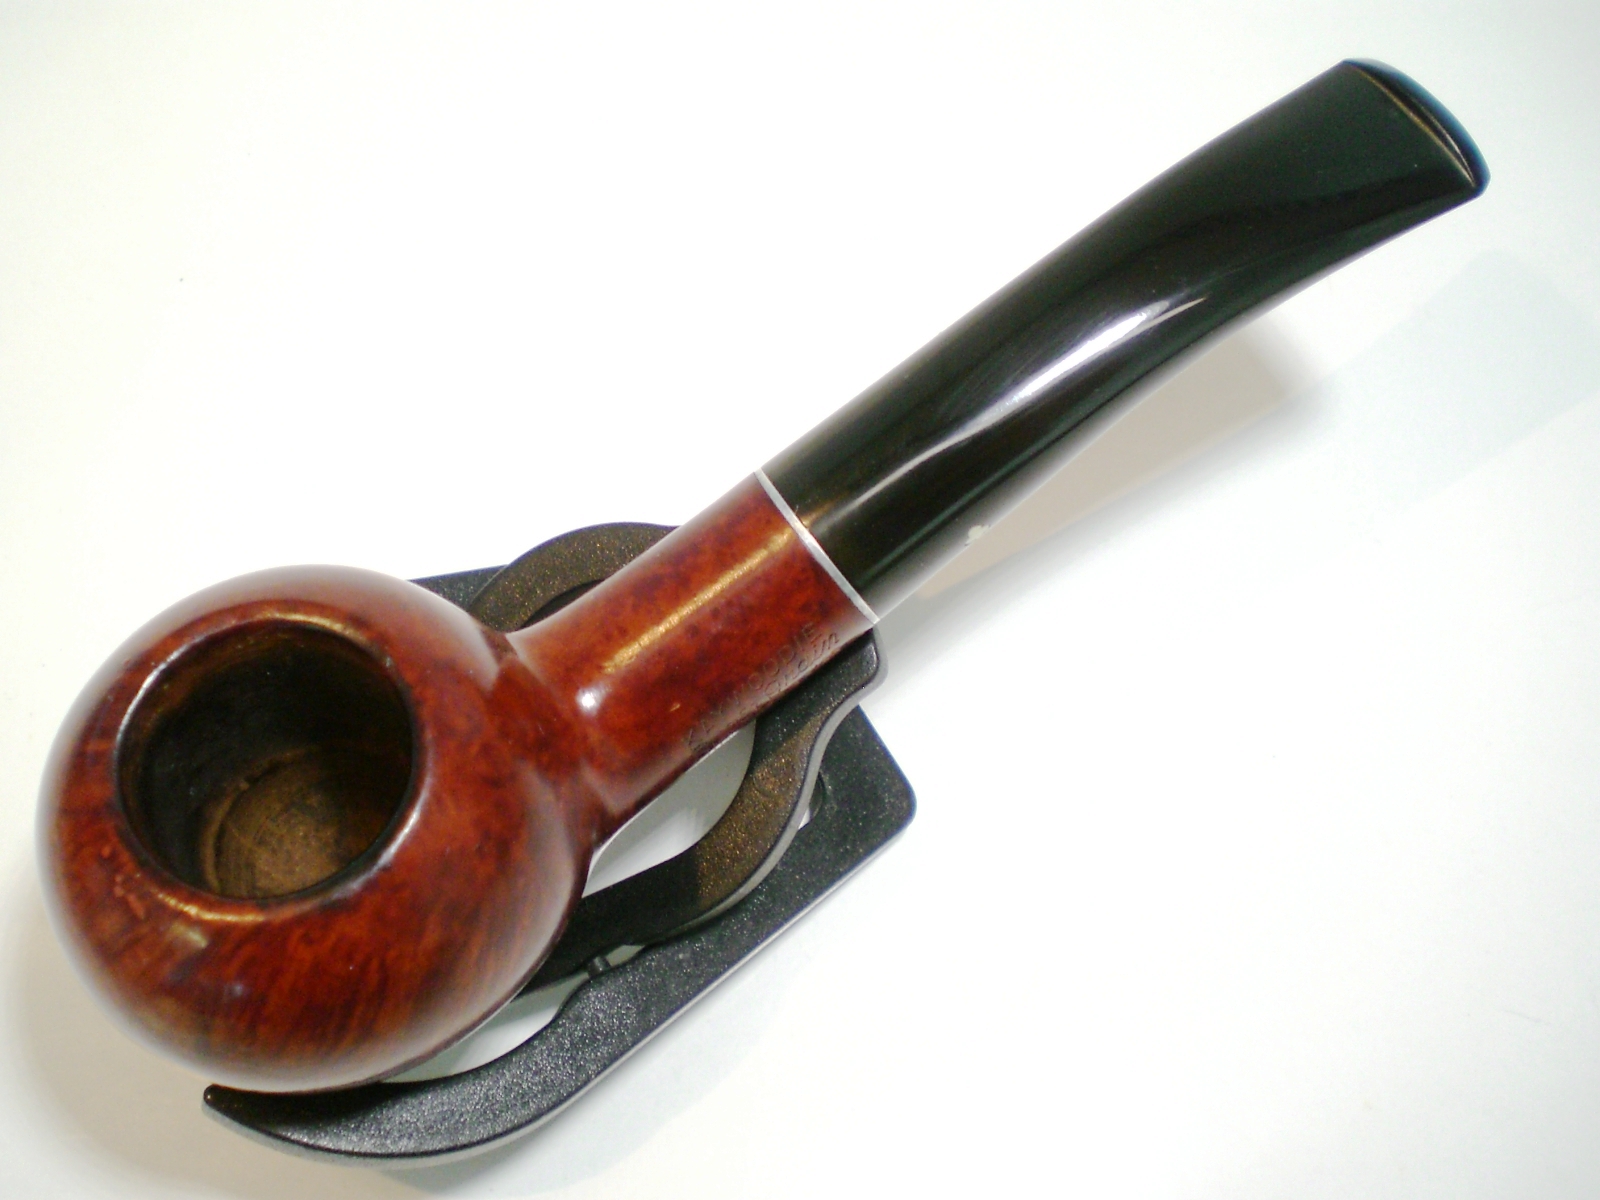
The pipe is a 3-hole stinger pipe and it smokes equally well as my older 4-hole stinger Supergrain. I enjoy flakes in these pipes as the stinger makes me sip a little slower than usual. Kaywoodie switched to the three hole stinger sometime in the 1950’s, but I don’t know how long they were used. I did learn that the small groove in the base of the stinger is for a rubber o-ring. The pipe seems to smoke quite well without it, but I’ll pick one up at my local hardware store.

The 13B is a beautiful streamlined shape and perhaps one of the most beautiful Author shapes made.

Kaywoodie_13B_Gallery

Kaywoodie_13B_Gallery (2)

Kaywoodie_13B_Gallery (3)

Kaywoodie_13B_Gallery (1)

GBD 9242 #1 Holy Grail – Restored


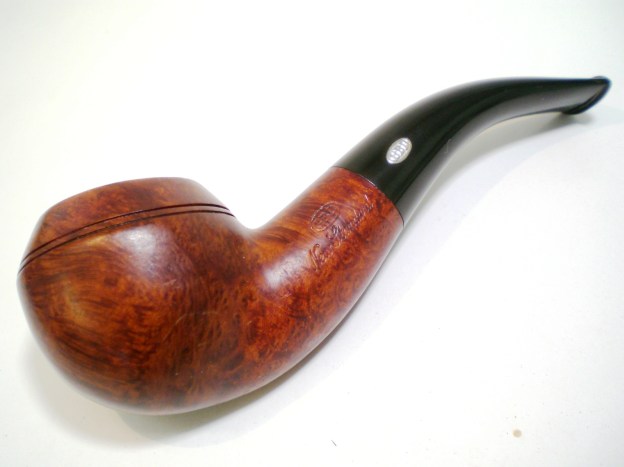
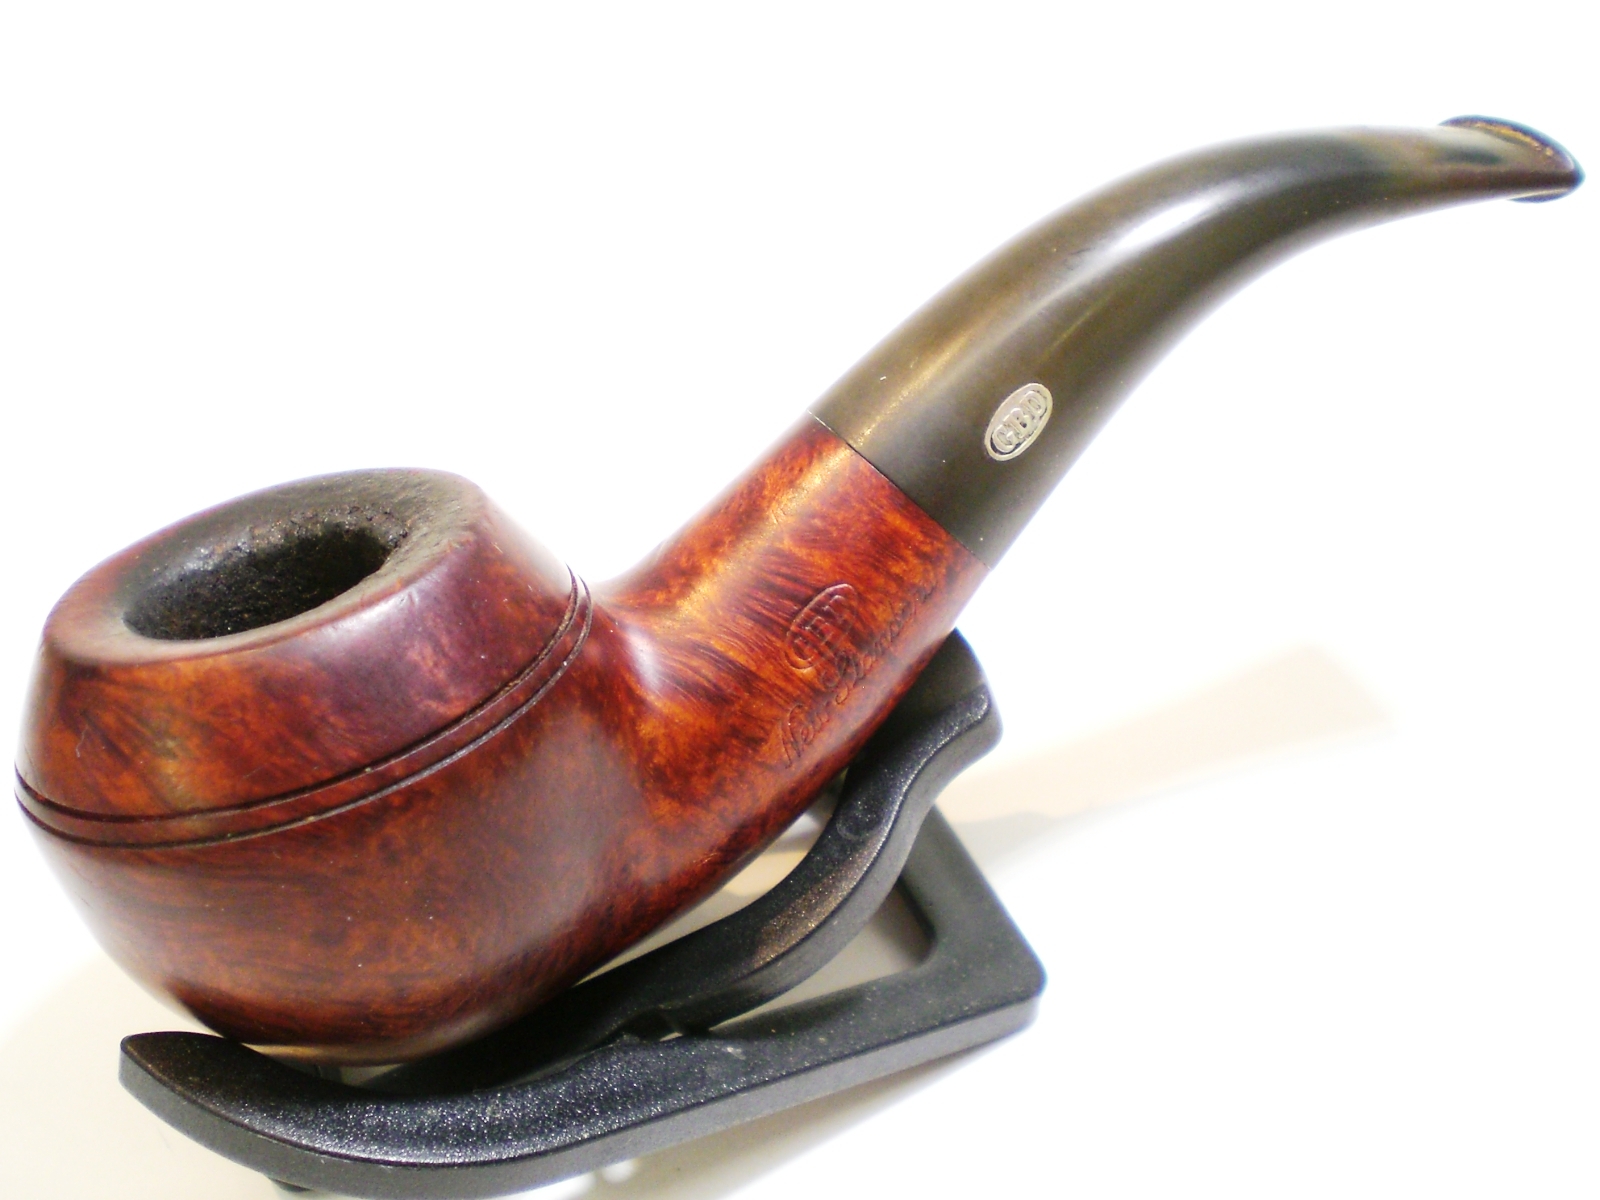
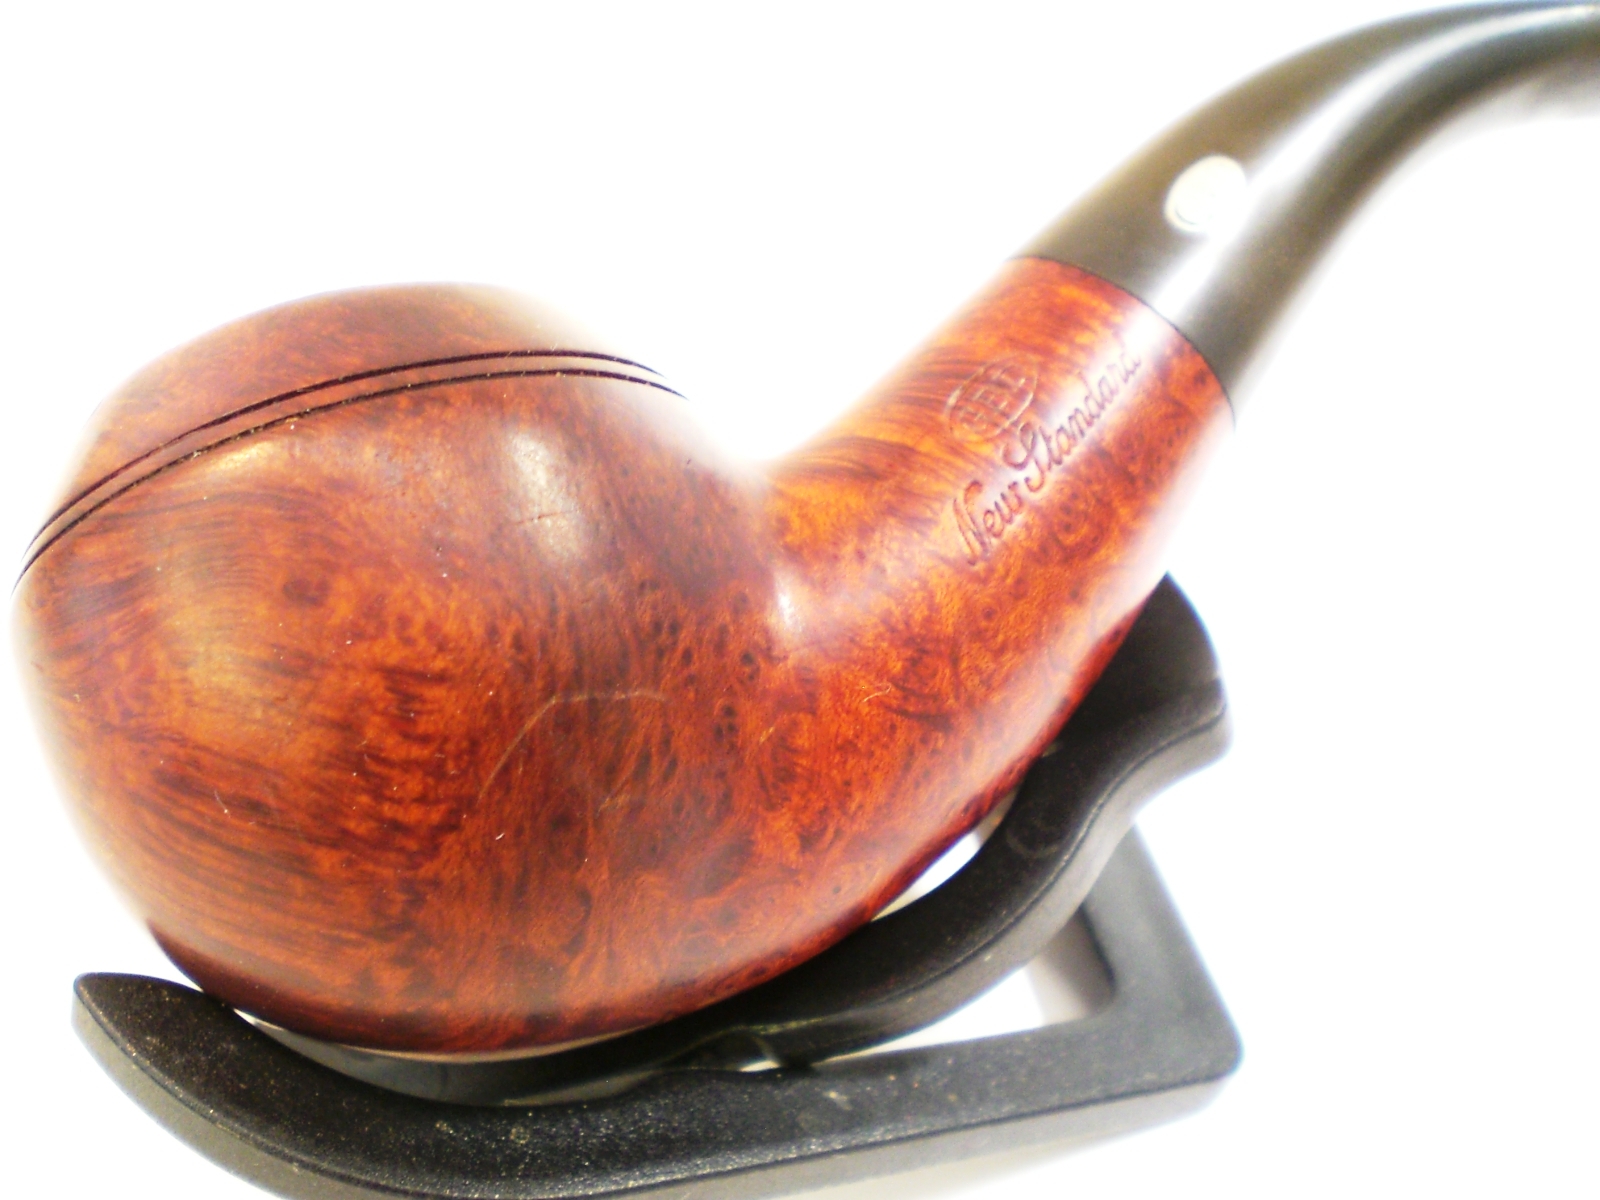
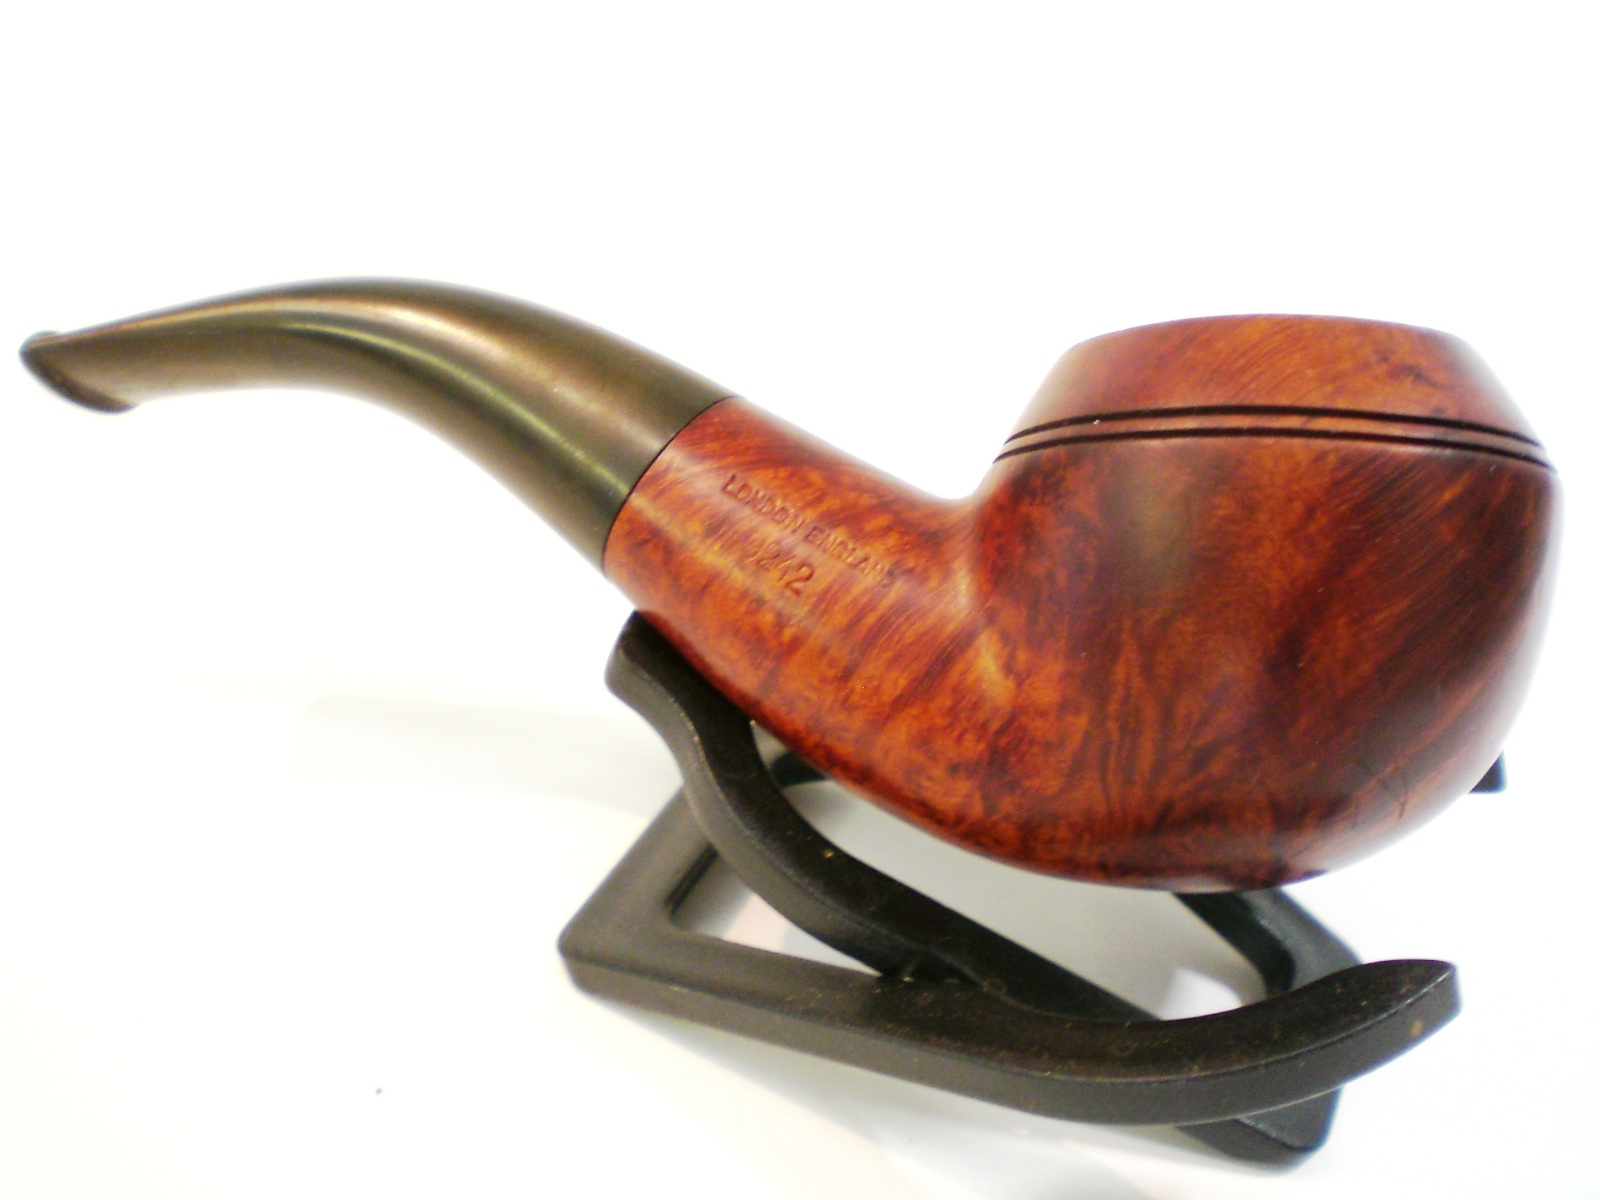
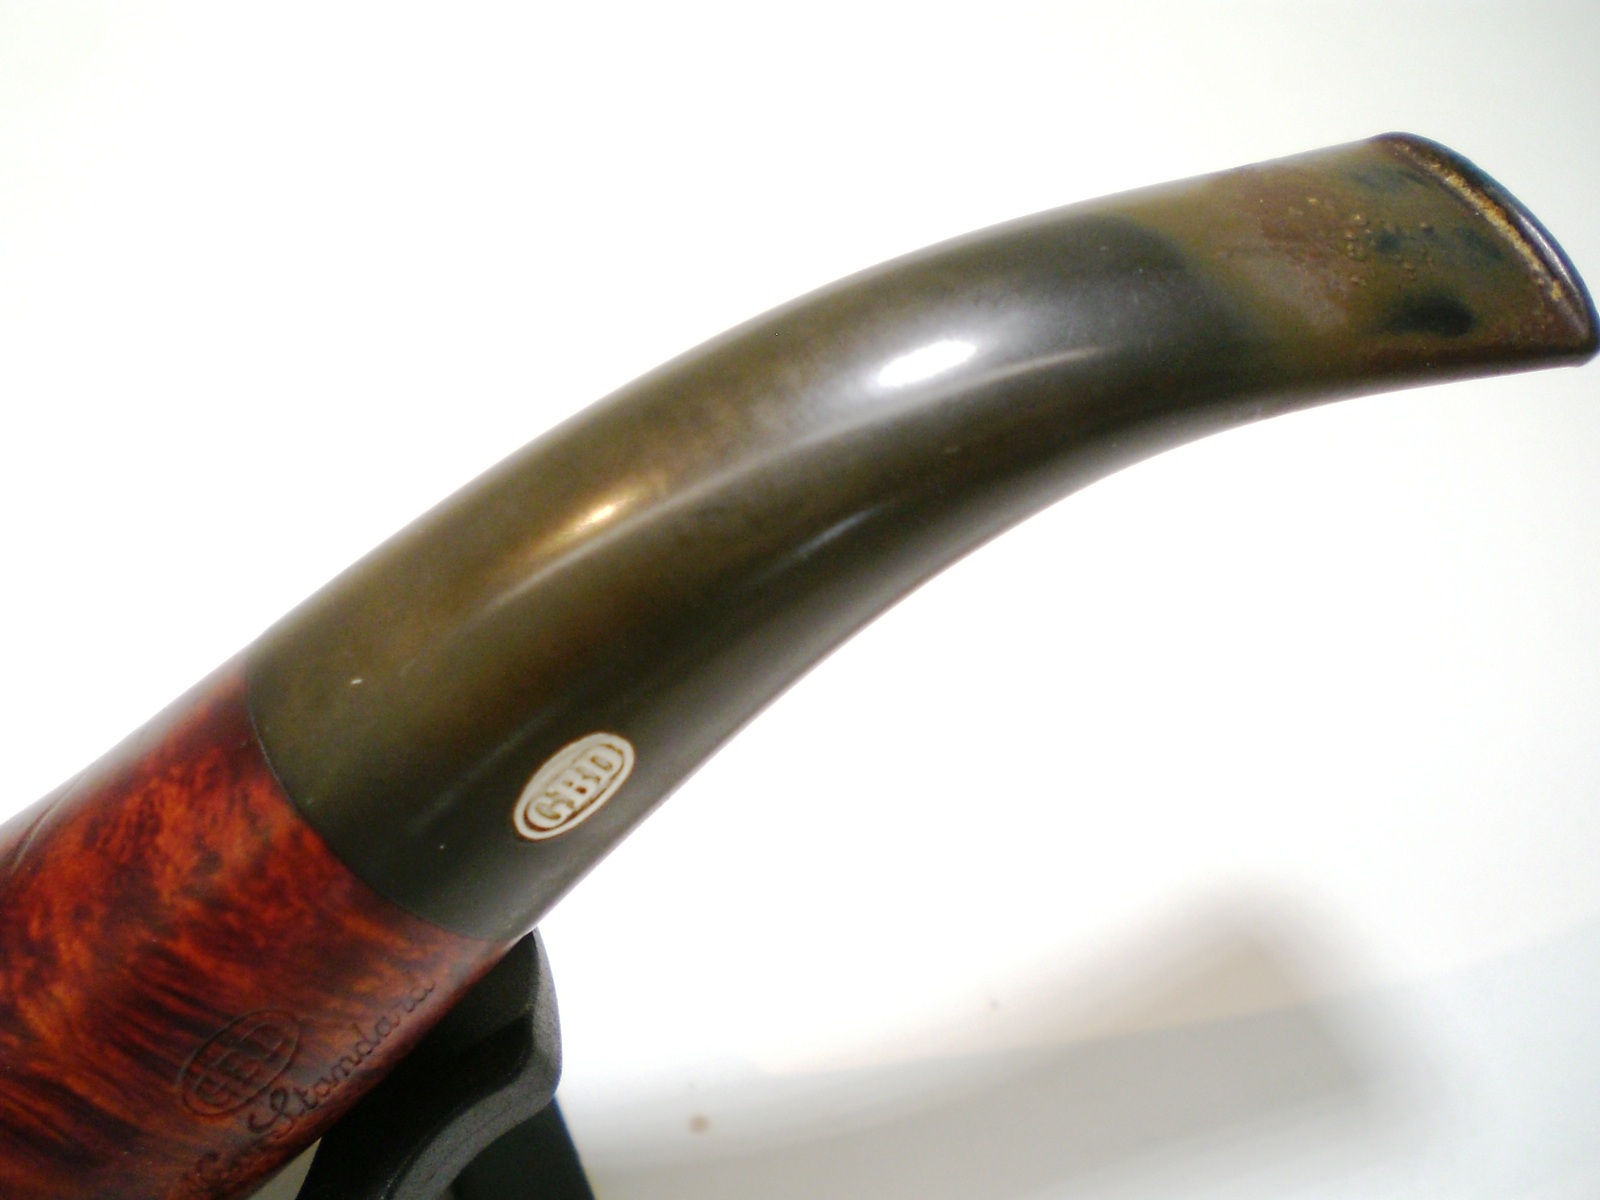
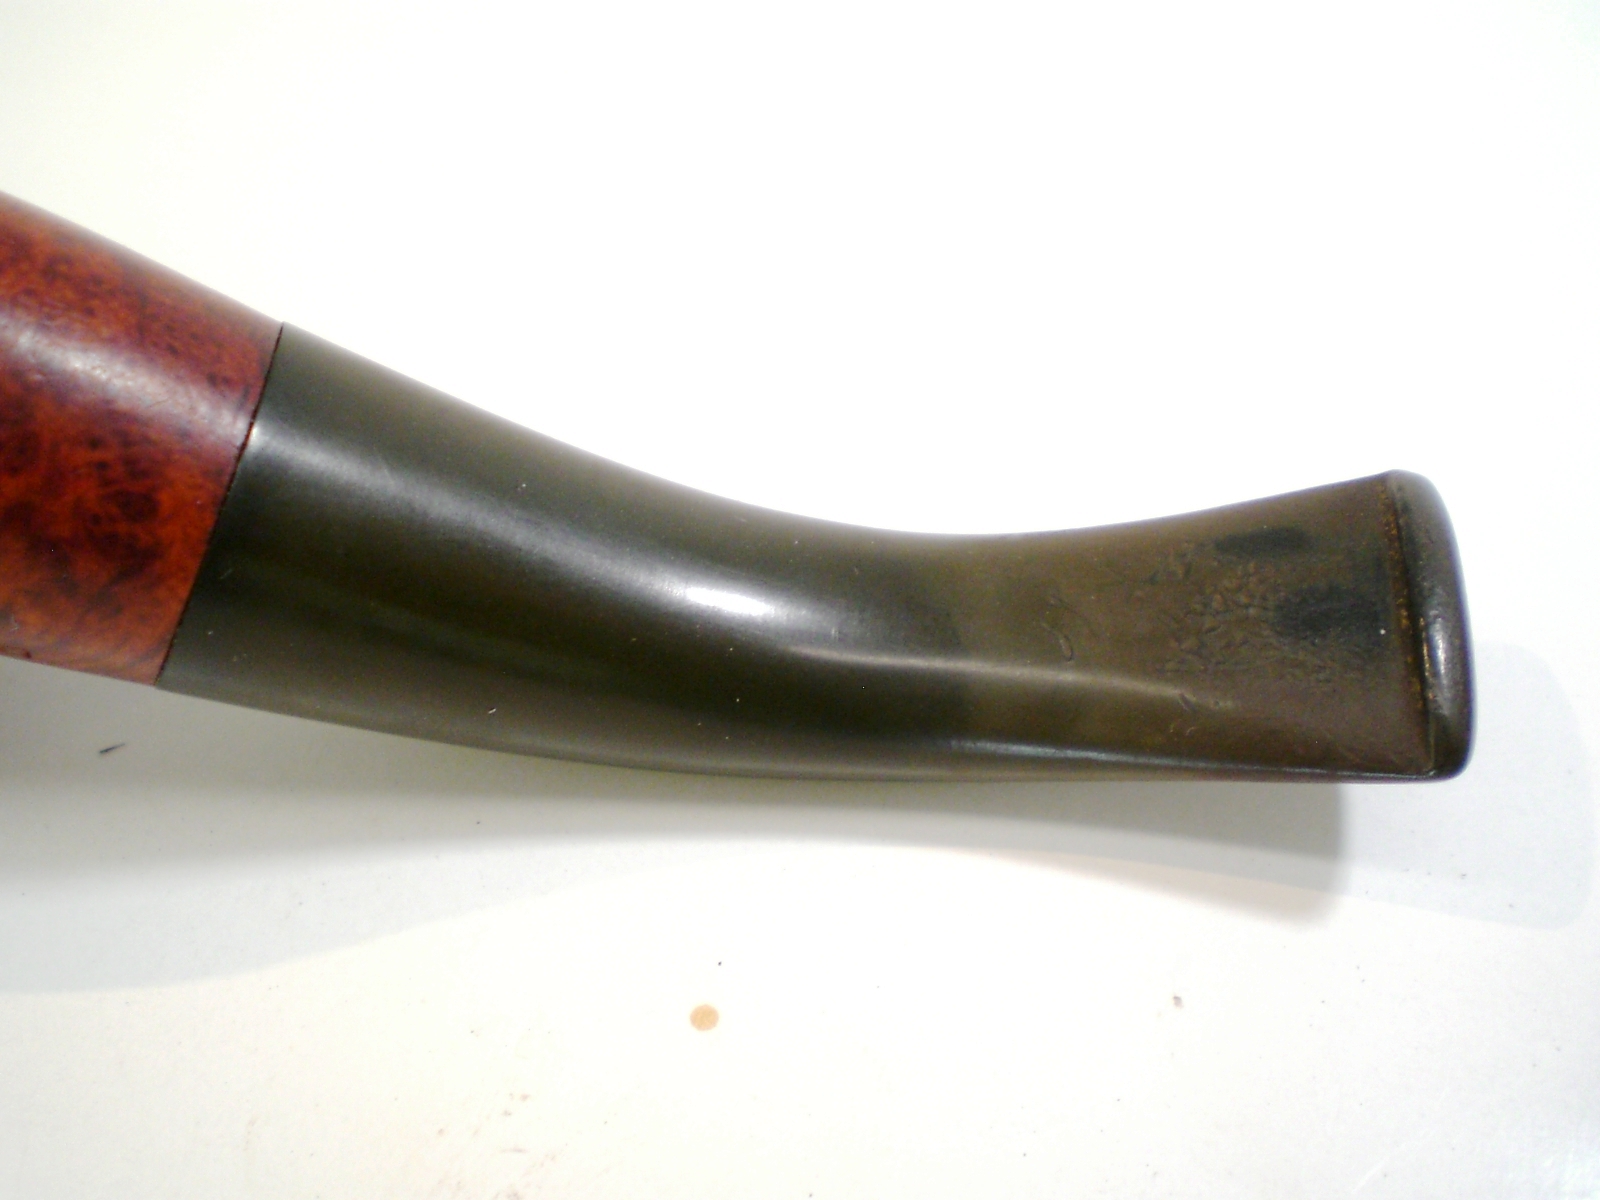
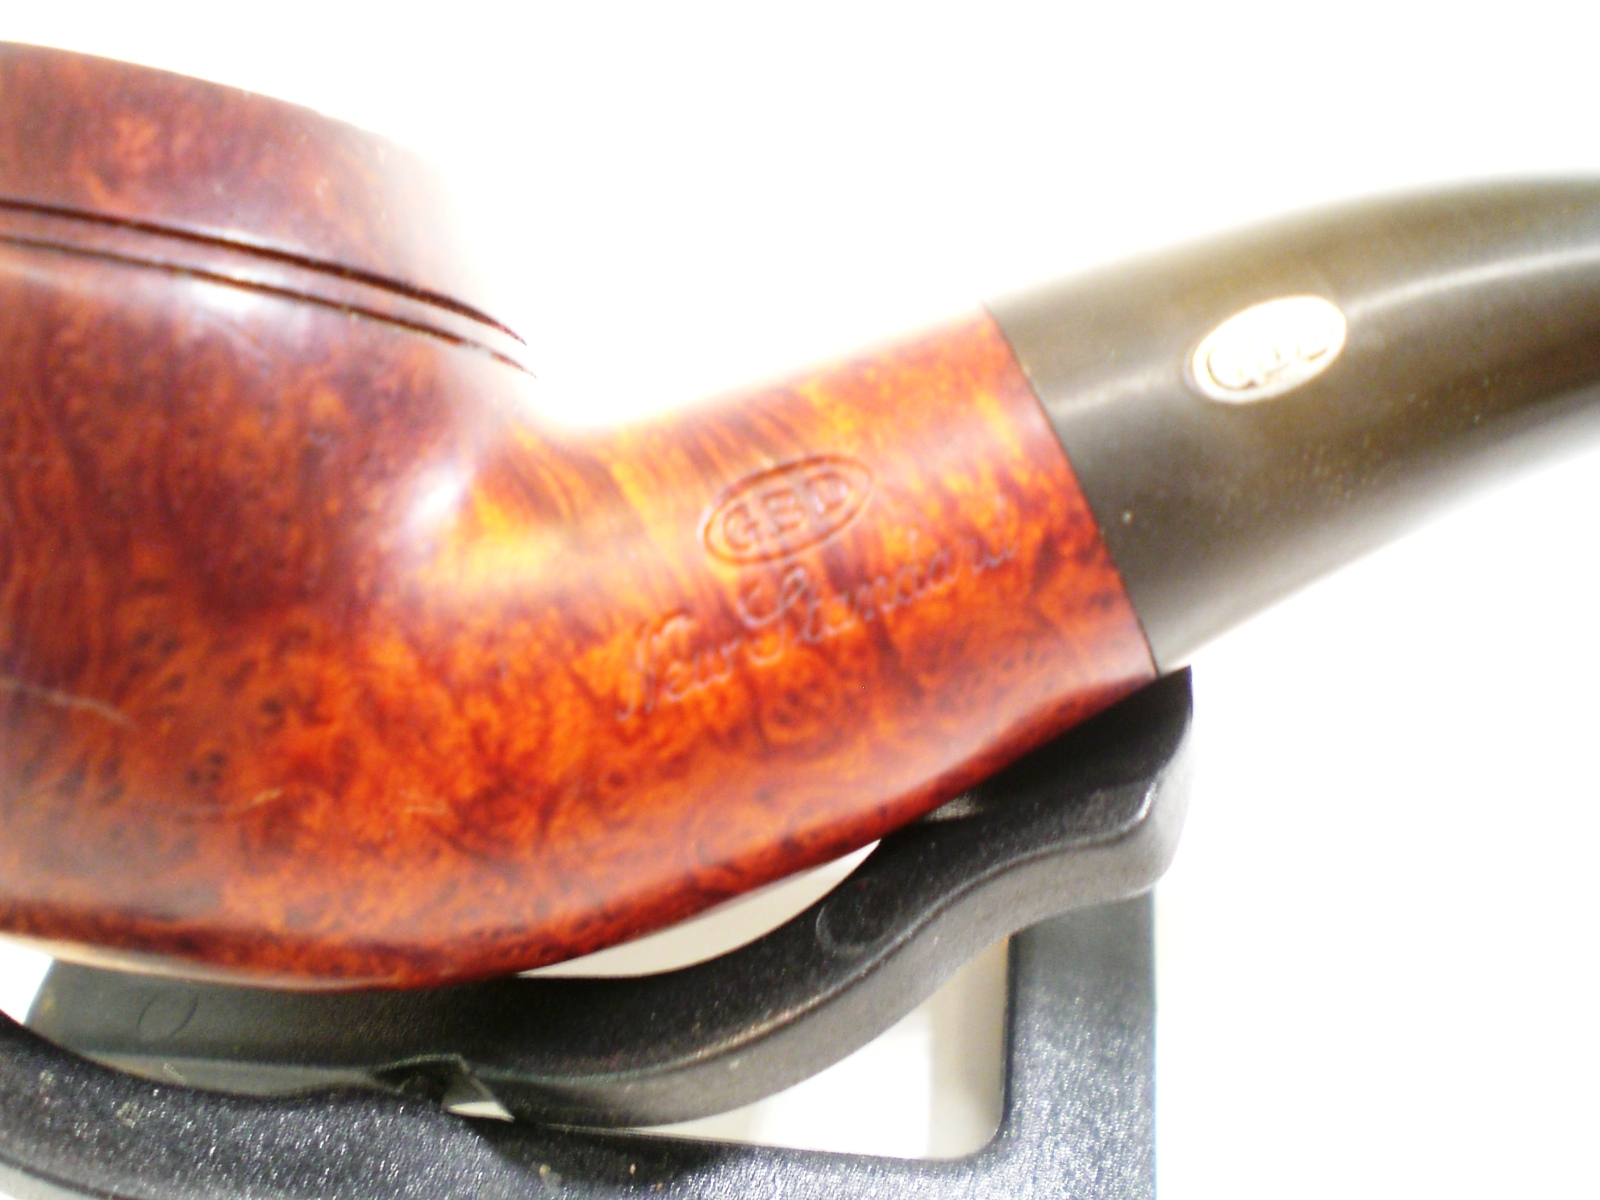
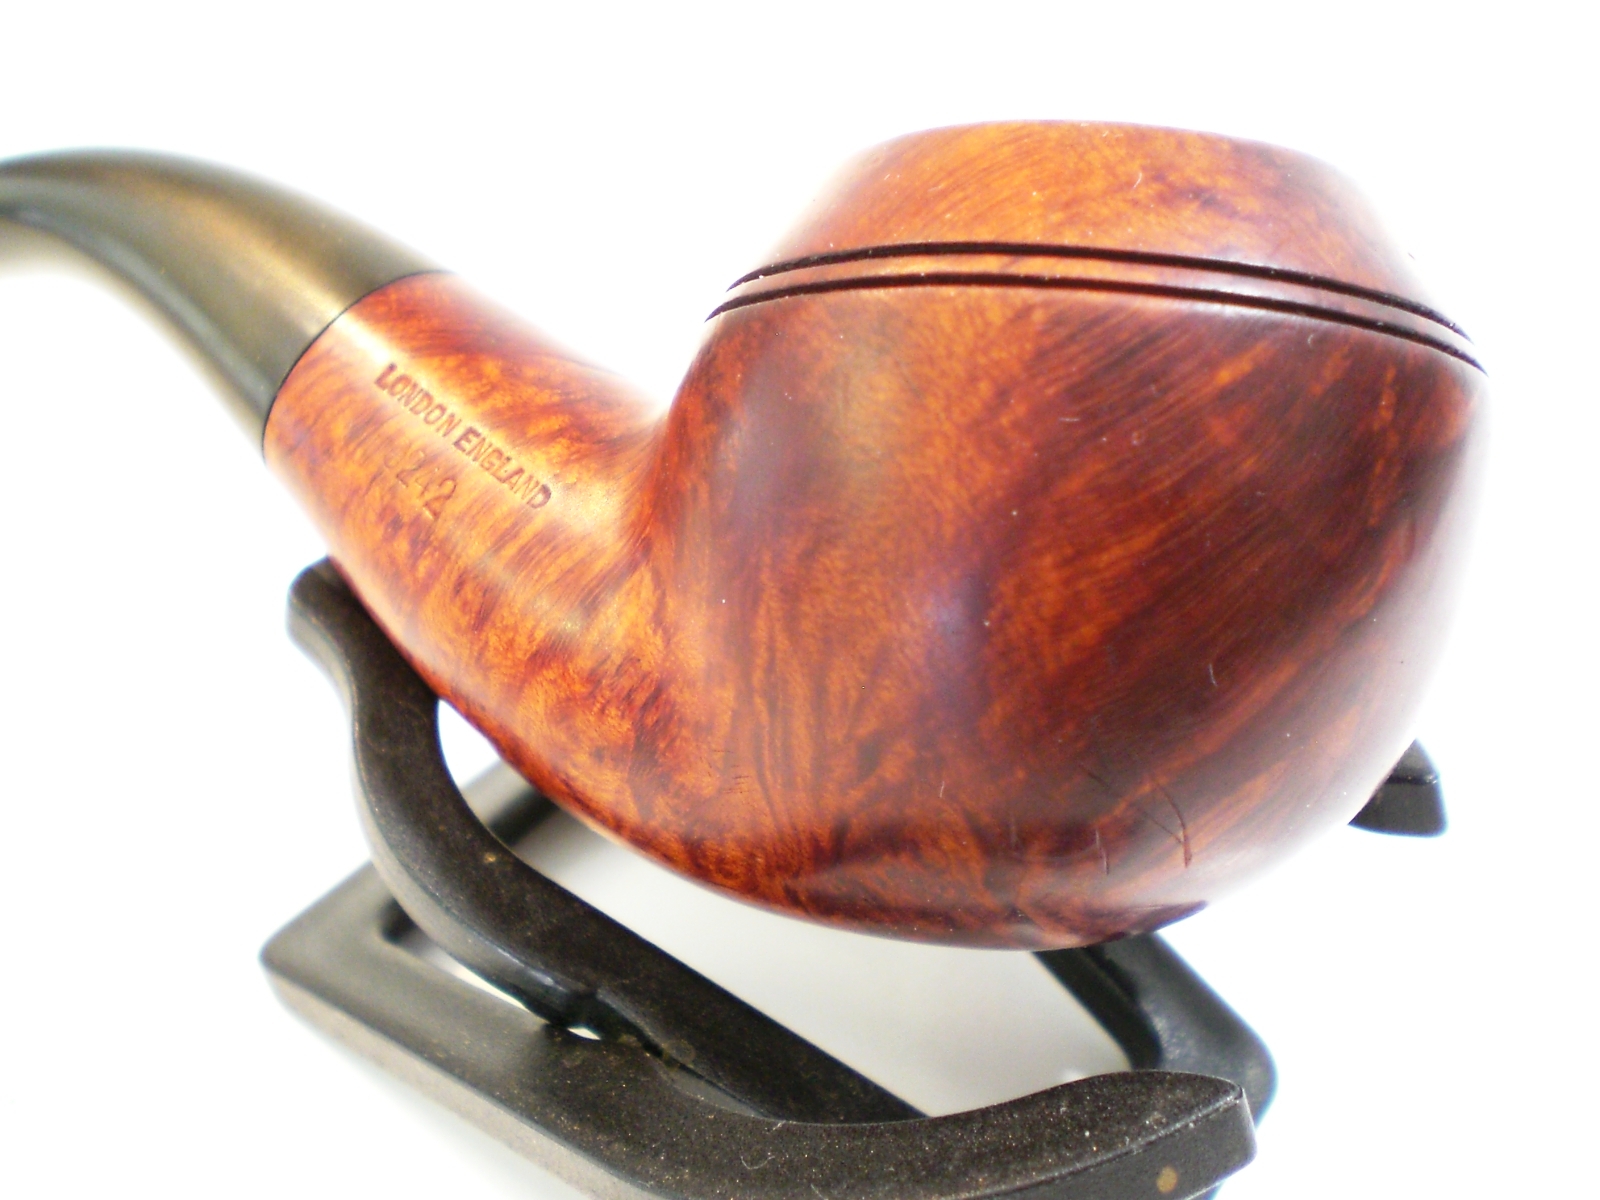
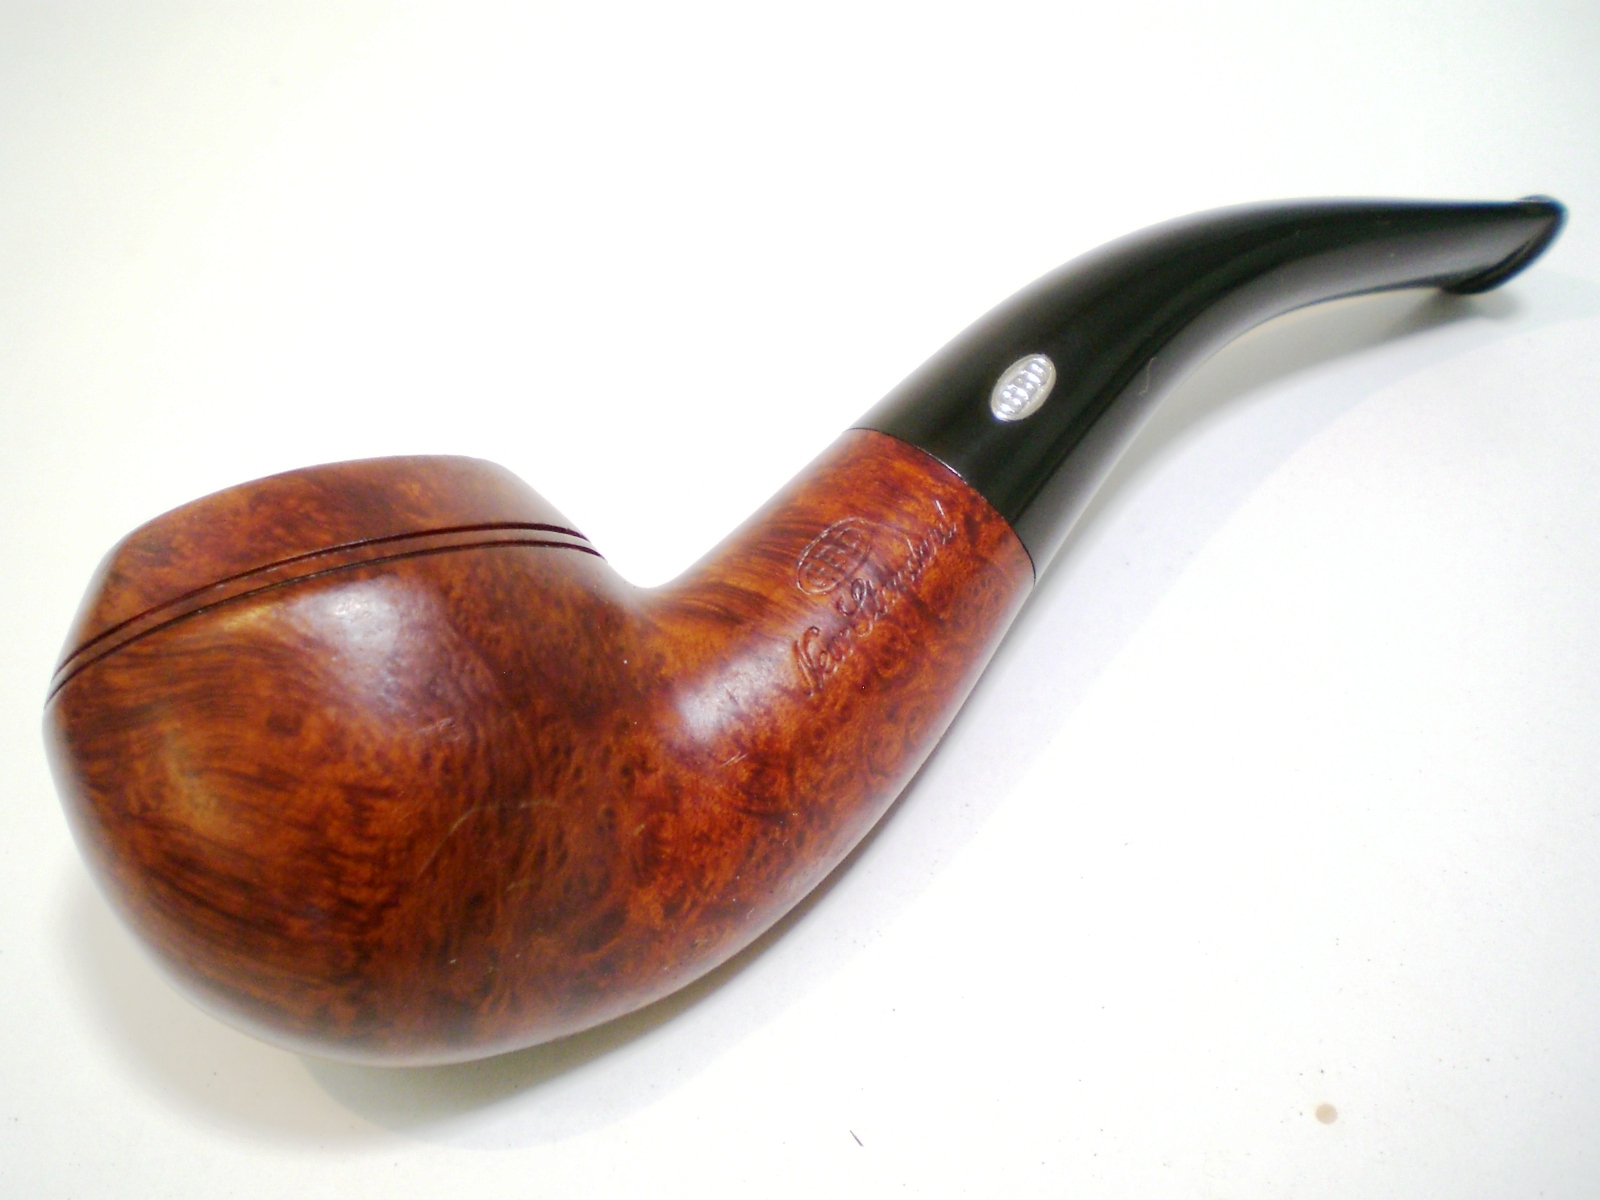
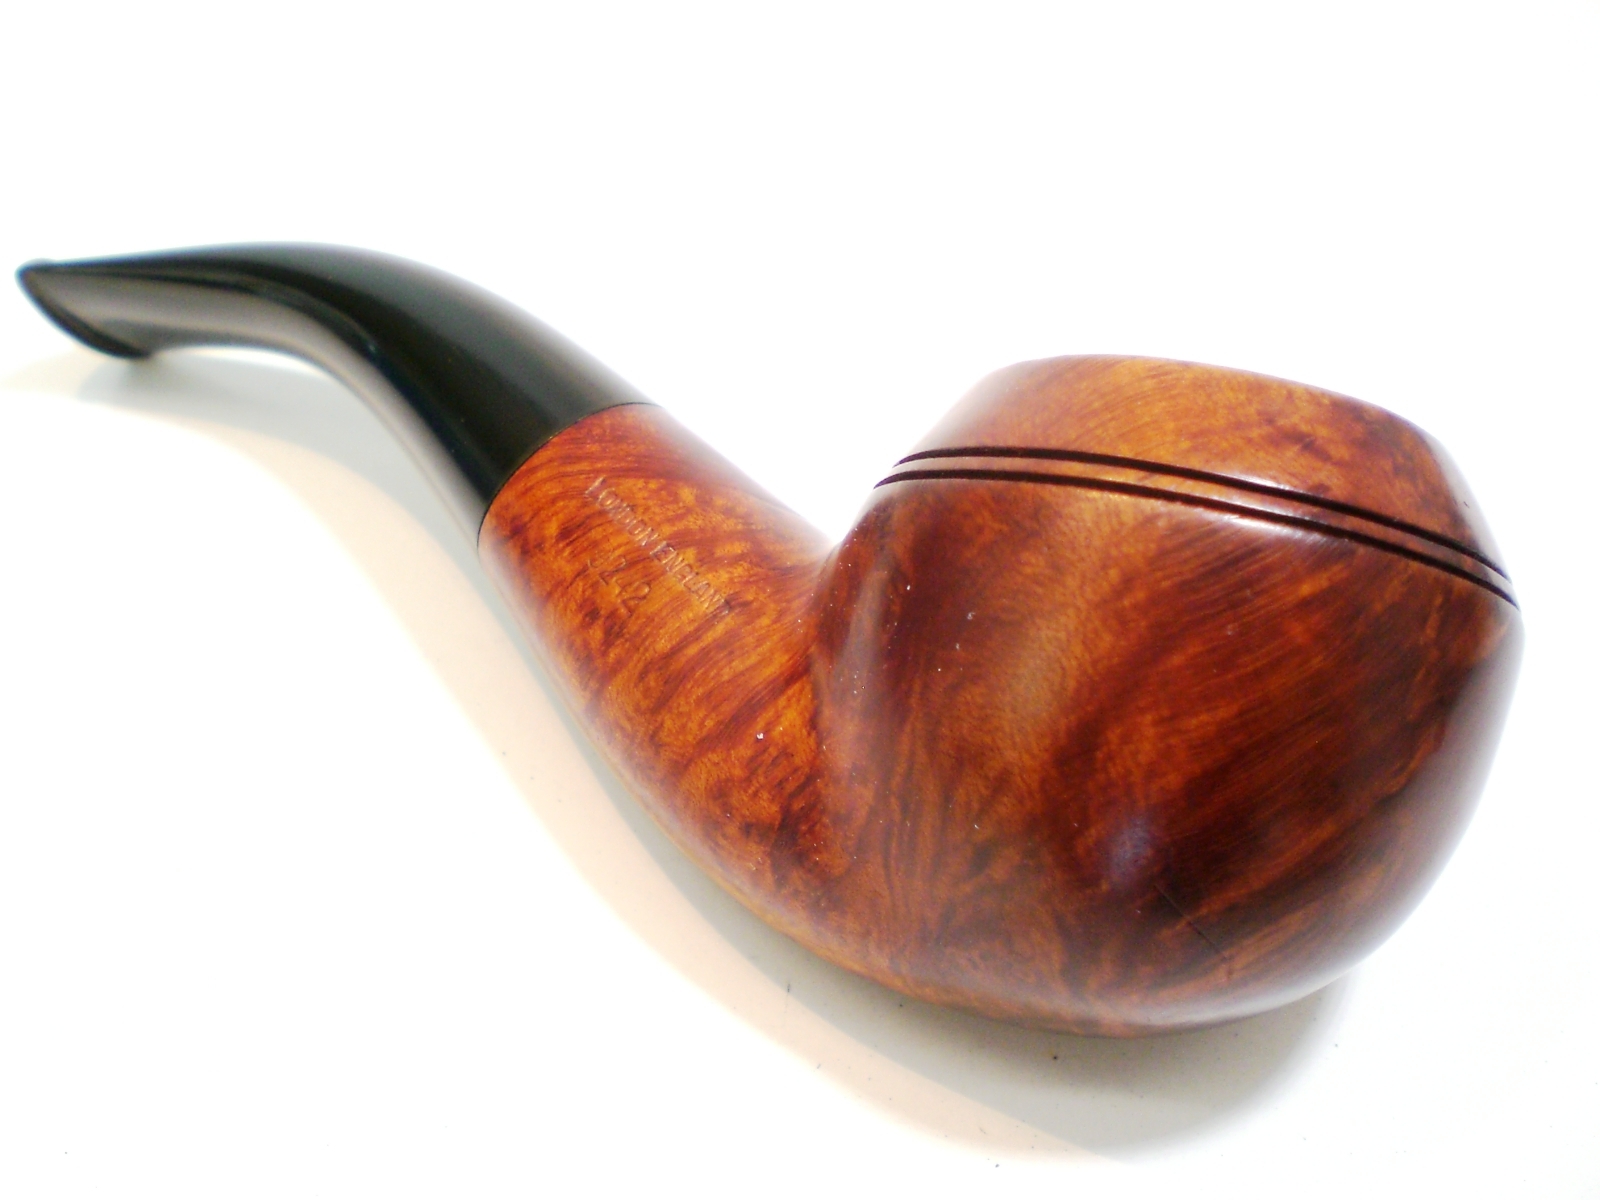
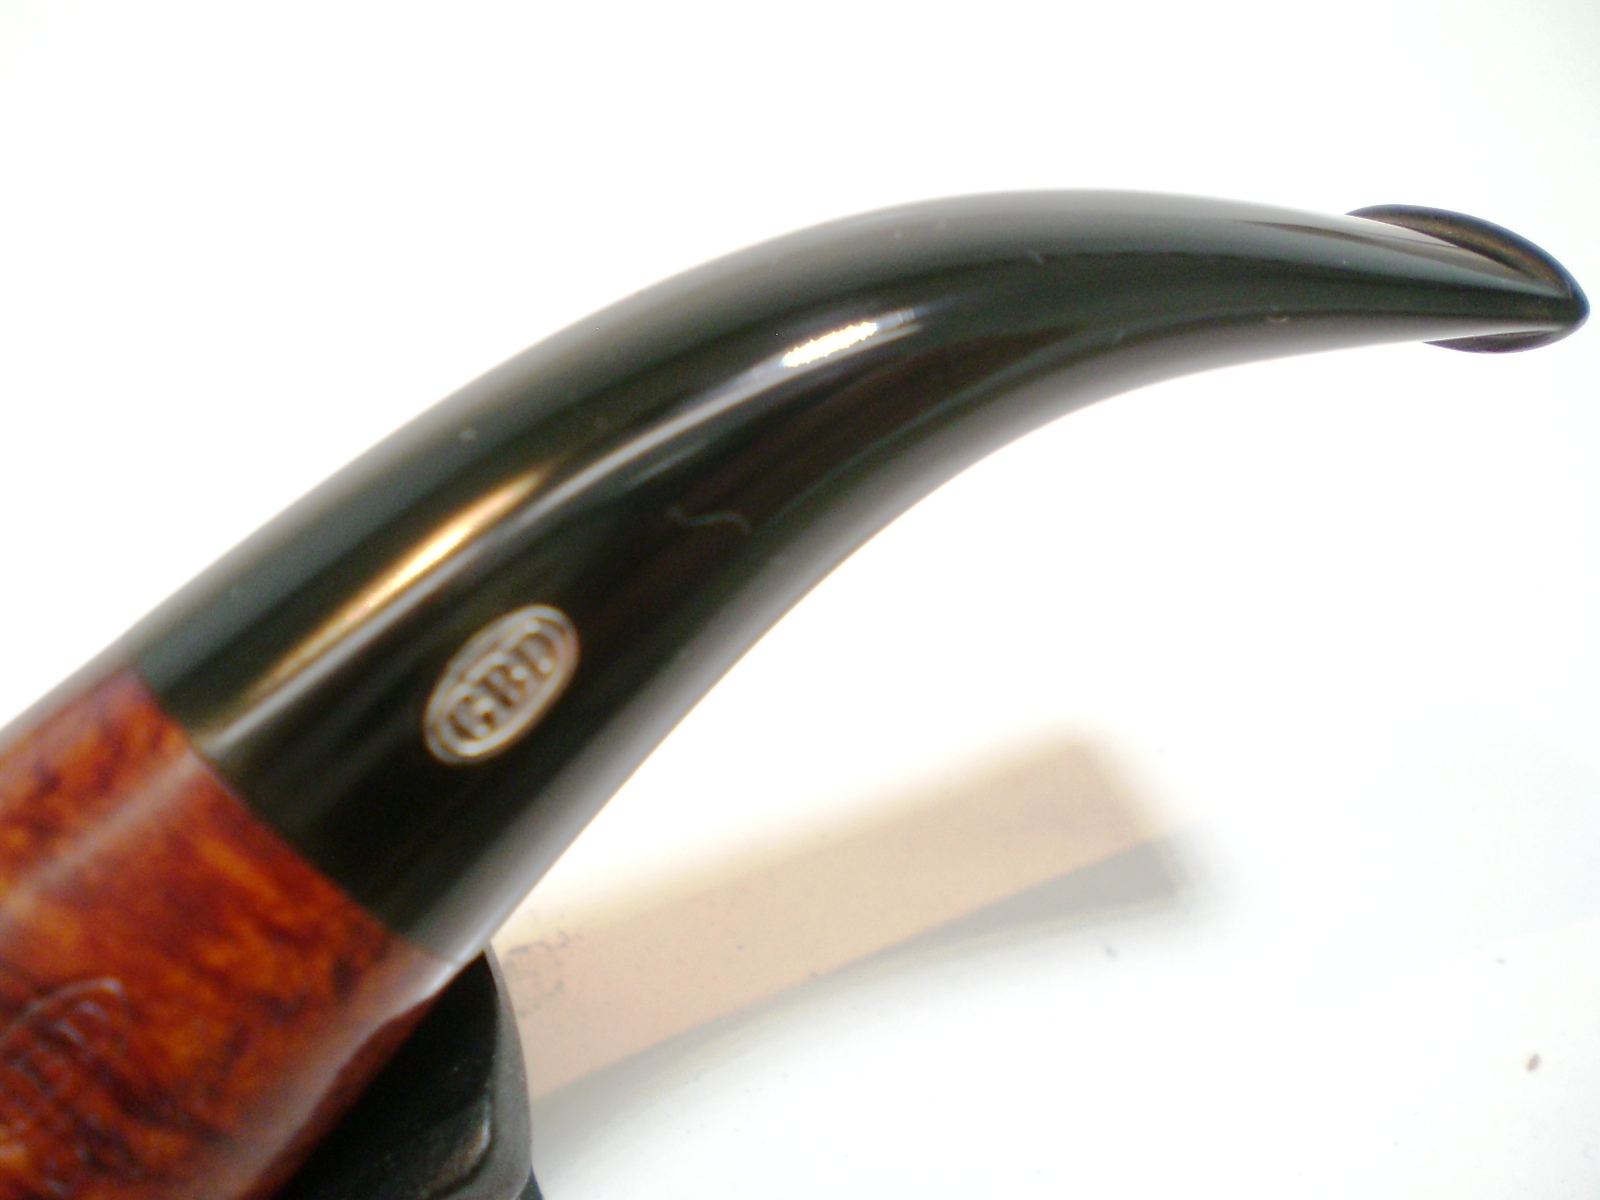
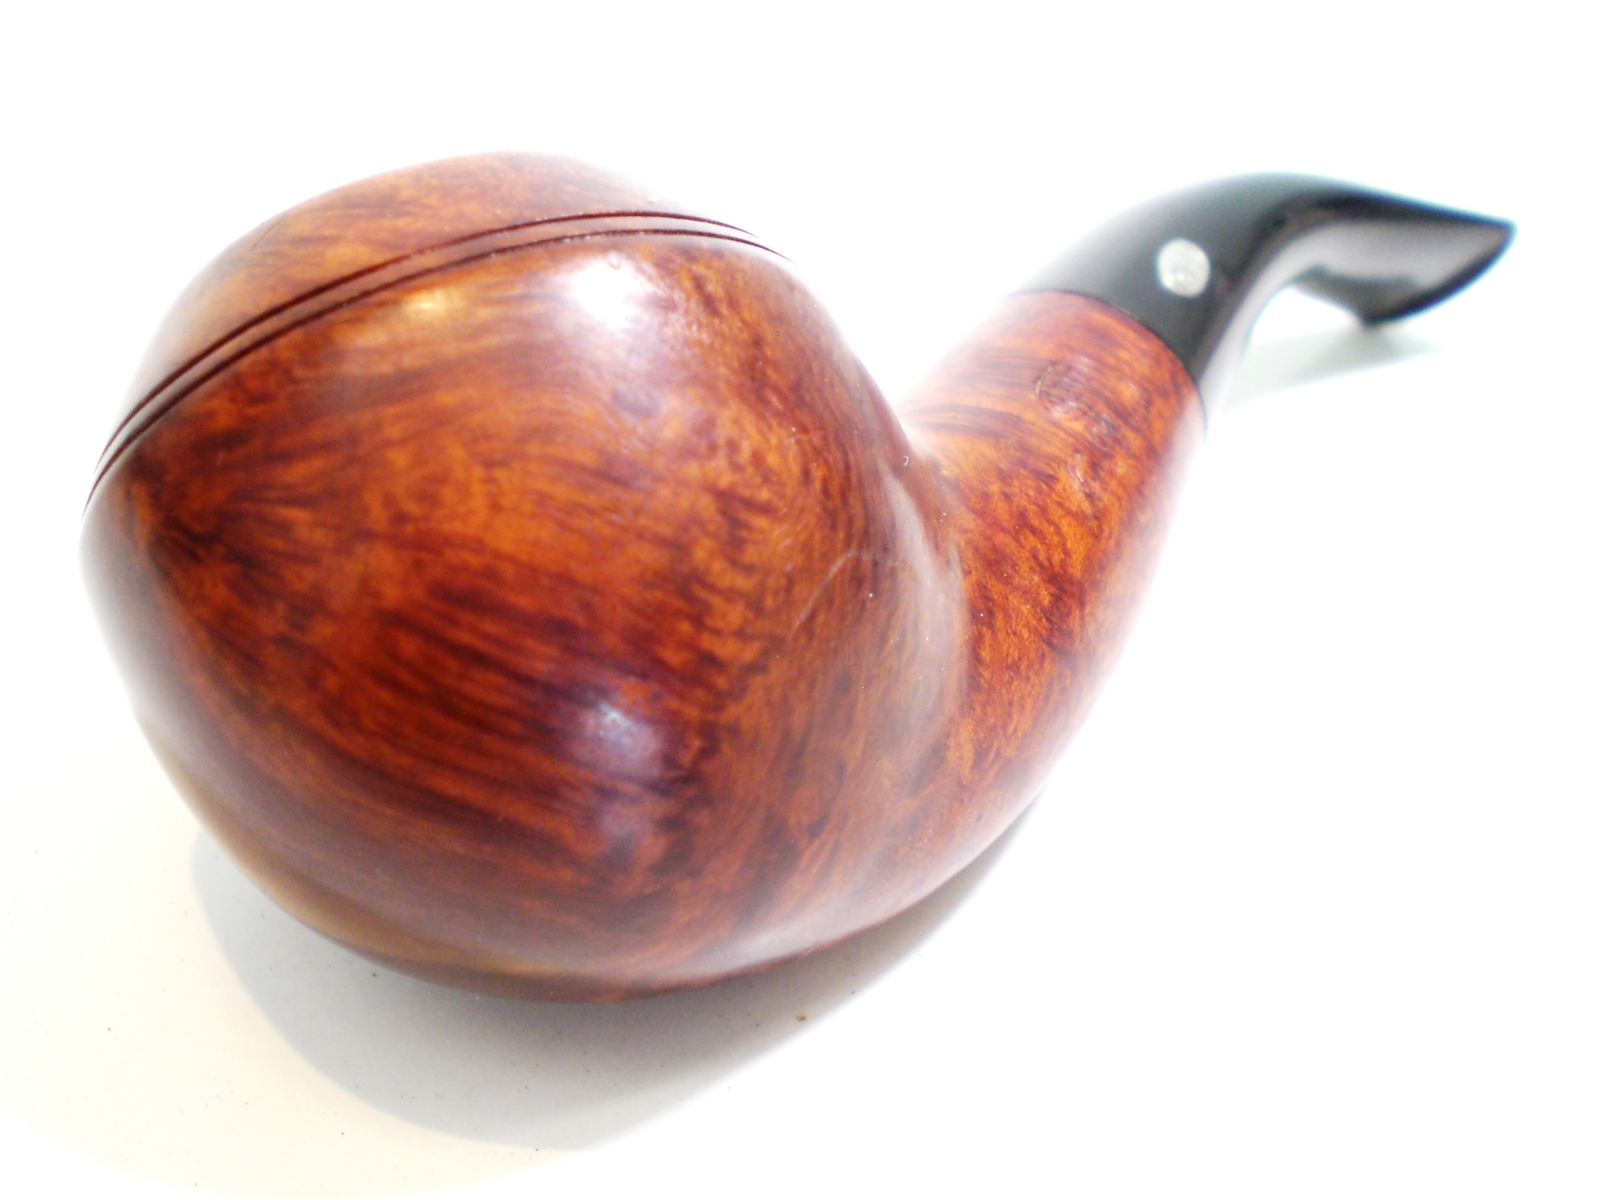
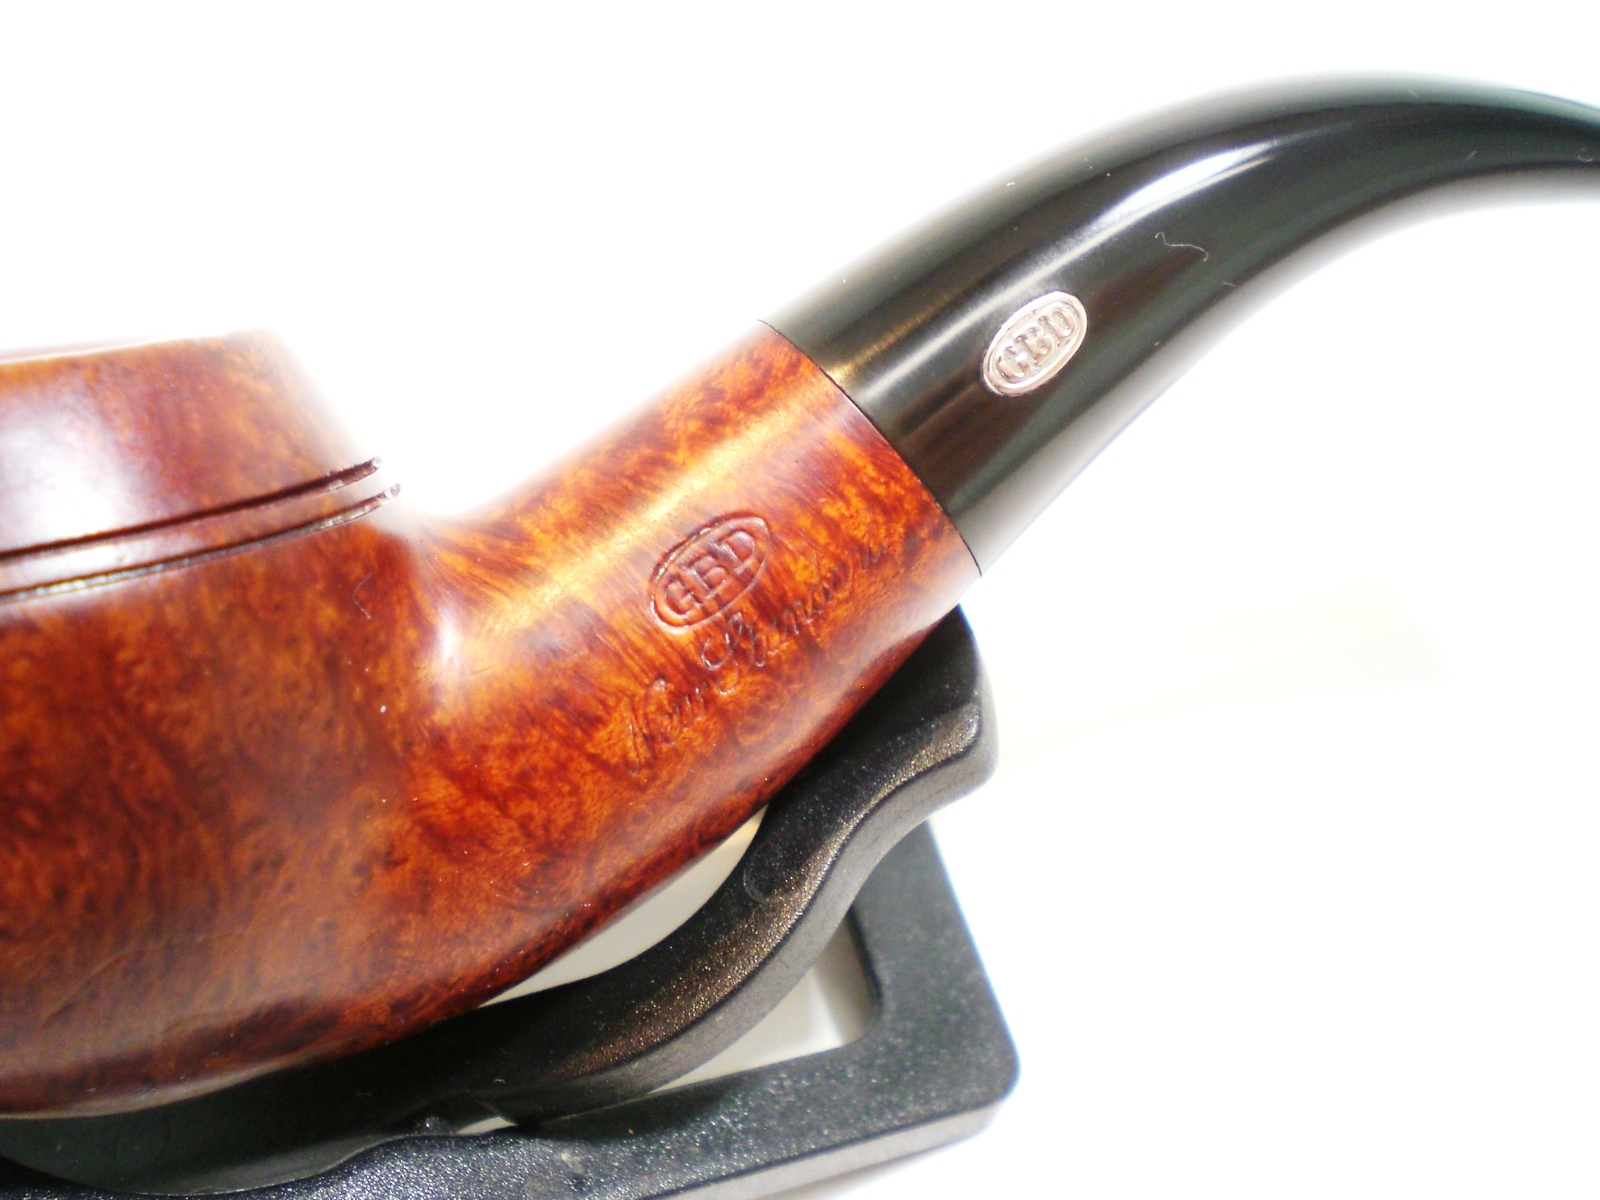
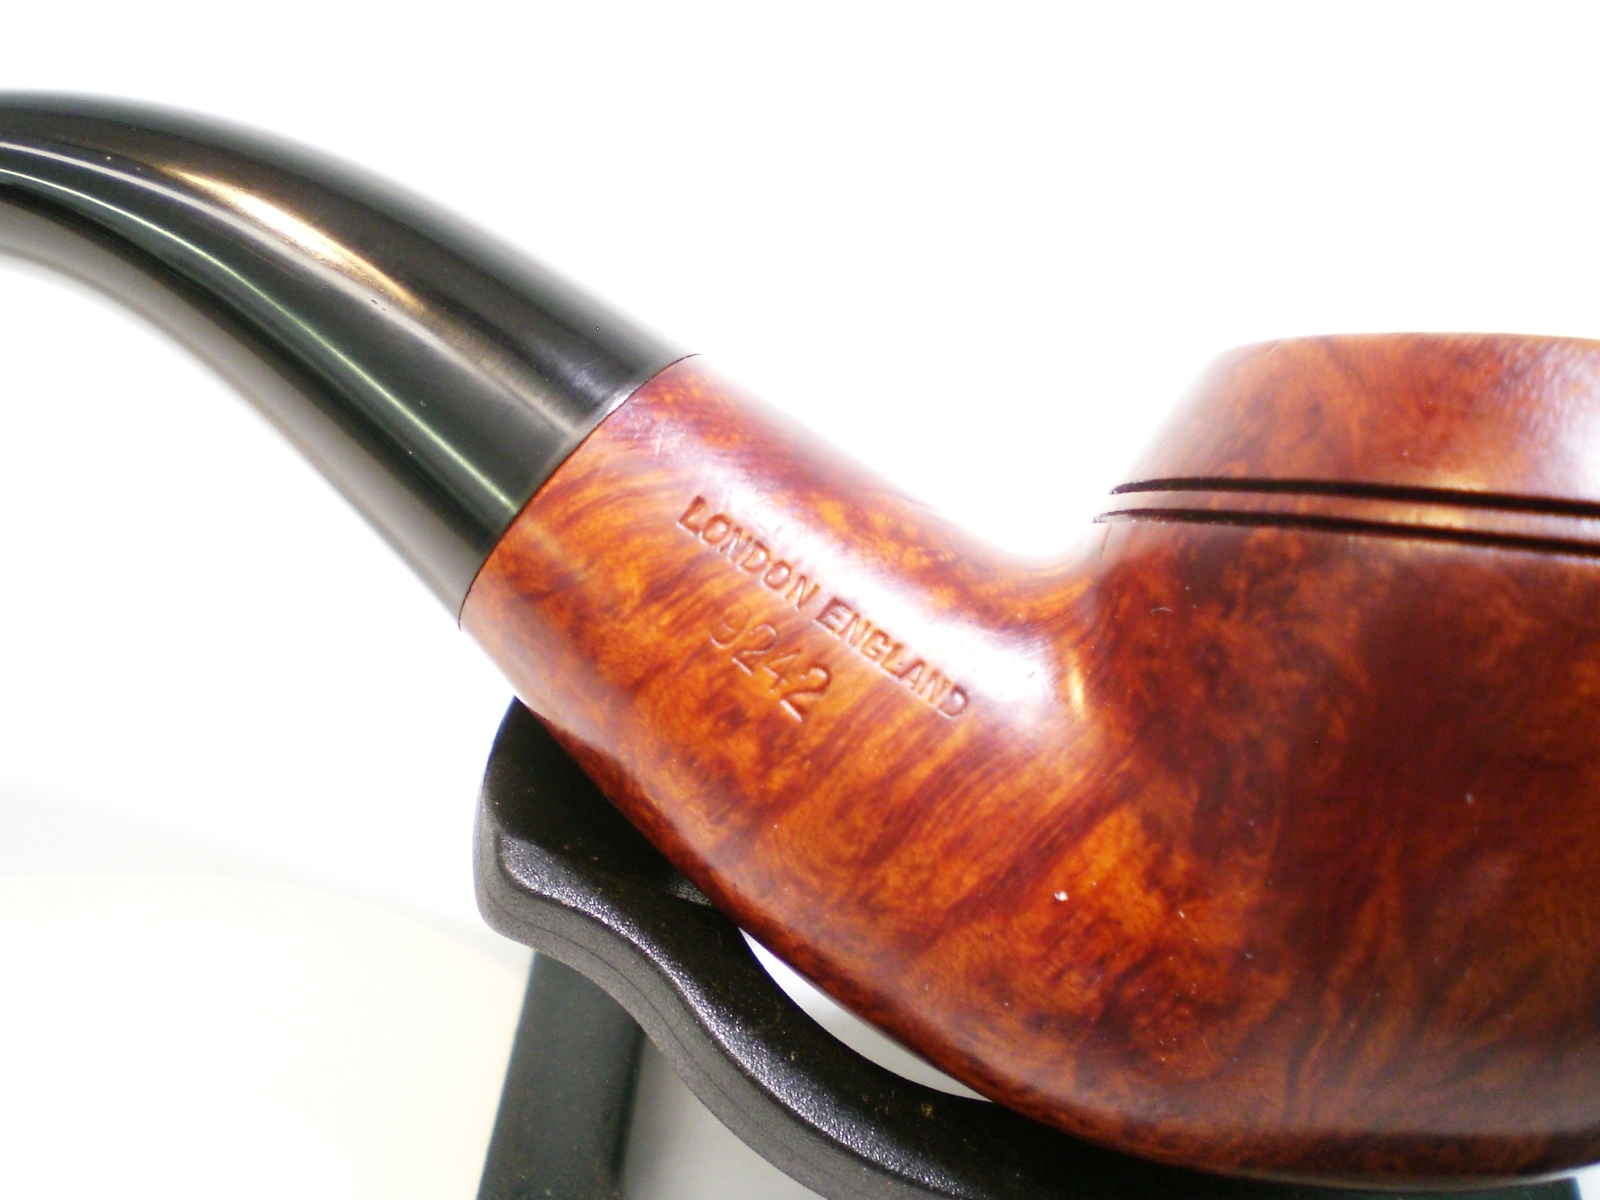
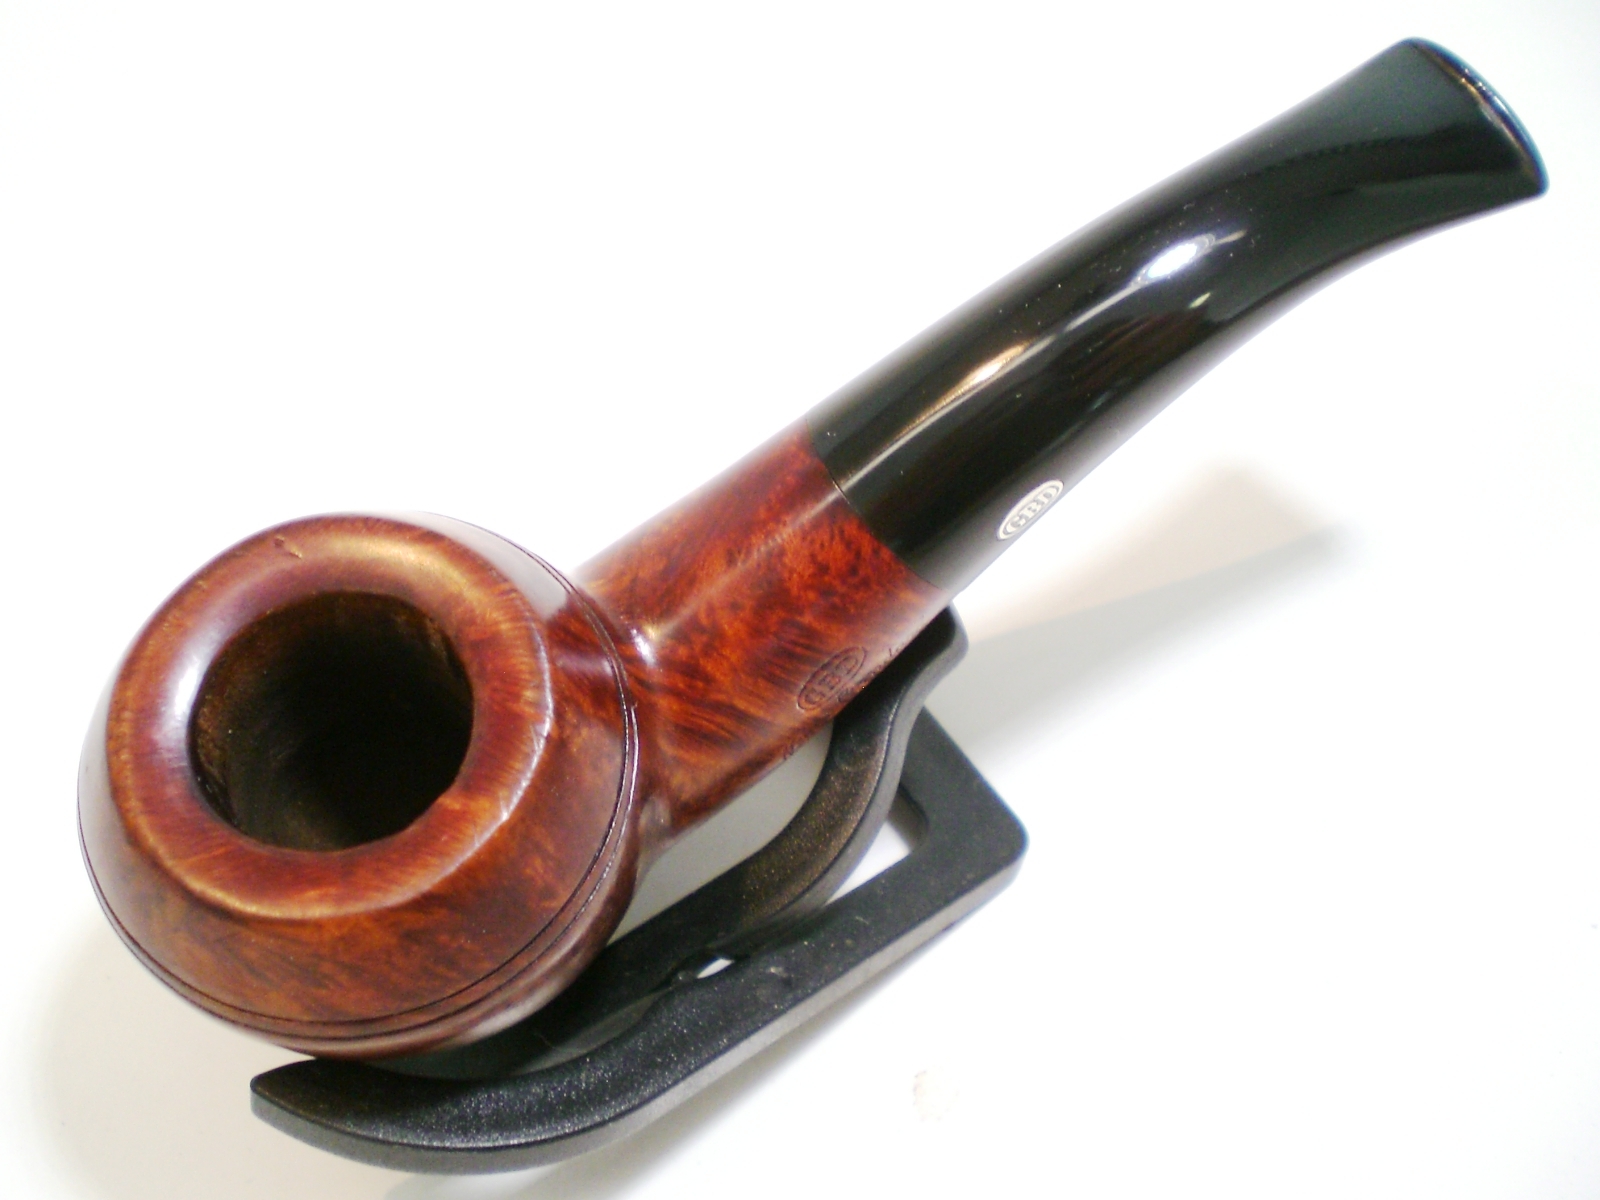
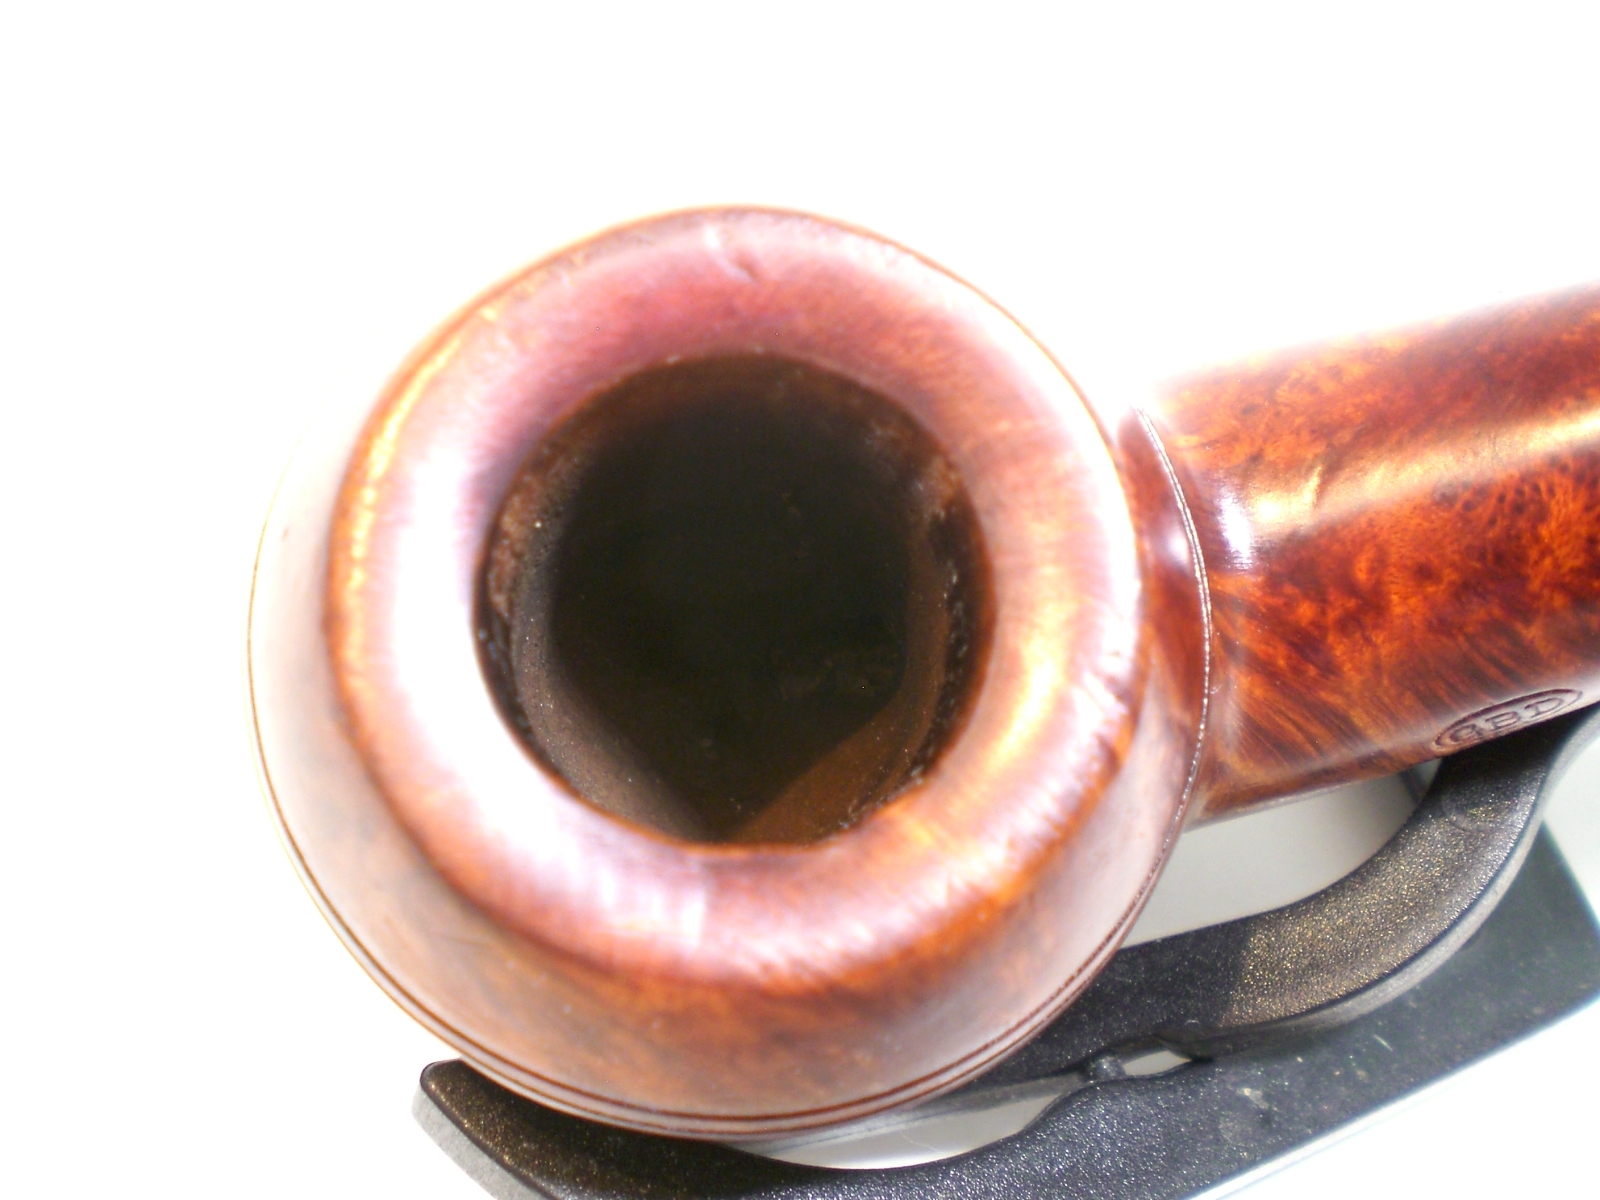
If you follow my restorations on Steve’s blog, you already know I love the Rhodesian shapes made by classic British pipe makers. I have a “Holy Grail” list of desired shapes and marques. The GBD 9242 has been at the top of that list for three years. In the past few years, this shape has been hotly contested and infrequently sold. I had resigned to myself that the probability of finding one, within my means, was slim. This week, a somewhat tired New Standard grade 9242 was listed and I was surprised to win the auction at a modest price. The pictures were fuzzy and showed it would need a lot of work. The stem did look quite promising and I hoped the tars and cake build-up on the bowl top would come off. The nomenclature, button, rondell and bowl beading all looked to be in very good condition.

GBD_9242_NS_Before

GBD_9242_NS_Before (4)

GBD_9242_NS_Before (5)

GBD_9242_NS_Before (2)

GBD_9242_NS_Before (1)

GBD_9242_NS_Before (7)

GBD_9242_NS_Before (3)

GBD_9242_NS_Before (6)

I used some distilled water and a rag to remove the tars from the bowl top, which did come off. That revealed a few dents and dings. I then removed the cake with my Castleford reamer and was pleased to find some very solid wood inside the bowl and a nicely drilled pipe. The shank was filthy inside and required a lot of cleaning with brushes and alcohol.

I worked on removing or minimizing some of the dings and marks on the briar. I used a kitchen knife, heated with a propane torch and a wet rag to steam out the dents. Some of the crease could not be removed, but I was able to minimize them.

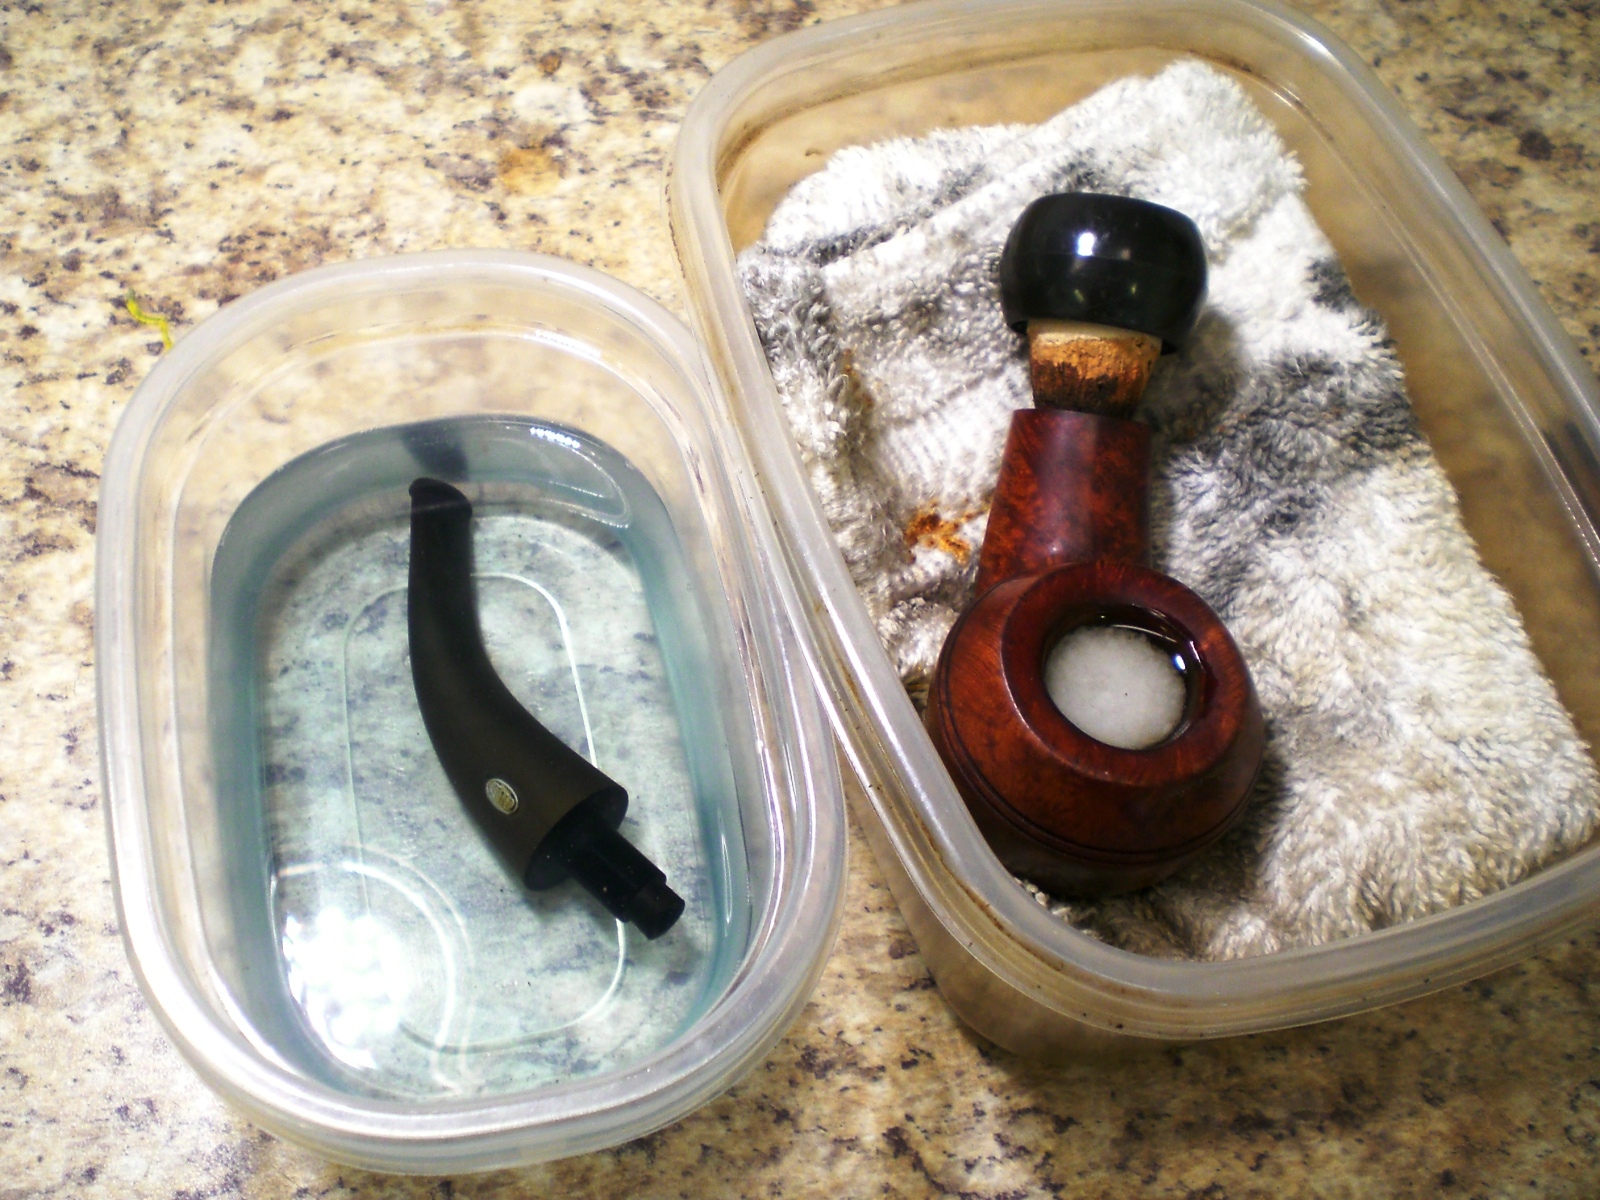
The bowl and shank were then packed with sea salt and alcohol to soak. The bowl and shank came out very clean inside, which should help reduce any ghosts. The stem was soaked in a mild Oxyclean solution, with a dab of grease on the rondell.

GBD_9242_NS_Work (1)

GBD_9242_NS_Work (2)

After the bowl soak was complete, I started to work on the stem. It had a pretty rough layer of oxidation near the button and I used 600 grit wet paper on that area. Then, progressively, I used 1000>1500 and finally 2000 grade wet paper on the rest of the stem, button and crease. Miraculously, the stem only had some mild teeth chatter under that oxidation. I then moved to Micromesh sheets in 8000 and 12000 grades. The stem was then polished, mounted on the pipe, with White diamond rouge (lightly!). The briar was also polished with White Diamond, but I was careful to stay away from the all important (to me) nomenclature.
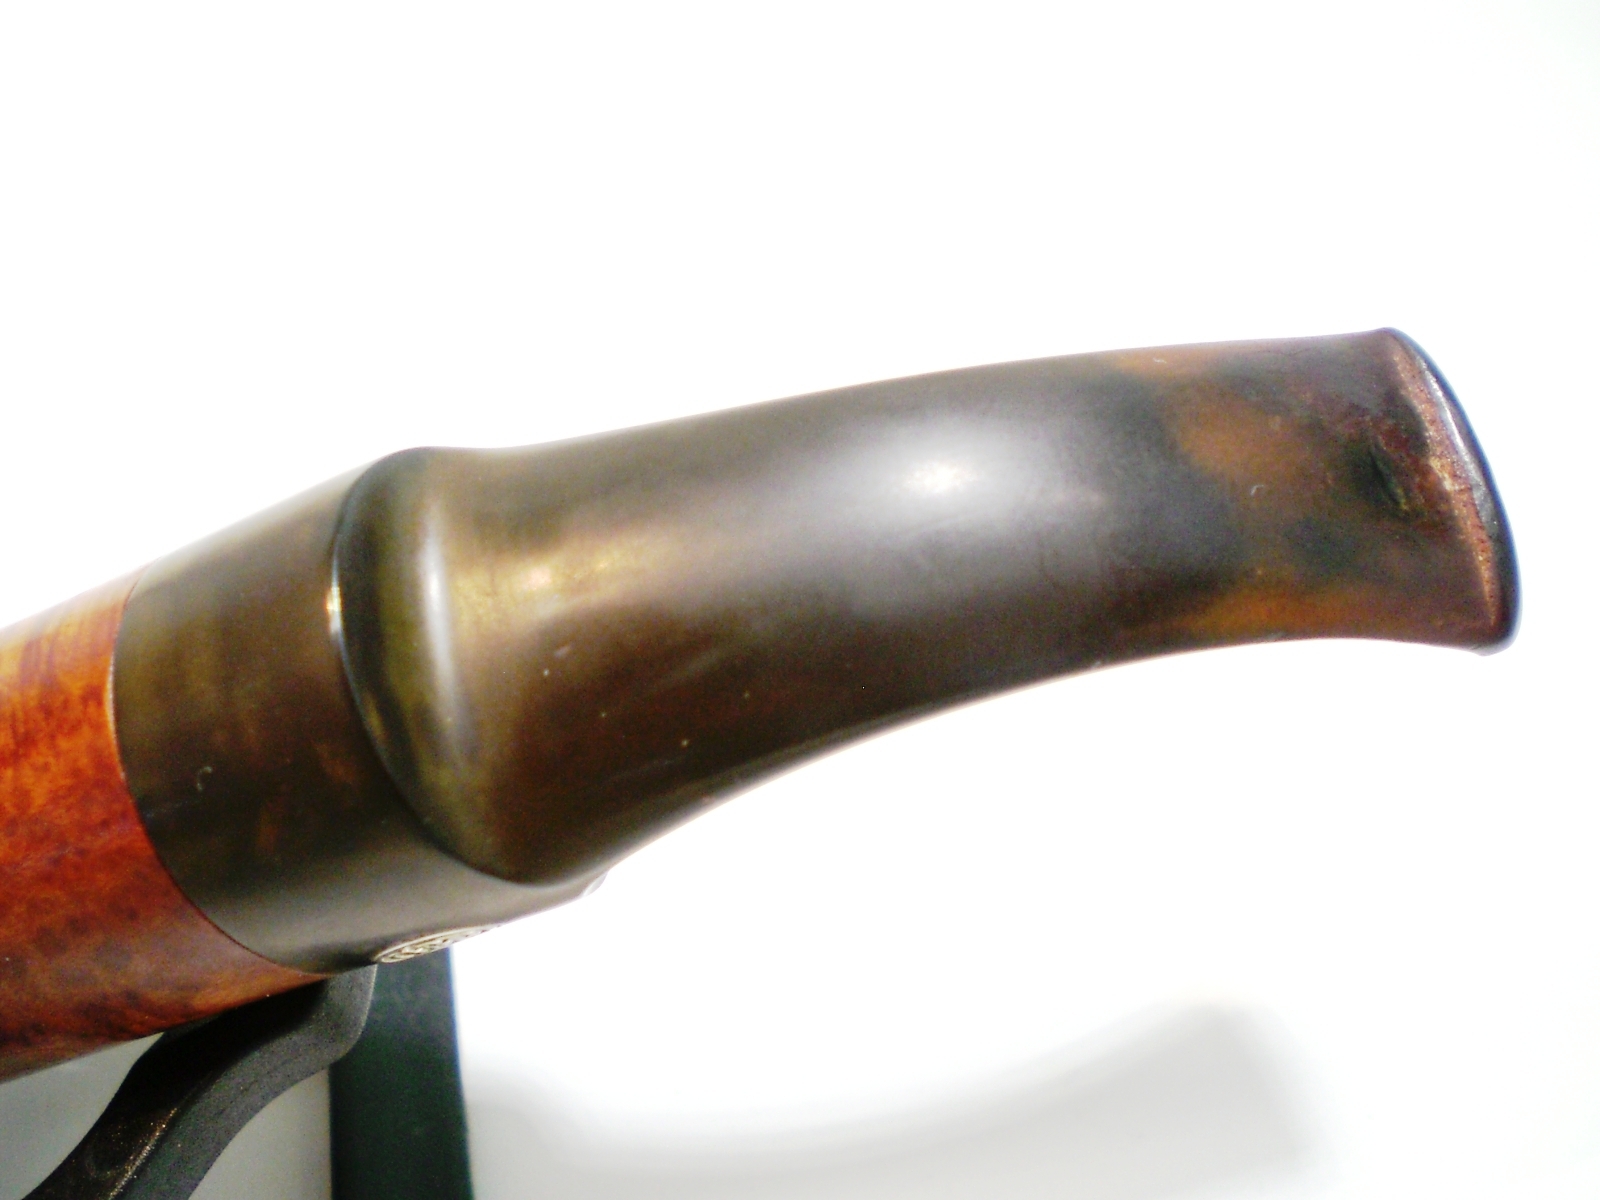
GBD_9242_NS_Gallery

GBD_9242_NS_Finished (6)

GBD_9242_NS_Finished (7)

GBD_9242_NS_Finished (5)

GBD_9242_NS_Finished (8)

GBD_9242_NS_Finished (9)

GBD_9242_NS_Finished (10)

GBD_9242_NS_Finished (11)

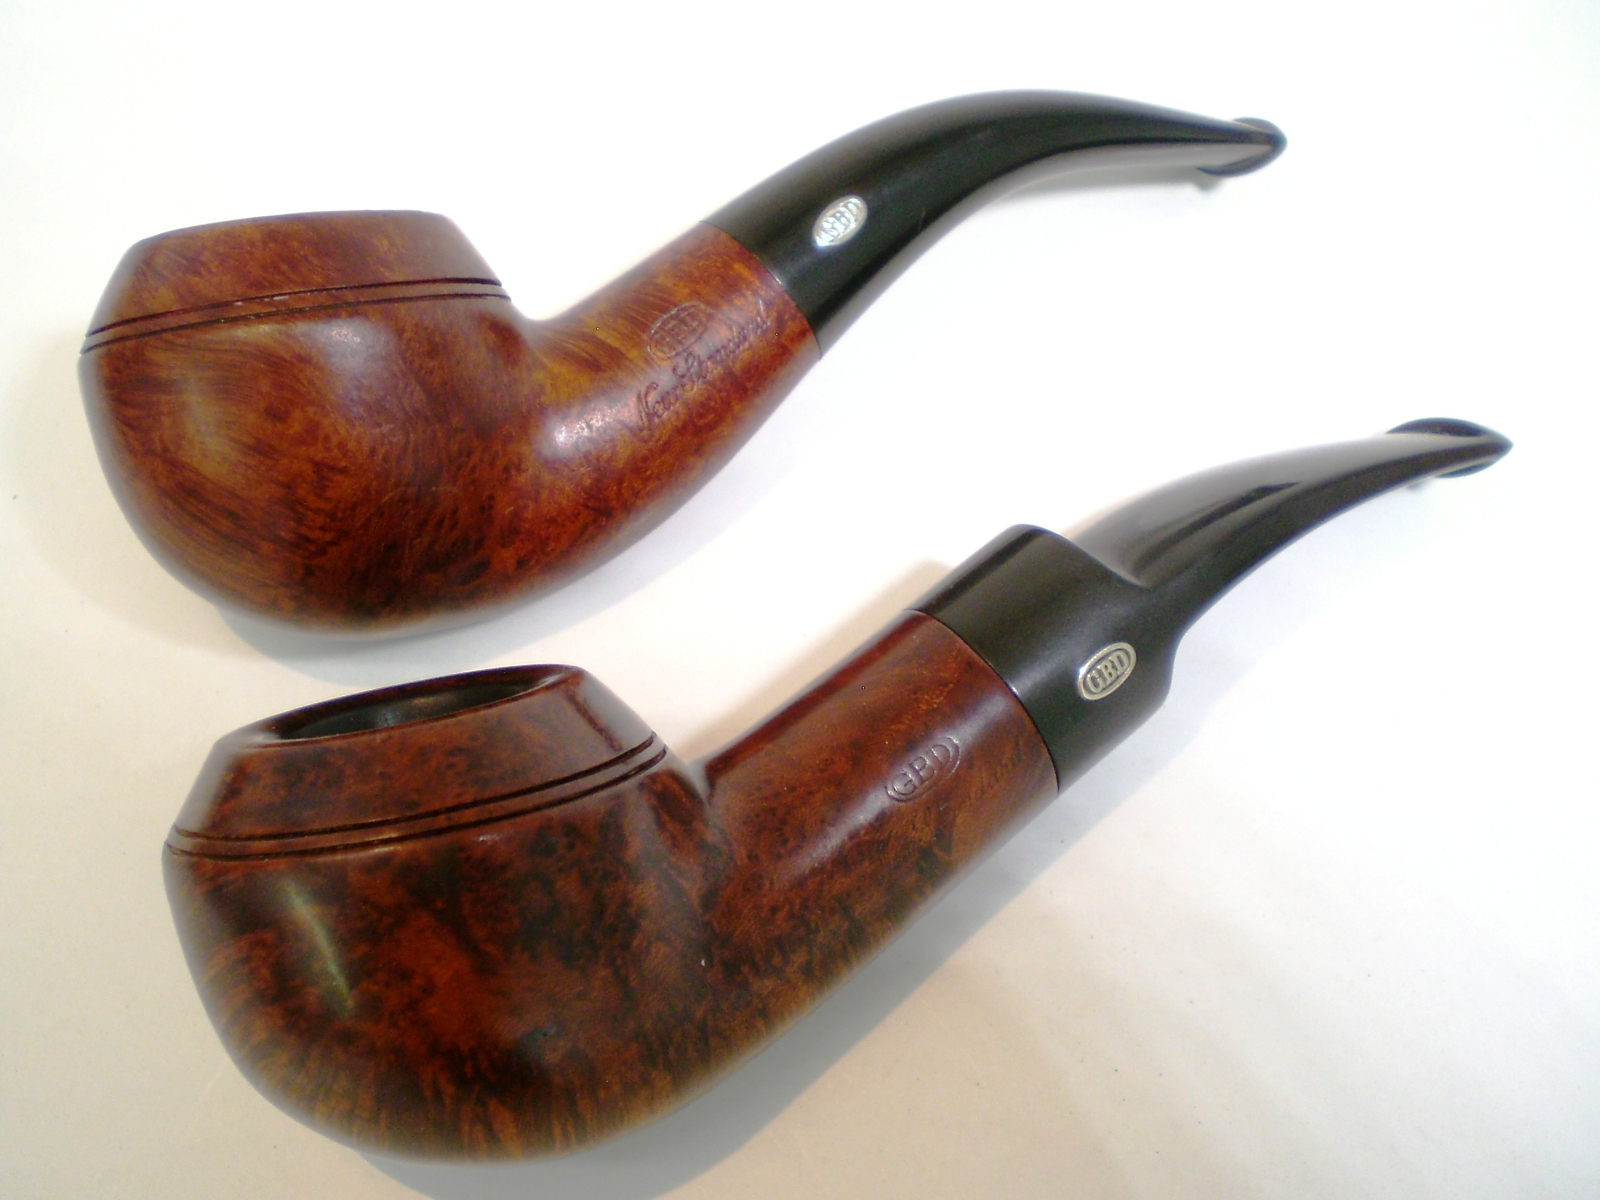
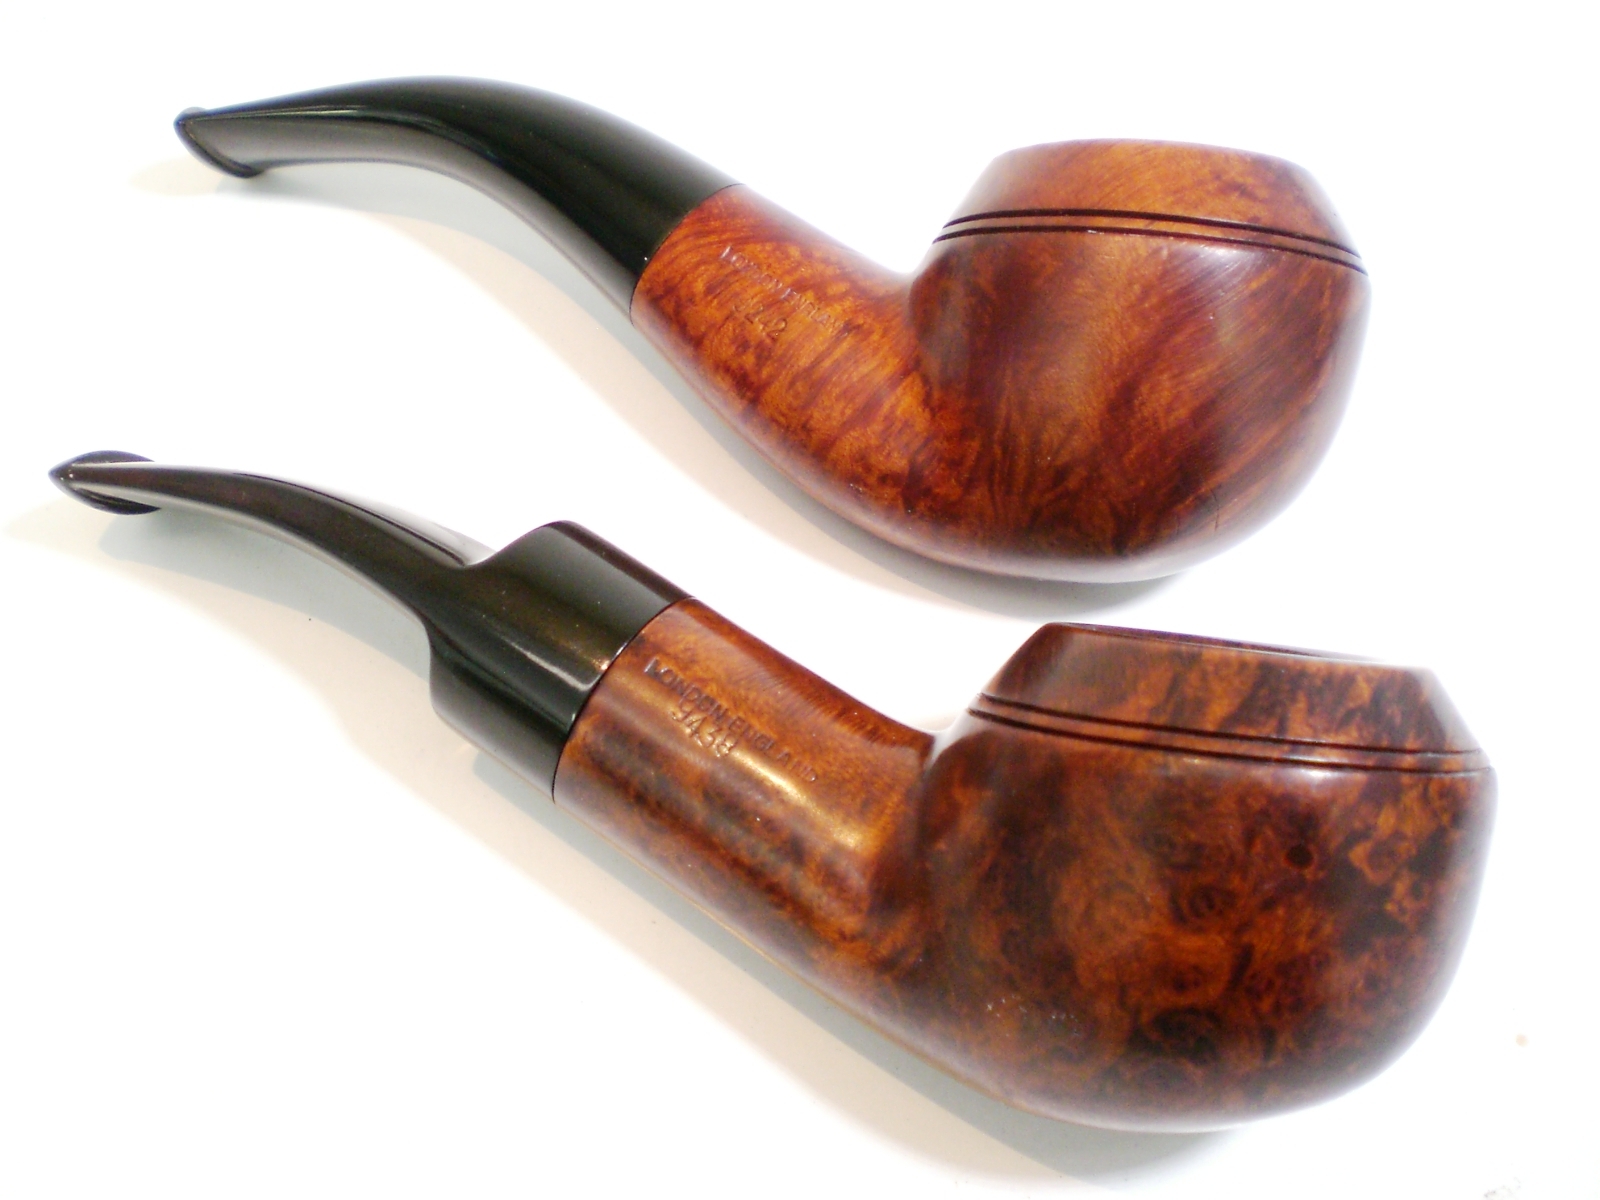
Below is a comparison shot with a GBD 9438 New Standard. The 9438 weighs 55 grams and my scale shows the 9242 comes in at 45 grams. Now I can see why this shape was so appealing to me, and others. That tapered shank and stem really make the pipe.

GBD_9242_NS_Finished (1)

GBD_9242_NS_Finished (2)

The pipe still has a few “character marks”, but I’m quite pleased to add this one to my collection. A piece I thought was almost unattainable.
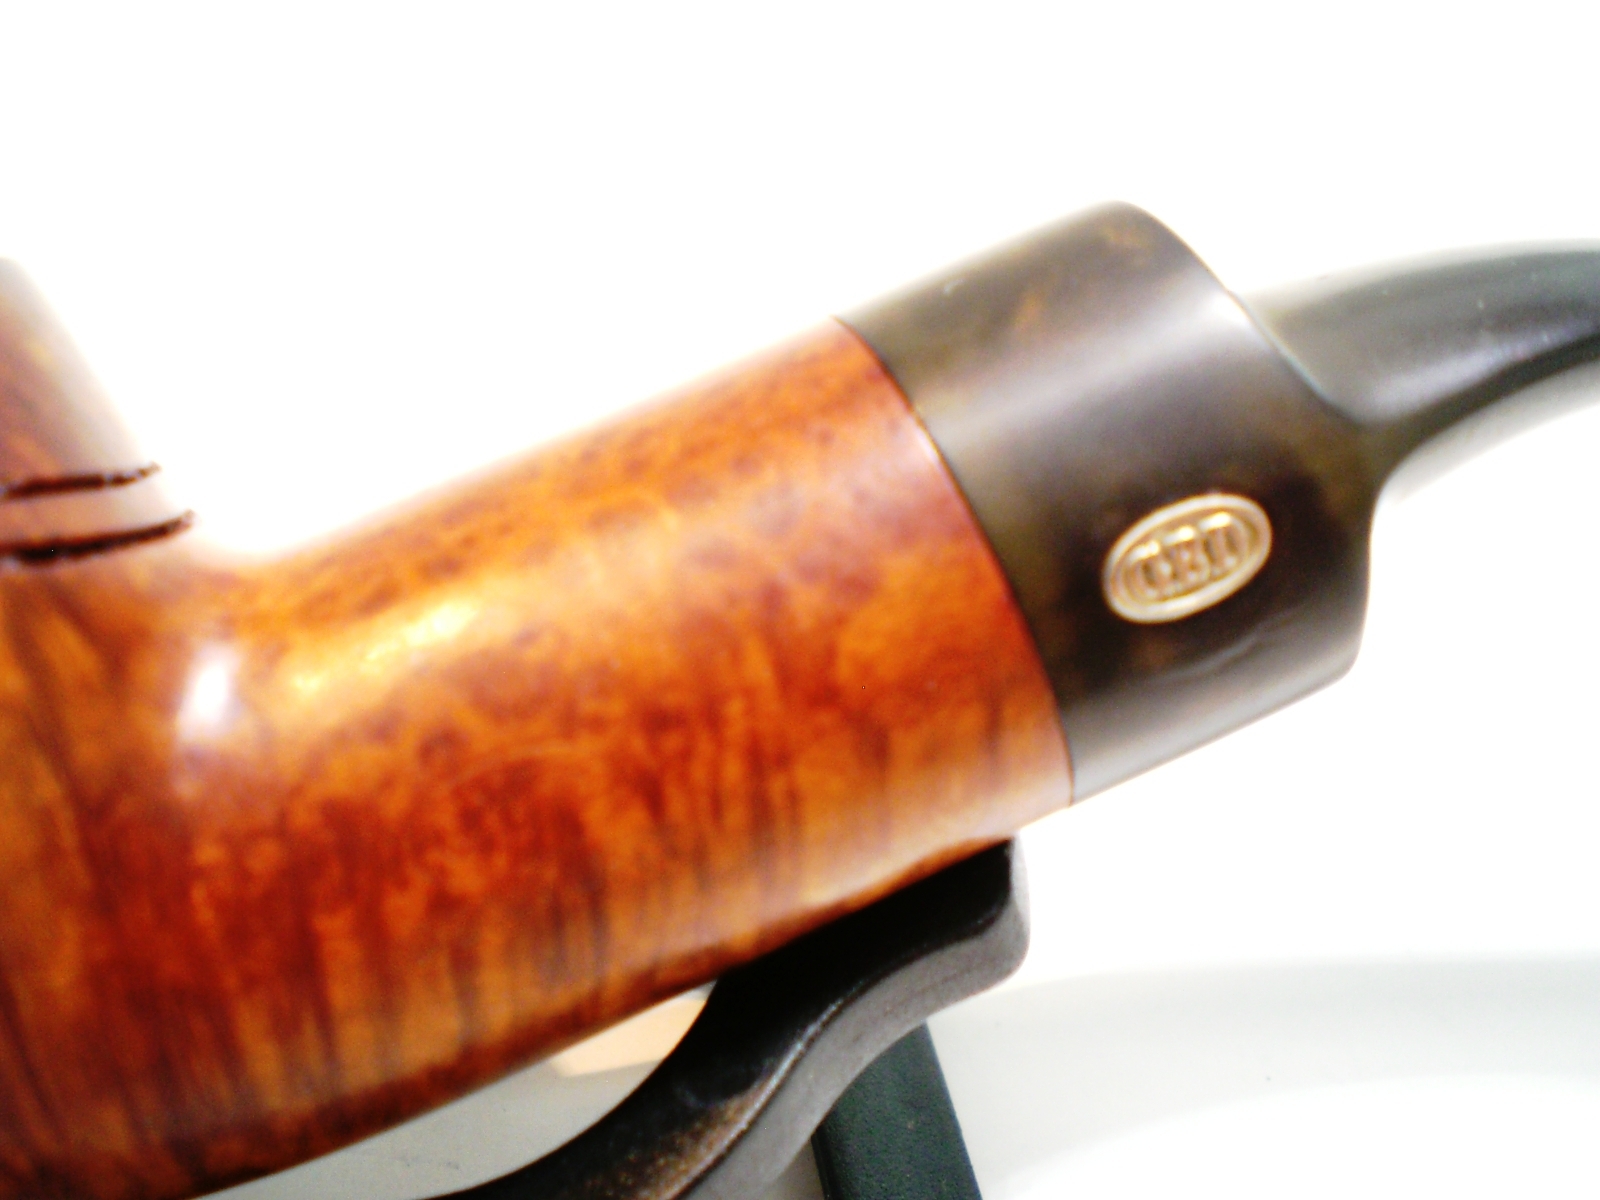
GBD 9438 Century Restored


The iconic GBD 9438 saddle stem Rhodesian is one of my favorite shapes. I really wasn’t on the look out for an additional 9438, but this Century model was one I didn’t have and the asking price was too good to pass up.

According to Pipepedia, the Century model was released starting in 1950 and had “A golden finish created to celebrate over a century of manufacturing the finest briar pipes.” The finish is somewhat unique among my other GBD’s, so that description is apt.

The pipe was in pretty good shape. It had a little rim darkening, one dent on the bowl top and an oxidized stem. The rondell looked to be in good condition. There were two teeth indentions, one on each side of the stem.
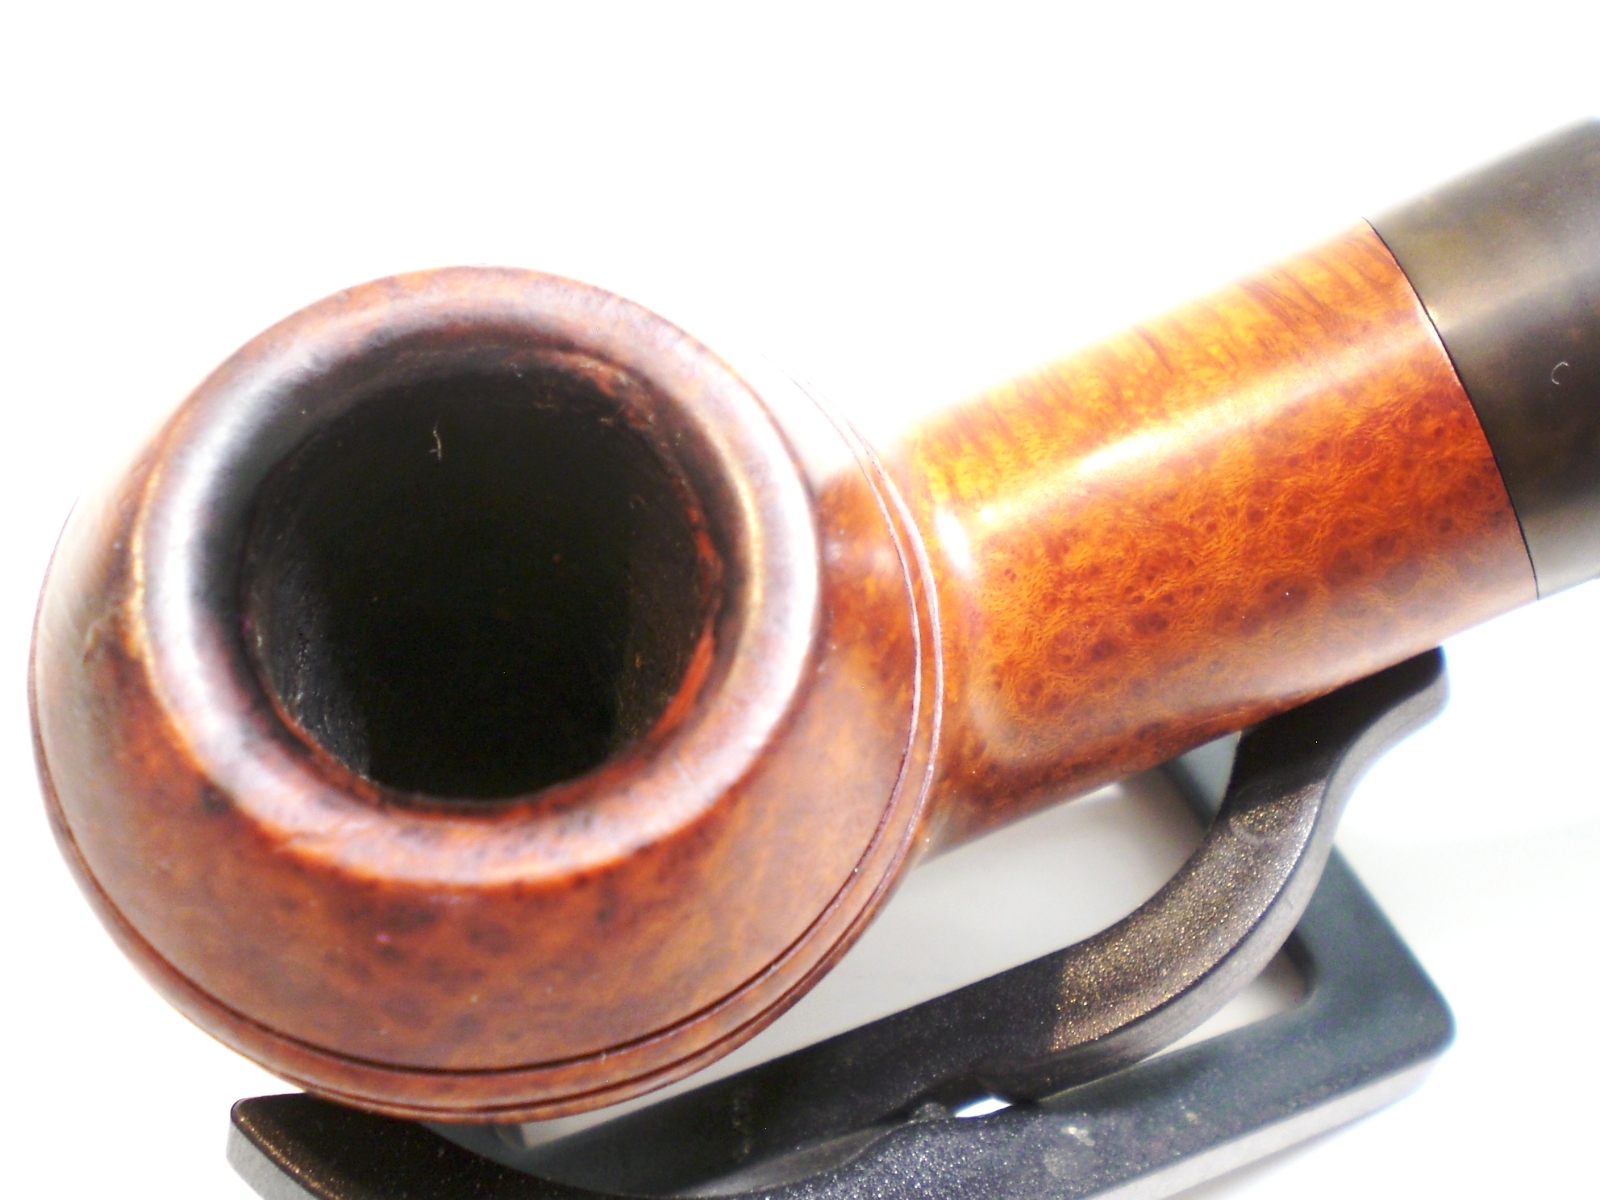
GBD_9438_Century_Before (4)

GBD_9438_Century_Before

GBD_9438_Century_Before (1)

GBD_9438_Century_Before (2)

GBD_9438_Century_Before (3)

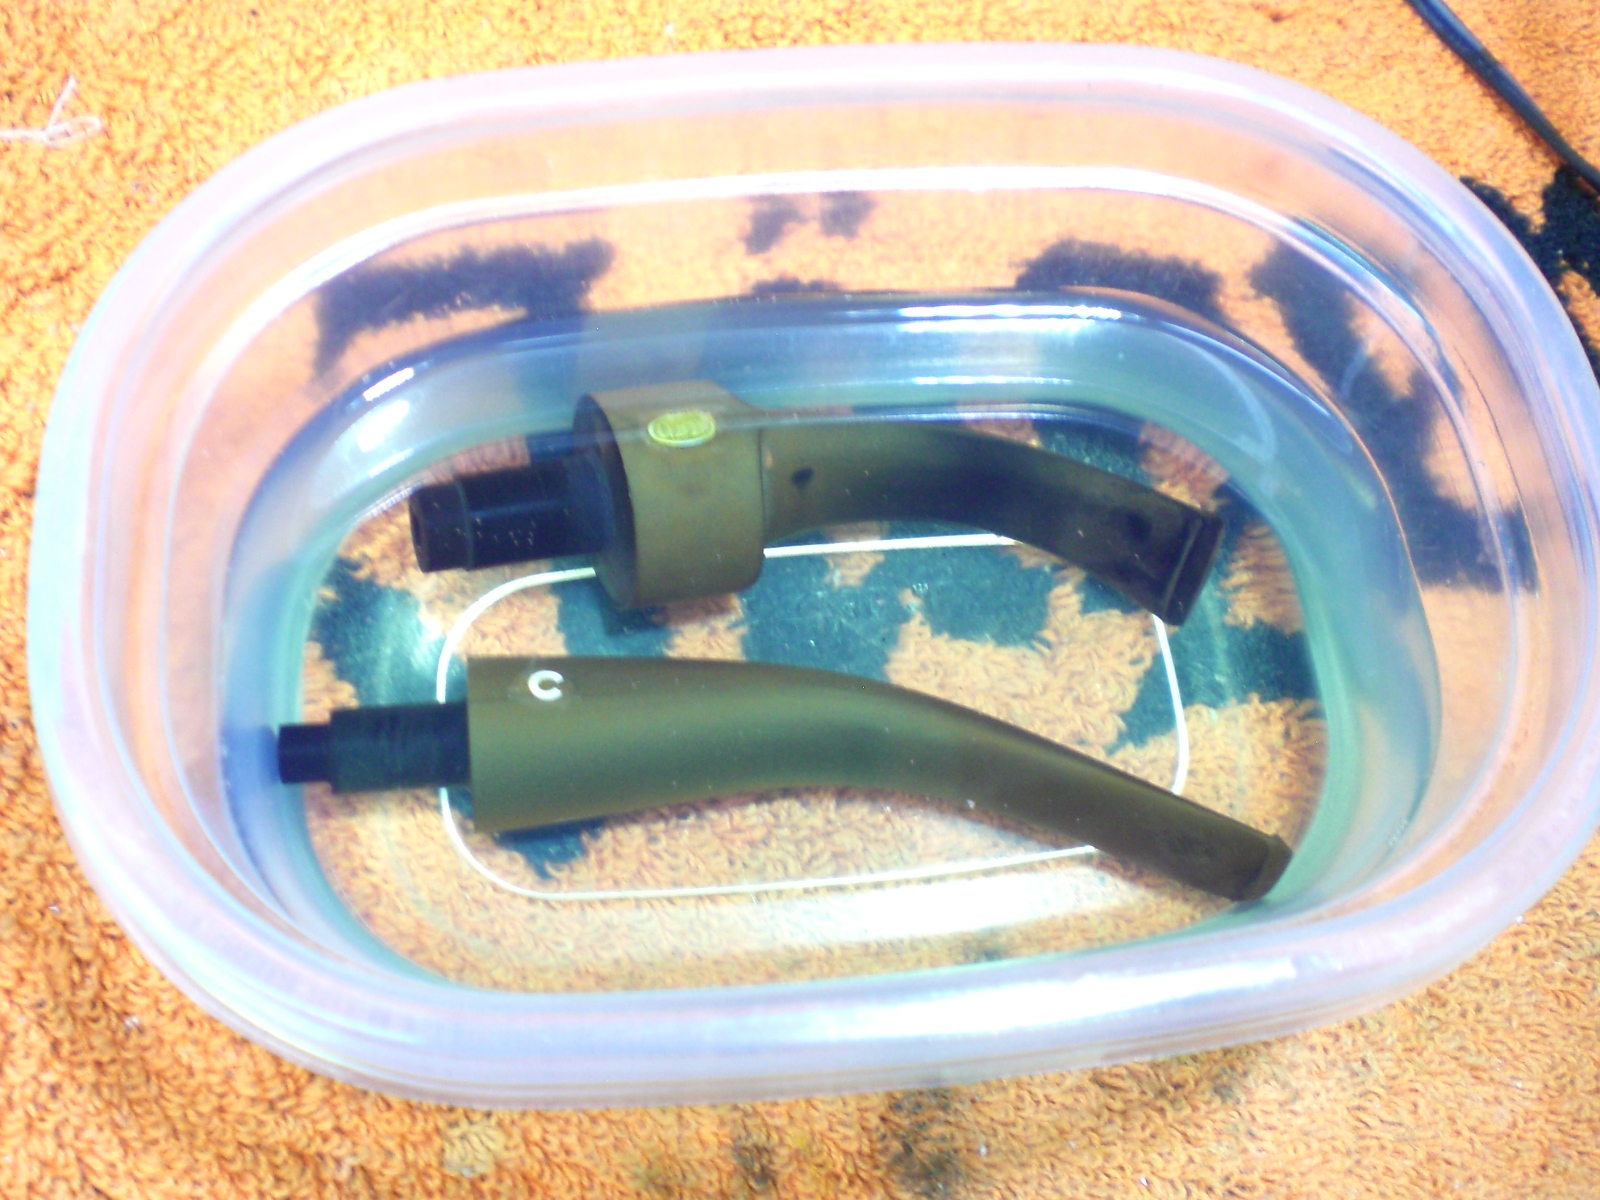
I reamed the bowl of the slight cake and soaked it with isopropyl alchohol and sea salt, sharing space with a Comoys Tradition I was also working to complete. The stem was soaked in a mild Oxyclean and water solution with a dab of grease over the rondell to protect it.

CIMG1104

CIMG1103

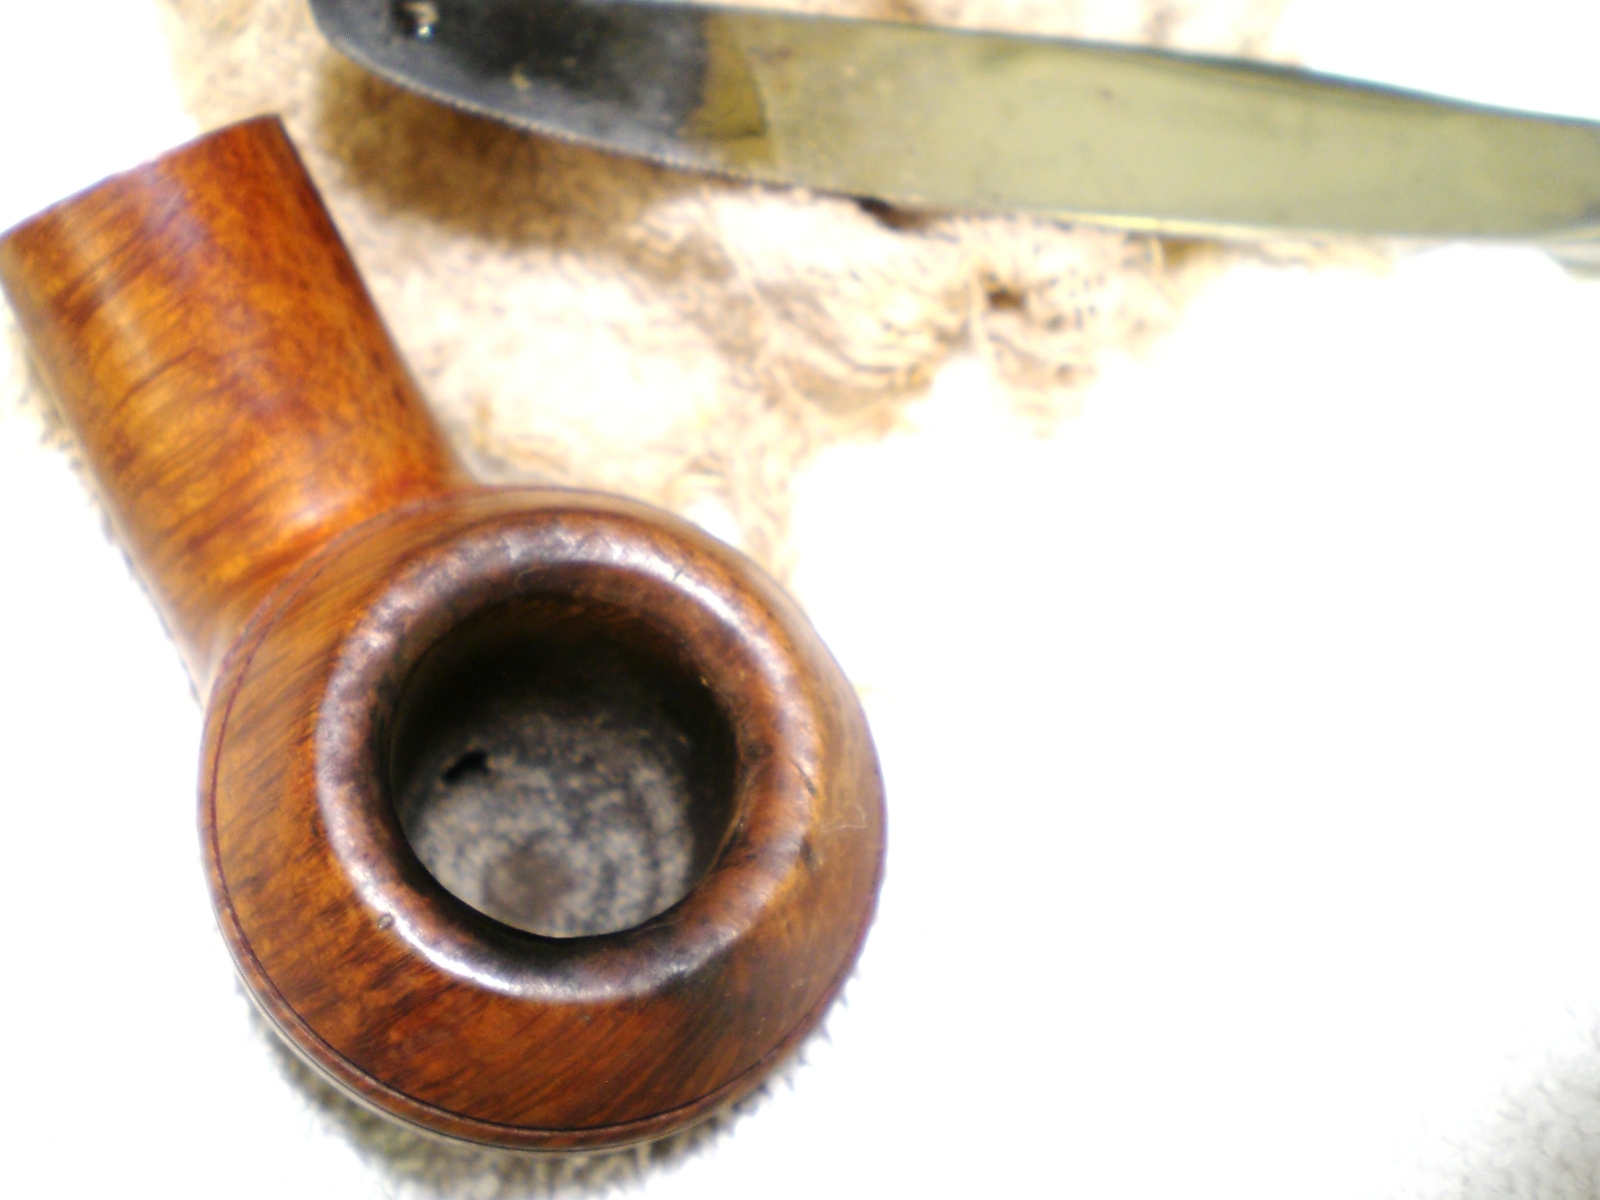
I worked on the bowl top dent, which was really a small crease. Using a heated table knife and a wet cloth, I was able to steam most of the dent out.

GBD_9438_Century_Work

Being careful around the weak nomenclature (but 100% legible with the naked eye), the bowl was buffed lightly with white diamond and then several coats of Carnuba wax. The rim darkening was some build-up and I was able to minimize it.

I used heat to lift the two teeth marks. The one on top was removed completely and the one below reduced to just a wave mark. I started removing the stem oxidation with 800 grit wet paper and then moved thru 1000, 1500 and 2000 grades. I used the 8000 and 12000 grade Micromesh papers before going to the buffing wheel. The stem was buffed lightly with White Diamond and then Meguiars Plastic Polish.

Below is the completed pipe, it will make a welcome to my rack of existing 9438 shapes. I thought this was number Seven, but it turns out that I have eight 9438’s in various finishes/grades. Factory made GBD pipes are now known for their grain, but this one has a nice little splash on the rondell side.

GBD_9438_Century_Gallery

GBD_9438_Century_Finished (2)

GBD_9438_Century_Finished (1)

GBD_9438_Century_Finished (3)

GBD_9438_Century_Finished (4)

GBD_9438_Century_Finished (6)

GBD_9438_Century_Finished (5)

Comoys 284 Tradition Restored


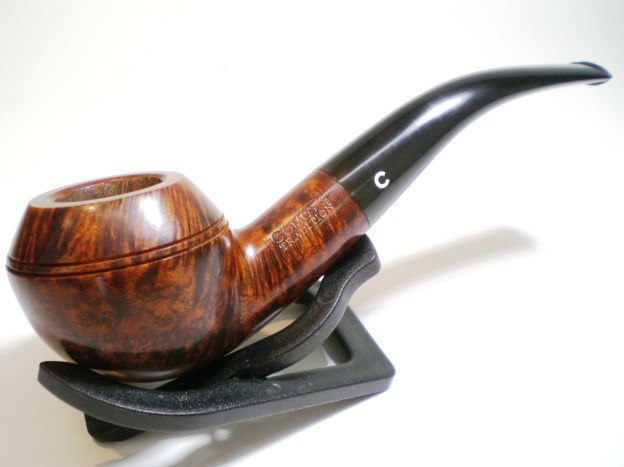
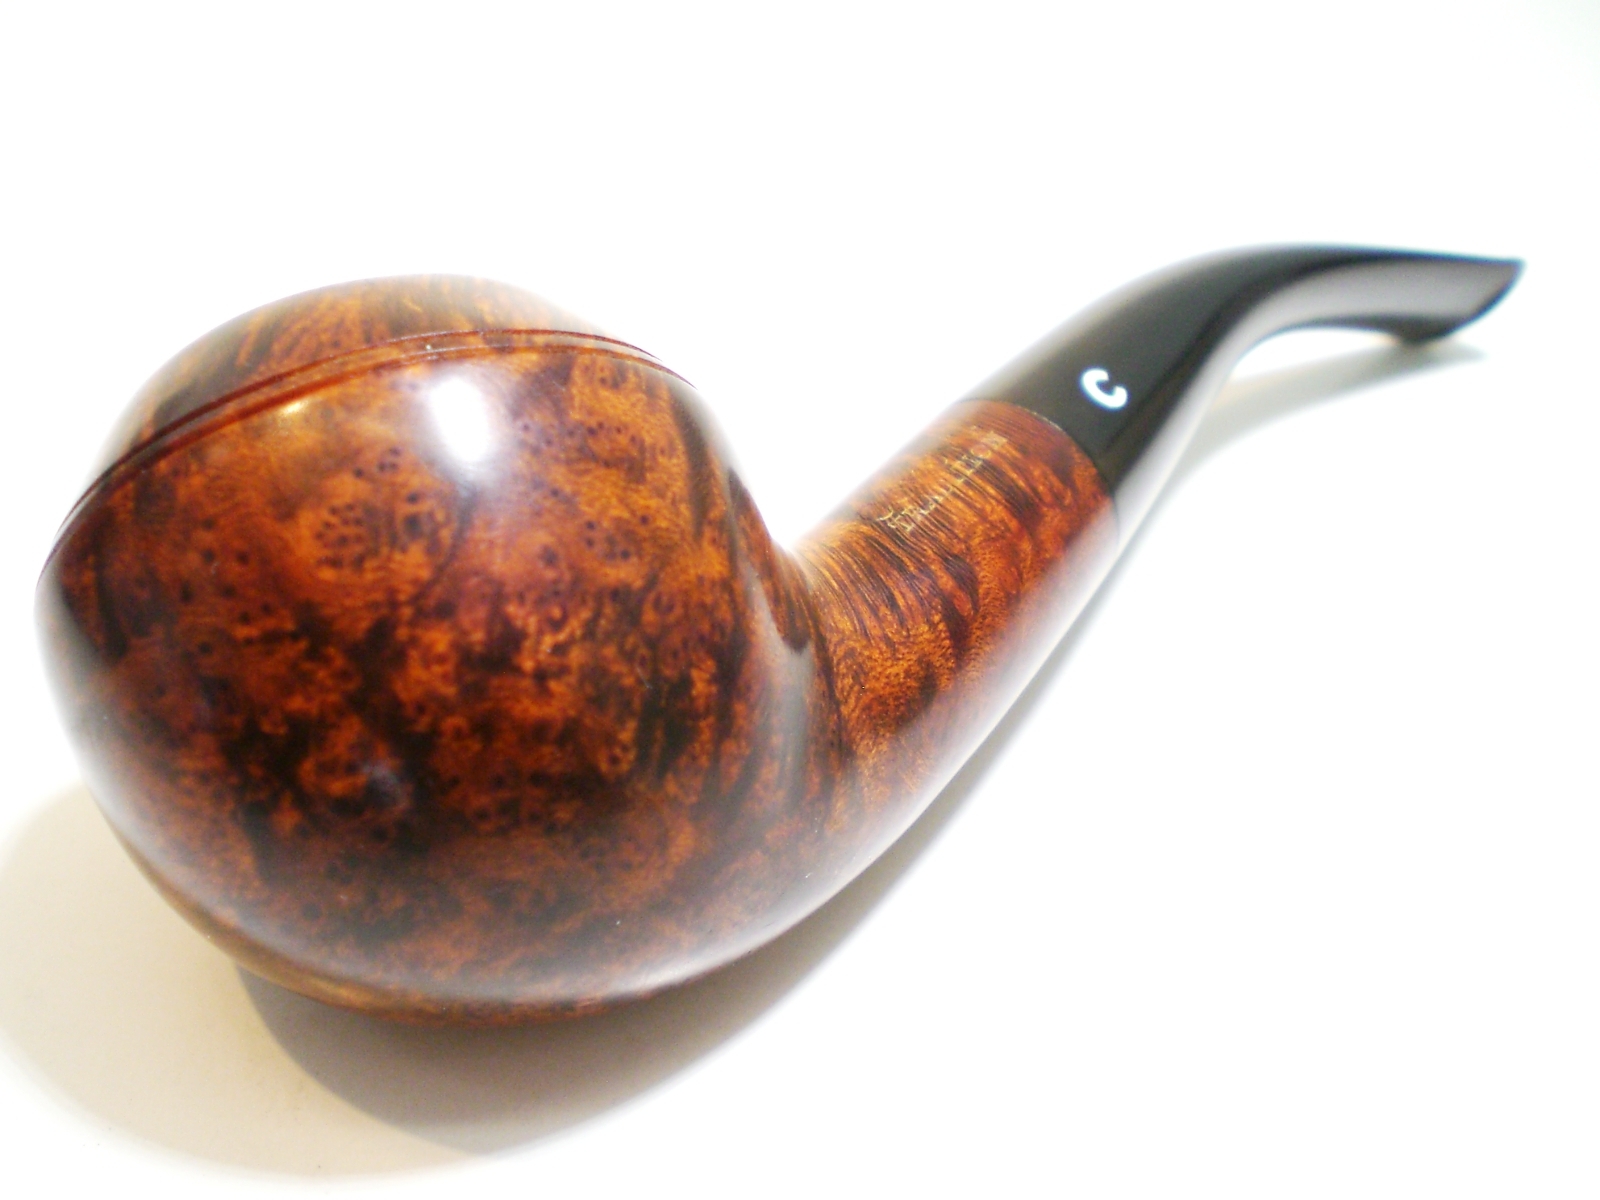
As a fan of the Rhodesian pipe shape, the Comoys Shape 284 is one of my favorites and in the top 5 of my “Holy Grail” list. Last week, this Tradition grade pipe showed up for auction. I made an offer to the buyer and surprised to find it accepted. As this is a hotly sought after shape on the market, I couldn’t believe my good fortune until I opened the package and held it in my hand.
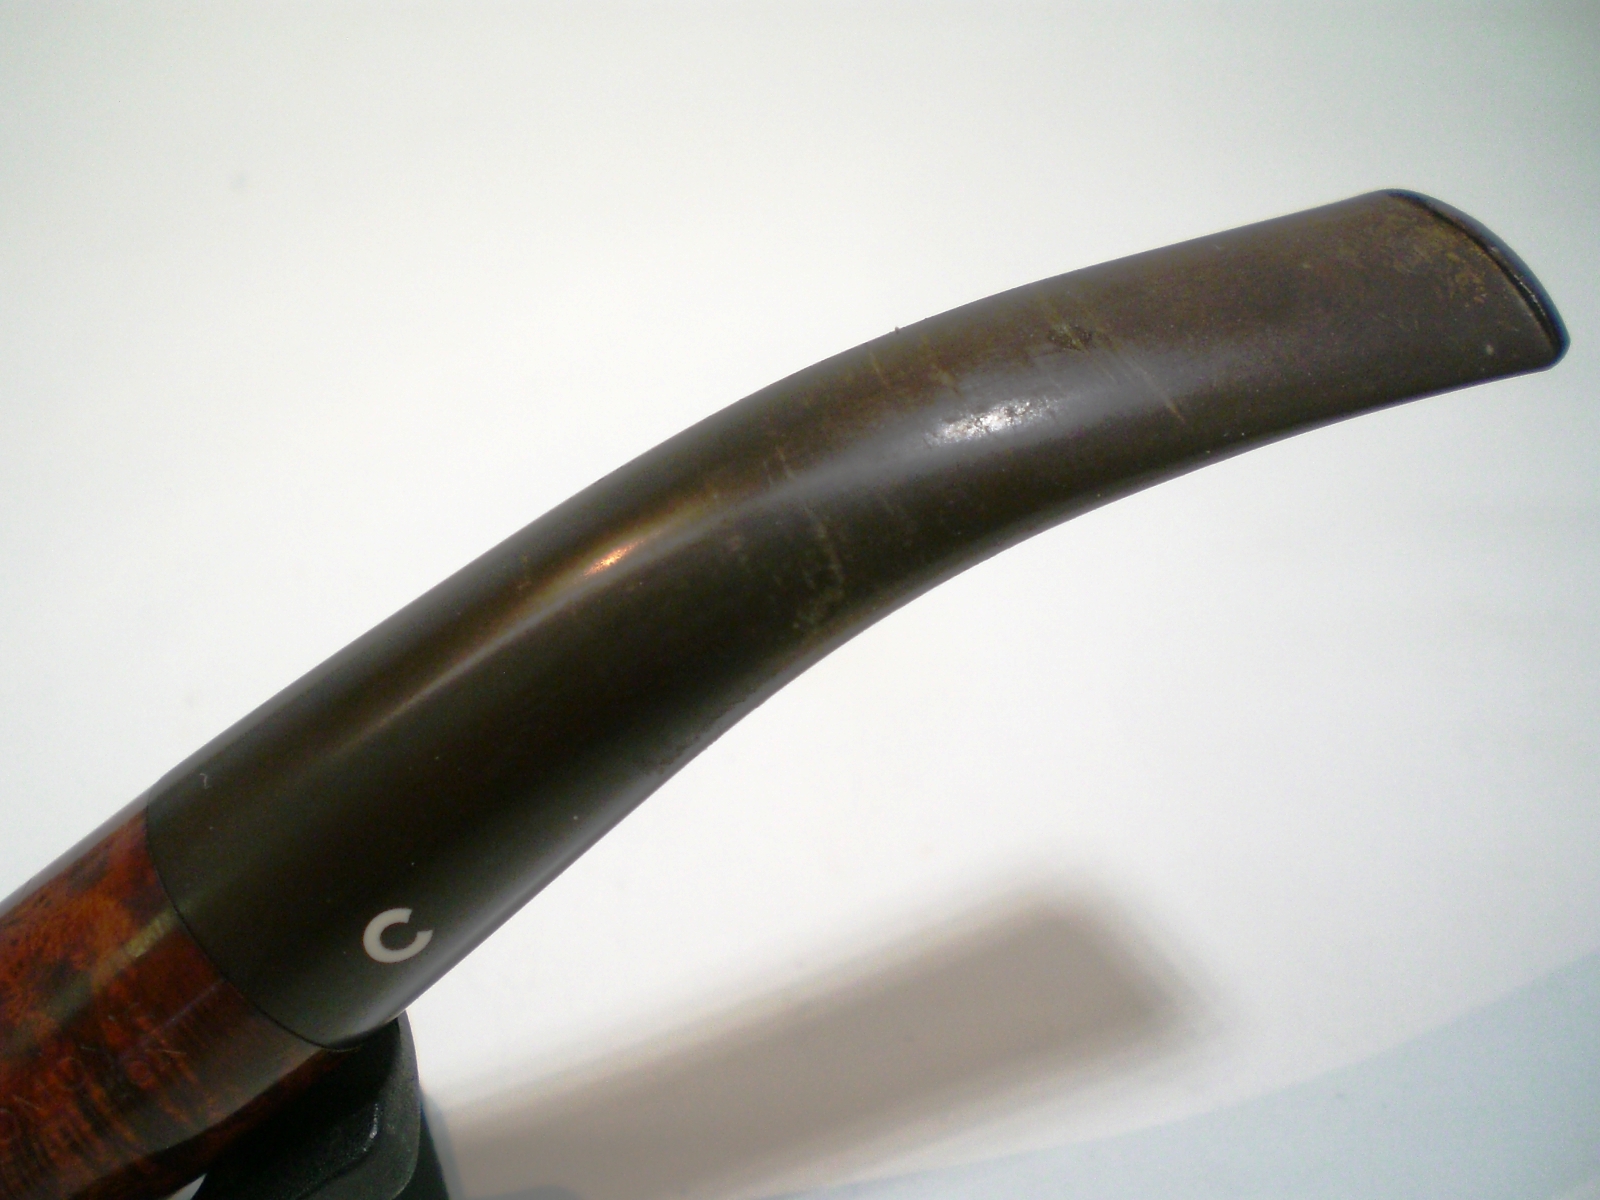
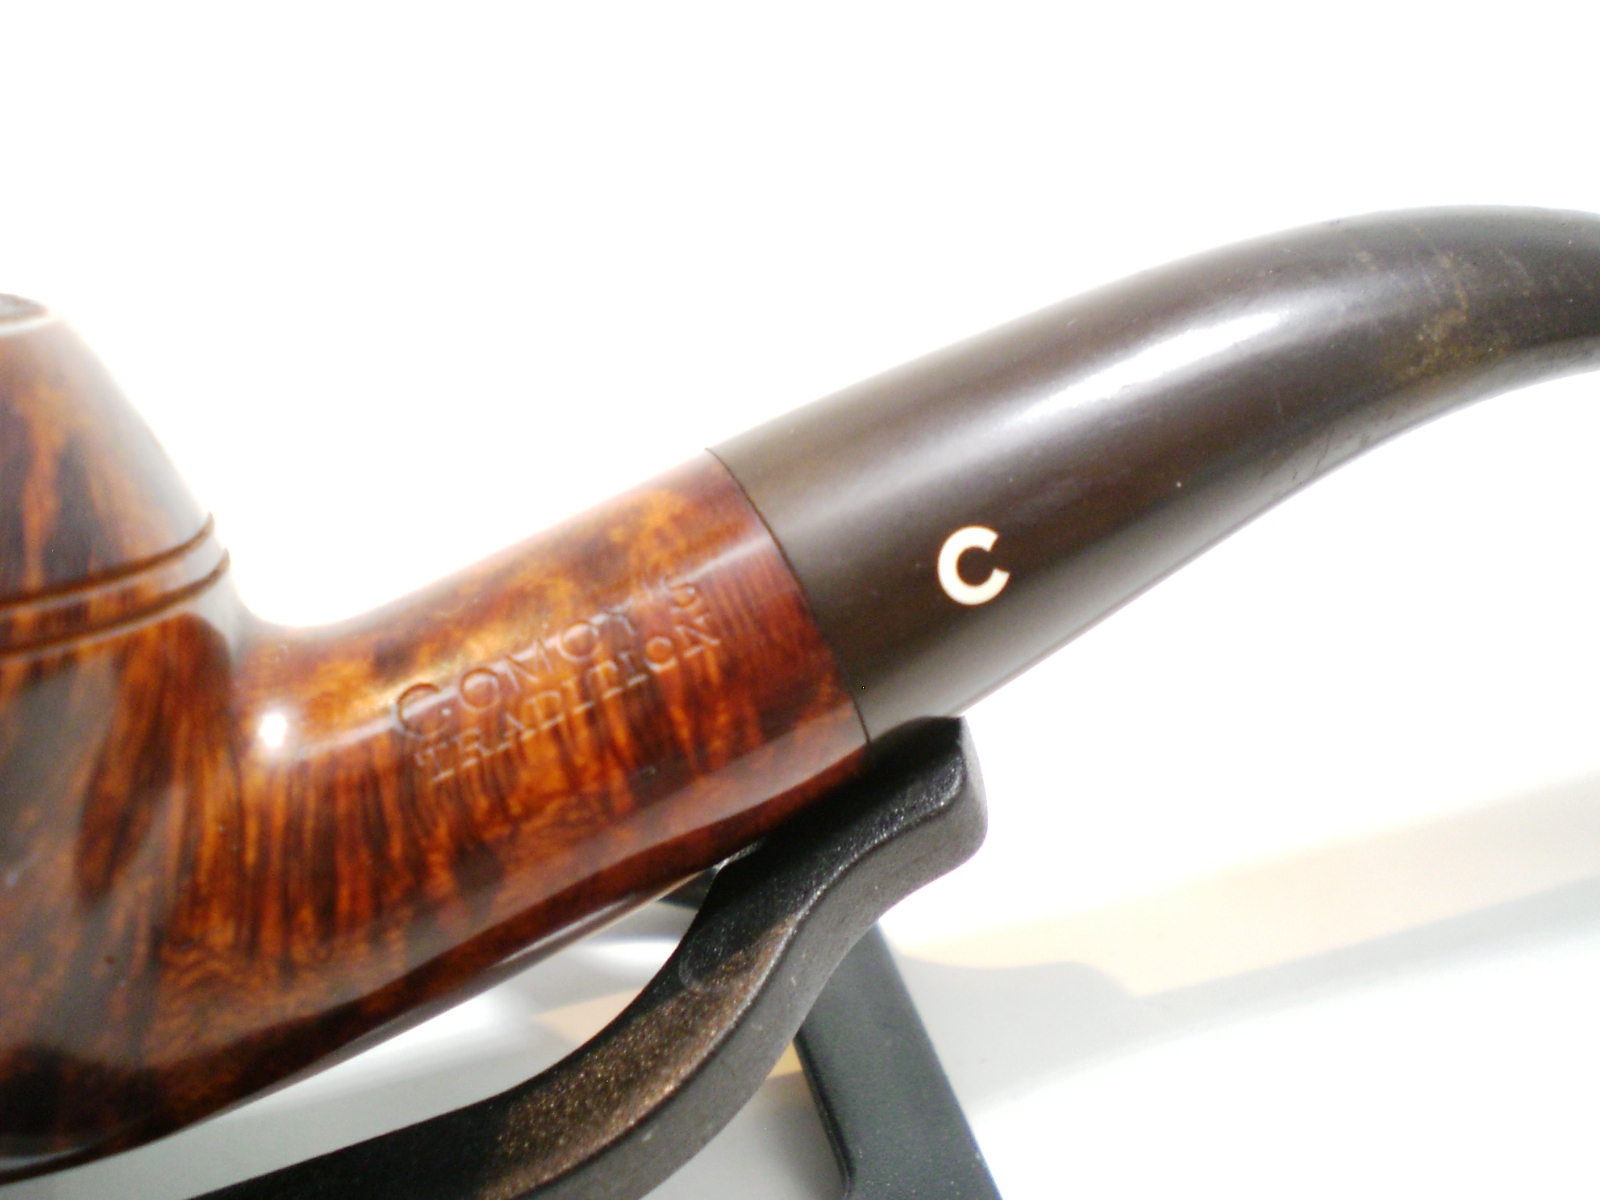
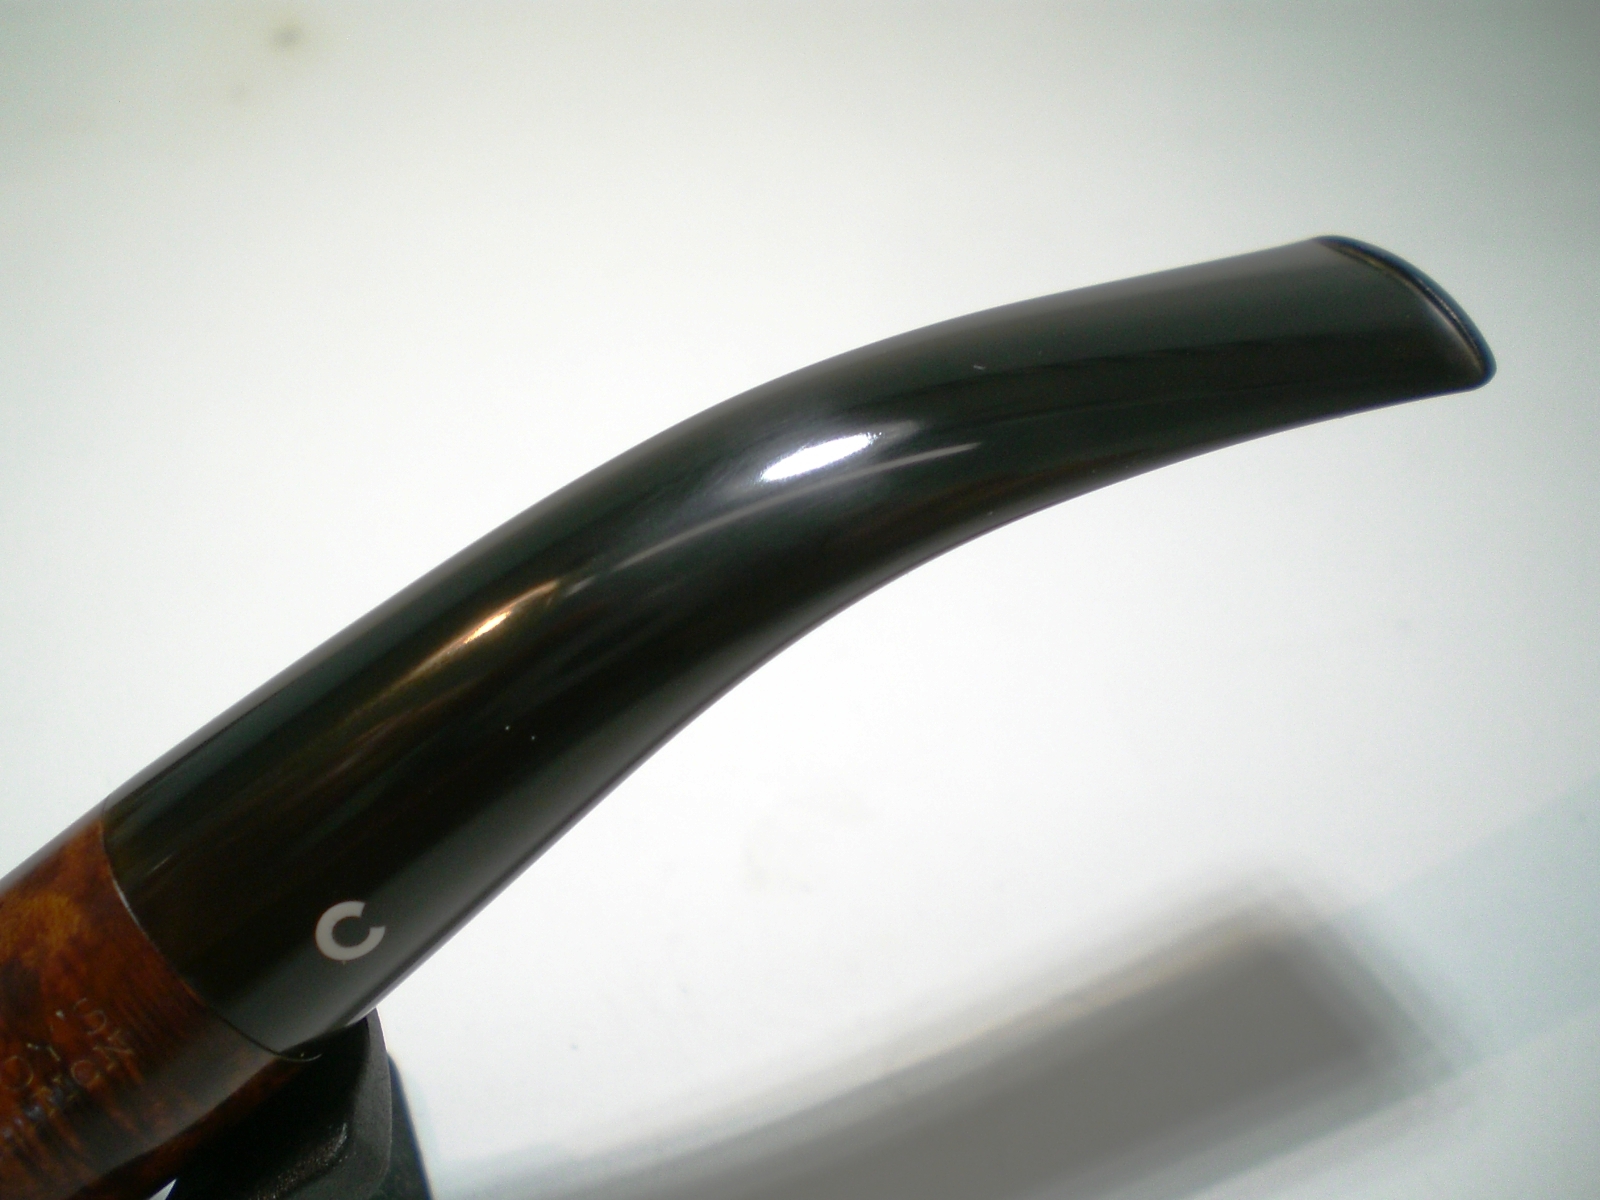
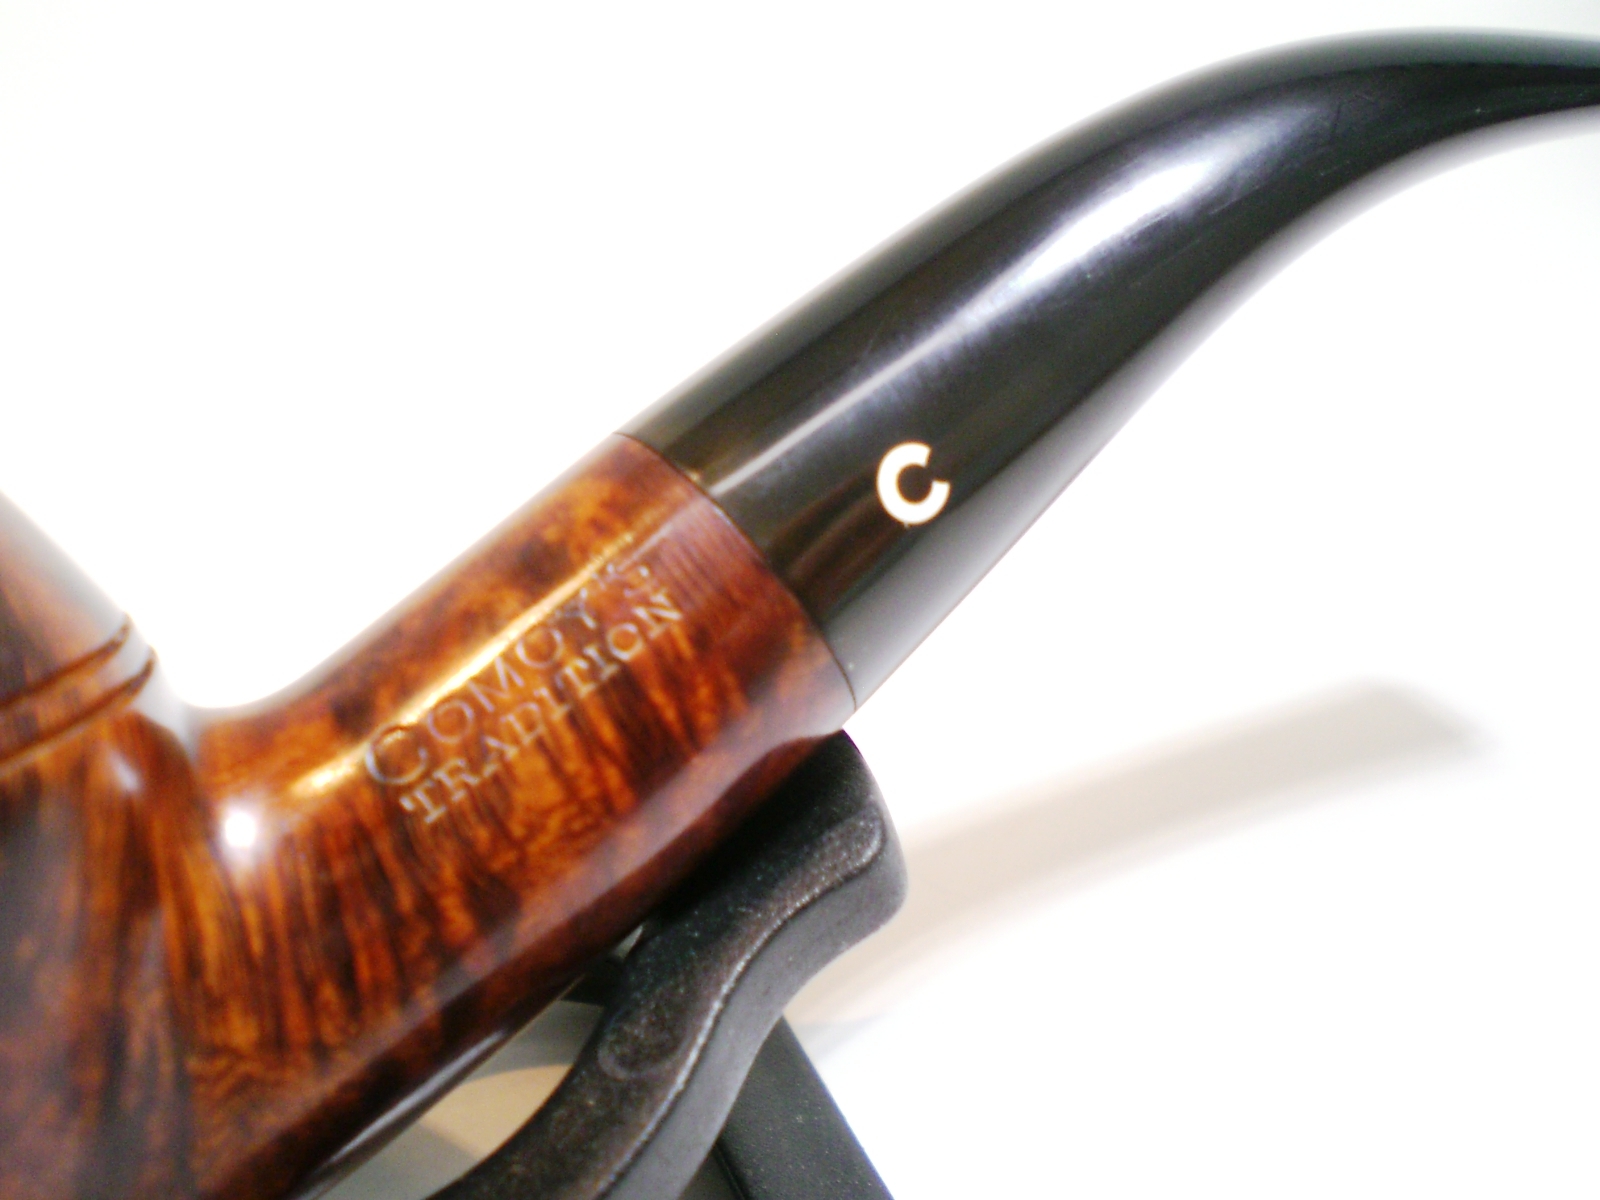
The pipe was in excellent condition, bowl and stem. There were only the slightest handling marks and the bowl top was not scorched. The stem, while oxidized only had two tiny teeth marks on the button. The three piece “C” logo was in perfect condition. I love working on Comoys stems, they just seem to shine more brilliantly than other British made vulcanite stems of that era.
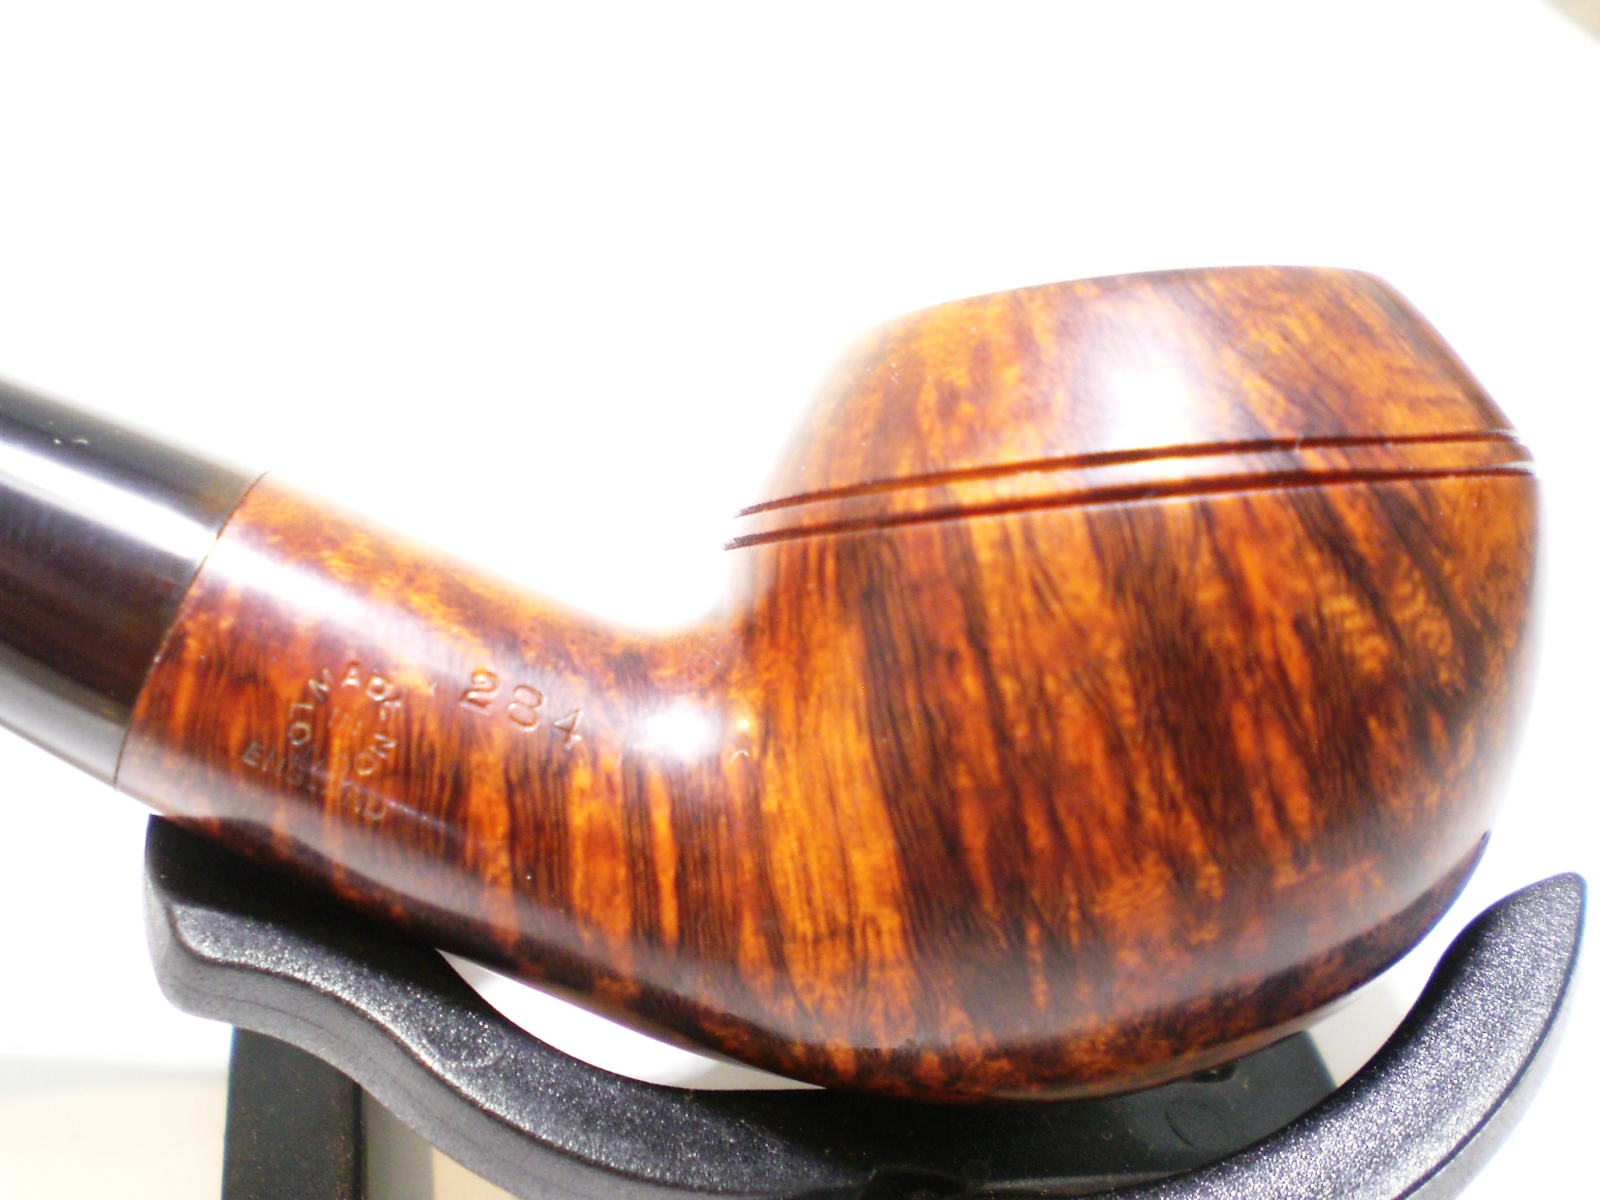
The stamping of “Comoy’s” with the slightly larger “C” and the apostrophe was started in the 1950’s and the round “Made In London” with England below was also used in that era. The pipe could have been made from the 1950’s to the end of the Cadogan era in 1982 (give or take!).

Comoys_284_Before

Comoys_284_Before (8)

Comoys_284_Before (4)

Comoys_284_Before (3)

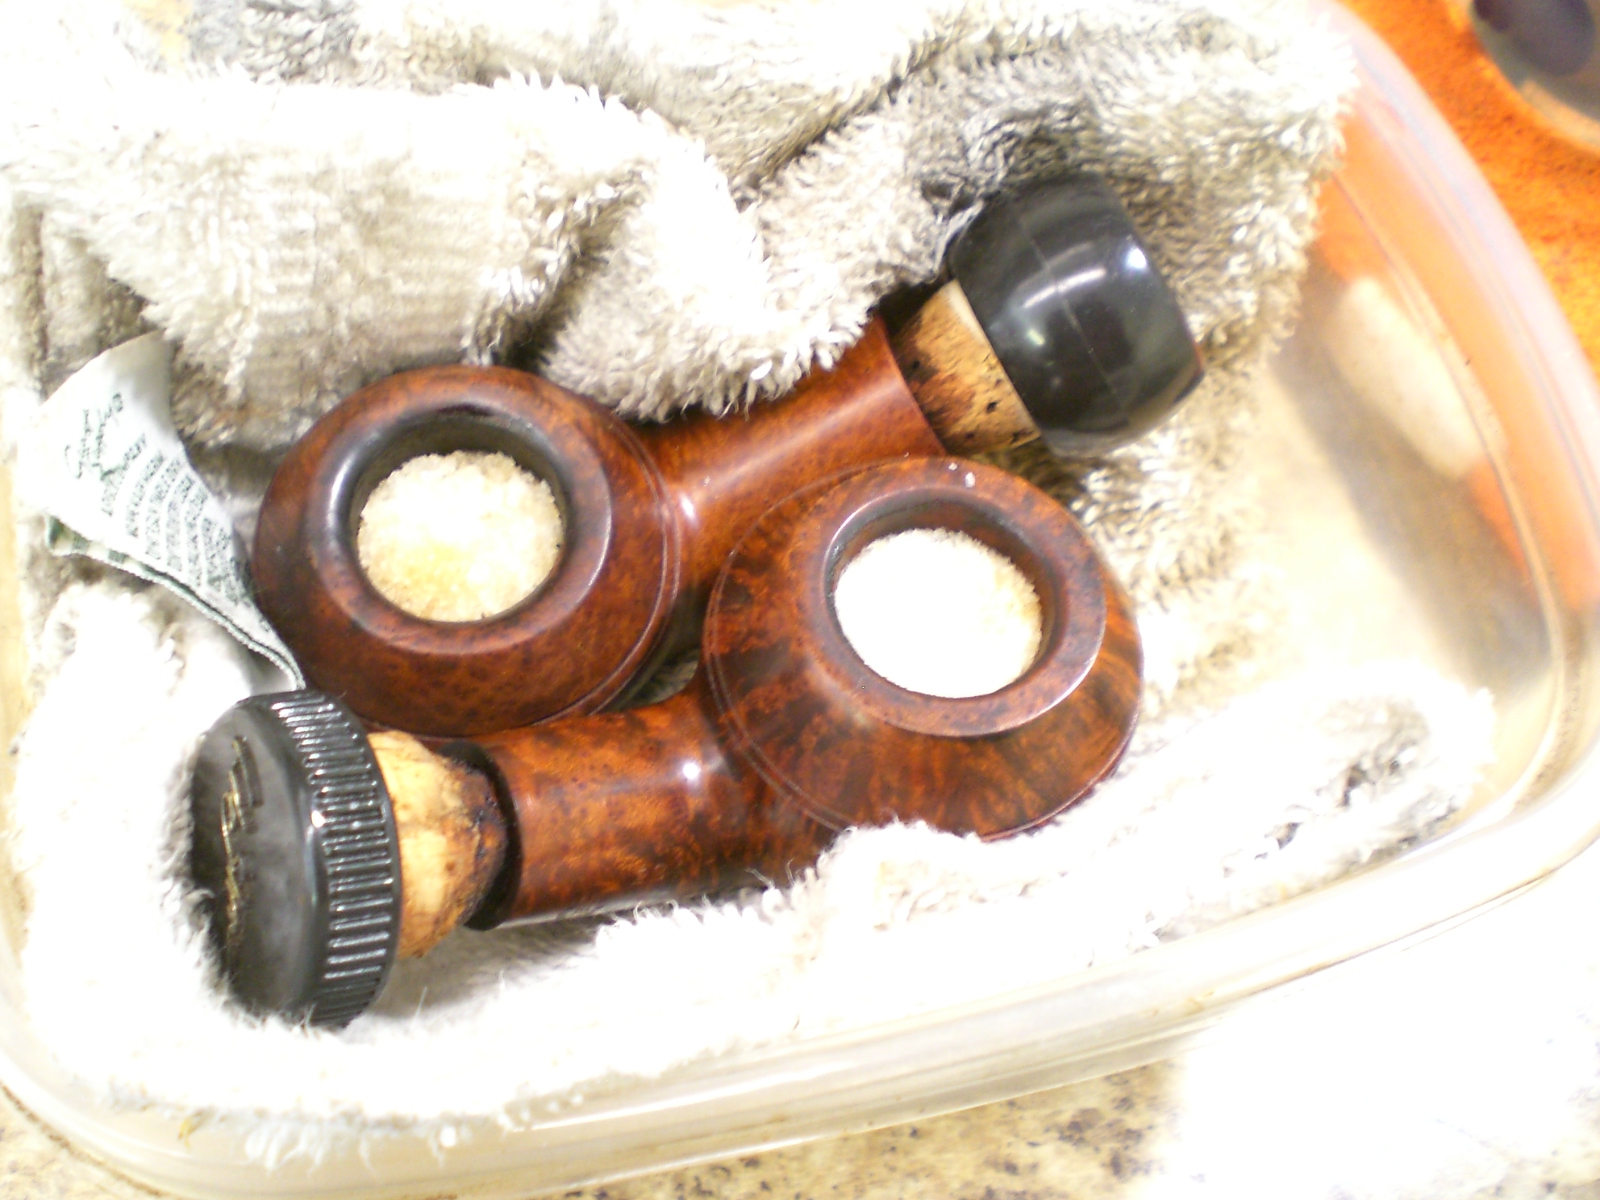
I soaked the bowl in salt and Isopropyl alcohol. Here the pipe is shown along with another project, a GBD 9438 Century. I put a dab of grease on the stem logo and soaked the stem for several hours in a mild Oxyclean/water solution to loosen the oxidation.
CIMG1104

CIMG1103

The bowl only required a light buff with white diamond and then a few coats of Carnuba wax. The nomenclature is quite strong and I didn’t want to damage it.

I started removing the stem oxidation with 800 grit wet paper and then moved thru 1000, 1500 and 2000 grades. I used the 8000 and 12000 grade Micromesh papers before going to the buffing wheel. The stem was buffed lightly with White Diamond and then Meguiars Plastic Polish.

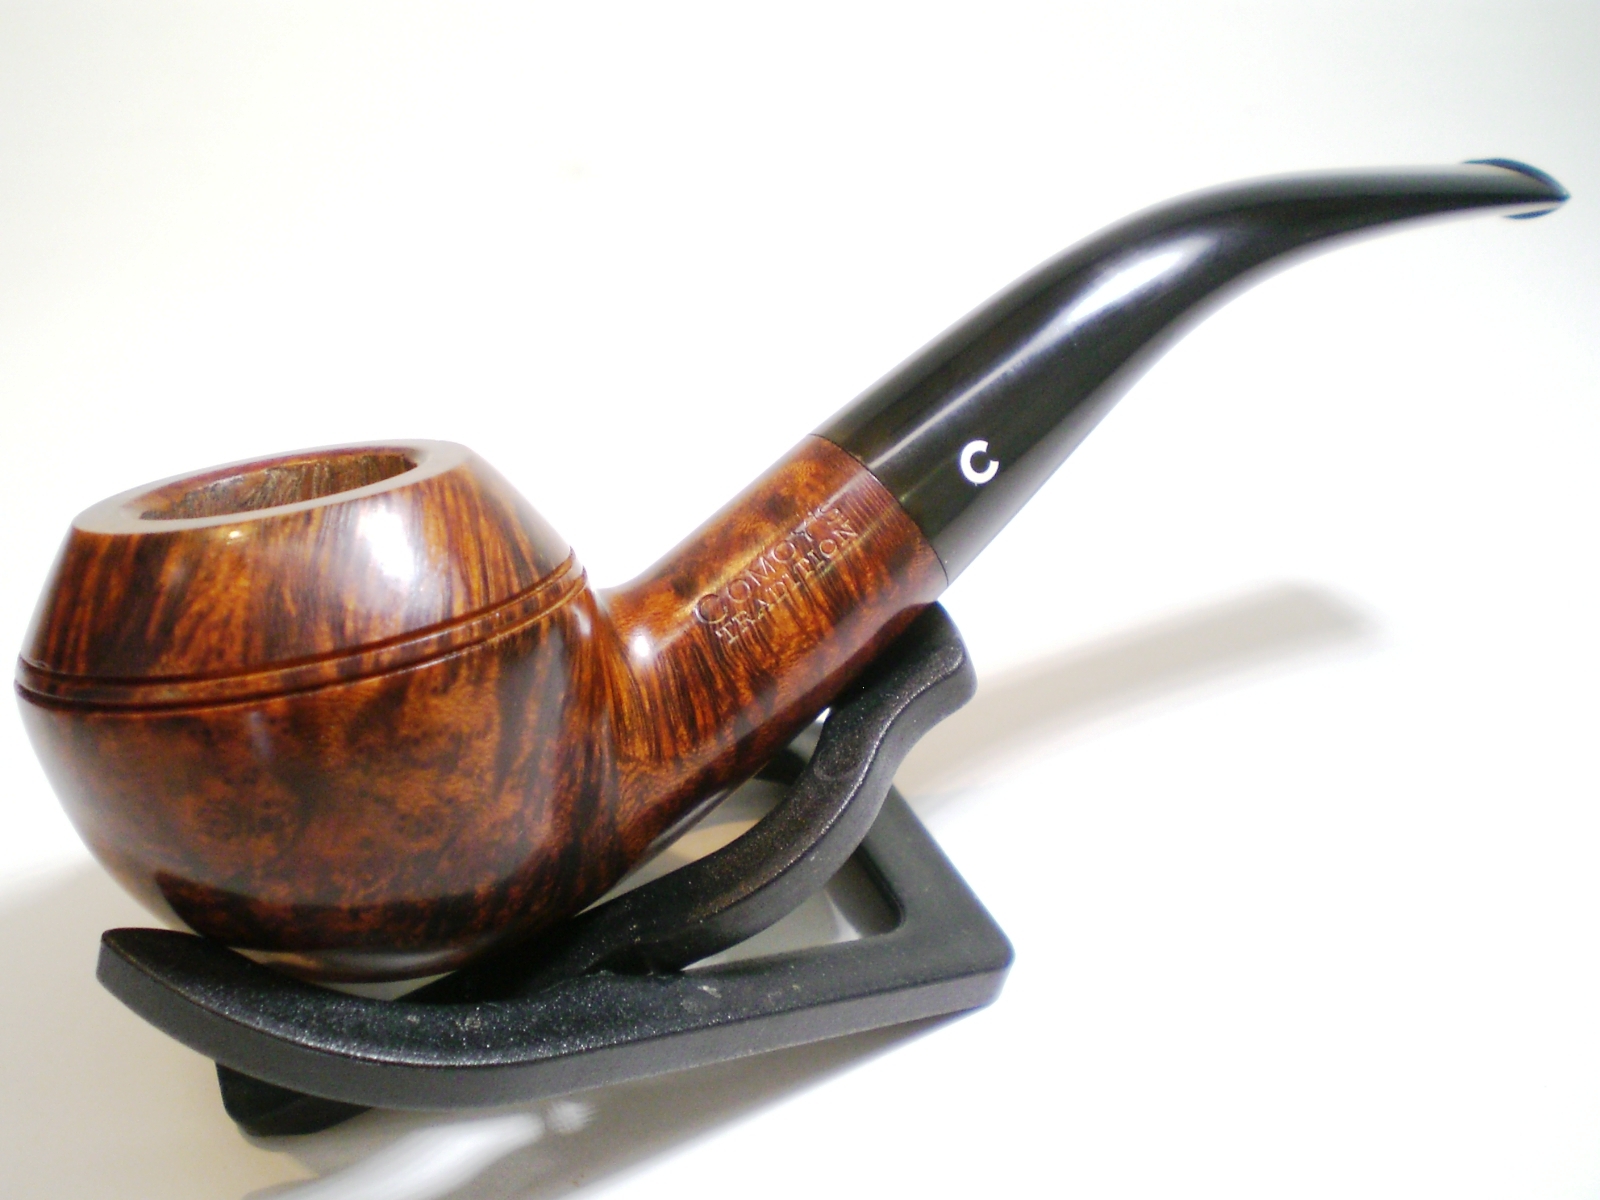
Below is the finished pipe. I’m thrilled to add this one to my collection of Rhodesian pipes and look forward to breaking it in later this evening.

Comoys_284_Gallery (6)

Comoys_284_Gallery (5)

Comoys_284_Gallery (4)

Comoys_284_Gallery (2)

Comoys_284_Gallery (1)

Comoys_284_Gallery

Comoys_284_Gallery (3)

Sasieni “Viscount Lascelles” XS Restoration


Blog by Al Jones

I picked up this Sasieni Four Dot Natural at the NYC show yesterday. It looked to be in very good condition, requiring only a mild clean-up. I knew from the “Four Dot” “London Made” stamping that it was made between 1946 and 1979. The pipe has the football shaped “Made In London” stamp on the other side and “XS”. Curiously, it was missing the name of a London town. At home, I could see some additional stamping and with a magnifying glass, I could read “Viscount Lascelles”. I googled that name and discovered that according to the Stephen Smith article, the Viscount Lascelles was the model name and a rare model.

http://murderofravens.org/my-sasieni-pipe-article/

The bowl had some build-up on the top which I thought might be some scorching. The stem had the faintest of teeth marks and was in overall excellent shape and only lightly oxidized.

Sasieni_Four_Dot_XS_Before

Sasieni_Four_Dot_XS_Before (1)

Sasieni_Four_Dot_XS_Before (3)

Sasieni_Four_Dot_XS_Before (8)

Sasieni_Four_Dot_XS_Before (2)

I reamed the cake from the bowl and I could see despite the thick cake, the bowl was in very good condition. Most of the build-up on the bowl top rubbed off with some distilled water and a soft cloth. I soaked the bowl with some 91 proof alcohol and sea salt. The shank was cleaned with a bristle brush and alcohol.
Sasieni_Four_Dot_XS_Before (7)

The bowl didn’t need much else and was buffed lightly with White Diamond and then carnuba wax. I stayed away from the nomenclature to preserve it.

The stem was sanded with 1500 and 2000 grit paper, then 8000 and 12,000 grade micromesh sheets. I buffed it lightly with white diamond and then a plastic polish.

I hand waxed the briar with some Paragon wax.

Here is the finished pipe.

Sasieni_Four_Dot_XS_Finished

Sasieni_Four_Dot_XS_Finished (4)

Sasieni_Four_Dot_XS_Finished (7)

Sasieni_Four_Dot_XS_Finished (6)

Sasieni_Four_Dot_XS_Finished (5)

Sasieni_Four_Dot_XS_Finished (3)

Sasieni_Four_Dot_XS_Finished (1)

Barling’s Guinea Grain Restoration


A member on the Pipe Smokers Forum recently acquired this Barling’s “Guinea Grain” pipe and I jumped at the opportunity to restore it for him. I don’t currently own a Barling’s pipe, but recent posts by brand authority, Jesse Silver, had piqued my interest. In conversation with Jesse about the pipe, he shared that “Guinea Grains are a higher grade designation and distinctive for several reasons. They’re the only Family Era pipes with a cursive “Barling’s” logo and they’re the only pipes that Barling also used oil in the curing process to bring out the contrast of the grain.” I enjoyed learning more about this fabled British pipe maker as much as working on it. I need to thank Jesse for his input and information. It is really wonderful to have such a brand authority available for comment. Since the pipe is stamped “Barling’s” in the possessive, Jesse dates the pipe to the 1940’s as a pre-Transition piece. The pipe is stamped EXEXEL, a size grade started in 1940. It also has a very faint “Reg” stamp and the letter “E”. Jesse tells me this is most likely the remnant of EB WB (Edward and William Barling), whose initials form the Barling sterling makers stamp and were used as part of the company nomenclature. Their initials were used on 1940’s era Guinea Grain pipes.
The pipe as I received it.

Barlings_Guinea_Before

Barlings_Guinea_Before (7)

Barlings_Guinea_Before (1)

Barlings_Guinea_Before (5)

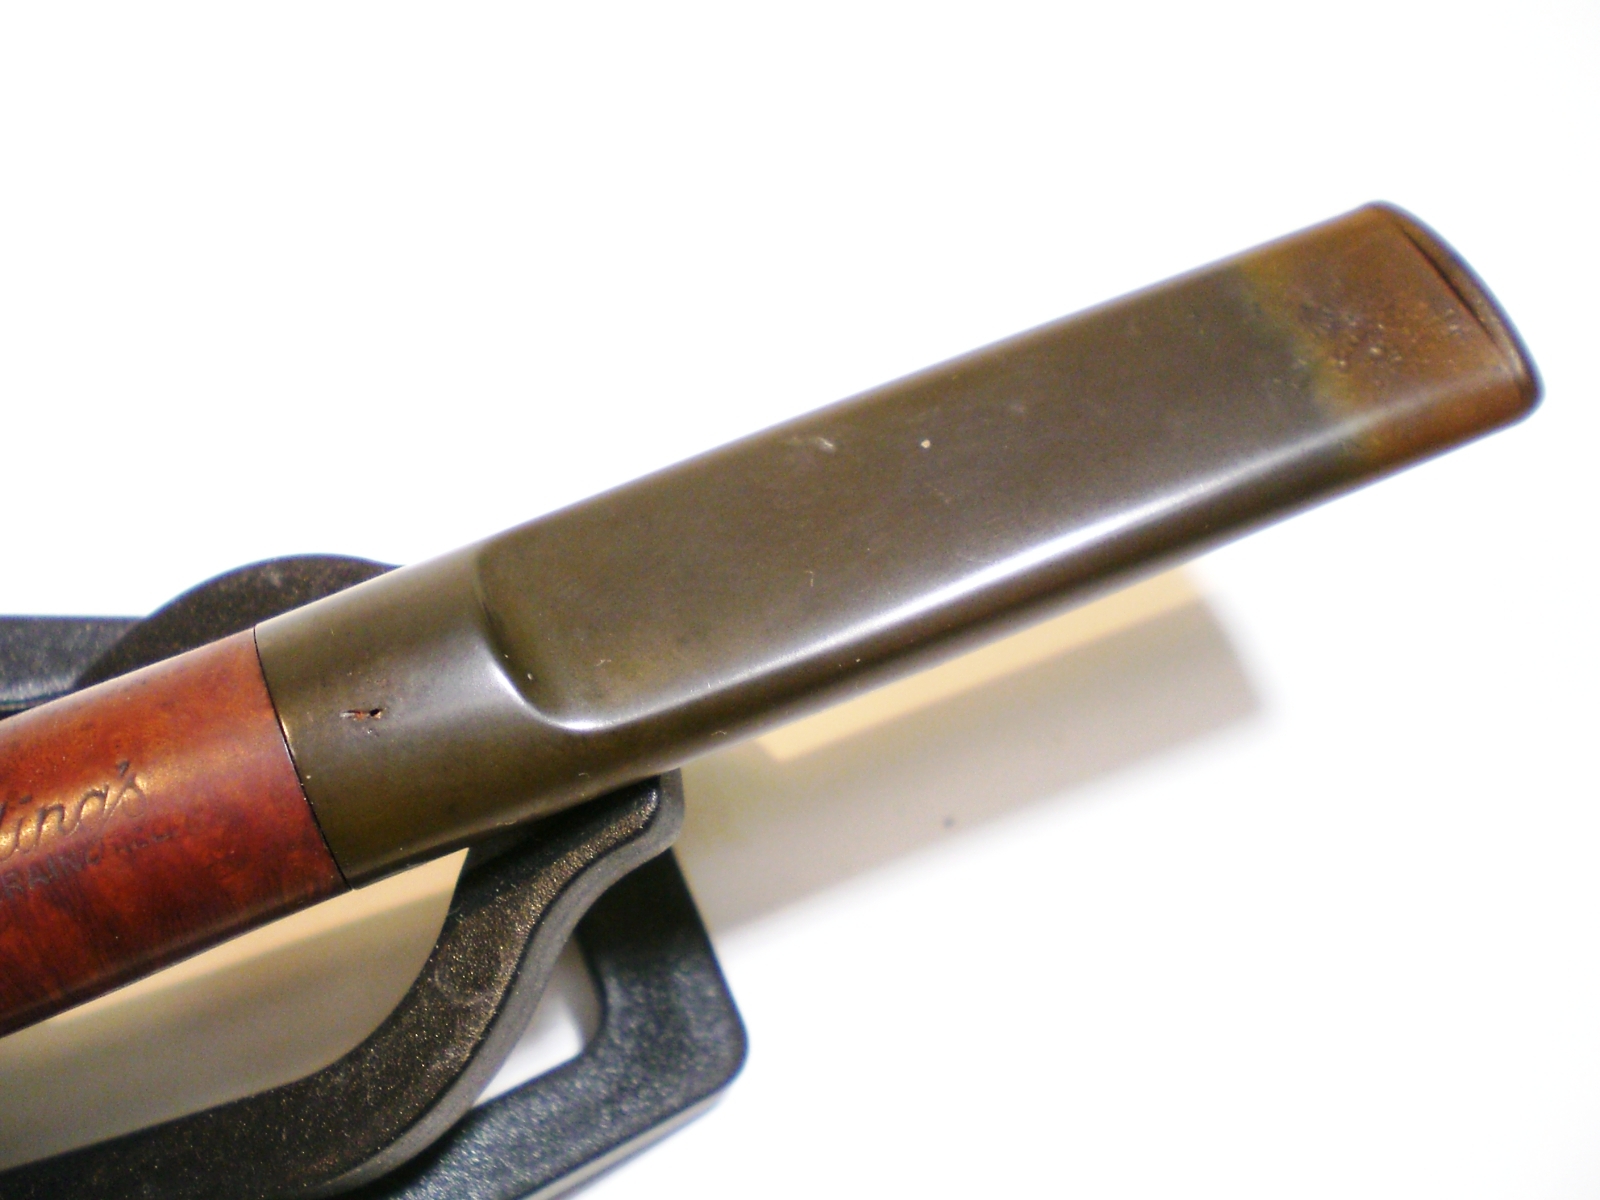
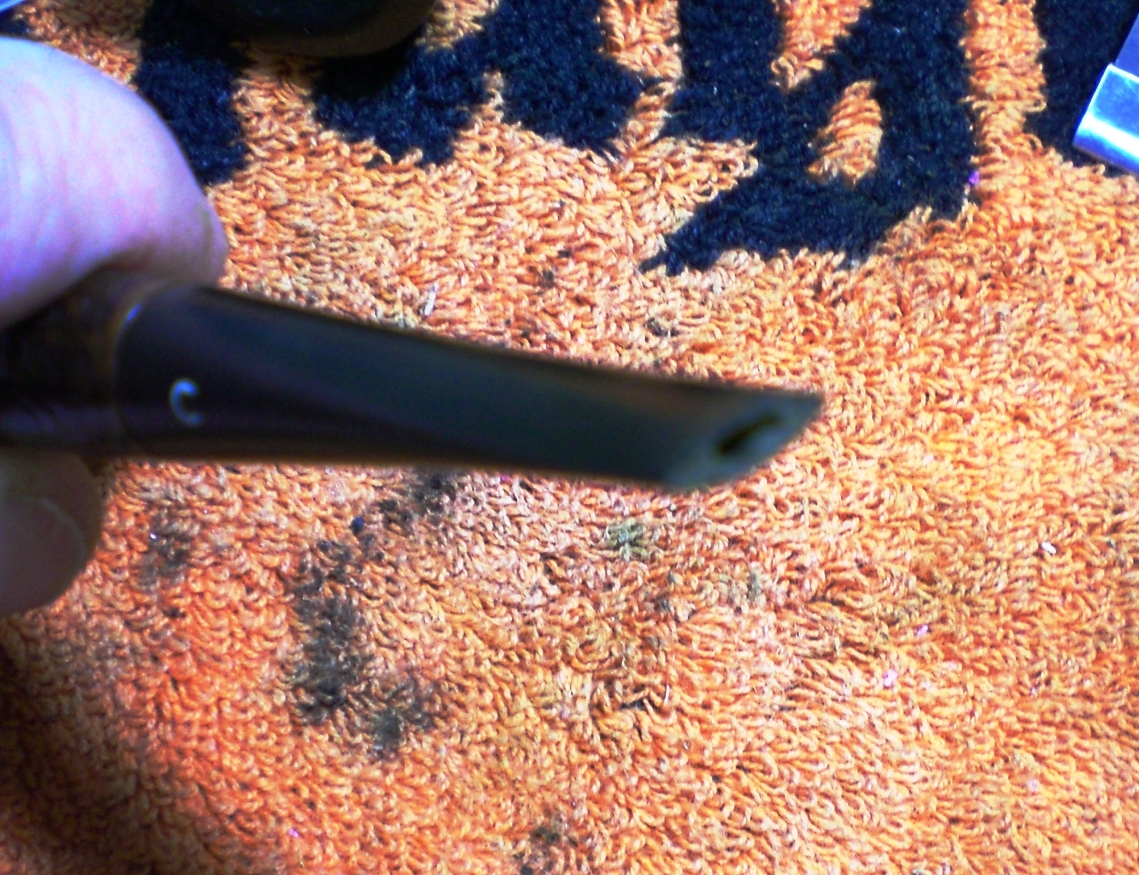
When the pipe arrived, it had heavy tar build-up on the bowl top and many dings and cuts in the briar. The stem was in relatively good condition with only surface teeth abrasions and no dents. Curiously, there was what appeared to be a pinhole near where the Barling’s Cross stem logo would be placed. There was no remnant left of the logo, even under magnification. At first, I thought the stem might be a replacement, but the button ends appears to have the distinctive ovalized and funneled button.
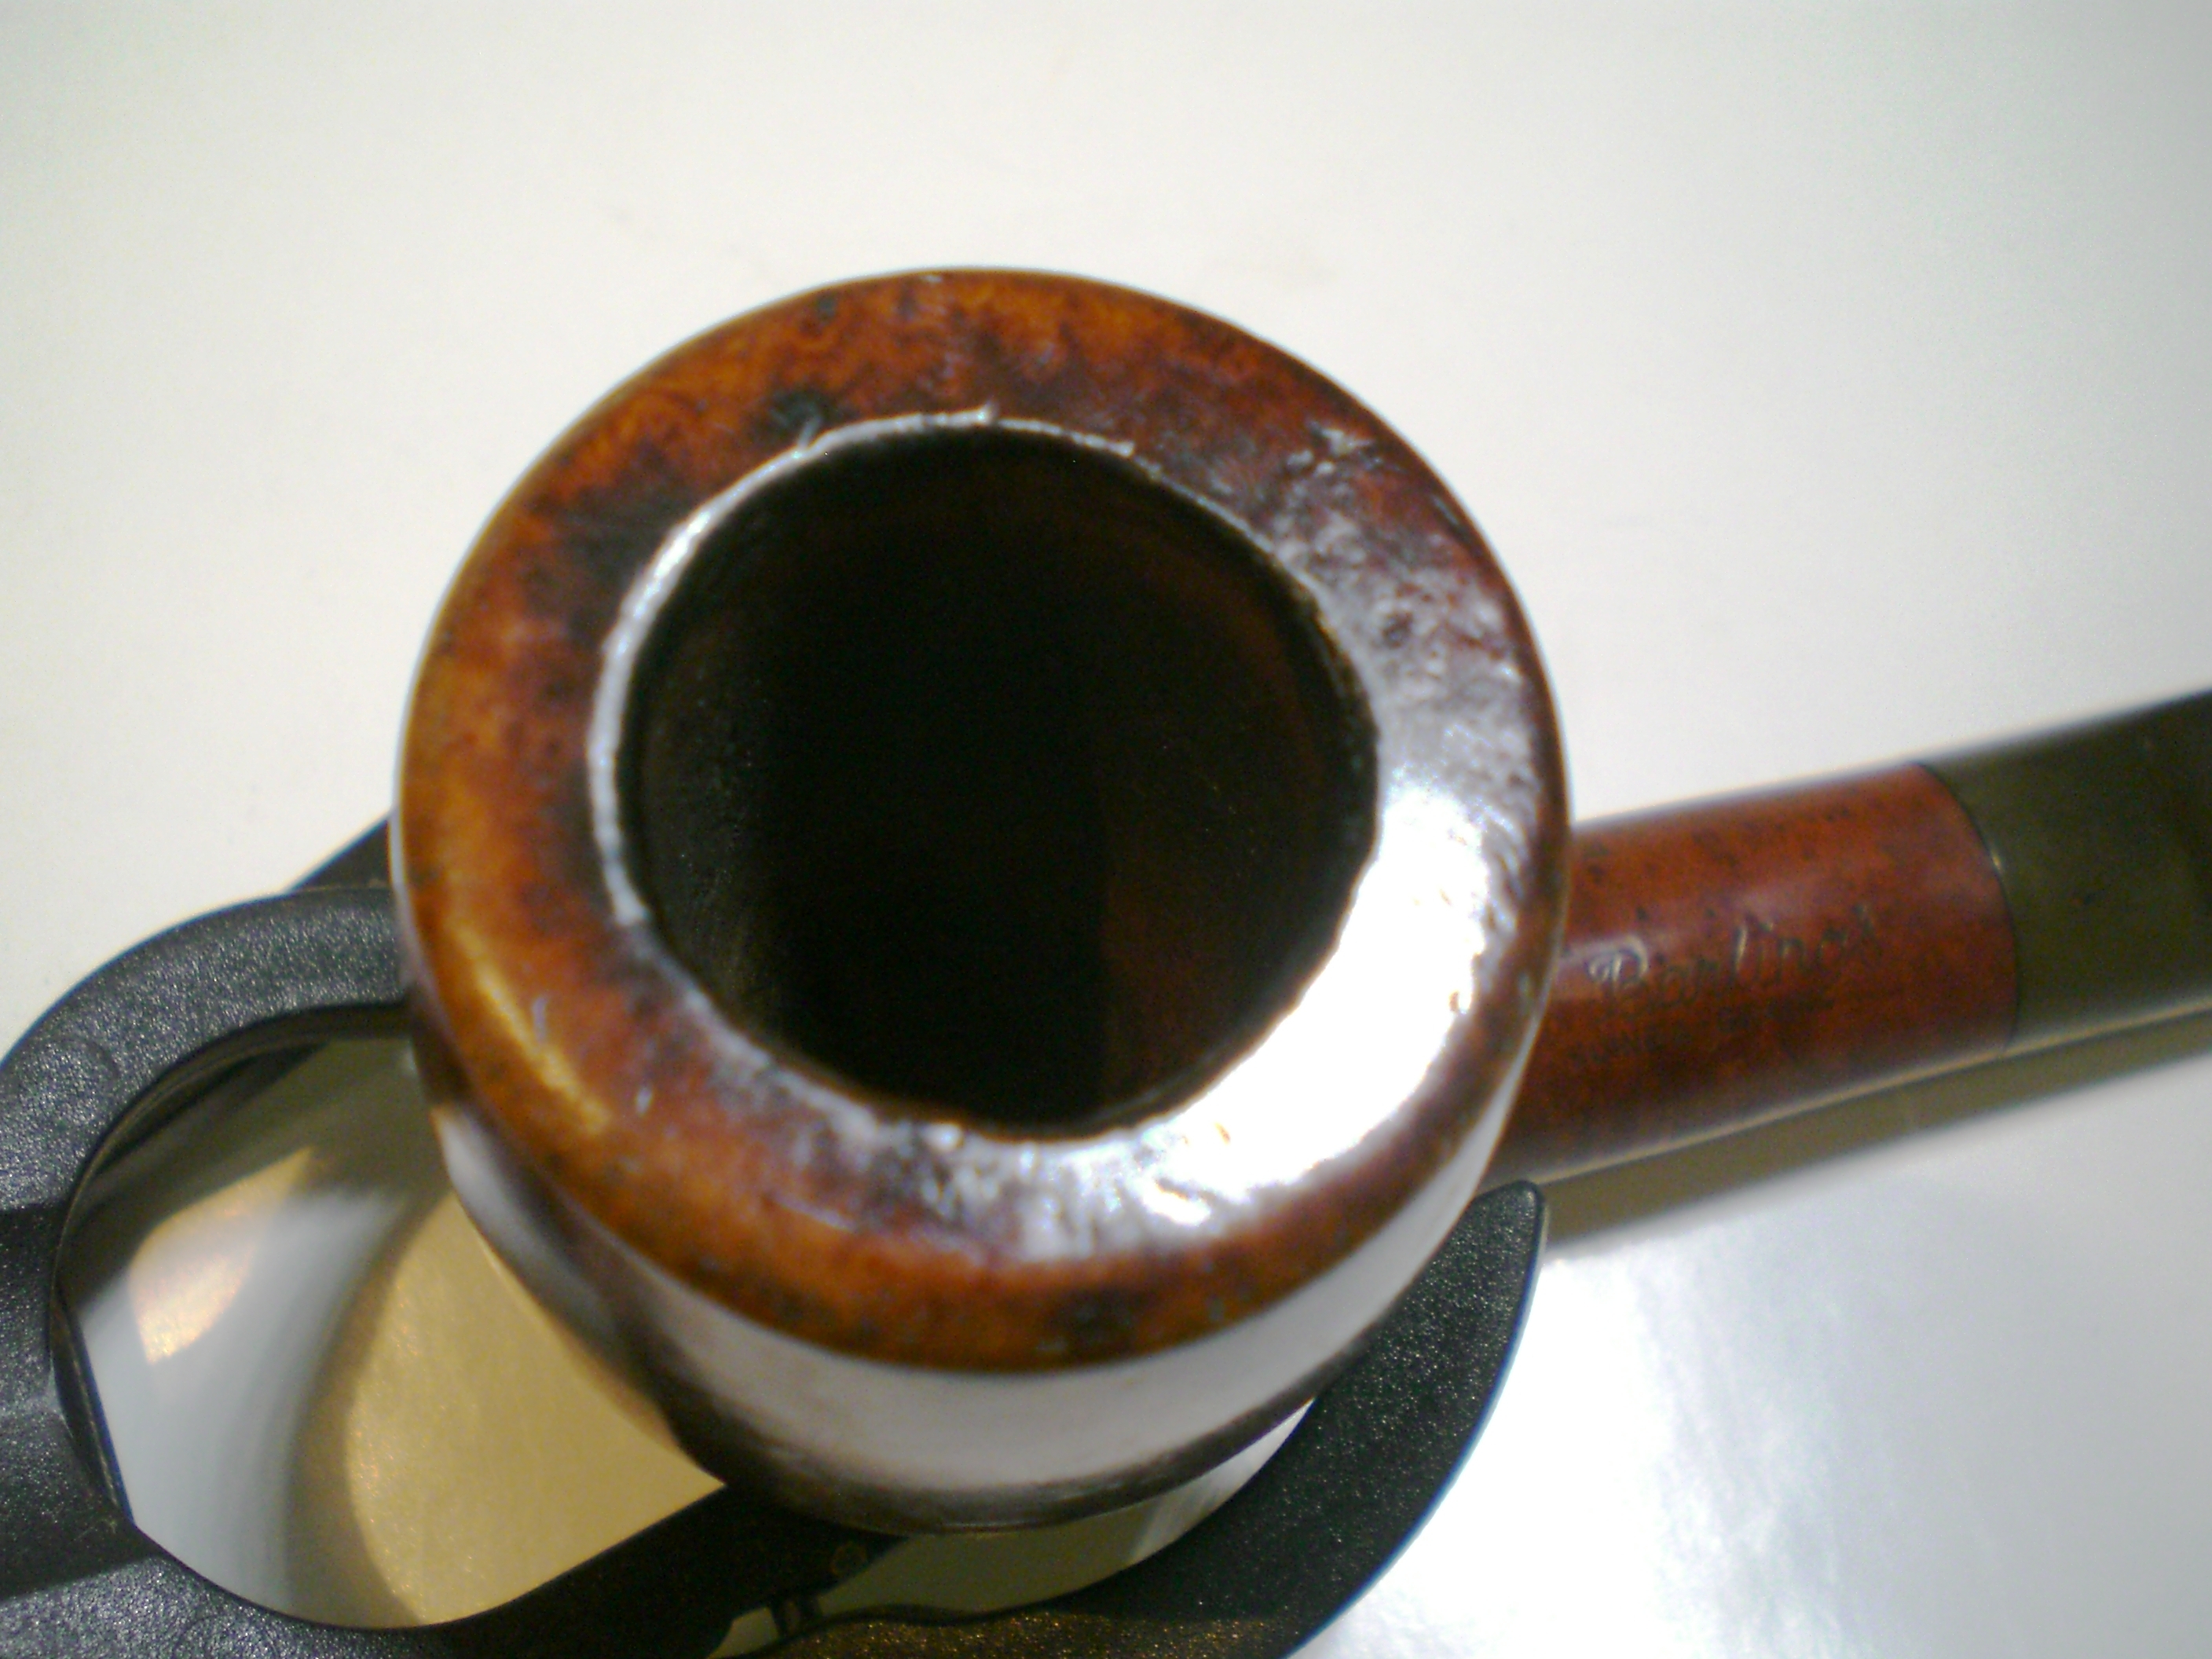
The bowl had a heavy caked which was reamed and then soaked with alcohol and sea salt. While the bowl was reamed a little out of round, the interior of the bowl was in relatively good condition. The bowl top had a number of scars and dings. I have been using Mike Gluklers method of soaking the tar covered bowl tops in just a millimeter or two of distilled water to soften the build-up. I removed it with a cotton cloth using the distilled water. There is some rim darkening, but I didn’t want to sand the rim and restain and think the patina fits the pipe

Barlings_Guinea_Progess (4)

Using a dinner knife heated by a propane torch and a wet cloth, I went to work on the numerous dents and cuts. Some lifted out completely, others were minimized. I wasn’t able to do much about the chatter around the bowl rim. I suspect the previous owner knocked ash out of the bowl. Staying away from the valuable nomenclature, the bowl and rim was buffed with white diamond and several coats of carnuba wax. I gave the nomenclature area a hand-wax with Halycon pipe wax.

I put a drop of black superglue on the hole in the briar. After it was dry, I sanded off the worst of the oxidation with some 800 grit wet paper. I then moved to 1500 and 2000 grades wet paper and finally 8000 and 12000 grades of micromesh. I used a slim knife blade to hold the paper into the button crease to remove that oxidation. Then the stem was buffed lightly with white diamond and finally a plastic polish. The Barling’s stem has a unique feel to it, unlike my similar era Comoys or Charatan stems. The button air hole shapiong shows a lot of care was shown making the stem. (and also makes me think it is an original Barling’s stem).

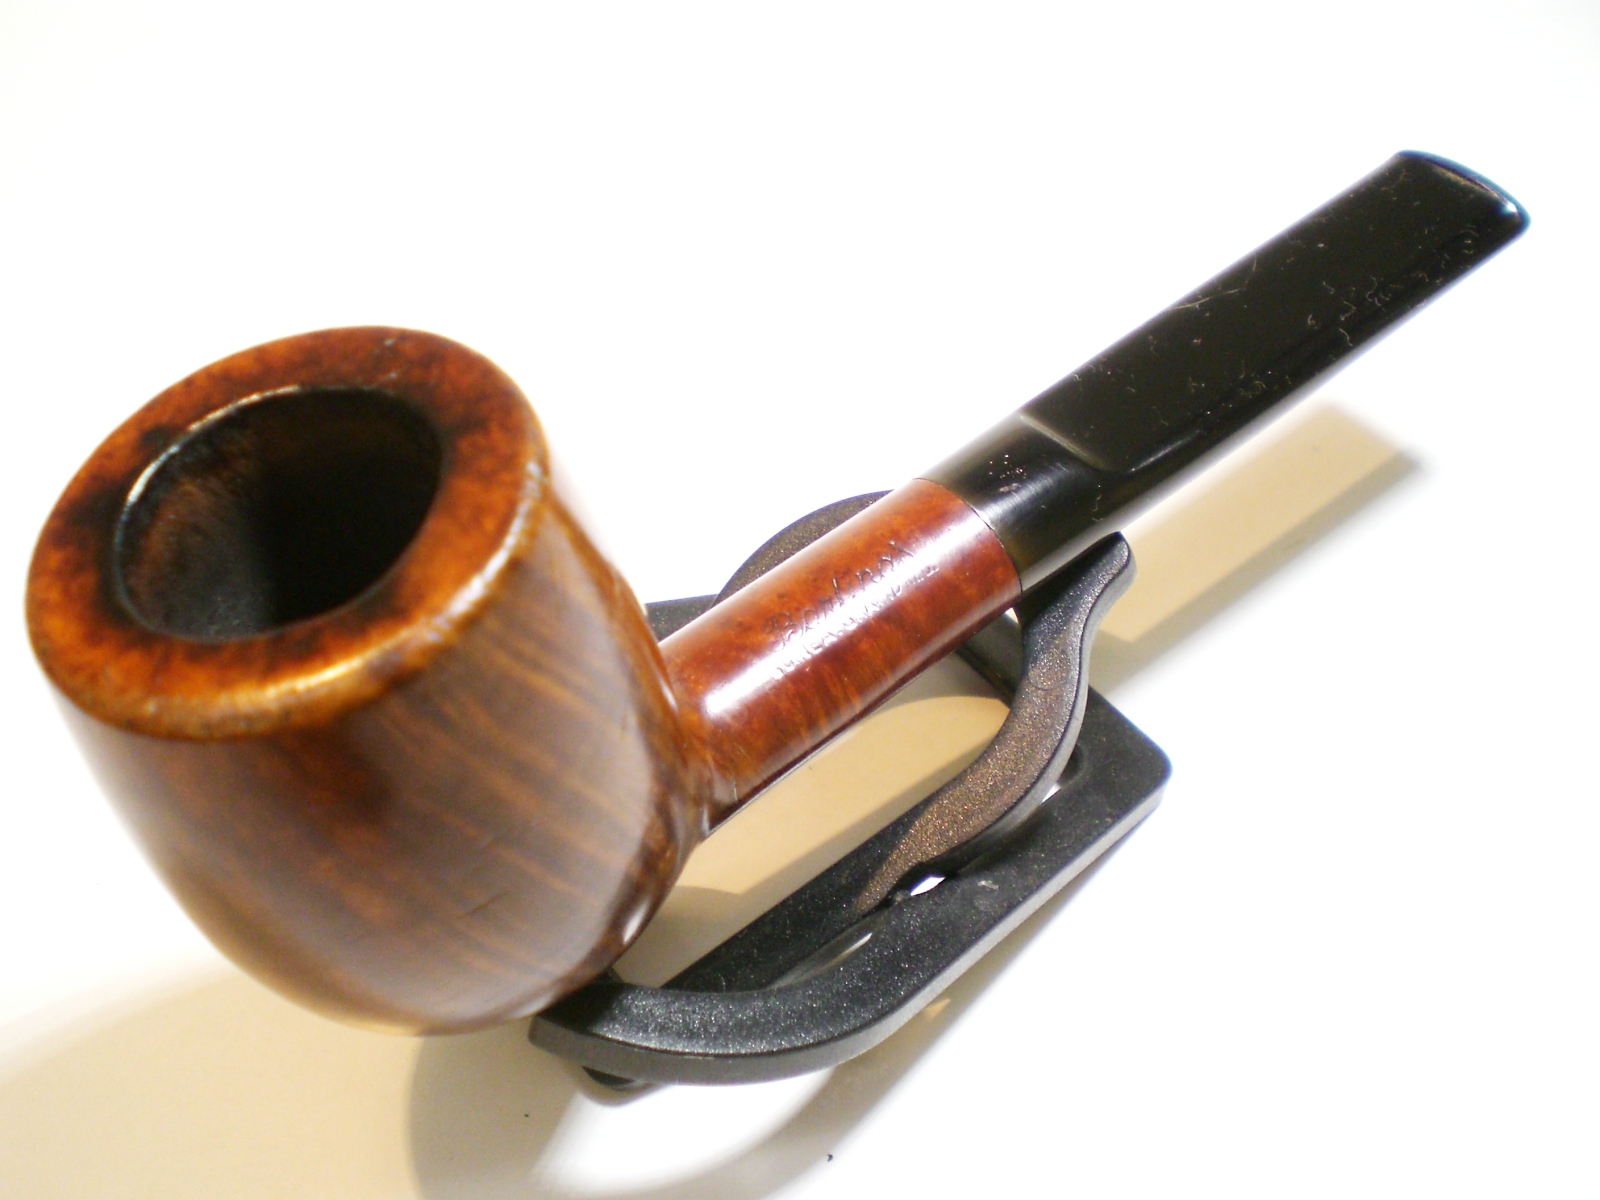
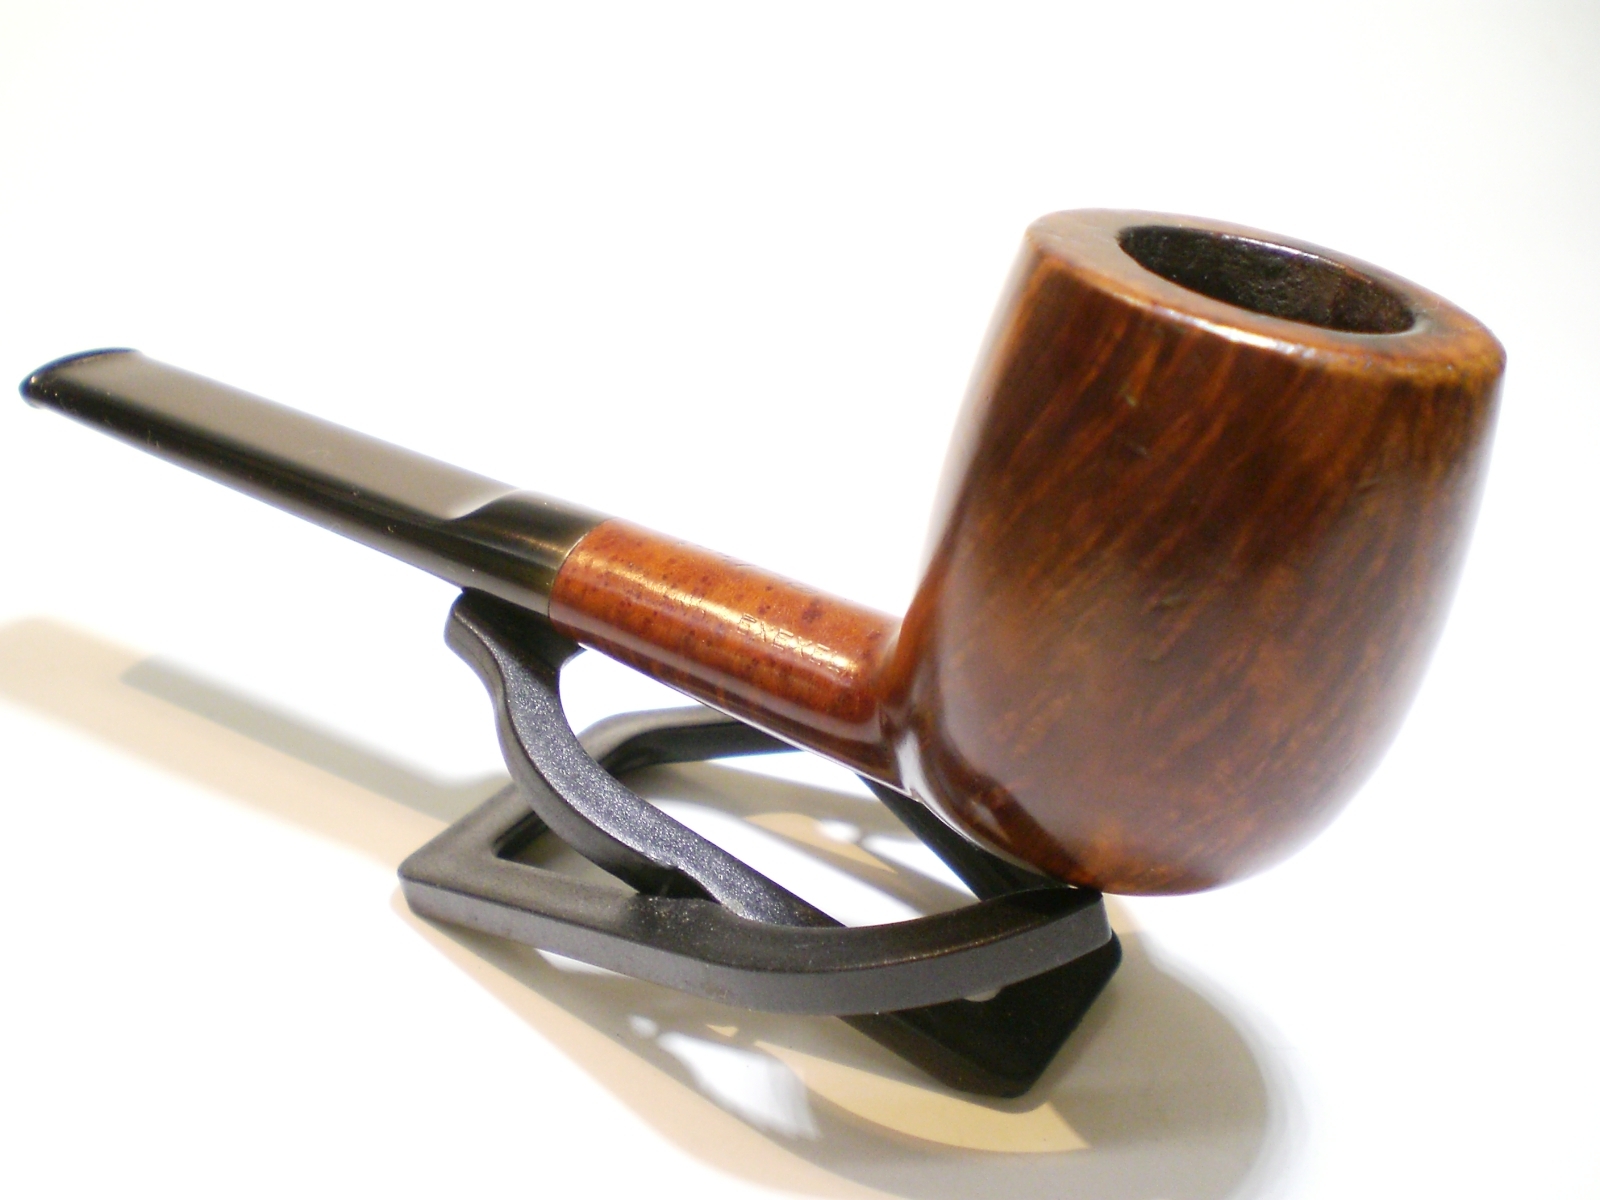
And finally, the finished pipe.

Barlings_Guinea_Grain_Finished-1

Barlings_Guinea_Grain_Finished-2

Barlings_Guinea_Grain_Finished-4

Barlings_Guinea_Grain_Finished-5

Barlings_Guinea_Grain_Finished-8

Barlings_Guinea_Grain_Finished-7

Barlings_Guinea_Grain_Finished-9

Barlings_Guinea_Grain_Finished-10

Comoys Stems – New Buttons


Blog by Al Jones

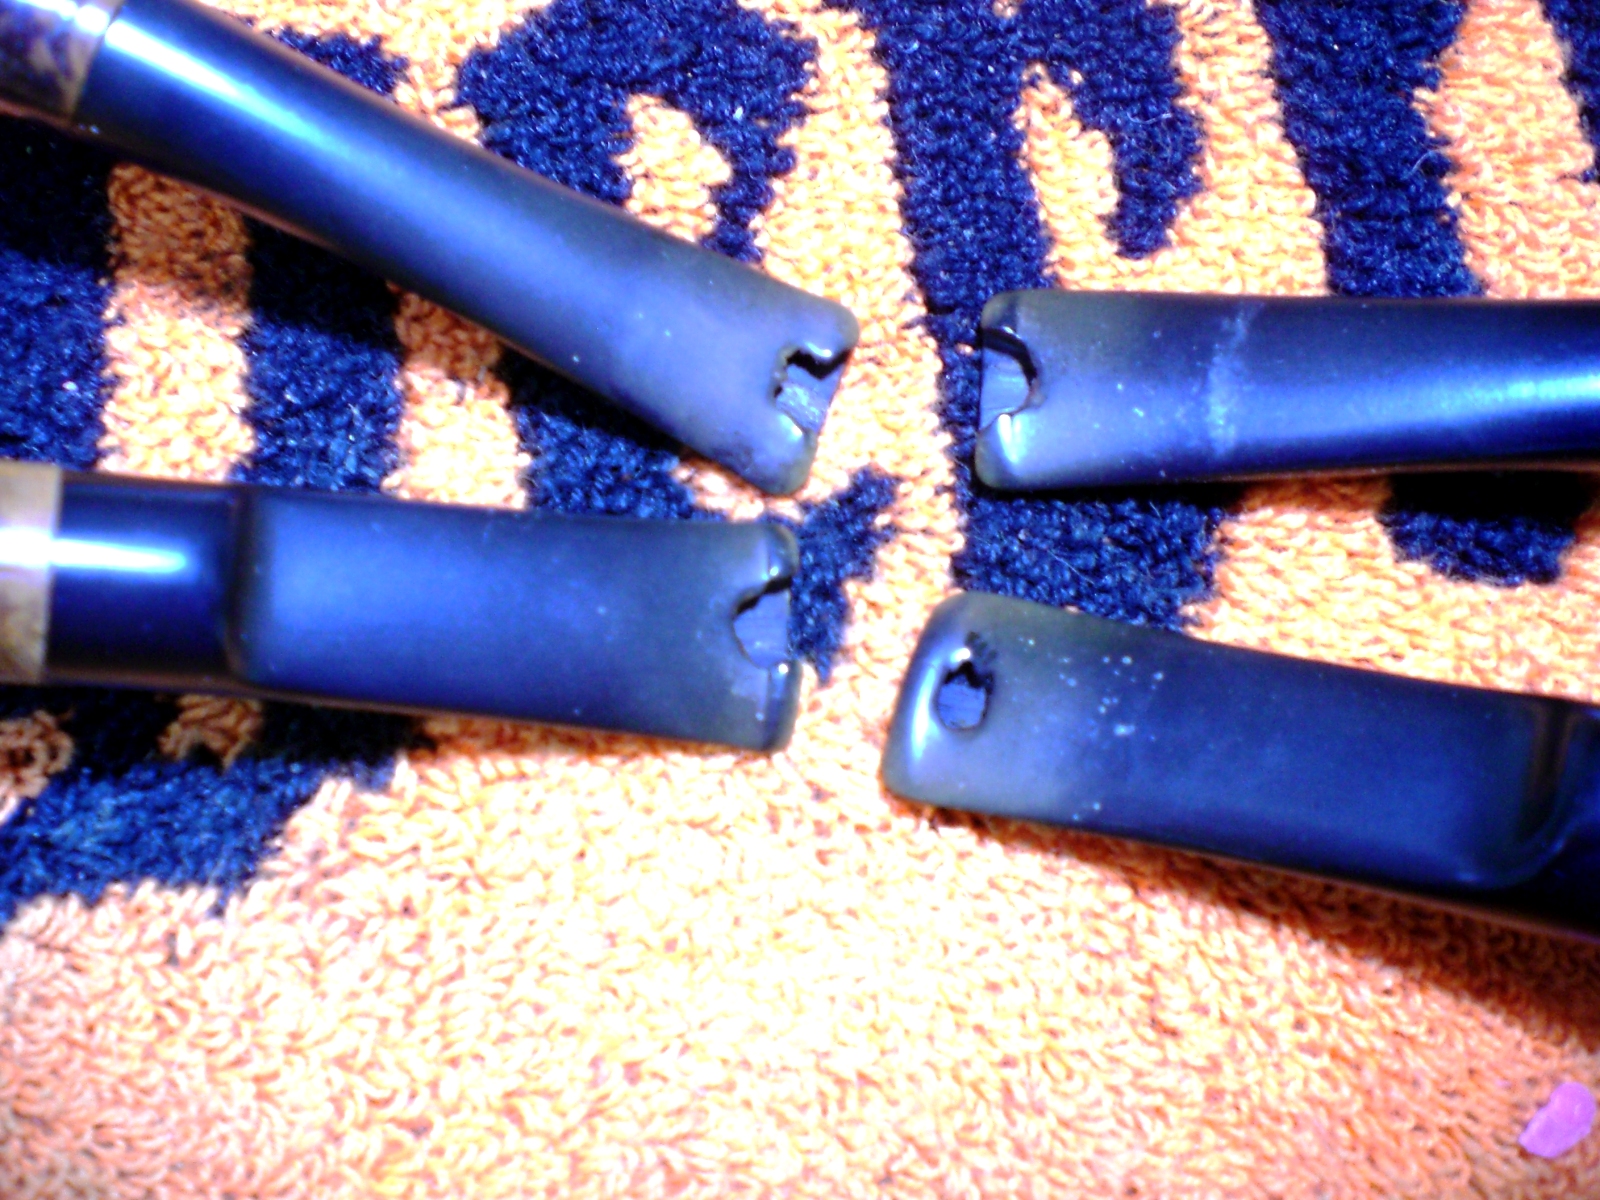
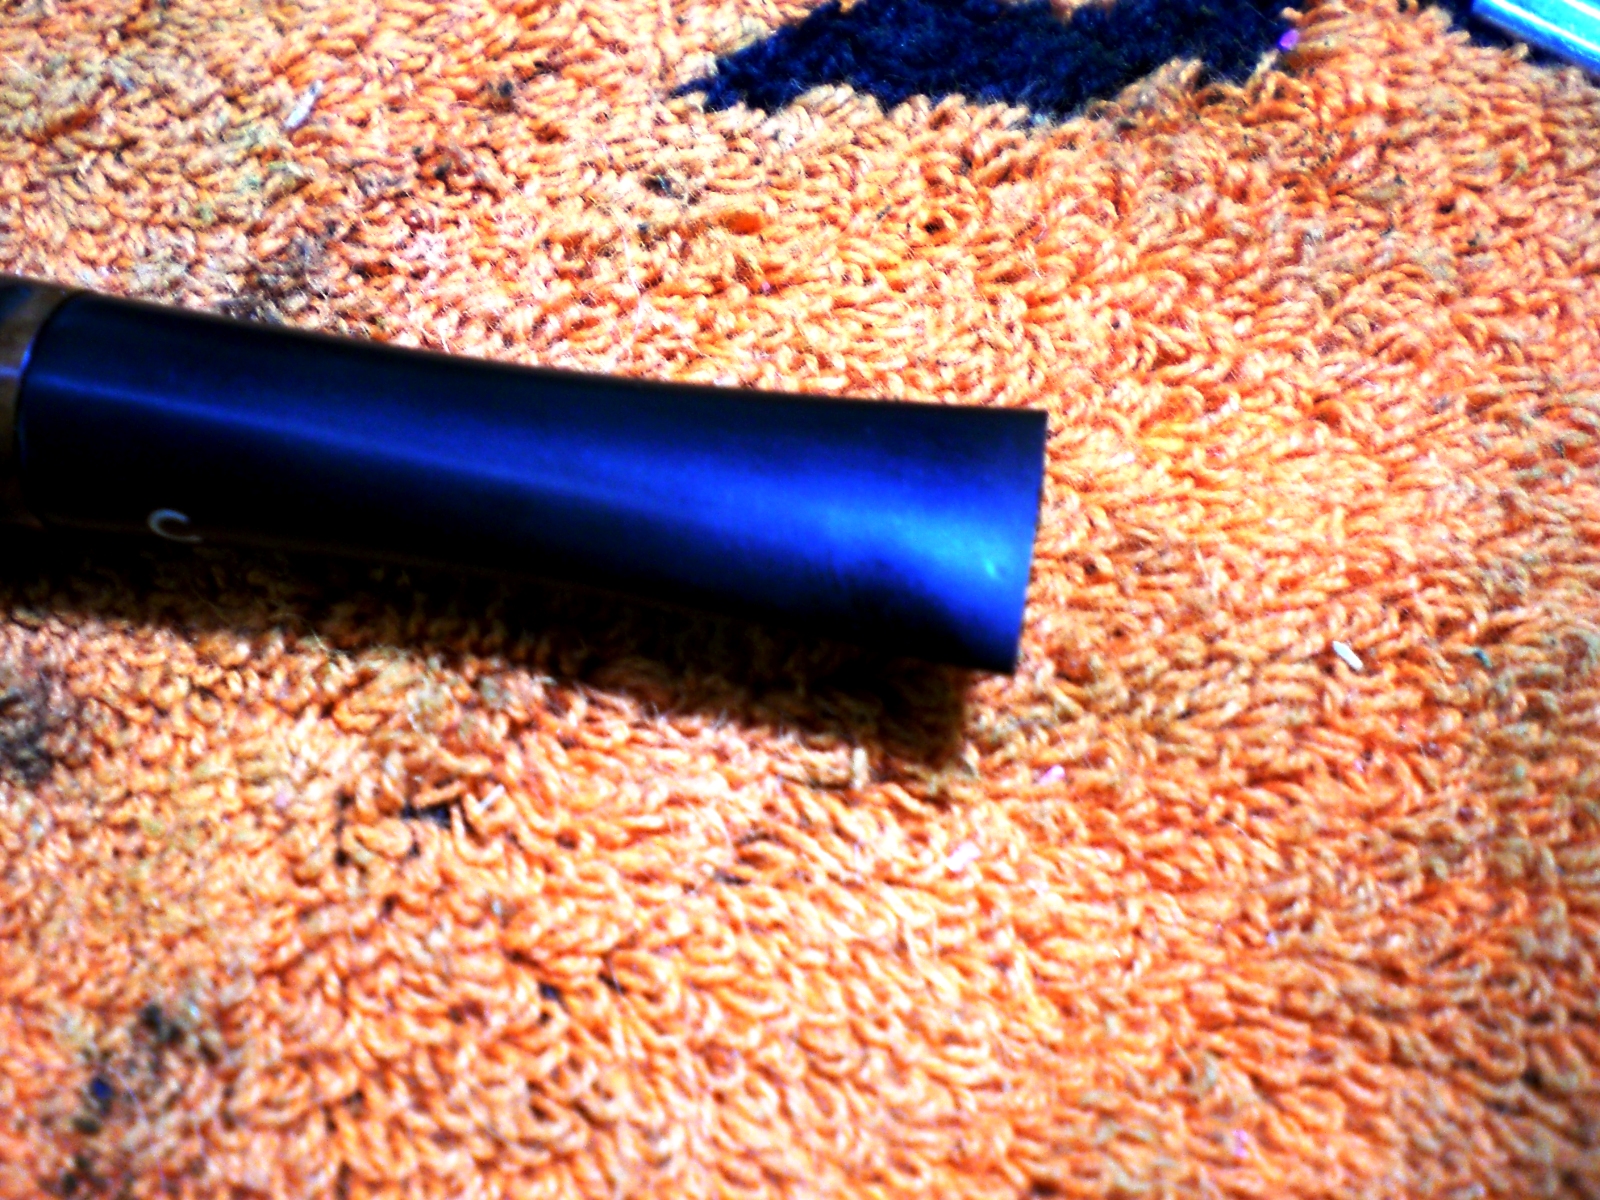
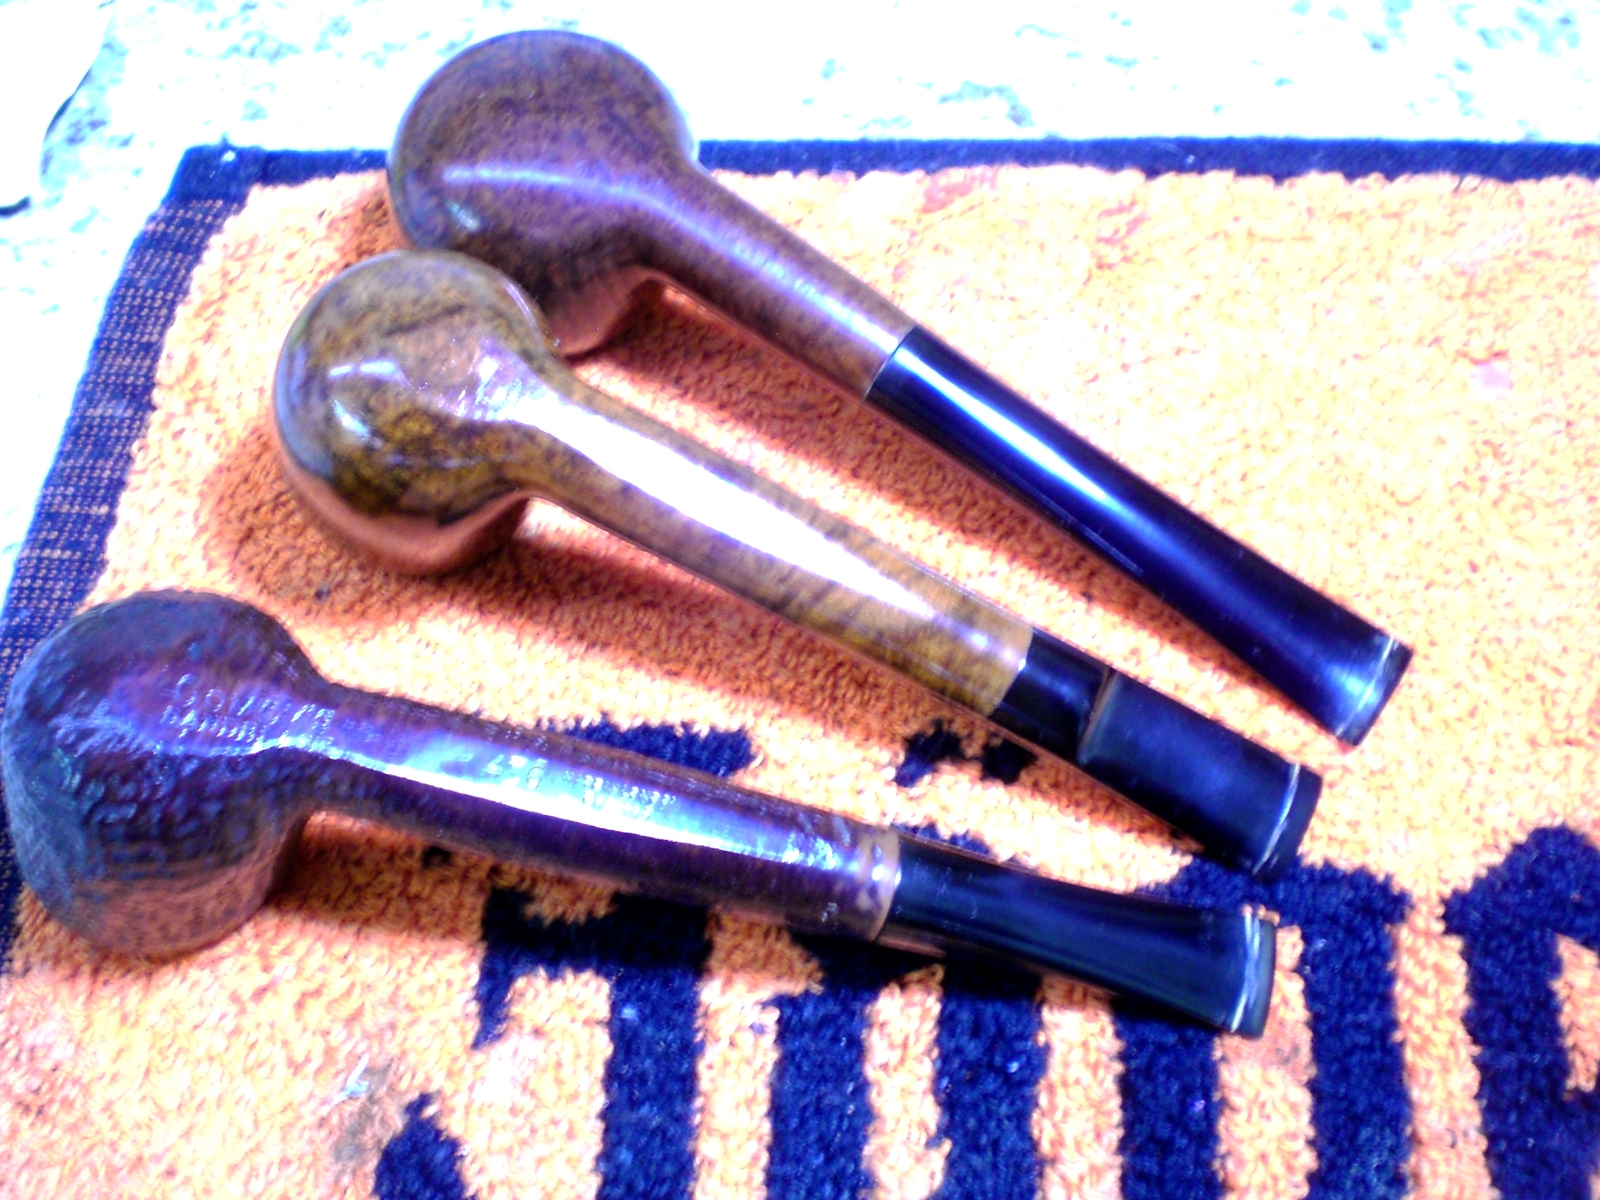
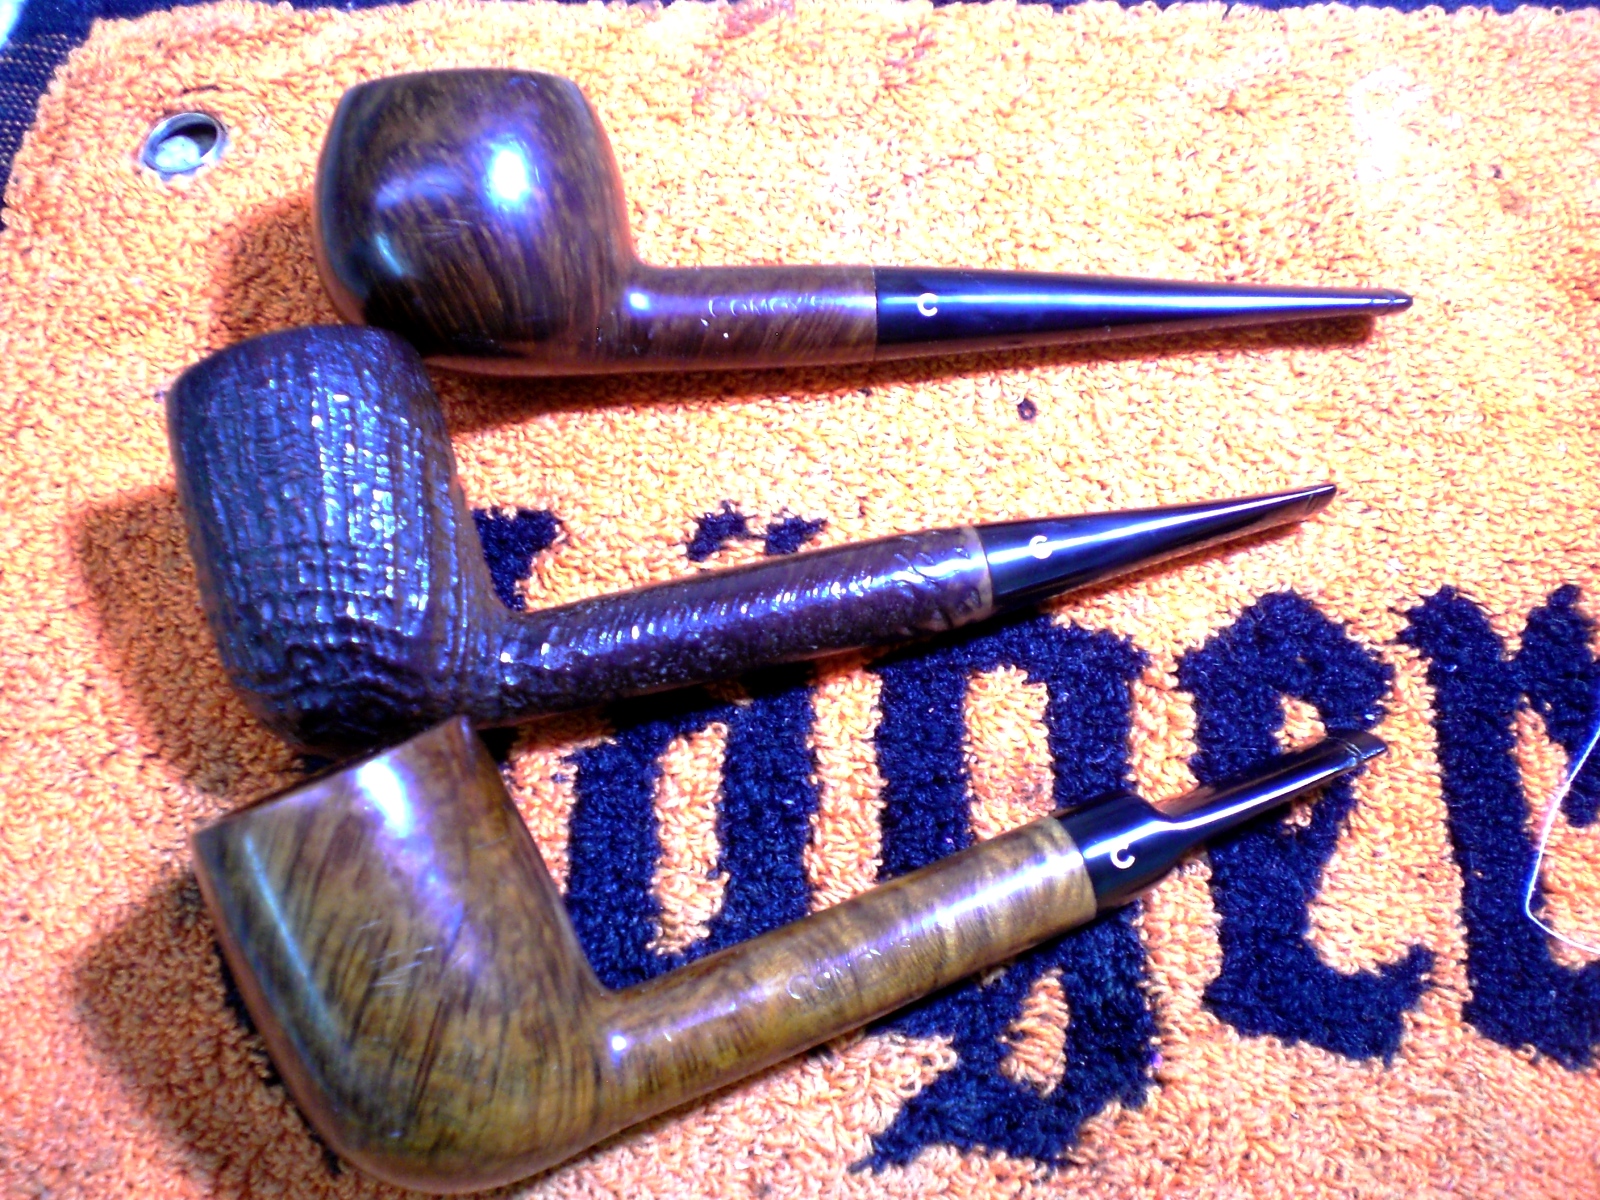
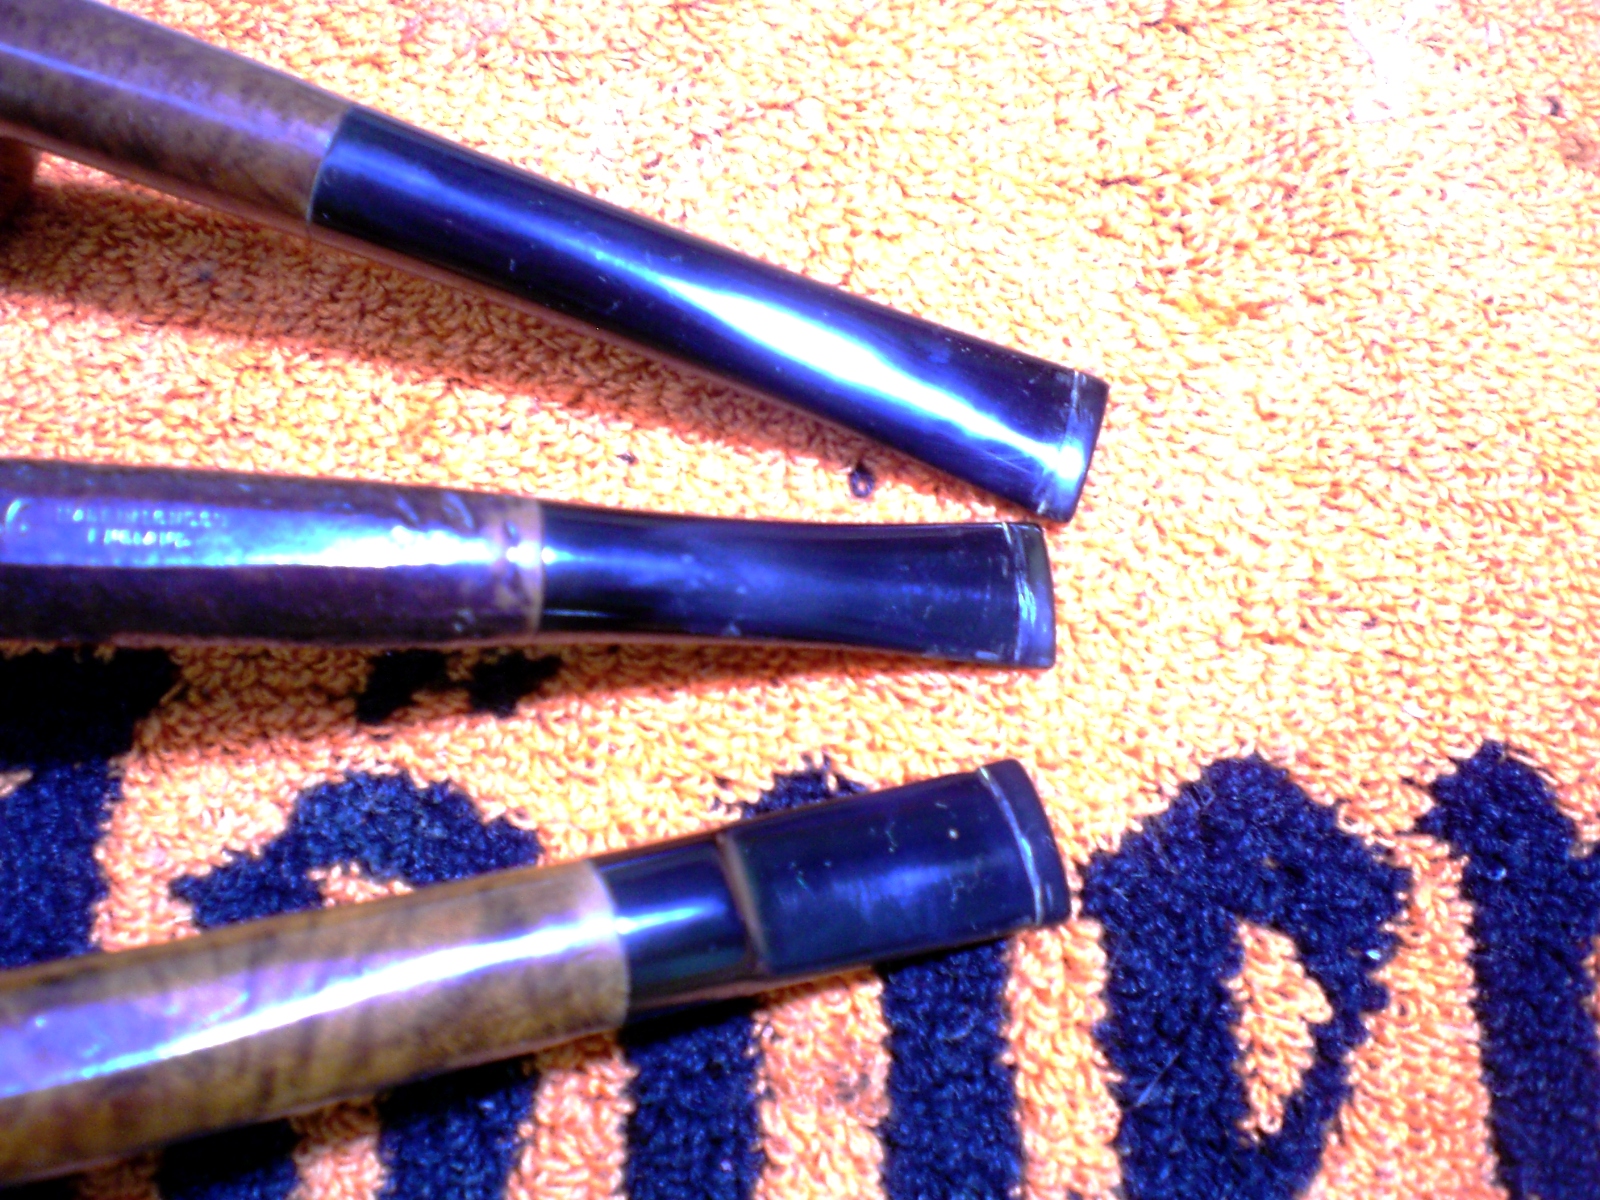
Walt, a member of the BrothersOfBriar pipe forum asked me if I could repair the stems on this quartet of Comoy’s pipes. One of the pipes is a Blue Riband. The stem damage was pretty severe and he wanted to save the original Comoy’s stems. All four have the 3 piece, drilled “C” logo of a pre-Cadogan era Comoy’s.

Beyond the holes, the stems were in remarkably good condition with only dull vulcanite.

Comoys_Buttons (1)

Comoys_Buttons

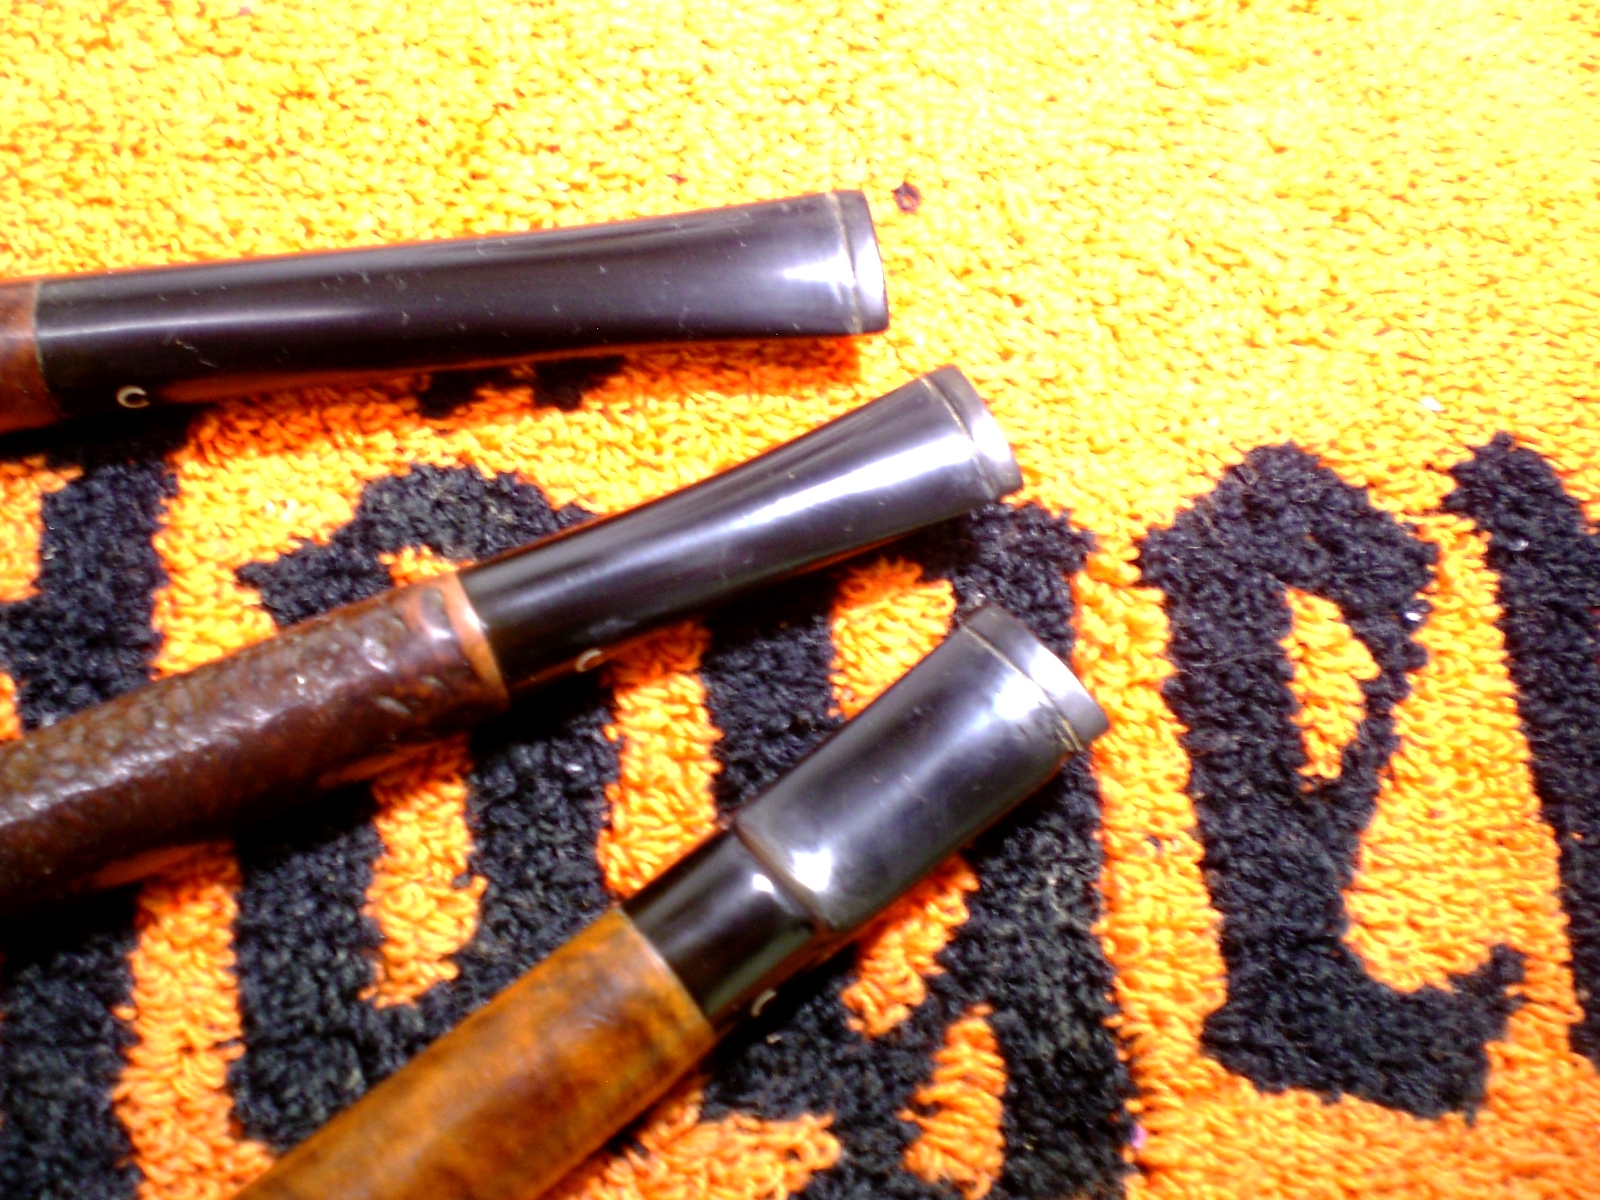
I didn’t think the Super-glue repair technique would hold up across those open areas, so I decided to cut off the damaged section and reshape a new button. I have a small, fine tooth “hobby saw” that I used to carefully cut off the broken button.

Comoys_Buttons- Cut & Cropped

Comoys_Buttons (2)

I used a small, round needle file to “funnel” the buttons for better air flow.

Cutting the new button creases was a nerve-racking job as the Comoy’s stems were so thin. I didn’t want to weaken the stem. Using a sharp knife, I made a slight cut across the stem, about 2 mm in width. I then used a small flat needle file to give the button some height, but was careful not to go too deep. I used some 800 grit paper to taper the stem towards the new button then smoothed out the file marks with 1500 and 2000 grit paper. I used the 2000 grit paper on the rest of the stem, to remove the mild oxidation. The entire stem was polished with 8000 and 12000 grit micromesh paper and then buffed with white diamond.

On the briar, I removed the top layer of tars build-up and gave the pipes a light buff with white diamond and then a few coats carnuba wax.

The new buttons required they have a slim profile, but I think they will hold up to many more years of use.

Comoys_Buttons (6)

Comoys_Buttons (7)

Comoys_Buttons (8)

Comoys_Buttons (9)

Walt graciously gave me one of the four pipes and I chose the Sandblast Canadian. Repairing that stem will be a future project.

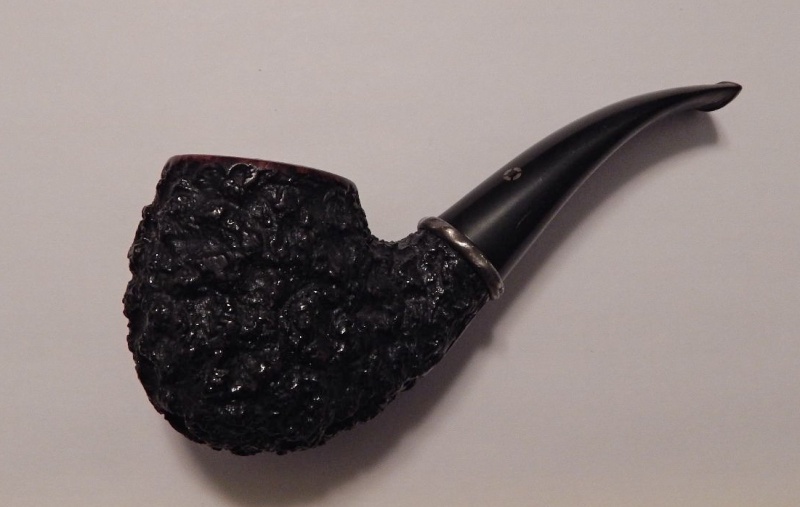
Restoring a Larry Roush Bent Billiard


My friend Dave has a real knack for acquiring some very interesting pipes and occasionally they make their way to my workbench for cleaning. Dave posted this one on the Brothers of Briar forum and I was immediately drawn to it. In the sellers pictures, it looked in great shape, but when Dave had it in had there was some ghosting and it needed a general clean up – that was my good fortune!

At a casual glance, this Grade 7 Carved pipe didn’t impress me, but as I started to work on the various areas, the craftsmanship was really apparent. The pipe had a pretty heavy cake, the stem was bit faded and curiously it has a small dent on the side and a scratch on the other side. The stem had a small tooth indention on the top and bottom of the stem. These were very shallow and I knew they would be challenging to remove completely.

I managed to lose my “Before” photos, but the seller supplied these to Dave.

Larry_Roush_Before 2

Larry_Roush_Before 1

The good news for Dave was that someone really loved this pipe!

I reamed the heavy cake from the pipe and then used the retort, as Dave had mentioned it had heavy ghosting. To be completely sure the ghosting was removed, I also soaked the bowl with alcohol and sea salt. I was pretty confident that I had removed the ghosting, but only a smoke would determine my ultimate success. The more I handled the “carved” bowl, the more it grew on me.

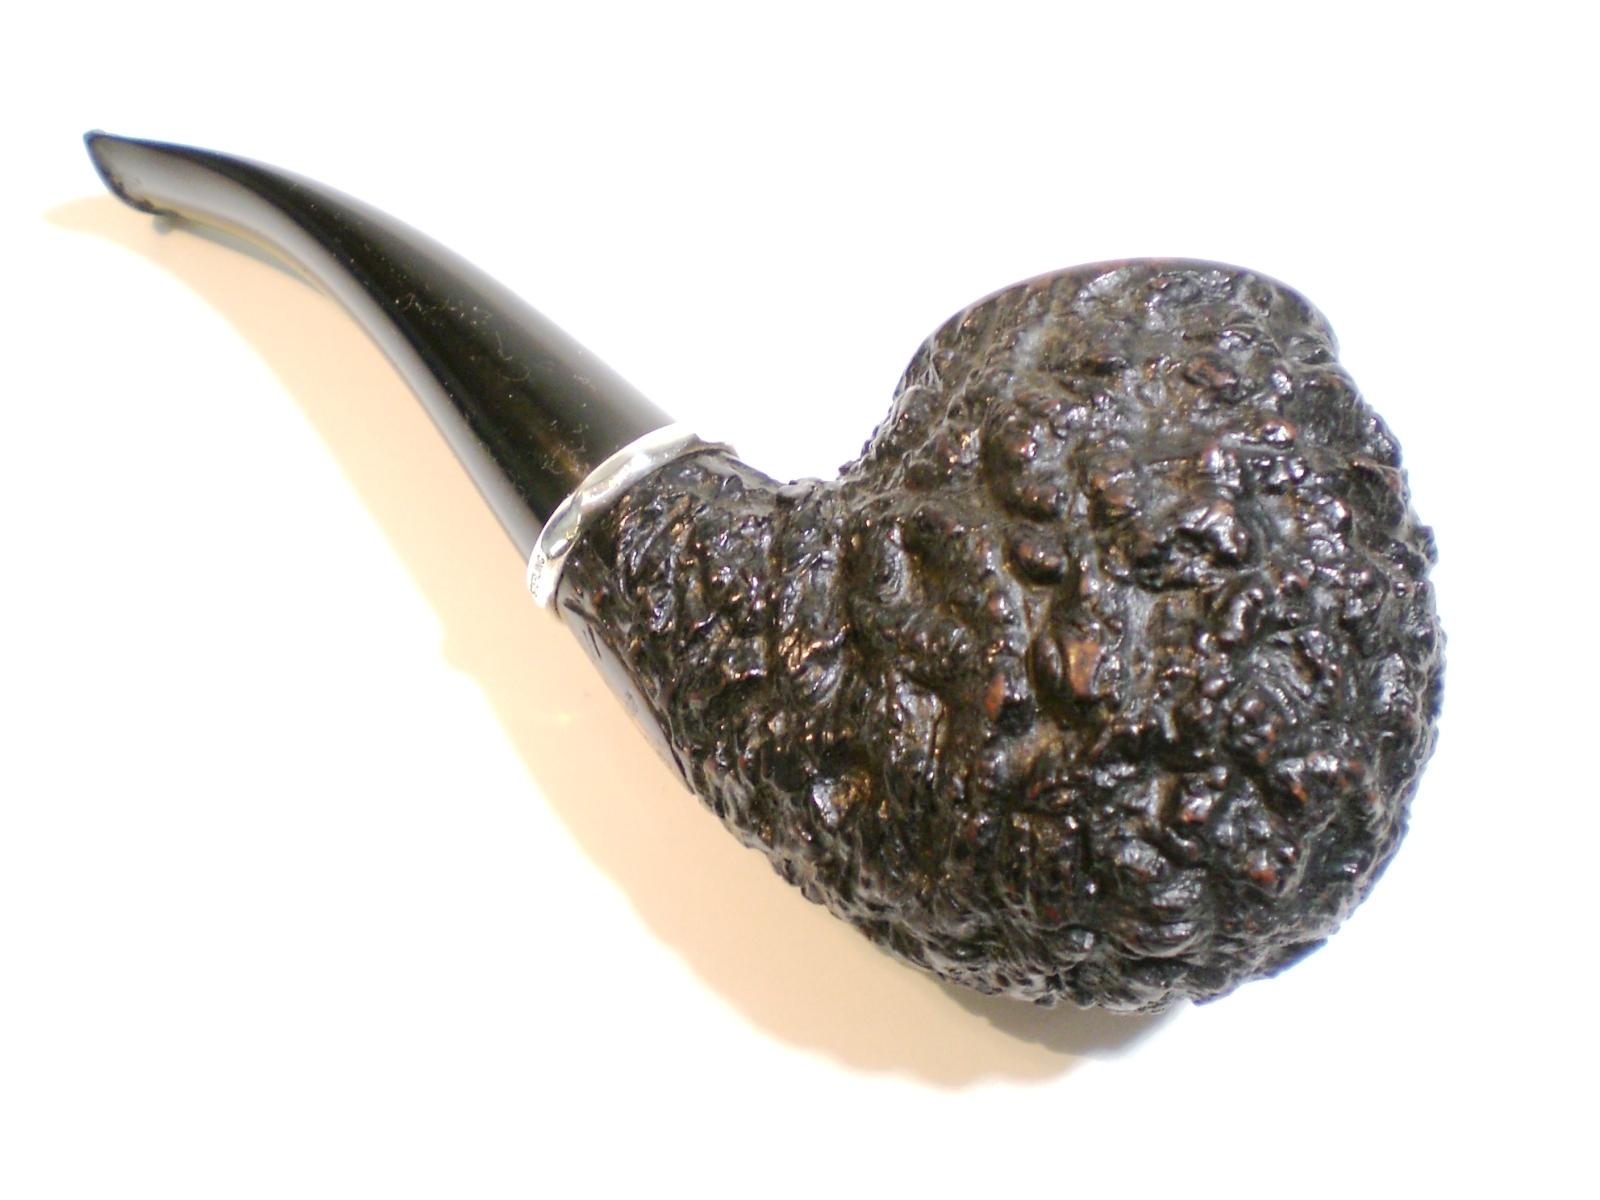
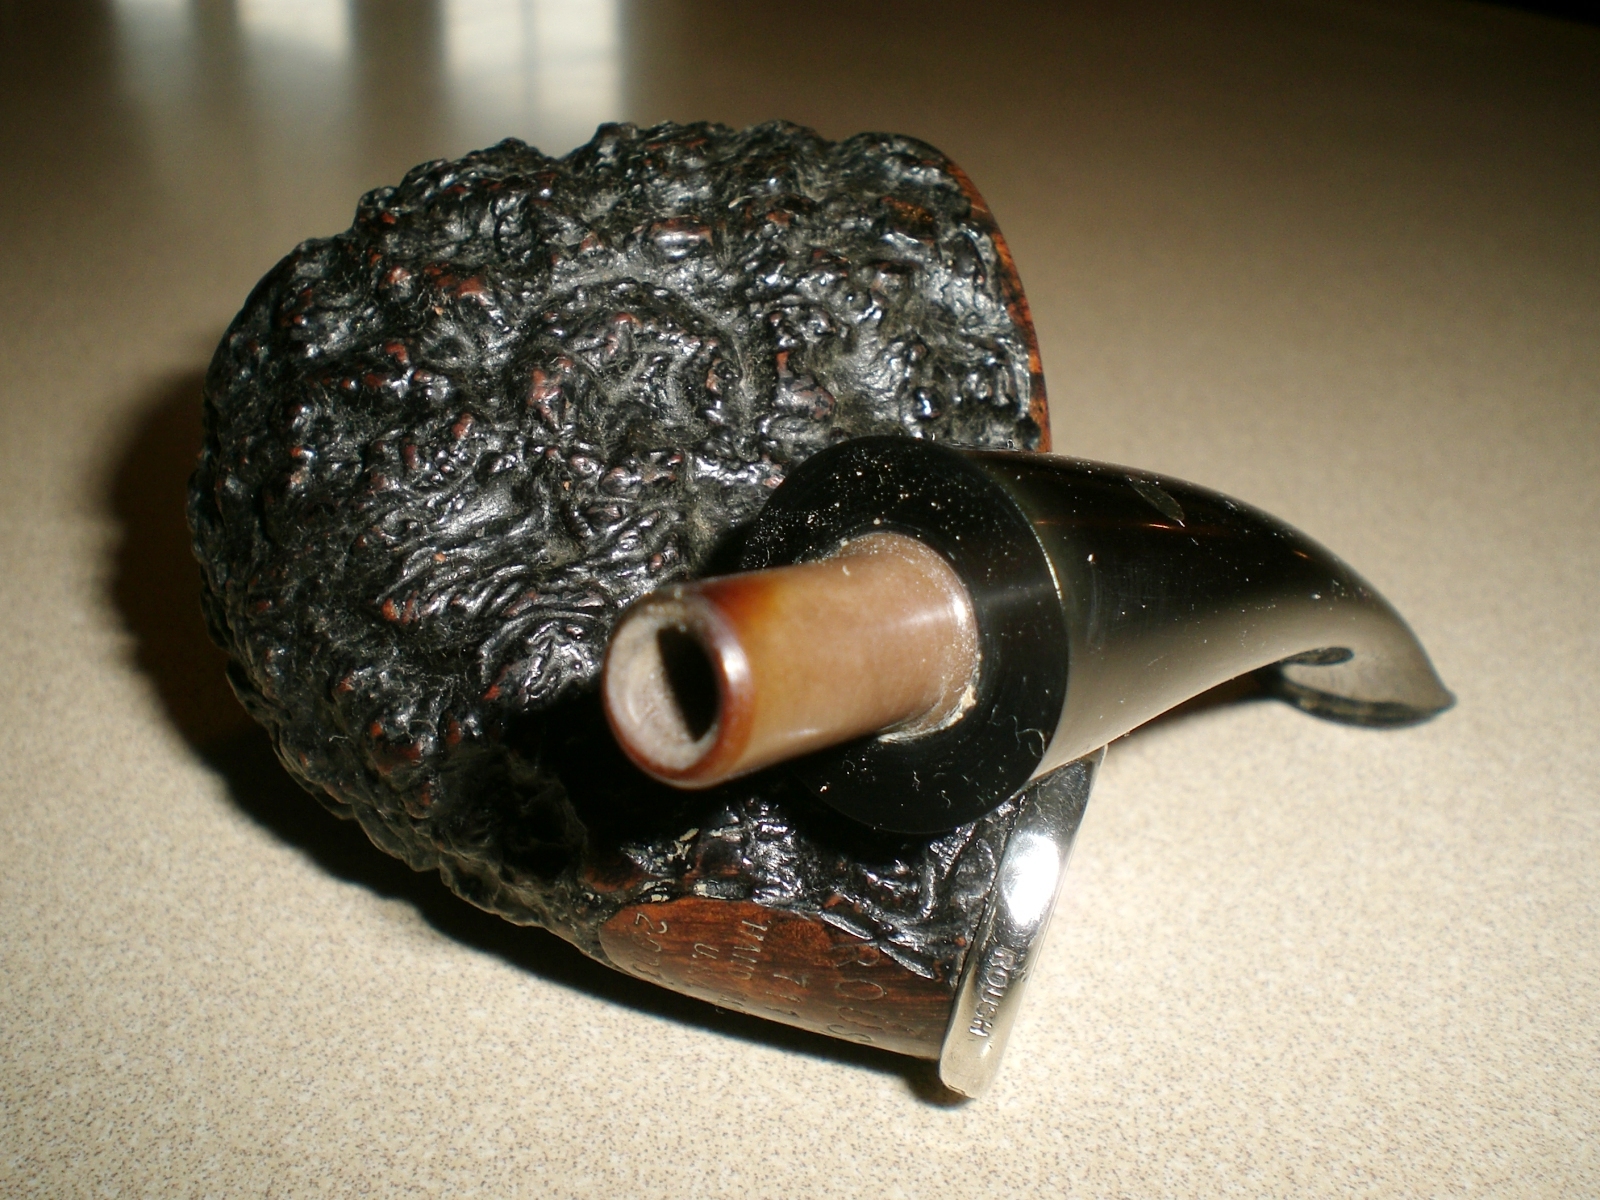
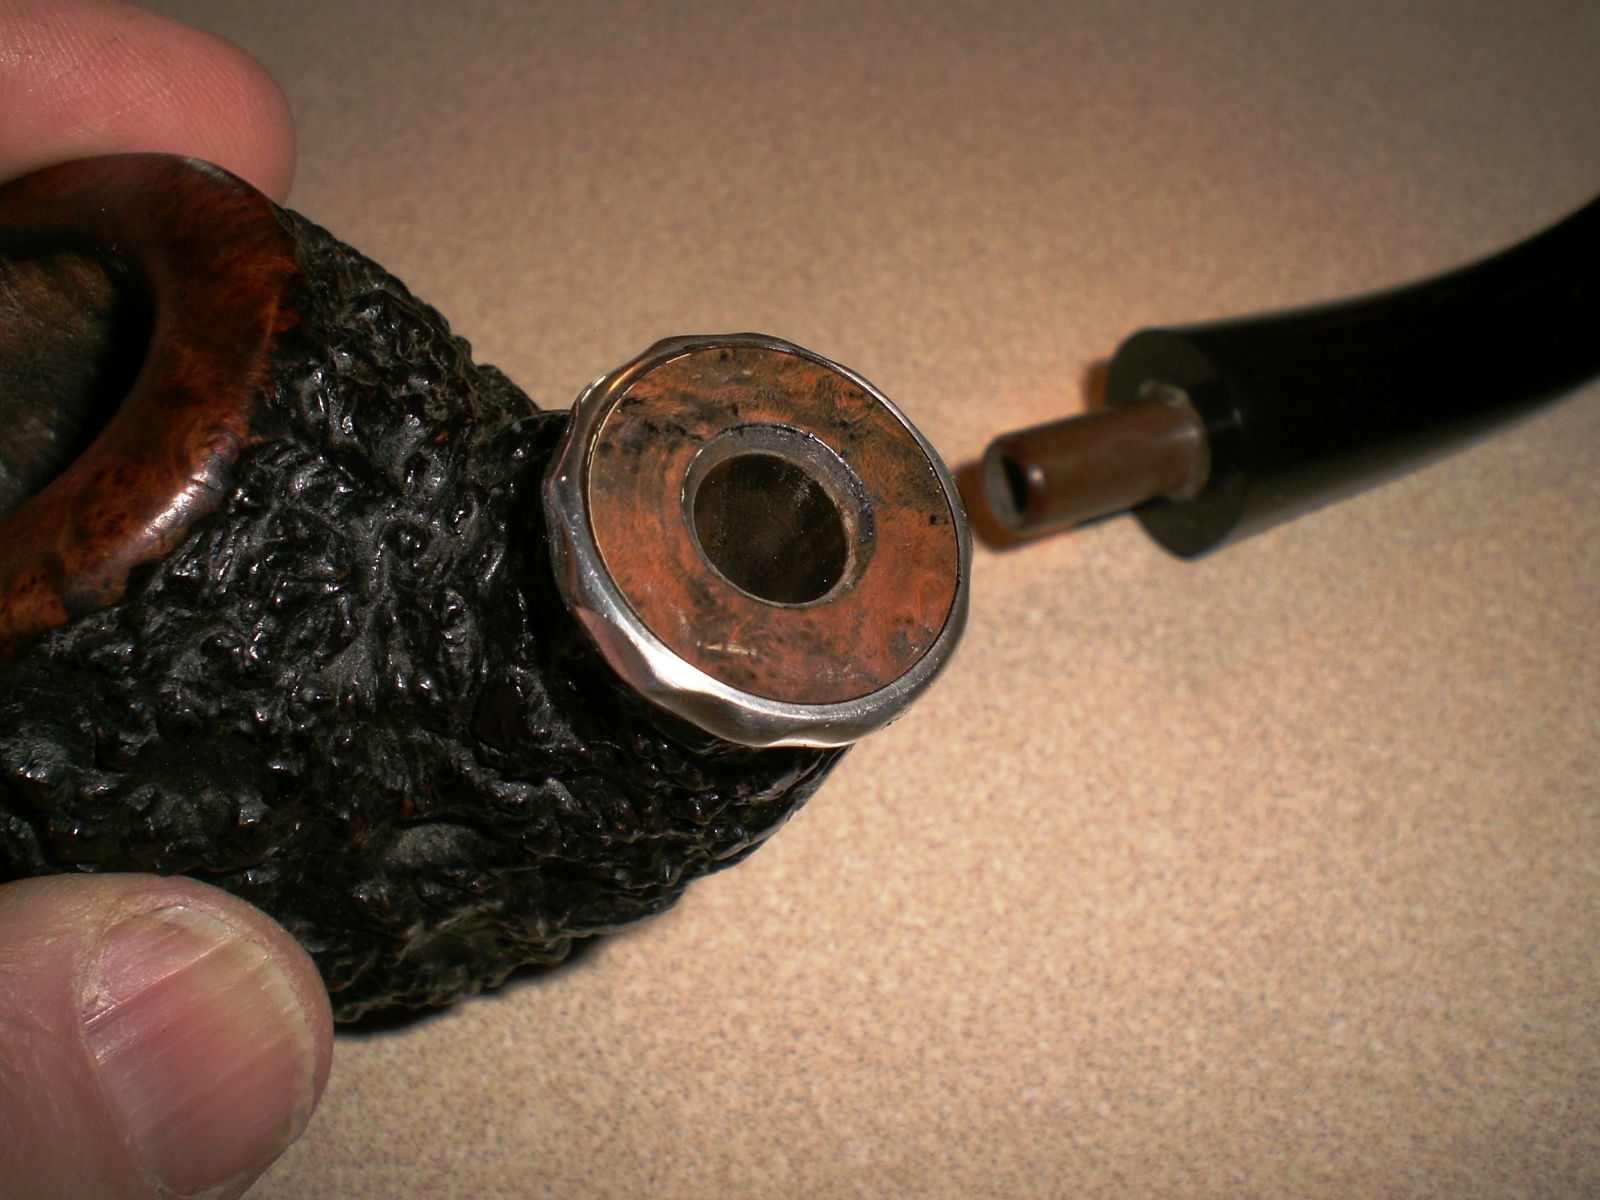
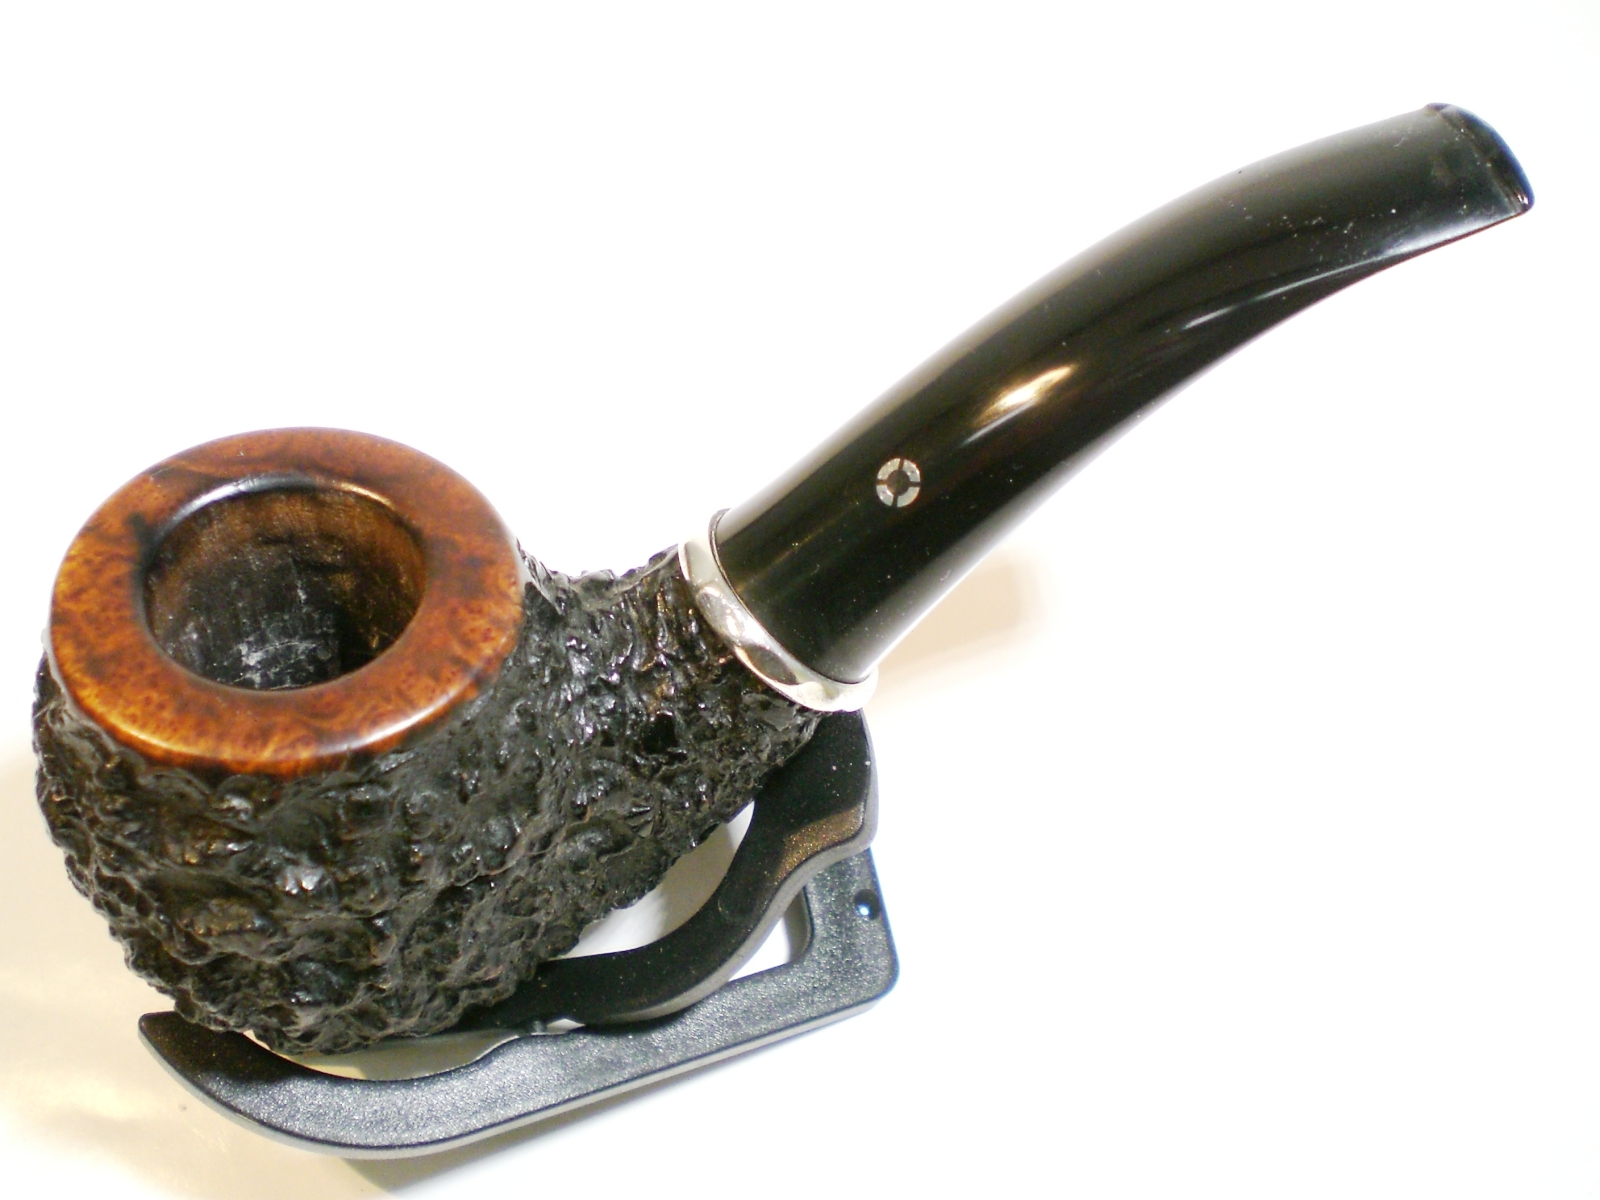
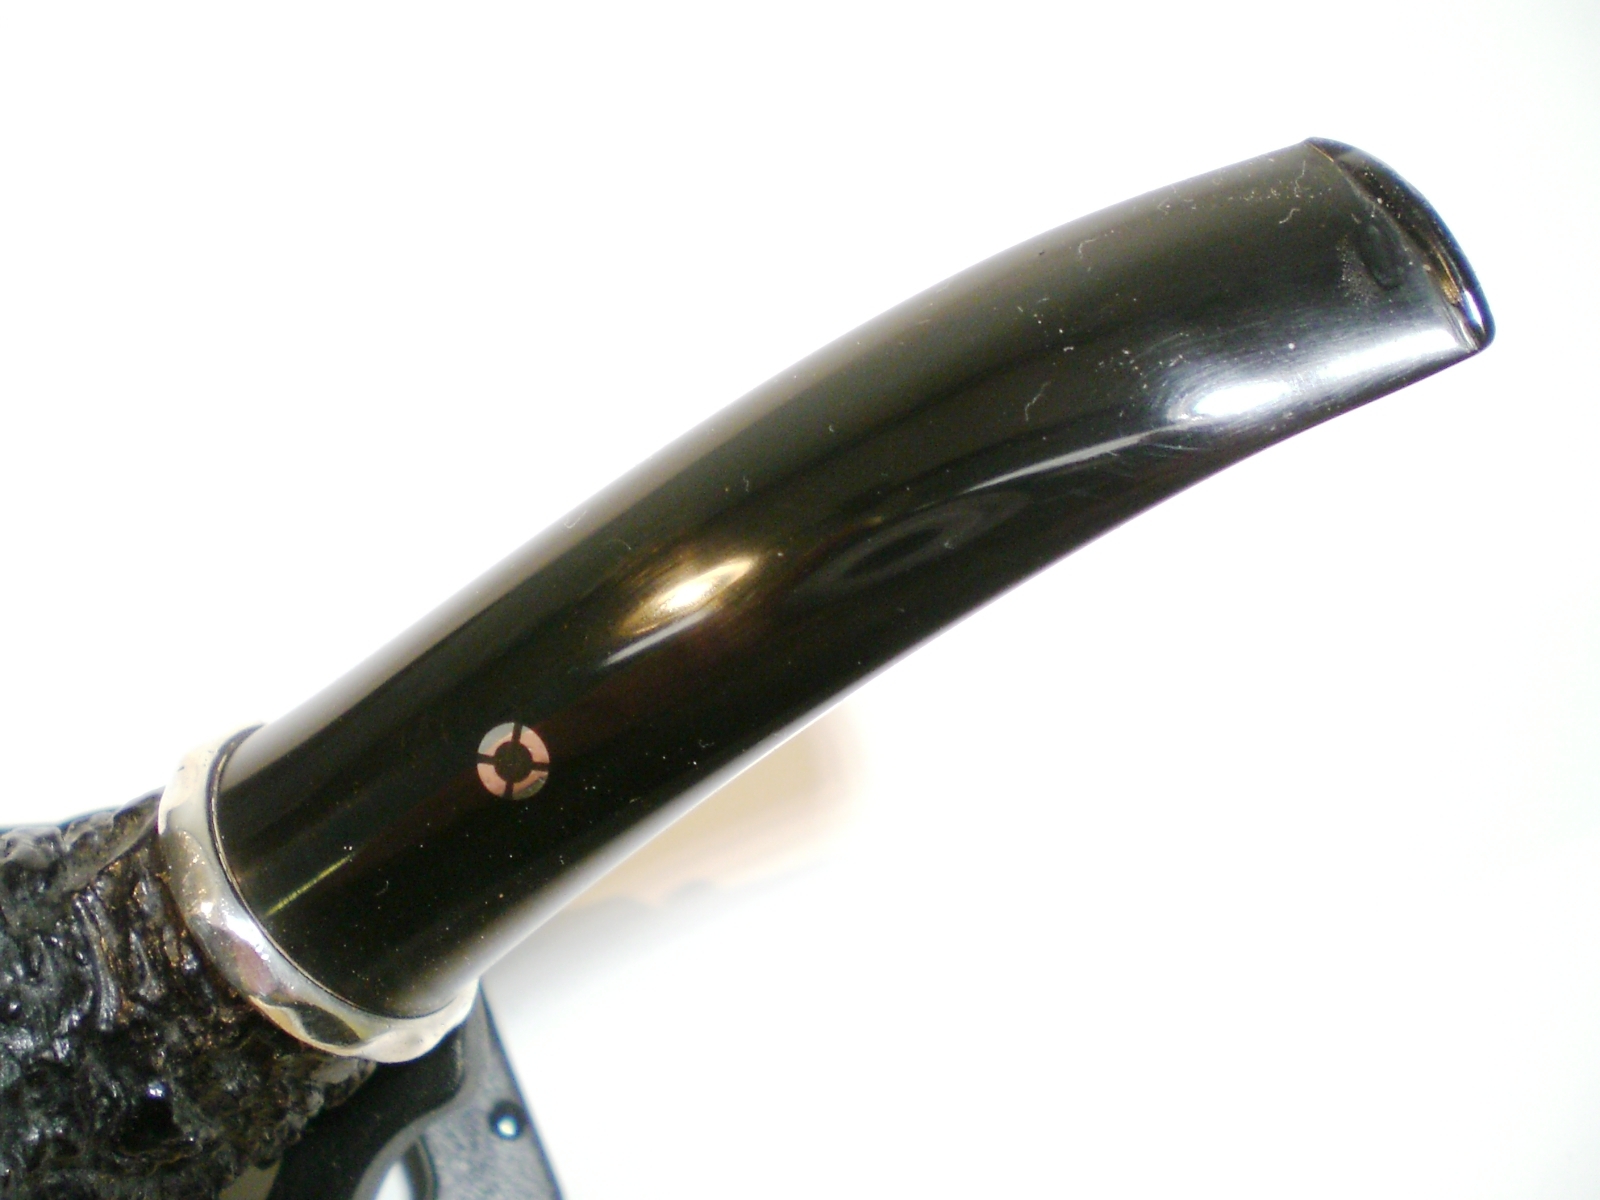
The pipe had a beautiful silver ring that was stamped “Roush” and “Sterling”. I love slim stem rings and think this is a lovely aspect to the pipe. The shank/stem junction was polished and even chamfered a bit. The pipe had what appeared to be a Delrin tenon which was nicely finished as well.

The small side dent and scratch on the vulcanite stem took some 800 grit wet paper to remove. The stem was then polished with 2000 grit paper and then 8000 and 12000 grit micromesh paper. I was able to diminish the two teeth dents, but not completely remove them. I tried to cover them with the black Stew-Mac Superglue, but they were to shallow for it to adhere well.

I polished the bowl top with some White Diamond and then several coats of Carnuba wax. I waxed the bowl by hand with some Halycon wax and an old tooth brush. I used some metal polish the brighten the sterling silver ring.

I sent the finished pipe back to Dave and he reports that I was successful in removing the ghosts. Larry Roush pipes command premium prices and after examining one quite closely, I came away very impressed with his work.

Roush_Dave_J (6)

Roush_Dave_J

Roush_Dave_J (1)

Roush_Dave_J (3)

Roush_Dave_J (4)

Roush_Dave_J (5)

James Upshall Bark (Unsmoked) Restoration


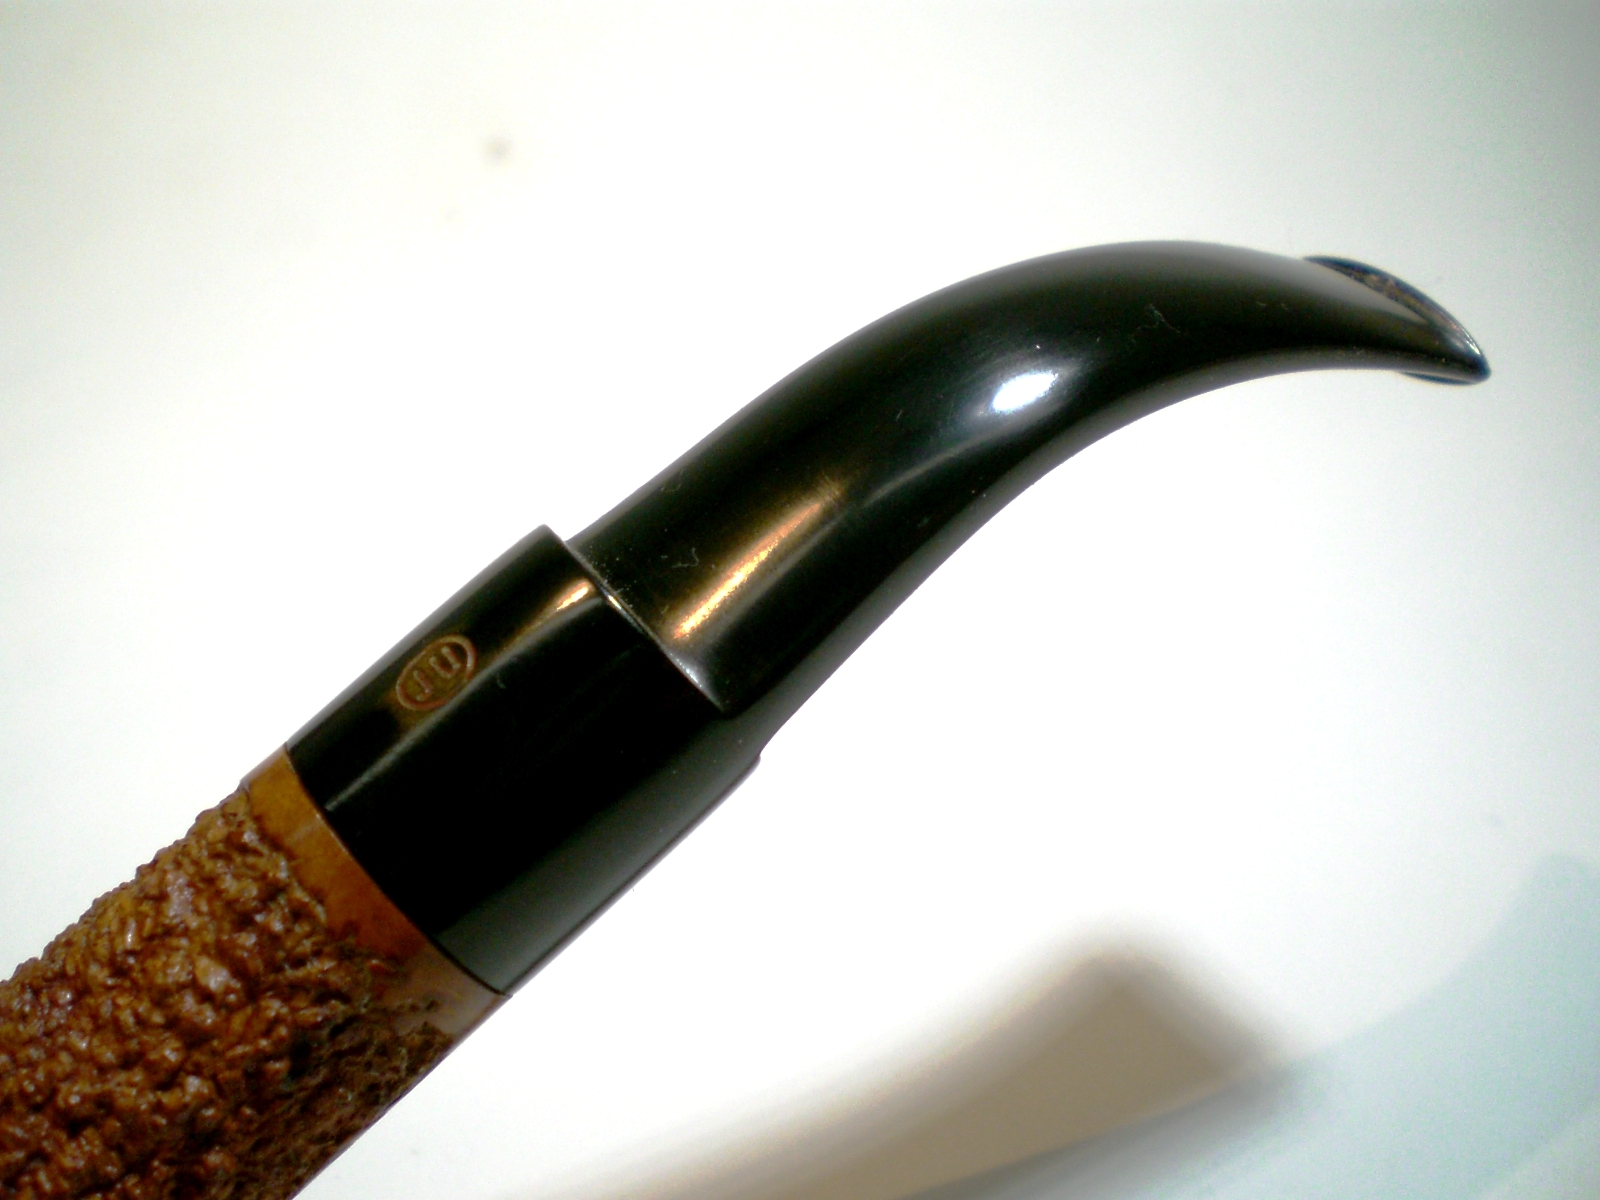
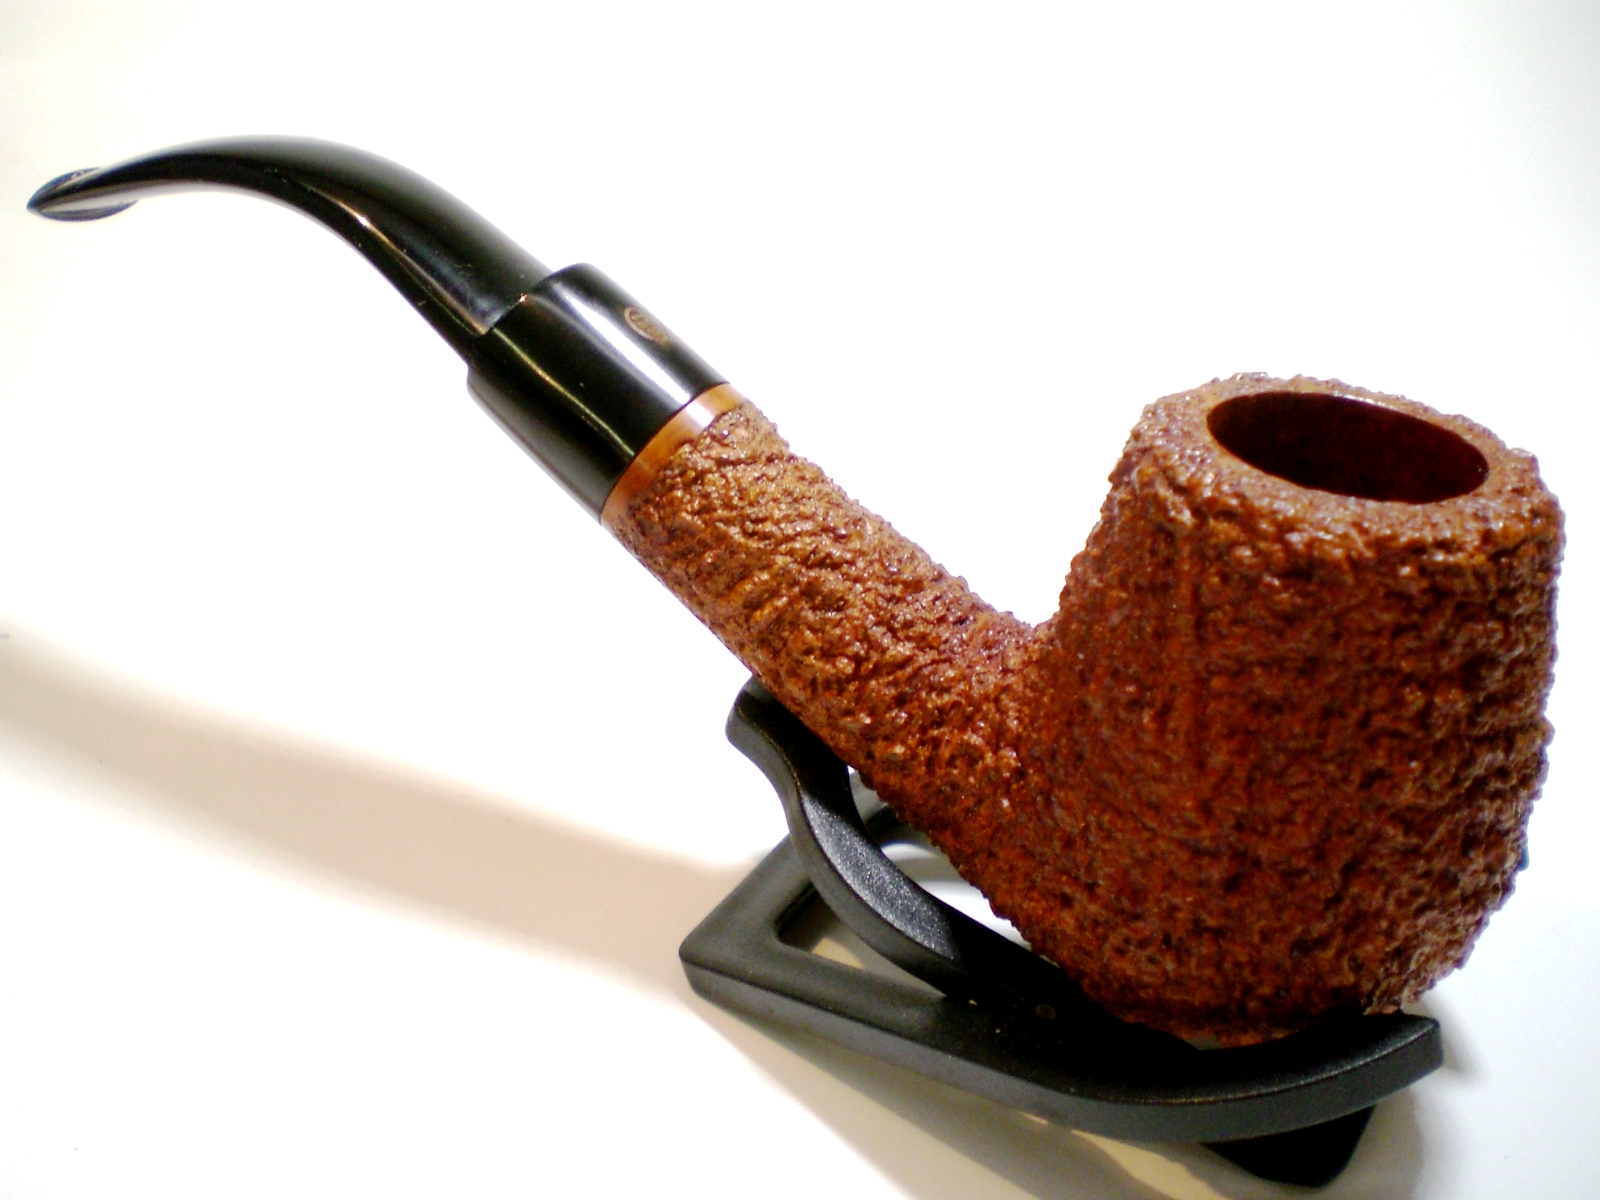
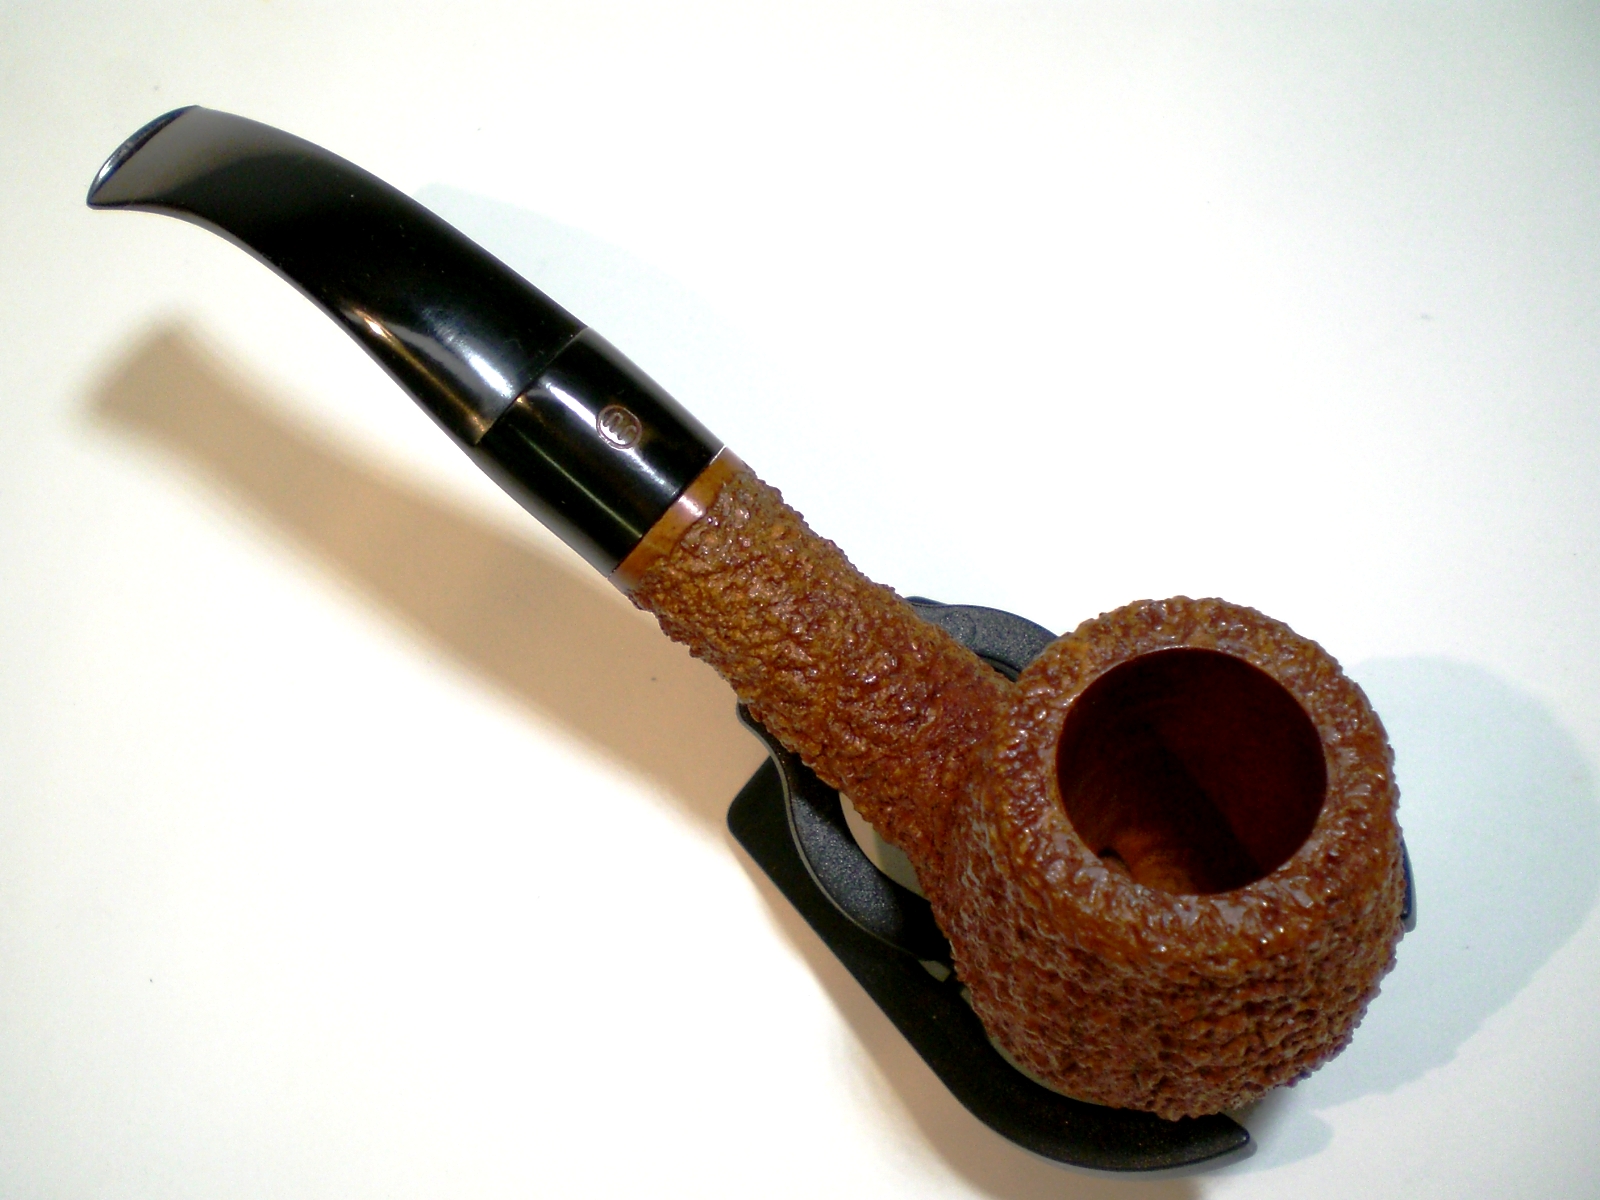
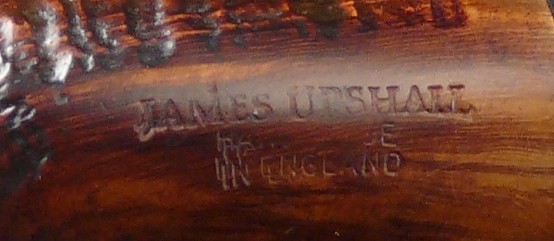
As my screen name for this blog implies, I’m a pretty big James Upshall fan. To this point, all of my Upshalls are smooth pipes of the various grades (P, S, B and ungraded). This pipe, my 8th Upshall, was advertised as “unsmoked”. The Ebay pictures were lousy, but the price was right and the seller took refunds, so I rolled the dice. I was pleasantly surprised with a beautiful Bark finish pipe and in perfect, unsmoked condition. Of course the stem was oxidized, which proved to be more stubborn than it appeared.

James_Upshall_Bark_Before (1)

James_Upshall_Bark_Before

James_Upshall_Bark_Before (3)

I didn’t want to soften or damage any of the stem edges on the saddle stem, so I started with a relatively fine, 2000 grit wet paper. I used a combination of popsicle stick and small, flat needle file to get the oxidation out of the creases. That took considerable effort, but I’m pleased with the results. I followed next with 8000 and 12000 grades of micromesh, also utilizing the sticks. Working around the small, stamped logo, was challenging. The stem was then buffed with white diamond and then plastic polish.

I worked in some Halycon II wax on the bowl, which was in mint condition. I used an old toothbrush to work the wax into the rough finish and then buffed it with a clean cloth.

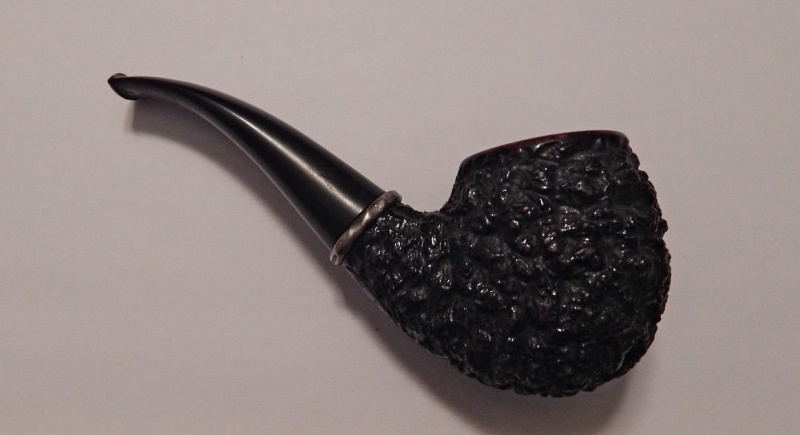
I’m very excited to smoke this one, as it is my first unsmoked James Upshall. I’ve handled other Bark finish Upshalls in the past and some of the stem work was not to my liking. This one looks to have a good grade of vulacanite and has the feel I’m accustomed to on my polished Upshalls. The button is particularly appealing and has perfect mouth feel. I’m not a real clencher, so smaller profile buttons are to my liking. The Bark finish feels superb in my hand and it is a bit similar to the Sea Rock on my Castello. After the Rhodesian and Bulldog shapes, the classic Bent Billiard is next on my preferred shapes list.

I have several large Upshalls in my collection and I’m focusing on obtaining only smaller pipes now. Fortunately, this one isn’t too far out of my comfort zone at 60 grams. It is also about the same size as my Castello 4k pipe (also a bent billiard).

James_Upshall_Bark_Gallery (6)

James_Upshall_Bark_Gallery (1)

James_Upshall_Bark_Gallery (2)

James_Upshall_Bark_Gallery (3)

James_Upshall_Blasted - SAMPLE