Blog by Kenneth Lieblich
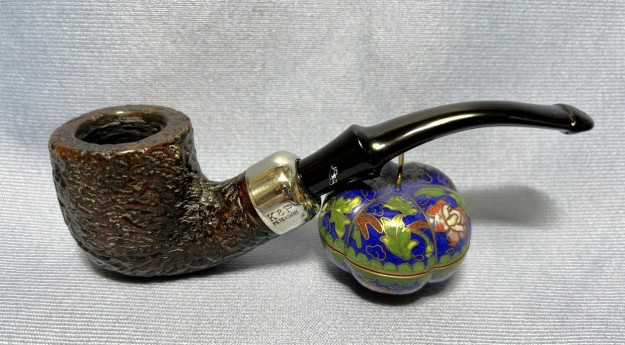
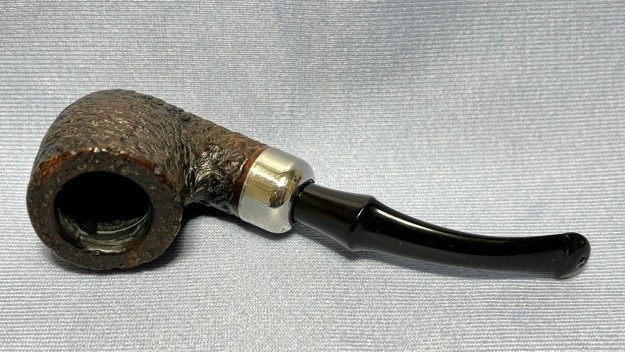
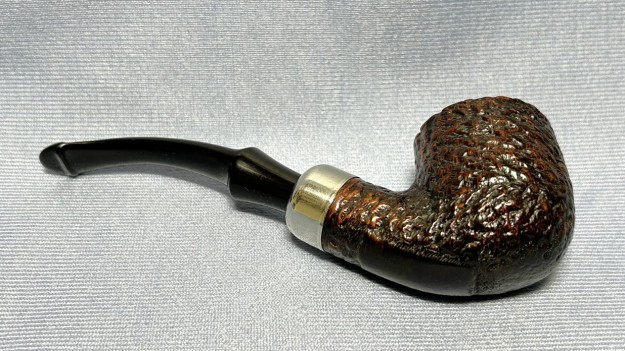
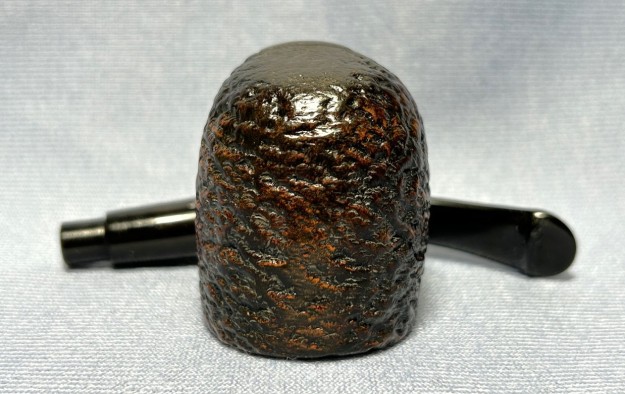
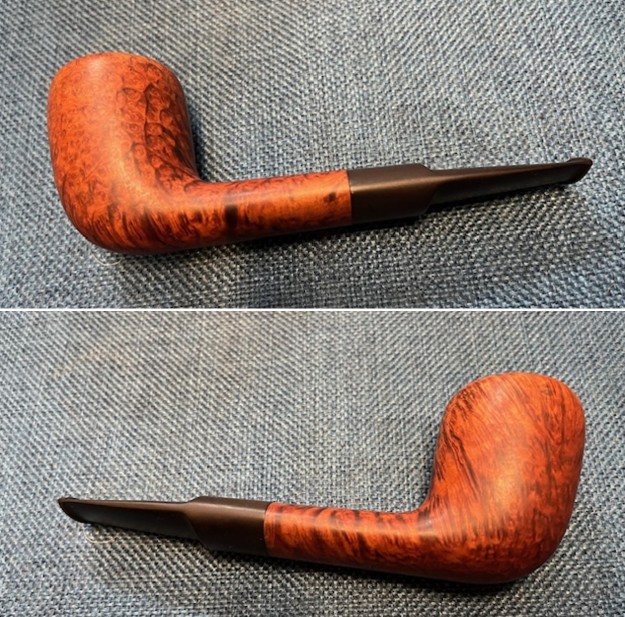
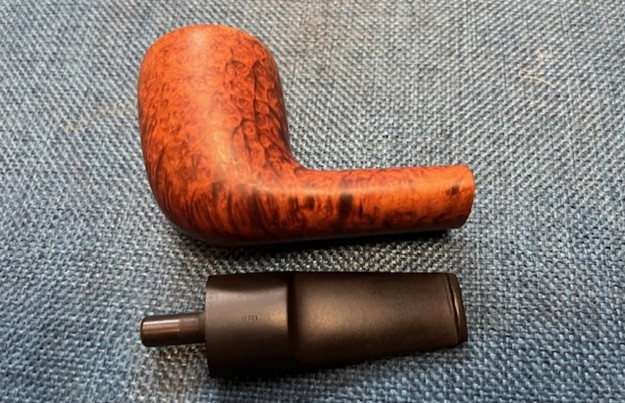
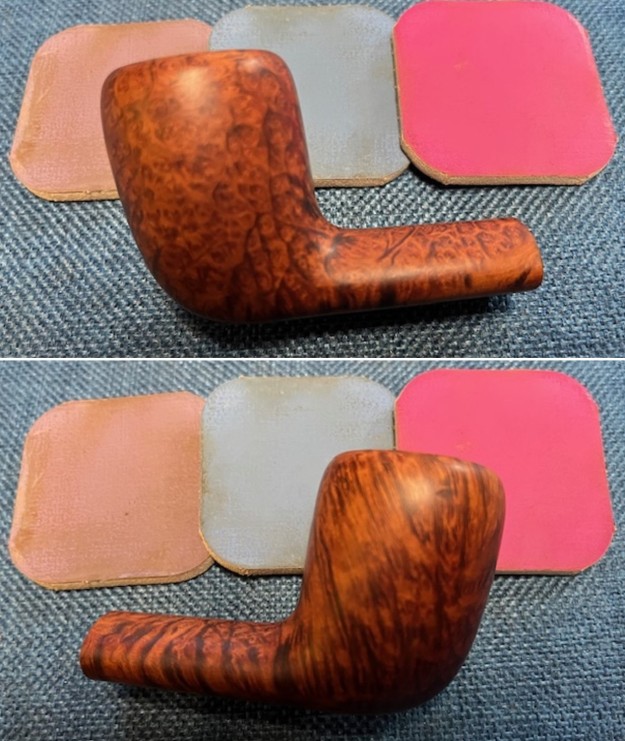
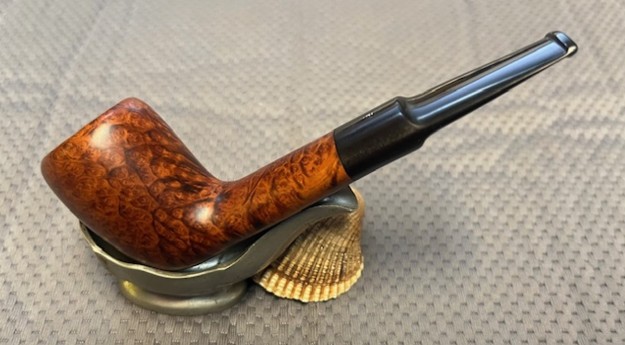
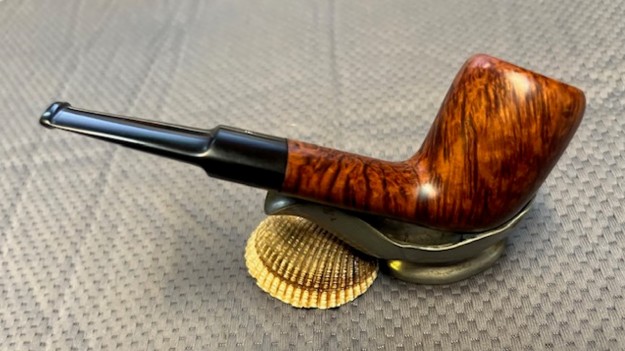
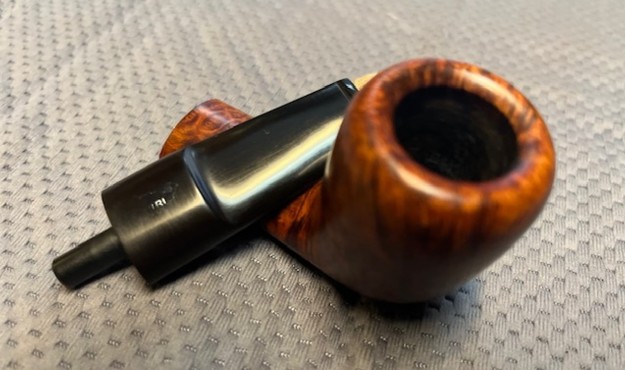
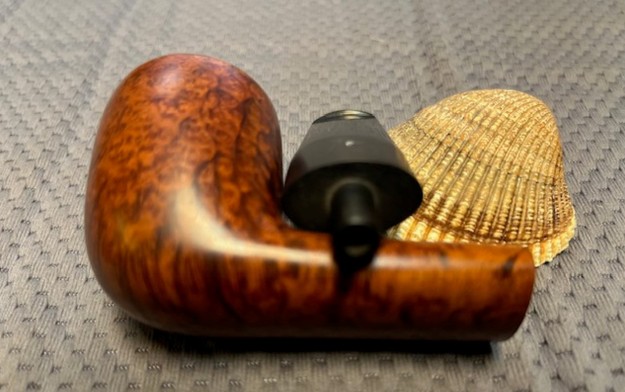
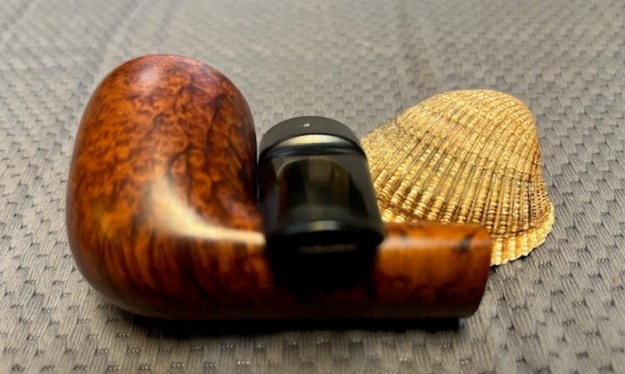
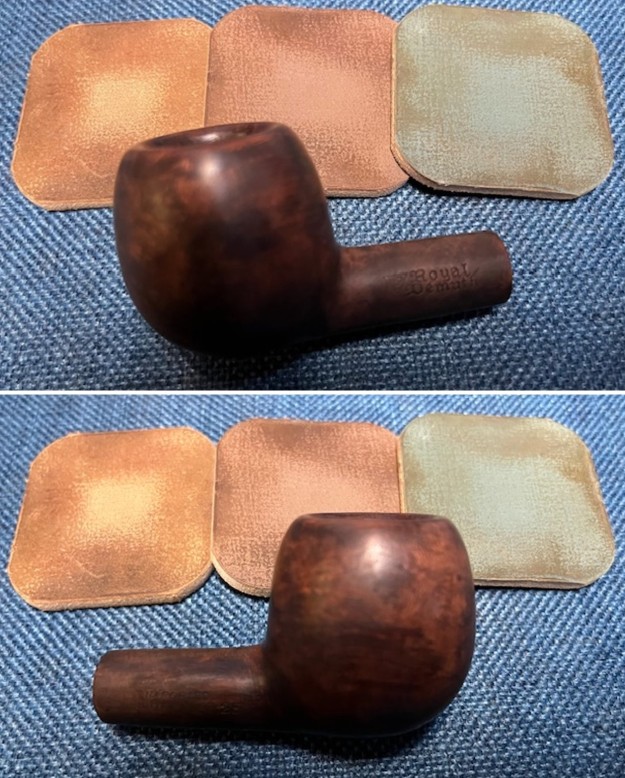
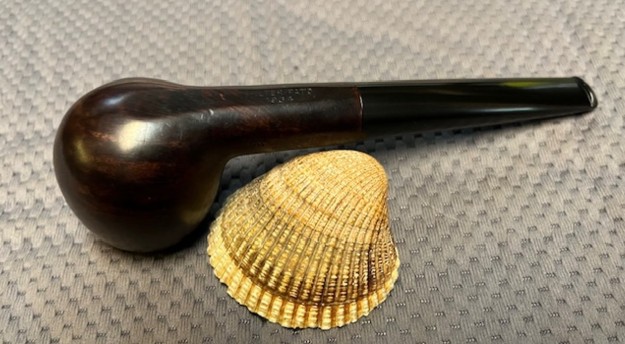
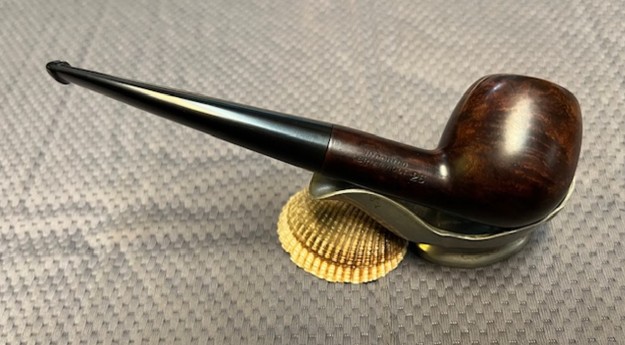
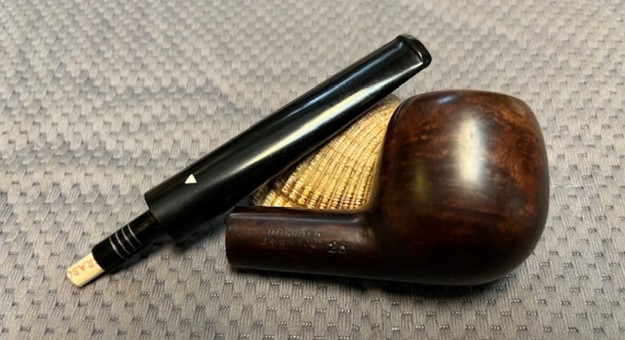
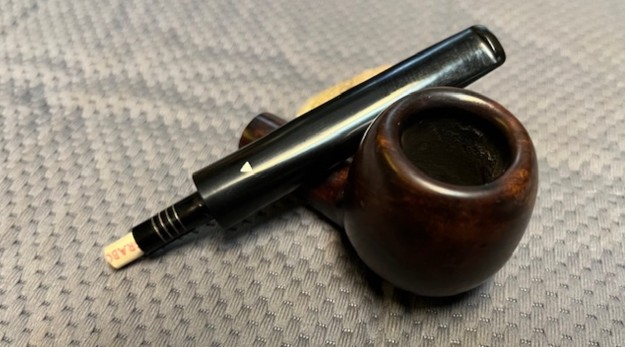
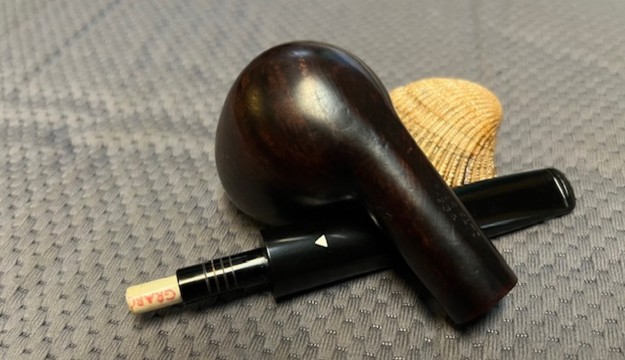
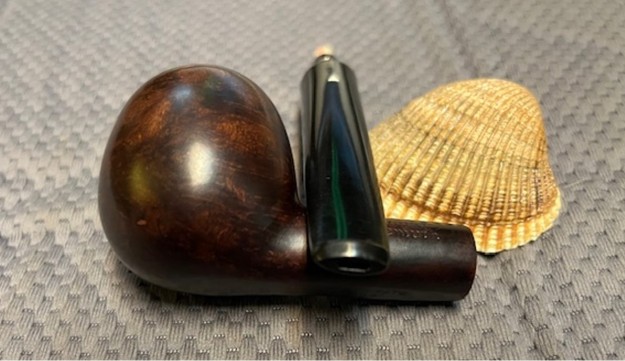
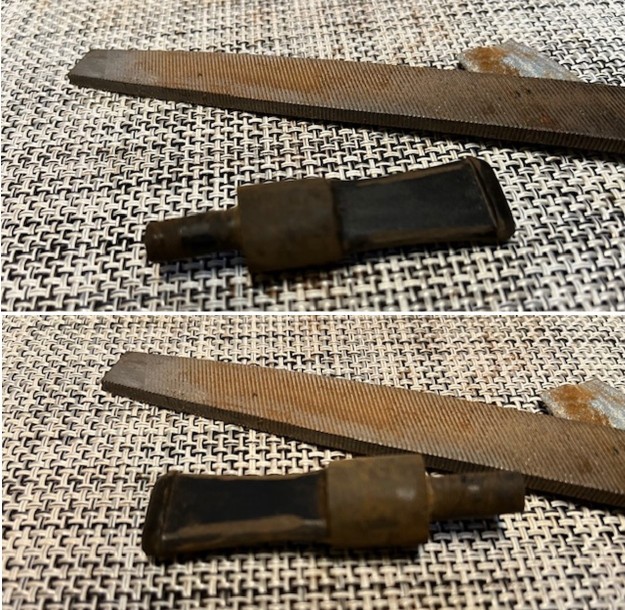
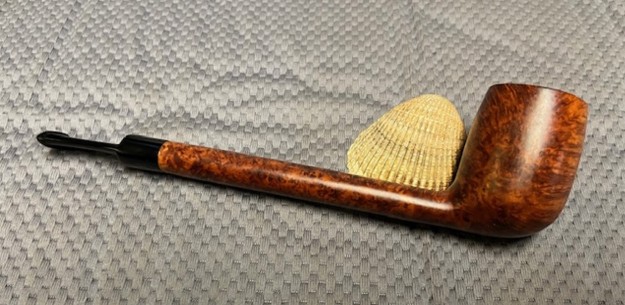
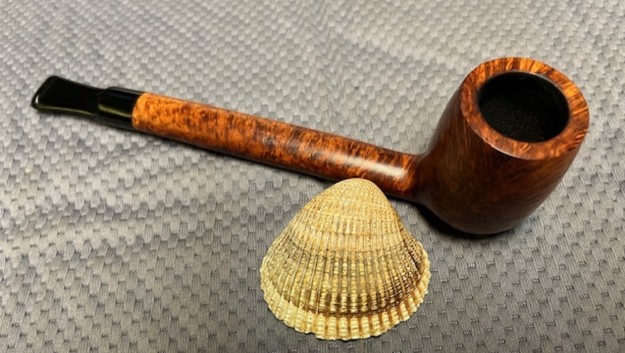
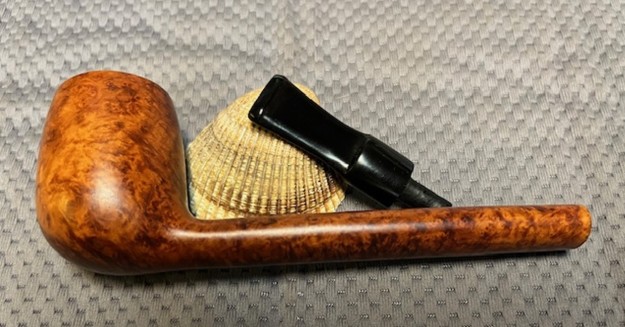
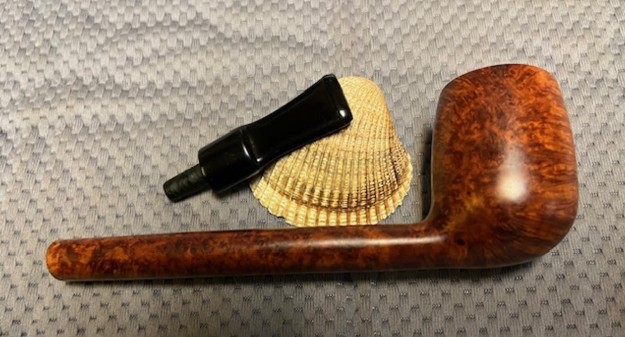
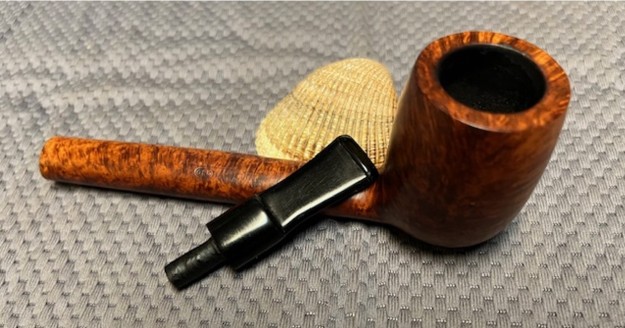
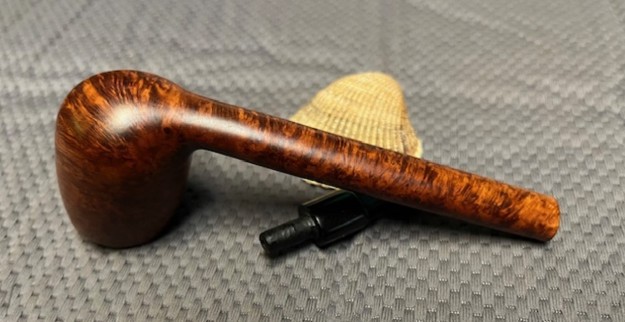
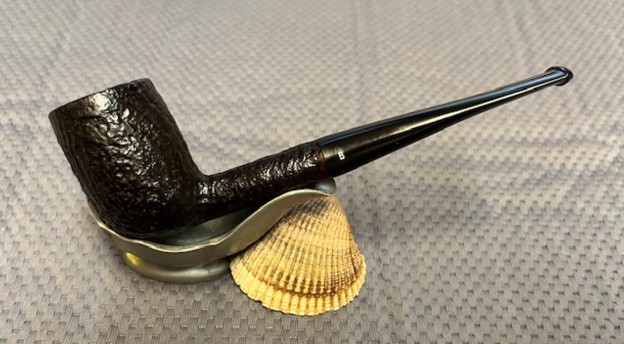
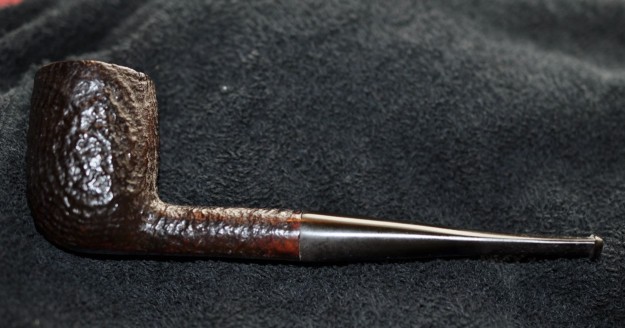
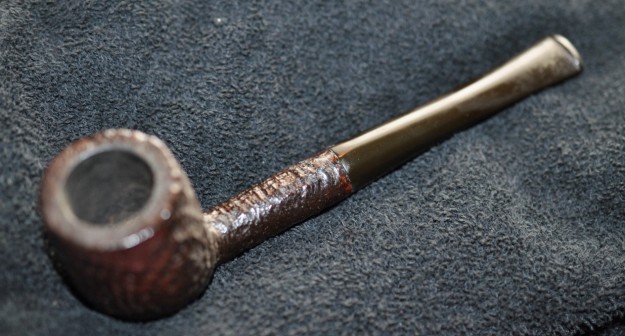
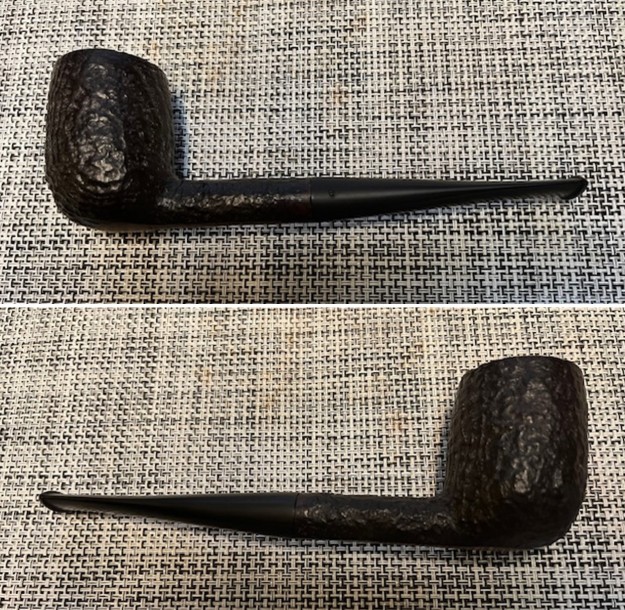
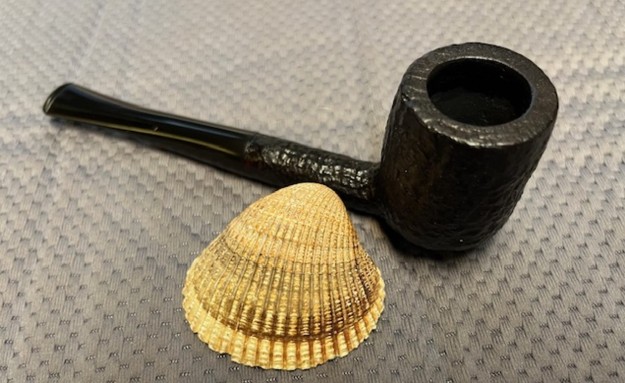
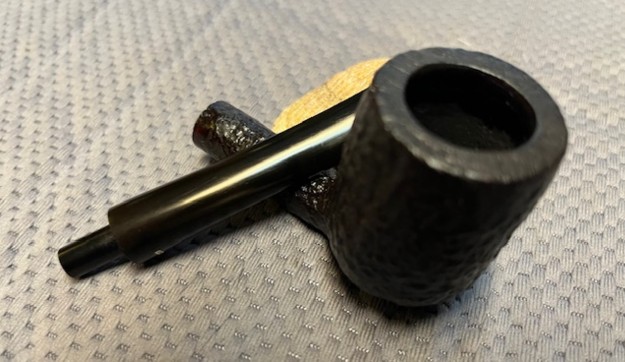
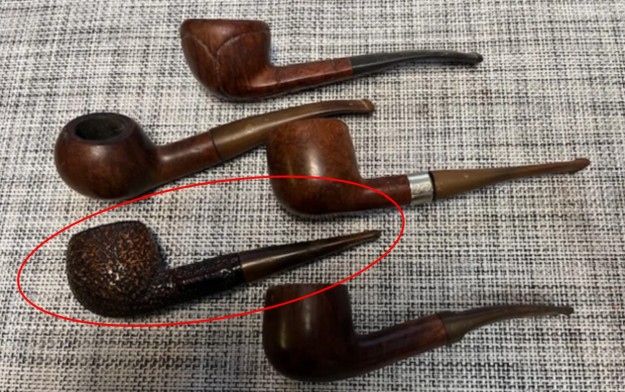
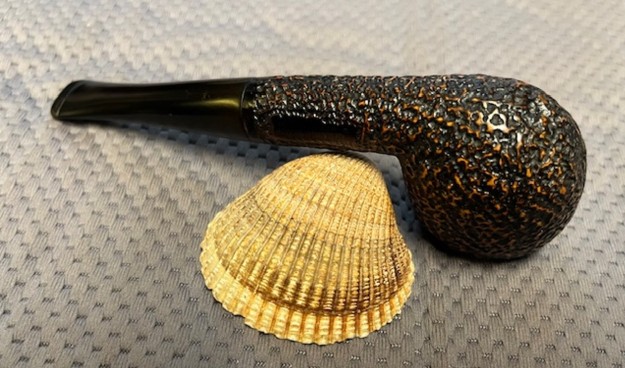
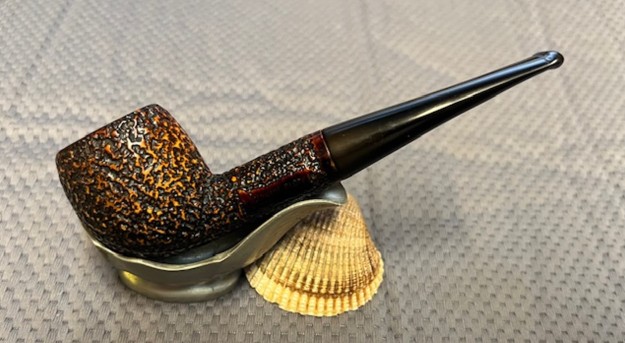
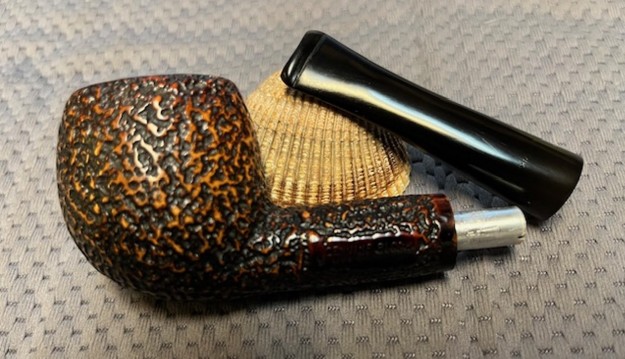
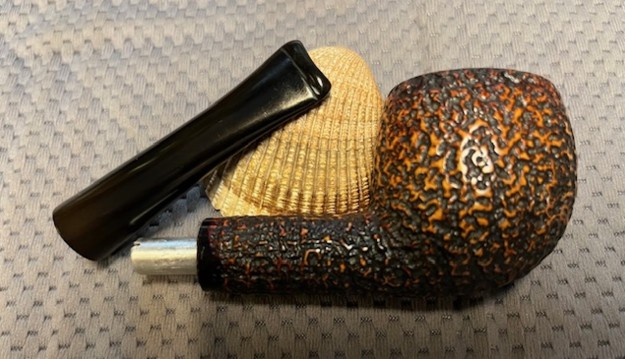
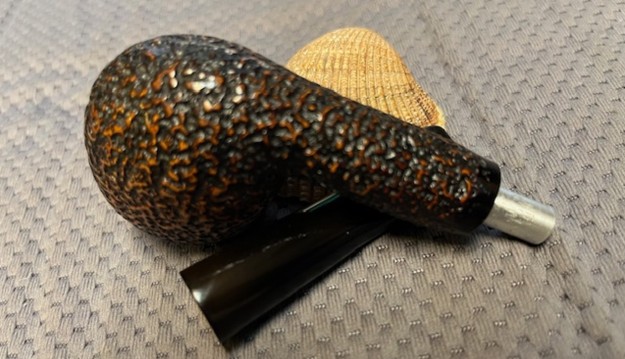
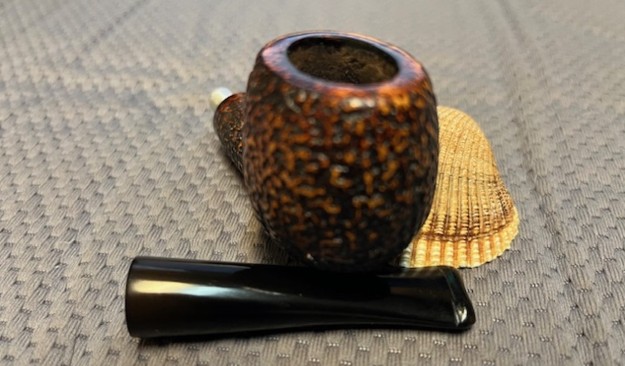
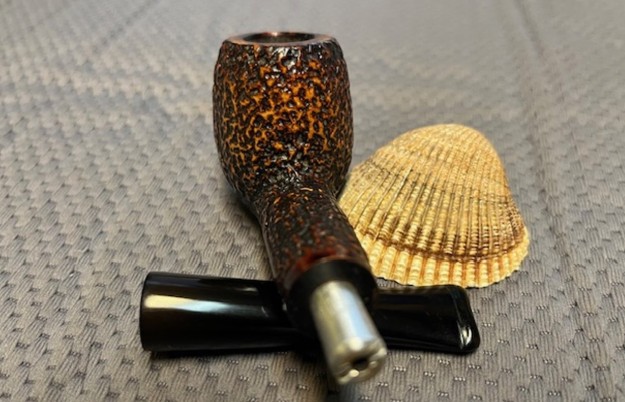
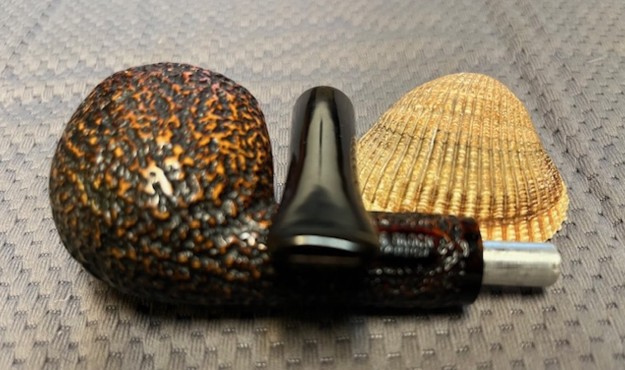
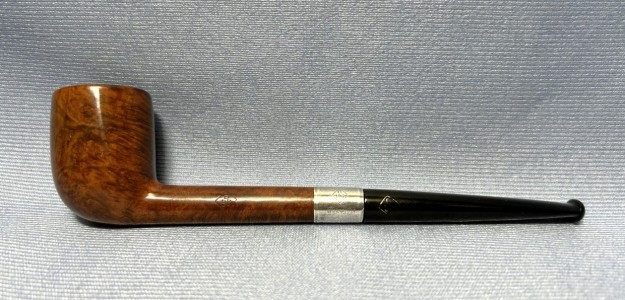
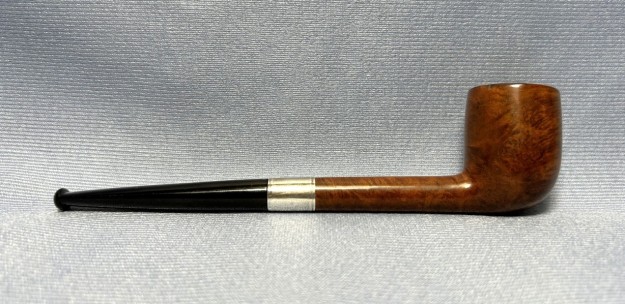
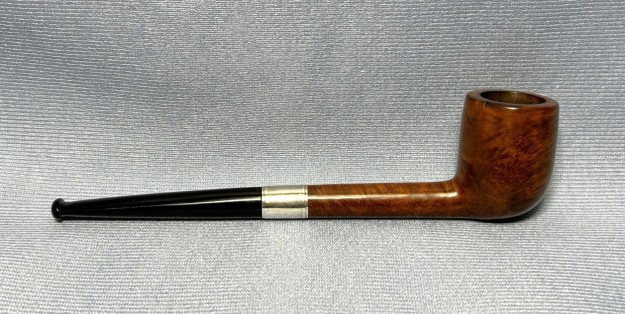
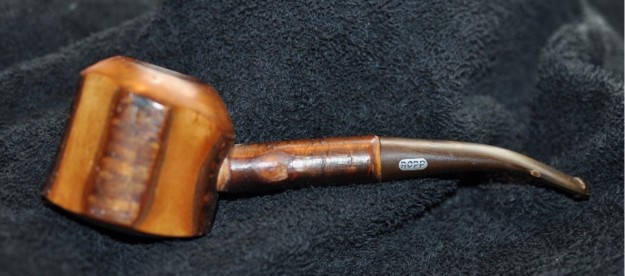
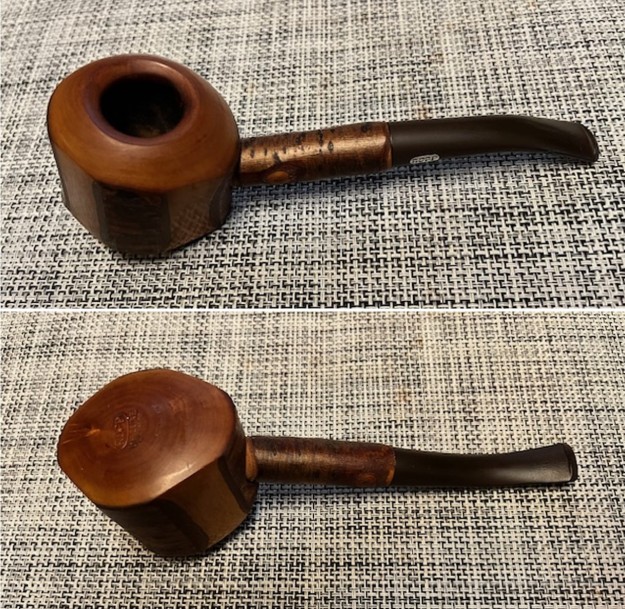
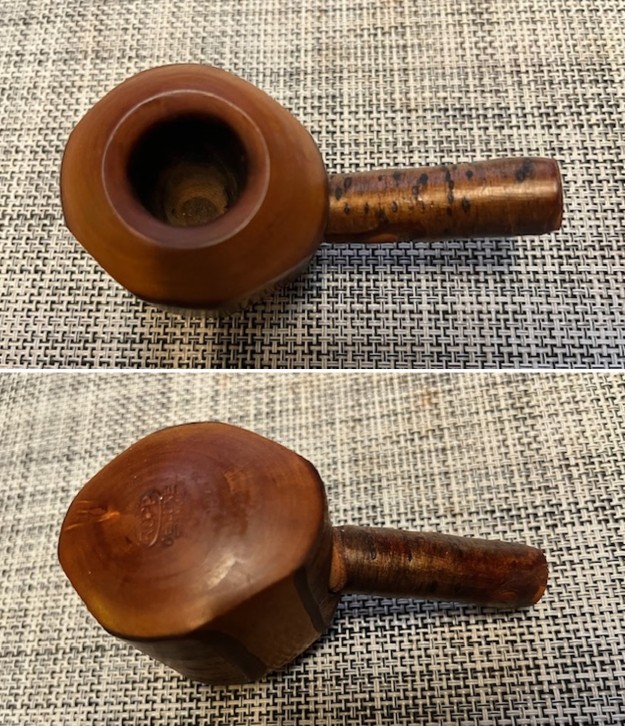
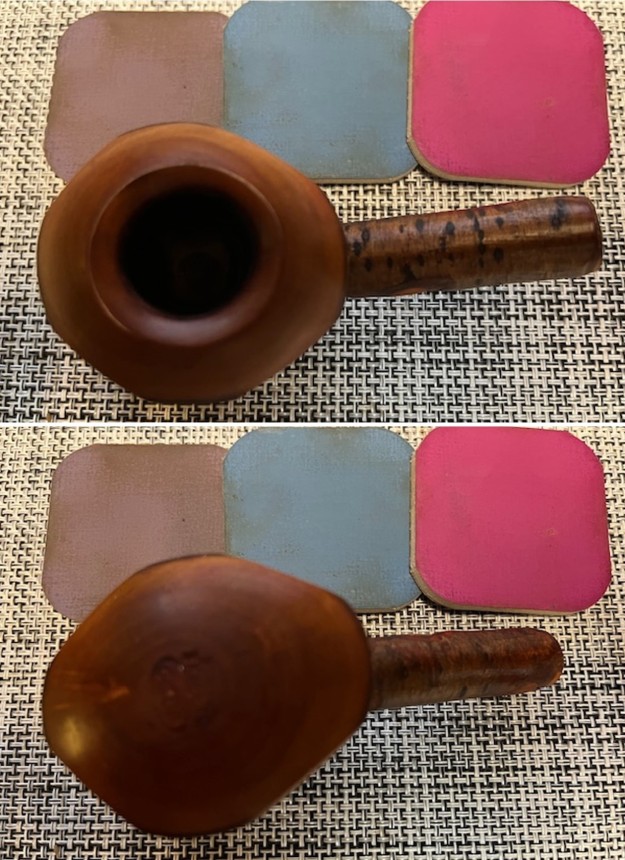
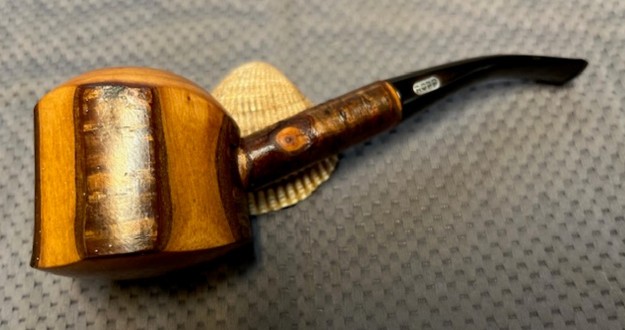
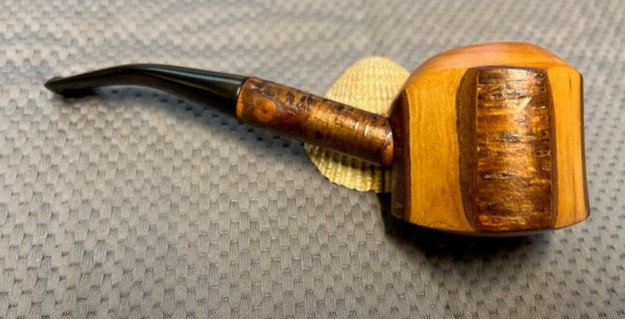
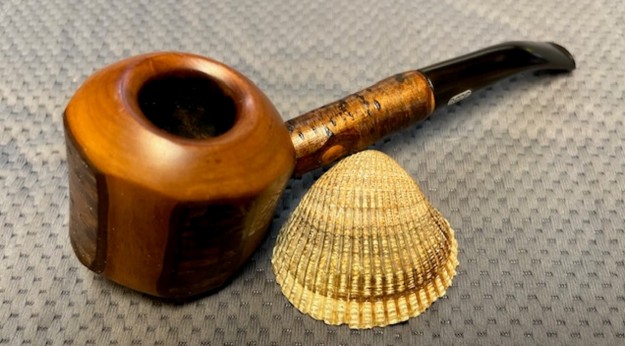
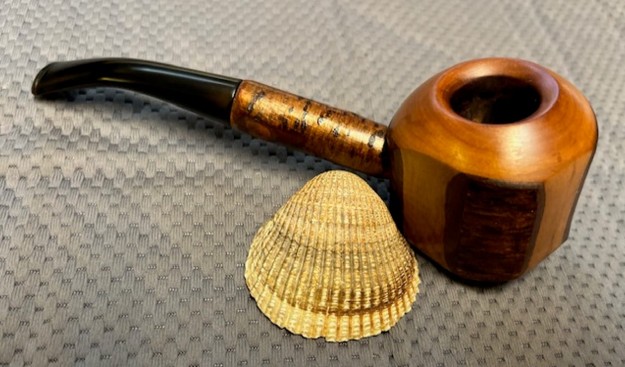
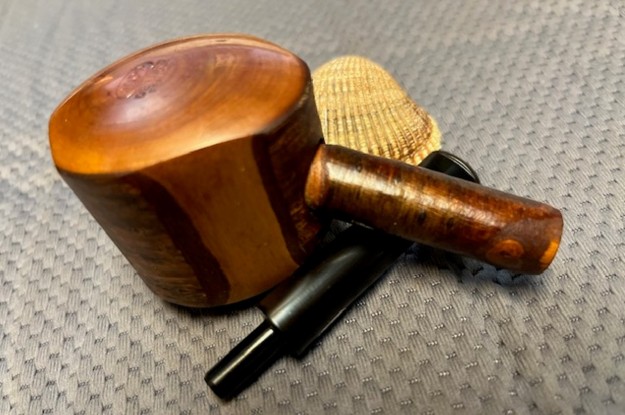
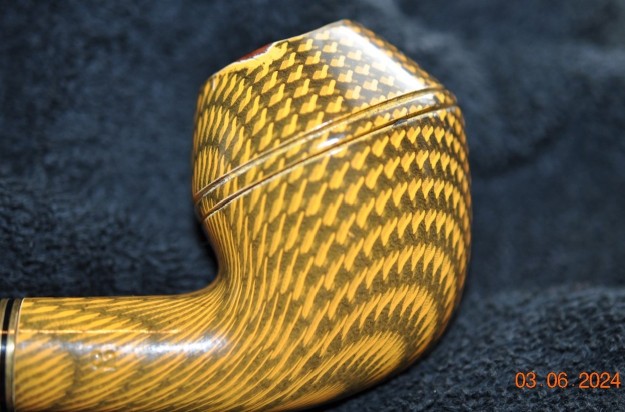
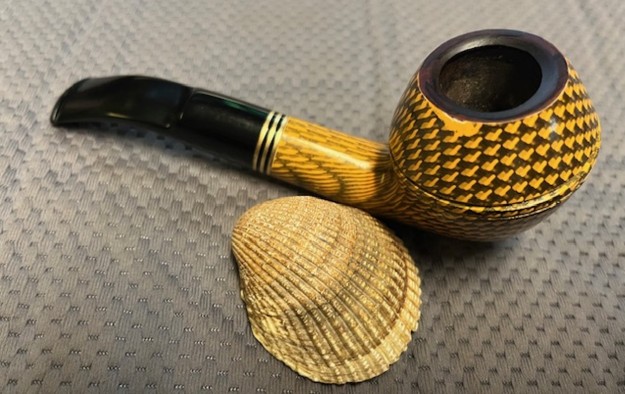
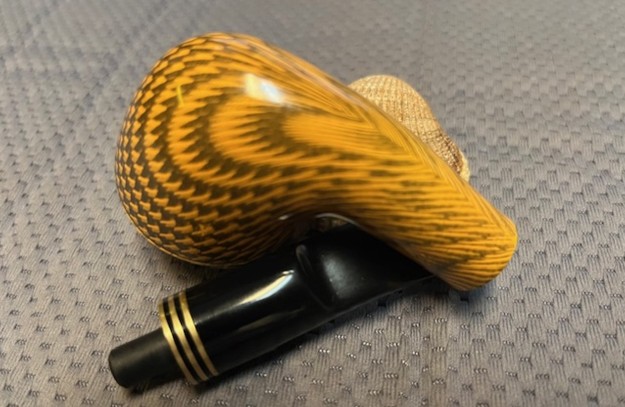
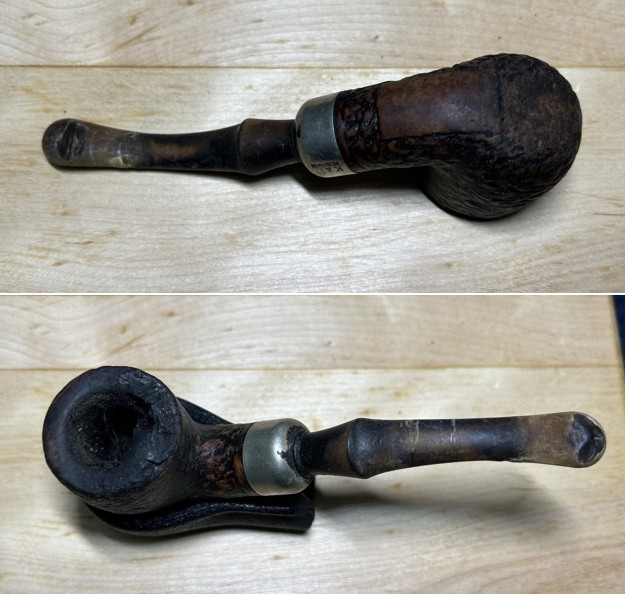
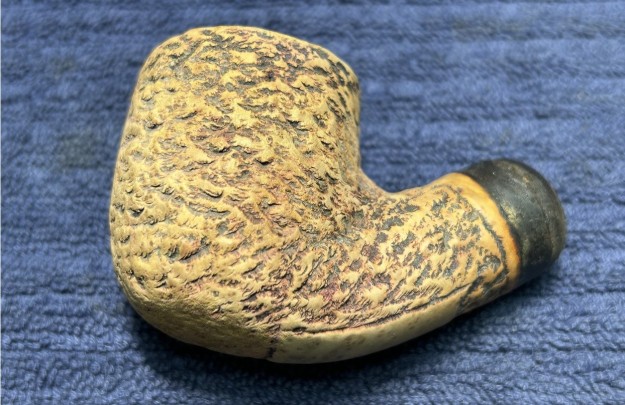
If this pipe could talk, surely it would say, “Out of the depths I have cried unto Thee, O Lord…”. This great pipe has truly come from the depths of … who knows where. It’s a handsome, rugged Peterson 301 System rusticated bent pot with a P-lip. As is often the case, this pipe (and the others in the photo below) came from an old gentleman, now deceased, who lived on Vancouver Island. The first two pipes below are both 301s and the third is perhaps/maybe a 317 (not sure yet). I have no idea what he did with these pipes (dropped them down the mines perhaps), but boy-oh-boy, these are pretty rough. No problem – it’s my job to sort things out.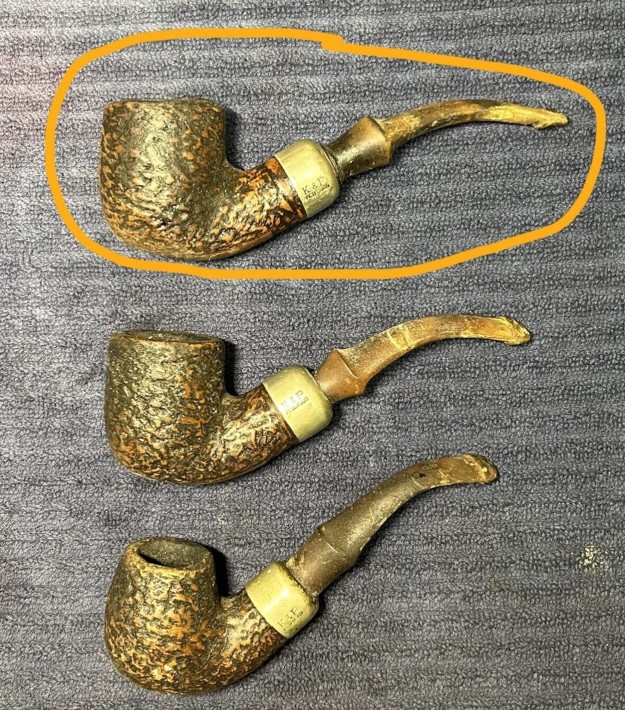
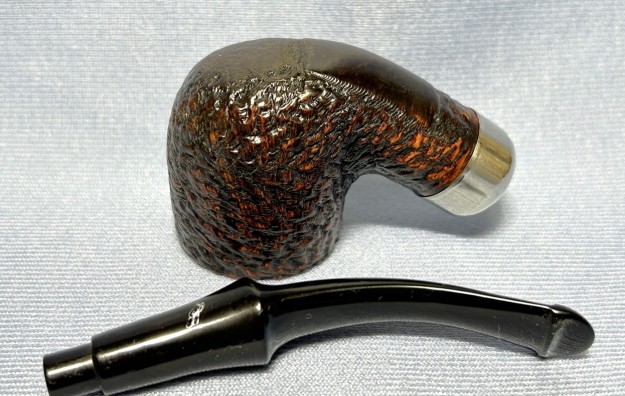
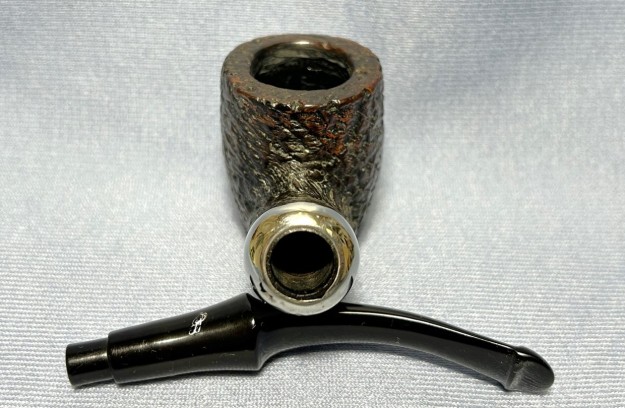
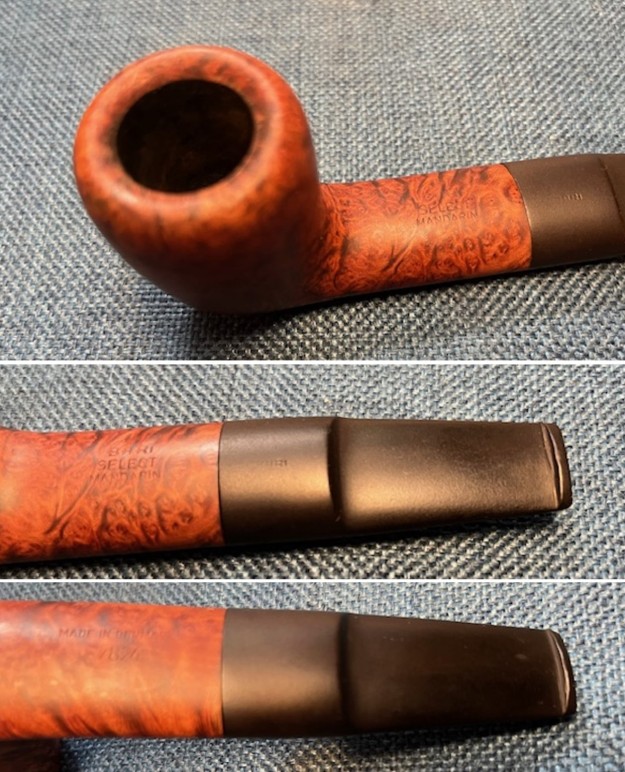
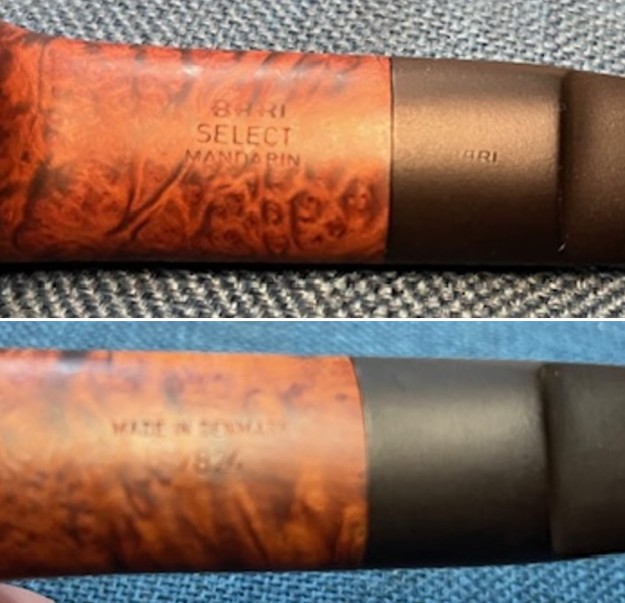
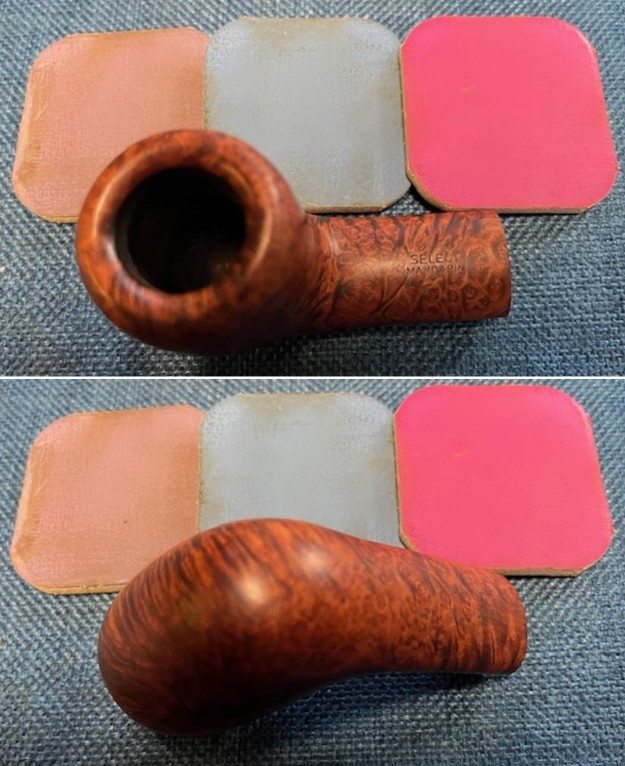
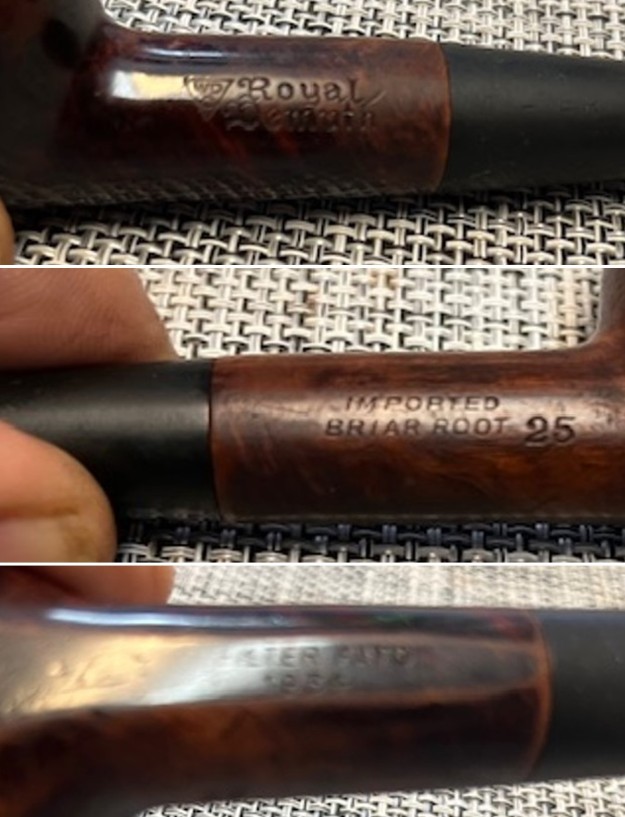
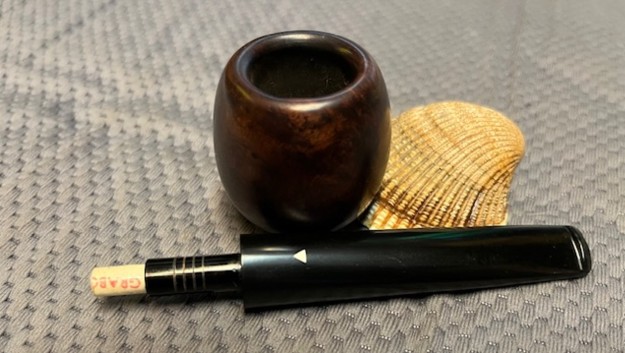
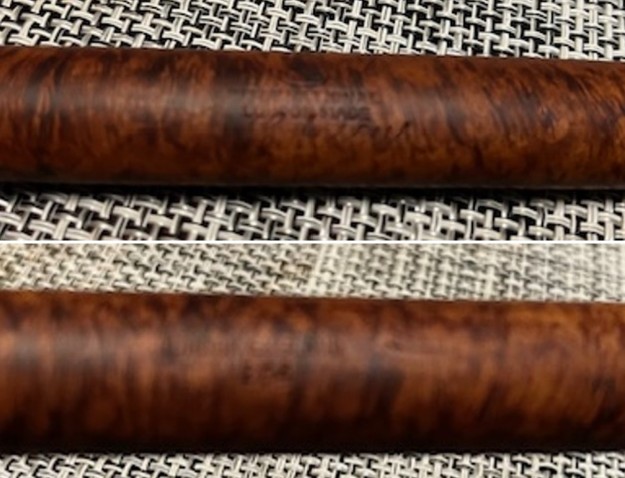
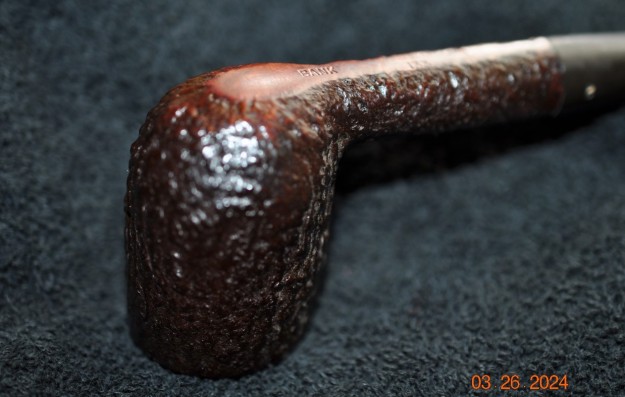
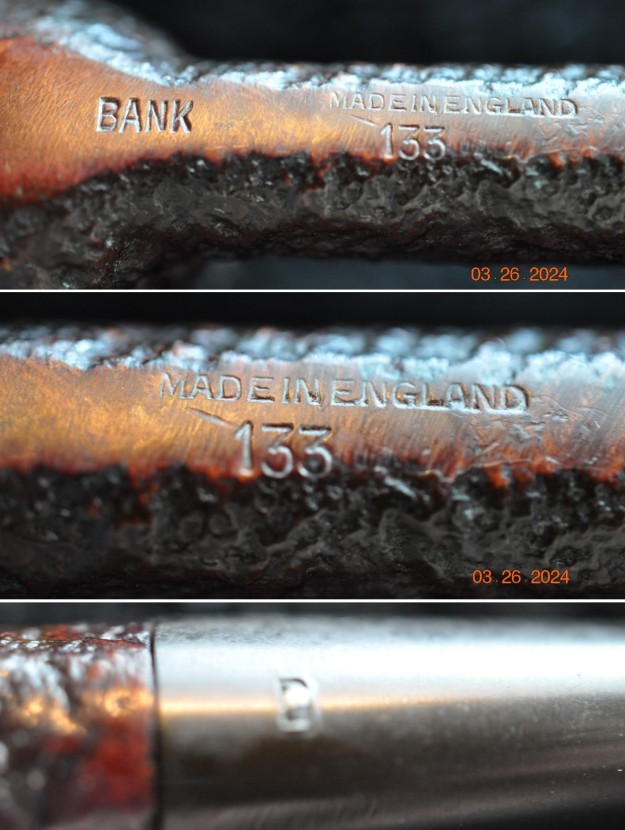
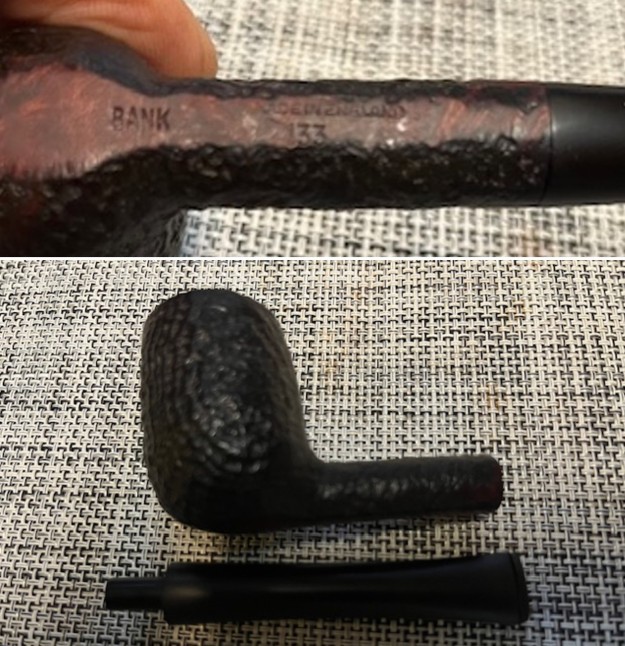
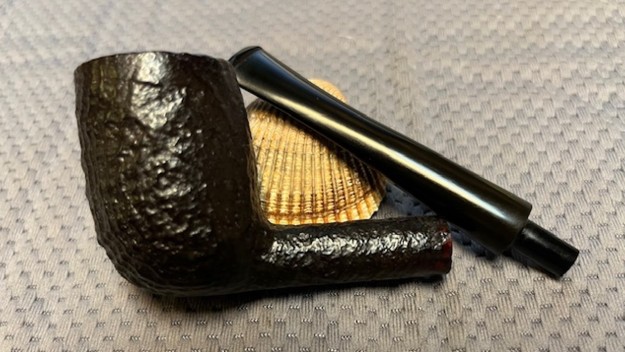
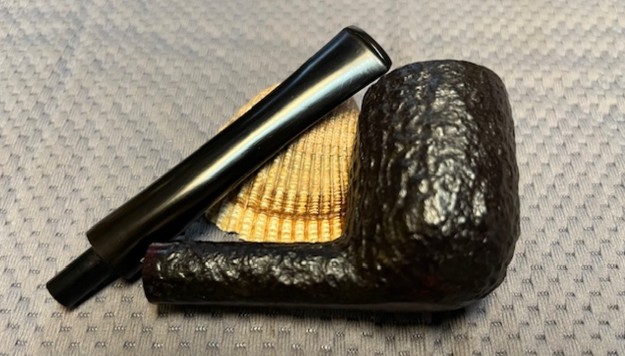
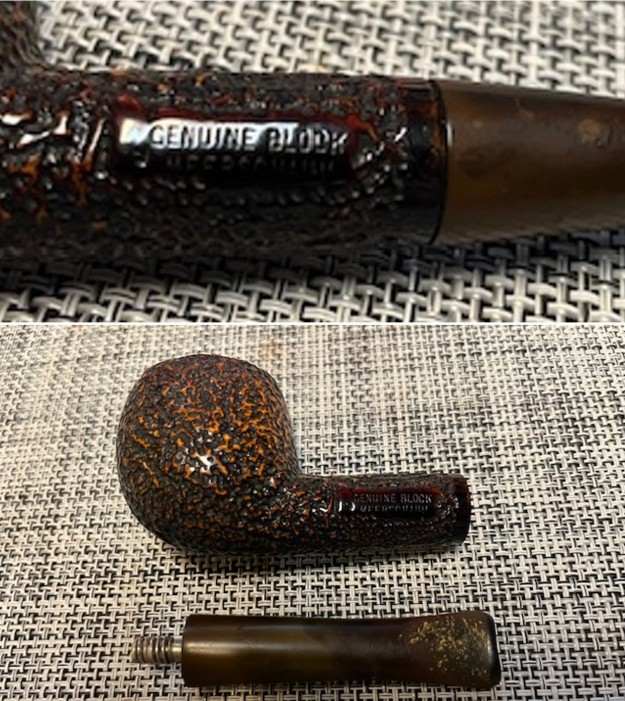
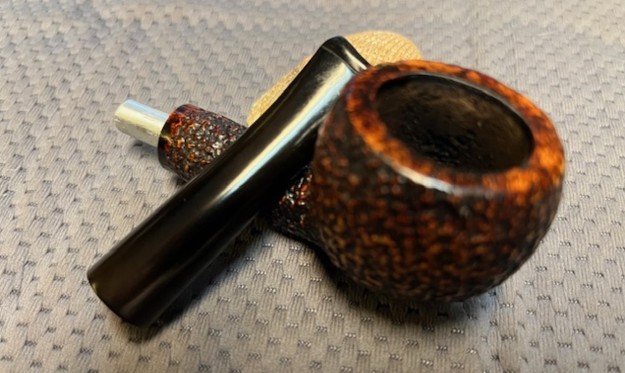
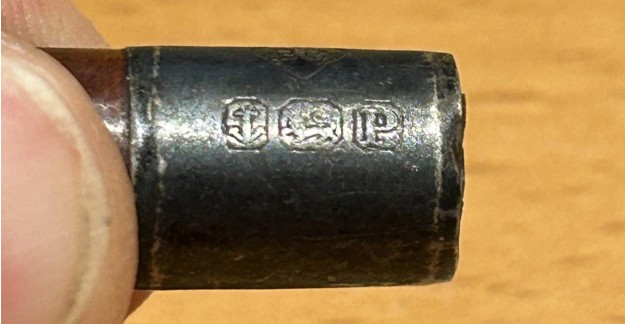
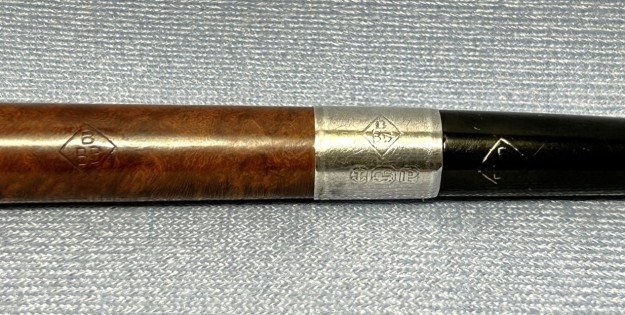
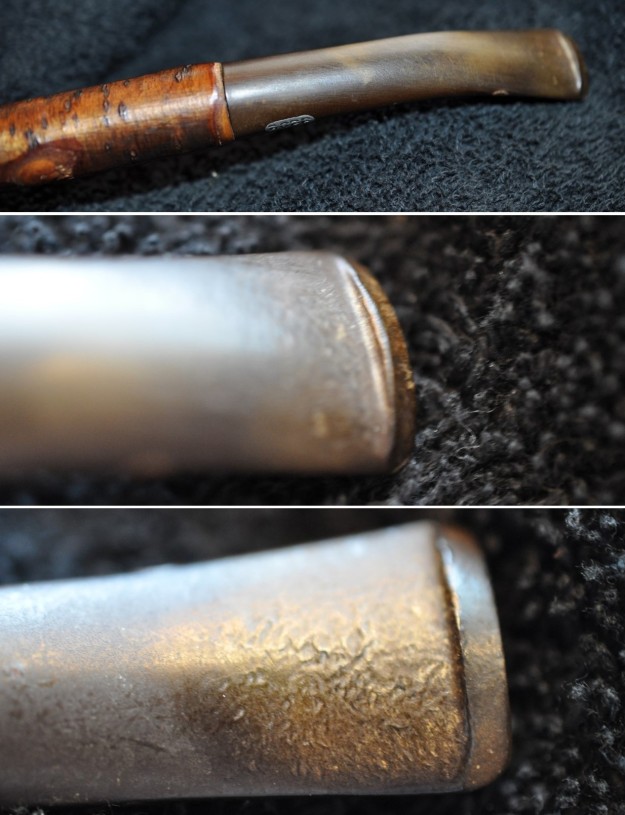
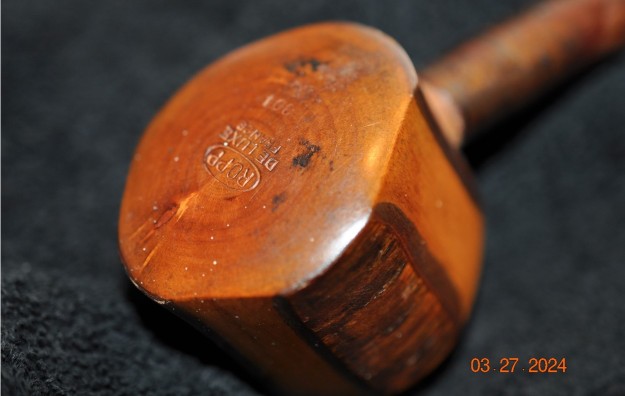
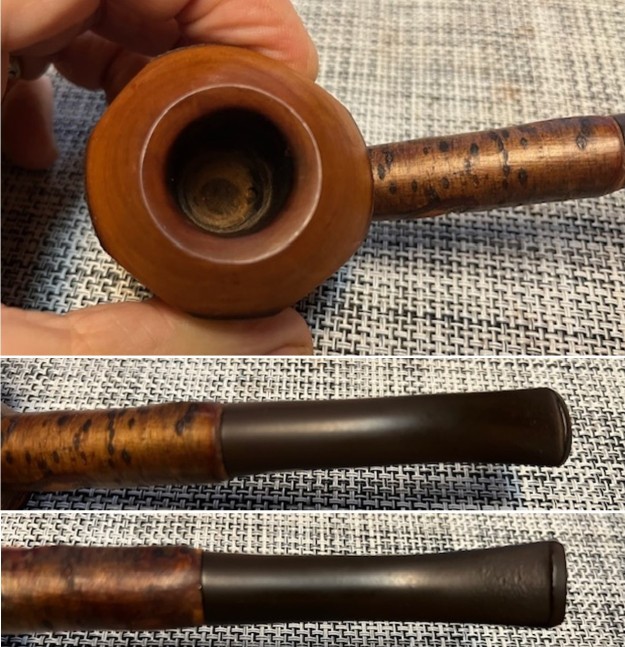
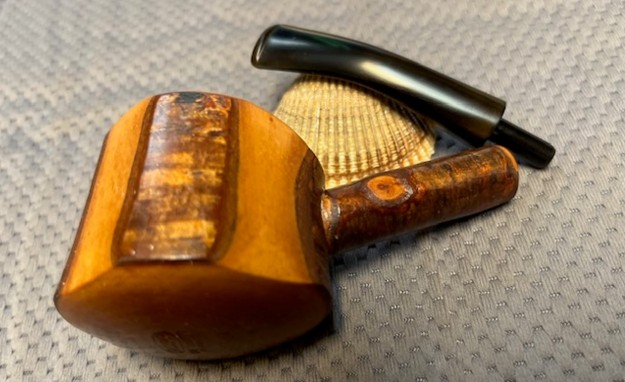
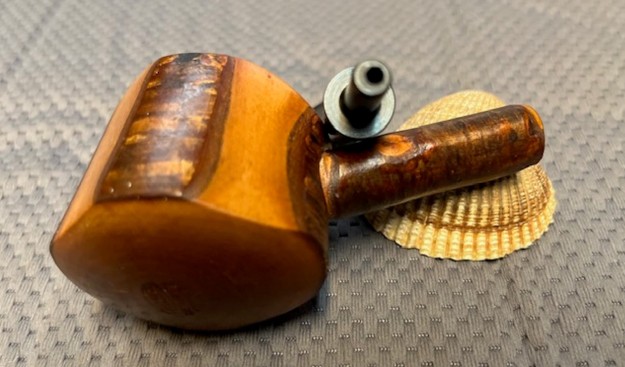
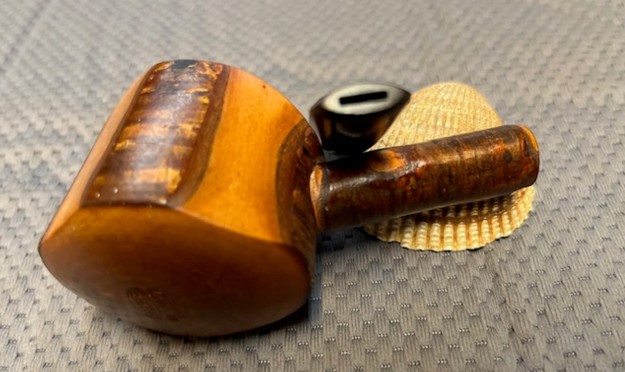
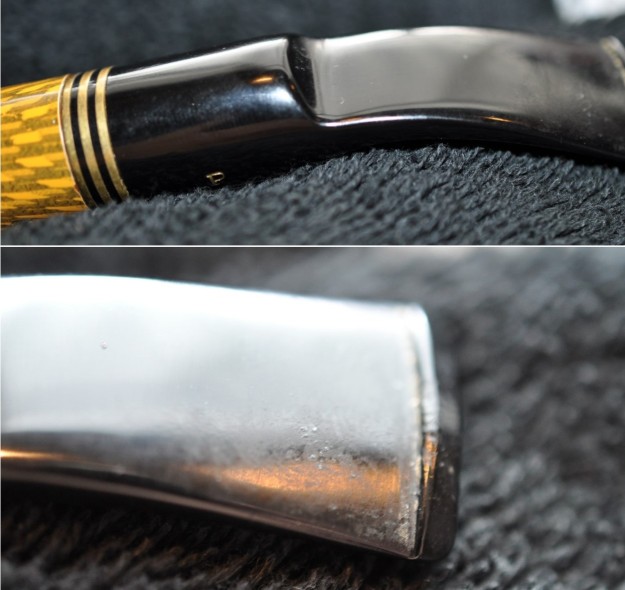
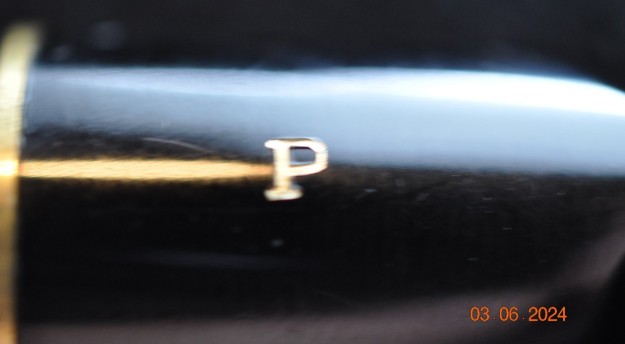
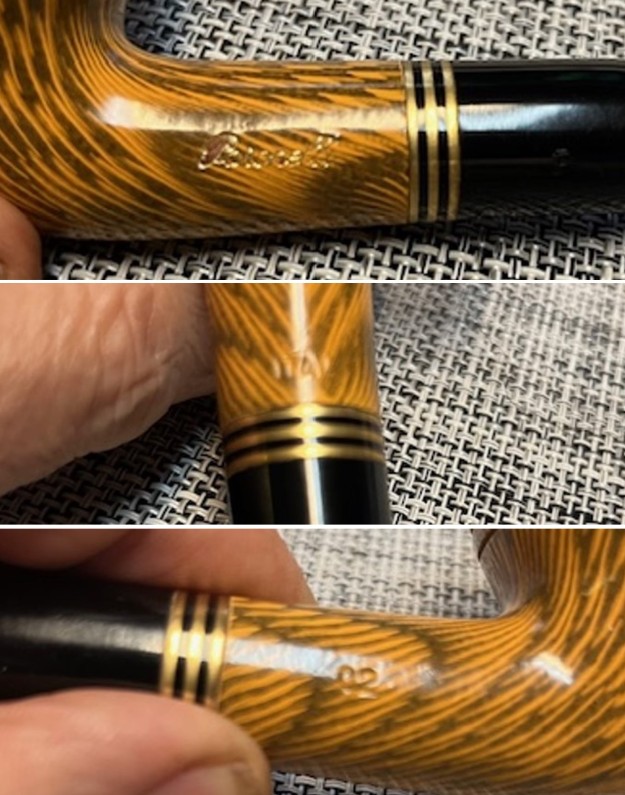
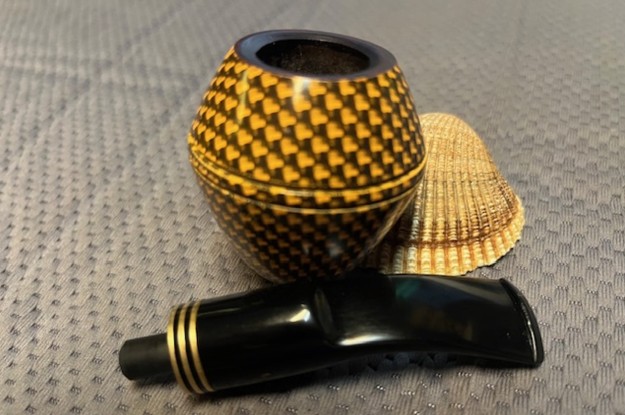
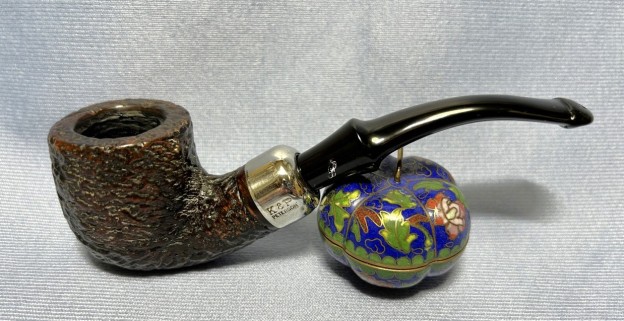
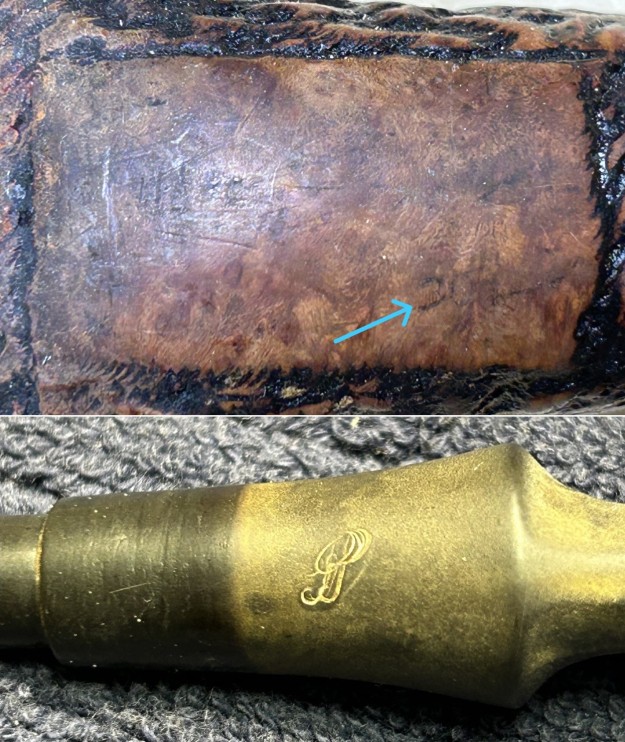
 The only markings to be found on this pipe are the 301 found on the underside of the stummel, the K&P [over] Peterson on the nickel ferrule, and the double-stamped, stylized P on the stem. That’s annoying!
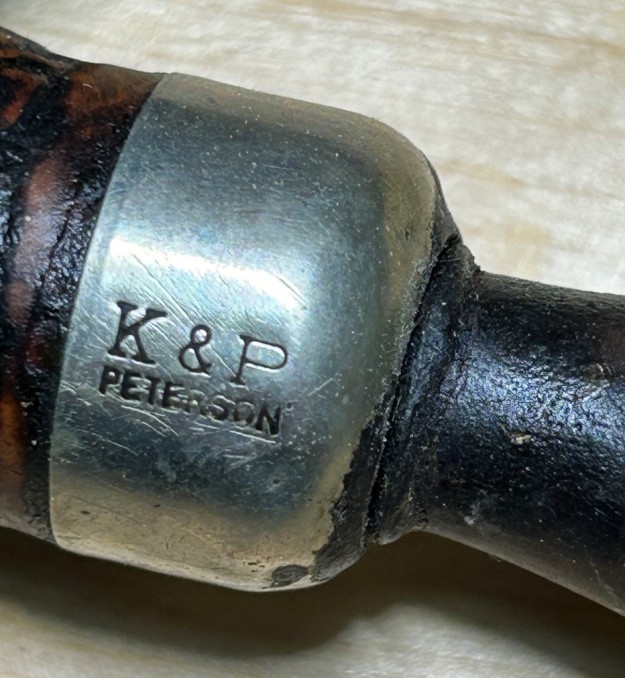
 Mark Irwin of Peterson Pipe Notes has written a few good articles about the 301s on his blog and I recommend reading one here and another one here. Of course, Steve has also written restoration blogs about the 301, including this one and it contained an important tidbit of information that I quote here:
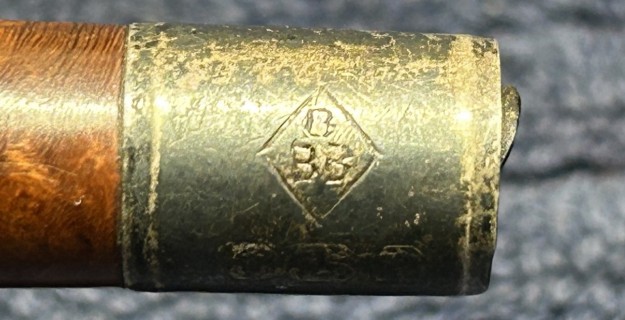
I learned previously that the shape 301 was not introduced until 1975. Considering the Republic stamp, this one would likely date between 1975 and 2000.
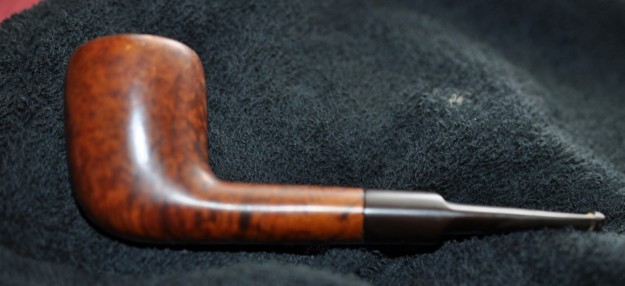
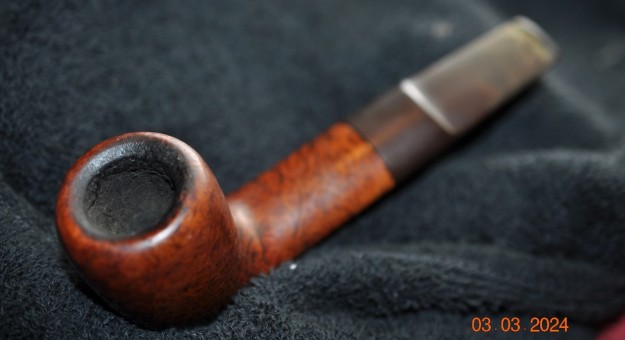
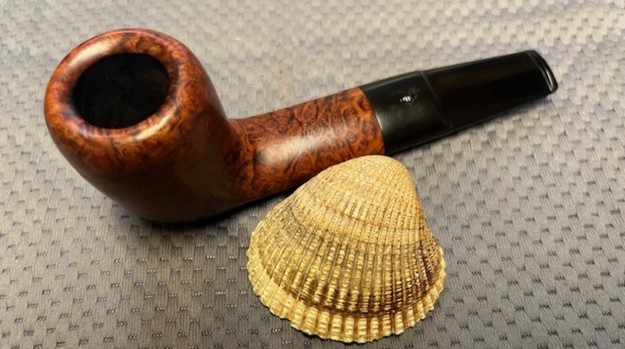
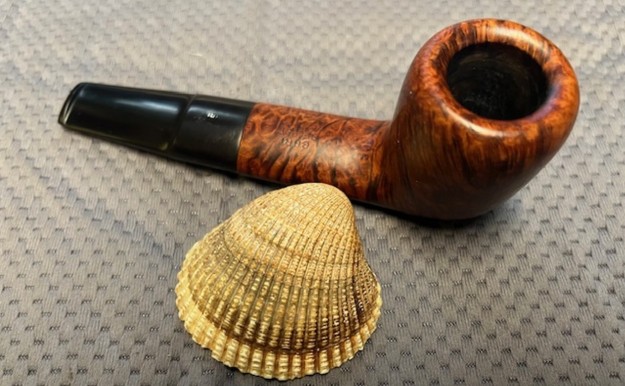
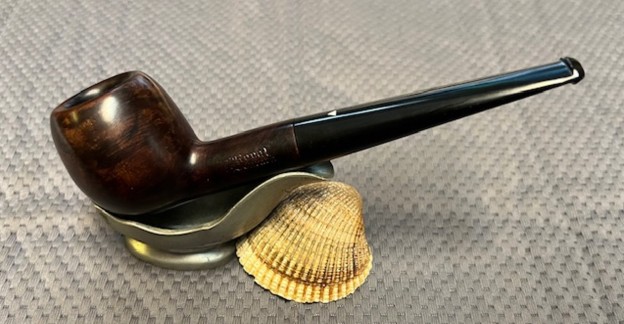
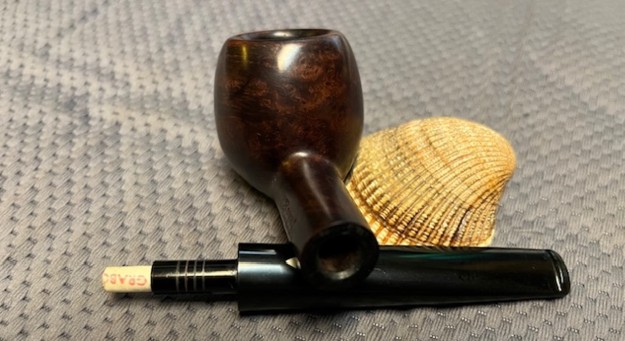
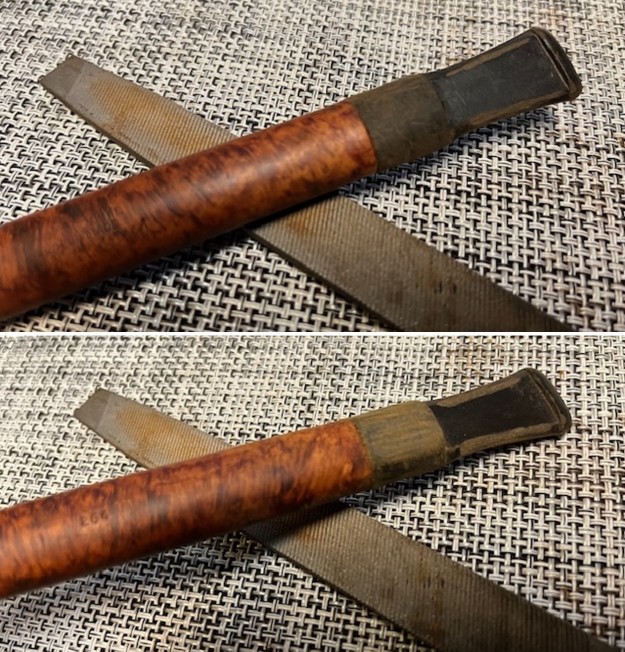
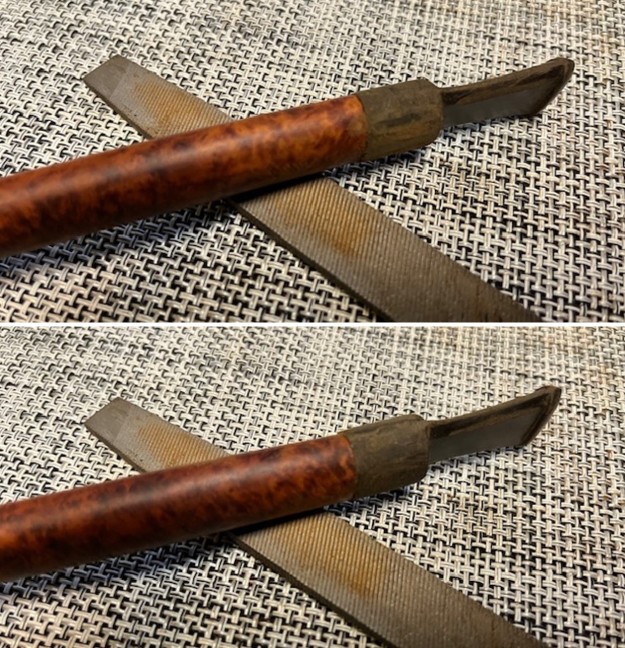
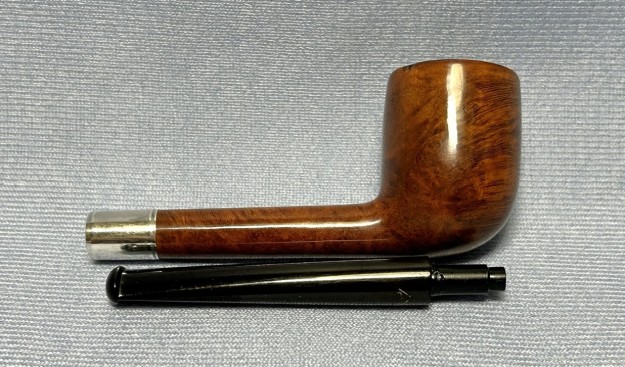
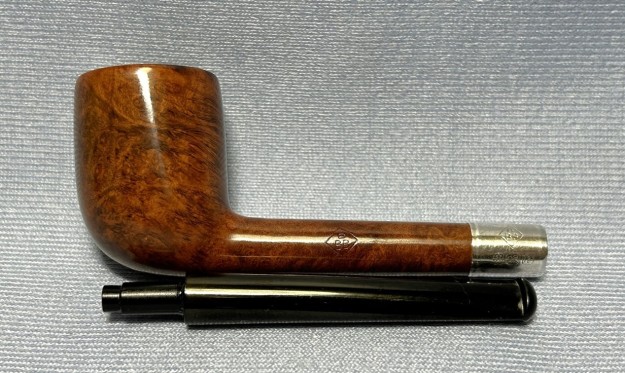
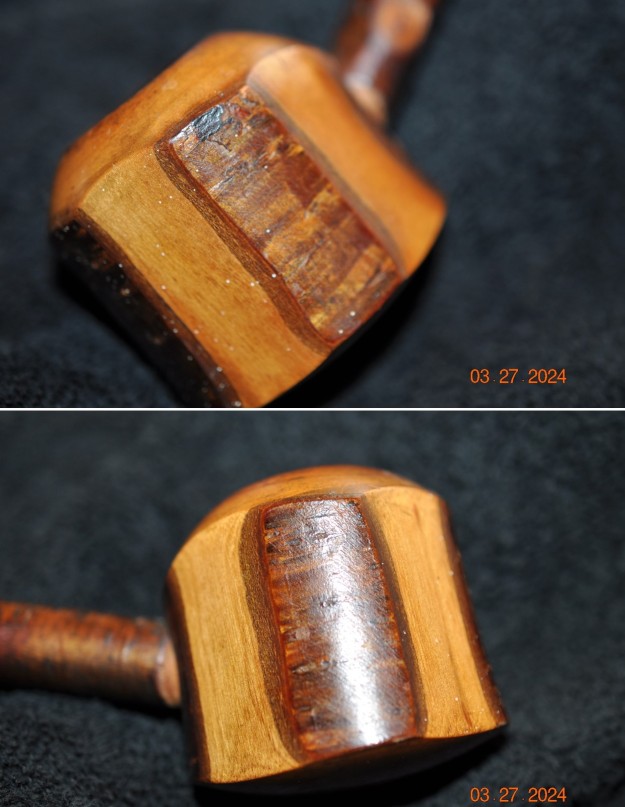
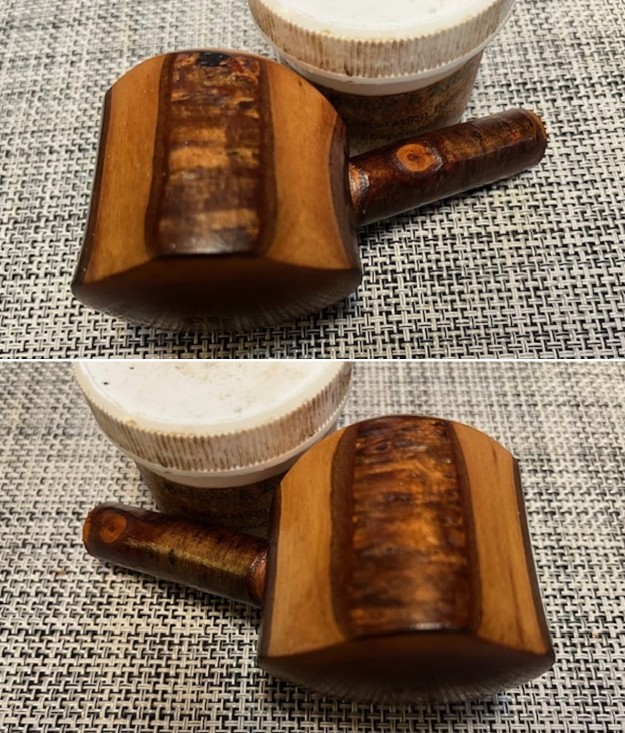
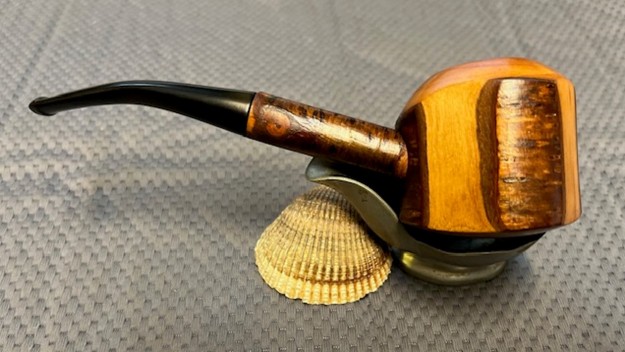
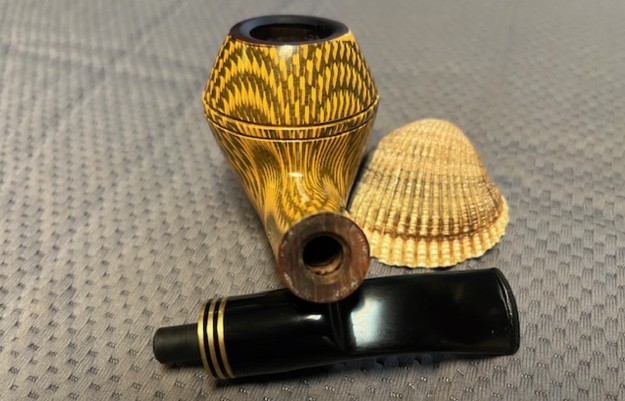
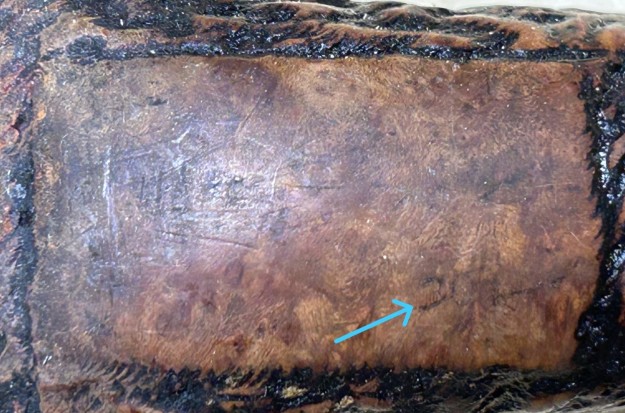
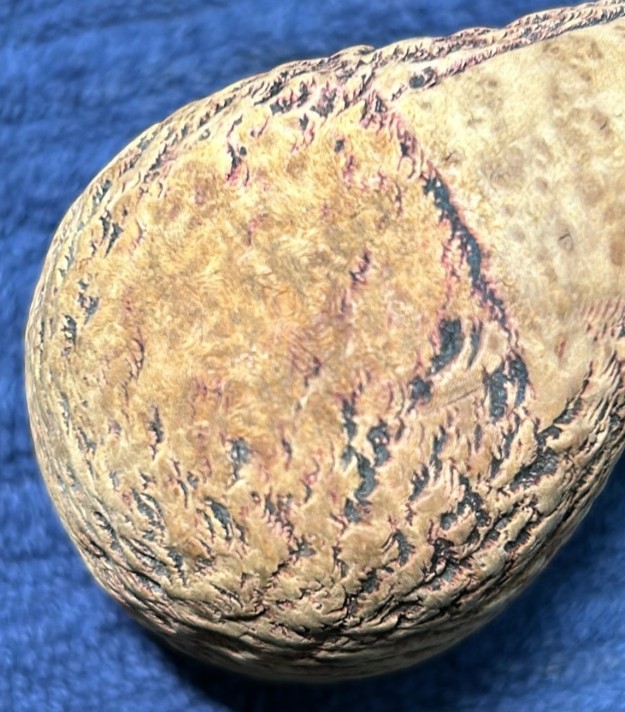
This was significant because, due to the markings being almost entirely worn on this pipe, there was nothing on the wood other than the number 301 – and I couldn’t tell an age from that. Charles Lemon from Dad’s Pipes also has a post about a 301, which he describes as coming from the “1970’s era”. Now, what’s interesting about Steve and Charles’ pipes is that the patch of briar which shows the marks is quite different from mine. Below are Steve’s, Charles’, and my pipes, respectively. The first two are sort of freeform oval-ish shapes. Third (mine) is a rectangle and I wonder if that indicates a different era. I don’t know, but any of you reading this do, please let me know! 
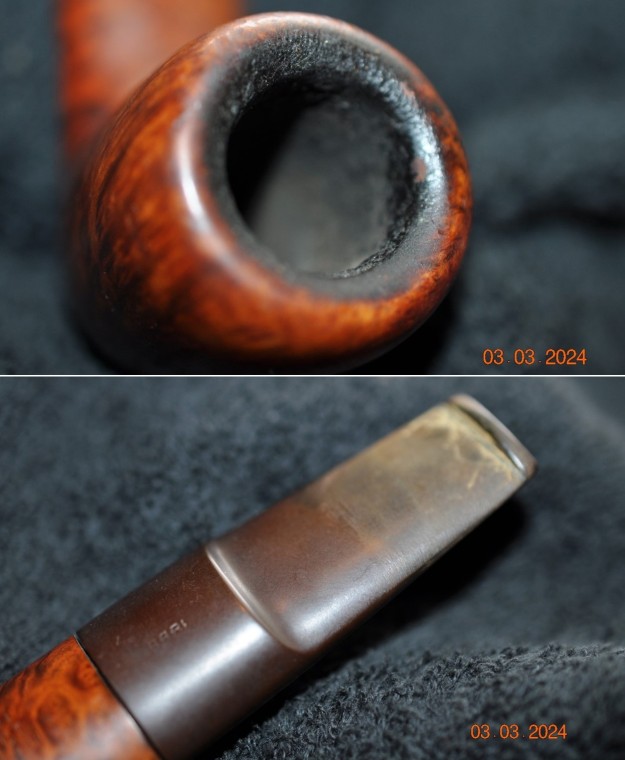
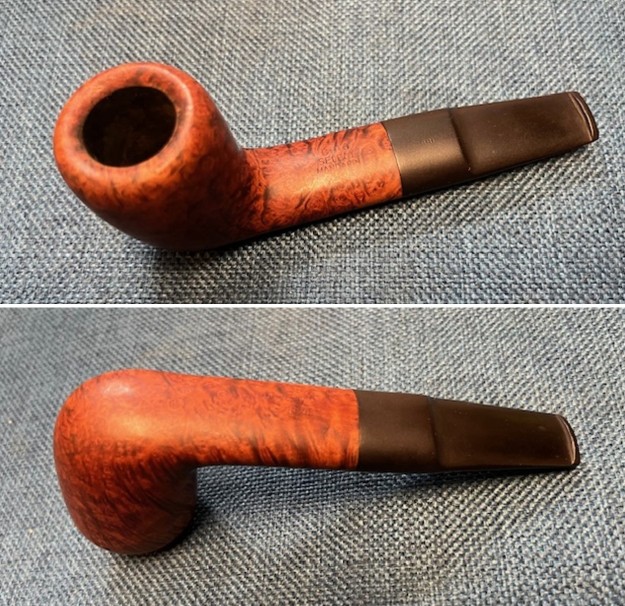
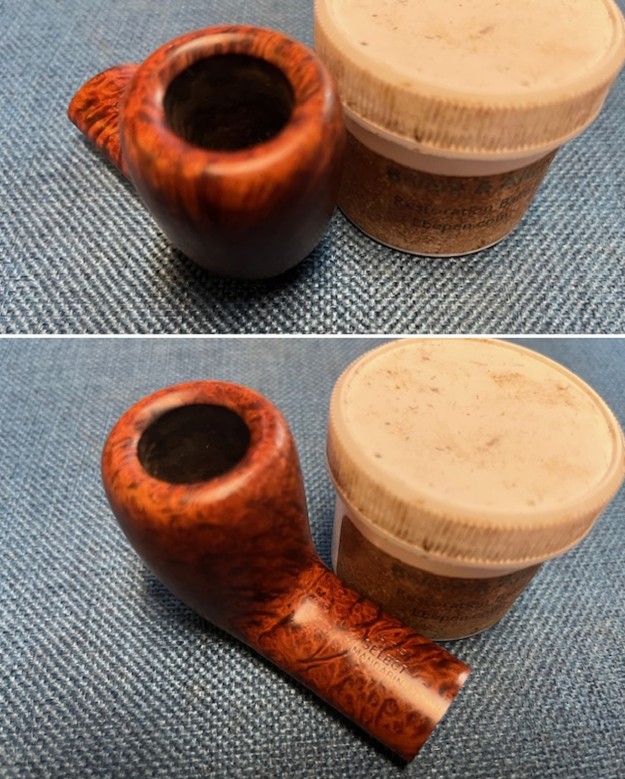
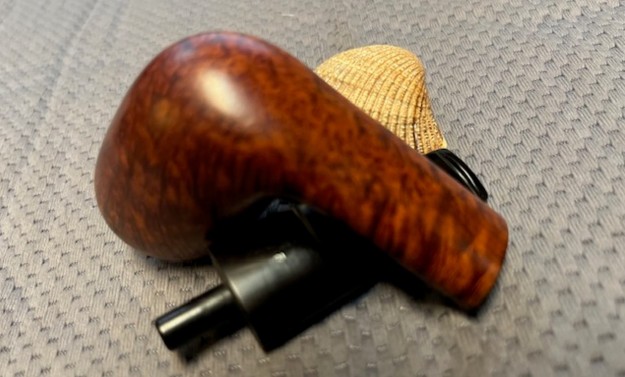
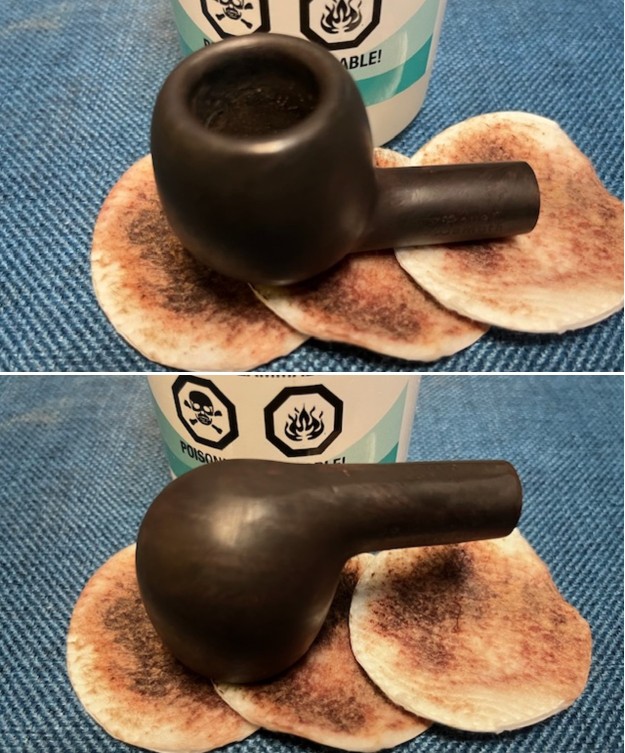
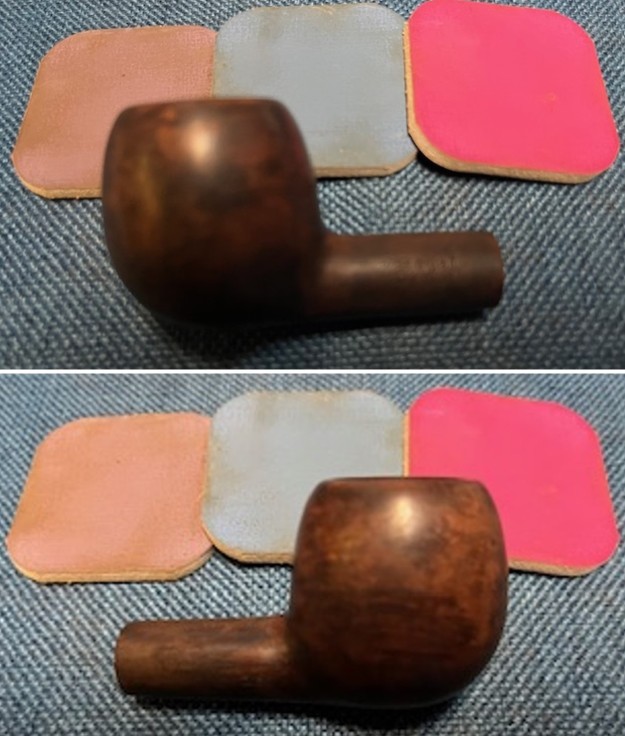
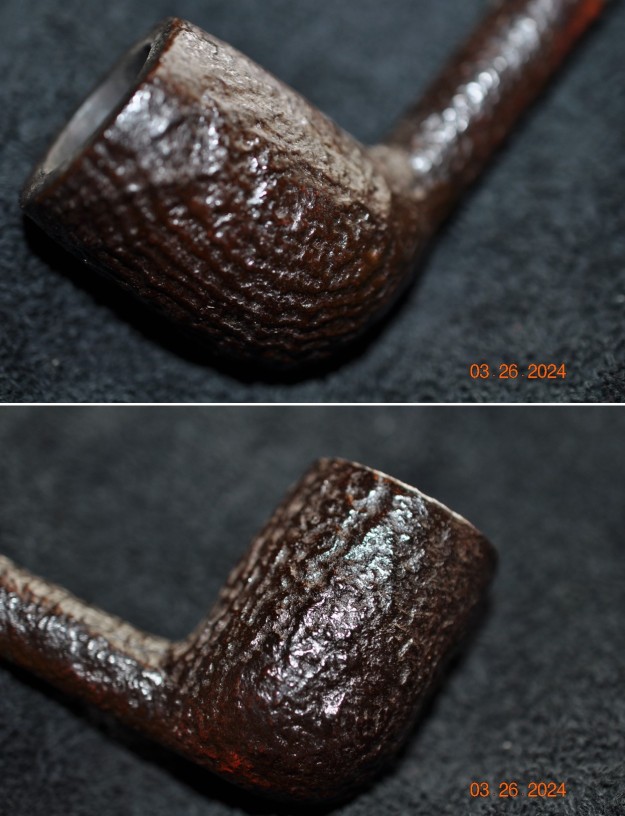
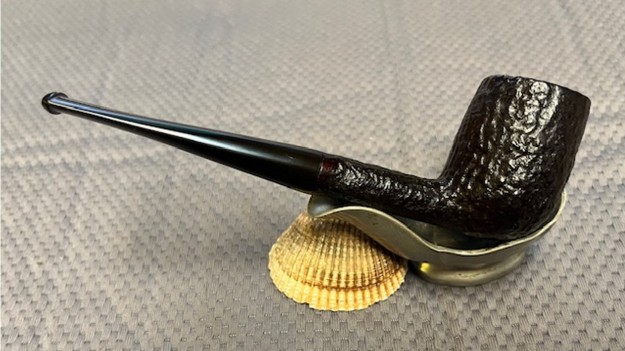
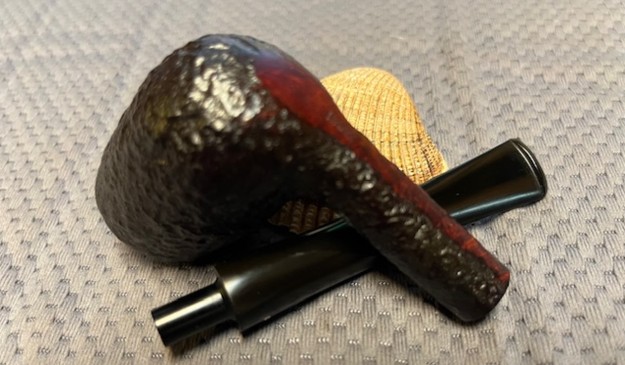
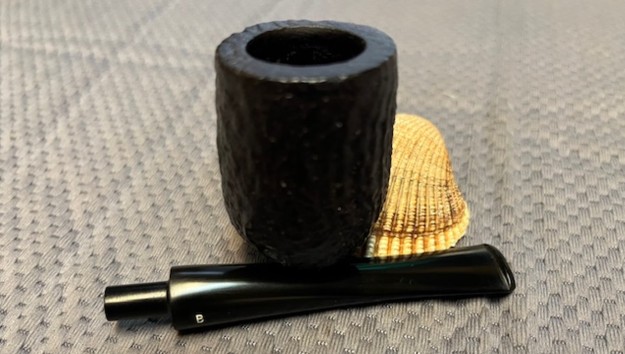
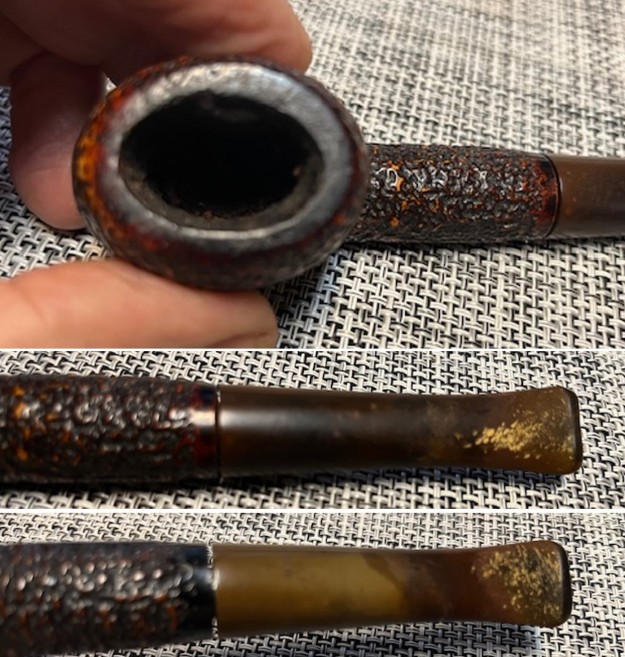
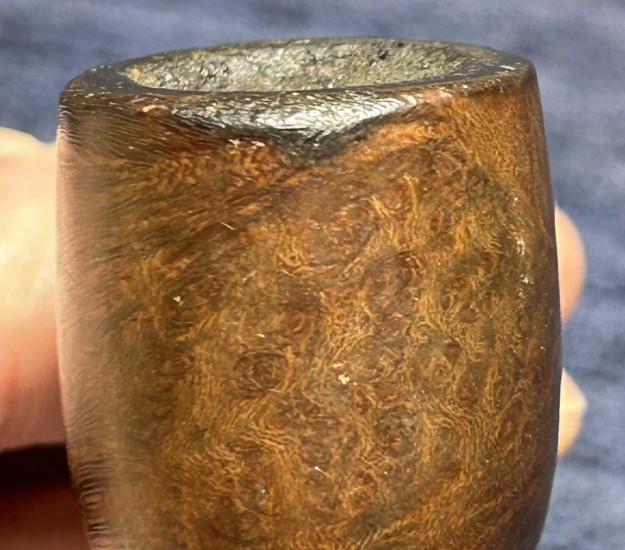
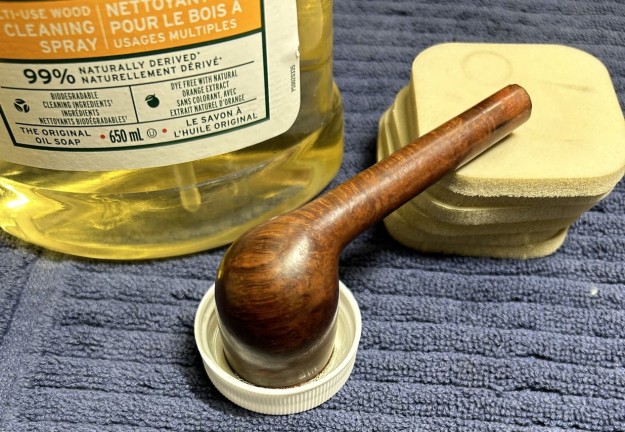
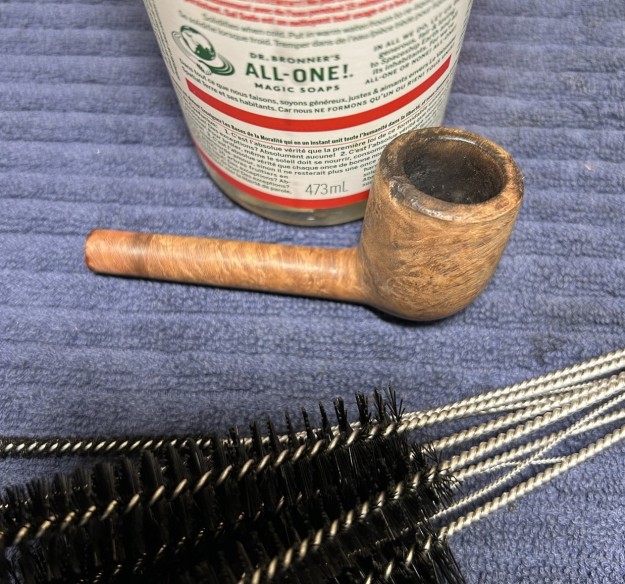
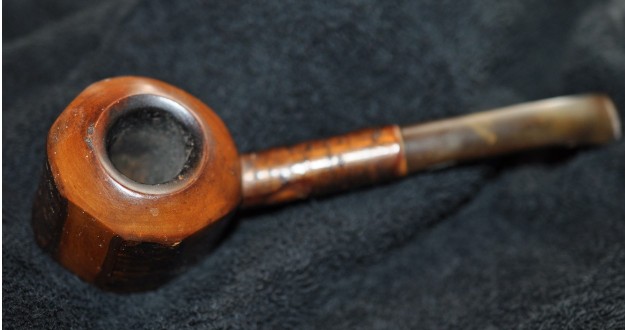
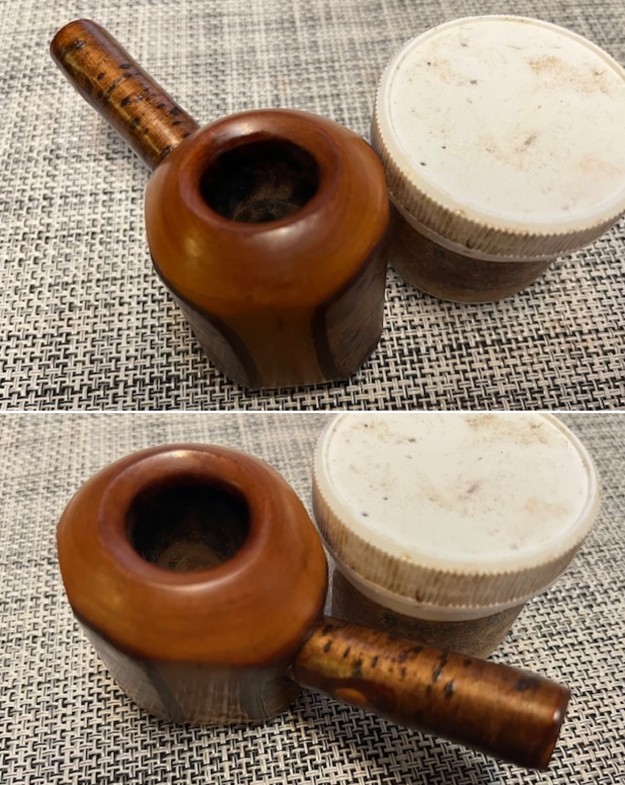
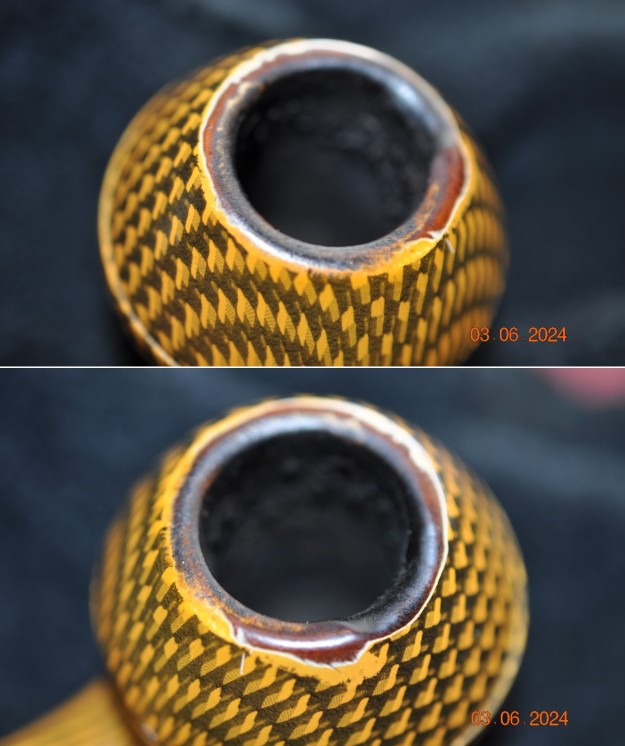
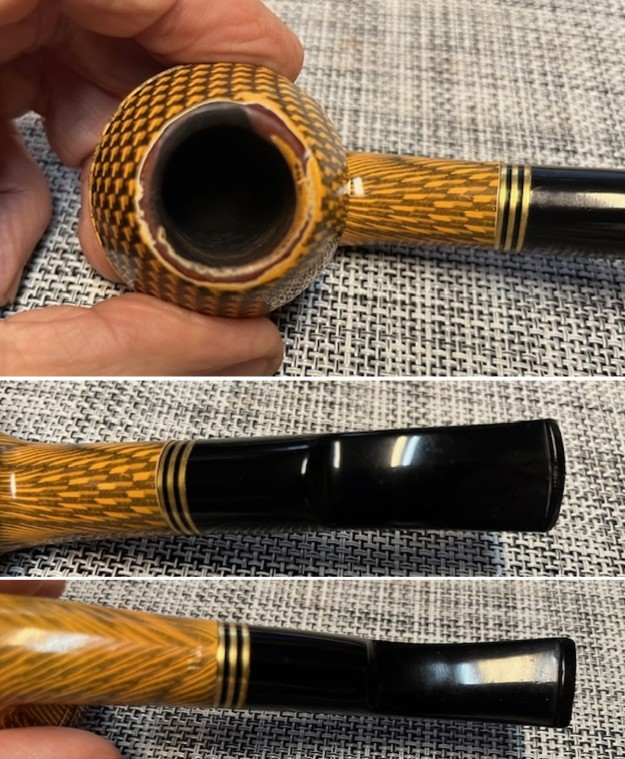
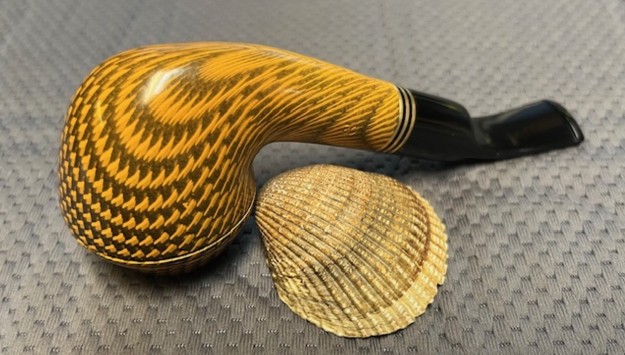
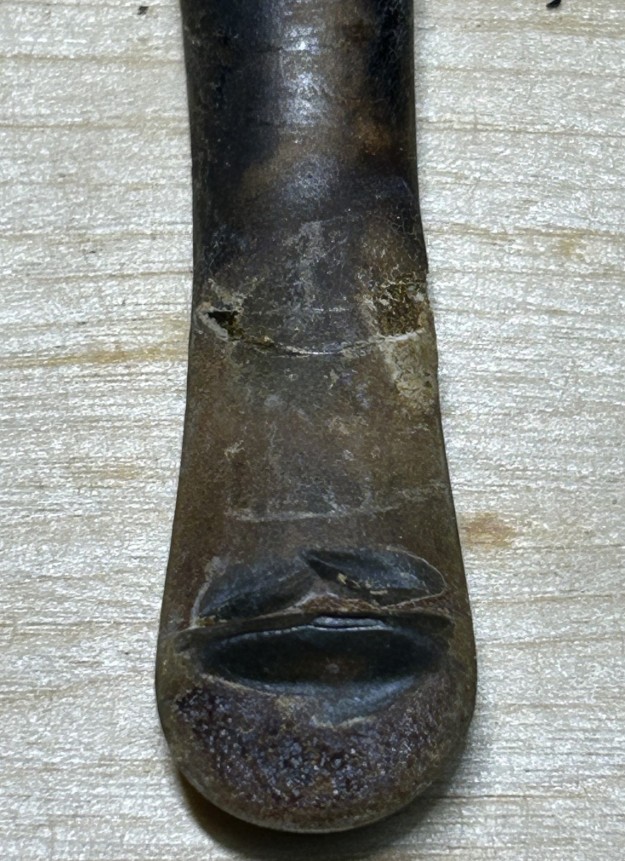
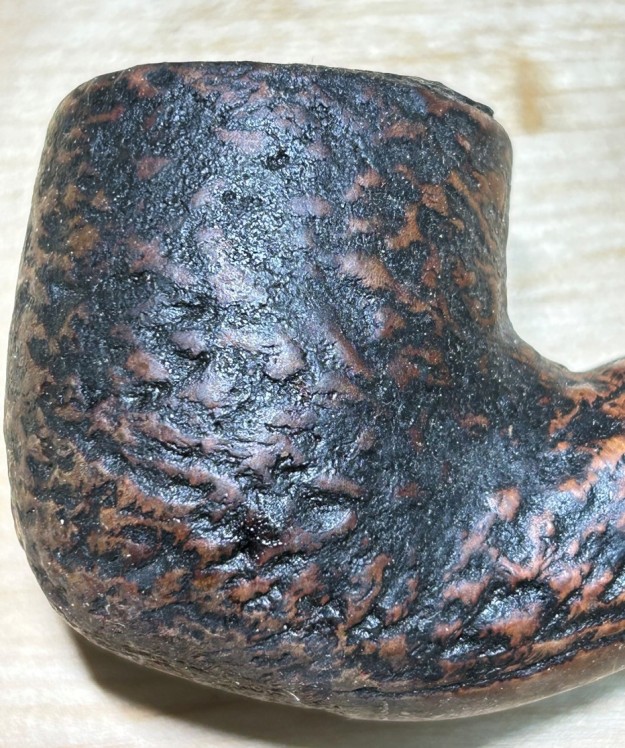
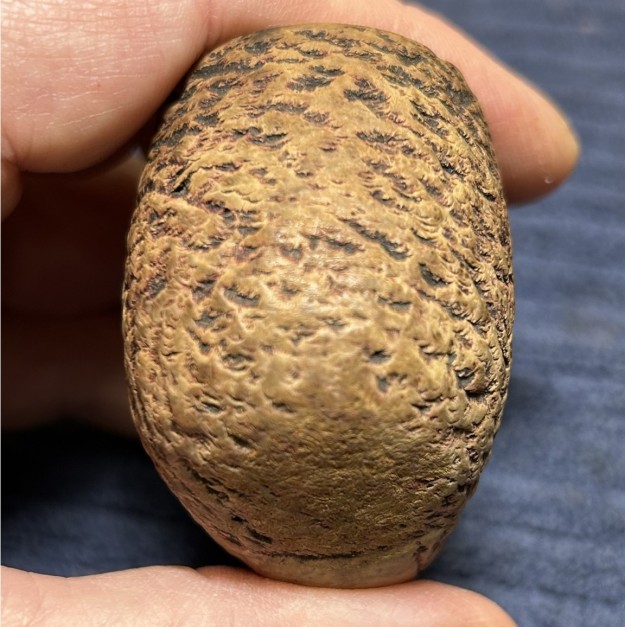
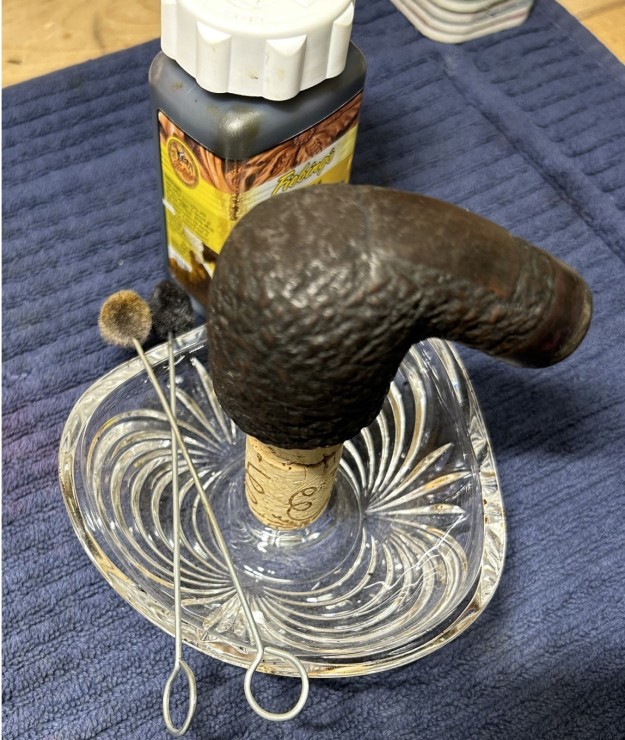
 This pipe is filthy beyond description – but must have been smoked frequently and with great affection. The stem has dirt everywhere, severe toothmarks aplenty, and calcification as I have seldom seen. Meanwhile, the stummel looks as though oily dirt has been rubbed into the surfaces of the rustication. The rim is coated in lava, the front edge of the rim is bashed, and the bowl is clogged with cake. Some spots on the rustication are really worn – the old fellow must have really loved his pipes.
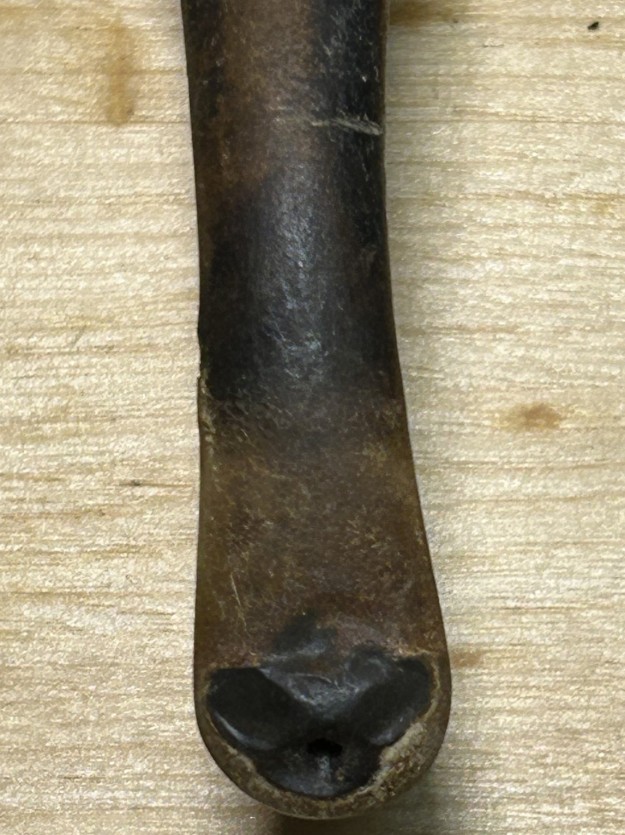

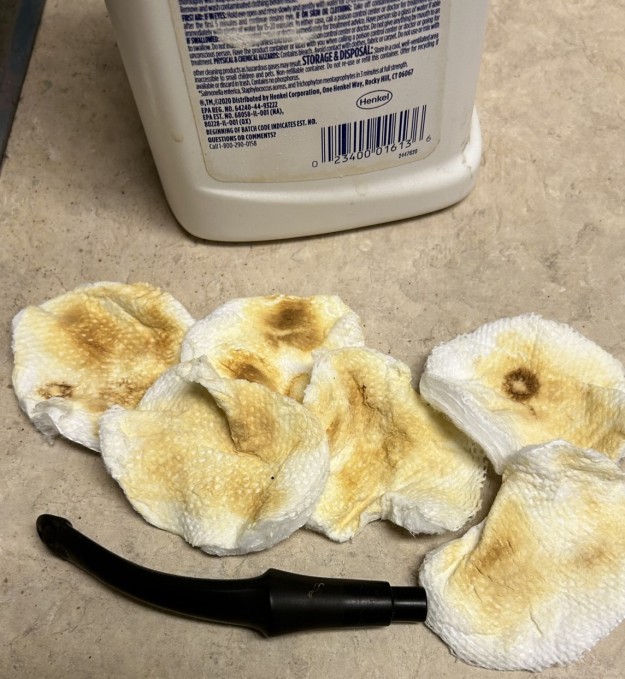
 I began by cleaning some of the calcification on the outside of the stem. I took a blade (an old butter knife, actually) and began gently scraping at all that build-up. Obviously, I took it easy, as I did not want to damage the stem’s vulcanite any further. The butter knife worked quite well and I got a good amount loose. I followed that up with some Murphy’s on some cotton rounds to try and scrub the rest away.
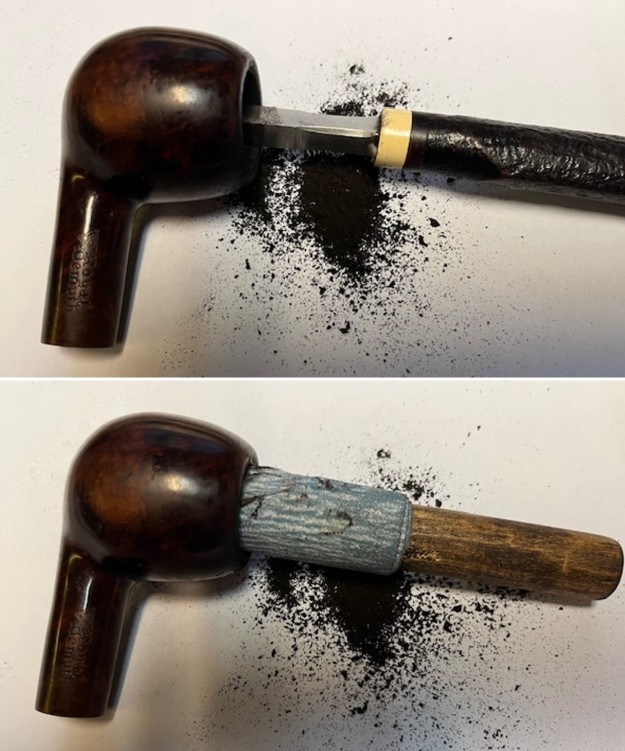
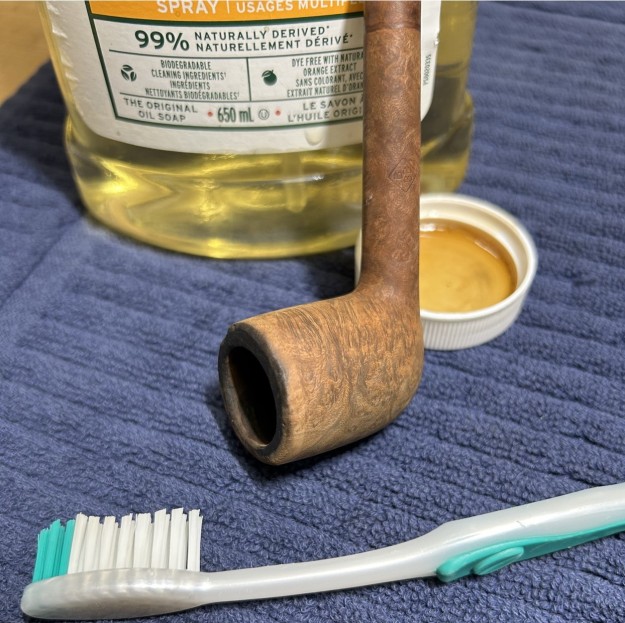
 I broke out the isopropyl alcohol and pipe cleaners, and got to work on the inside of the stem. Predictably, it was unbelievably dirty and I went through a good number of pipe cleaners in order to clean it up.
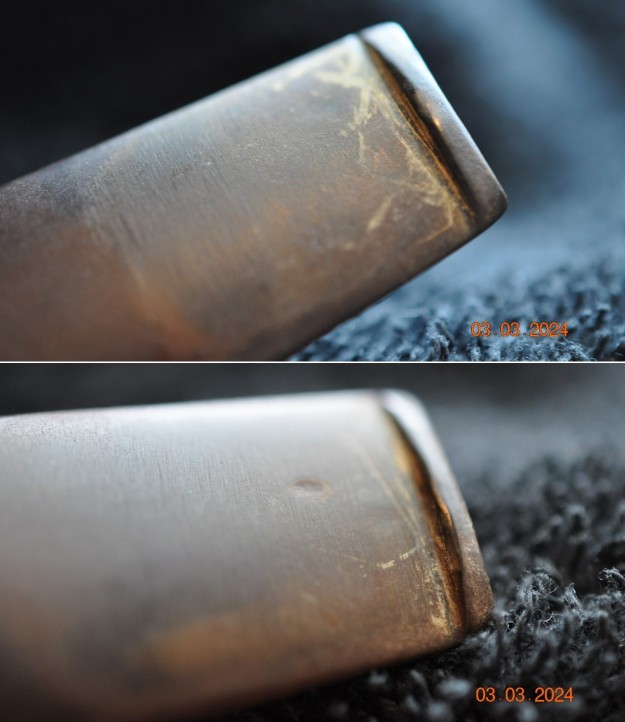
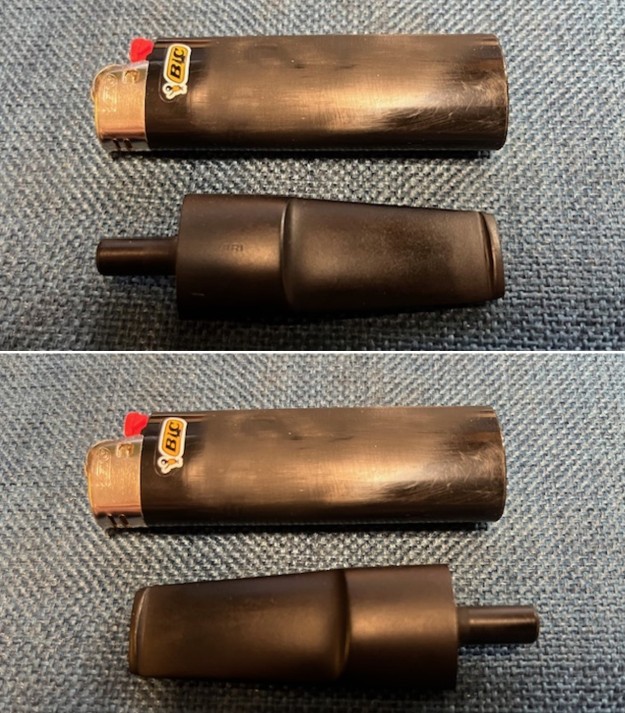
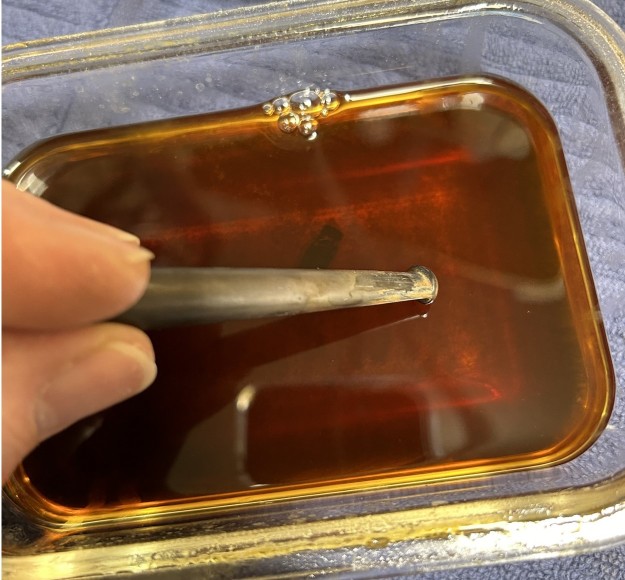
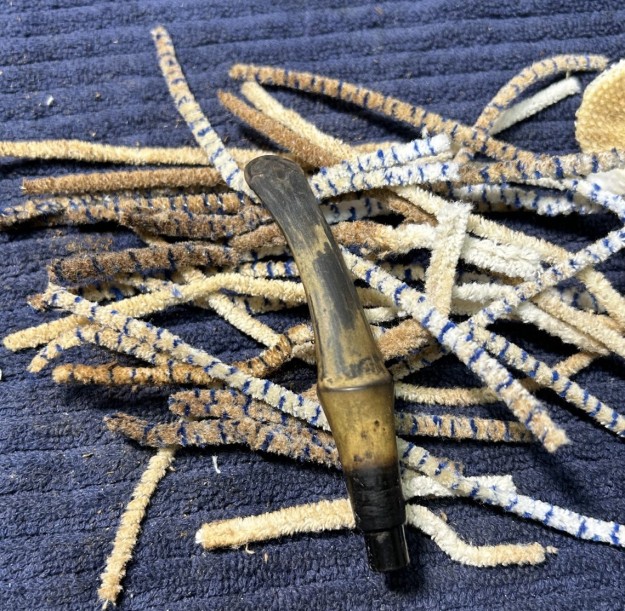 As I mentioned, there were quite a few dents in the stem. Some were obviously tooth marks, but other dents looked like blunt force trauma! Time to break out the BIC lighter to see if it could raise some of them. Quite frankly, it did not do much – this repair was going to require some considerable sanding etc. Before that, however, the stem went for an overnight soak in the deoxidizer. The following day, the oxidation had migrated to the surface and would be fairly straightforward to remove. I scrubbed vigorously with SoftScrub to remove the leftover oxidation.
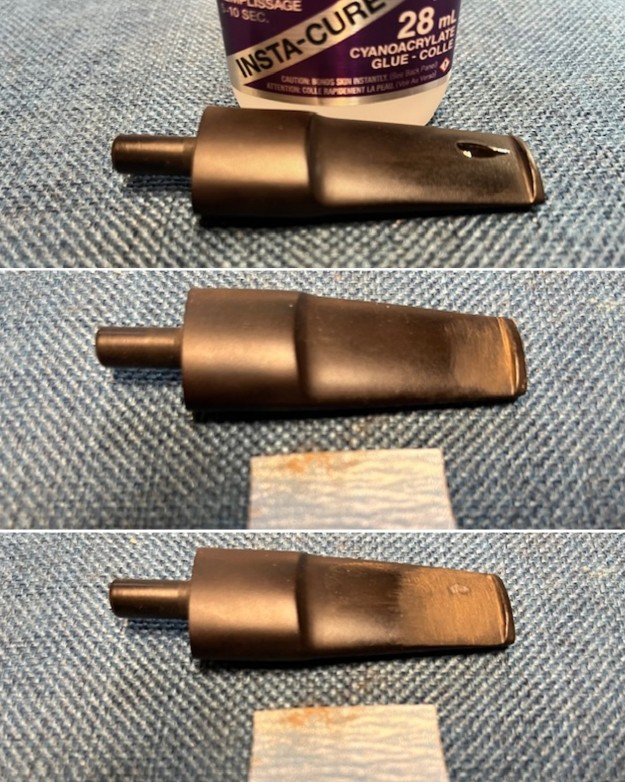
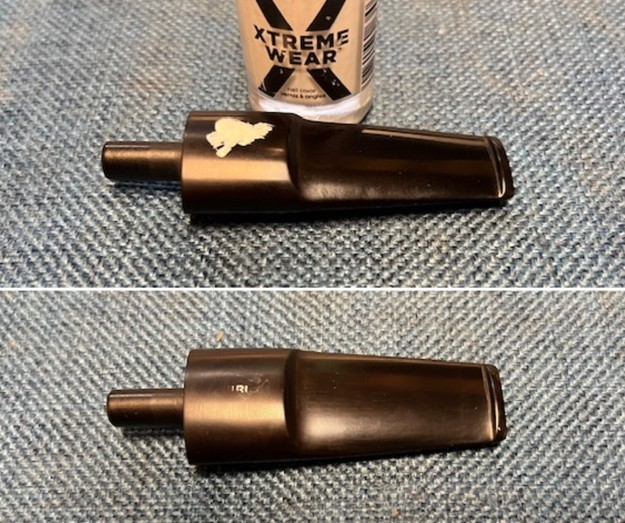
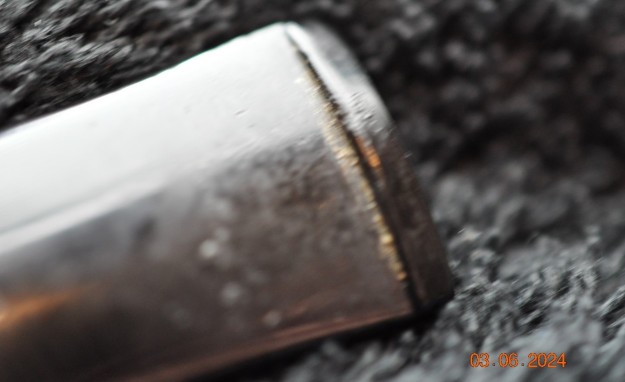
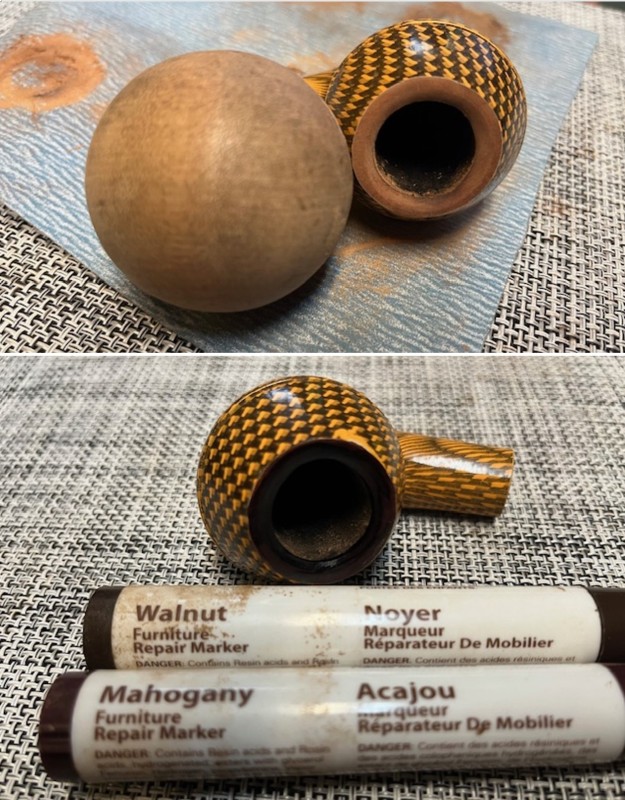
 At this point, I painted the accidentally-duplicated P on the stem, as it was pretty rough – just like everything about this pipe.
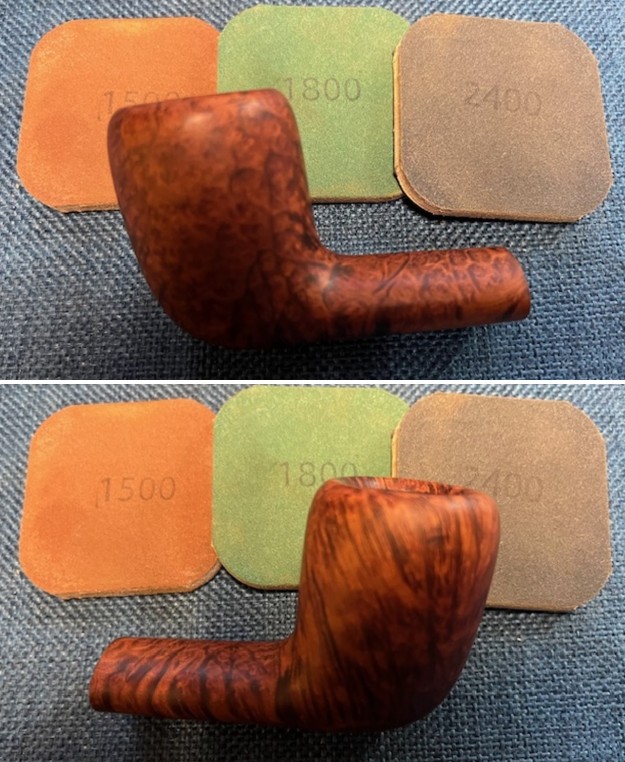
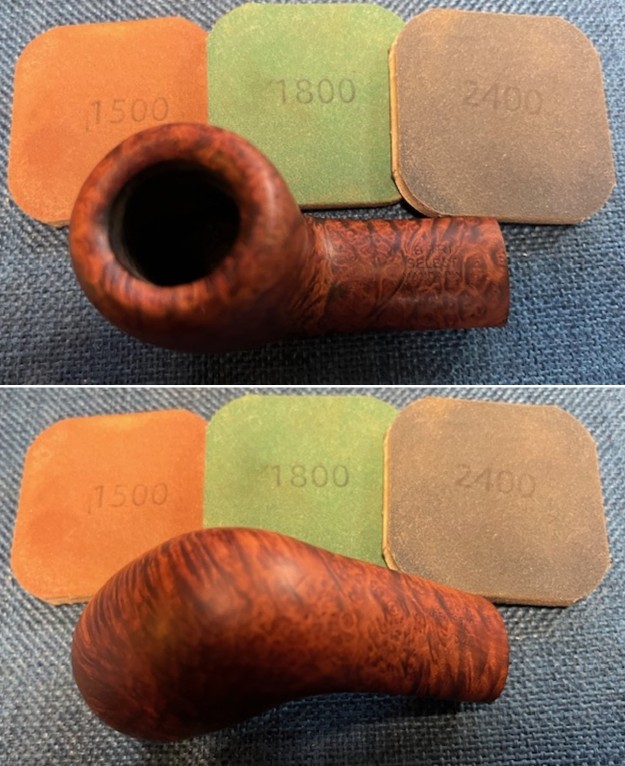
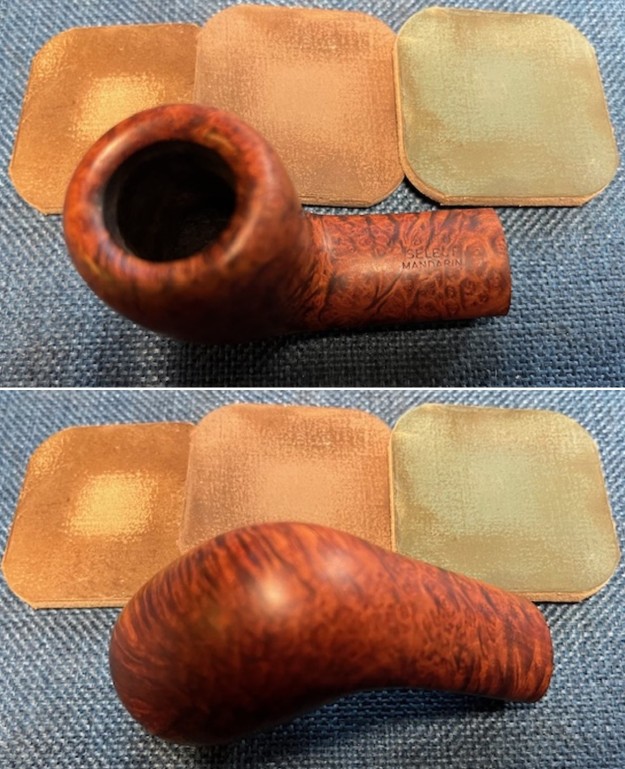
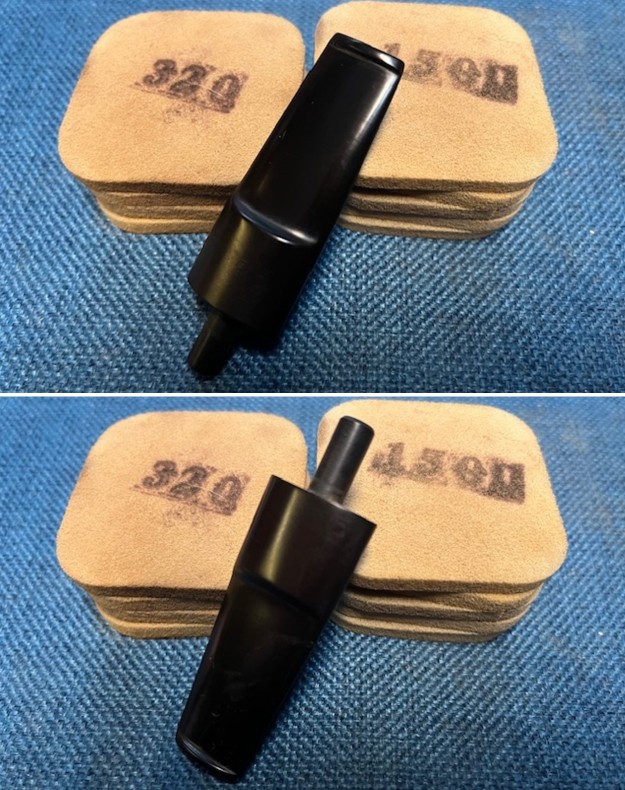
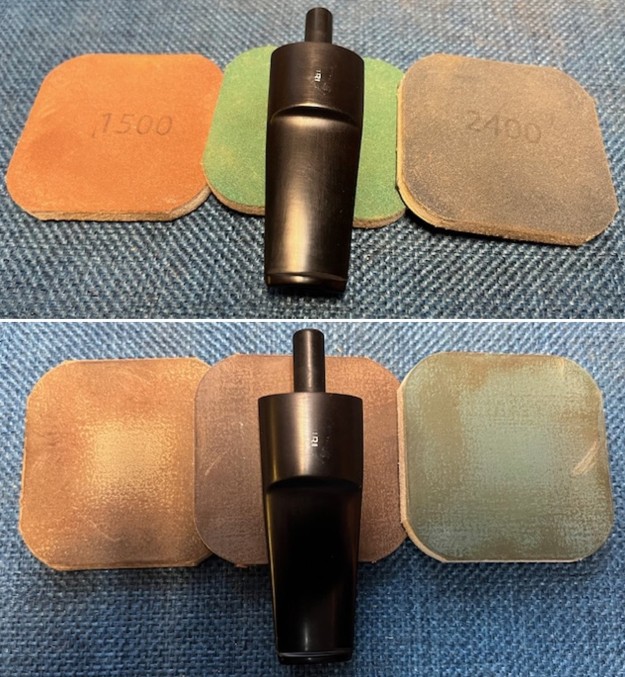
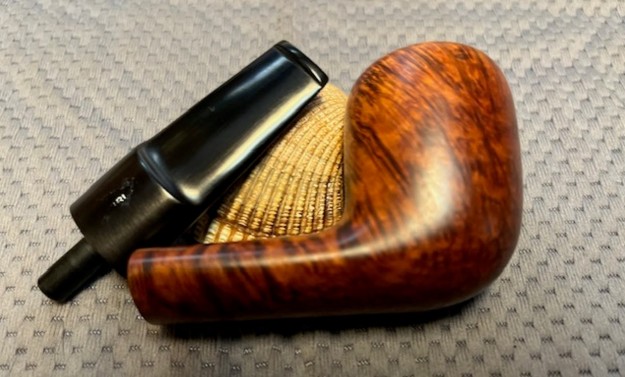
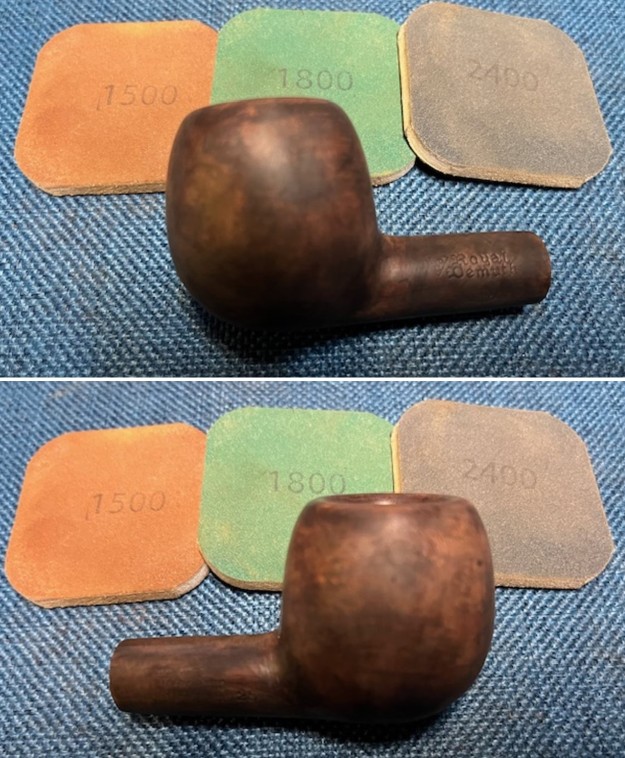
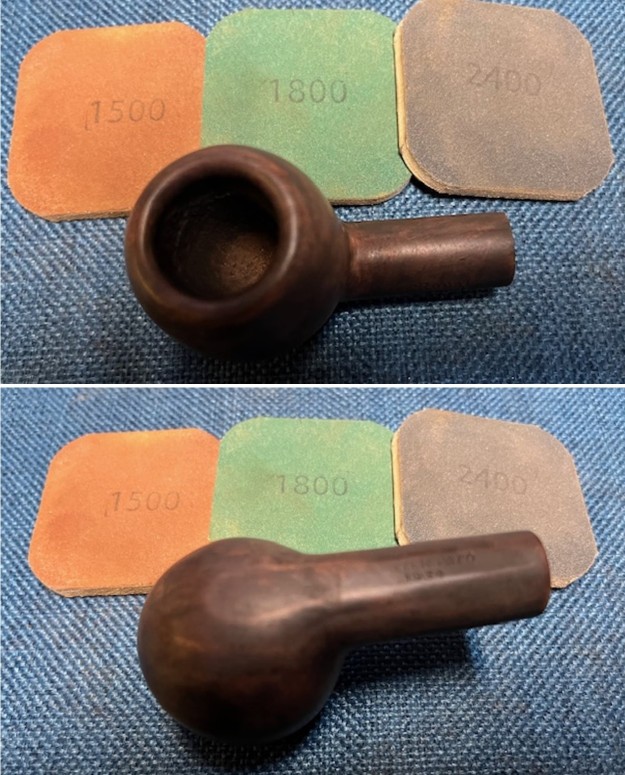
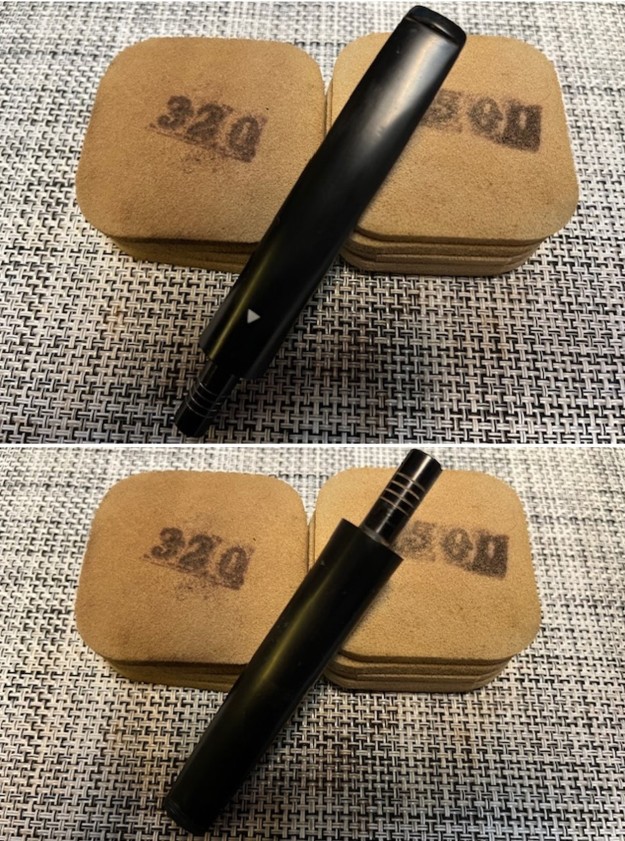
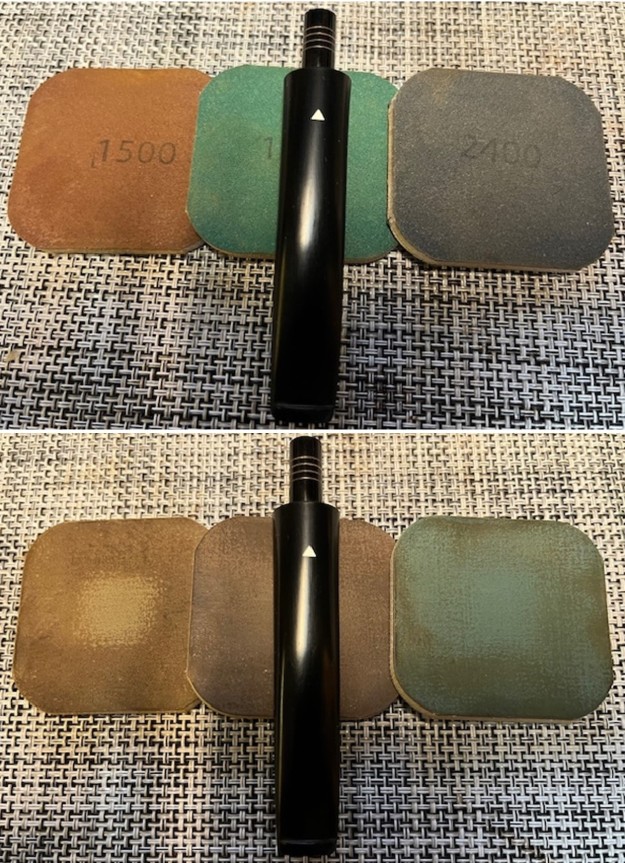
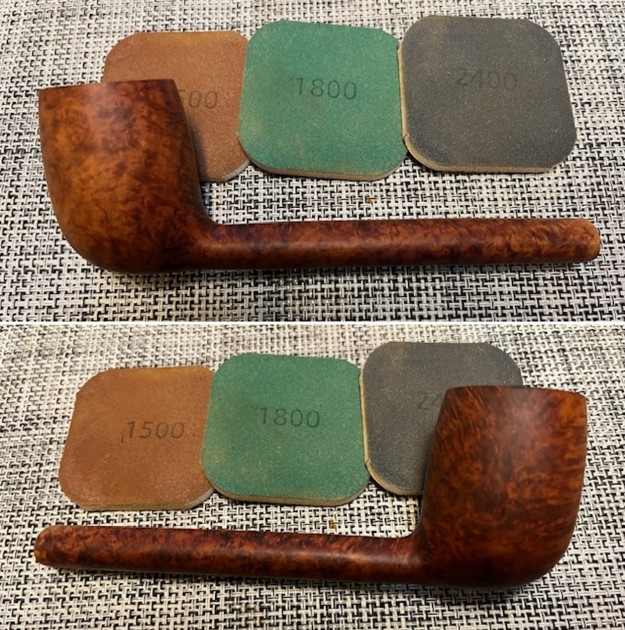
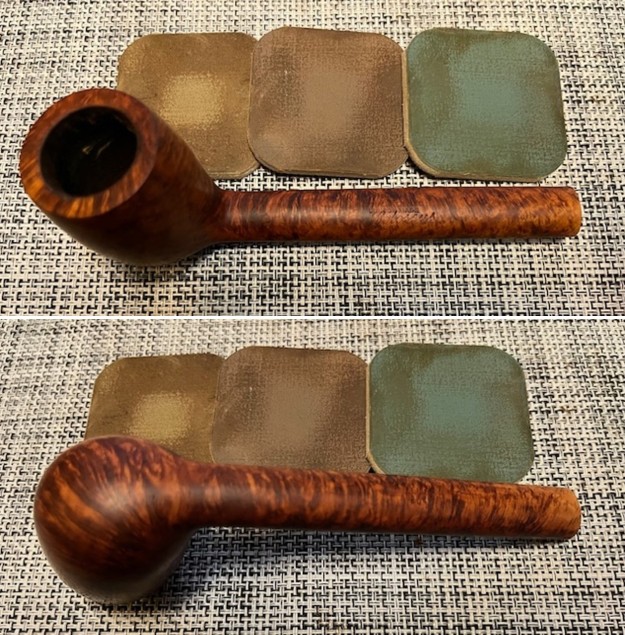
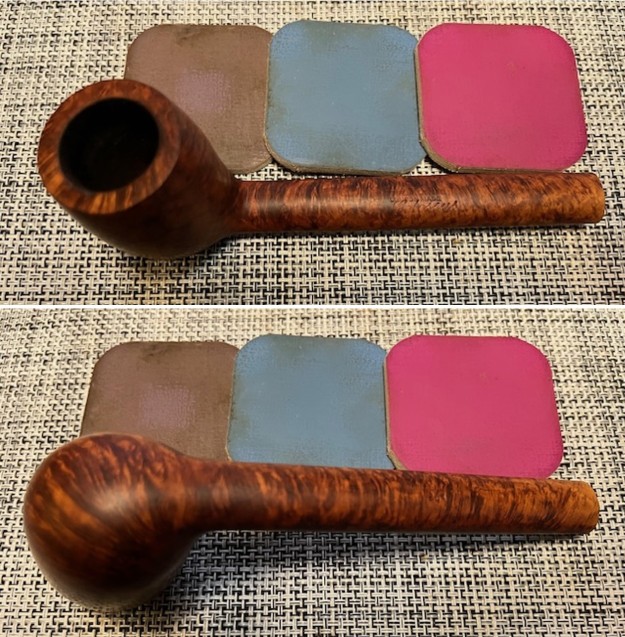
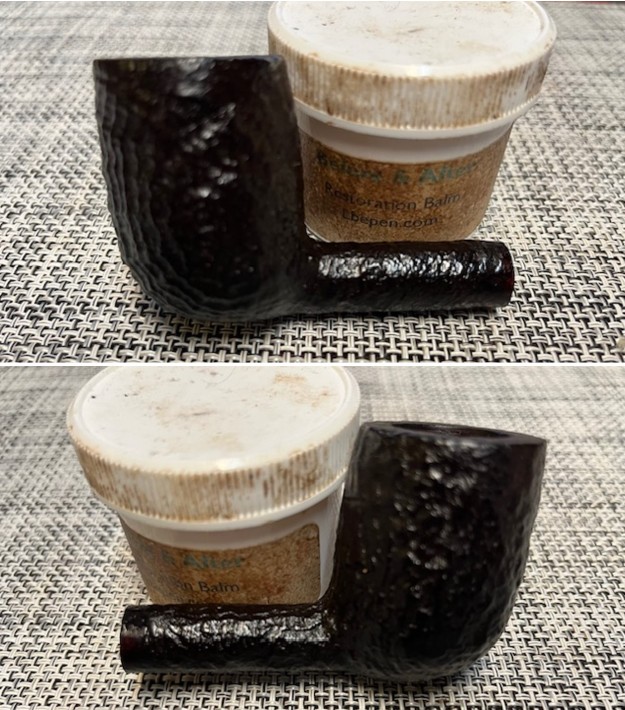
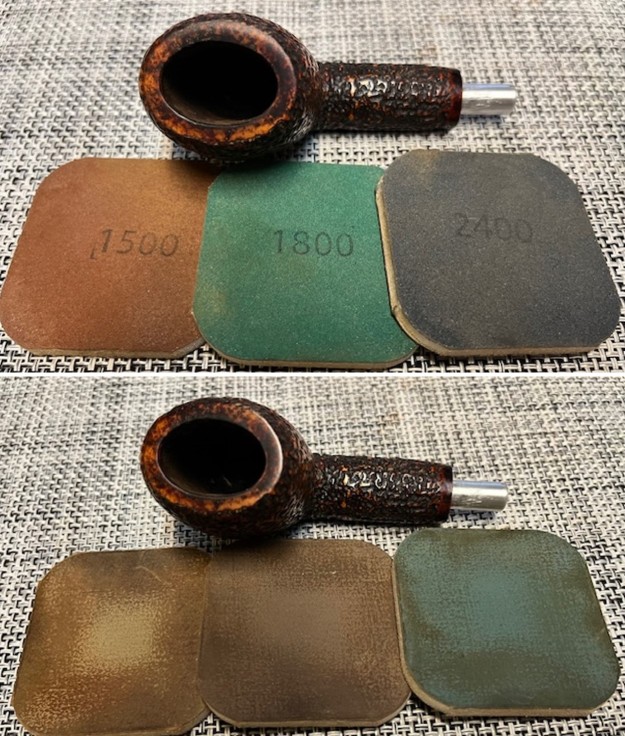
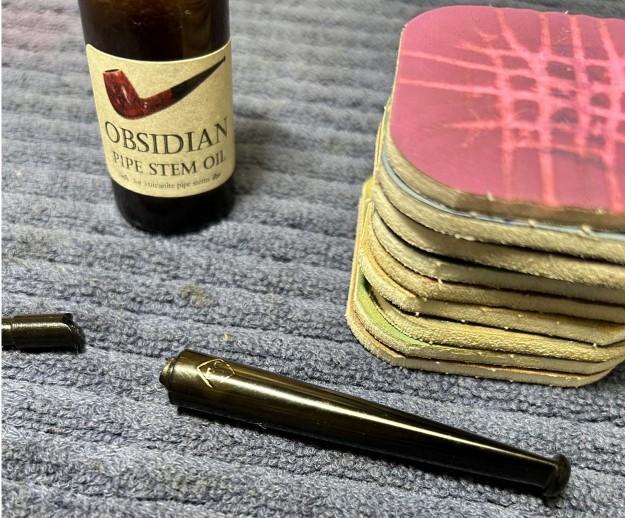
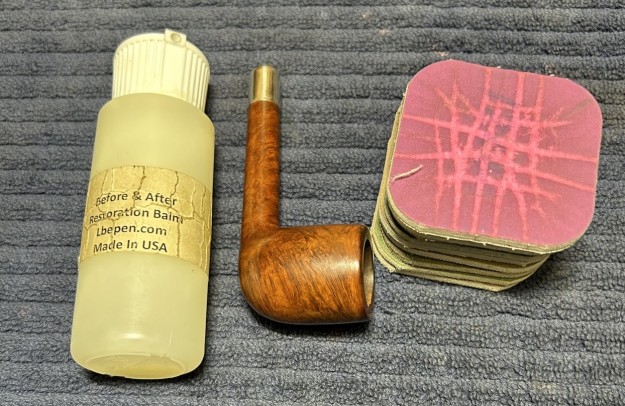
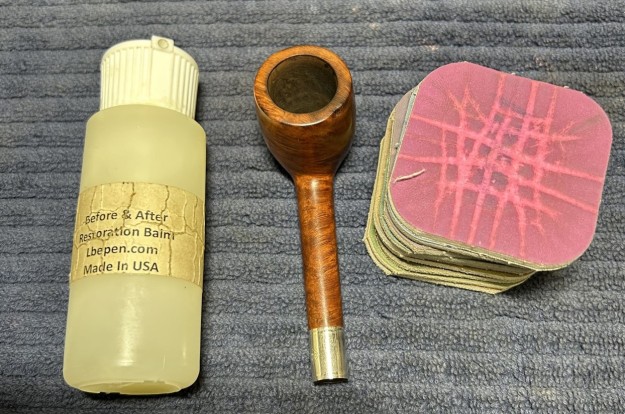
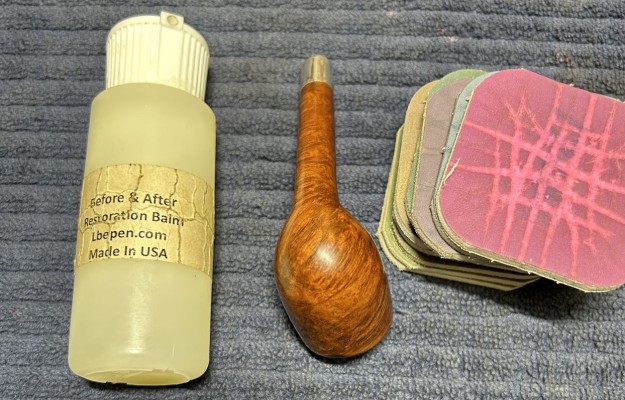
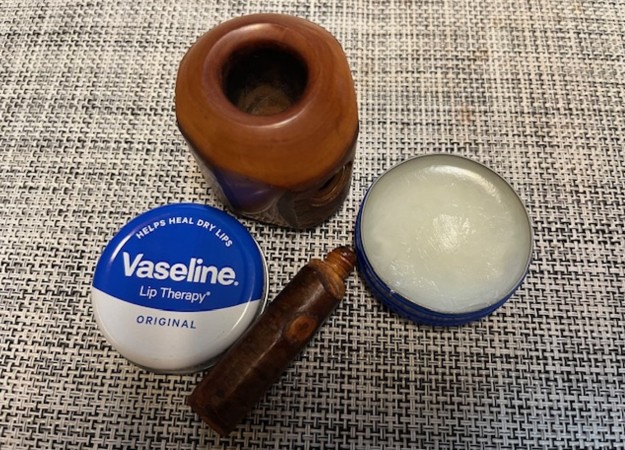
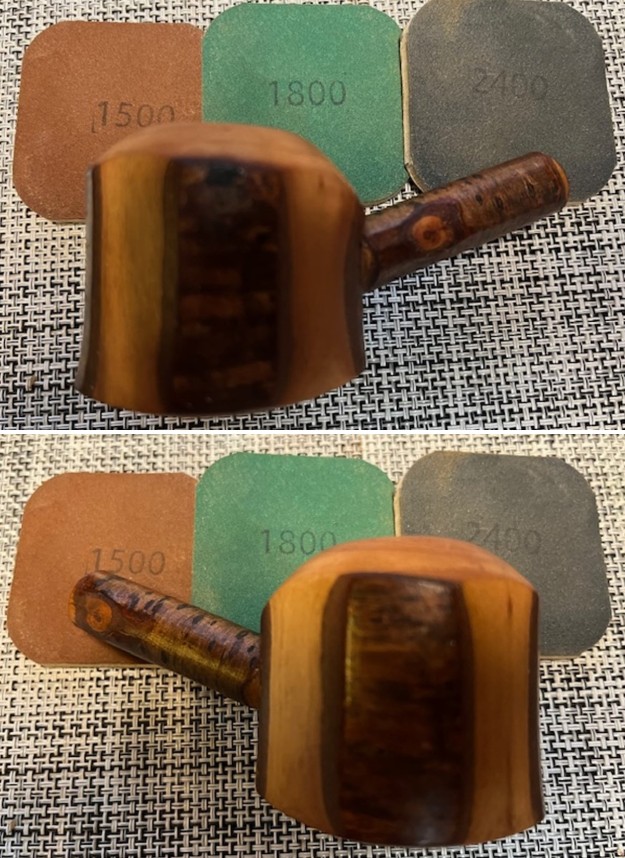
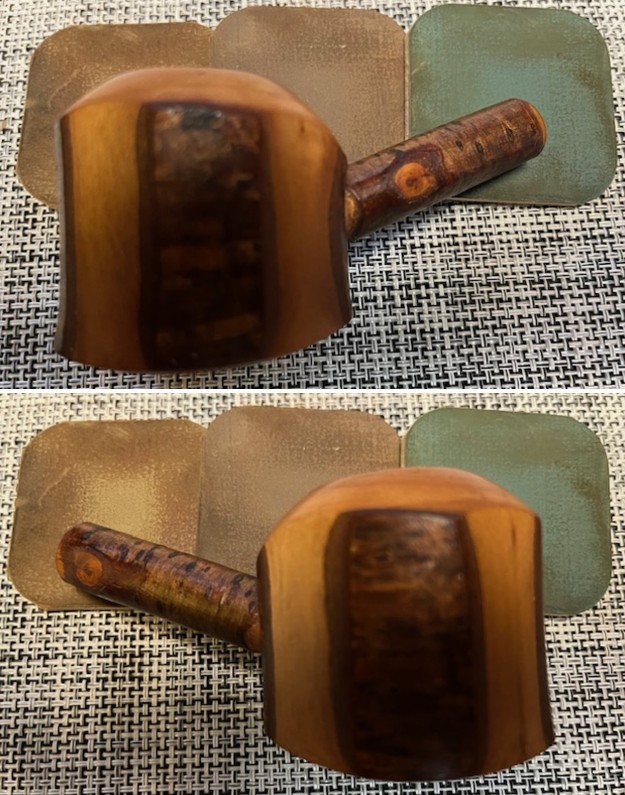
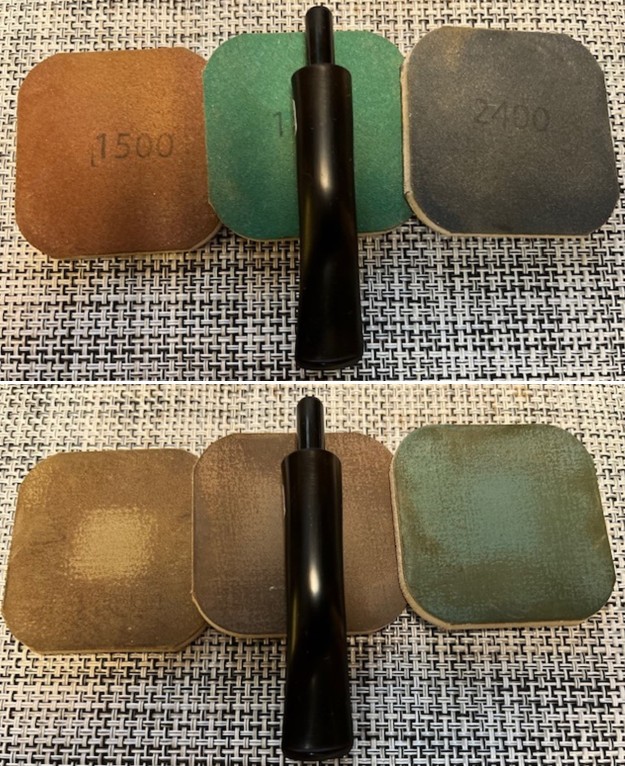
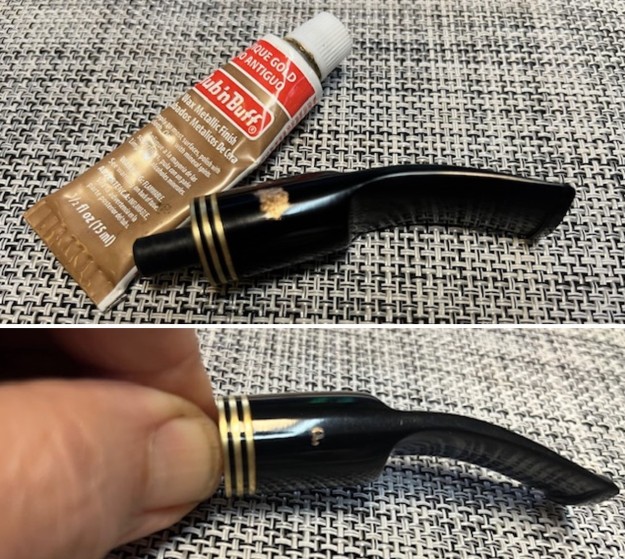
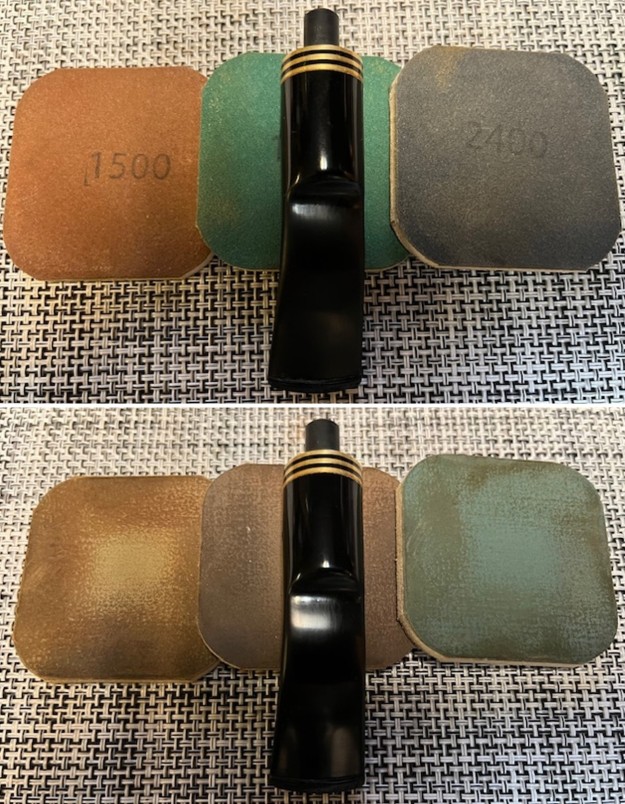
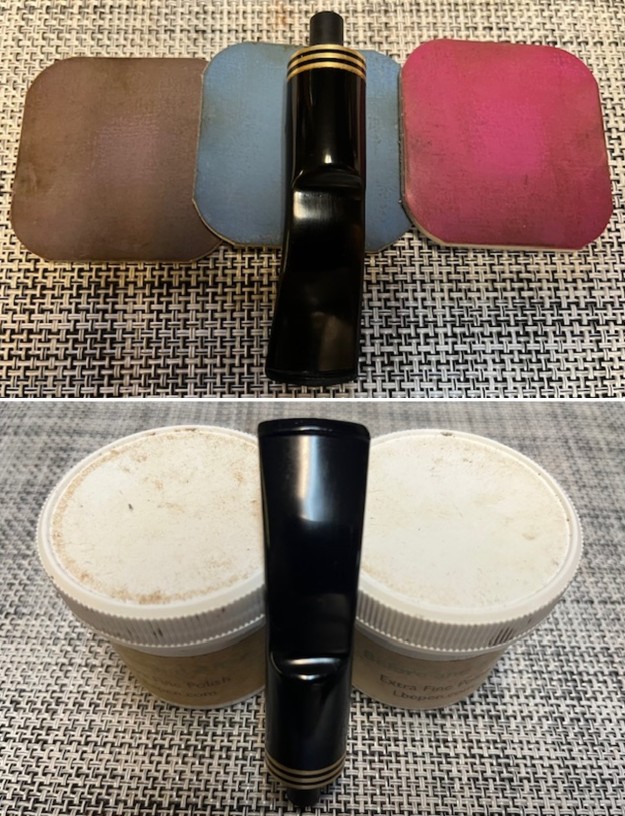
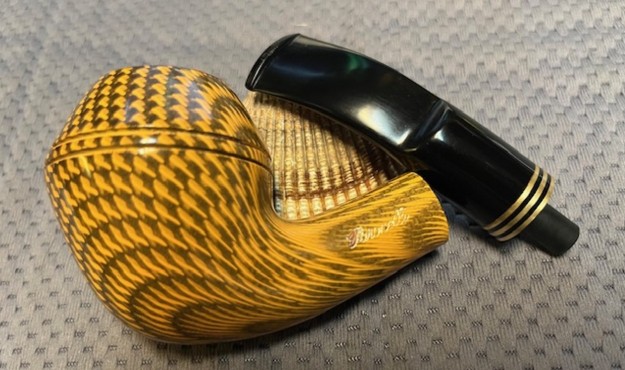
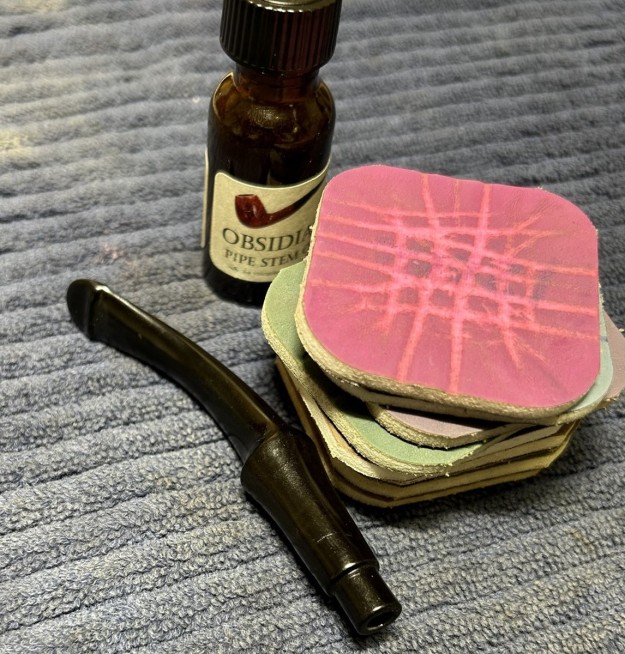
Once clean, I set about repairing the dents. Before I moved on to the Micromesh pads, I built up the dent damage on the stem with black cyanoacrylate adhesive and let it fully cure. It turned out that this was not as straightforward as I had hoped. It took more than one application of adhesive to sort this problem out. I sanded the lumps down with my needle files and my grey pads, to make the stem look sort of normal. I then used all nine Micromesh pads (1,500 through 12,000 grit) to bring out the lovely black lustre on the stem. I also used Obsidian Pipe Stem Oil in between each of the last five pads.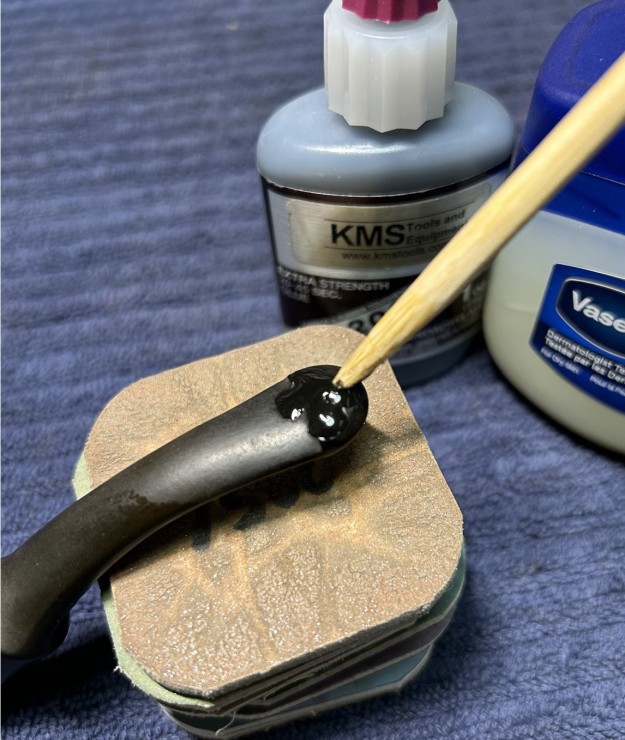

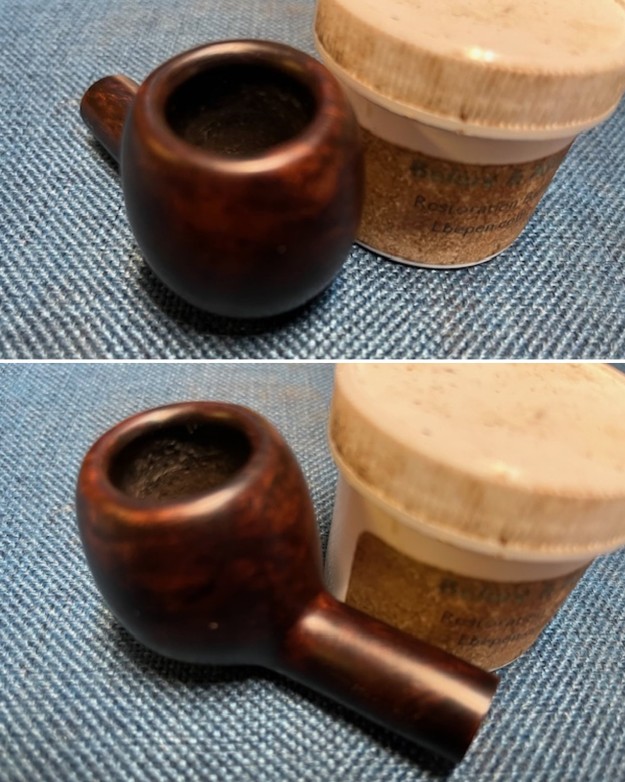
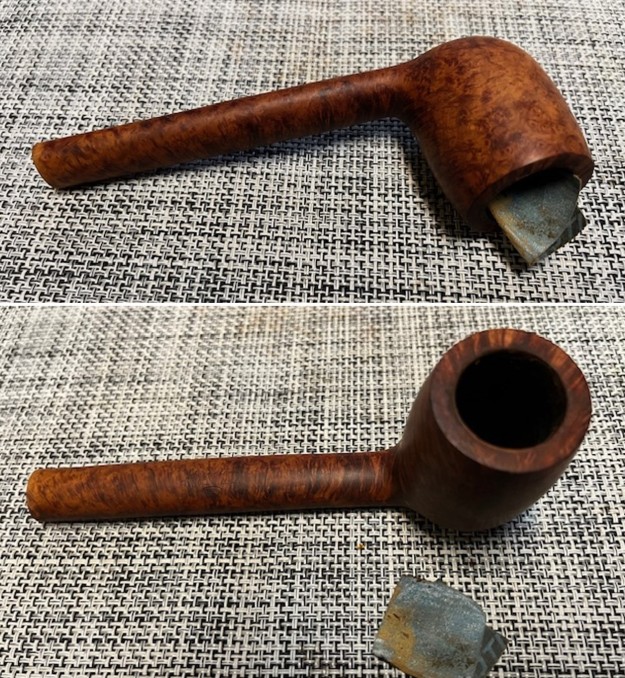
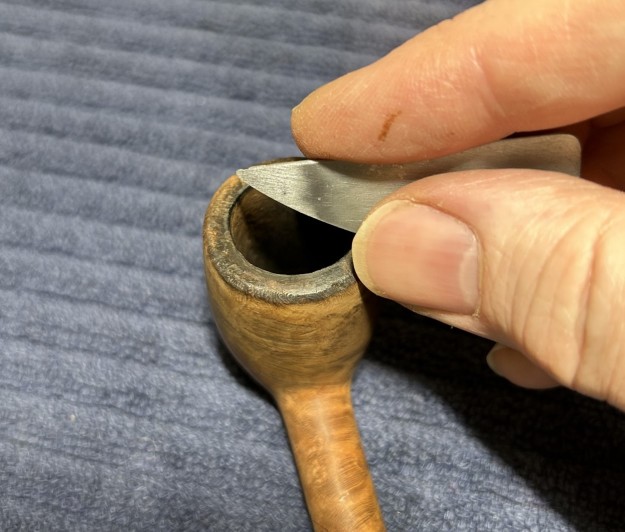
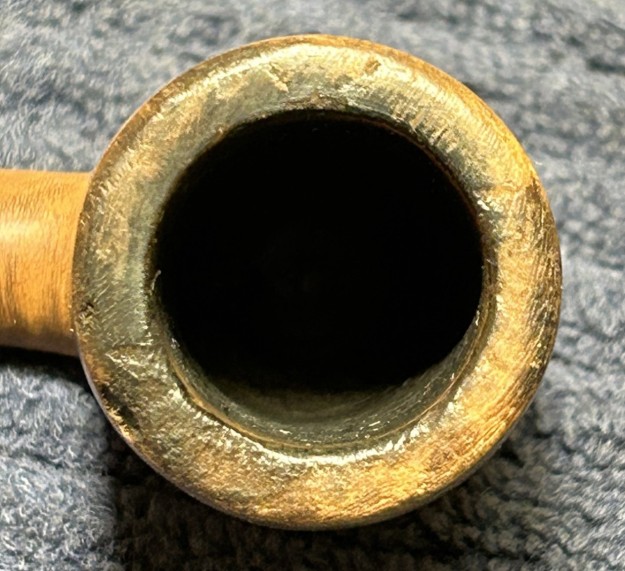
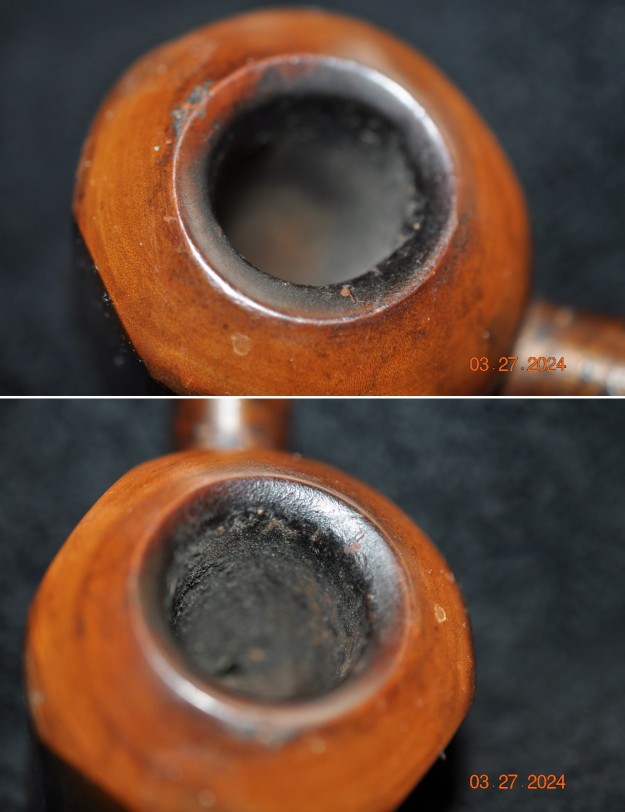
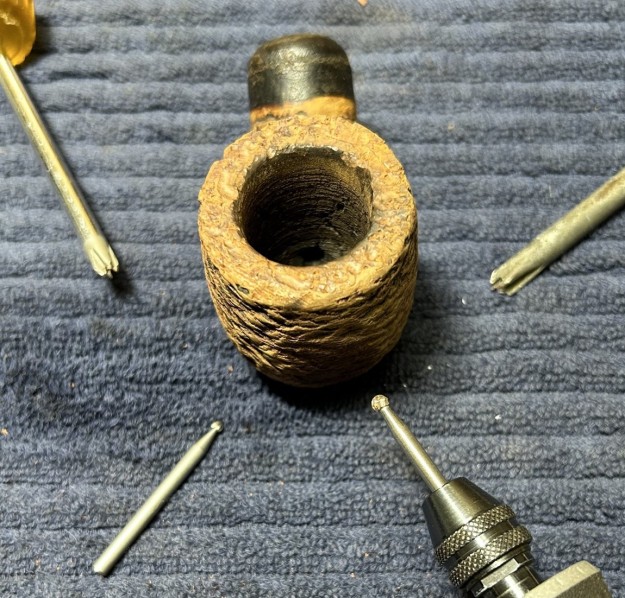
 On to the stummel – this is where the lion’s share of the work was. The insides (both bowl and shank) were overwhelmed with cake and tar and anything else you’d care to mention. The bowl really needed to be reamed, so I used the KleenReem to scrape off as much built-up cake as possible. Generally, I prefer to sand the chamber down to bare briar. When restoring, it is important to ensure that there is no damage to the briar under the cake. There are a few situations when I might leave some cake in the bowl, but not today. There were definitely some craze lines in the briar on this pipe. I’ll come back to that later.
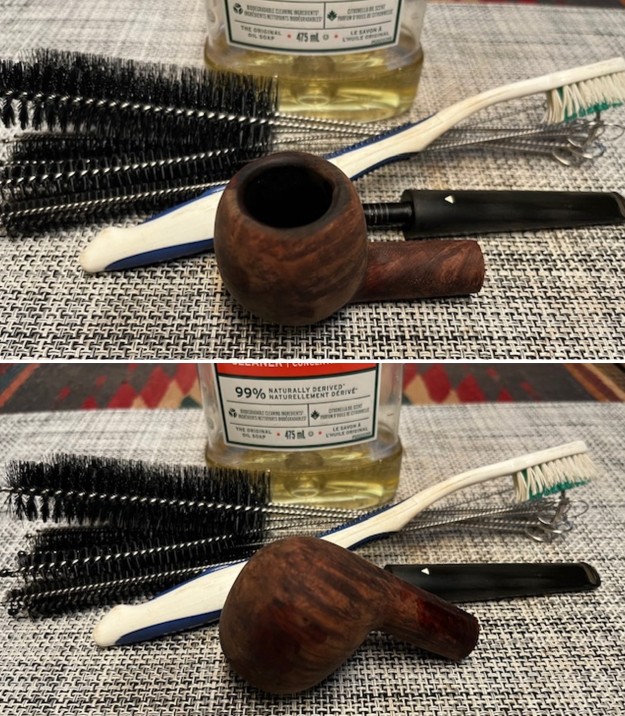
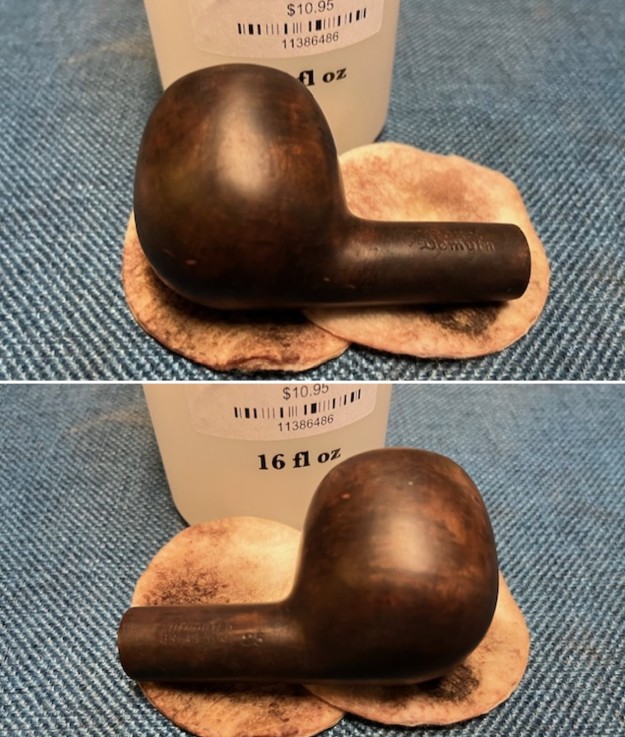
 Just like the bowl, the shank was absolutely disgusting. It had never been cleaned – or, not for many decades. I started cleaning the inside with isopropyl alcohol, Q-tips, and pipe cleaners. This took a while. The inside was very dirty and required and extraordinary number of Q-tips and pipe cleaners. Eventually some cleanliness came to it.
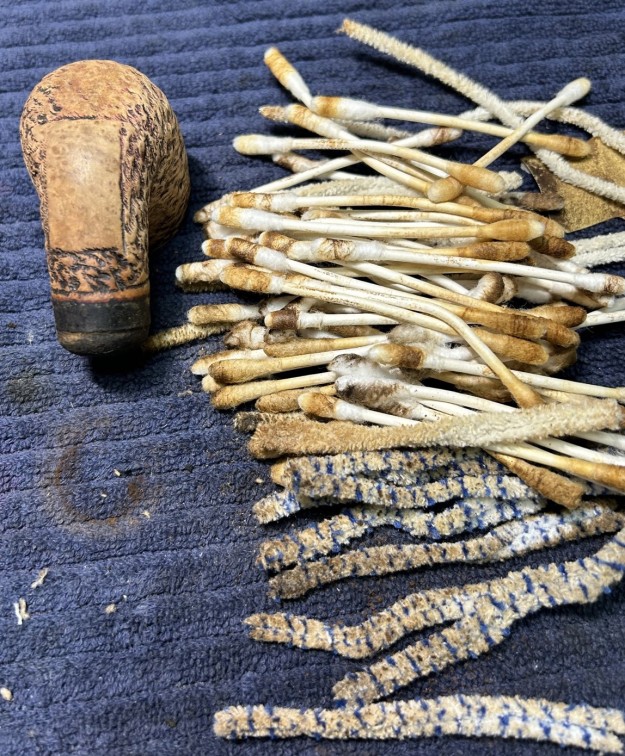 I threw the stummel in my alcohol bath in the hope that it would loosen some of the ground-in filth on the outside of the bowl. After 24 hours, this worked a bit, but not enough. I added some scrubbing with Murphy’s and a toothbrush. This made things much better, but it’s a case of two steps forward and one step back: sure, it’s clean, but lots of the stain in now gone too.
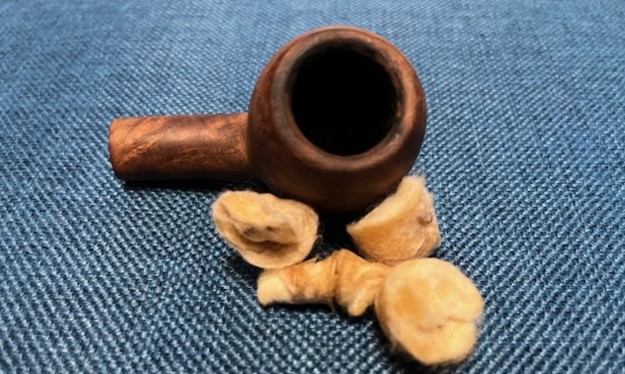
 I decided to de-ghost the pipe despite what I had just done with the alcohol bath. I thrust cotton balls into the bowl and the shank and saturated them with 99% isopropyl alcohol. I let the stummel sit overnight. This caused even more oils, tars and smells to leach out into the cotton. The bowl was nice and clean after this.
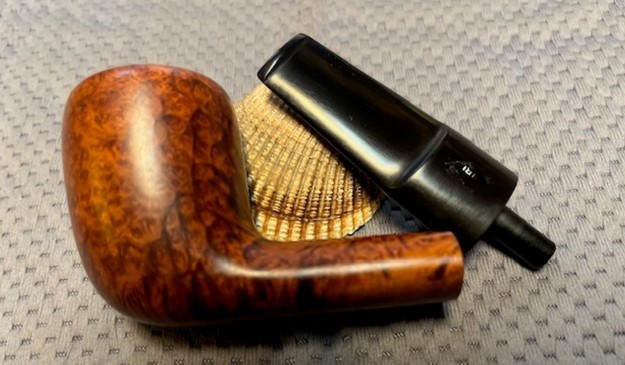
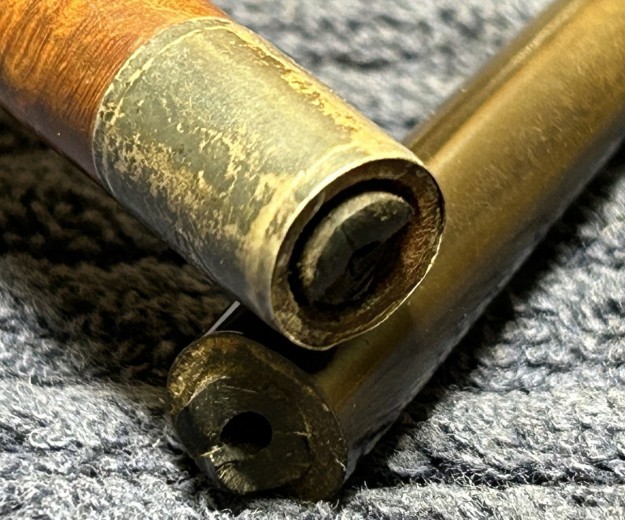
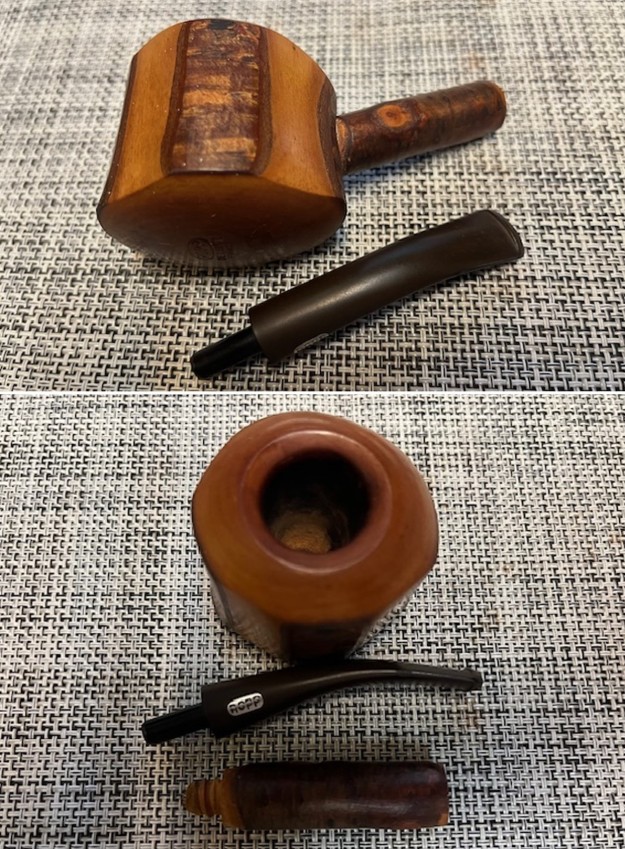
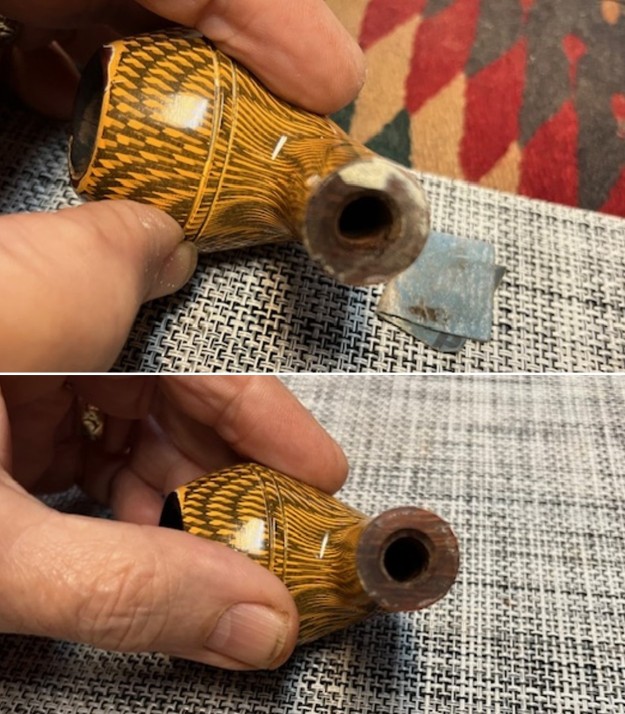
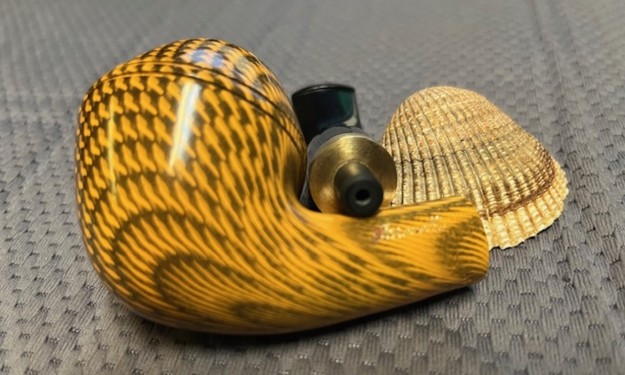
 On to the ferrule – which was bashed and discoloured from years of mistreatment. Somewhat to my surprise, the ferrule came off very easily and required no special effort. I began by cleaning the metal with some SoftScrub on cotton rounds. This was quite good at removing the unsightly bits. I used some of my MicroMesh pads (only 3,600-12,000) to eliminate some of the minor scratches on the metal. It also gave a nice shine which clearly hadn’t been seen for decades. I used a jewelry cloth to give the final polish to the nickel. This ferrule would always retain some small dents etc. from its hard life, but it looks much improved.
 And this is where I stopped for a looooong time. It occurred to me that the amount of work involved in this pipe was tremendous. I was torn about how invasive I wanted to be in my pipe surgery. What about the damage to the rim? What about rematching the stain? What about the heavily worn sections of the rustication? Perhaps my temperament didn’t suit this pipe too well. I freely admit that I set aside the pipe for nearly six months before coming back to it. That sounds absurd, I know, but it was either that or chucking it in the fireplace.
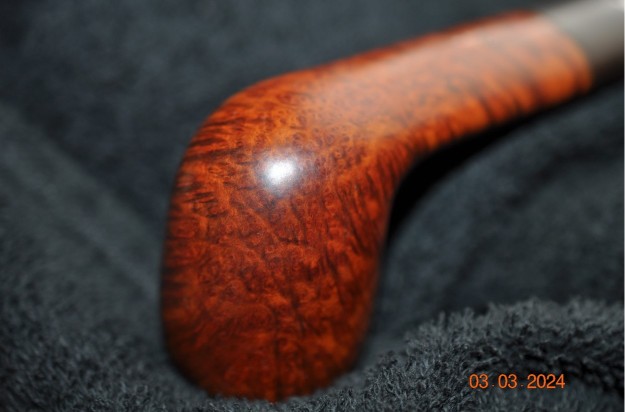
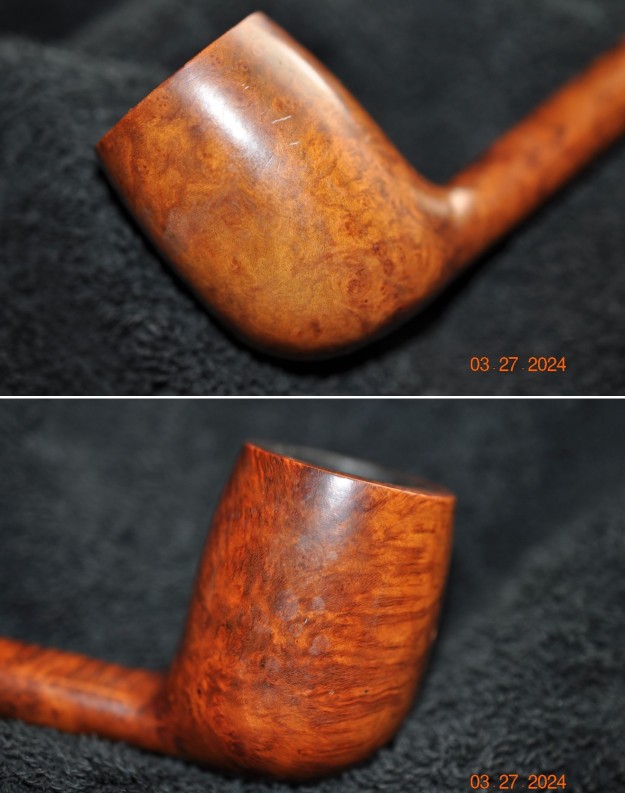
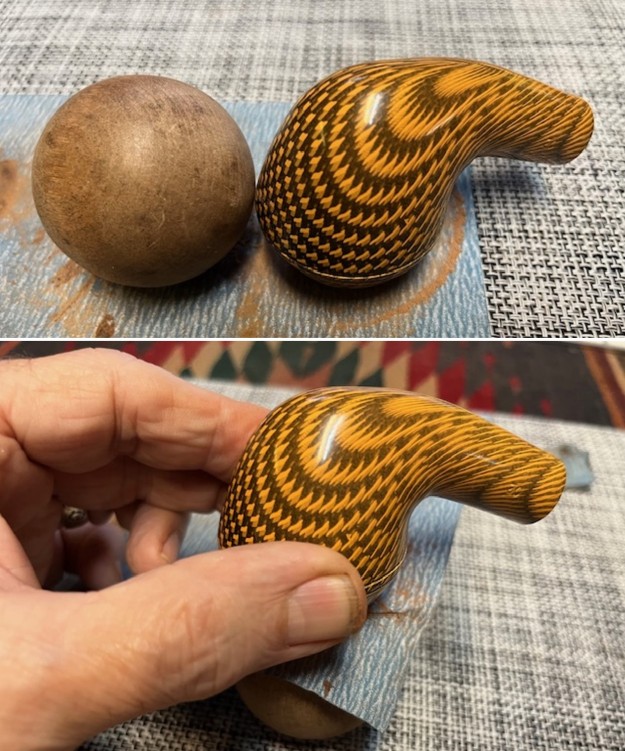
Back in the present day, I began by working the rim back into shape. I sanded it down on my topping board so that it was level (it wasn’t before). I used some tools, including my Dremel and some modified screwdrivers, and re-rusticated the rim. It looked great, but too sharp. So, I sanded the sharp bits to add some softness to the rim.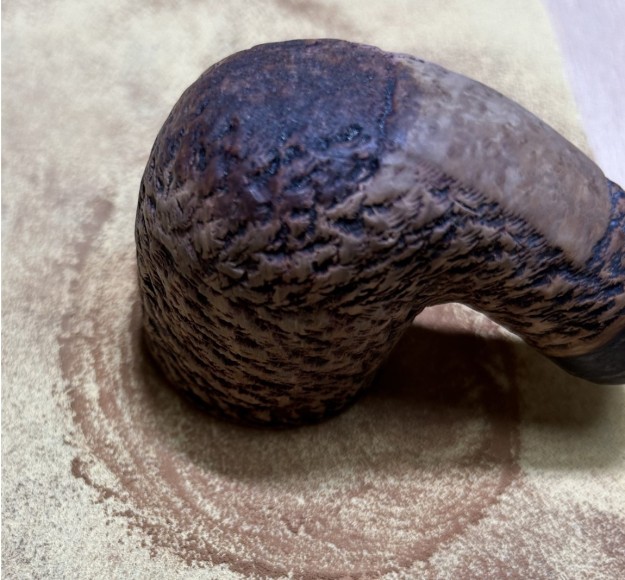
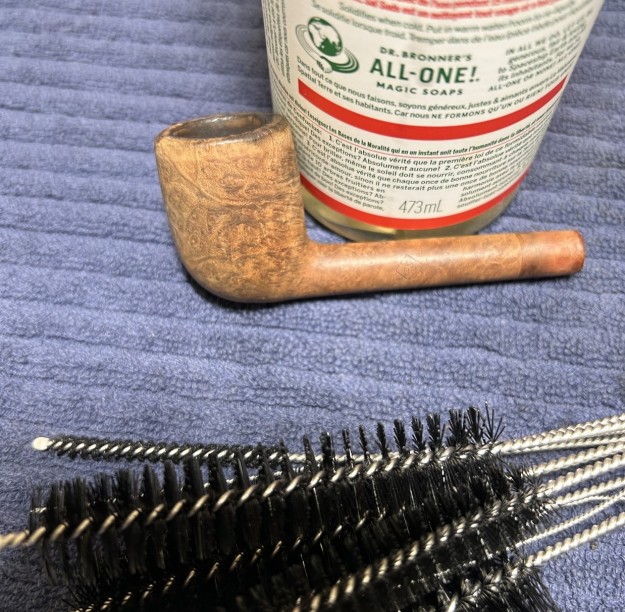
 At this point, six months on, I couldn’t remember what cleaning I had and had not done to the pipe. I dragged out some soap and some tube brushes and scrubbed the insides. I’m glad I did – it still needed it.
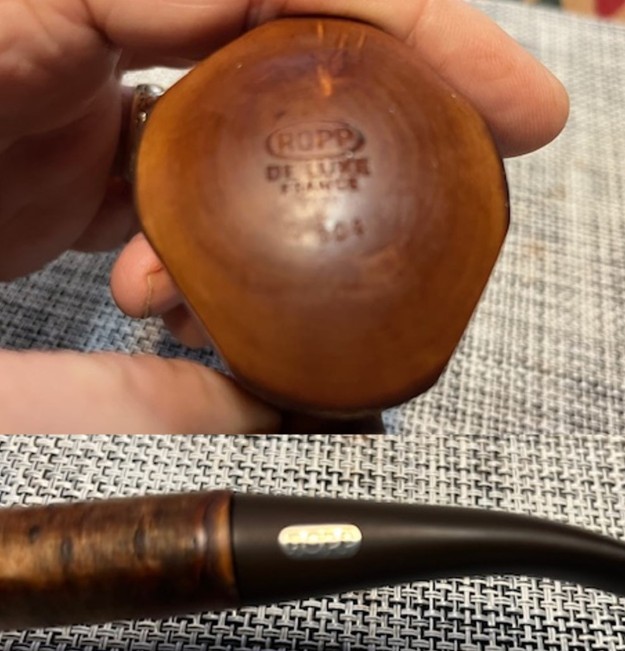
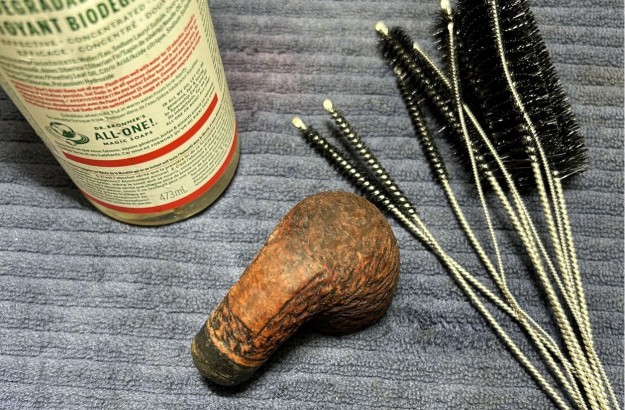 I wanted to have another look at the underside of the stummel for any sign of markings. I used a piece of chalk and pretended this was an old gravestone rubbing. The 301 came out more clearly, but, sadly, nothing else was revealed. It was worth a shot.
 I knew I had to stain the stummel, but I wanted to address the heat crazes inside the bowl first. I prepared some heat-resistant epoxy and filled the cracks and gouges, ensuring that the epoxy was evenly spread throughout the bowl. Of course, I did plug the draught hole with a folded pipe cleaner (coated in petroleum jelly) to make sure none of the epoxy made its way up there. Once done, a good 24 hours was needed to ensure that the epoxy was properly set.
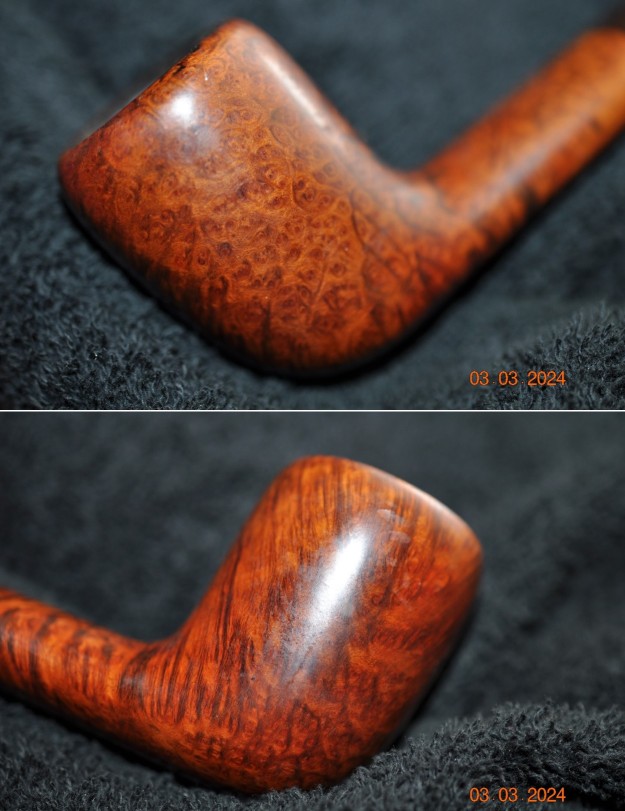
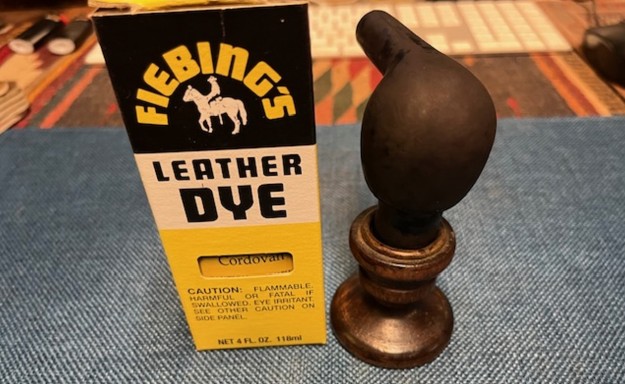
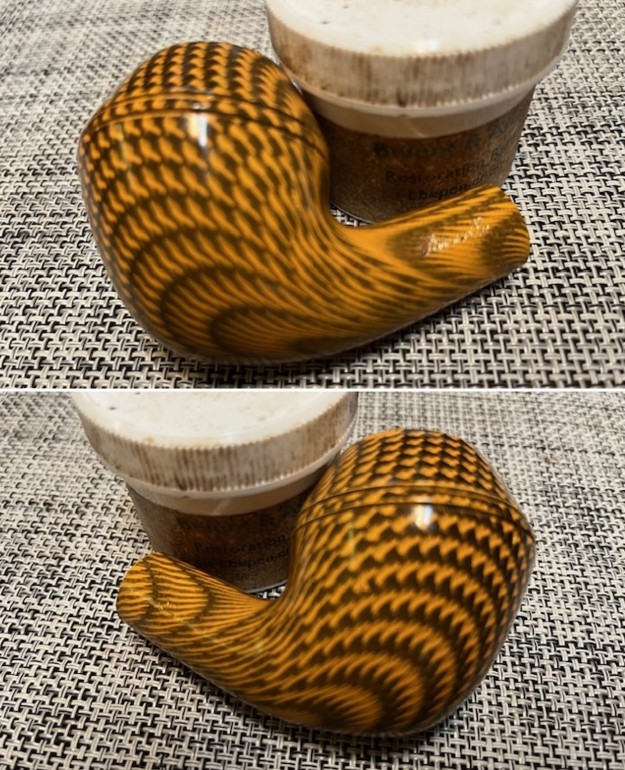
 Having completed that, it was time for staining. This would require more than one colour and some finessing to get right. I applied black leather dye with a cotton dauber to colour the recesses (or valleys, if you like) of the rustication. I flamed it with my BIC lighter and let it set. This dye is alcohol-based, so I used isopropyl alcohol to wipe down the pipe and remove excess stain. This wasn’t sufficient, so I also used some 0000-grit steel wool. I coated it again with cordovan leather dye, flamed it again, and let that set too. As before, I wiped it down with alcohol to provide depth, nuance, and variation to the colour. I was pleased – and would be more pleased soon.
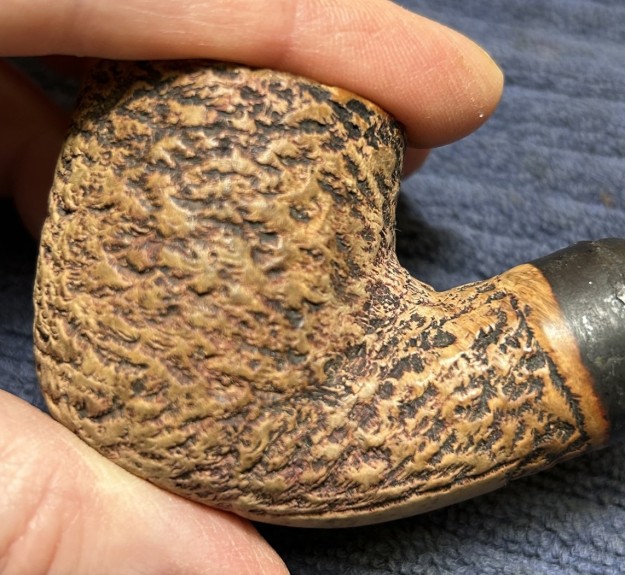
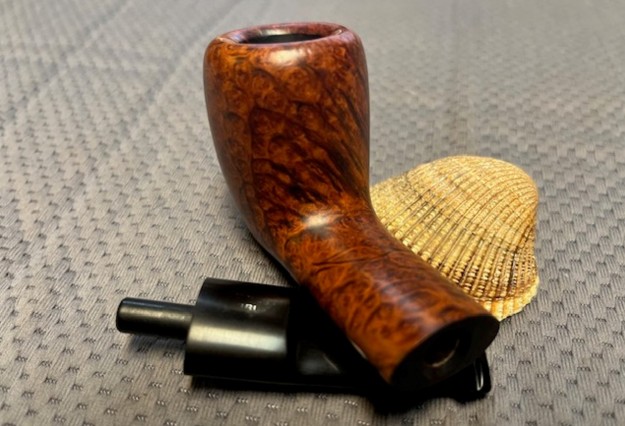
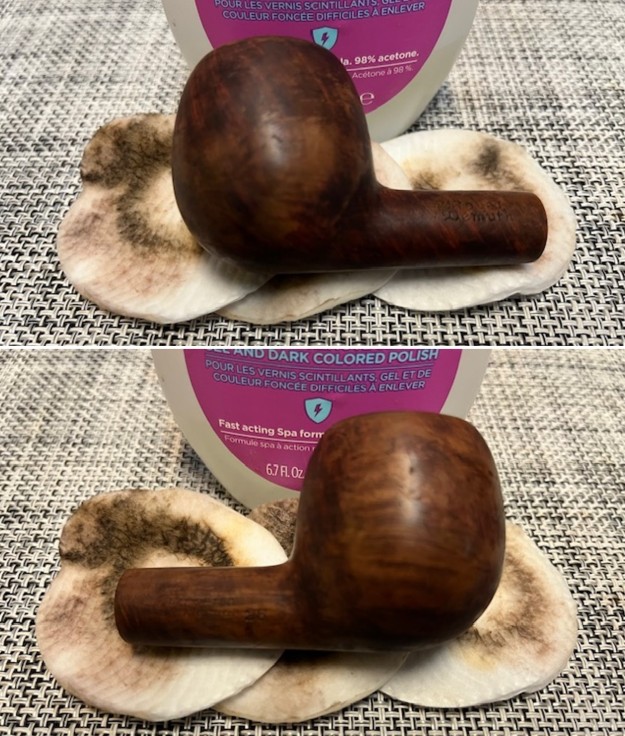
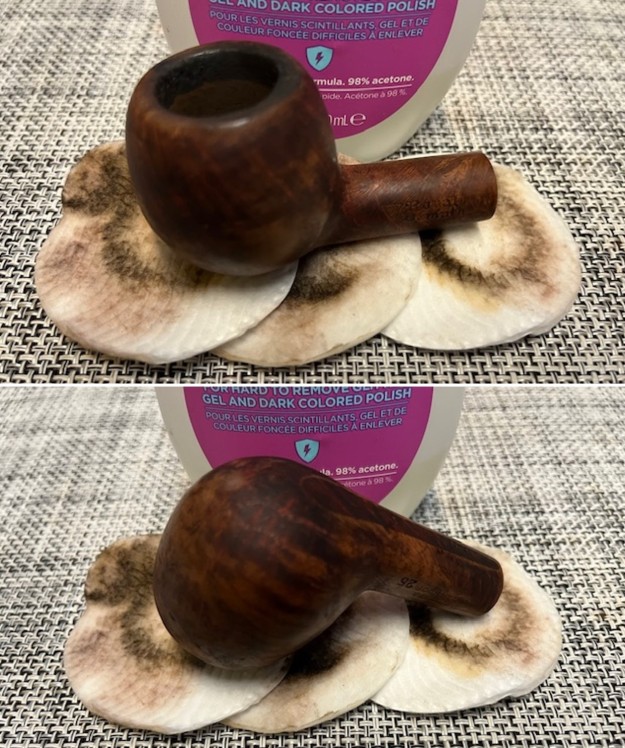
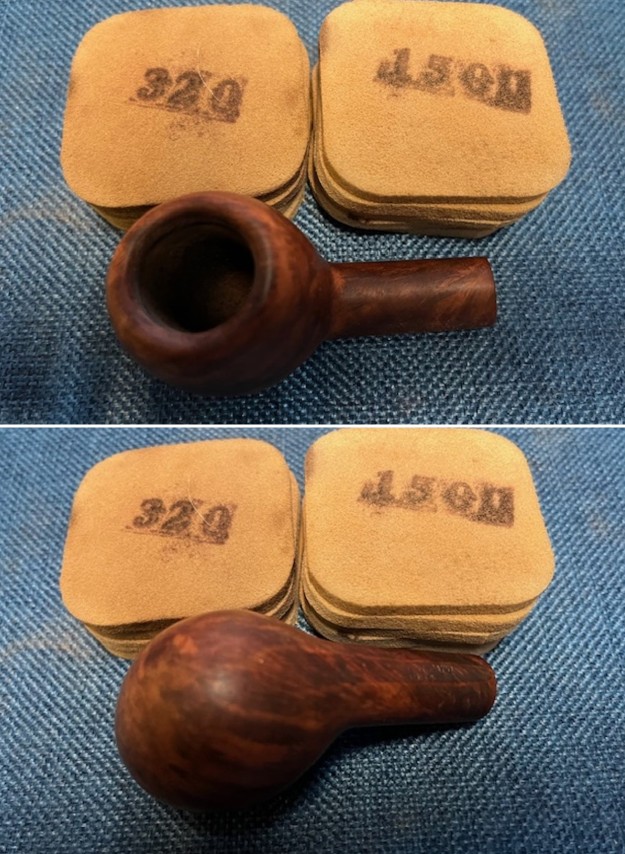
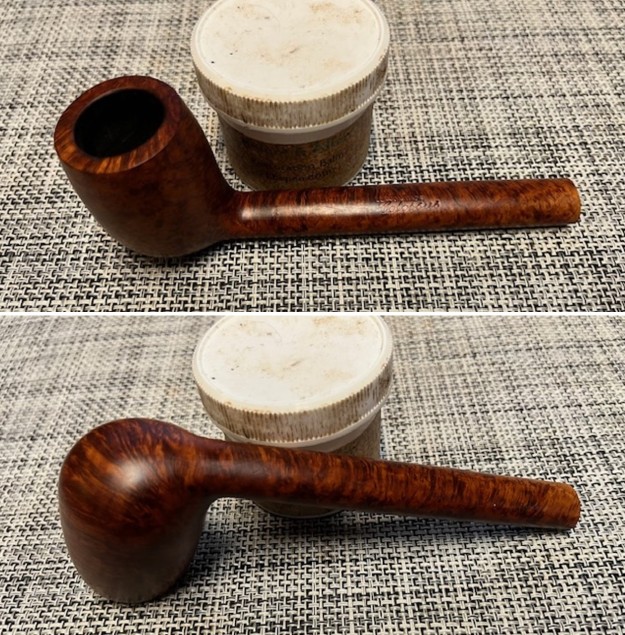
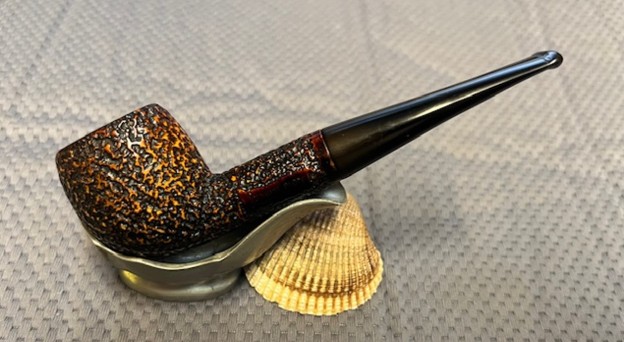
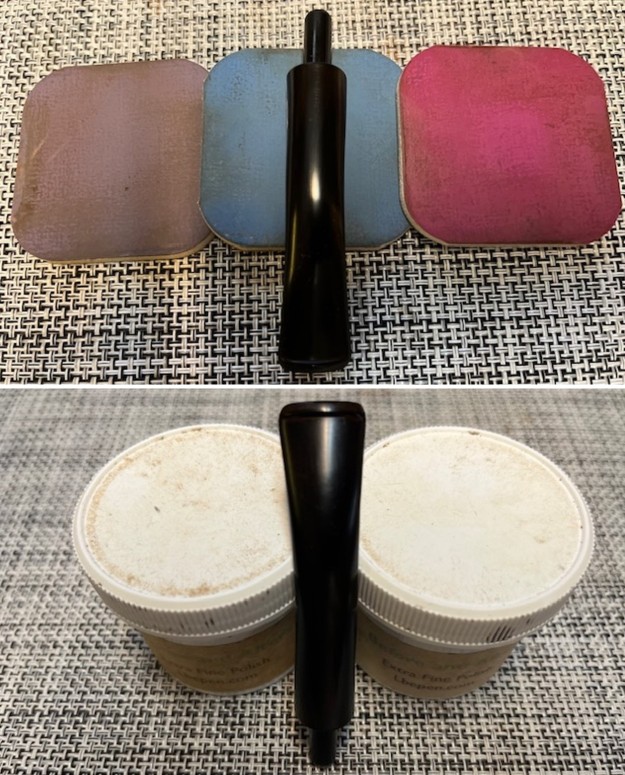
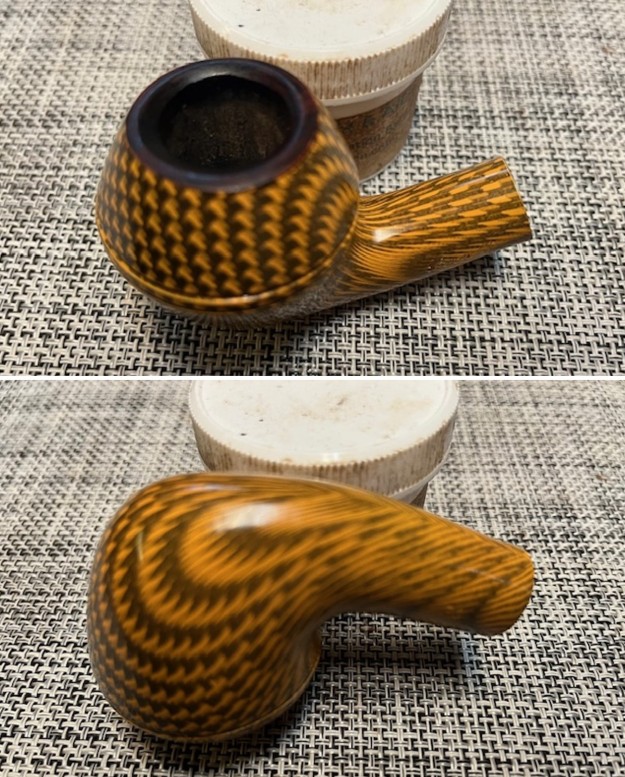
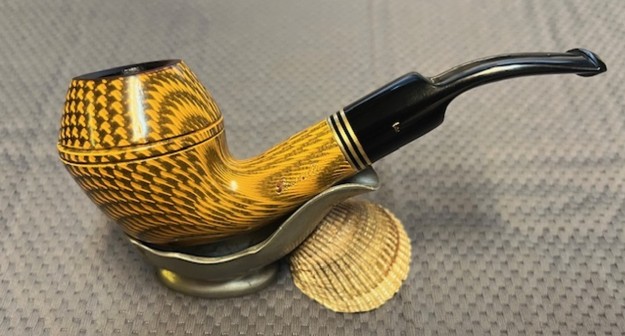
 At long last, I was off to my bench buffer to put the final touches on this pipe. I first gave it a thorough going-over with Red Tripoli. This may seem strange, but I needed to lighten the colour of the high points of the stummel. Then I used the White Diamond compound. Following that, several coats of conservator’s wax created a beautiful, glossy seal on the pipe and moved closer to closure for this long and involved repair.
 At this point, I glued the ferrule back in place. Then I gently sanded the inside of the bowl to provide a rough surface for what was to come next. I thinly coated the entire inside of the bowl with a mixture of activated charcoal and my wife’s homemade yogurt. Once hardened, this provided a good, slightly rough surface for a new cake to build.
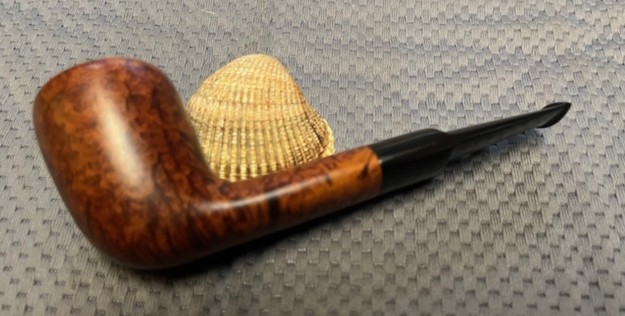
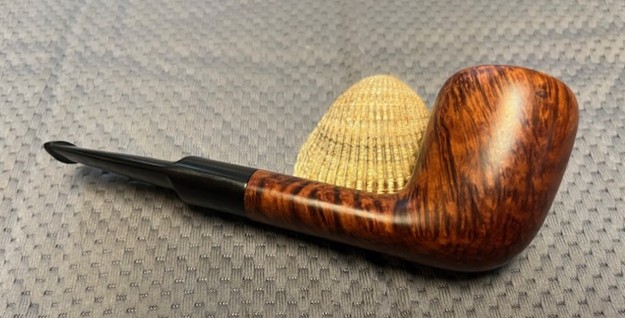
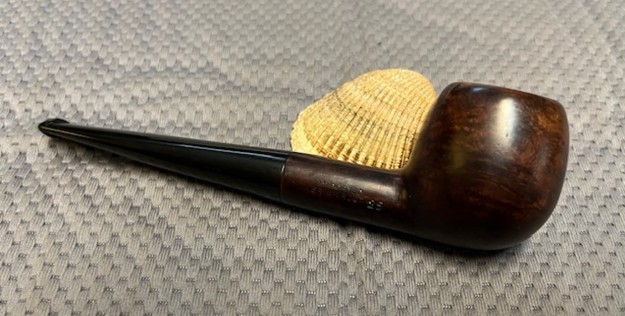
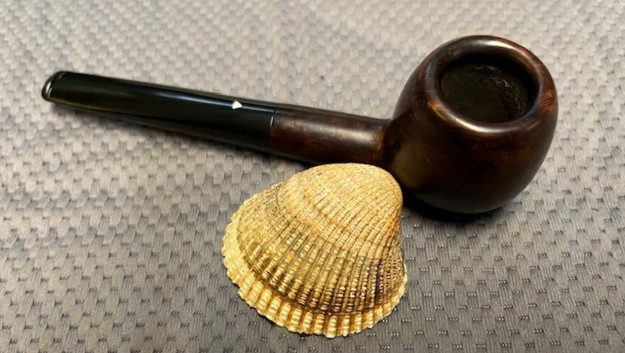
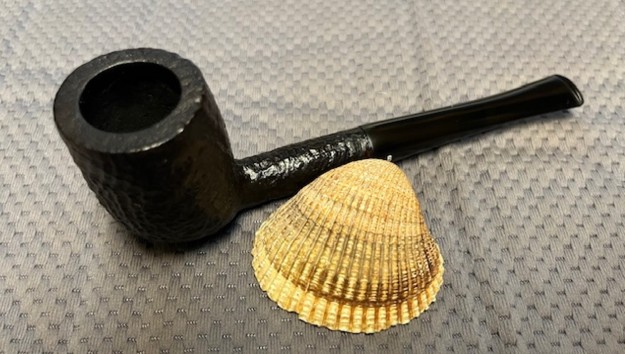
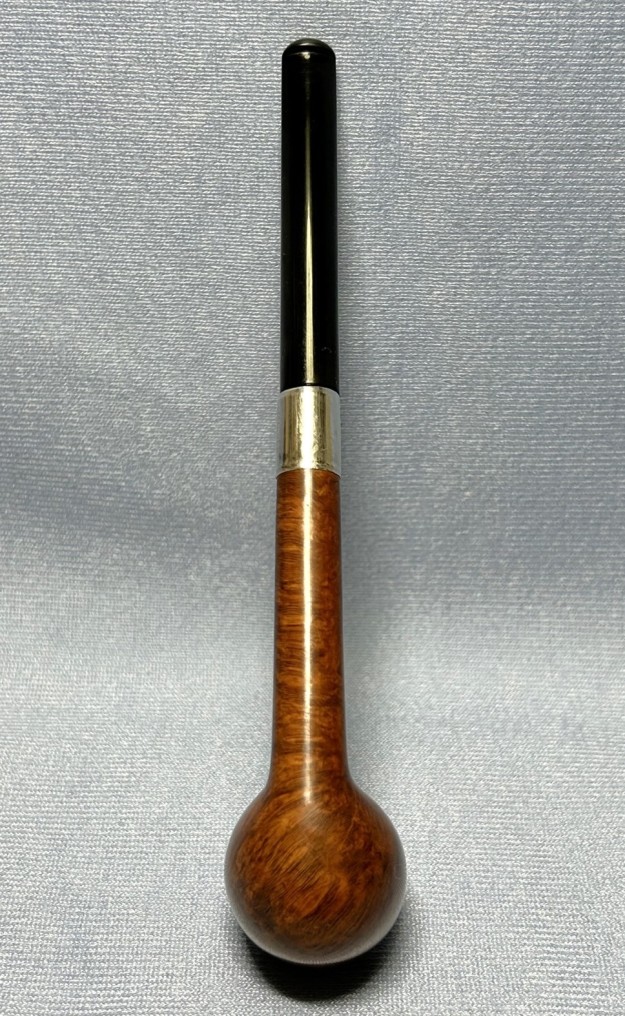
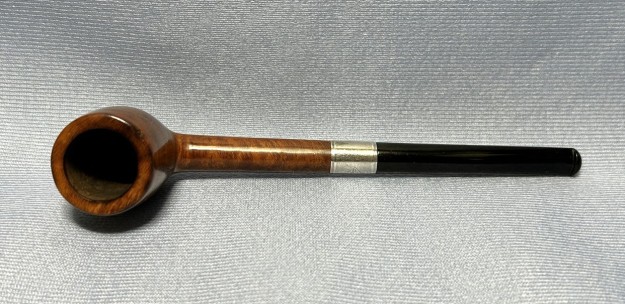
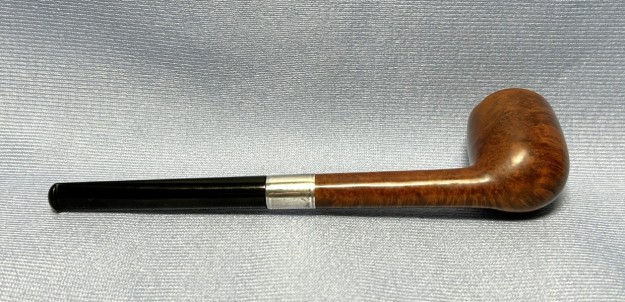
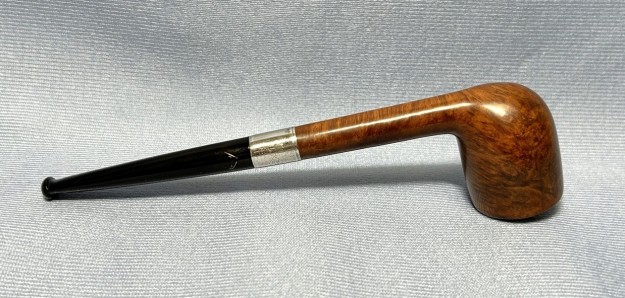
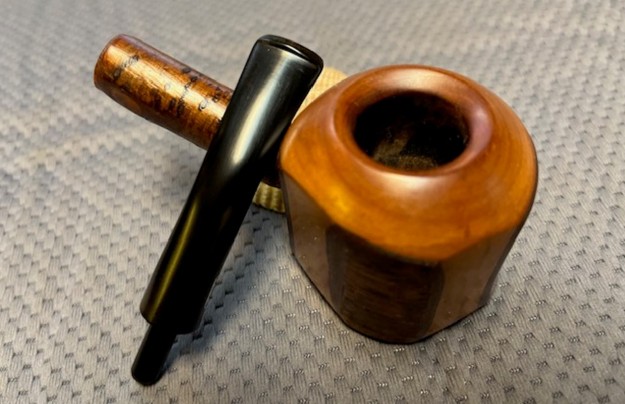
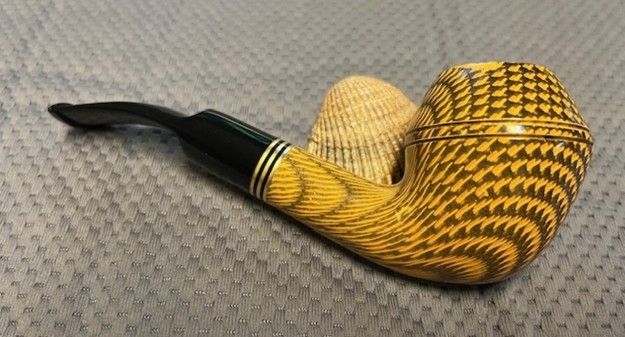
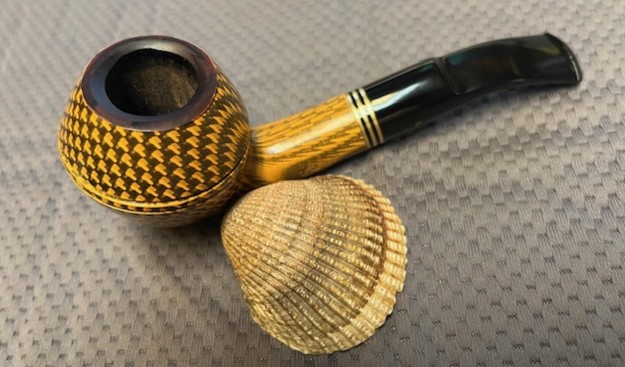
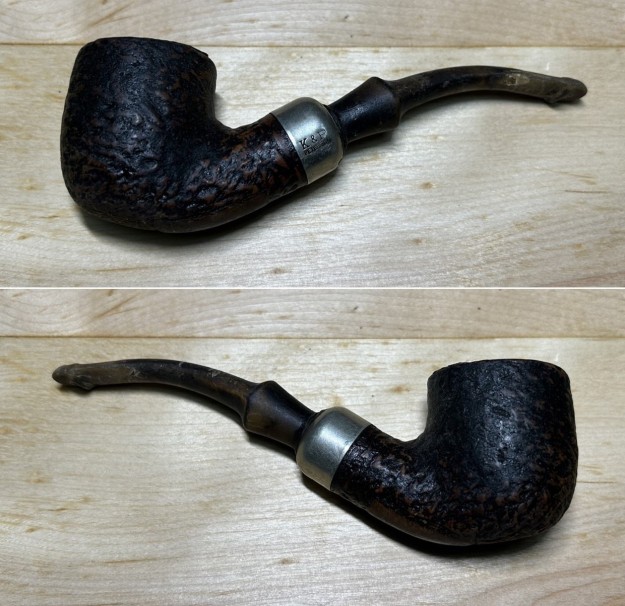
 This rugged and handsome Peterson 301 System rusticated bent pot has come out of the depths and is back to life. I am pleased to announce that this pipe is for sale! If you are interested in acquiring it for your collection, please have a look in the “Ireland” pipe section of the store here on Steve’s website. You can also email me directly at kenneth@knightsofthepipe.com. The approximate dimensions of the pipe are as follows: length 5¾ in. (145 mm); height ¾ in. (45 mm); bowl diameter 1½ in. (38 mm); chamber diameter ¾ in. (20 mm). The weight of the pipe is 2 oz. (60 g). I hope you enjoyed reading the story of this restoration as much as I enjoyed restoring it. If you are interested in more of my work, please follow me here on Steve’s website or send me an email. Thank you very much for reading and, as always, I welcome and encourage your comments.