
By Steve Laug
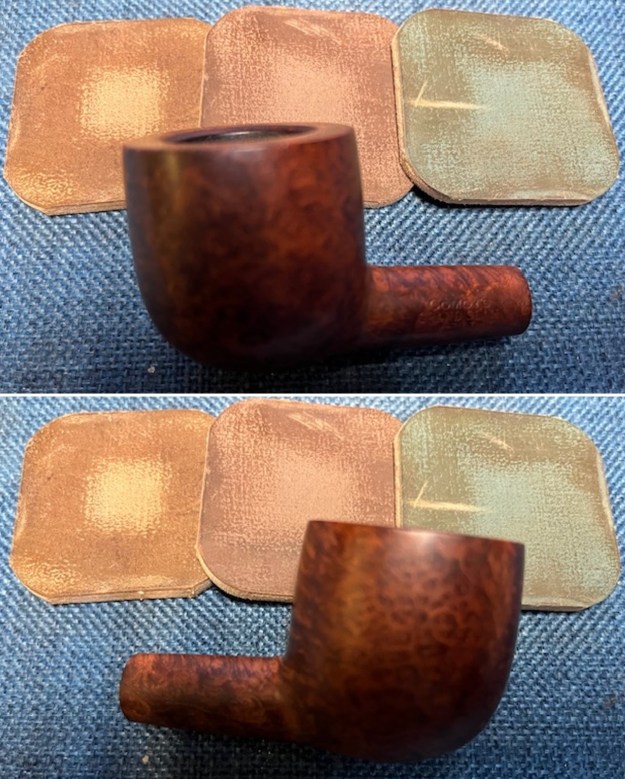
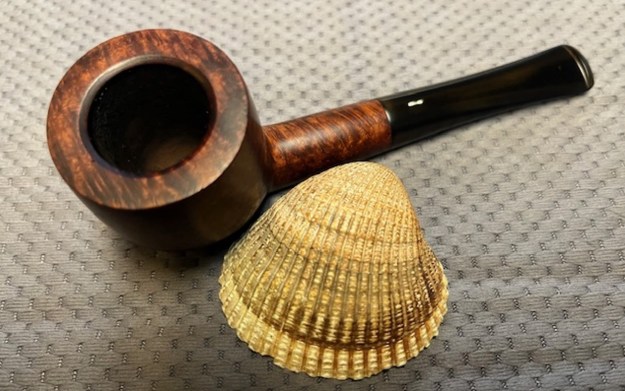
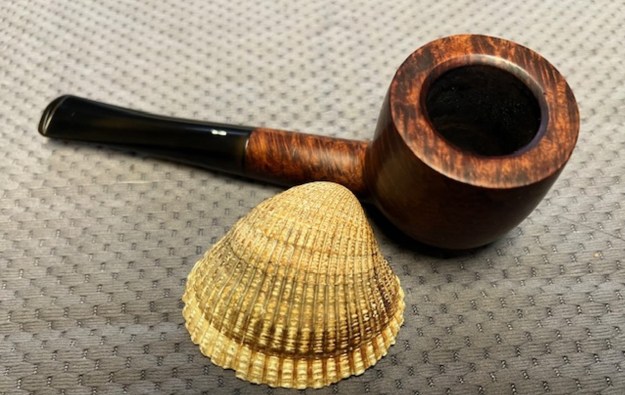
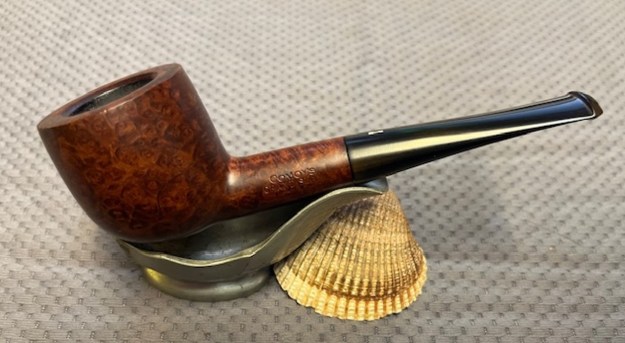
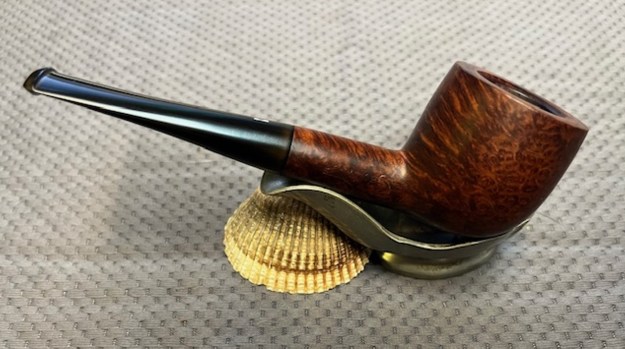
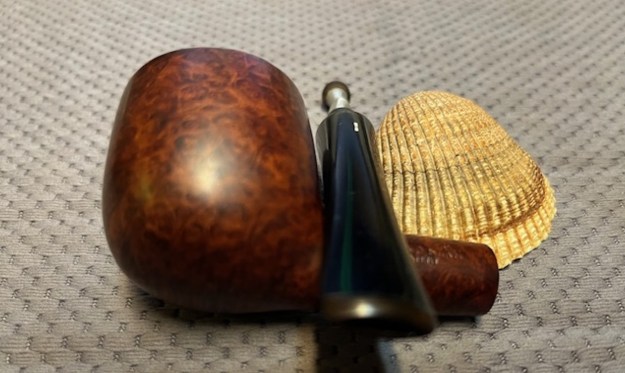
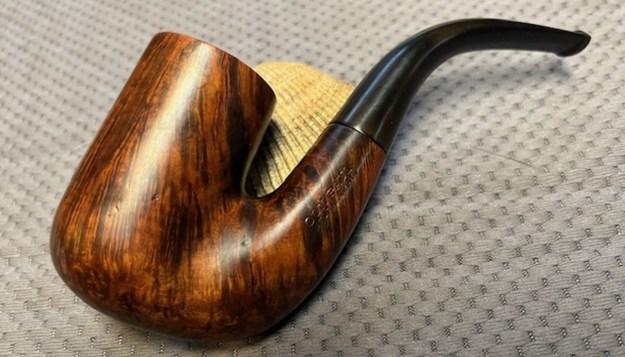
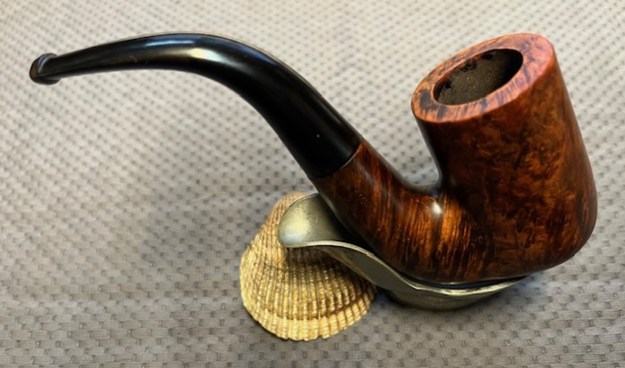
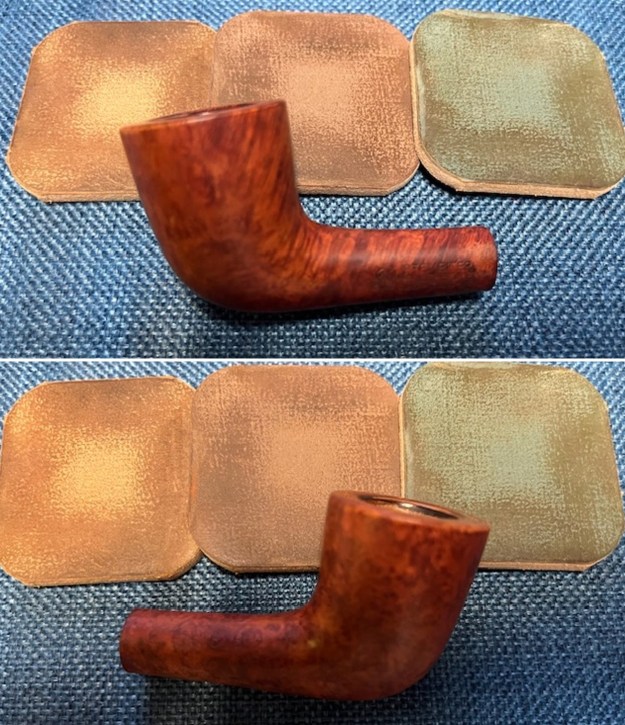
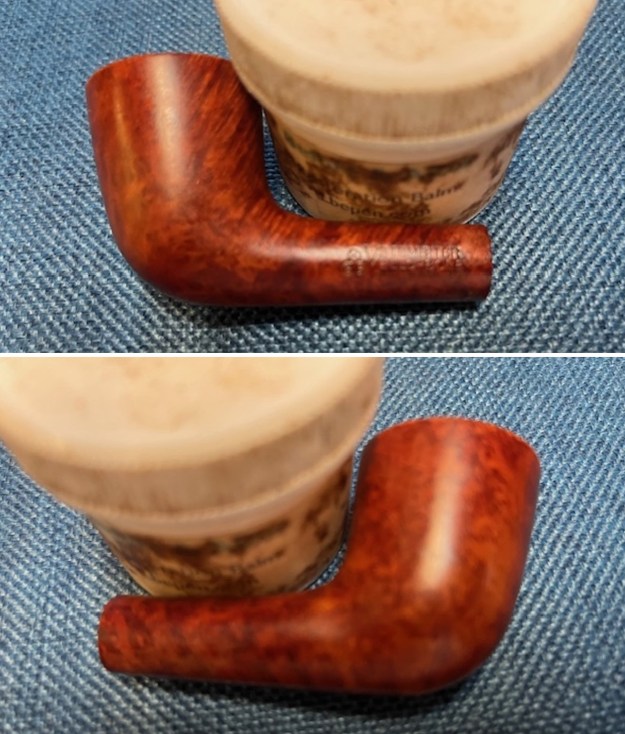
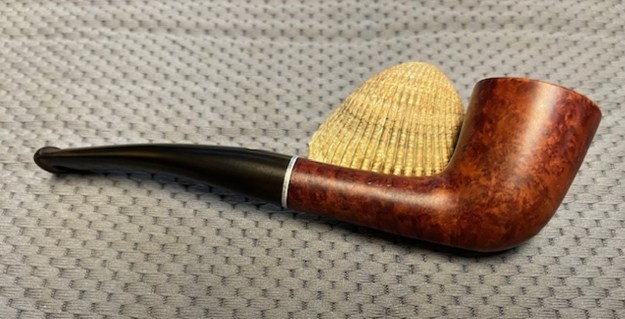
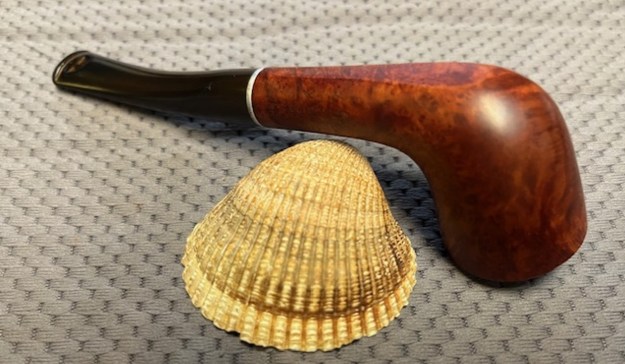
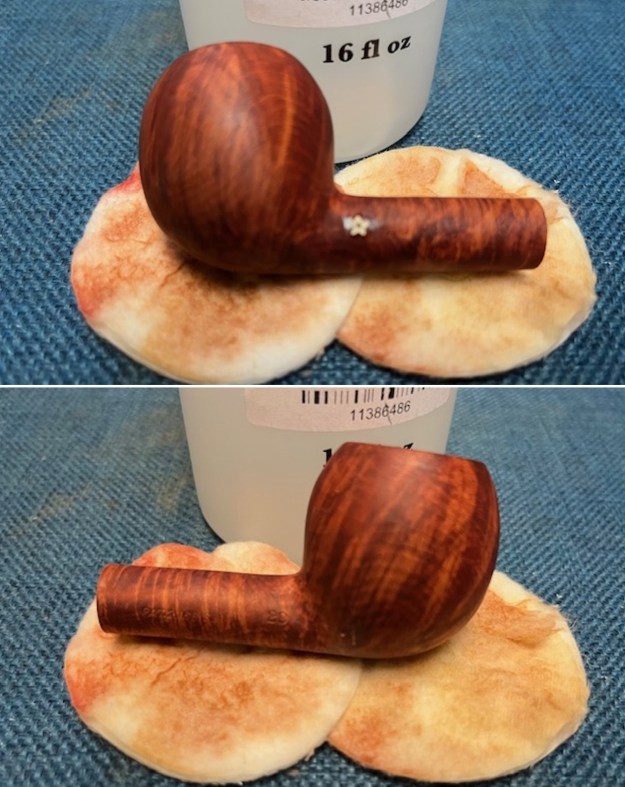
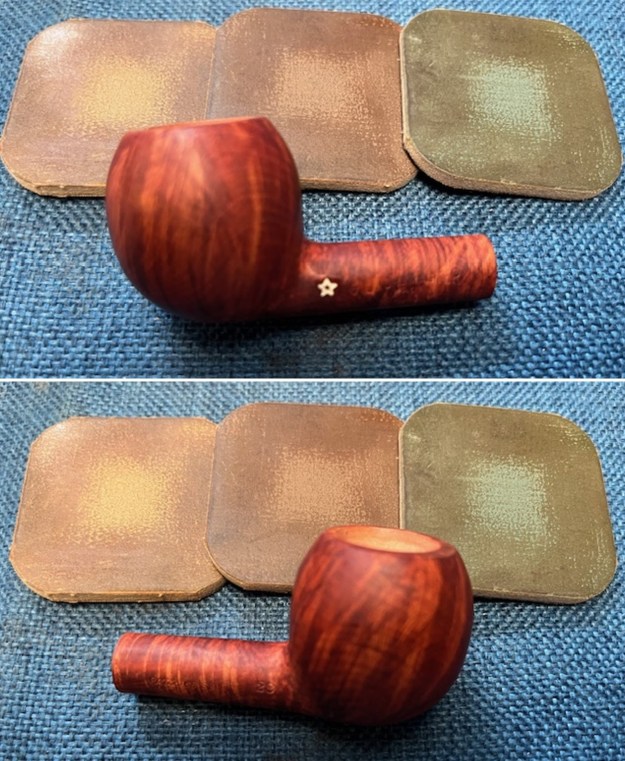
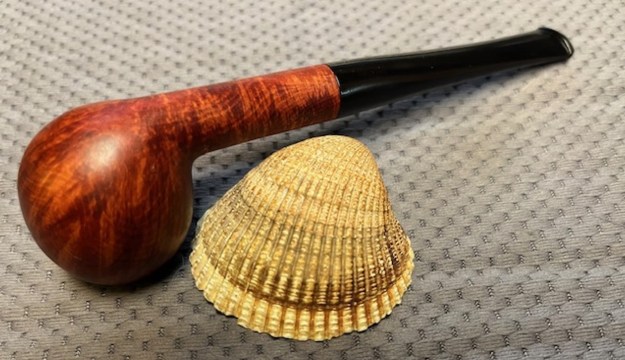
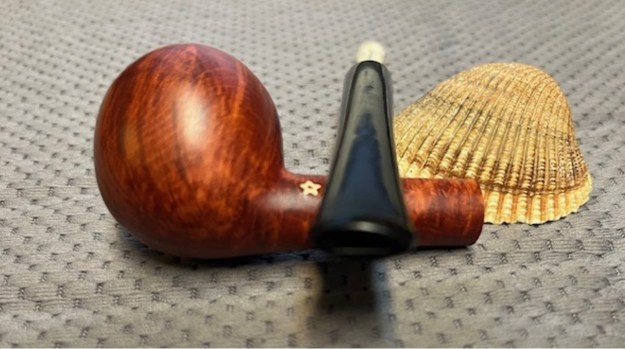
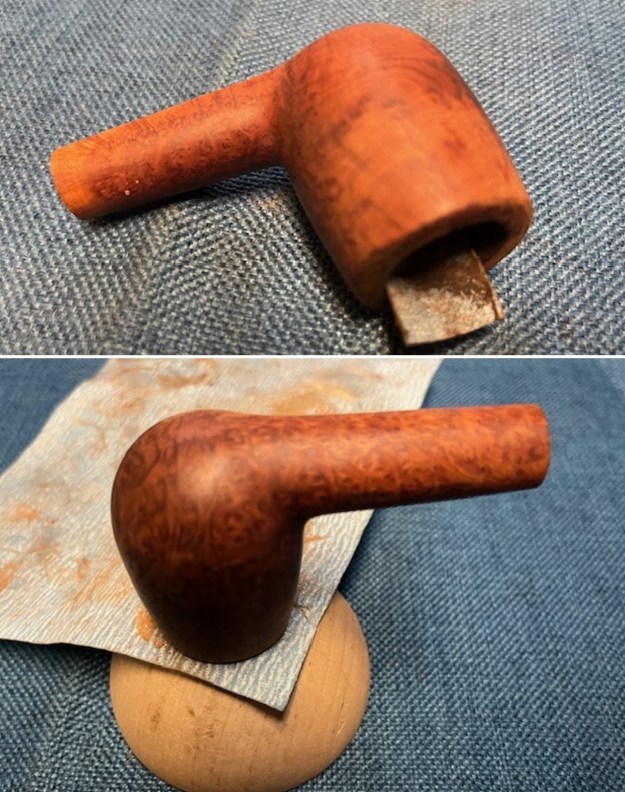
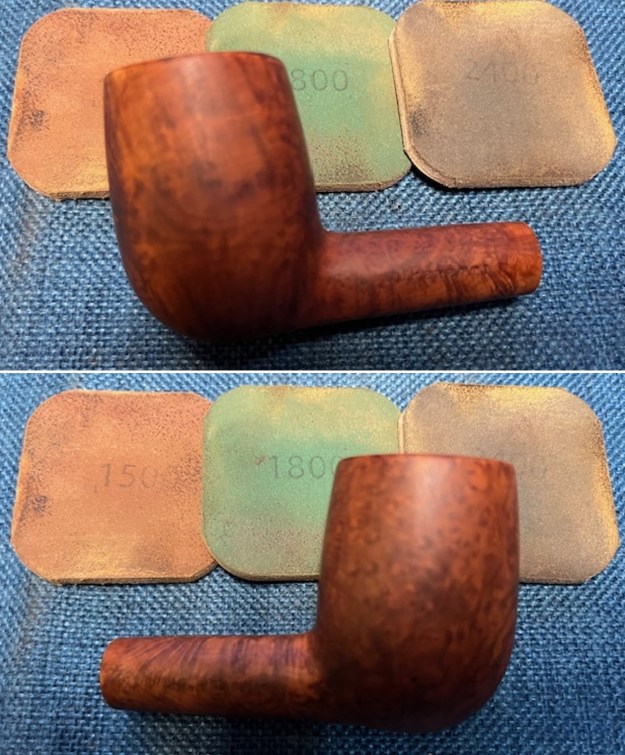
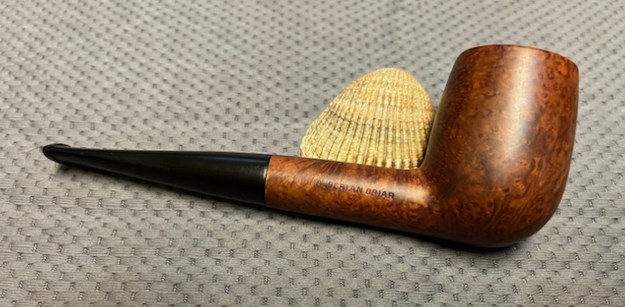
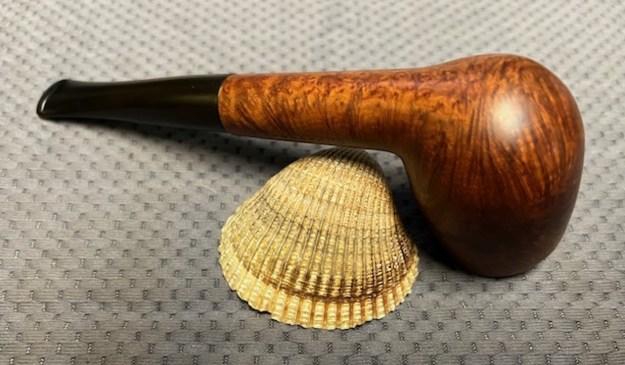
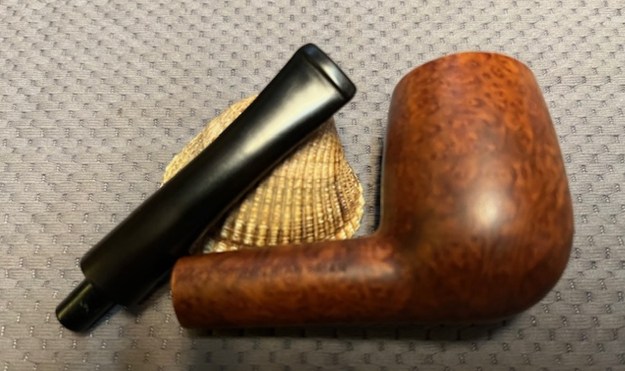
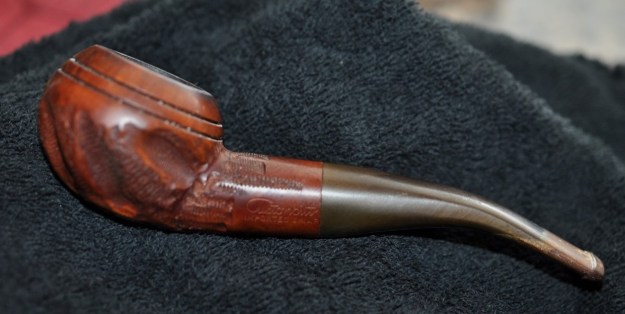
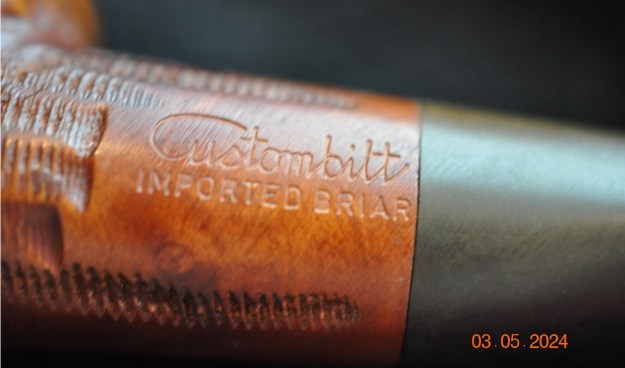
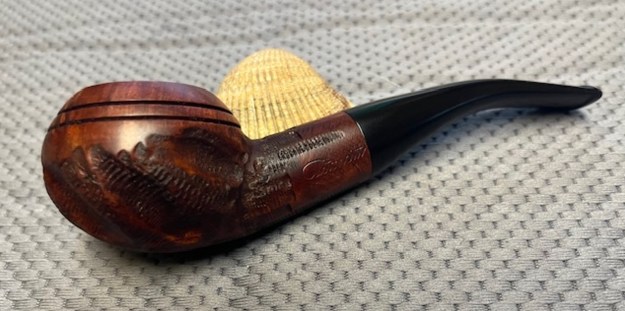
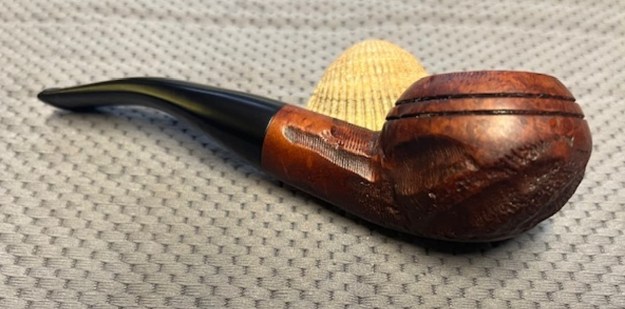
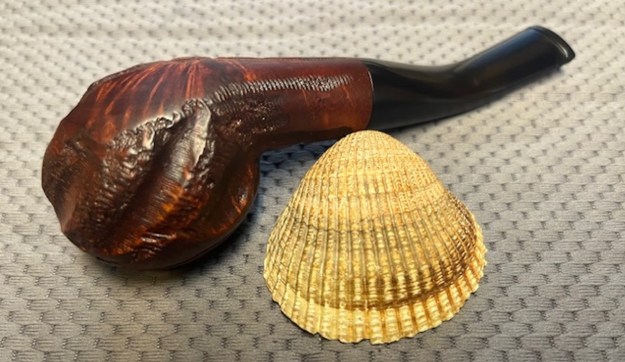
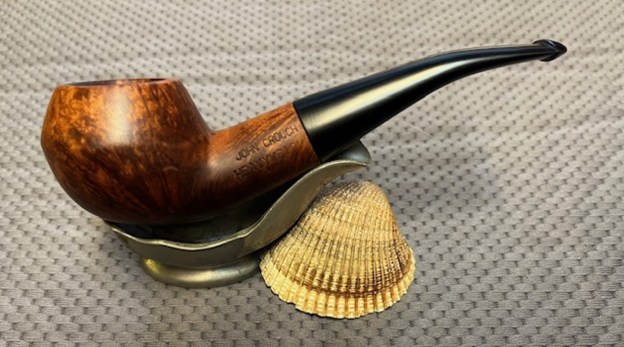
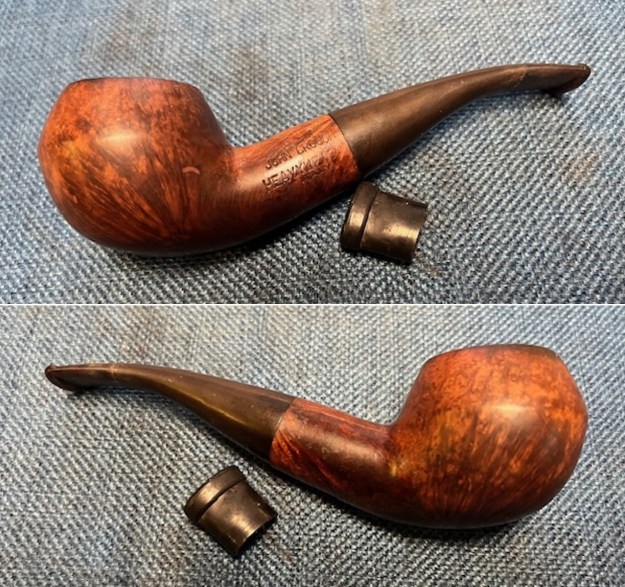
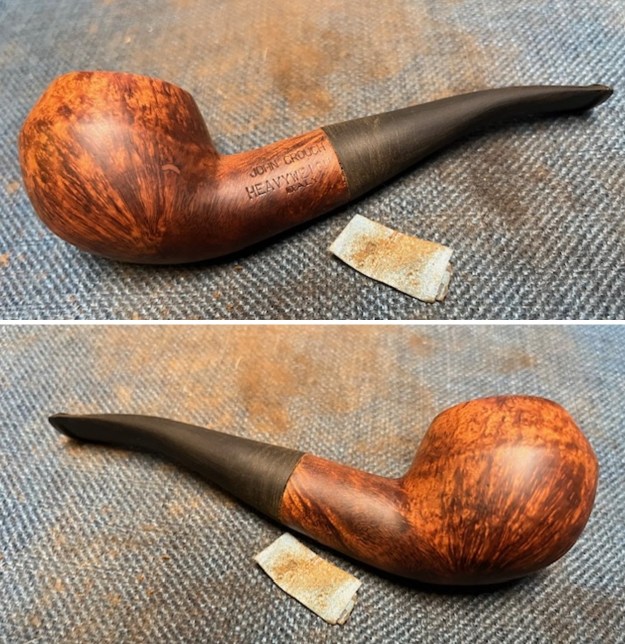
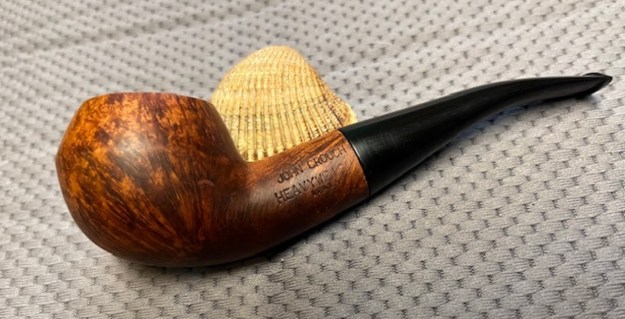
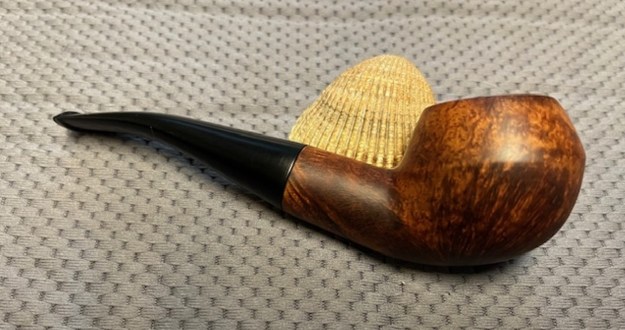
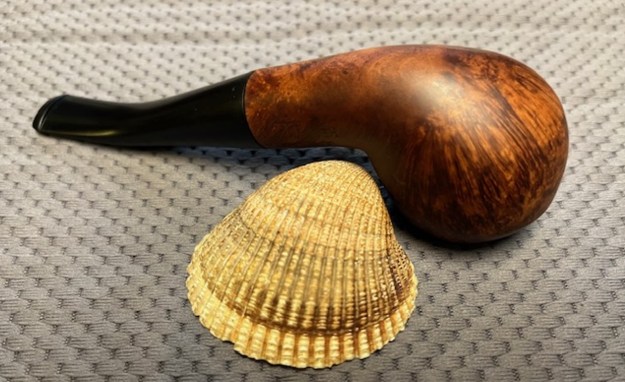
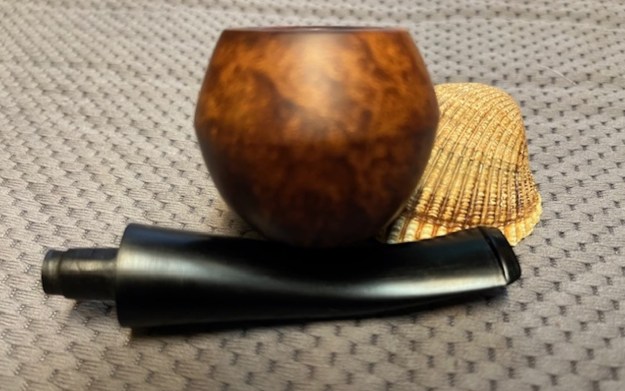
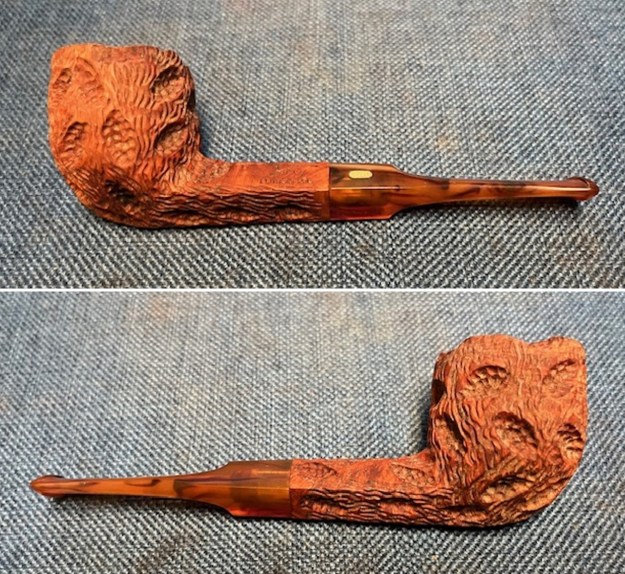
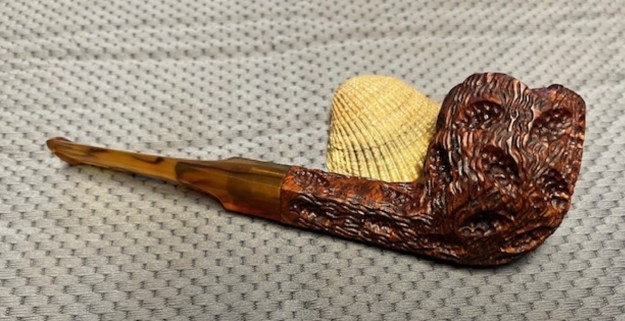
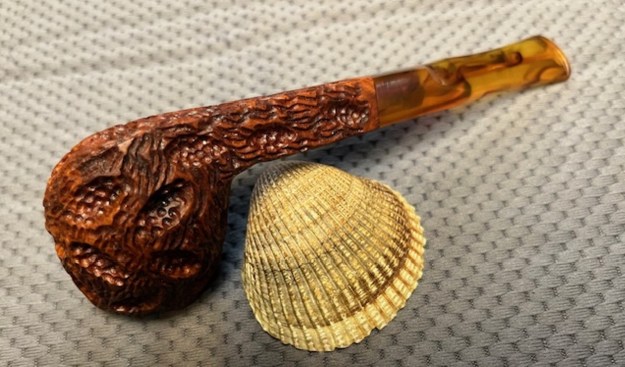
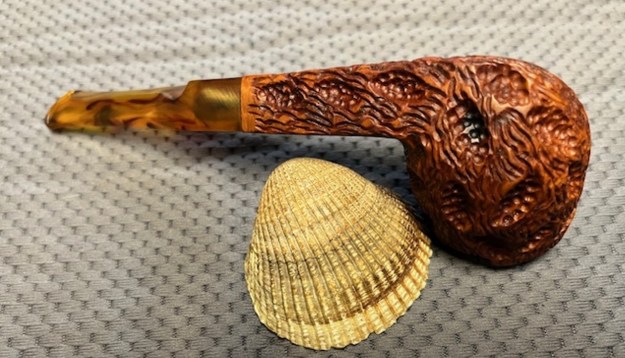
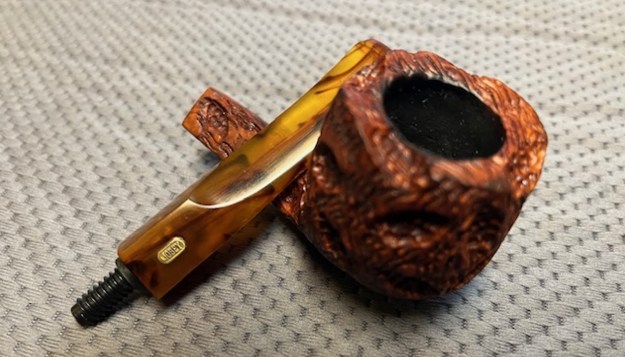
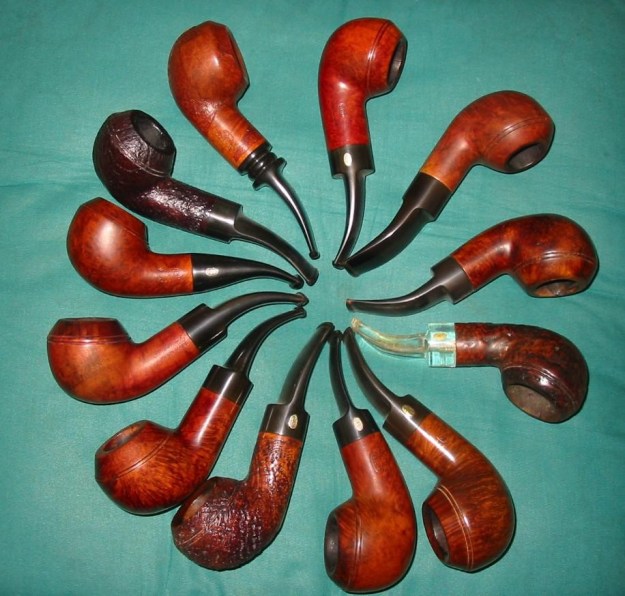
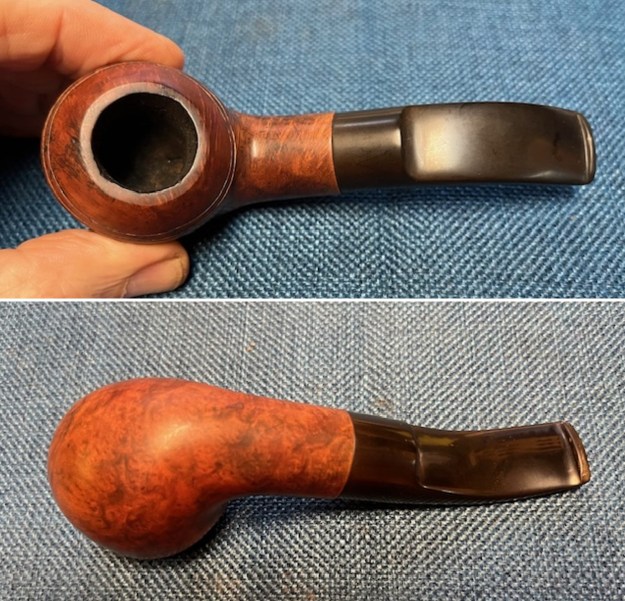
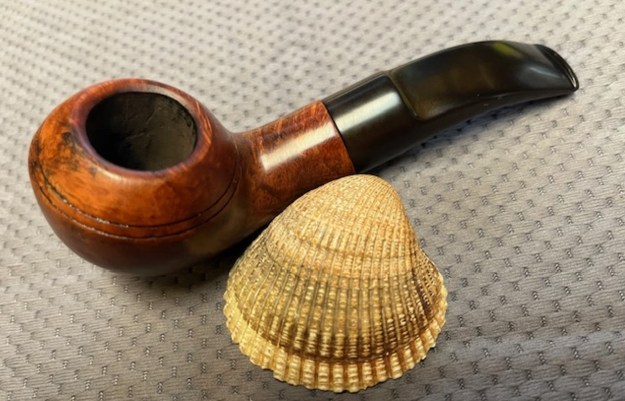
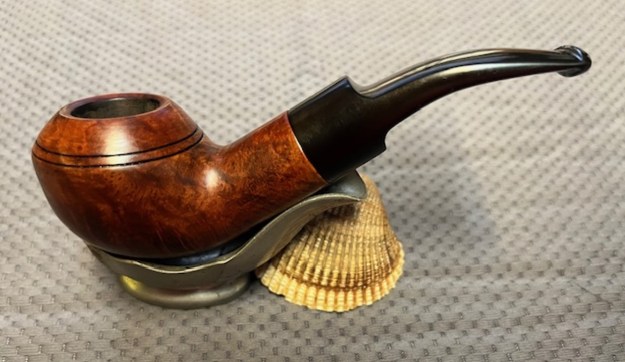
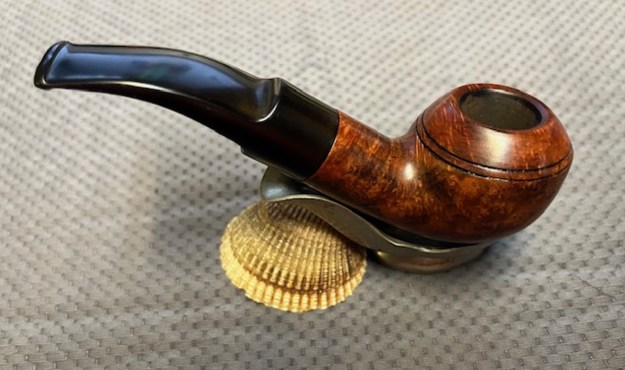
The next pipe on the table is one of three that was dropped off at my house on Saturday for clean up and restoration. Robert stopped by with a bag of pipes that his brother had picked up for him while hunting for pipes in New York. The lot included a Medico Ventilator, a couple of Grabows, a small salesman’s pipe, a Smokemaster, an unmarked sandblast pot, an Oom Paul Natural Grain Algerian Briar France, a Comoy’s Grand Slam Patent Pot, and an interesting KBB Yello-Bole Zulu/Yacht with a unique biteproof stem. We went through the lot and chose the three pipes that he wanted to work on. I have circled them in the photo below. All I had left to work on was the Comoy’s and I was looking forward to it. The finish was very dirty but the amazing grain could not be hidden by the grime. The pipe is stamped on the left side and reads Comoy’s [over] Grand Slam [over] Patent. On the right side of the shank it is stamped US Pat. [over] 2001612 followed by the shape number 126. On the underside of the shank was the Made in England in a Rugby ball shape. Above that the number *2 was stamped which gave the size of the leather washers on the metal apparatus in the shank. The bowl had a moderate cake on the walls with a light lava overflow and darkening on the rim top and edges. The finish was dirty but there was no varnish coat on the pipe. It had a vulcanite push stem with the Grand Slam metal apparatus in the tenon. The stem was oxidized but otherwise quite clean. The top of the taper stem had an inset white line – white on each end of the line and a turquoise space between them. I took some photos of the pipe before I started my clean up work.
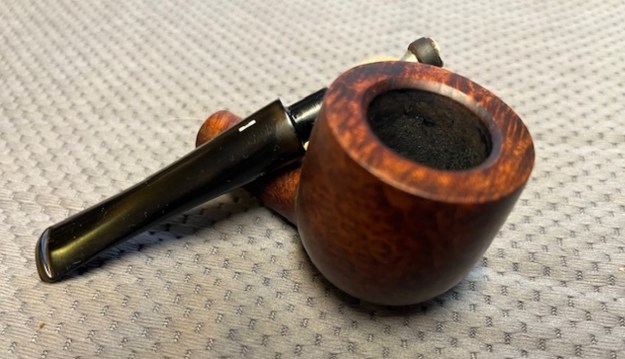
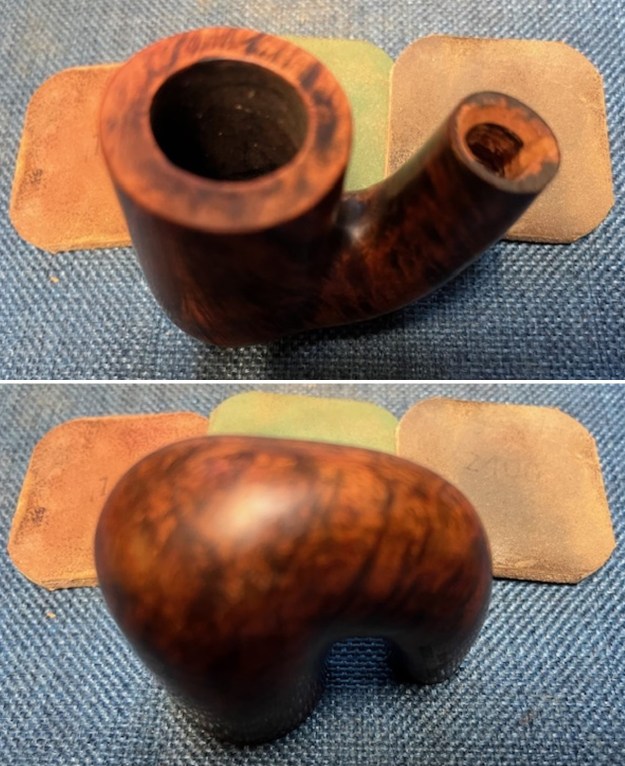
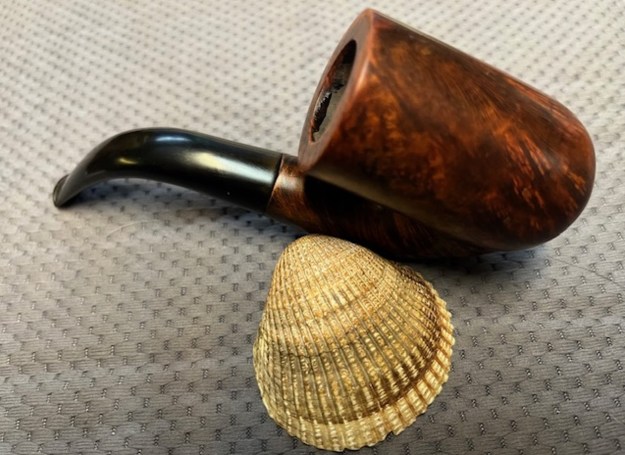
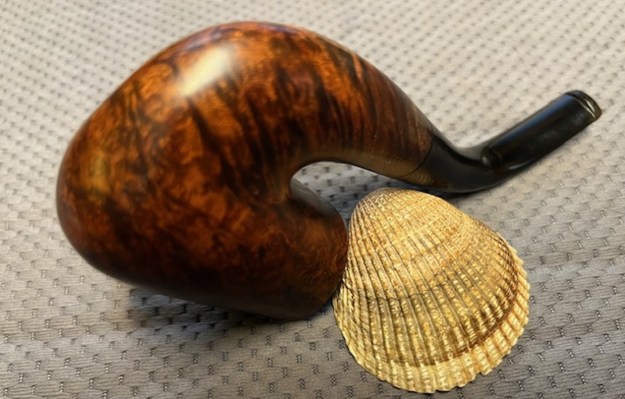
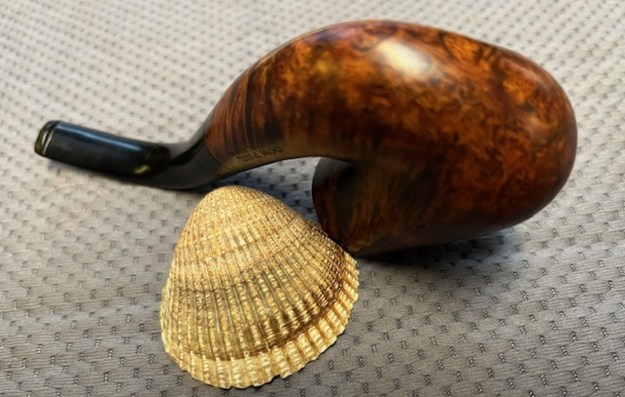
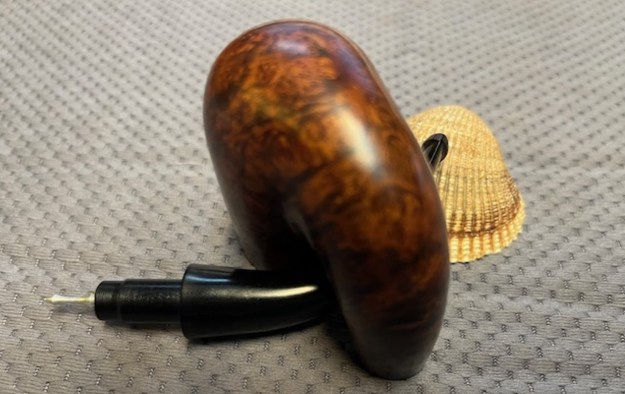
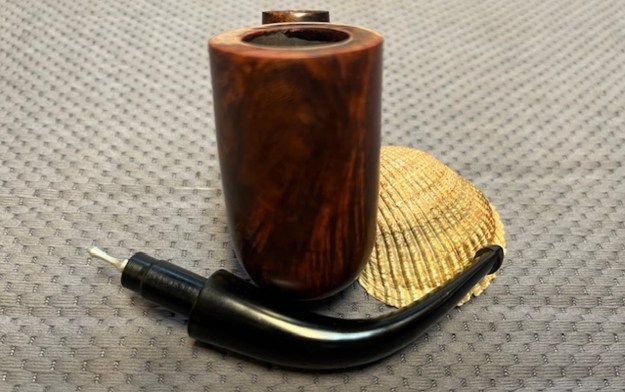
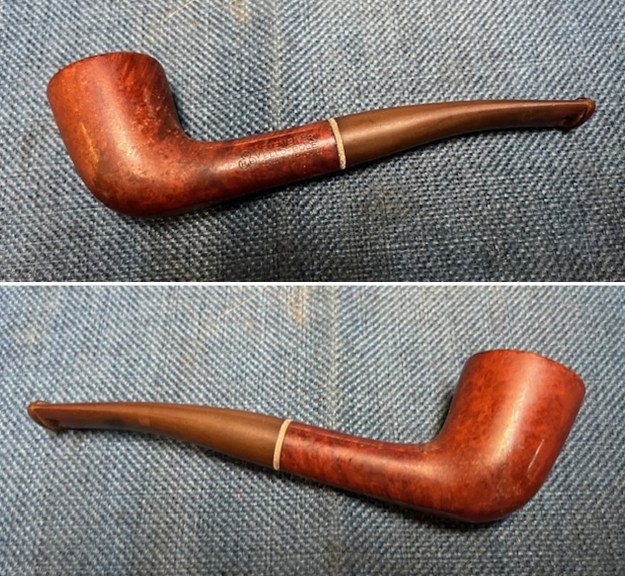
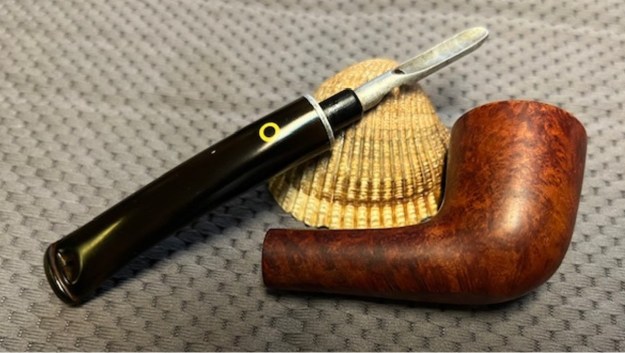
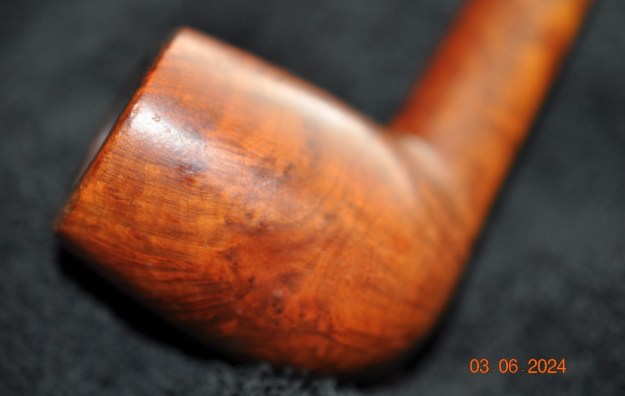
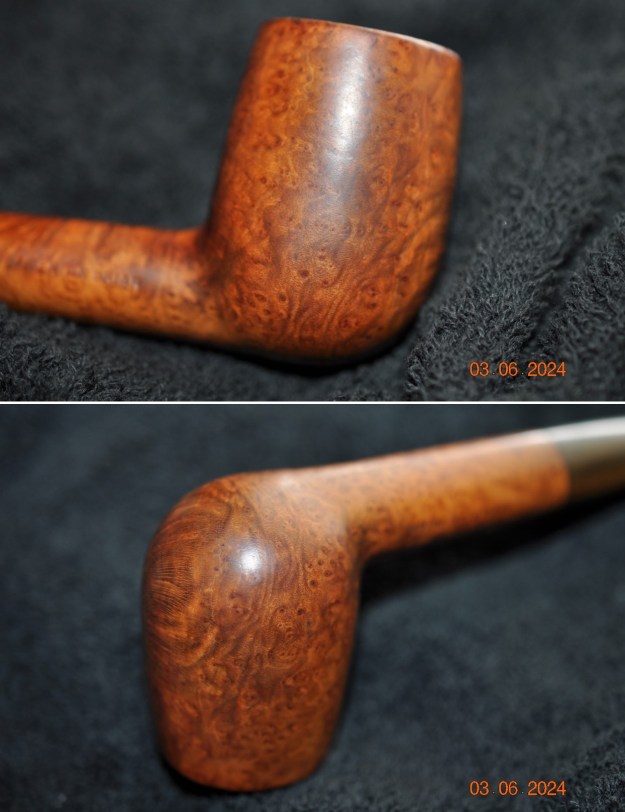
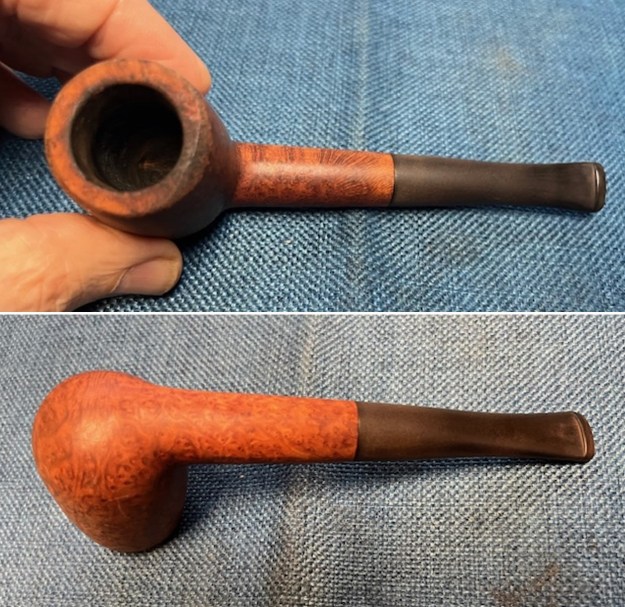
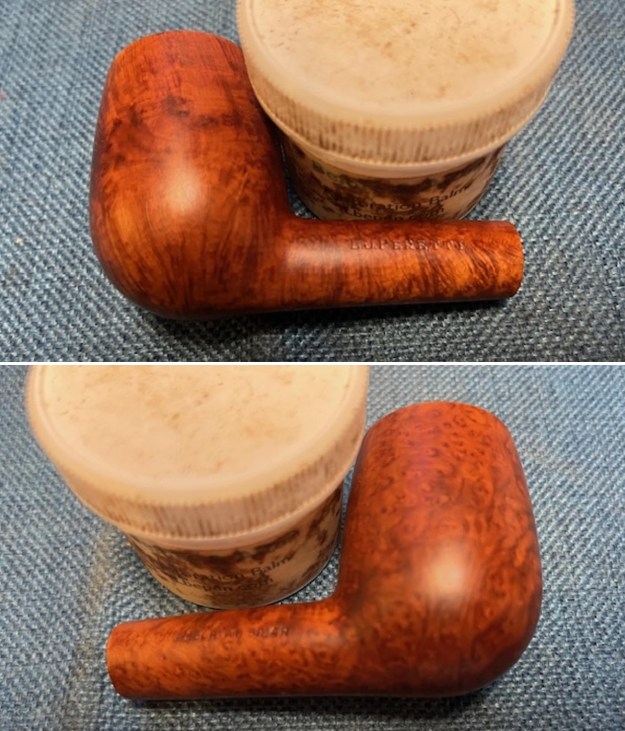
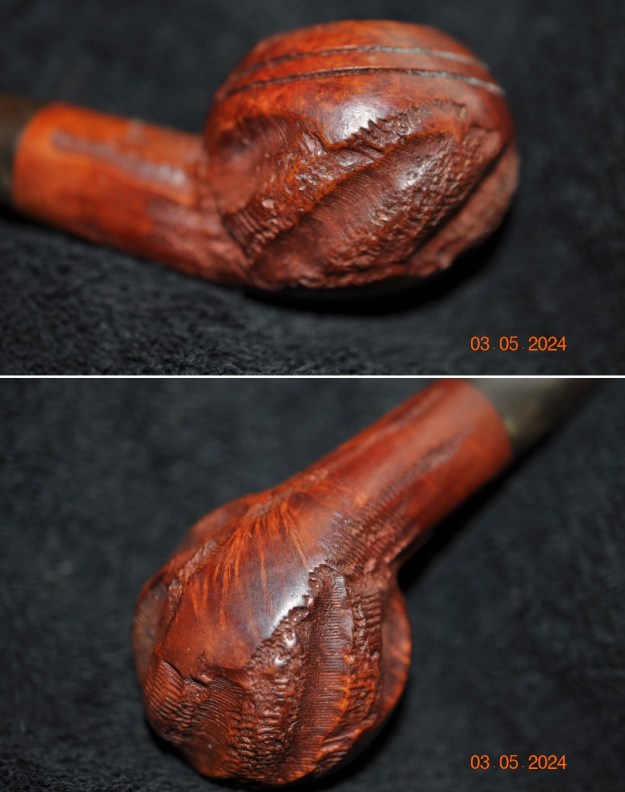
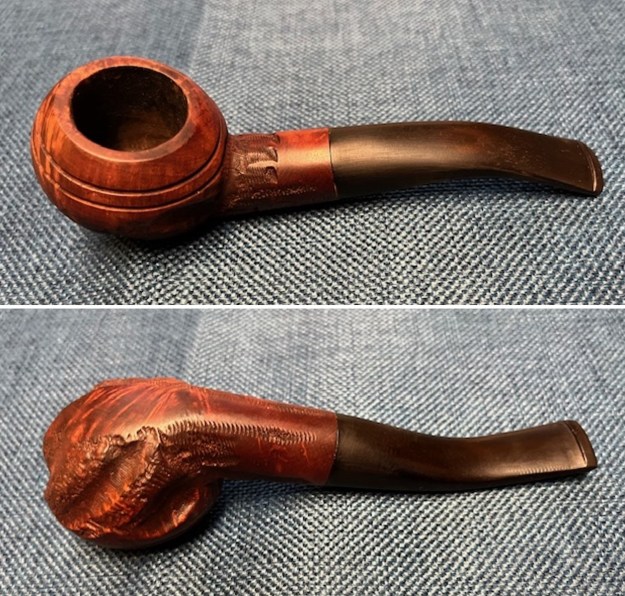
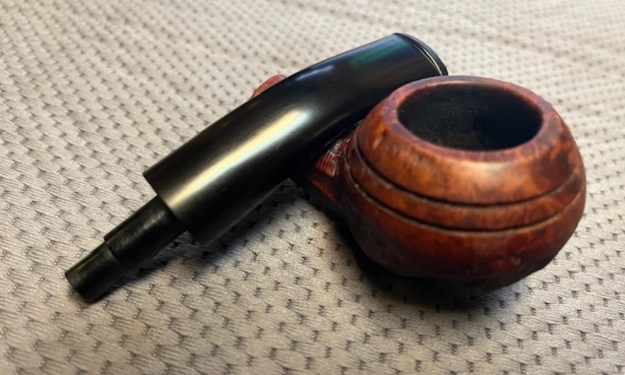
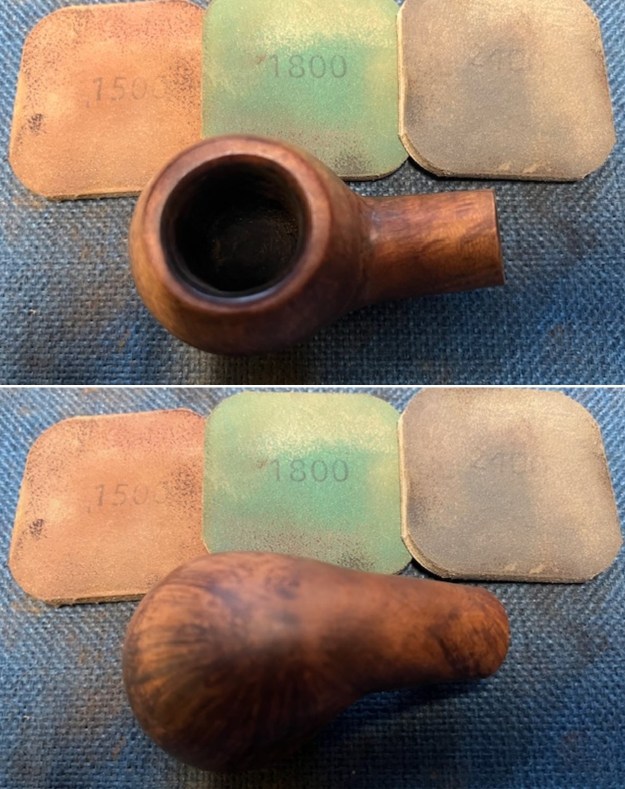
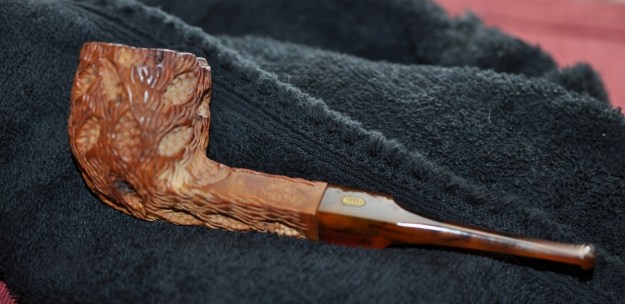
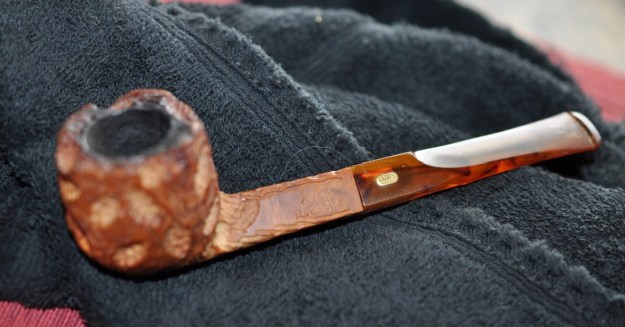
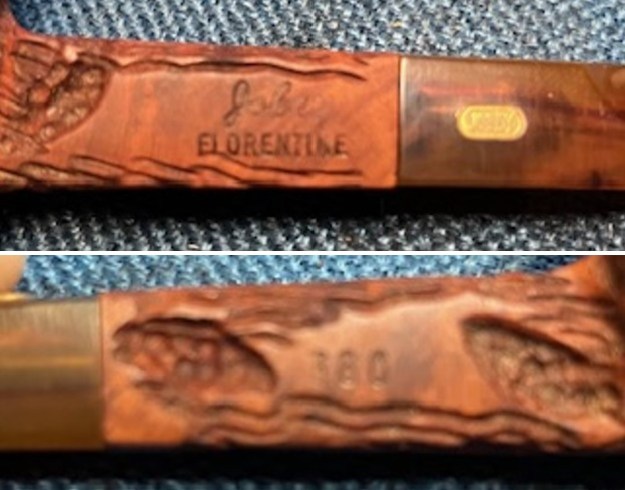
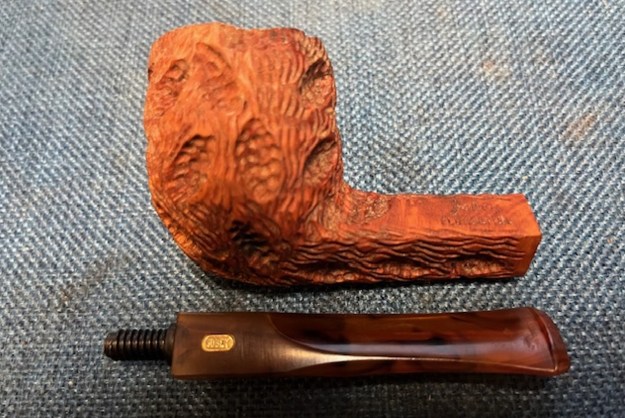
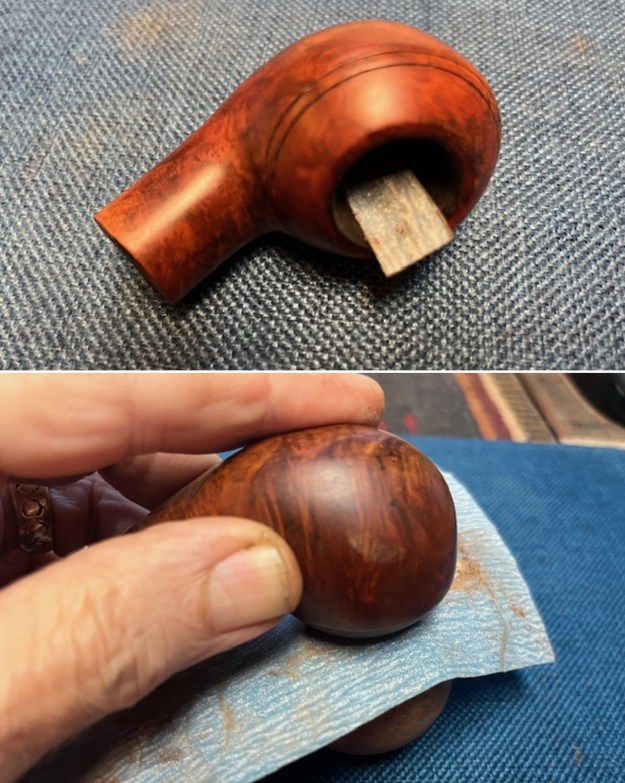
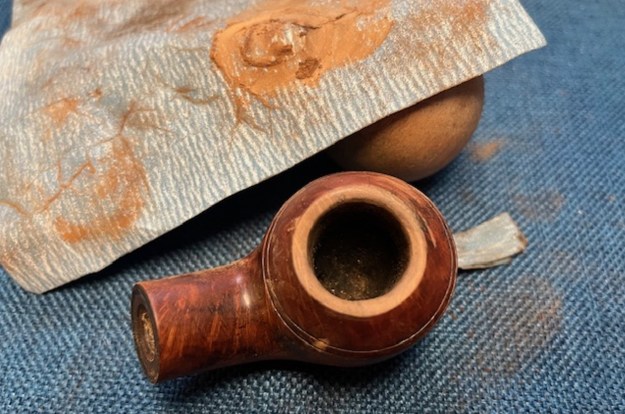
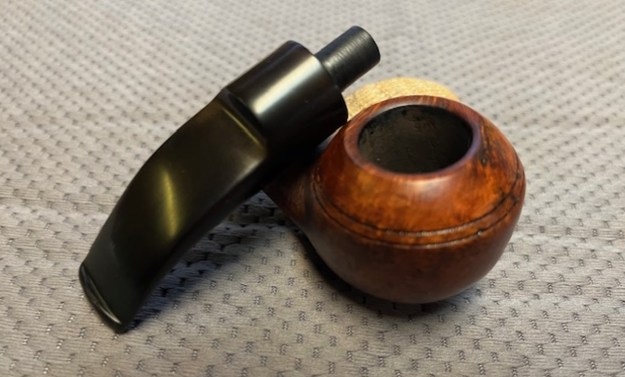
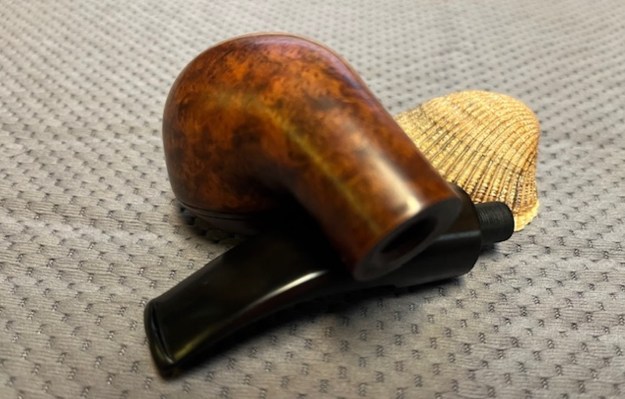
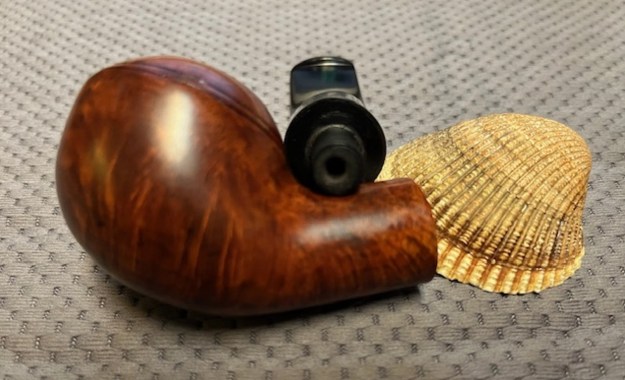
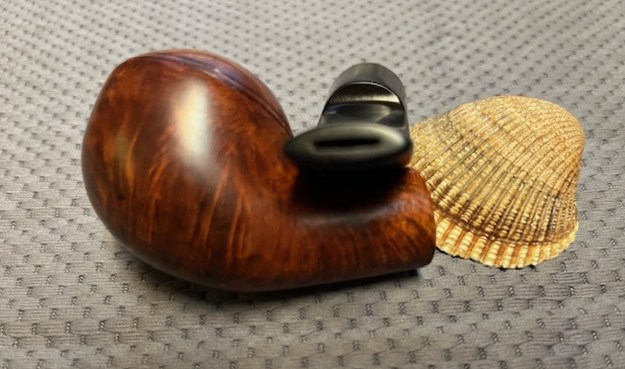
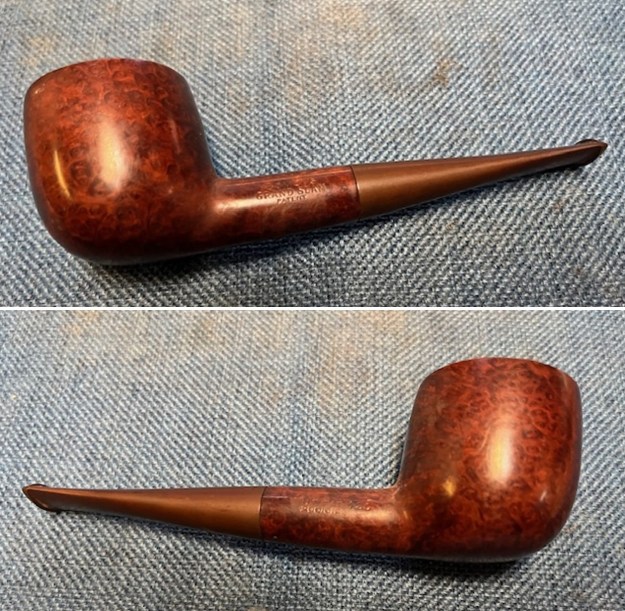
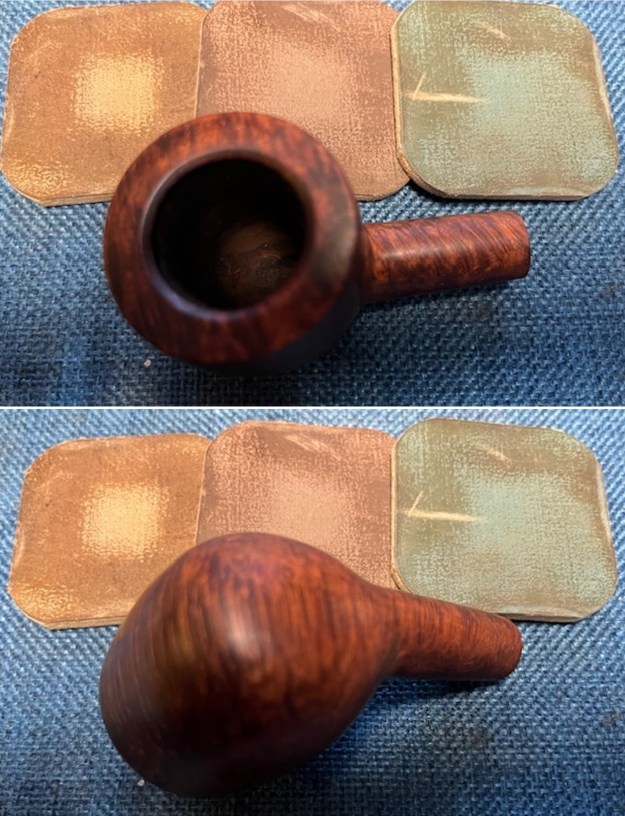
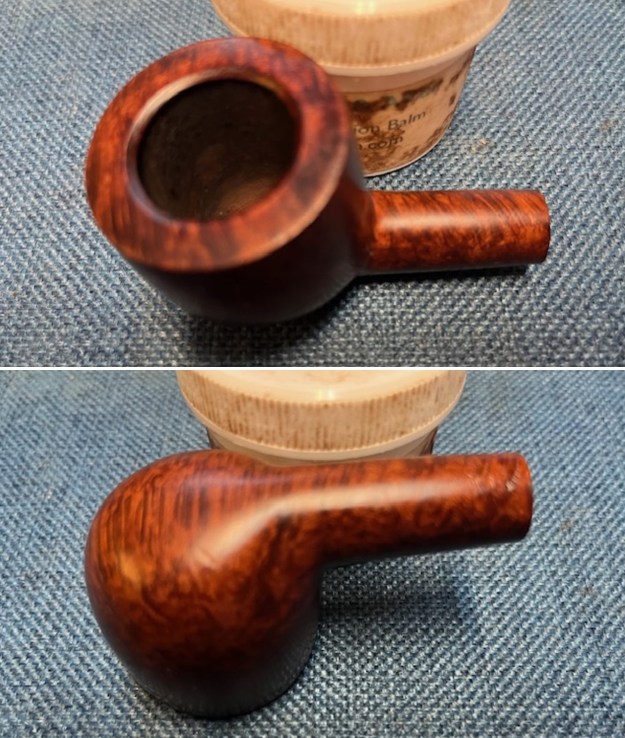
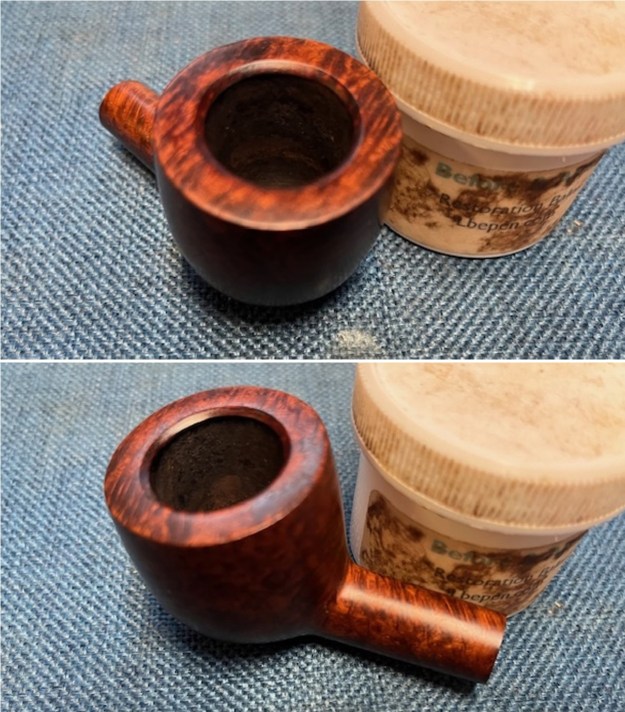
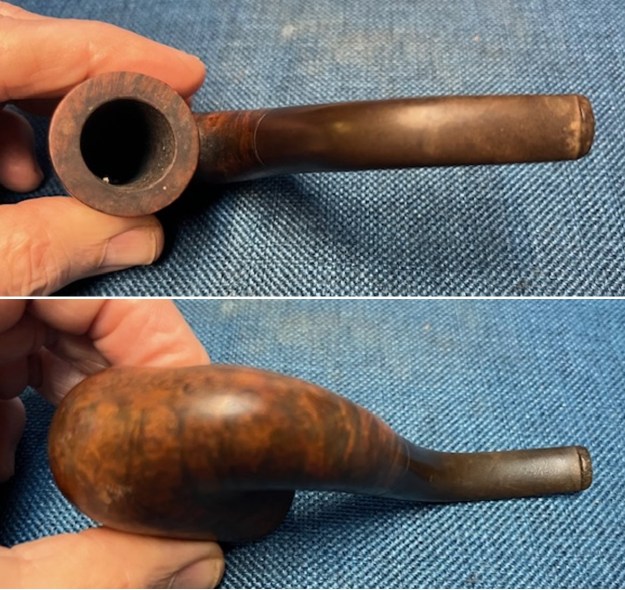
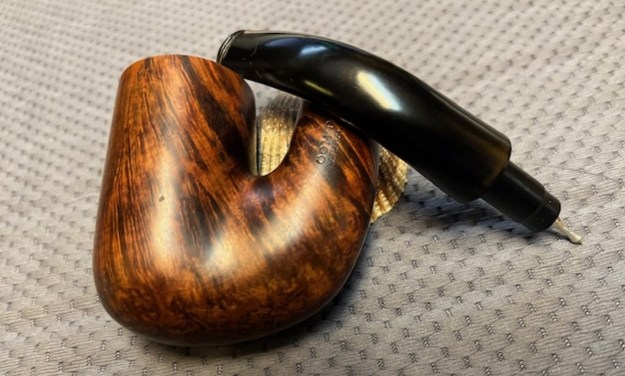
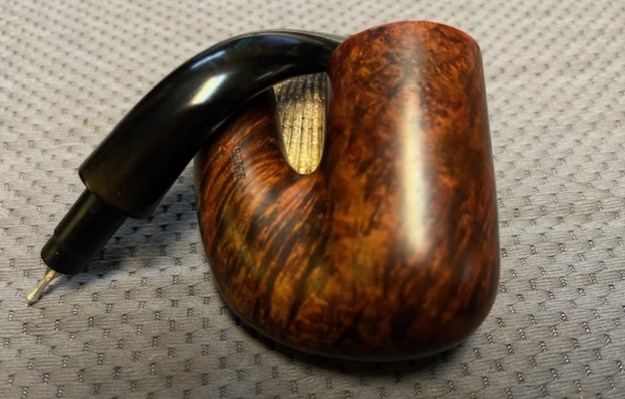
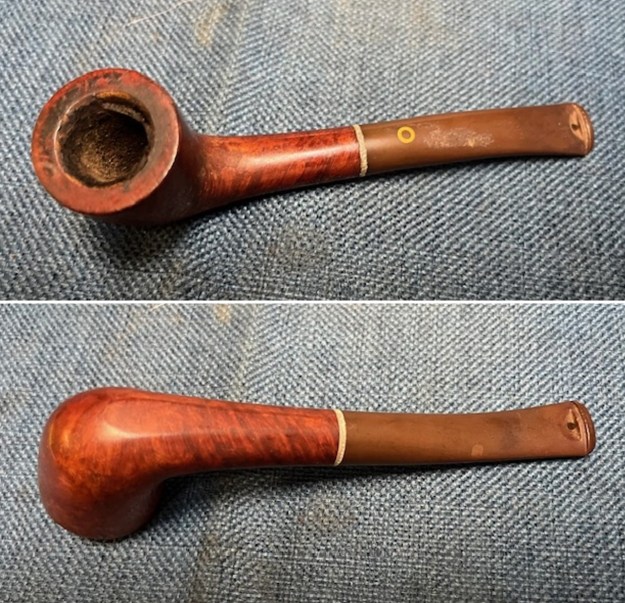
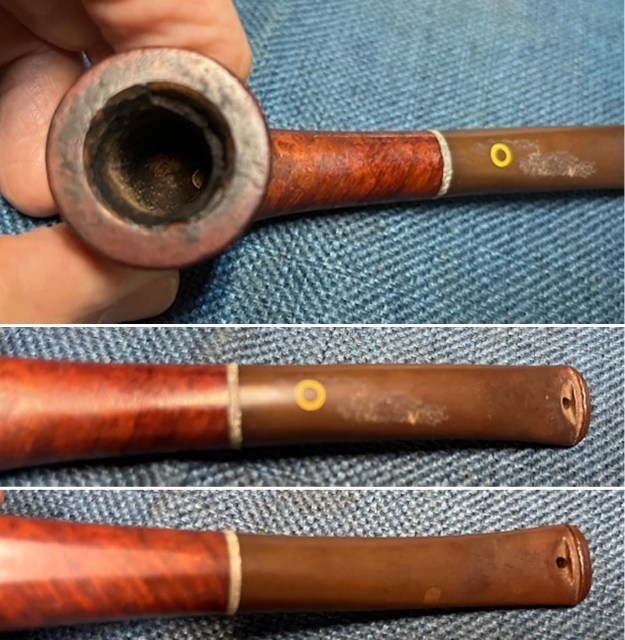
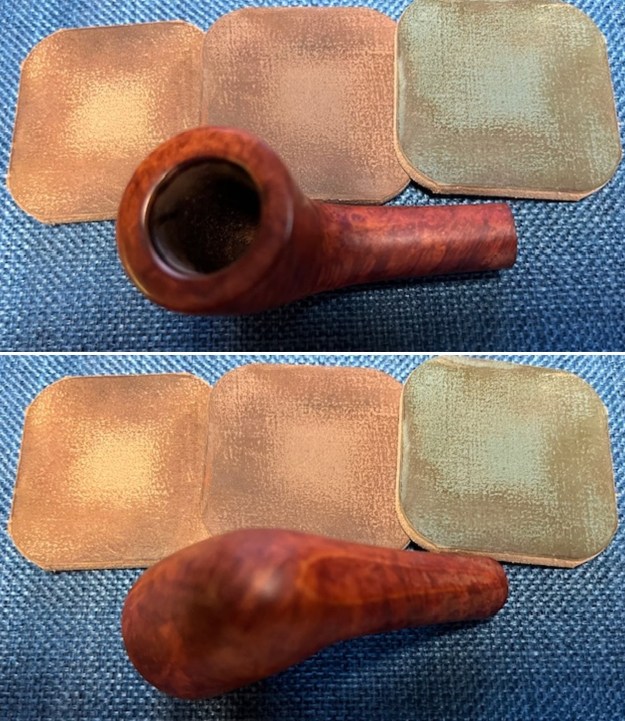
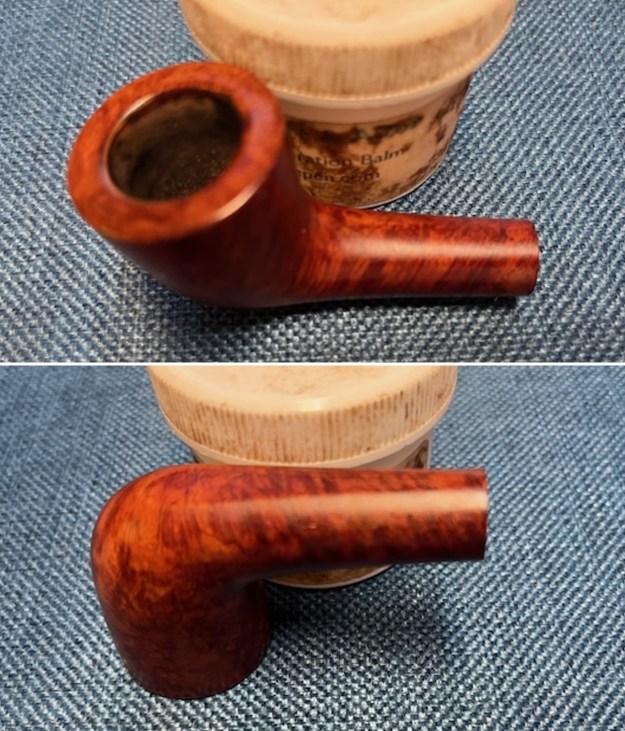
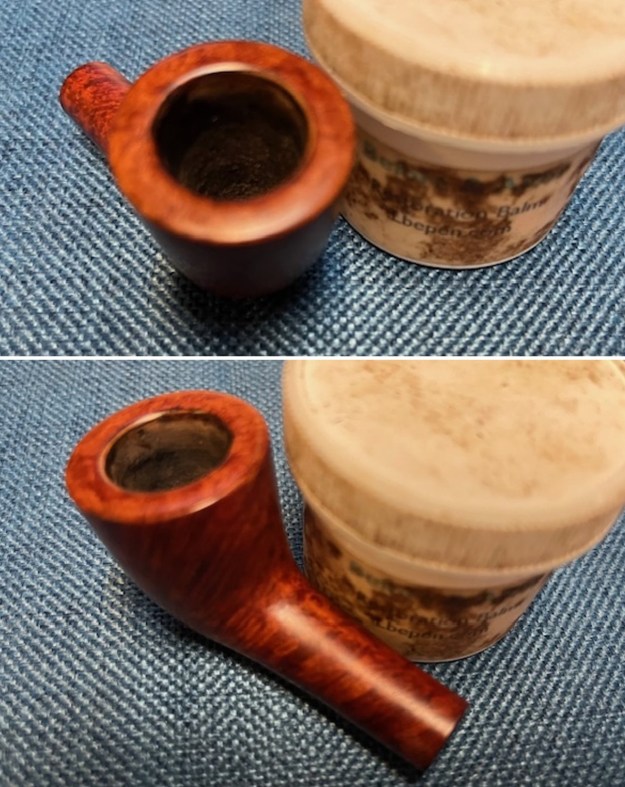
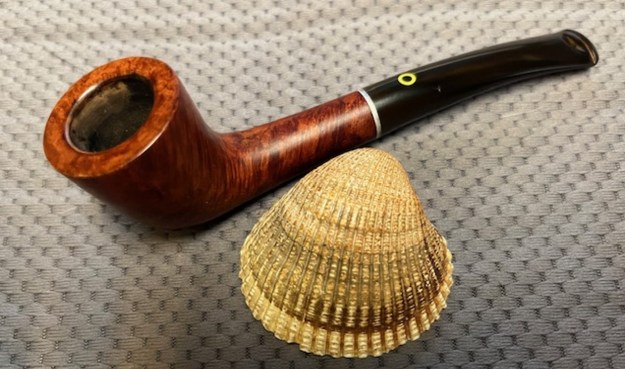
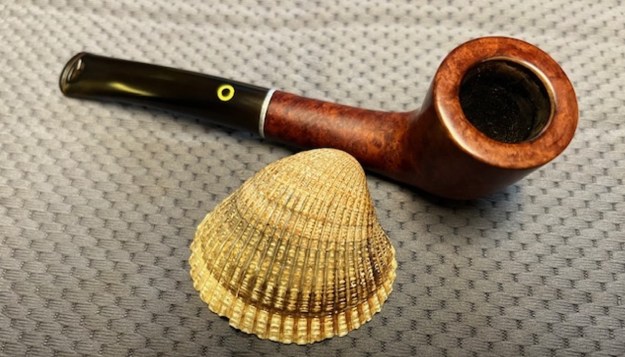
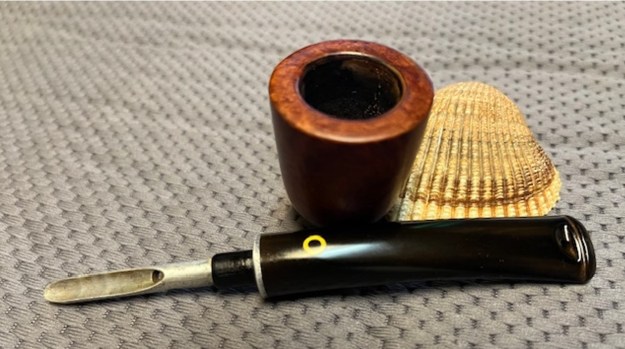
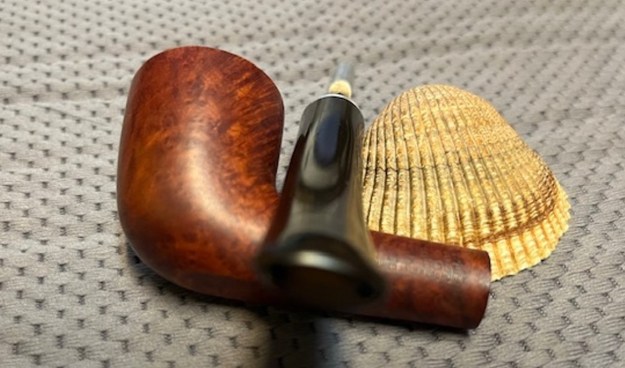
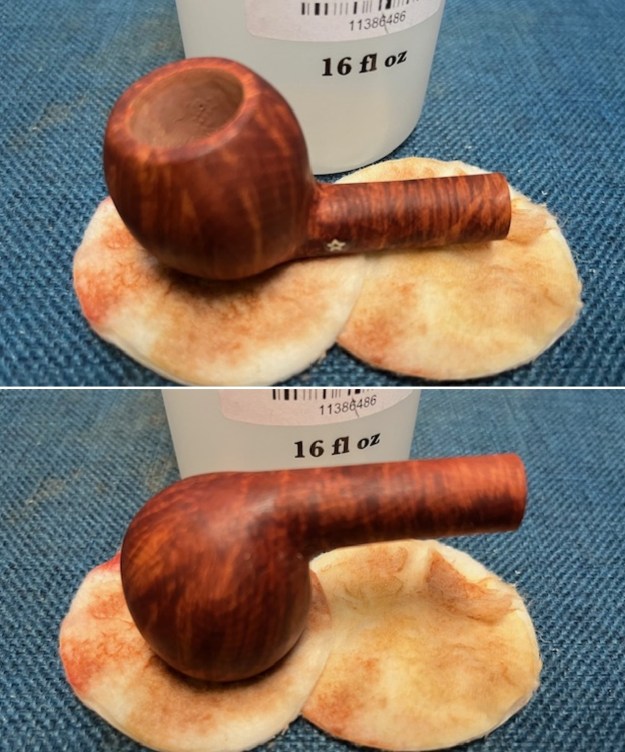
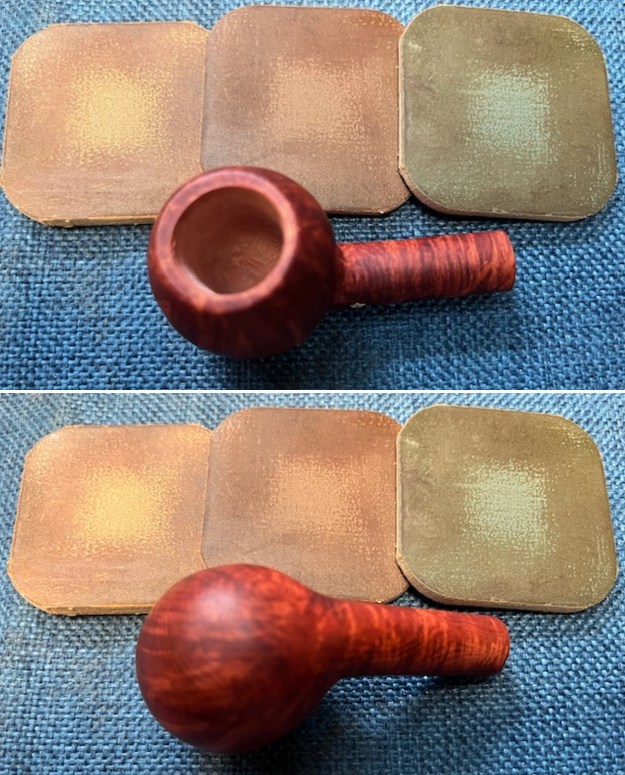
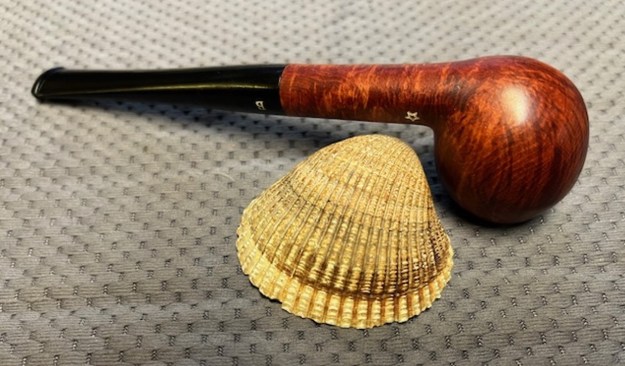
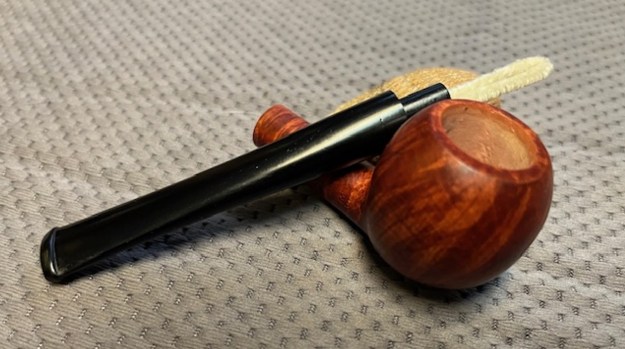
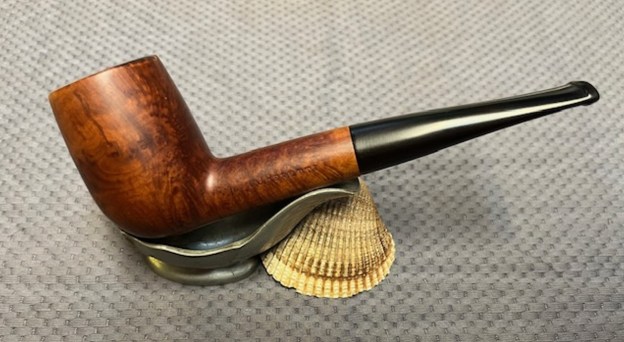
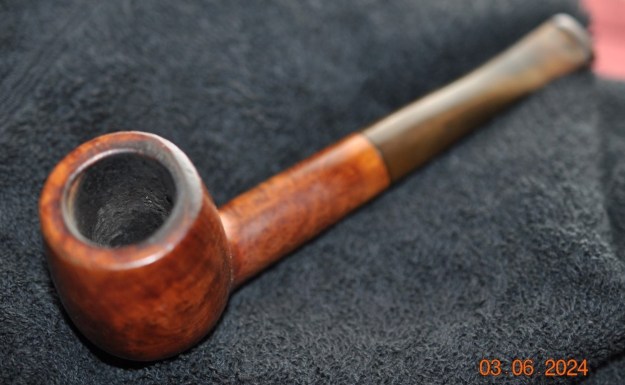
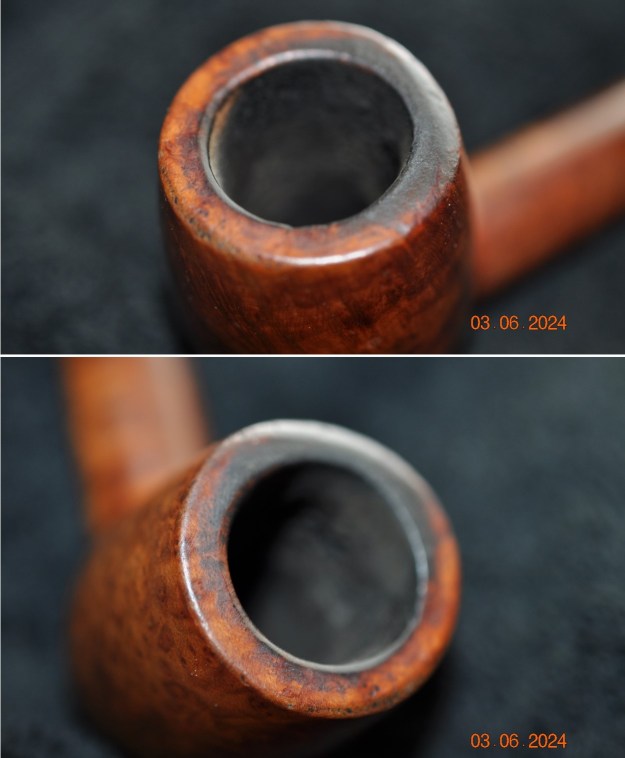
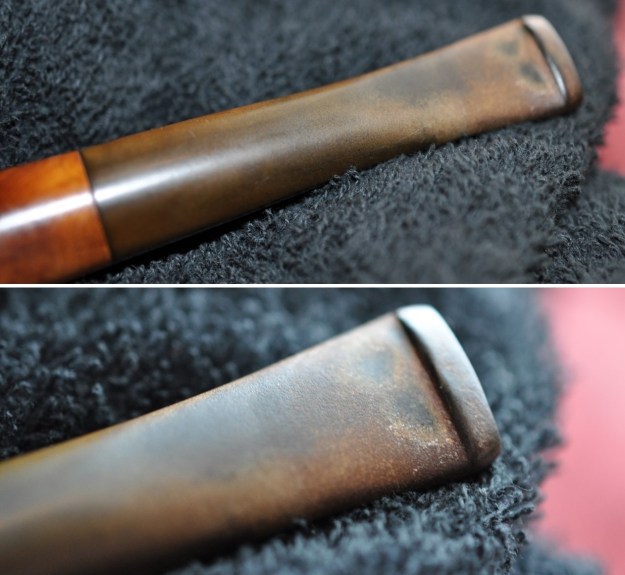
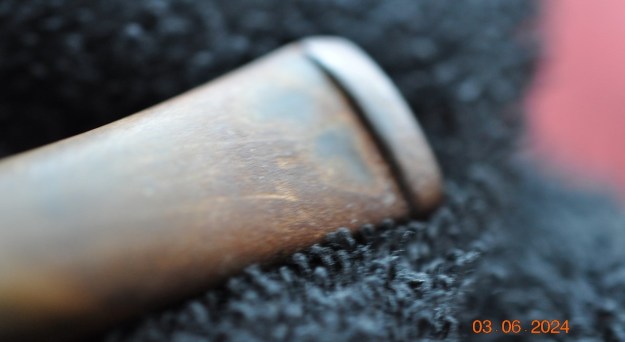
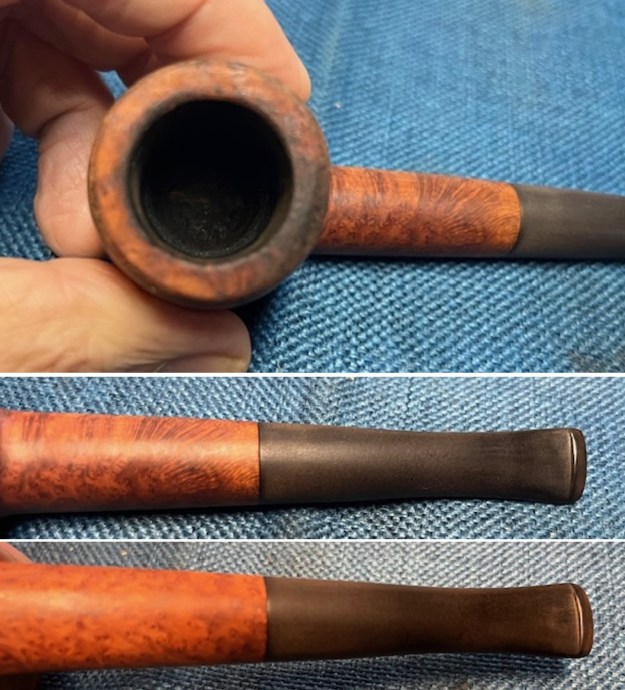
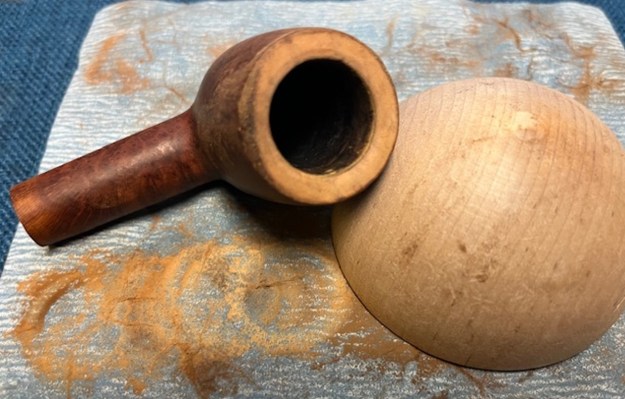
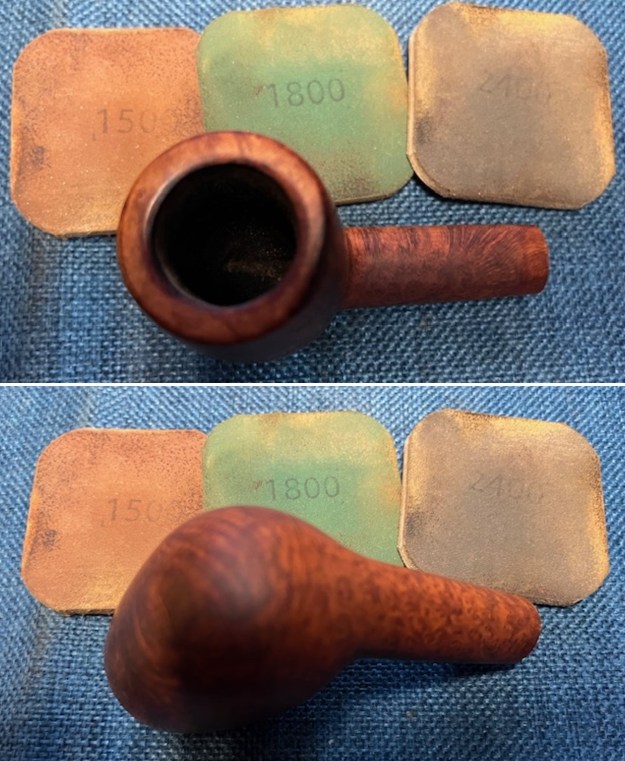
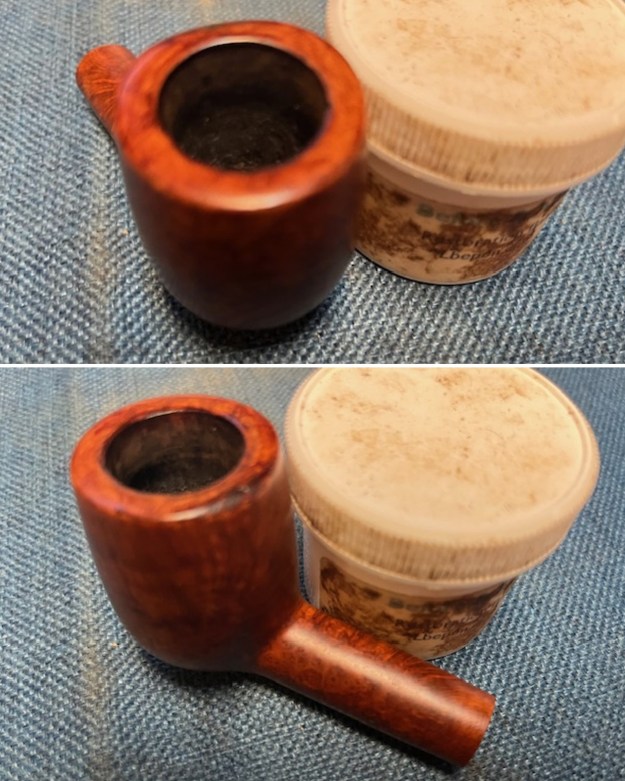
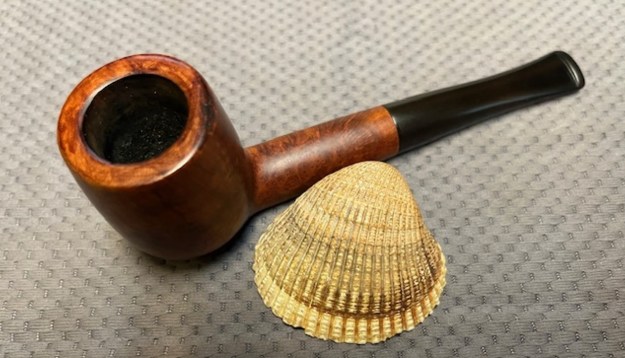
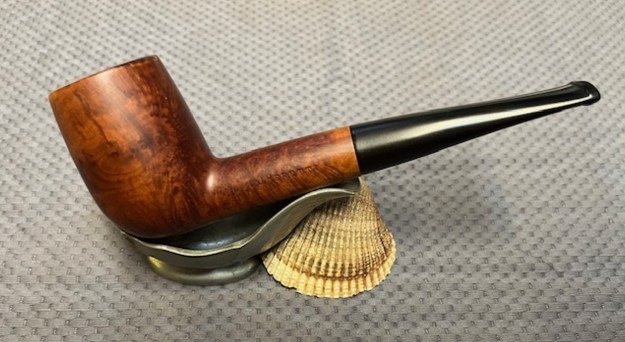
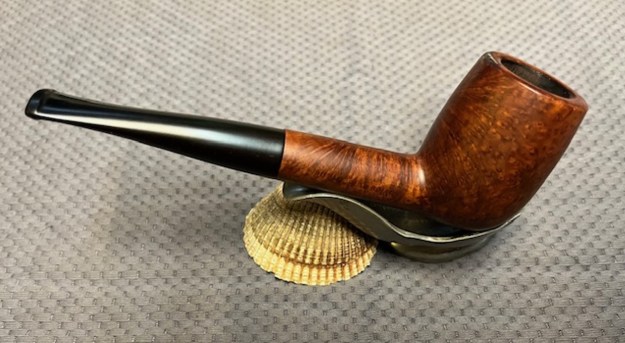
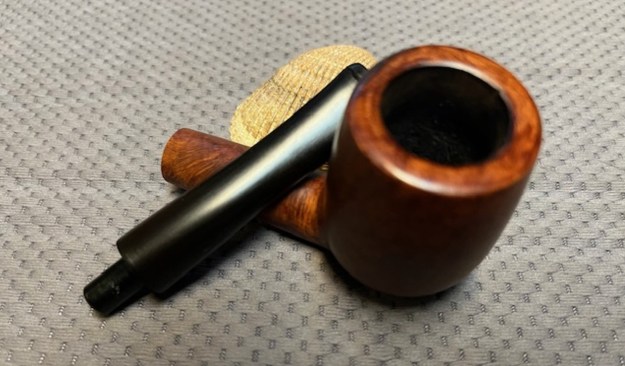
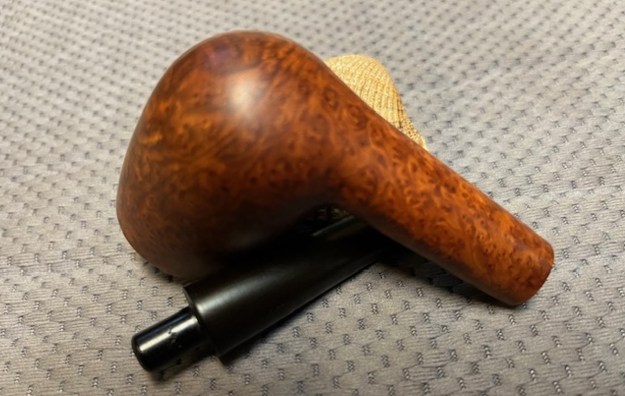
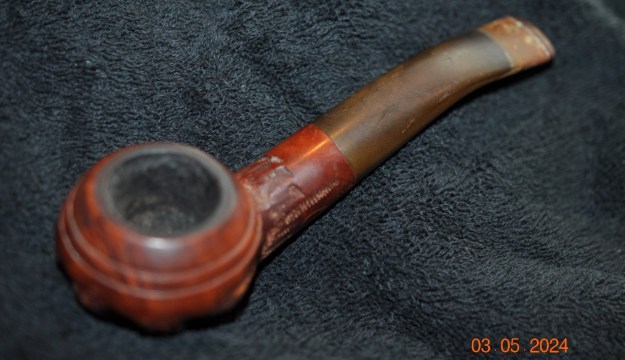
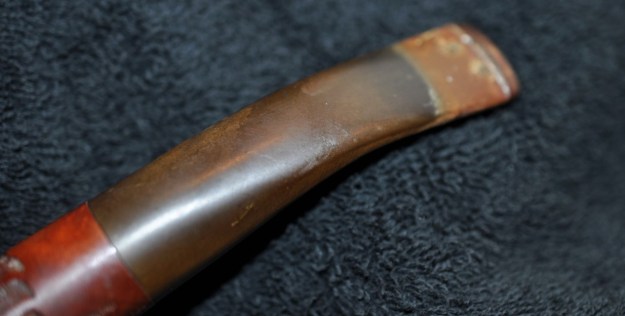
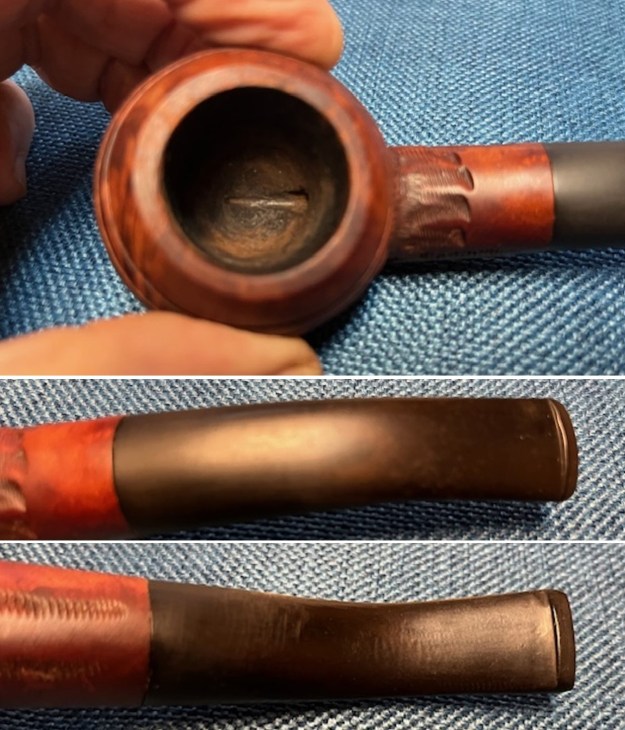
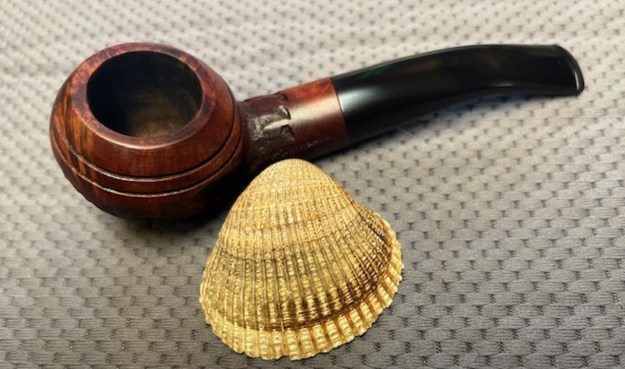
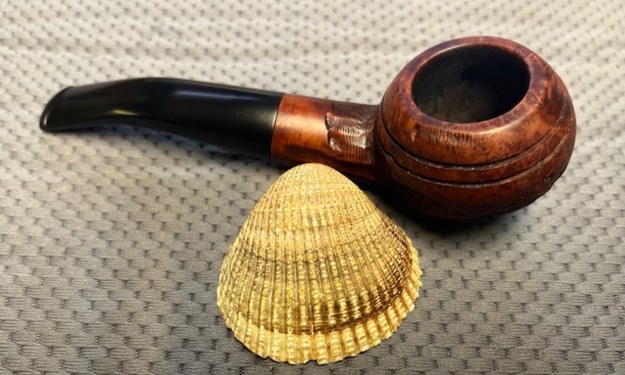
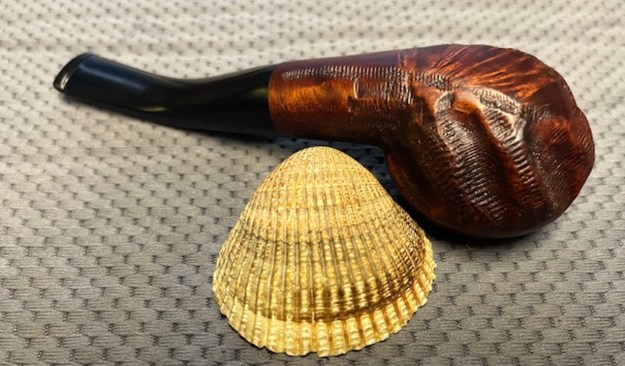
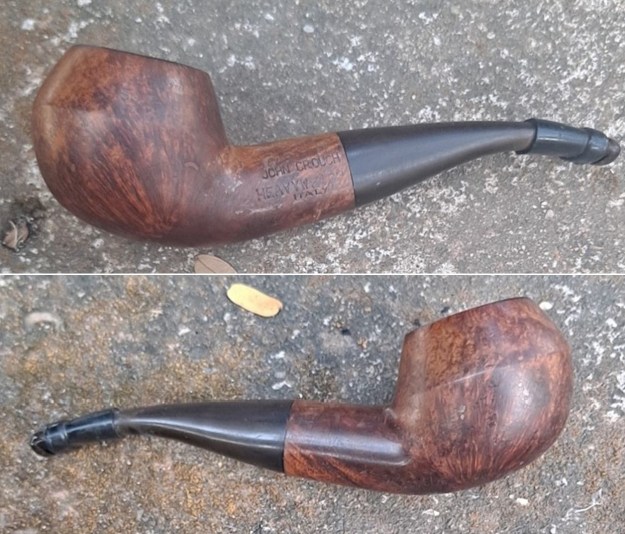
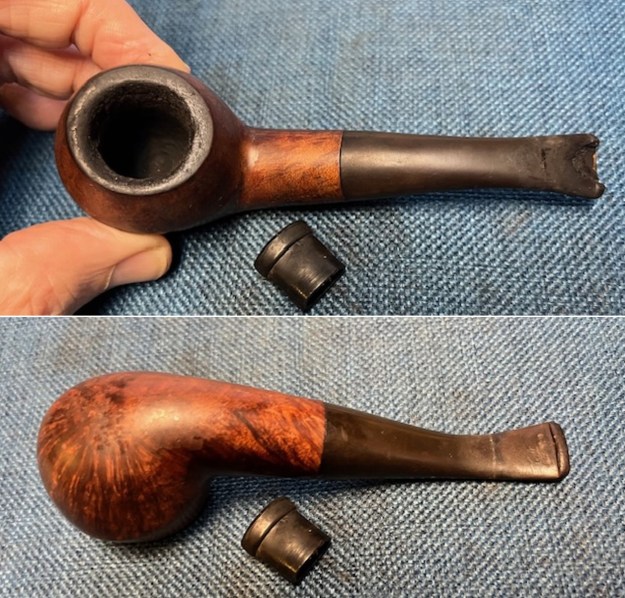
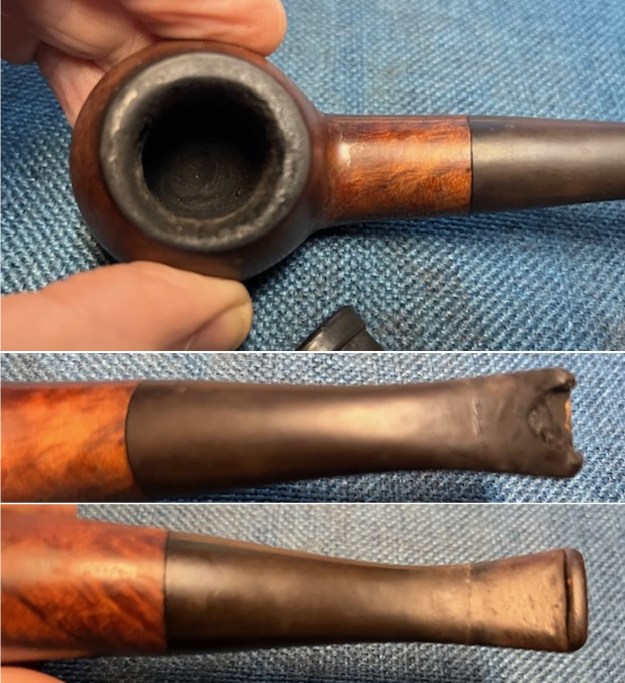
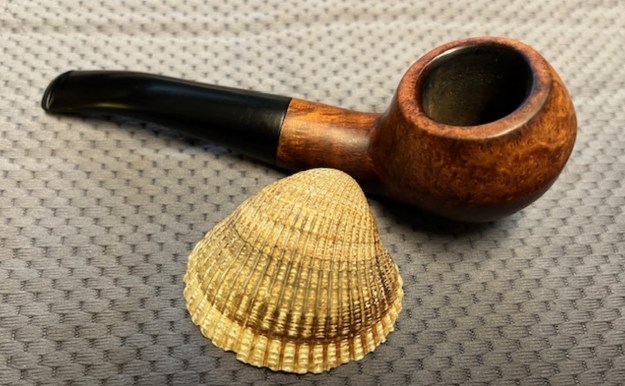
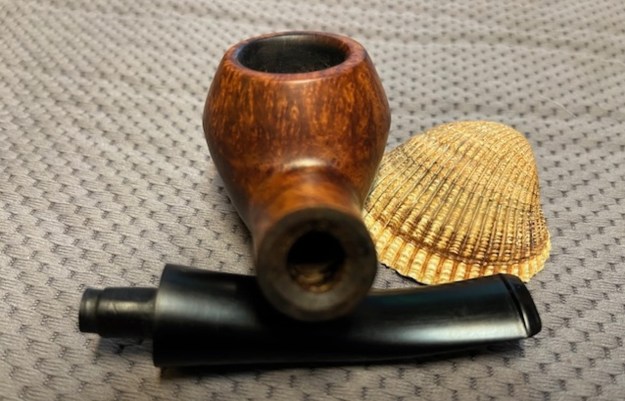
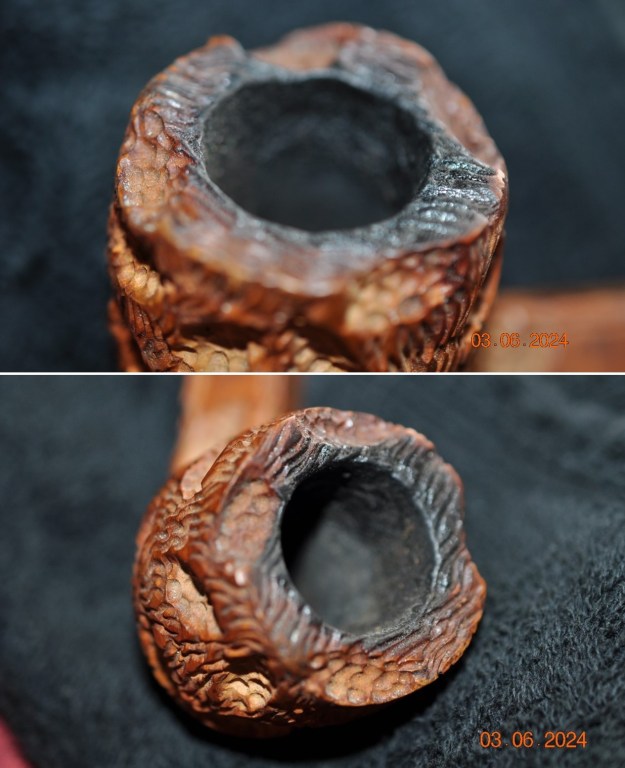
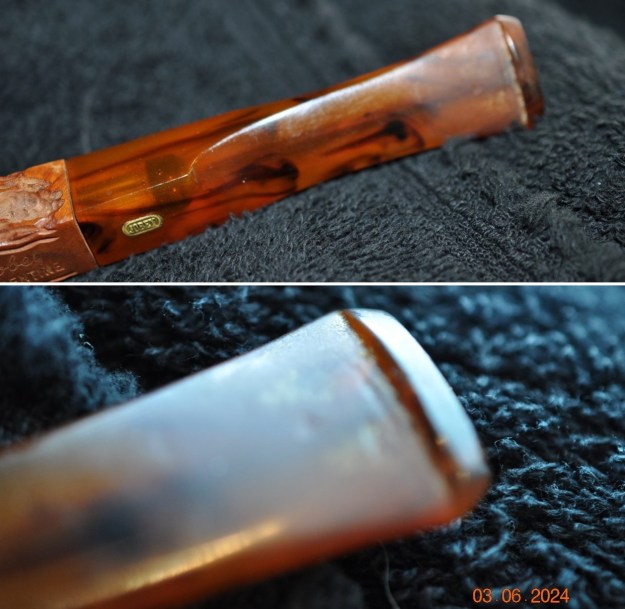
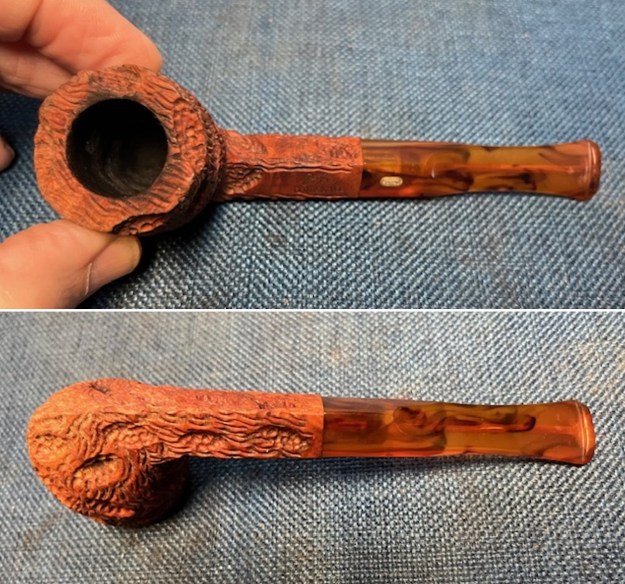
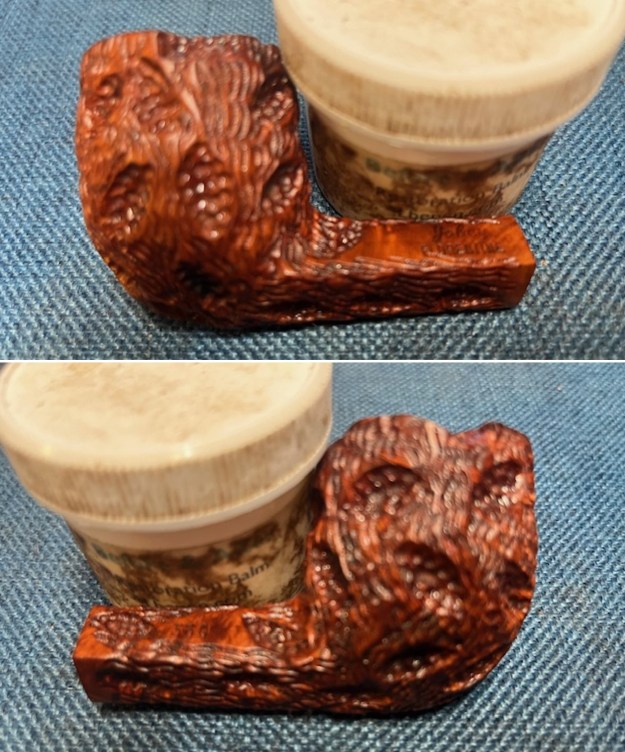
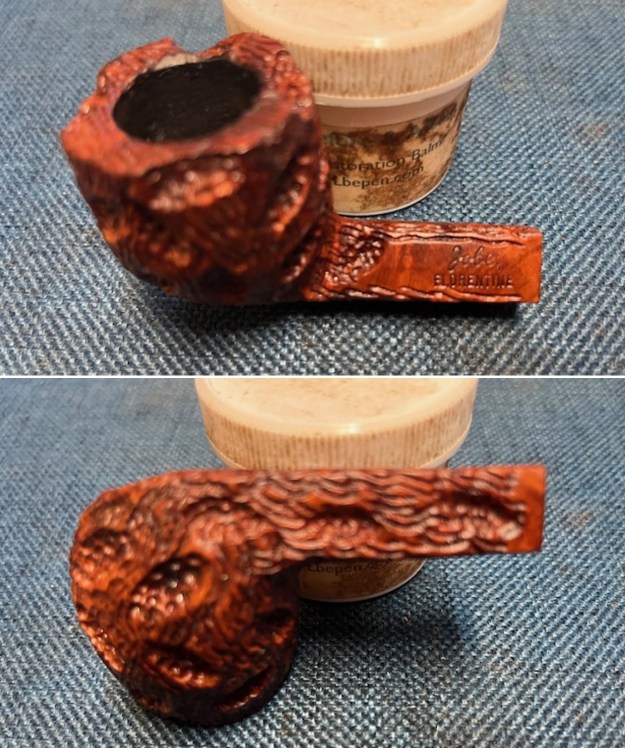
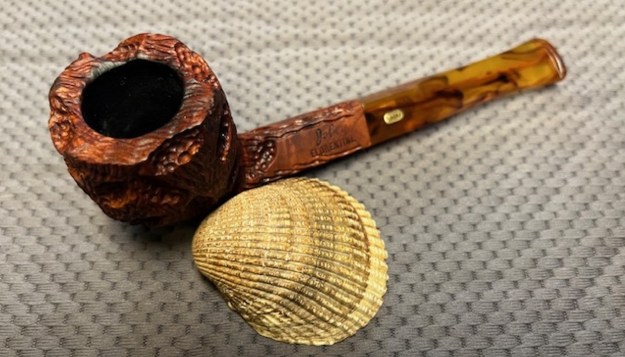
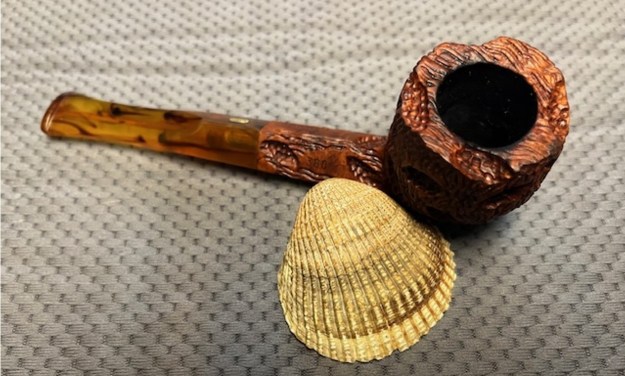
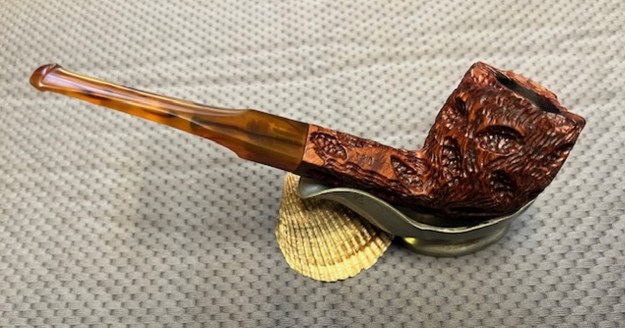
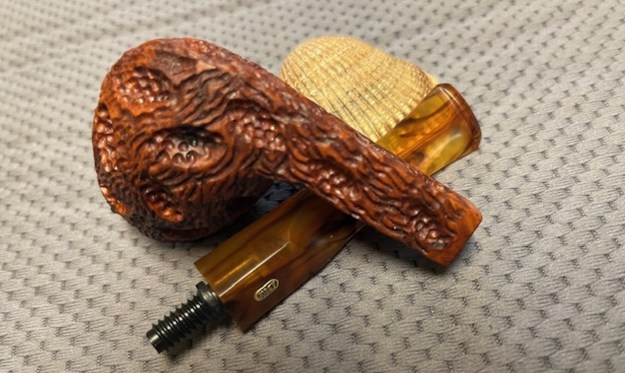
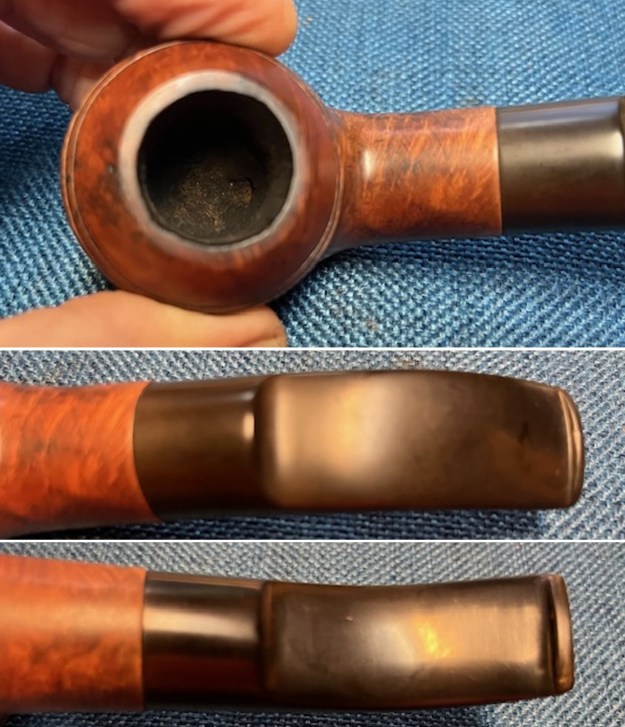
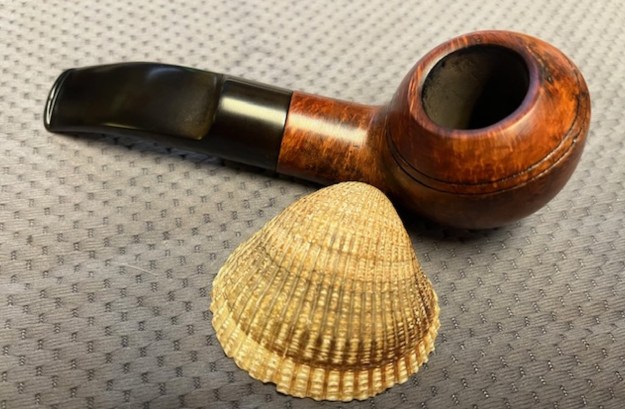
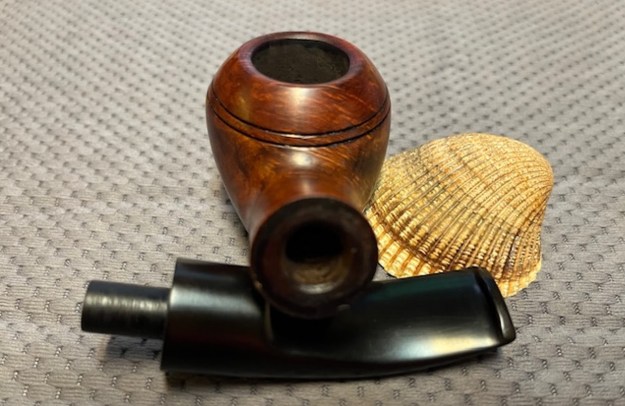
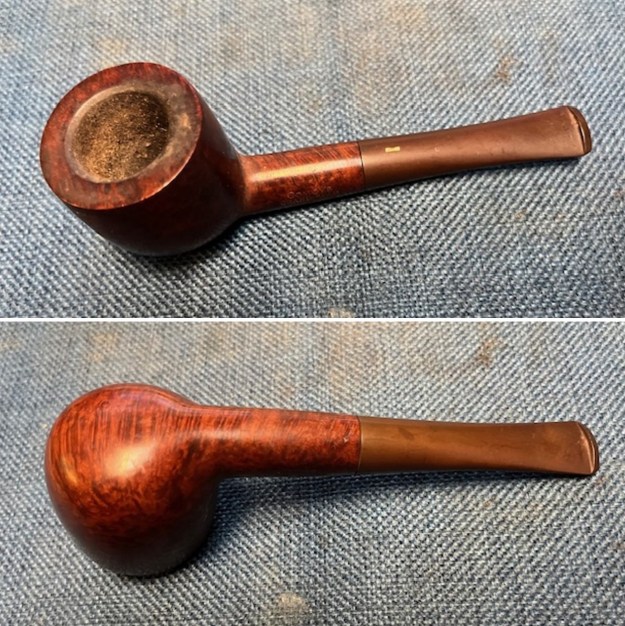 The photos of the rim top show the cake in the bowl, the light lava build up and the darkening on the bevelled inner edge of the bowl. The photos of the stem show the deep oxidation on both sides. It is an older narrow style straight stem with no flair at the button end.
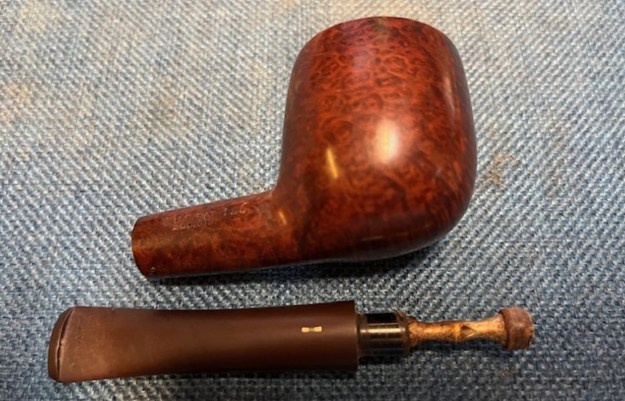
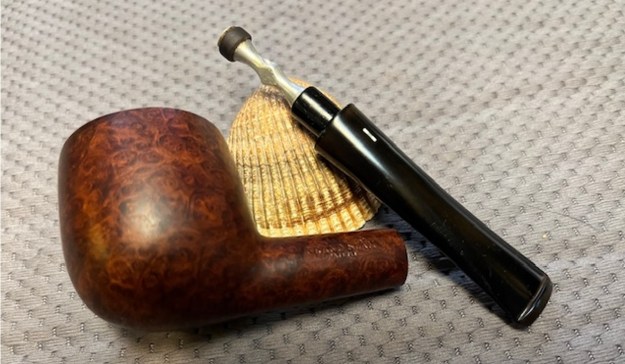
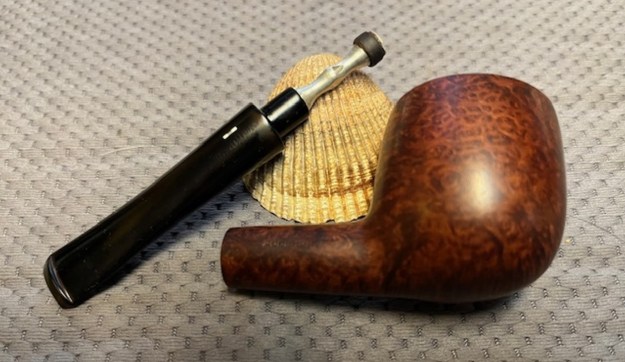
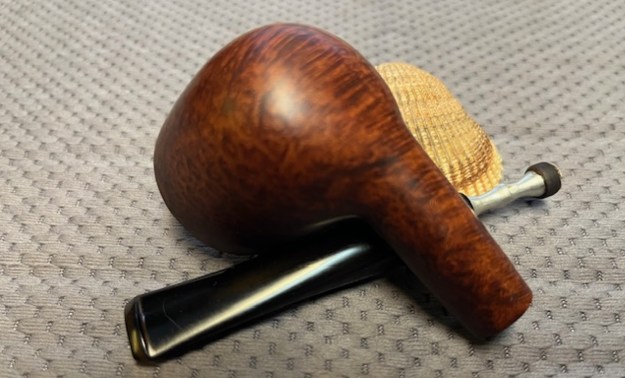
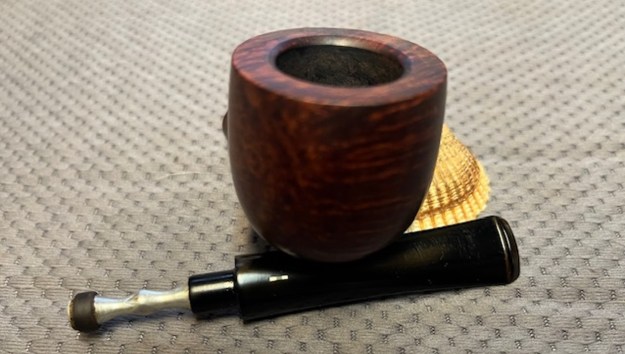
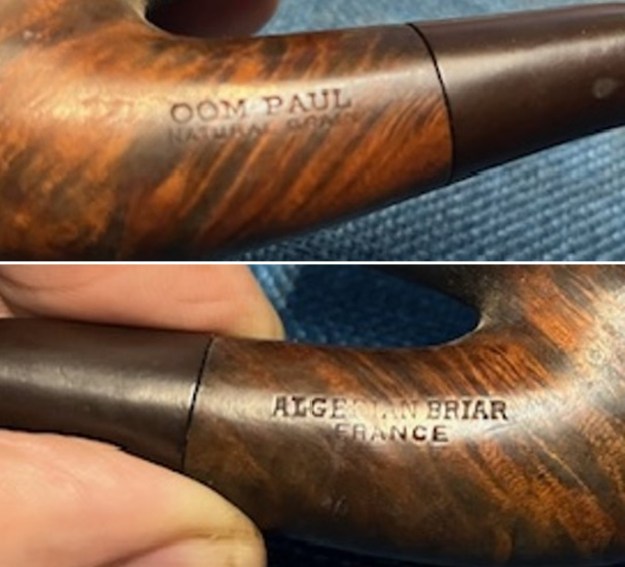
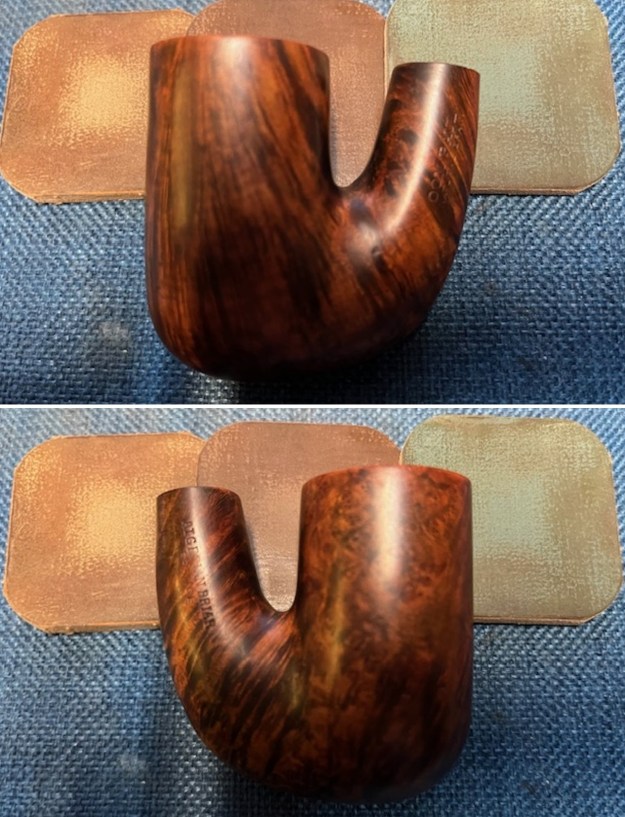
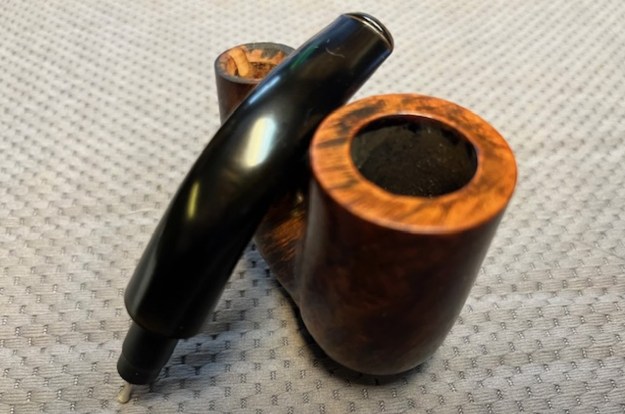
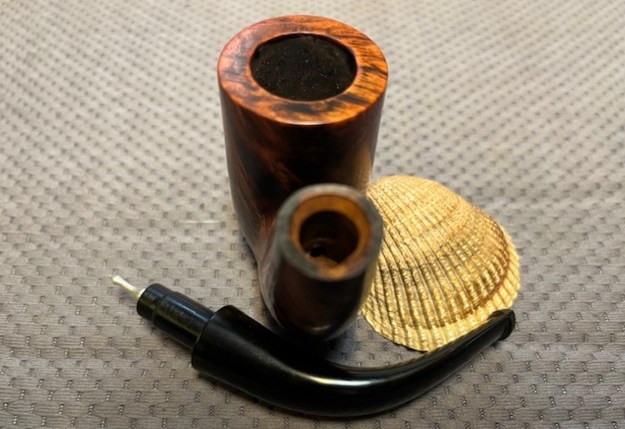
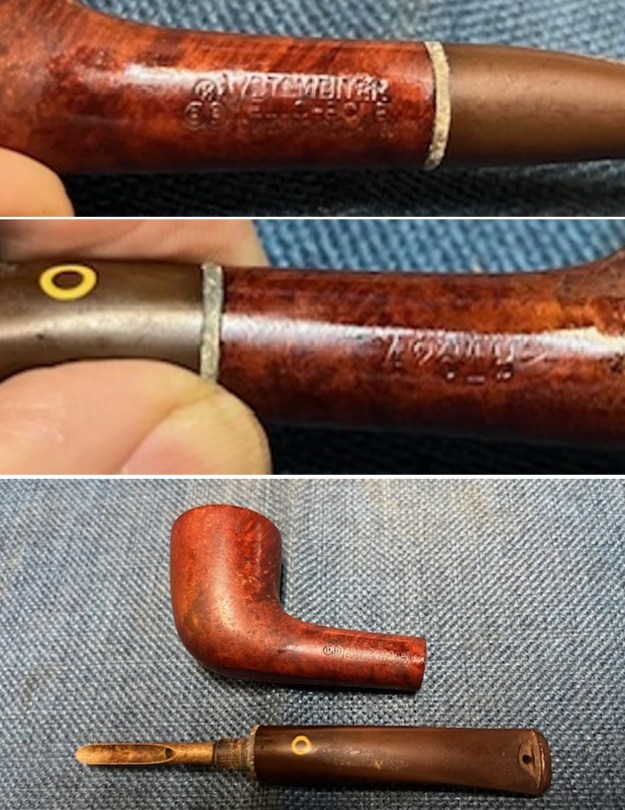
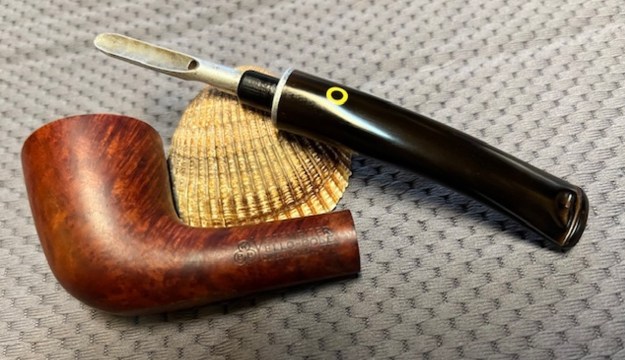
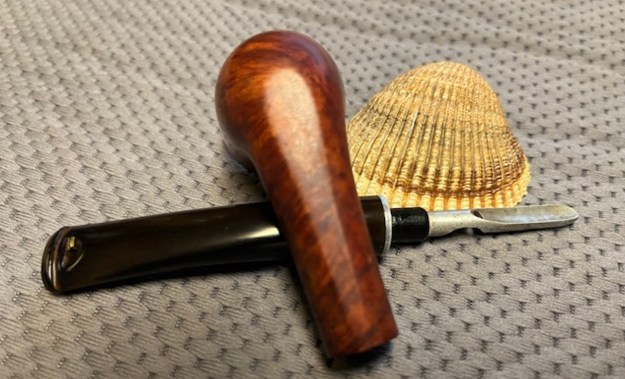
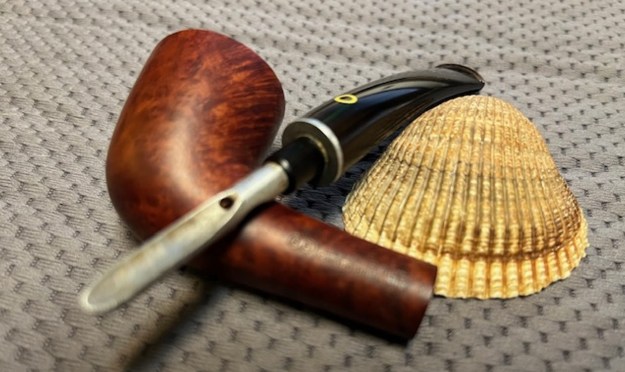
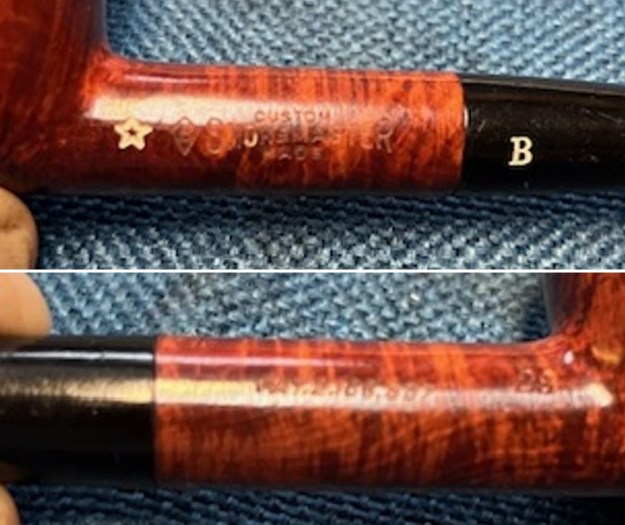
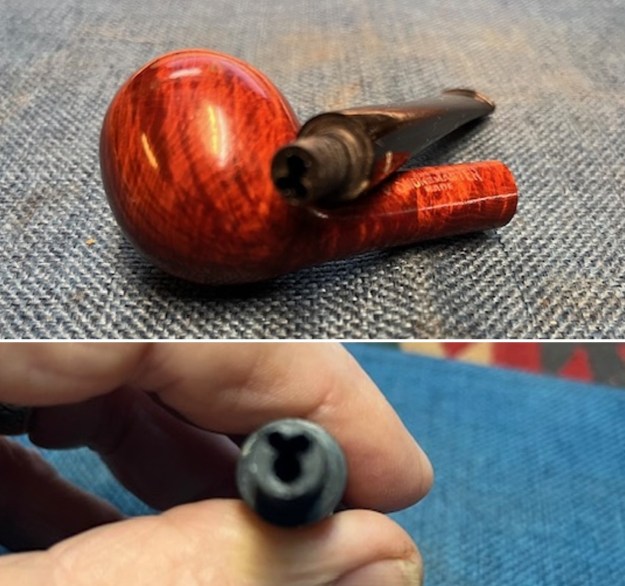
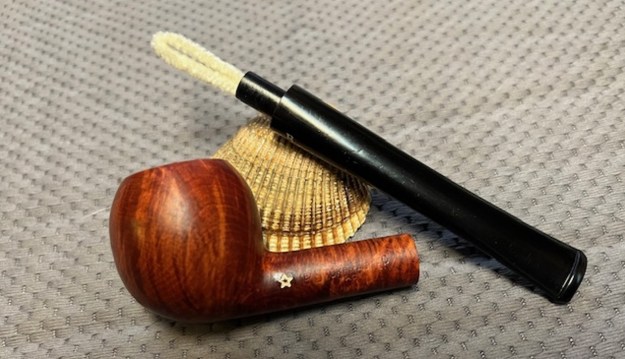
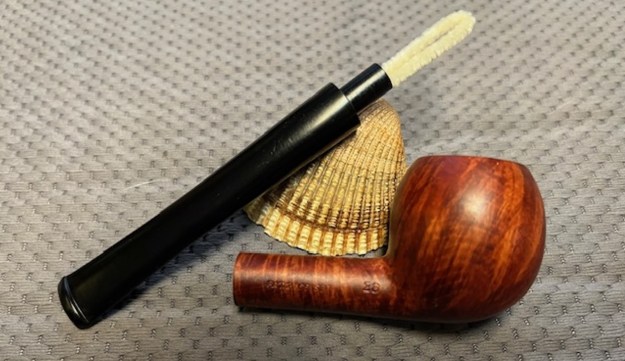
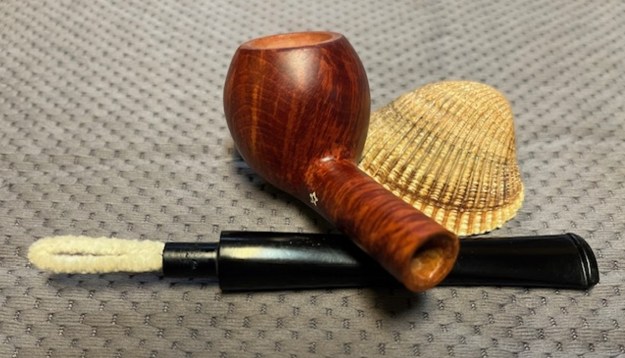
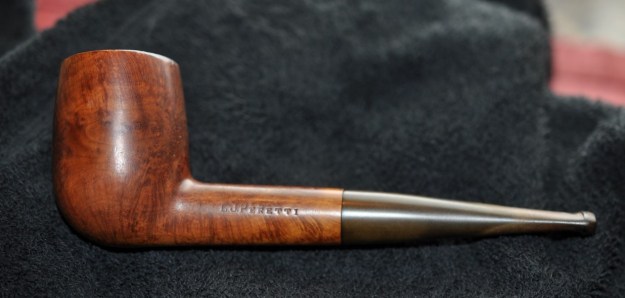
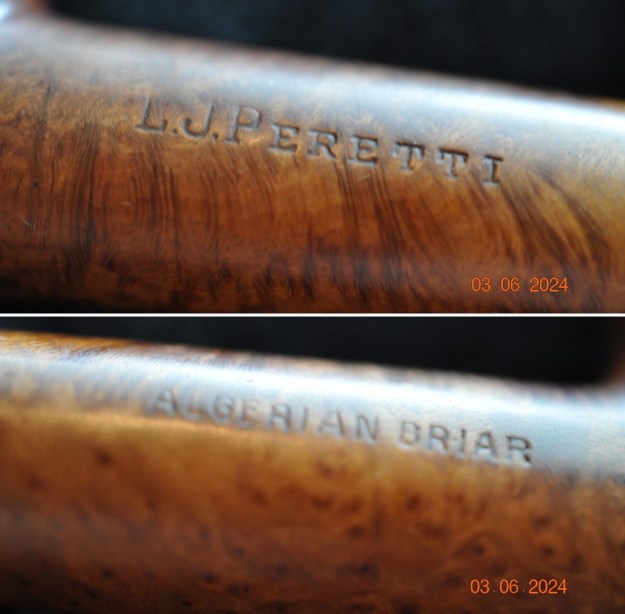
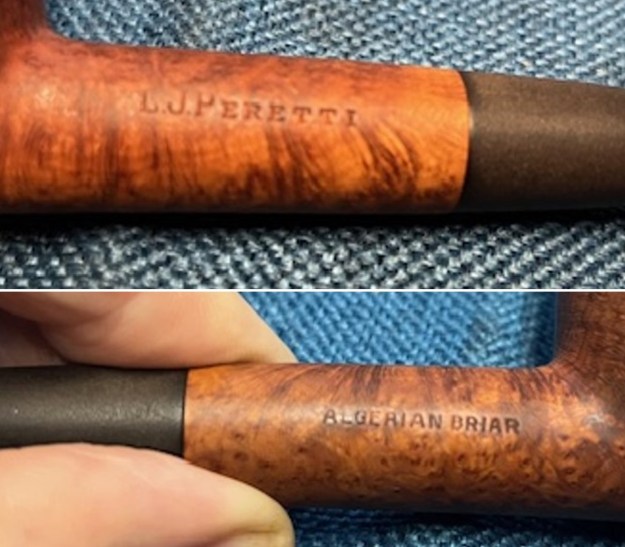
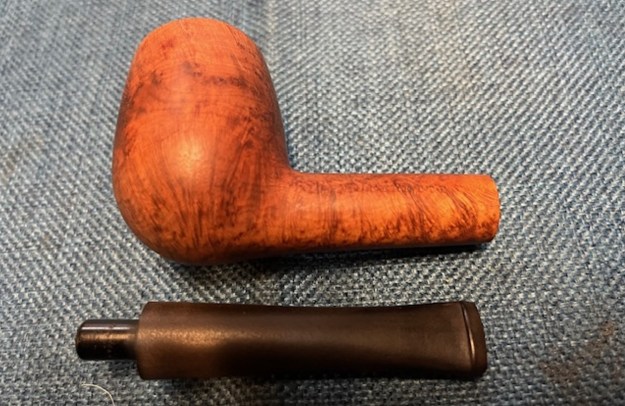
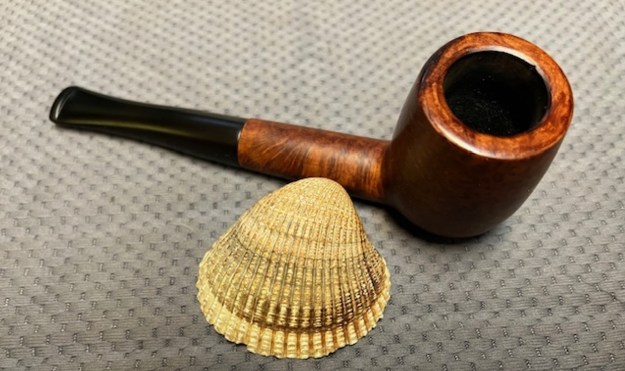
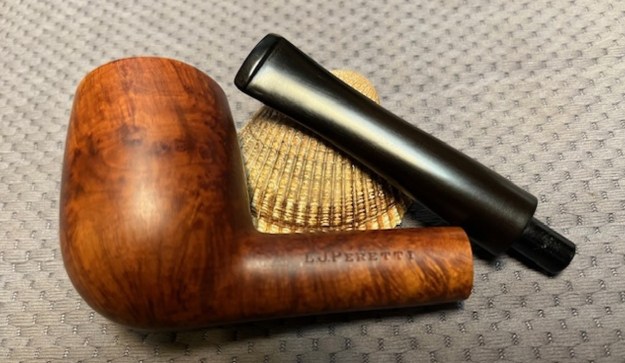
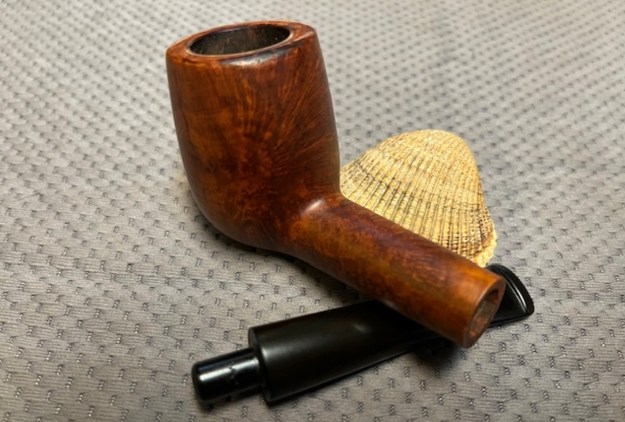
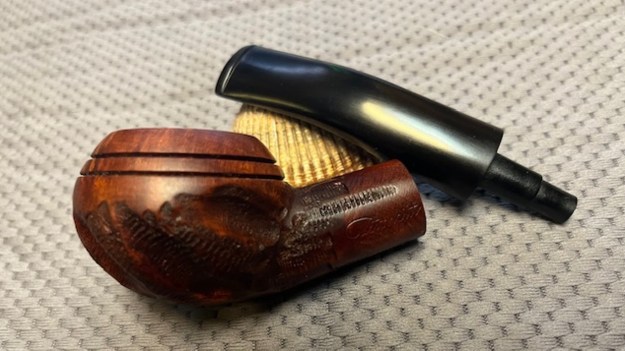
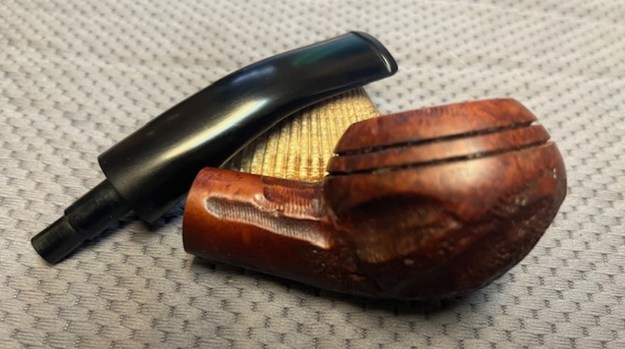
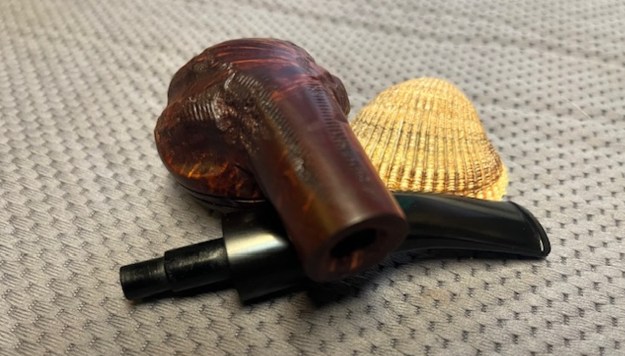
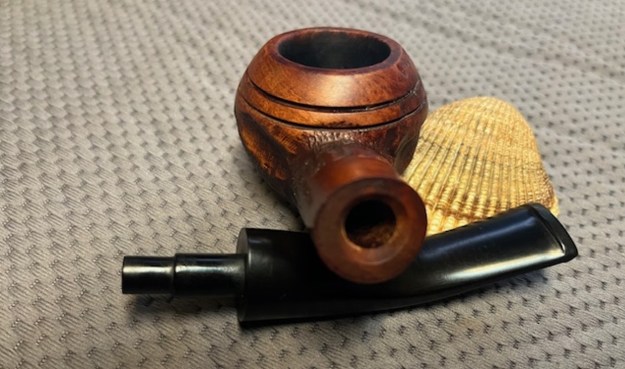
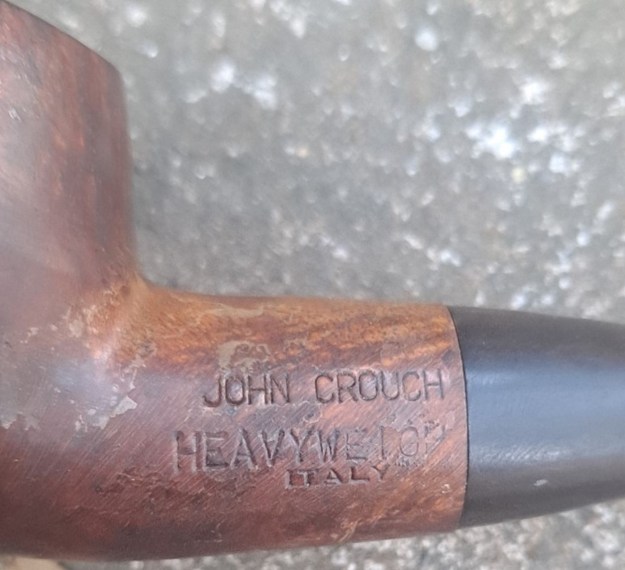
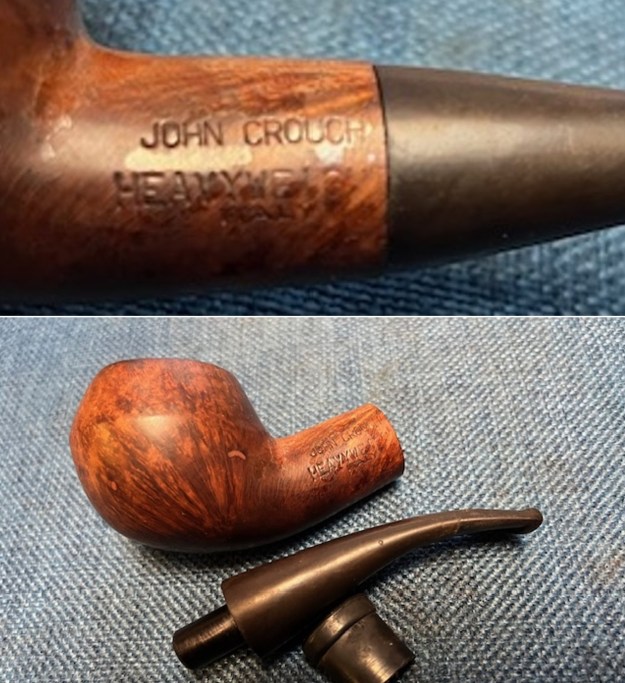
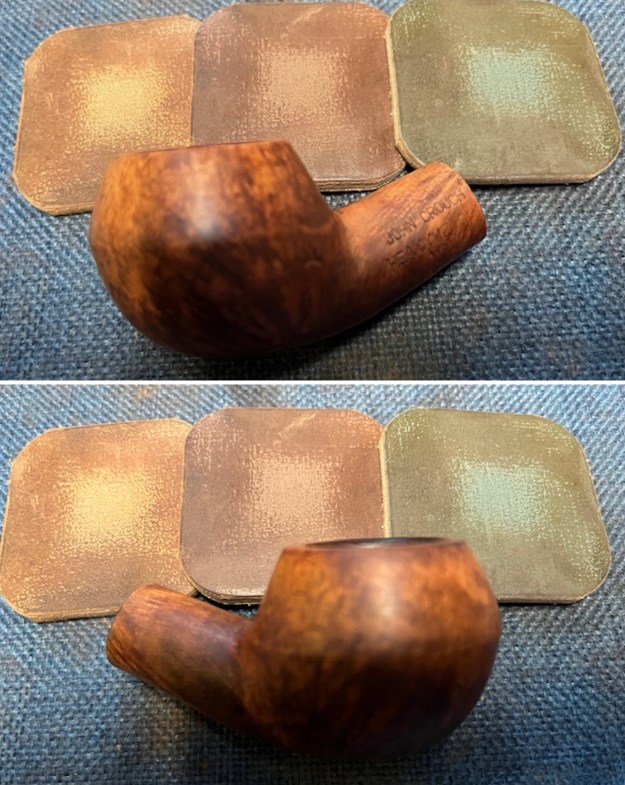
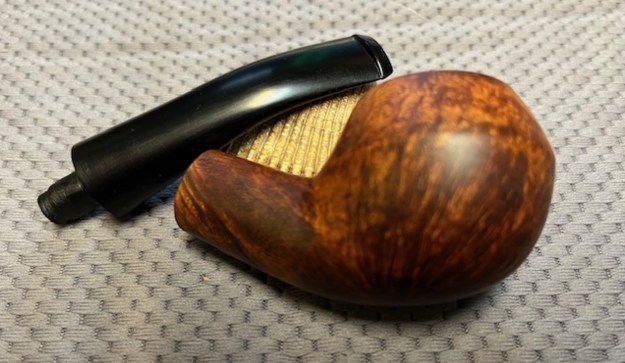
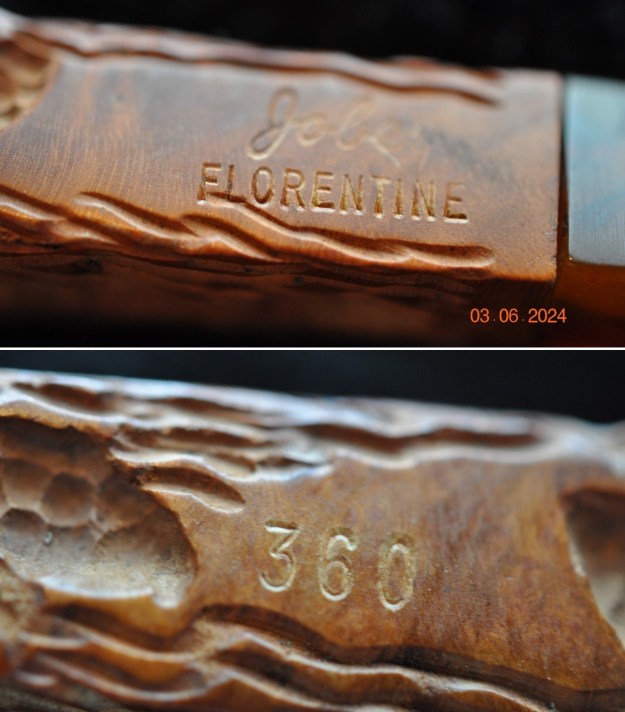
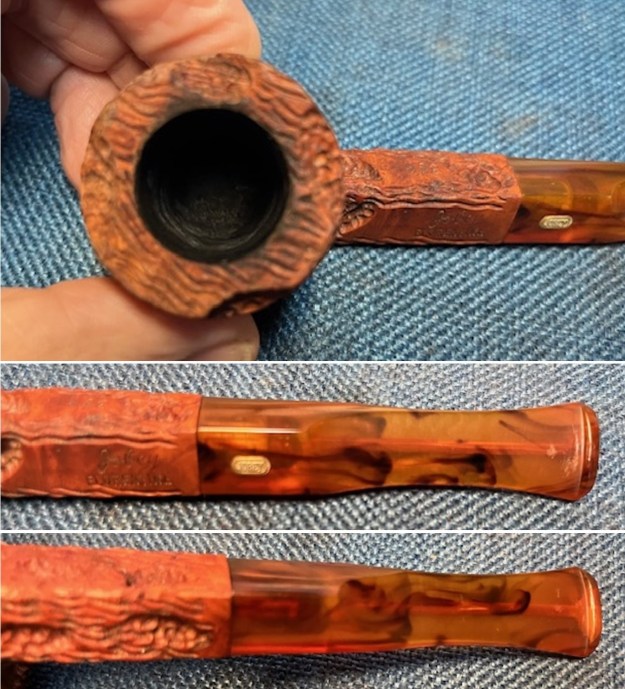
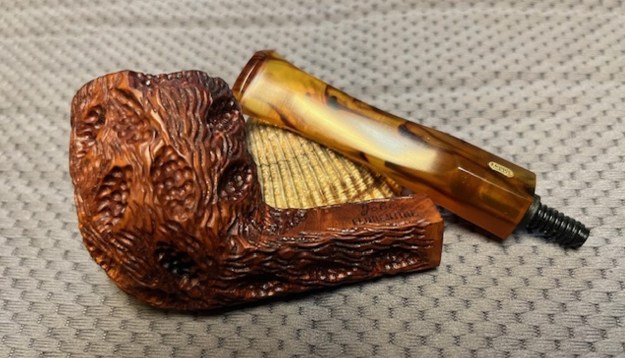
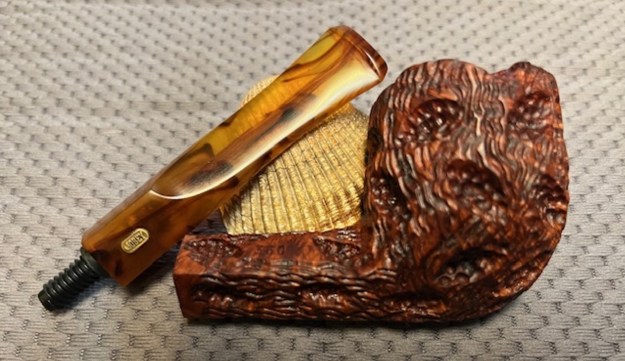
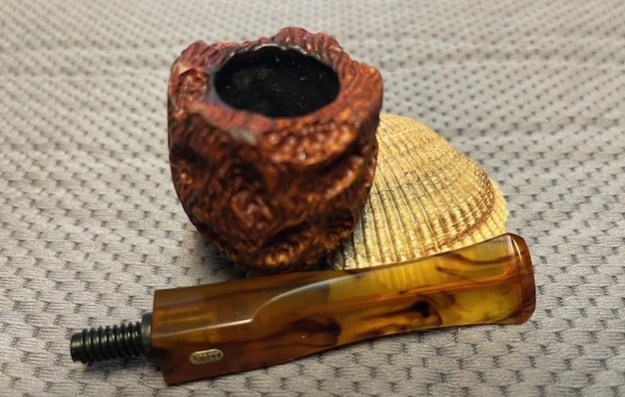
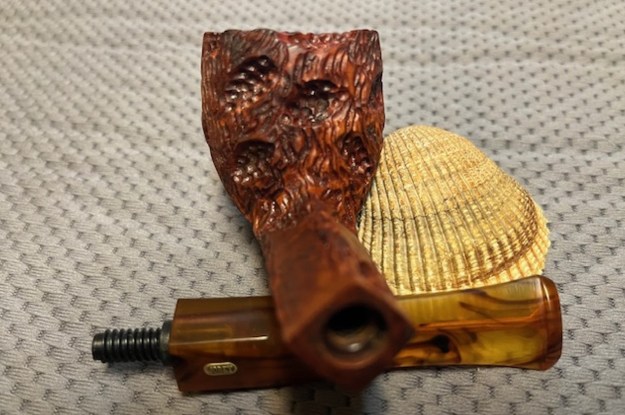
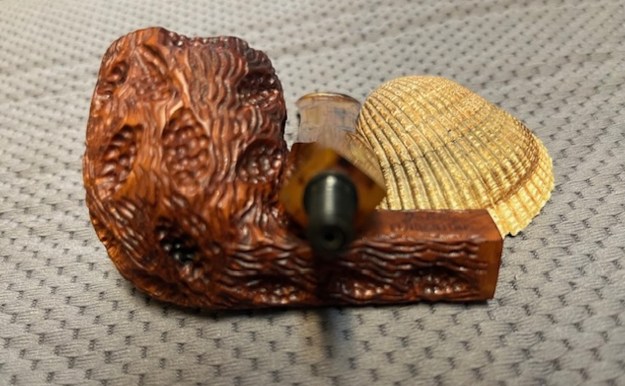
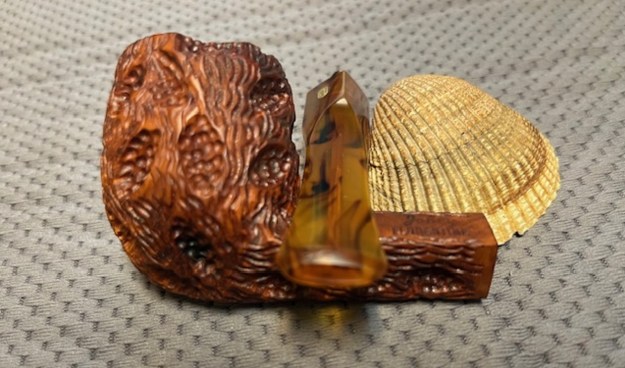
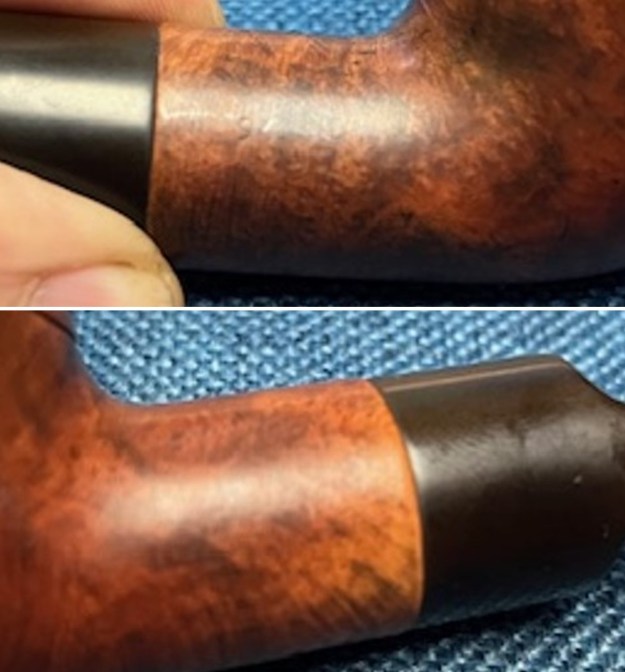
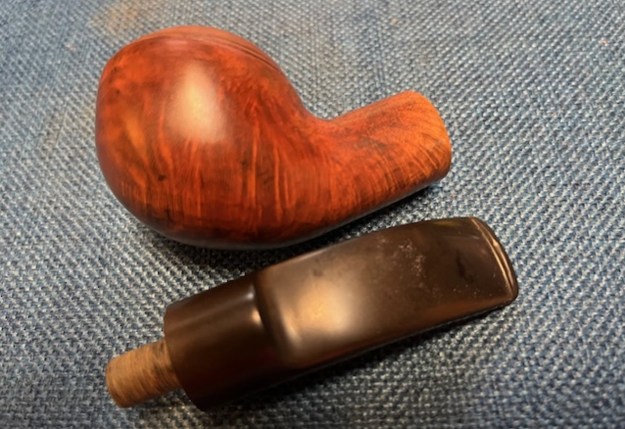
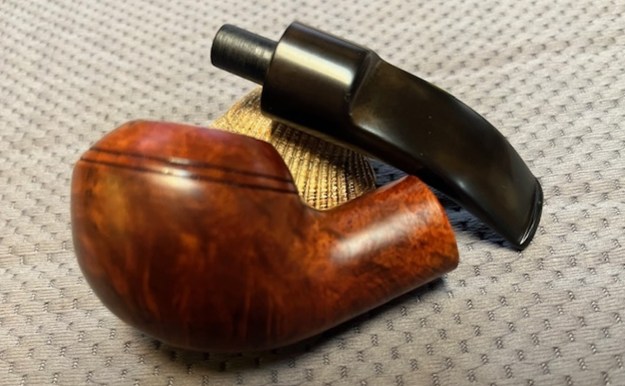
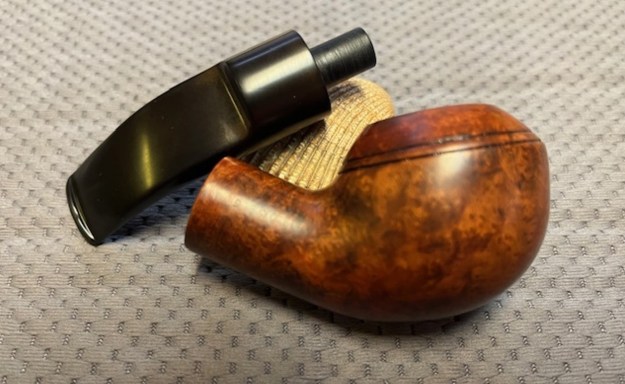
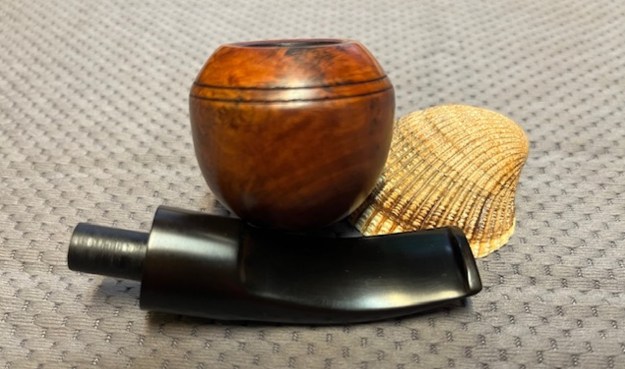
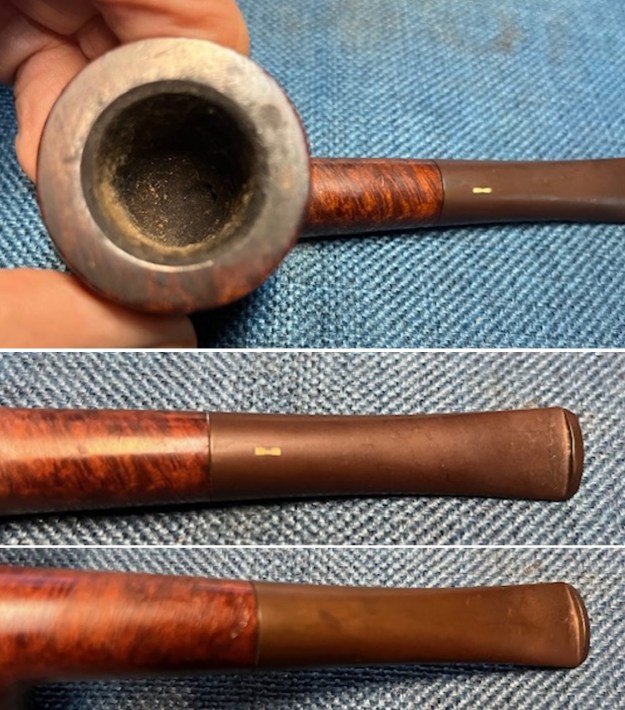 The next series of photos show the stamping on the shank sides. The stamping is clear and readable as noted above. I removed the stem from the shank and took a photo of the parts of the pipe. There Comoy’s Grand Slam apparatus is shown in the third photo. The pipe looks quite beautiful.
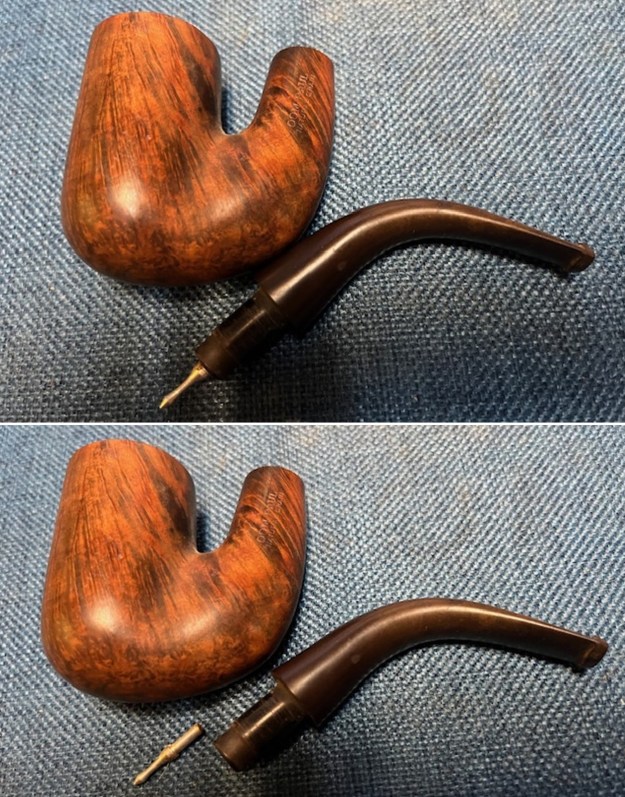
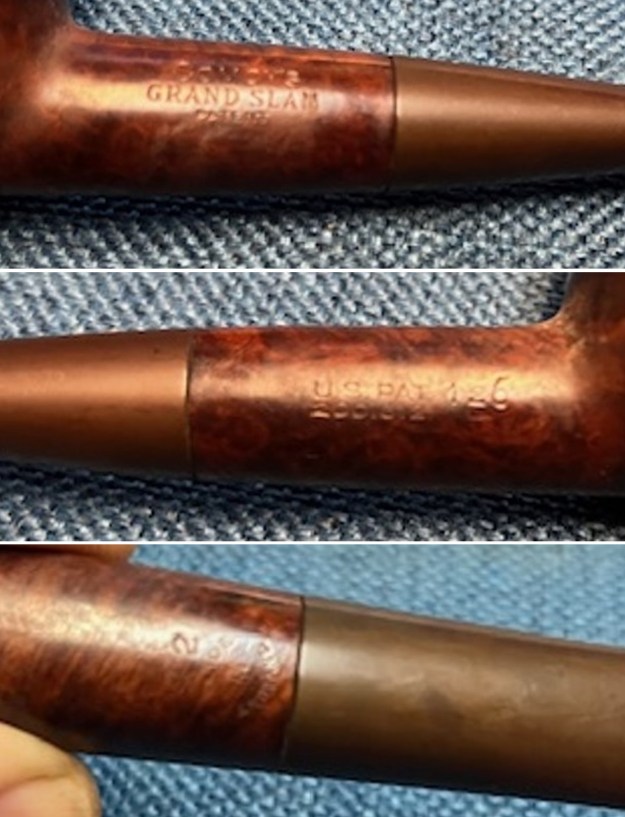
 I have worked on quite a few Comoy’s Grand Slam pipes in the past and knew they had a unique stinger apparatus. Some came with and some without the leather washers in place on the apparatus. Some of them have been Patent pipes like this one. I turned to a link to one of the Grand Slams I had restored and reread it (https://rebornpipes.com/2020/09/05/a-tale-of-the-rebirth-of-3-pipes-pipe-3-a-comoys-grand-slam-pipe-484b-billiard/). Parts of the history I included there were really helpful. I have included some of the information here as well as some new information.
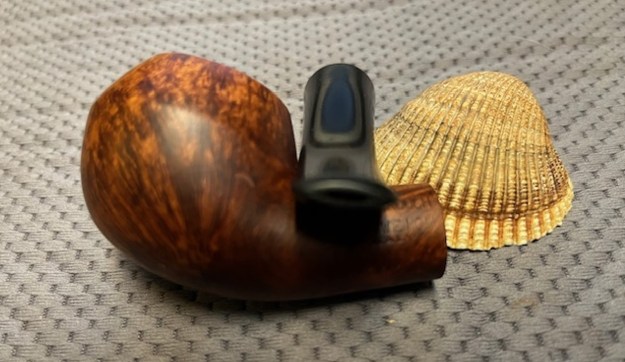
Pipephil’s site had a section on the Comoy’s Grand Slam Pipe and the information was quite helpful (http://www.pipephil.eu/logos/en/logo-comoy.html). I have included a screen capture of the section on the Grand Slam. The pipe I am working on now is like the first one in the screen capture below. It has the original stem with the single bar logo on the stem top like the one in the first photo below. The stamping on the shank is the same as the one I am working on. The US Patent Number in the photo is identical to the one in hand.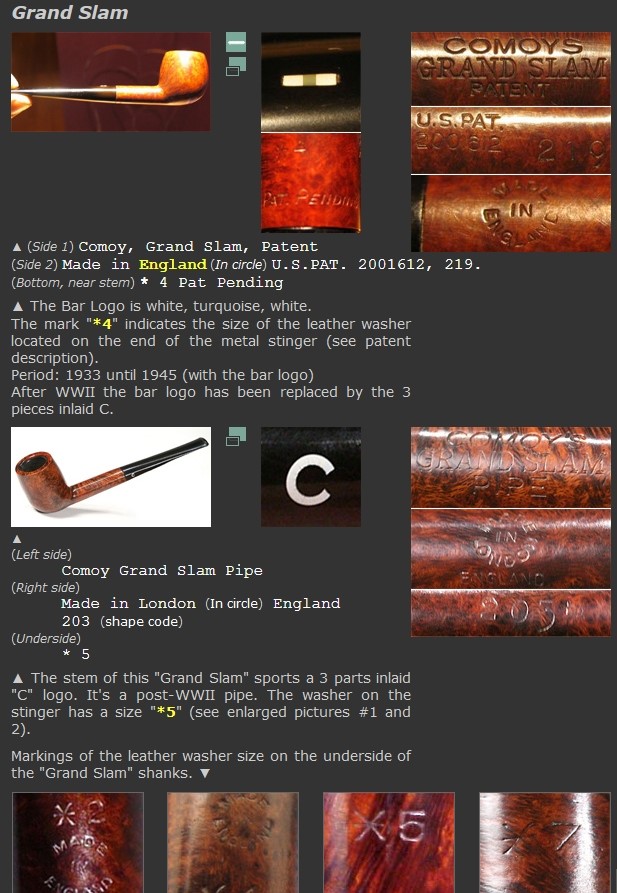 From that read I learned that because the stem has a Bar Logo – white, turquoise, white it is an older pipe made between 1933 and 1945. After WWII the bar logo was replaced with the 3 part inlaid C. The mark on the underside above the COM stamp is a “2” indicating the size of the leather washer on the end of the metal stinger.
There was a box in the first photo to the right of the photo that took me to another page with the patent information (http://www.pipephil.eu/logos/en/infos/comoy1.html) and some advertising and photos that made the apparatus and washers very clear. I am including those below.
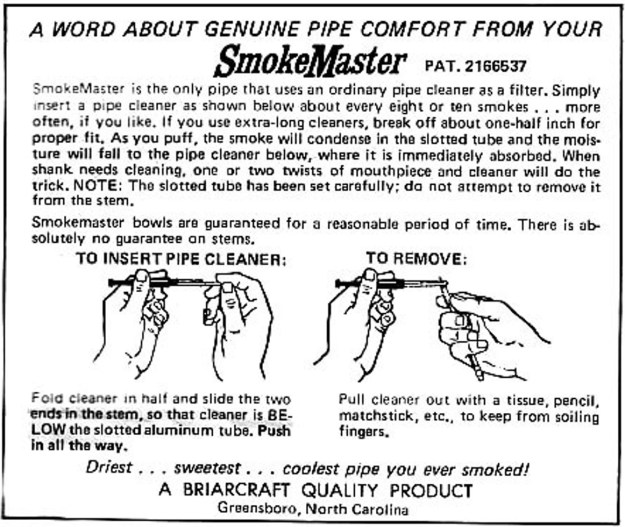
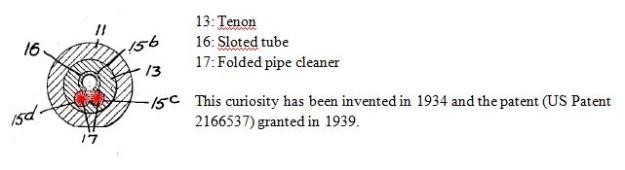
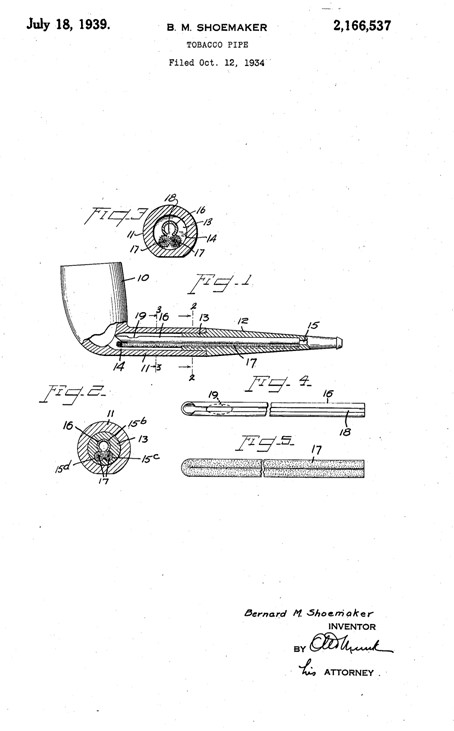
I have included a copy of the Comoy’s 1936 Ad that describes the Grand Slam and the Patented stinger apparatus. The metal filter system forces the air stream through a go-between space before entering the stem and the smokers mouth.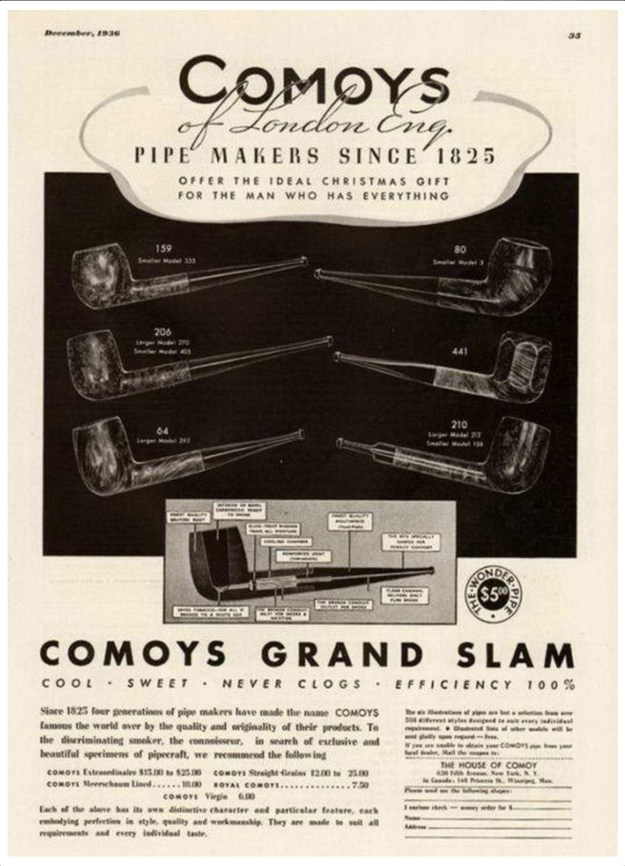 I also included the drawings from the original patent document that were on the site. They have been re-colored for Pipephil to illustrate the intention. Numbers 8 and 6 are also shown.
8 (red): hollow screw
6 (yellow): leather washer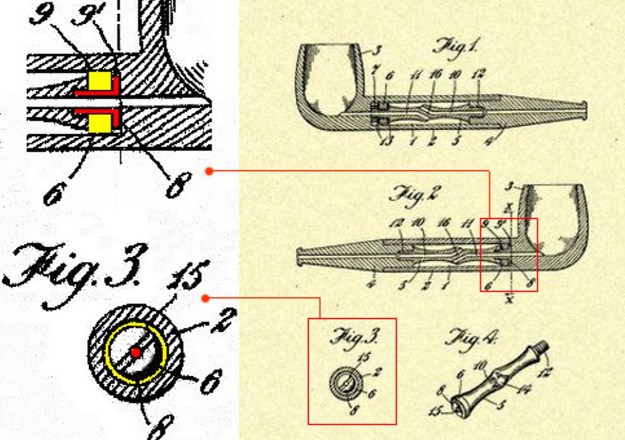 I also am including the Patent information for the US and Canada. It also includes the name of the inventor Marcel CH Jacquemin.
Patent Number 2001612 (USA)
Patent Number 341422 (Canada)
Inventor: Marcel C. H. Jacquemin (see also: Newhaven)
System patent granted in 1933 (Montreal, Canada)
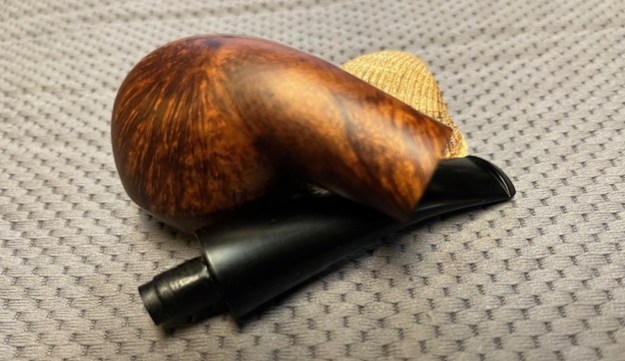
I have also included some photos of the pipe taken apart so you can see the clean and unused apparatus and the stamping of the leather washer size below.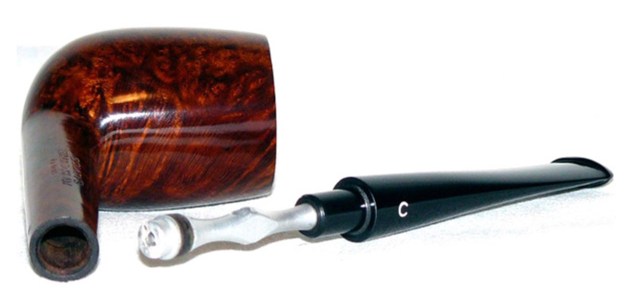
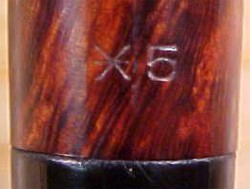 Grand Slam pipes have a “*” followed by a number on the underside (*5 in the picture opposite).
The number refers to the size of the leather washer that fits on the end of the stinger.
The pipe I am working on has a *2 that tells me the leather washer size on the pipe is a size 2.
I turned to the article on Pipedia about dating Comoy’s pipes but the style of the stamping (https://pipedia.org/index.php?title=Comoy%27s_Dating_Guide#1917_to_the_end_of_the_1930.27s_.28at_least_1938.29). I have included the section and the screen capture below that date this pipe to the 1950s. I have highlighted the pertinent portions in red.
Now the Comoy’s stamp can be found in three variants in the 1950s
- A simple block-letter style without serifs but with the C larger than the other letters and the apostrophe before the “S”.
- A return to the slightly more fancy block letters with serifs and the apostrophe. (It seems that some grades carried different stamps, or at least that the stamping changed in different years for some grades.)
- A simple block-letter style without serifs and without the apostrophe and with the “C” the same size as the rest of the letters. This stamp was probably not used very long.
- A simple block-letter style without serifs but with the apostrophe before the “S” and with the “C” the same size as the rest of the letters.
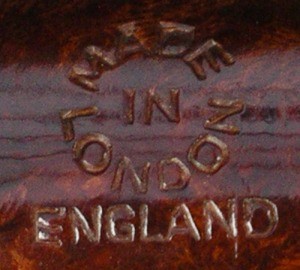 Made in London England
Appears in two versions. This is again stamped in a circle with “MADE” at the top, “IN” in the middle, and “LONDON” at the bottom, with “ENGLAND” in a straight line beneath. It can be assumed that this stamp was first used in the export drive in the early 1950s. On a Bulldog Sandblast from the early 50s the Comoy name no. 2 above was used together with “MADE IN LONDON” over “ENGLAND”. There are no known examples of pre-WW II Comoy’s stamped in this way. The second version is the same as above but in a “rugby ball ” shape. This shape is verified on Comoy´s “Extraordinaire” pipes.
That article gave me some helpful information regarding the pipe that I was working on. I knew that the stamping and logos identified the pipe as having been made in following WW2 and from what I can see from the above information it is a 1950s era pipe.
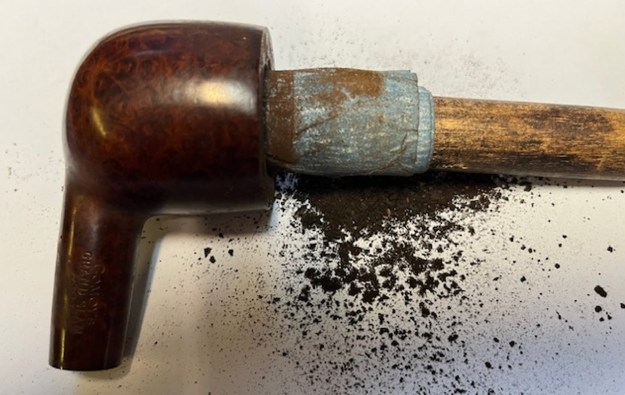
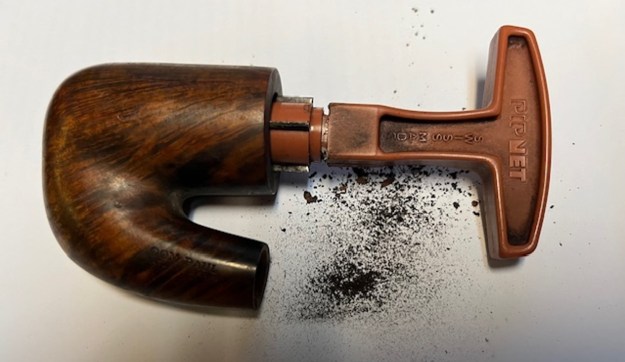
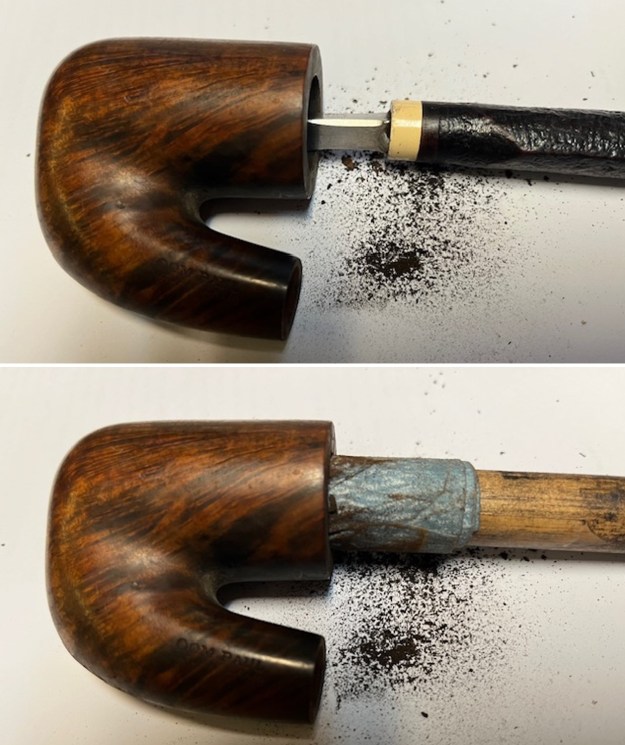
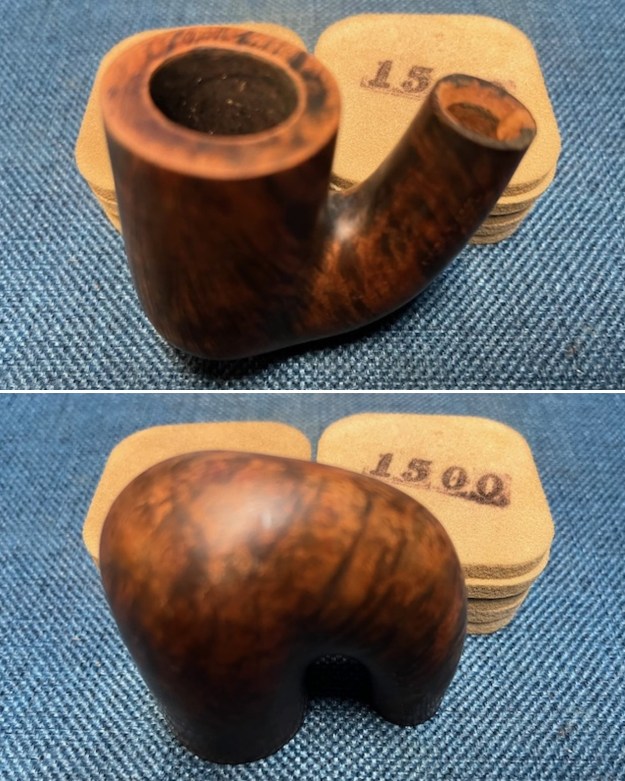
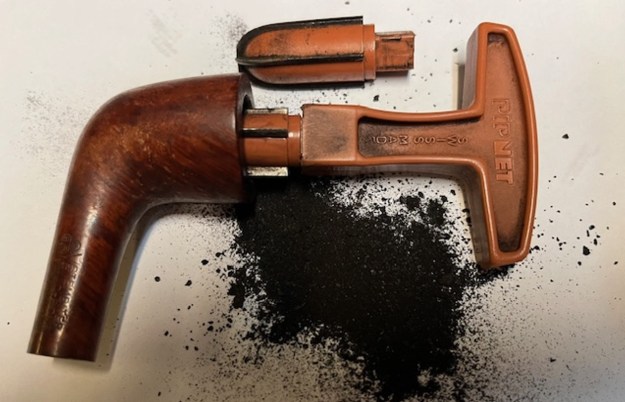
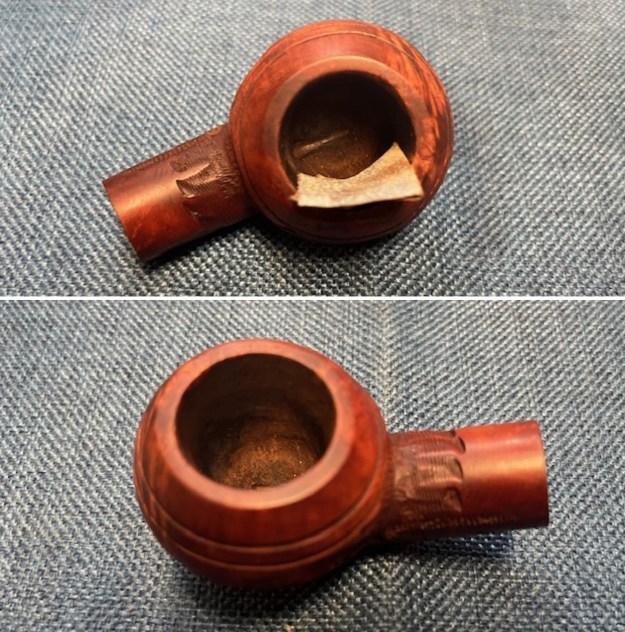
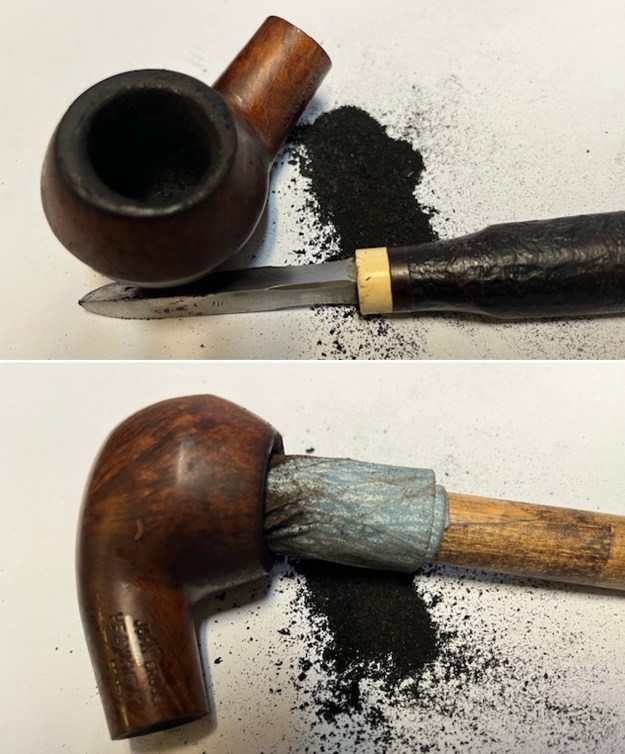
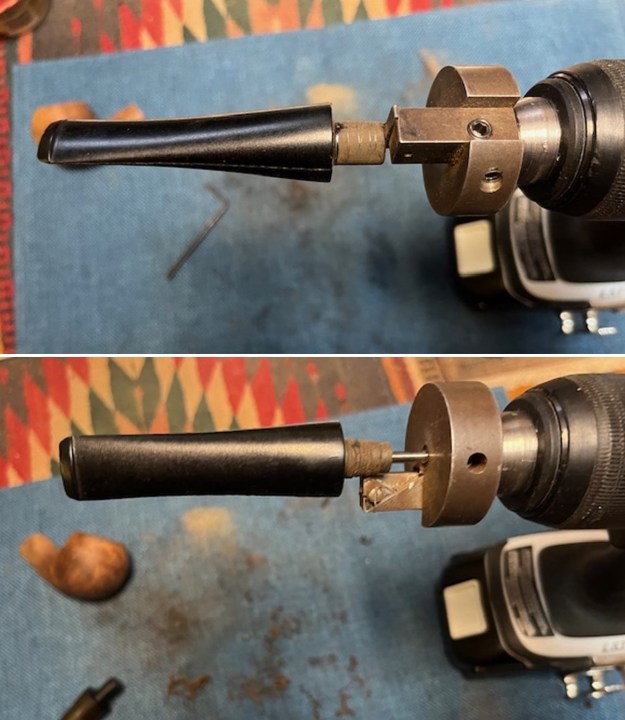
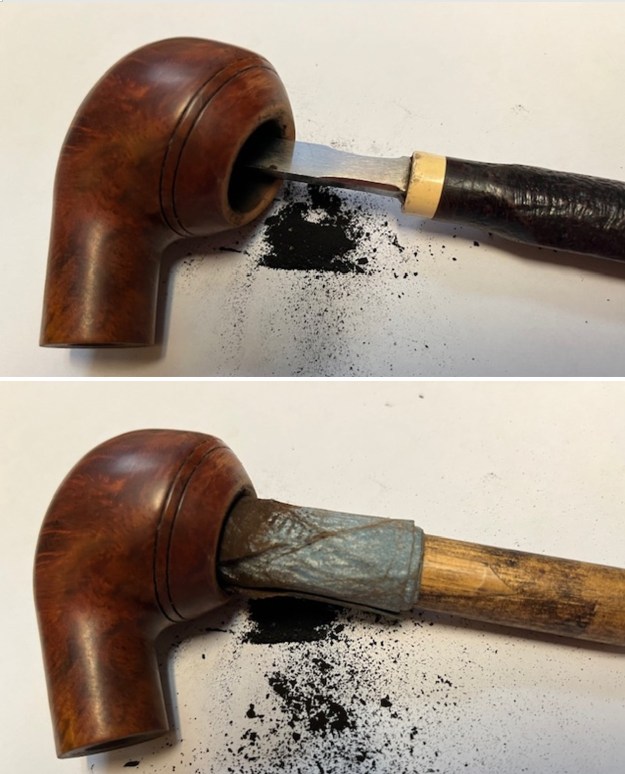
Now to work on the pipe itself. I started by reaming it with a PipNet Pipe Reamer. The bowl was large enough that I used the second and third cutting heads. I took the cake back to bare briar. I cleaned up the reaming with a Savinelli Fitsall Pipe Knife. I also scraped off the lava build up on the rim top with the knife. I sanded the bowl walls with 220 grit sandpaper wrapped around a dowel. I took it back to smooth walls. The walls looked very good with no sign of checking or burning.
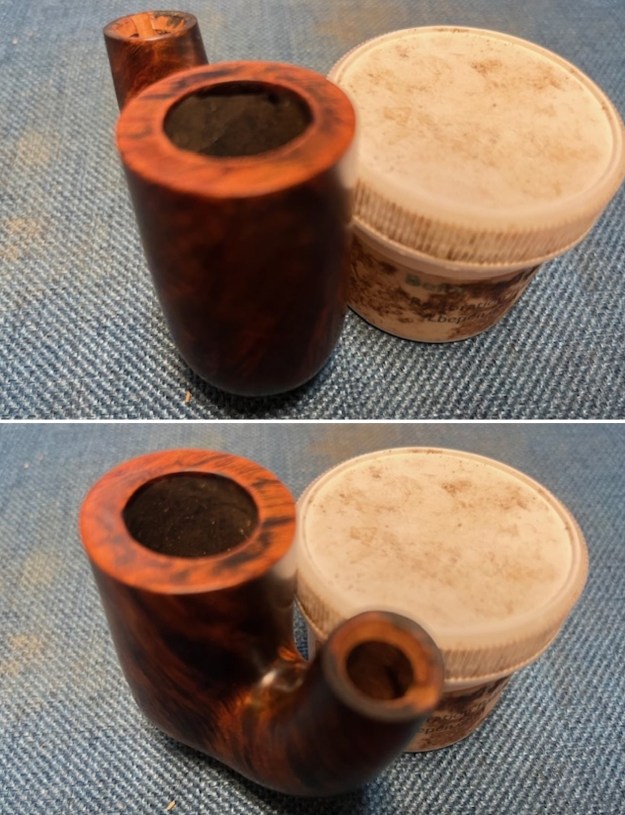
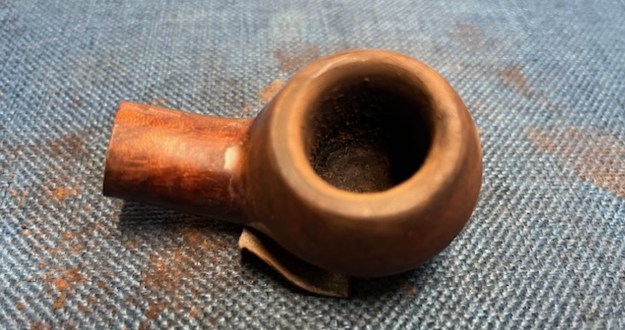
 I worked on the rim top with spit and a cotton pad to remove the lava and darkening around the rim top and the bevelled edge of the bowl. It cleaned up quite nicely.
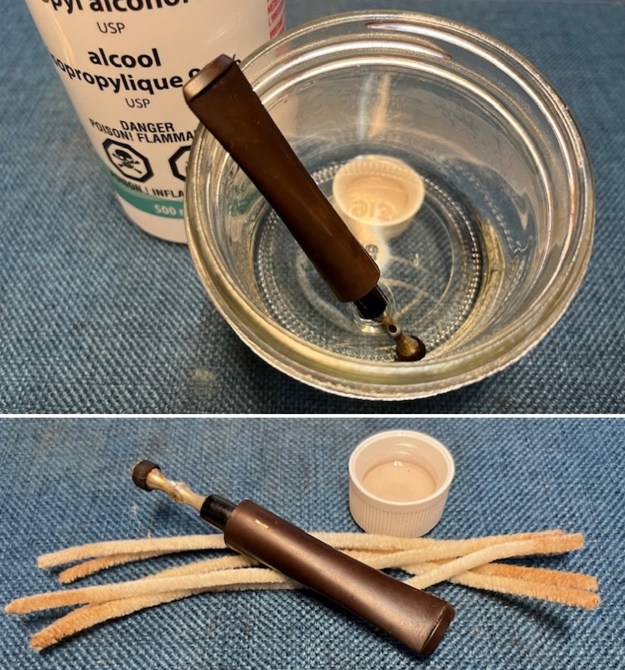
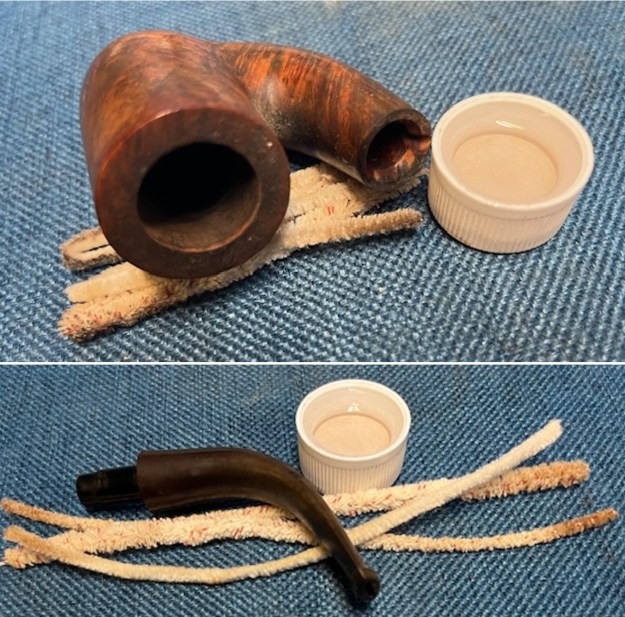
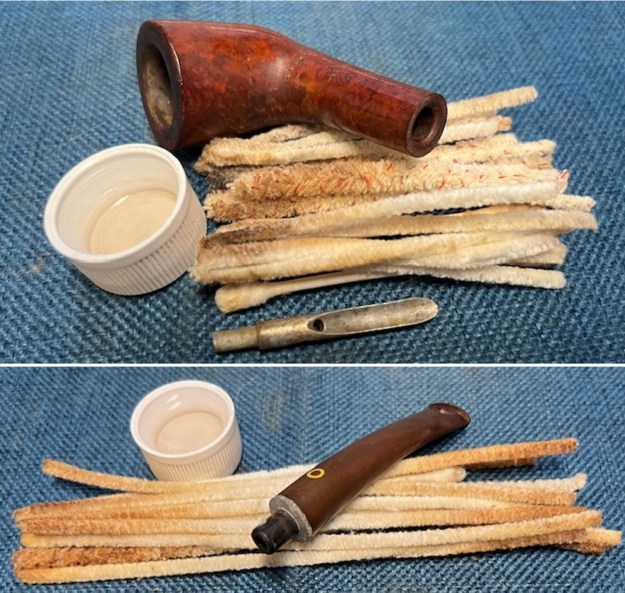
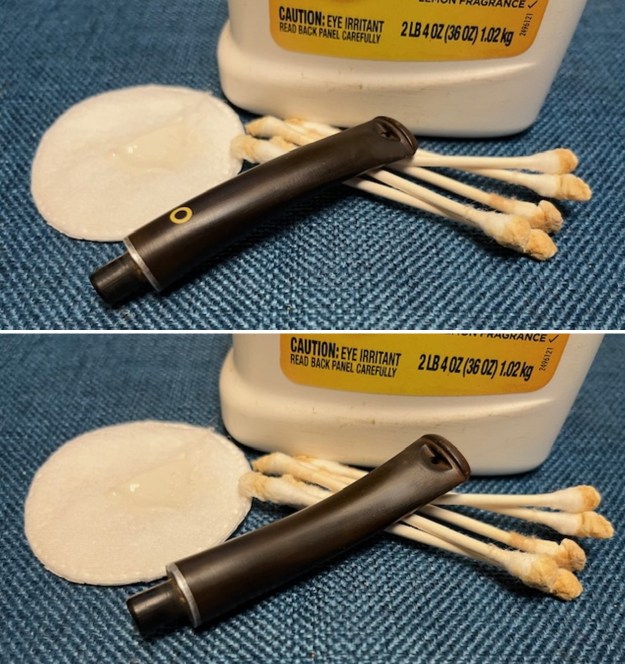
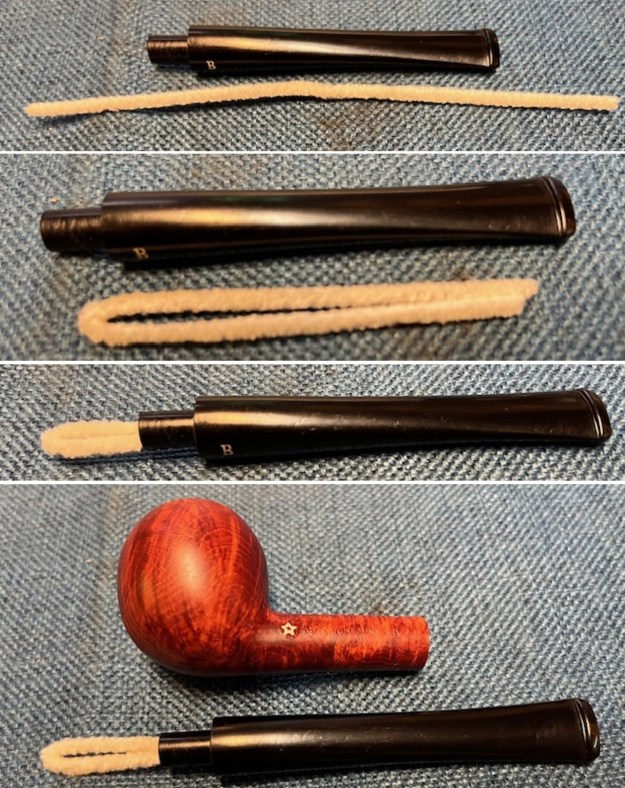
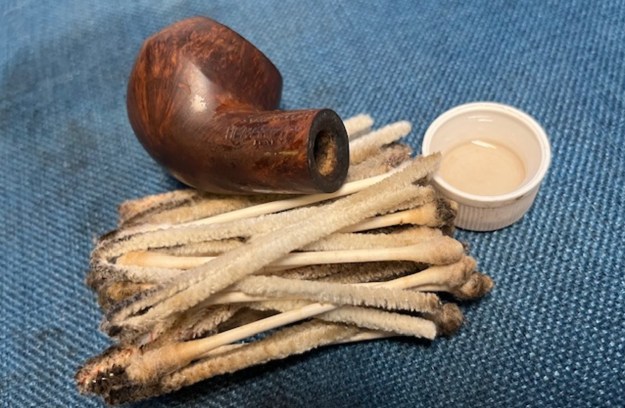
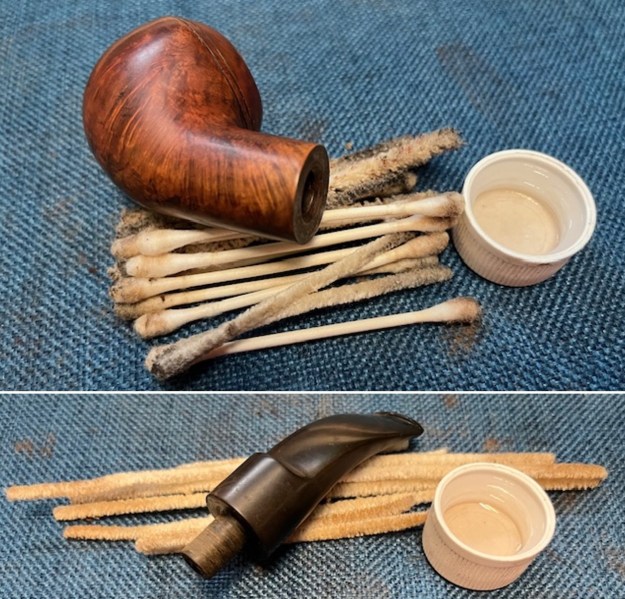
 I cleaned out the shank, mortise and the airway in the bowl with pipe cleaners (both smooth and bristle), cotton swabs and 99% isopropyl alcohol. I was quite surprised how clean the shank was. While I worked on the bowl and shank I let the stem and apparatus sit in a bath of alcohol to clean up the tars and oils and try to loosen it in the tenon. I removed it and cleaned out the airway in the stem and the stinger with pipe cleaners and alcohol. I wiped down the stinger with a cotton pad and alcohol to remove the tars. The pipe looks much cleaner and also smells fresh now!
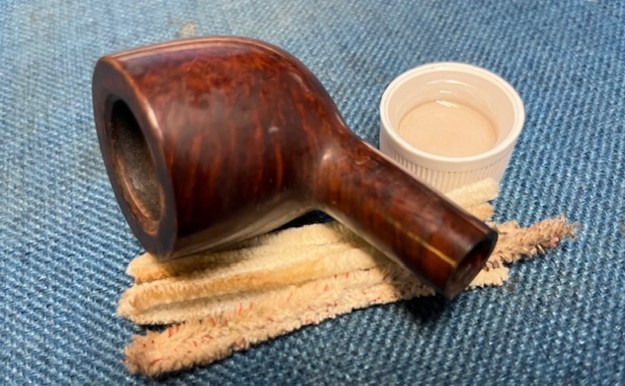
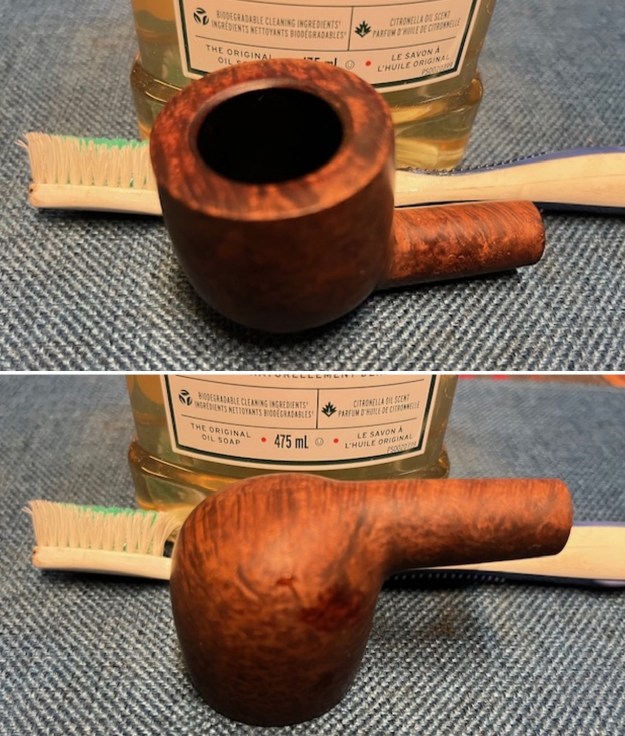
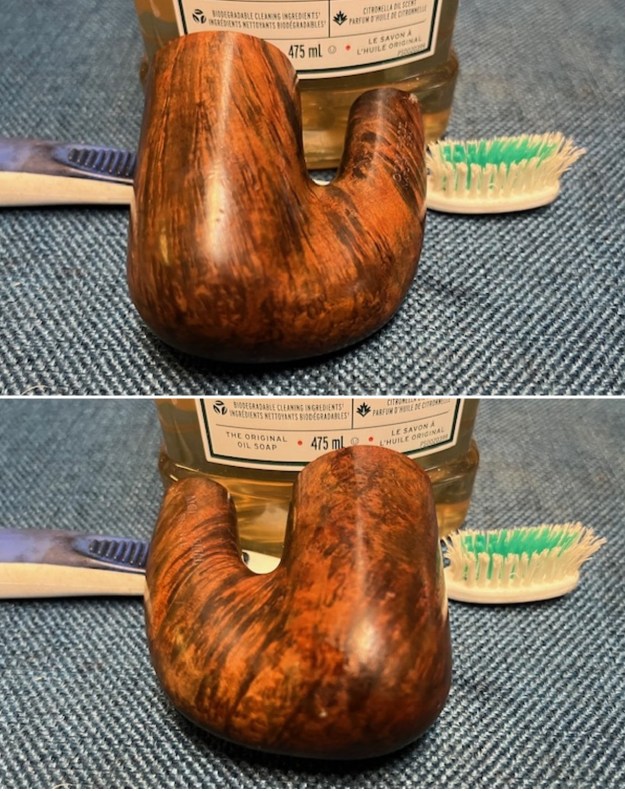
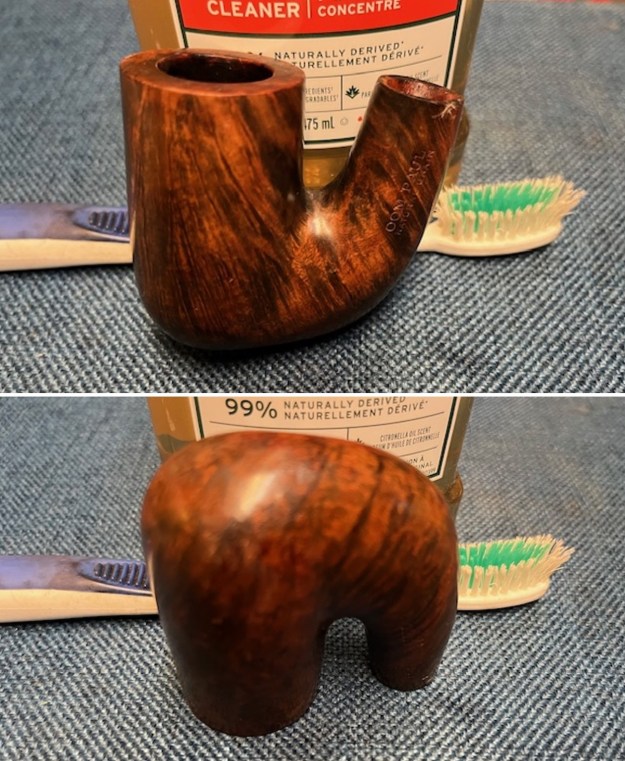
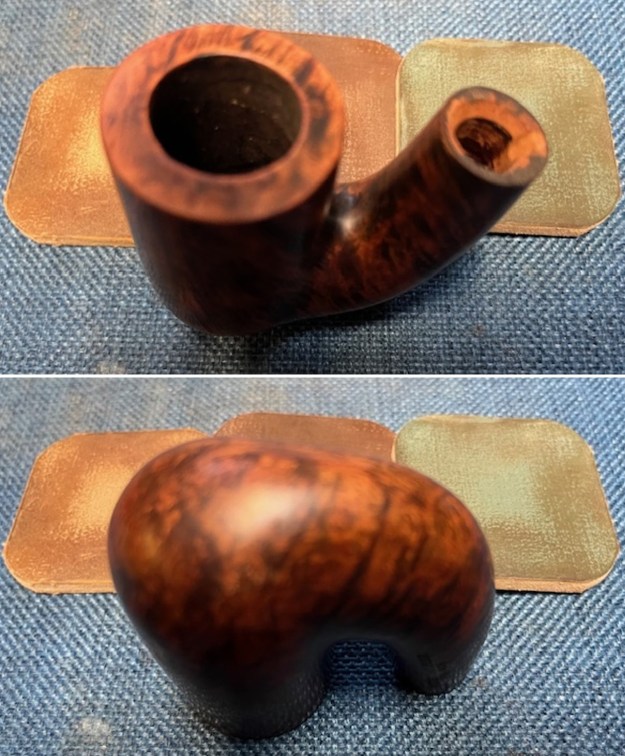
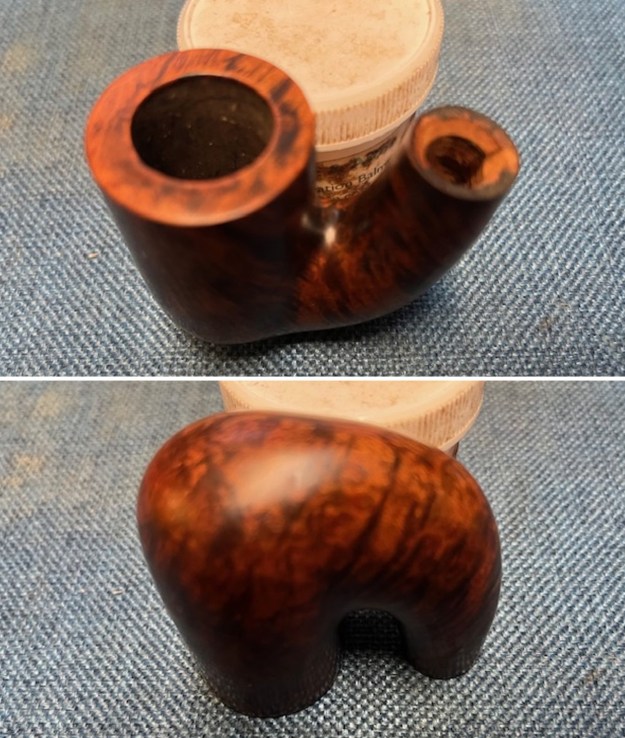
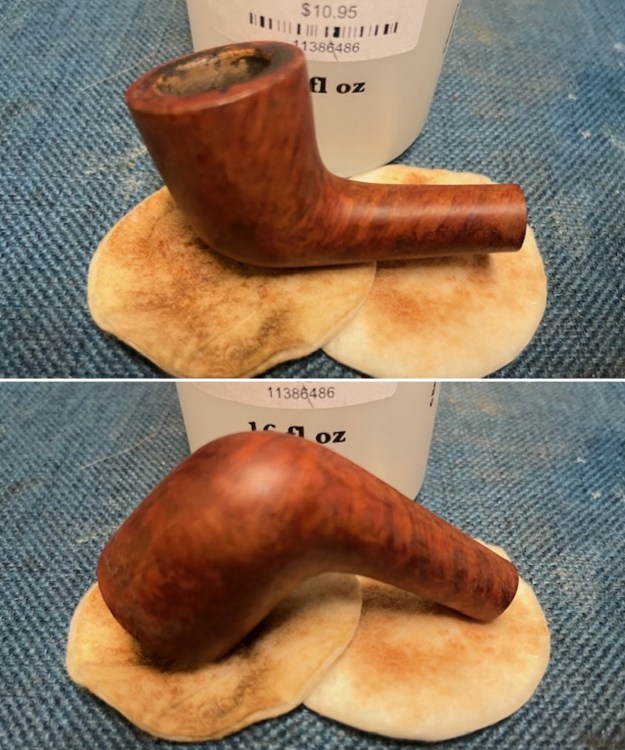
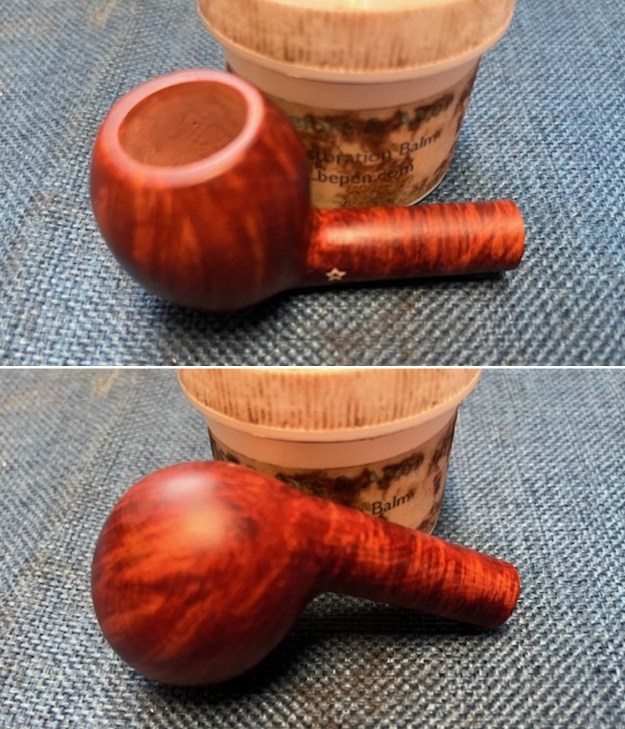
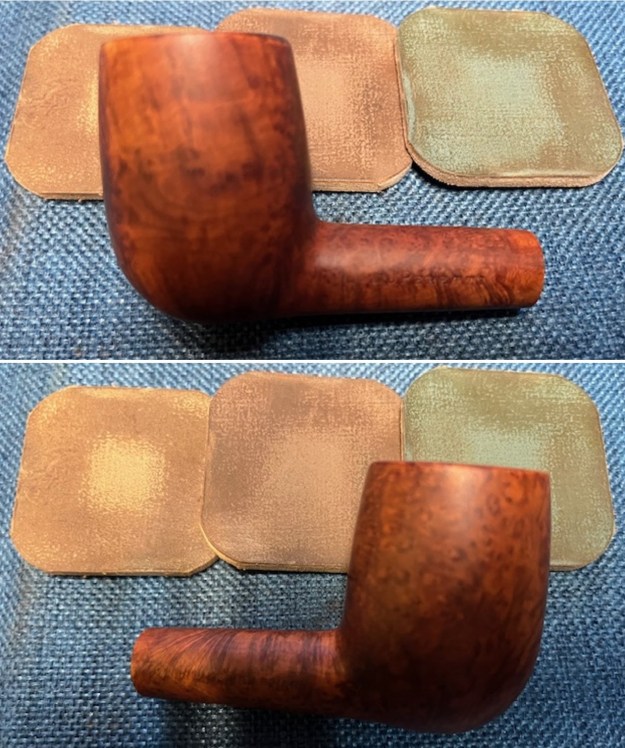
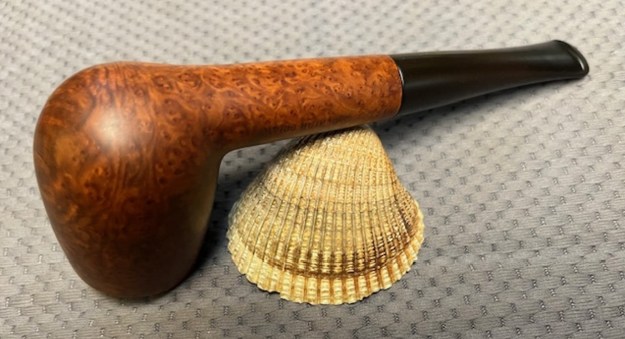
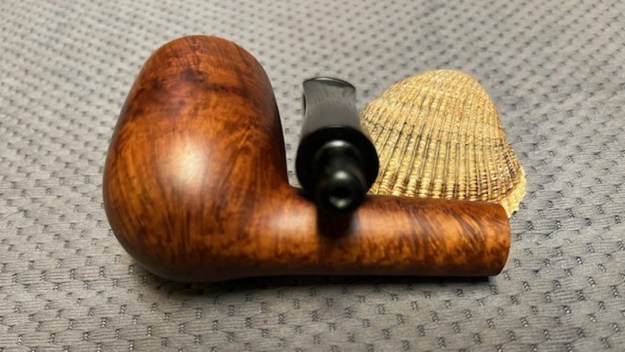
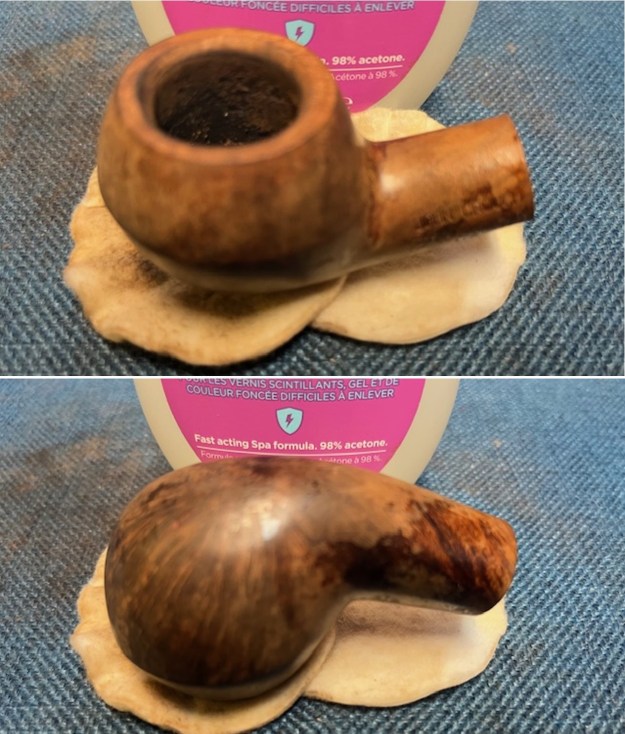
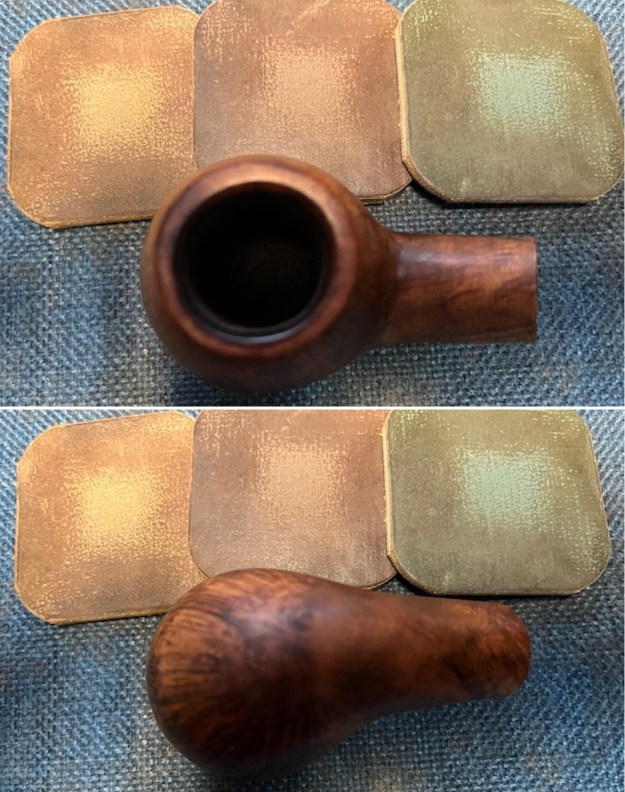
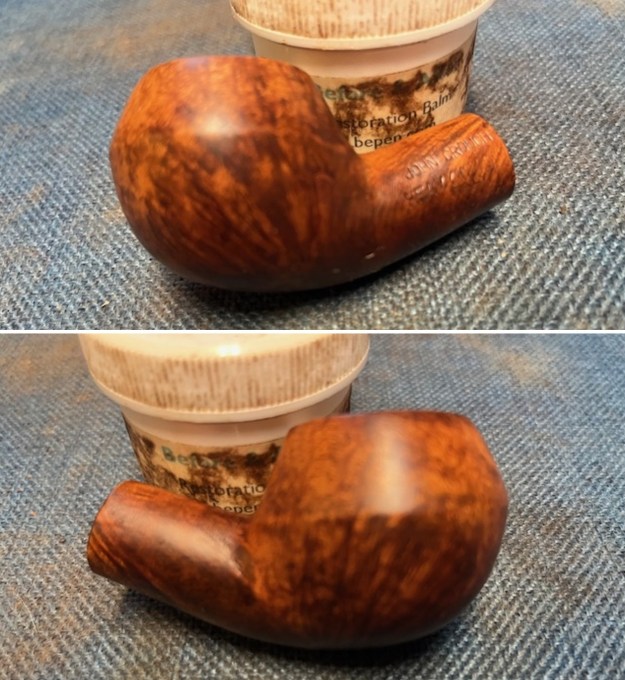
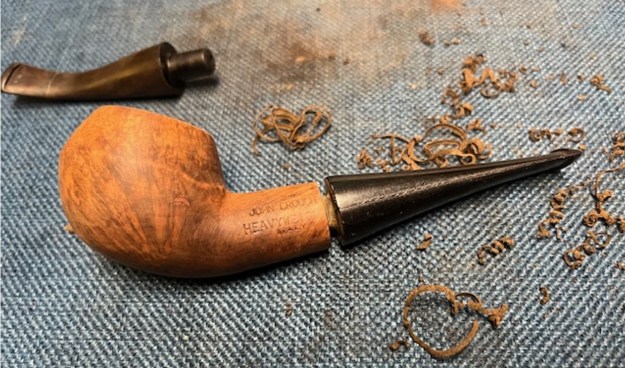
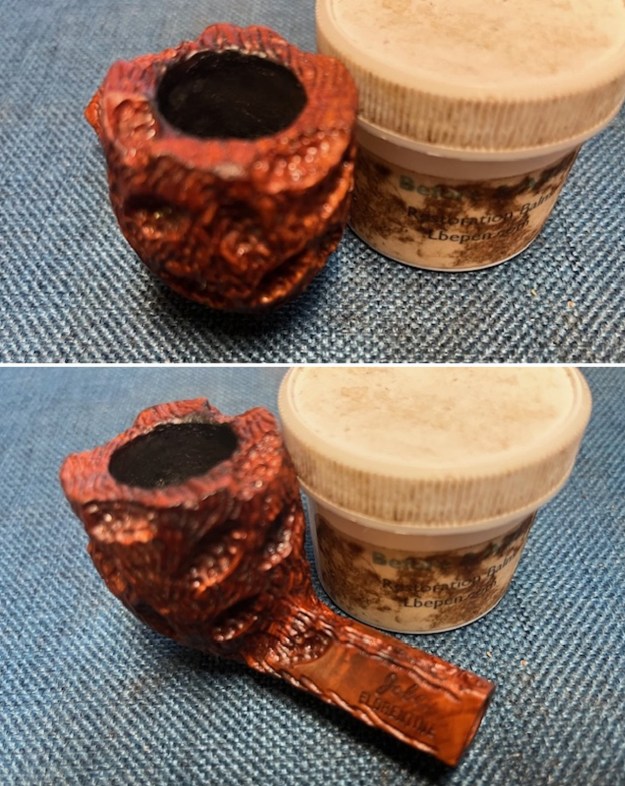
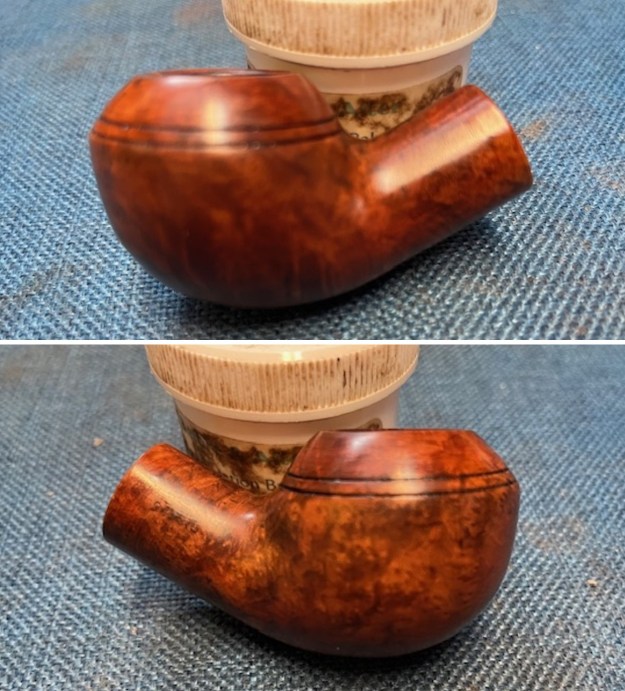
 I set the stem aside and turned my attention to the bowl. I scrubbed the exterior of the bowl with undiluted Murphy’s Oil Soap and a tooth brush. With the grime removed from the briar – both the top and sides of the bowl, it is truly a beautiful piece of briar.
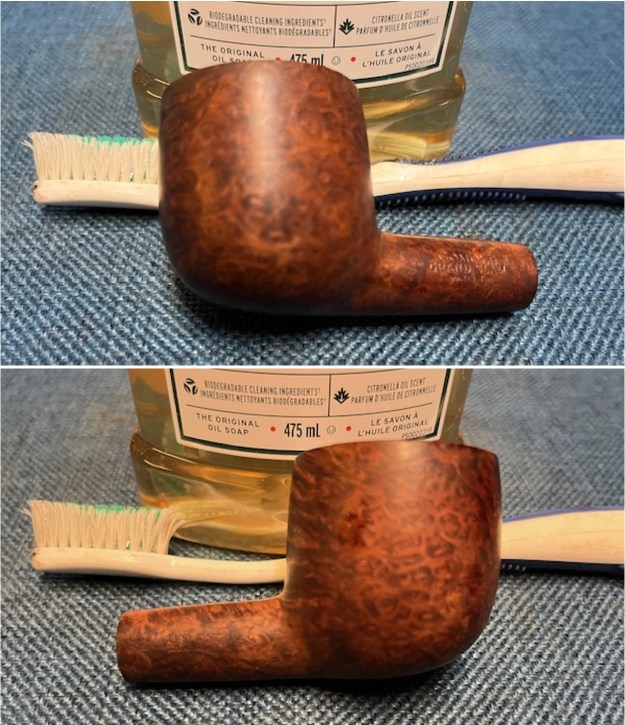
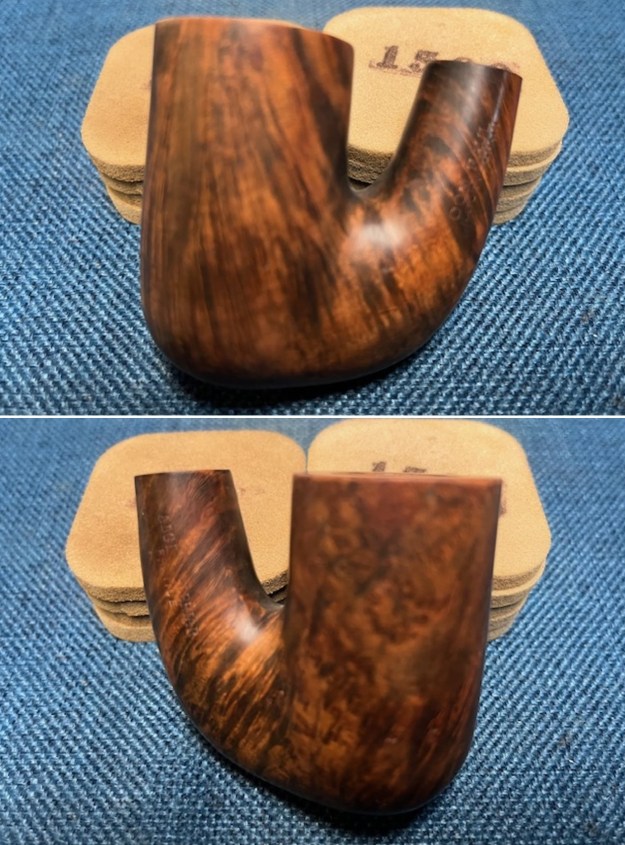
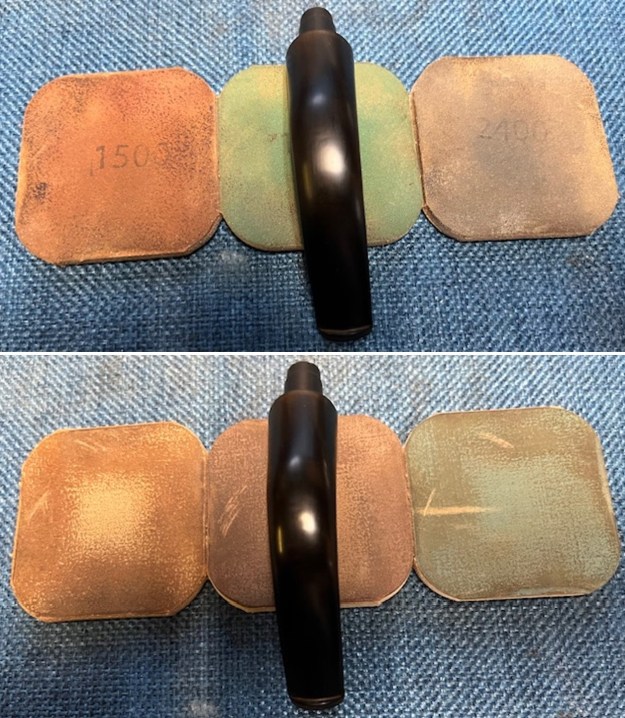
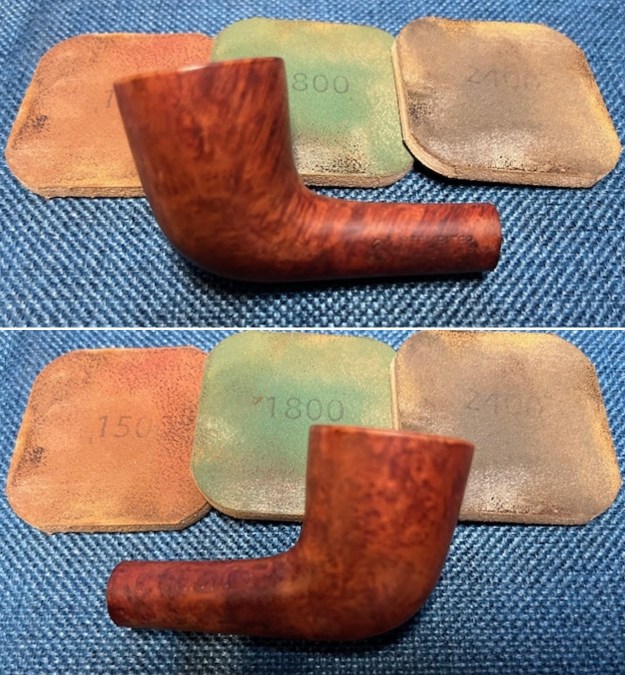
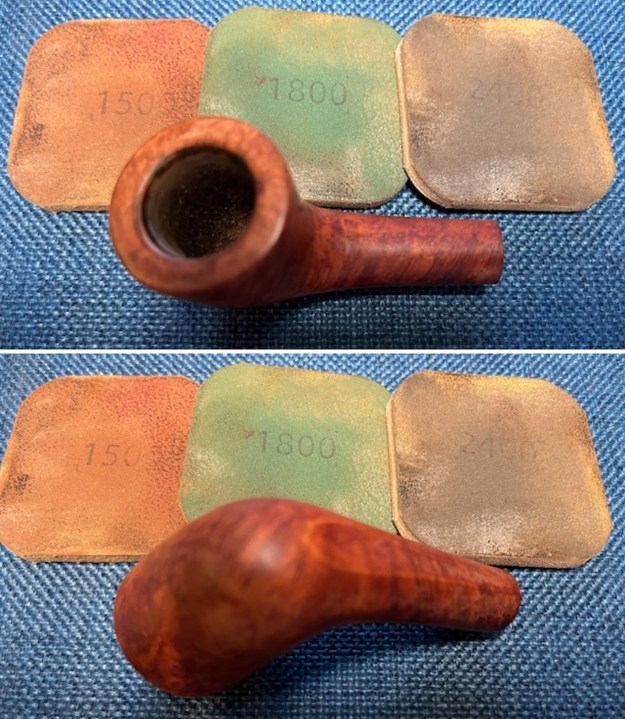
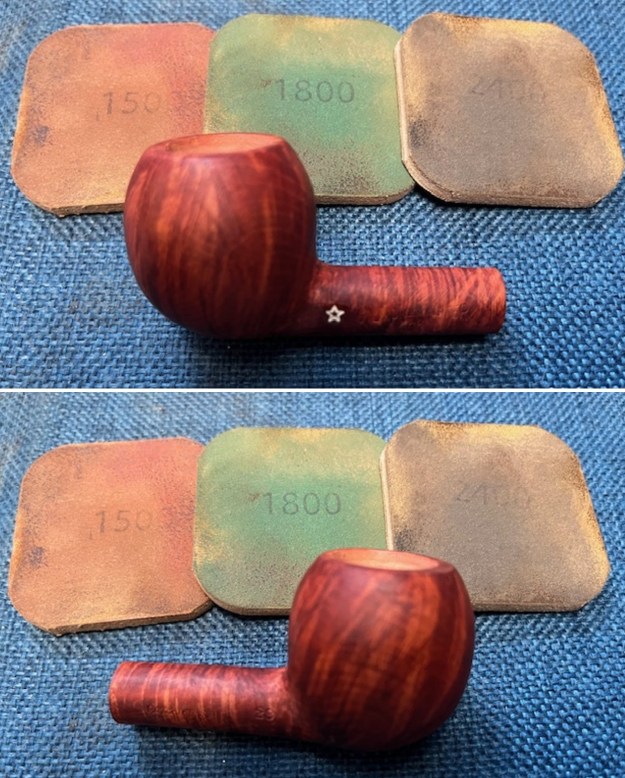
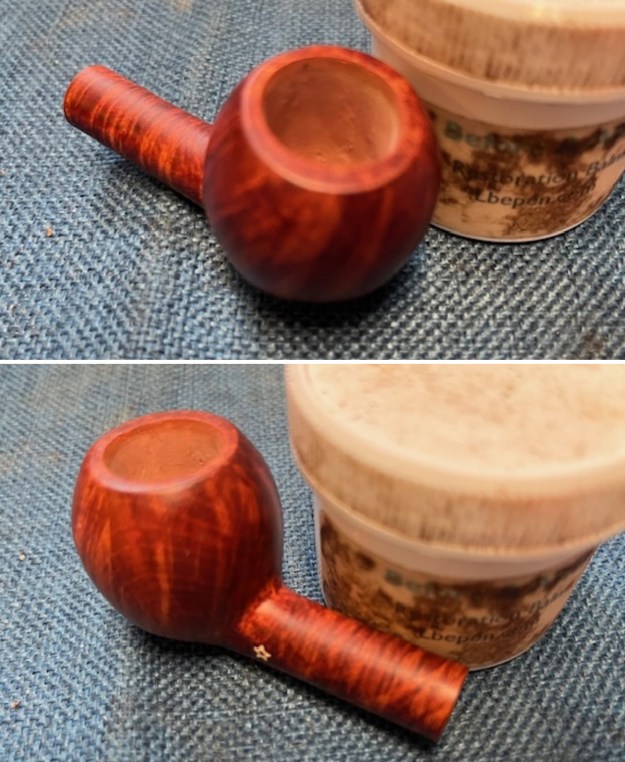
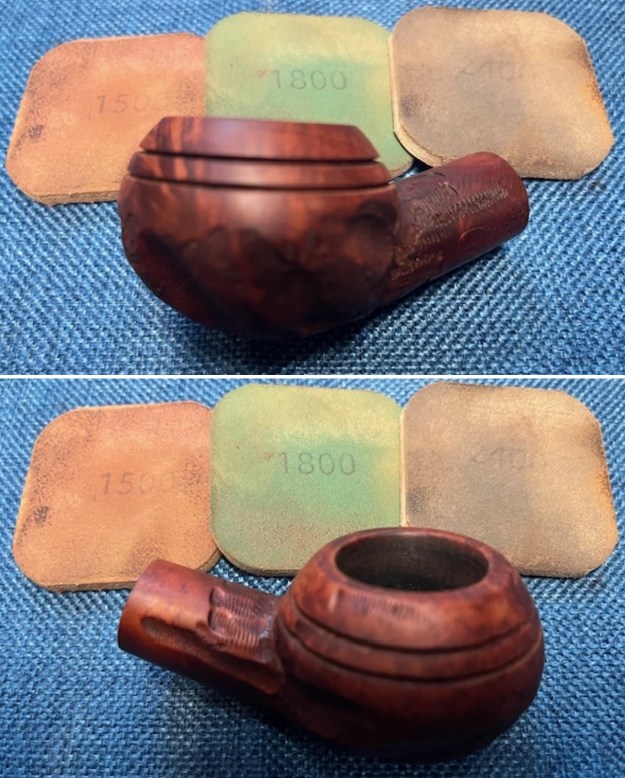
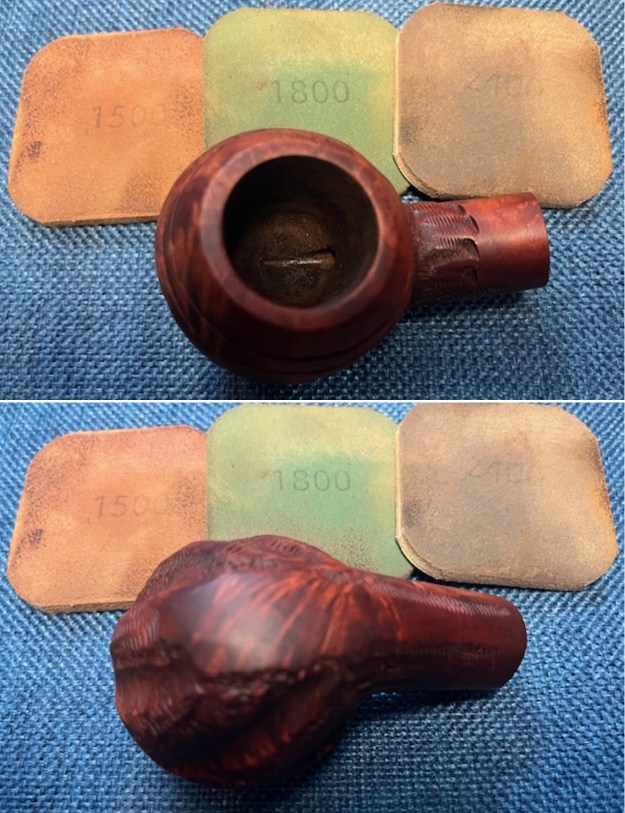
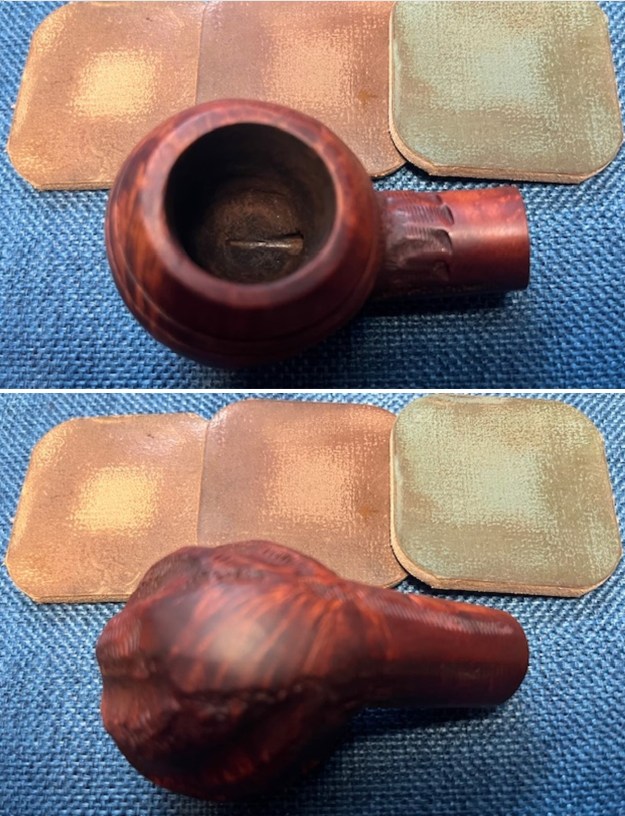
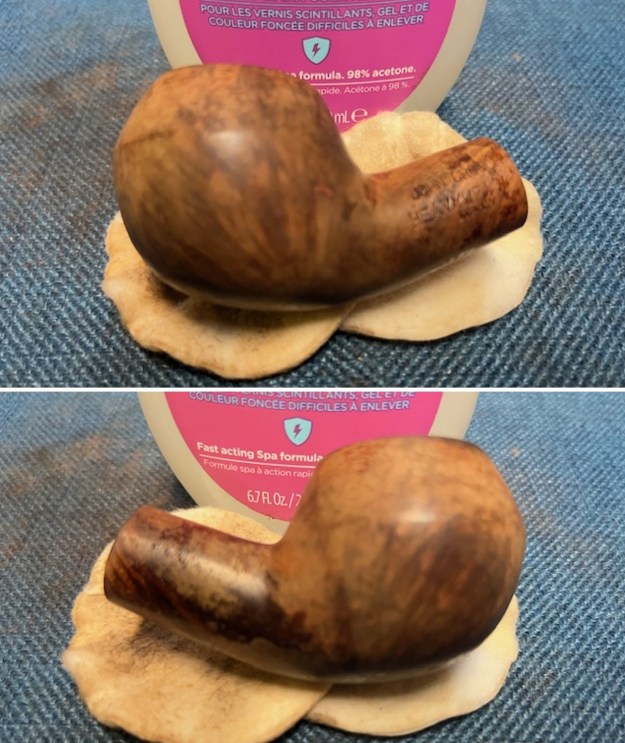
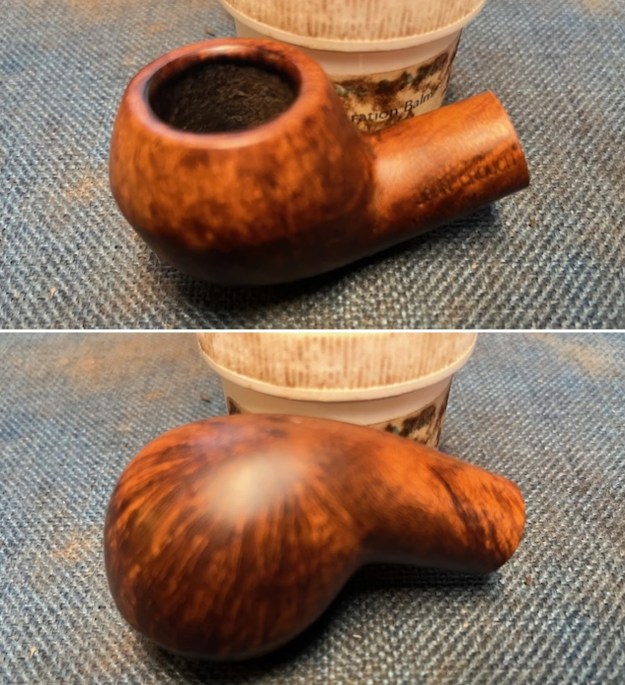
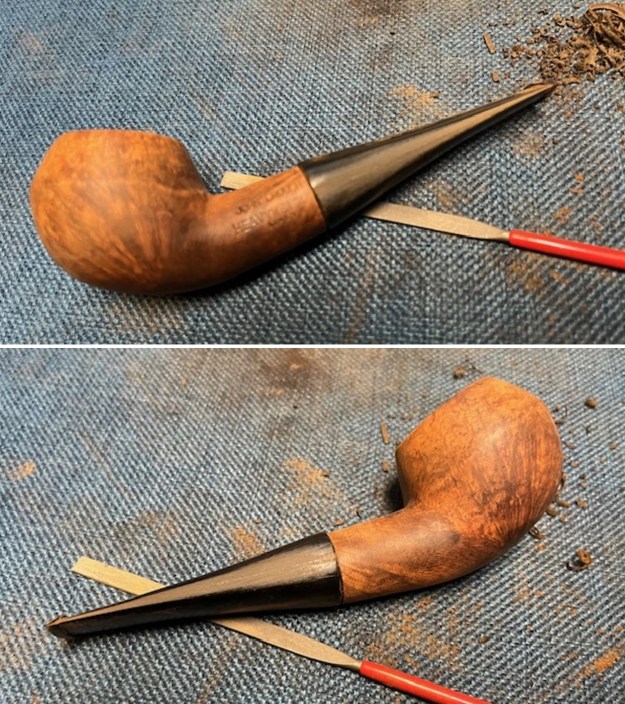
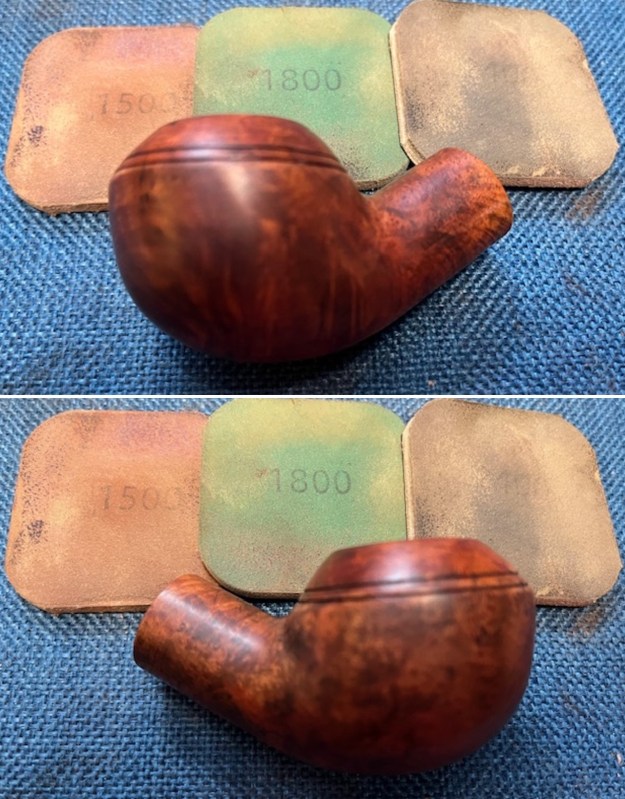
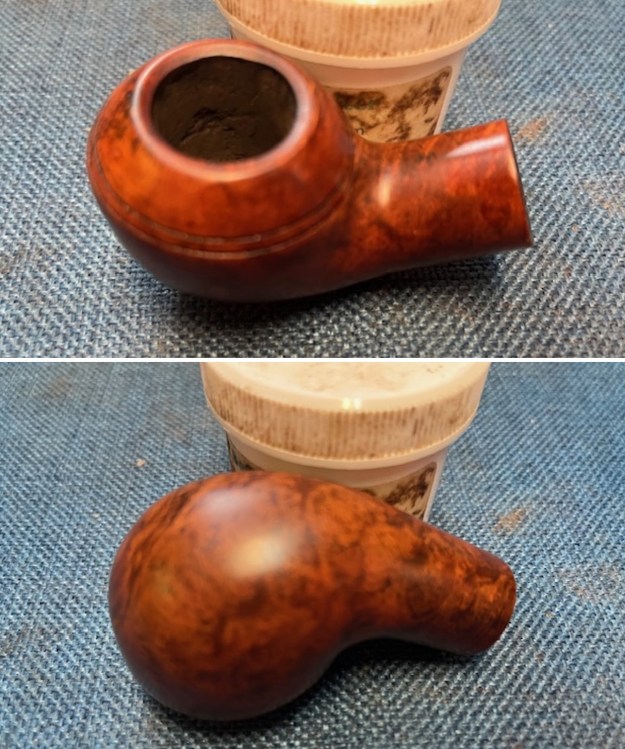
 I polished the briar with micromesh sanding pads – dry sanding with 1500-12000 grit pads. I wiped it down after each sanding pad with a damp cloth to remove the sanding debris on the surface.

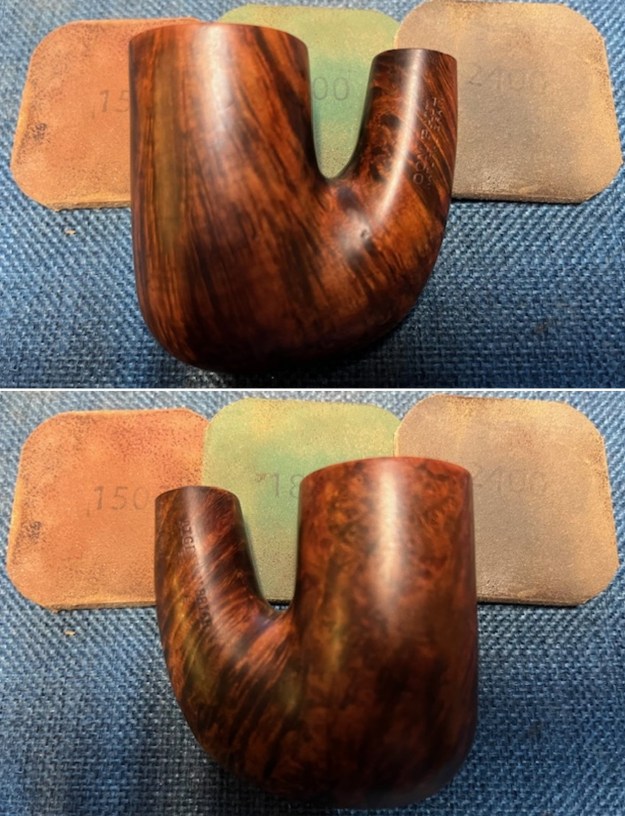
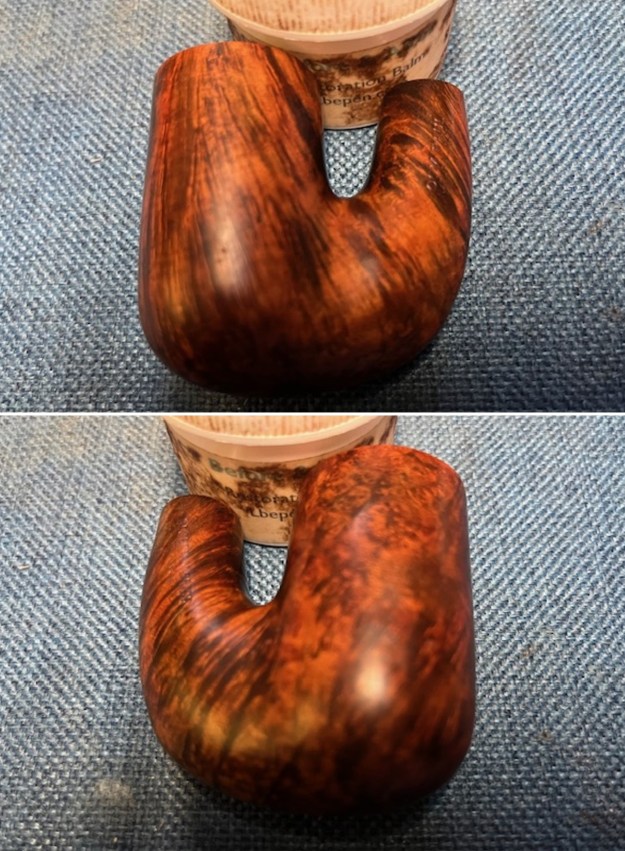
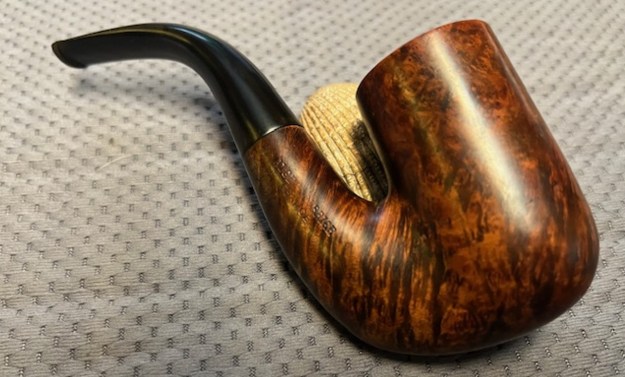
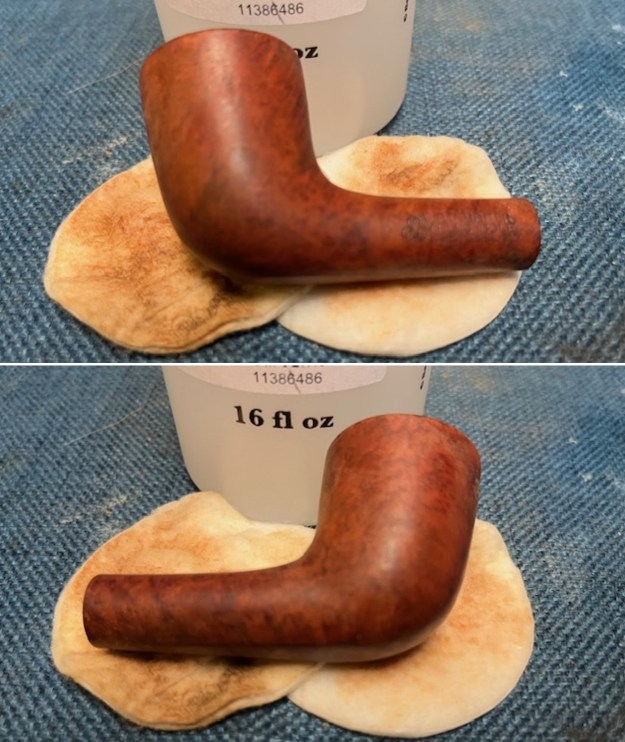
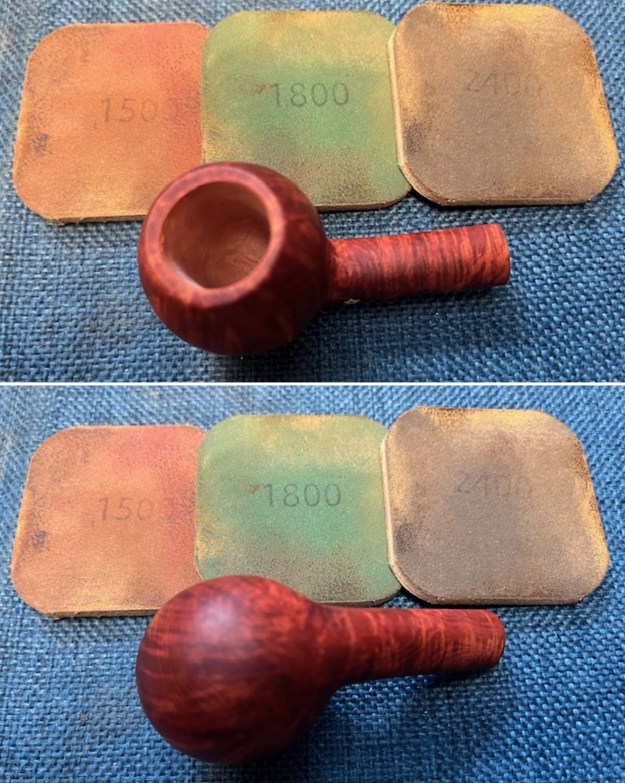
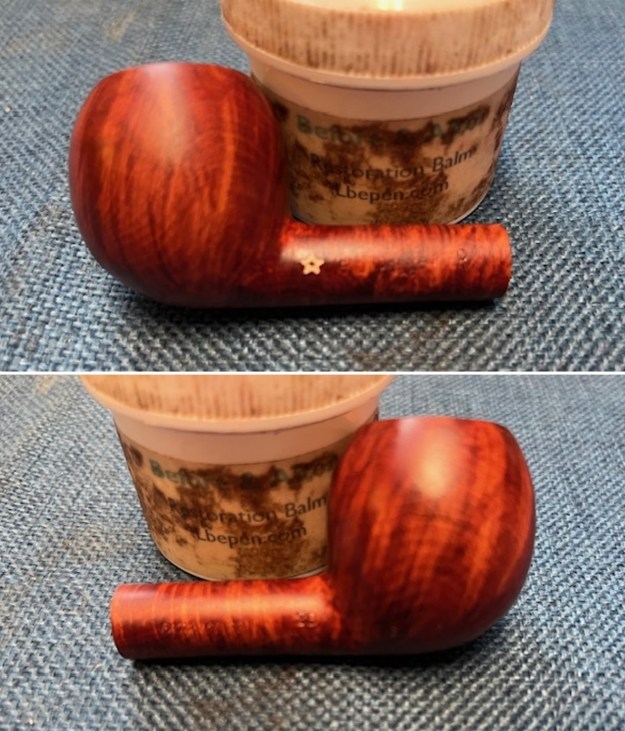
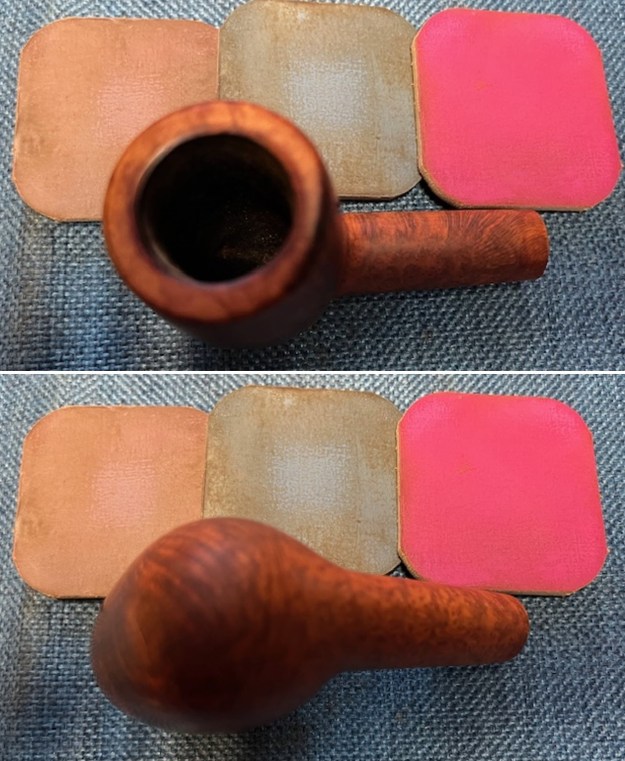
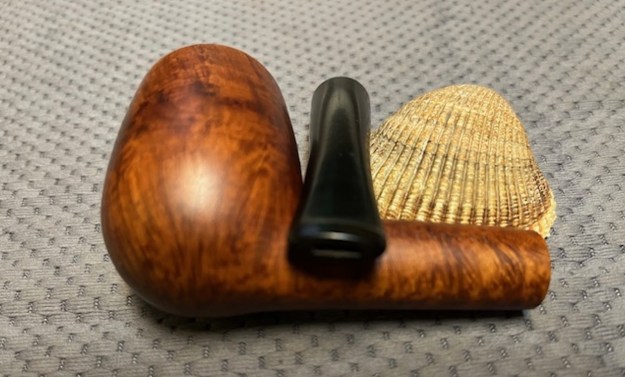
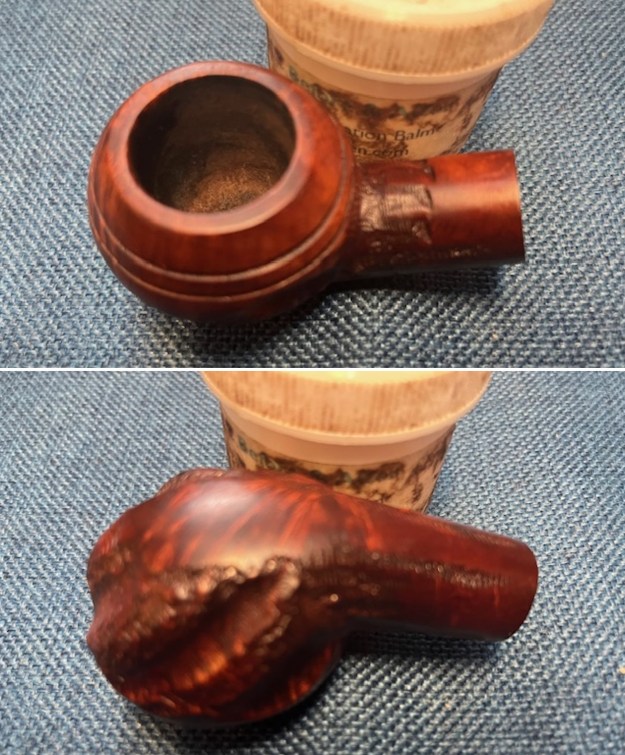
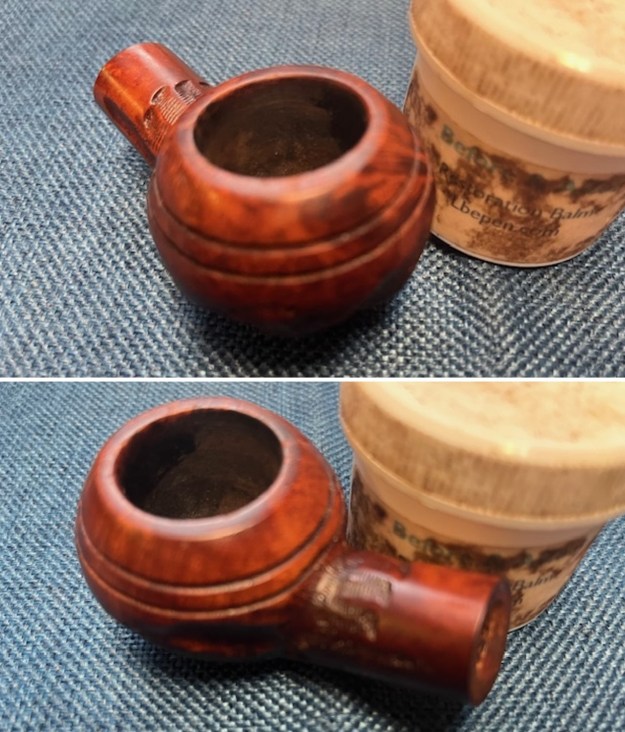
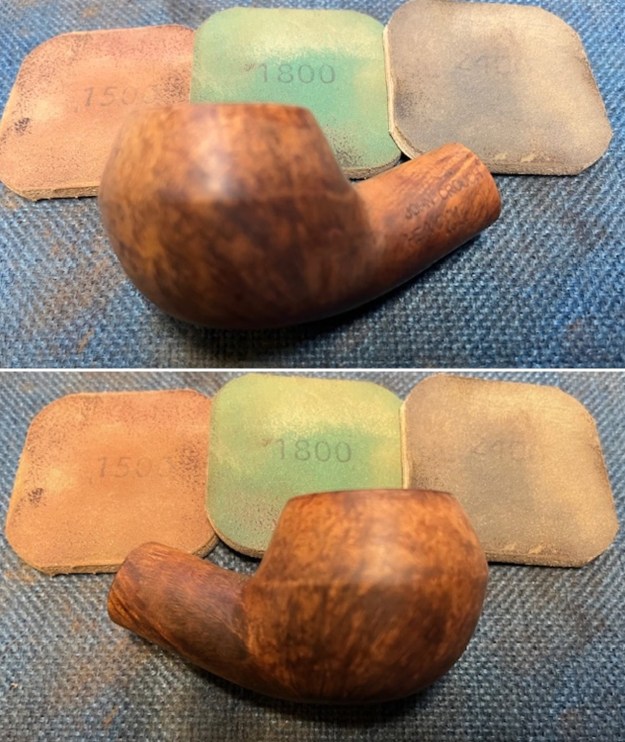
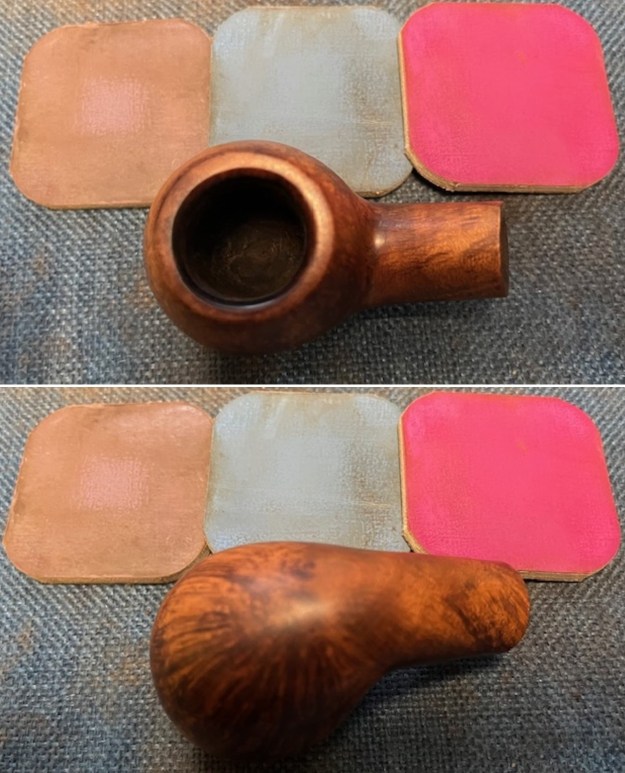
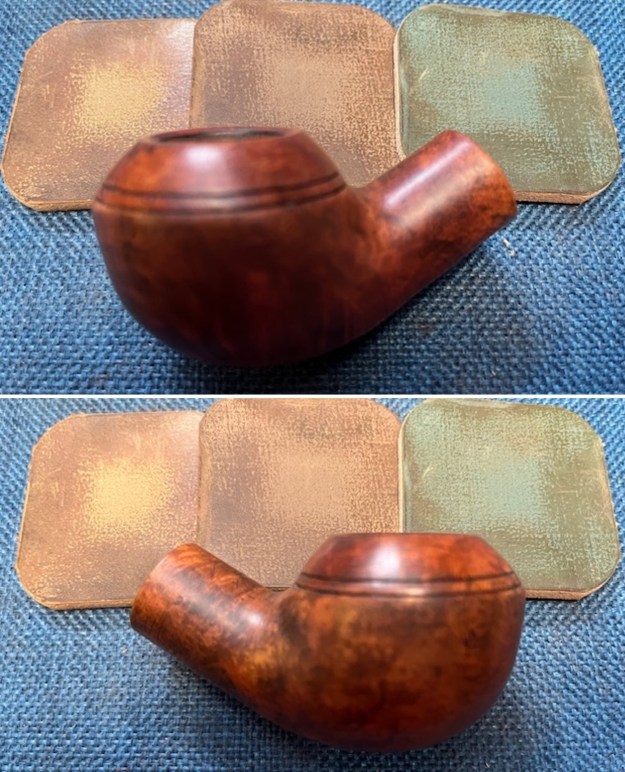
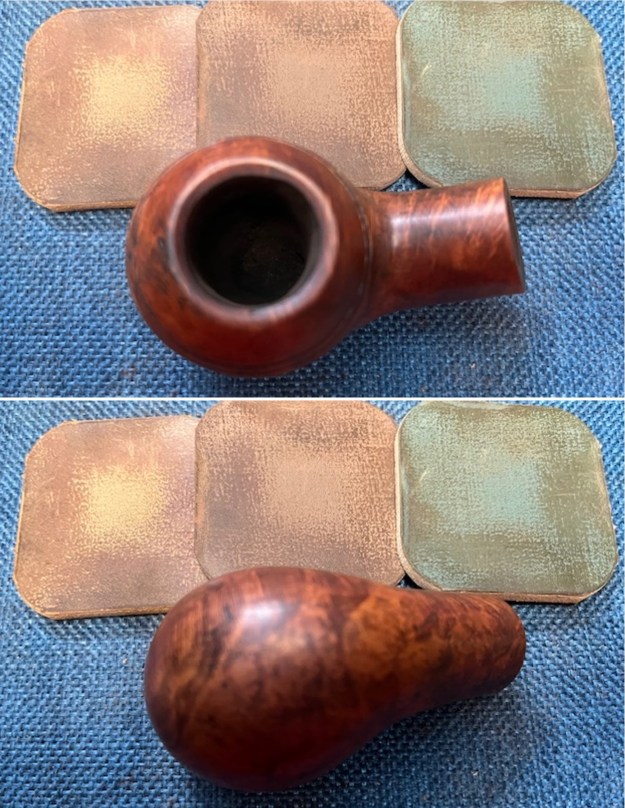
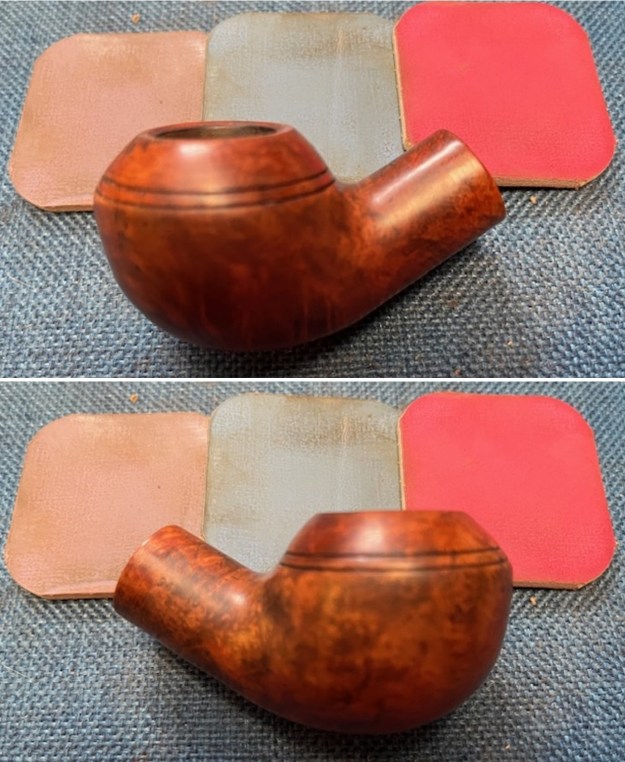
 I rubbed the bowl down with Before & After Restoration Balm. I worked it into the surface of the briar with my fingertips to clean, enliven and protect it. I let the balm sit for a little while and then buffed with a cotton cloth and shoe brush to raise the shine.
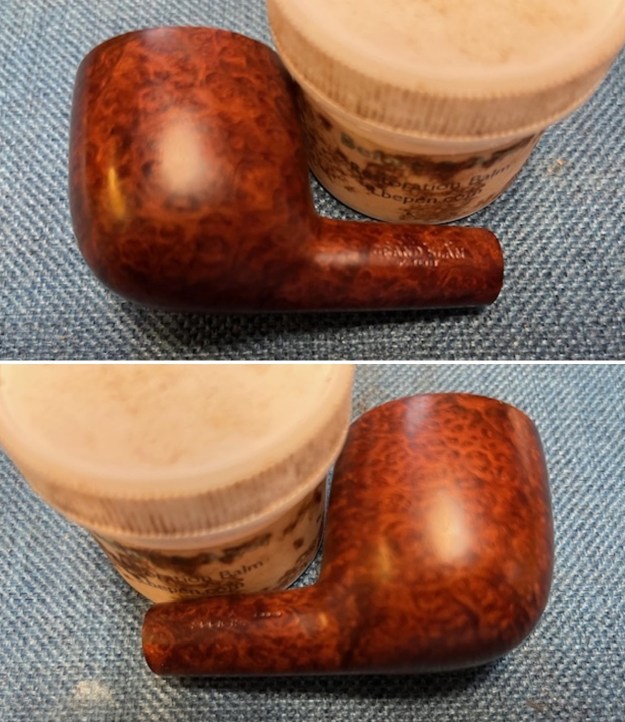
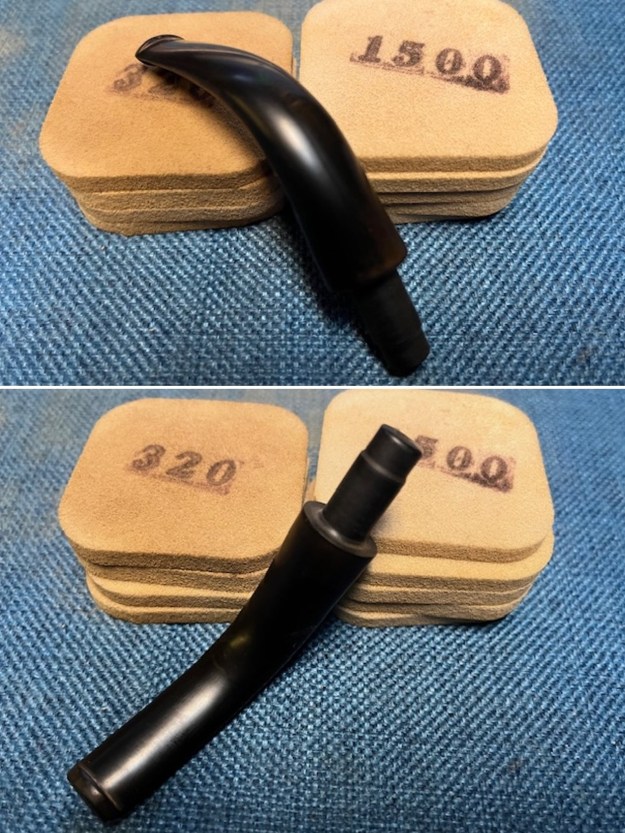
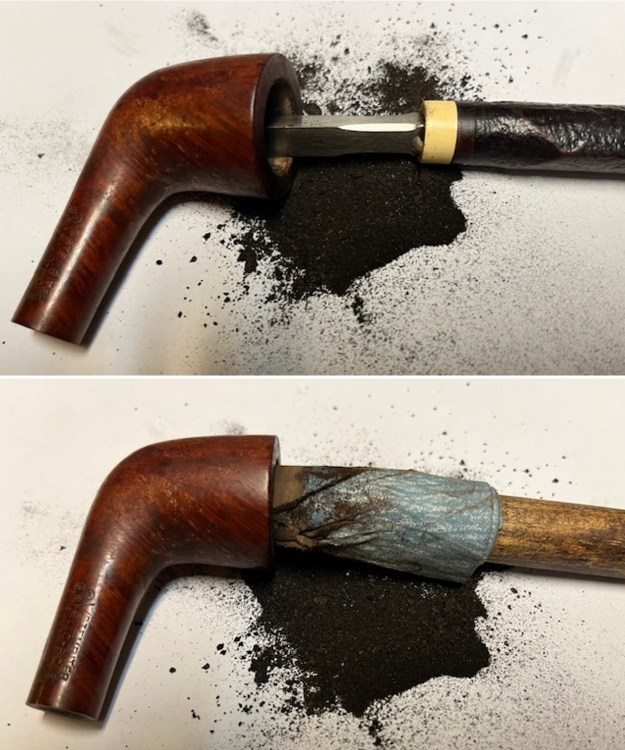
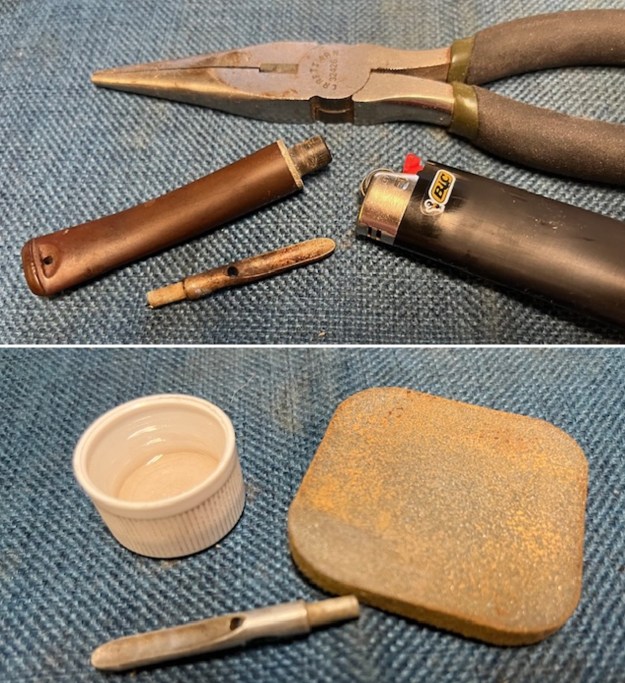
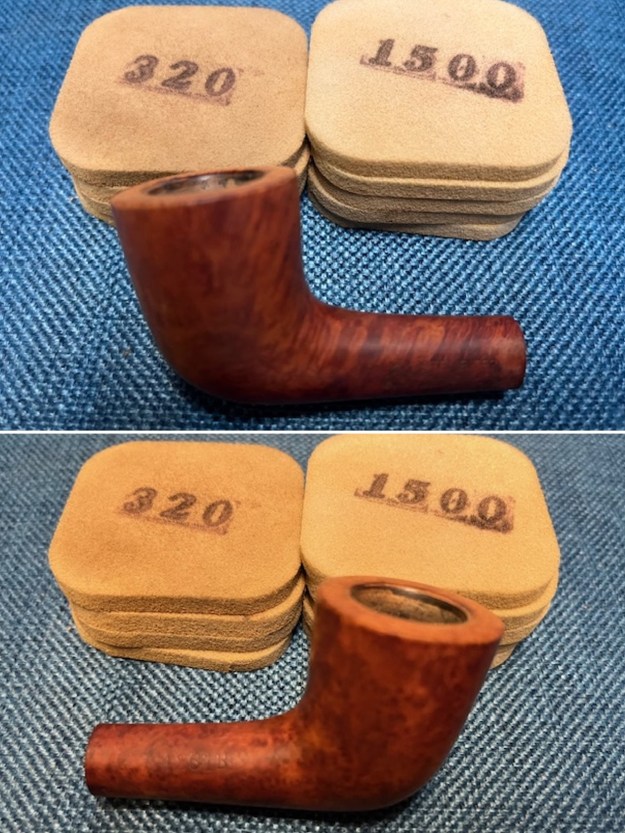
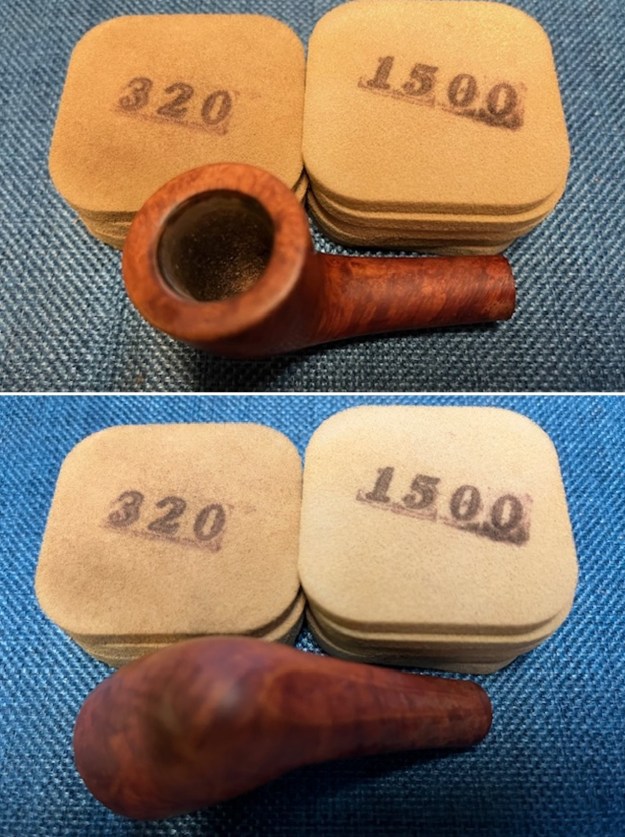
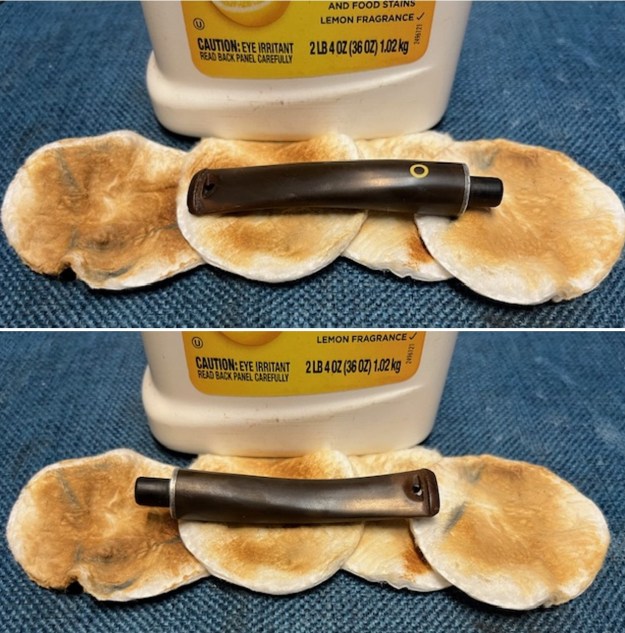
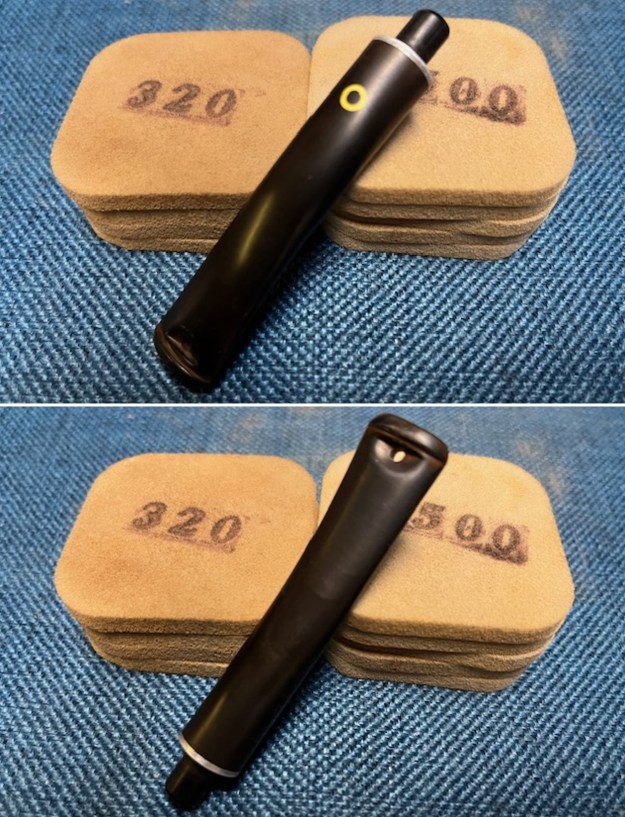
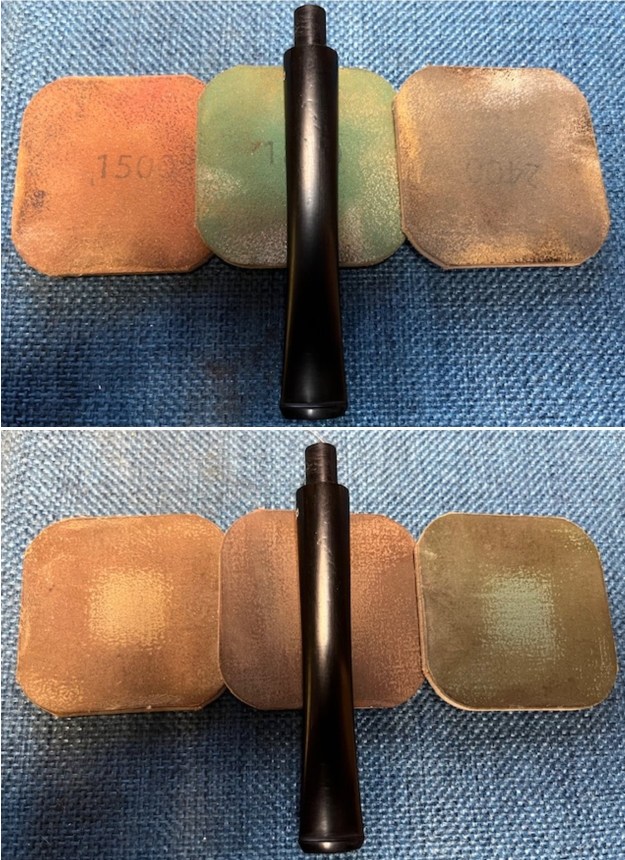
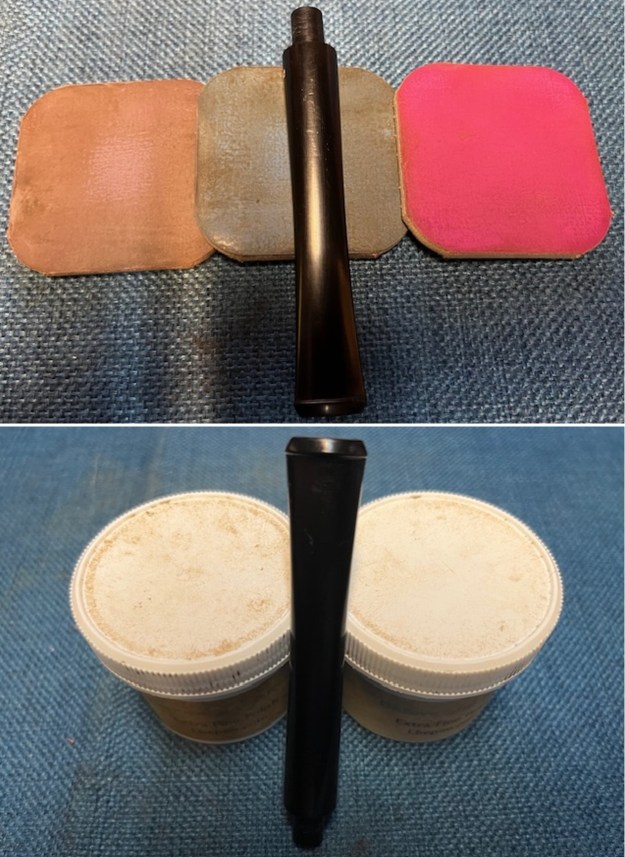
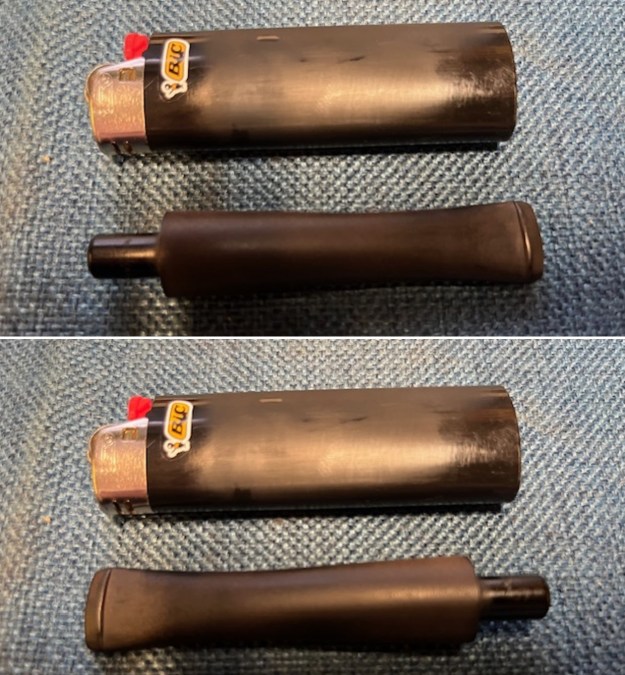
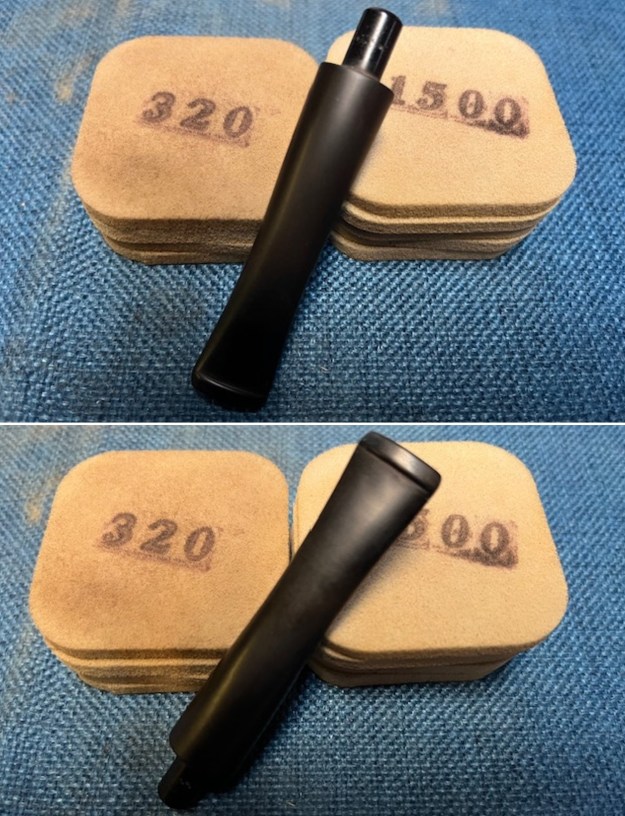
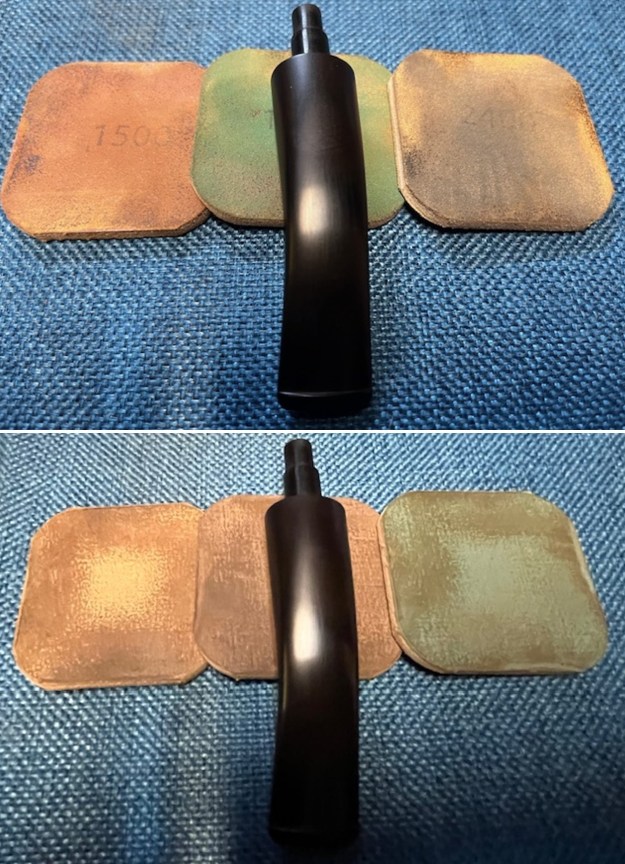
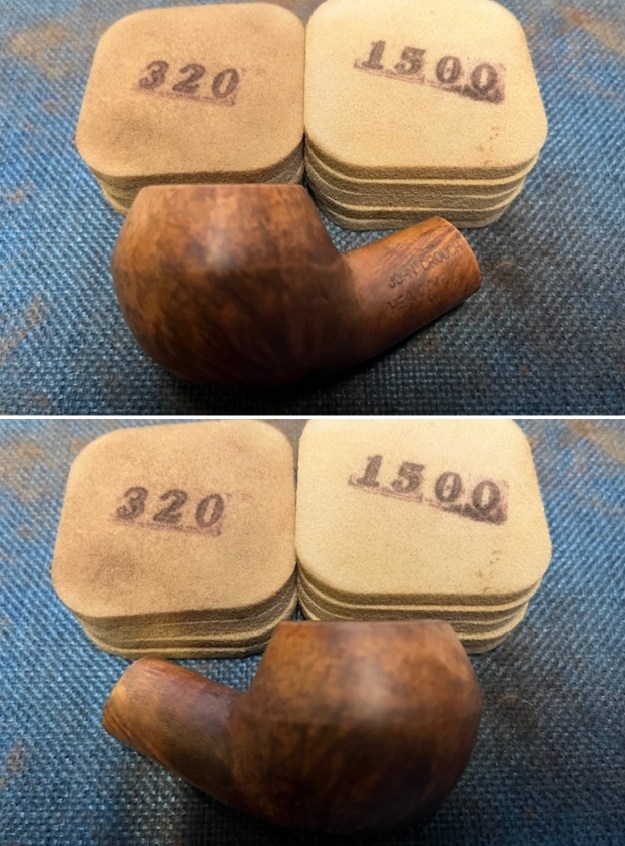
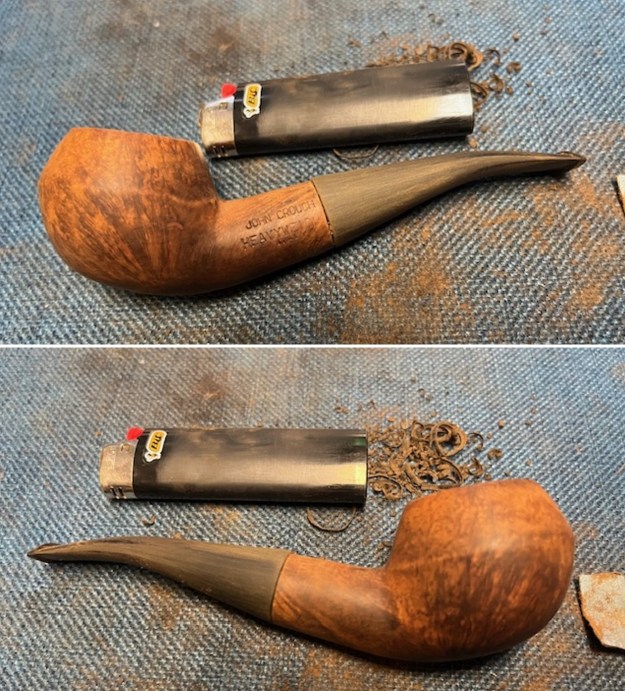
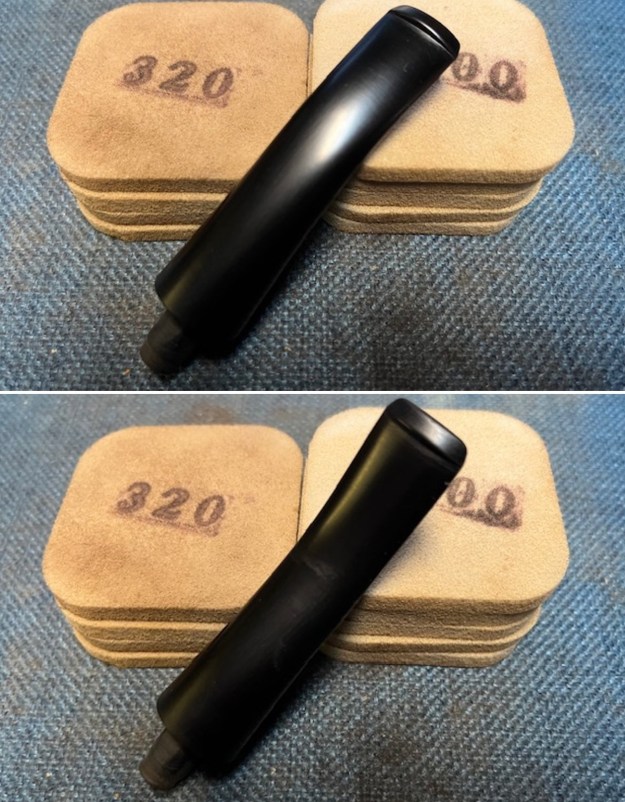
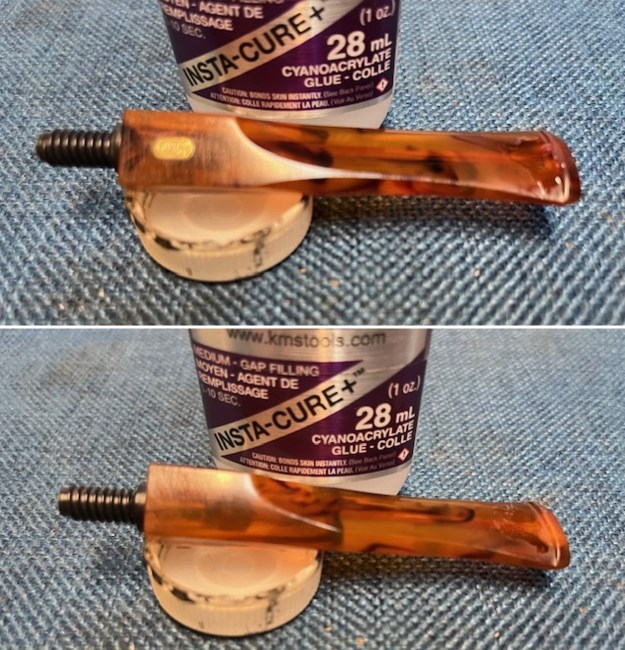
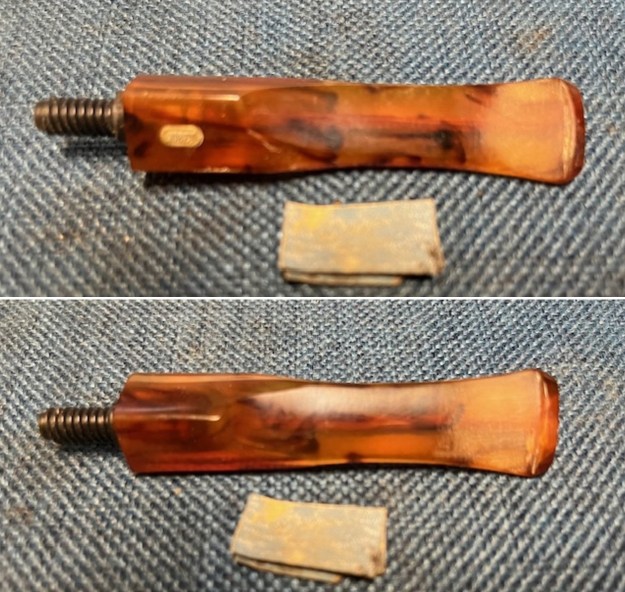
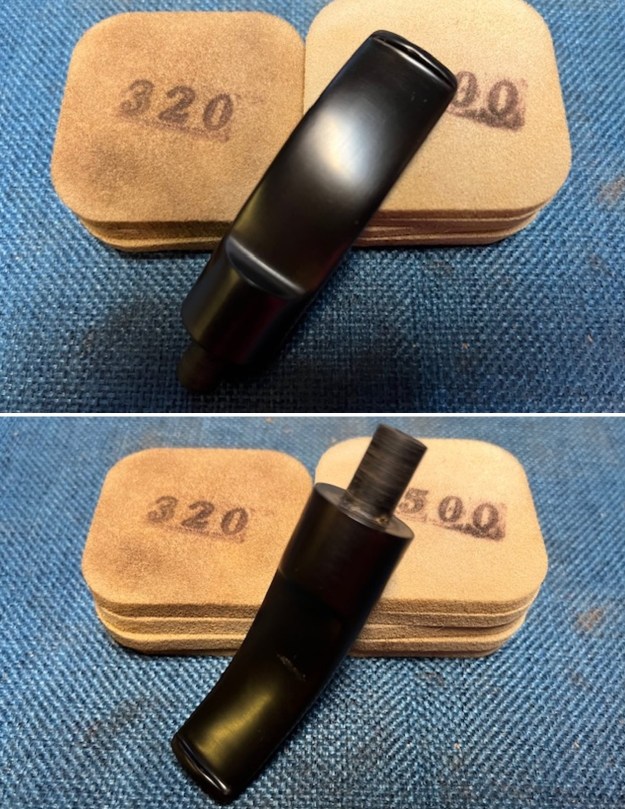
 I set the bowl aside and turned my attention to the stem. I polished the stem with 320-3500 grit sanding pads. I wiped the stem down after each sanding pad with an Obsidian Oil impregnated cloth. It removes the dust and also gives the sanding pads some bite. By the final pad it was looking quite good.
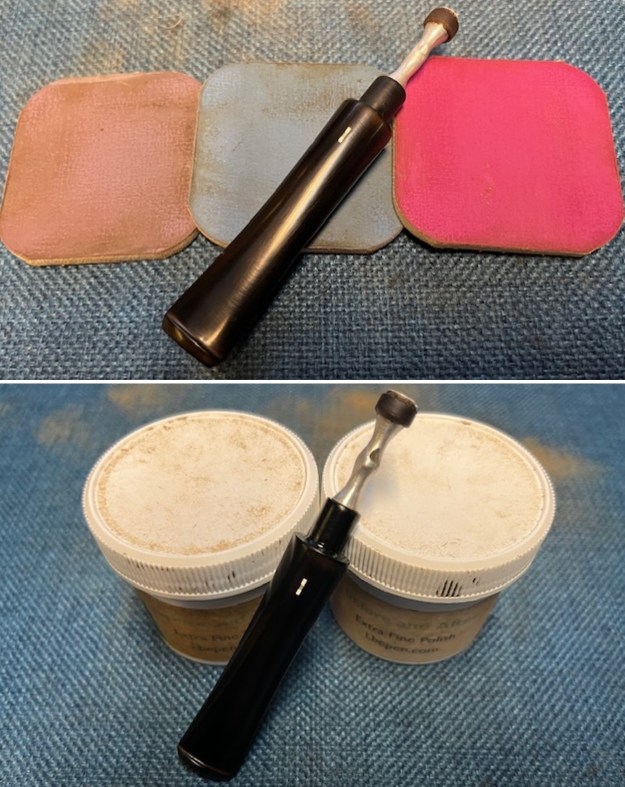
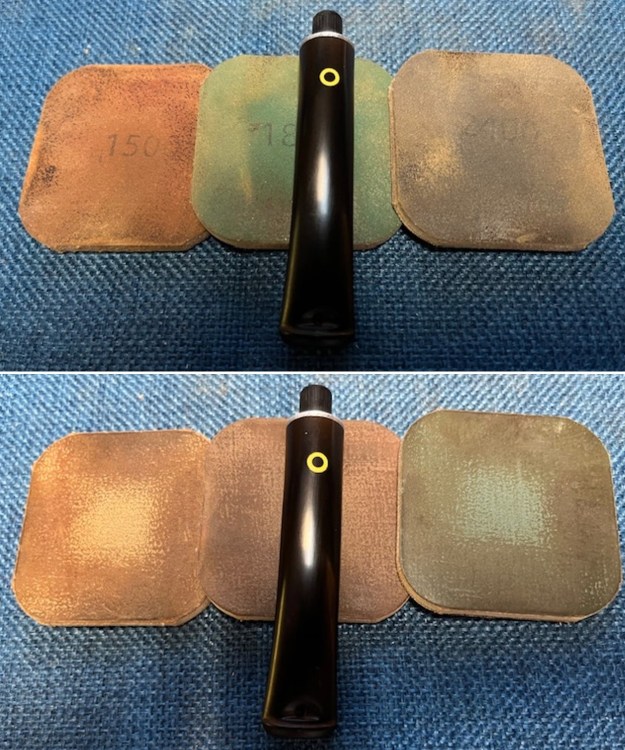
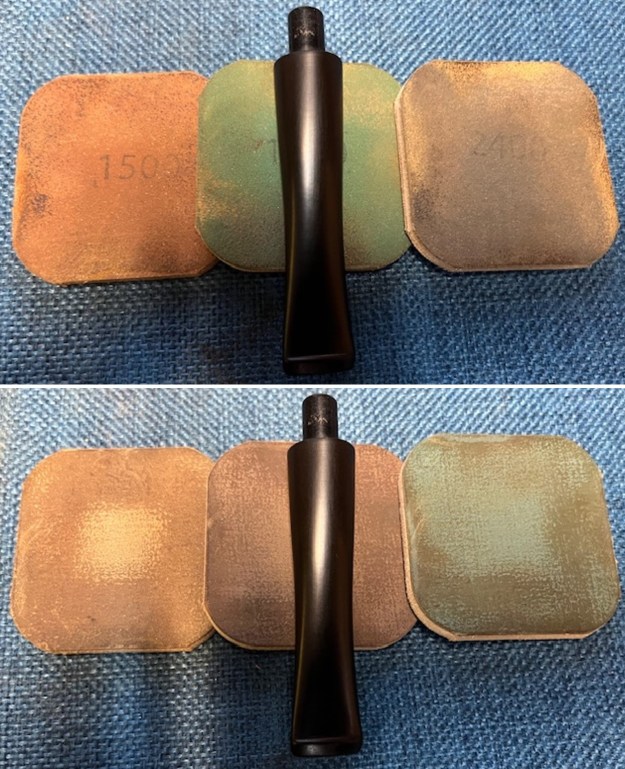
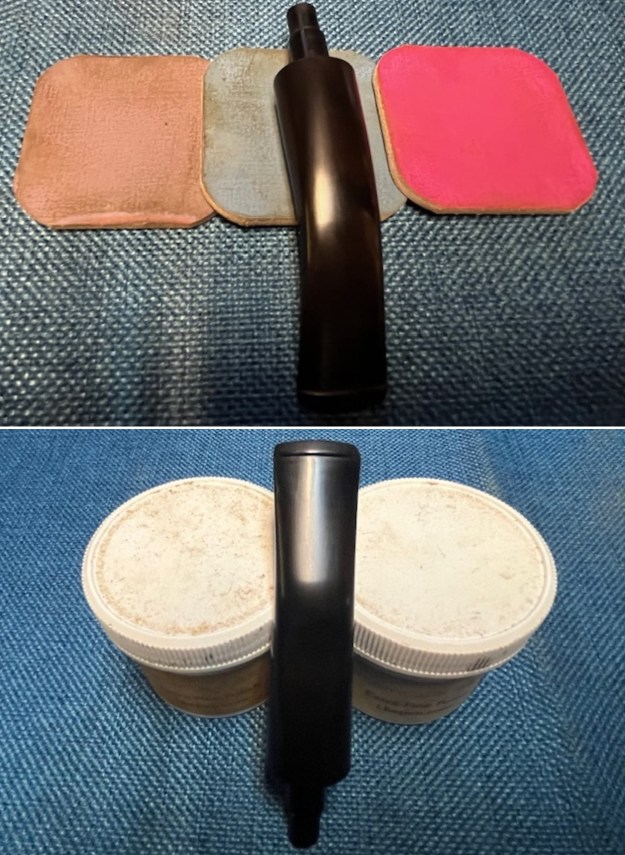
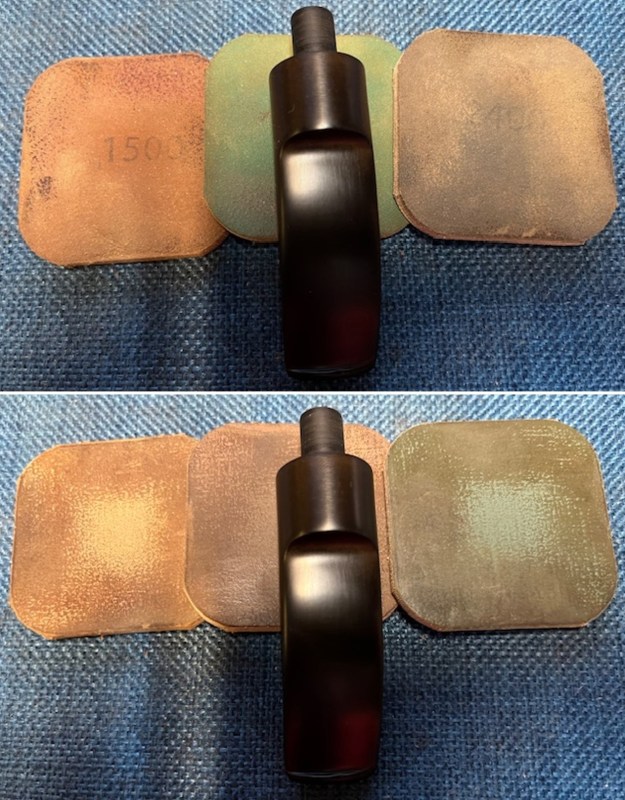
 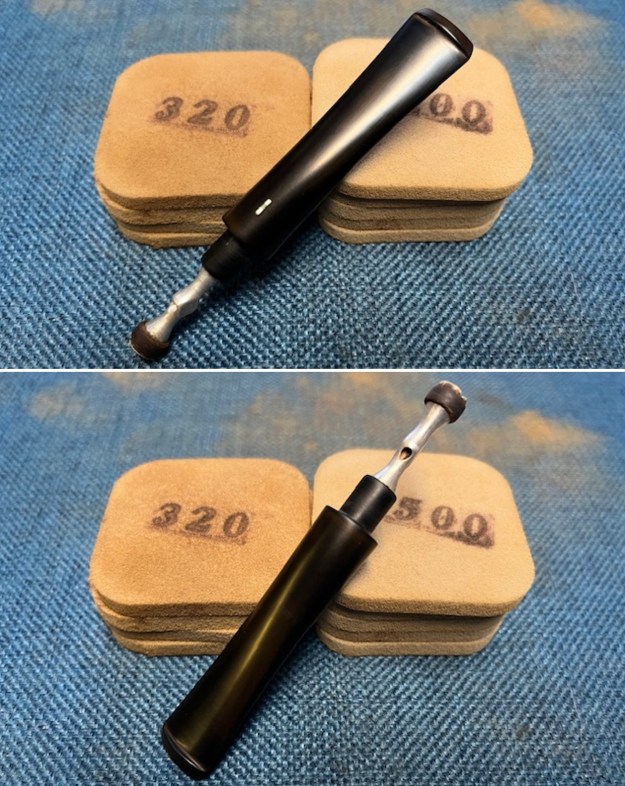 Following my usual process in restoration I polished the stem with micromesh sanding pads – dry sanding with 1500-12000 grit sanding pads. I wiped it down after each sanding pad with Obsidian Oil. I polished it further with Before & After Stem Polish – both Fine and Extra Fine. I gave it a final coat of Obsidian Oil and set it aside to absorb the oil.
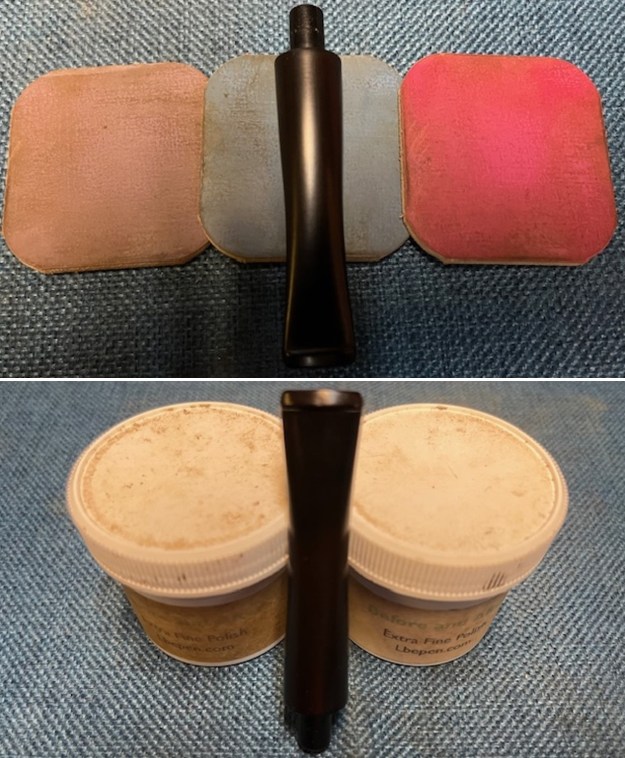
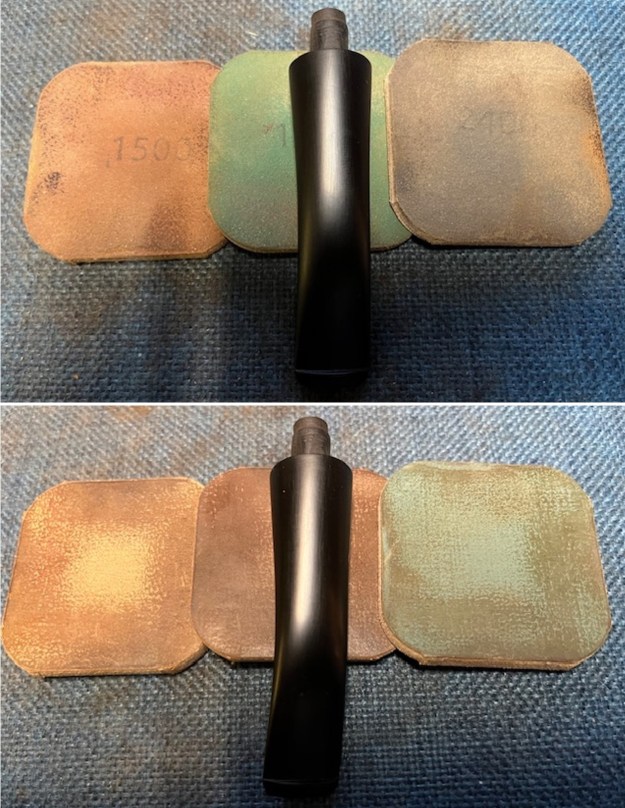
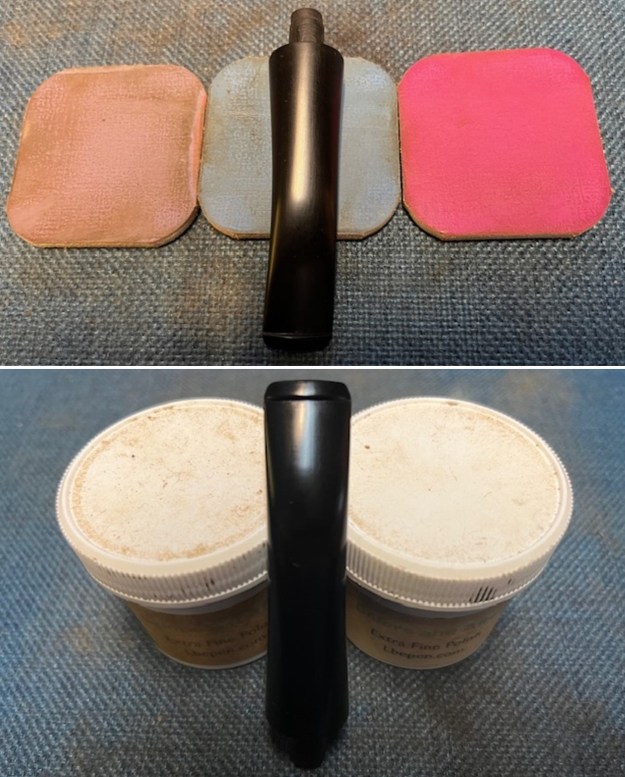
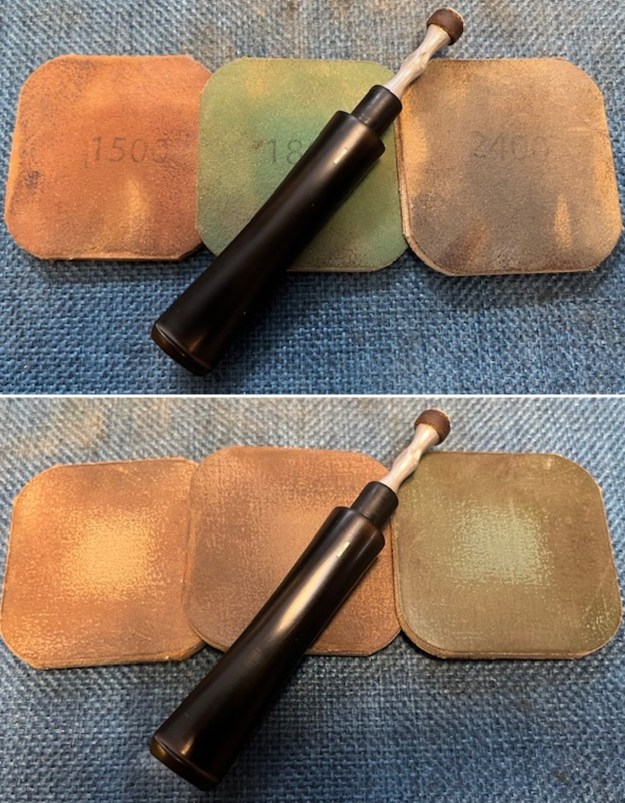
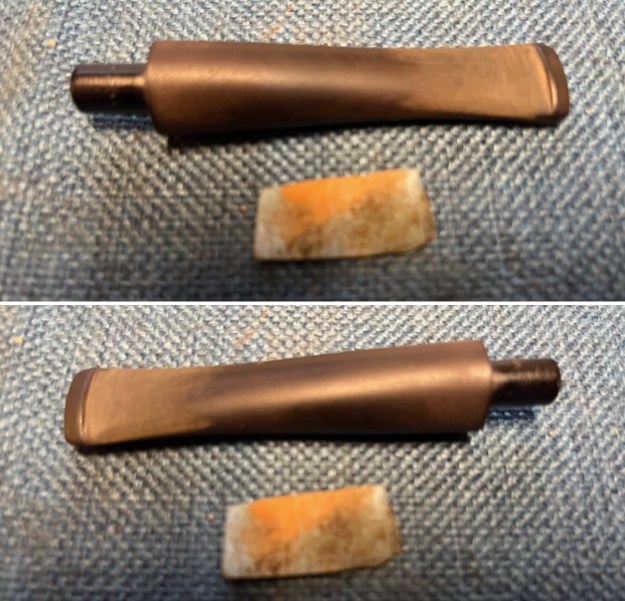
 I rubbed down the leather washer at the end of the aluminum stinger apparatus with a coat of Vaseline. I worked it into the leather and repeated the process.
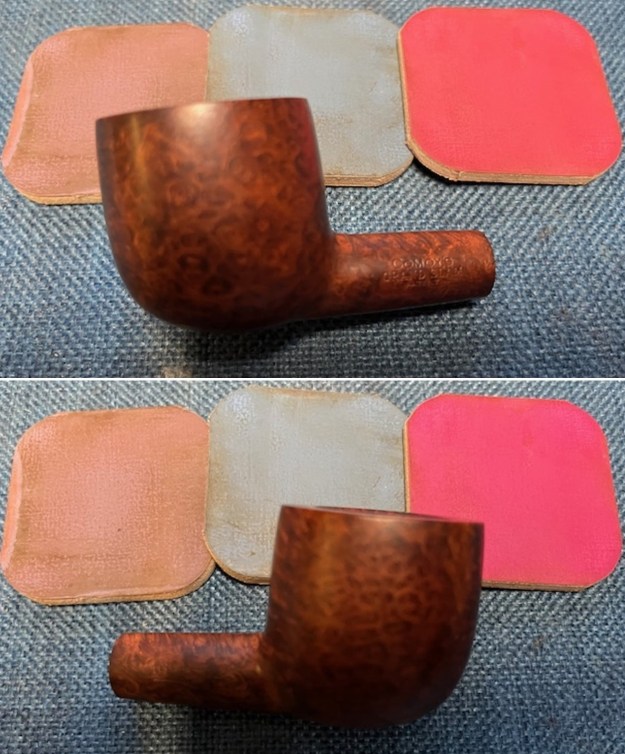
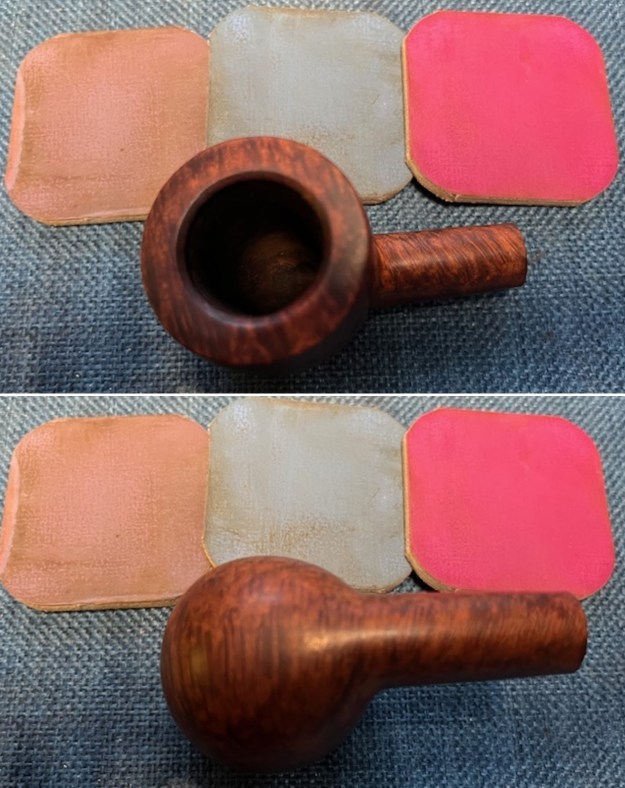
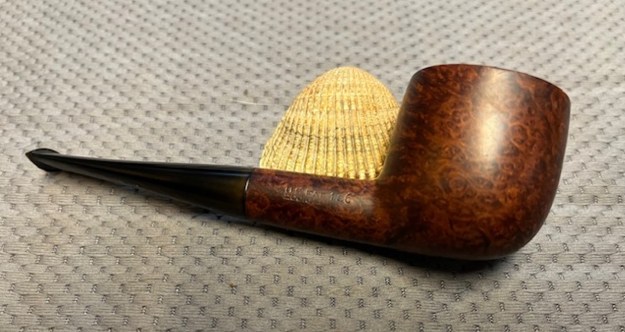
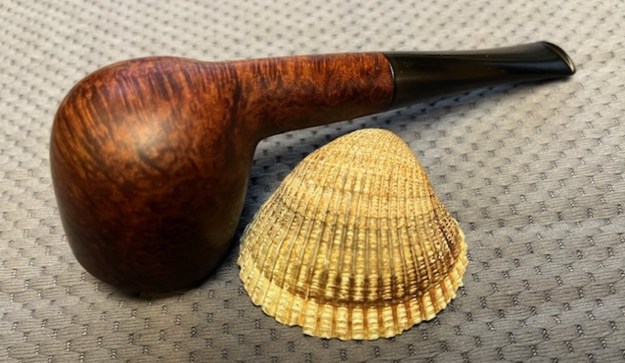
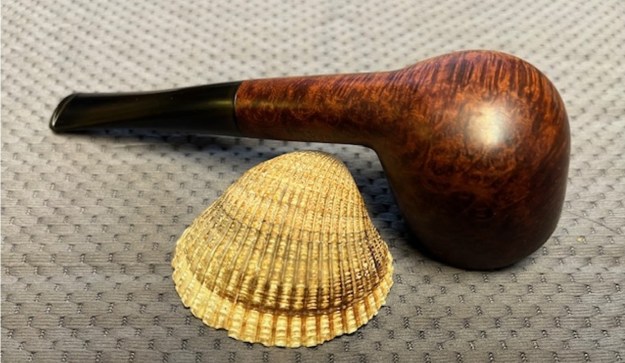
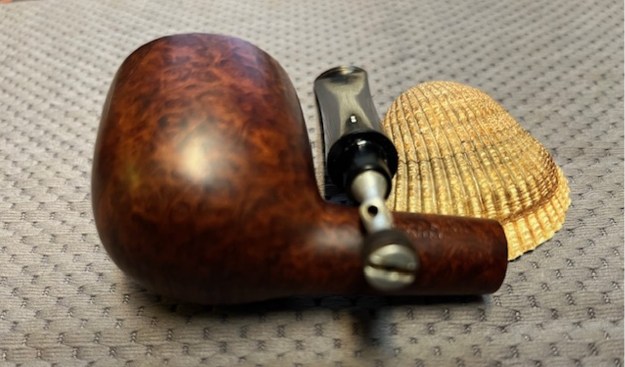
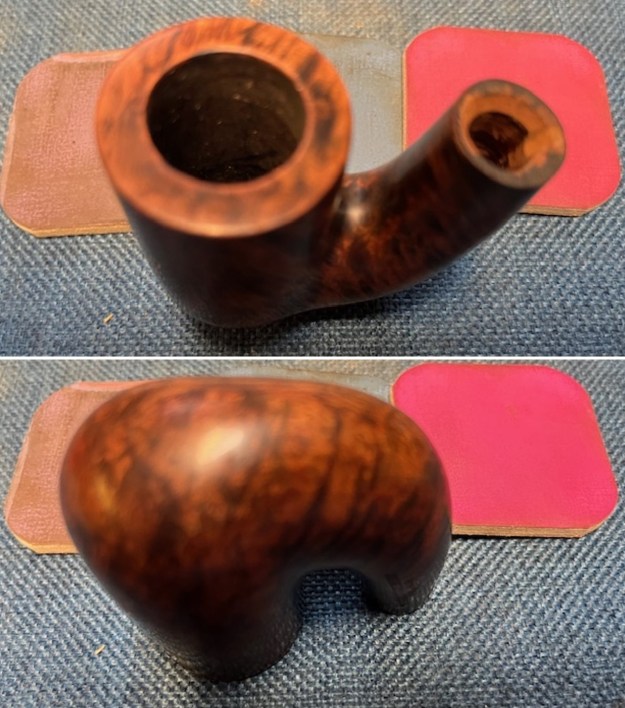
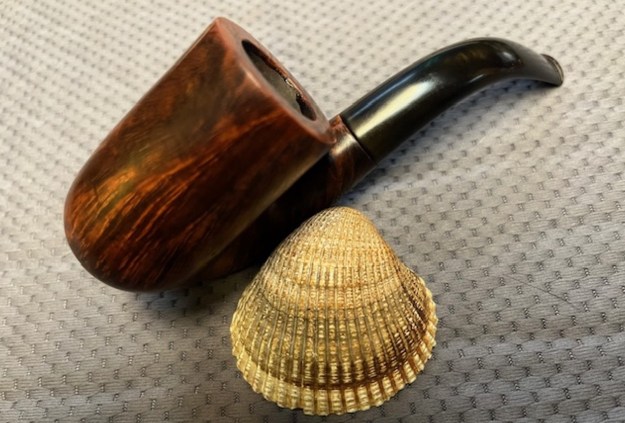
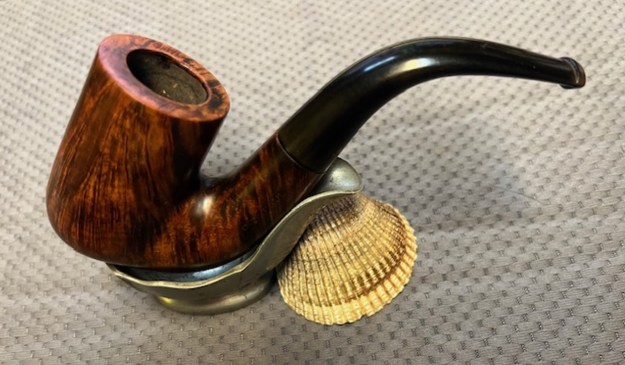
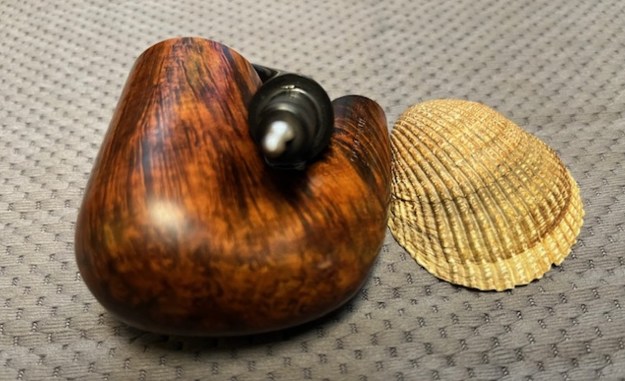
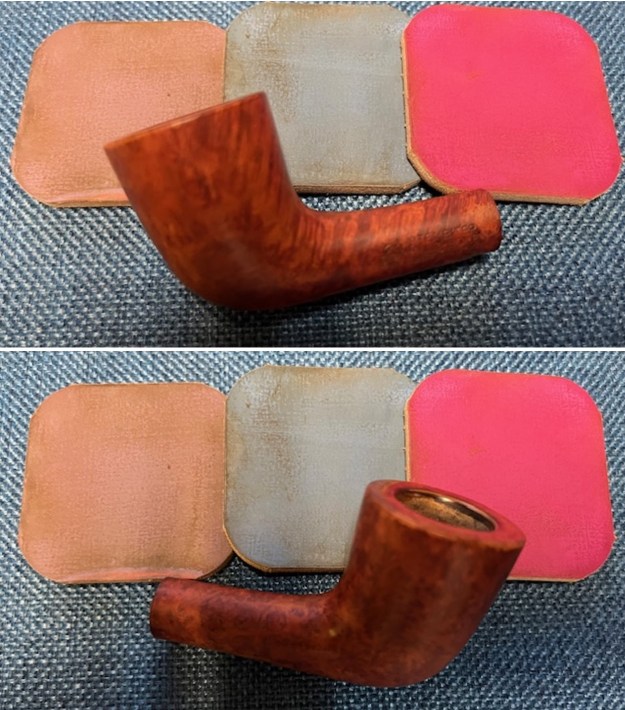
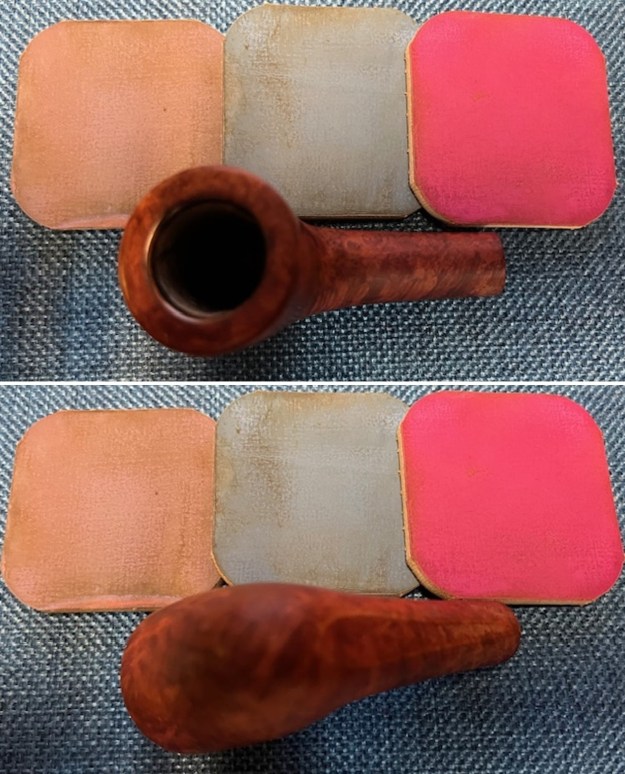
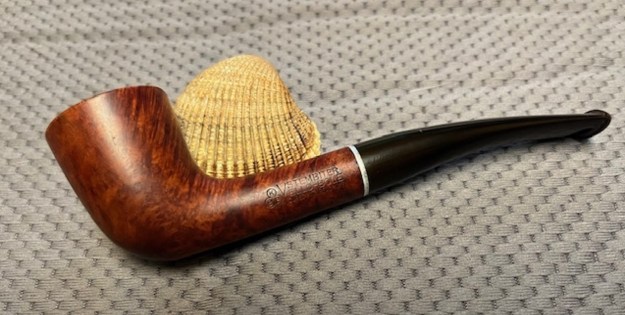
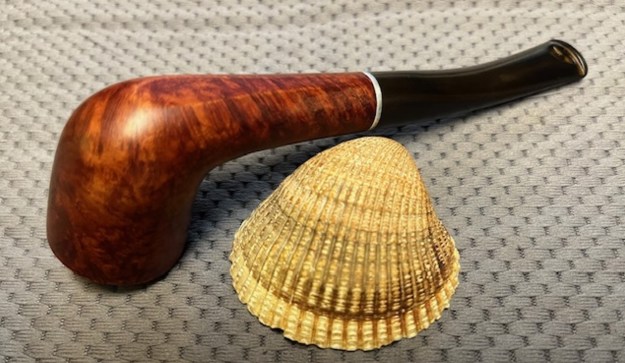
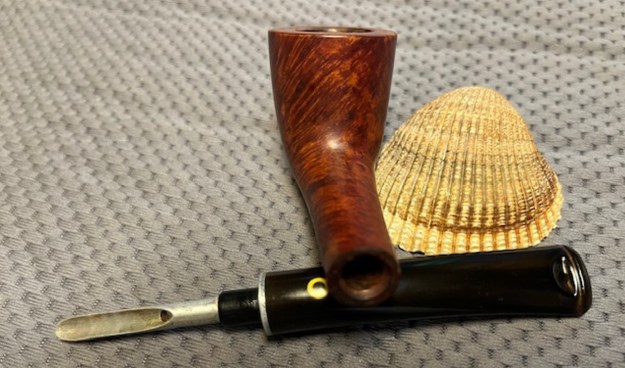
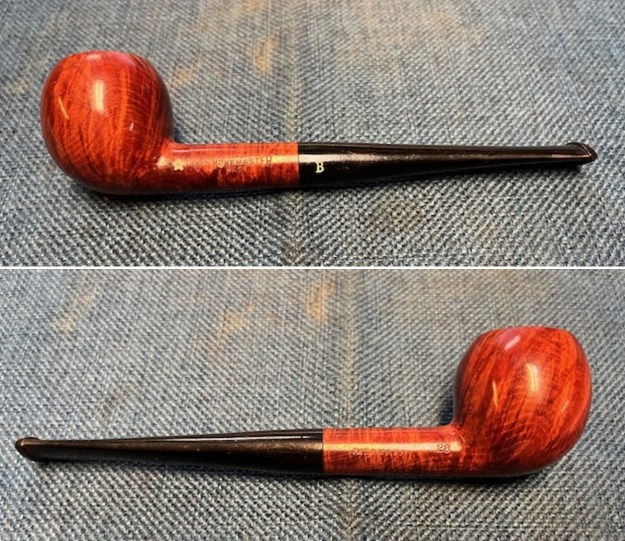
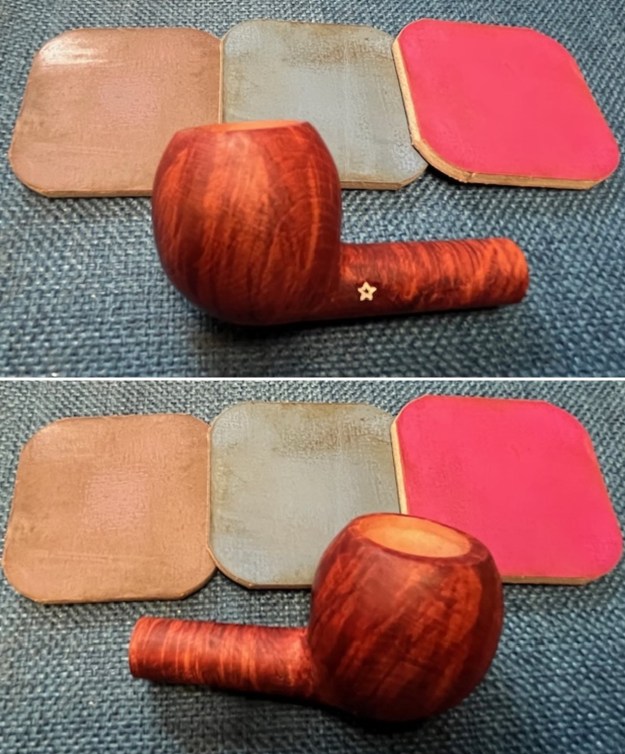
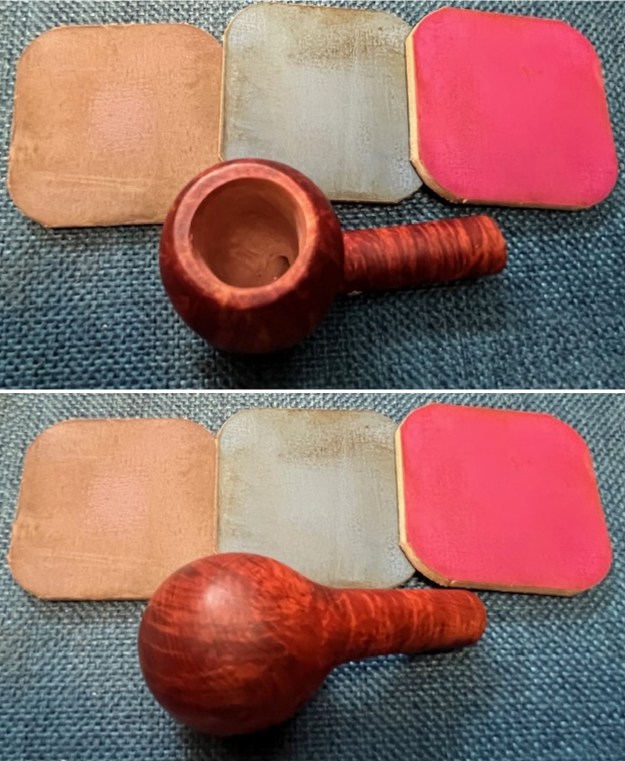
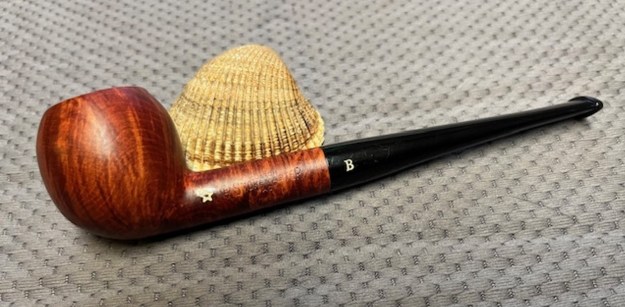
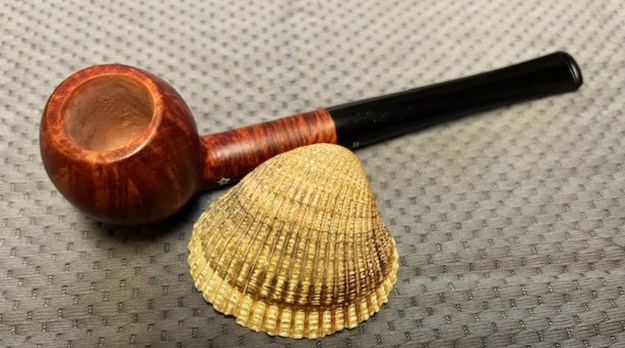
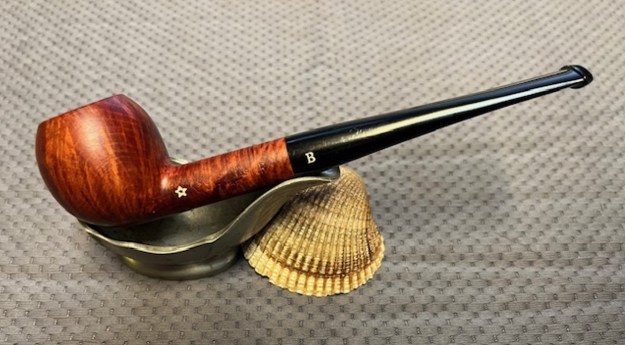
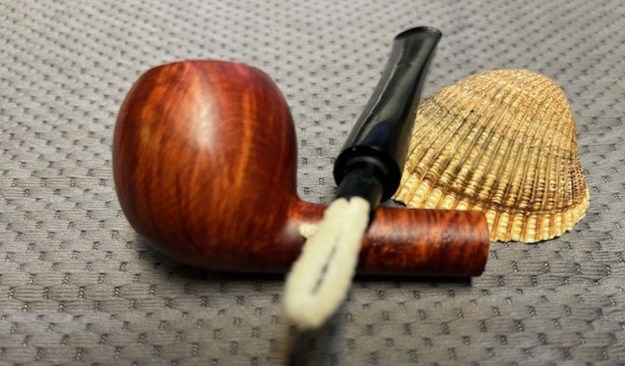
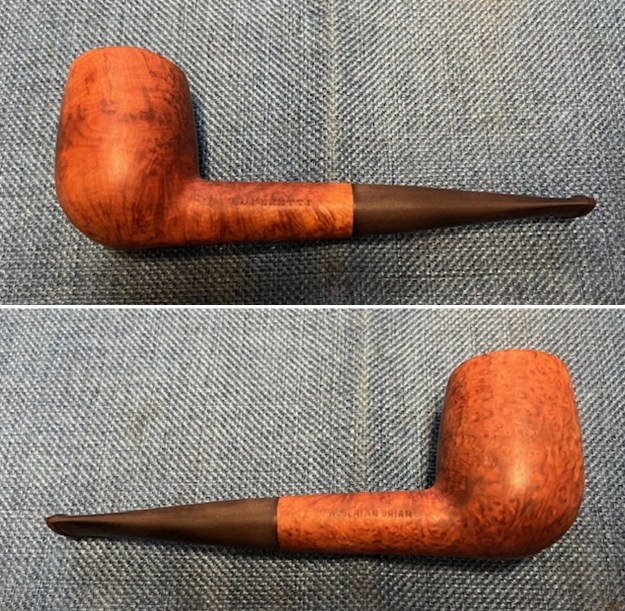
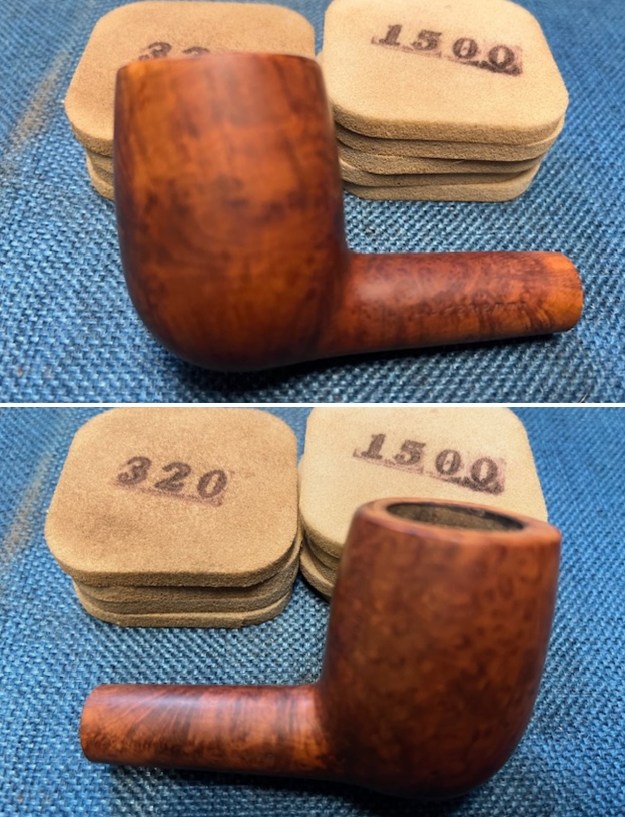
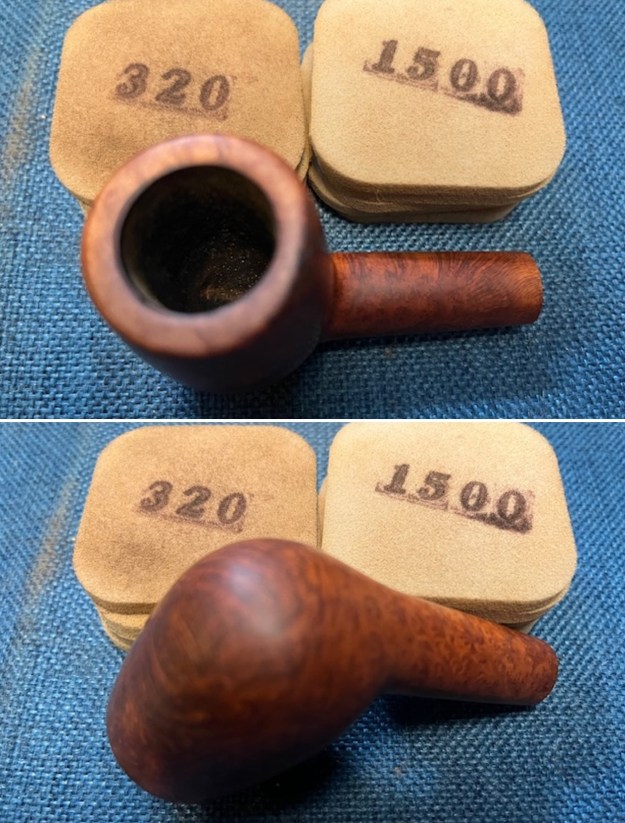
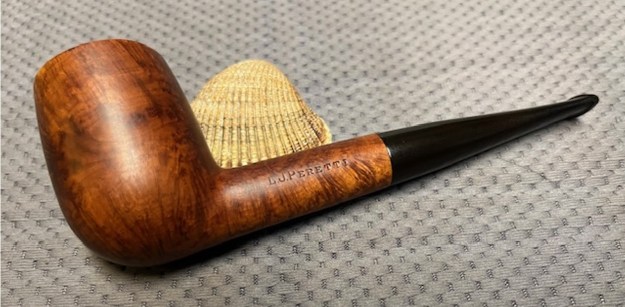
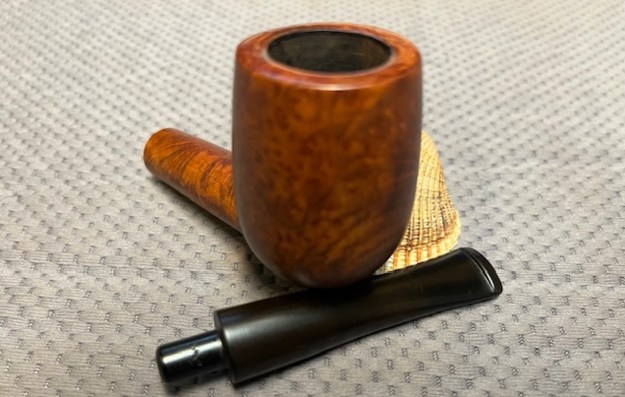
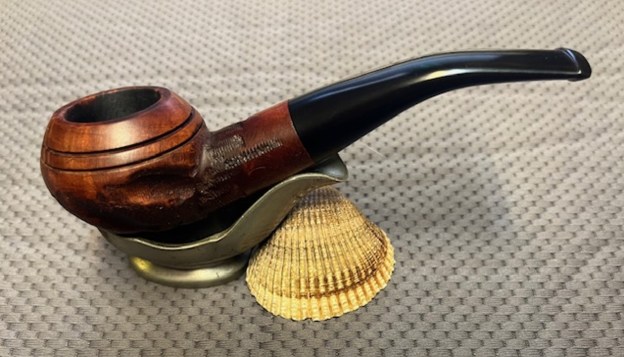
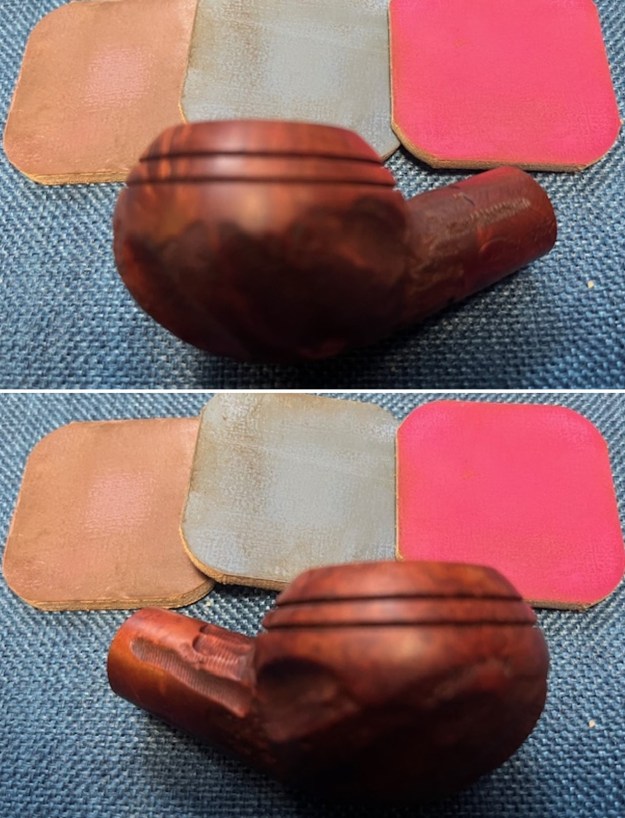
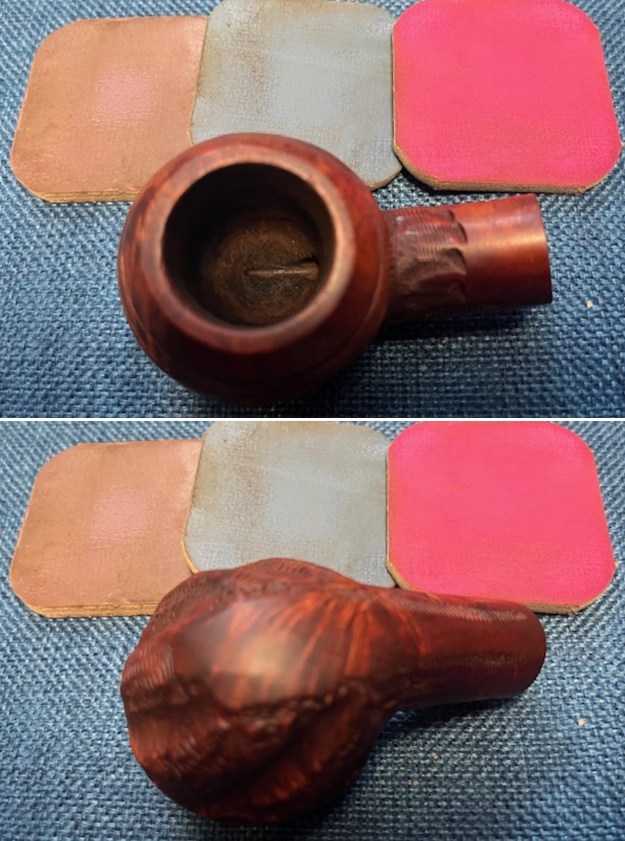
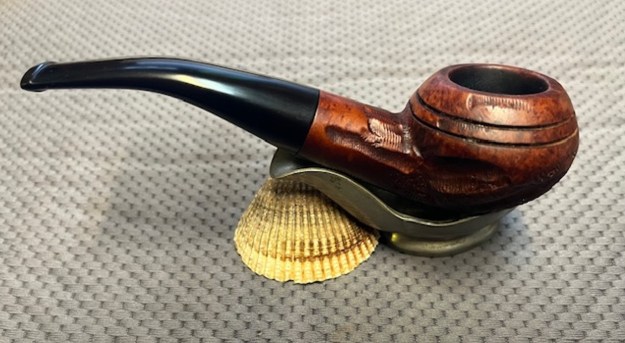
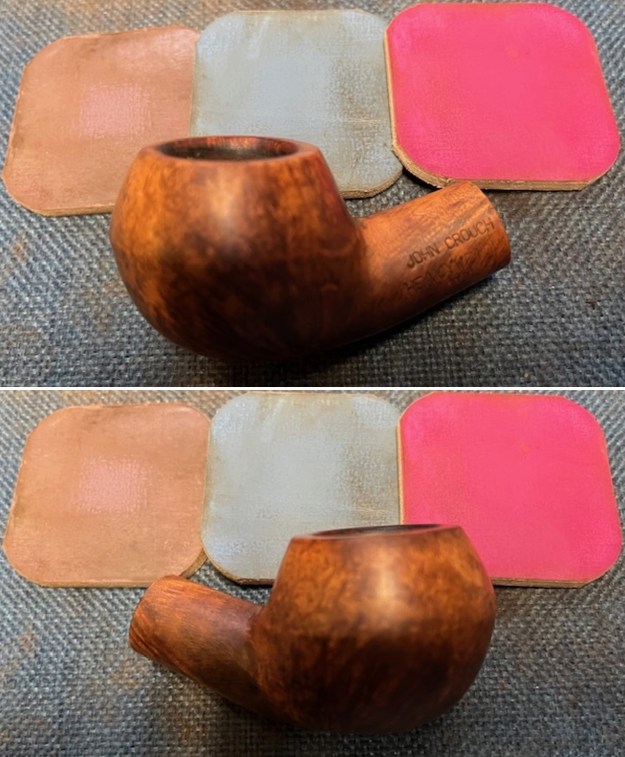
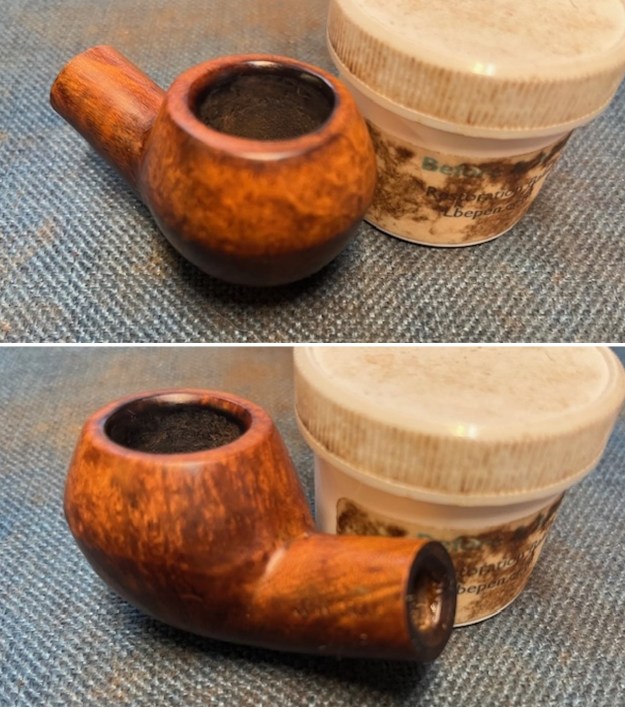
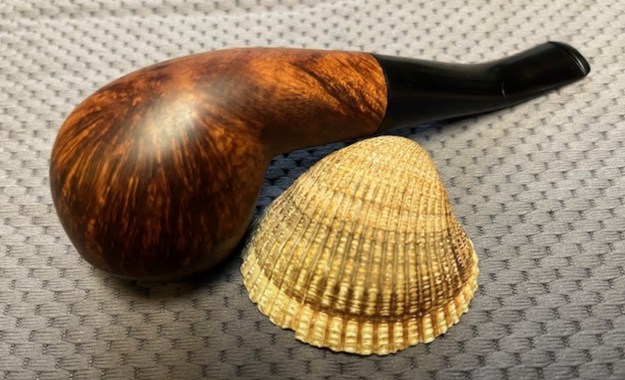
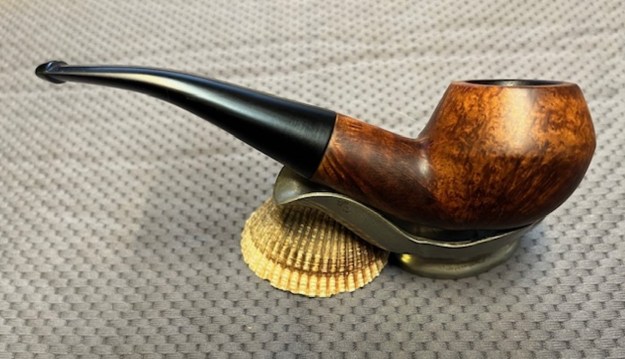
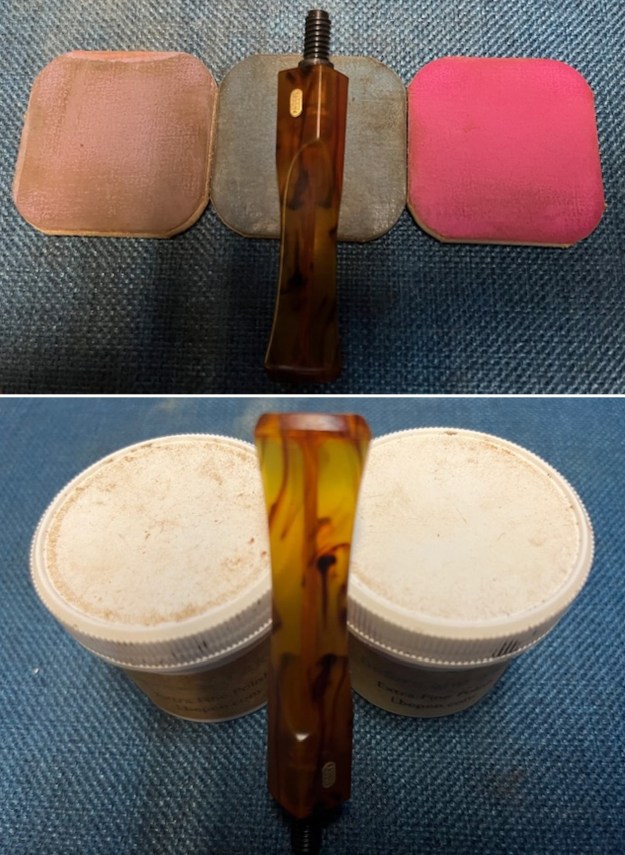
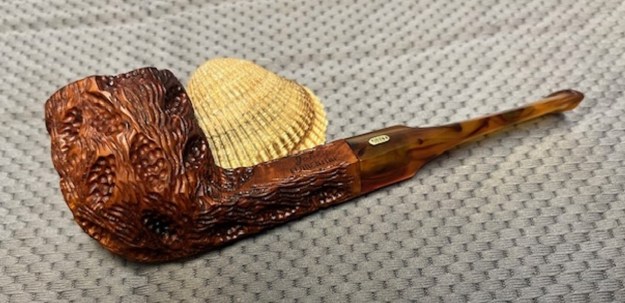
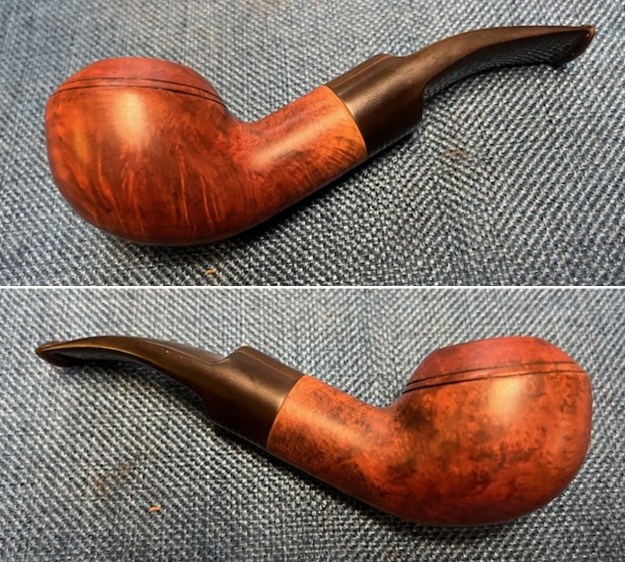
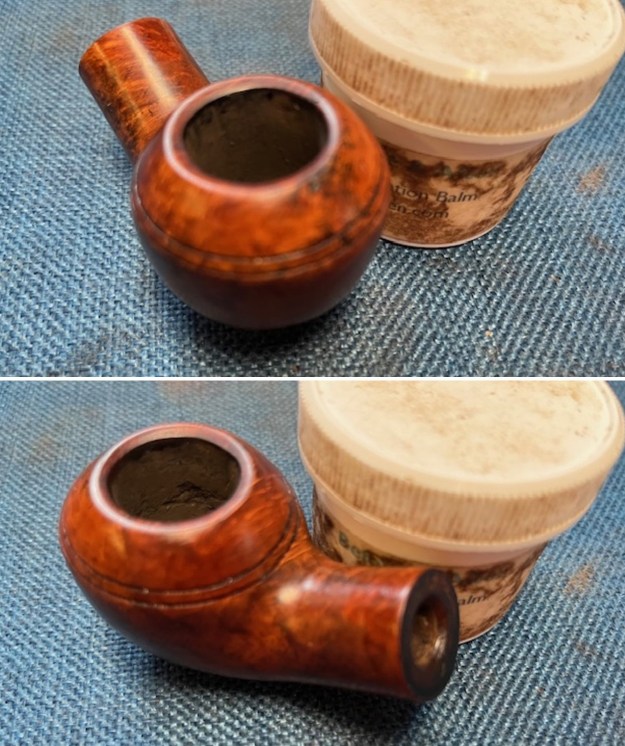
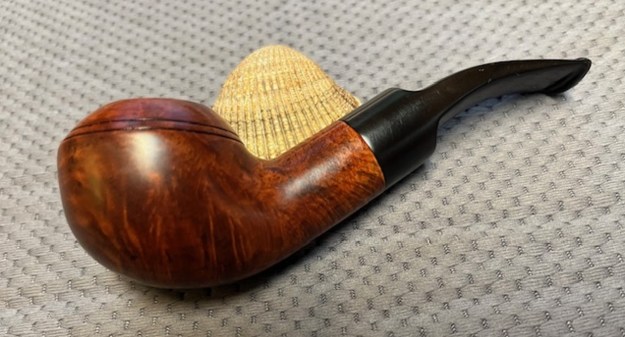
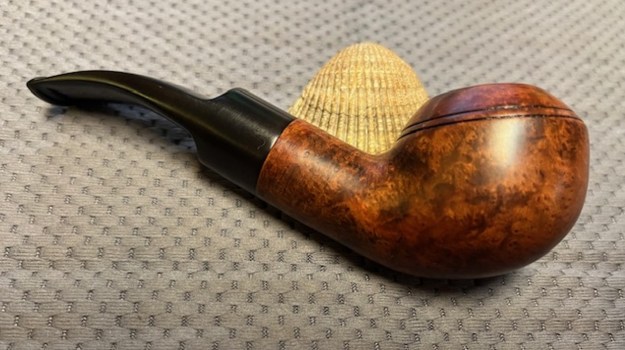
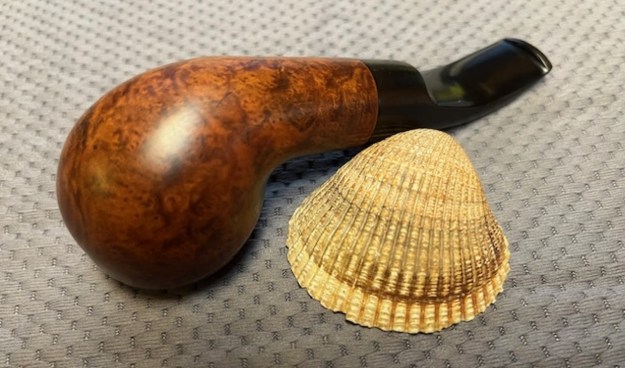
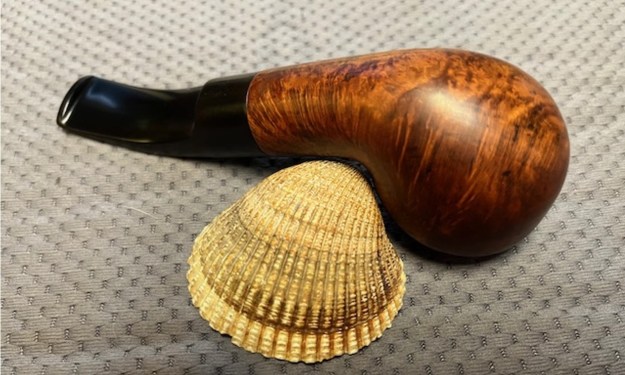
  The Comoy’s Grand Slam Patent 126 Pot is finished other than the final waxing and buffing. I polished the bowl and stem with Blue Diamond to polish out the remaining small scratches and gave it several coats of carnauba. I buffed the pipe with a clean buffing pad on the buffer to raise the shine. I hand buffed it with a microfiber cloth to deepen the shine. The pipe polished up pretty nicely. The finished pipe is shown in the photos below. The dimensions are Length: 5 ½ inches, Height: 1 ½ inches, Outside diameter of the bowl: 1 ½ inches, Chamber diameter: 1 inch. The weight of the pipe is 39 grams/1.38 ounces. It is a great looking pipe now that it is restored. It feels great in the hand and as it warms up it as smoked it should be even better. This is the last of Robert’s pipes that I needed to work on so they are ready for him to pick them up. I look forward to hearing what he thinks of it once he has them in hand. If the condition was any indicator it is a good smoker. Thanks for walking through the restoration with me as I worked over this Comoy’s Grand Slam 126 Pot.
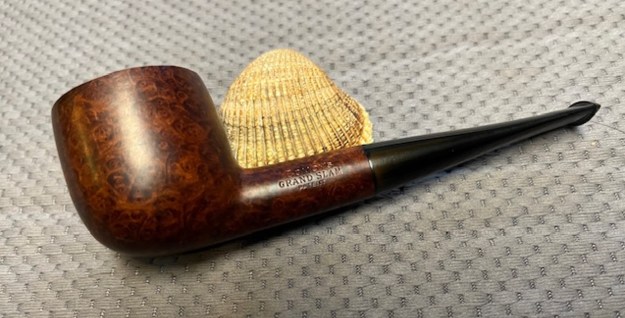


