Blog by Steve Laug
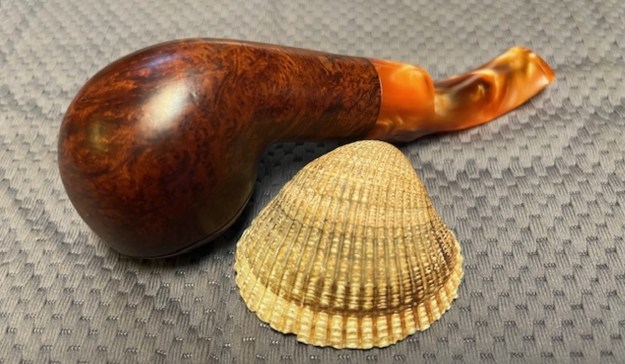
The next pipe on the table is a Danish looking Plateau Panel. We purchased it from fellow in Mount Pleasant, South Carolina, USA on 03/20/2024. He said that as far as he could tell it appeared to be unstamped. To me it looked like a Danish pipe but I could not identify it from the photos he sent me nor could he. 


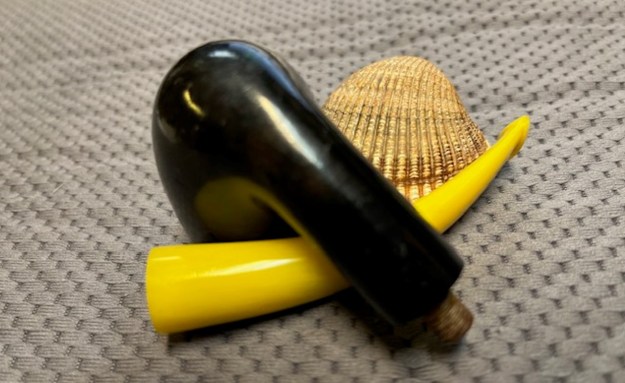
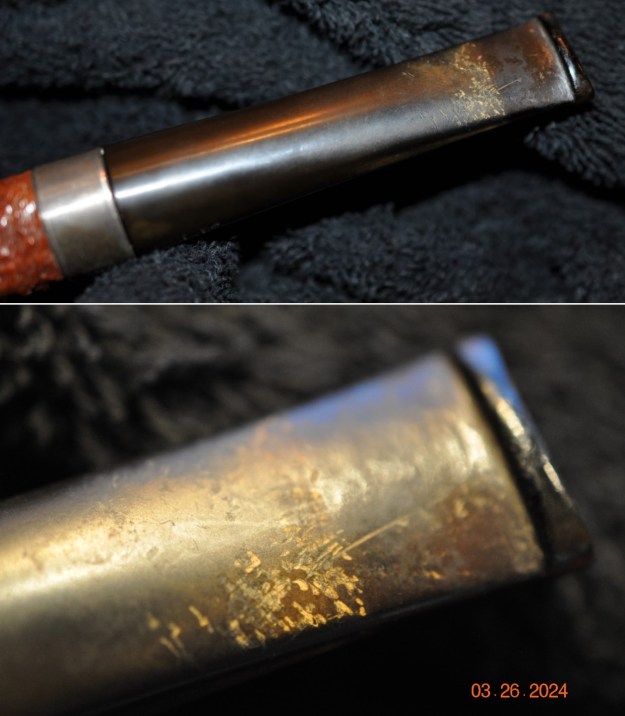
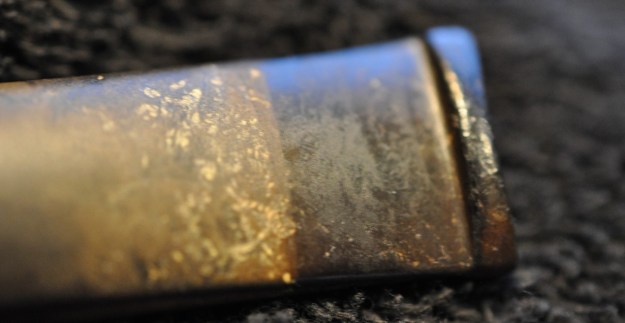
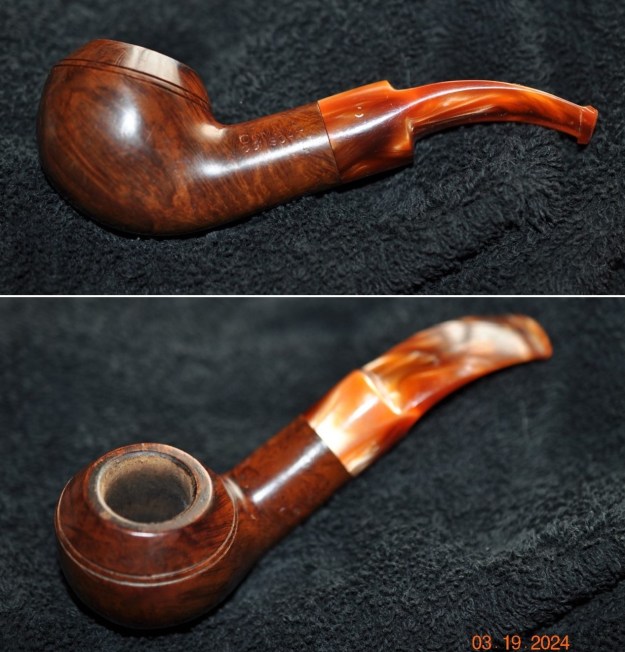
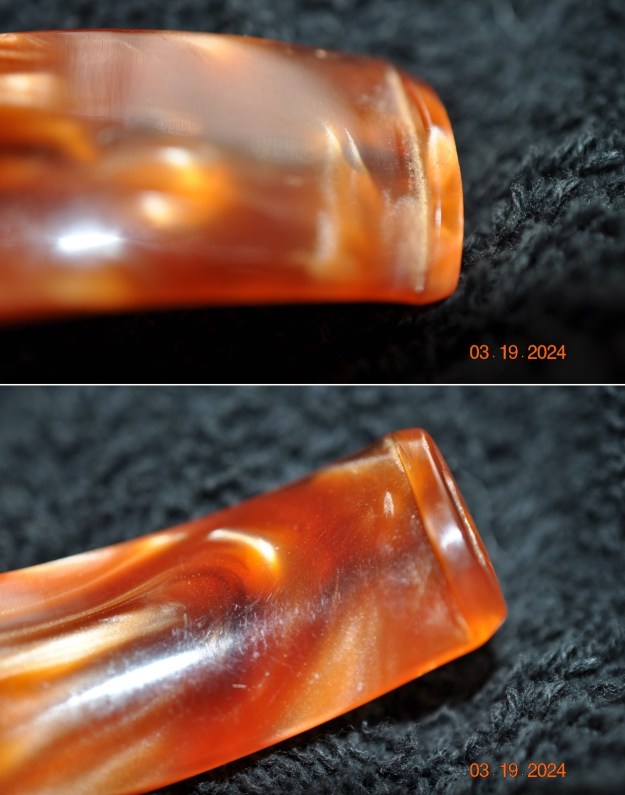
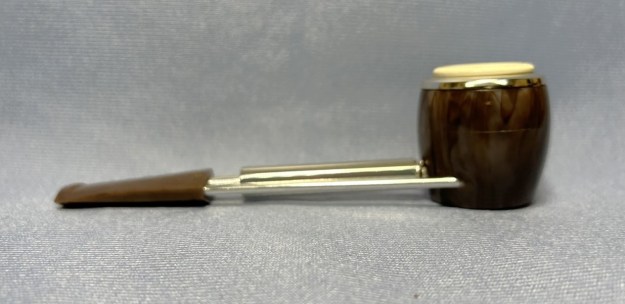
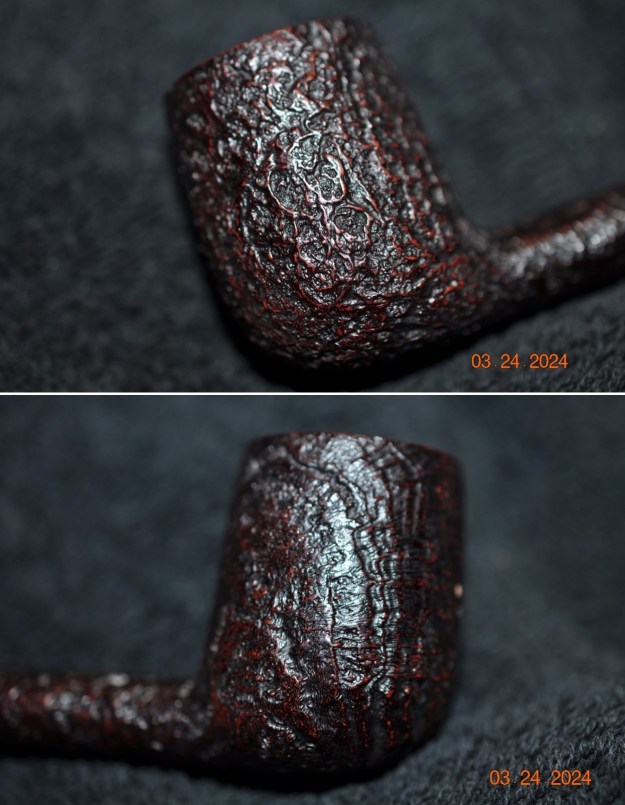
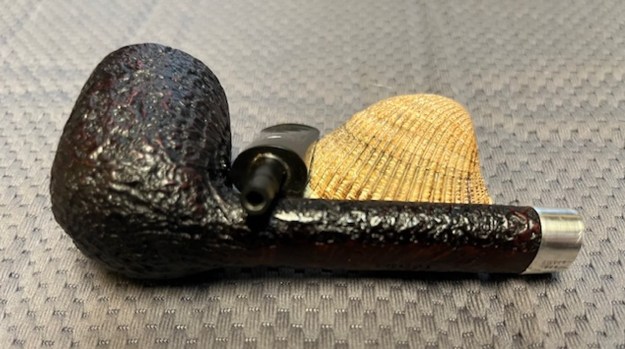
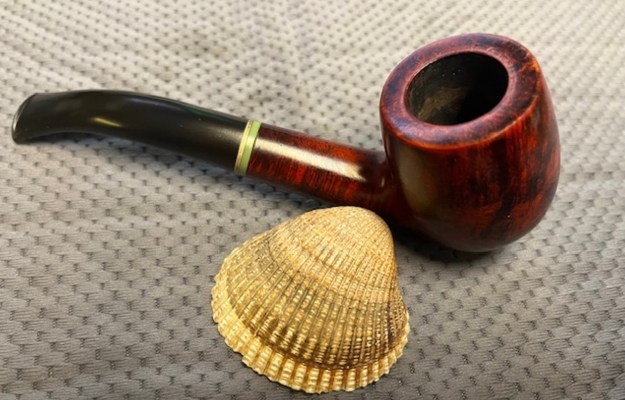
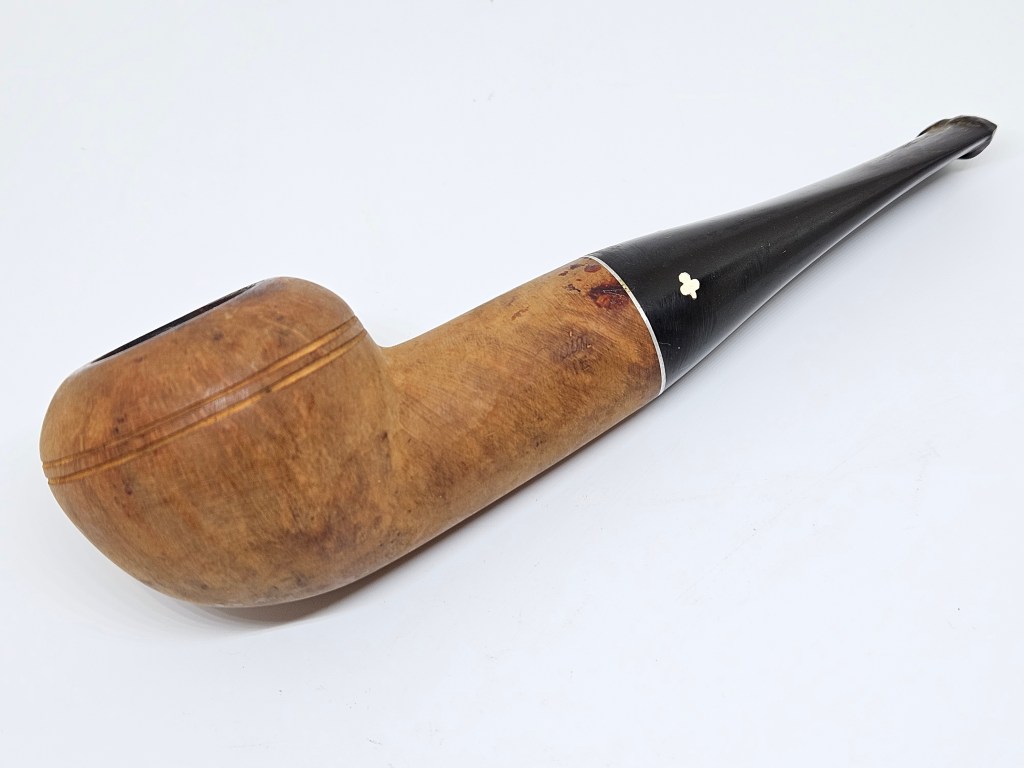
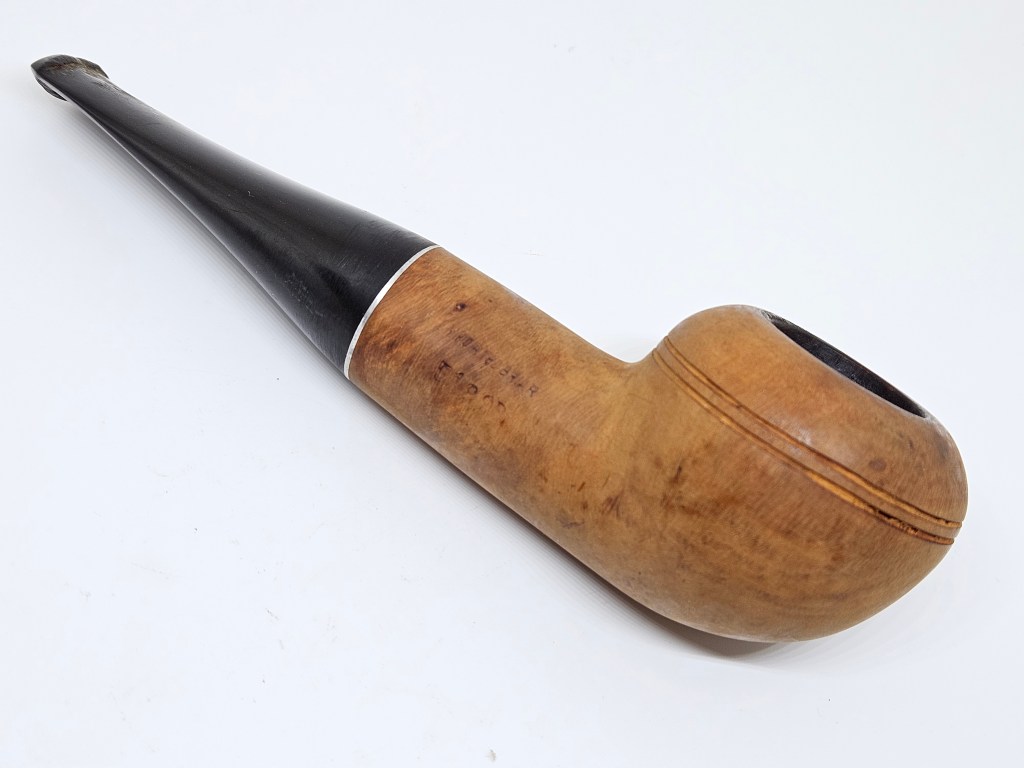
 There was a thick cake in the bowl with a heavy lava coat around the inner edge and deep in the valleys and crevices on the plateau top. There was grime ground into the rusticated finish around the bowl and shank. The plateau end on the shank end was also dirty. The pipe had been smoked heavily and was someone’s obvious favourite. It was hard to know the condition of the inner edge for certain because of the lava. The stamping on the shank is not visible in the photos and the seller could not read anything. The fancy turned saddle stem is oxidized and calcified. There appears to be some deep tooth marks and chatter on the top and underside of the stem ahead of the button. Jeff took photos of the pipe before he started his clean up work. I have included them below.
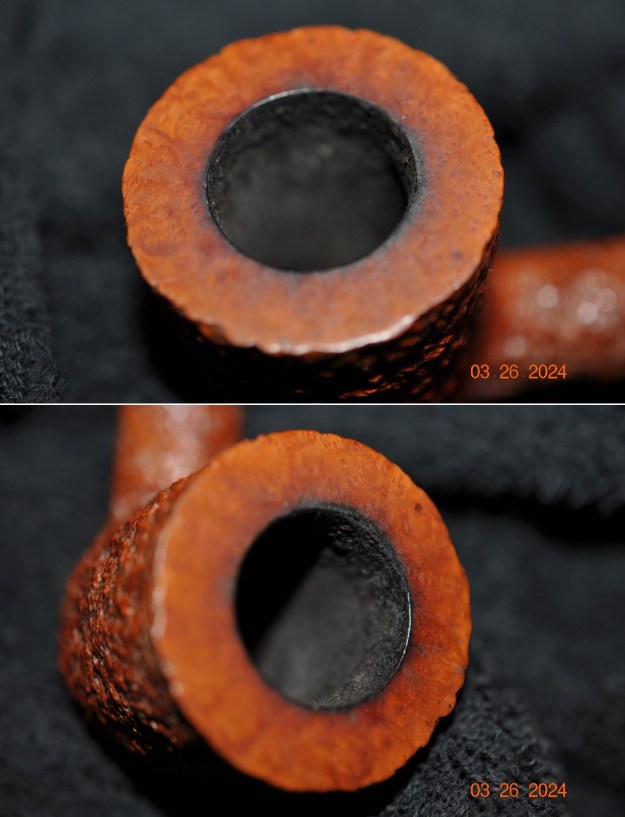
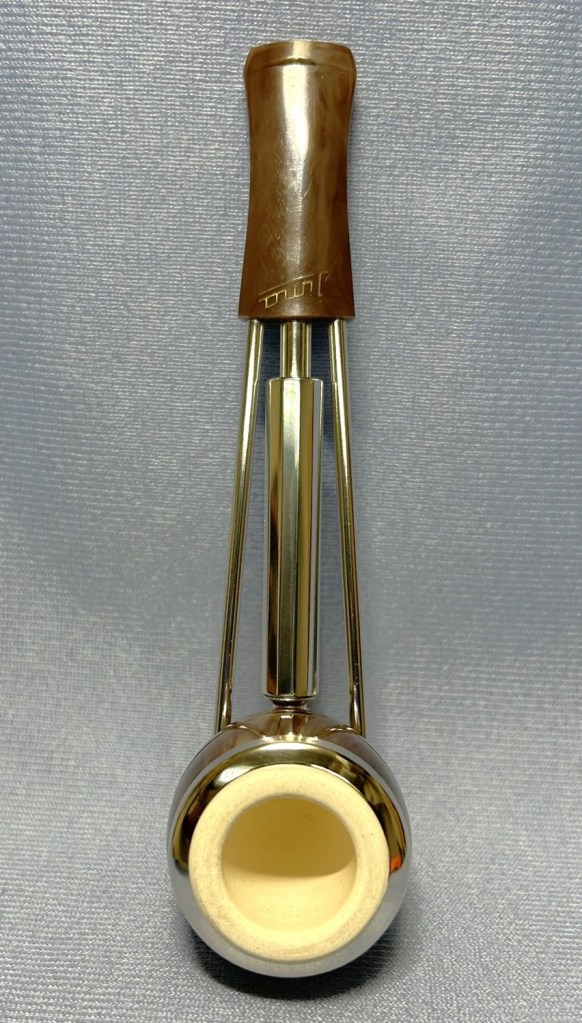
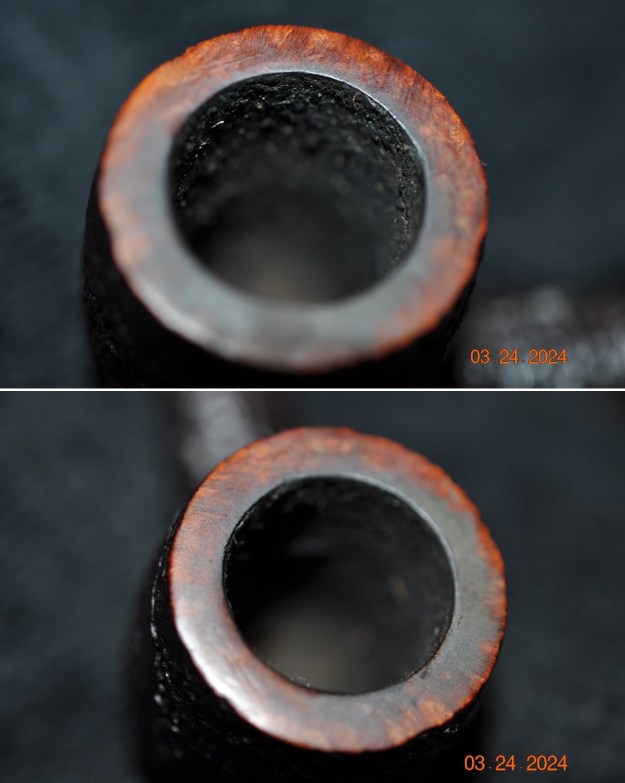
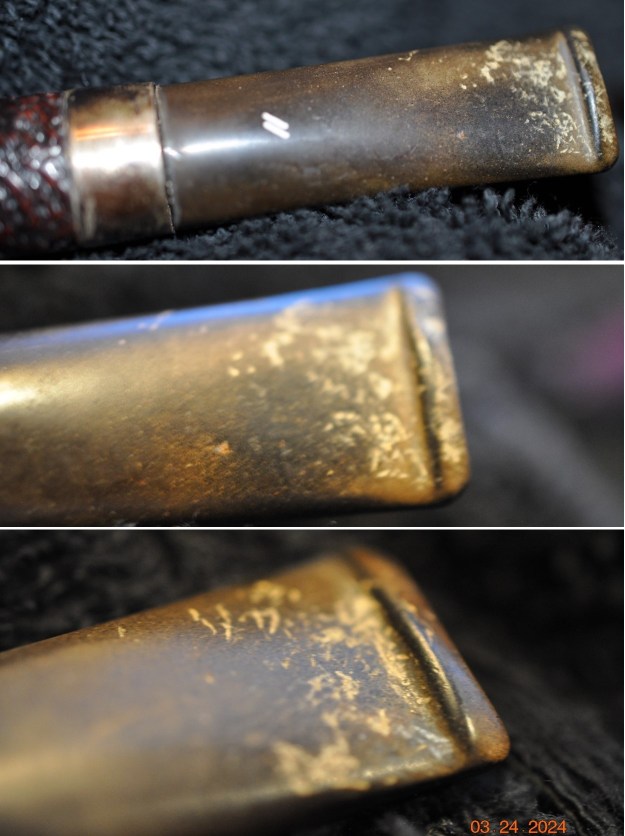
 Jeff took photos of the rim top, bowl and the surfaces of the stem to give a sense of the condition of the pipe. The walls of the bowl had a thick cake which overflowed over the rim edges and onto the rim top. The stem is oxidized, calcified and dirty. There are tooth marks on both sides ahead of the button.
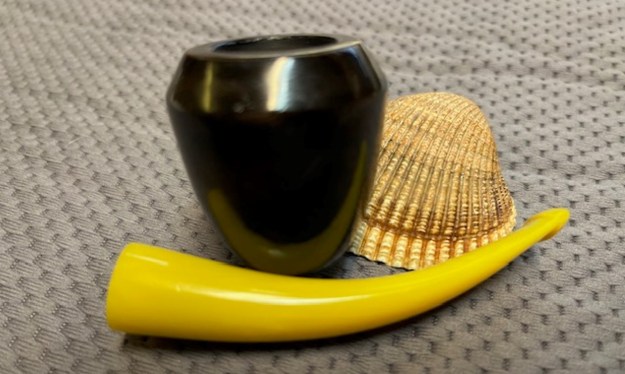
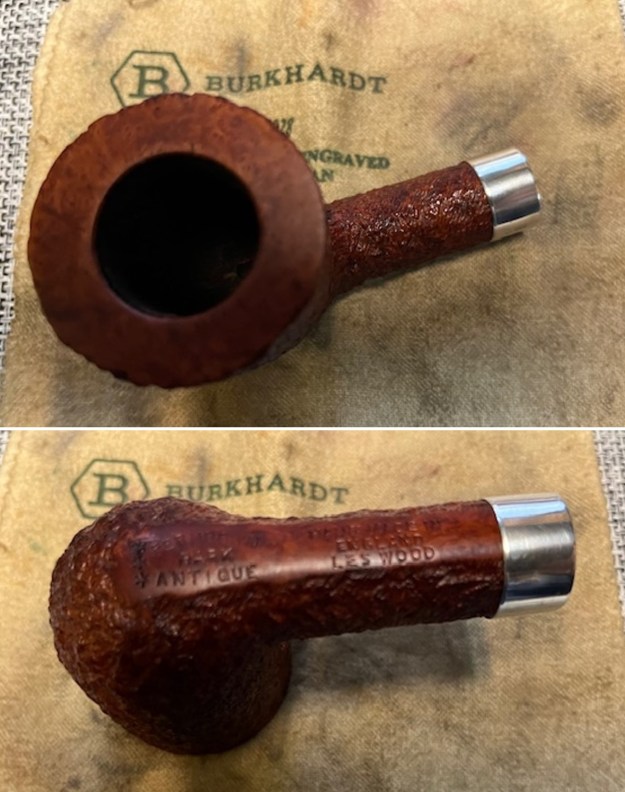
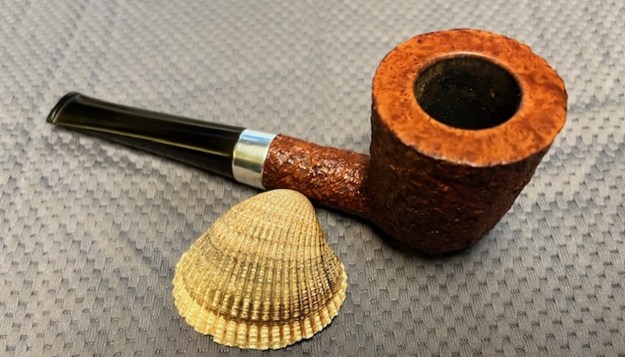
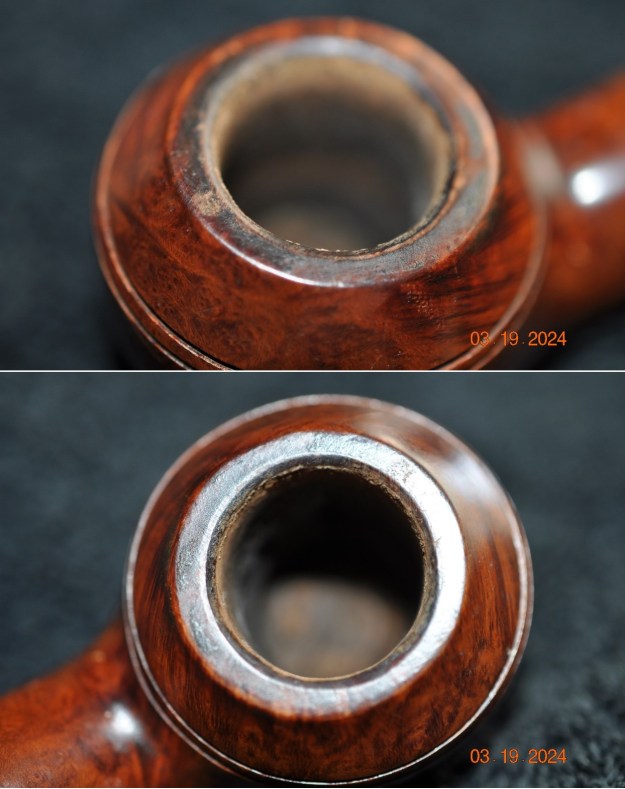
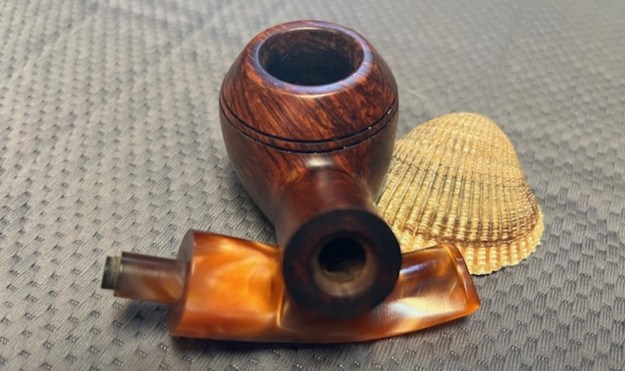
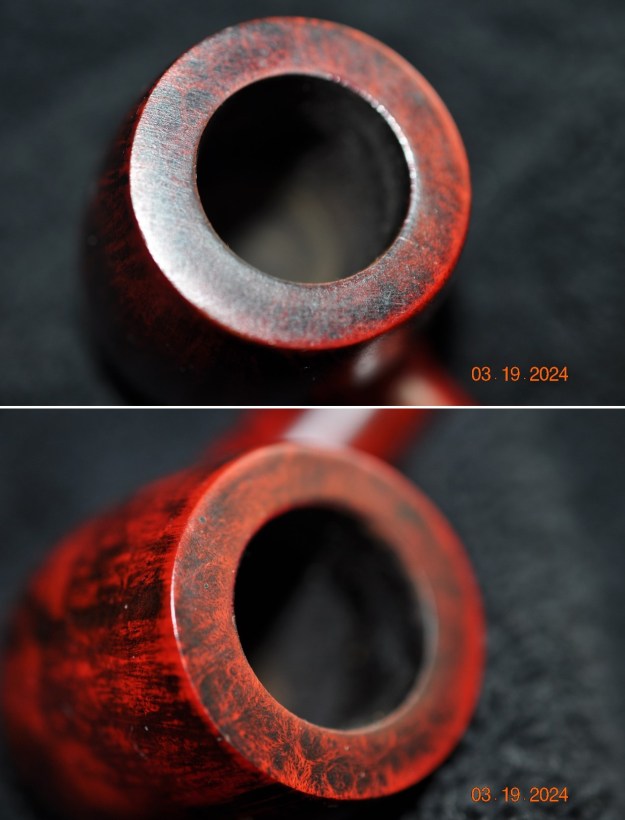
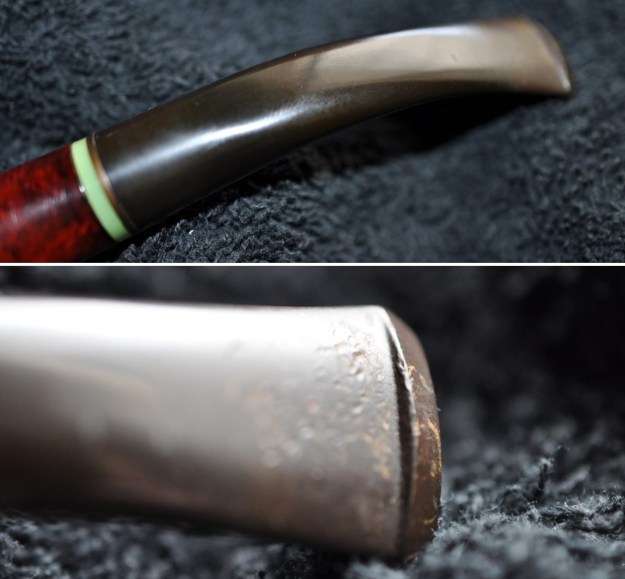
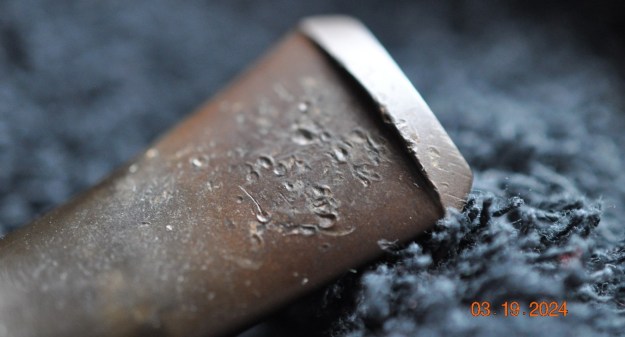
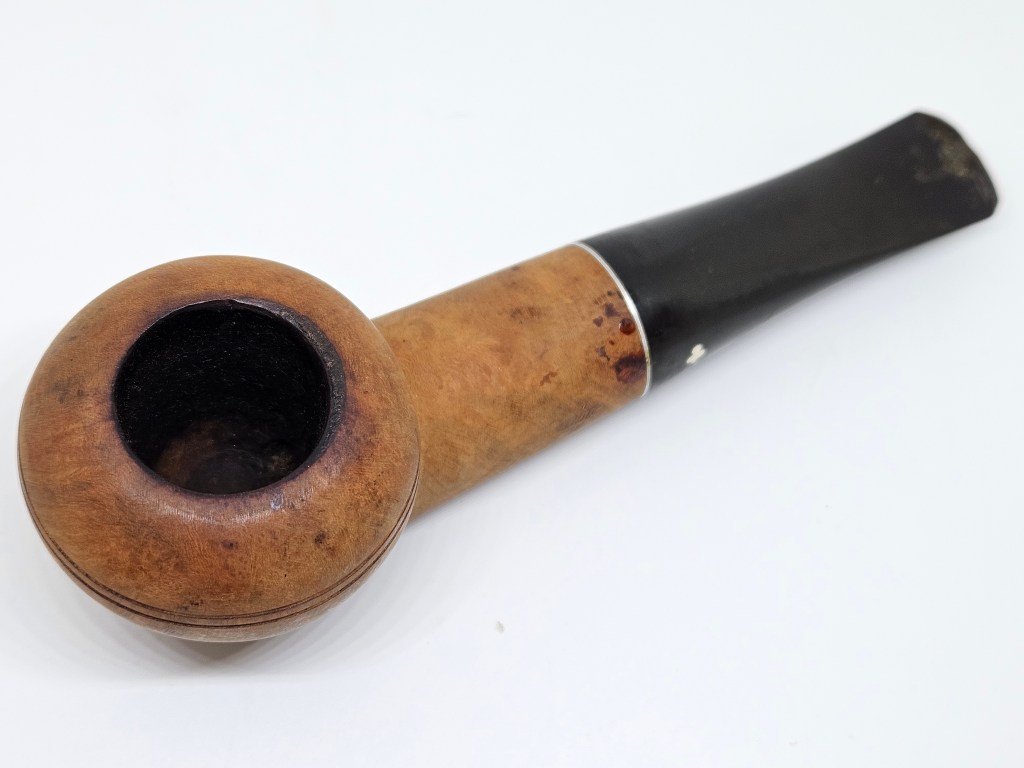

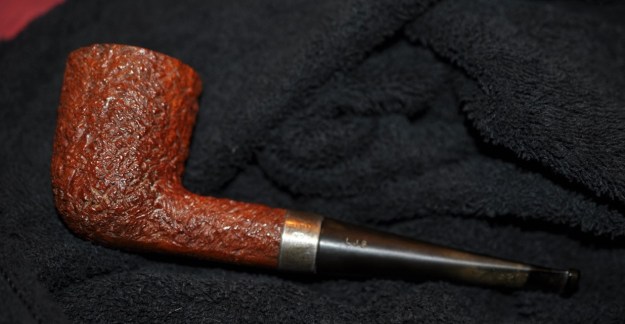
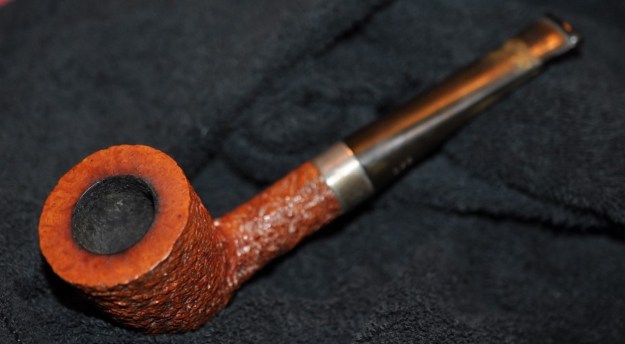
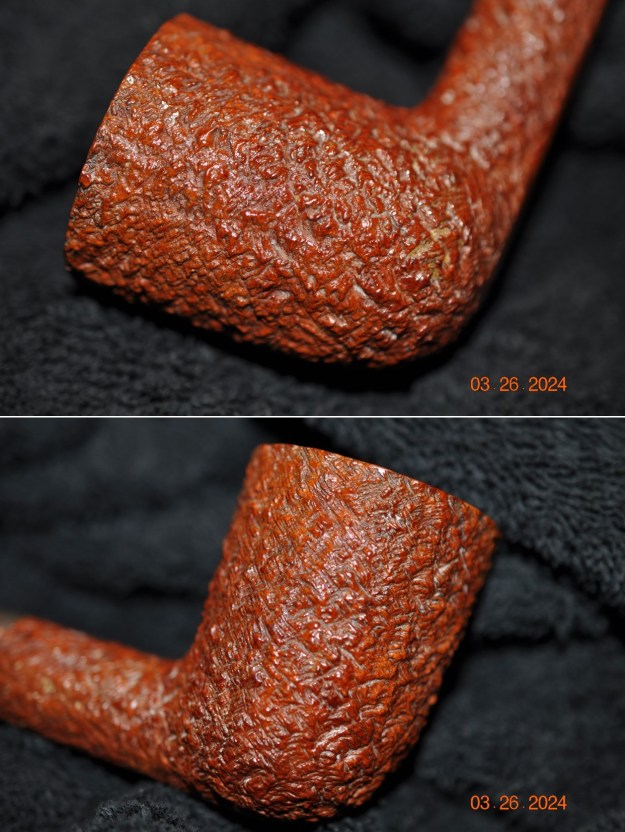
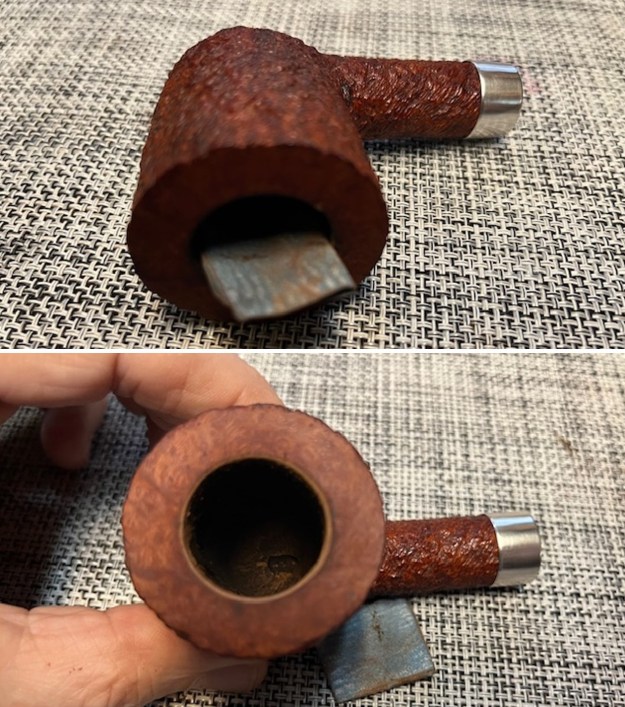
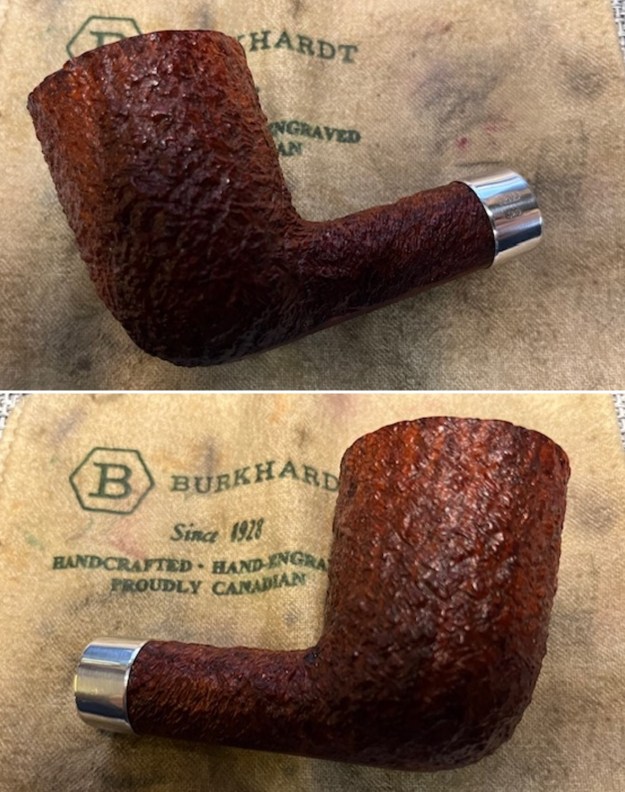
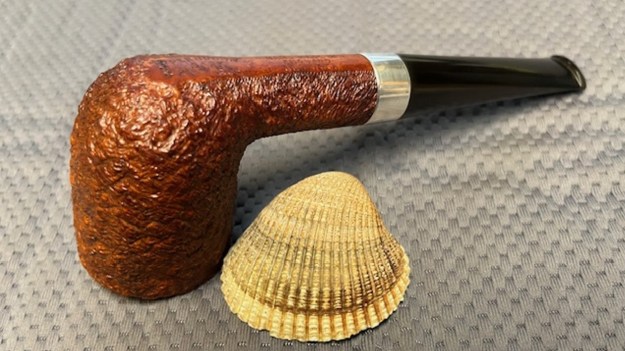
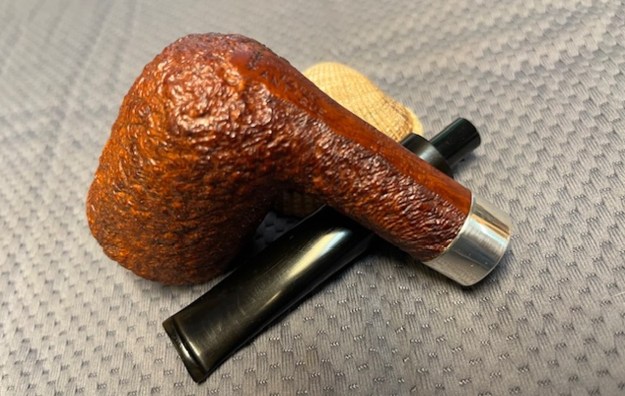
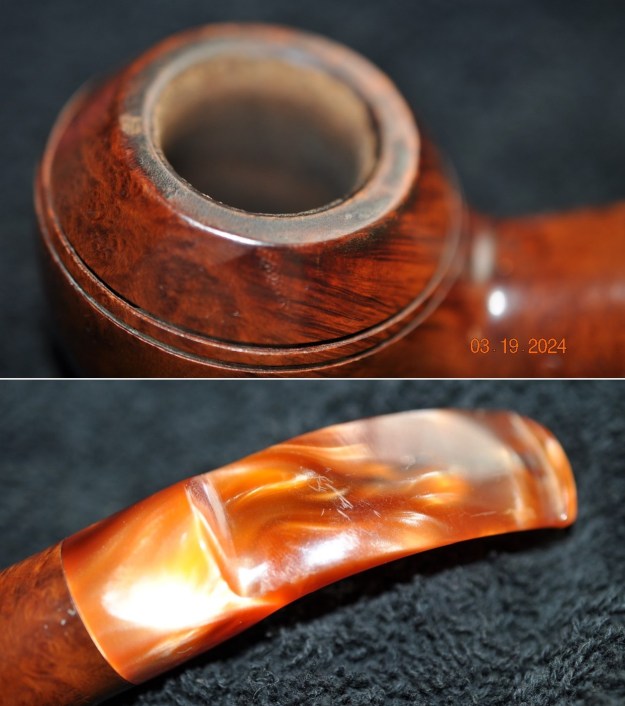
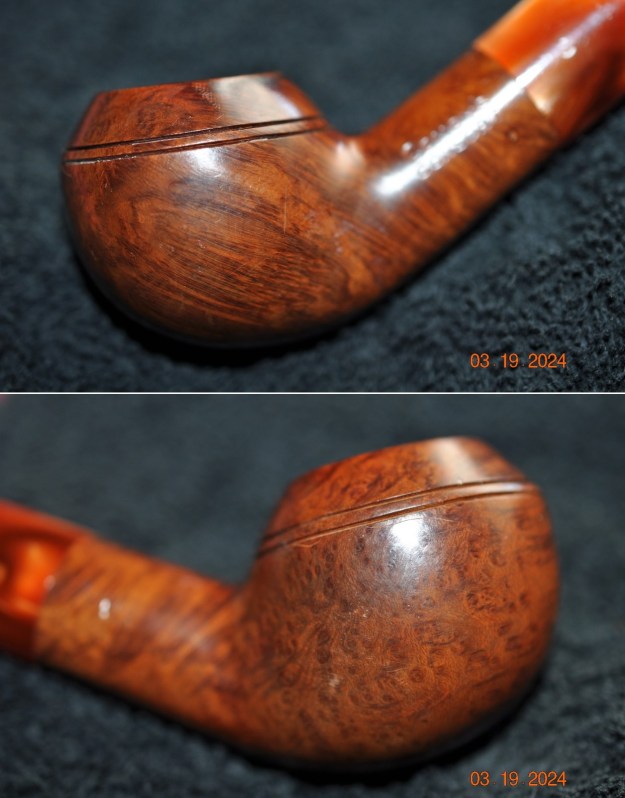
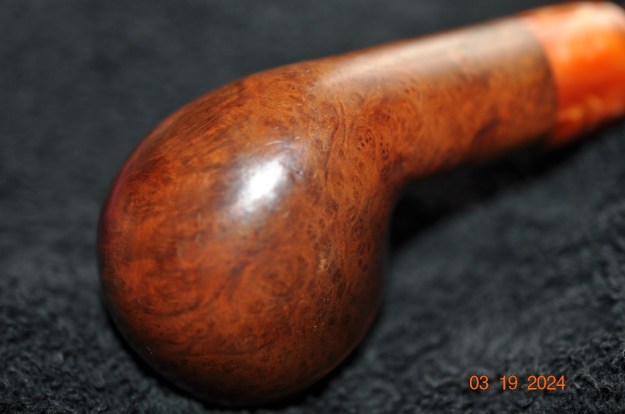
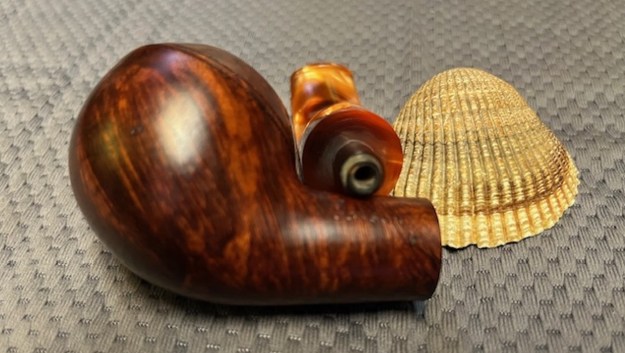
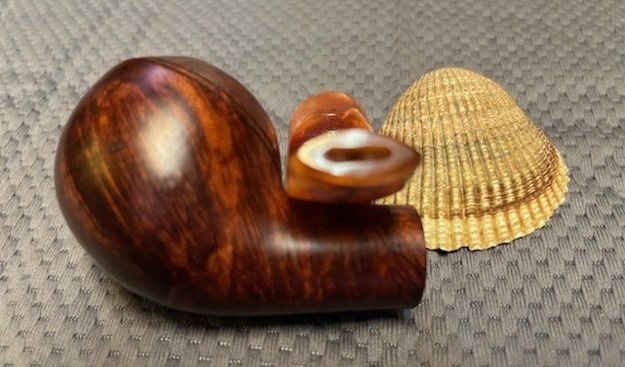
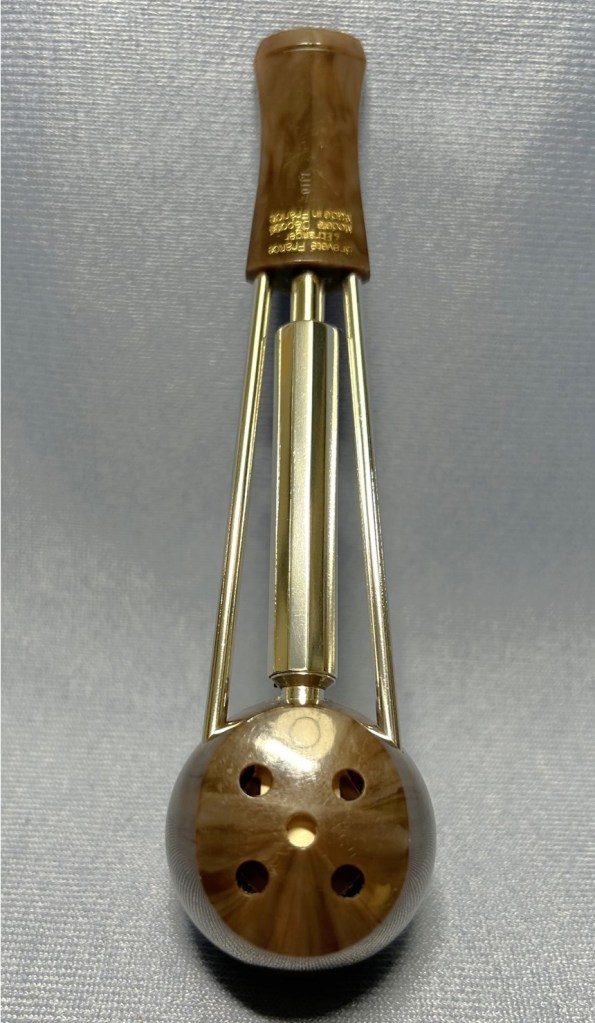
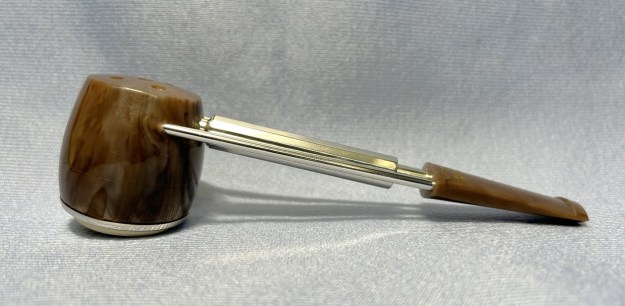
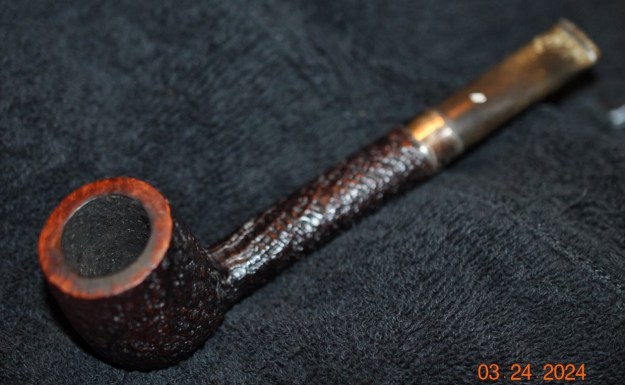
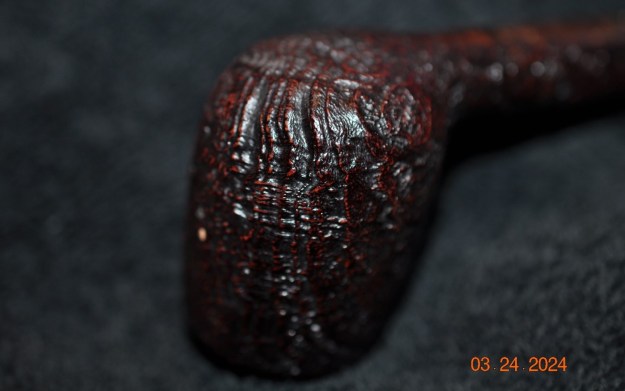
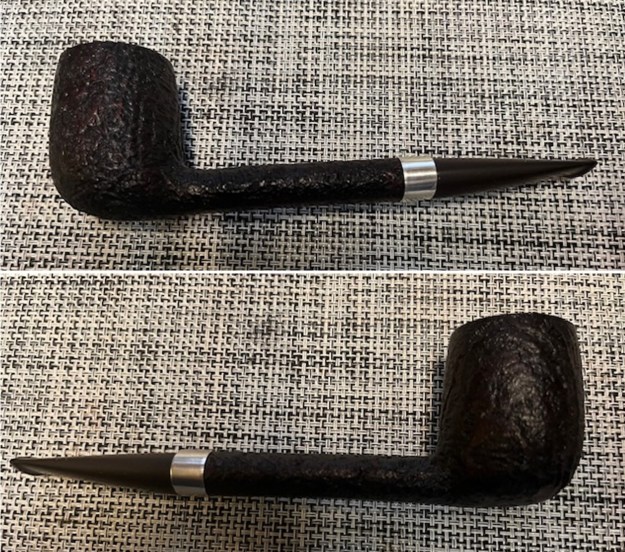
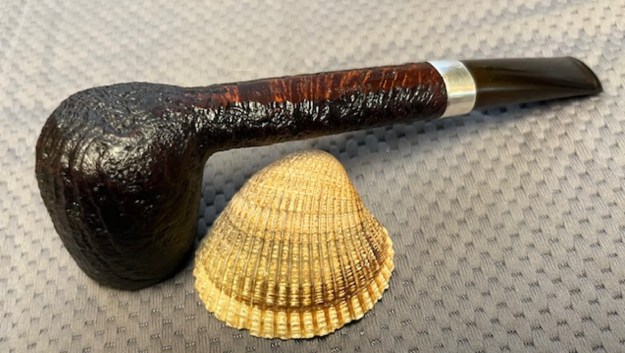
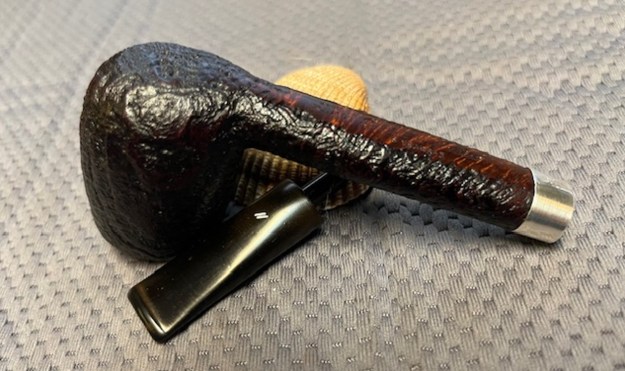
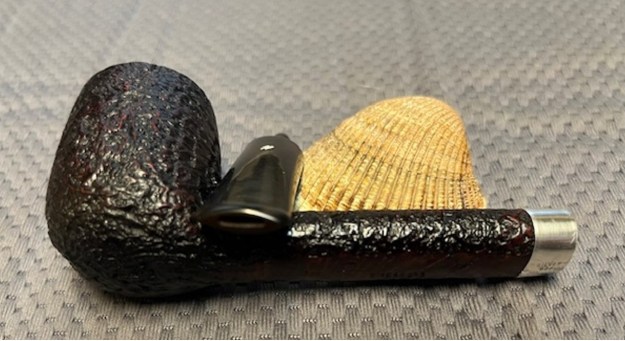
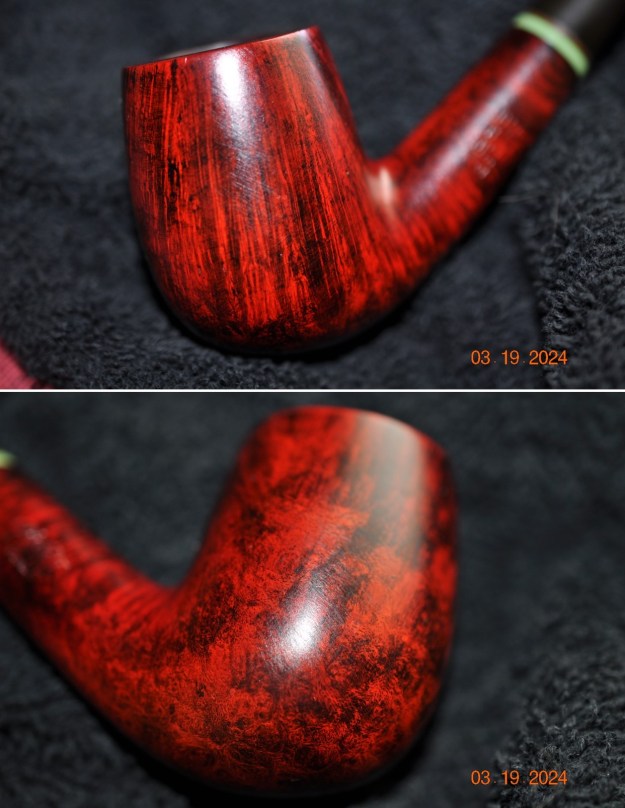
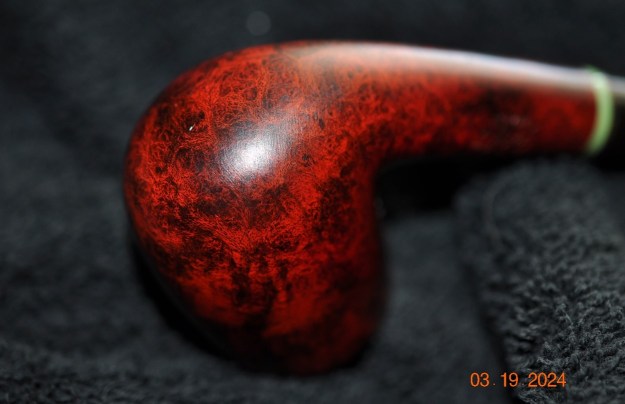
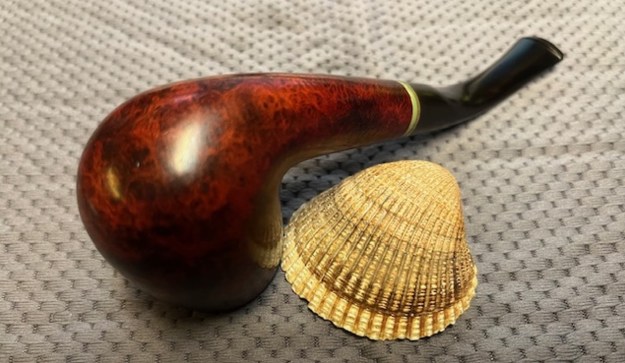
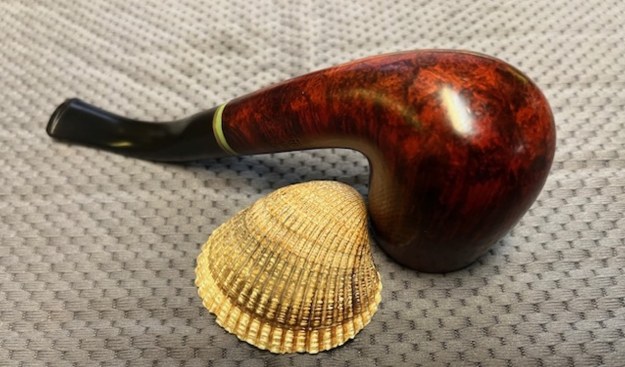
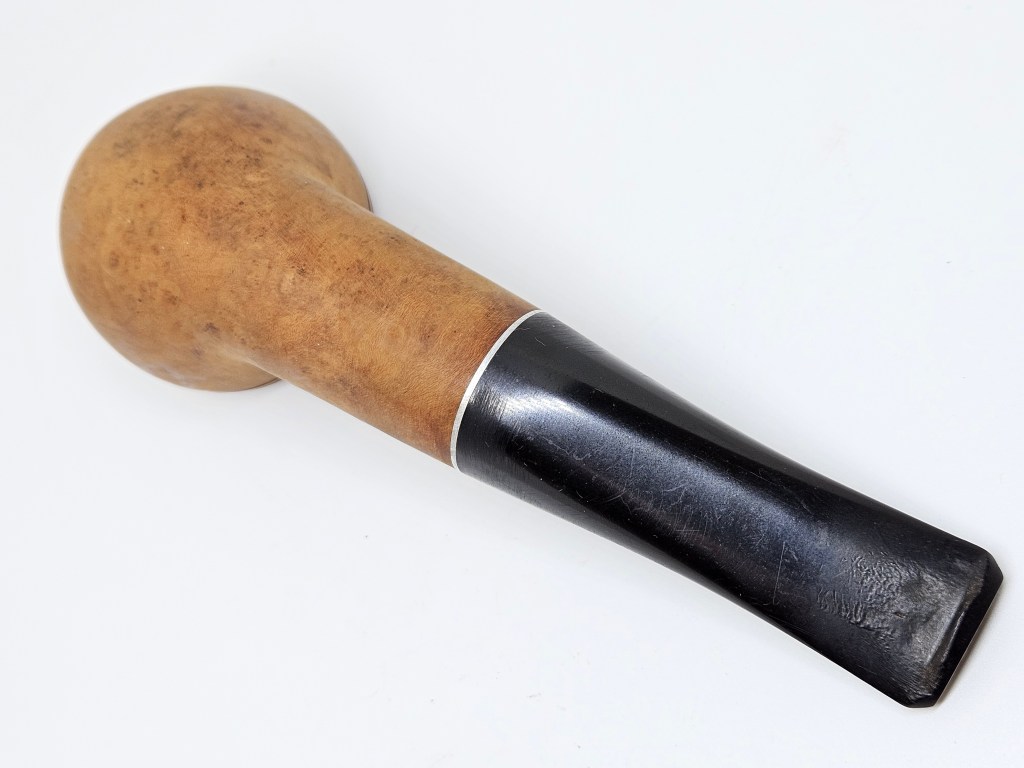
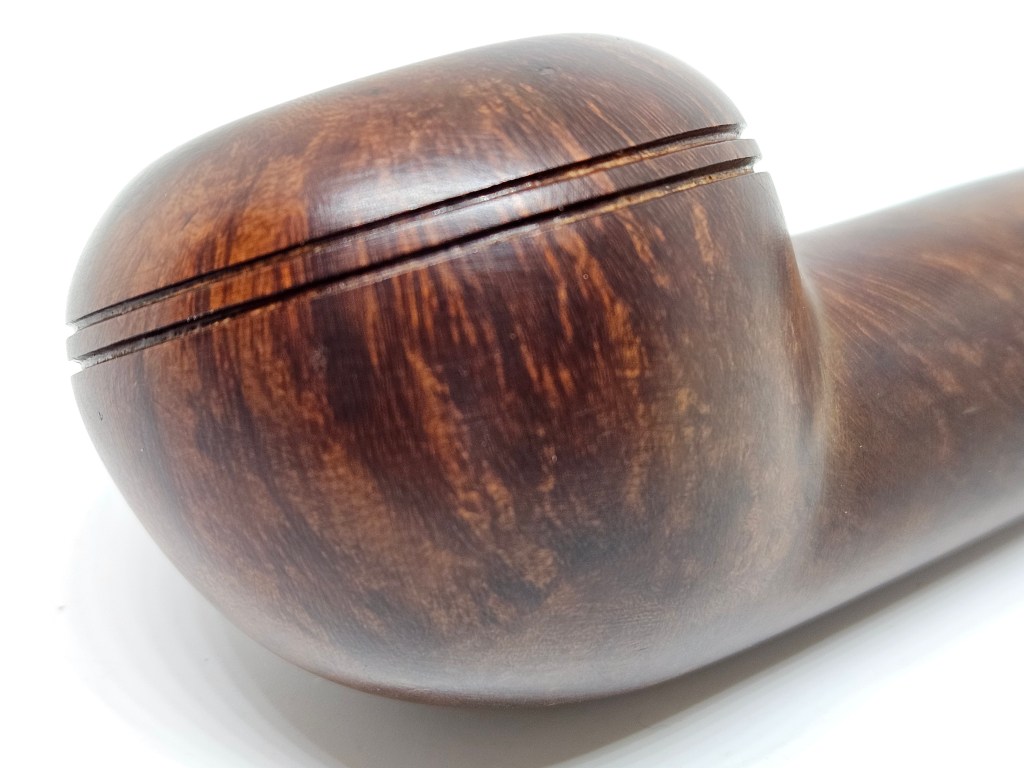
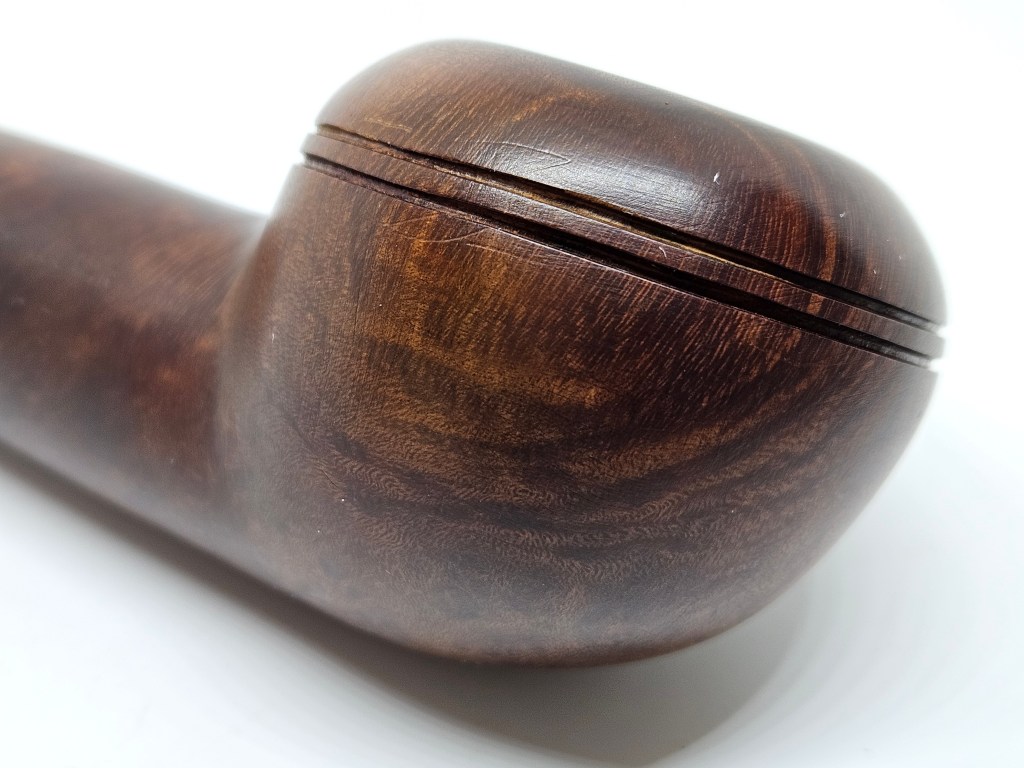
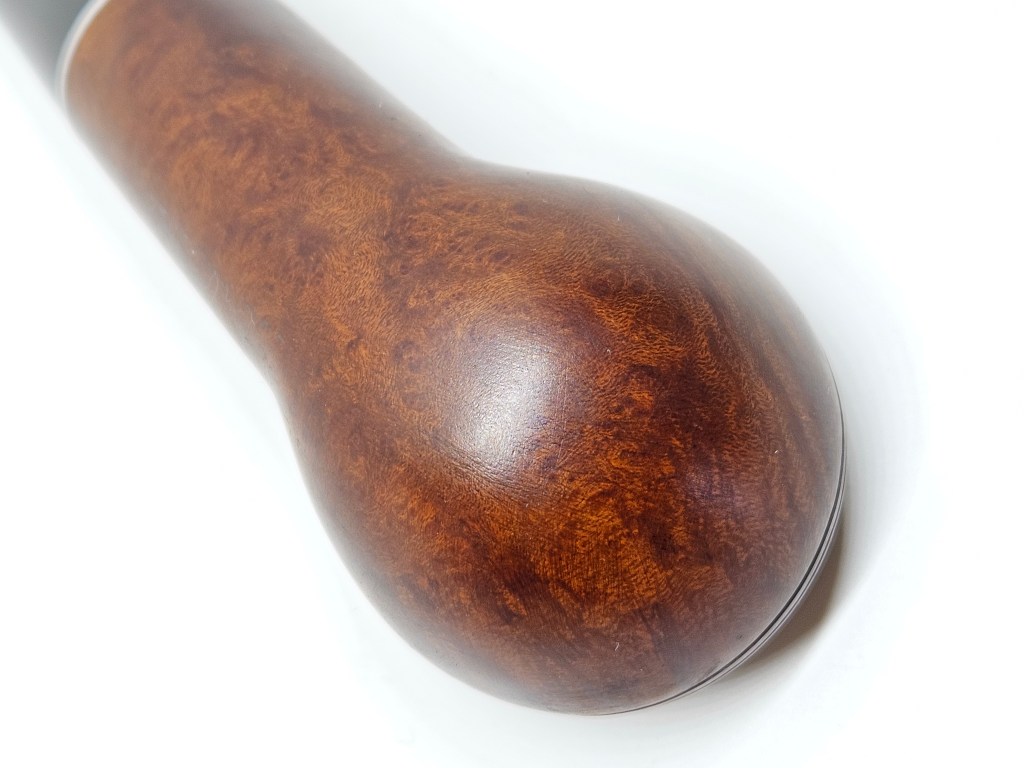
 He took photos of the sides and heel of the bowl to give a clear picture of the way the shape follows the grain. The grain is really beautiful even showing through the grime filling in the valleys and low spots. The plateau on the rim top and shank end is beautiful but dirty.
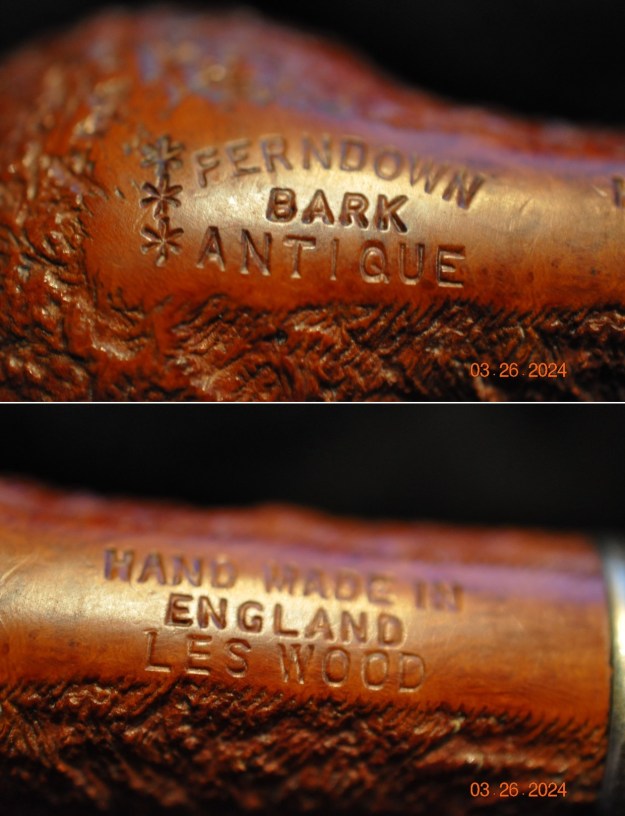
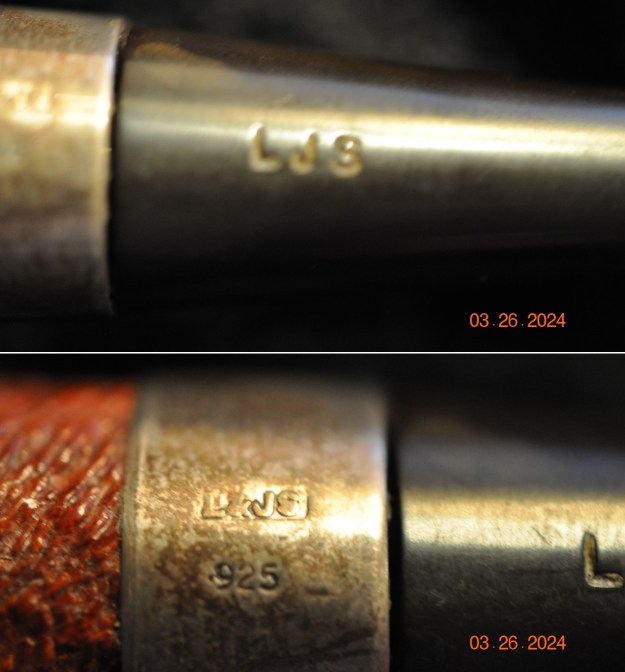
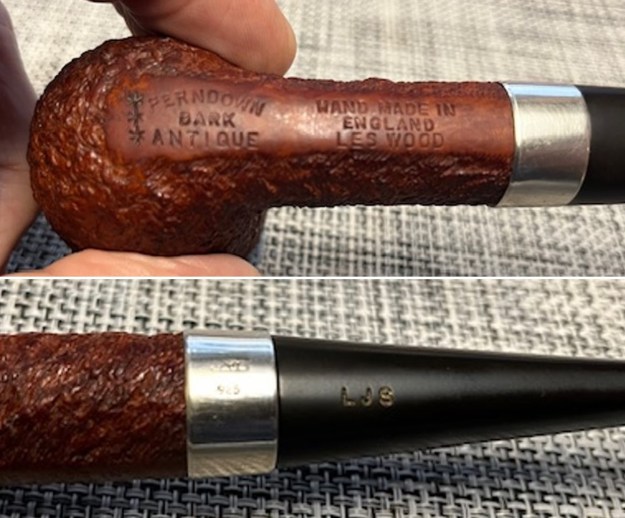
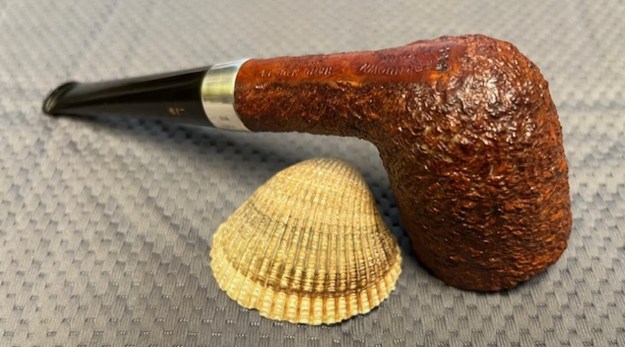
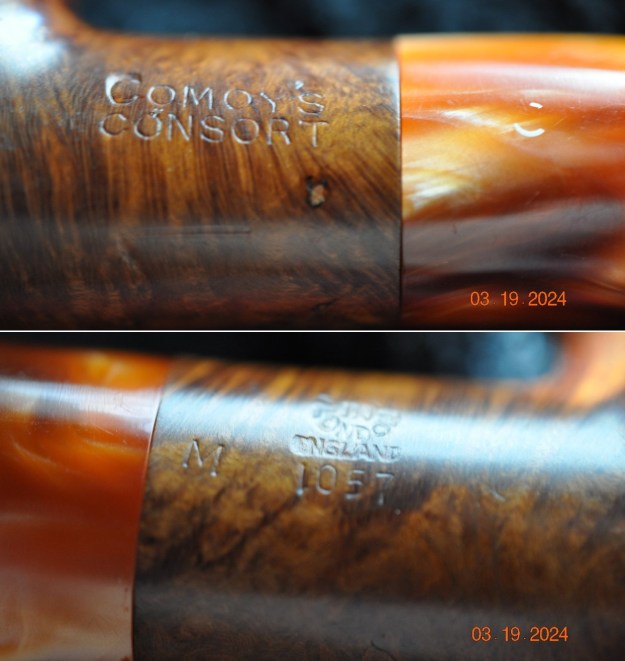
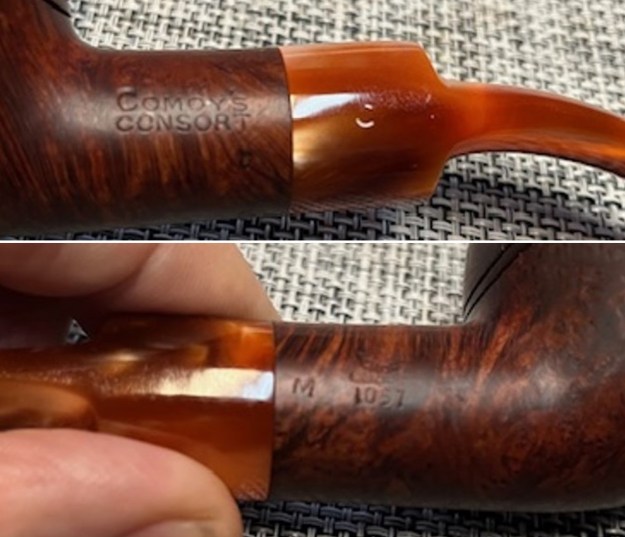
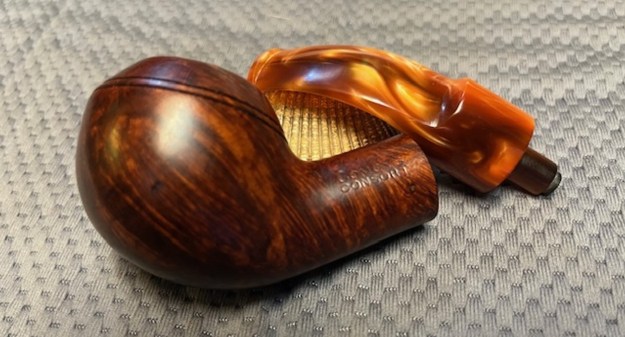
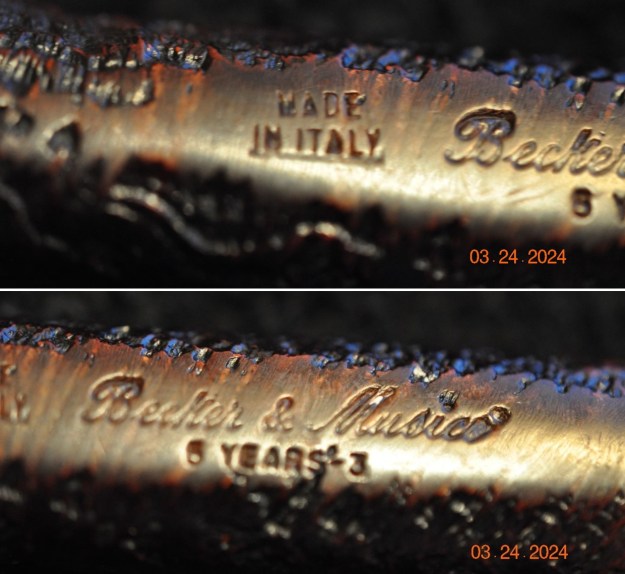
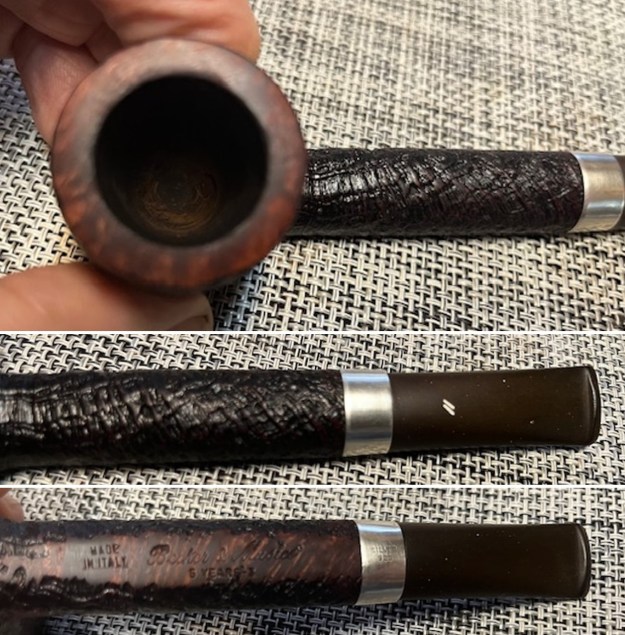
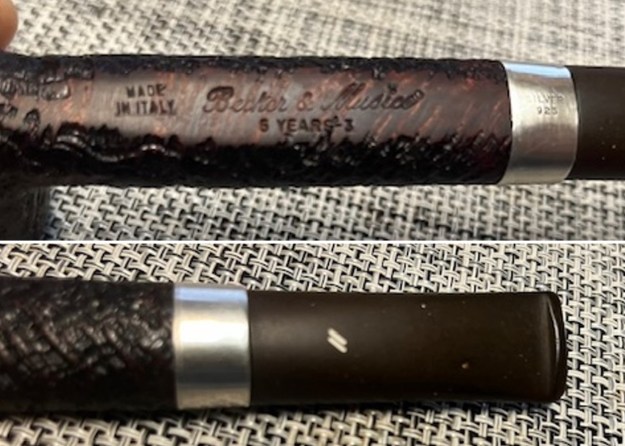
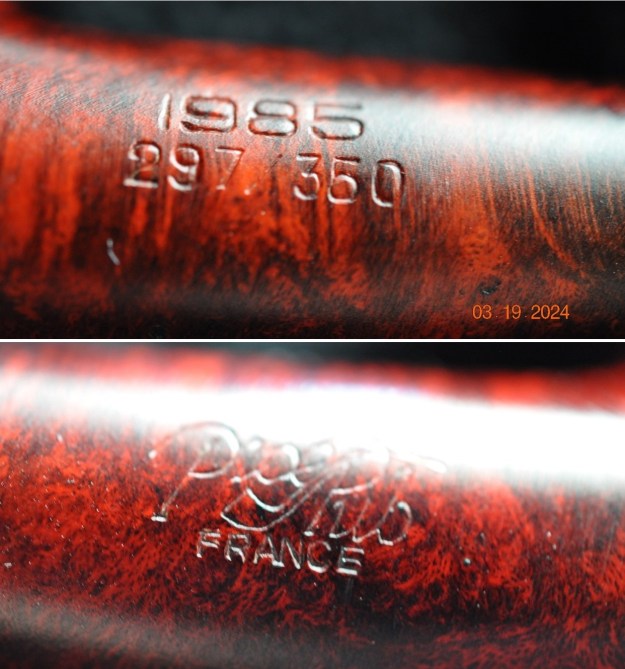
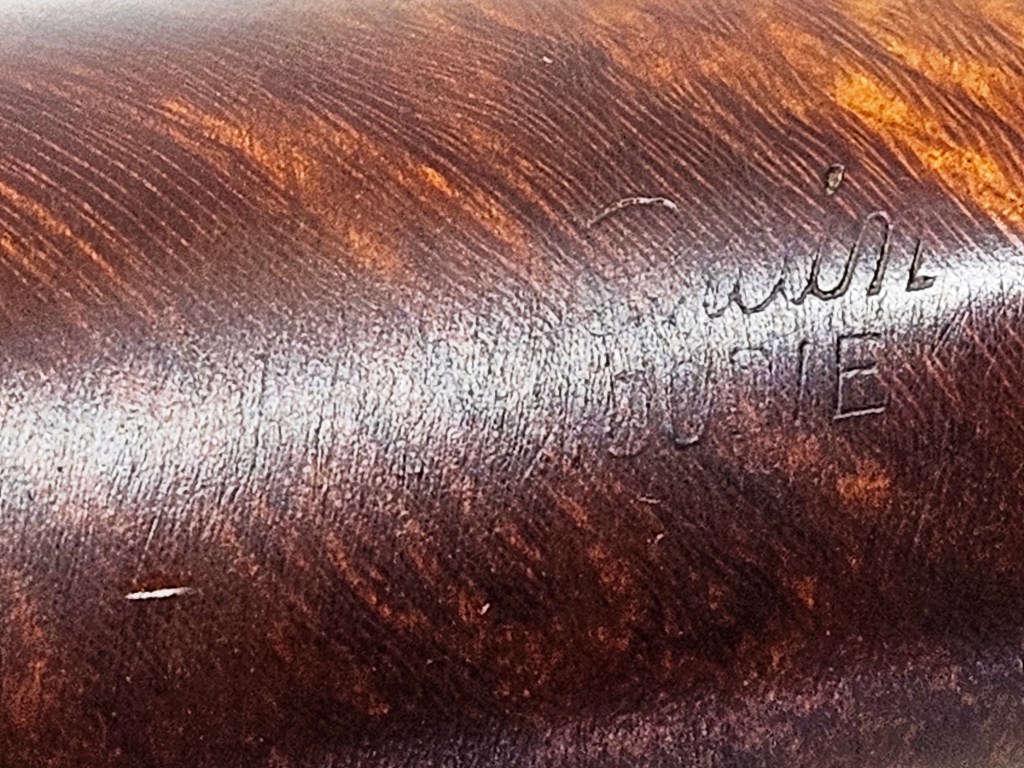
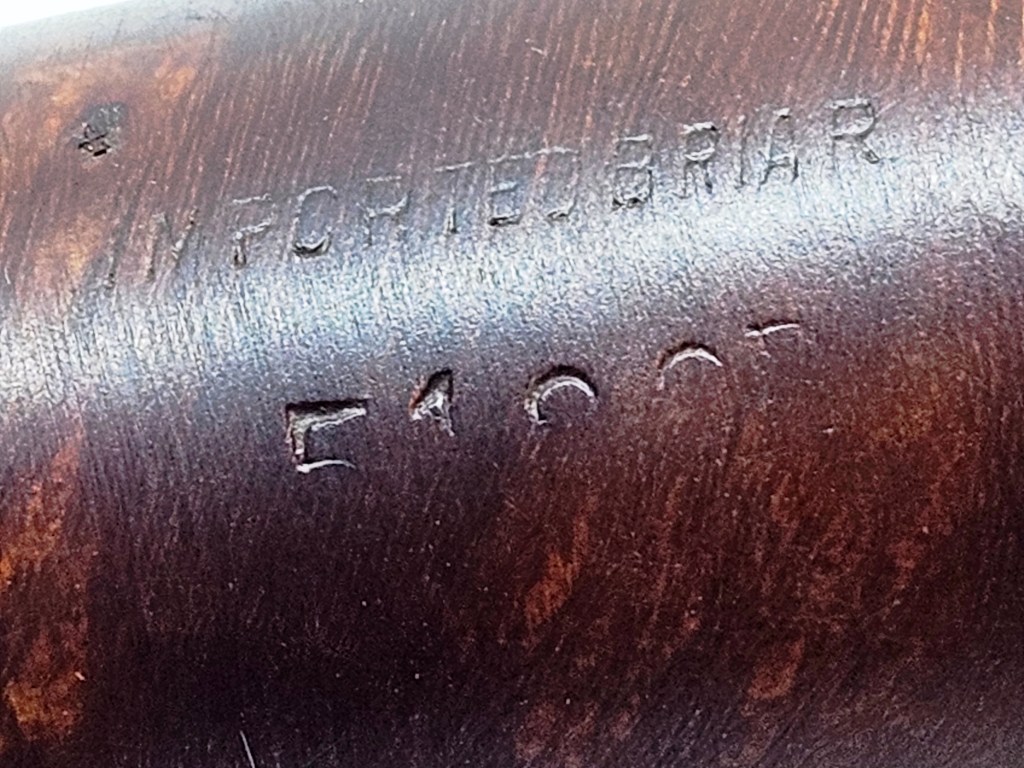
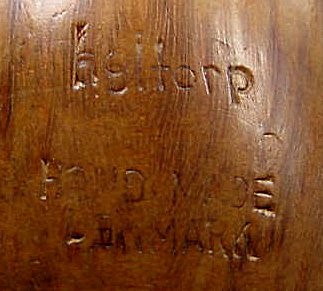
 He took photos of the stamping on the smooth underside of the shank. It is faint but is partial readable. This finally is a lead for the brand on the pipe that was a mystery until this moment. It looks like it says Holtorp [over] Denmark.
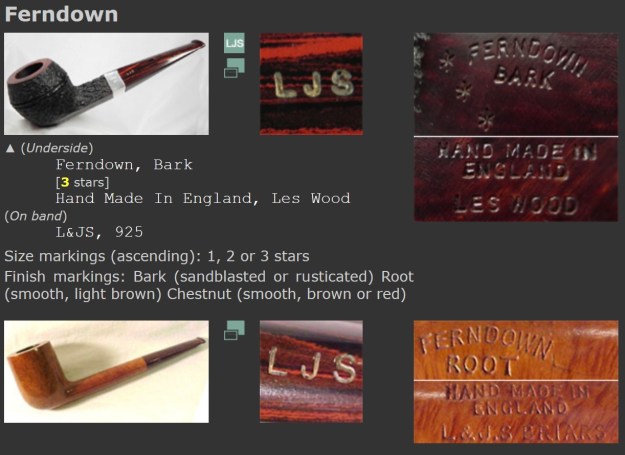
 I did some digging to see what I could learn about the holtorp brand. I turned first to Pipephil’s site (http://www.pipephil.eu/logos/en/logo-h3.html). There was a listing and a photo of the stamping on the stamping on the shank. It matches the one I am working on. I have also included the side bar information below the screen capture.
 Artisan: P. Holtorp was one of the regular pipe carver at Pipe-Dan in Copenhagen during the 1960’s. Rather massive (sometimes heavy) and well grained flawless pipes.
I turned to Pipedia and found more information that was helpful. It gave some history of the carver and the brand (https://pipedia.org/wiki/Holtorp). I have included it below.
H. Dan-Christensen’s shop Pipe-Dan at Vestergade 13 – just off Copenhagen’s Town Hall Square – was one of the most important turntables for upcoming as well as established pipemakers and pipe enthusiasts from all over the world from the 1960’s to the 1980’s.
 P. Holtorp was one of the many artisanal carvers who worked in the periphery of Pipe-Dan. In the 1960’s – maybe up to the early 1970’s – he was one of the in-house pipemakers working together with Sven Knudsen, Gert Holbek, Axel Svend Celius, Tom Eltang – just to name a few. Later he worked from his own shop but still sold most of his pipes via Pipe-Dan.
Holtorp never became as famous as some of the names mentioned. Most probably, because the majority of his pipes was a bit different from the Danish “fancy freehands” and more striving for elegance. The typical Holtorp features bold lines and forms. Some are very manly pipes, so to say, rather made for stronger built pipesters. Accordingly the weight tended to be considerable – e.g. 118g the pipe shown below. Many were versions of earlier Holbek or Pipe-Dan designs. His “Bird” shape pipes for Pipe-Dan are clean simple shapes that have become Danish classics.
Holtorp’s craftsmanship and execution match very high standards. Straight grains from his hands are more than a rarity but the dense and flawless graining of his pipes is remarkable.
Estates by Holtorp don’t ask the prices of some other contemporaneous Danes by far – Thus an excellent buy for those who love a quality pipe if they can find them.
It also included a photo of the stamping and I can definitely confirm that my mystery on the brand is solved. The pipe is a Holtorp.
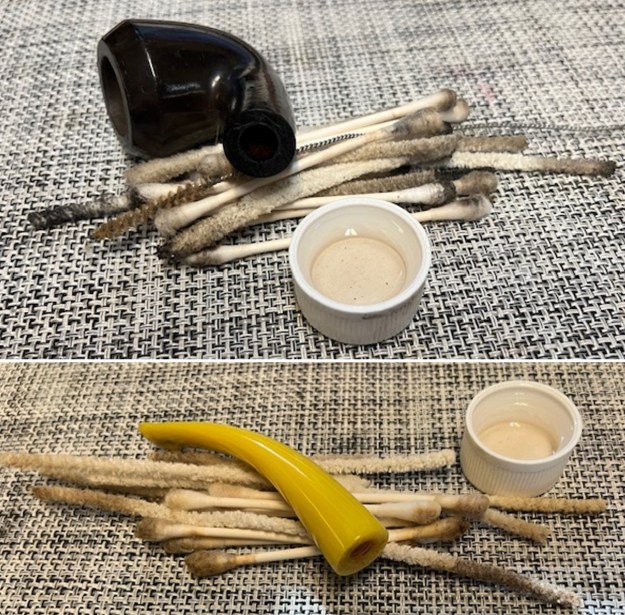
Now it was my turn to work on the pipe. Jeff had done an amazing cleanup of the pipe. He reamed the light cake with a PipNet reamer and cleaned up that with a Savinelli Fitsall Pipe Knife. He scrubbed the internals of the bowl and stem with alcohol, cotton swabs and pipe cleaners. He scrubbed the externals with undiluted Murphy’s Oil Soap and rinsed the bowl off with running water. There were a couple of spots on the front panel of the bowl that looked like flaws and the briar was concave a bit around them. I would need to see what the cause was for that. He soaked the stem in Briarville’s Pipe stem Deoxidizer and once it had soaked rinsed it off with warm water to remove the residual solution. He dried it off and rubbed it down to remove any oxidation that was still on the stem. The pipe looked very good when I received it.
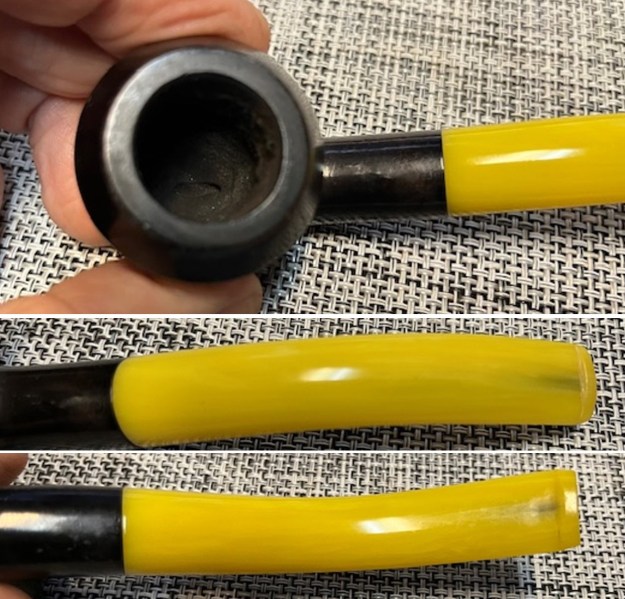
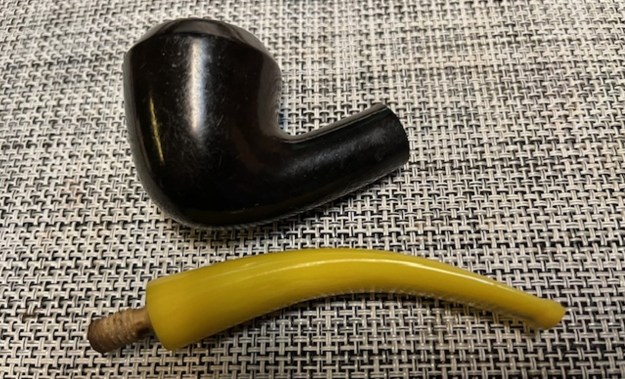
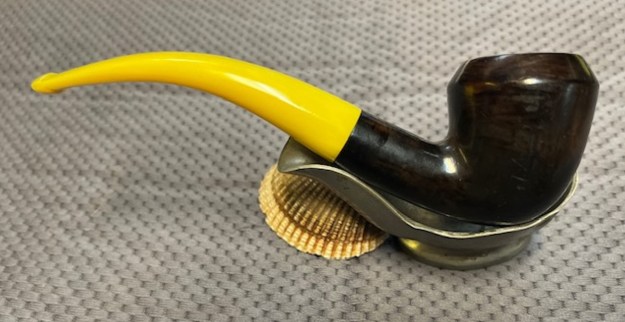
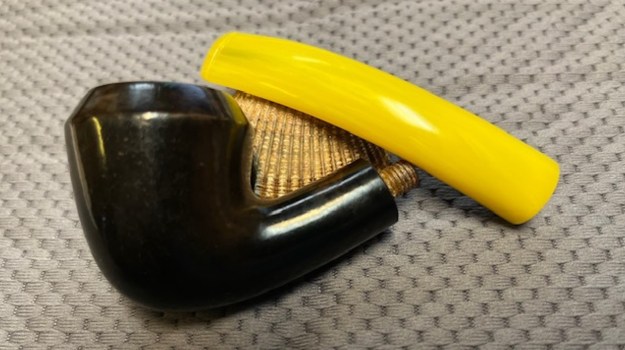
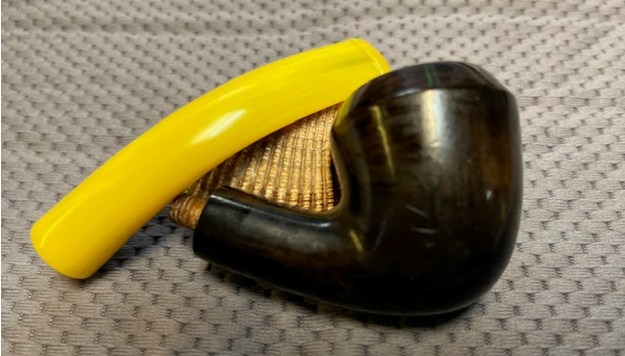
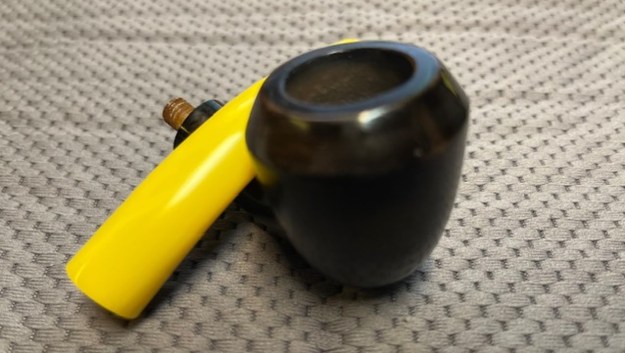
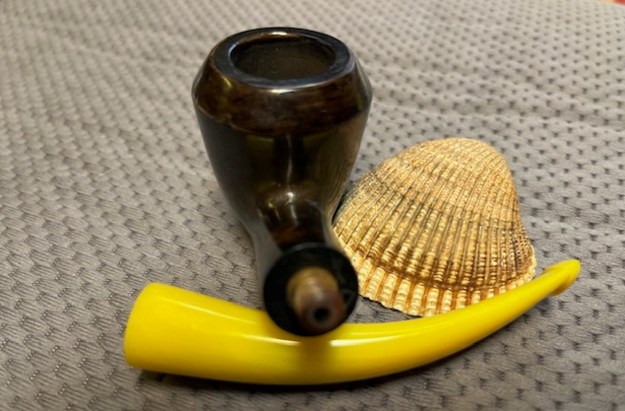
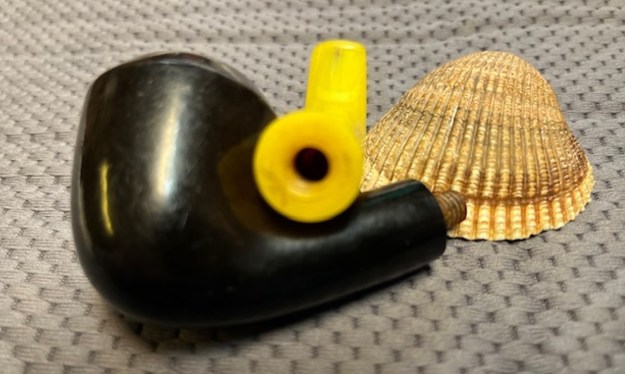
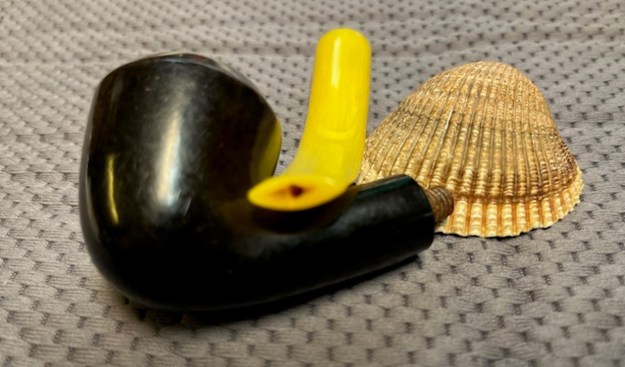
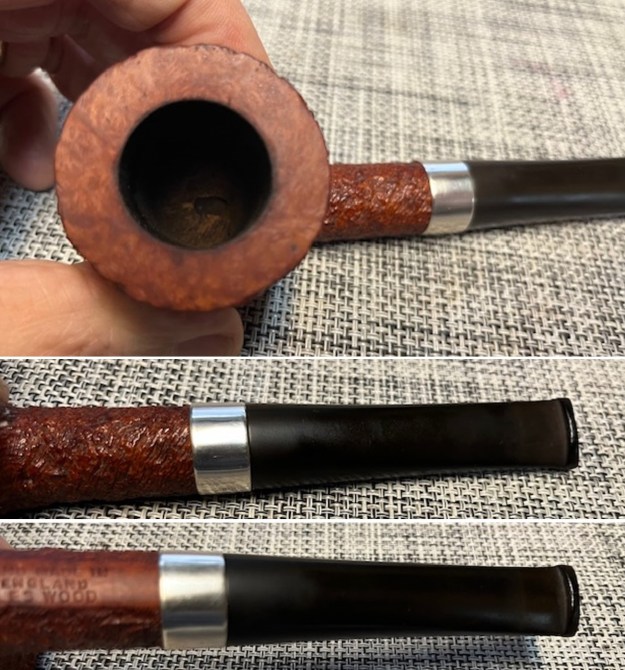
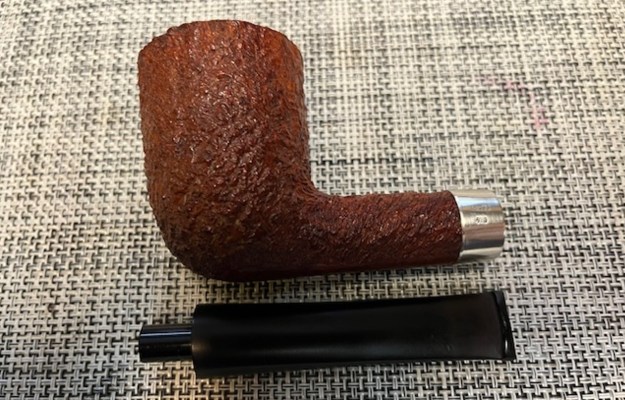
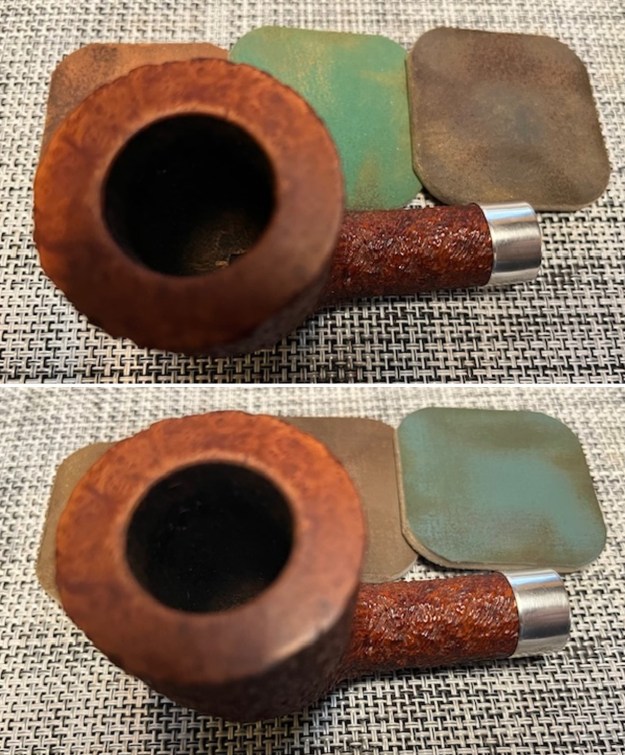
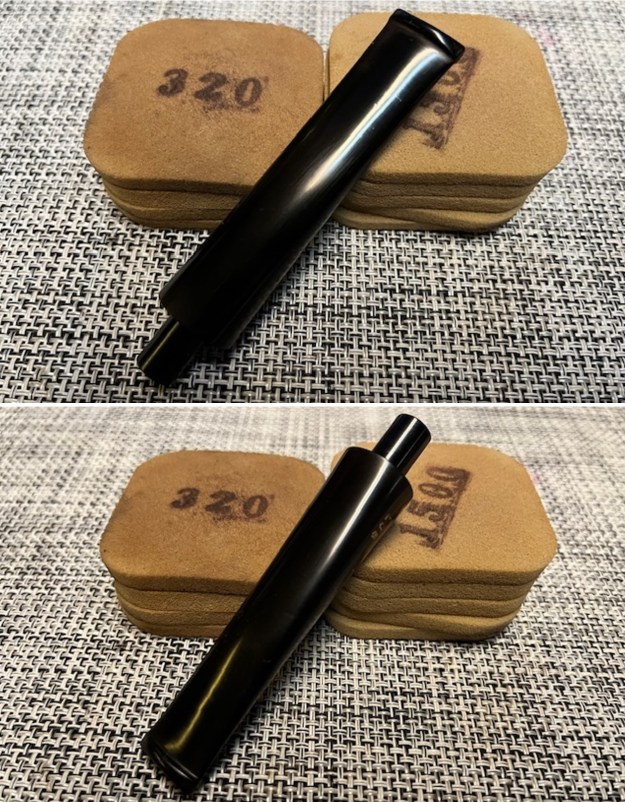
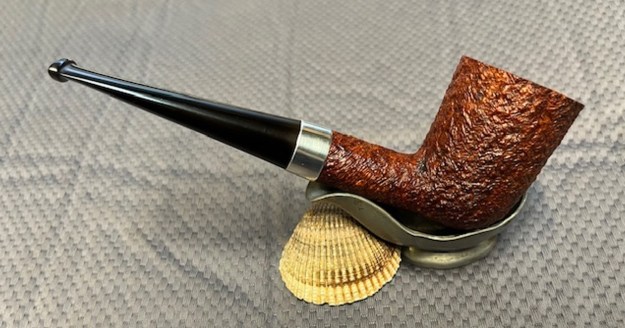
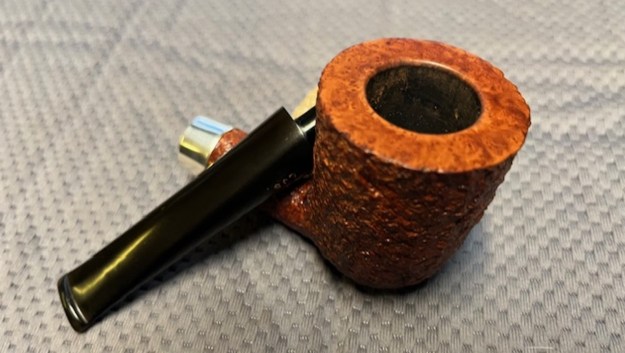
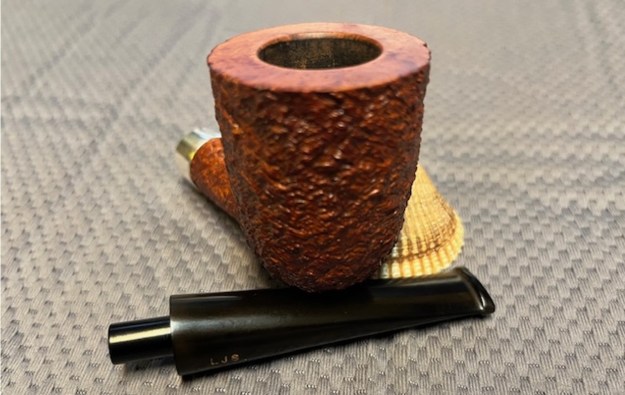
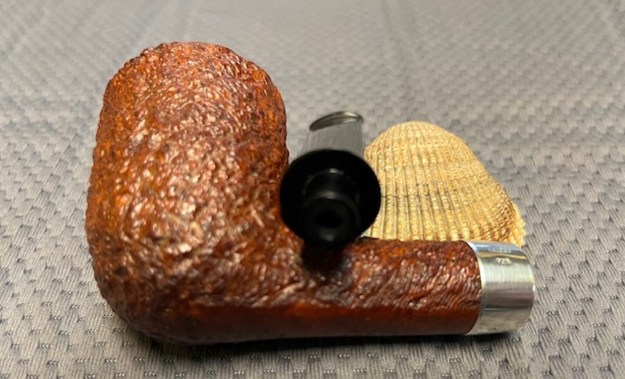
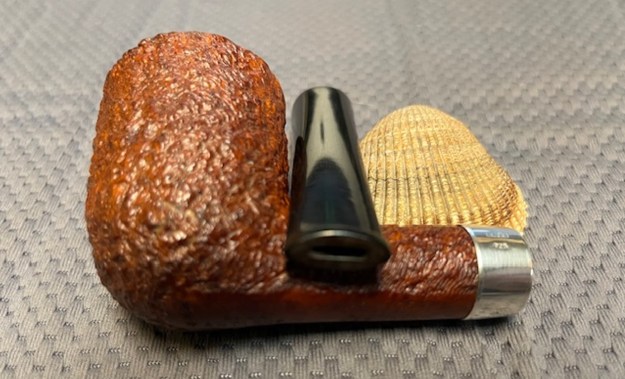
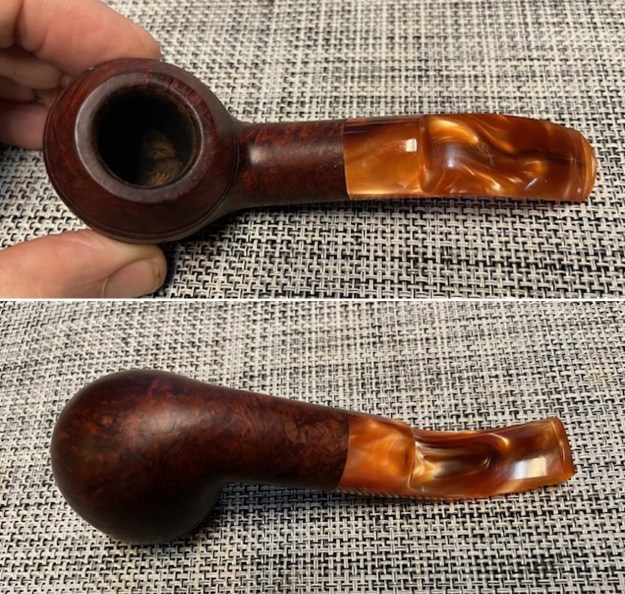
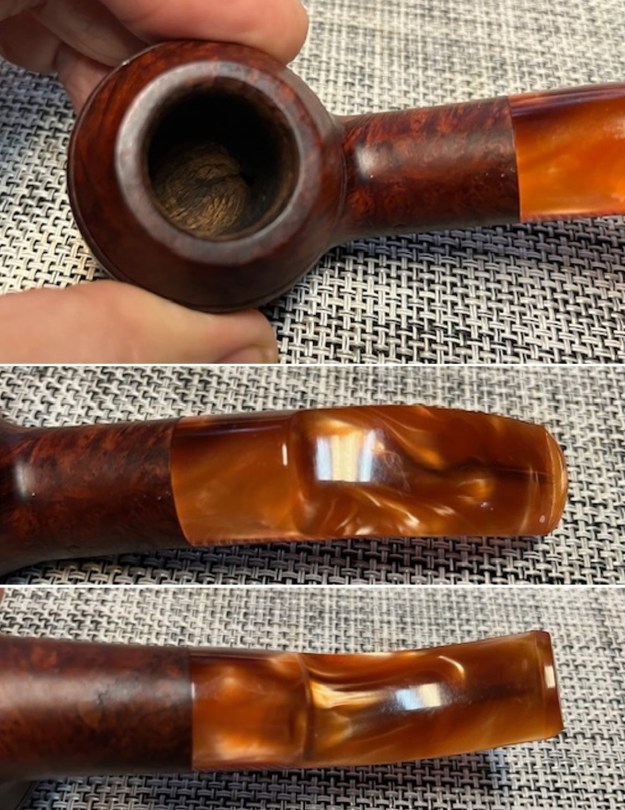
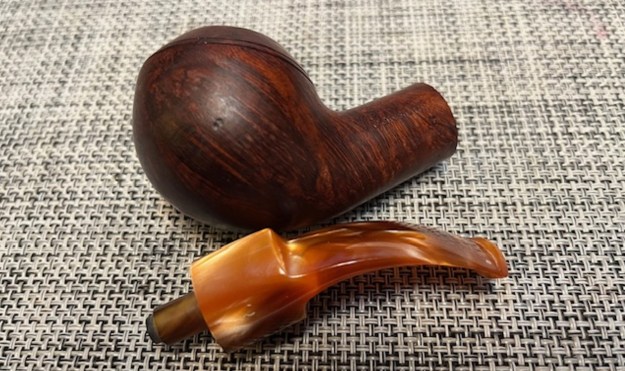
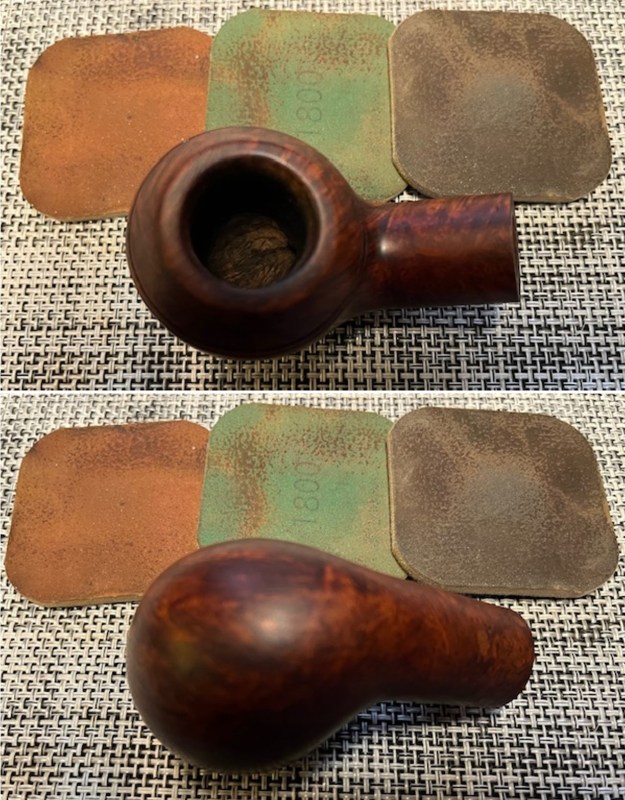
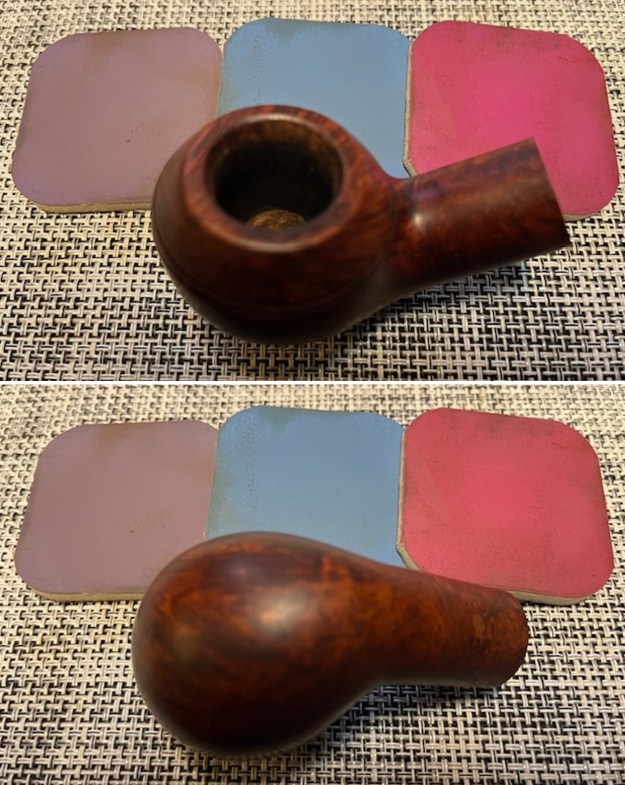
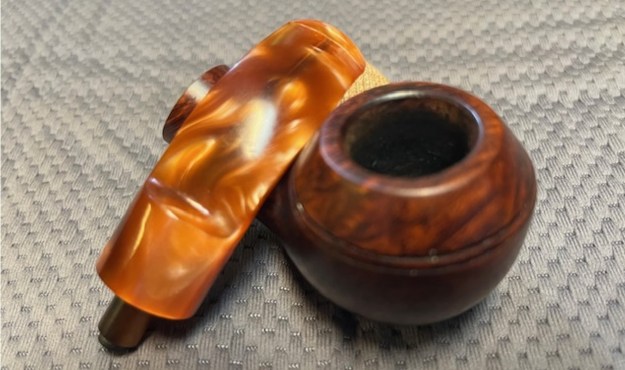
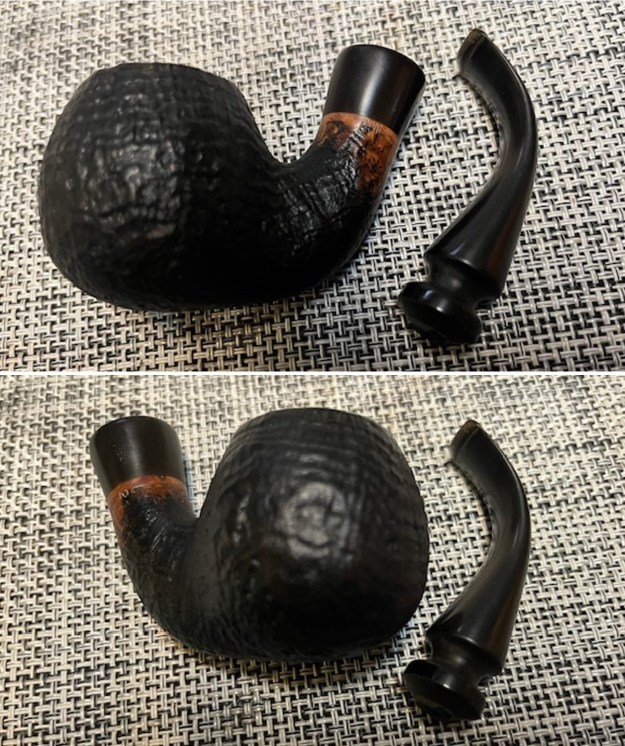
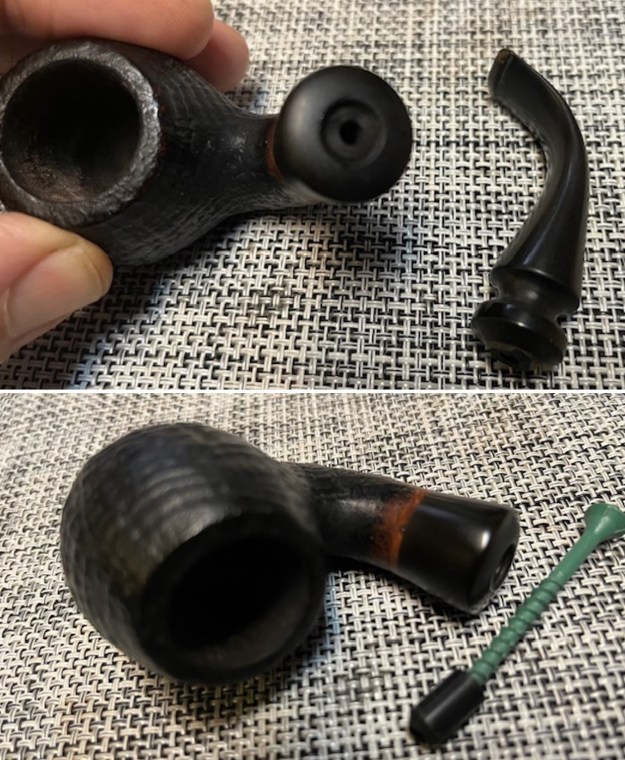
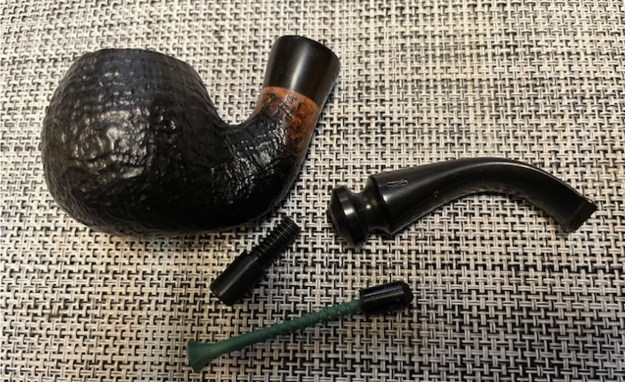
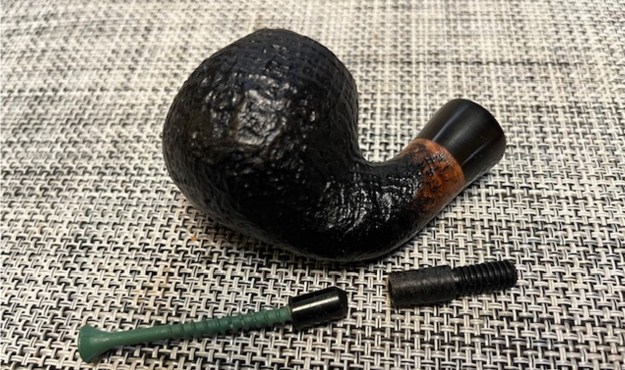
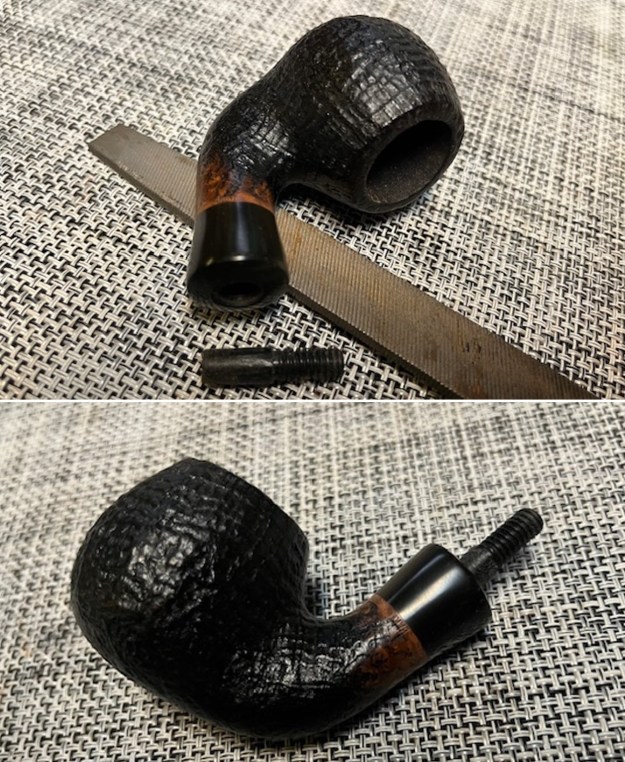
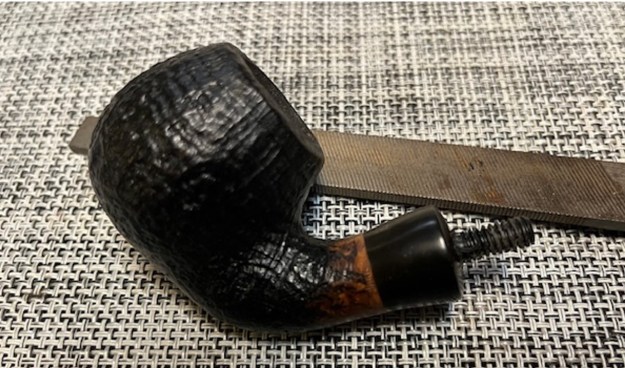
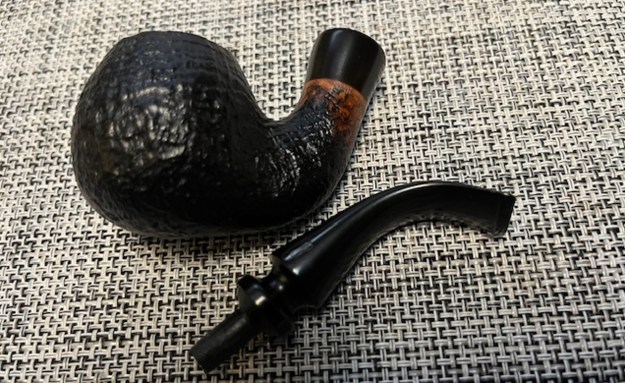
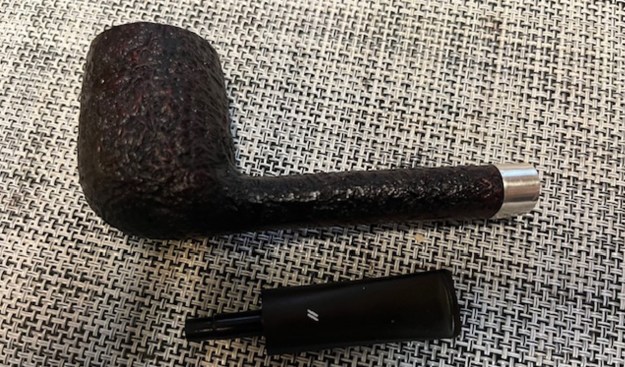
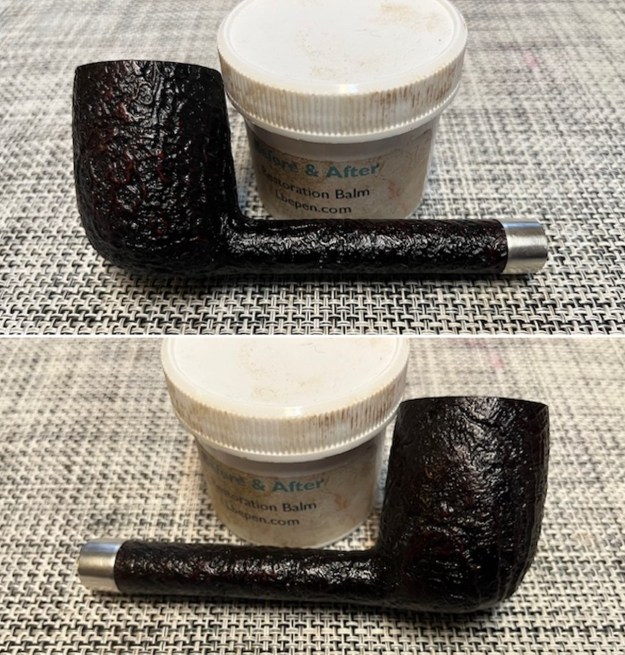
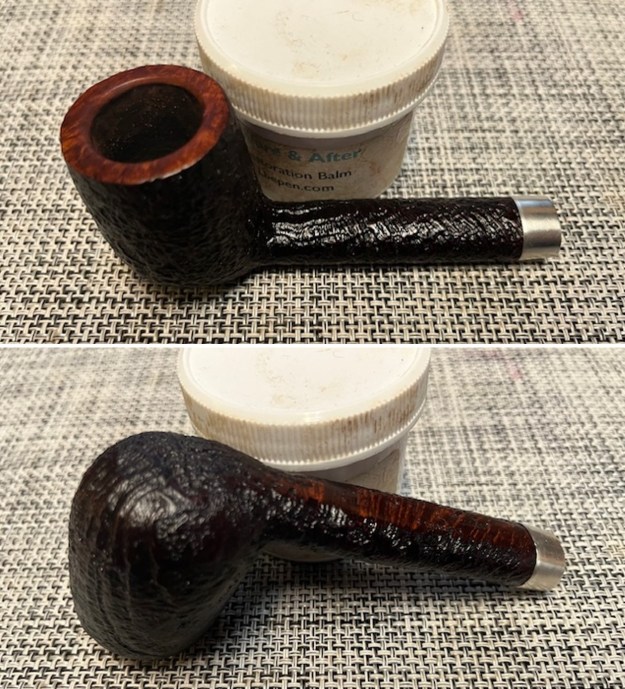
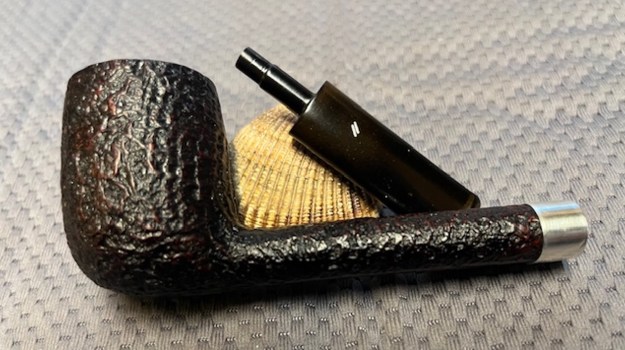
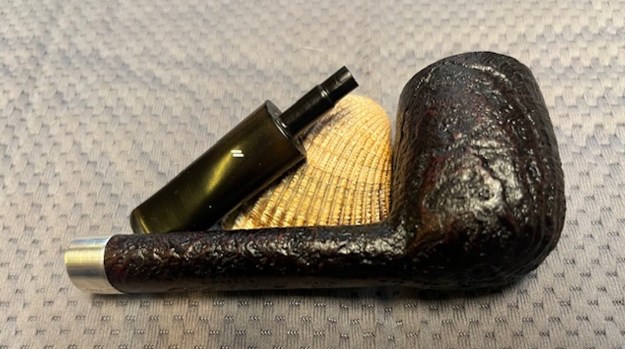
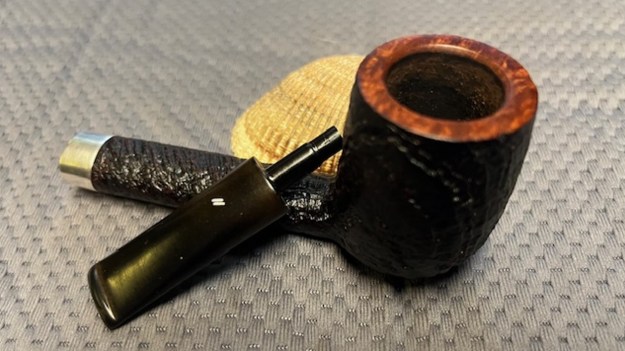
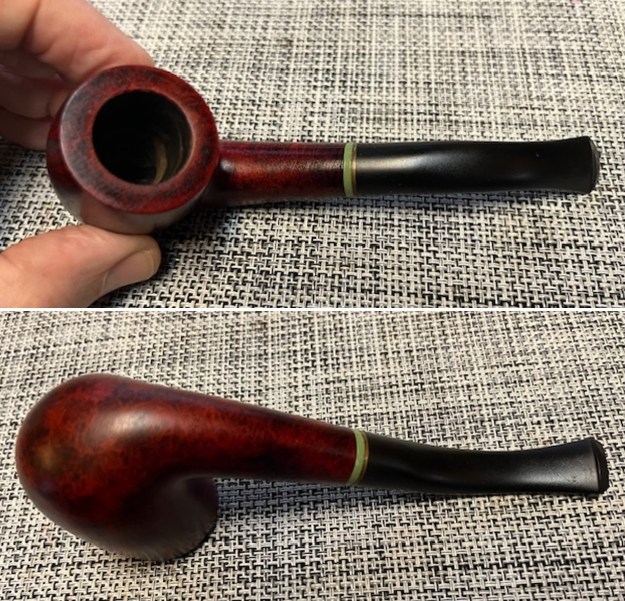
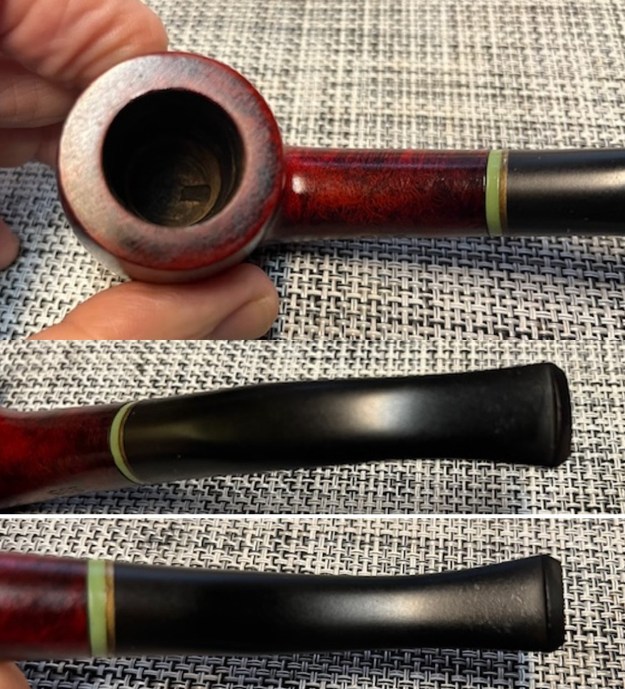
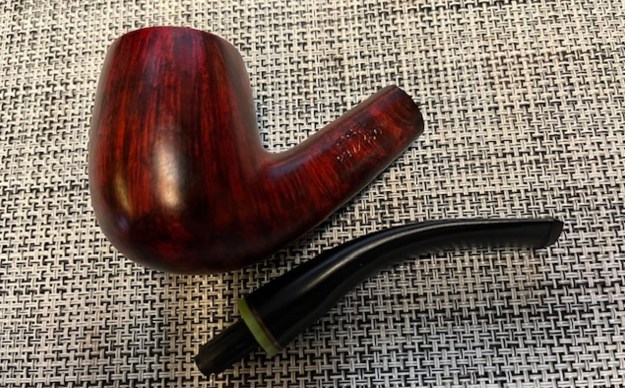
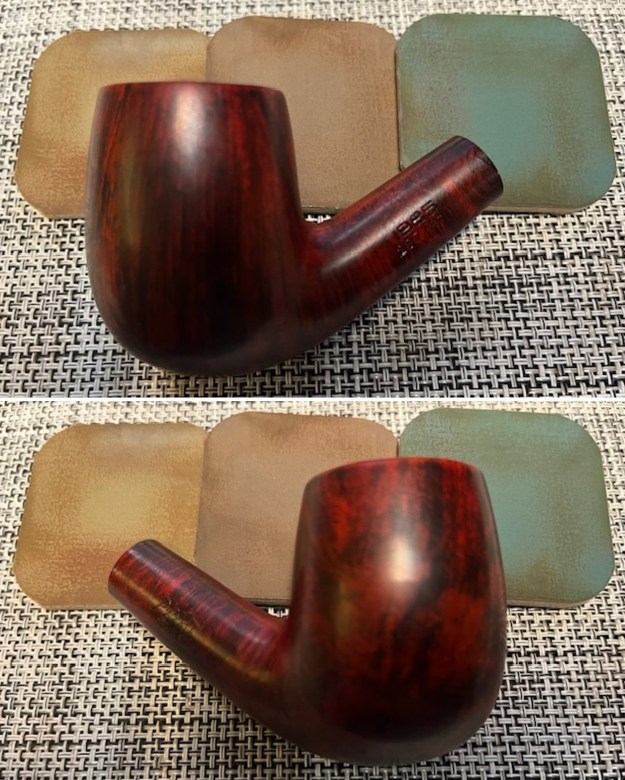
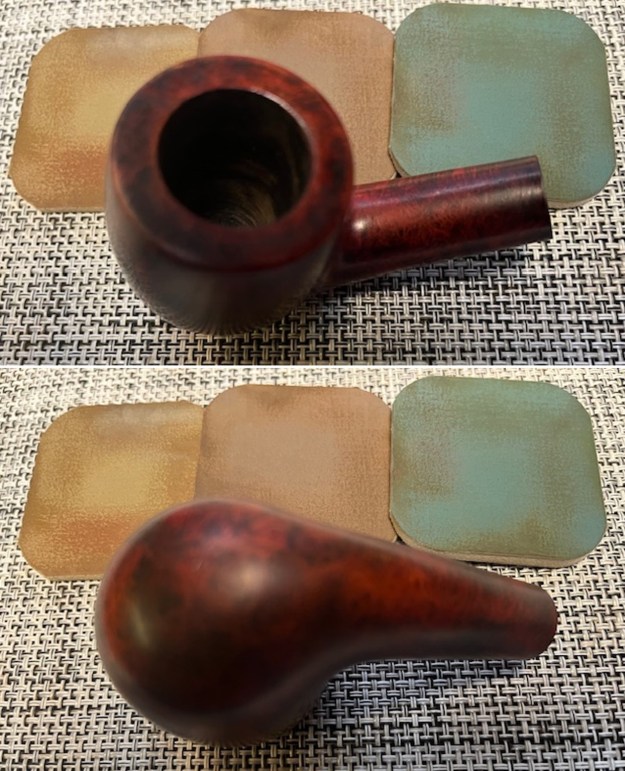
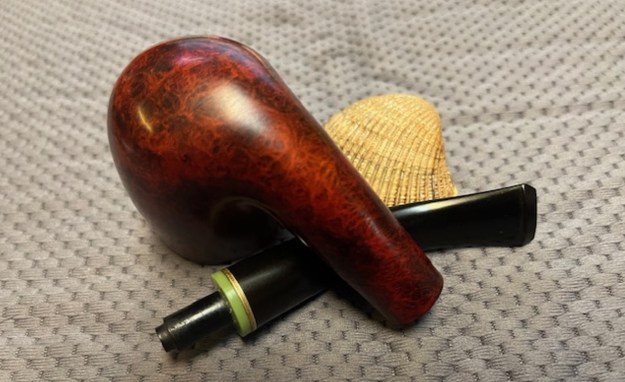
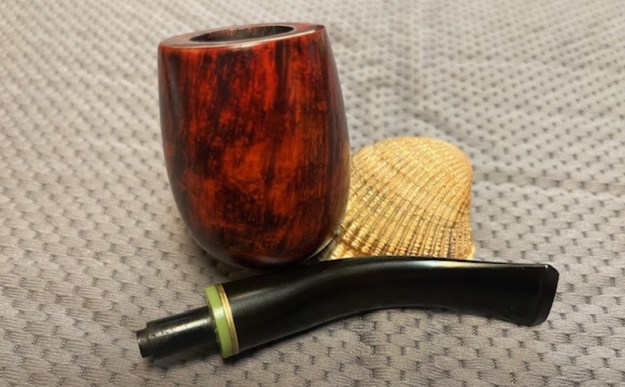
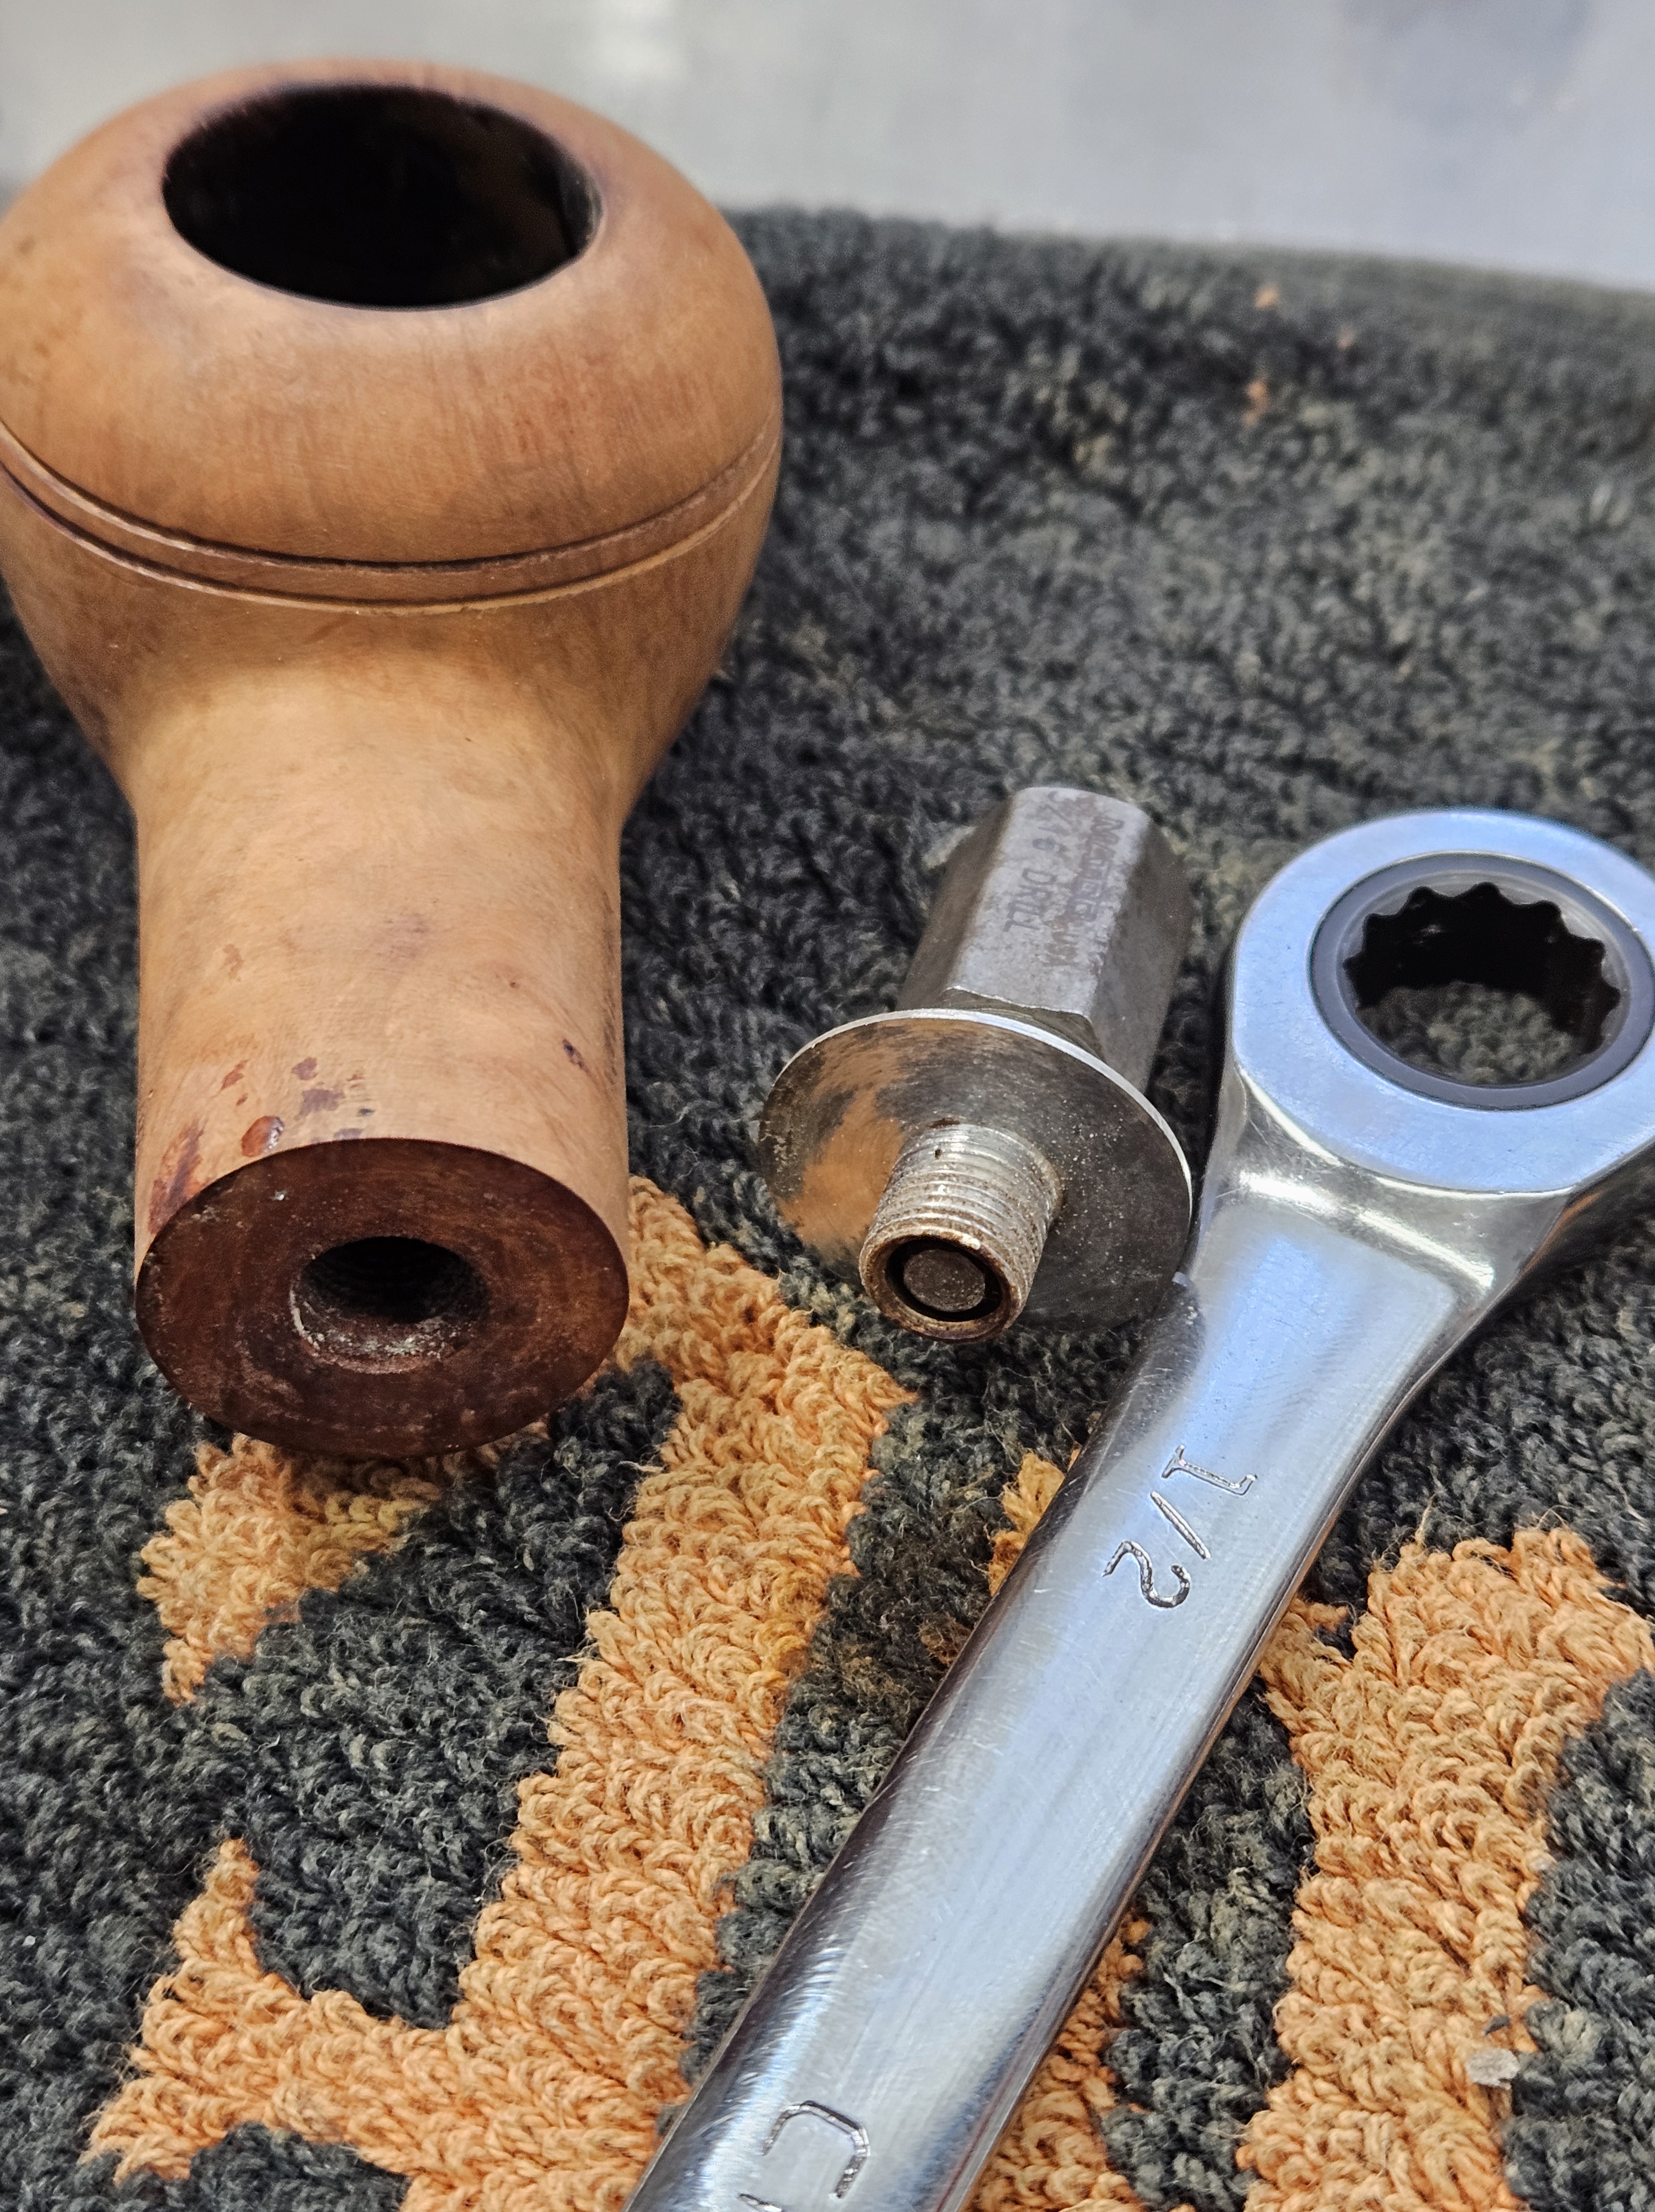
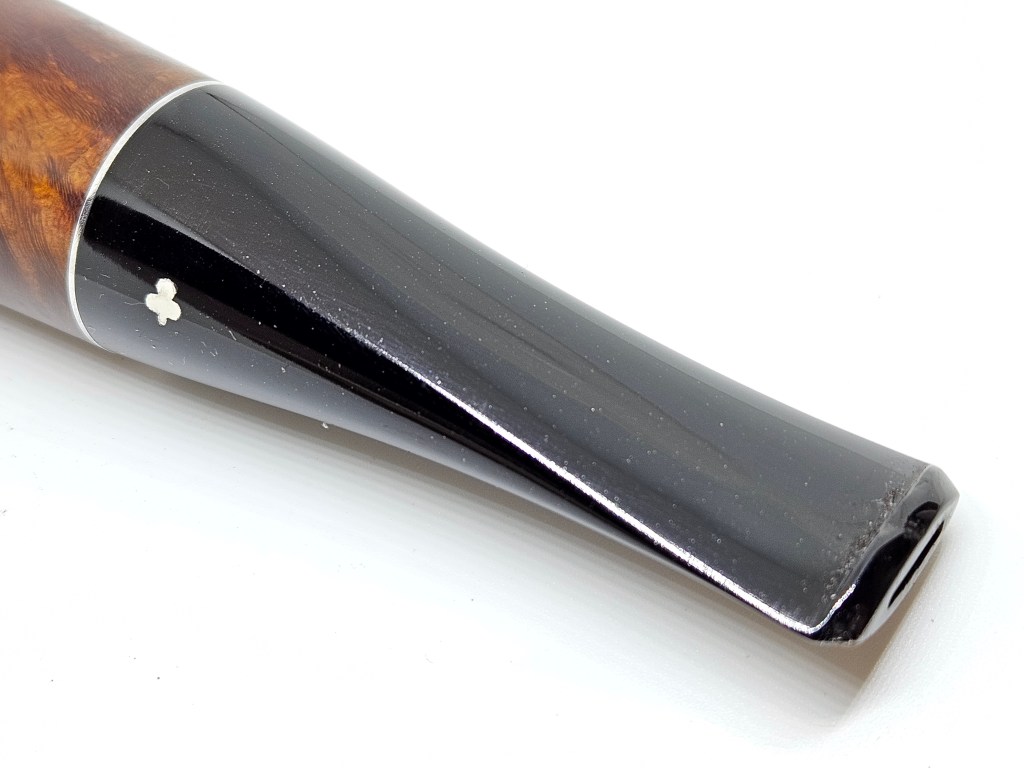
 I took photos of the bowl and the rim top as well as both sides of the stem to show the condition of the pipe before I started my work. The rim top was very clean and the inner edge and plateau top look much better. The stem showed tooth marks on the top and underside of the stem near the button. I took the stem off the bowl and took a photo of the parts. It is an interesting pipe.
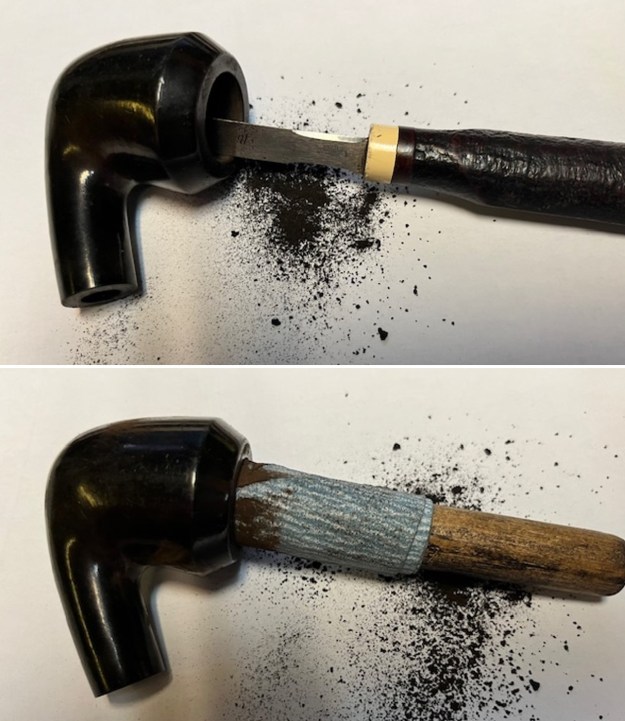
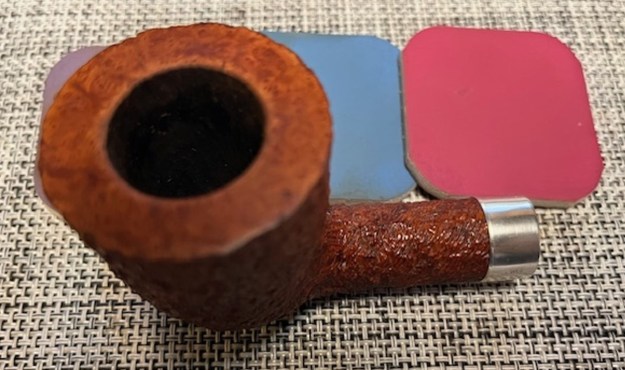
 I sanded the inside of the bowl to smooth out the walls with 220 grit sandpaper wrapped around a dowel. I was able to remove smooth the residual carbon on the front inner wall of the bowl. There was one small pit mid bowl in the wall at the front that I would need to fill in and repair.
 I sanded off the stain on the high points on the plateau with 220 grit sandpaper so there would be some contrast between the dark stain in the valleys and matching stain on the high points that is like the rest of the exterior. I did the same on the plateau shank end. It looks very good. I finished working over the plateau with a brass bristle wire brush to further clean it up.
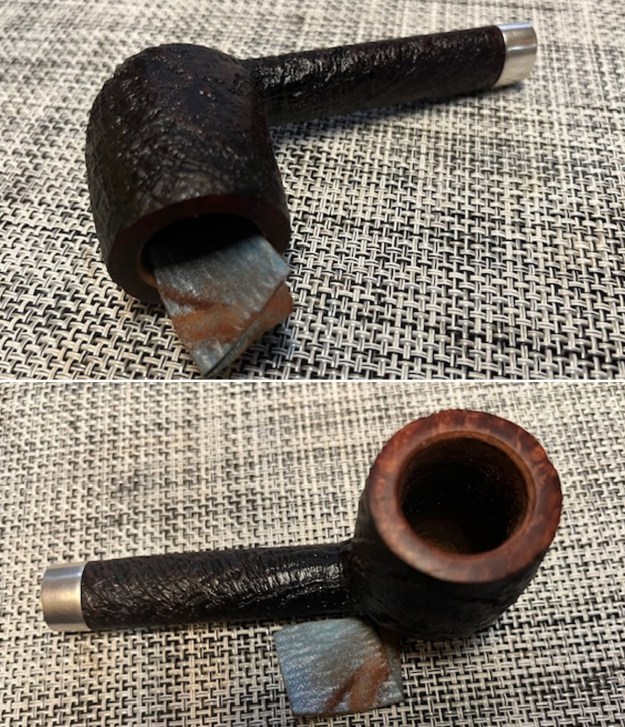
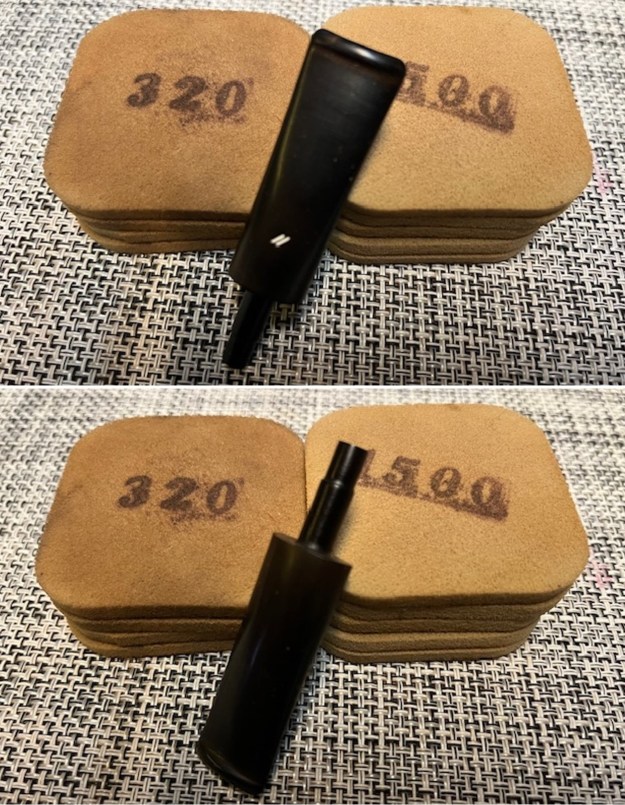
 There was a divot or dent on the front of the bowl mid-bowl with two small flaws in it. I filled it in with clear CA glue. Once it cured I used the topping board and 220 grit sandpaper to flatten the repair and start the process of blending it into the surface. I further smoothed it out with 320-3500 grit sanding pads. It was looking much better.
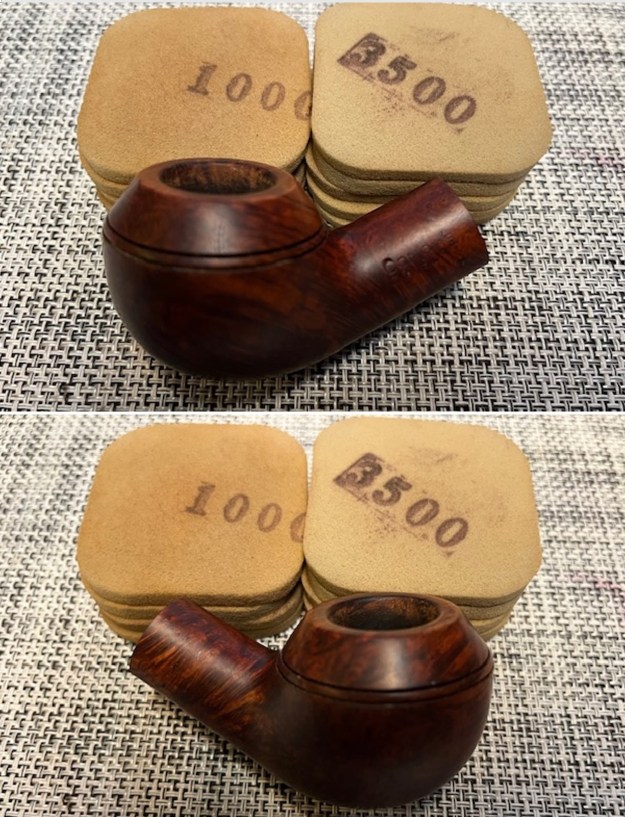
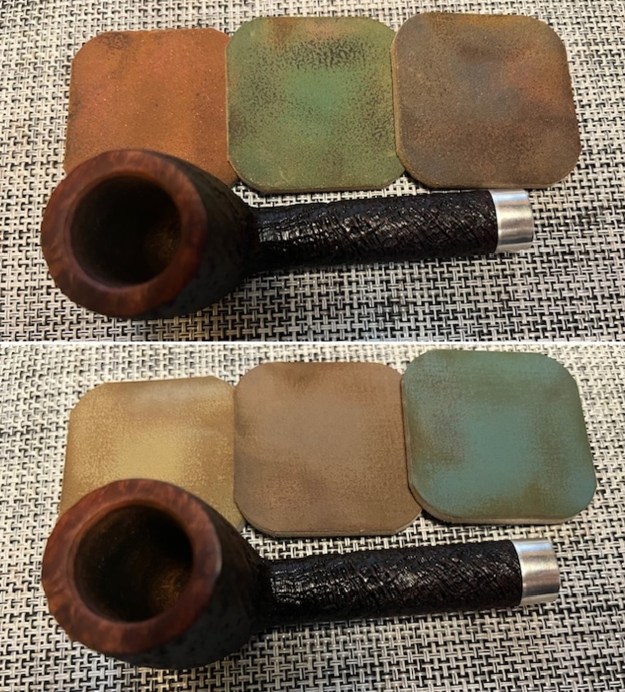
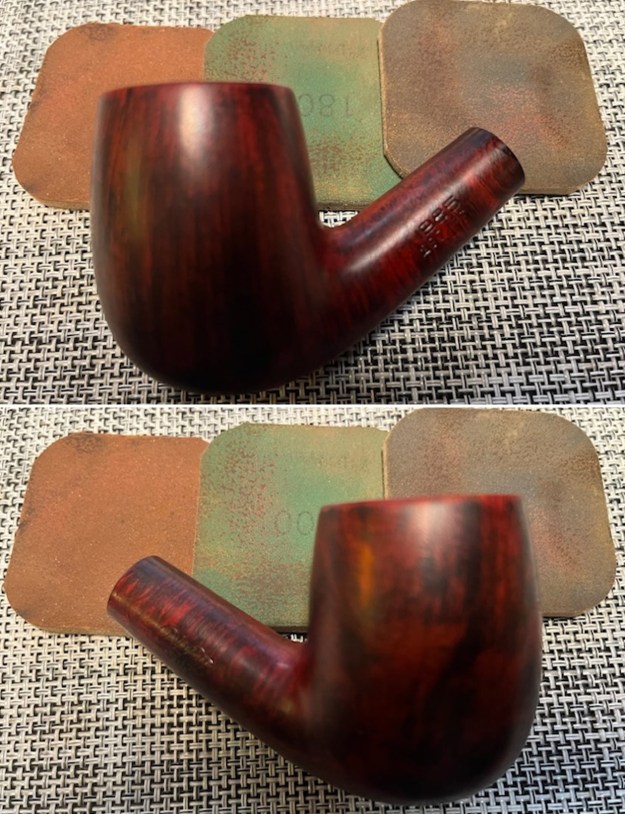
 I sanded the entire bowl with 320-3500 grit sanding pads. I wiped it down with a damp cloth between each sanding pad. It really began to take on a shine.

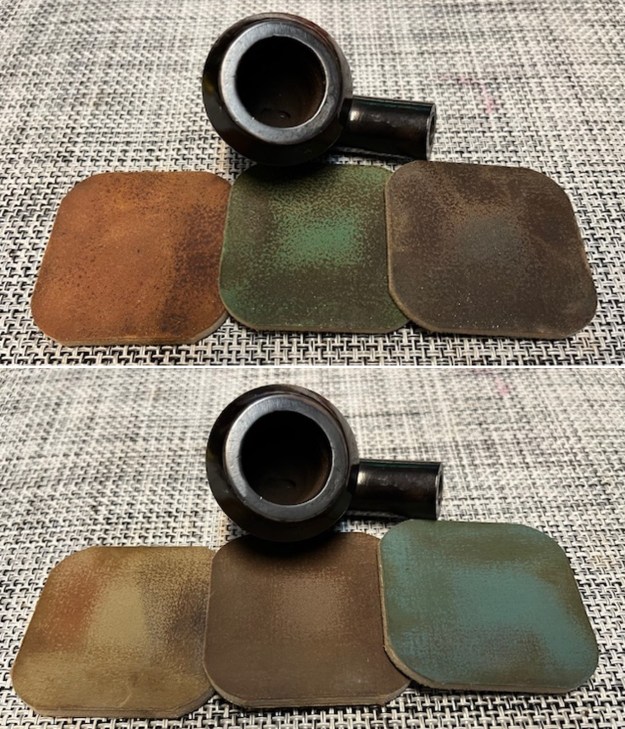
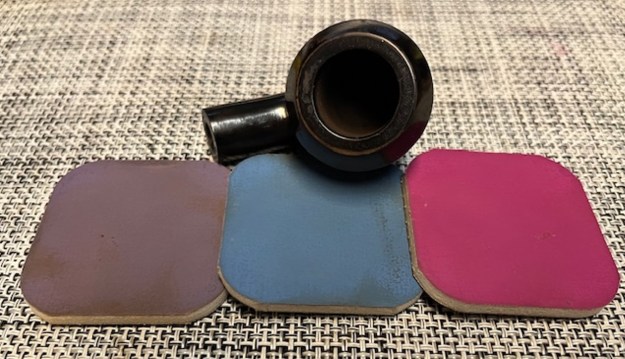
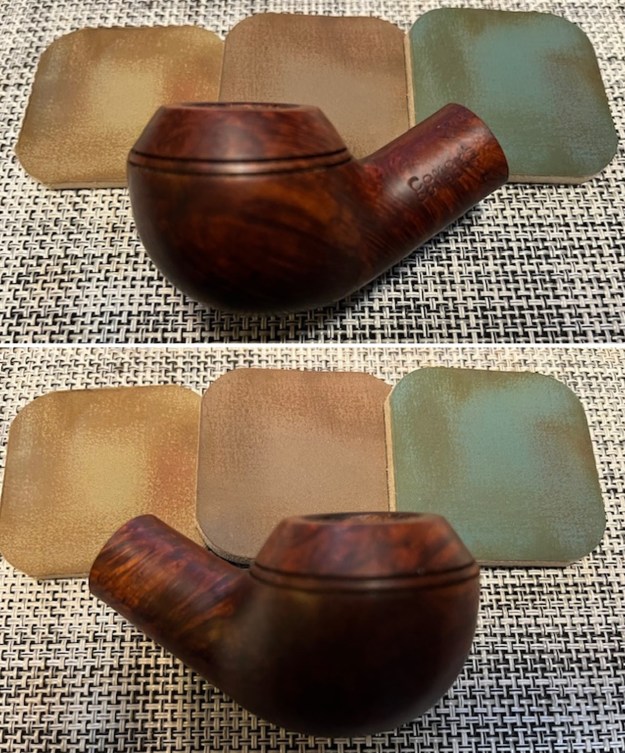
 I heated the briar and stained it with a Cordovan stain. I fired it with a lighter to set the stain and burn off the alcohol. I repeated the process until I was happy with the coverage on the pipe.
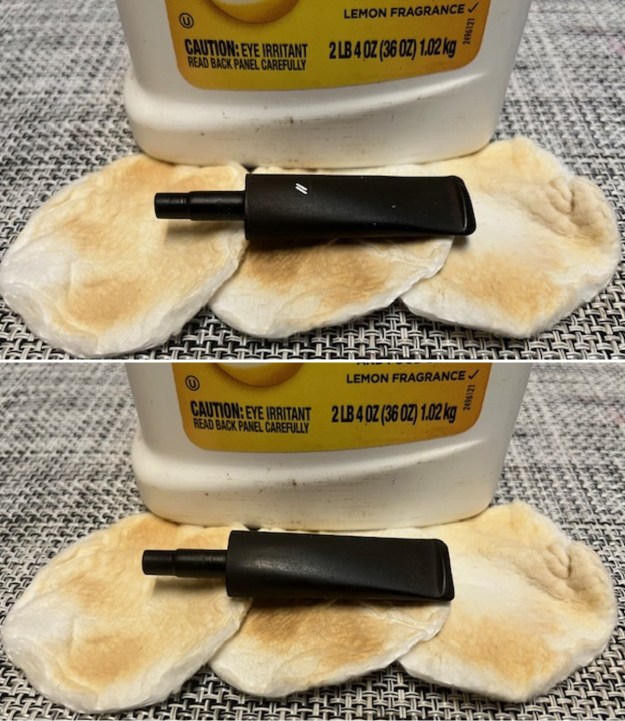
 I wiped the bowl down with isopropyl alcohol on cotton pads to remove the excess stain on the briar. It began to look very good.
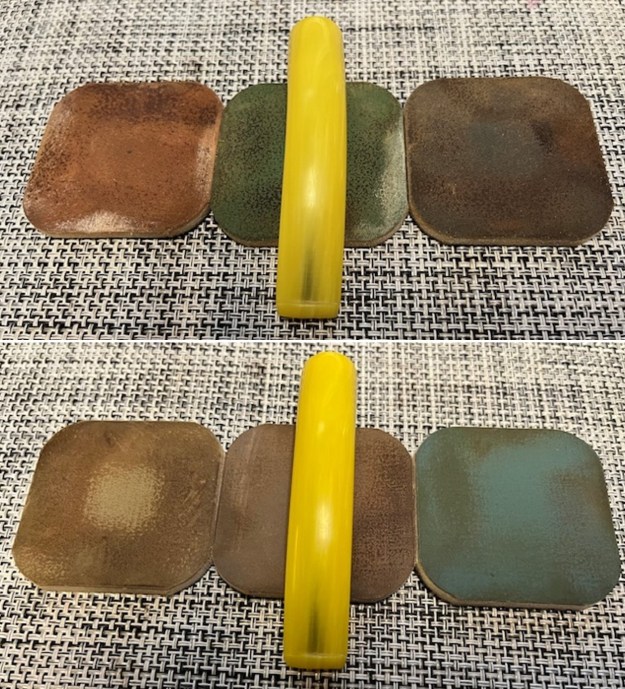
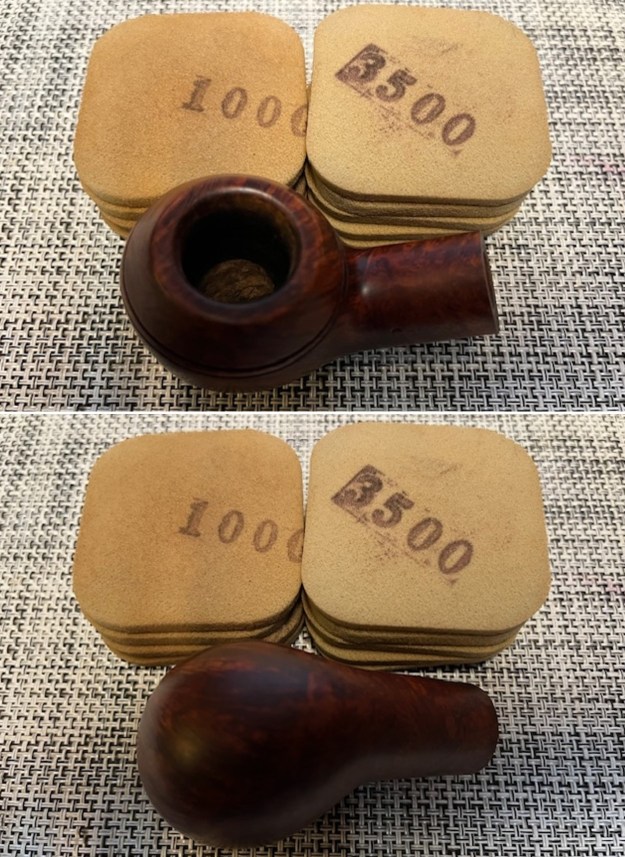
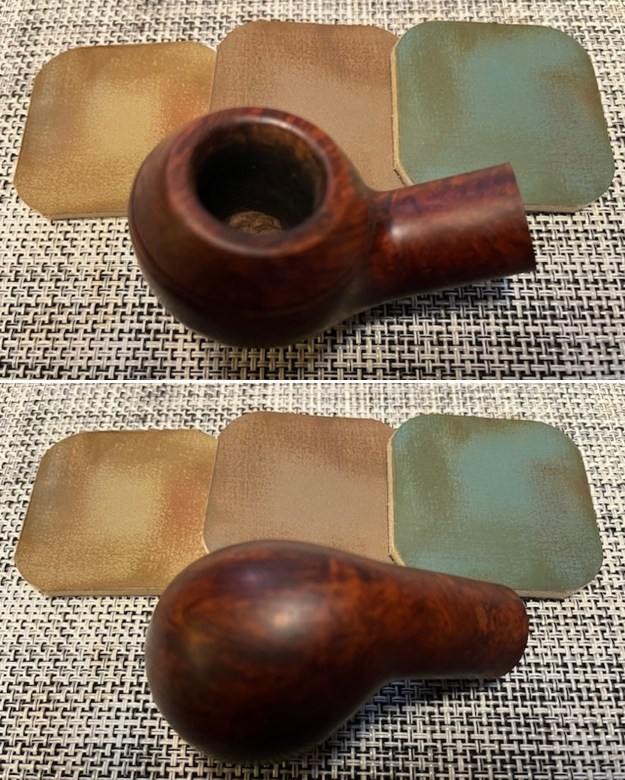
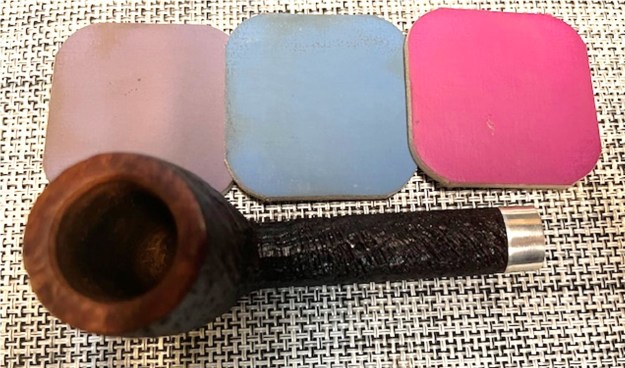
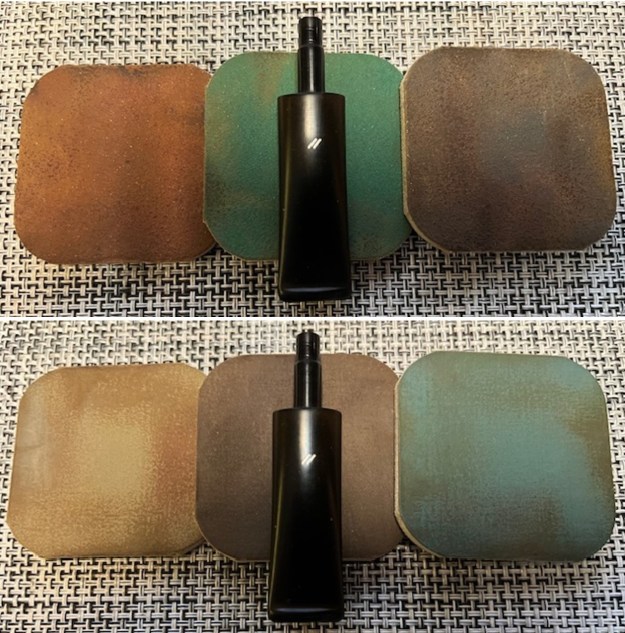
 I sanded the bowl with 600-3500 grit sanding pads to even out the stain and smooth the surface of the briar.

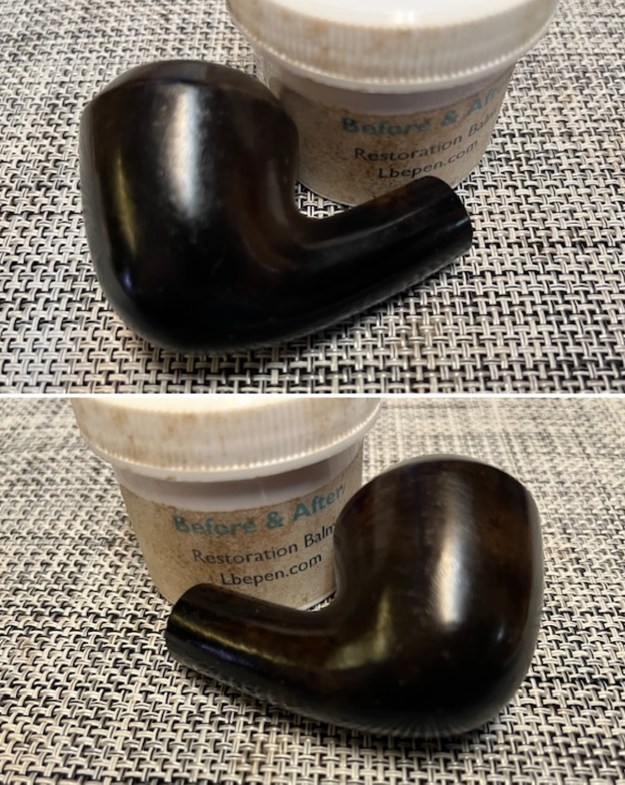
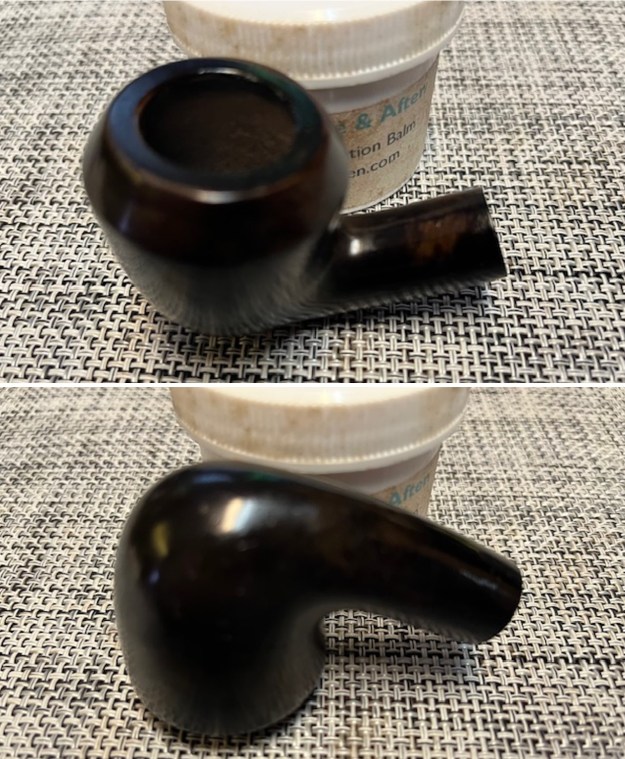
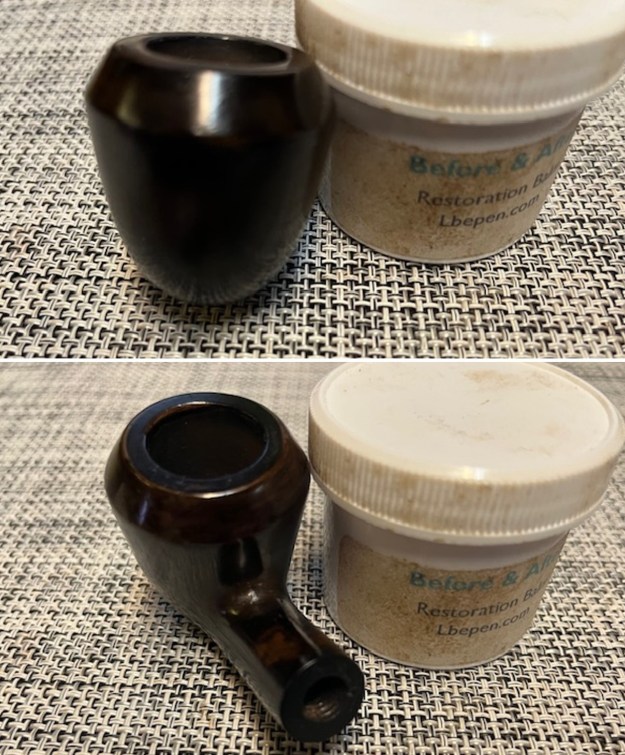
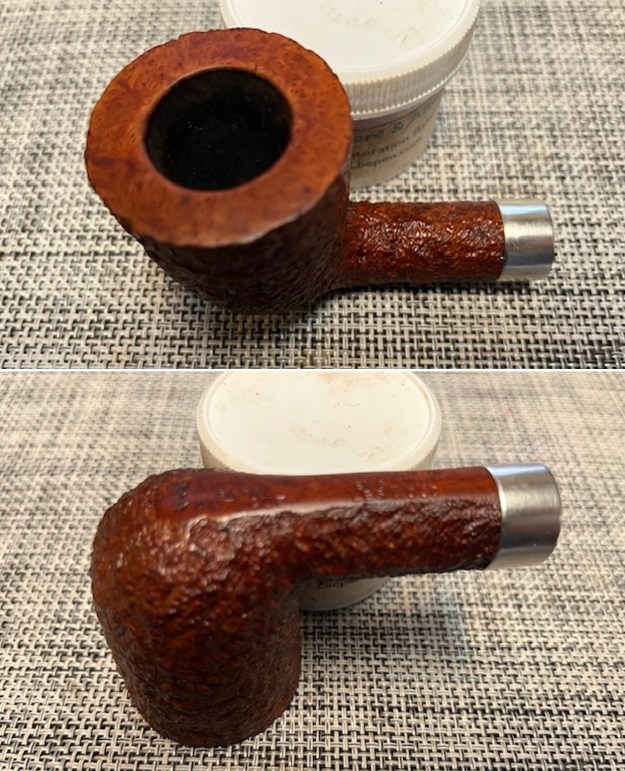
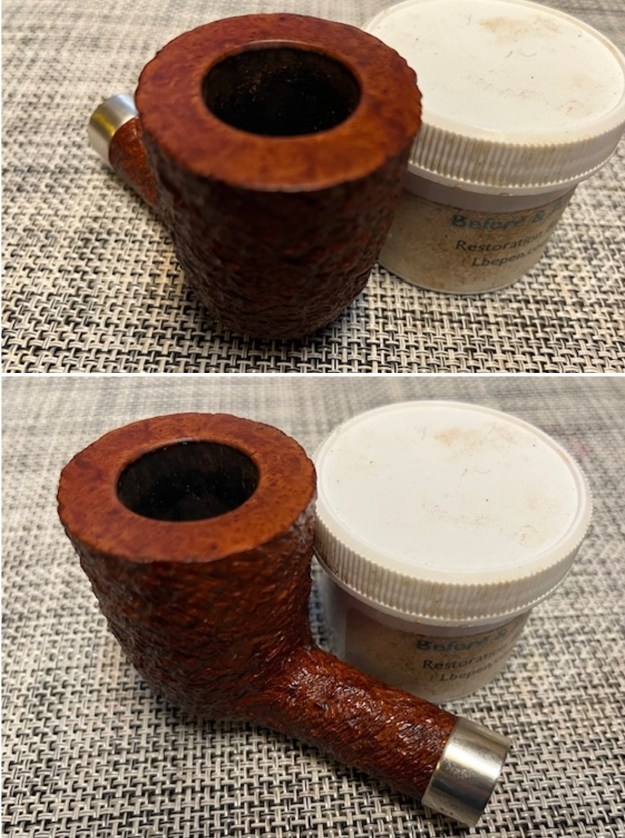
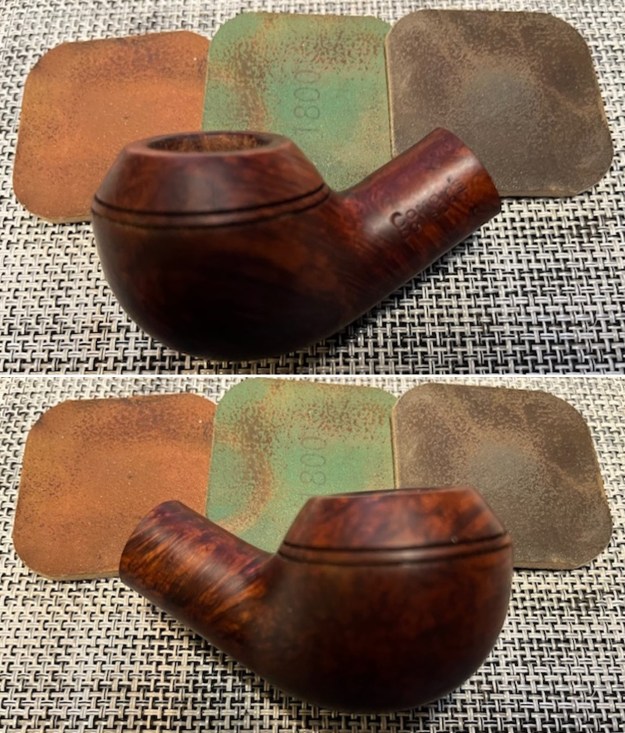
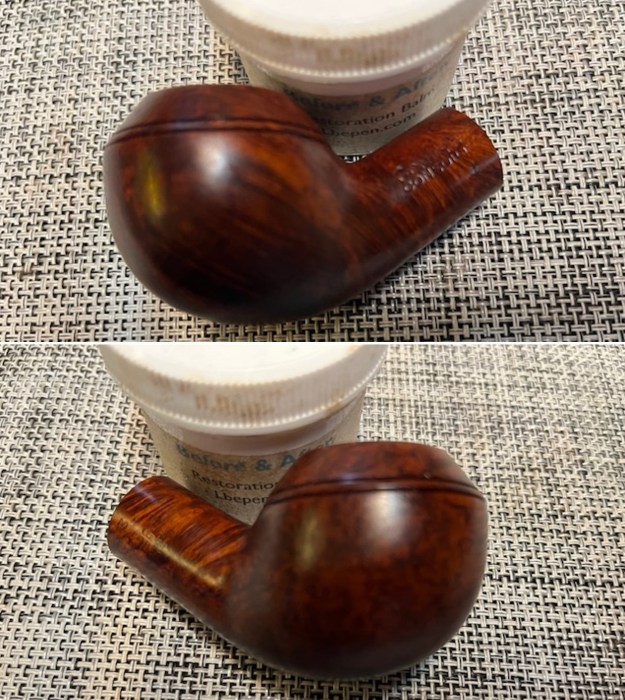
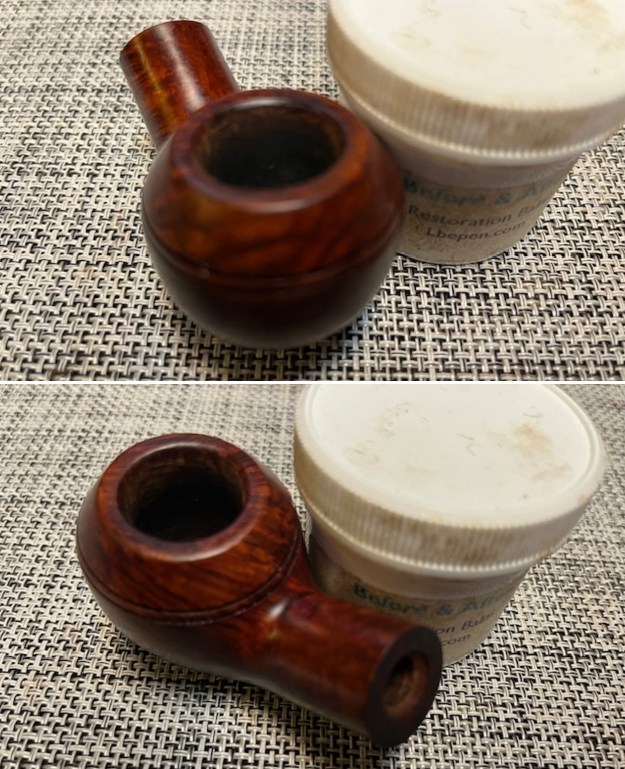
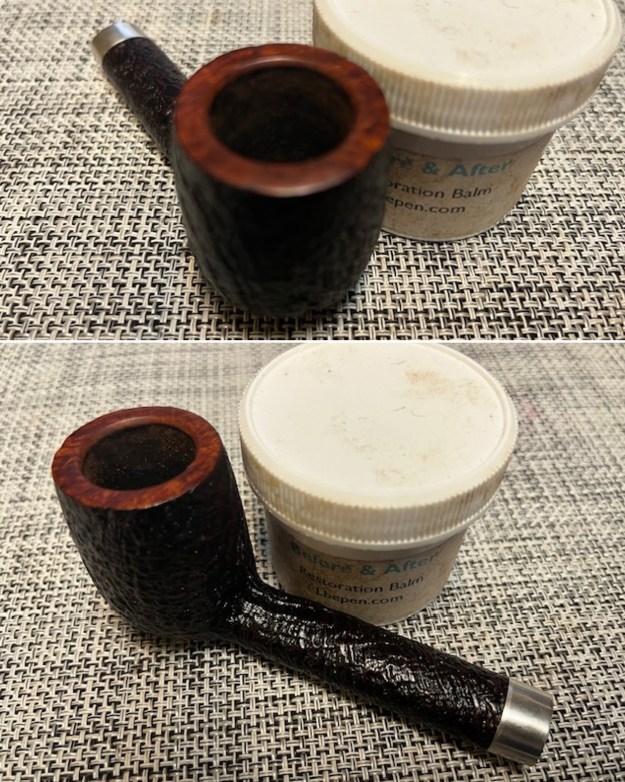
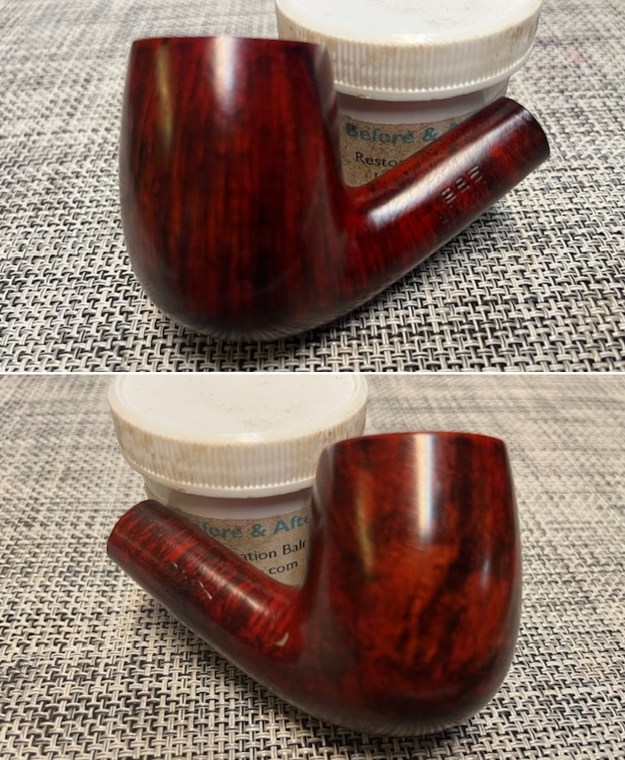
 I rubbed the briar down with Before & After Restoration Balm. I worked it into the plateau rim top surface with my fingertips and a shoebrush. The product works to clean, enliven and preserve the briar. I let it sit for 10 minutes then I buffed it with a cotton cloth to deepen the shine. The briar really comes alive with the balm.

 I repaired the damaged area on the inside of the bowl with a thin coating of JB Weld. I applied it in the bowl with a pipe cleaner and pushed it into the area with a tooth pick. Once it cured I sanded it smooth with sandpaper wrapped around a dowel leaving only the burned area with the repair. It looked much better and was very smooth.
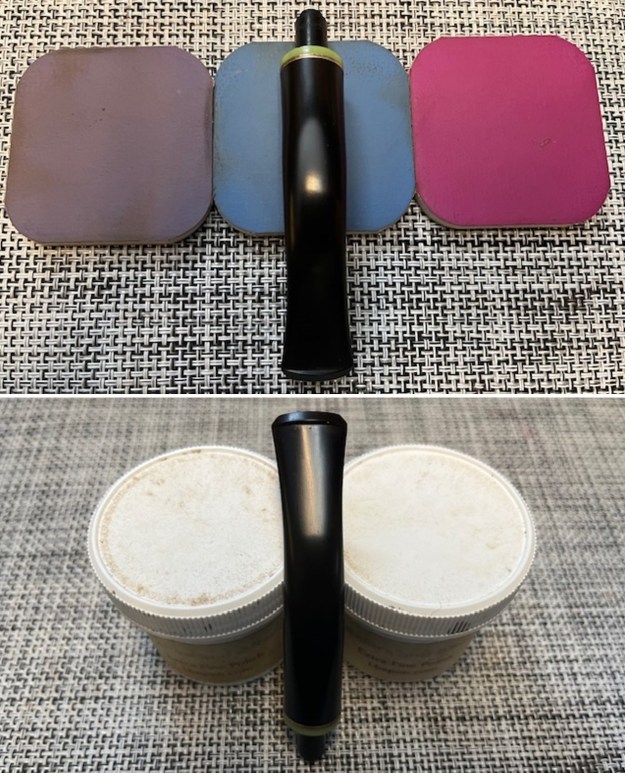
 I mixed a batch of bowl coating made of sour cream and activated charcoal powder. I used a pipe cleaner to stir it up and also to apply it to the bowl walls. I wanted to give a coat to protect it until a new cake could be formed. It also covered the repair with the JB Weld and protected it.
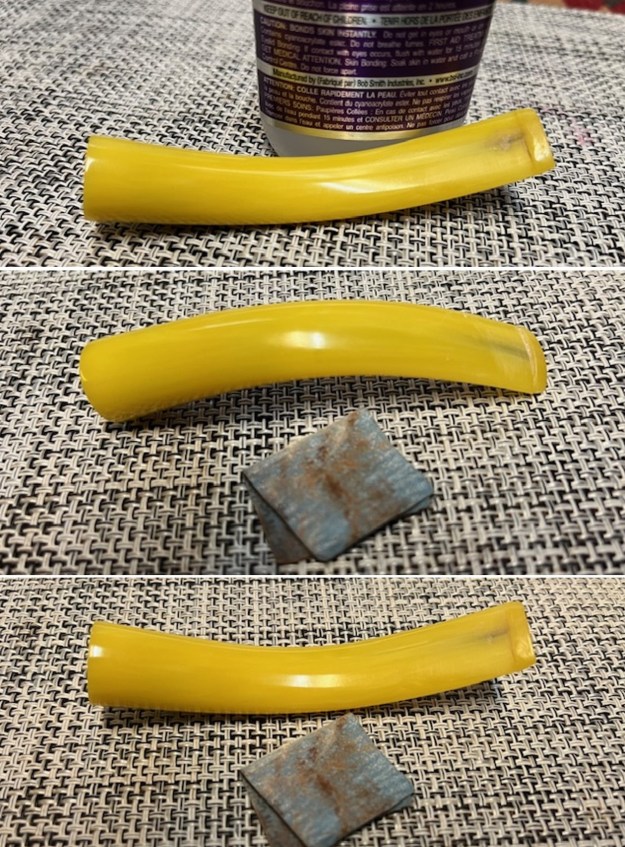
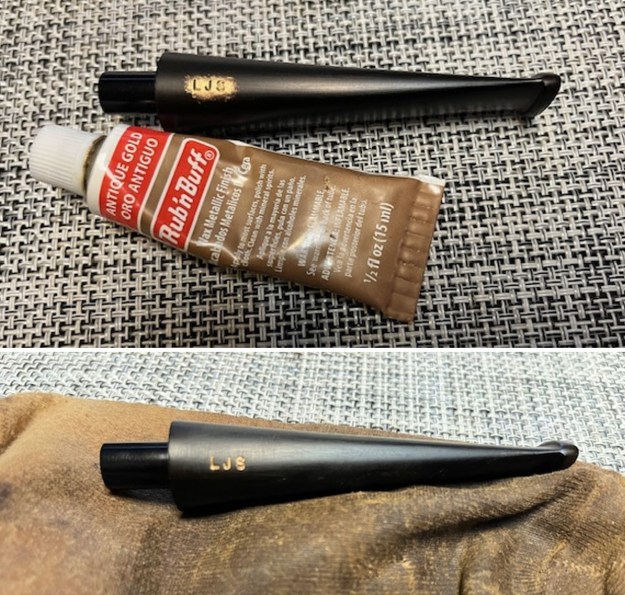
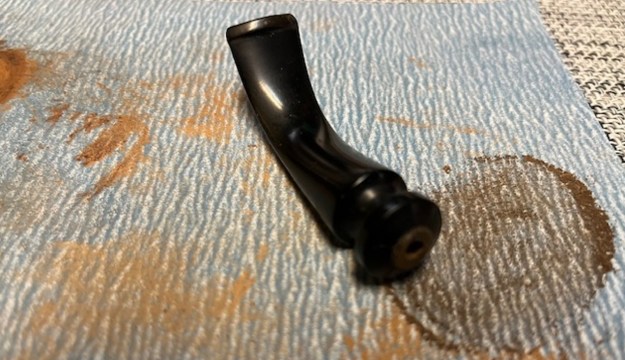
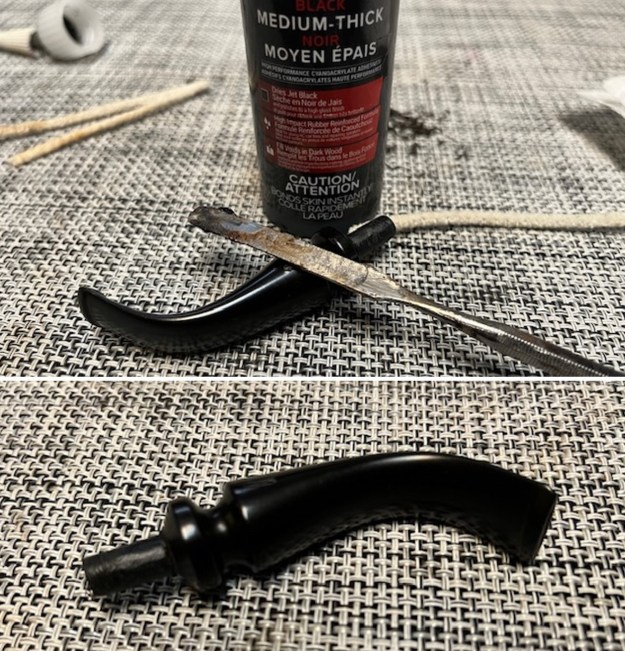
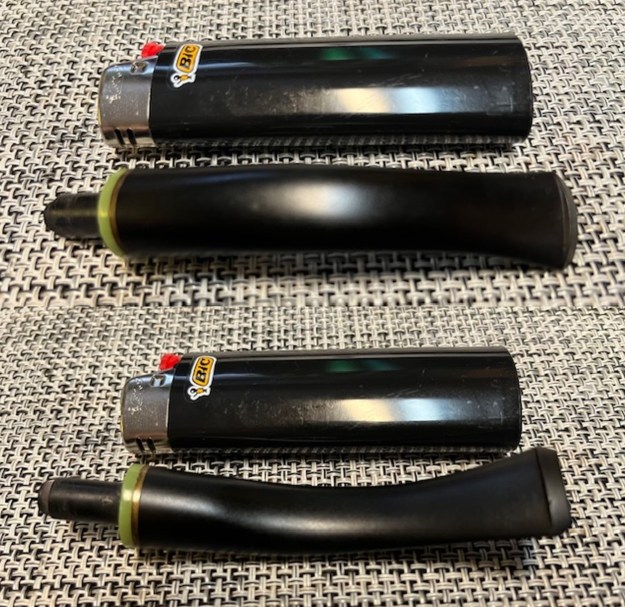
 I set the bowl aside for the bowl coating to cure and turned my attention to the stem. I “painted” it with the flame of a lighter to lift the tooth marks. I was able to lift the majority of them. What remained I filled in with clear CA glue and set it aside to cure. I used a small file to flatten out the repair on the stem and recut the sharp edge of the stem.

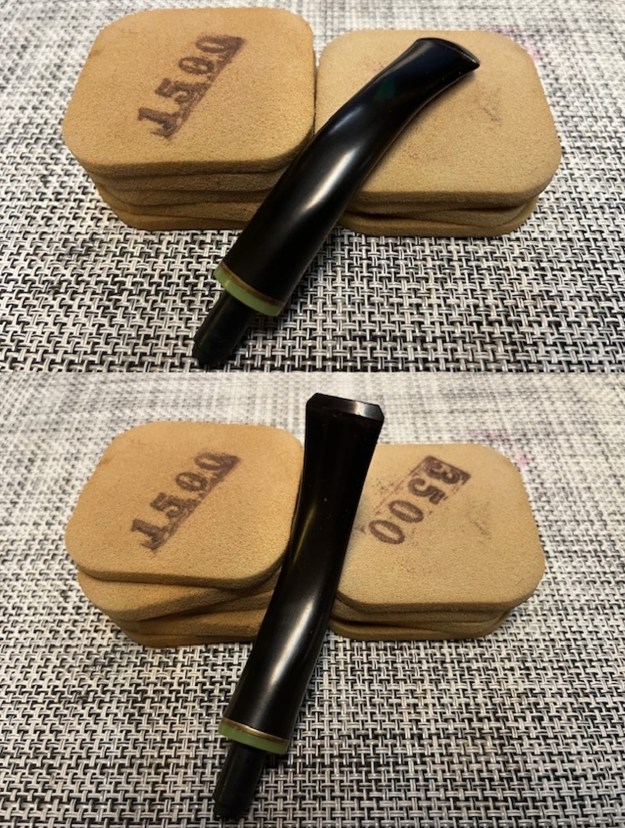
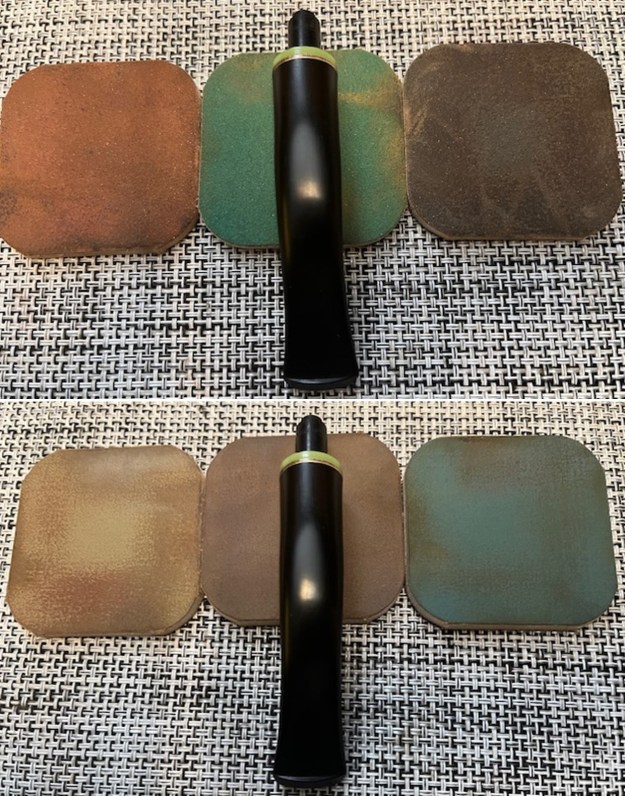
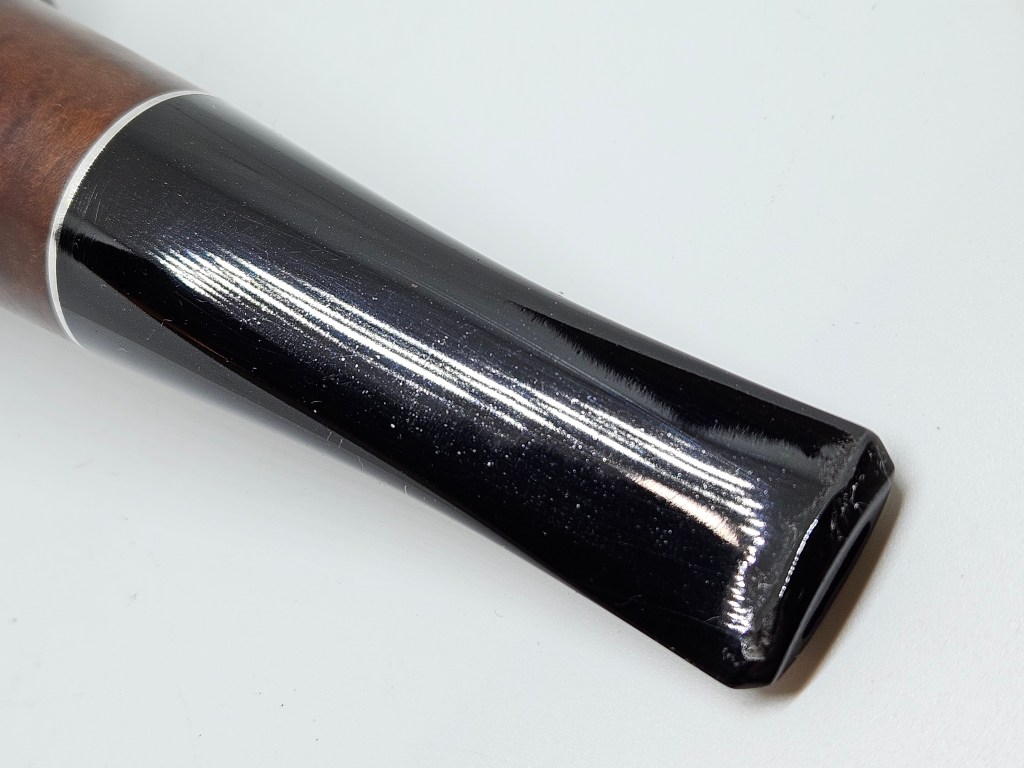
 I sanded out the roughness and smoothed out repaired tooth damage with 320-3500 grit sanding pads. I wiped the stem down after each pad with Obsidian Oil. I was able to remove the roughness and damage and the stem looked better.
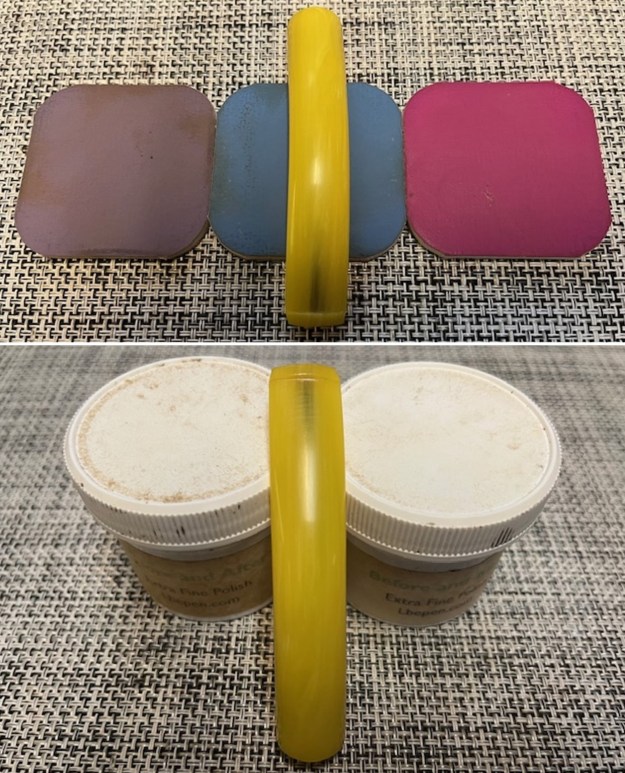
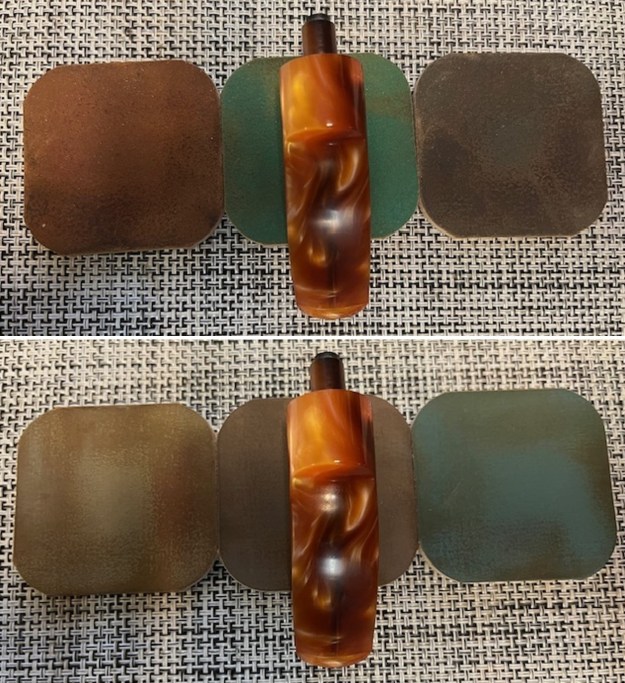
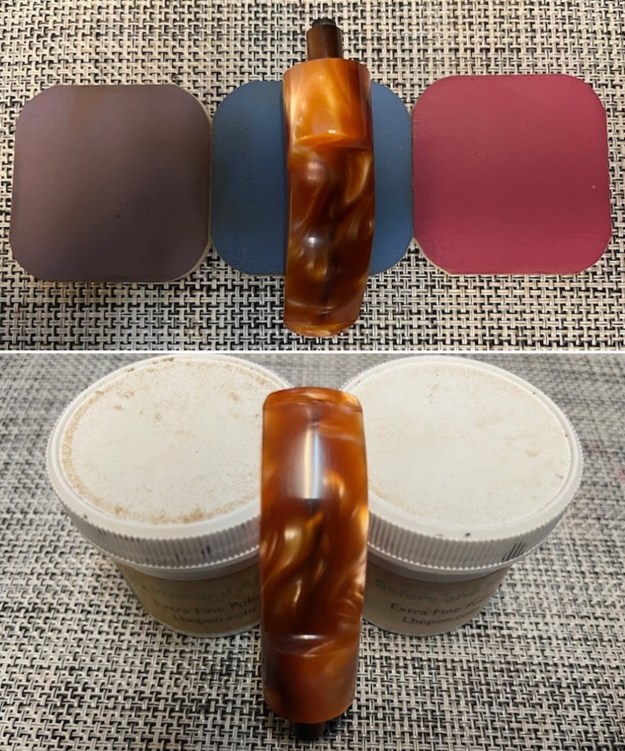
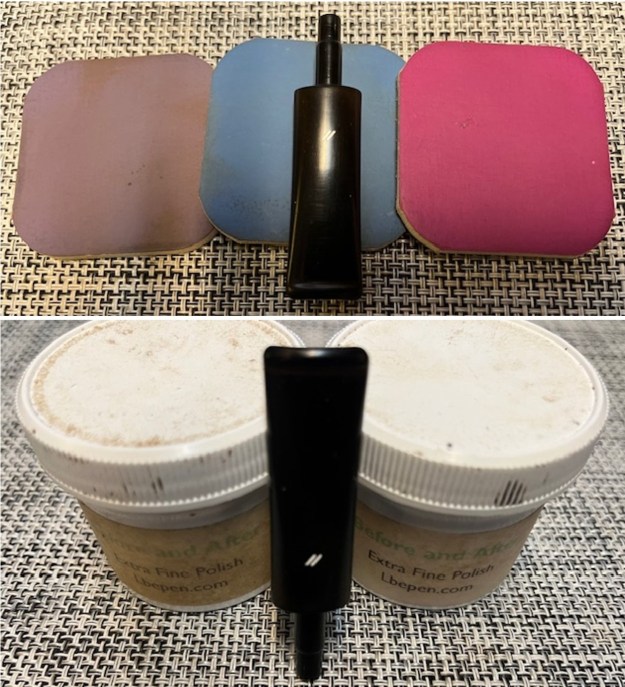
 I polished the vulcanite stem with micromesh sanding pads – 1500-12000 grit pads. I wiped it down with Obsidian Oil after each sanding pad. I used Before & After Pipe Polish – both Fine and Extra Fine to further polish the stem.
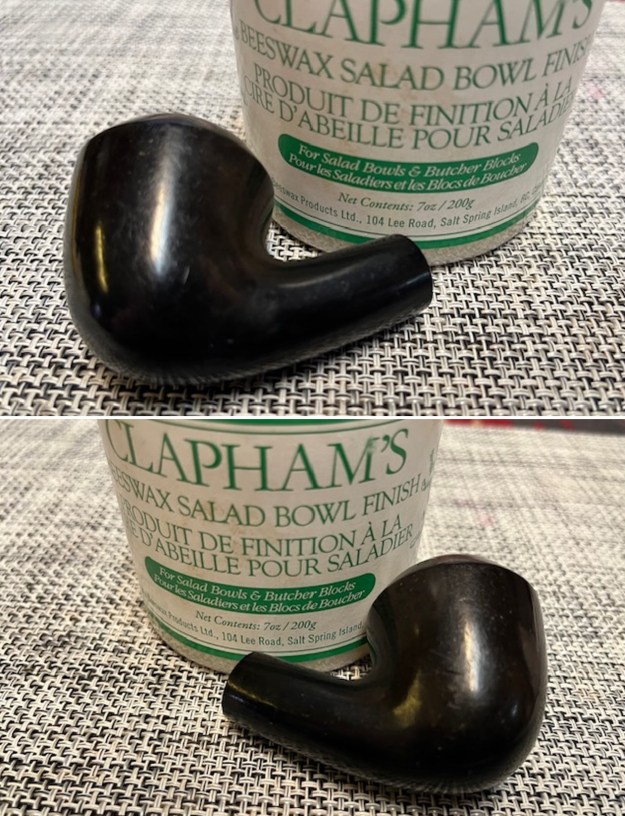
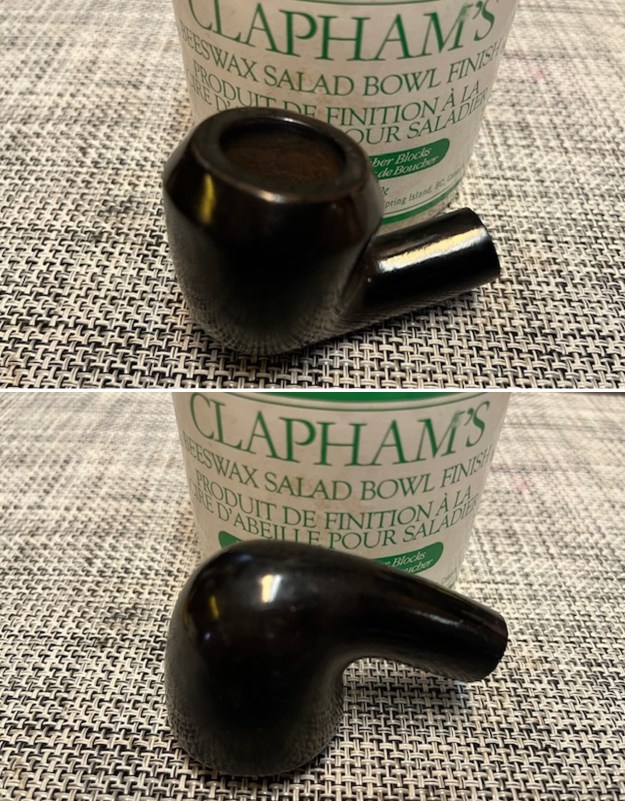
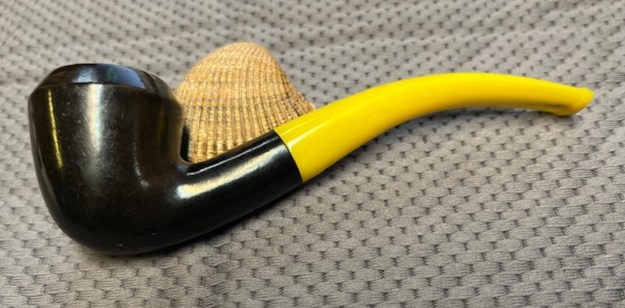
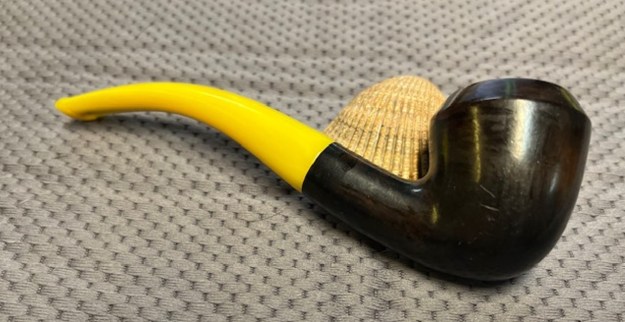
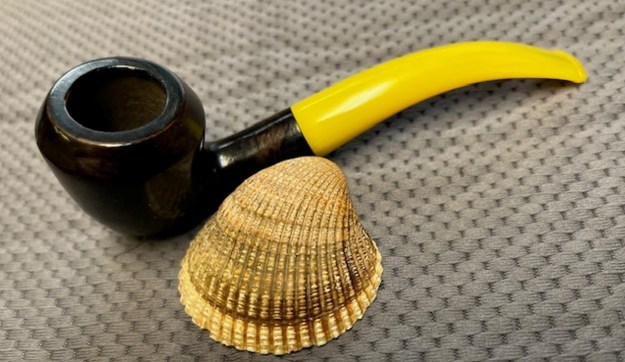
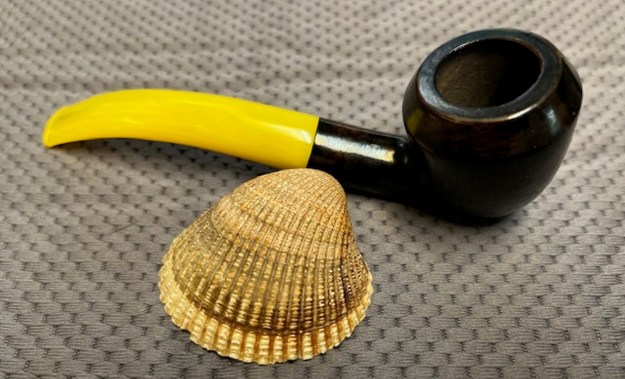
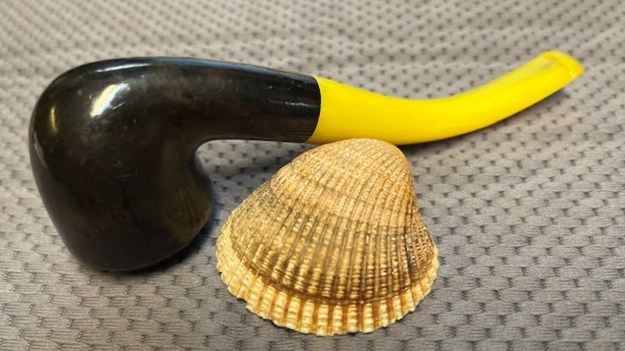
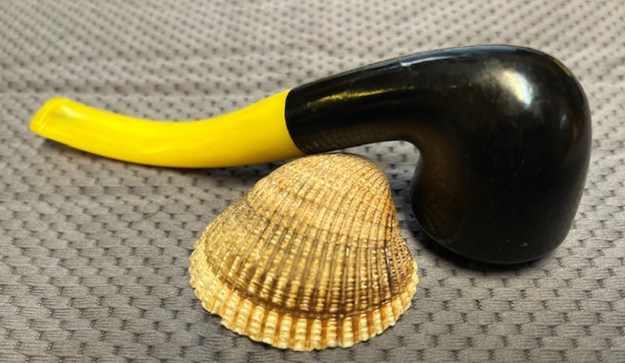
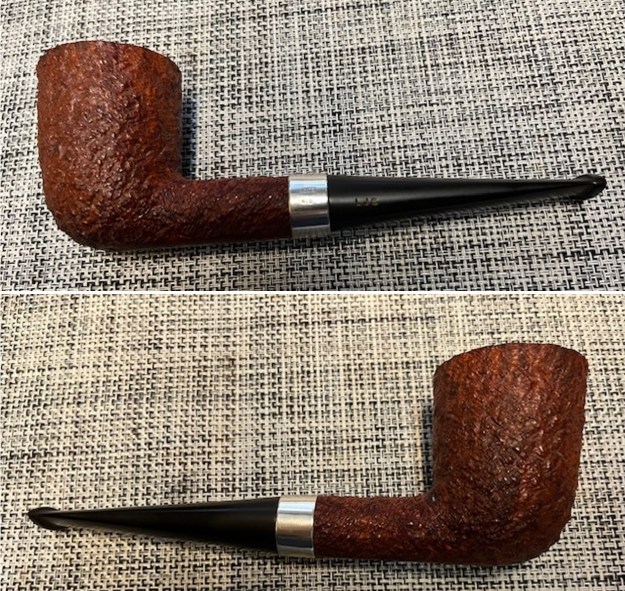
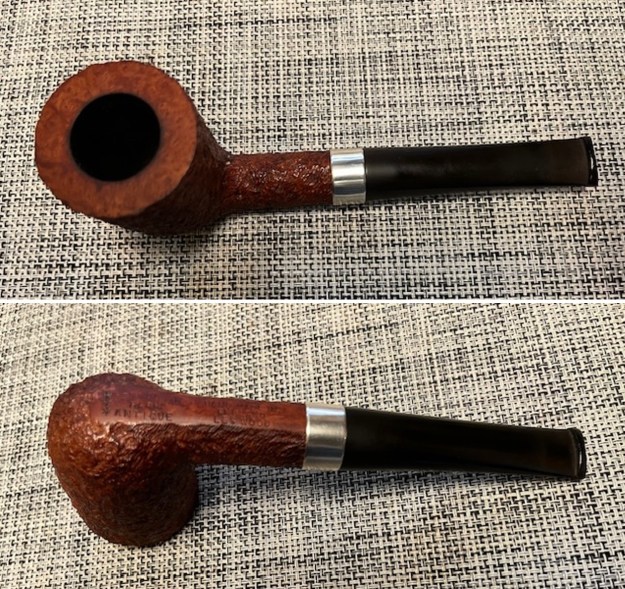
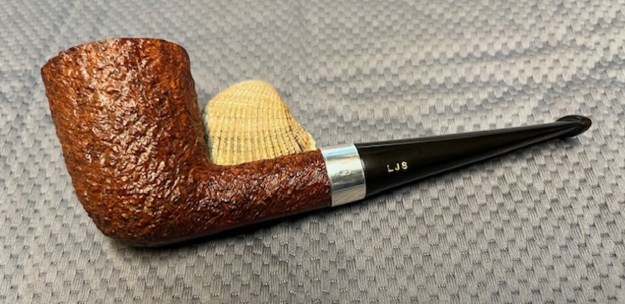
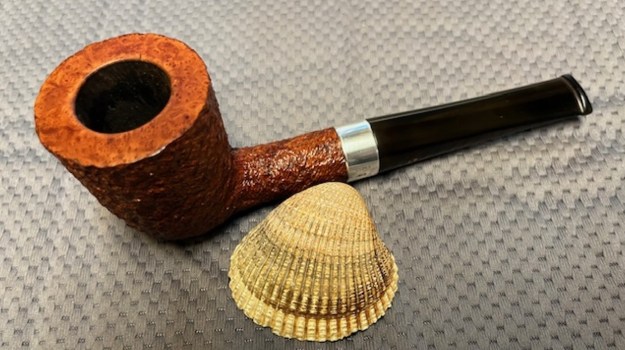
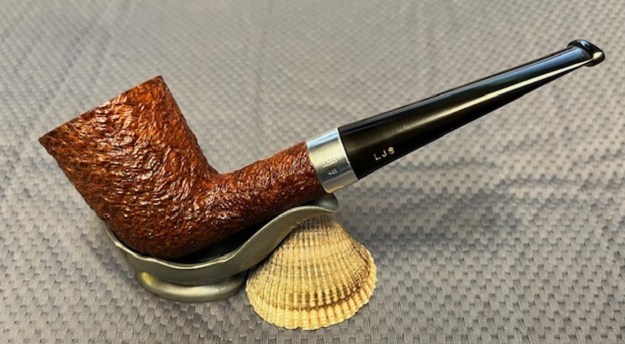
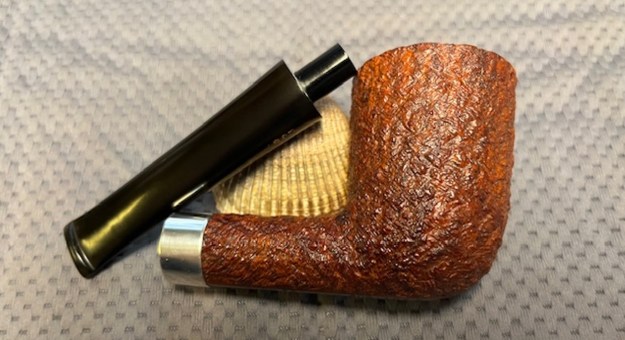
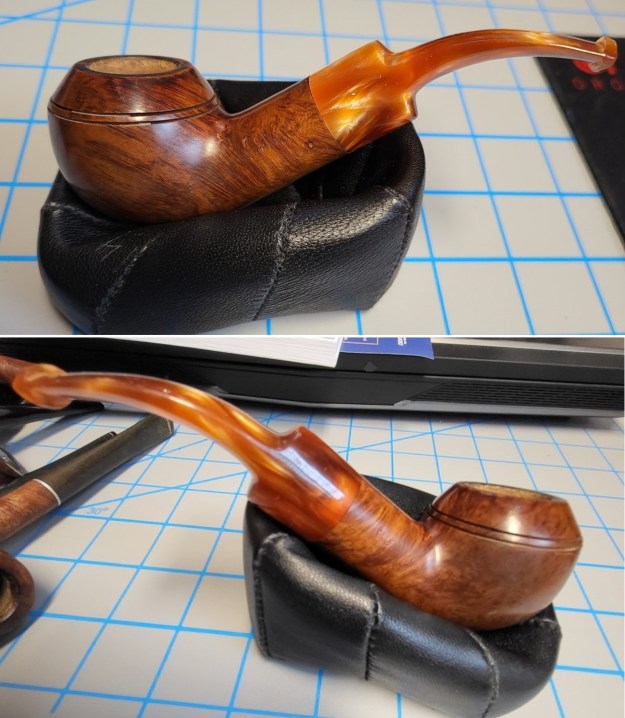
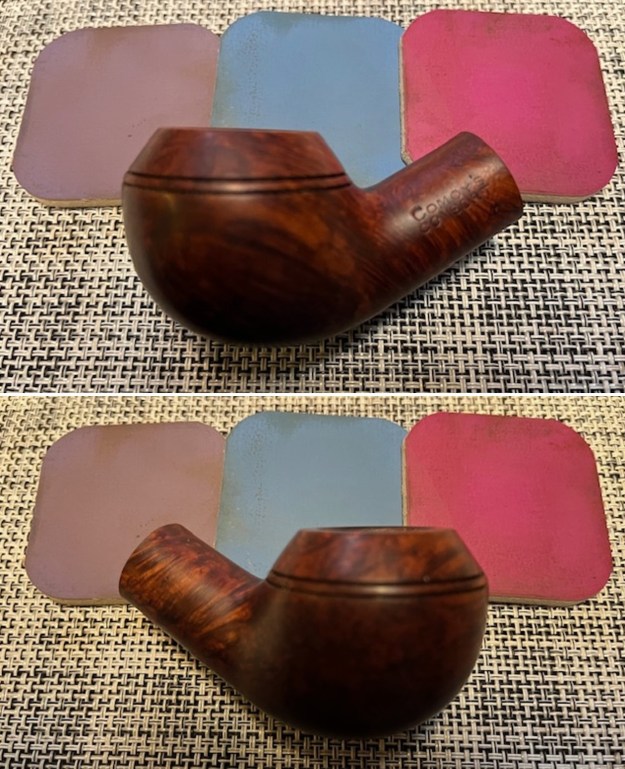
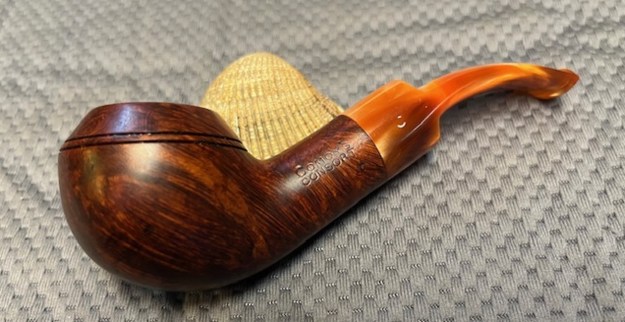
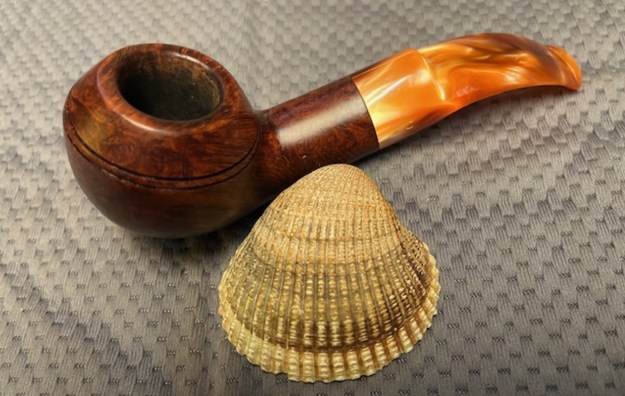
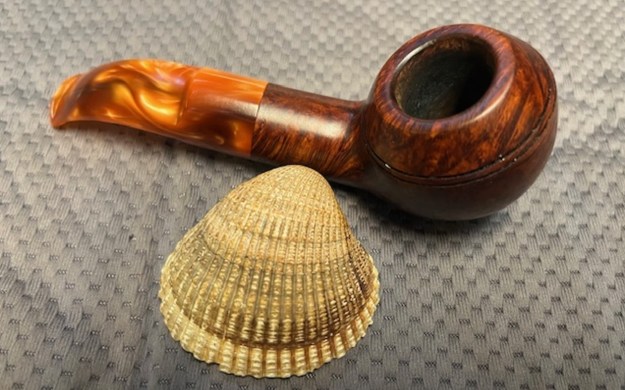
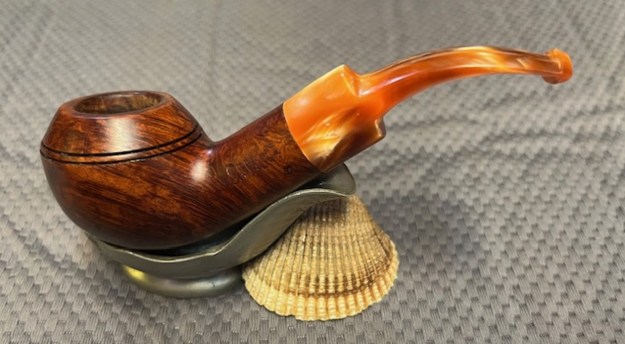
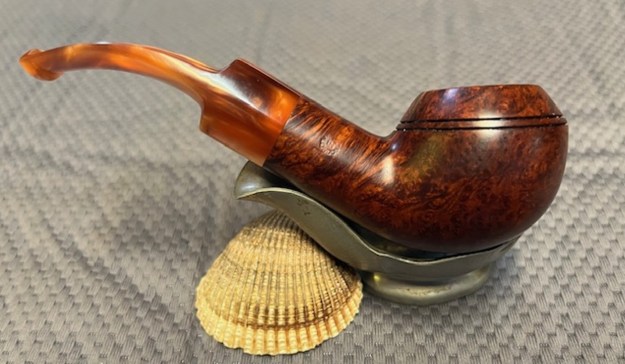
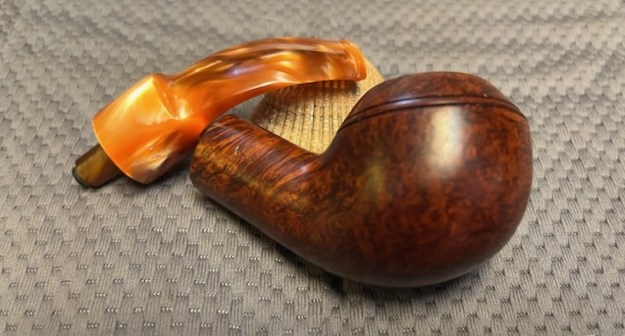
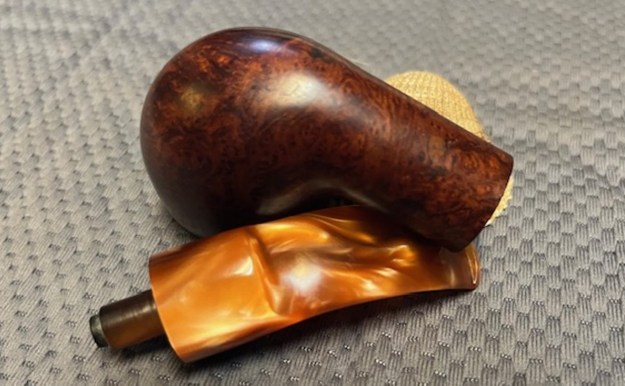
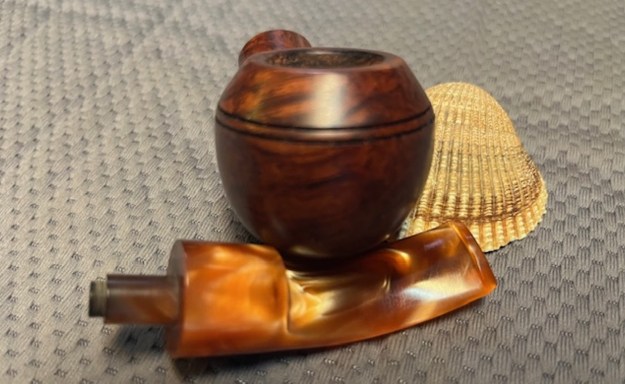
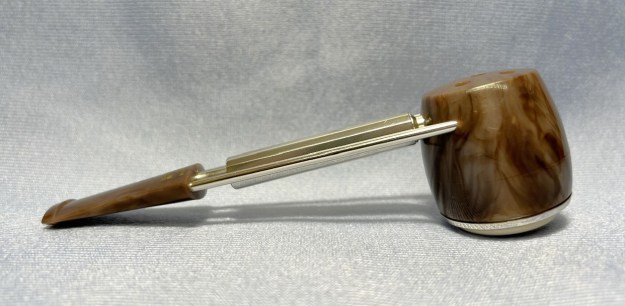
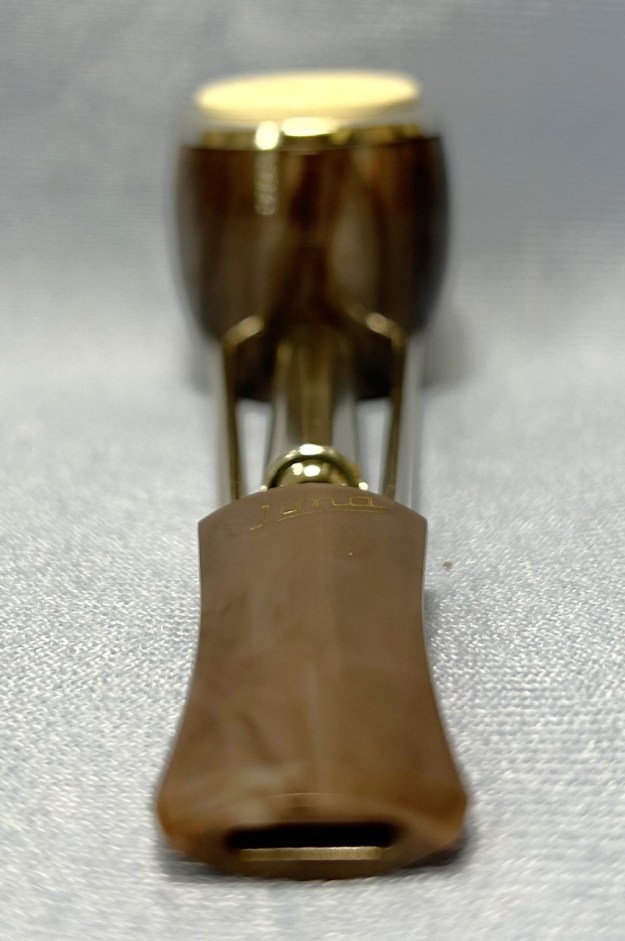
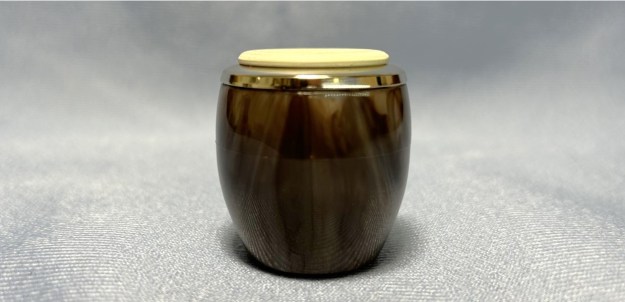
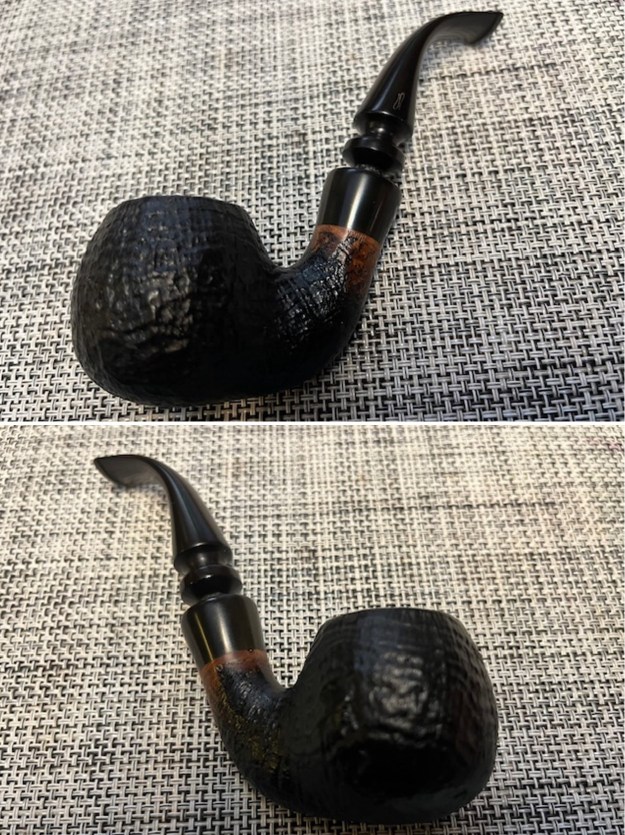
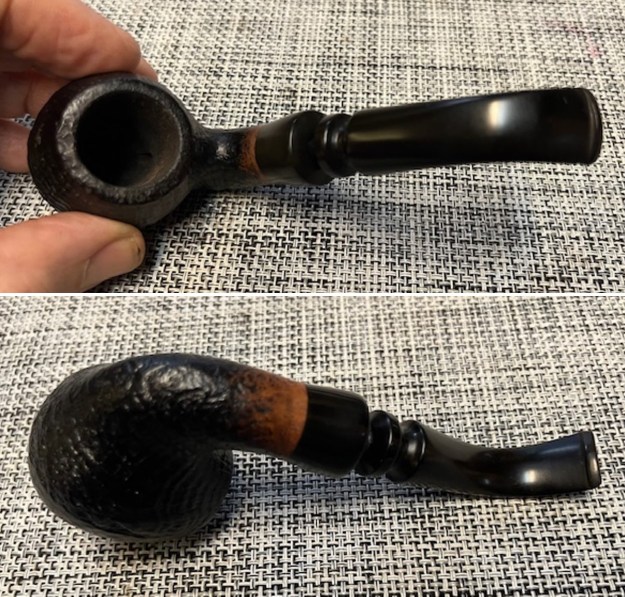
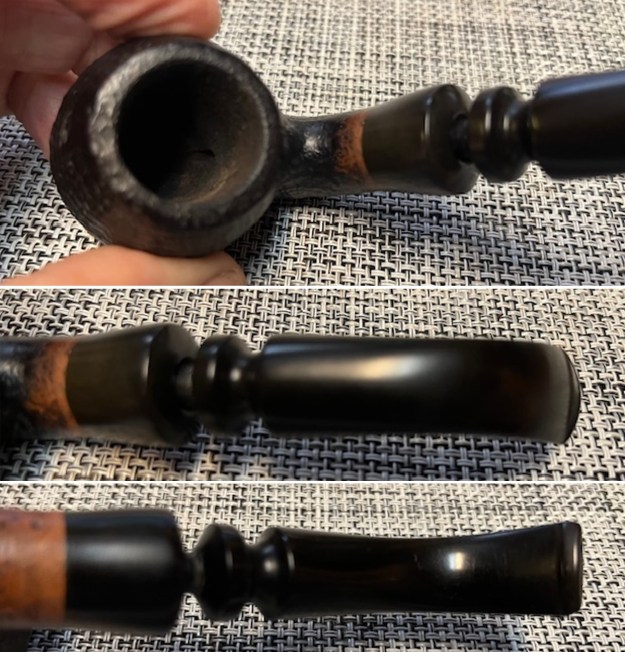
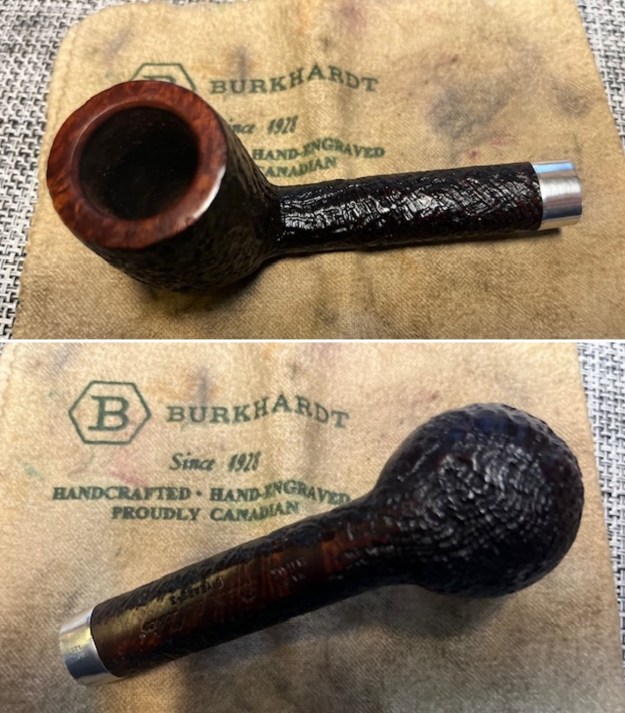
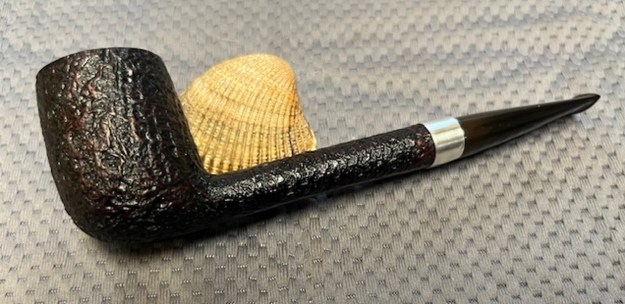
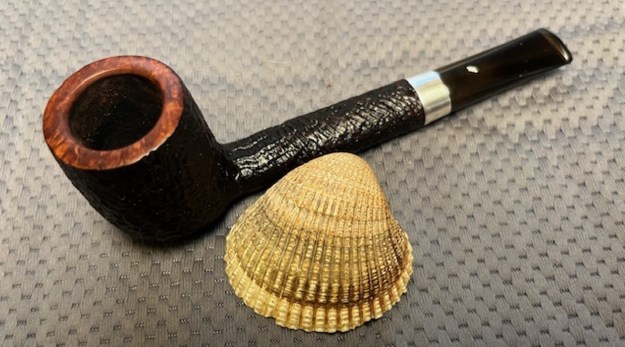
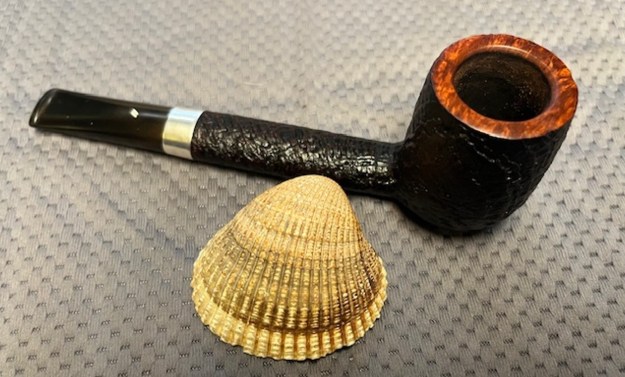
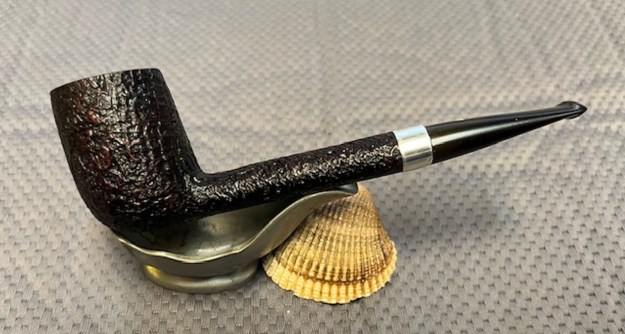
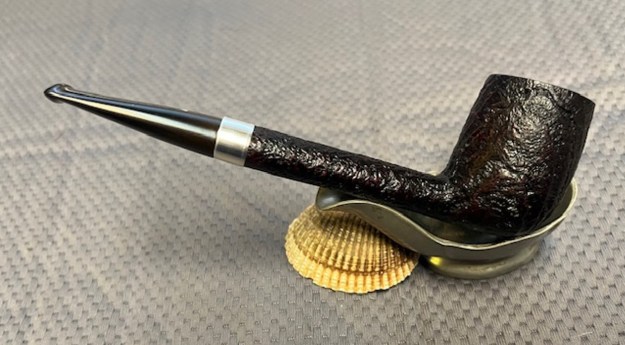
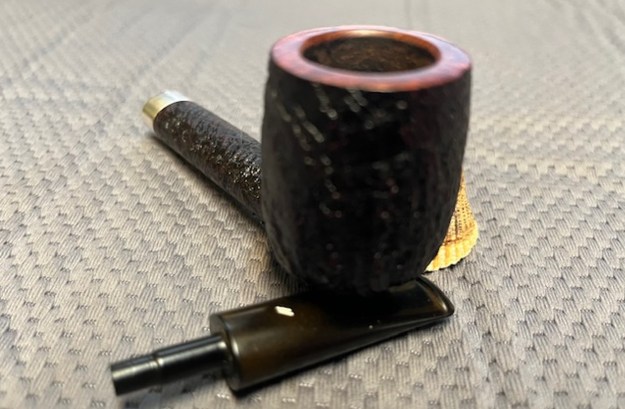
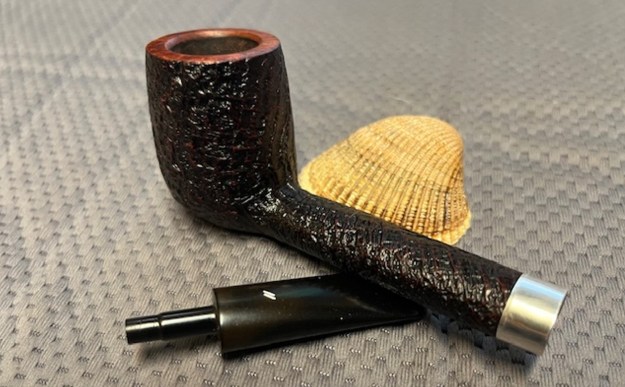
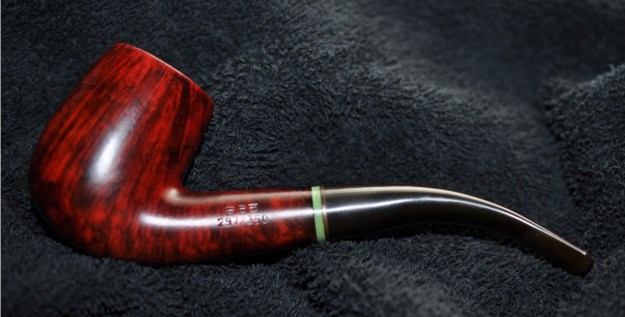
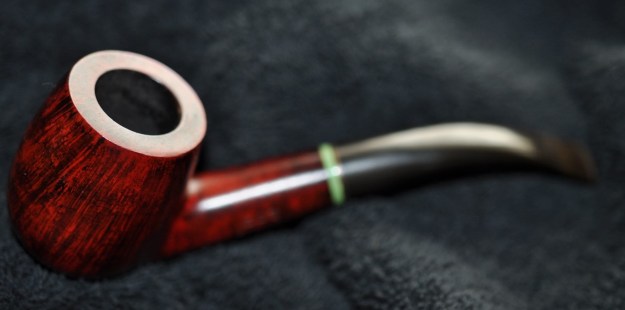
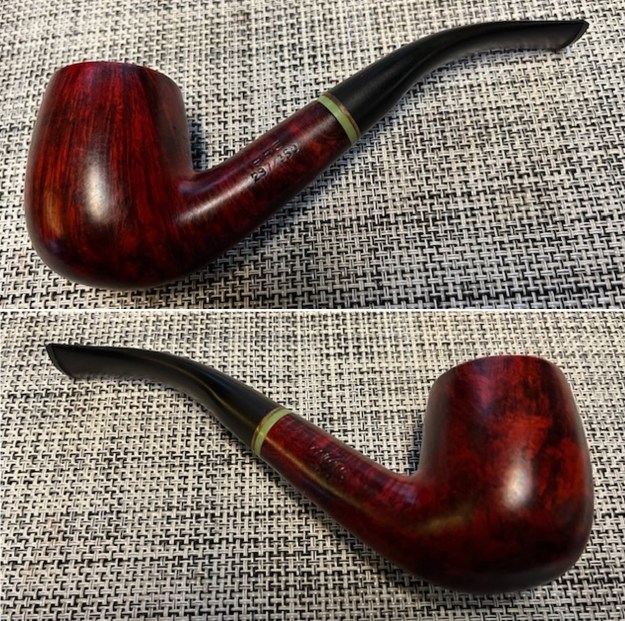
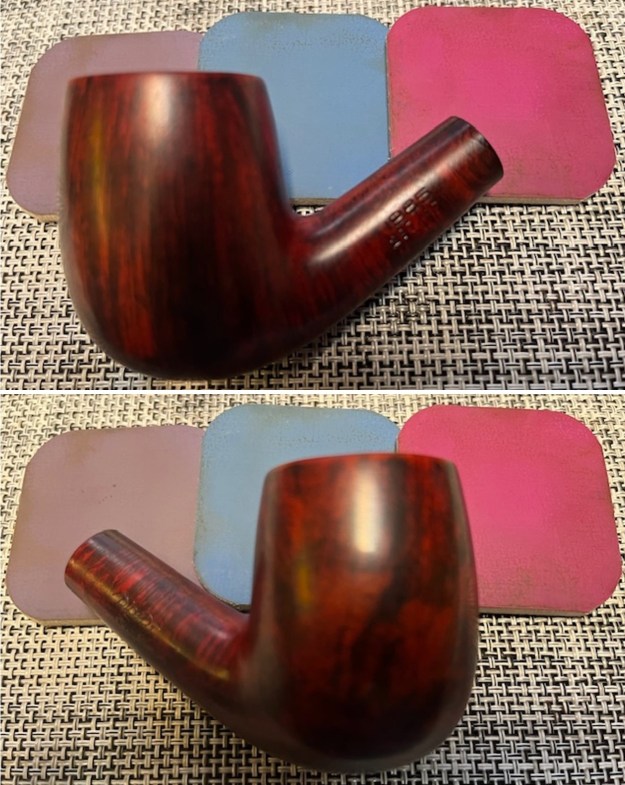
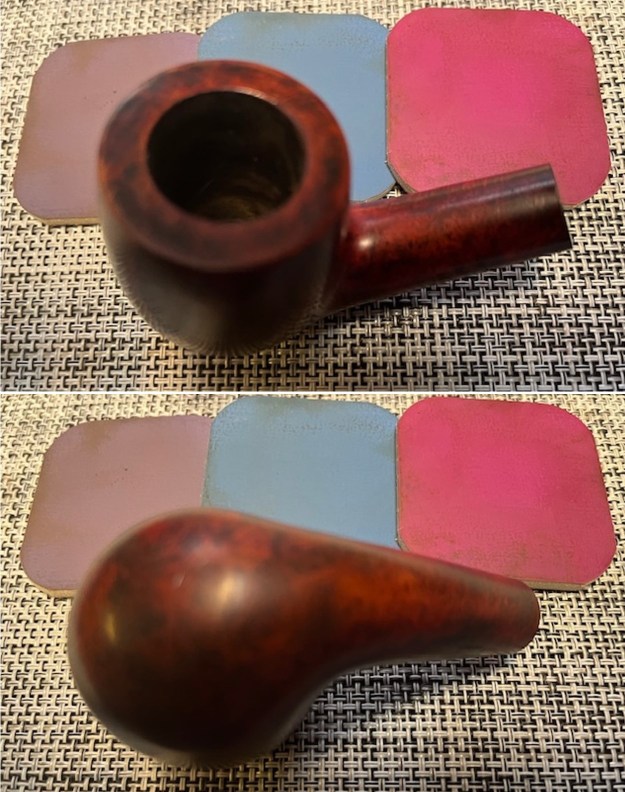
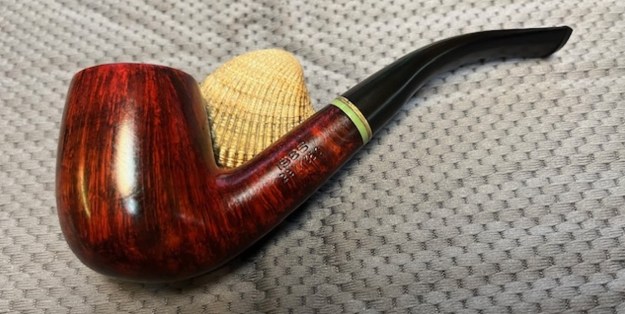
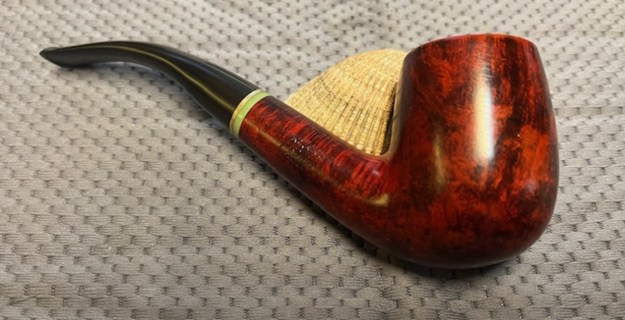
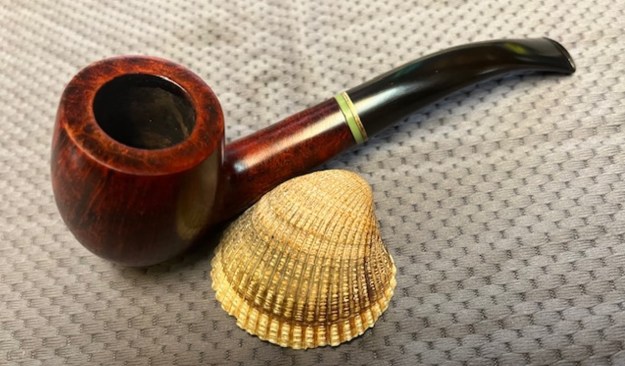
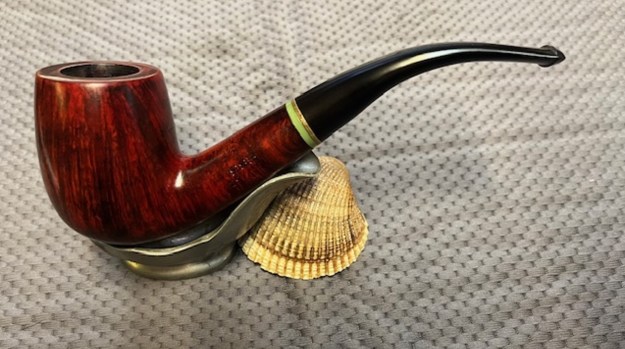
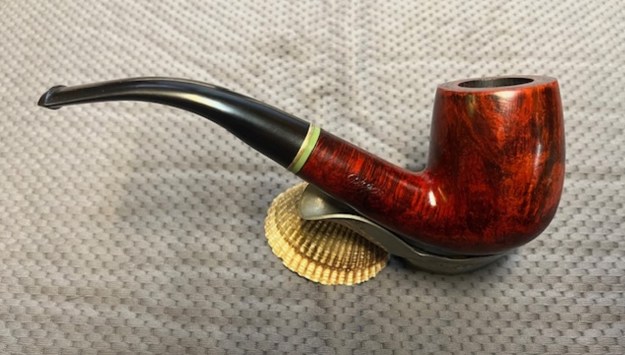
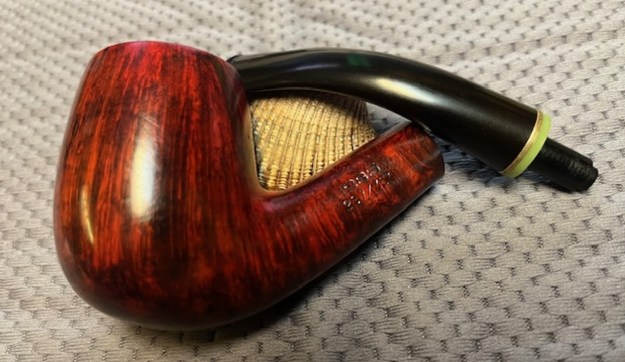
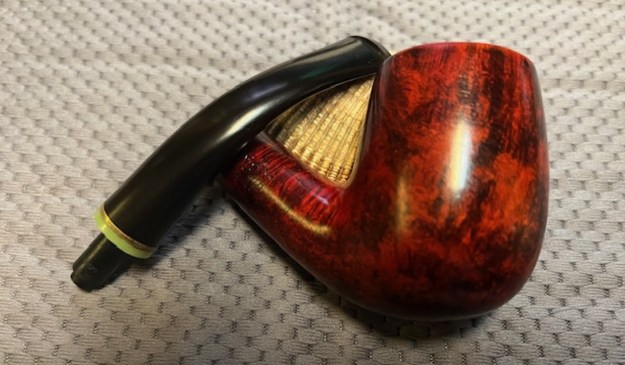
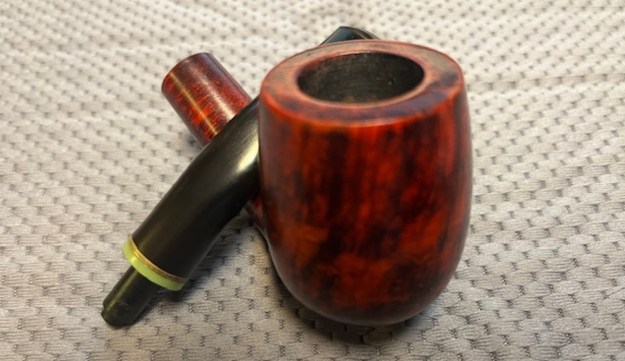
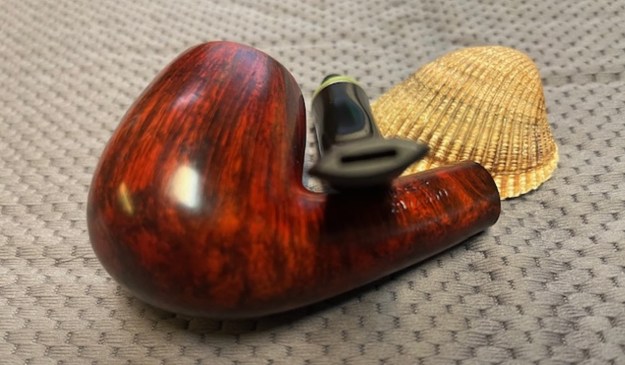
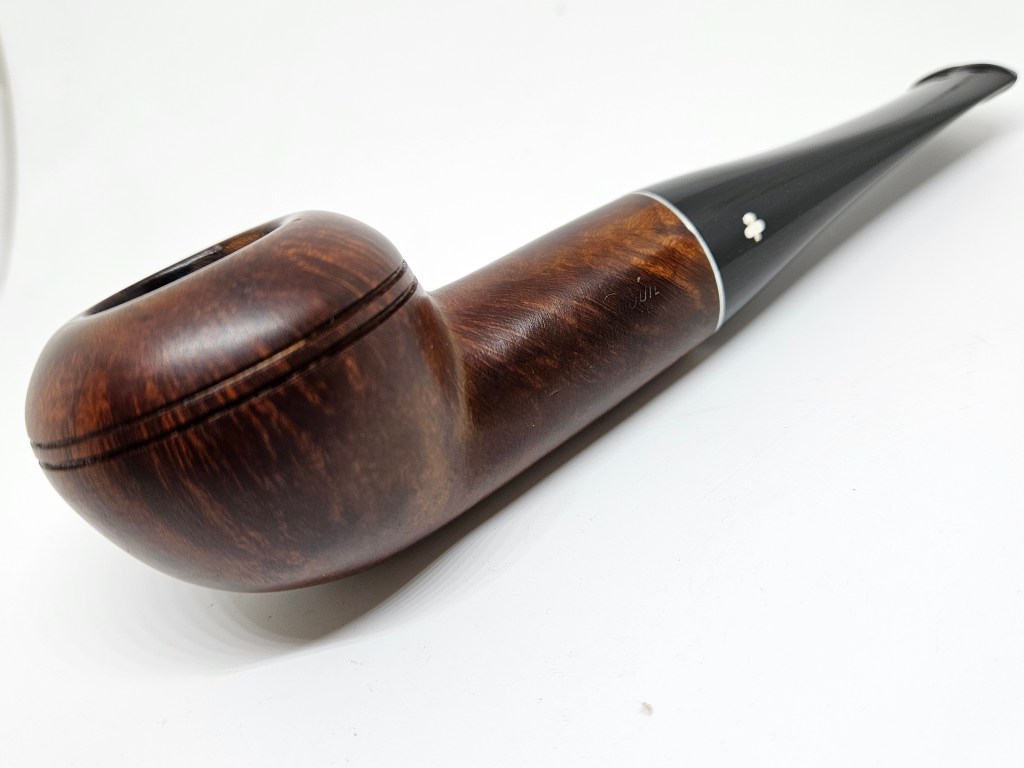
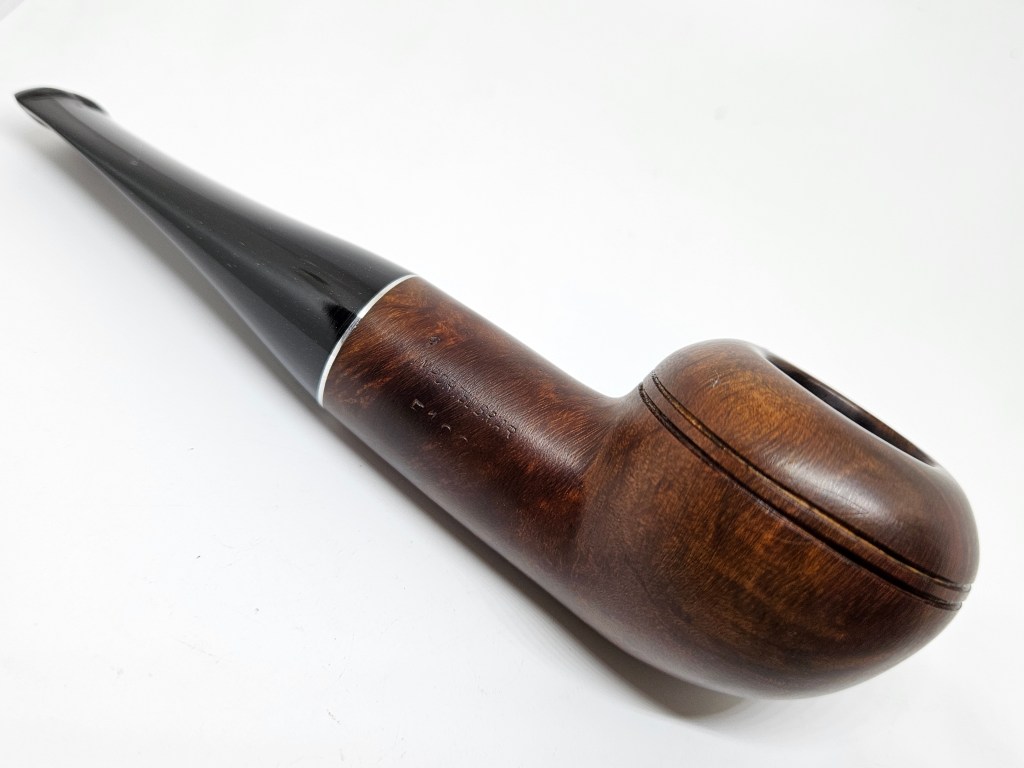
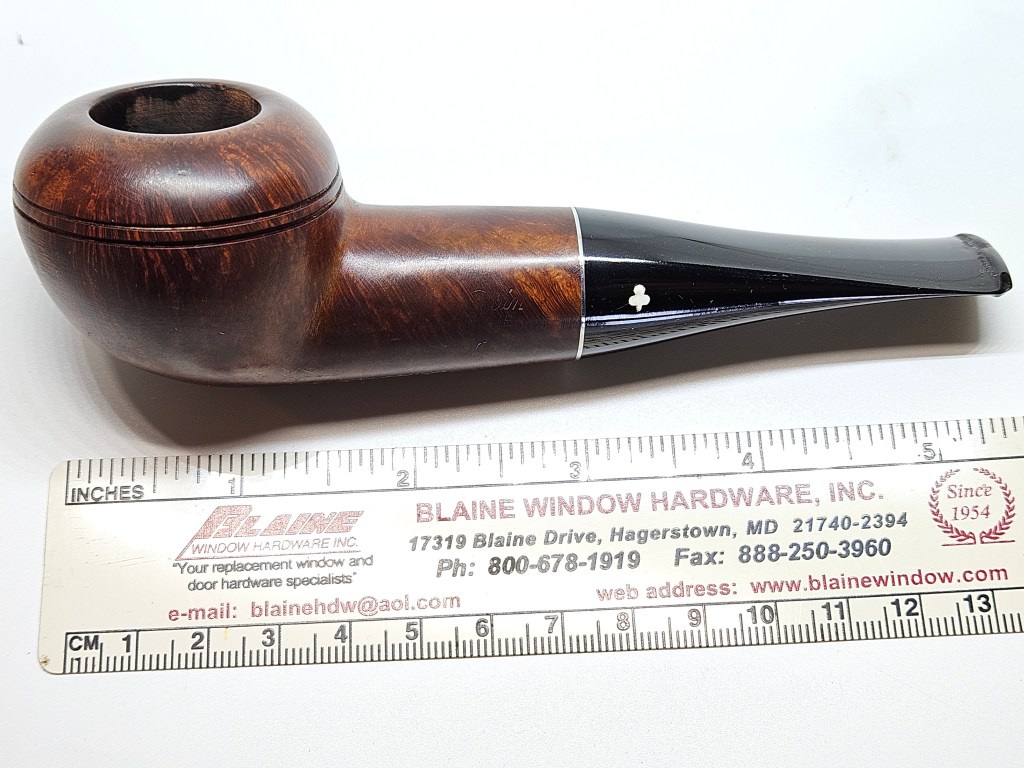
 This nice looking Holtorp Panel Plateau with a taper vulcanite stem is a great looking pipe now that it has been restored. The briar is clean and the grain really came alive. The rich brown stains gave the finish a sense of depth with the polishing and waxing. The grain really popped. I put the stem back on the bowl and buffed the pipe with Blue Diamond on the buffing wheel using a light touch on the briar. I gave the bowl and the stem multiple coats of carnauba wax on the buffing wheel. I buffed the pipe with a clean buffing pad to raise the shine. I hand buffed the pipe with a microfiber cloth to deepen the shine. The finished Holtrop Panel Plateau really is a beauty and feels great in the hand and looks very good. Give the finished pipe a look in the photos below. The dimensions of the pipe are Length: 6 inches, Height: 2 inches, Outside diameter of the bowl: 2 inches x 1 ¾ inches, Chamber diameter: 1 inch. The weight of the pipe is 62 grams/ 2.19 ounces. This beautiful Freehand pipe will soon be on the rebornpipes store in the Danish Pipemakers Secton. It should make a great smoker for the next trustee. Thanks for reading this blog and my reflections on the pipe while I worked on it. It was a fun one to work on.