Blog by Steve Laug
A few weeks ago, I received an email from a customer, Ted about some pipe work for him. He had three pipes that he said needed different things and offered to send some photos. He also sent a second email with a description of what each pipe needed. I have included that email and the photos he sent below.
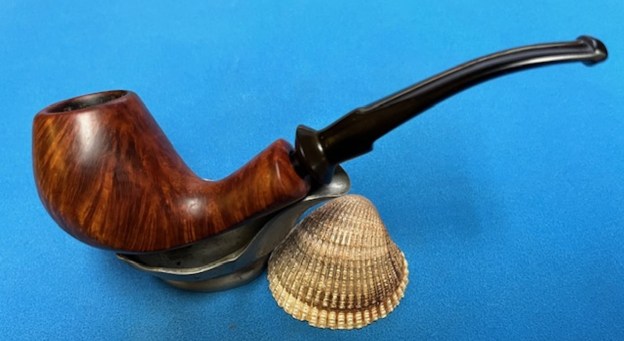
Peterson 309 needs stem restoration and bowl cleaned out. Rhodesian needs full restoration – my English teacher from high school gave it to me a little over two years ago. The Comoy’s Canadian needs a new bit I broke it… 
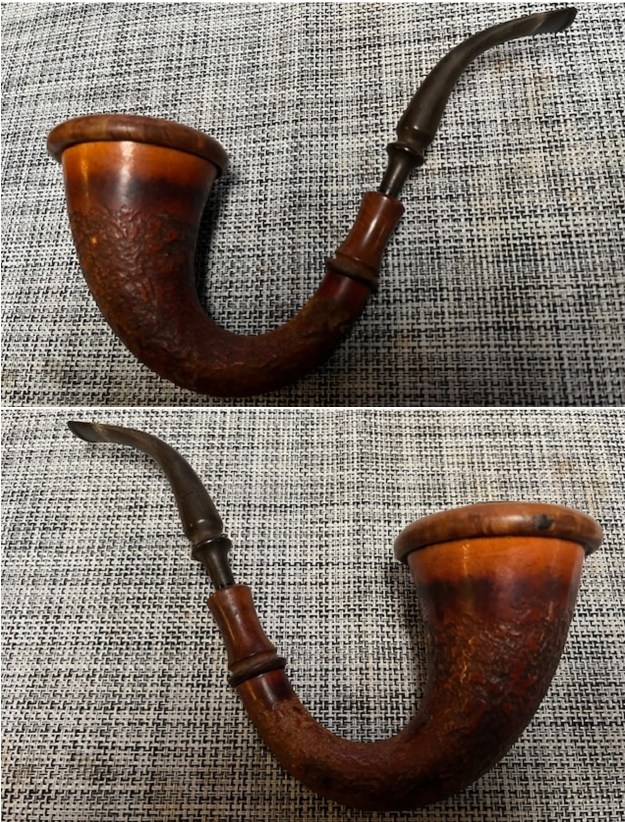
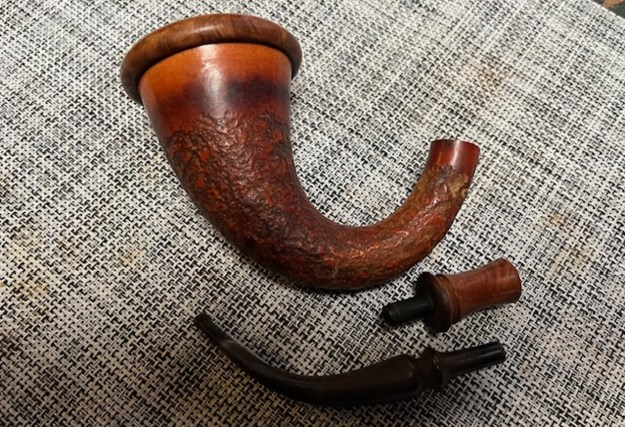
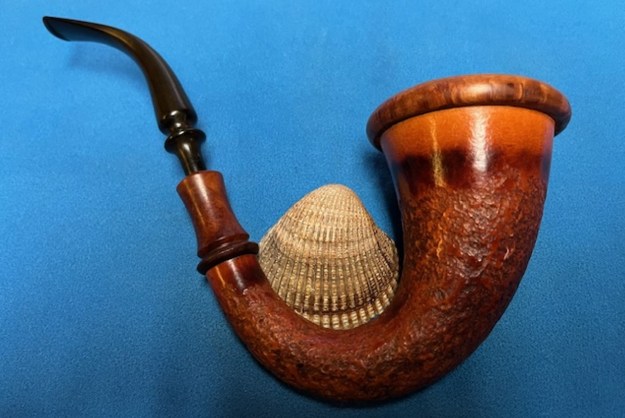
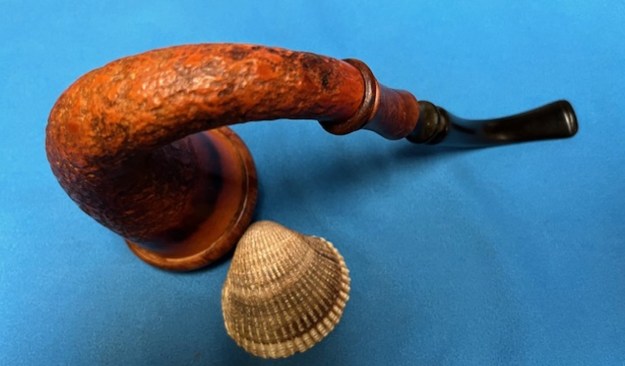
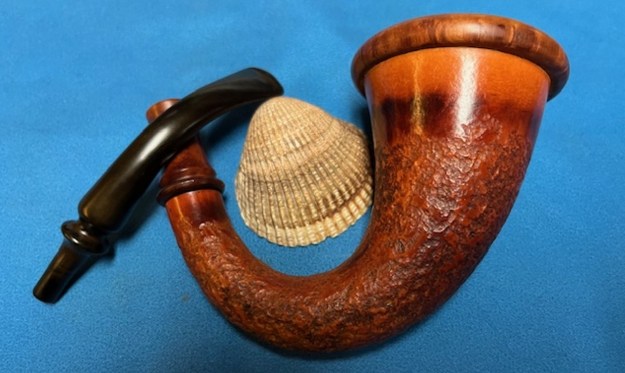
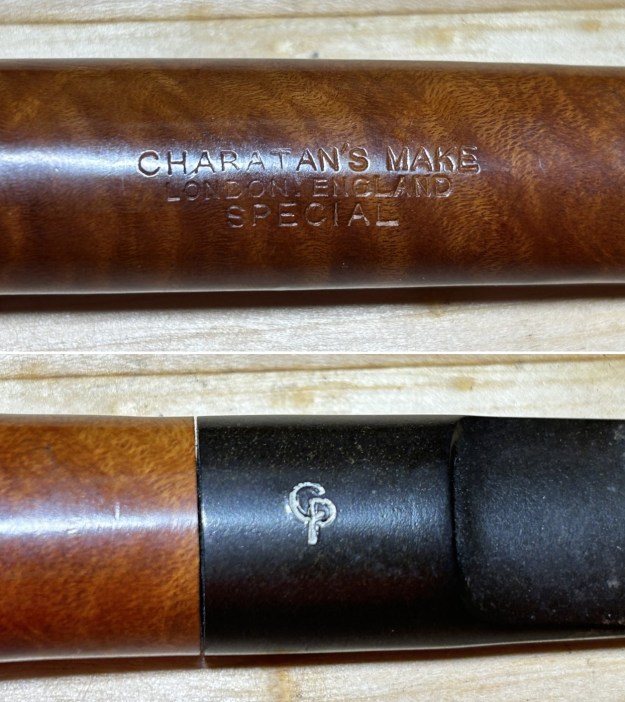
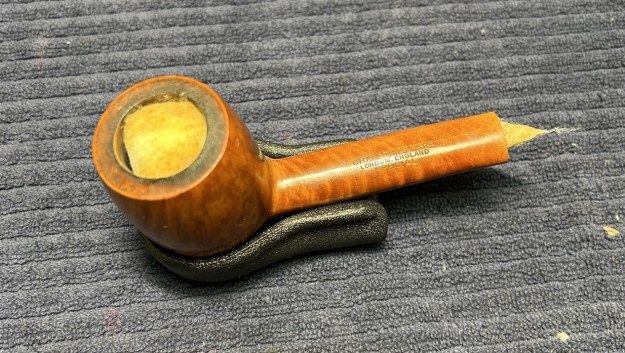
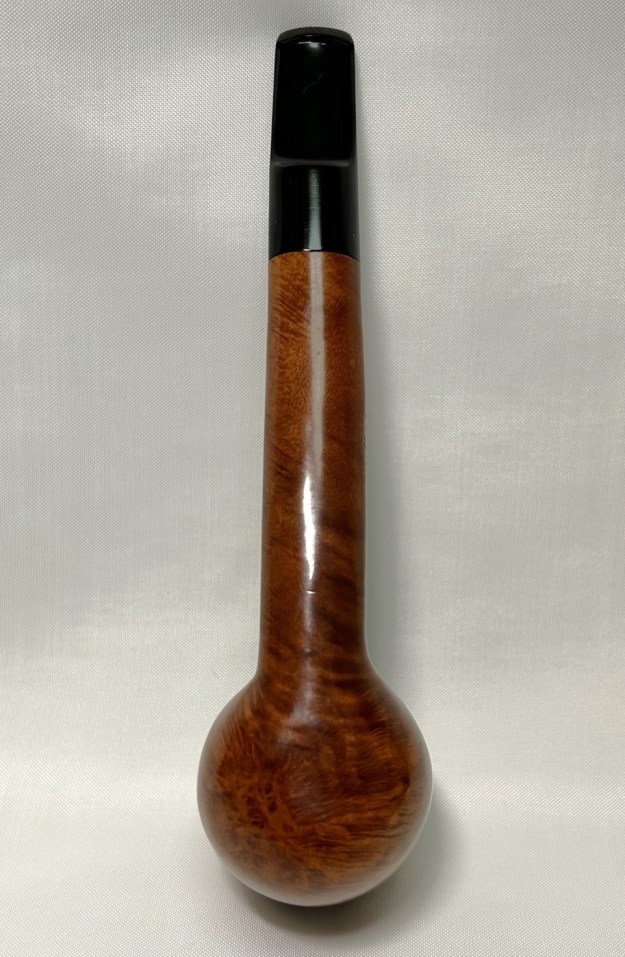
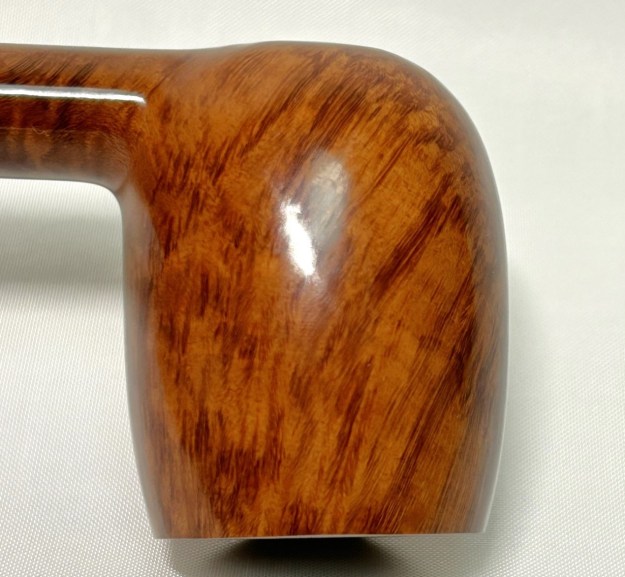
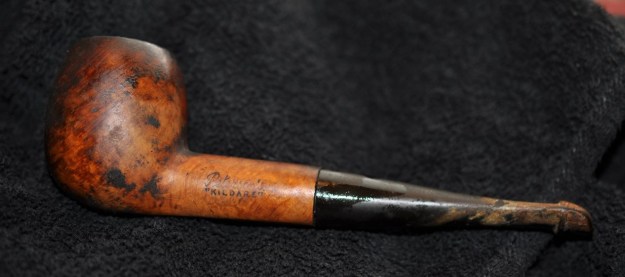
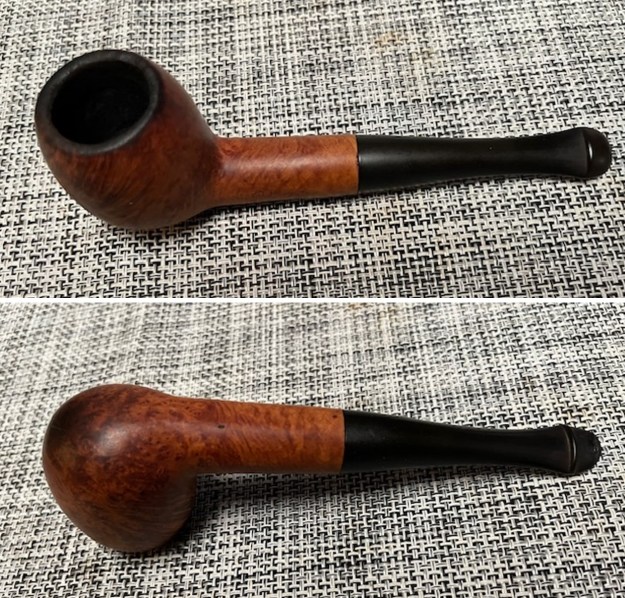
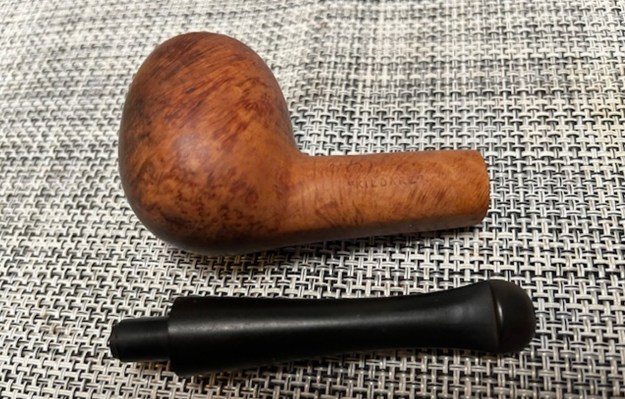
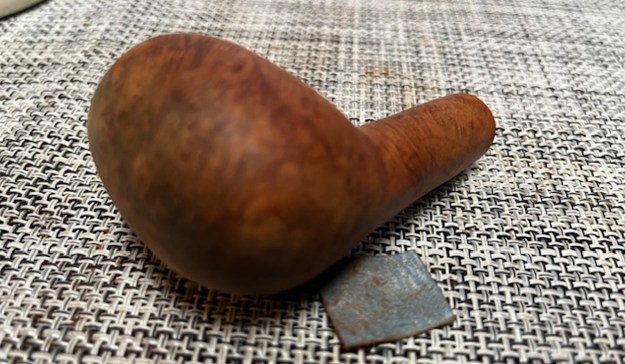
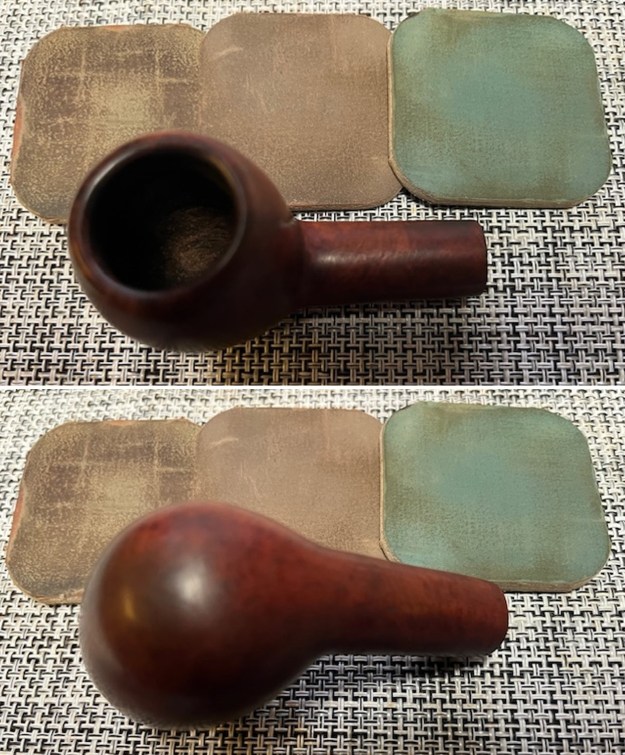
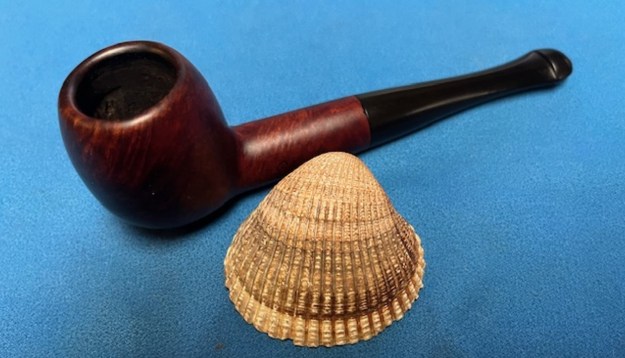
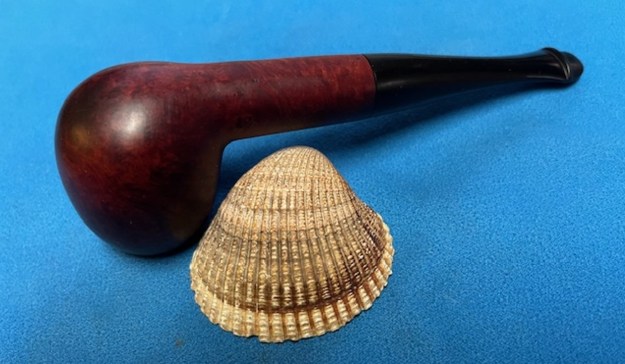
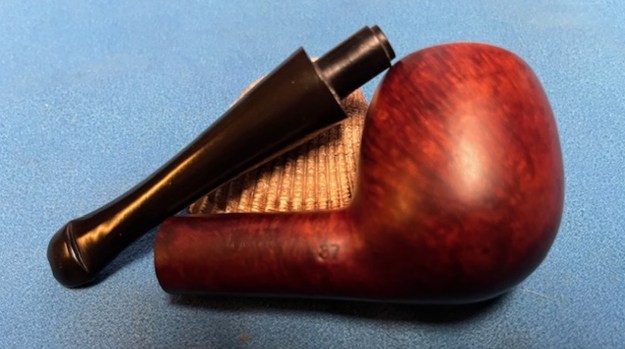
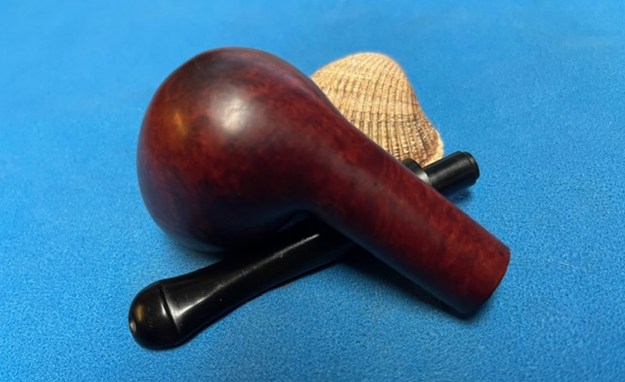
 The box of pipes arrived on Tuesday here in Vancouver. I decided to work on the Comoy’s restem and cleanup first. The pipe is stamped on the top of the shank and reads Comoy’s [over] Vanguard. On the underside of the shank it is stamped with a shape number 296 mid-shank. That is followed by the COM stamp MADE IN LONDON in a circle with IN in the centre. Underneath the circle it is stamped ENGLAND in a straight line. There was a light/moderate cake in the bowl with lava on the rim top. The shank had the broken tenon inside that would need to be pulled. The finish was in decent condition. There was dirt and debris ground into the finish and there was spotty varnish/shellac finish on the surface of the briar. I always check a shank for cracks when the pipe has been dropped and a tenon snapped. There were several spidering cracks along the top of the shank on the pipe. I took photos of the pipe before I started work on it.
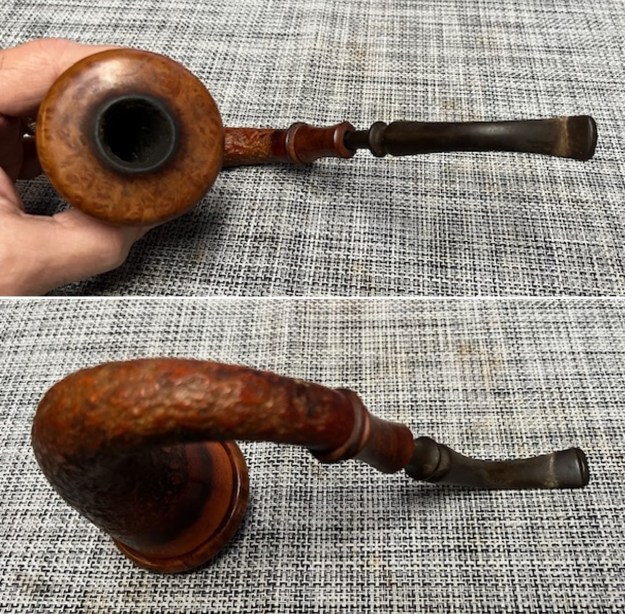
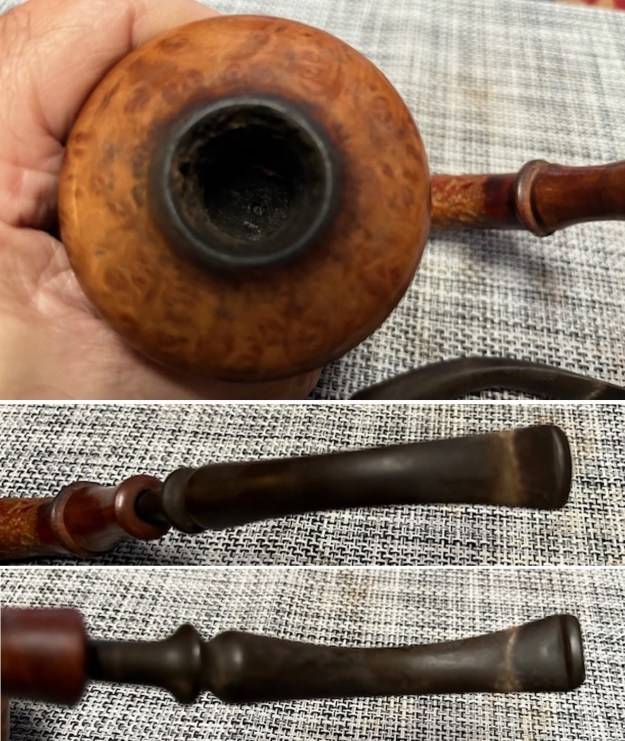
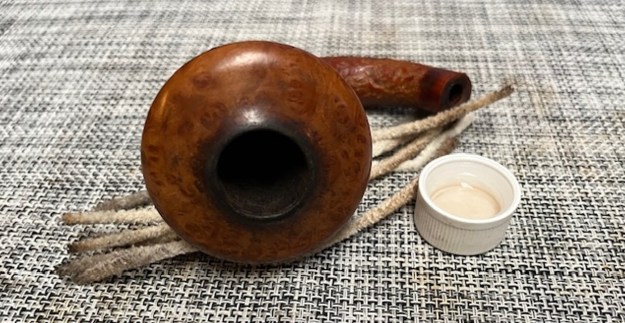
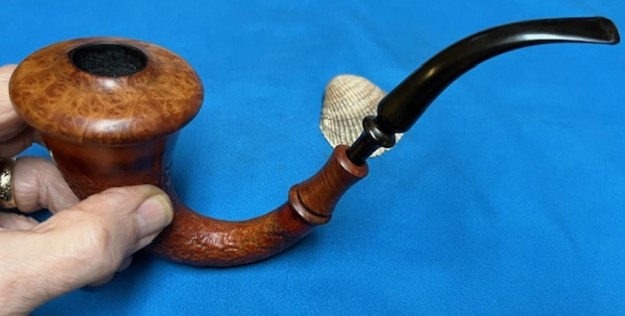
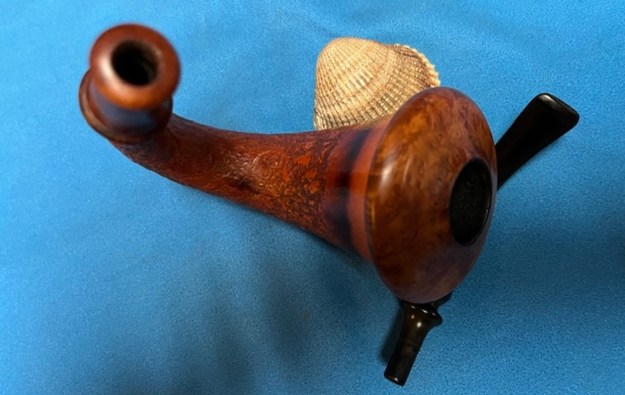
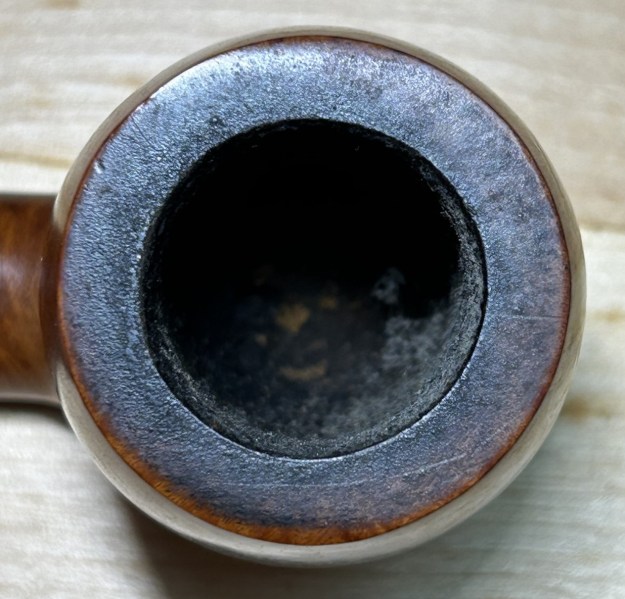
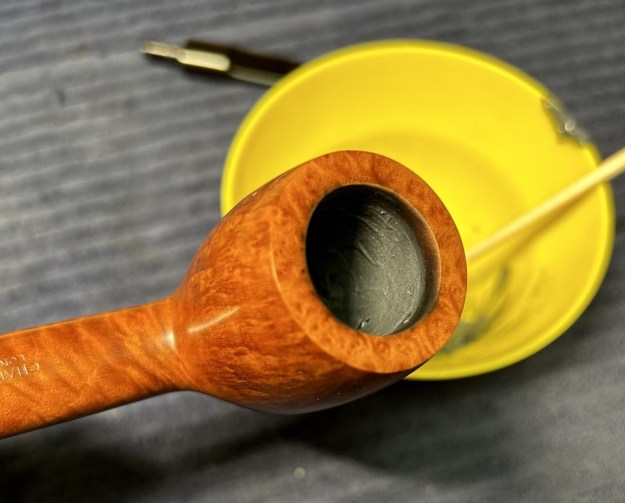
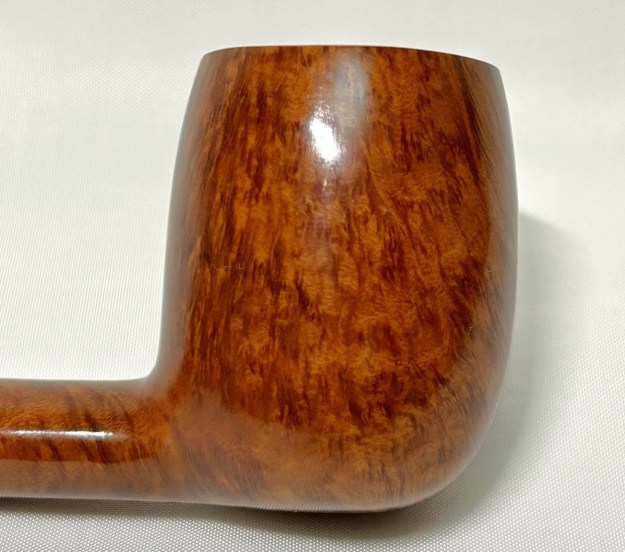
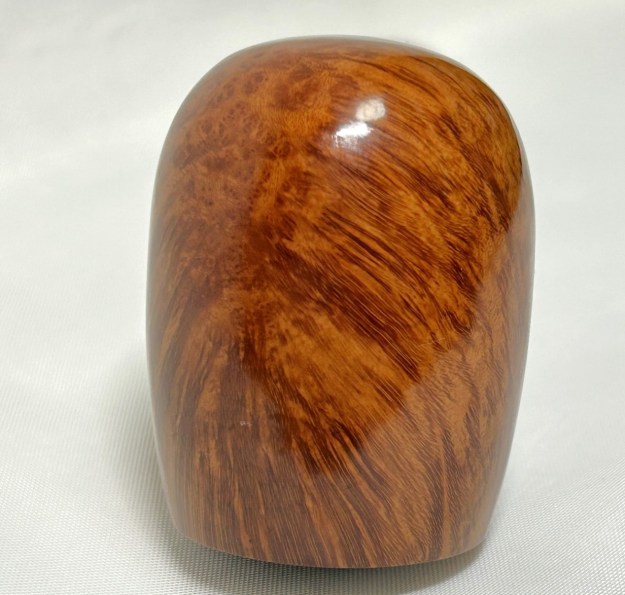
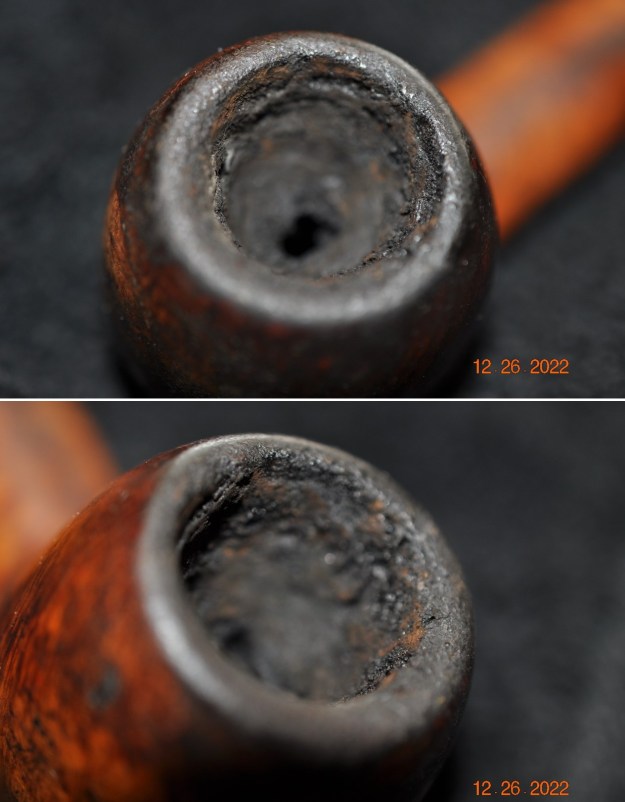
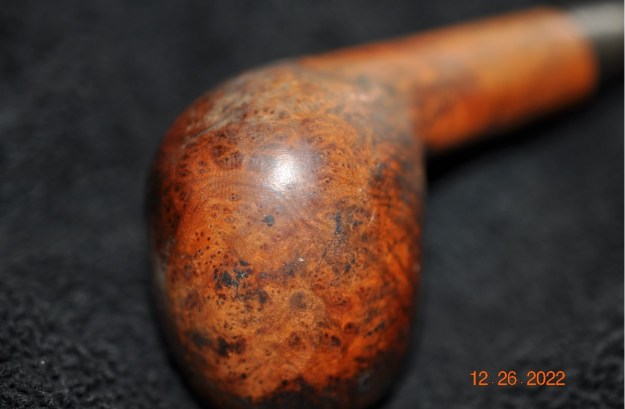
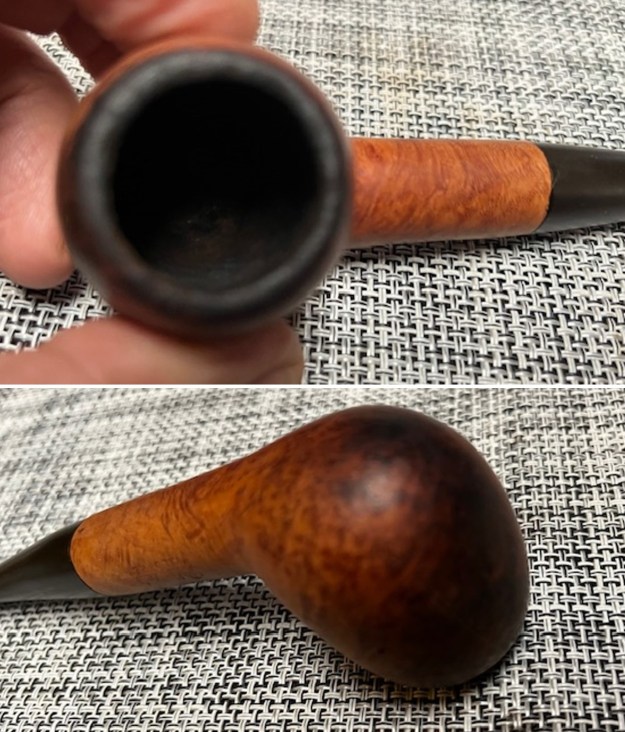
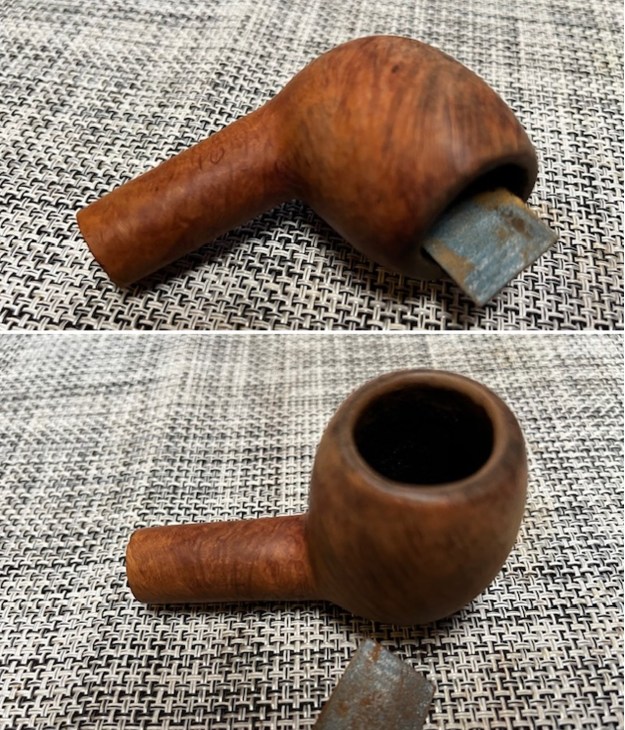
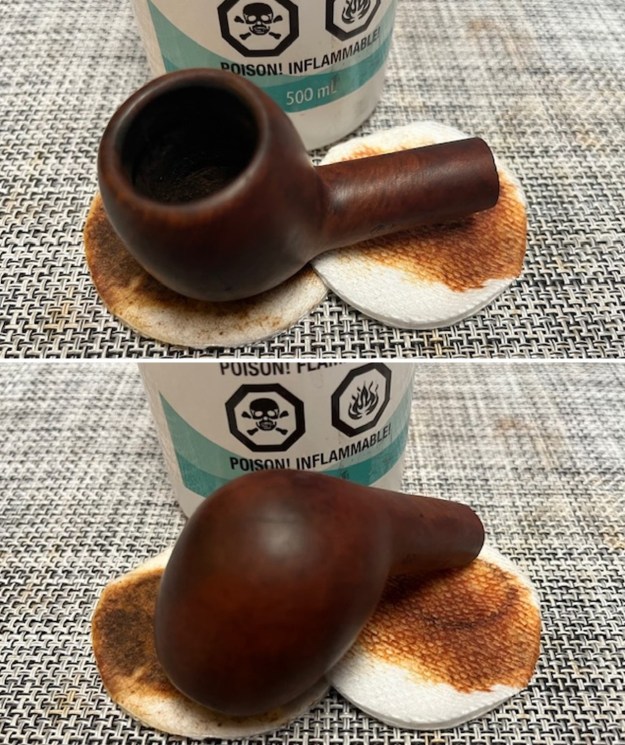
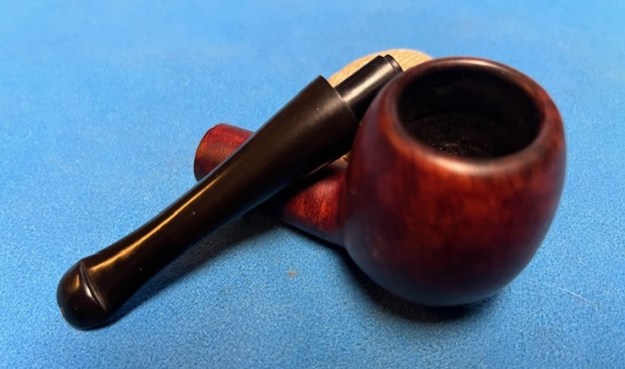
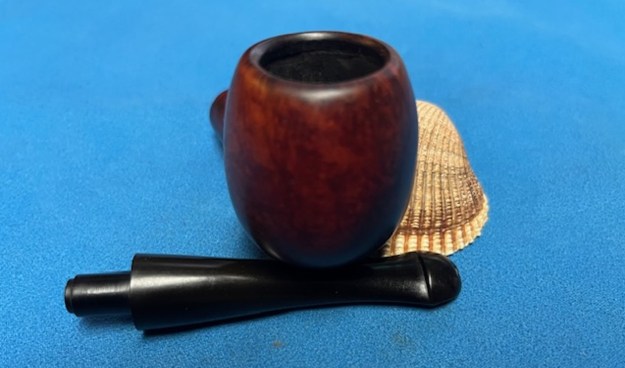
 I took a close-up photo of the bowl and rim top to show the cake in the bowl. The rim top shows some lava on the smooth finish. The inner and outer edges of the bowl looked good.
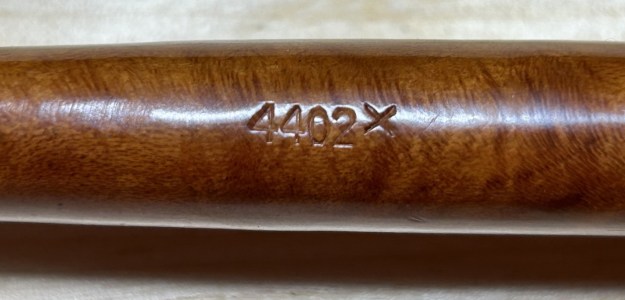
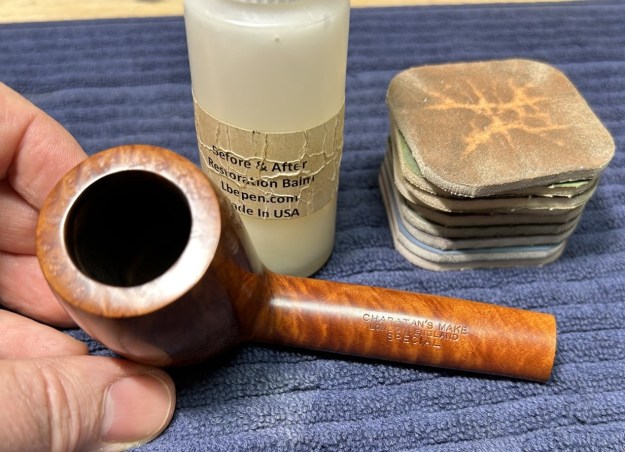
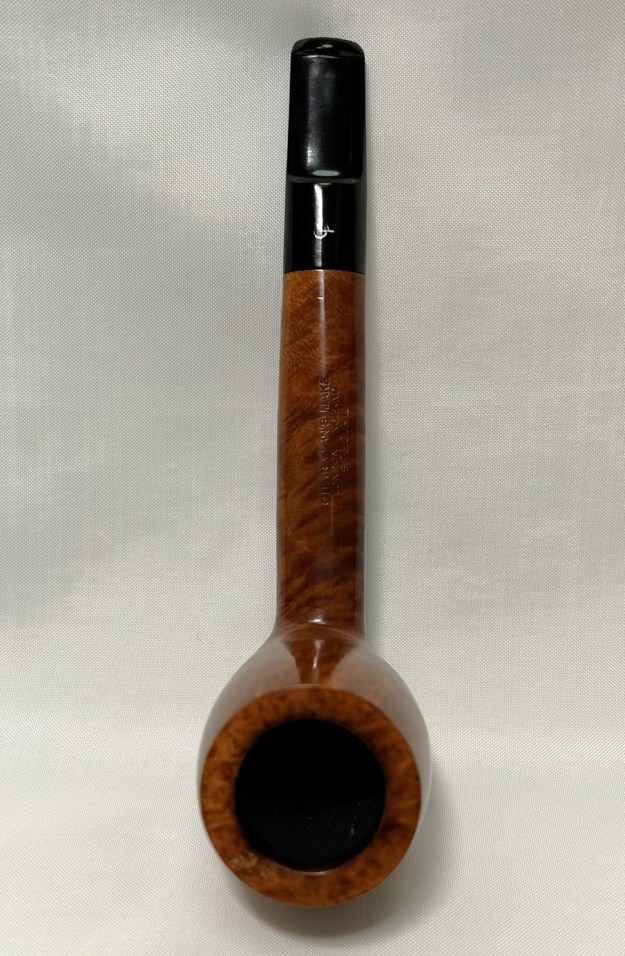
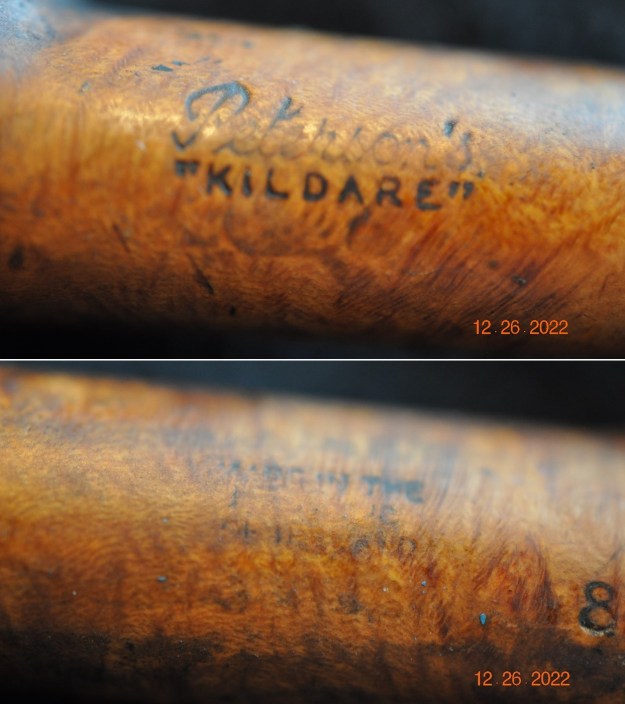
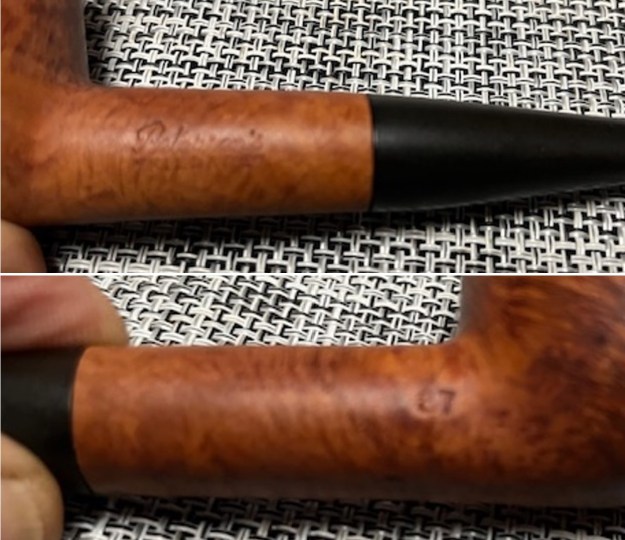
  I took photos of the stamping on the pipe. It is stamped on the top of the shank and on the underside. It was clear and readable as noted above.
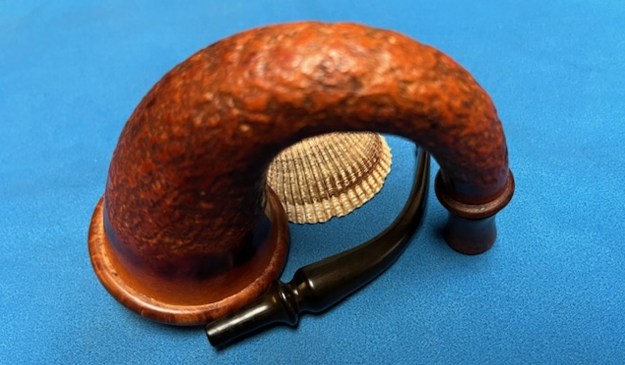
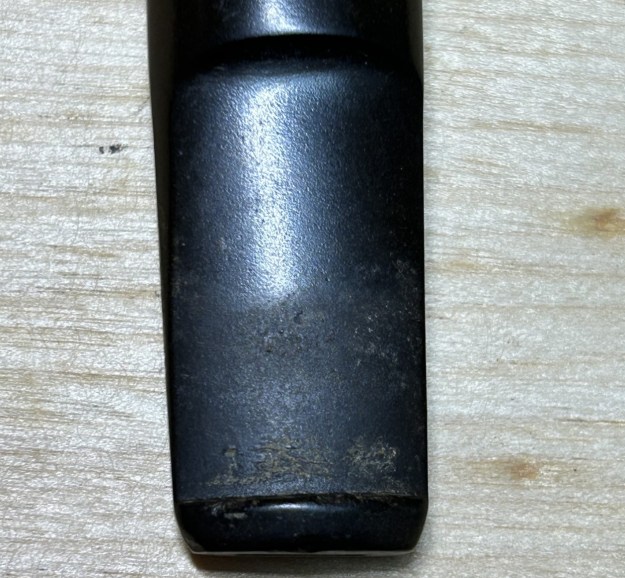
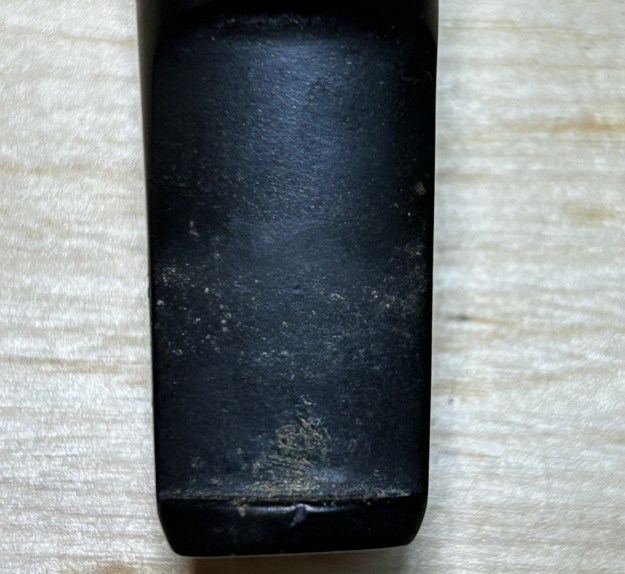
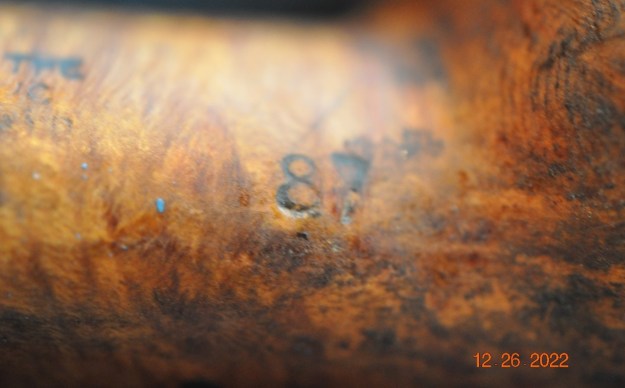
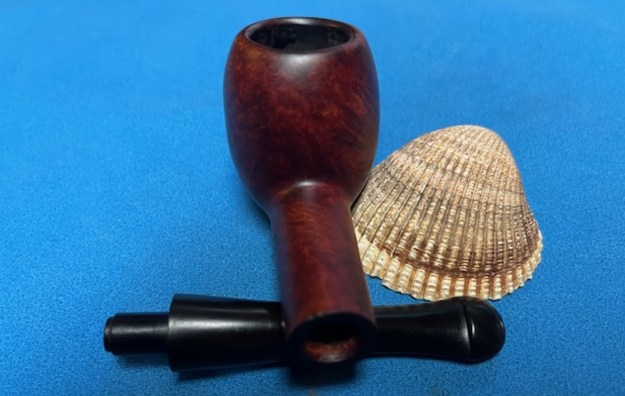
 I took a close-up photo of the top of the shank to show the crack. You can see it mid shank. From top end of the crack it spread to the left and the right from the end. It looked as if it had been dropped and the crack spread.
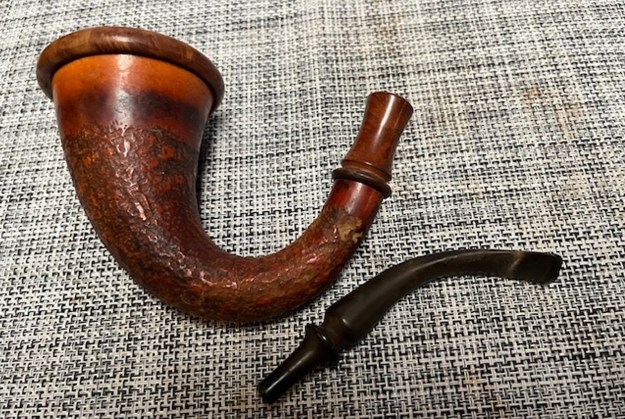
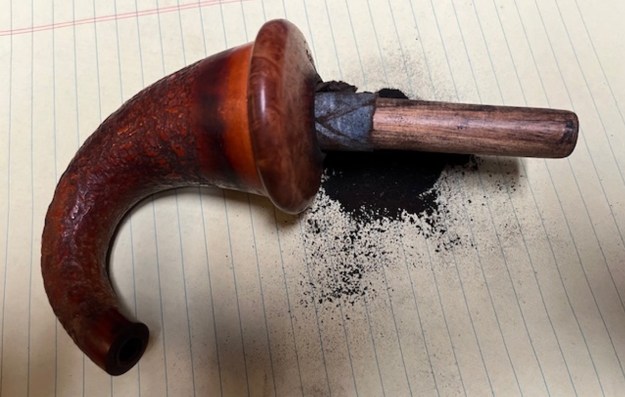
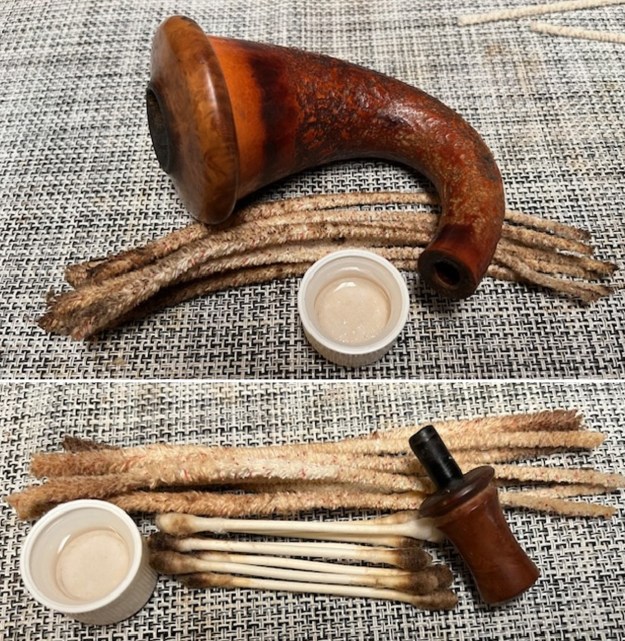
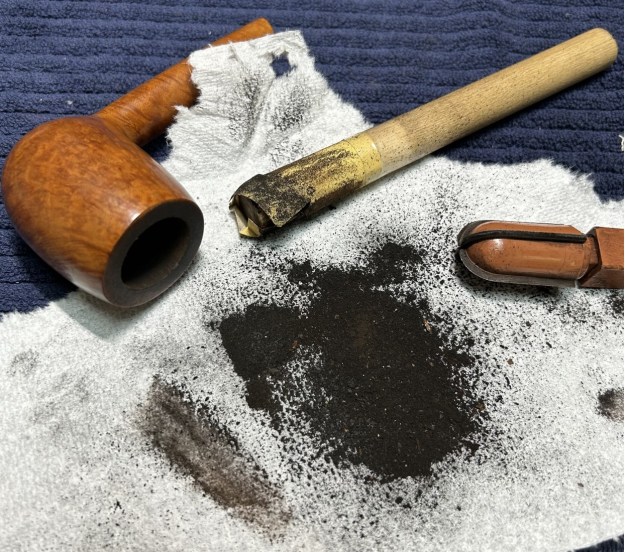
 I put the bowl in the freezer for ten minutes to try to loosen the broken tenon. The change in temperature and the different expansion rates for briar and stem material would loosen it. I took it out and used a screw to turn into the airway in the tenon. I wiggled it free of the shank with very little problem.
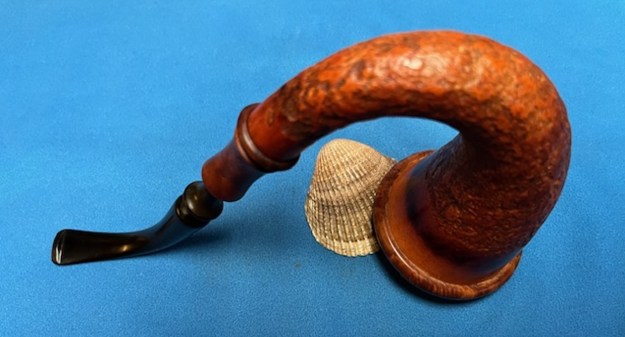
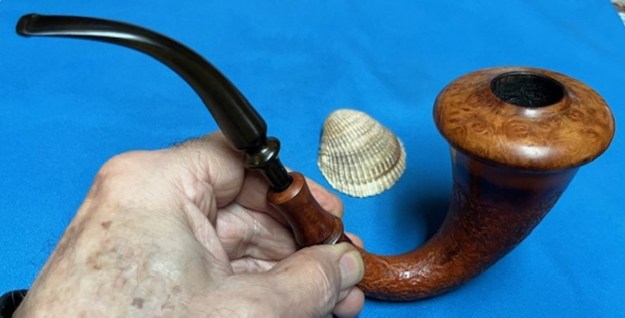
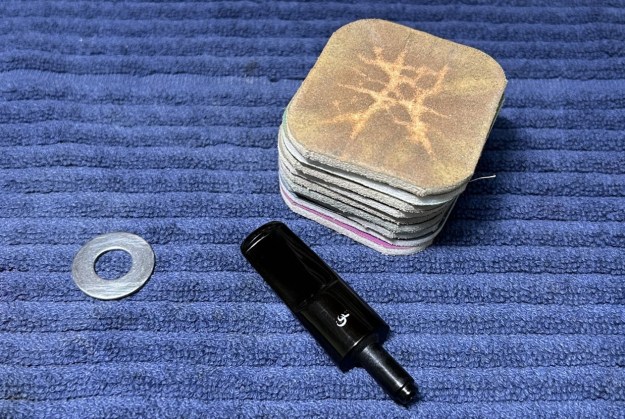
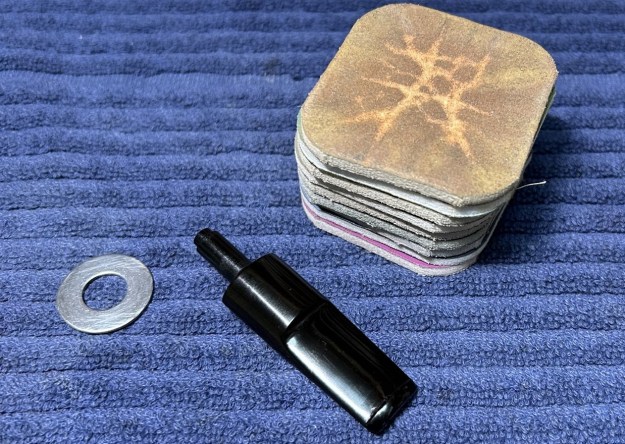
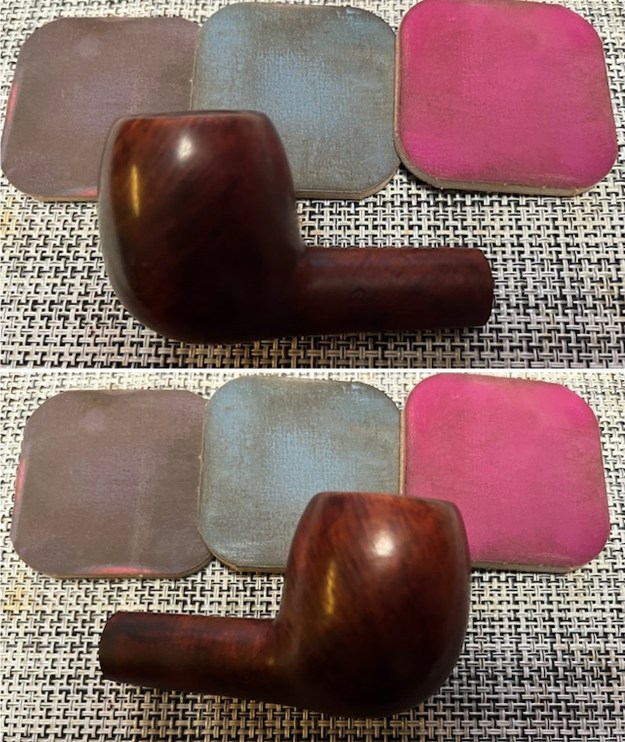
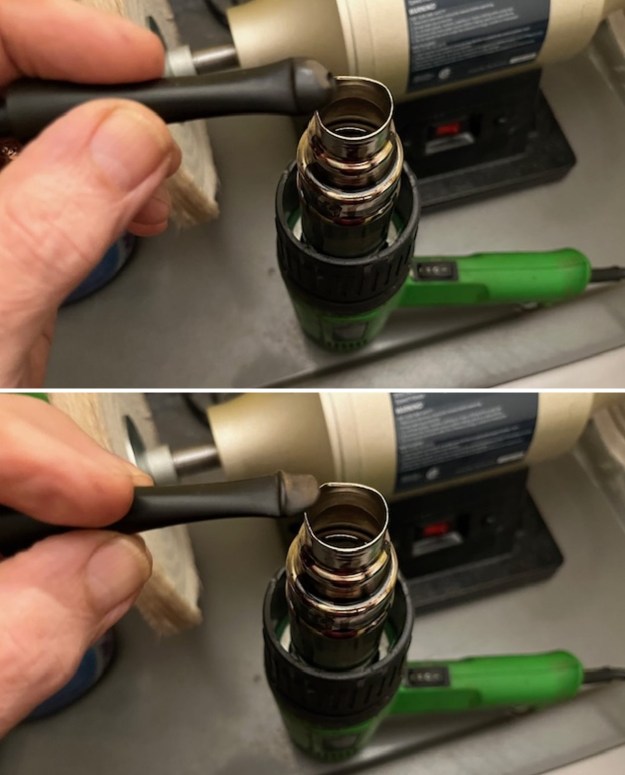
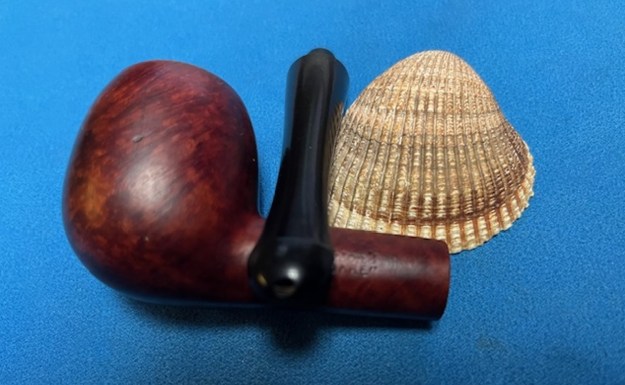
 I decided to deal with the cracks in the shank first. I repaired each one with a small spot of glue on a tooth pick then heated the band and pressed it in place on the shank. I took photos of the newly banded shank to show what it looked like.
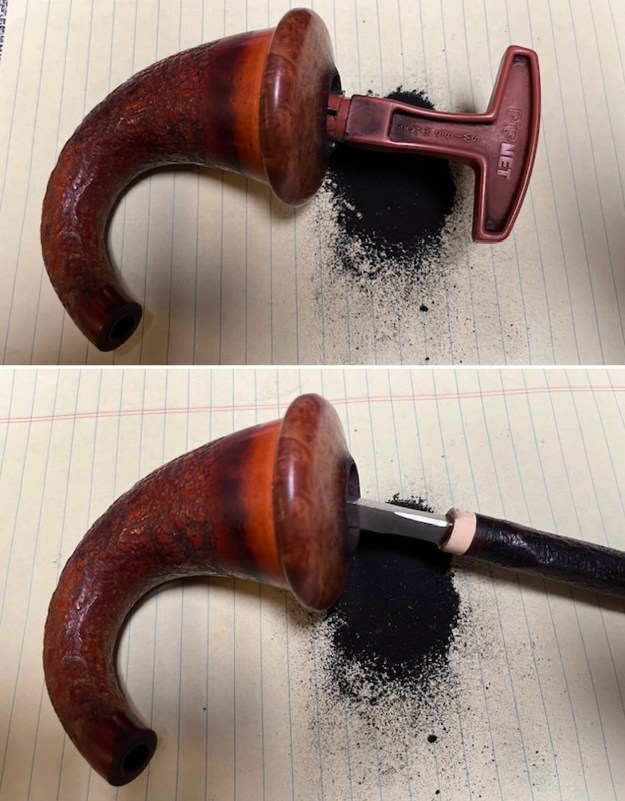
 I reamed the bowl with a PipNet pipe reamer using the third cutting head to take the cake back to bare briar. I cleaned up the reaming with a Savinelli Fitsall Pipe Knife. I sanded the walls with a piece of 180 grit sandpaper wrapped around a dowel to smooth them out.
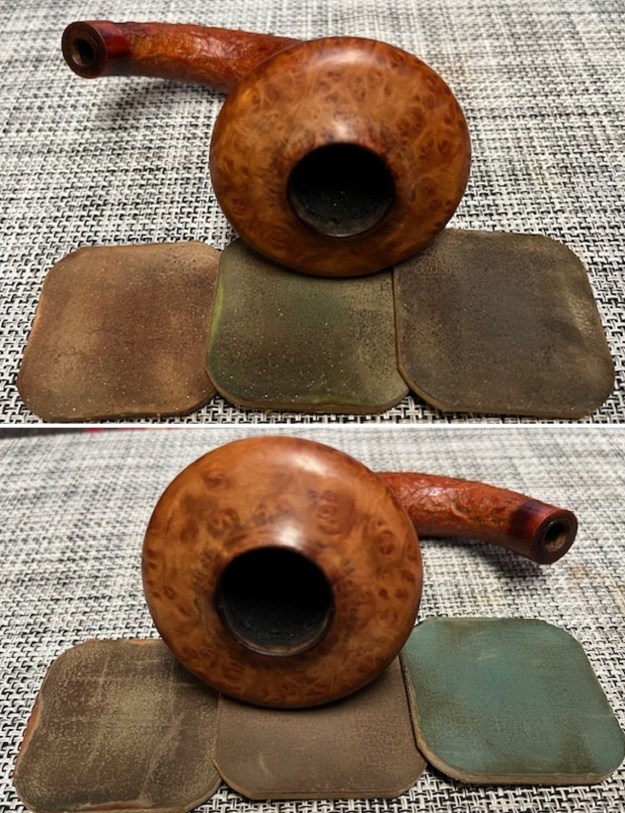
 I cleaned up the rim top with a worn piece of 1500 grit micromesh and a piece of 6000 grit wet dry sandpaper. It looked much better once it was finished.
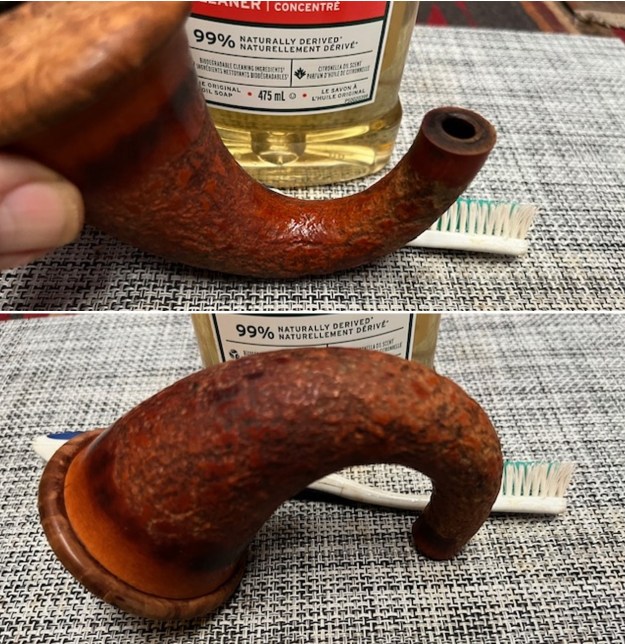
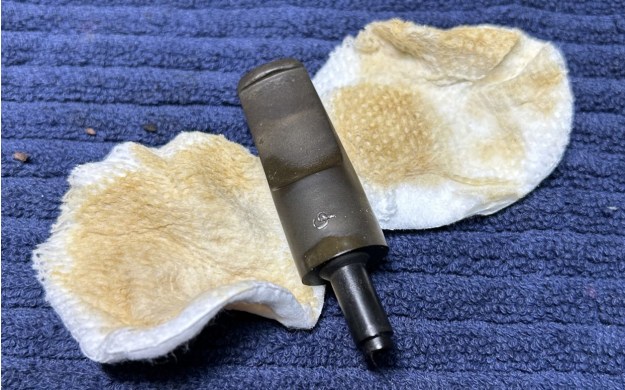
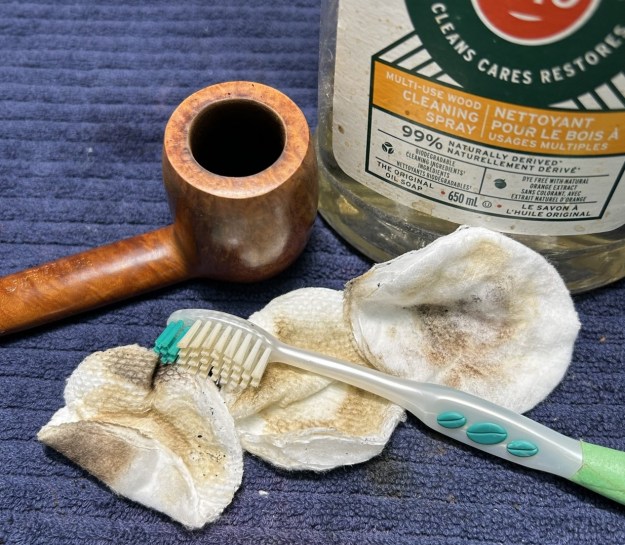
  I scrubbed the exterior of the briar with a tooth brush and undiluted Murphy’s Oil Soap. I rinsed it off with warm water to remove the grime and soap. It looked much better and the dust and debris was gone. I dried it with a cotton towel.
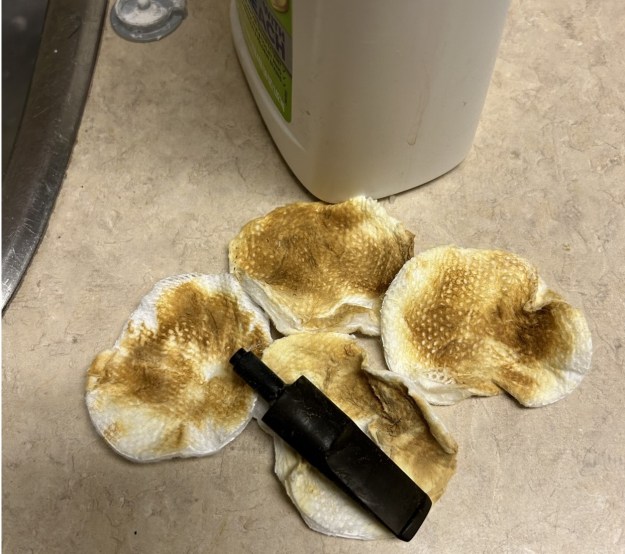
 I wiped the bowl down with acetone to remove the spotty varnish coat on the wood. It looked much better.
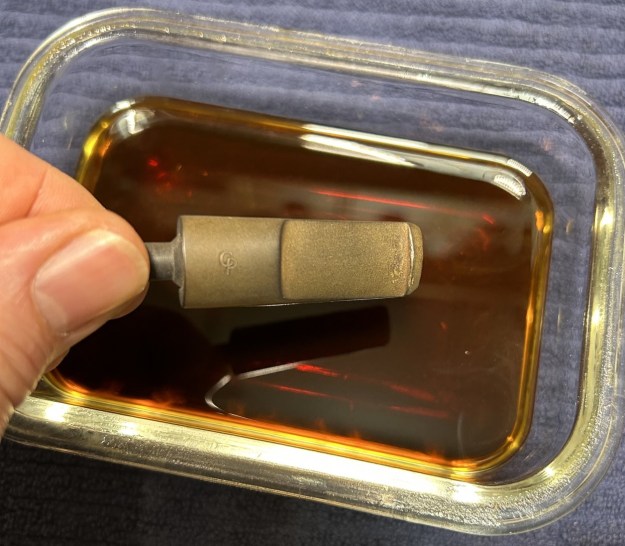
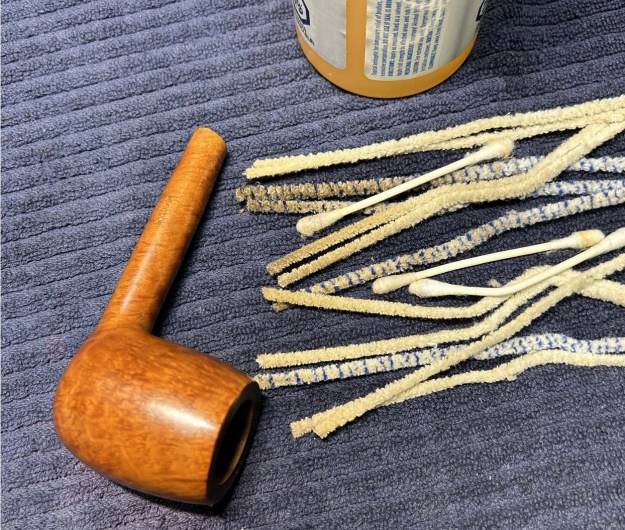
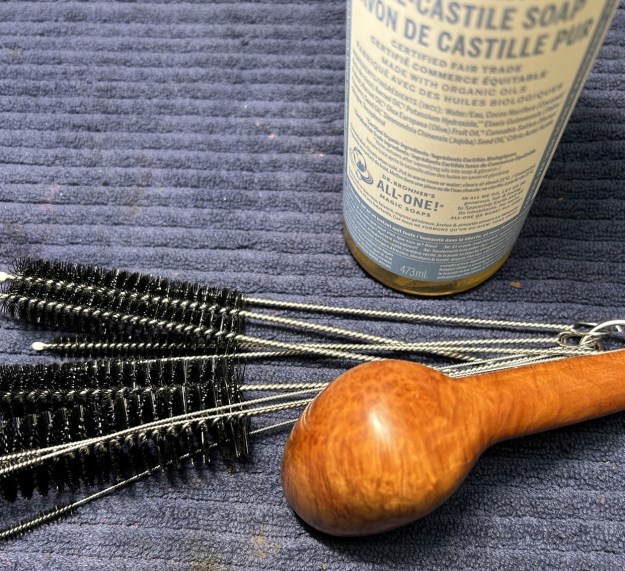
 I scrubbed out the internals of the pipe with 99% isopropyl alcohol, pipe cleaners and cotton swabs. I cleaned out the airway in the stem as well. I worked on these areas repeatedly until the shank and the airway in all the parts was clean.
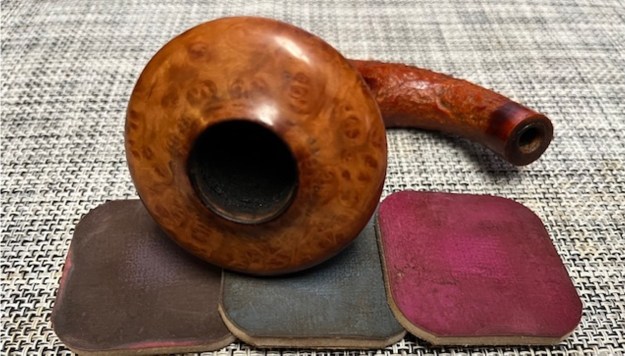
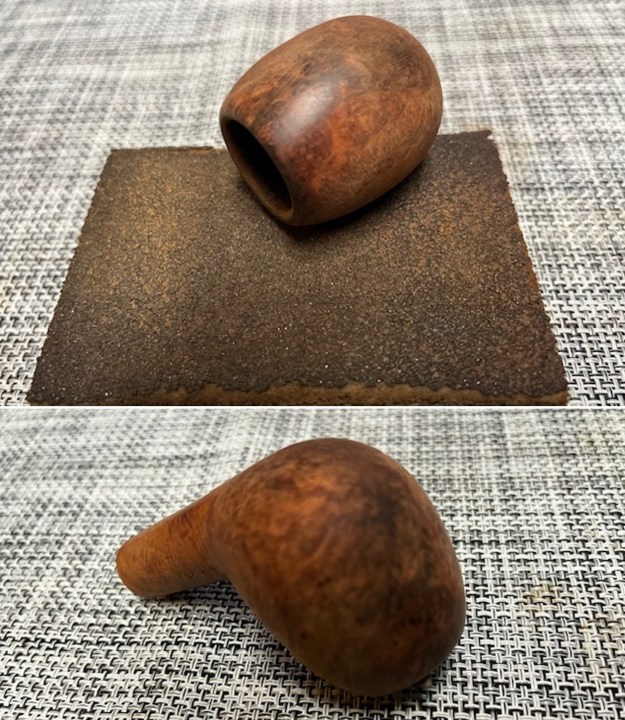
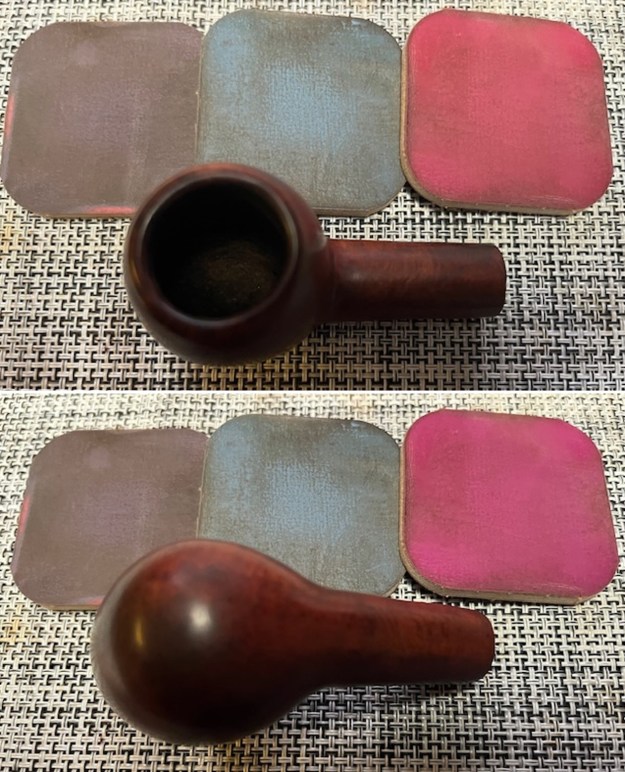
 I polished the smooth briar with micromesh sanding pads – wet sanding with 1500-12000 grit sanding pads. I wiped it down with a damp cloth after each pad. The bowl began to take on a rich shine.


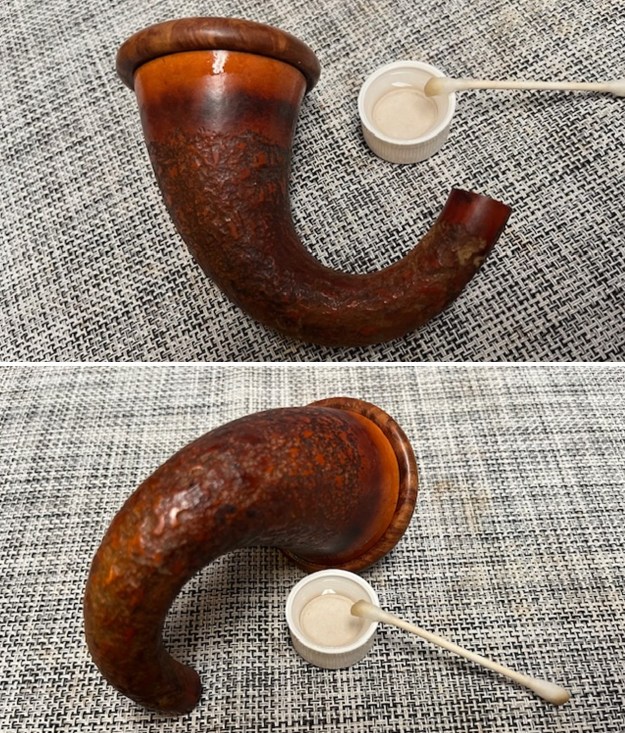
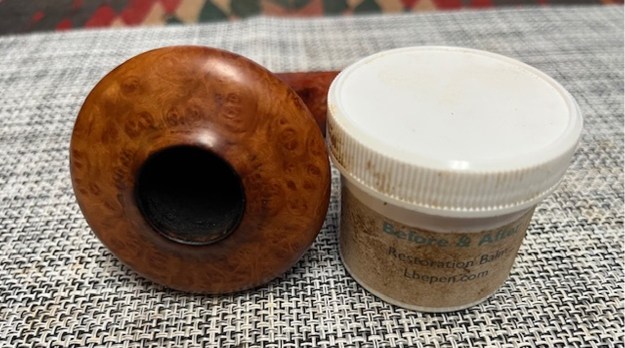
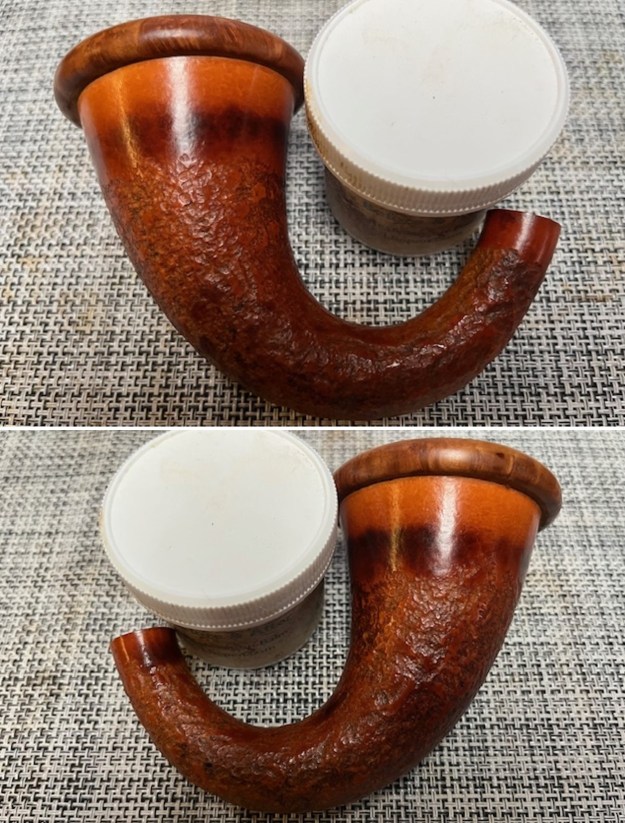
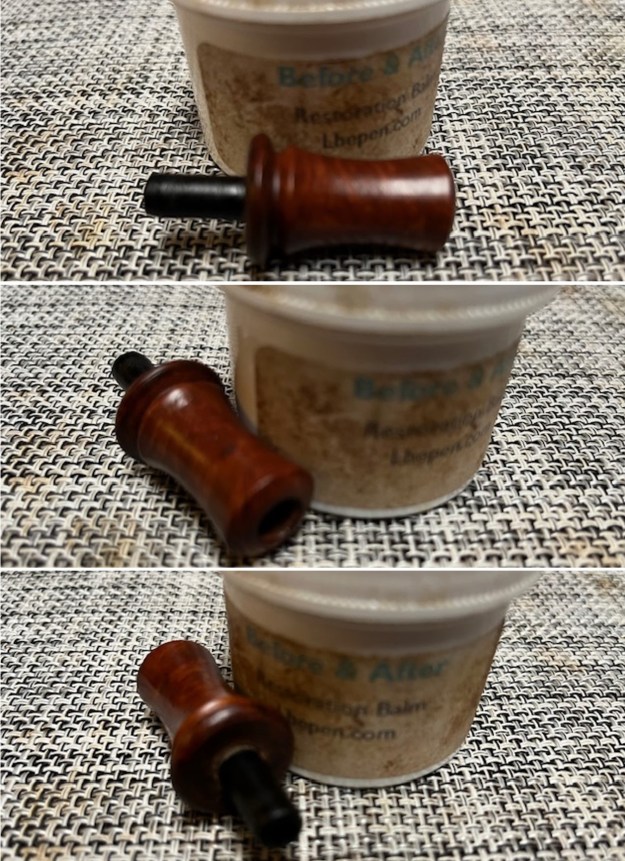
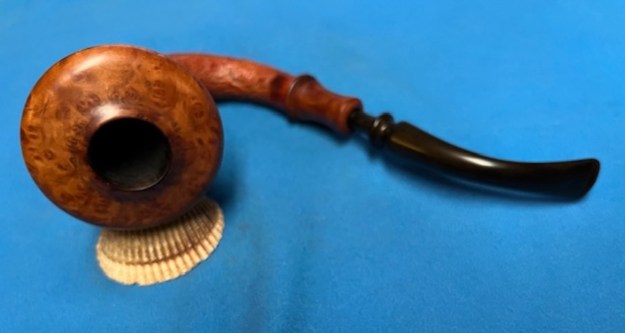
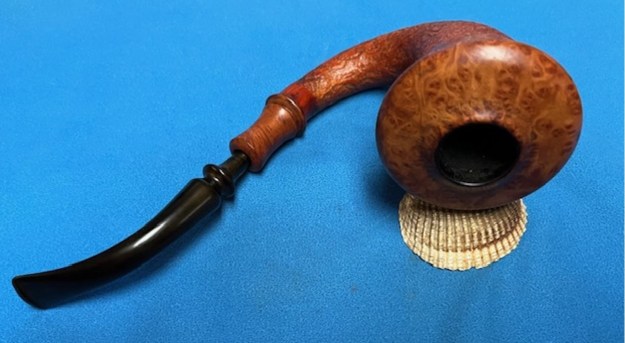
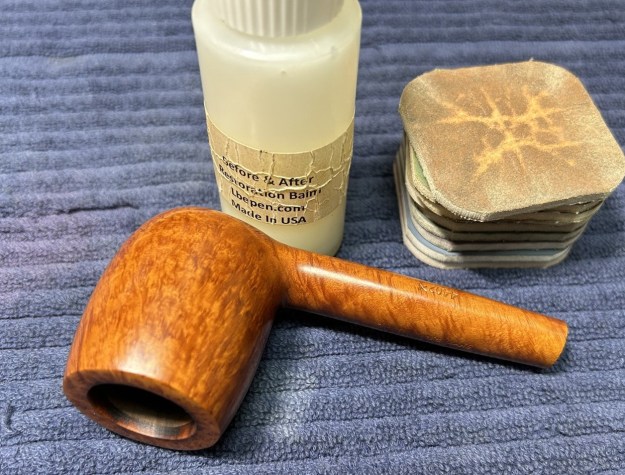
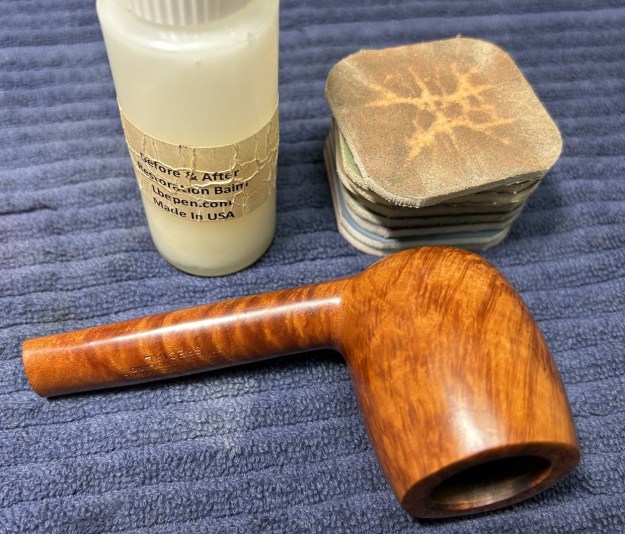
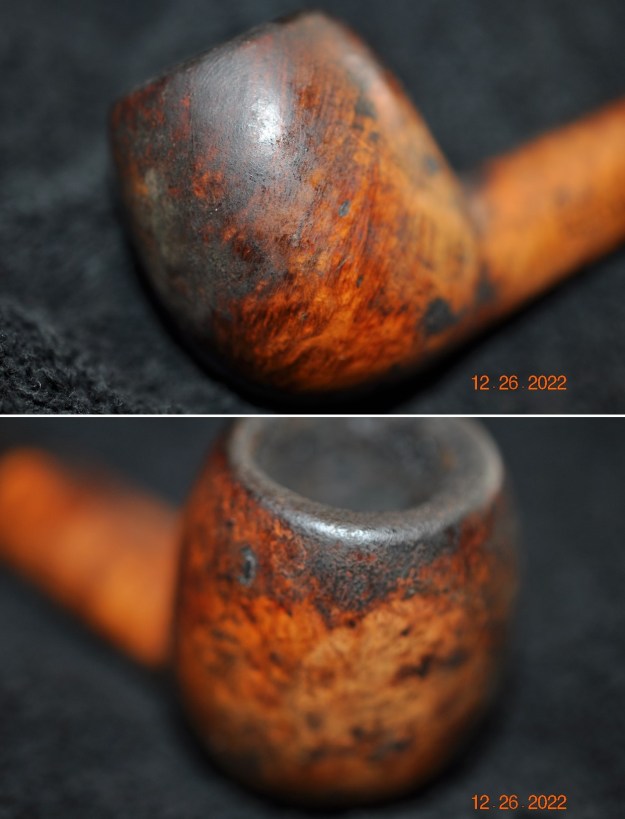
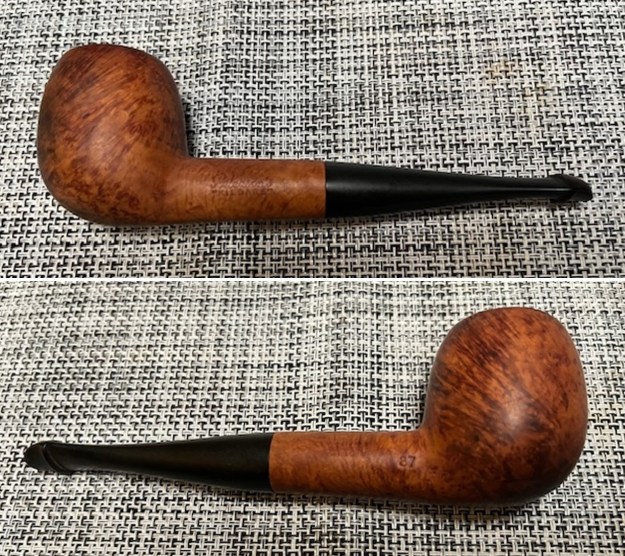
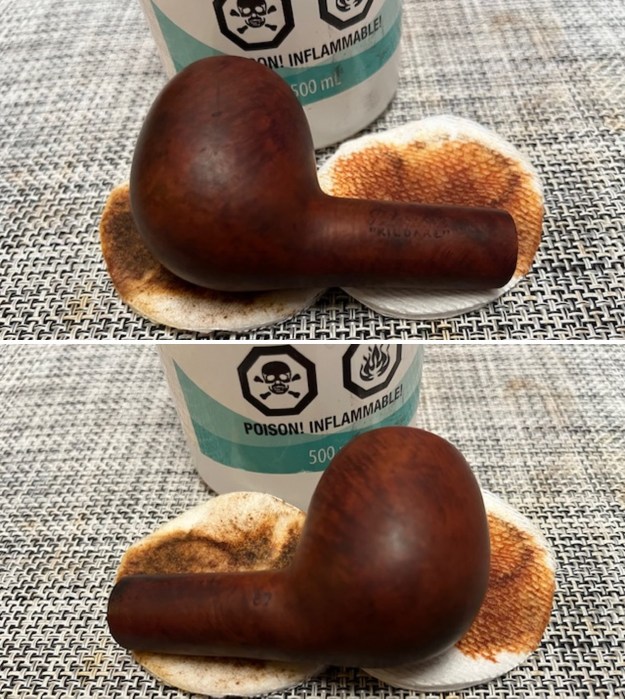
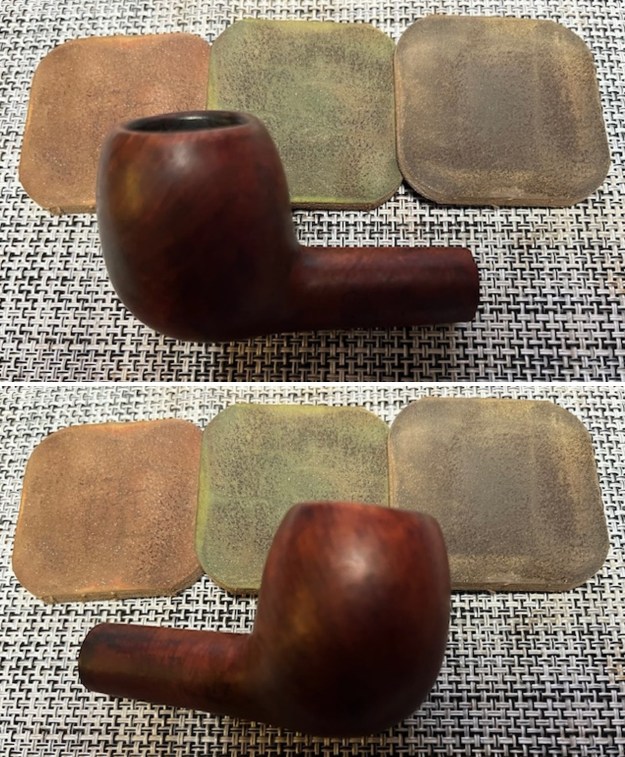
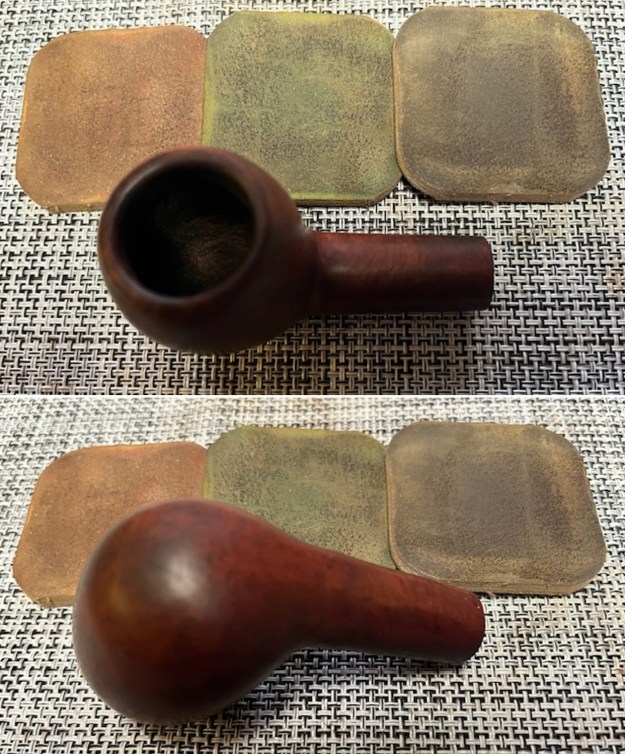
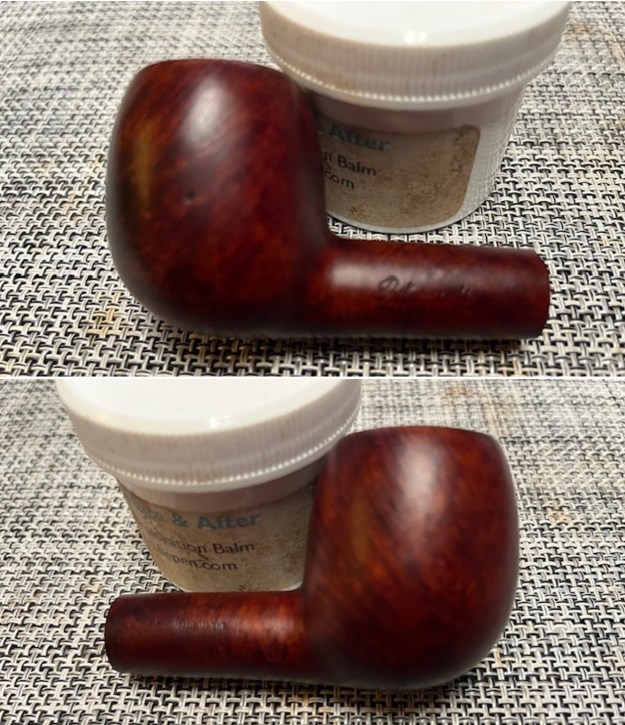
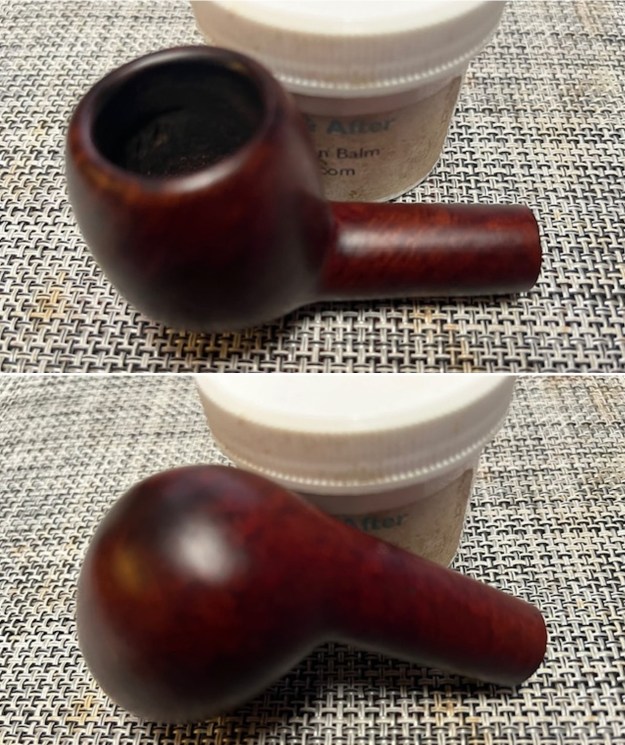
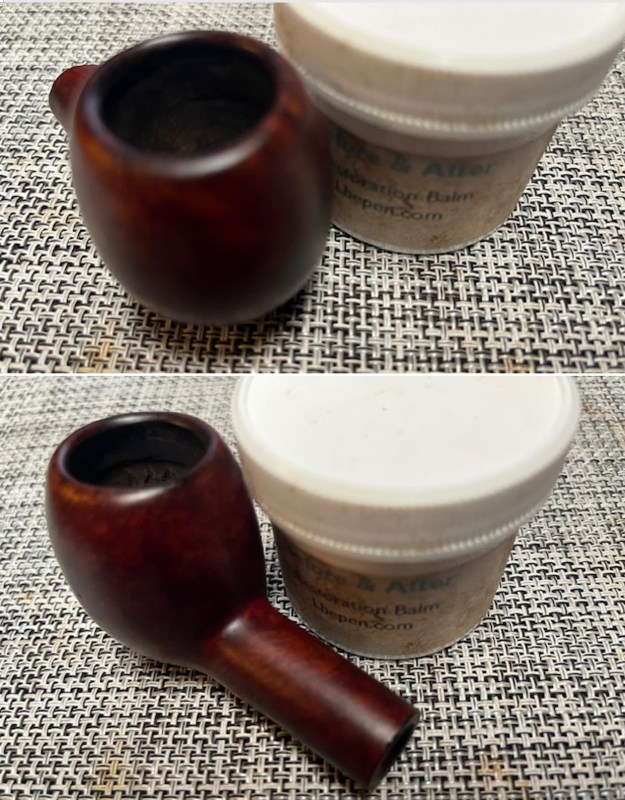
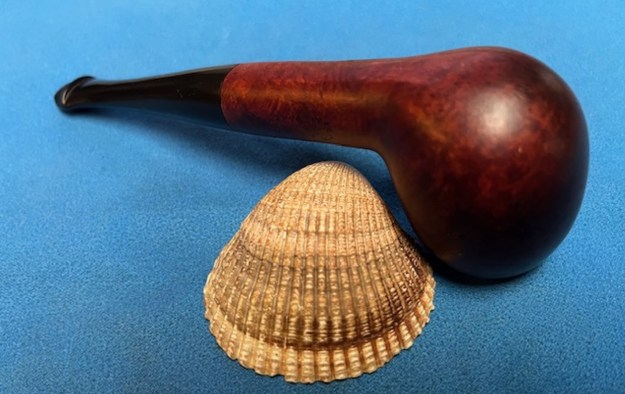
 I worked some Before & After Restoration Balm into the surface of the briar with my fingertips to clean, enliven and protect the briar. I let the balm sit for 15 minutes and then buffed with a cotton cloth to raise the shine. The photos show the bowl at this point in the restoration process.

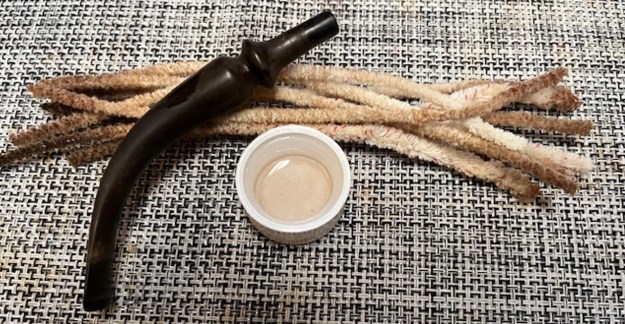
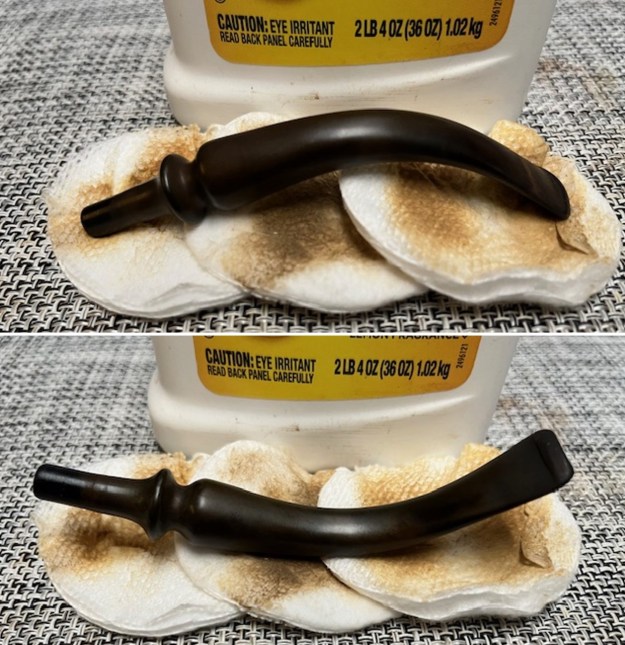
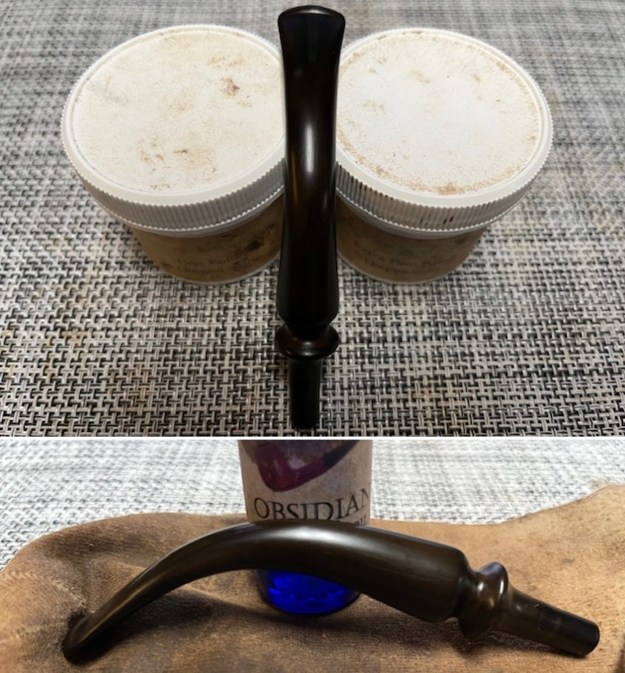
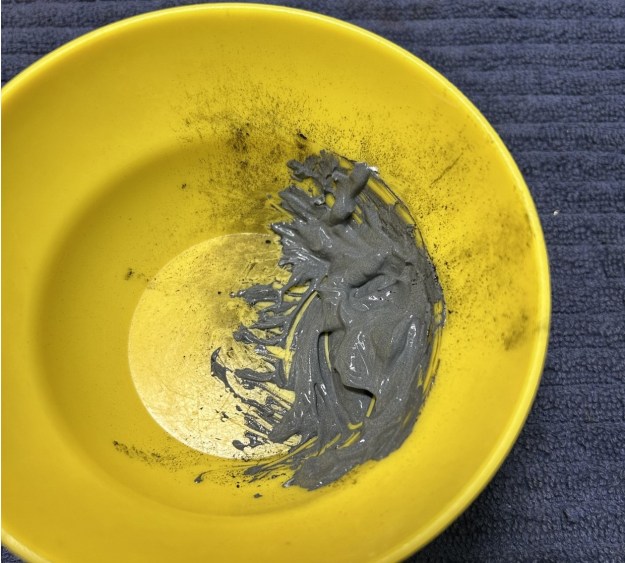
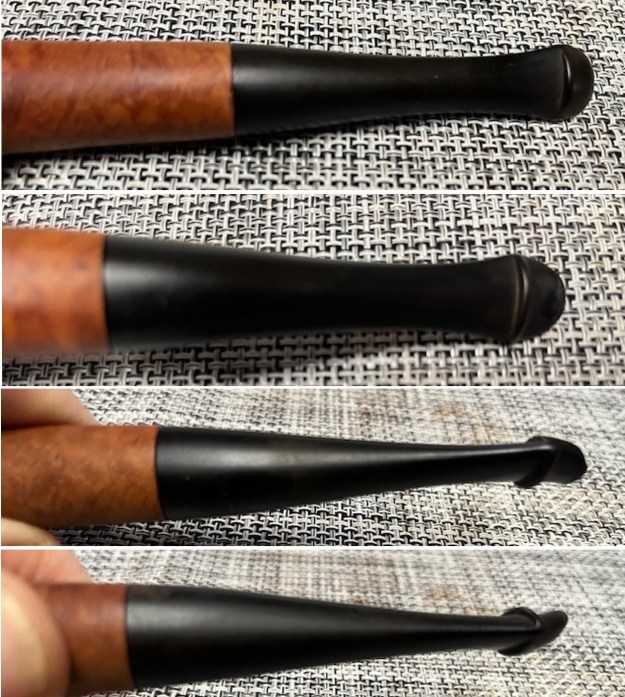
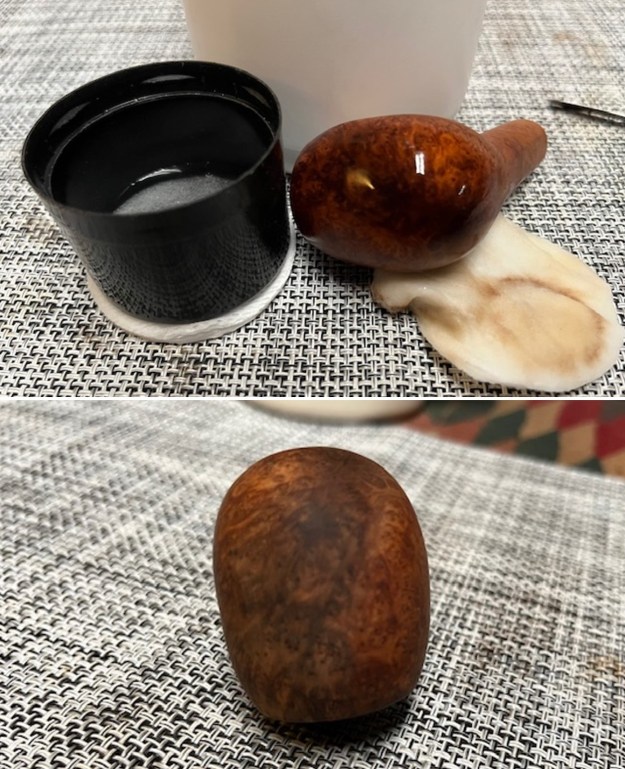
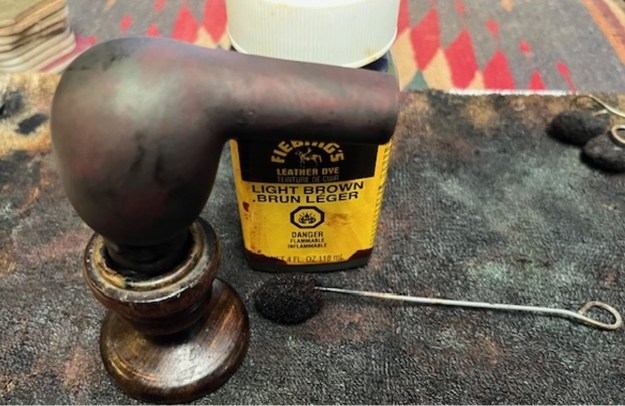
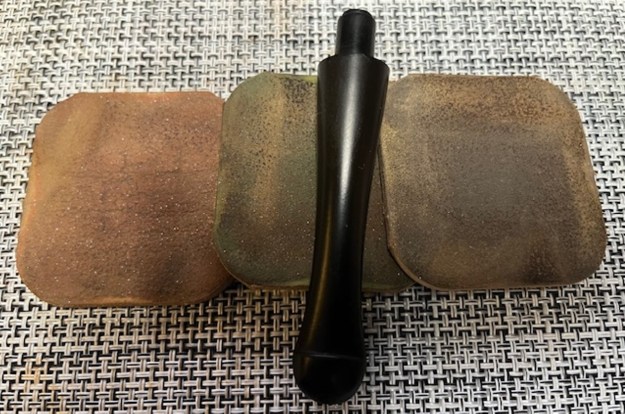
 With that done, the bowl was finished other than the final buffing. I set it aside and turned my attention to the stem. I wiped it down with some Soft Scrub to remove the oxidation and calcification. I sanded out the light tooth marks and chatter along with the remaining oxidation with 220 grit sandpaper and started polishing the stem with 600 grit wet dry sandpaper.
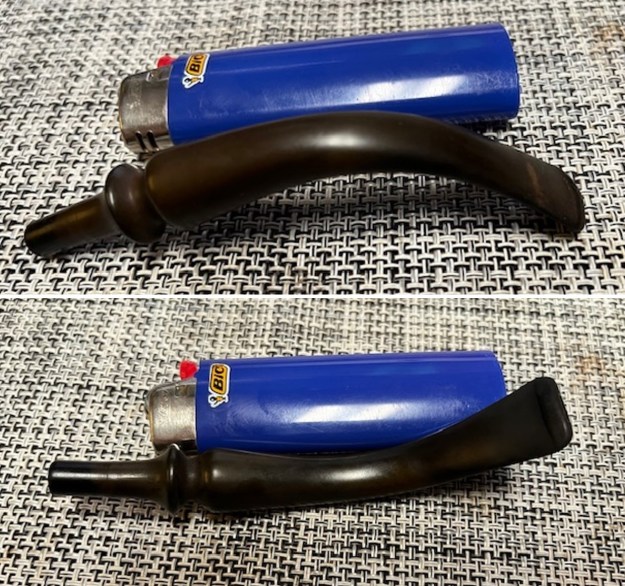
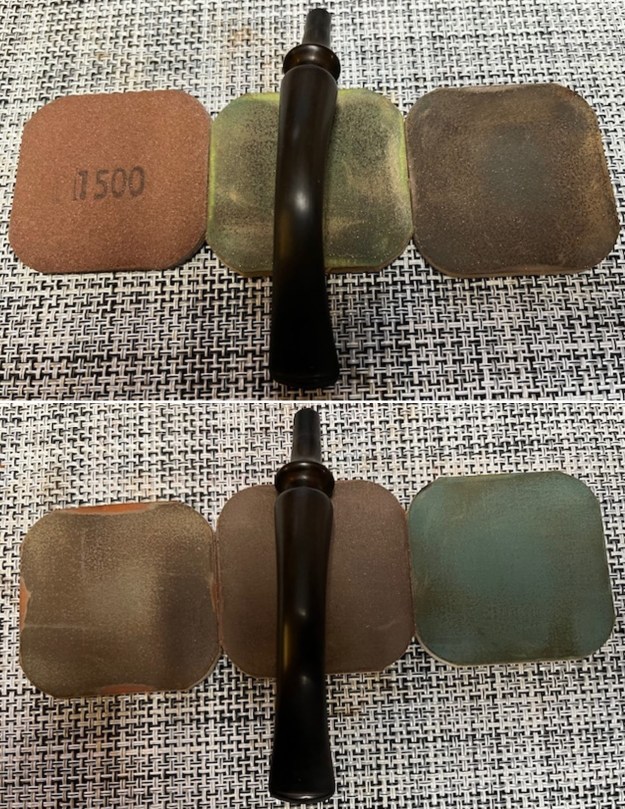
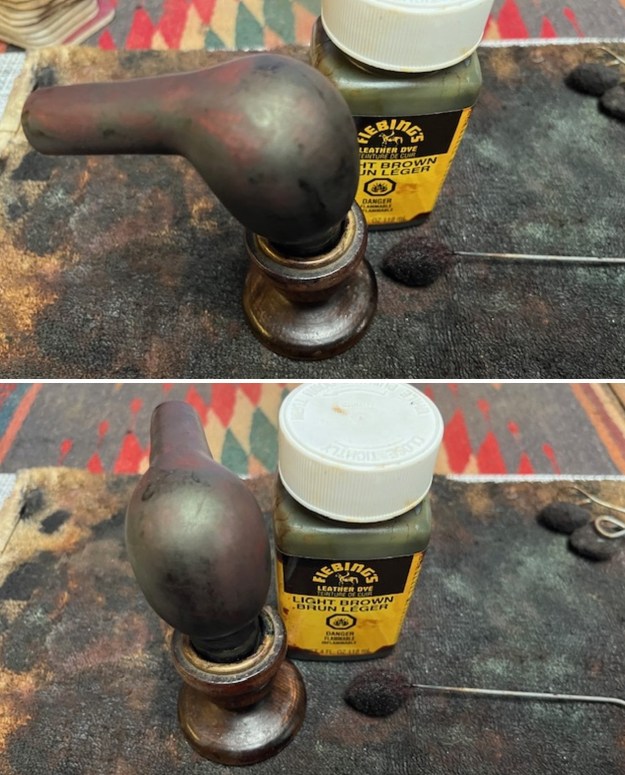
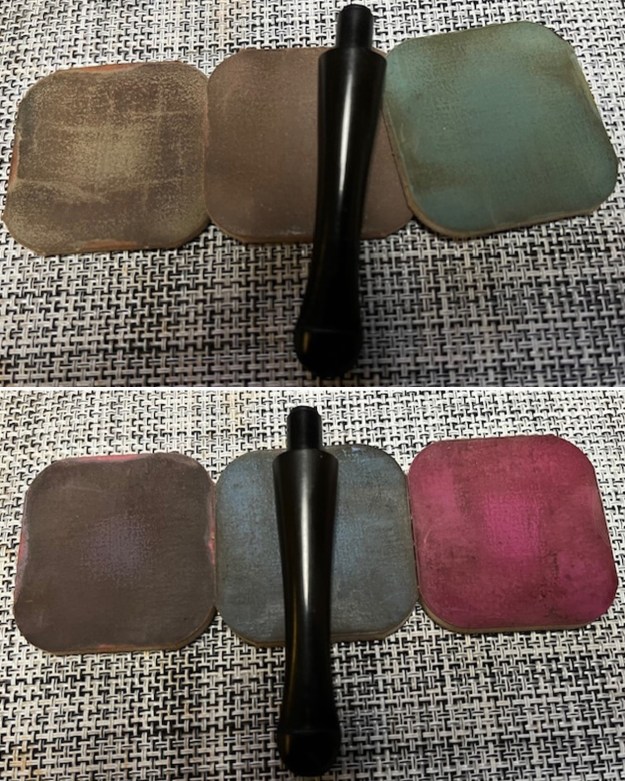
 I polished the stem with micromesh sanding pads – wet sanding with 1500-12000 grit sanding pads. I wiped it down after each sanding pad with Obsidian Oil.
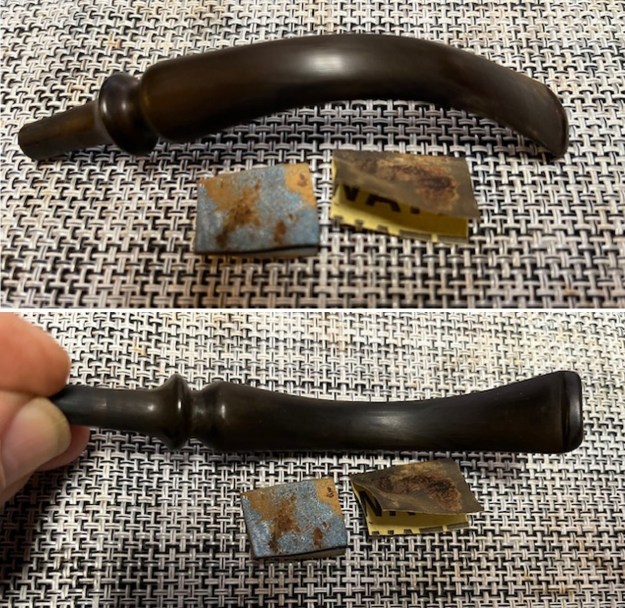
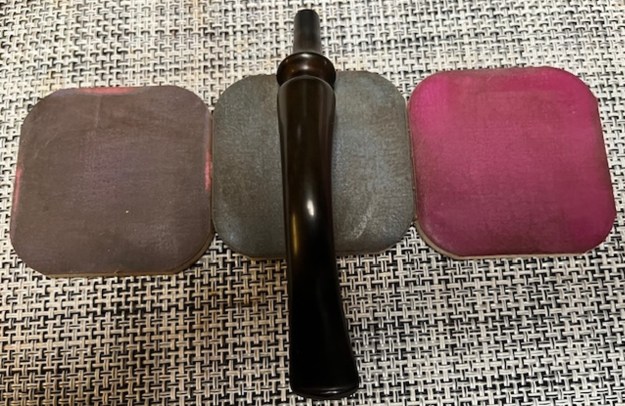
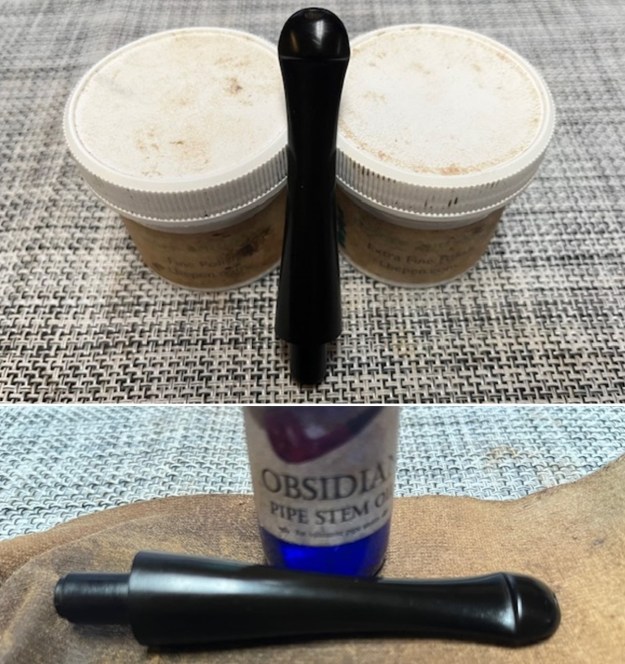
 I finished polishing the stem with Before & After Pipe Stem polish (both Fine and Extra Fine) then wiped the stem down with another coat of Obsidian Oil.
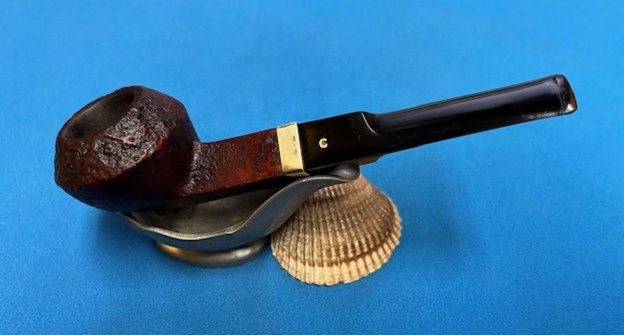
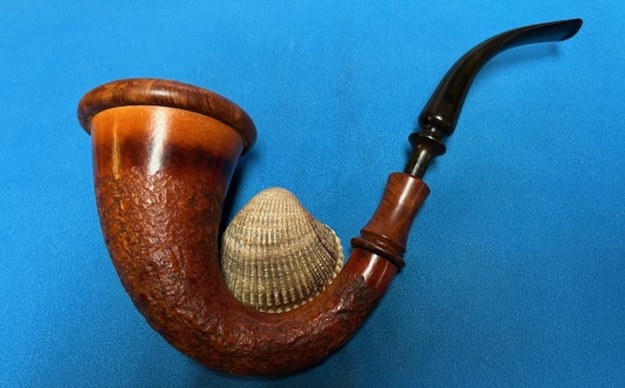
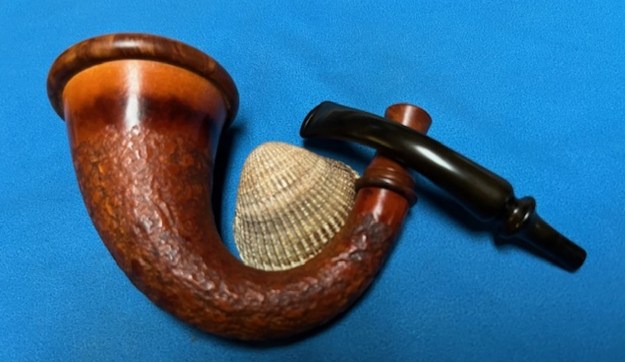
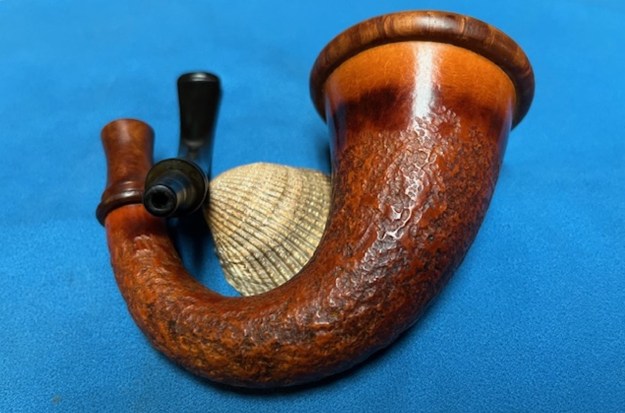
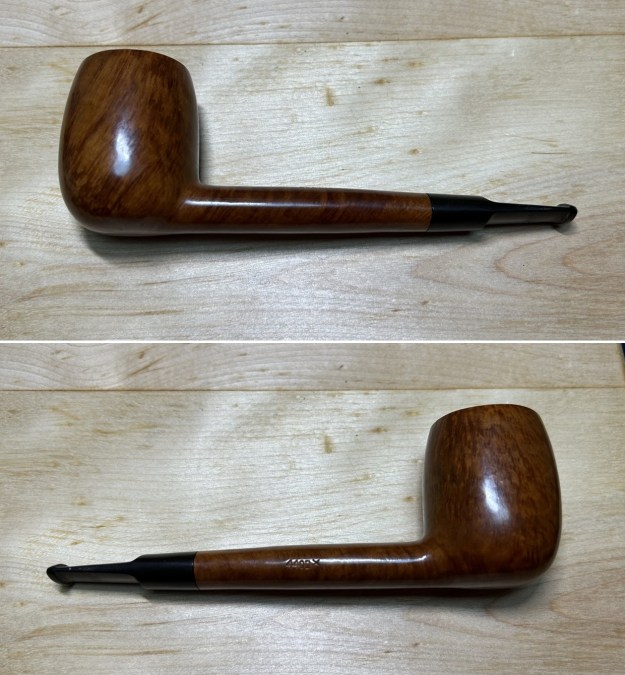
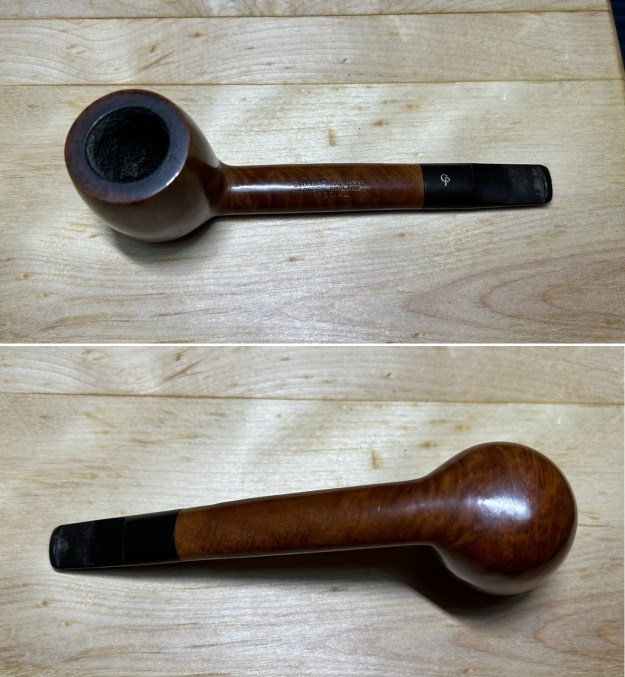
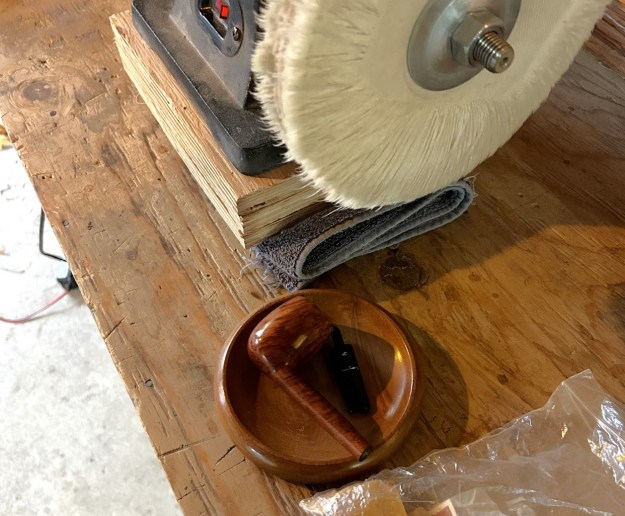
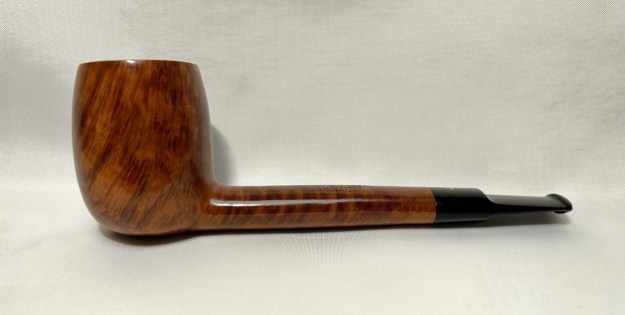
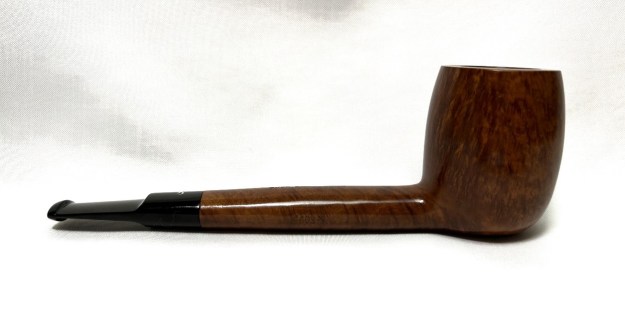
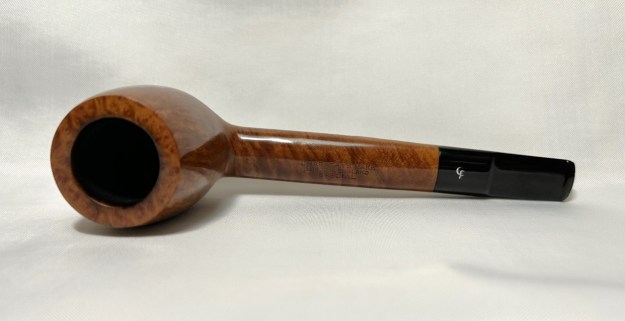
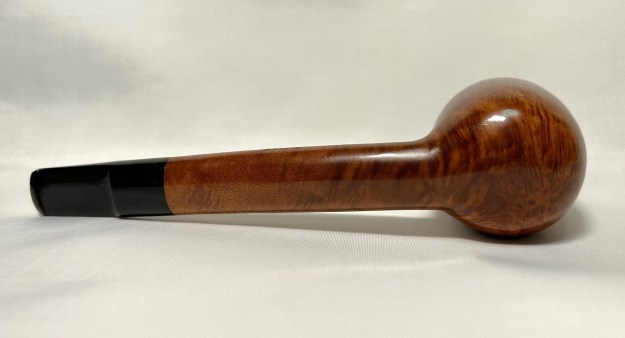
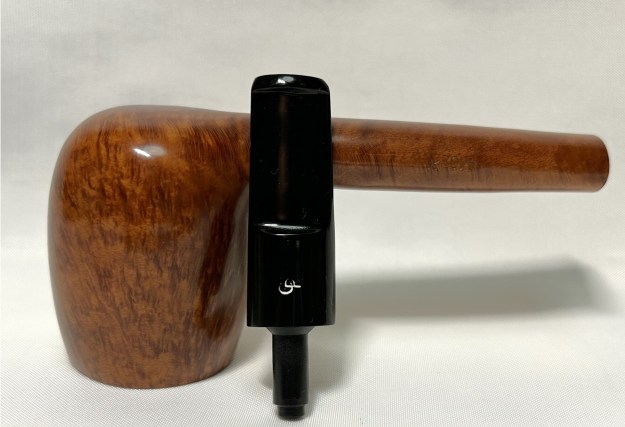
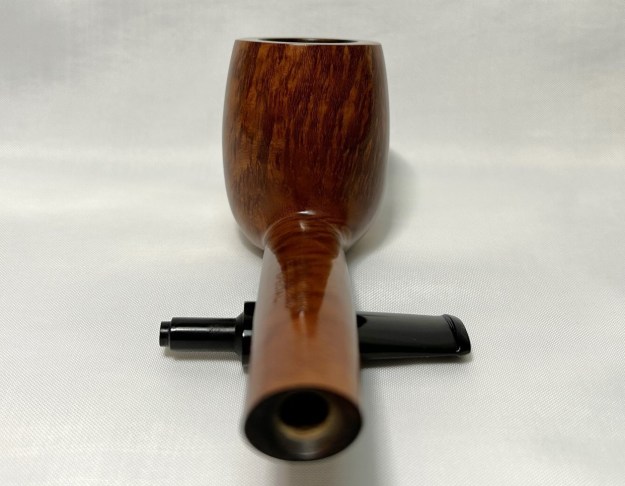
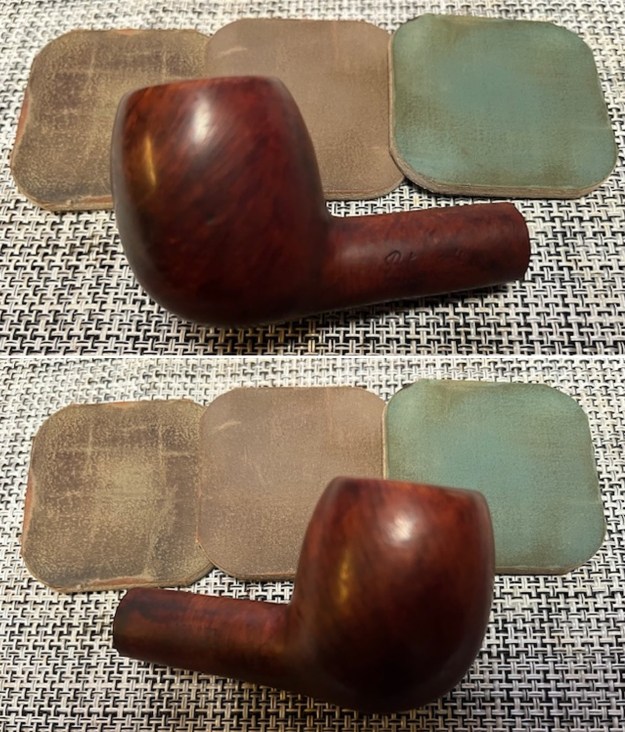
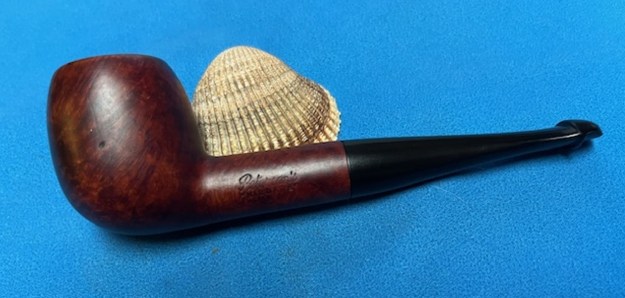
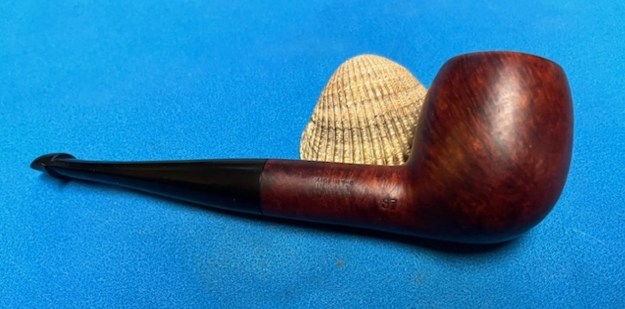
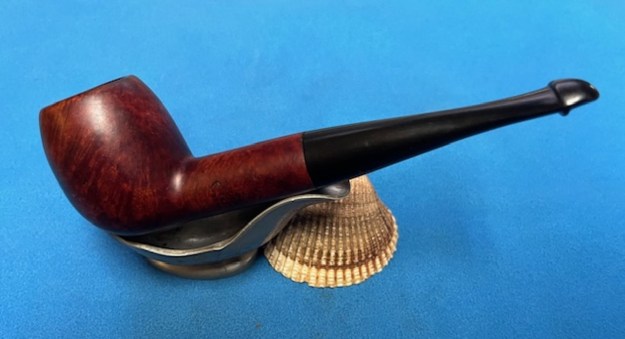
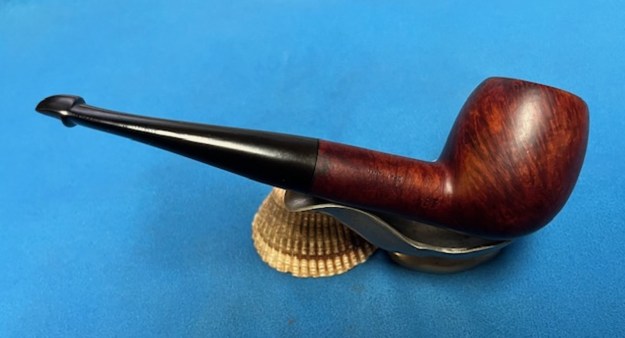
  I am excited to finish restemming and restoration of this Comoy’s Vanguard 296 Canadian. I put the pipe back together and buffed it with Blue Diamond on the buffing wheel. I gave the bowl and the stem multiple coats of carnauba wax. I buffed the pipe with a clean buffing pad to raise the shine and hand buffed it with microfiber cloth to deepen the shine. It is fun to see what the polished bowl with the nickel band looks like with the new, polished black, vulcanite stem was beautiful. This Comoy’s Vanguard 296 Canadian is nice looking and the pipe feels great in my hand. It is light and well balanced. Have a look at it with the photos below. The dimensions are Length: 6 inches, Height: 1 ¾ inches, Outside diameter of the bowl: 1 ¼ inches, Chamber diameter: ¾ of an inch. The weight of the pipe is 1.09 ounces/31 grams. It is a beautiful pipe and after I finish Ted’s other two pipes I will be sending it back to him to enjoy. Thanks for walking through the cleanup with me as I worked over this pipe.
As always, I encourage your questions and comments as you read the blog. Thanks to each of you who are reading this blog. Remember we are not pipe owners; we are pipe men and women who hold our pipes in trust until they pass on into the trust of those who follow us.