Blog by Steve Laug
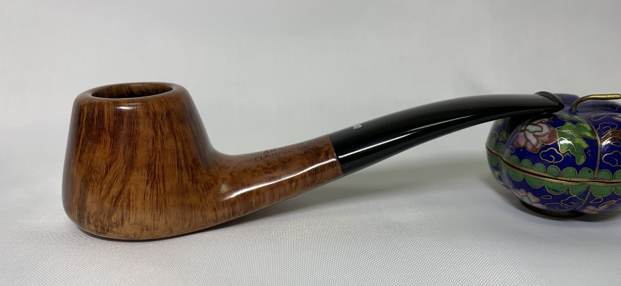
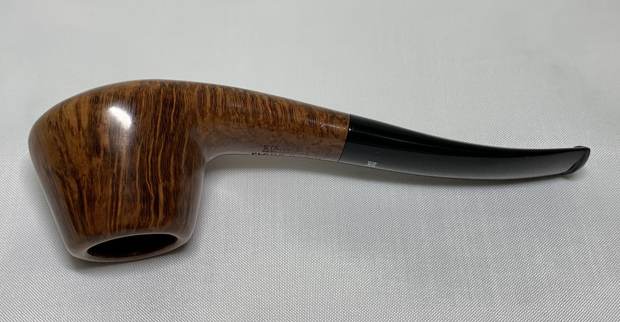
Jeff and I have been buying some nice looking pipes from a fellow in Copenhagen that has included a great lot of Stanwell and other Danish Pipes. There were also a few exceptions in the boxes of pipes and one of them is this Savoy London Made Short Bulldog that we picked up on 01/26/2023. The pipe is stamped on the left side of the shank and reads SAVOY [over] London Made. On the right side of the shank it is stamped London England [over] the shape number 429. The bowl had a thick cake in the bowl with an overflow of lava on the rim top. The finish on the bowl is dirty but the grain shines through the grime. The short vulcanite saddle stem is oxidized and has scratches and light tooth marks and chatter on both sides ahead of the button. It is a pipe with a lot of character and one that I am enjoying even in its unrestored condition. Jeff took photos of the pipe before he started his clean up work.
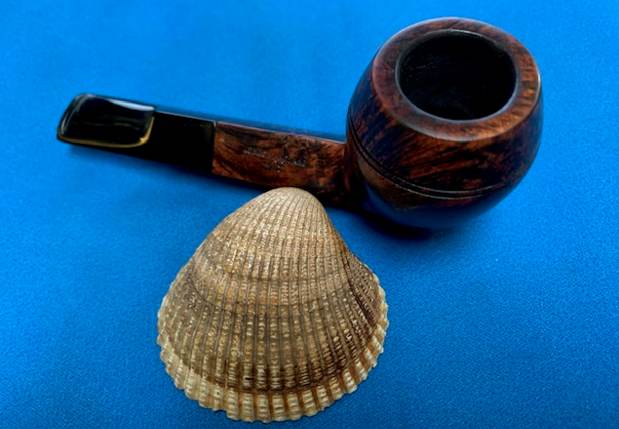
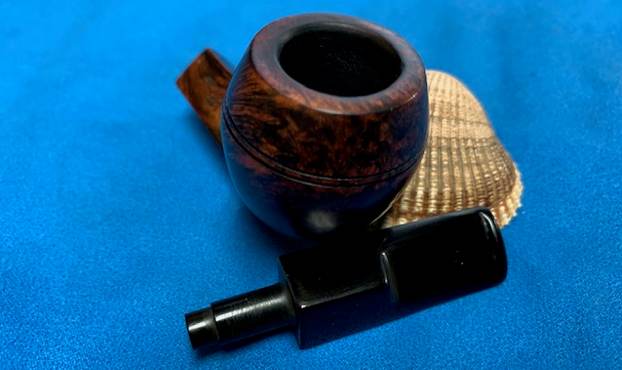
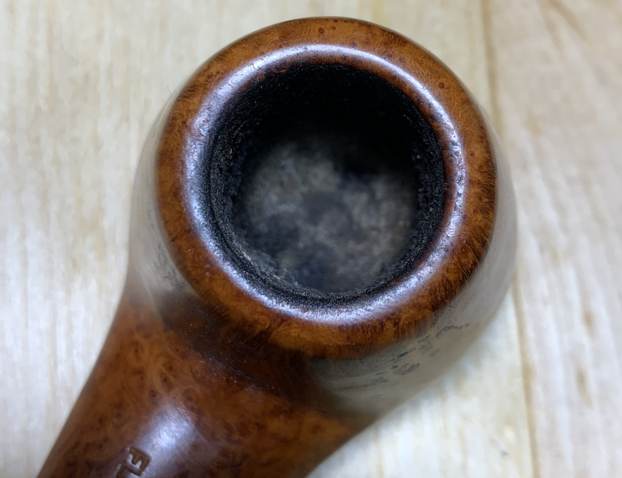
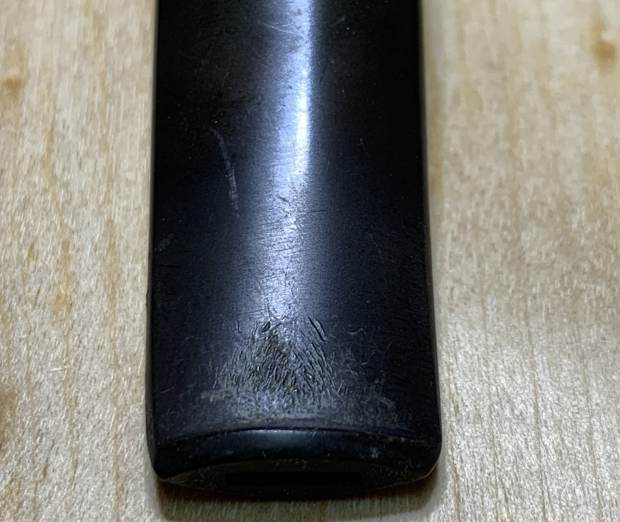
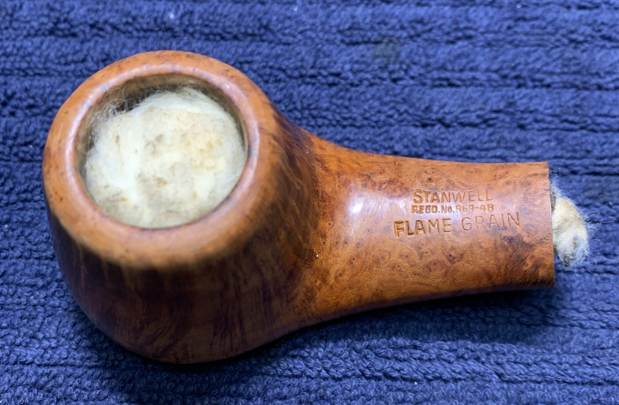
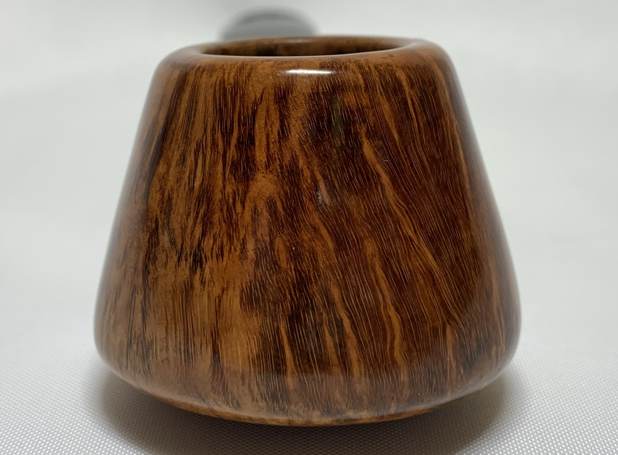
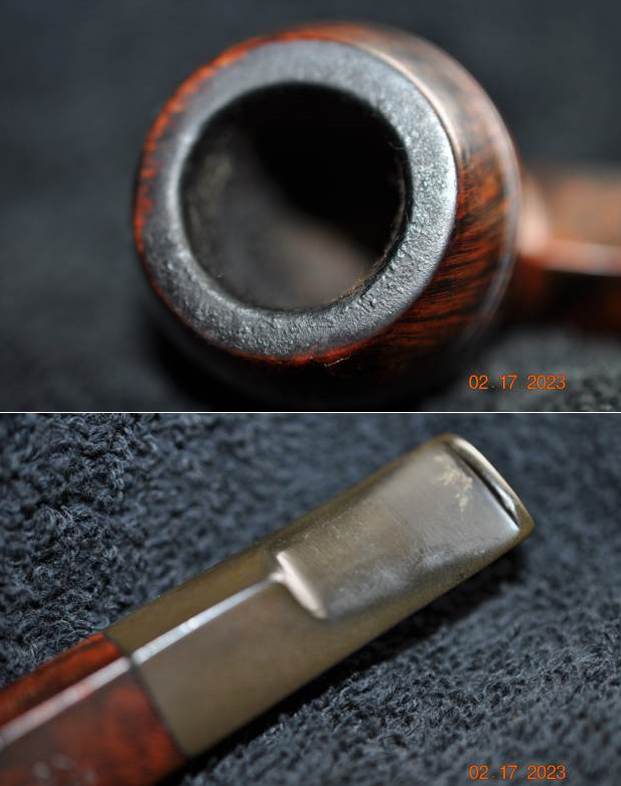
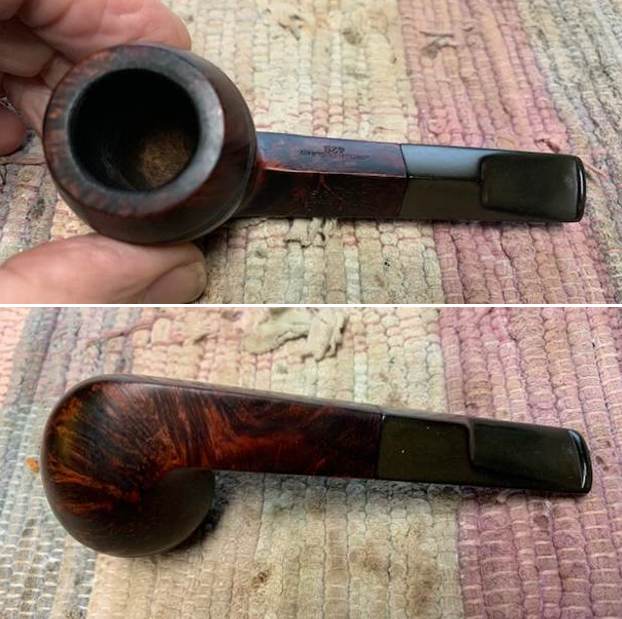
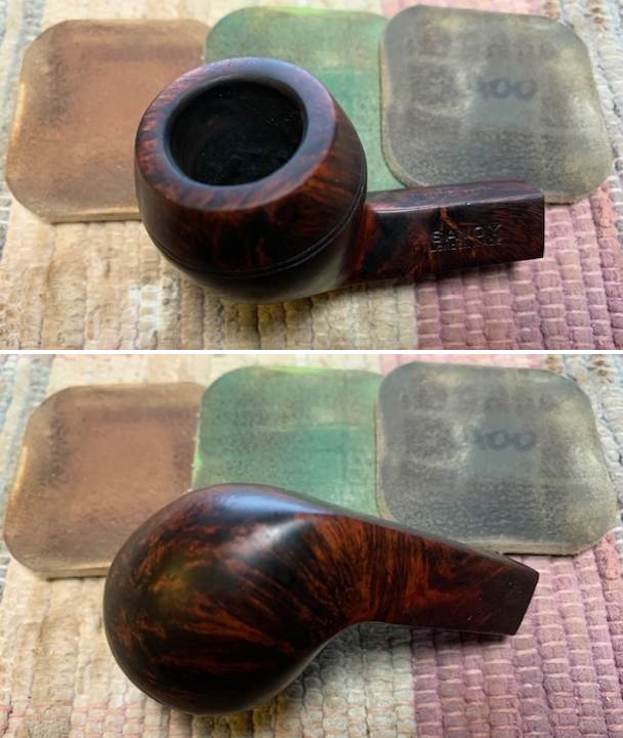
 He took some photos of the bowl and the rim top to show the thick cake and the lava on the rim top. The inner and outer rim edges of the bowl were in good condition. The stem photos show the condition of the stem surface and confirm the description given above.
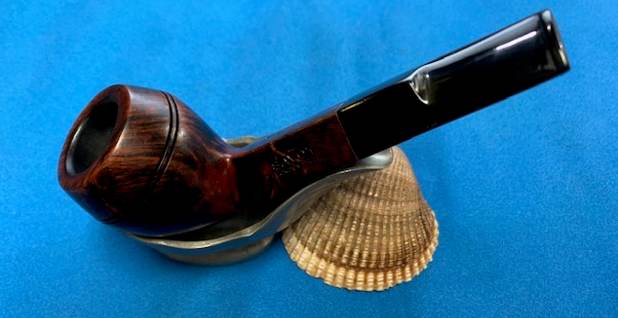
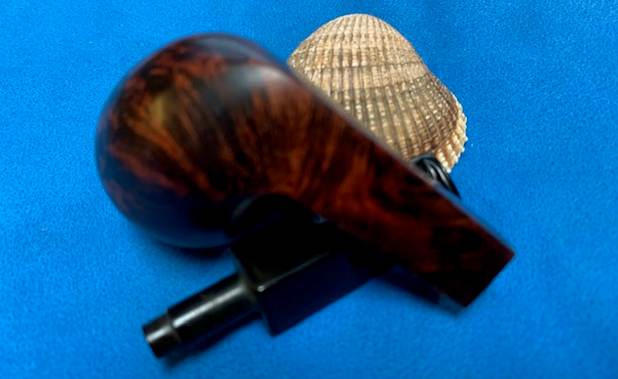
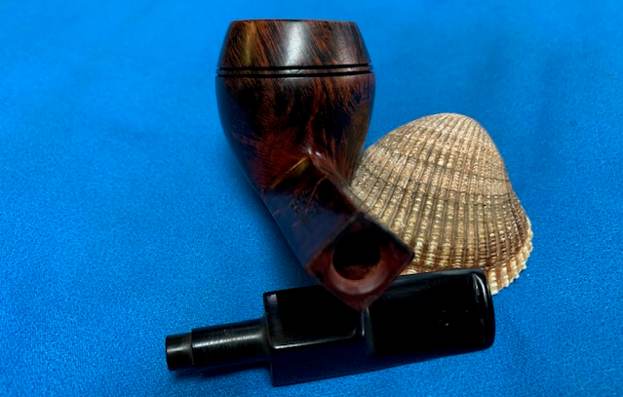
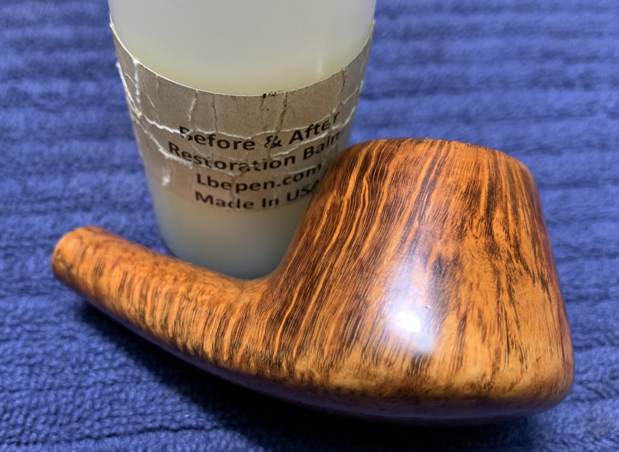
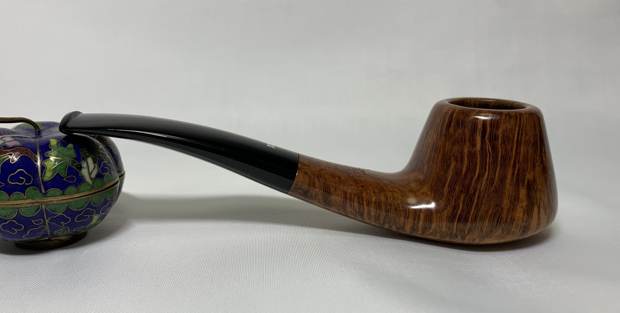
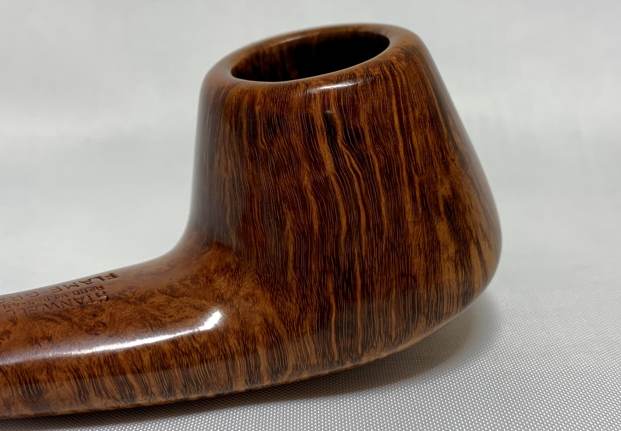
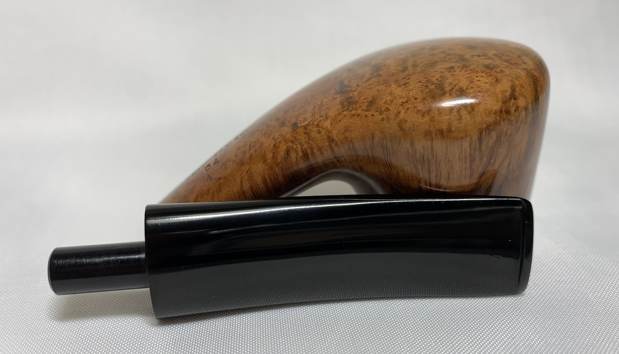
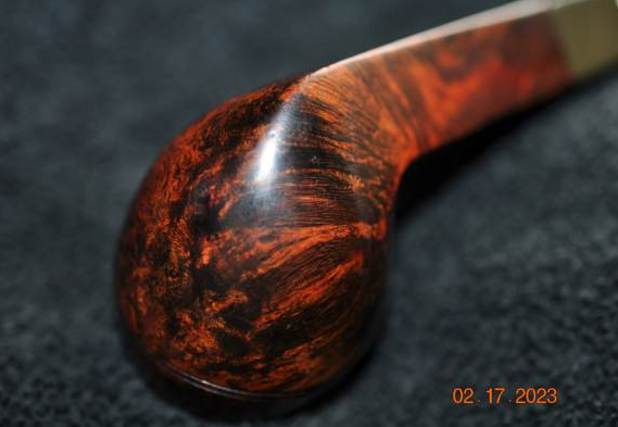
 He took photos of the sides and heel of the bowl to show the way the stains bring out the grain in the briar. It is a beauty.
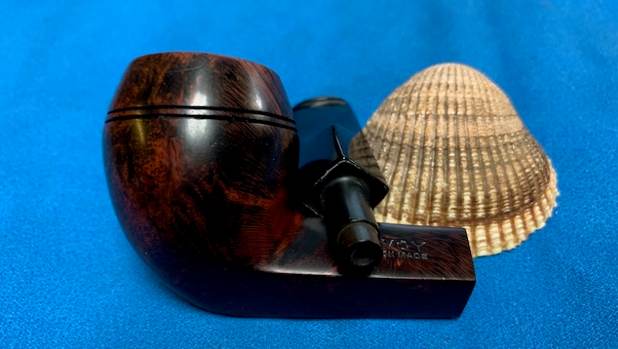
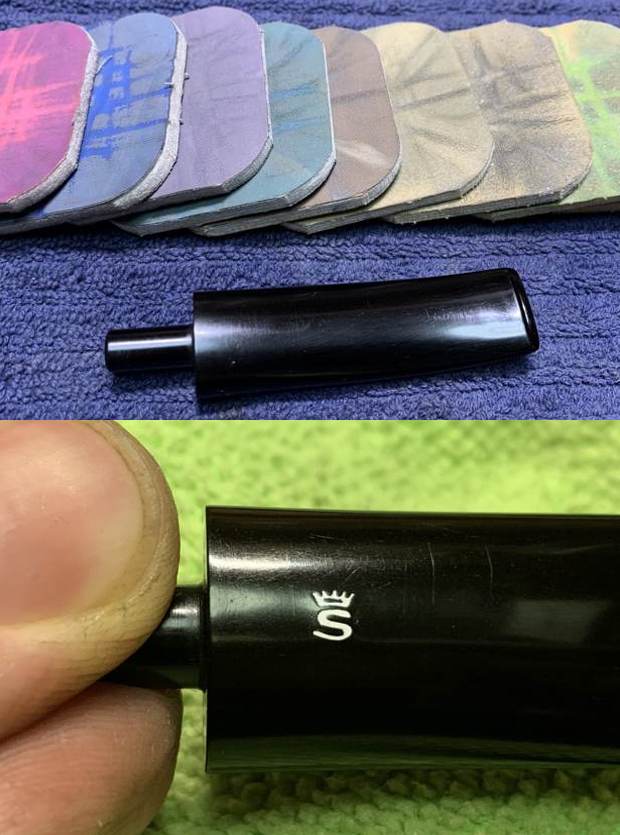
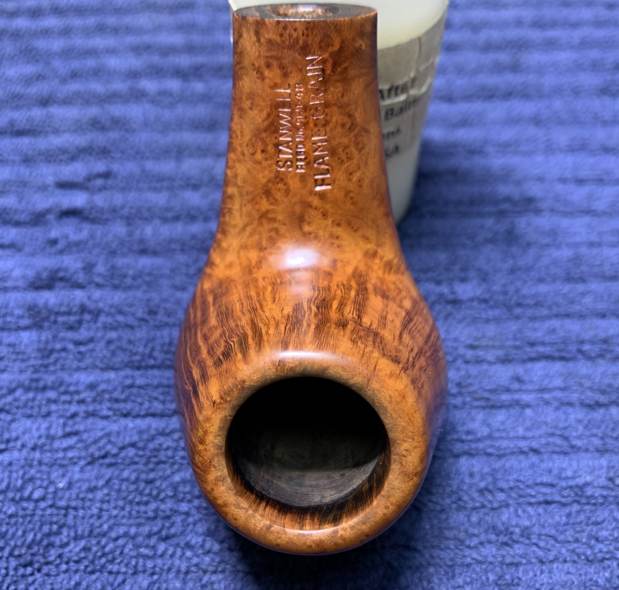
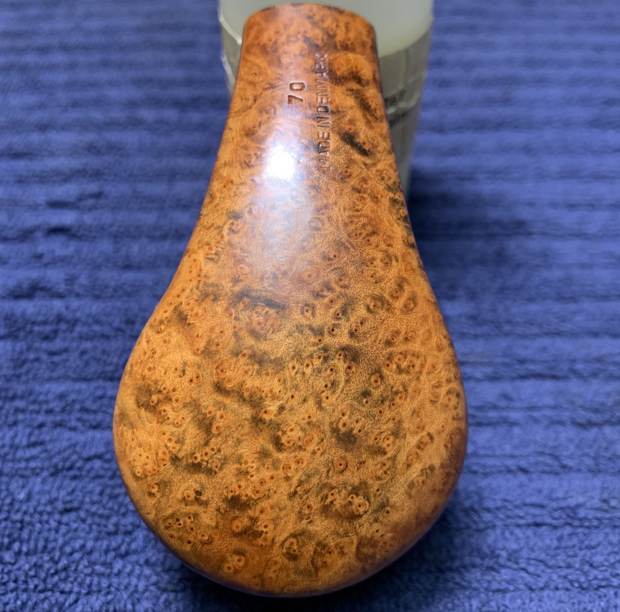
 He took photos of the stamping on the top left and right sides of the diamond shank to capture what was stamped there. It is clear and readable as noted above.
 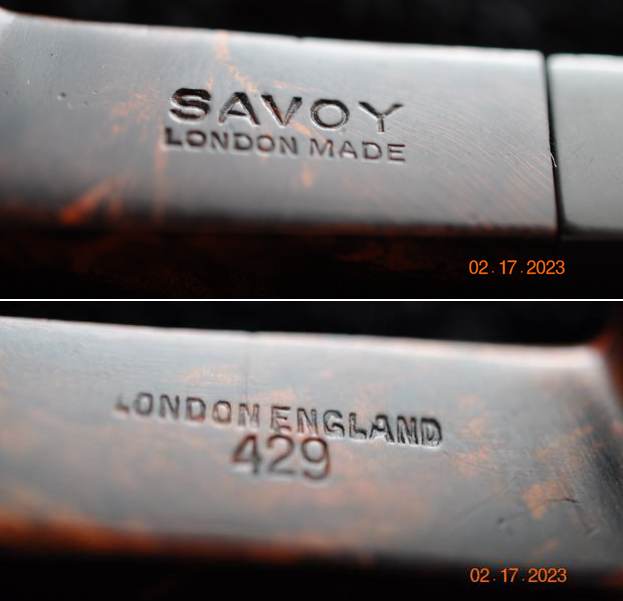 Before I started working on the pipe I wanted to learn as much as I could about the brand. It seems that the Savoy has many contenders for the company who manufactured it. There were Savoys made by Oppenheimer, Comoy’s, M. Linkman and Co. and also Dr. Grabow. The one I am working on is stamped with interesting further details that remove the potential American manufacturers of the pipe. Both Dr. Grabow and Linkman were not the makers of this pipe. It bears the line stamped under SAVOY that reads London Made and on the opposite side of the shank it is stamped London England with a shape number that makes me think of a tie to possibly Oppenheimer (either Comoy’s or BBB). Now comes the fun part for me – the research to see what I can find on the brand.
I turned to Pipephil’s site to see what I could learn about the Savoy’s brand and any potential ties (http://pipephil.eu/logos/en/logo-s3.html). Pipephil had the brand listed but there was nothing else along with that. I have included a screen capture of the picture there below. It is not clear to me if this particular pipe was a Grabow made or a British made pipe.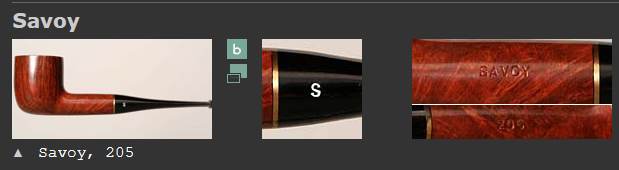 I turned then to Pipedia to see what I could learn there. Here is the link to the section on British pipe makers (https://pipedia.org/wiki/British_Pipe_Brands_%26_Makers_R_-_T). I have included the list there on the site regarding makers of the pipe. I quote below:
Brand of Oppenheimer Pipe/Comoy’s, also sold by M. Linkman & Co.
The usual sources came up empty in terms of definitive connections to English pipe maker so I did a google search English Makers of Savoy Pipes and included the 429 shape number. Nothing came up in terms of the shape number but there were several pipes listed on Smokingpipes.eu that were stamped both BBB and Savoy thus setting a link between the two brands. I am including both the links and some photos below so show not only the tie with names but also the tie with the finish on these pipes.
The first is a bent billiard stamped on the left side of the shank precisely the way the little Bulldog I have is stamped. SAVOY [over] London Made. The mixture of dark and light stains highlightin the grain on the bowl is also very similar as is the classic English shape. Here is the link (https://www.smokingpipes.eu/pipes/estate/england/moreinfo.cfm?product_id=128619). The second link was to a pipe on Smokingpipe.com in the US for another Savoy made by BBB. This one was a Canadian and had the same contrasting finish. It I stamped on the top of the flat shank with the words SAVOY [over] London Made exactly as the Bulldog pipe that I have is (https://www.smokingpipes.com/pipes/estate/england/moreinfo.cfm?product_id=246776).
 The third example was also found on Smokingpipes.com in the US. It was another pipe – this time a Lovat stamped on the left side of the shank and reading SAVOY [over] London Made exactly like the other examples given and the Bulldog here. Here is the link to that example (https://www.smokingpipes.com/pipes/estate/england/moreinfo.cfm?product_id=246761).
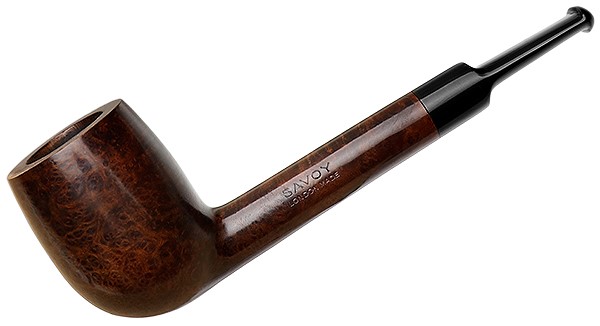 The stamping on each of the above pipes pictured is identical to what is on the shank of the little Bulldog I am working on. I think the connection to BBB is very clear at this point.
I went one step further as well and followed a link to my collection of BBB pipes on rebornpipes (https://rebornpipes.com/2012/08/05/history-of-bbb-pipes/). In that blog I had taken a picture of three of my own BBB Bulldog pipes. The pipe at the top is identical in shape to the Bulldog I am working on stamped Savoy. I am including a picture from that blog showing the collection below. I turned to the blog on the restoration of that particular short BBB Bulldog and have included both the link for that blog as well as the picture of the small BBB Bulldog. (https://rebornpipes.com/2012/10/27/new-life-for-a-bbb-short-dog/).
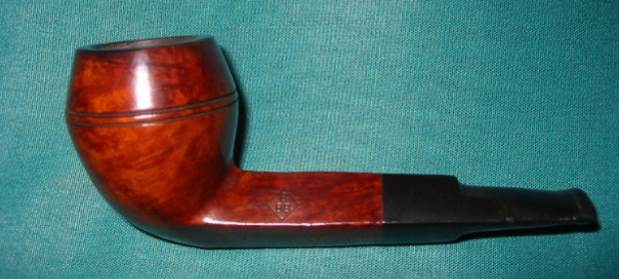 Now that I was fairly certain about the maker of the pipe that I had in hand it was time to work on it.
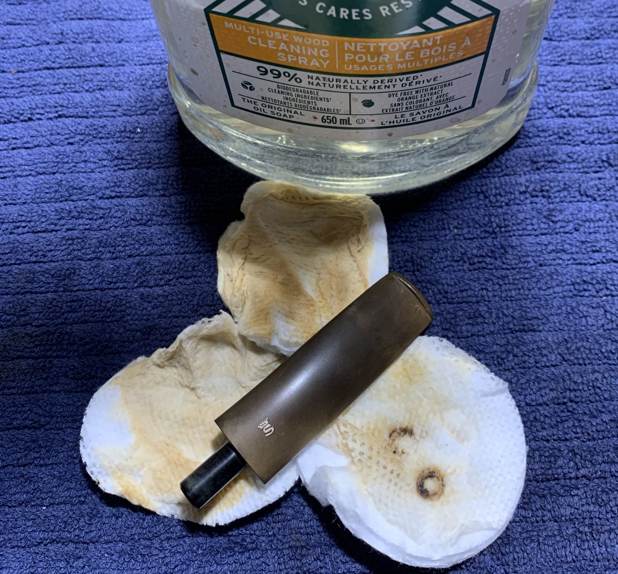
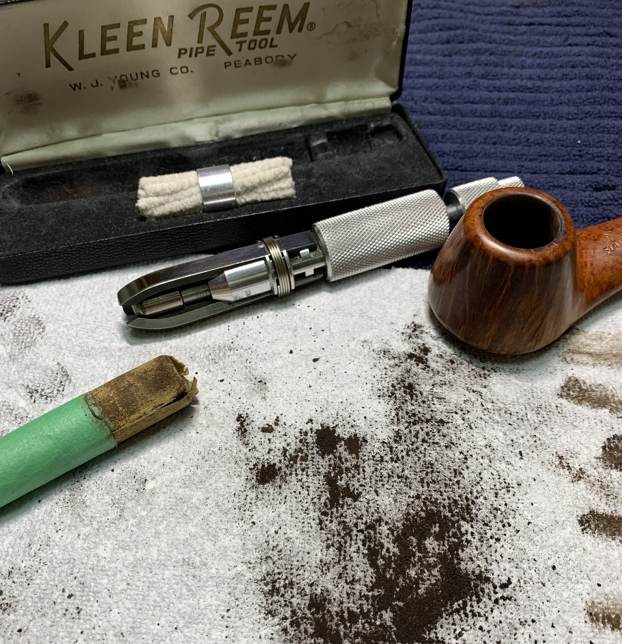
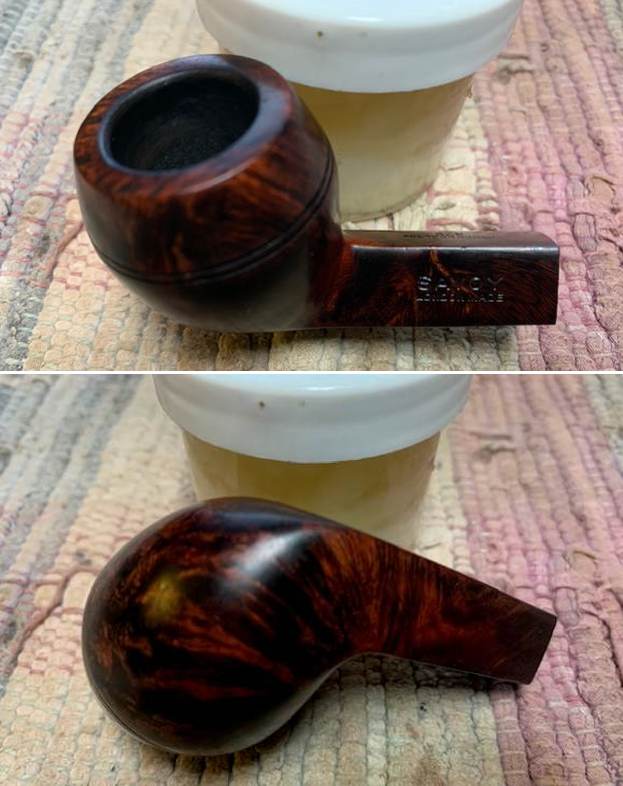
Jeff had done a great clean up of the pipe. He had reamed it with a PipNet reamer and took the cake back to bare briar. He cleaned up the remnants with a Savinelli Fitsall Pipe Knife. He scrubbed internals of the shank and stem with alcohol, cotton swabs and pipe cleaners. He cleaned the exterior of the pipe with undiluted Murphy’s Oil Soap and a tooth brush to remove the grime and the lava on the rim top. He scrubbed the stem with Soft Scrub to remove the debris that had accumulated on it. The stem was soaked in Briarville’s Pipe Stem Deoxidizer and then rinsed clean. The pipe looked clean and ready for the next step in the process. Here are some photos of it when I brought it to the table.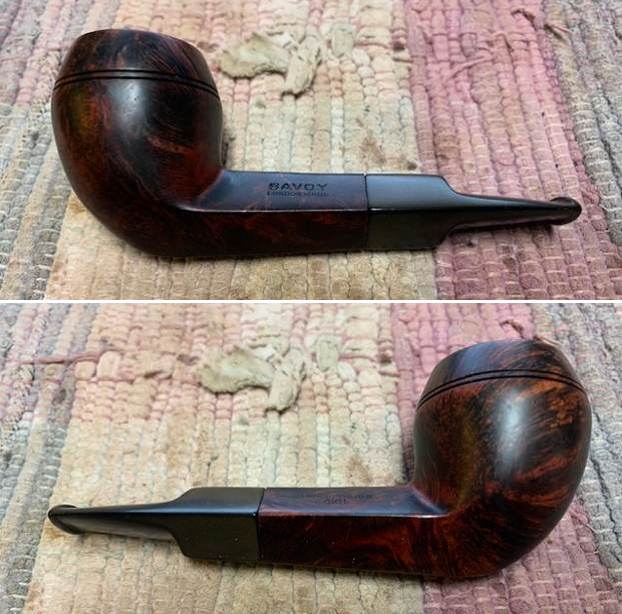
 I took photos of the rim top and the top and underside of the stem. You can see the clean bowl and rim top. There is some darkening and light damage to the top of the rim top along the backside of the pipe. The stem has some oxidation remaining and some light tooth chatter and marks on both sides ahead of the button.
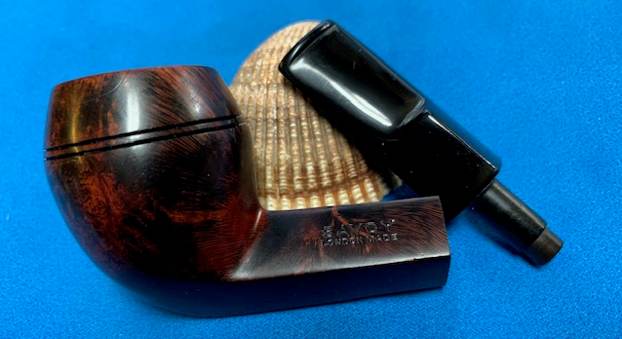
  The next photos show the stamping on the top right and left side of the diamond shank. It is clear and readable as noted above.
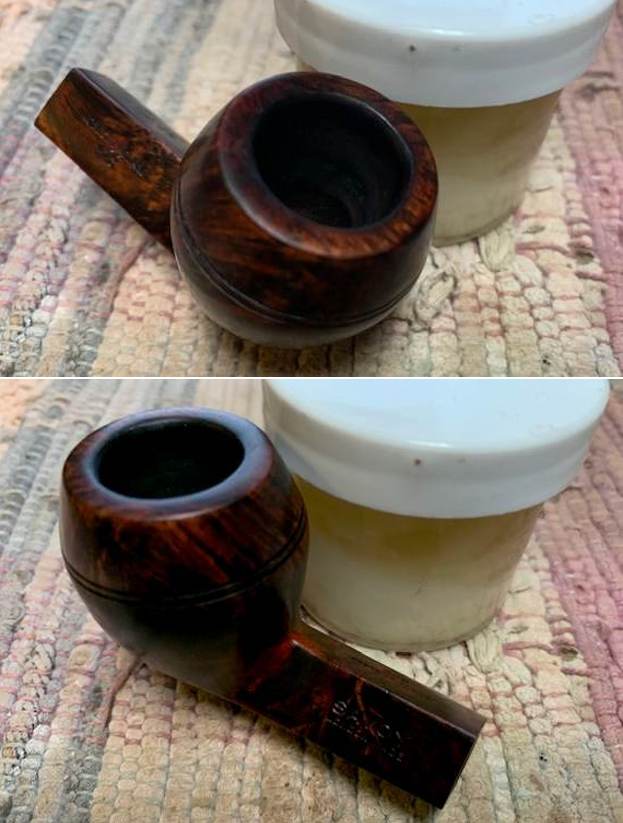
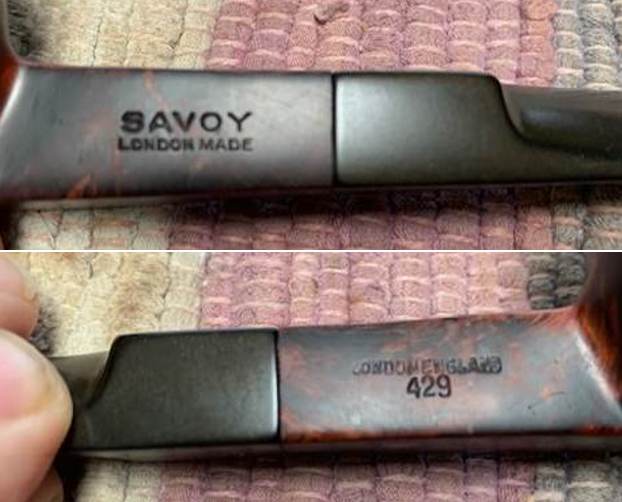 I removed the stem from the shank and took a photo of the parts to give a sense of the overall look of the pipe. It is really a nicely looking pipe that will look great once it is cleaned up.
 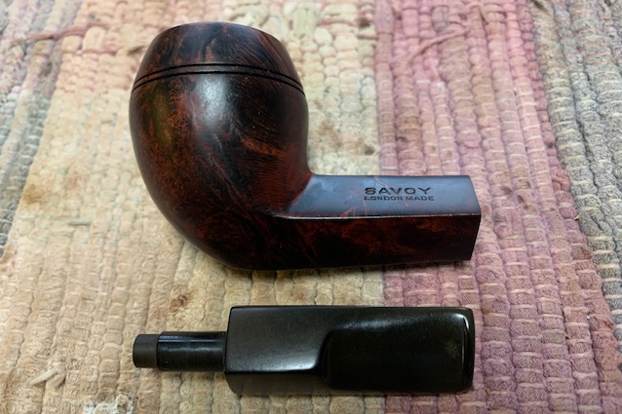 I used a folded piece of 220 grit sandpaper to clean up the damaged inner edge of the bowl and bring it back to round.
 I polished the briar with micromesh sanding pads 1500-12000 grit sanding pads – dry sanding with each pad and wiping down the briar after each pad with a damp cloth to remove the sanding debris.


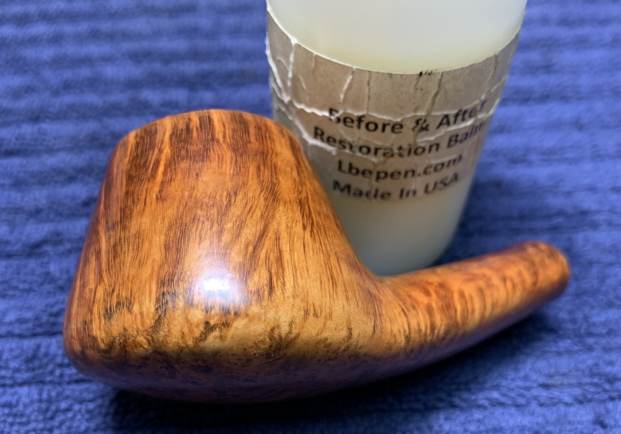
 I rubbed the bowl down with Before & After Restoration Balm to deep clean the finish, enliven and protect the briar. I hand rubbed it with my fingers, worked it into the rings with a cotton swab and into the finish with a horsehair shoe brush. I let it sit for 10 minutes to let it do its work. I wiped it off with a soft cloth. I buffed the bowl with a cotton cloth. It really began to have a deep shine in the briar. I took some photos of the bowl at this point to mark the progress in the restoration.
 I set the bowl aside and turned my attention to the stem. I “painted” the surface dents with a Bic light flame and was able to lift them significantly. I filled in the deep marks that remained and built up the chipped button with clear CA glue. I set it aside to cure. When it cured I reshaped the button edge and flattened the repairs with a small file. I sanded the stem with 220 grit sandpaper to further blend them into the vulcanite. I started the polishing of the stem with 600 grit wet dry sandpaper.
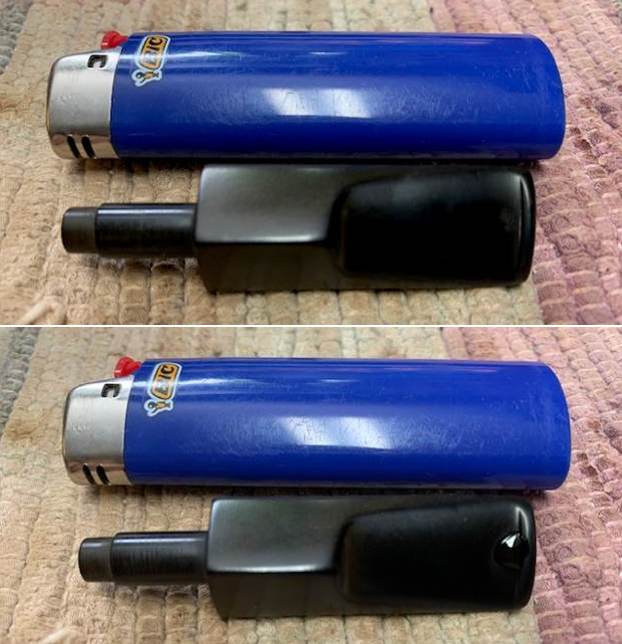

 I polished the stem on both sides using micromesh sanding pads. I dry sanded the stem with the 1500-12000 grit pads, then wiped it down with a cloth impregnated with Obsidian Oil. I finished polishing it with Before & After stem polish – both Fine and Extra Fine. I gave it a final coat of Obsidian Oil and set it aside to dry.
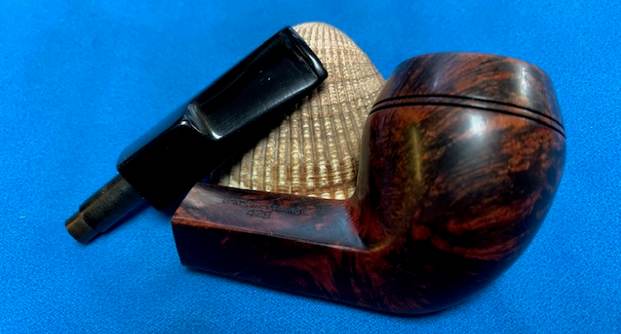
 This is another pipe I am excited to finish. It is an Older Savoy London Made Bulldog. I put the pipe back together and buffed it lightly with Blue Diamond on the buffing wheel. I gave the bowl and the stem multiple coats of carnauba wax. I buffed the pipe with a clean buffing pad to raise the shine and hand buffed it with microfiber cloth to deepen the shine. It is fun to see what the polished bowl looks like with the polished vulcanite stem. It really was a beautiful pipe. The stain on the smooth surface is quite unique and there is grain shining through the rich browns/black stain of the finish of this Savoy London Made Bulldog. It is nice looking and the pipe feels great in my hand. It is light and well balanced. Have a look at it with the photos below. The dimensions are Length: 4 ½ inches, Height: 1 ¾ inches, Outside diameter of the bowl: 1 ¼ inches, Chamber diameter: ¾ of an inch. The weight of the pipe is 1.13 ounces/32 grams. It is a beautiful pipe and one that will be staying with me for the near future. Thanks for walking through the cleanup with me as I worked over this pipe. Thanks to each of you who are reading this blog. Remember we are not pipe owners; we are pipemen and women who hold our pipes in trust until they pass on into the trust of those who follow us.