Blog by Steve Laug
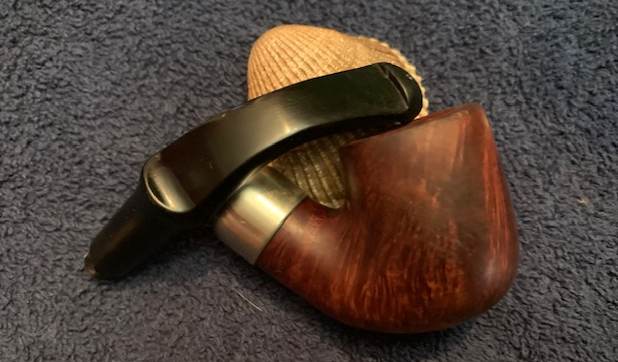
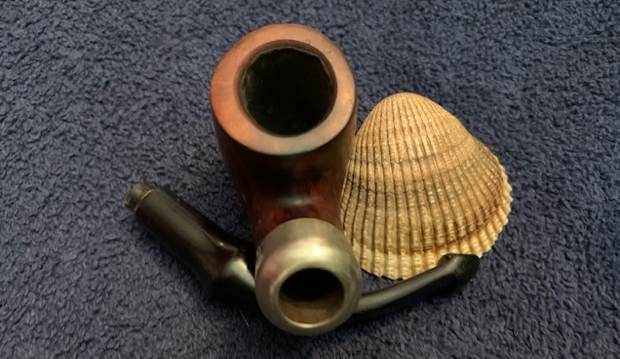
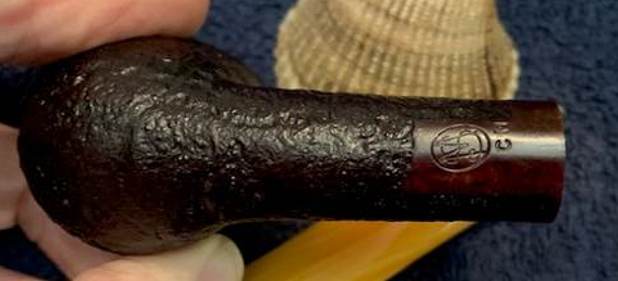
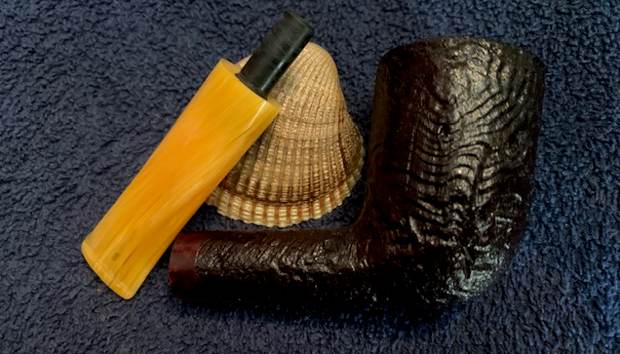
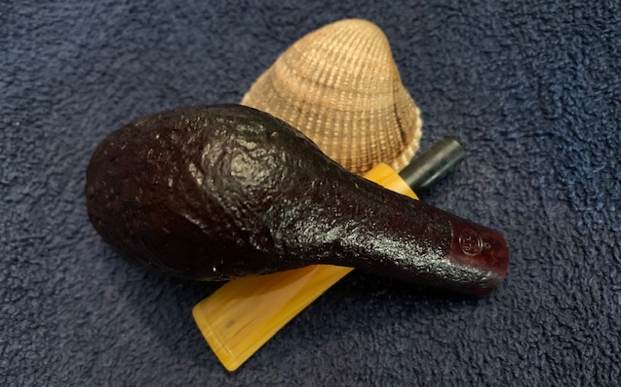
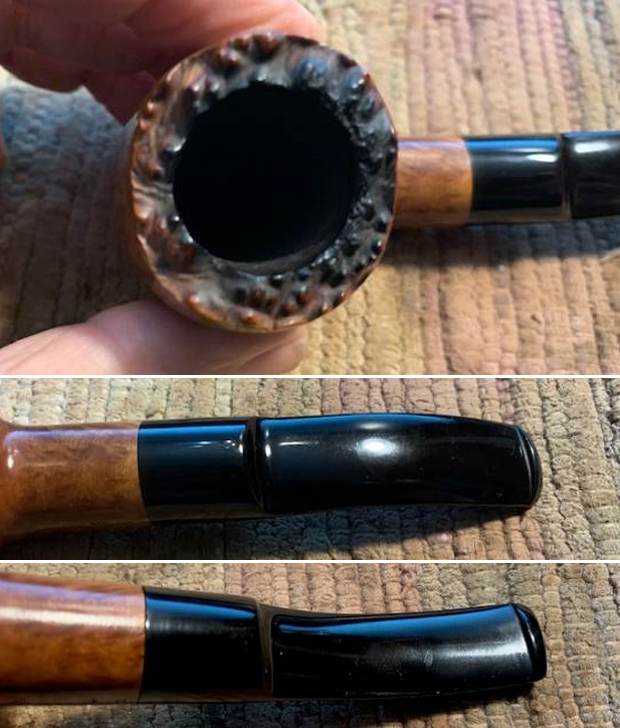
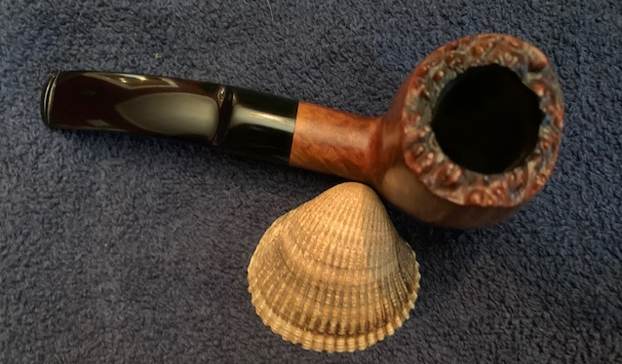
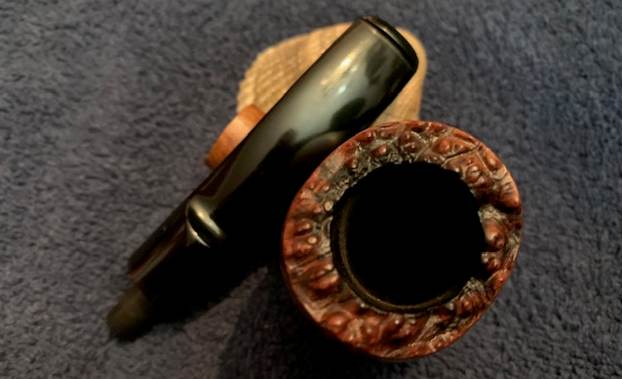
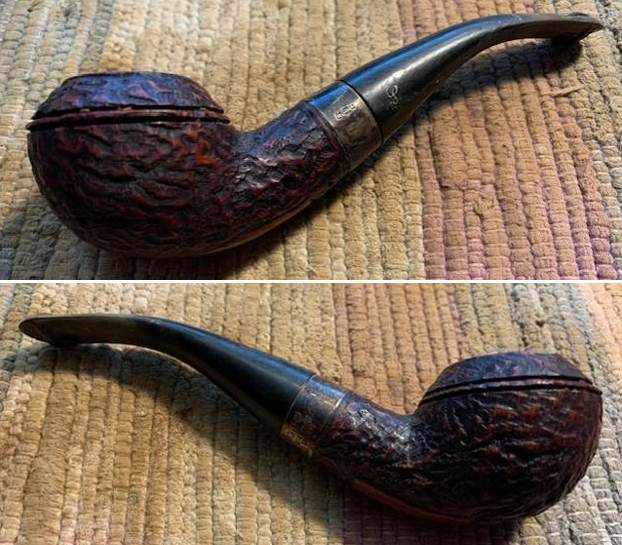
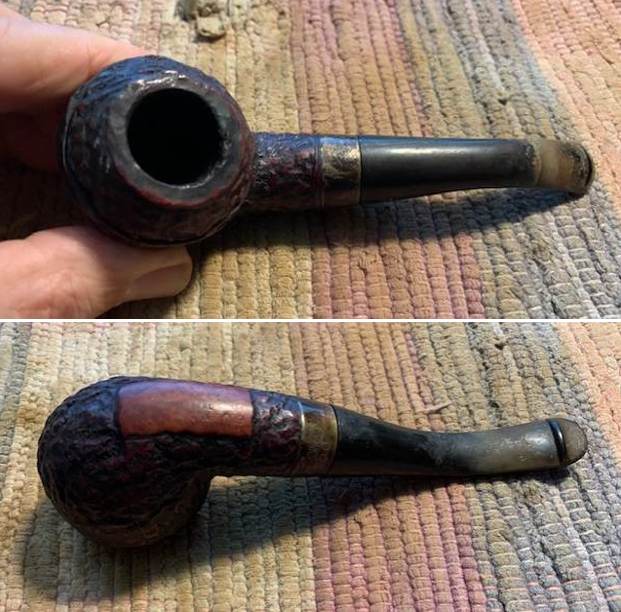
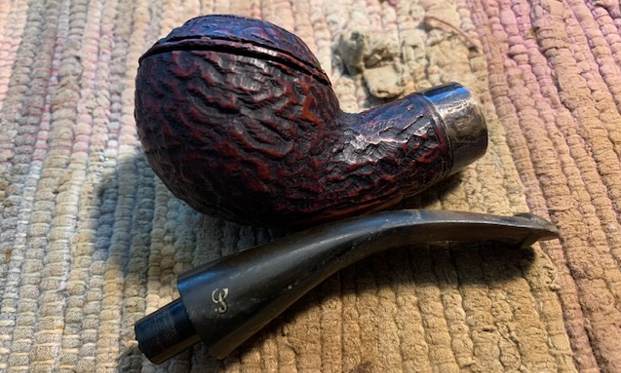
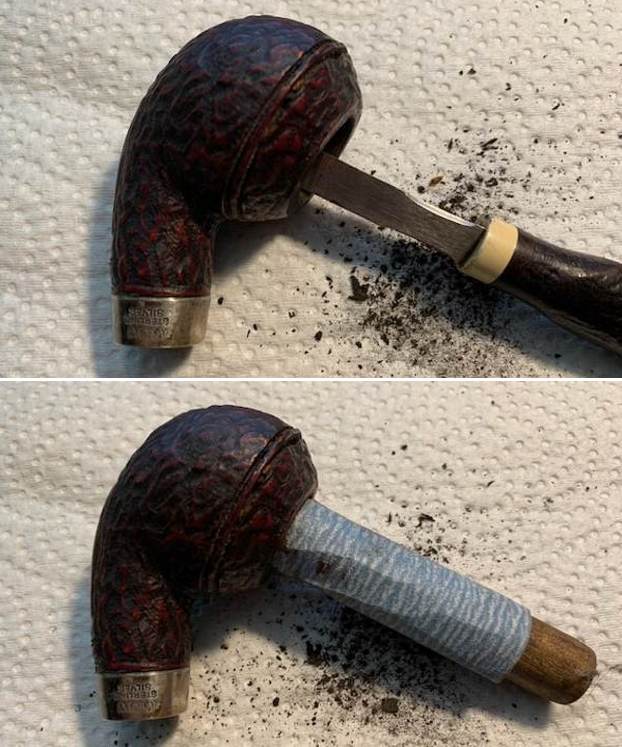
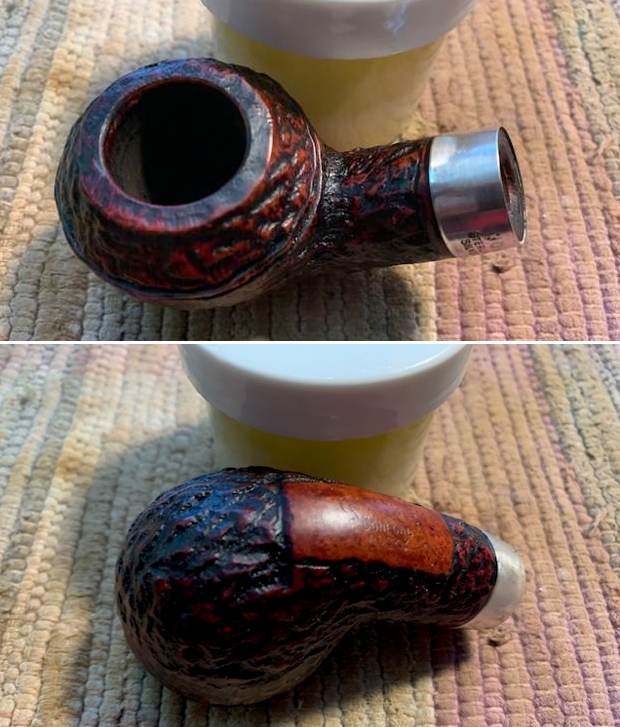
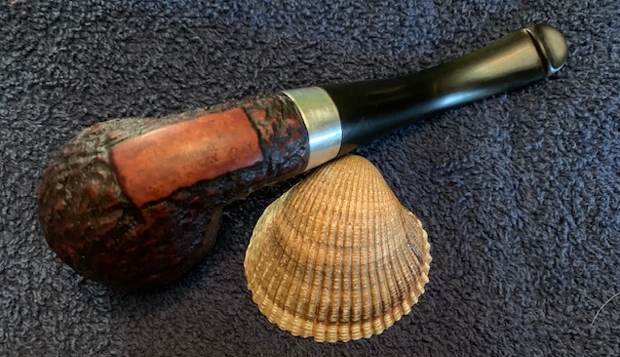
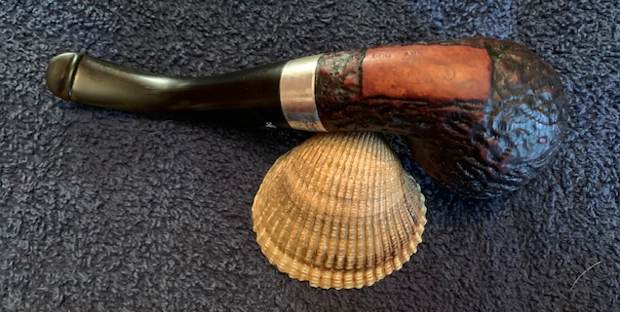
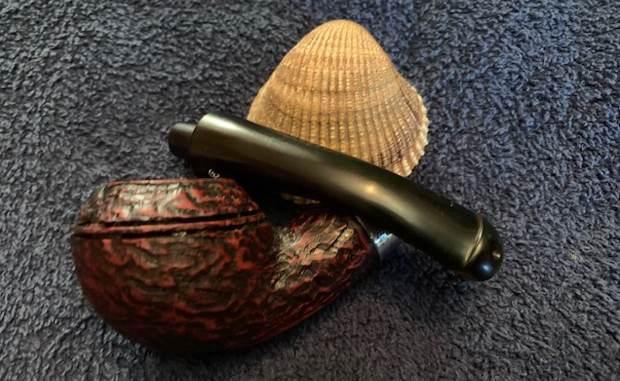
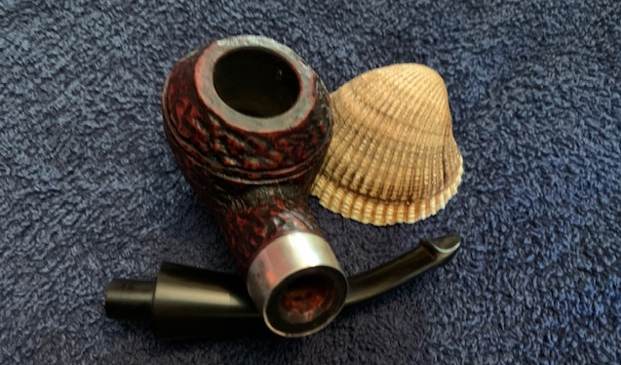
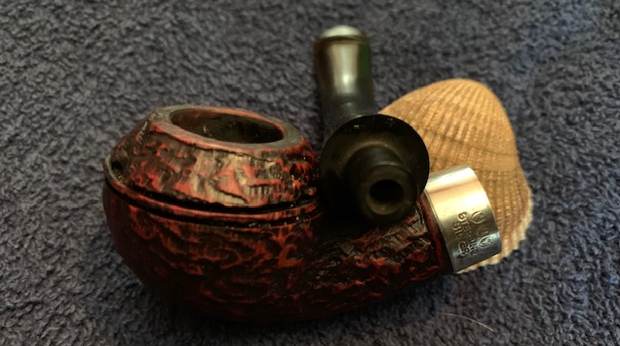
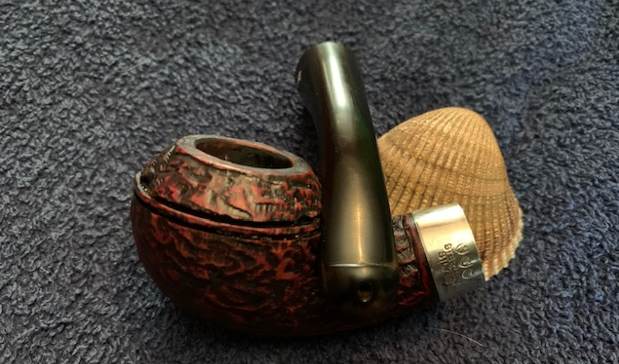
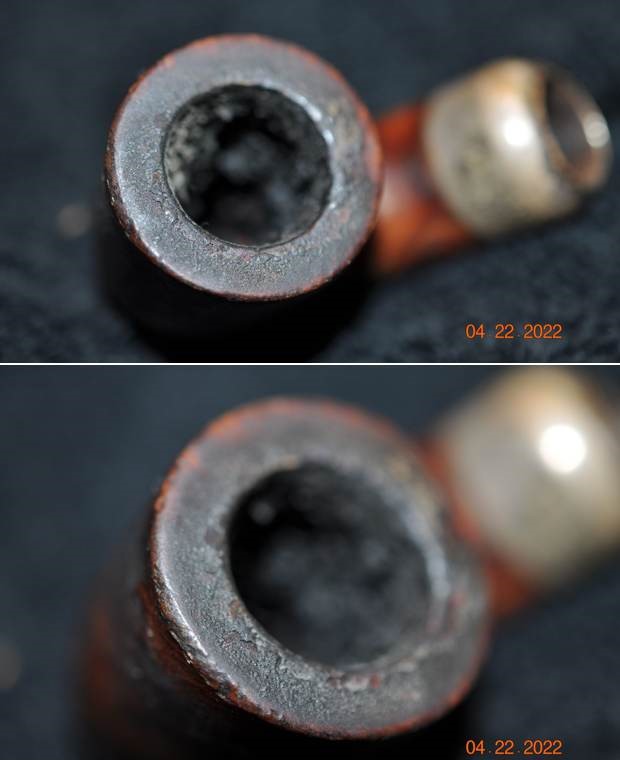
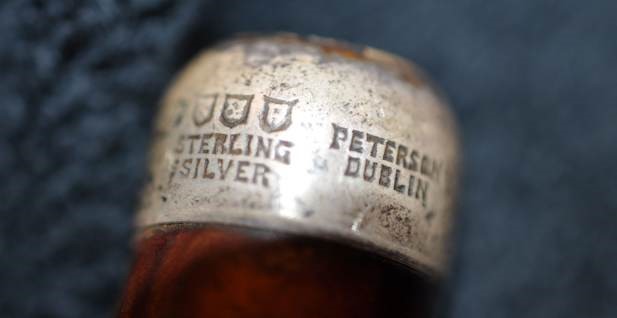
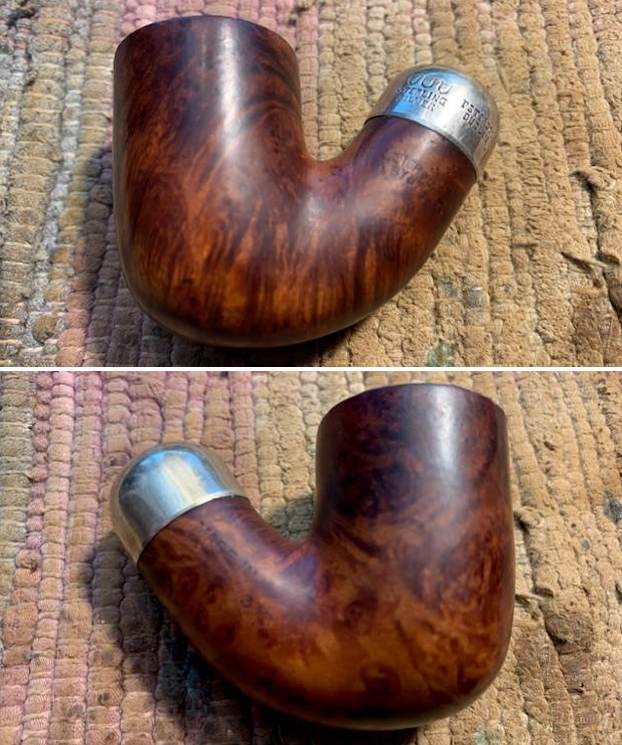
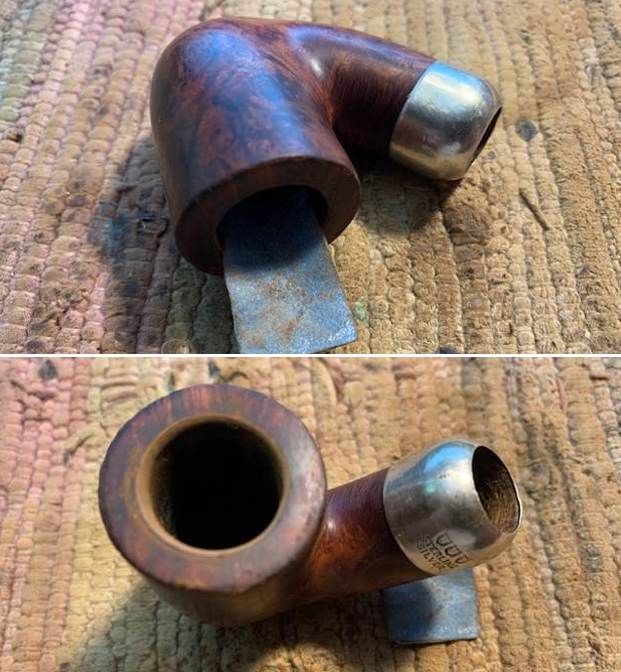
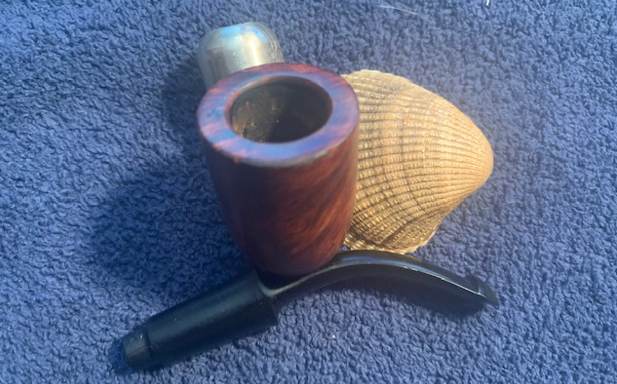
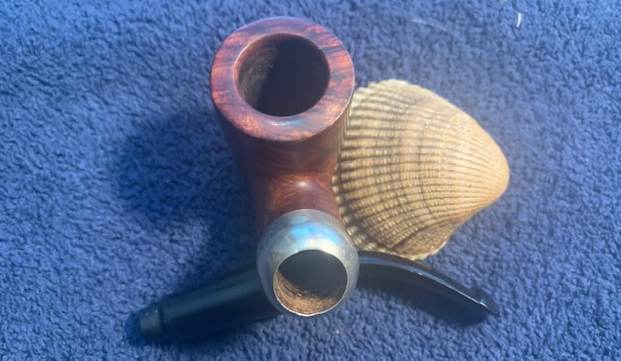
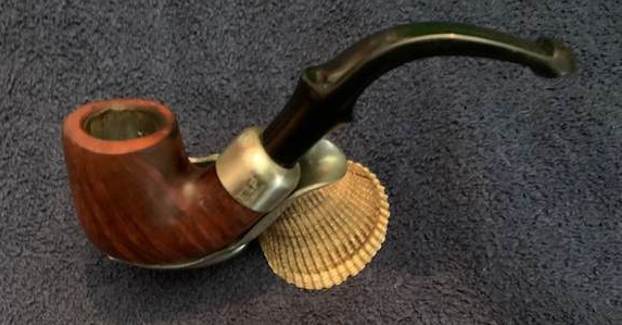
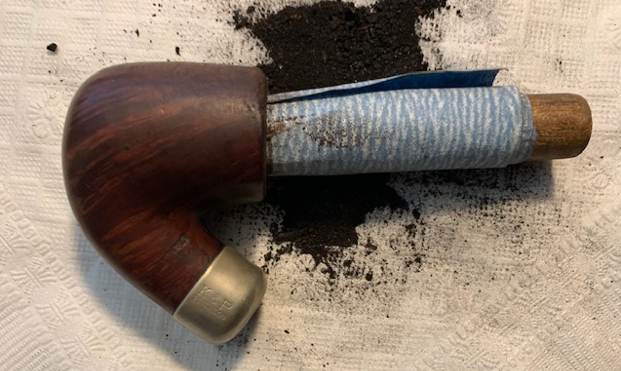
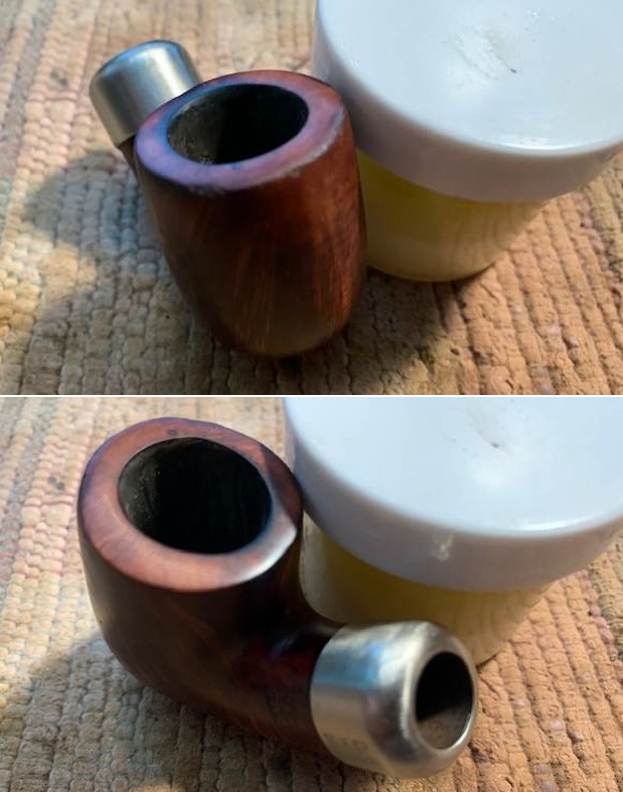
While I was traveling in Europe I received a call from a fellow here in British Columbia who was referred to me by the local cigar shop. I call him when I returned home and it turned out that he had a pipe that he wanted me to work on. He sent it to me and it came on Friday. He said that the stem was clogged and he wanted me to clean up the airway and make it usable again. When it arrived I unpacked the box and found it was a Peterson’s 313 System pipe. It is stamped on the left side of the shank and reads Peterson’s [arched over] of Dublin [over] System [over] Standard followed by the shape number 313. It had once been a beautiful pipe with an acrylic stem but it had long before lost its charm. The sides of the bowl were beat up and the rim top was also beat up. There was a thick cake of lava on the rim top and the bowl was out of round. The cake in the bowl was also out of round and heavier on the left side than the rest. There was a lot of grime on the briar that made it sticky feeling. There was a hole in the bottom of the bowl that punctured the heel. The pipe was a mess. The stem was plugged as well and I could not blow any air through it. The nickel ferrule was oxidized and dirty with grime on it and an overflow of oils from the sump. It was a mess.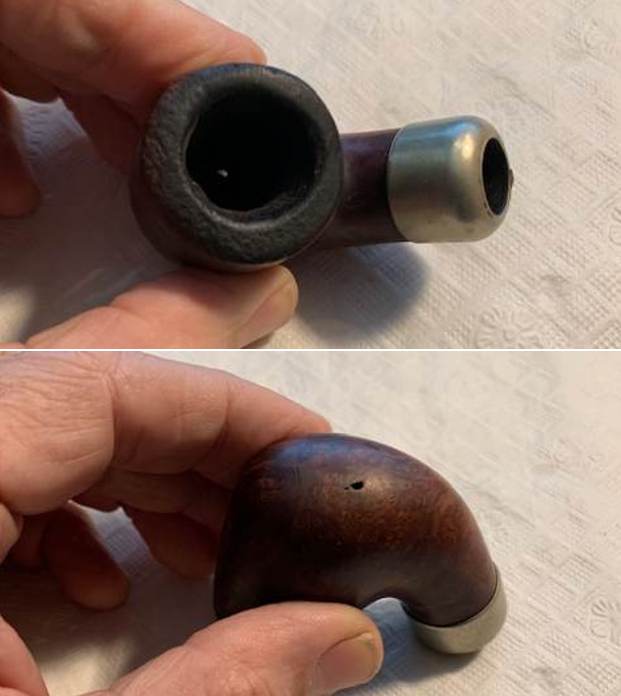 I called the fellow who sent the pipe and told him about the hole in the bottom of the bowl. He laughed and said he did not notice it. He said it was probably the result of constant reaming with a pocket knife. I am pretty sure that is what caused the damage as it was very much of a cut. I would know more once I reamed the bowl.
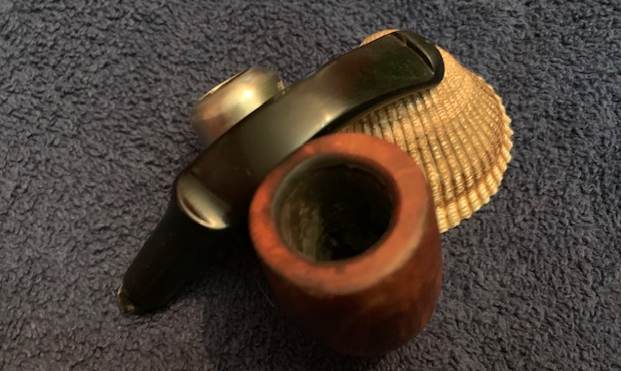
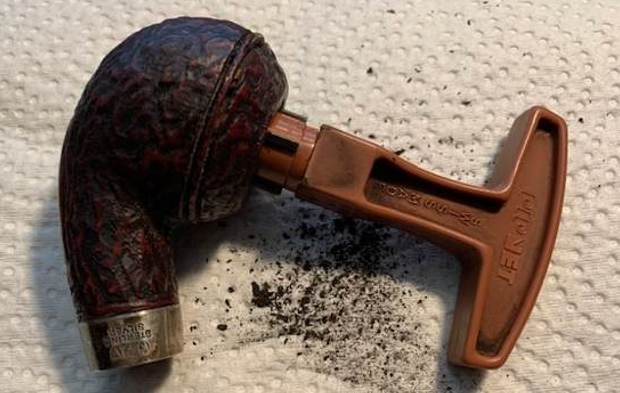
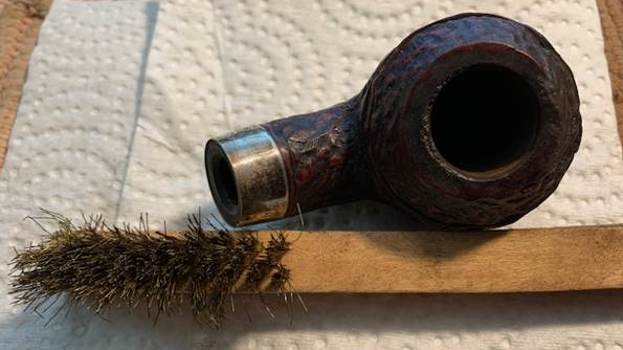
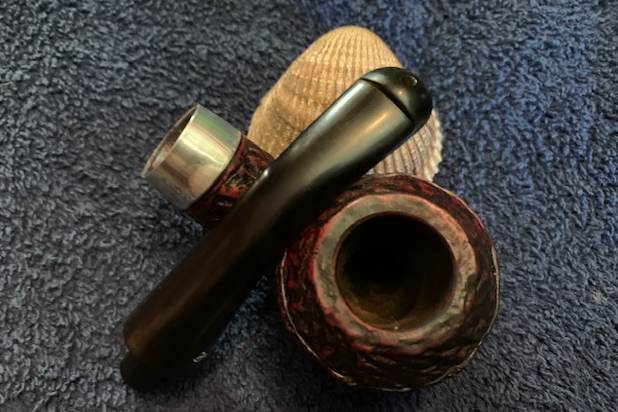
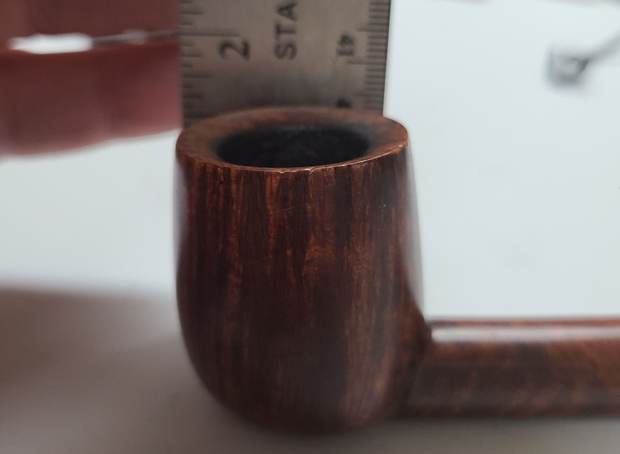
I reamed it with a PipNet reamer to take the cake back to bare briar. I scraped the remnants of the cake off with a Savinelli Fits All Pipe Knife. I sanded the walls with a piece of 220 grit sandpaper wrapped around a piece of briar. What I found in the bottom of the bowl confirmed the issues I noted above. Repeated scraping of the cake around the bottom of the bowl had left a trough all the way around the bottom and a nipple standing in the bottom of the bowl. 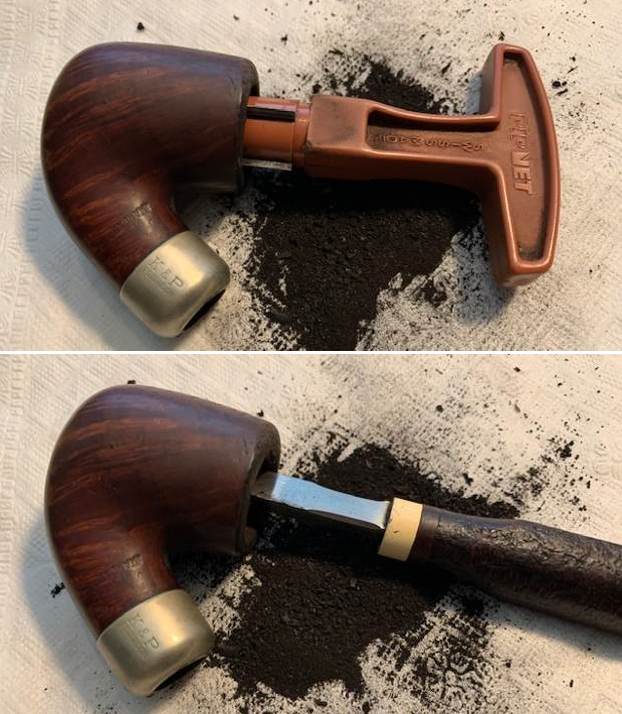
 I spoke with the owner and he wanted a fix that I have done often. I would repair the exterior with briar dust and clear CA glue. The inside bottom of the bowl would be filled in with JB Weld and once cured would be sanded and given a bowl coating of sour cream and charcoal powder. Before I could start the repair work I would need to clean up the external and the internals. I topped the bowl with 220 grit sandpaper on a topping board. It looked better at this point in the process.
 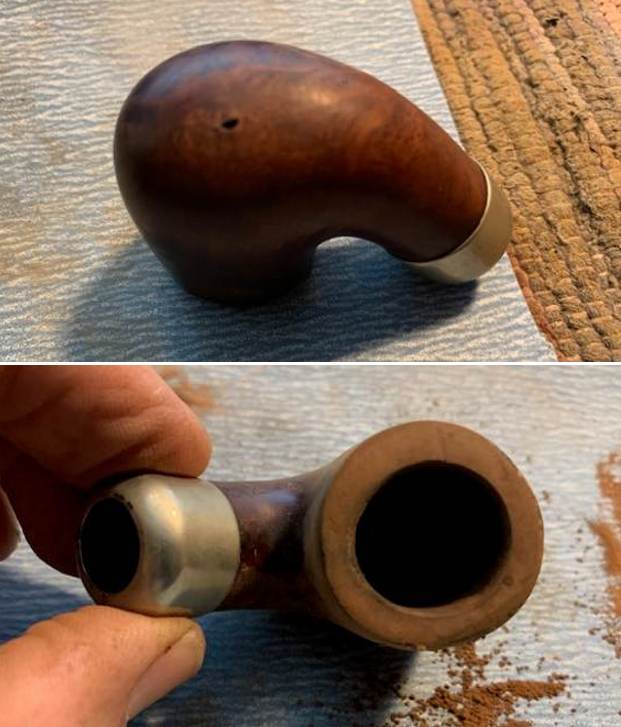 I sanded out the scratches on the sides of the bowl and around the rim top. It was quite damaged. I used a folded piece of 220 grit sandpaper to smooth out the marks in the bowl side in preparation for scrubbing it.
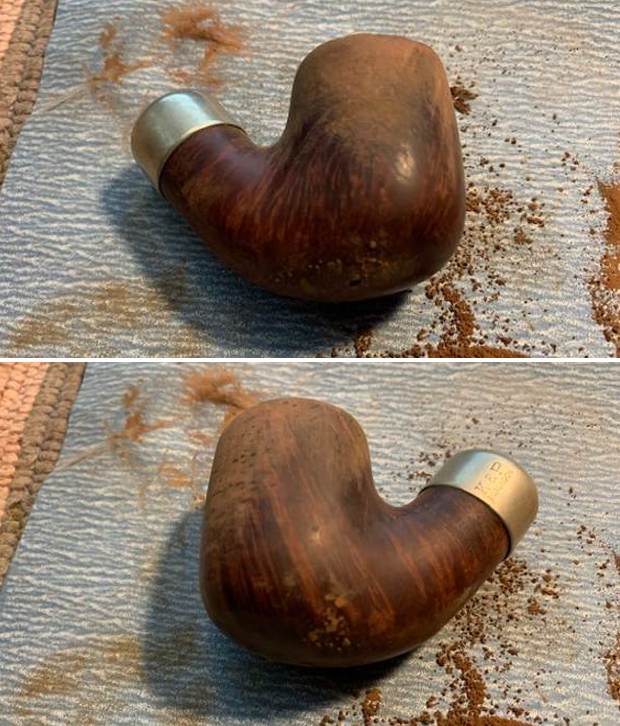
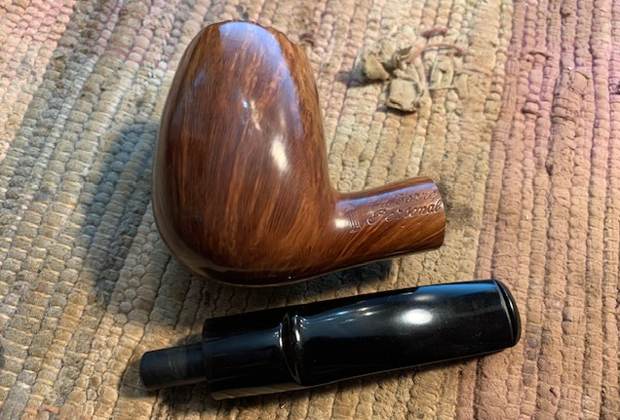
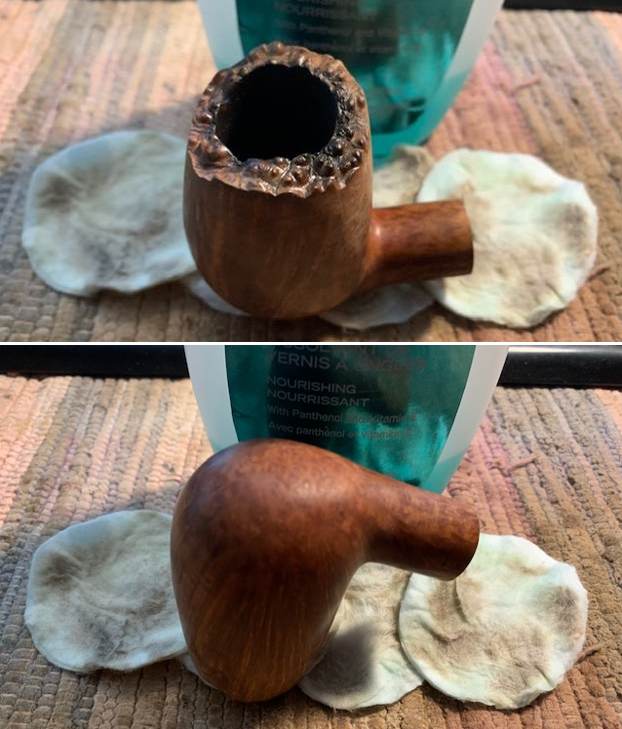
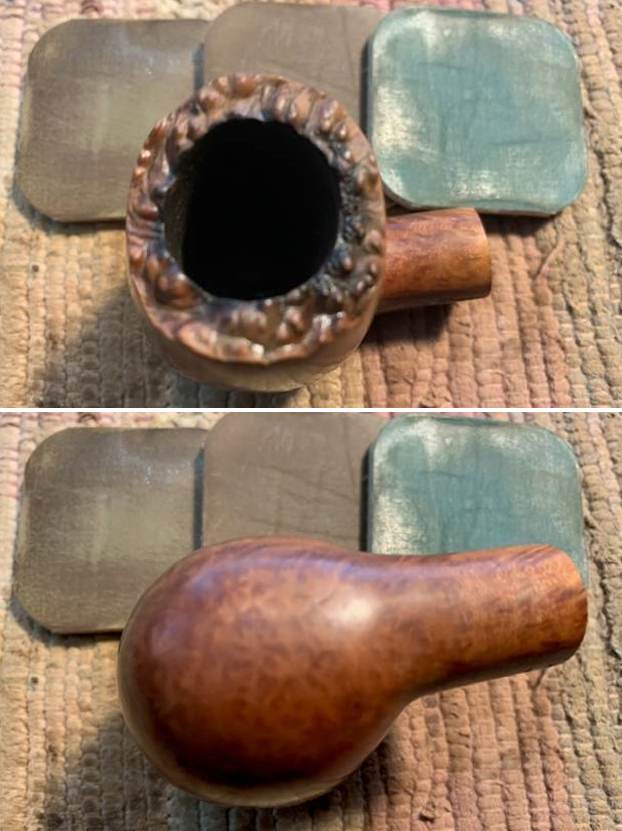
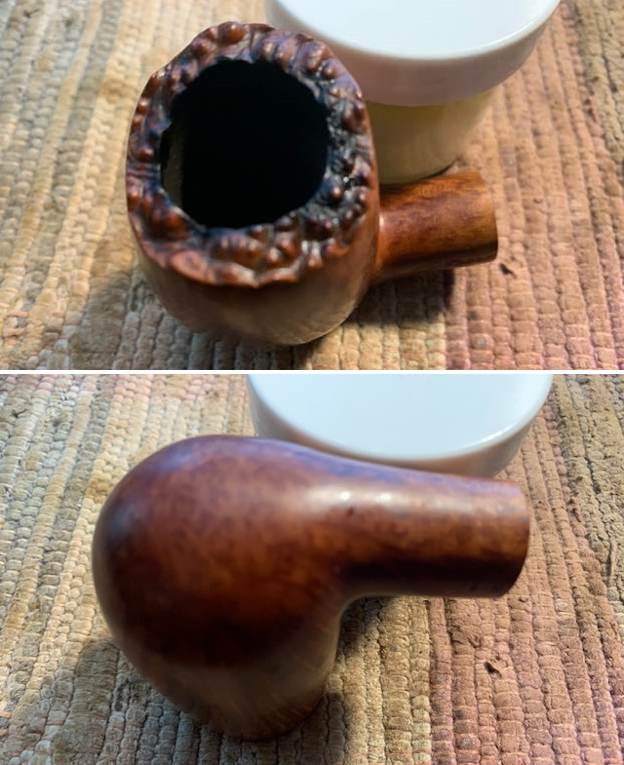
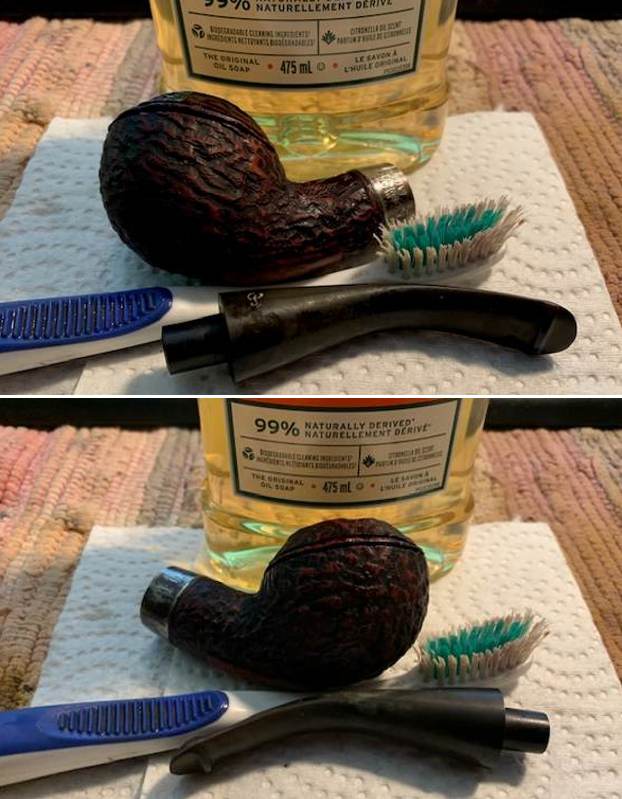
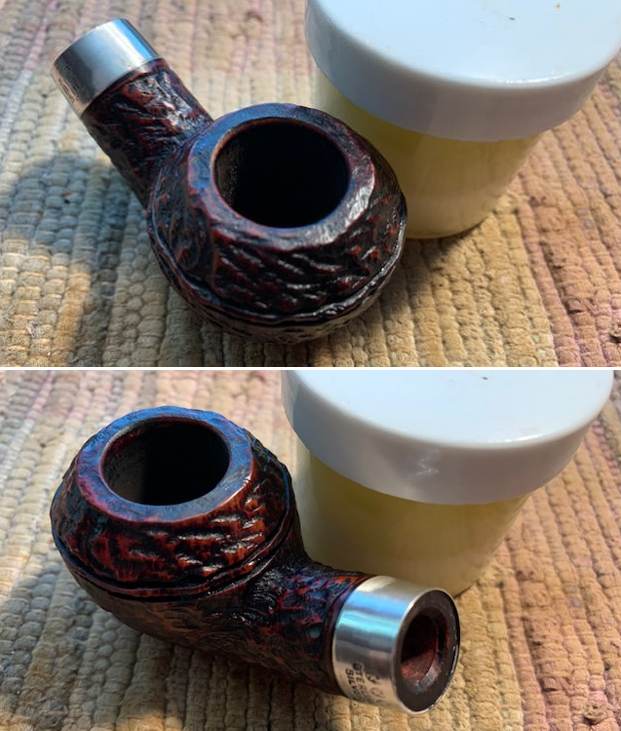
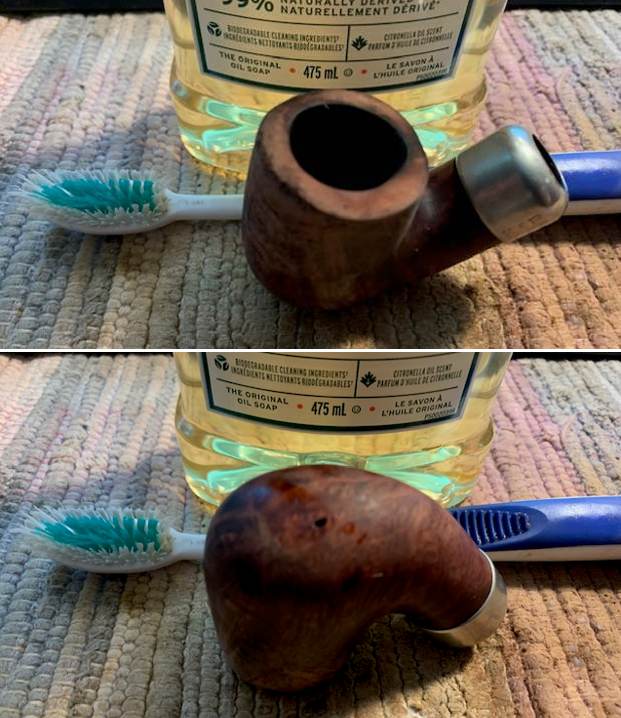
 I scrubbed the bowl with a tooth brush and Murphy’s Oil Soap. I rinsed it off with warm running water to wash away the grime and debris. It was beginning to look much better.
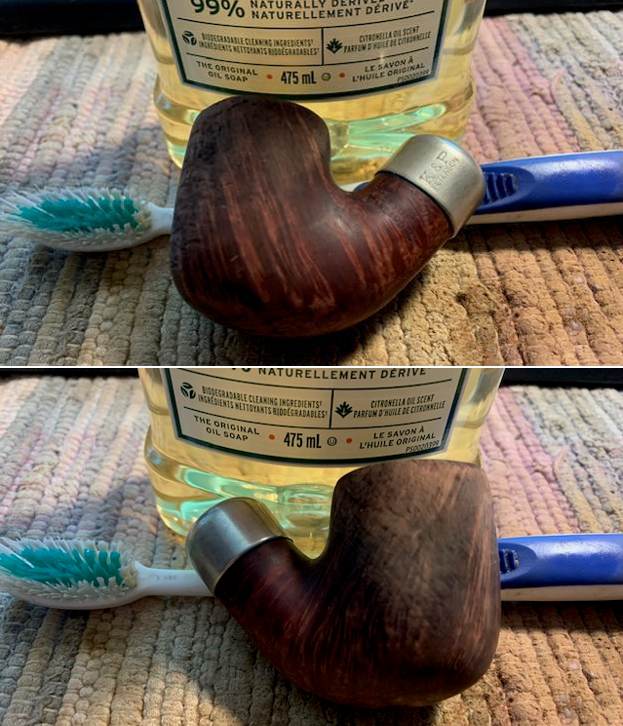
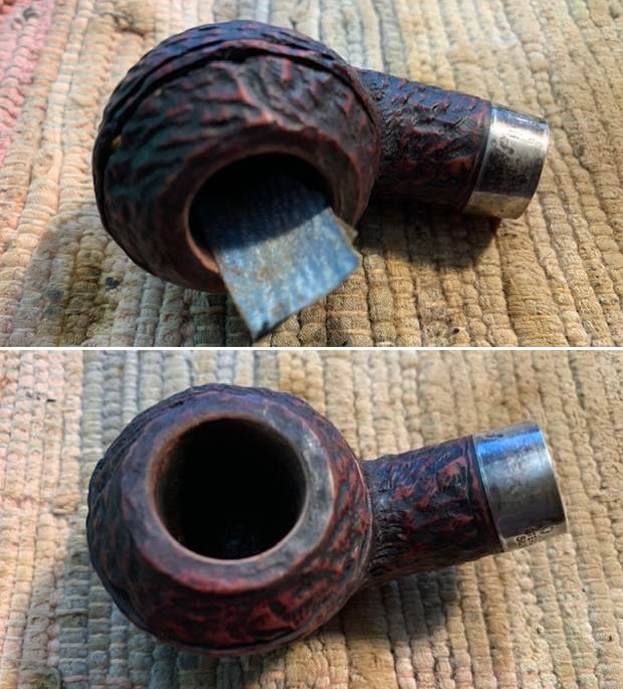
 The first step in the repair was to repair the small hole in the bowl bottom. It was about the size of a pencil lead. I coated the edges with clear CA glue and packed in some briar dust. I repeated the process until the hole was repaired. Once it had hardened I sanded it smooth with 220 grit sandpaper to blend it into the surrounding briar.
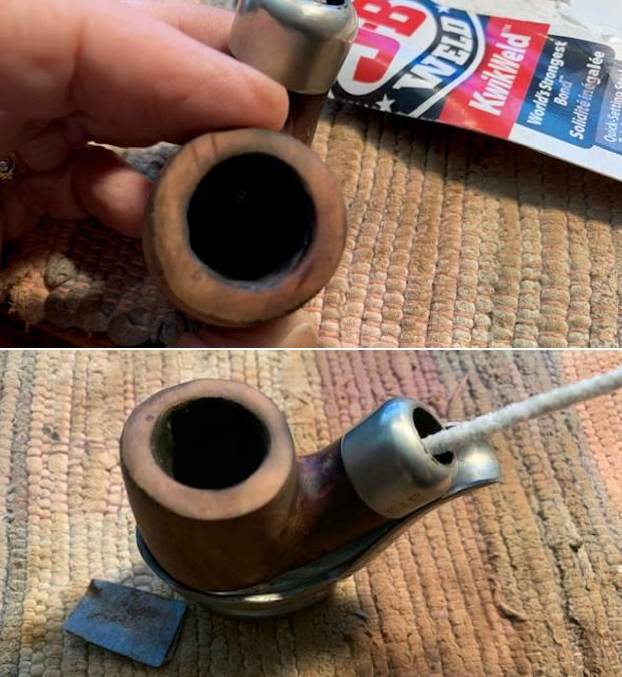
  I mixed up a batch of JB Weld with the stick and then built up the bottom of the bowl. I put a pipe cleaner in the airway so as not to cover it in the process of the repair. I coated bottom of the bowl and layered it on top of the trough around the bottom and built it up until it was smooth. I raised the bottom of the bowl about 1/8th of and inch. I applied several more coats of the mixture with a folded pipe cleaner and also filled in some of the deep gouges in the sides of the bowl left behind by the knife. I set it aside to cure overnight.
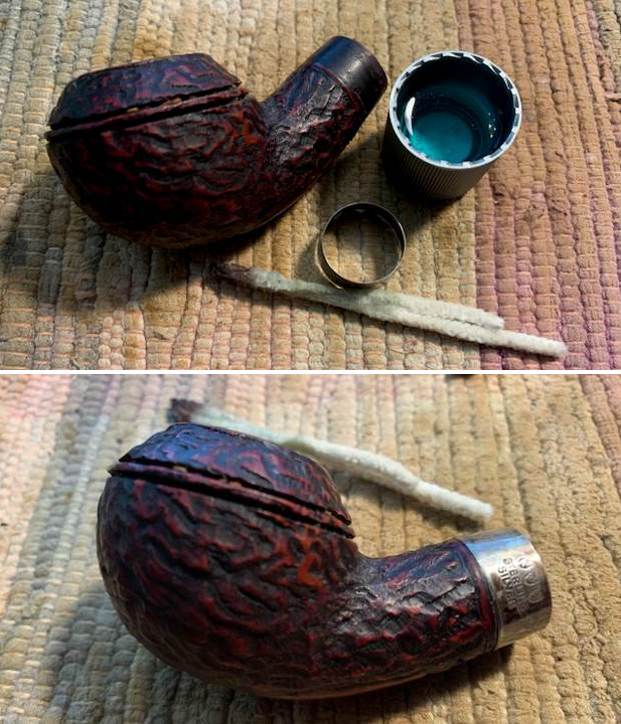
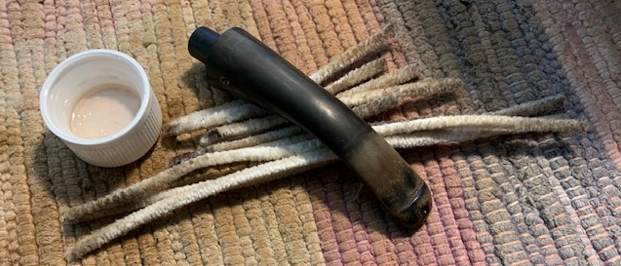
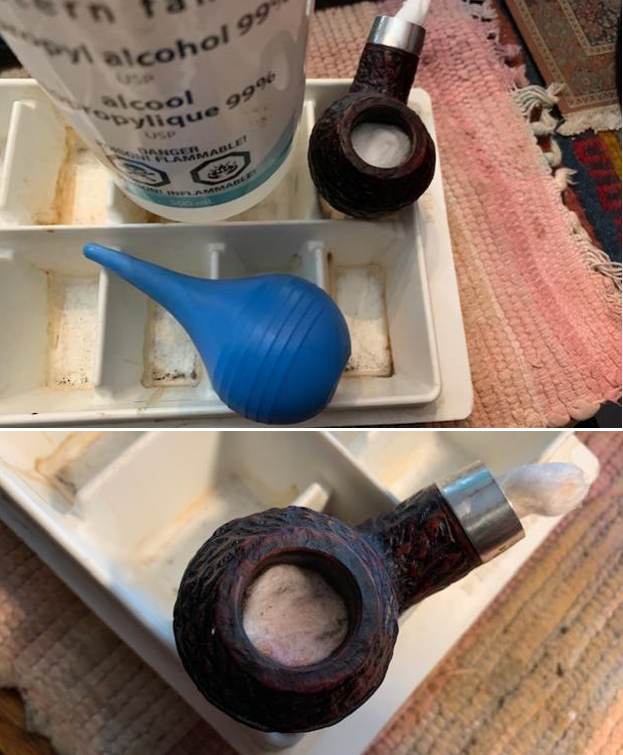
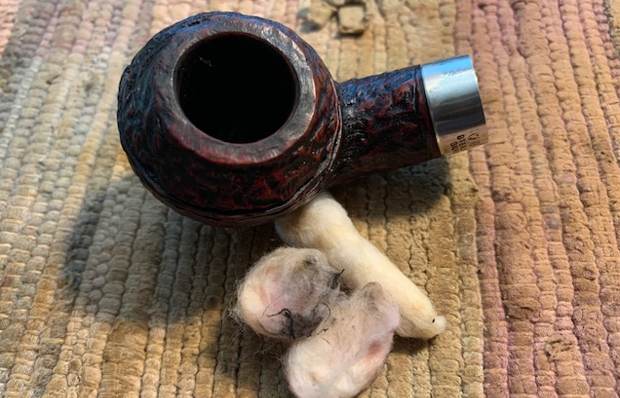
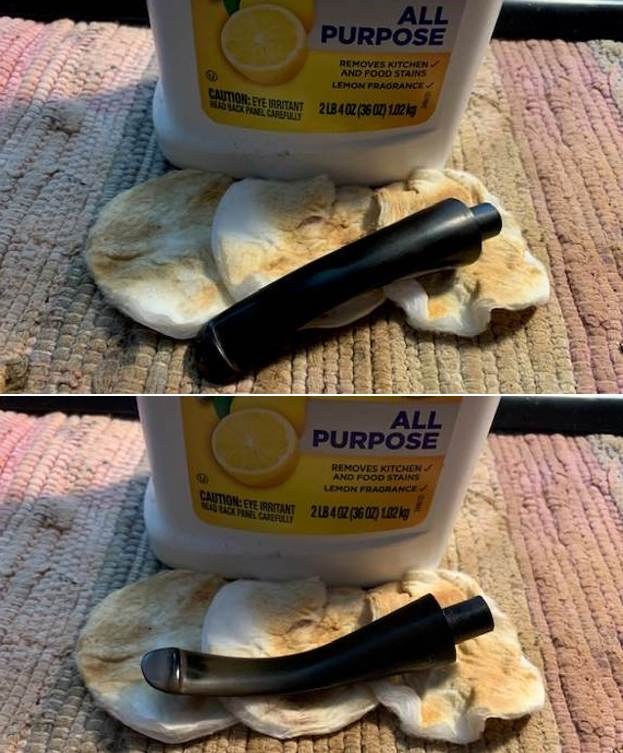
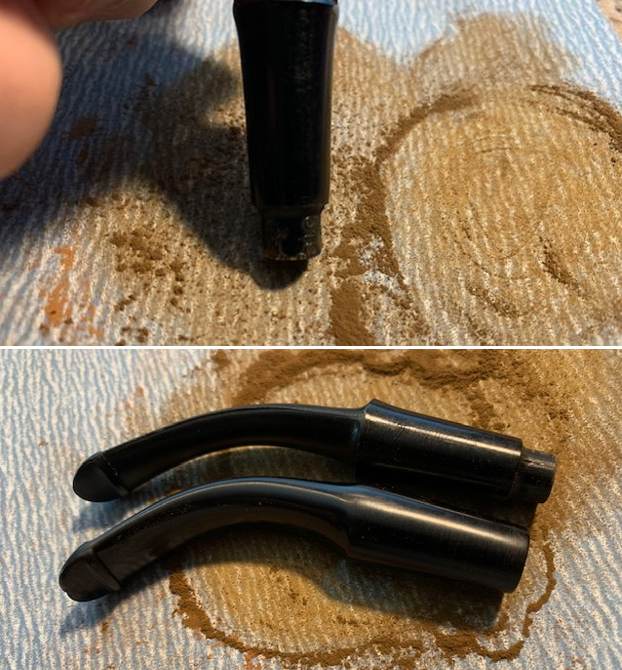
 This morning with the internals hardening I decided to clean out the sump and the airway into the bowl with pipe cleaners, cotton swabs and isopropyl alcohol. The pipe was a filthy one so it took a lot of cleaners. The stem was clogged but once I started working on it I could seen why. The fit of the pipe cleaner in the airway was tight and there was a lot of tars build up closing off even the small airway that was still open. Many pipe cleaners later the stem was open and the draught was perfect. I had previously cleaned out the stem with pipe cleaners and alcohol.
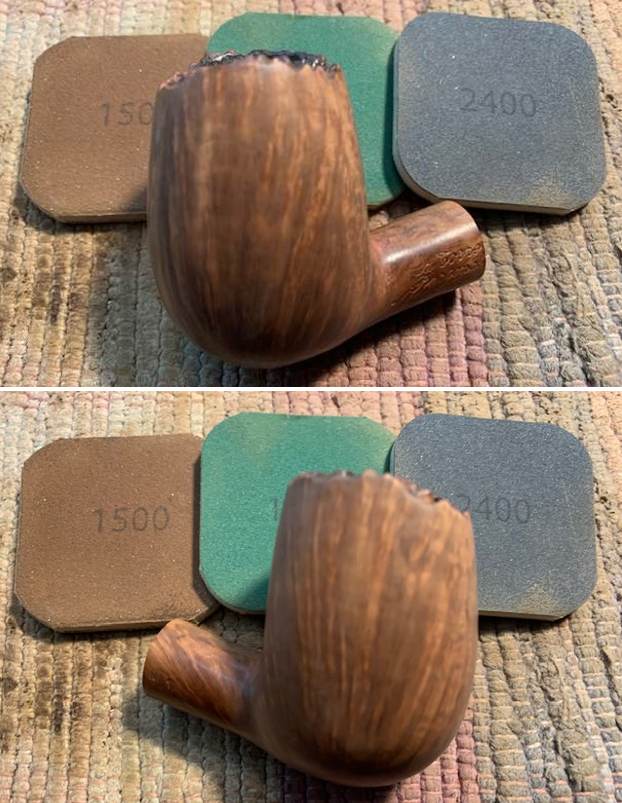
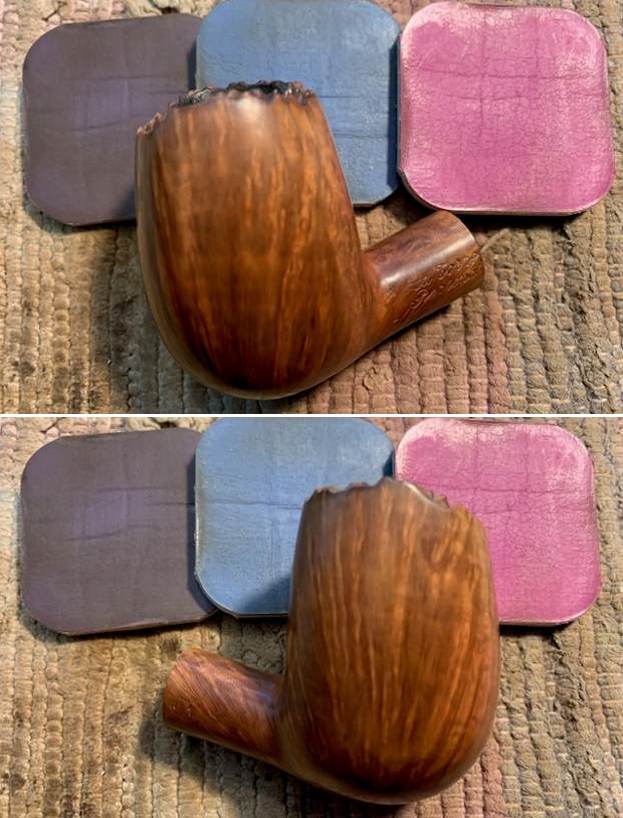
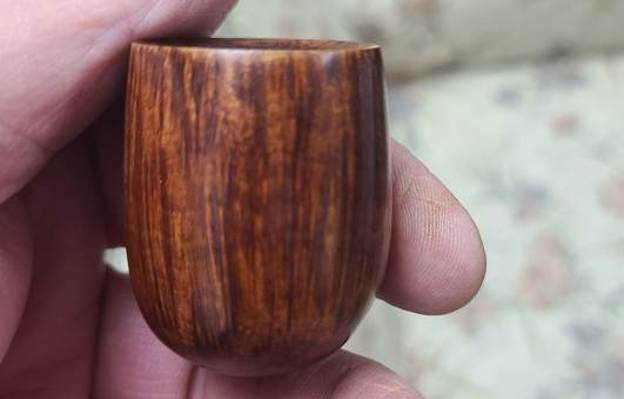
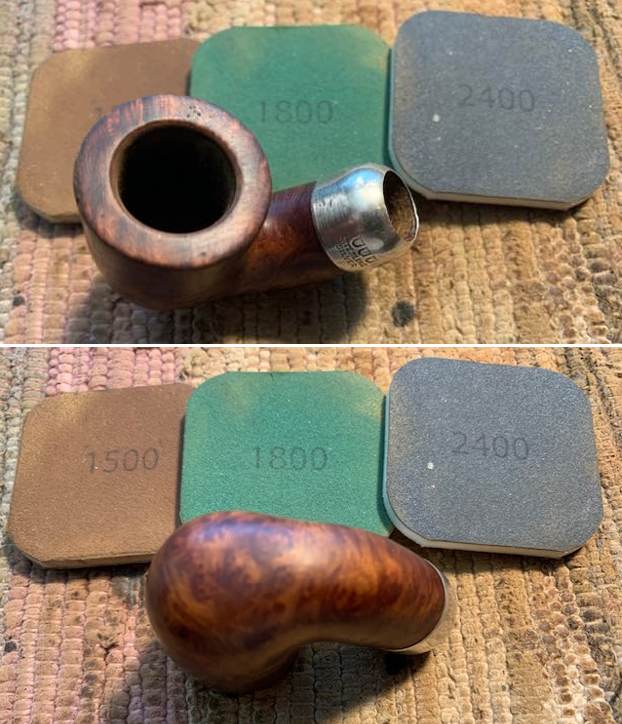
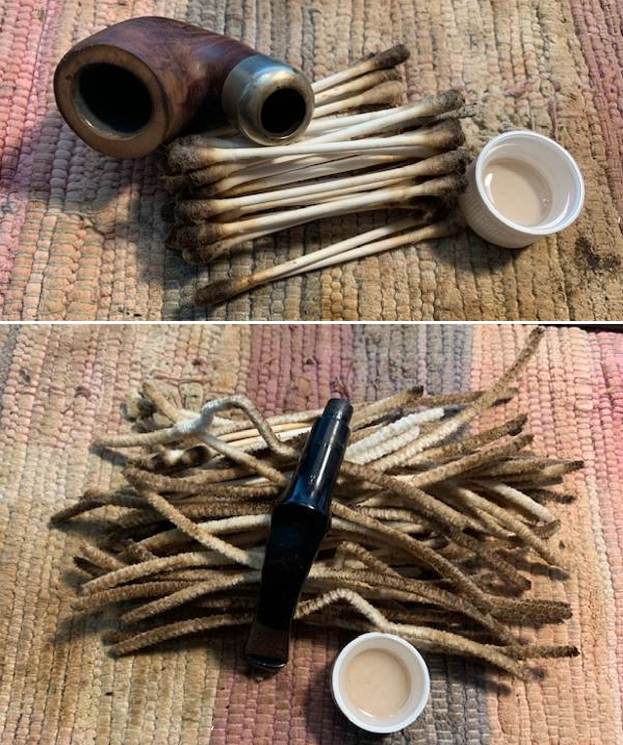 I polished the briar with micromesh sanding pads – dry sanding with 1500-12000 grit pads. I wiped the bowl down after each pad to remove the grit. The bowl began to take on a rich shine. It is going to be a beauty.
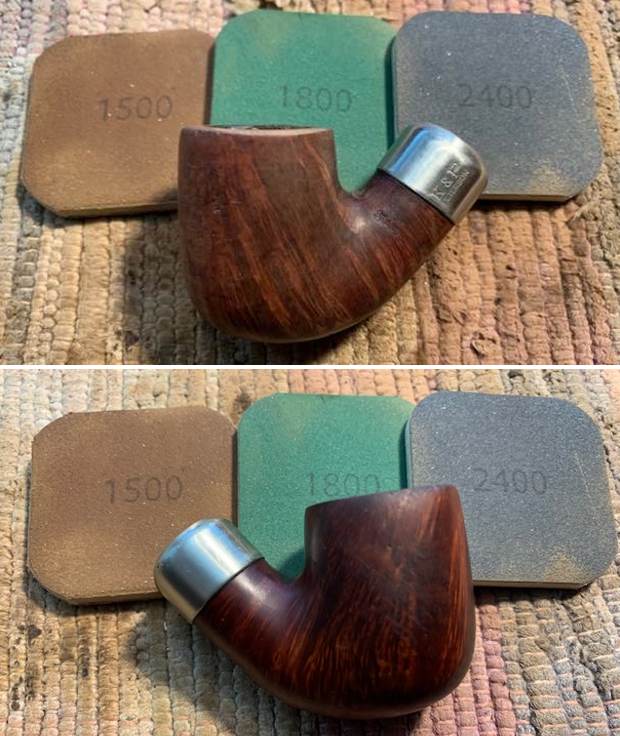

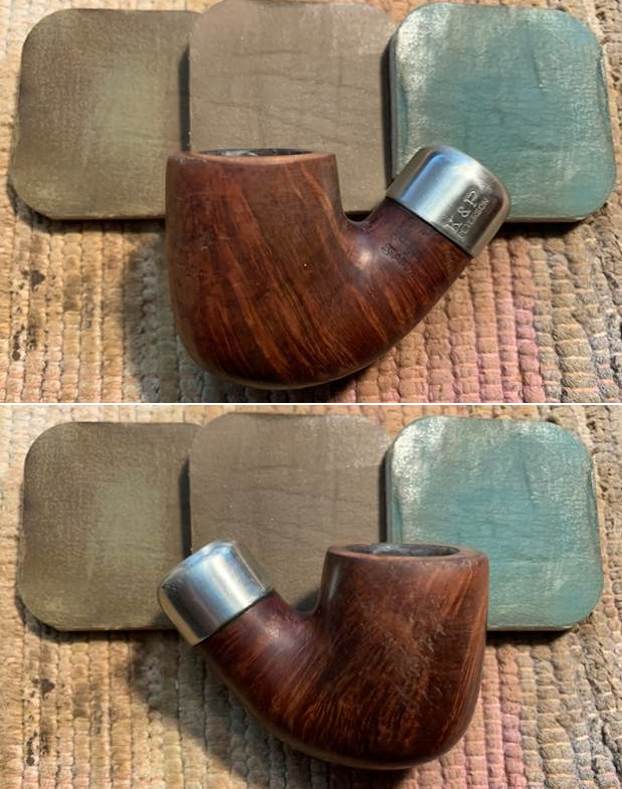
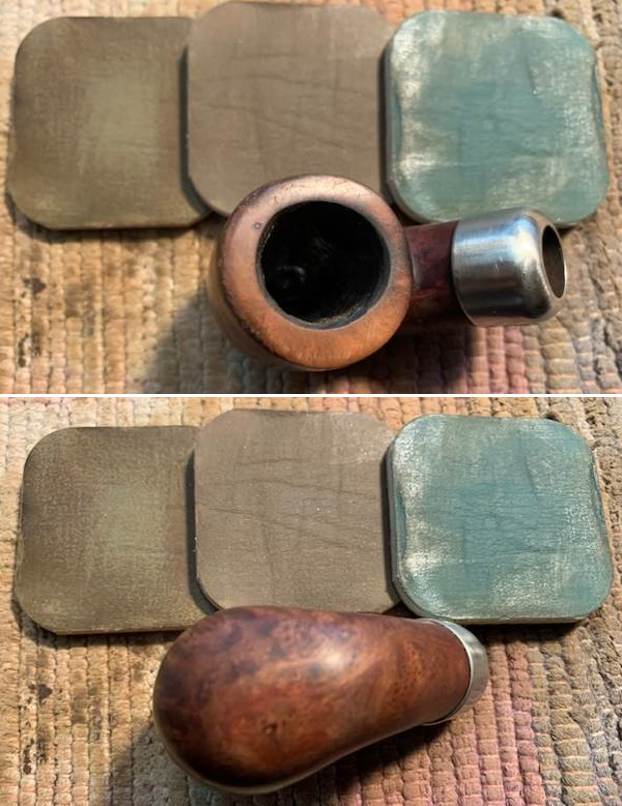
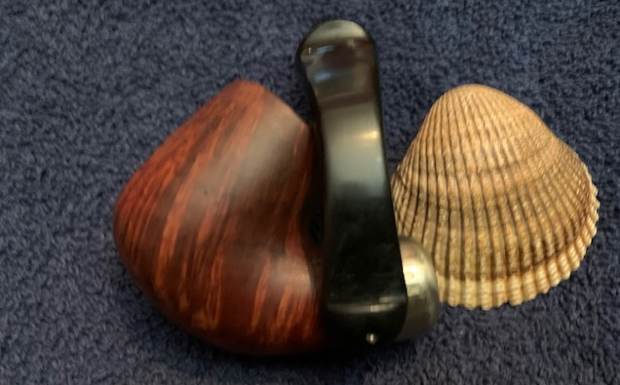
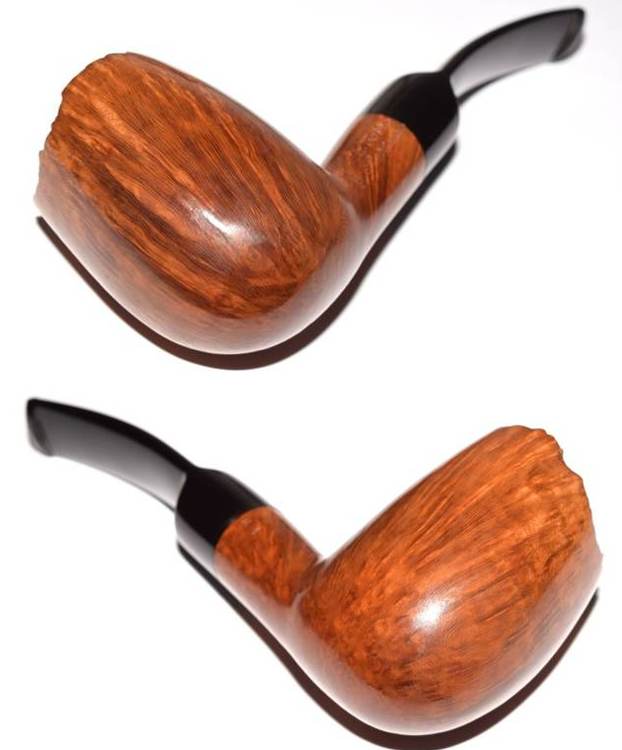
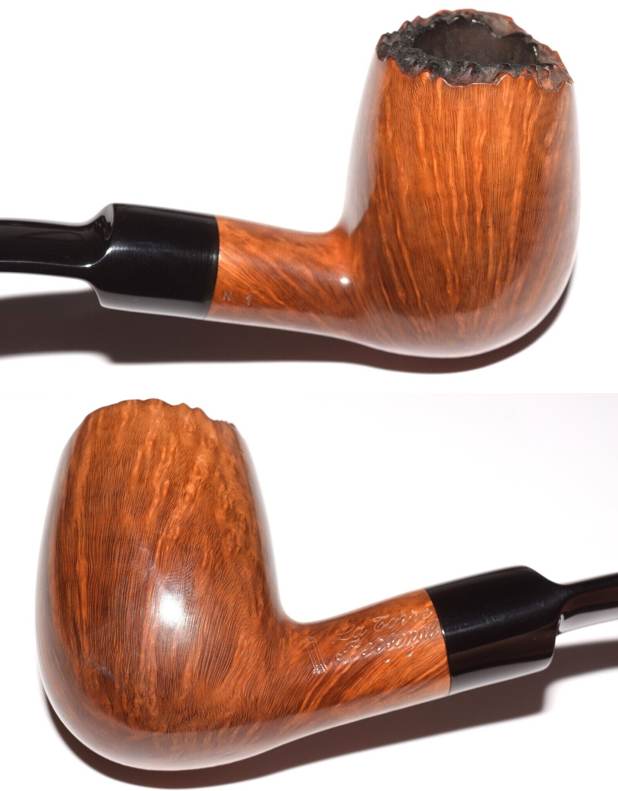
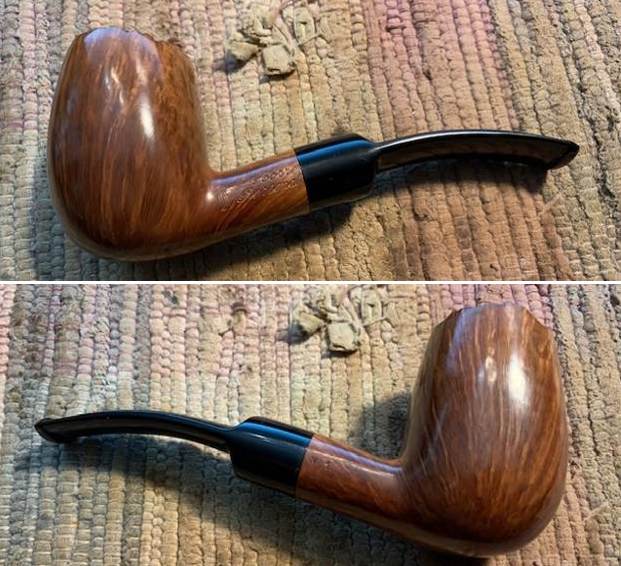
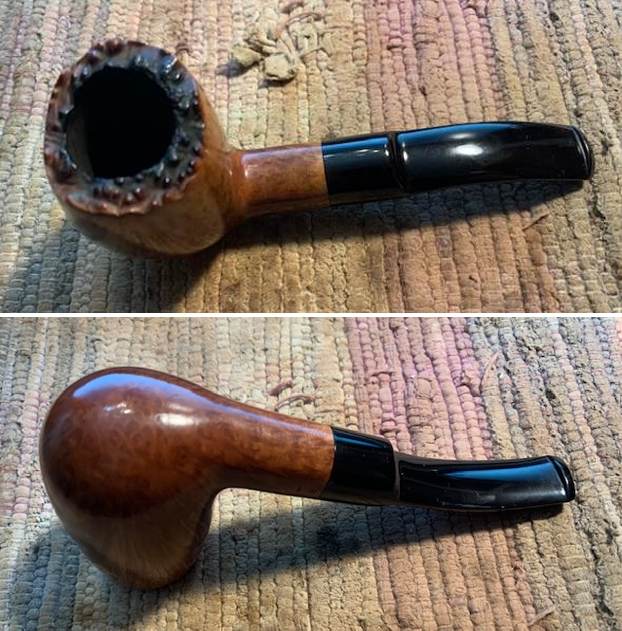
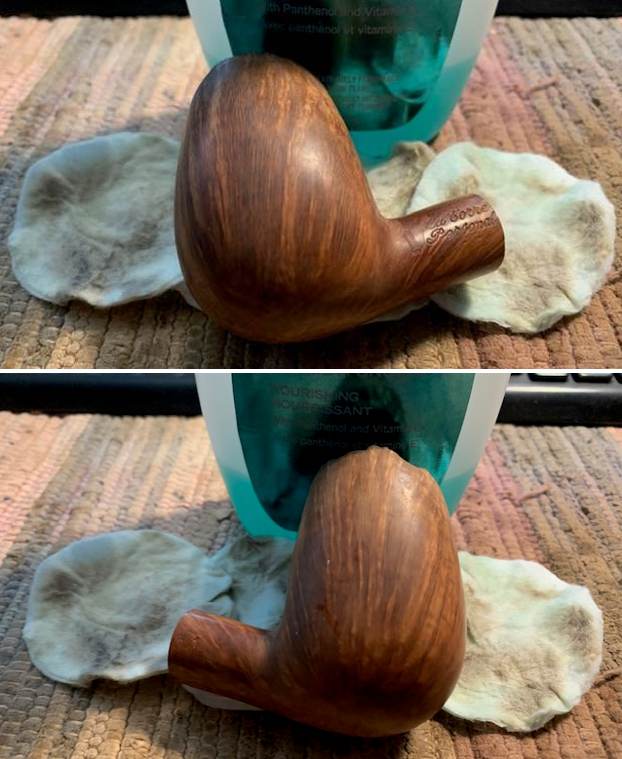
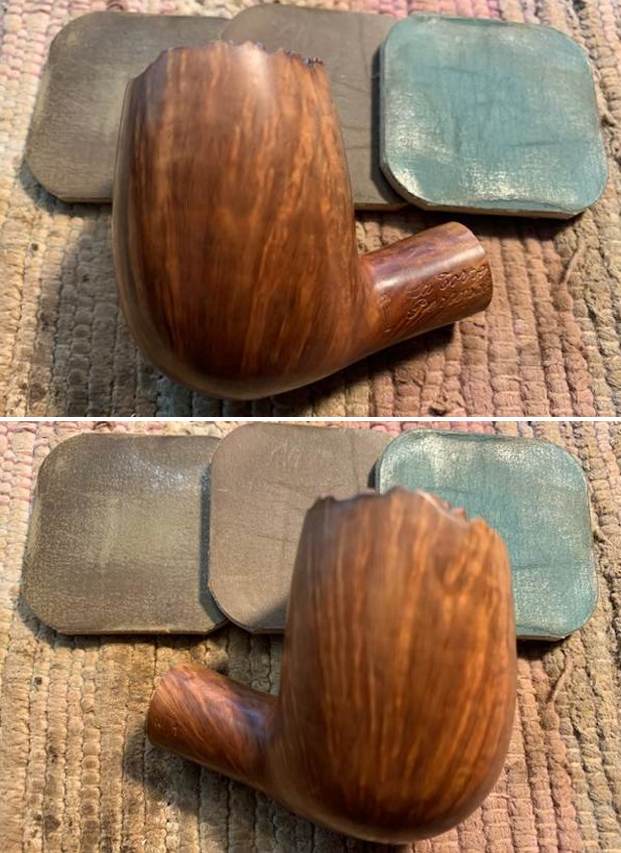
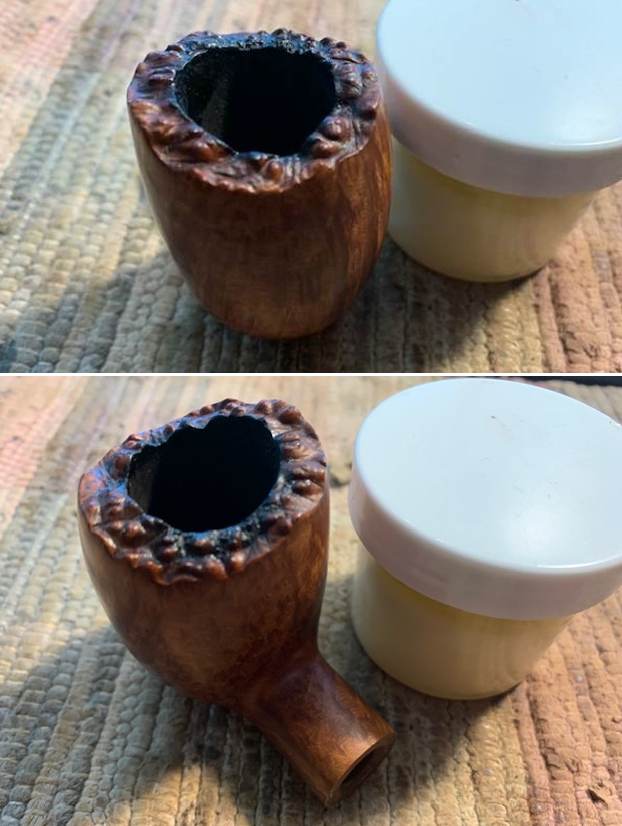
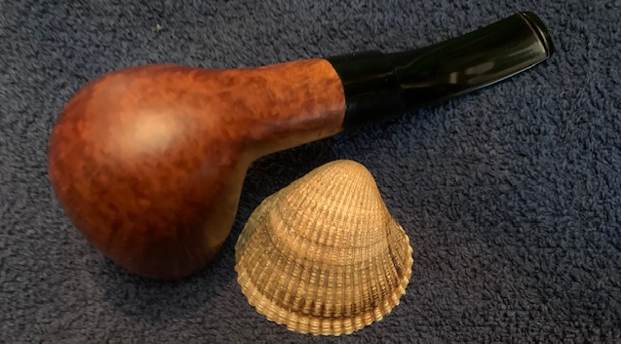
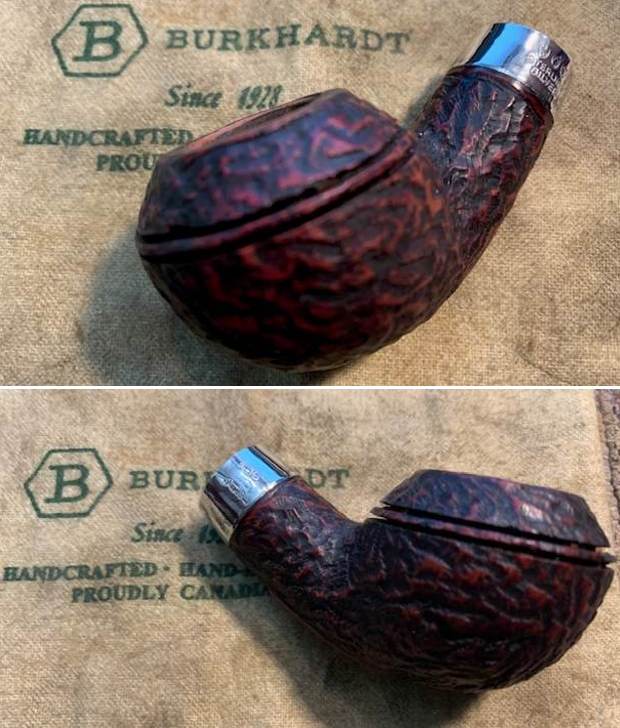
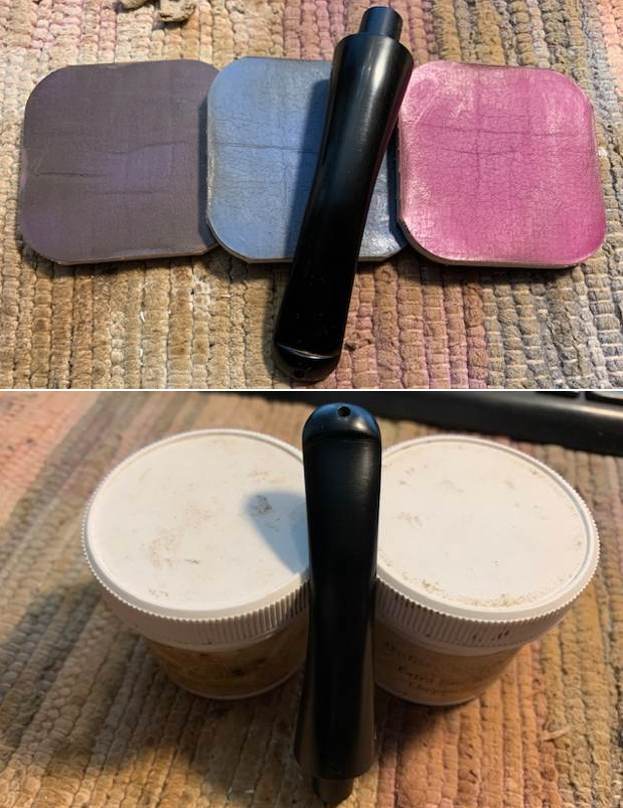
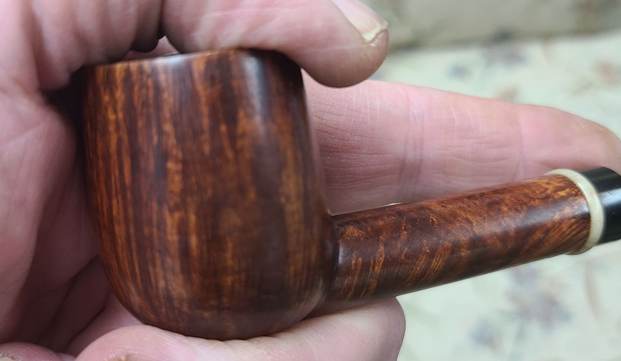
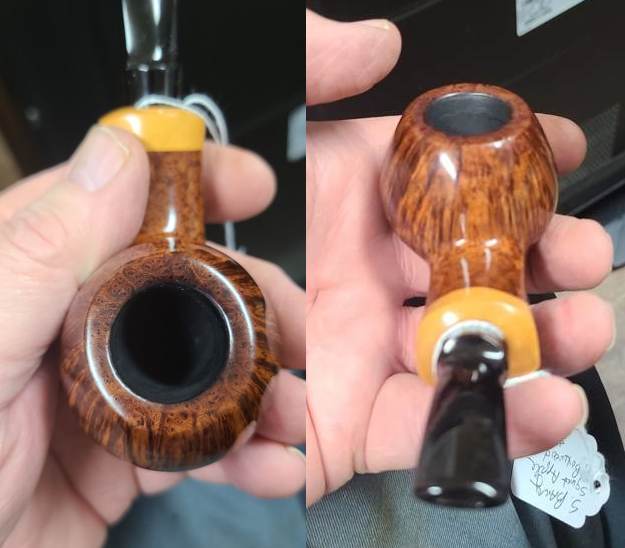
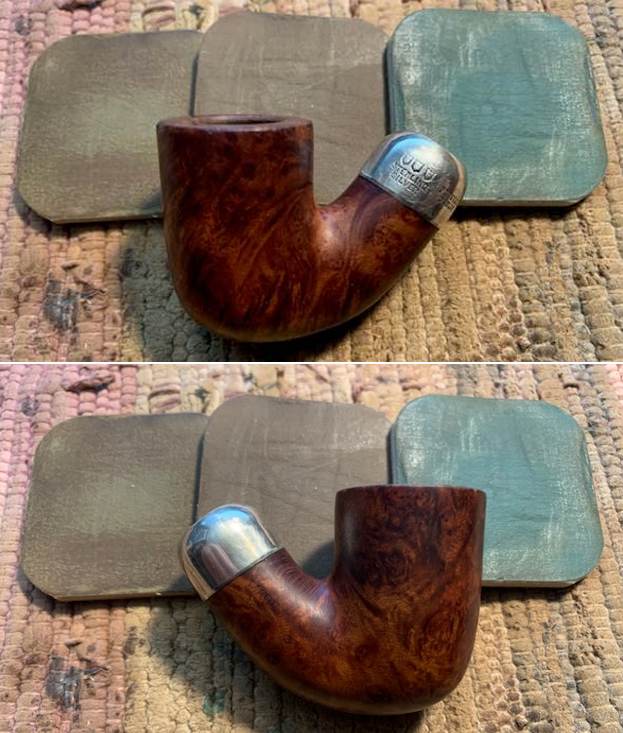
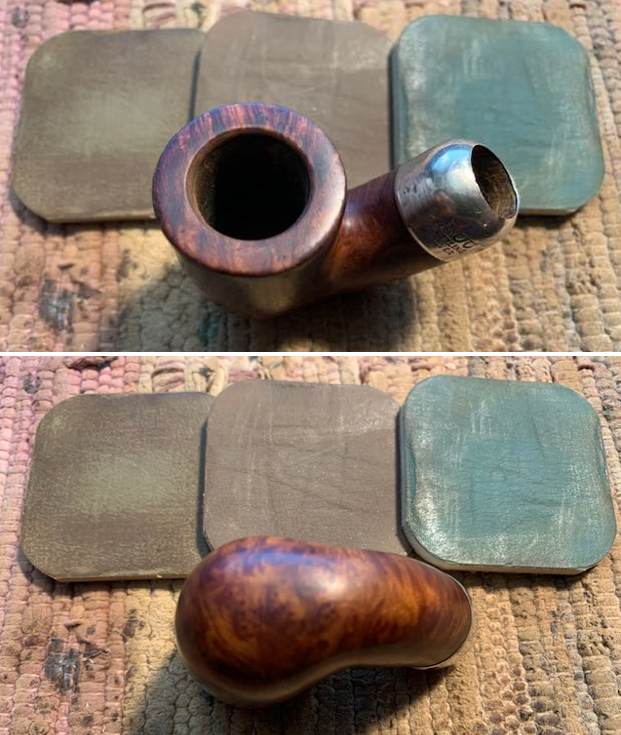
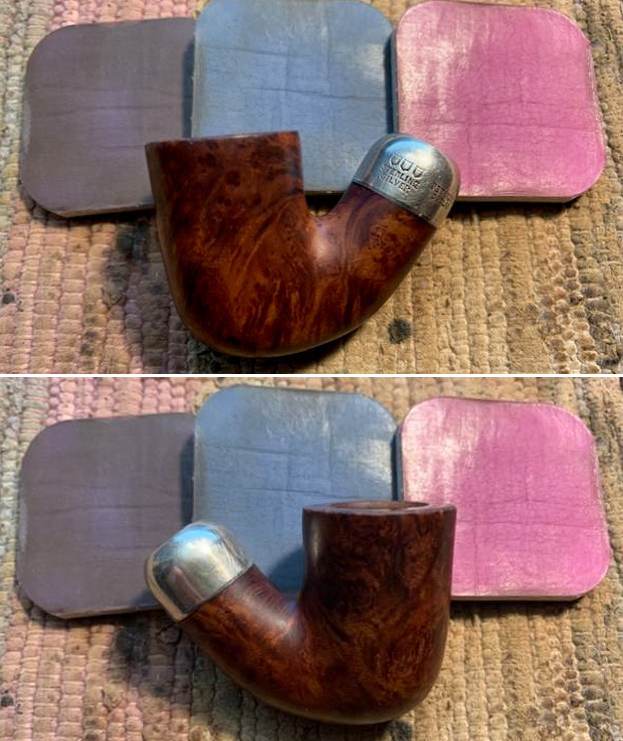
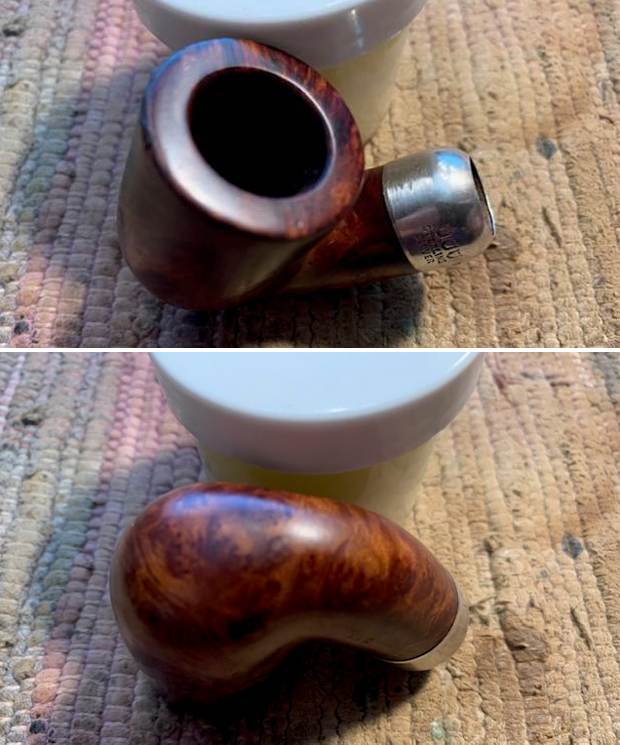
 I rubbed the bowl down with Before & After Restoration Balm. I worked it into the briar with my finger tips. I let it sit for 10 minutes and the Balm did its magic. It enlivens, cleans and preserves the briar. It certainly brought this bowl back to life. I buffed it off with a clean cloth and took the following photos.
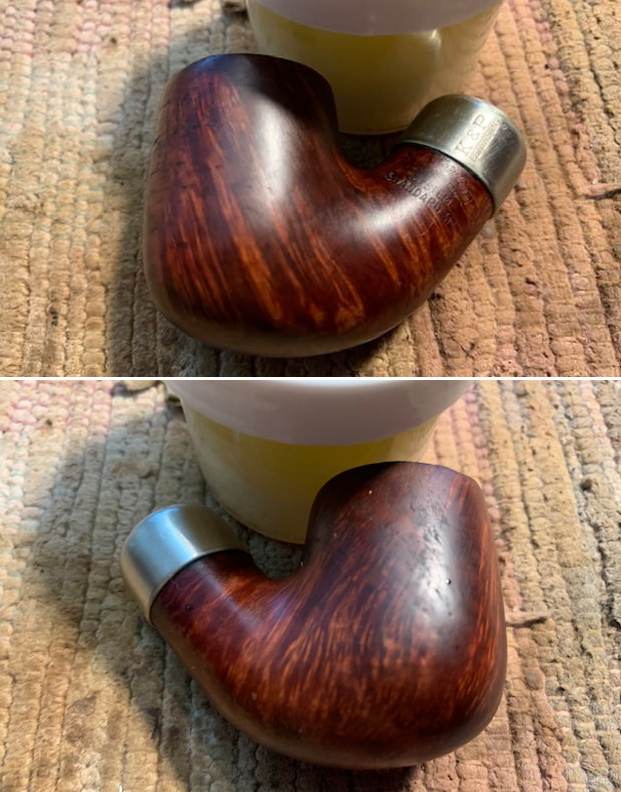

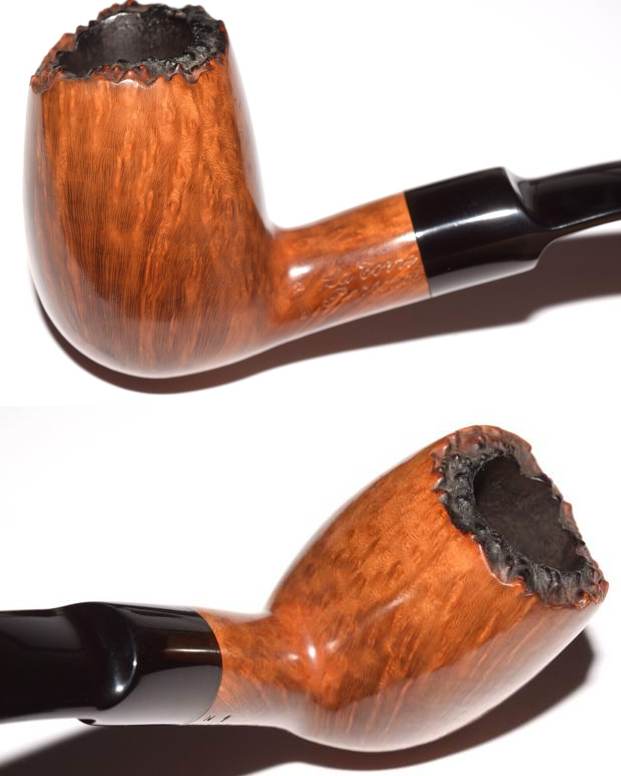
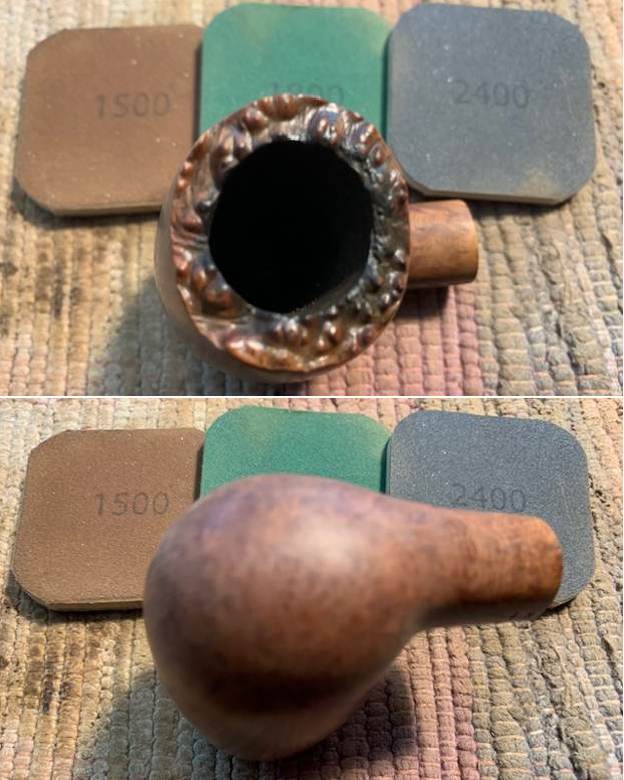
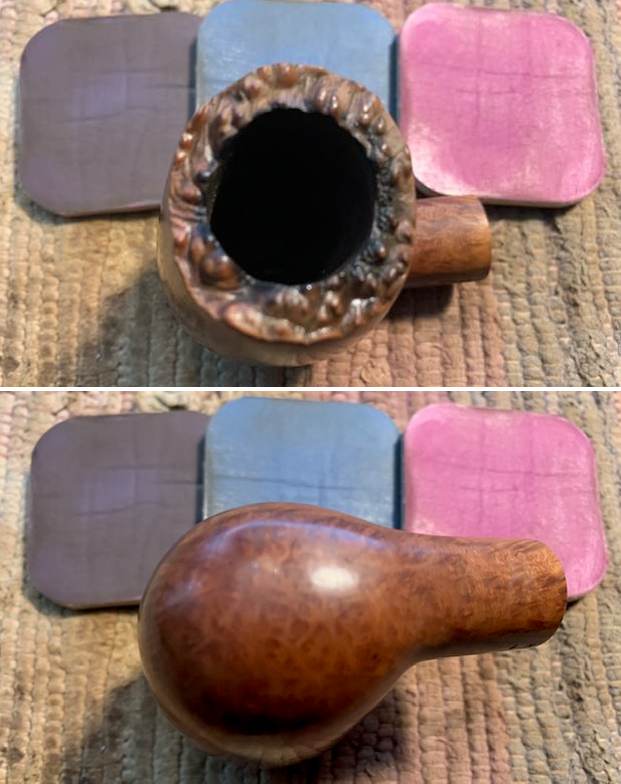
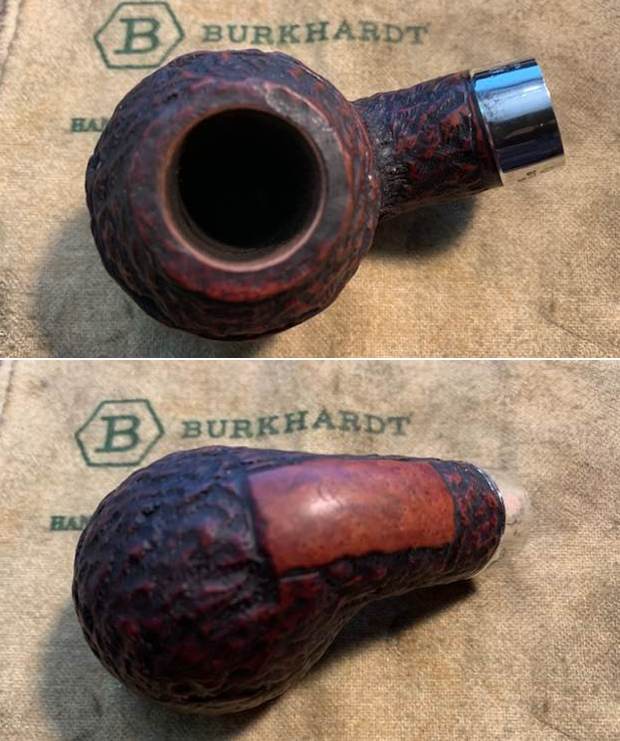
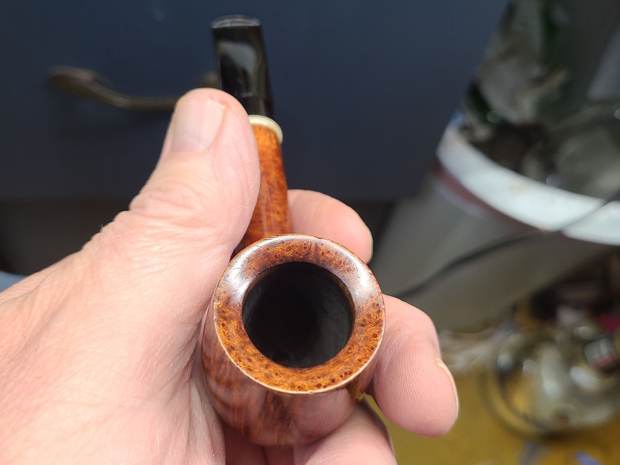
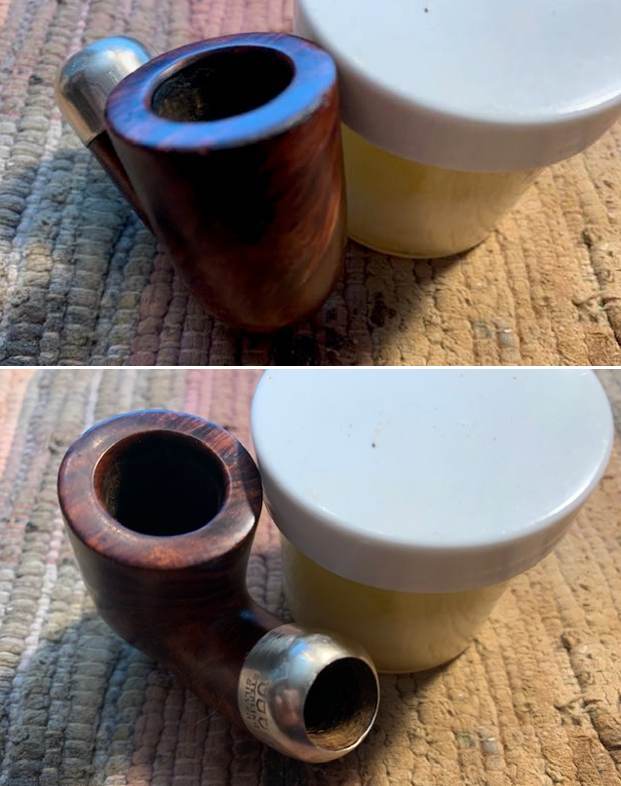
 As I looked at the rim top and the inner edge I still was not happy with the way it looked. Part of the issue was that the outer edge was out of round as well and there was not much that could be done with that without changing the 313 shape so I was pretty well stuck with the outer edge. I decided to work some more on the inner edge and give it a slight bevel. I used a folded piece of 220 grit sandpaper and worked on it until I was happier with it. It is now as good as it can be with the condition of the pipe.
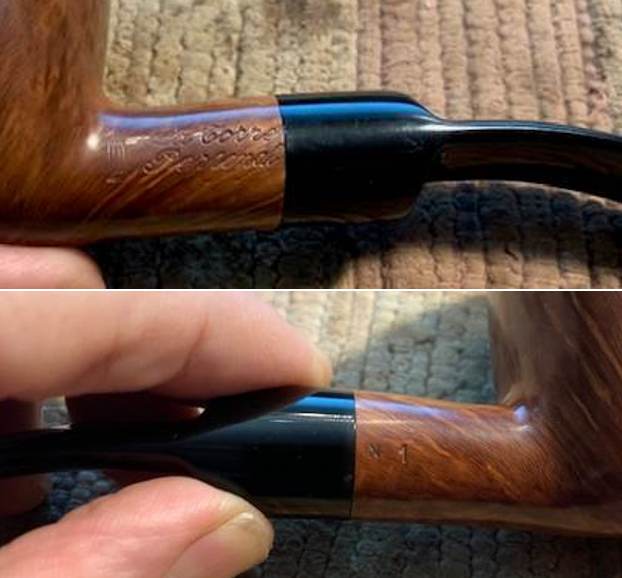
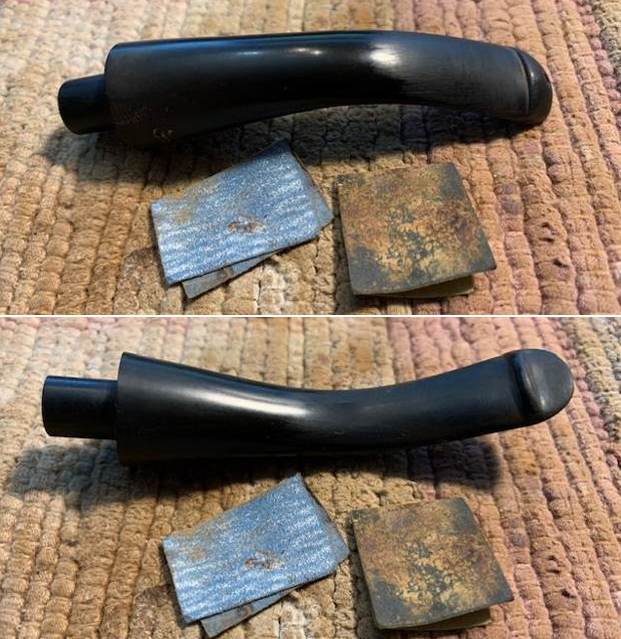
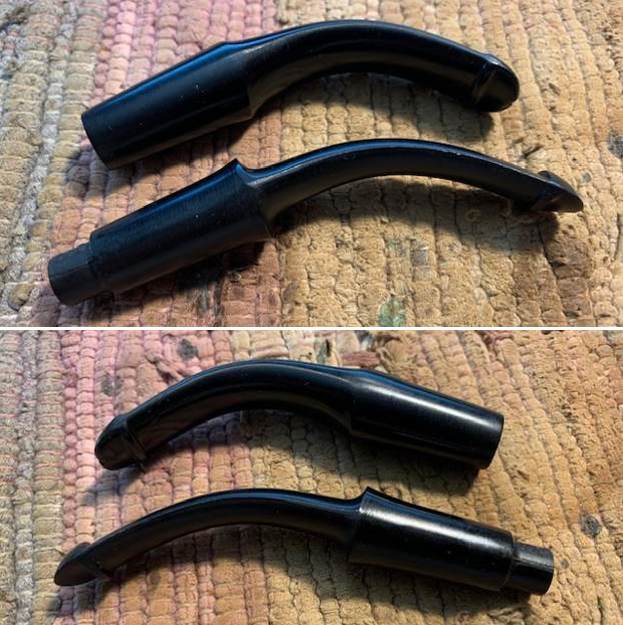
 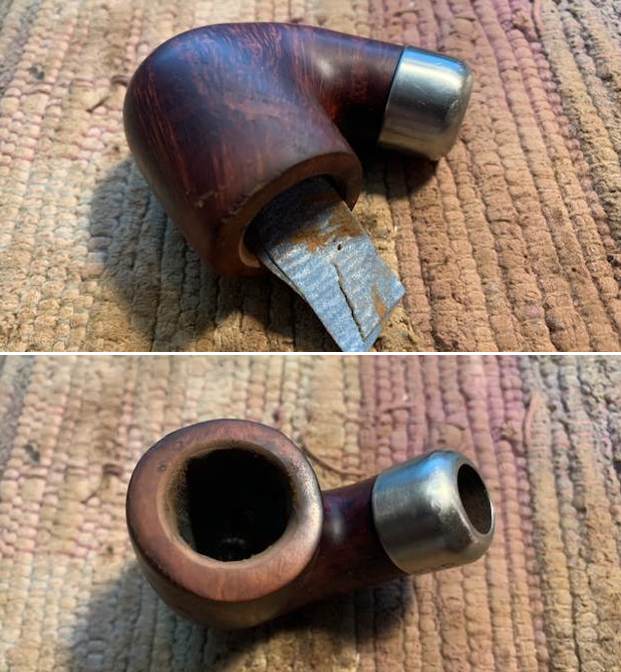 I set the bowl aside and turned my attention to the stem. I filled in the deep gouges on the topside with clear CA glue and set it aside to cure. Once the repairs cured I sanded them smooth with 220 grit sandpaper and started polishing the stem with 400 grit wet dry sandpaper.
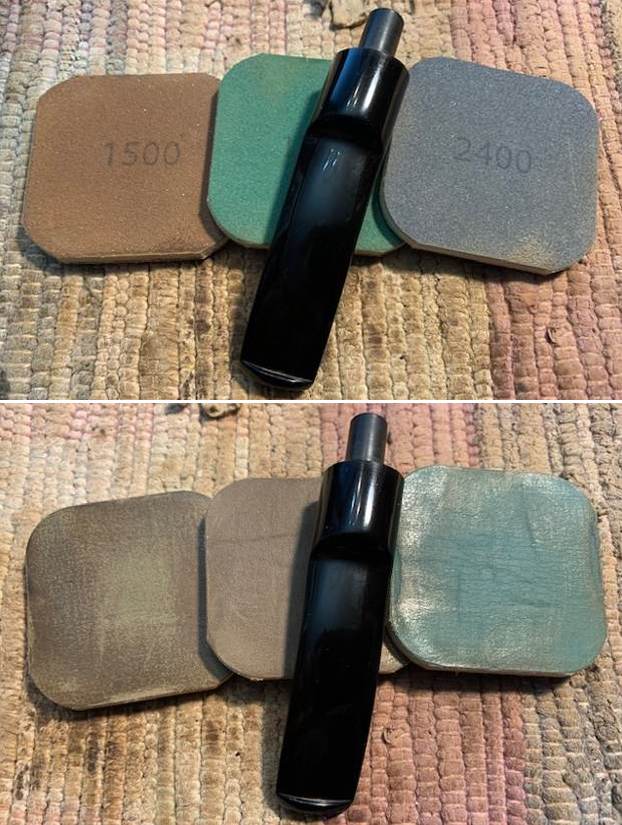
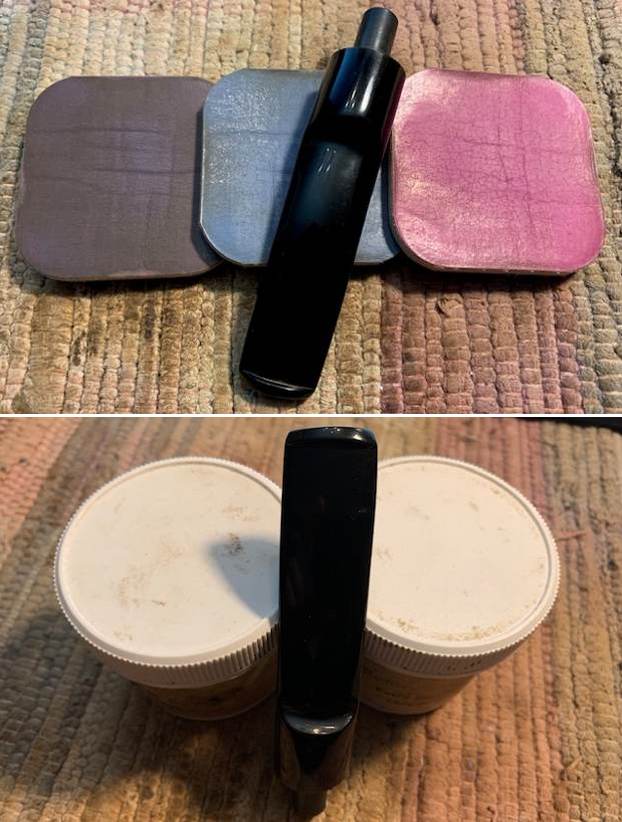
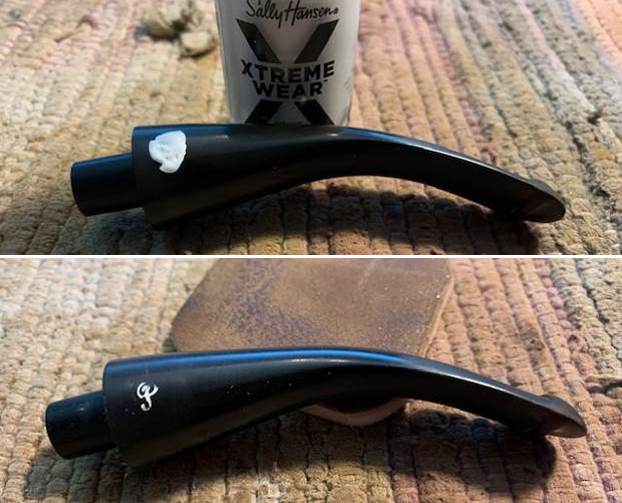
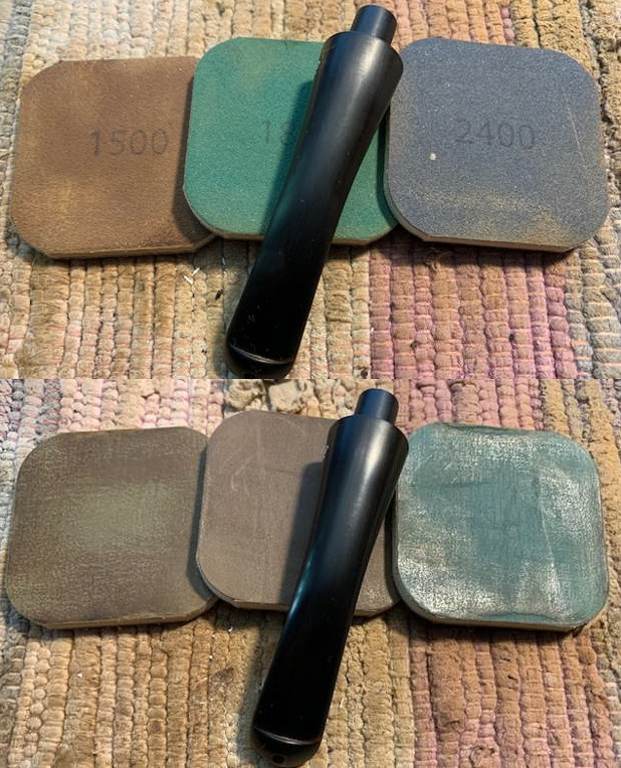
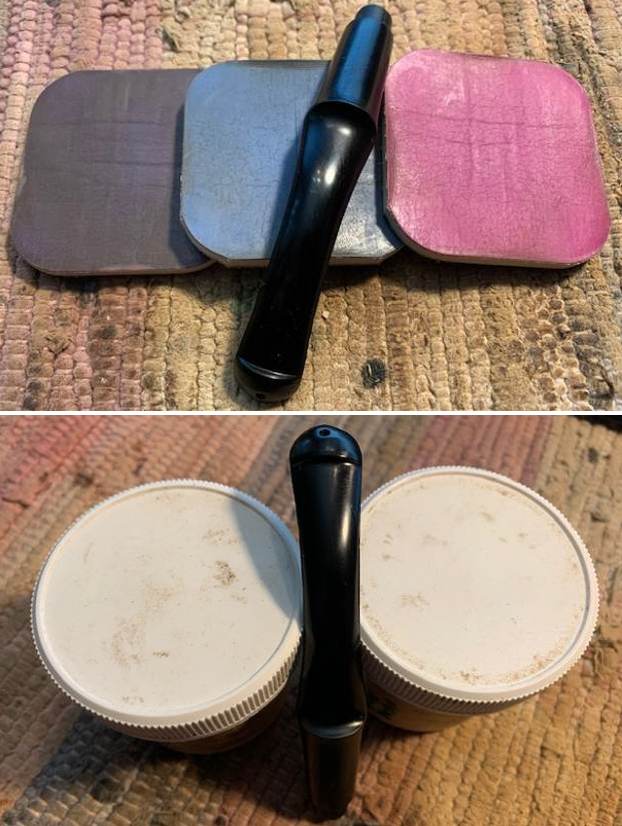
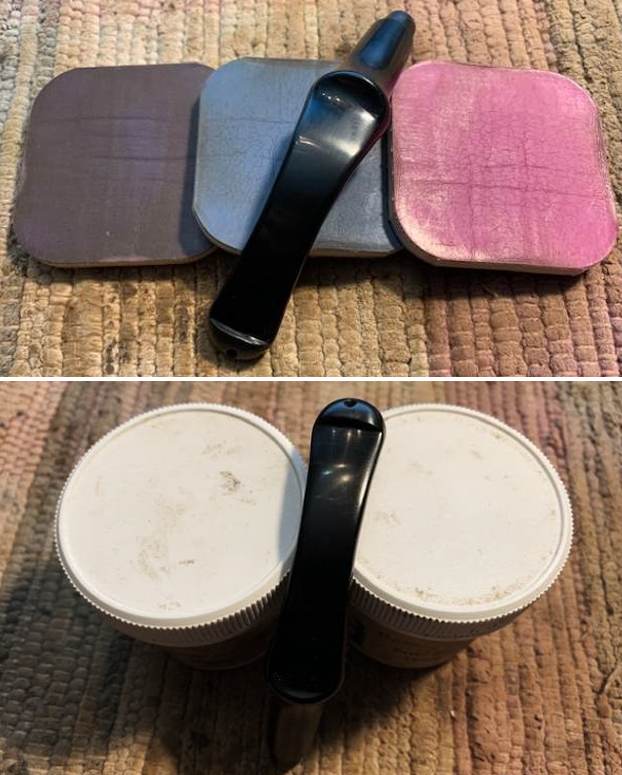
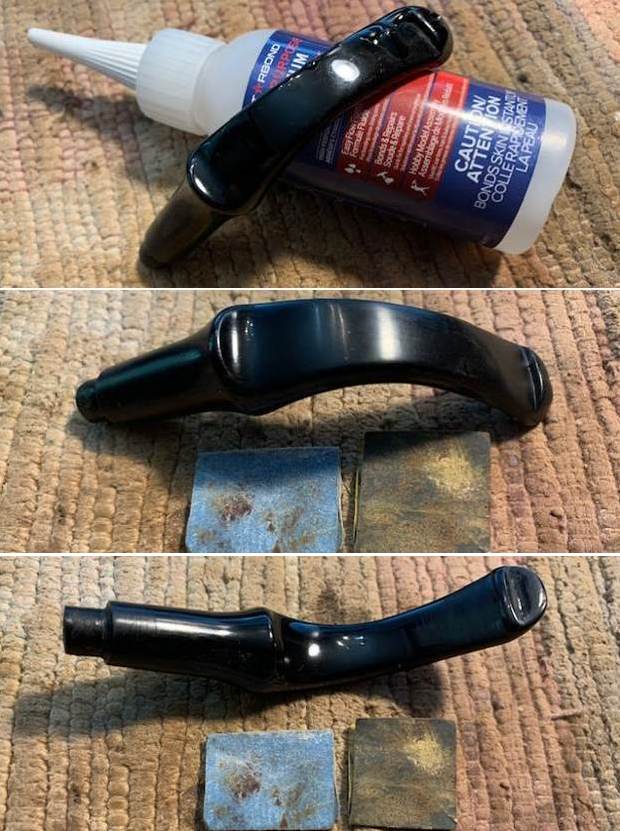 I polished the stem with micromesh sanding pads – 1500-12000 grit pads. I wiped it down with Obsidian Oil after each sanding pad. I used Before & After Pipe Polish – both Fine and Extra Fine to further polish the stem.
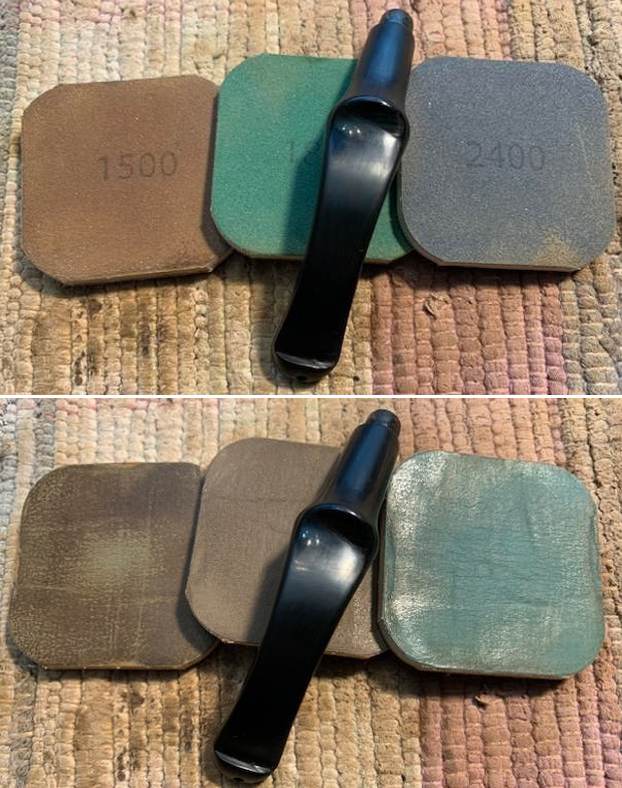
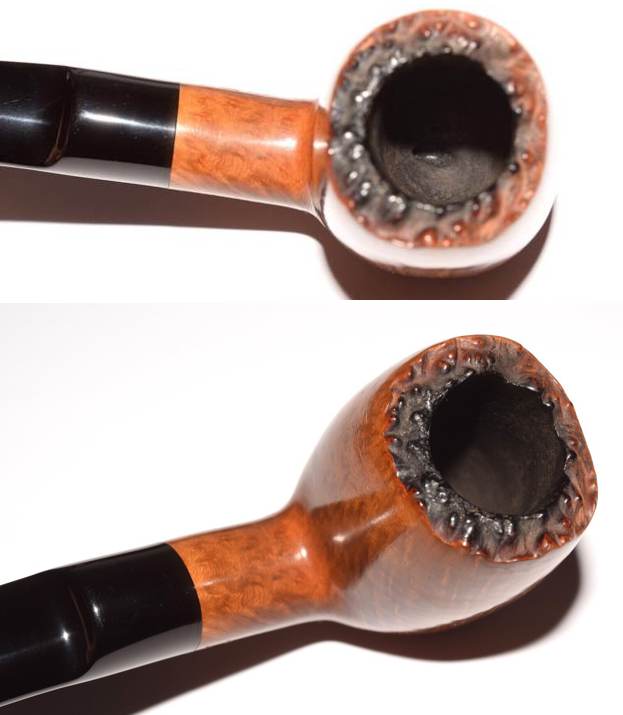
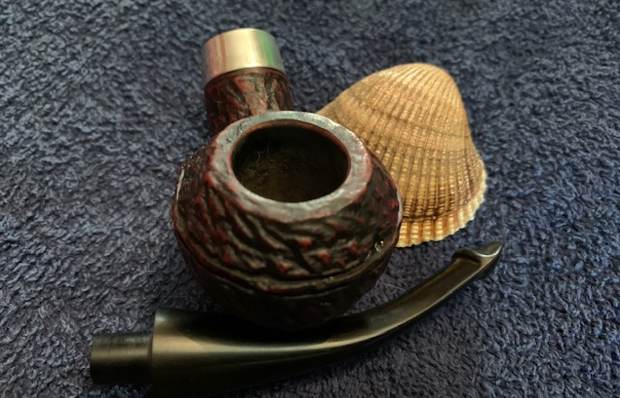
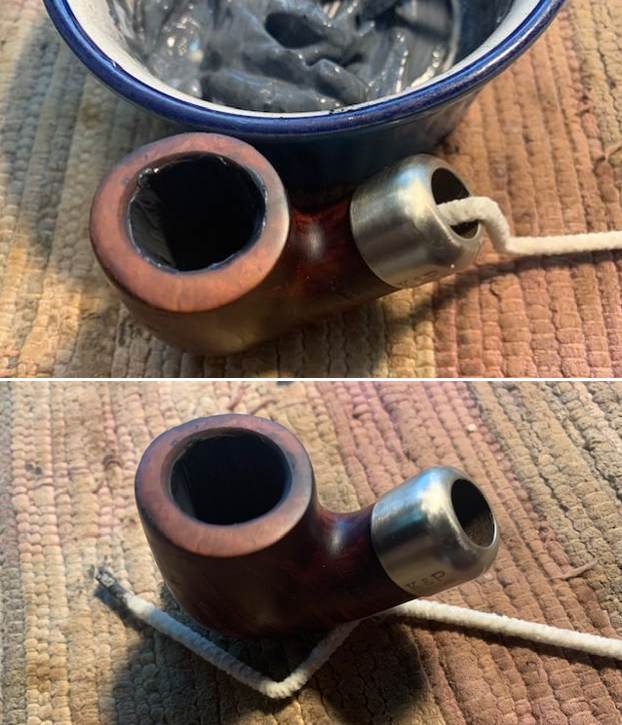
 I mixed up a batch of bowl coating with sour cream and activated charcoal powder to form a protective coat over the repair. I applied it with a folded pipe cleaner. I wiped off the grime on the rim top and set it aside to cure. This coating will facilitate cake formation and protect the bowl until it forms.
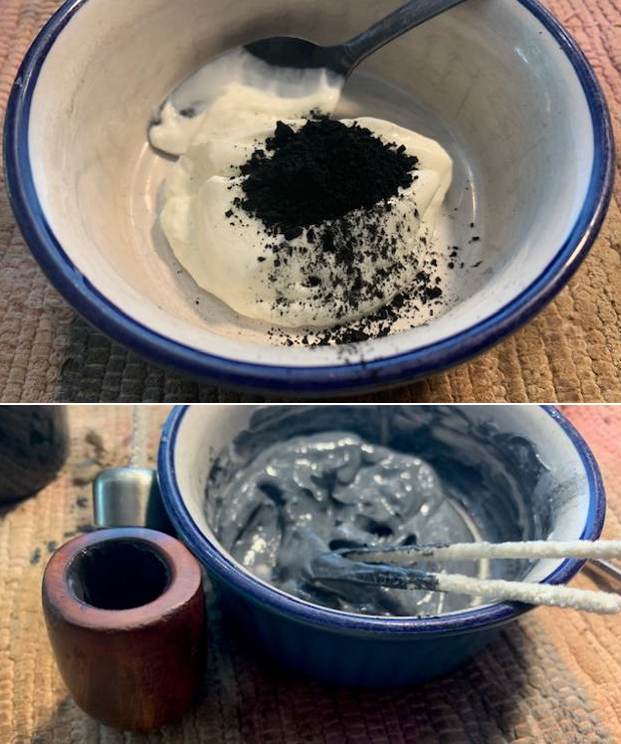
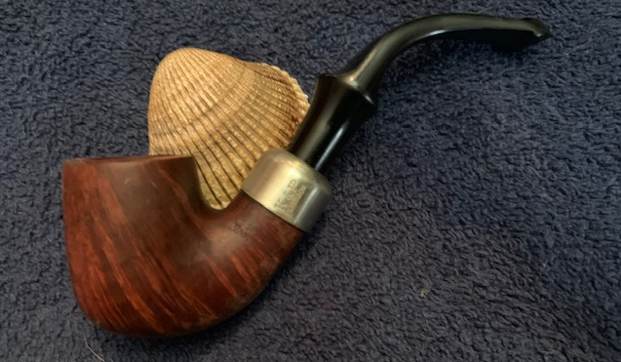
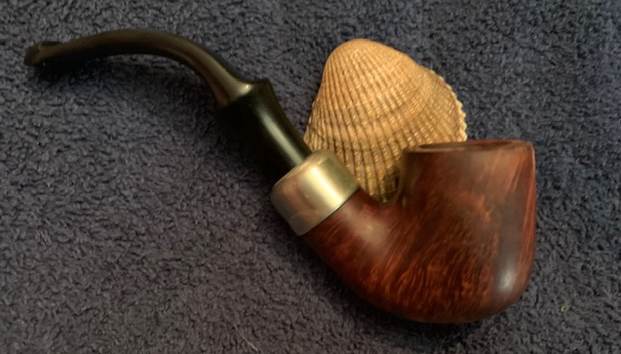
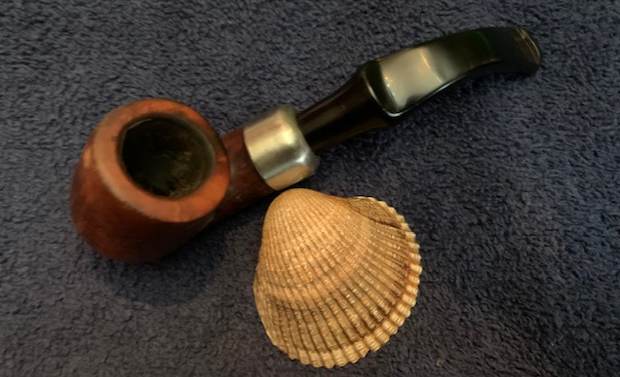
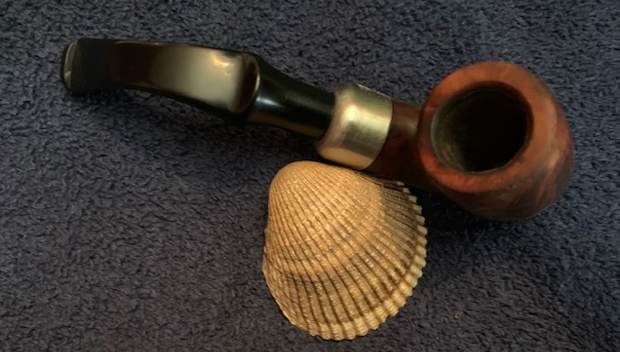
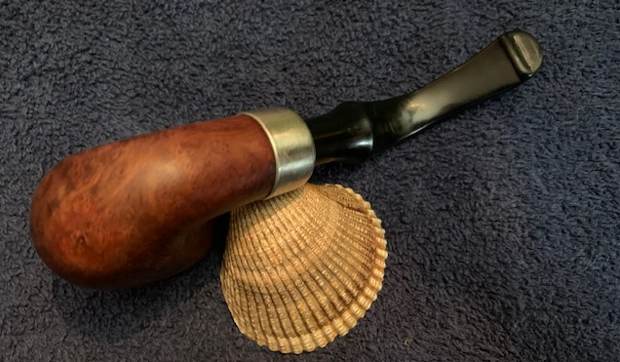
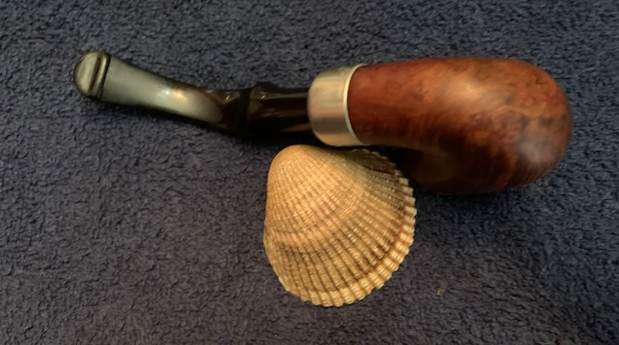
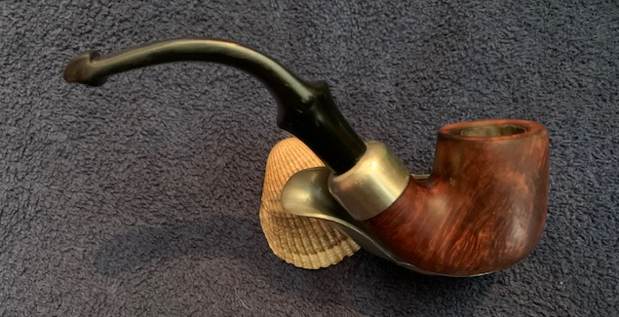
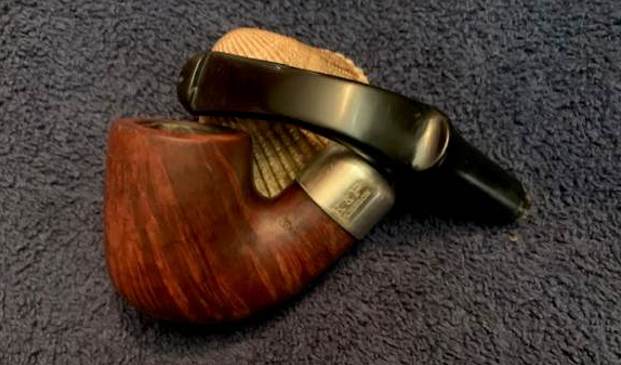
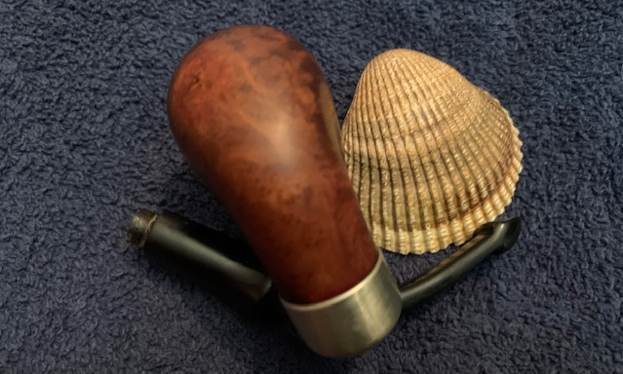
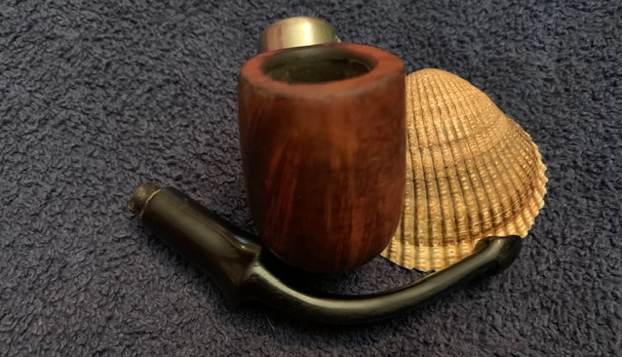
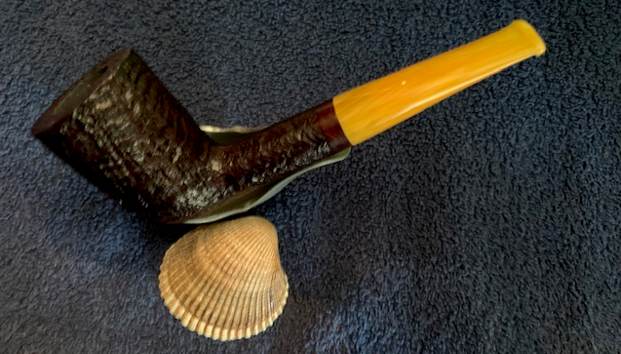
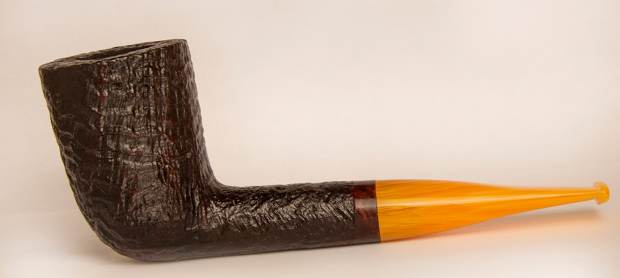
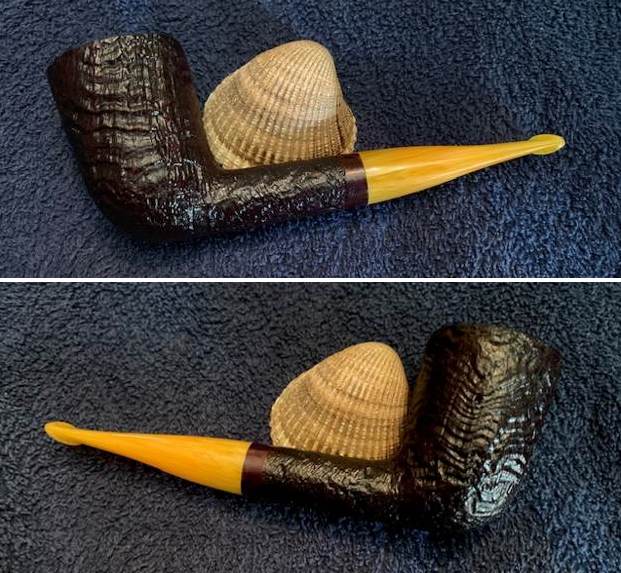
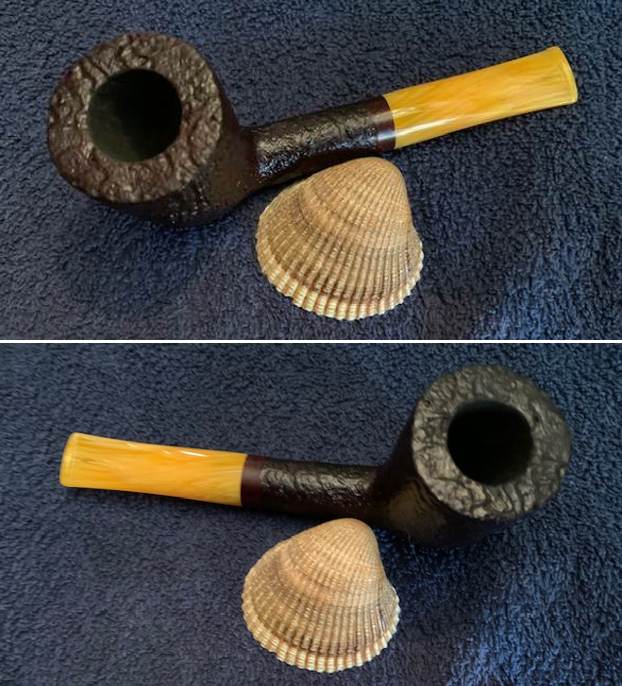
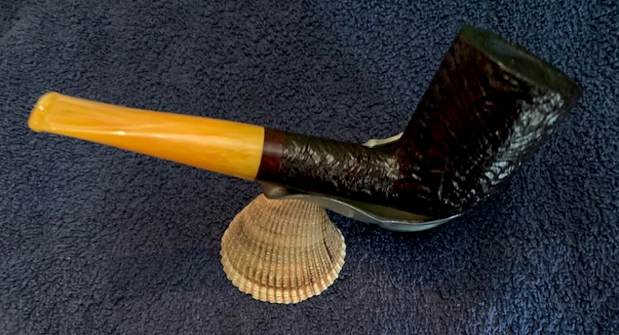
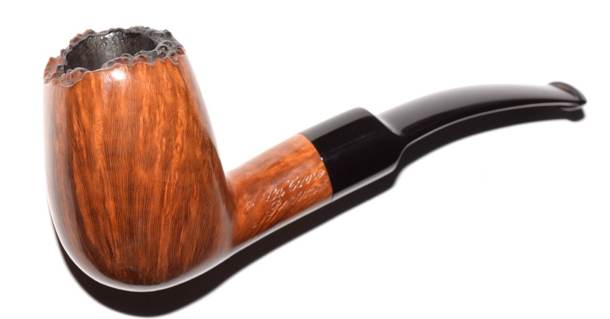
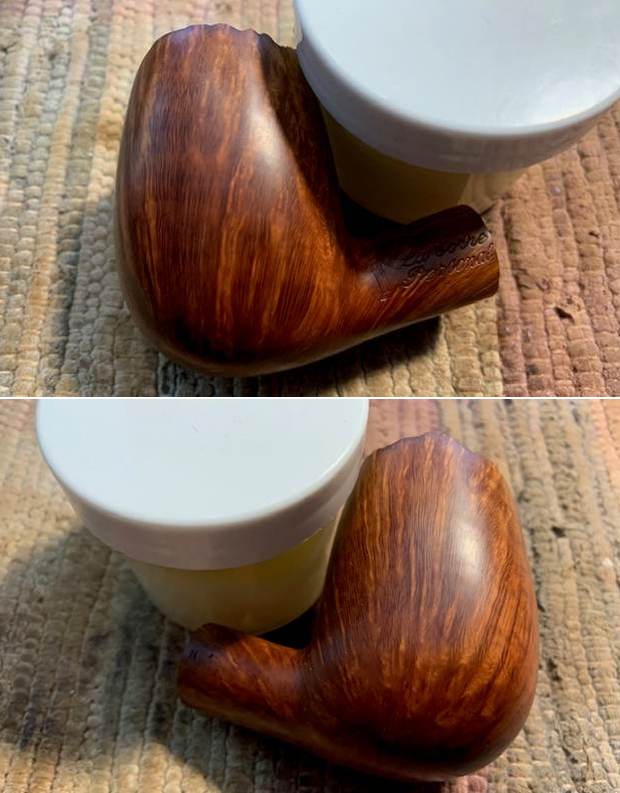
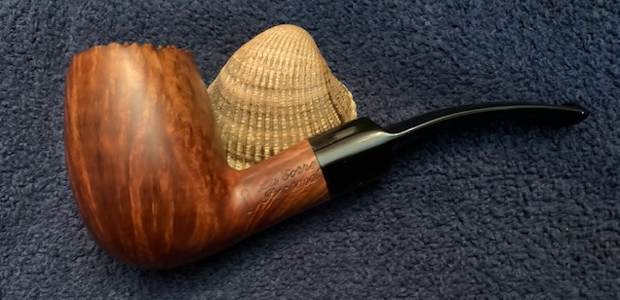
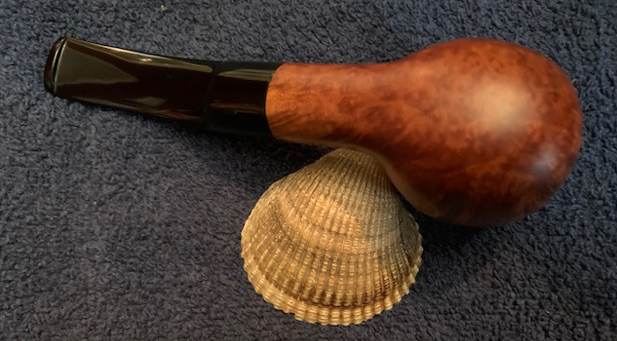
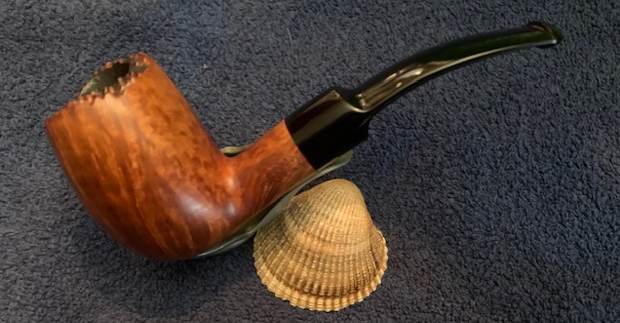
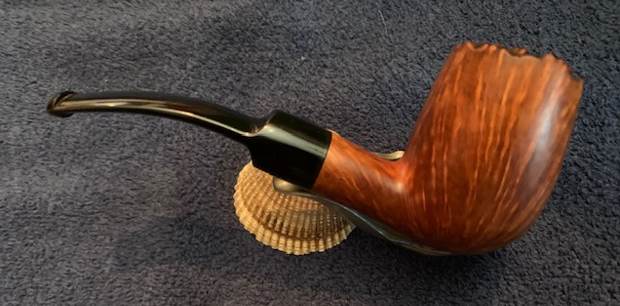
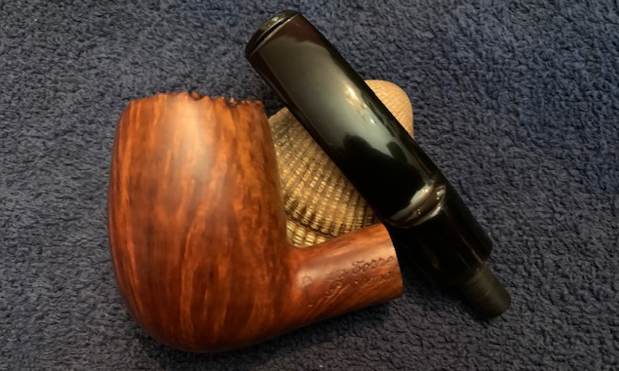
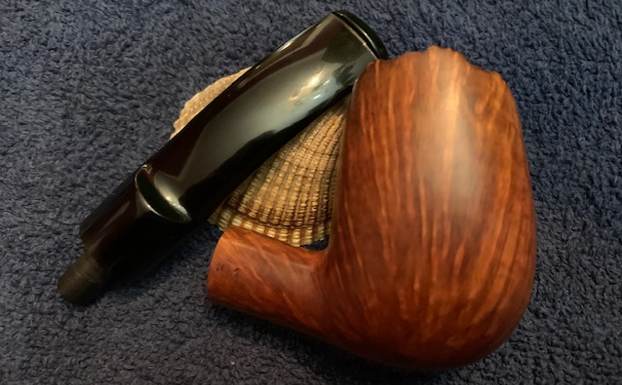
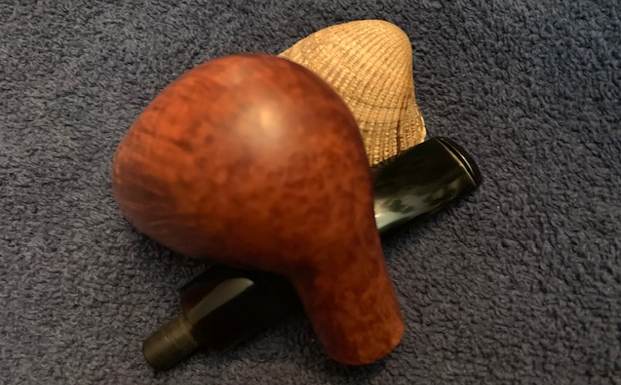
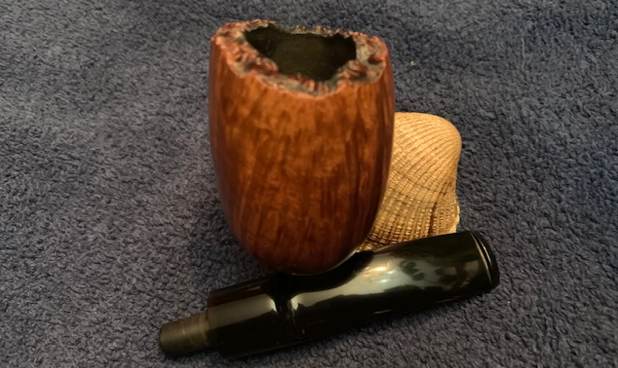
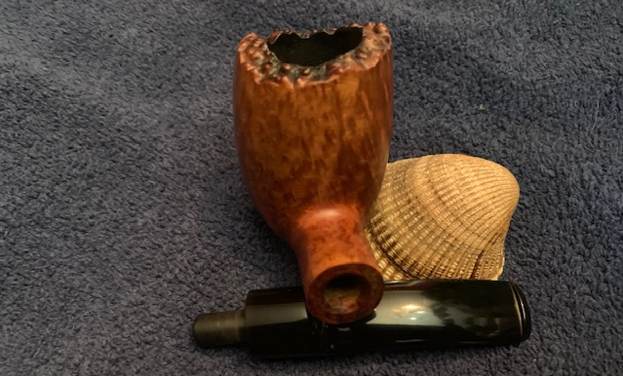
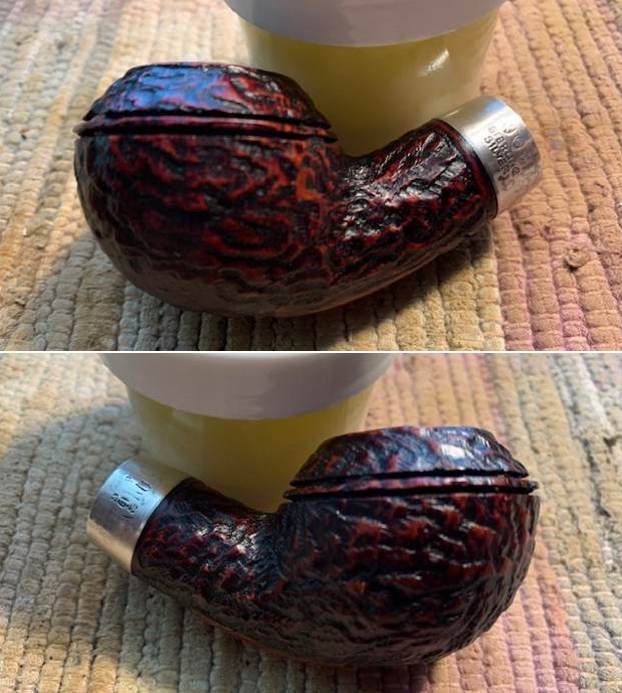
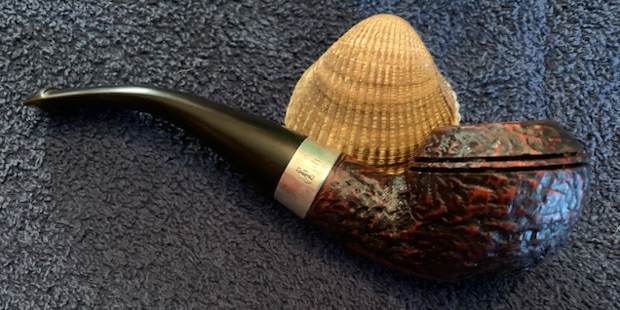
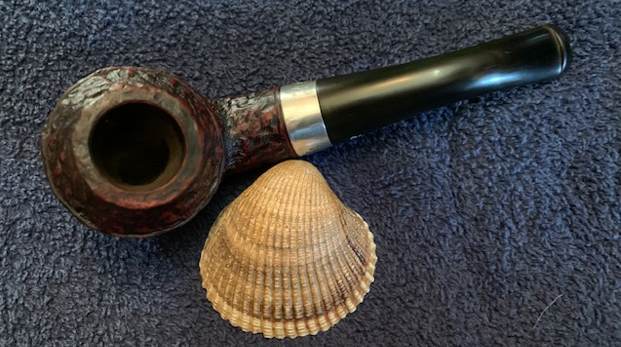
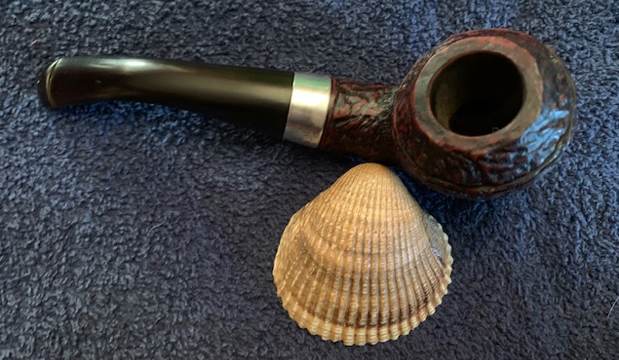
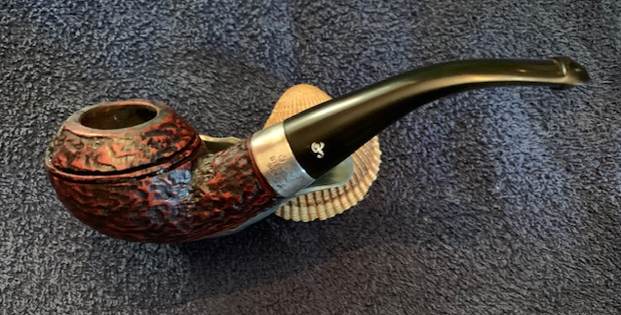
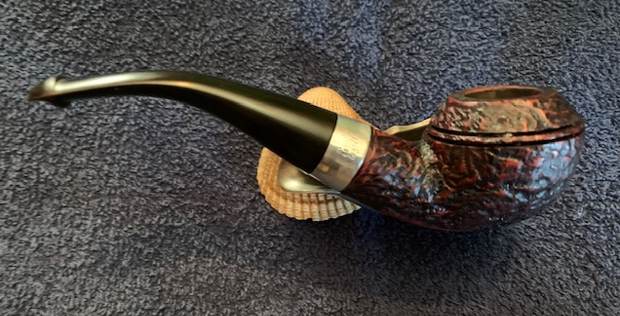
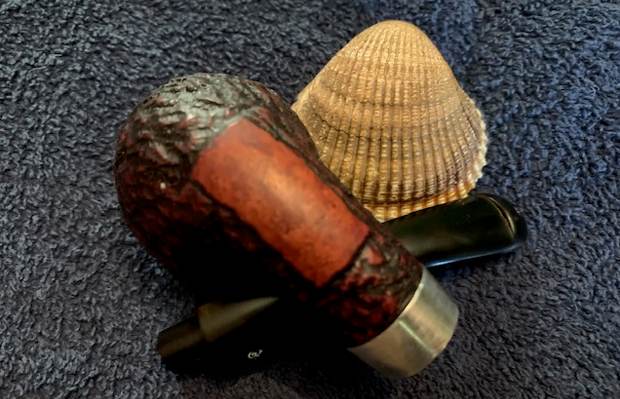
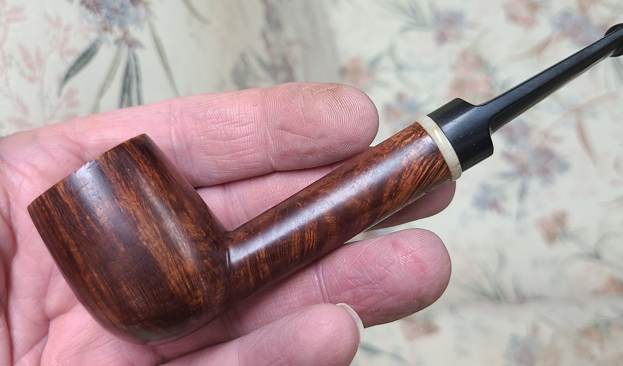
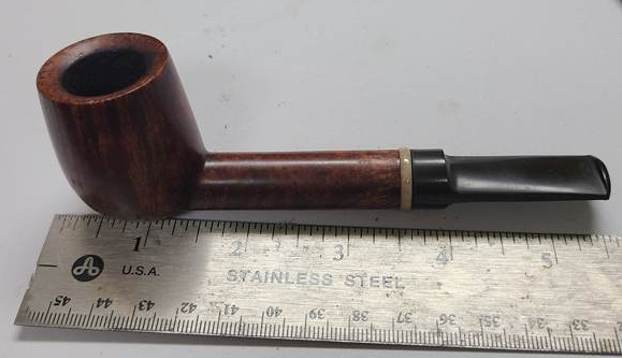
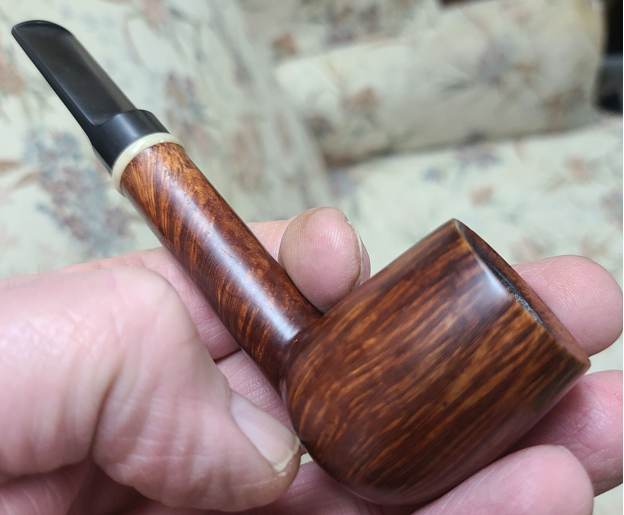
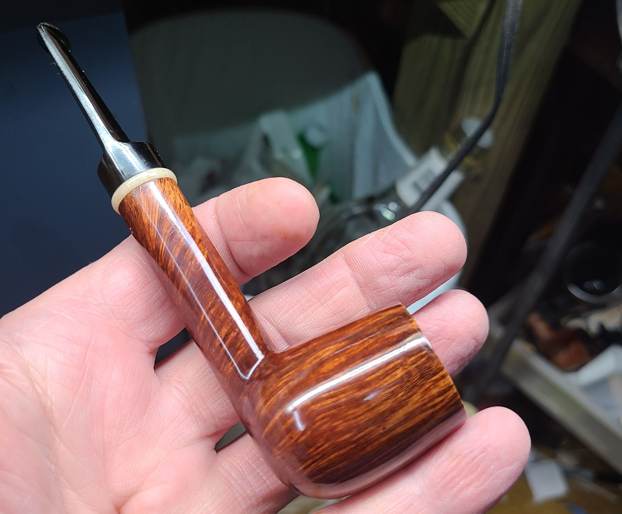
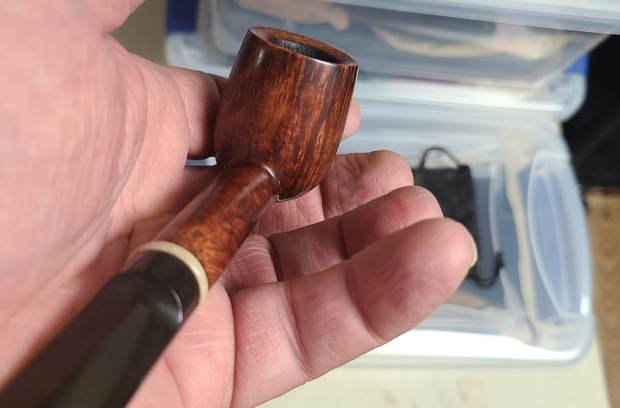
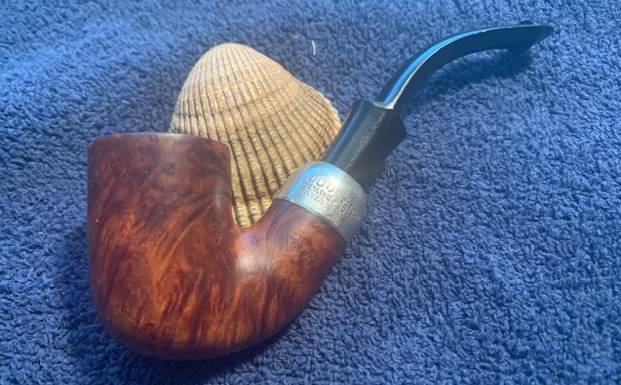
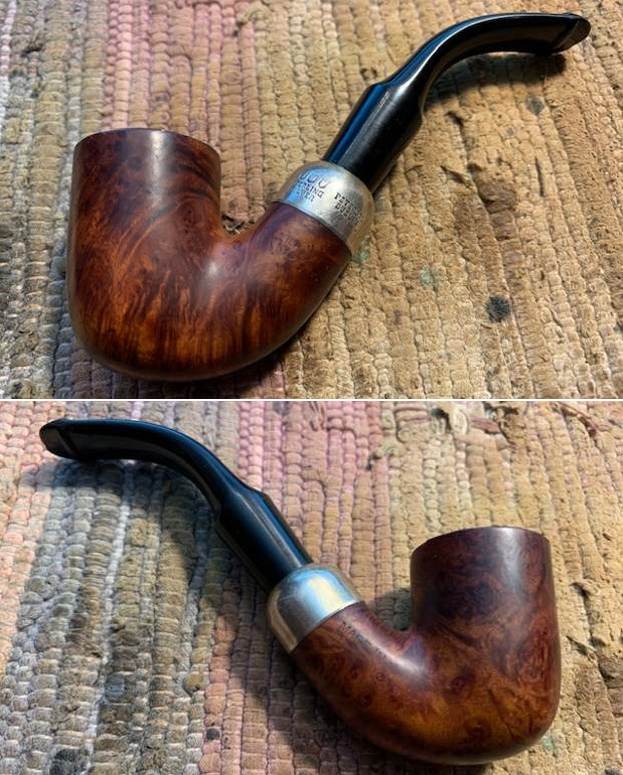
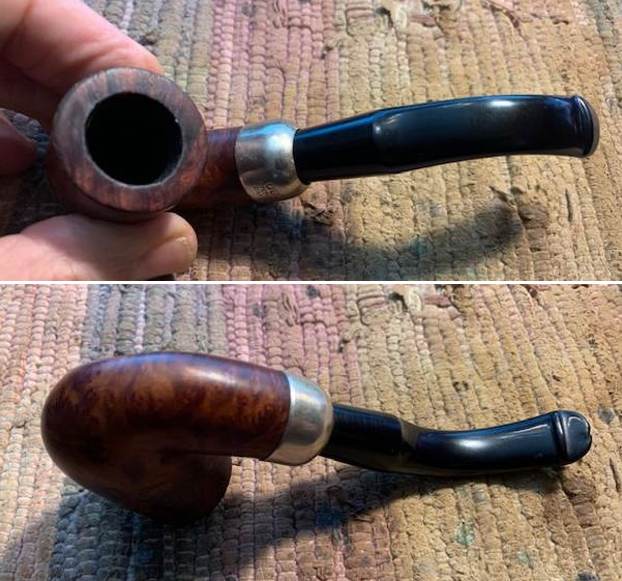
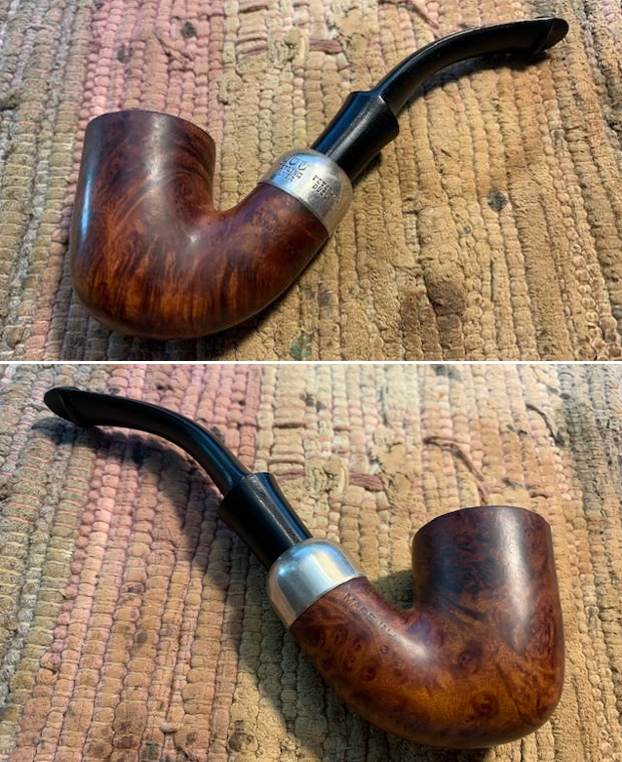
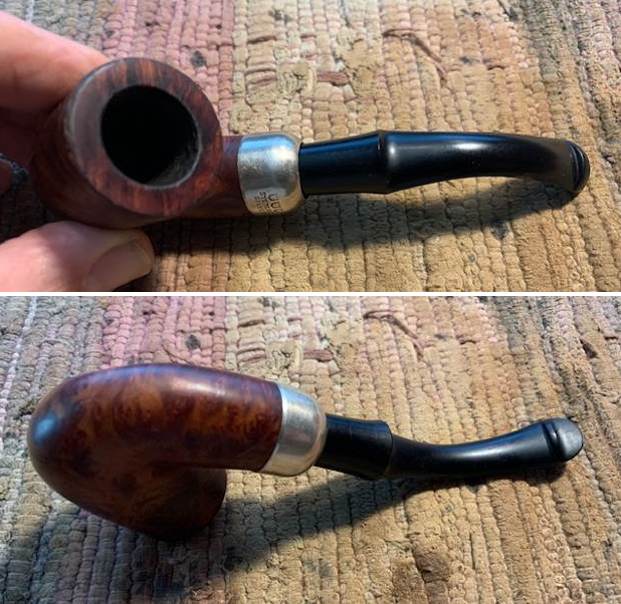
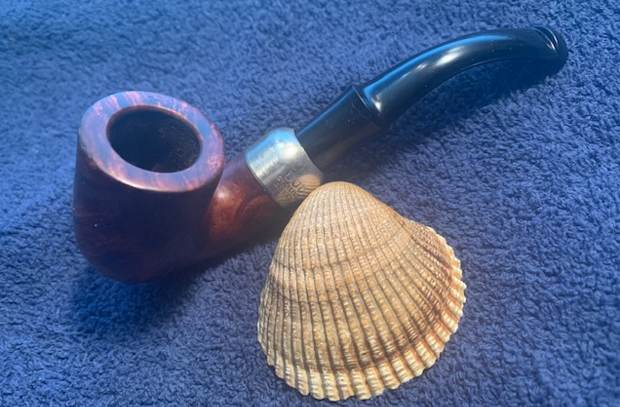
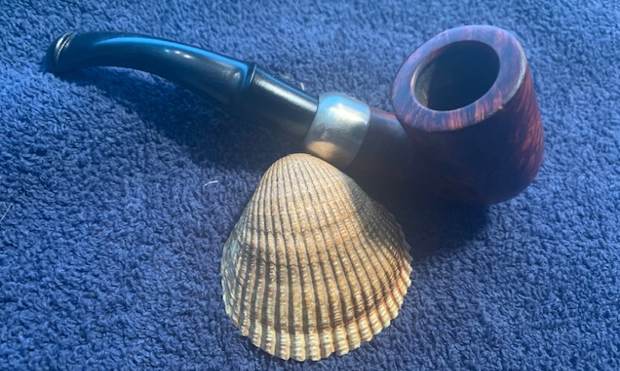
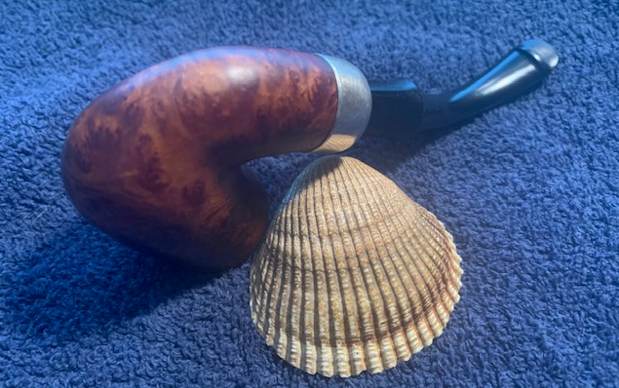
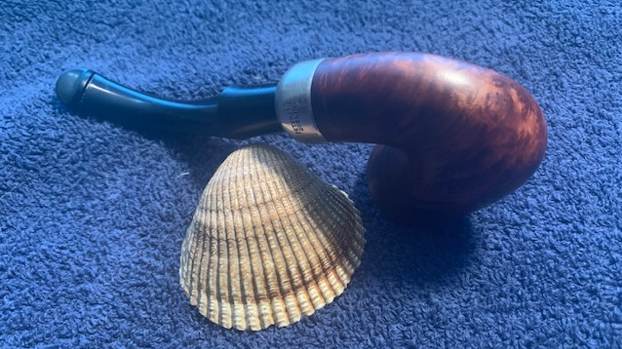
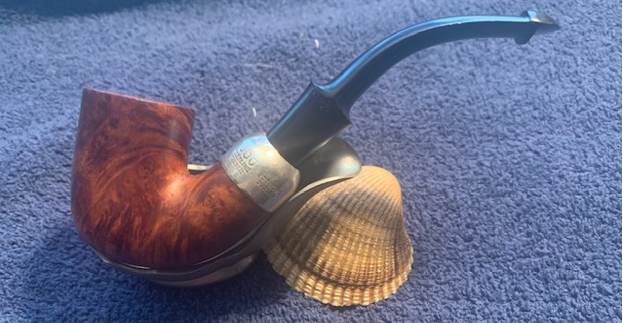
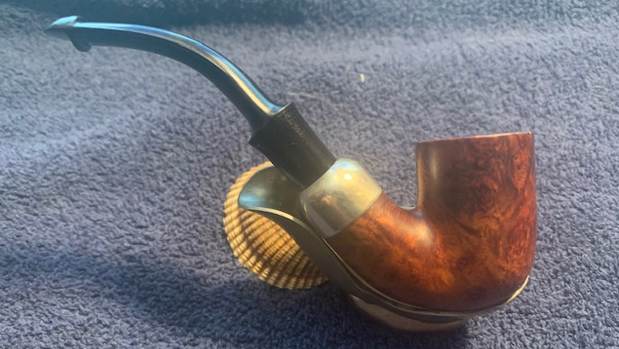
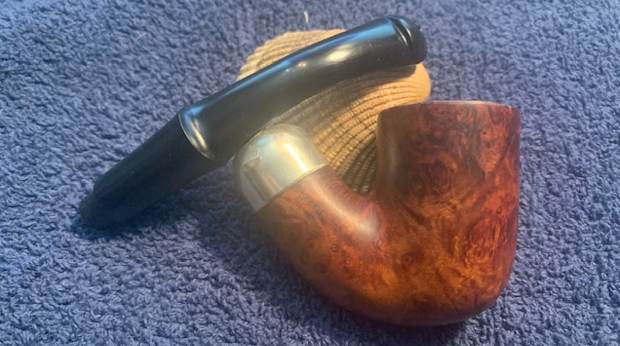
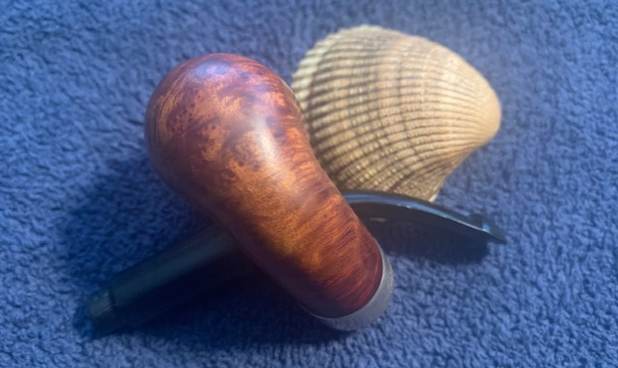
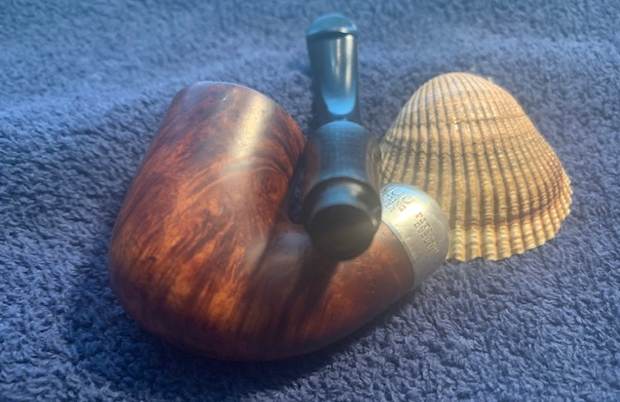
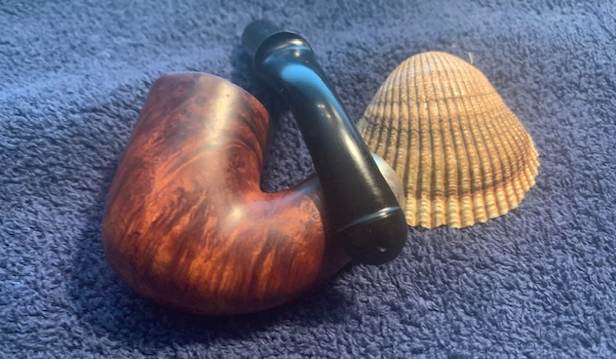
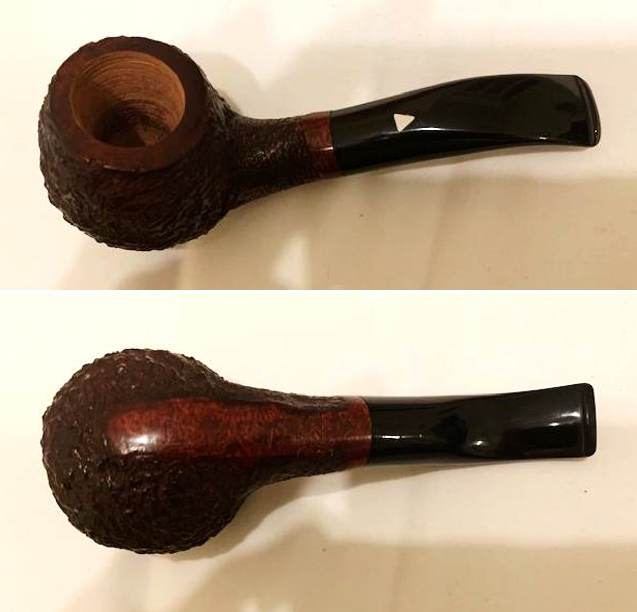
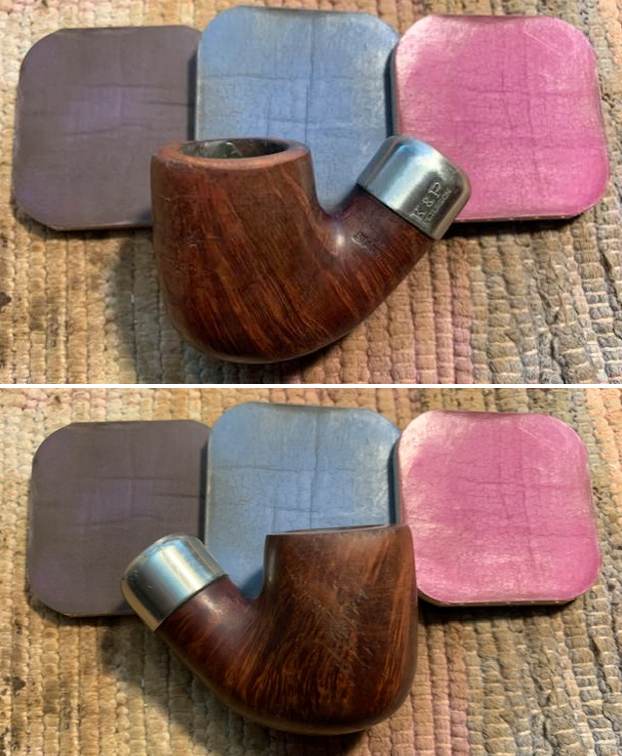
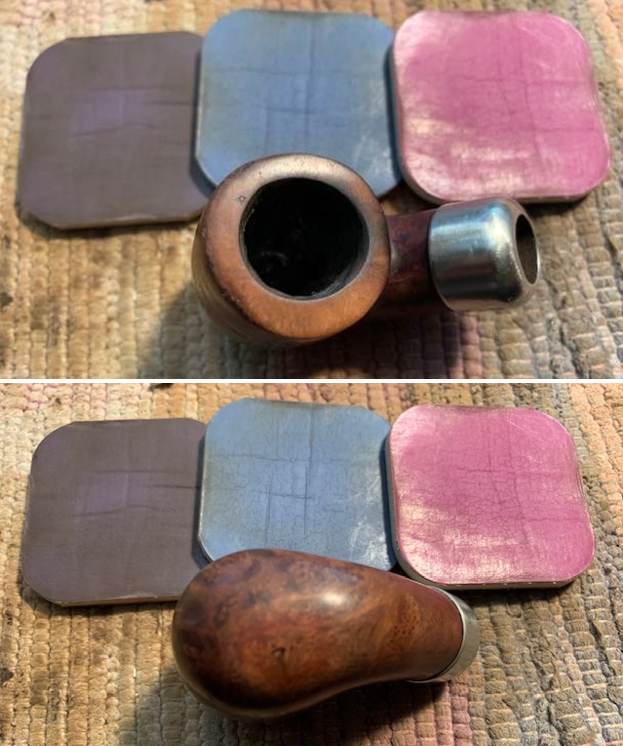
 This Made in Ireland Peterson’s System Bent 313 with a nickel Ferrule and an acrylic P-lip stem is a better looking pipe now that it has been restored. The beautiful grain that shines through the polished finish is stunning. As the pipe is smoked the patina should develop and look even better. I put the stem back on the bowl and carefully buffed the pipe with Blue Diamond on the buffing wheel. I gave the bowl and the stem multiple coats of carnauba wax on the buffing wheel and followed that by buffing the entire pipe with a clean buffing pad. I hand buffed the pipe with a microfiber cloth to deepen the shine. The finished Peterson’s System 313 Bent Billiard fits nicely in the hand and feels great. Give the finished pipe a look in the photos below. The dimensions of the pipe are Length: 5 ½ inches, Height: 1 ¾ inches, Outside diameter of the bowl: 1 1/8 inches, Chamber diameter: ¾ of an inch. The weight of the pipe is 43 grams/ 1.52 ounces. I will be sending the pipe back to the owner once the bowl coating dries. It should give him a few more years of good service. Thanks for reading this blog and my reflections on the pipe while I worked on it.