Blog by Steve Laug
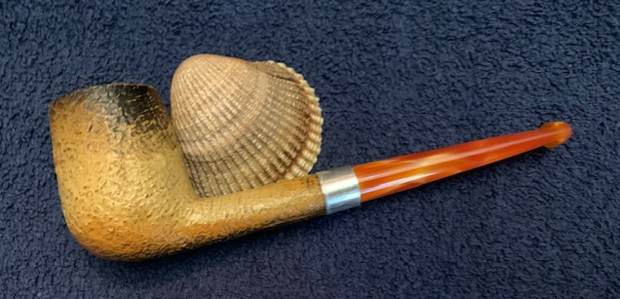
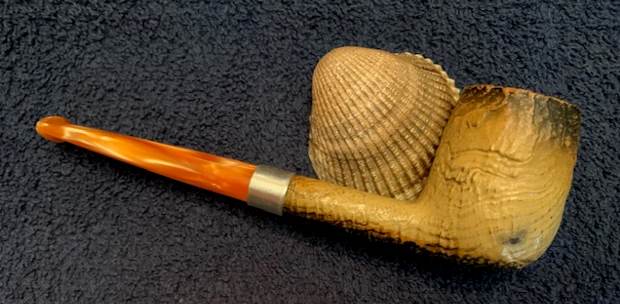
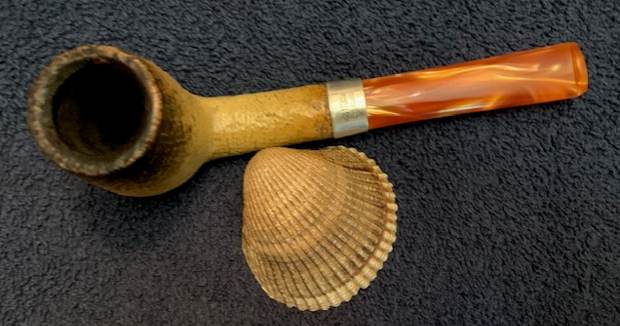
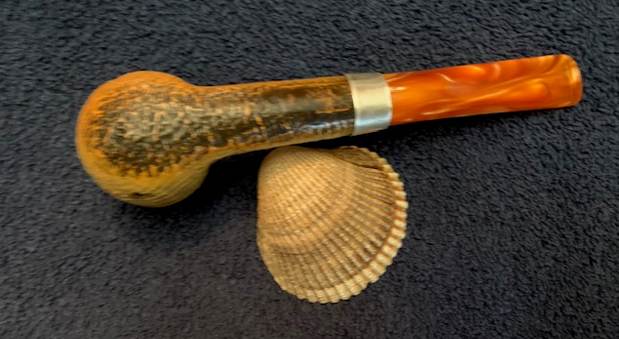
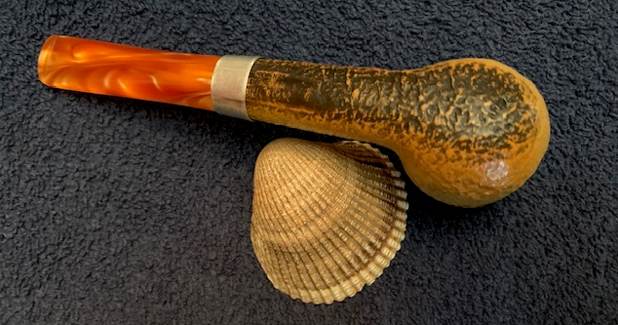
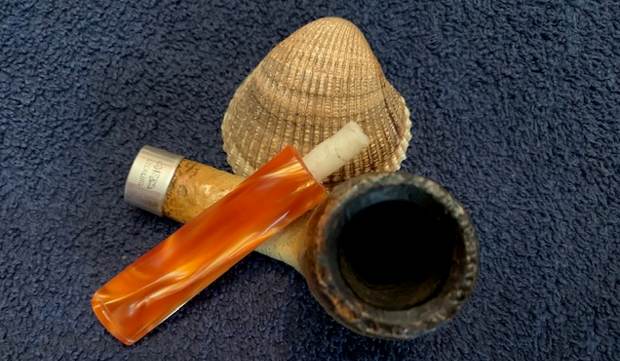
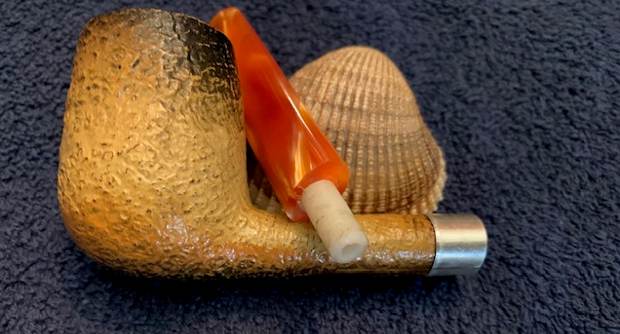
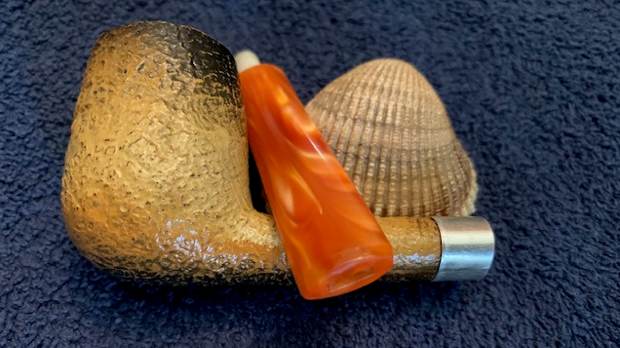
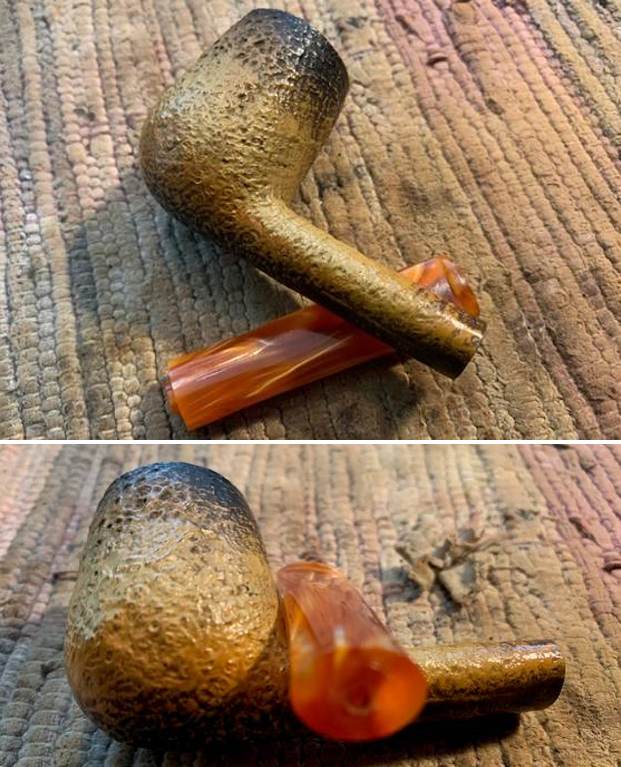
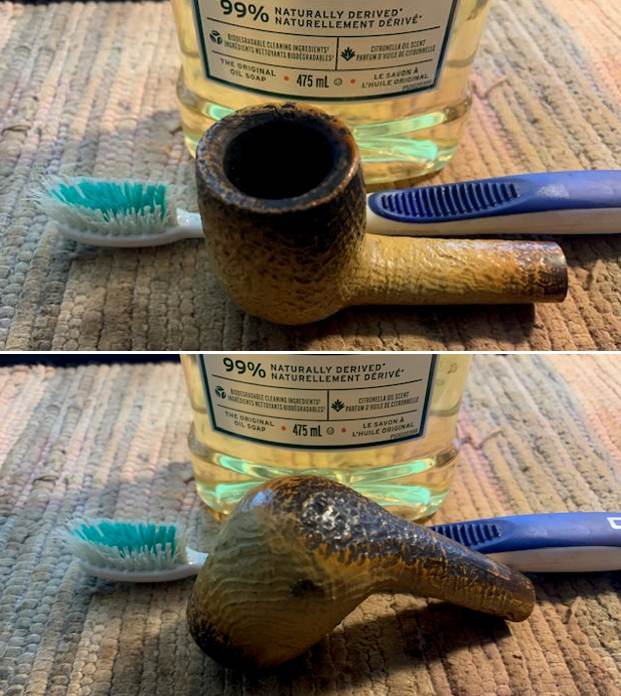
The next pipe on the table is one I have had for quite a while in a drawer here with meerschaum pipes. Jeff and I are not certain where we picked it up as neither of us have any memory of its purchase or where we found it. I had always assumed that it was a meerschaum as well until I started working on it this afternoon. The pipe looks like a meer with some fluming around the top of the bowl and shank bottom and end. It has some coloring that looks like a meerschaum. Once I started working on it I was not so sure. It is stamped on the underside and reads NORDING [over] NORD-COAT [over] DENMARK. On the shank end it was stamped 125 which is the shape number. The pipe is a classic shaped oval shank Billiard. The orange acrylic stem was in a bag with it and had a broken tenon. The tenon itself was missing so I was not certain of the fit. I took photos of the pipe when I took it out of the bag. It was dirty and the rim top was dirty.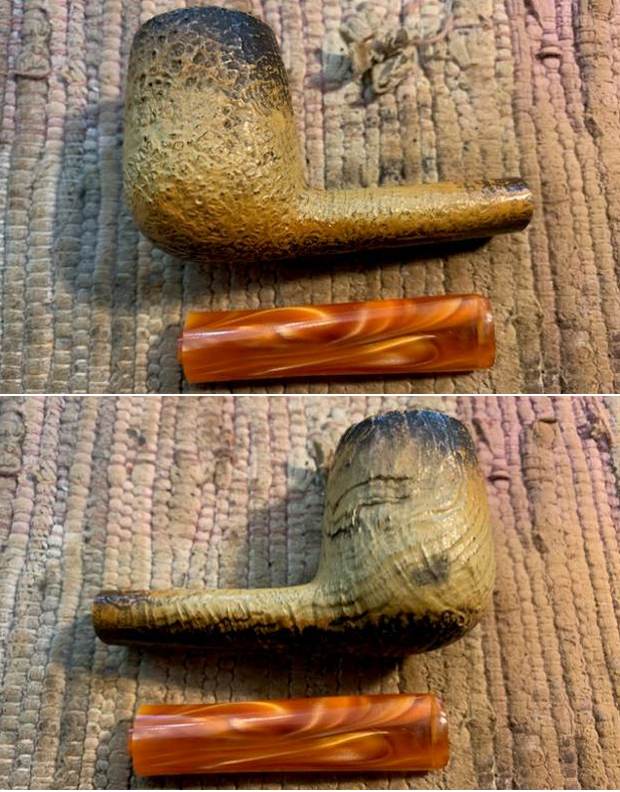
 I took a photo of the stamping on the underside of the shank. It was stamped as noted above and was clear and readable.
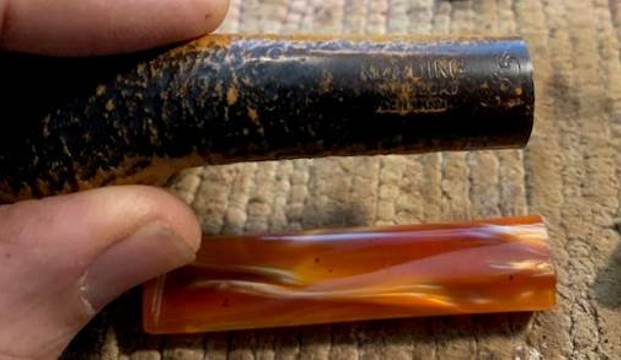 Now I knew that the pipe I was working on was a Nording that had been given a special coat called a NORD-COAT. Now I wanted to know what that was. Was it a meerschaum? I did not think so and in fact that NORD-COAT stamp made me pretty certain that it was not. It was rather coated with some kind of finish to give the pipe the look of a meerschaum. I wanted to know more so I did a quick search on the web for NORDING NORD-COAT. I am quoting what I found below.
The first link I found was to a thread on Pipesmagazine.com forum where a person was seeking information on the pipe(https://pipesmagazine.com/forums/threads/nordcoat-by-nording.15584/). I quote:
pipeshark– Oct 10, 2012 Bounced around a bit after I saw this, and apparently this is something that is supposed create a life lasting coating that will color similar to meerschaum but not lose it’s color for any reason. Supposedly all Nordcoat pipes should have the big man’s signature on them, and the hubbub is that if they don’t, they may be seconds. According to another post, there was a page on the Nording site some years ago that “guaranteed these pipes to color like meerschaum and provide a great cool smoke”. I read on post that claimed to have one of these pipes from 30 years ago, so they must have been around for some time. Maybe Storient or another meer expert has heard of coatings like these before. I didn’t see anything about the pipes being lower quality briar as such, but I have just discovered the subject and will continue the search. I must say that I have not substantiated this with any official sites or sources, this is just what I have seen on multiple threads of blog/forum postings, some claiming to have checked it out, but yea… I will post again if I find anything more.
That pretty much settle whether the was meerschaum or not. It clearly was not. It had a coating on the briar that would colour like meerschaum and permanently hold its colour. Nording had guaranteed that they would colour like meer and provide a cool smoke.
I turned to a second link that was on the Google search that was on smokingpipes.com. (https://www.smokingpipes.com/pipes/estate/denmark/moreinfo.cfm?product_id=404914). I quote from the description that was there.
It’s presented in a sandblasted, virgin finish with darkened portions along the rim and shank end meant to emulate the look of a weathered patina. Erik designed these pipes with patinating in mind, meant to emulate the look of meerschaum…
I turned to Pipedia (https://pipedia.org/wiki/N%C3%B8rding) and read the background info on the brand. It is a great read. There was also an example of the NORD-COAT pipe and nomenclature. I have included the photo below. I then turned to a last listing on the brand on Worthpoint – an online site that auctions of pipes (https://www.worthpoint.com/worthopedia/estate-clean-erik-nording-nord-coat-140692535). I quote:
Estate restored Erik Nording Nord-coat #2 #109 sandblasted imported briar pipe. Made by master artisan pipe maker Erik Nording in Denmark. This premium beauty is hued to look like a meerschaum pipe. This is a very collectable great smoking briar pipe.
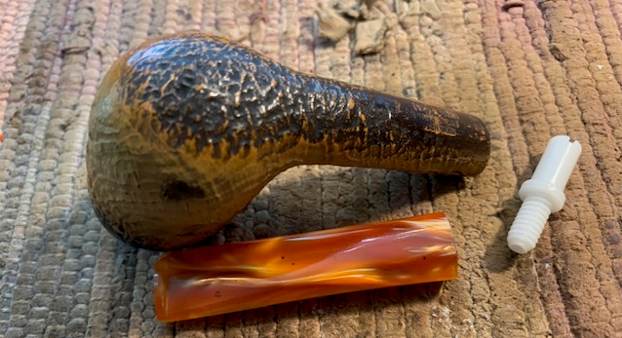
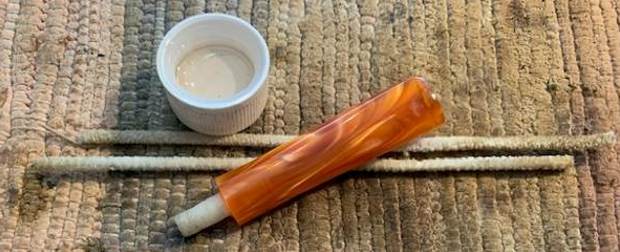
Now it was time to work on the pipe itself. I decided to replace the broken tenon the acrylic stem that had come with the pipe. I went through my box of tenons and found a white threaded tenon that would work with a slight adjustment in length for the shank and fitting it into the stem. The white tenon would work well with the opaque colour of the stem once it was glued in place. I took photos of the tenon with the pipe and stem and have included them below. 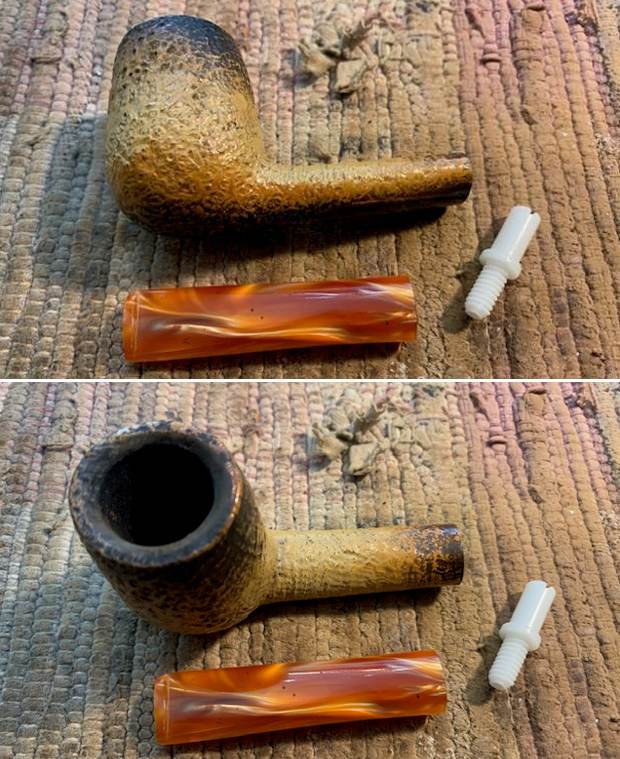
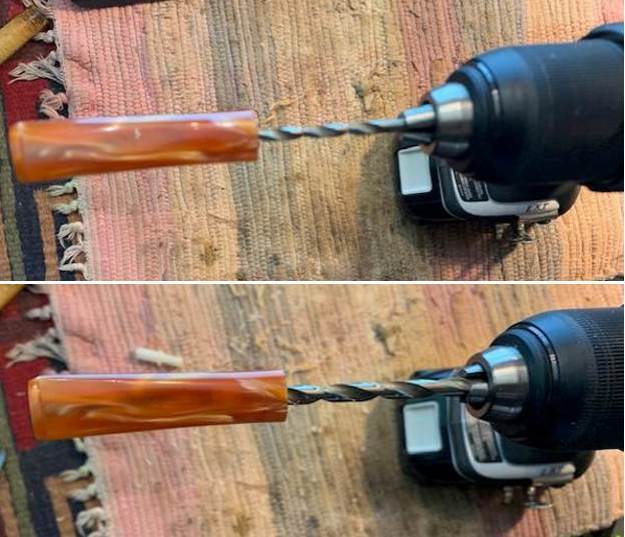
 I drilled out the airway in the stem with gradually increasing sized drill bits to open it up to take the threaded end of the new tenon. I find that working from a bit slightly larger than the airway in the stem to one that is the correct size for the tenon keeps it from chipping or breaking the acrylic stem.
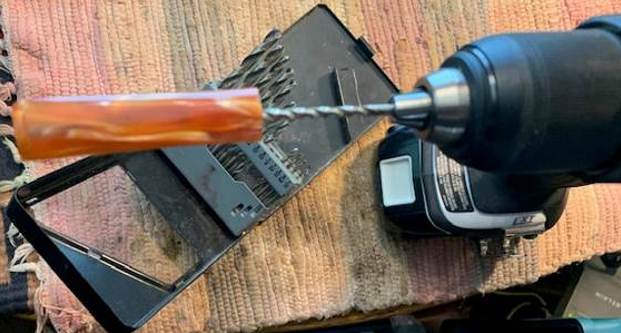
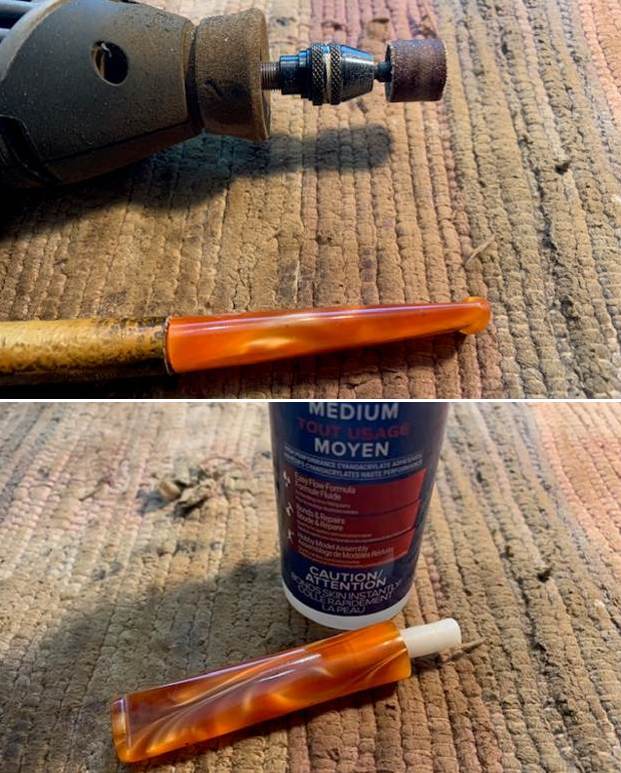
 I used my Dremel and sanding drum to reduce the diameter of the tenon, shorten its length and remove the colour between the smooth and threaded portion of the tenon. I tried the fit in the stem and it worked perfect. I took a photo of before putting it in the stem and after. I also fit it in the shank as well. Once the fit was correct I glued it in place with clear CA glue.
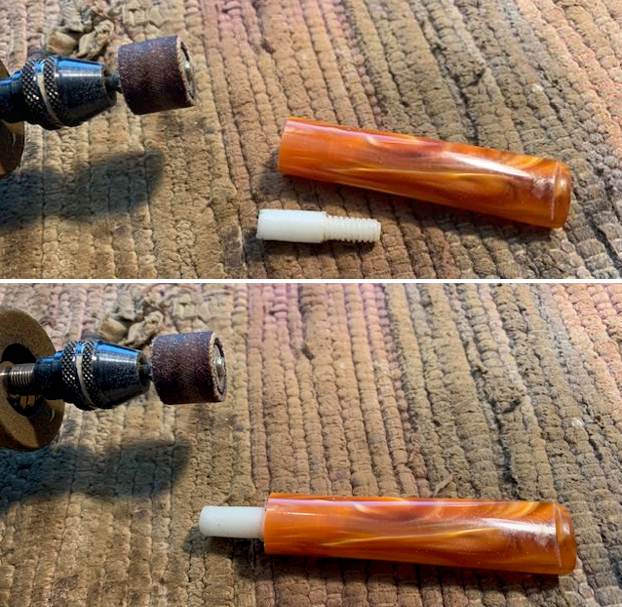
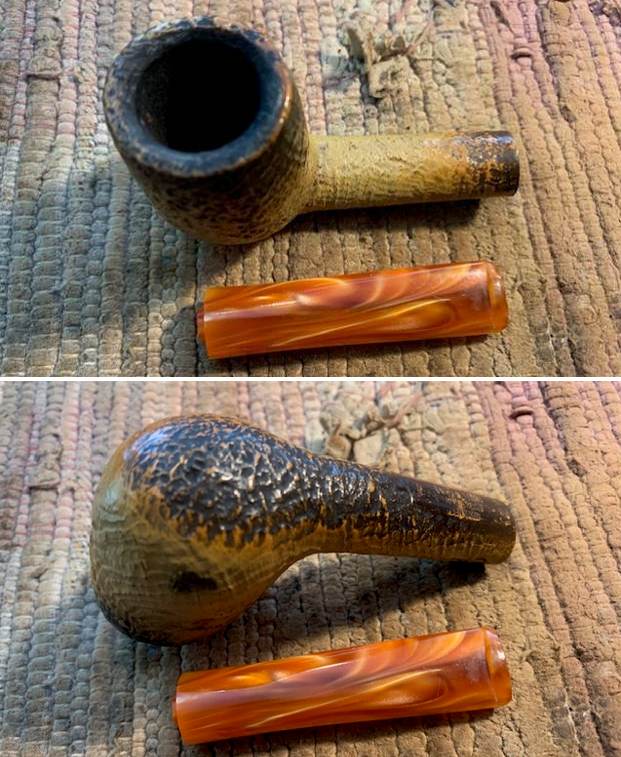
 I set the stem aside to let the glue cure on the tenon insert. I turned my attention to the bowl. I scrubbed it with a tooth brush and undiluted Murphy’s Oil Soap. I rinsed it off with running warm water. I dried it off with a soft cloth. The grime in the finish came off quite easily and the pipe looked significantly better. The grime was clear in the sandblast grooves around the bowl and shank as well as the rim top.
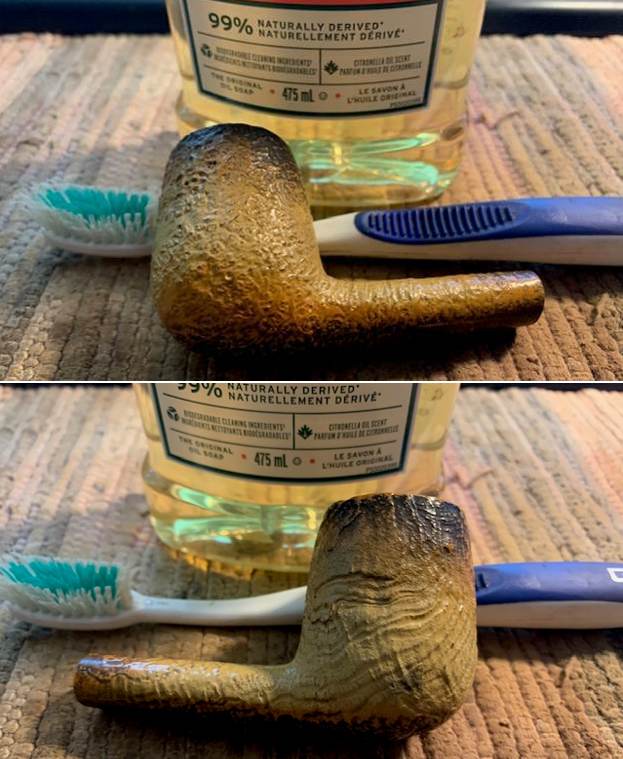
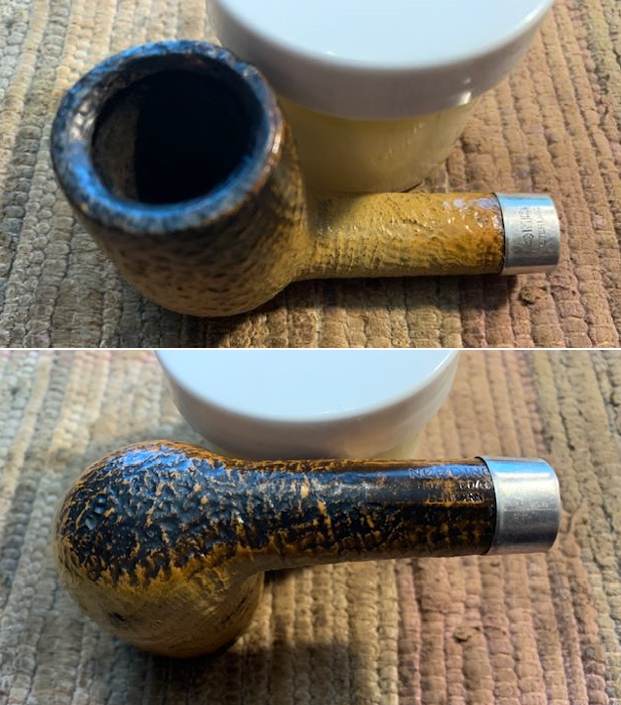
 I put the stem in the mortise and took photos to show the slight difference in the diameter of the stem and the shank. I am pretty sure it is original as there is a faint N on the top of the stem. It was not much but it bugged me and left a bit of lip that I did not like. I took photos of the fit and have included them below.
 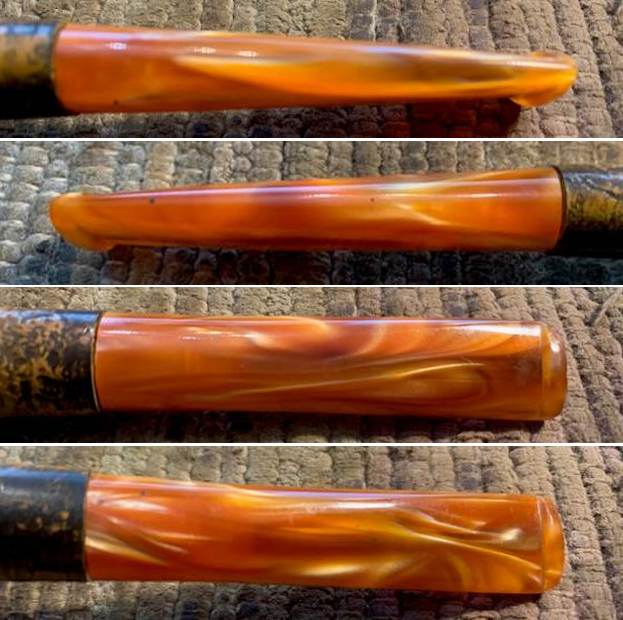 I went through some of my Sterling Silver Bands and found one that I think will work for the pipe and the stem. It is a nice oval silver band that I will fit on the shank.
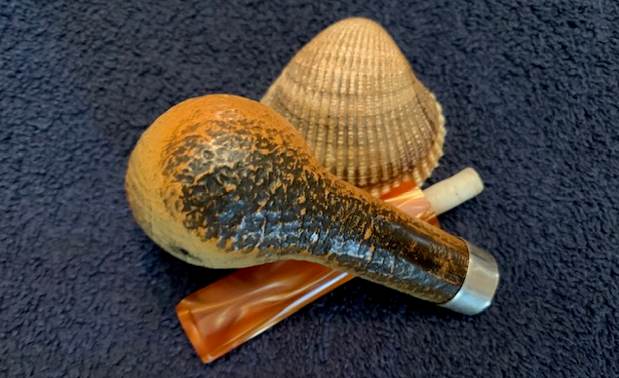
 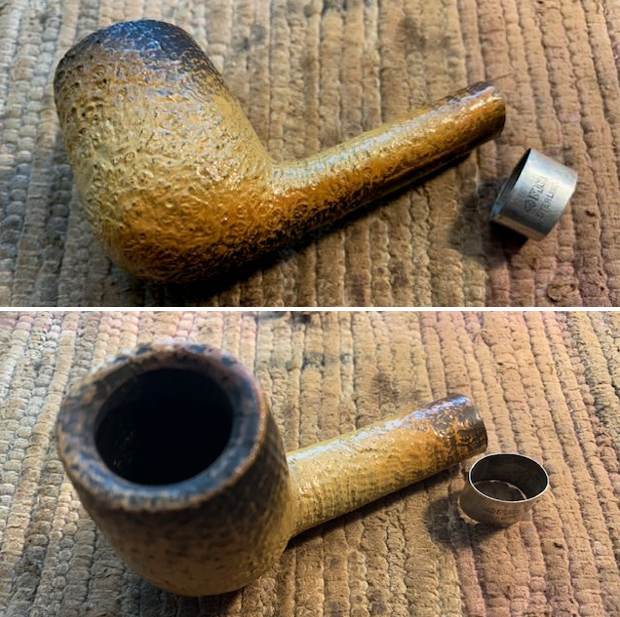 I slipped the band on the shank and put the stem in place see the fit and feel of the new look of the stem. While it covers the shape number, I still like it a lot!
 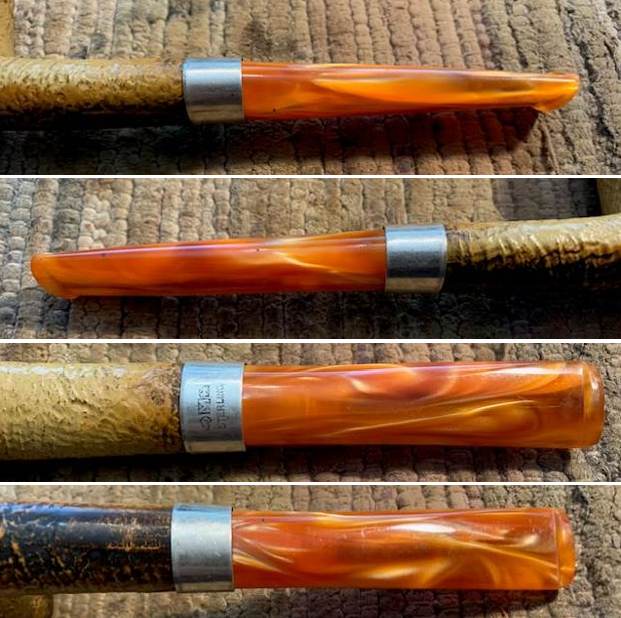 I touched up the rim top stain with a black Sharpie pen. I was able to blend it into the rest of the rim top and edges of the bowl. It looked much better at this point.
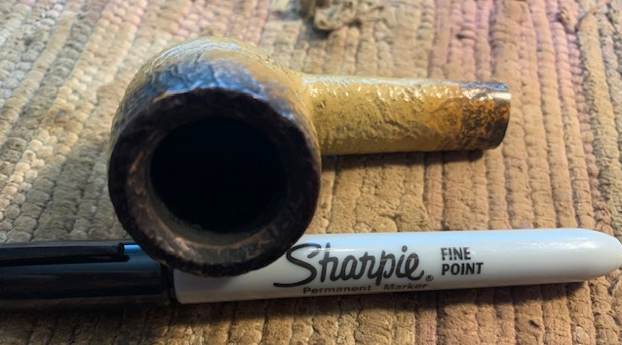 I glued the band in place on the shank end with some Weld Bond all purpose glue. I coated the shank end with the glue and pressed the band onto the shank. I aligned the stamping on the top of the band with the shank top.
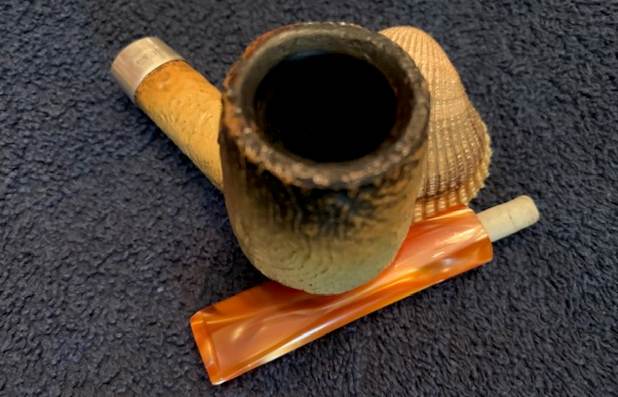
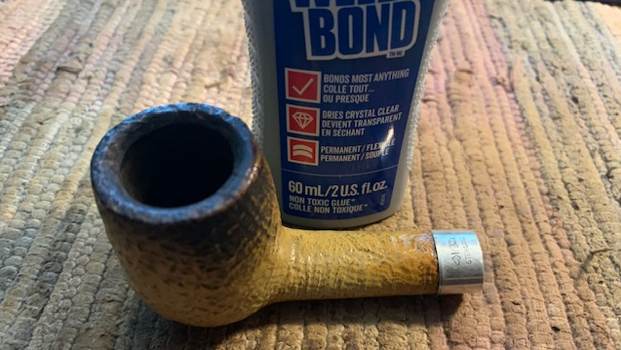 I scraped out the thin cake in the bowl with a Savinelli Fitsall Pipe Knife. It did not take too much to clean out the bowl. I then cleaned the shank and the airway in the stem with pipe cleaners and isopropyl alcohol.
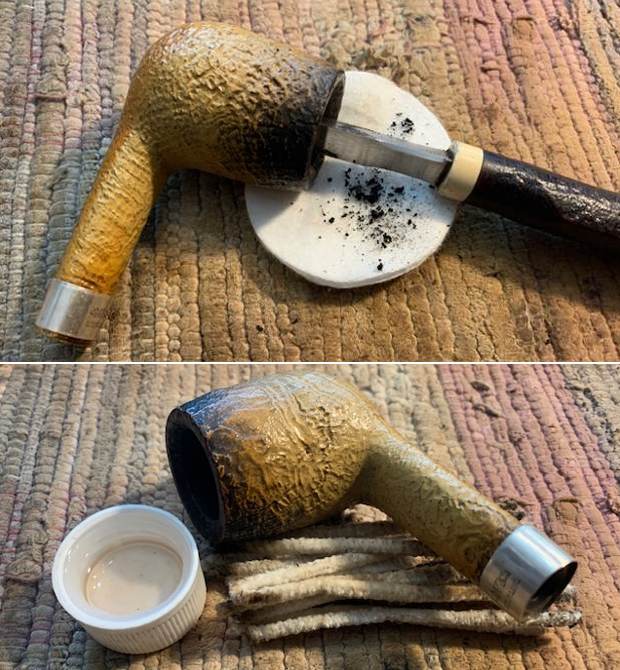
 I rubbed the bowl and shank down with Before & After Restoration Balm to deep clean the finish on the bowl and shank. The product works to clean, enliven and protect the briar. I worked it into the finish with my fingers and a horse hair shoe brush. After it sat for 15 minutes I wiped it off with a soft cloth. The Nord-Coat really began to have a rich shine and some colour. I took some photos of the bowl at this point to mark the progress in the restoration. It is a beautiful bowl.
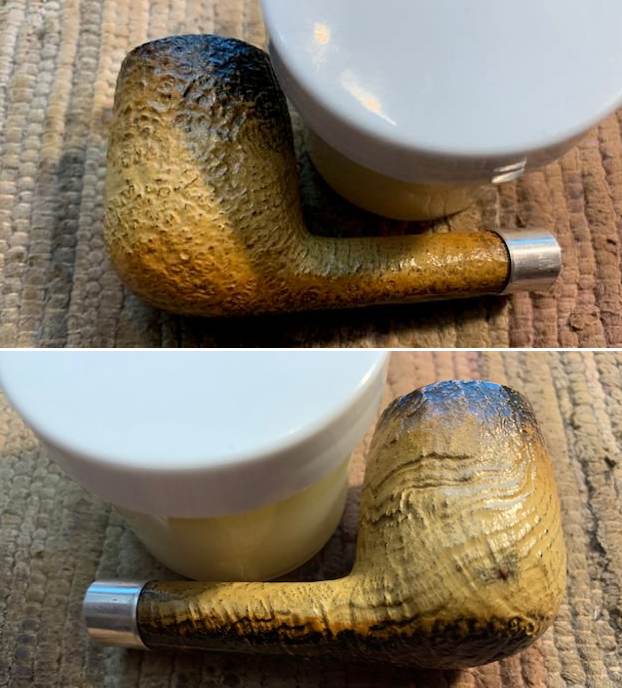
 I sanded out the tooth marks and chatter in the stem with 220 grit sandpaper and started polishing it with 400 grit wet dry sandpaper.
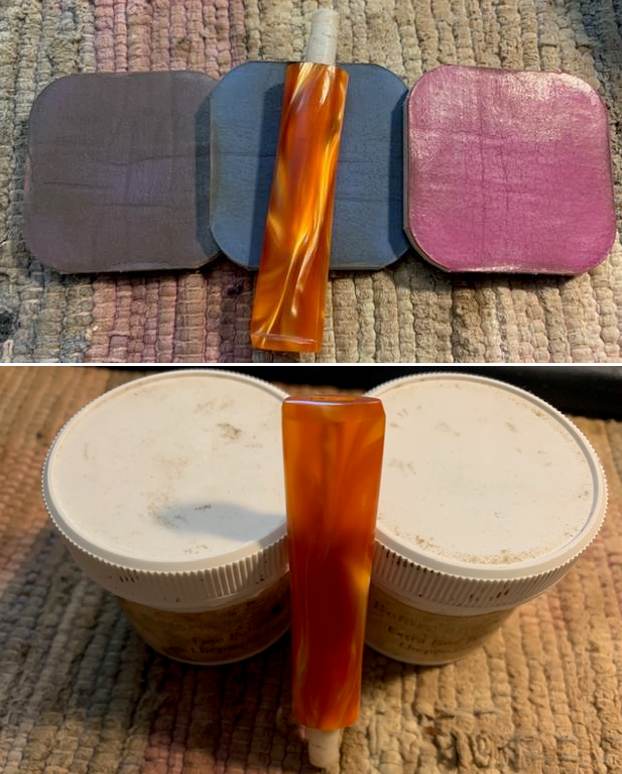
 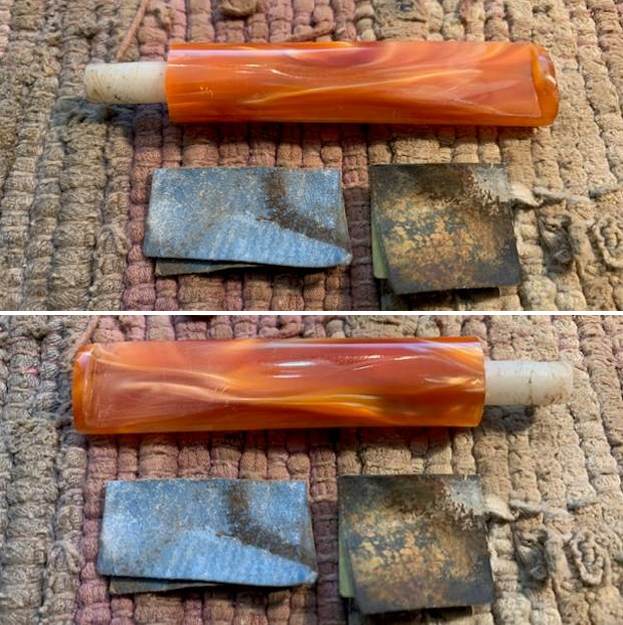 I polished the stem with micromesh sanding pads – dry sanding with 1500-12000 grit pads. I wiped the stem down after each pad with a damp cloth to remove the sanding dust. I used the Before & After Pipe Polish to remove the small minute scratches left in the acrylic. I finished by wiping the stem down with a final coat of Obsidian Oil and set it aside to dry.
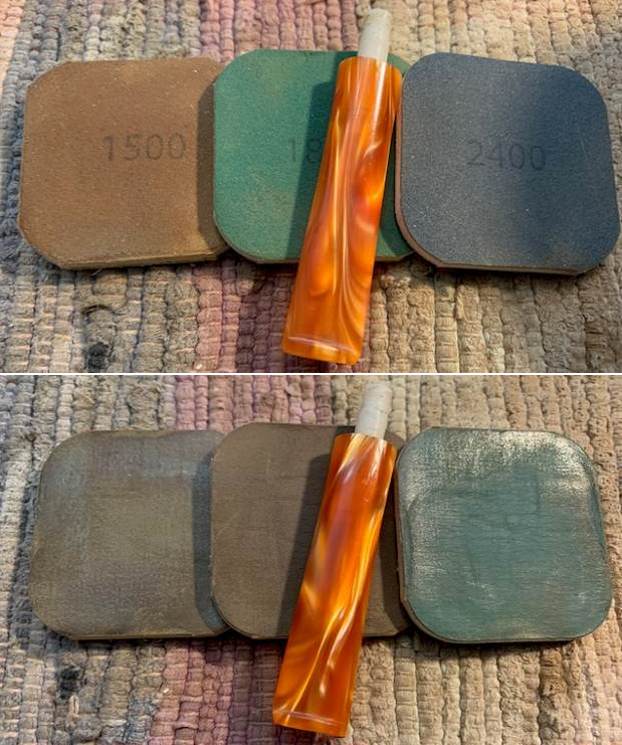
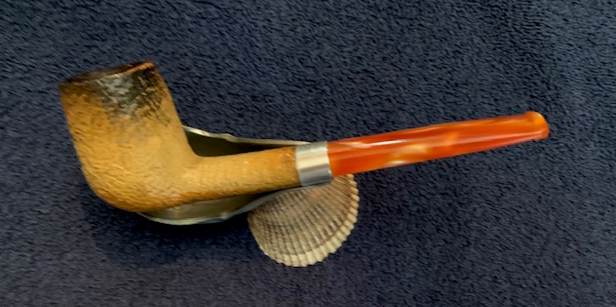
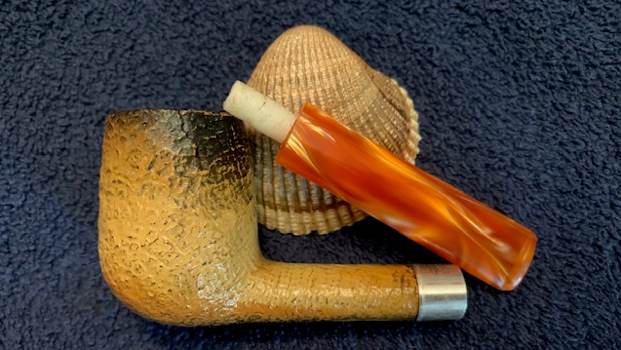
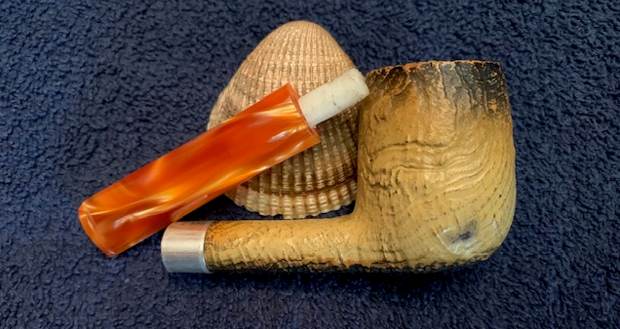
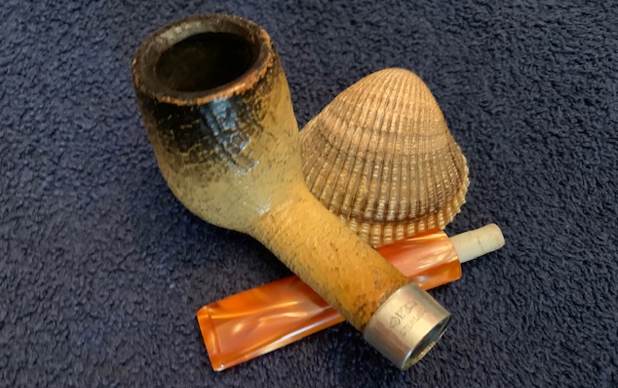
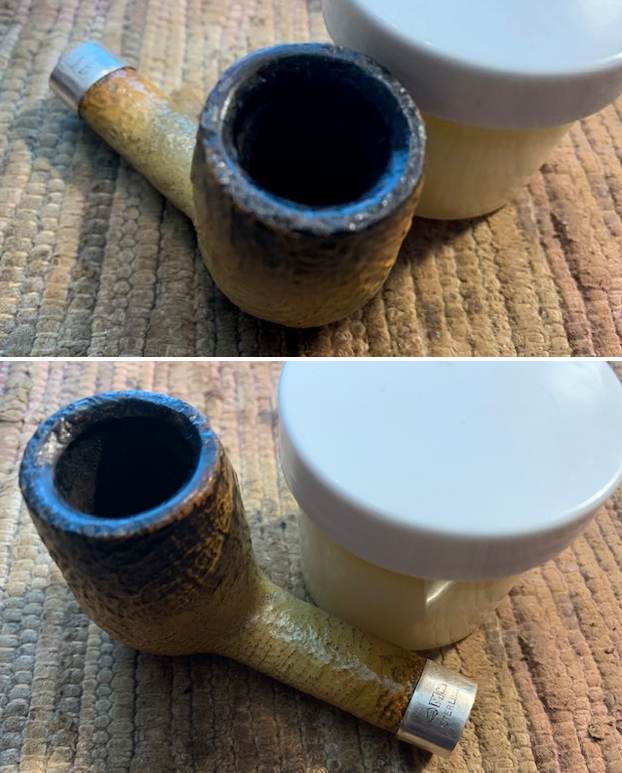
 As usual at this point in the restoration process I am excited to be on the homestretch. I look forward to the final look when it is put back together, polished and waxed. I put the bowl and stem back together. I polished the bowl and stem with a light touch of Blue Diamond on the wheel. I polished the Silver Band with a jeweler’s cloth. I gave the bowl multiple coats of Conservator’s Wax and the stem multiple coats of carnauba wax. I buffed the pipe with a clean buffing pad to raise the shine. I hand buffed it with a microfiber cloth to deepen the shine. The pipe polished up pretty nicely. The sandblast really pops with the wax and polish. The shiny orange variegated acrylic stem is a beautiful contrast to the meerschaum like colour of the bowl and shank. This Nording Nord-Coat Oval Shank 125 Billiard was another fun pipe to work on. The Sterling Silver Band that I added adds a nice contrast between the acrylic stem and the Nord-Coat briar and binds it all together. It really is a quite stunning pipe whose shape follows the flow of the sandblasted briar. The pipe is comfortable pipe to hold in the hand. The finished pipe is shown in the photos below. The dimensions of the pipe are Length: 5 ½ inches, Height: 1 ¾ inches, Outside diameter of the bowl: 1 1/8 inches, Chamber diameter: ¾ of an inch. The weight of the pipe is 1.52 ounces/43 grams. This beautiful pipe will be going online on the rebornpipes soon in the Danish Pipe Makers section. If you want to add it to your collection let me know. Thanks for reading this blog and my reflections on the pipe while I worked on it.