Blog by Kenneth Lieblich
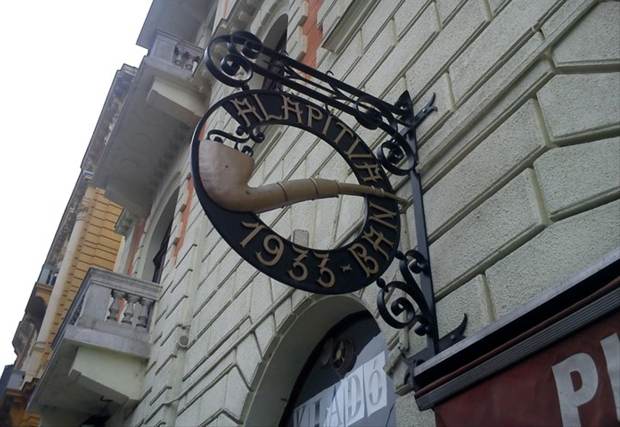
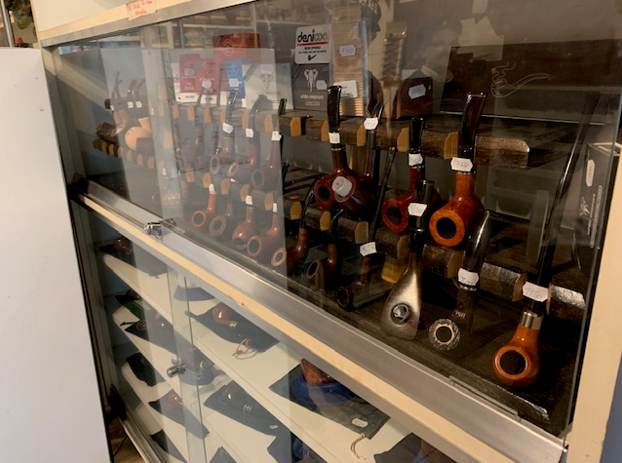
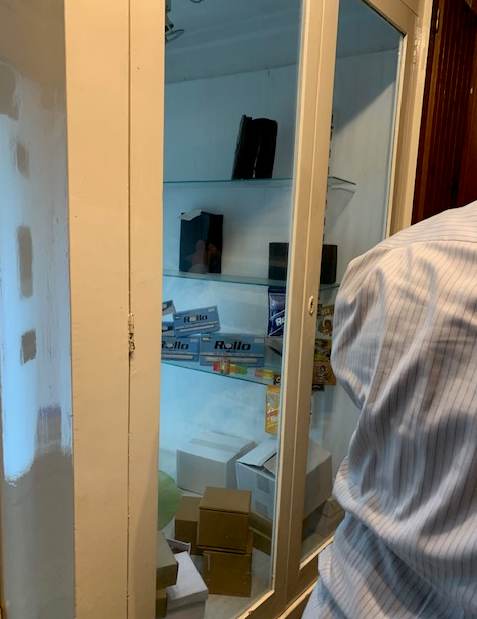
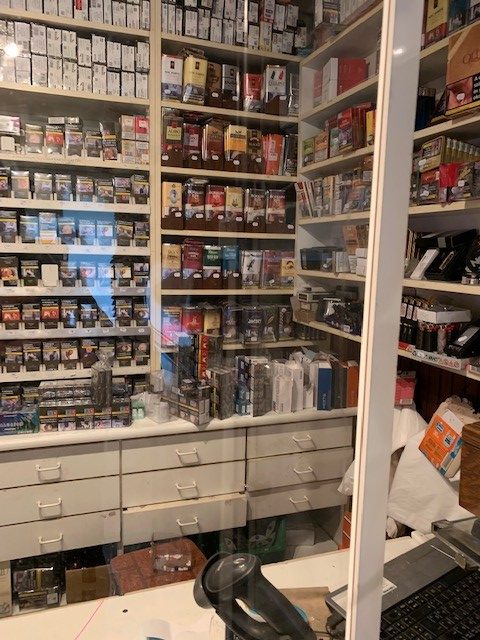
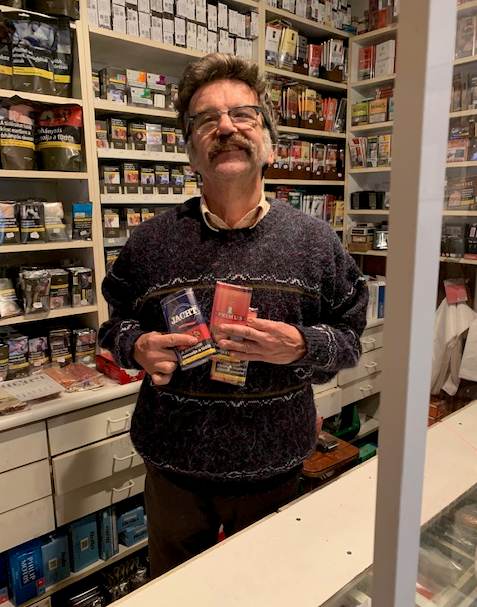
Next on the chopping block is an interesting pipe of Leonard Payne’s making. I acquired this pipe from an “antique” shop in Cloverdale (just outside Vancouver) – although it is doubtful how many genuine antique things were in the shop. Here’s a photo of me in situ, with the pipe.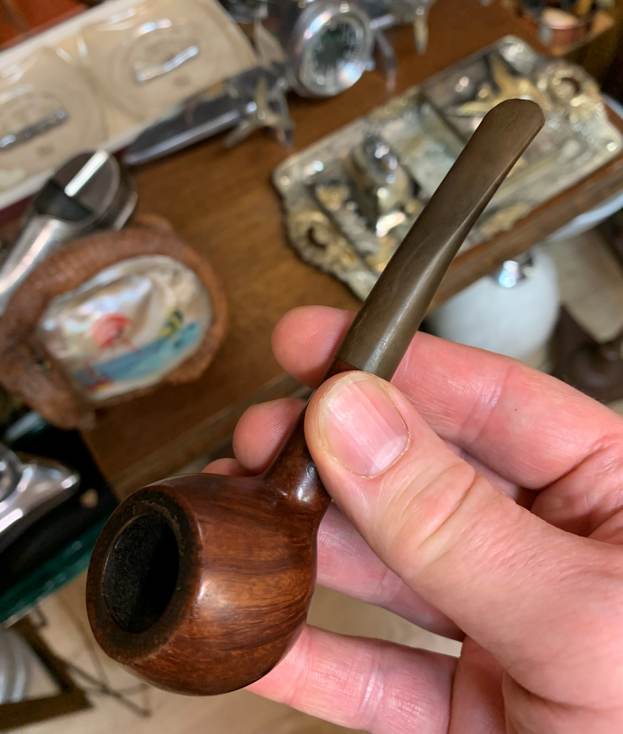 I love the prince shape, and I was excited to work on this pipe. The gentleman who commissioned this pipe is a regular customer of Steve’s, so I was all the more delighted.
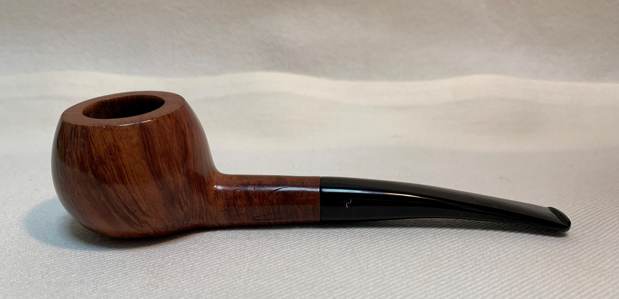
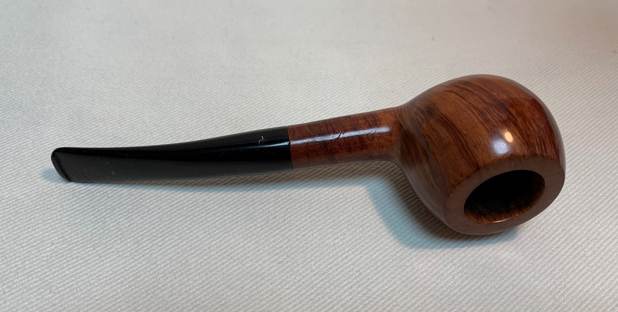
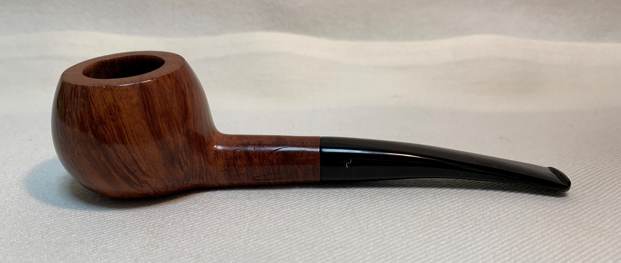
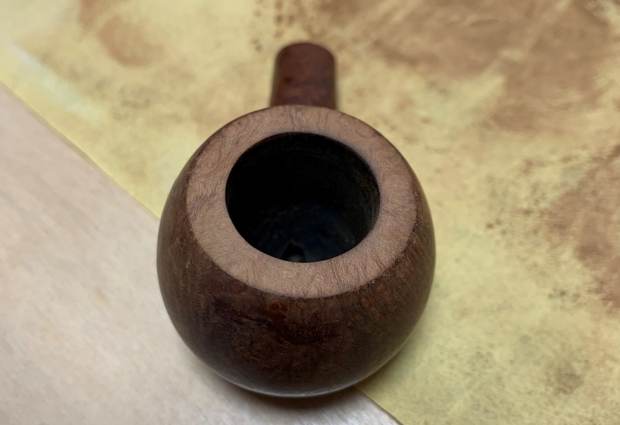
On to the pipe itself! It was certainly a charming pipe, but it was grungy and had an unholy quantity of tooth marks, dents, lava, cake, and just general filth. 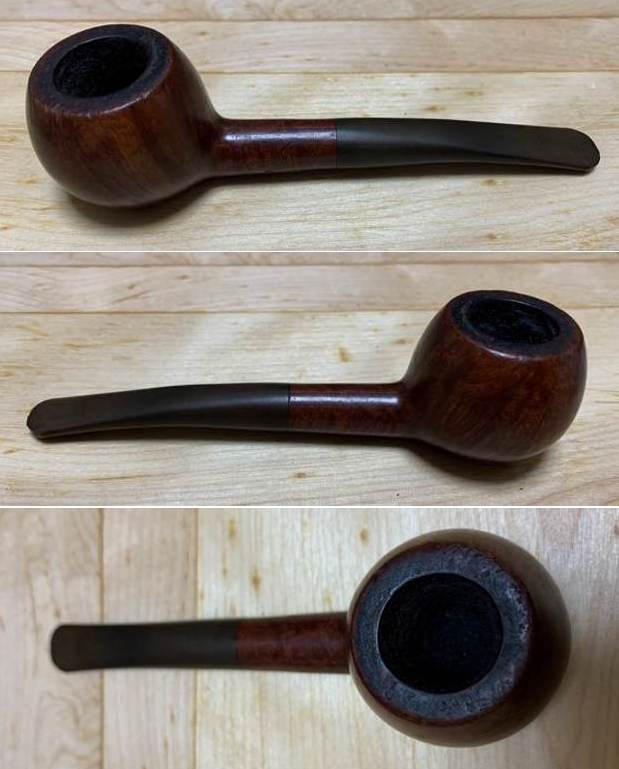
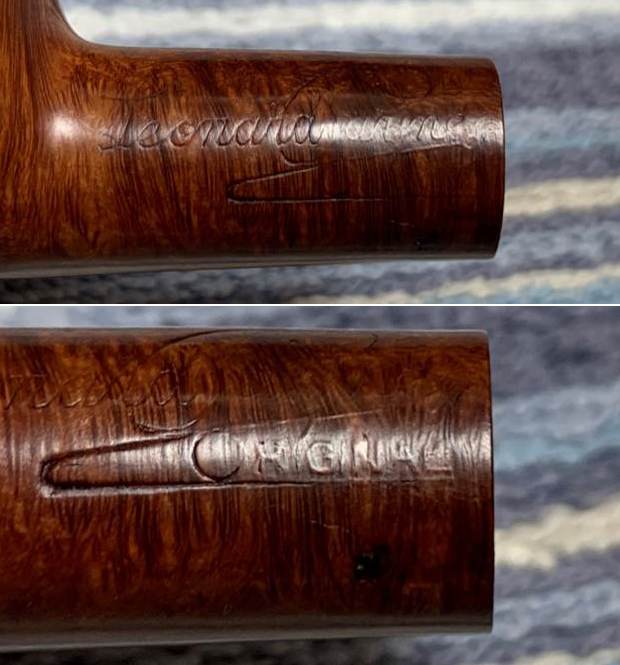
 The markings on the left side of the shank read Leonard Payne [over] Original. On the left side of the stem, there was a faint capital ‘P’.
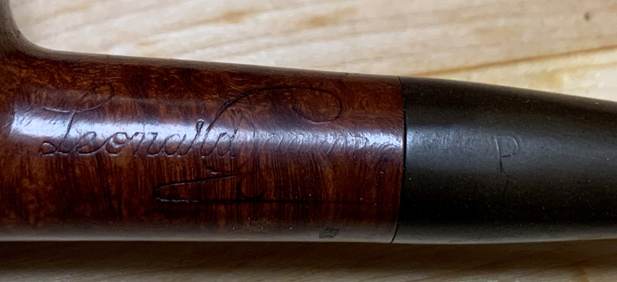 I little while back, I detailed my restoration of another Payne pipe, in a tale I entitled, The Frog Prince. I will repeat the information I wrote there about Leonard Payne. He was born in England, moved to Canada in the 1950s, and died in the Vancouver area within the last few years. Payne was, to put mildly, an idiosyncratic pipe maker. I can do no better than quote Mike Glukler of Briar Blues (found on Pipepedia):
“Leonard Payne was based in B.C. for many years. He came to Canada from England. He had shops in Surrey, B.C. and Kelowna, B.C. Interesting fellow. Gruff as the day is long. When you bought a pipe, it was handed to you in a paper bag. No sock, no box. Most of his pipes carried a ‘carburetor’ system at the shank/stem junction. Another Payne idea was his shanks. Almost all his pipes were two pieces. He’d turn the bowl and shank, then cut off the shank and reattach with glue (not always with the same piece of briar, so many did not match grains). His thinking was that the shank being the weakest link, if cut and glued would never break and thus ‘correcting’ the weakest link”. In addition, there was a photograph that Steve found of Payne on Reddit that appears to date from the 1960s. The original poster on Reddit told me that the photo comes from the City of Surrey archives. I have no idea why it is in French (or why it’s in the Surrey archives), but here is my translation of the text on the right:
“Pipe makers are not on every street corner in Canada! Leonard Payne, originally from England, didn’t know the challenges he would face and that’s probably what influenced his decision to come and try his luck in Canada. After his arrival in 1957, he and his family settled in Vancouver, where he first found work as a tool maker – and made pipes in his free time. In 1959, he decided to become a full-time pipe maker, and since then he has had department stores in all parts of Canada among his clients. He imports briar blocks from Italy and pipe stems from England.”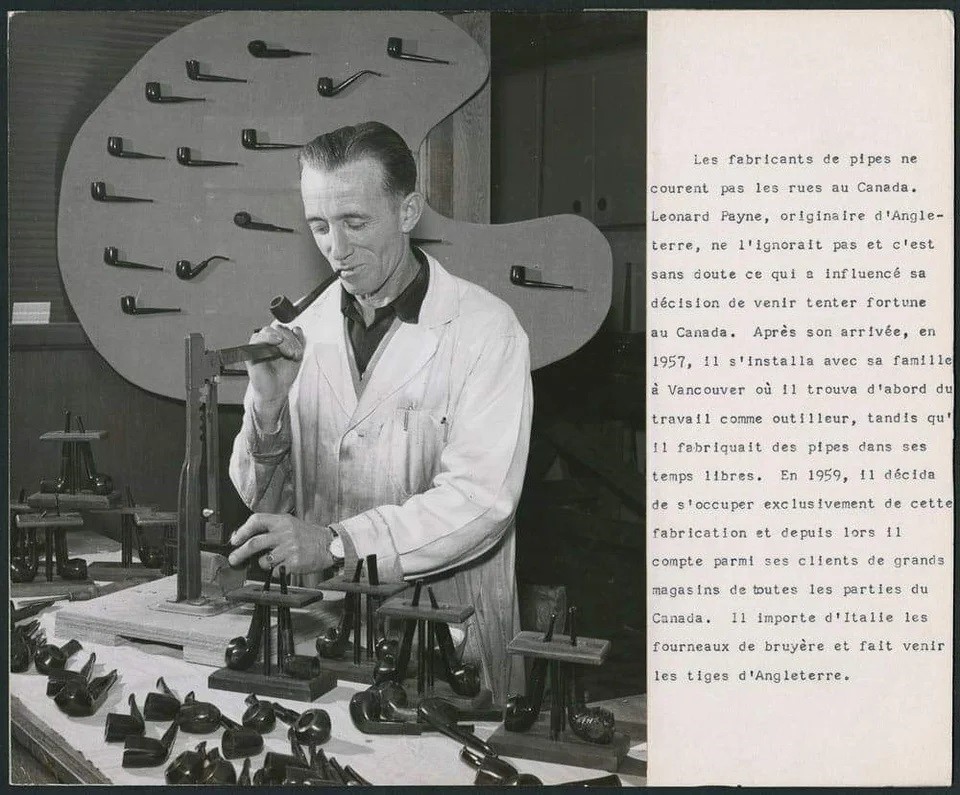 My customer selected this pipe because (a) he wanted a prince manufactured by Leonard Payne, and (b) he wanted a Payne that didn’t have a carburetor system or the reattached shank. Providentially, this pipe fit the bill on all counts.
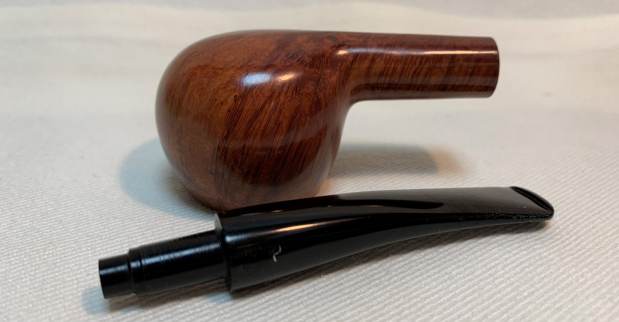
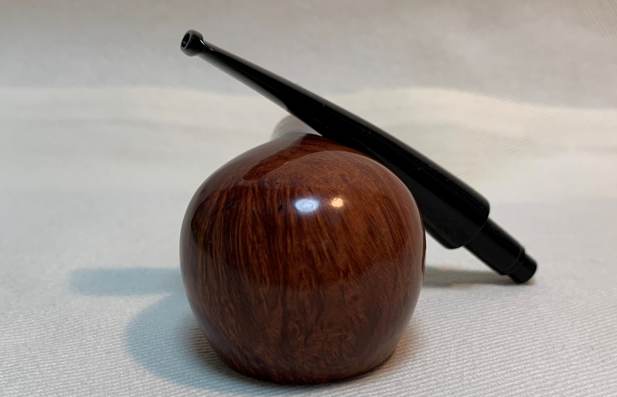
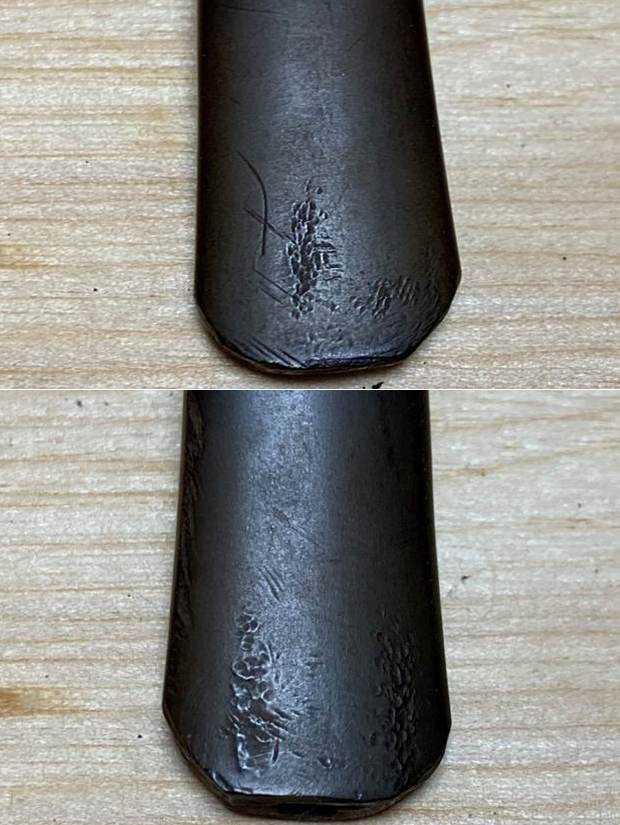
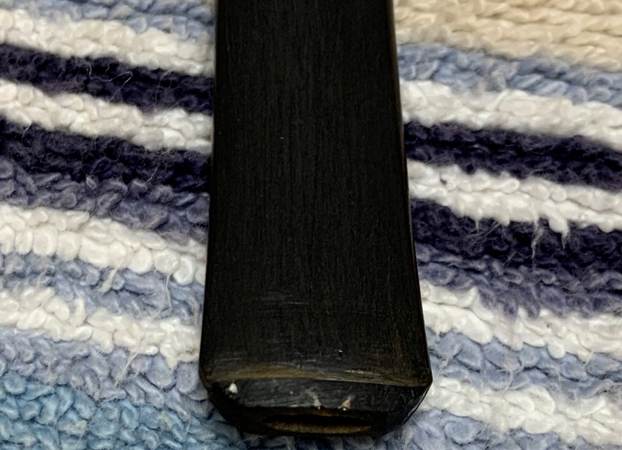
The stem on this pipe was in decent shape, with a small draught hole. But most remarkably, the button had been decapitated or stolen by a goblin. At any rate, the button was not there, and I knew that I would have quite a job on my hands. 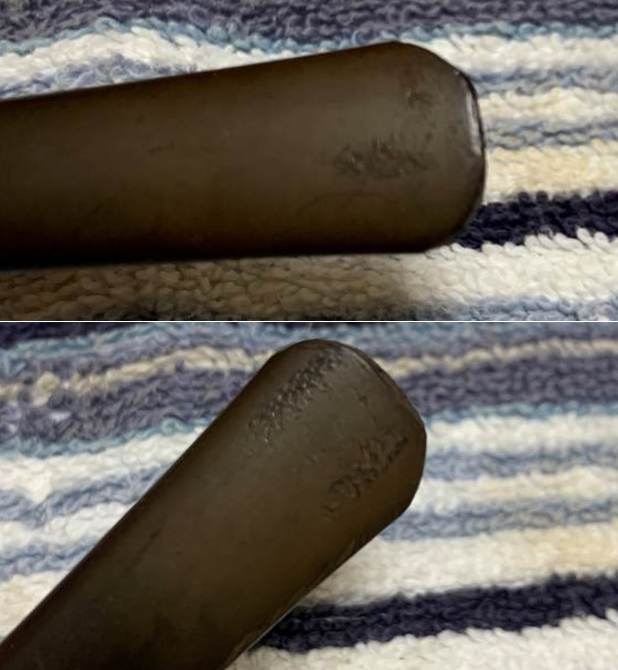 Well, to work! I briefly considered finding a new stem for this pipe, but I believed I should try to work with the original parts before seeking a different solution. So, first on the list was constructing a new button for this pipe. I started by sanding off the end of the stem with some 220-grit sandpaper to smooth out the bottom. In order to fashion a new button, I needed to minimize the rounding on the end of the stem and make the face even.
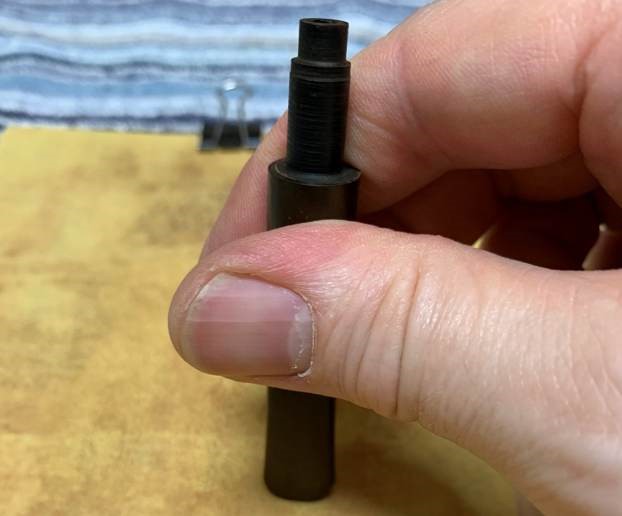
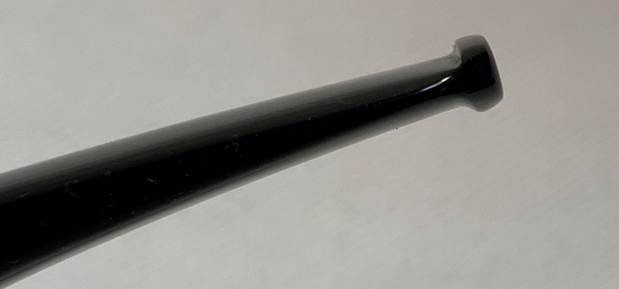
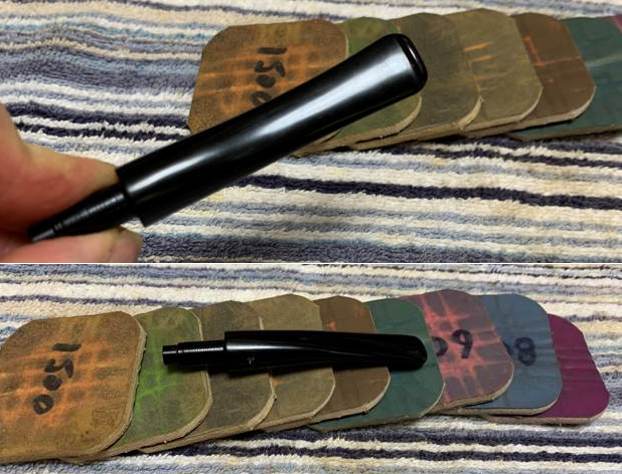
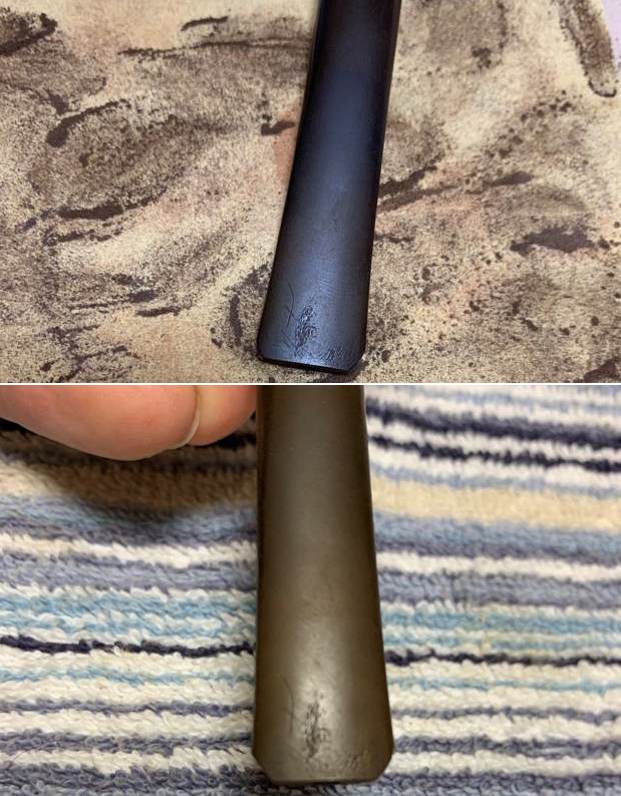 Then I took out some small files and began cutting into the vulcanite, carving out a new button. This was a tricky business and it took some real patience and effort to make it work. After much nerve-wracking work, I had successfully carved out a new button and smoothed it with files and sandpaper. The following is a tedious series of photos showing the progress of the stem!
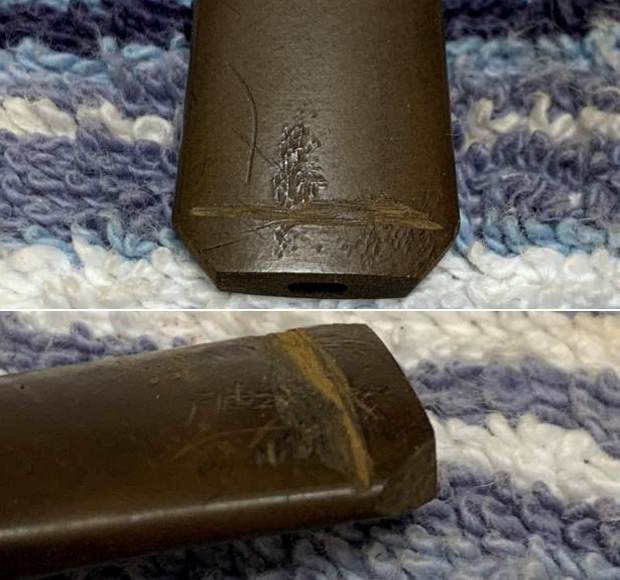
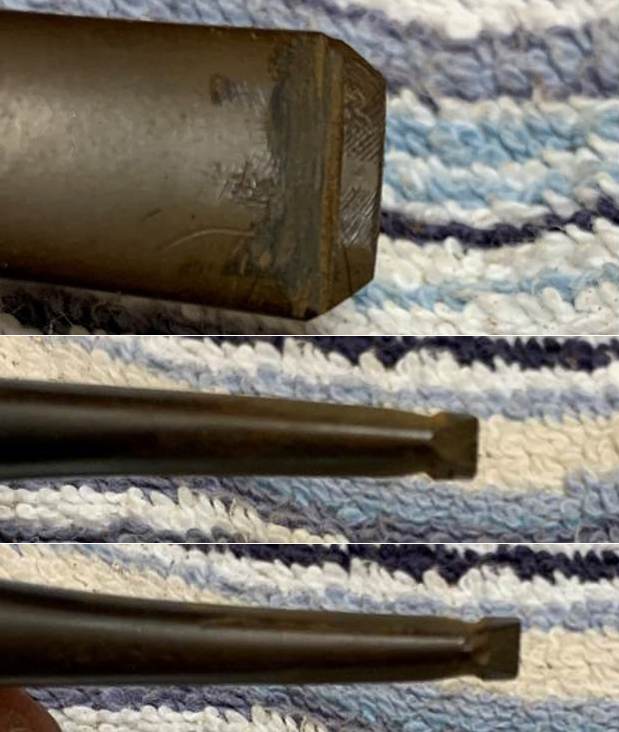
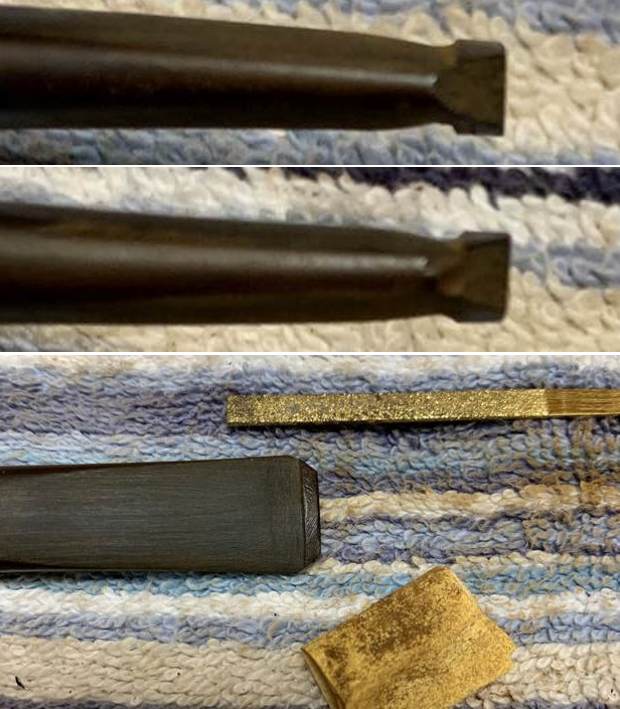


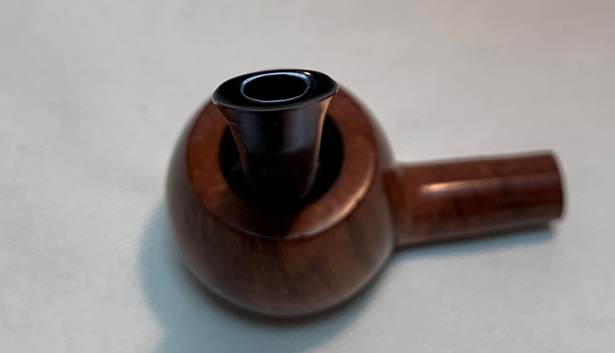
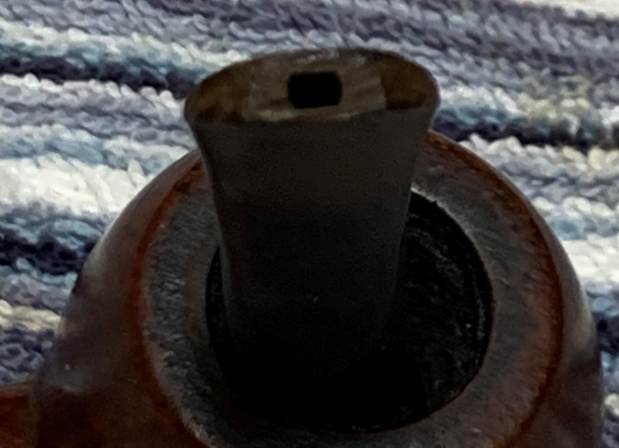
 Next, I used a thin file to widen the draught hole. The end result is better than what these photos show.
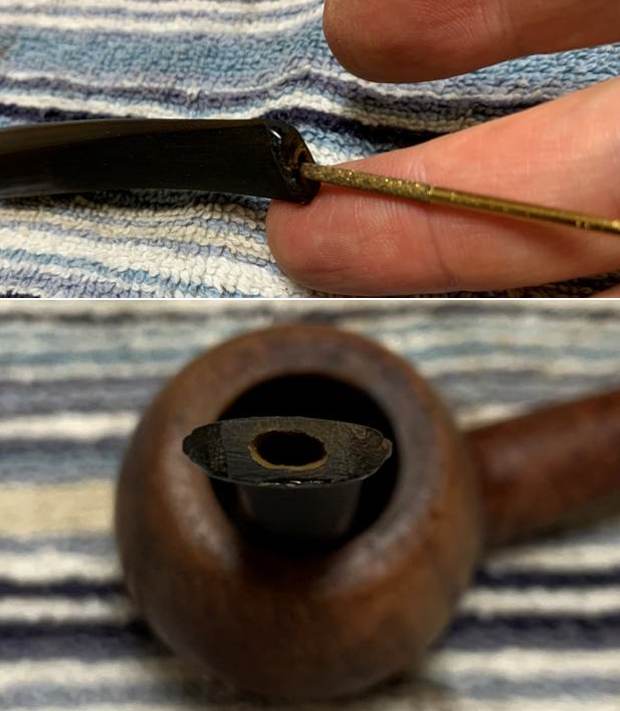
 Finally, I could move on to the regular cleaning procedures for the stem. First, I cleaned out the inside with pipe cleaners and isopropyl alcohol. Fortunately, it wasn’t overly dirty, and it only needed a handful of pipe cleaners.
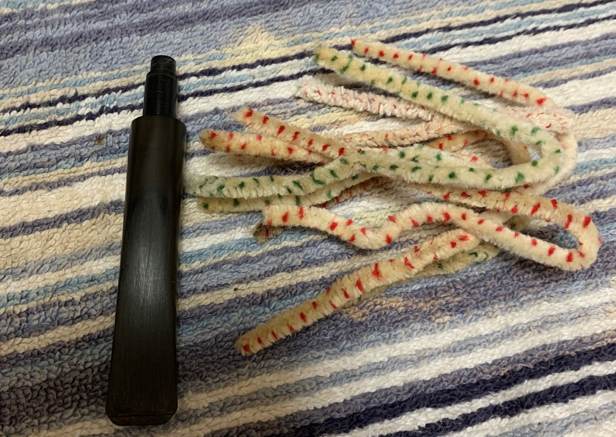 Then, I wiped down the stem with SoftScrub, before sending it off for a bath in the Pipe Stem Oxidation Remover.
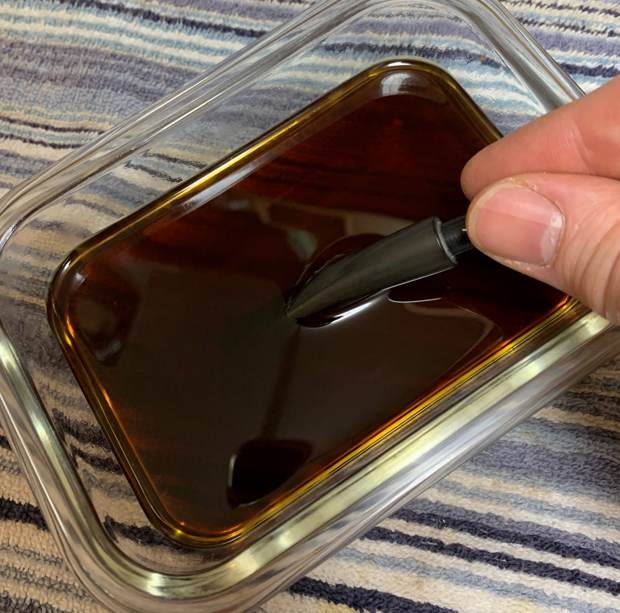
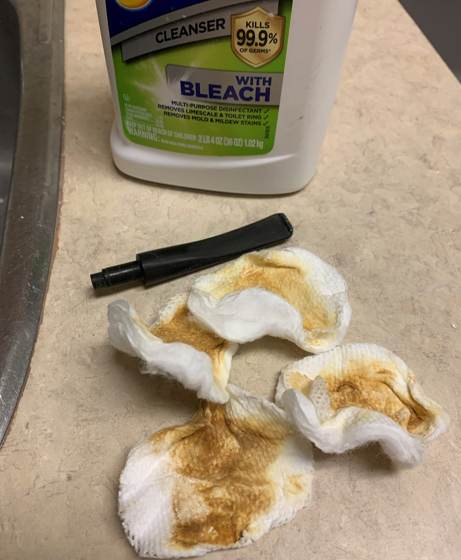
 The following day, I cleaned all of the de-oxidizing mess off with alcohol, pipe cleaners, et cetera. The oxidation had migrated to the surface and I could easily remove it. Then I scrubbed with more SoftScrub on some cotton pads to remove the leftover oxidation.
  After this, I used nail polish to restore the logo on the stem. I painted the area carefully and let it fully set before proceeding. I worried that this wouldn’t work, as the ‘P’ was so faint. Fortunately, I ended up being wrong and some of the ‘P’ came back to life.
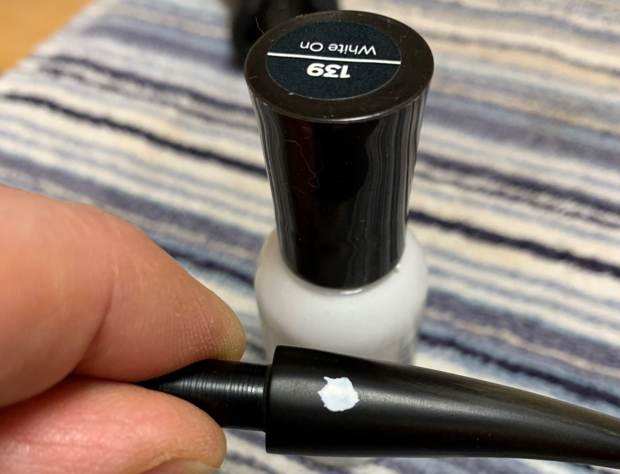 I then used all nine Micromesh pads (1,500 through 12,000 grit) to bring out the lovely black lustre on the stem. I also used Obsidian Pipe Stem Oil in between each pad scrubbing. Hey – this looks like a real stem! I’m quite pleased with how it turned out. I always want to use the original parts of a pipe, if possible, and I’m glad this worked.
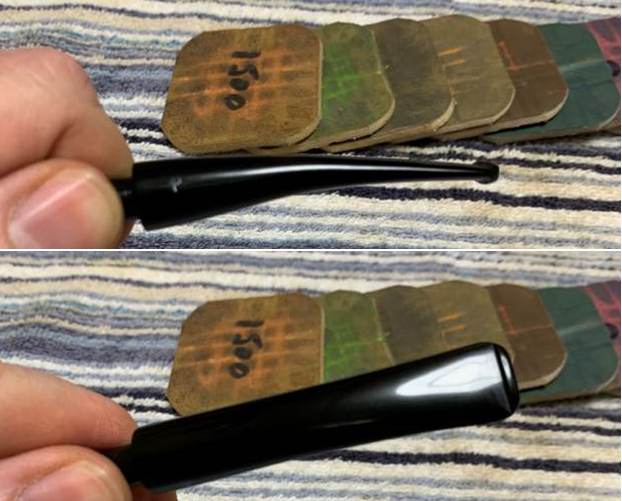
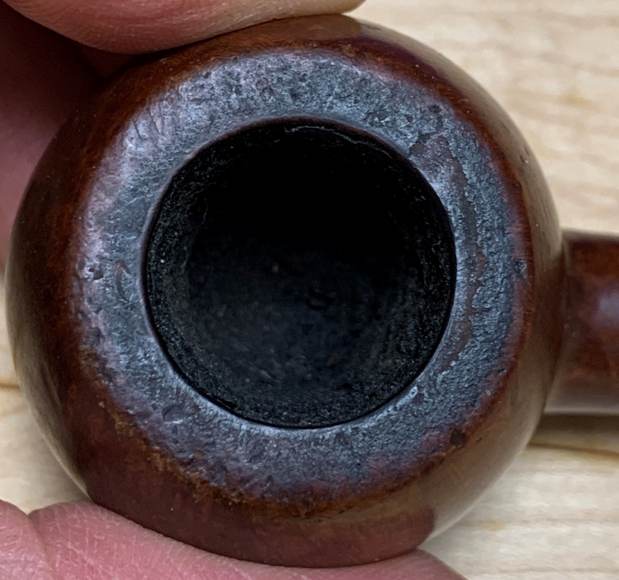
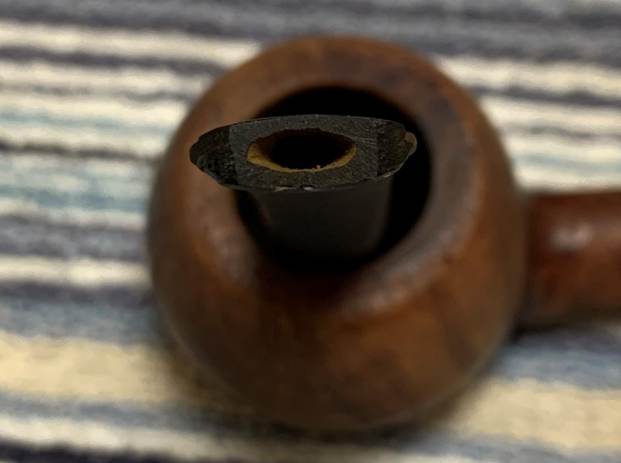
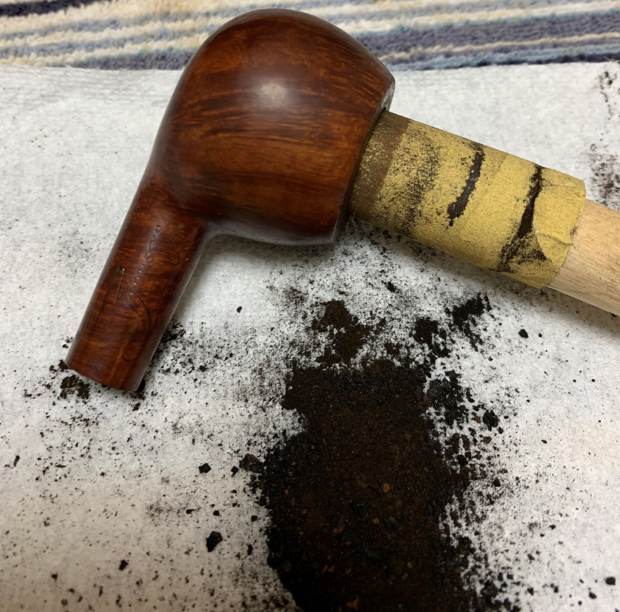
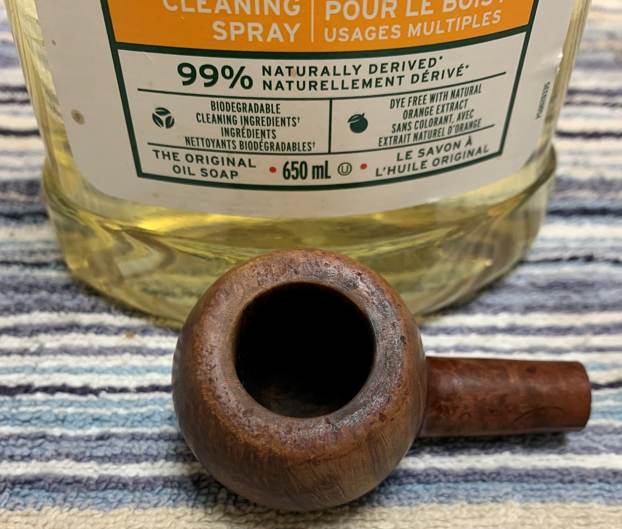
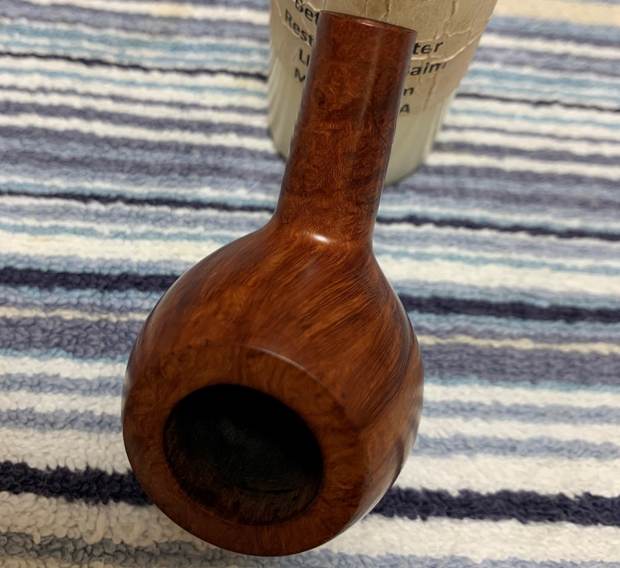
 Setting the stem aside, I moved on to the bowl. I started by reaming it out. I used the PipNet Reamer and the KleenReem to remove the built-up cake inside and followed that with 220-grit sandpaper taped to a dowel to eliminate as much as I could. I took the chamber down to bare briar, as I wanted to ensure there were no hidden flaws in the wall. Fortunately, there were none.
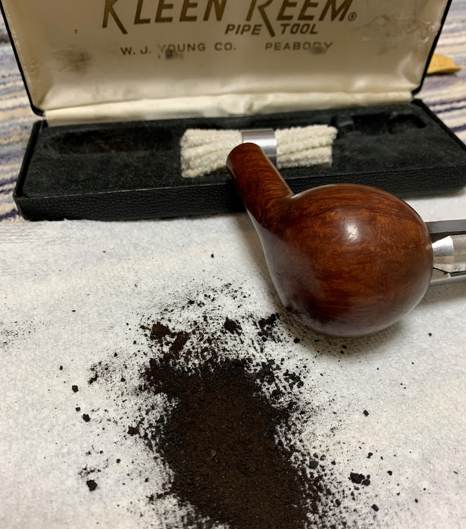
 After that, I used cotton rounds and some Murphy’s Oil Soap to scrub the outside of the stummel and a toothbrush with Murphy’s for the lava on the rim of the pipe. Oddly, there appeared to be shiny bits of a previous coating on the stummel, left over from some other time; I figured my sanding would remove these marks, so I ignored them for the time being.
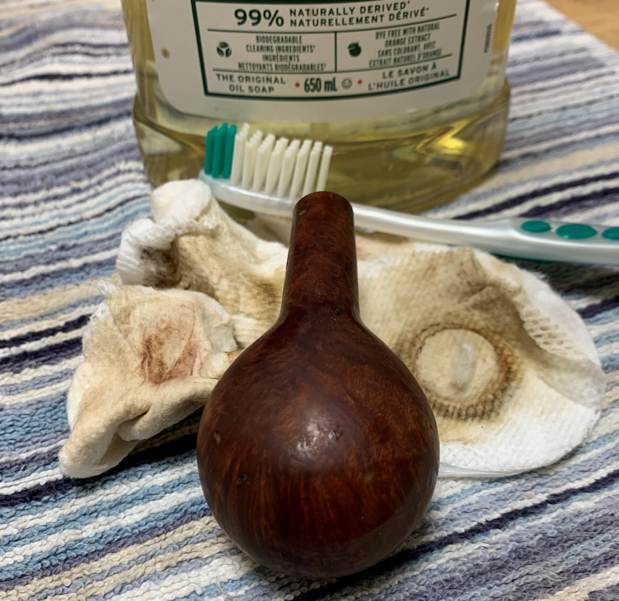
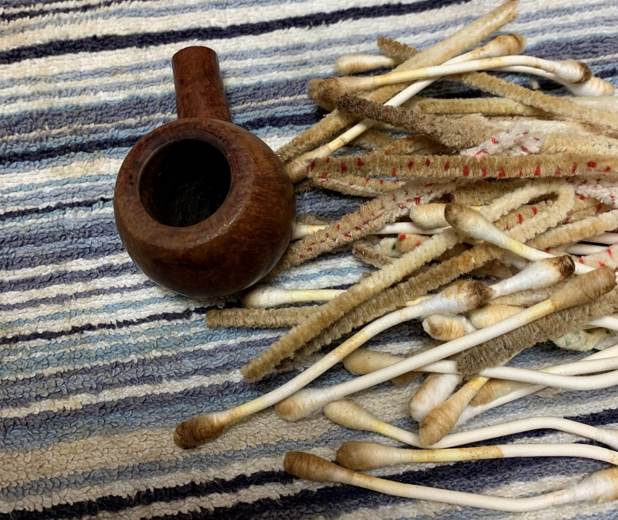
 I then proceeded to clean out the insides of the shank with Q-tips, pipe cleaners, and lemon-infused isopropyl alcohol. There was quite a bit of filth inside this stummel and it took a fair amount of cotton to get it clean. I followed that up by cleaning the insides with some dish soap and tube brushes.
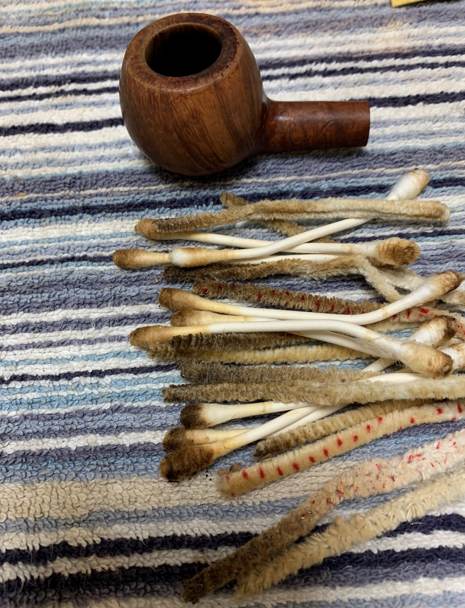
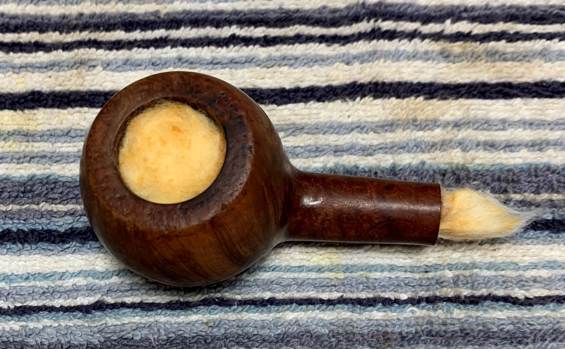
 Next, I decided to de-ghost the pipe to remove any lingering smells of the past. I thrust cotton balls into the bowl and the shank and saturated them with 99% isopropyl alcohol. I let the stummel sit overnight. This caused any remaining oils, tars and smells to leach out into the cotton. The bowl was nice and clean after this. Here are the “before” and “after” photos:
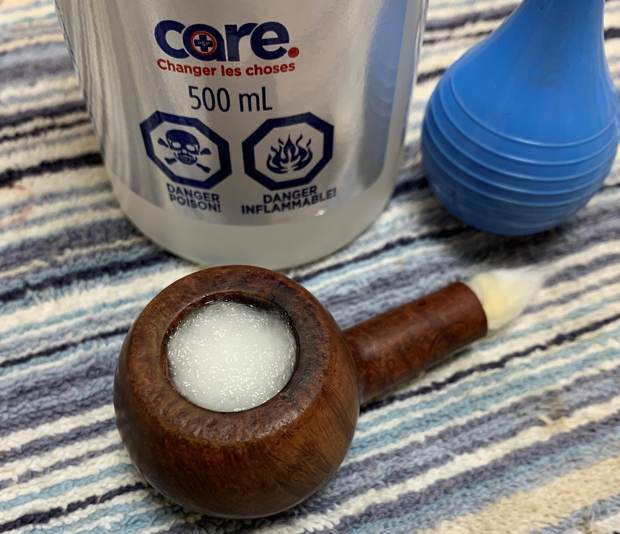
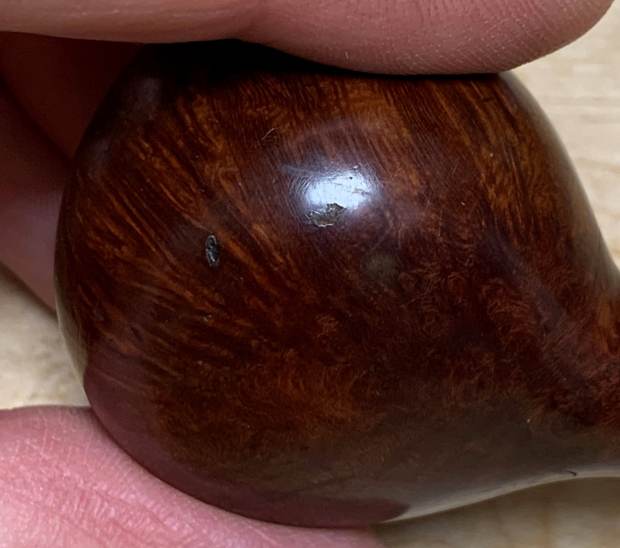
 Having completed that, I was able to address the small nicks on the rim and the bowl. I dug out my iron and a damp cloth to try to raise the nicks. The hot and moist steam can often cause the wood to swell slightly and return to shape. There was some movement – not a lot, but it was better than doing nothing. The repair was not perfect, but the remaining scratches would be improved by sanding.
 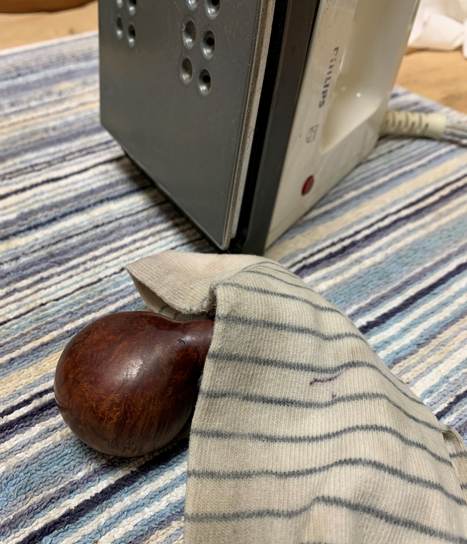 To remove the remaining burns and nicks on the rim, I “topped” the pipe – that is to say, I gently and evenly sanded down the rim on a piece of 220-grit sandpaper. This effectively removed the damage, without altering the look of the pipe.
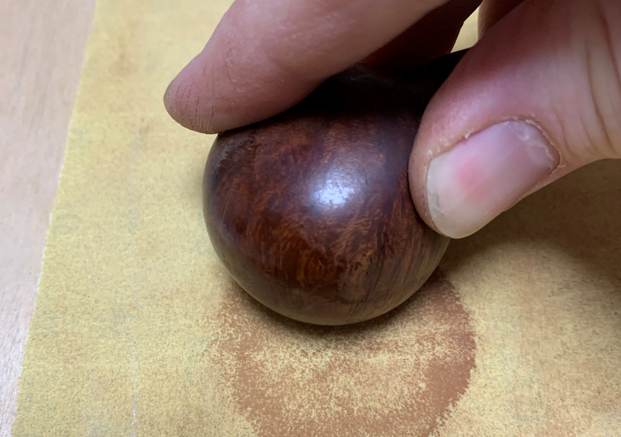
 After this, I used all nine Micromesh pads (1,500 through 12,000 grit) to remove the frustrating scratches in the wood and make everything smooth.
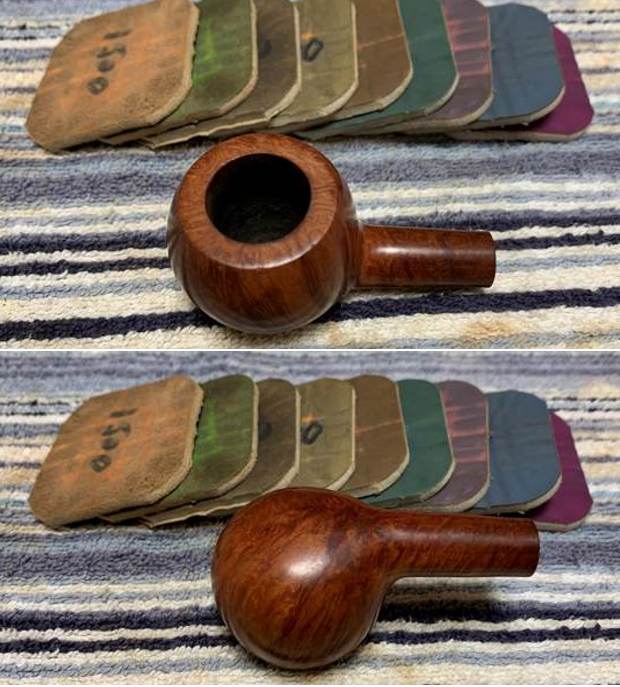
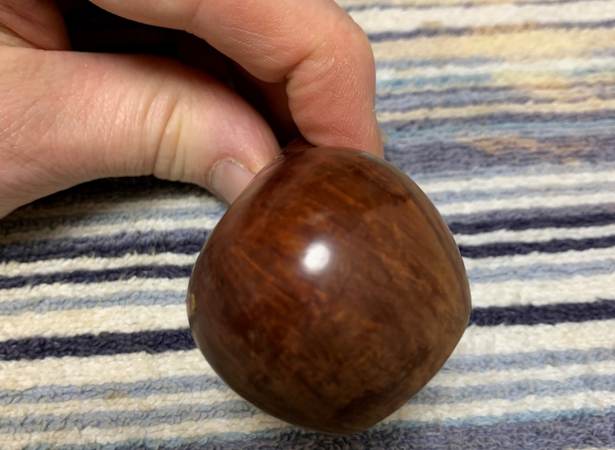
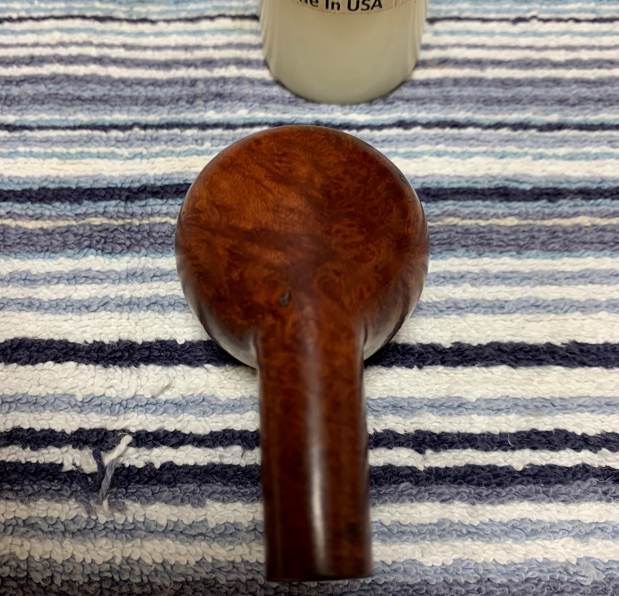
 Additionally, a light application of Before & After Restoration Balm brought out the best in the stummel’s grain.
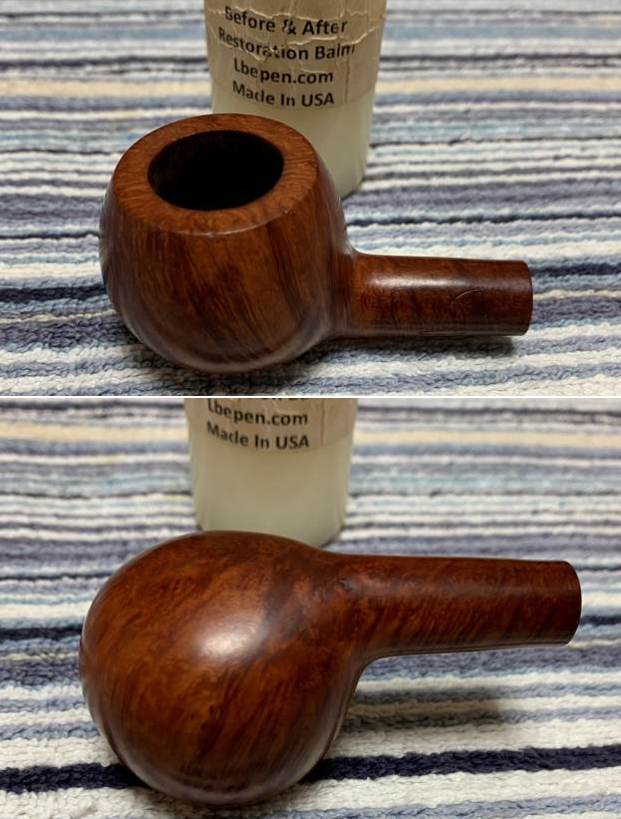
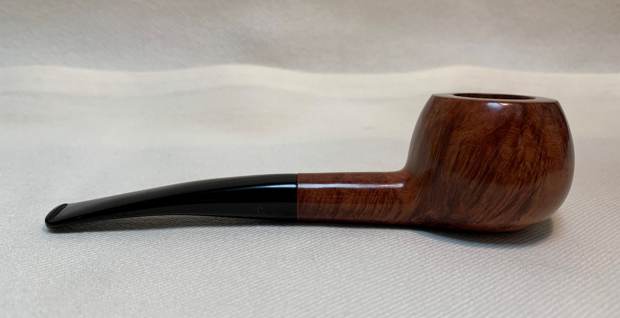
 At the buffer, a dose of White Diamond and a few coats of carnauba wax were just what this pipe needed. The lovely shine made the wood look beautiful. I am pleased with this pipe – it was tricky work, but thoroughly enjoyable for me. Best of all, I know that the new owner will enjoy it for many years to come. I hope you enjoyed reading the story of this pipe as much I as I did restoring it. If you are interested in more of my work, please follow me here on Steve’s website or email me directly at kenneth@knightsofthepipe.com. Thank you very much for reading and, as always, I welcome and encourage your comments.