Blog by Steve Laug
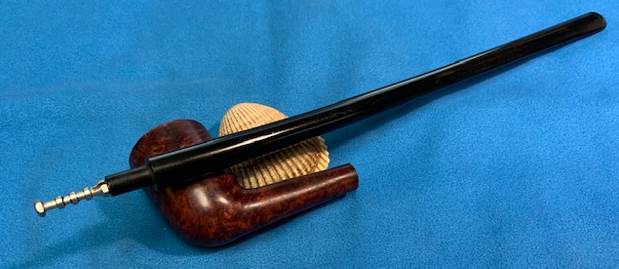
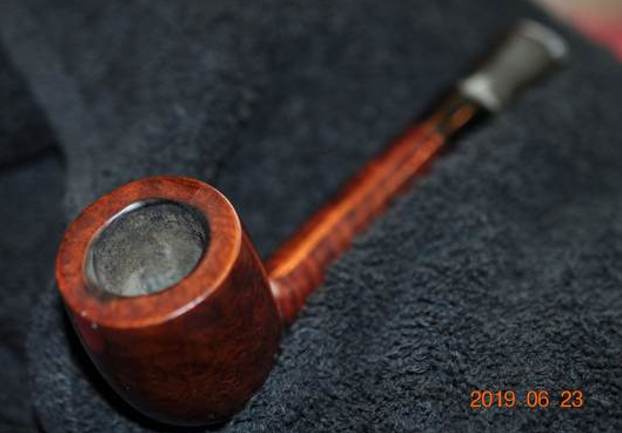
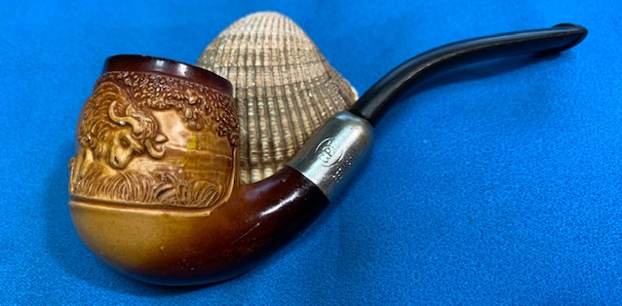
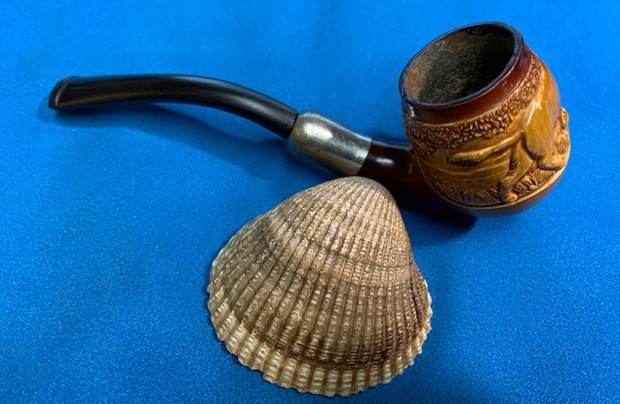
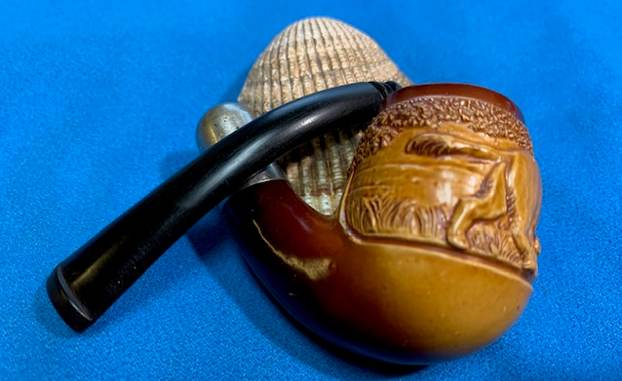
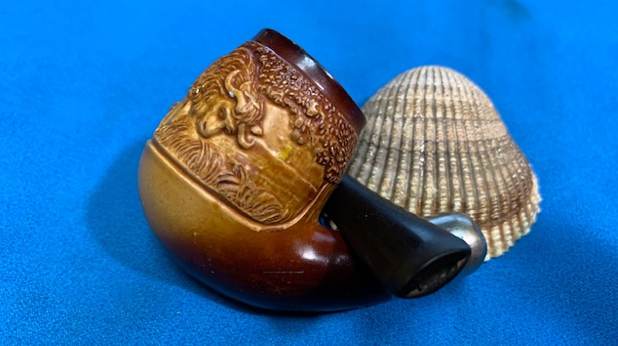
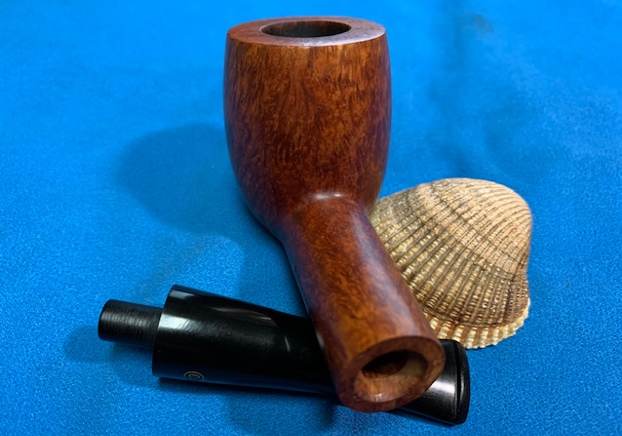
The next pipe on the table was purchased off eBay on 11/16/2017 from Chesapeake, Virginia, USA. I think what captured Jeff was what he read on the paper wrapper around the pipe. It read as follows: The pipe belonged to W.W. Hallbrook (Wales). Janet’s father – died 5/1/37 in Oil City, PA. That alone attaches a story to the pipe. It also provides a date for the pipe – pre-1937. The pipe was a Dublin with a long straight stem. The finish had a peeling, worn varnish coat over a dark oxblood stain. The bowl had a thick cake and a thick coating of lava on the rim top. The stem had some tooth chatter and marks on both sides near the button. It was heavily oxidized along the entire length. Jeff took photos of the pipe when he unpacked it and before he started his clean up work. It is a charming pipe with an interesting journey. I wish it could talk and tell us the story of its journey from Italy to Wales and then to Oil City, Pennsylvania, USA. From there it traveled to Idaho Falls, Idaho and then to Vancouver, British Columbia, Canada.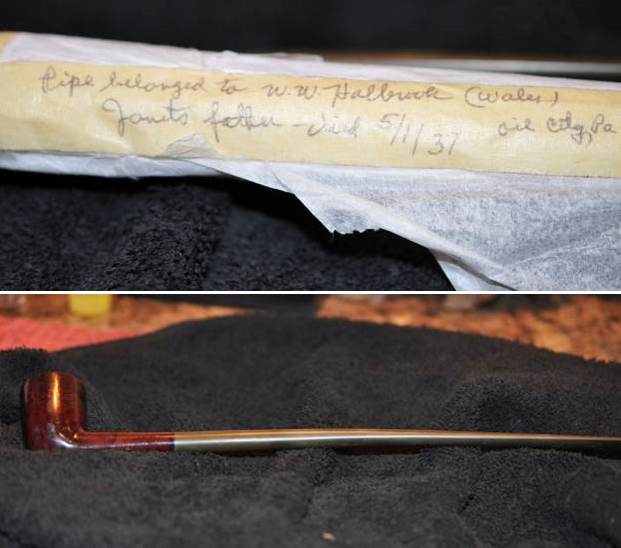
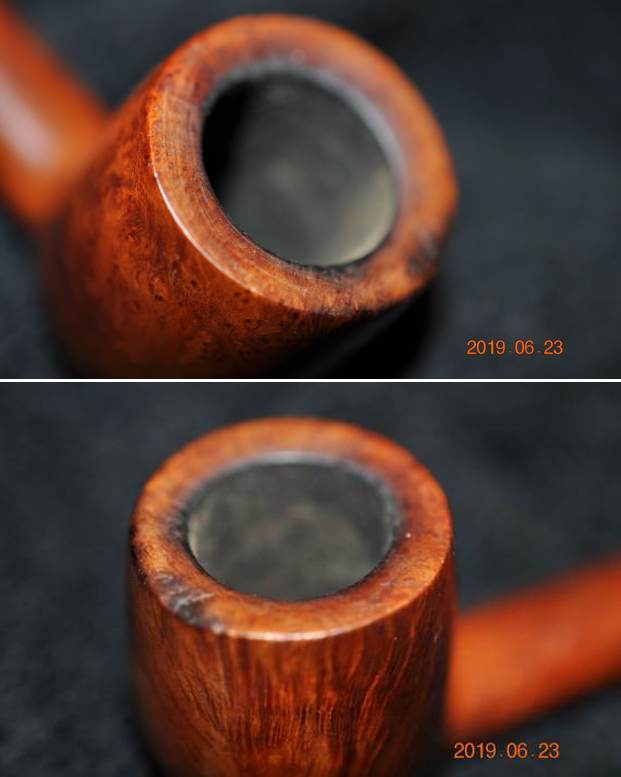
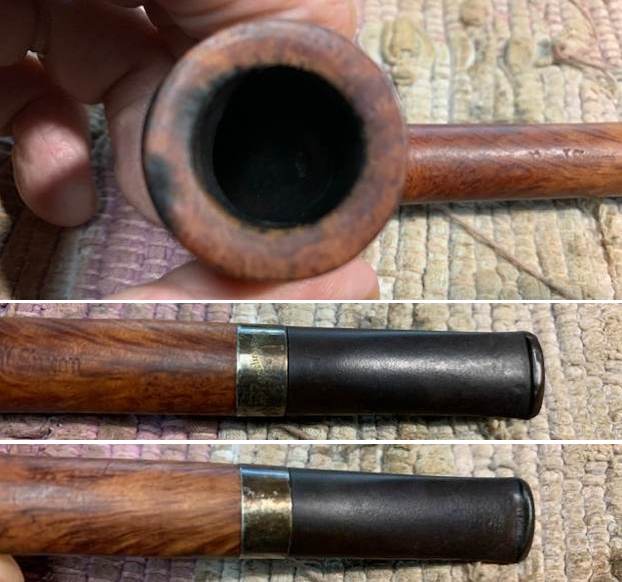
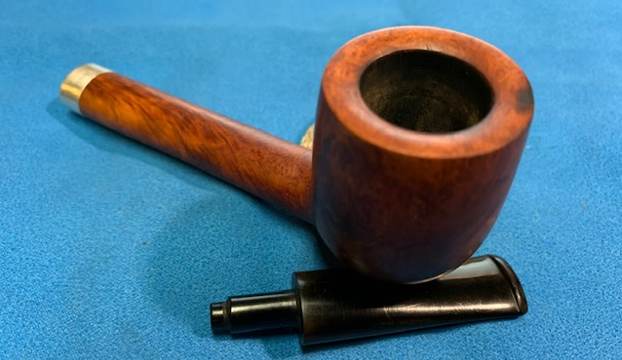
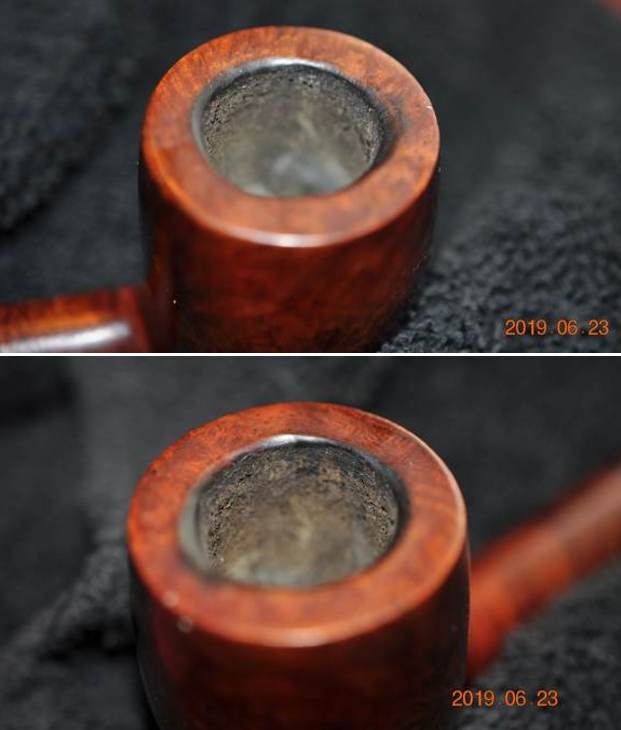
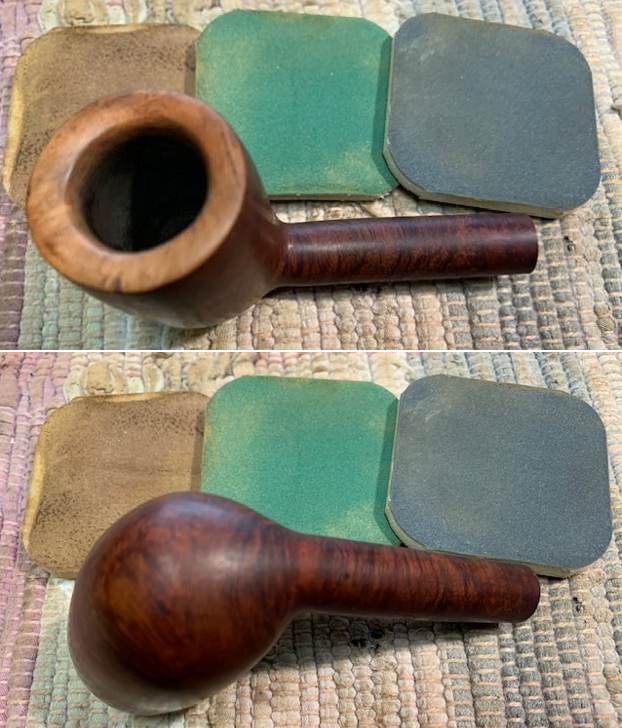
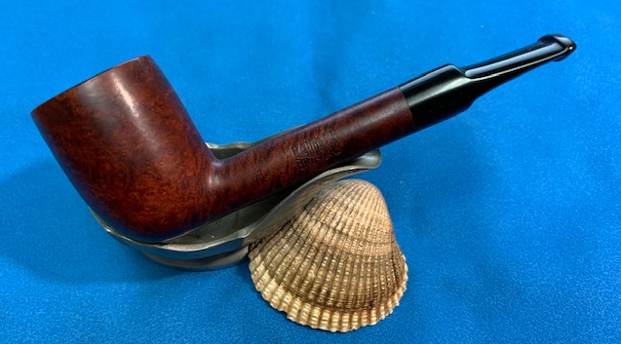
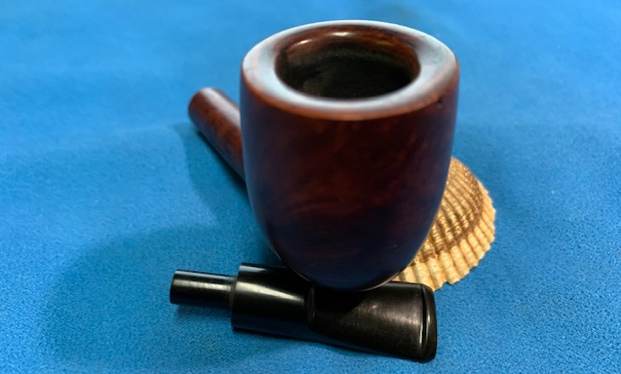
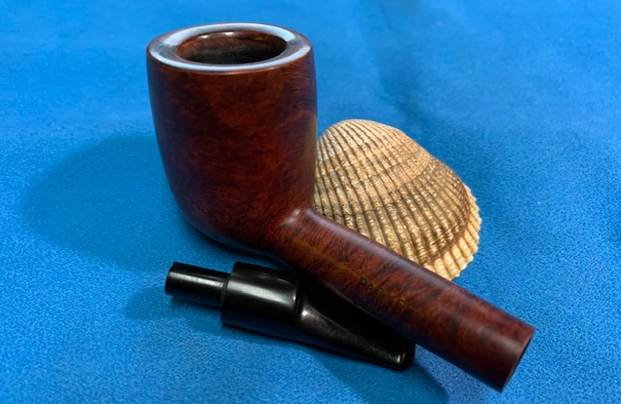
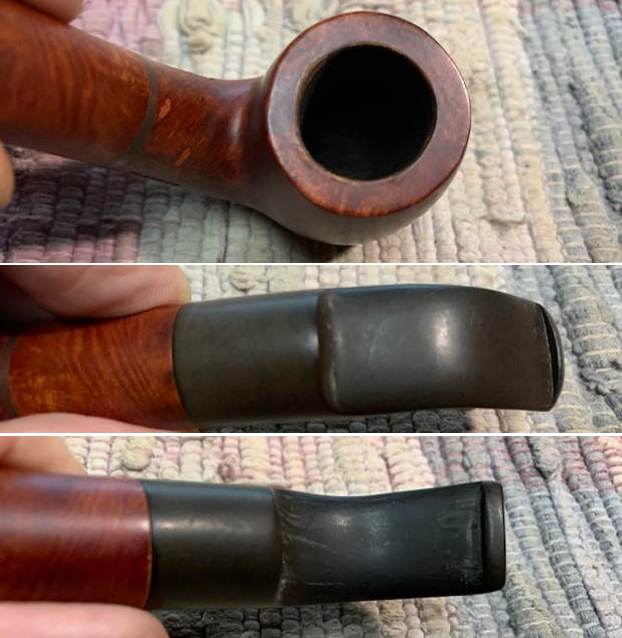
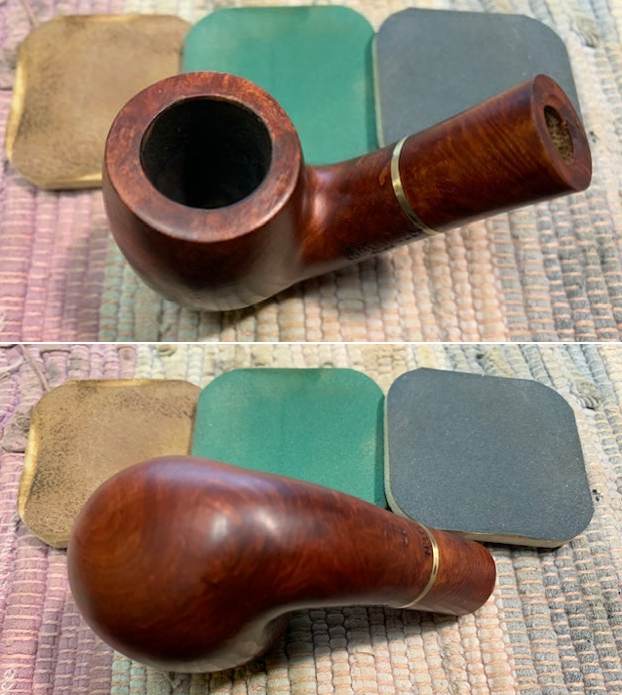
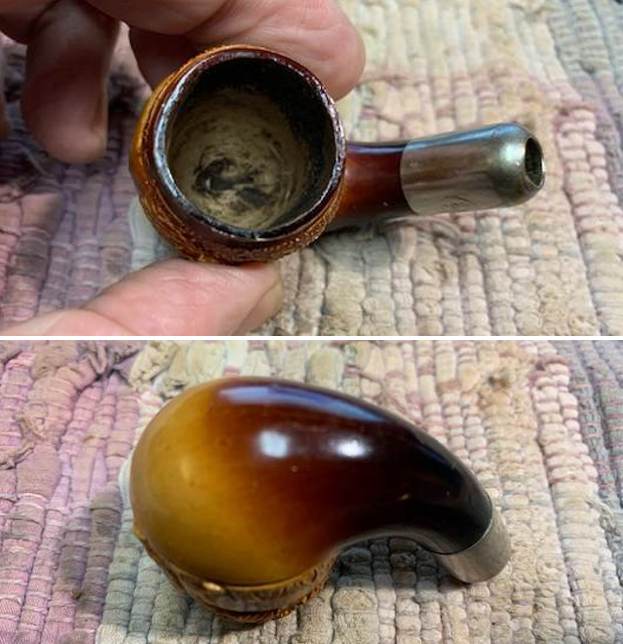
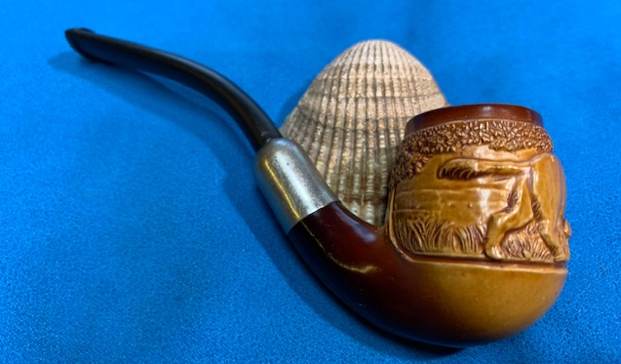
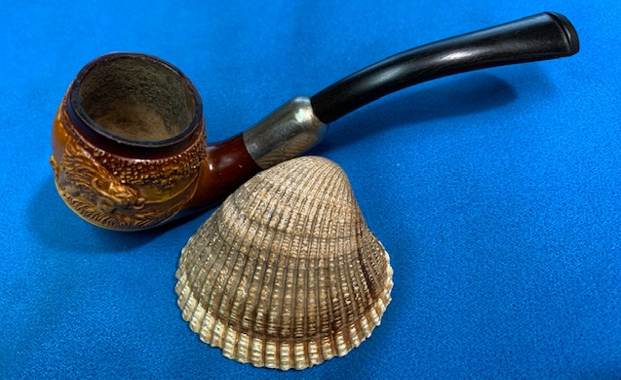
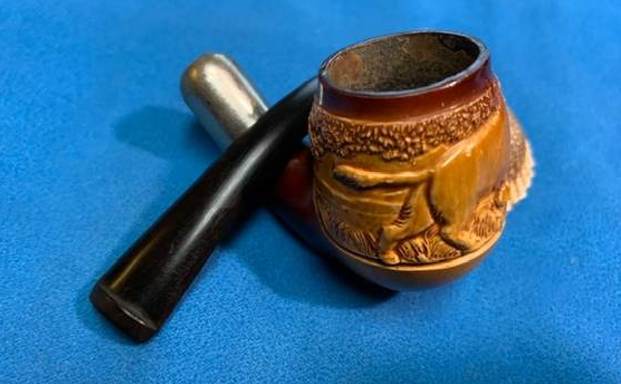
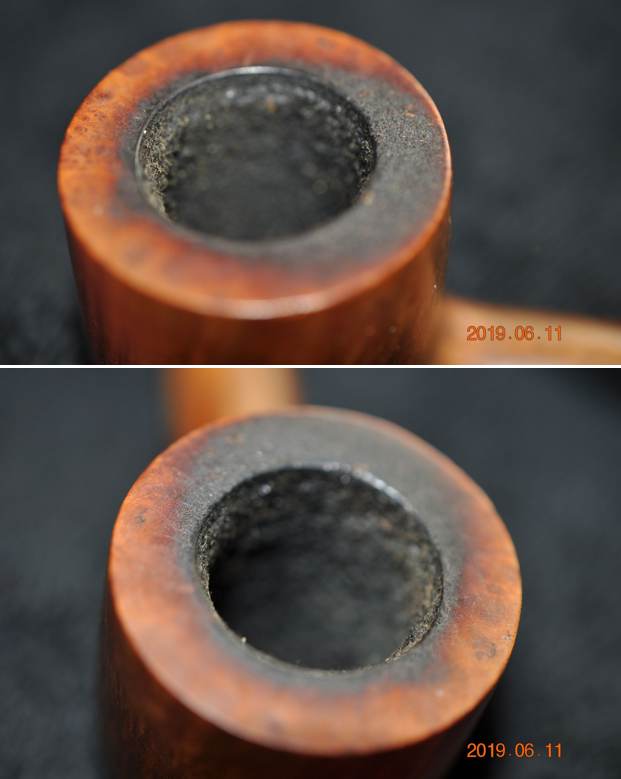
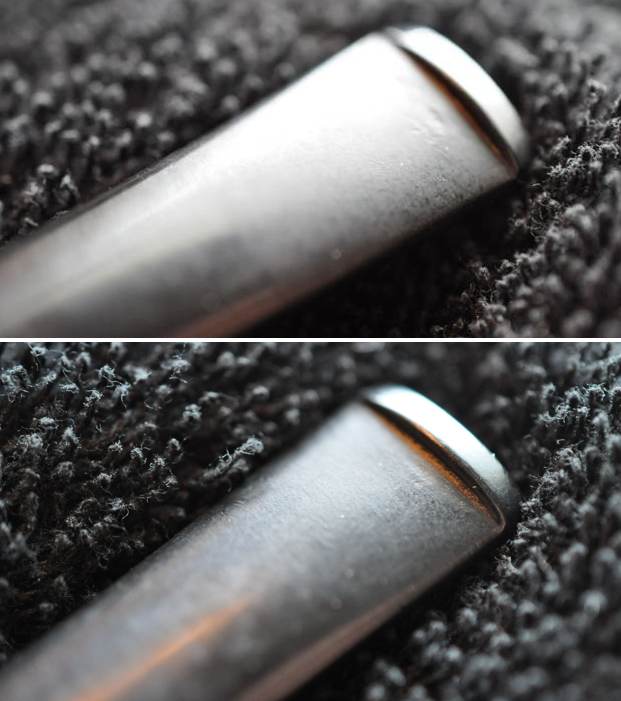
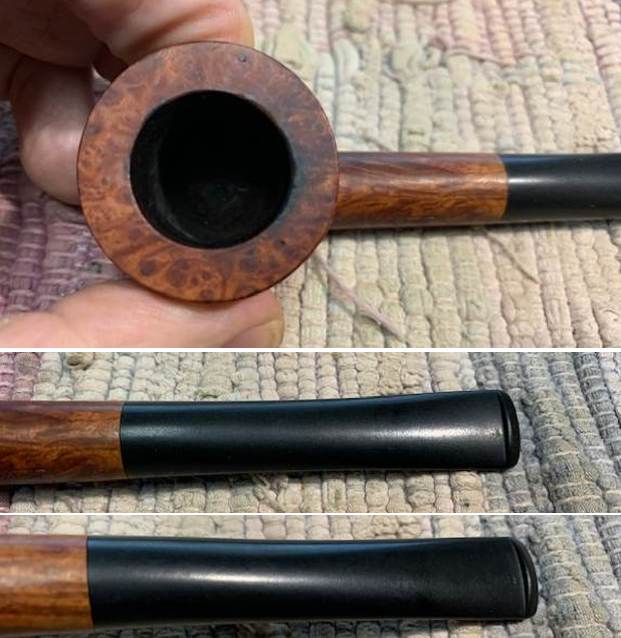
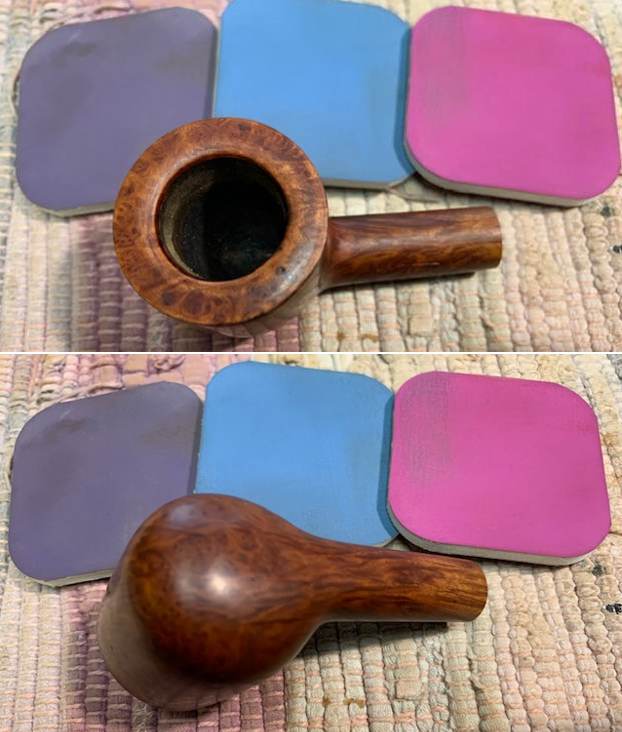
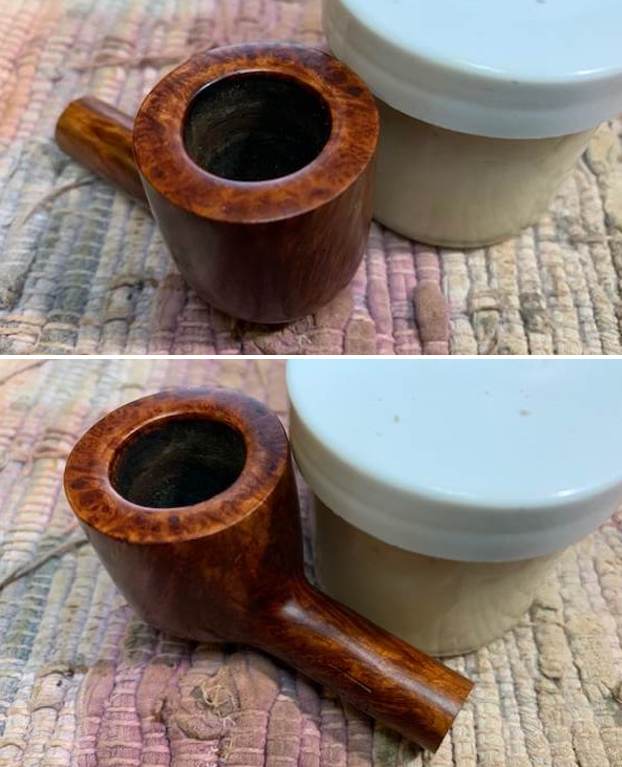
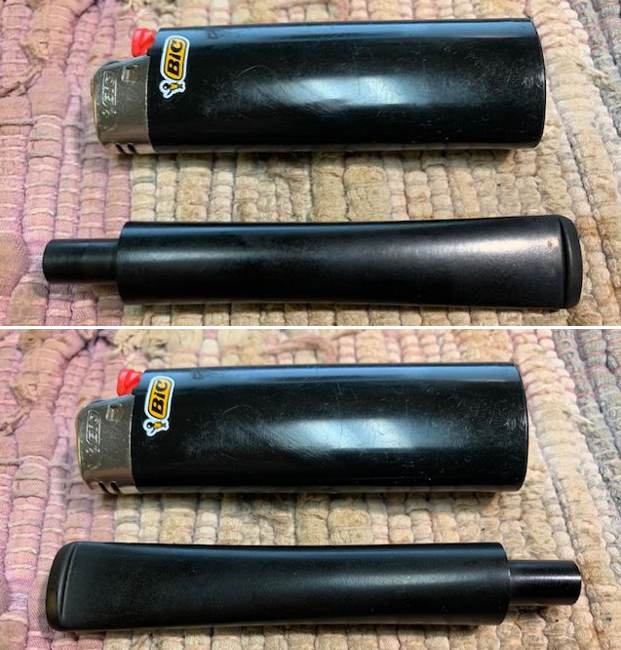
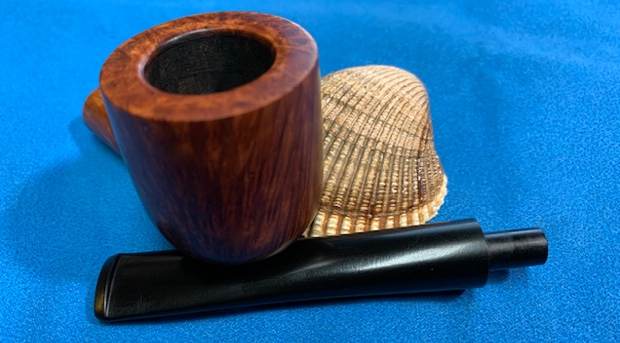
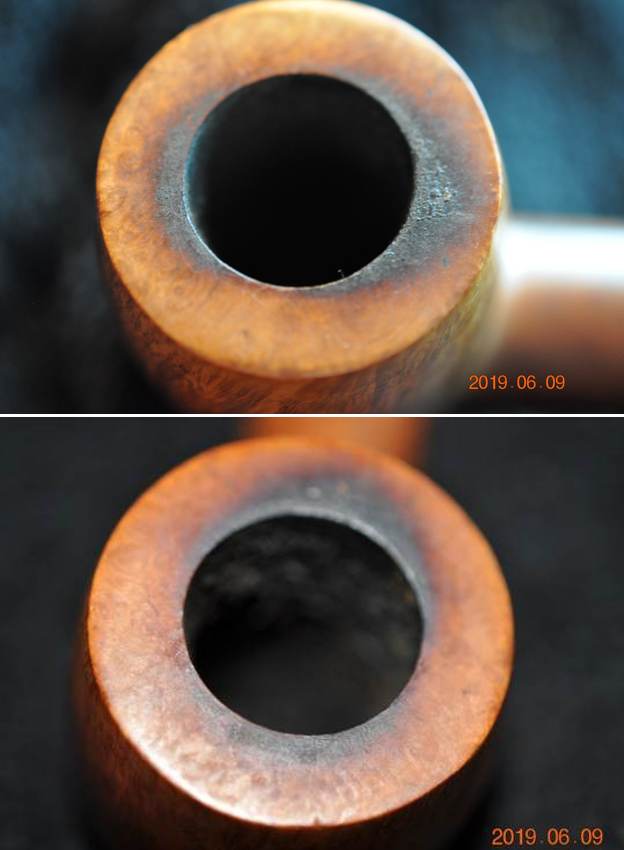
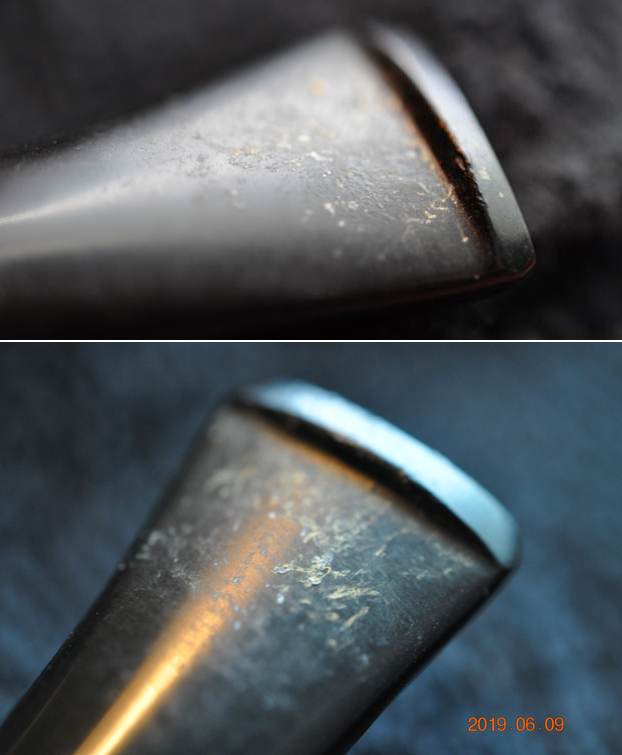
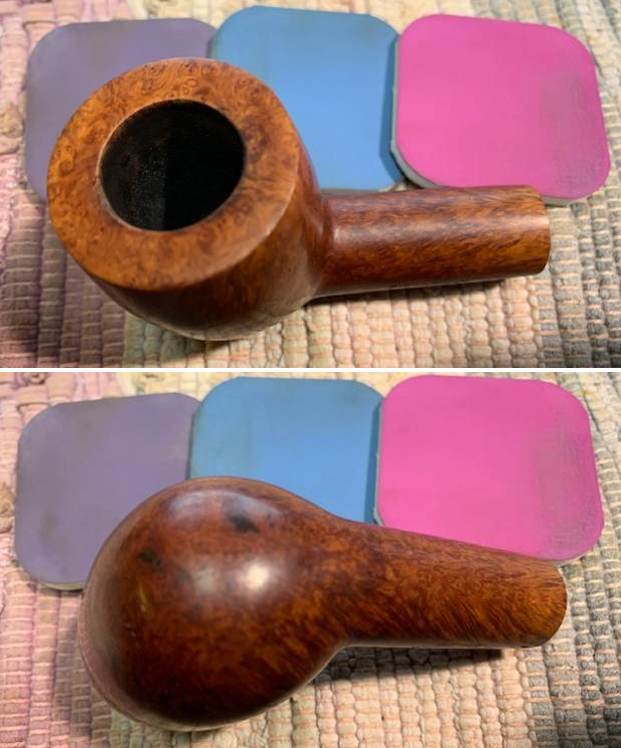
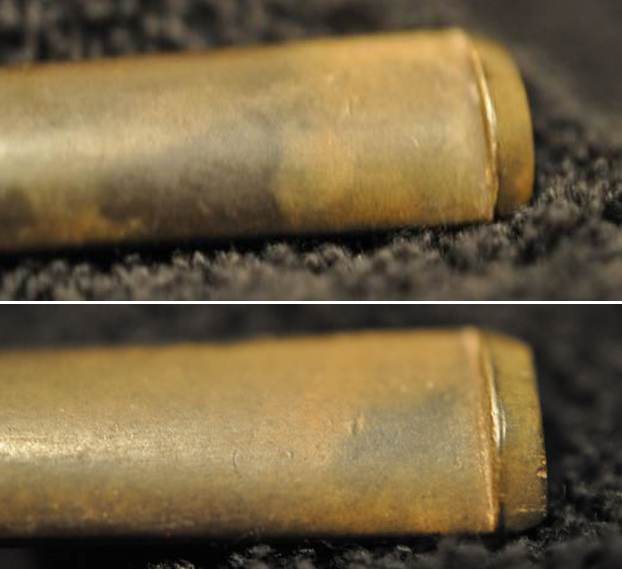
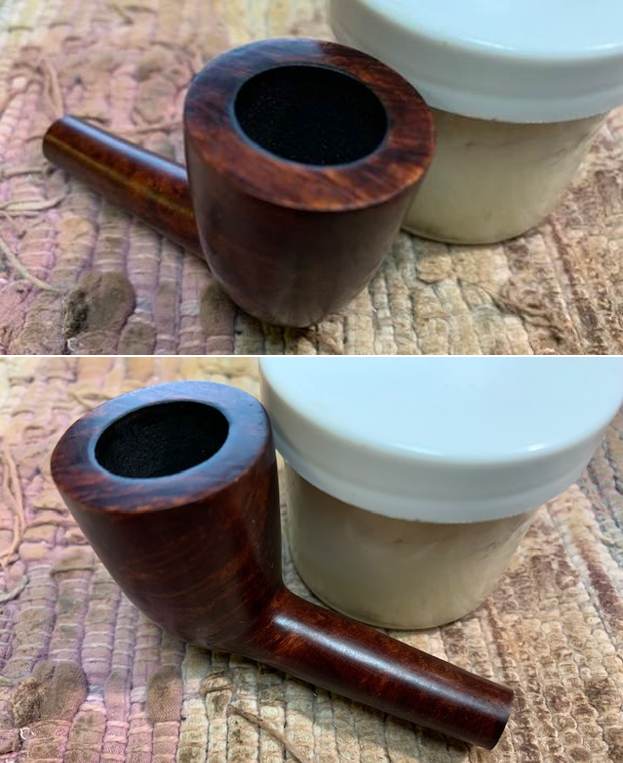
 Jeff took photos of the bowl and rim top to show the cake in the bowl and the thick lava coat on the top and on the inner edge of the bowl. I am hoping that it protected the edge from damage. He also took photos of the stem to show the light tooth marks and chatter on the oxidized stem.
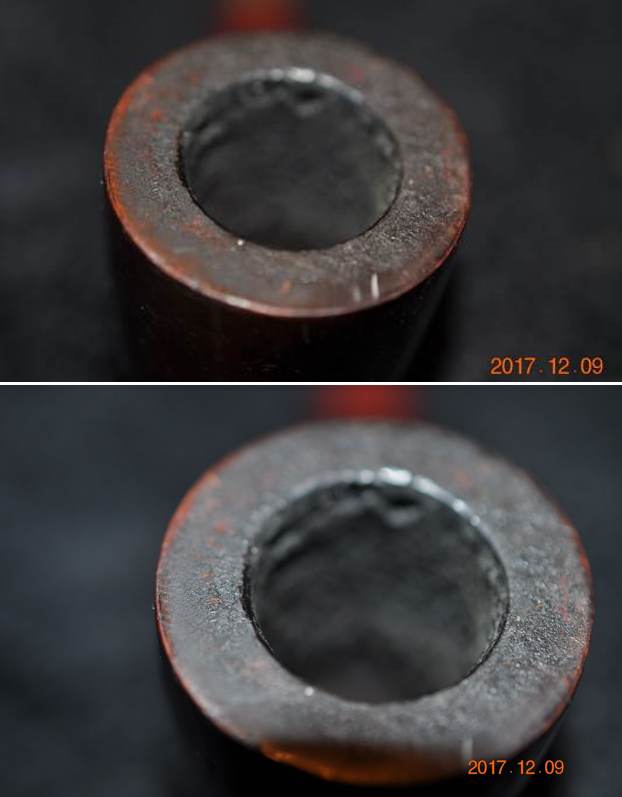
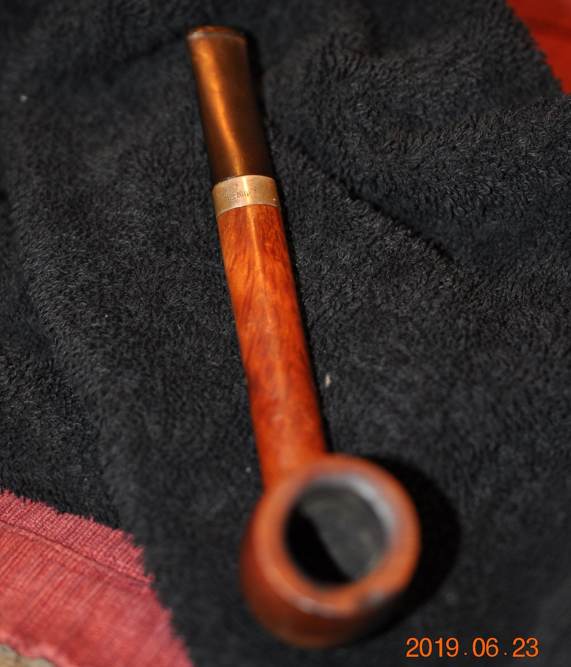
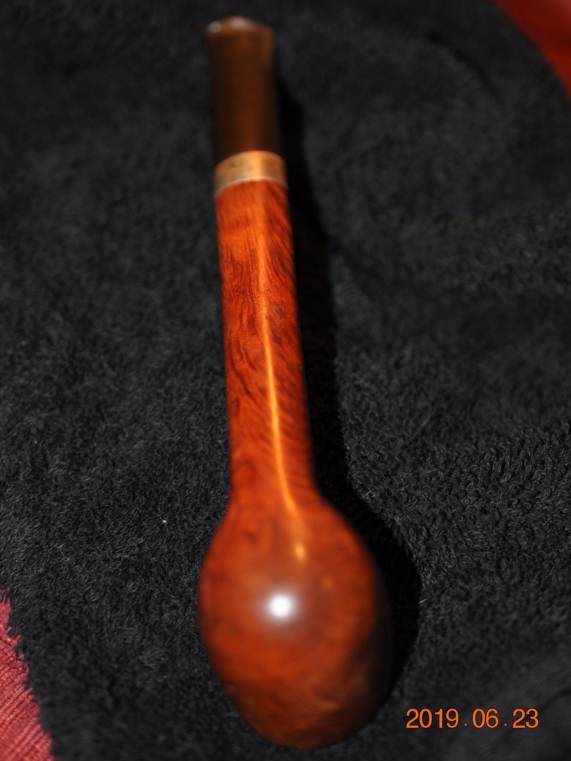
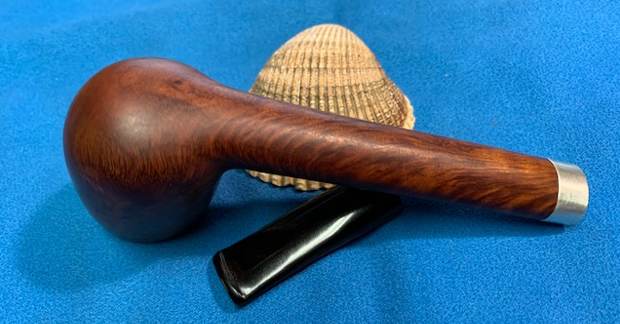
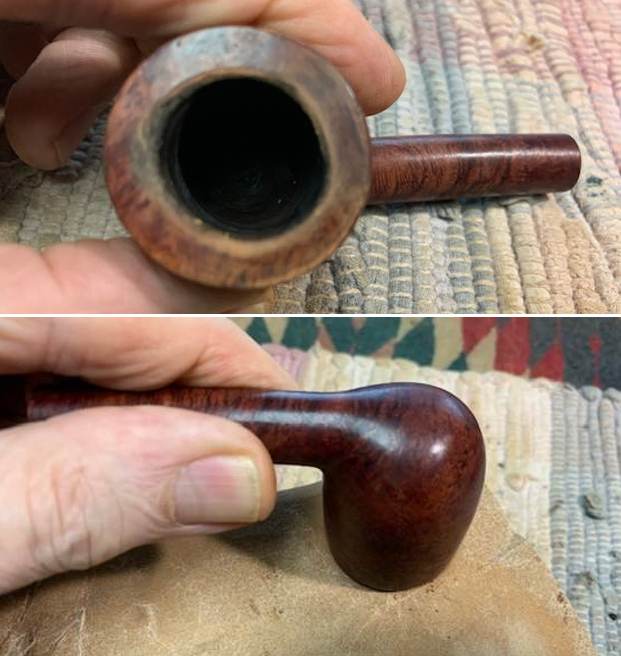
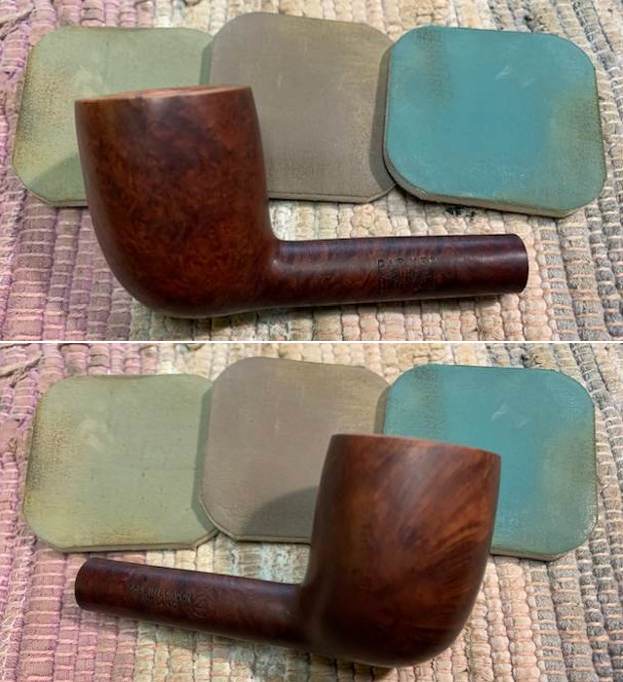
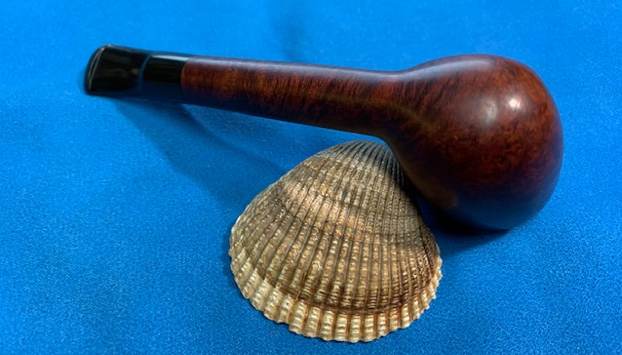
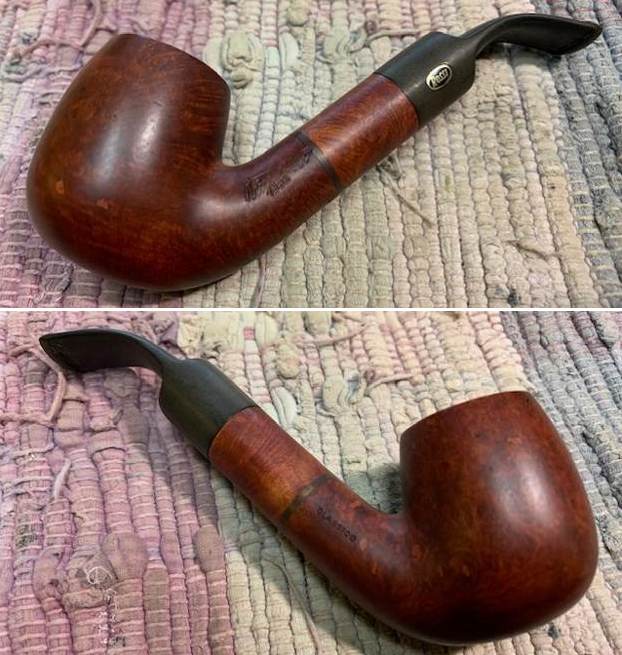
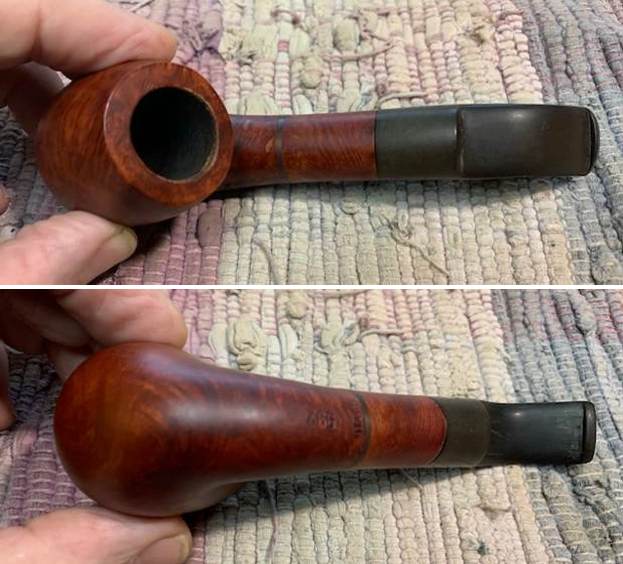
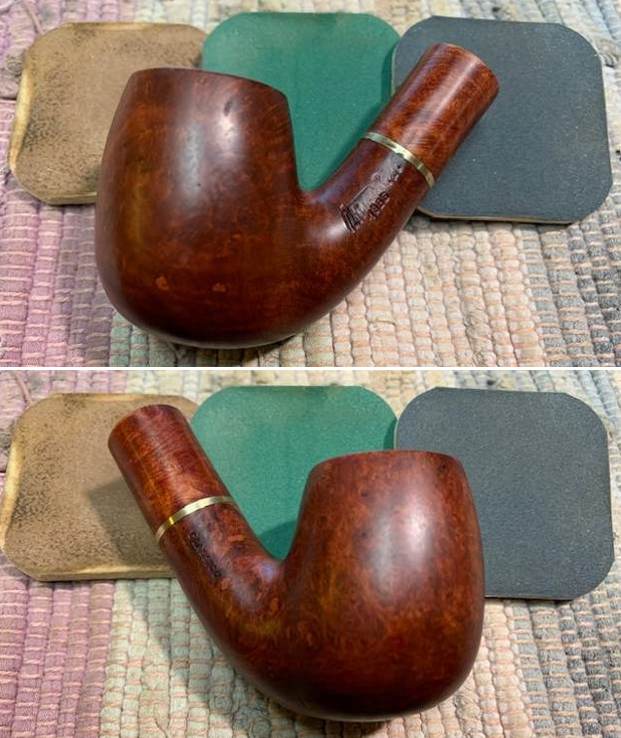
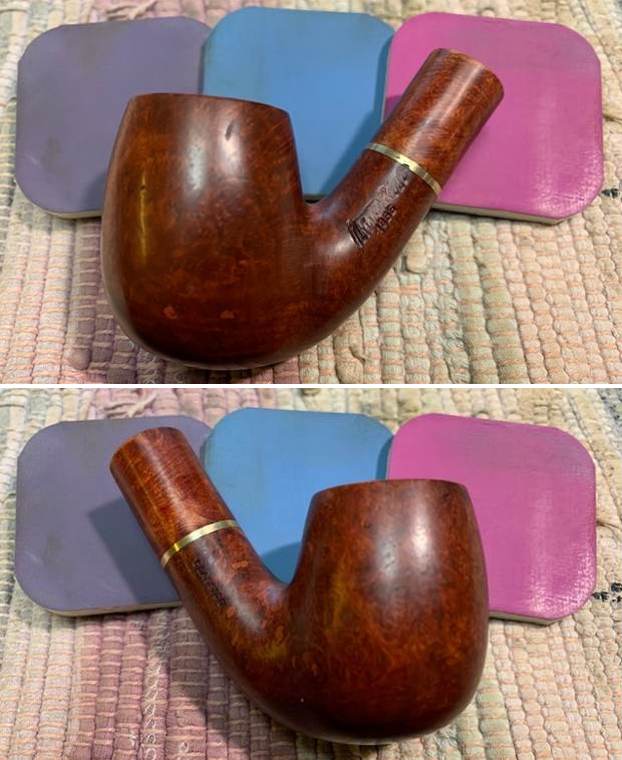
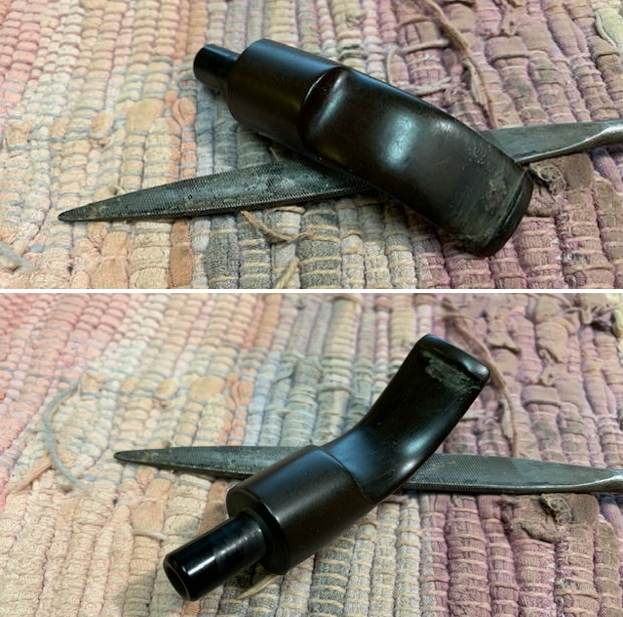
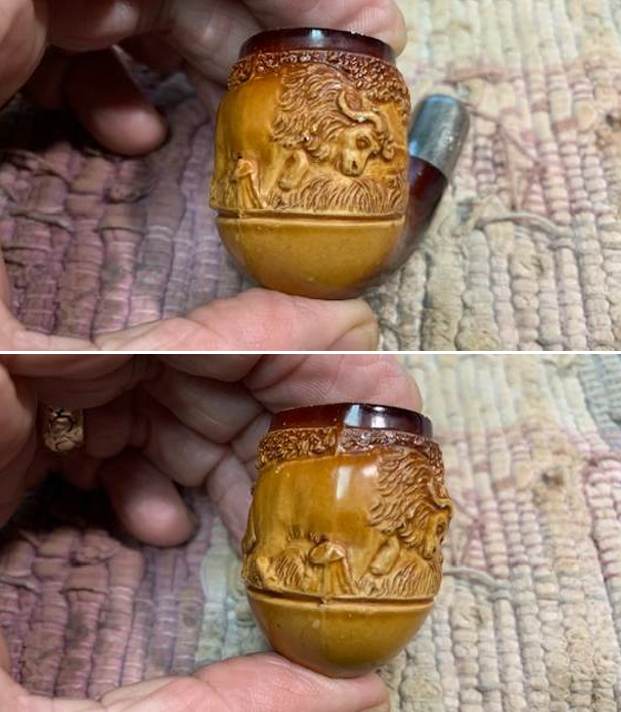
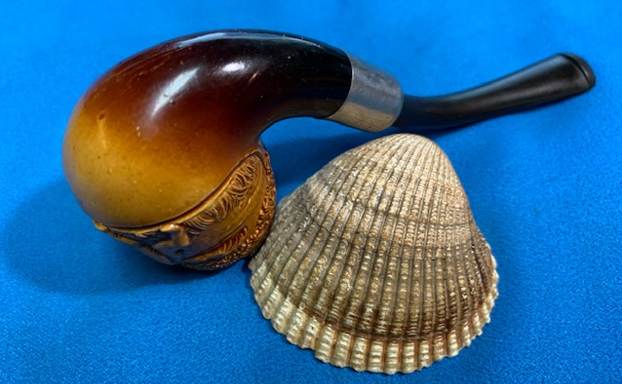
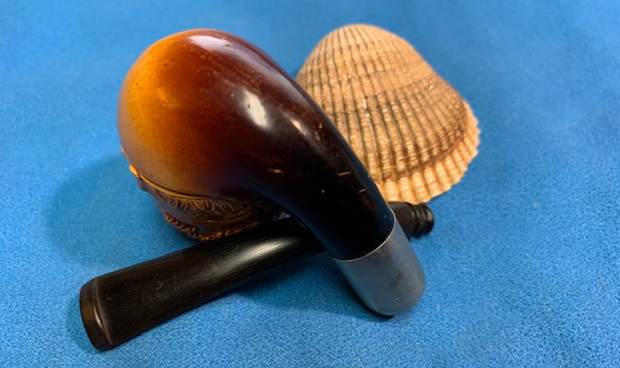
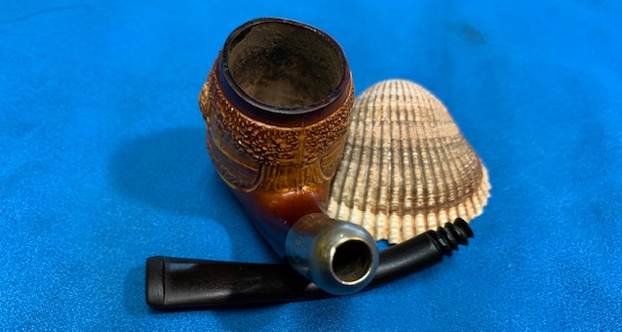
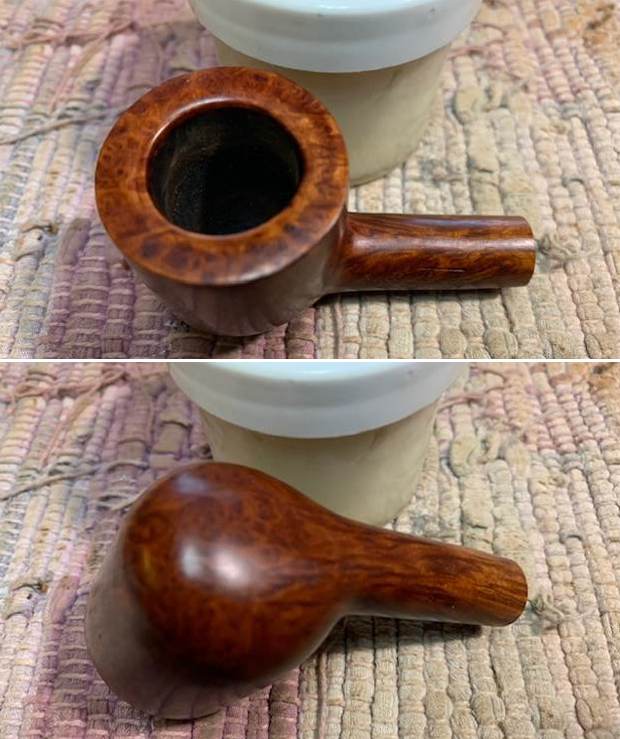
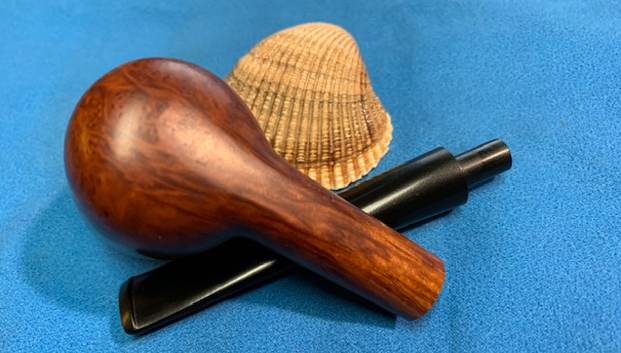
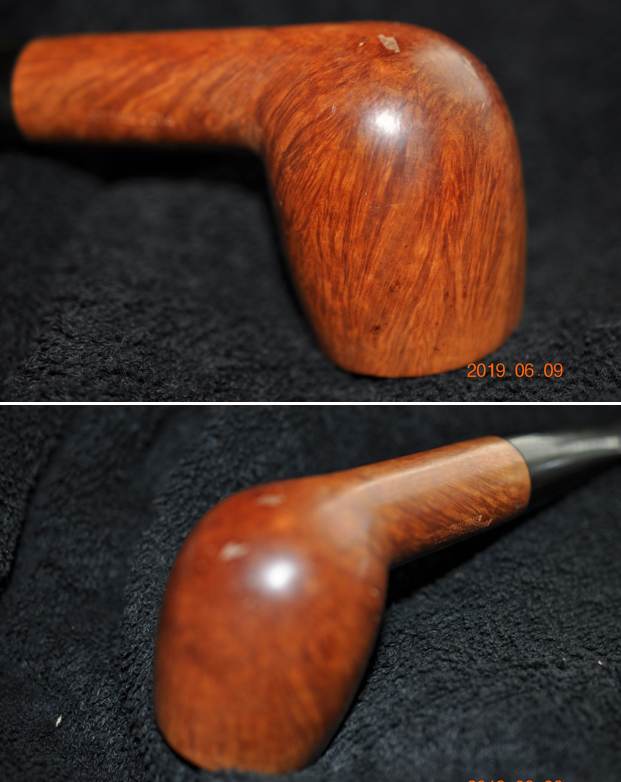
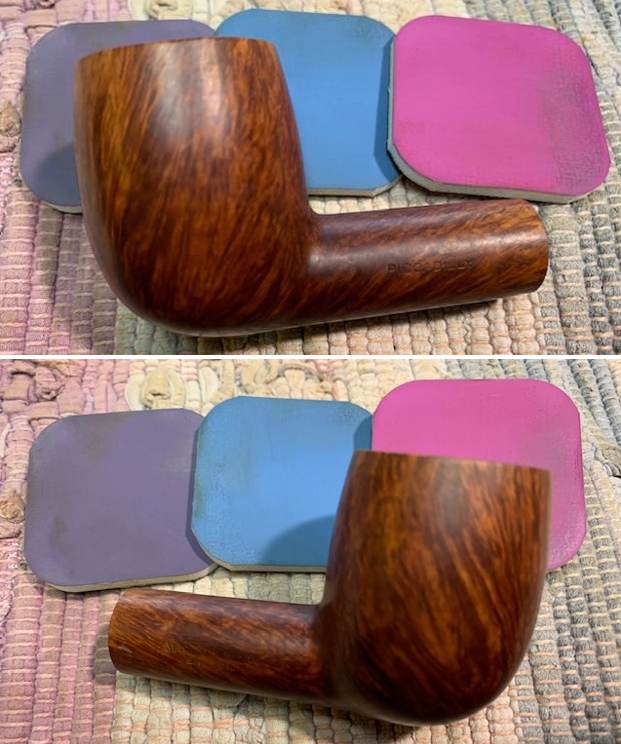
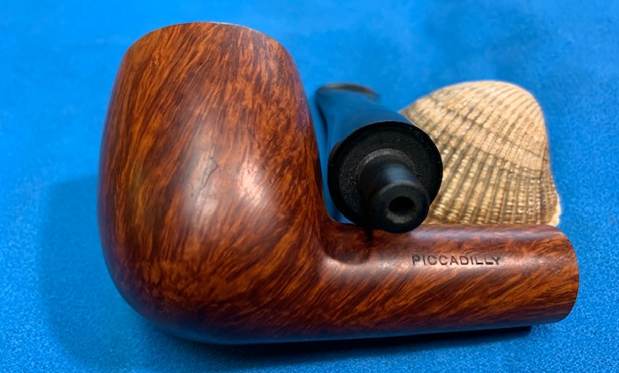
 He took photos of the bowl and heel to show the condition of the finish. You can see the peeling varnish coats and the wear and tear around the bowl. It has some nice grain poking through the varnish and is a rich reddish colour.
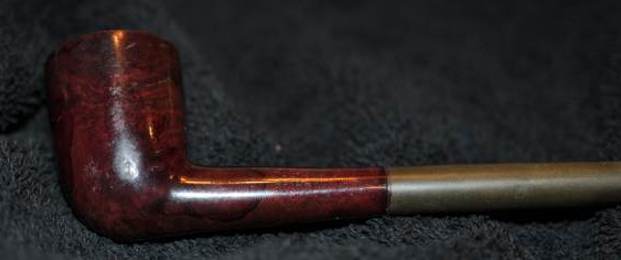

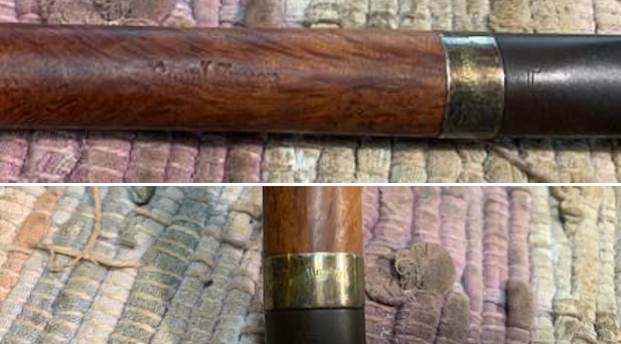
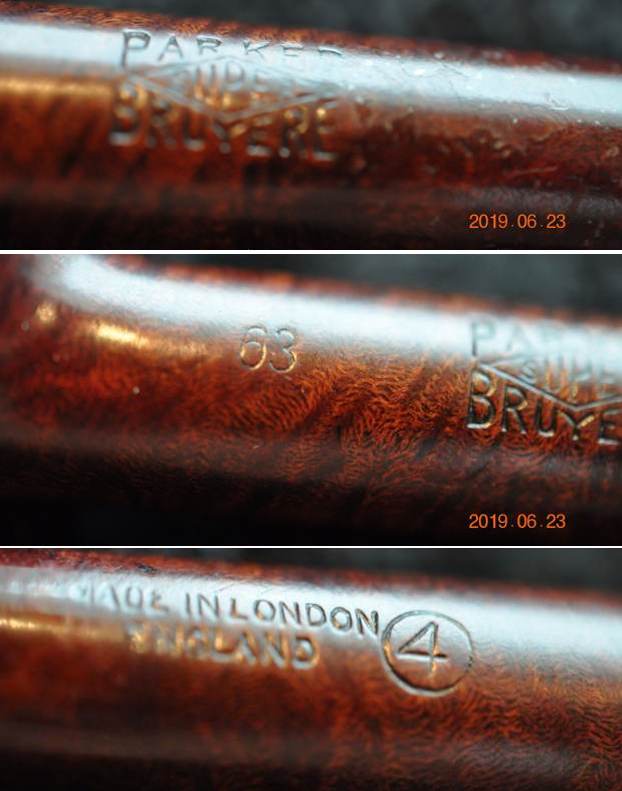
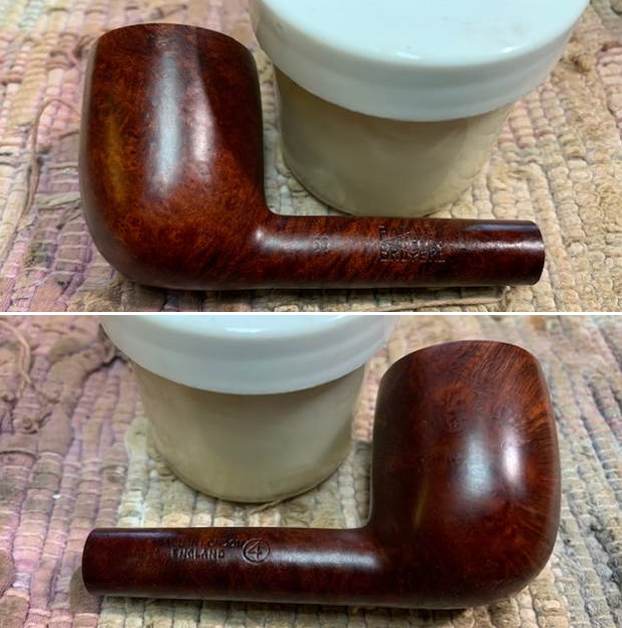
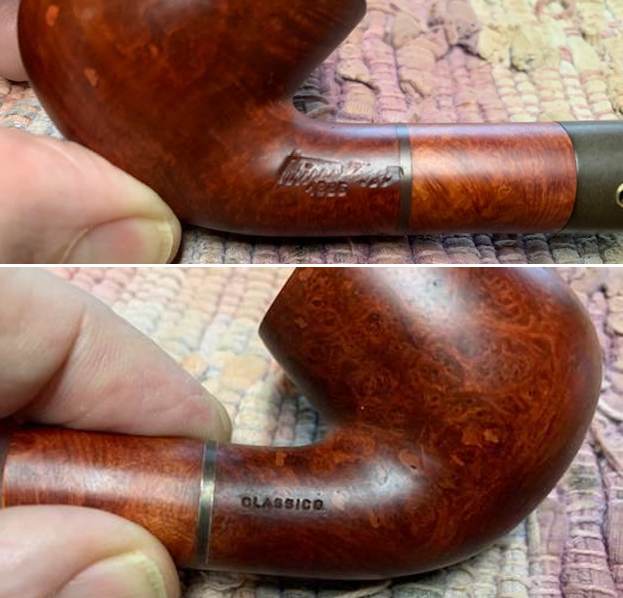
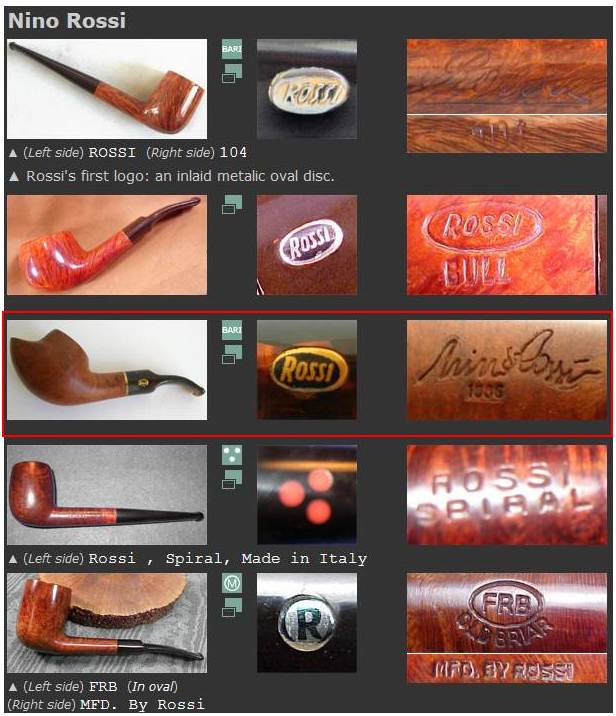
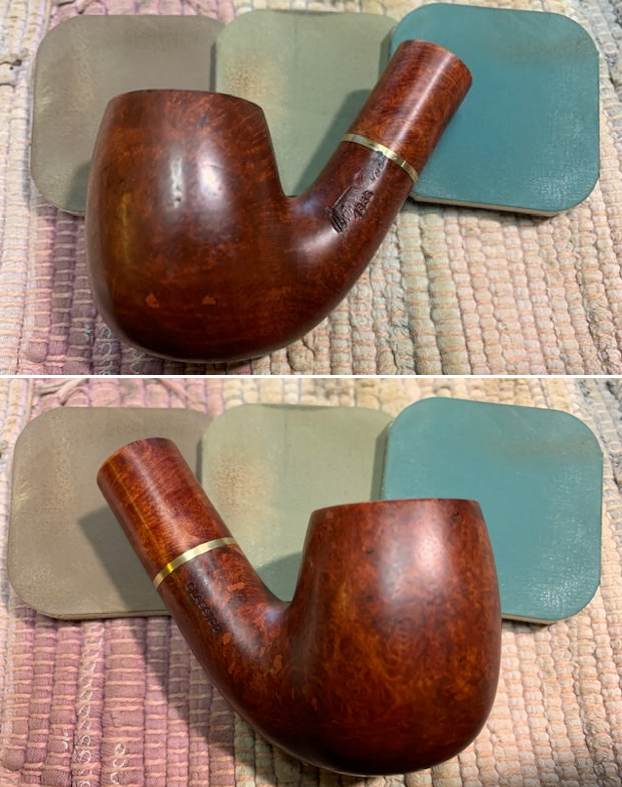
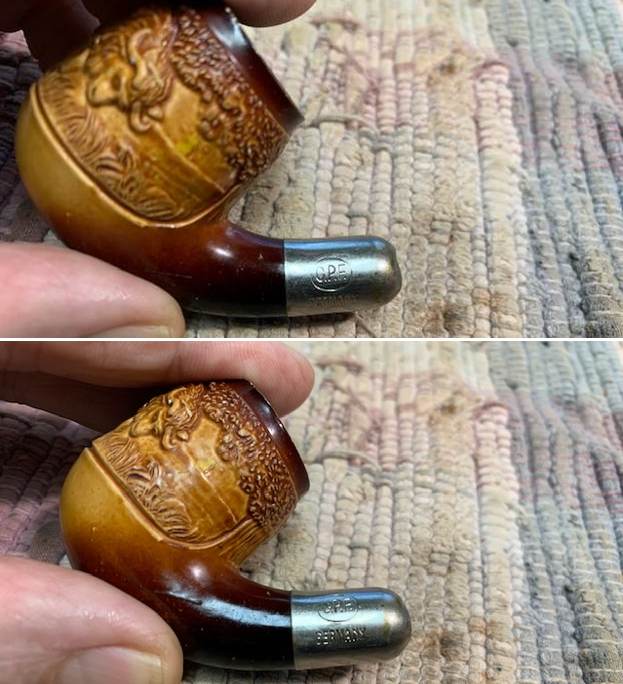
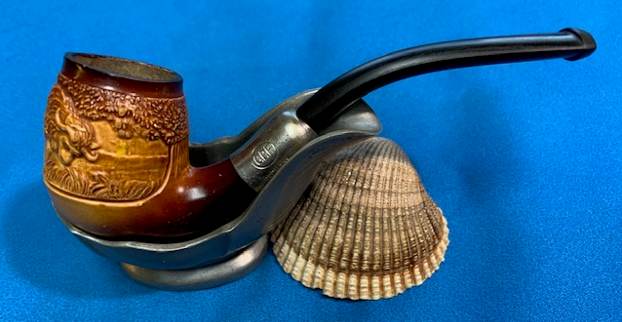
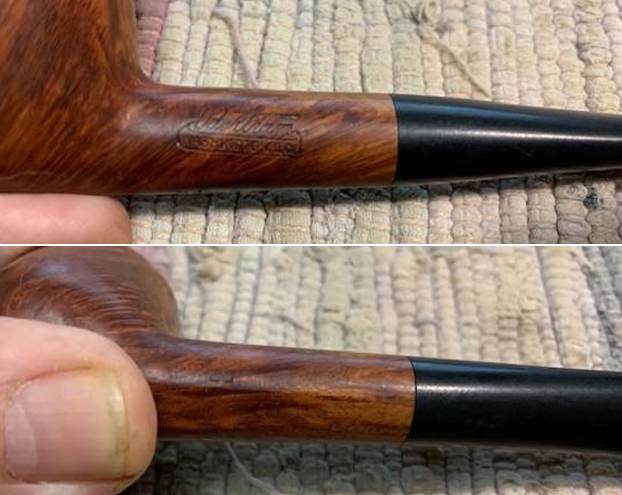
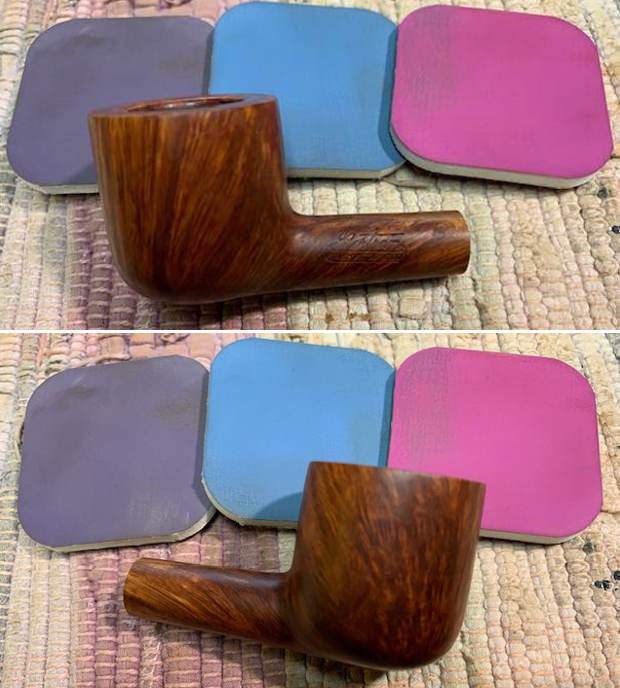
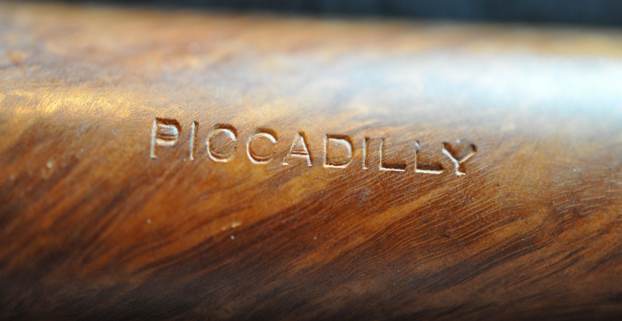
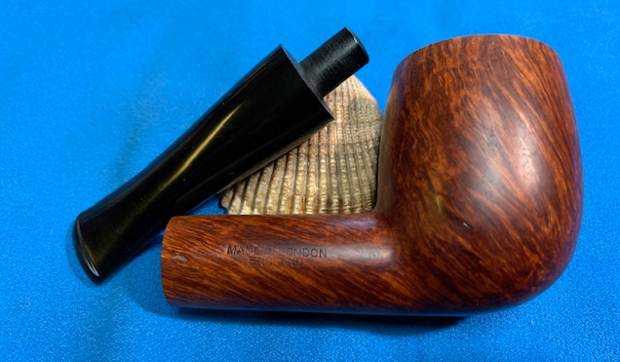
 Jeff took a photo of the stamping on the left side of the shank. It read as noted above and was faint but readable.
 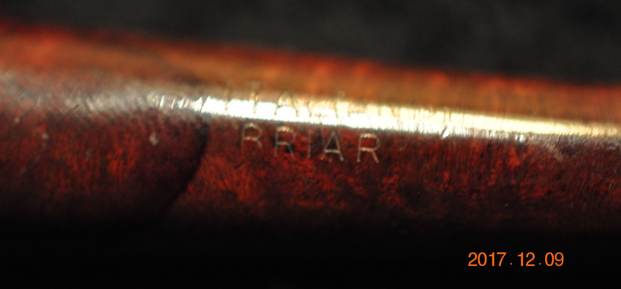 There is not a lot of information to be gleaned from the stamping on the pipe. Not much can be learned from the Italian Briar stamp. It is hard to know for certain about the maker but there is something KB&B like about the shape and the finish of the pipe. One can imagine origins of the pipe can’t one? LOL! Makes a great tale anyway. I don’t know why but the pipe sat in a box of pipes to be restored until this morning. That is just over 4 years it sat here moldering with the other pipes in the box. But today is the day for its rebirth. I raise a bowl and say, “Here’s to you Janet’s Father – W.W. Hallbrook”.
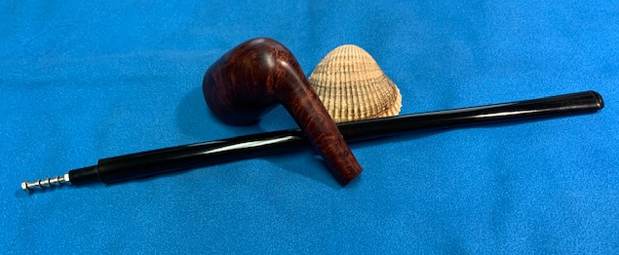
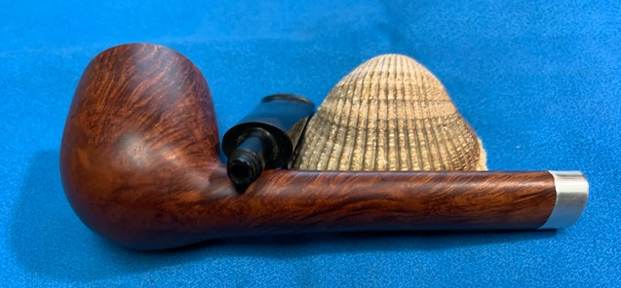
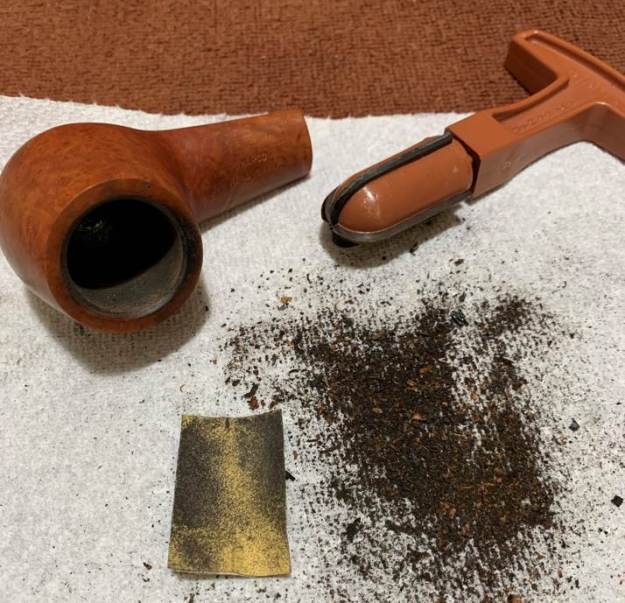
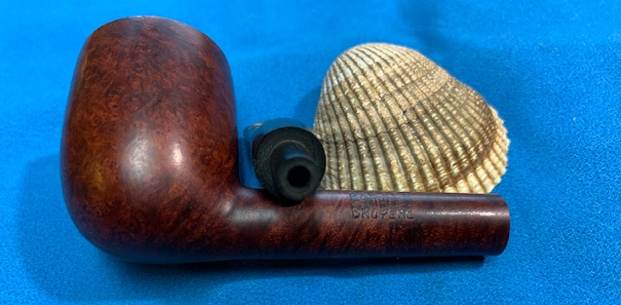
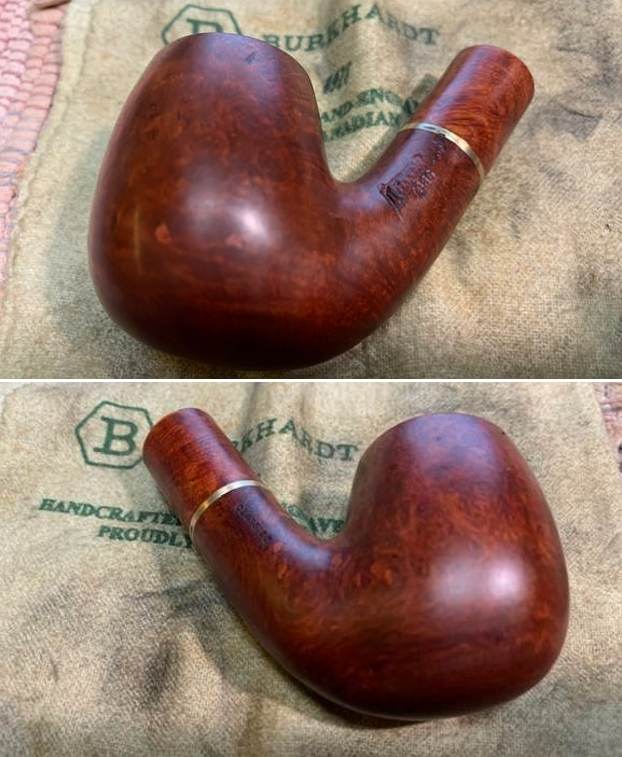
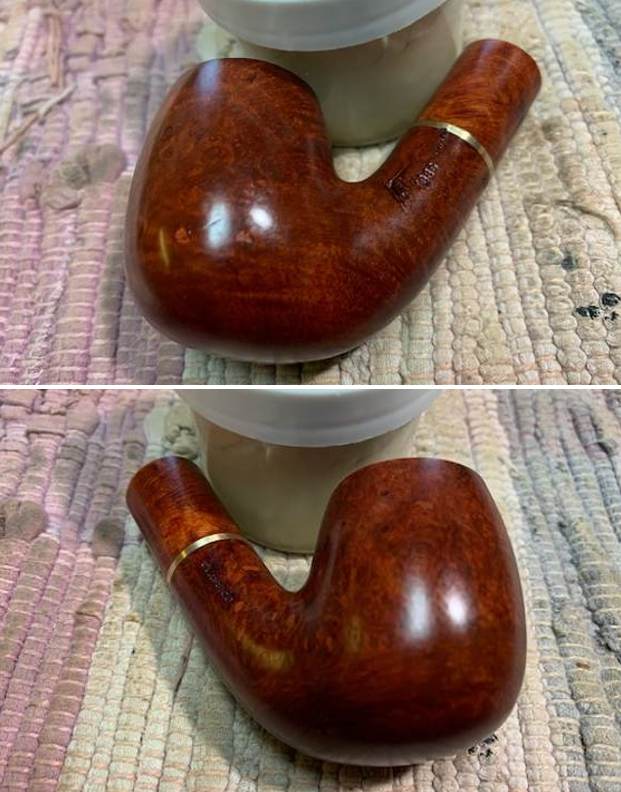
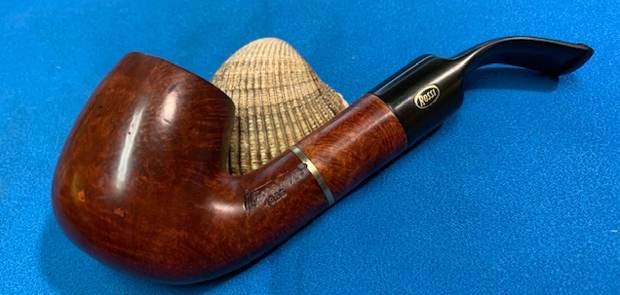
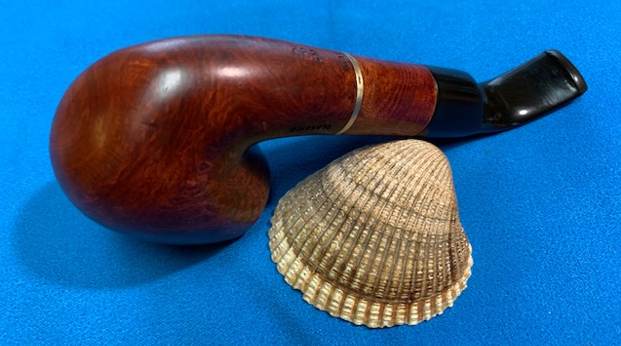
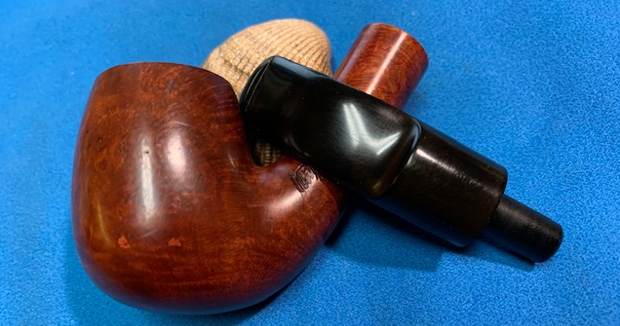
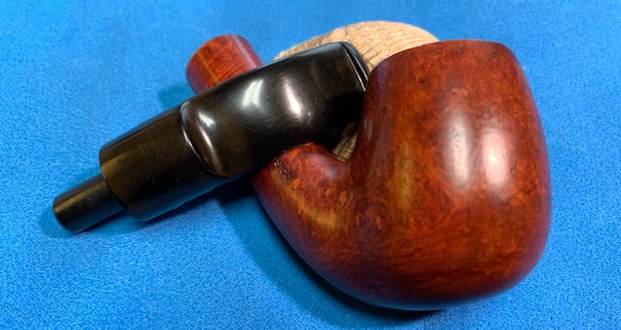
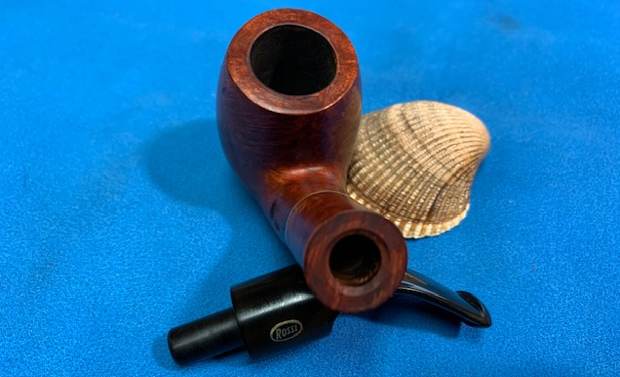
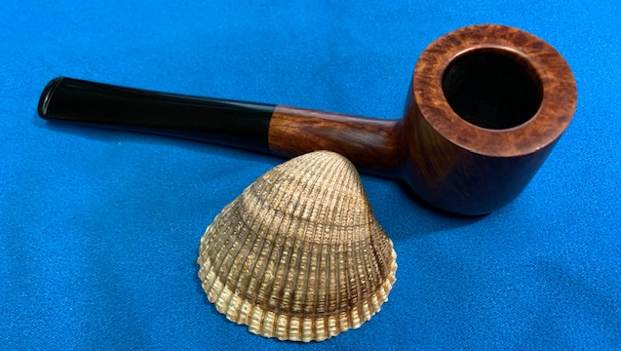
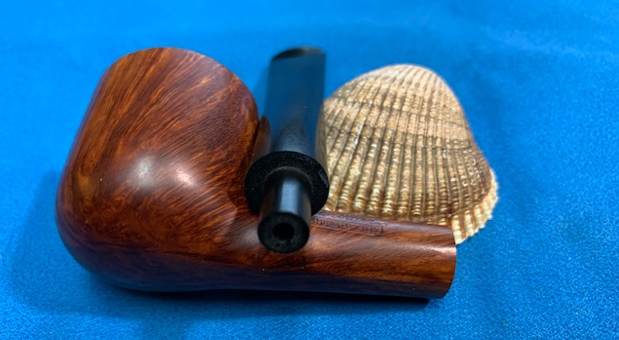
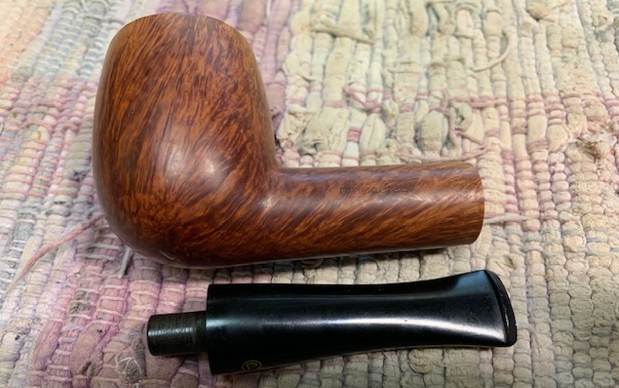
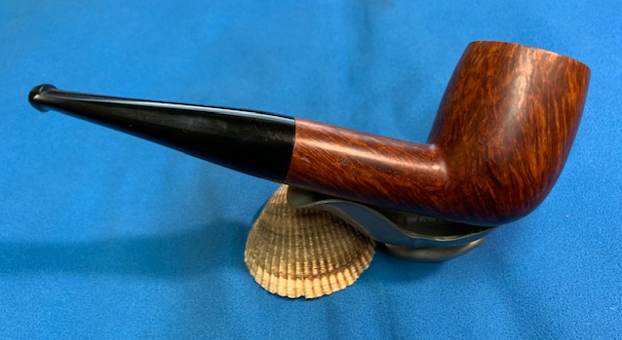
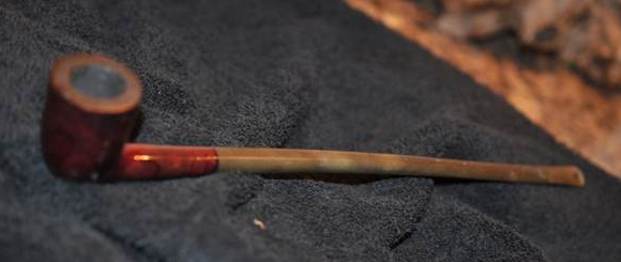
I took some photos of the pipe as I took it out of the box. Here is what I saw. I slid it out of the wrapper around it. I could see that Jeff had cleaned it well. The bowl had been reamed with a PipNet reamer and Savinelli Fitsall Pipe Knife. He had scrubbed the exterior with undiluted Murphy’s Oil Soap. He rinsed it with warm water. He cleaned out the internals with alcohol, cotton swabs and pipe cleaners. The stem was still lightly oxidized – probably from sitting here this long. The varnish coat was still peeling some but the grime was totally gone. I could see some great grain poking through. Time to work.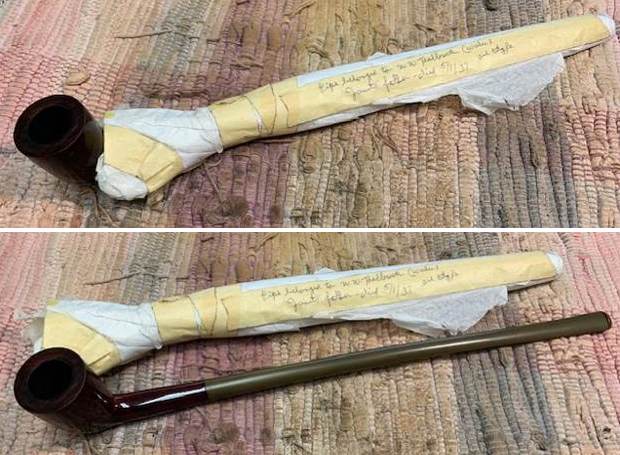
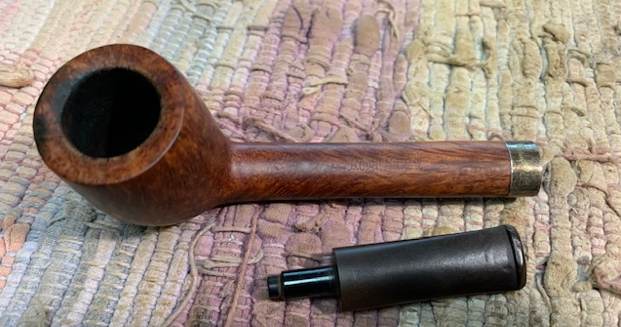
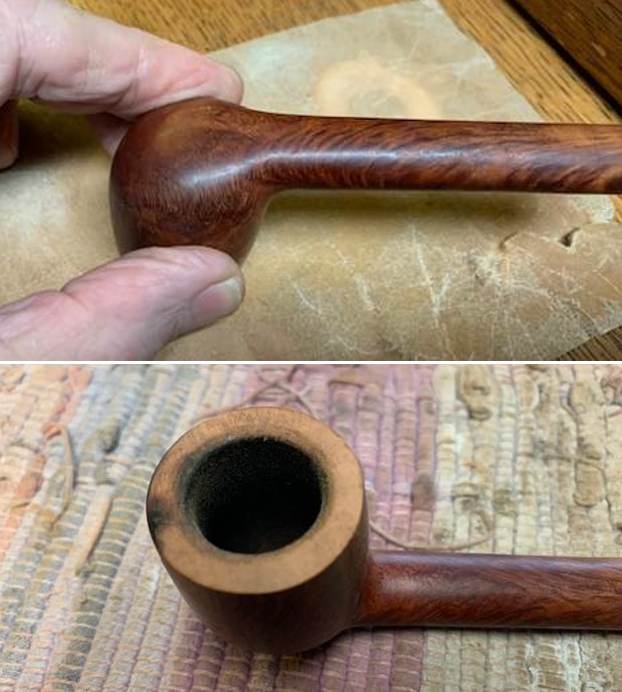
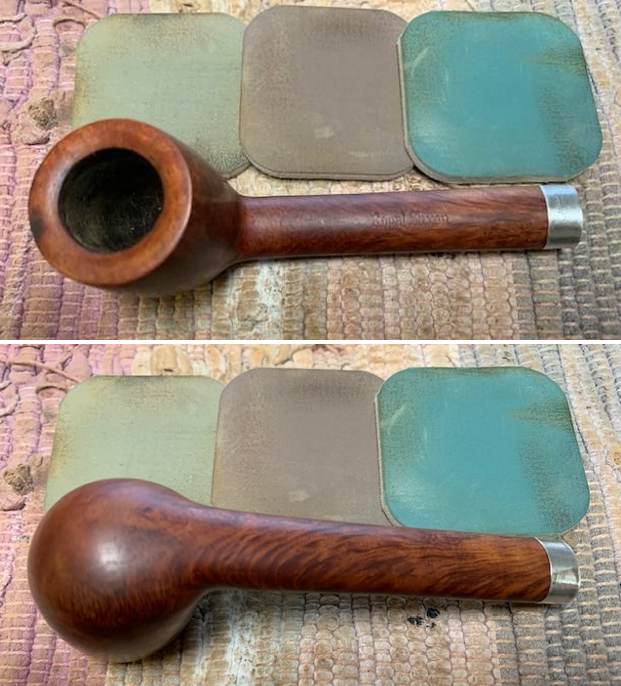
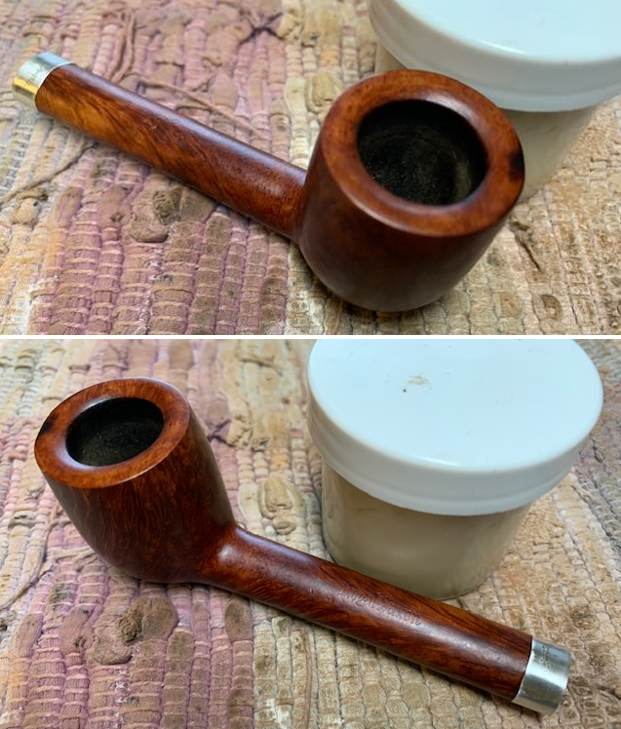
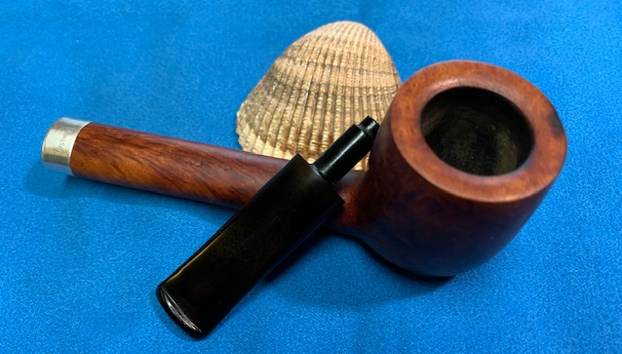
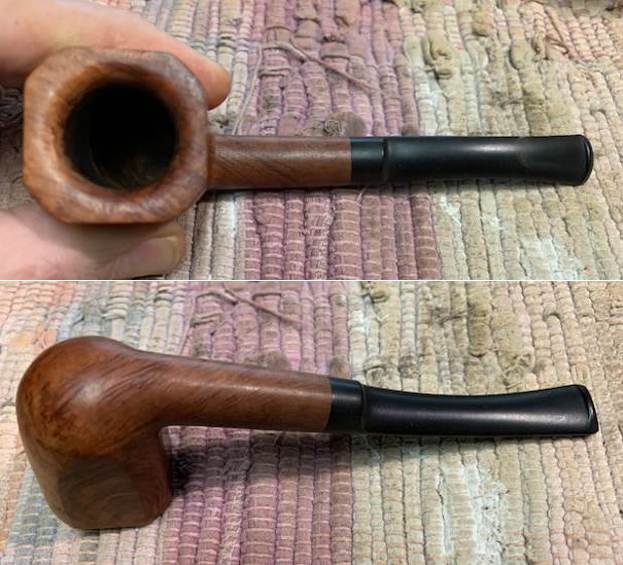
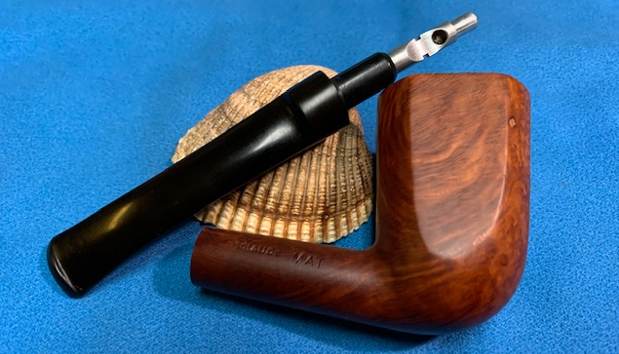
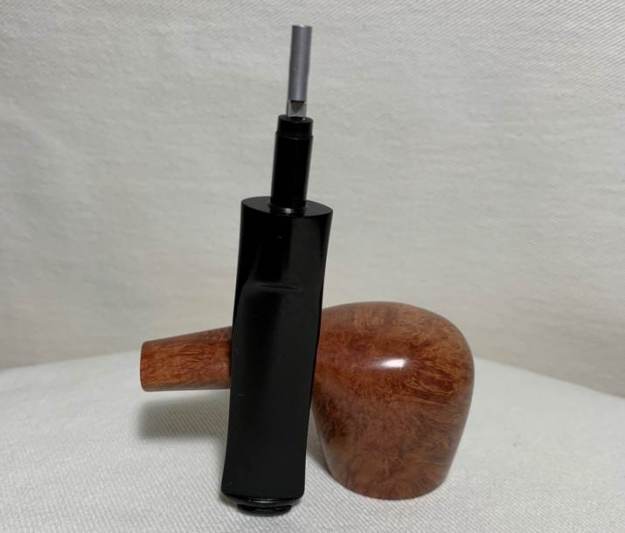
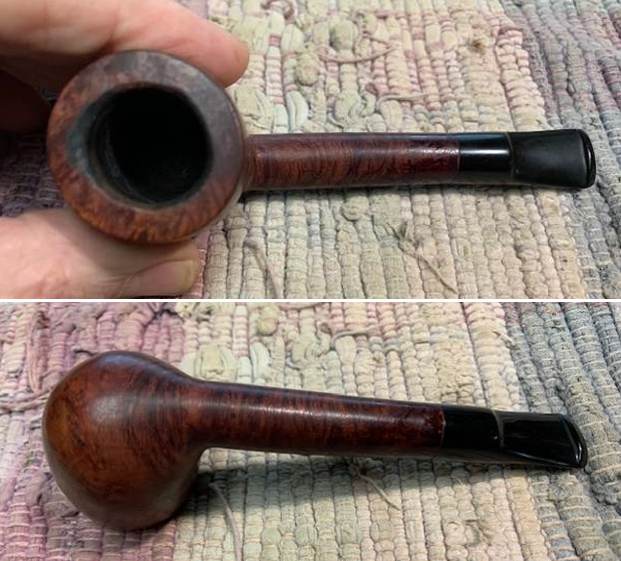
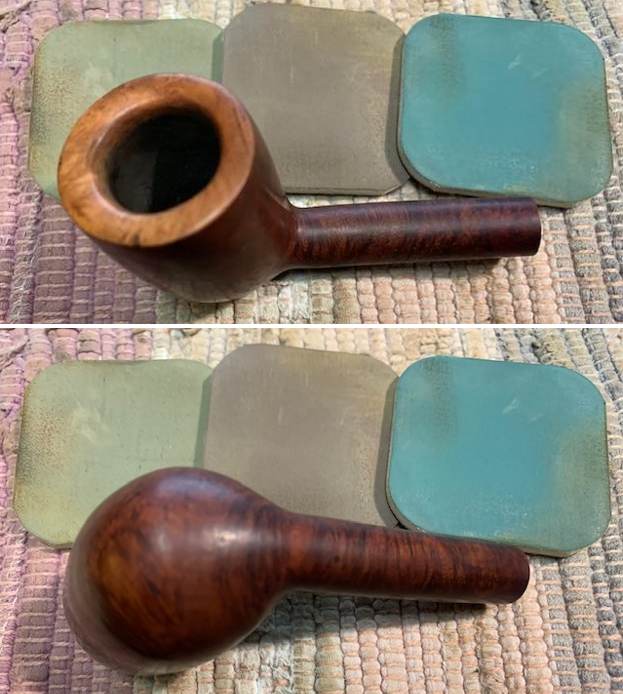
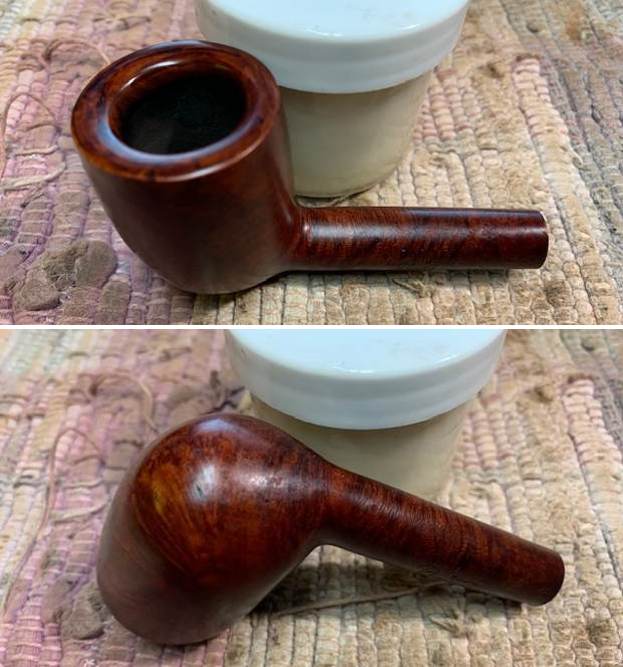
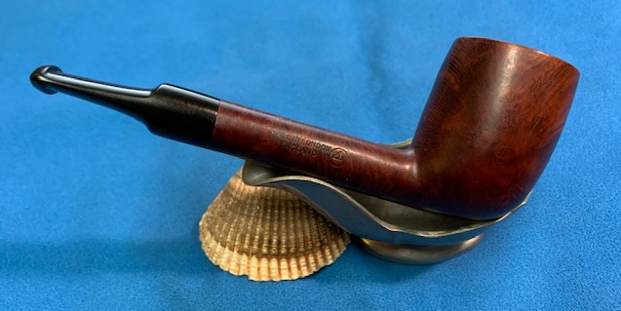
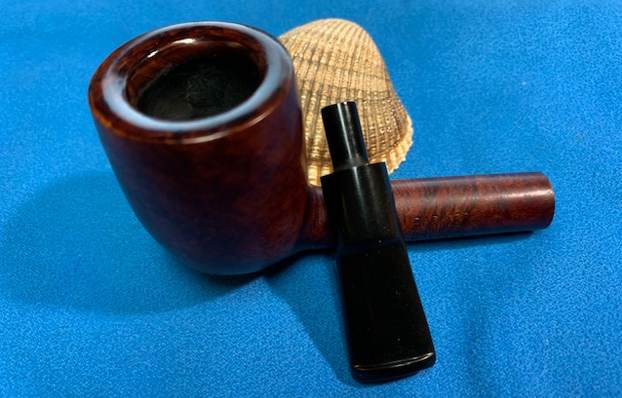
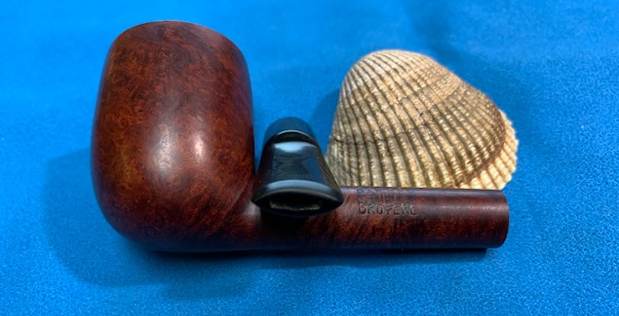
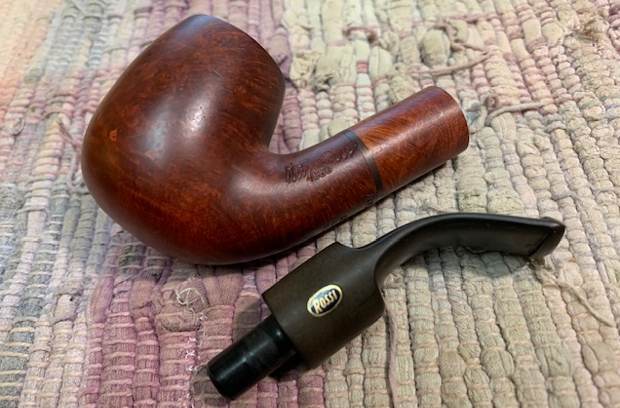
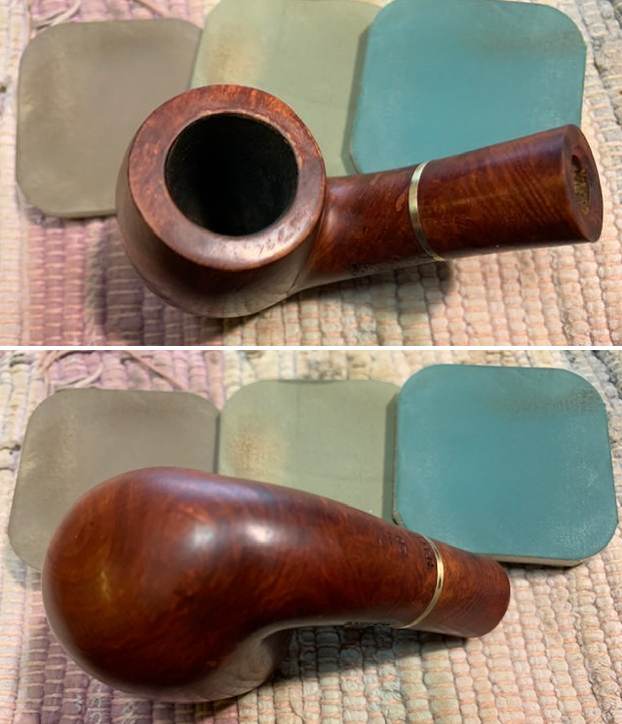
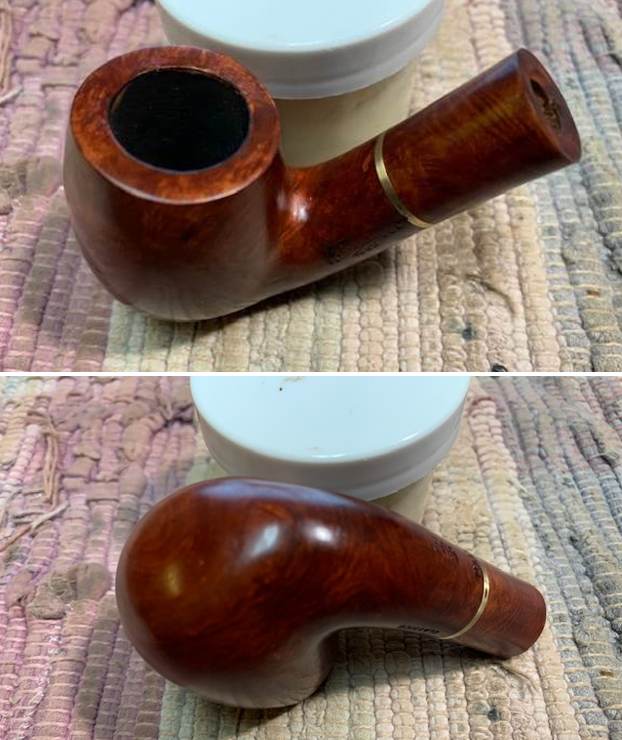
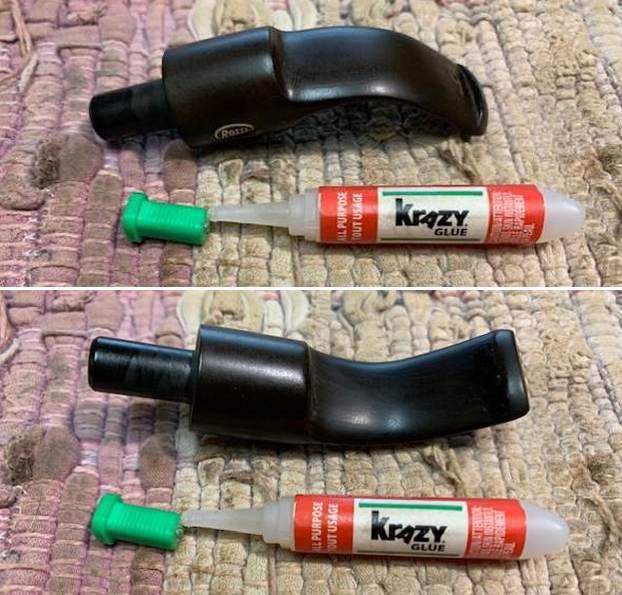
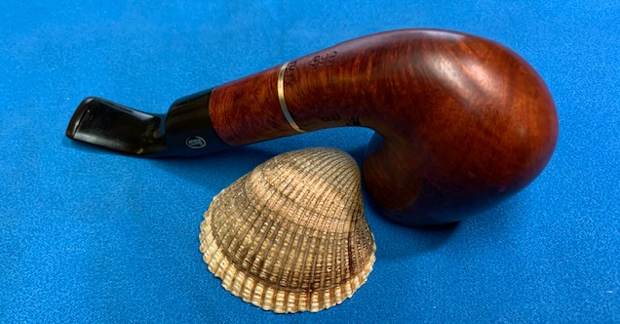
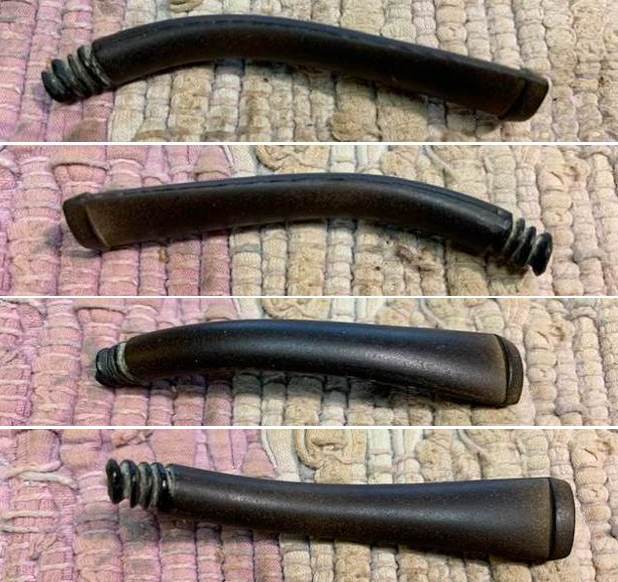
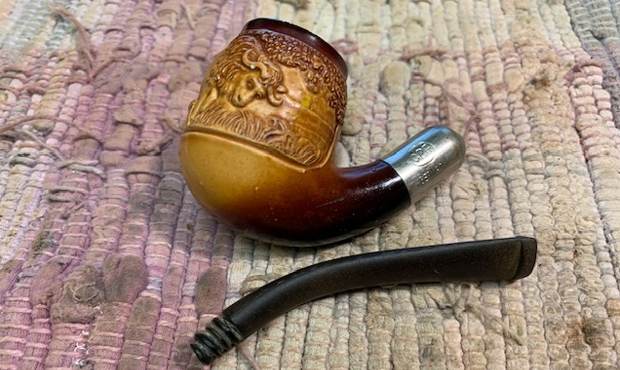
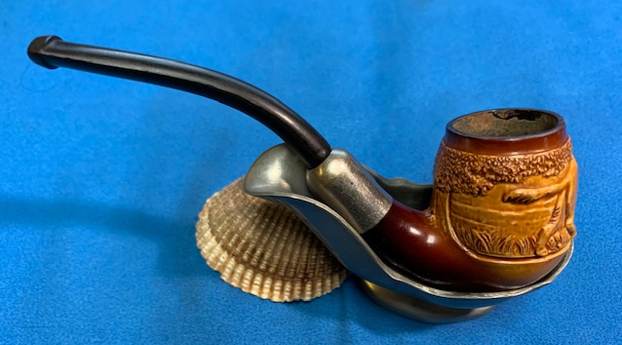
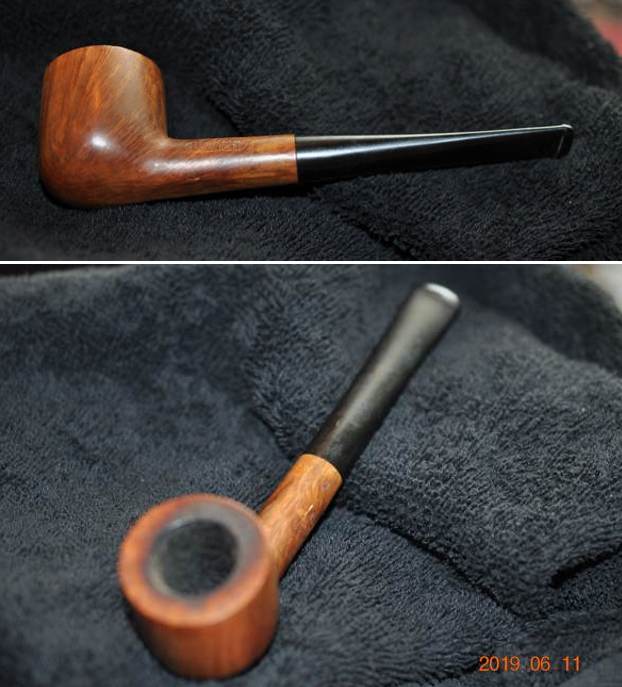
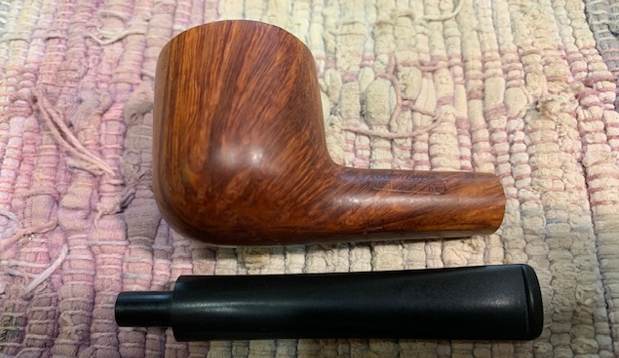
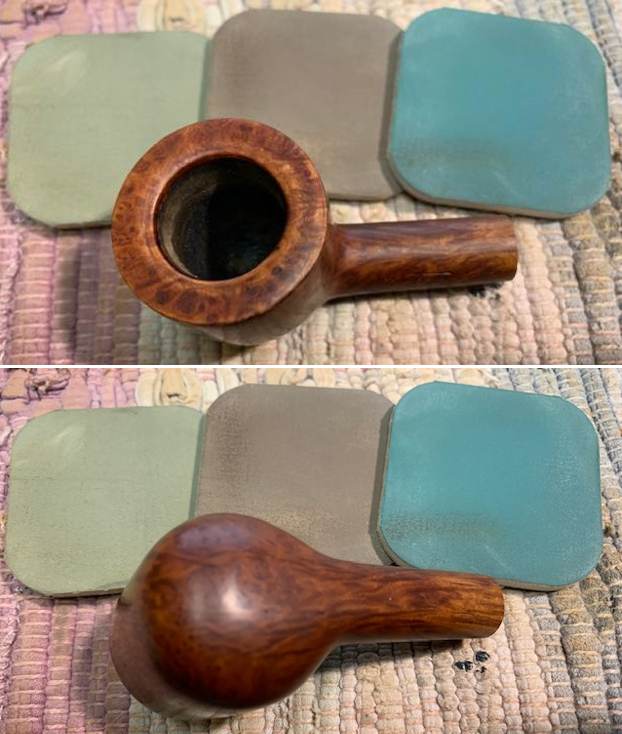
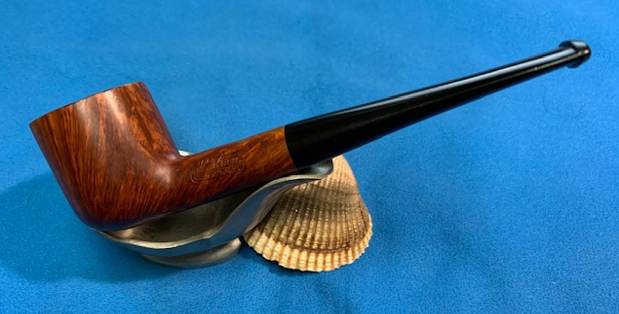
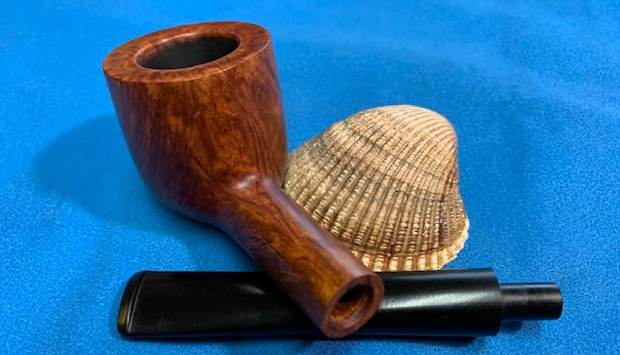
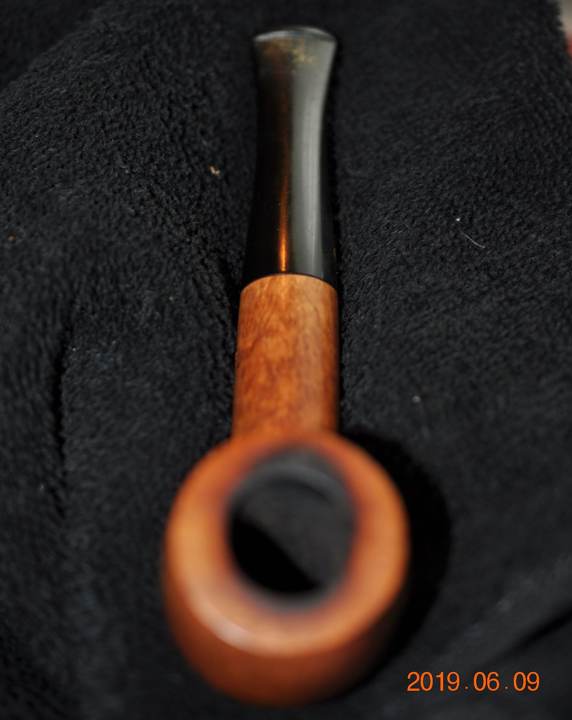
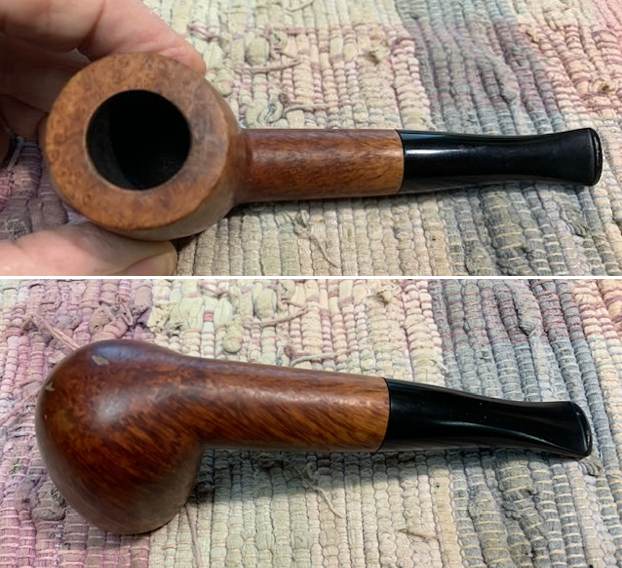
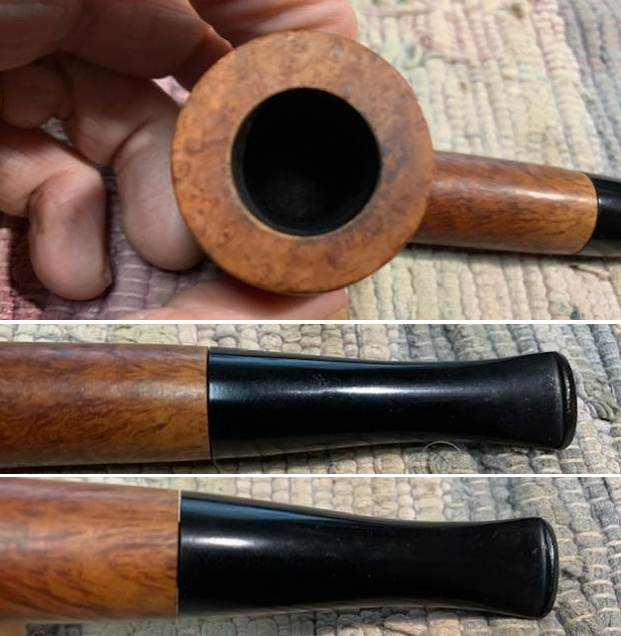
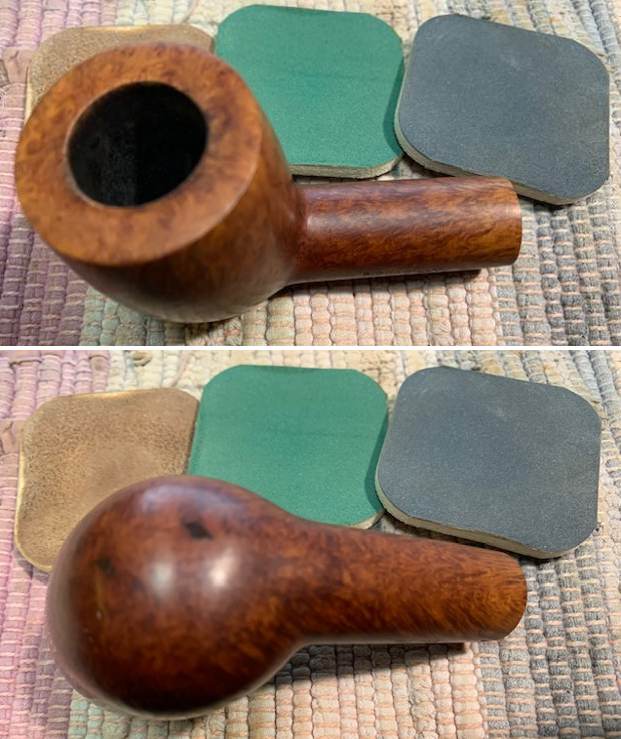
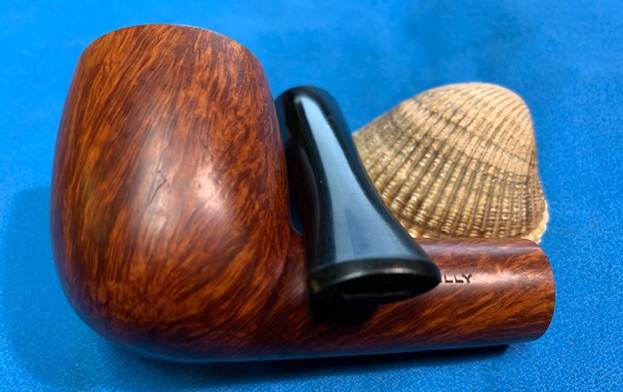
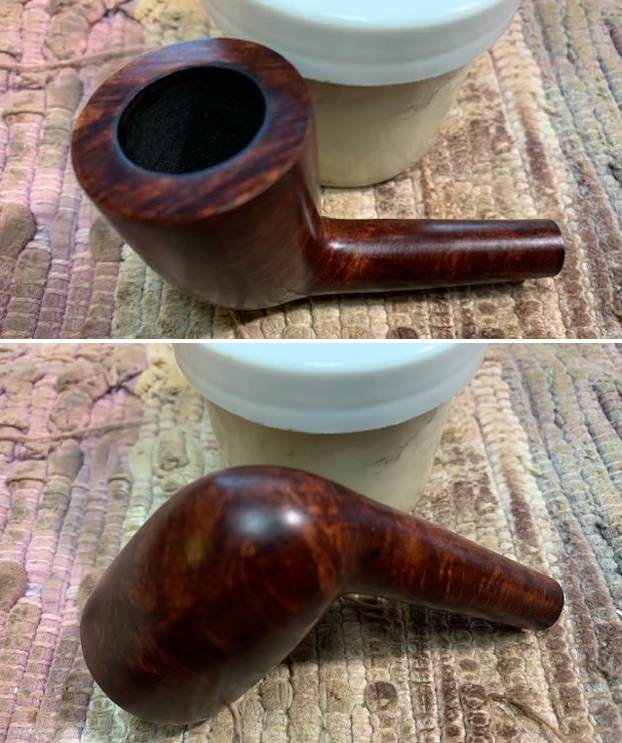
 I removed the stem from the shank and took photos of the pipe and stem to give you a sense of what the pipe looks like. The stem is an older style straight one with no flare at the button end. There is also a very different style stinger pressure fit in the tenon.
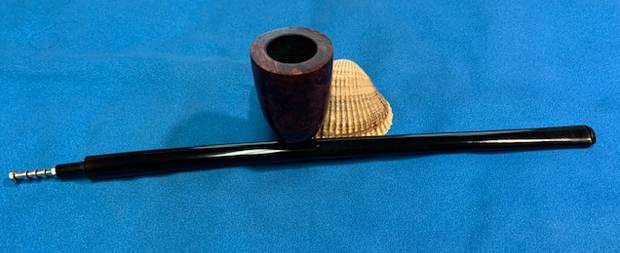
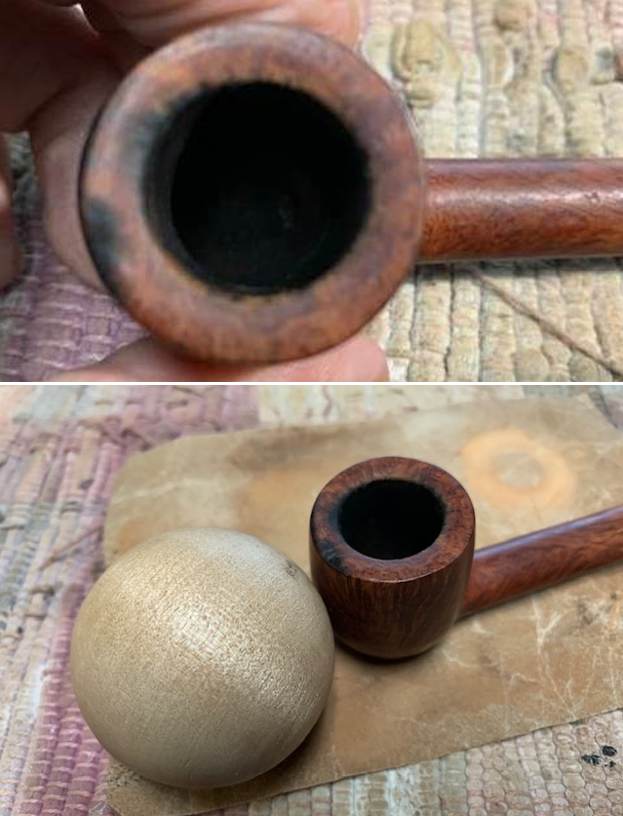
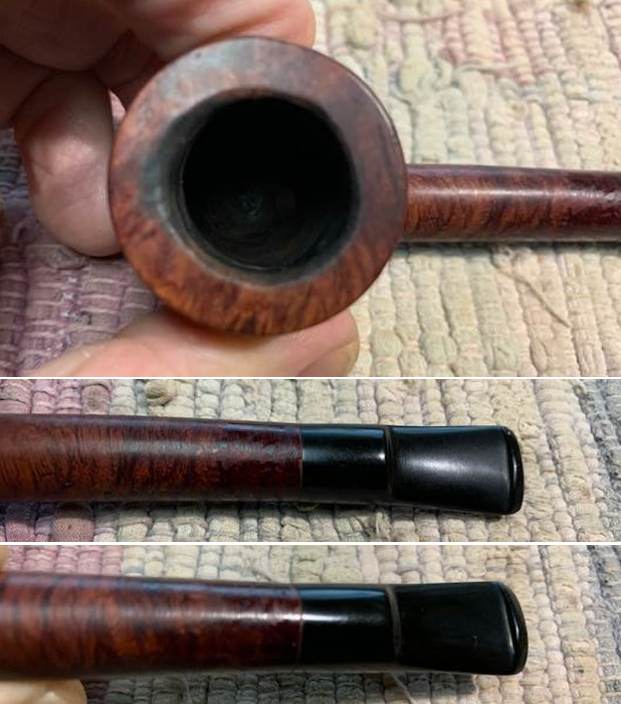
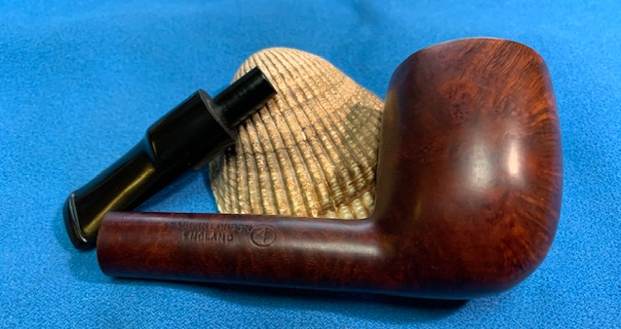
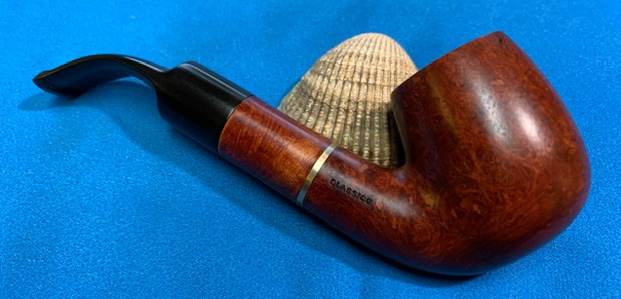
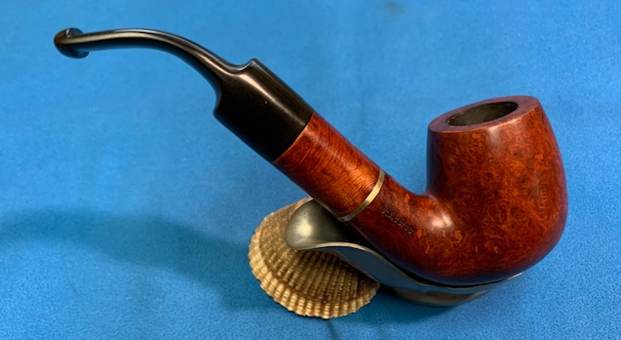
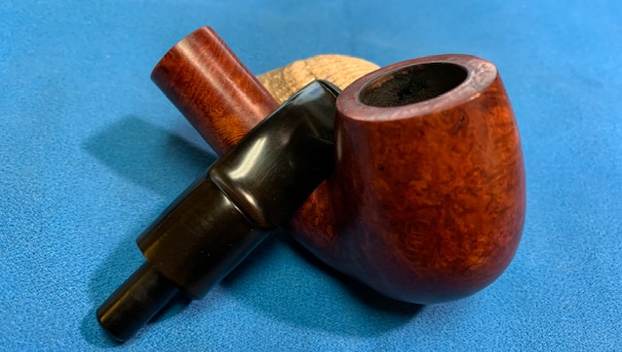
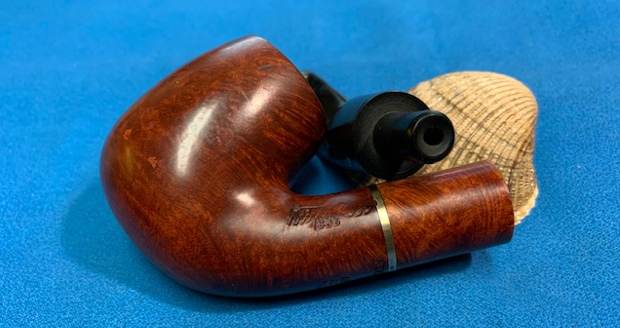
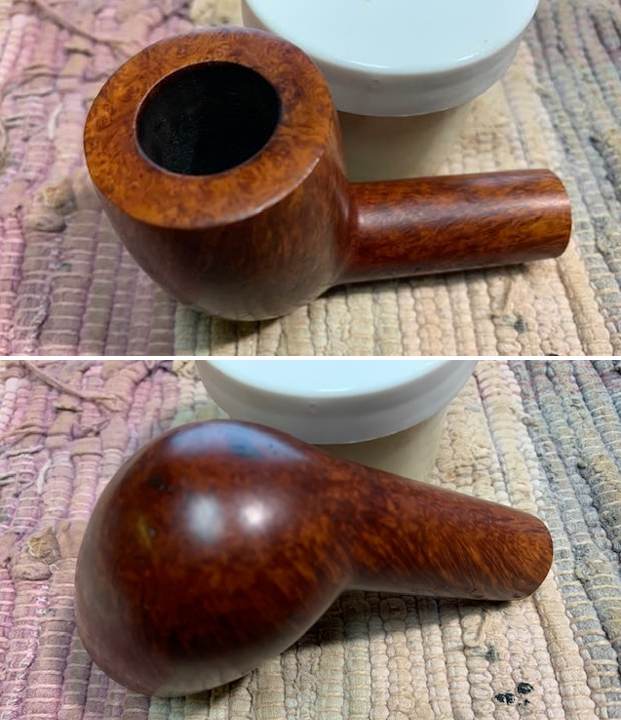
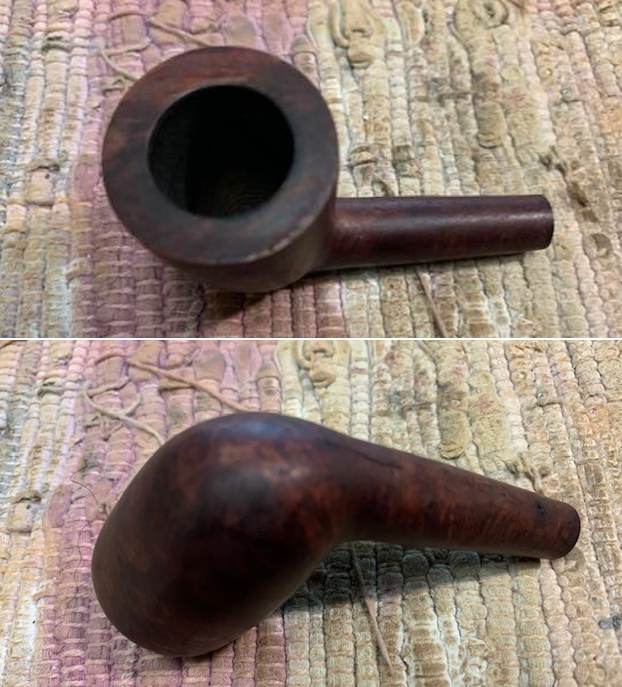
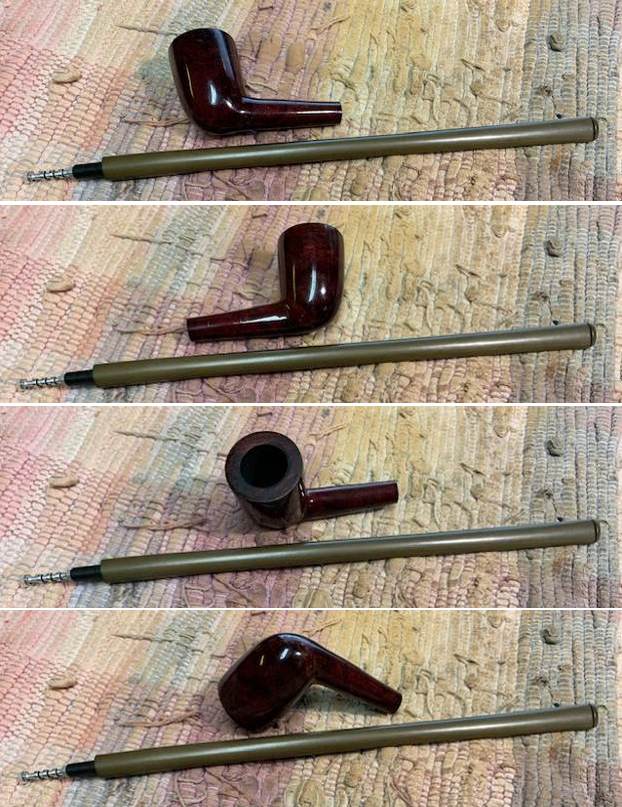 The rim top had cleaned up very well and all of the varnish was gone from the top. The inner and outer edges of the rim looked very good with no burn damage. There were some scratches in rim top.
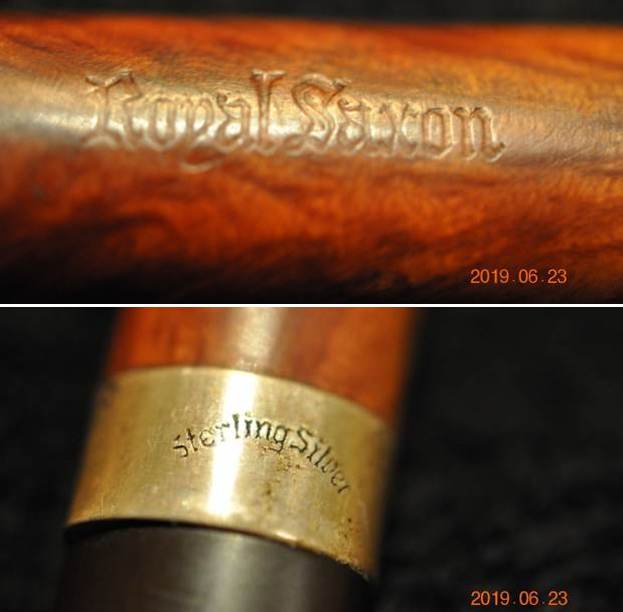
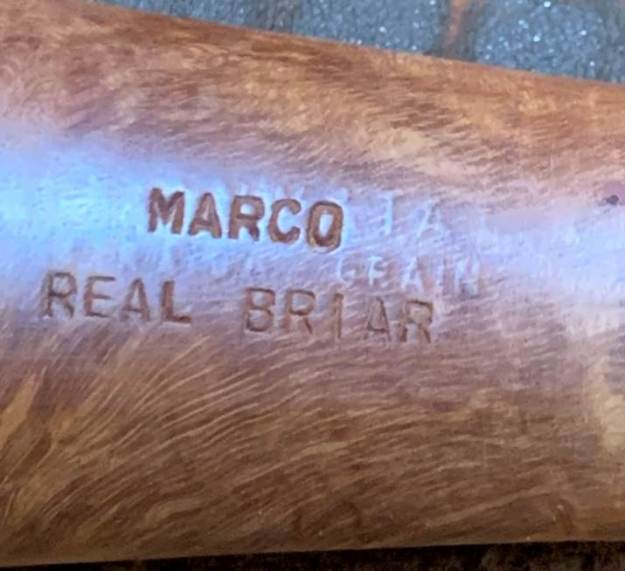
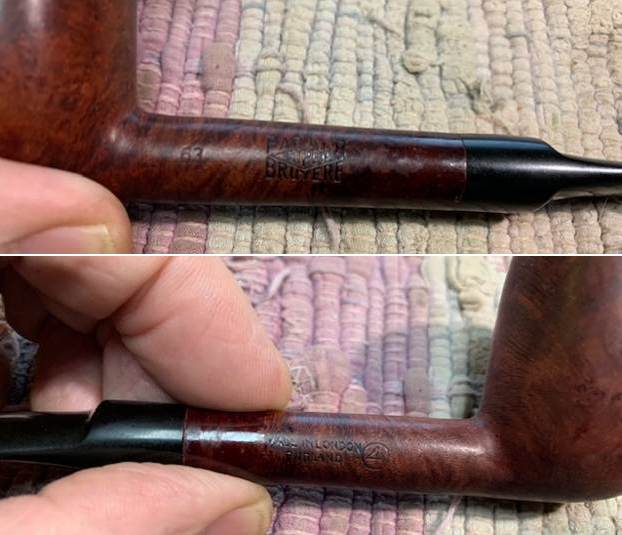
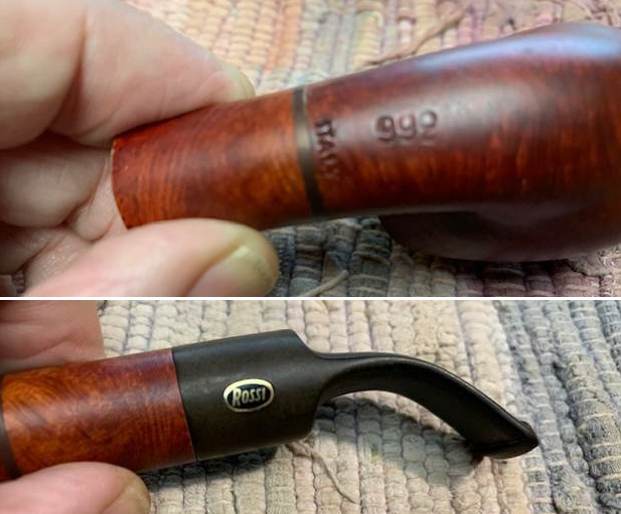
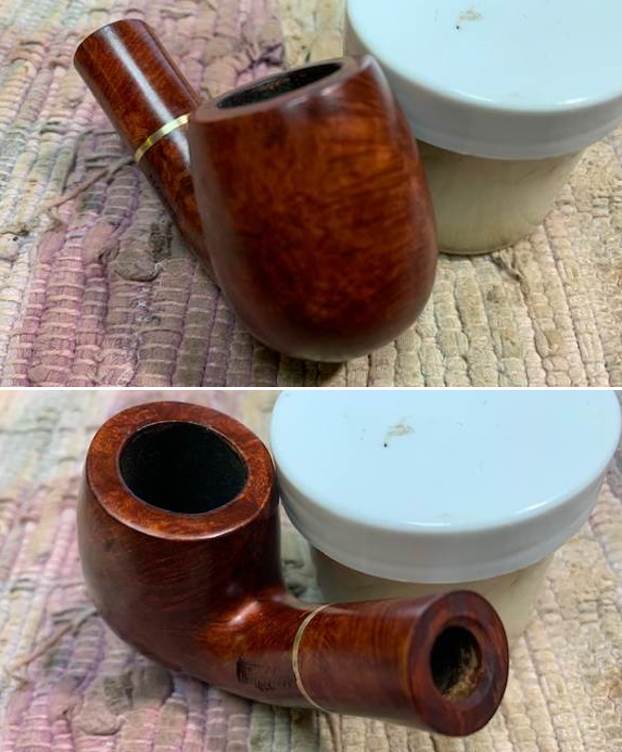
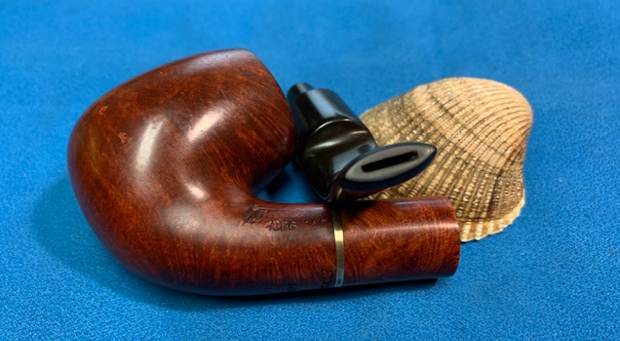
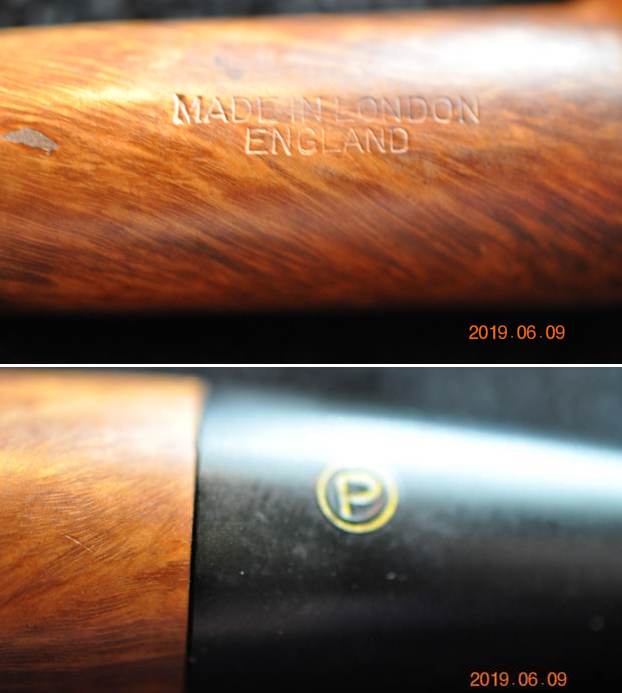
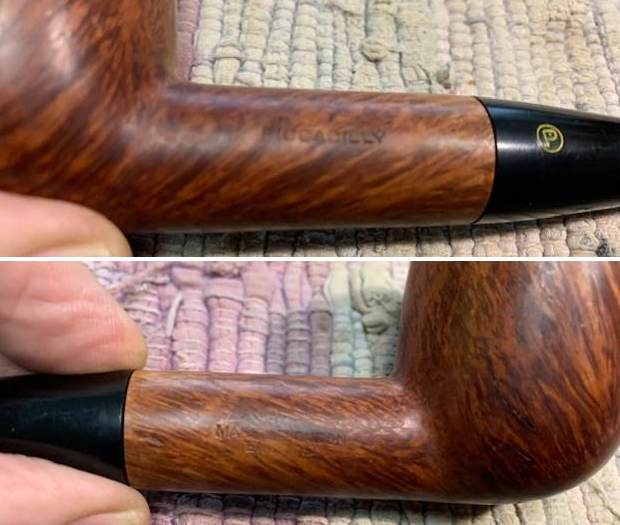
 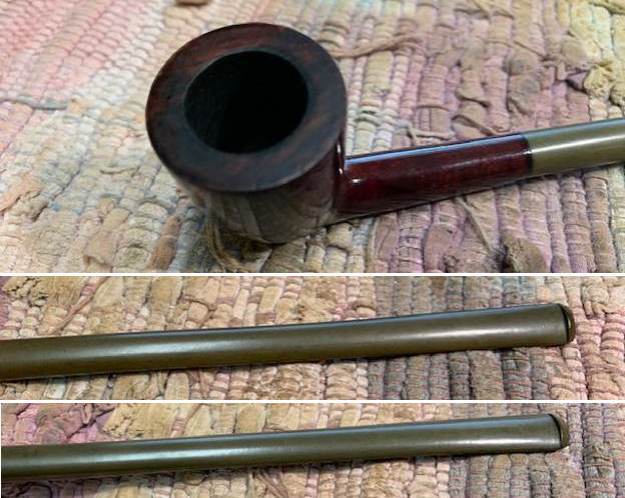 I took a photo of the stamping on the left side of the shank. The stamping is clear and readable as noted above.
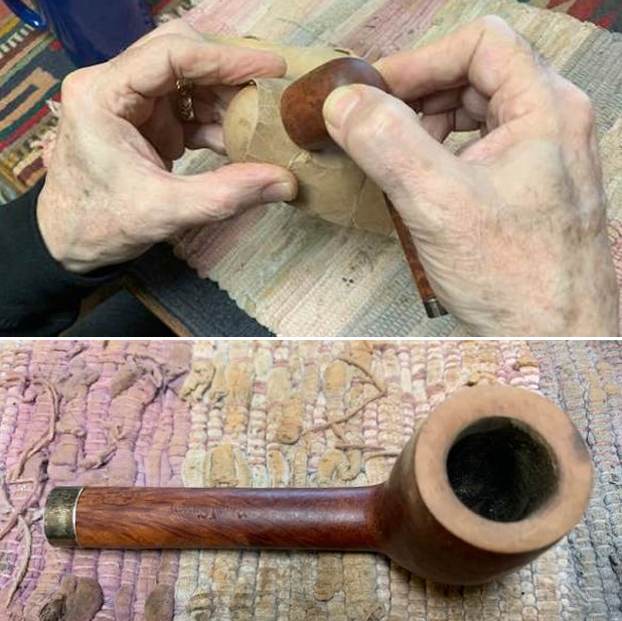
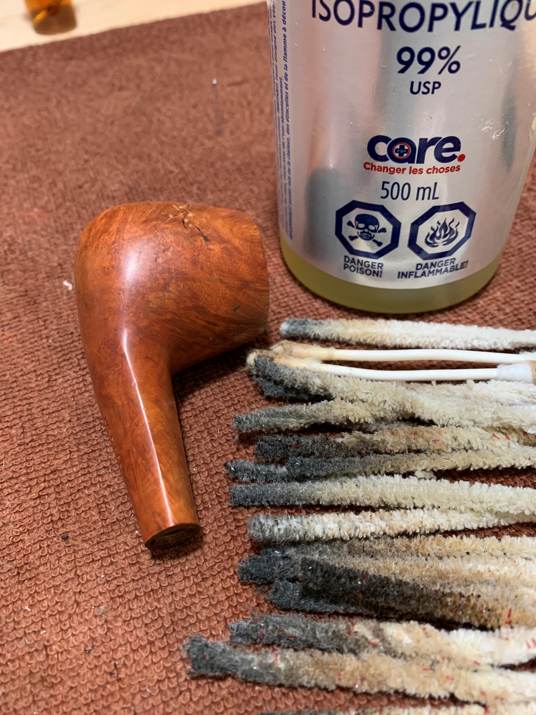
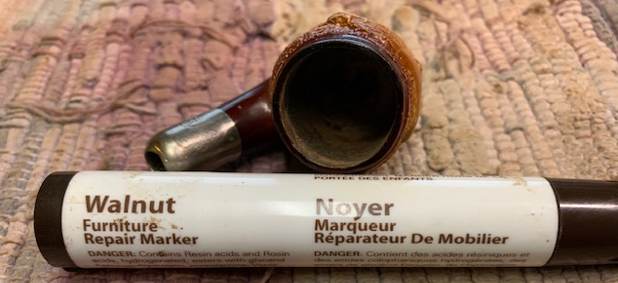
 I started my work on the pipe by removing the peeling varnish coat. I removed the stem and wiped the briar down with acetone to strip back the varnish coat.
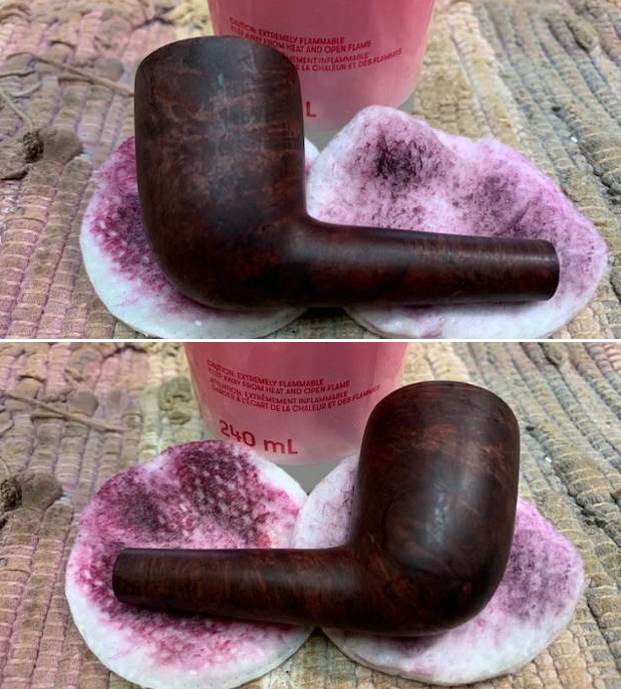
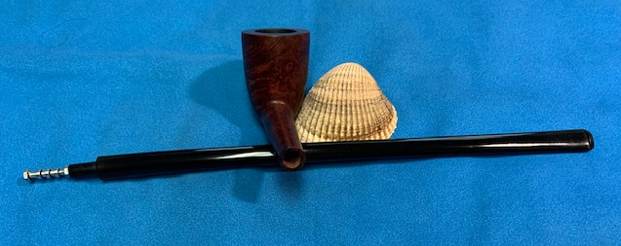
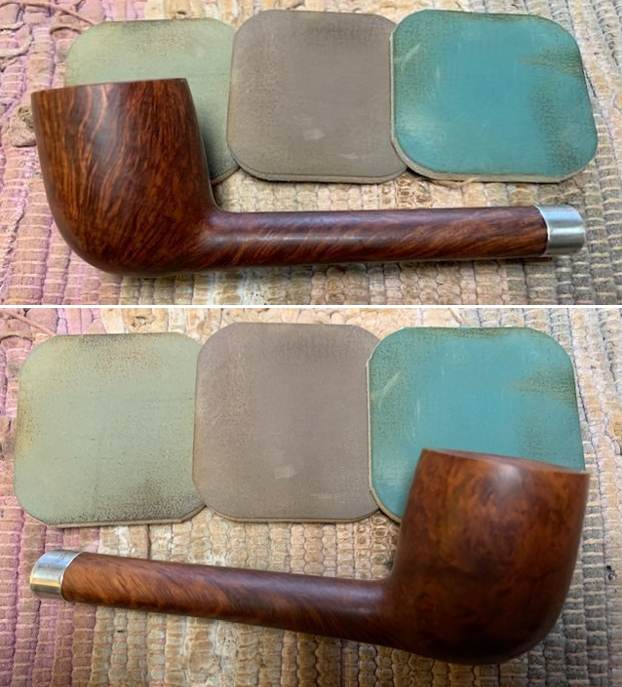
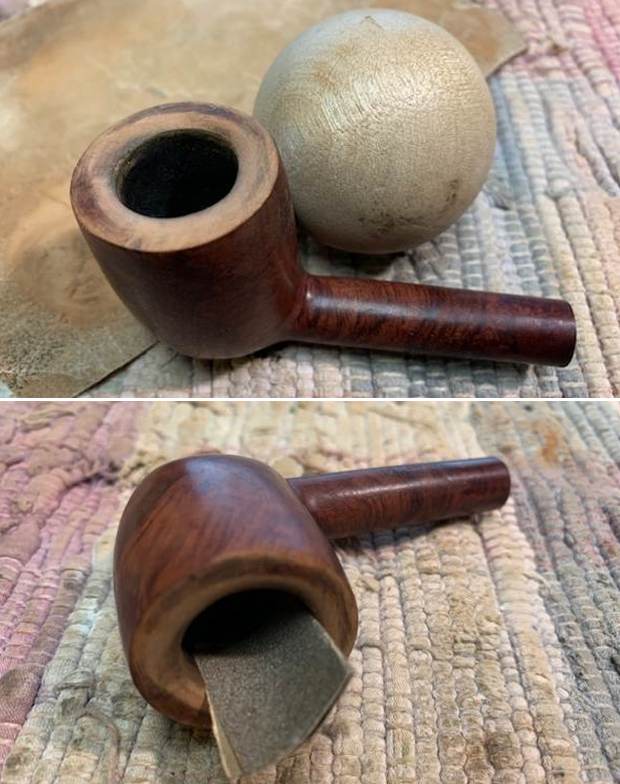
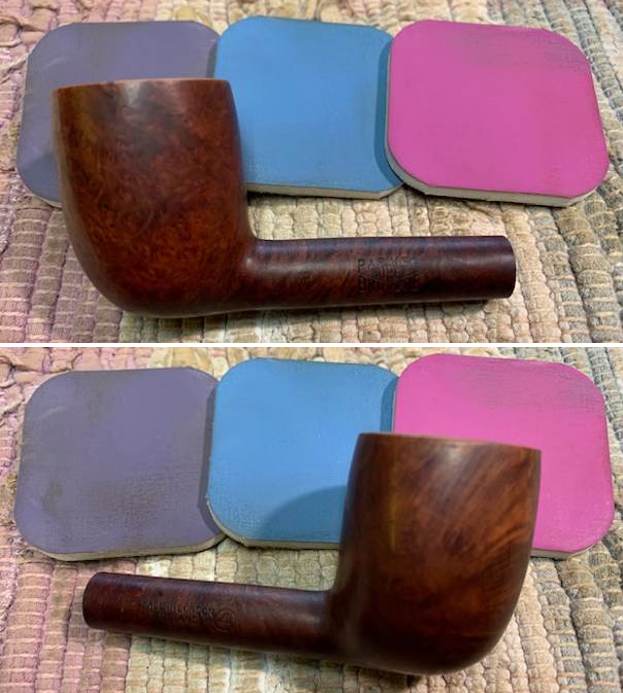
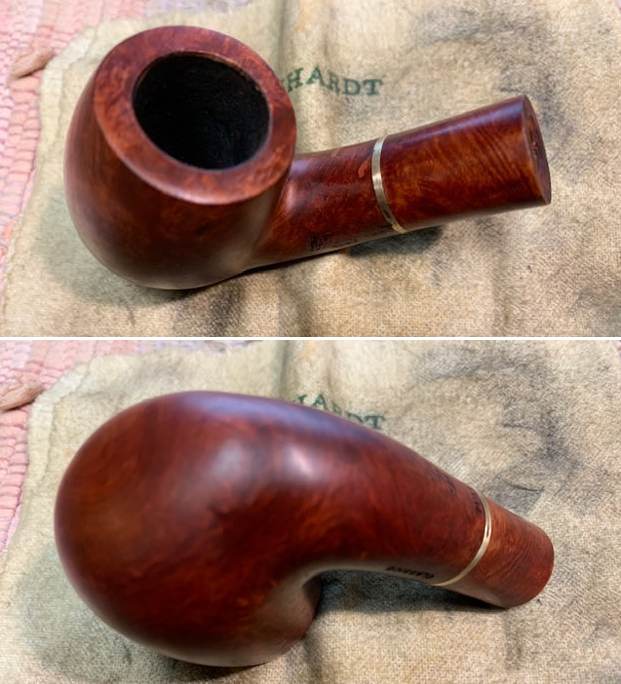
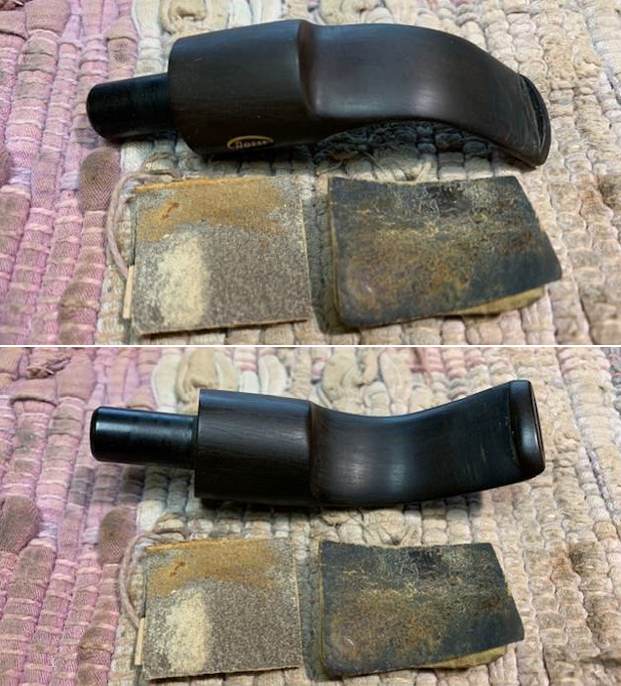
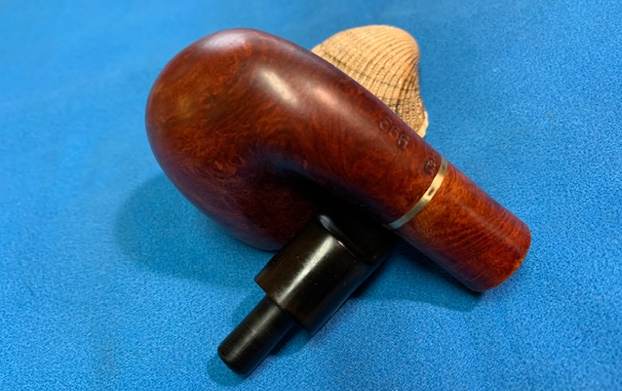
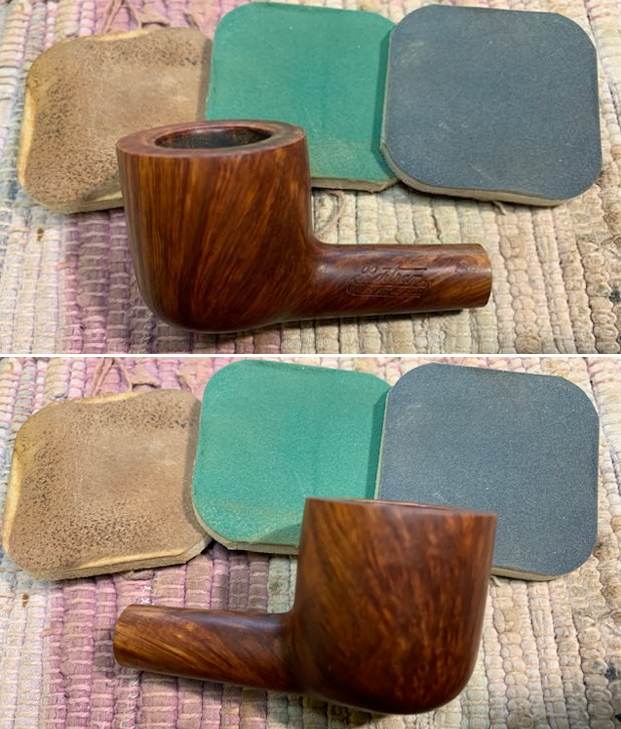
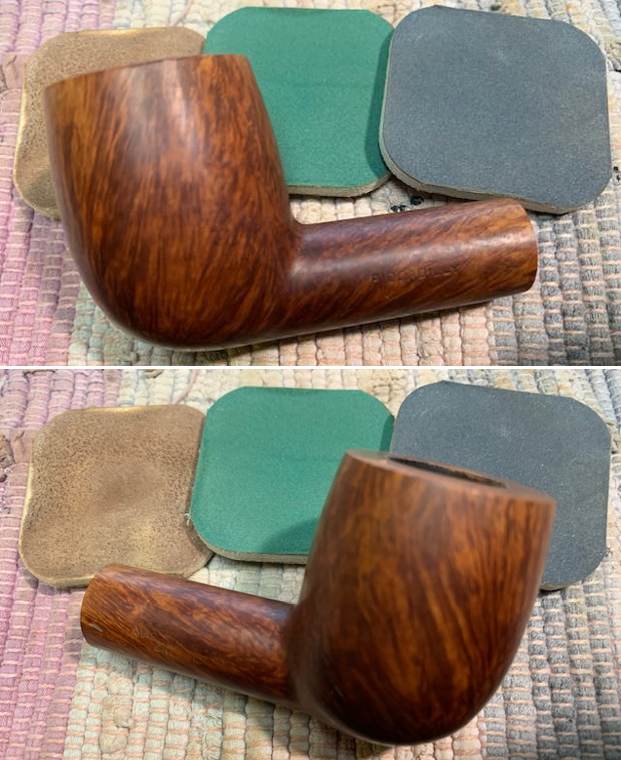
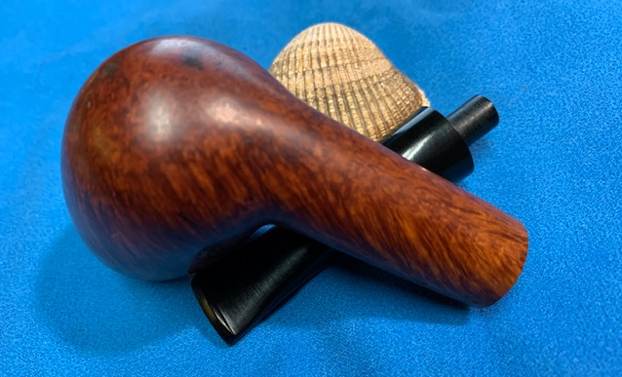
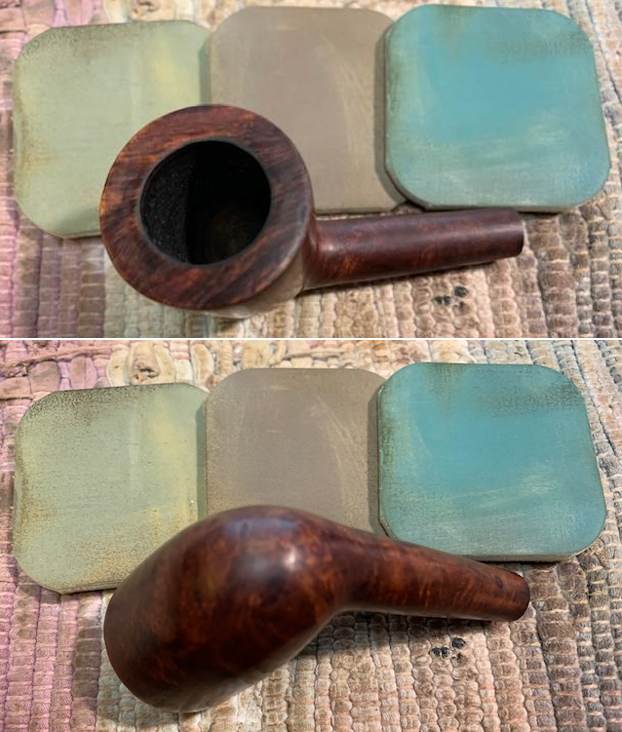
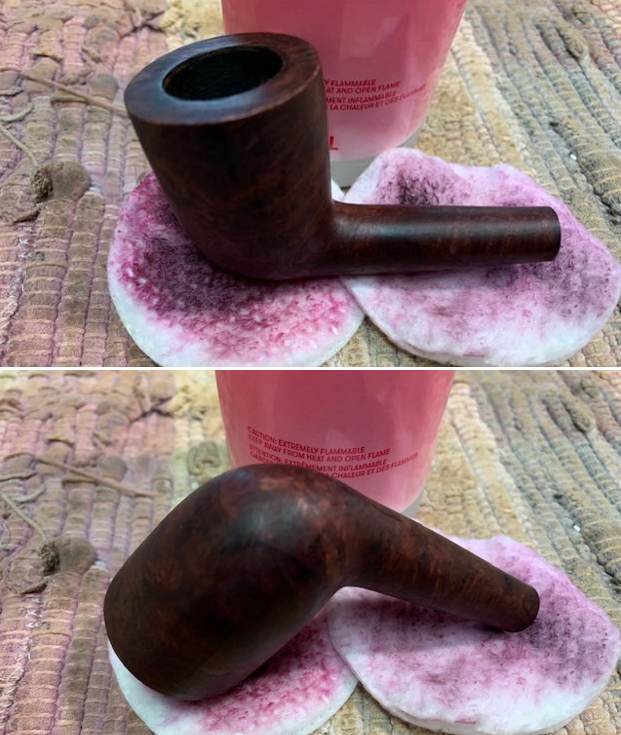 I wiped off the bowl with an acetone dampened cloth pad to remove any remnants of varnish that remained on the finish of the bowl. I took the following photos to show what the pipe looks like at this point. The grain is peeking through and it looks really good.
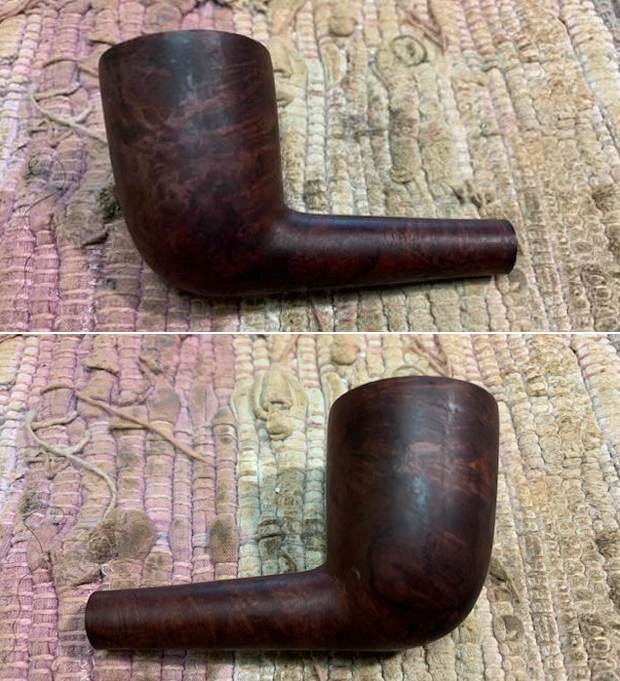
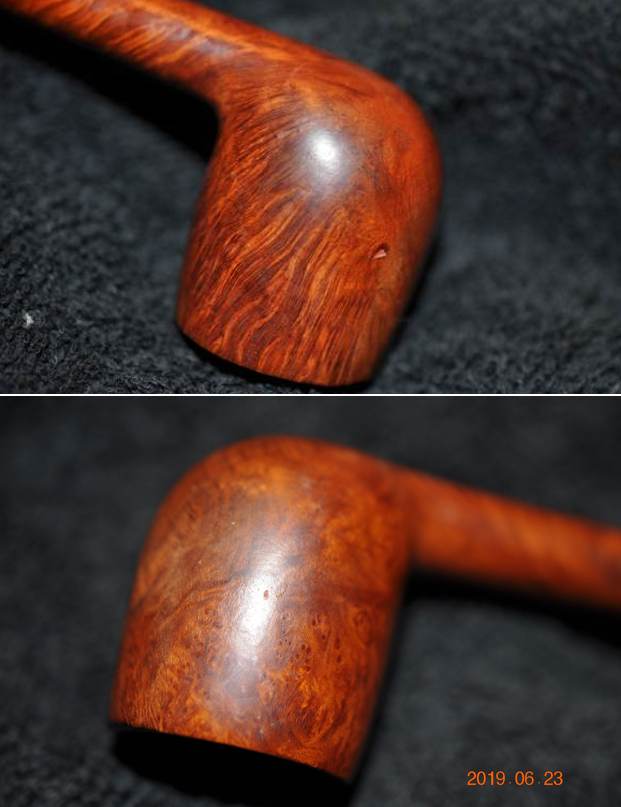
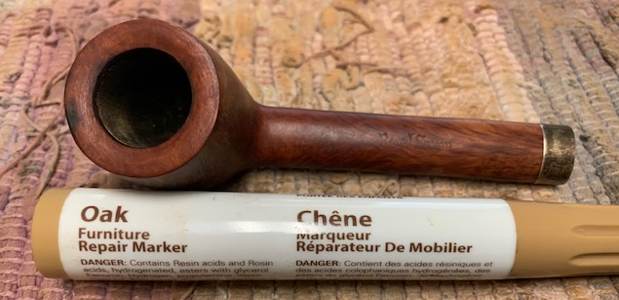
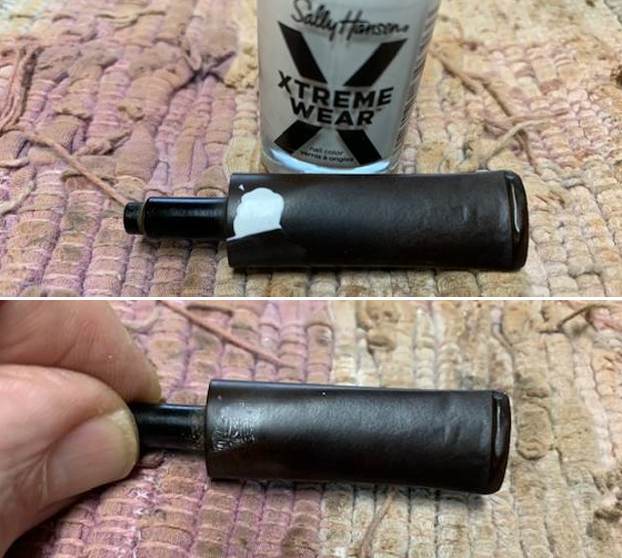
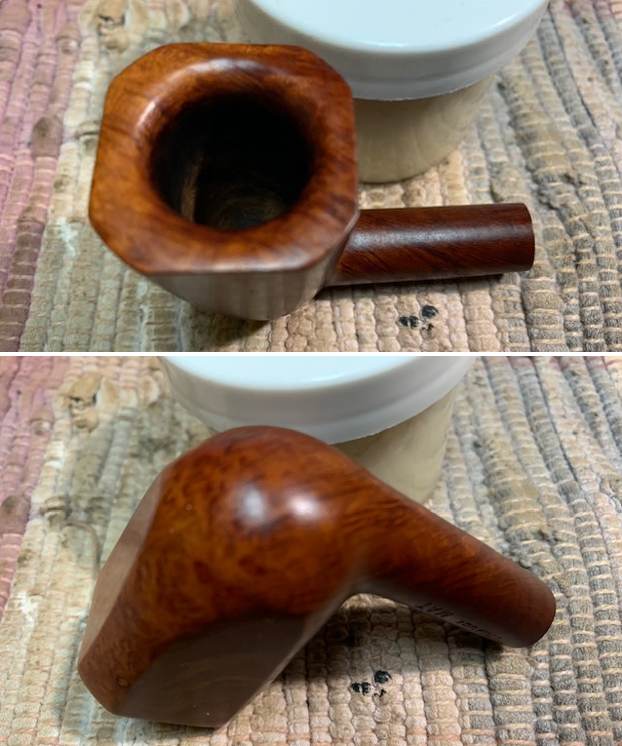
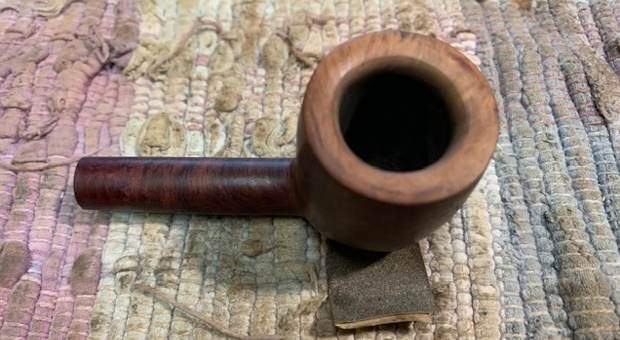
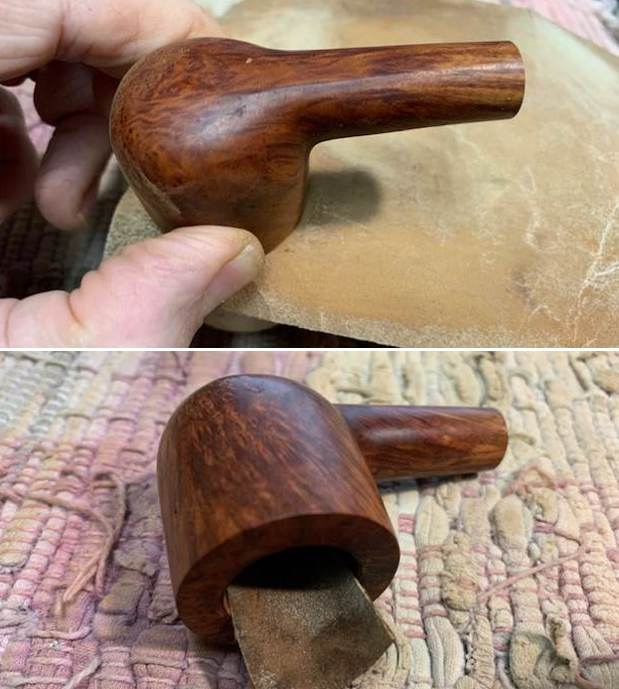
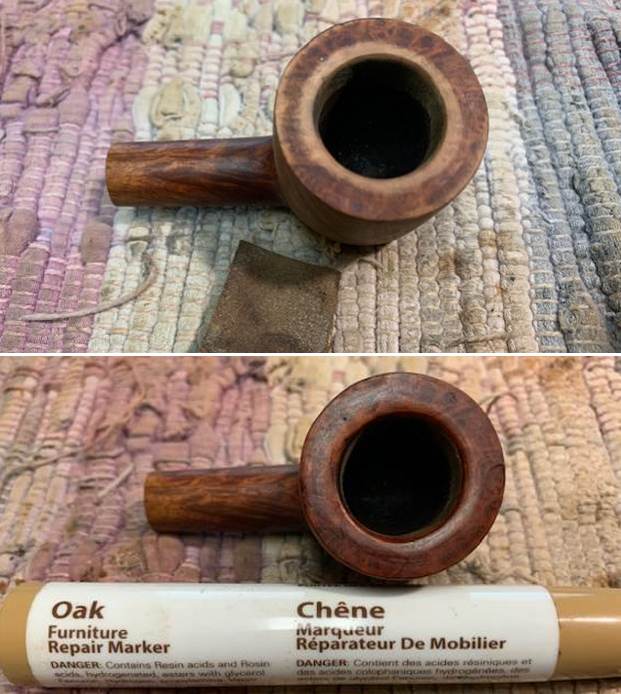
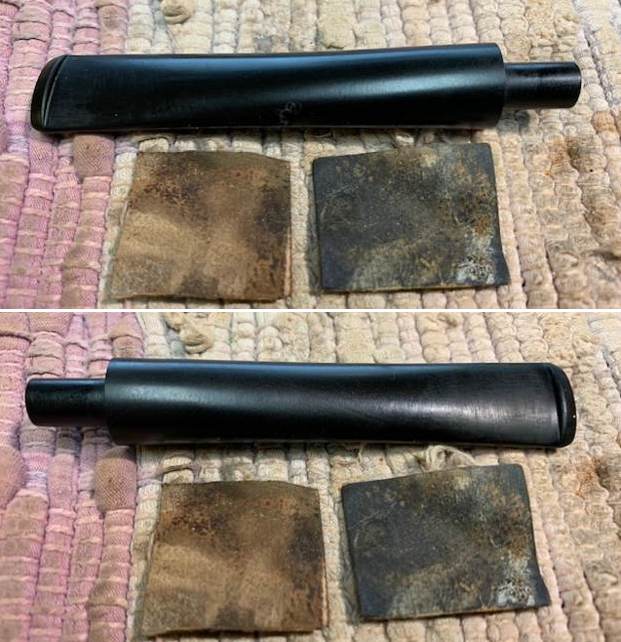
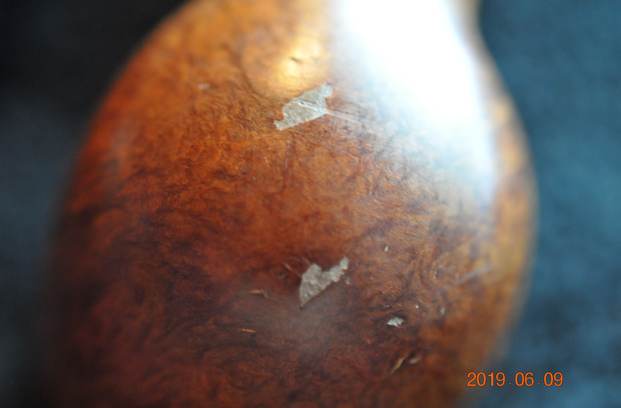
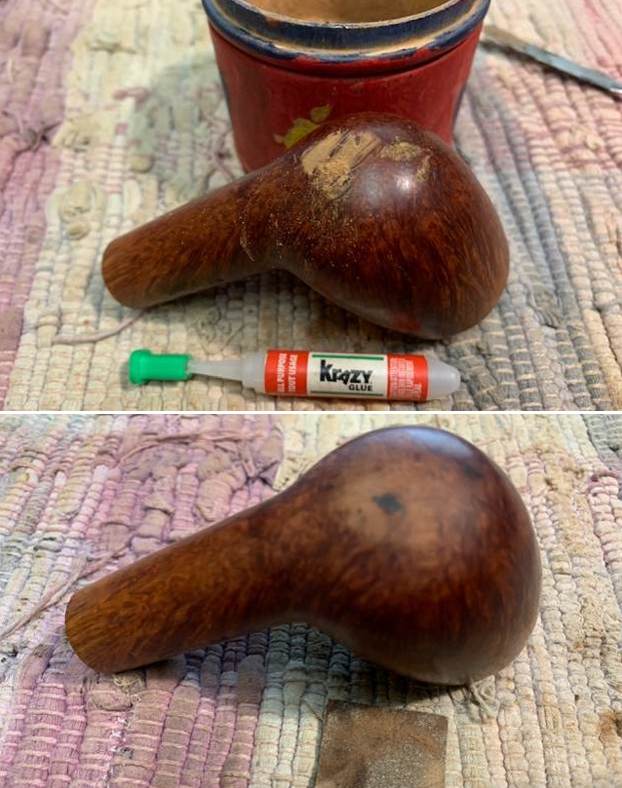
 The first photo below shows the flaw in the finish. Jeff captured it and the photo shows that is a flaw/fill that came out. I filled in the chip/flaw in the underside of the shank with clear super glue and briar dust. I am happy with the way it blended in. I have drawn a red circle around it in the photo below.
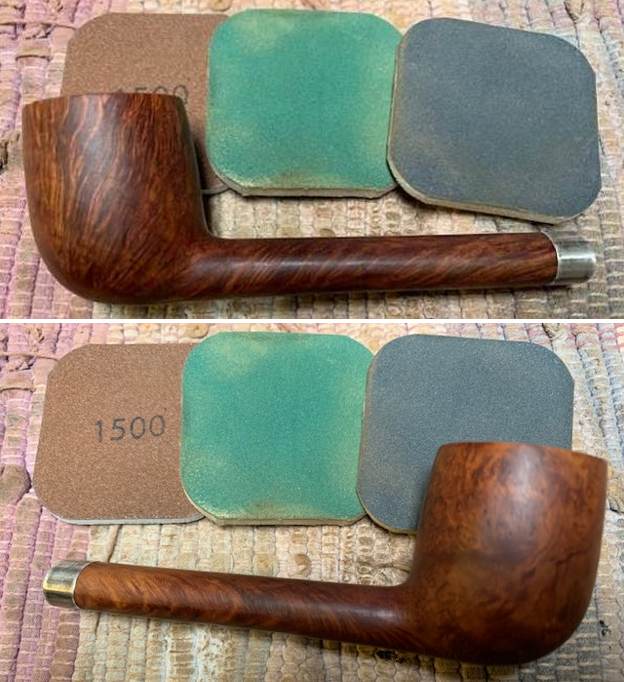
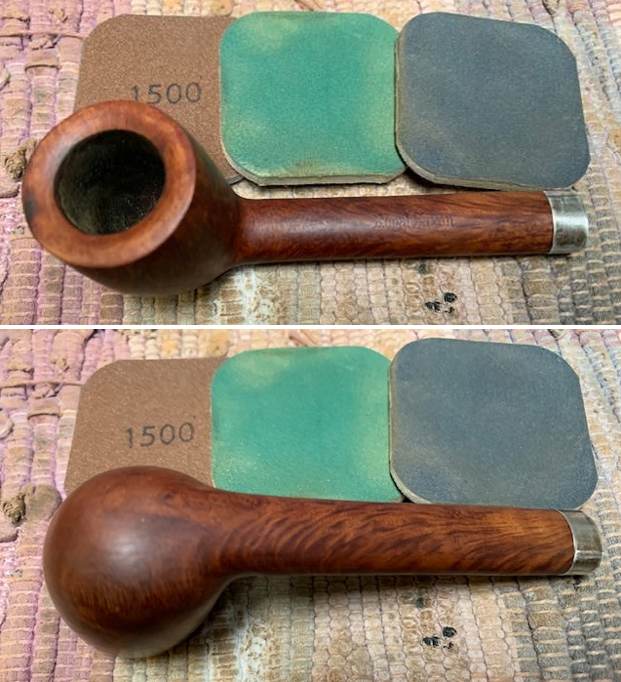
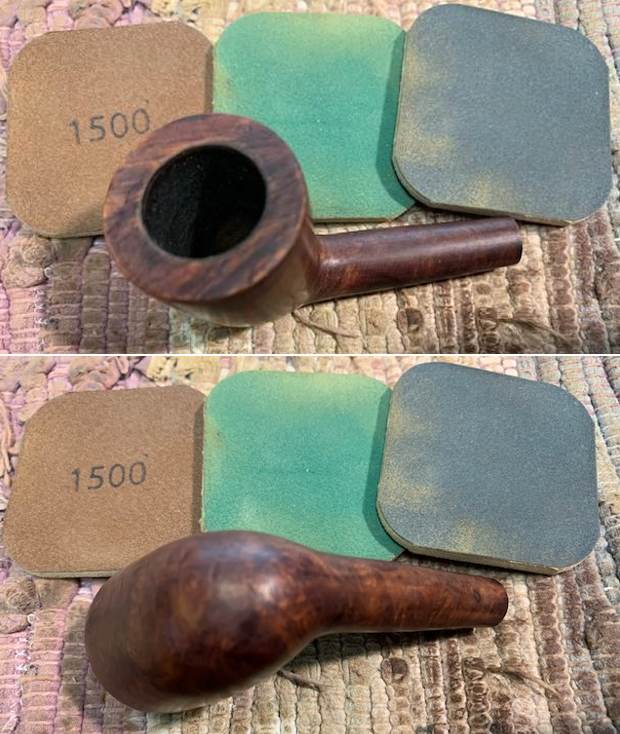
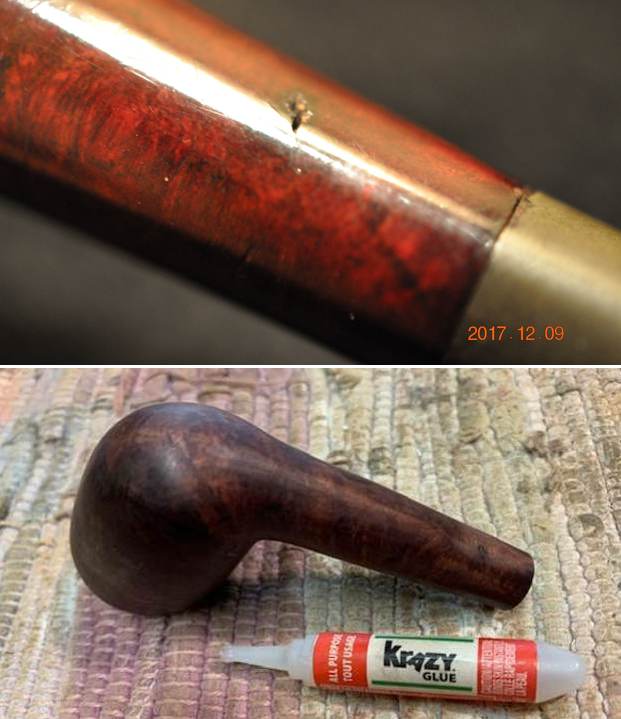 I polished the bowl and rim top with micromesh sanding pads – dry sanding with 1500-12000 grit pads and wiped down the bowl after each sanding pad.
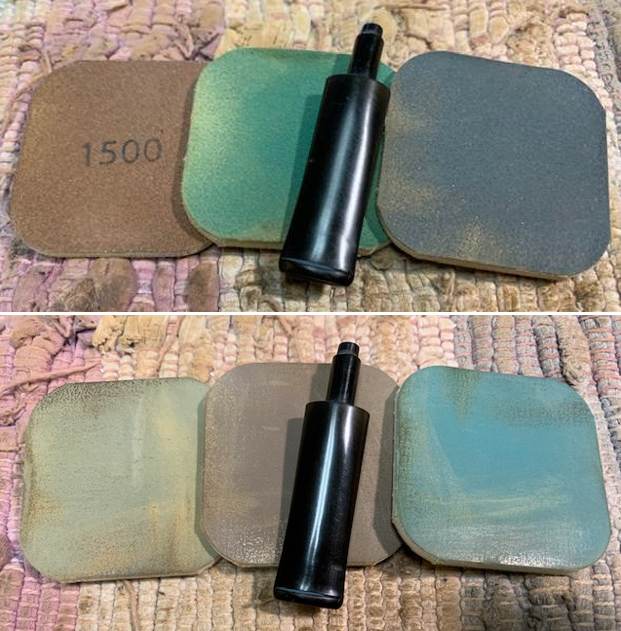
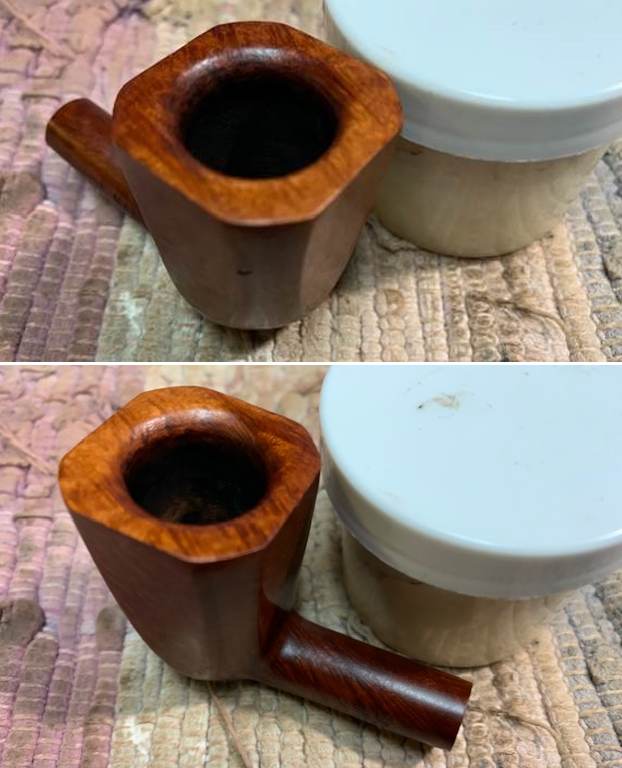
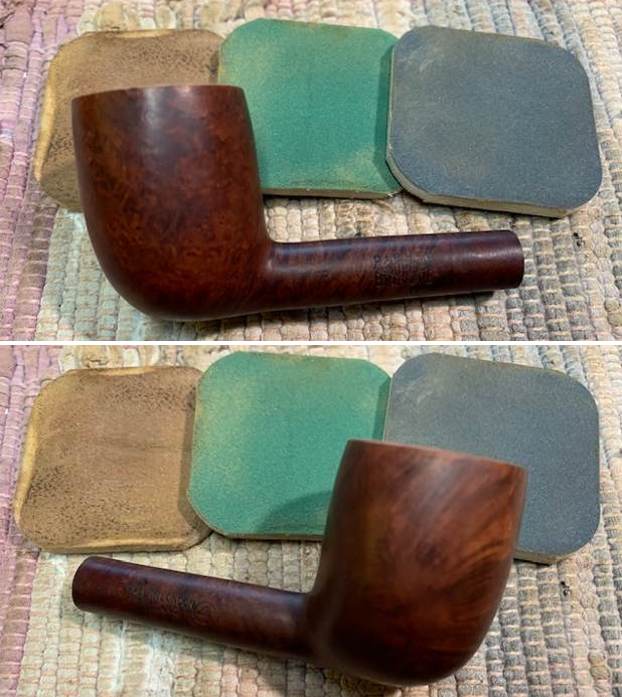
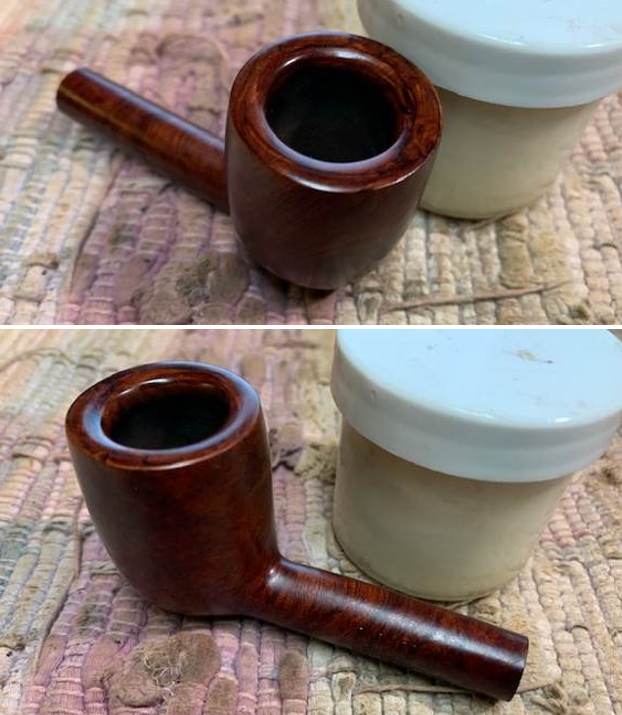
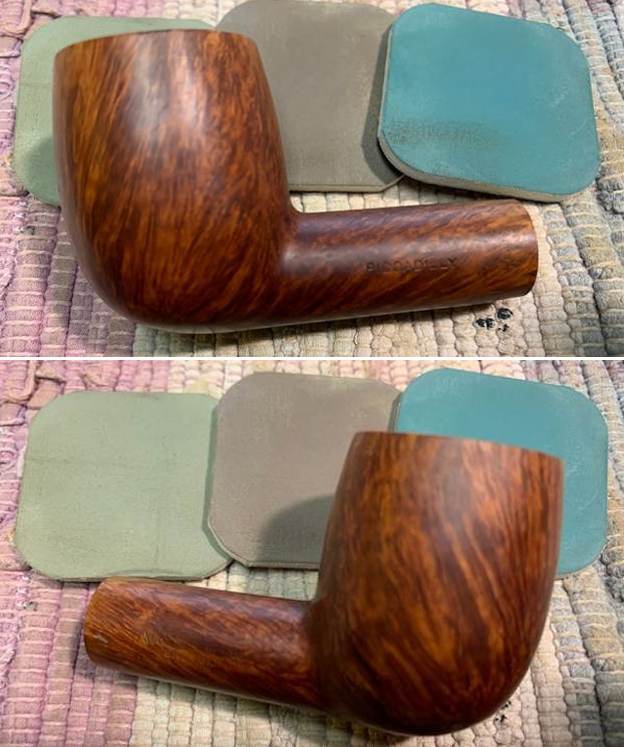
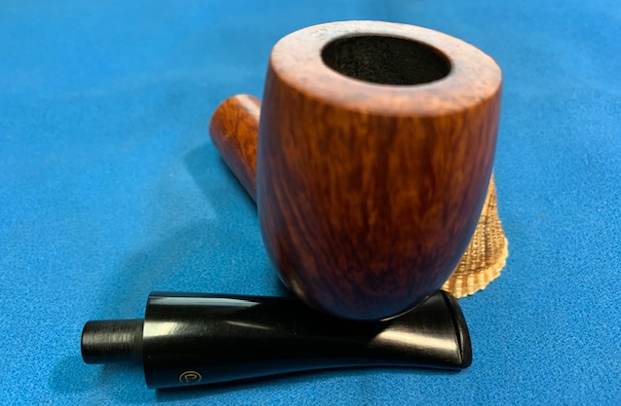
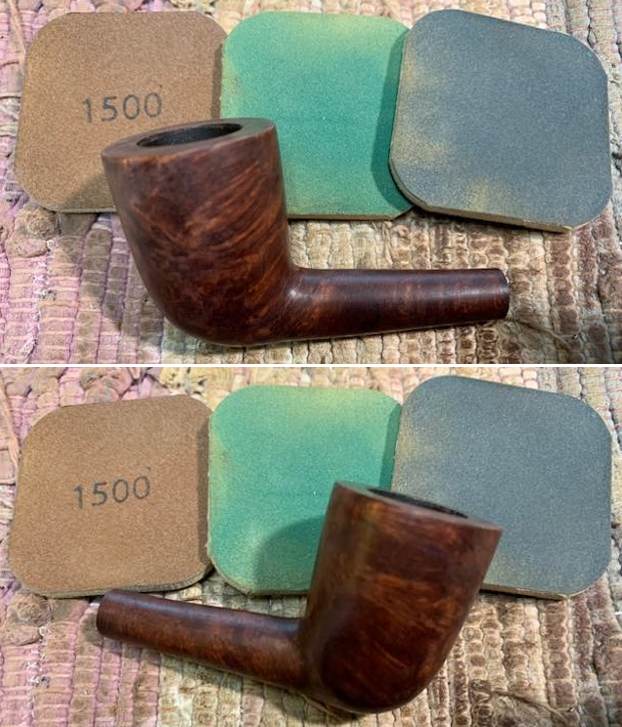

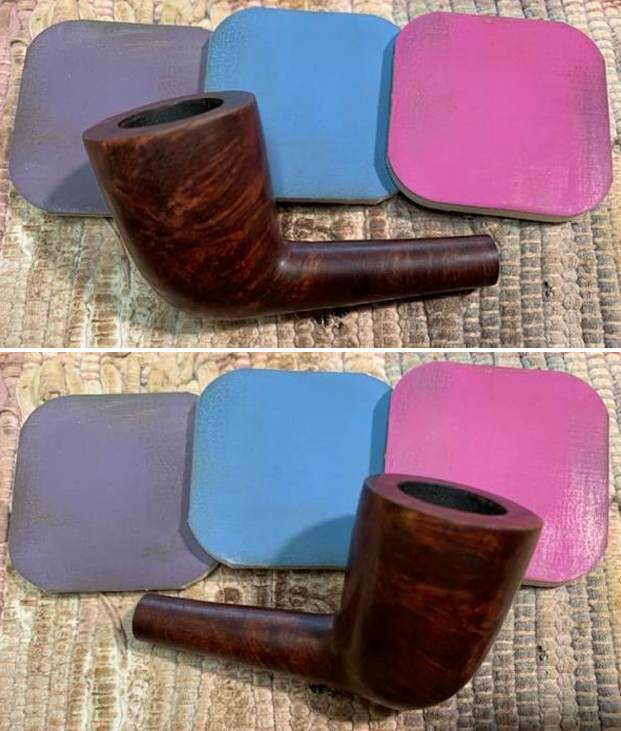
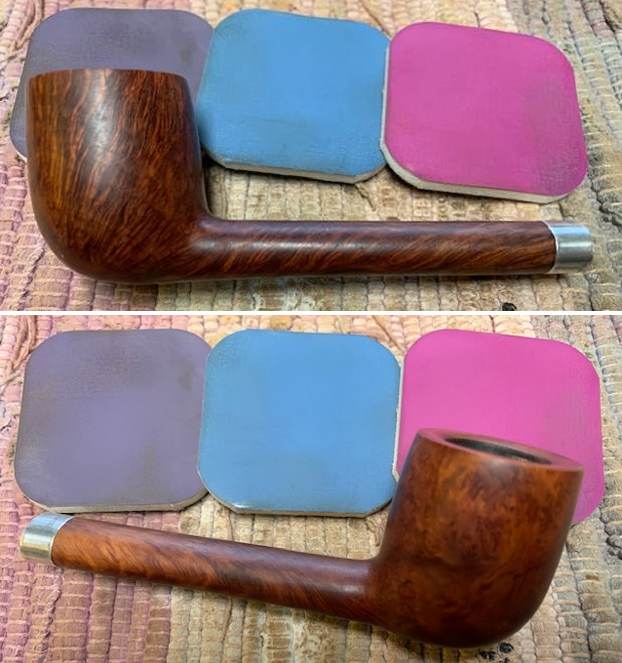
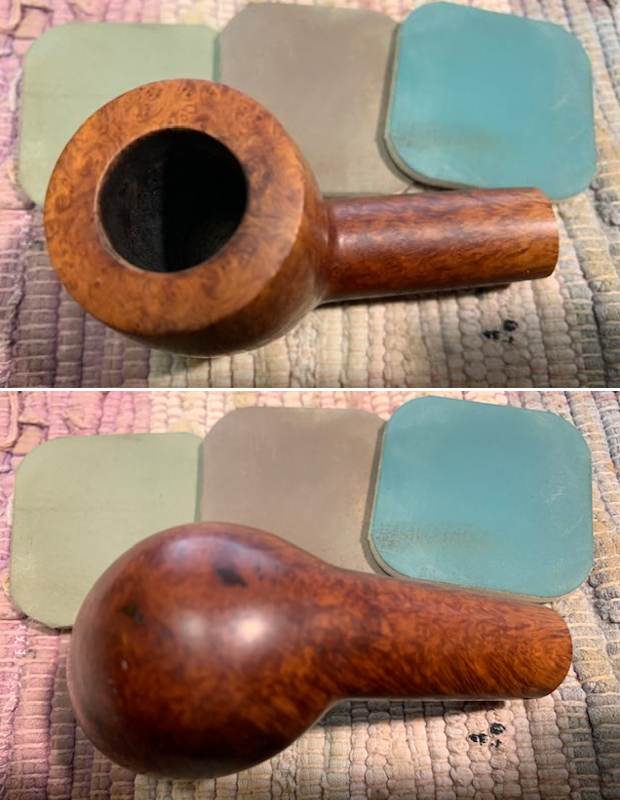
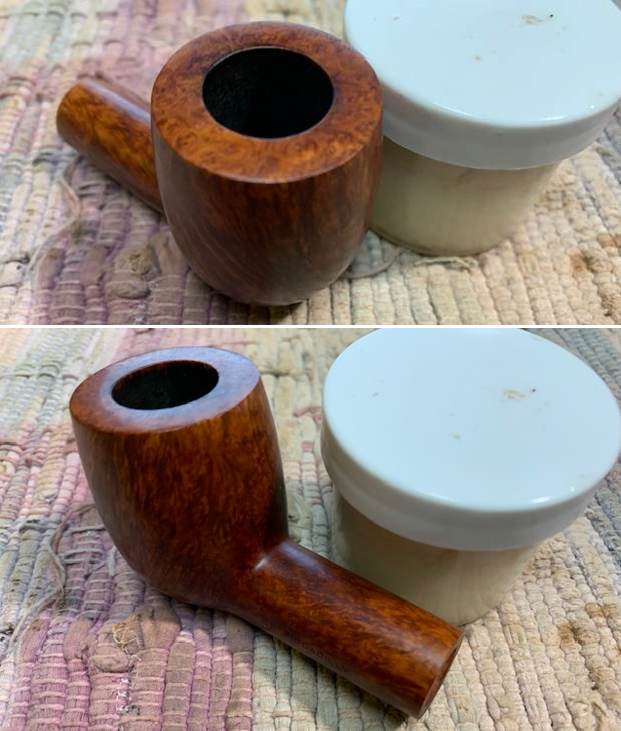
 I rubbed the bowl and shank down with Before & After Restoration Balm. I worked it into the surface of the bowl sides and shank with my fingertips to clean, enliven and protect the briar. I let the balm sit for a little while and then buffed with a cotton cloth to raise the shine. The Balm did its magic and the grain stood out.
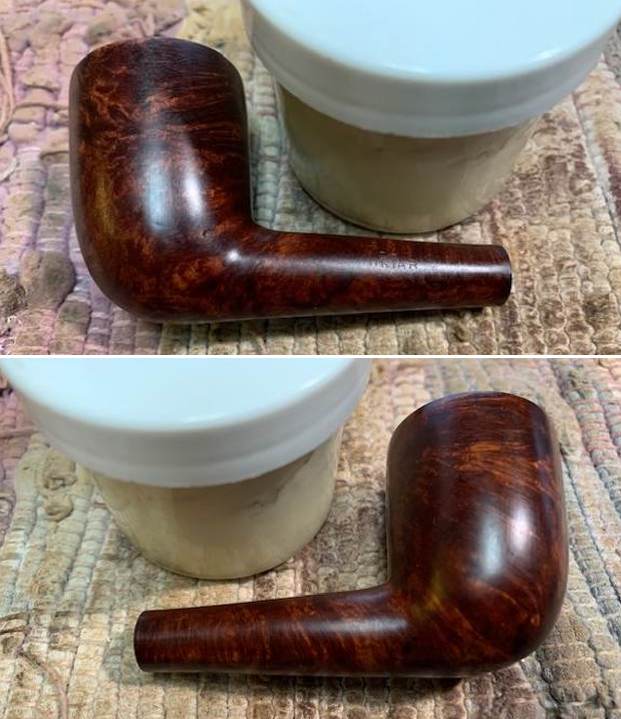
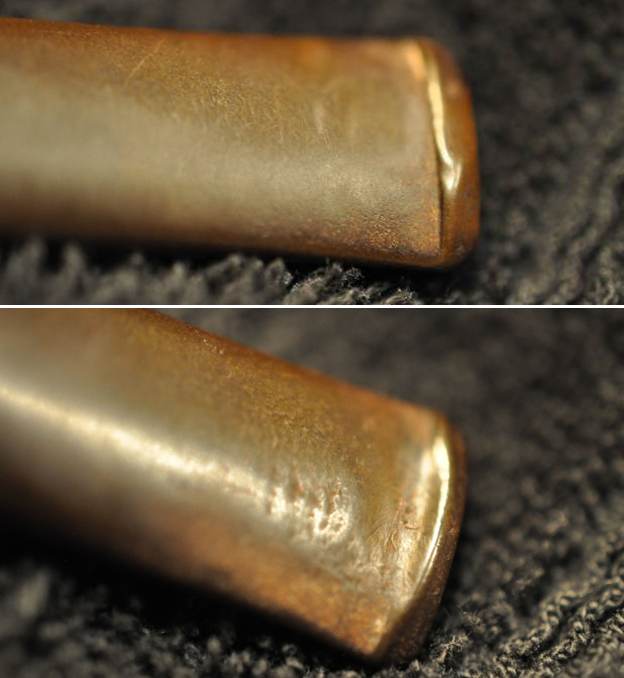
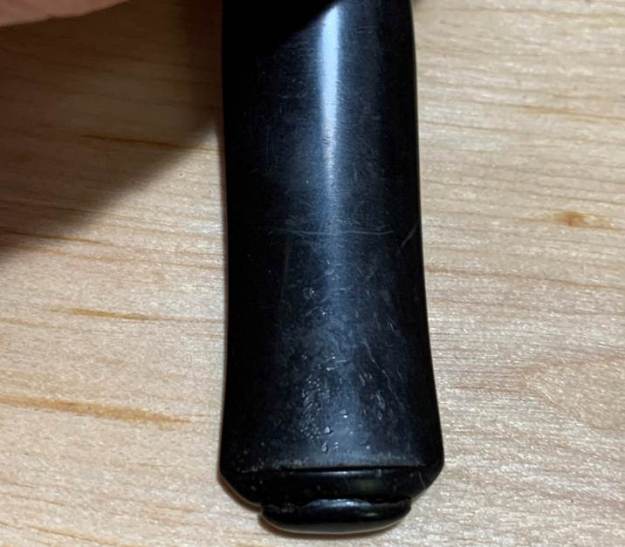
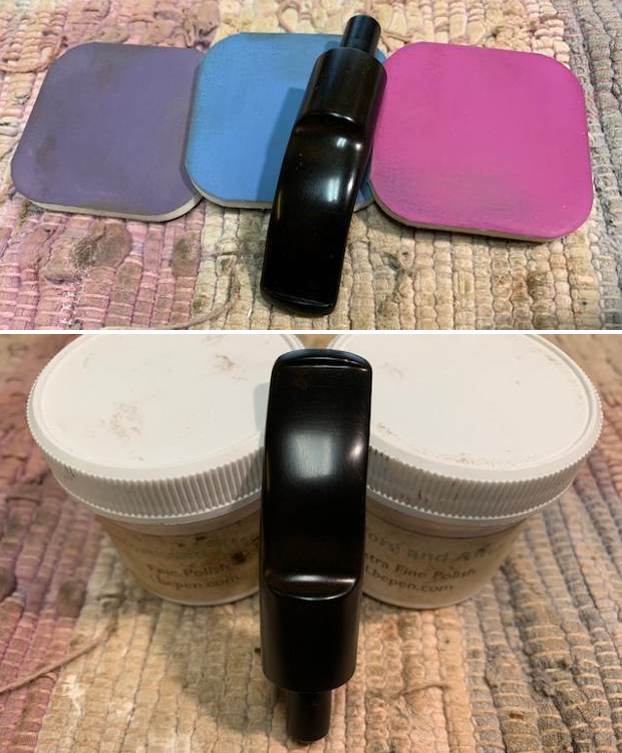
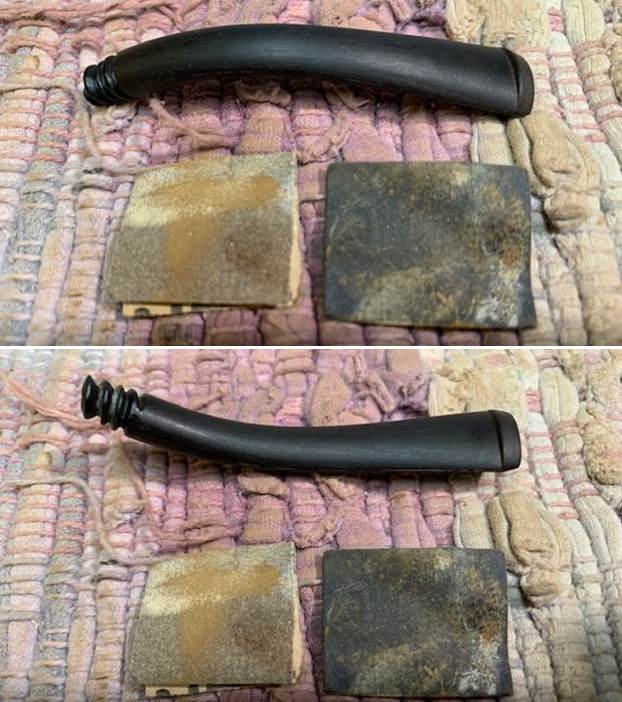
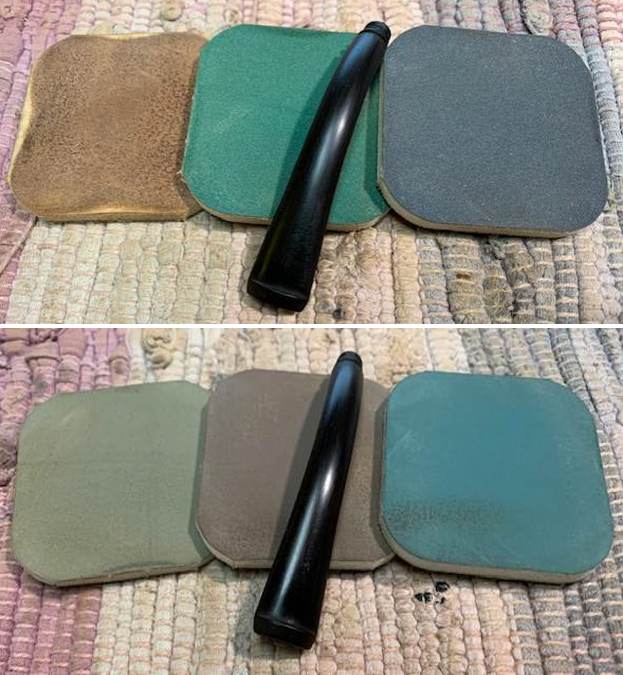
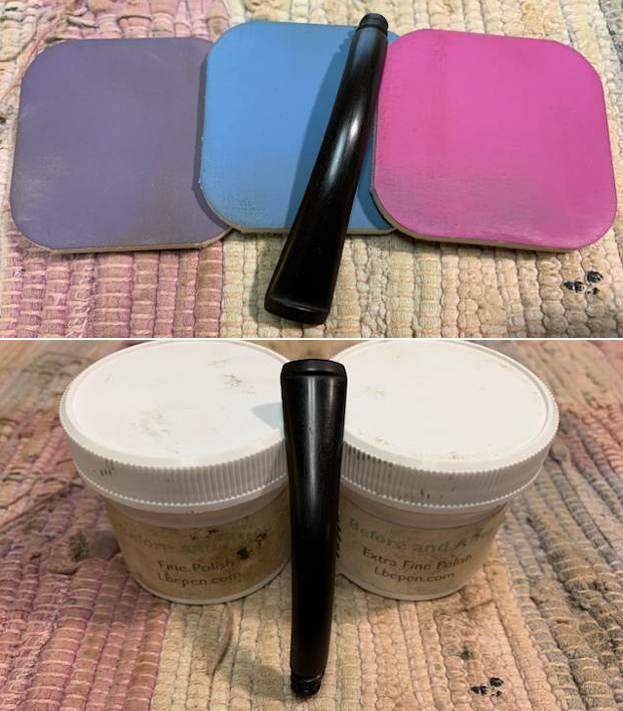
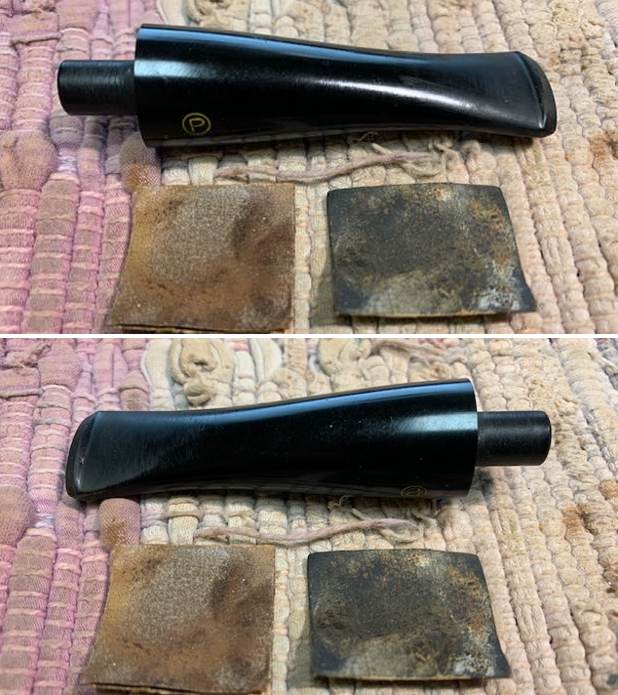
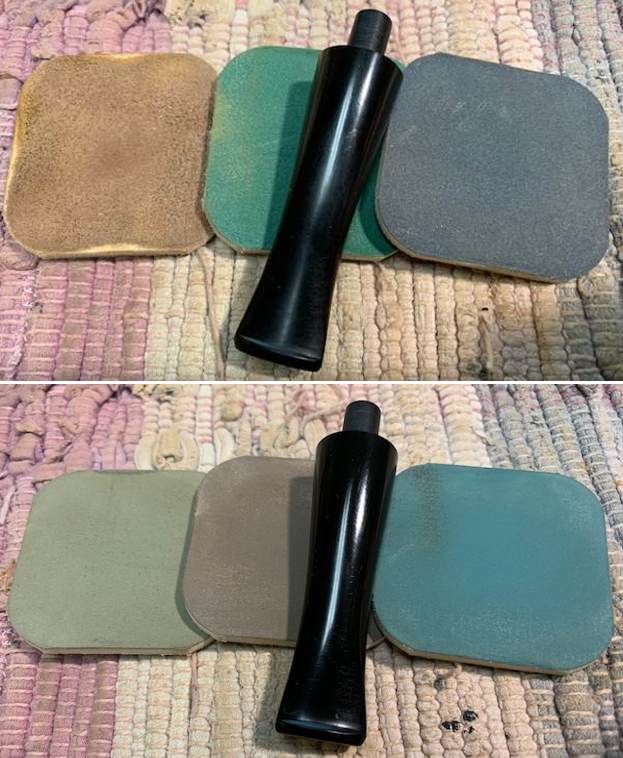
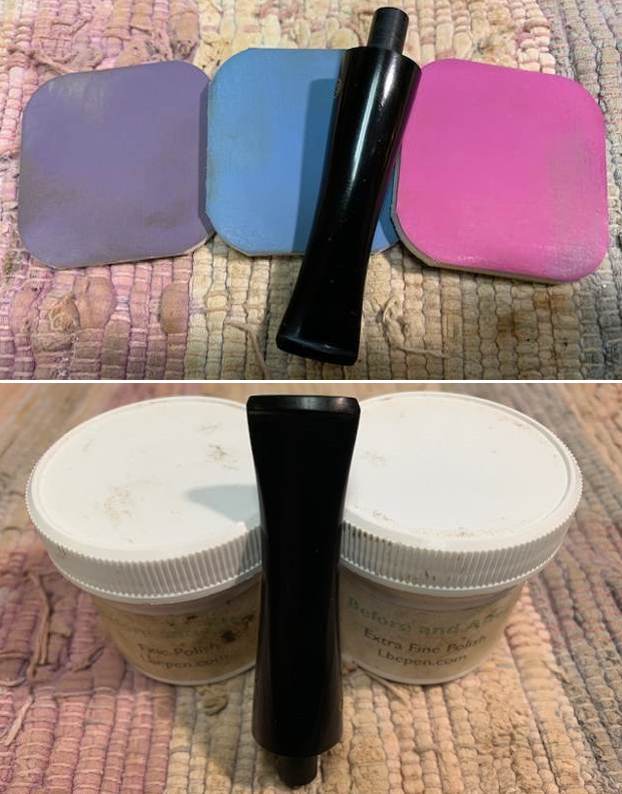
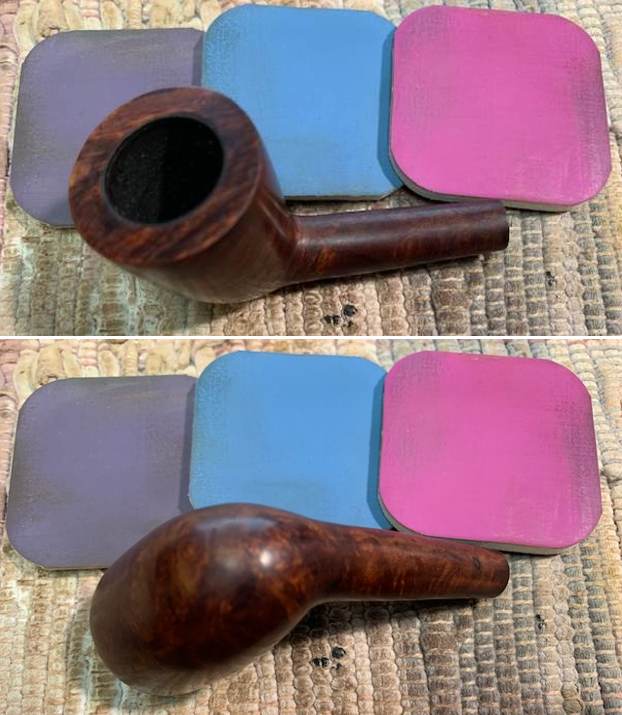
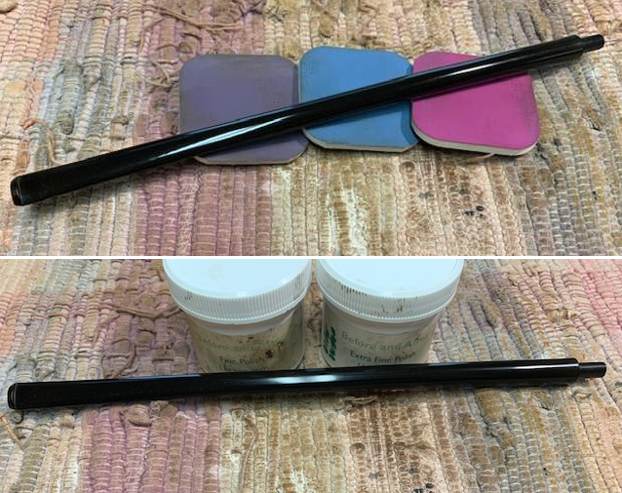
 I set the bowl aside and turned my attention to the stem. I scrubbed off the oxidation on the stem with Soft Scrub and cotton pads. I was able to remove the majority of it.
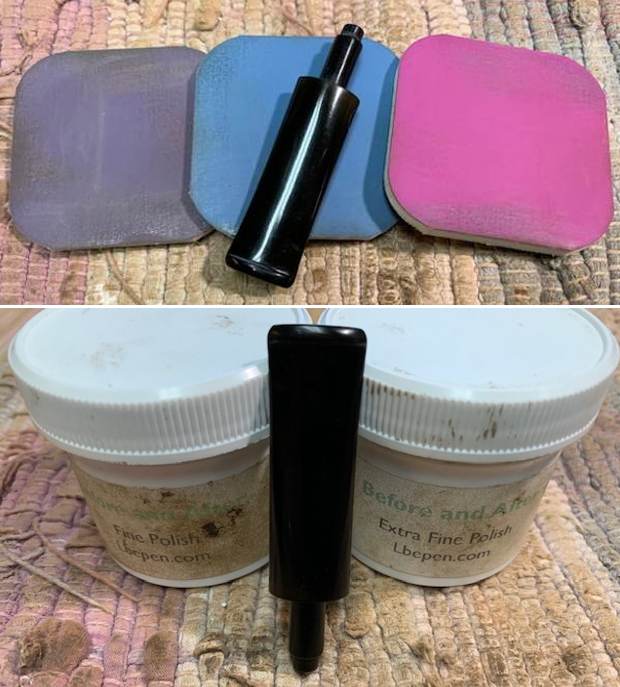
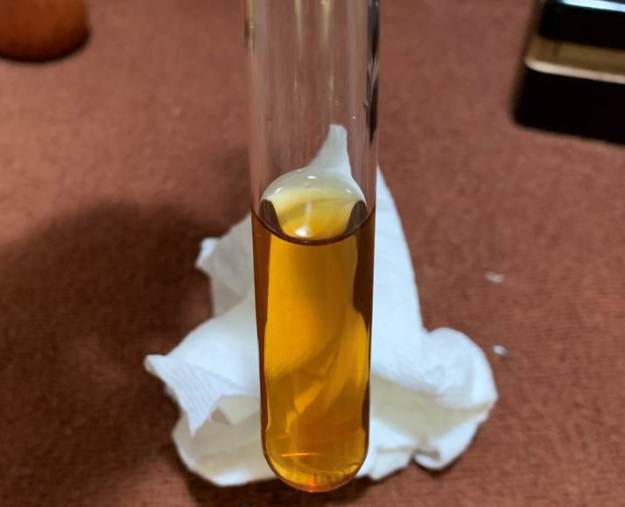
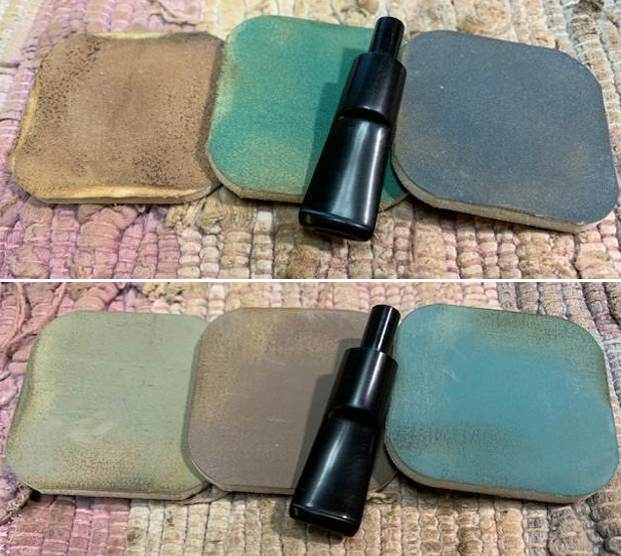
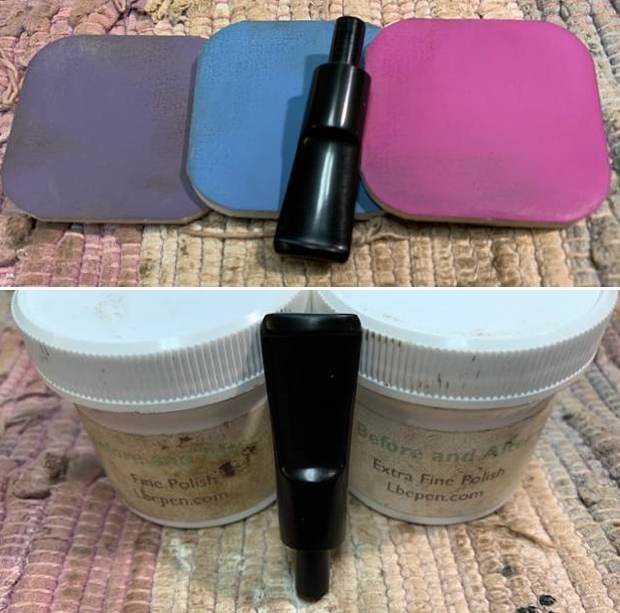
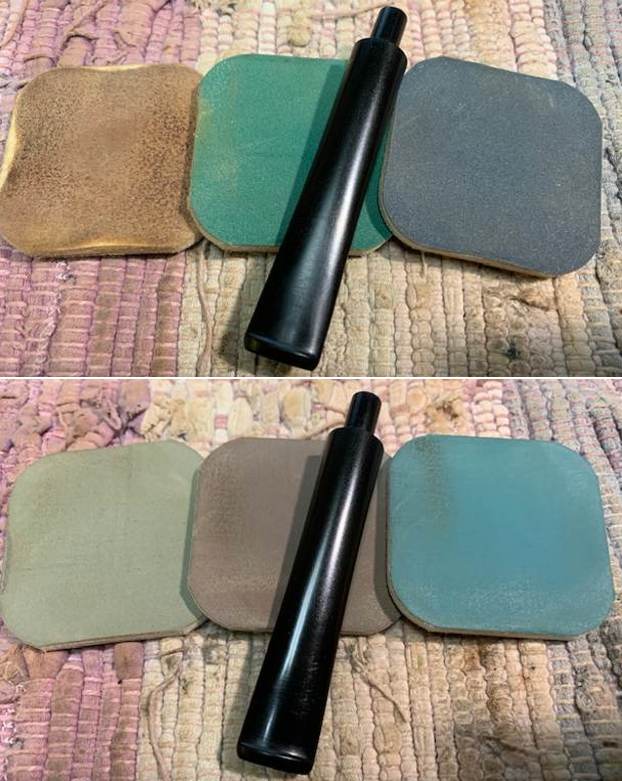
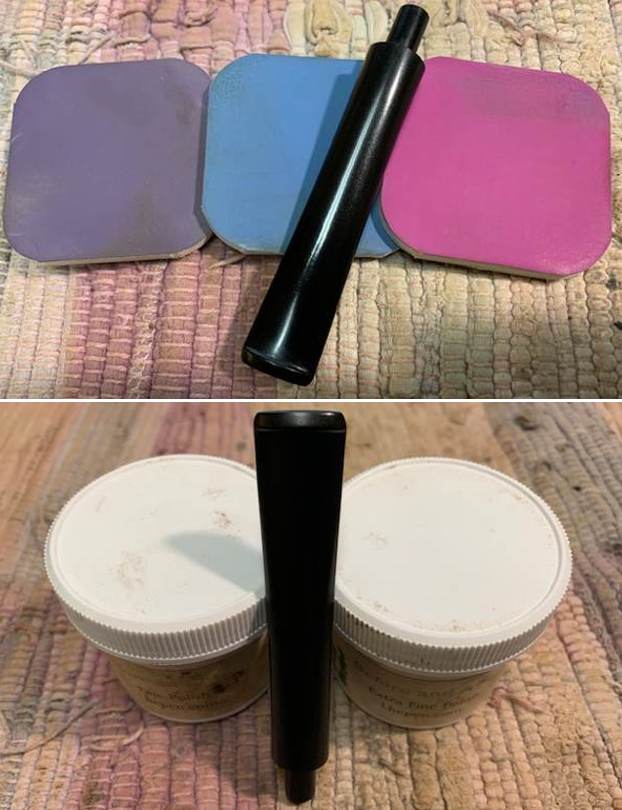
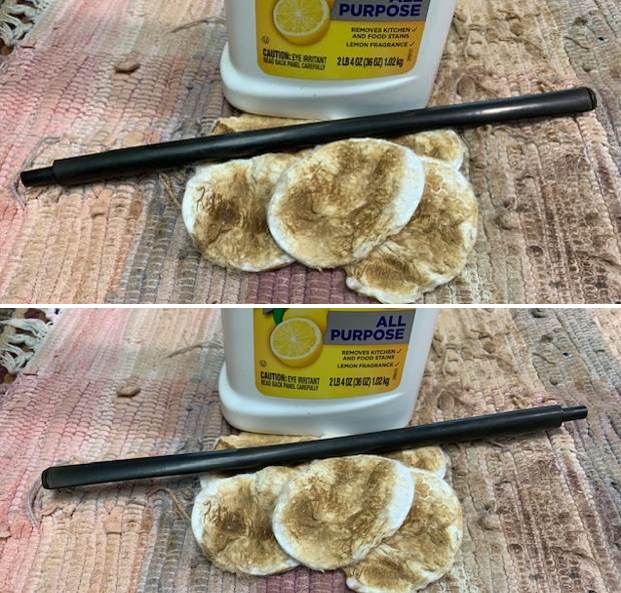 Once the oxidation was removed was in good condition. The chatter and marks were very light and could be polished out. I polished it with micromesh sanding pads – 1500-12000 grit pads. I wiped it down with Obsidian Oil after each sanding pad. I used Before & After Pipe Polish – both Fine and Extra Fine to further polish the stem. I gave it a final coat of Obsidian Oil and set it aside to dry.
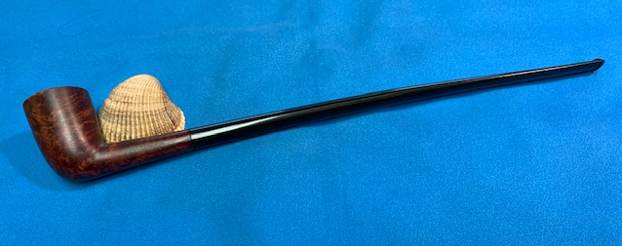
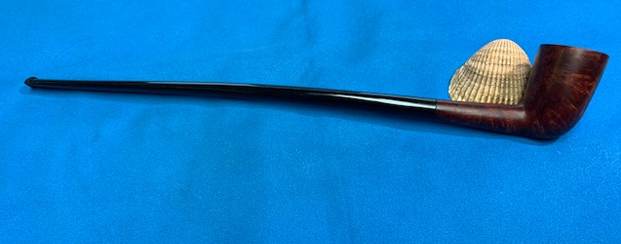
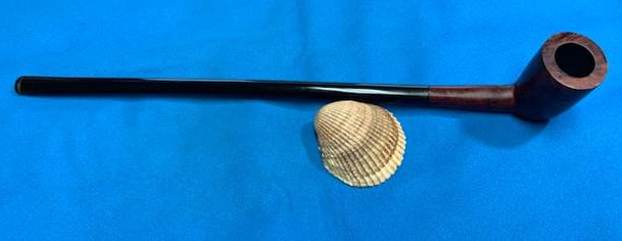
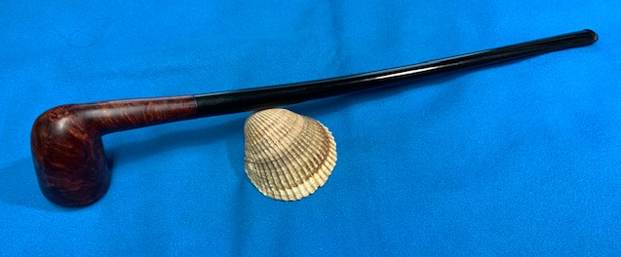
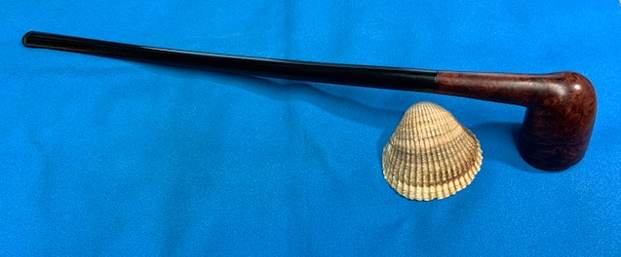
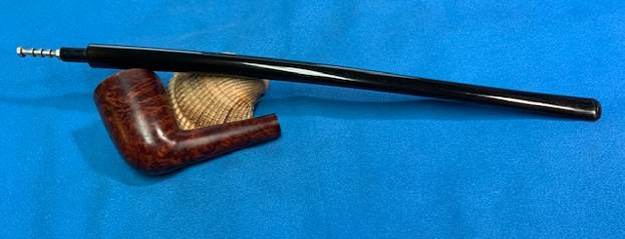
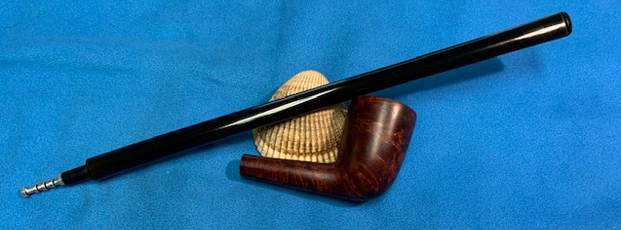
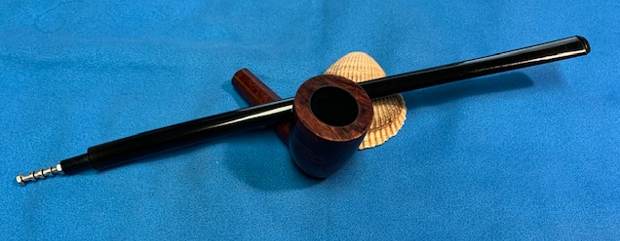
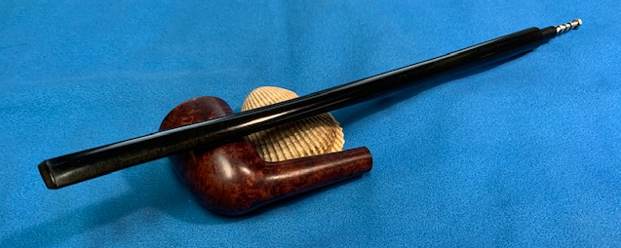
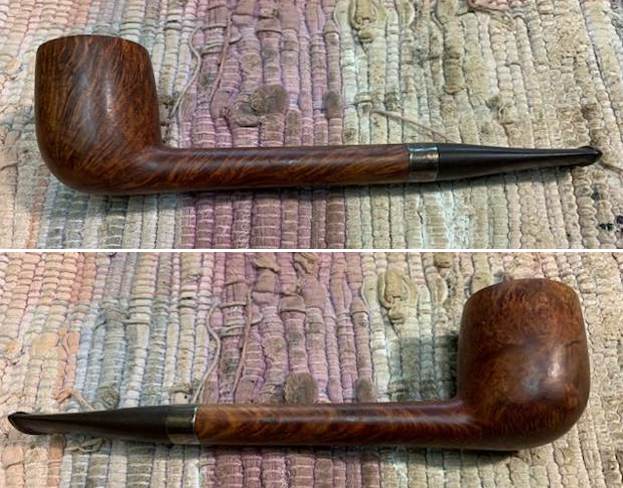
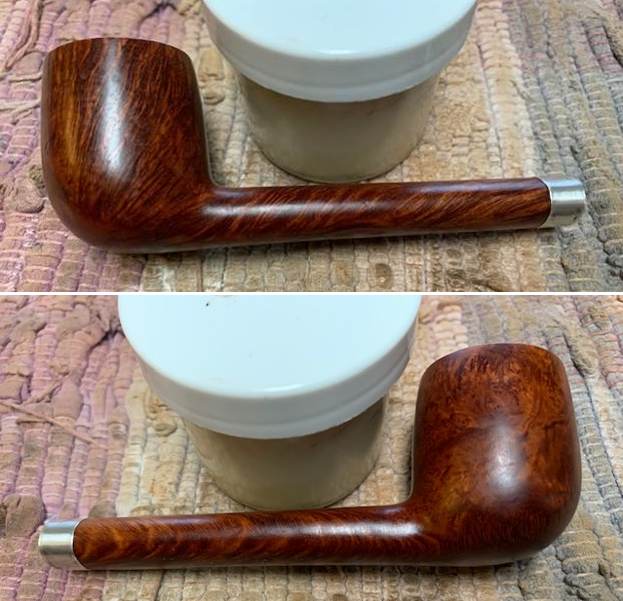
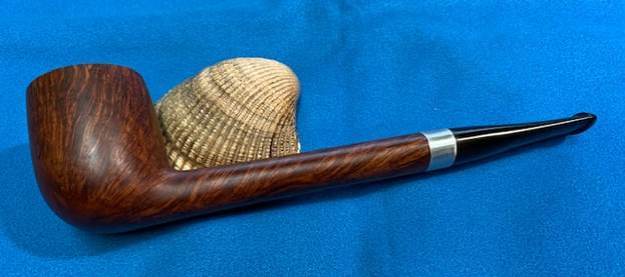
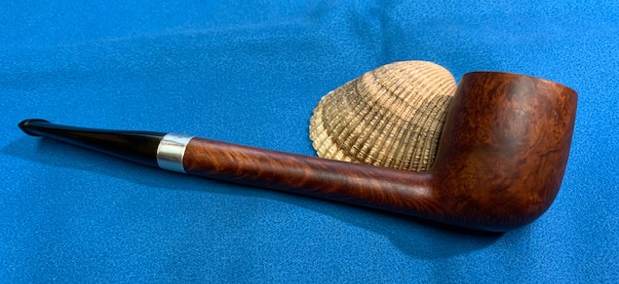
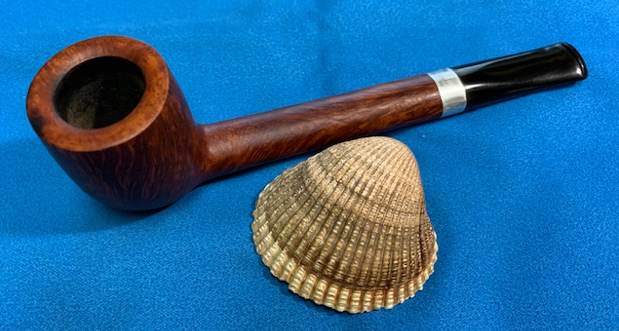
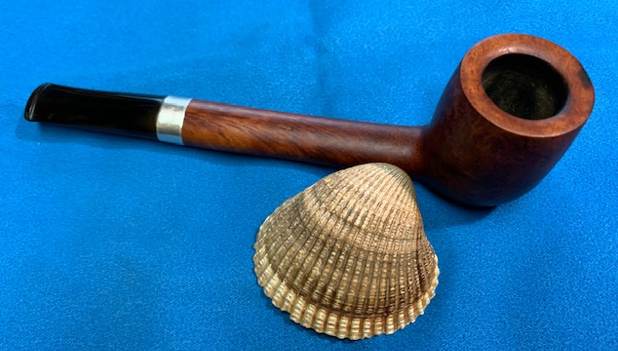
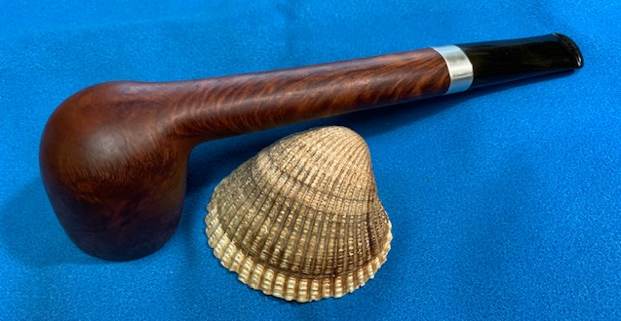
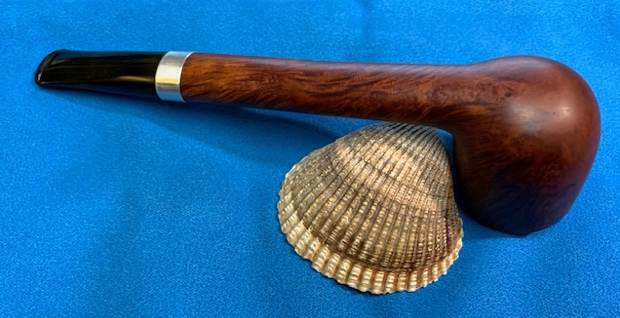
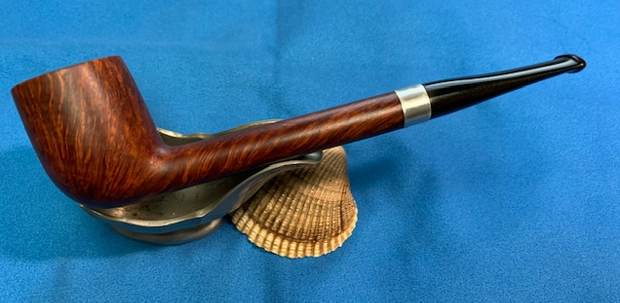
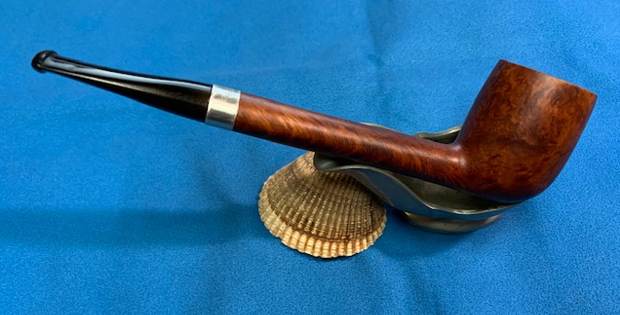
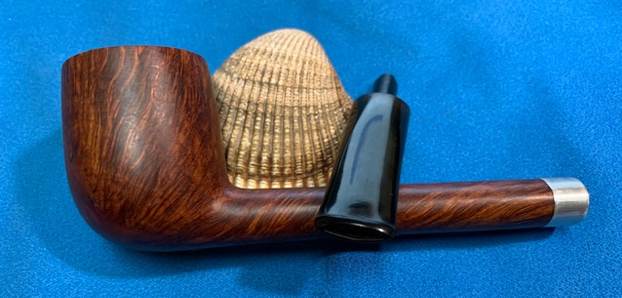
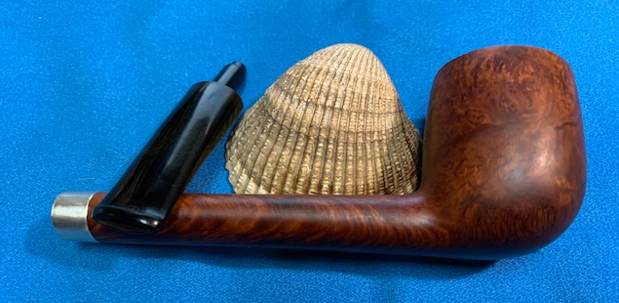
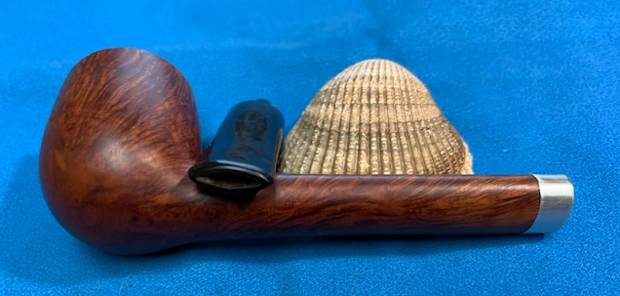
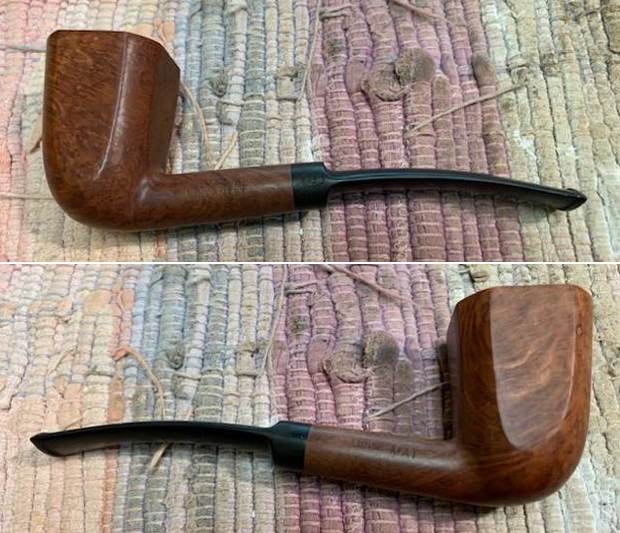
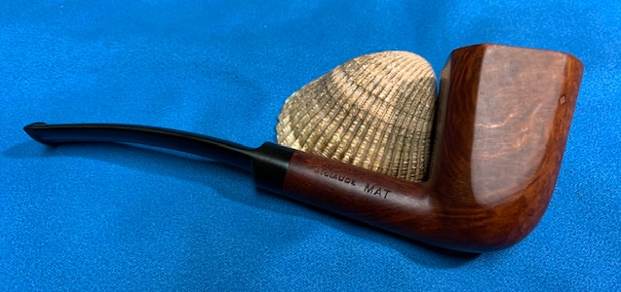
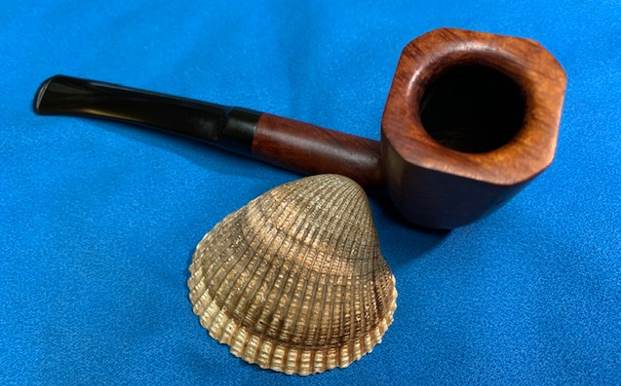
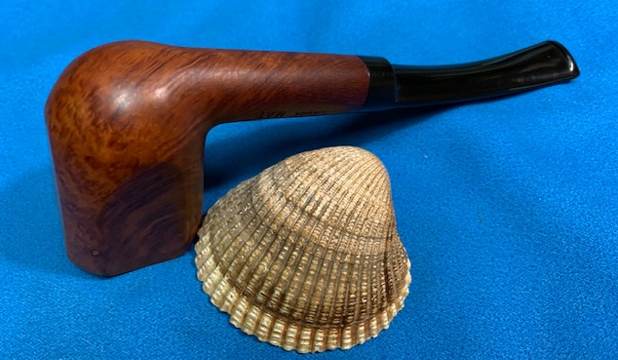
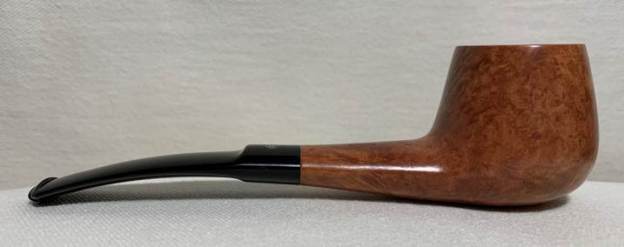
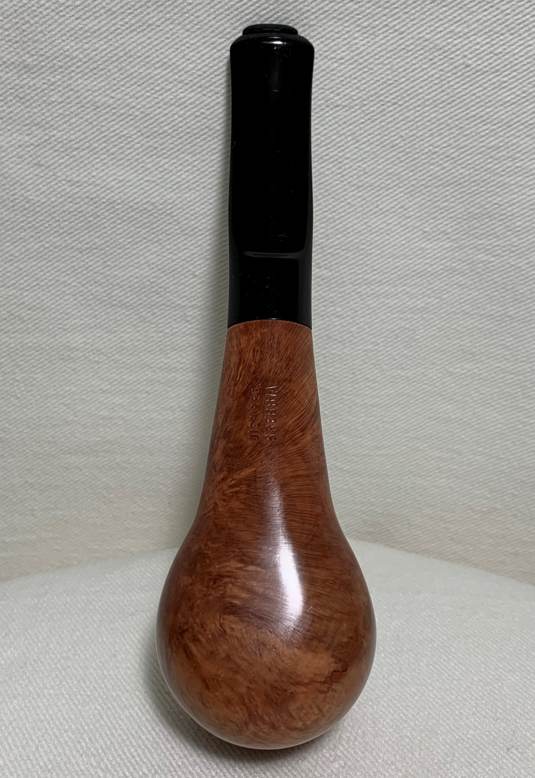
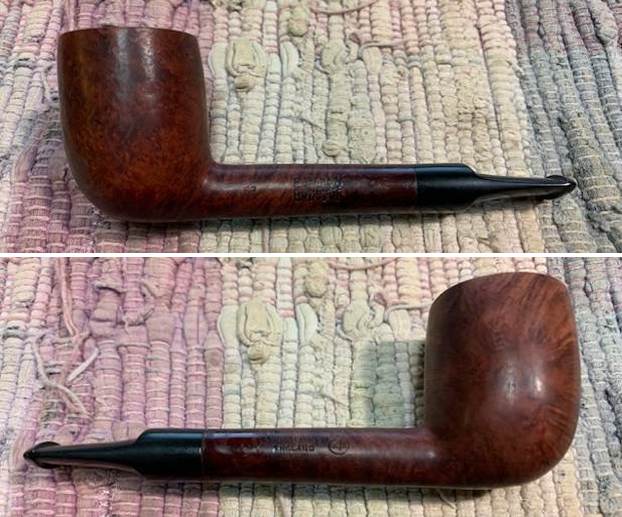
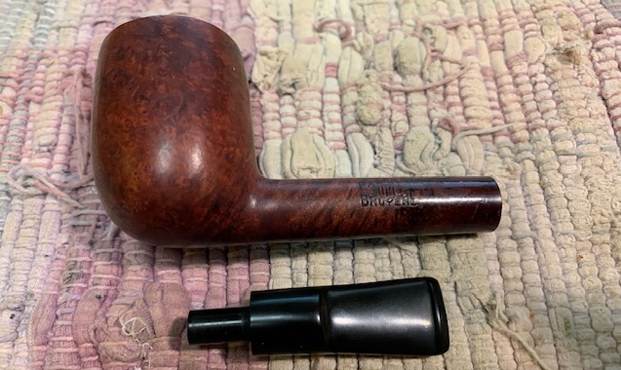
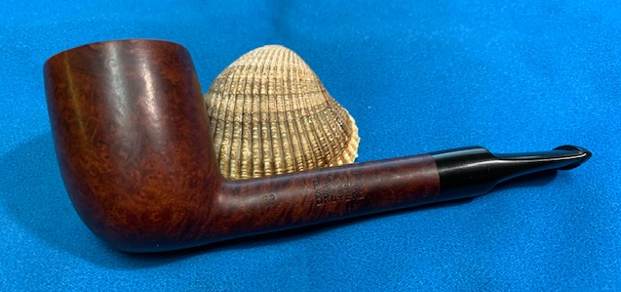
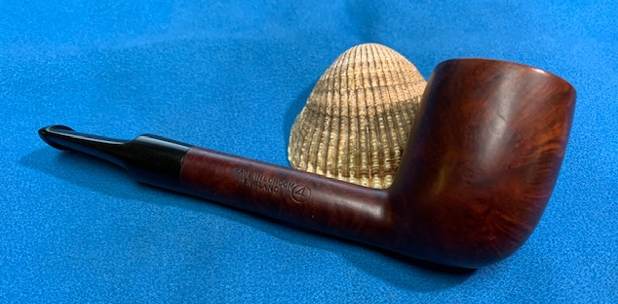
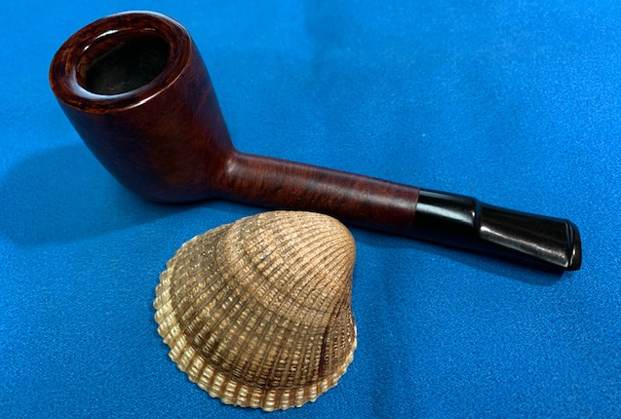
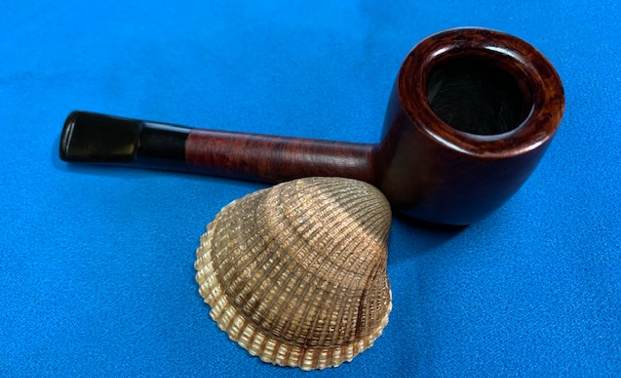
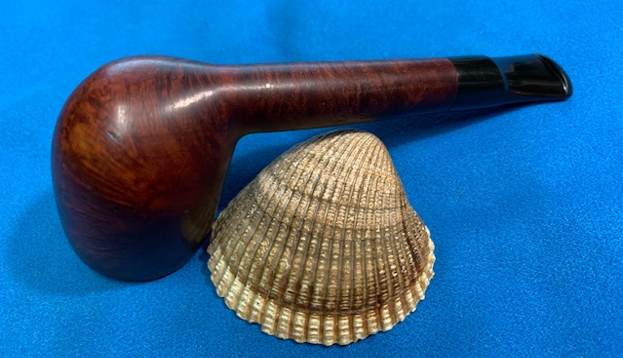
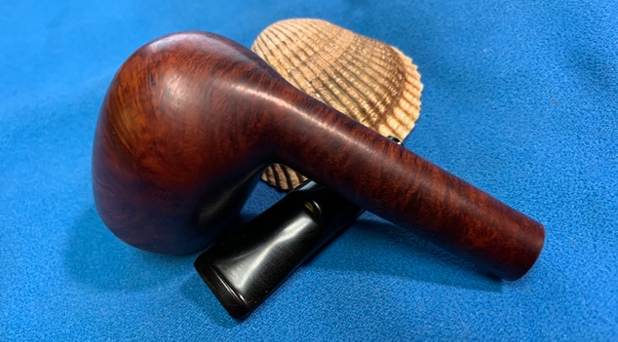
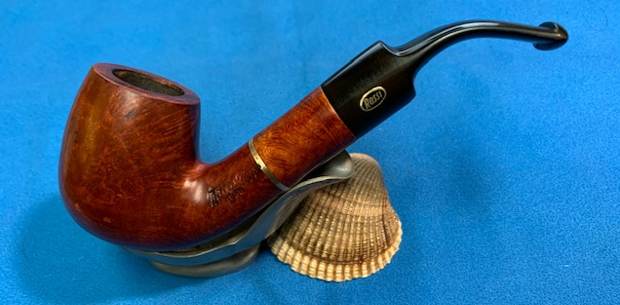
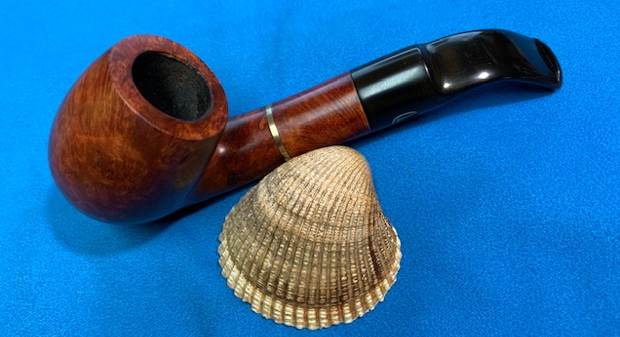
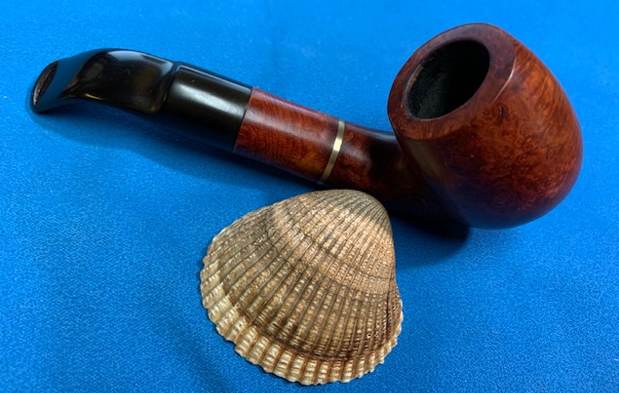
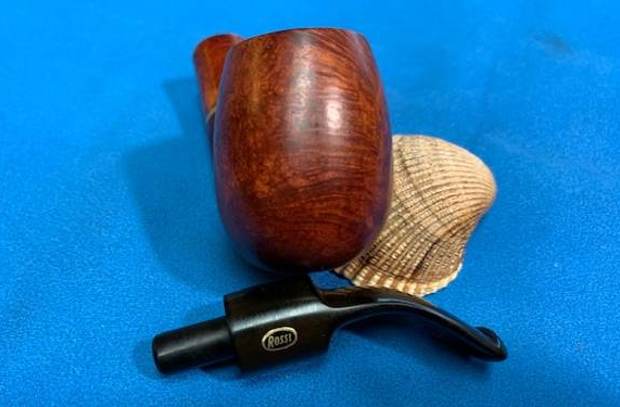
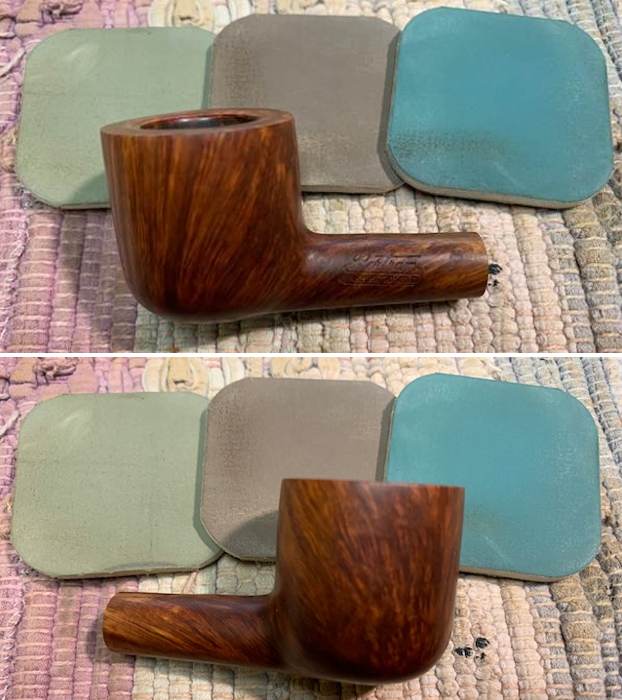
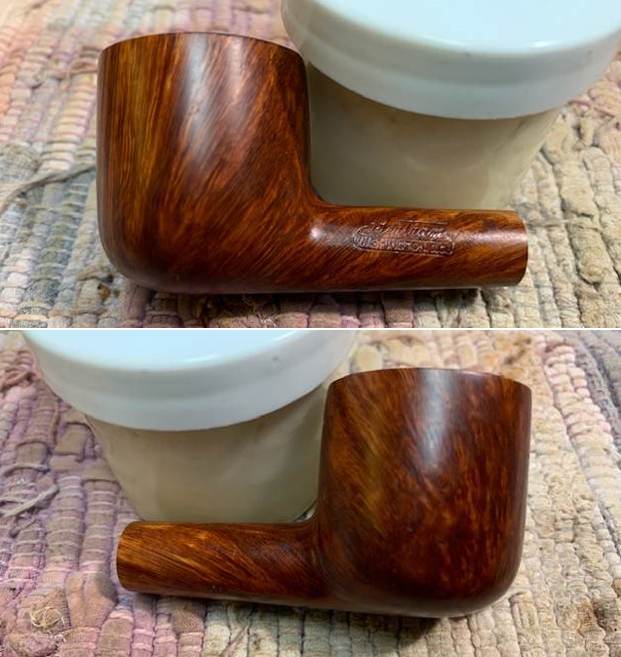
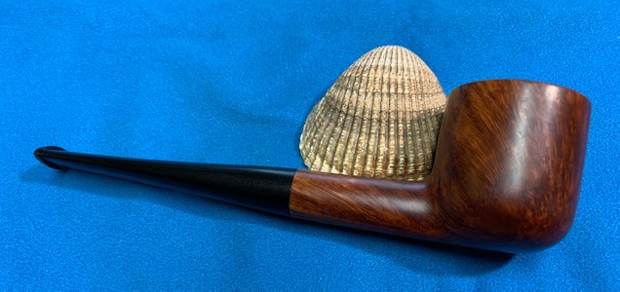
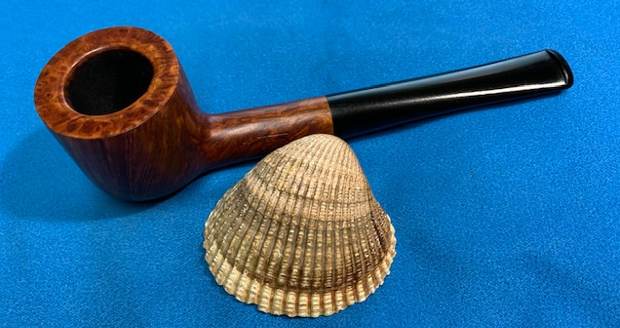
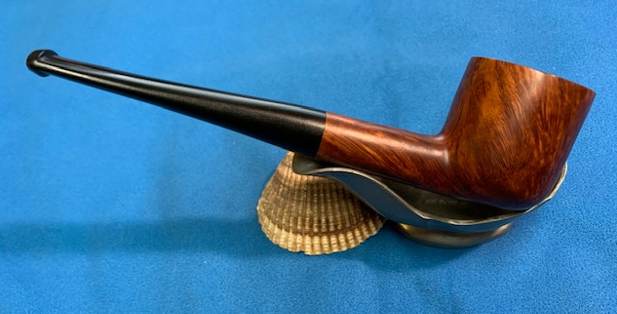
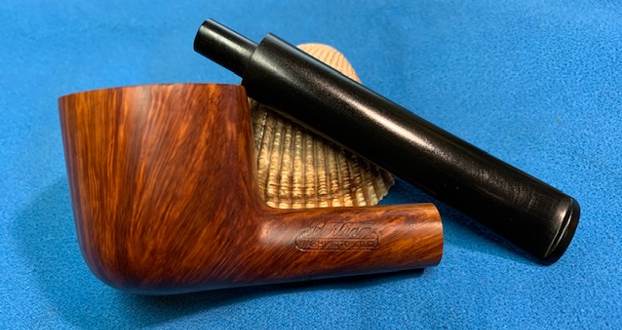
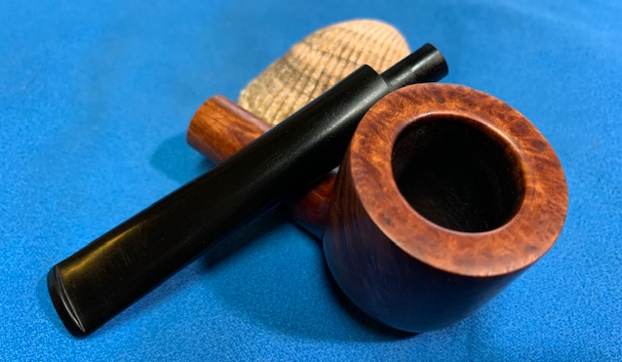
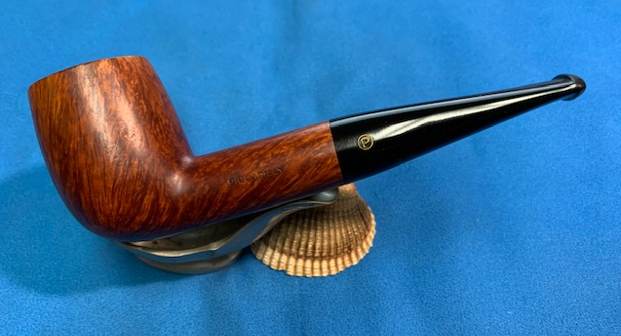
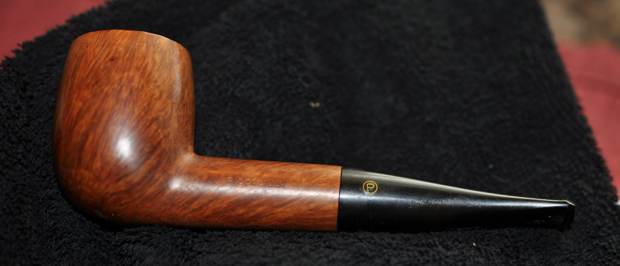
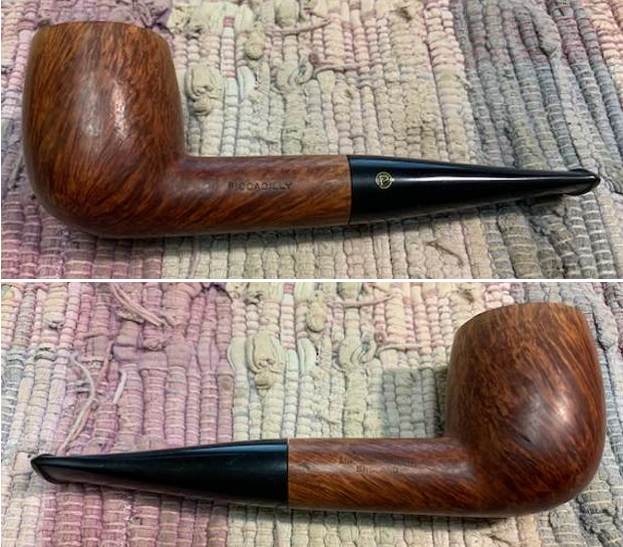
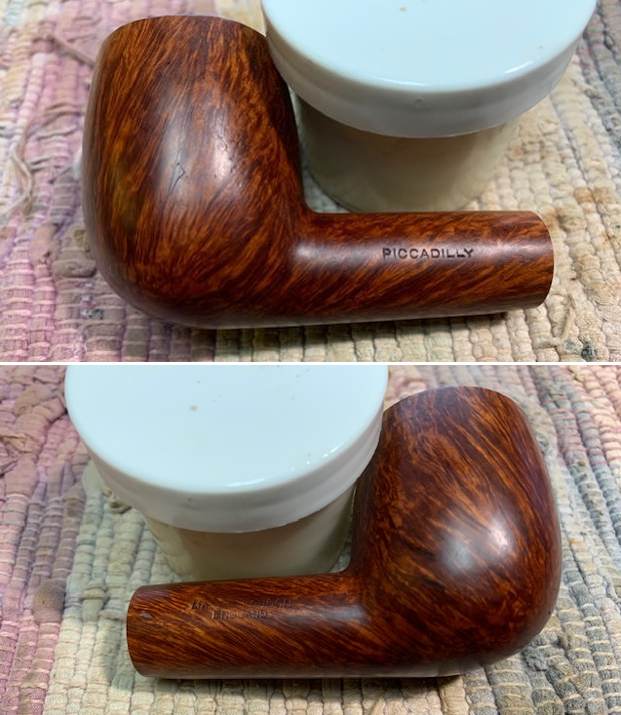
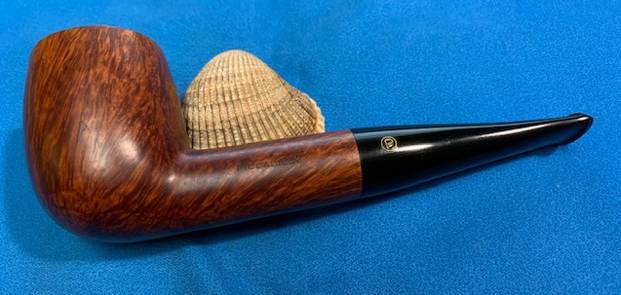
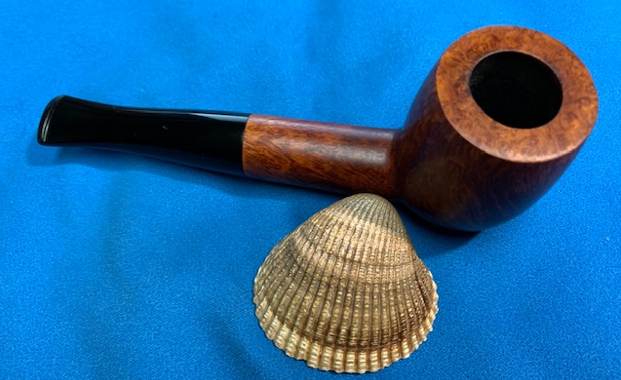
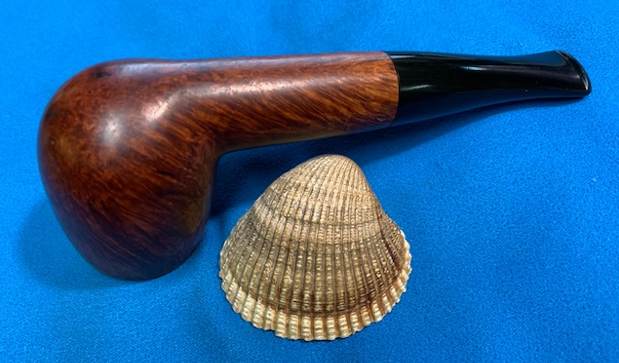
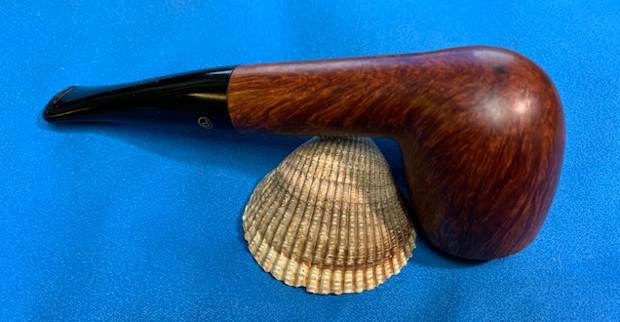
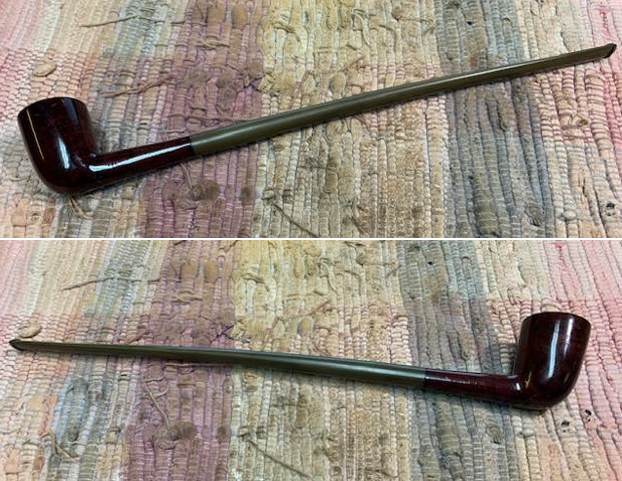
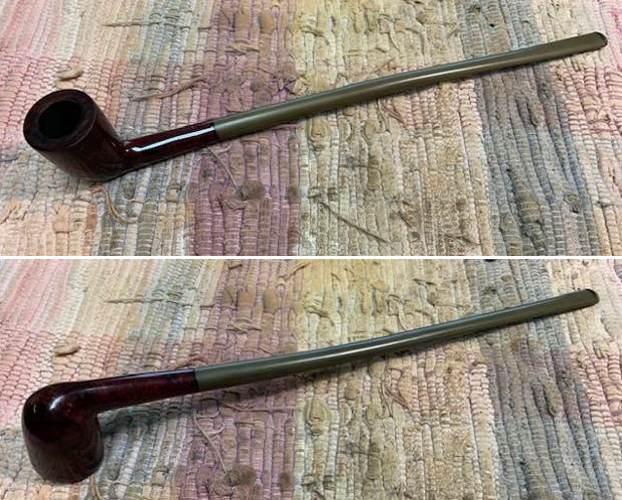
 Once I stripped off the varnish and refinished this Italian Briar Churchwarden with a long vulcanite stem is a beautiful pipe. The briar around the bowl is clean and really came alive. The rim top looks much better than when I began. The rich reddish-brown stains gave the grain a sense of depth with the polishing and waxing. The grain really popped. I put the older style vulcanite stem back on the bowl and carefully buffed the pipe with Blue Diamond on the buffing wheel using a light touch on the briar. I gave the bowl and the stem multiple coats of carnauba wax on the buffing wheel. I buffed the pipe with a clean buffing pad to raise the shine. I hand buffed the pipe with a microfiber cloth to deepen the shine. The finished Italian Briar Churchwarden is a beauty and feels great in the hand and looks very good. Give the finished pipe a look in the photos below. The dimensions of the pipe are Length: 12 inches, Height: 1 ½ inches, Outside diameter of the bowl: 1 ¼ inches, Chamber diameter: ¾ of an inch. The weight of pipe is 1.34 ounces /37 grams. It is much more beautiful in person than these photos can capture. I will be putting it on the rebornpipes store soon. Look for it in the Italian Pipe Makers section. If you would like to add it to your collection let me know. This is another pipe that has the possibility of transporting the pipe man or woman back to a slower paced time in history where you can enjoy a respite. Thanks for walking through the restoration with me.