Blog by Steve Laug
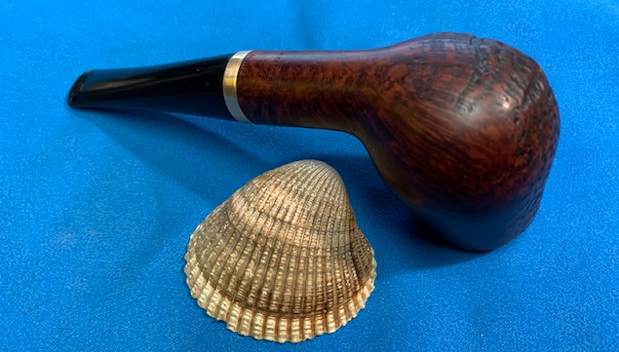
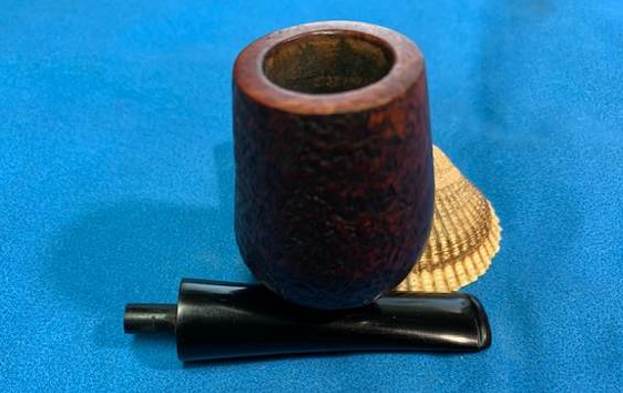
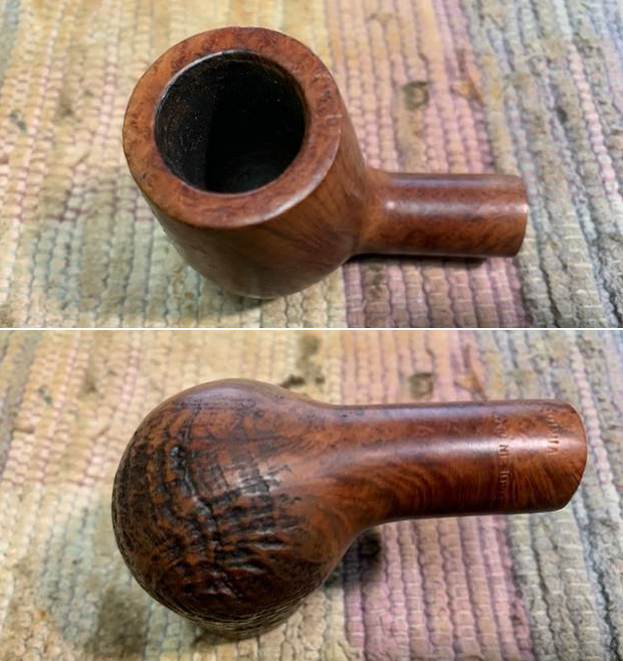
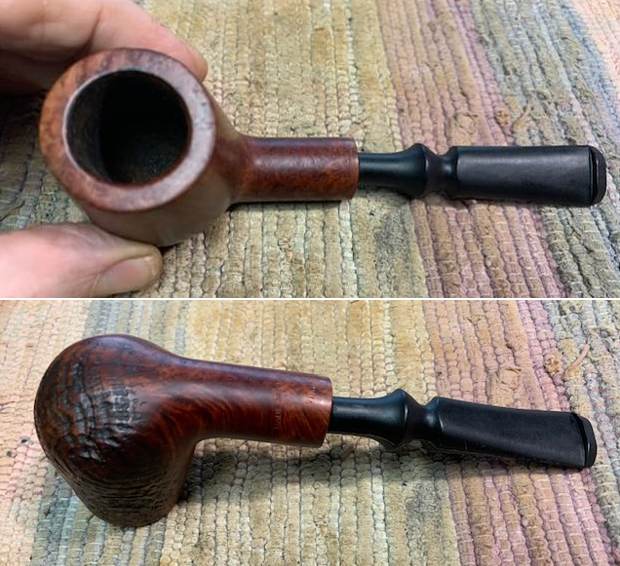
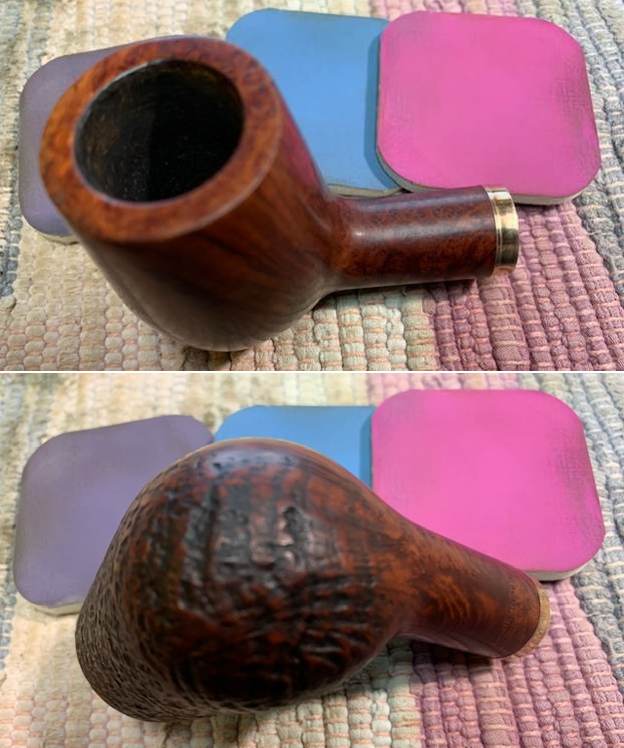
The next pipe I chose to work on was another bowl from my box of bowls to restem. This one is a nicely grained mixed finish Brandy. The right side and half of the front of the bowl is sandblast and left side and remainder of the bowl is smooth. It has some amazing looking grain around the bowl and shank. The sandblast is deep on that portion. It is stamped on the underside of the shank and reads MADE IN DENMARK [over] VIKING. The stamping was clear and readable with a lens. I think that the pipe is probably made my Bjarne but I would do some digging and see what I could learn. The bowl had been cleaned and reamed somewhere along the way by either Jeff or me. I honestly don’t remember when or where we got this bowl. It looked very good and I was looking forward to seeing the finished Brandy. The shank had a Delrin insert and the mortise was slightly inset for a freehand style stem. The original stem was long gone so I would need to go through my stems and find one that would work for a restemming. It would be a different stemming job because of the inset mortise. I took some photos of the bowl to give a sense of the condition of this nice looking Brandy.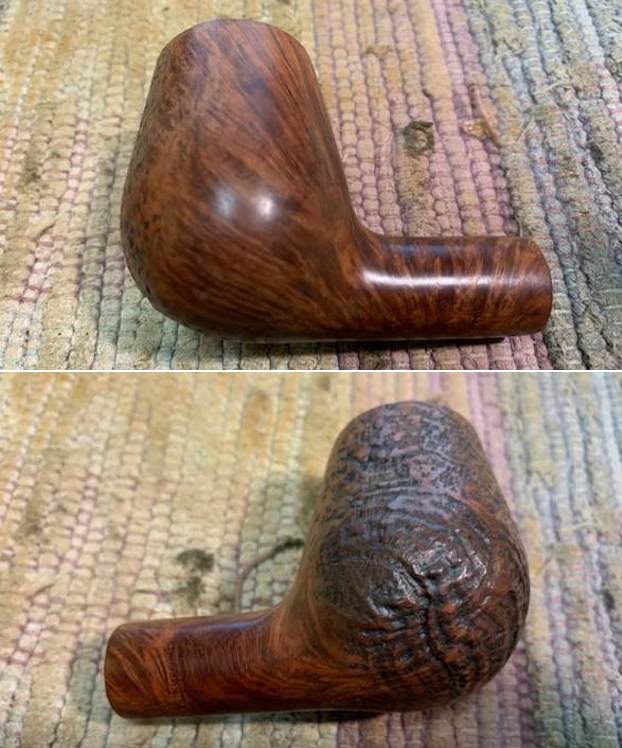
 There was a smooth panel on the underside of the shank. It is stamped as noted above and is clear and readable with a lens.
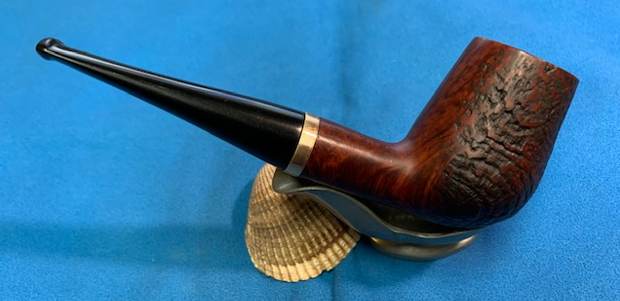
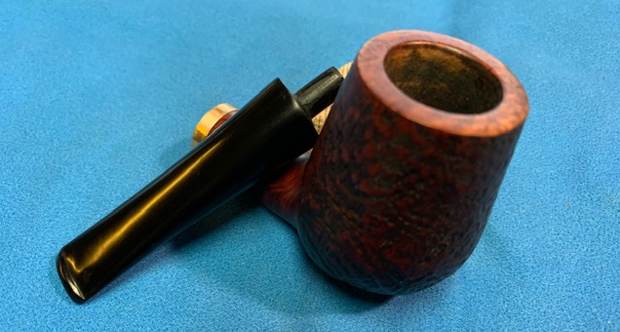
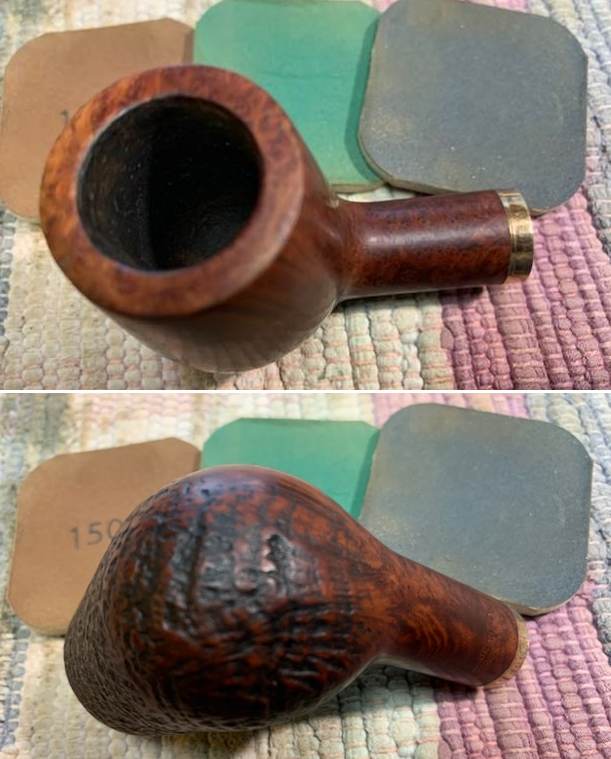
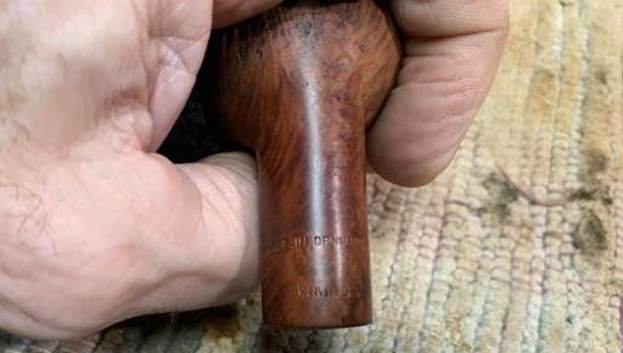 The next photo shows the rim top and edges. It also shows the condition of the bowl and rim top/edges. It is clean looks quite good.
 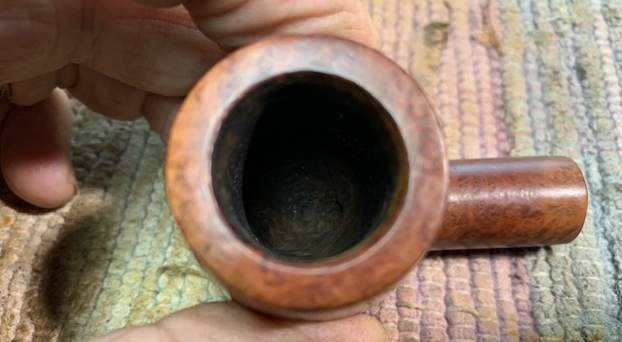 Now it was time to begin my restemming work on this pipe. I went through my can of stems and chose two stems that would give the pipe a completely different look. The first was a thick taper that I had used as a replacement for a Dunhill with a missing stem. It was close to the right diameter but the dot would need to go. The second was a freehand style stem that fit in the inset mortise in the shank. Now I would need to make a decision.
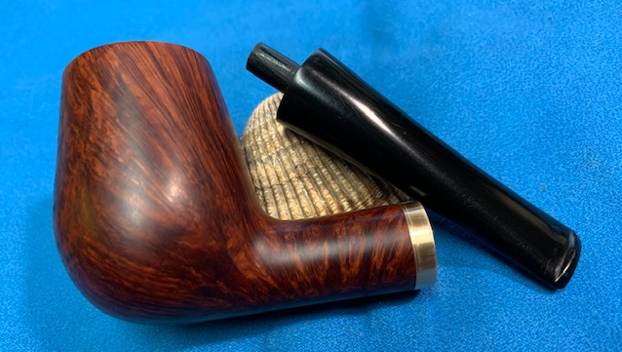
First the bowl with the taper stem: 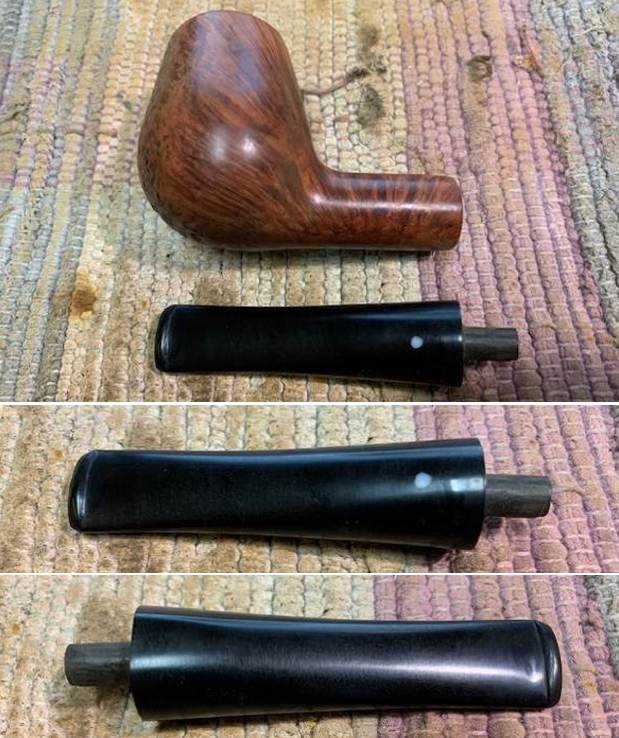 Second the bowl with the freehand stem:
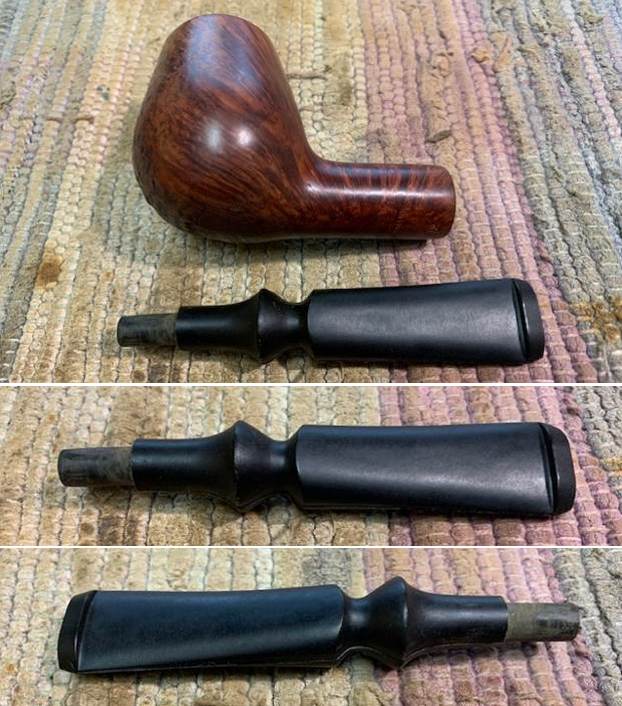 I took a photo of the inset mortise to give a sense of what I was working with restemming this pipe.
  I decided to put the taper stem in place on the shank for a look. In order to use it required that I place a thin band on the shank end to take care of the rounding of the shank end and facilitate a flush face for the taper stem to sit against. I slipped one in place on the shank and put the stem in place on the shank and took photos.
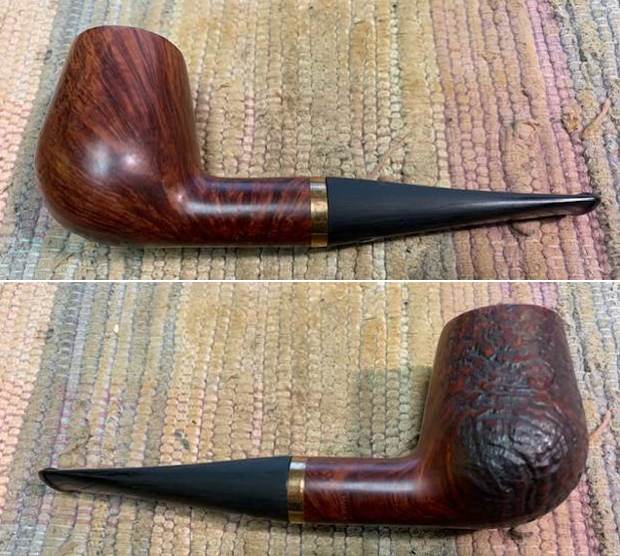
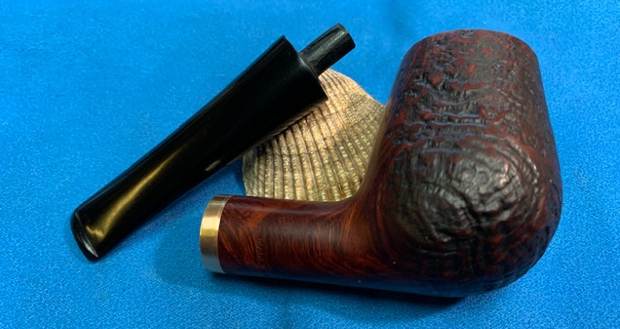
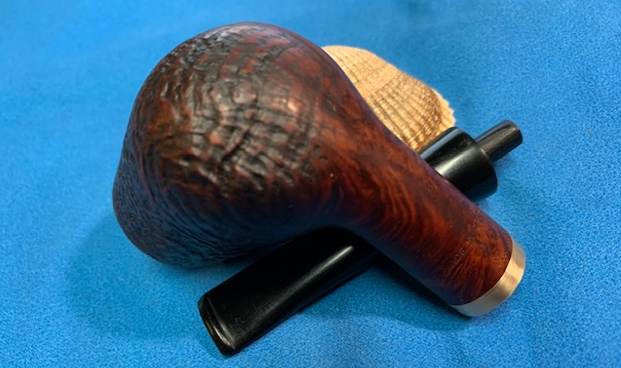
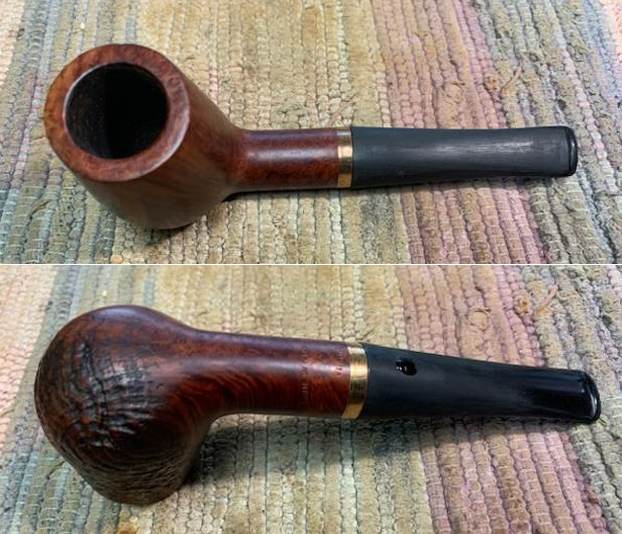 I removed the band and the stem and put the freehand stem on the pipe to have a look at what it would like with this kind of stem. I put it in place and took some photos of it so I could see what I thought. I am personally leaning towards the taper stem.
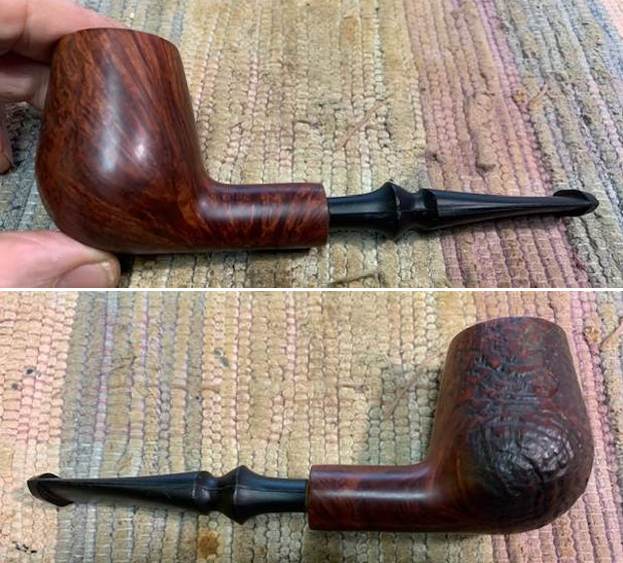
 I worked on the fit of the stem to the shank with a file to reduce the diameter of the stem. It took some slow and tedious work to get the stem diameter very close. Once I was finished I liked the way the stem was starting to look. More work to do on it for sure but it is getting there. I was definitely ready to go with the taper stem at this point!
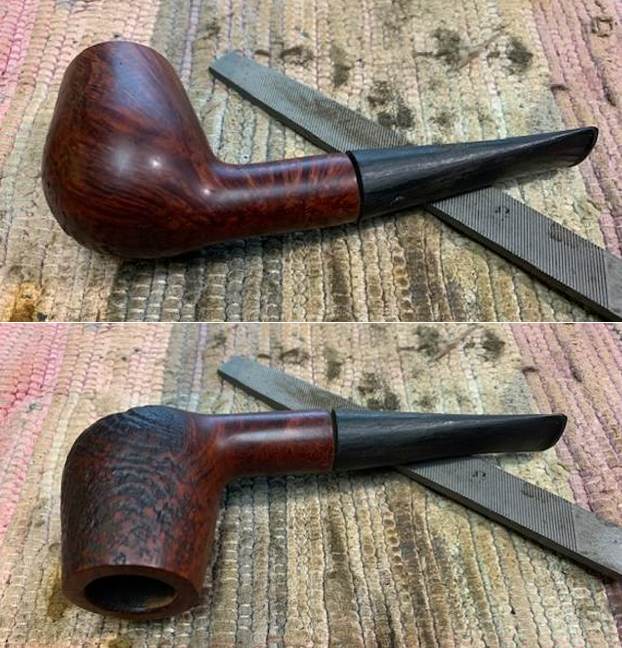
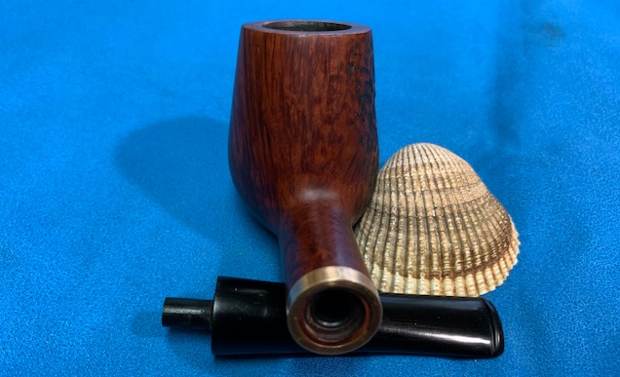
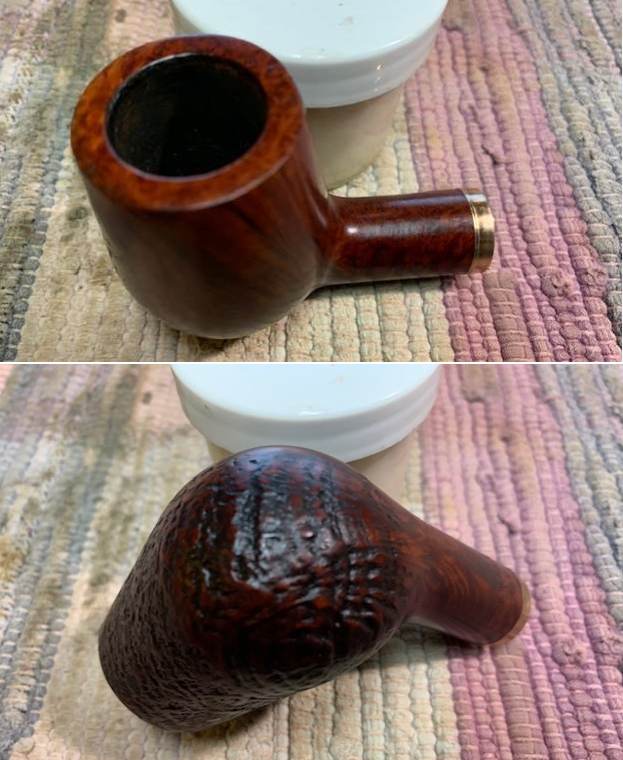
 I made a decision to go with the thick taper stem as I really like the look of a classic Brandy. I pressed a thin band on the shank end to give me a flat surface for the stem to face against. I like the look of the shank with the band.
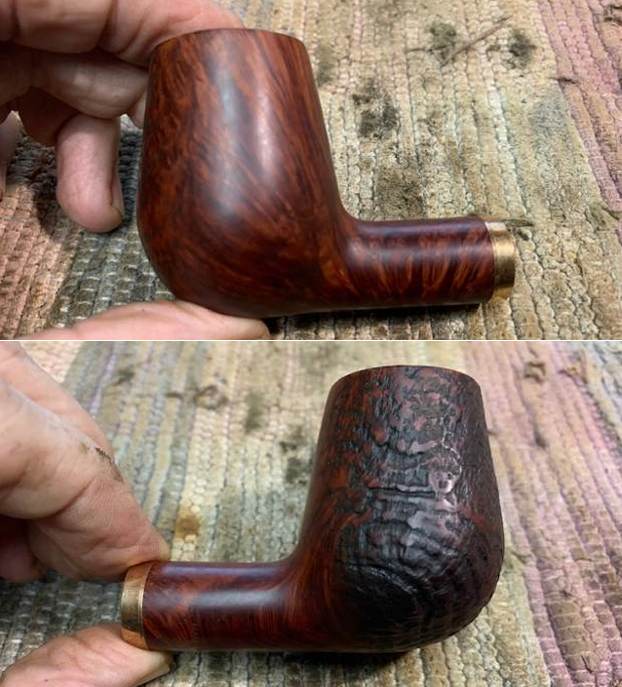
 I continued the shaping of the stem with 220 grit sandpaper to bring the diameter of the shank and stem in sync. Once I had it where I wanted it I started polishing the stem with 400 grit wet dry sandpaper.
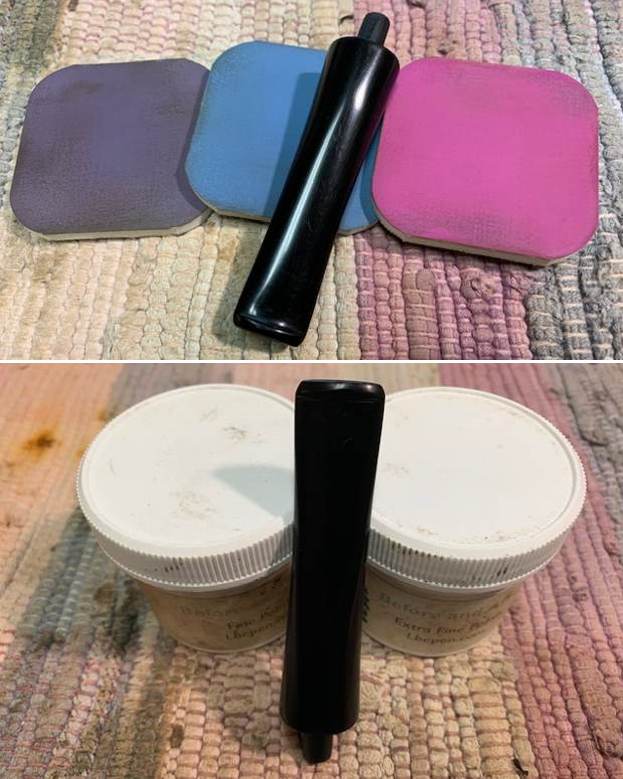
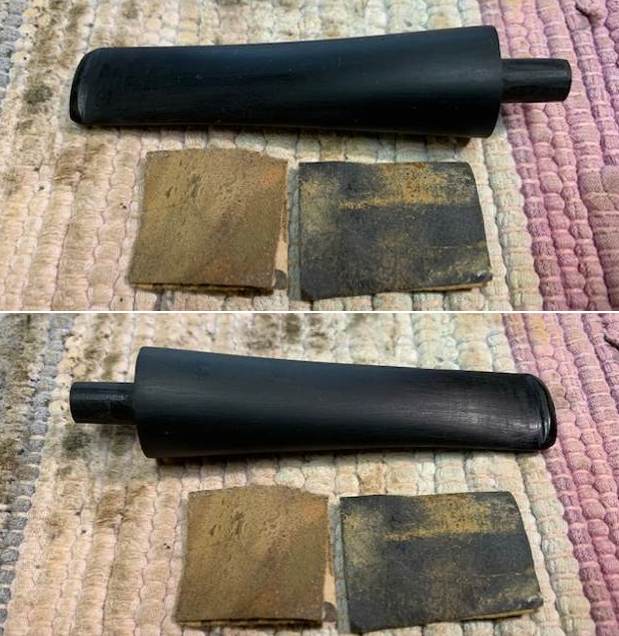 I polished the stem with micromesh sanding pads – wet sanding with 1500-12000 grit pads. I wiped the stem down after each sanding pad with Obsidian Oil. I polished the stem with Before & After Pipe Stem Polish – both Fine and Extra Fine and buffed it with a cotton cloth. Once I had finished the polishing I gave it final coat of Obsidian Oil and set it aside to dry.
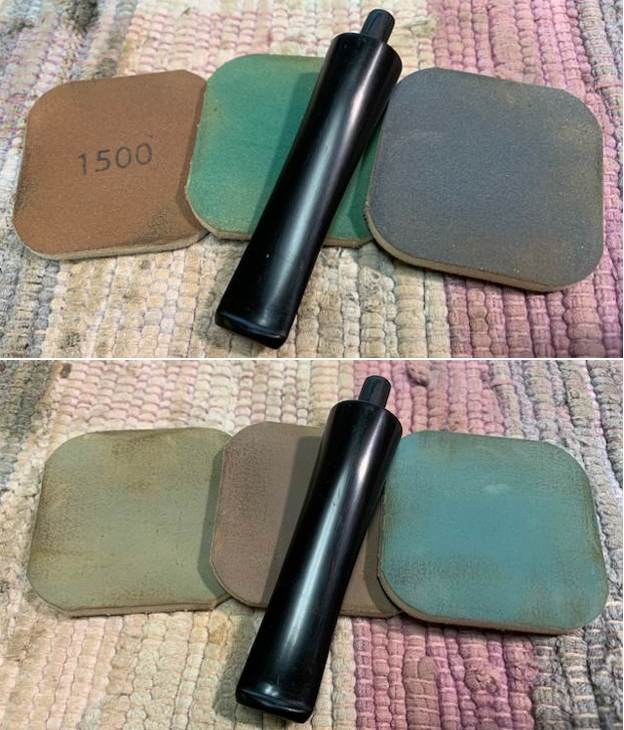
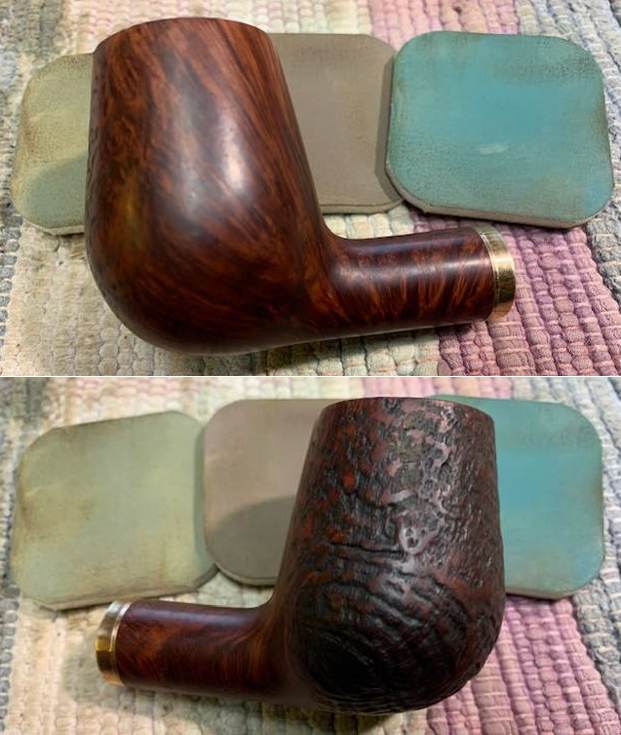
 With the stem finished I turned my attention to the bowl. I polished the briar with micromesh sanding pads – dry sanding with 1500-12000 grit pads. I wiped the bowl down after each pad with a damp cloth to remove the sanding debris and dust.
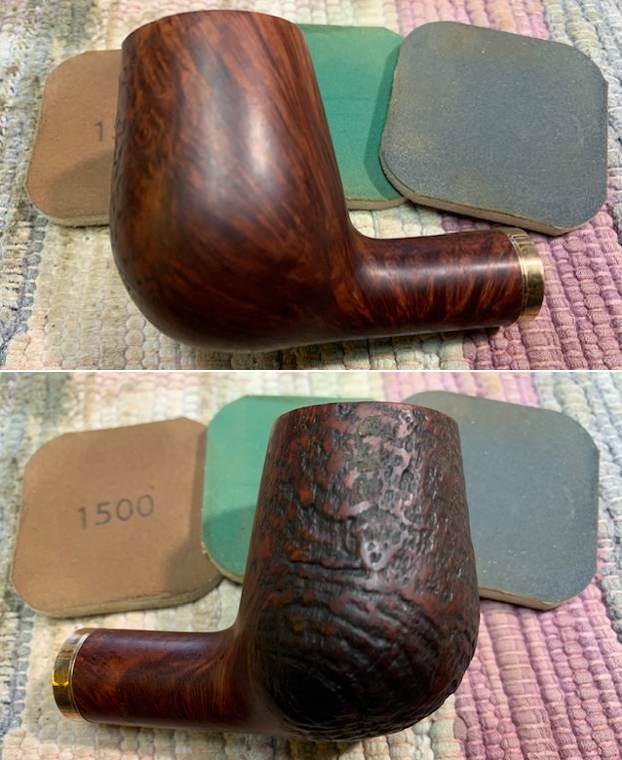
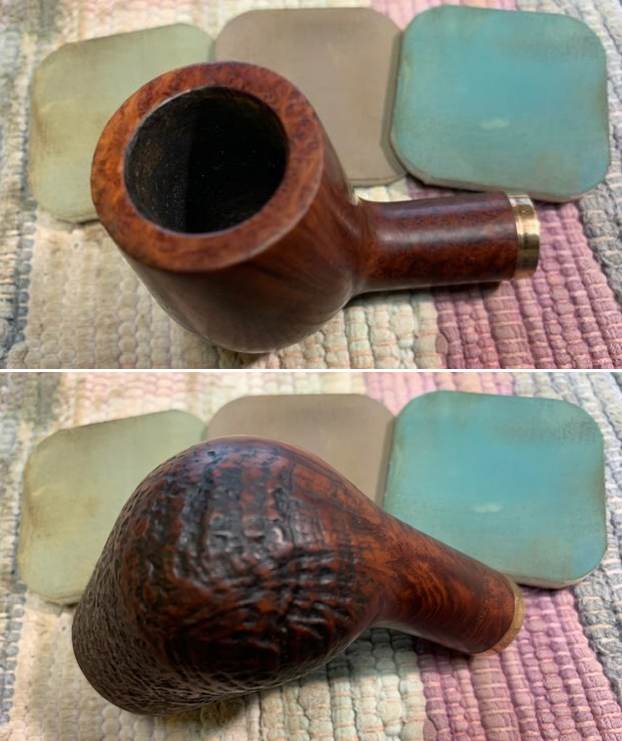
 I rubbed the bowl and shank down with Before & After Restoration Balm. I worked it into the surface of the smooth and the sandblast bowl sides and shank with my fingertips and a horsehair shoe brush to clean, enliven and protect the briar. I let the balm sit for a little while and then buffed with a cotton cloth to raise the shine. The Balm did its magic and the sandblast grain really took on dimension and colour.
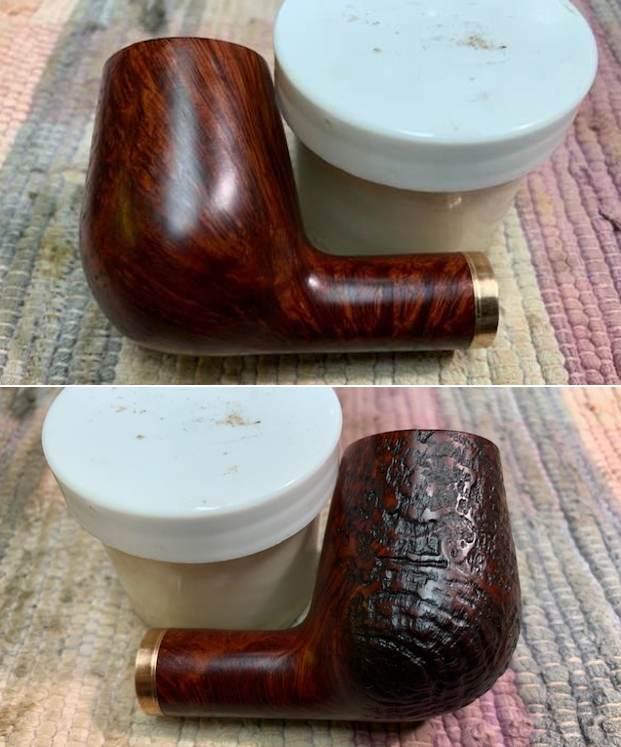
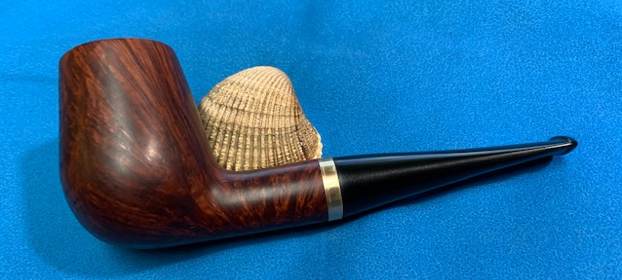
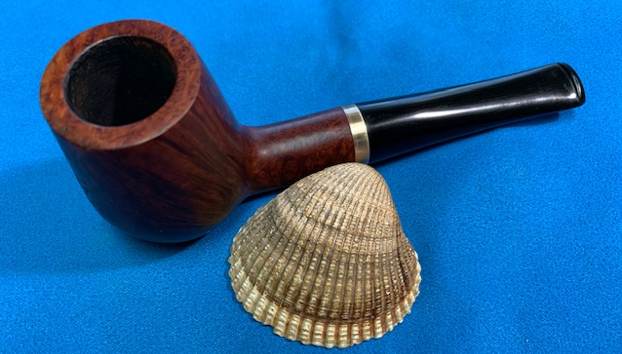
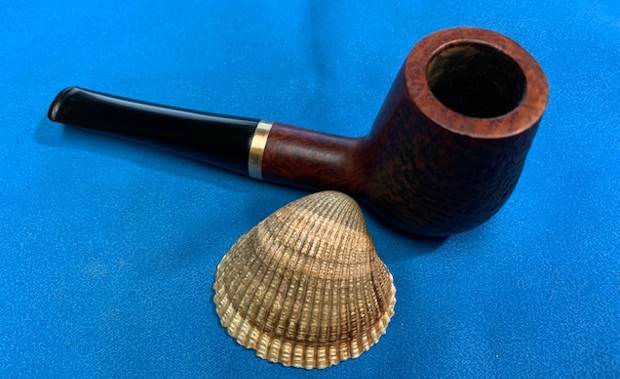
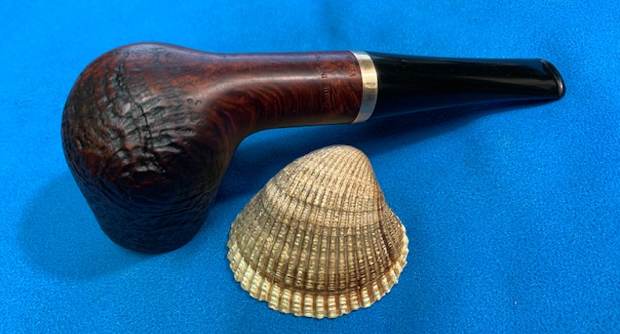
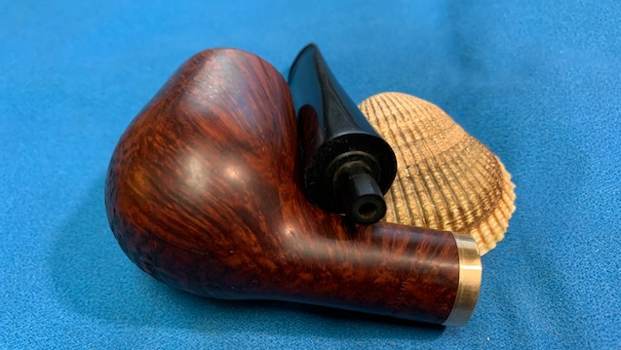
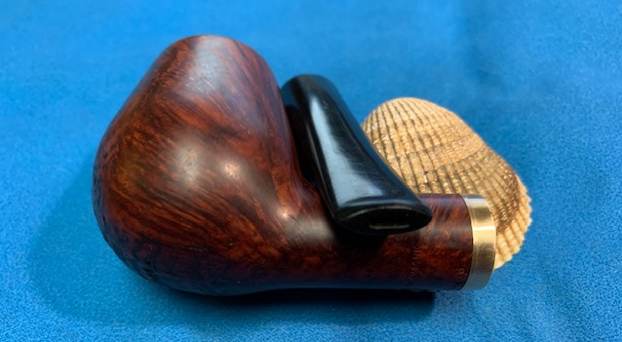
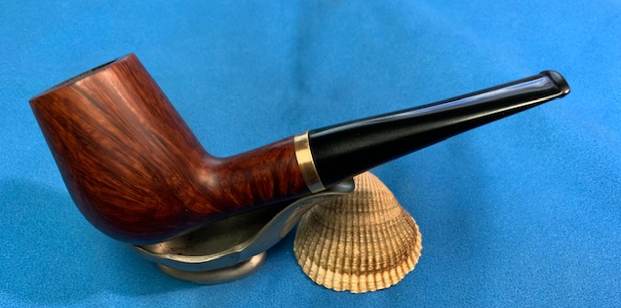
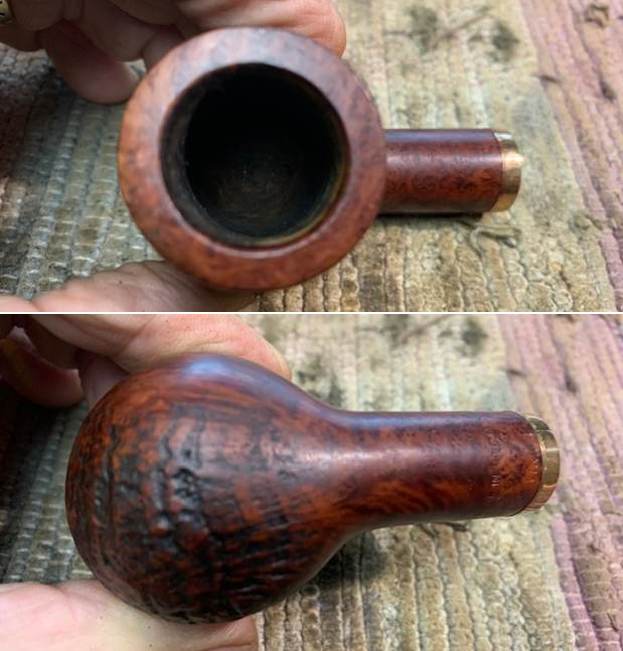
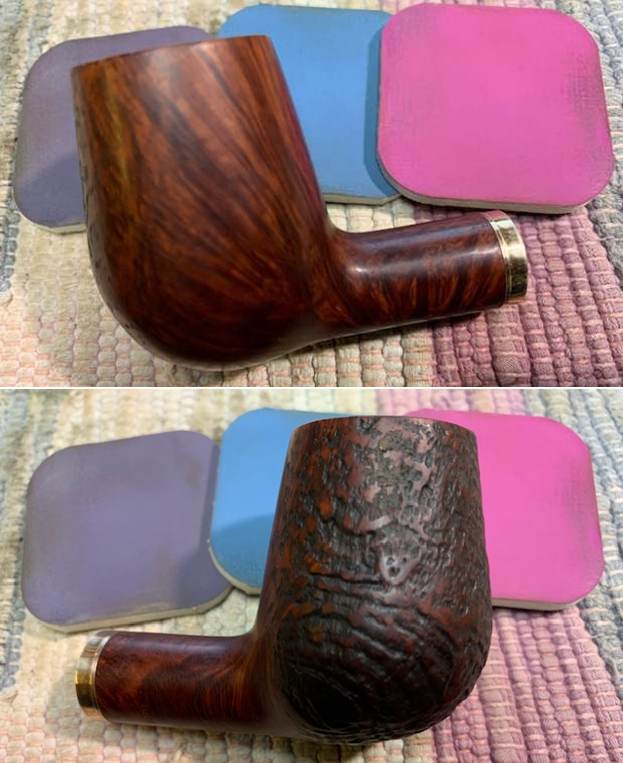
 I am excited to be on the homestretch with this mixed finish (smooth/sandblast) Made in Denmark Viking Brandy with a taper vulcanite stem. This is the part I look forward to when it all comes back together, polished and waxed. I put the bowl, the thin brass band and the new stem together and polished them with Blue Diamond to polish out the scratches in the vulcanite and give a light shine to the bowl. I gave the bowl and the stem multiple coats of carnauba wax. I buffed the pipe with a clean buffing pad to raise the shine. I hand buffed it with a microfiber cloth to deepen the shine. The pipe polished up pretty nicely. The smooth part of the finish and the sandblast finish on the front and right sight looks really good with the band and the new polished black taper vulcanite stem. This Viking Brandy was another fun pipe to work on and came out looking great. It is a comfortable sized pipe to hold in the hand. The finished pipe is shown in the photos below. The dimensions of the pipe are Length: 5 ¾ inches, Height: 2 ¼ inches, Outside diameter of the bowl: 1 ¼ inches, Chamber diameter: ¾ of an inch. The weight of the pipe is 59 grams/2.08 ounces. If you are interested in adding this pipe to your rack it will be on the rebornpipes store in the Danish Pipemakers Section soon. Thanks for reading this blog and my reflections on the pipe while I worked on it.