
Blog by Steve Laug
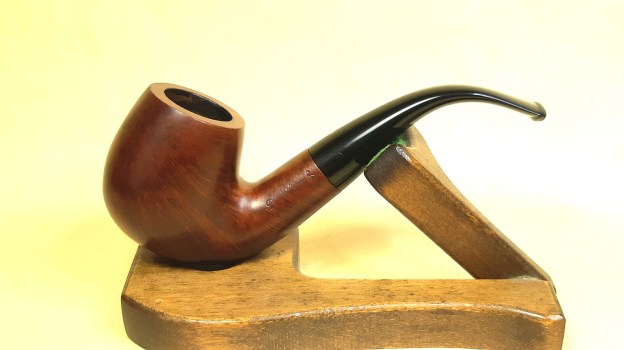
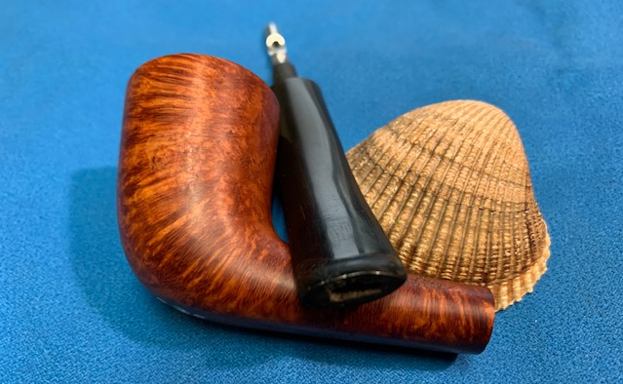
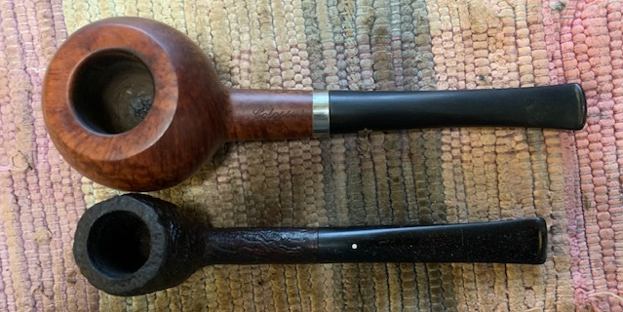
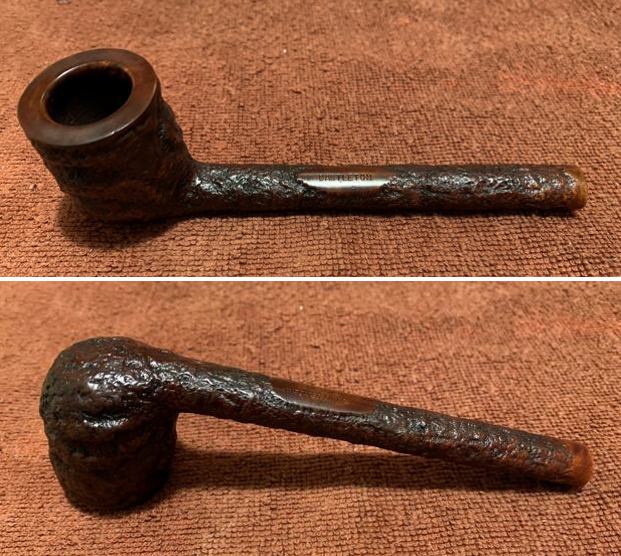
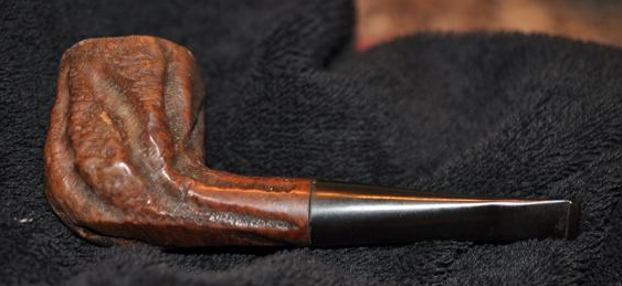
The next pipe I chose to work on came to us from a pipe hunt back in 2017. Jeff found it in at an antique mall in Sandy, Utah, USA. It is a Peterson’s System 301 pipe with a black painted bowl. The ferrule is nickel and the combination looked amazing when it was new. It is a finish that Peterson called Ebony. The pipe is stamped on the left side of the shank and reads Peterson’s [over] System. On the nickel band it reads K&P [over] Peterson. On the right side of the shank it is stamped Made in the Republic of Ireland (three lines) [over] the shape number 301. It was filthy when Jeff brought it to the table. There was a thick cake in the bowl and an overflow of lava on the rim top and the inner edge of the bowl. It was hard to know what the condition of the rim top and bowl were under that thick lava coat. The nickel ferrule is heavily tarnished. The saddle stem does not have any stamping and was oxidized and had tooth marks and chatter on the top and underside on and near the button. It also had a Softee bit that was rotting and a lot of debris was built up around the edges. Jeff took photos of the pipe before his cleanup work. (When I saw the photos I realized that somewhere between when these were taken in 2017 and today in 2021 the pipe acquired a different stem. You will see that in the restoration.)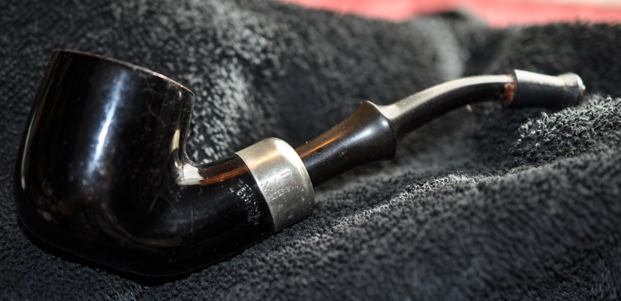
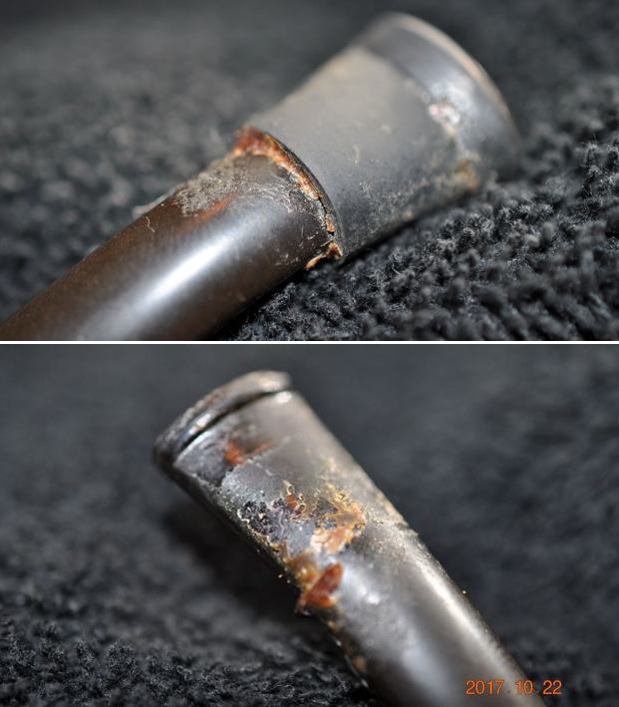
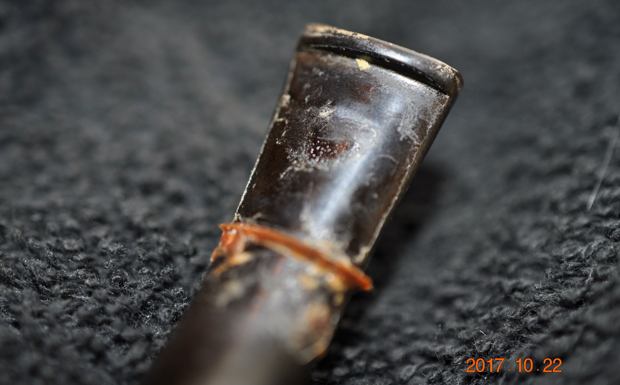
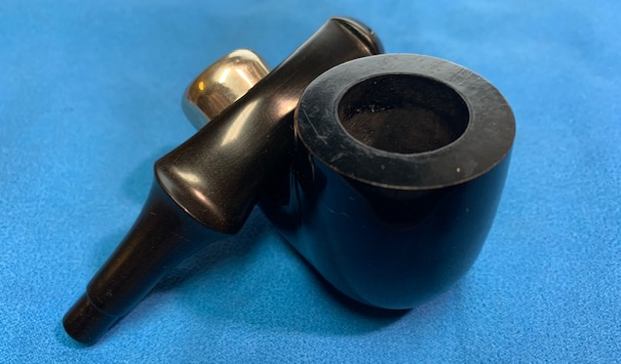
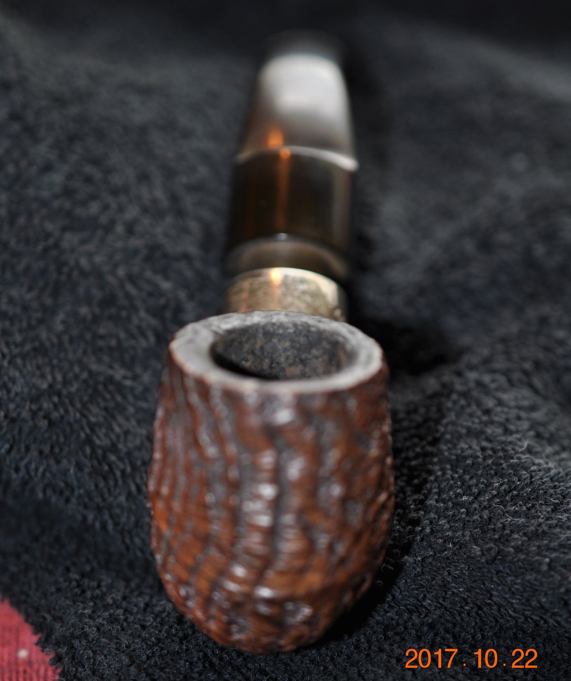
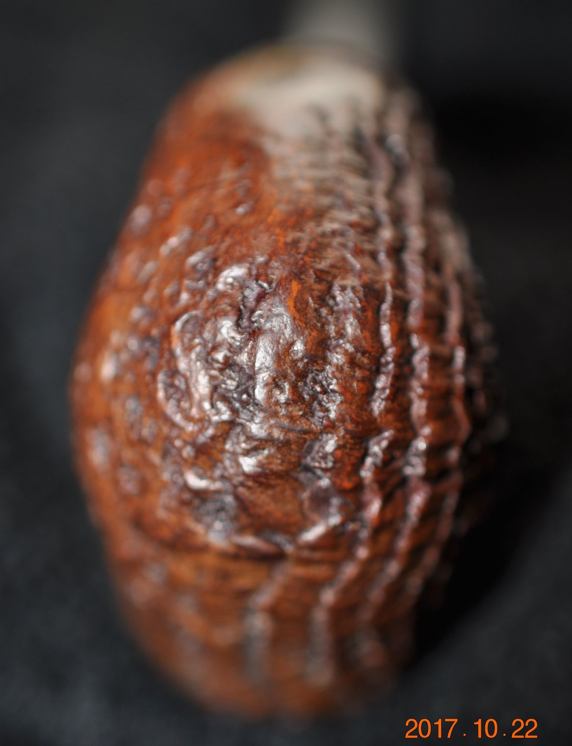
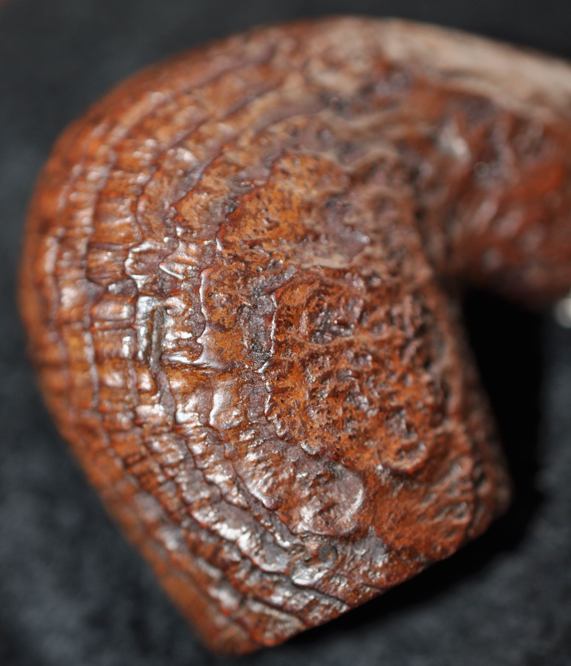
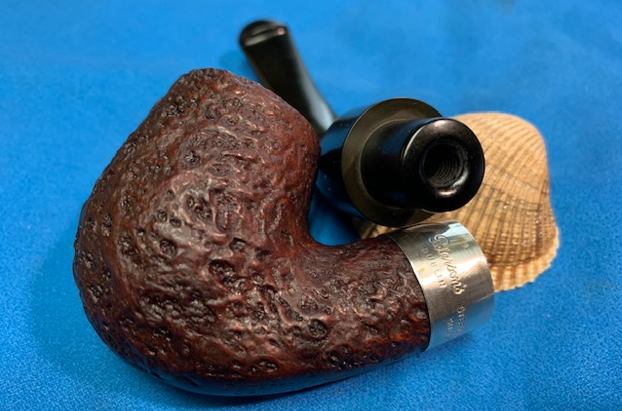
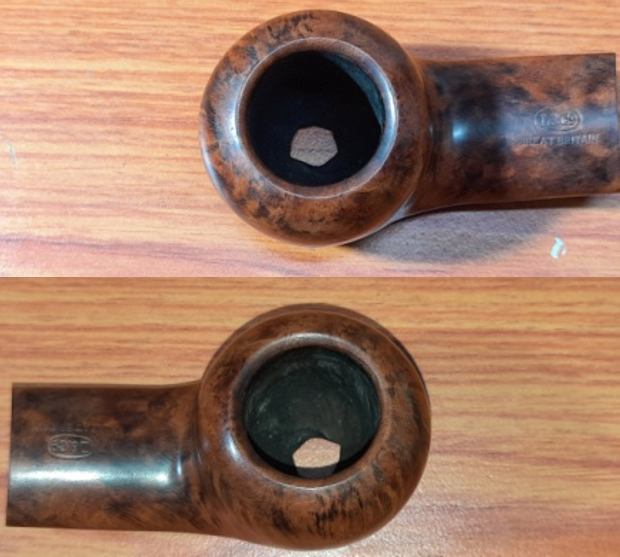
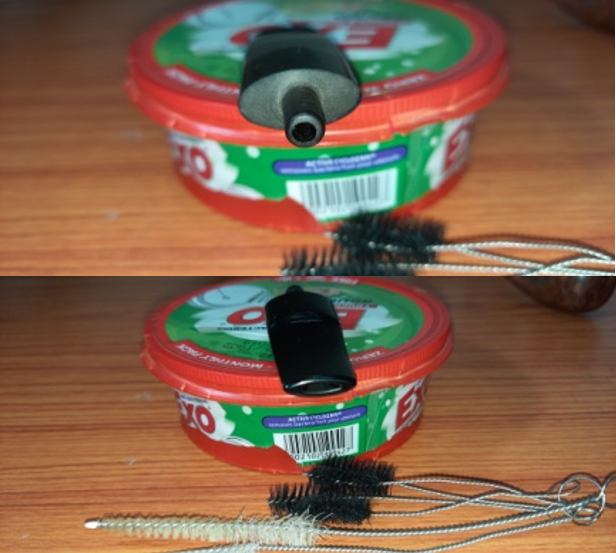
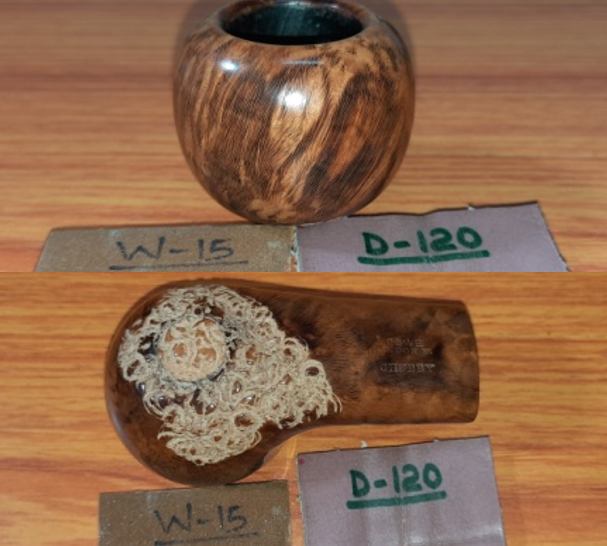
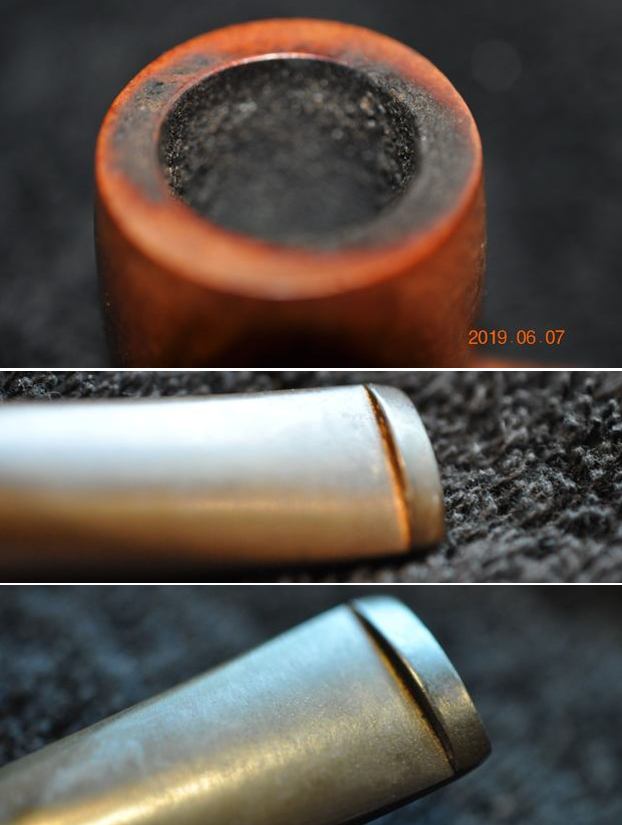
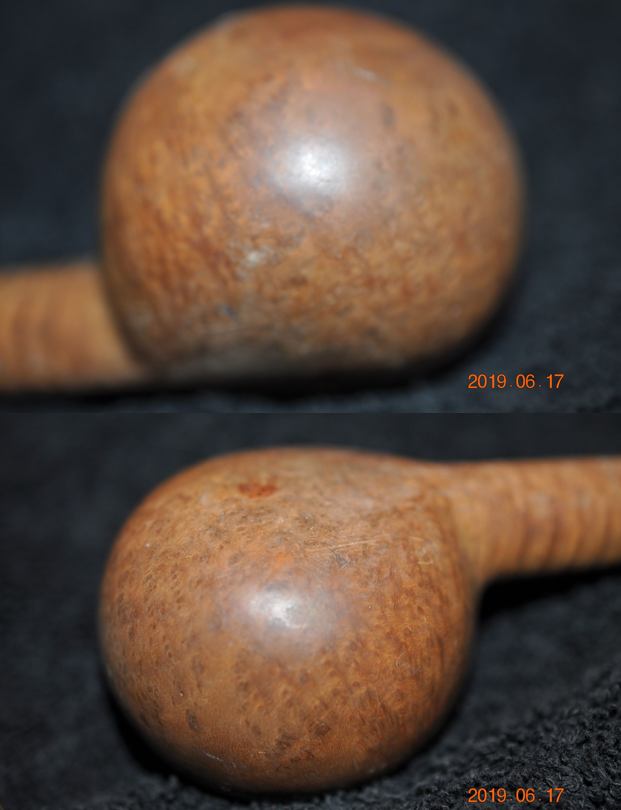
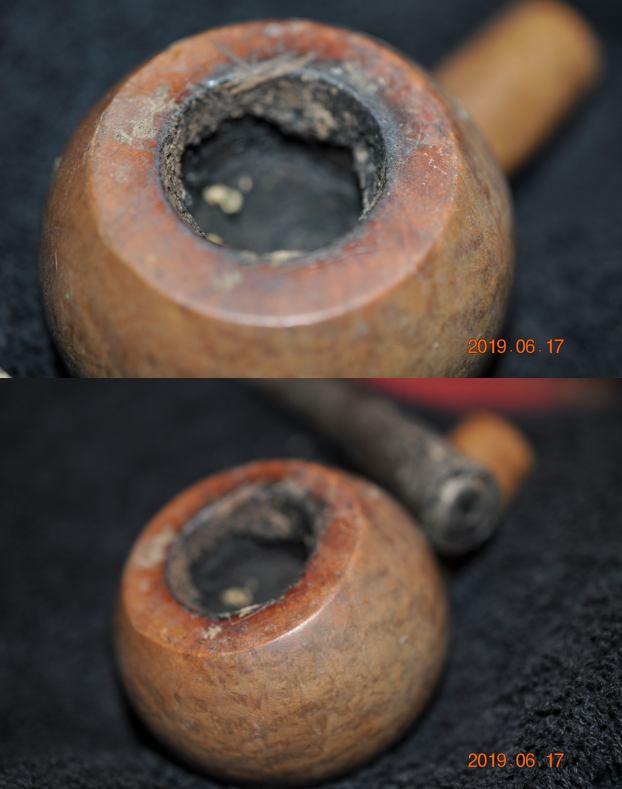
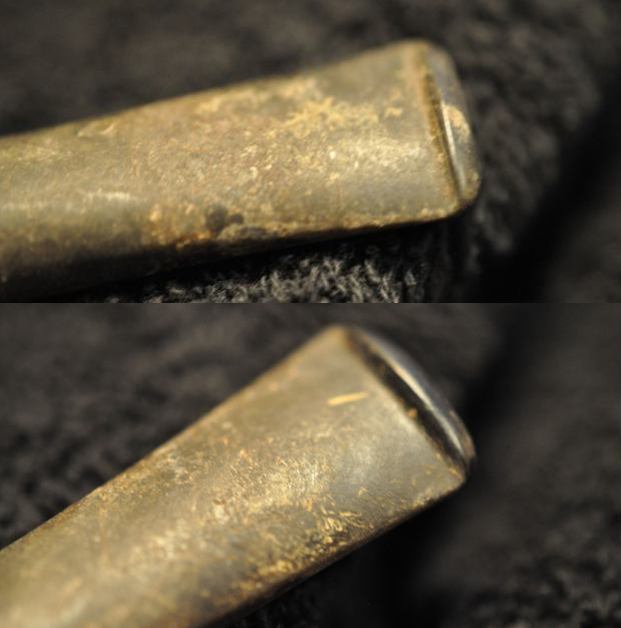
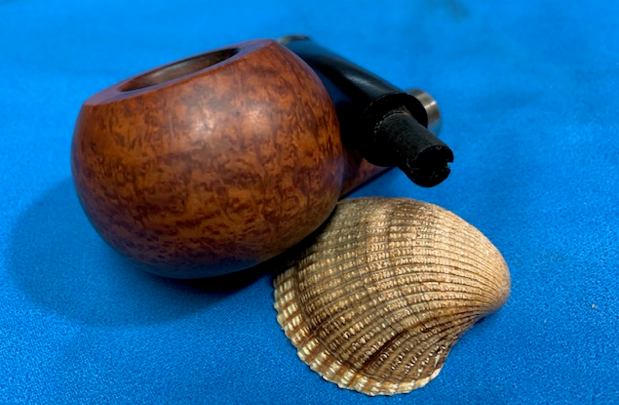
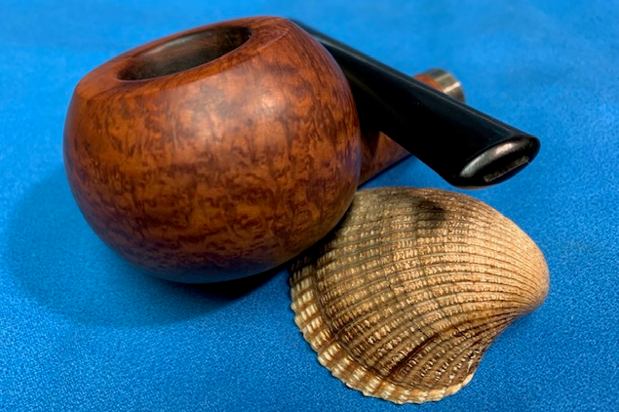
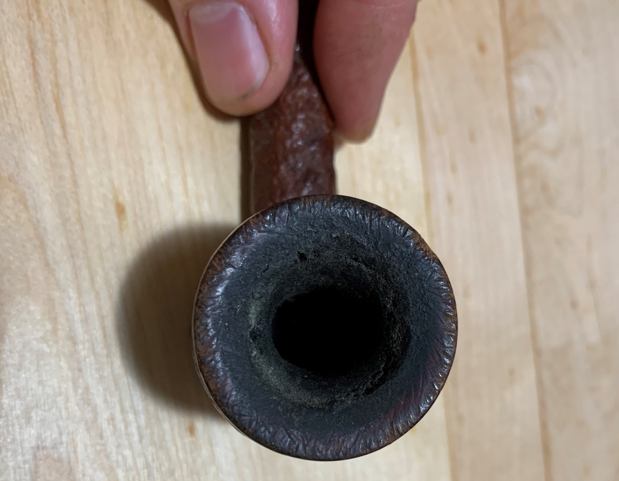
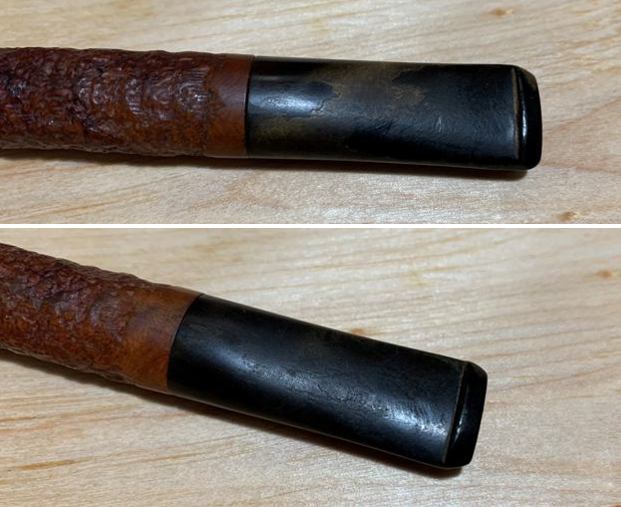
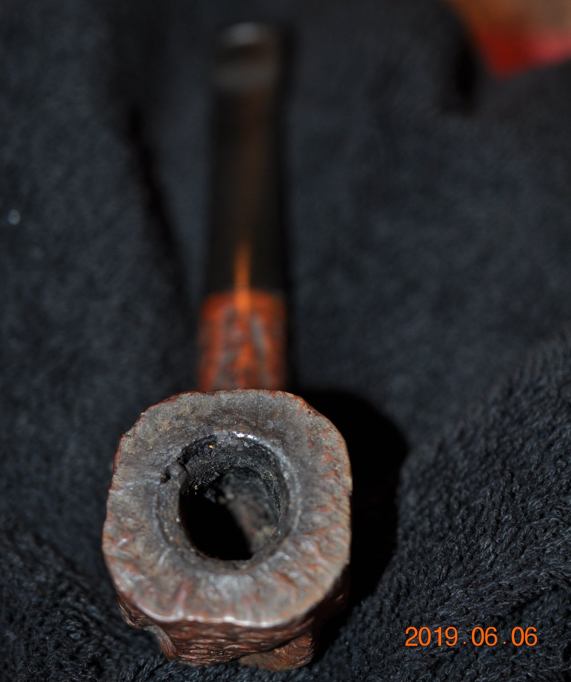
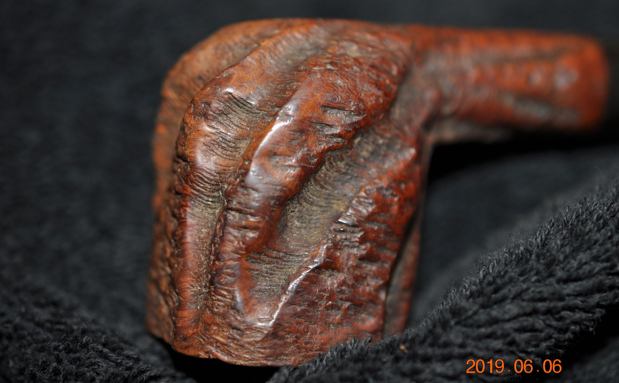
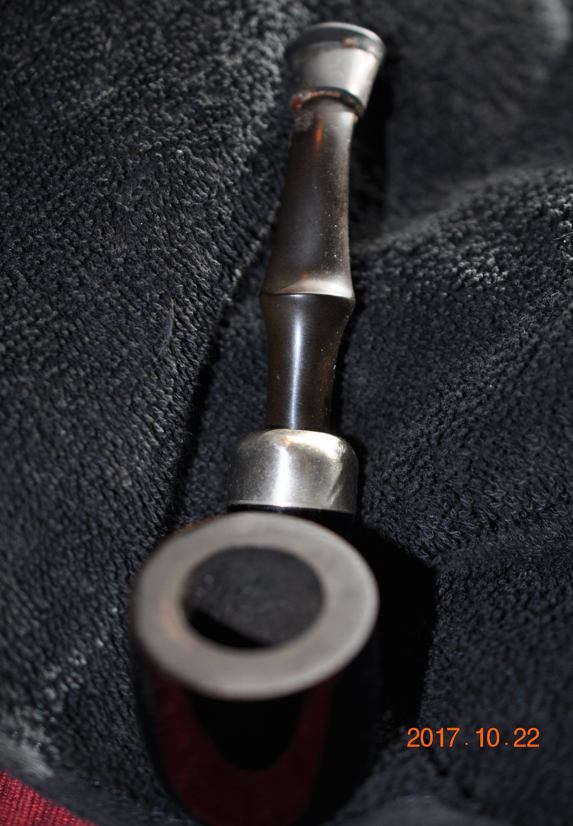 Jeff took photos of the rim top and stem to show the general condition of the pipe. The bowl is heavily caked and the rim top and edges have a thick lava overflow. The stem is lightly oxidized and a rotting Softee Bit on the end. There is a lot of debris collected against the edges of the rotten rubber.
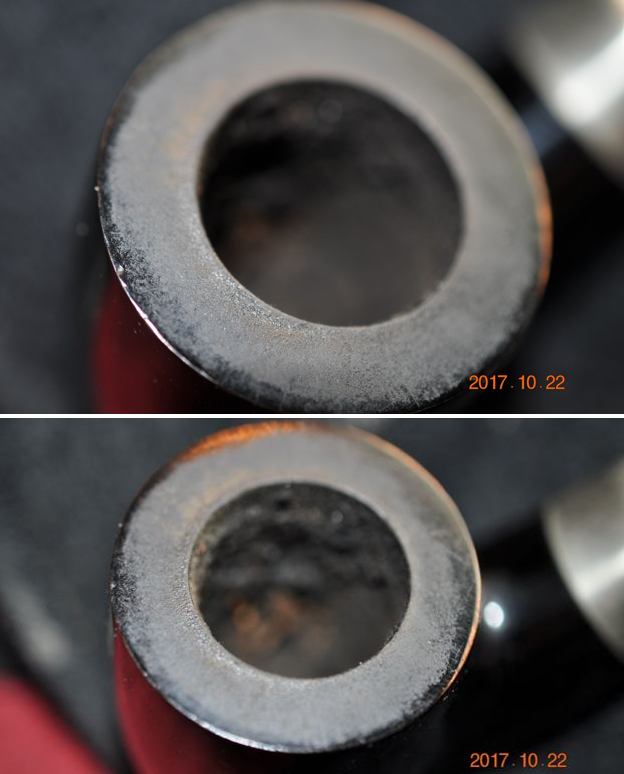
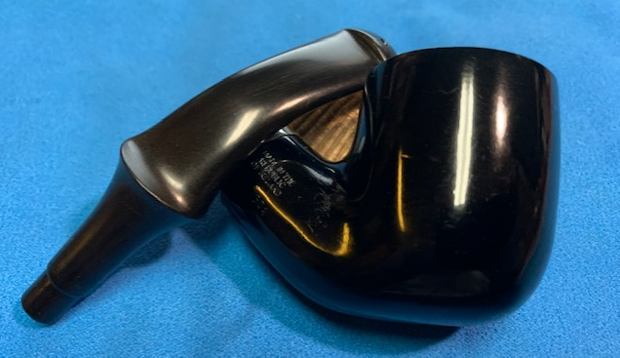
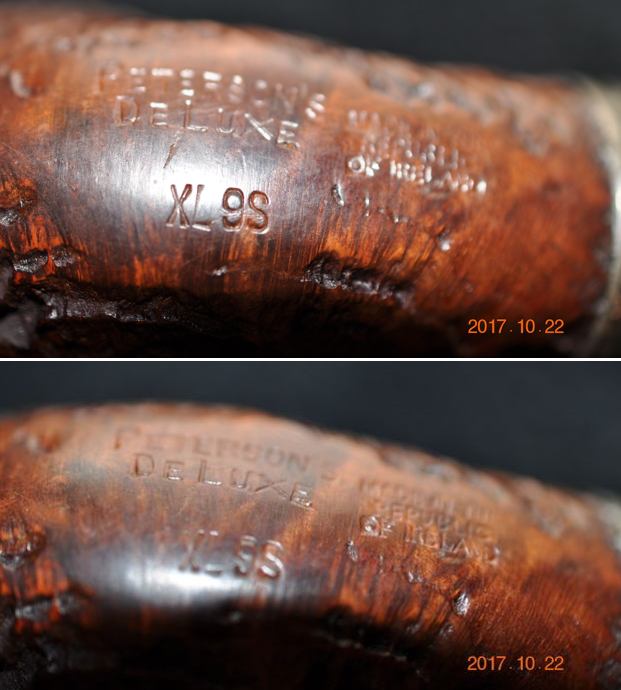
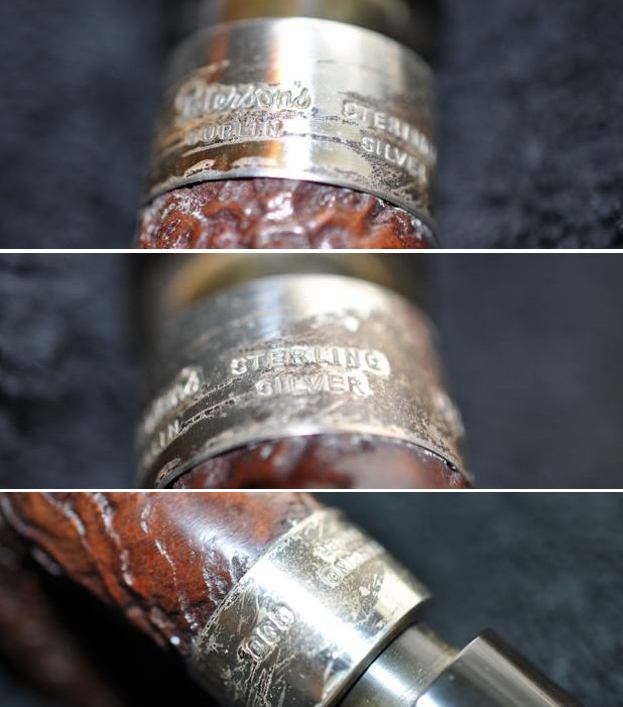
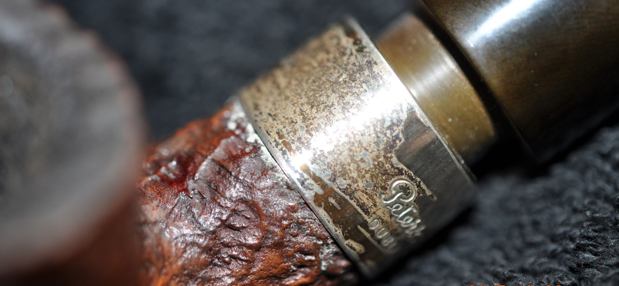
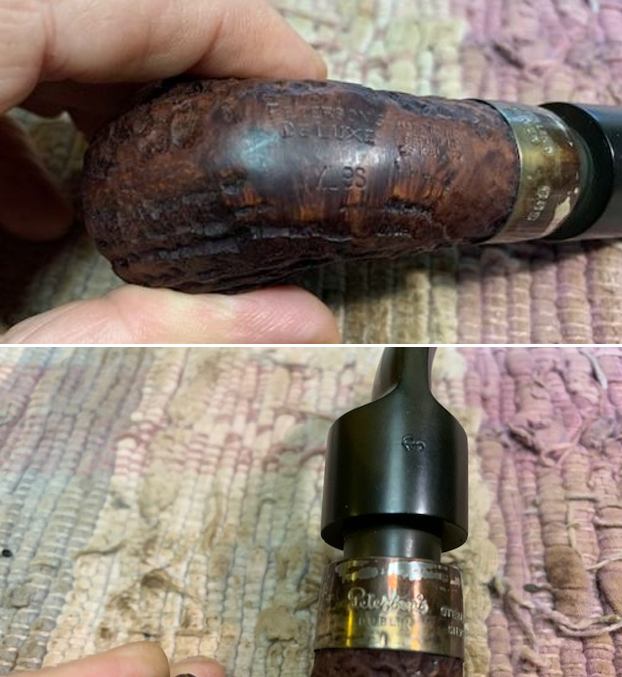
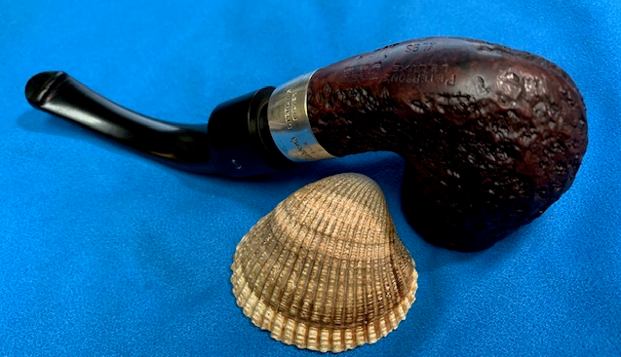
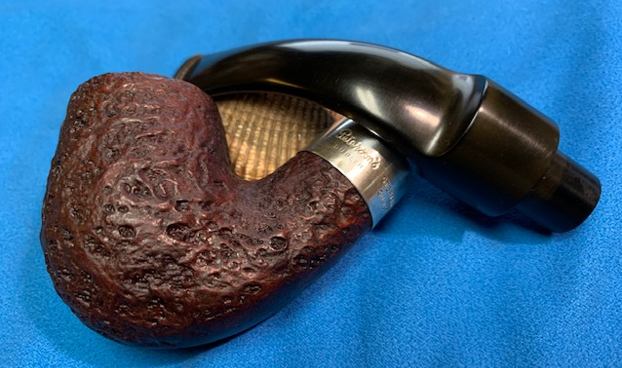
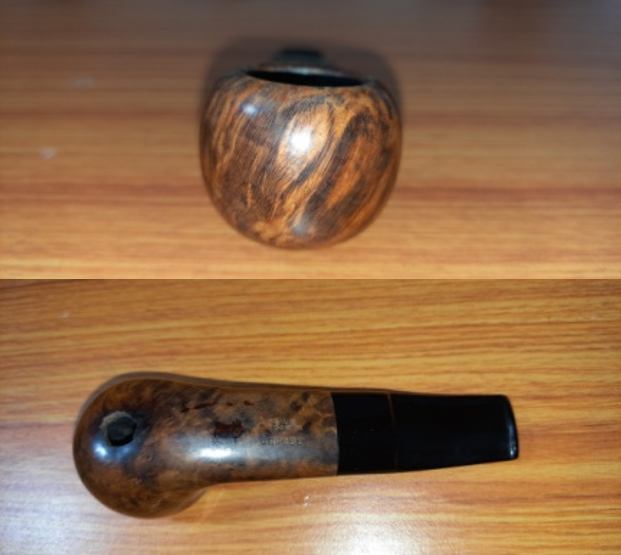
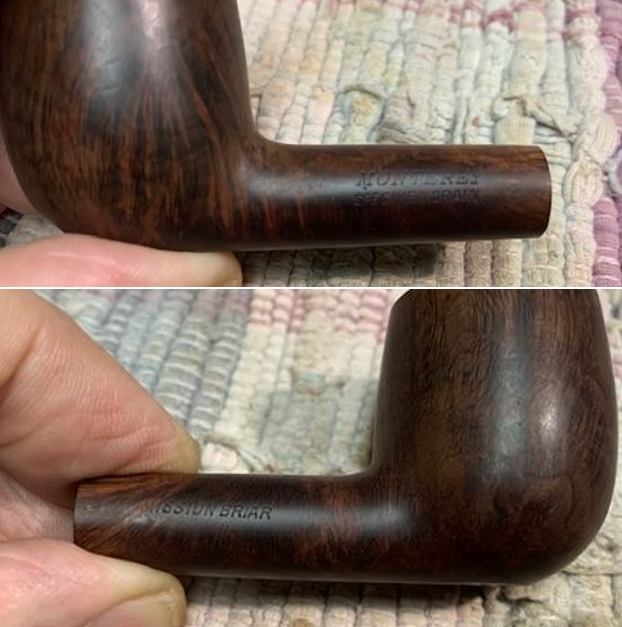
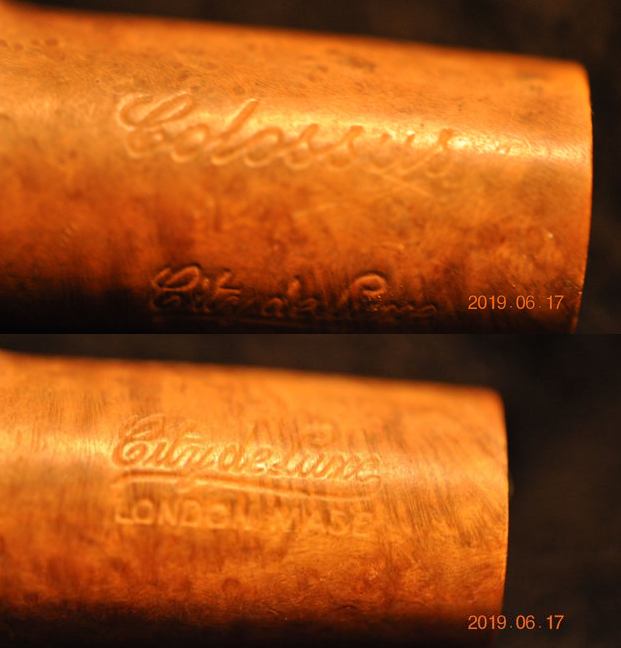
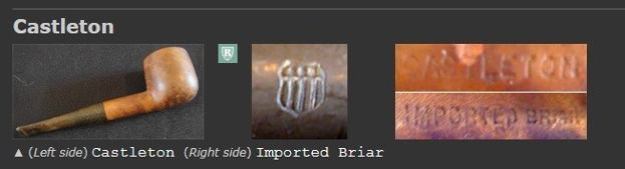
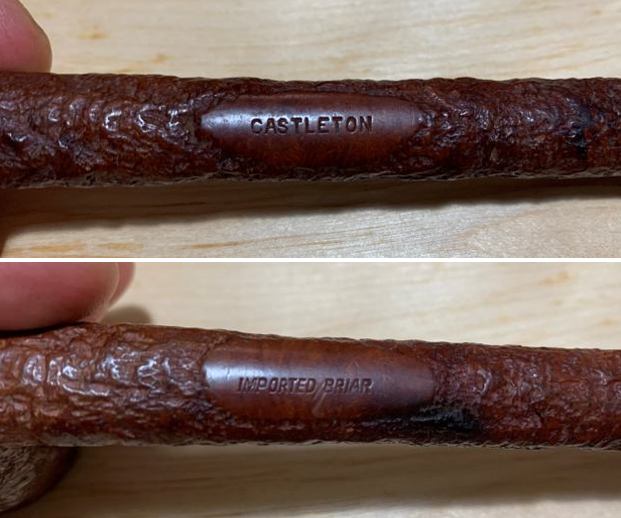
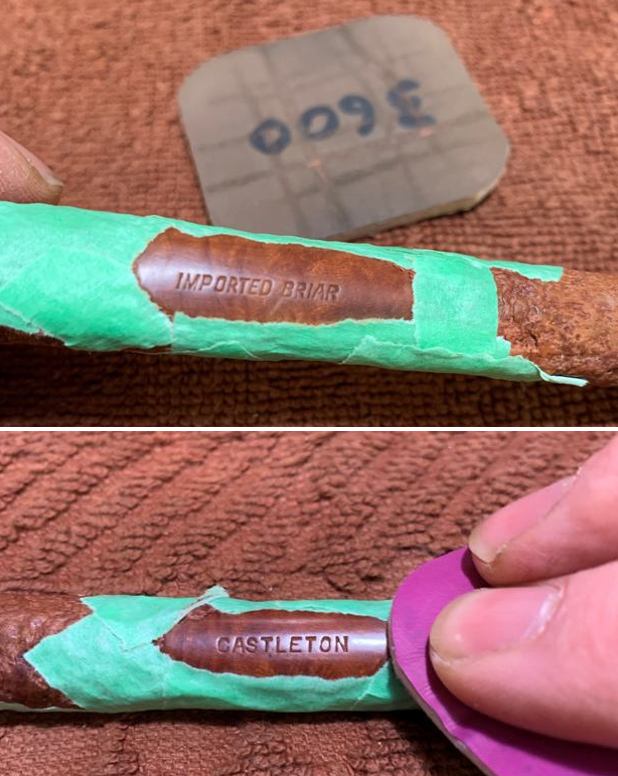
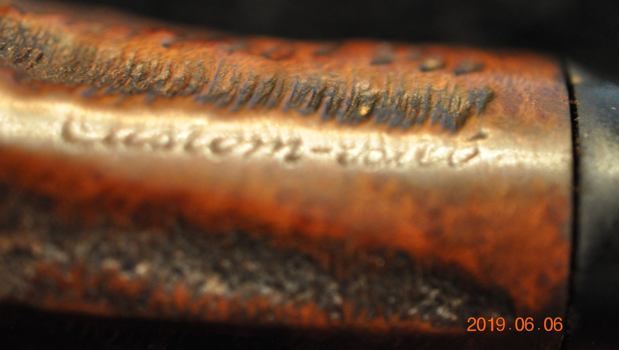
 He took photos of the sides of the shank to show the stamping. The stamping is readable in the photos below and is as noted above. He also captured the stamping on the nickel ferrule.
  I am including the link to the Pipedia’s article on Peterson pipes. It is a great read in terms of the history of the brand (https://pipedia.org/wiki/Peterson).
I turned to “The Peterson Pipe” by Mark Irwin and Gary Malmberg to get some background on the Peterson’s System Line. On page 314 it had the following information.
System (1891-) The Peterson System pipe is the backbone of the company’s body of work, offered continuously since 1891. Defined by its reservoir, graduated bore, and unique Peterson Lip mouthpiece, the design originated with an 1890 patent and was further refined by modifications patented in 1894 and ’98. Offered in numerous shapes and sizes, in bent and straight stemmed styles, marketed in smooth, sandblasted, rusticated or ebony finish, and rendered in briar, clay and meerschaum with mouthpieces of vulcanite, amber, horn, Bakelite, and acrylic. From 1891-1915, Systems were labeled PETERSON’S over PATENT, then from 1906-11 occasionally, PETERSON’S over PATENT over DUBLIN, followed thereafter by PETERSON’S over DUBLIN.
This pipe is stamped PETERSON’S over SYSTEM and there was a subcategory shown on the same page with that information.
Peterson’s over System. Pipes stamped Peterson’s System have been documented since 1920. A ’20 brochure is the earliest printed reference to the Peterson’s System. The pipe came in three quality grades (no mark, 2 or 3) until 1959. Thereafter as De Luxe (no mark), Premier (the old 2) and Standard (the old 3).
Judging from the description above, the pipe I am working on has an ebony finish and could have been made before 1959 as it has no grade mark as noted in red above. It reads MADE IN THE REPUBLIC OF IRELAND in three lines which narrows the date to between approximately 1938 and the present. Now it was time to work on the pipe.
UPDATE: I just heard from a fellow on Facebook Tobacco Pipe Restorers Group. He wrote the following: The shape 301 was not introduced until 1975. Considering the republic stamp, this one would likely date between 1975 and 2000. Also, if that is the stem the pipe originally came with, I would say this pipe is likely 1975 to mid 80s.
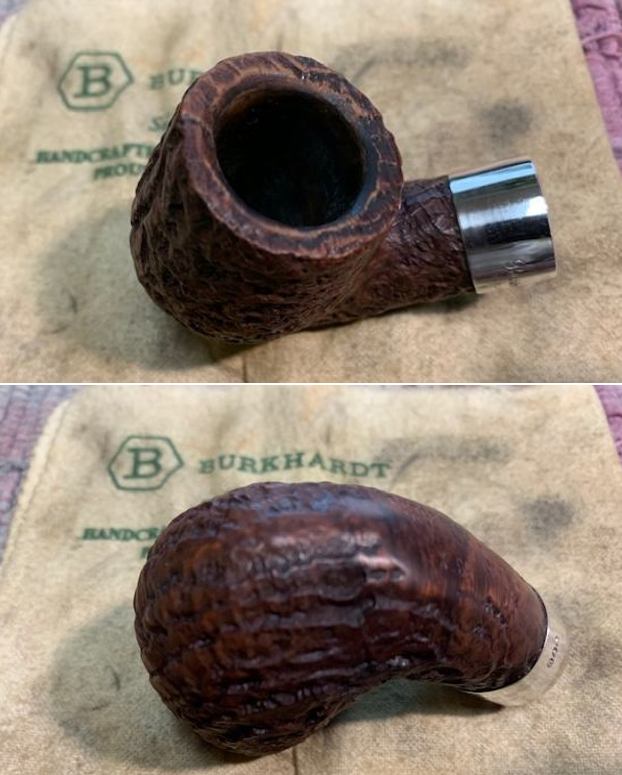
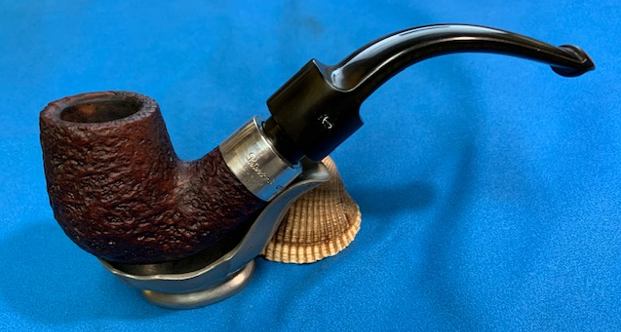
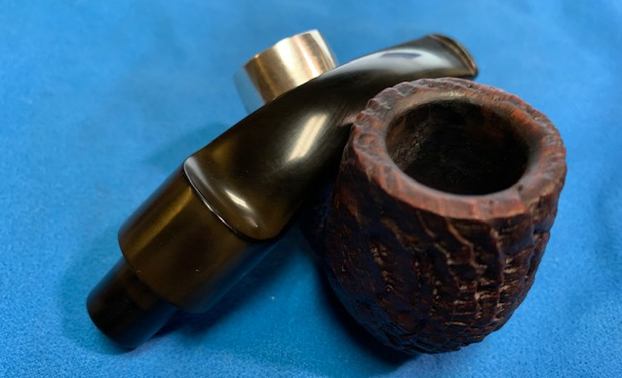
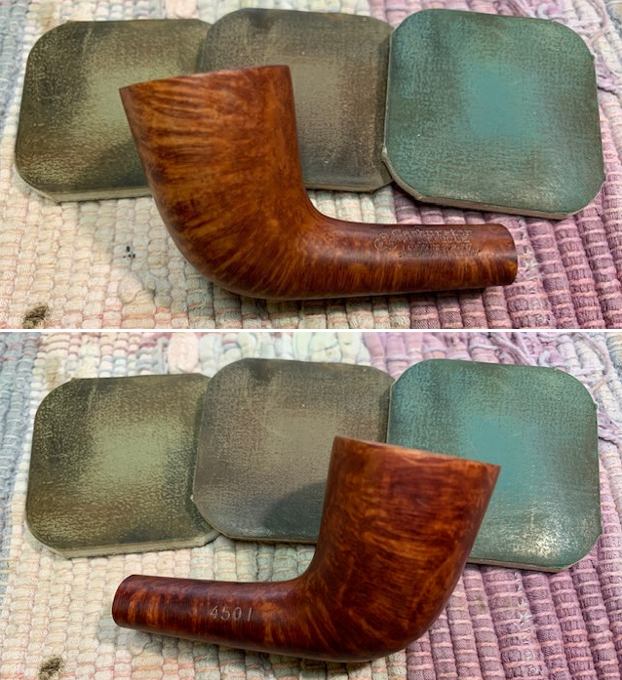
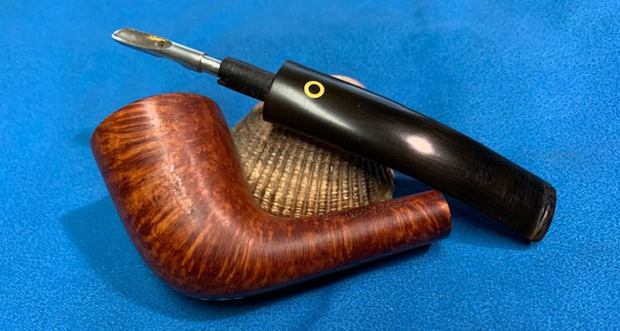
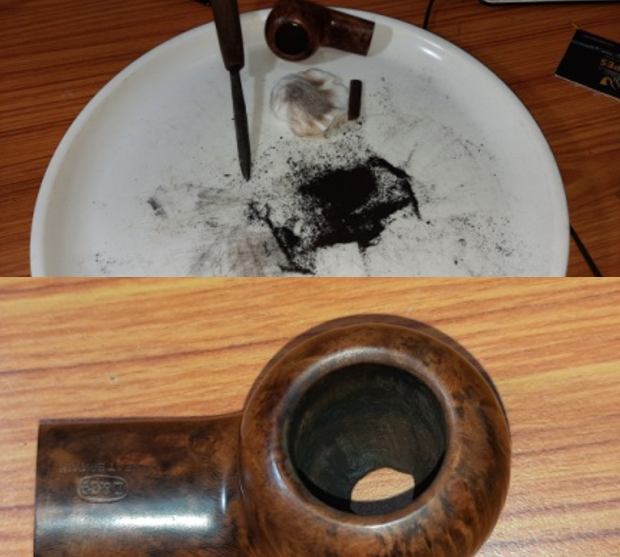
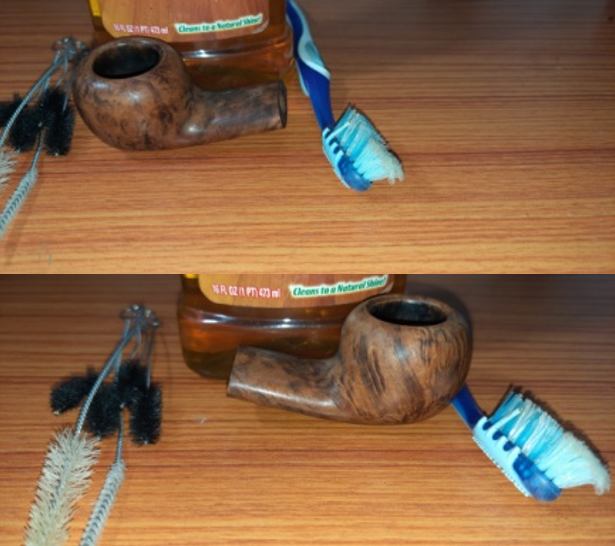
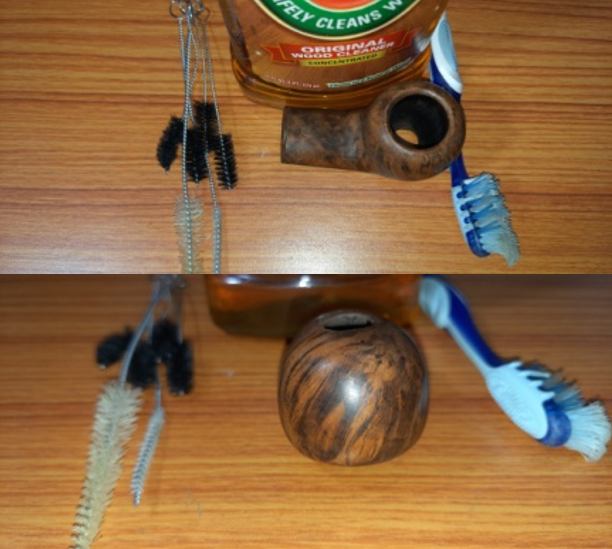
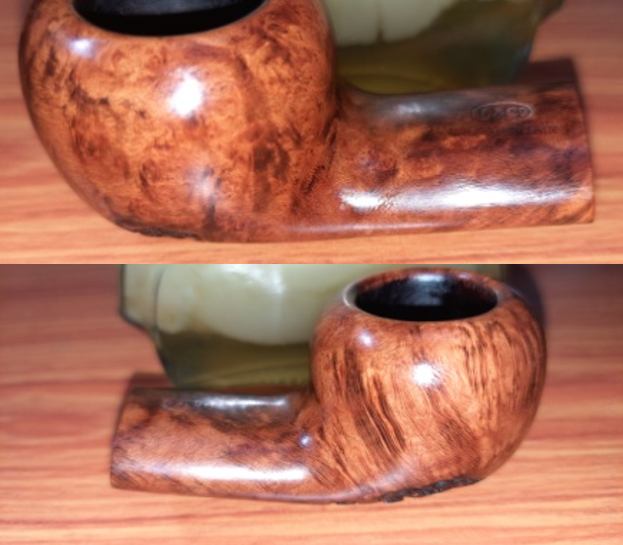
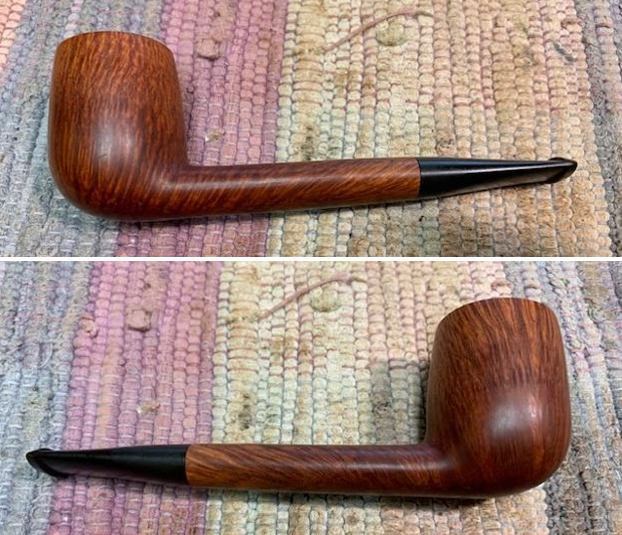
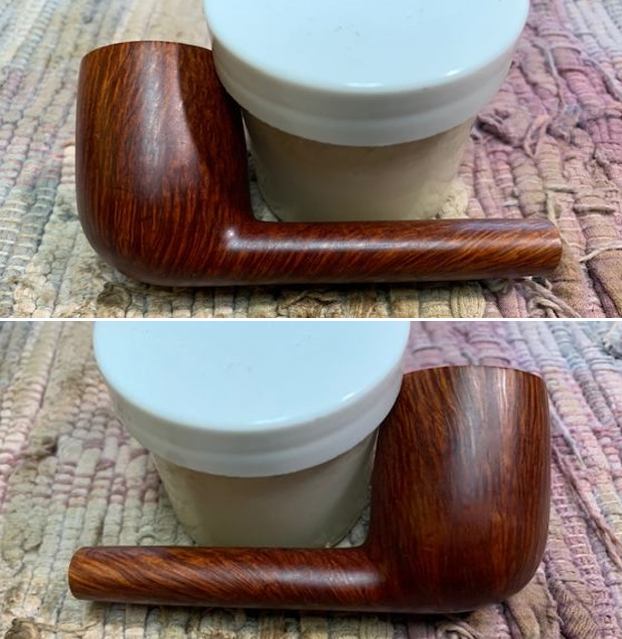
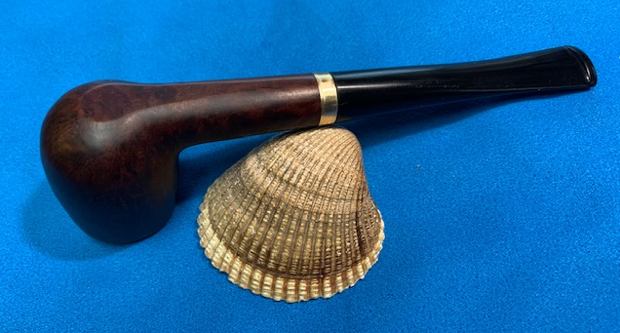
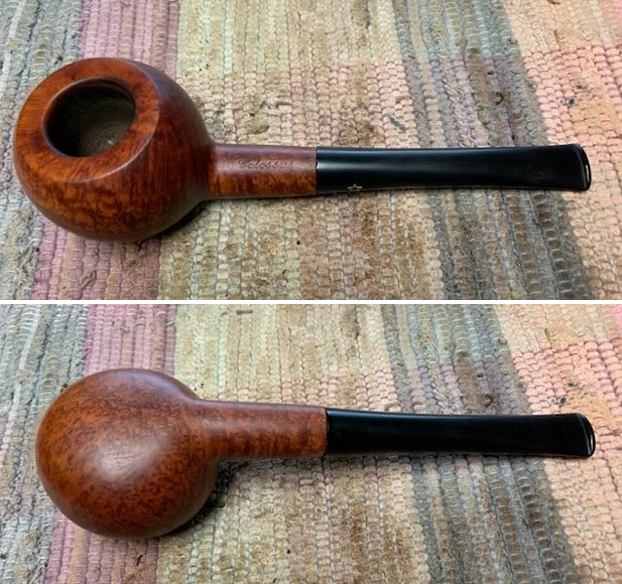
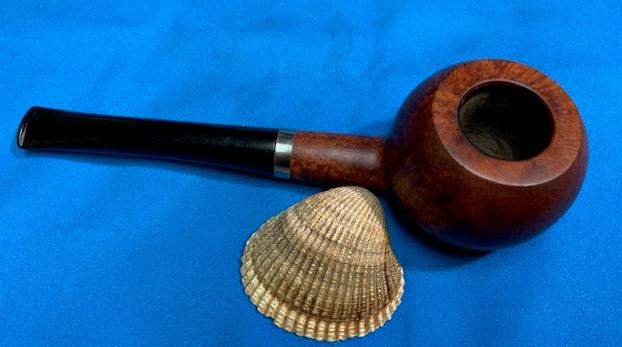
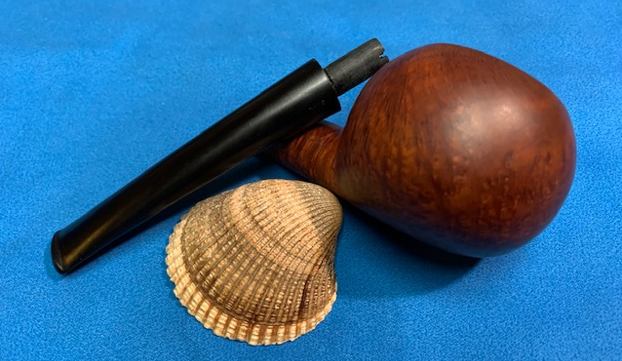
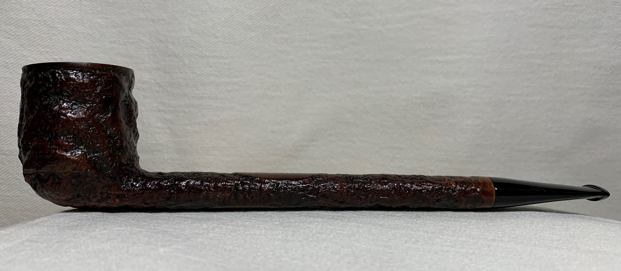
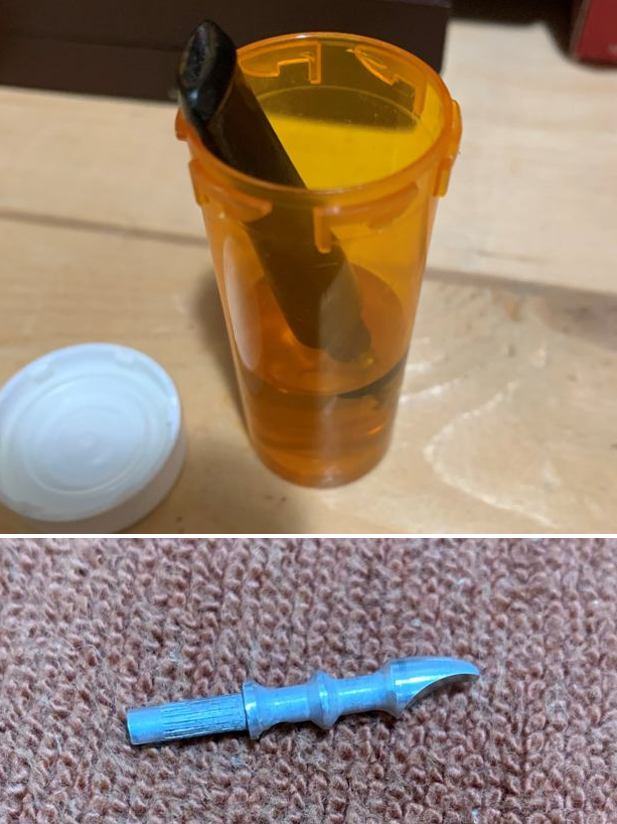
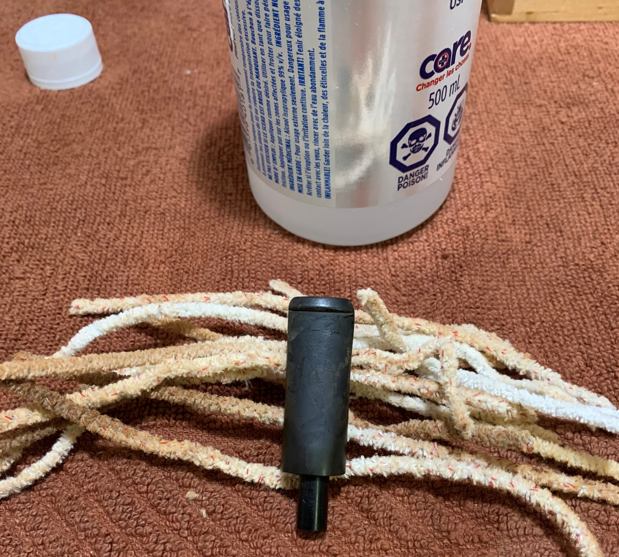
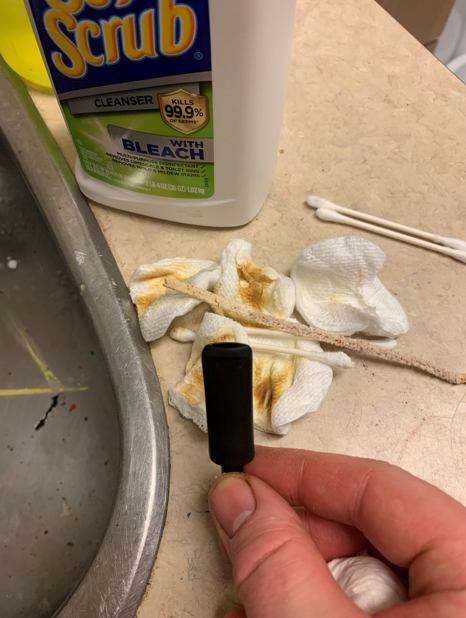
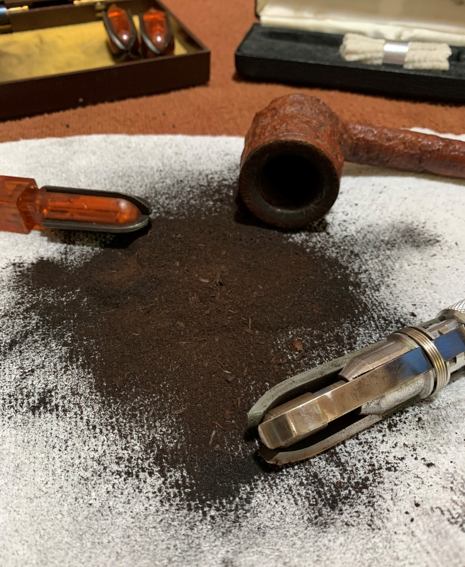
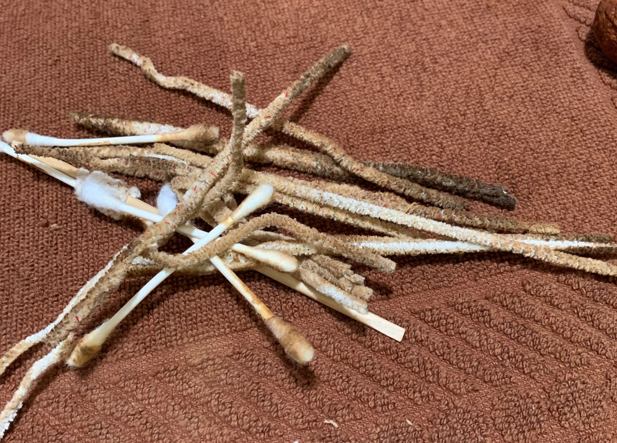
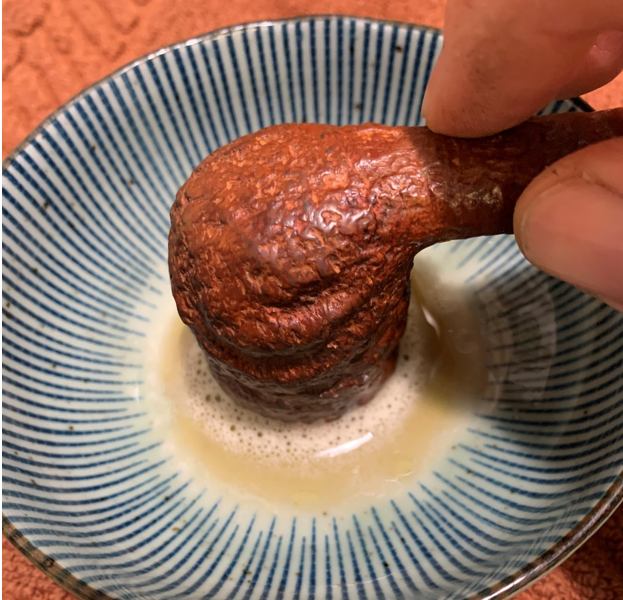
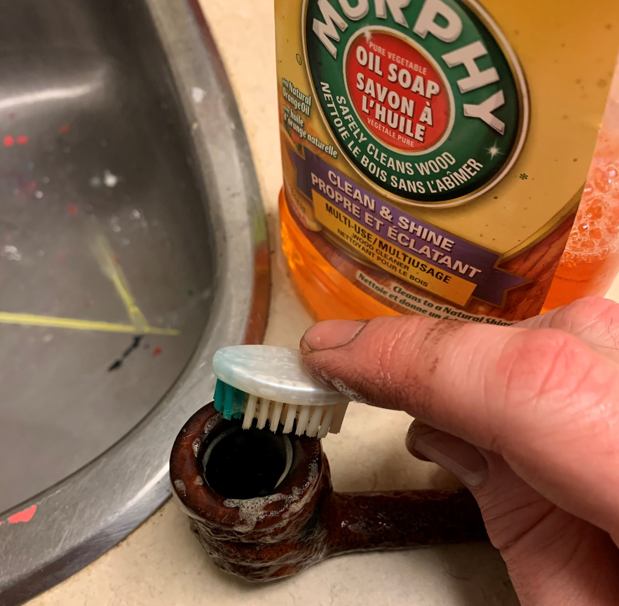
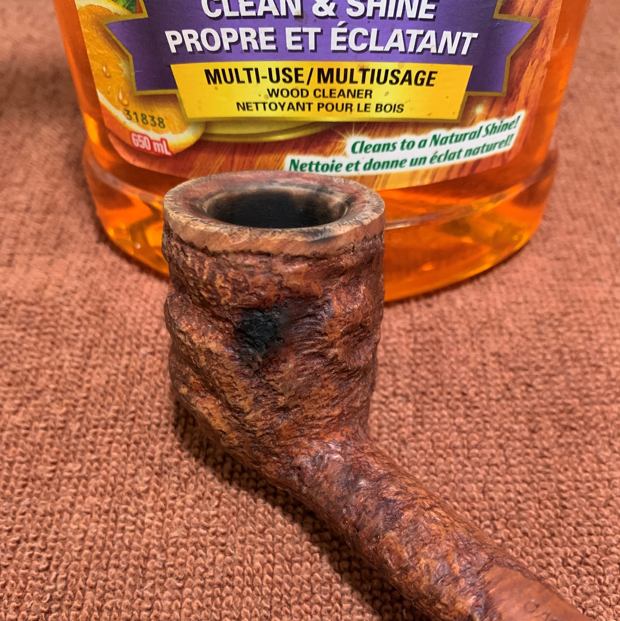
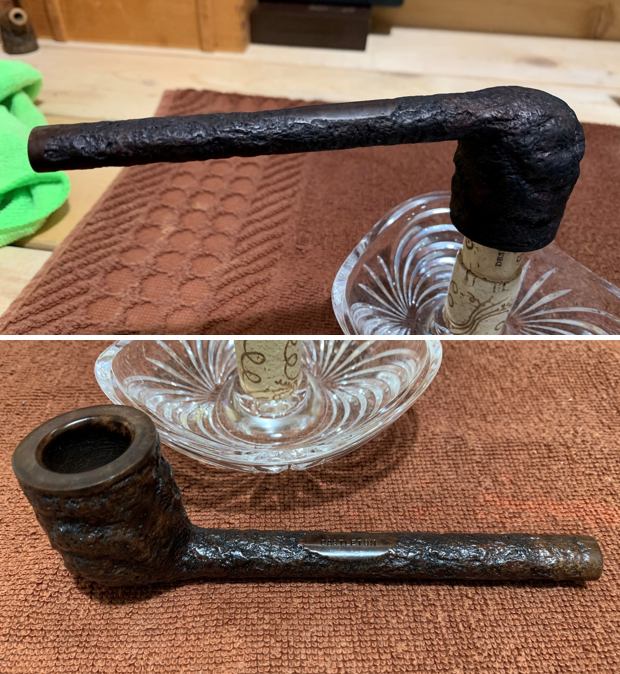
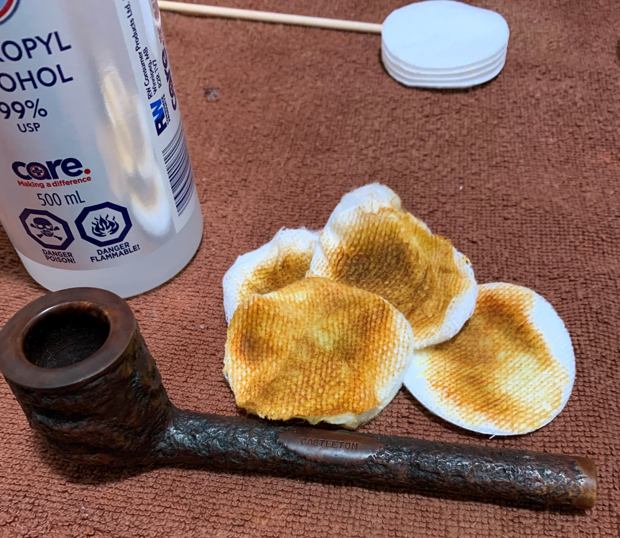
Jeff had done a great job cleaning up this 1979 Peterson’s De Luxe pipe. He reamed the pipe with a PipNet reamer and cut back the cake back to the bare briar. He cleaned up the walls with a Savinelli Fitsall Pipe Knife. He scrubbed the interior of the bowl and shank with pipe cleaners, cotton swabs and alcohol to remove the tars and oils. He scrubbed the exterior of the pipe with Murphy’s Oil Soap and a tooth brush to remove the grime from the finish. He worked on the rim top lava and darkening with the soap and tooth brush. He scrubbed the inside of the stem with alcohol and pipe cleaners. He scrubbed the exterior with Soft Scrub and then soaked it in Before & After’s Pipe Stem Deoxidizer. He washed it off with warm water to remove the deoxidizer. Somehow between the time Jeff worked on it in 2017 and today the stem in the photos above has disappeared and been replaced with a P-lip stem that appears to be the correct one for this pipe. I took photos of the pipe when I brought it to the work table. 
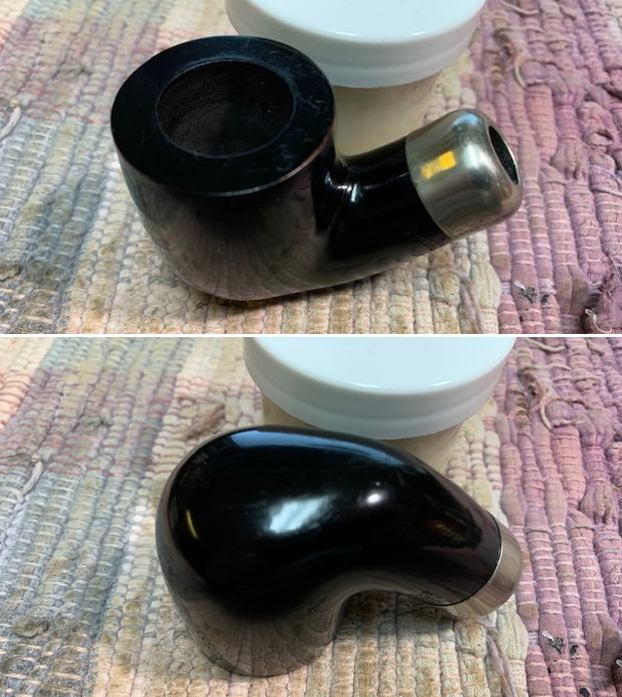
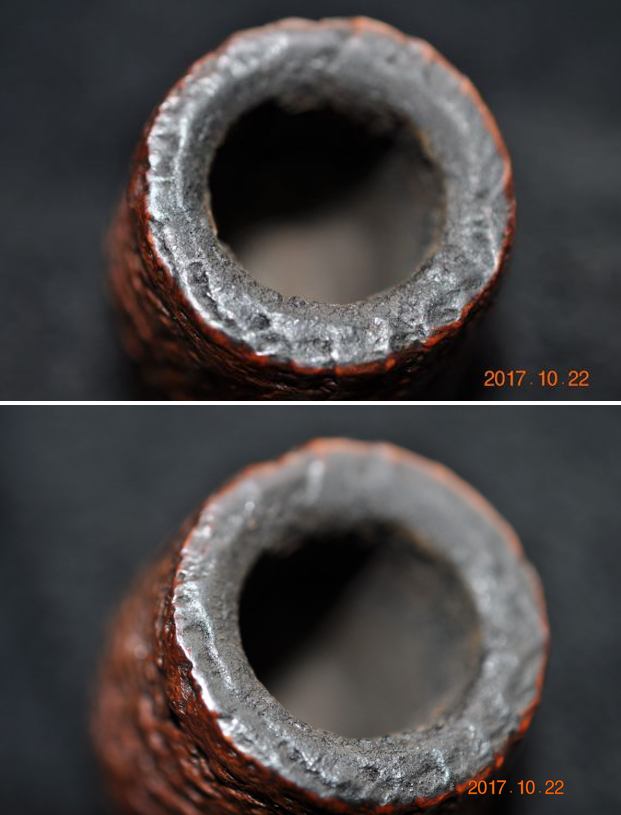
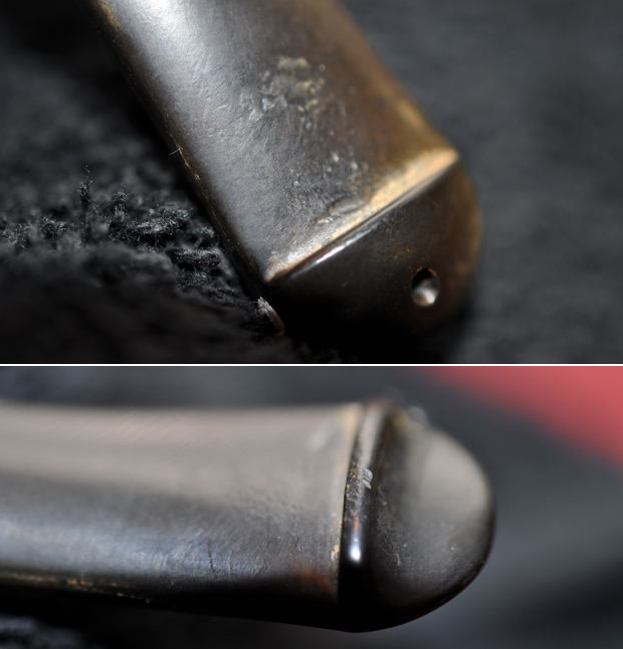
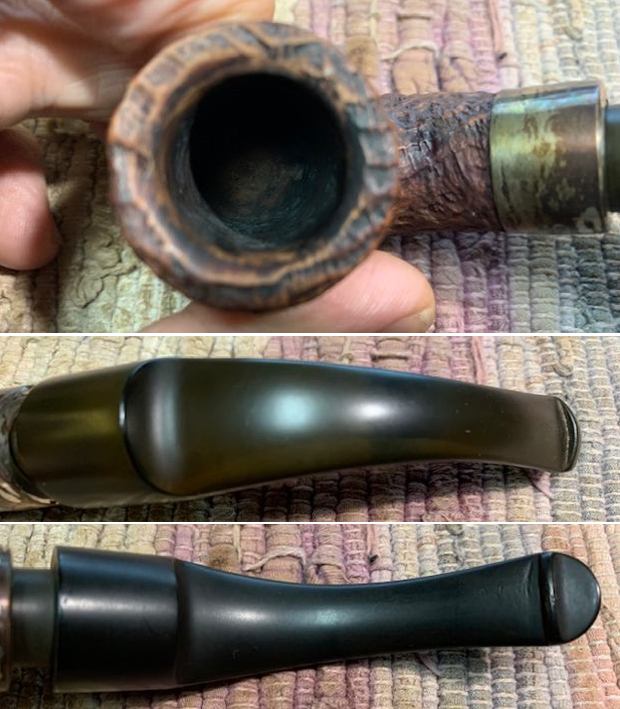
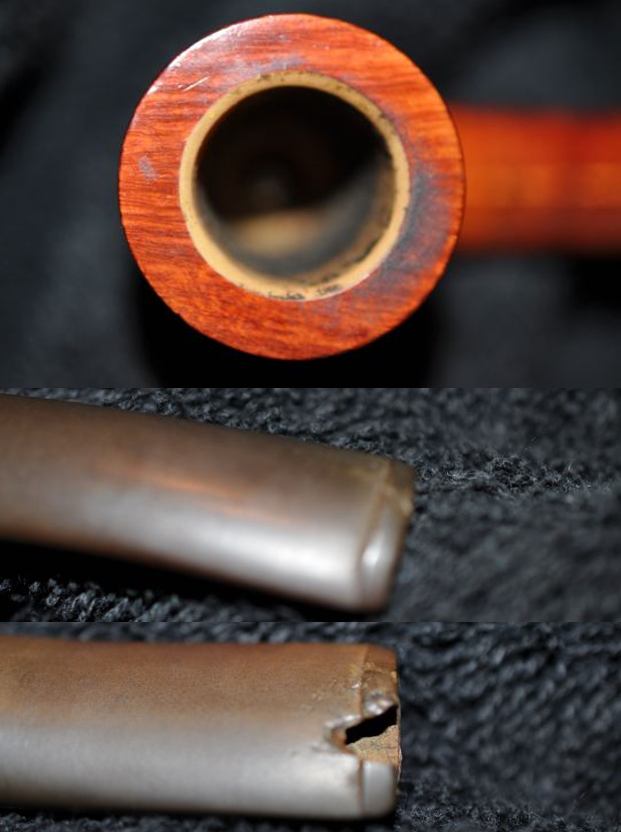
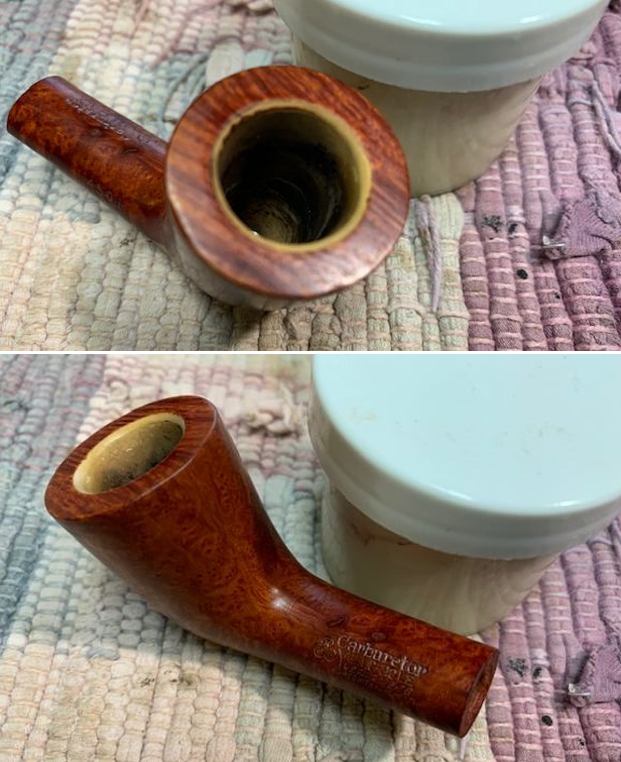
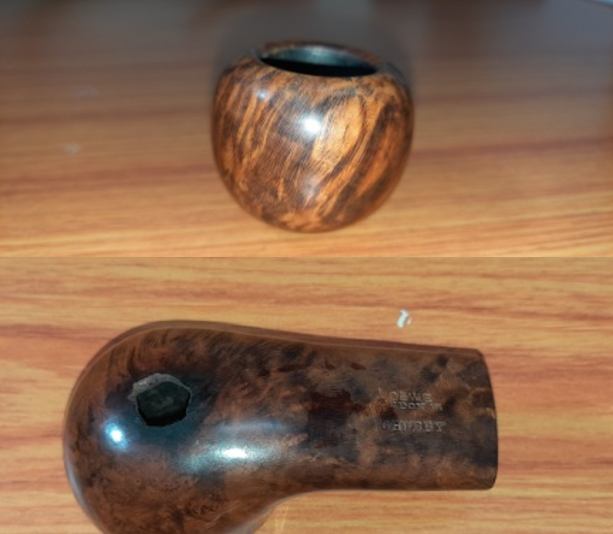
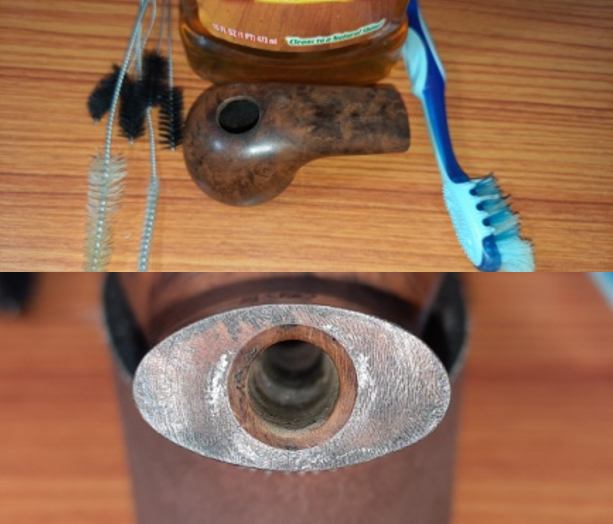
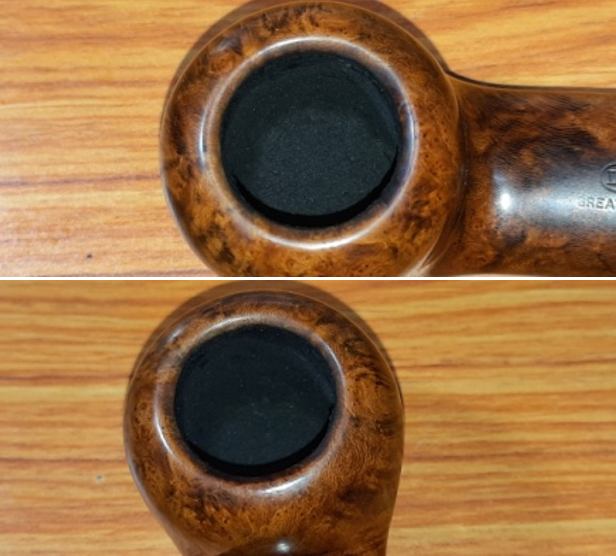
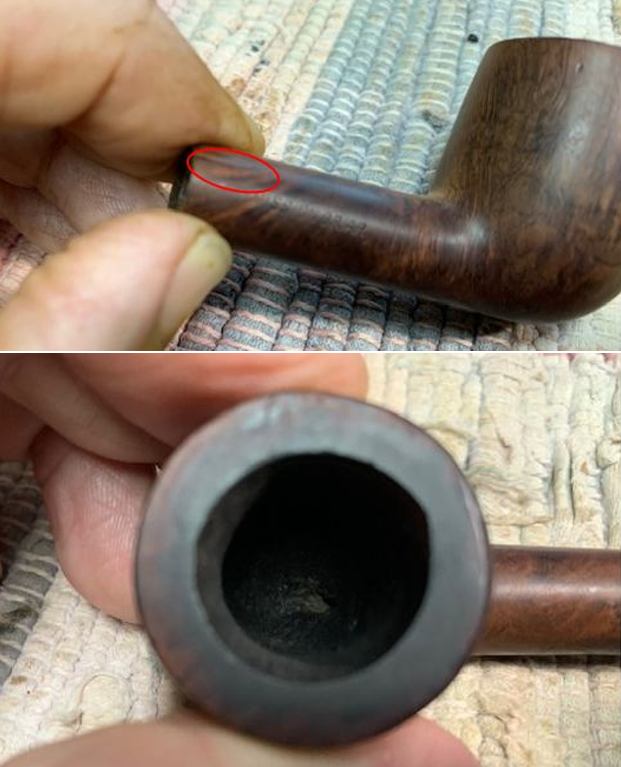
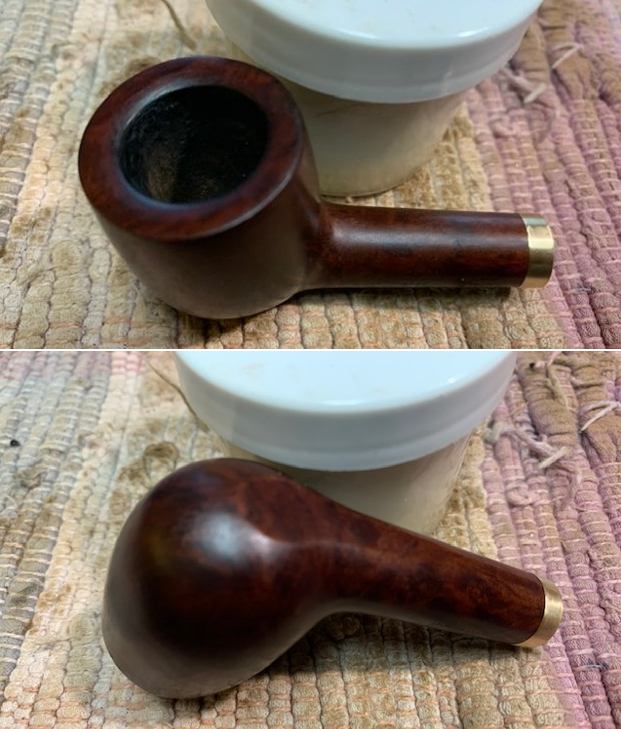
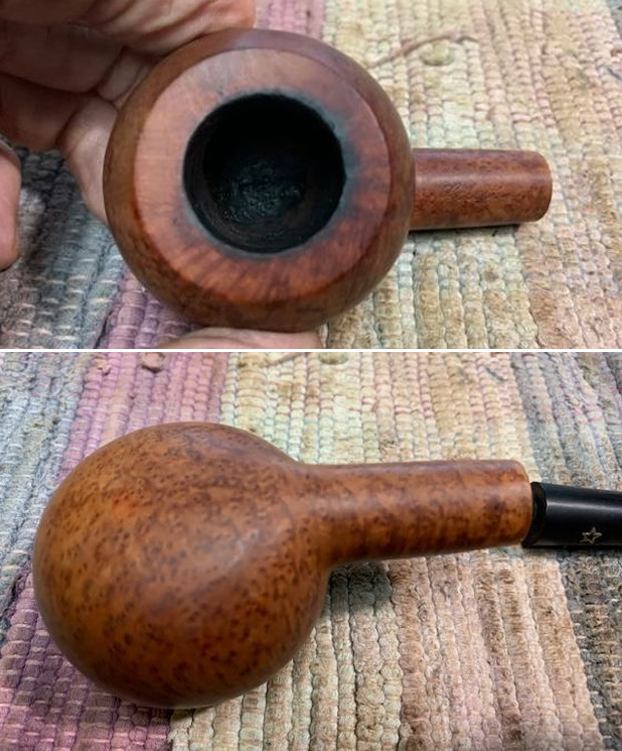
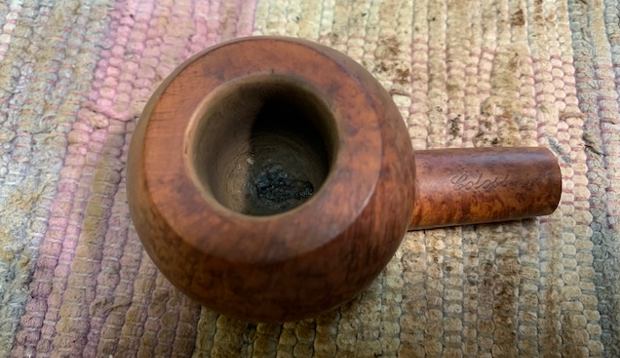
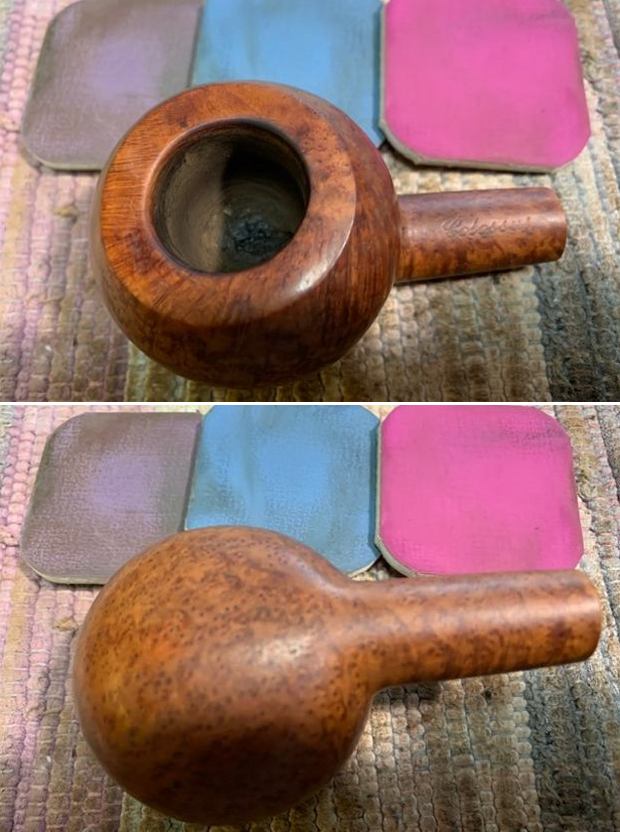
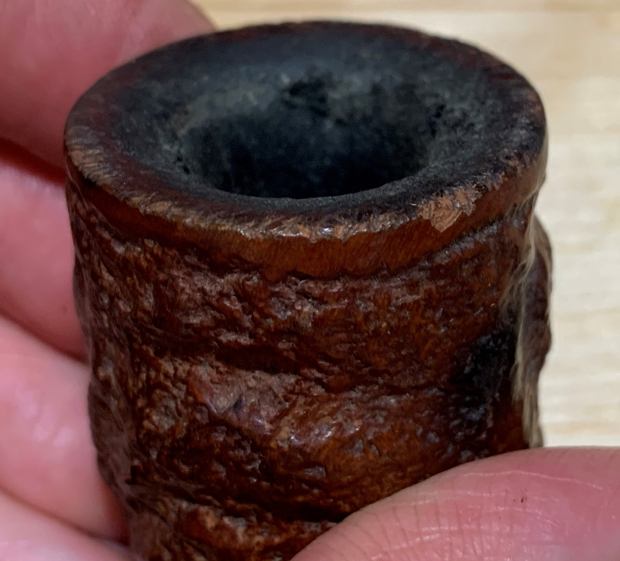
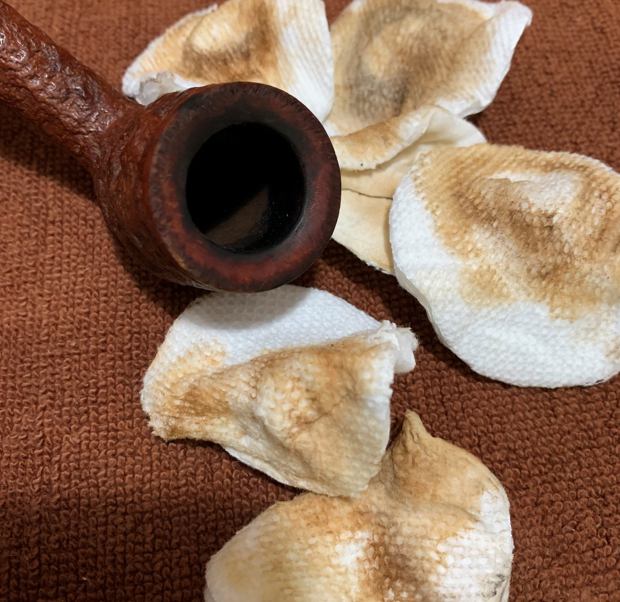
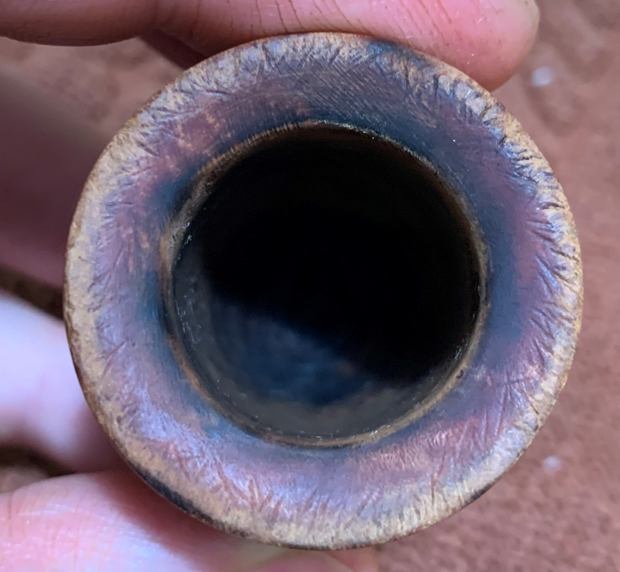
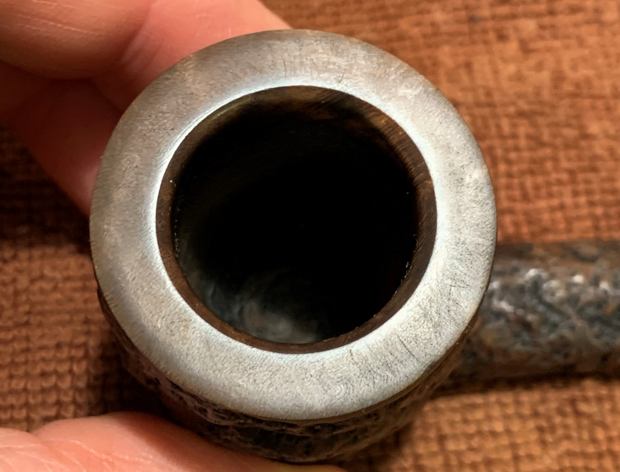
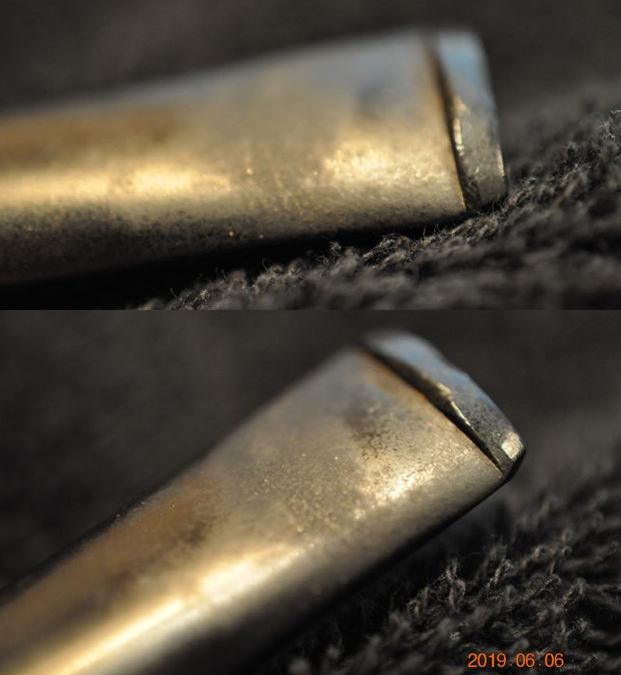
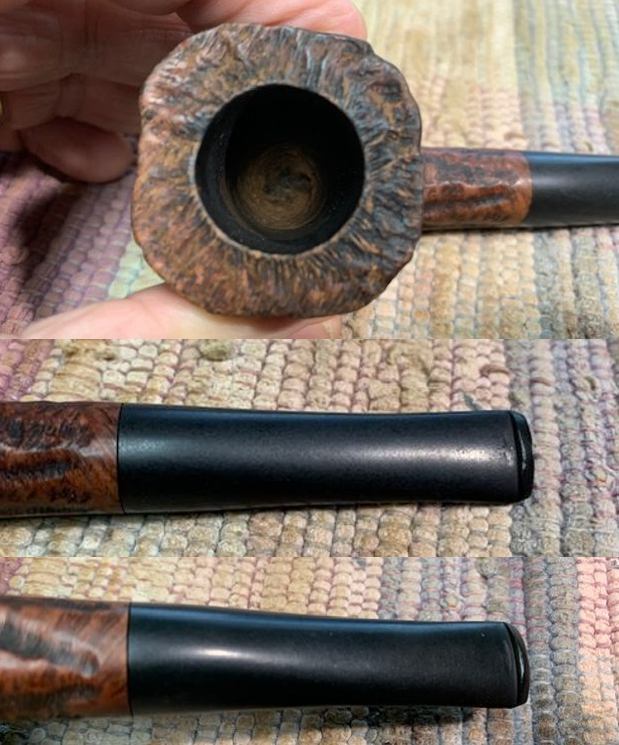
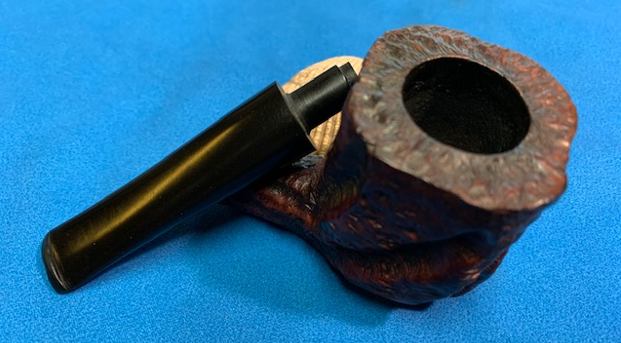
 I took some close up photos of the rim top and also of the stem surface. I wanted to show how well it had cleaned up (even though it is dull at this point). The rim top and inner edges around the bowl looked good. I also took close up photos of the newly inherited stem to show the tooth marks on the surface near the button.
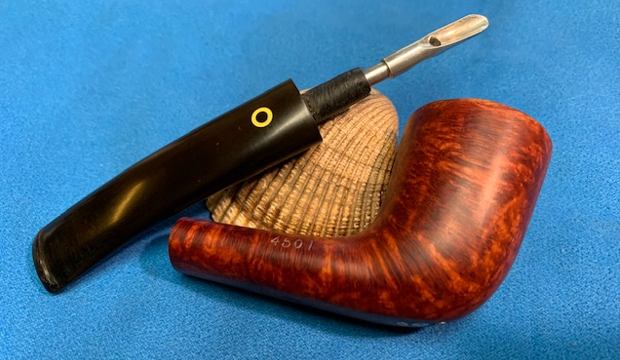
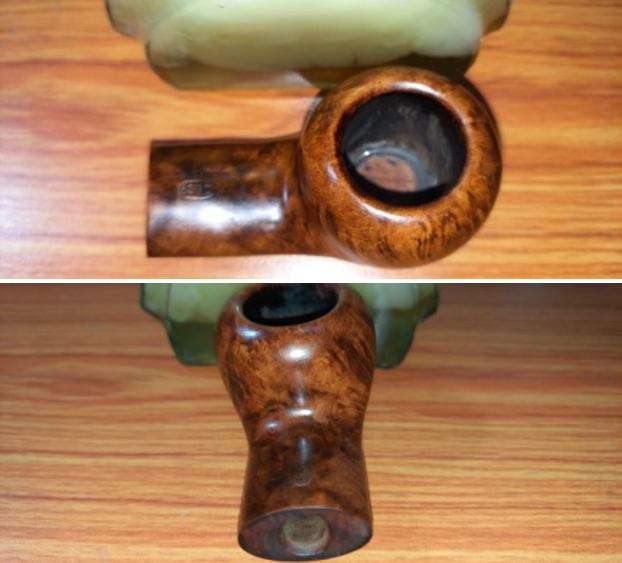
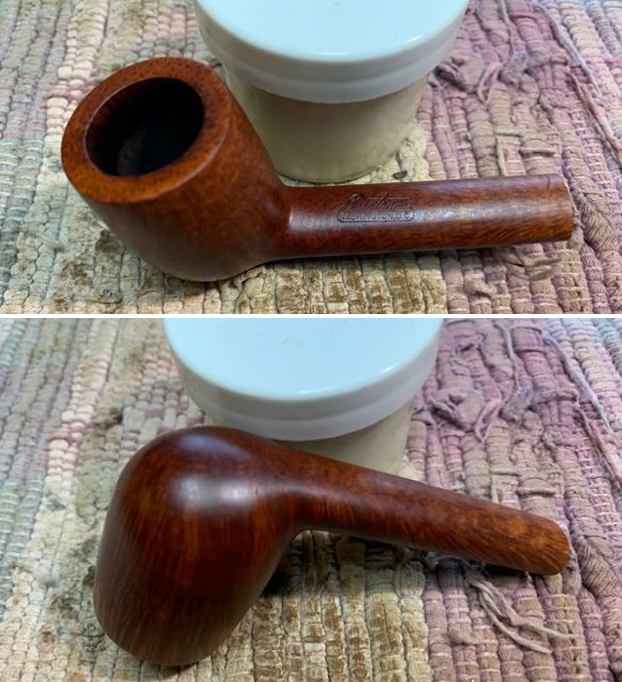
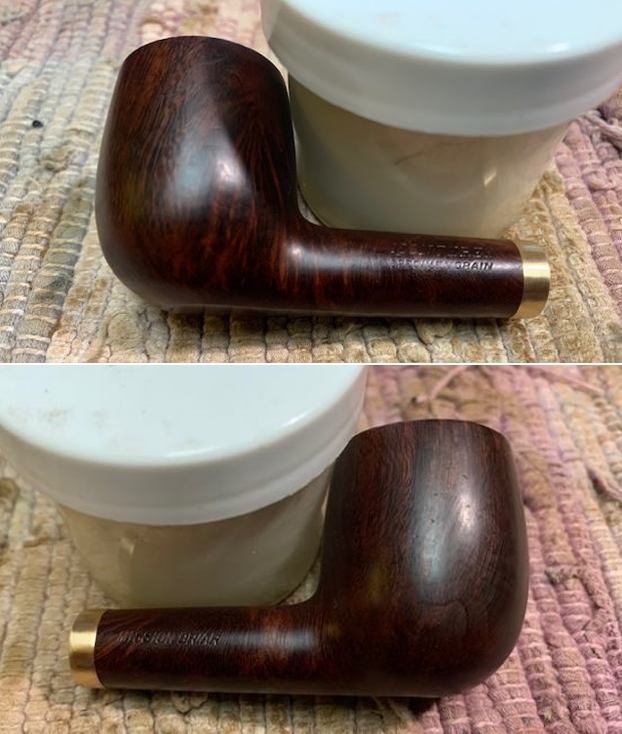
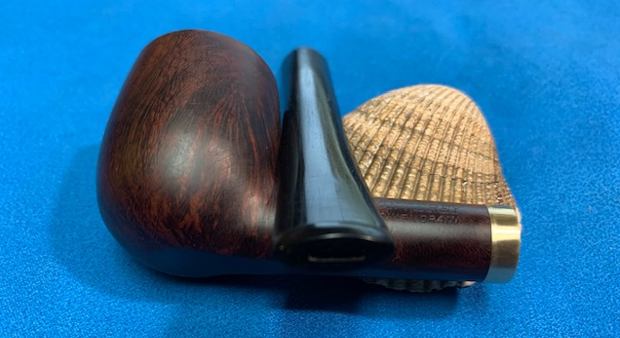
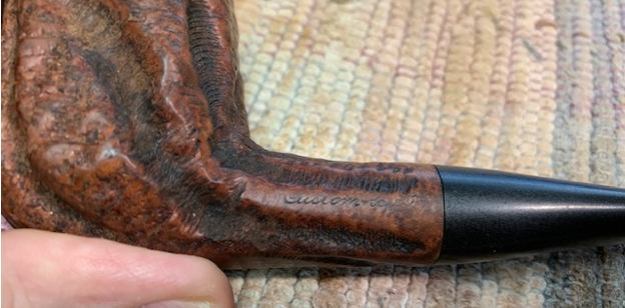
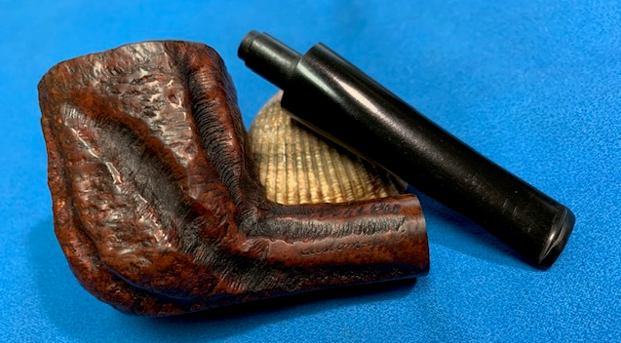
 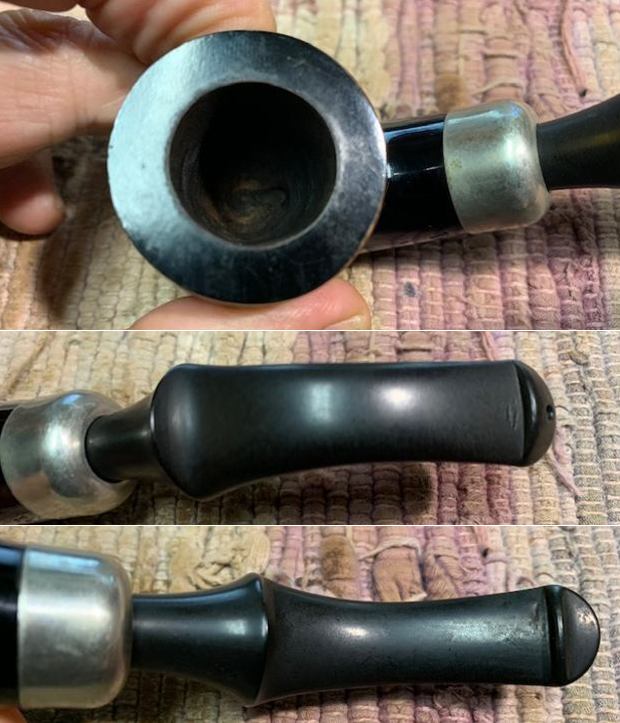 I took a photo of the stamping on the underside of the shank. It reads as noted above. I also took a photo of the ferrule on the end of the shank.
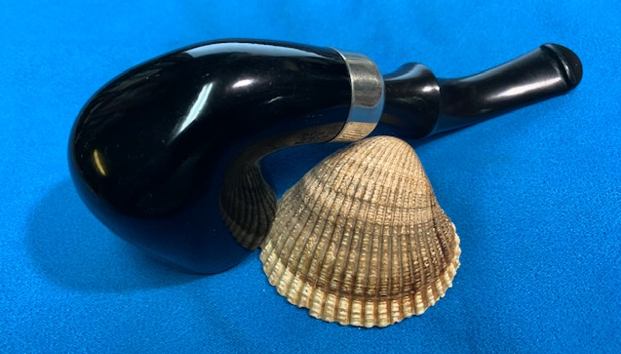
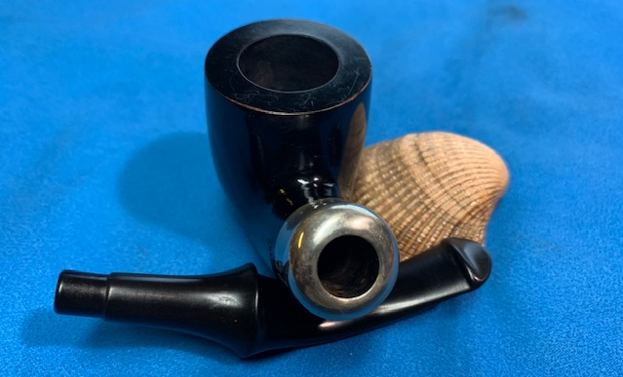
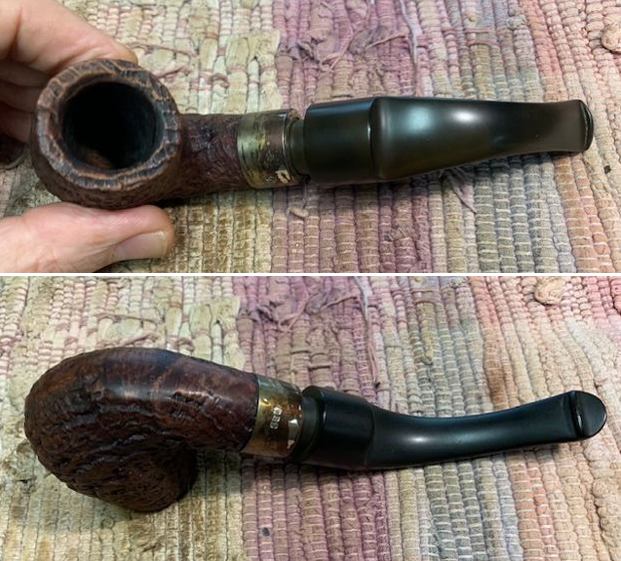
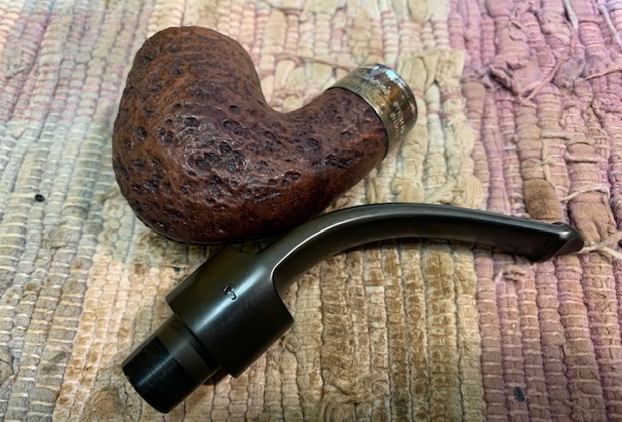
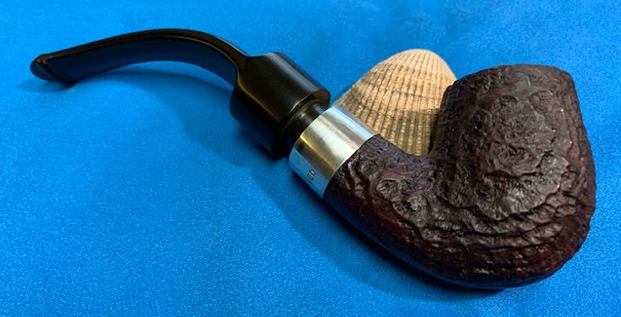
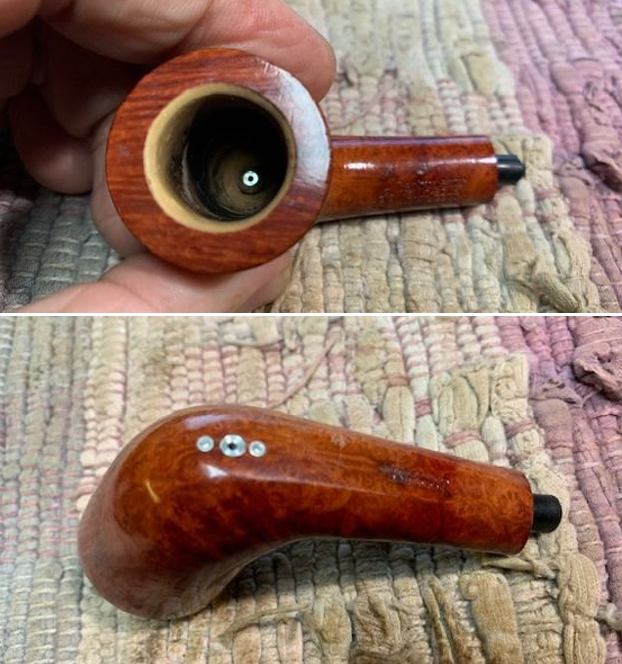
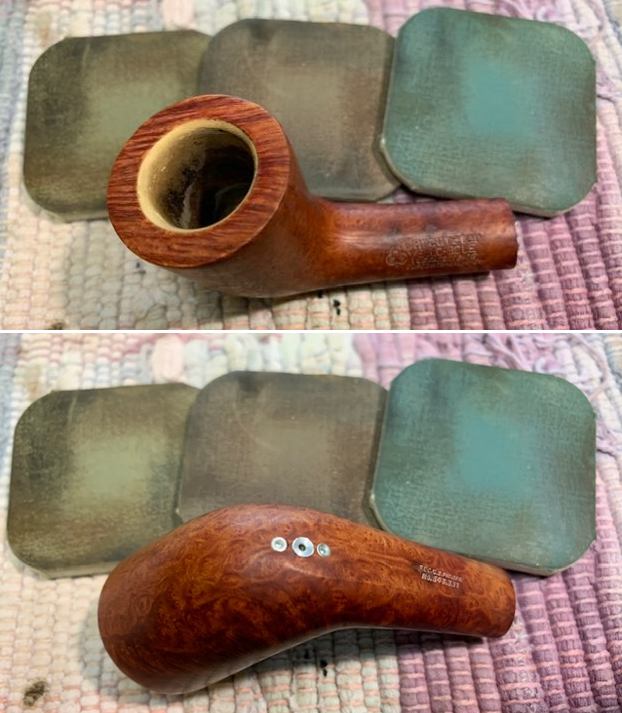
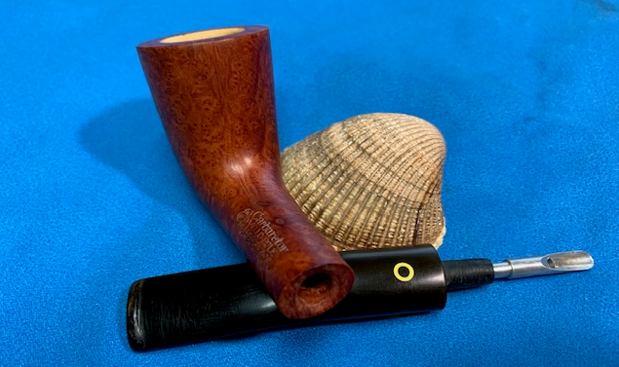
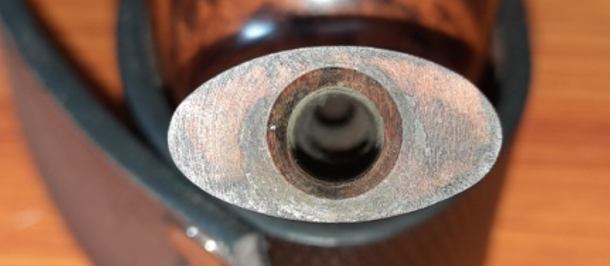
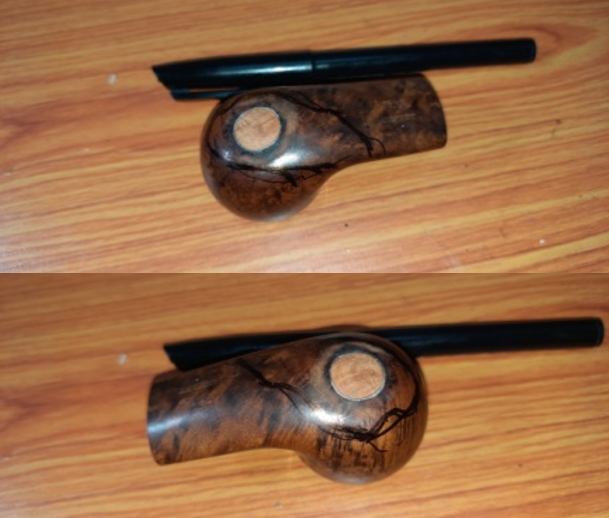
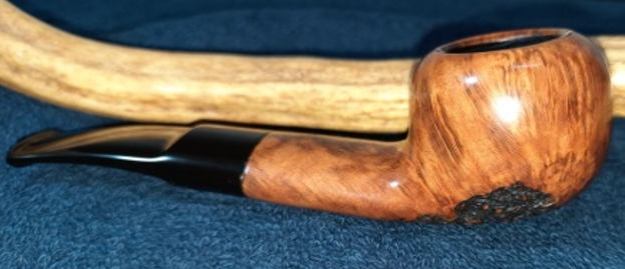
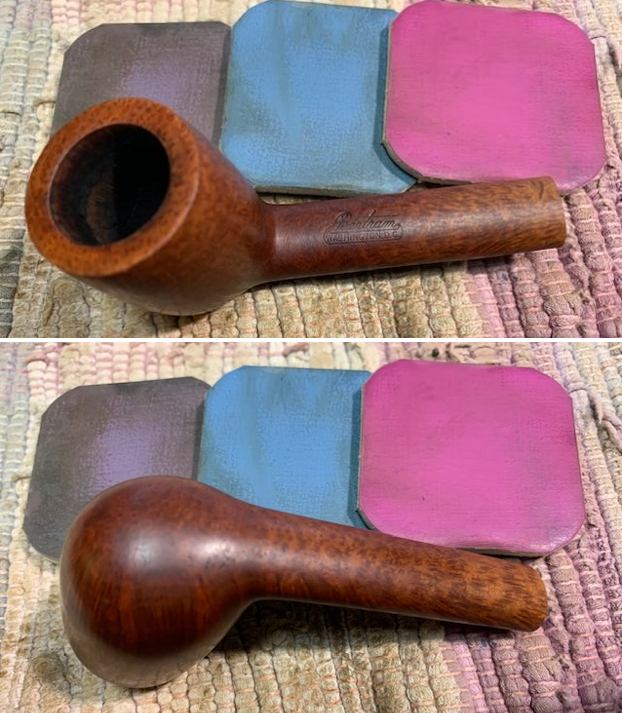
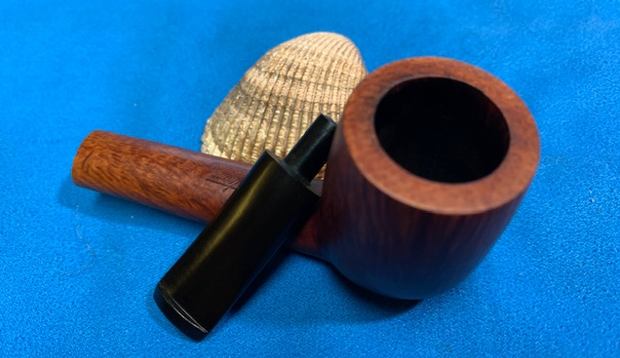
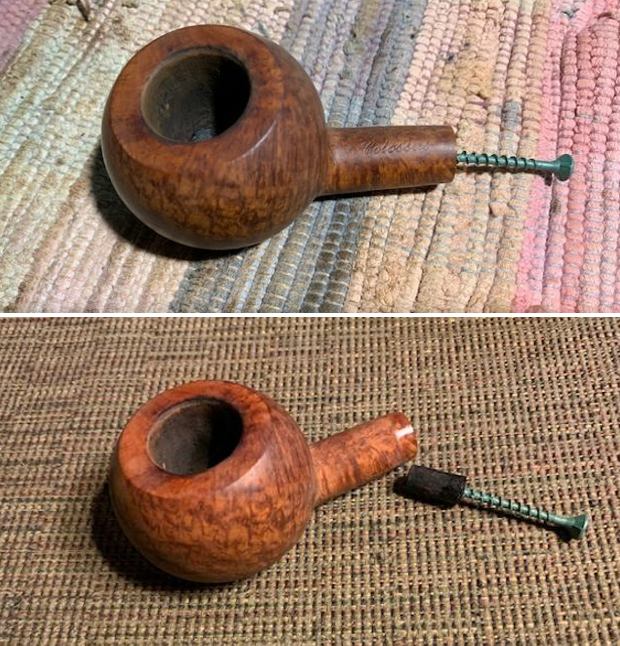
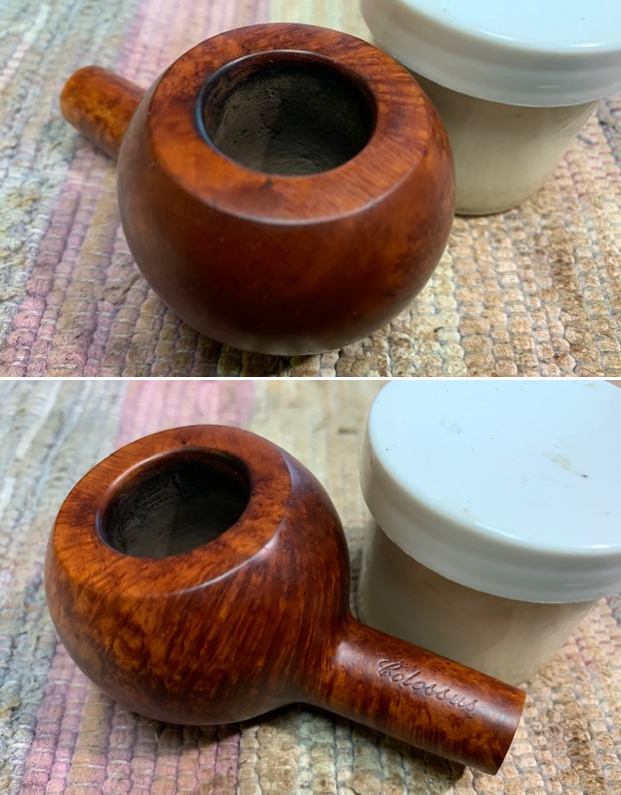
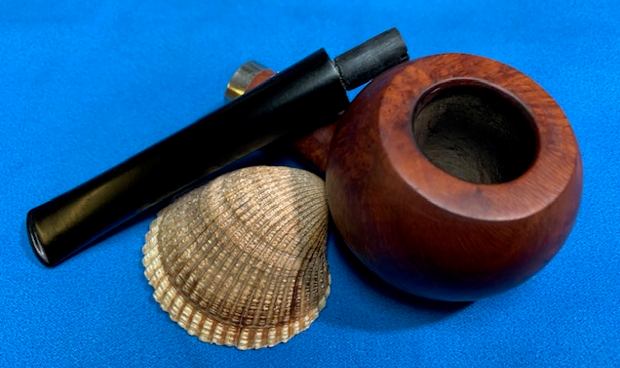
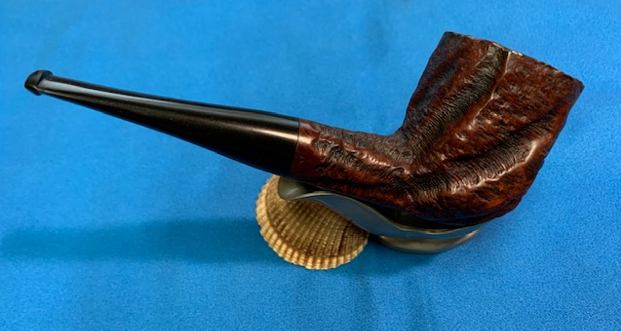
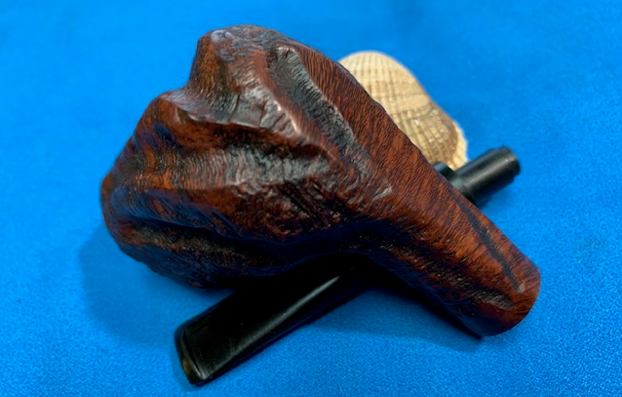
  I removed the stem and took a photo of the pipe to have a look at the parts and overall look.
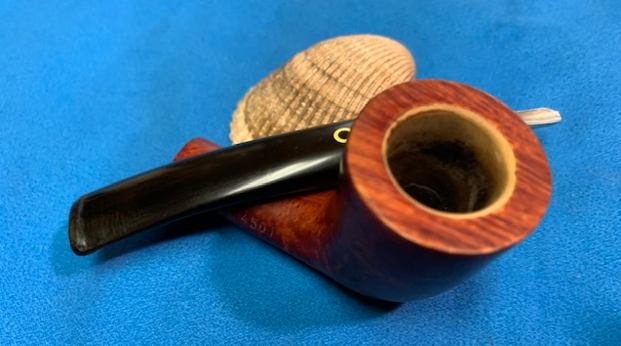
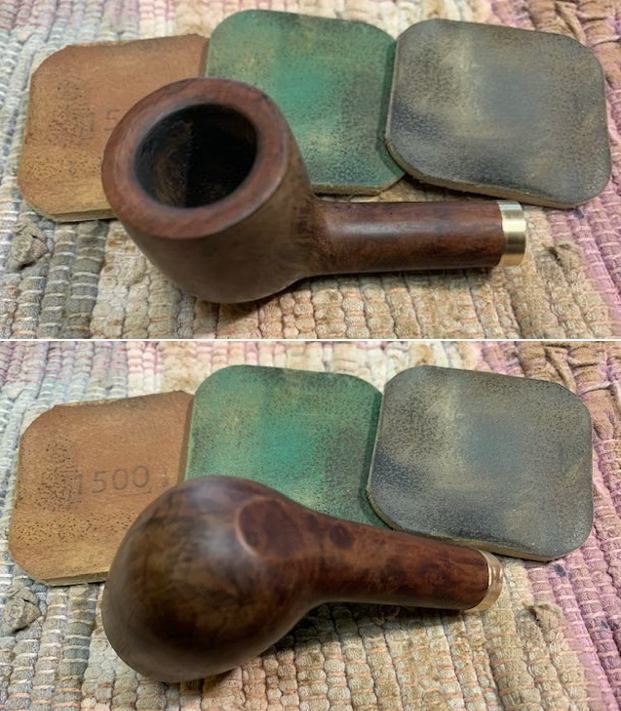
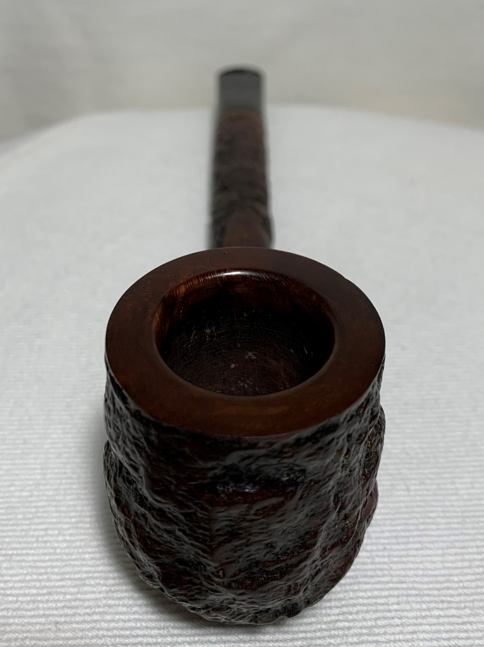
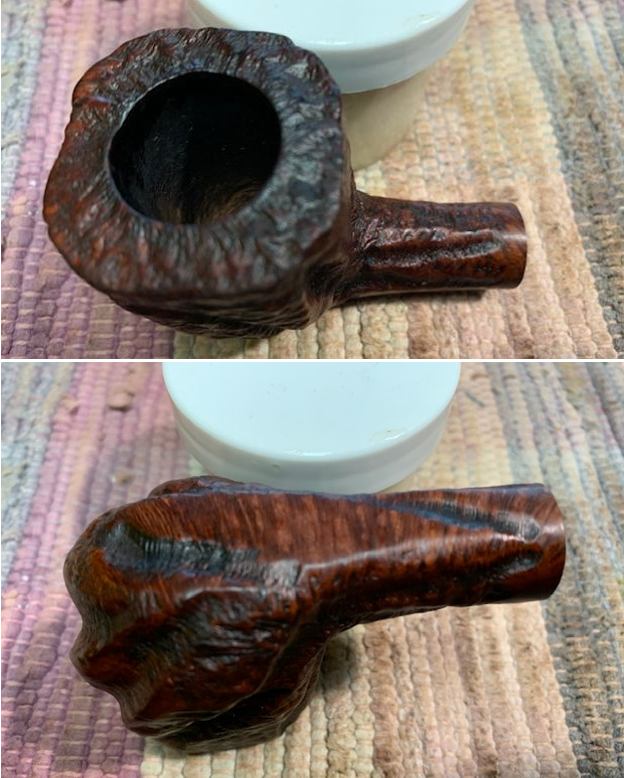
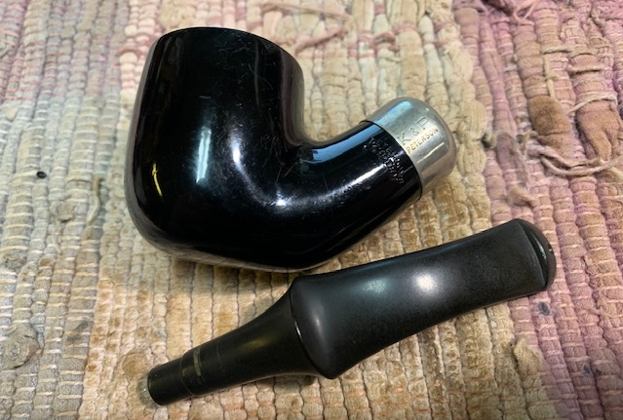 I polished the rim top with 3200-12000 grit micromesh sanding pads to smooth out the inner edges and to try and minimize the scratching in the rim top. It is not flawless but it looks better.
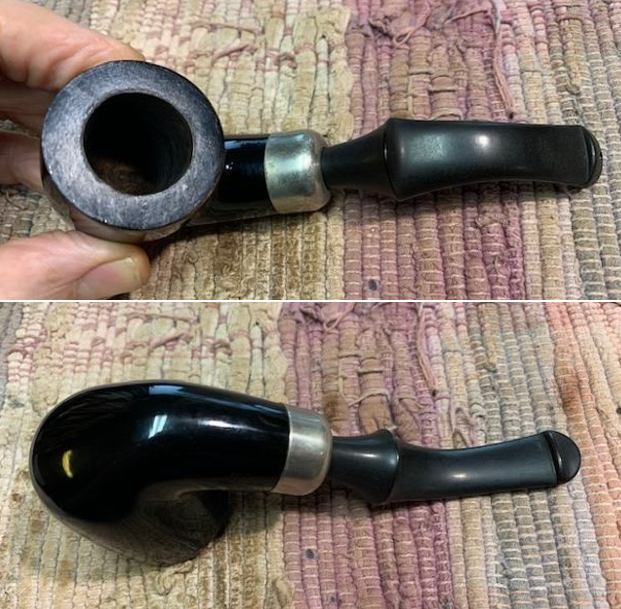
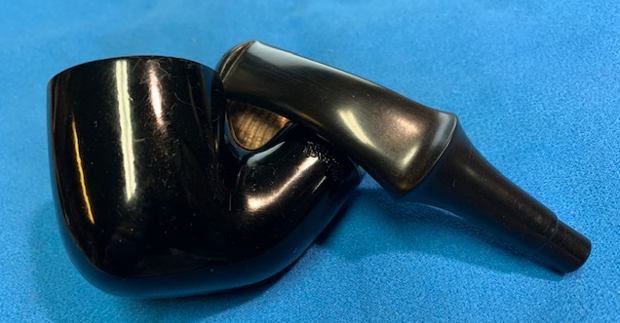
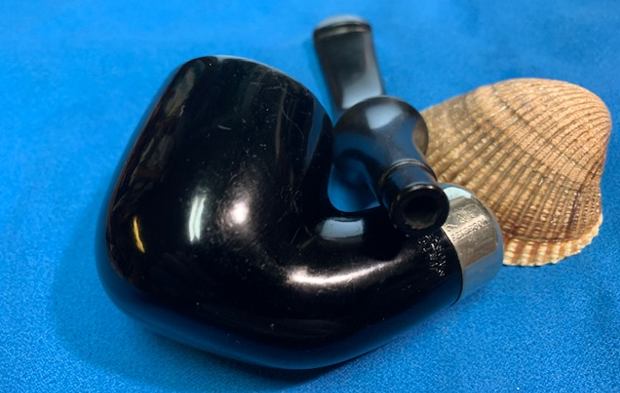
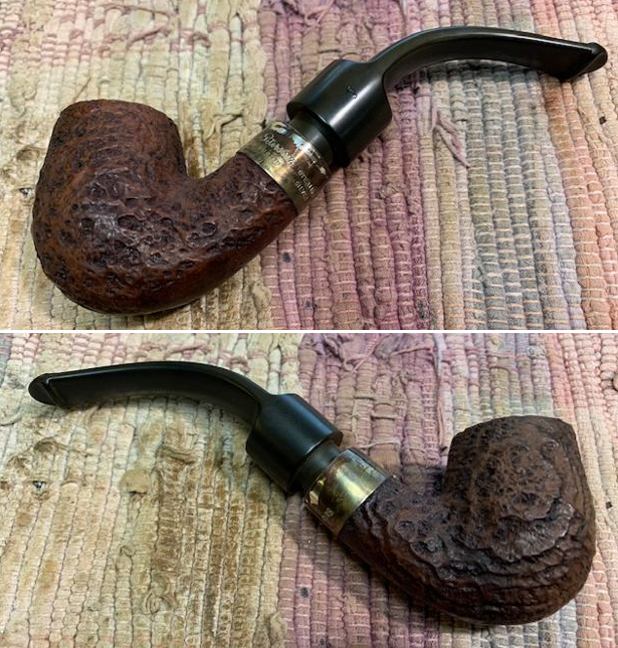
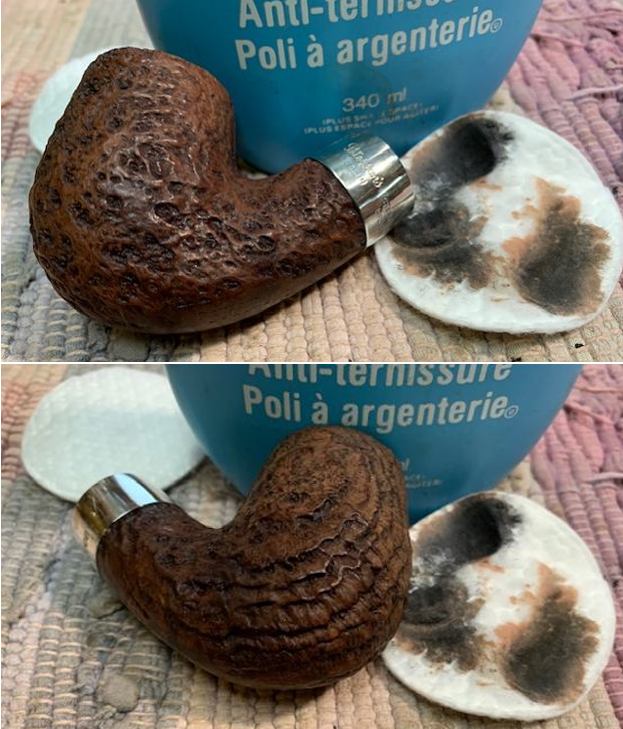
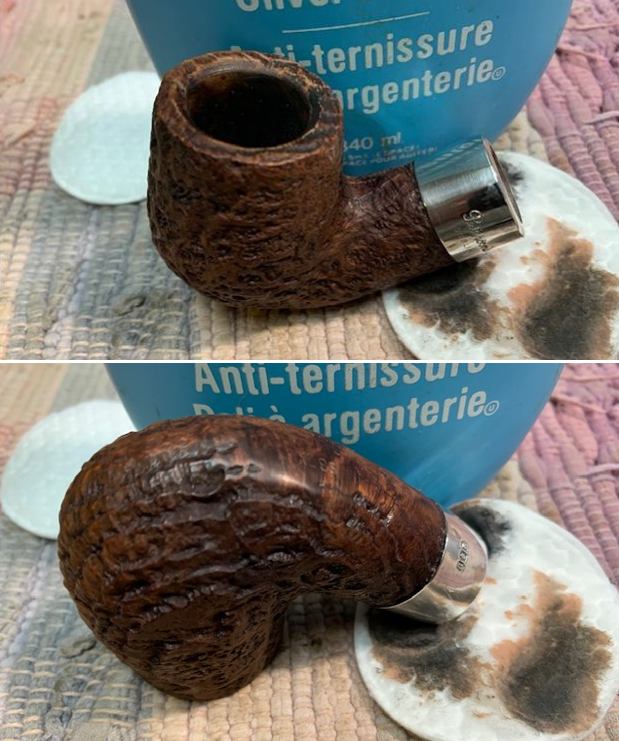
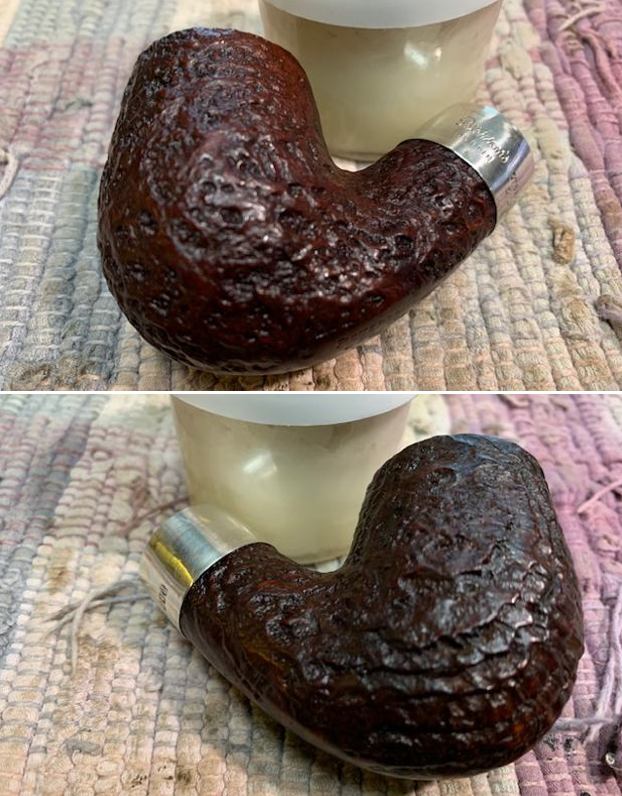
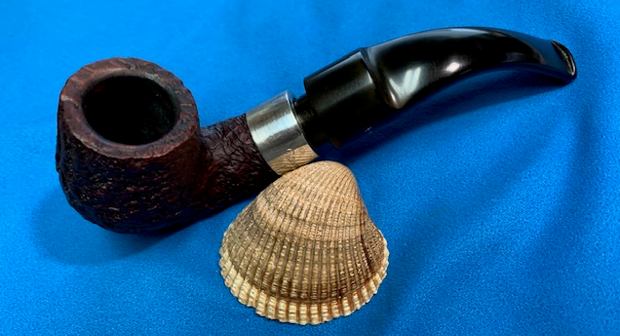
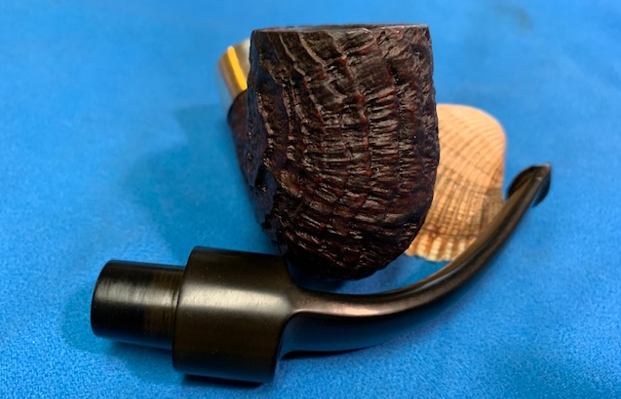
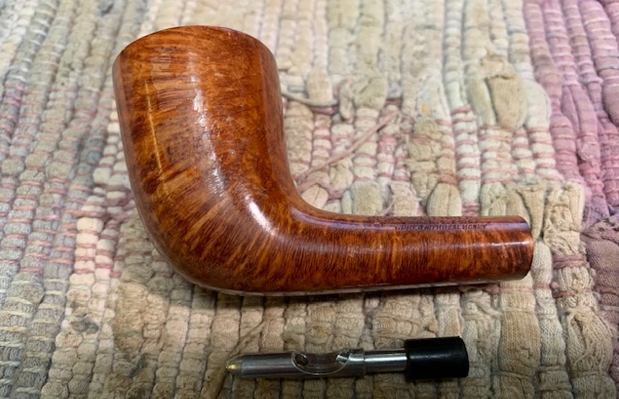
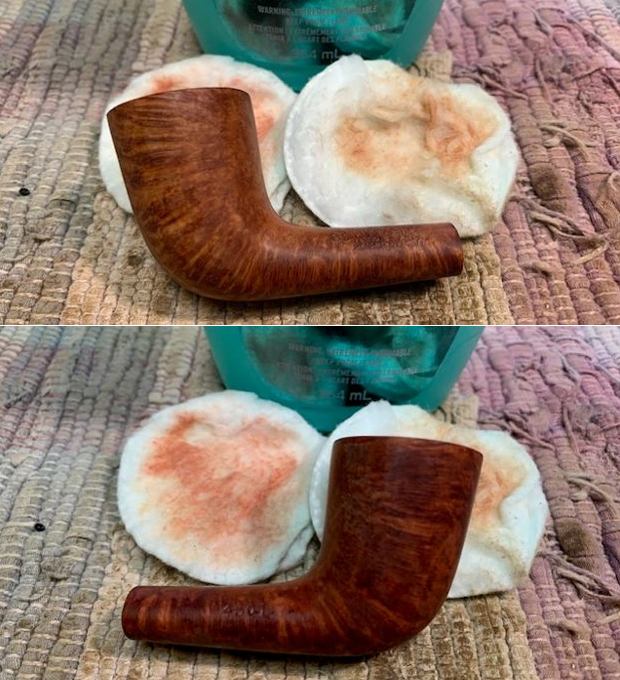
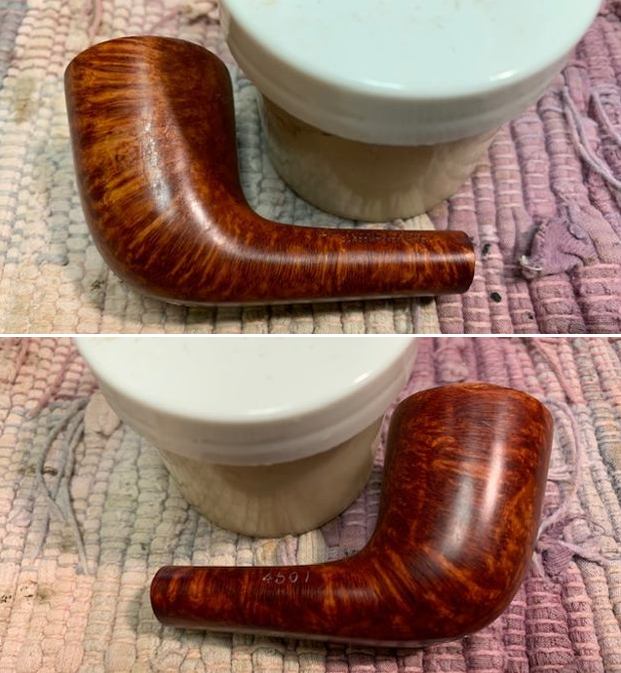
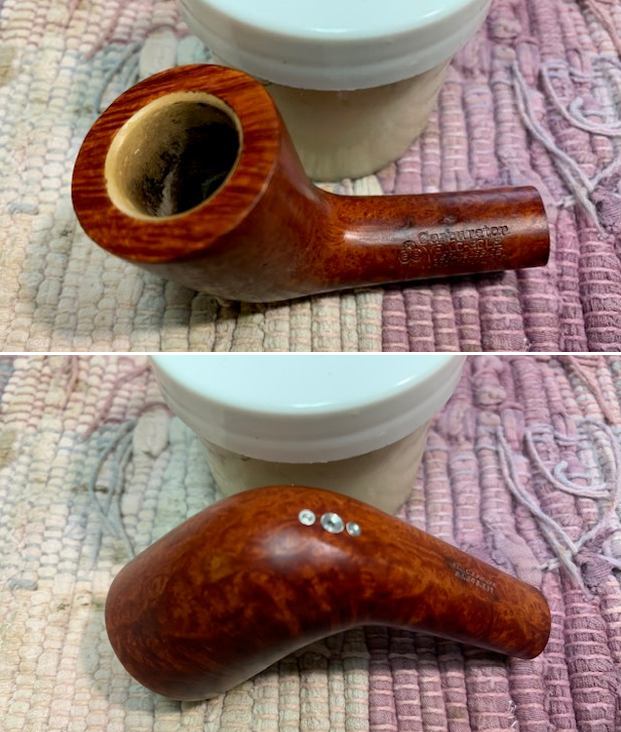
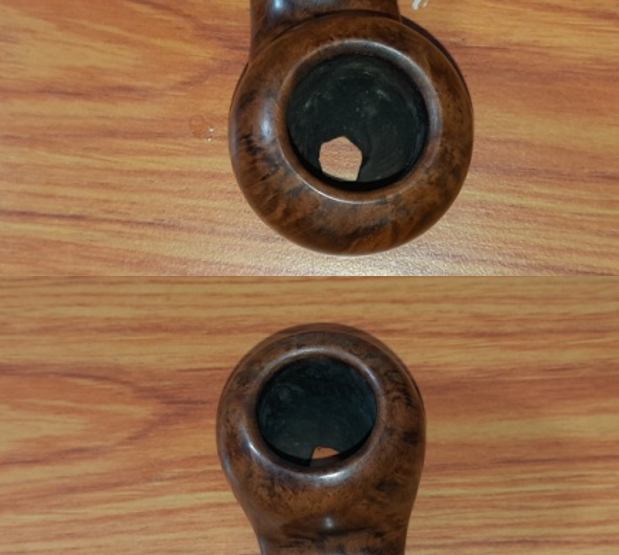
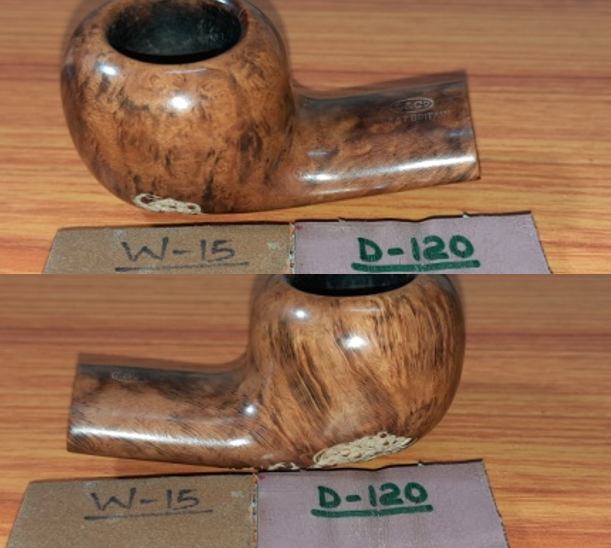
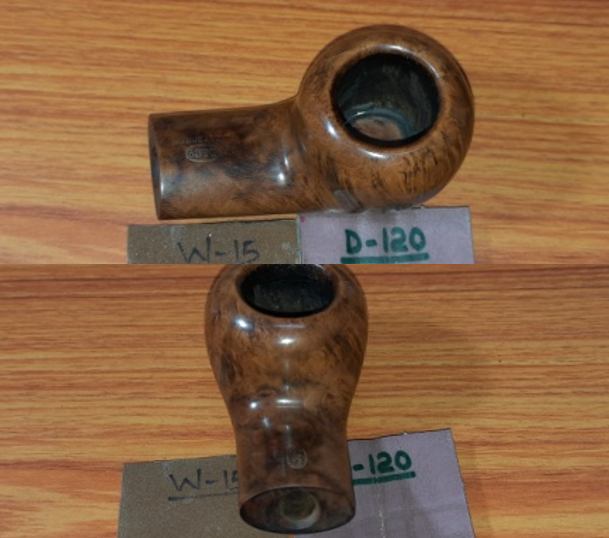
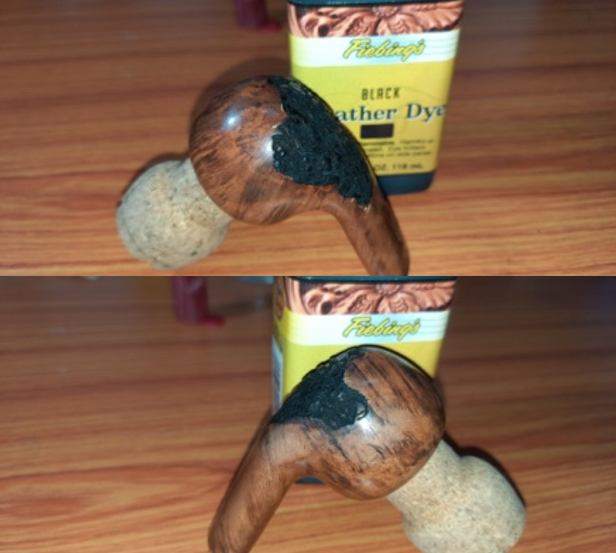
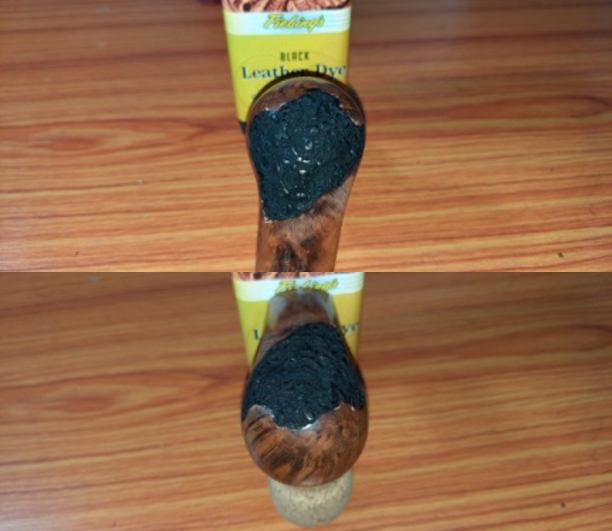
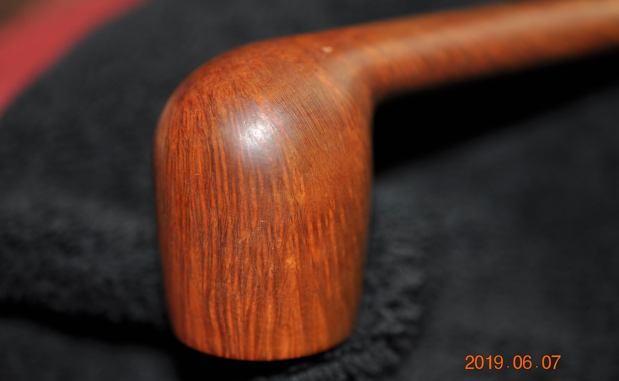
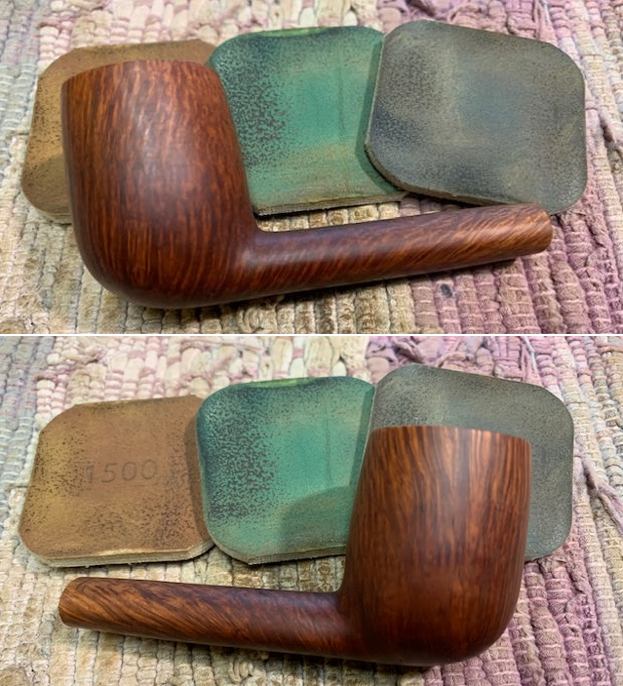
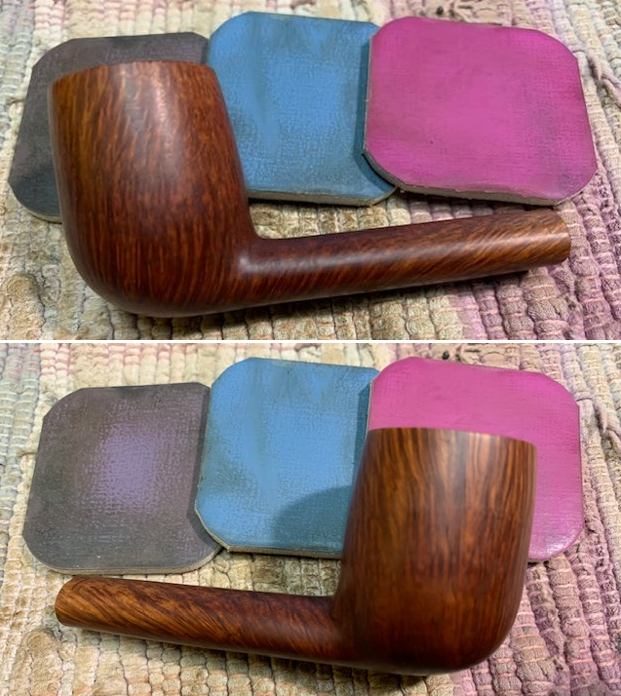
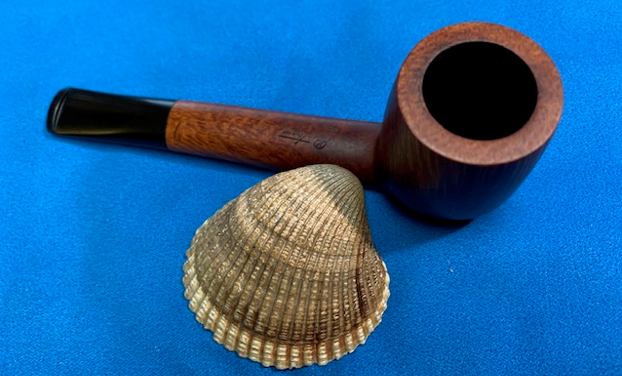
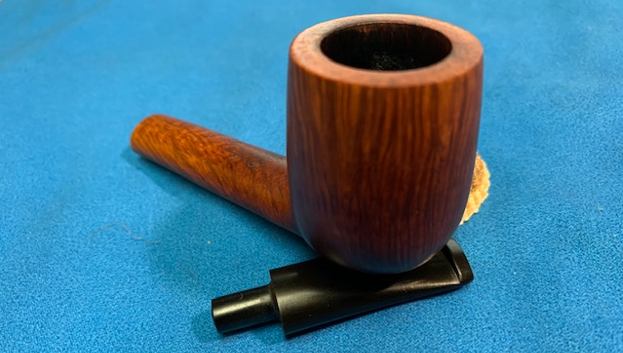
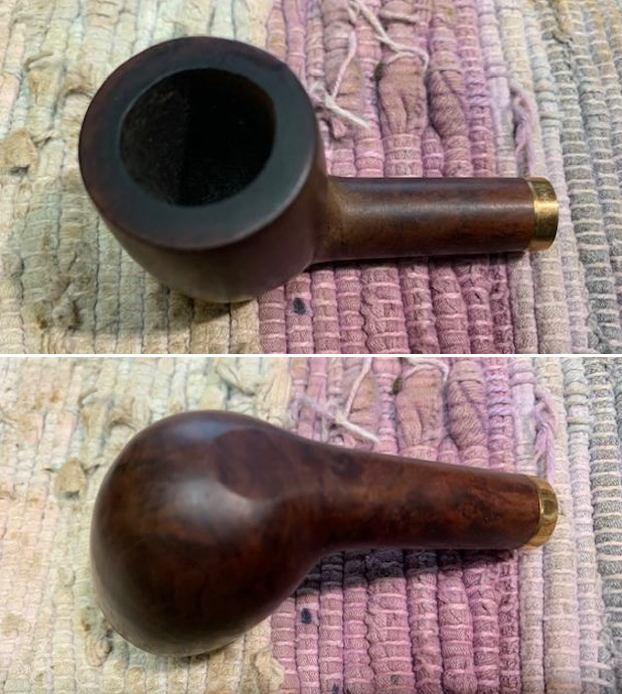
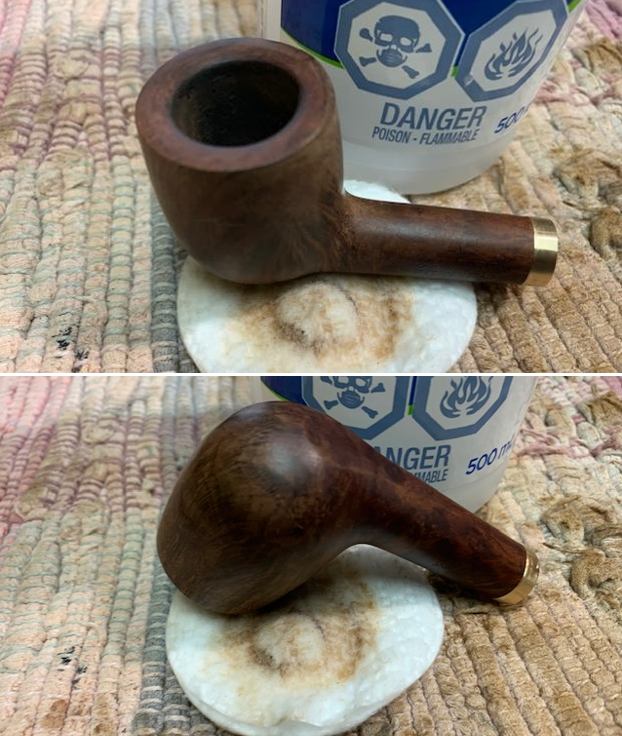
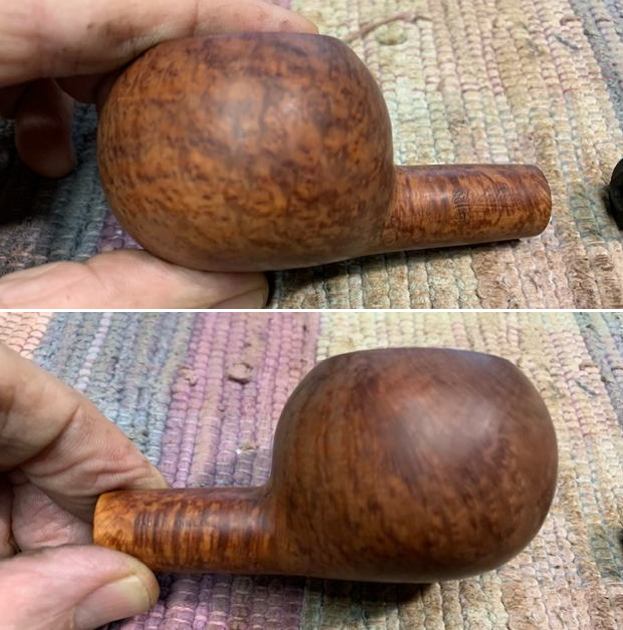
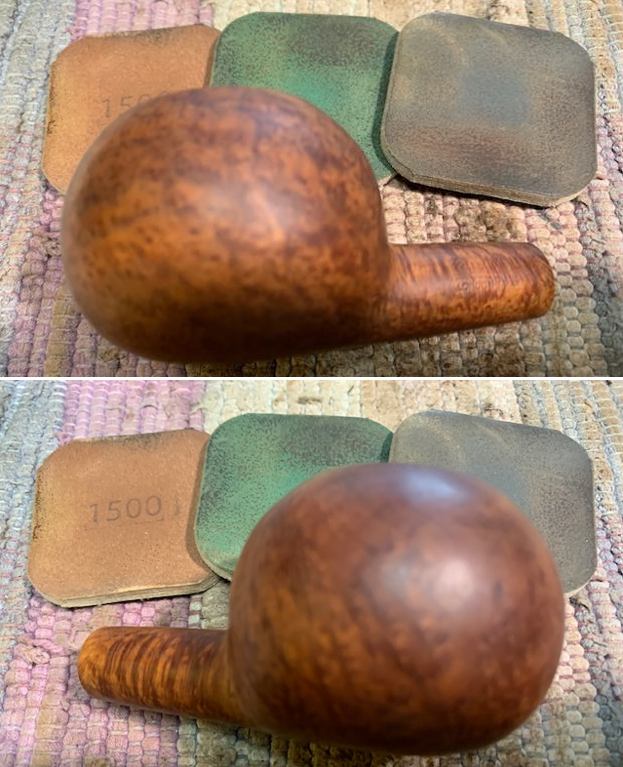
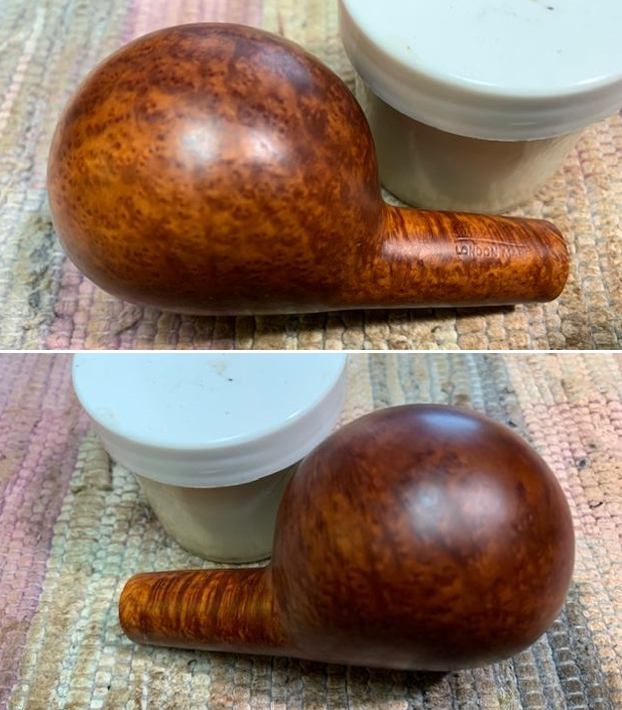
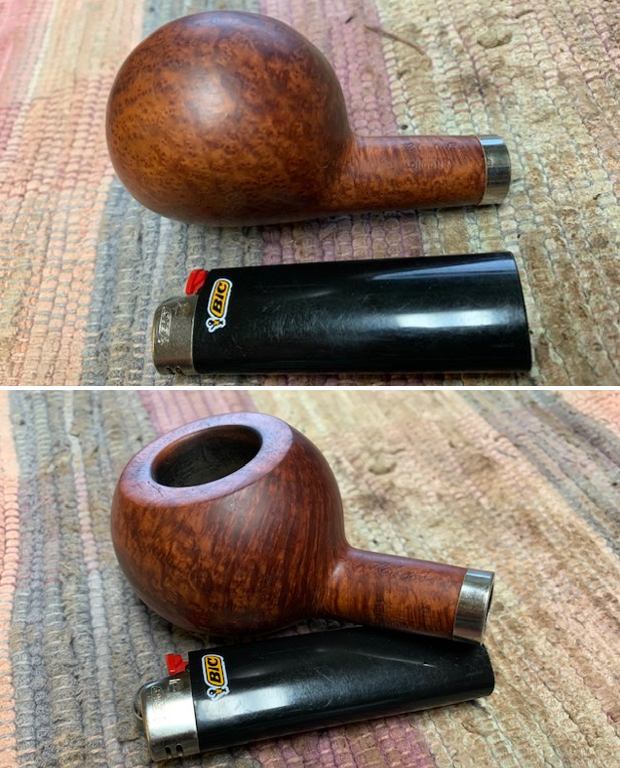
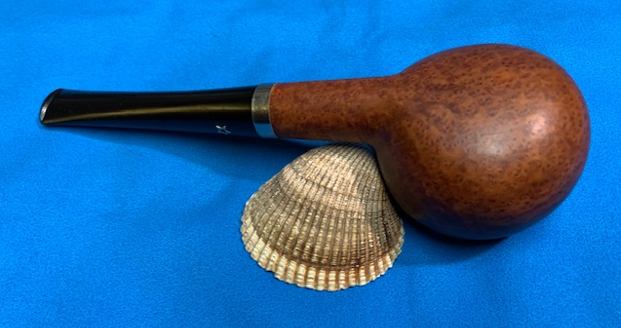
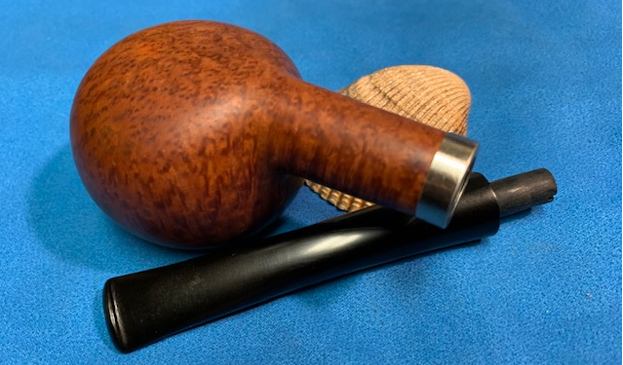
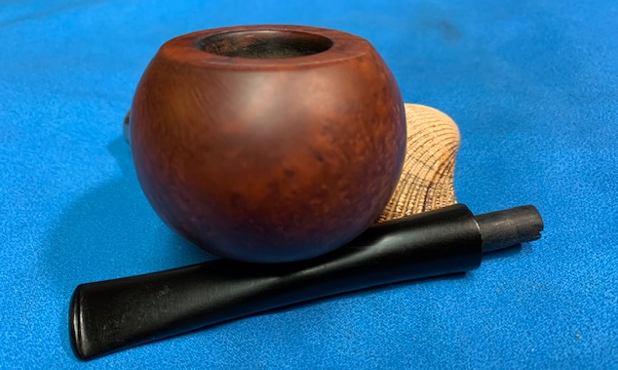
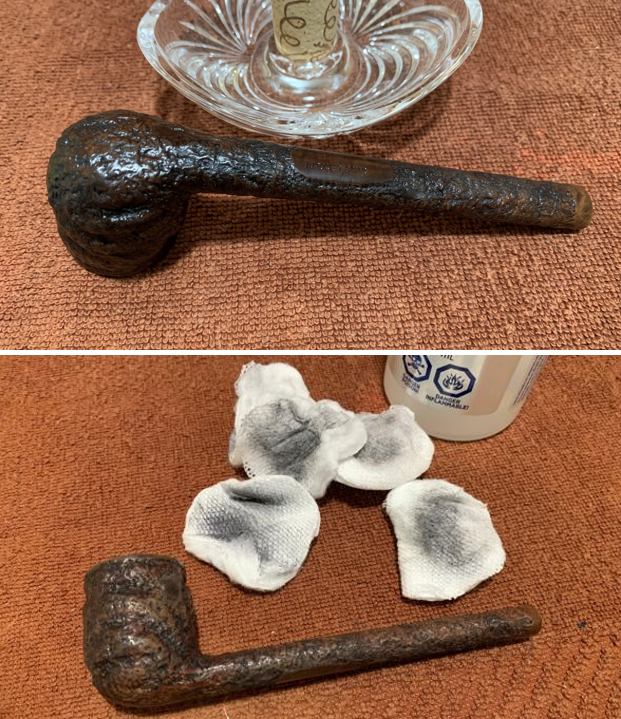
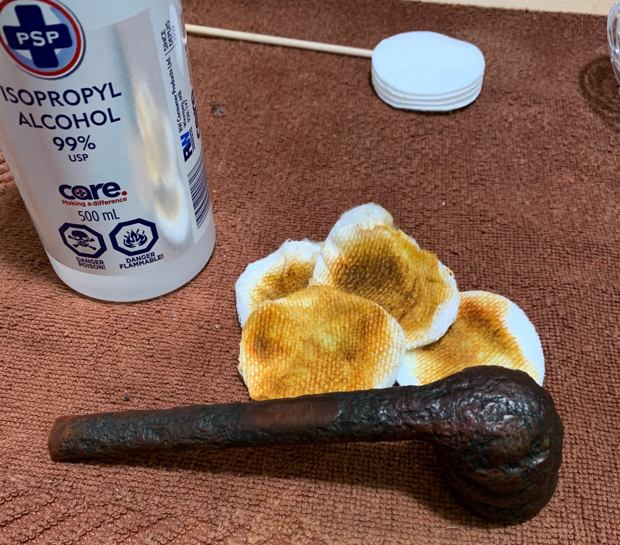
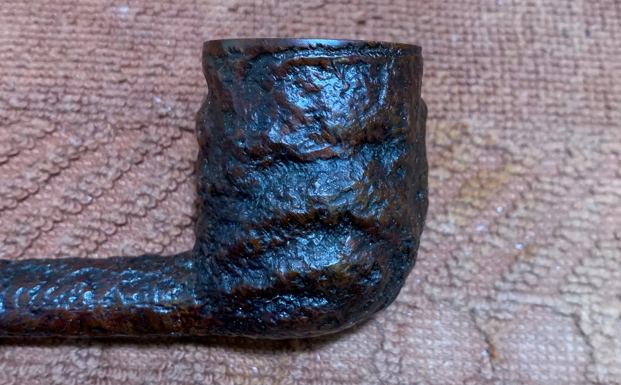
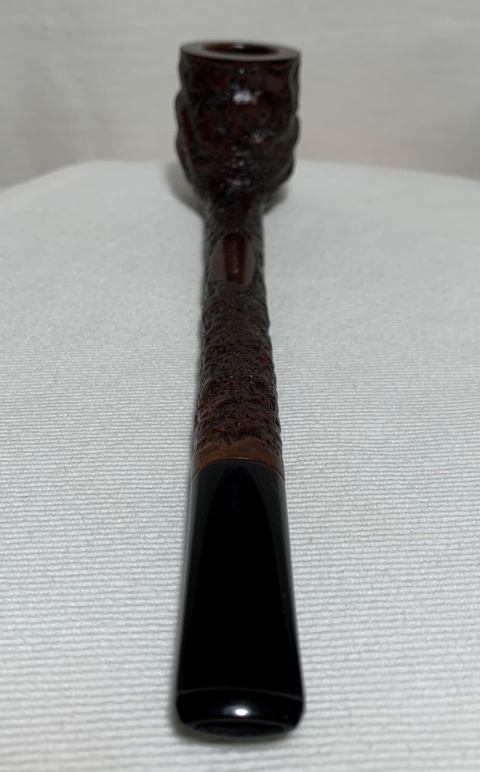
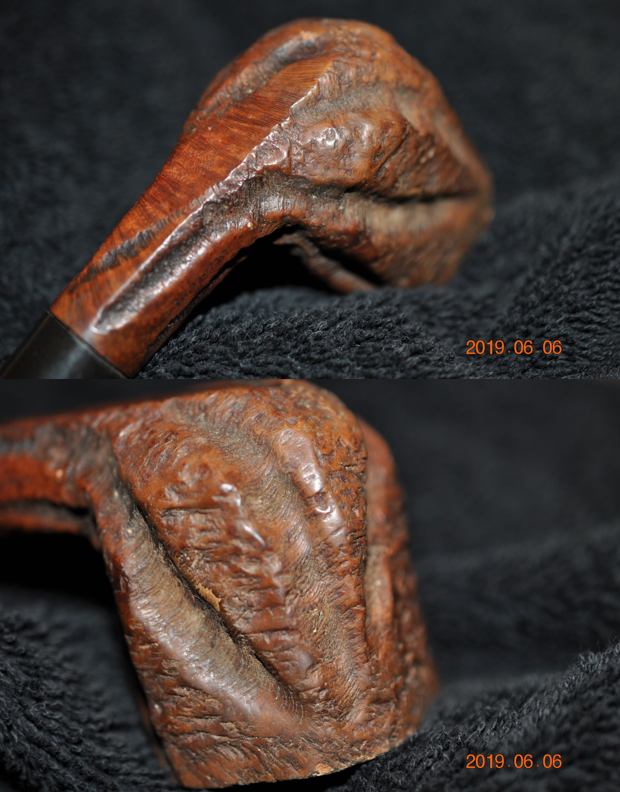
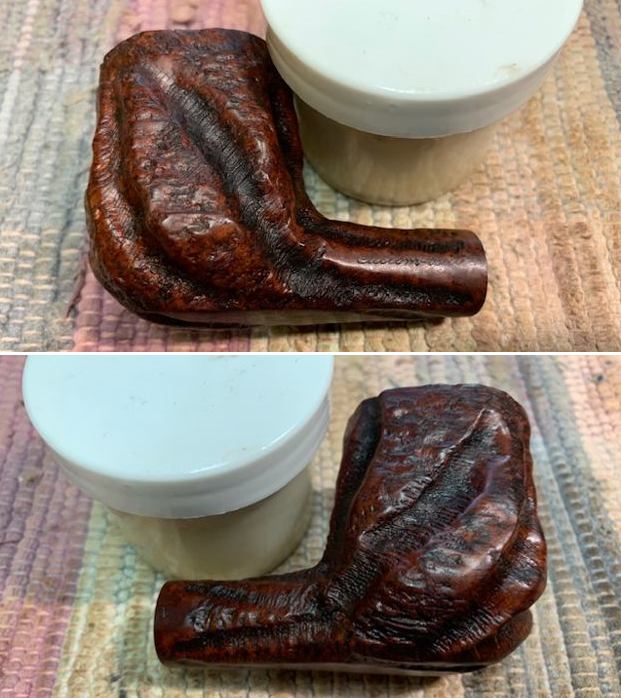
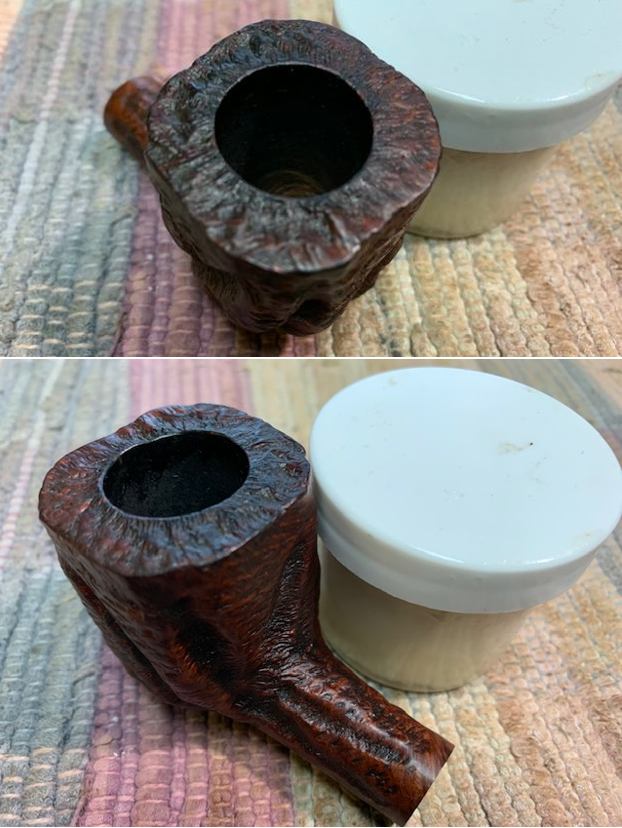
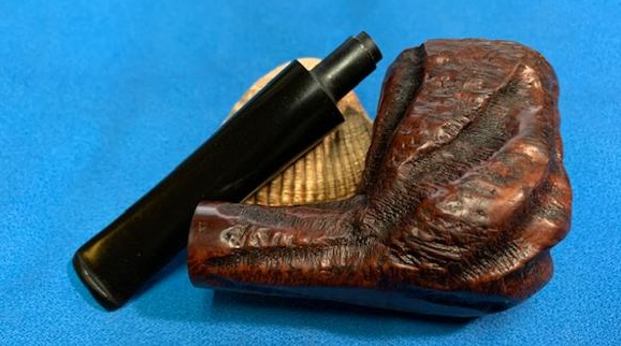
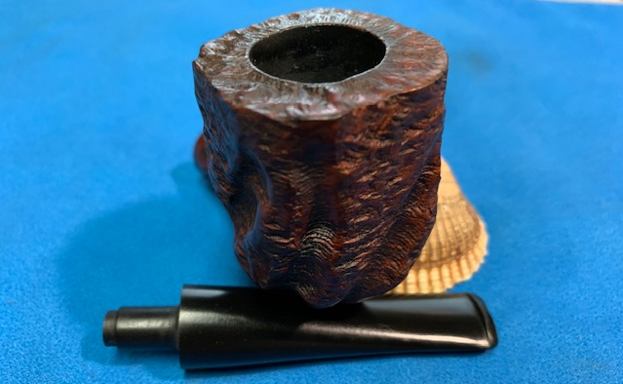
  I worked some Before & After Restoration Balm into the surface of the briar with my fingertips to clean, enliven and protect the briar. I let the balm sit for 15 minutes and then buffed with a cotton cloth to raise the shine. The photos show the bowl at this point in the restoration process.
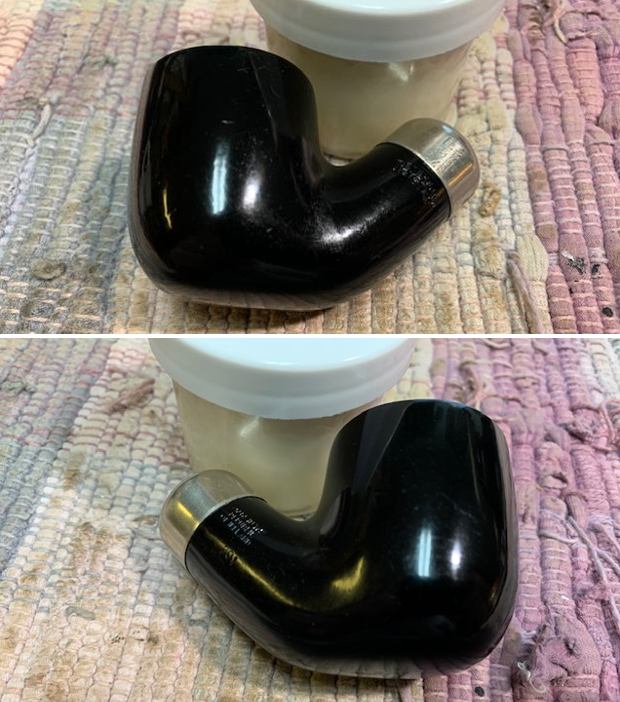
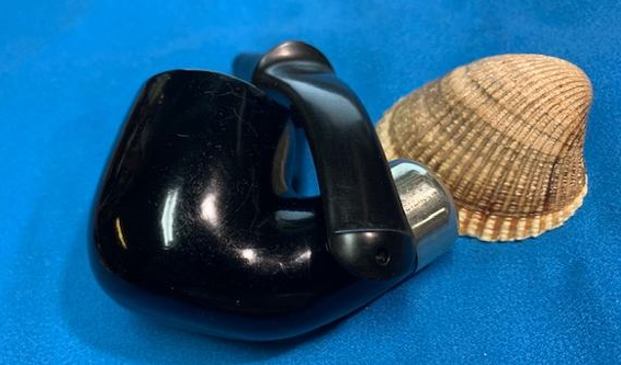
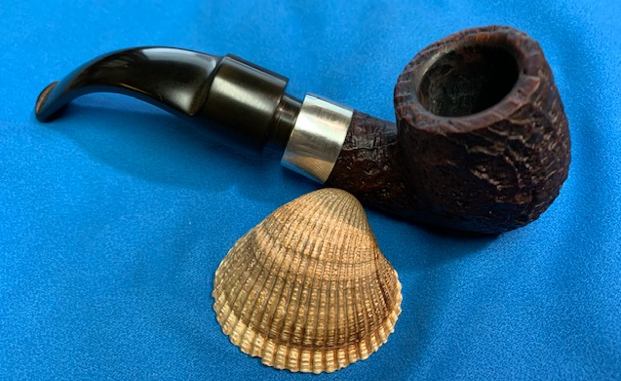
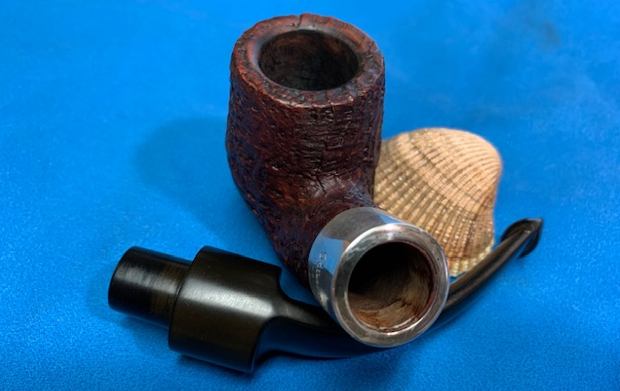
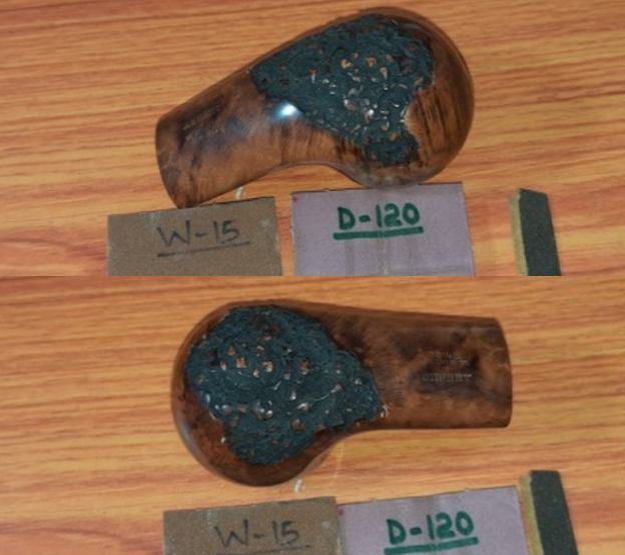
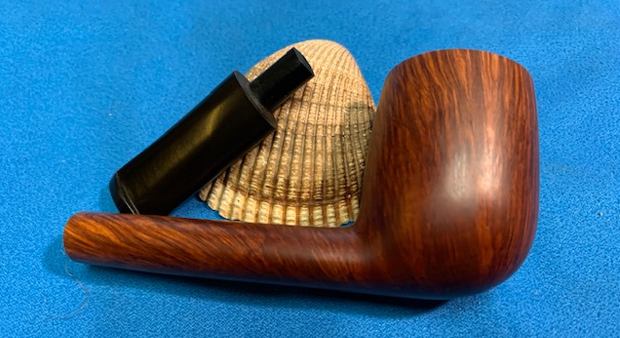
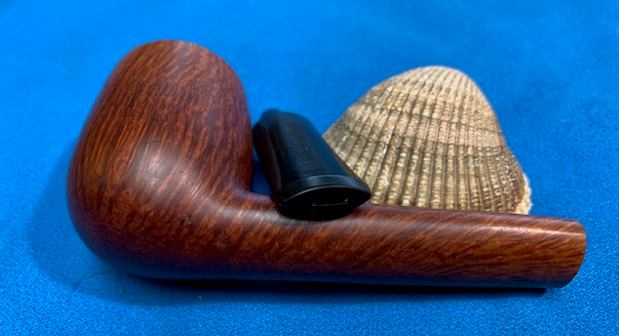
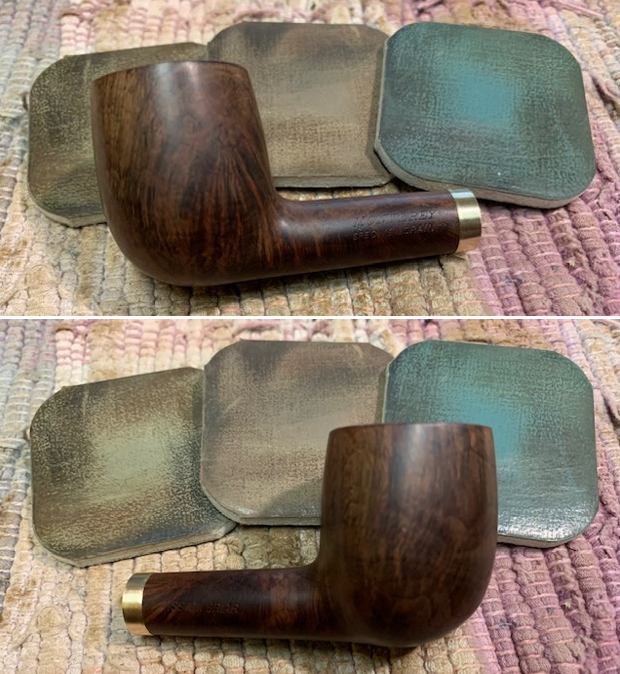
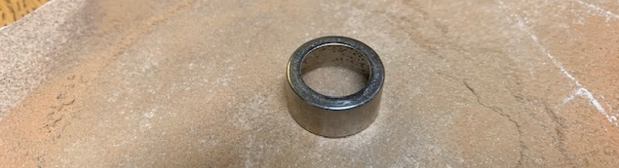
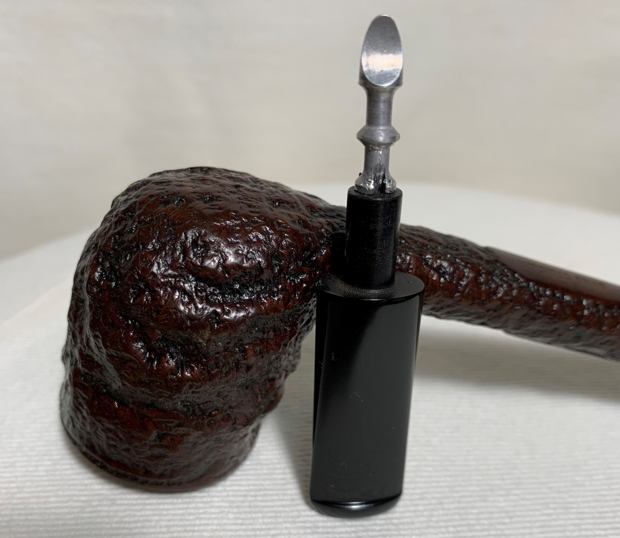
 I polished the nickel ferrule with a jeweler’s cloth to remove the oxidation and to protect it. The bowl and ferrule looked good. I set them aside and turned my attention to the stem.
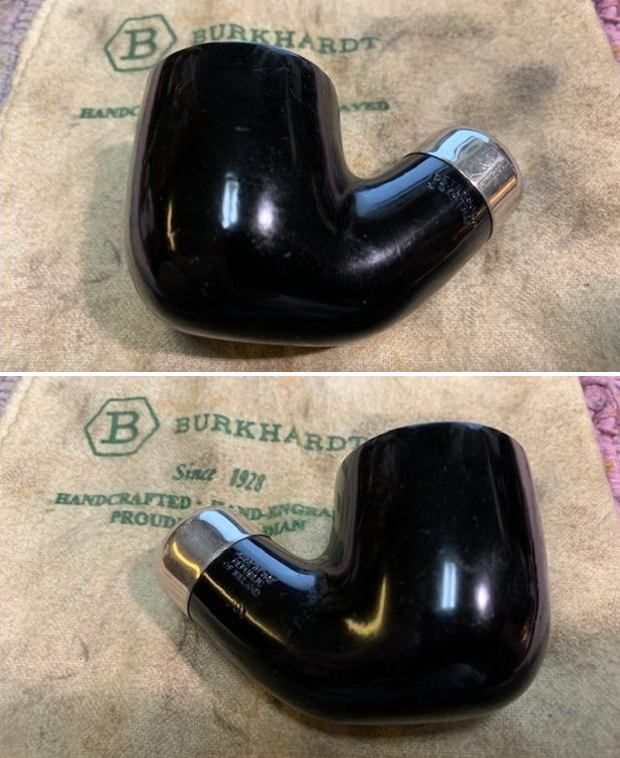
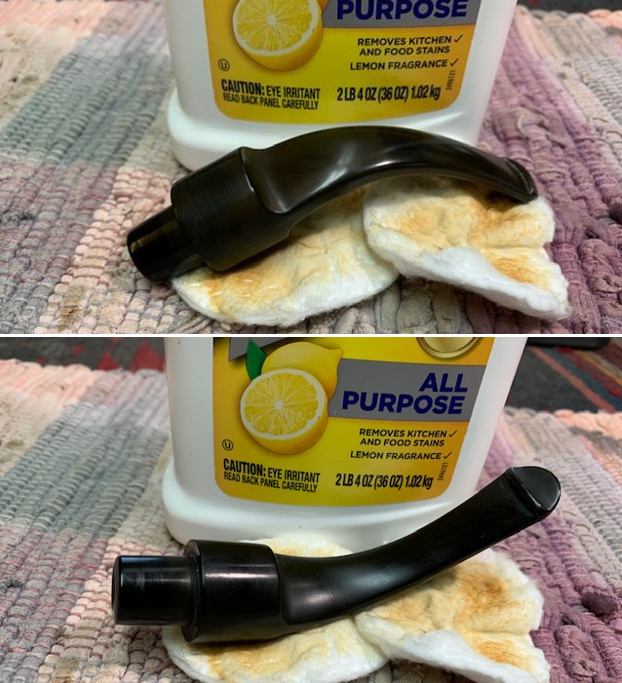
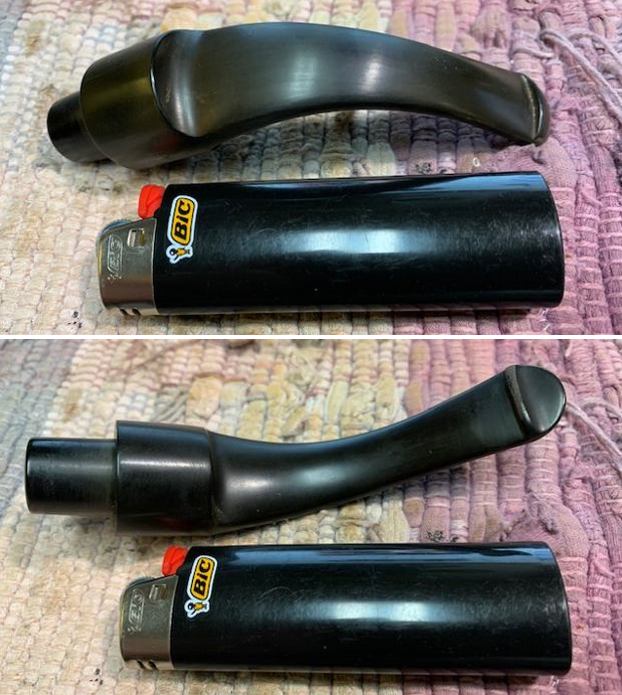
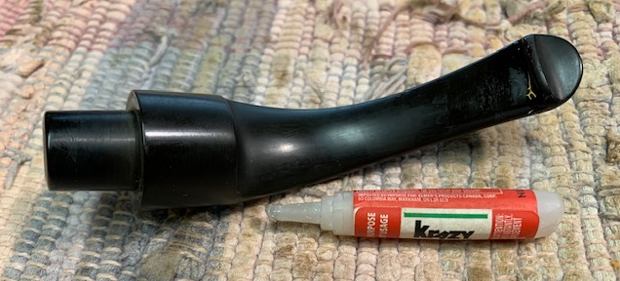
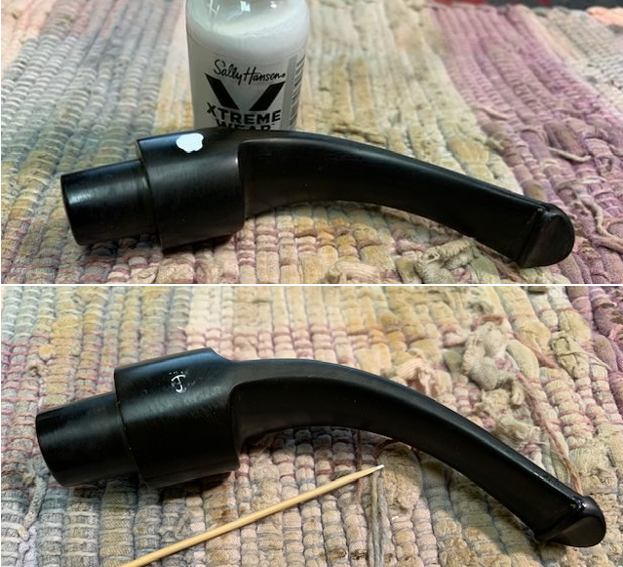
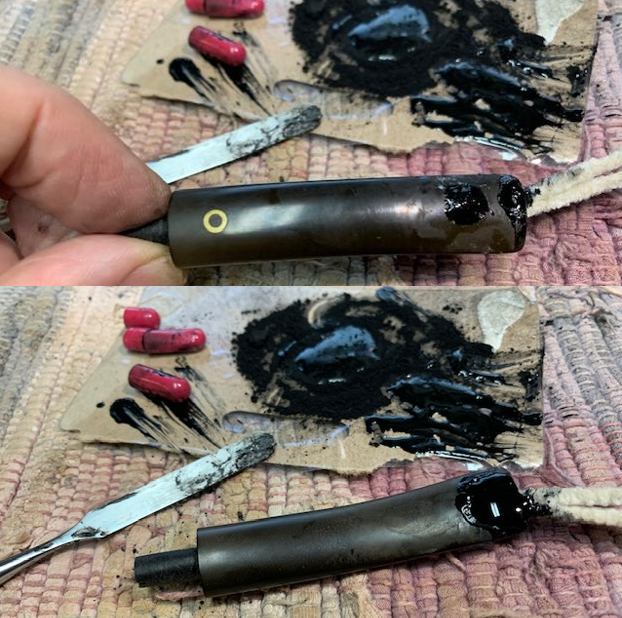
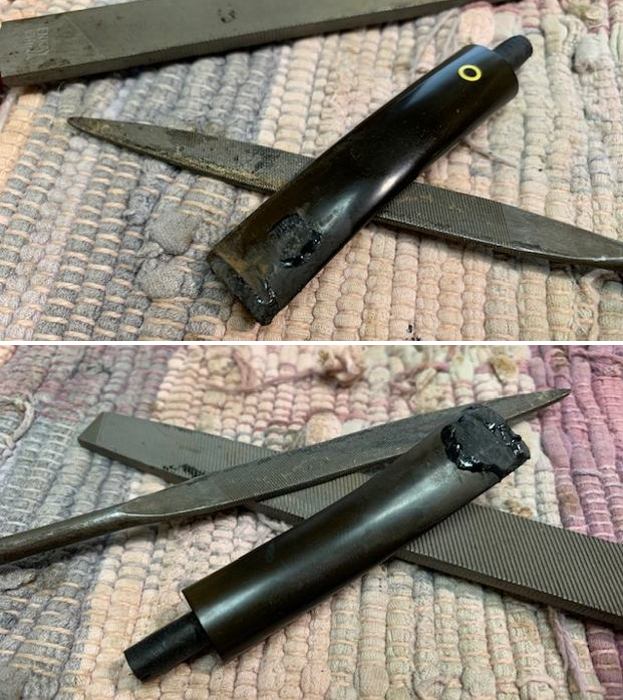
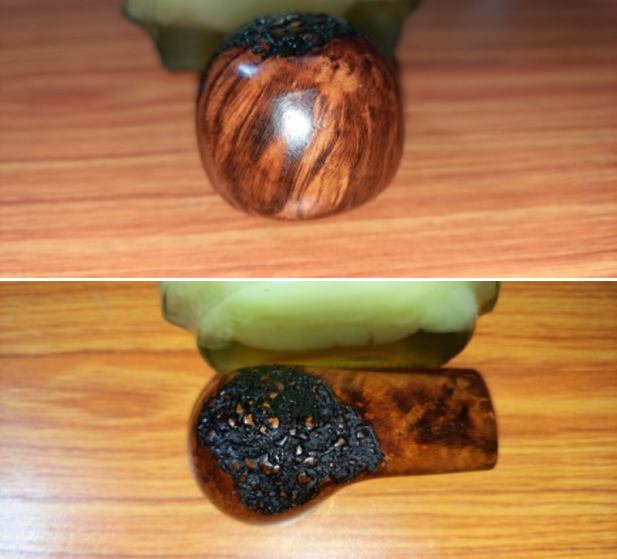
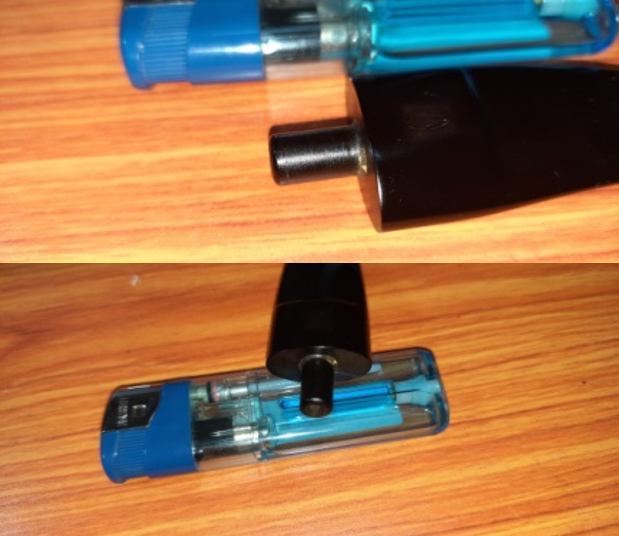
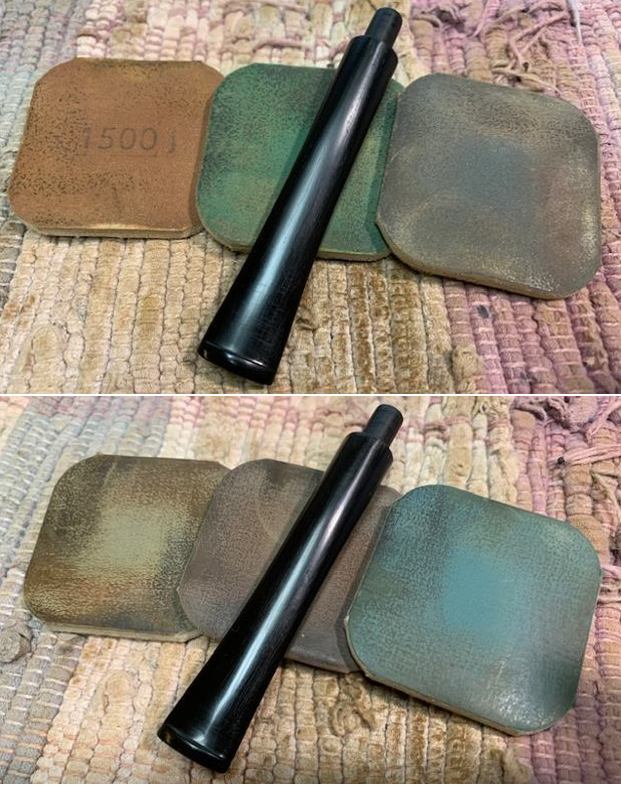
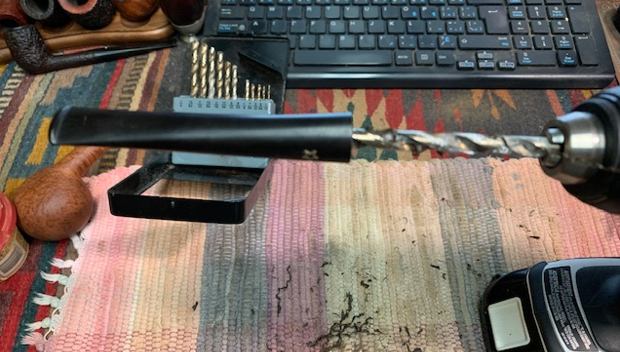
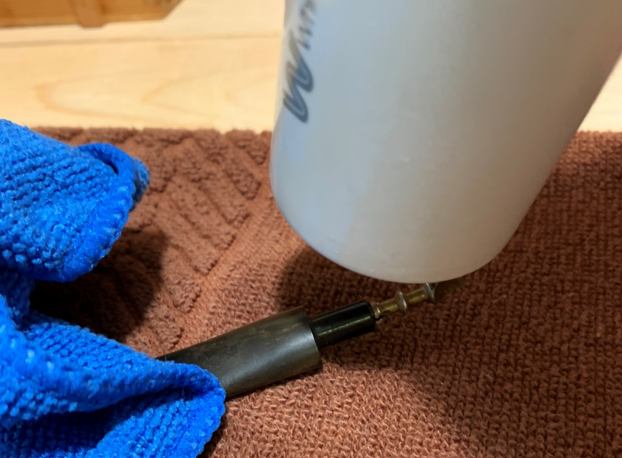
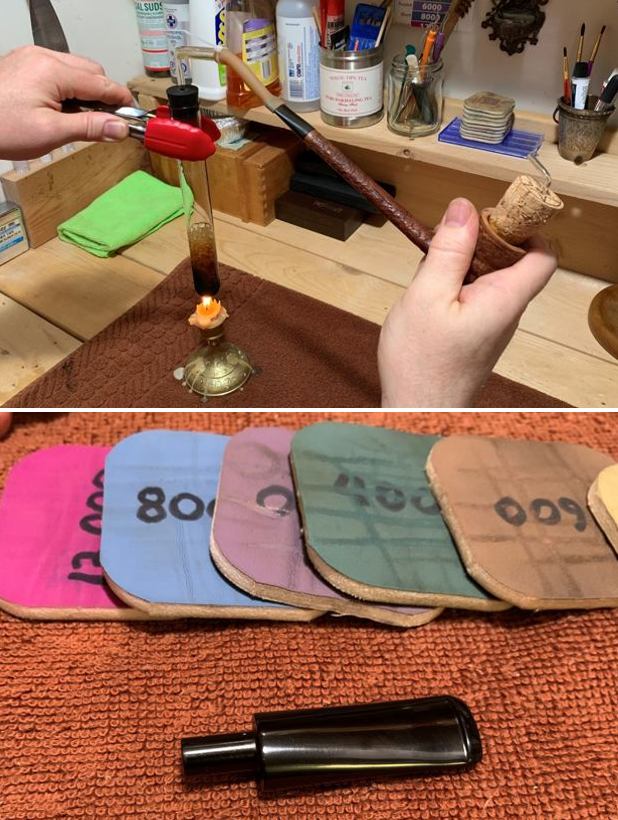
 I “painted” the tooth marks on the vulcanite with the flame of a lighter and was able to lift all of them on the topside. There was one against the edge of the button on the both sides that did not lift all the way. I filled them in with a drop of clear CA glue and set it aside to cure.
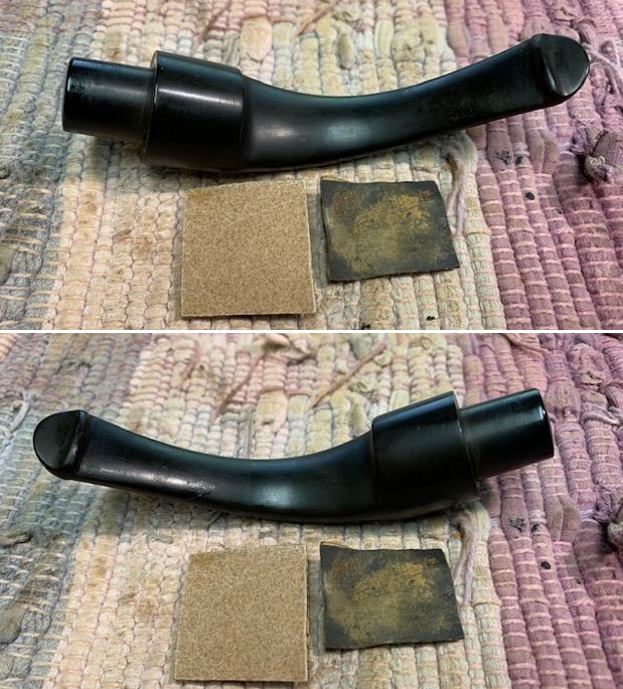
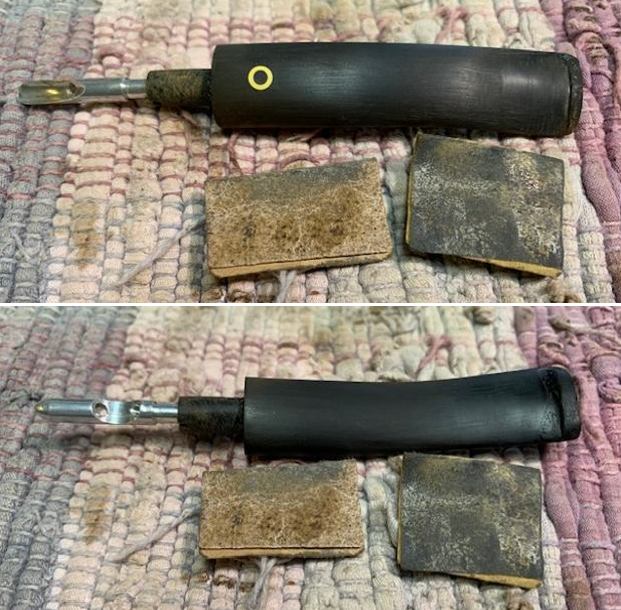
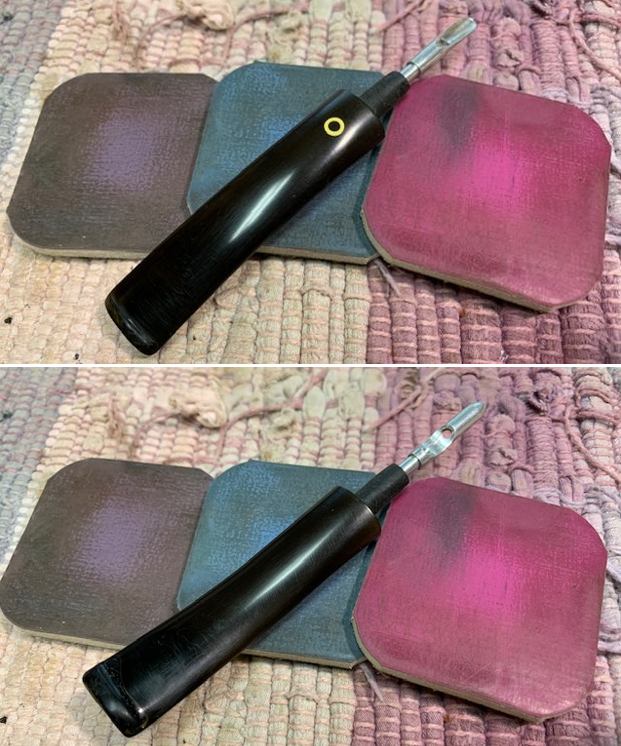
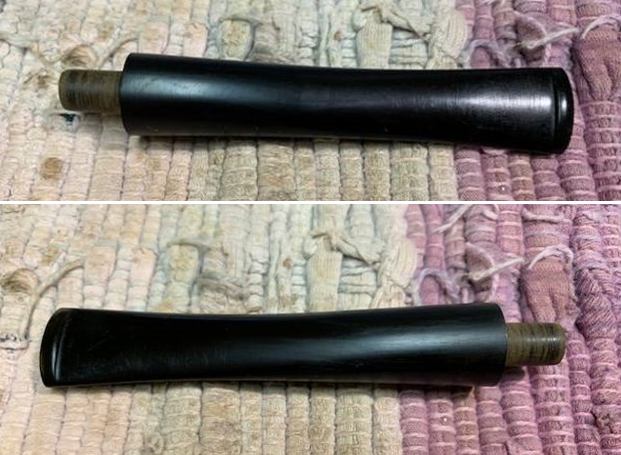
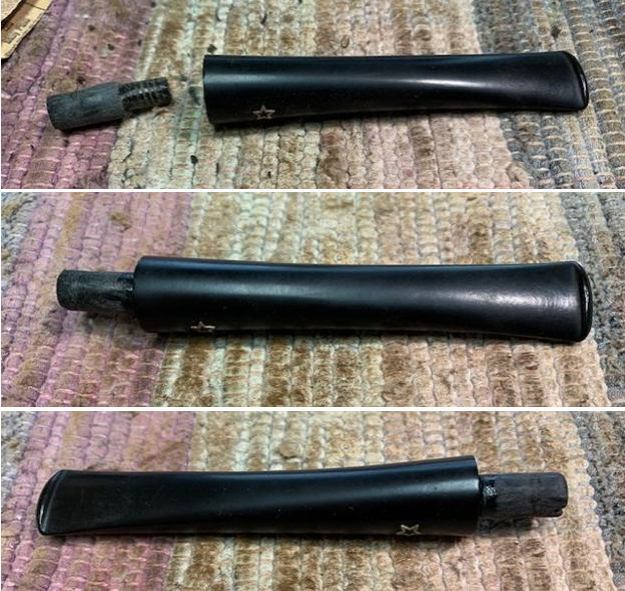
 I used a folded piece of 220 grit sandpaper to smooth out the repairs and then started polishing the stem with 400 grit wet dry sandpaper.
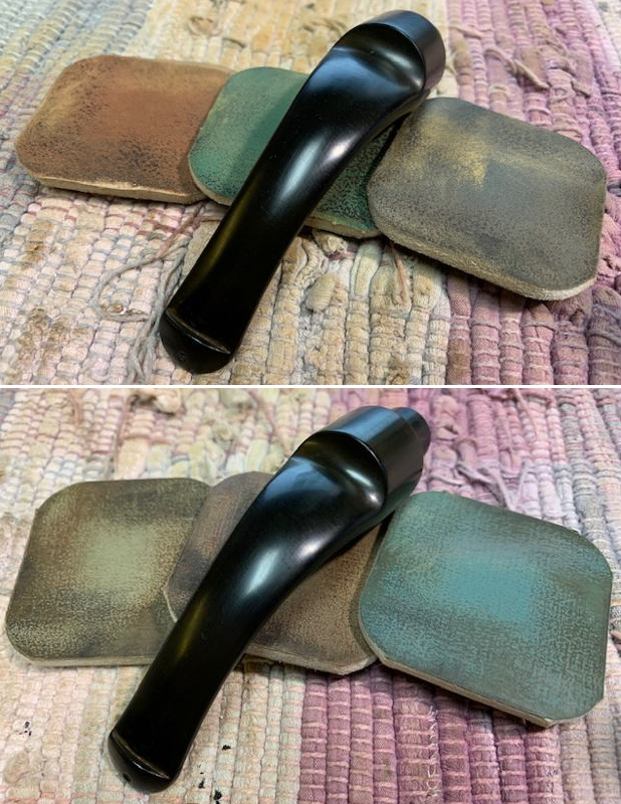
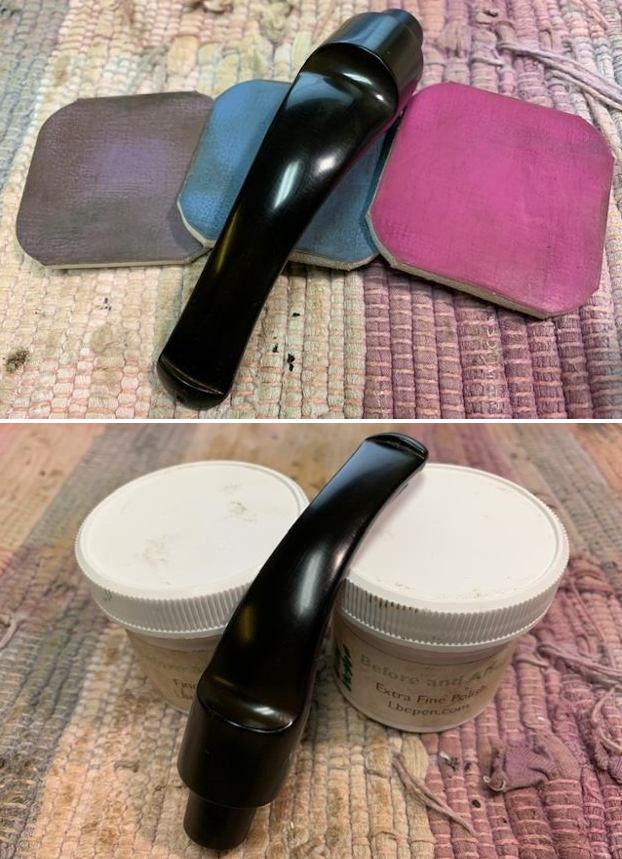
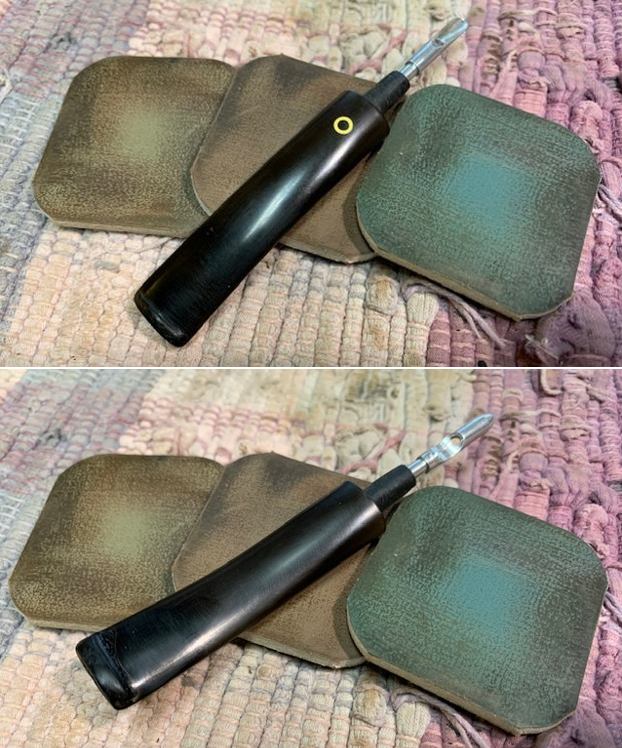
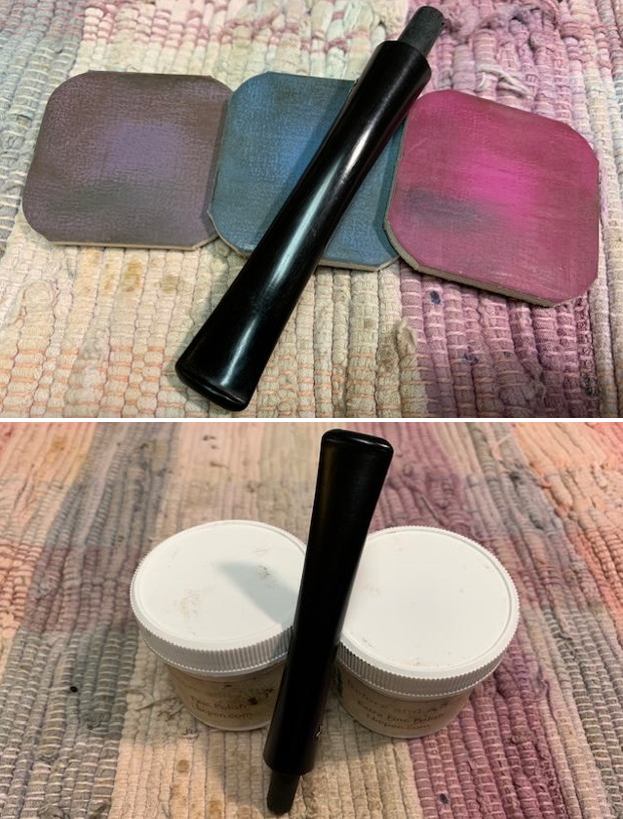
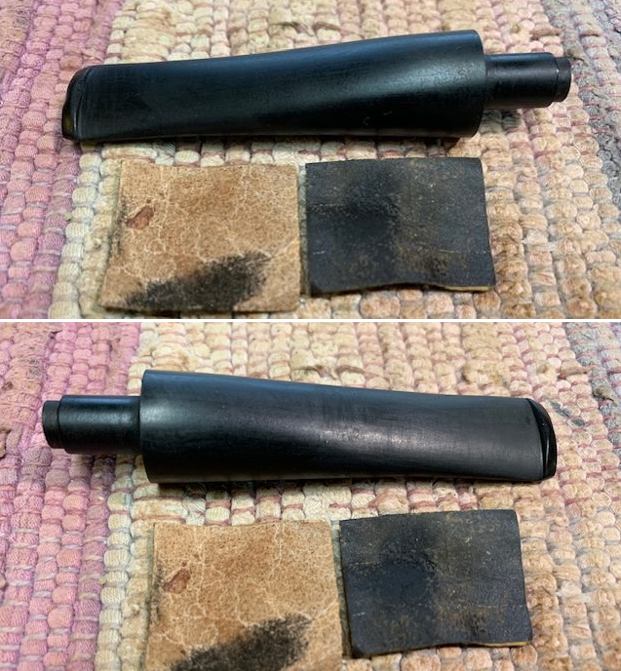
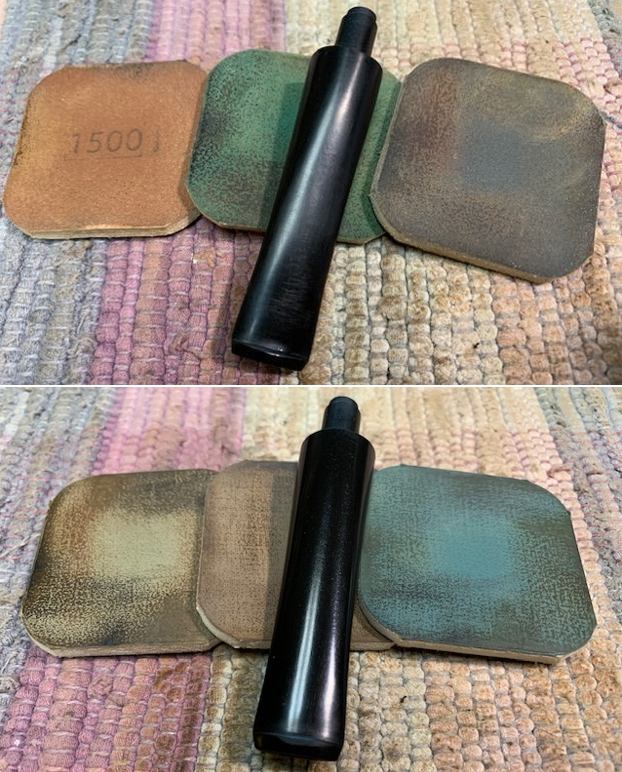
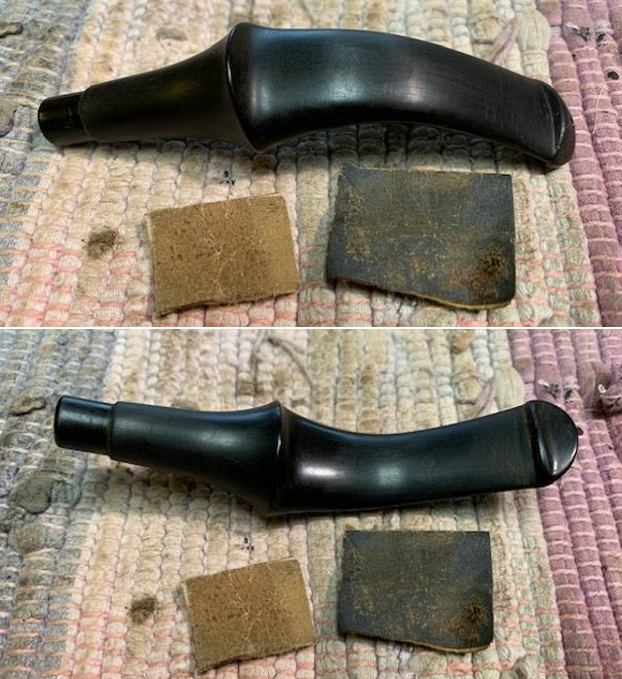 I polished the stem with micromesh sanding pads – dry sanding with 1500-12000 grit sanding pads. I wiped it down after each sanding pad with Obsidian Oil. I polished it with Before & After Pipe Stem Polish – both Fine and Extra Fine.
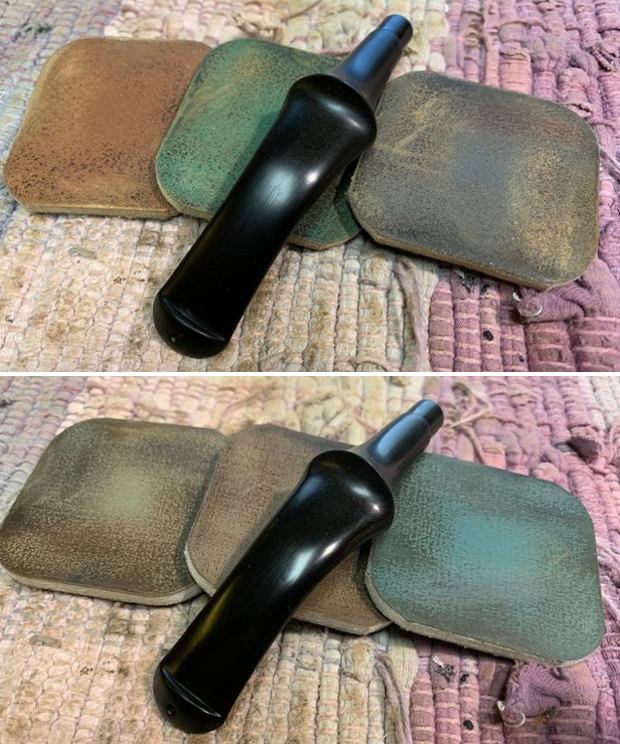
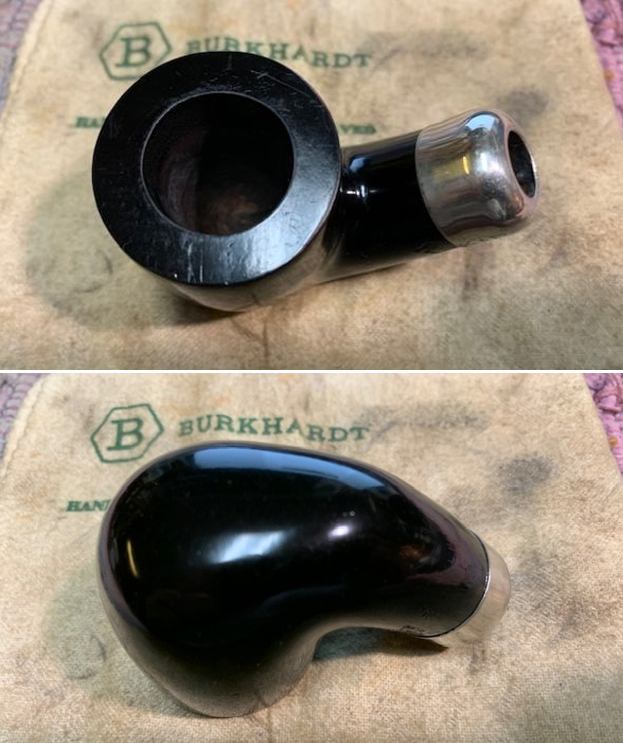
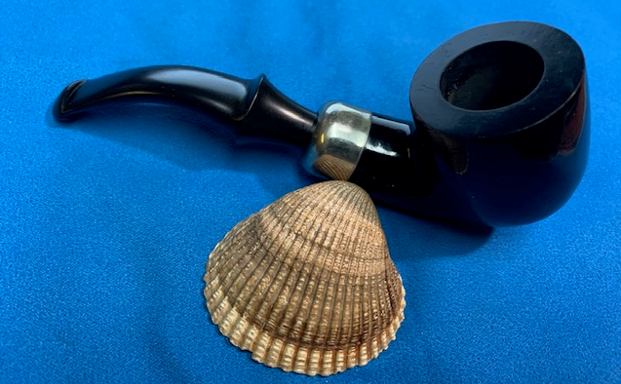
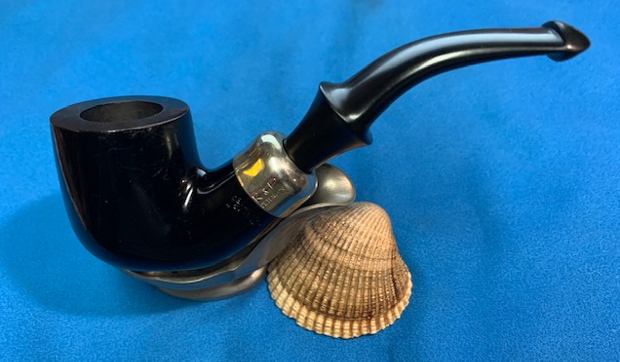
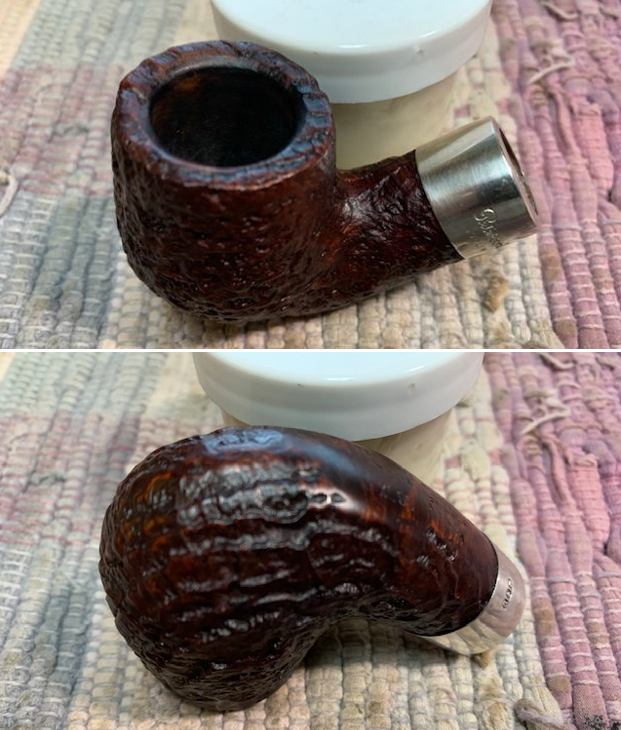
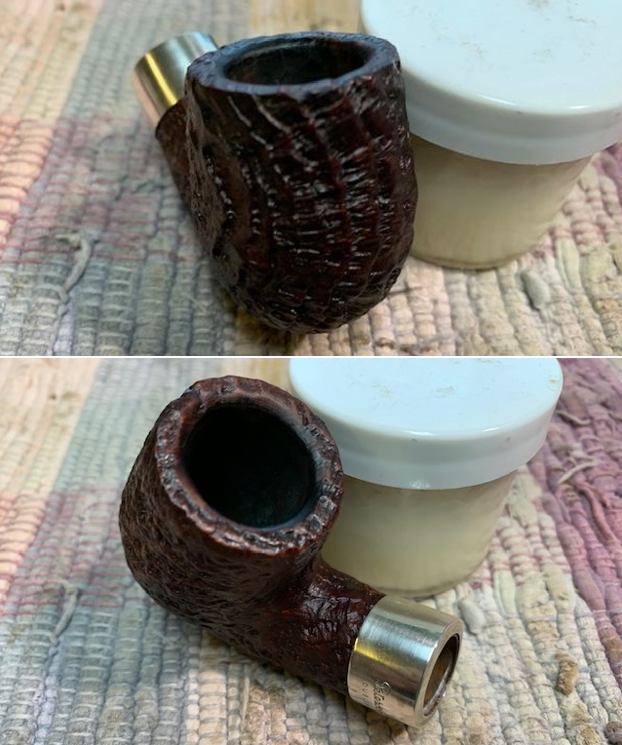
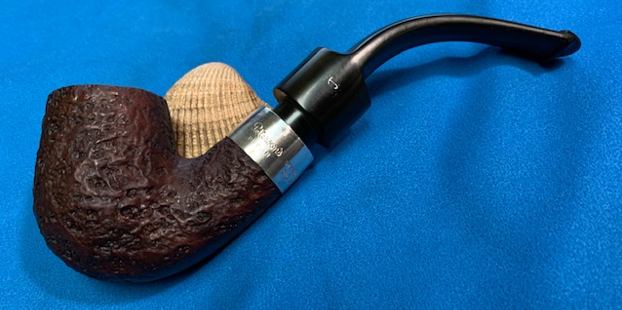
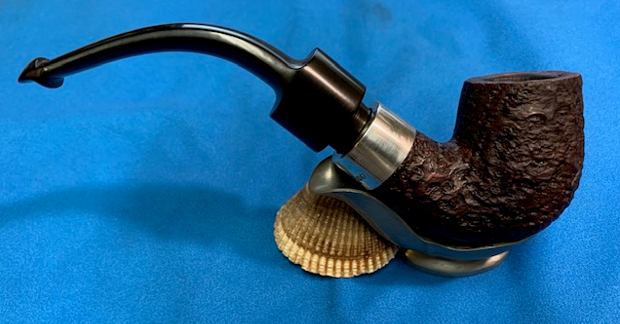
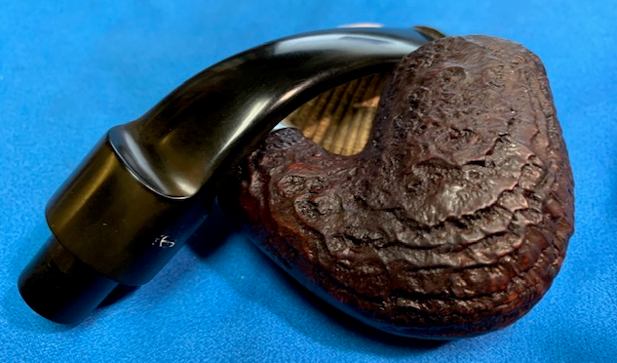
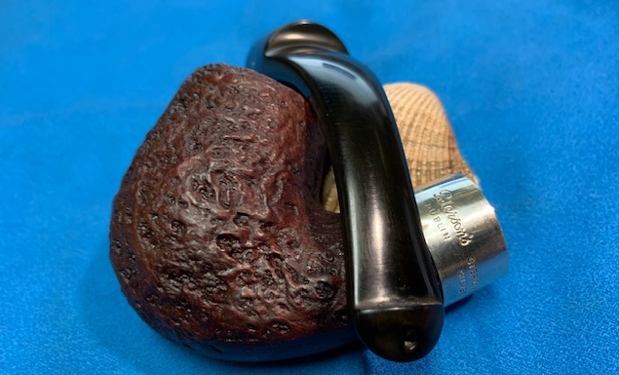
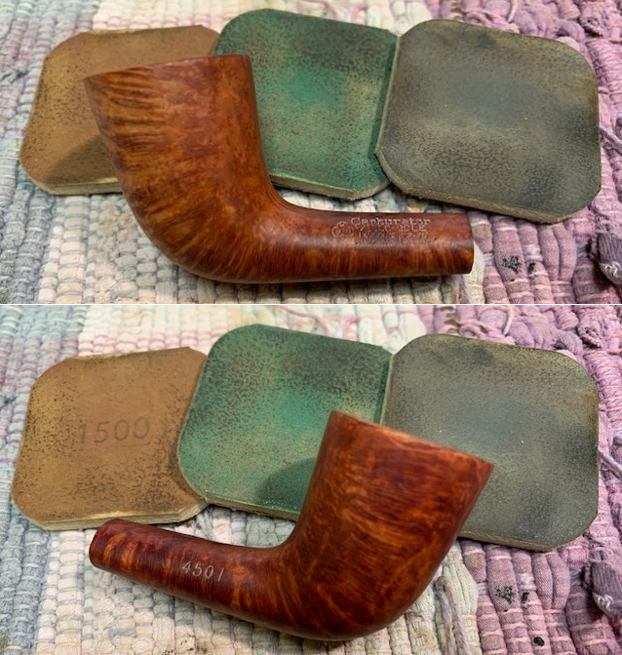
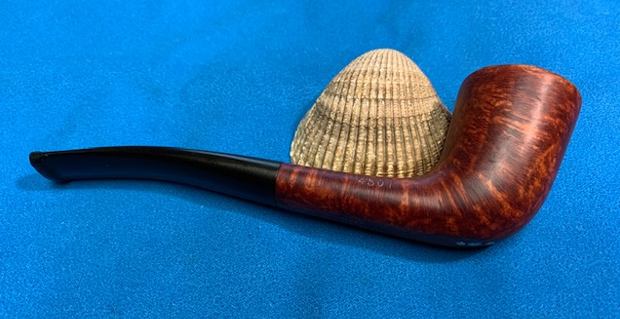
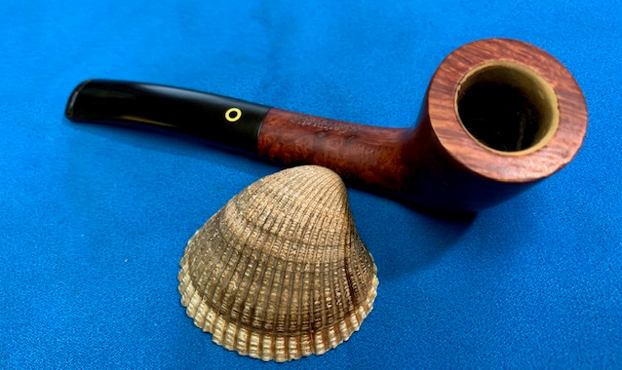
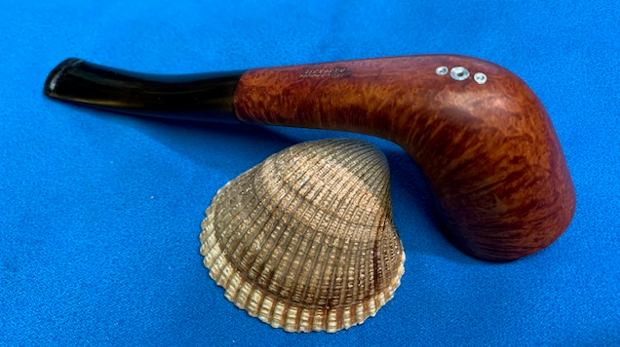
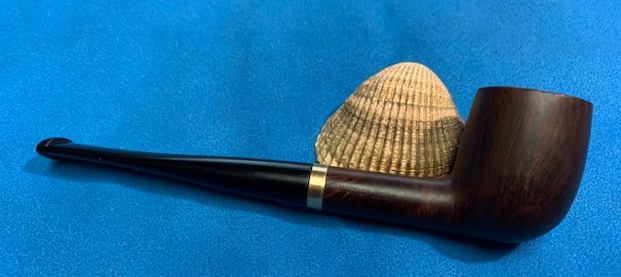
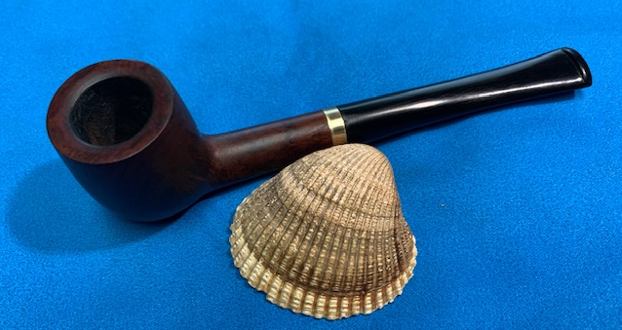
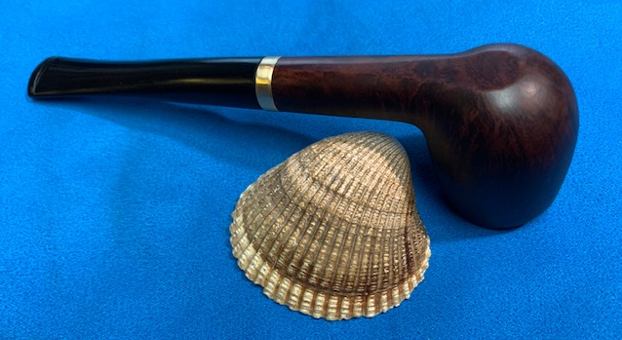
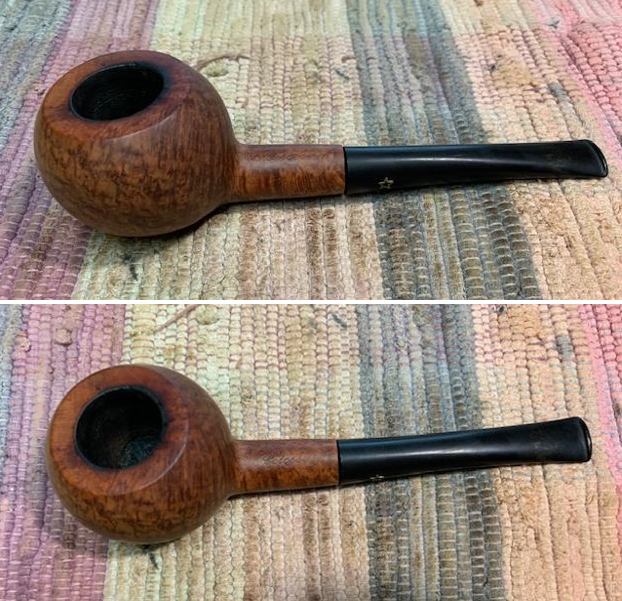
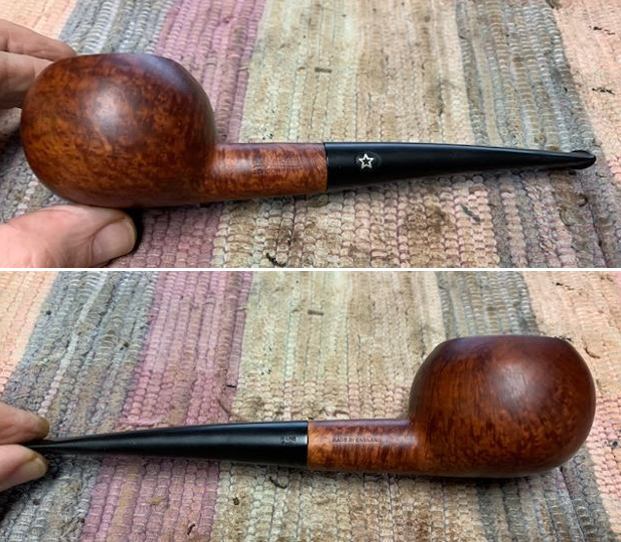
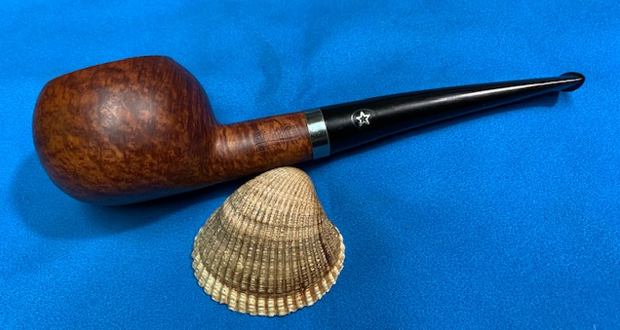
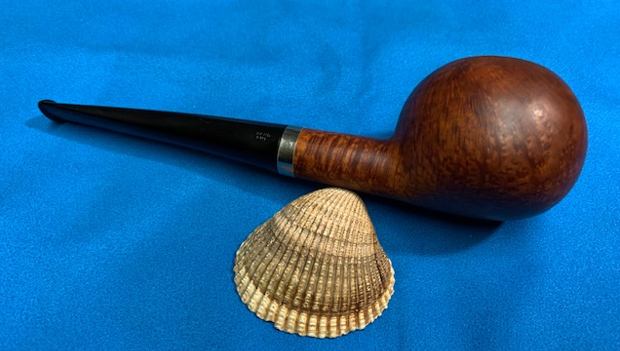
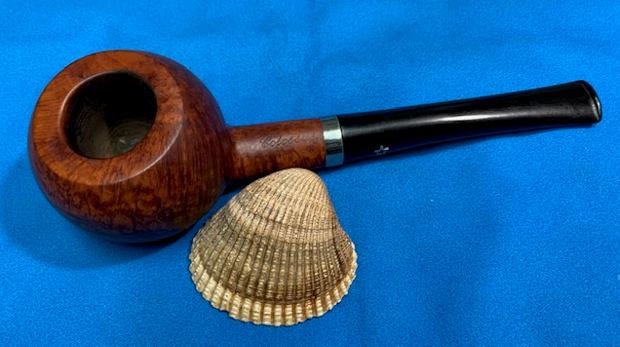
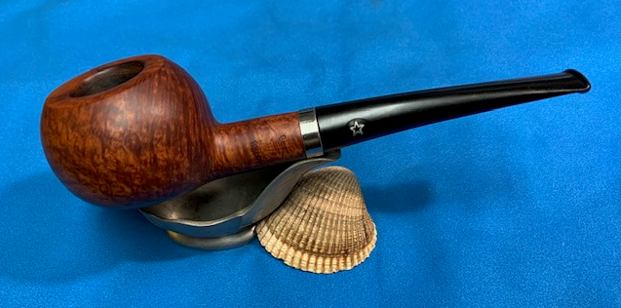
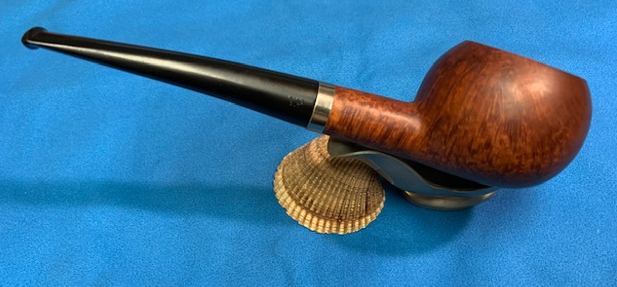
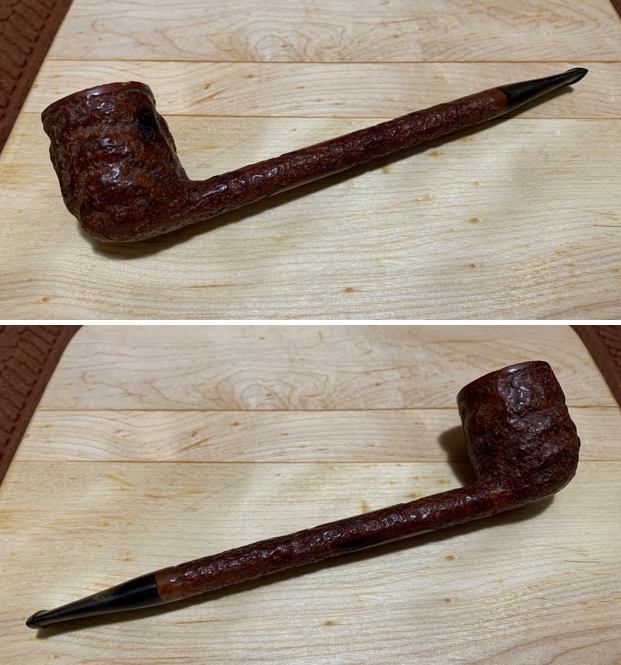
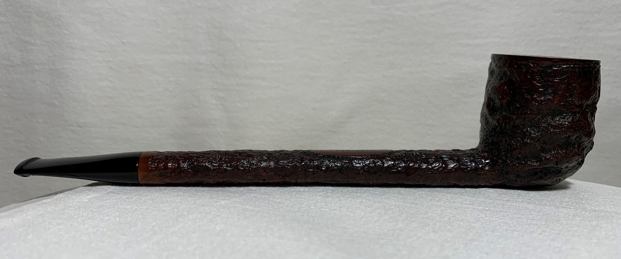
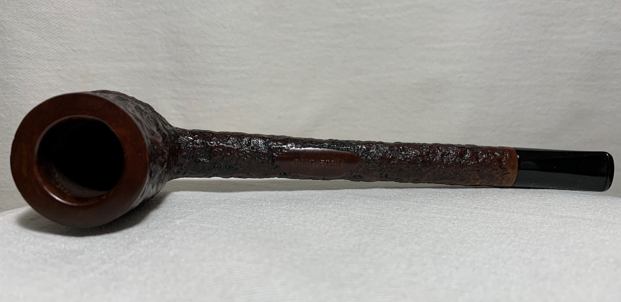
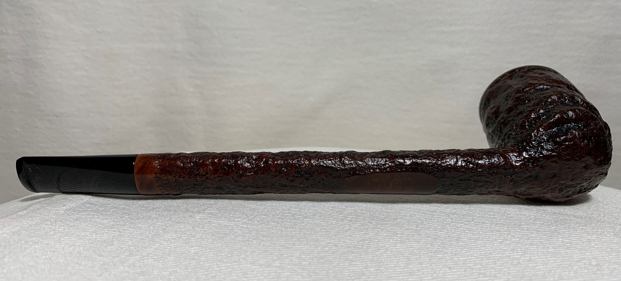
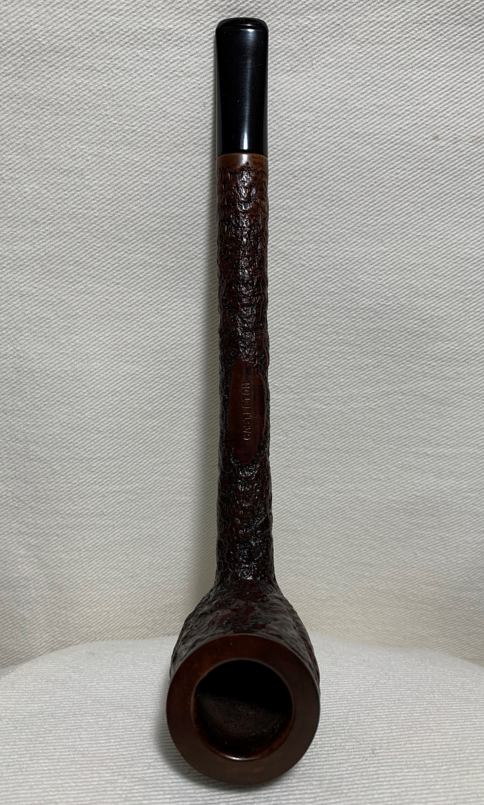
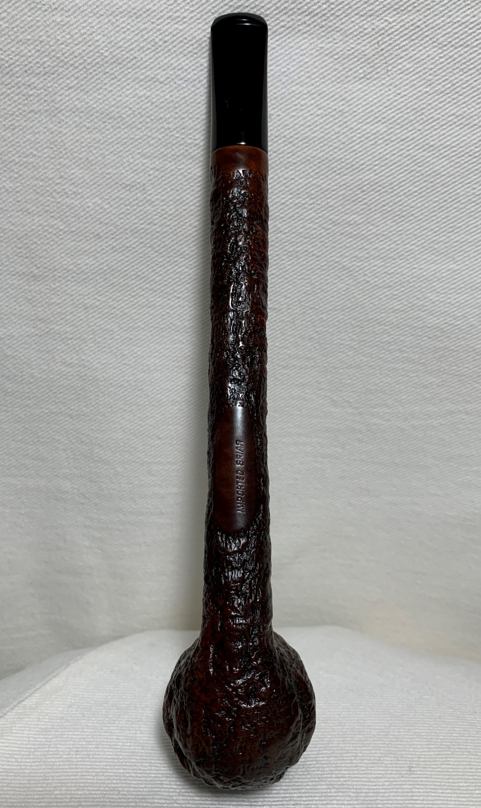
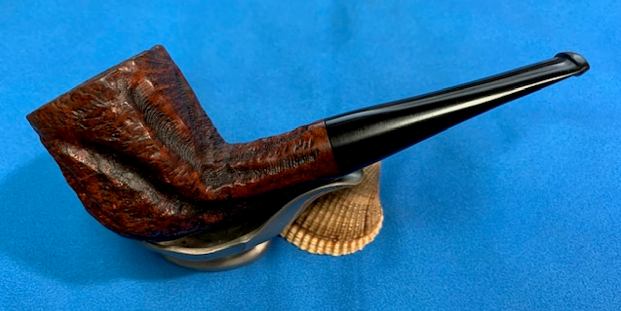
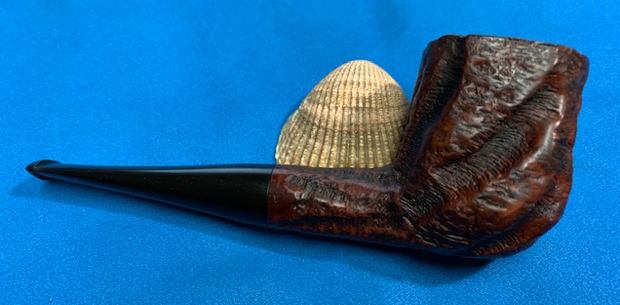
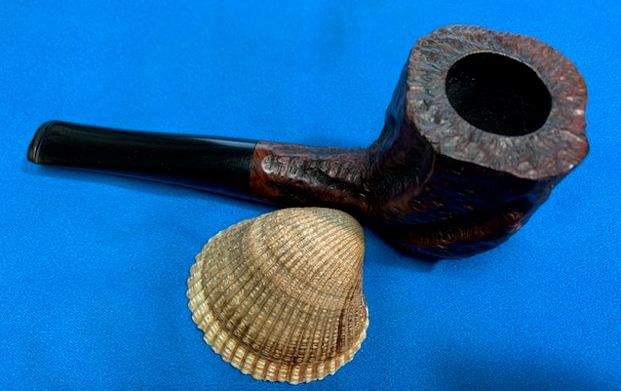
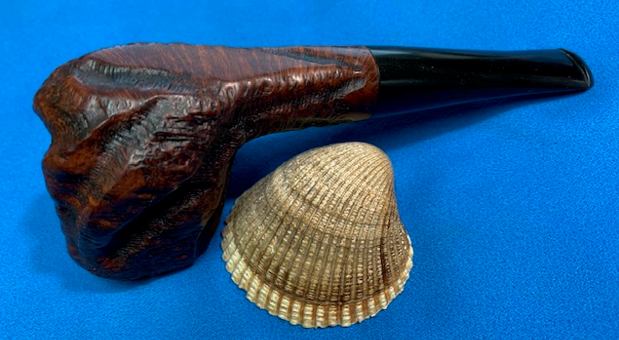
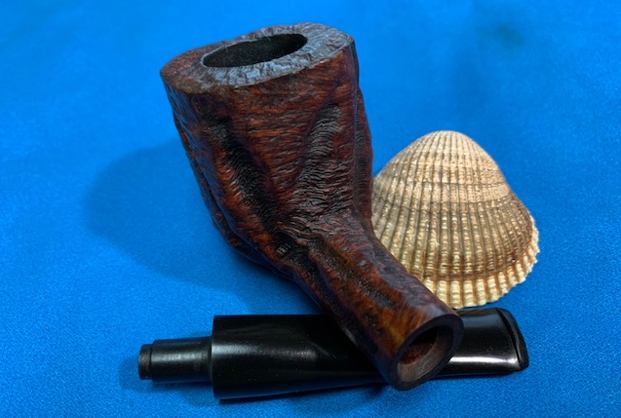
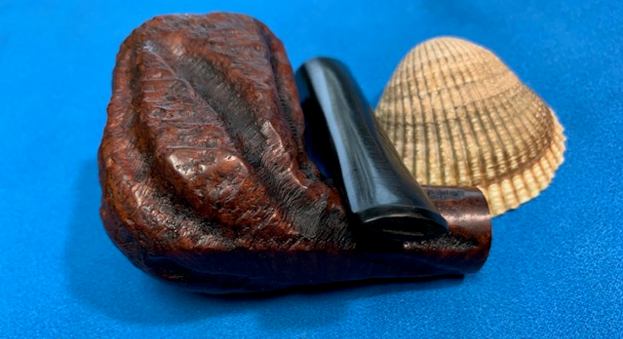
 I am excited to finish this Republic Era Peterson’s System Ebony 301 Bent Pot. I put the pipe back together and carefully buffed it with Blue Diamond on the buffing wheel. I gave the bowl and the stem multiple coats of carnauba wax. I buffed the pipe with a clean buffing pad to develop the shine. I hand buffed the pipe with a microfiber cloth to raise the shine. It is fun to see what the polished bowl looks like the Ebony finish. Added to that the polished black vulcanite stem was beautiful. This Ebony System 301 Pot is great looking and the pipe feels great in my hand. Even though there are a few scratches in the briar none go through the finish so I left them as a part of the pipe’s journey. Have a look at it with the photos below. The dimensions are Length: 5 ½ inches, Height: 1 ¾ inches, Outside diameter of the bowl: 1 ½ inches, Chamber diameter: ¾ of an inch. The weight of the pipe is 64 grams/2.26 oz. It is a beautiful pipe and one that will soon be on the rebornpipes store in the Irish Pipe Makers Section of the store. If you want to add it to your collection let me know. Thanks for walking through the restoration with me as I worked over this pipe. Thanks to each of you who are reading this blog.
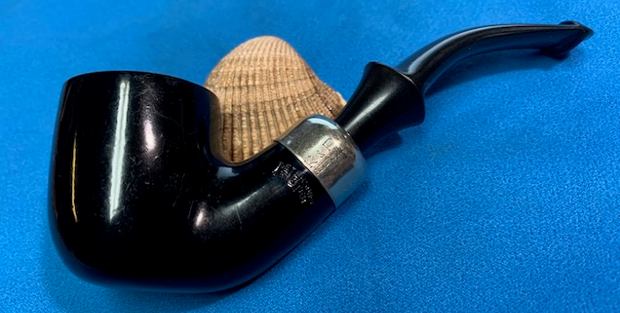


