Blog by Steve Laug
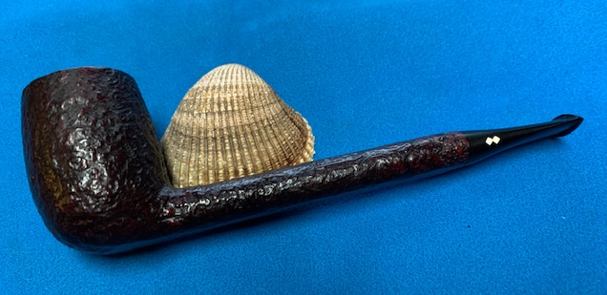
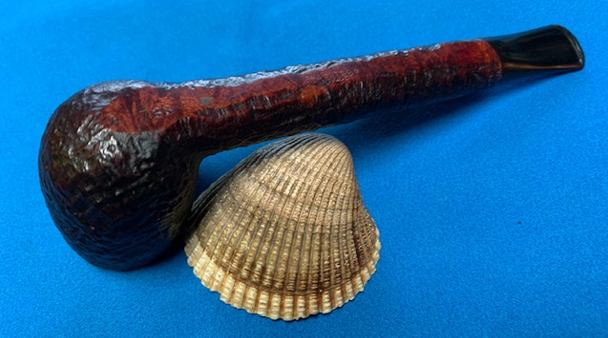
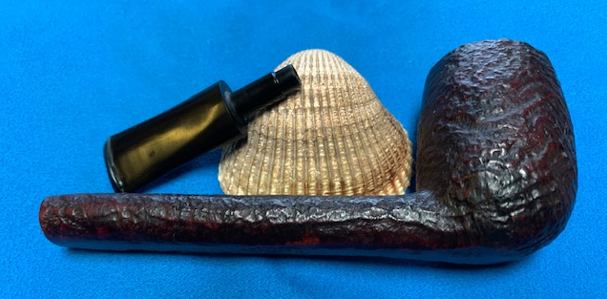
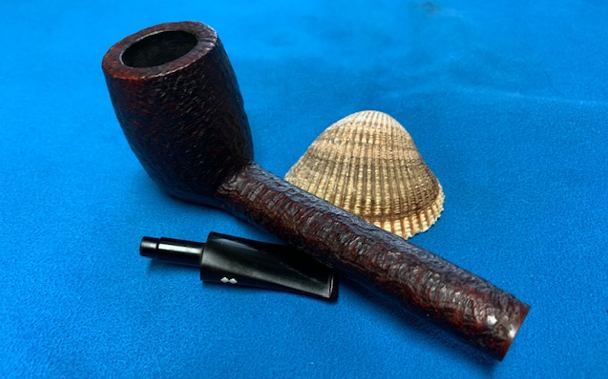
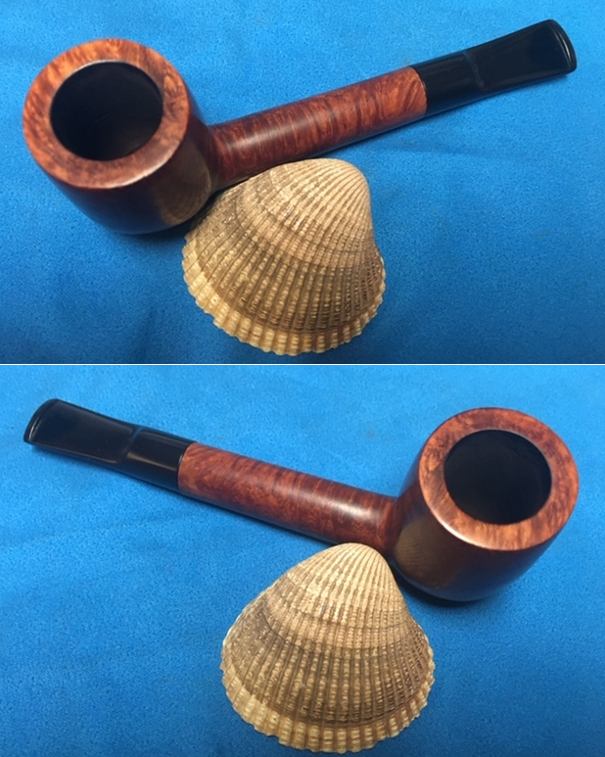
I have always had an interest in the Kaywoodie Made Heritage Pipe line. I really like the way they are made – both in terms of workmanship and style. They really made some amazing looking pipes and I always try to pick them up when I can. Jeff has also found this to be true so he is on the lookout for this brand in all of his pipe hunts and auction haunts. When this pipe became available to us late in 2019 from a fellow in Los Angeles, California, USA we bought it. It is stamped 73S on the heel of the bowl and Heritage [over] Antique on a smooth panel on the underside of the shank. The pictures of the sandblast showed it was well done. The finish was dirty and there was a thick cake in the bowl. It appeared that the bowl had been lightly reamed before it came to us. There was a lava overflow in the sandblast finish on the rim top that would need to go. There was the Heritage double diamond logo on the left side of the stem. The stem was oxidized and had deep tooth marks on both sides ahead of the button. All totaled it was still a beautiful pipe. We were hooked. Jeff took these photos before he started his clean up work. 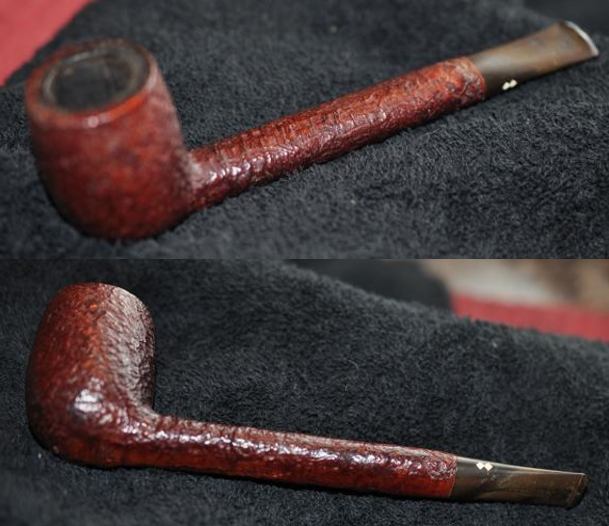
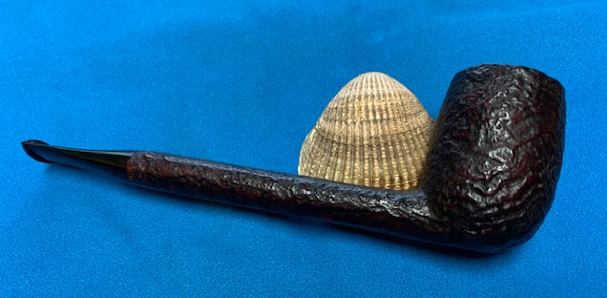
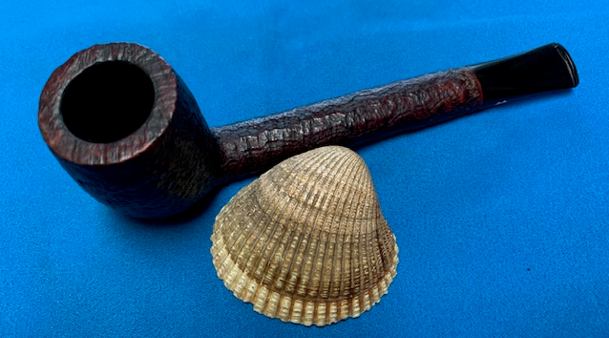
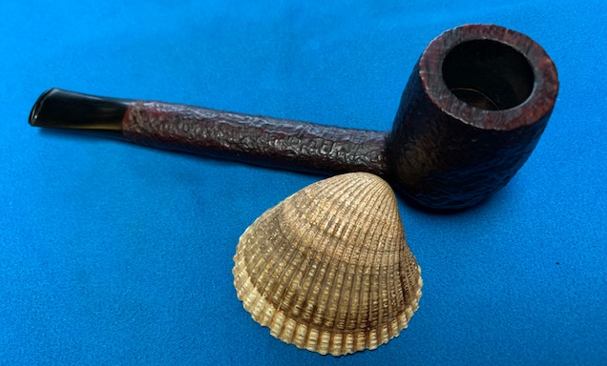
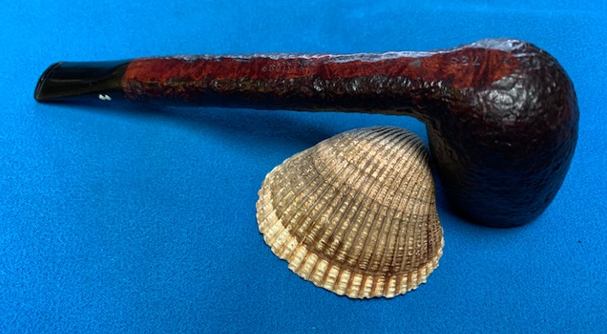
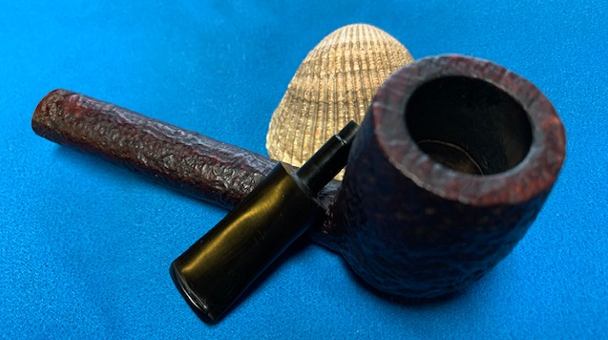
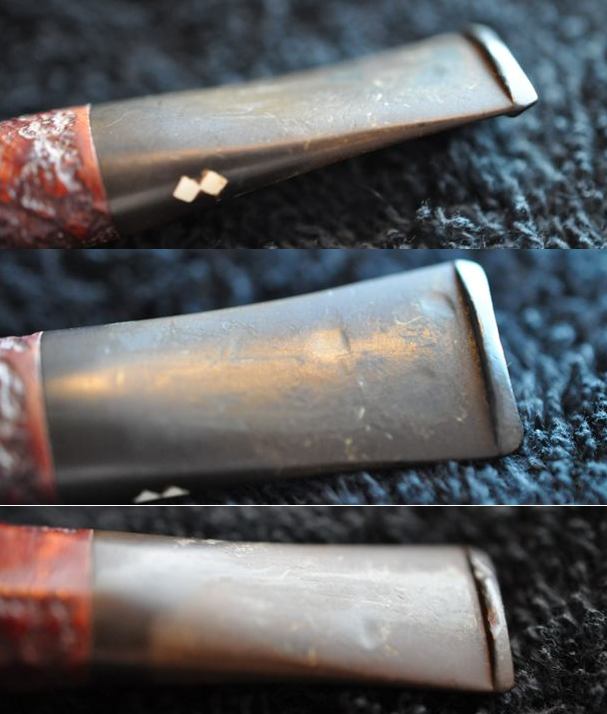
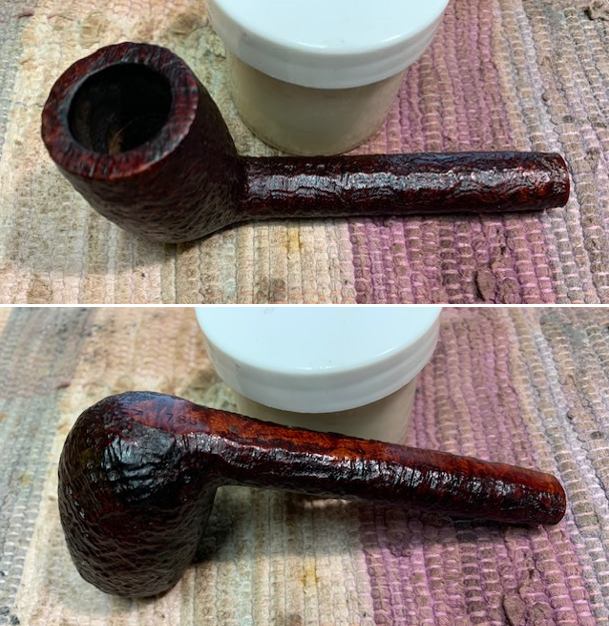
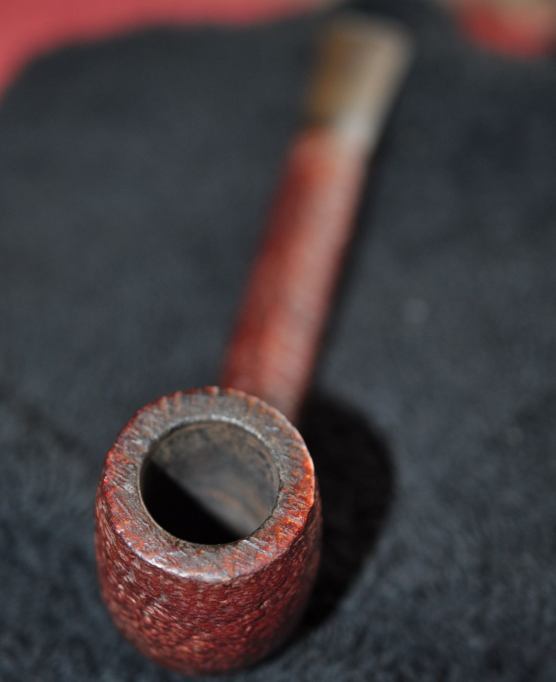 Jeff took photos of the bowl and rim top to show the condition that I noted in the description above. Even though it is very dirty you can see that the rim top and edges all look very good. The stem photos clearly show the oxidation and tooth marks on both sides. It would need some work.
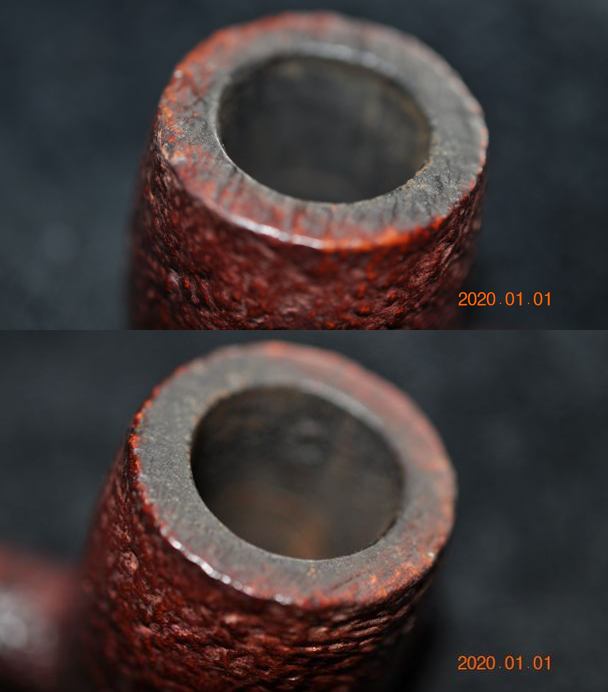
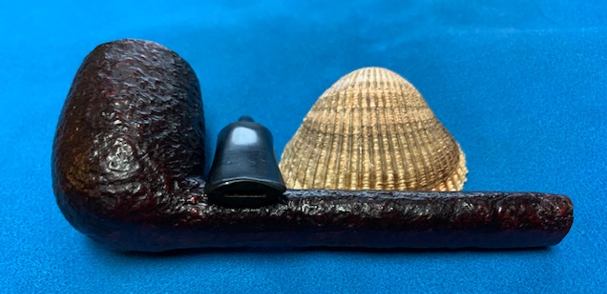
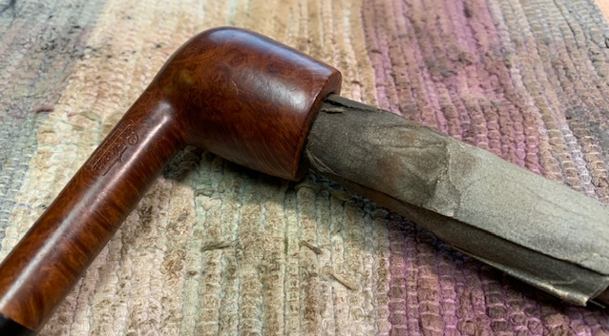
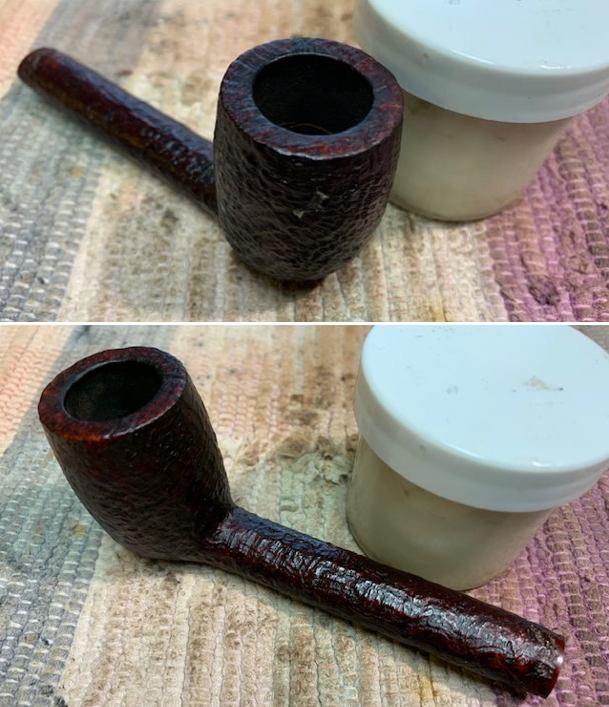
 Jeff took photos of the sides of the bowl and heel to show the sandblast finish on the bowl. He also took photos of a strange looking area on the lower right side of the bowl. It appeared that there was a large flaw that had been filled in that area. It was obviously a dark putty and there were some small cracks in the middle area of the fill material. I drew a box around it in the second photo. I have worked on quite a few Heritage pipes and have never seen this before.
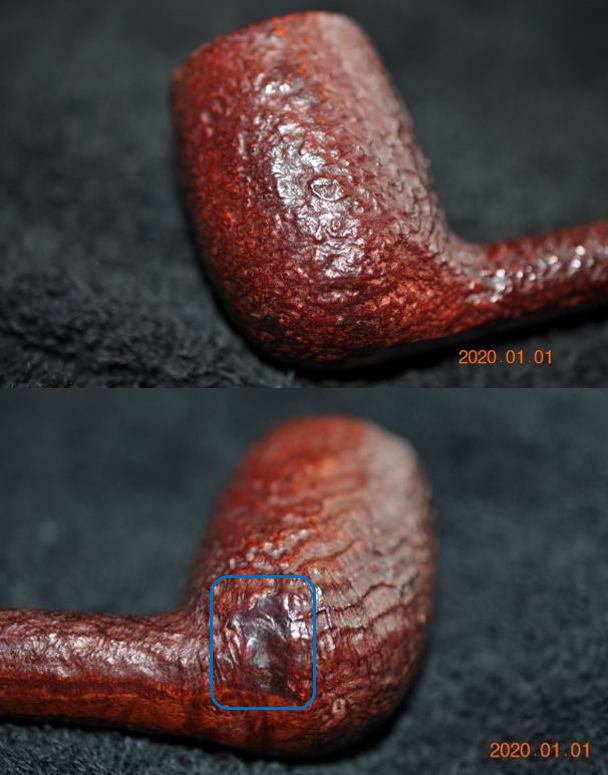 Jeff took a close up photo of that area to show more clearly what we are speaking of. You can see the tiny cracks in the fill area toward the top of the repair. The patch material is dark and very hard so it should be repairable.
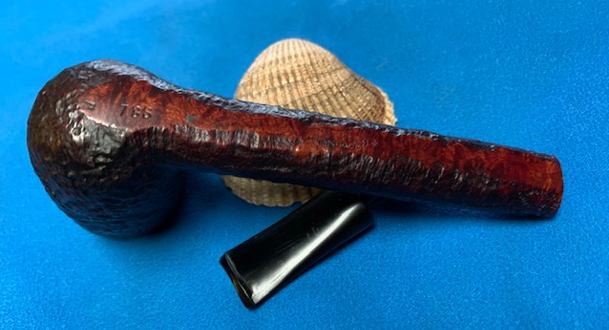
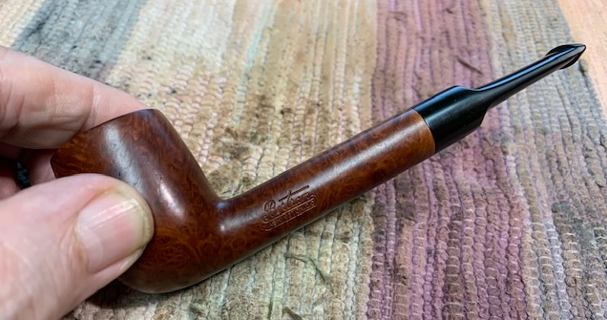
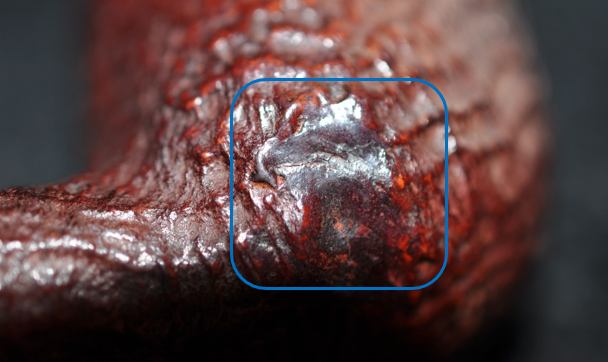 The next photos show the stamping that I described in the opening paragraph. It is clear and readable.
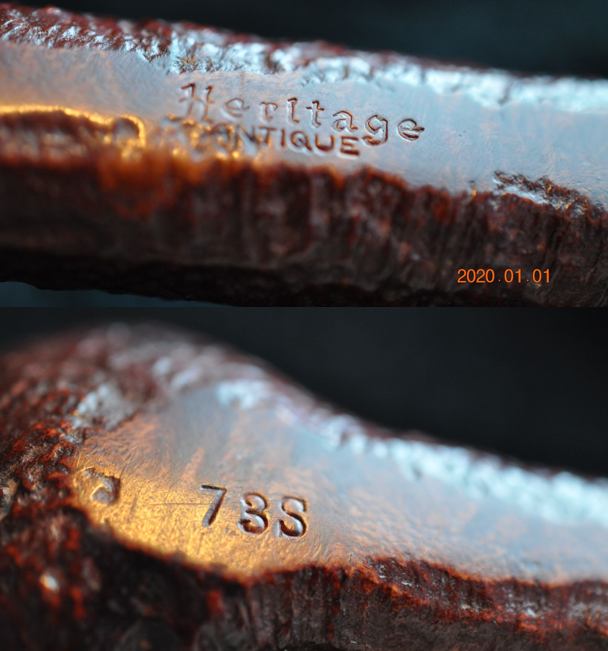 In other blogs on the brand I have given a bit of history on the Heritage Brand. I have included that here as well for ease of reference. Andrew Selkirk did a great job in researching a link to his work on the blog. Here is the link: https://rebornpipes.com/2014/12/23/refurbishing-a-heritage-heirloom/. I am including a brief summary of what he found in the next two short paragraphs to set the stage for the pipe on my work table.
Heritage pipes were Kaywoodie’s answer to Dunhill. According to one of their brochures, Heritage pipes were made from “briar burls seasoned and cured for up to 8 months,” with only “one briar bowl in over 300 selected to bear the Heritage name.” “Heritage stems are custom fitted with the finest hand finished Para Rubber stems. Mouthpieces are wafer thin and concave.”
The Heritage line began in the early 1960’s, with the trademark issued in 1964. The line was started at the request of Stephen Ogdon, (who worked for Kaywoodie in 1962). Mr. Ogdon had previous experience working for Dunhill, either running the New York store or working for Dunhill North America. Mr. Ogden was made President of Heritage Pipes, Inc., Kaywoodie Tobacco Co.,Inc. and Kaywoodie Products Inc. as well as a Vice President of S.M. Frank & Co. Heritage Pipes were produced from 1964 until 1970 (Source kaywoodie.myfreeforum.org).
Andrew also included a copy of the Heritage brochure that I am also including below (Courtesy kaywoodiemyfreeforum). In going through the models displayed on the page there is not one for the 73S. The closest is the shape 72 Canadian.


 The brochure has a great write up on the Heritage Antique Line. It reads Rustic Grain Stands out in Rugged Relief. It describes the line as follows:
This pipe is so bold looking, yet so light and smooth smoking. A special sandblasting process exposes a greater surface area on the bowl, giving a cooler, more satisfying smoke. Centuries-old Heritage Antique is strikingly masculine in appearance.
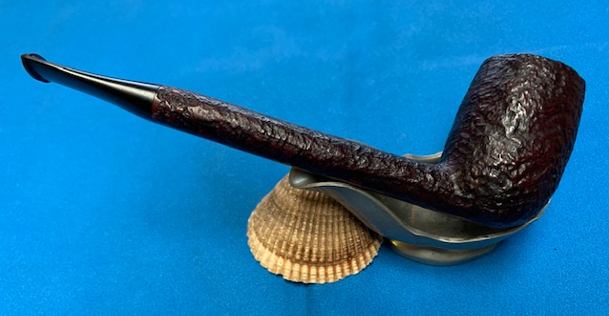
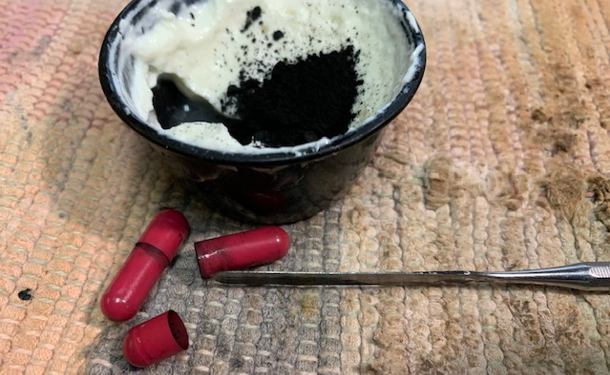
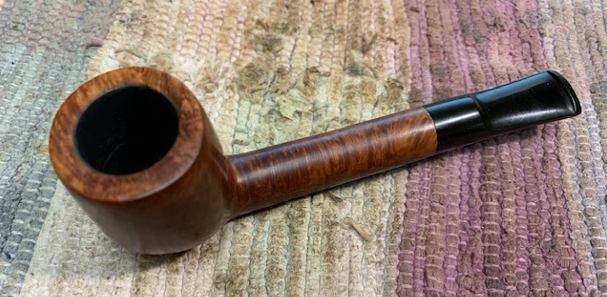
Jeff had cleaned up the pipe with his usual precise work. He reamed the pipe with a PipNet Pipe Reamer and cleaned up the remnants with a Savinelli Fitsall Pipe Knife. He scrubbed the bowl with undiluted Murphy’s Oil Soap with a tooth brush. He rinsed it under running warm water to remove the soap and grime. The fill on the lower right side of the bowl did not loosen, crack more or fall out. It was solid. The rim top cleaned up very well. He cleaned out the inside of the shank and the airway in the stem with alcohol, cotton swabs and pipe cleaners. He soaked the stem in Before & After Deoxidizer and rinsed it off with warm water. I took photos of the pipe once I received it. Now it was time to work on the pipe itself.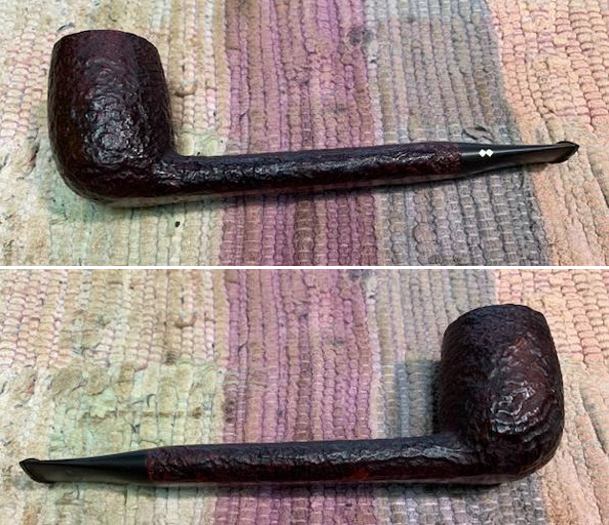
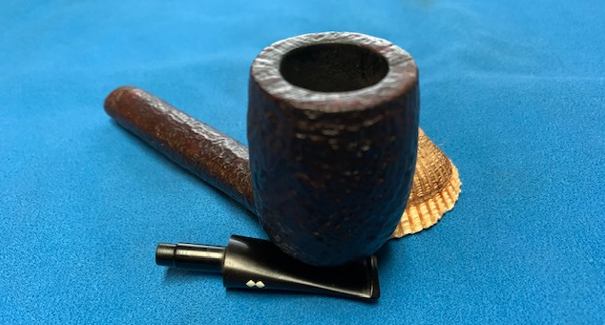
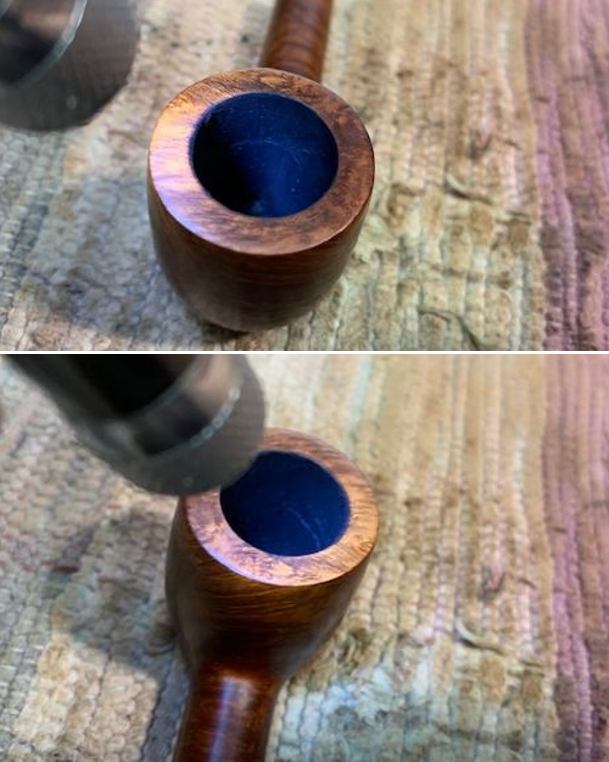
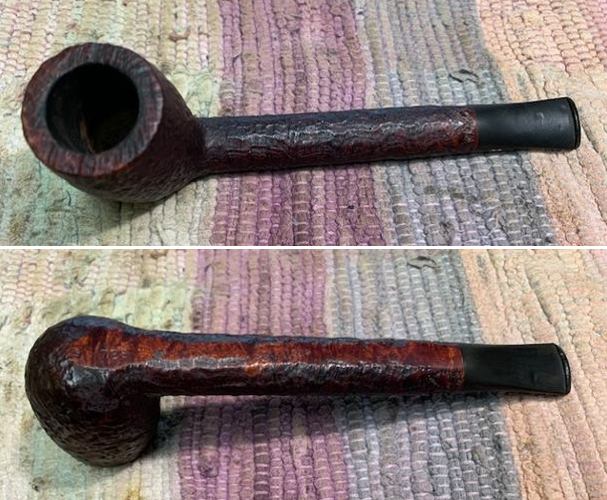 The bowl and the rim top looked very good. The inner and outer edges of the rim also looked very good. There was no damage to the edges. The stem surface showed deep tooth marks and chatter on both sides near the button.
 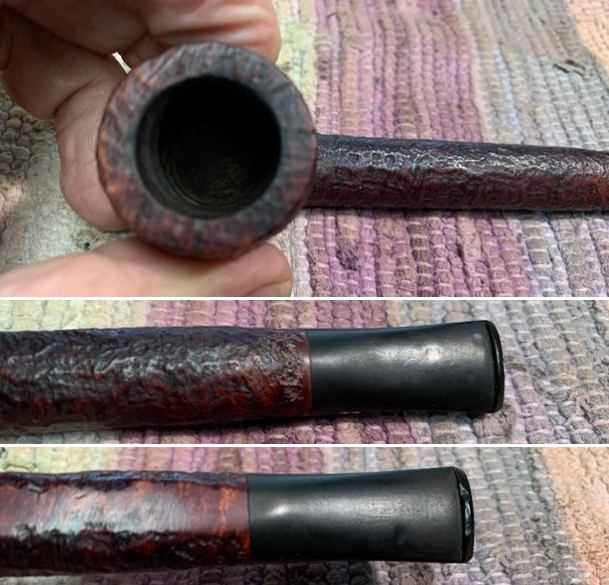 I took photos of the stamping on the underside shank. The stamping was clear and readable as noted above.
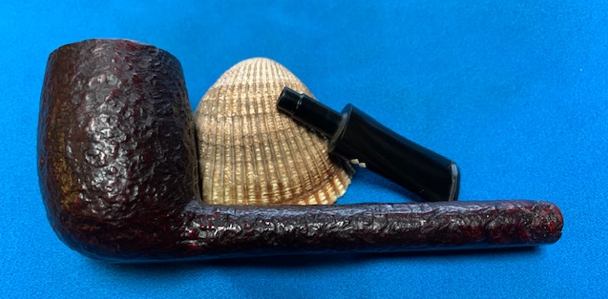
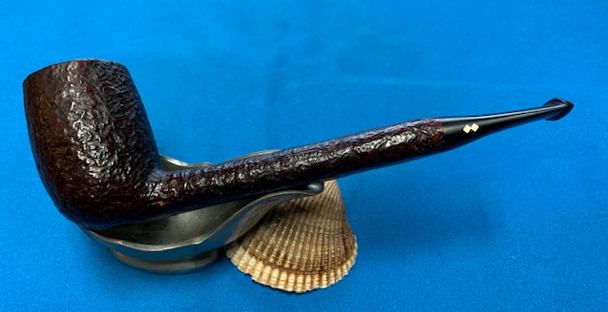
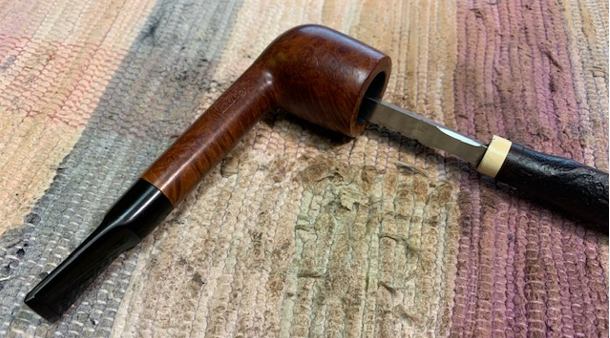
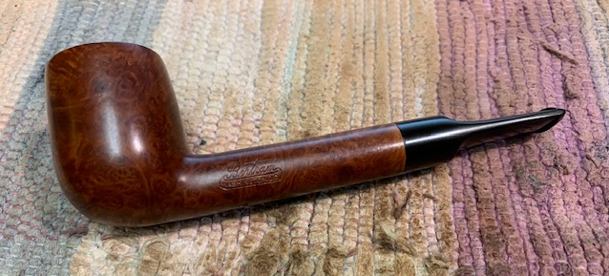
 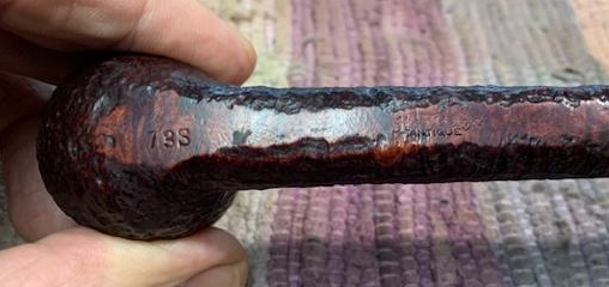 I took the stem off the shank and took a photo of the parts of the pipe to show the overall look of the pipe. To me it is a vary British looking sandblast Canadian.
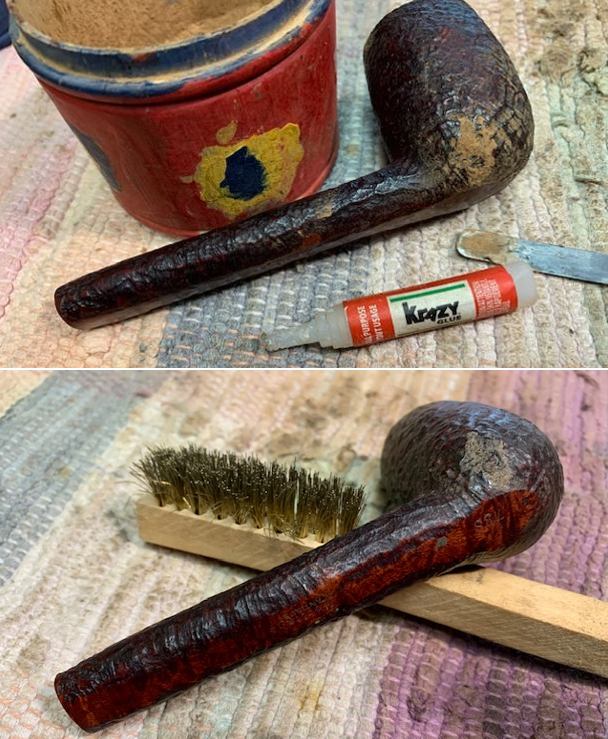
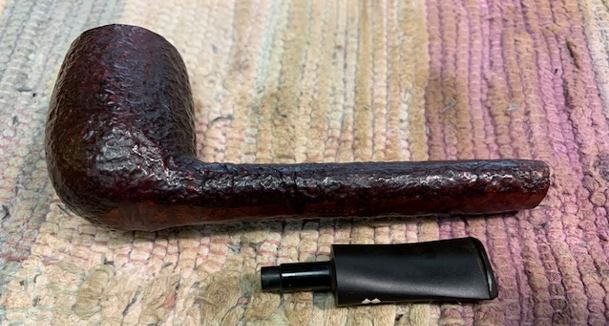 I decided to deal with the large filled area on the lower right side of the bowl. It was hard and solid but had some small cracks toward the top of the fill. The first two photos show the filled area before and after cleaning. I roughed it up a little bit with a brush then filled in the cracks and sunken portions of the fill with clear CA glue and briar dust. Once the repair hardened I used a brass bristle wire brush to knock off the loose briar dust and give a bit of texture to the fill. I used the Dremel and a pointed burr to carve grain patterns to match the surrounding areas of the briar. I liked the way it was looking. I mixed a black and a mahogany stain pen into the rusticated surface to match the surrounding colour of the bowl. I was happy with how the repair had blended into the rest of the surrounding briar.
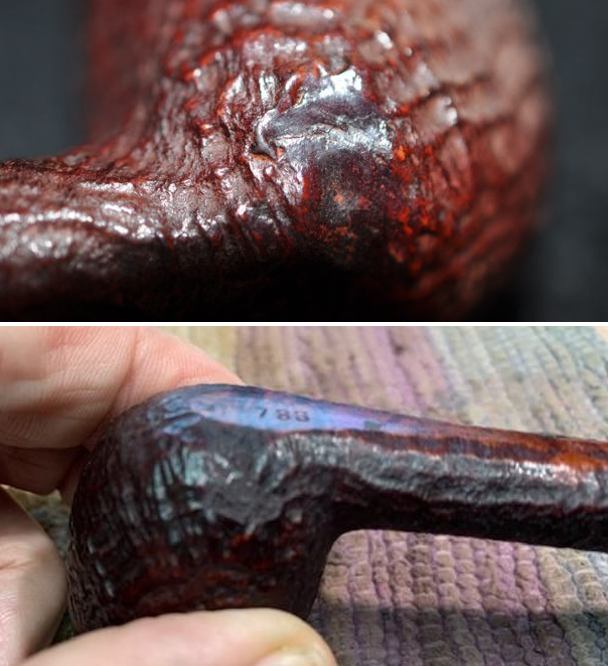
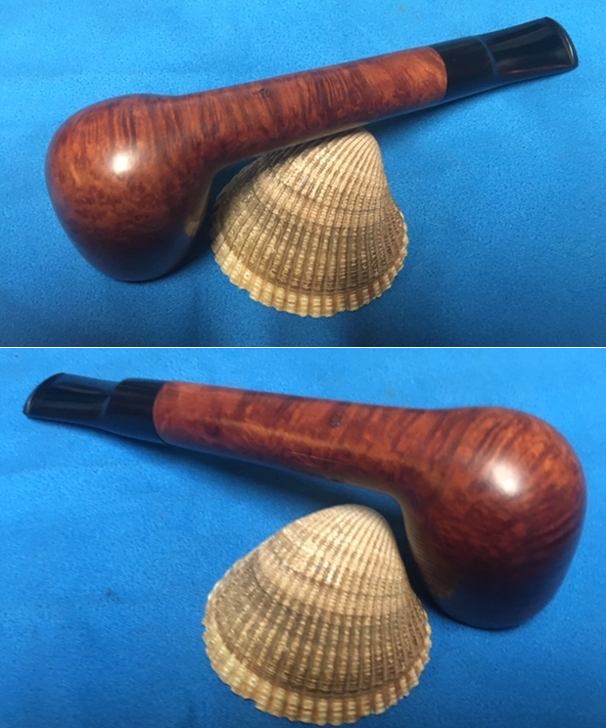
 I worked some Before & After Restoration Balm into the surface of the briar with my fingertips and a horsehair shoe brush to clean, enliven and protect it. I let the balm sit for a little while and then buffed with a cotton cloth to raise the shine. The following photos show the bowl at this point in the restoration process. I am very happy with the results.
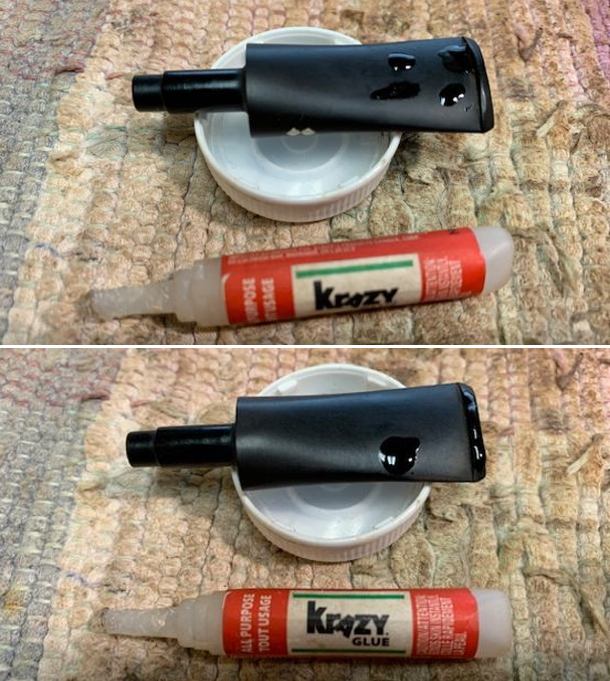
 I set the bowl aside and turned my attention to the stem. I “painted” the stem with the flame of a Bic lighter to lift the tooth marks. I was able to lift them out significantly. I filled in the remaining dents in the stem surface with clear CA glue and set it aside to cure.
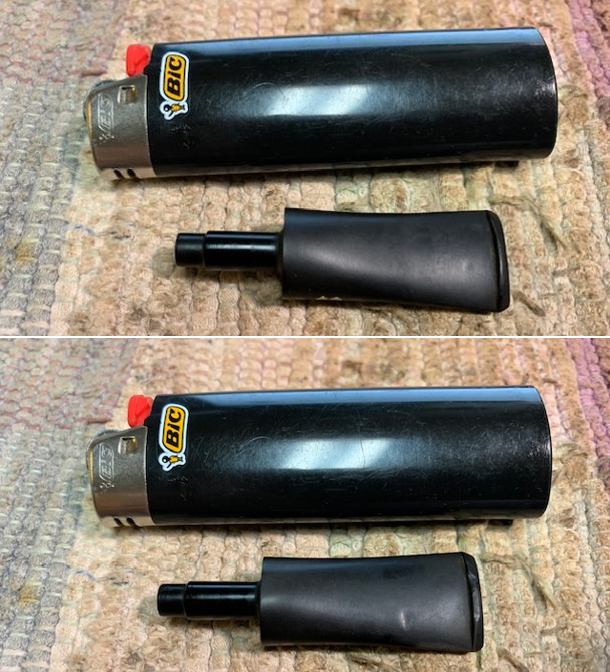
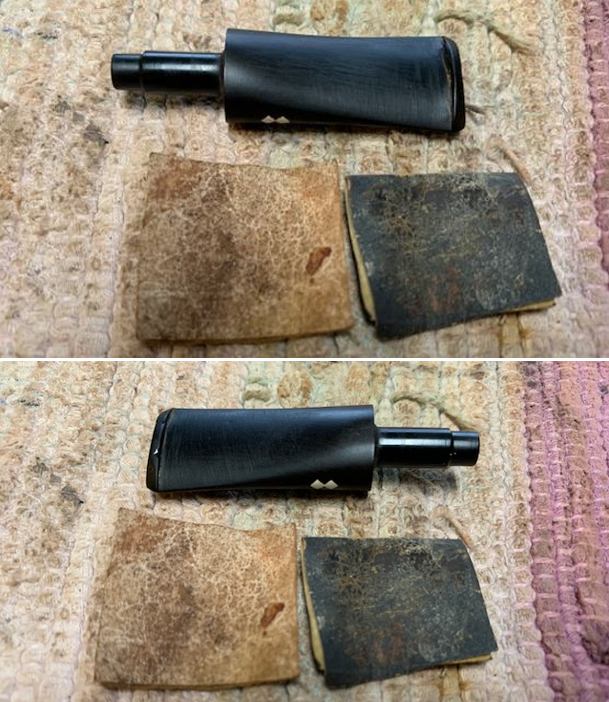
 I flattened out the repairs with a small file to start the process of blending them into the surface of the vulcanite. I then sanded them smooth with 220 grit sandpaper to further blend them in and started polishing the stem with 400 grit wet dry sandpaper.
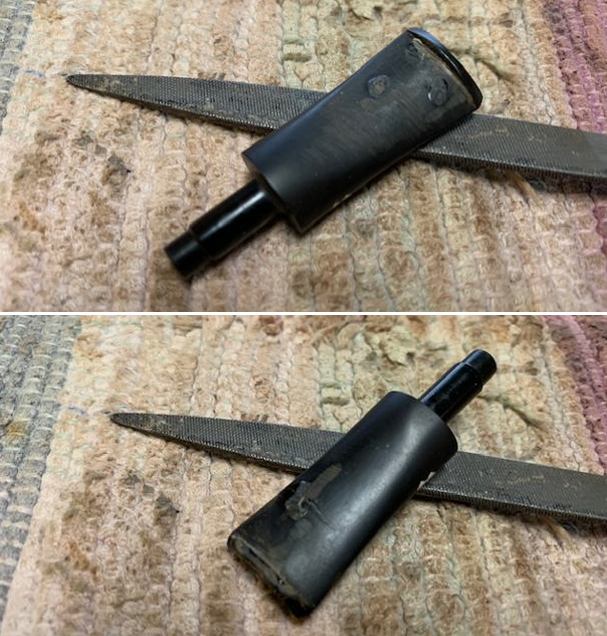
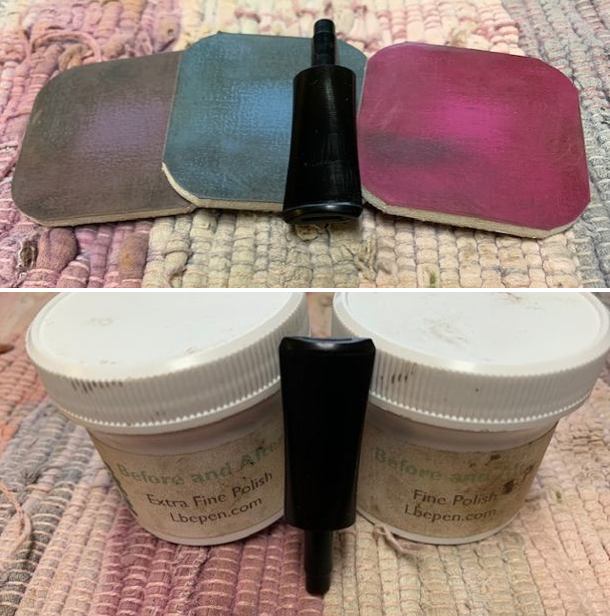
 I polished the vulcanite stem with micromesh sanding pads – 1500-12000 grit pads. I wiped it down with a damp cloth after each sanding pad. I used Before & After Pipe Polish – both Fine and Extra Fine to further polish the stem. I wiped it down with a final coat of Obsidian Oil and set it aside.
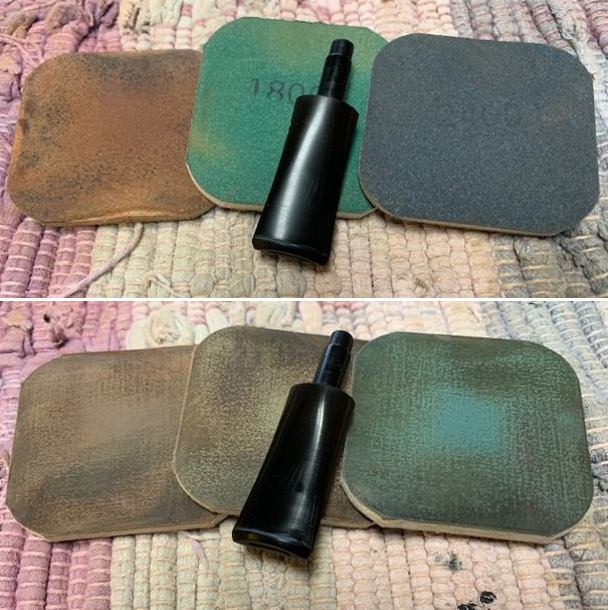
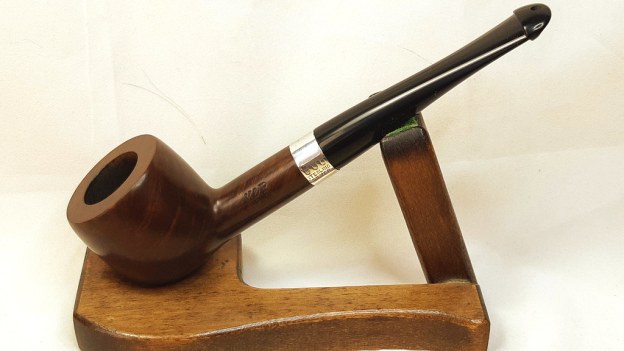
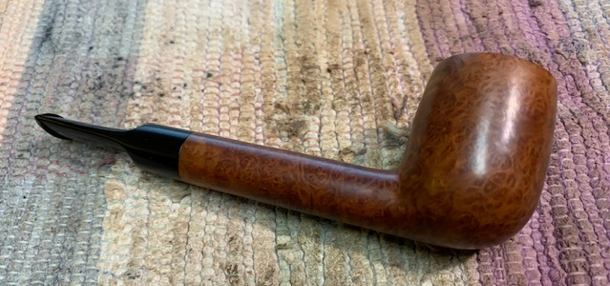
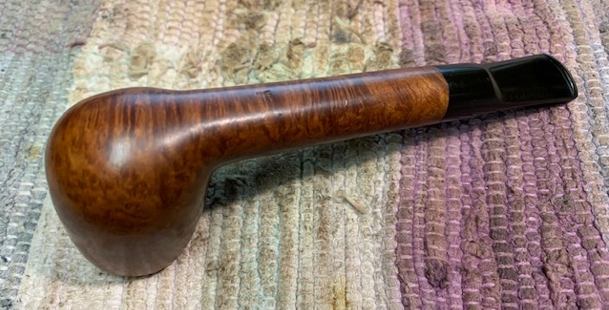
 The repair on the lower right side of the sandblast Heritage Antique 73S Canadian came out very well and really is unnoticeable. The pipe is a real beauty and the finish and shape are well done and have a classic English look even though this is an American Made pipe. The thin taper vulcanite stem polished up on the buffing wheel with Blue Diamond and had a rich glue. I gave the bowl multiple coats of Conservator’s Wax and the stem multiple coats of carnauba wax on the buffing wheel and followed that by buffing the entire pipe with a clean buffing pad. I hand buffed the pipe with a microfiber cloth to deepen the shine. The finished Heritage Antique Canadian fits nicely in the hand and feels great. Give the finished pipe a look in the photos below. The dimensions of the pipe are Length: 6 inches, Height: 1 ¾ inches, Outside diameter of the bowl: 1 ¼ inches, Chamber diameter: ¾ of an inch. The weight of the pipe is 1.27 ounces/36 grams. I will soon be adding it to the rebornpipes store in the American Pipe Maker section. If you are interested in adding this pipe to your collection send me a message or an email. Thanks for reading this blog and my reflections on the pipe while I worked on it. There are many more to come!