Blog by Steve Laug
A while back I received a small box of pipes from a fellow pipeman who wanted to donate them to support the non-profit organization I work for – the SA Foundation (www.safoundation.com). The organization has been providing long term recovery, housing and job training for women who have escaped sexual exploitation and trafficking. For over thirty years the work has gone on and thousands of young women and their children have been empowered to start over with skills and options. The work is currently in 7 countries and 12 cities around the world. If you are interested give the website a look.
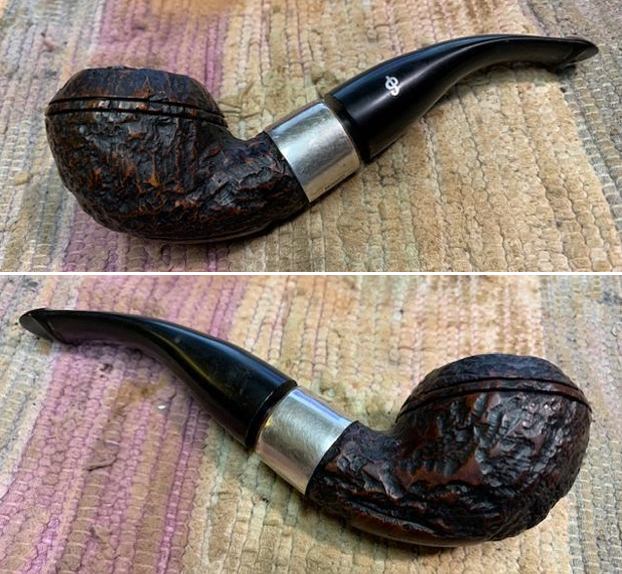
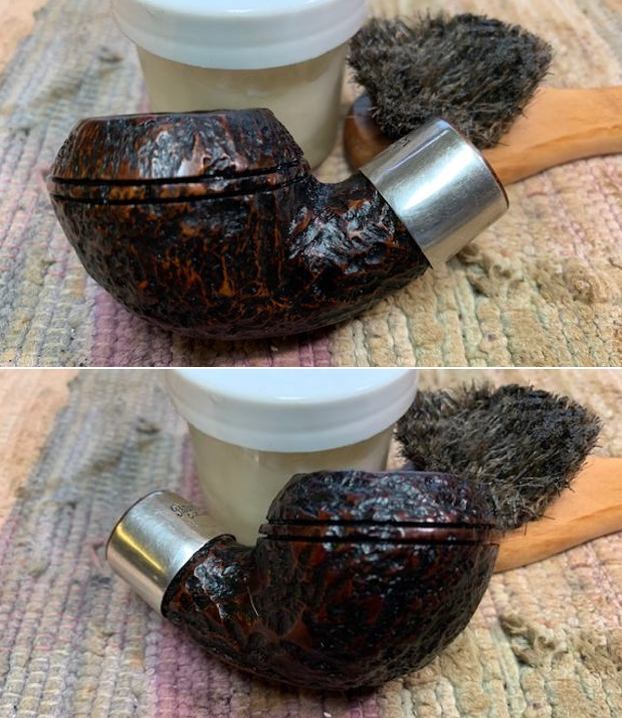
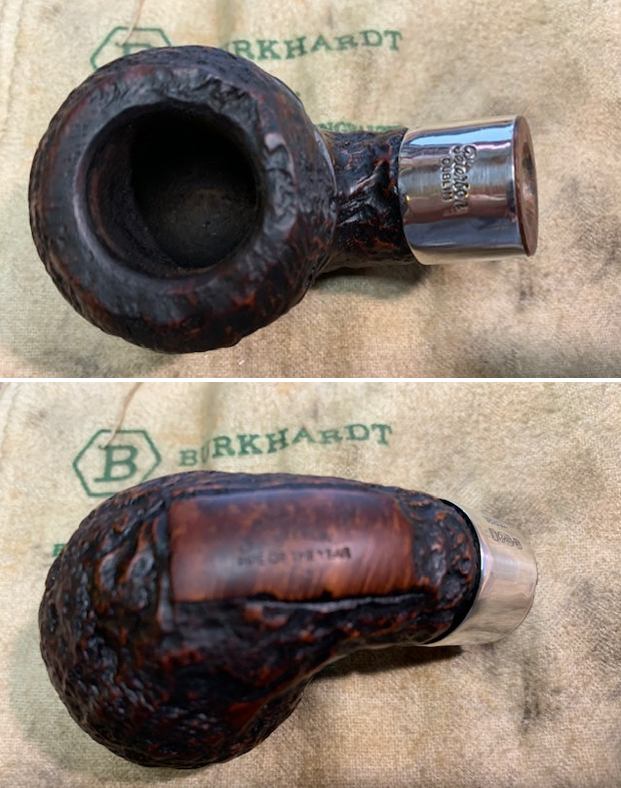
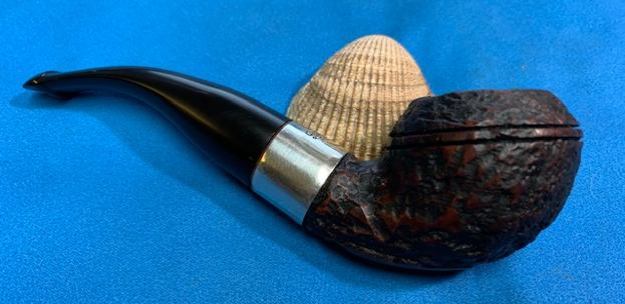
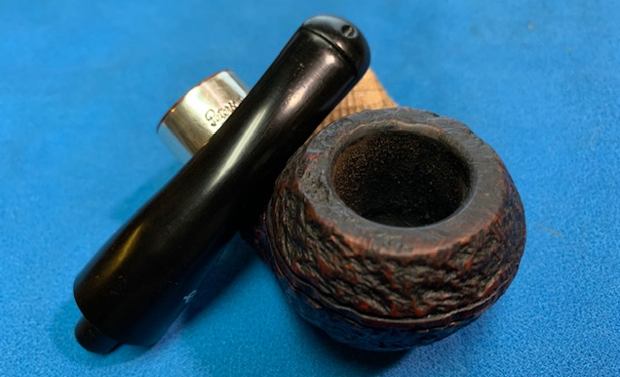
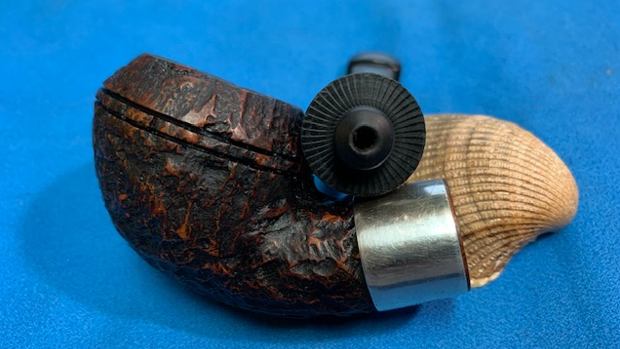
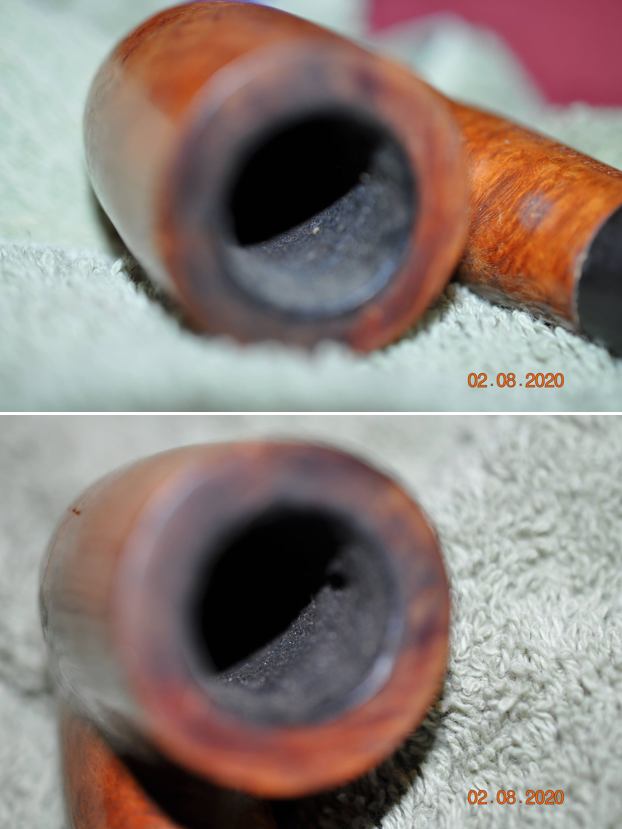
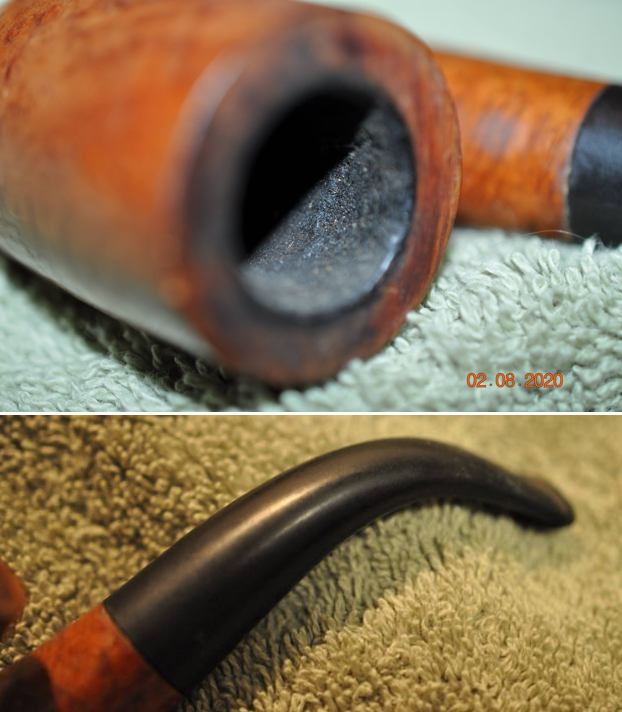
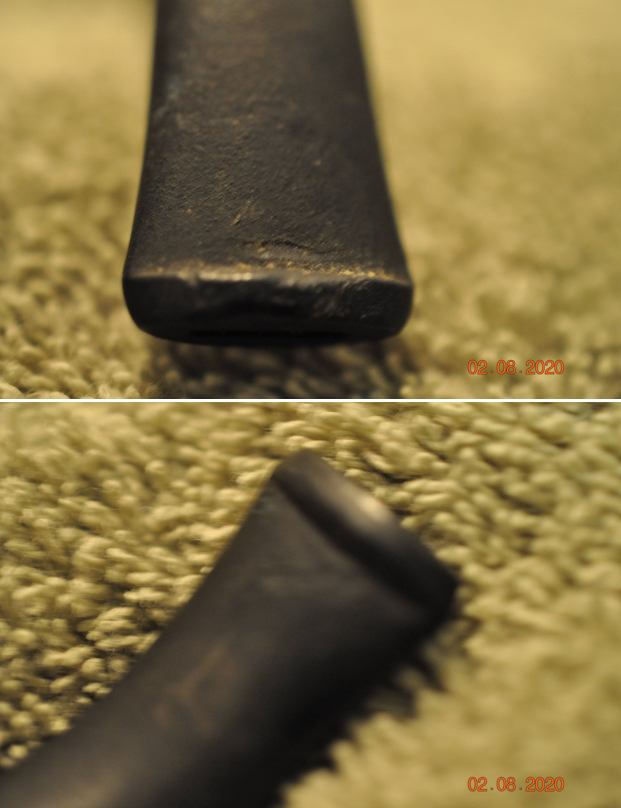
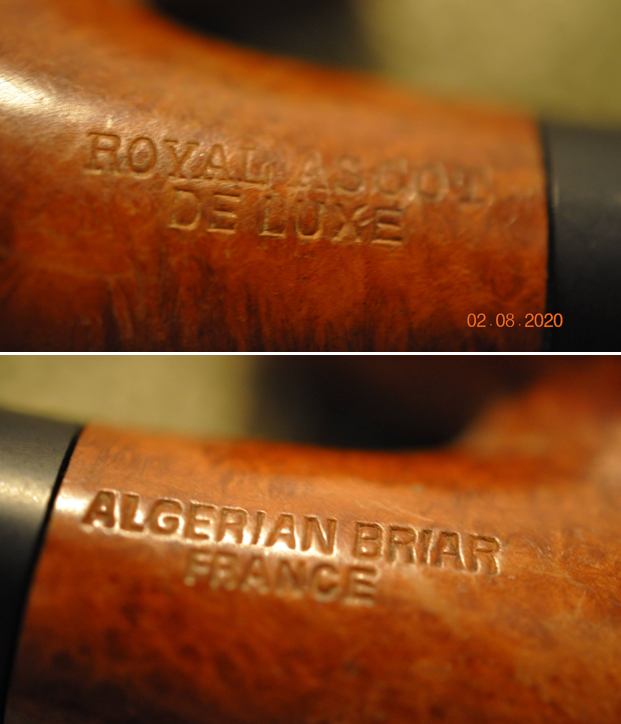
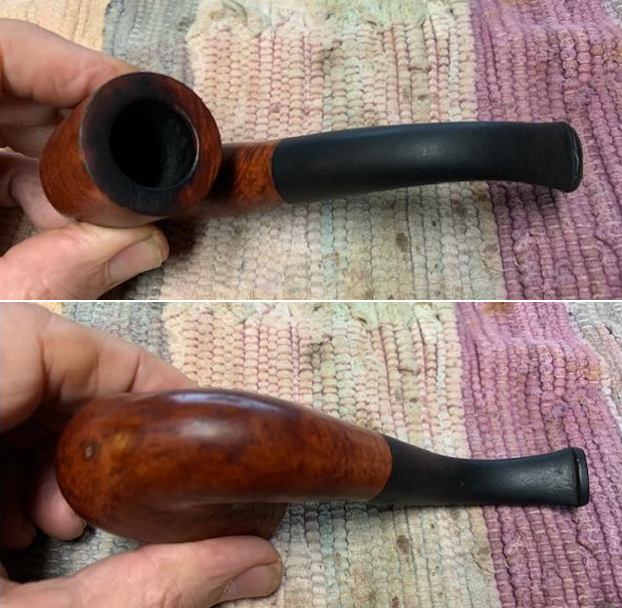
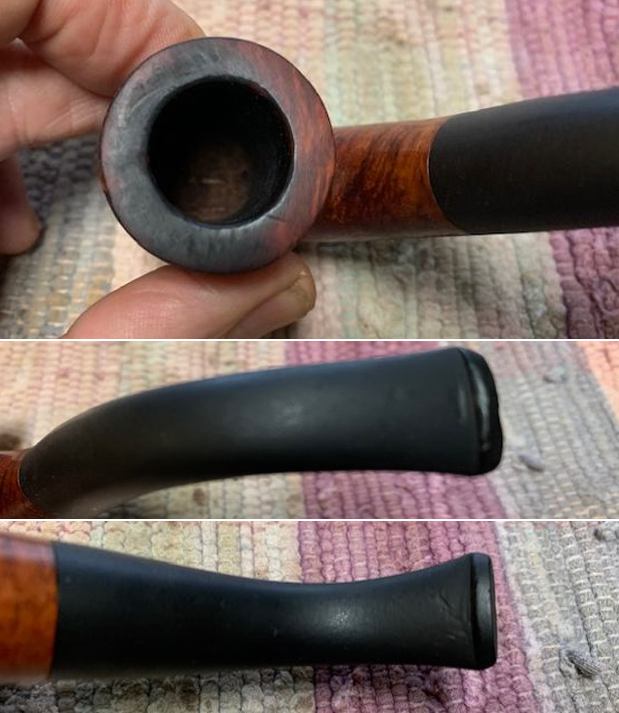
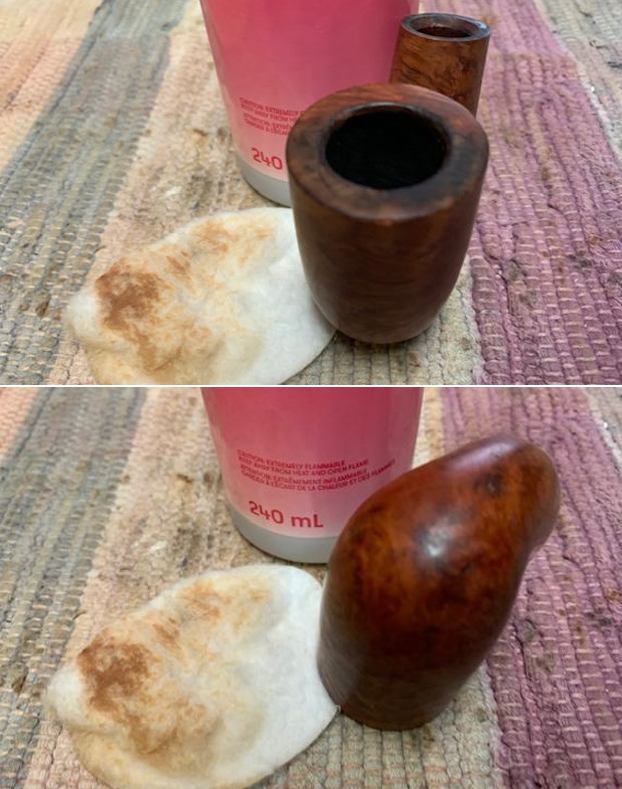
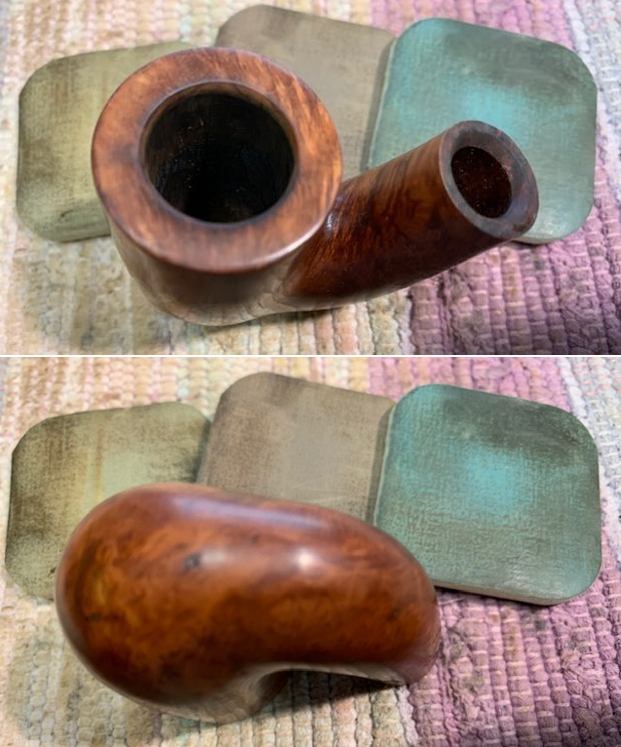
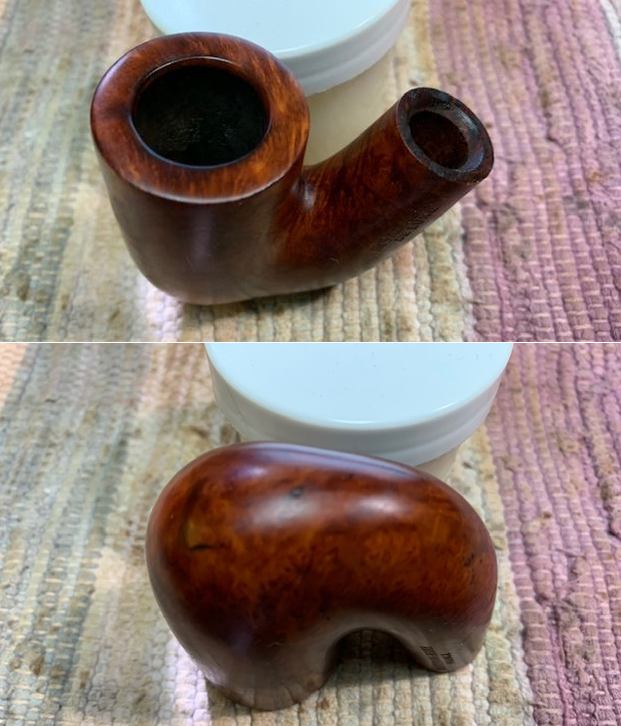
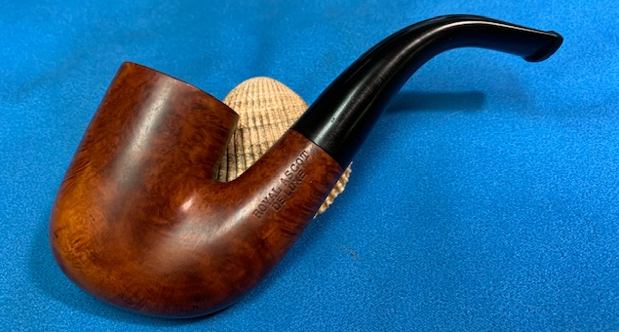
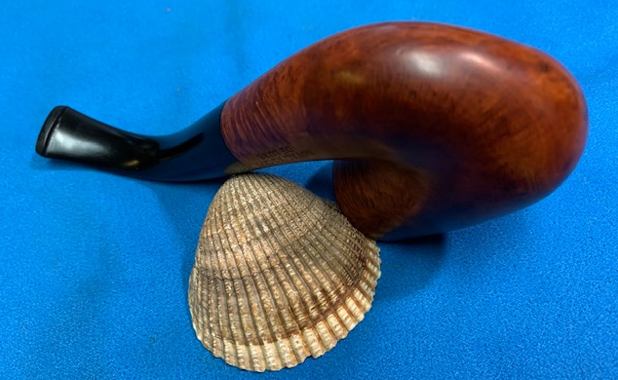
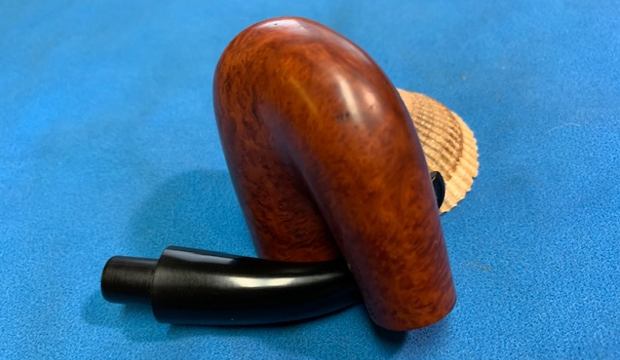
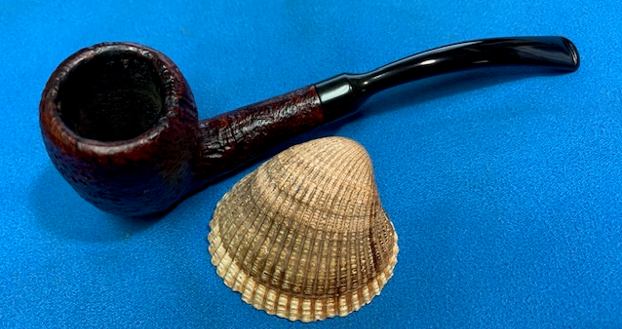
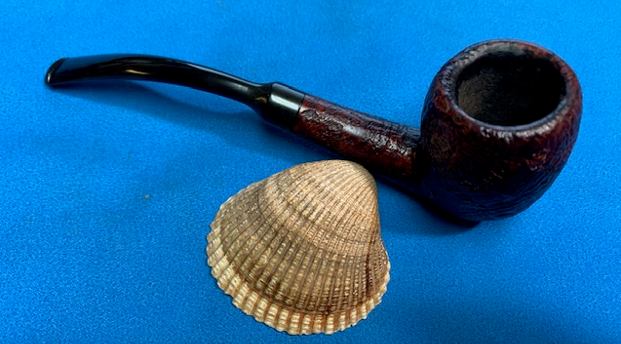
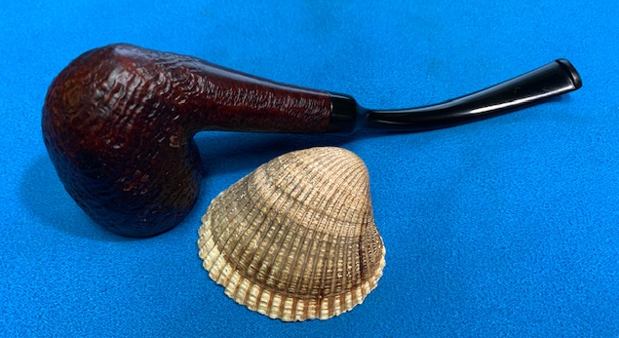
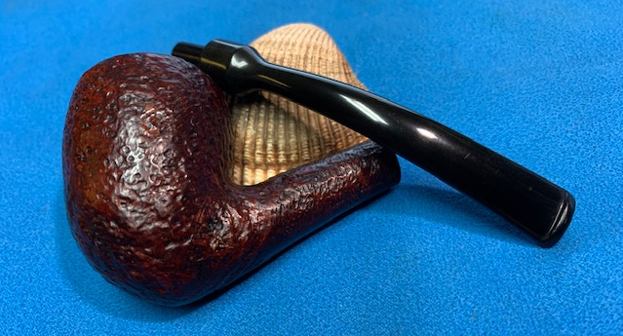
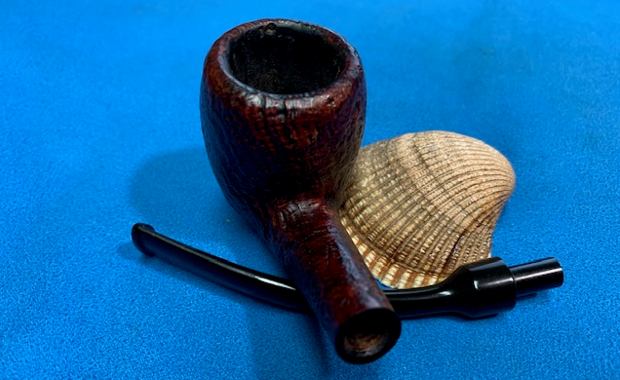
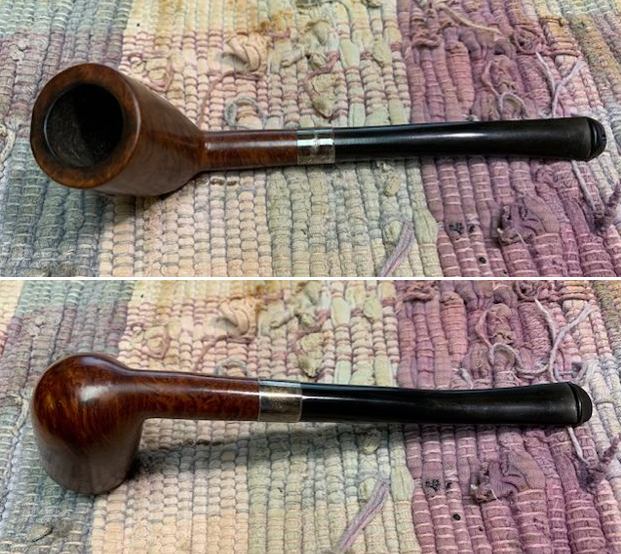
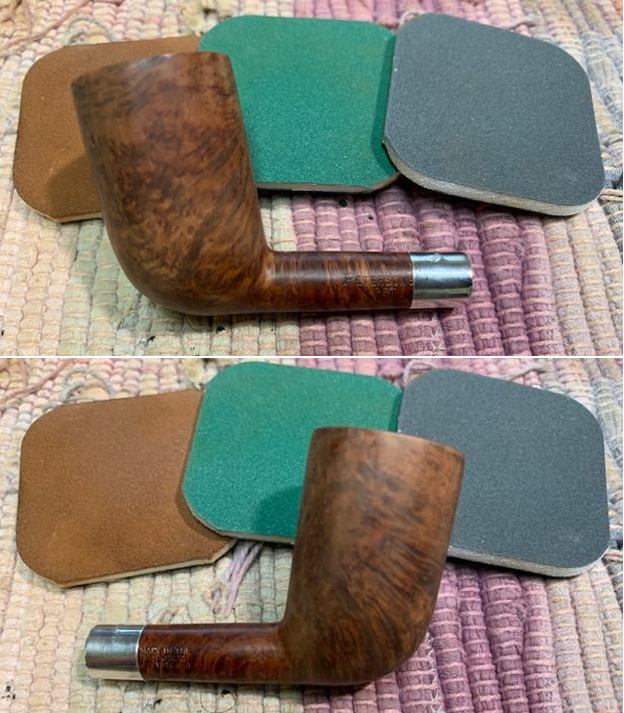
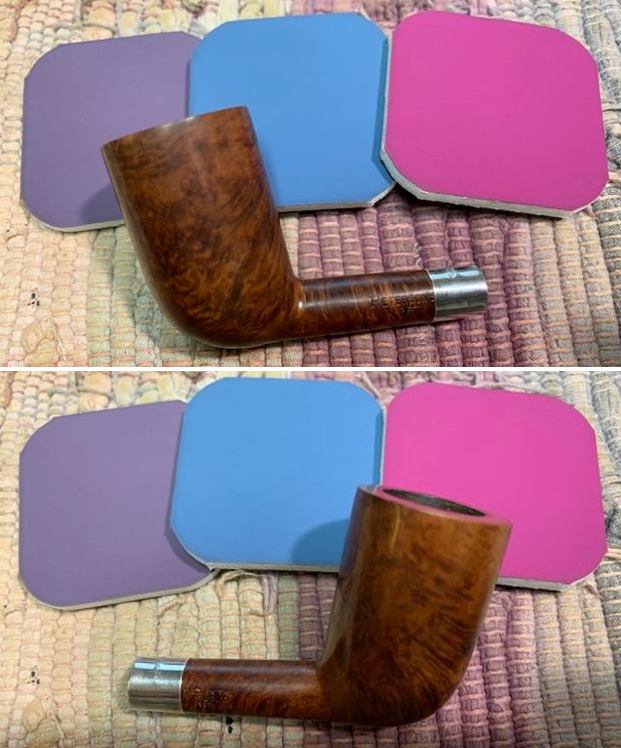
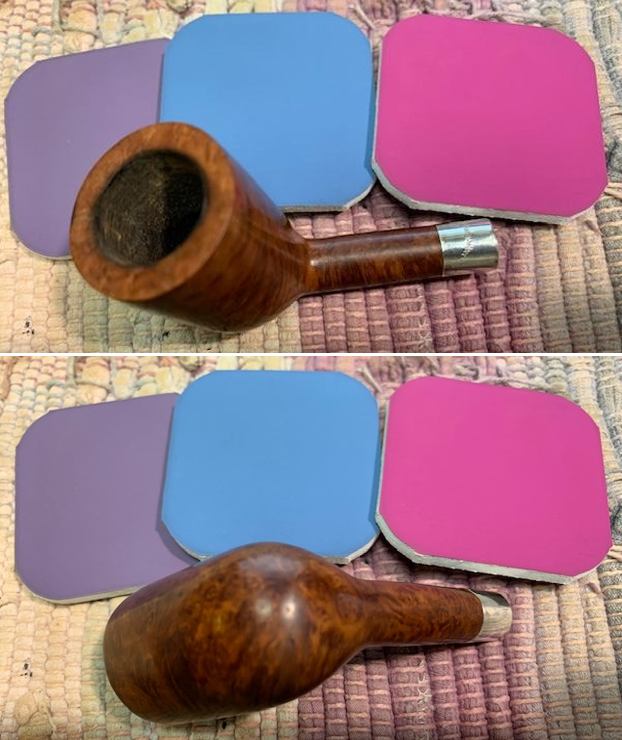
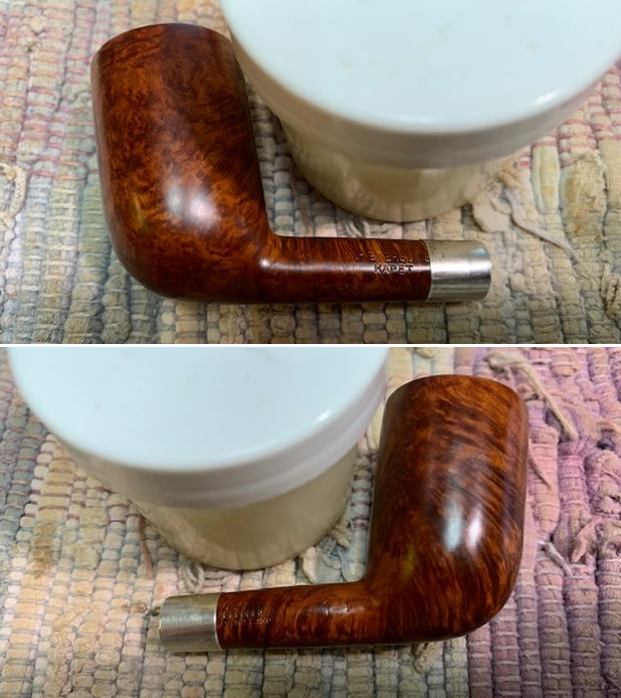
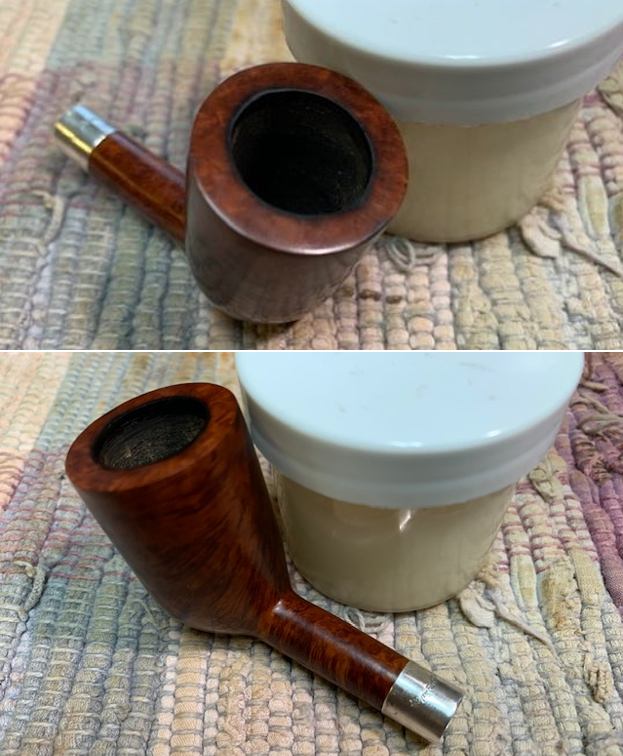
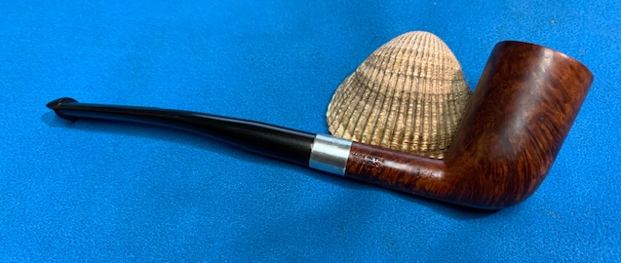
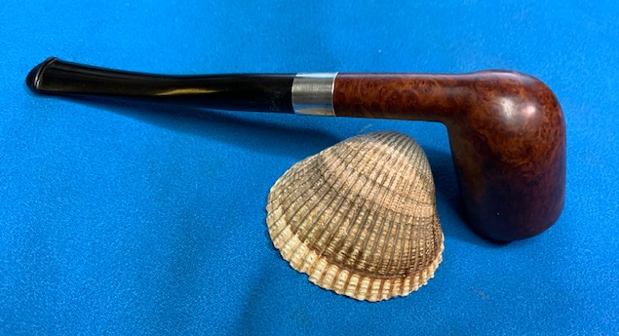
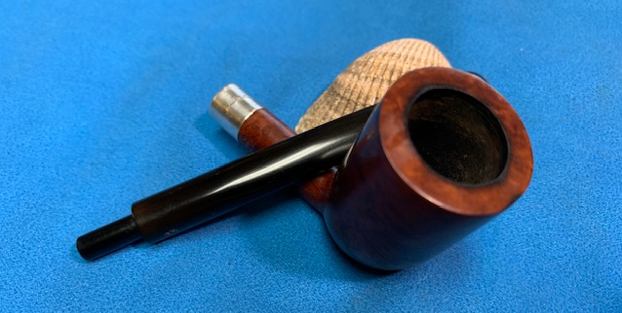
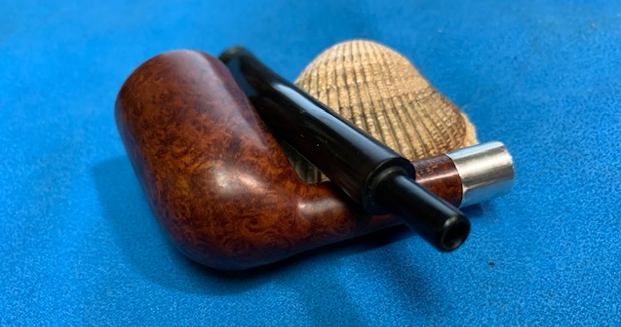
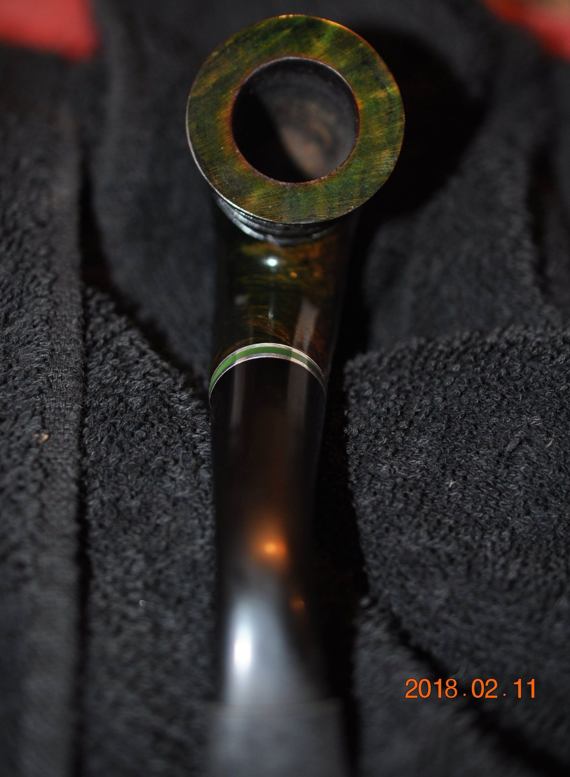
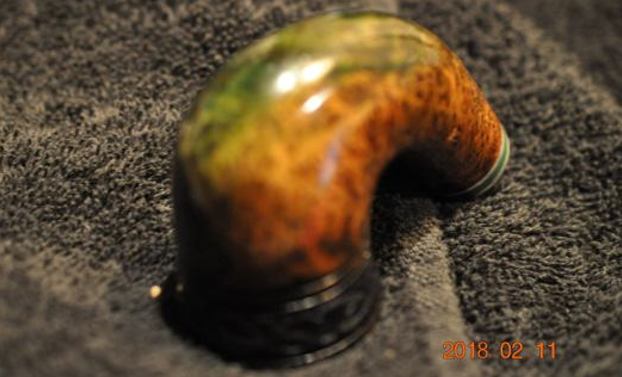
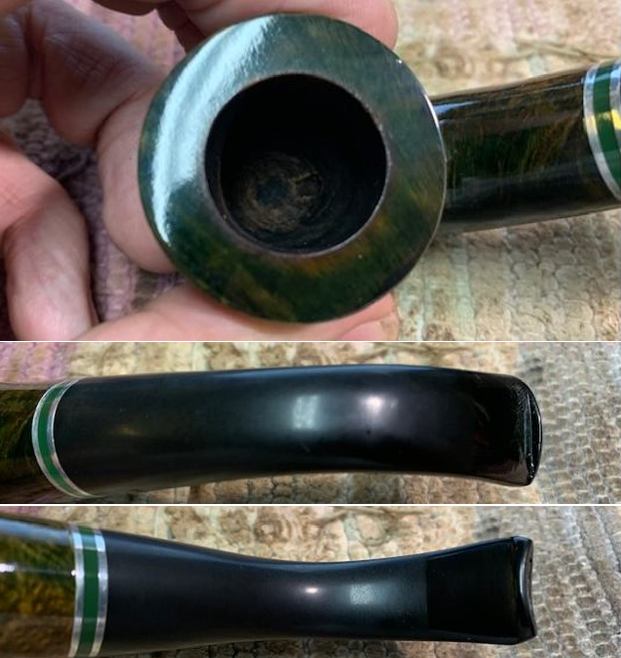
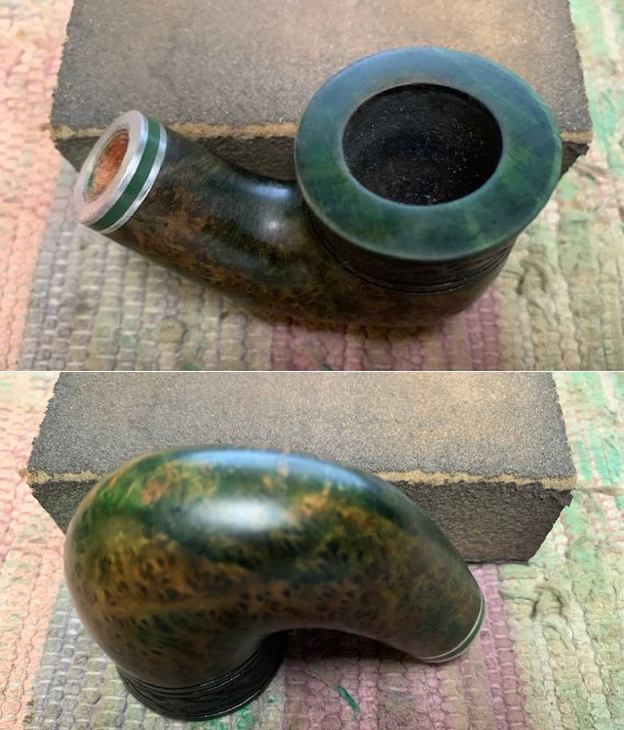
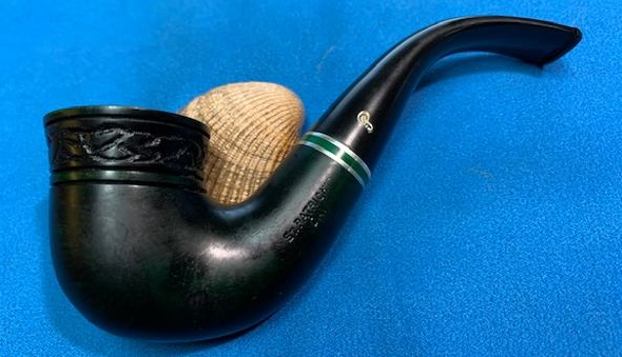
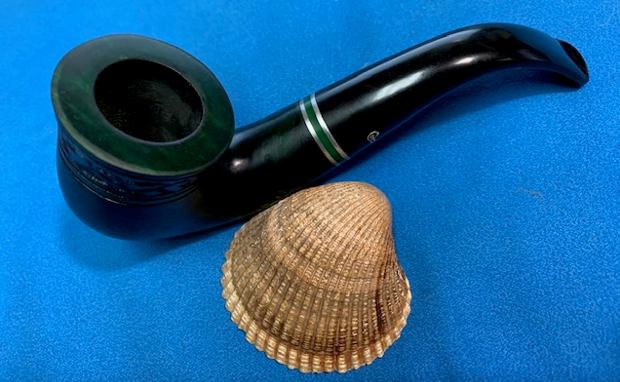
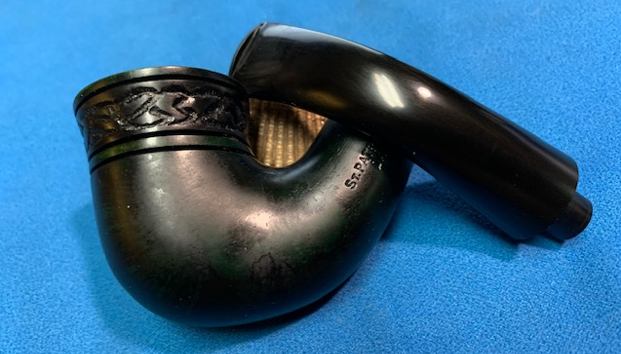
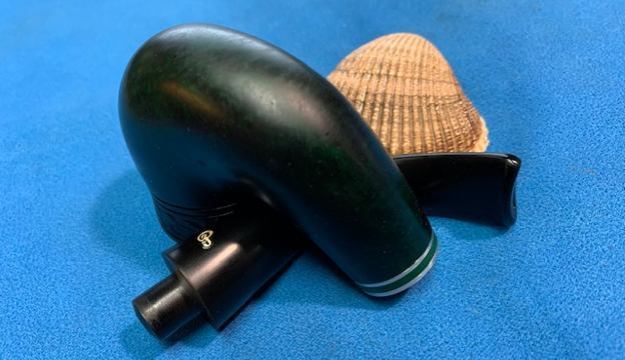
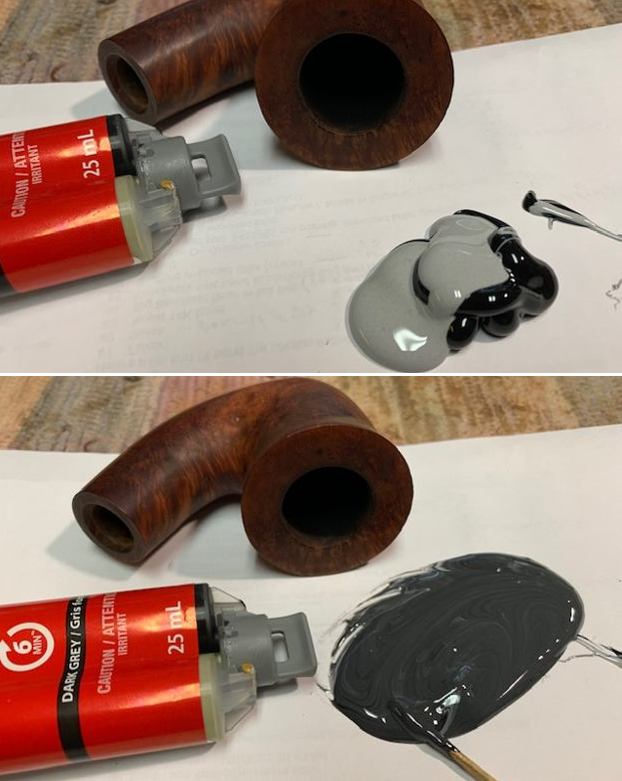
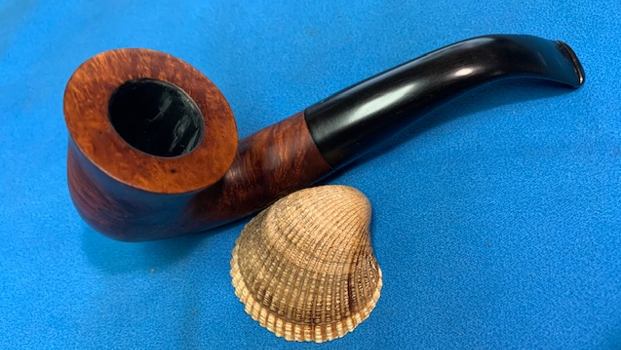
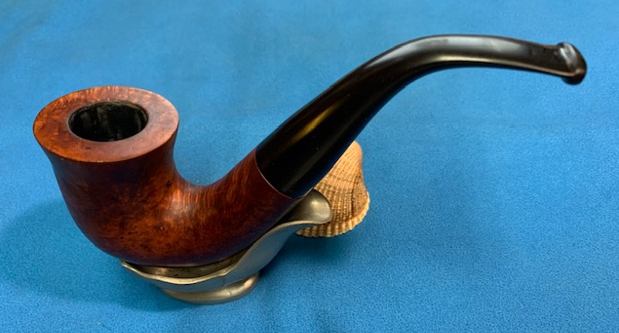
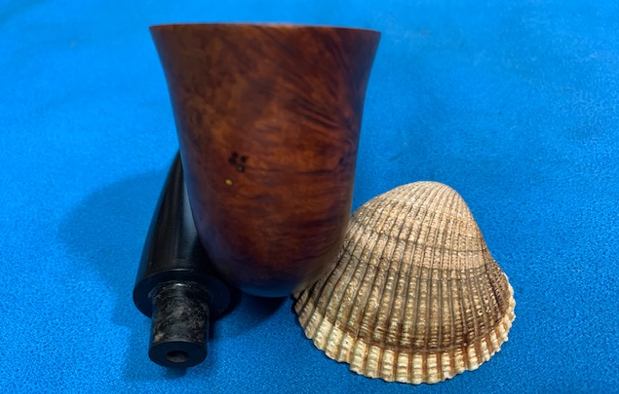
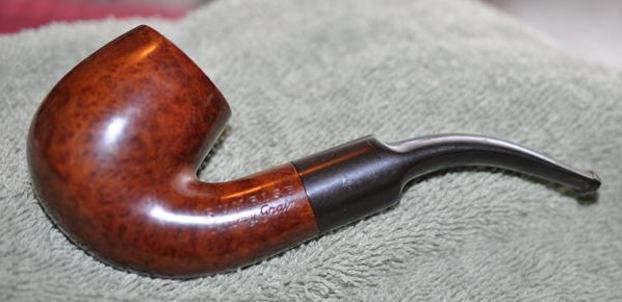
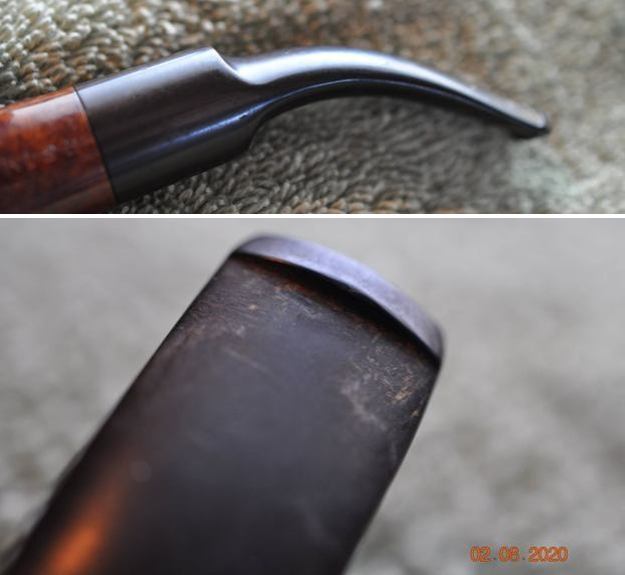
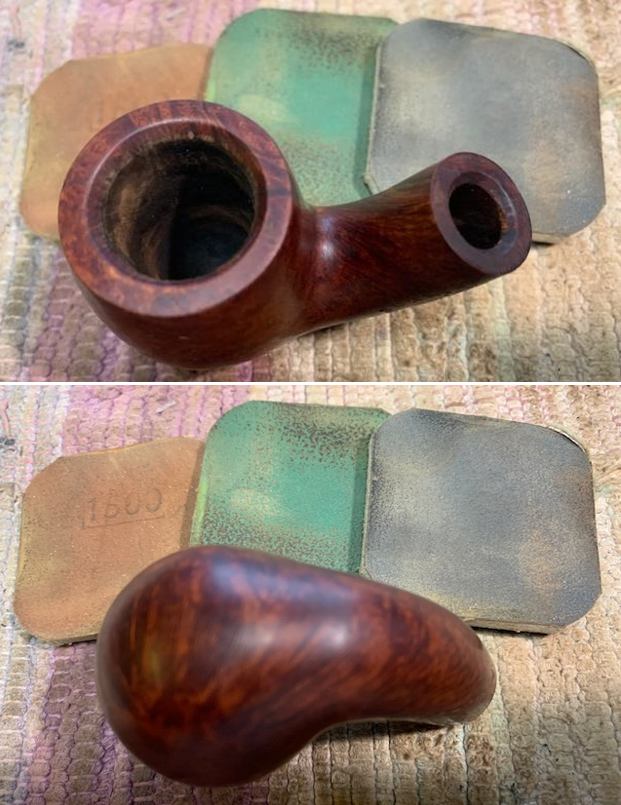
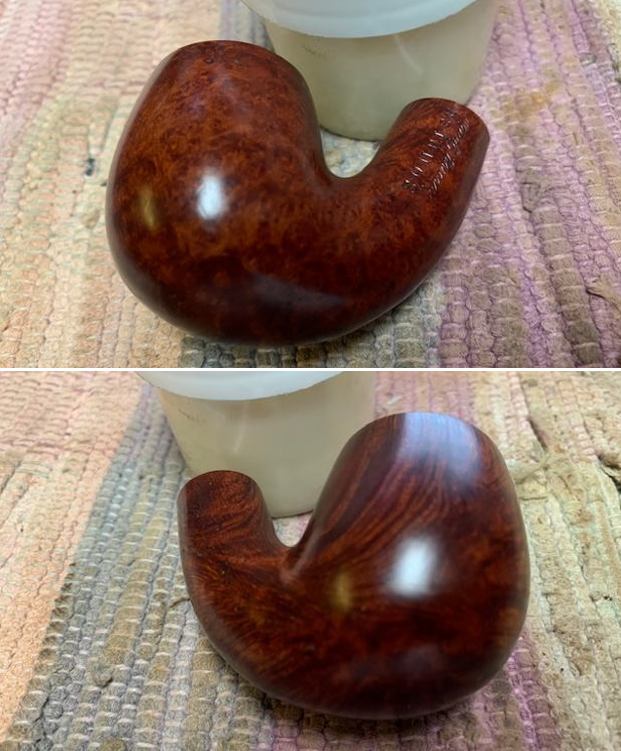
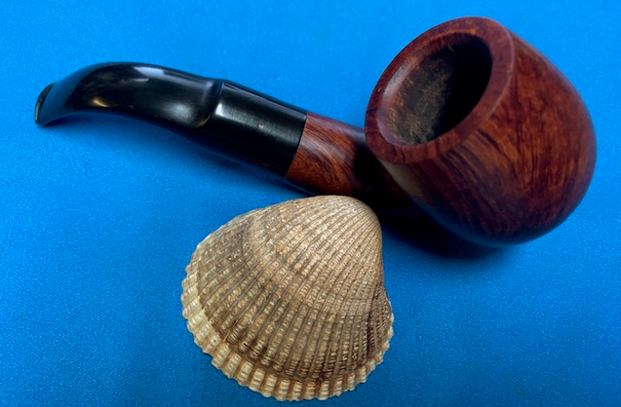
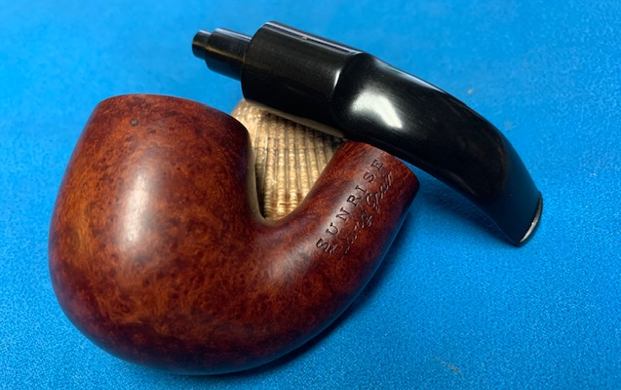
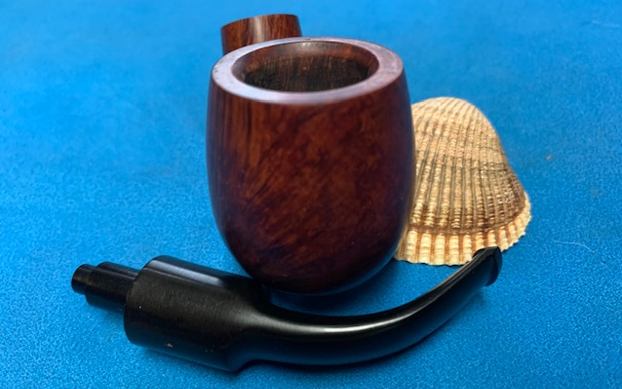
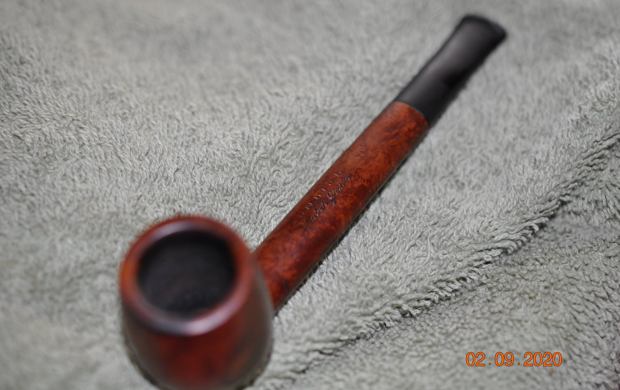
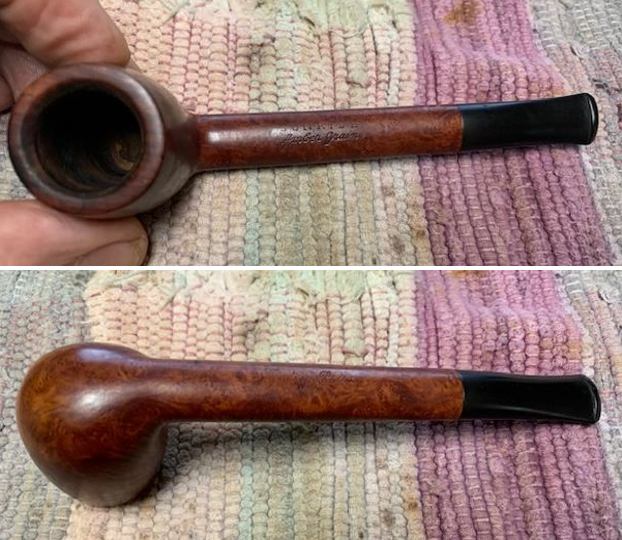
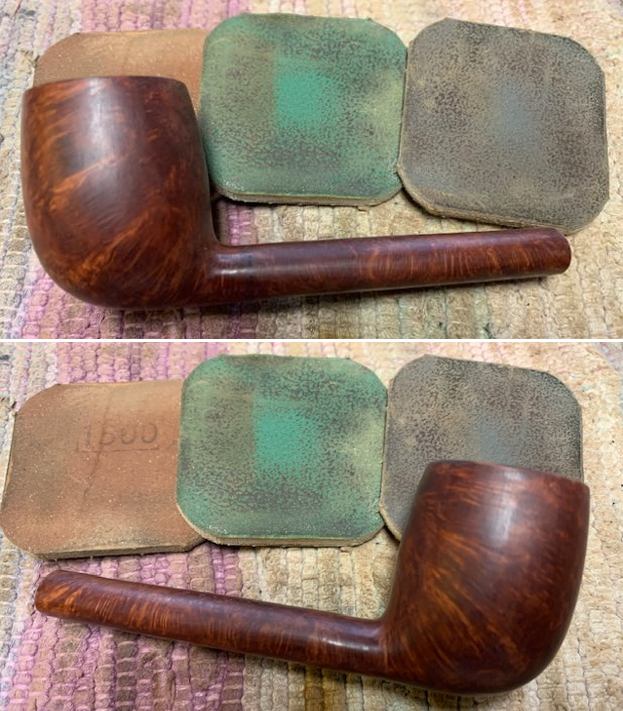
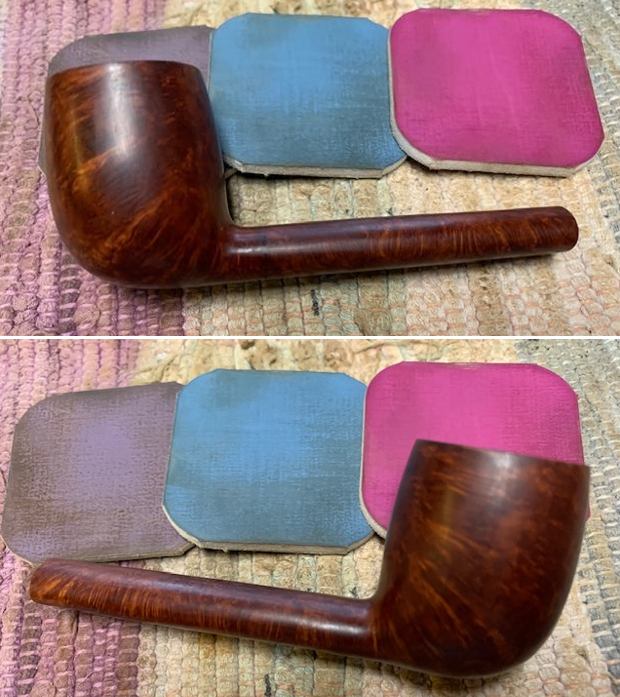
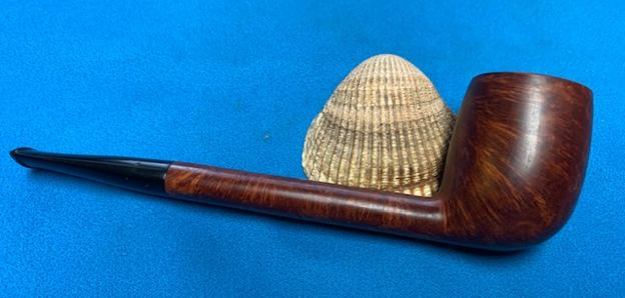
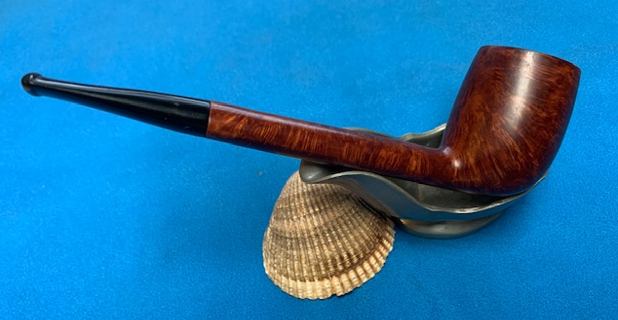
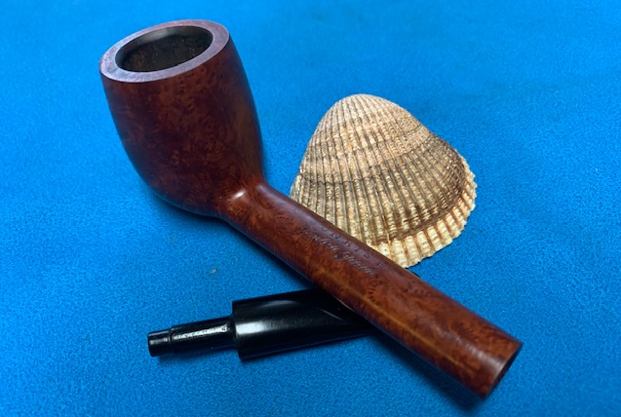
Now back to the pipes. The first one I restored was a large Irish Second 05 Calabash that will be going to the fellow I repaired the cracked Irish Second for. This will give him another option to smoke should that one give him further issues. The second pipe from the lot was unique looking Peterson’s Kapet pipe in a shape 124 (https://rebornpipes.com/2021/08/16/restoring-a-republic-era-petersons-kapet-124/). All of the pipes were in clean condition and had been lightly reamed. The next one on the table is a very Danish looking Acorn. When I first saw it I thought maybe one of the Stanwell sandblasts. I was wrong the only stamping on it on a smooth panel on the underside of the shank. It is stamped Made in London [over] England. The sandblast was in good condition. There was some darkening on the rim top and inner edge of the bowl. There was a light cake in the bowl. The pipe has a thin pencil shank that is in excellent condition. The thin saddle stem was lightly oxidized and had tooth chatter on both sides ahead of the button. There were no logo stamps on the stem.
I took some photos of the pipe before I started my clean up work on it. It is another unique and interesting looking pipe. The acorn shaped bowl and pencil shank look very good together. The Made in London England stamp is vague enough and used by enough English pipemaking companies that I cannot give a definite maker for the pipe. My guess is that it is probably a Charatan pipe but I cannot prove or disprove that.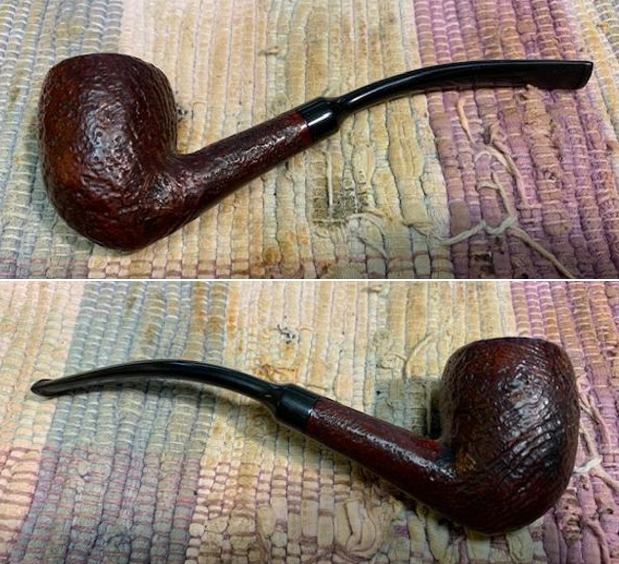
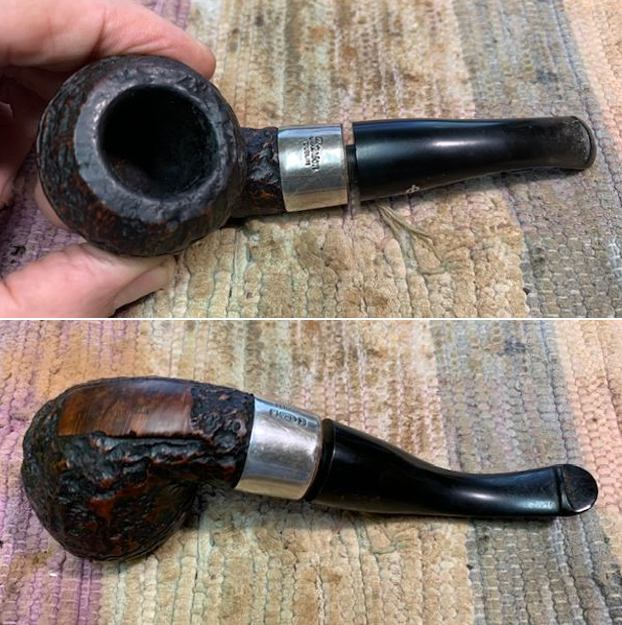
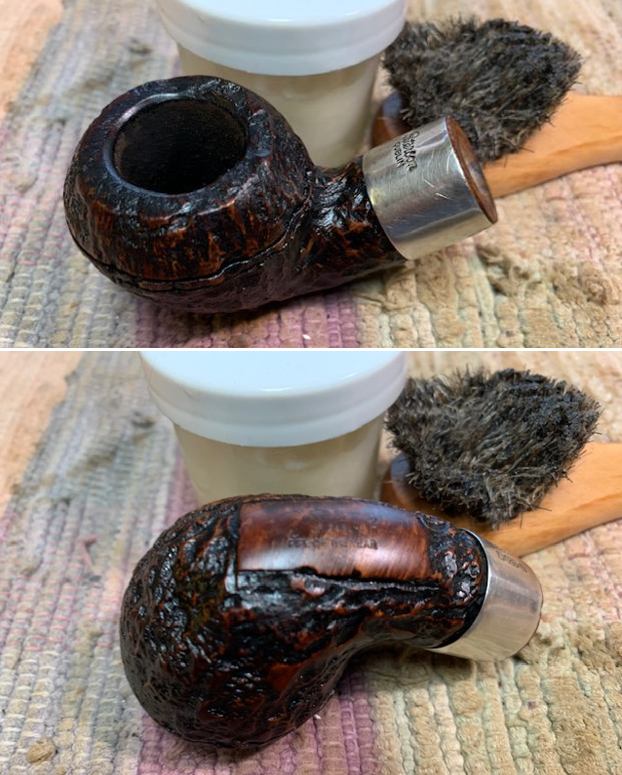
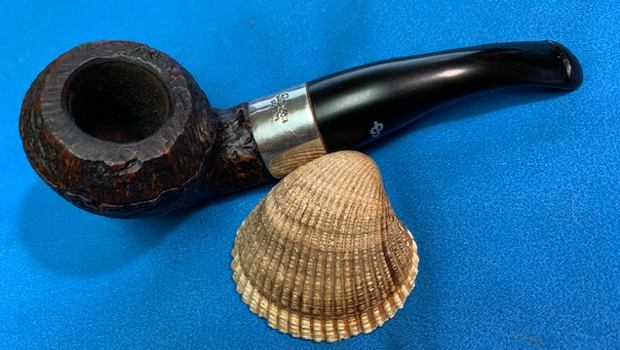
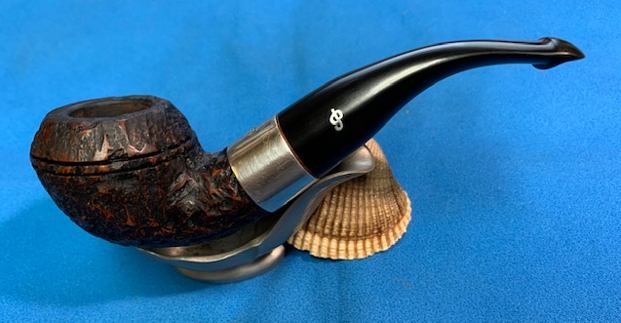
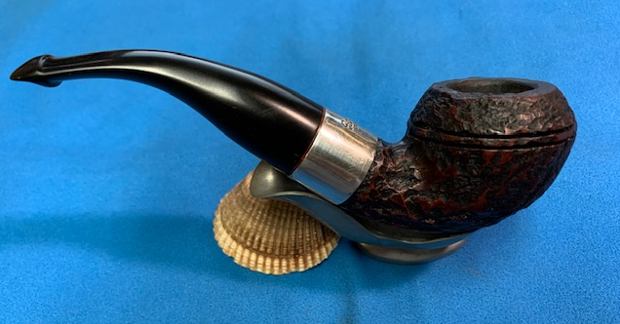
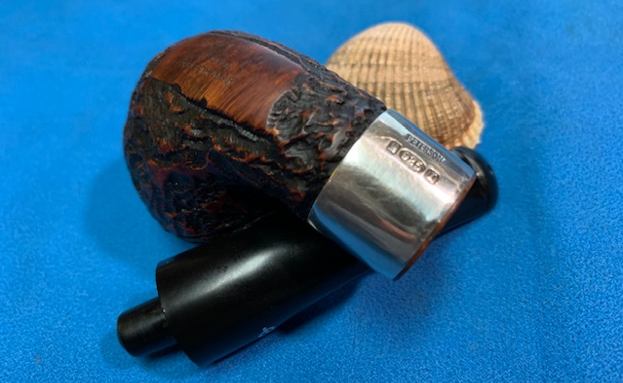
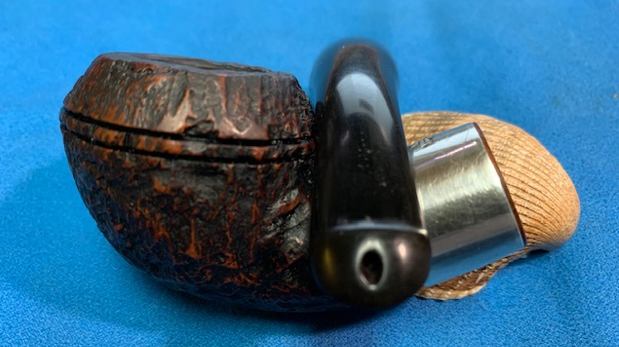
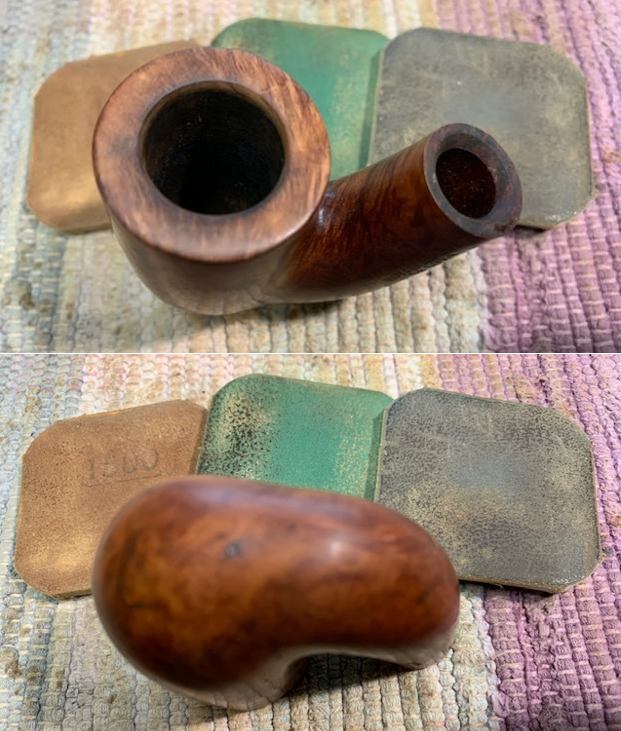
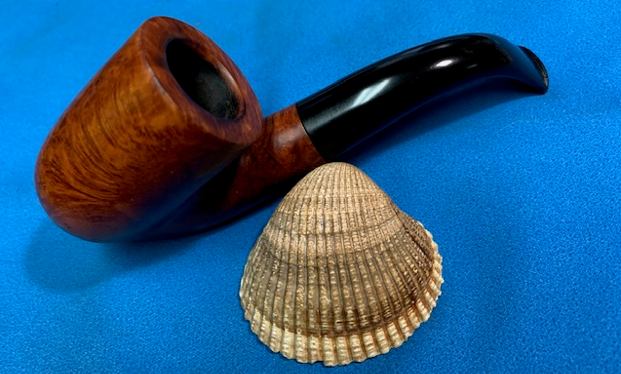
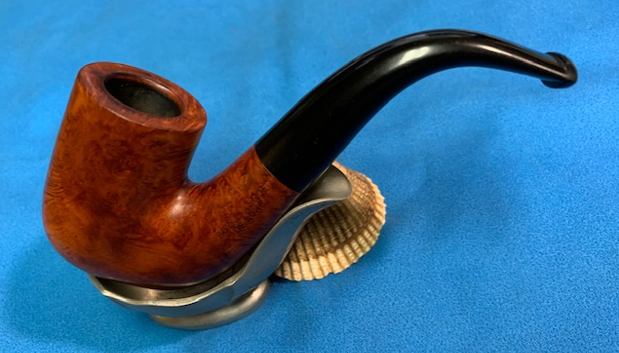
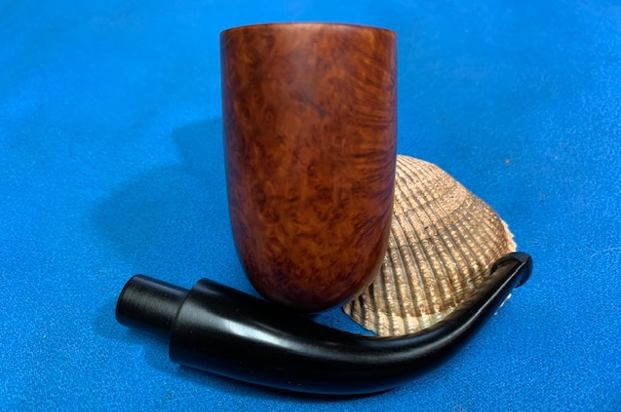
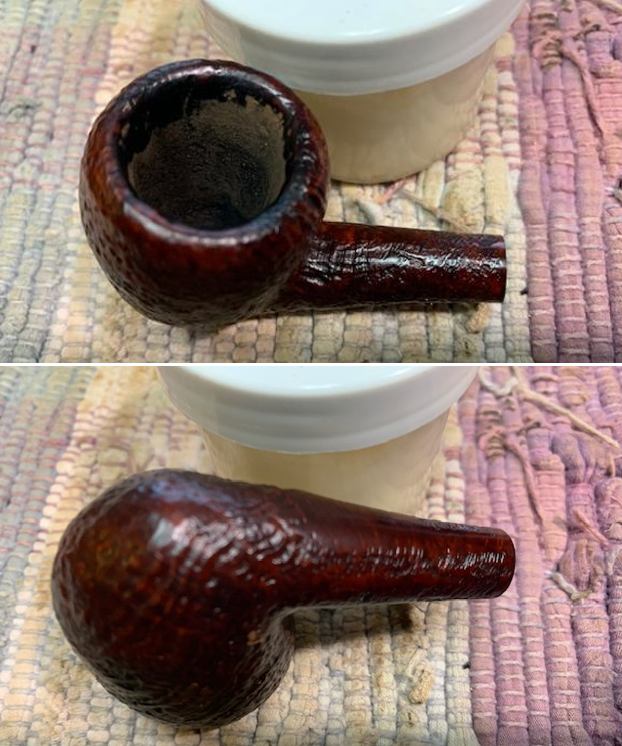
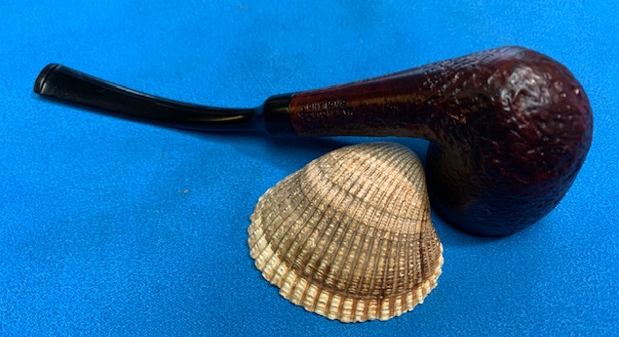
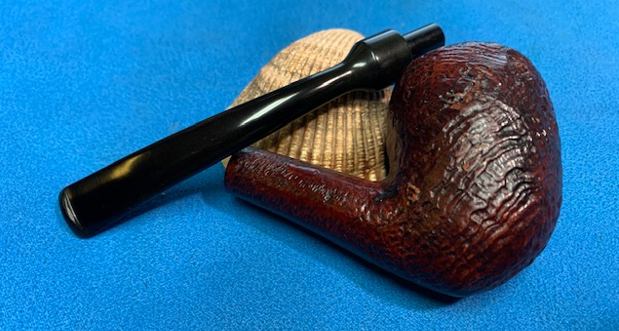
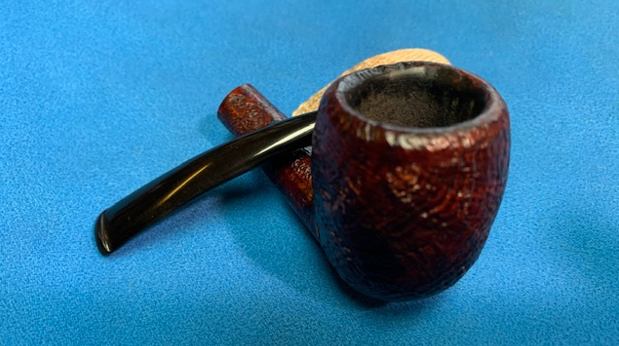
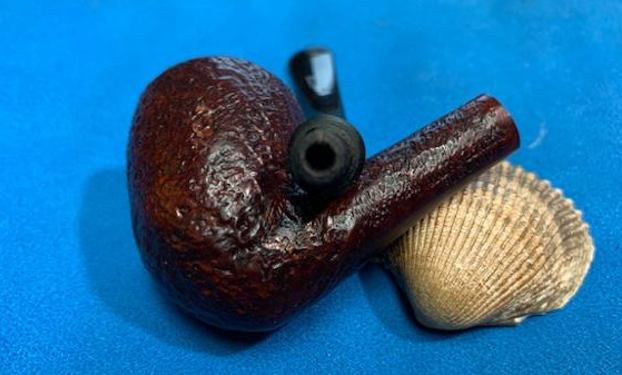
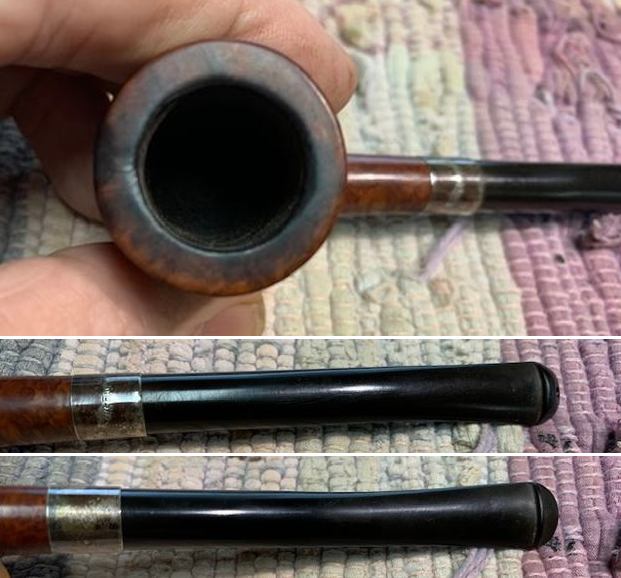
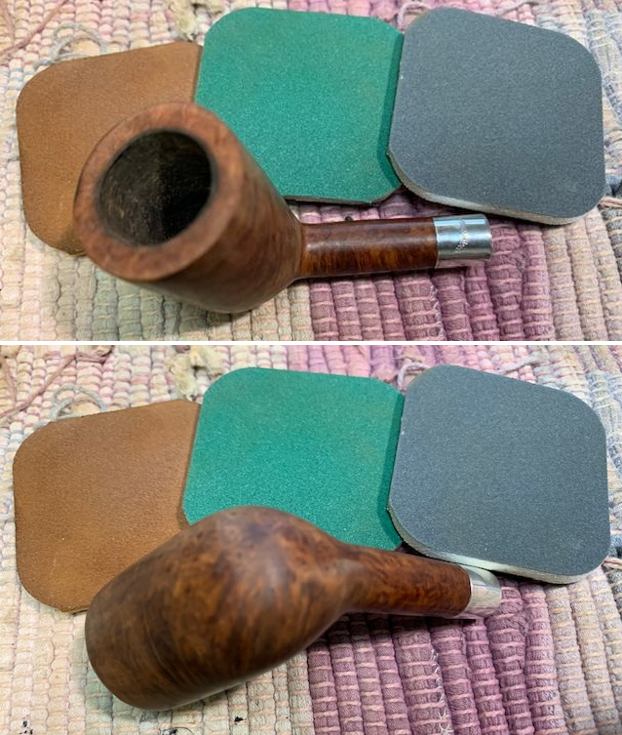
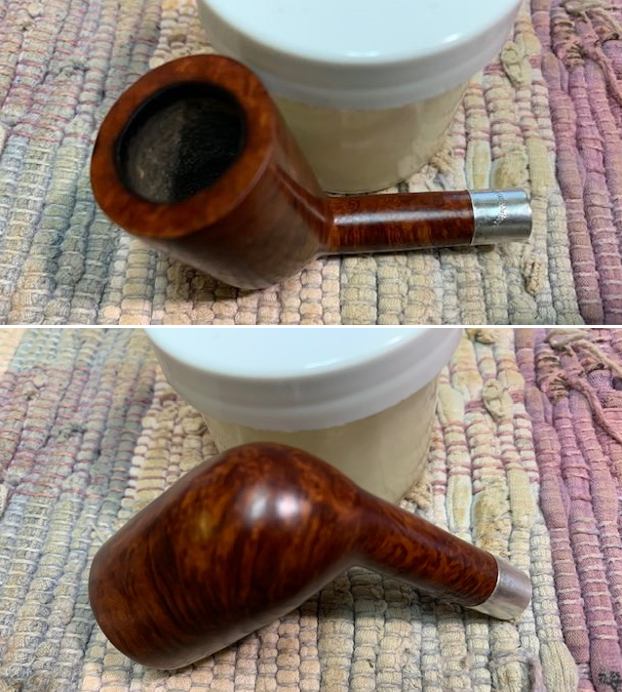
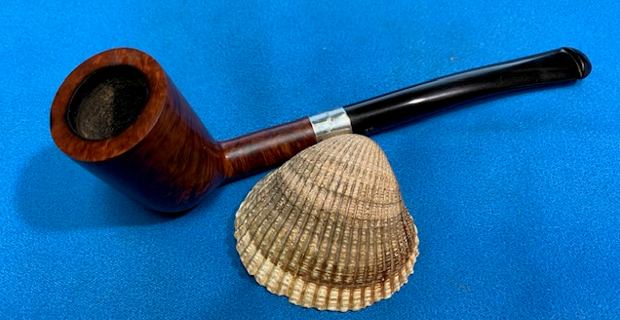
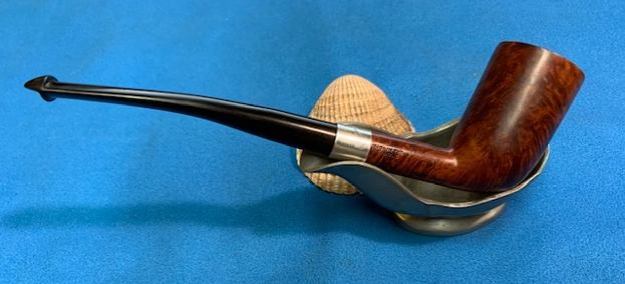
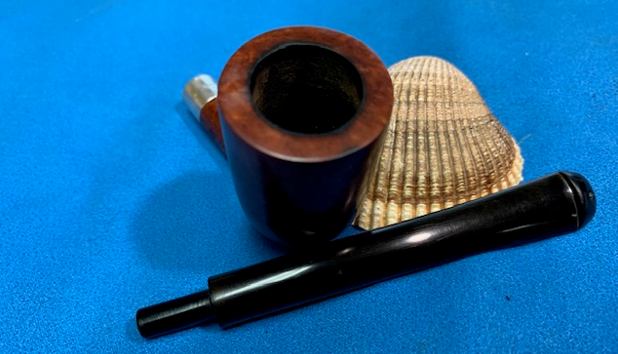
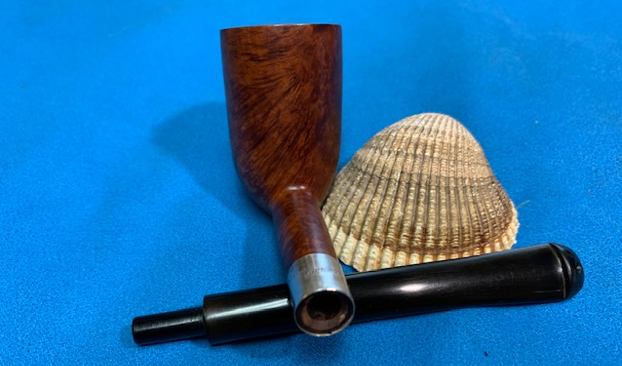
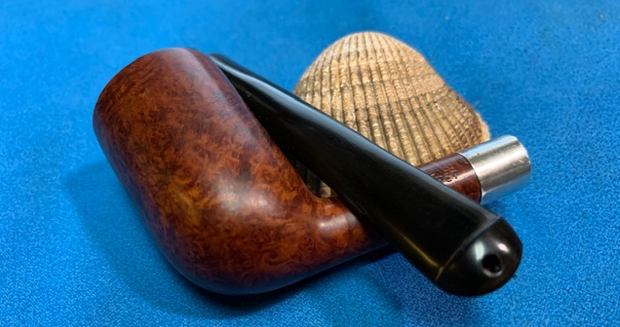
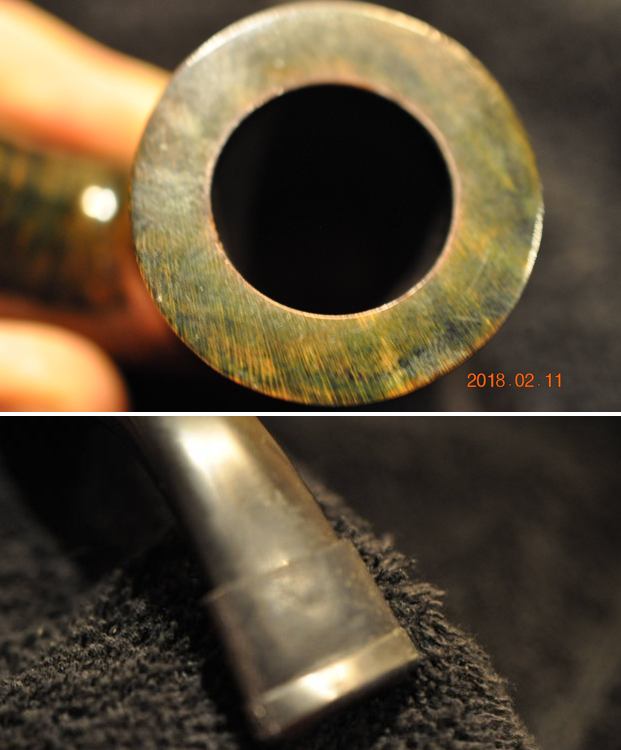
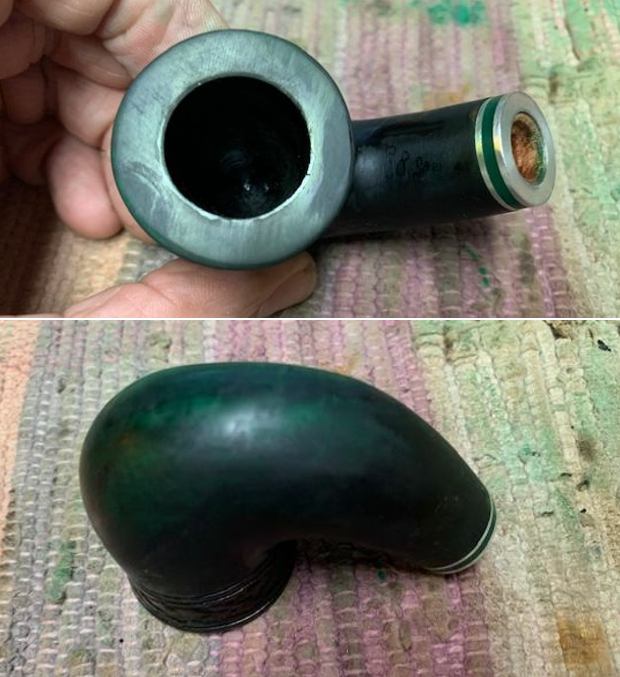
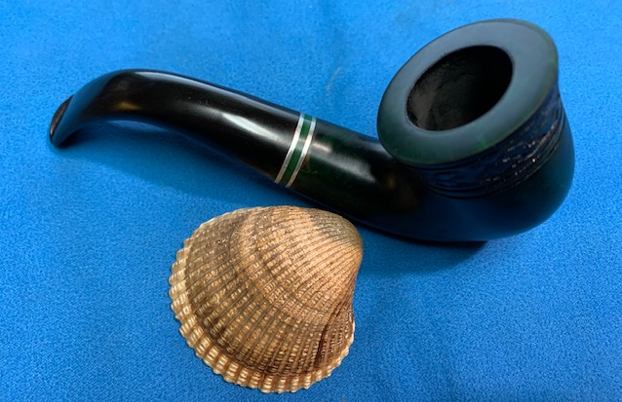
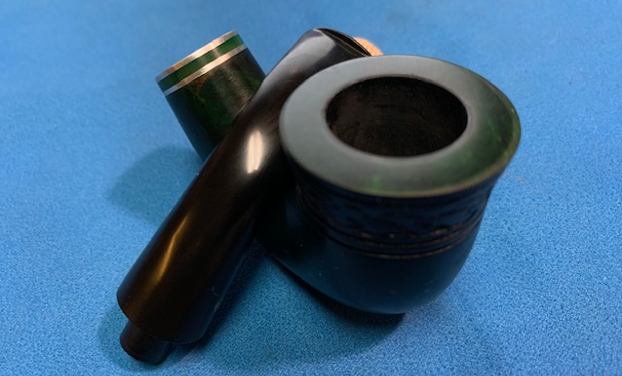
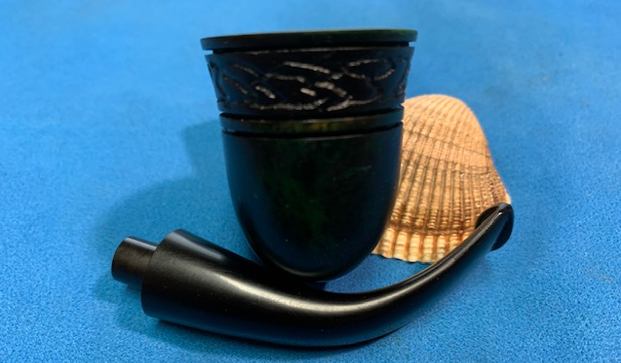
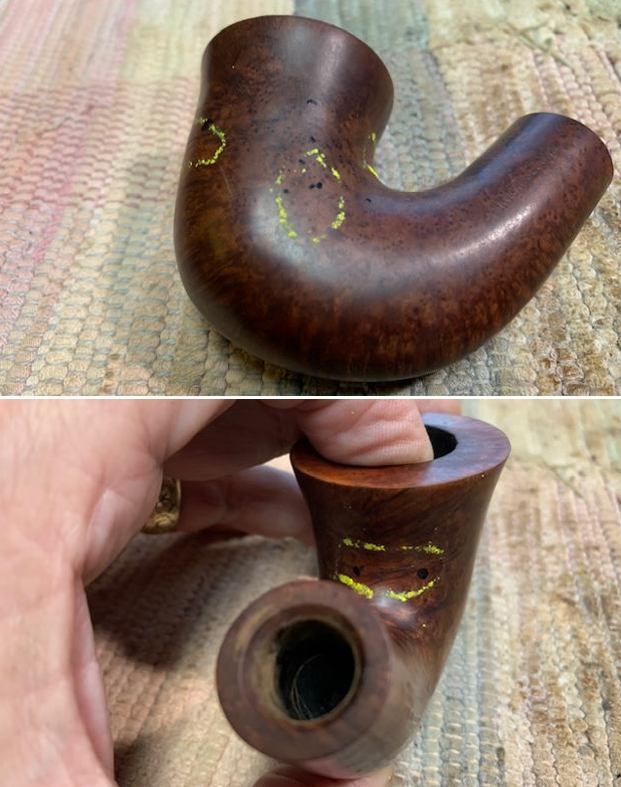
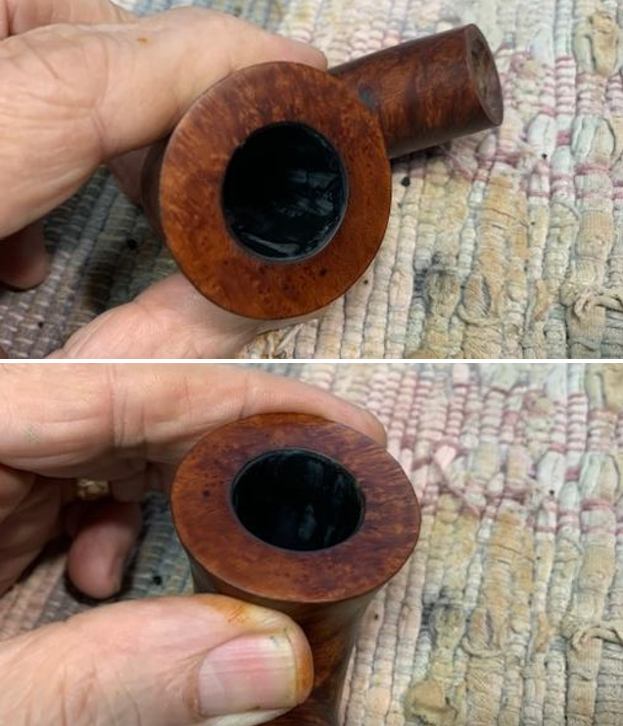
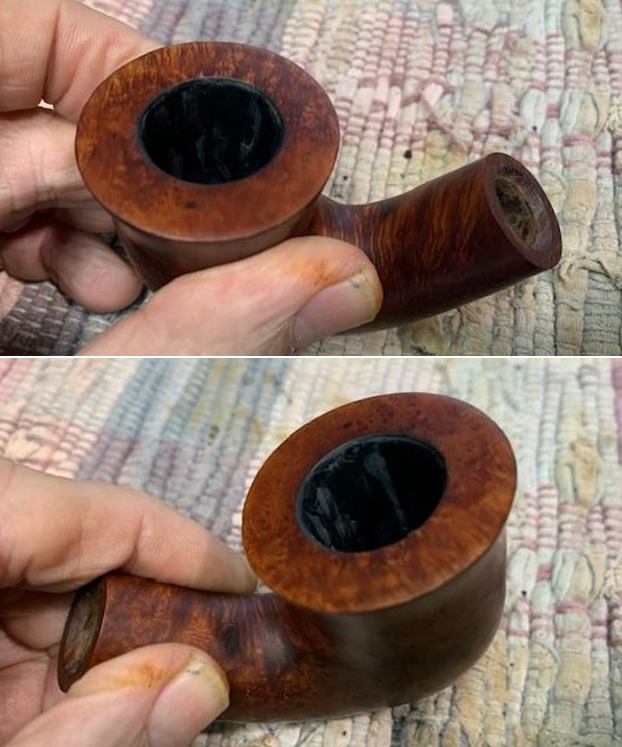
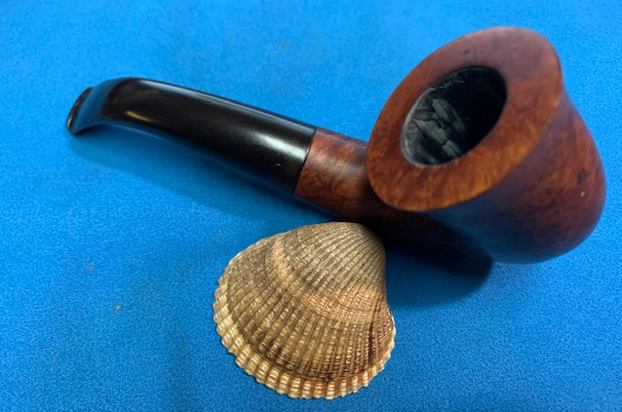
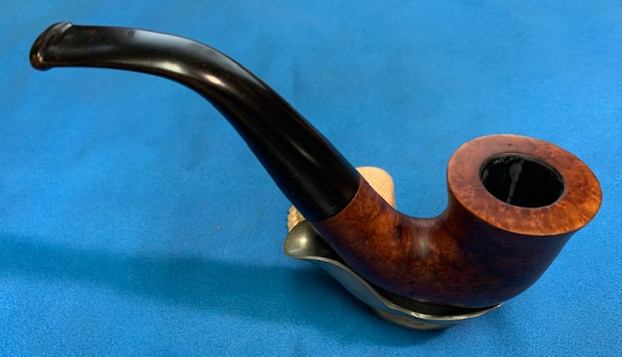
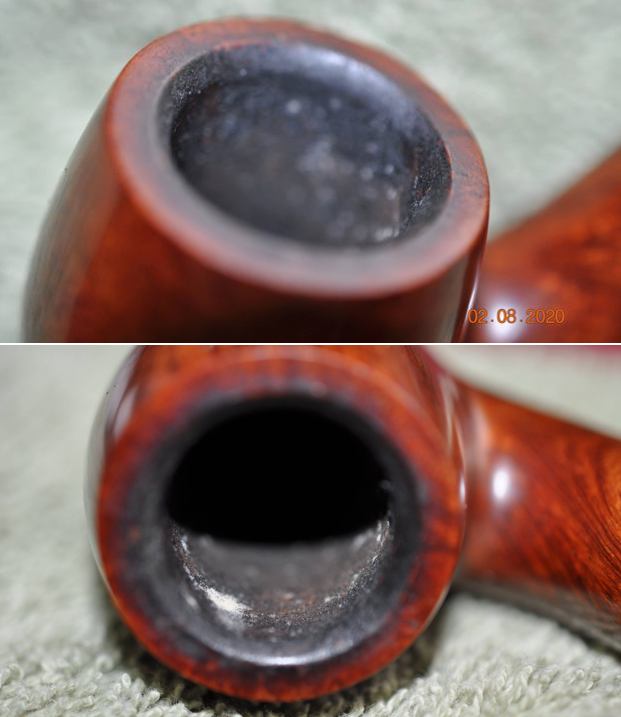
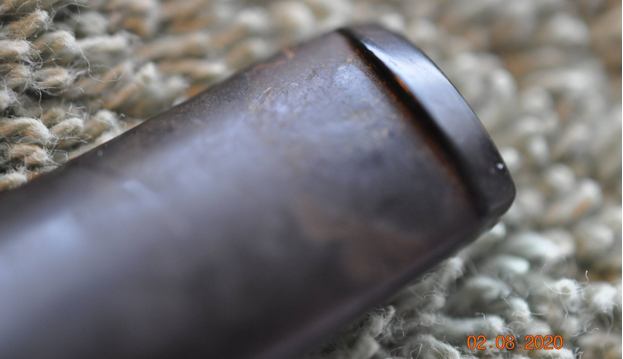
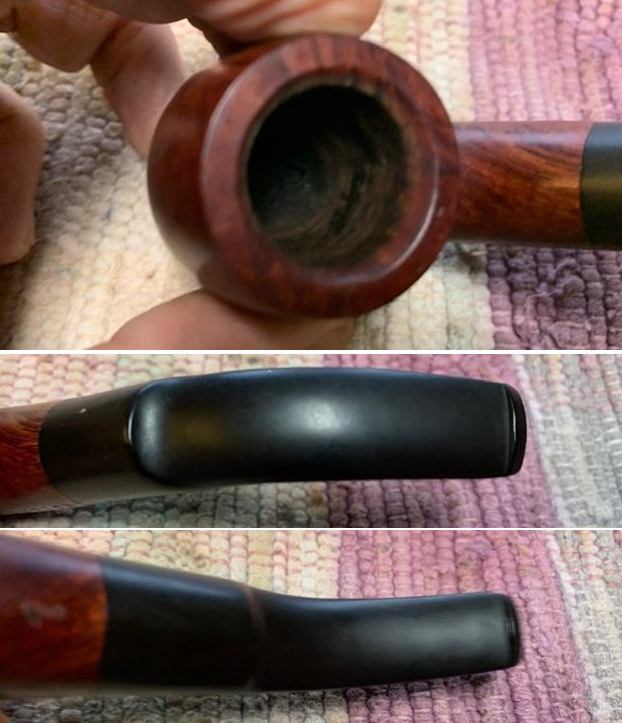
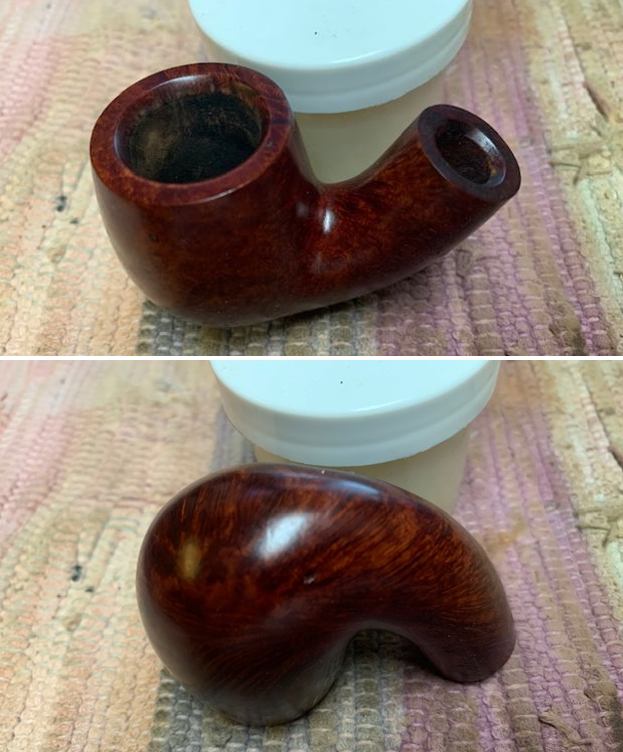
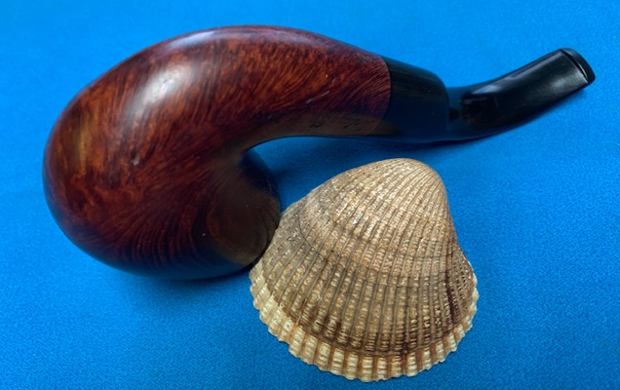
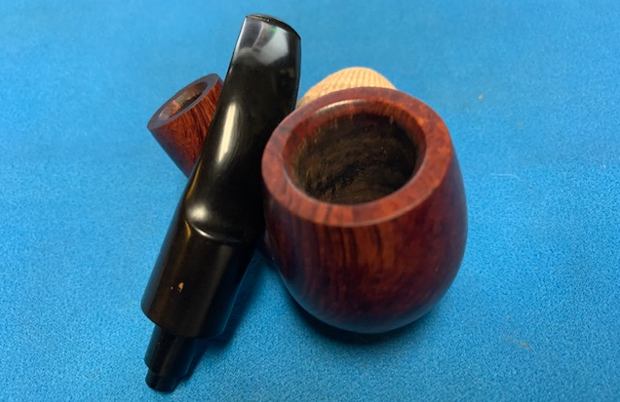
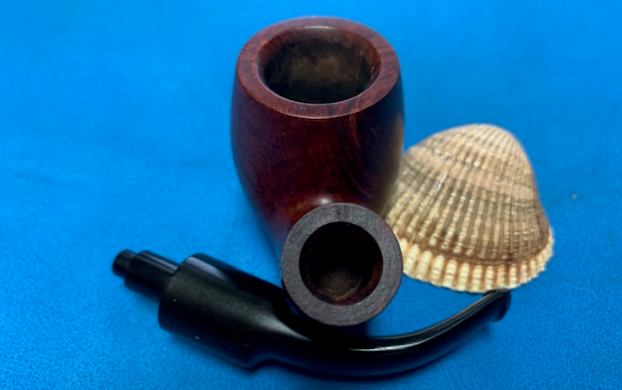
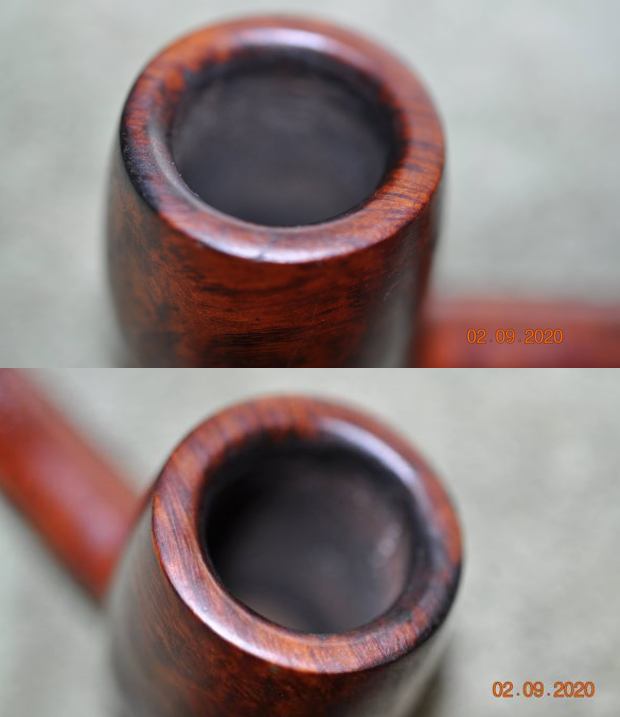
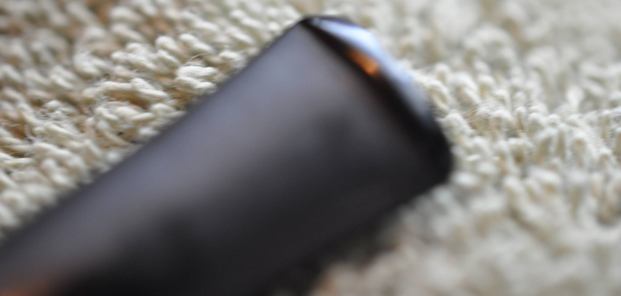
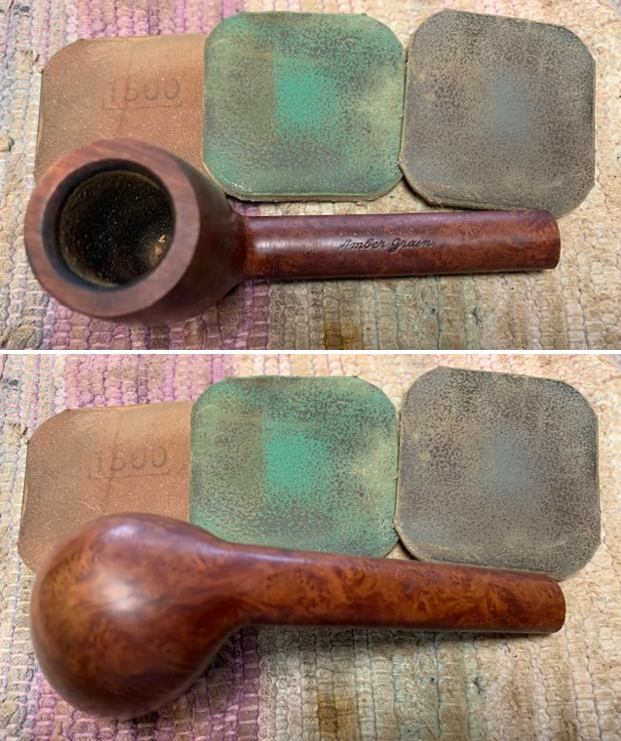
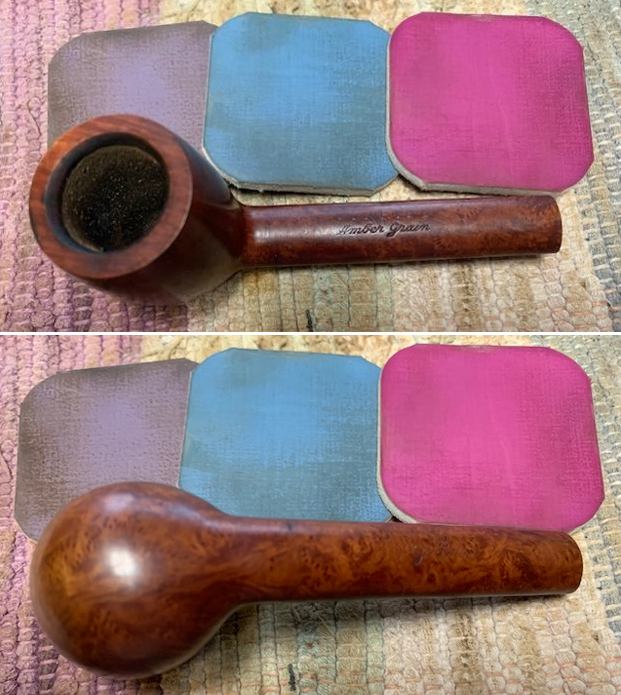
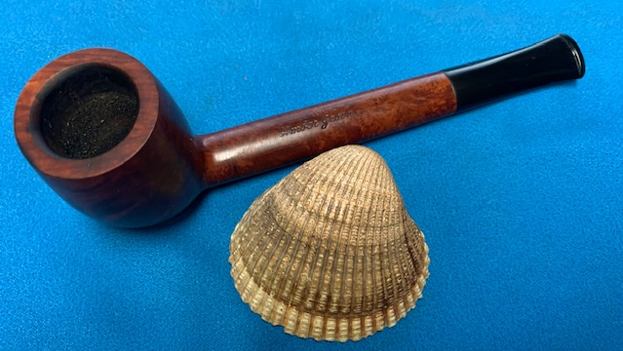
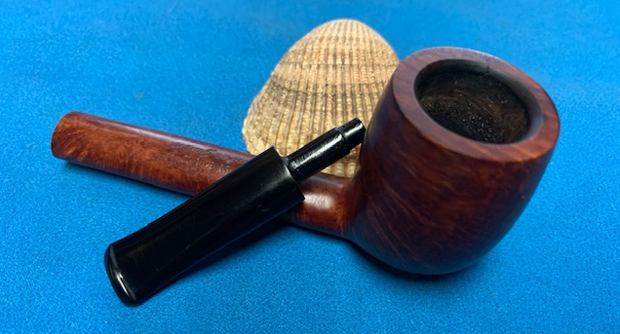
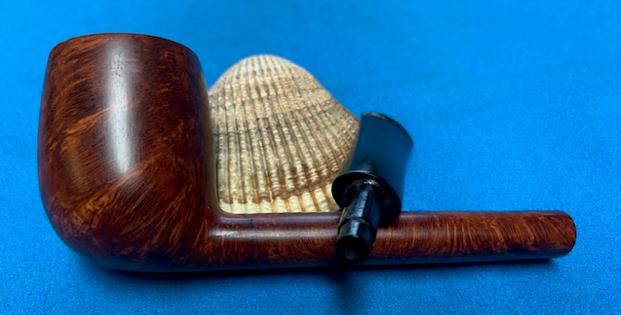
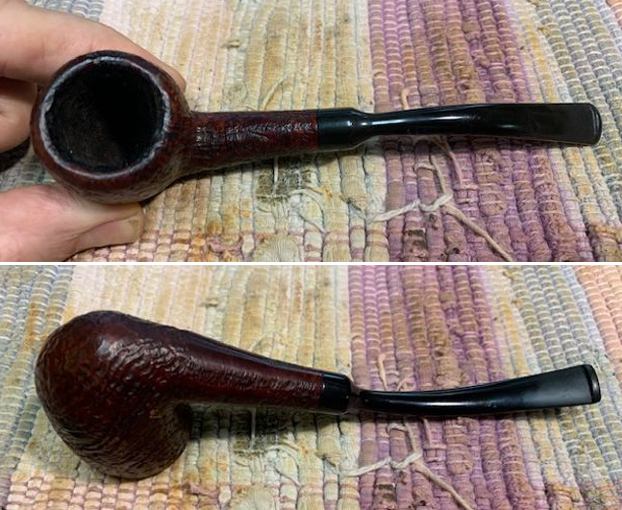 I took photos of the bowl and rim top as well as the stem to show the condition of the pipe. The rim top had some darkening and wear on the top and the inner edge of the bowl. The stem itself were in good condition other than a few light tooth marks and some chatter.
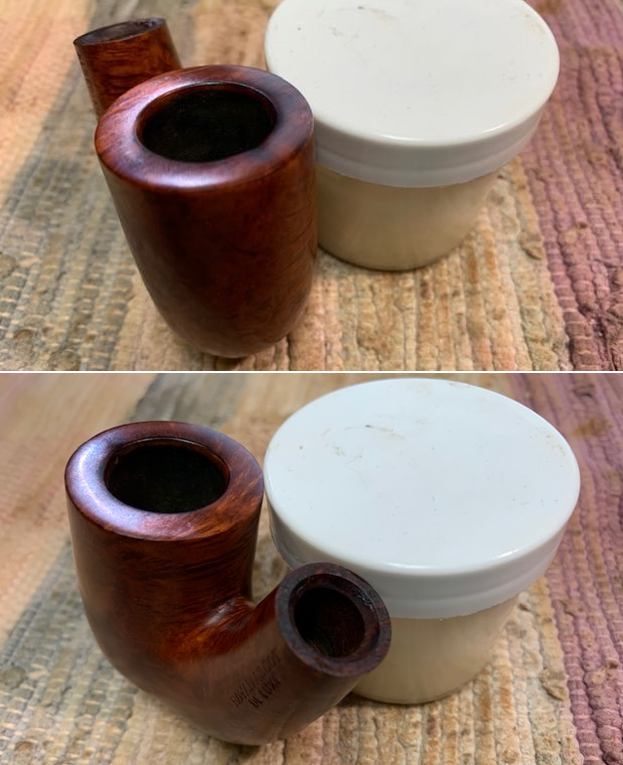
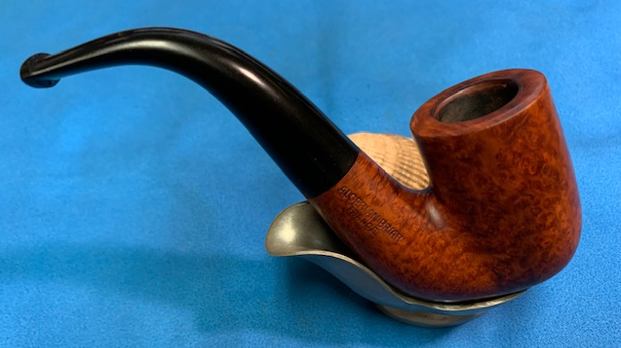
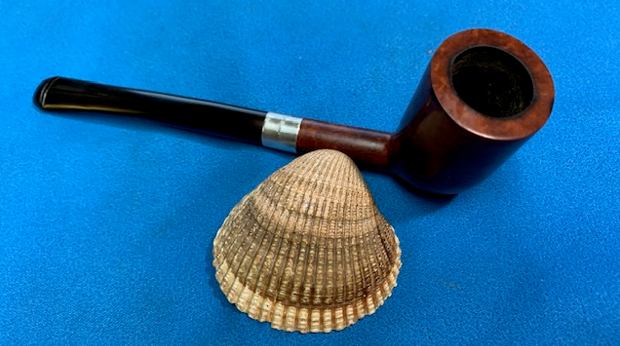
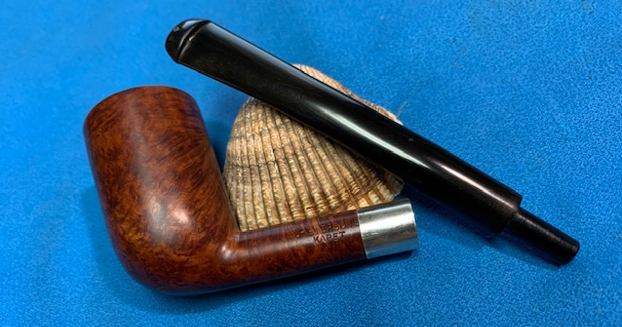
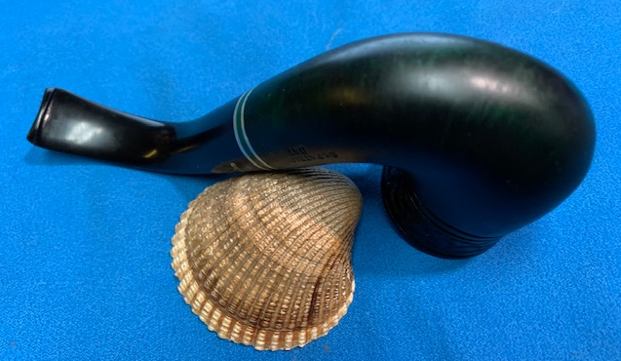
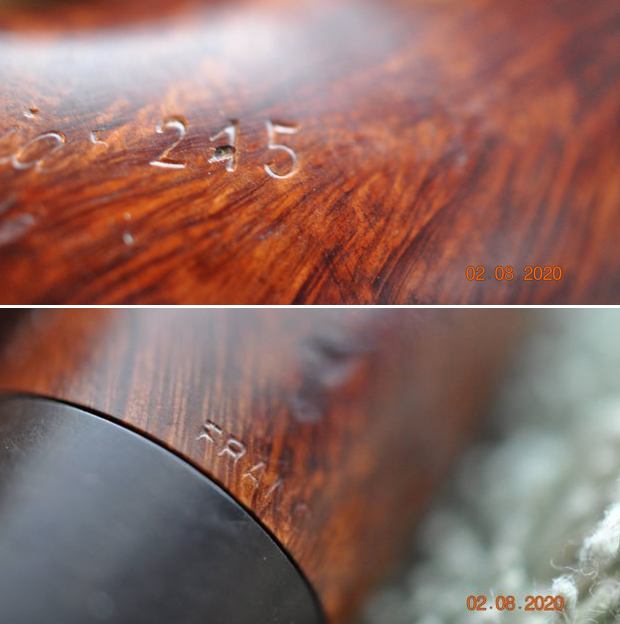
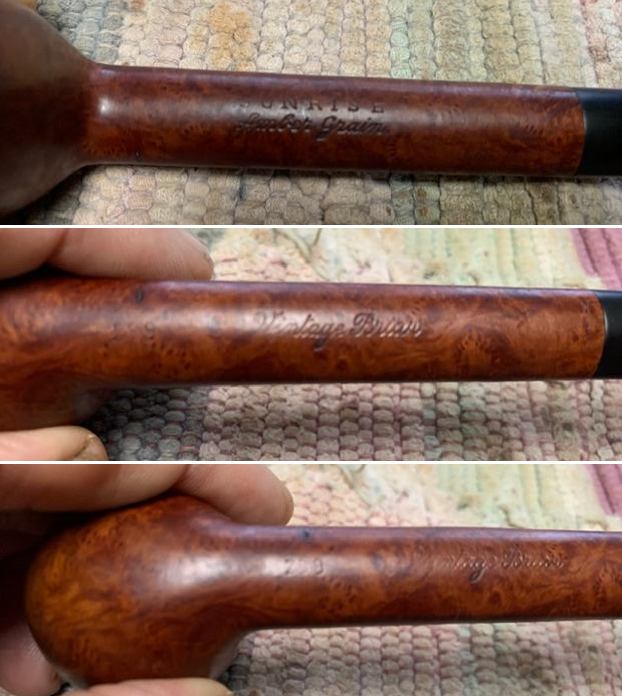
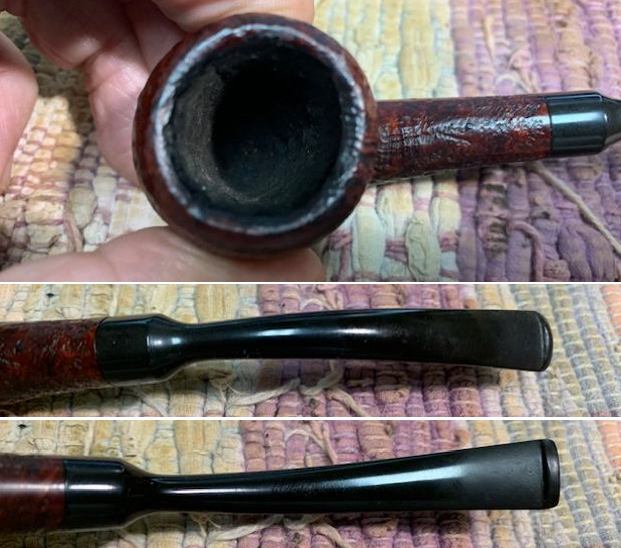 I took a photo of the stamping on the underside of the shank. It was clear and readable as noted above. The “MADE IN LONDON” portion of the stamp is in the sandblasted portion.
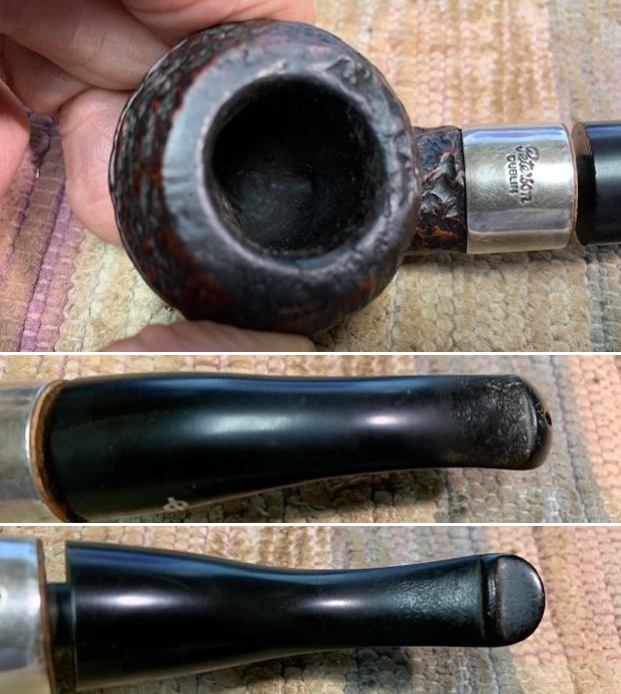
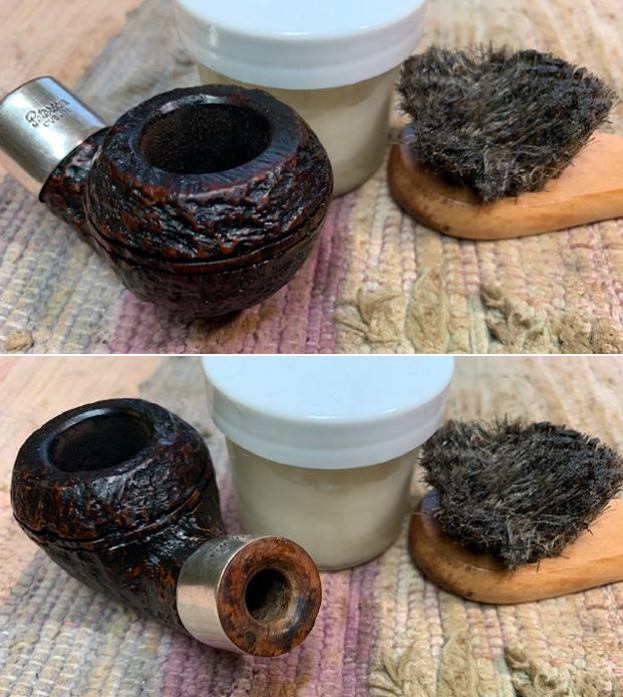
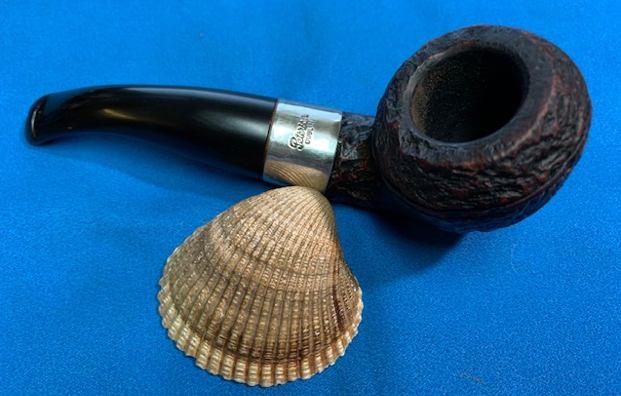
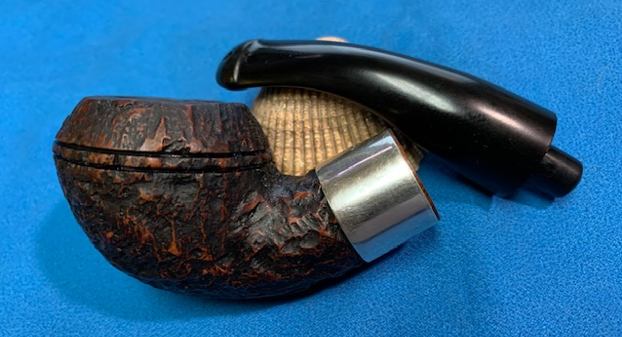
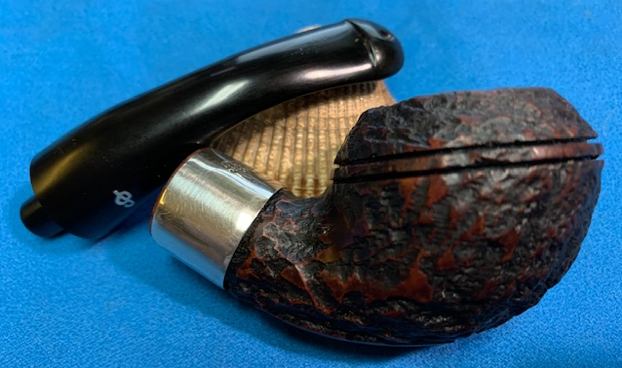
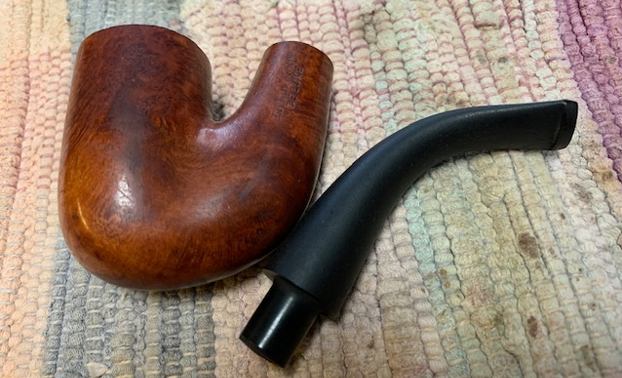
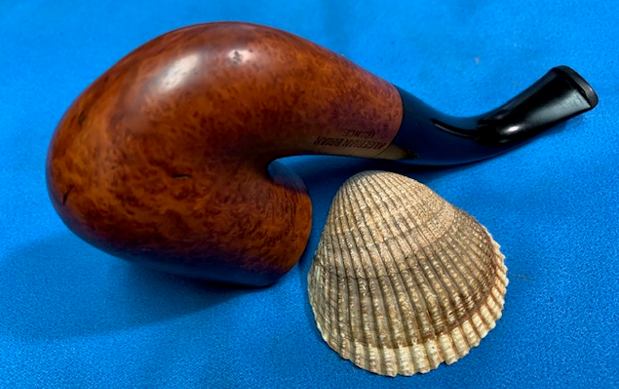
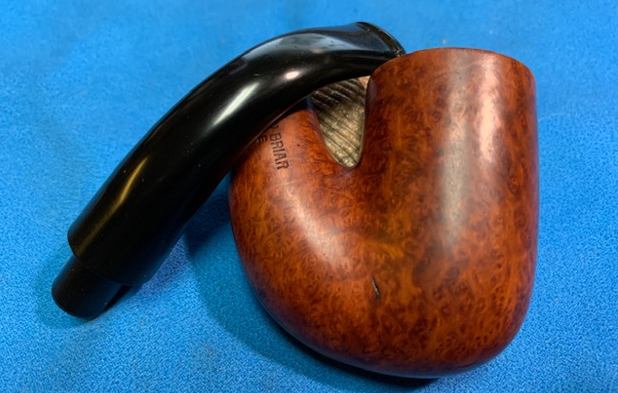
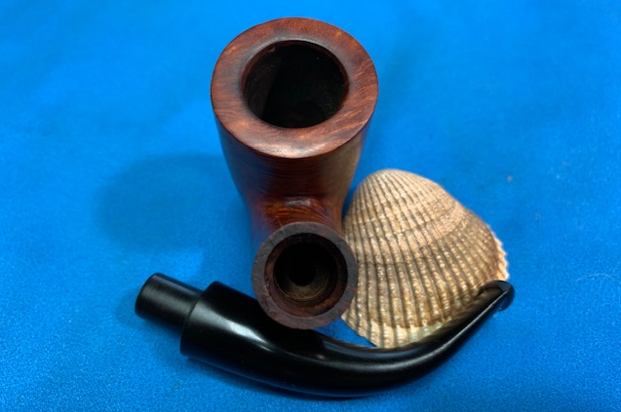
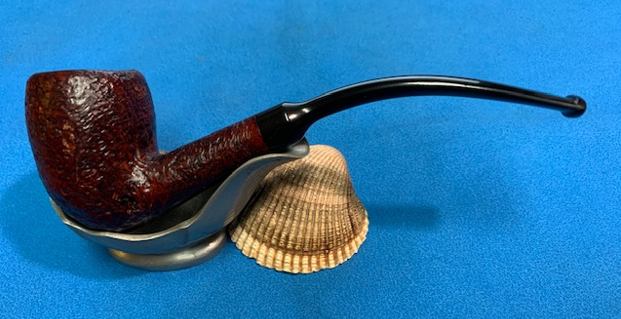
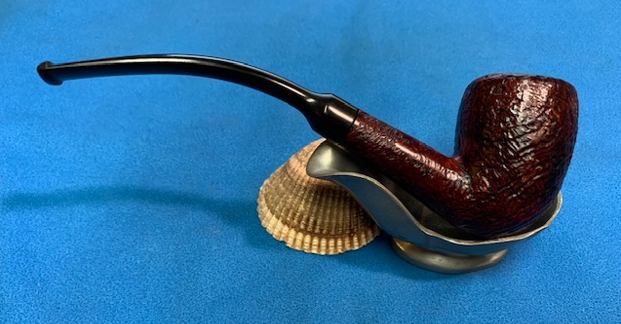
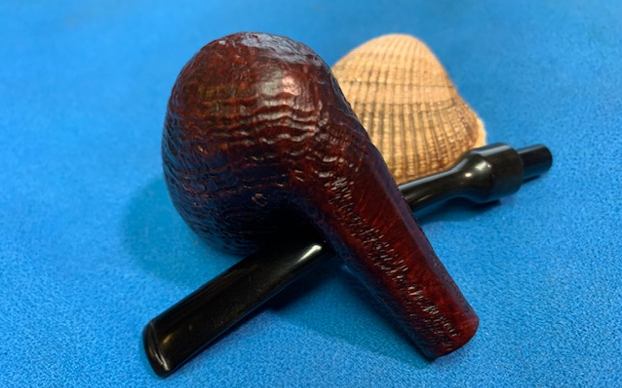
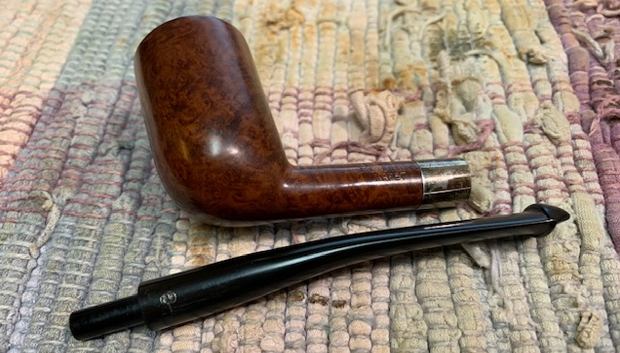
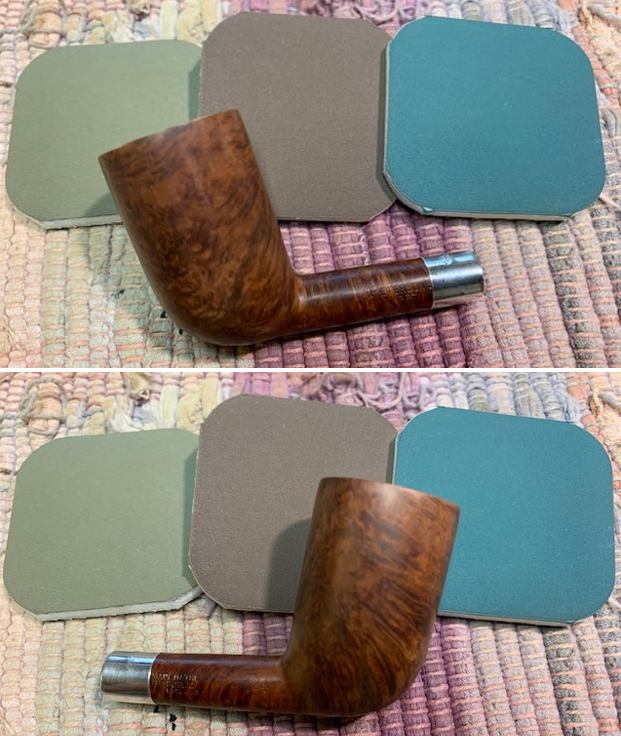
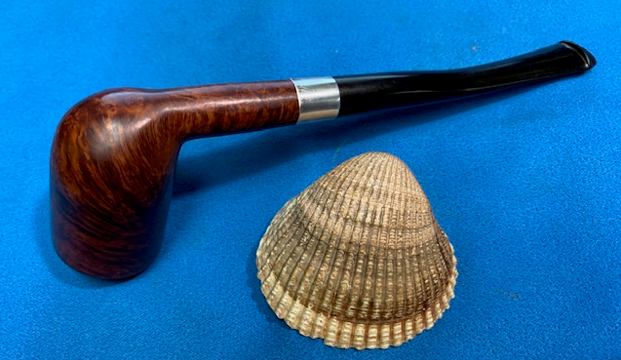
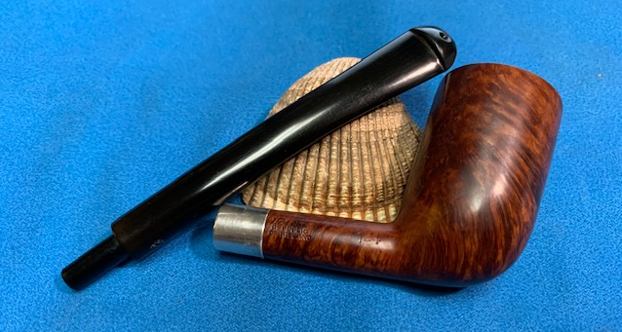
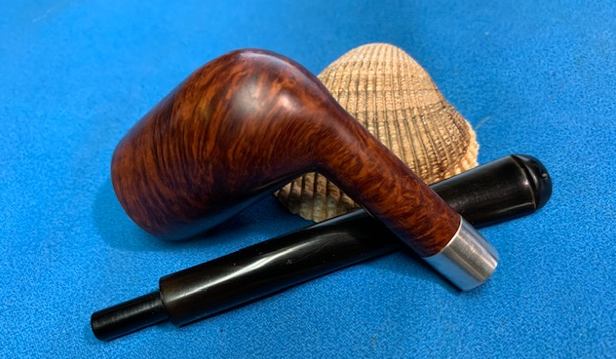
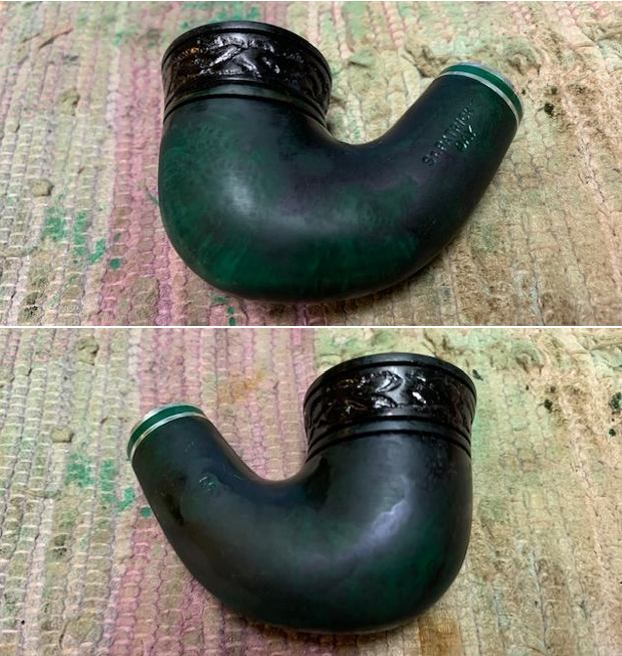
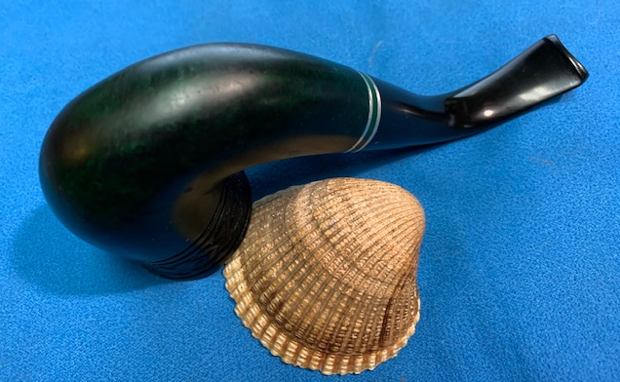
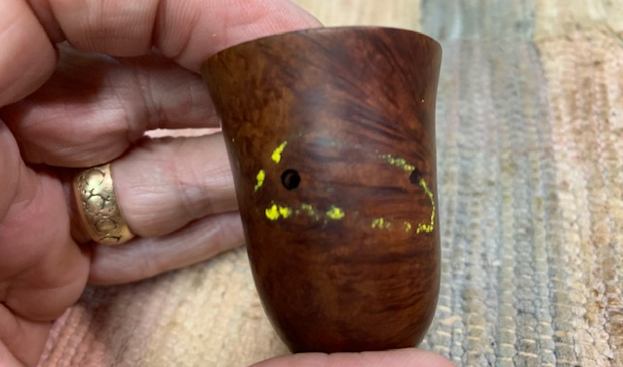
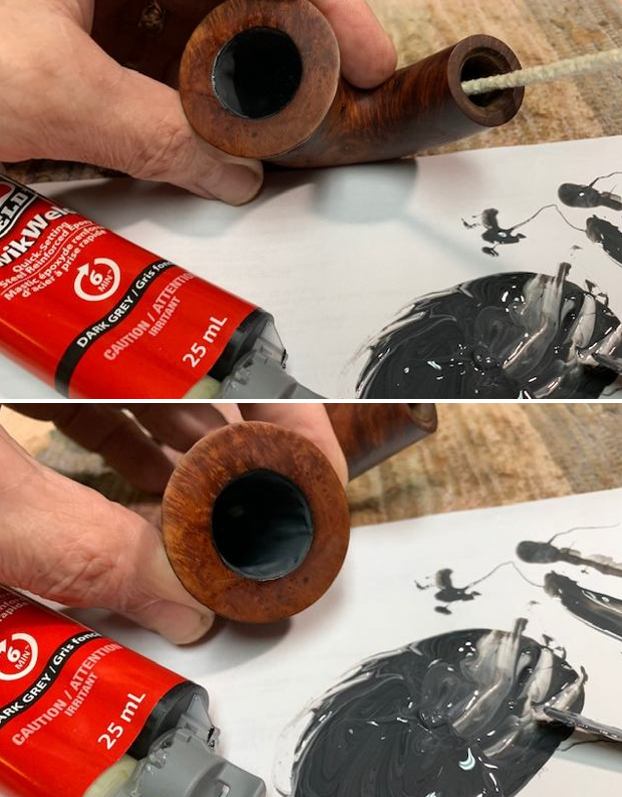
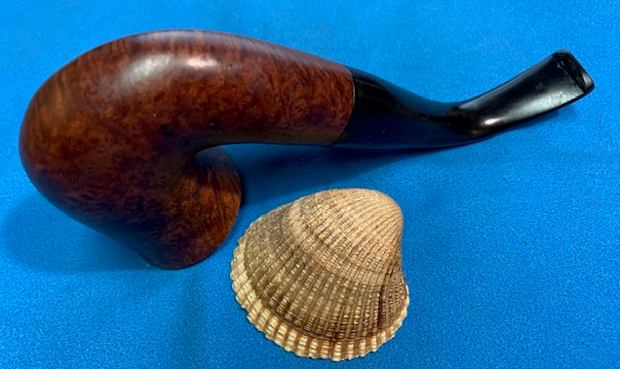
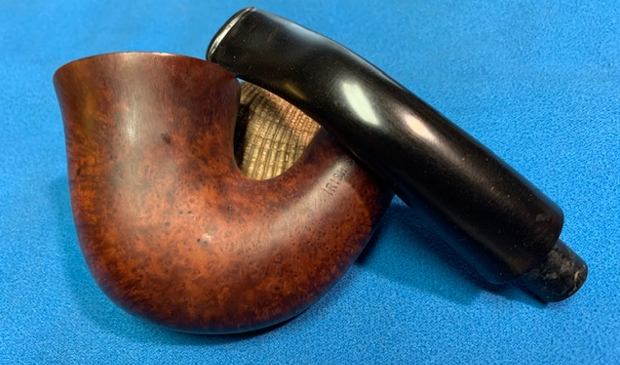
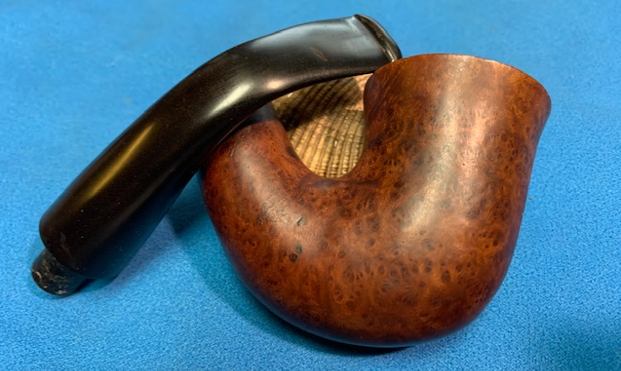
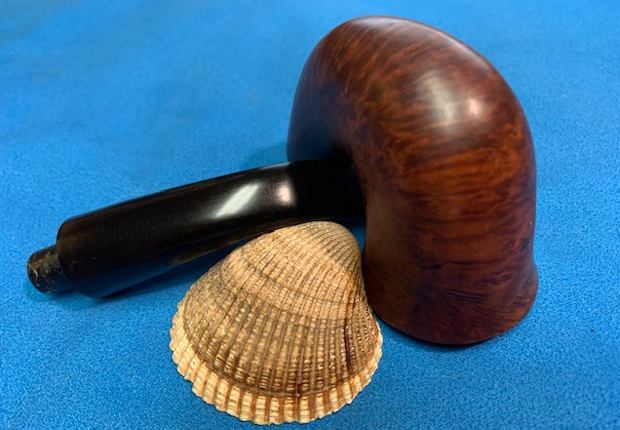
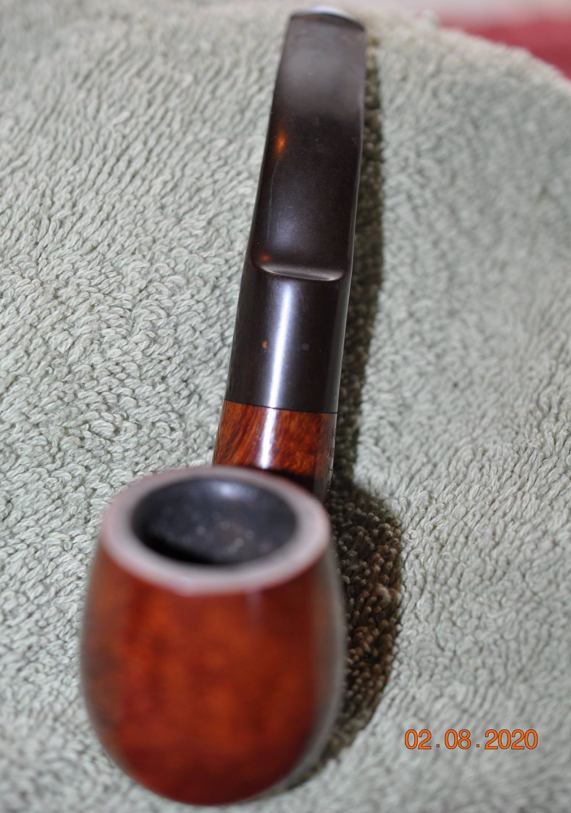
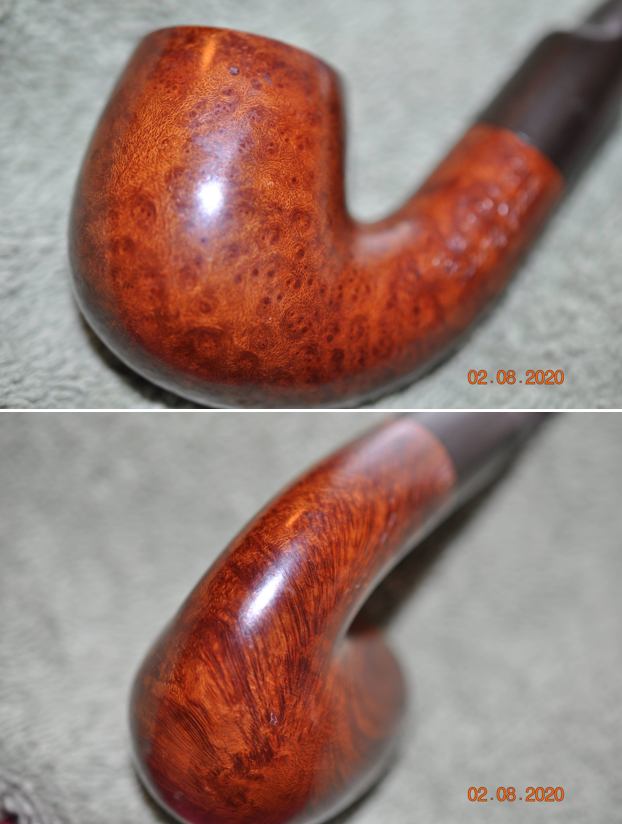
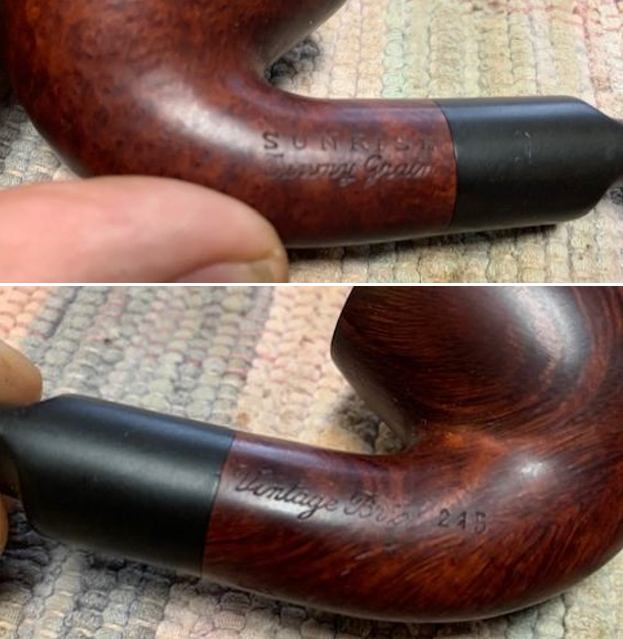
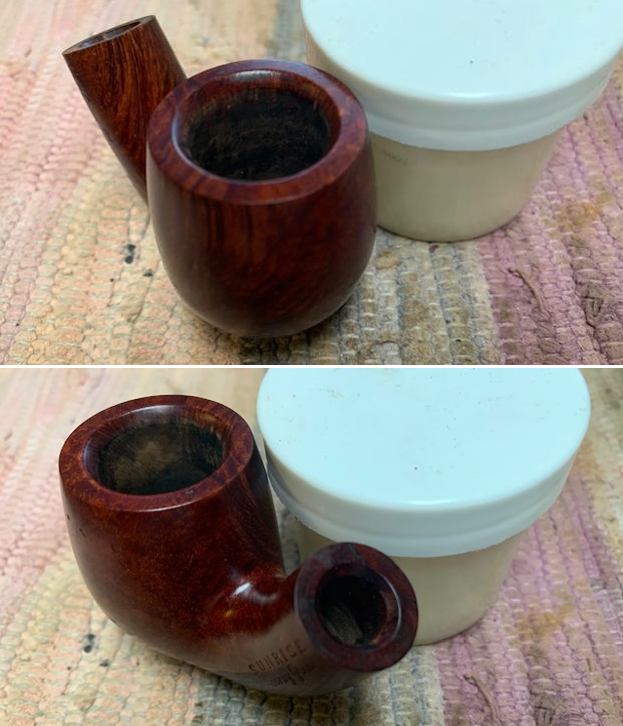
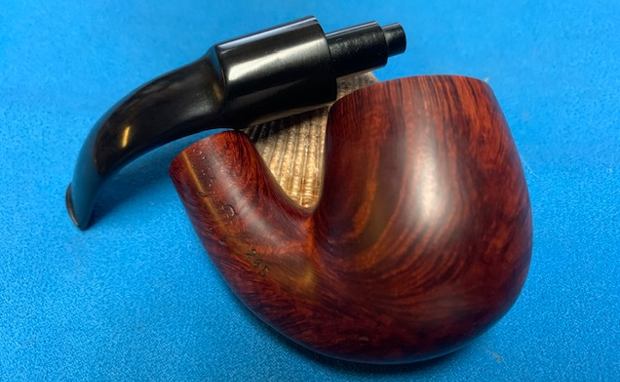
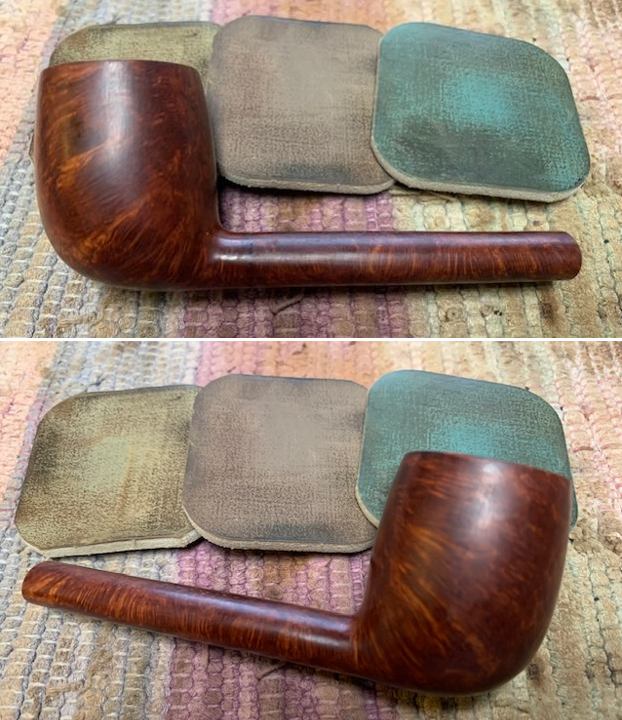
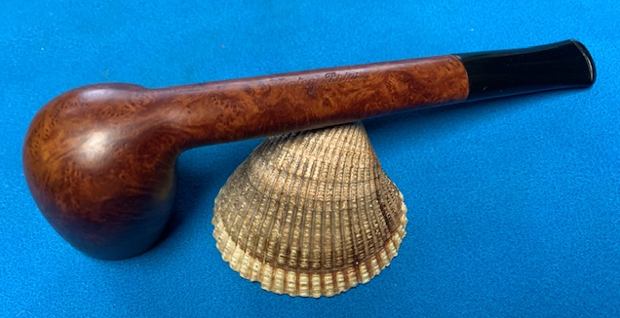
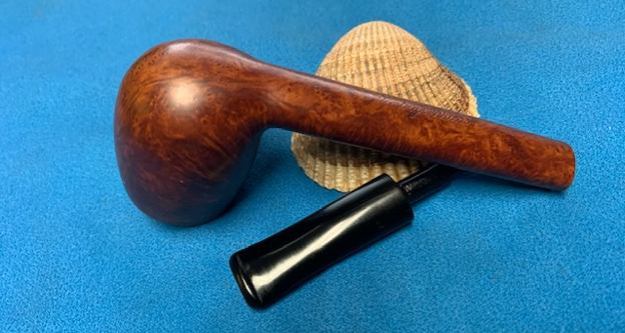
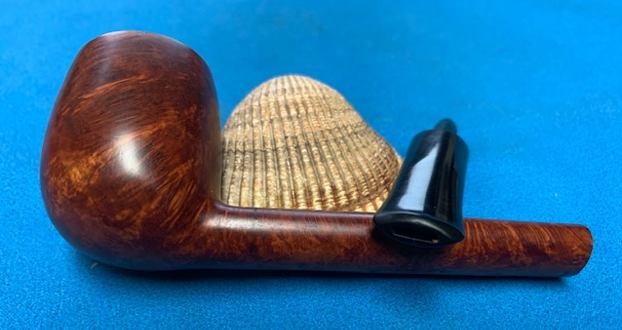
 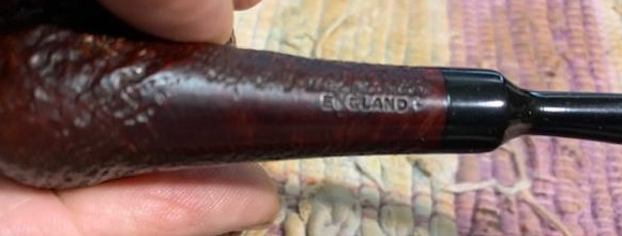 I removed the stem from the shank and took photos of the look of the pipe. The long pencil stem and shank are really well done and quite stunning. The grain around the bowl is very nice.
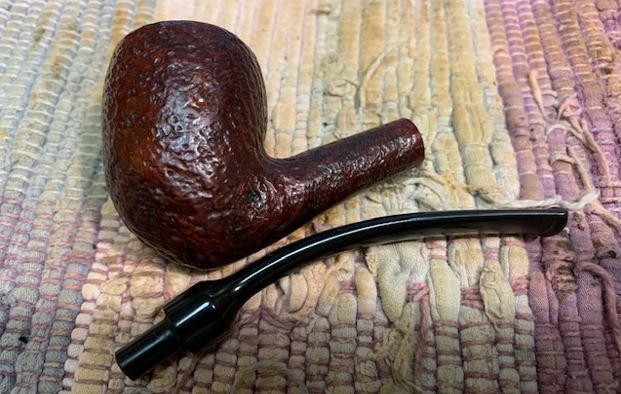 My guess on it being a Charatan made pipe is just that. The Made in London England stamp is the only clue and somewhere in the back of my memory the shape also twigs that thought. With no more to go on it was now time to work on the pipe.
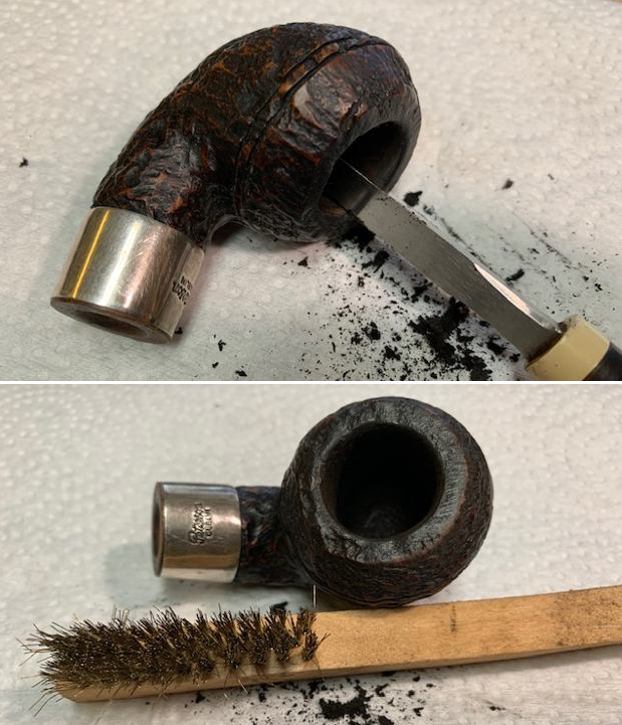
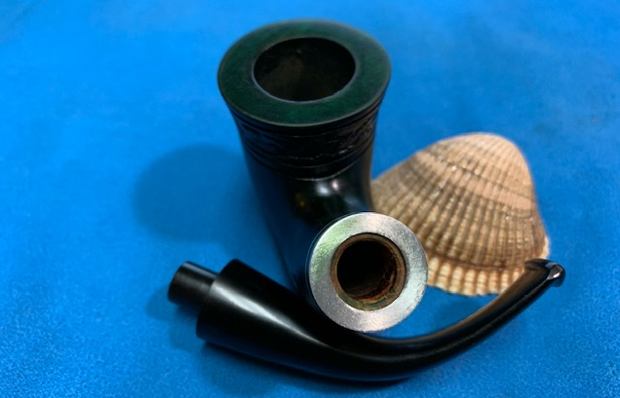
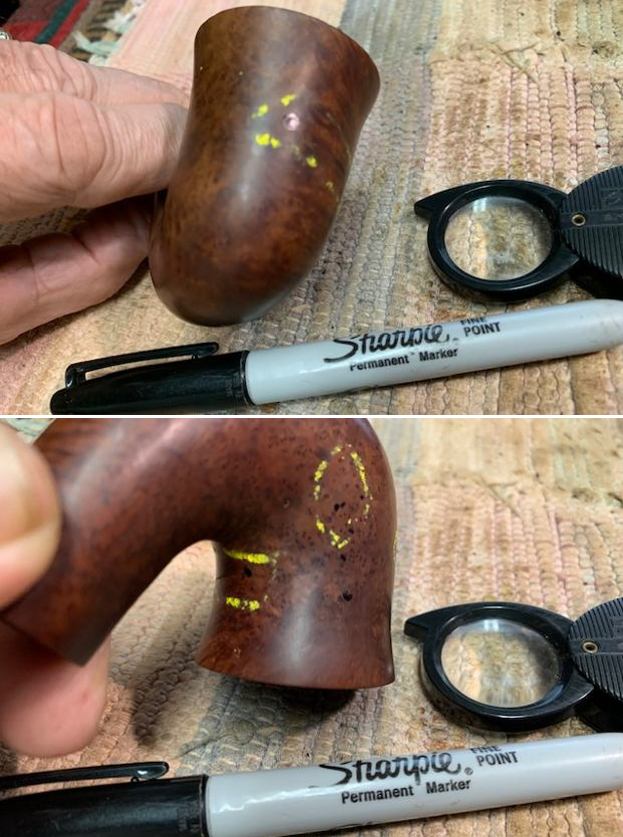
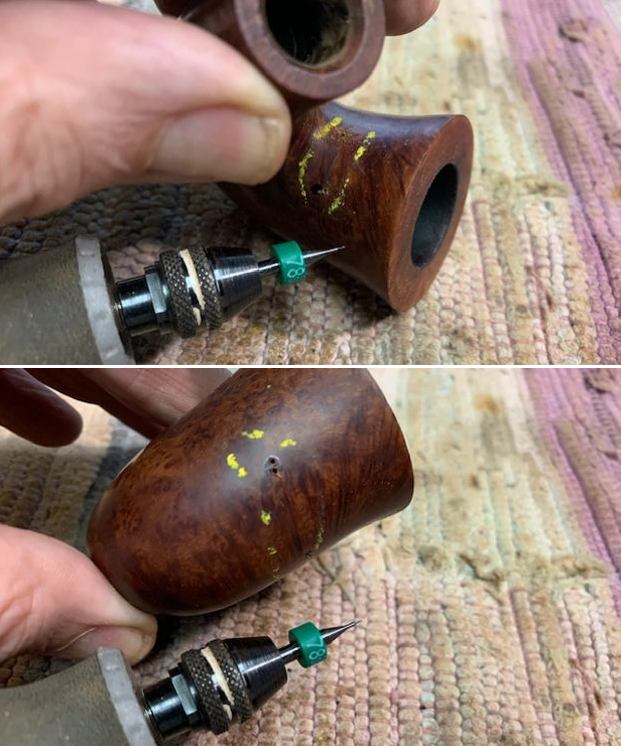
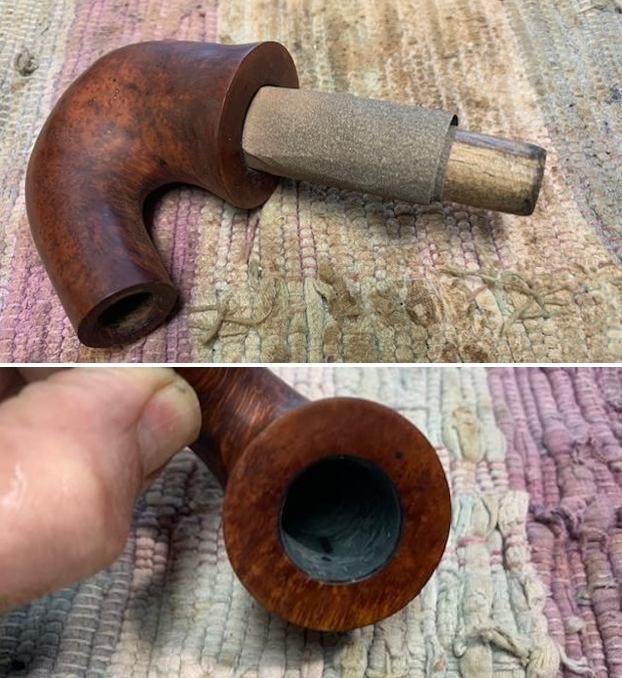
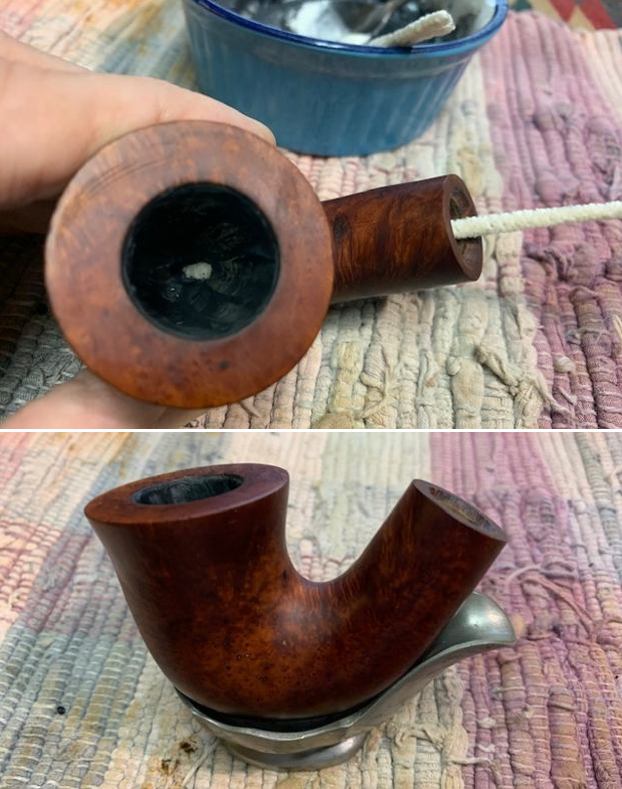
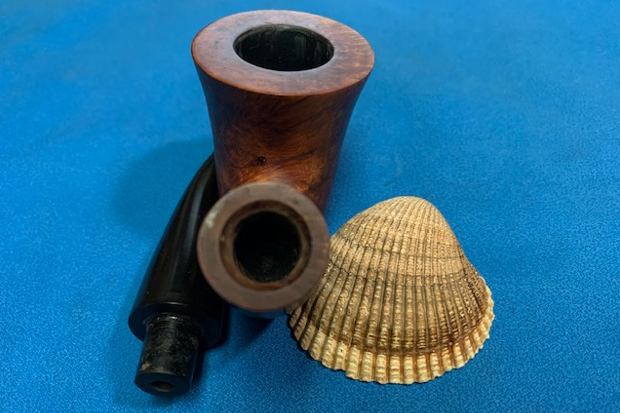
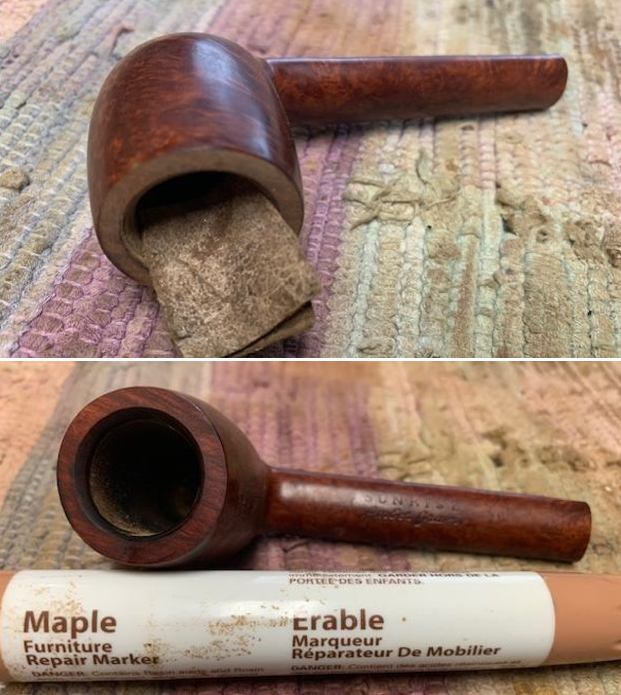
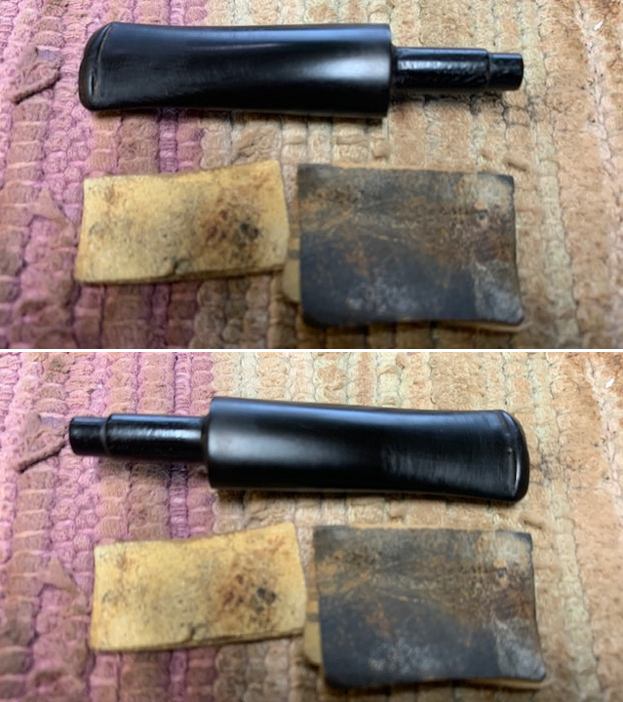
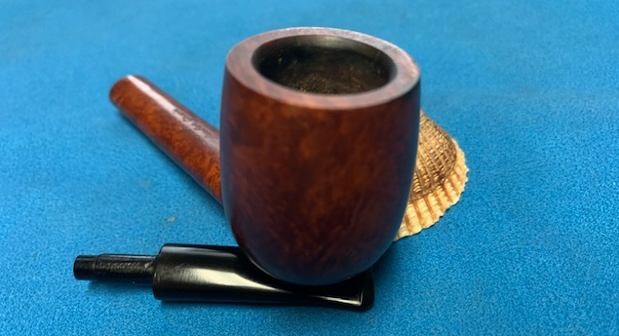
I cleaned the blast on the rim top with a brass bristle brush to loosen the debris in the grooves. It mad a difference and the blast was identifiable once more.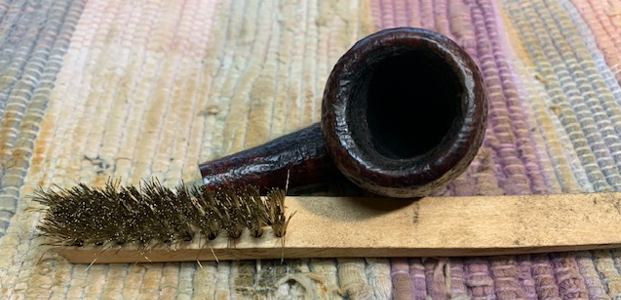 I cleaned up the reaming of the bowl with a Savinelli Fitsall Pipe Knife. I took out the remnant of cake that had been left so I could examine the walls. I was glad to see there were no fissures in the briar walls.
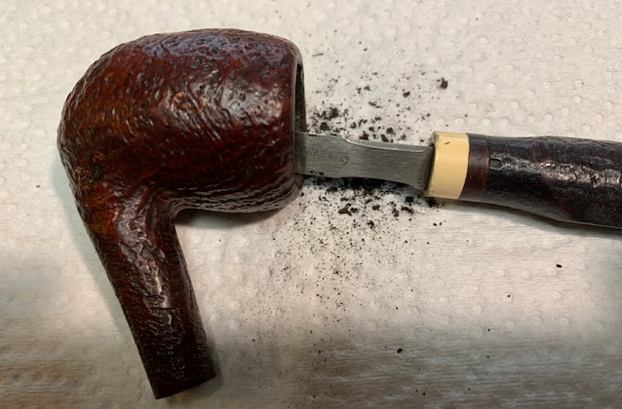 I moved on to deal with the inner edge of the bowl. I used a folded piece of 220 grit sand paper to remove the darkening and light damage on the inner edge of the bowl. Once finished it looked better.
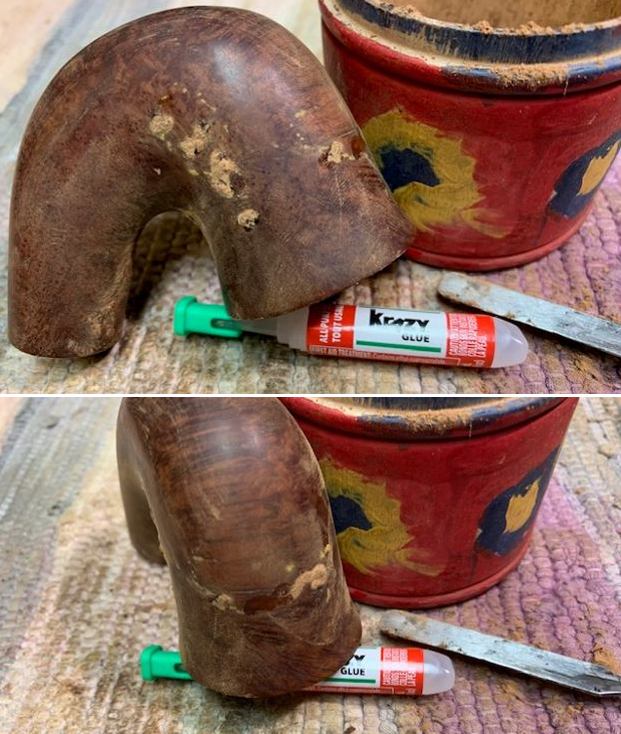
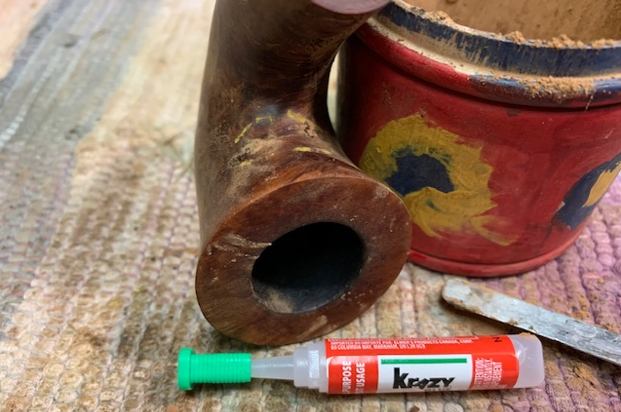
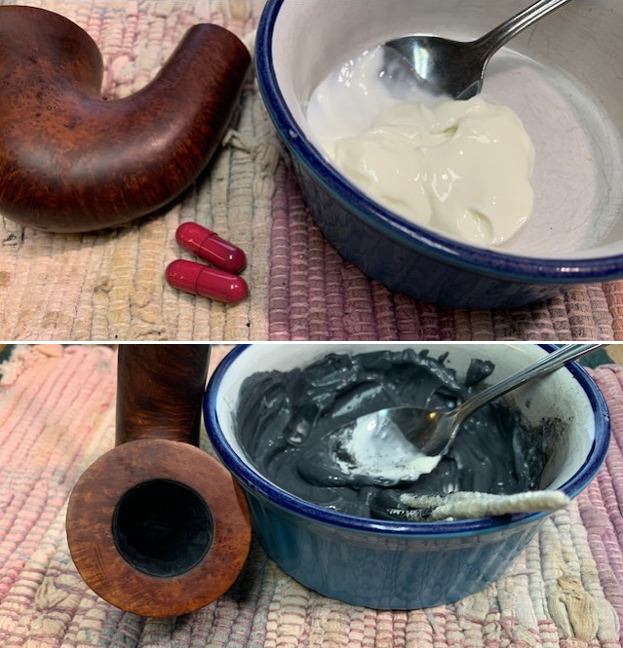
 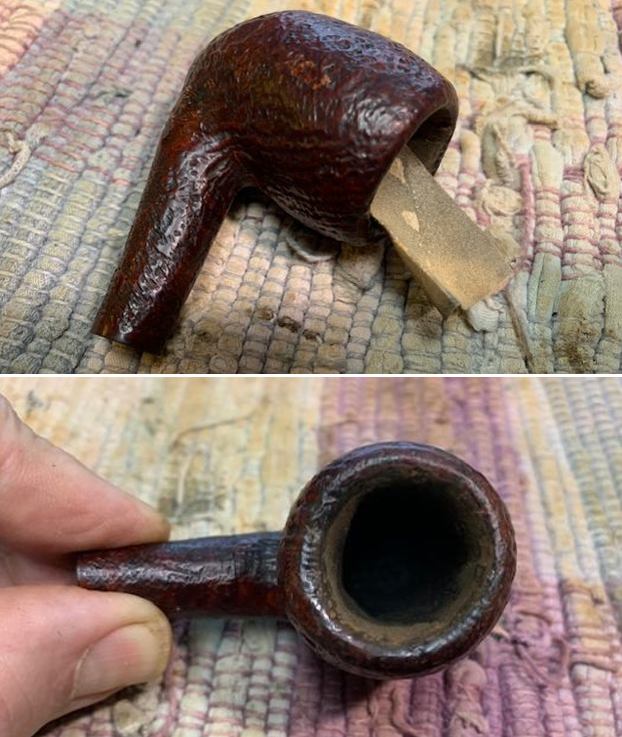 I scraped the build up of tars off the walls of the shank with a sharp pen knife. It removed a lot “gunk” (a technical term!). I cleaned the bowl, the shank and the airway in both the stem and shank with alcohol, pipe cleaners and cotton swabs until the interior of the pipe was very clean.
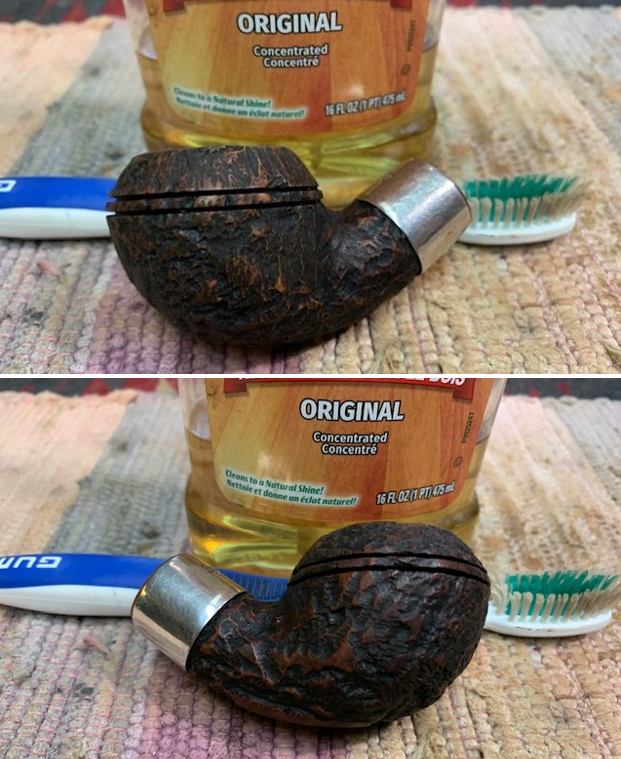
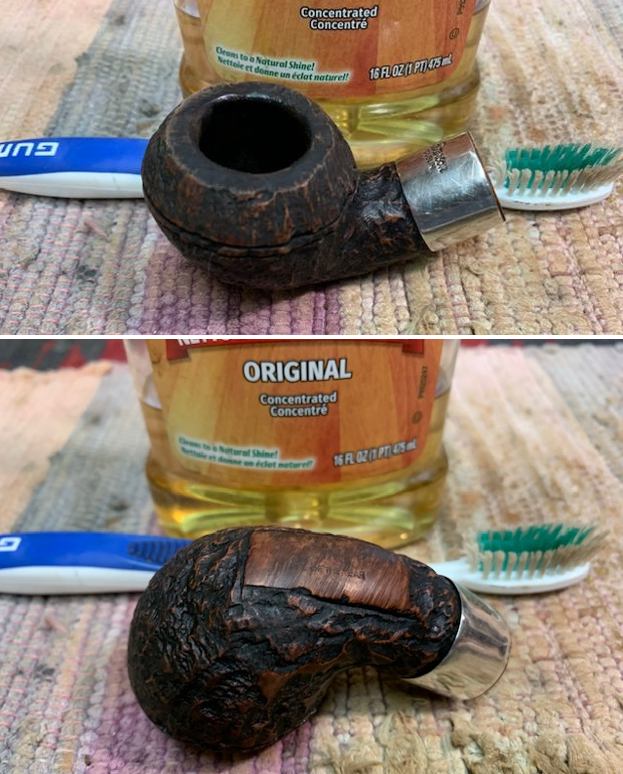
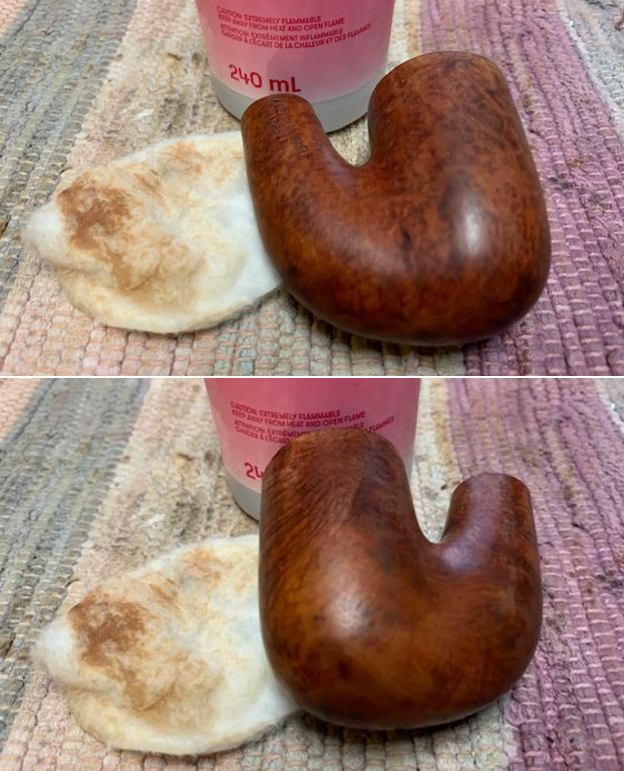
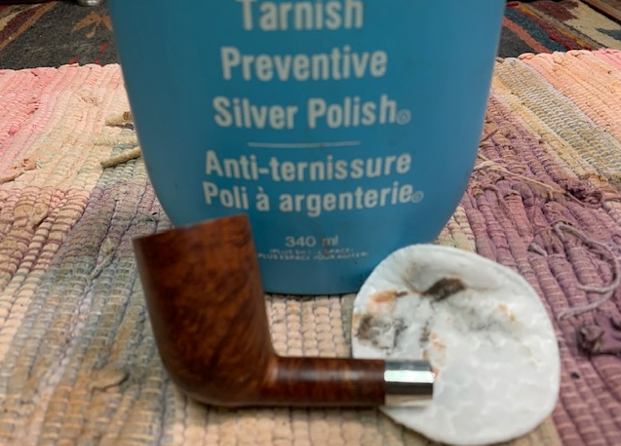
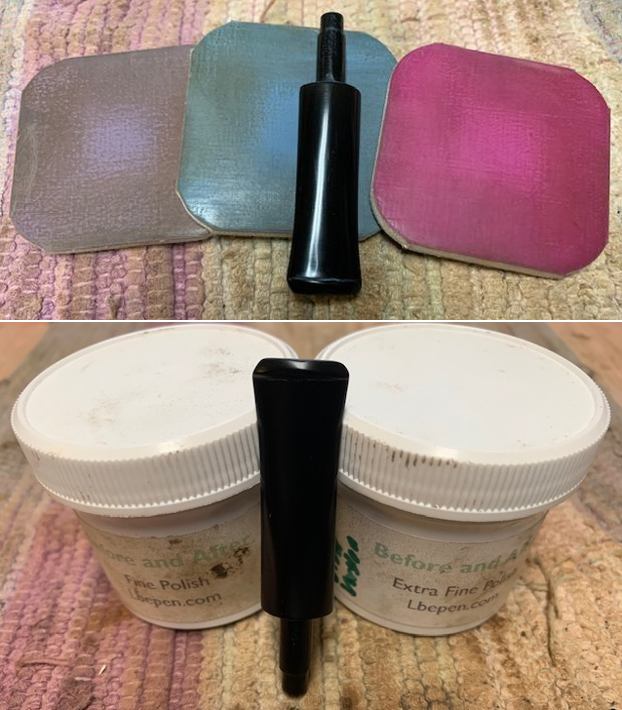
 I rubbed the bowl and shank down with Before & After Restoration Balm. I worked it into the surface of the bowl sides and shank with my fingertips to clean, enliven and protect the briar. I let the balm sit for ten minutes then buffed the bowl with a cotton cloth to raise the shine.
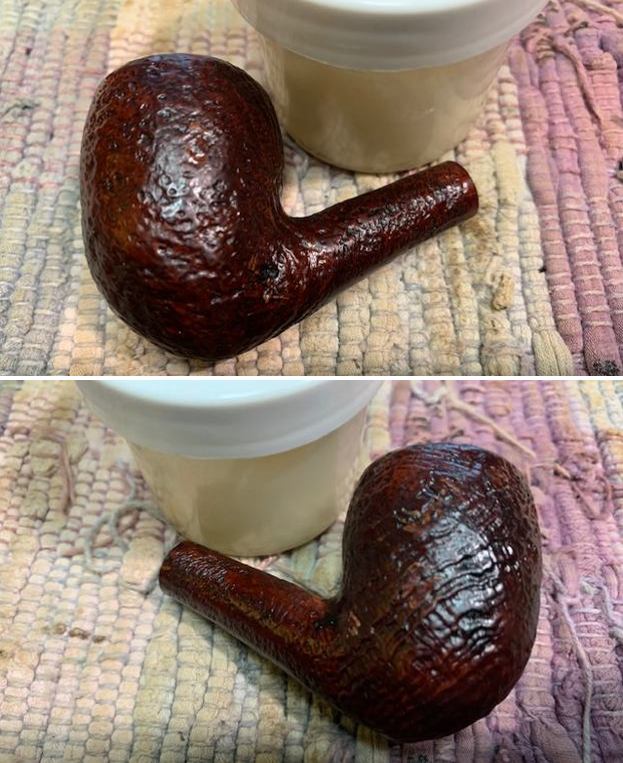
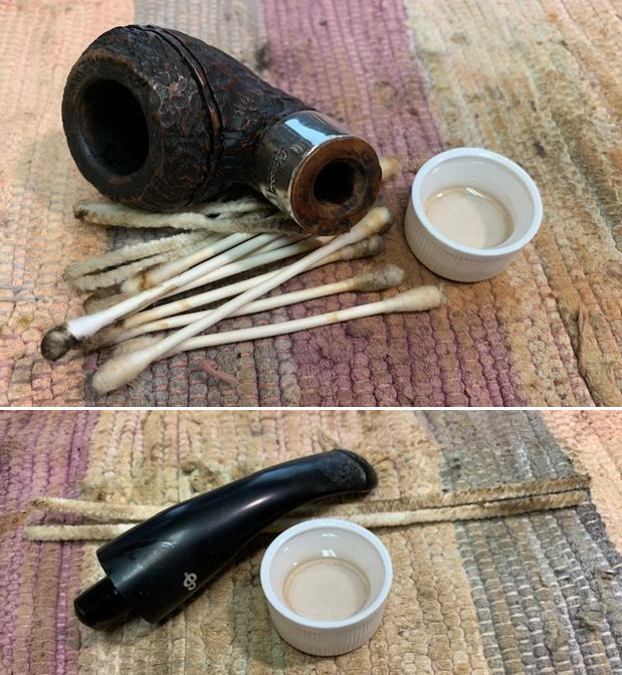
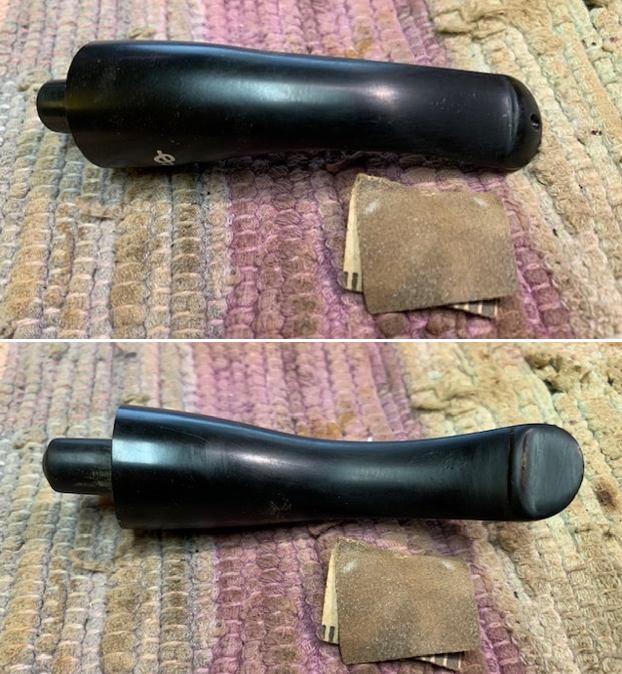
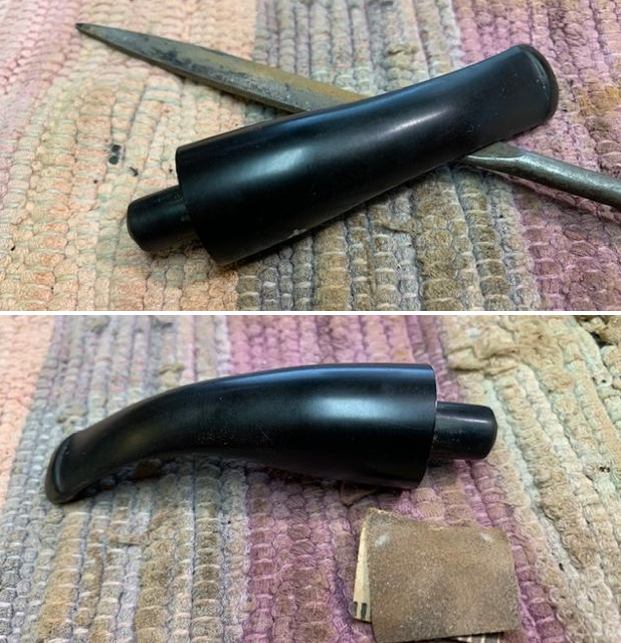
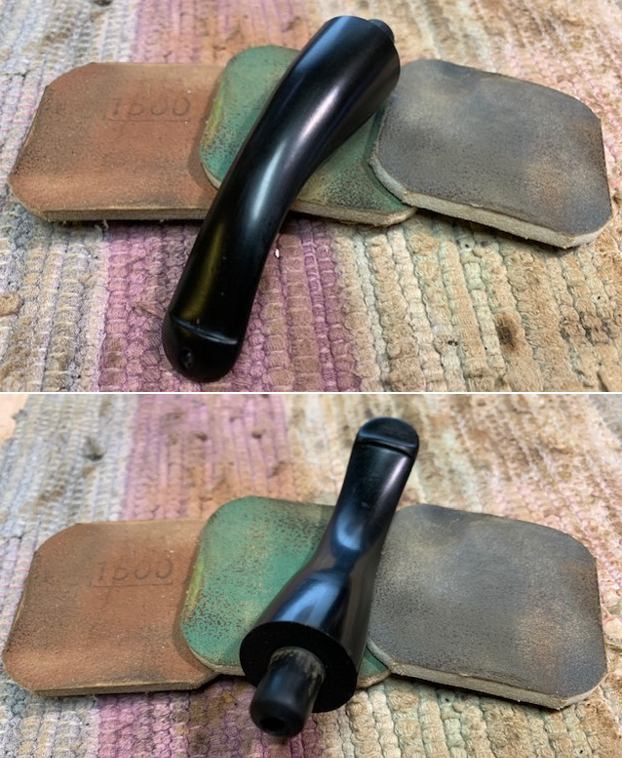
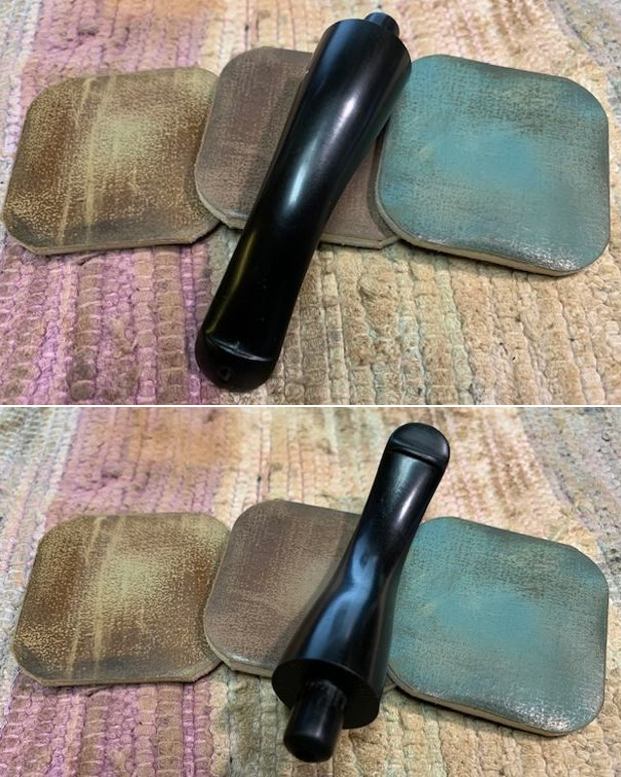
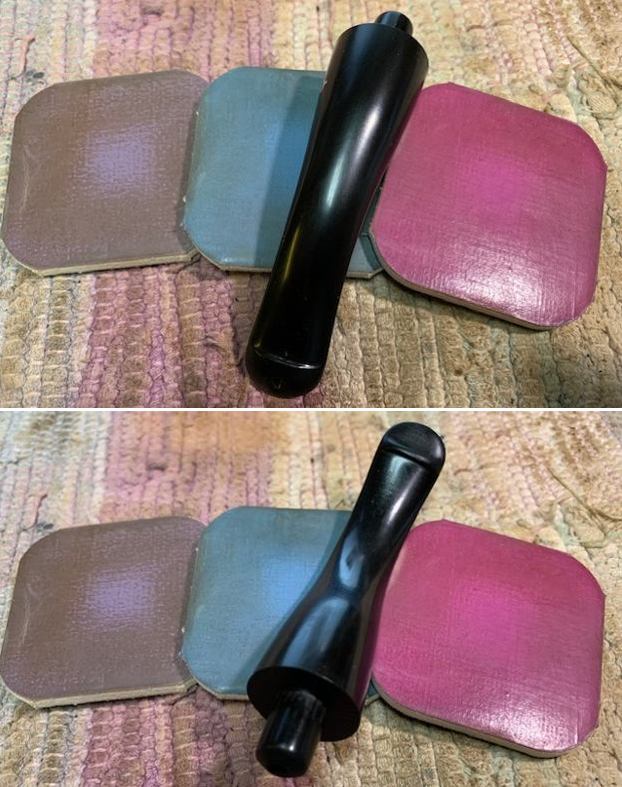
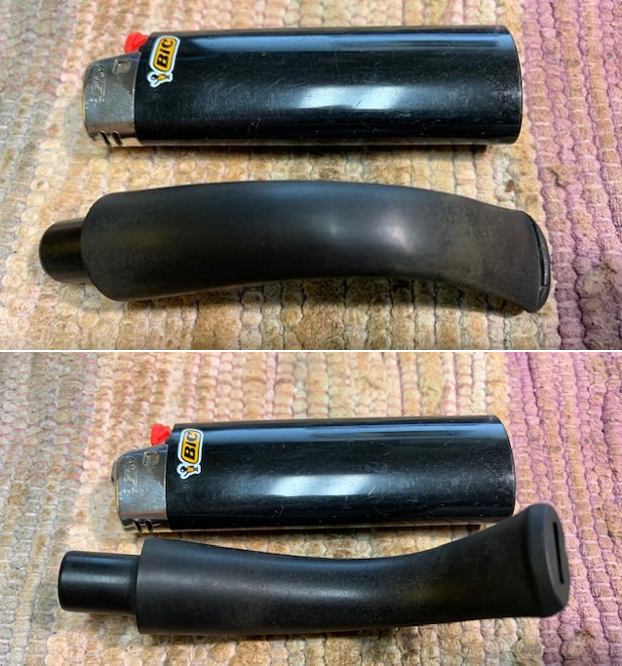
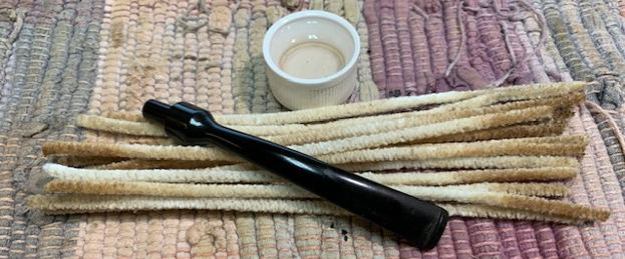
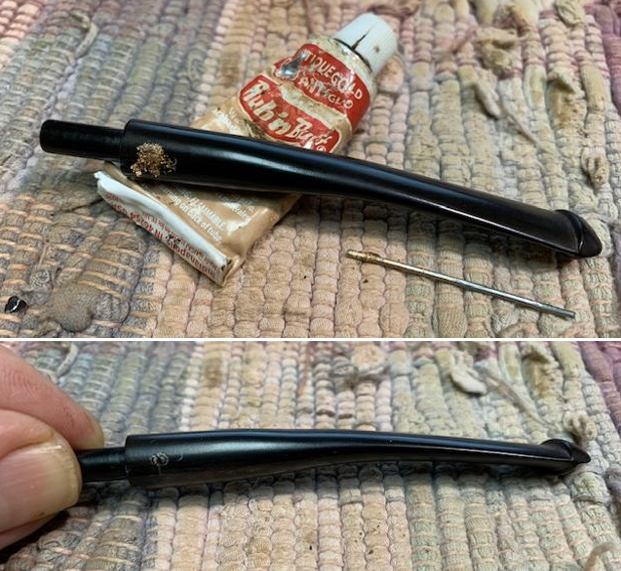
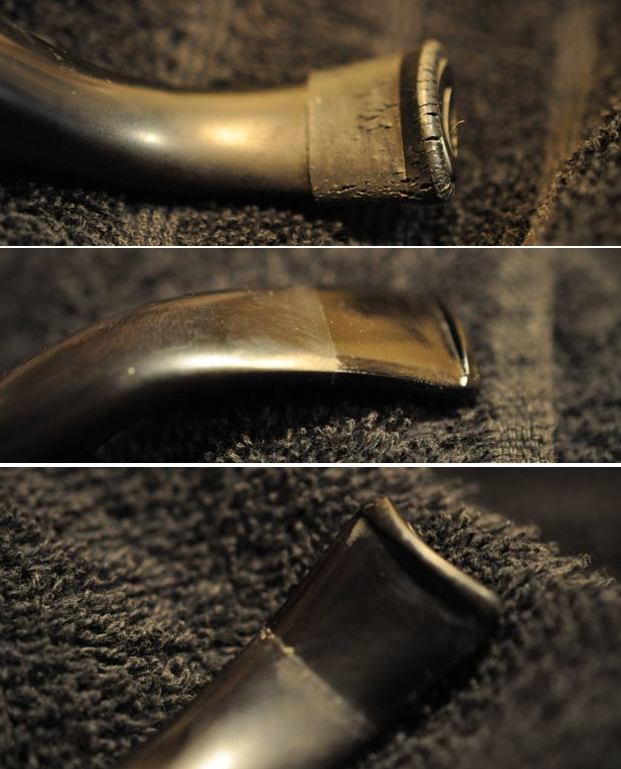
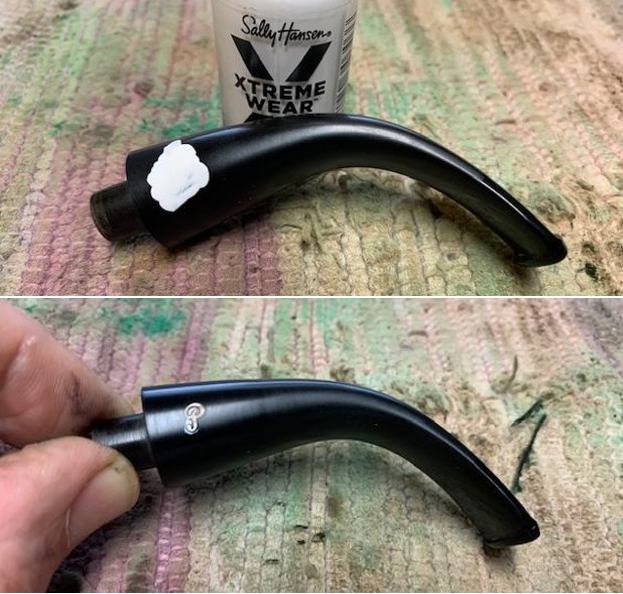
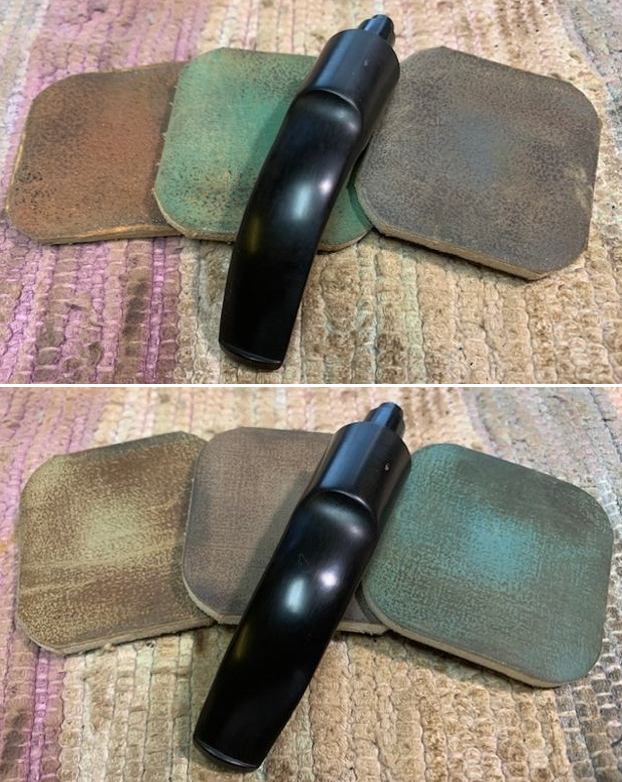
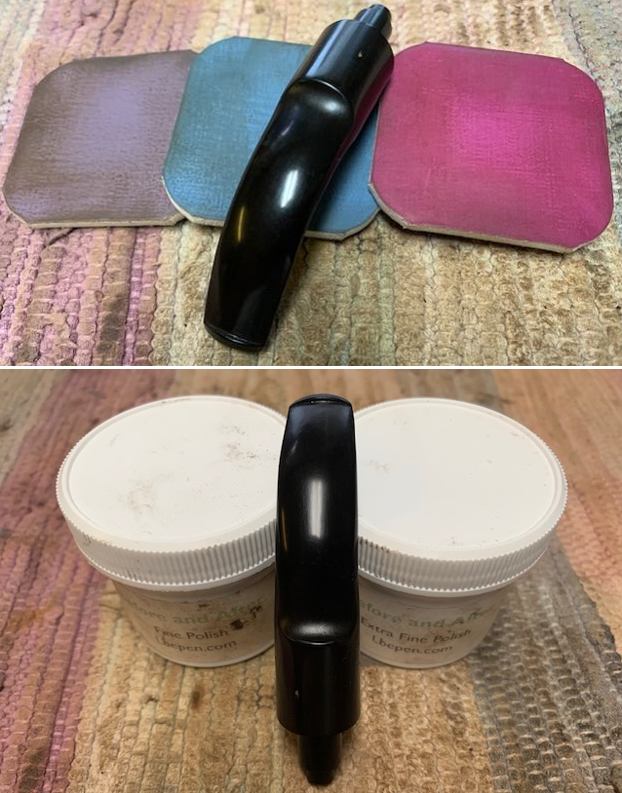
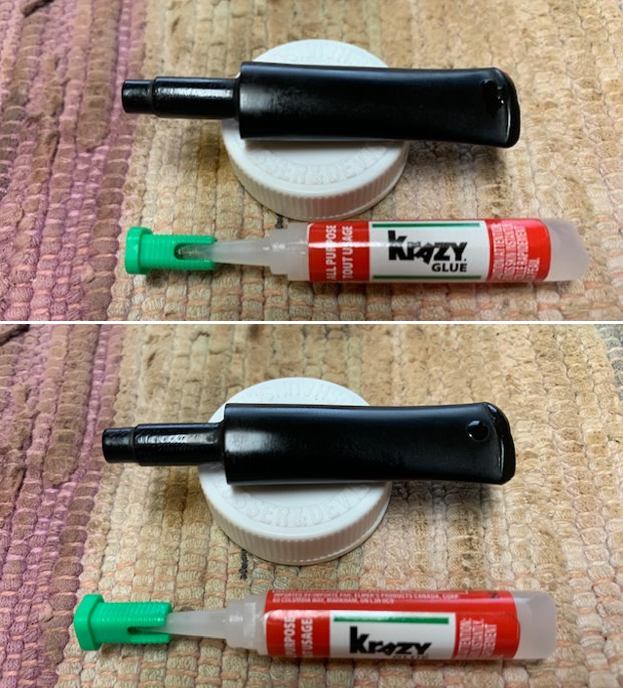
 I used 220 grit sandpaper to sand out the tooth chatter and marks on both sides of the stem. I started to polish it with 400 grit wet dry sandpaper. The stem is looking much better.
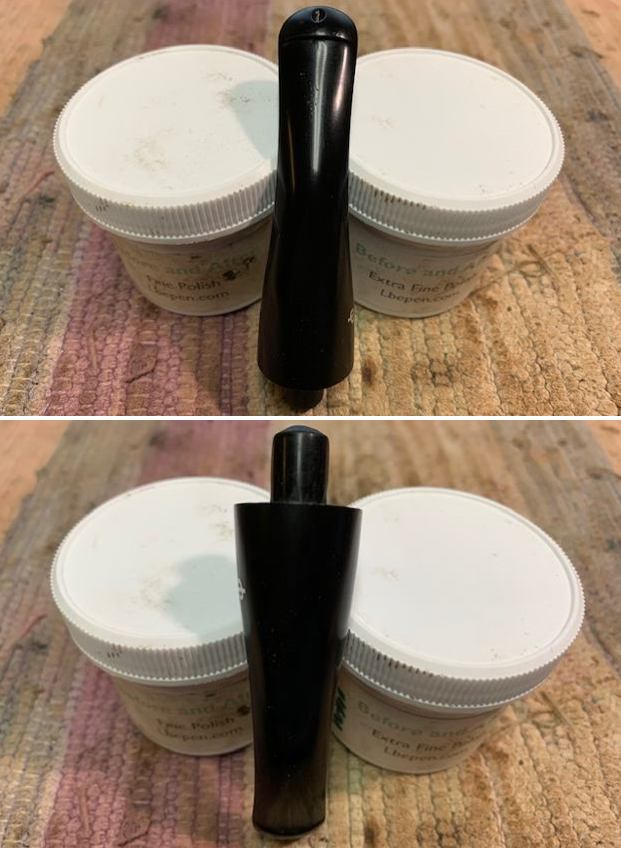
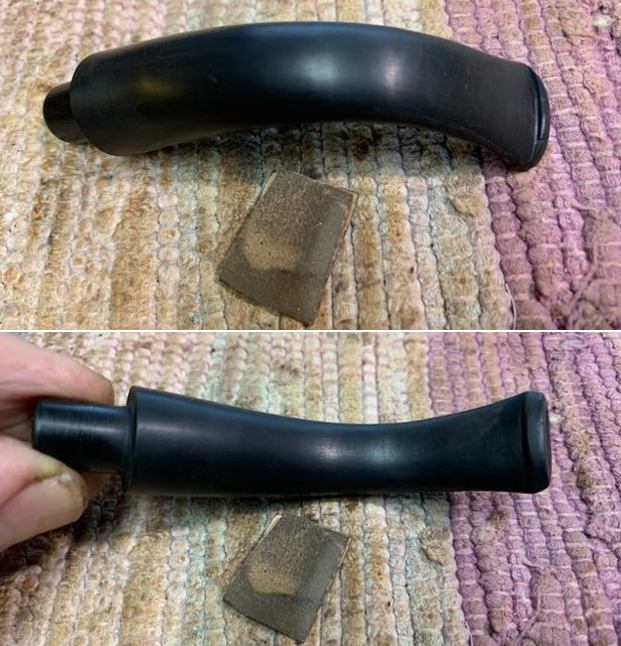
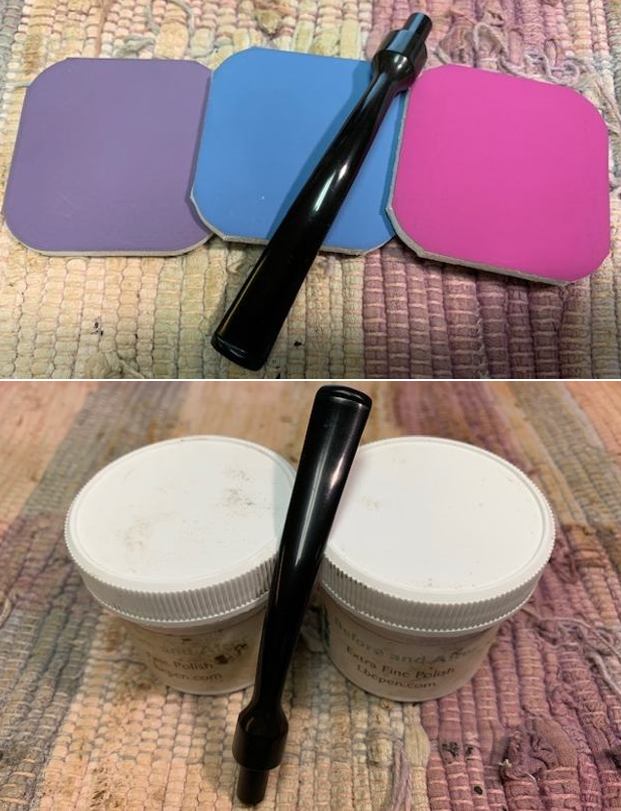
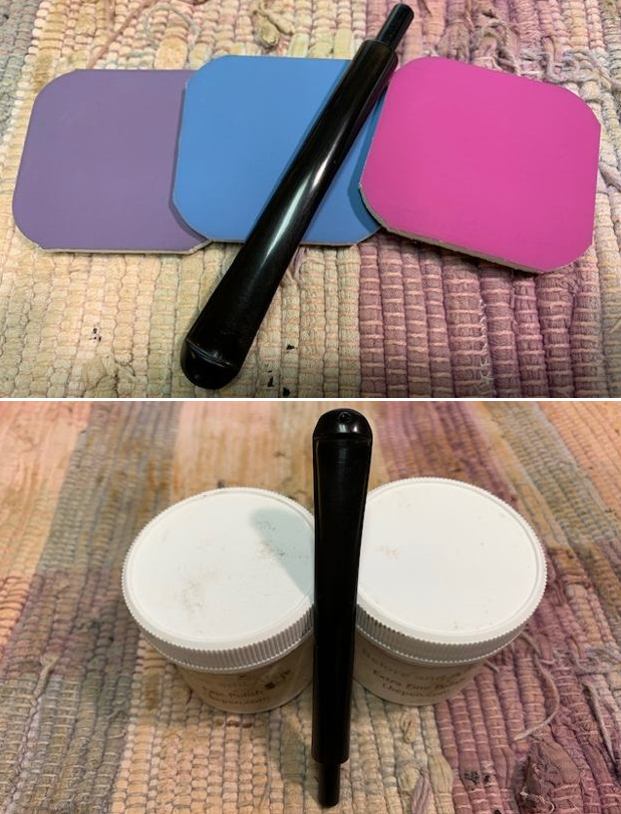
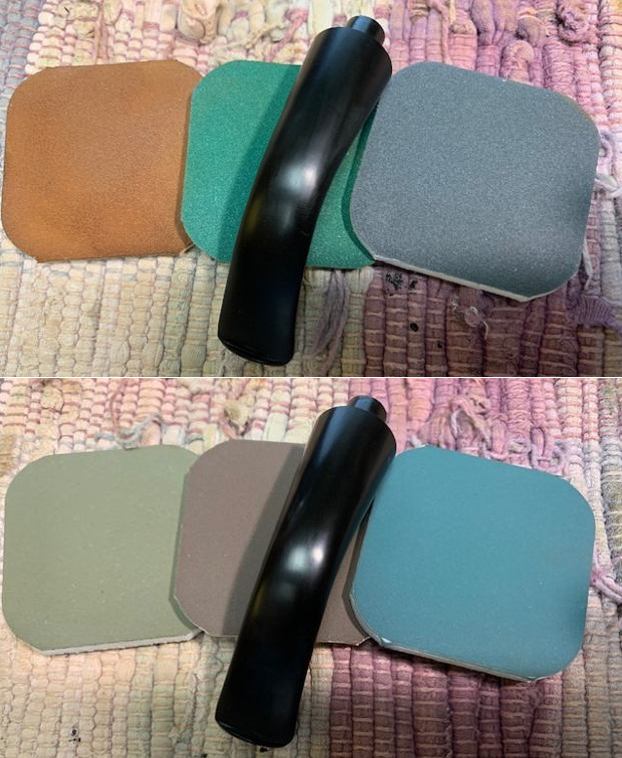
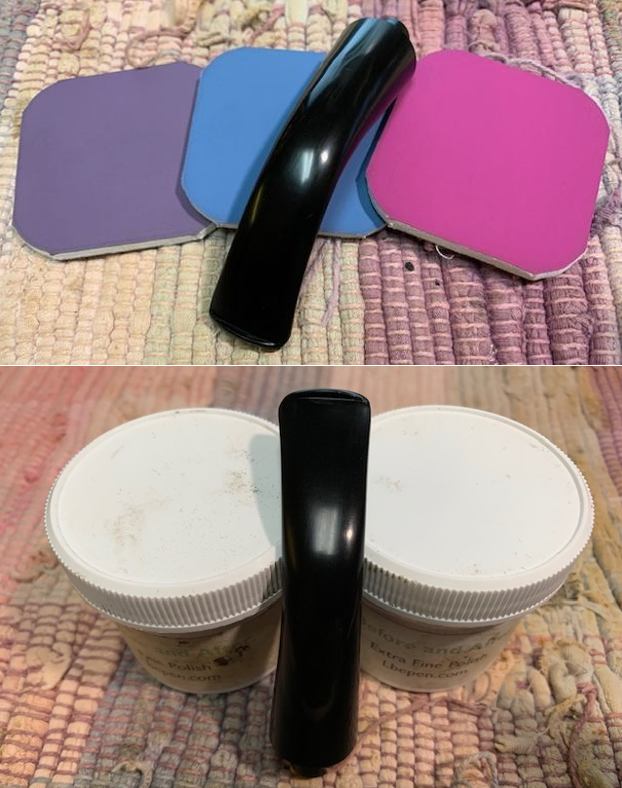
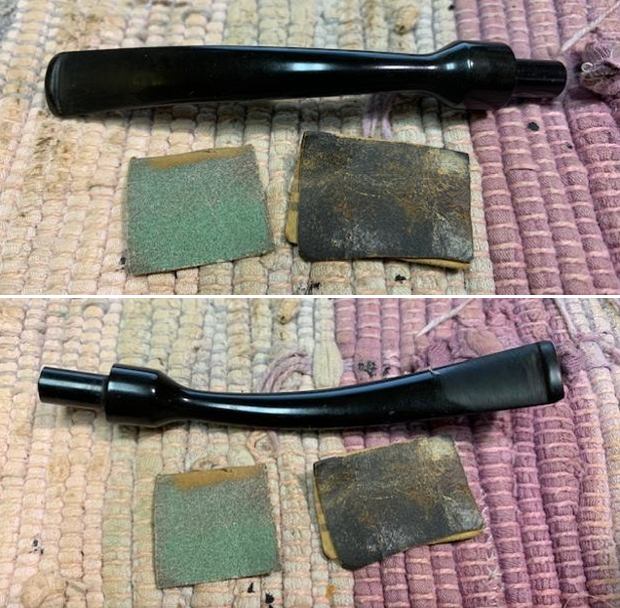 I polished the stem with micromesh sanding pads – 1500-12000 grit pads. I wiped it down with Obsidian Oil after each sanding pad. I used Before & After Pipe Polish – both Fine and Extra Fine to further polish the stem.
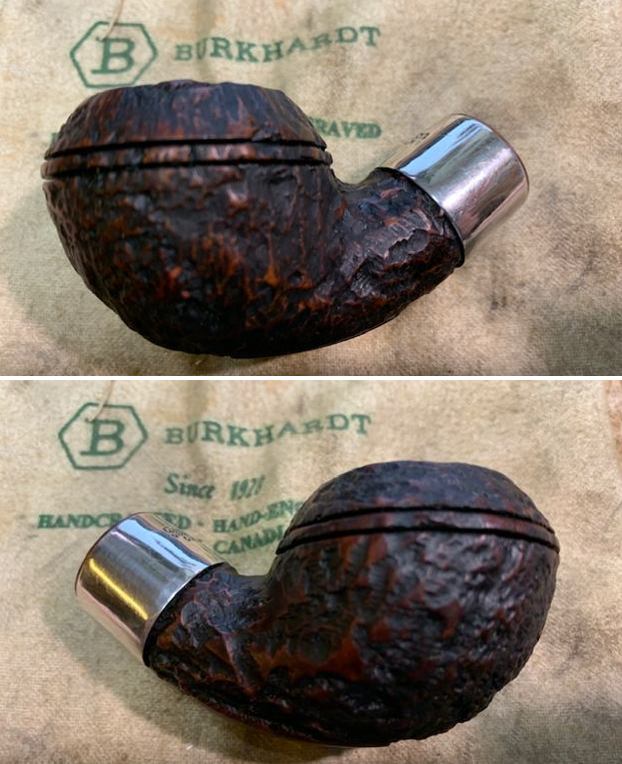
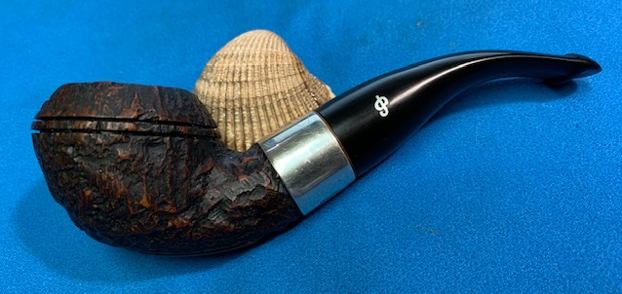
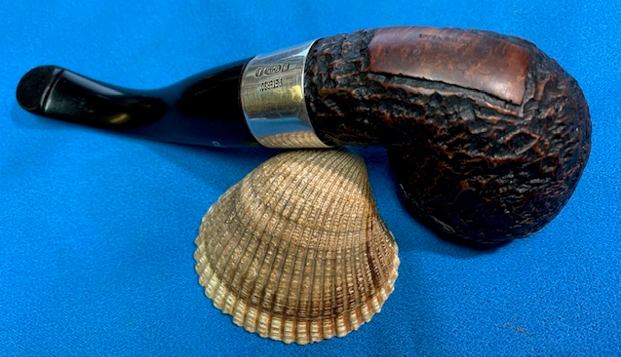
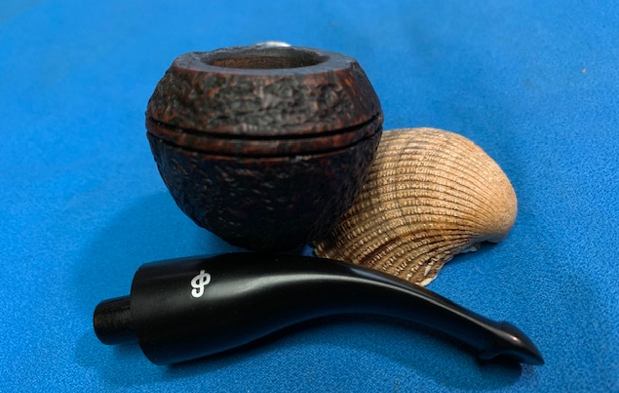
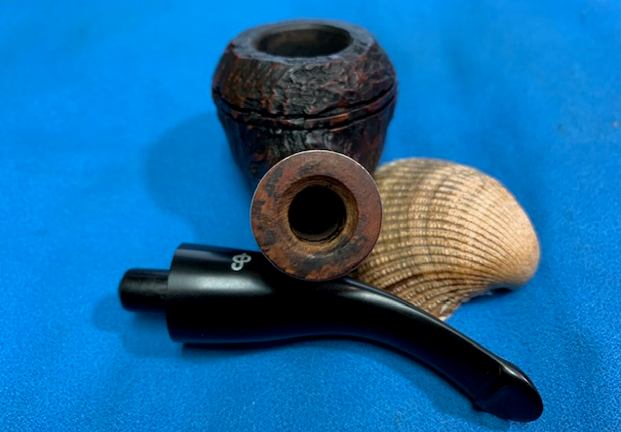
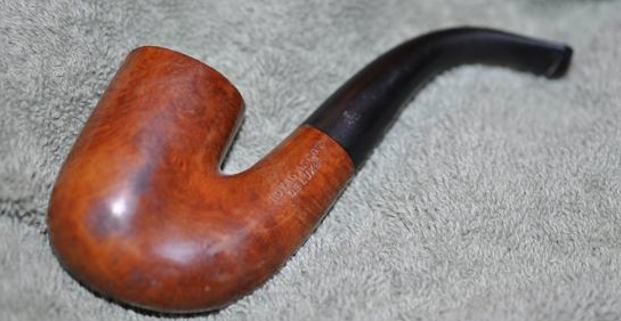
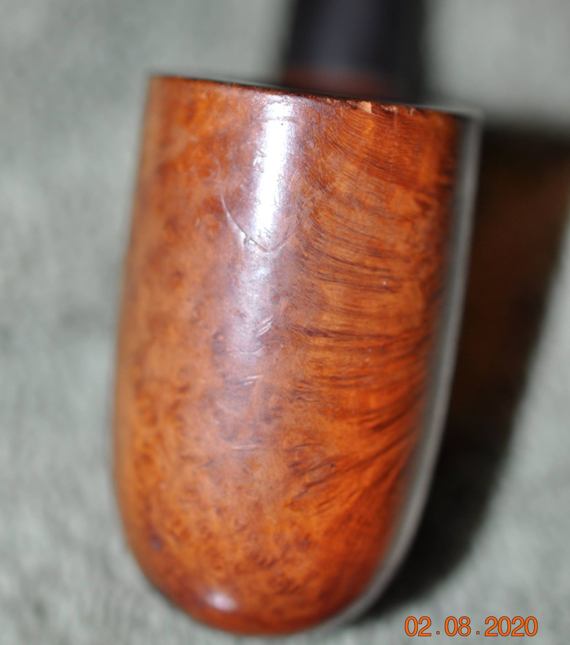
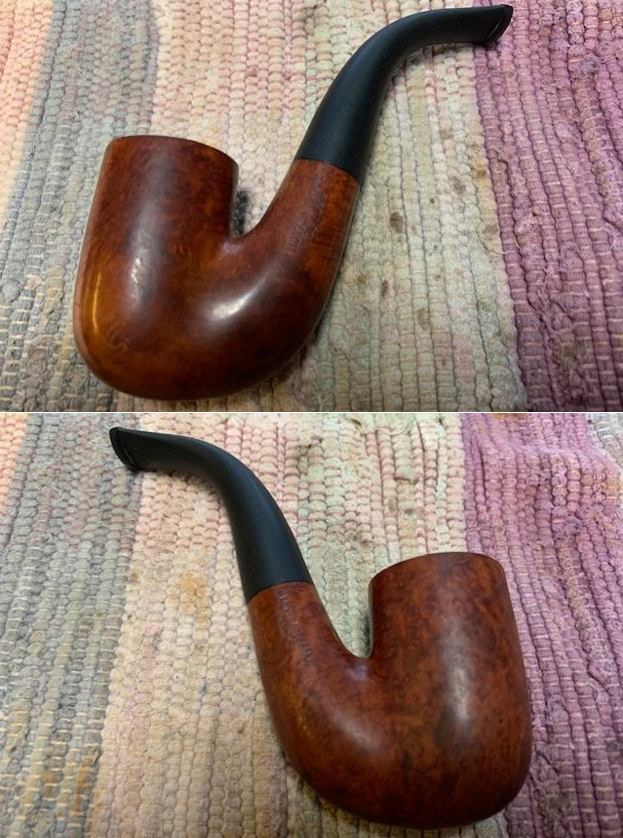
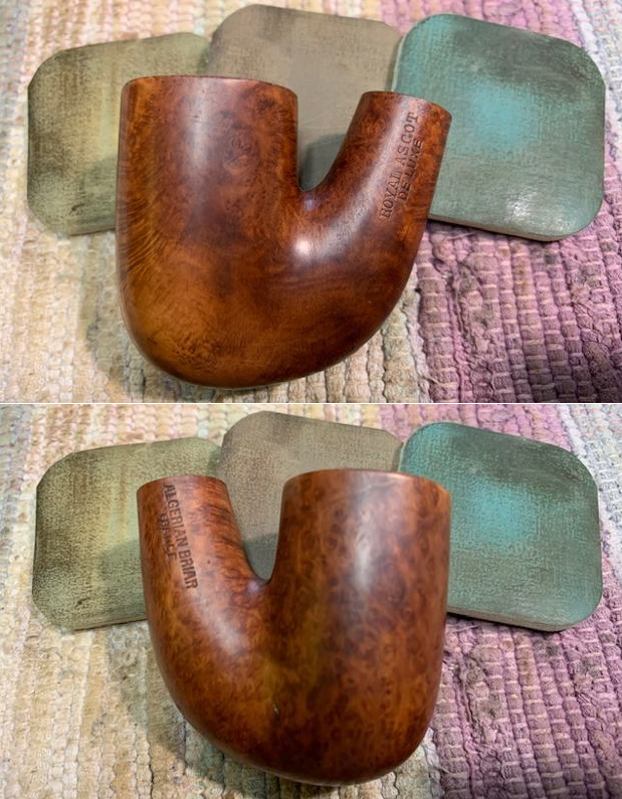
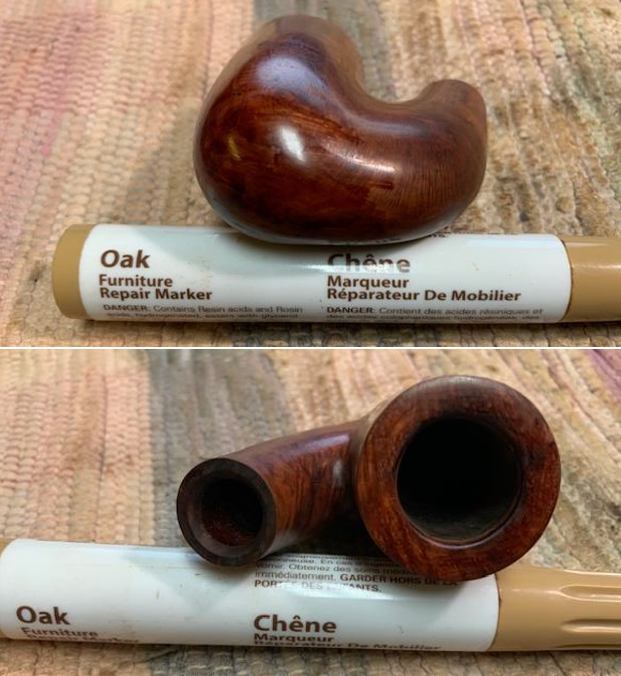
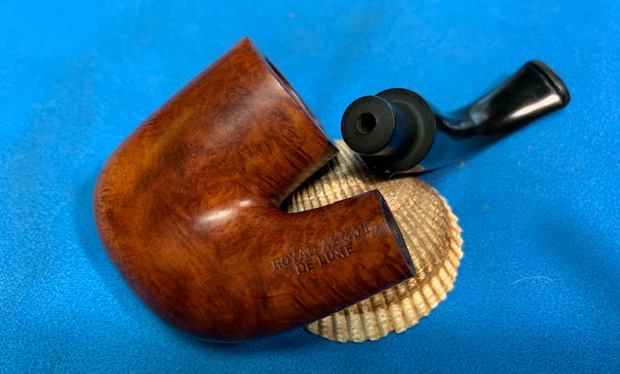
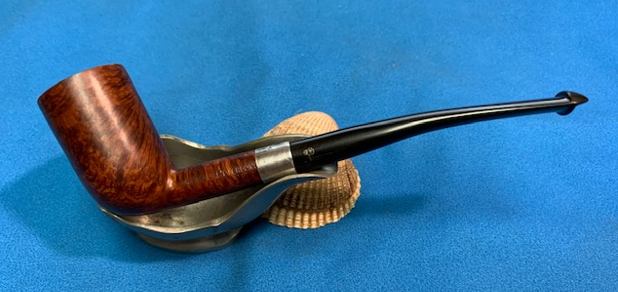
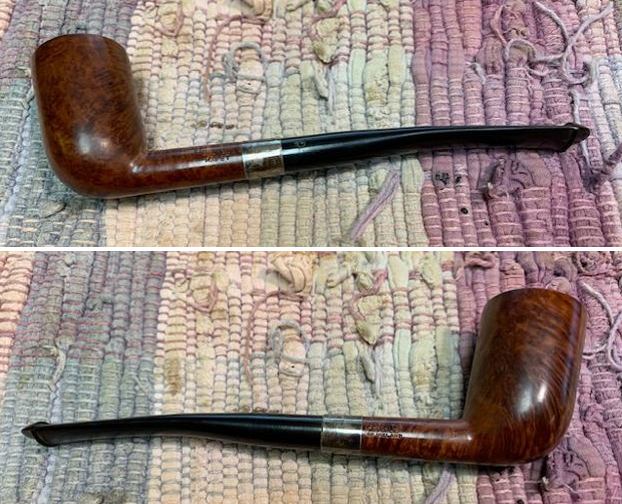
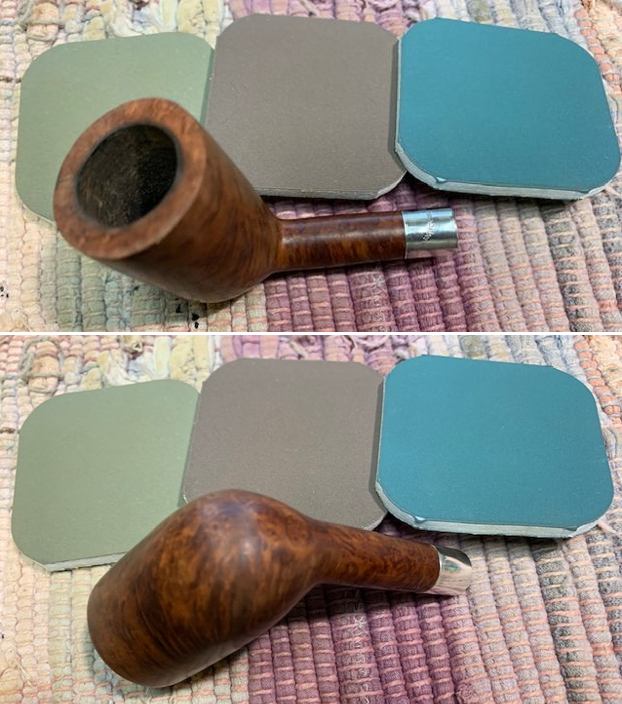
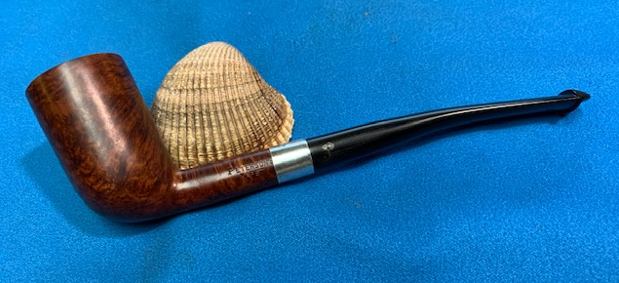
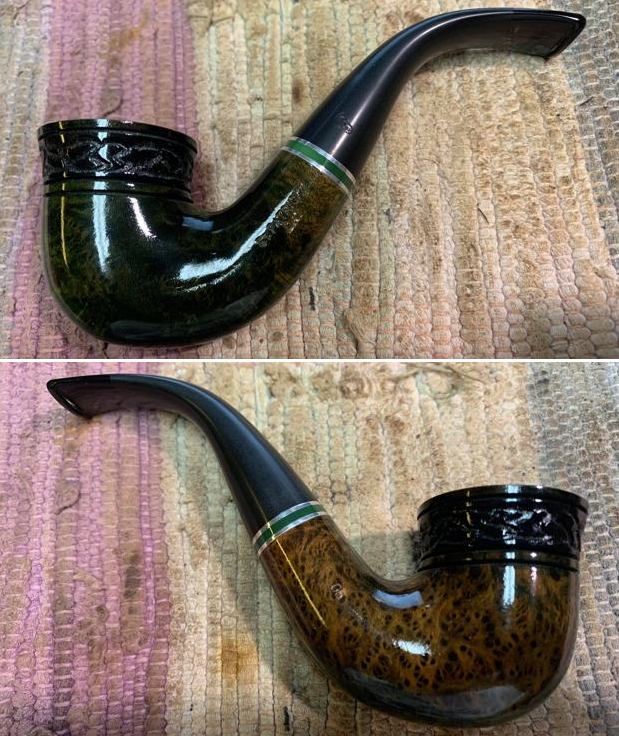
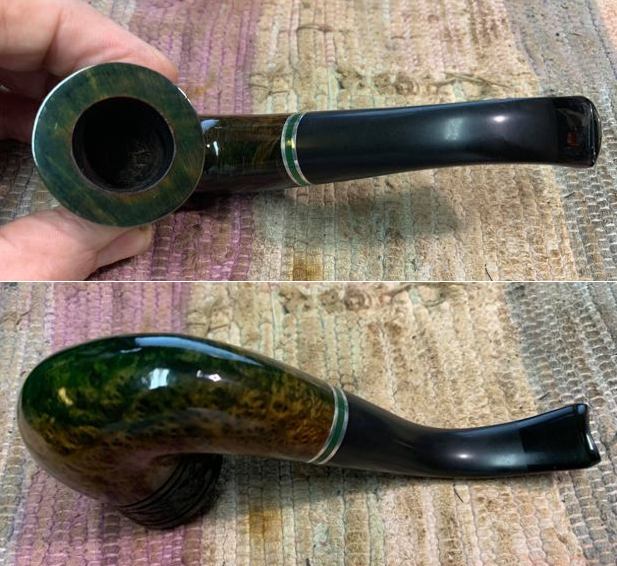
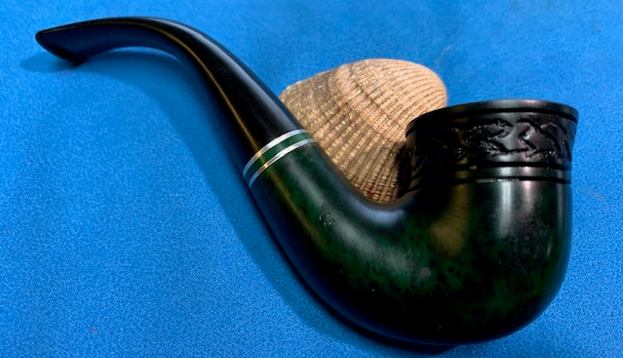
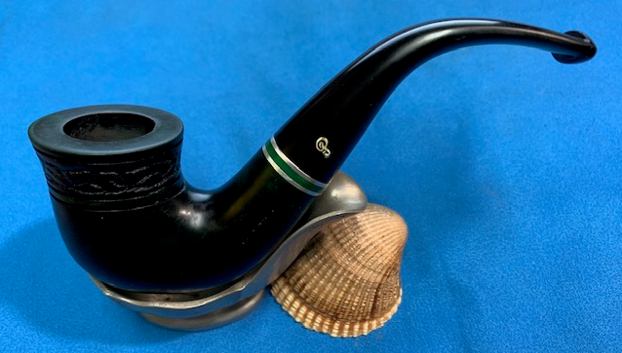
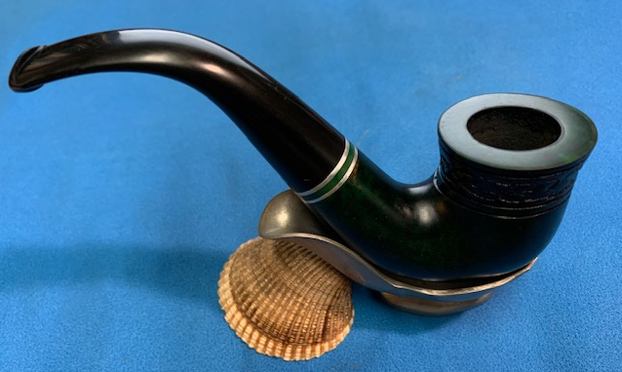
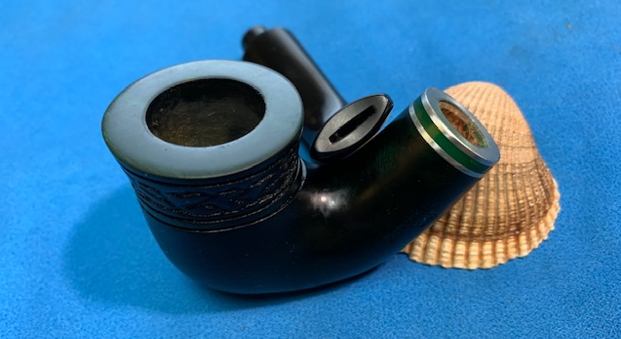
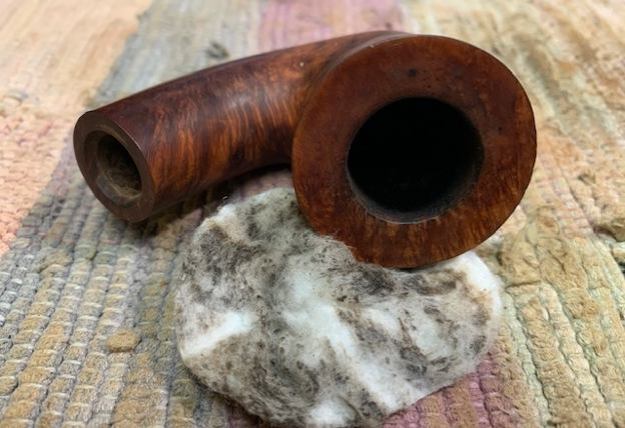
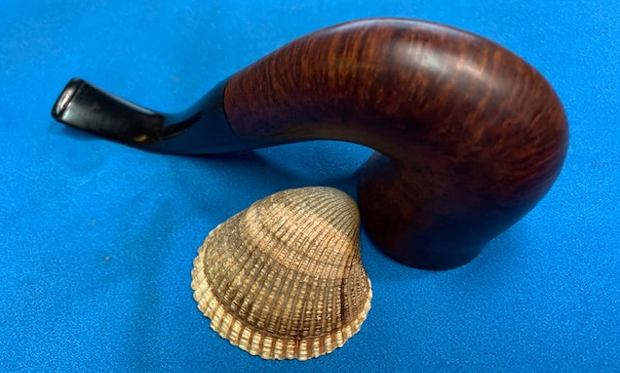
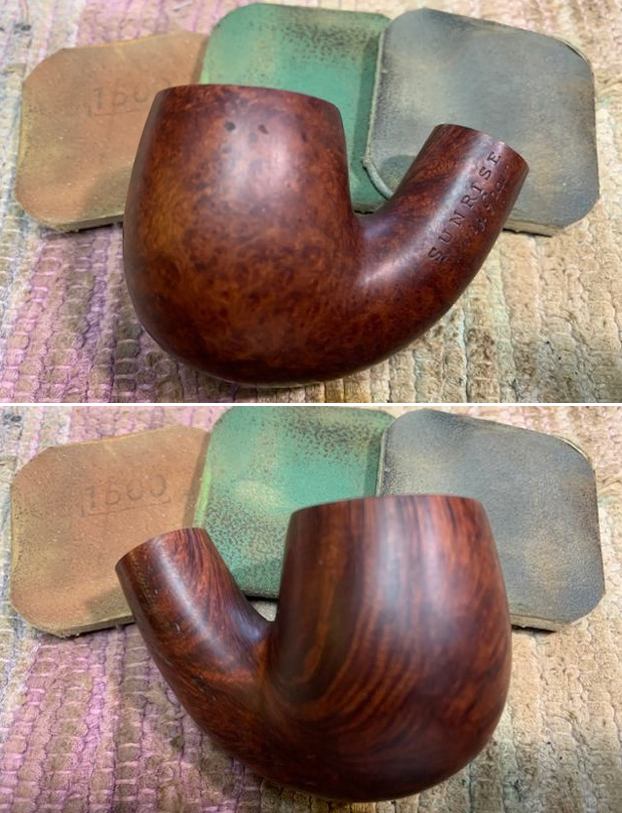
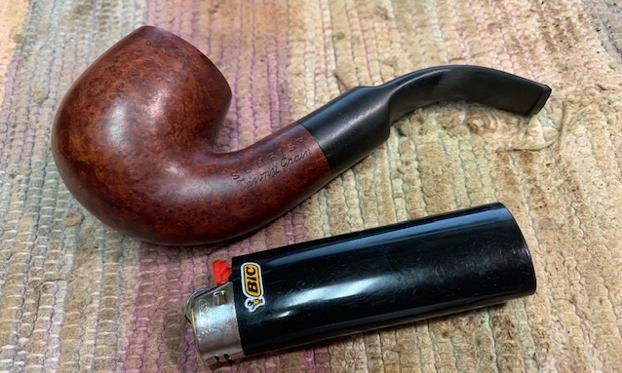
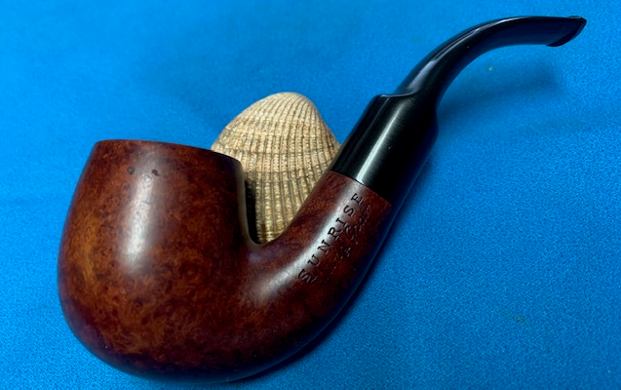
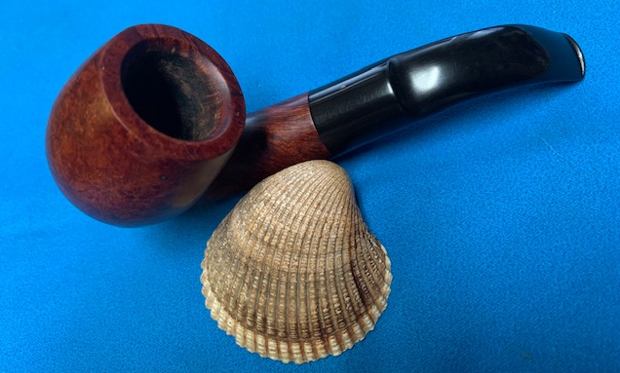
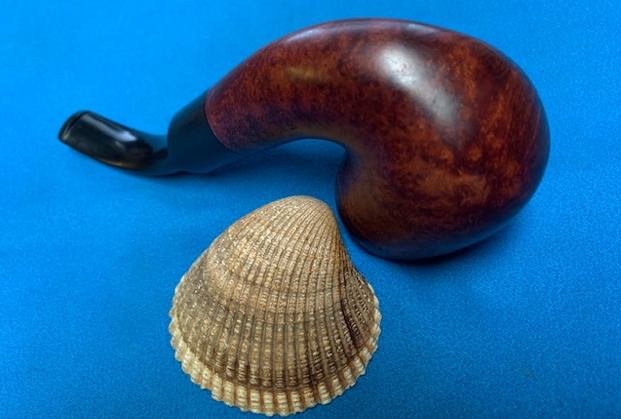
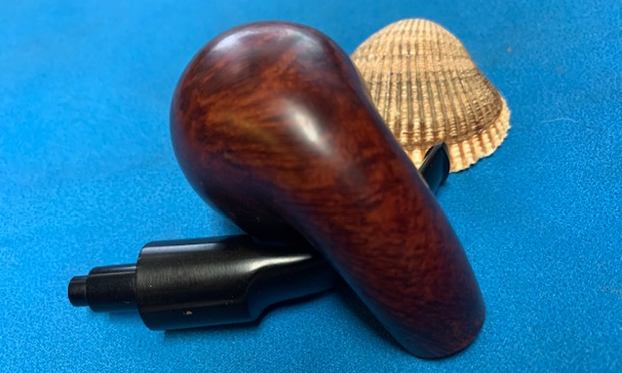
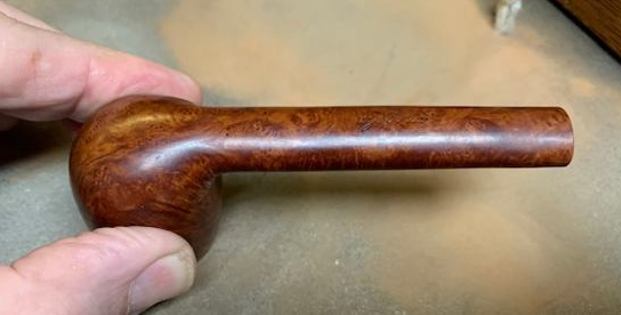
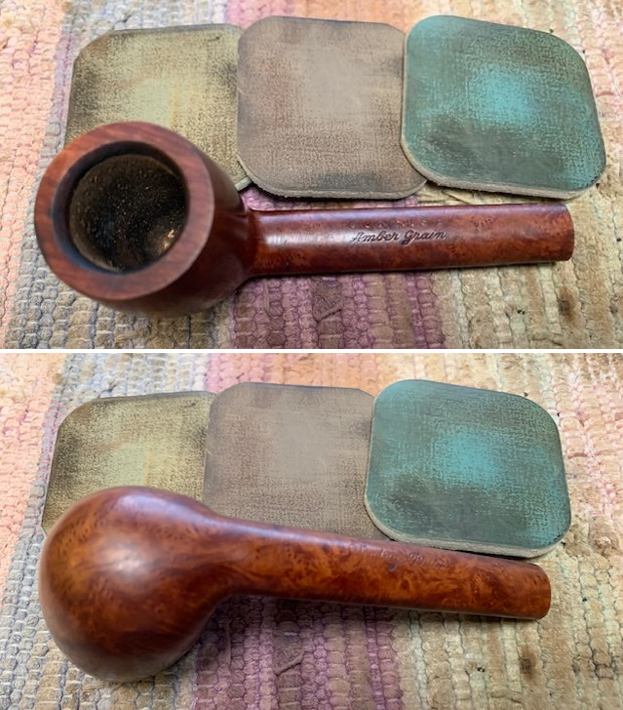
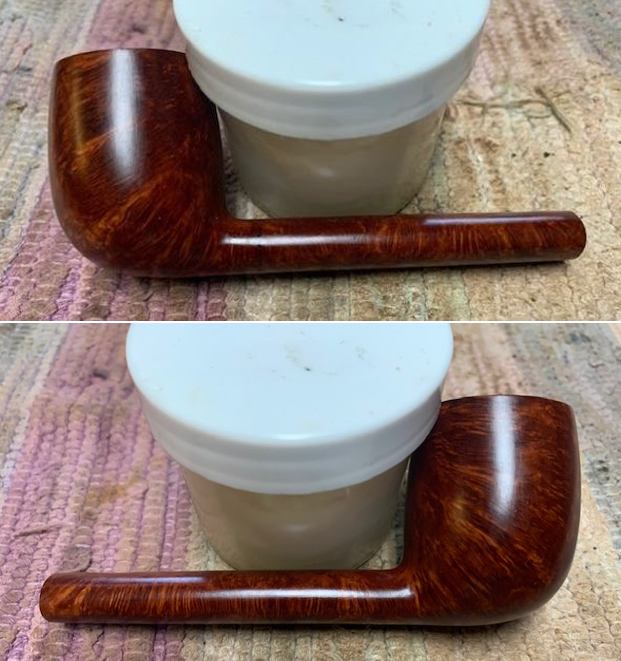
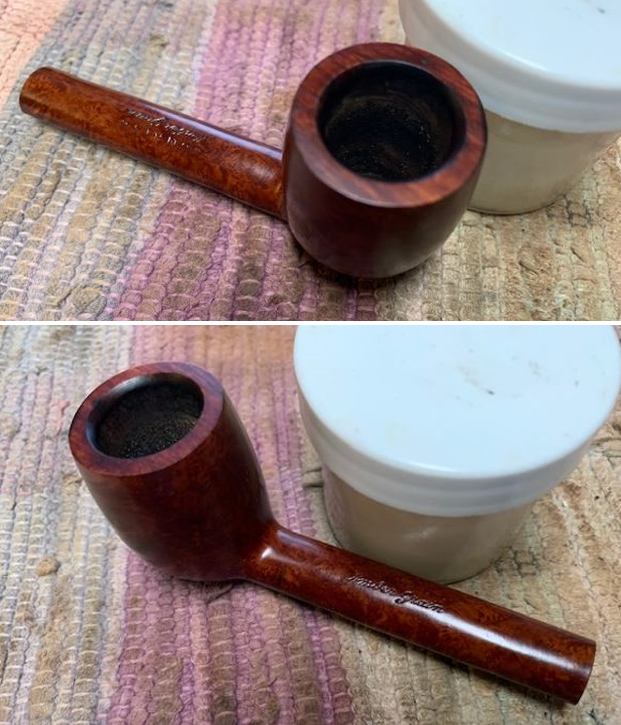
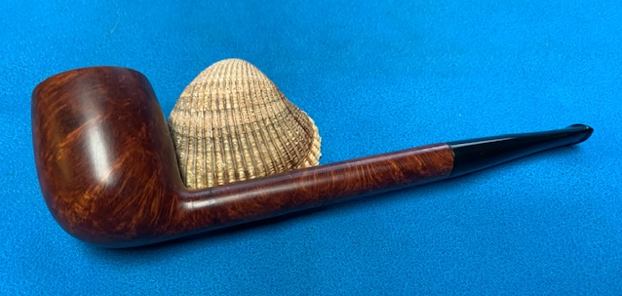
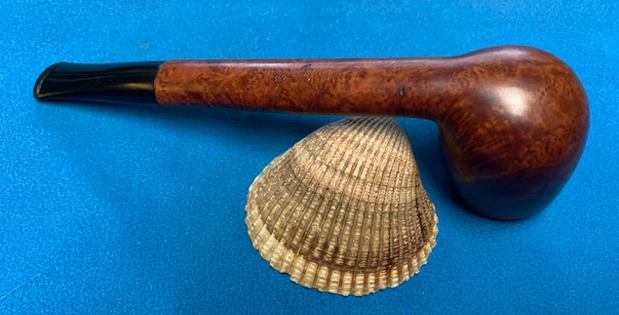
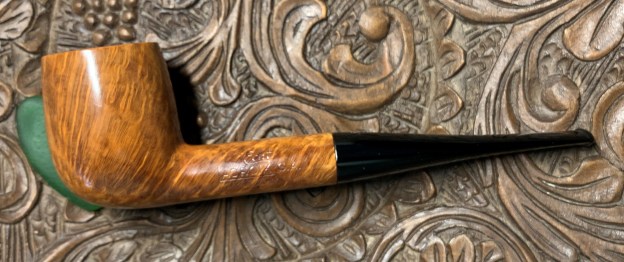
 This Made In London England Sandblast Acorn with a pencil shank is a great looking pipe whatever you call the shape. The rich, reddish brown stained finish around the bowl is quite beautiful and gives depth to the blast. The finish works well with the polished, thin vulcanite saddle stem. I put the stem back on the bowl and carefully buffed the pipe with Blue Diamond on the buffing wheel using a light touch on the briar. I gave the bowl multiple coats of Conservator’s Wax and the stem multiple coats of carnauba wax on the buffing wheel and followed that by buffing the entire pipe with a clean buffing pad. I hand buffed the pipe with a microfiber cloth to deepen the shine. The finished Made in London England Acorn is very light and sits nicely in the hand and feels great. Give the finished pipe a look in the photos below. The dimensions of the pipe are Length: 6 inches, Height: 2 inches, Outside diameter of the bowl: 1 ¼ inches, Chamber diameter: ¾ inch. The weight of the pipe is 32 grams/1.13 ounces. I will be putting it on the rebornpipes store shortly in the British Pipe Makers Section. If you are interested in adding this pipe to your collection send me a message or an email. Thanks for reading this blog and my reflections on the pipe while I worked on it. There are many more to come!


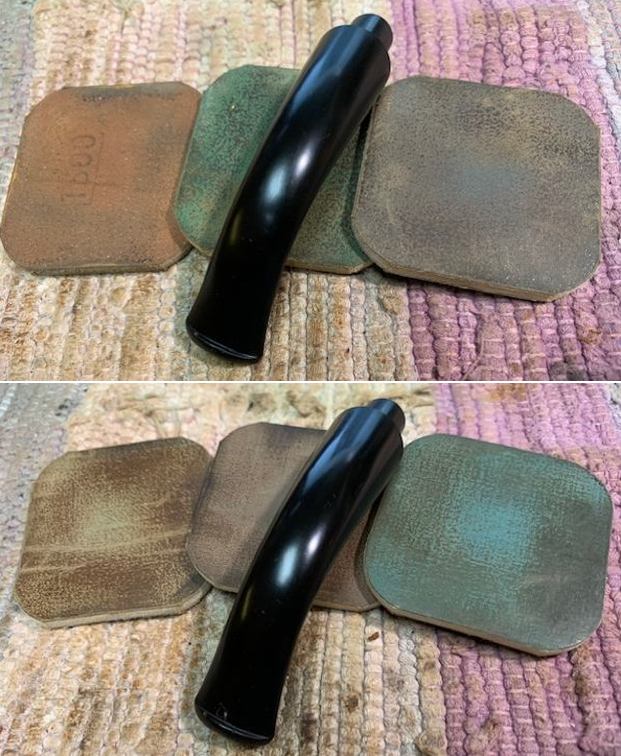
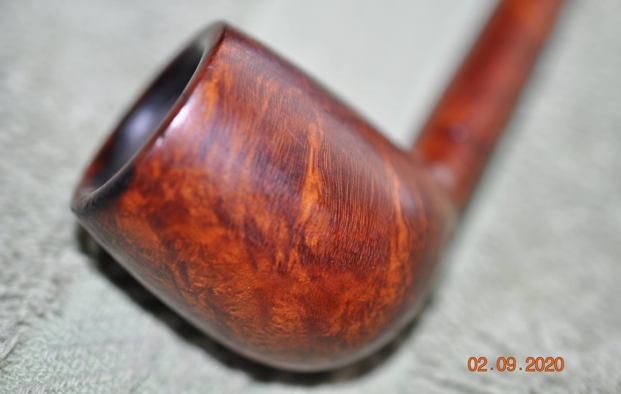
 The seller from Glenhead, New York, gave the description, “Mouthpiece has slight crack. Overall Good Condition.” I could see the ‘crack’ in the stem in the picture above – barely, and began to deduce that the stem might be acrylic. My bid was sufficient to add the pipe to the
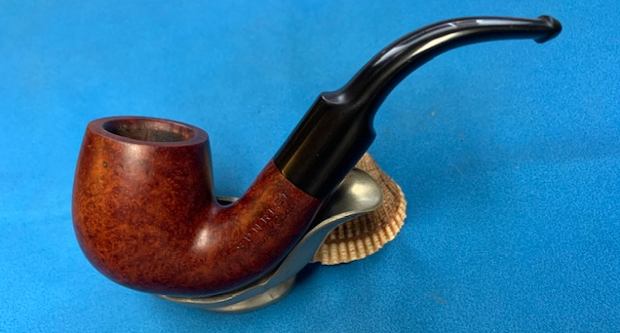


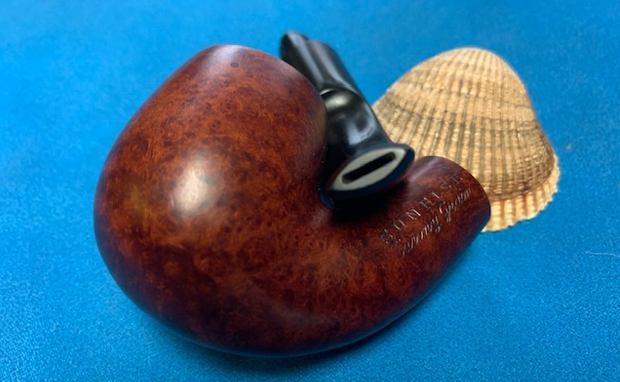
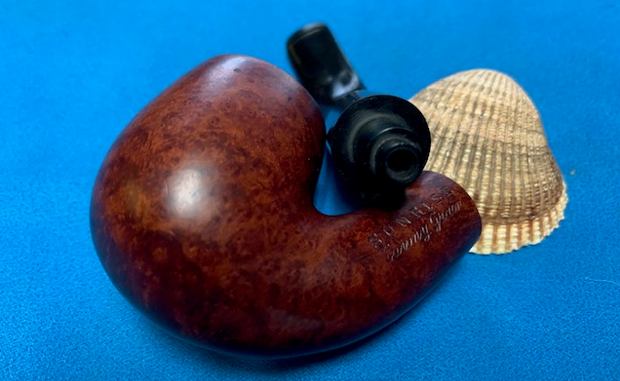


 Rob is from the Detroit area of Michigan, and he reached out to me after seeing the Echt Lacroix SA Erikson in the Dreamers section. I responded to him that…