Blog by Steve Laug
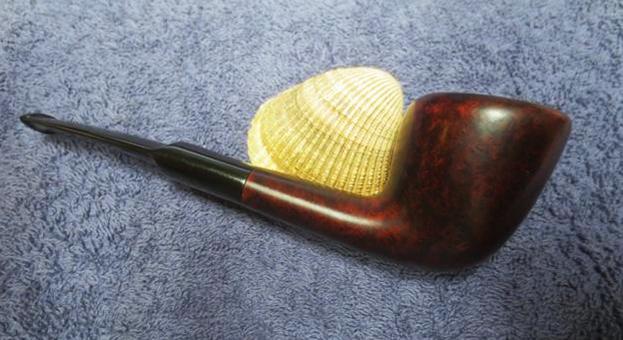
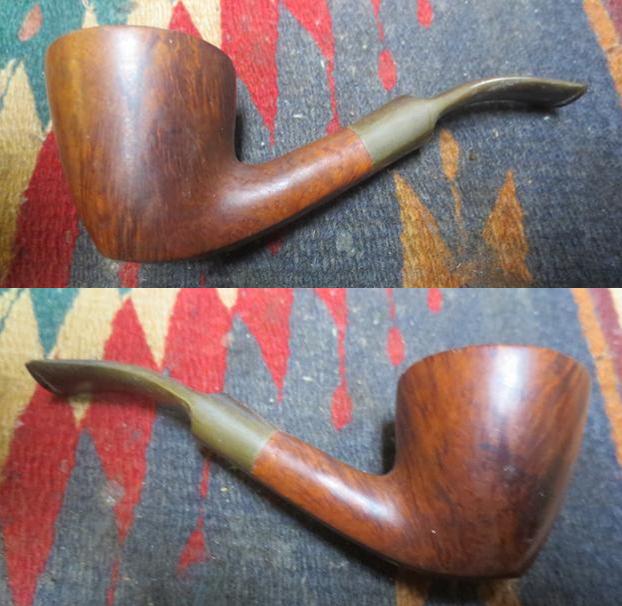
This Danish Crown was the last of the pipes Steve and I had discussed restoring from the box he sent my way. He had sent it to me to chip away at in my spare time. I have been working away at them a few at a time for a few months now. On the weekend I decided it was time to finish the remainder of the box. I pulled out five of the remaining seven pipes and worked on all of them (the last two are nothing spectacular but I may just clean them up anyway so I can send him the entire batch cleaned and usable). The pipe looked like a Stanwell make to me but a little research told me that it was a Kriswill, made by Kriswork Briar Trading, in Kolding (Denmark). The company started about 1955 and went bankrupt in the late 70s. They had a line of seconds (pipes with fills and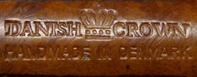 flaws that were still usable) which included the Danish Crown. This pipe was stamped on the topside of the shank with the name Danish Crown over Handmade in Denmark. On the underside of the shank is the shape number 49 at the shank/stem junction. The stamping on the pipe is probably the most readable of the entire batch of pipes. I took photos before cleaning the pipe.
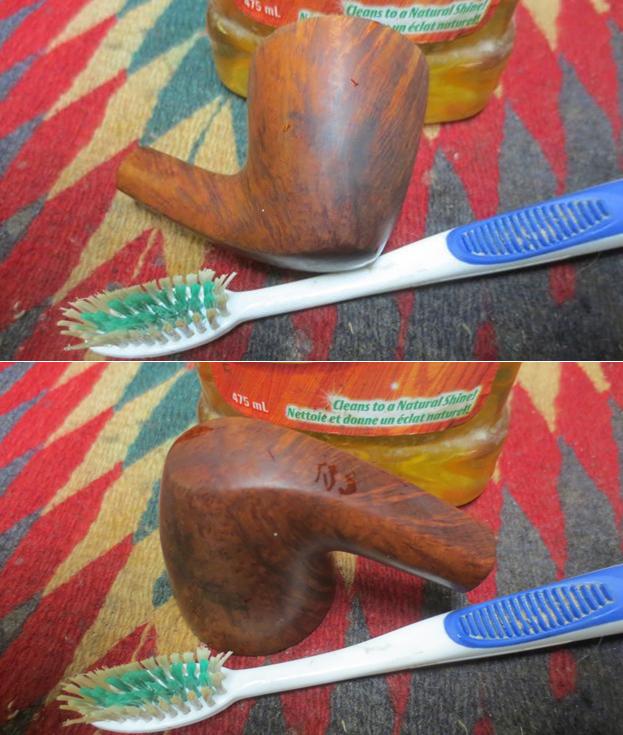
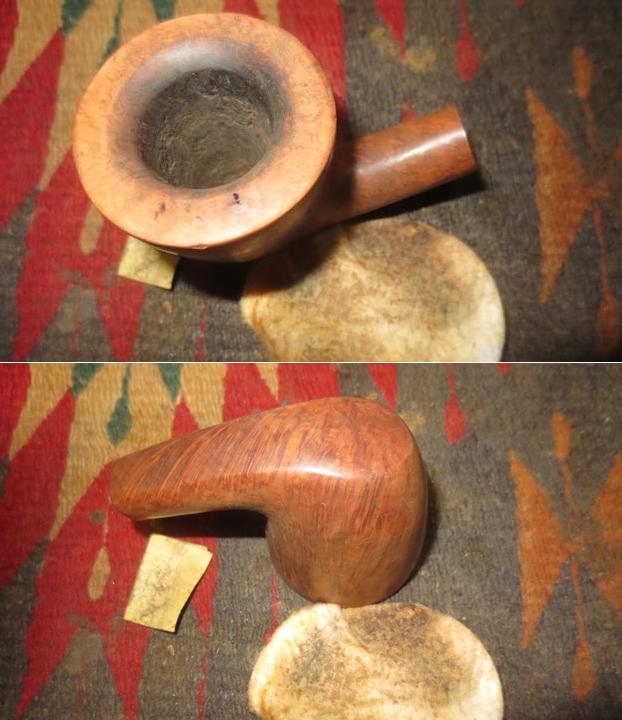
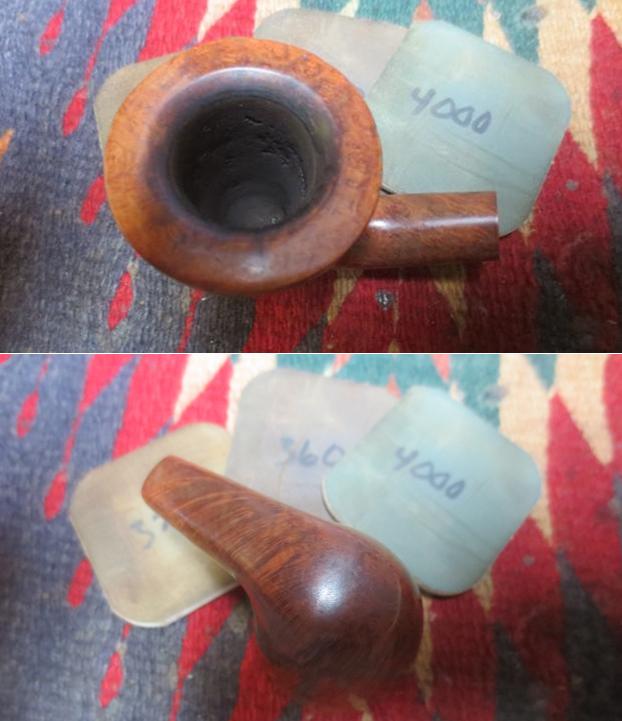
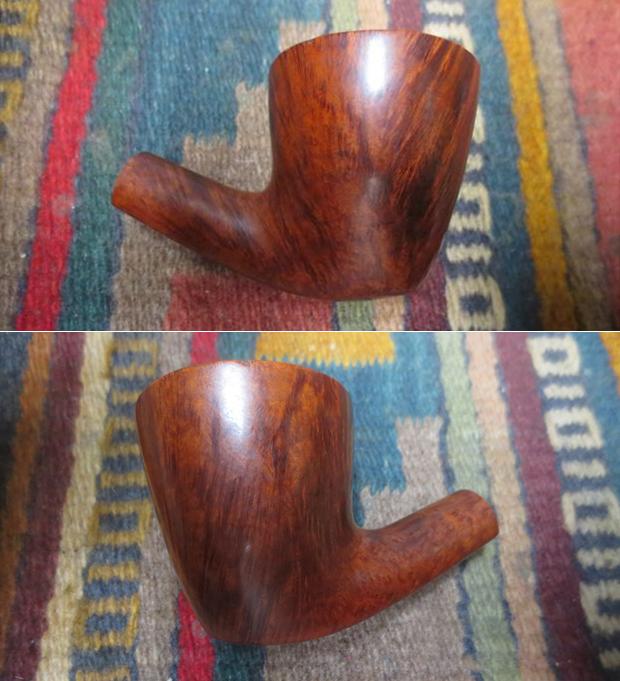
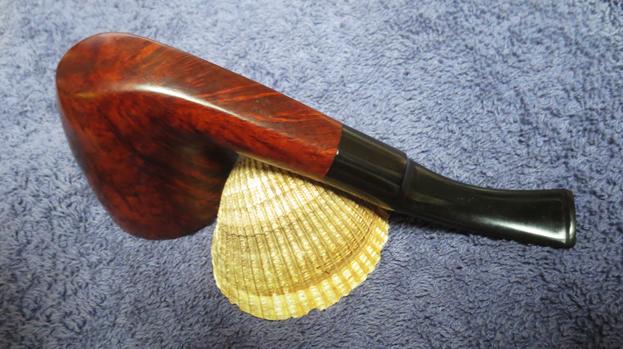
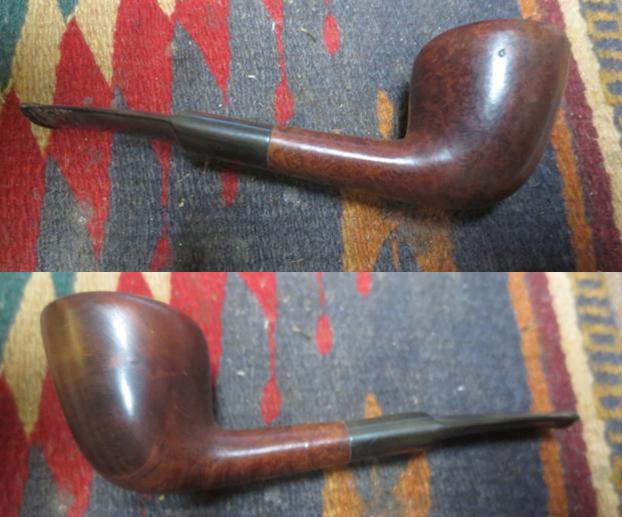 The bowl is heavily caked and there is a thick overflow of tars and cake onto the rim top almost obscuring the inner edge of the rim. There was a large chipped area on the front right of the rim top as well as more dings and dents around the rim top. The finish on the bowl was worn and dirty. The stem has a lot of tooth marks and chatter. There was also oxidation on the stem. I took photos of the pipe before I started the restoration.
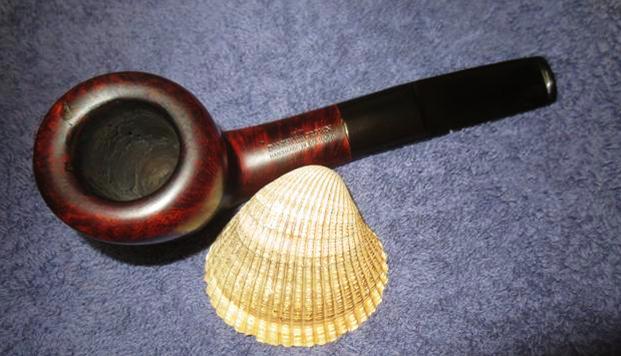
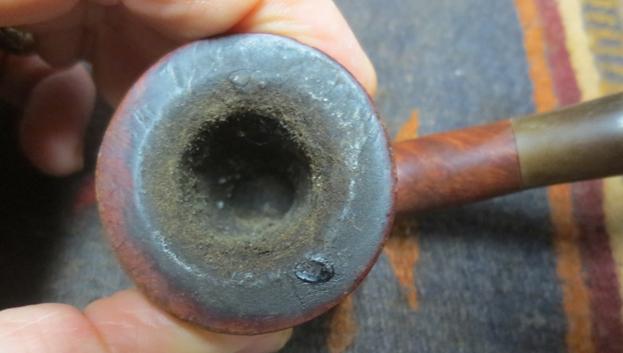
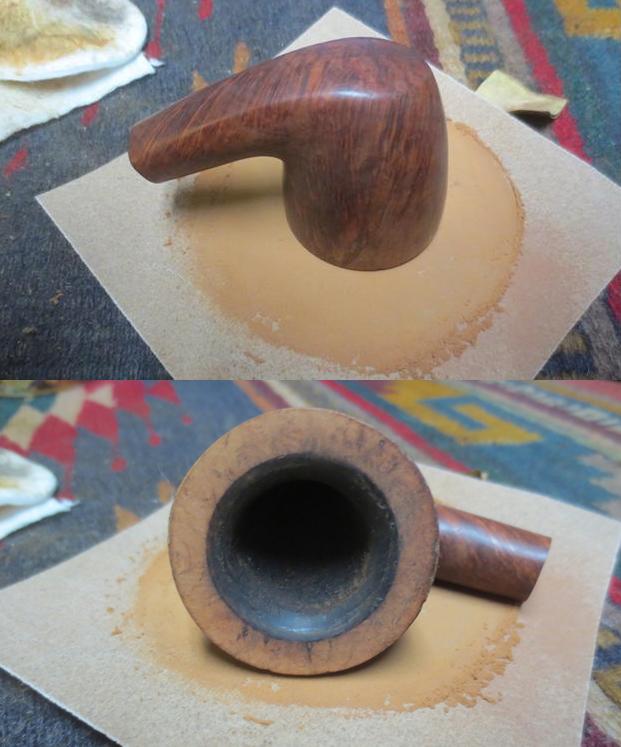
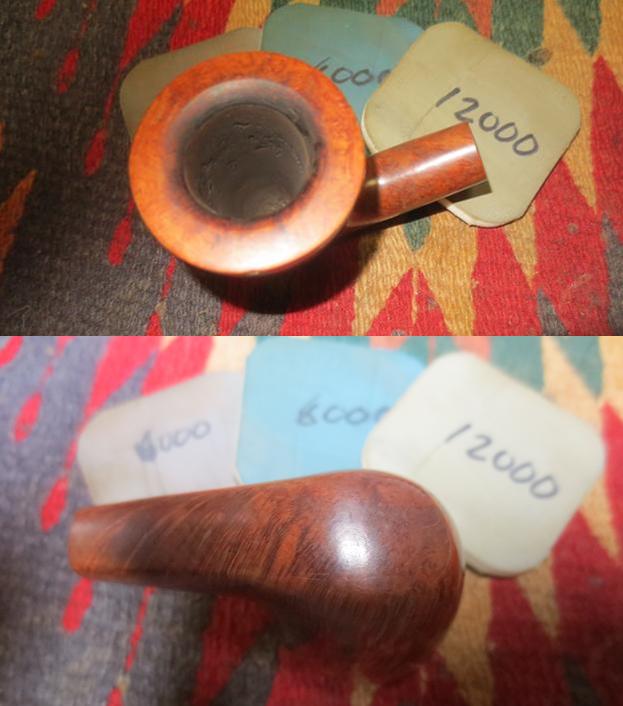
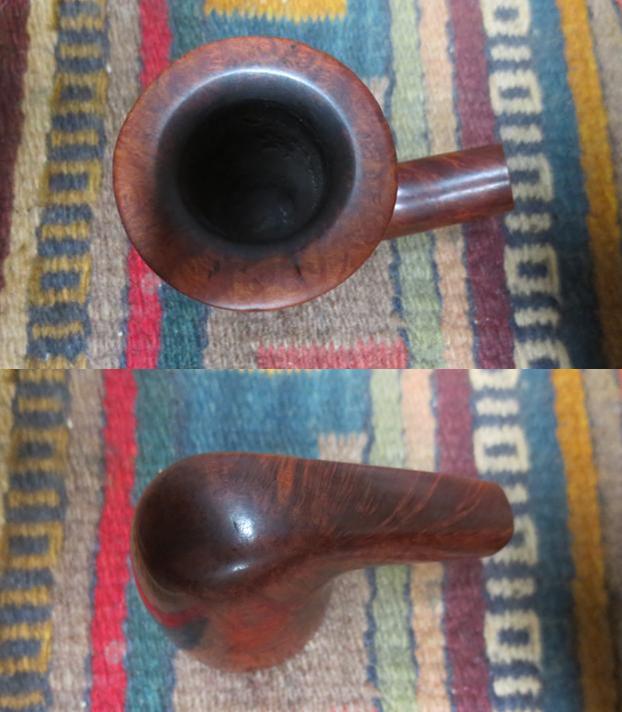
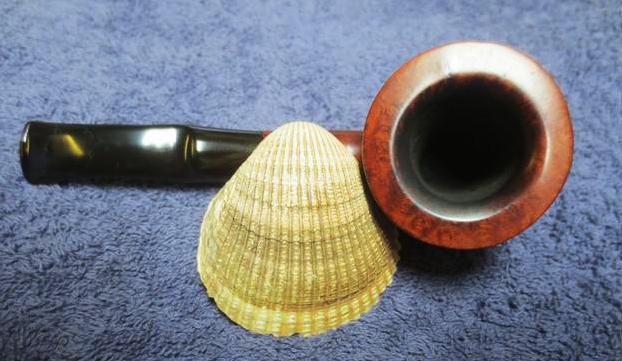
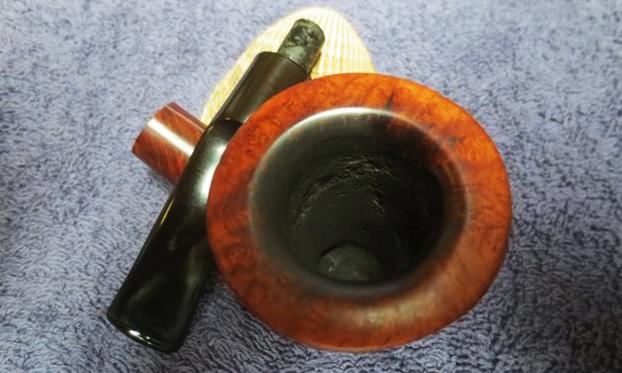
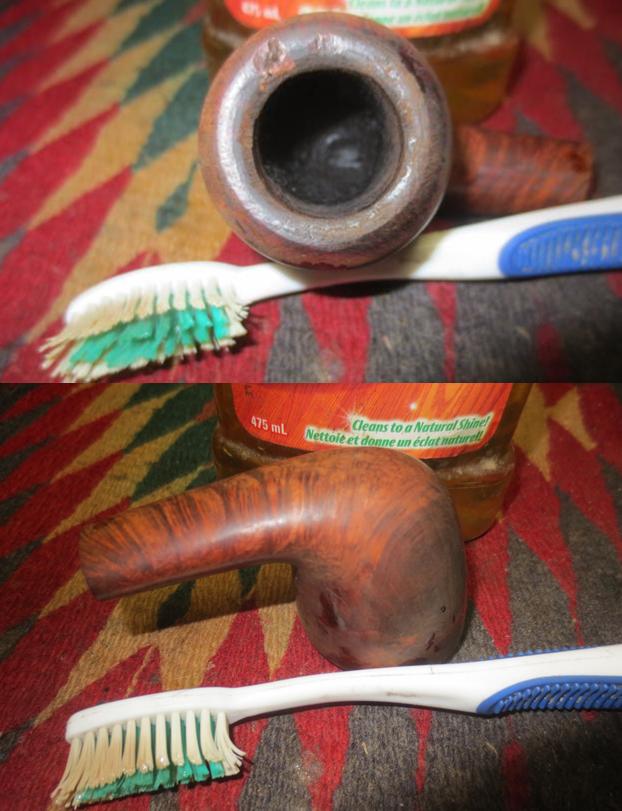
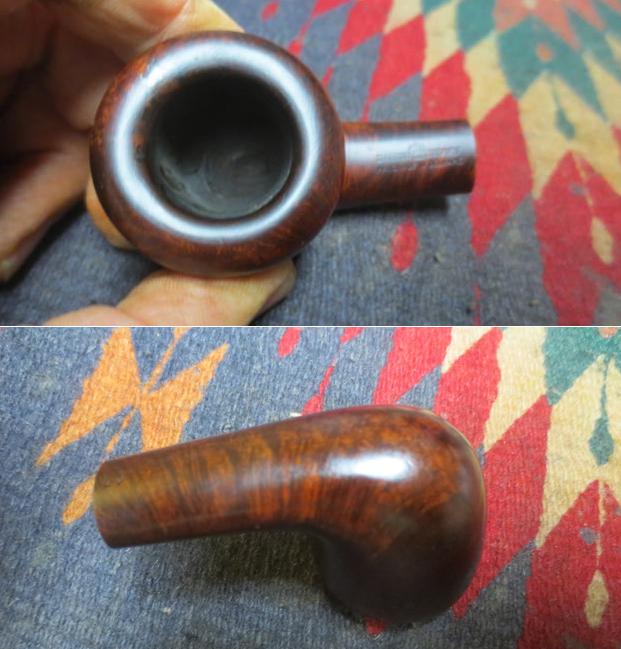
 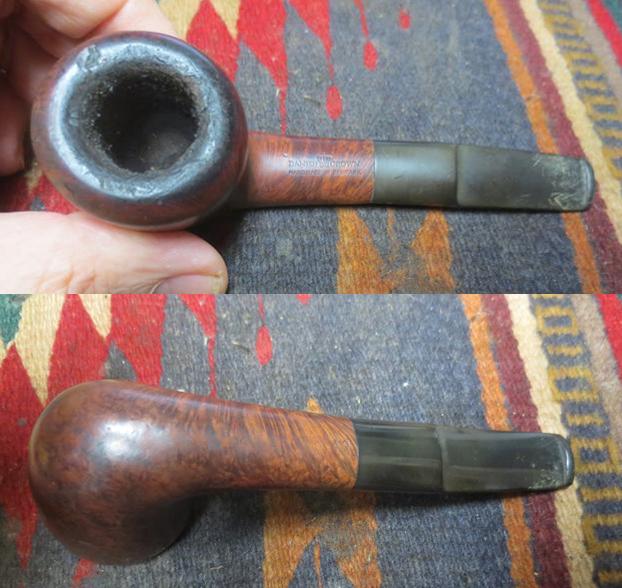 I took a close up photo of the rim top and bowl. You can see from the photo how thick the cake was and the amount of lava over flow on the rim top. The damage to the rim is at the 9:00 and 11:00 o’clock position in the photo below.
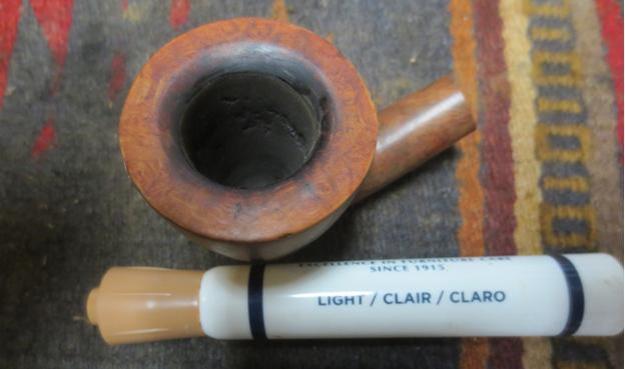
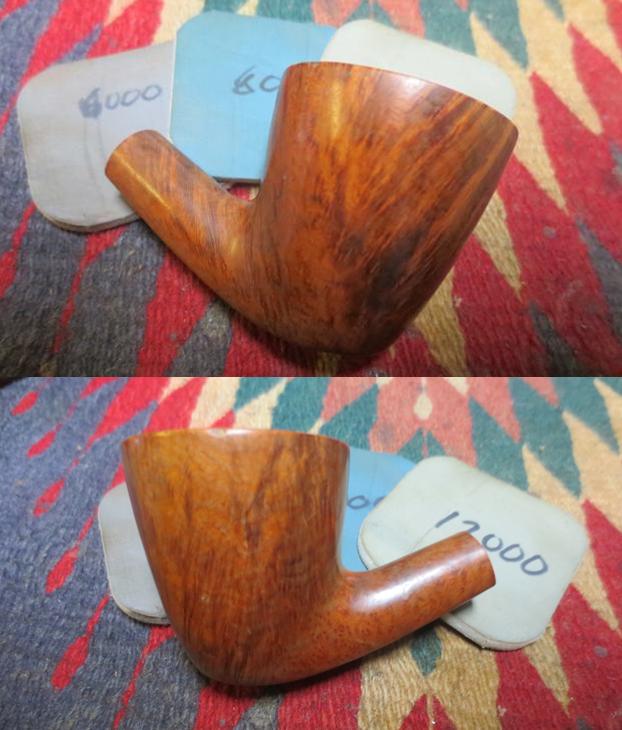
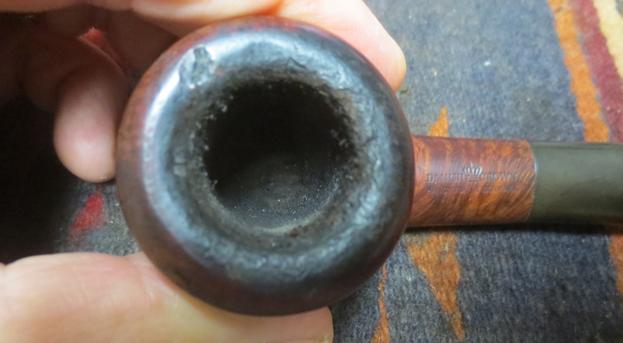 The stamping on the shank is very readable. In person, it is clearer than it appears in the photo below.
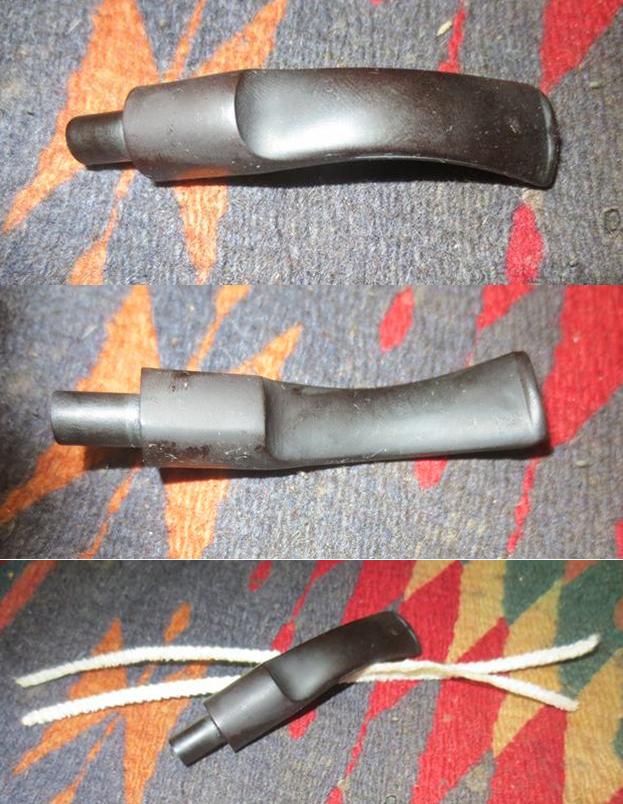
 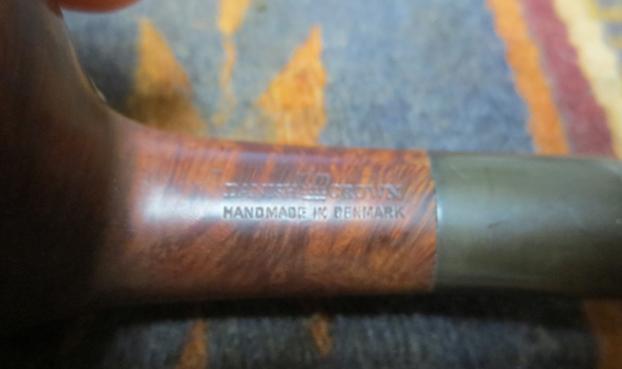 The next two photos of the stem show oxidation on the whole stem and tooth chatter and marks on the top and underside of the stem near the button.
 I put the stem in the Before & After Pipe Stem Deoxidizer bath to soak with the other stems from Steve’s pipes. While they soaked I worked on the five bowls that went with them. The stems soaked over a period of 24 hours.
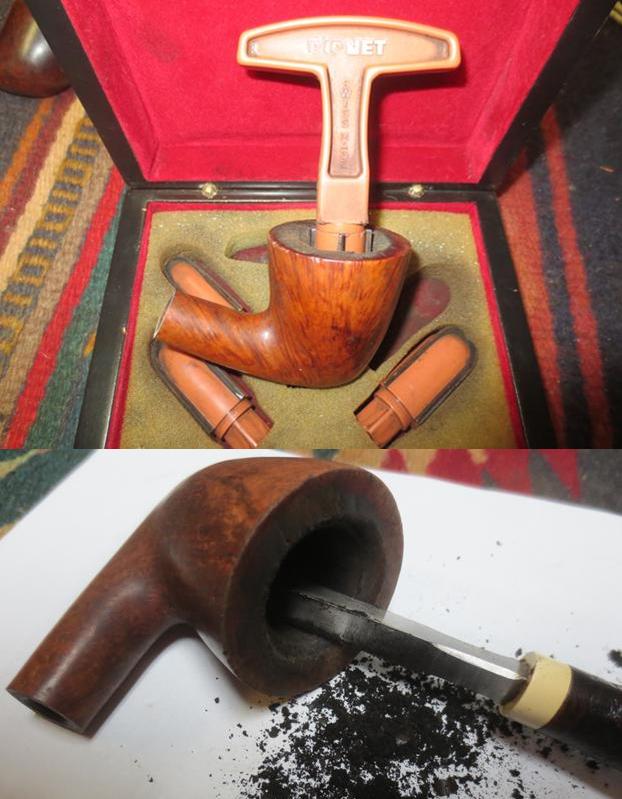
 I reamed the bowl with a PipNet Reamer starting with the smallest cutting head and working my way up to the third head, which was the same size as the bowl. I cleaned up the reaming with a Savinelli Fitsall Pipe Knife. I took the cake back to bare briar. I scraped the rim with a sharp penknife to clean up the lava buildup on the rim top. I scraped it until the rim was debris free.
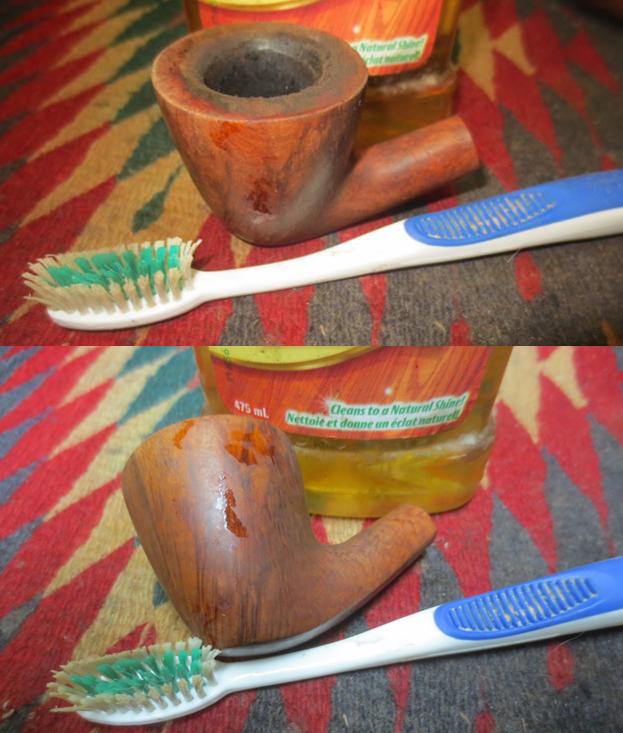
 I scrubbed the exterior of the bowl and shank with Murphy’s Oil Soap and scrubbed the rim top and the bevel with a tooth brush. I picked the damaged areas clean with a dental pick to remove the buildup deep in the rough spots on the rim. I rinsed the bowl under running water and continued to scrub it until it was clean.
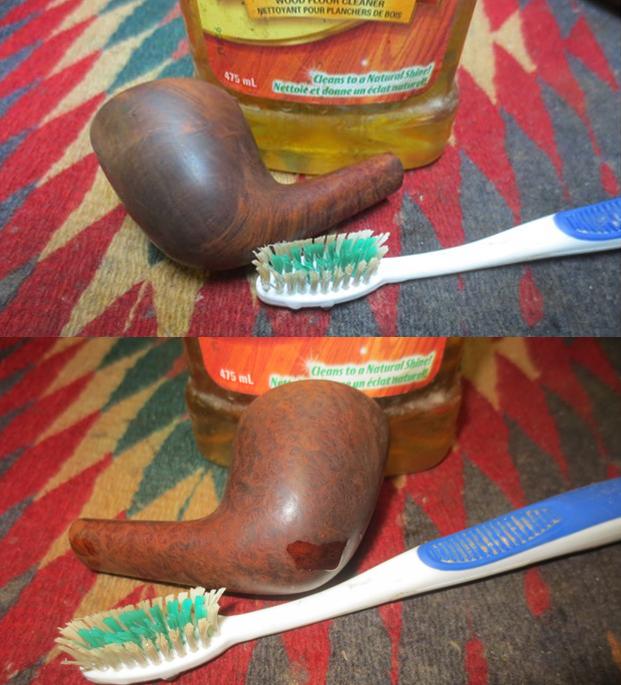
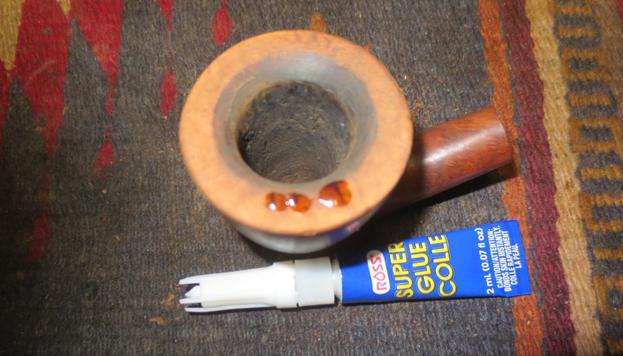
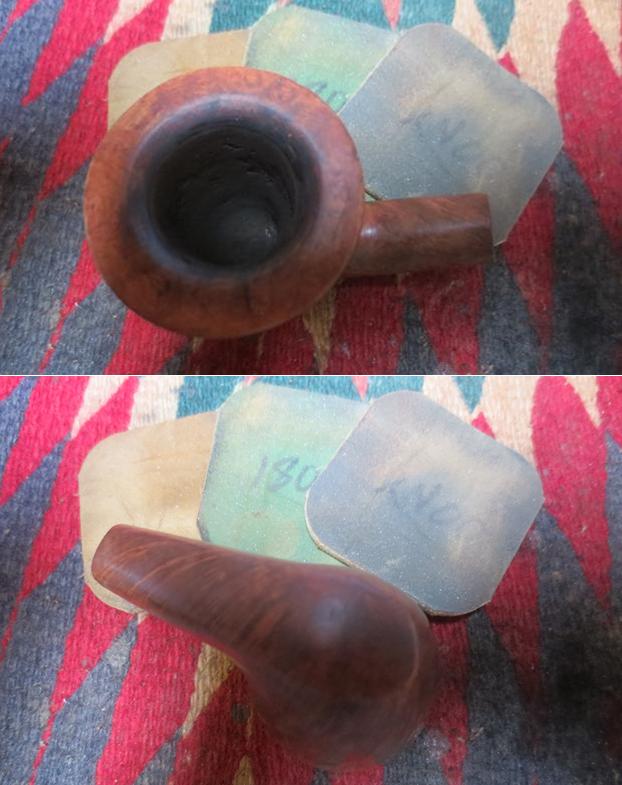
 I used a rolled piece of sandpaper wrapped around my finger to sand out the inside of the bowl. The bowl walls were a little rough on this one so it was going to take some work to smooth things out. I wiped down the damage on the rim top with a cotton swab and alcohol and filled them in with briar dust and clear super glue.
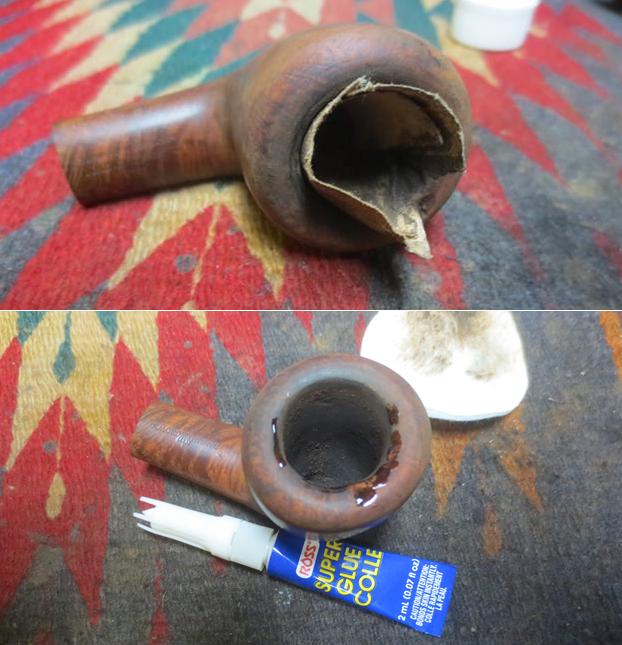 When the repairs had hardened I sanded the rim top and edges with 220 grit sandpaper to begin the process of blending them into the briar.
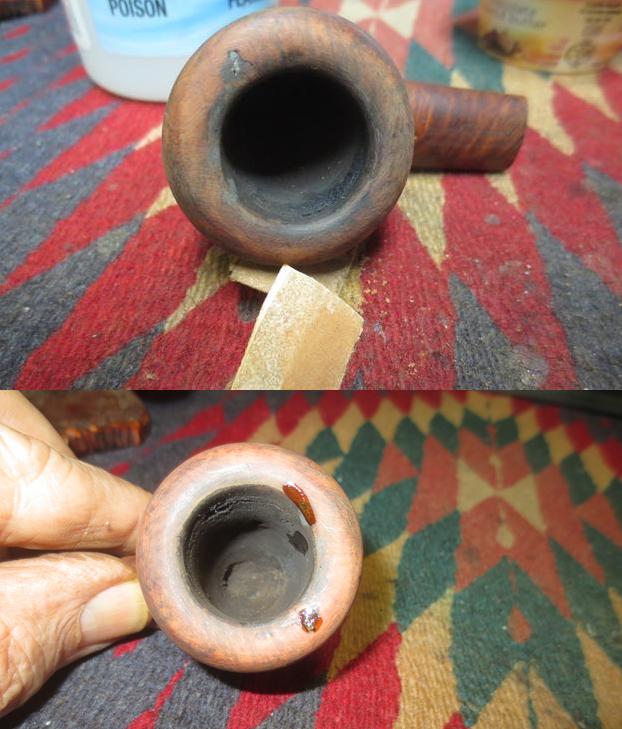
 With the rim top repair and the discovery of many small fills around the bowl sides and the bowl/shank junction, I decided to use a darker stain on this pipe than the other ones. I stained it with a dark brown aniline stain and flamed it to set it in the grain of the briar. I repeated the process until I was happy with the coverage.
 When the stain had dried, I wiped the bowl down with alcohol on a cotton pad to remove the excess and blend the colours to a rich dark brown that allowed some of the grain to show through. Unfortunately, it also allowed the fills to show. More work needed to be done to take care of that issue.
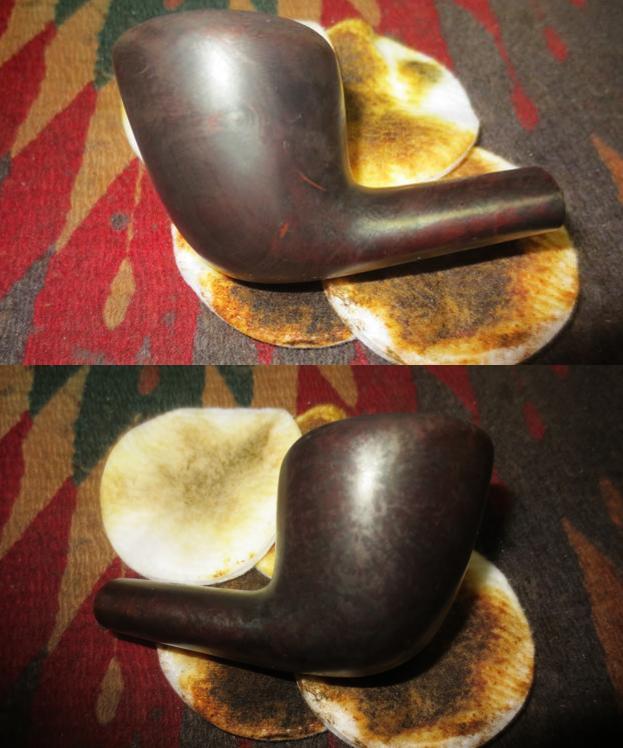
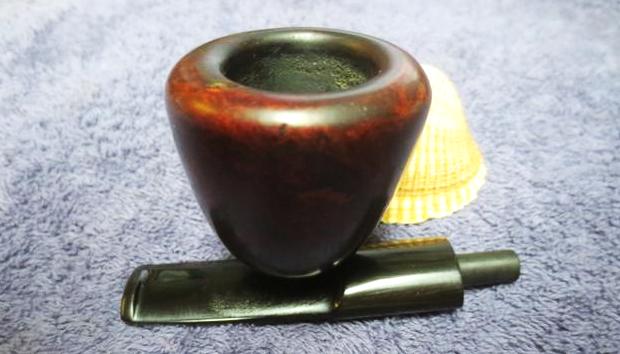
 I used a dark brown stain pen and a Sharpie pen to colour over the fill areas. I used the dark brown aniline stain dauber to put over the top of the colouring I had done. I flamed the aniline stain spots with my lighter to set the stain in them. I lightly buffed the bowl with Blue Diamond on the buffing wheel. I was careful when buffing around the repaired area on the top of the bowl and the fills that I had darkened. I gave the bowl several coats of carnauba wax and buffed it with a clean buffing pad to raise a shine. I am happy with the look of the bowl at this point. The grain shows through nicely and the fills and repairs blend in pretty well.
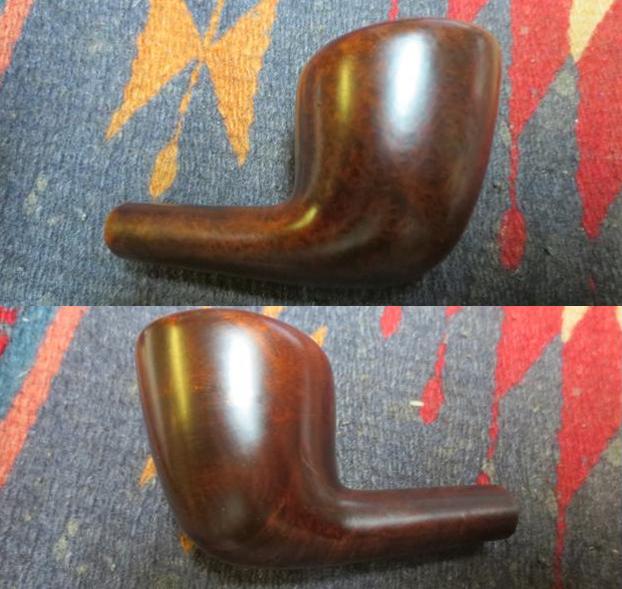
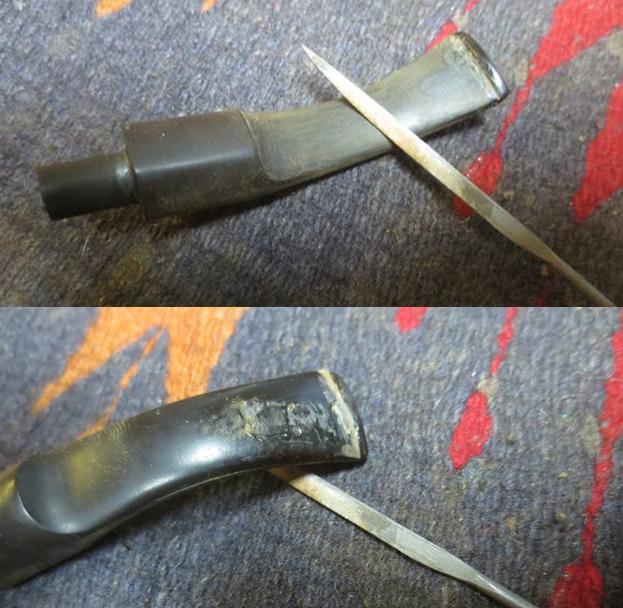
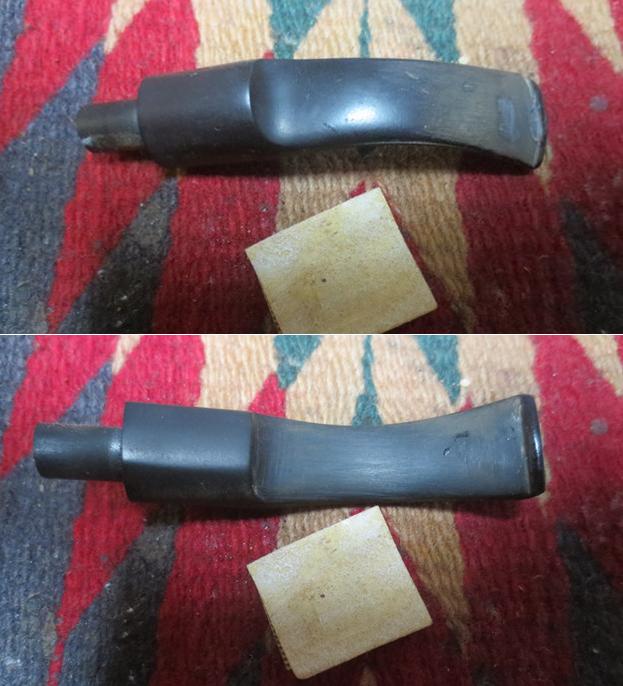
 I set the bowl aside and turned my attention to the stem. I removed it from the Before & After Pipe Stem Deoxidizer bath and dried it off. I ran a pipe cleaner through the airway to remove the Deoxidizer that was on the inside of the stem. I used alcohol to clean out the airway in the stem. It came out of the bath pretty clean of oxidation. The tooth marks and chatter showed up clearly on both sides near the button.
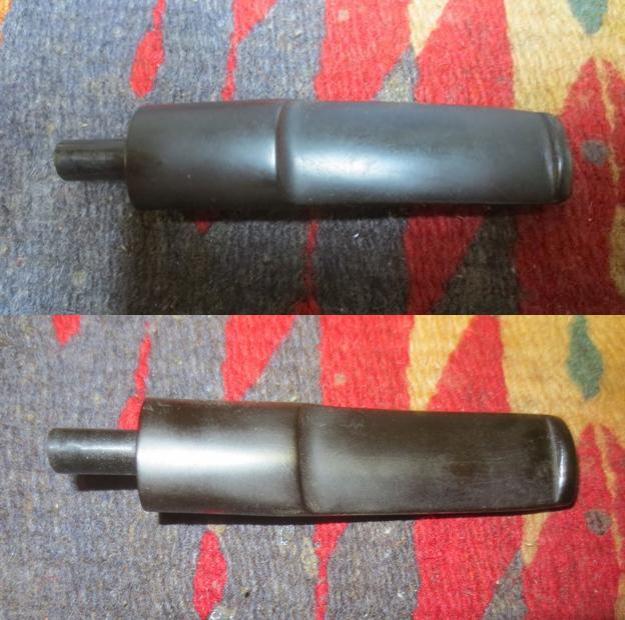 I lightly sanded the stem with 220 grit sandpaper to remove the tooth chatter and filled in the deeper tooth marks with black super glue. The largest mark was on the underside of the stem.
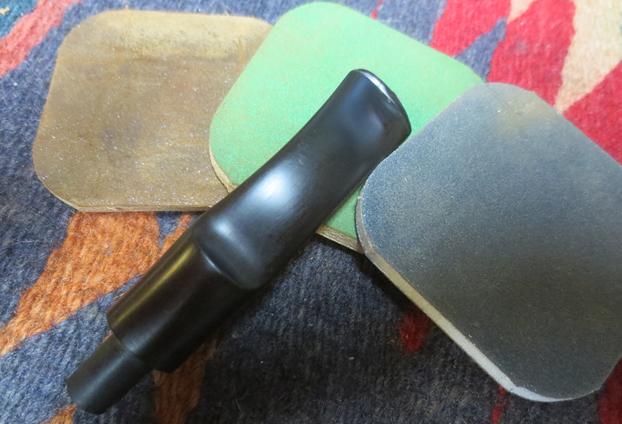
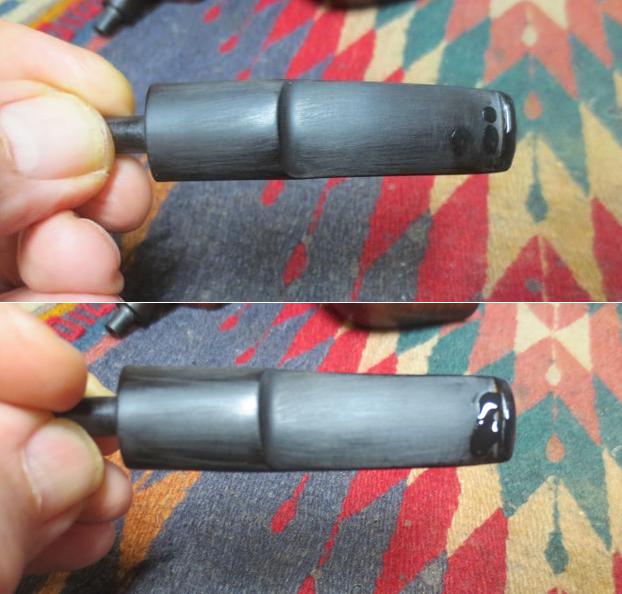 Once the glue dried I sanded the repairs with 220 grit sandpaper to blend them into the surface of the stem.
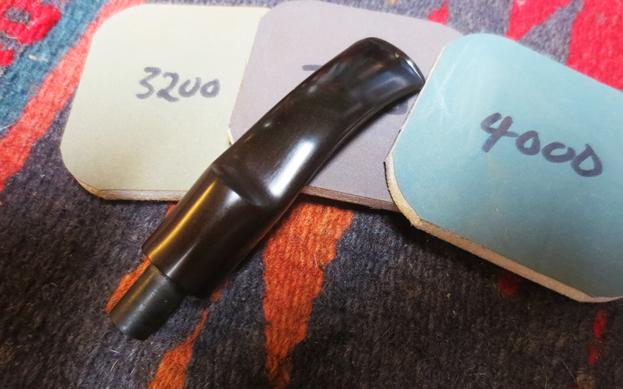
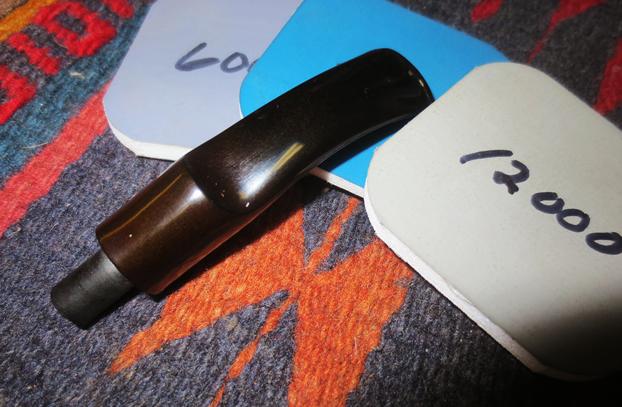
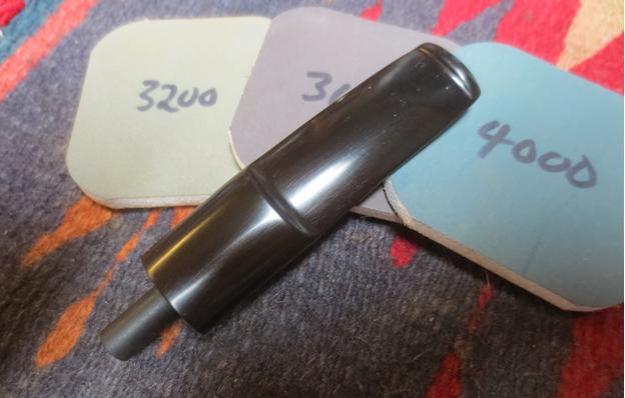
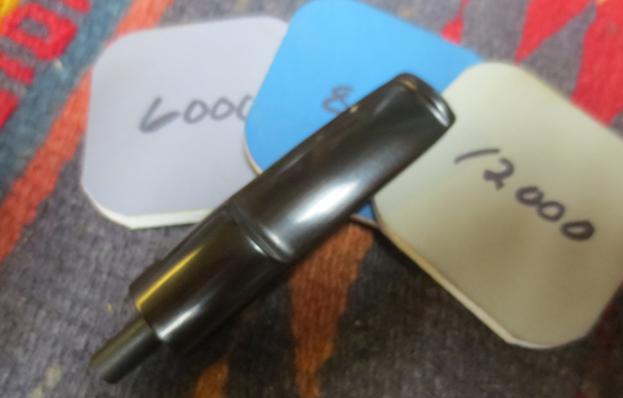
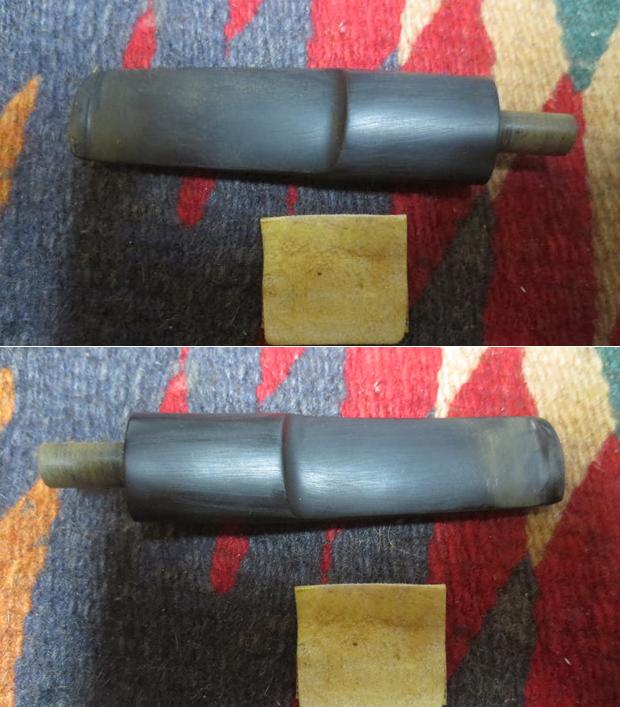 I polished the stem with micromesh sanding pads – wet sanding with 1500-2400 grit pads and dry sanding with 3200-12000 grit pads. I rubbed the stem down with Obsidian Oil after each pad. After the 12000 grit pad I gave it another coat of oil and set it aside to dry.
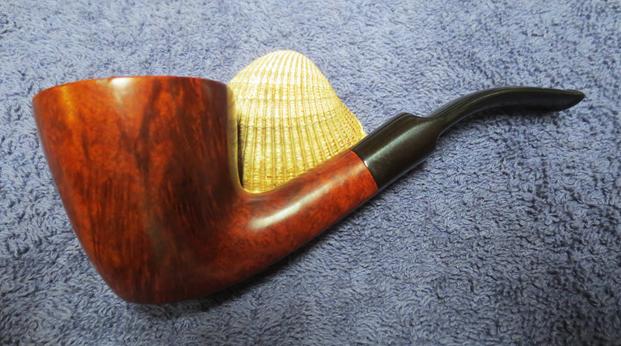
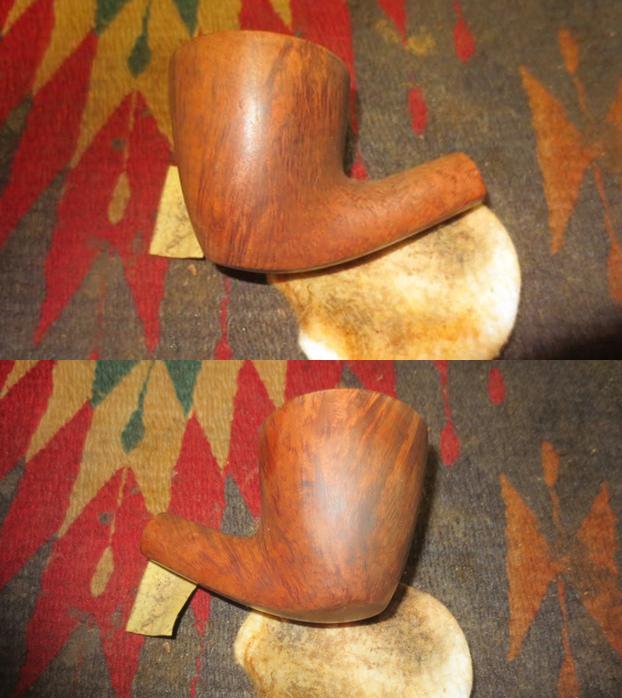
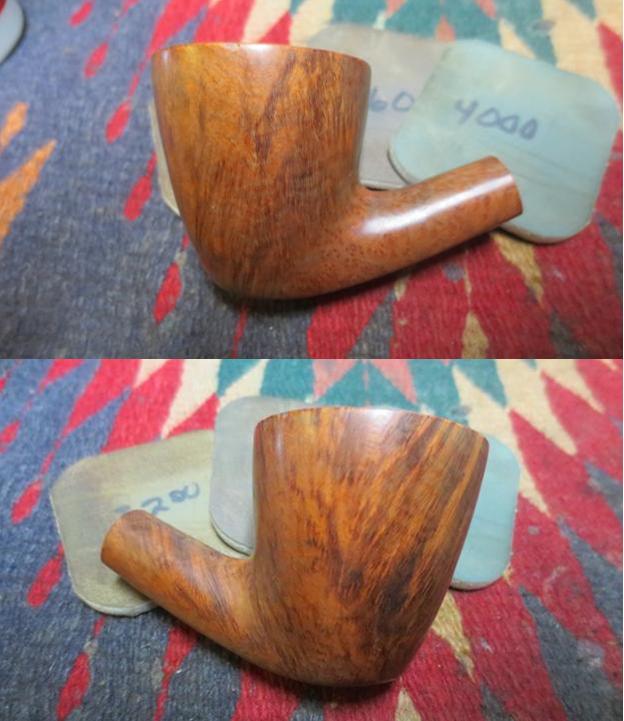
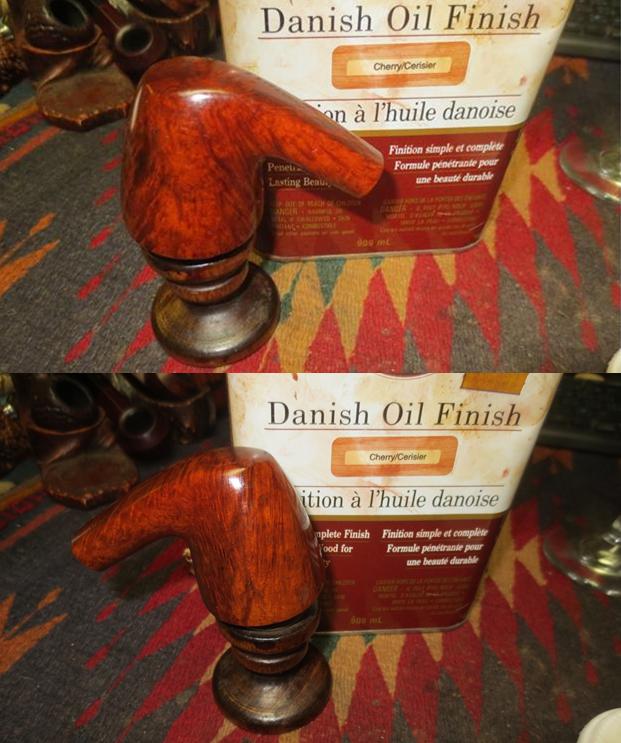
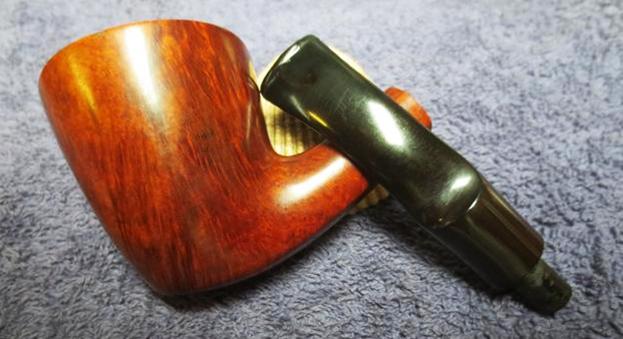
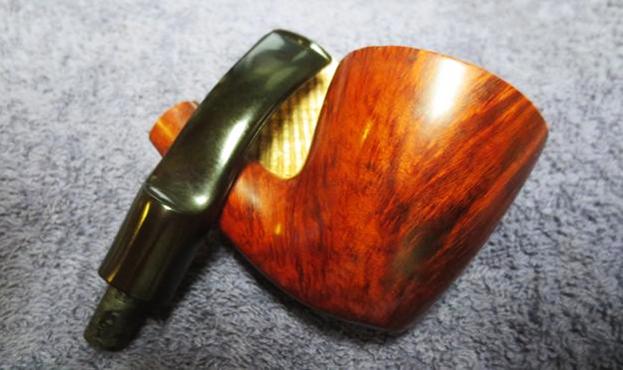
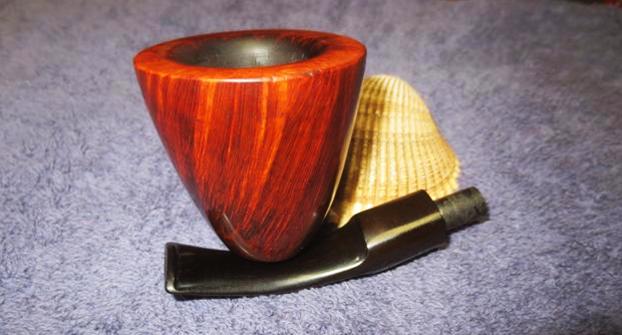
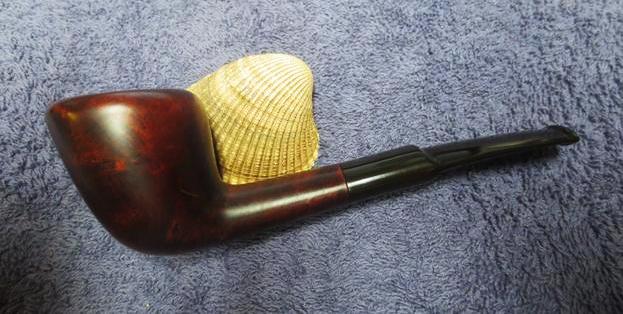
 I put the stem on the bowl and buffed the pipe with Blue Diamond on the buffing wheel. I used a light touch on the areas that were repaired. I gave the bowl several coats of carnauba wax and buffed the pipe with a clean buffing pad to raise the shine. I hand buffed it with a microfibre cloth to deepen the shine. The finished pipe is shown in the photos below. It is the fifth of this batch of five pipes that I have restored for Steve. It is a well-made Kriswill pipe. I think Steve will really like this last addition to his rack. Steve, if you are reading this I hope you enjoy this beauty. It will be on its way to you very soon. Thanks for looking.