Blog by Steve Laug
I have hinted at the fact that my friend Steve from Dawson Creek included two pipes in his box of pipes for me to refurbish that I had relegated to a “not worth doing” category. One of these was a Hilson Fantasia – Resin bowl and shank with a meerschaum lining and a plastic pipe stamped “the Pipe” that has a pyrolytic graphite bowl lining and a phenolic resin exterior. When I was working on the last one, the Kriswill made Danish Crown pipe I thought I would just do a clean up on these two just to be able to send a clean batch of pipes back to Steve.
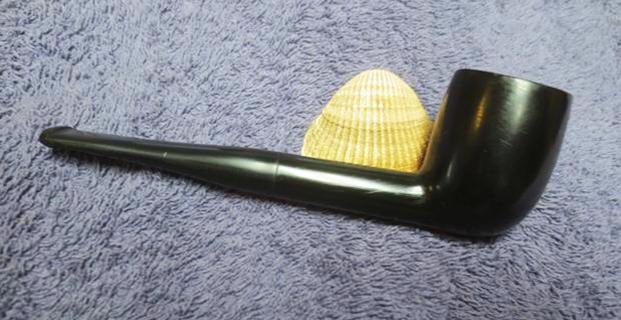
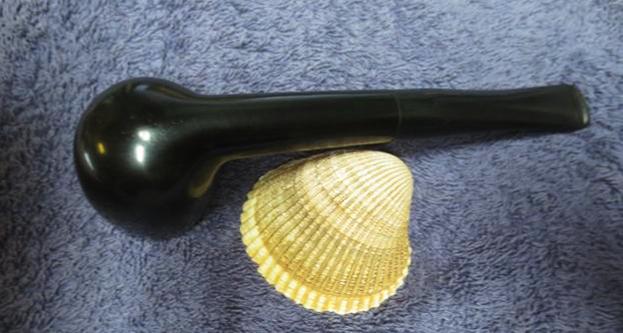
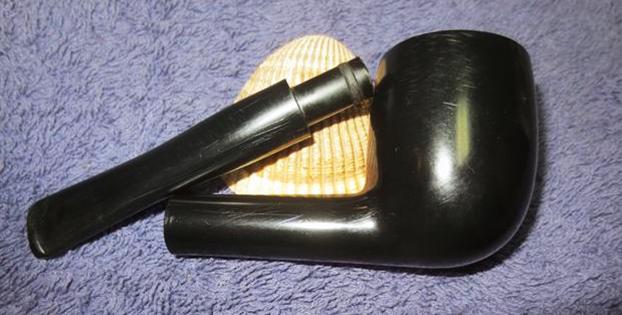
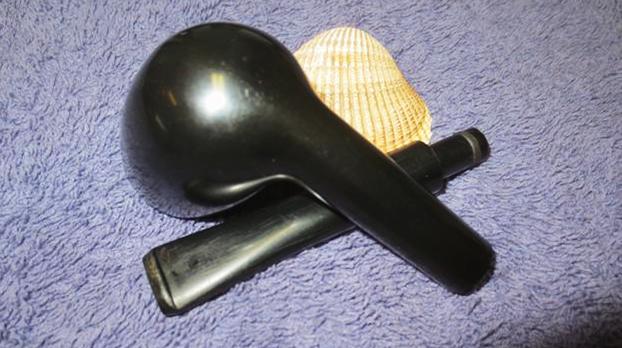
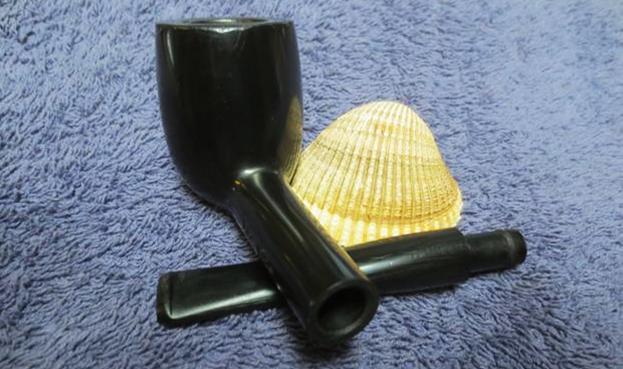
I decided to begin working on the pipe labeled “the Pipe”. I have never paid attention to these pipes and have actually never had one in hand until this moment. I have avoided buying them or even being gifted one of them. I just was not interested in this combination of phenolic resin and pyrolytic graphite at all. I am generally intrigued by the unusual as those of you who follow the blog know, but this one had no draw for me. It was a bit of a mess. The bowl had a crumbling cake that was uneven. It had flowed over the rim top leaving it a mess. The outer edge of the bowl had been knocked against hard surfaces to empty the bowl leaving behind characteristic dents and chips. The right side of the bowl and the entire shank was scratched with deep scratches that carried on up the stem. The top and underside of the stem was also covered with bite marks and tooth chatter. The pipe looked pretty sad with all of the damage. I wondered if I could make it look any better and to be honest, if there was a point to doing so.
I took photos of the pipe before I started for comparison sake. Once I was finished I could look back and see if my work had made any difference at all.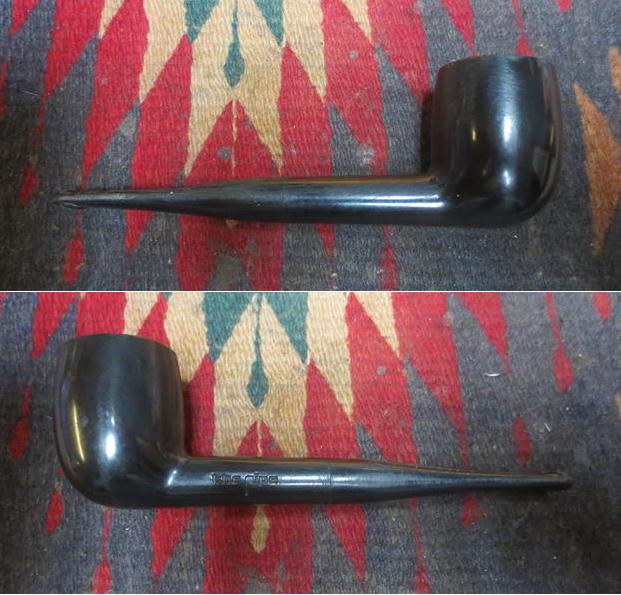
 I wanted to get a quick education regarding the manufacture and date of this brand of pipes. My gut feel was that it was a product of the 60s and 70s. I looked up the brand on Pipedia and found that it began in 1963. There was a good summary of the history of the brand there. The Super-Temp Corporation who started making plastic pipes with pyrolytic graphite bowl liners made it. They called them “the Pipe”. In 1965, Super-Temp contracted to market their unique pipes through Venturi, Inc., the company that sold Tar Gard cigarette filters. Colors and stripes were added to the pipes that were offered circa 1967. About 1970, THE SMOKE pipes were added to the line – they were non-traditional shapes with a less expensive bowl liner. Venturi pipes were added around 1972 – they had no liner in the bowls at all. The pipes were out of production by 1975 (https://pipedia.org/wiki/Super-Temp). If you would like to read more about the brand, including a comprehensive history visit Dr. Billie W. Taylor’s site http://www.thepipe.info/. He is a collector of the Super-Temp Corporation pipes. He is a source of incredible information if you want to tap into it.
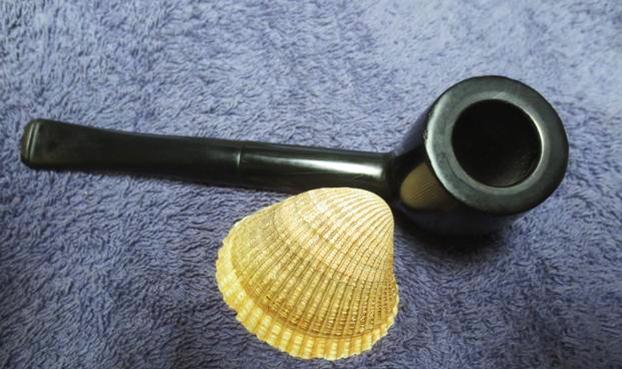
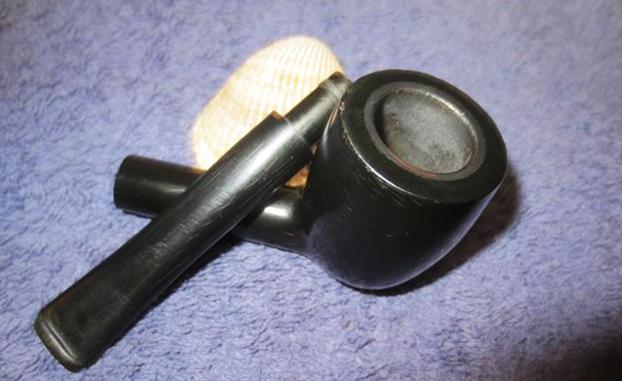
I took a close up photo of the bowl and the rim top to show the condition of both. The cake is heavy in the bowl and overflowing onto the black rim. It is hard to see because both the bowl insert and the exterior of the pipe are black. You can also see the damage on the outer edges of the bowl.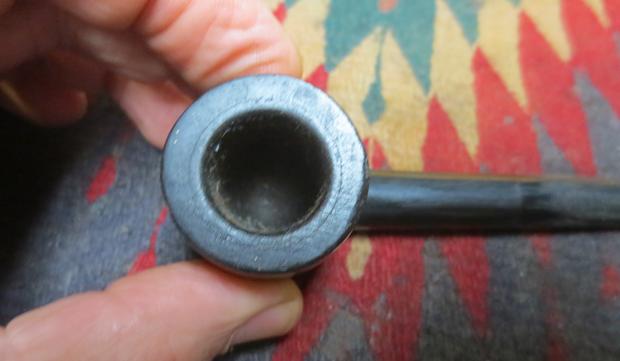 The stem damage was one of the most worrisome parts of this restoration. The scratches running both the length of the stem and across the stem had left deep marks. Underneath and on top of those scratches there was a lot of small tooth marks and chatter that would need to be sanded out. The scratches extended up the top side and partly up both the right and left side of the shank. There were even scratches on the right side of the bowl. It was almost as if the pipe had road rash from being dragged across concrete or asphalt. The stem was not vulcanite so it would be hard to polish. It was going to be an interesting part of the work on this pipe.
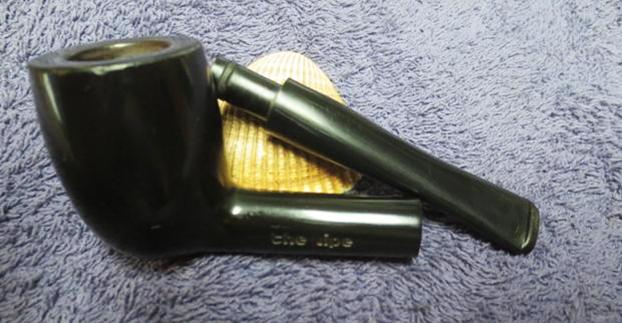
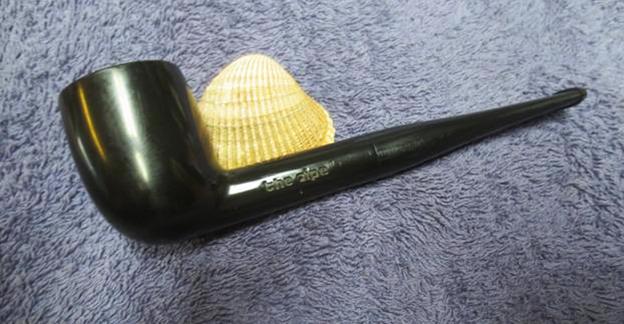
 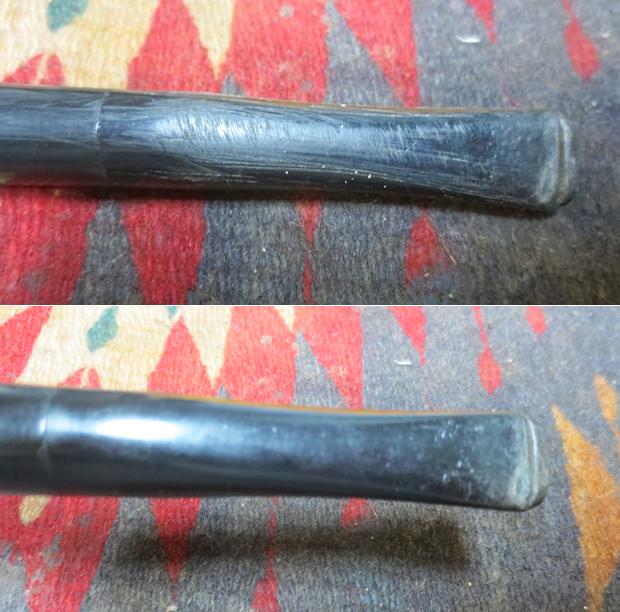 The stamping on the left side of the shank was very clear and readable. It was deeply embossed and no amount of sanding to remove the scratching would damage it. The stem was held snug in the shank by a rubber grommet that fit over the tenon. This was replaceable as the rubber wore out and air leaked by.
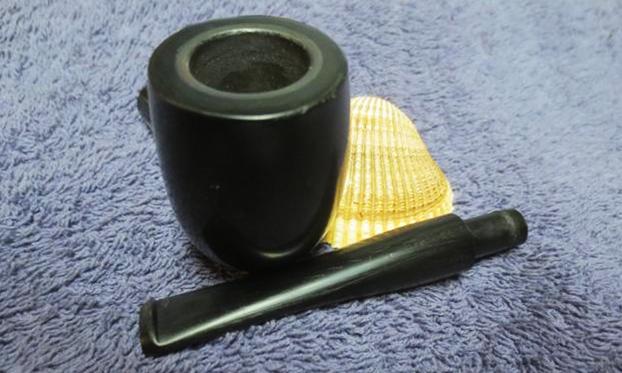
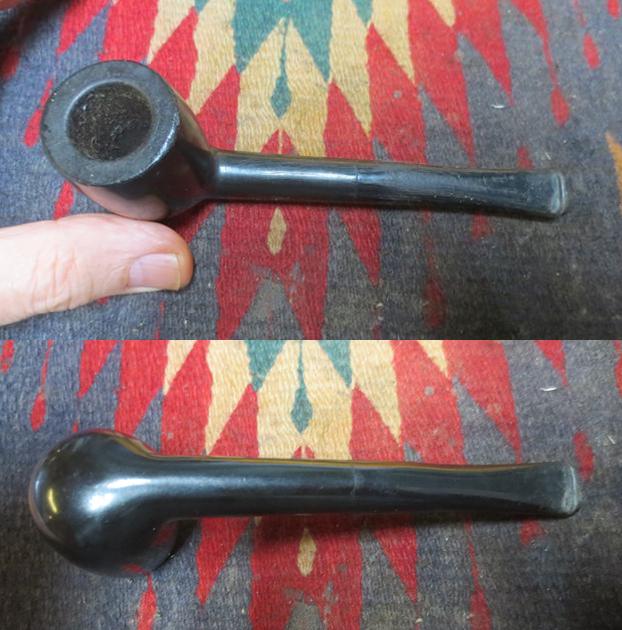
 I reamed the bowl with a PipNet pipe reamer and carefully took the cake back to the graphite bowl insert. I left a little cake to protect the insert and cleaned it up with a Savinelli Fitsall Pipe Knife. Using the knife I scraped the bowl back to bare walls and scraped the rim top free of the buildup of lava that was there.
 I scraped the top of the bowl with the edges of the Savinelli Fitsall Knife to remove the lava build up. Once I had the majority of it off I polished the rim with 1500 grit micromesh sanding pads to polish both the bowl insert and the rim top. I sanded the outer edges of the bowl to smooth out the damage to the edge of the bowl.
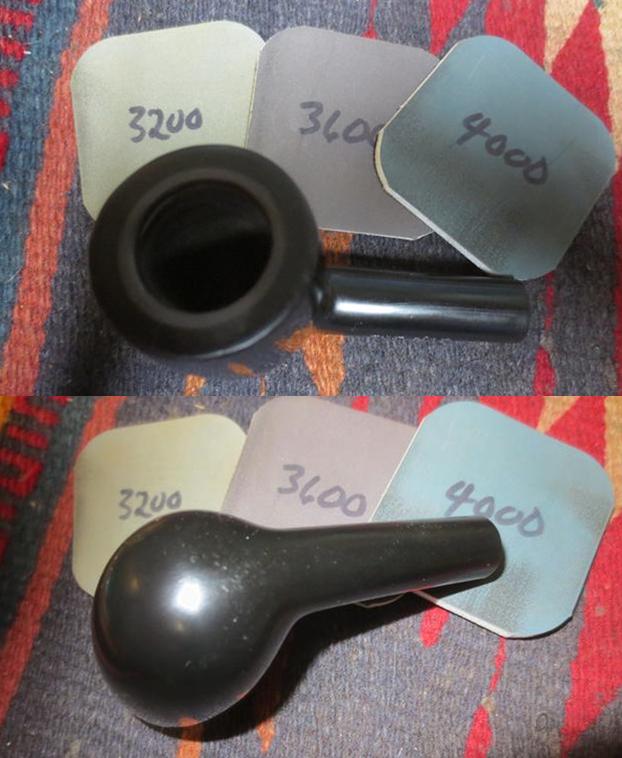
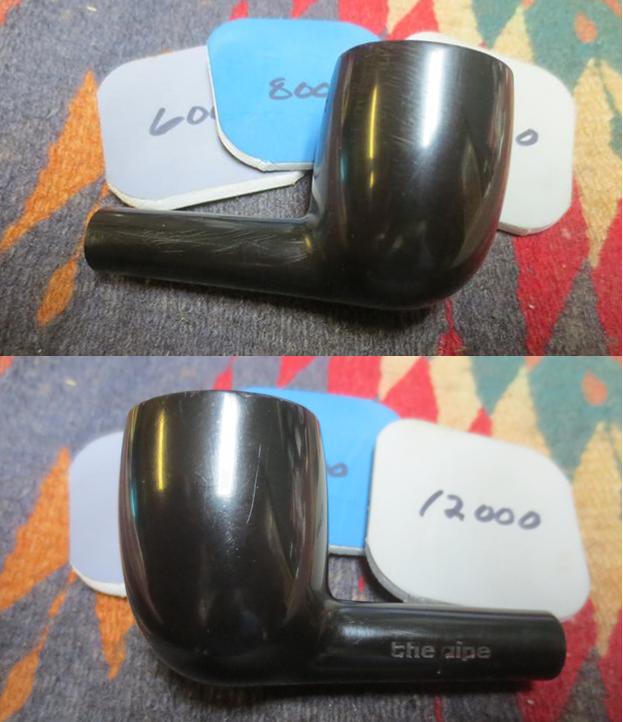
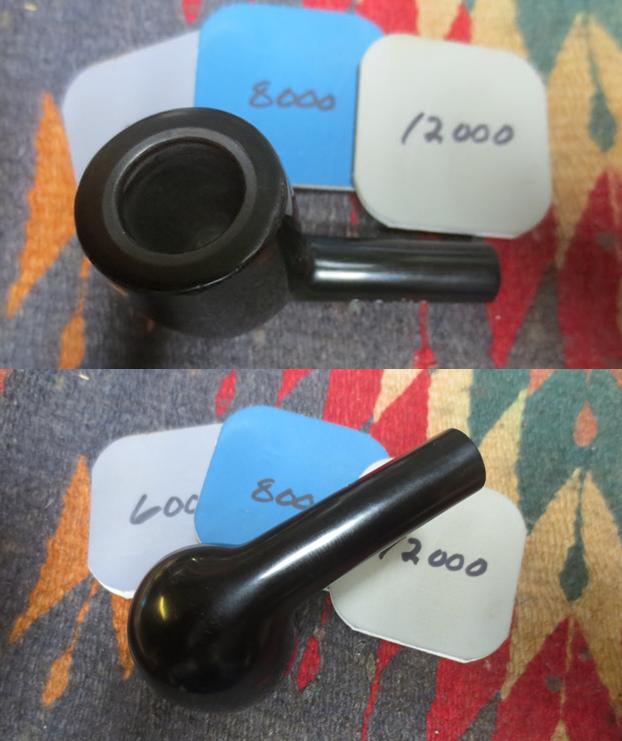
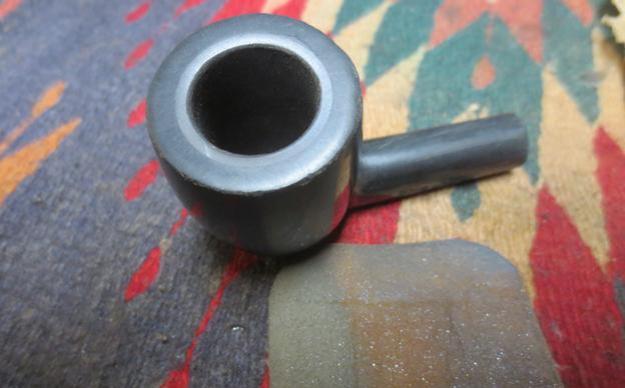 I polished the entire bowl with 1500-2400 grit micromesh sanding pads. I wiped the bowl down after each pad using a damp cotton pad. I worked on the left side of the bowl and the top and left side of the shank where there were a lot of deep scratches running both vertically and horizontally on both. I polished the shank and bowl with 3200-12000 grit pads. I wiped it down after each pad with the damp cotton pad. When I finished with the 12000 grit pad I buffed the bowl on the buffing wheel using Blue Diamond to polish it further. The photos below tell the story.
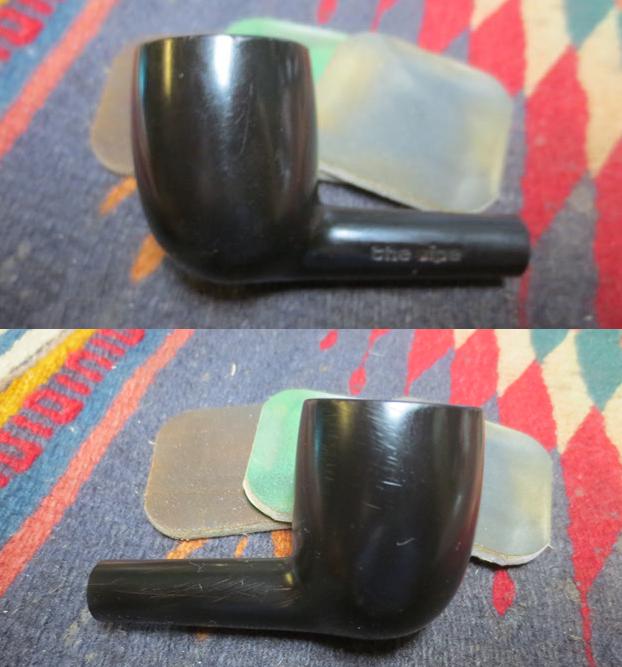


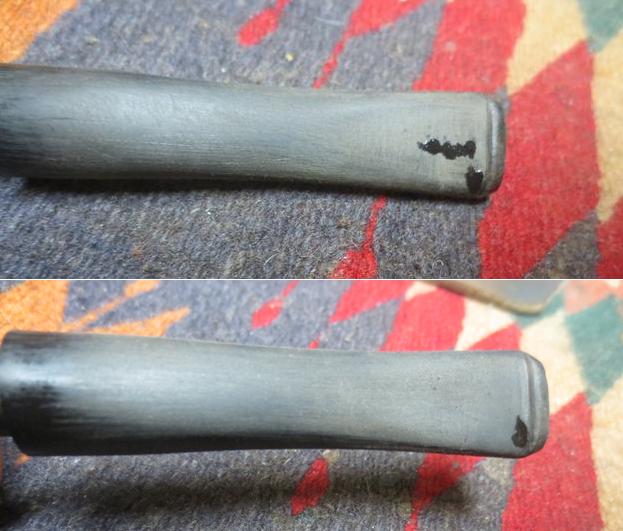
 With the bowl finished for now, I turned to work on the horrendous damage to the stem. It was in rough shape as was seen in the above photos. I sanded the surface of the stem with 220 grit sandpaper to remove the scratches. It took a lot of sanding but I was able to remove almost all of them on the top and underside of the stem. I ran a pipe cleaner through the stem to clean out any debris that might have been in the airway before continuing on the stem. I used black super glue to fill in the small tooth marks on the top and underside of the stem at the button.
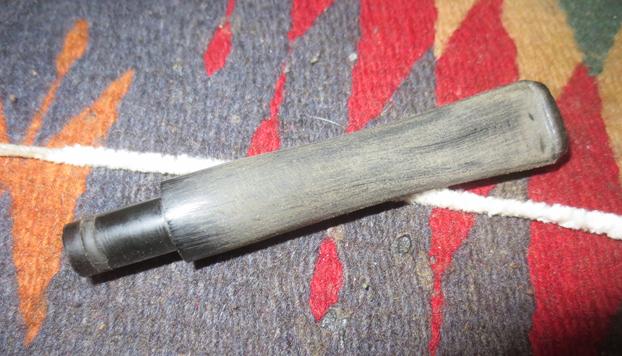
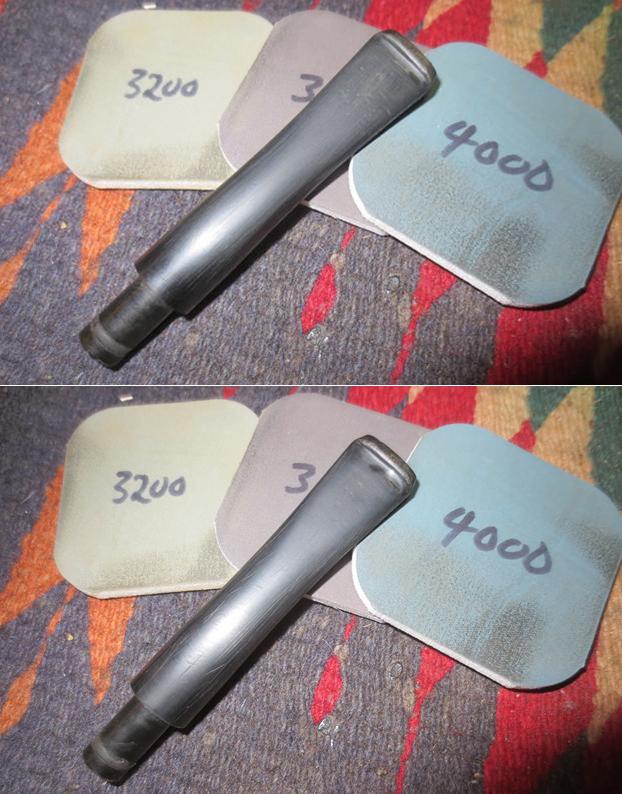
 I sanded the repaired areas with 220 grit sandpaper until the repairs blended into the surface of the stem. I polished the stem with micromesh sanding pads – wet sanding it with 1500-2400 grit pads and dry sanding with 3200-12000 grit pads. I rubbed the stem down with Obsidian Oil after each pad. After the final 12000 grit pad I gave it a last coat of the Obsidian Oil and set it aside to dry.
 I had already spent quite a few hours working over the badly gouged and scratched stem and I was able to remove many of the scratches. I tried to lightly buff the pipe to remove more of them but the nylon stem resists buffing too much as it heats quickly and melts. I decided to call the pipe finished at this point. It was not going to get much better without many more hours of work that I am unable to give it. I buffed the bowl on the buffing wheel with Blue Diamond to buff out some more of the scratches on the shank and right side. I gave the bowl a buff with a clean buffing pad. I polished the stem with Before & After Pipe Polish – both fine and extra fine. I did not bother giving the stem a carnauba coat as it is plastic and the wax does not do much. I hand waxed the stem with Conservator’s Wax to polish it more. The finished pipe is far from perfect but it is better than when I started. I will box it up later this week when I finish the Hilson Fantasia I have left and then mail it back to Steve in Dawson Creek, BC. Thanks for looking.