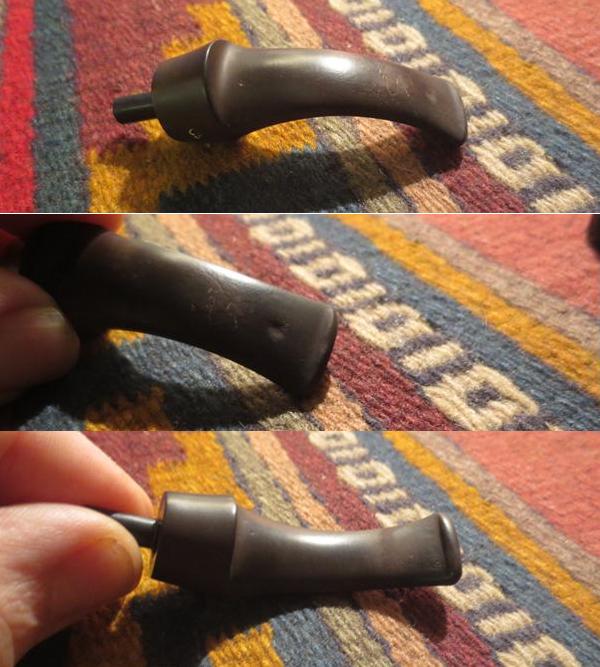
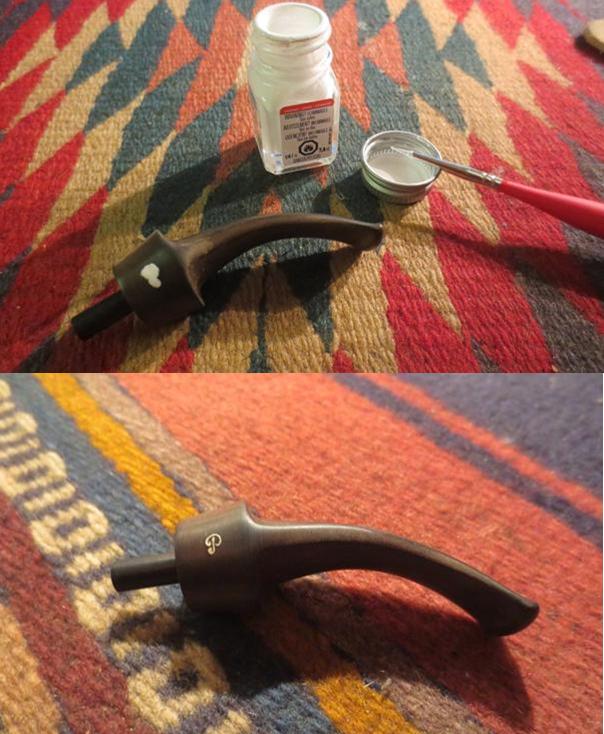
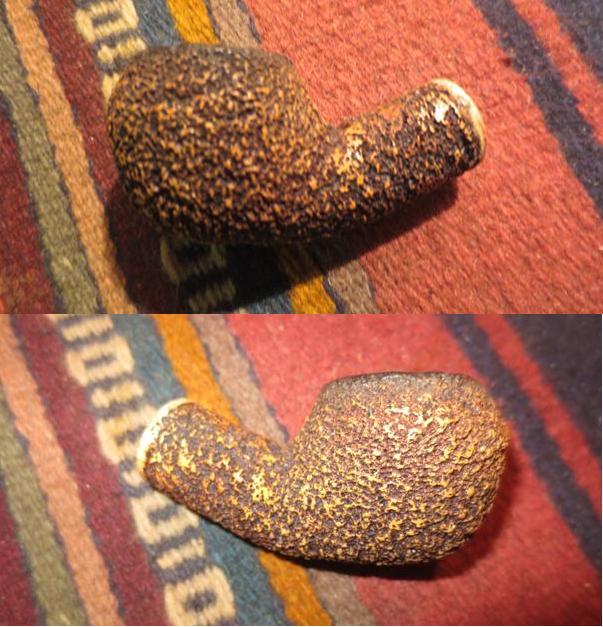
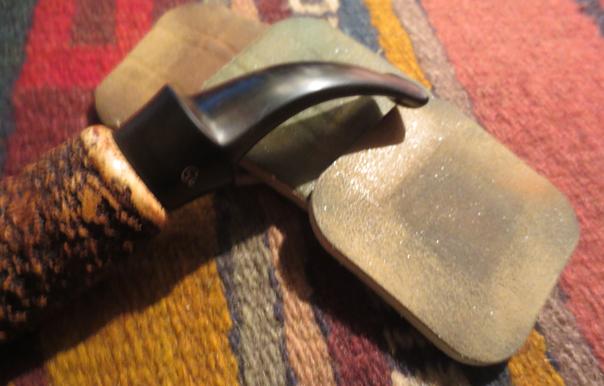
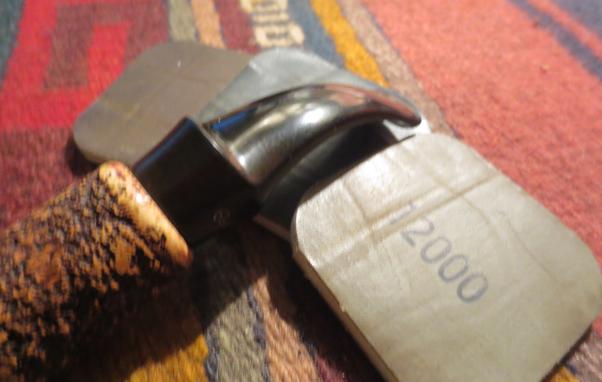
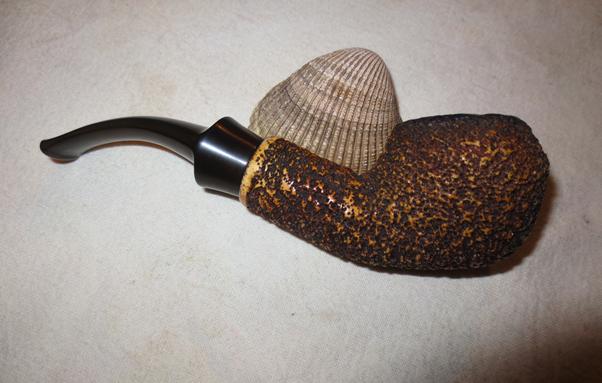
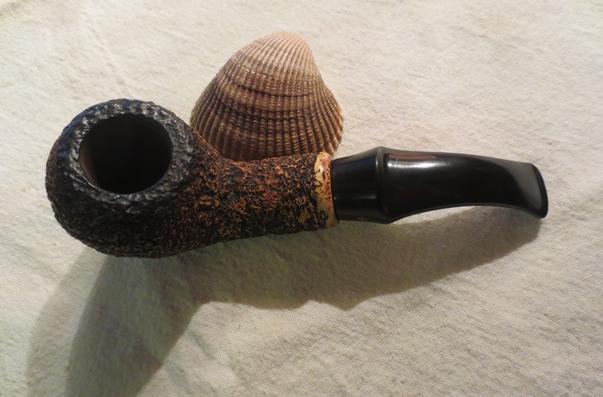
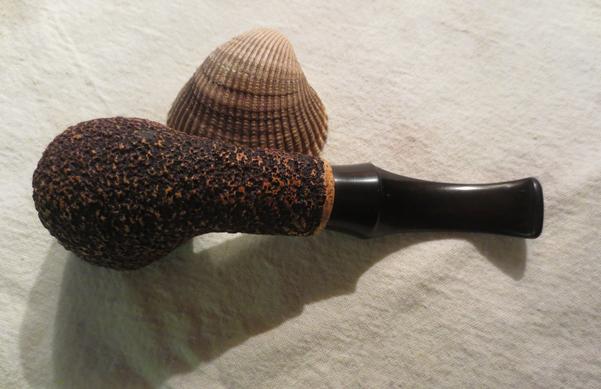
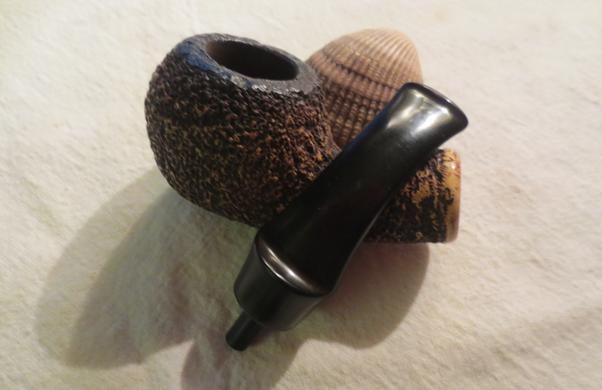
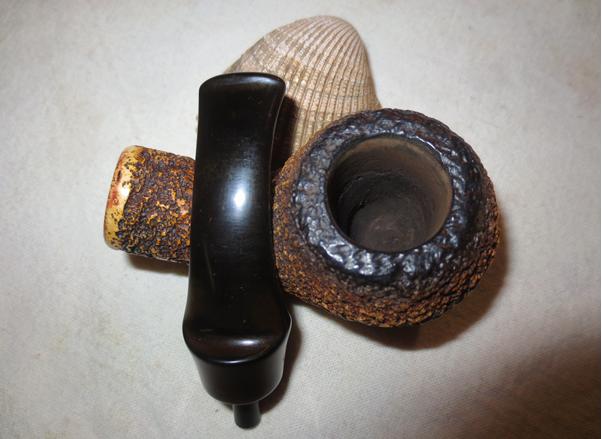
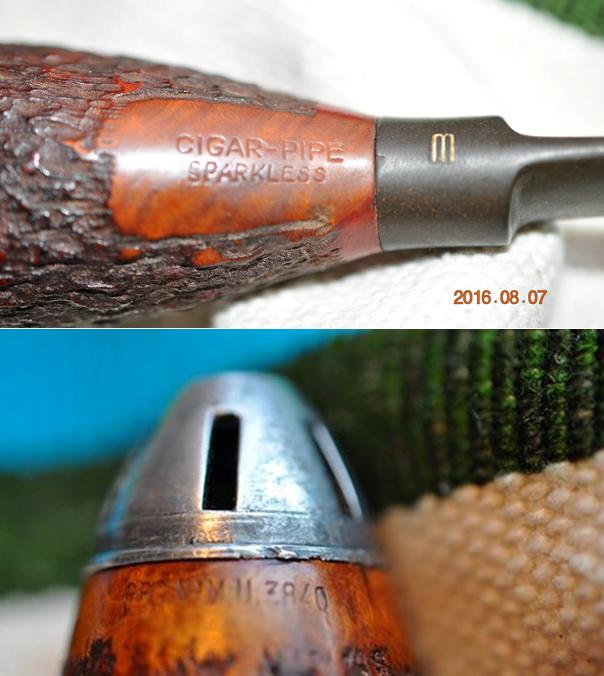
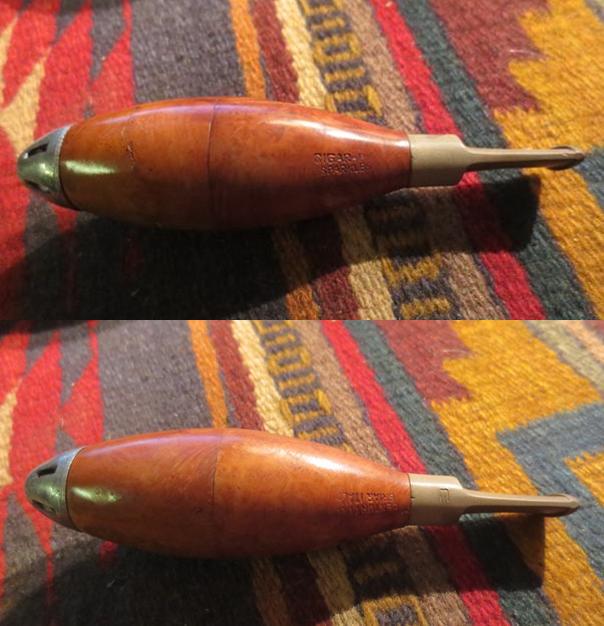
Monthly Archives: September 2016

Document on Meerschaum given out with Meerschaum Pipe Purchases


Blog by Steve Laug

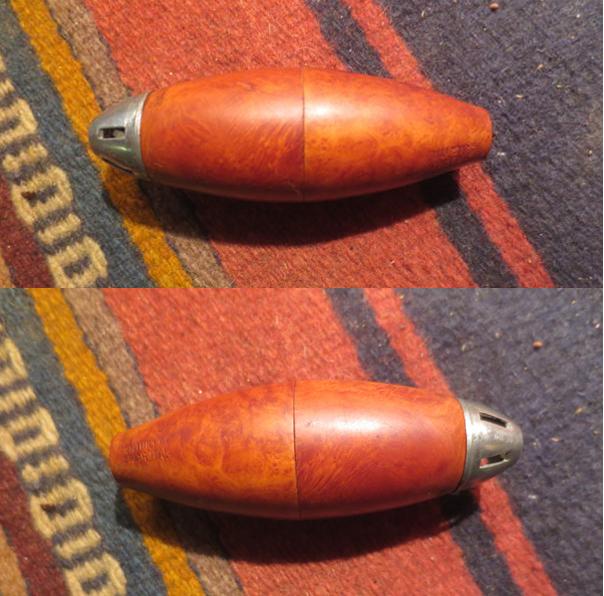
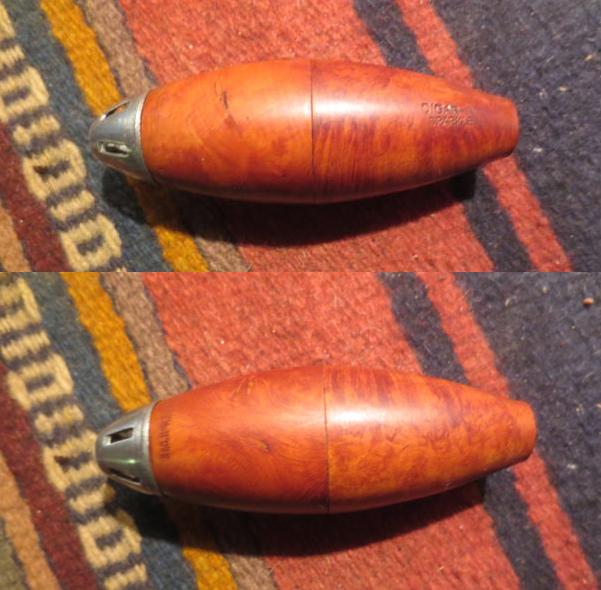
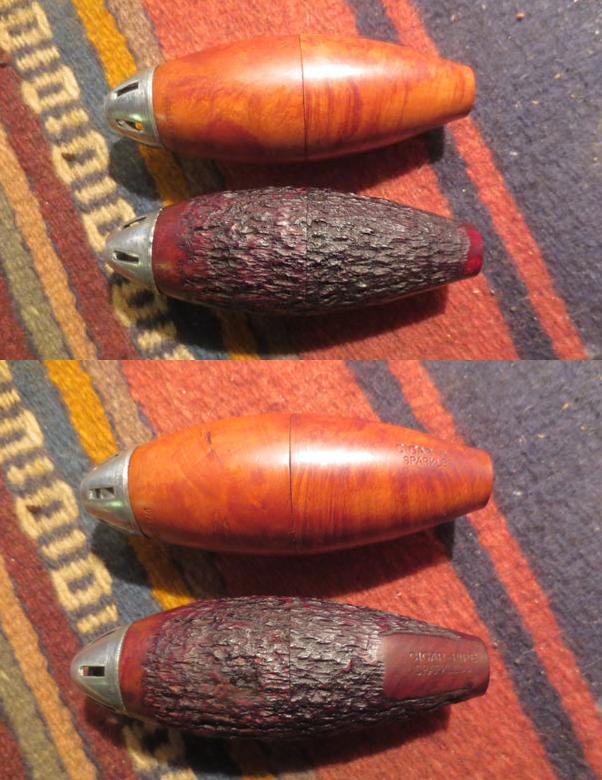
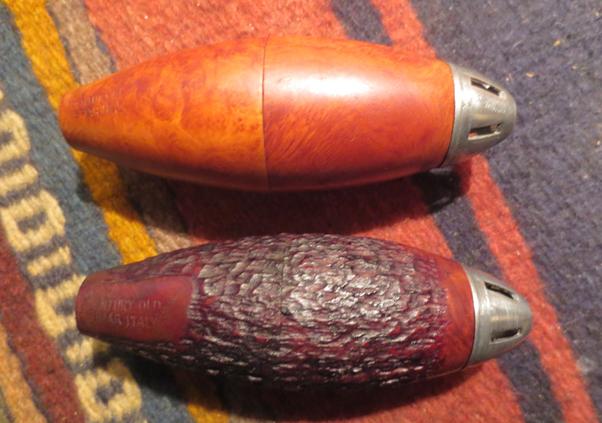
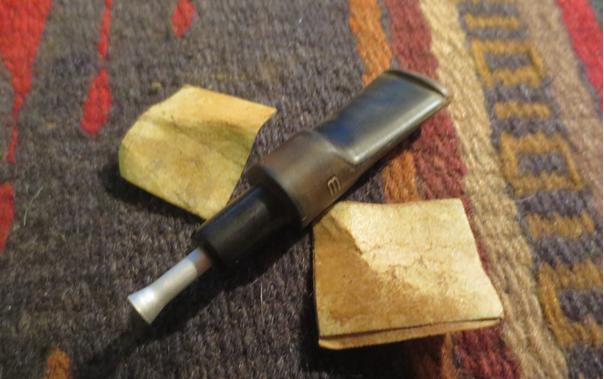
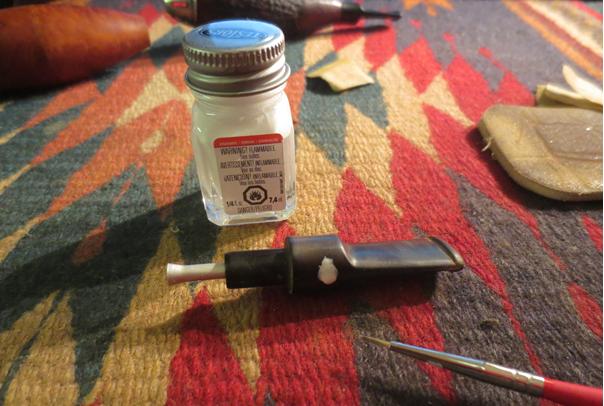
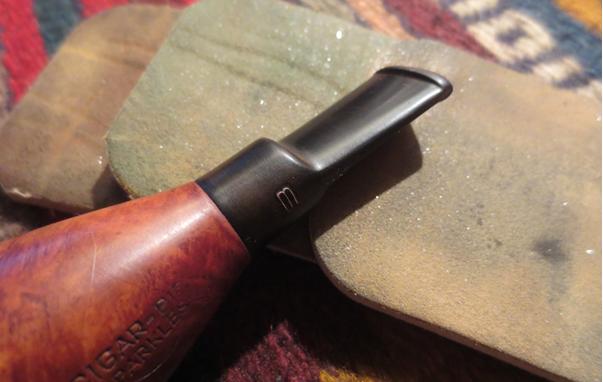
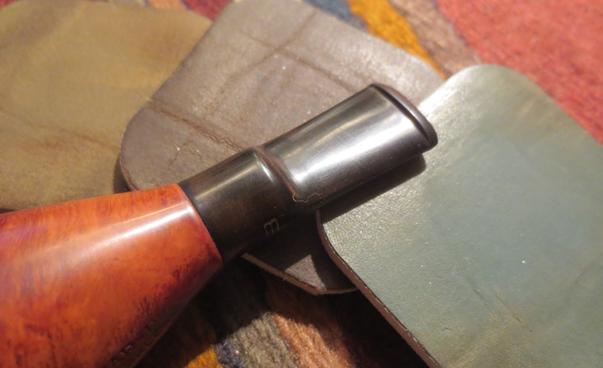
This document came to me in the lot I picked up on the weekend. I am pretty sure that it came with Arthur Leonard’s Catalogue as it was folded inside that document. It would have been given out to customers who purchased a meerschaum pipe from their shop. It gives a brief history of meerschaum and some simple instructions for obtaining “the utmost pleasure and value” from your meerschaum. I found it a quick and enjoyable read so I thought I would pass it on to you all.

meerschaum-doc

A 1972 Flyer from Arthur Leonard’s Tobacco Shop in Portland, Oregon, USA


Blog by Steve Laug

Another of the brochures/flyers that was in the pile I picked up from my friend on the weekend was this tobacco flyer from Arthur Leonard’s Tobacco Shop in Portland, Oregon. At the time of this publication they had three shops. This flyer is the 1972 Catalogue of Pipe tobaccos. At one point there must have been additional pages but this is the one that came to me. I love the prices and the descriptions of the tobacco. I only wish the shop was still open in Portland. I have an old sea rock carved pipe that came from that shop. I remember many years ago visiting the one at the Lloyd Center shopping mall when they were still open. Have a good read of this document from another time.

leonard1leonard2

Bringing a Peterson’s Rhodesian Shaped Meerschaum back from the brink


Blog by Steve Laug

The next pipe on my “to do list” from the fellow in Dawson Creek is a Peterson Meerschaum that has some great colour to it. It is made of African Meerschaum which is denser than Turkish meerschaum and usually unevenly colour to the extent that they are stained to give the pipe a better look. This one is a mottled brown and cream coloured block. I am not sure how much of it is the aging patina and how much is the stain but I love the look of the pipe.

peteI did a bit of hunting on the internet to try to find a photo of the pipe. It was hard to find a Meerschaum Rhodesian picture and found one that is the close to same shape. It has a flumed dark top edge or cap. The shape of the stem is a little different at the shank union than the one I am working on. The one in the photo is more pinched at the shank. The one I am working on has a band of cream coloured meer that is rounded over and the stem sits against it.

I have been watching eBay for the Pete’s and have not found one this shape. I have read that African Block Meerschaums Peterson’s are getting harder to find since the Laxey meerschaum mines shut down in 2006. I have a few of the pipes in my collection and I have found that they are heavier than Turkish meerschaum due to the inclusion of minerals and aggregate material in the Block and the fact that they were ‘Calcinated’ after being carved, to give them greater strength and durability. They will color with smoking and the use of beeswax, but it will be more of a gradual process than high-grade Turkish meerschaums.

The pipe from Dawson Creek was heavily caked which bodes well for it being a great smoking pipe. The rustication on the rim was thickly cake with the overflow from the bowl. The rusticated finish on the bowl and shank was dirty. The stem was heavily oxidized and there was some tooth chatter on the top and underside near the button. The P stamp was faded though it still was deep enough for a touch up job. I was looking forward to seeing what the finished pipe would look like after the cleanup.pete1 pete2I took a close up photo of the rim and the bowl. It shows the thick cake that is slightly sticky and has picked up a lot of dust and debris. The rustication on the rim is filled in with tars and oils to the point you cannot really see the grooves and ridges.pete3The Delrin tenon is glued into the vulcanite stem and mortise is lined with a Delrin tube. The tenon was surprisingly small in diameter for a stem this large when I took the pipe apart. The photo below shows the pipe taken apart.pete4I took some close up photos of the stem to show the oxidation and tooth chatter on the stem. There was large tooth mark on the top of the stem. It is hard to see in the photos below but after the first cleaning it would be visible.pete5I used a brass bristle brush to scour the top of the rim to remove the thick cake and reveal the crevices and ridges below the grime. I reamed the bowl with a PipNet reamer to take out the majority of the cake. I would need to clean it further later.pete6I scrubbed the externals with a tooth brush and Murphy’s Oil Soap to remove the grime and oils in the grooves of the bow and shank. I rinsed the bowl off with warm running water to remove the soap and dirt. I scrubbed it more under the running water using the tooth brush.pete7I dried off the bowl and used Savinelli Pipe Knife to clean up the inside of the bowl and remove the last of the cake.pete8I cleaned the mortise and the airways in the shank and the stem with alcohol, pipe cleaners and cotton swabs until the internals were clean.pete9I put the stem in an Oxyclean bath and let it sit overnight. In the morning I took it out of the bath and rubbed it down with a coarse cloth to remove the loosened oxidation. I took the following photos to show the stem at this point. The second photo shows the deep tooth marks.pete10Because the dent was round and smooth I decided to try to lift it with heat. I used a Bic lighter and “painted” the dent with the heat. It took a couple of passes of the lighter before it was smooth. The dent rose up to meet the surface of the stem. I did not need to do a fill or repair on the stem.pete11I touched up the P stamp with white acrylic and a fine brush. I overfilled the P and let the paint dry. Once it was dry I carefully scraped it off with a sharp knife and sanded it smooth. The second photo shows the stem stamping.pete12I took photos of the bowl at this point to show how it looked after cleaning. pete13 pete14I polished the stem with micromesh sanding pads – wet sanding with 1500-2400 grit pads and dry sanding 3200-12000 grit pads. I rubbed it down with Obsidian Oil between each set of three pads. I set the stem aside to dry.pete15 pete16 pete17I buffed the stem with Blue Diamond on the buffing wheel. I avoided buffing the bowl with the Blue Diamond because it would collect in the grooves and ridges of the meerschaum. I gave the stem multiple coats of carnauba wax and buffed the pipe and stem with a clean buffing pad to polish the wax on the stem. I hand buffed the pipe with a microfibre cloth. The finished pipe is shown in the photos below. I think this one will be a good smoking pipe for Steve once I send it back to Dawson Creek. Thanks for looking.pete18 pete19 pete20 pete21 pete22 pete23 pete24 pete25 pete26


An Old Savinelli Catalogue Describing Various Lines of Pipes and Accessories


This old Savinelli Catalogue gives great descriptions of the various lines of Savinelli Pipes. It gives a brief history of the brand and the workmanship used in their pipe manufacturing. The lines are described from the highest grade to the cheapest grade. It also includes a write up on Sherwood New Concept pipes, Churchwardens and Canadians/Lumberman pipes. There is a page on the Lollo compact pipe and the Roley Pocket pipe. There is a page on inexpensive pipes and lightweight pipes. The brochure ends with a page of accessories and oddities – the Kalumet, The Pipe Boy Car Pipe Rest, Snorkel and Tobacco jars. The back page of the catalogue gives the Briar Story, How to Break in your new pipe and filling, lighting and smoking the pipe.

sav1 sav2 sav3 sav4 sav5 sav6 sav7 sav8 sav9 sav10 sav11 sav12 sav13 sav14 sav15 sav16 sav17 sav18 sav19 sav20

An Older Robert McConnell Pipe Tobacco Brochure from G. Hiltebrandt of Montreal, Quebec


Blog by Steve Laug

This is an interesting piece of tobaciana – a Sales sheet for Robert McConnell tobaccos of London England. It looks like it came from G. Hiltebrandt of Montreal – evidently a tobacconist in Montreal. It is marked with prices and blend descriptions. The brochure includes tobaccos that were tinned – all of which I recognize. It also includes blending tobaccos and cigarette tobaccos. The prices are written in and certain blends highlighted by a previous reader. I thought I would pass it on as I find it interesting.

mcconnell1 mcconnell2 mcconnell3

A John Cotton Sampler Brochure


Blog by Steve Laug

In the bag of tobacco literature there was this small John Cotton Sweet Danish Tobacco blends brochure/flyer. The best phrase is COMPLETELY FREE OF CHARGE. It shows six new blends and gives a  description of what is in each blend. Even the names are interesting to me – Rich Mellow Virginia, Gaelic Mixture, Honeydew, Danish Aromatic, Harvest Gold and Burley. Though I rarely smoke aromatics I always enjoy the language of the older marketing – the descriptive paragraphs are skillfully worded to evoke a Pavlovian response. Enjoy

john-cotton1 john-cotton2

Peterson’s Pipes Brochure from Genin, Trudeau & Co. LTD. in Montreal, Quebec


I also picked up a copy of a Peterson’s Pipes Brochure that is really interesting. It has some great drawings of the system and also of the various shapes that are available. The brochure as an order blank that the buyer can send to Genin, Trudeau & Co. at 38 Notre Dame West in Montreal, Quebec, Canada. The postal code on the cover of the brochure gives it some age though I am not sure how old it is. Perhaps some of you will be able to help date this brochure. It would be great to know potential age.

pete1 pete2 pete3 pete4

An Older Julius Vesz Catalogue


On Sunday I visited R.J. Clarke Tobacconist here in Vancouver and he gave me a bag of tobacco literature. There are catalogues, brochures, flyers, inserts and letters from suppliers. There is some pretty interesting memorabilia in the bag. I am scanning the documents and will be posting them here on the blog to give them a wide audience. The first of these is an older Julius Vesz catalogue. I have several of Julius’ pipes and enjoy them. They smoke cool and dry. So this was a great addition to the information I have on the pipes. I thought I would share it with you all. Enjoy the brochure.

vesz1 vesz2 vesz3vesz4vesz5vesz6

Repairing and Rejuvenating a Soren Danish Freehand


Blog by Steve Laug

soren1aThe fifth pipe I am working on for Steve in Dawson Creek, British Columbia is a beautiful freehand that is stamped Soren Hand Carved over Made in Denmark on the underside of the shank. The finish is not bad. There were two cracks in the plateau rim top with one of them just on the rim and the other one coming down the left side about ¼ inch. These would need to be repaired. The bowl had a light cake and there was overflow onto the plateau top. This would need to be scraped clean. The shank end was also plateau and it had a lot of dust in the grooves. The finish on the bowl was dirty and there were some small nicks on the sides. It has a diamond-shaped freehand stem that was lightly oxidized and had tooth marks on the top and the underside near the button.soren1I looked up the brand on pipephil (http://www.pipephil.eu/logos/en/logo-s10.html) and found that the brand was carved by Søren Refbjerg Rasmussen. Pipes that he made for the European market were mostly stamped “Refbjerg” while those made for the US market were stamped “Soren”. Thus I knew that one I was working on was imported into the US market.soren2I took a close up photo of the rim and the bowl to show the condition of the pipe when I took it out of the box. The thick cake on the top of the bowl rim filled in much of the plateau surface. You can see the thickness of the cake in the bowl. In the photo you can see that it is thicker at the top than at the bottom of the bowl.soren3I took photos of the stem to show the light oxidation and the scratching and wear to the stem. There were small tooth marks on the top and underside of the stem near the button.soren4I took some photos of the condition of the bowl and the finish before I started cleaning the pipe. I wanted to be able to track the difference in the cleanup of the briar. In the second photo below I used a dental pick to try to pick at the thick cake on the rim. It would not be the way to clean up the rim.soren5I reamed the cake back to bare briar using the Savinelli Pipe Knife. In the photo below you can see the crack on the left side near the rim. I have circled it with red to highlight the crack.soren6I used a microdrill bit to drill a cap hole at the end of the crack to keep it from spreading further down the side of the bowl. The crack was not long so it was an easy fix.soren7I cleaned the top of the rim with a brass bristle brush to clean out all of the grooves and the areas of plateau on top of the bowl. It worked far better than the dental pick to clean off the thick cake on the bowl top. In the photo below you can see the two small cracks. I have circled both of them. I cleaned them out with a dental pick so that they were open. The crack did not go down into the interior of the bowl.soren8I pushed briar dust into the crack and the end cap hole and the put super glue on top of the dust. I put more dust on top of the glue. The three photos below show the repairs.soren9 soren10I sanded the repaired areas with 220 grit sandpaper to remove the excess briar dust and super glue and blend the repairs into the surface of the briar.soren11After sanding the repairs I wiped down the bowl with alcohol to remove the grime on the surface of the briar. I carefully wiped down the area of the repairs.soren12 soren13The next photo shows the repaired area on the side of the bowl toward the top.soren14I touched up the repaired areas with a medium stain pen to blend those lighter areas on the side and on the rim with the colour of the stain.soren15I buffed the pipe with Blue Diamond on the buffing wheel and gave it multiple coats of carnauba wax. I buffed it with a clean buffing pad. I took the next photos of the bowl after buffing.soren16The photo of the top of the bowl shows the newly stained and contrast finish on the rim. I used a black Sharpie pen to colour in the grooves in the top of the rim and the end of the shank. I used the stain pen over that. On the bottom of the bowl the birdseye grain shows some dark stain in the grain.soren17 soren18I cleaned out the mortise and the airway in the shank and the stem with cotton swabs, pipe cleaners and alcohol until they were clean.soren18aI polished the stem with micromesh sanding pads – wet sanding with 1500-2400 grit pads and dry sanding with 3200-12000 grit pads. I rubbed the stem down with Obsidian Oil after each set of three grits. I set the stem aside to dry.soren19 soren20 soren21I buffed the bowl and stem together with Blue Diamond polish and gave it several more coats of carnauba wax. I buffed the pipe with a clean buffing pad and with a microfiber cloth to deepen the shine. The finished pipe is shown in the photos below. It is ready to go back to Steve in Dawson Creek. It is the fifth of the pipes I have been working on for him. I am looking forward to hearing what he thinks of them when he has them in hand. Thanks for looking.soren22 soren23 soren24 soren25 soren26 soren27 soren28 soren29


Back in Flight – A Pair of Mastercraft Sparkless Cigar-Pipe Zeppelins


Blog by Steve Laug

My brother sent me two Zeppelin pipes – a rusticated and a smooth one. He included the following photos of the two pipes that he took when they arrived in Idaho before he cleaned them up. The first one is a rusticated Sparkless Cigar Pipe. It has an interesting rustication pattern on the briar parts. I always want to know how a pipe is stamped as it is part of the restoration process for me. This one has quite a bit of stamping on it. Along the tip of the briar where the polished aluminum nose cone screws into the briar it is stamped PERFECTED on one side and Reg. No. MU3840 on the other. The stamping runs along the briar just below the nose cone. On the other end of the pipe, on what are the sides when the mouthpiece is in place it is stamped CENTURY OLD BRIAR ITALY on what would be the left side and on the right side it reads CIGAR-PIPE over SPARKLESS. The first two photos below show the pipe as it looks when put together.cigar1The next four photos show the stamping on the pipe and the M on the stem which told me I was dealing with a Mastercraft pipe.cigar2 cigar3The last two photos show what the pipe looks like when it is taken apart.cigar4The second Cigar Pipe that my brother sent to me was a smooth one that is identical in size and shape to the rusticated one. It even bears the same stamping on the pipe. It is stamped along the briar just below the polished aluminum nose cone. On one side it reads PERFECTED and on the other side is reads Reg. No. MU3840. Like the rusticated version is stamped on what would be the sides of the shank when the stem is in place. On the left side it reads CIGAR-PIPE over SPARKLESS and on the right side it reads CENTURY OLD BRIAR ITALY. The first photo is of the pipe put together.cigar5The next three photos show the stamping on the nose cone and the shank of the pipe.cigar6 cigar6aThe next photo shows the M stamp on this stem as well exactly like the one on the rusticated pipe above. It is thus also a Mastercraft pipe.cigar7The next photo shows what appears to be a crack on the upper portion of the cigar pipe. It would need to be checked out once I had it in hand. My brother was pretty sure that it was a fill in the briar as it did not go all the way through the piece.cigar8The next three photos show the pipe after it has been taken apart. Each of the pipes was made of four pieces.cigar9 cigar10I have seen a lot of these pipes for sale in shops and on eBay but I had never had one in my hand so I had never done any research into them or what “sparked” their invention. So now that I had two of them I figure it was time to look up some information. I looked on the pipephil website and found that they were made by Mastercraft and that there were some further articles in the odd pipes section of the site. Here is the link to that part of the site. http://www.pipephil.eu/oddpipes/pipcig/sparkless2.html. The trouble is that the articles were in French. I used Google Translator to translate them into English and then did some serious editing to the translations. I am including both articles in full here. The first one is written about the smooth briar versions and the second is about the rusticated versions.

Overseas manufacturers of pipes are not deprived of market of cigar pipes based on the mythical model of the 1920s. The best-known is called Sparkless [1] and comes from the Mastercraft House which was issued in several finishes. Two of them will allow you to judge fully of these strange pipes (The article included two photos of two different smooth finishes on the pipes – a stained and an unstained version).

It should be noted on at the outset that it is stockier than its Germanic Zeppelin cousin. When the pipe is disassembled we note that the two wooden parts screw into another – one side is threaded wood on the interior of the piece and the other side has a metal threaded end that turns into the wooden threads. There may be some doubts about how well this type of connection will hold up under use. There is no place for a filter in the Sparkless pipes unlike the Zeppelin. This pipe is adapted to the tastes of American smokers.

You should know that Mastercraft had a long standing near-monopoly of imports of European briar and particularly Italian briar. This explains the stamping ITALY on the side of the pipe.

The stamping is as follows:

On one side it is stamped Cigar Pipe, Sparkless and on the other side it is stamped Century Old, Briar Italy. On the nose of the pipe it is stamped Perfected on one side and Reg. No. M.U. 3840 on the other side.

The measurements of the pipe are as follows: The length is 13.9 cm and the height is 3.2 cm.

Where the German maker, Vauen offers one model of the Zeppelin pipe, the American Mastercraft diversifies its range. To the two versions of the Sparkless model mentioned above we add here two other variations in the form of pipe, rusticated in natural finish.

These variations to this atypical pipe probably spoke to a limited audience. Let’s face it the quality of the woodwork on the two models rusticated models isn’t the most refined in the light of the criteria of the XXI century. But don’t lose sight of the variety that was offered when these pipes were made was radically new.

My preference is usually saddle bit pipes. But I confess that by comparing the Zeppelin to the Pipe-Cigar Mastercraft models, the Zeppelin has more elegance due to the continuity of the shape to the tip compared to the general shape of the Cigar-Pipe. The German made Zeppelin pipe appears as a whole very consistent where each part (tip – stove – metallic cap) is the continuation of the other. This consistency and flow is less noticeable for this North American pipe.

The complete disassembly of the pipe shows that the stem in ebonite has a condensation system reduced to its simplest expression here: a small aluminum tube. It should be noted that these systems don’t bring great benefits for smoking and on the contrary can add moisture and condensation. They are often the origin of disturbances in the draw of the pipe and cause of particularly unpleasant gurgle. But it should not hurt.

The details of the stamping nomenclature reflects that the origin of the pipes is Italian and are potentially made by Lorenzo.

On one side it is stamped Cigar Pipe, Sparkless and on the other side it is stamped Century Old, Briar Italy. On the nose of the pipe it is stamped Perfected on one side and Reg. No. M.U. 3840 on the other side.

The measurements of the pipe are as follows: The length is 13.9 cm and the height is 3.2 cm.

Armed with the interesting information I went to work on the two Cigar-Pipes that I had. One was the darker coloured rusticated pipe and the second was the natural coloured smooth one. I thus had two of the finishes that are mentioned in the above information.

I started with the rusticated pipe. My brother had done the lion’s share of cleanup work on both of these pipes. Judging from the internals and the externals he did a great job cleaning out all of the gunk and grime. The rusticated briar was cleaned with a tooth brush and Murphy’s Oil Soap and in doing so he was able to remove the majority of the finish. The next four photos show the exterior of the pipe. The stem was oxidized and the letter M on the stem was faint. The finish was dull. The aluminum nose cone was dull. There was a fill on one side of the pipe that stood out as it was smooth and the rest of the bowl was rusticated.cigar11 cigar12I took the pipe apart and took pictures of all of the parts. In the second photo below you can see the fill on the briar piece on the right side of the photo. It is silver/grey in colour so it really stands out.  I circled it in red. The aluminum internals are clean. The inner tube on the stem is clean as well. I was able to slide it out of the stem and clean behind it. There was no grime there.cigar13After I took apart the rusticated one and took the photos I did the same with the smooth pipe. The smooth pipe would be the one I worked on next. Once again my brother had done the lion’s share of cleanup work. Judging from the internals and the externals he did a great job cleaning out all of the gunk and grime. The smooth briar was cleaned with a tooth brush and Murphy’s Oil Soap and in doing so he was able to remove the majority of the finish. There still was a varnish coat on the briar. That would need to be wiped with acetone and sanded. The next four photos show the exterior of the pipe. The stem was oxidized and the letter M on the stem was faint. The finish was dull. The aluminum nose cone was dull. There was a fill on one side of the pipe that stood out as it was smooth and the rest of the bowl was rusticated.cigar14 cigar15I took the pipe apart and took pictures of all of the parts. In the second photo below you can see what looks like a crack on the side of the briar piece on the left of the photo. It is a thin line that runs horizontal across the briar and there is a second divot next to it just out of the photo. I circled it in red. The aluminum internals are clean. The inner tube on the stem is clean as well. I was able to slide it out of the stem and clean behind it. There was no grime there.cigar16I started working on the parts on the rusticated cigar-pipe first. I decided to start with the silver grey fill and try to get it blend into the briar. I used the Dremel with a round head burr to carve lines in the fill that matched the pattern on the bowl sides. I figured if I could make the pattern match I could hide it.cigar17I stained the briar parts with a dark brown aniline stain thinned 50/50 with isopropyl alcohol. I applied the stain with a folded pipe cleaner and then flamed it. I stained both parts of the bowl with the stain and flamed them. I repeated the process until the coverage was even.cigar18I took some photos of the newly stained parts of the pipe. The first photo shows the coverage of the stain on the fill. I had used a black Sharpie Pen to fill in the newly cut grooves from the Dremel and then put the brown stain over the top.cigar19I polished the aluminum nose cone with micromesh sanding pads from 1500-2400 grit. I hand buffed it with a microfibre cloth.cigar20I put the pipe back together and took photos of the newly finished pipe.cigar21 cigar22I set the rusticated one aside and turned to work on the smooth one. I wiped it down with acetone on cotton pads to try to penetrate the varnish coat. Parts of it came off and parts stubbornly refused to move. I sanded the briar with a medium and fine grit sanding sponge and was able to get the entire varnish coat off. I wiped it down with acetone again to remove the dust.cigar23I picked out the fill that looked like a crack and filled it in with briar dust and clear super glue. Once it dried I sanded it smooth with 220 grit sandpaper and the sanding sponge.cigar24 cigar25Since the original Mastercraft smooth Cigar-Pipe came in a natural finish and this one appeared to have that rather than a Bruyere finish I rubbed it down with a light coat of olive oil and then gave it a coat of carnauba wax. I put the pipe back together so that I could see the finished briar portion.cigar26 cigar27I put the rusticated and smooth pipes together and took some photos of the stain and finished briar parts with the polished nose cones. The pipes are looking great at this point in the process. I still had to sand both stems at this point but the briar was done and the pipes were clean.cigar28 cigar29Now it was time to work on the stems. The stem on the rusticated pipe was cleaner and took less work so I did it first. I sanded it with micromesh sanding pads – wet sanding with 1500-2400 grit pads and rubbing it down with Obsidian Oil. I touched up the M stamp on the left side of the saddle with acrylic paint and a fine bristle brush. I sanded off the excess paint with the 1500-2400 grit pads. (I forgot to take a photo of that part of the process.) I dry sanded the stem with 3200-12000 grit pads and rubbed the stem down with Obsidian Oil after each set of three pads. I set it aside to dry.cigar30 cigar31 cigar32While I worked on the stem from the rusticated pipe I had the stem from the smooth one soaking in an Oxyclean bath. It soaked for about six hours. I took it out of the soak and took the next two photos.cigar33I sanded the stem with 220 grit sandpaper to remove the oxidation that had been softened by the oxy bath.cigar34I touched up the stamping on the stem with white acrylic paint and a small fine brush. Once it dried I scraped off the excess and then polished it.cigar34aThe stem was a bear to clean up and remove the oxidation even after soaking in an Oxyclean soak. I wet sanded it with 1500-2400 grit micromesh sanding pads and dry sanded it with 3200-12000 grit pads. I rubbed it down between each set of three pads with Obsidian Oil. I set it aside to dry.cigar35 cigar36 cigar37I buffed the pipe with Blue Diamond on the buffing wheel and worked over the stem quite a bit to remove the oxidation that remained. I gave the pipe multiple coats of carnauba wax and buffed it with a clean buffing pad to protect and give it a shine. I hand buffed it with a microfibre cloth. The finished pair of Zeppelin style Cigar-Pipes by Mastercraft is shown below. There is something about the oddness and shapes of the pipes that attract me to them. I don’t know when they will be used but when they are it should be an interesting experience. Thanks for looking.cigar38 cigar39 cigar40 cigar41 cigar42 cigar43 cigar44 cigar45