Blog by Steve Laug
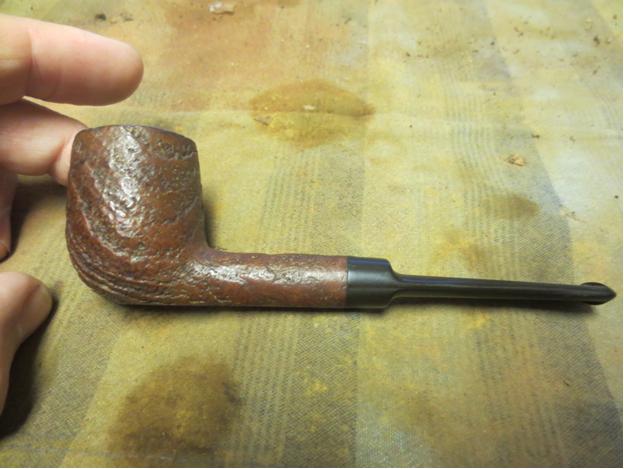
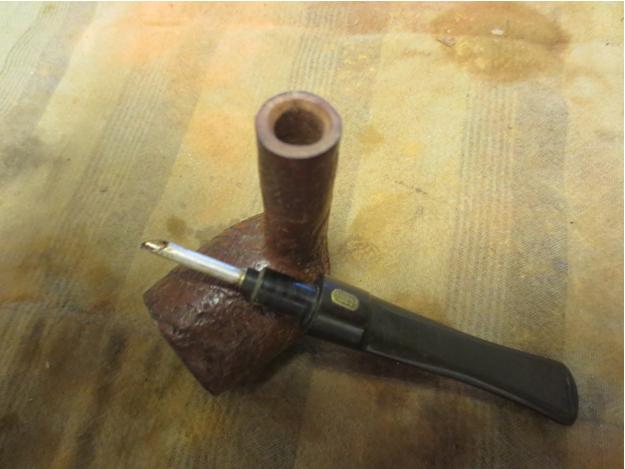
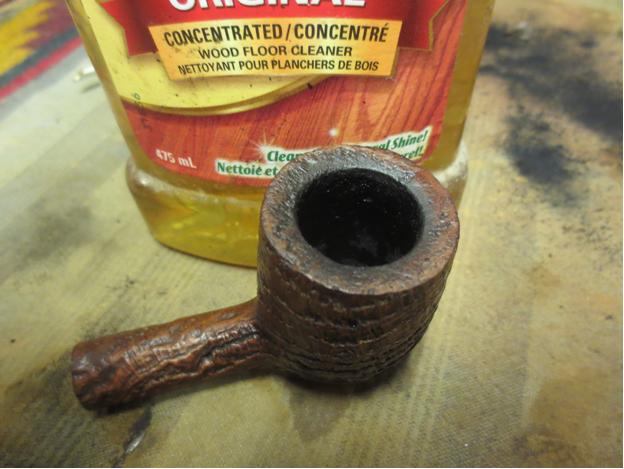
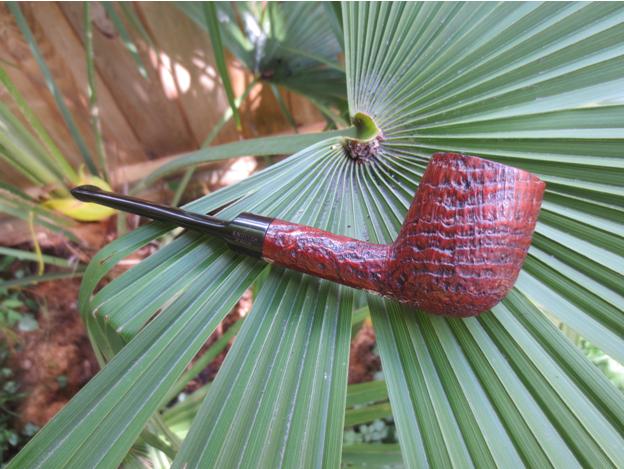
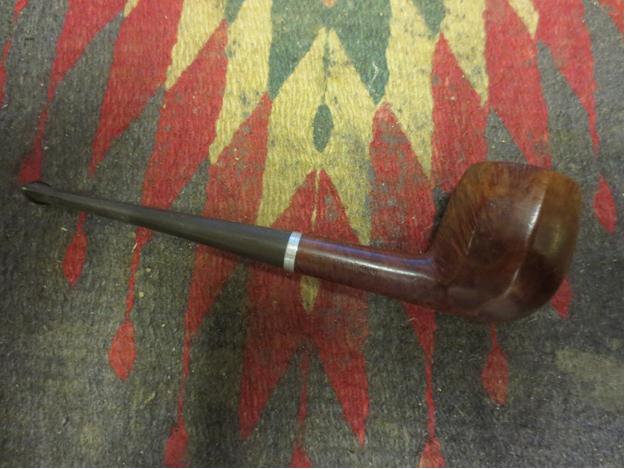
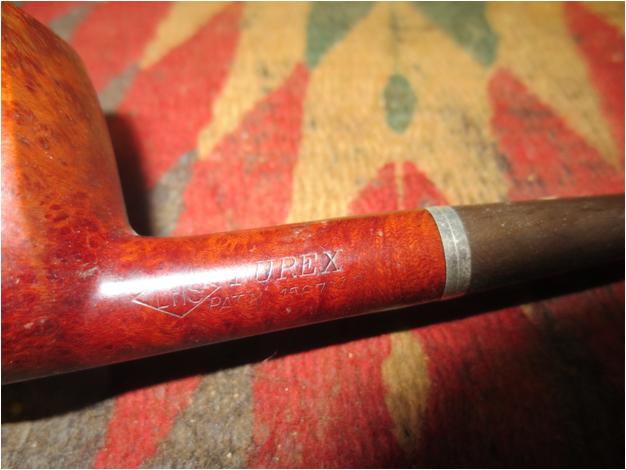
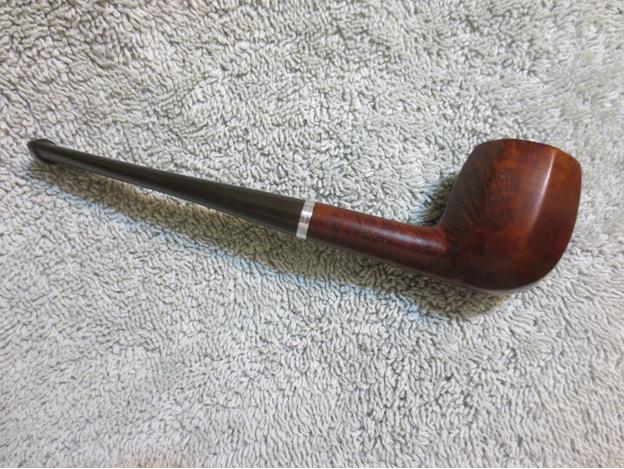
 The pipe I chose to work on is stamped on the left side of the shank LHS in a Diamond then PUREX. Underneath is the stamping PATN 1587048. On the right side it is stamped Real Briar Root. On the underside of the shank is stamped 69. The pipe is in decent shape for a oldtimer. It is tiny and delicate looking and that is hard to capture in these photos. The length of the pipe is 5 ¼ inches, the diameter of the bowl is 1 1/8 inches, the bowl height is1 3/8 inches. The bore on the bowl is 5/8 inches. The diameter of the shank and the stem is 3/8 inches. The stem is lightly oxidized and has some tooth chatter on the top and bottom near the button. The finish is dark and dirty with worn spots showing through the varnish that covered it. The aluminum on the shank and the stem was oxidized and lightly pitted.
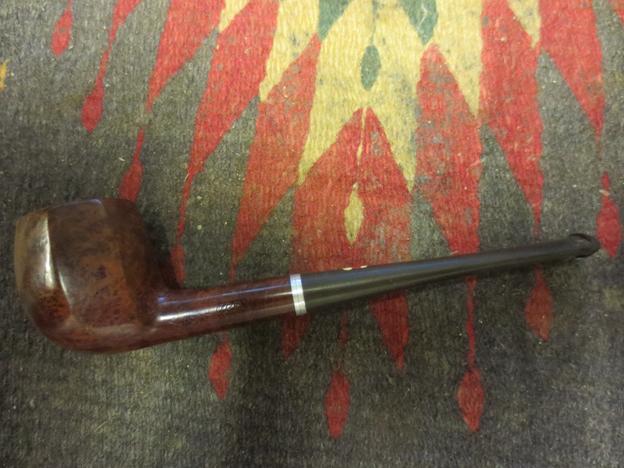
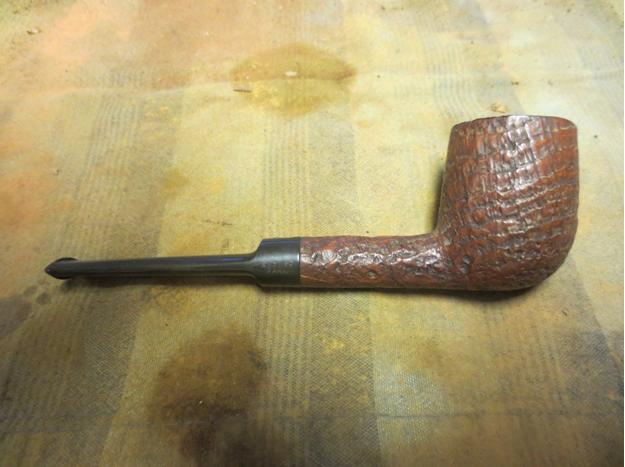
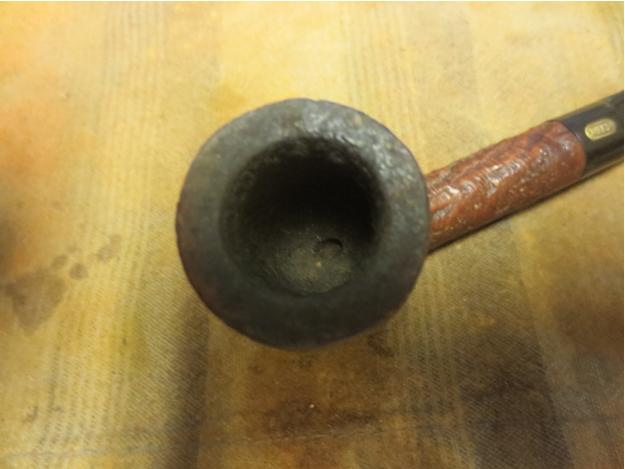
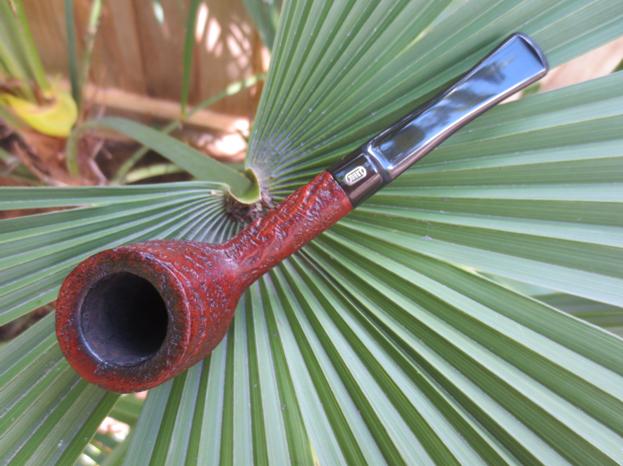
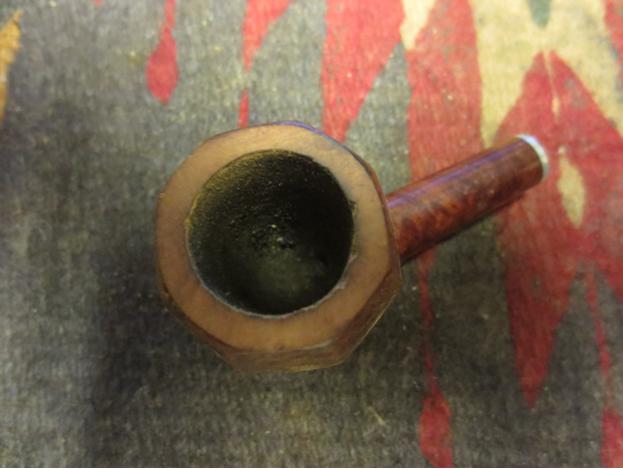
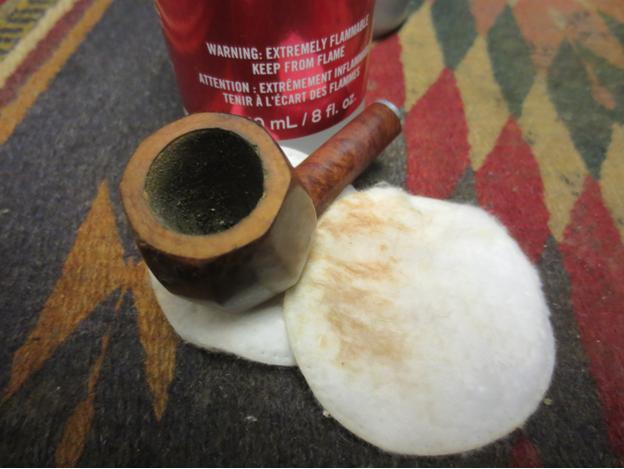
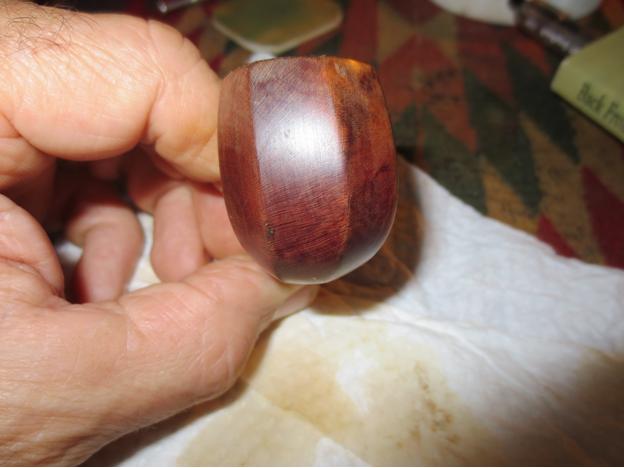
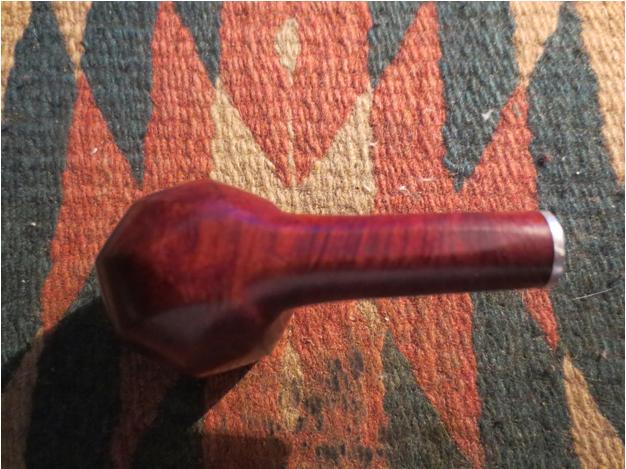
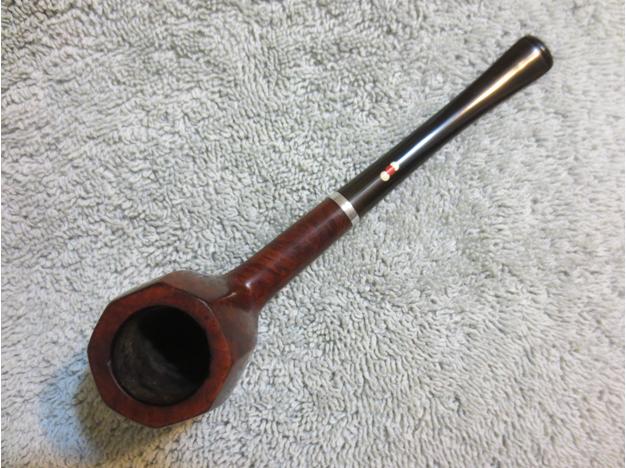
 The bowl was slightly out of round on the back inner edge. There were some nicks in the inner edge and on the rim top.
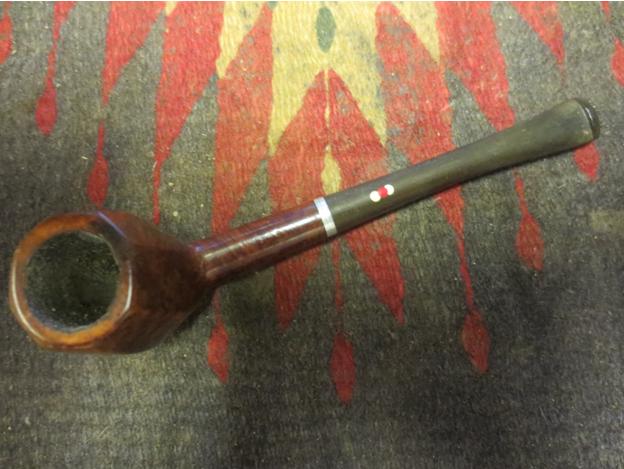 Here is a close-up of the rim showing the nicks and damage to the rim.
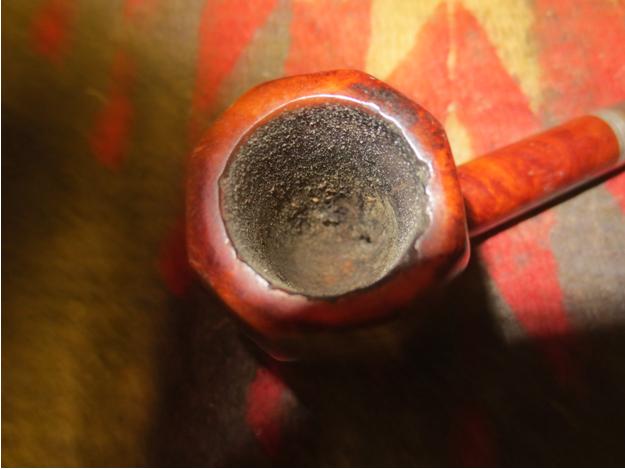
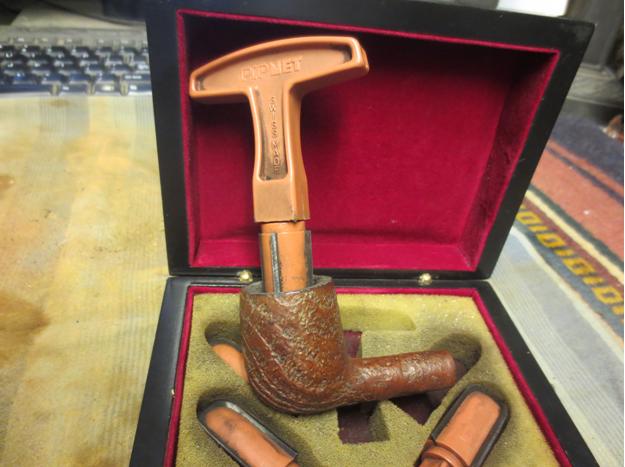
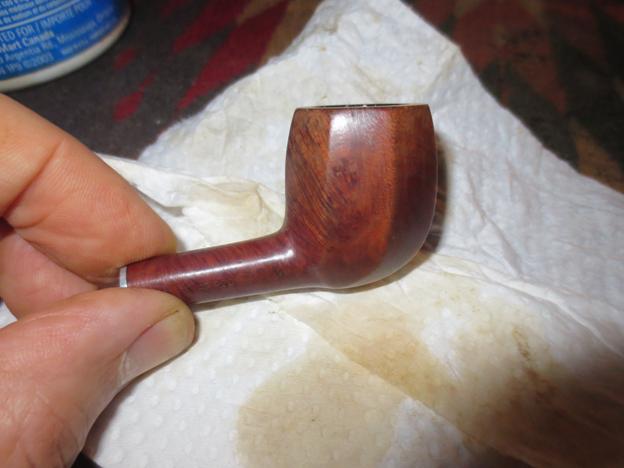
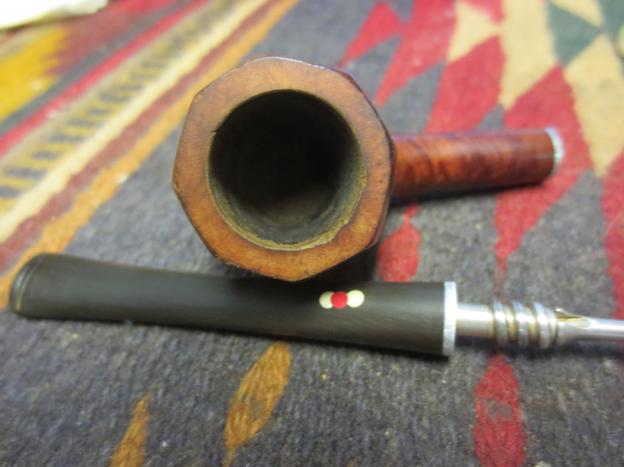
 I did a bit of searching on the internet and on the Pipephil site I found my pipe – An LHS Patent Purex. It is stamped like the second pipe in the photo below and has the Real Briar on the right side of the shank. The stem has a combination of the dot pattern in the photo below. Mine is in the pattern of the second one on the yellow stem but it has two white dots on the sides with a red dot in the middle.
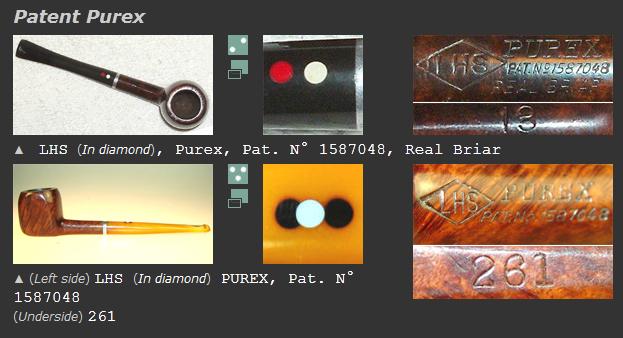
 I also researched the patent number and it led me to the following diagram and patent information. It was filed in 1924 and awarded on June 1, 1926. The interesting thing is that it combines some of the concepts from a later patent filing on July 1, 1932 and granted on May 9, 1933. The stamping places it as a 1926 pipe. The shape of the stinger and the threaded mortise make me think of the 1926 pipe in many ways. I cannot see deep enough into the pencil shank to see if there is a metal cup insert in the shank behind the mortise. Maybe that will become clear in the cleanup. The smooth portion of the tenon after the threads and the metal disk that is threaded into the stem make me think of the 1933 patent pipe. The threaded mortis is the same in both but if it ends in the shank without the cup then it has a lot of similarity to the 1933. The 1926 patent gives me a start date for this pipe and the 1933 patent gives me an end date. The fact that the metal works combine both makes me wonder if the pipe did not come out of the factor late 1920s or early 1930s just prior to the new patent release in 1933. I am including the two different patents for you to see the interesting combination in this pipe.
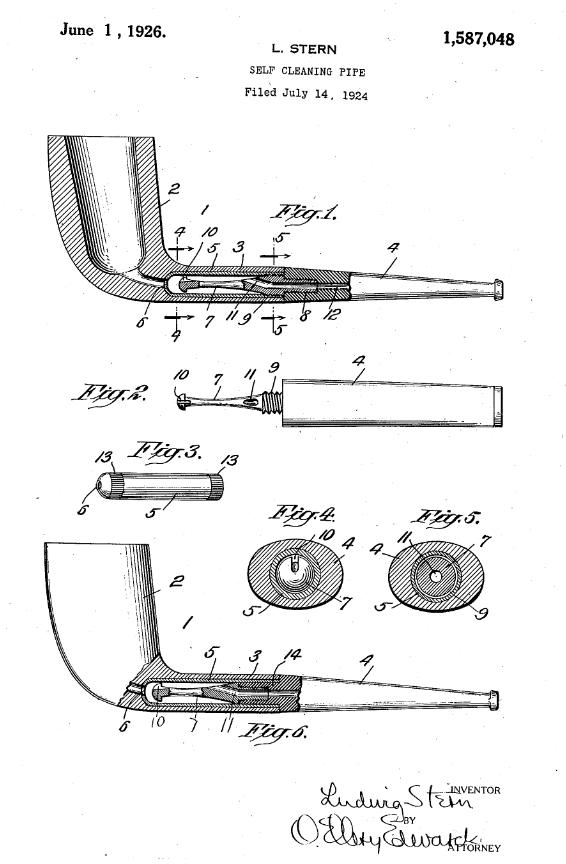

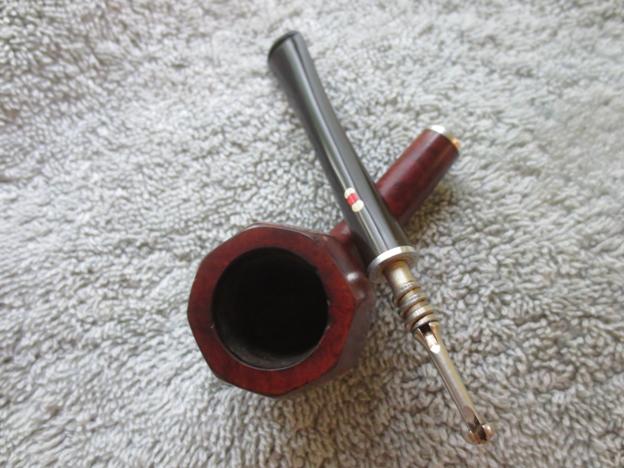
 I have screen captured the insert in the shank and the stinger apparatus from the 1926 patent drawings. Figure 2 shows the stinger. It is identical in both the 1926 and the 1933 patent drawings. Figure 3 shows a metal cup that is inserted in the shank. The mortise end is threaded to receive the threads on the tenon. Figure 4 shows the end of the stem looking at the head on the stinger. The slot is at the top. Figure 5 shows the inside of the shank looking at it from the end. The mortise end is threaded and the cup has an airway hole in the center of the rounded end. That end sits against the airway from the bottom of the bowl as seen in Figure 6. When I started cleaning out the shank I was unsure of the interior. Once I was cleaning it I was certain that I was working with the insert that is shown in these figures. The inside of the shank is smooth and shiny now that it is clean. Looking down the shank with a flash light it is visible.
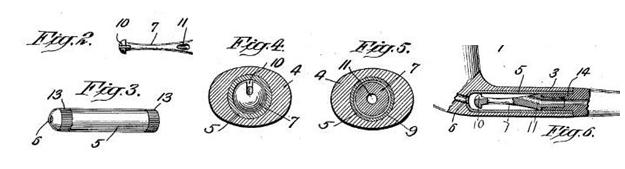 Here is a photo of the stinger – note the length of the tenon behind the stinger – particularly the smooth portion. Note also the metal plate on against the stem that is threaded and inserted into the vulcanite of the stem.
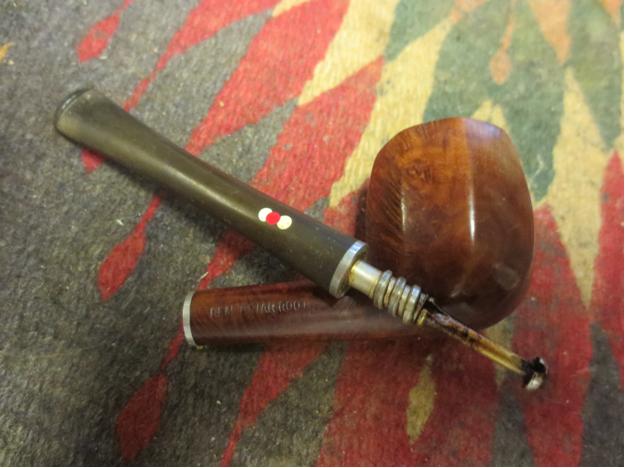 I have also included a screen capture below of Figure 2 from the 1933 patent drawings. The insert in the shank is shorter than the 1926 version and does not include the cup. The tenon is the same though it has a longer smooth portion. It also has a plate that rest against the face of the stem when inserted.
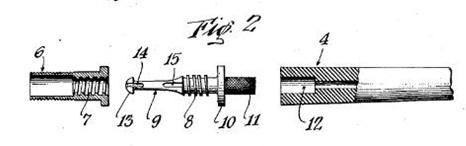 The rim damage required me to lightly top the bowl to minimize it and flatten the top of the rim. Doing so removed most of the damage and brought the bowl back into round.
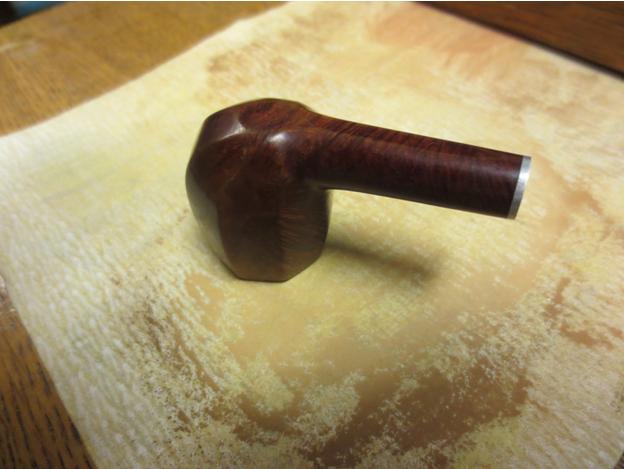
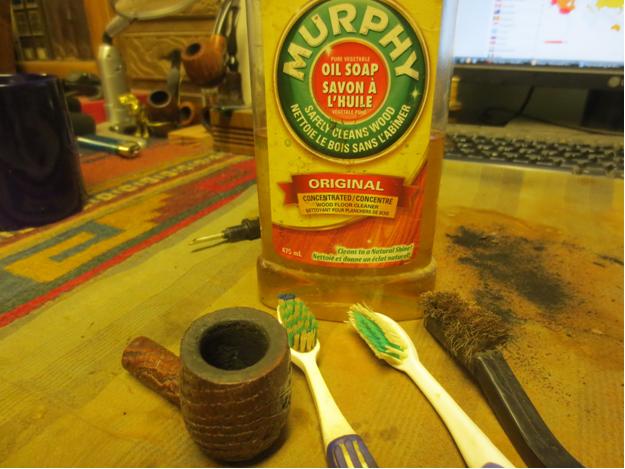
 I wiped the bowl down with acetone on cotton pads to try to break down the varnish coat. I sanded it with a fine grit sanding sponge to open the surface. It was stubborn stuff to remove. There was some beautiful grain under the dark varnish coat.
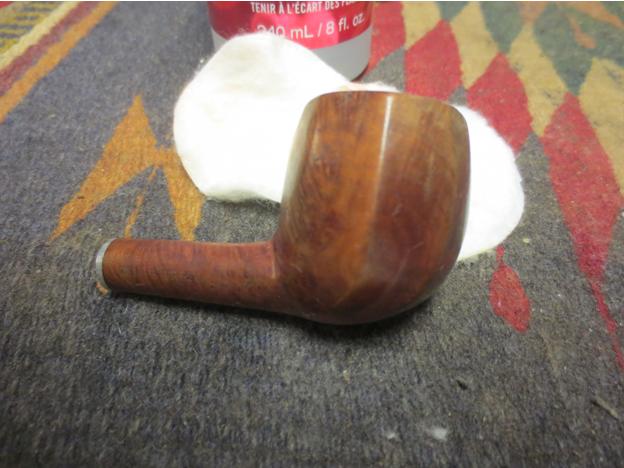

 I still did not have the varnish coat removed so I dropped the bowl into an alcohol bath to let it soak. The dark colour of the alcohol bath comes from all of the bowls that have soaked in it in the past. I filter it but the dark colour remains. I like it as it adds a bit of a patina to the briar as it soaks there.
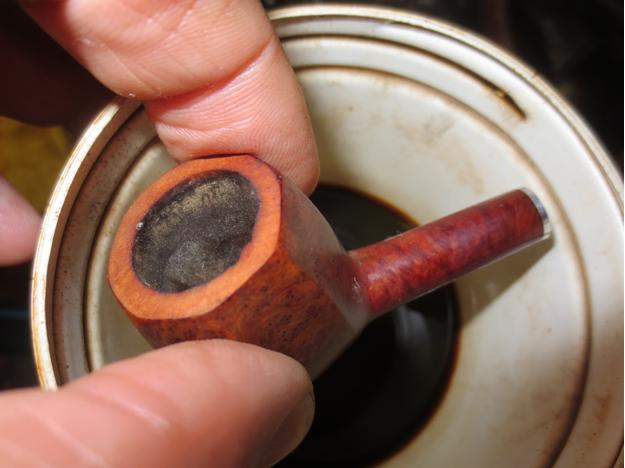 While the bowl soaked I worked on the stem. I cleaned out the inside of the stem and cleaned the stinger with pipe cleaners, cotton pads and alcohol.
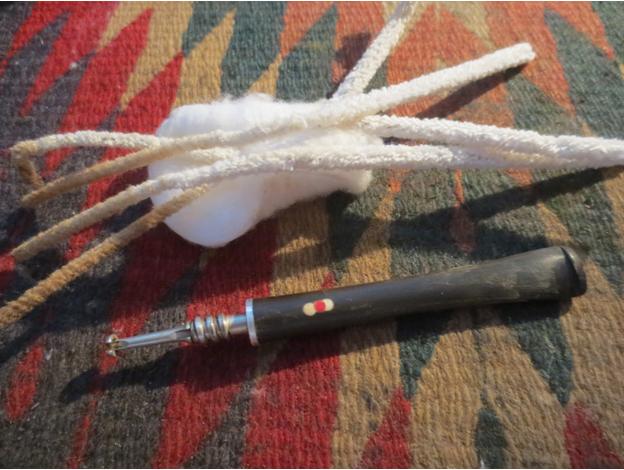 With the inside clean I decided to take a break from working on this pipe and went out to enjoy a bit of sunshine while it is here in Vancouver. Rain is forecast and coming in even while I am outside. I picked about 6 pints of blueberries while I was outside.
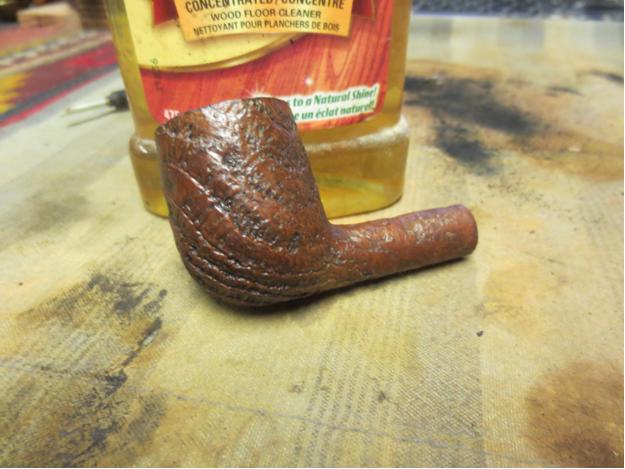
When I came back to the pipe after it had been sitting in the bath for about an hour and a half. I dried it off with a paper towel. The varnish coat was gone and the topped bowl had picked up a patina from the bath that almost matched the colour of the briar of the bowl.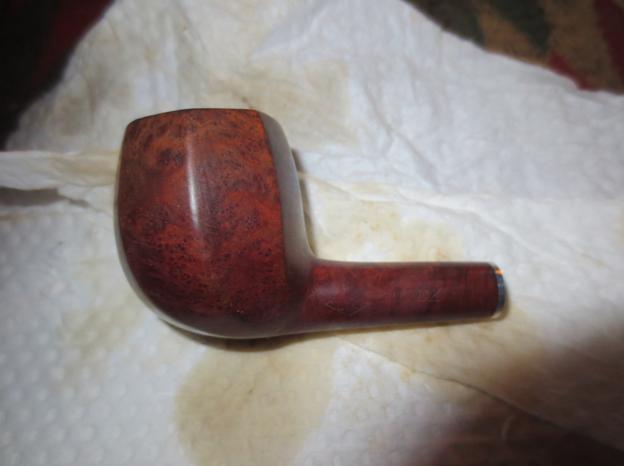

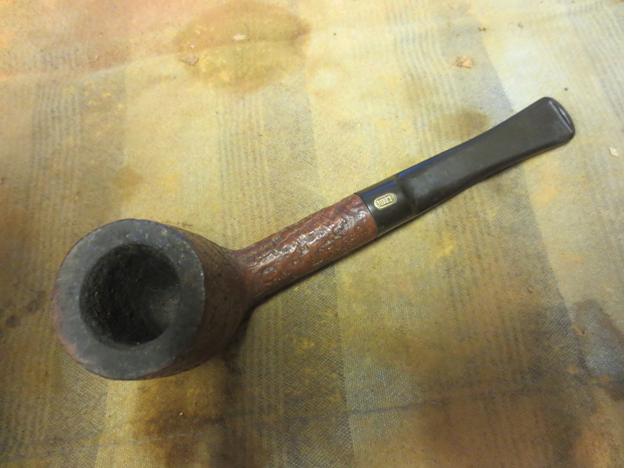
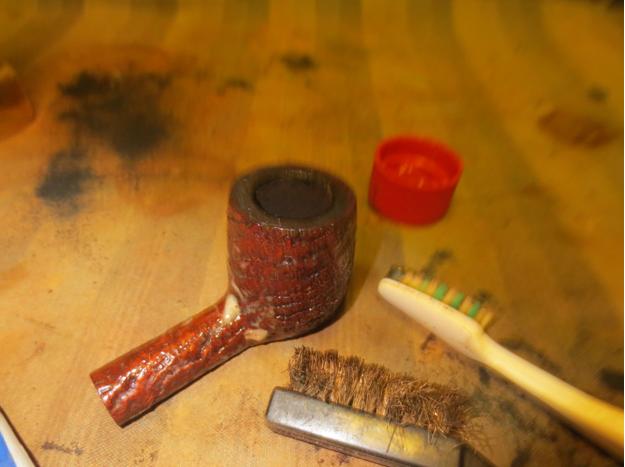
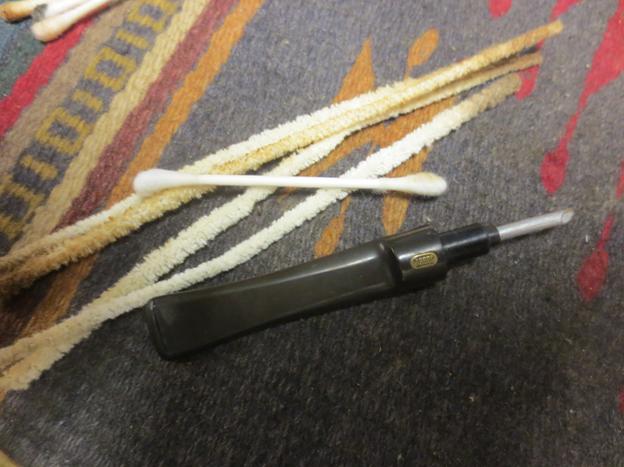
 I scrubbed out the cup insert and mortise in the shank. It took a lot of scrubbing. I did not want to use the retort as I was not sure what the stem material was and did not want to risk dissolving it with the hot alcohol. I scrubbed it with alcohol, cotton swabs and pipe cleaners until they finally came out clean. I shone a flashlight down the shank from the bowl and the mortise and it was sparkling and shiny. It was indeed the cup insert – all doubts were removed.
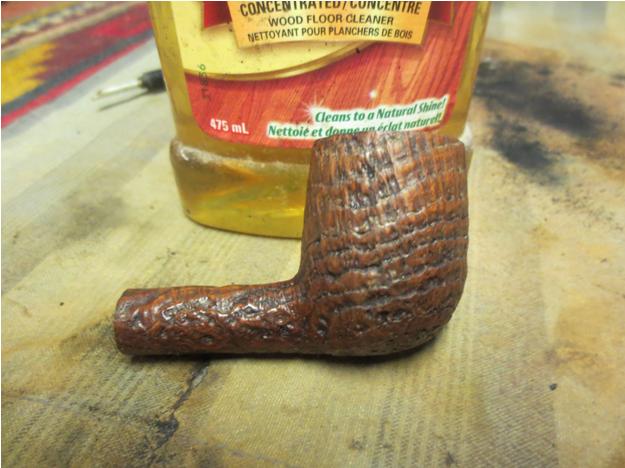
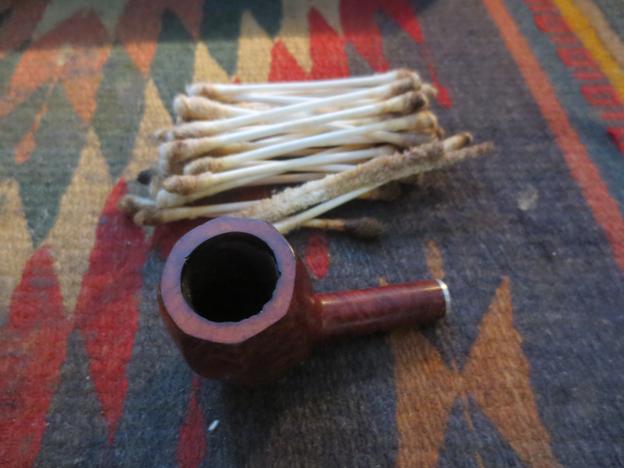 With the insides and outside clean I rubbed the bowl down with a light coat of olive oil to highlight the grain. When it dried it made the grain pop and the rim colour was a match. I will need to give it multiple coats of carnauba wax once I am finished with the stem. The bowl however is going to be a beauty.
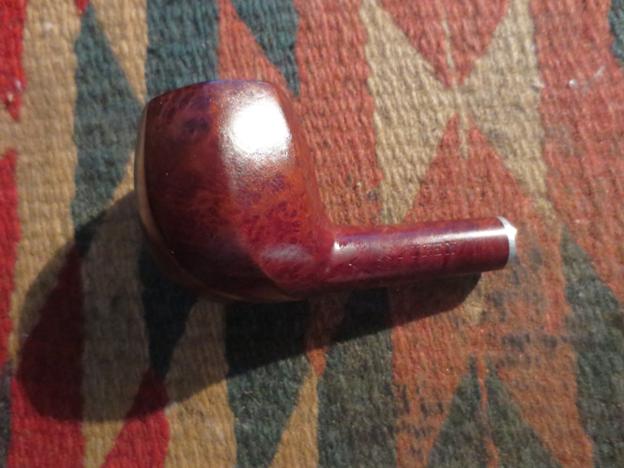


 The nicks in the inner rim bothered me so I folded a piece of sandpaper and worked on the inner edge to smooth it out while keeping it round.
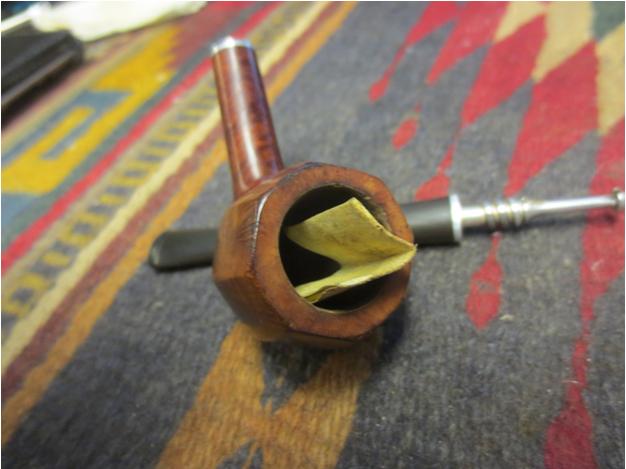
 I then mixed two stain pens – a medium and a dark brown to match the colour of the bowl and try to blend the rim in more closely. I then sanded the rim with a 3200 grit micromesh sanding pad to work on the blend even more.
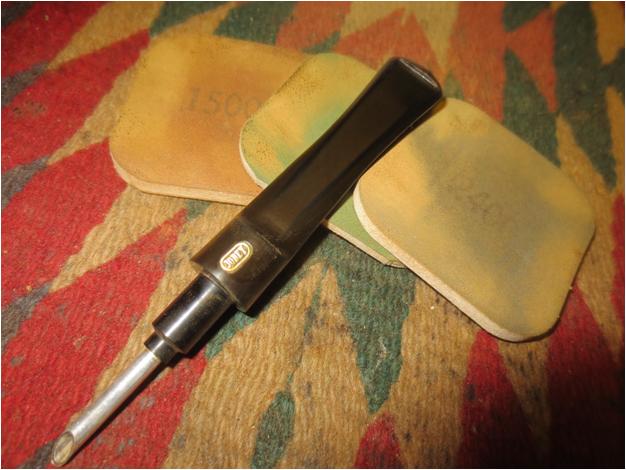
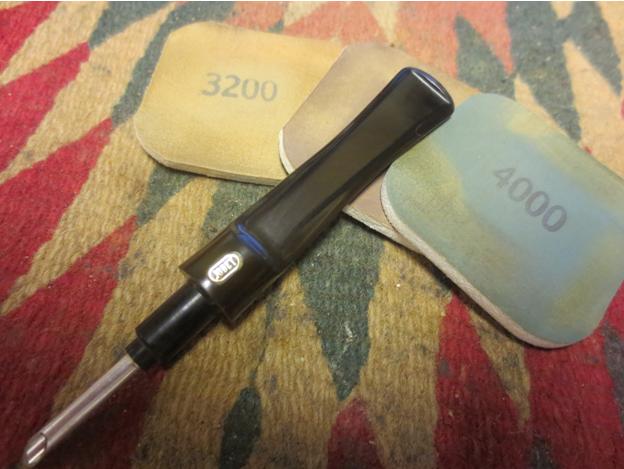
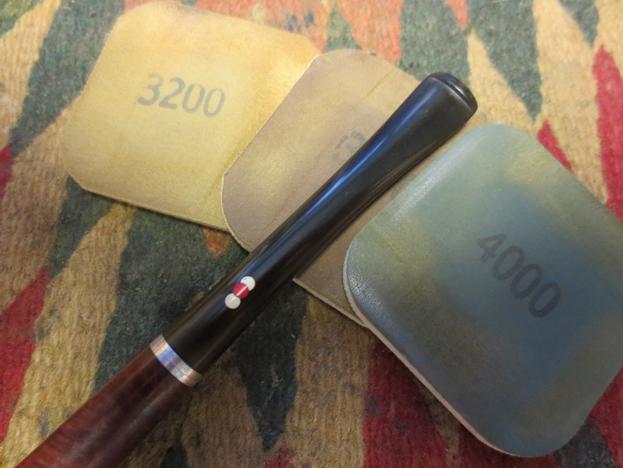
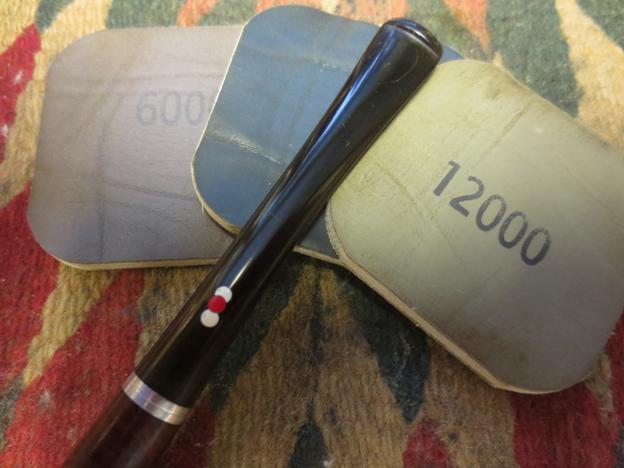
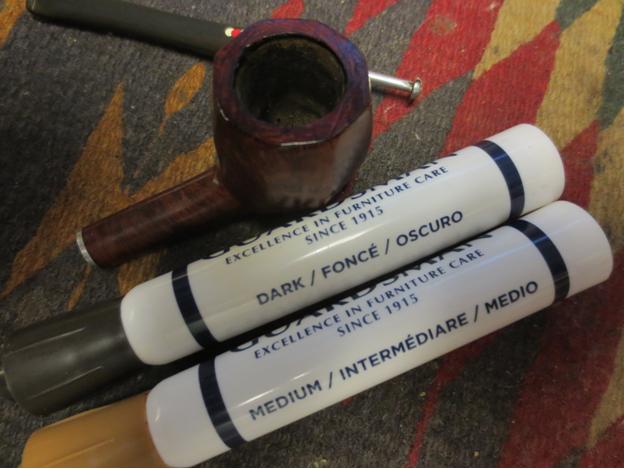 I buffed the bowl with White Diamond and then set it aside so that I could finish working on the stem. I sanded it lightly with a fine grit sanding sponge and then worked on it with micromesh sanding pads. I wet sanded with 1500-2400 grit pads, rubbed it down with Obsidian Oil and then dry sanded with 3200-4000 grit pads. I gave it another coat and then sanded it with 6000-12000 grit pads. When I finished I gave it a final coat of Obsidian Oil and let it dry.
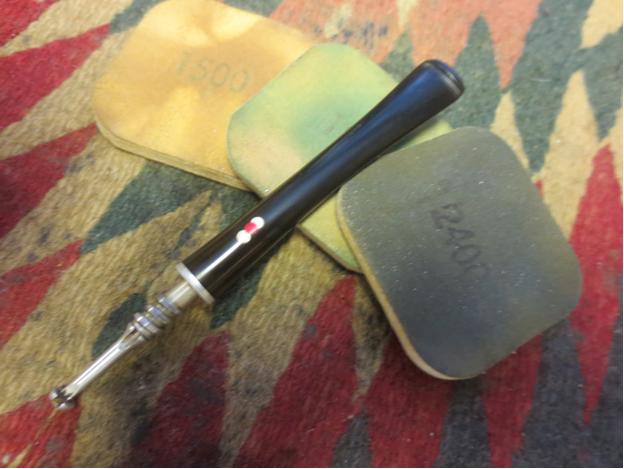
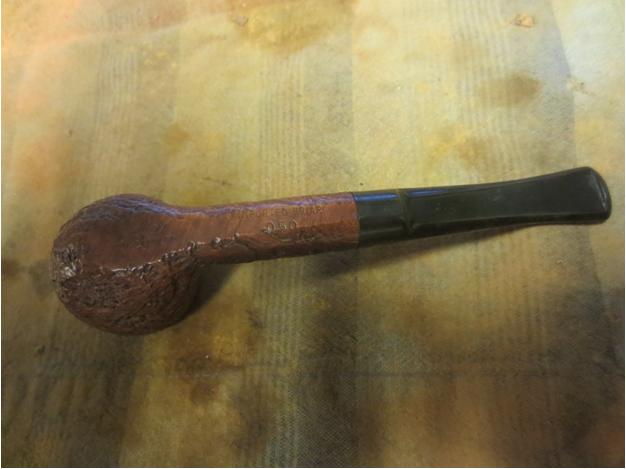
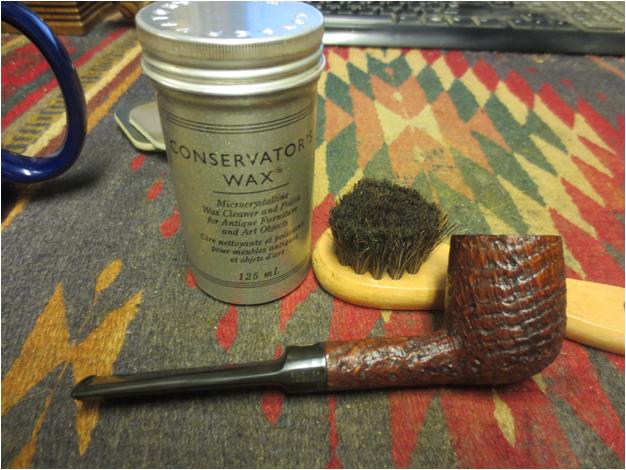
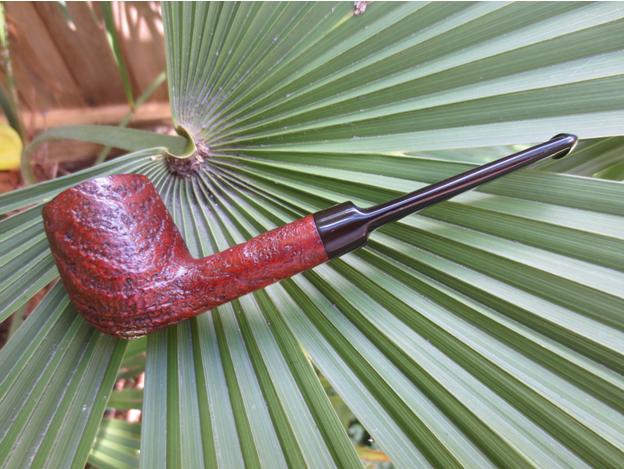
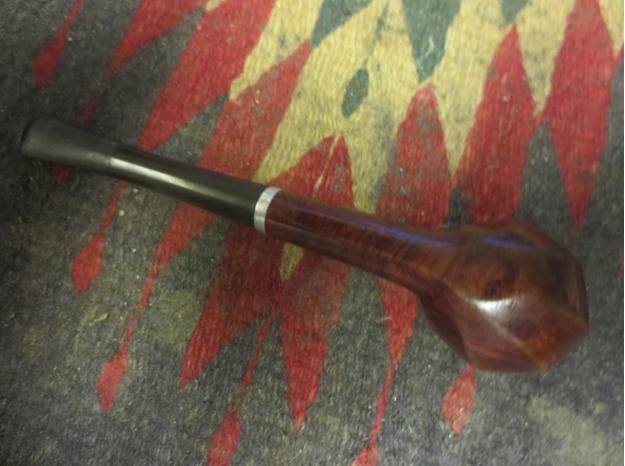
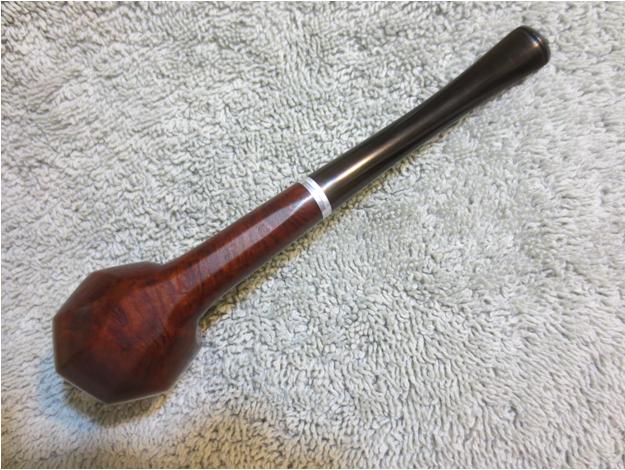
 I buffed the pipe with Blue Diamond on the wheel and then gave it multiple coats of carnauba wax. I buffed it with a clean flannel buffing pad and then by hand with a microfibre cloth to give depth to the shine. The finished pipe is shown in the photos below.
 Thanks for looking.