Blog by Anthony Cook
It’s exam day again. I didn’t get much sleep, but I did have a good breakfast of Pop-Tarts and leftover ramen. So, let’s do this! This time, the exam is based on a bent brandy shaped Champion Deluxe.
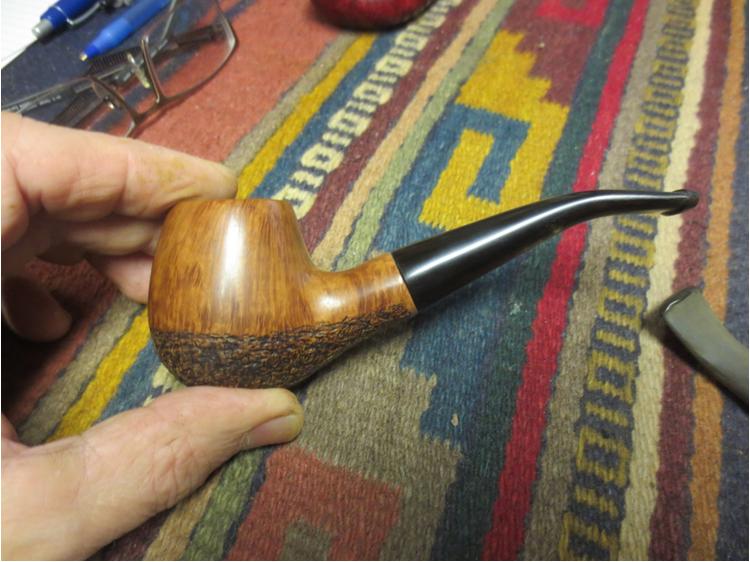
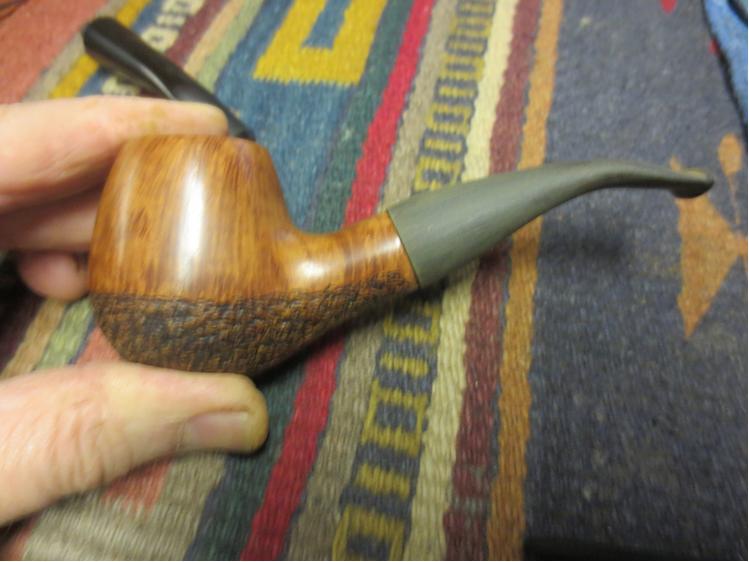
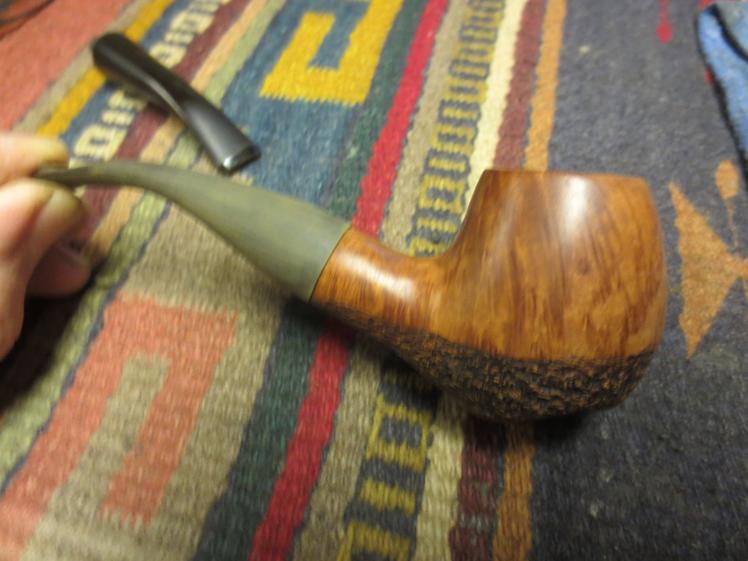
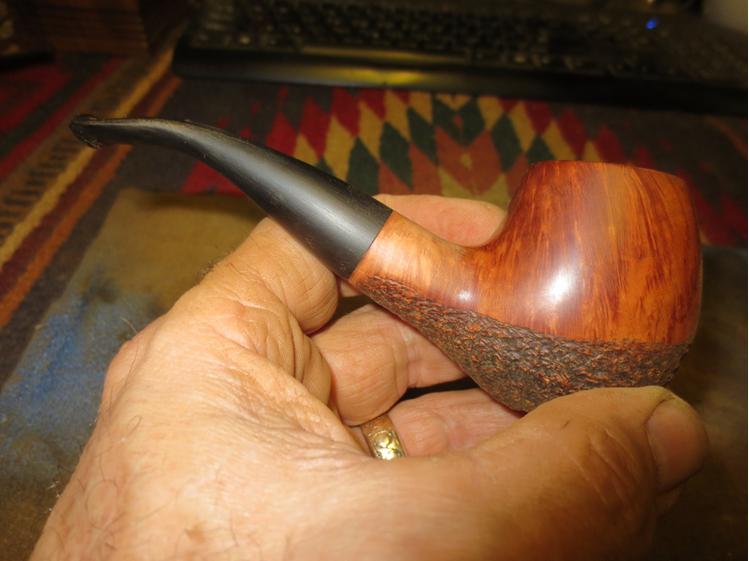
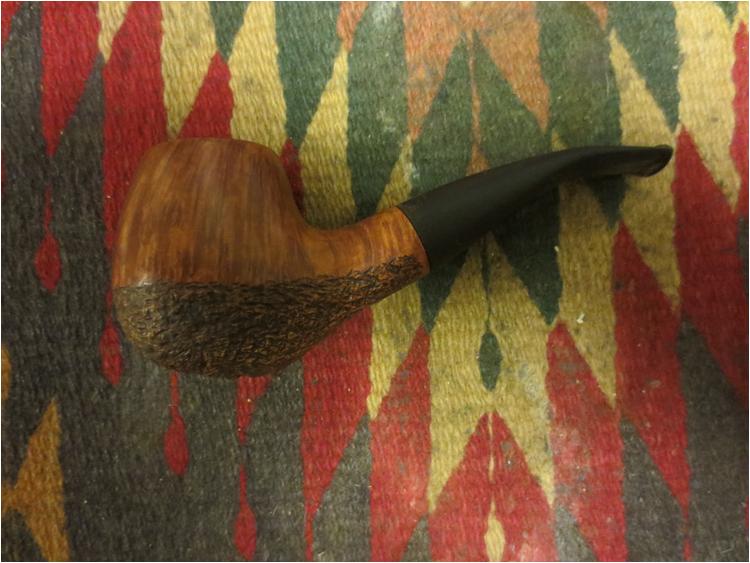
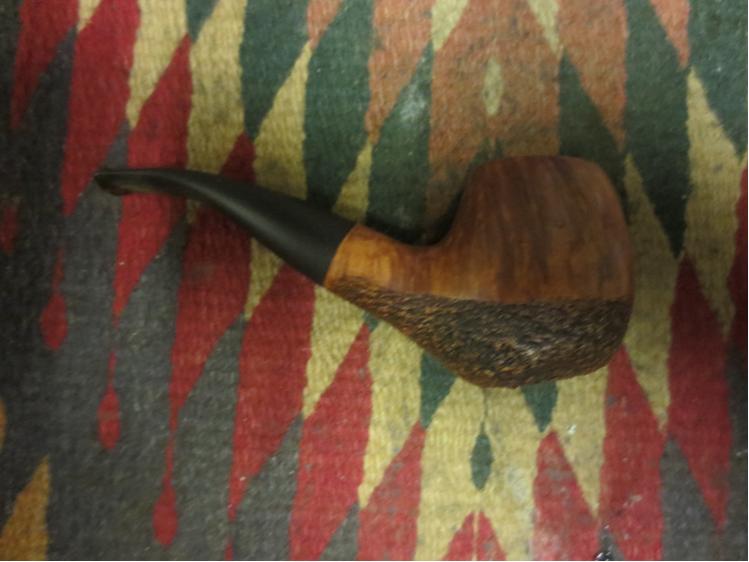
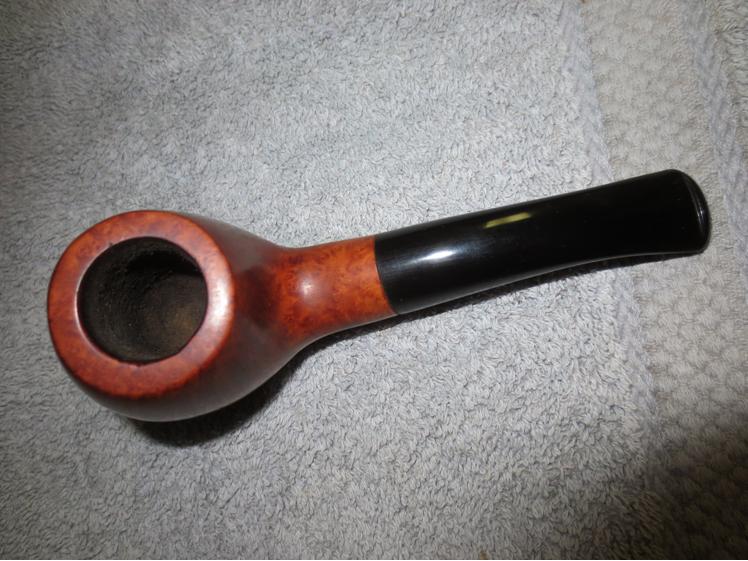
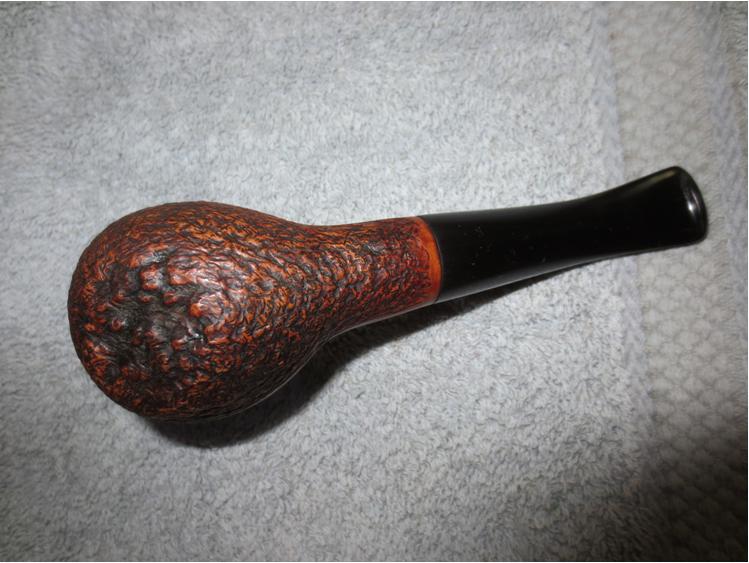
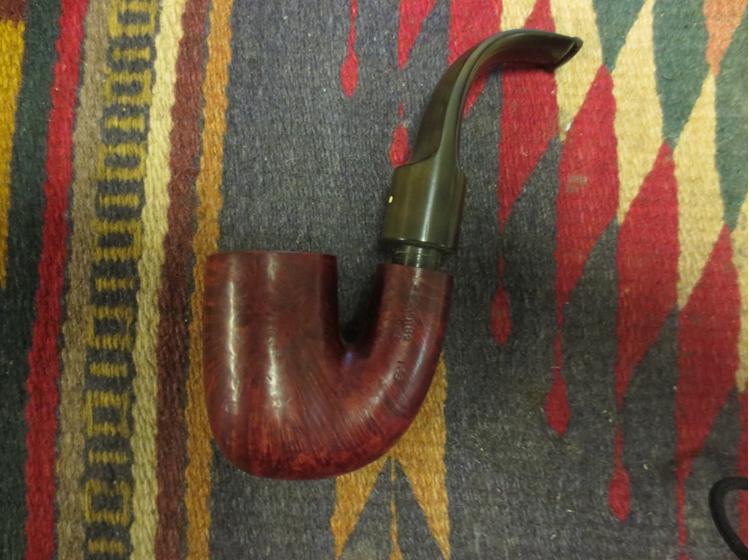
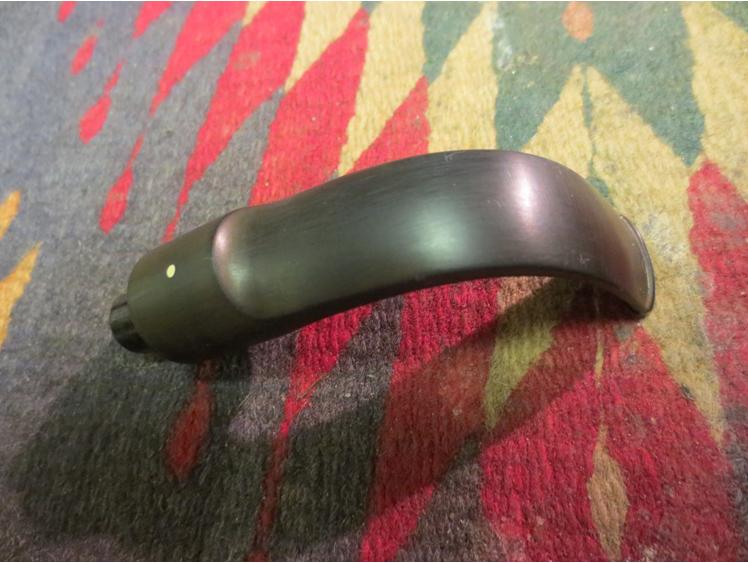
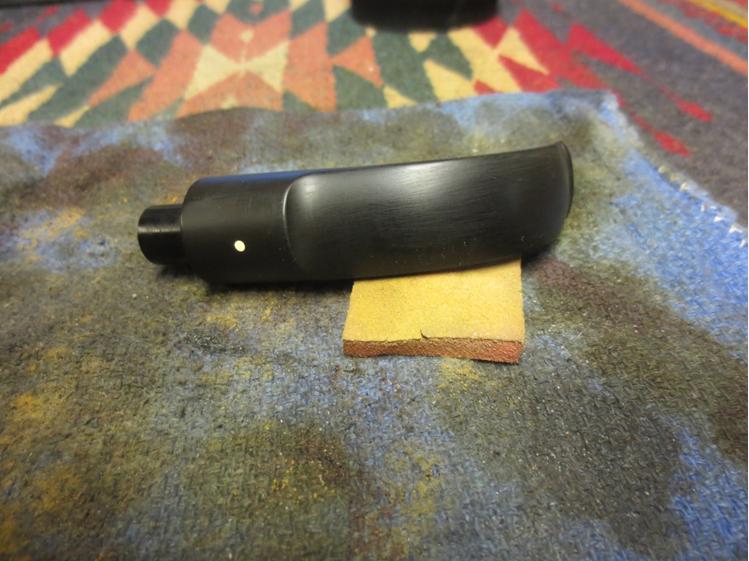
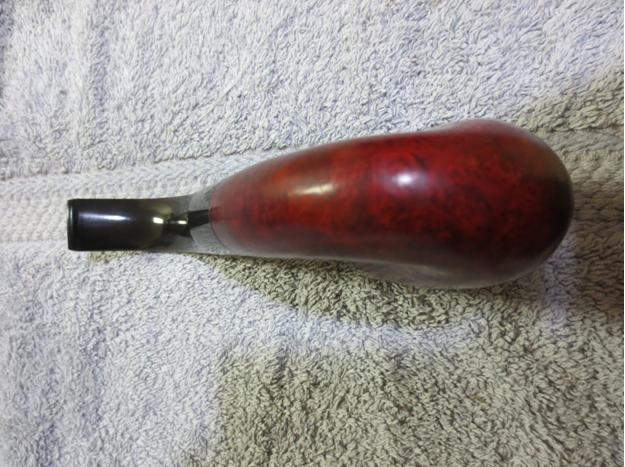
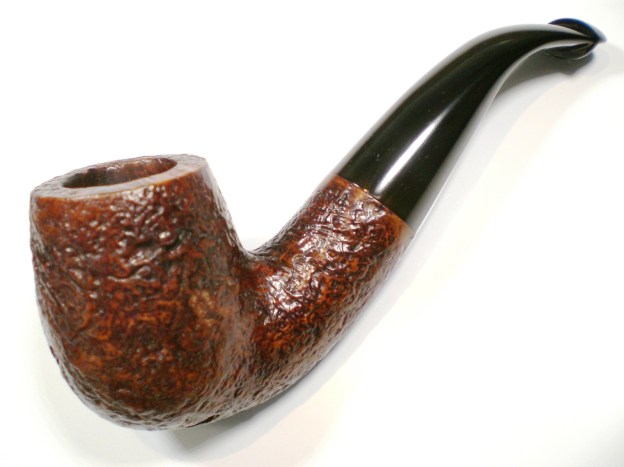
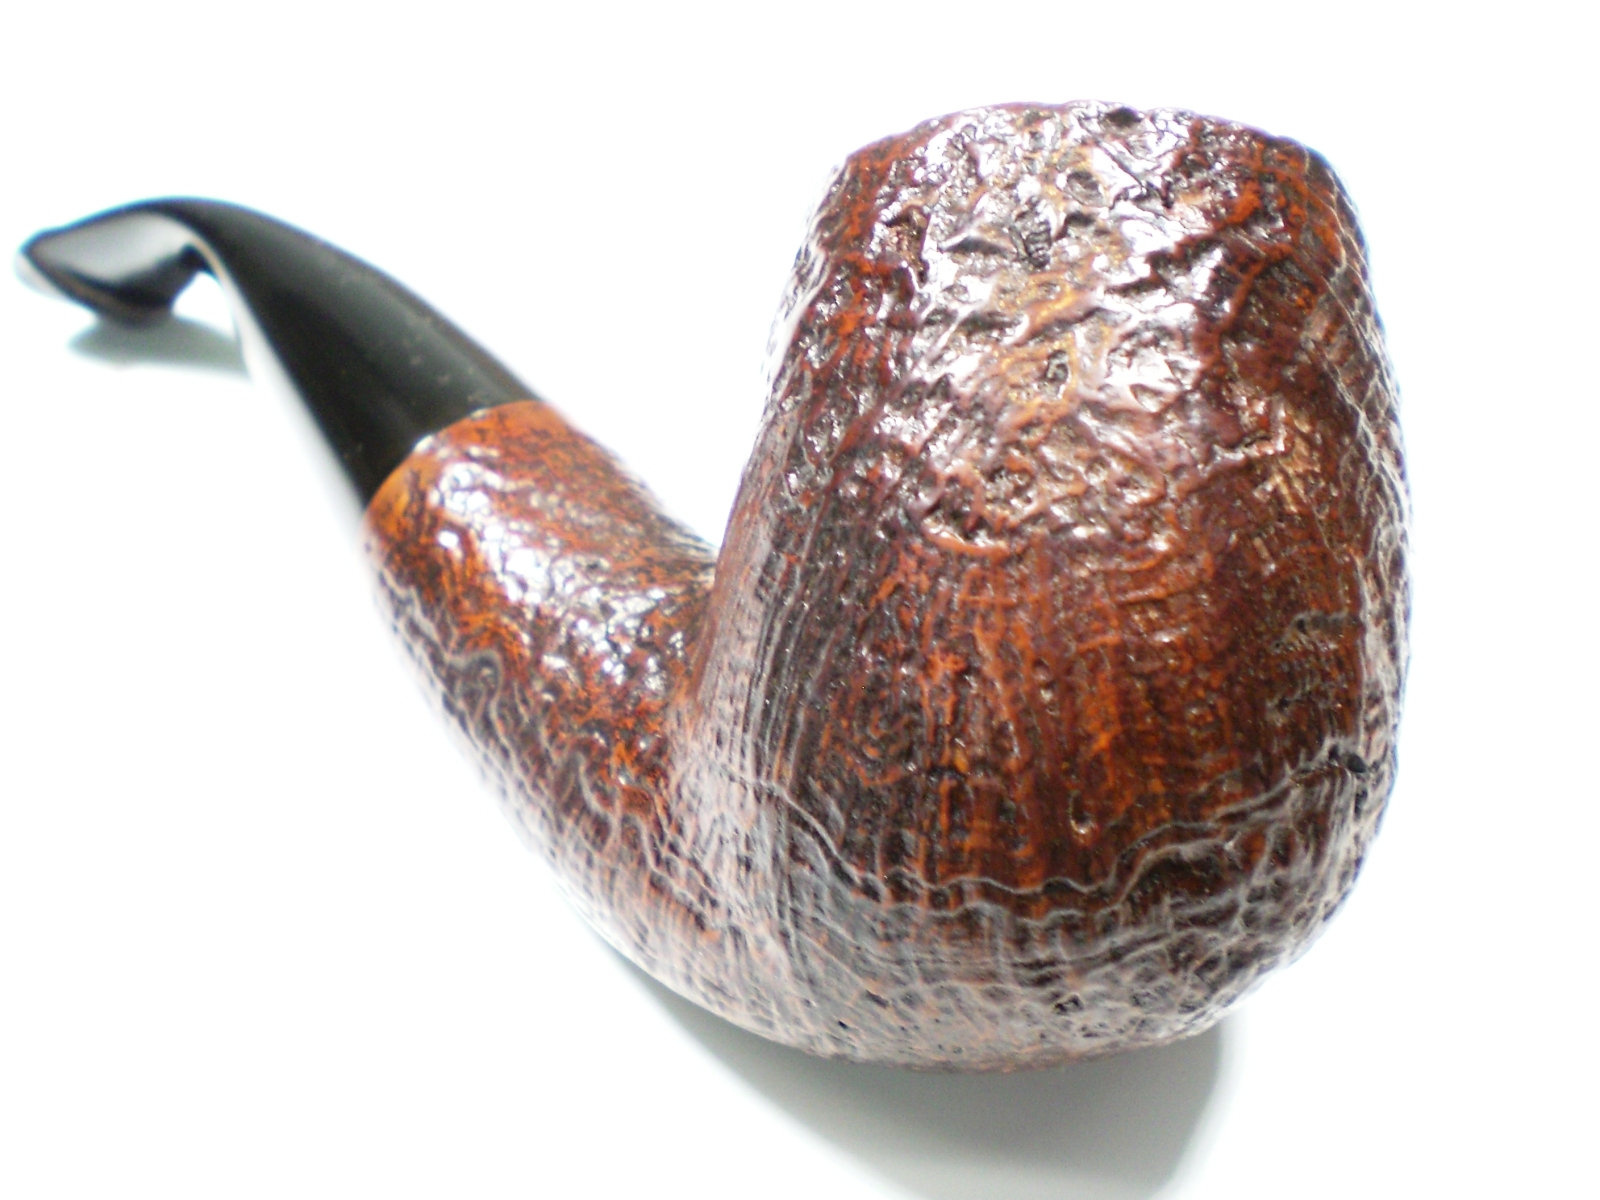
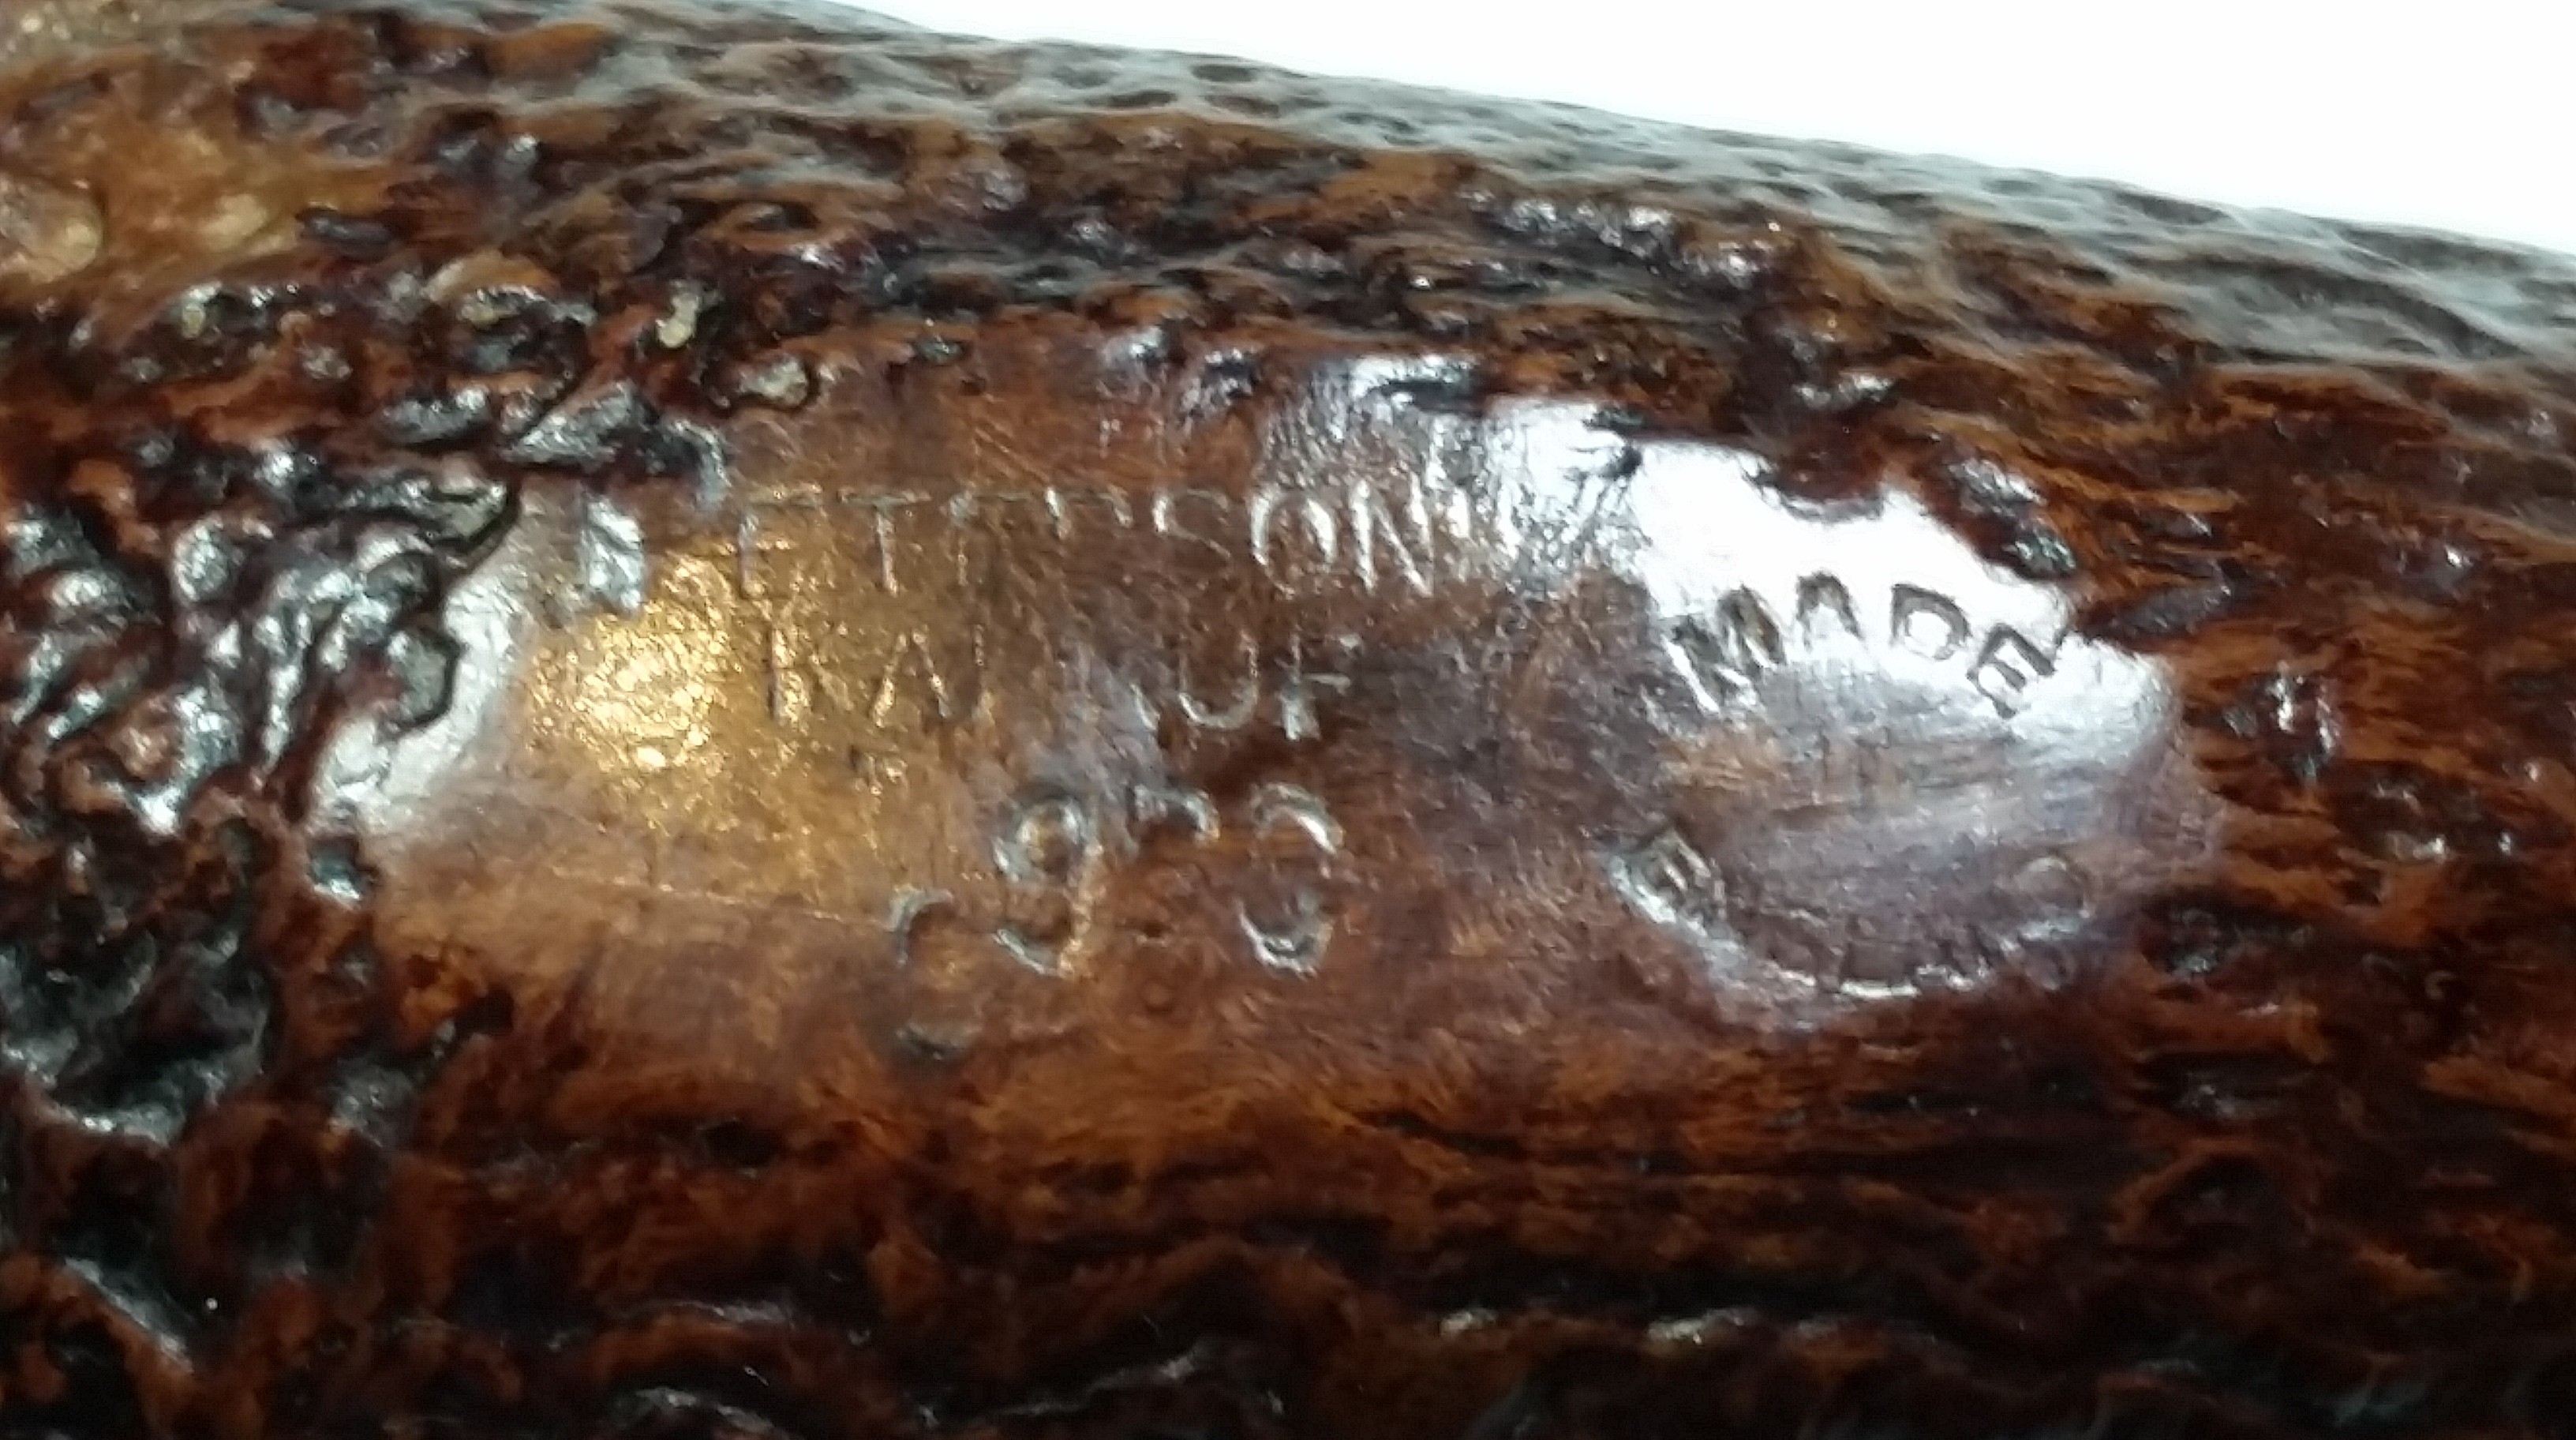
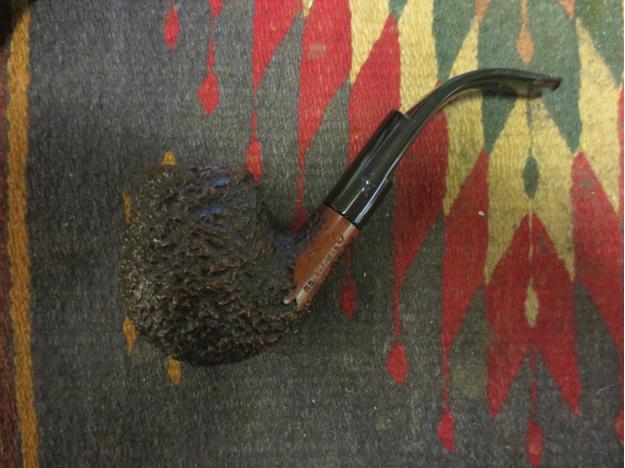
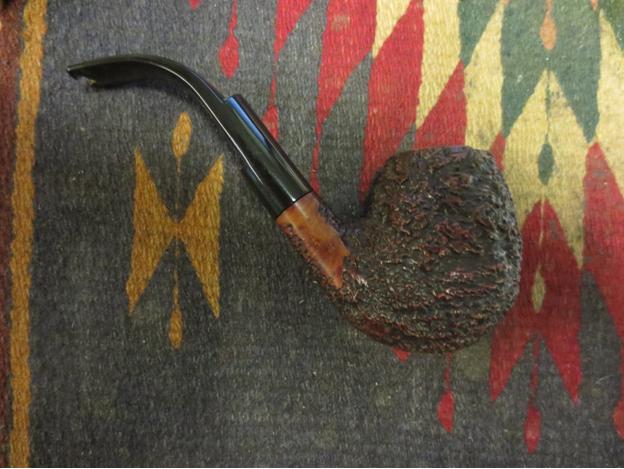
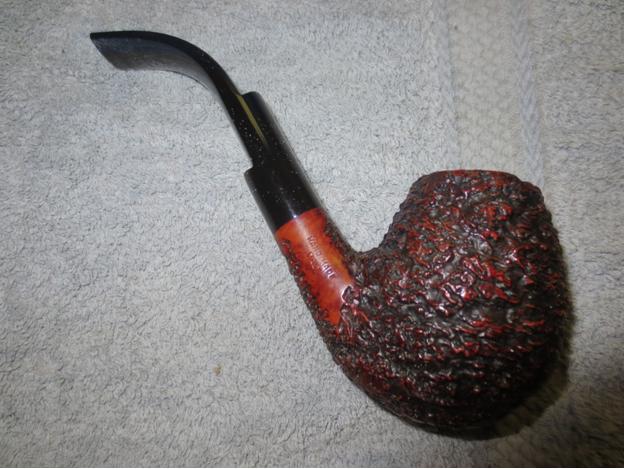
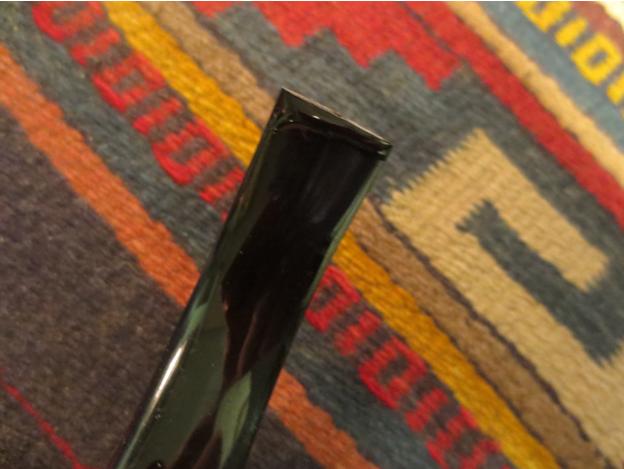
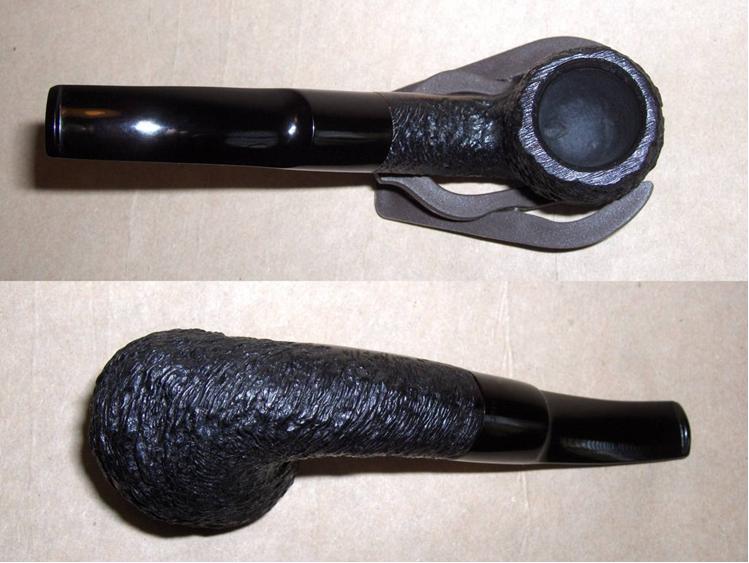
PipePhil provides a little info on the Champion brand: The pipe I’m working with has shank stamping and a stem logo that is identical to the middle pipe in the above graphic. The country of origin for the brand is listed as Switzerland, but there must be some French connection. The word “FRANCE” is stamped across the bottom of the shank-end of the stem on my pipe. You can see the pipe for yourself in the photos below, which were taken shortly after its arrival.
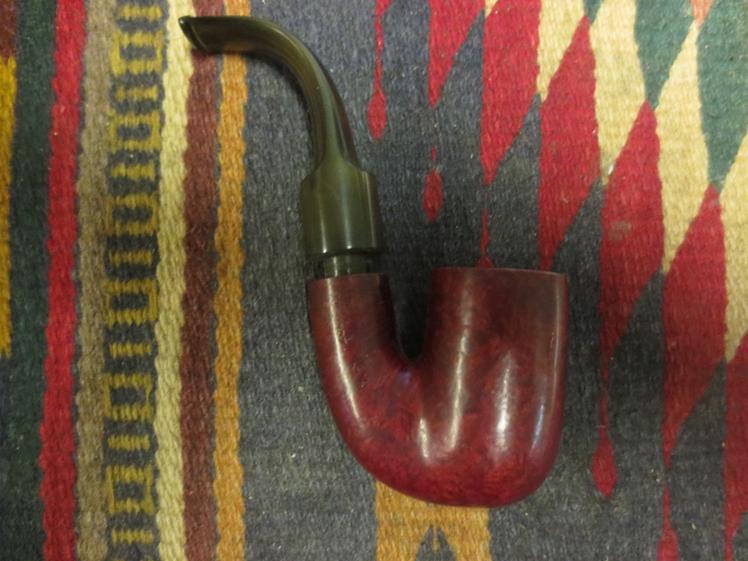
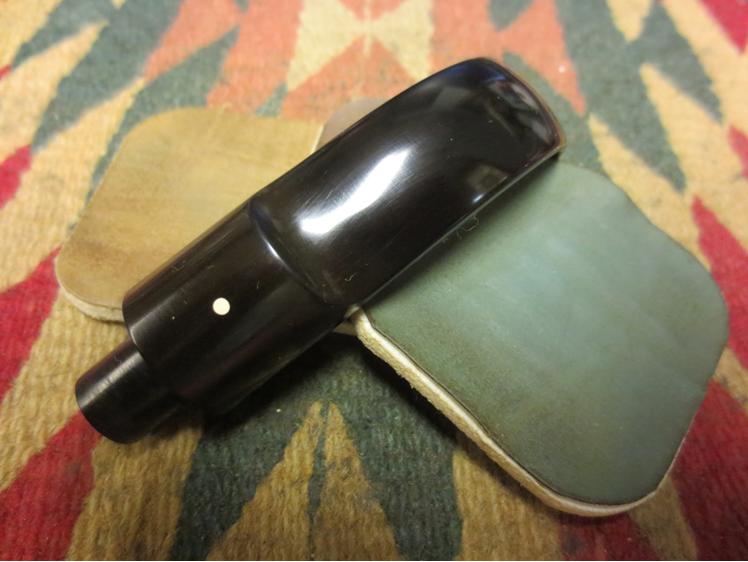
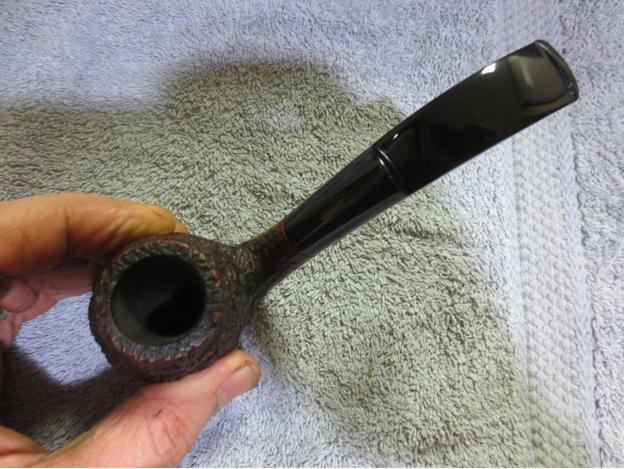
 I was really pleased with this one when it arrived. I really liked the size, shape, and rustication pattern. As I turned it over in my hands, it seemed to be in pretty good condition. There were no major cracks or gouges, only a generous amount of grime on the stummel, one or two nicks on the rim, and a little oxidation on the stem. I thought it would clean up nicely and was beginning to look forward to working on it.
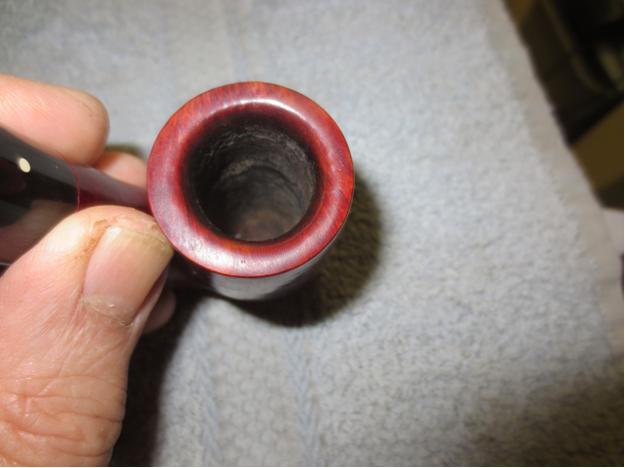
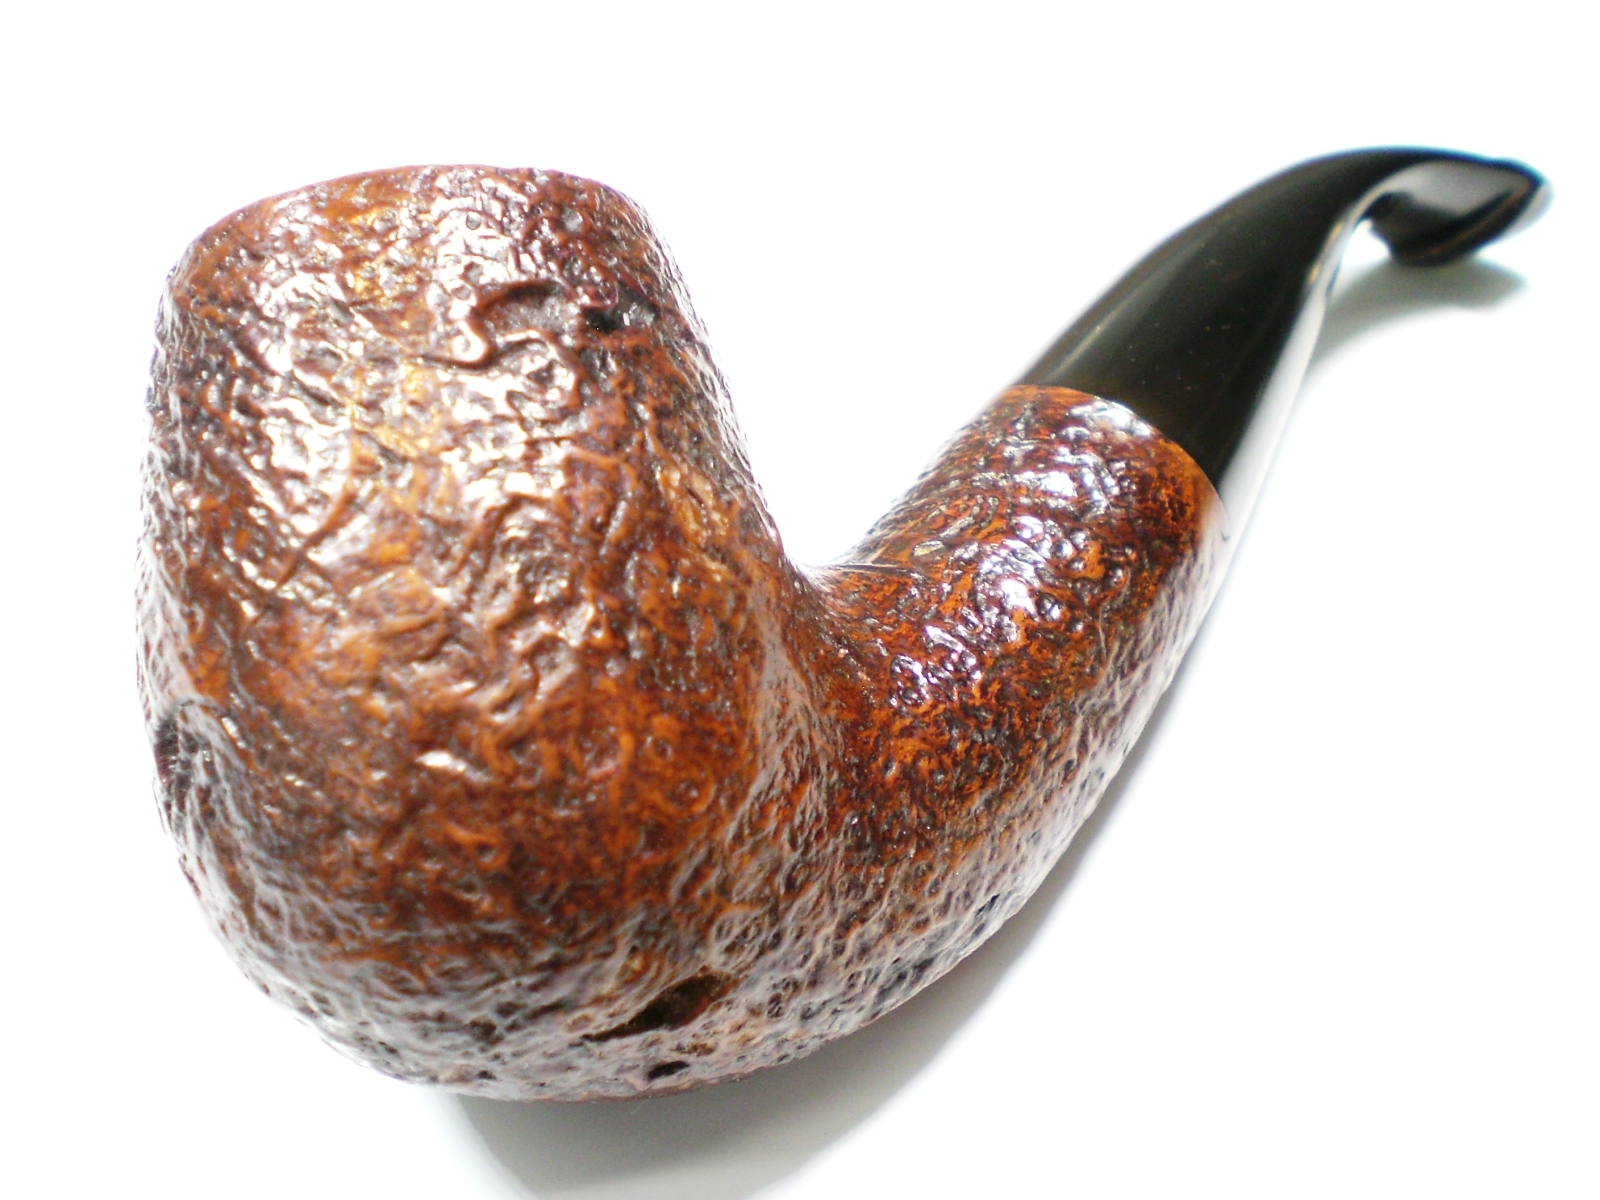
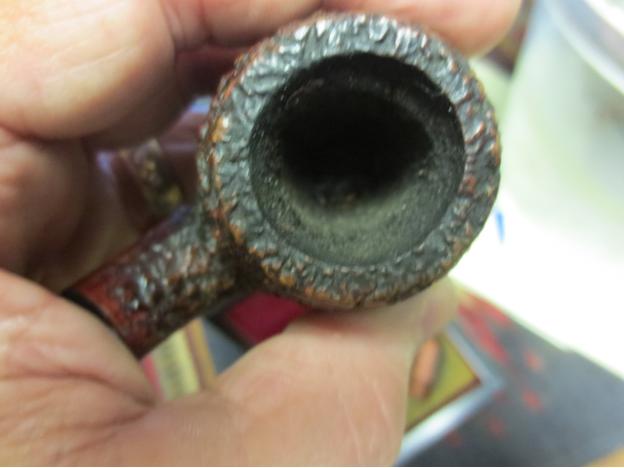
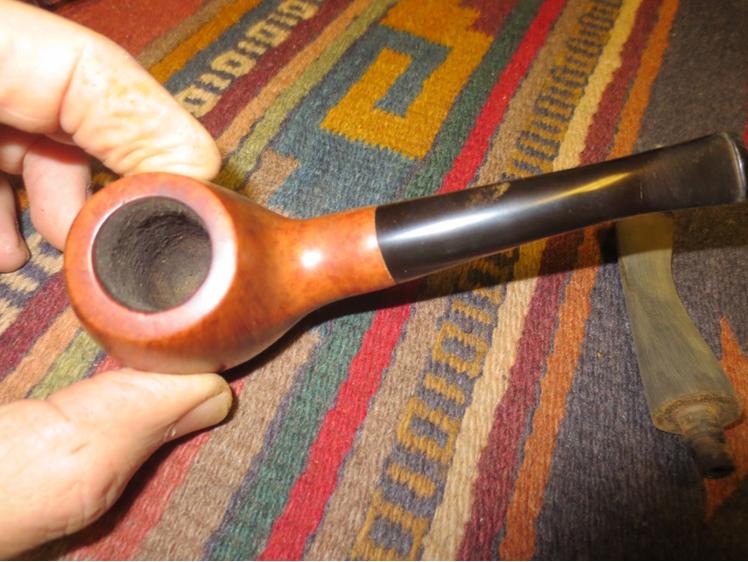
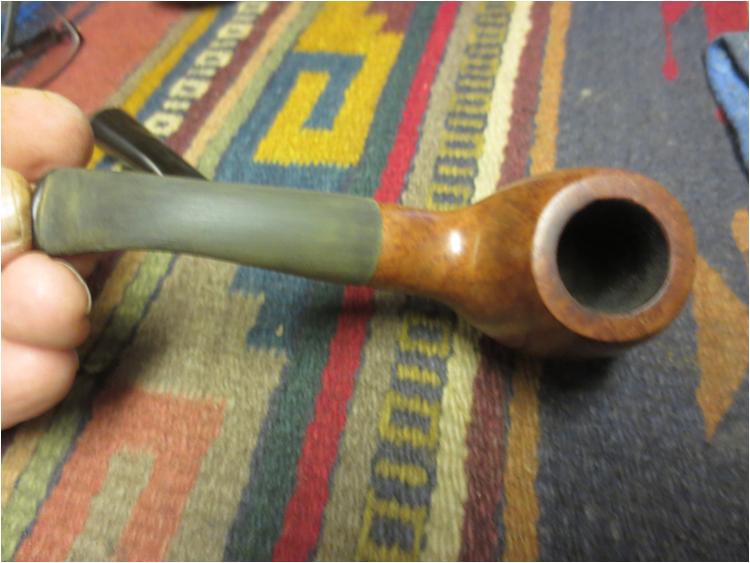
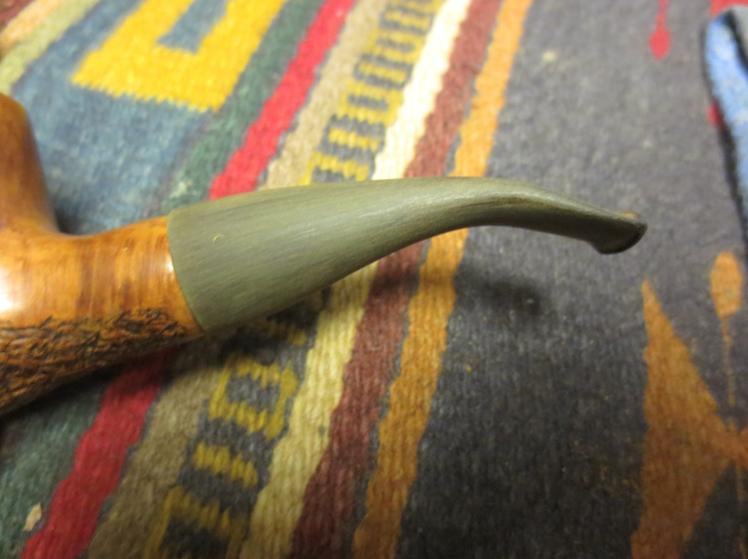
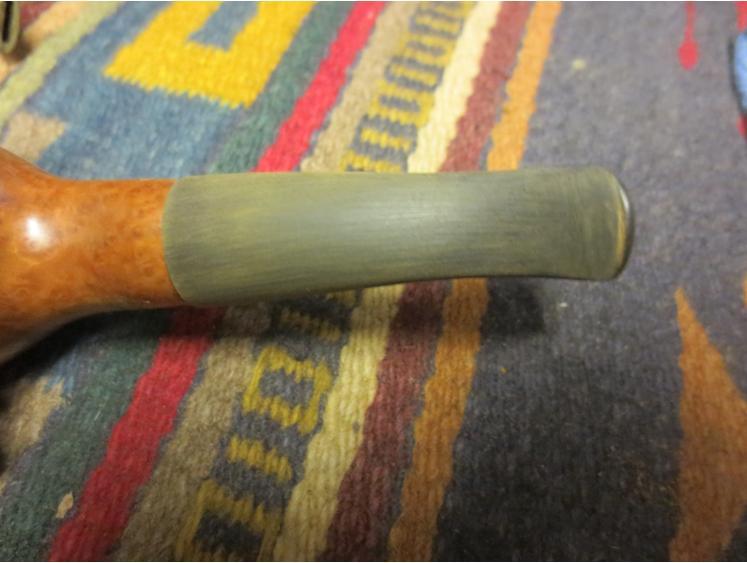
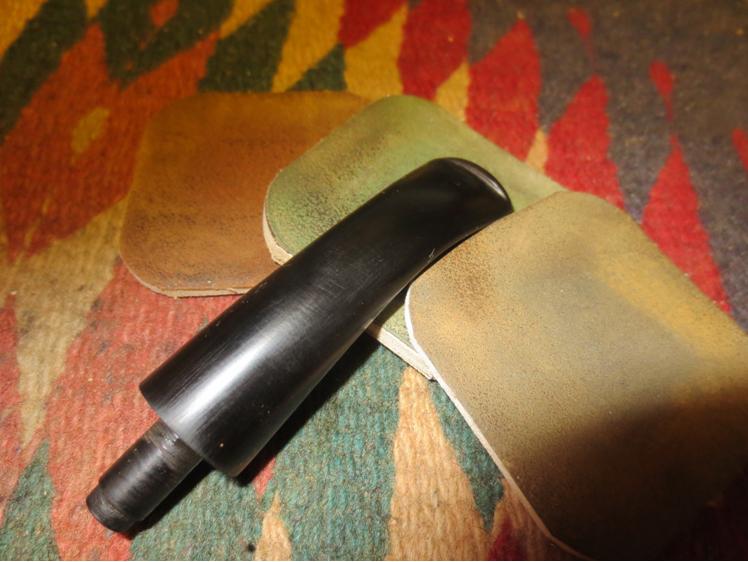
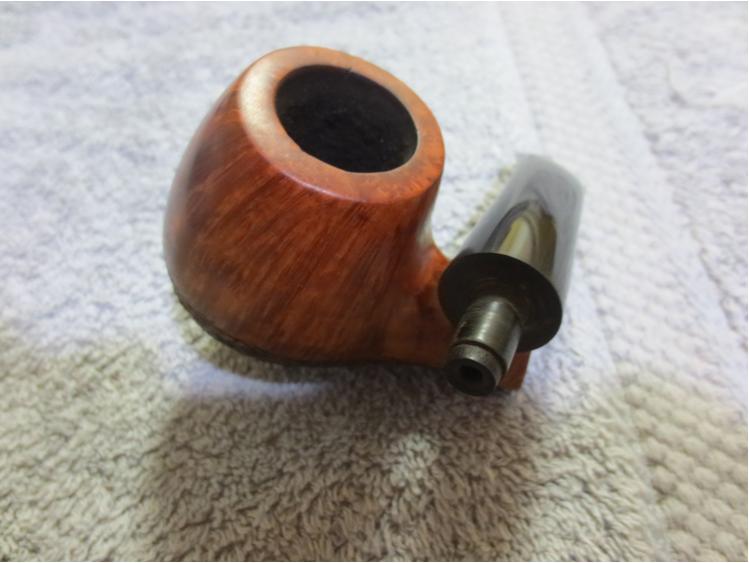
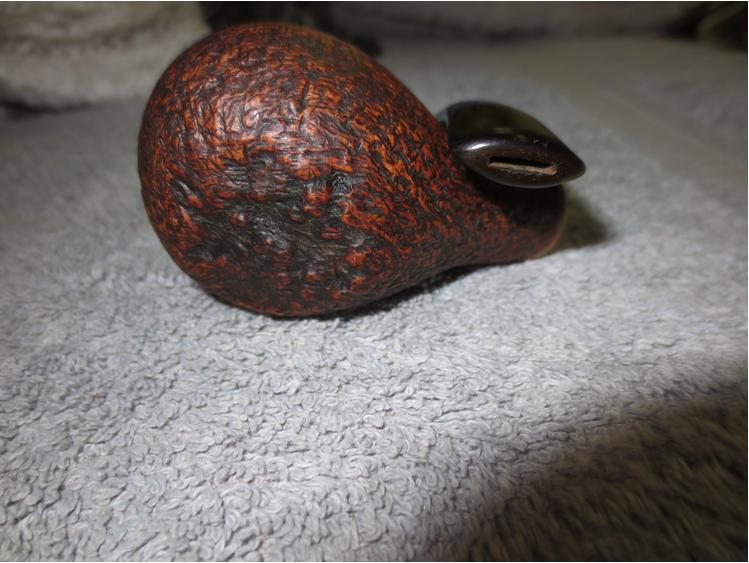
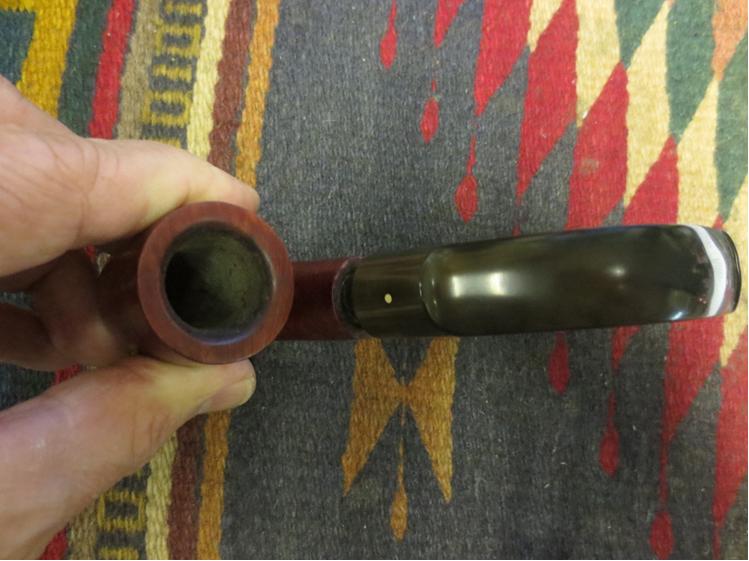
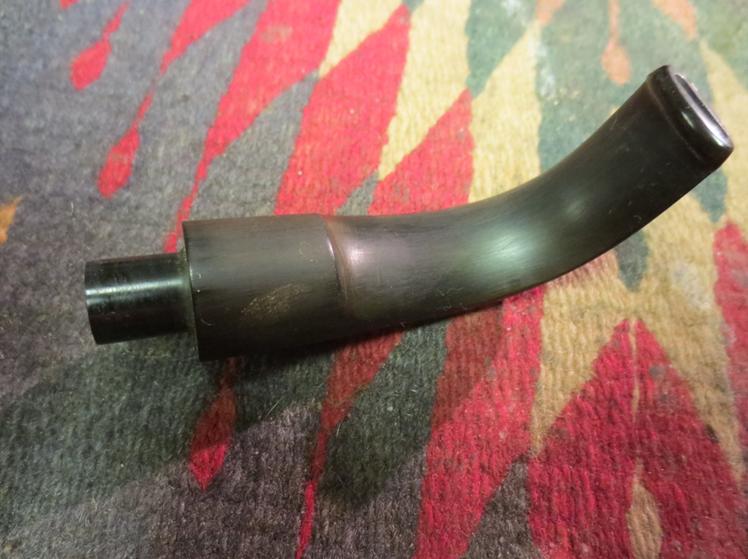
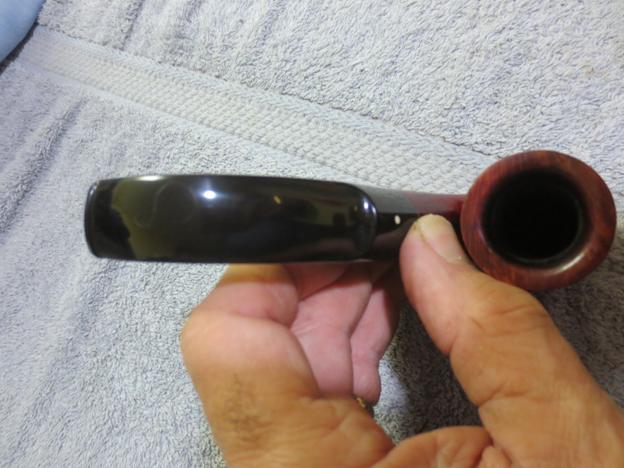
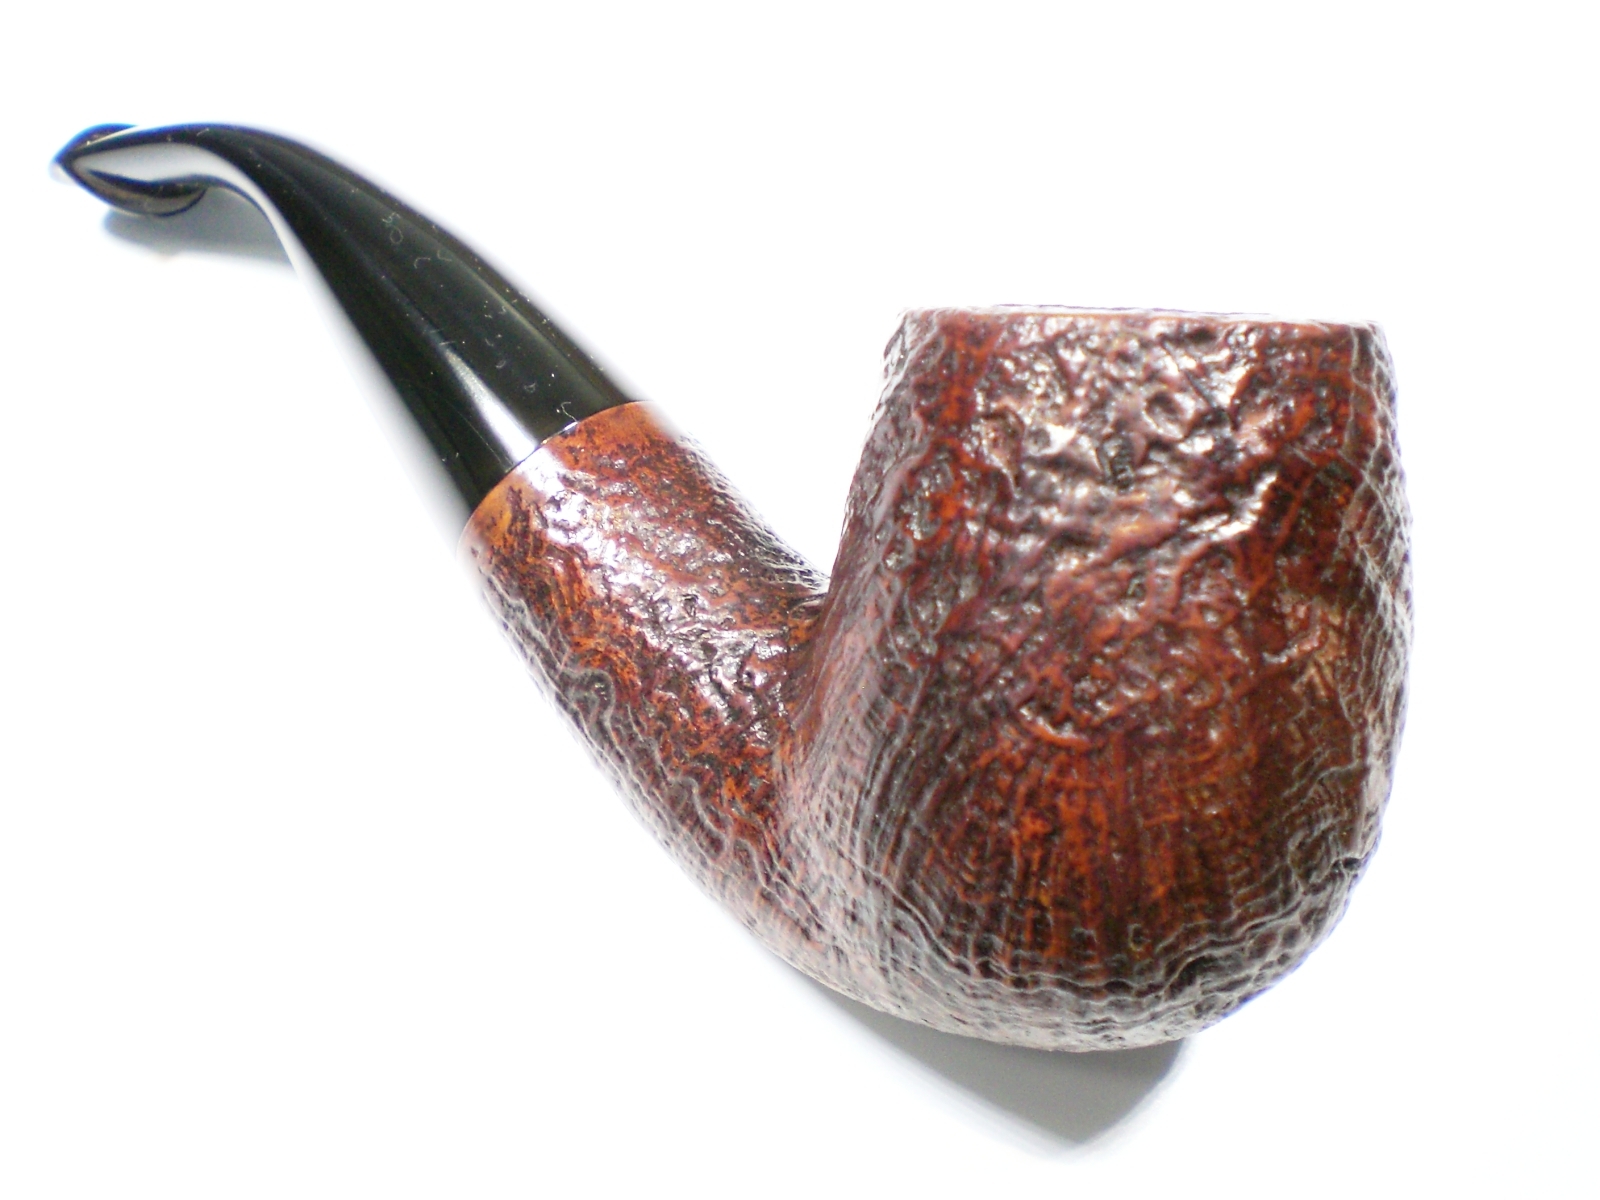
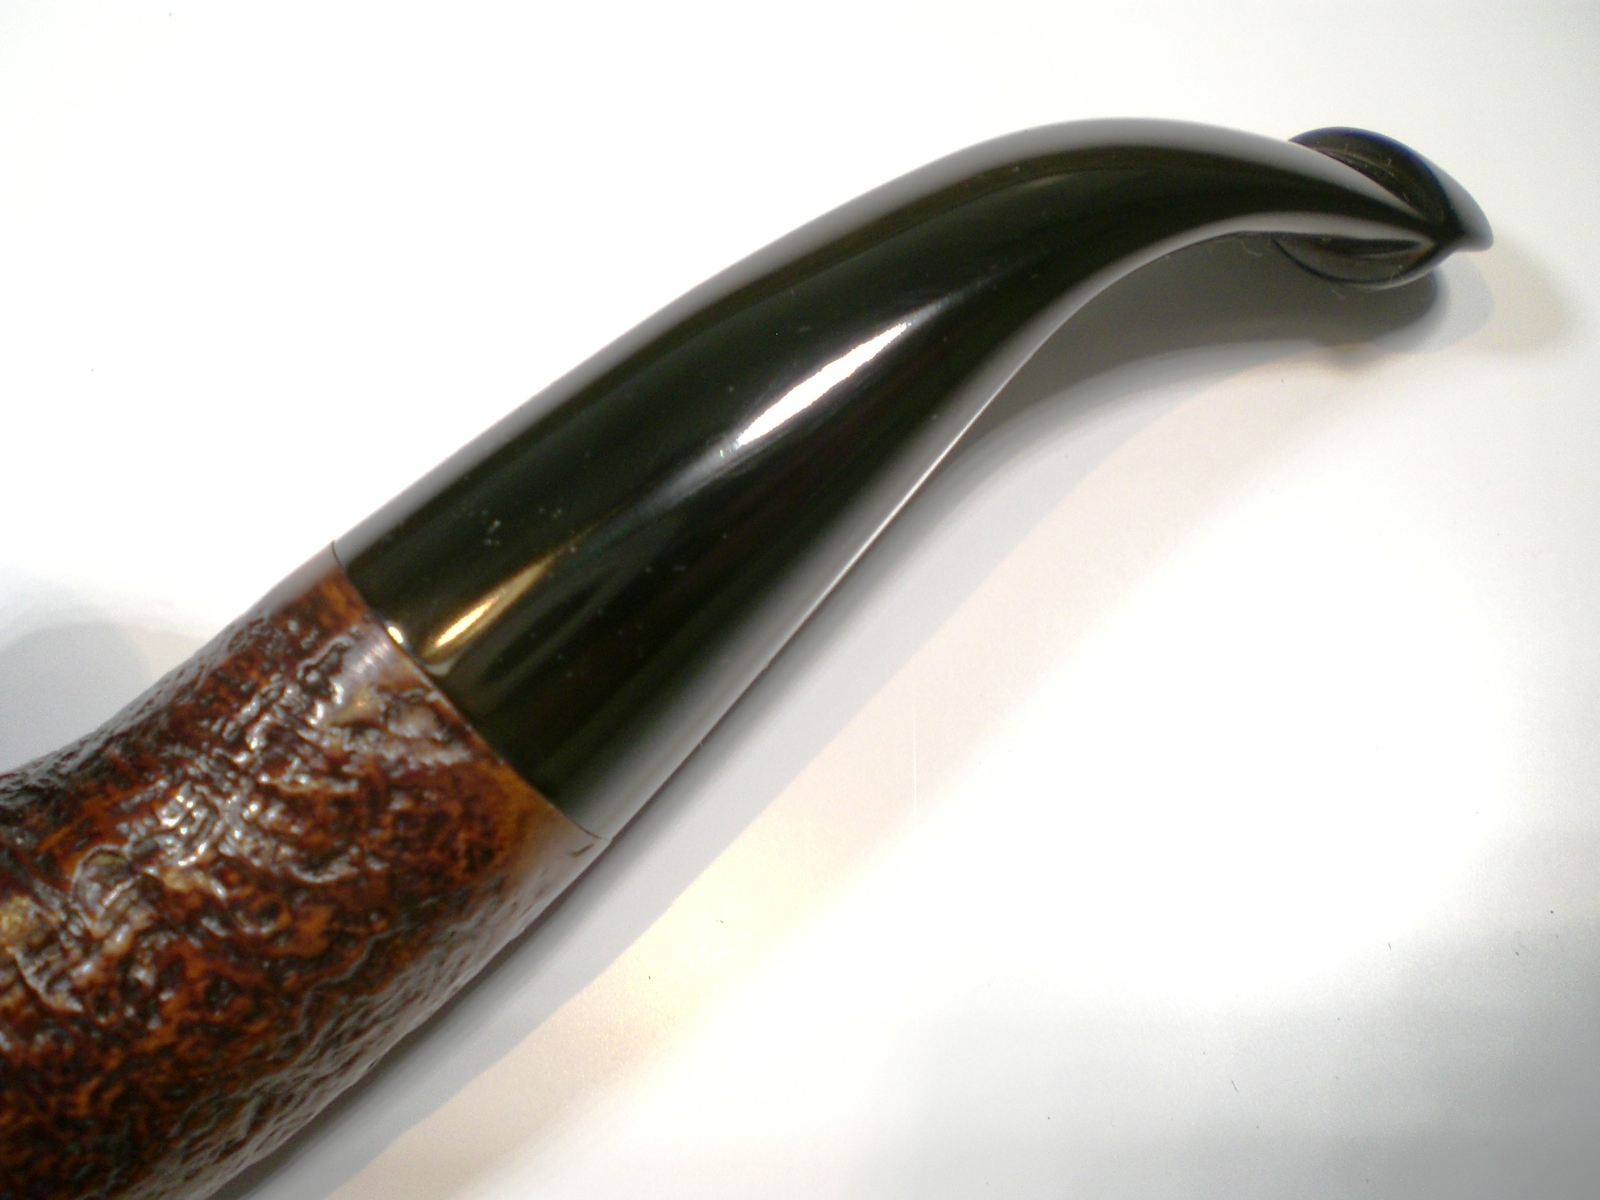
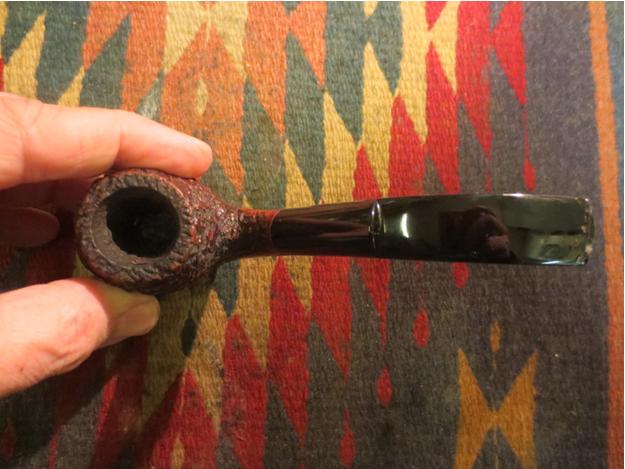
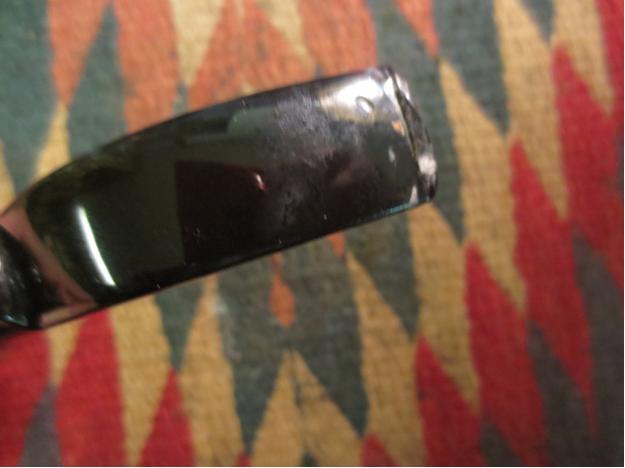
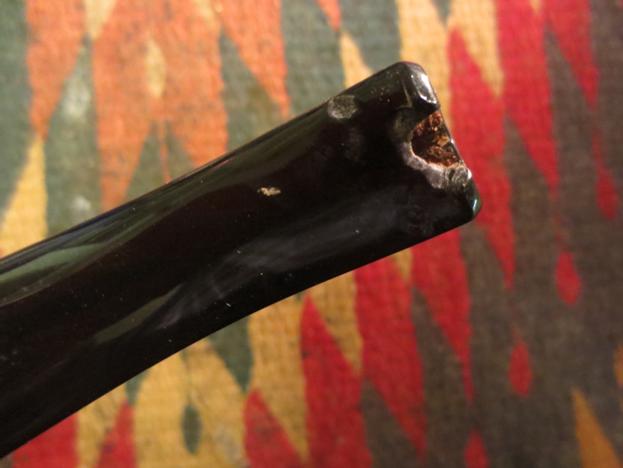
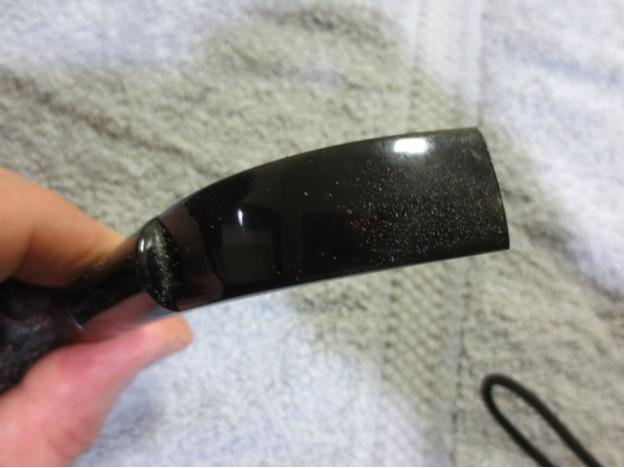
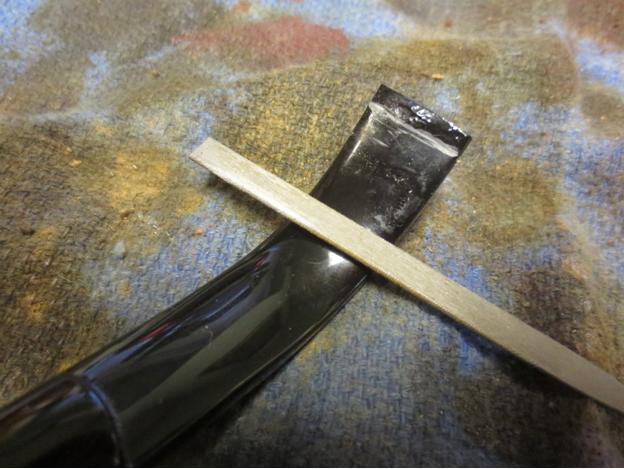
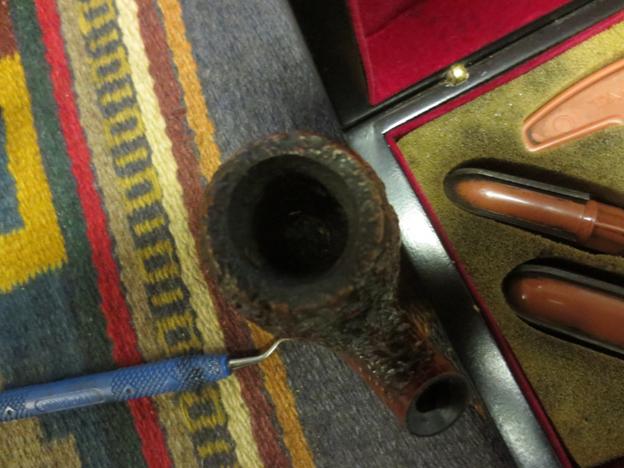
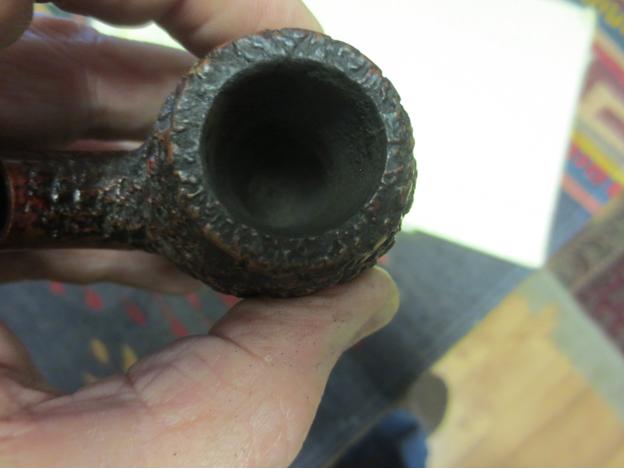
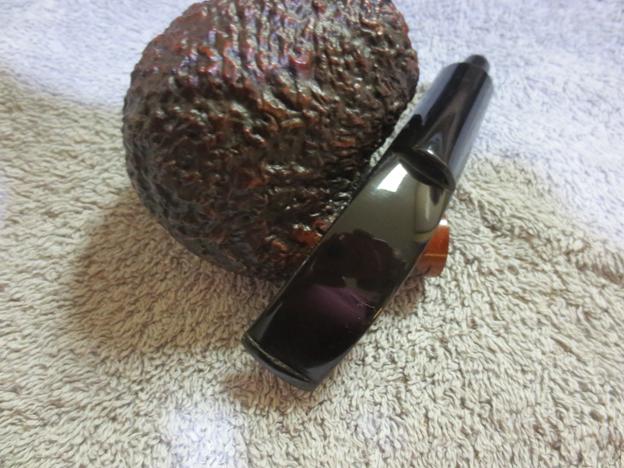
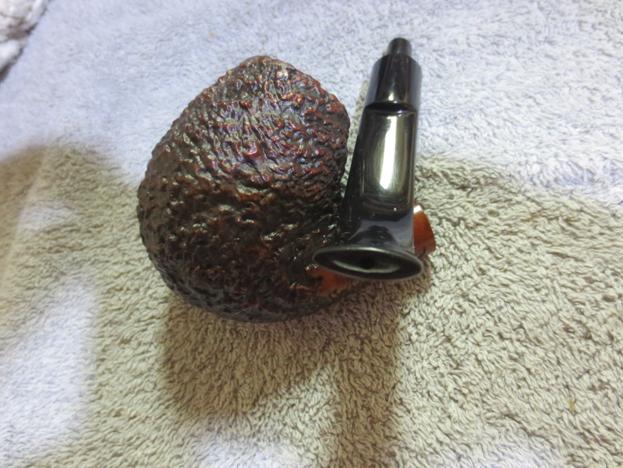
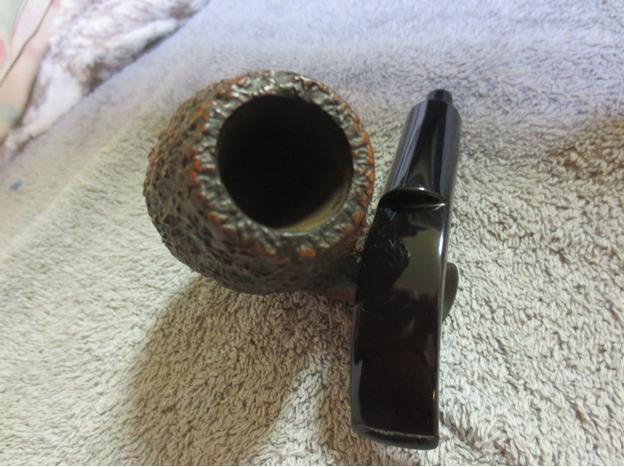
Then, I pulled the stem out to check the internals and cringed… The airway was drilled so high that it actually penetrated the top of the mortise and only a very thin layer of briar remained between it and the surface of the shank. In fact, the wood was so thin that it had either cracked from heat/moisture expansion or had been punctured by the rustication tool. If you look closely, you can see in the second image that the alcohol from a dampened pipe cleaner would seep out of the airway to the surface of the shank.
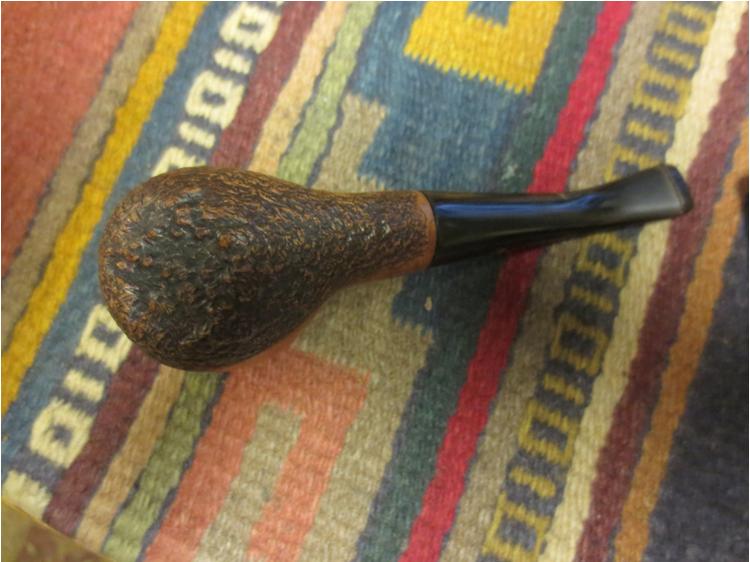
I didn’t have the confidence at the time to attempt to repair something as essential and delicate as an airway. So, I reamed the bowl, scrubbed the inside of the shank and stem clean, and then dropped it back into the box where it’s been withering away for several months. So, today I pulled it back out for my second midterm exam.
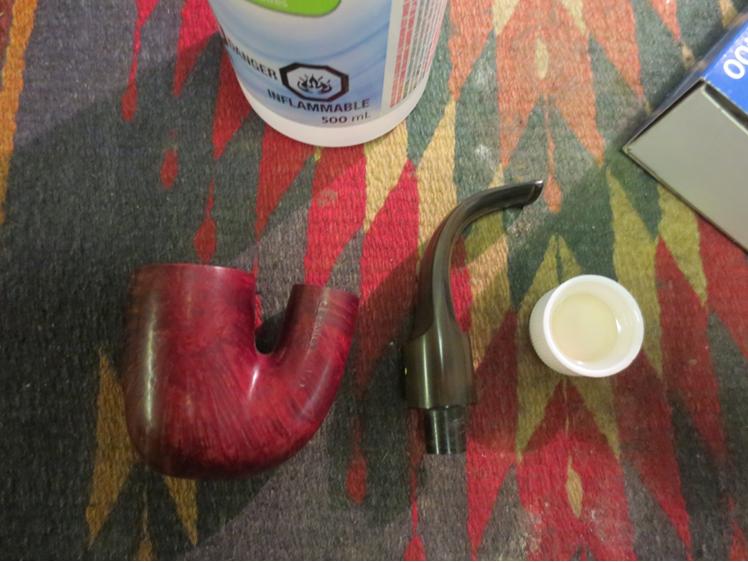
The airway needed to be sealed before doing anything else. If that wasn’t successful any other work would be pointless. So, I clamped the stummel upside-down in my bench vise using a couple of foam strips to cushion it. I tried to make sure that the airway was as level to the ground as possible. Then, I applied super thin CA inside the airway with an applicator bulb. Since I couldn’t really see inside the shank and bowl, I had previously measured the length of the airway and marked it off on the applicator with a strip of tape. This, along with a slow and steady hand, kept me from dribbling the CA into the bowl. Once I was sure that the glue was completely dry, I used 240-grit and 320-grit sanding needles to smooth out any lumps and bumps that the glue may have created in the airway. Then, I prepared my initial test of the patch. I dampened a pipe cleaner with alcohol and inserted it into the airway. I couldn’t see any seepage, but just to be sure I pulled out my jeweler’s loupe to give it a closer inspection. Still nothing. The patch had passed its first test.
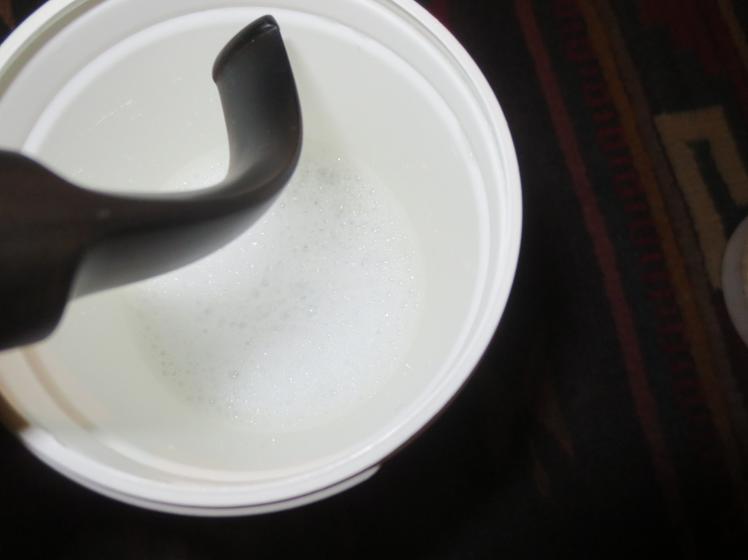
 I set up a retort for the next test. If there were any open fissures in the shank, the evaporation from the boiling alcohol would surely seep through. I flushed the shank 10-12 times before setting the pipe aside to cool. The color of the alcohol in the tube is a testament to the merits of a retort. It’s not filthy by any means, but remember, this is a pipe that I once thought was clean.
While the pipe rested, I closely inspected the shank to see if the patch had held. Success! I found no moisture seepage at all. The patch was doing its job and the worst part of the exam was over! After another dozen or so flush with the retort the alcohol in the tube was almost completely clean. I let the pipe cool, and then gave it a final, quick scrub the wrap up the internal cleaning.
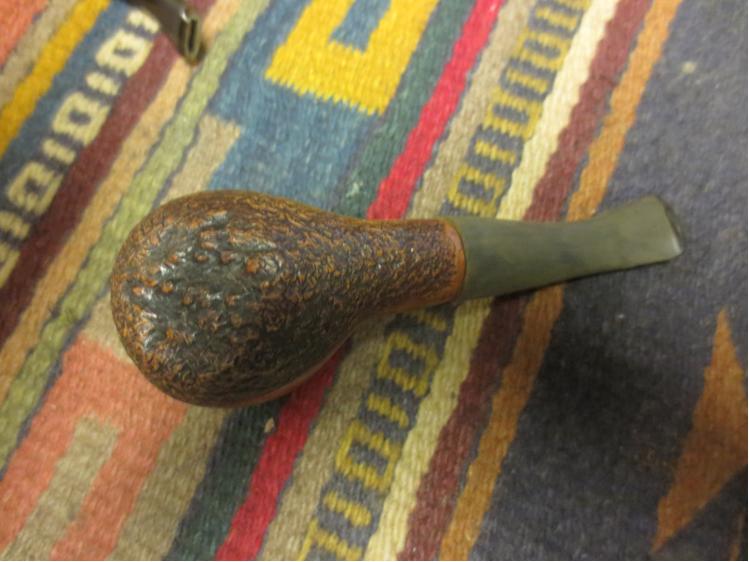
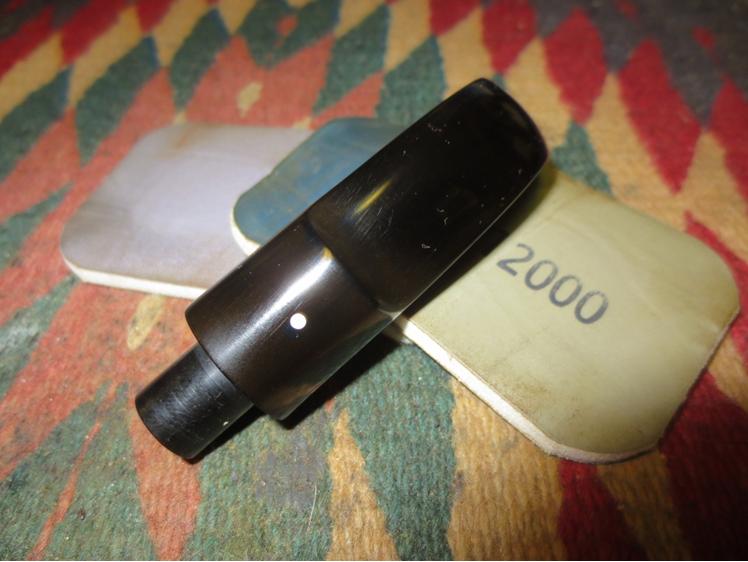
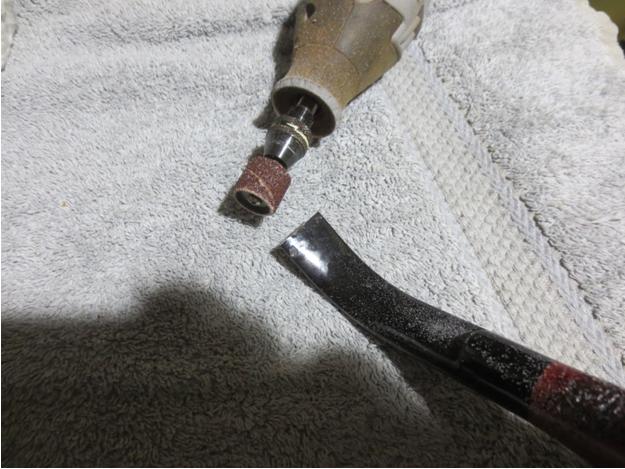
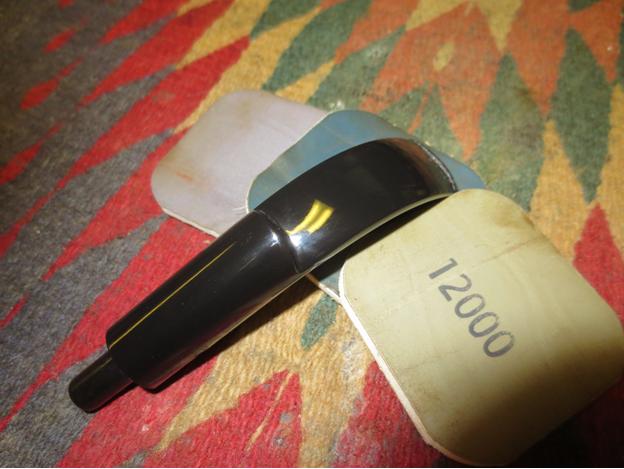
 I placed the stem into a bath of warm water and Oxyclean and let soak for about an hour before I scrubbed it down with cubes cut from a Magic Eraser pad to remove the oxidation. Once the stem was clean, I applied a black CA glue patch to the remaining dents. I put a drop of activator on the patches to speed up the drying and they were ready to be worked again in about ten minutes. I sanded out the patches with 220-grit (the bottom image in the picture below), 320-grit, and 400-grit paper. Then, I gave the entire stem a light sanding with 600-grit paper to remove any minor scratches.
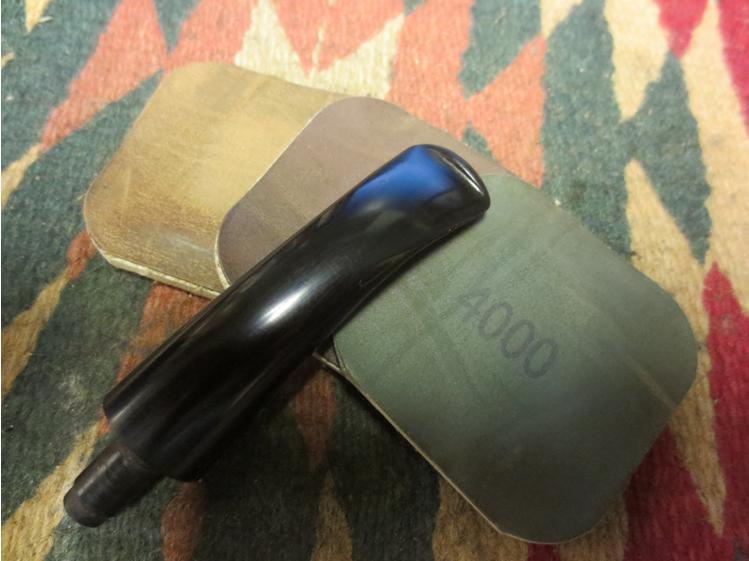
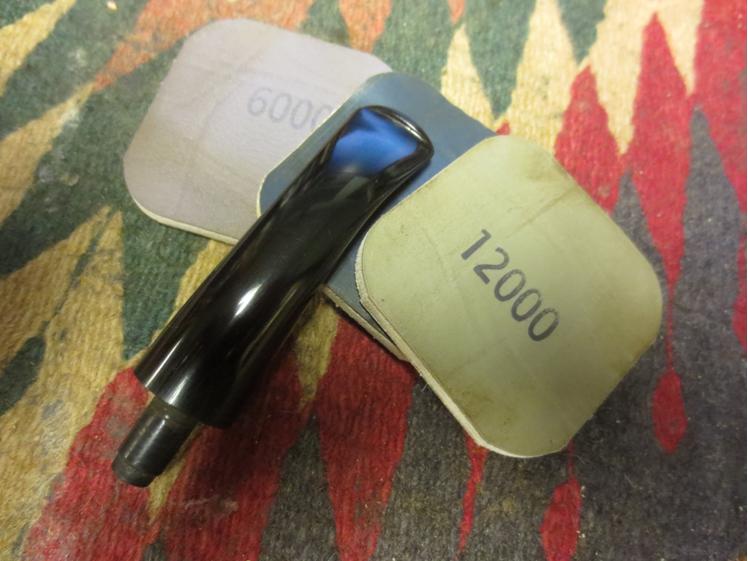
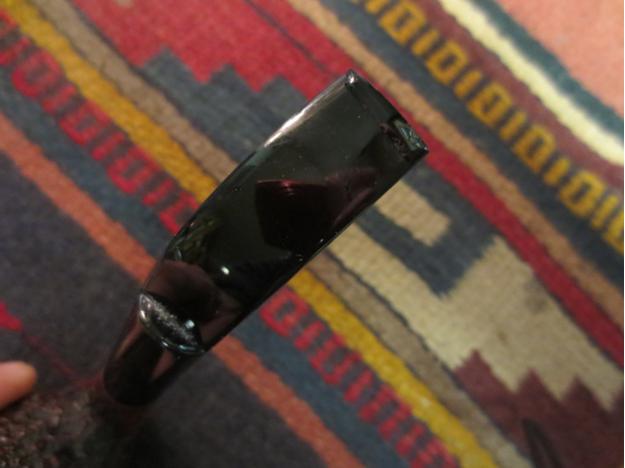
 The paint in the stem logo was cracked and flaking. So, I picked out the loose paint, and then I began to fill in the area around the logo with a grout pen begin restoring the logo. I was a little worried about how well this was going to turn out since the recessed stamp was very narrow and shallow. I let the “paint” dry for about 20 minutes before carefully sanding it down with 1200-grit paper and I thought that it came out surprisingly well in the end. I finished up work on the stem by lightly sanding it with 1200-grit paper to even everything out, and then polished with micro-mesh pads 1500-12000.
 The stem was finished and the clock on the wall was ticking. Some of the other guys were already turning in their papers. So, it was time to start wrapping things up. I mixed up a 3:1 stain solution of isopropyl alcohol and Fiebing’s black dye and applied it to the stummel. Then I buffed the entire stummel with red Tripoli before sanding out the scratches around the stamping with 400-grit, 600-grit, and 1200-grit sandpaper.
 Then, I applied a 3:1 dilution of Fiebing’s cordovan before polishing the stamping area with micro-mesh pads 3200-12000. I reattached the stem and gave the entire pipe a light buff with white diamond, and waxed the pipe with Halcyon II for the stummel and a few coats of carnauba for the stem. Finally, I applied a bowl coating to promote cake growth, and then turned the exam in with my fingers crossed.
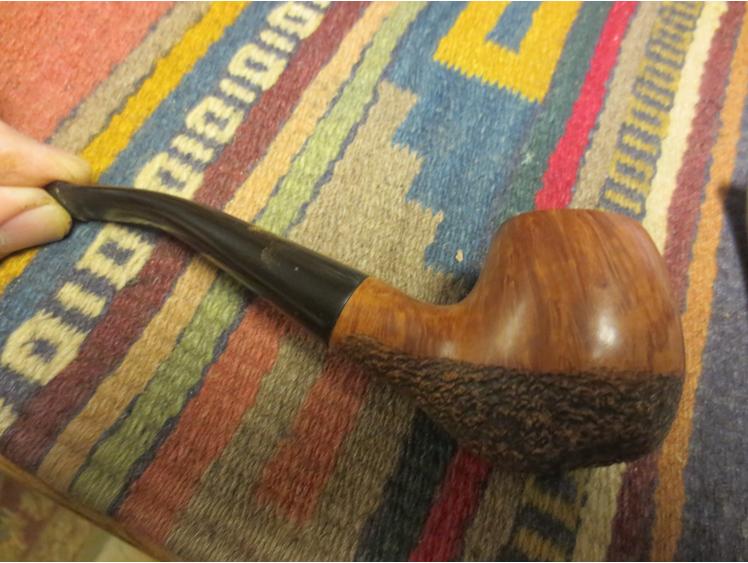
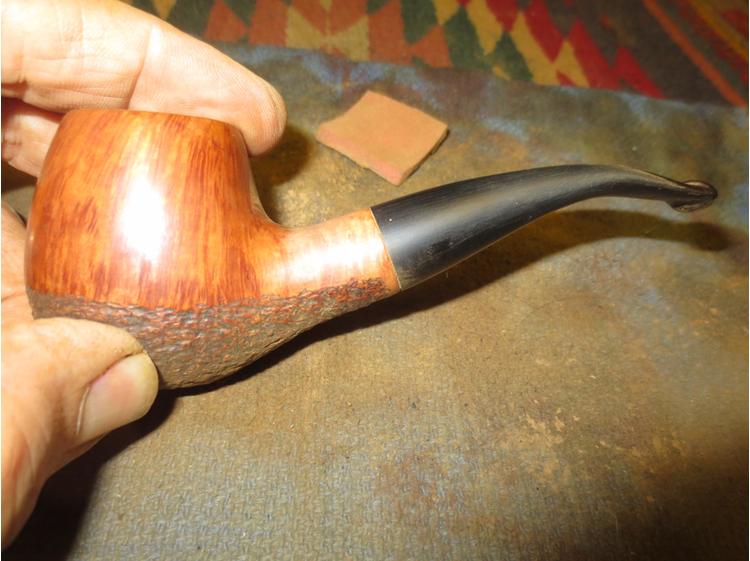
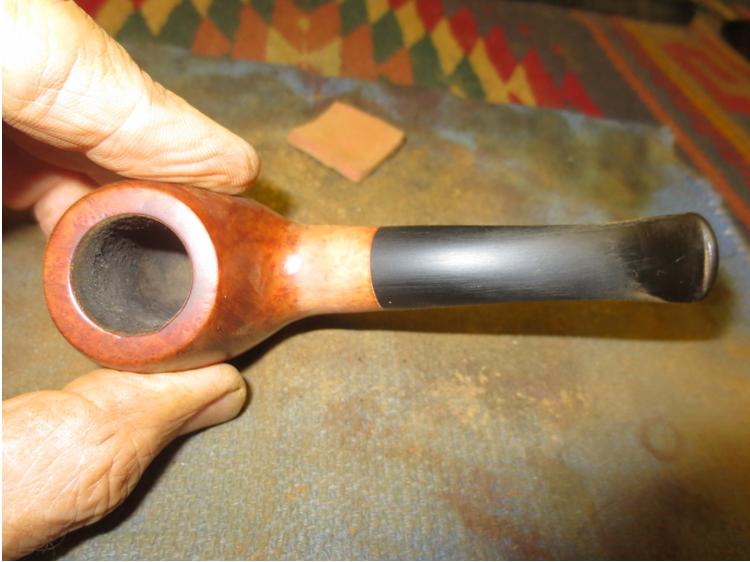
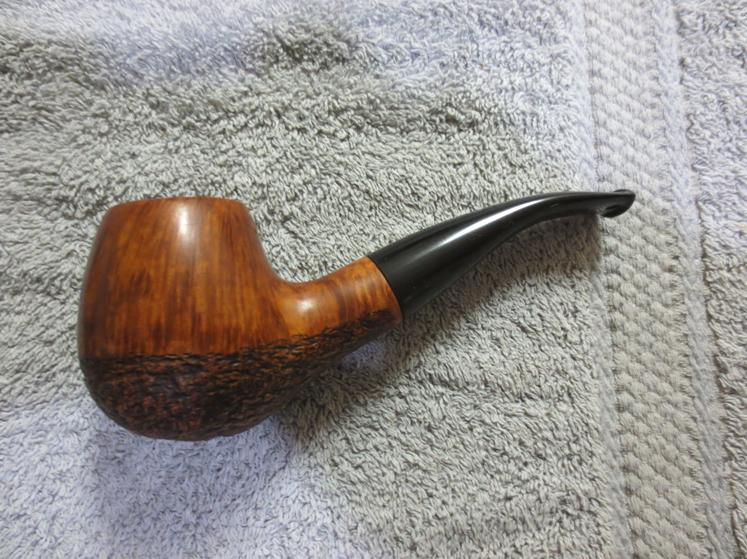
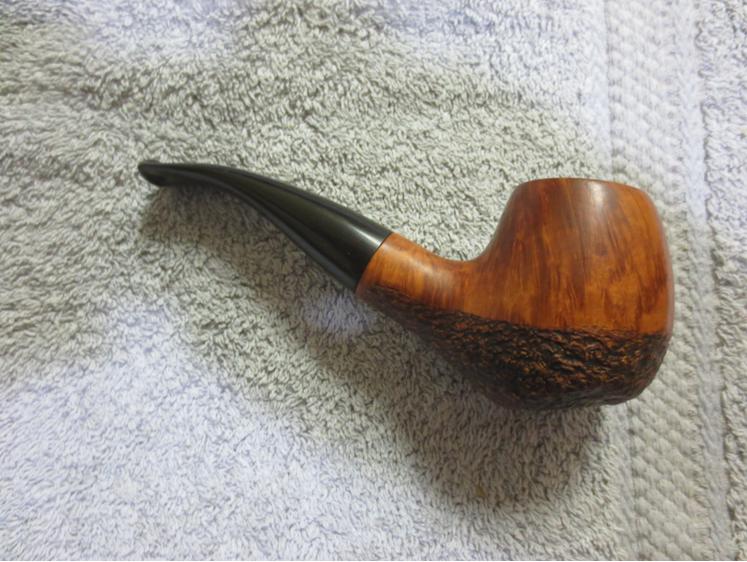
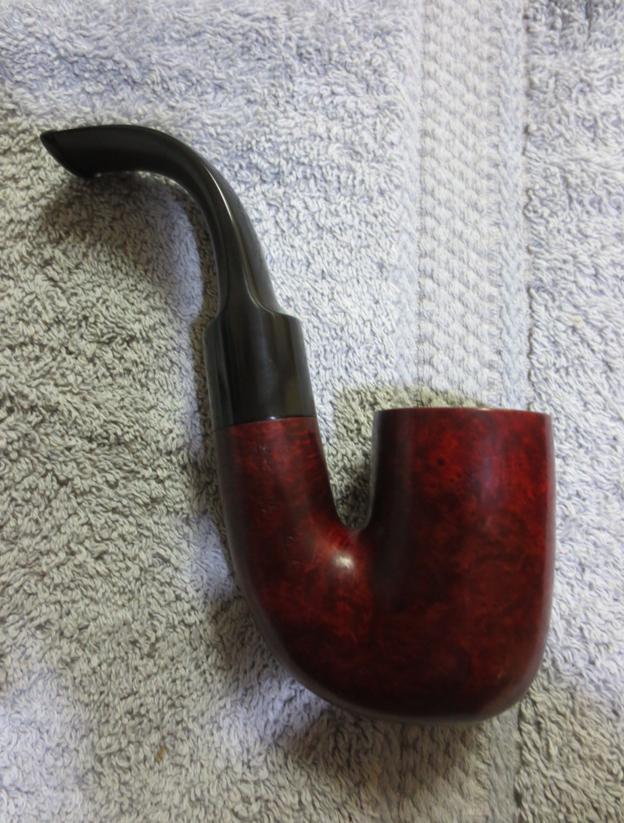
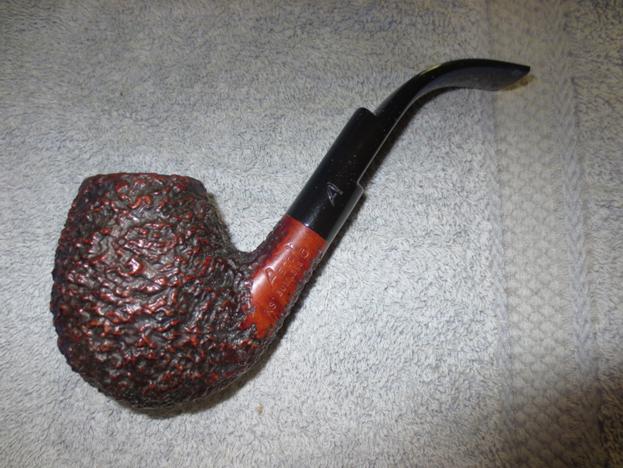
The photos below show how it finally turned out. For some reason, in these photos the cordovan and black blend together in the rusticated areas making them appear much darker. When you have the pipe in hand the cordovan is much more evident. I don’t know why that is. Man, I hope we aren’t being graded on our photography skills as well.


 But, wait..!
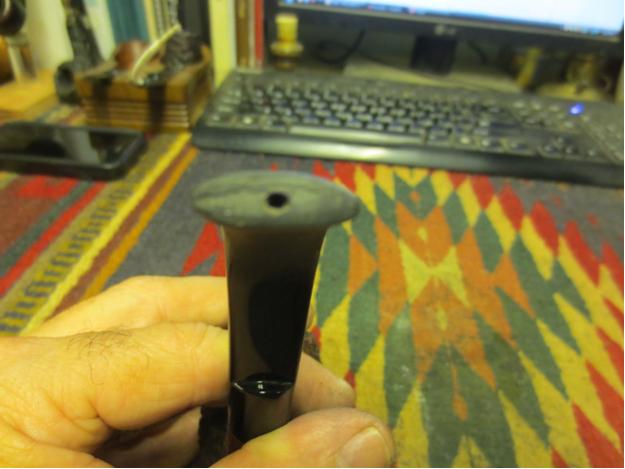
Okay, I realize that this is a little unusual for an exam, but I’d like to make a bit of a revision. You see, when I ran my first bowl through this Champion the draw was extremely poor and it gurgled so badly that it sounded like an aquarium. To be honest, this wasn’t unexpected. The misalignment of the airway between the mortise was so extreme that it couldn’t help but create a lot of turbulence, and therefore a lot of moisture. I couldn’t let that stand. So, I took the stem back to the worktable to tweak it a little.
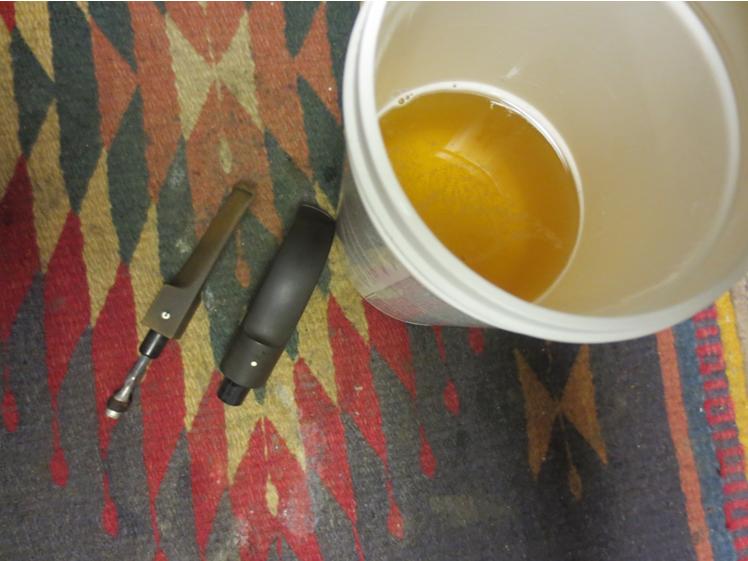
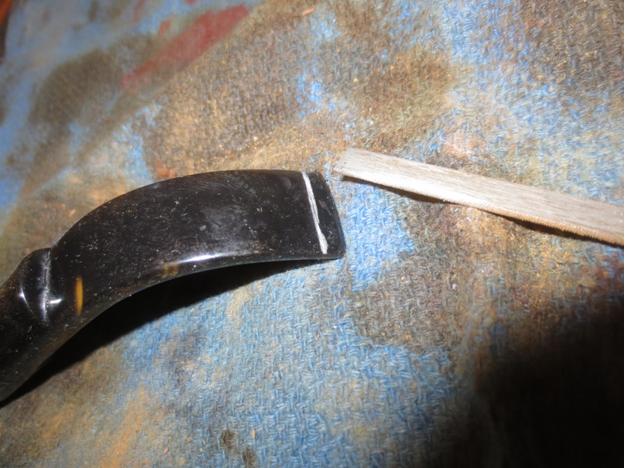
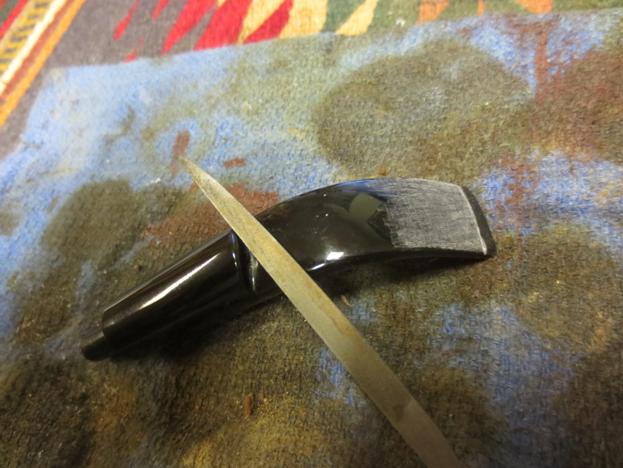
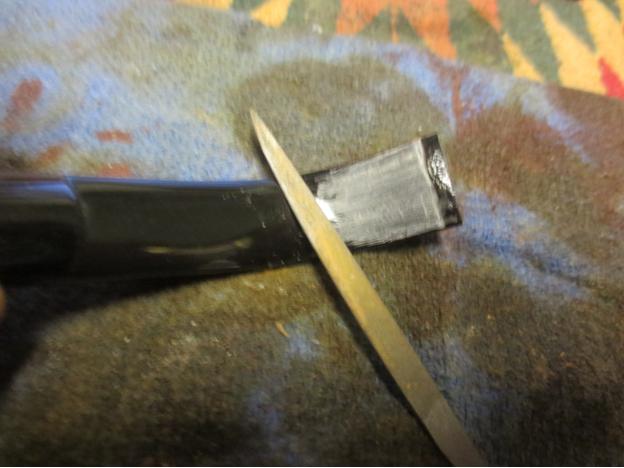
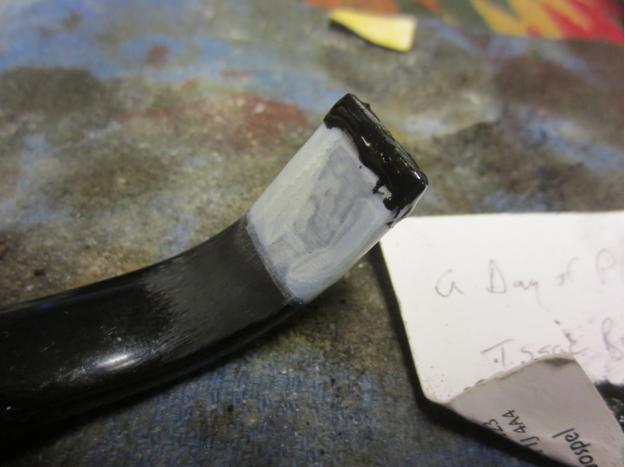
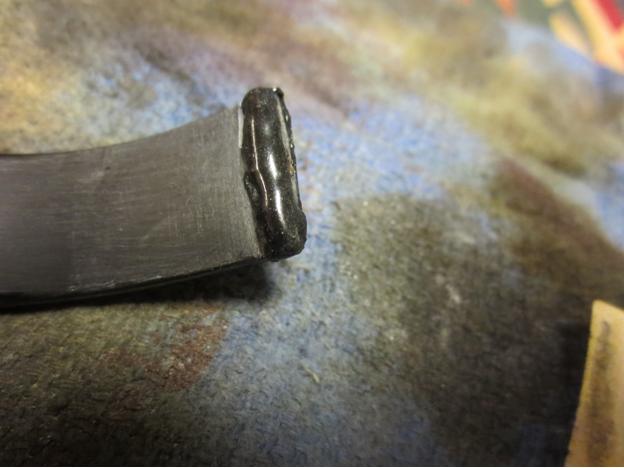
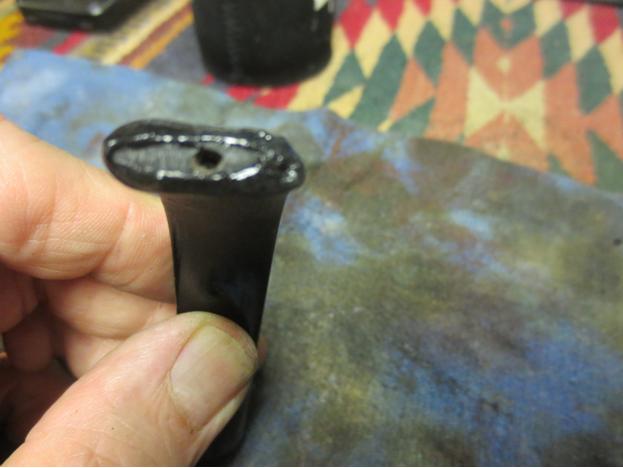
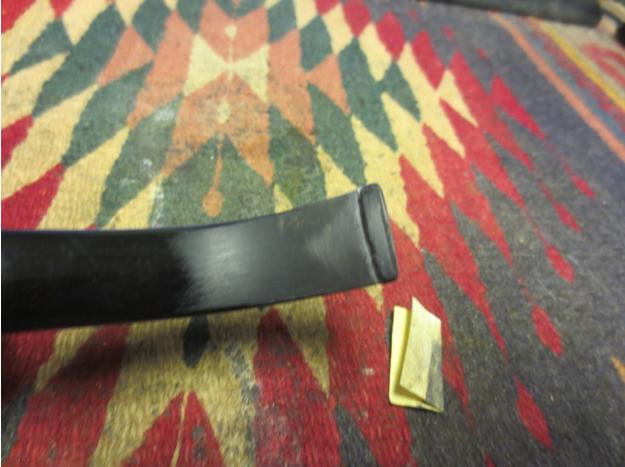
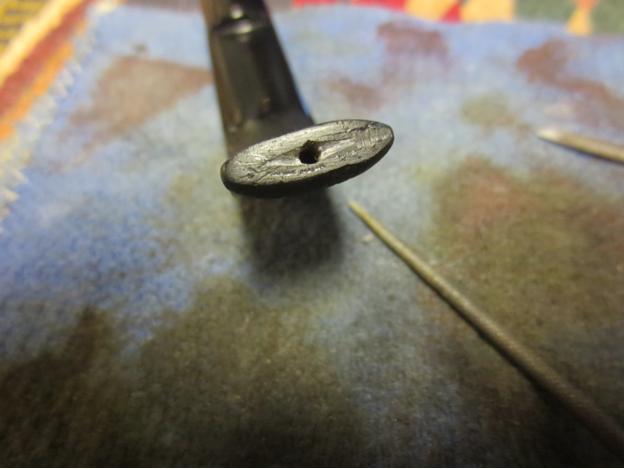
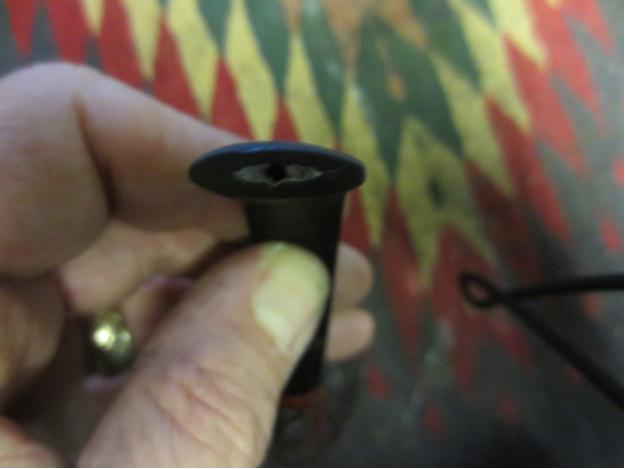
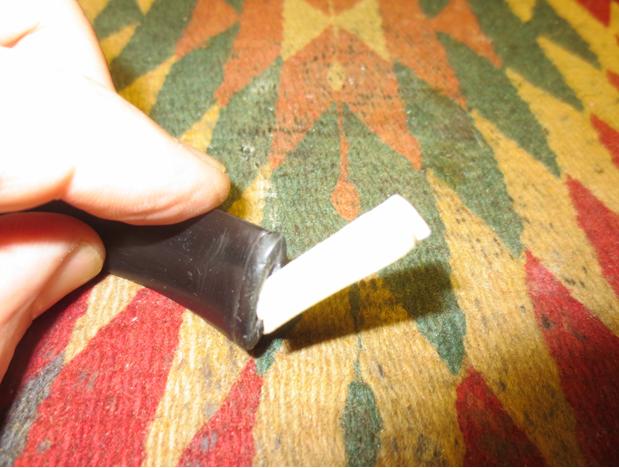
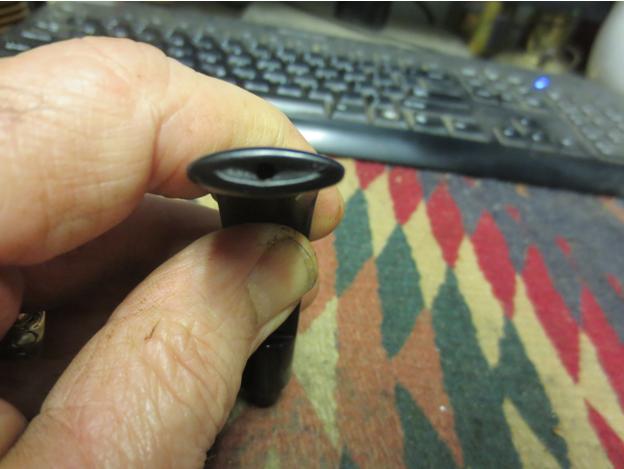
I clamped the stem in the vice and used a Dremel to cut off the stepped end of the tenon. You can see the piece I removed lying on top of the vice in the photo below. After that, I sanded the face of the tenon smooth and level, and then used a tapered abrasive point in the Dremel to begin funneling the airway. I kept the airway lubricated with mineral oil to prevent the friction from burning or melting the vulcanite. The abrasive point opened up the end of the airway to a 3/16” diameter but transitioned it down to the 1/8” diameter of the original airway. Then, I used 240-grit and 320-grit sanding needles to make sure the transition was smooth. Finally, I used a round abrasive point to create a ¼” diameter chamfer on the tenon face around the airway and the sanding needles again to round off any of the sharp edges. In the picture below, the left image shows the step that I removed balanced on top of the stem for comparison; the right image shows the completed tenon after being reworked.
 I was eager to try it out and the results were amazing for such a simple modification. The bowl smoked all the way to the bottom with no gurgle at all; even when I intentionally tried to build up steam by puffing rapidly (it was for the sake of science). After the pipe had cooled, I removed the stem and found a lot of moisture in the mortise. So, the extra space below the airway was acting like the sump/well of a system pipe. Very cool. The pipe was once again looking good and smoking well. My second exam was in the bag.