Blog by Troy Wilburn
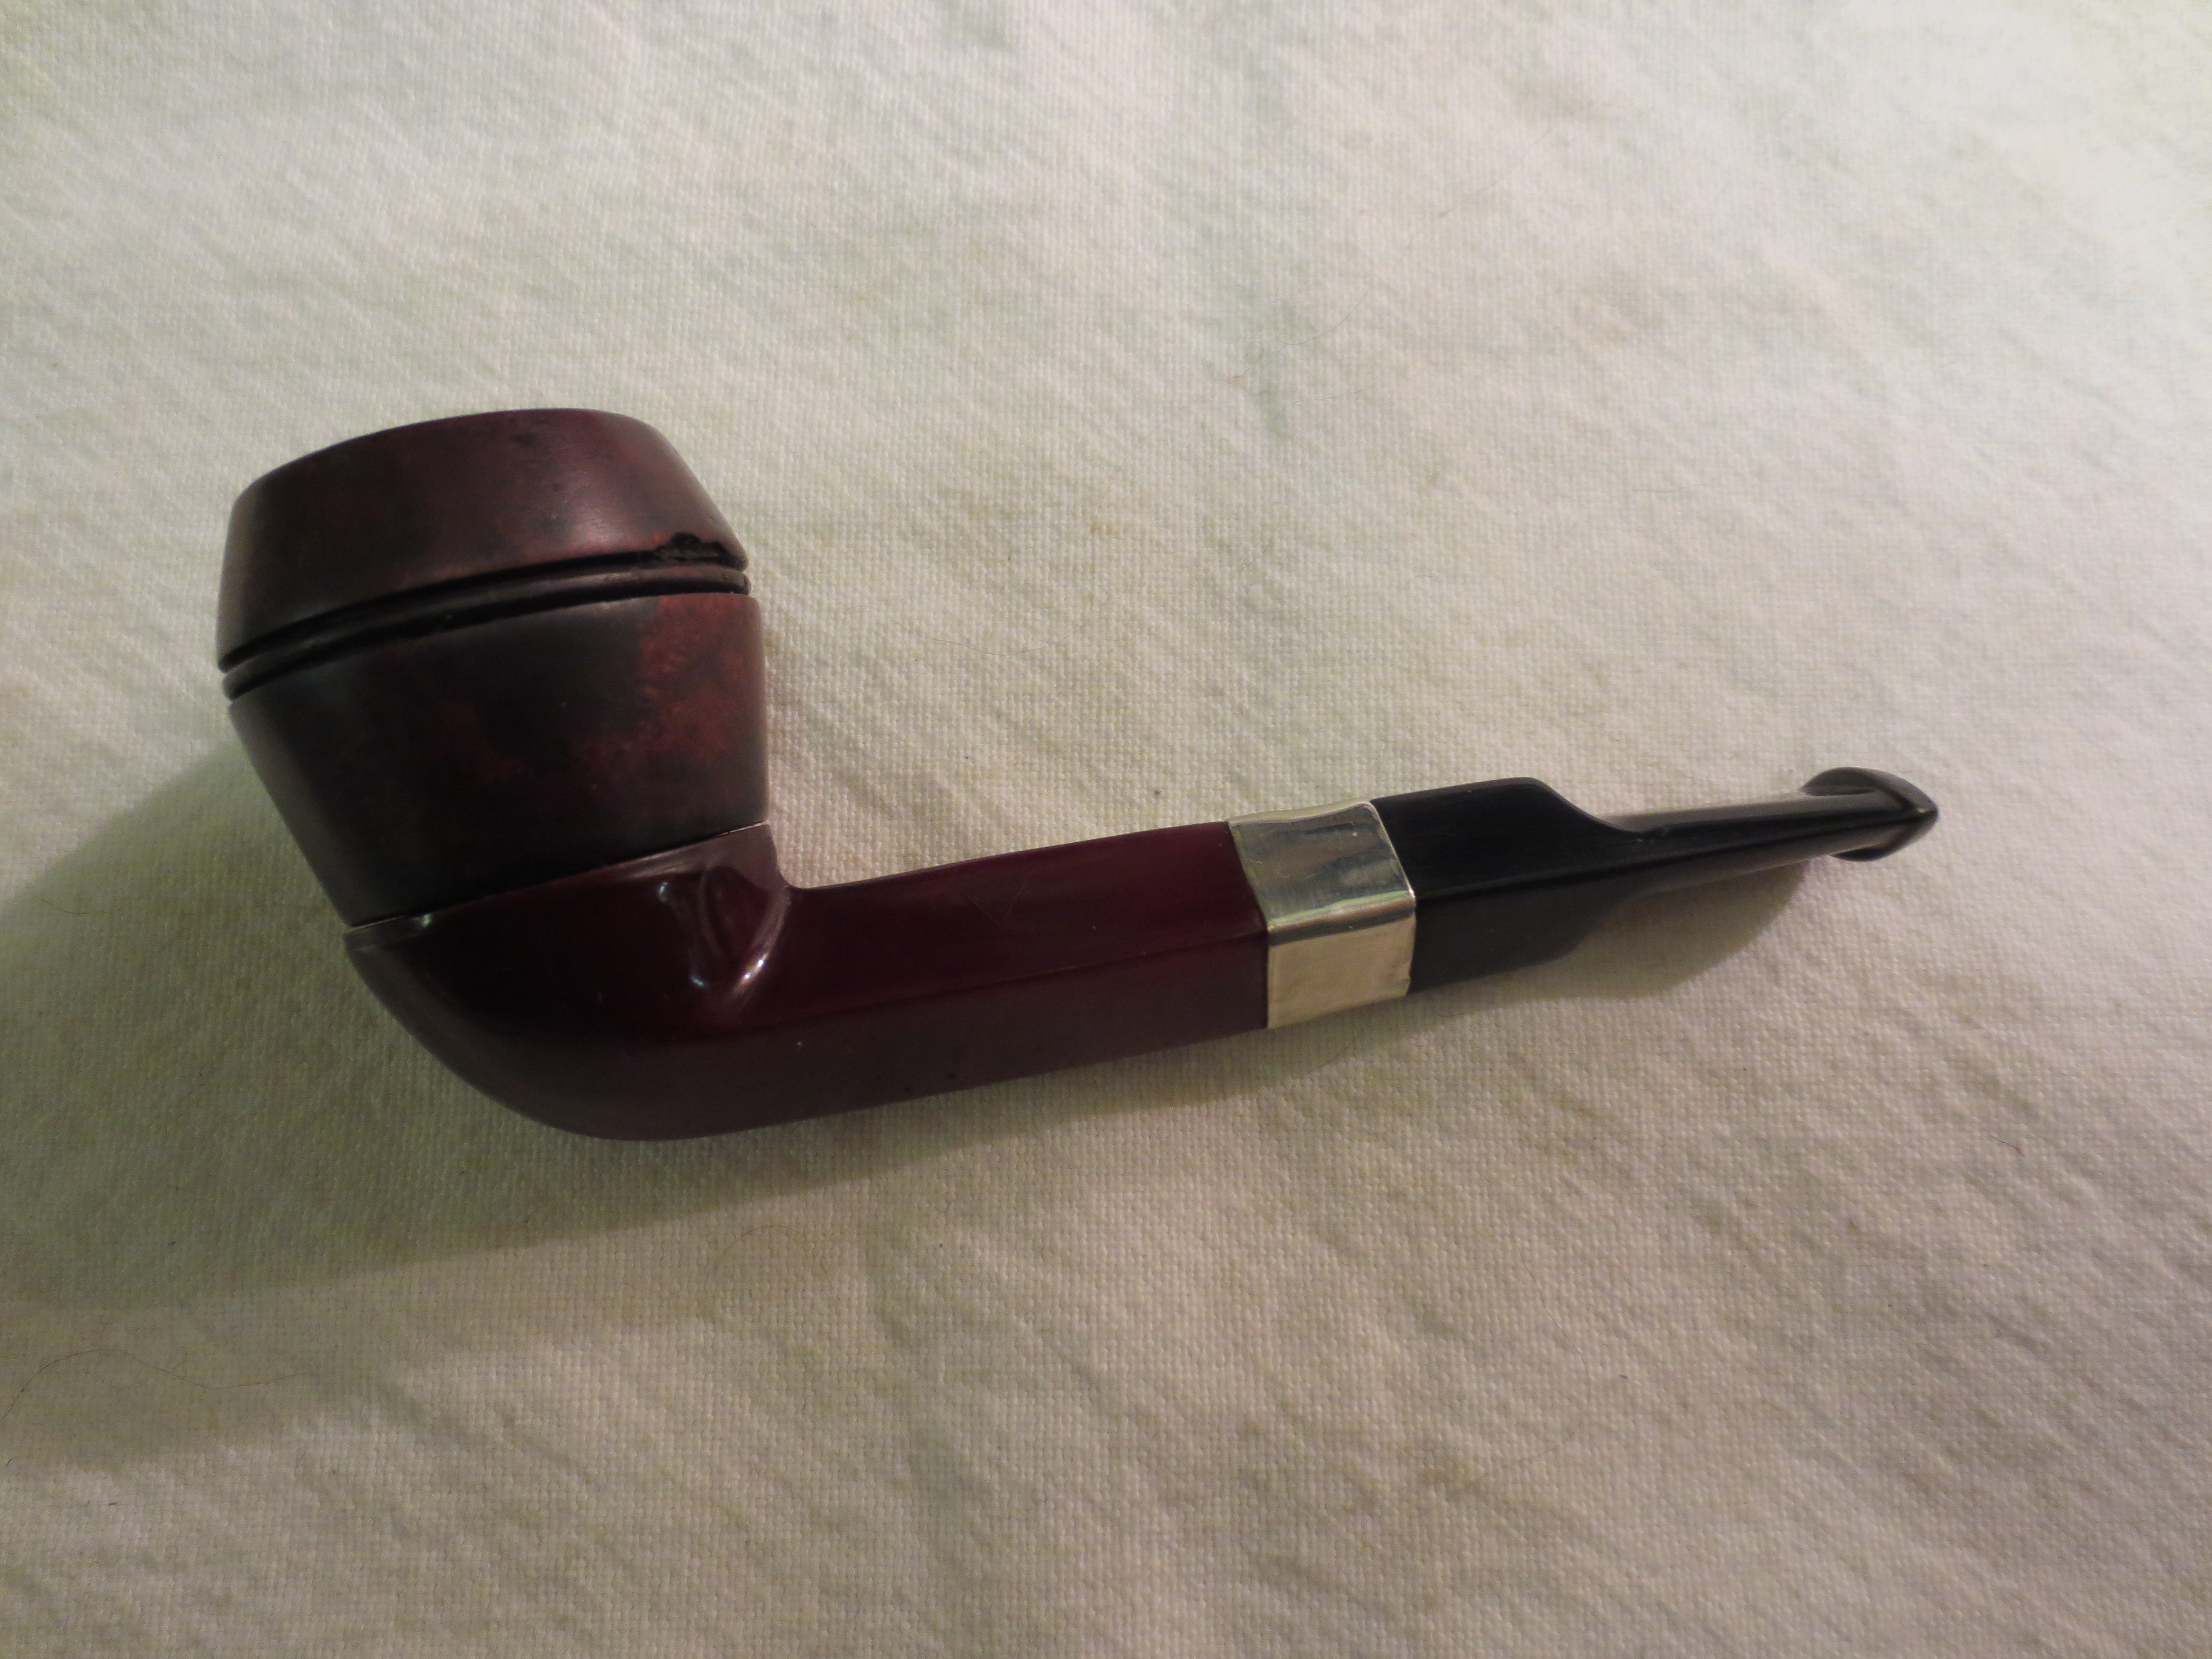
Here is my old KBB I got from EBay after some light cleaning and buffing. I had found out these were quite rare and was lucky to win the bid on it.
I was thinking after some initial research that these pipes were from around 1910 – early 1920s. Seems it’s a little older than I thought. I got this info from a Kaywoodie and early KBB collector who has had several Blue Lines.
“Your pipe is made by Kaufman Brothers and Bondy, or KB&B, which later (1915) created the Kaywoodie line we all know. But this pipe is Pre-Kaywoodie, as they were making pipes under the KB&B branding from about 1900 to 1914. Bakelite was invented in 1907, so this pipe was likely made from 1908 to 1914, as the Bakelite was quite the technological wonder of the time, and was used in many products (still in use today). These “Blue Line Bakelite” pipes are rare pieces, seldom seen.”
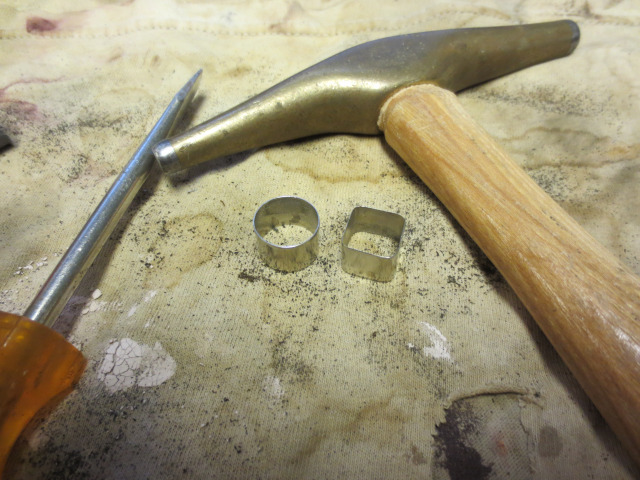
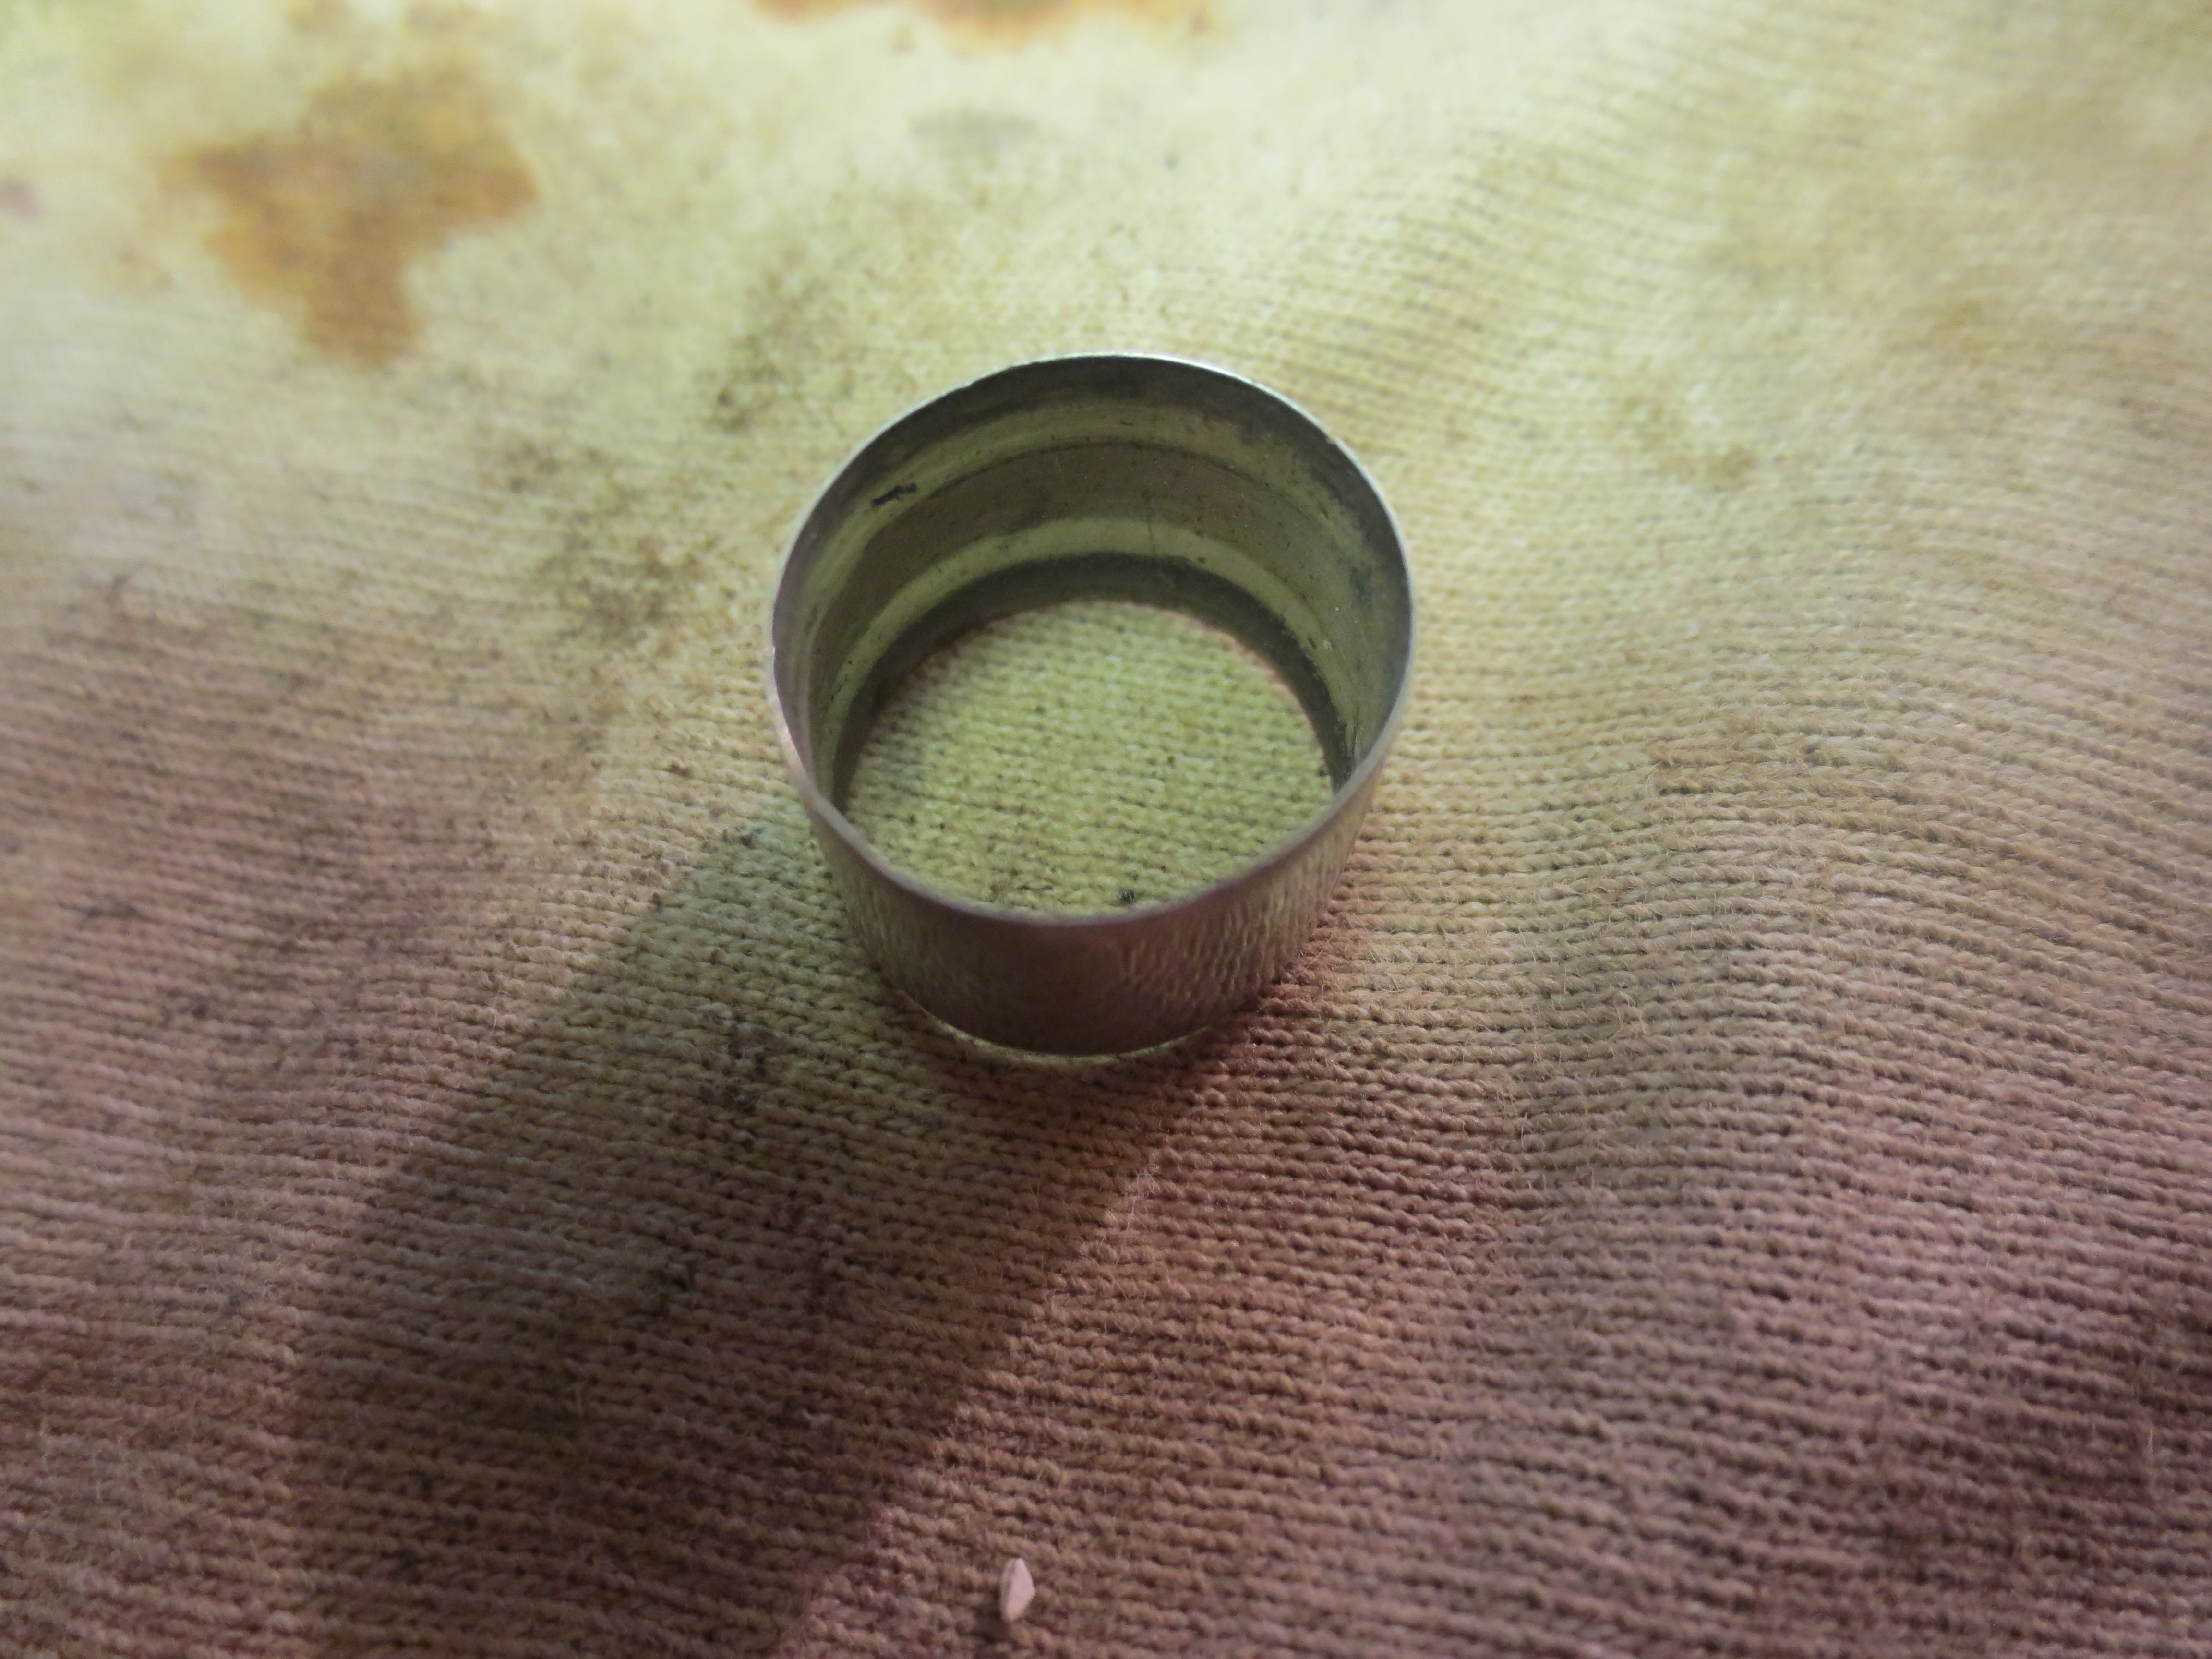
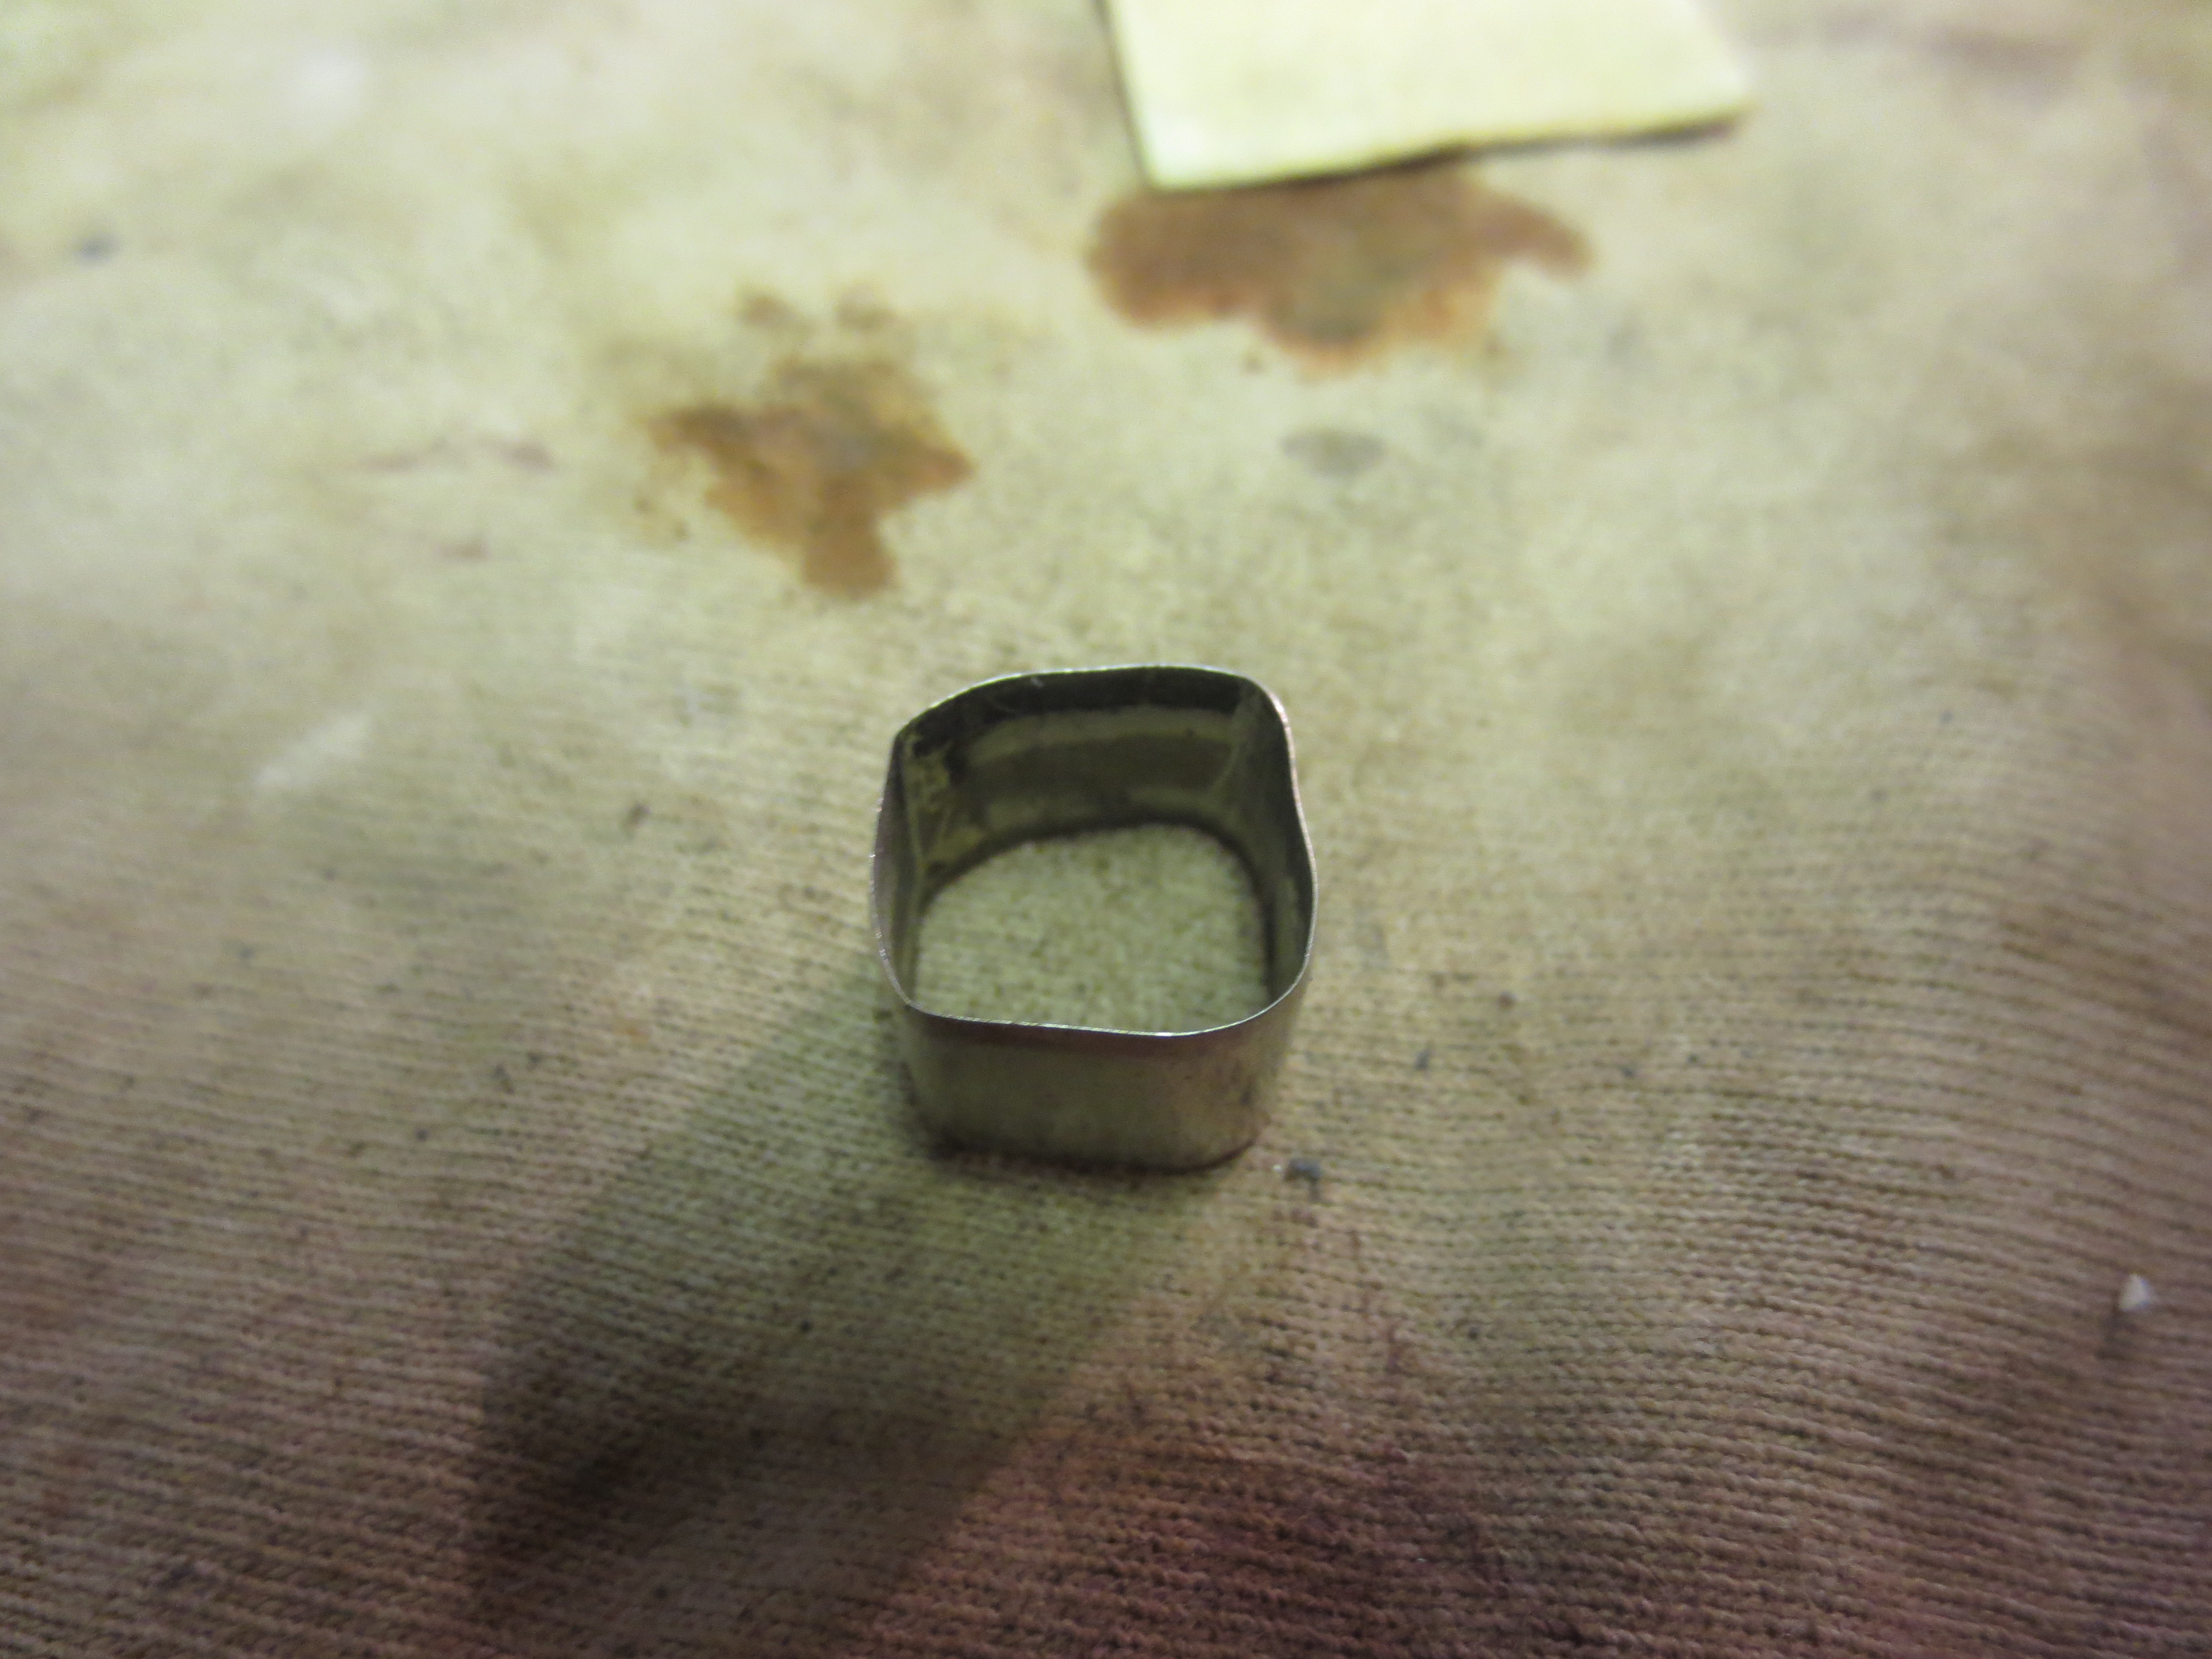
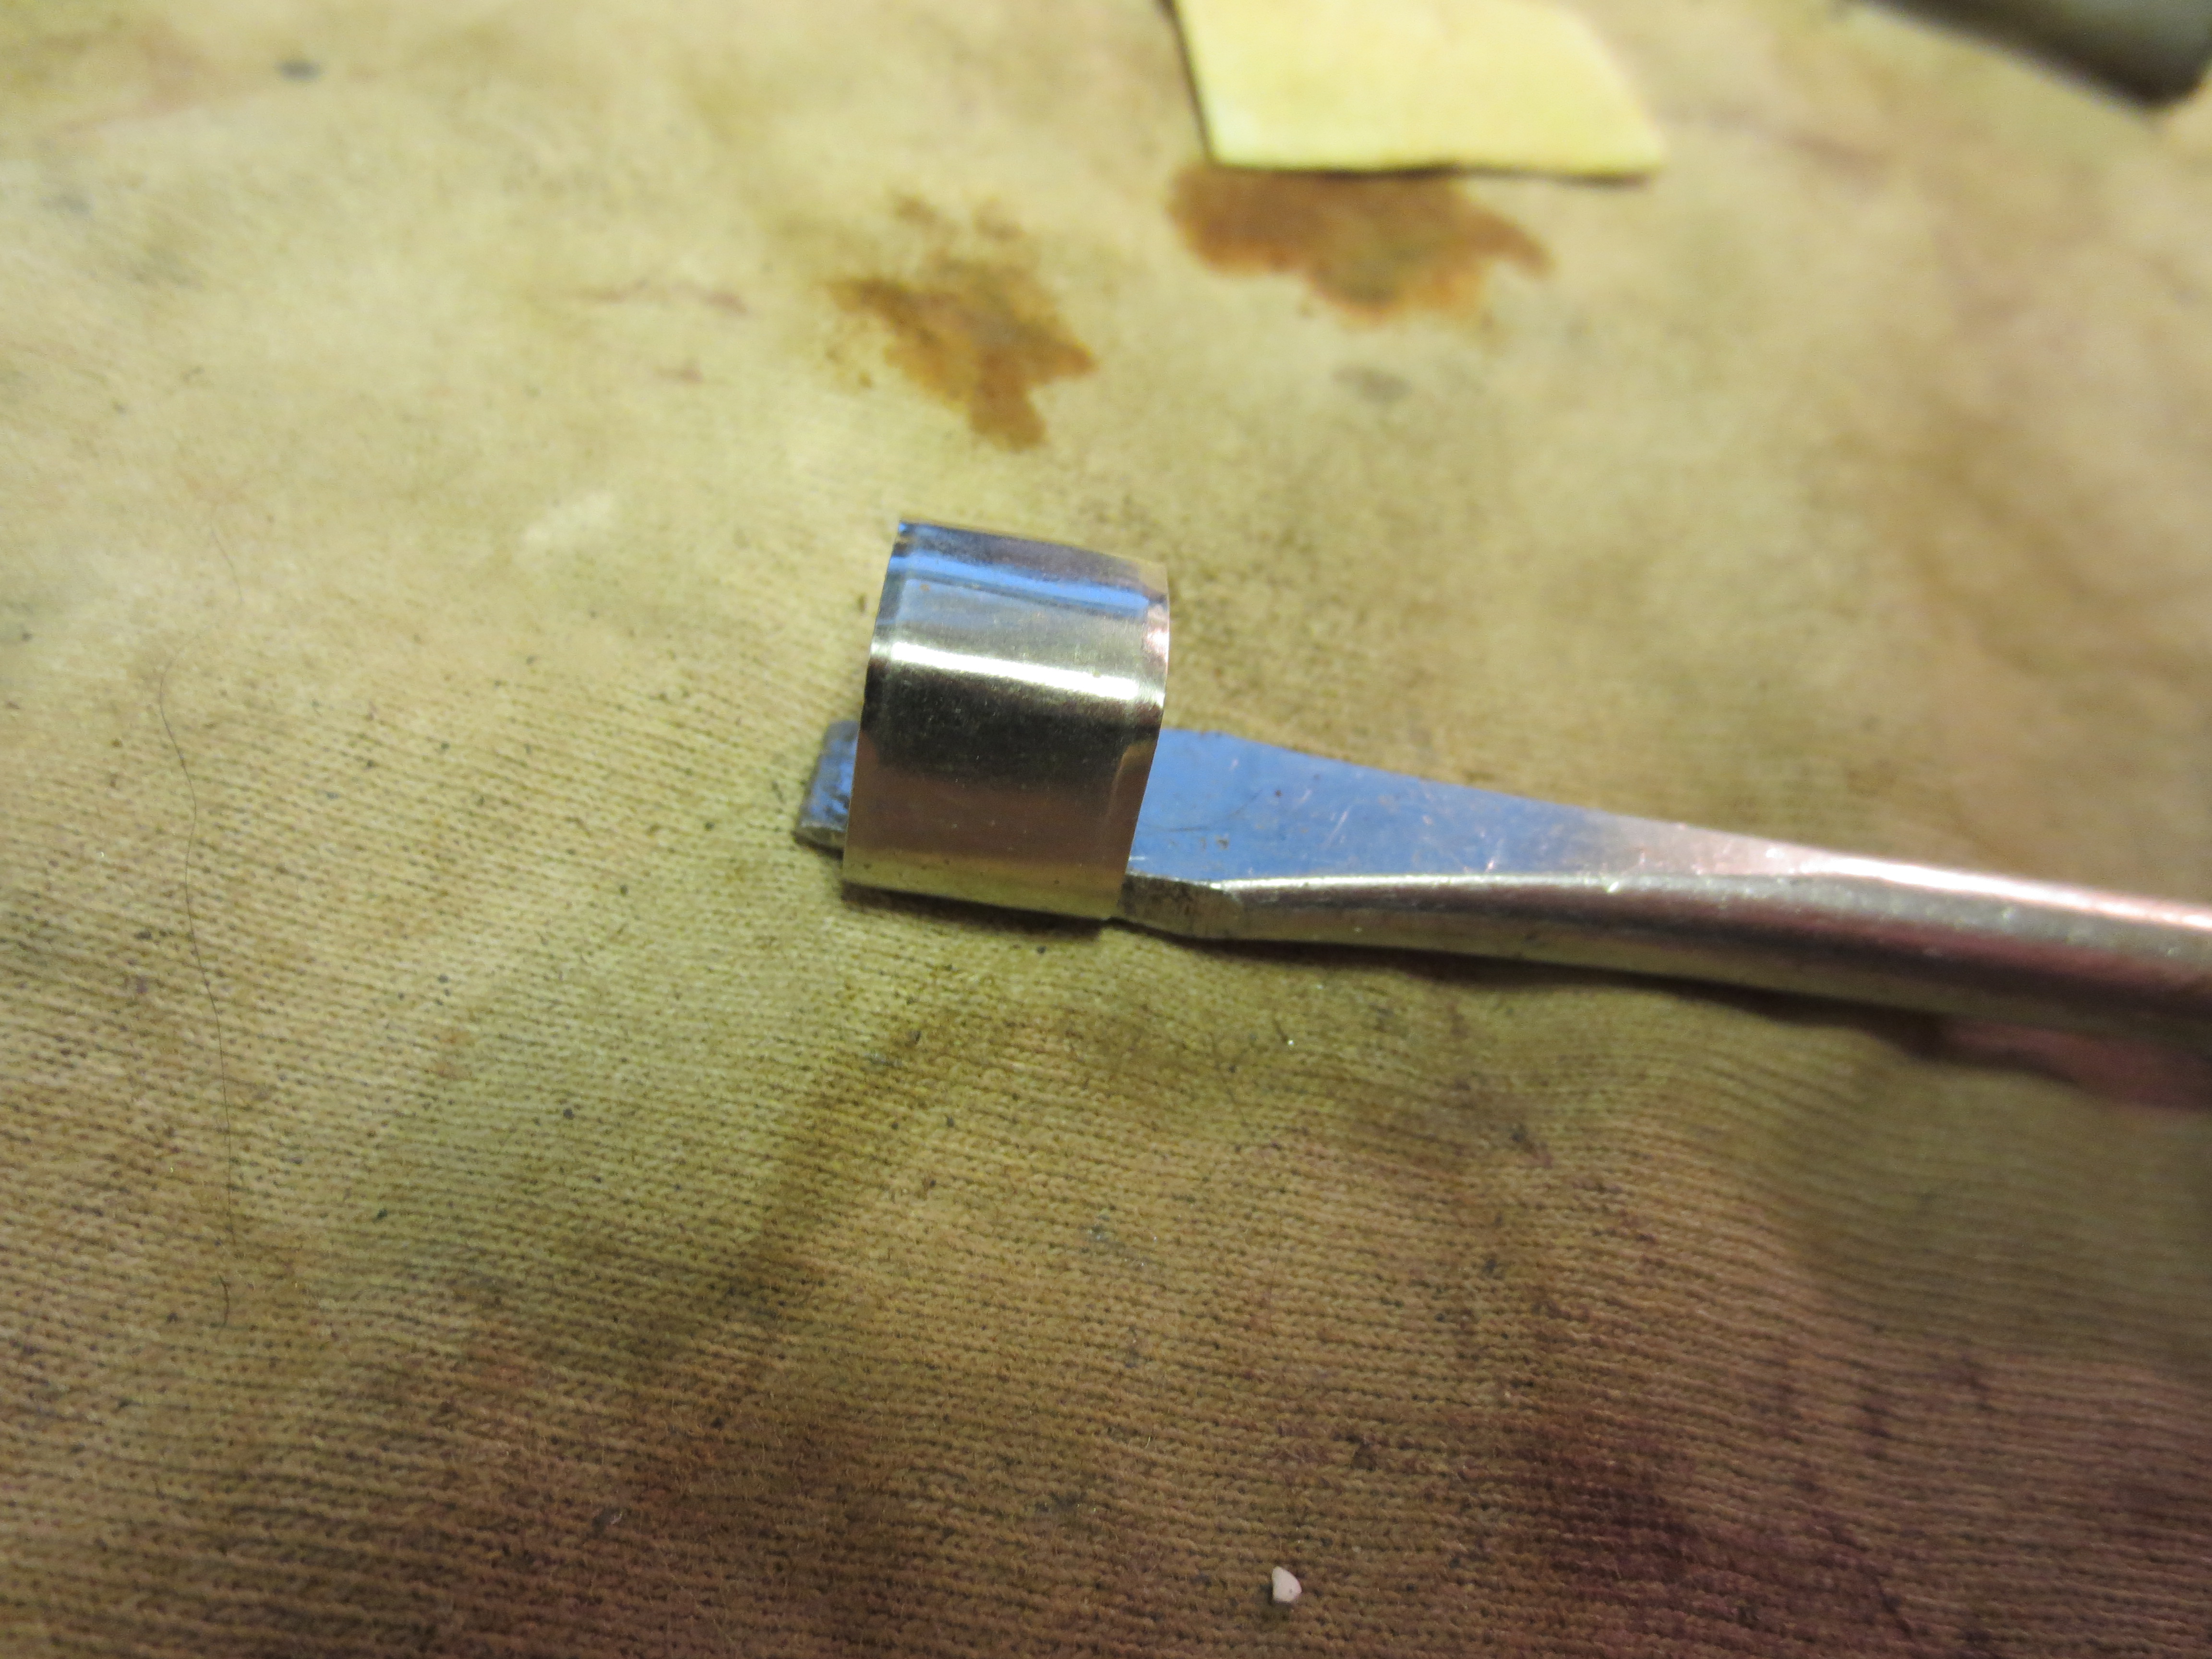
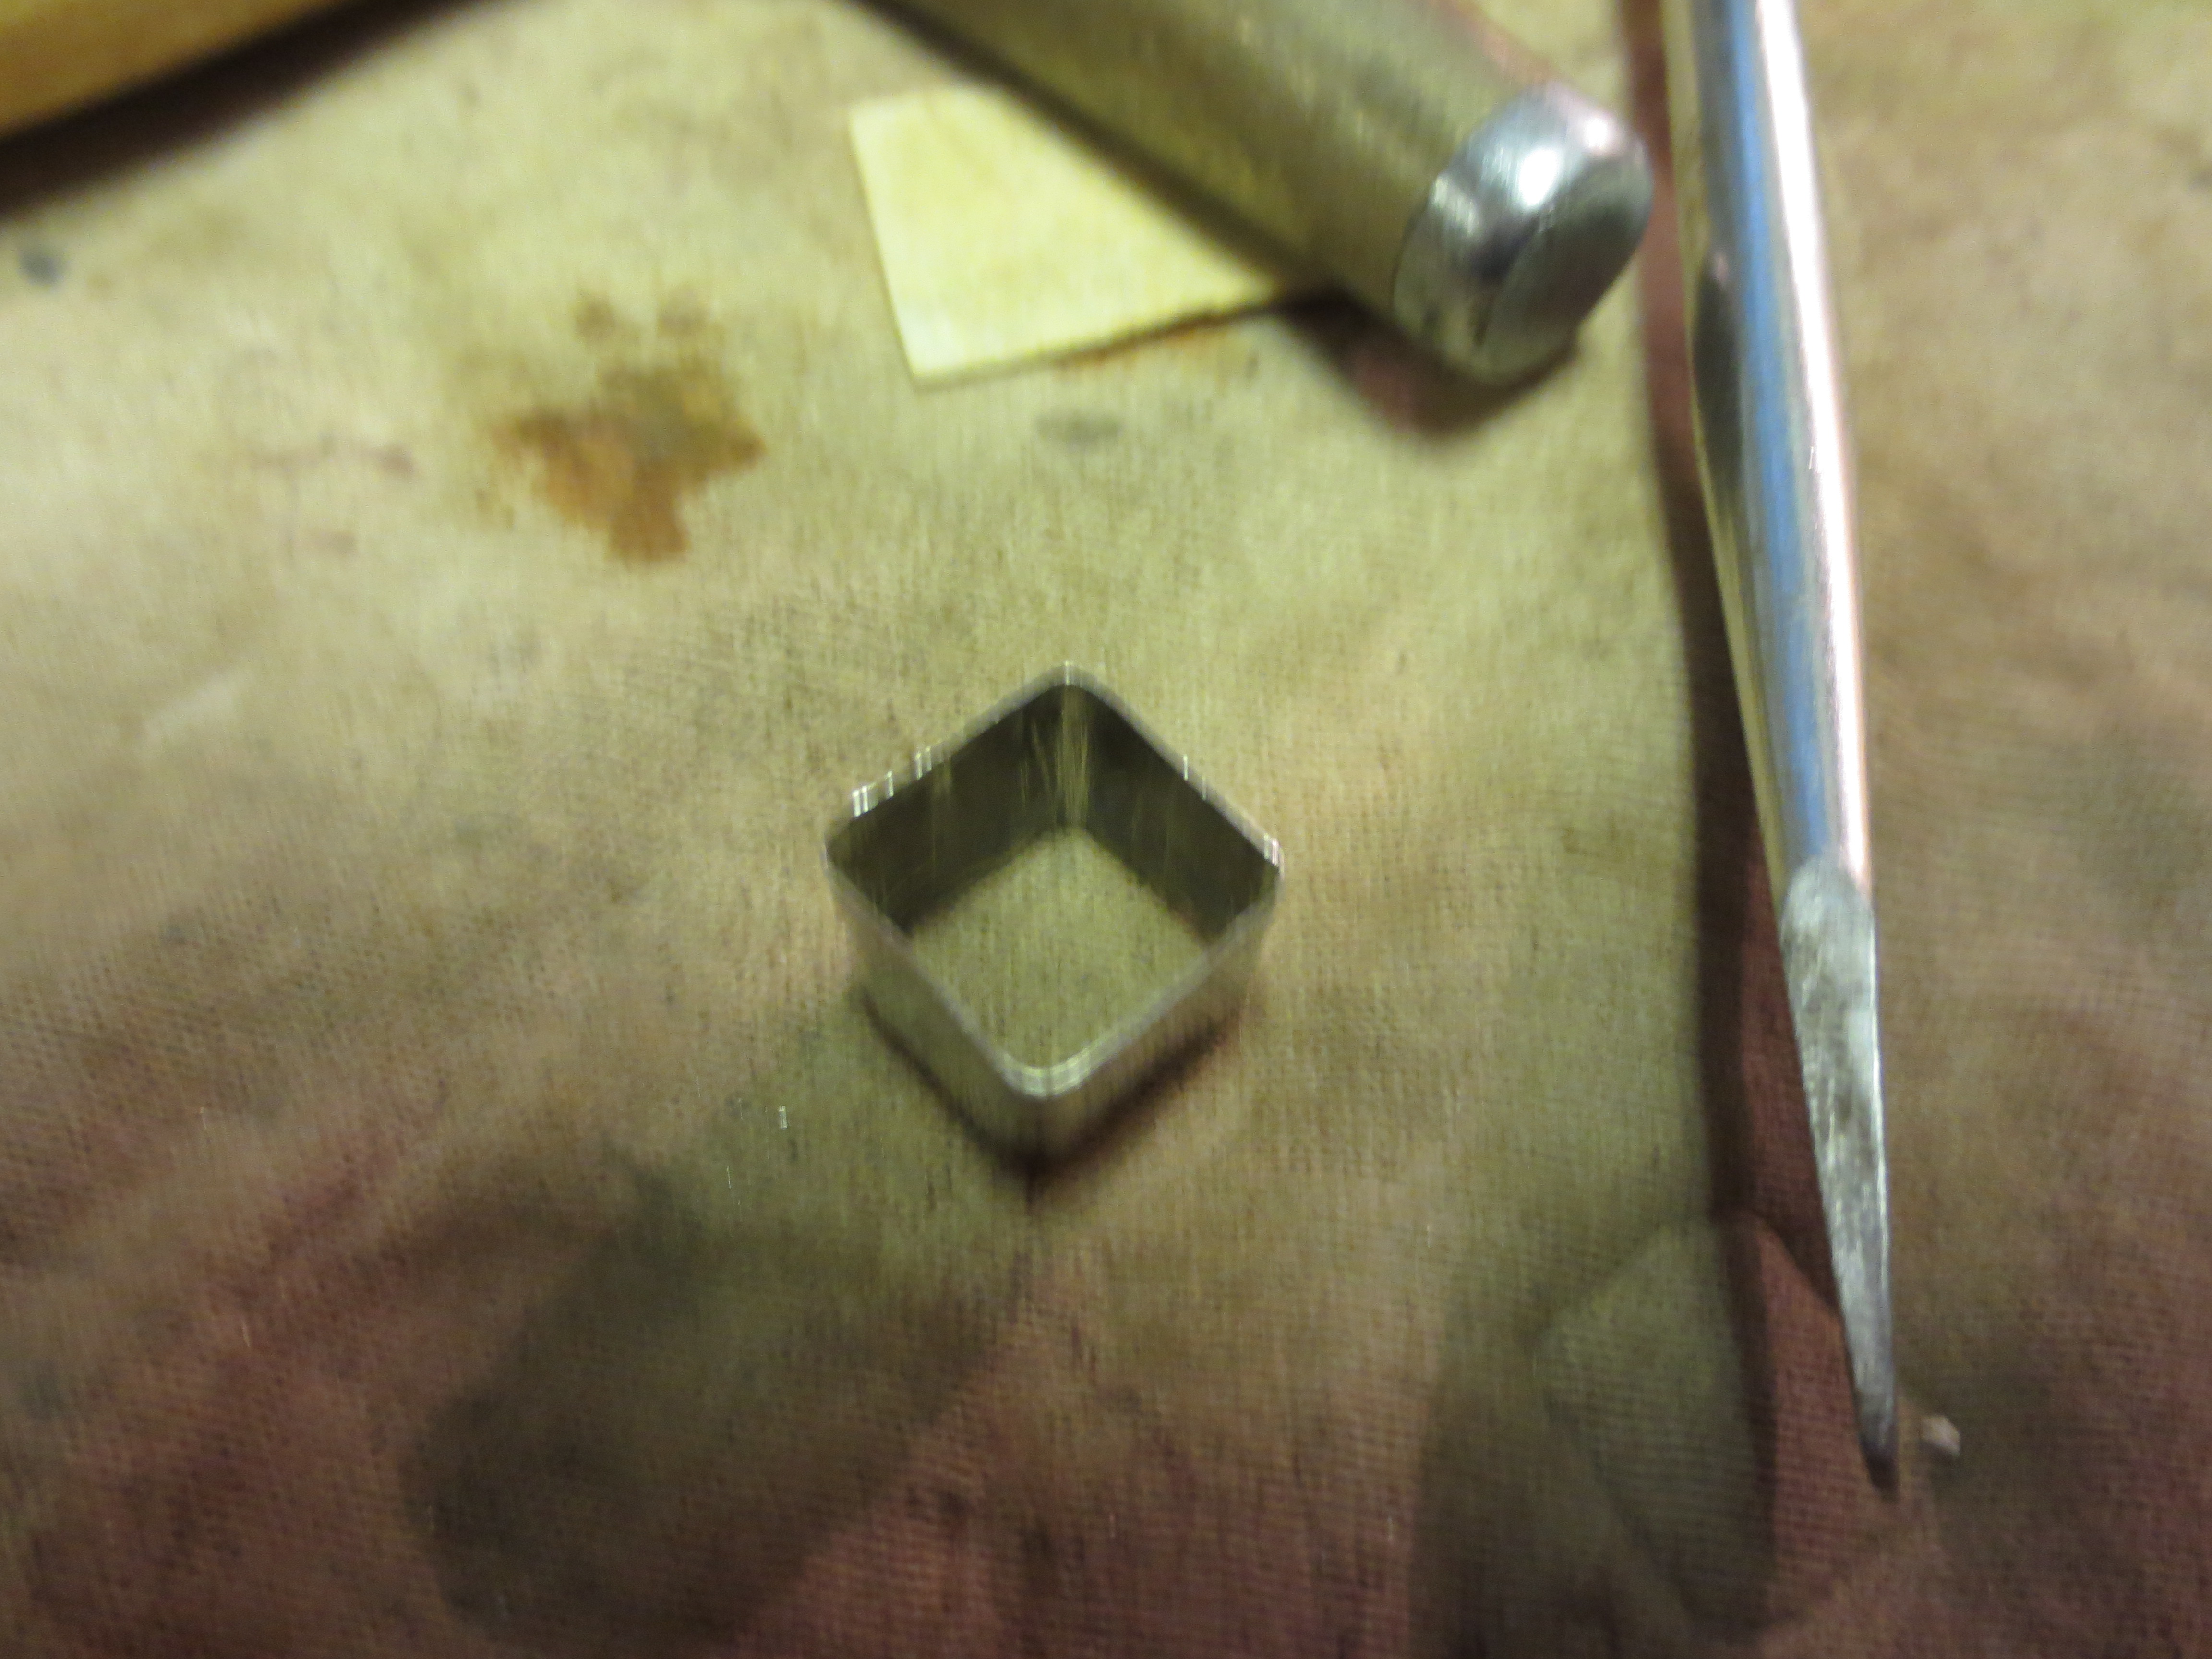
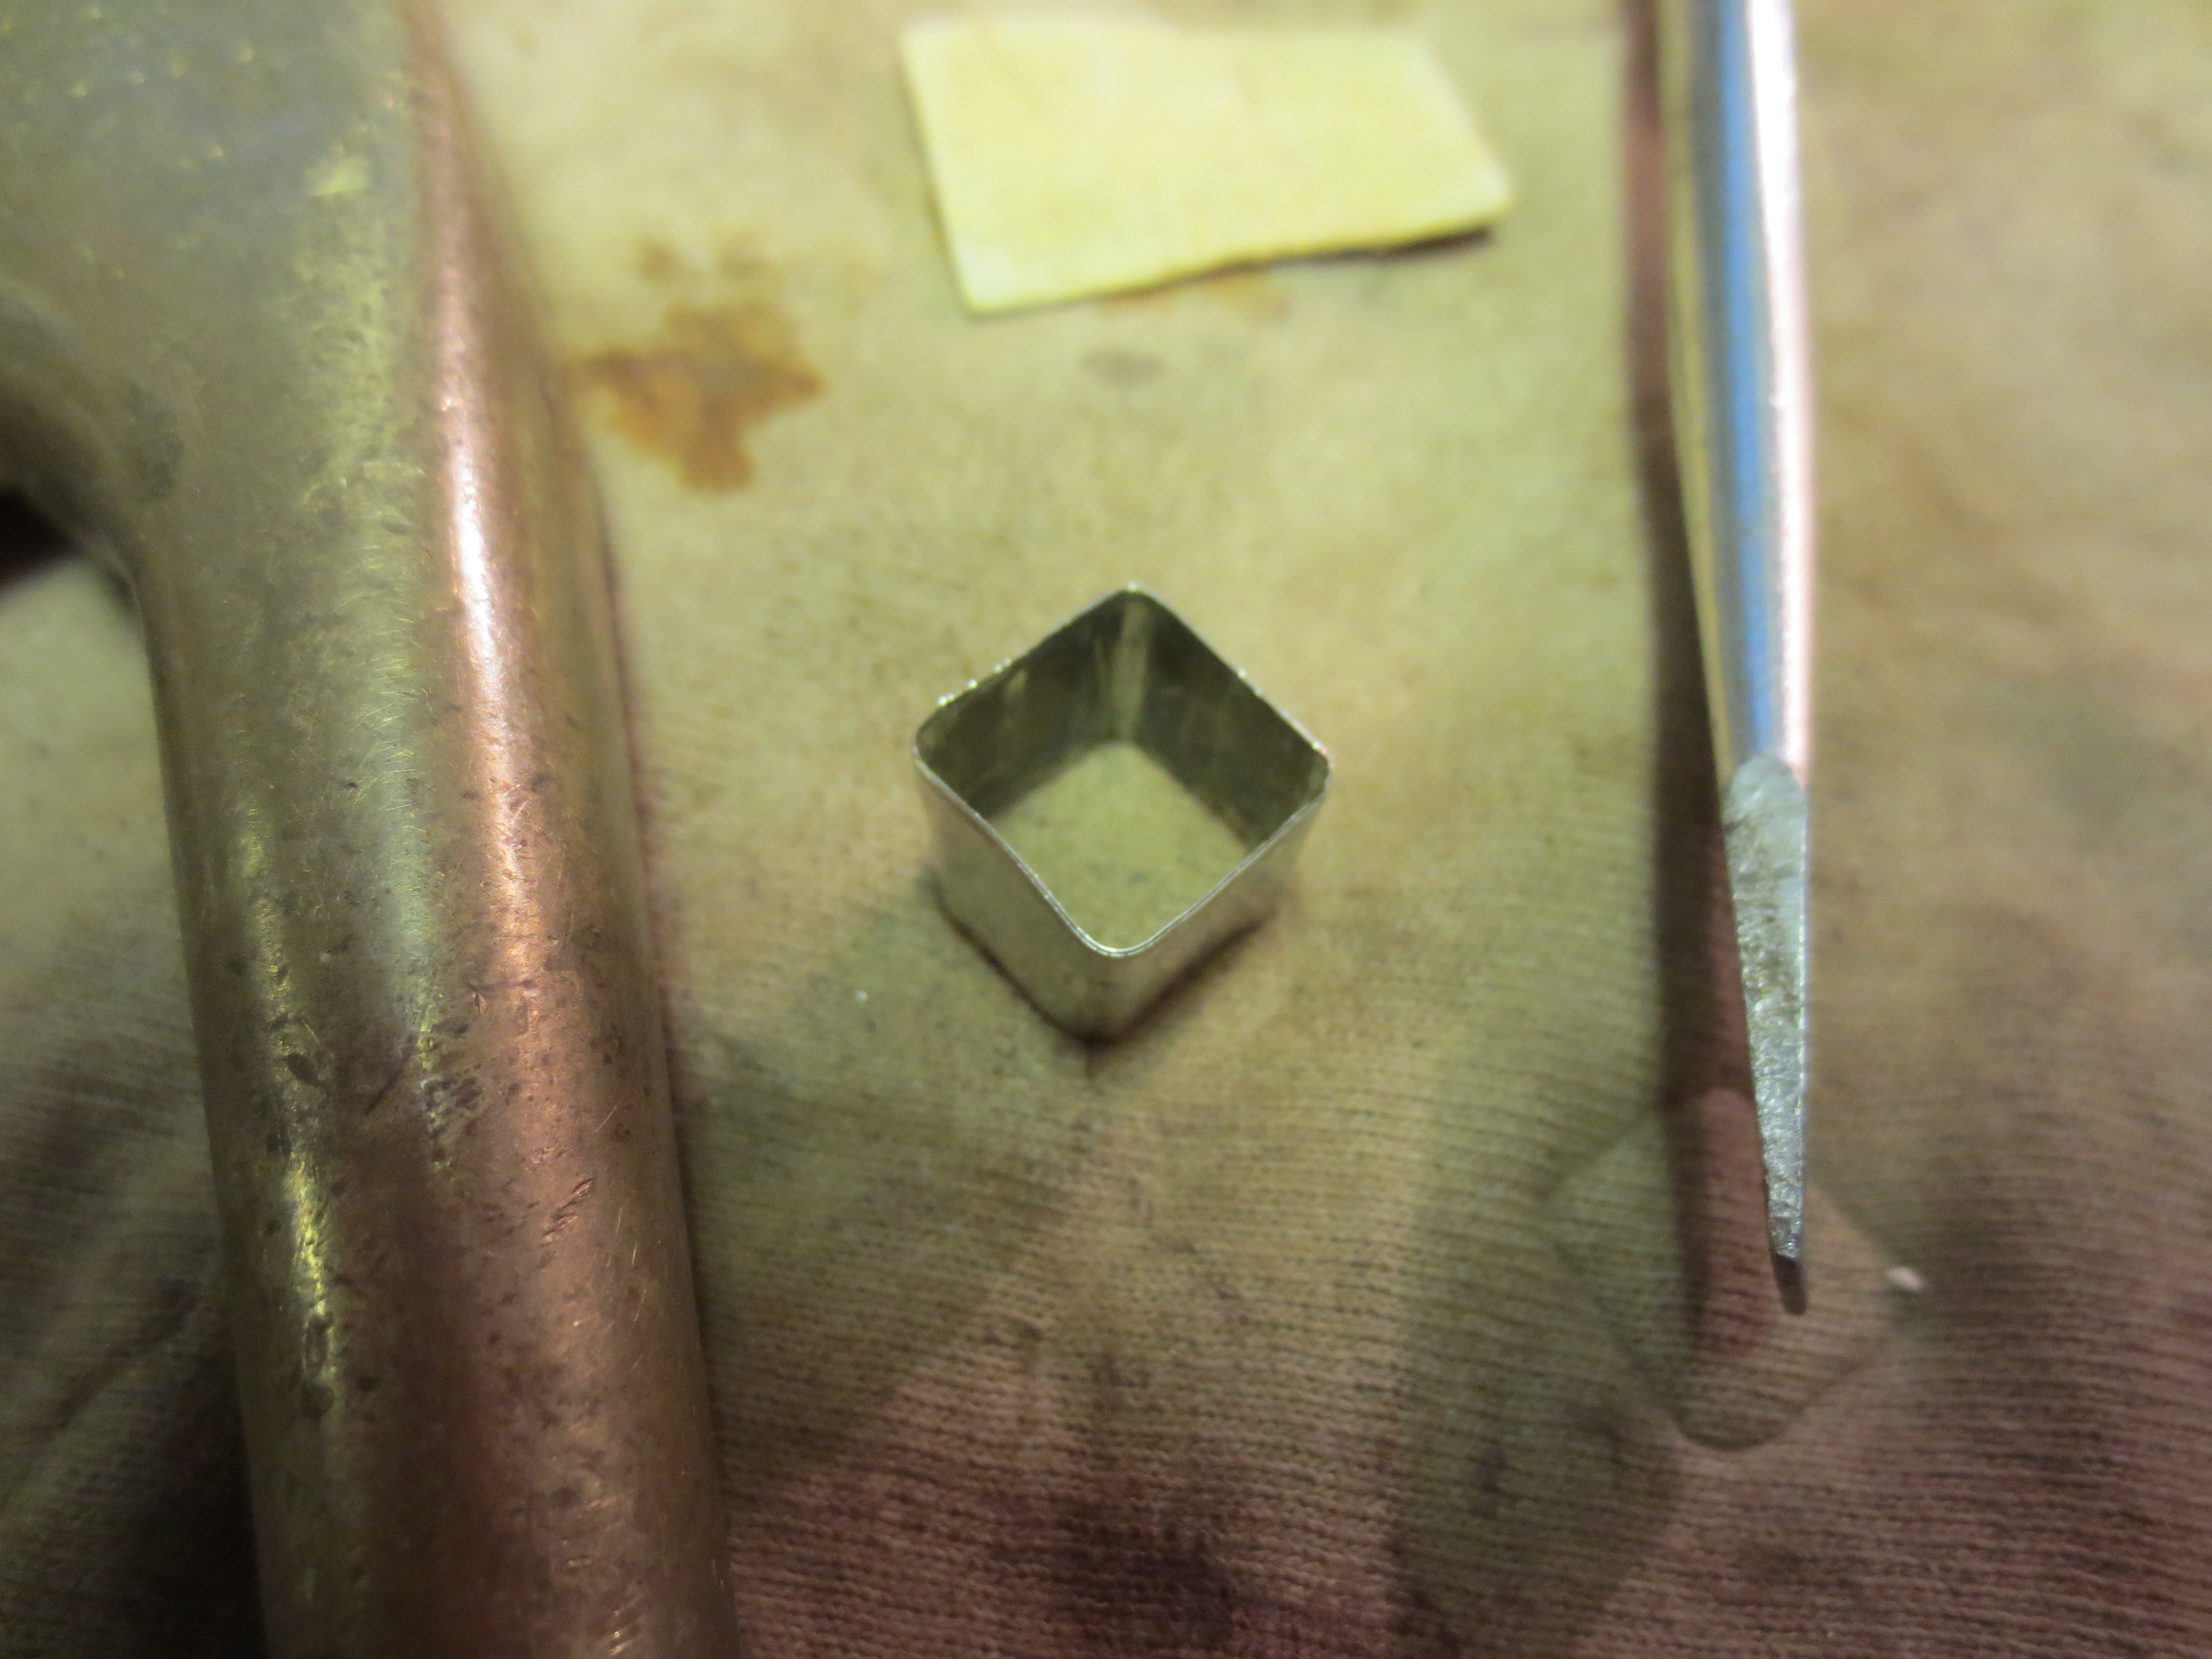
All Blue Lines came with a case but sadly the one for this one is missing. Most pics I’ve seen so far of the Blue Lines, the metal banding has stampings of Sterling Silver and KBB. Mine has none and I don’t believe it’s silver (I think nickel as I could not get all the discoloration from it). Mine may be a lower priced model.
The pipe as it arrived. The pipe was in remarkable shape for its age. It was not caked up and the pipe was nice and clean, ready to smoke. All I did was go over it very lightly with some 2500 grit and 000 steel wool over the banding lightly. Then I applied some light buffing and a new coat of wax. The pipe was too original to mess with much .The stem has a gorgeous red color that was bought out with a little brown and then white Tripoli before waxing.


 The stampings are very nice for a 100 year old pipe. As you can see it looks like it was repaired once. The repair looks quite old in person and don’t think it was done anytime recently.
 It’s a smaller poker. It is in between the size of a Medico Poker and a Dr.Grabow 85 Poker. It’s around 4 11/16 inch long with a 1 1/2 tall bowl. I will probably dedicate it to my new favorite flake tobacco.