Monthly Archives: August 2014

Restoring and restemming a second Television Pipe – a Prince


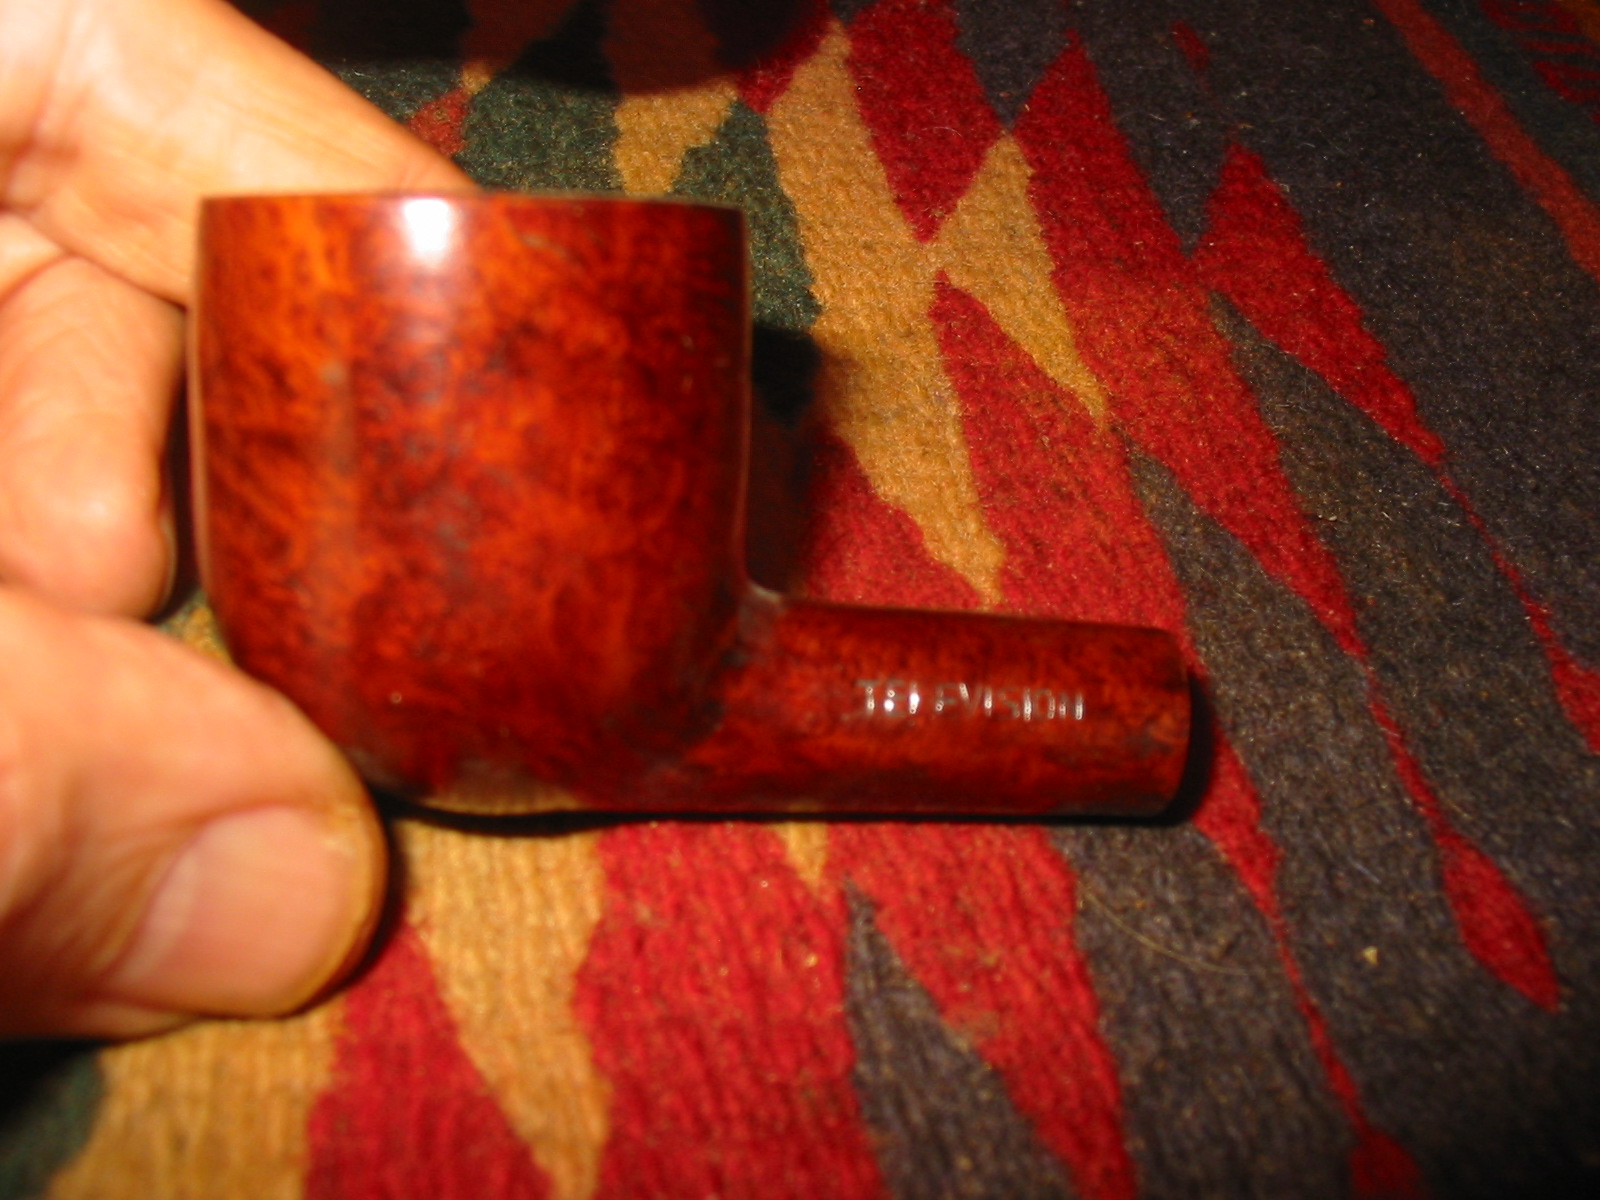
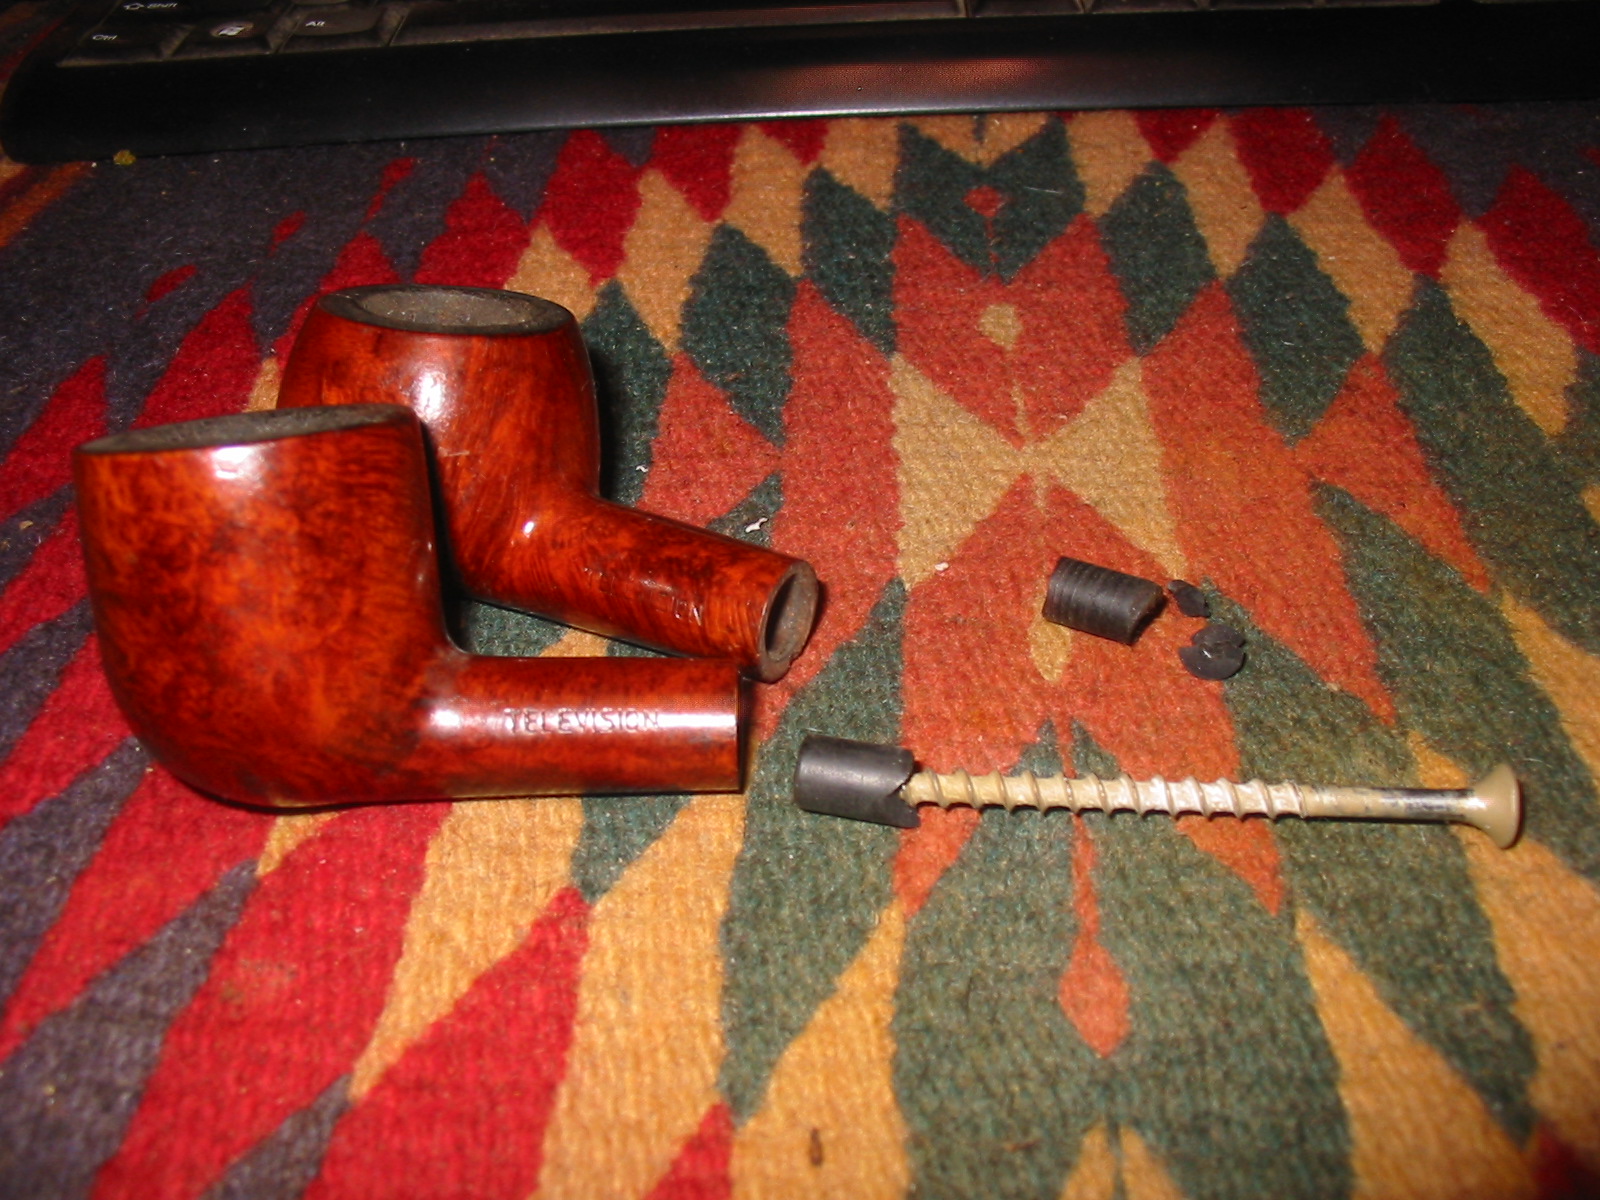
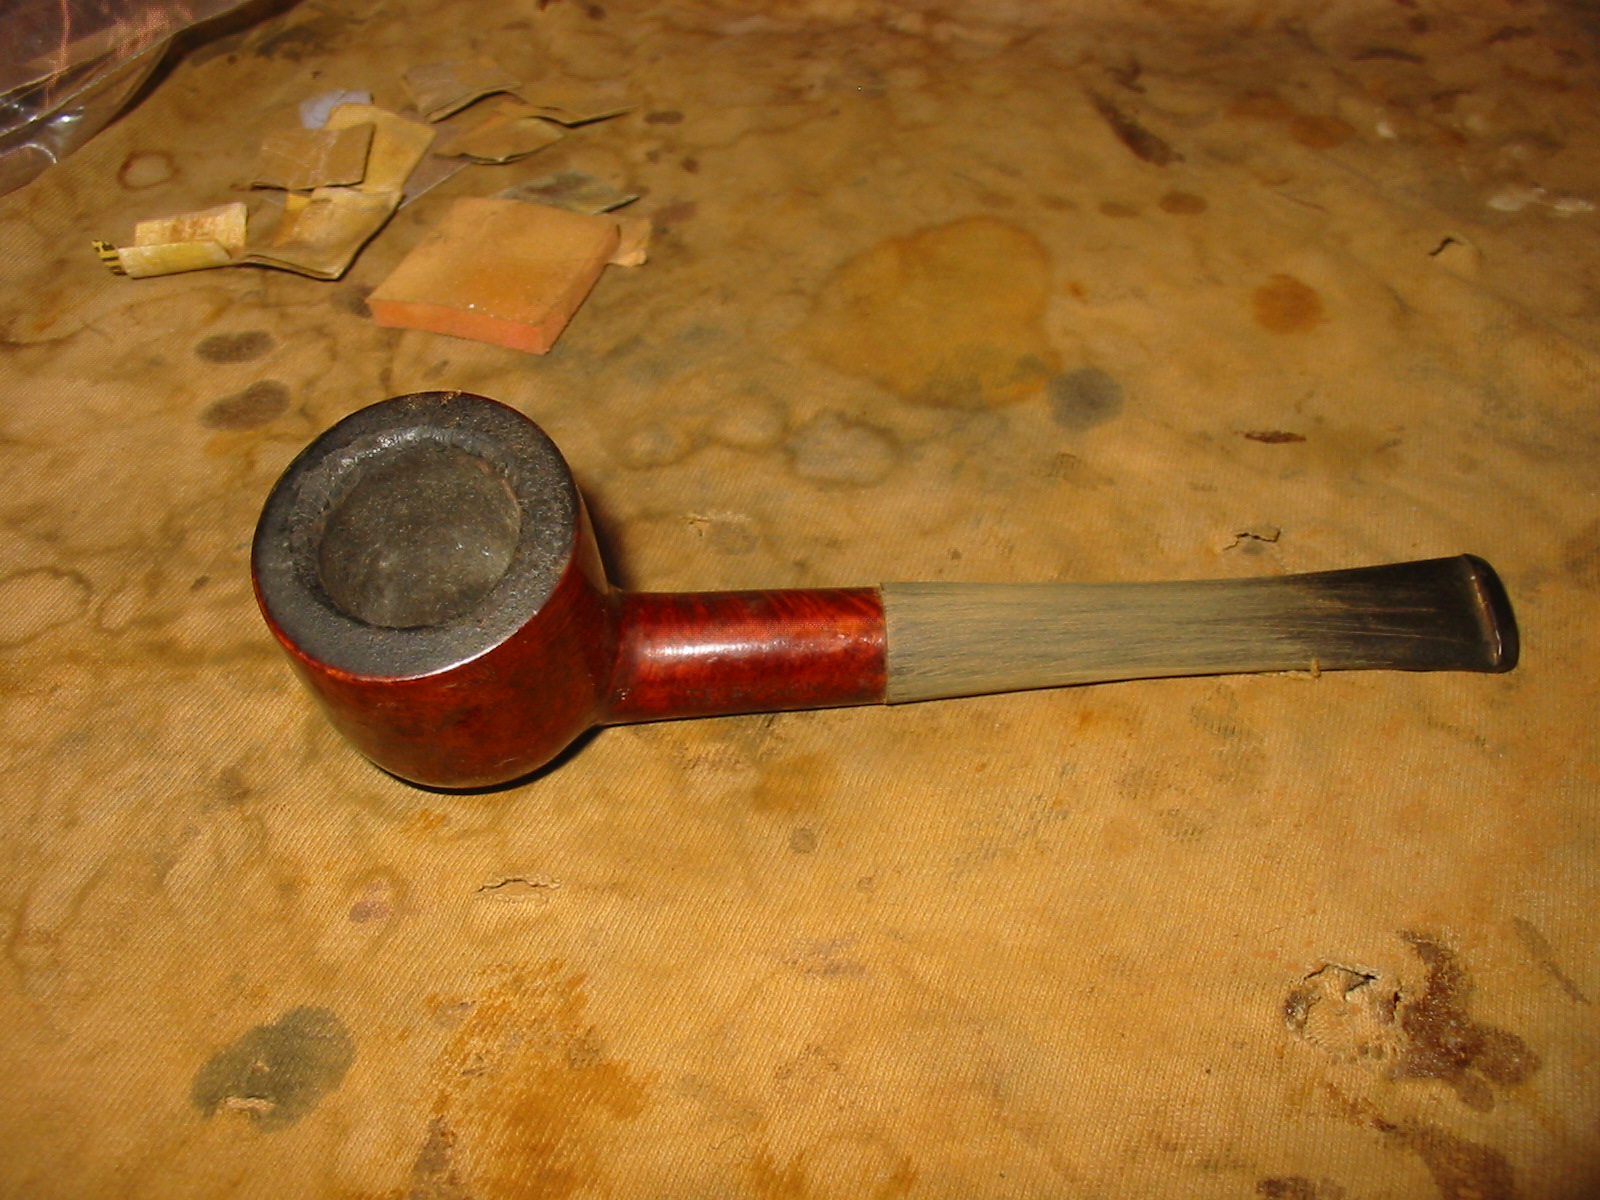
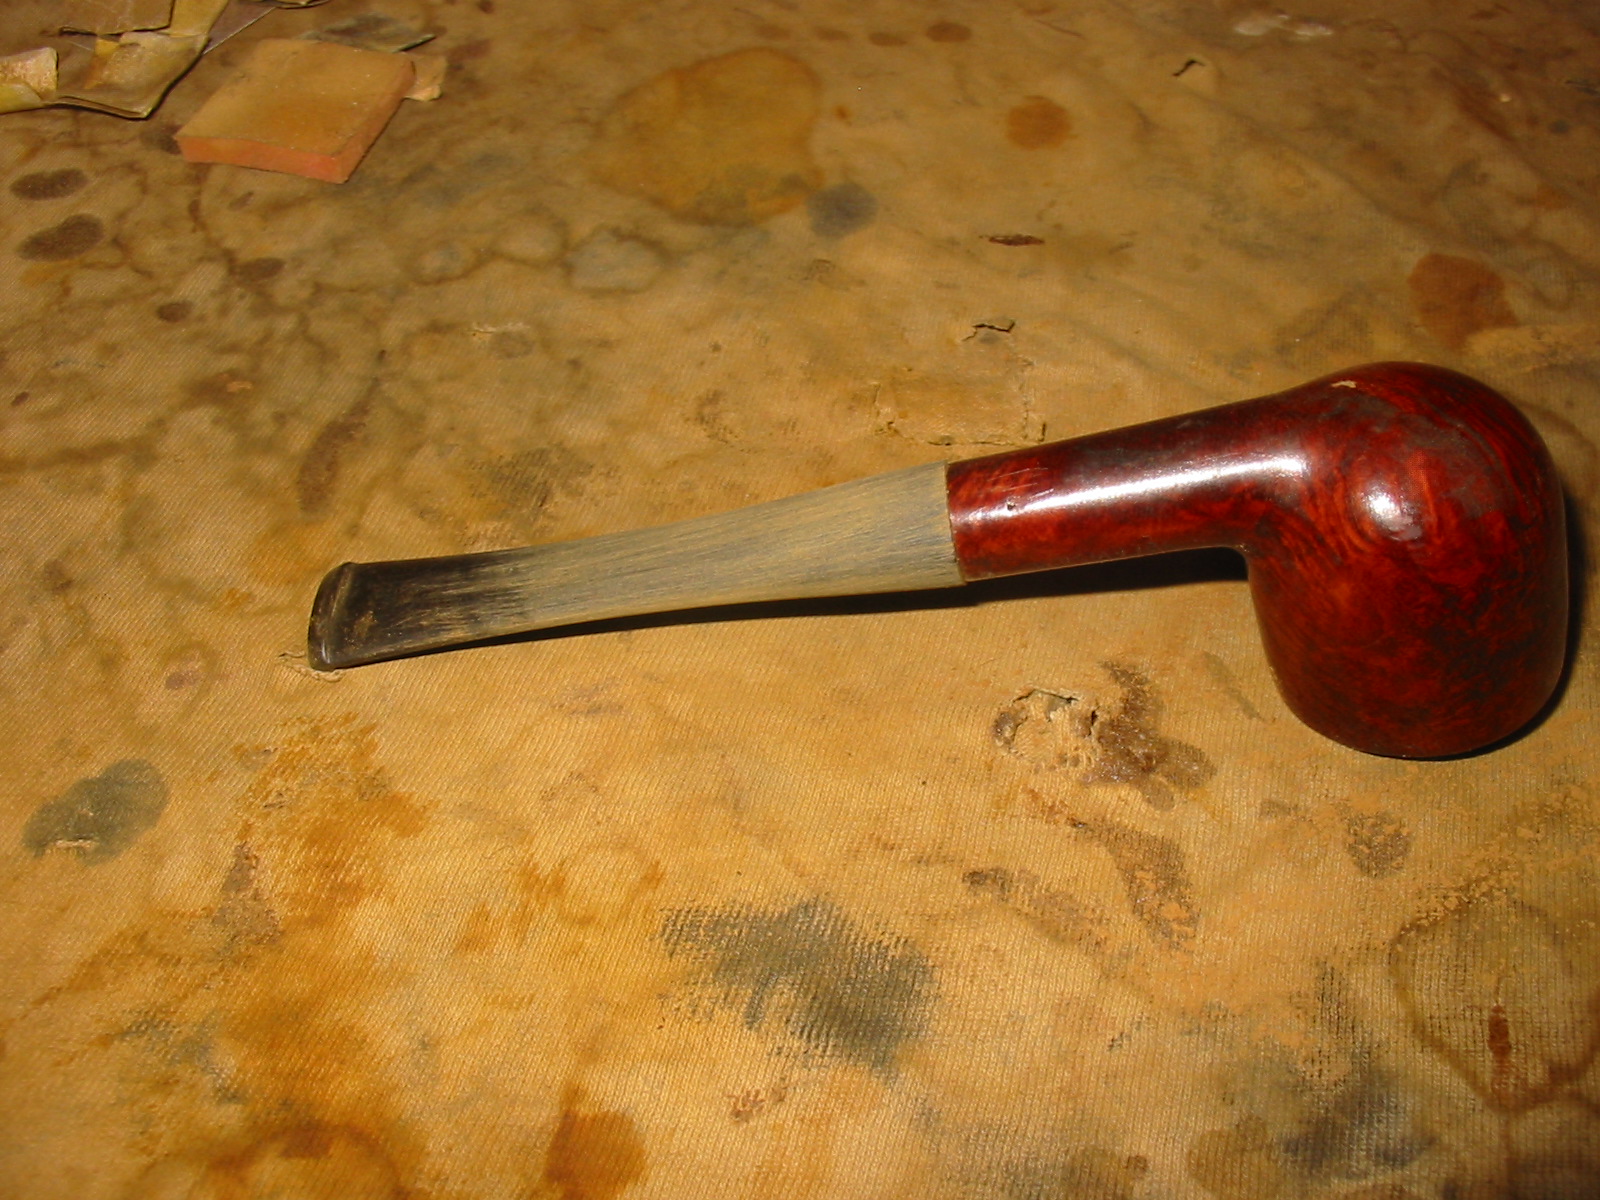
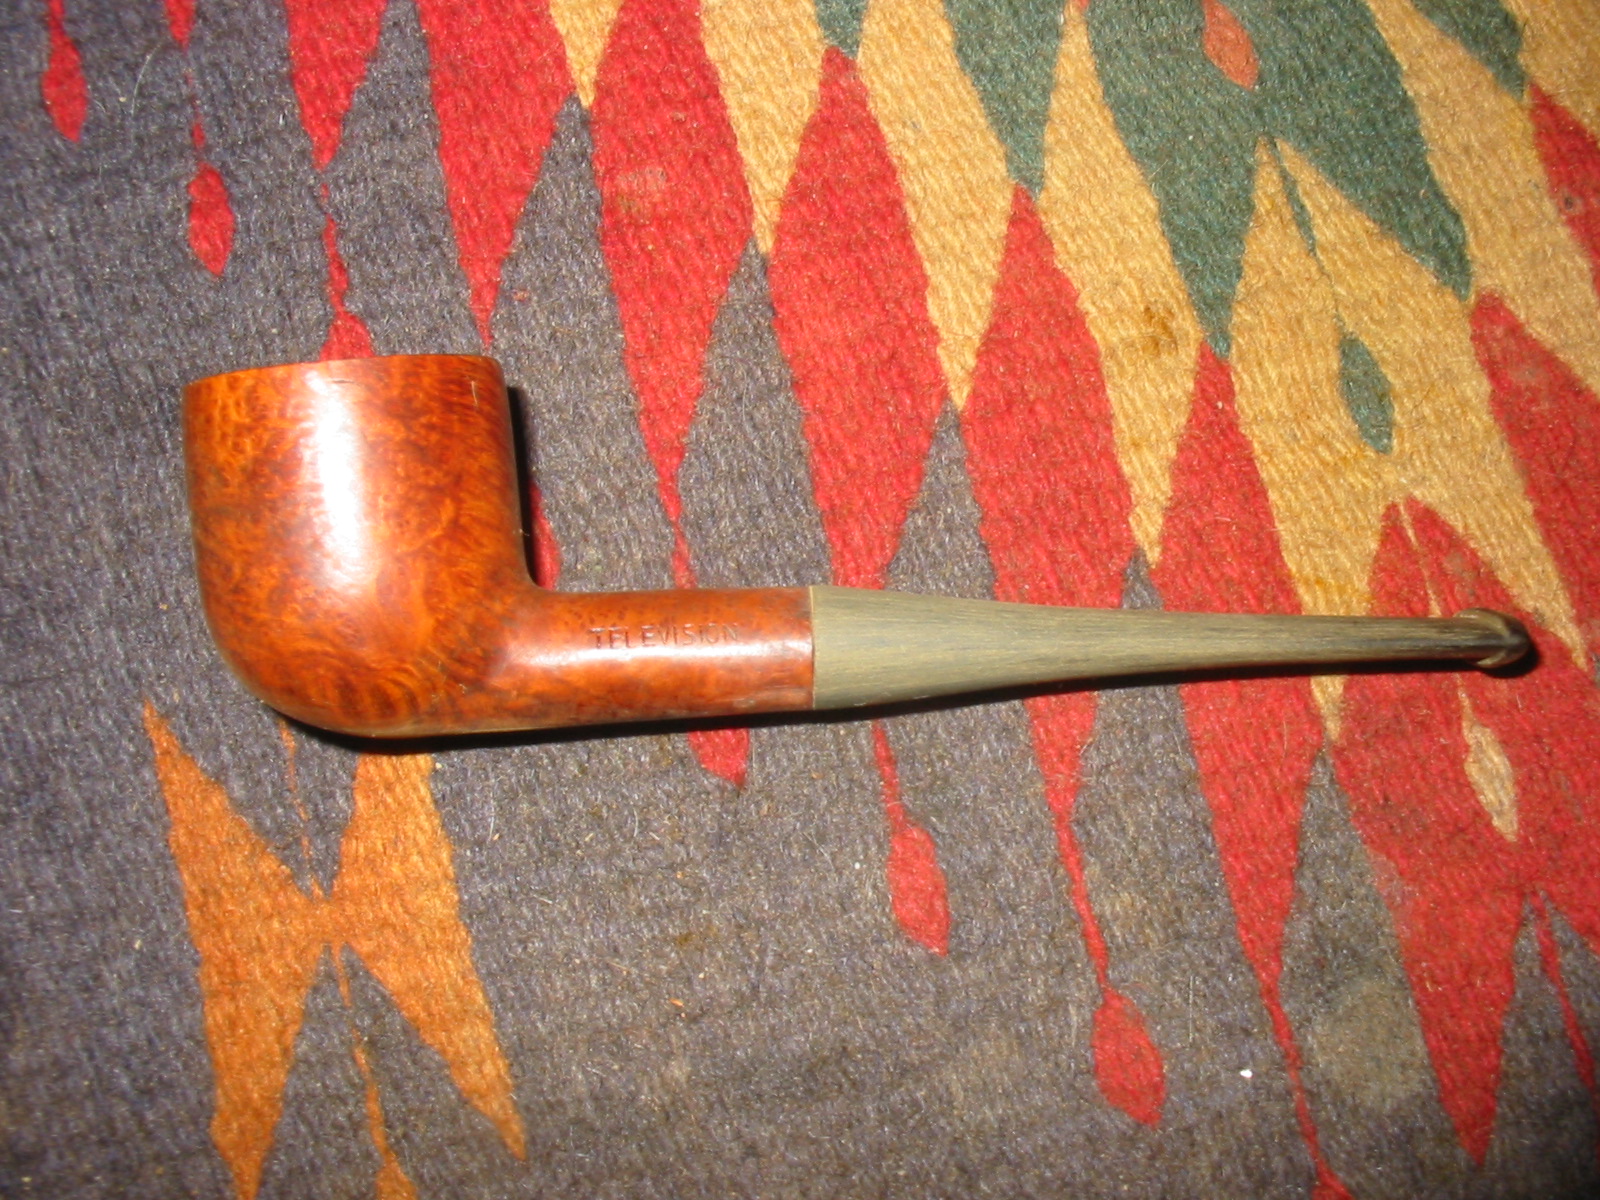
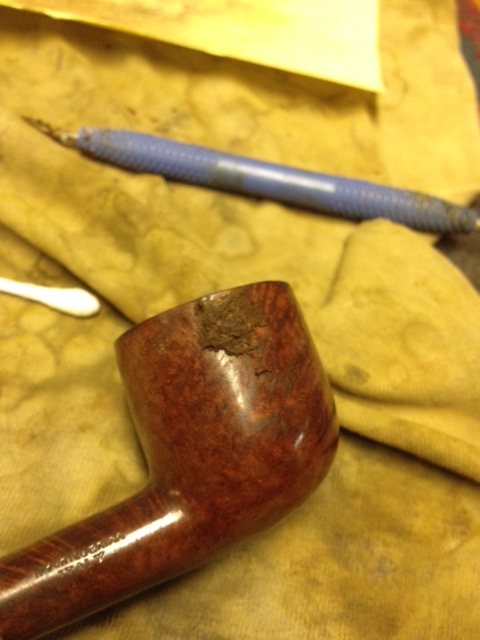
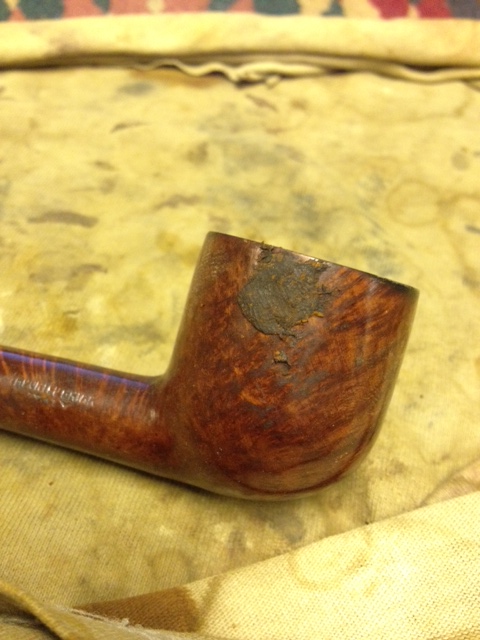
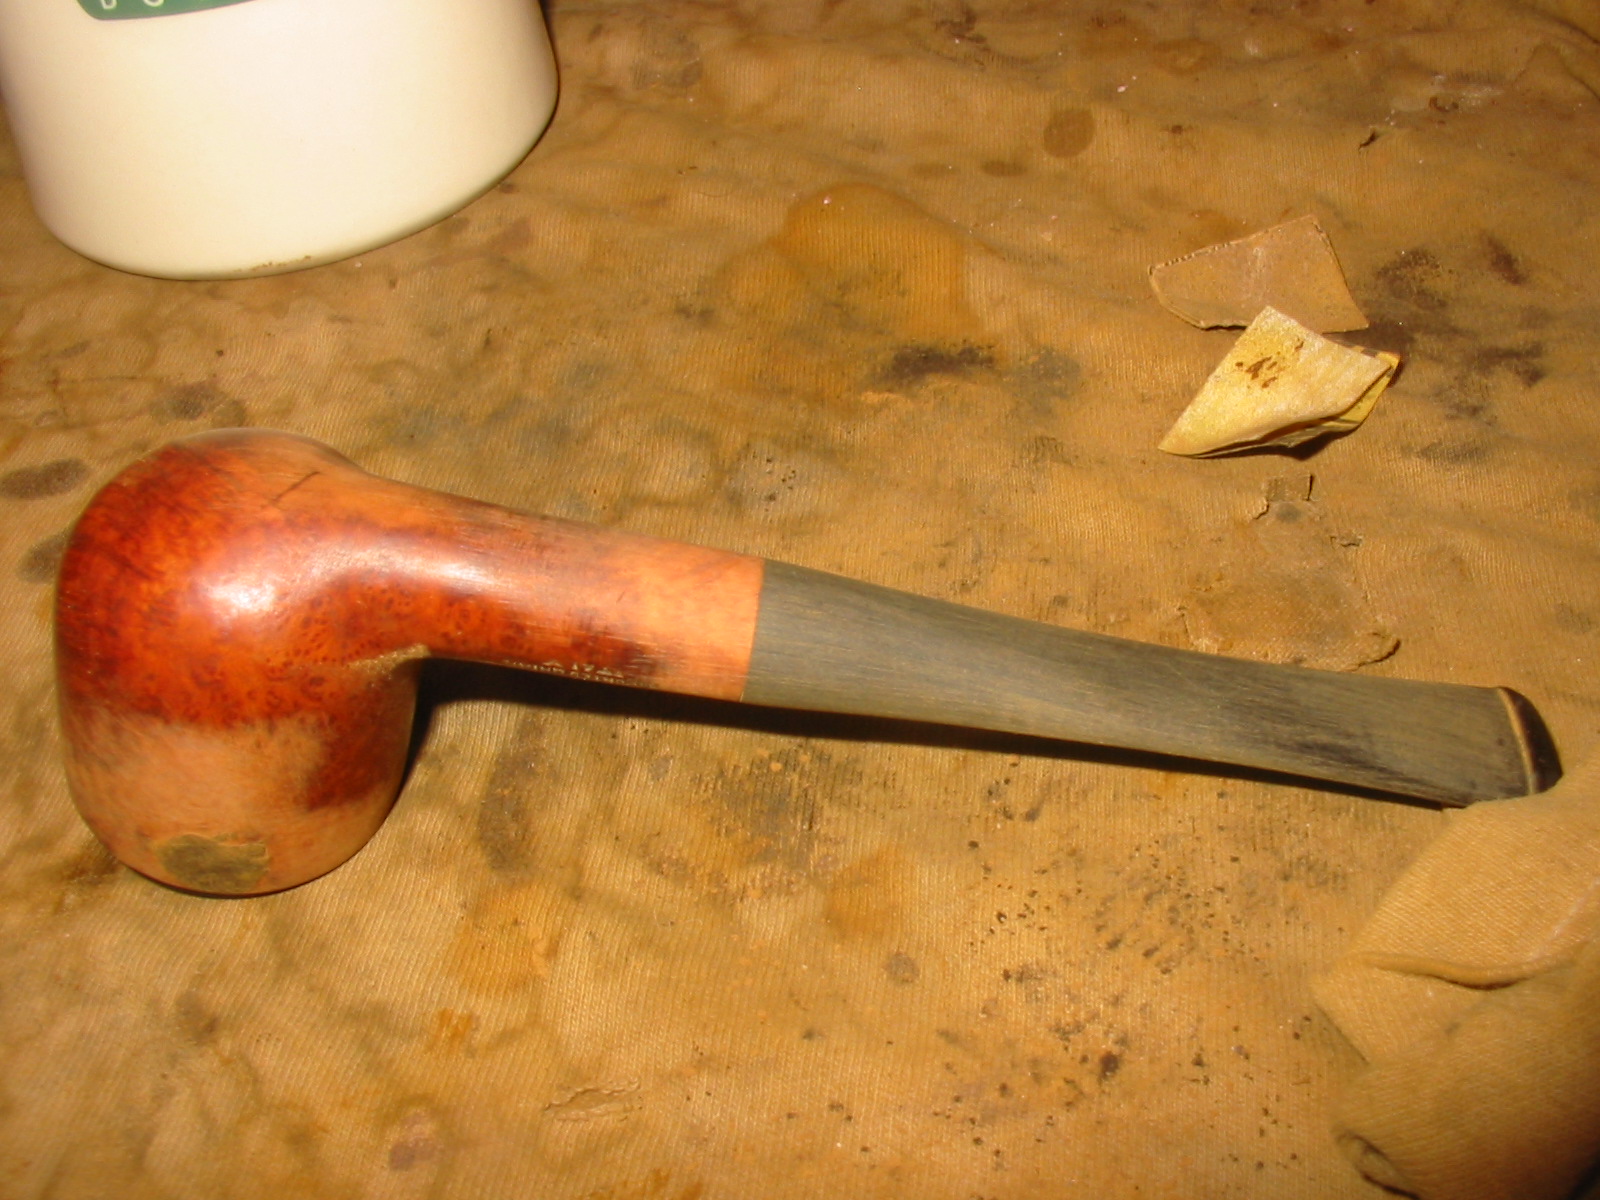
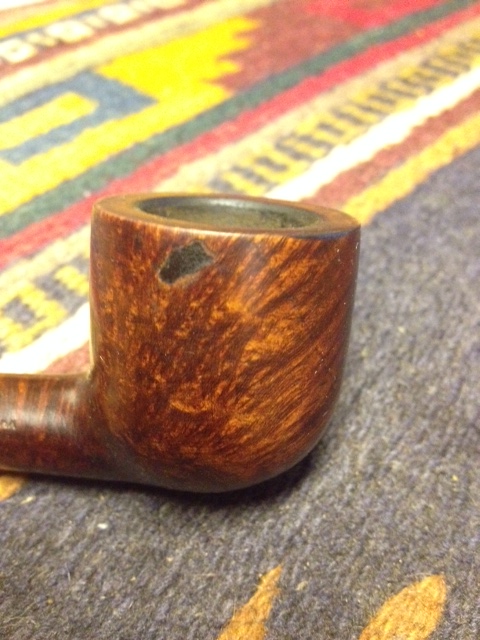
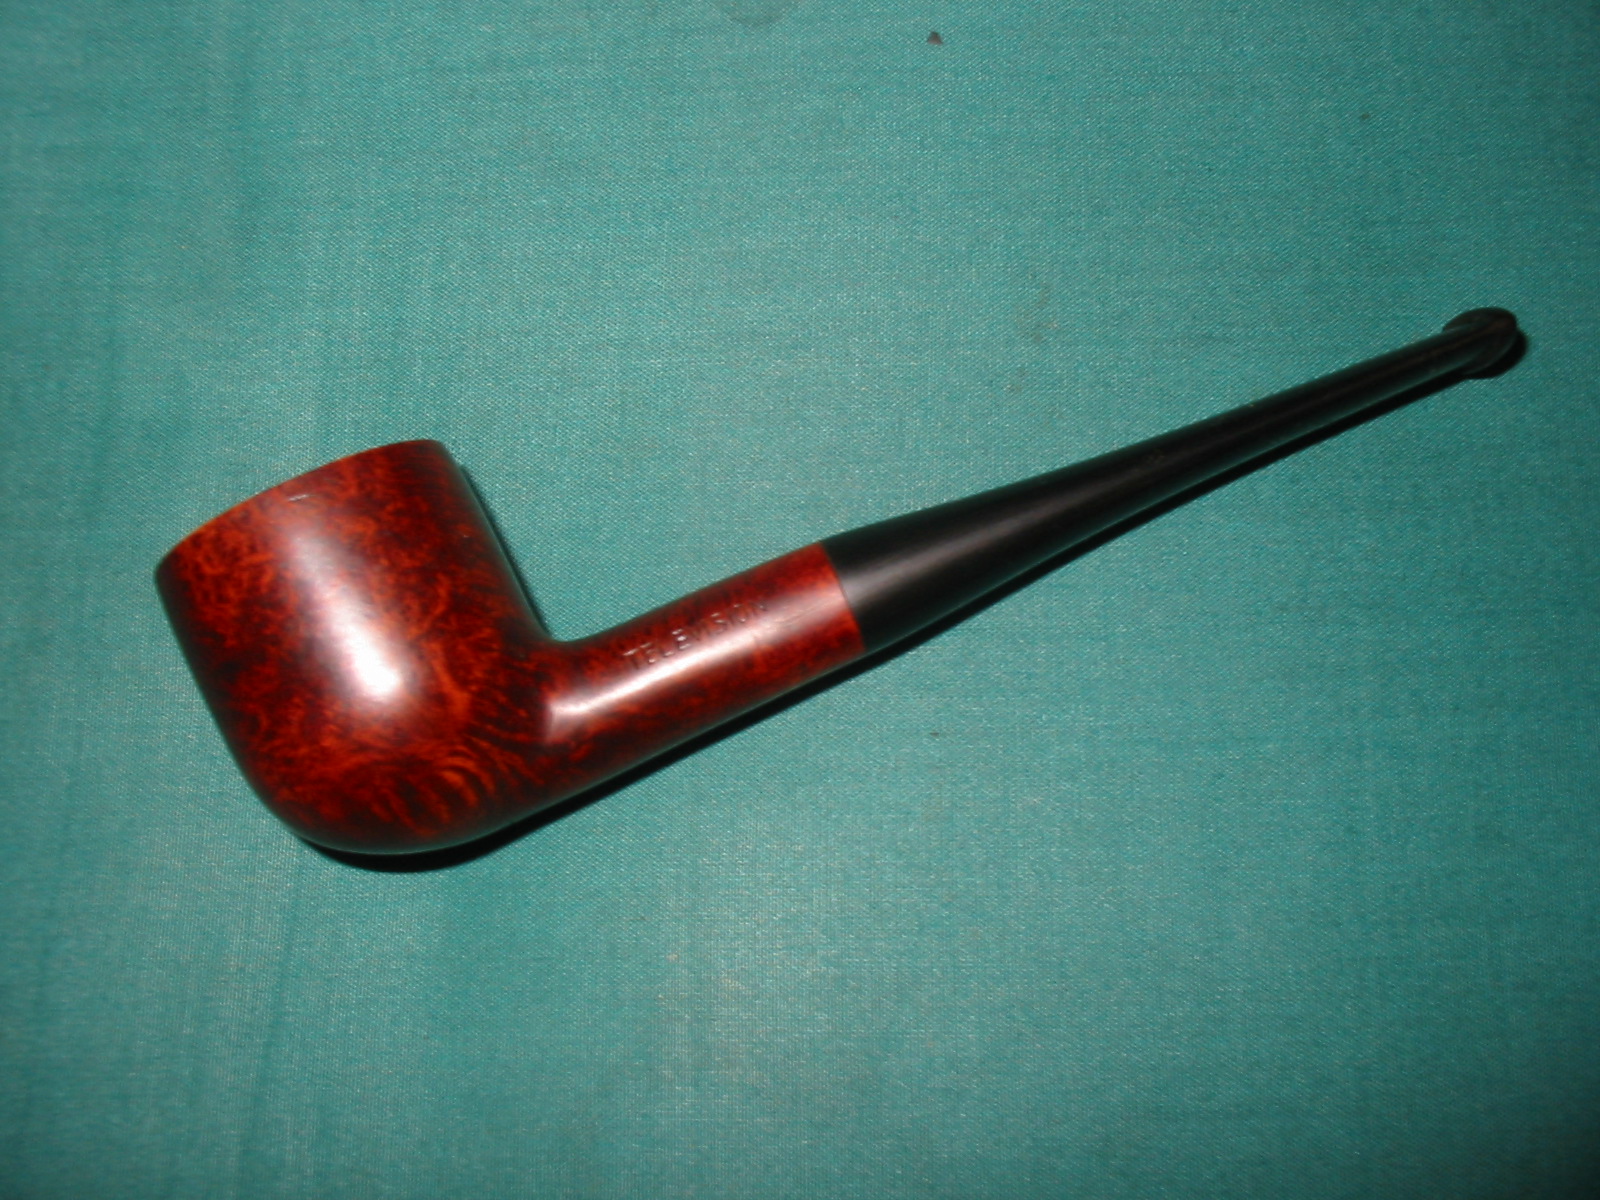
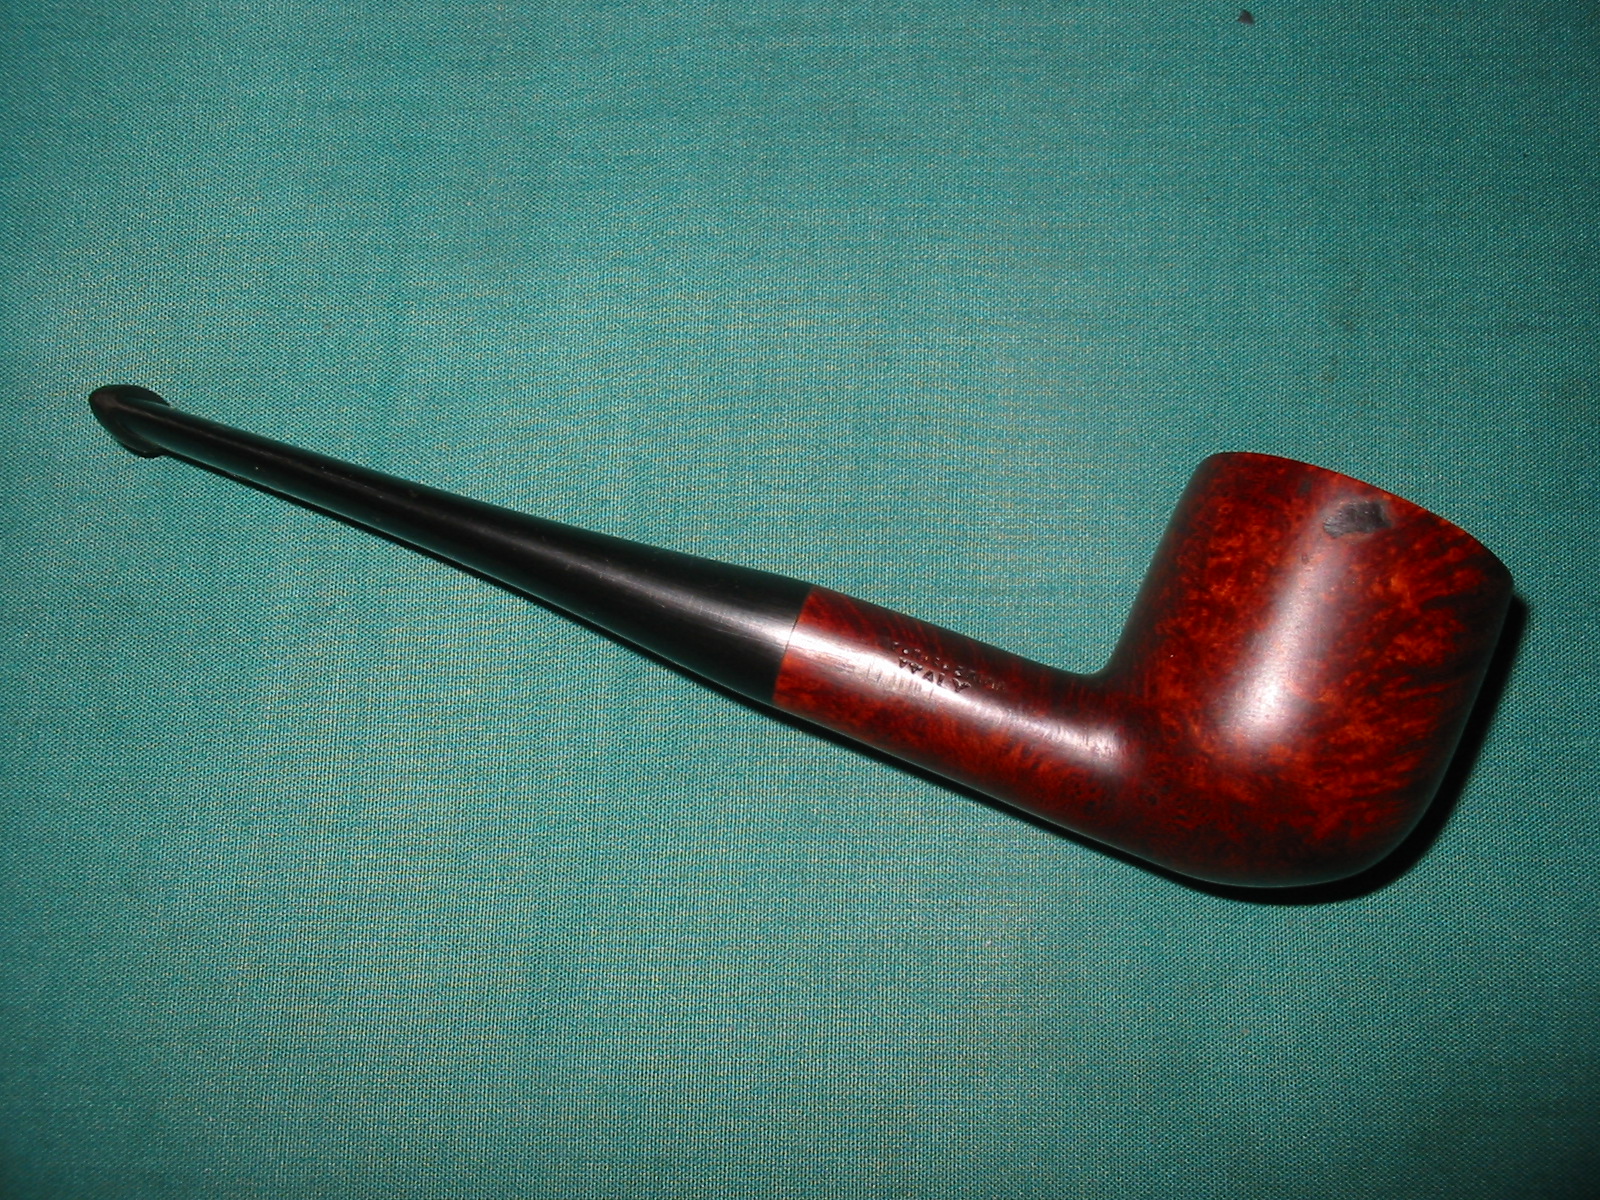
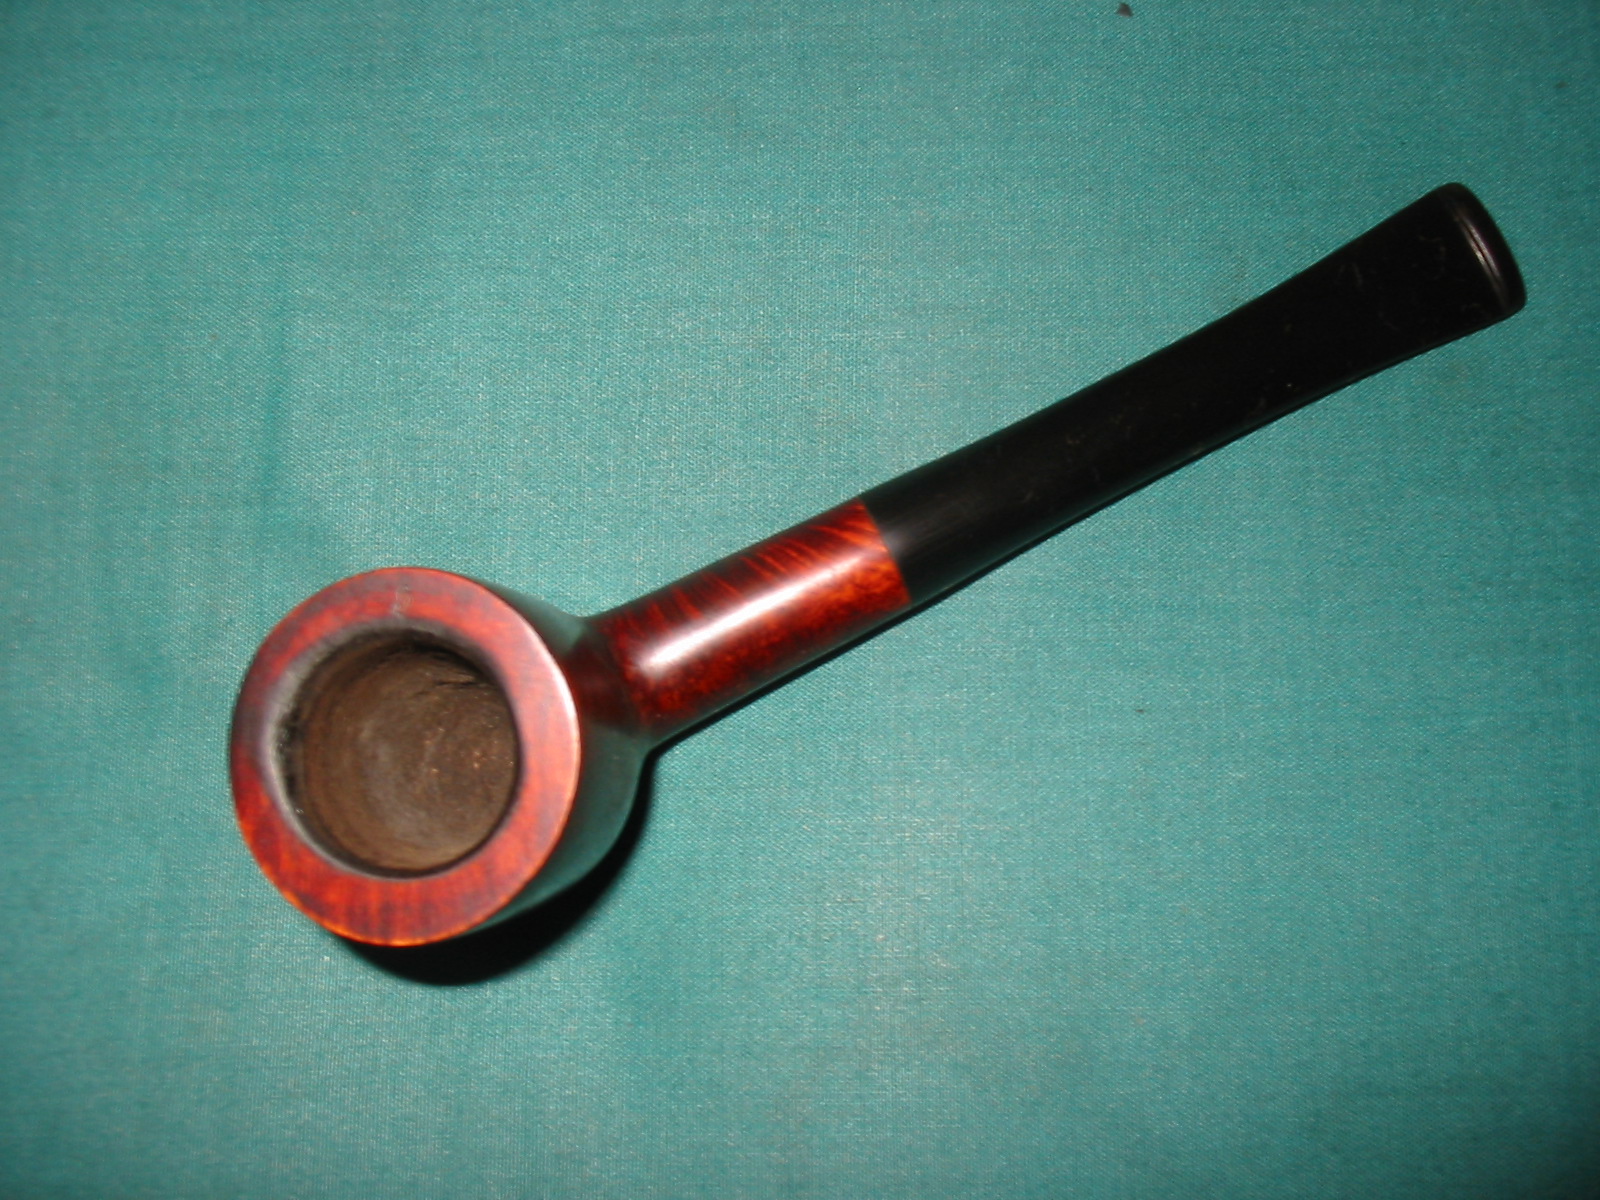
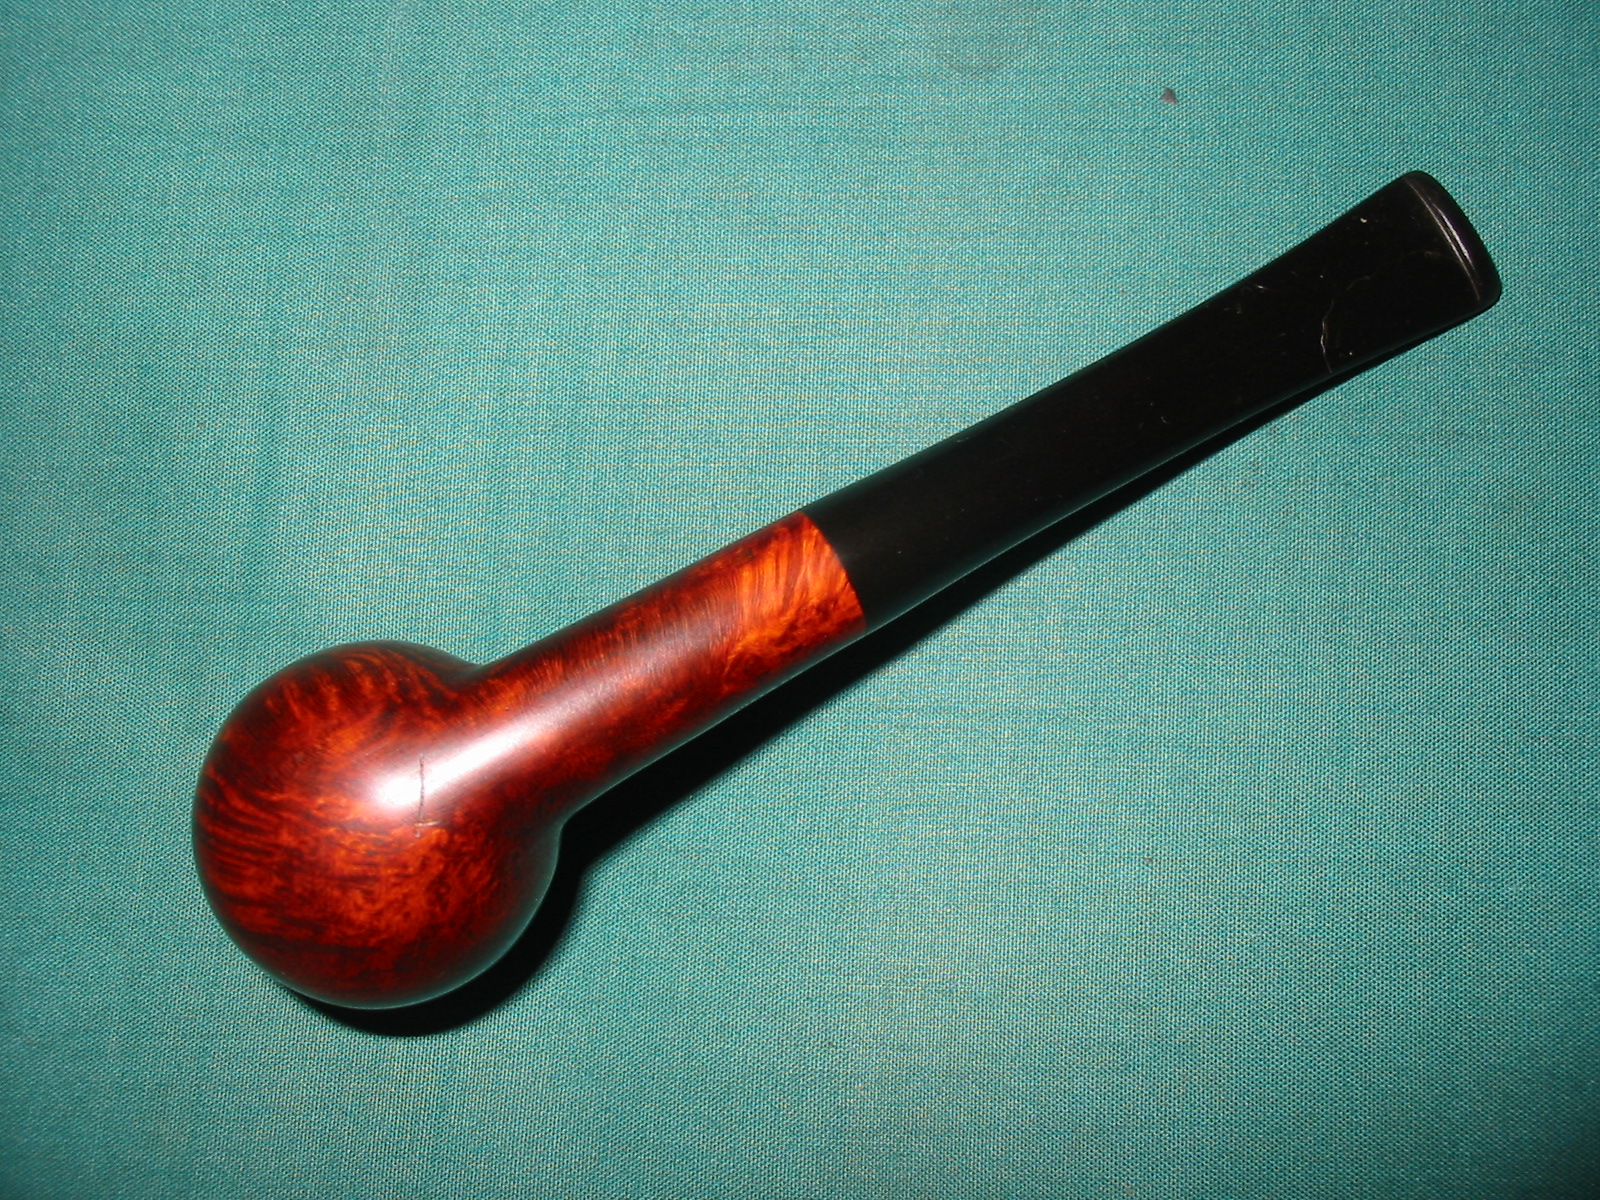
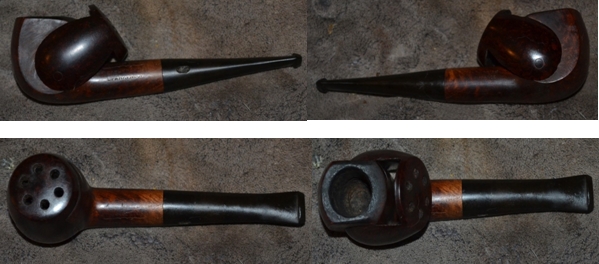
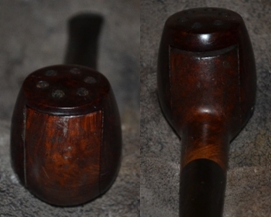
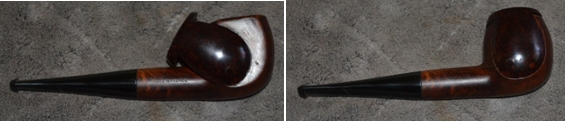
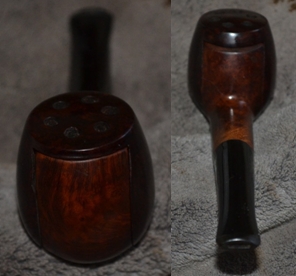
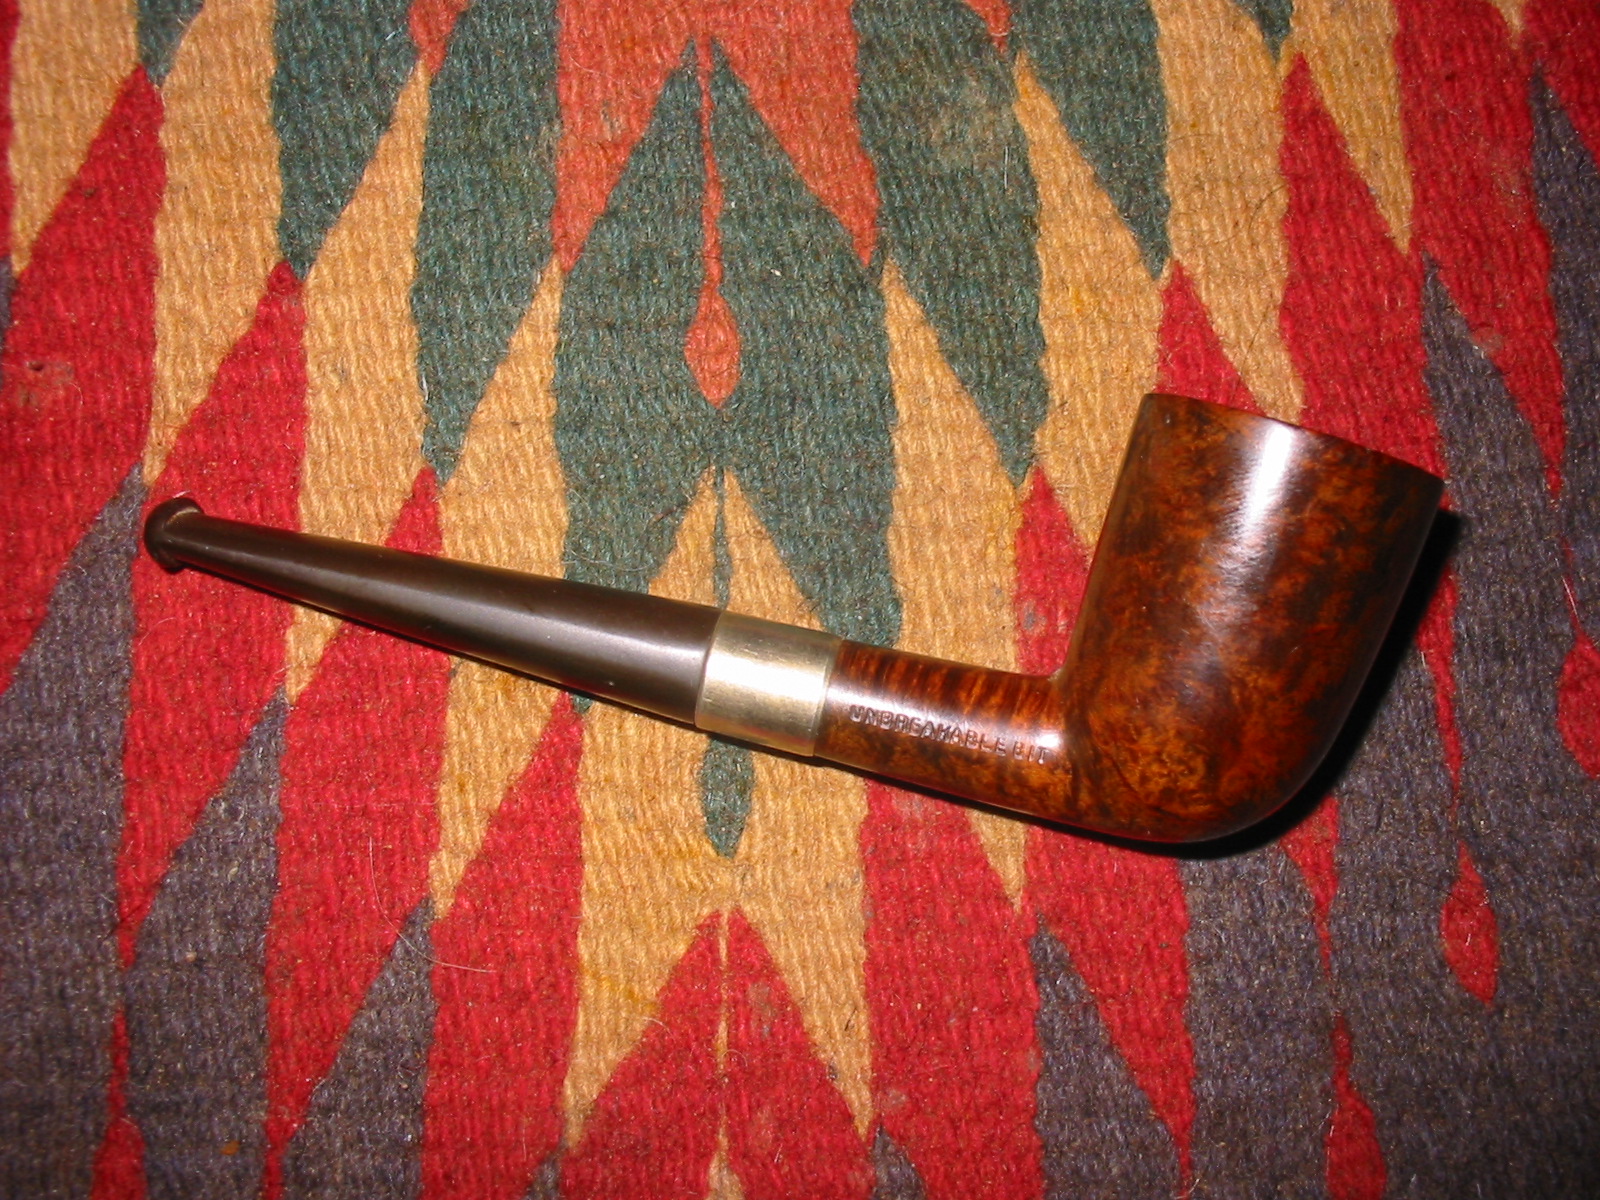
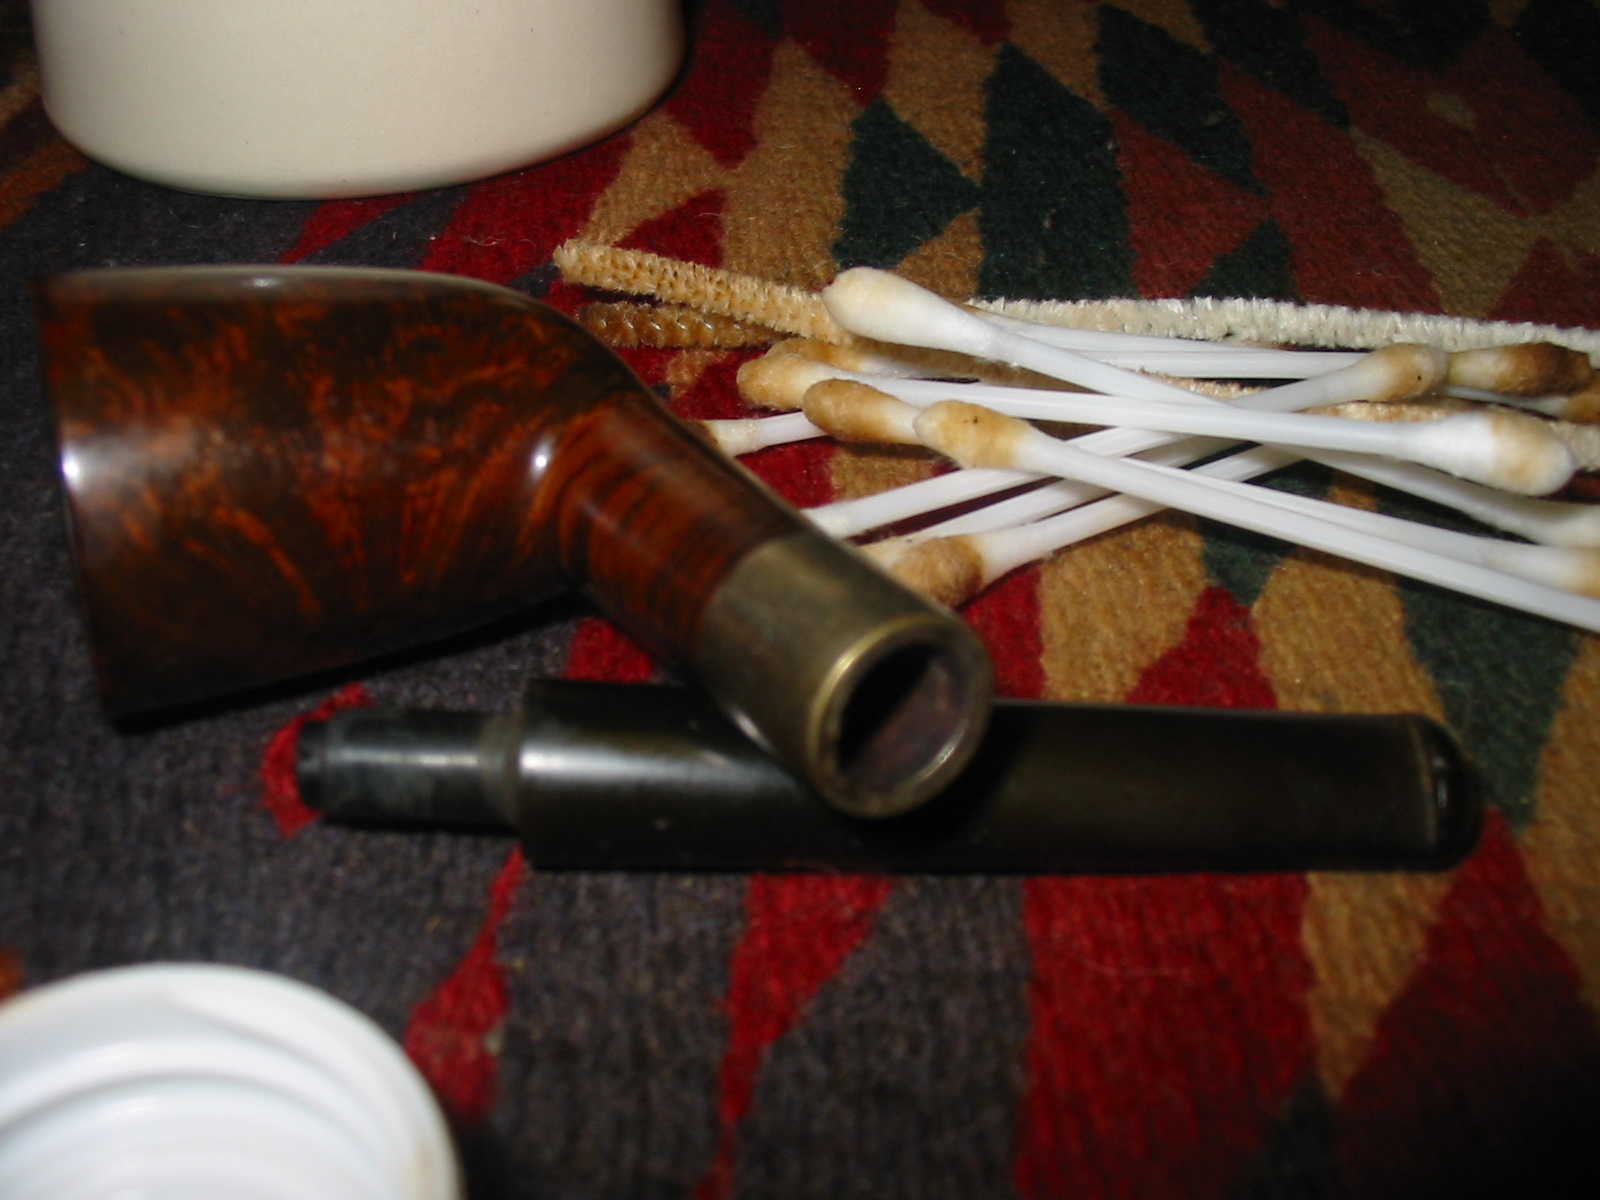
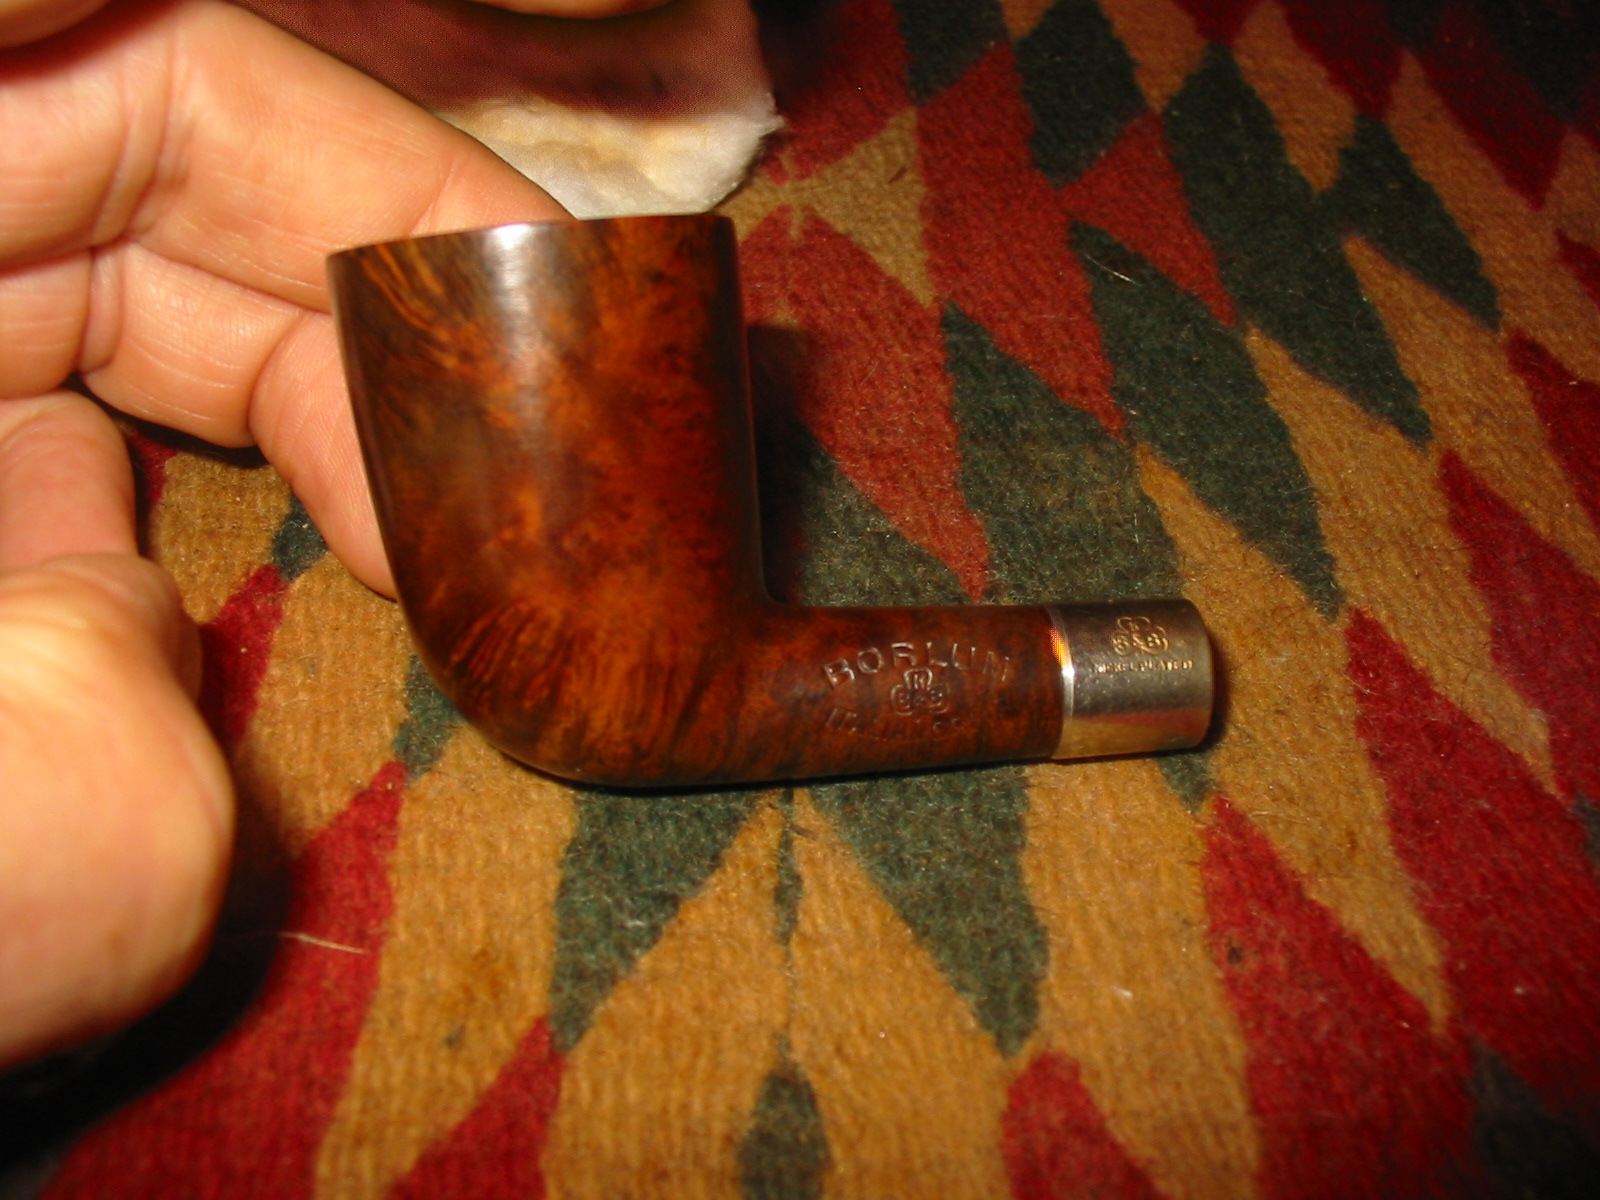
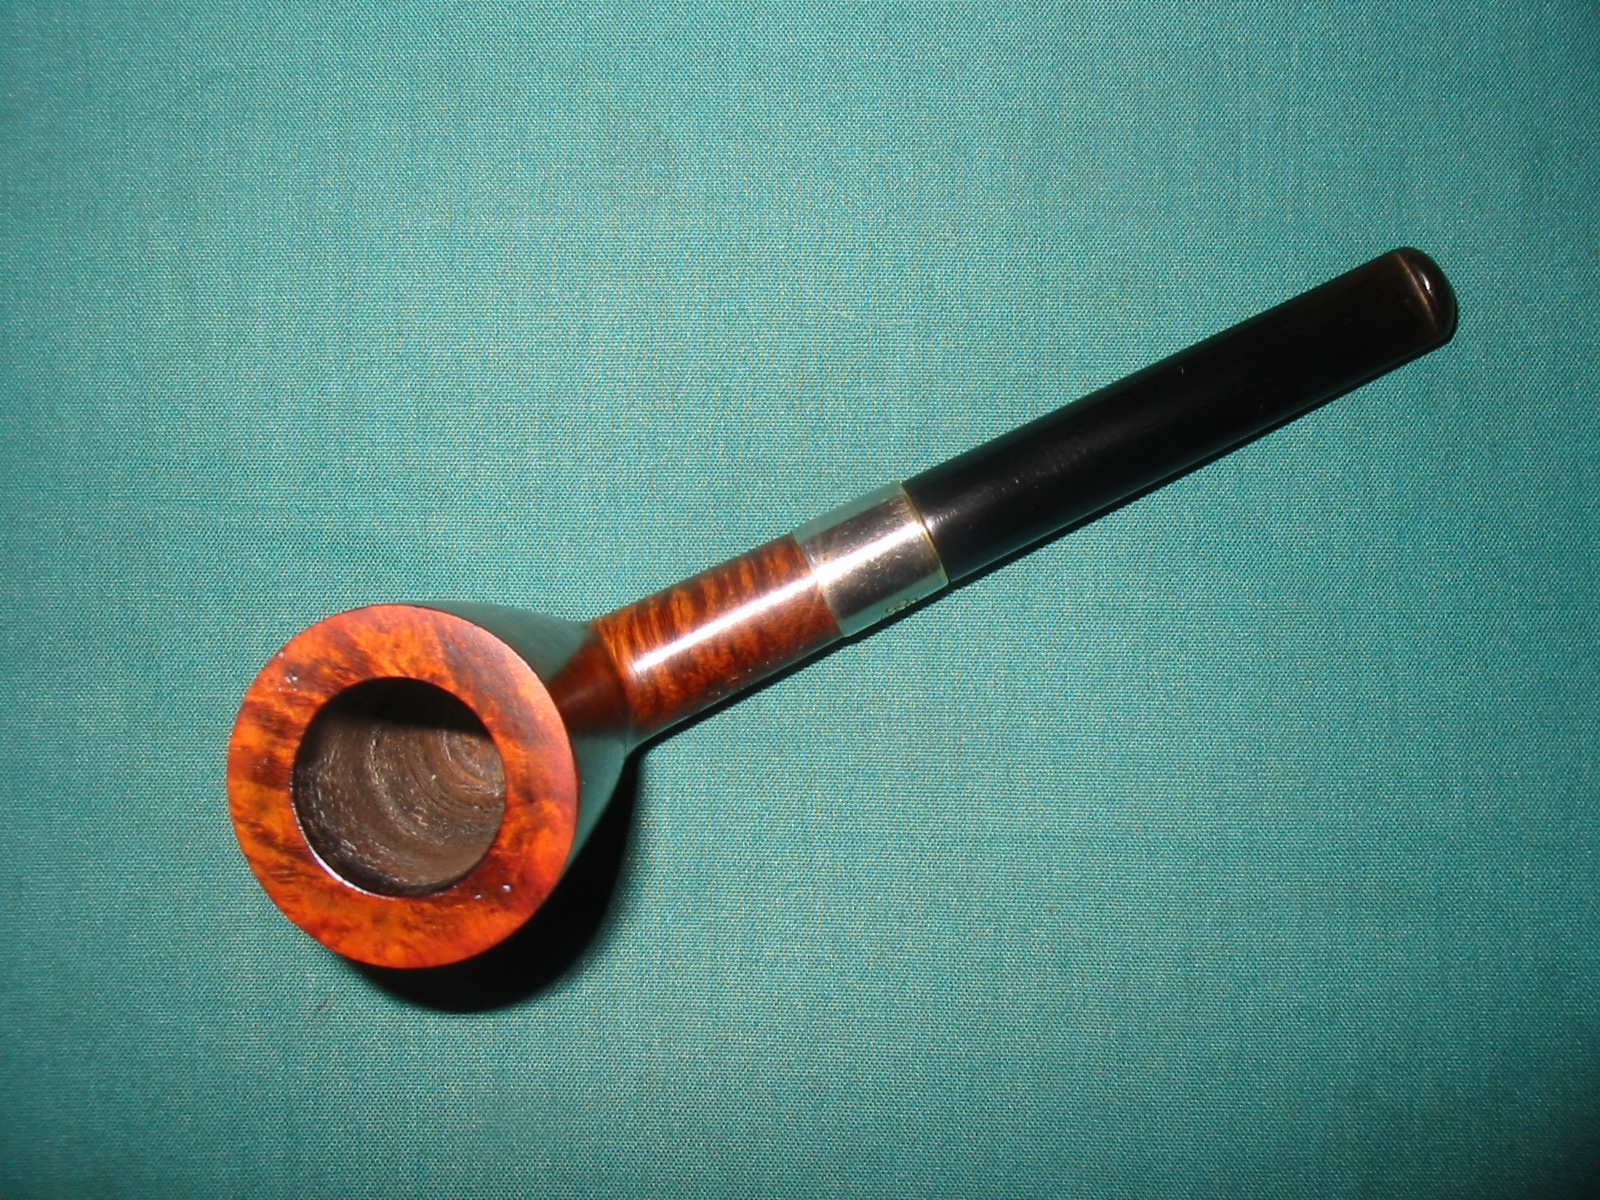
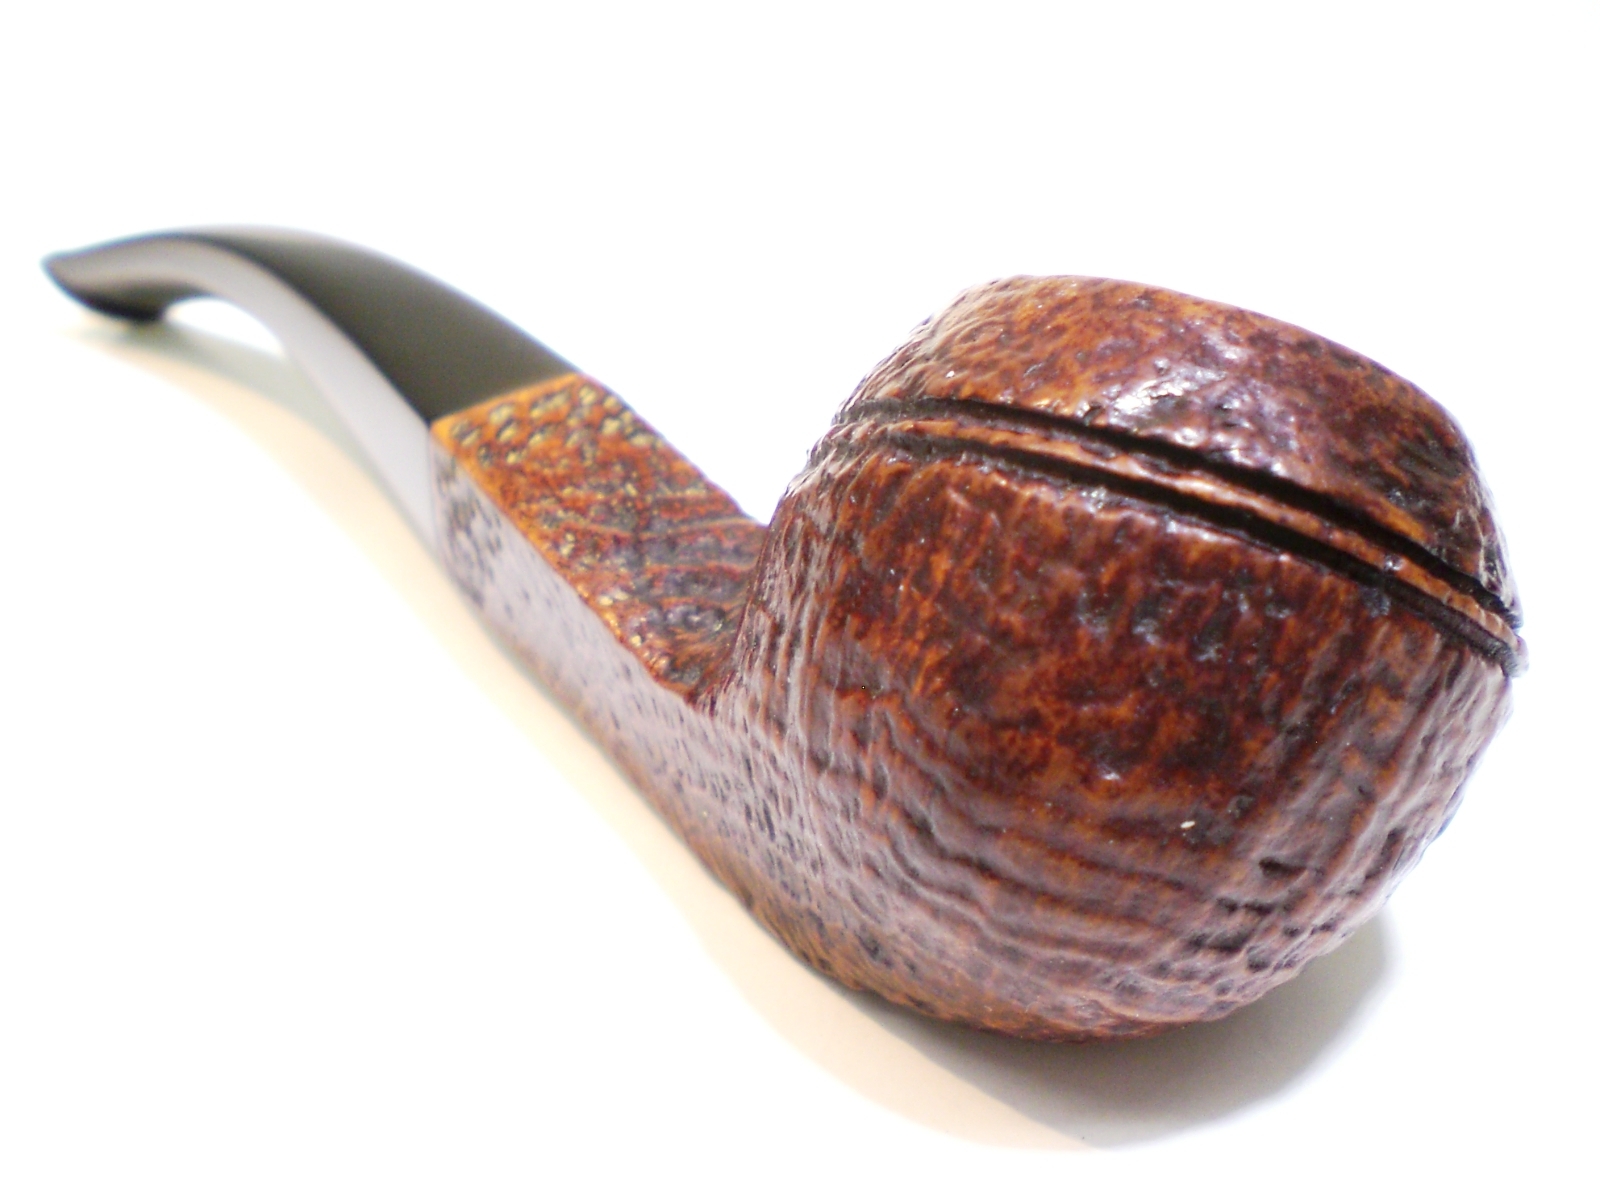
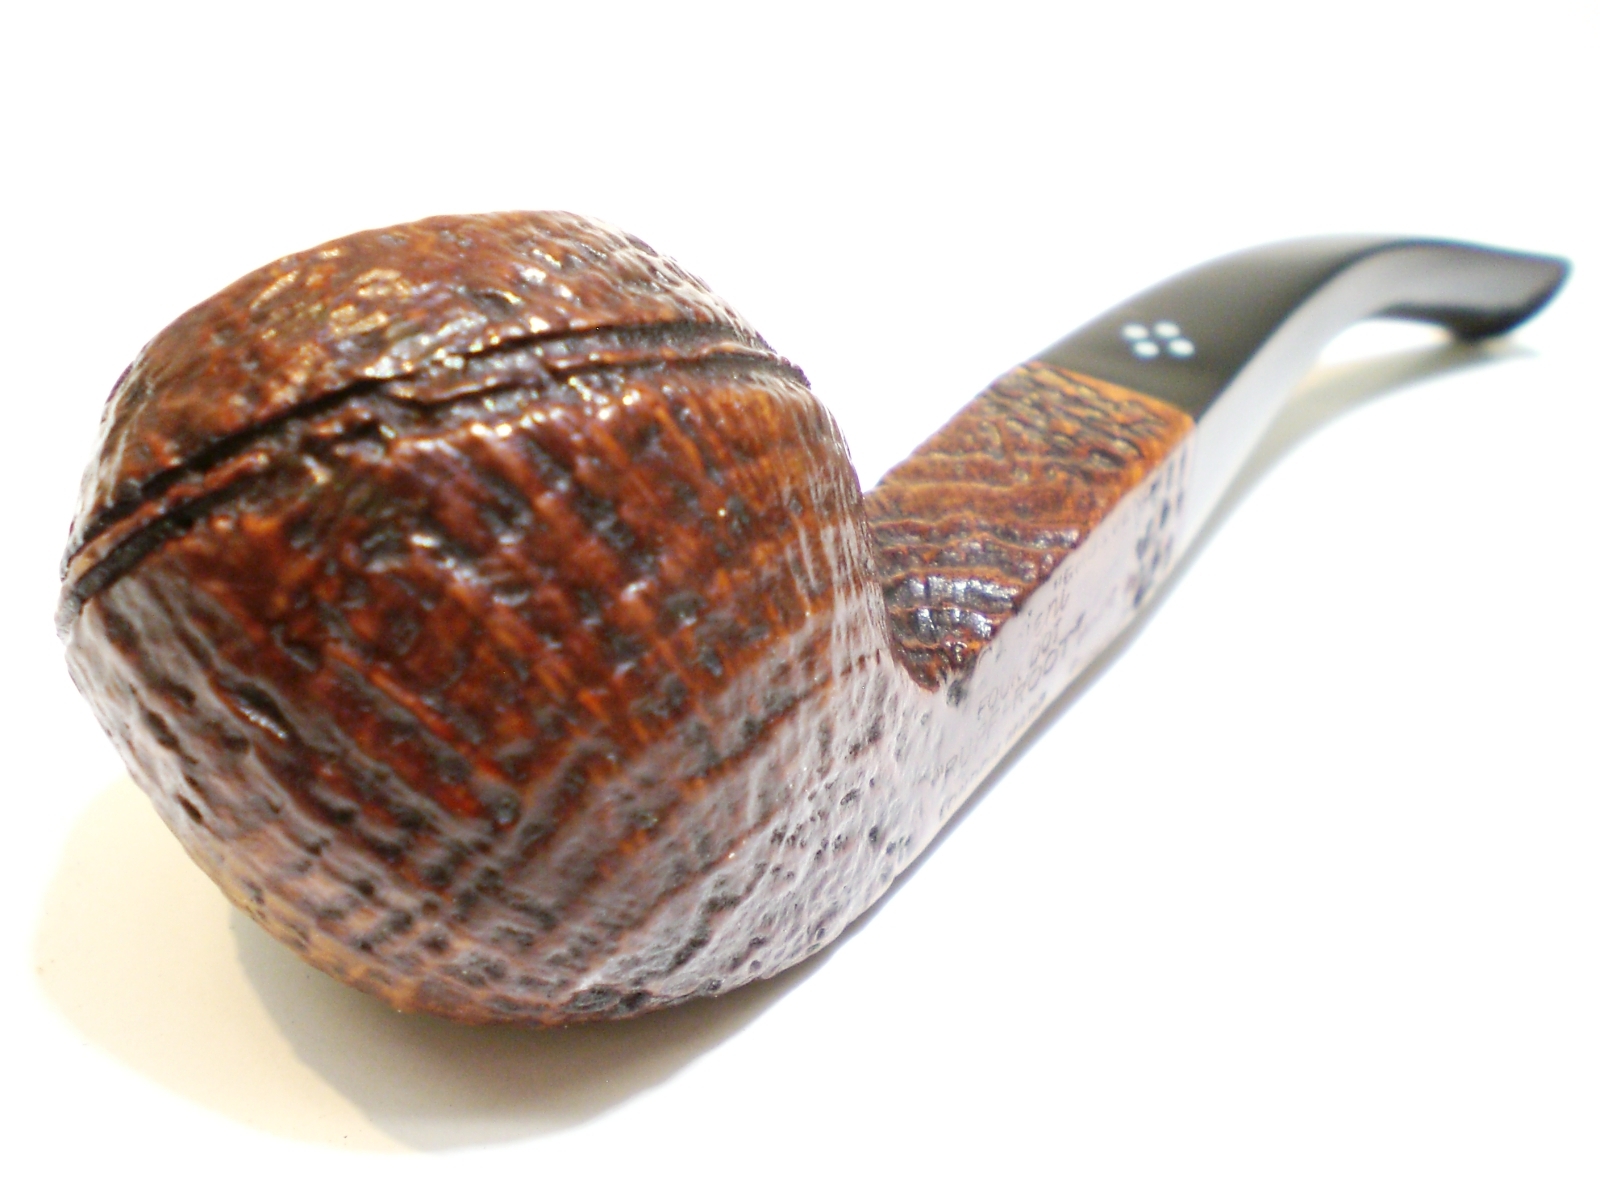
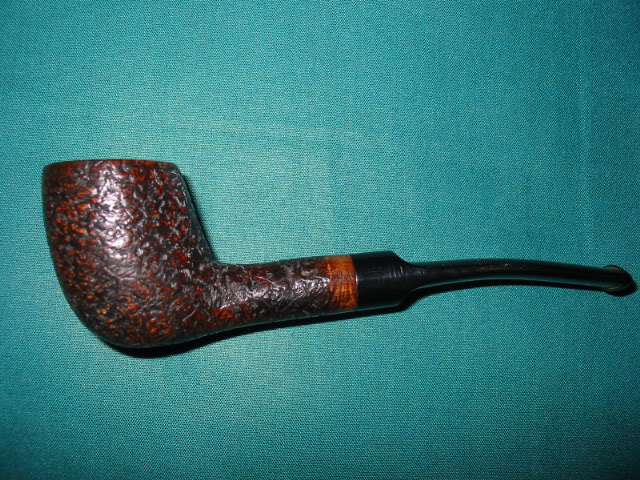
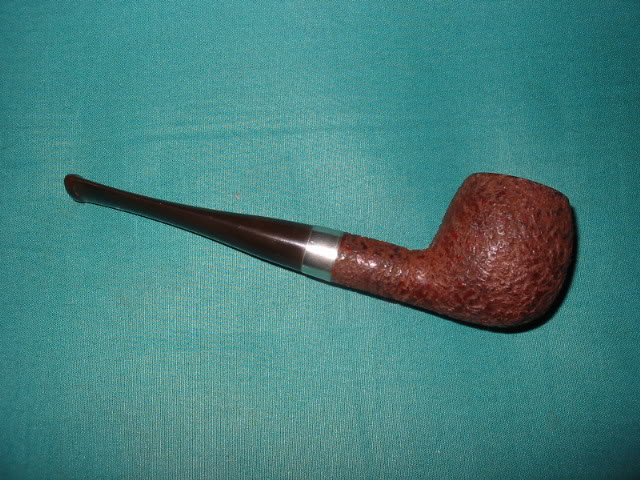
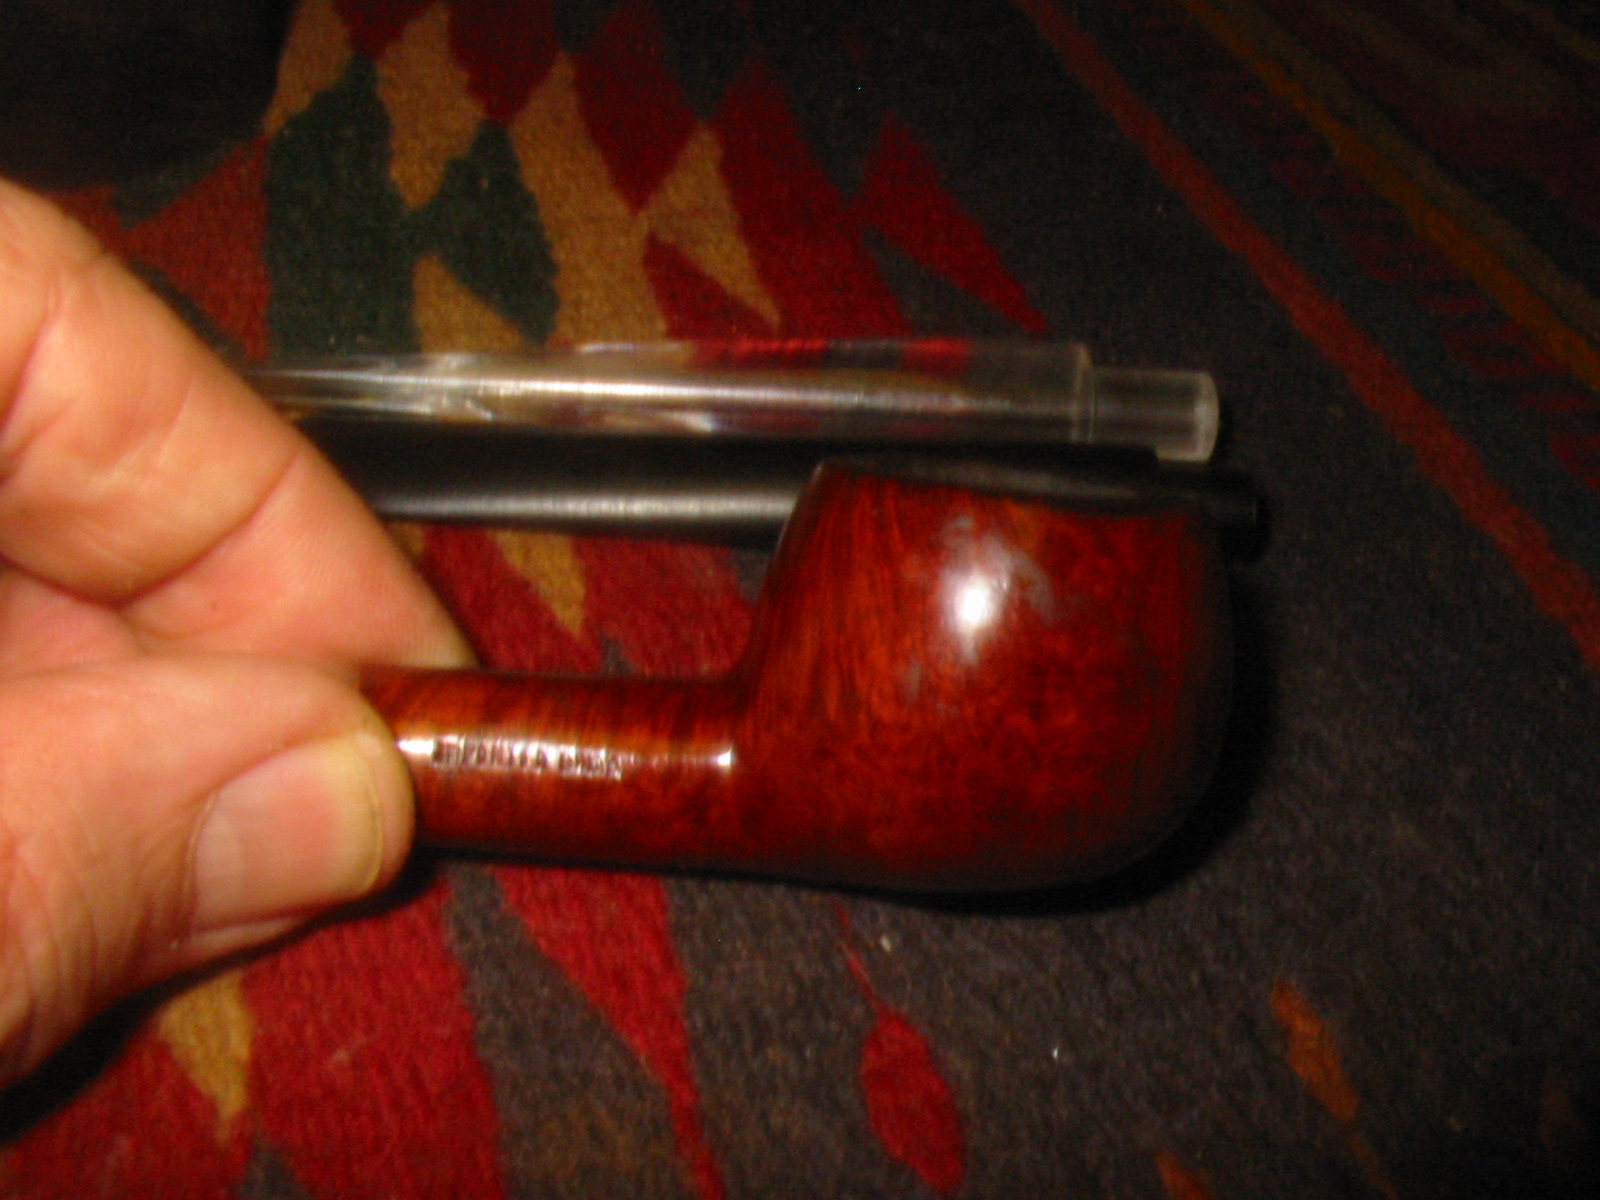
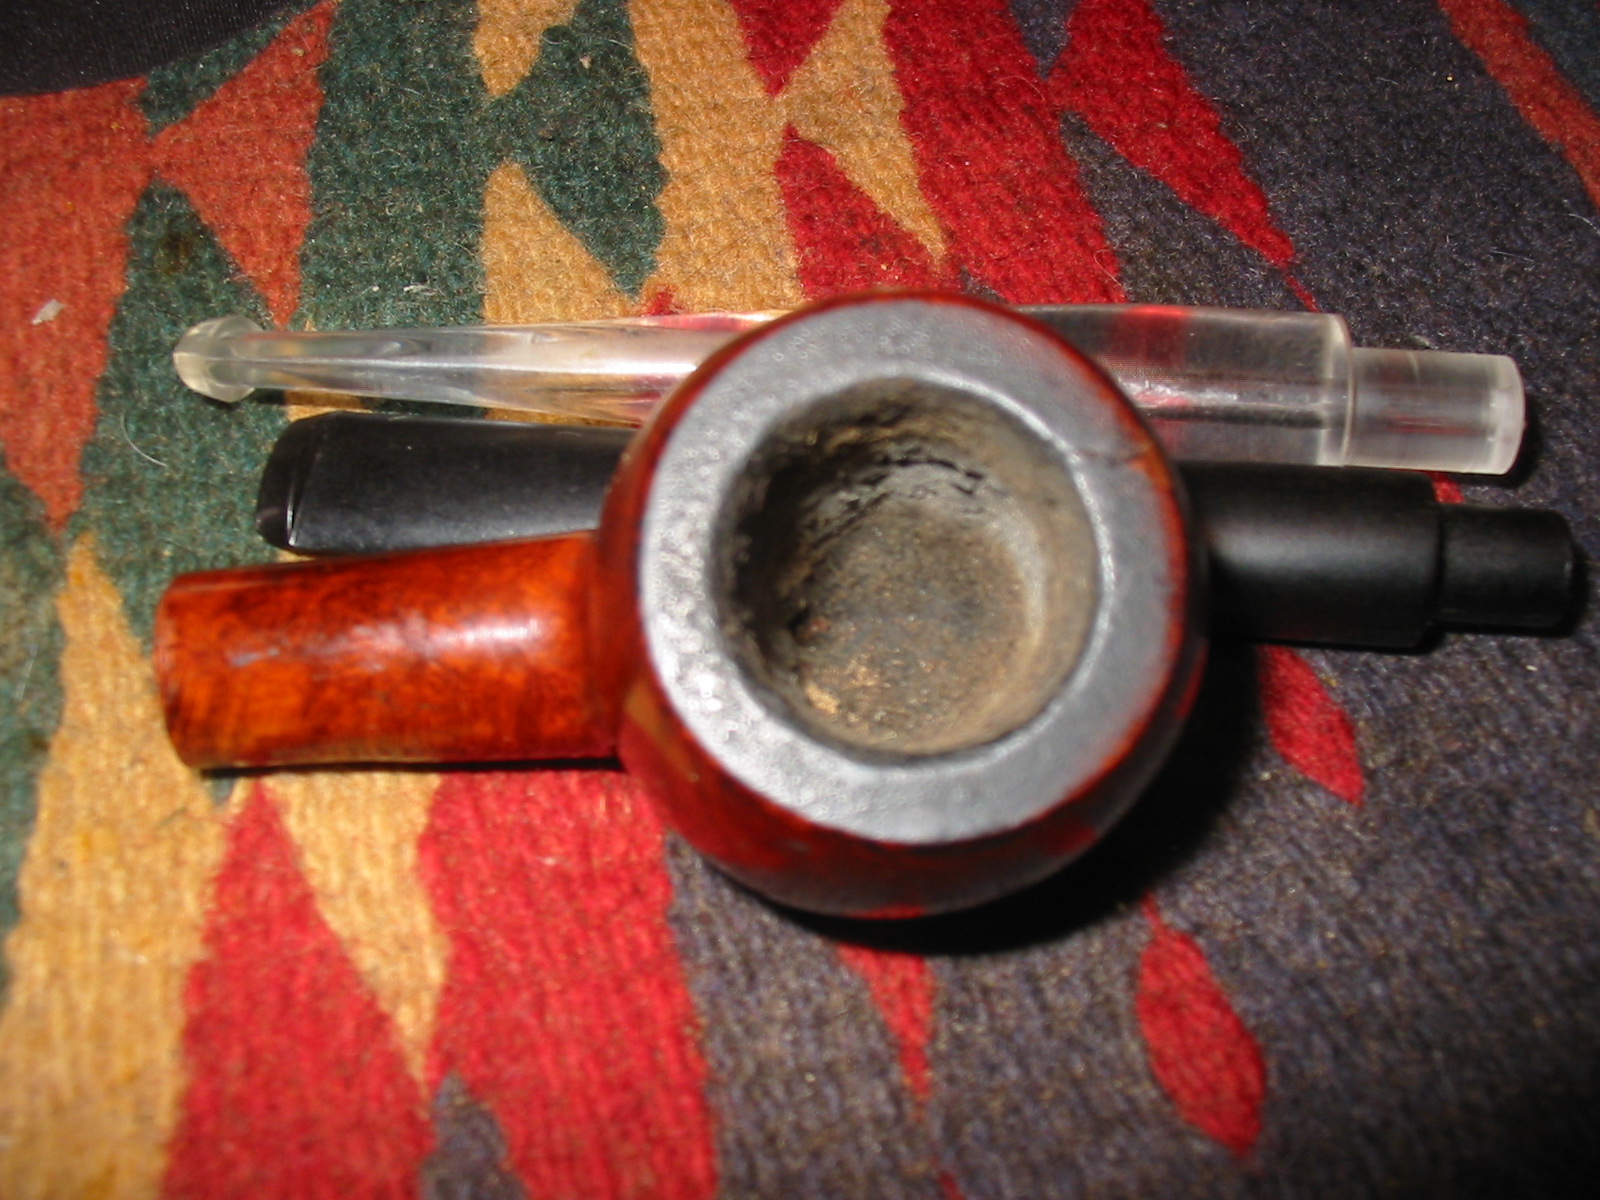
The second Television Pipe I received was a prince shape bowl without a stem. From the previous post I found out that it was an English Brand with a long stem. The brand was sold by A. Grunfield Co. and was produced by Gasparini. That bit of information came from Jose Manuel Lopes – Pipes Artisans and Trademarks. The bowl had a thick coat of varnish and a large fill on the front of the bowl. It appeared to be a deep fill and went from the top edge of the rim down about a third of the bowl. It did not go all the way through the briar to the bowl itself. There was also a smaller fill on the bottom of the bowl near the shank bowl junction. The grain was very mixed. On the back side and on the left and right sides there was some nice straight grain. The front of the bowl looked bald with the fill in the middle. The rim had a tarry buildup and was rough. The bowl had an uneven cake on the inside. Since there was no stem with the pipe and I did not have any church warden stems on hand I had some choices to make on the stem. I had a vulcanite stem and a clear Lucite stem that had potential. They were both longer than a typical prince stem but still not a church warden style. IMG_7880 IMG_7881 IMG_7883 
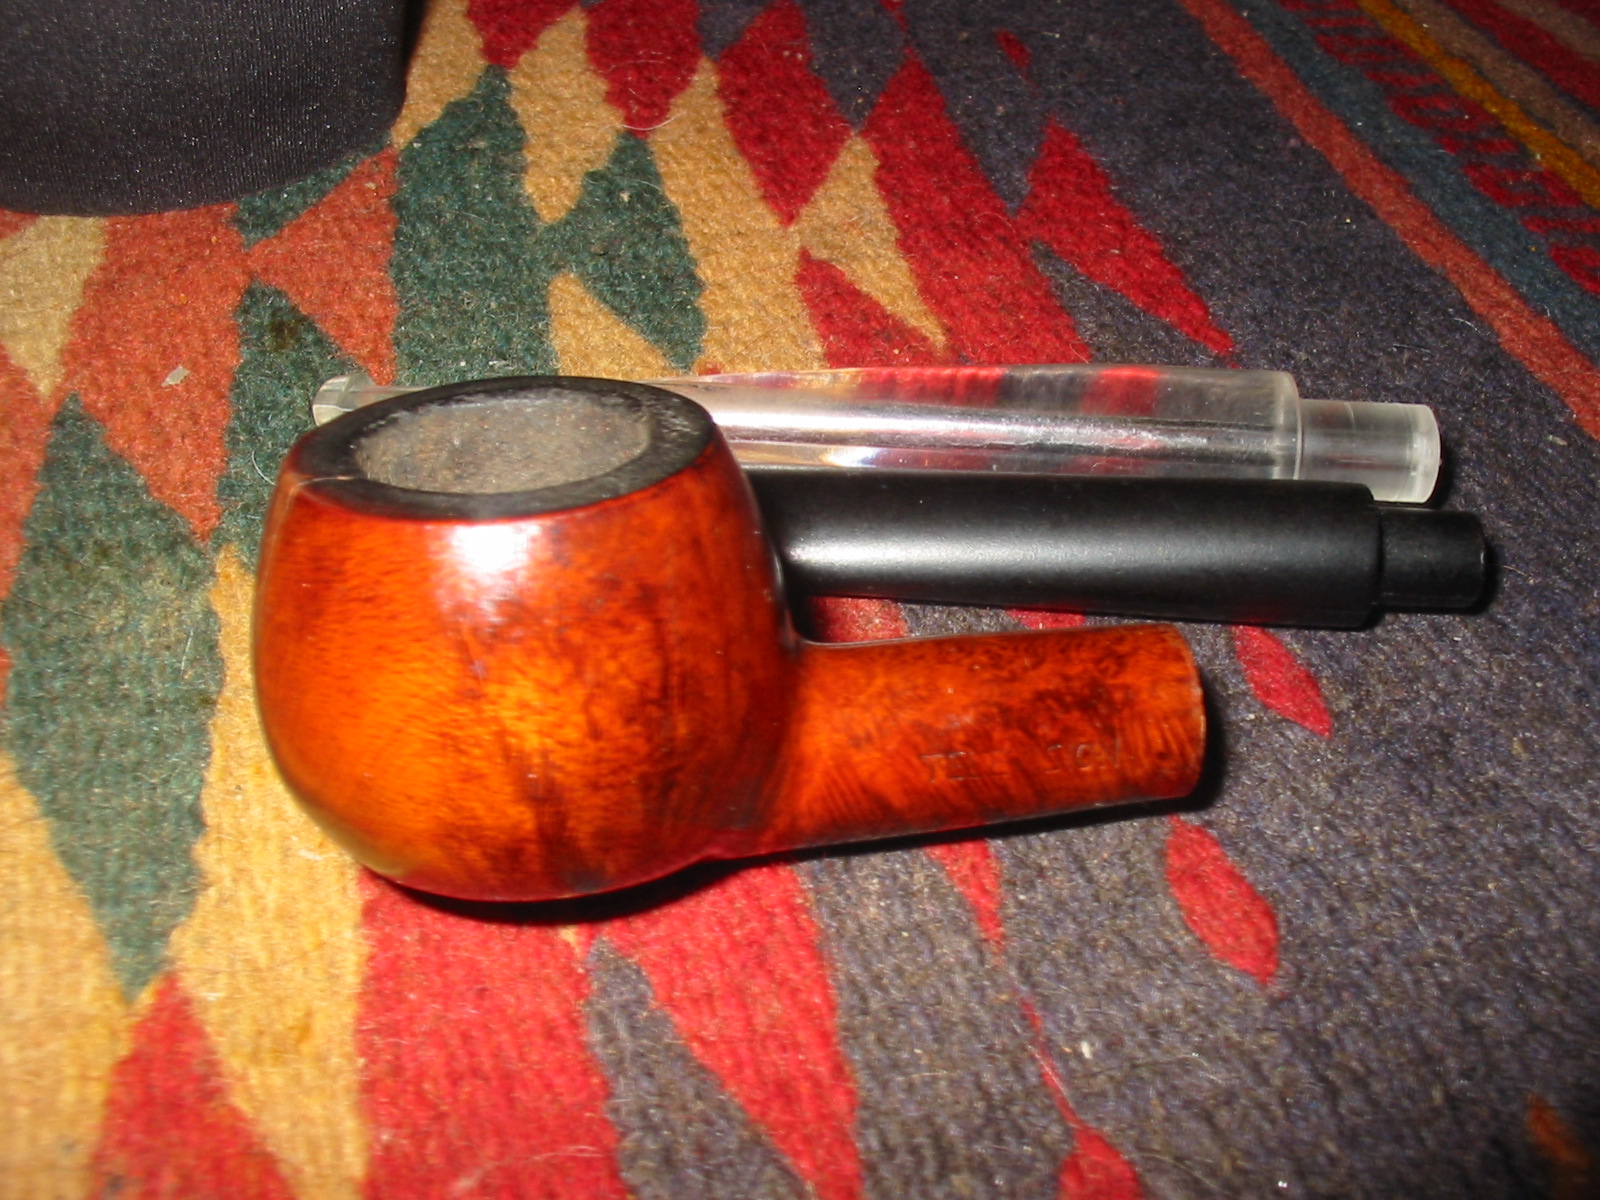
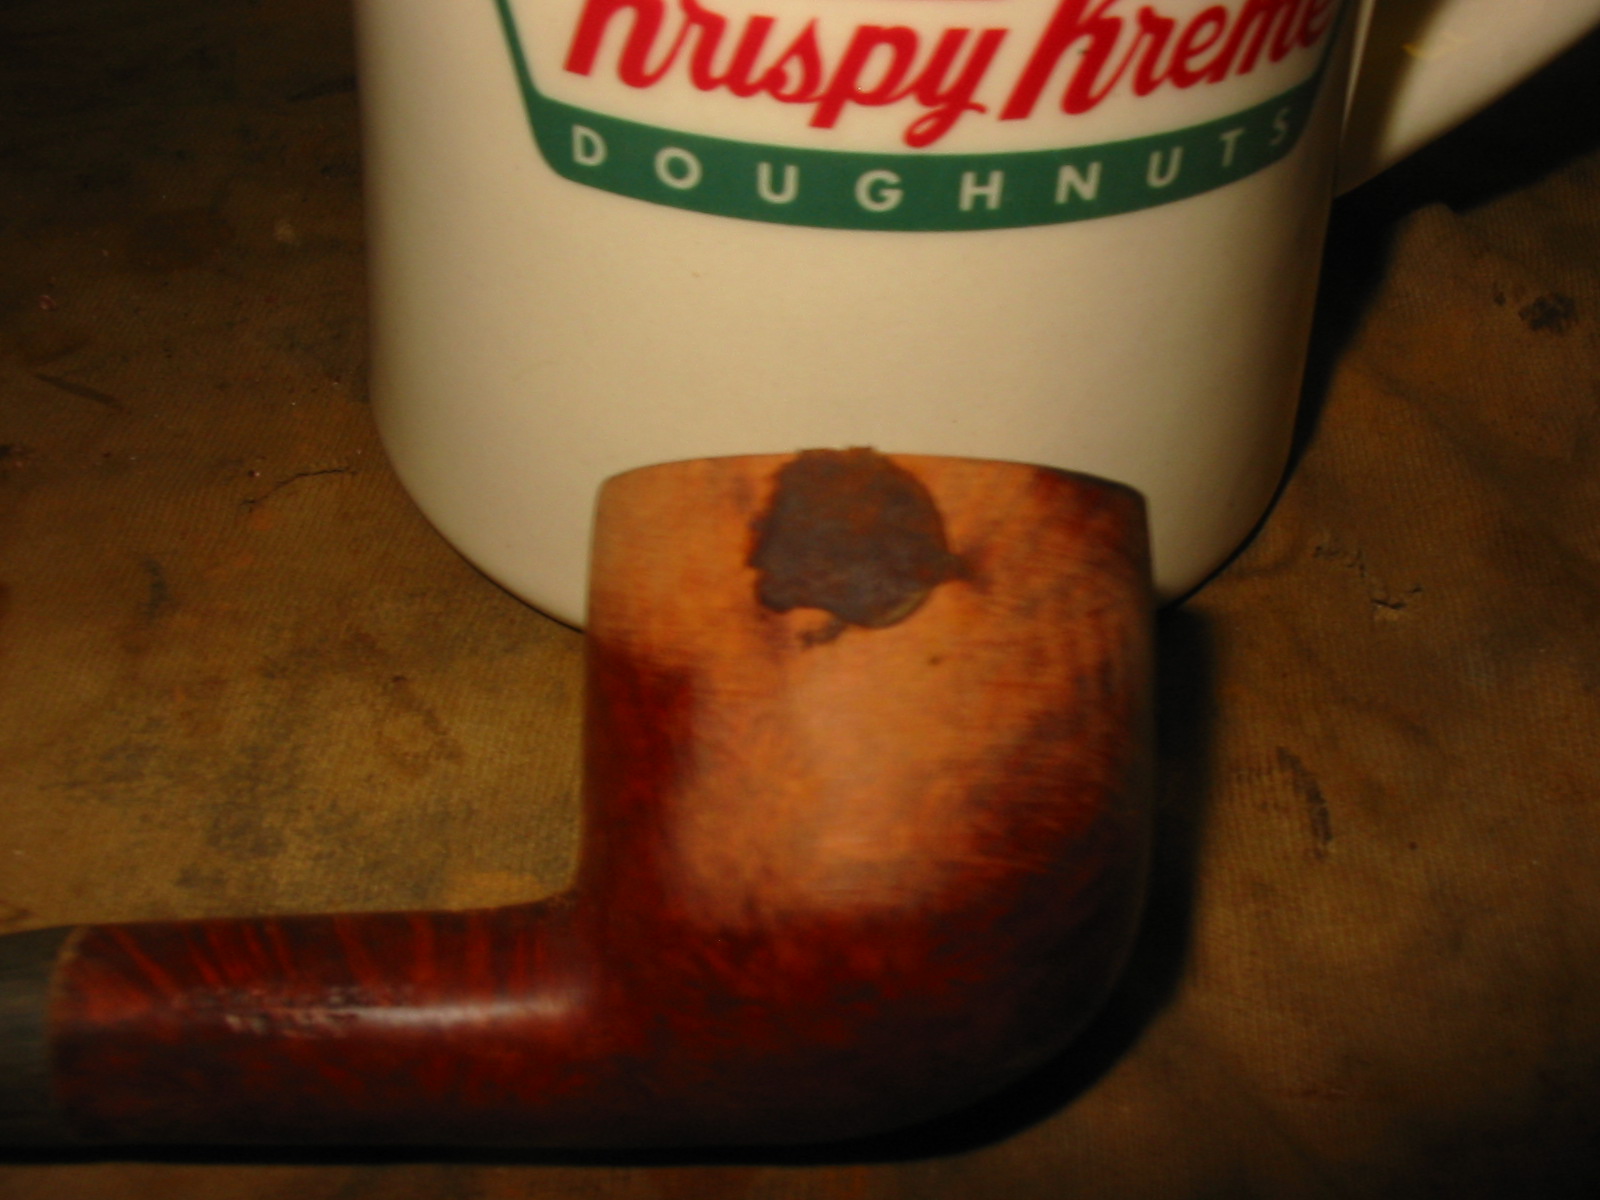
I wiped the bowl down with acetone on a cotton pad to remove the varnish and the grit that was in the finish. IMG_7885 IMG_7887 
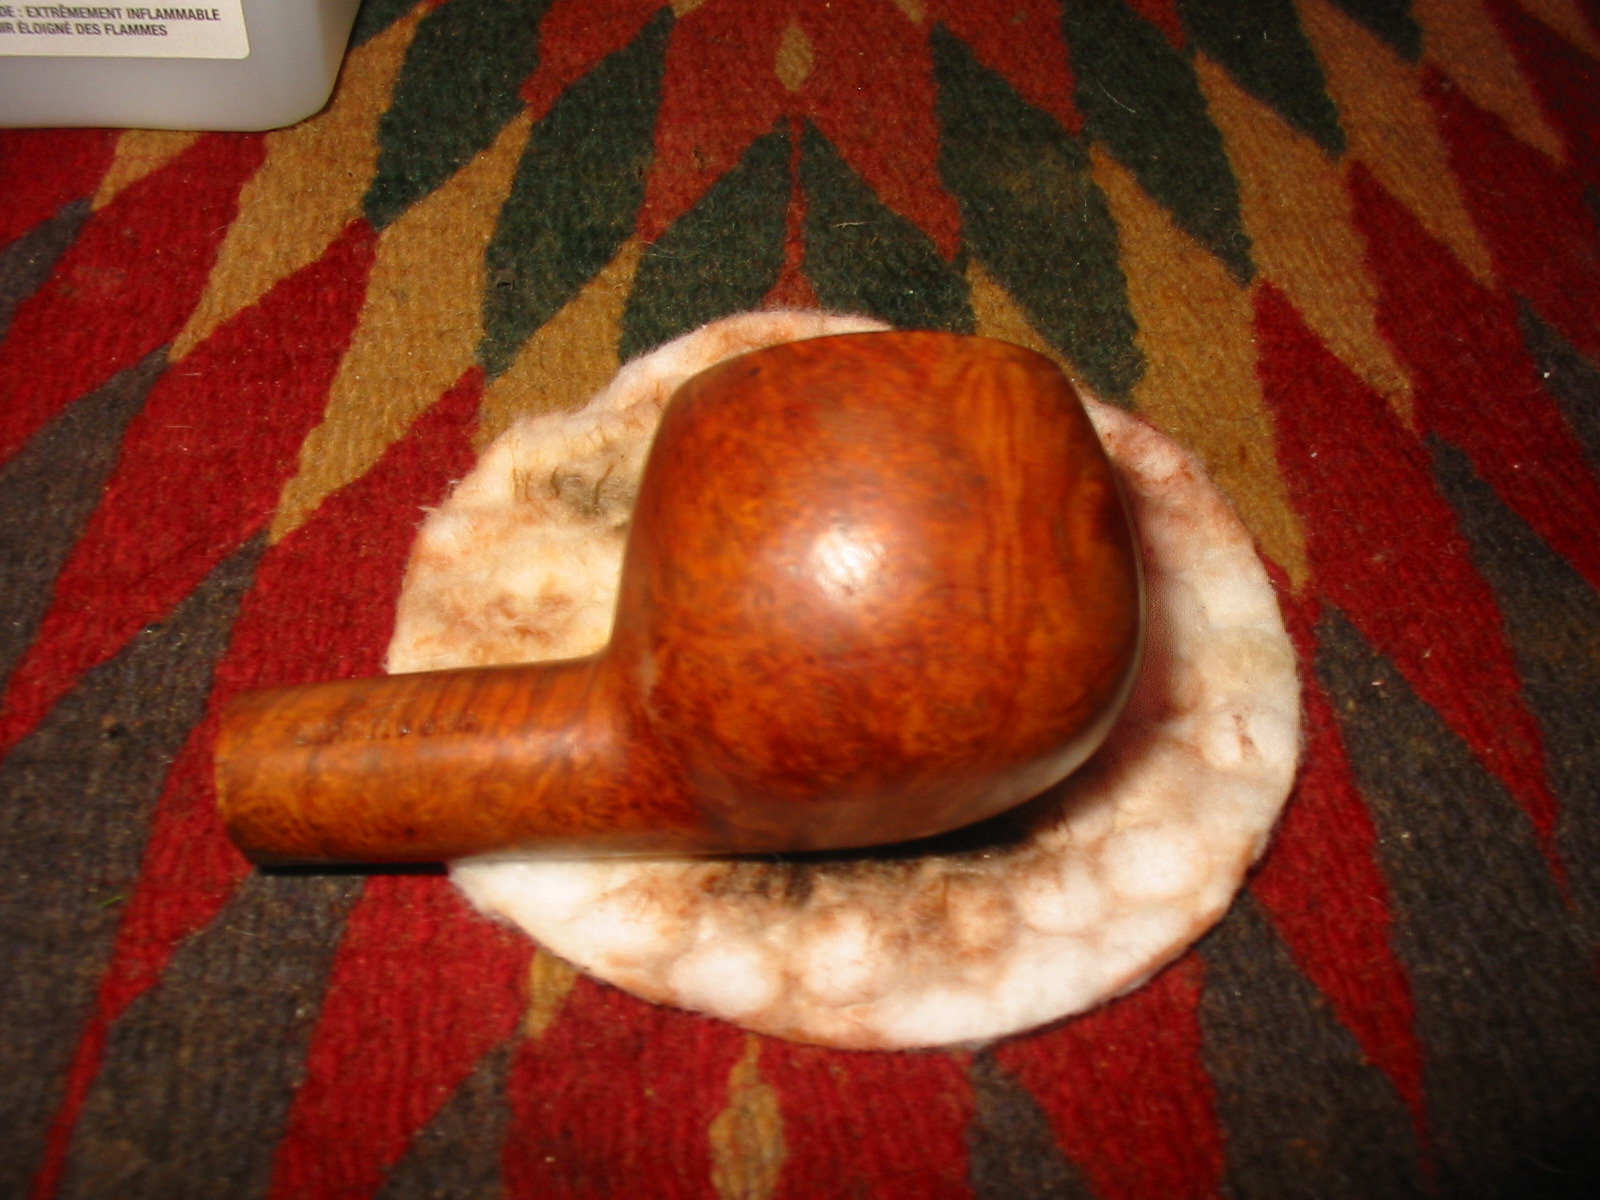
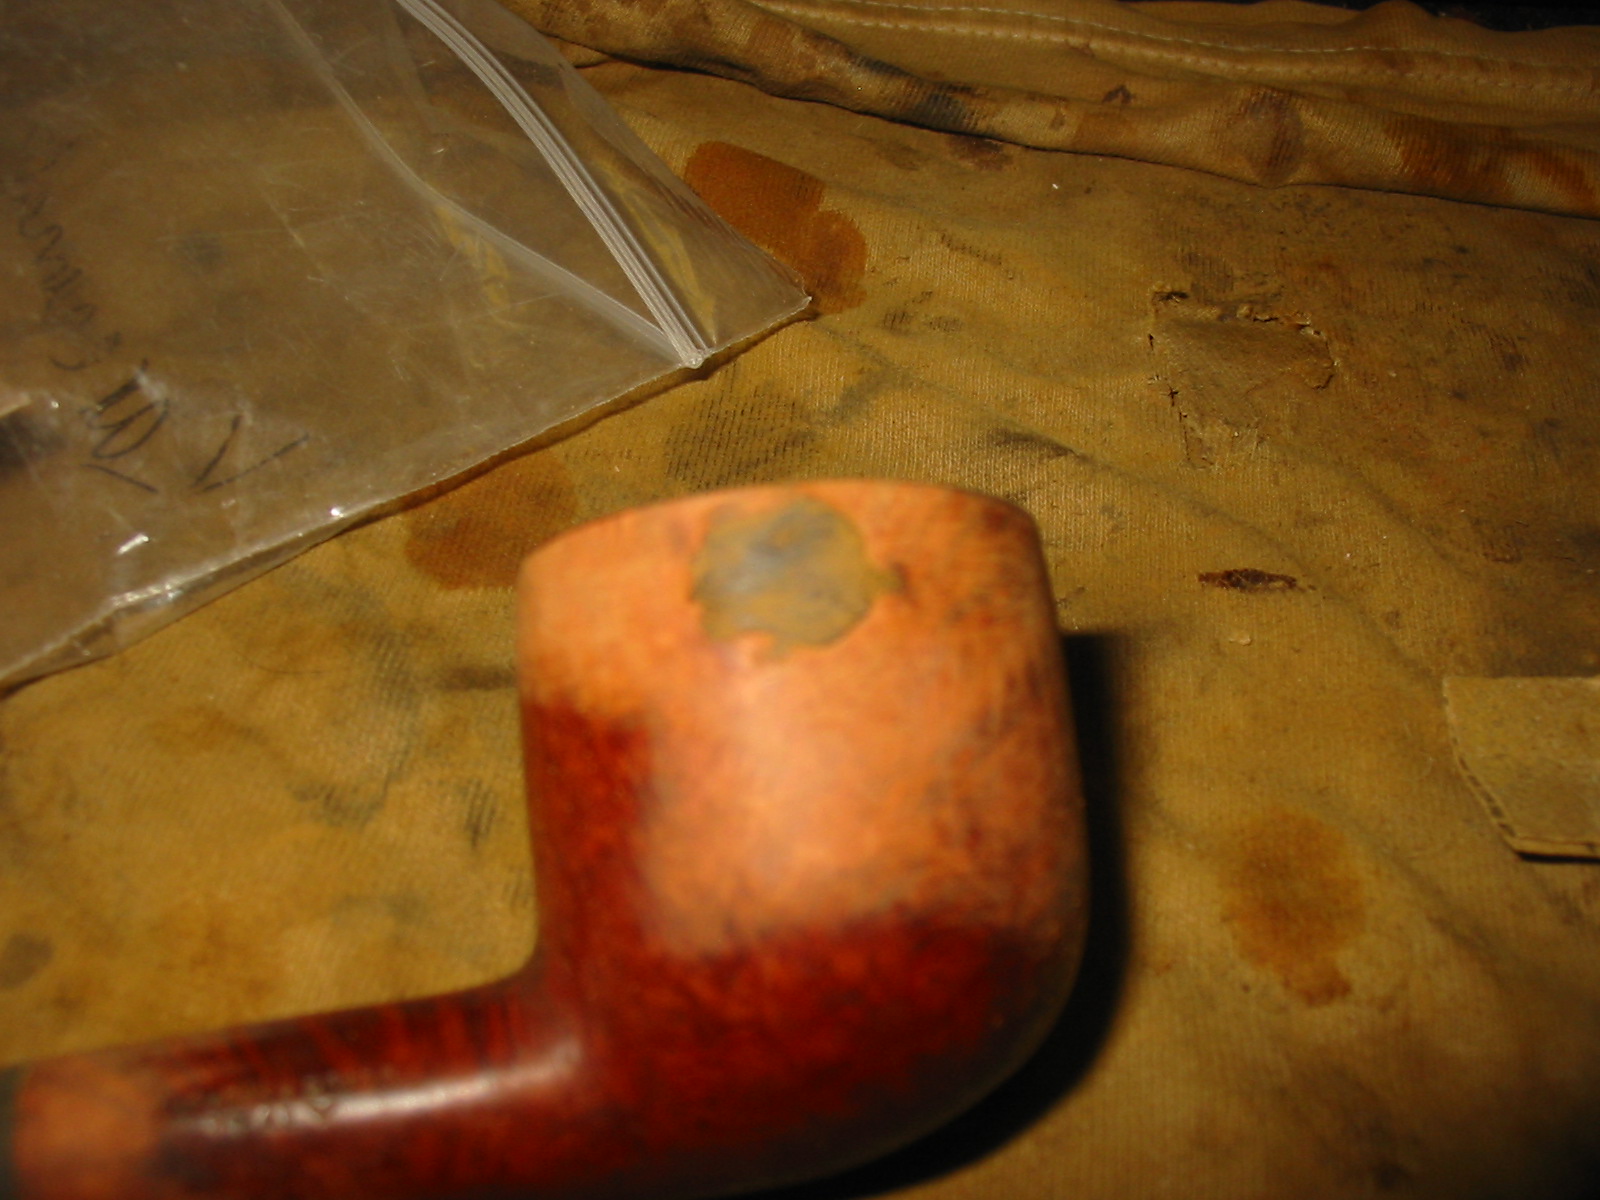
I set up my topping board and 220 grit sandpaper to top the bowl and smooth out the surface. With the fill going from the rim down the side I wanted to clean off the surface to see what repairs would need to be done. IMG_7888 
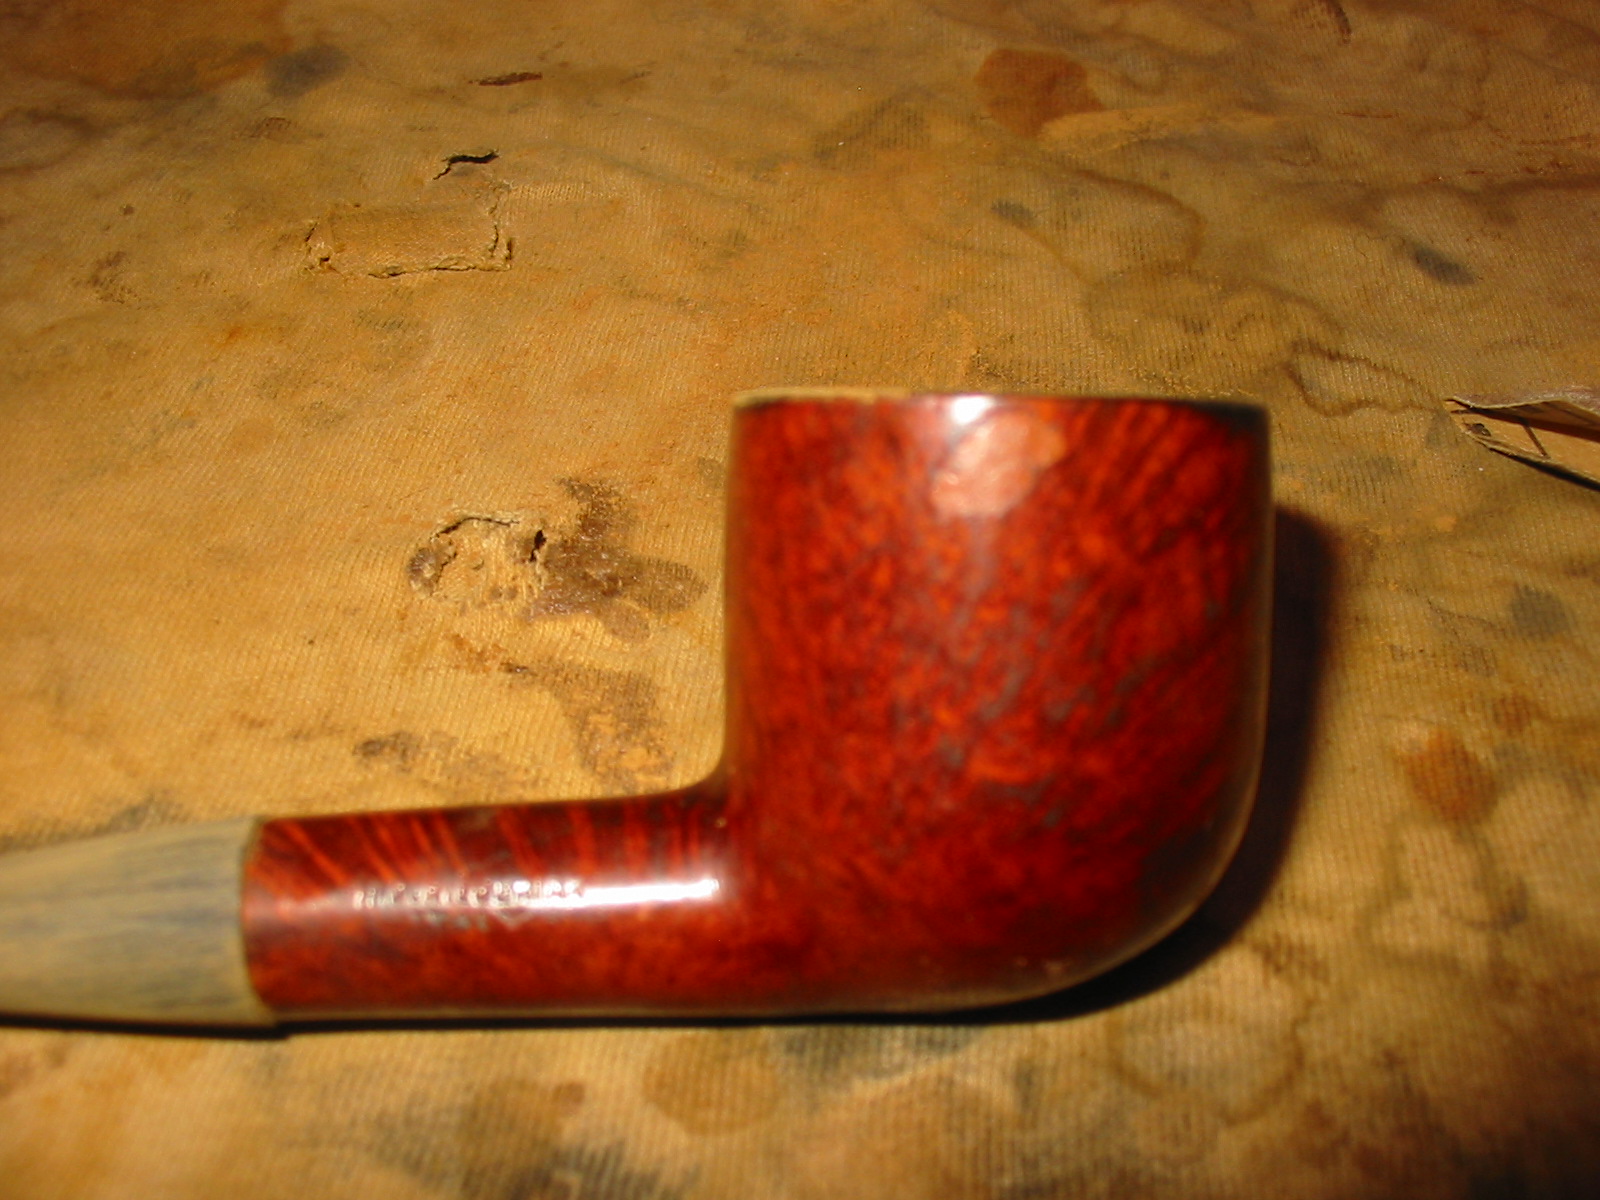
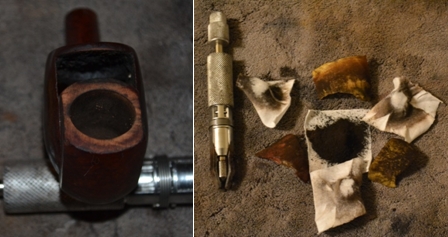
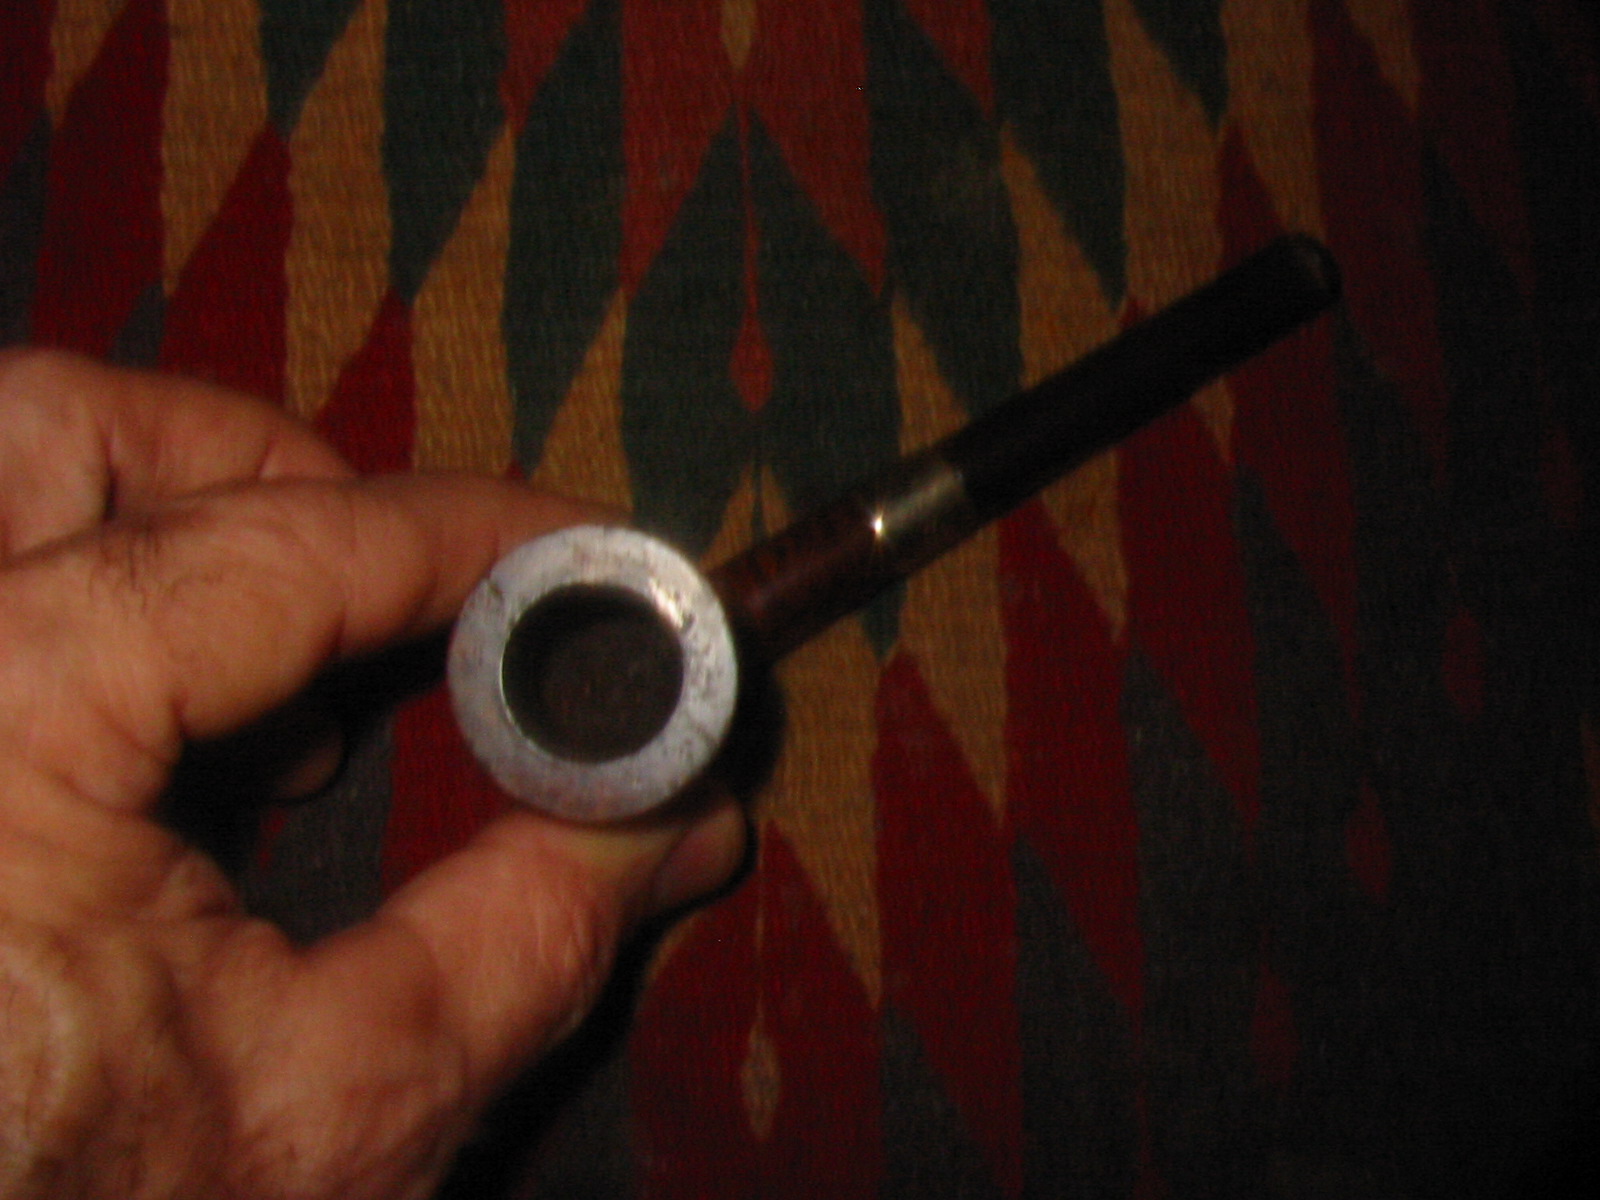
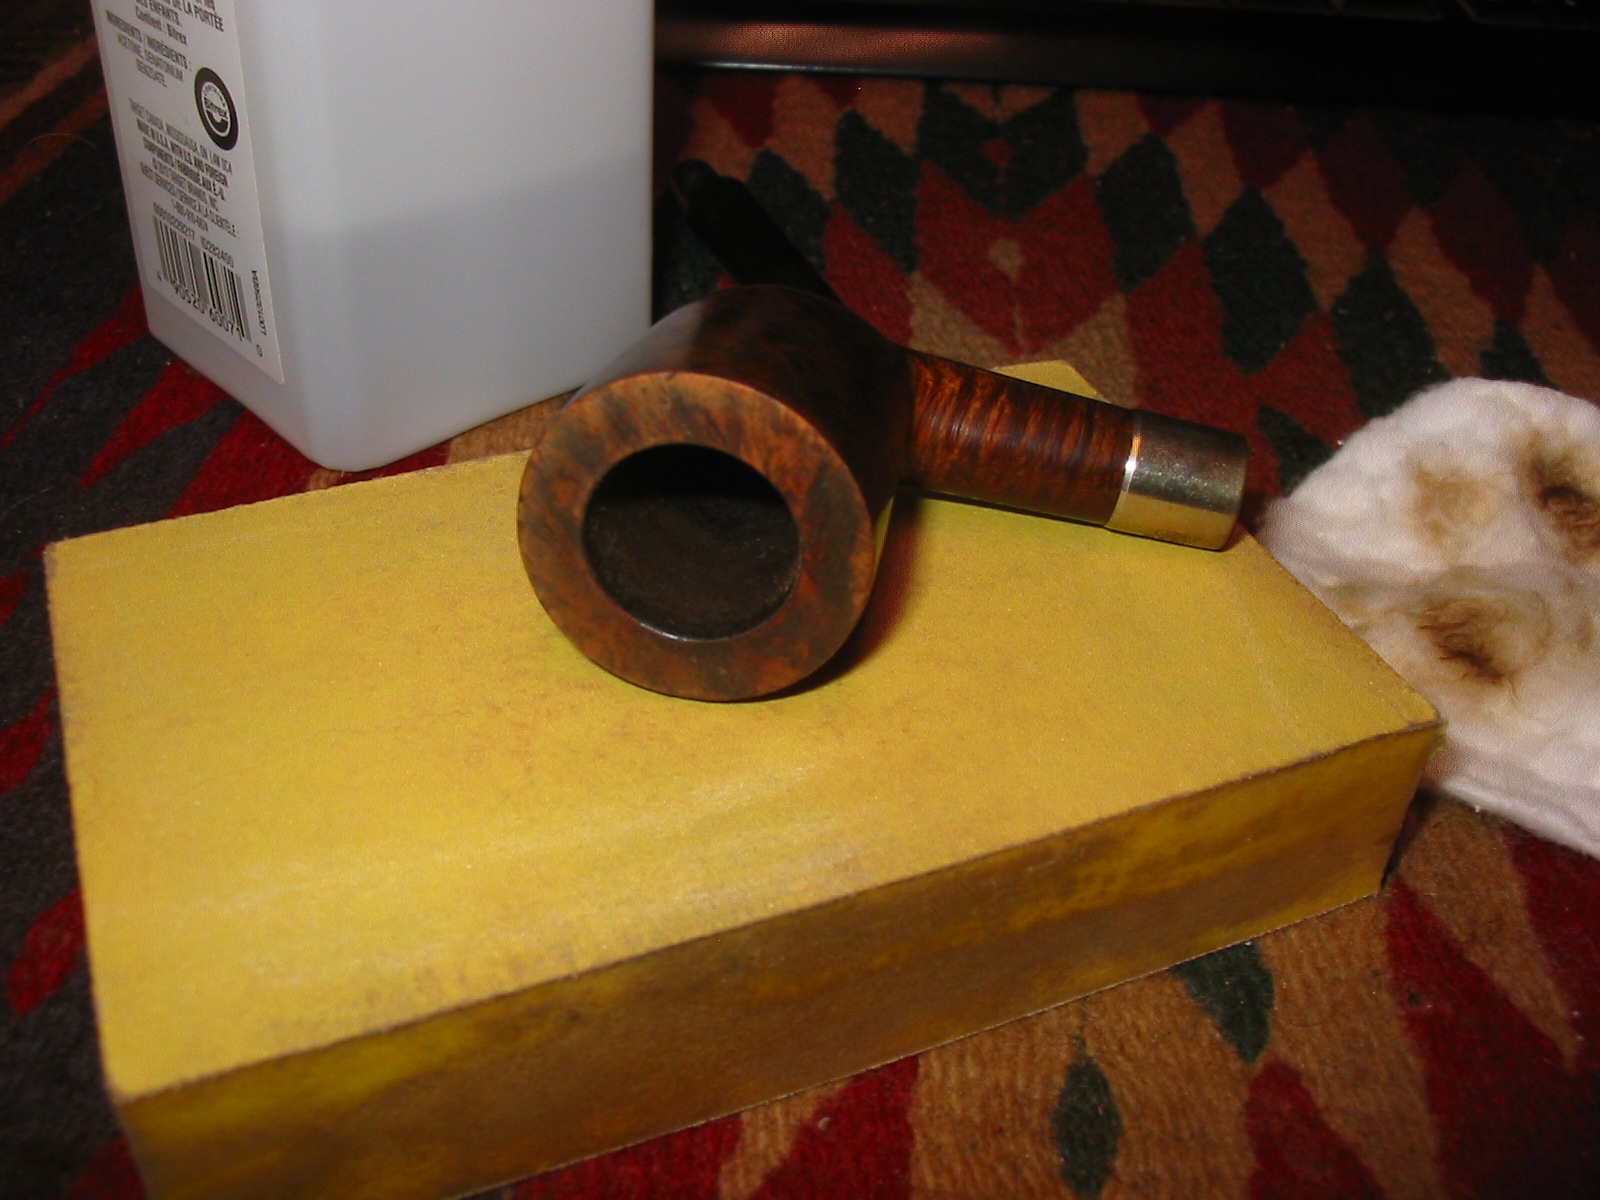
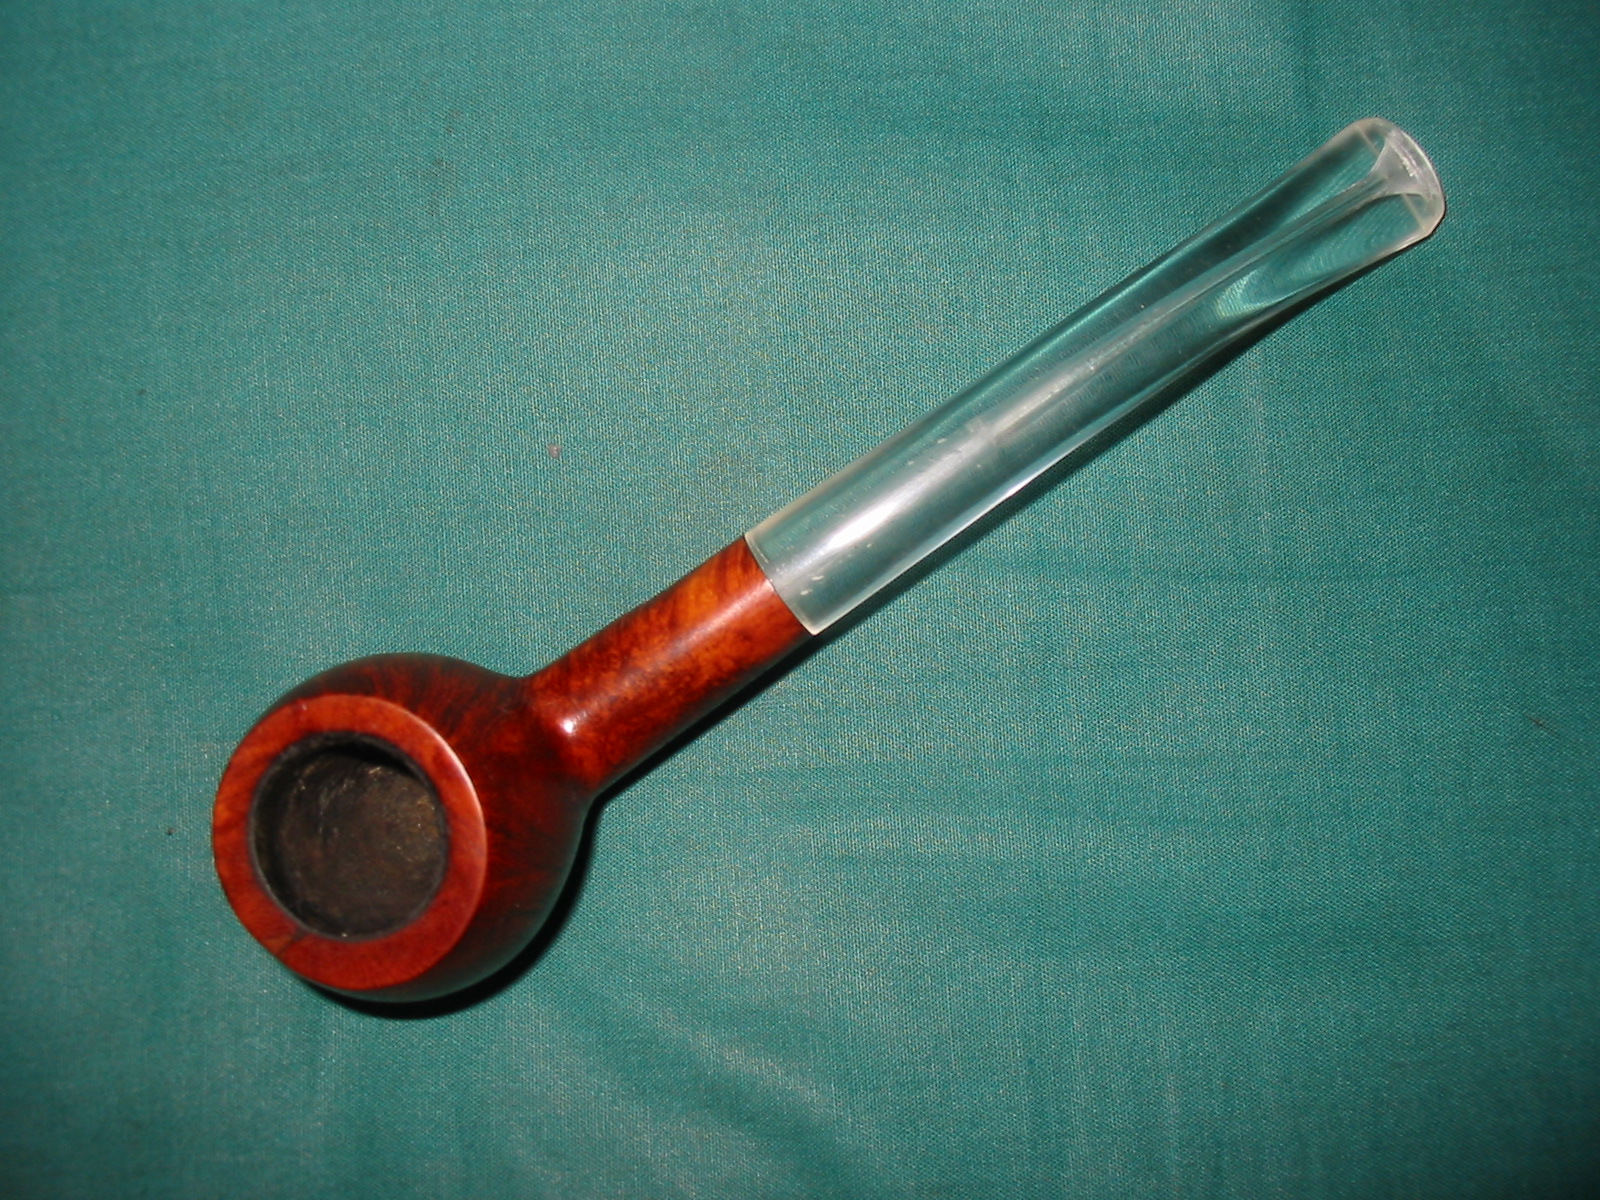
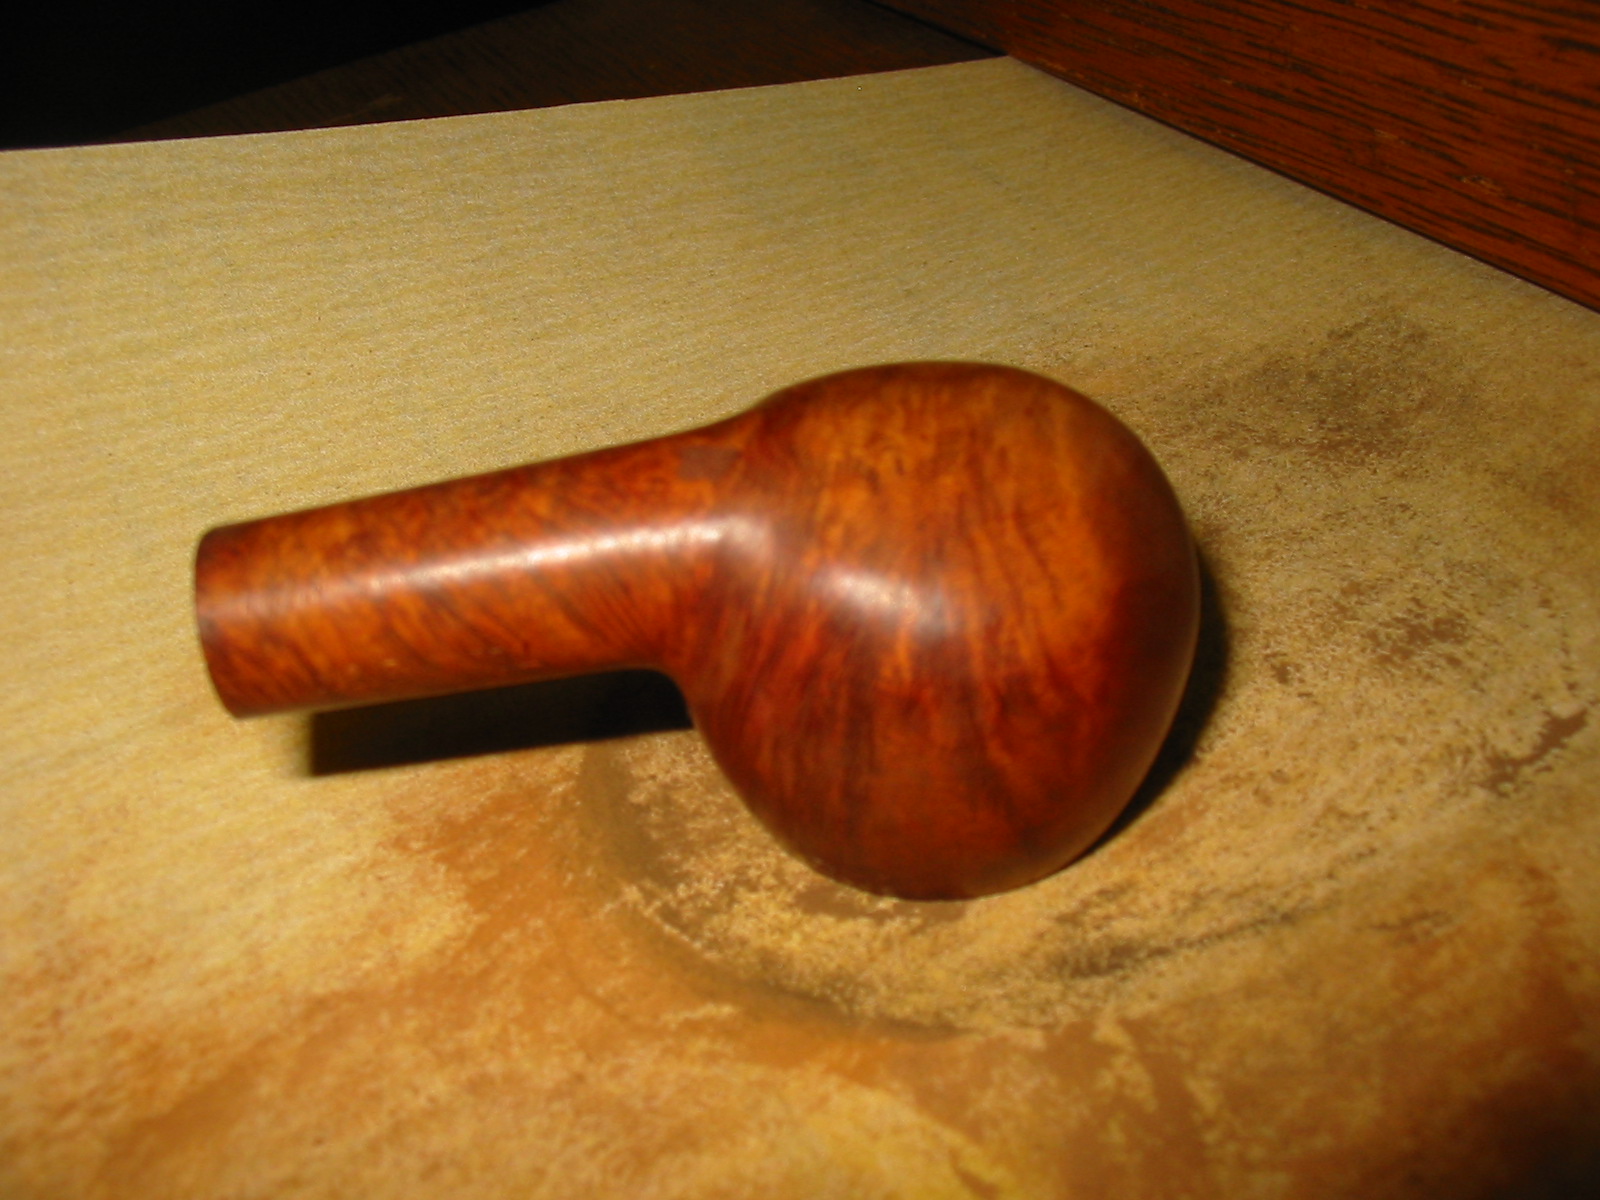
Once the top was cleaned off the fill looked like it was a crack that ran from the inside to the outside of the bowl. Upon examination with a loupe I could see that it was not a crack but the edges of the putty fill. I decided not to remove the fill at this point as I did not want to destabilize the bowl so I left it. IMG_7889 
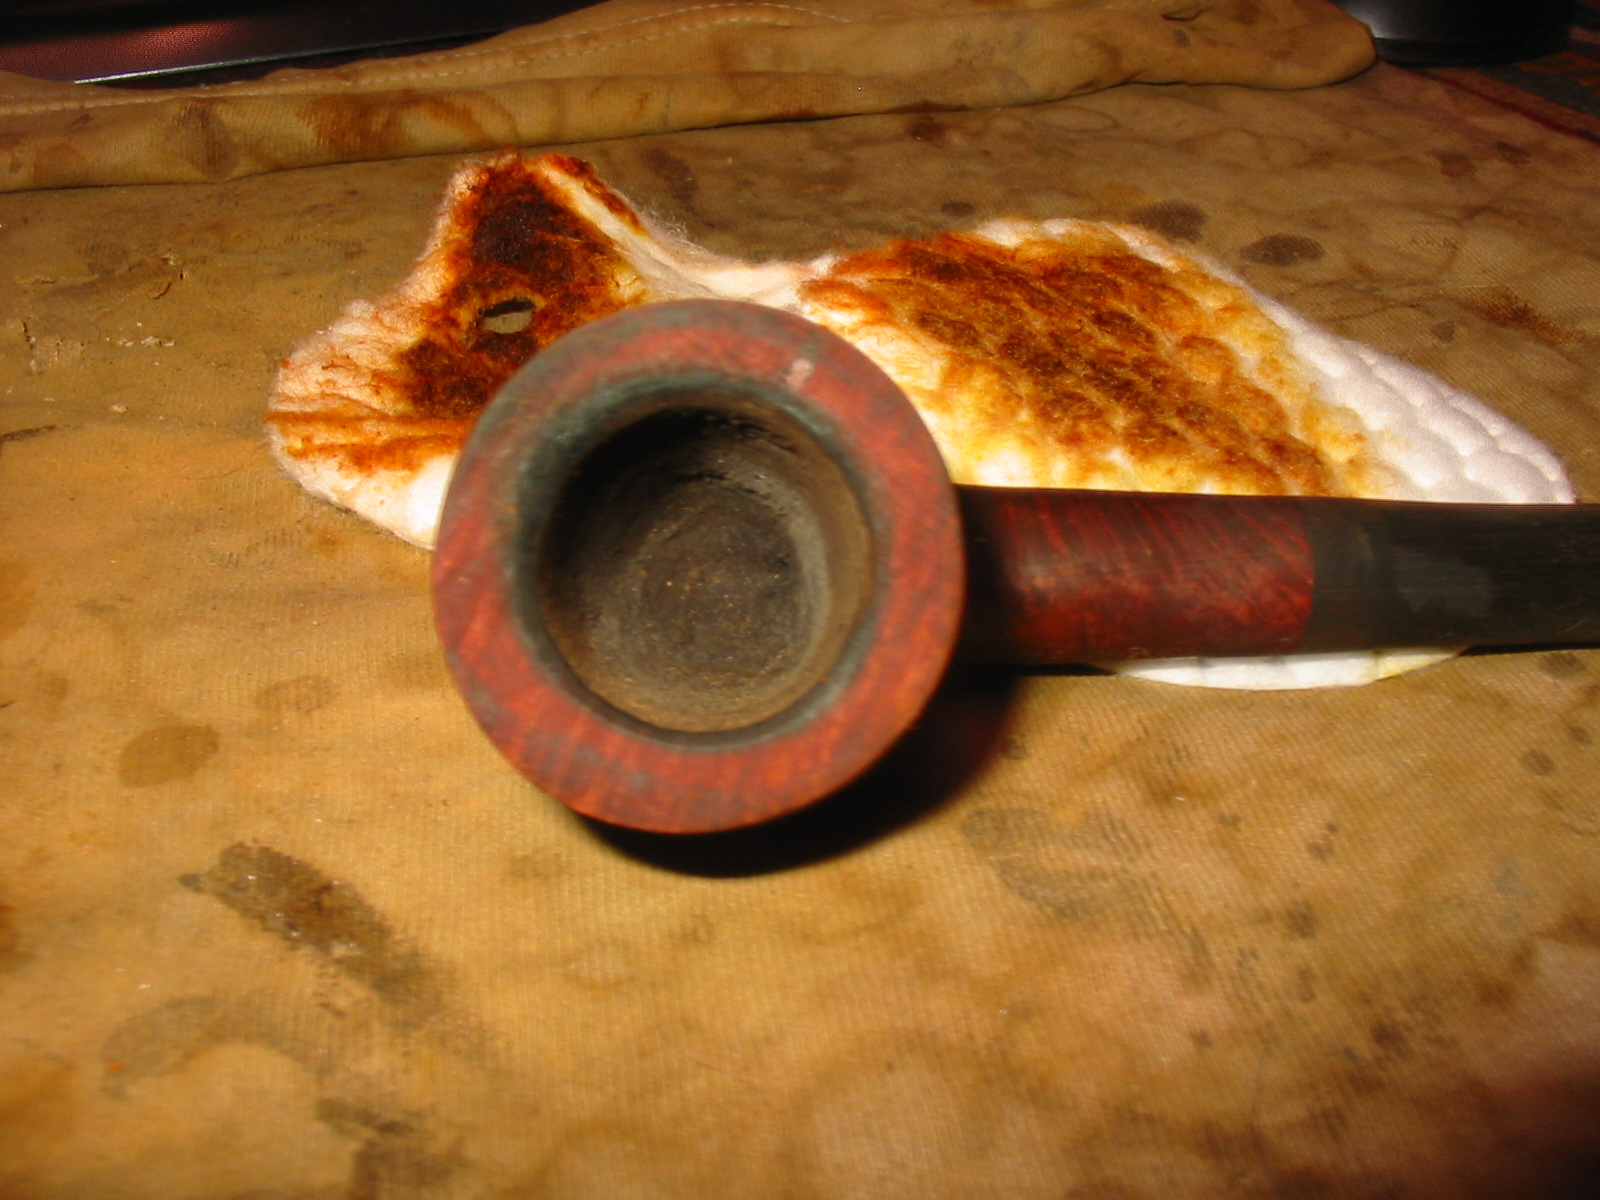
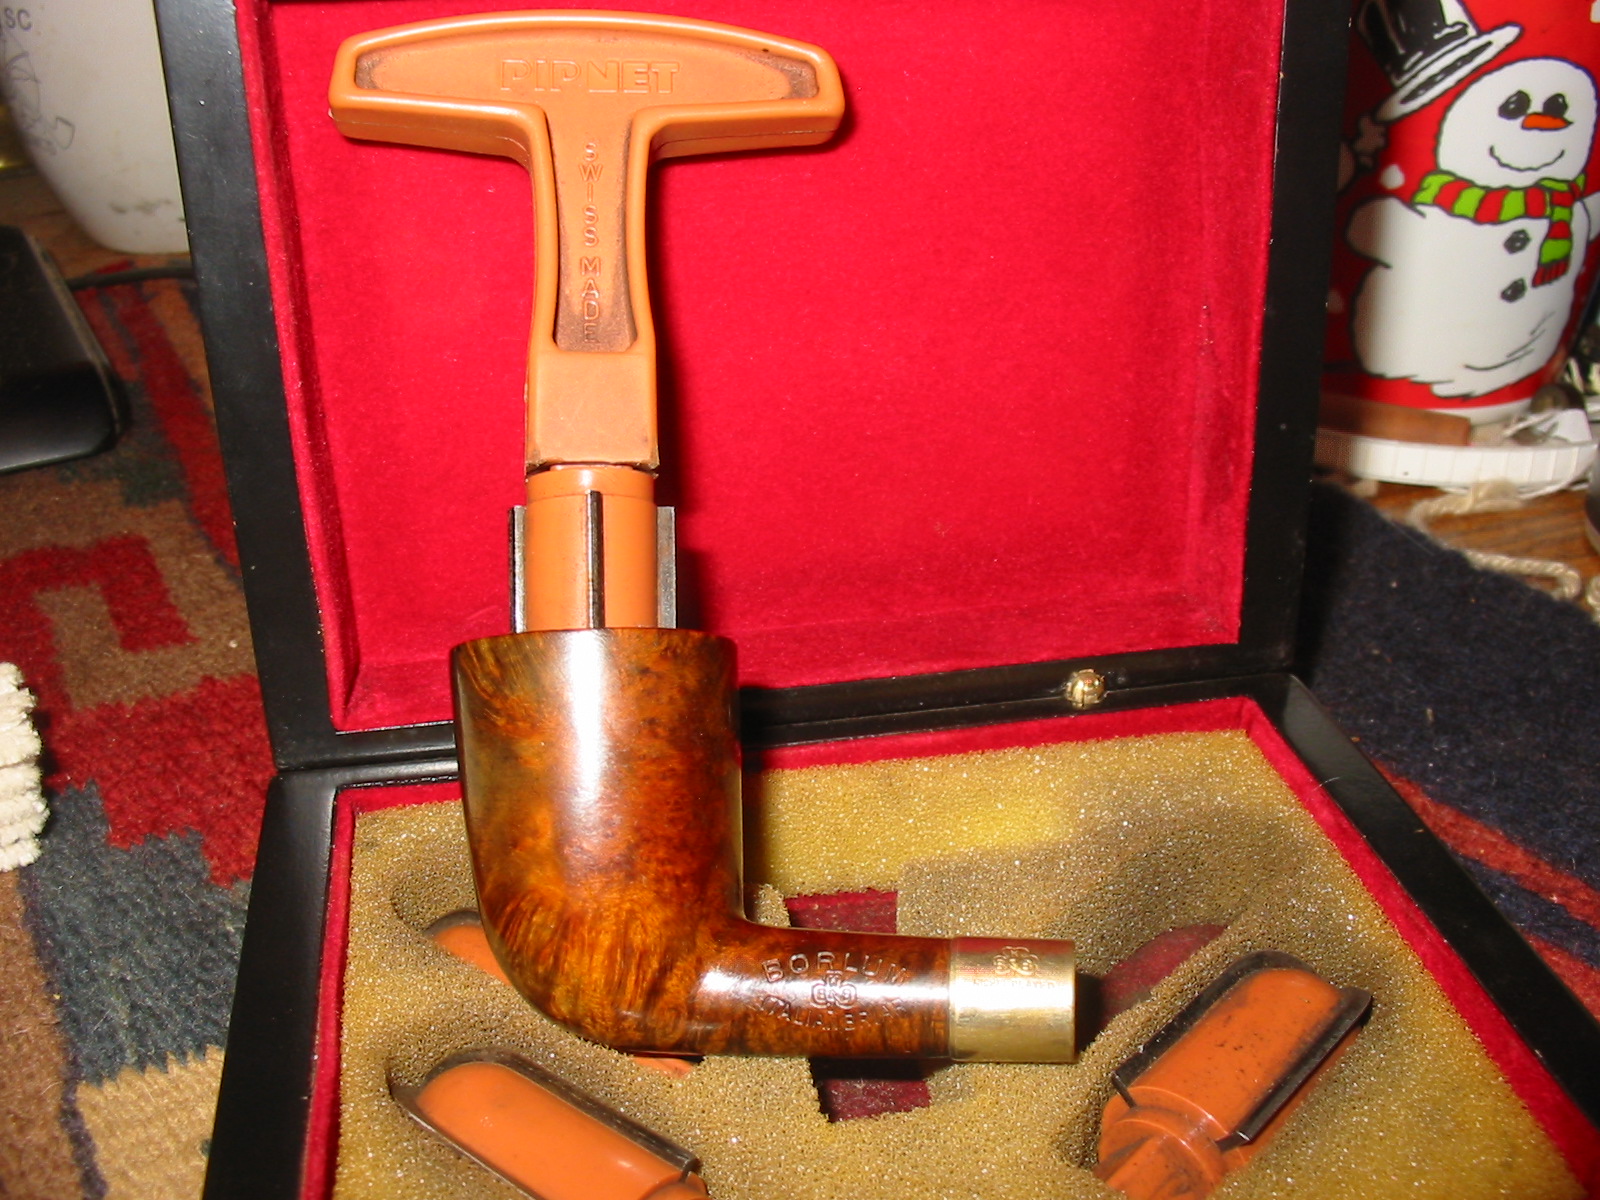
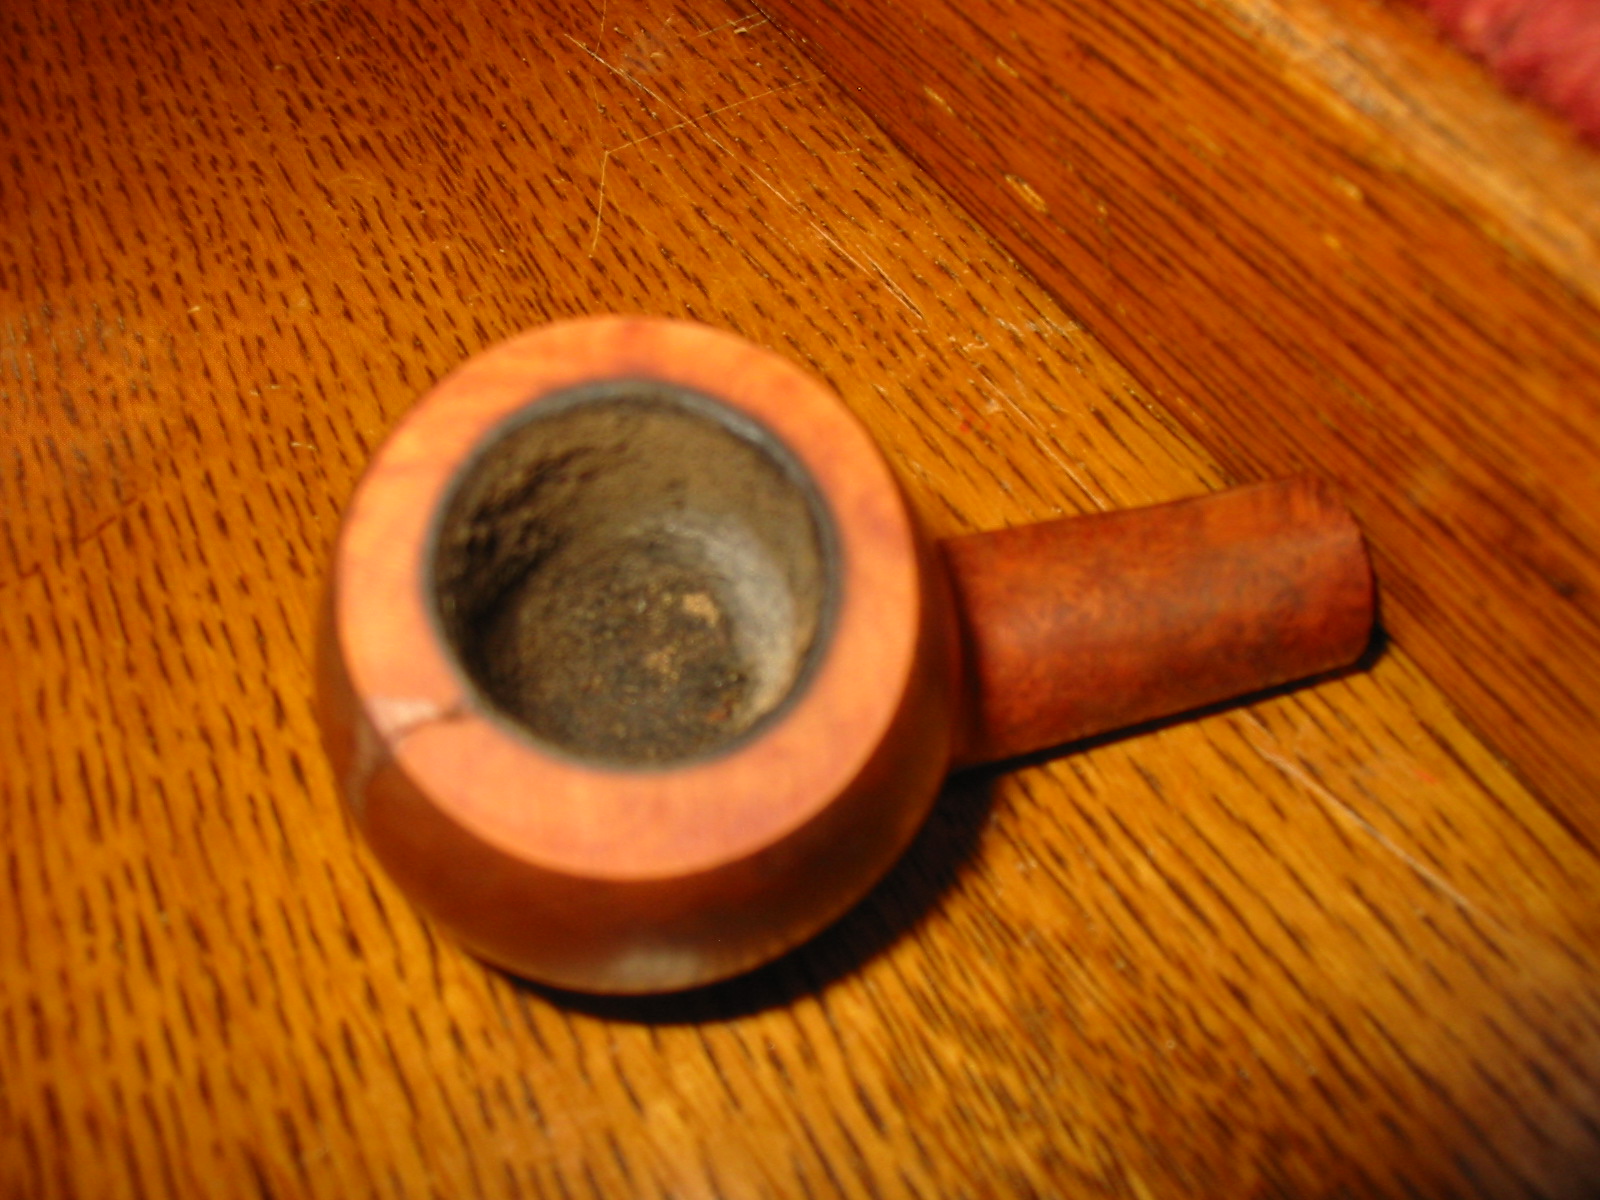
I reamed the cake back with a PipNet reamer. IMG_7890 
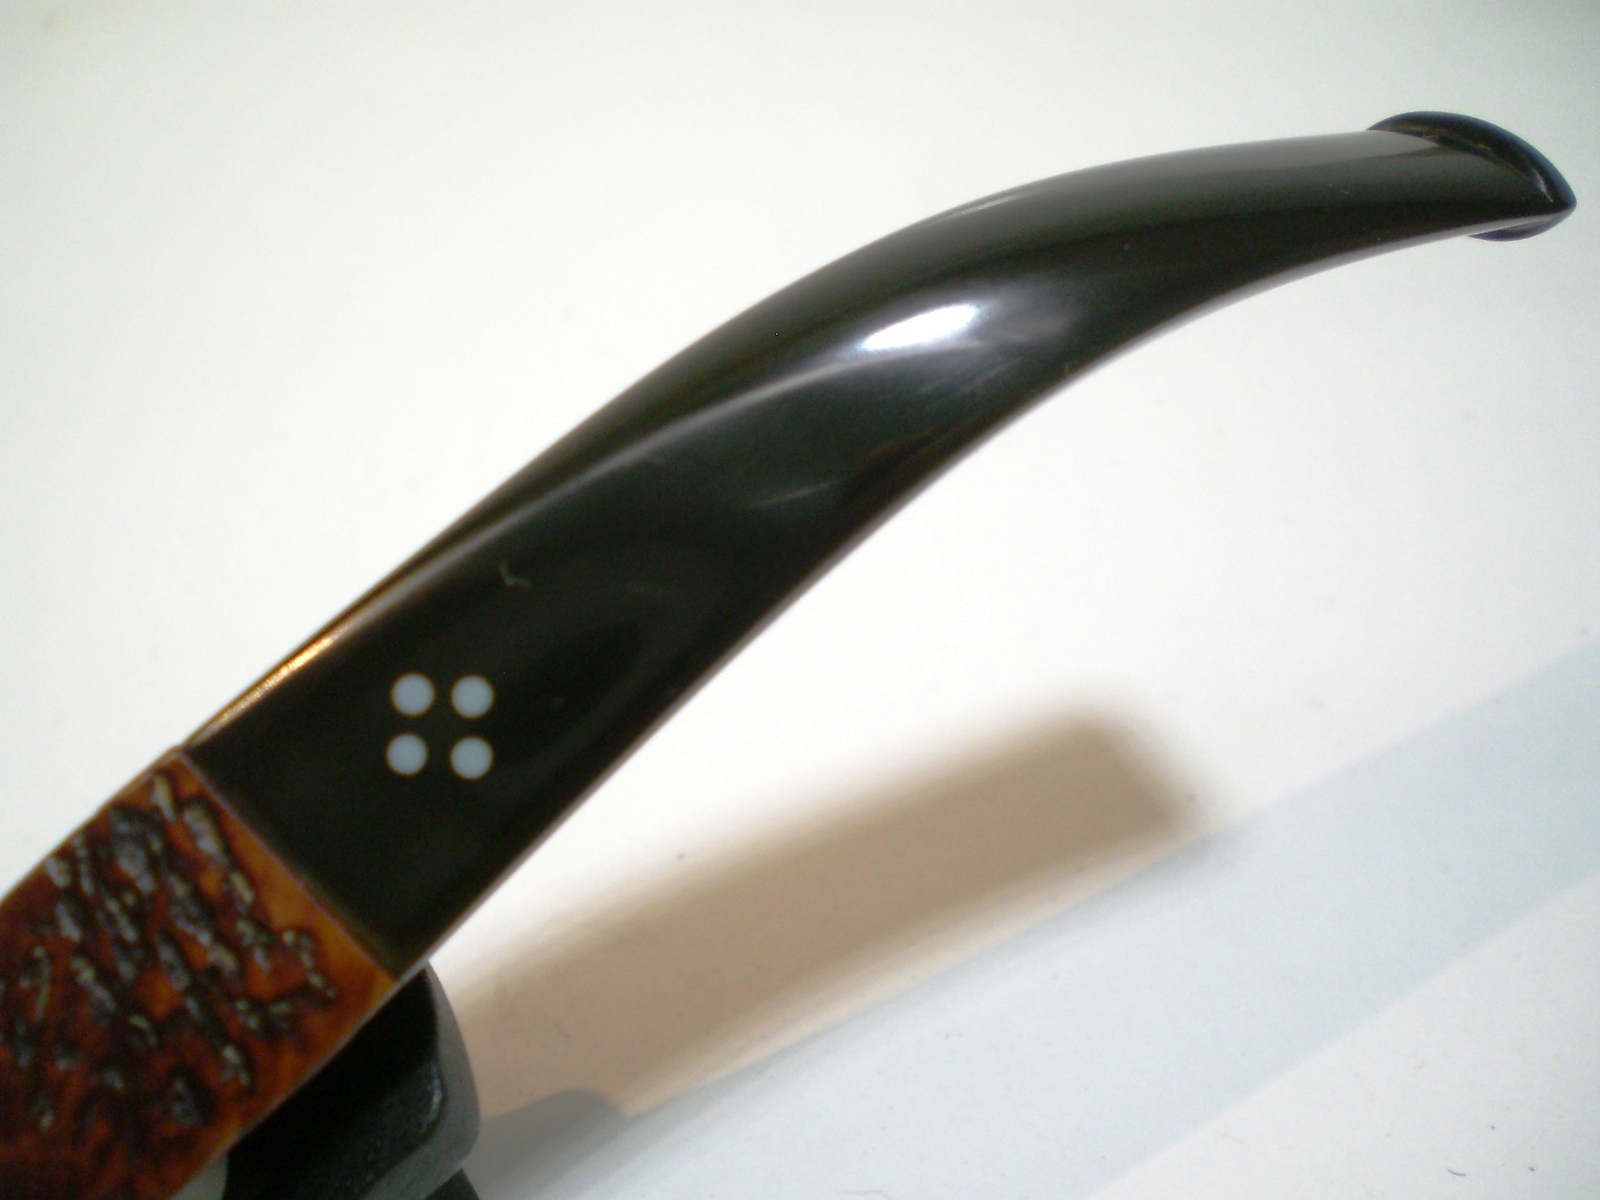
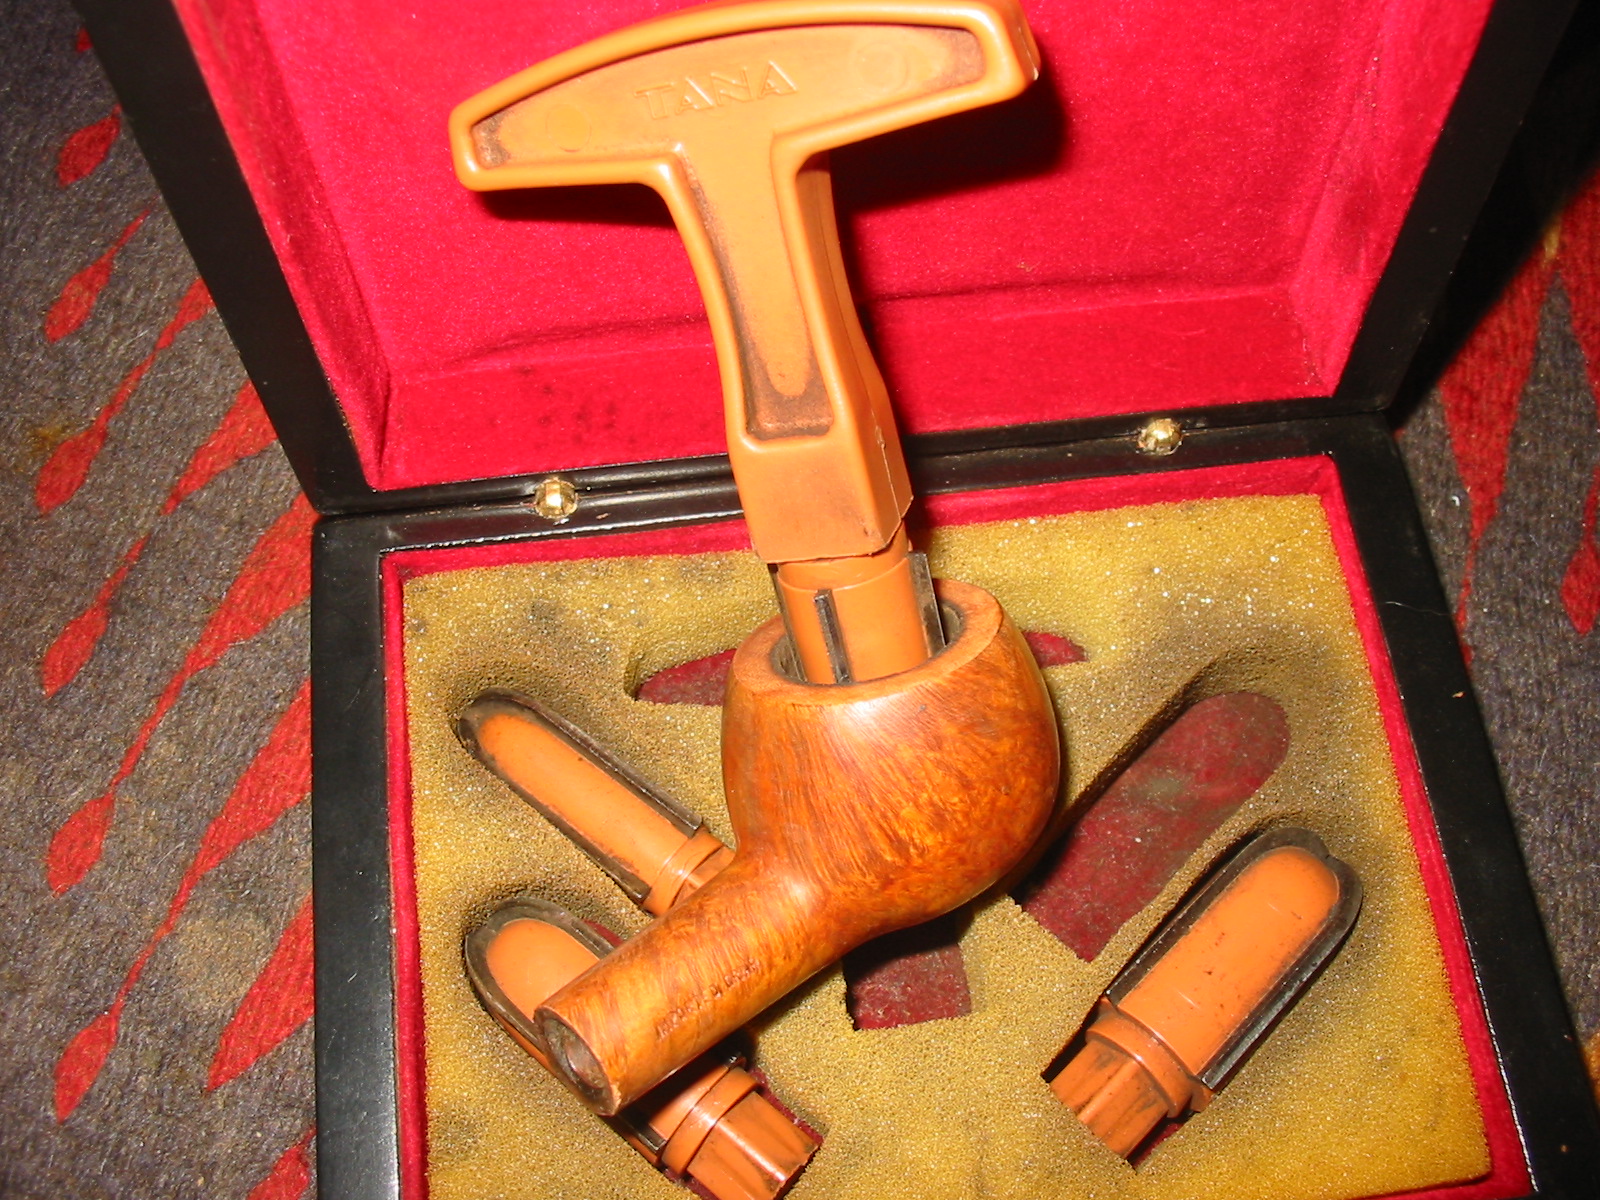
I decided to use the clear Lucite stem that I had so I turned the tenon down with the PIMO Tenon Turning Tool on a cordless drill. IMG_7891 
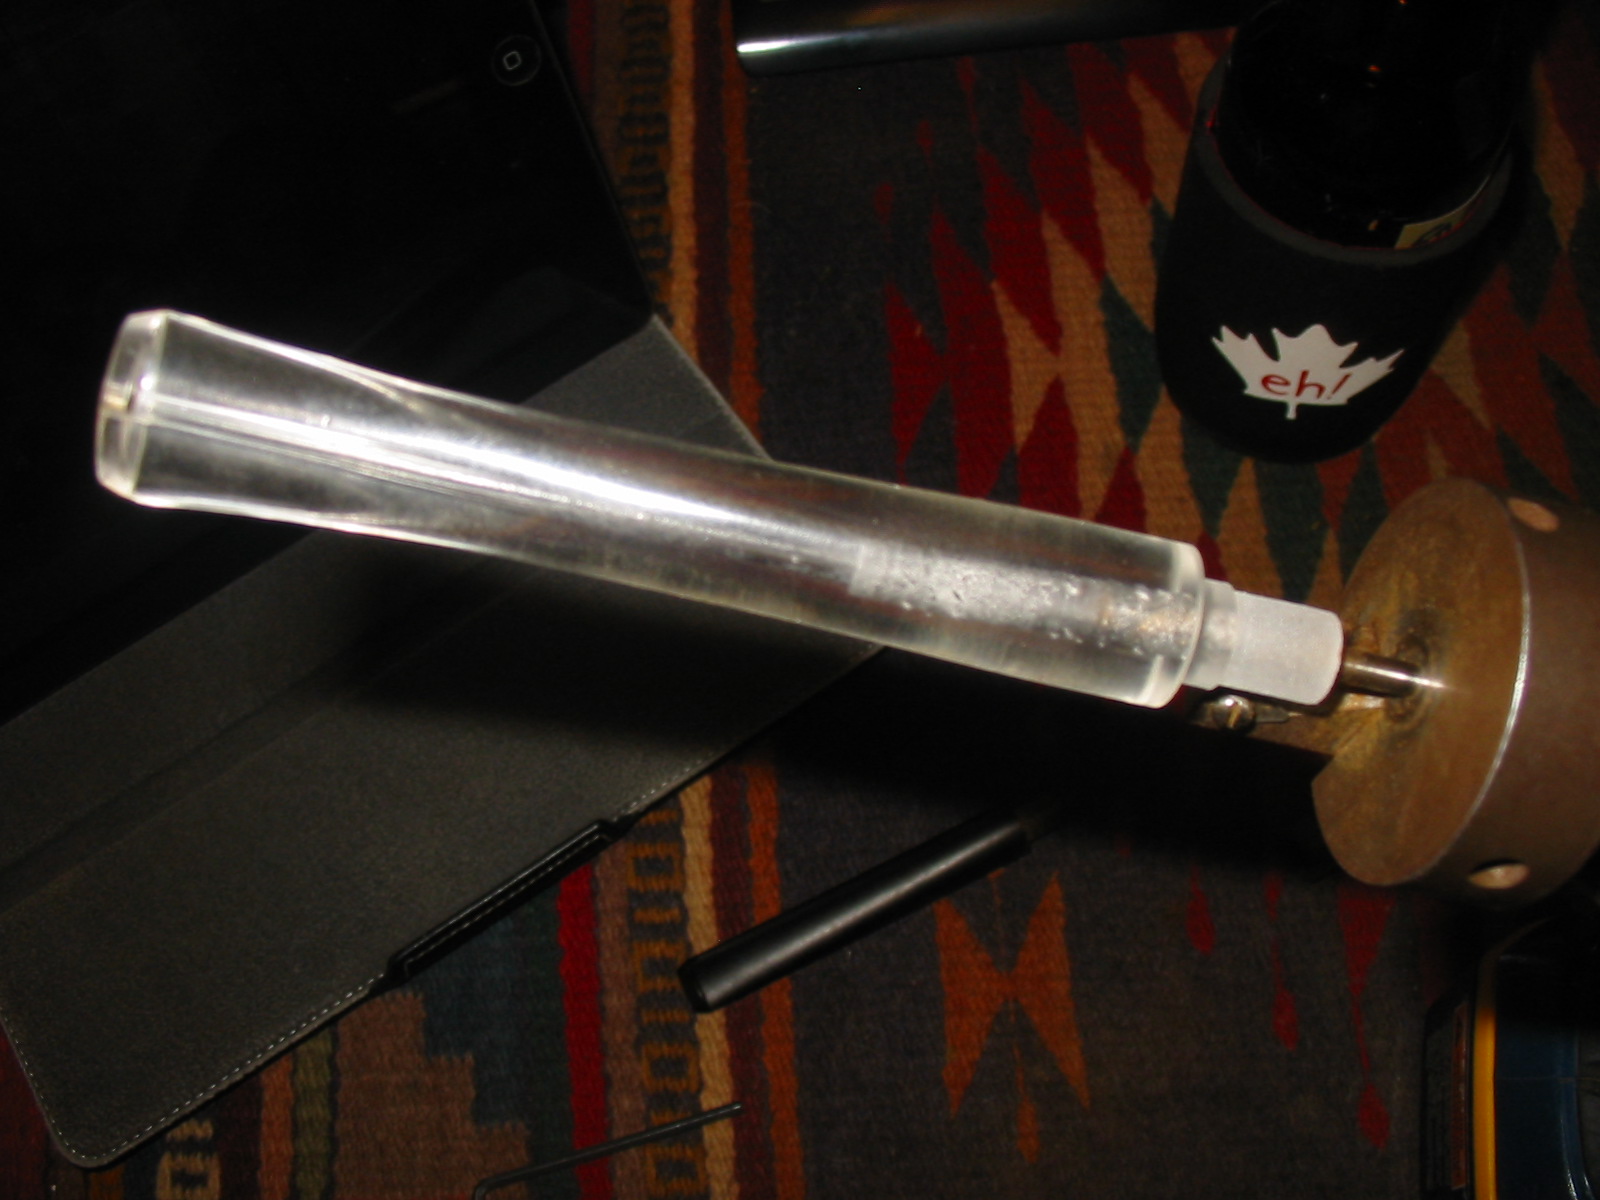
I fine tuned the fit in the shank with 220 grit sandpaper. The diameter of the stem was wider than that of the shank so I sanded it with 150 grit sandpaper to bring it down in size. IMG_7892 
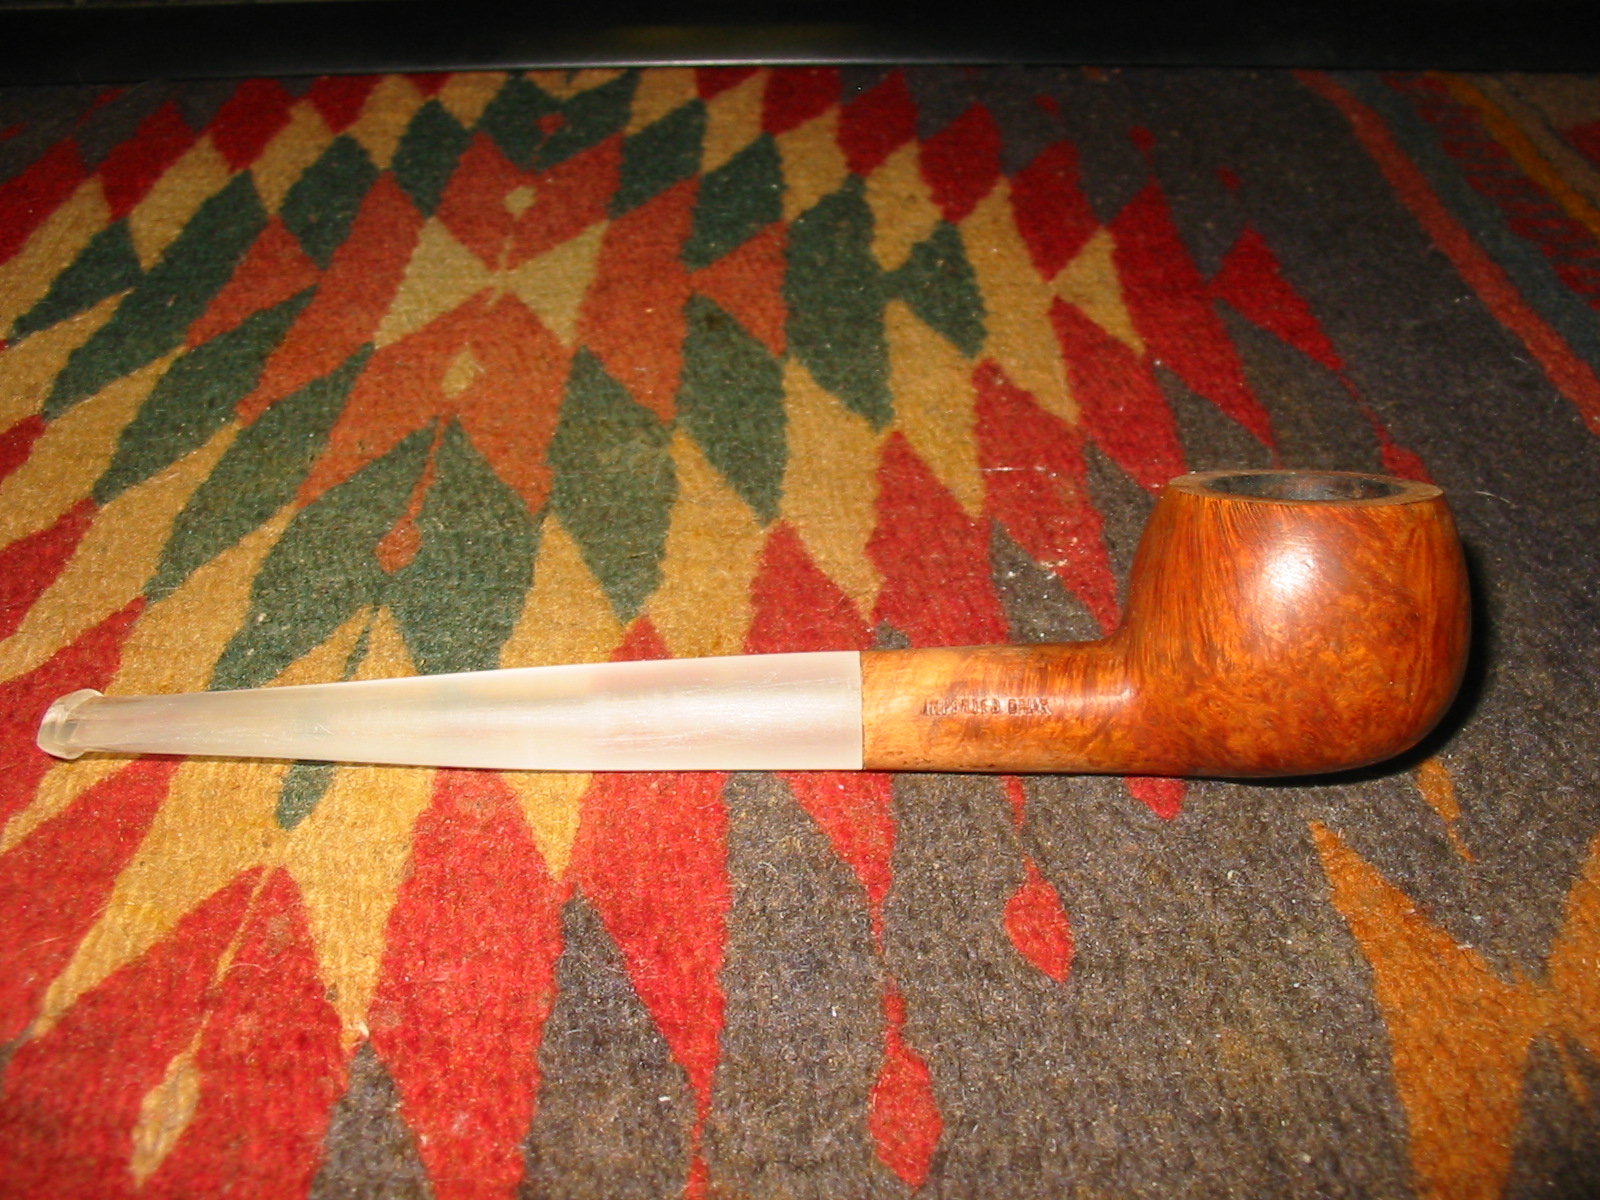
When I got it close to the proper diameter I sanded it with 220 grit sandpaper and a medium and fine grit sanding sponge to smooth out the scratches in the Lucite. I sanded the shank to match so I had a smooth transition. I intended to restain the pipe any way so this was not a real problem. I liked the overall look of the new stem and with a slight bend it would look like a long stemmed prince. IMG_7893 IMG_7894 IMG_7896 
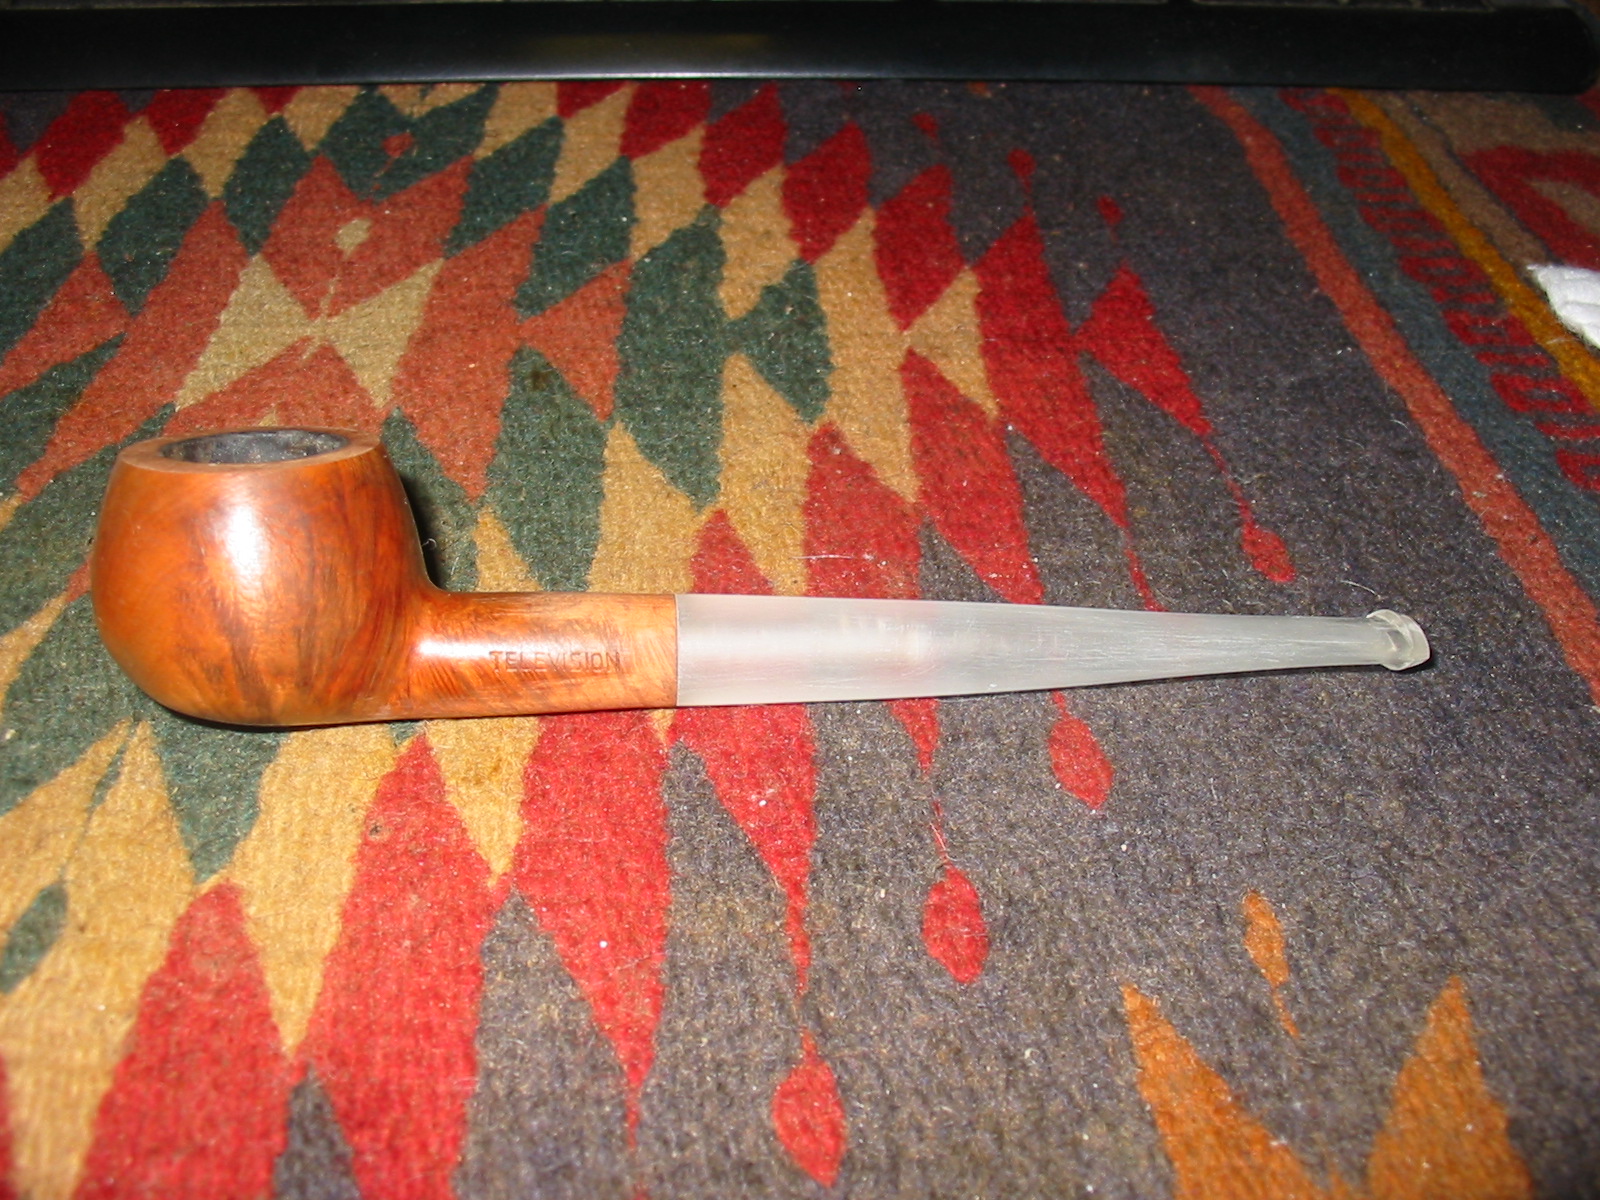
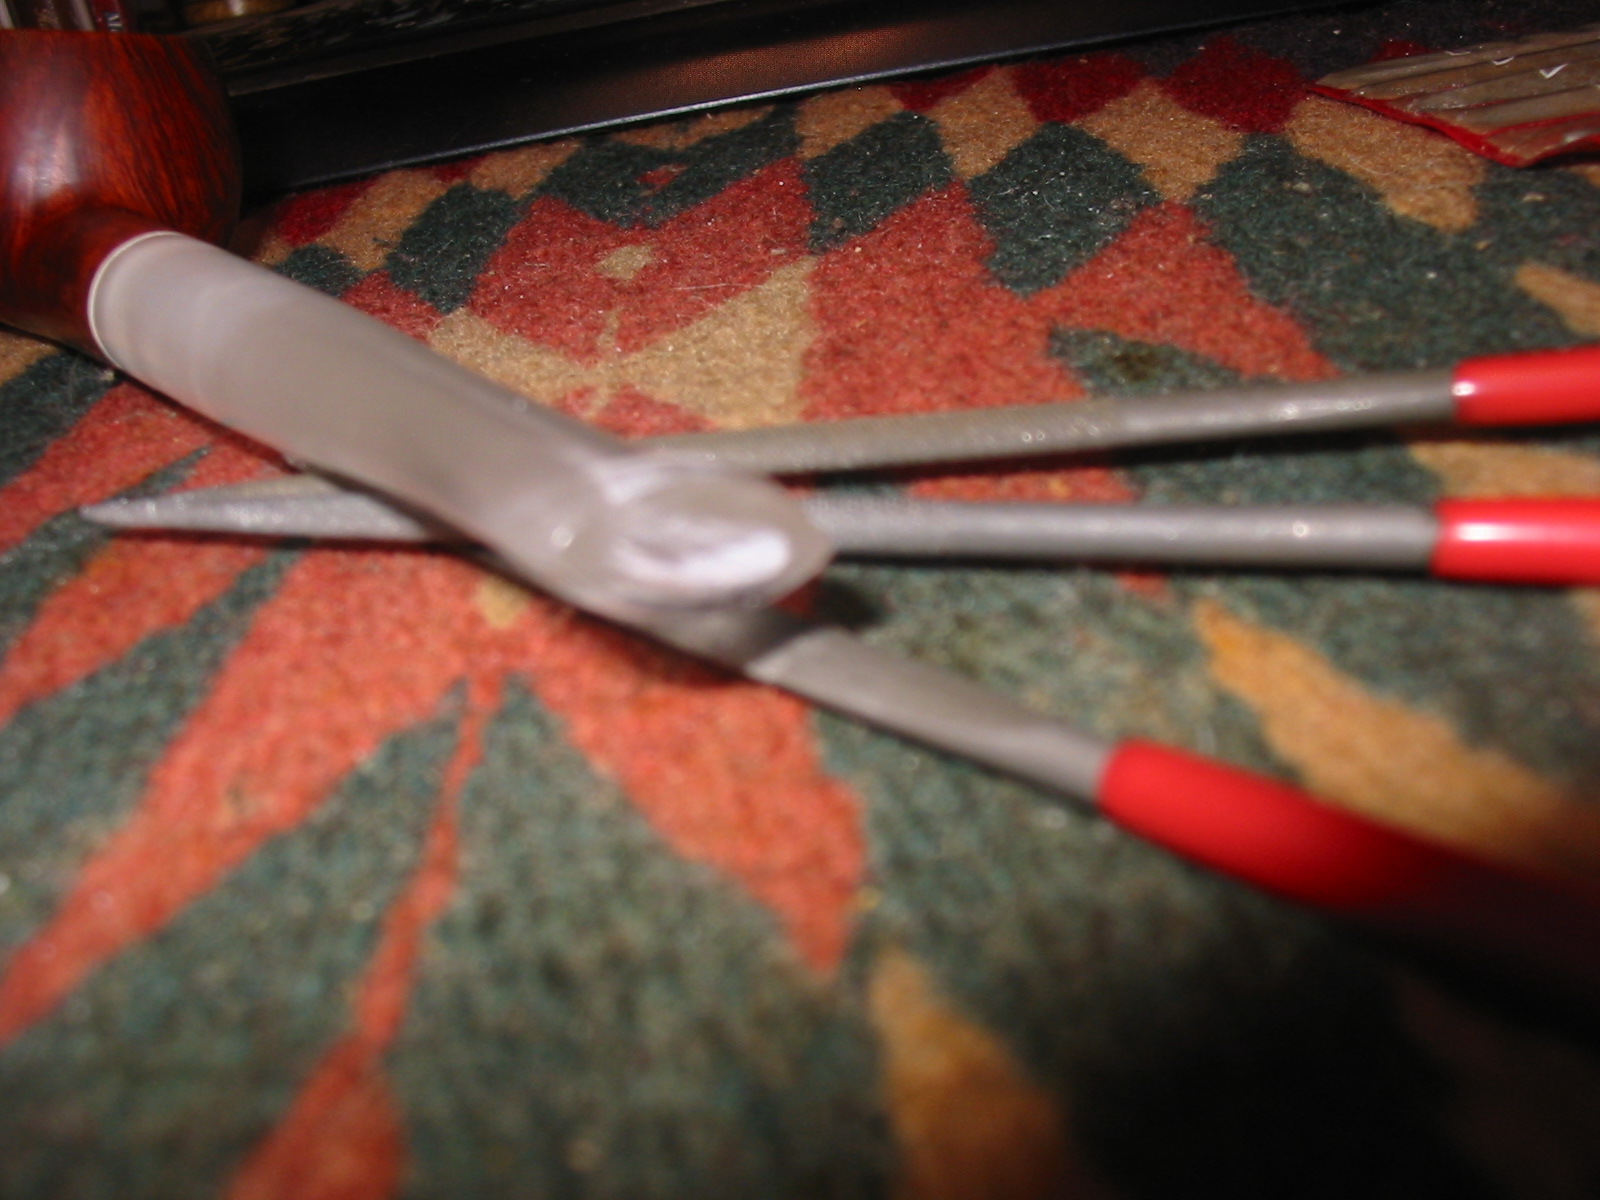
The Lucite stem did not have a slot carved in the end – merely a drilled airway so that I would need to use needle files to open and shape it into a funnel. The next four photos show the progress of the shaping of the slot. I apologize for the blurriness of the last two photos but they do give a rough idea of the shape of the slot at this point. IMG_7898 IMG_7899 IMG_7902 IMG_7903 
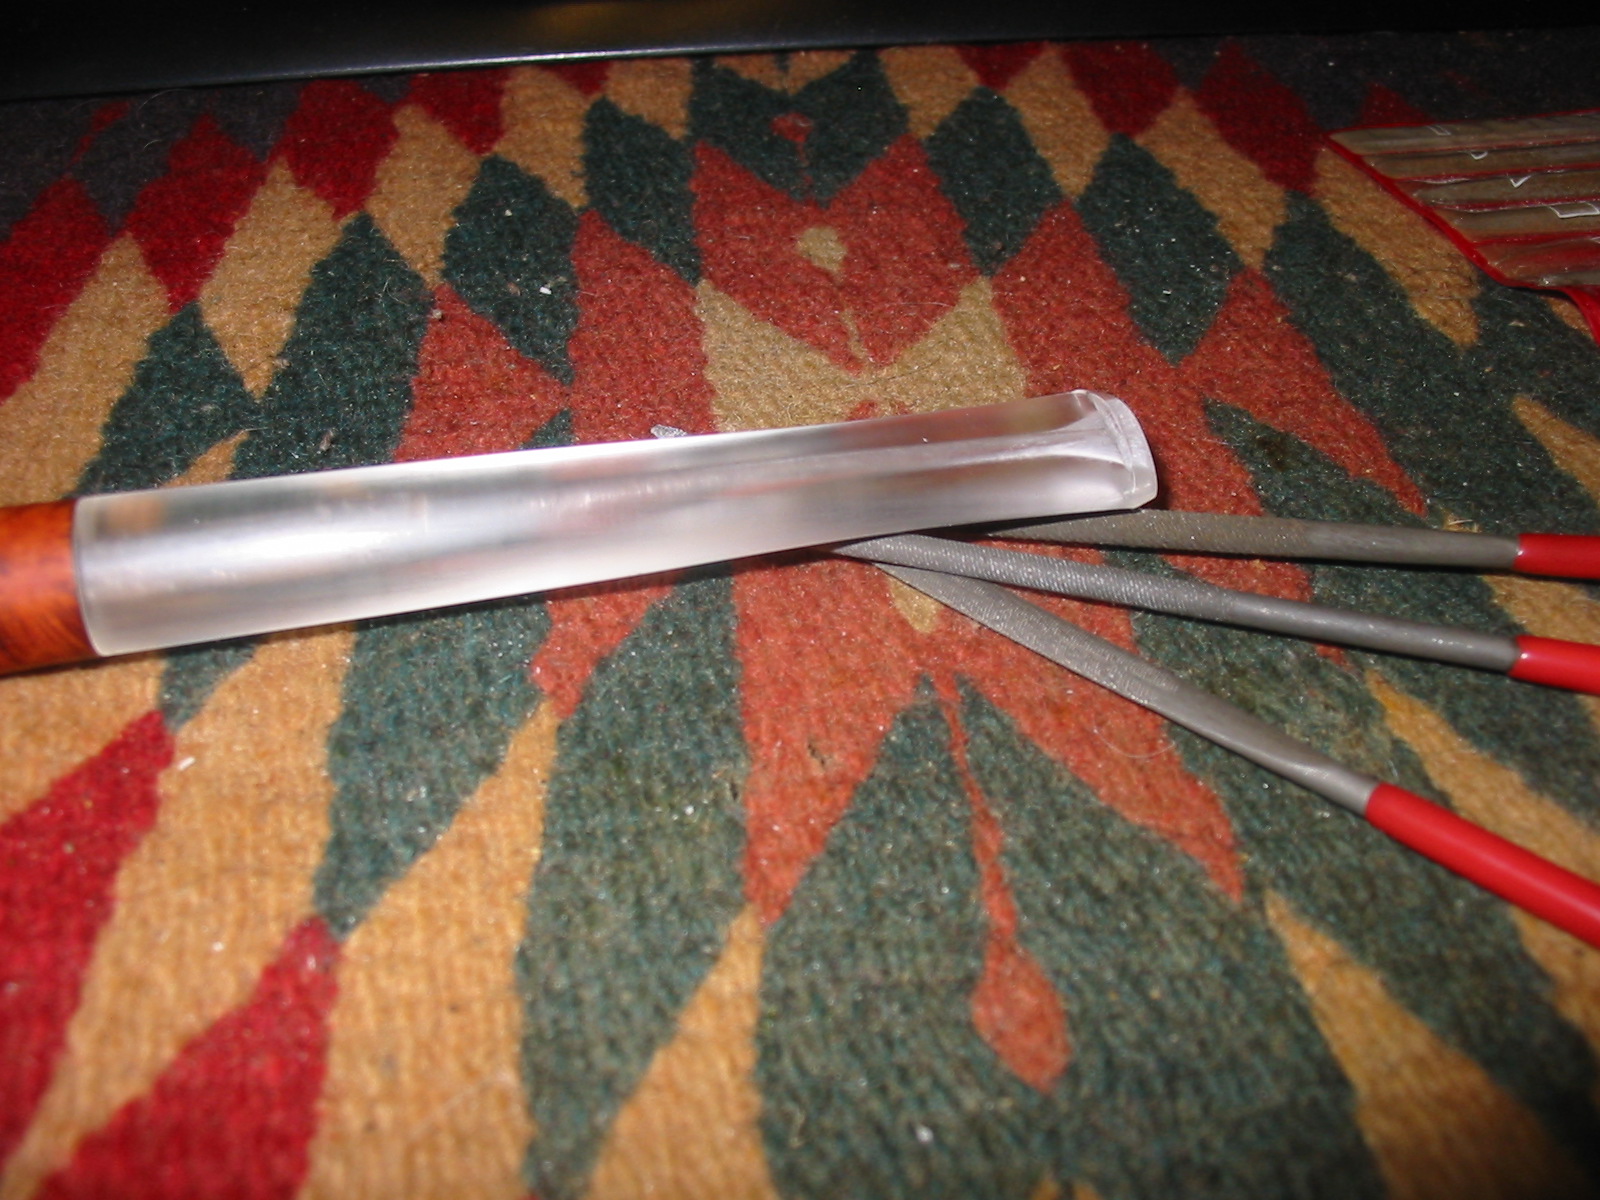
To bend the stem I set up my heat gun and heated the Lucite until it was pliable and then bent it over my rolling pin. It took a few tries to get the bend that I wanted but eventually I set it with cool water. IMG_7904 IMG_7905 IMG_7906 
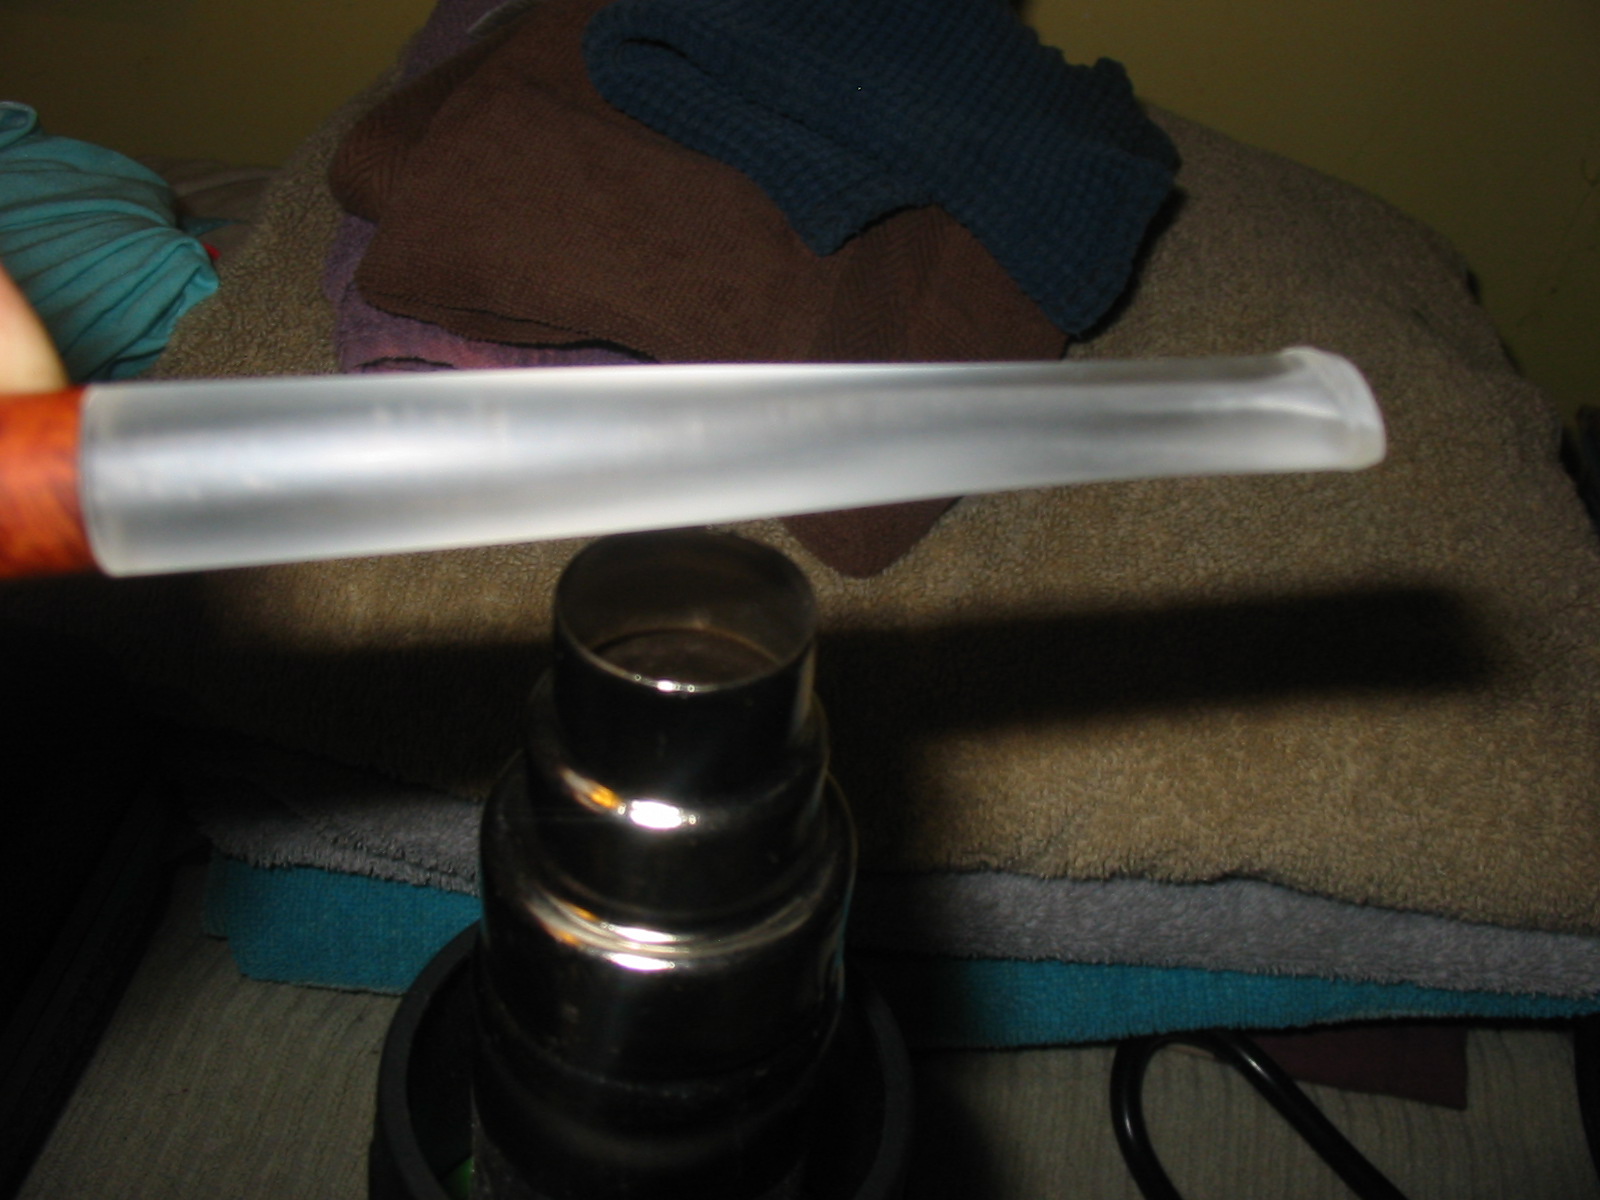
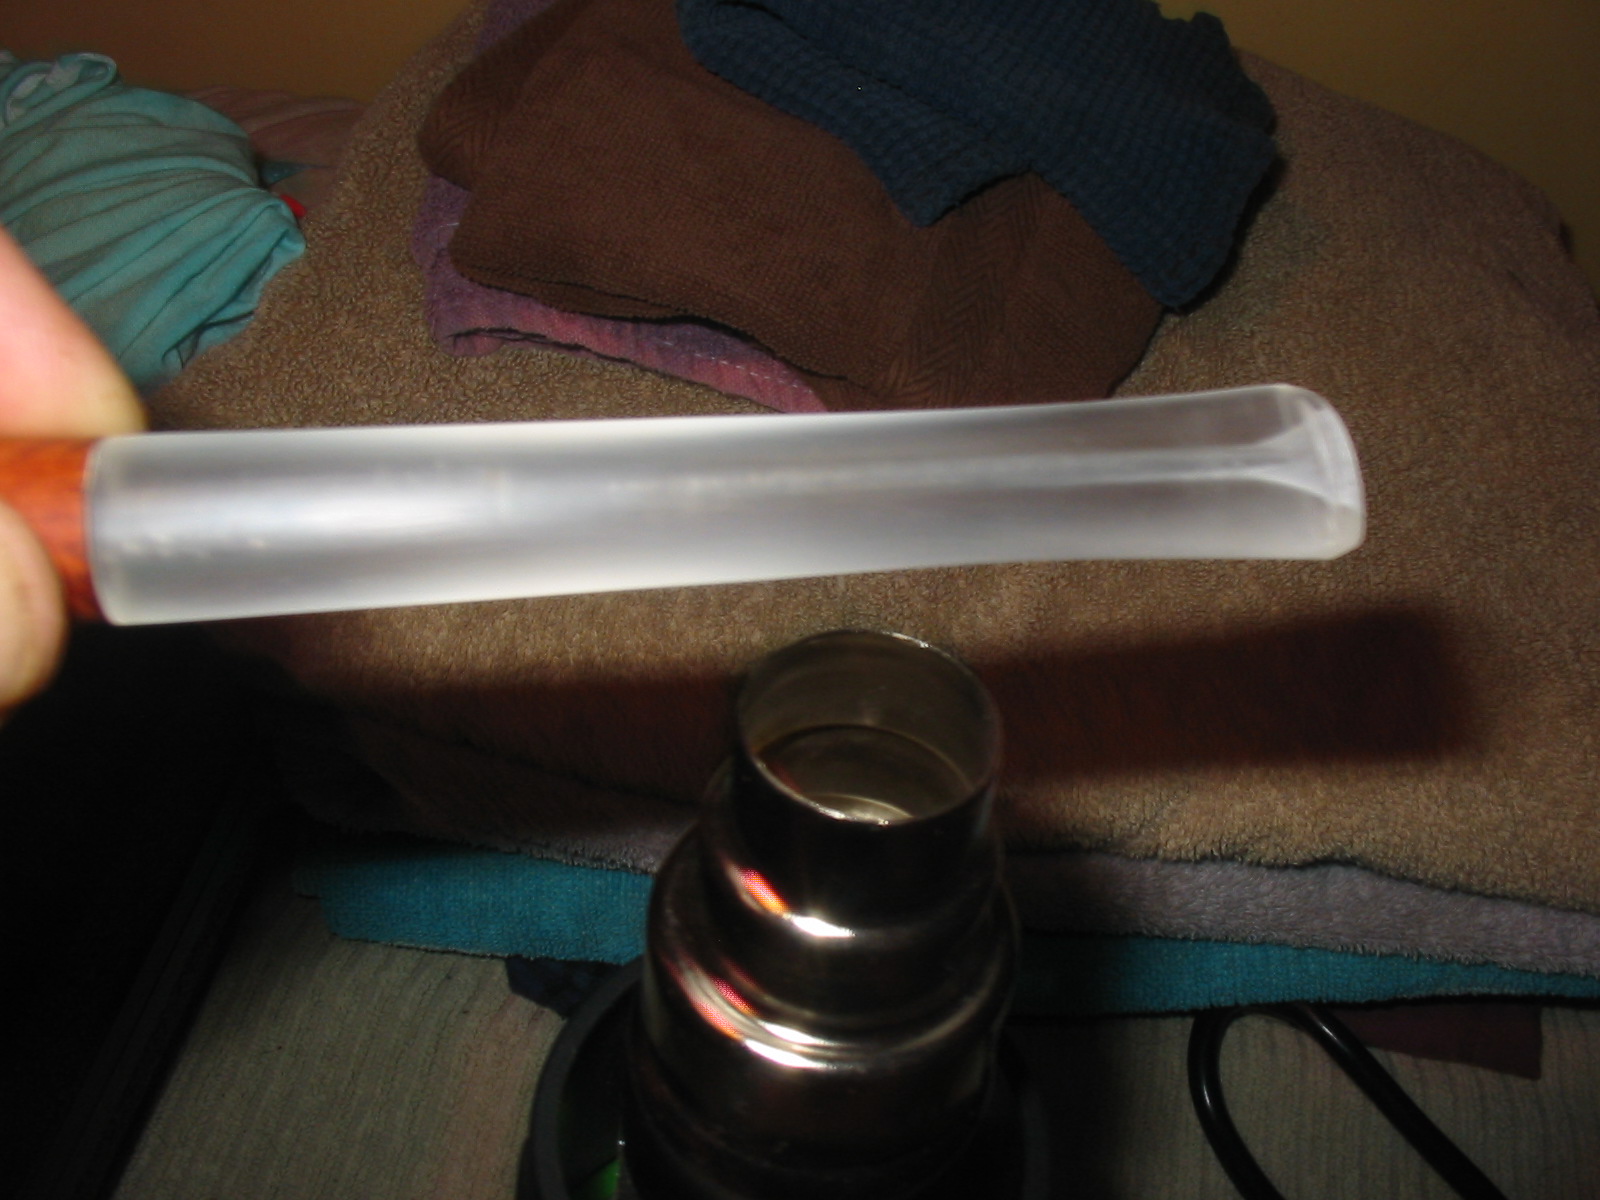
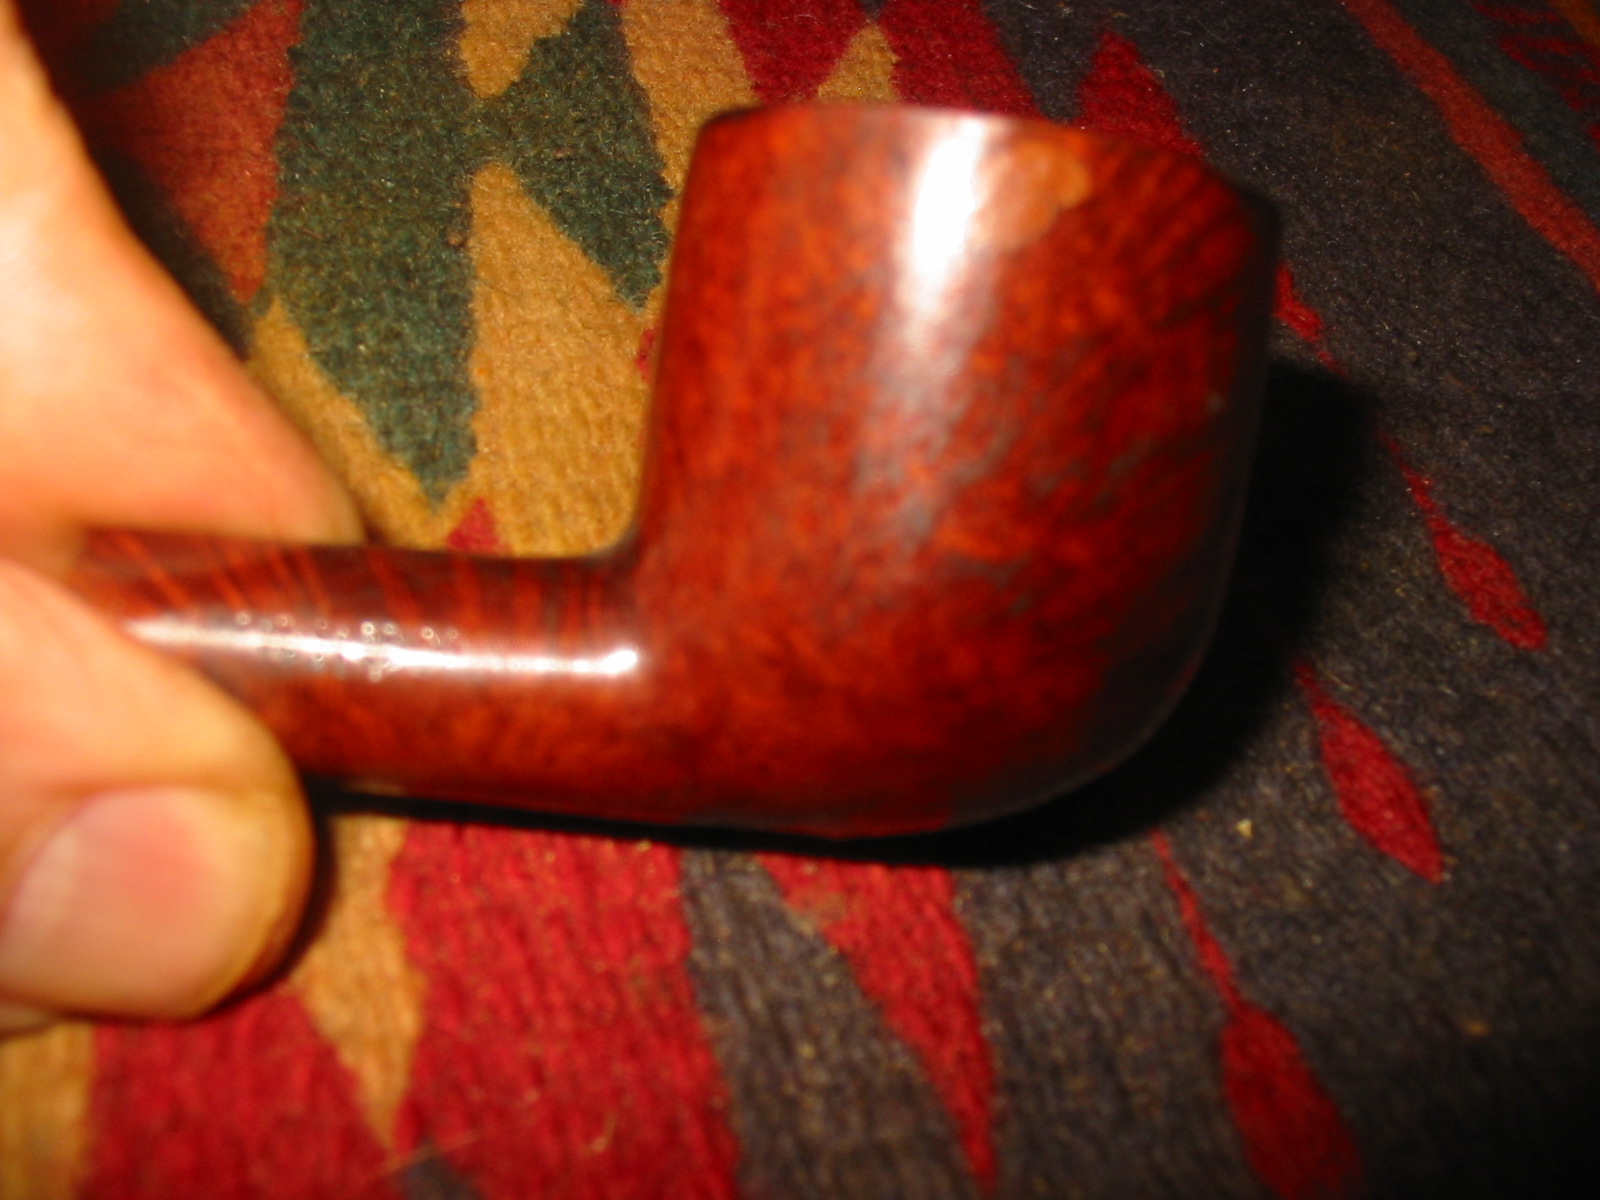
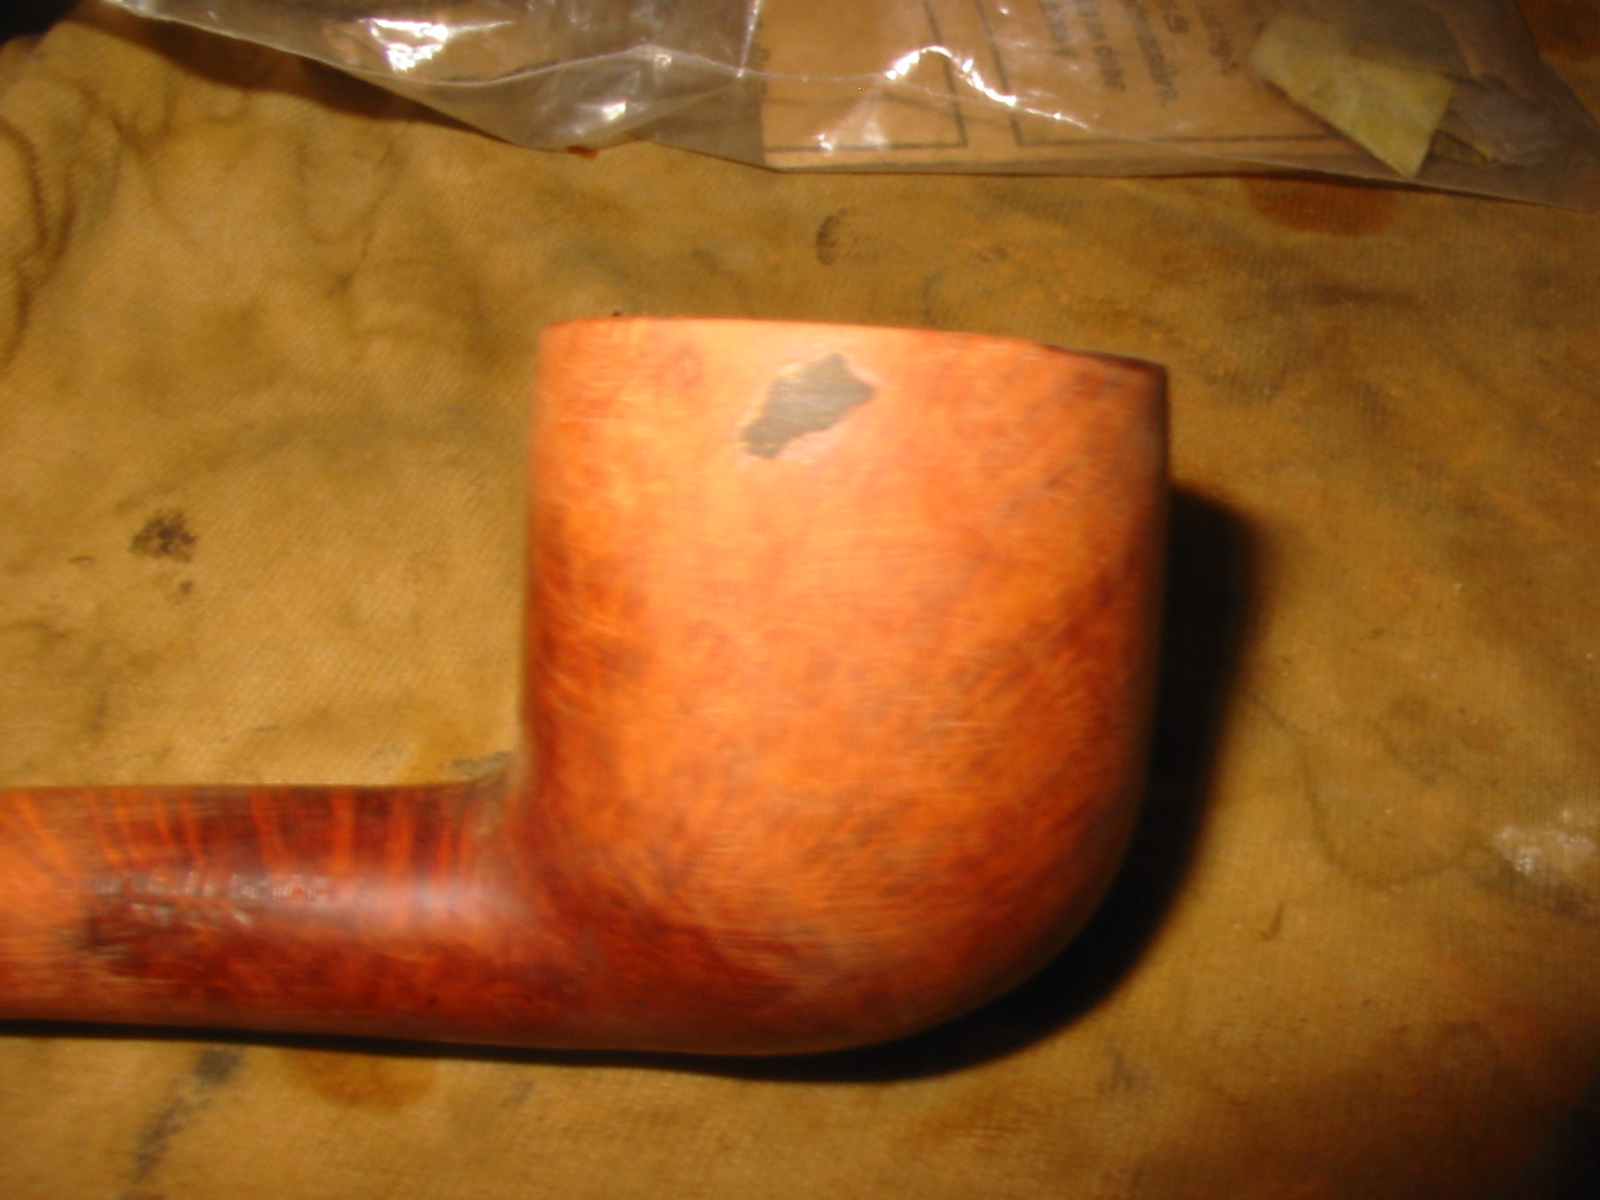
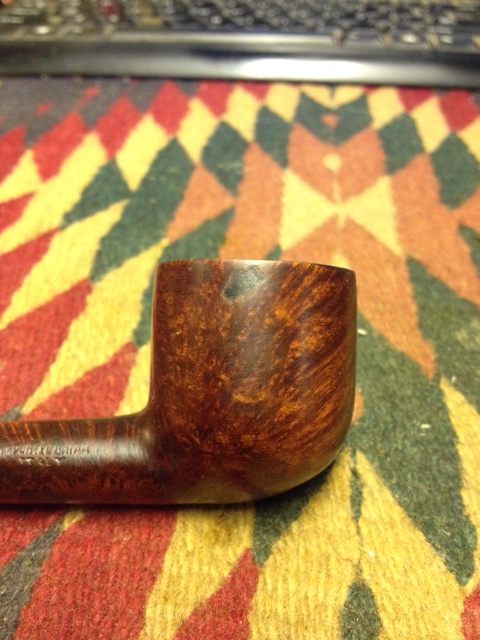
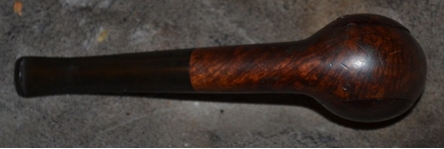
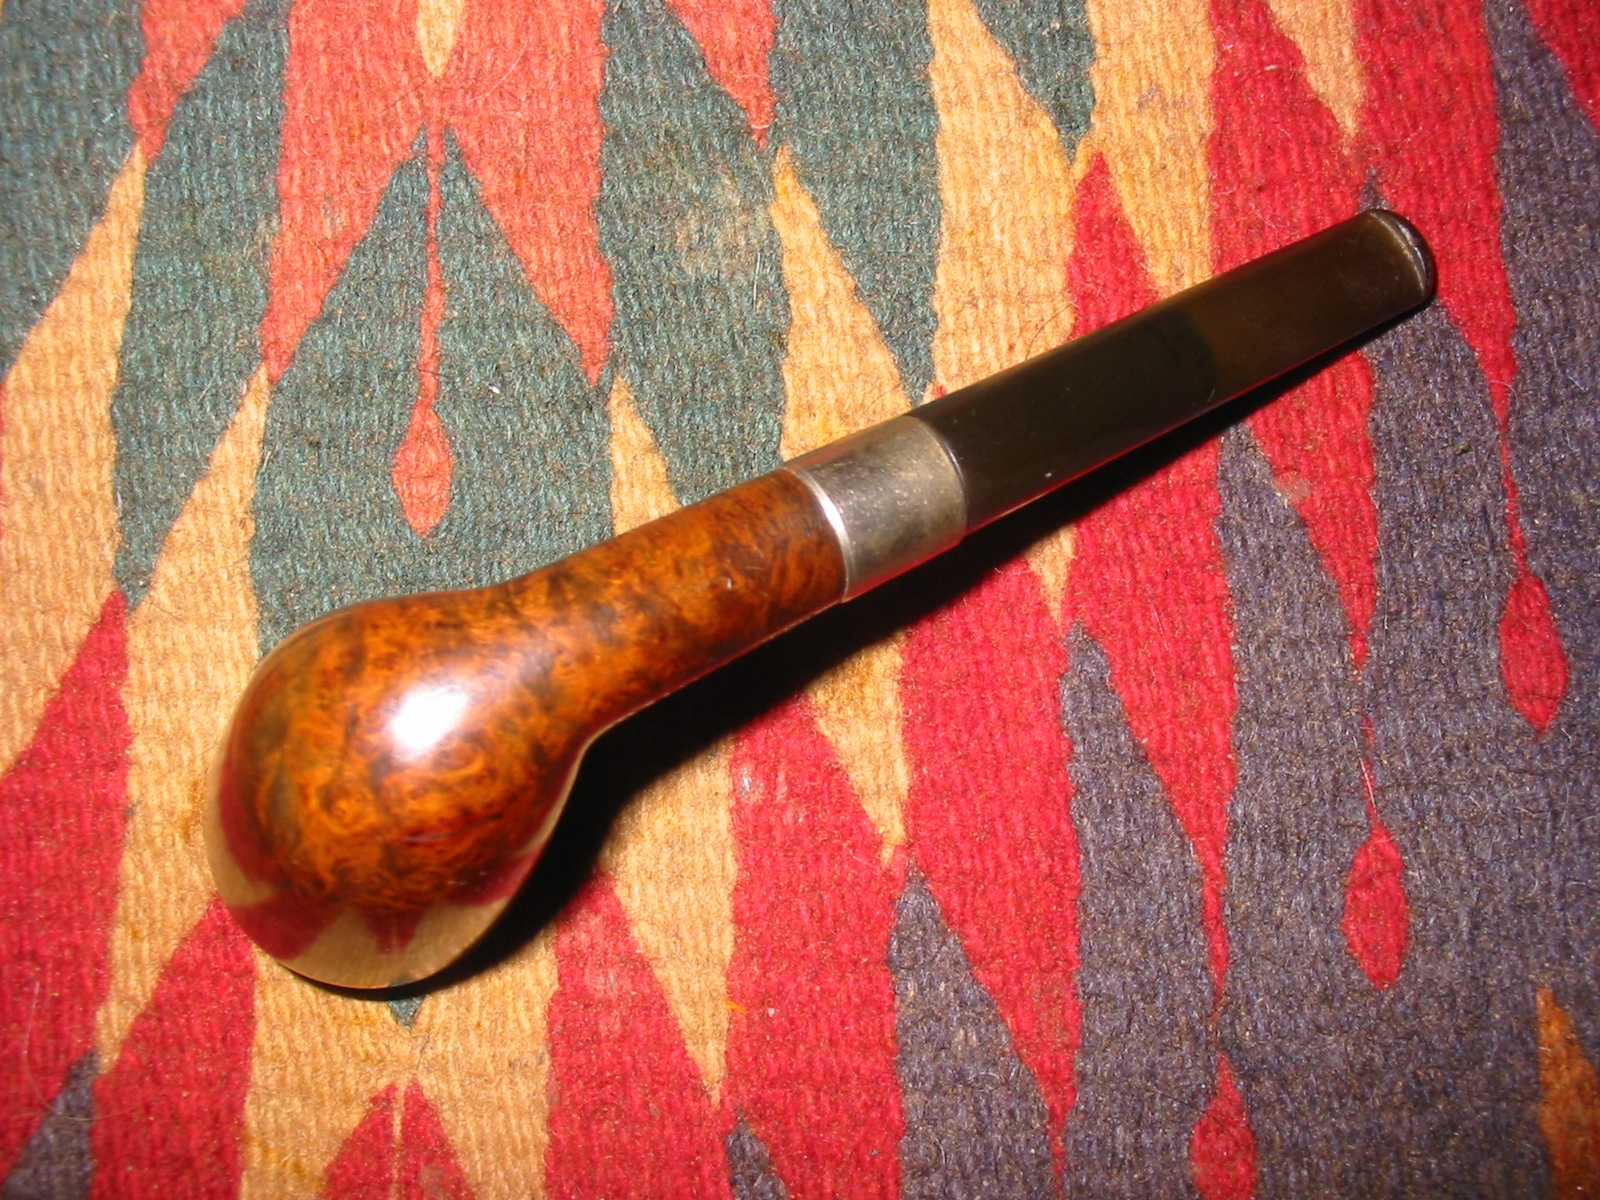
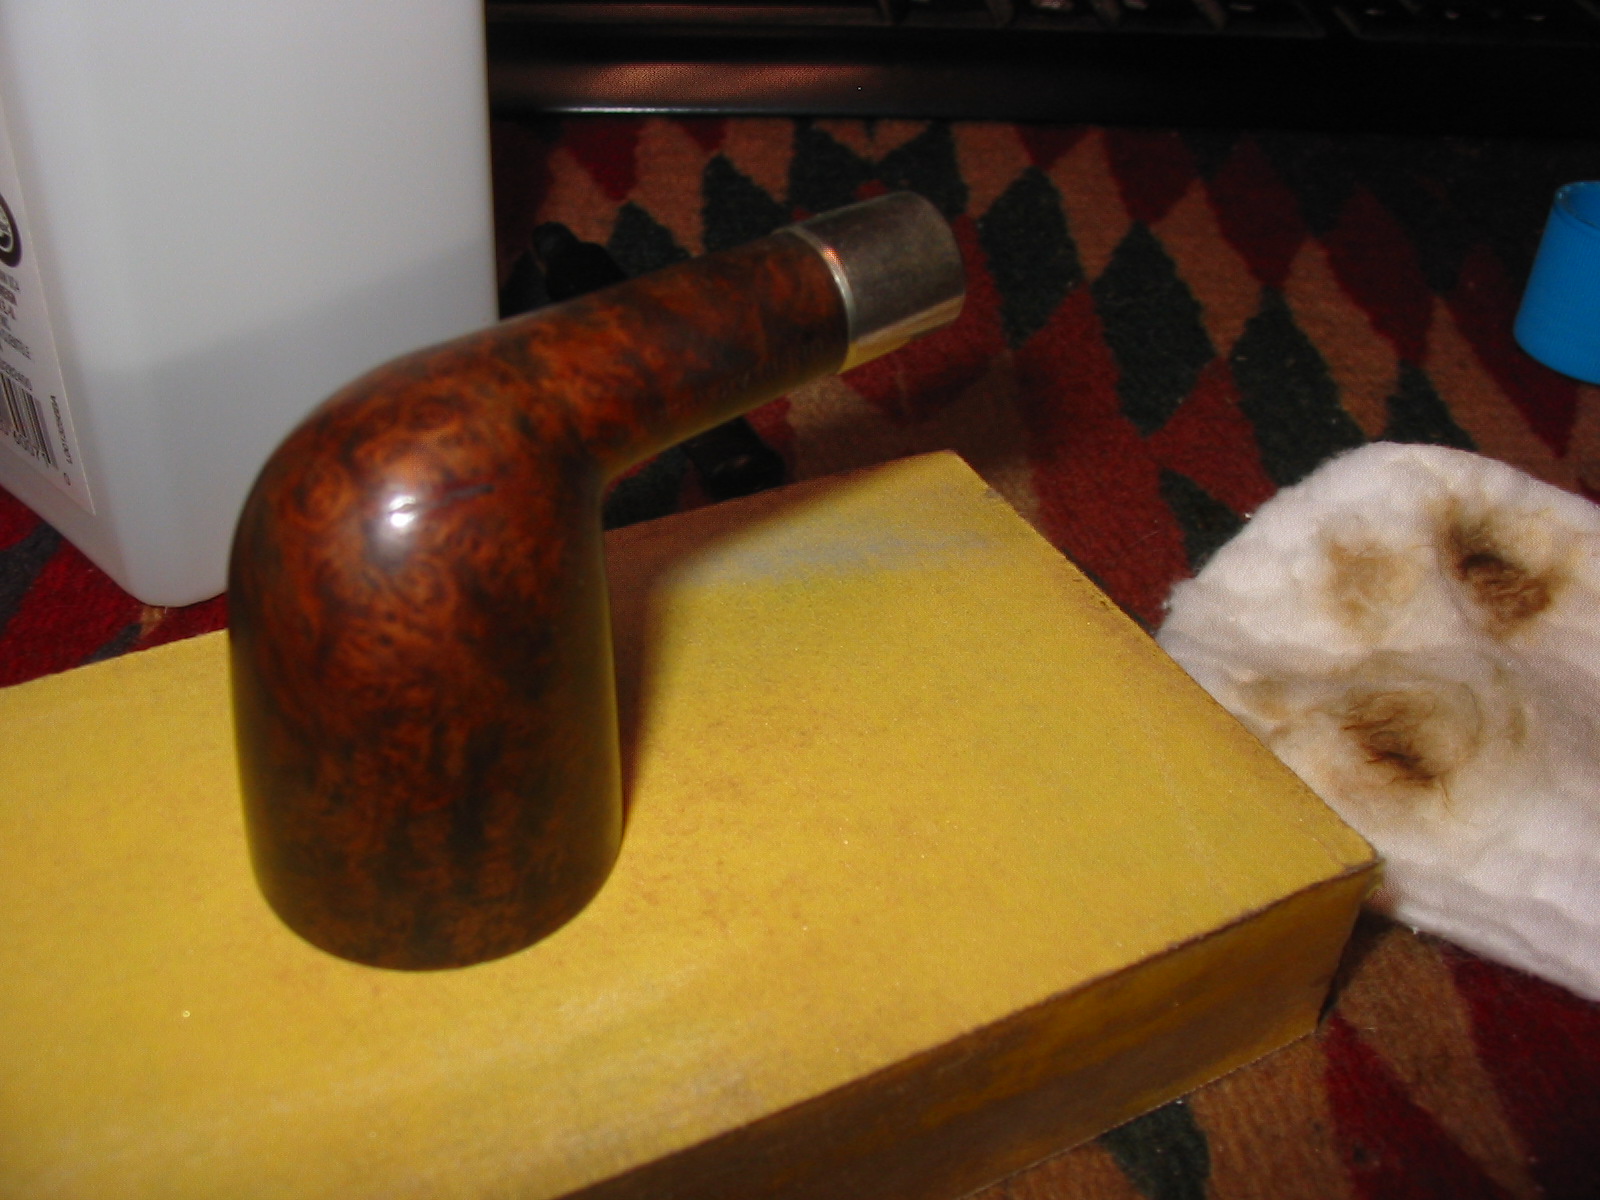
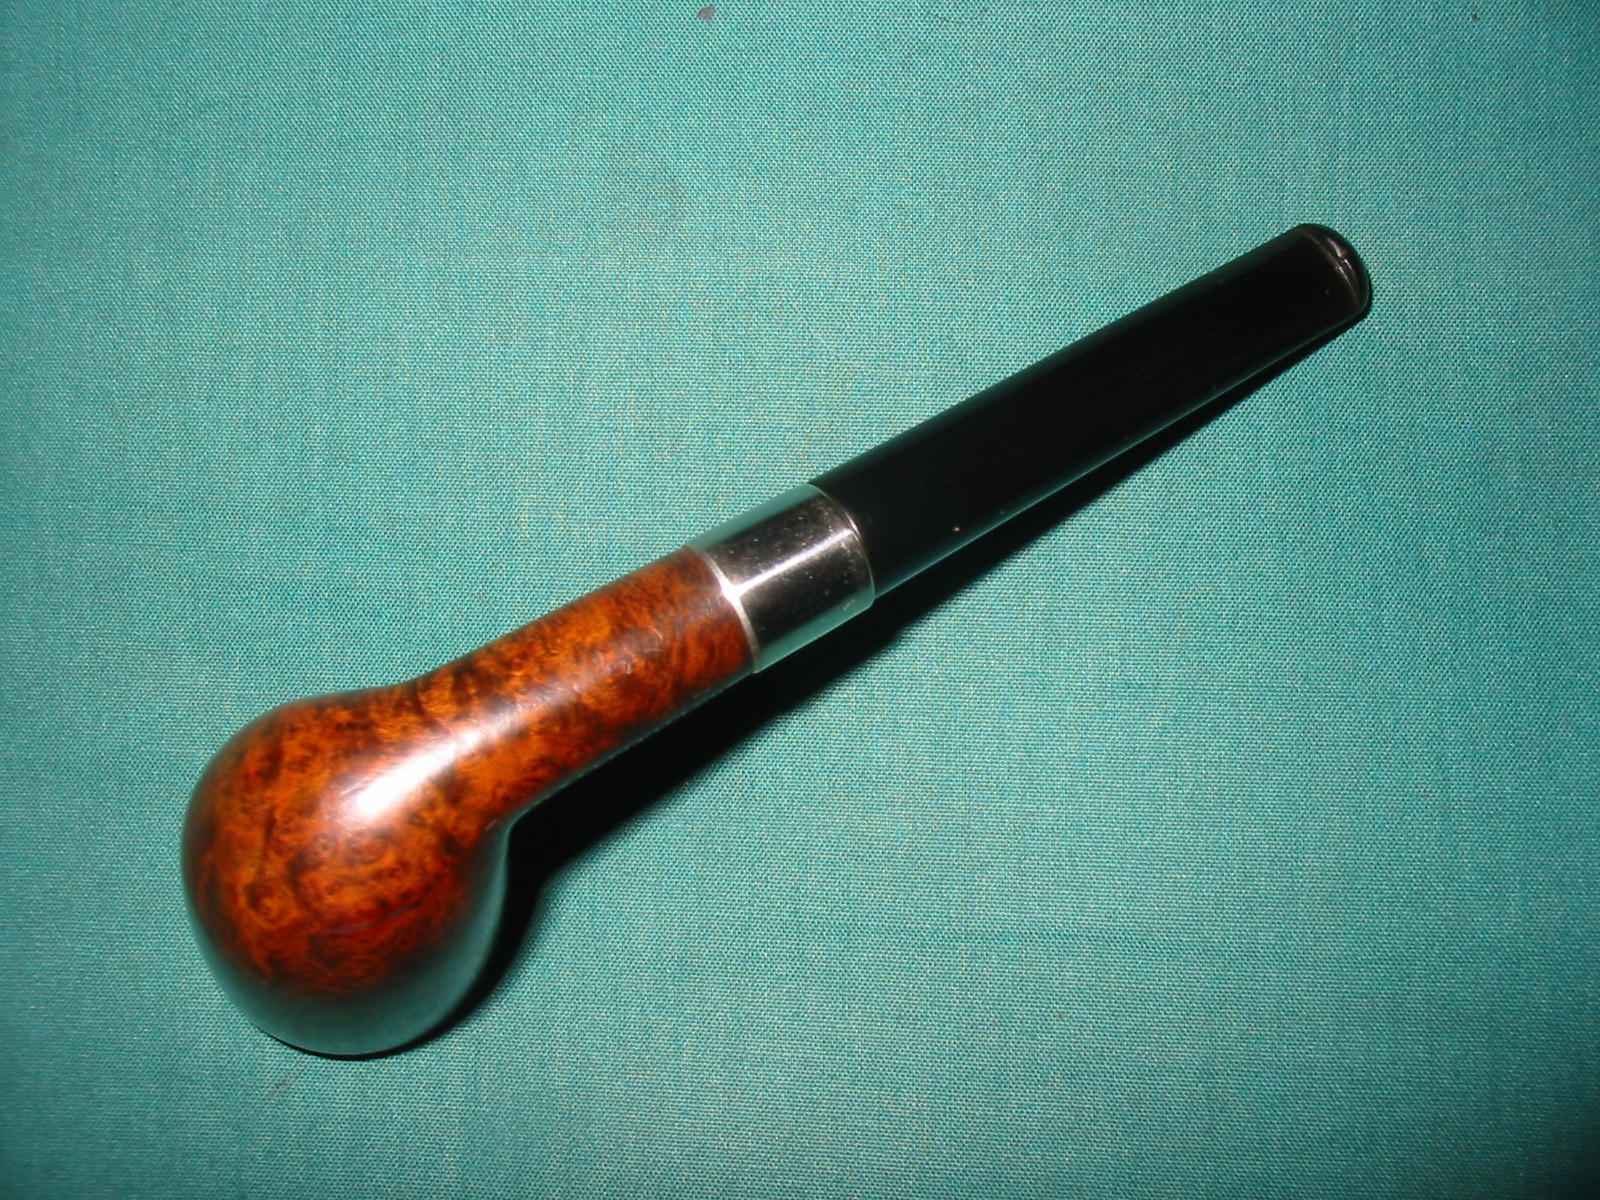
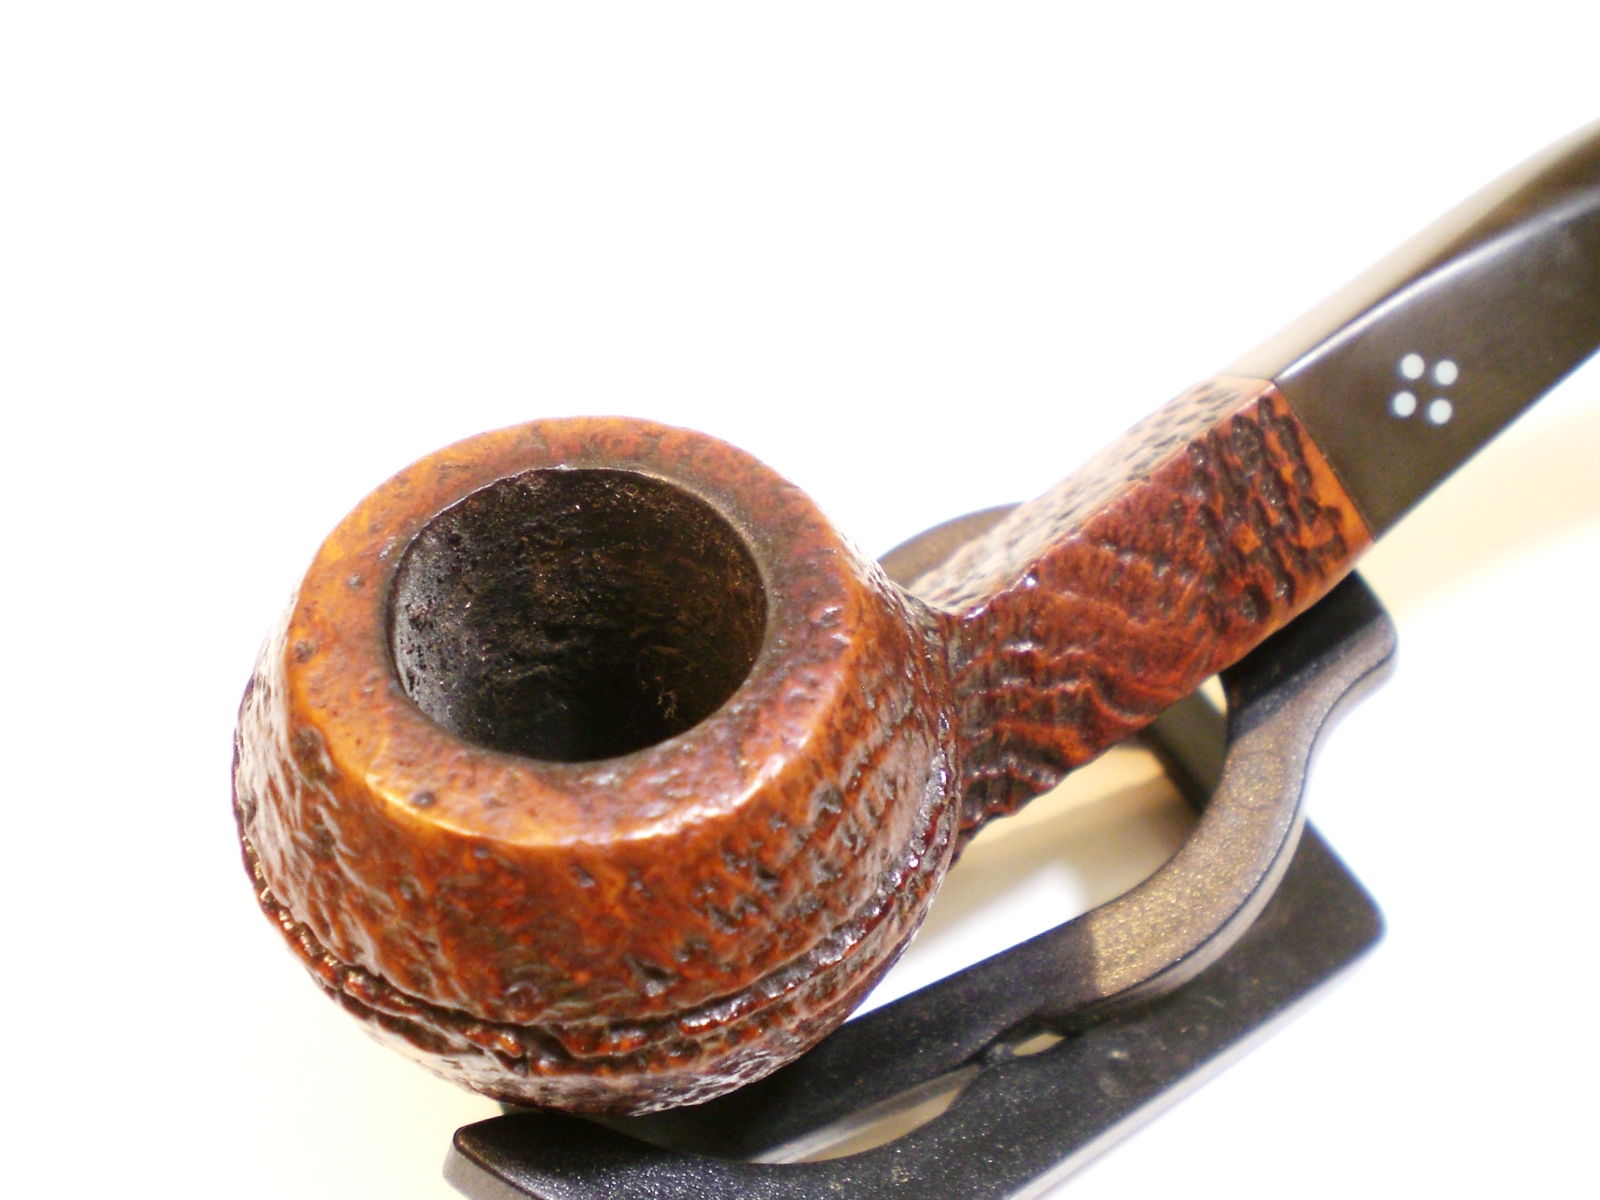
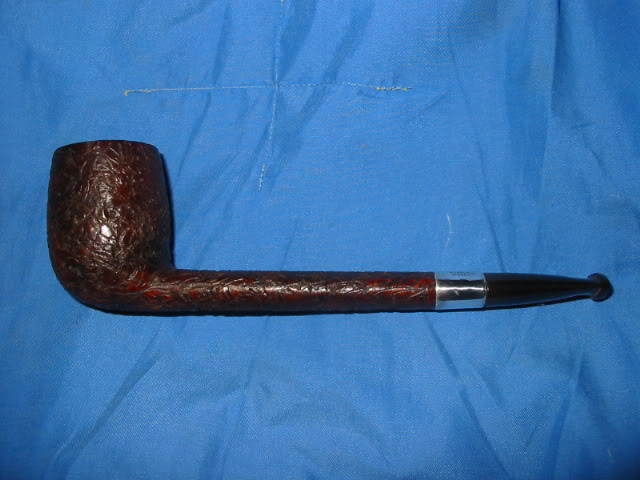
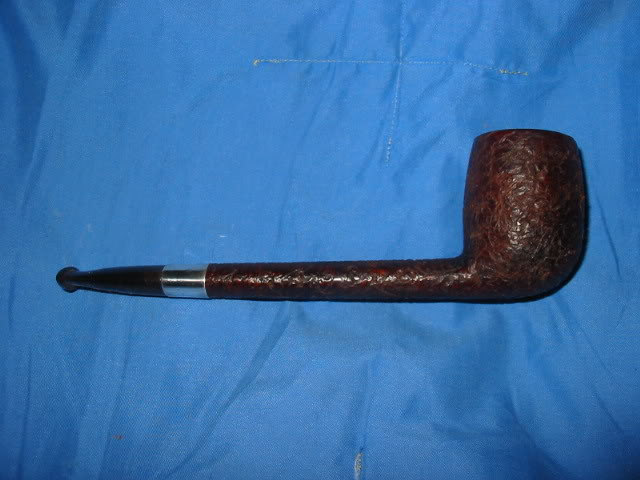
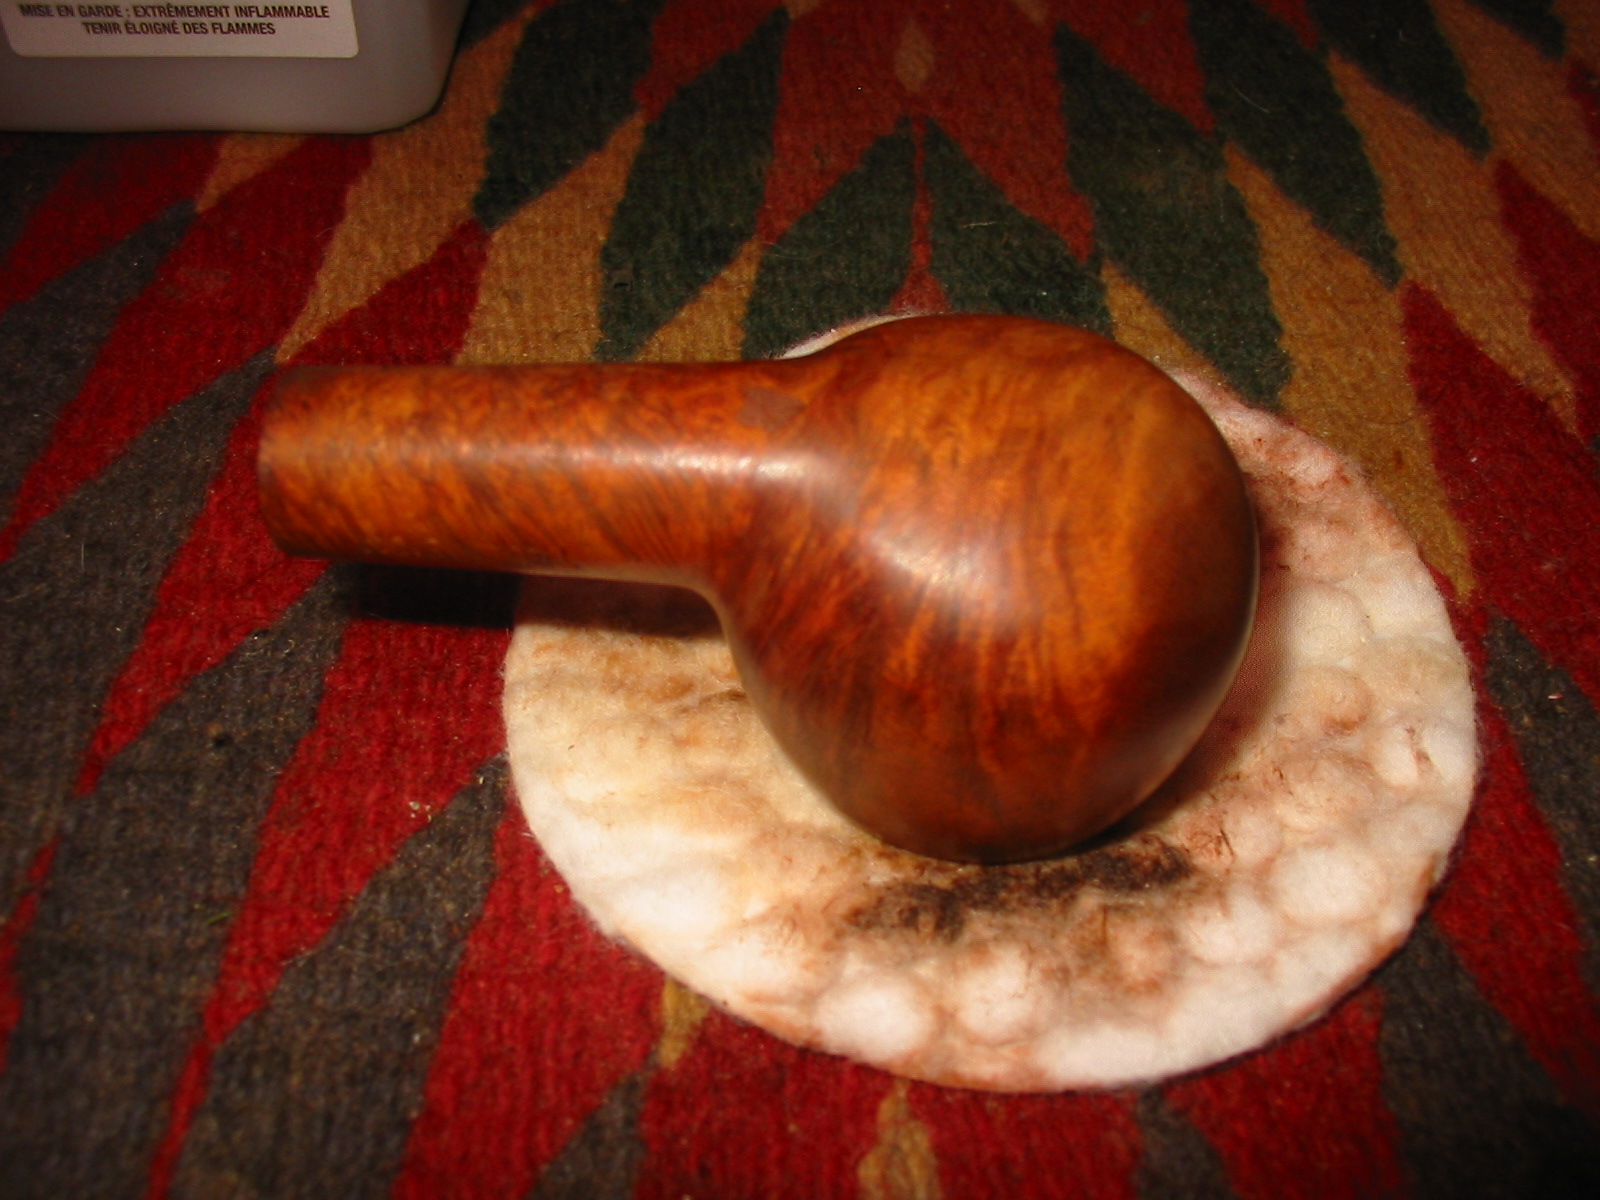
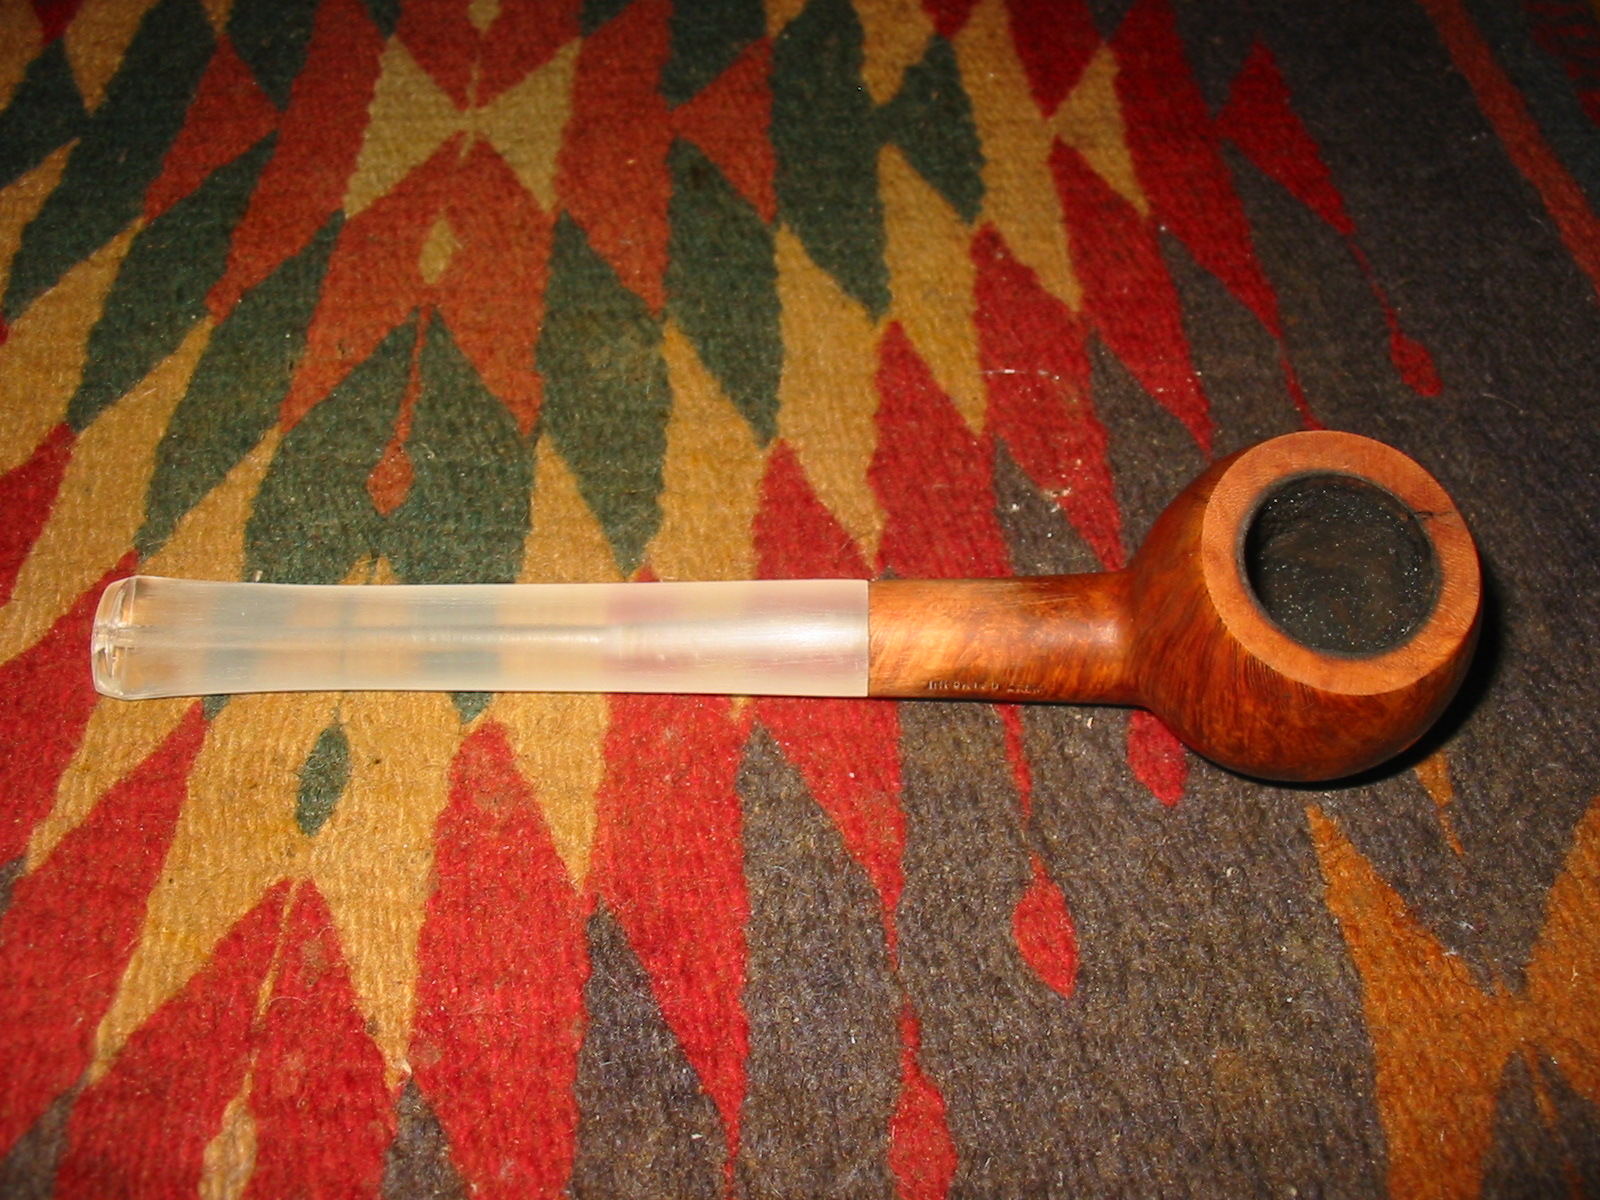
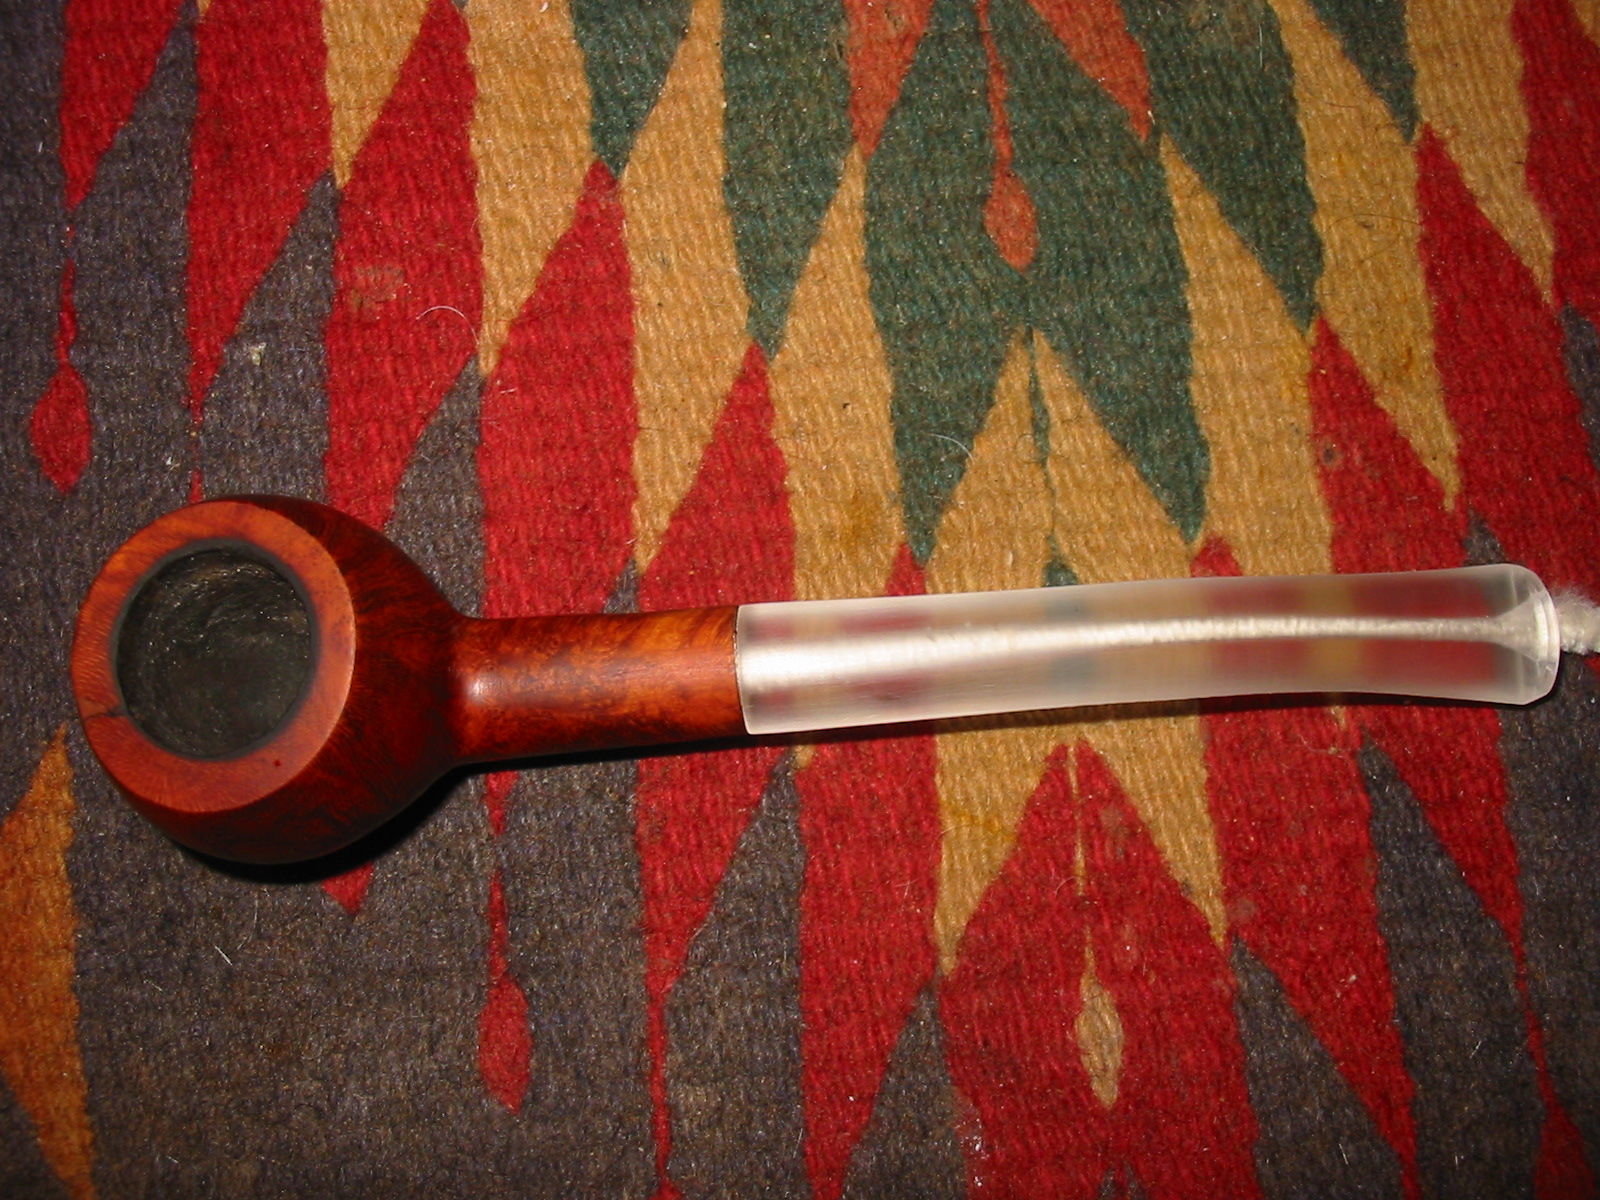
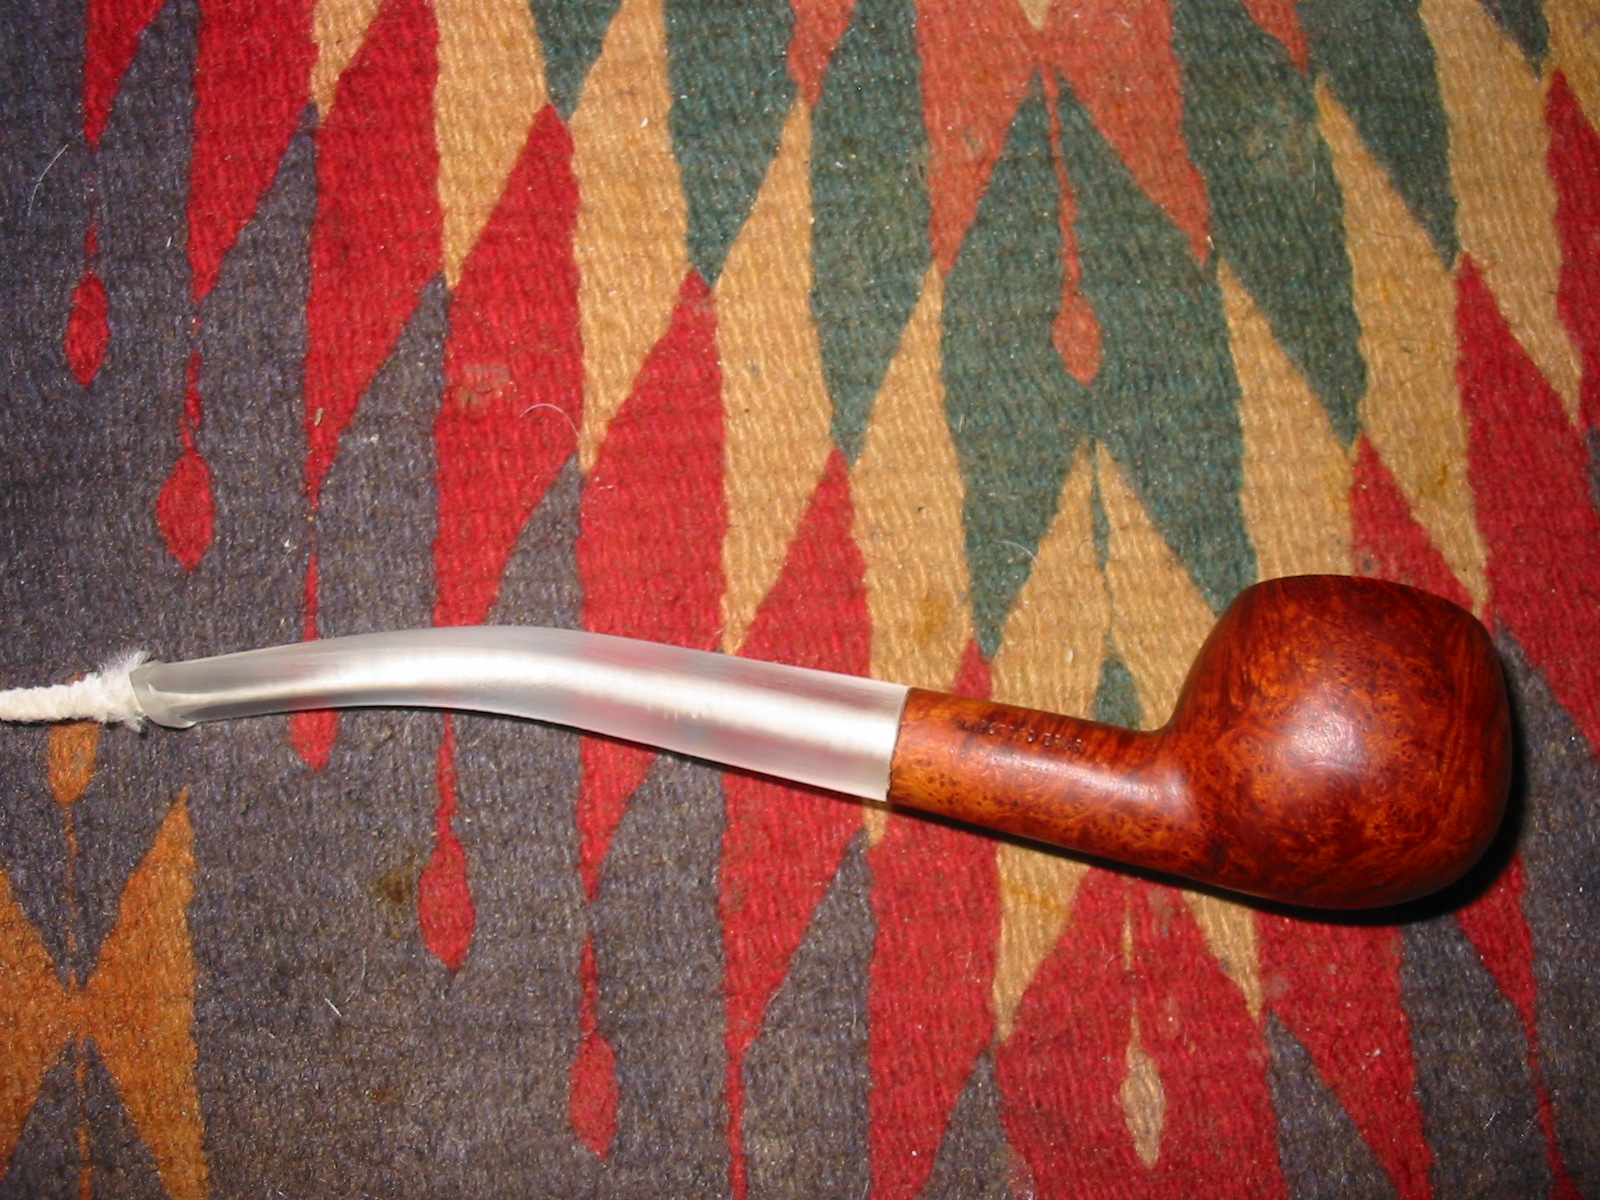
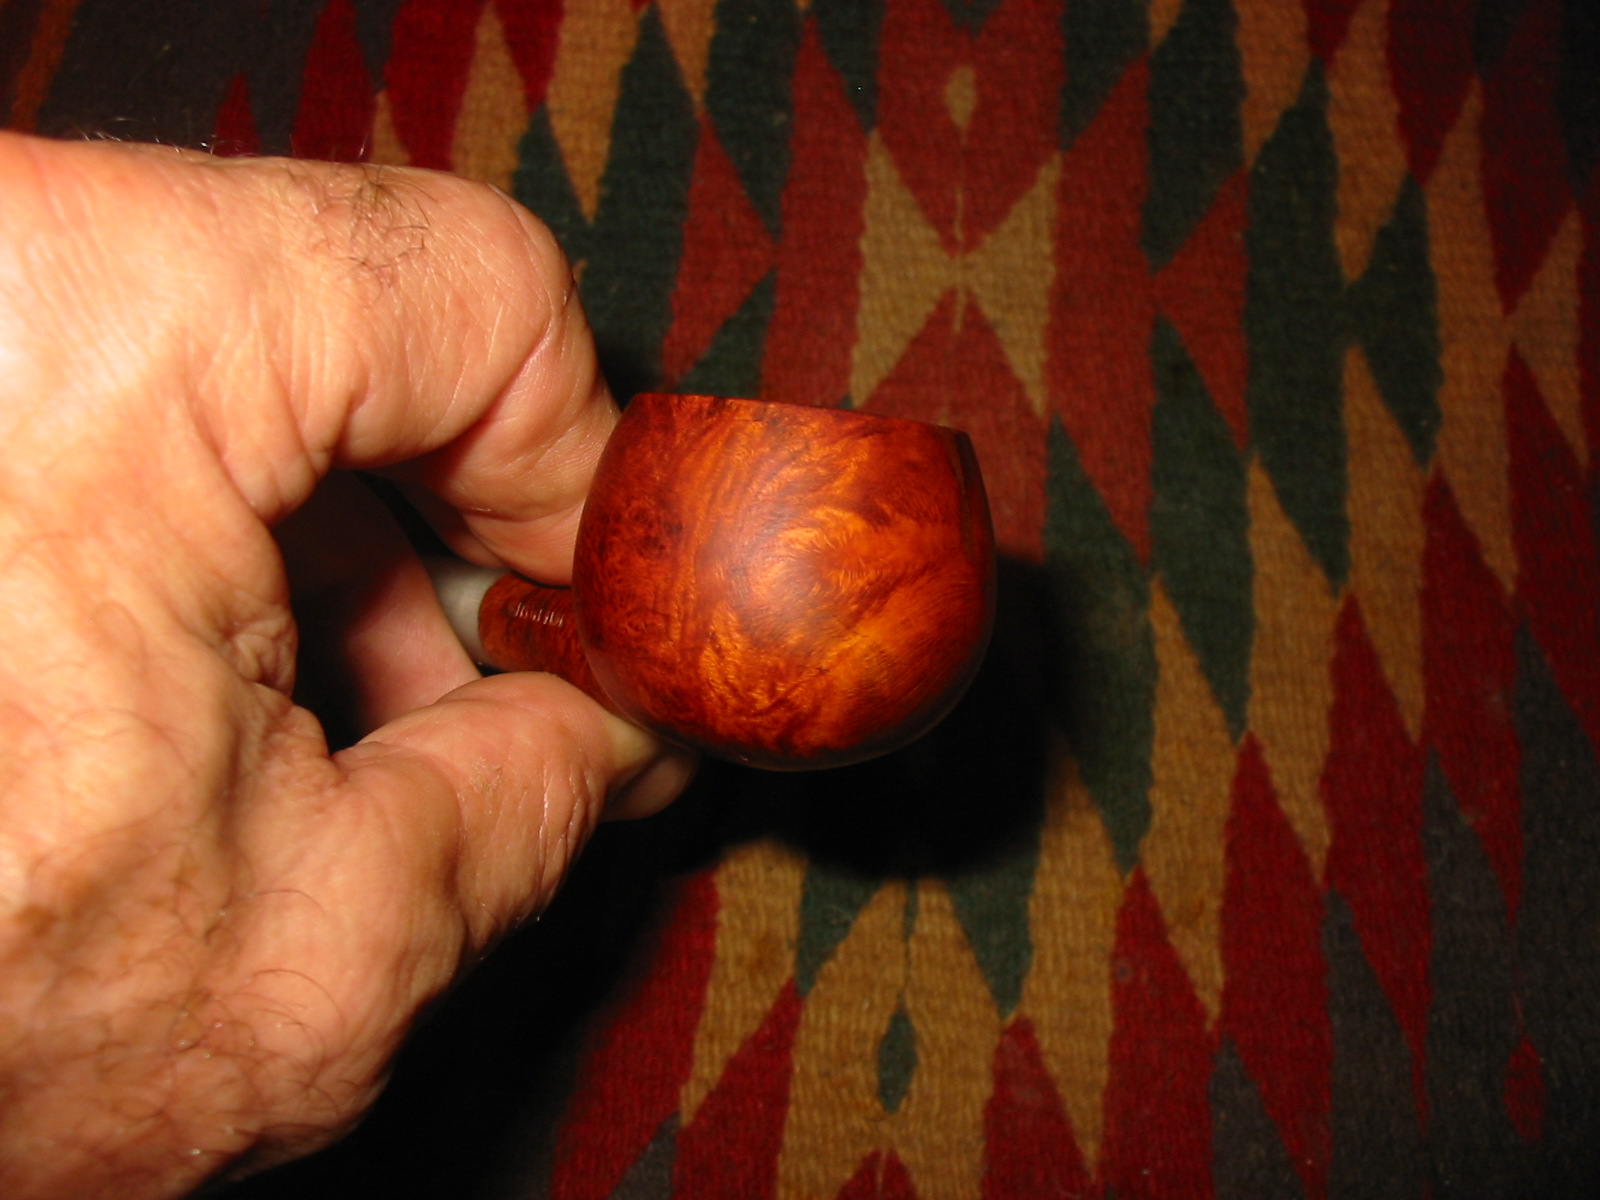
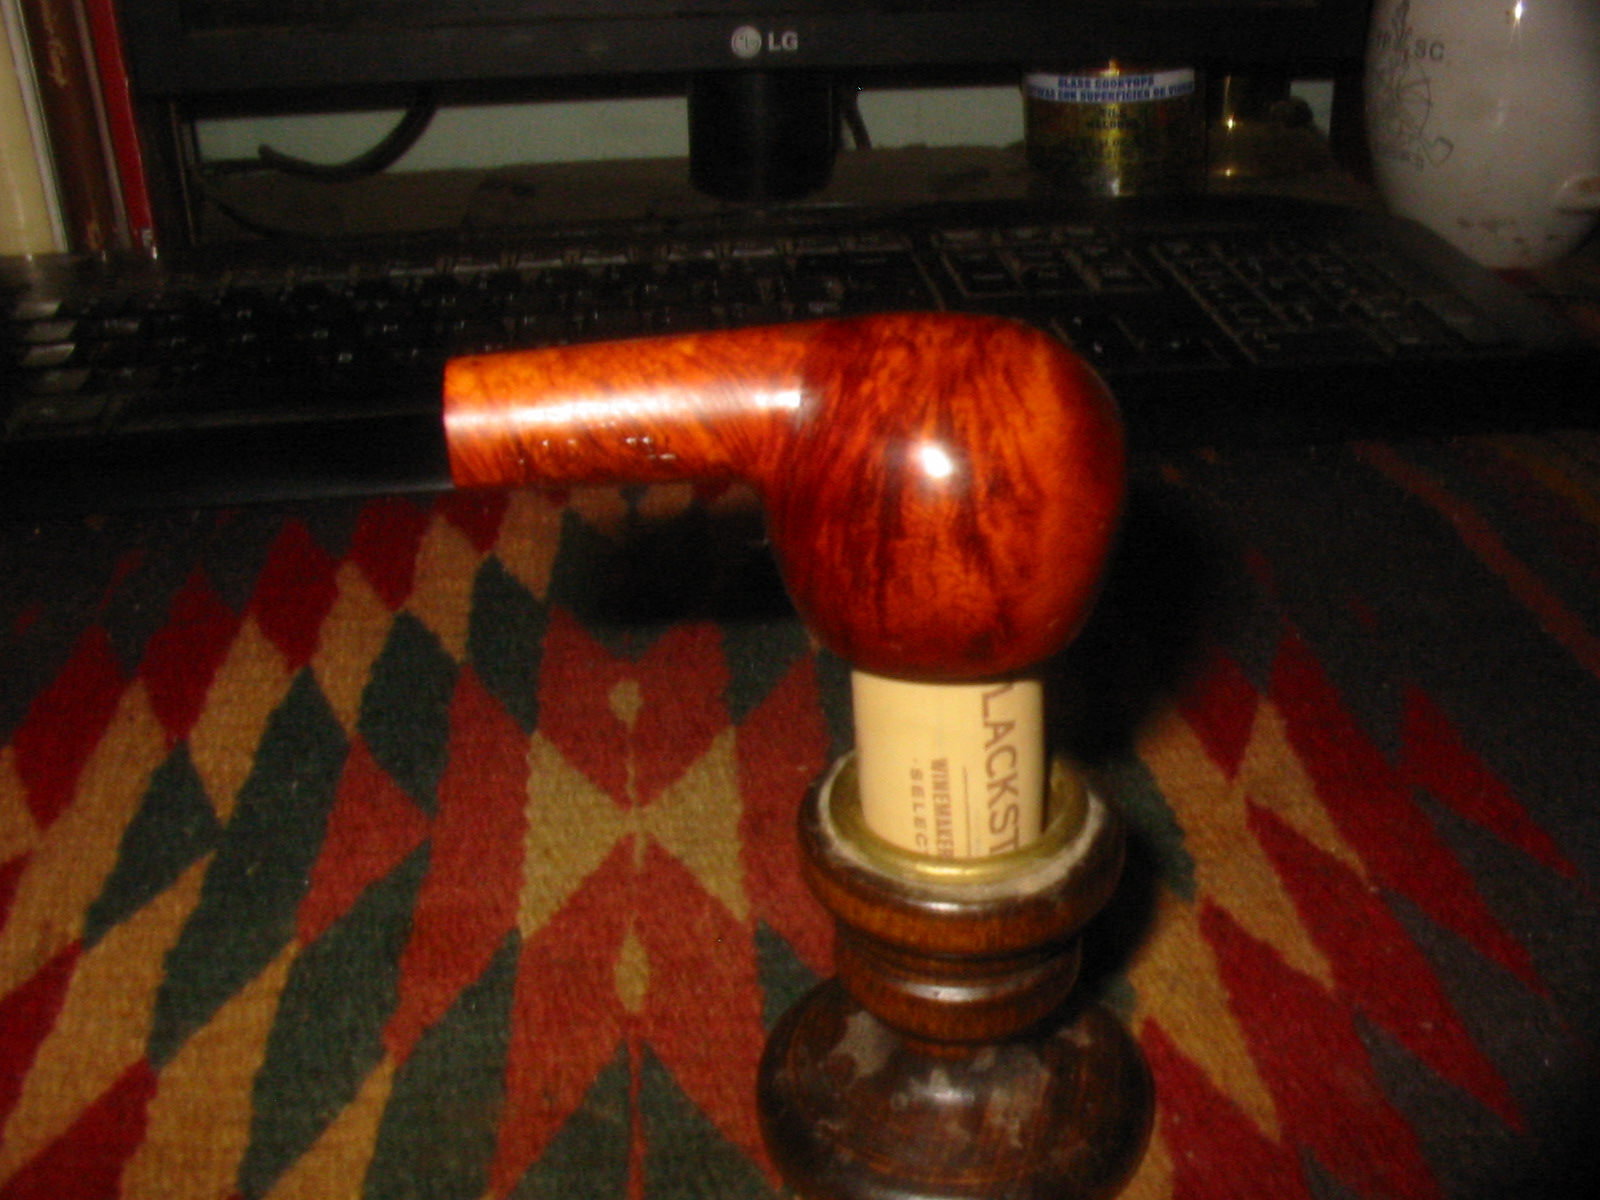
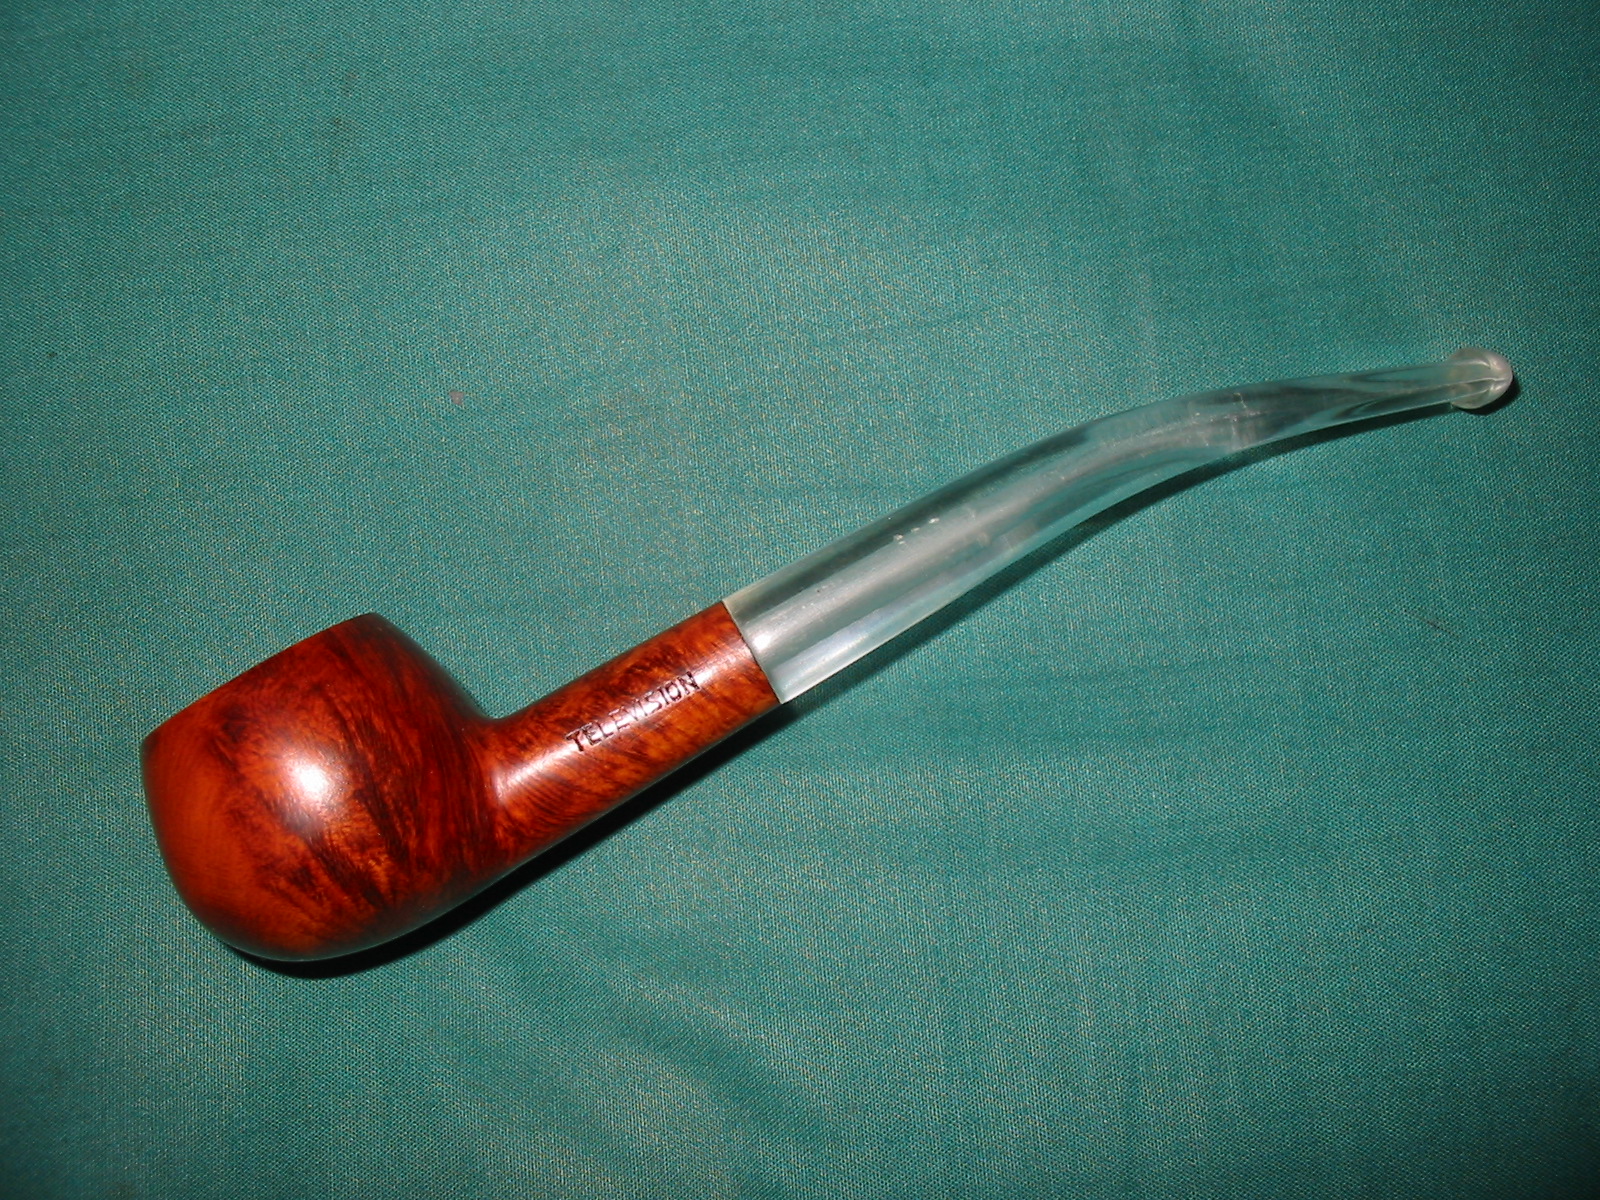
The next series of five photos show the bend in the stem. I still needed to do some sanding on the underside of the bend to thin it and shape it more cleanly. The angle appears a little abrupt but some sanding and shaping would take care of that. I also rubbed down the bowl with a cloth and olive oil to darken the briar to get a better idea of the grain patterns. I often use this method to show the grain but I am careful to not put too much oil on it. IMG_7907 IMG_7908 IMG_7909 IMG_7910 IMG_7911 
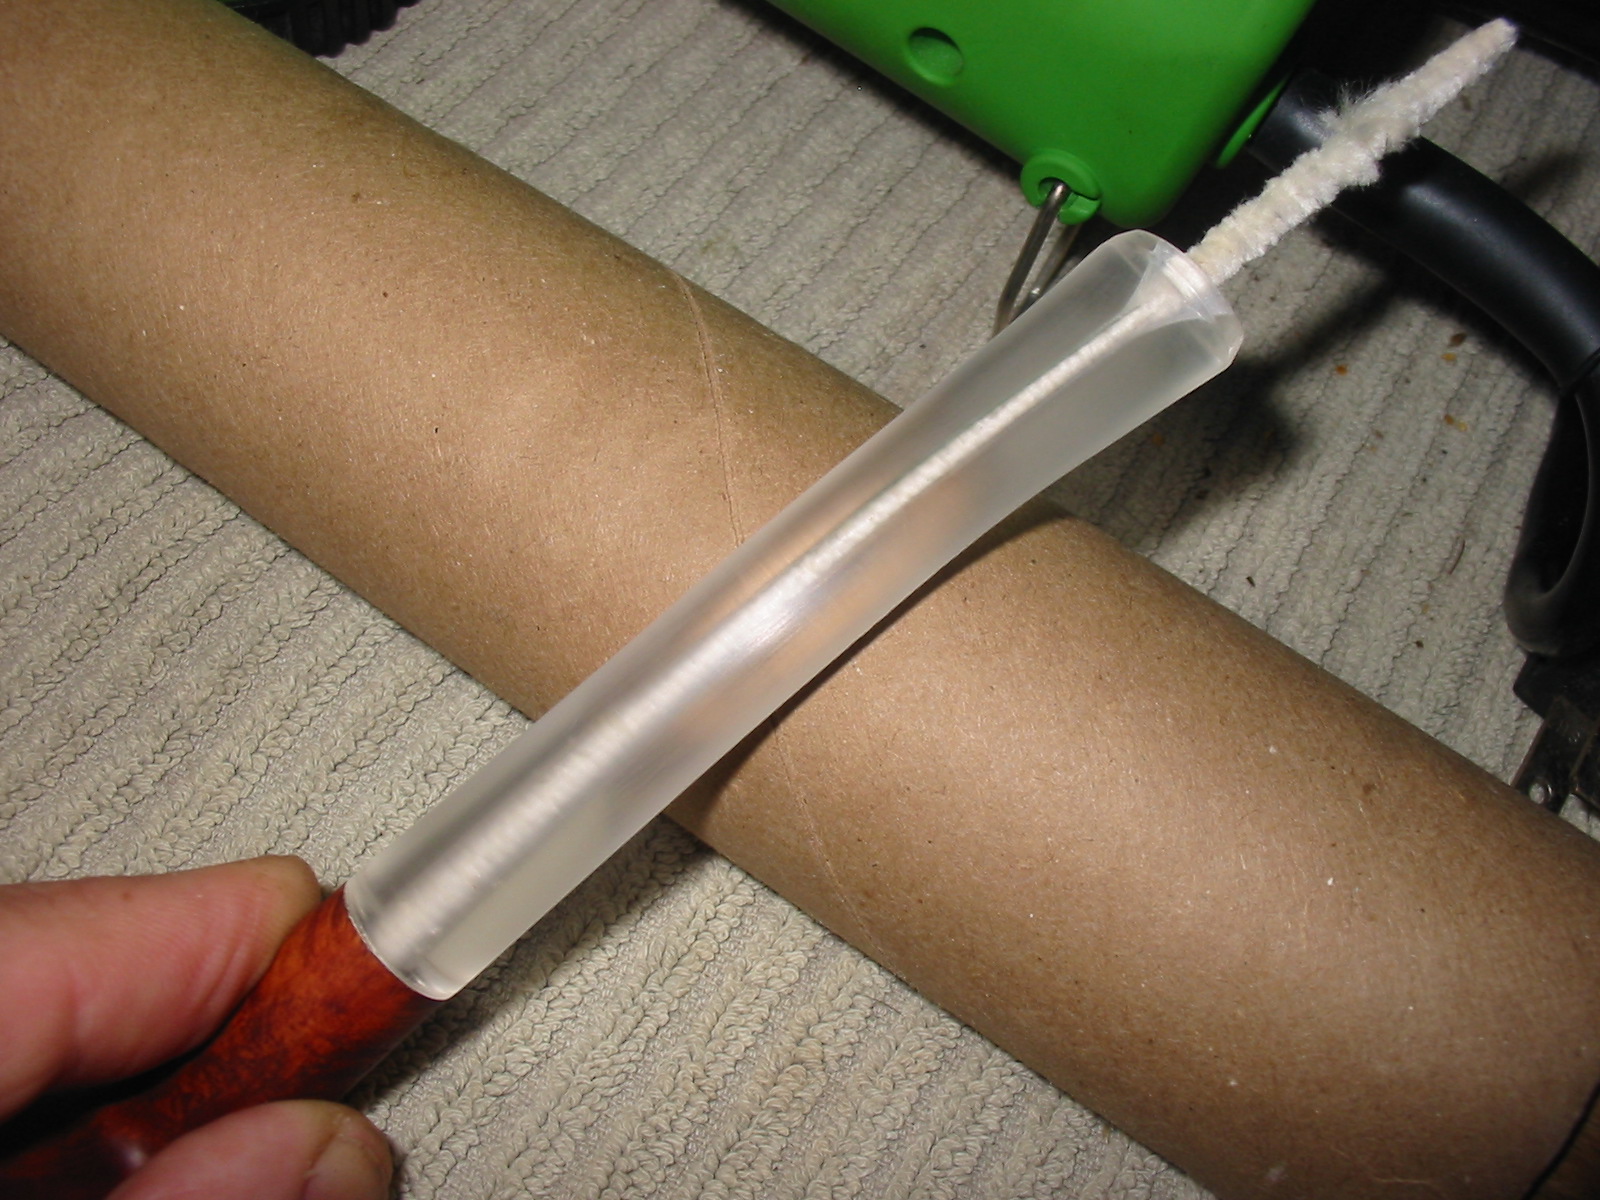
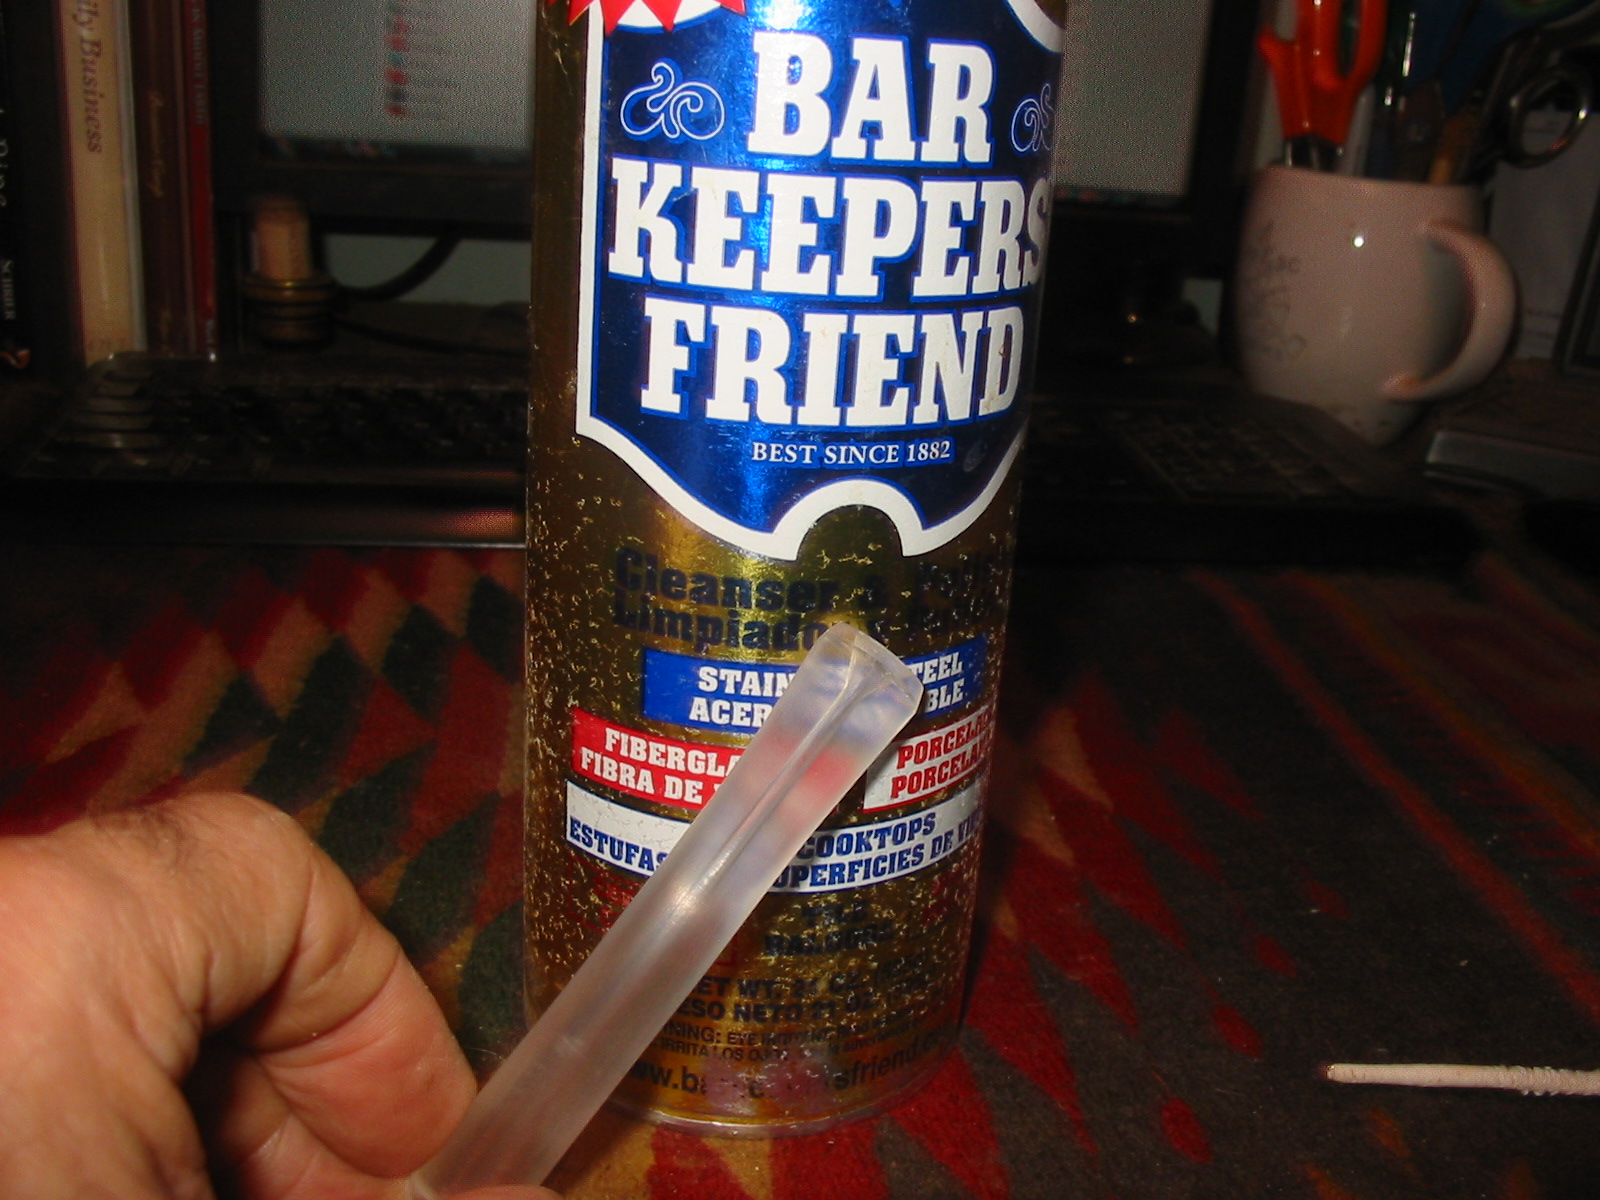
To polish the inside of the stem/airway I used a pipe cleaner dipped in Bar Keepers Friend (a cleanser). I have found that the grit of the cleanser polishes the inside of the airway. IMG_7912 IMG_7913 
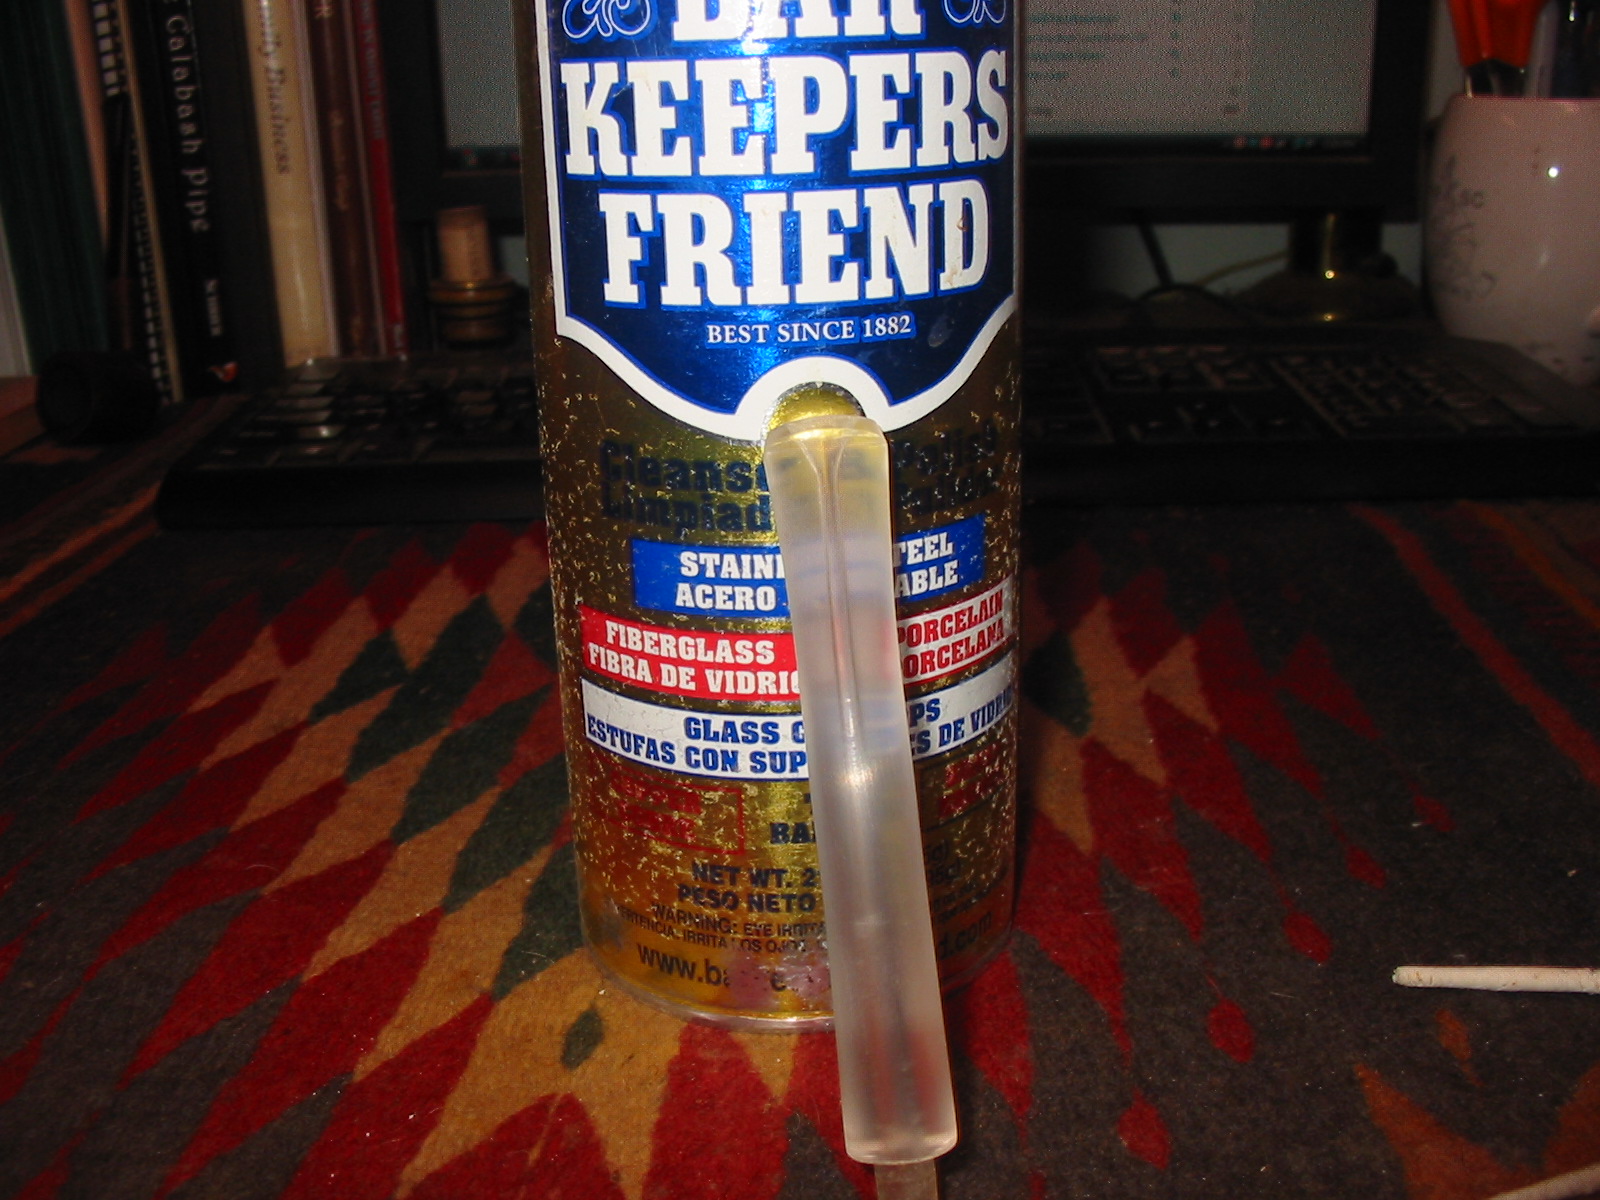
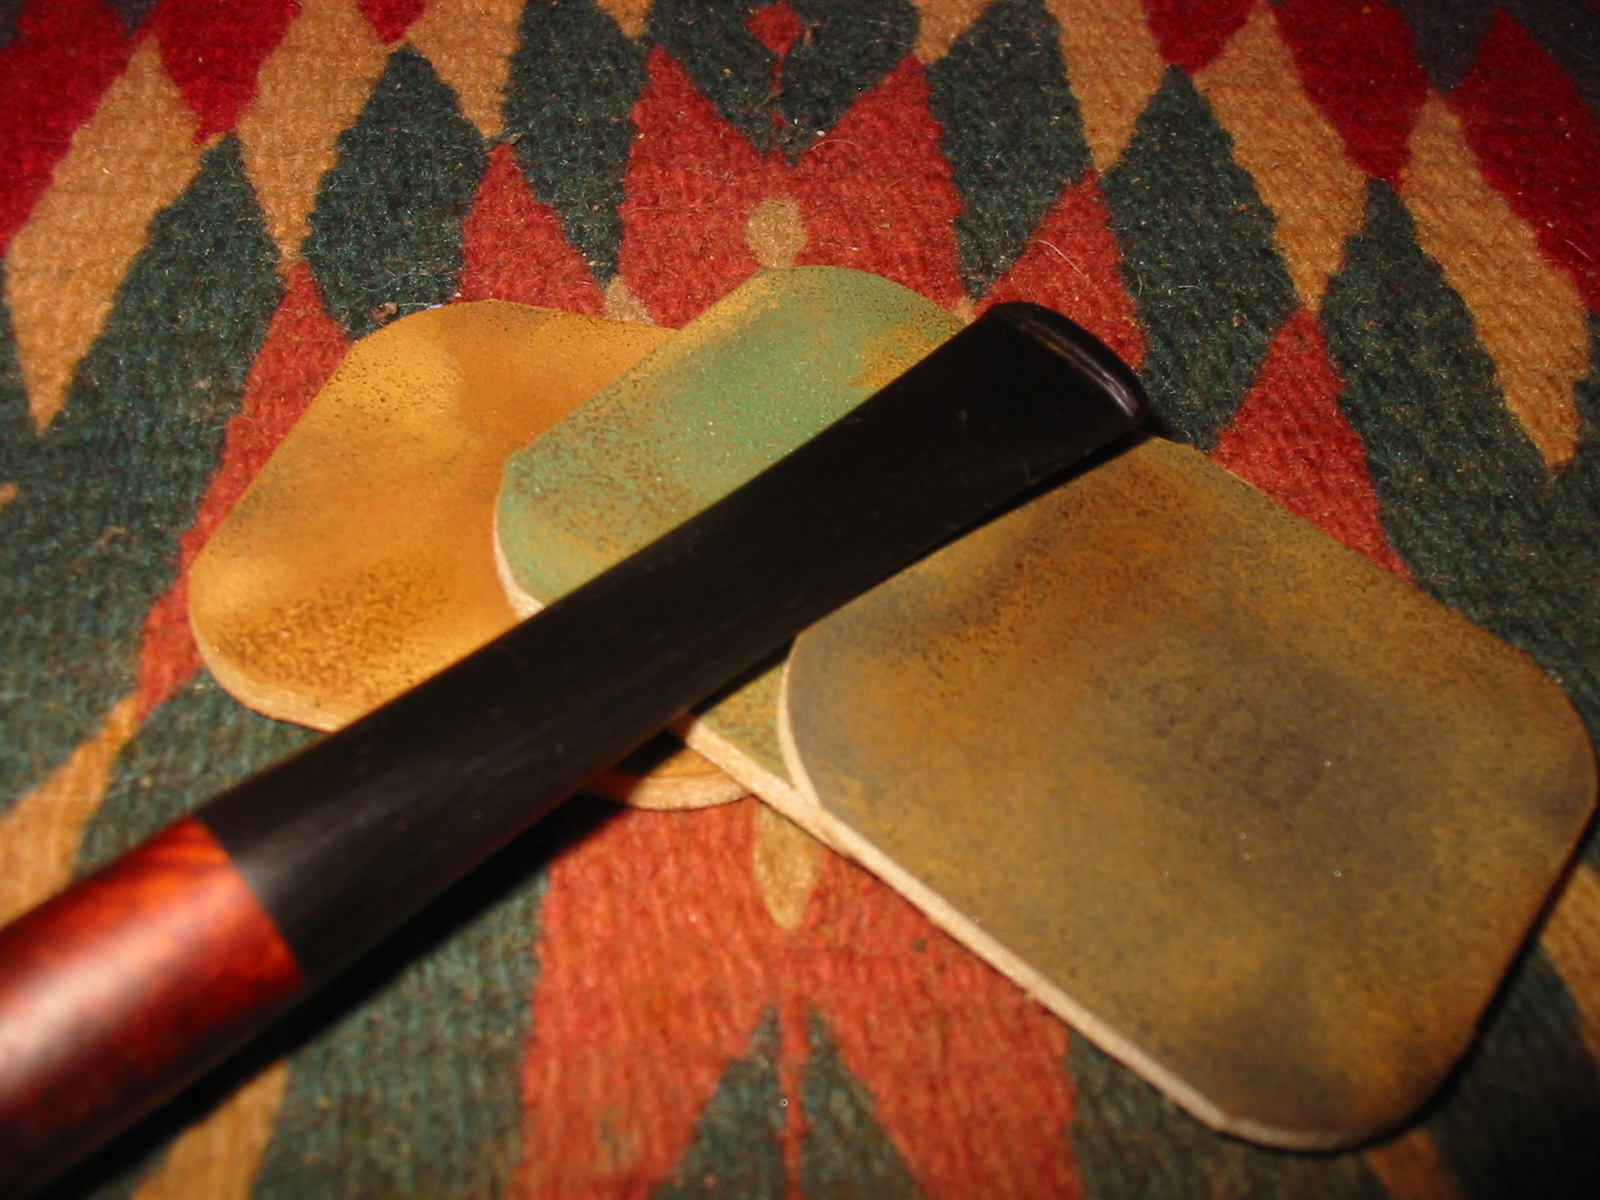
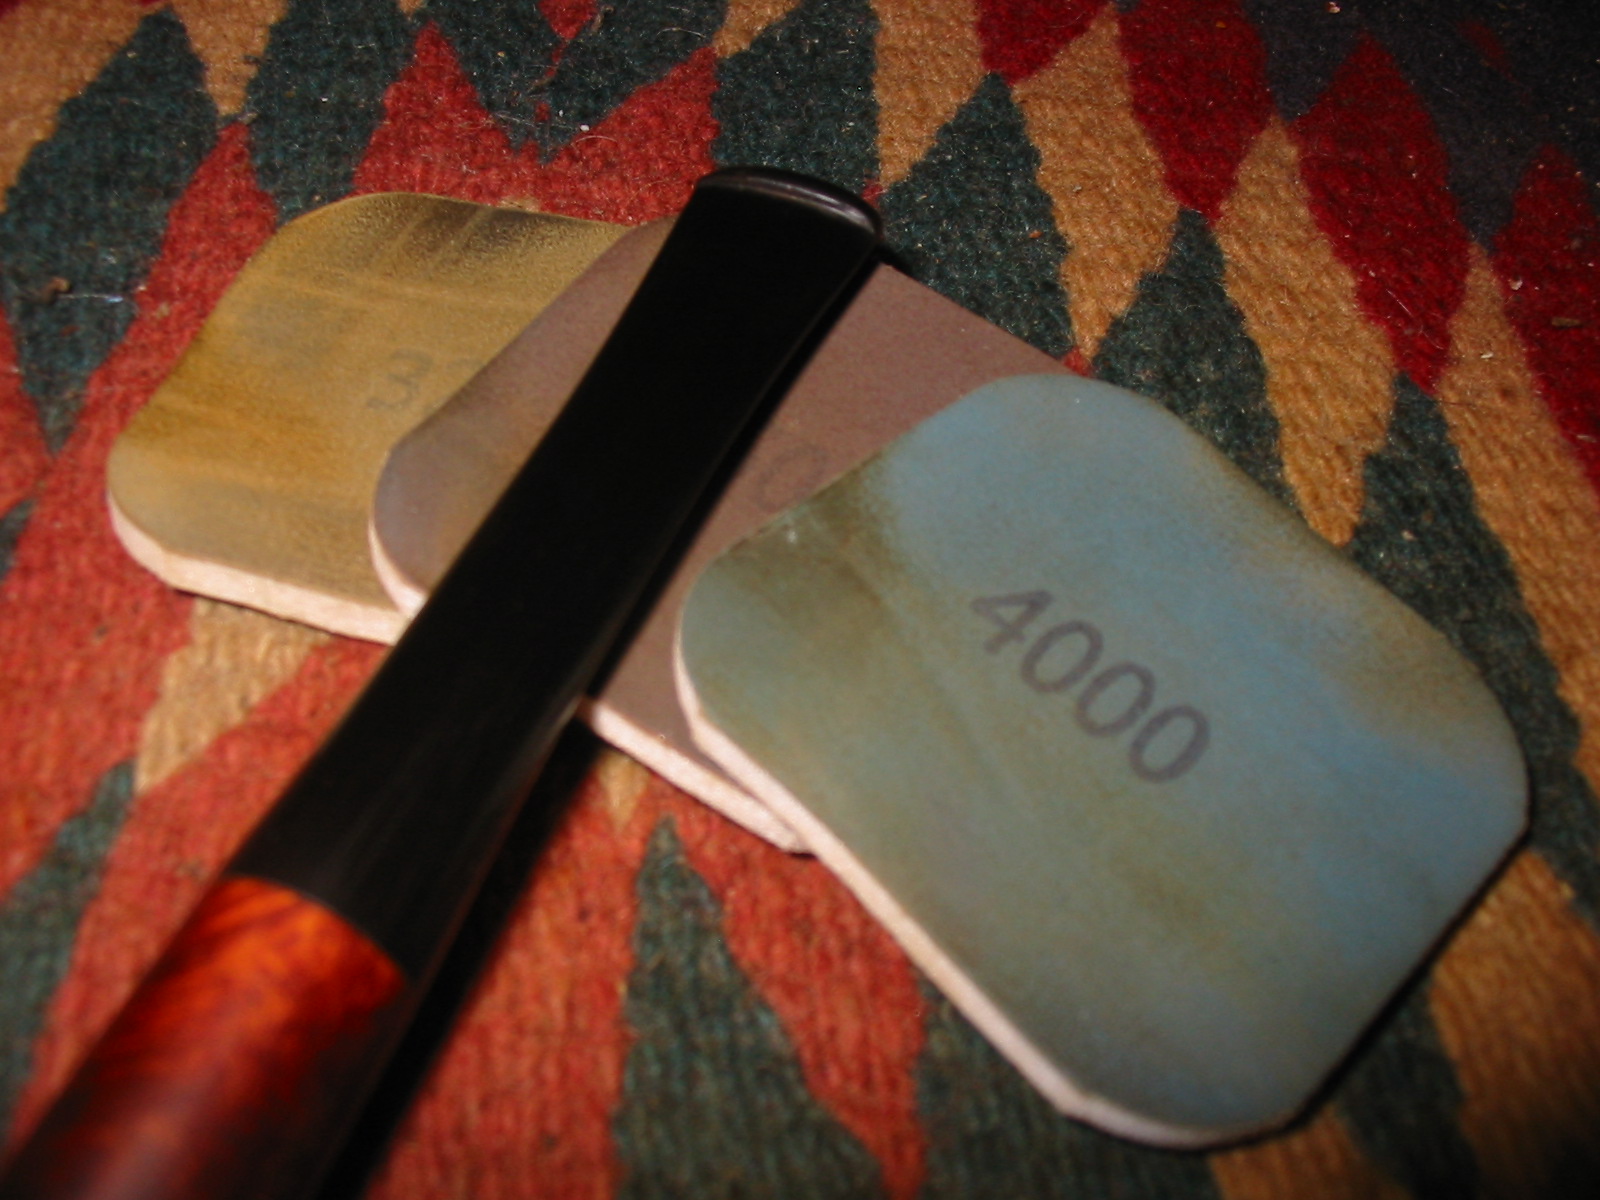
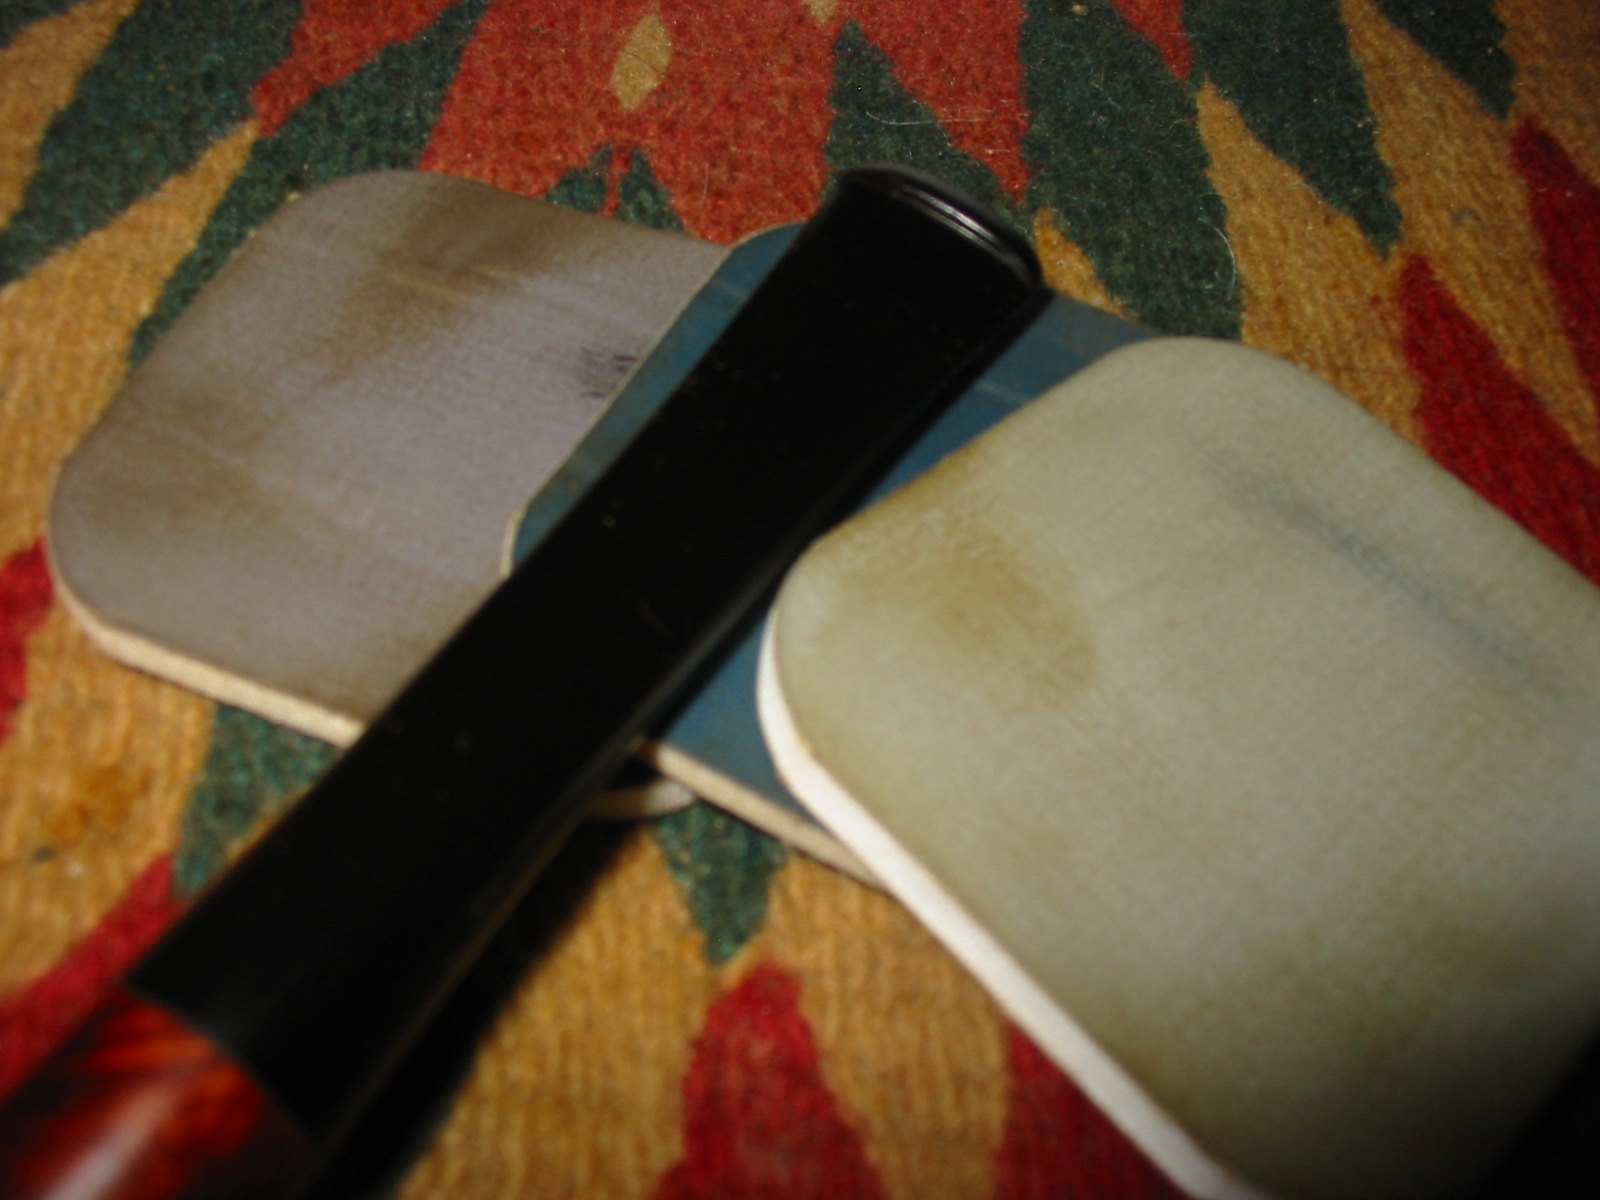
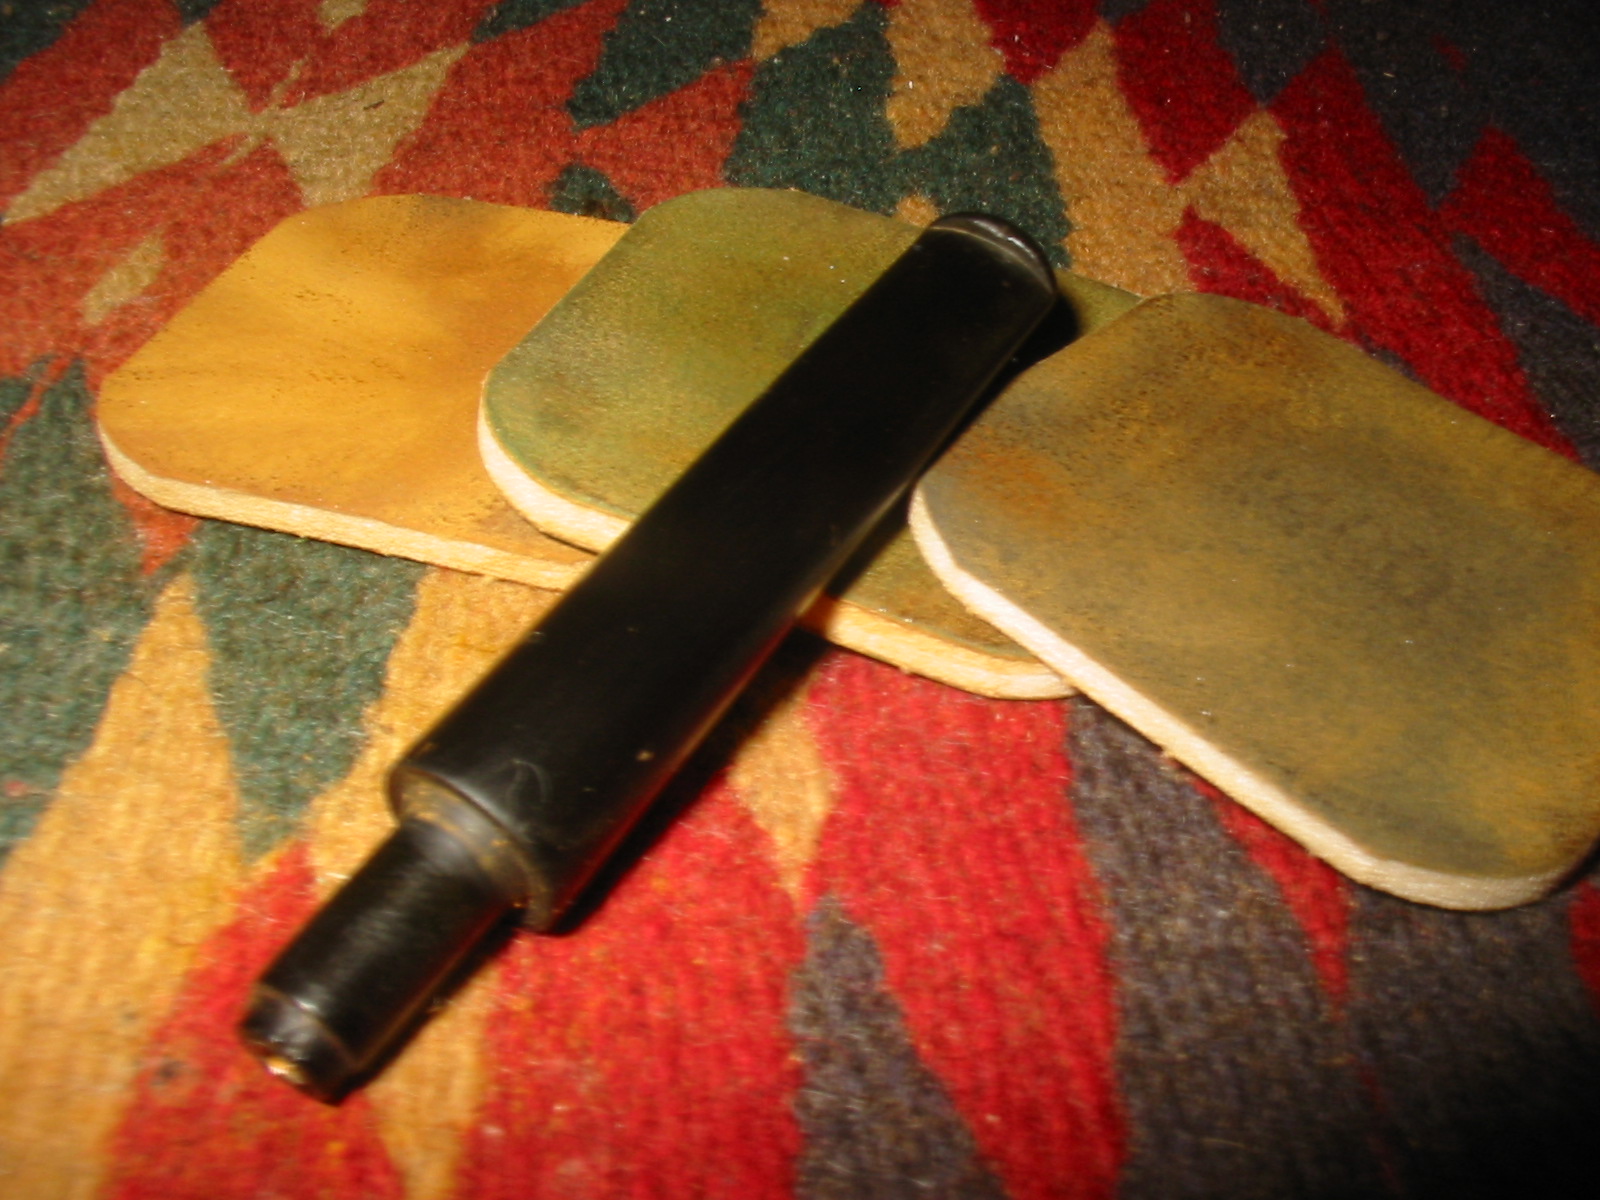
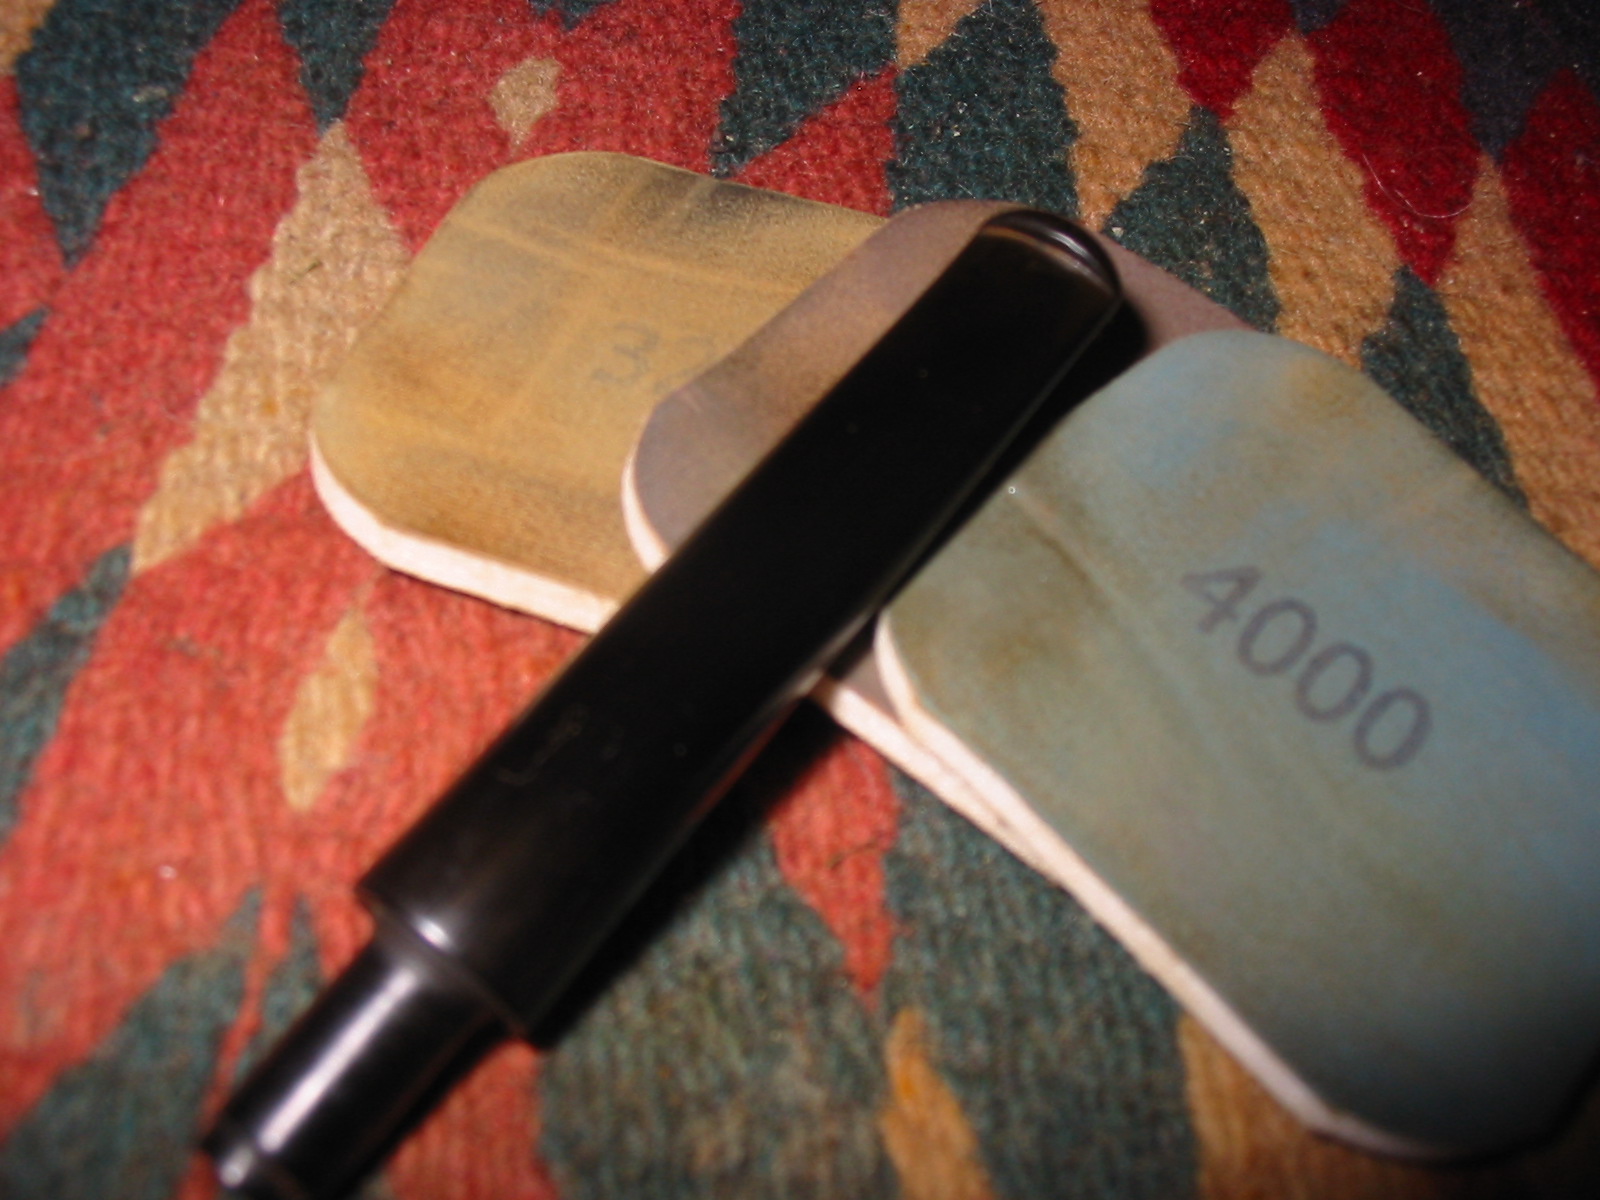
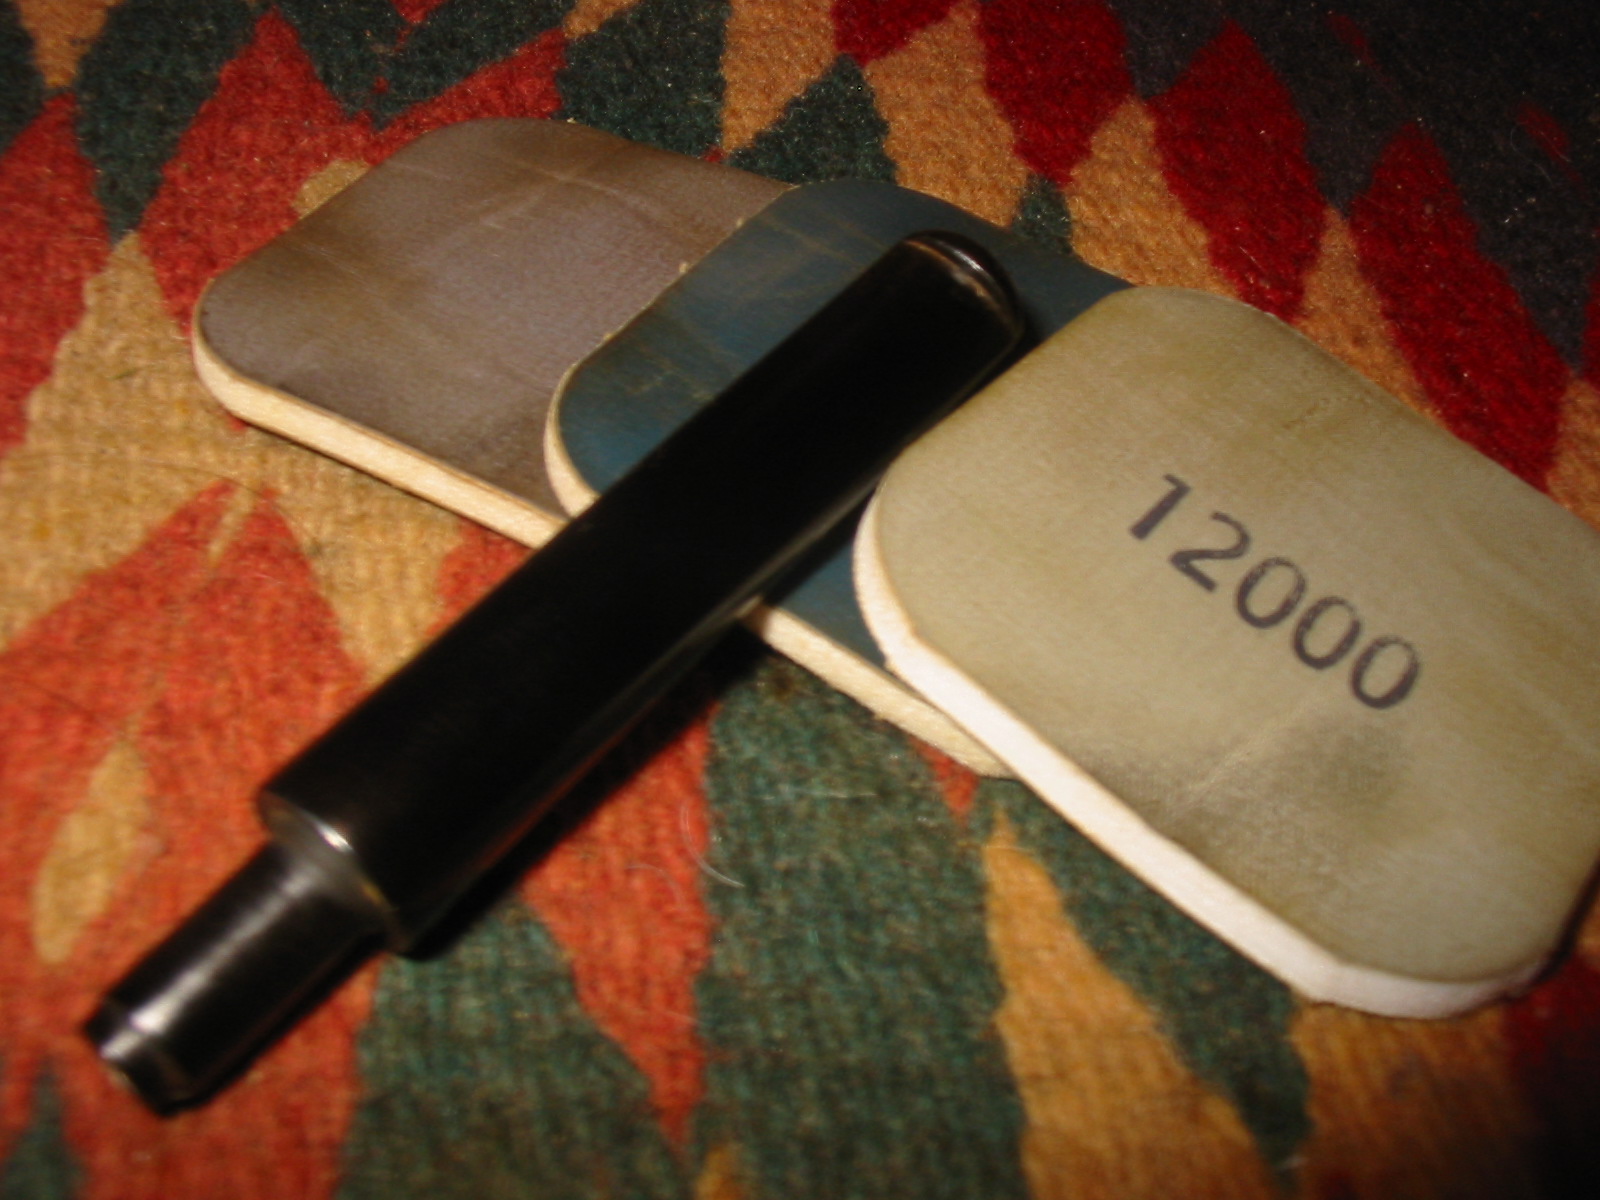
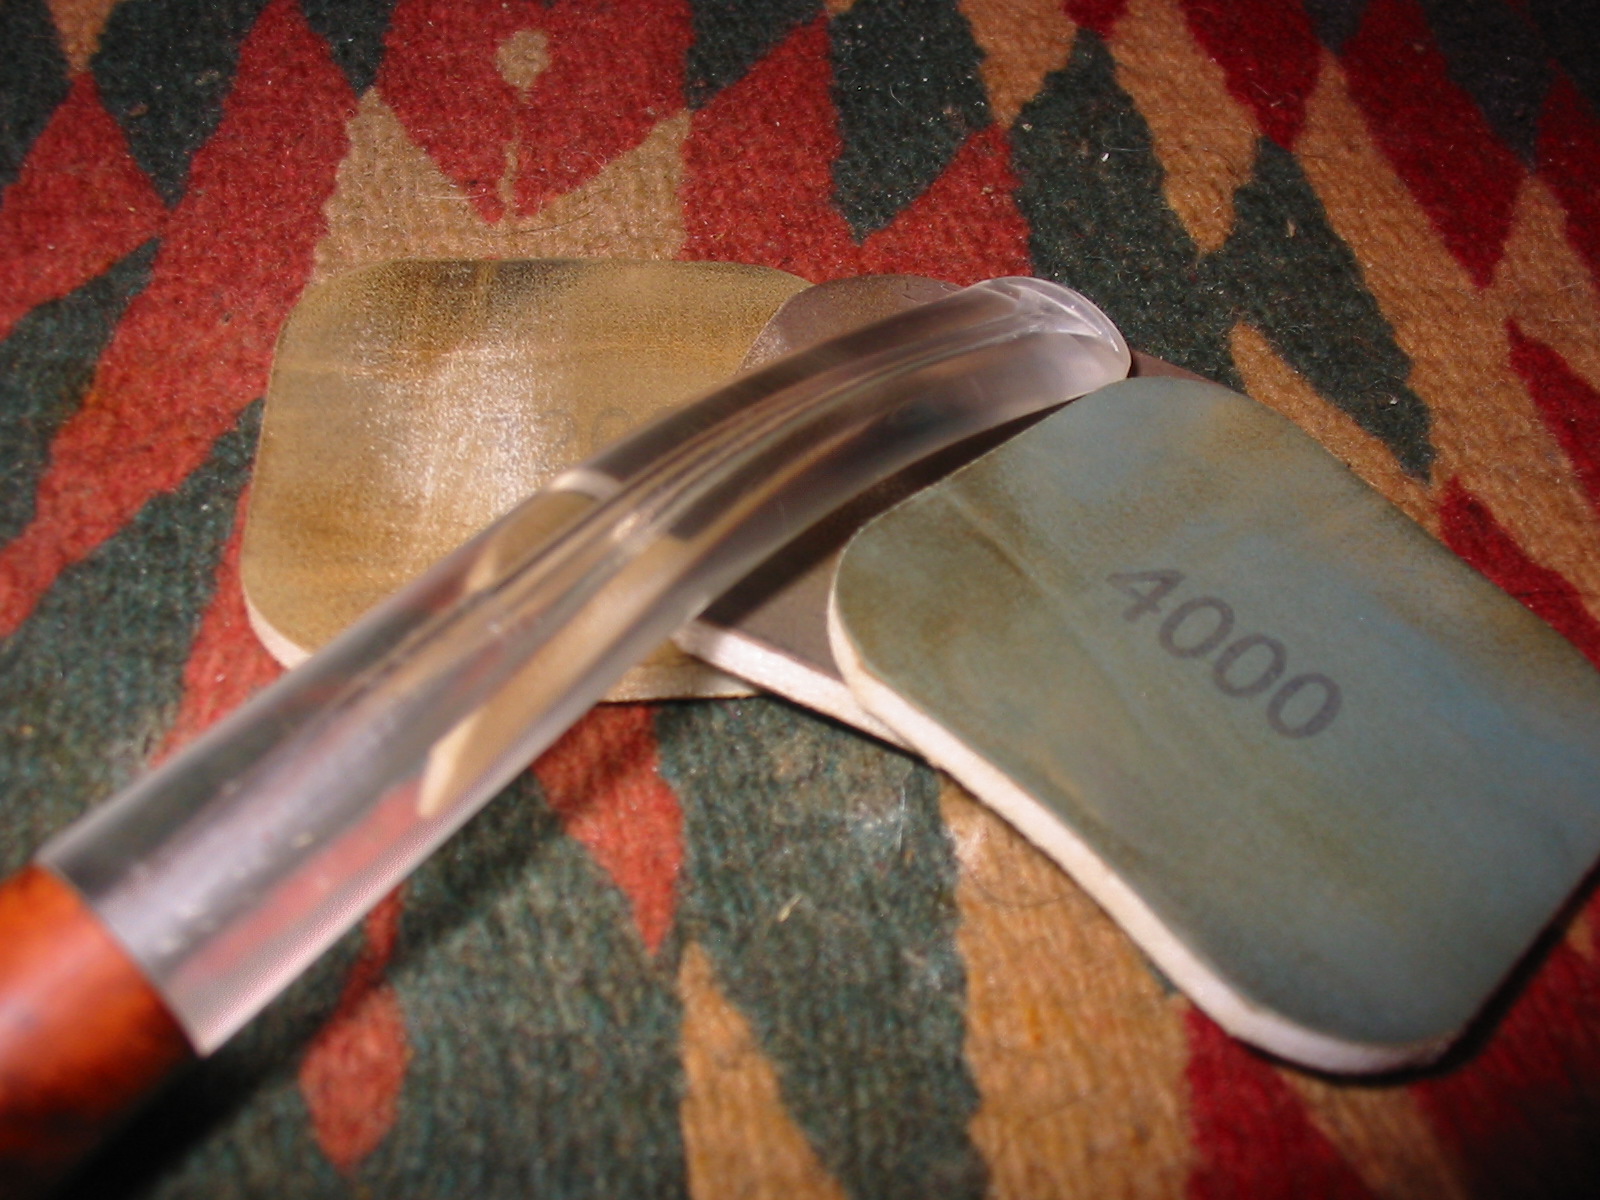
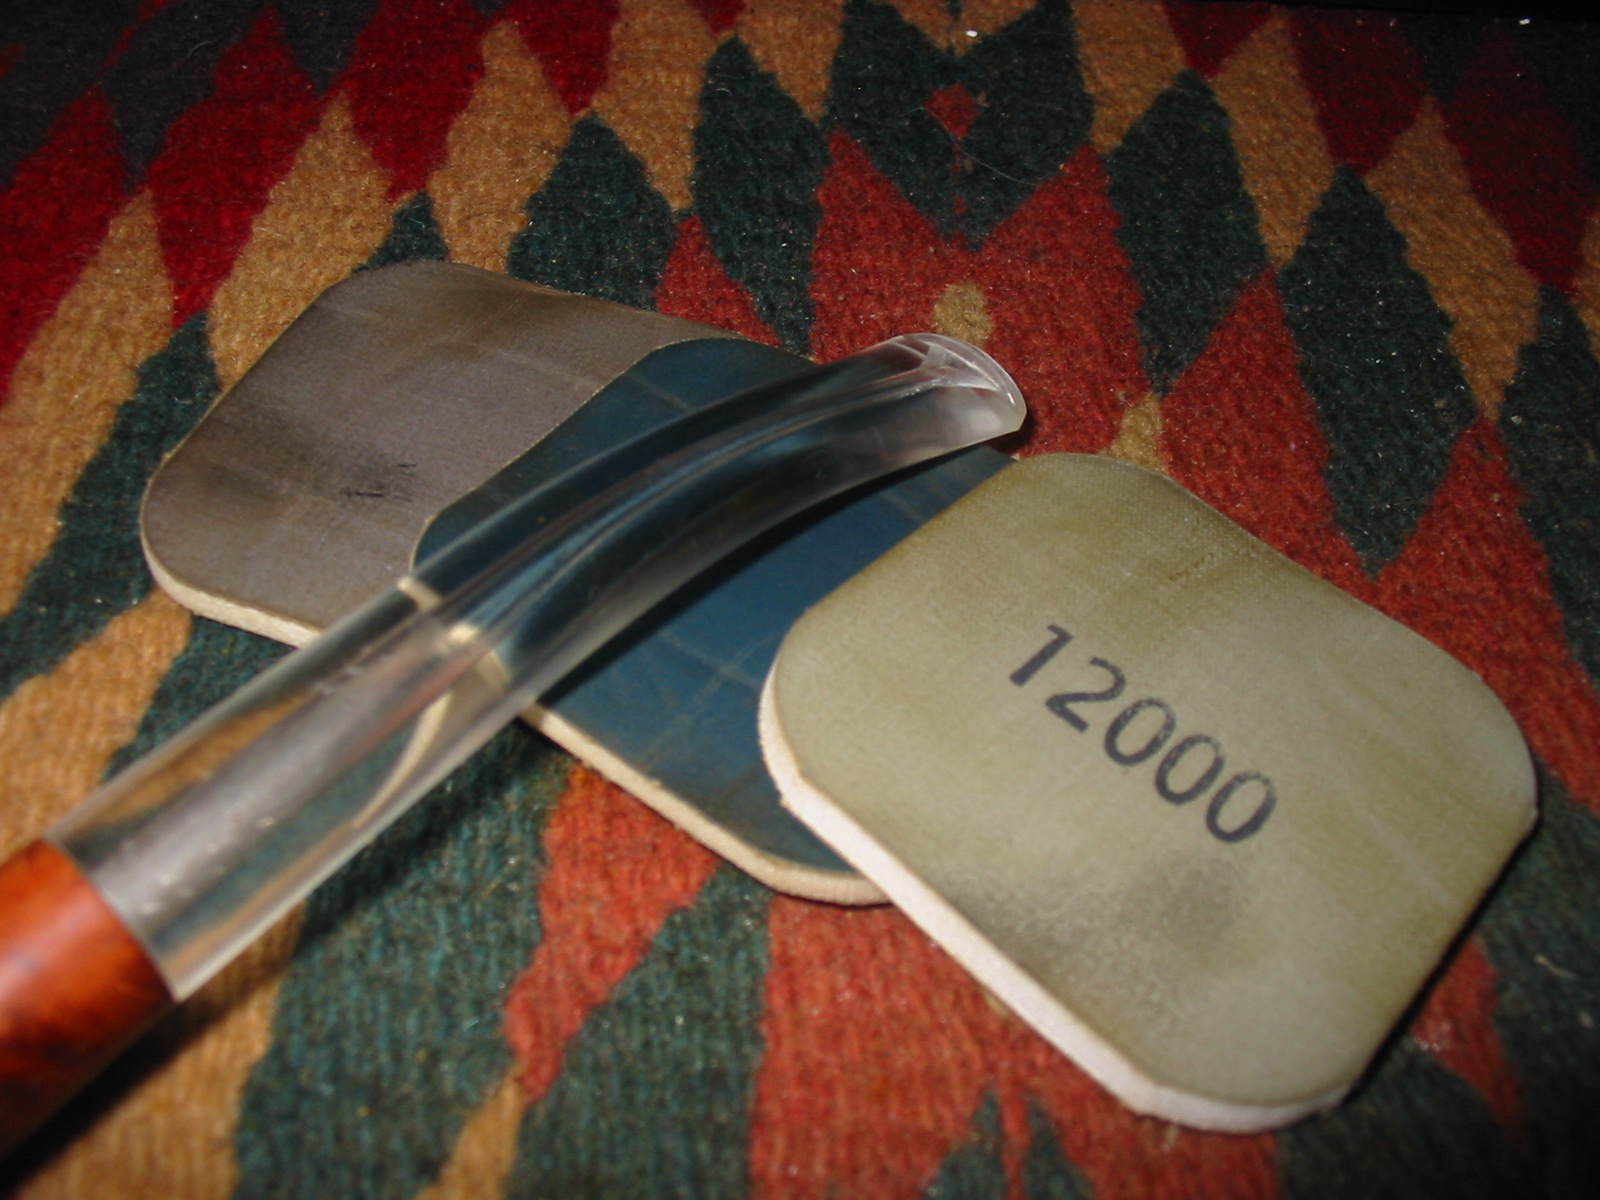
I sanded the stem to thin it on the top and on the underside of the bend with 220 grit sandpaper and when it was an even taper I sanded it with medium and fine grit sanding sponges. I sanded with my usual array of micromesh sanding pads – wet sanding with 1500-2400 grit pads and dry sanding with 3200-12,000 grit pads. IMG_7915 IMG_7916 IMG_7917 
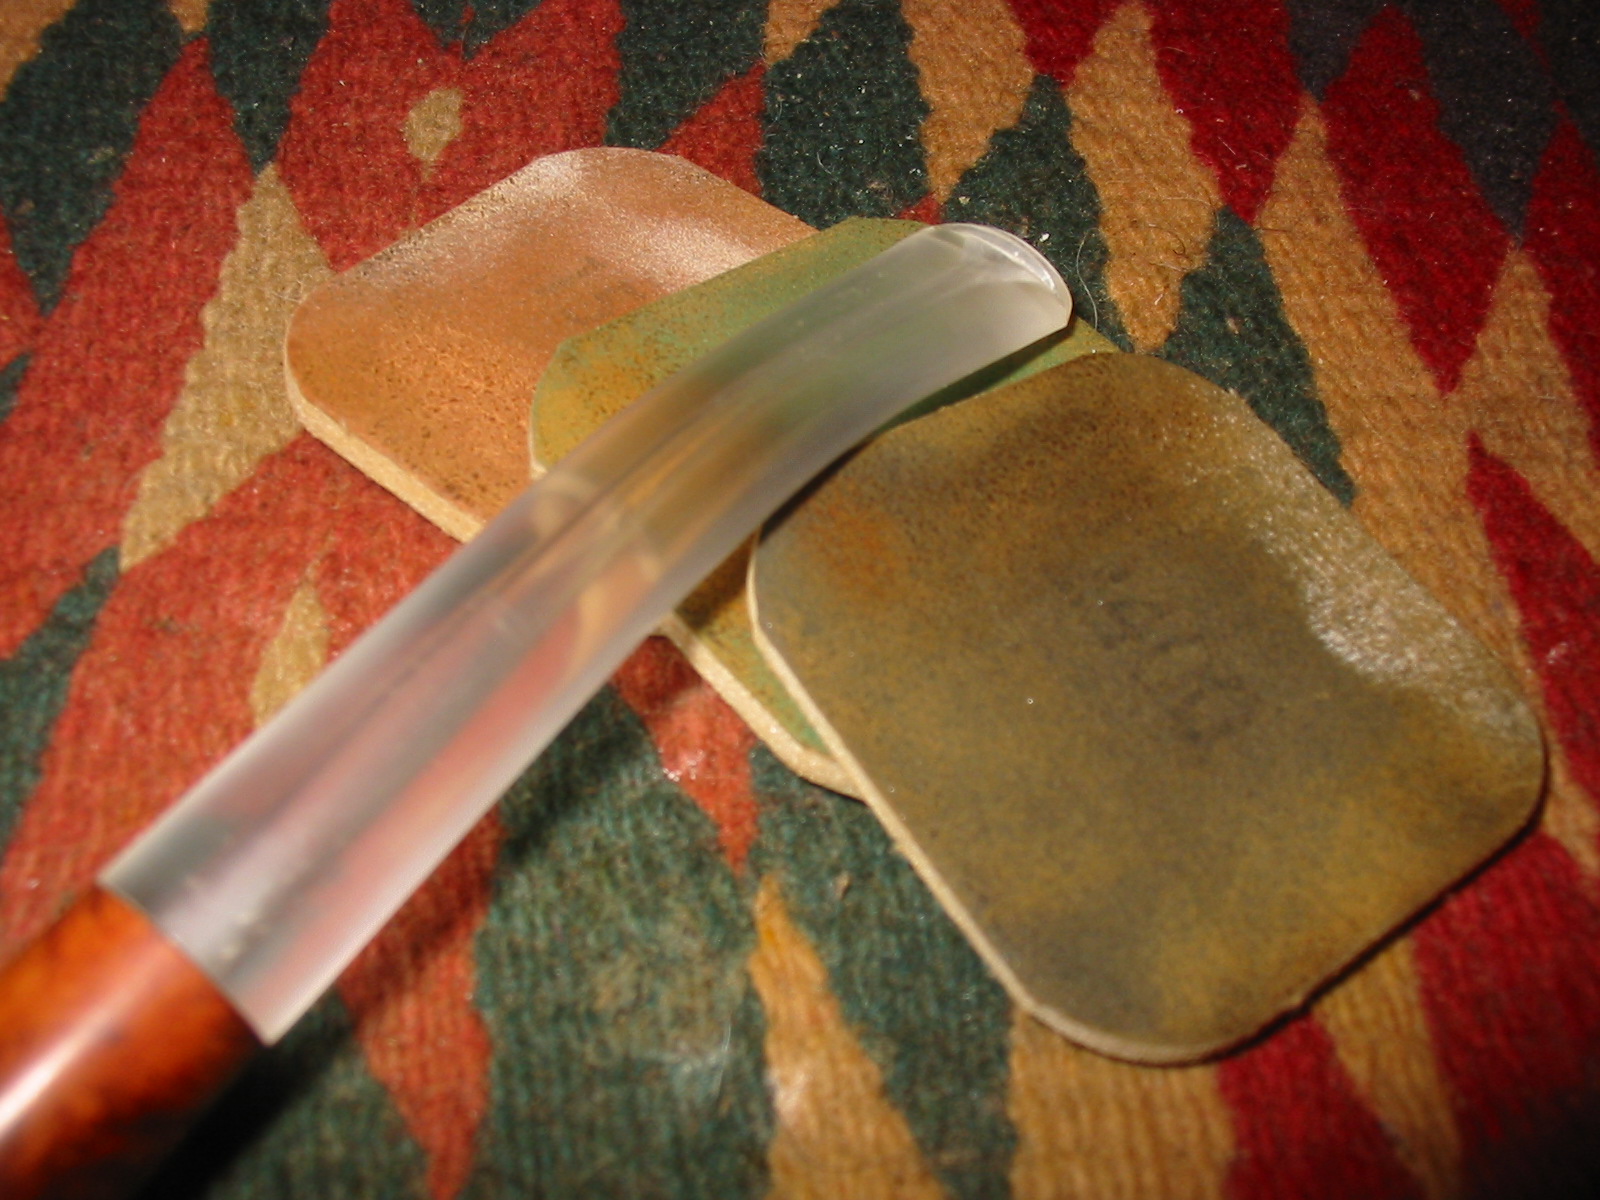
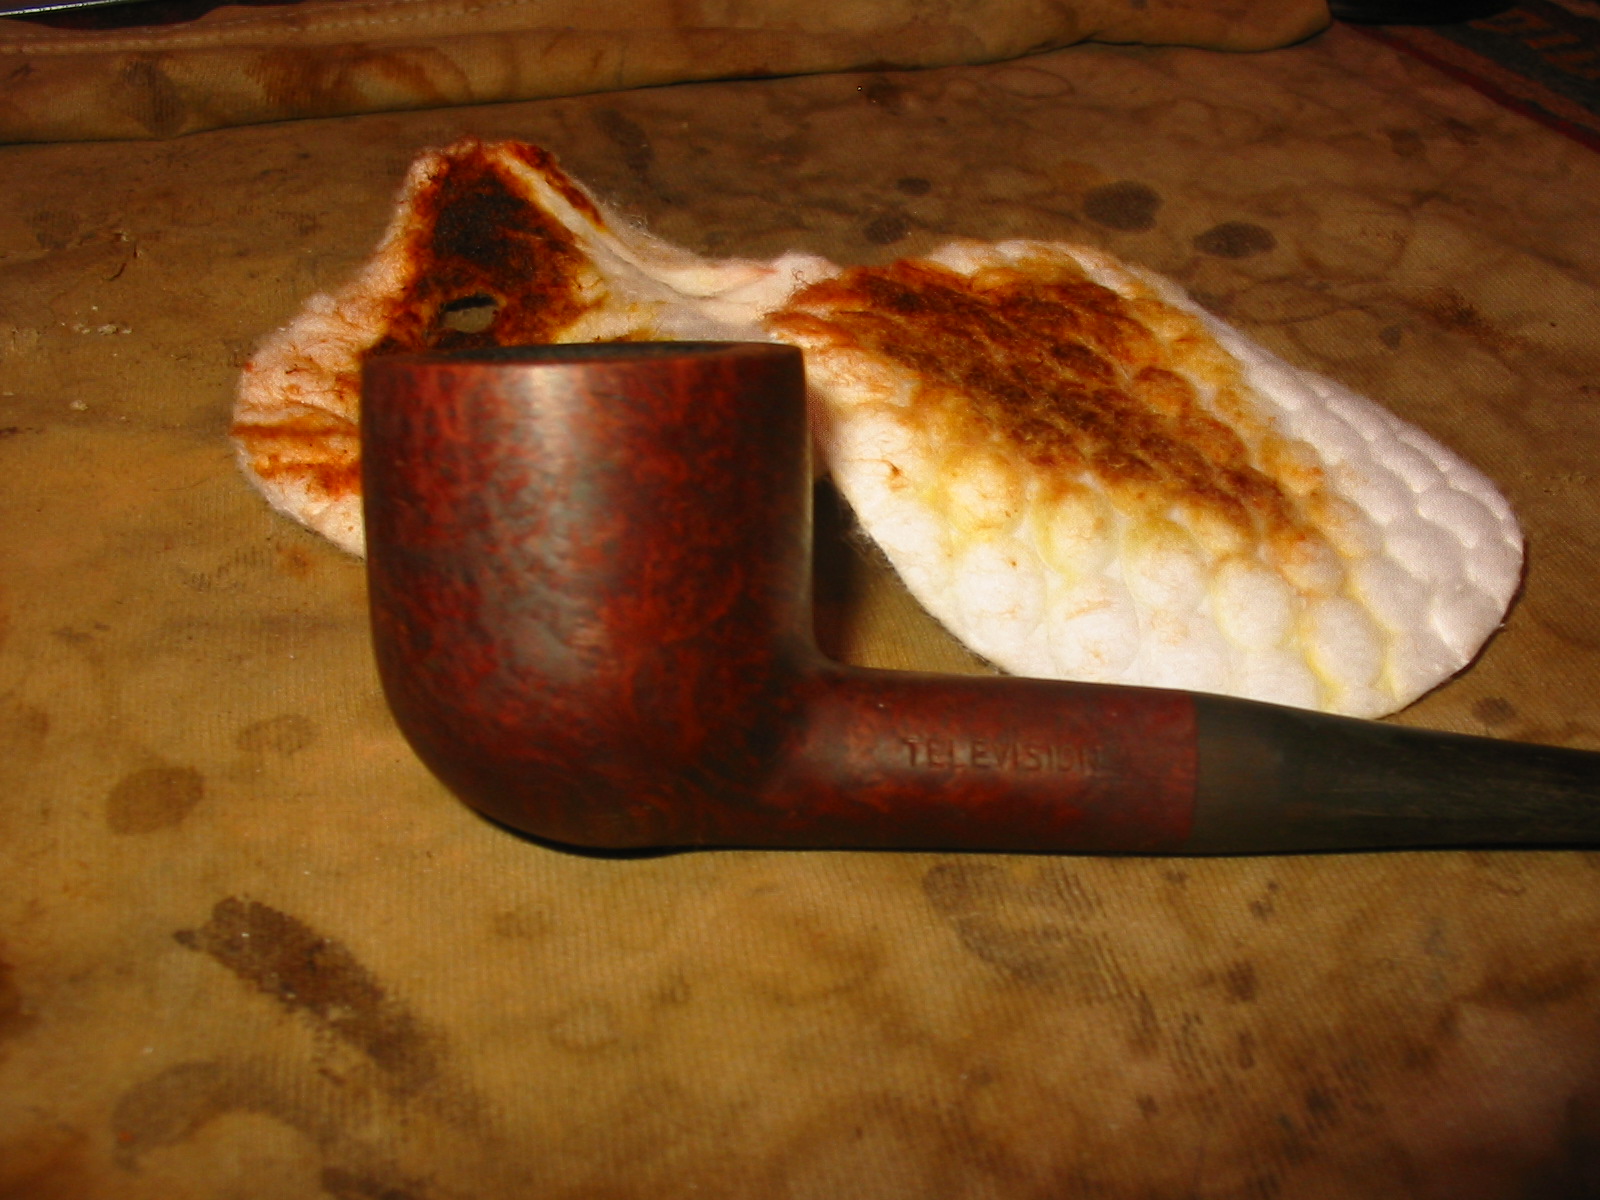
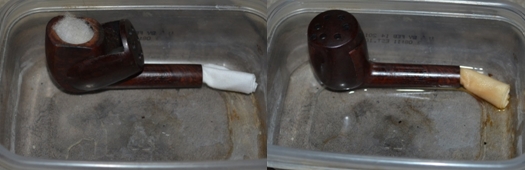
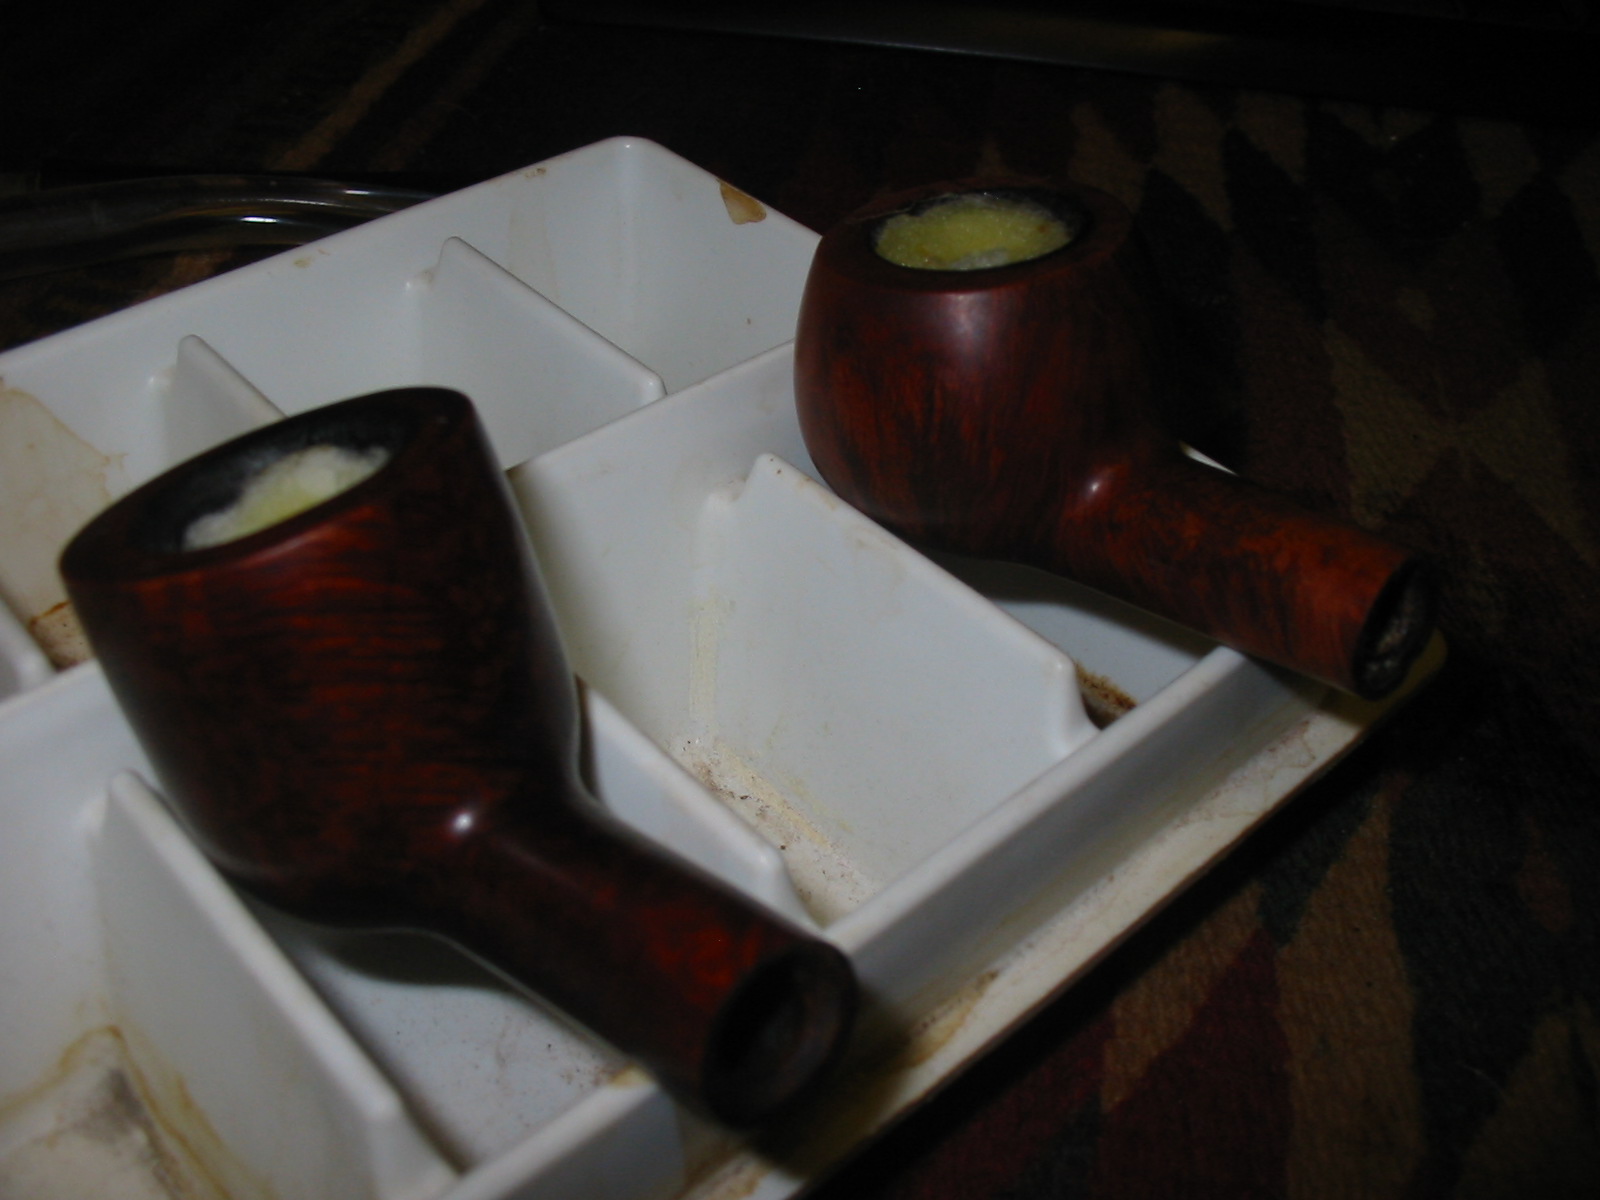
I buffed the pipe and stem with White Diamond to raise the shine. I put cotton balls in the bowls of the prince and the other Television pipe and used an ear syringe to put isopropyl alcohol in them to draw out the tars and oils of the tobacco. I set them in an old ice cube tray overnight. In the morning the alcohol had drawn out a lot of oils and the cotton was dark. I removed the cotton and cleaned the bowl and shank with cotton swabs and pipe cleaners. IMG_7918 IMG_7919 IMG_7952 
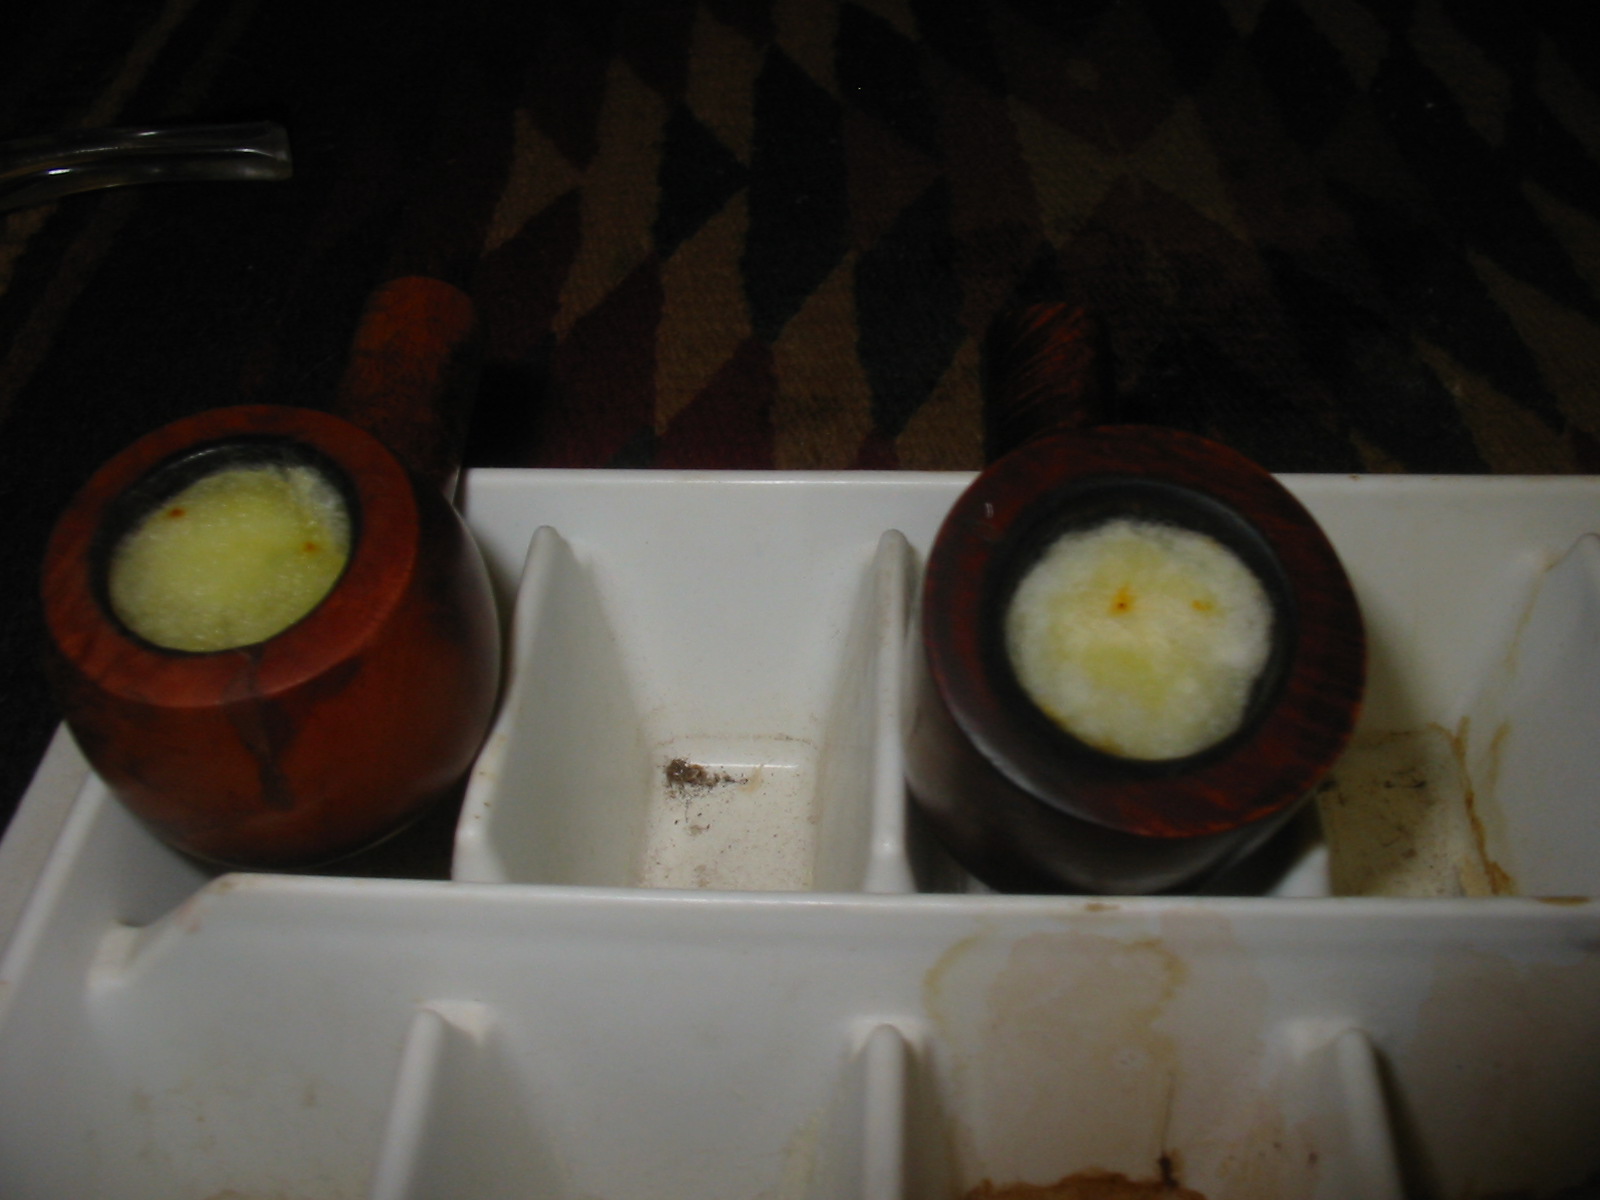
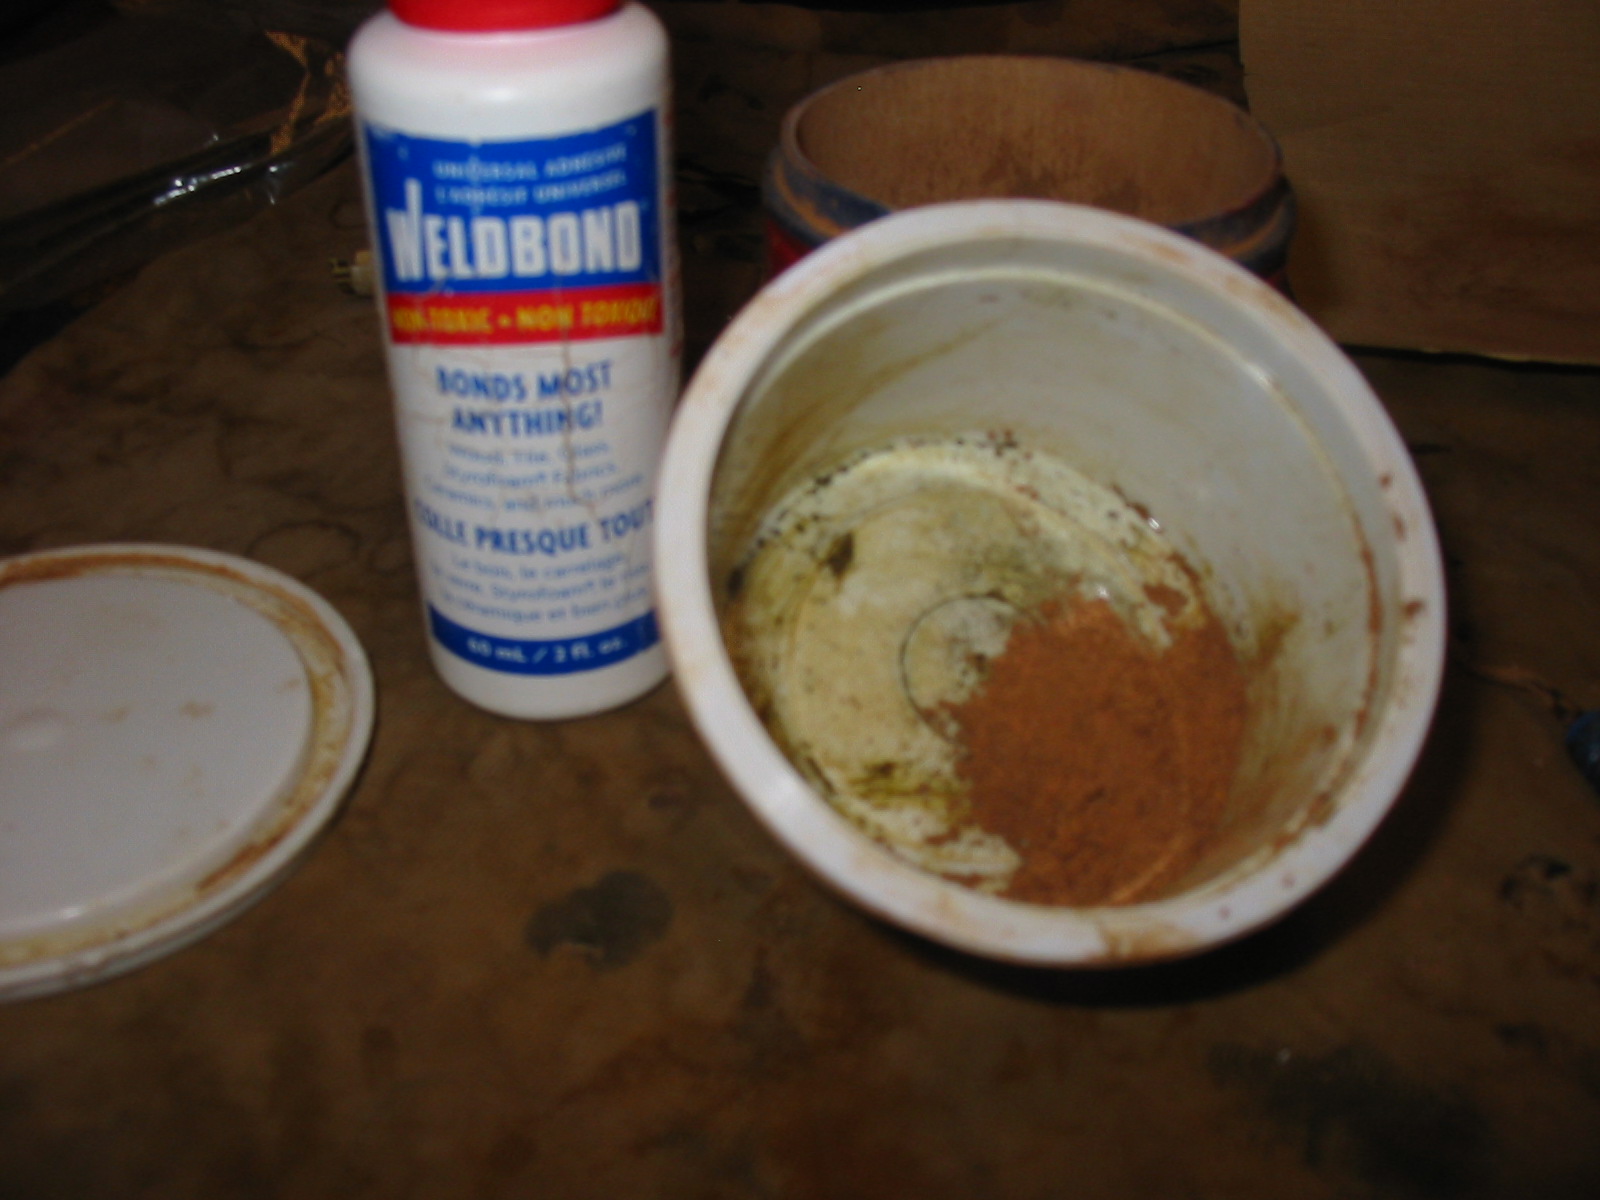
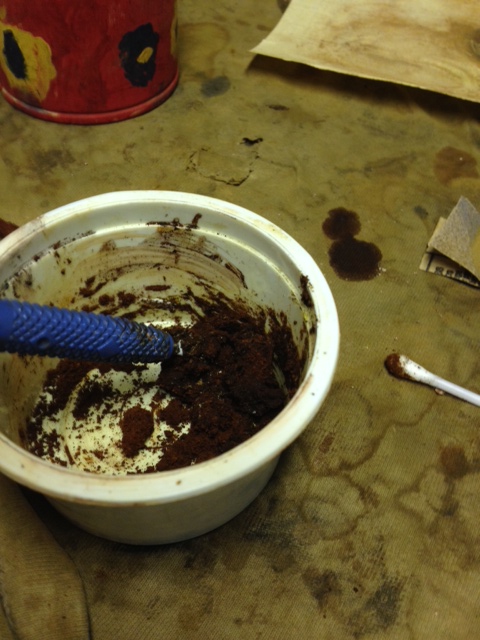
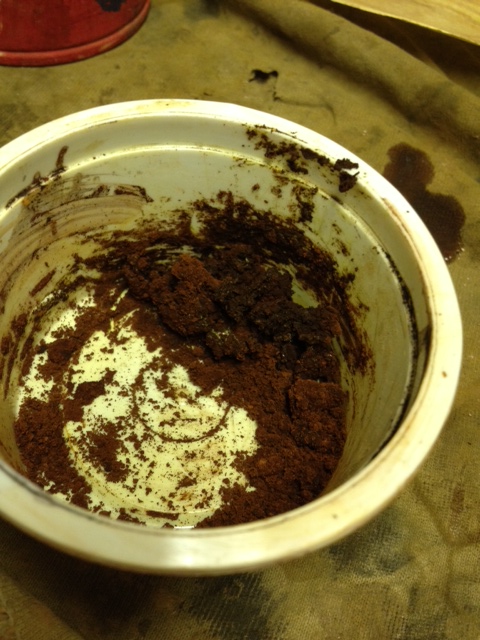
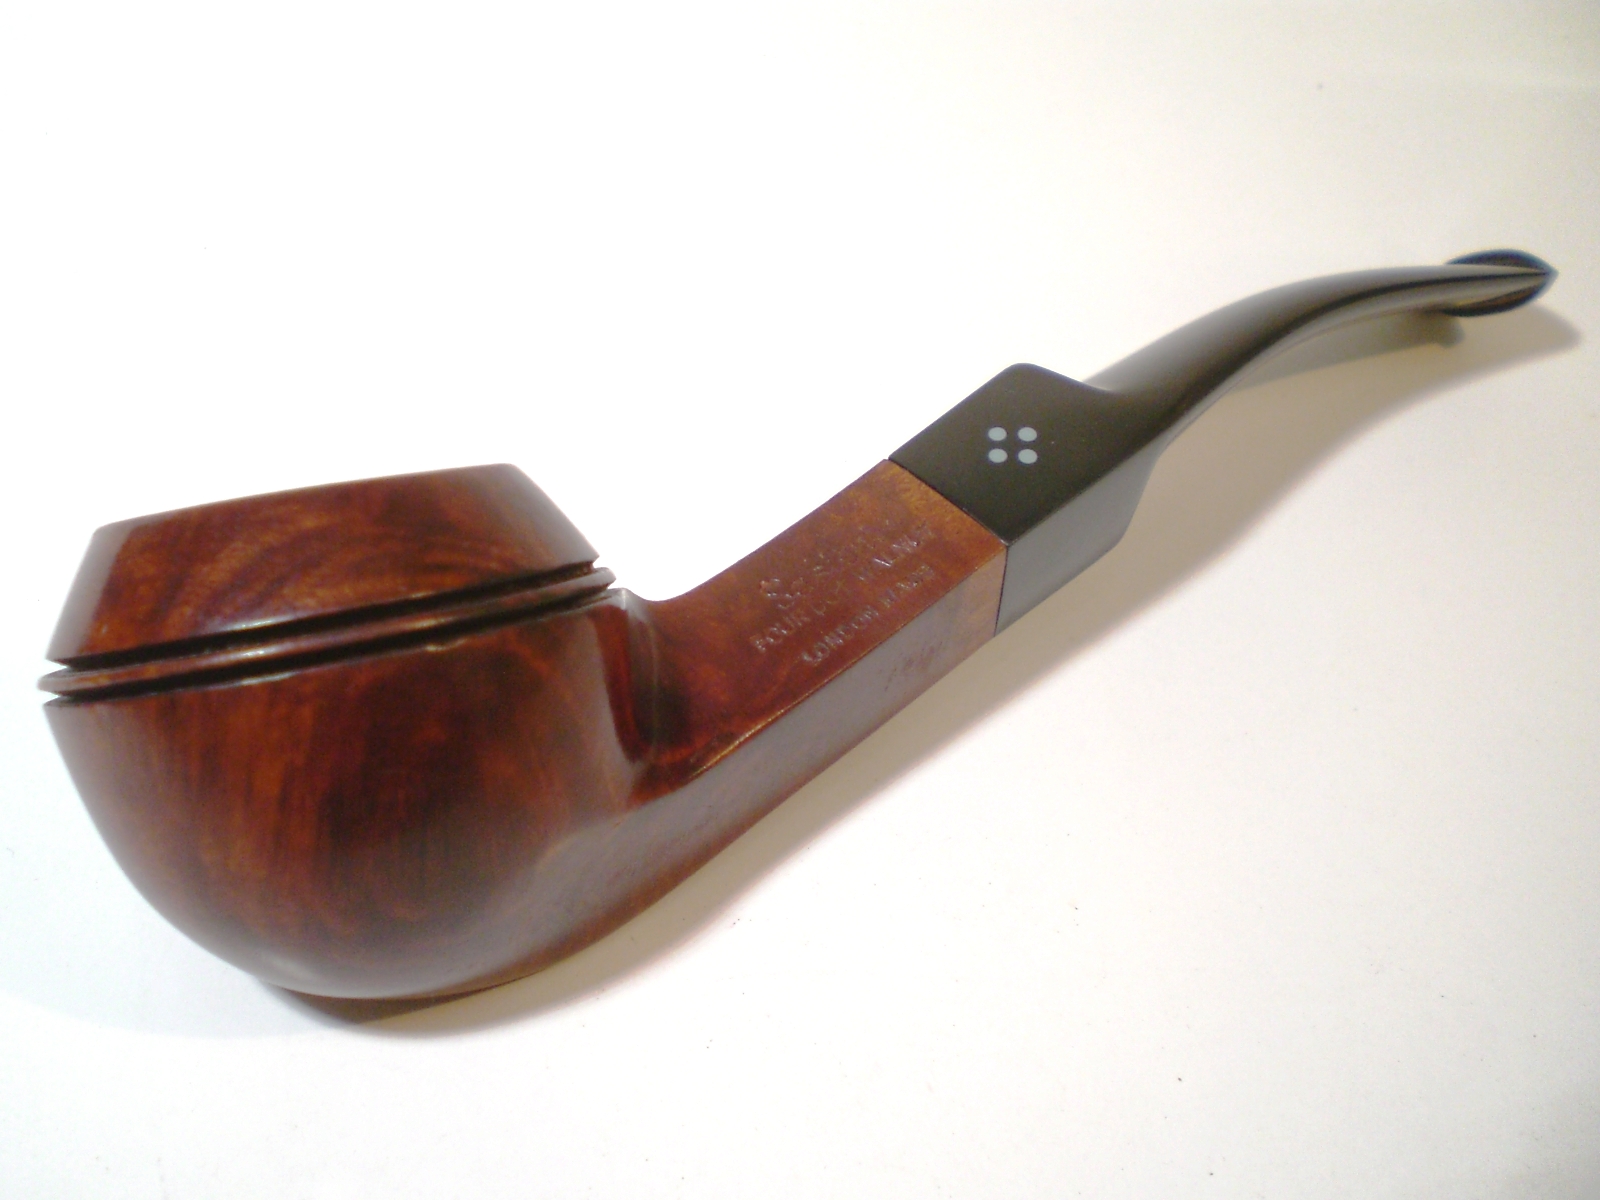
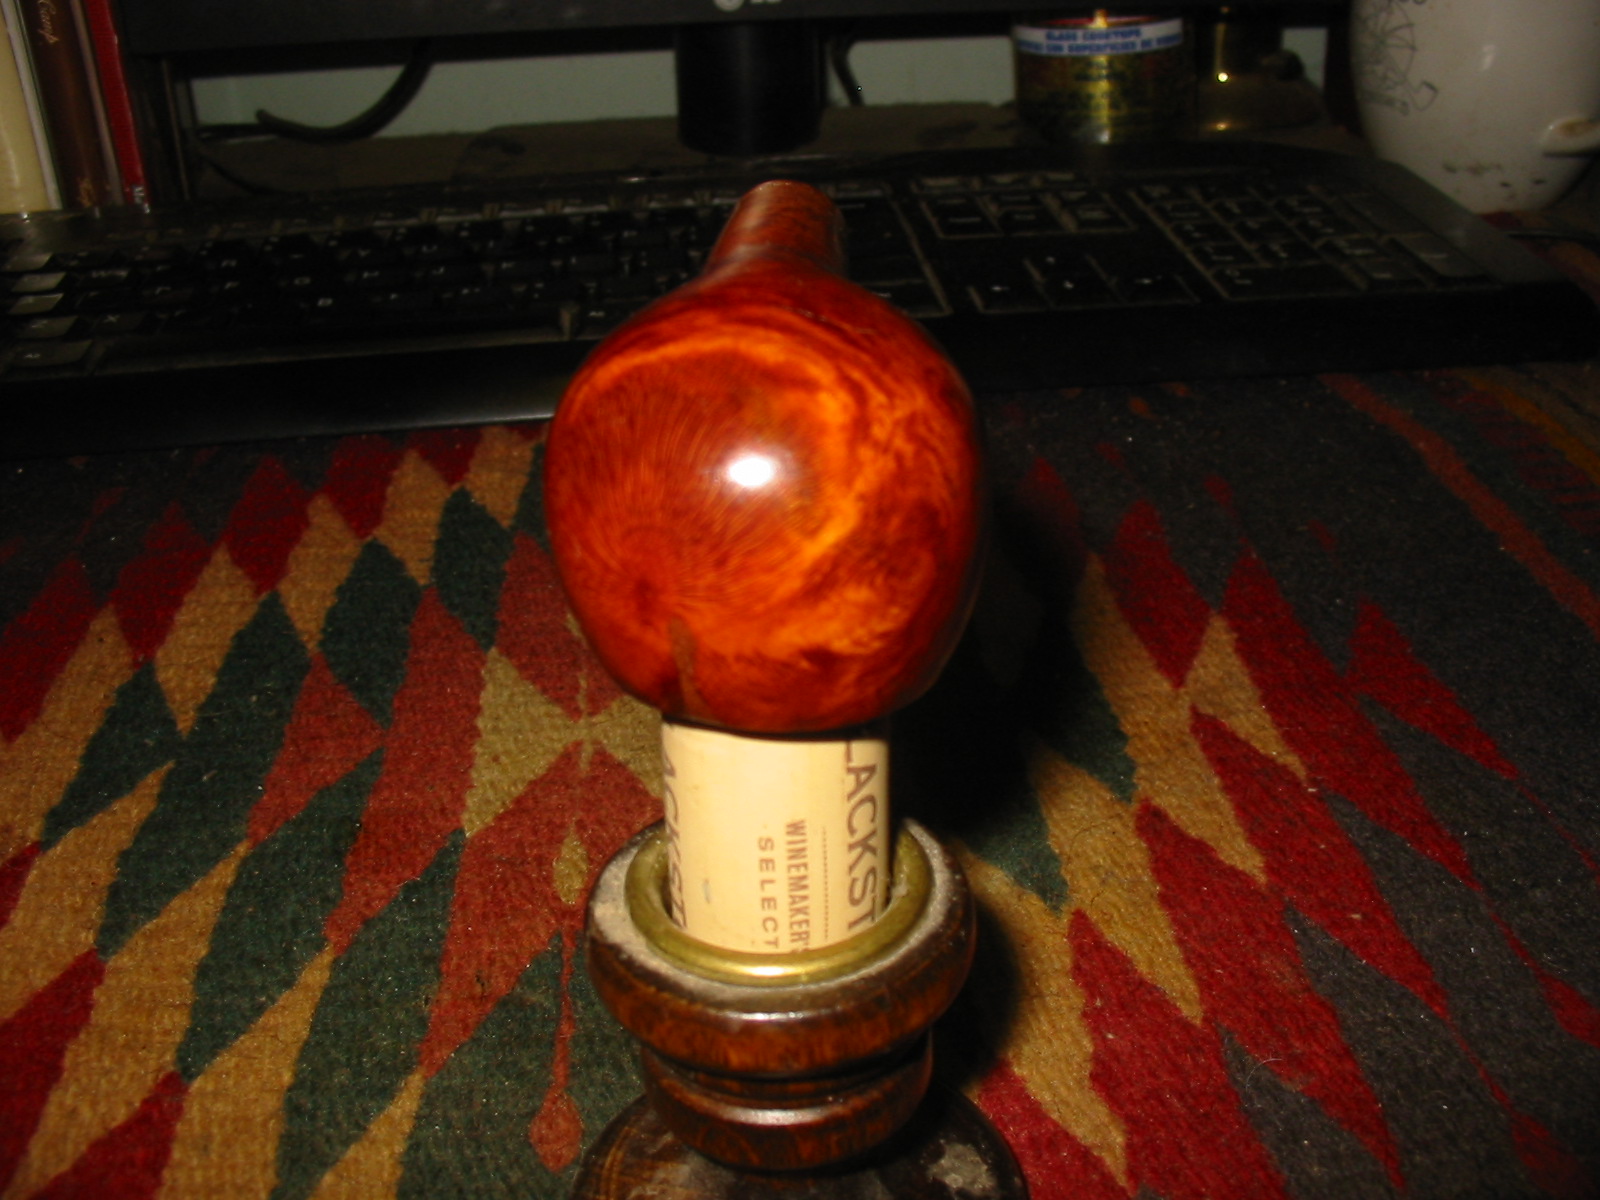
I rubbed down the bowl with some walnut stain in a Danish Oil and put it on a cork to dry. I know that many may question the use of linseed oil on pipe bowls but I use it sparingly on a few specific pipes that I want to give protection. In the case of this particular pipe, the large fill in the front seemed like it needed the extra protection. IMG_7959 IMG_7961 IMG_7962 
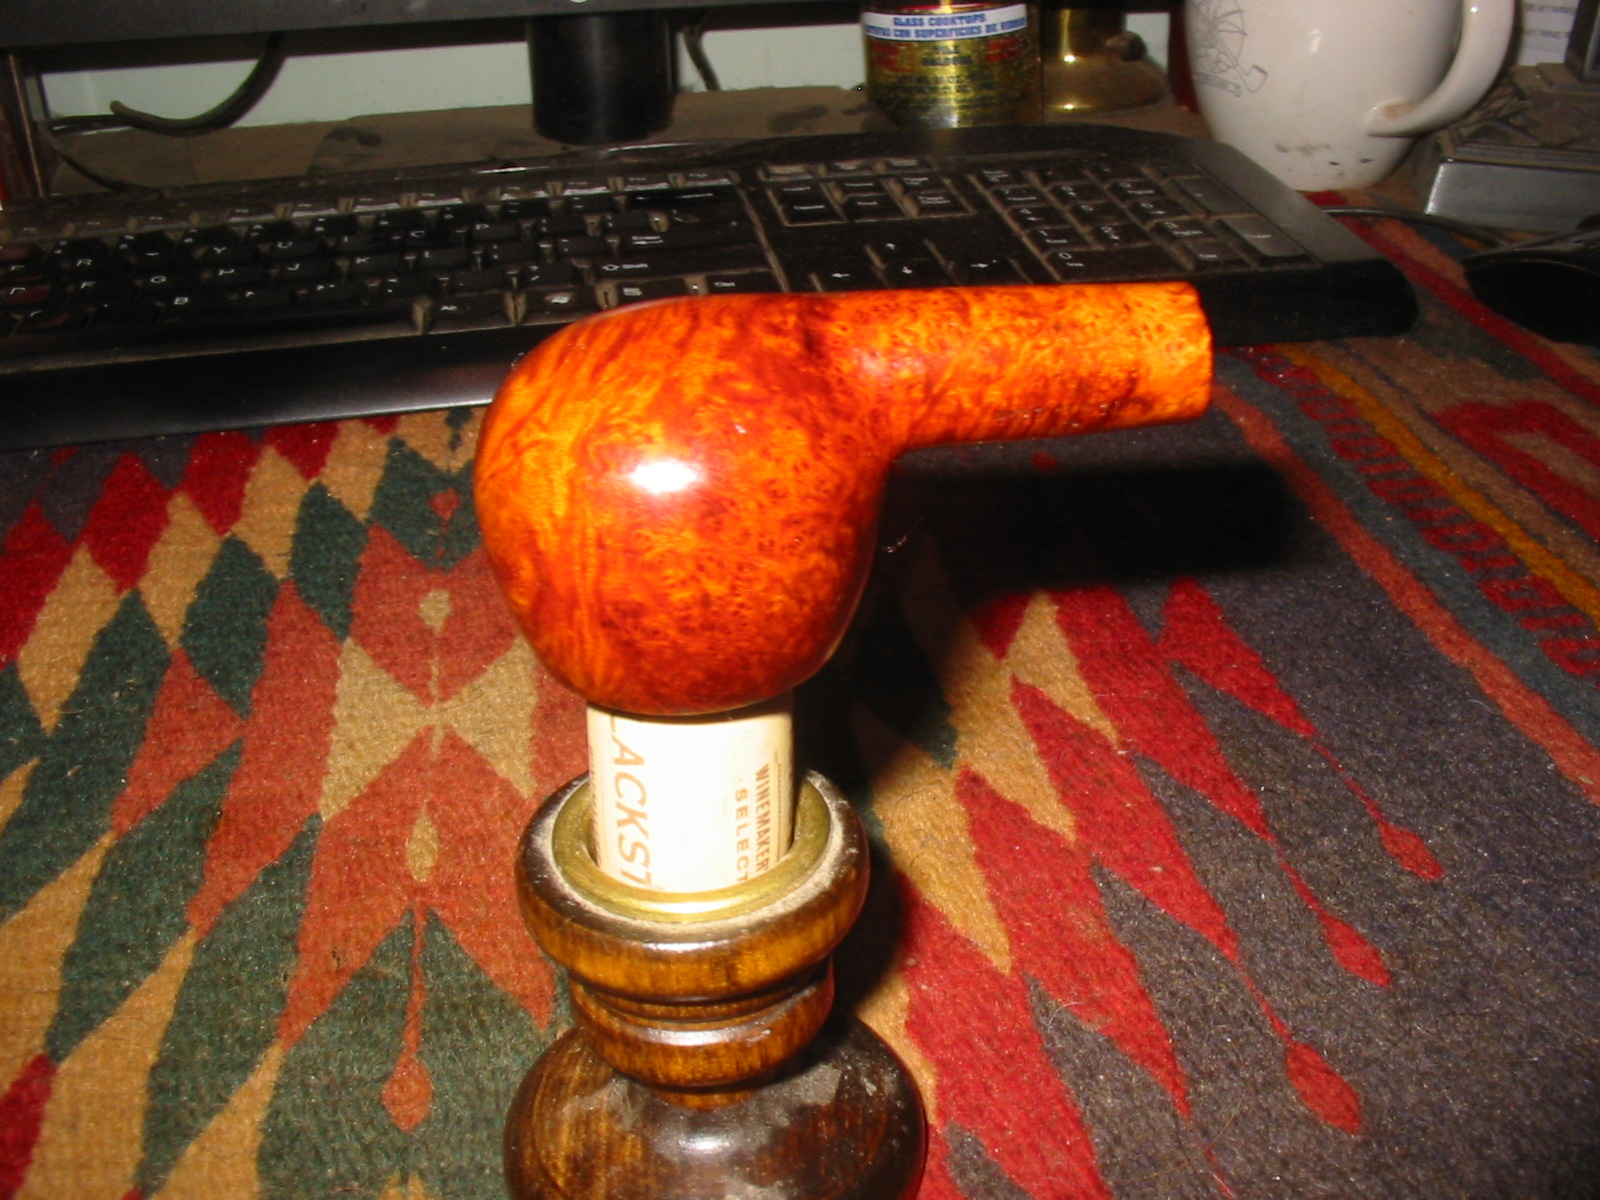
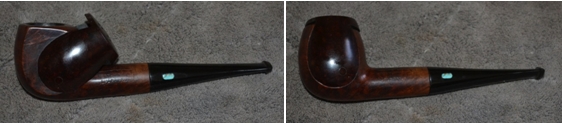
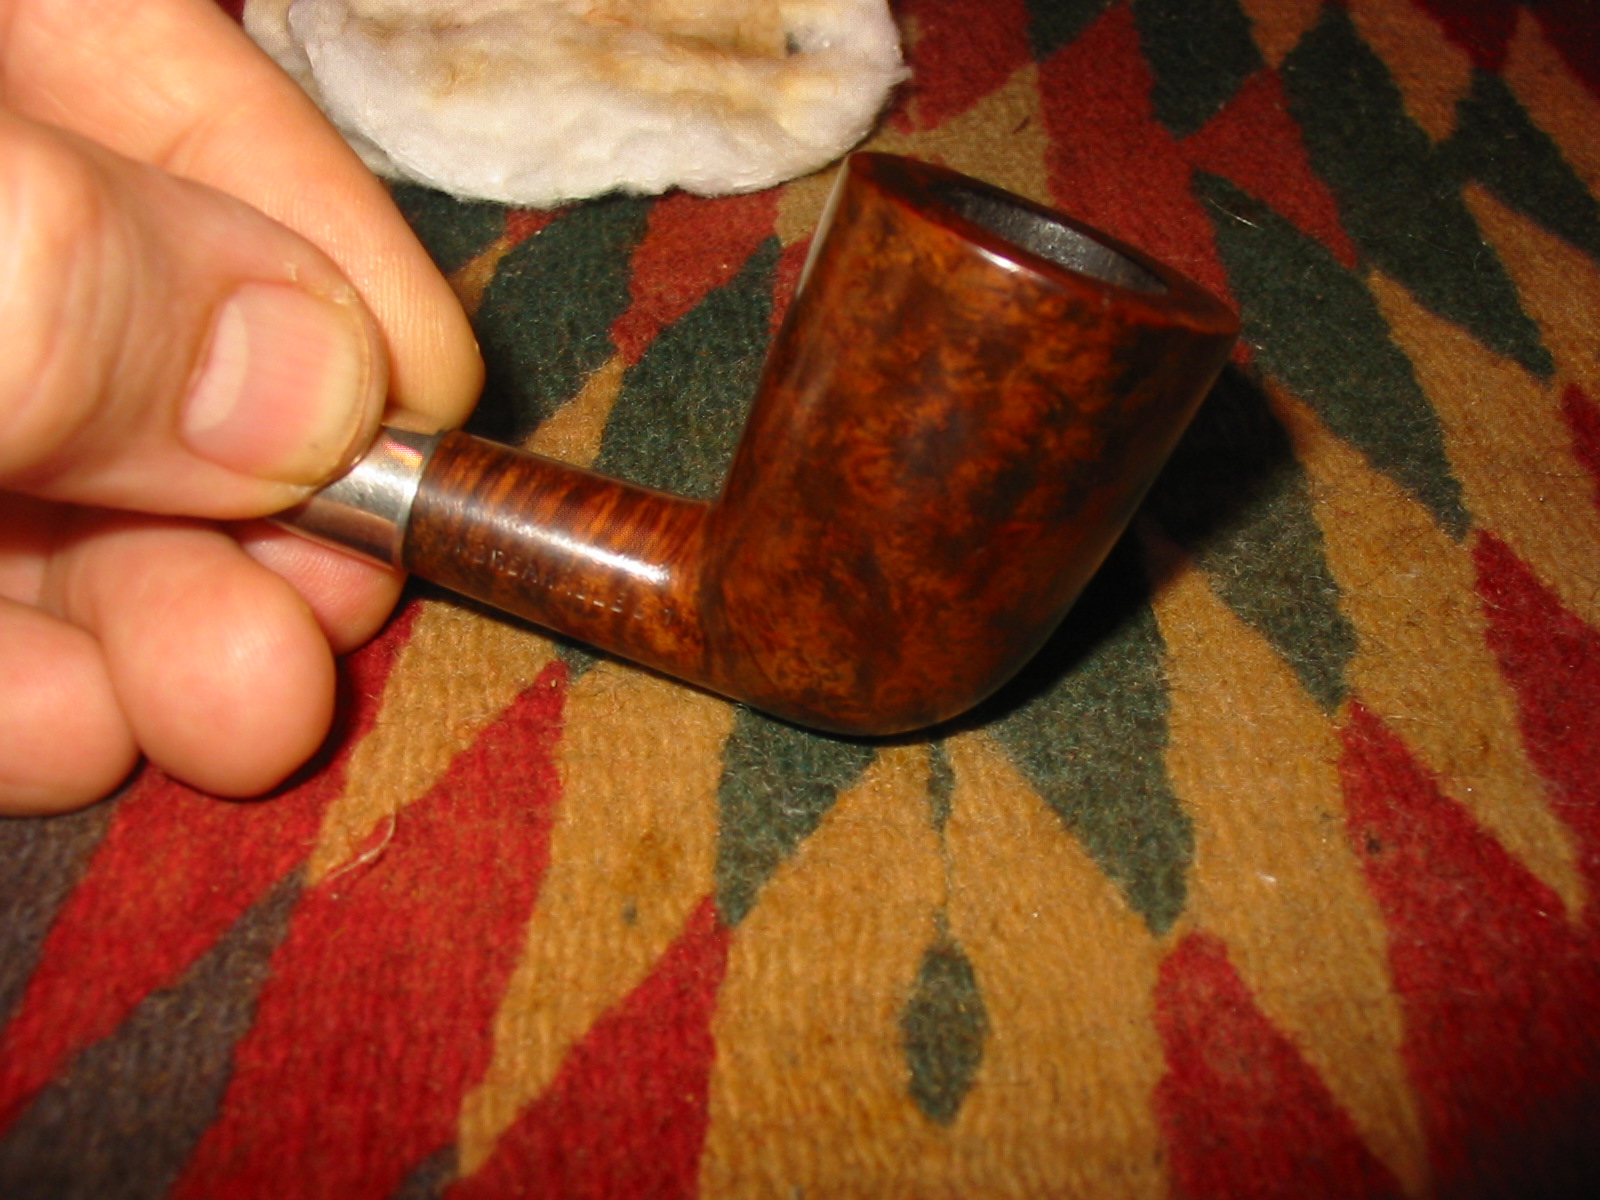
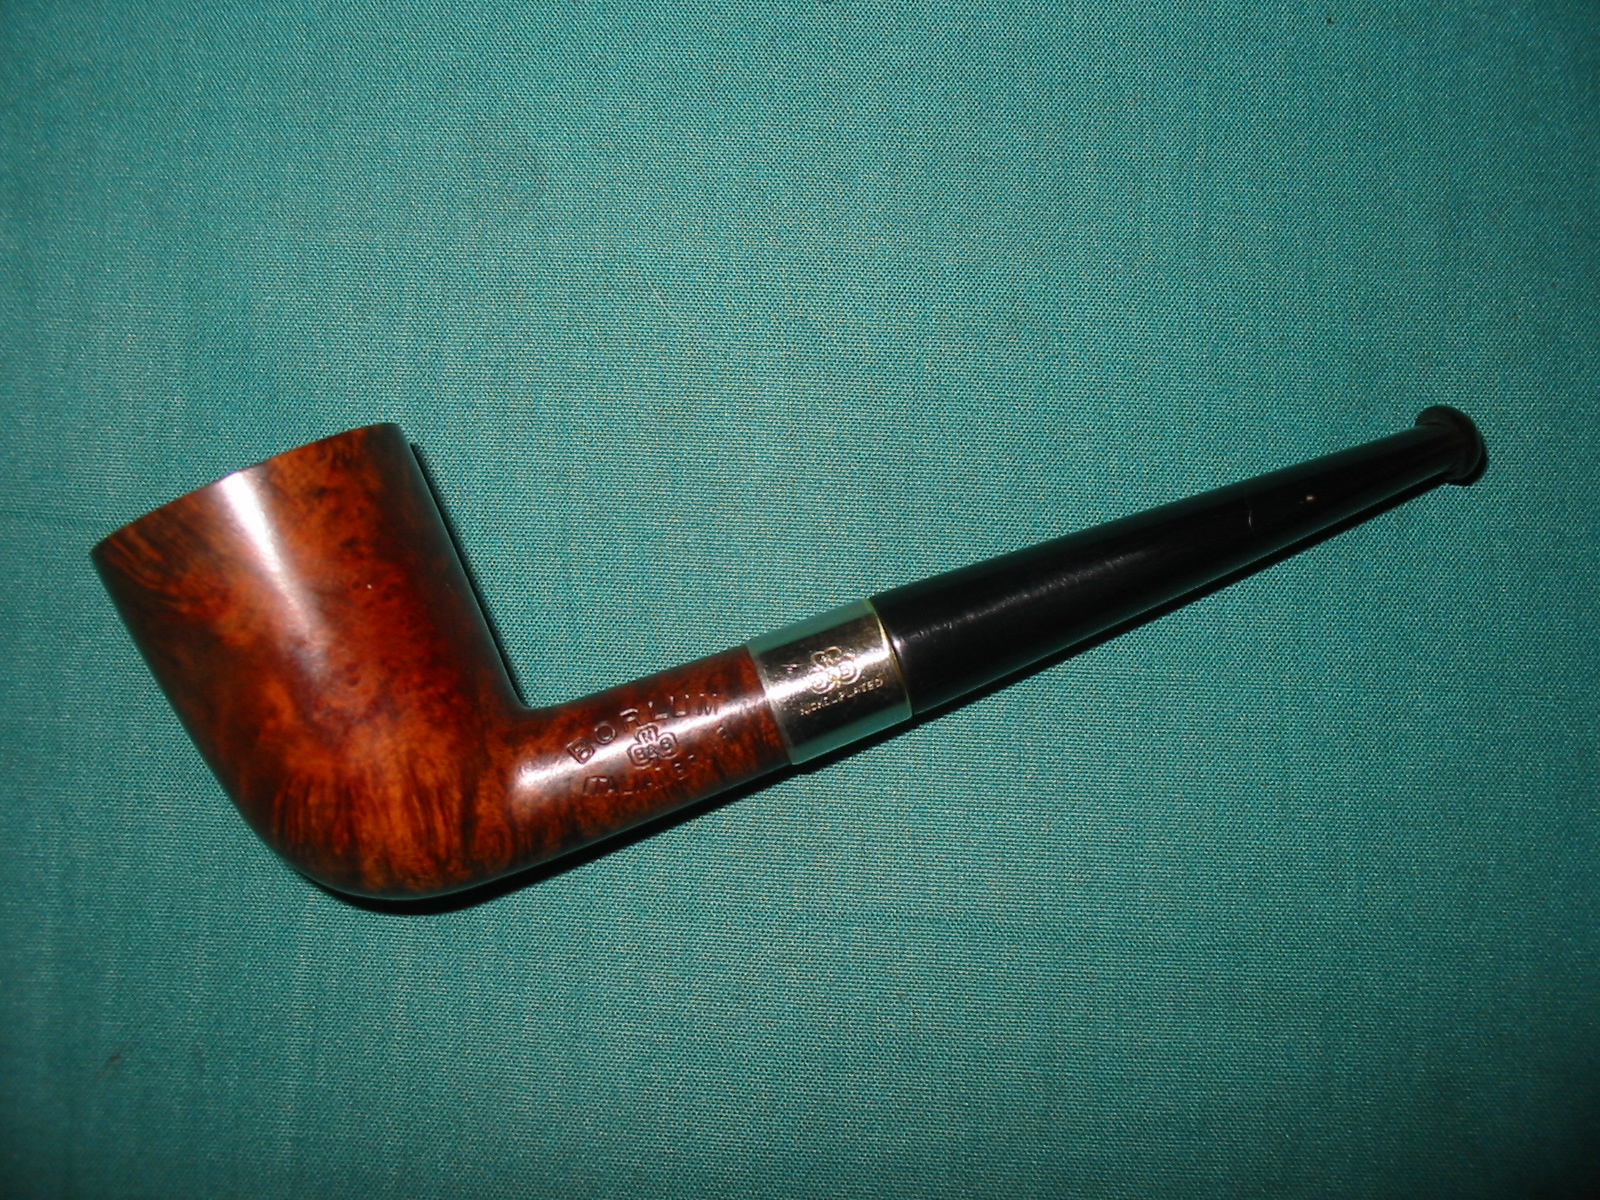
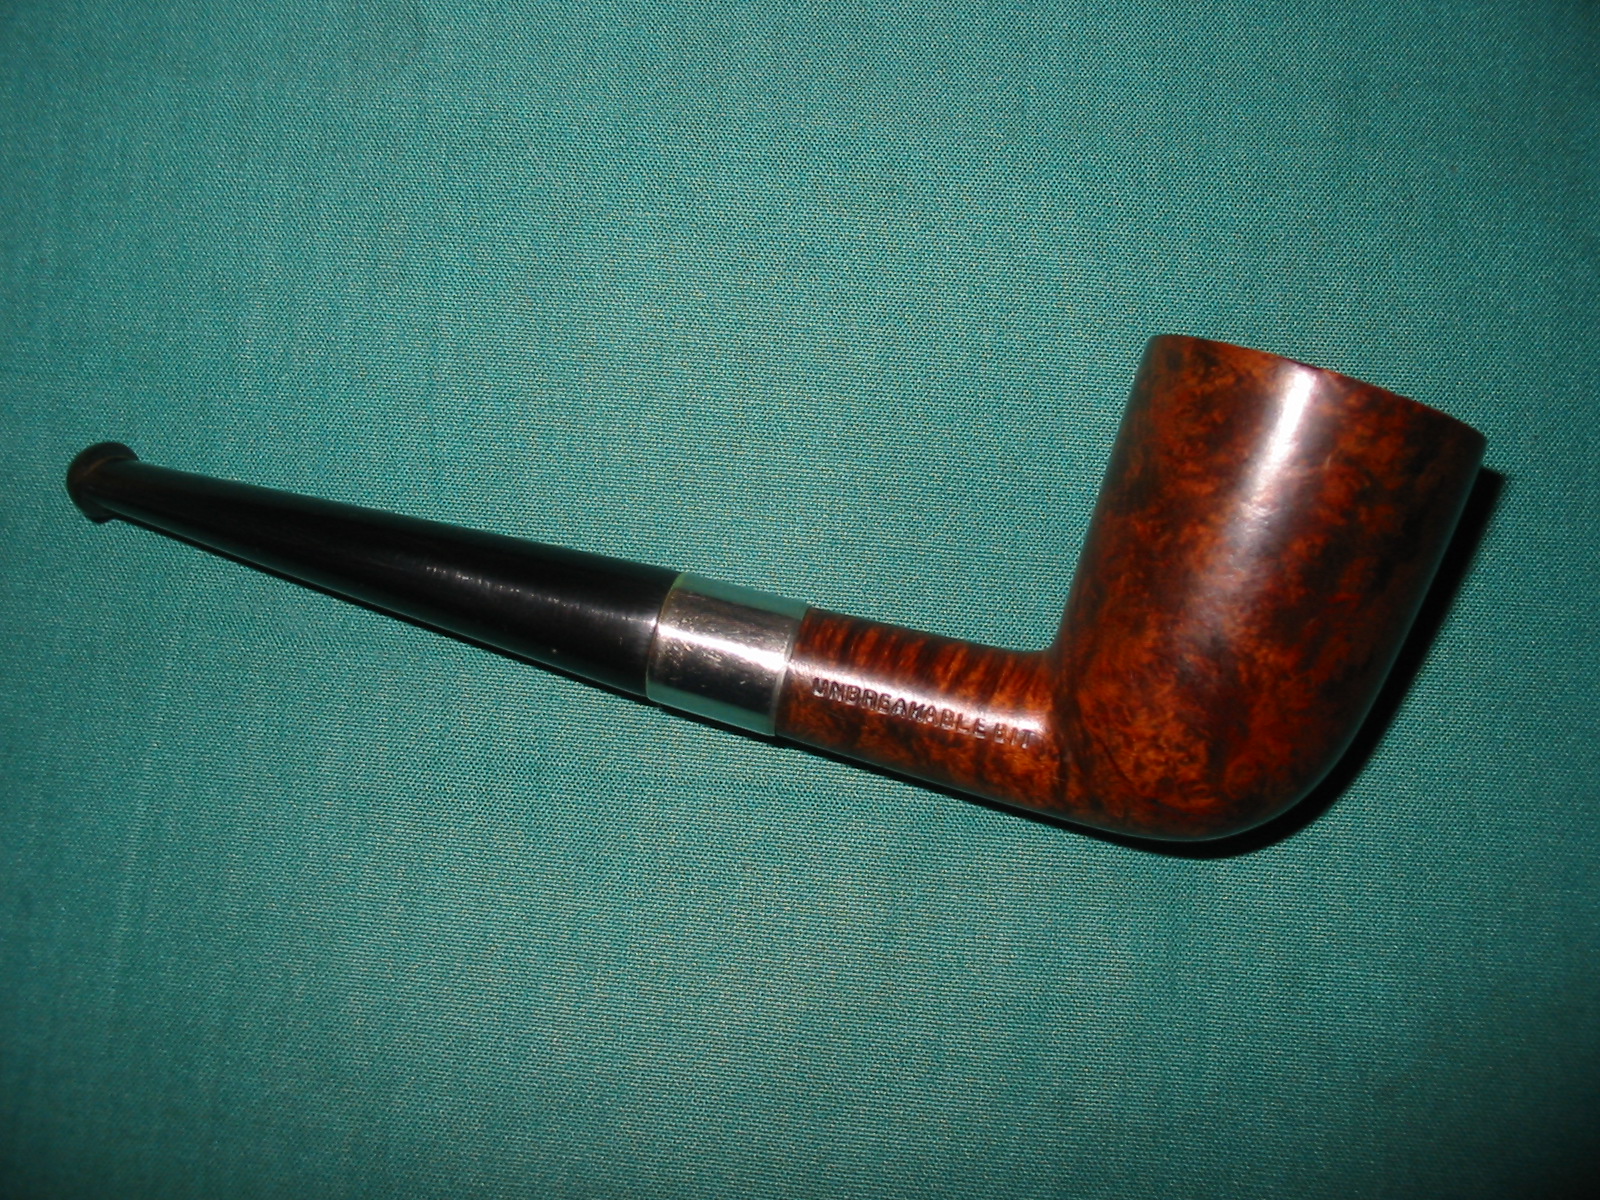
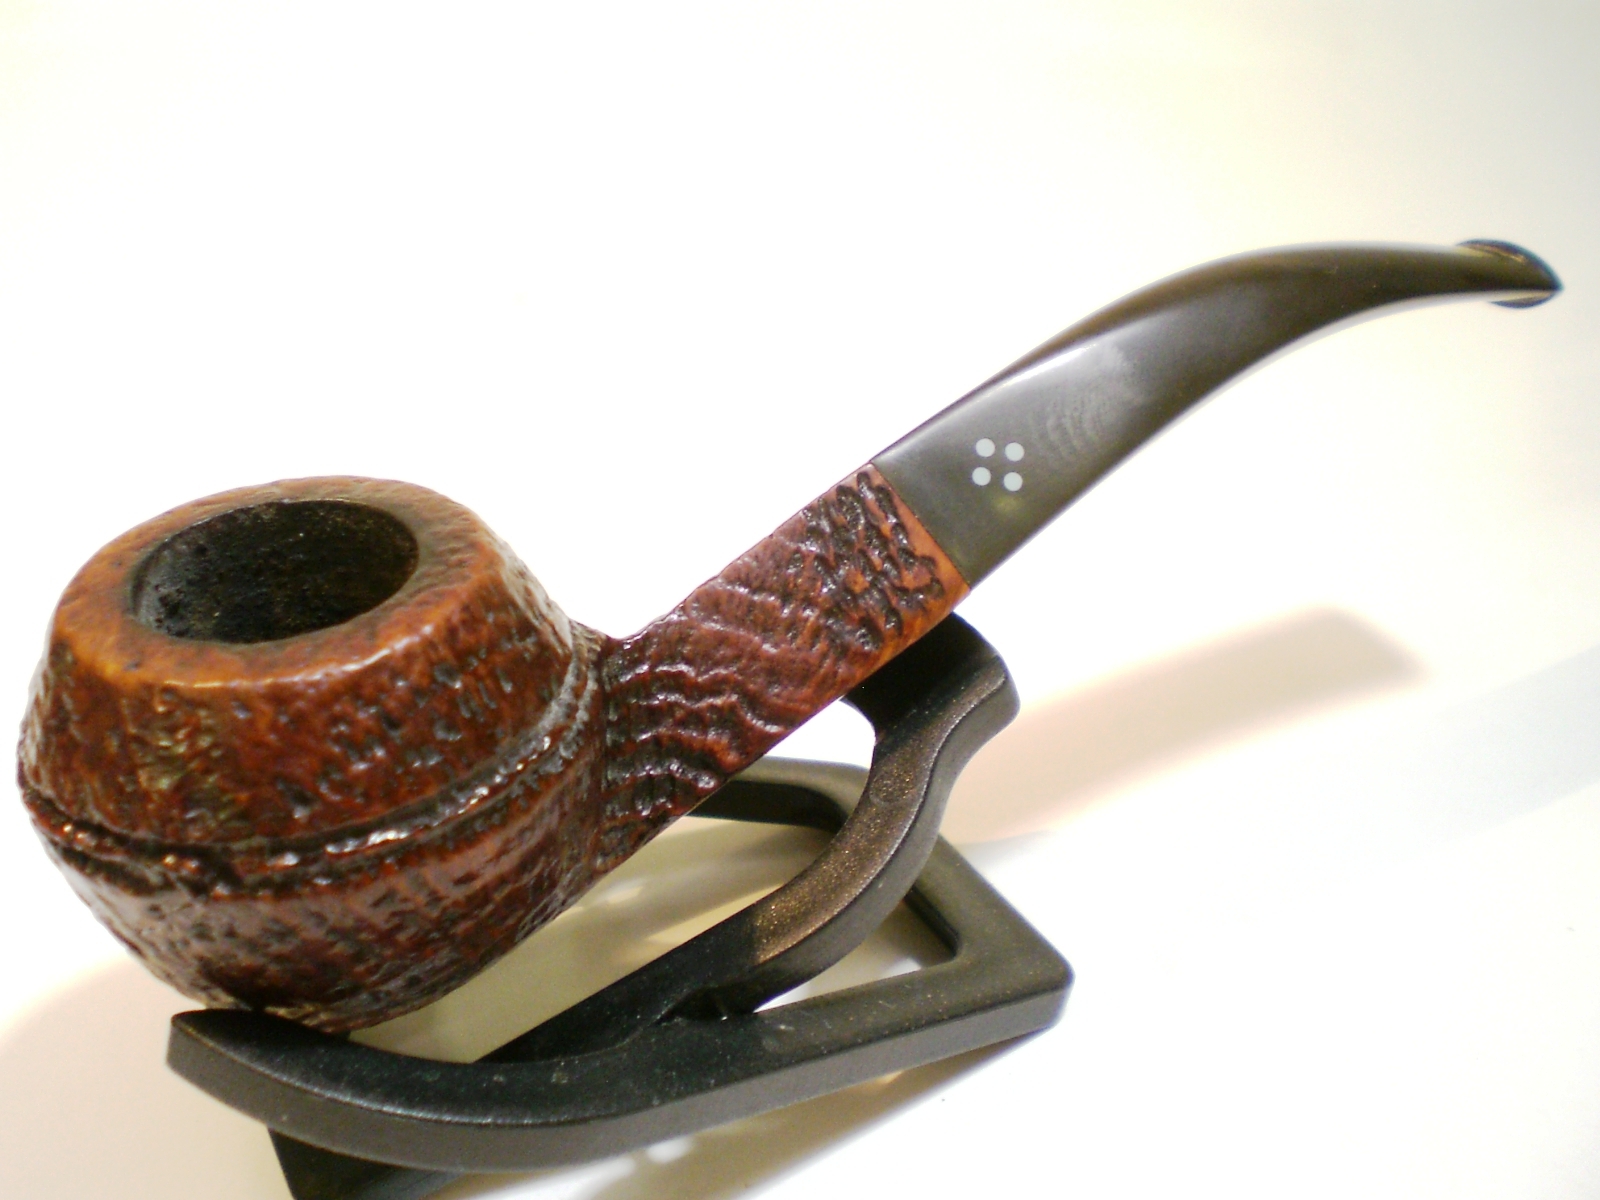
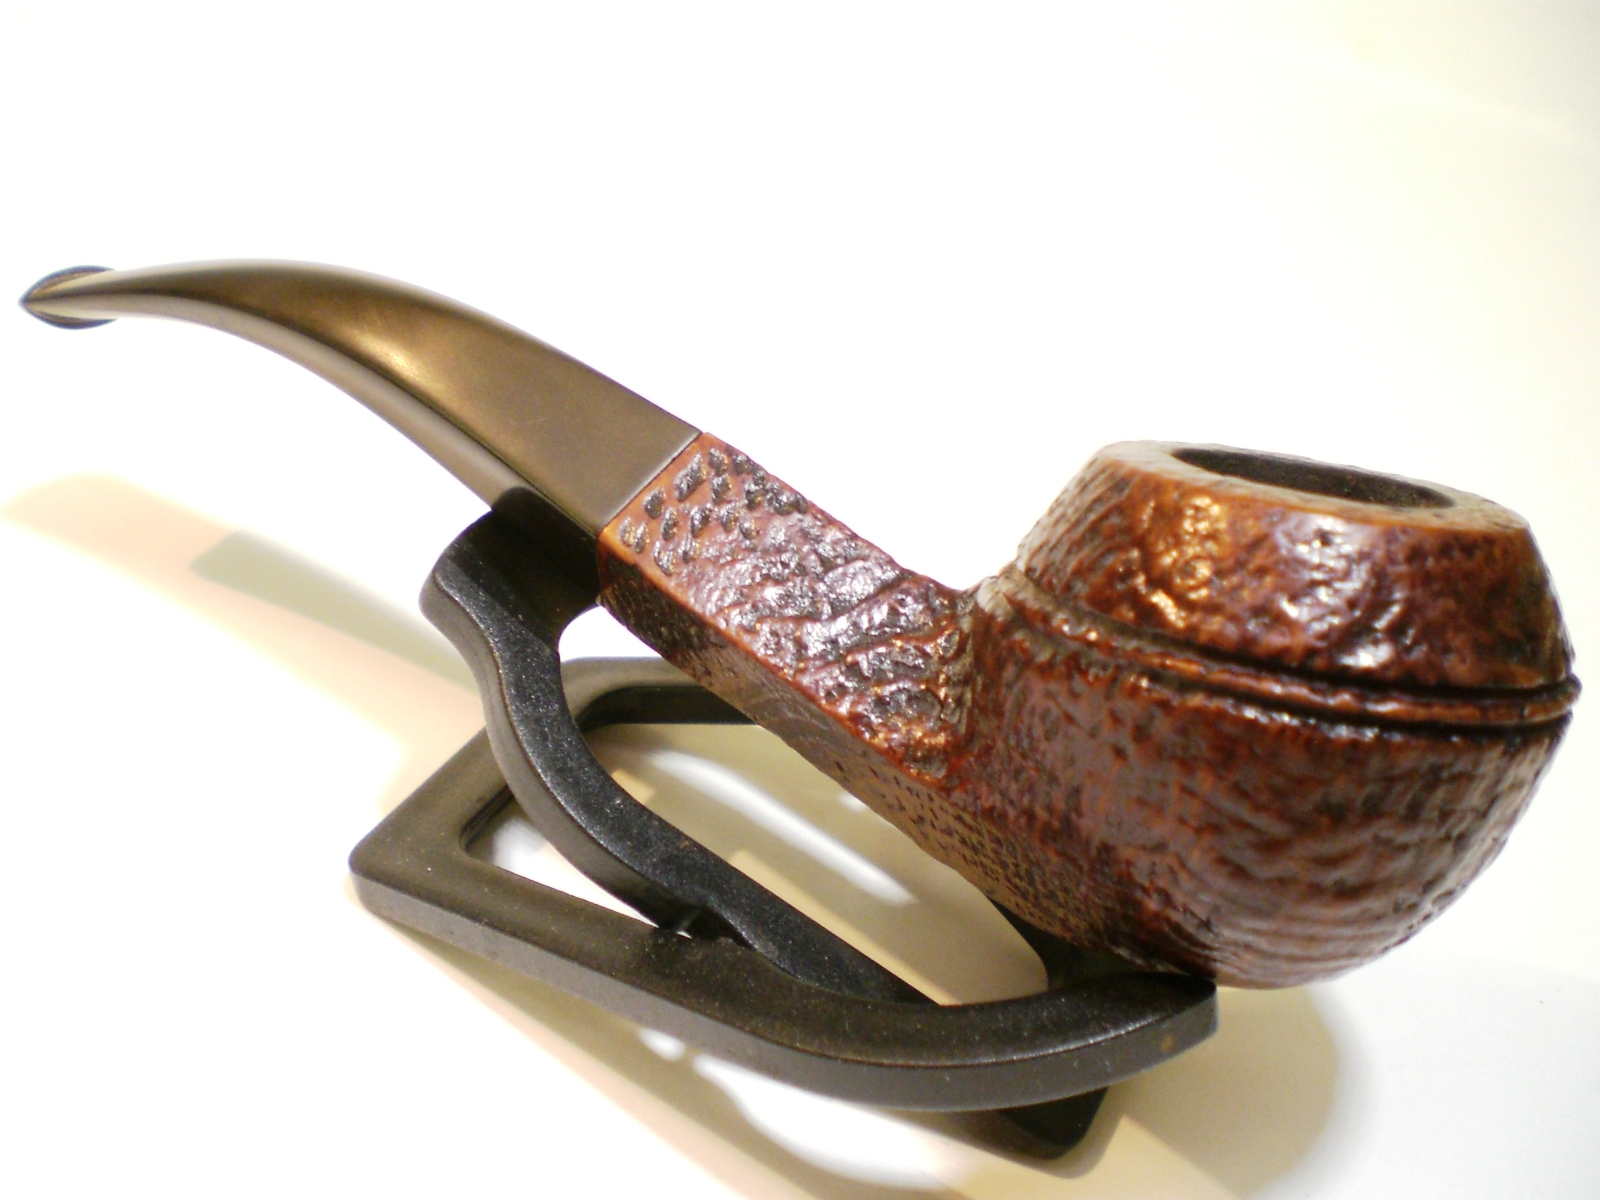
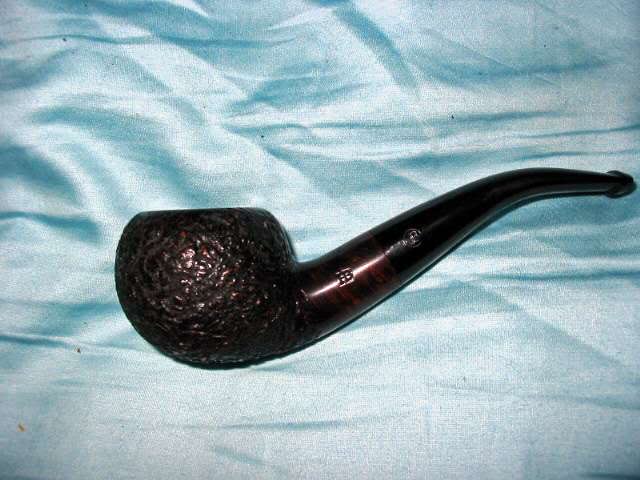
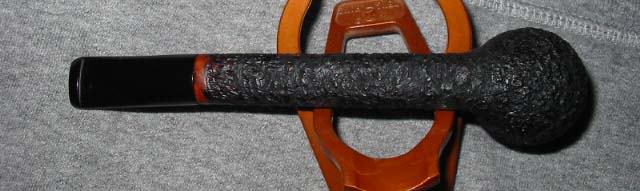
I buffed the finished pipe with White Diamond and gave the bowl and stem several coats of carnauba wax to protect it. I buffed it with a soft flannel buff to give it a shine. The finished pipe is shown below. It is drying on a pipe stand to let any residual alcohol from the cotton ball and alcohol soak to evaporate. After than it will be given an inaugural smoke to make sure the draw is correct and the stem is comfortable. Who knows I may even reheat the stem and experiment some more with the bend.
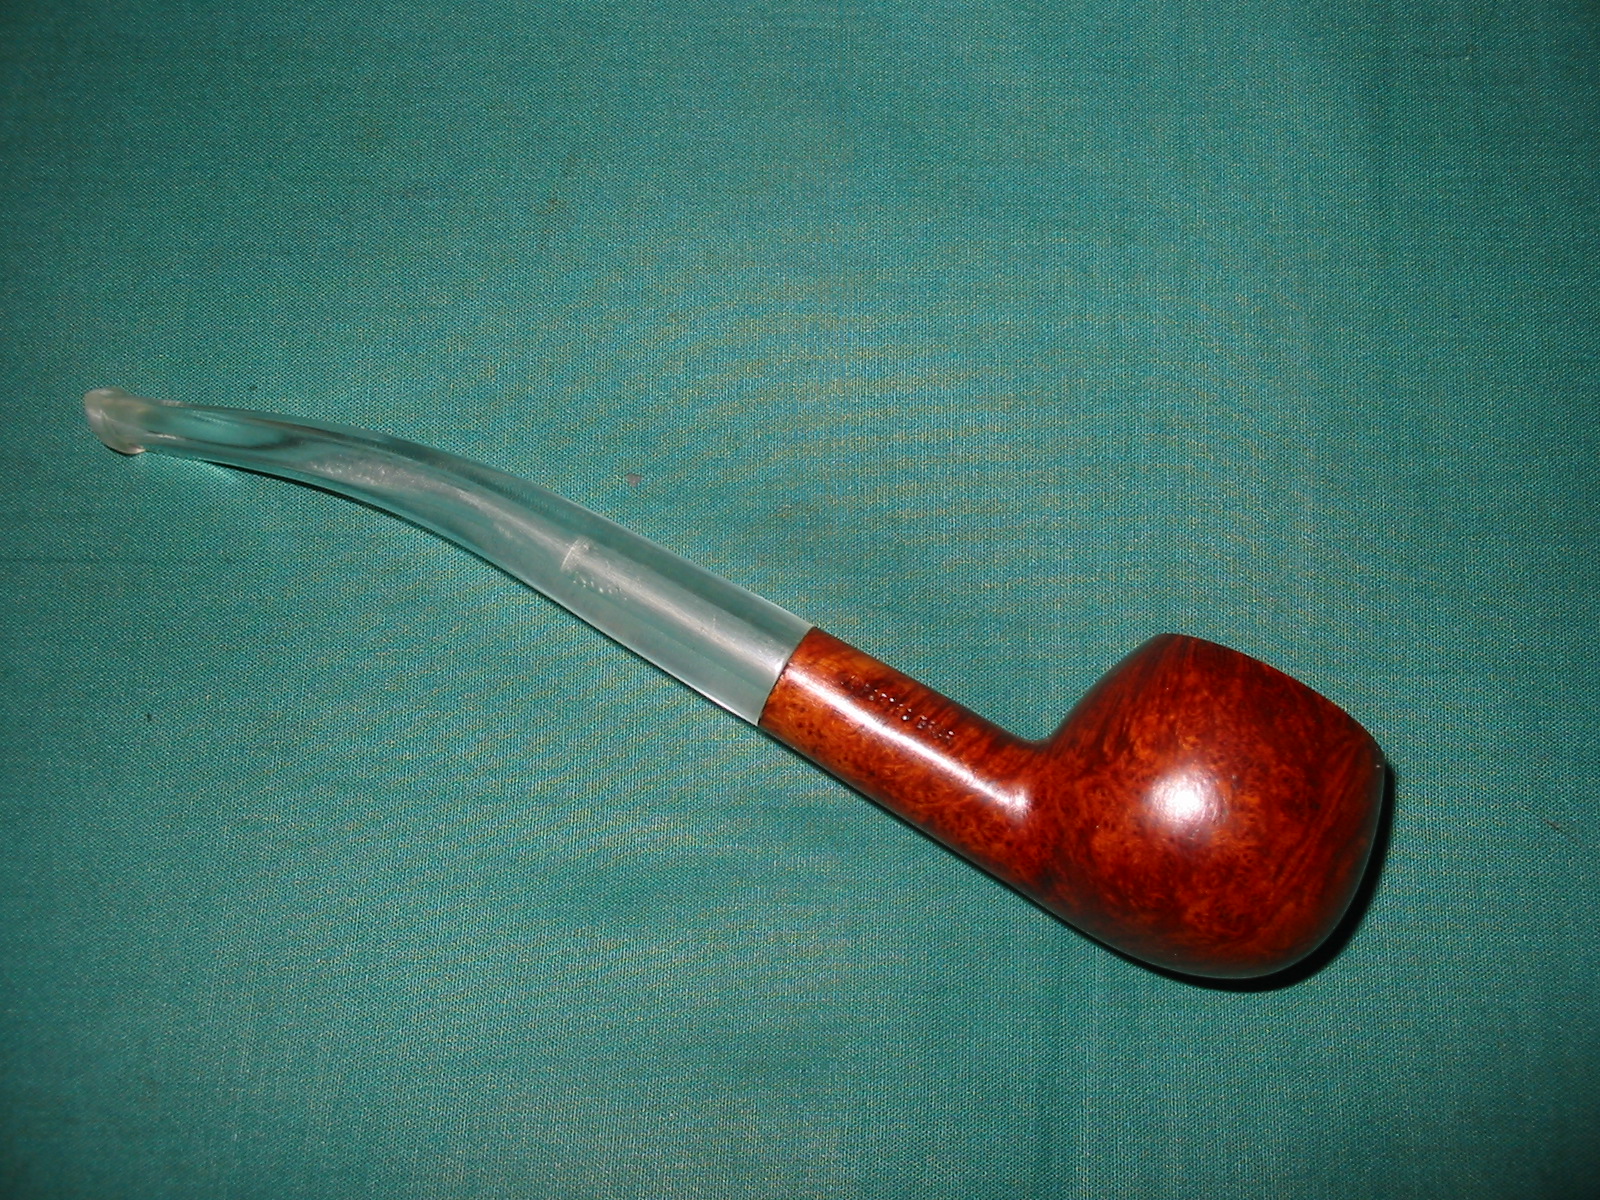
 IMG_7967 IMG_7968 IMG_7969 IMG_7970

Restoring and restemming the first of two Television pipes – a Pot


Blog by Steve Laug

The first Television pipe of the two that came to me in a gift box of bowls needing stems was this pot shaped bowl. I had not heard of the brand before so I put a question on the online pipe forums that I frequent and got two responses with information. The first was a link to the Smoking Metal website which has become a standard place I check for metal pipes that I pick up or pipes with screw on bowls. I had not thought of looking on that site as the Television pipes that I had found were regular briar pipes. The link follows and gives a look at a unique Television pipe with a threaded bowl http://www.smokingmetal.co.uk/pipe.php?page=277. The second response came from Jose Manuel Lopes – Pipes Artisans and Trademarks. Lopes states that the brand was sold by A. Grunfield Co. and was produced by Gasparini. They were known to be an English brand with long stems.

The first bowl I had was a pot shape without a stem. Like the second bowl it had a thick coat of varnish. There was a large fill on the right side of the bowl toward the top. It was a putty fill and was lighter than the briar. The grain on the pipe was very mixed. On the back and front of the bowl was cross grain and on the sides was some nice birdseye. The rim had a tarry buildup and a burned area on the back right side of inner rim. The bowl had an uneven cake on the inside. The right side of the shank was stamped Imported Briar over Italy and the left side was stamped TELEVISION. The second pipe bore identical stamping. There were no shape numbers on either bowl or shank. Both pipes had a broken tenon in the shank. IMG_7559 IMG_7562 IMG_7561 I used a wood screw I keep around for pulling out the broken tenons. I screw it in by hand and the wiggle it until it comes out. I removed the broken tenon from both of the pipe shanks while I was at it. IMG_7563 IMG_7564 I found a vulcanite stem in my can of stems that would work with the pipe and make it a standard pot shape pipe and stem. I turned the tenon on the PIMO Tenon Turning Tool until it was close and then fine tuned the fit with 220 grit sandpaper. The diameter of the stem was larger than that of the shank so I sanded it with 220 grit sandpaper to match the two. IMG_7780 IMG_7784 IMG_7785 IMG_7794 I decided to replace the large ugly fill on the right side of the bowl. It was a light brown/pink colour and stood out from the rest of a decently grained pipe. I picked it out with a dental pick and found that underneath the surface it was a white hard putty. IMG_7786 IMG_7788 There was also a fill on the underside of the bowl that I picked out and one on the rim. I decided to top the bowl to see how close to the side fill the top one was. I set up the sanding board and topped the bowl. Once it was topped I could see the fill on the rim and I decided to leave it as it was close to the inner edge of the bowl. IMG_7790 IMG_7791 I wiped off the surface of the bowl with isopropyl alcohol and spent time scrubbing the large fill on the side of the bowl. I then took some briar dust that I had and began to work on the patching material for the hole. I poured some Fiebings Dark Brown stain into the briar dust and mixed it until the briar dust was evenly stained a dark brown. IMG_7792 IMG_7793 photo b I then mixed in some Weldbond multipurpose white glue into the stained briar dust. Once it began clumping I worked it into a dough and kneaded in the briar dust until it was evenly mixed. photo c photo f The mixture was tacky but not wet. I tamped it into the two repairs on the bowl, the bottom and the left side. I pushed it down into the deep parts of both fills with a dental pick and a pipe nail. photo e photo i When the patch had cured overnight it looked like the photo below. It was a solid bump on the side of the bowl. It took a lot of sanding with 180 grit sandpaper and 220 grit sandpaper to reduce the footprint of the patch and level it with the surface of the briar. The next series of photos show the process of sanding the patch. IMG_7797 IMG_7800 IMG_7805 IMG_7810 I also sanded the shank to smooth out the junction of the stem and the shank at the same time I worked on sanding the patch. I used 220 grit sandpaper and then sanded both the bowl and shank with medium and fine grit sanding sponges. IMG_7801 IMG_7803 IMG_7804 IMG_7802 When all the sanded areas were smooth I sanded them again with micromesh sanding pads – wet sanding with 1500-3200 grit pads and dry sanding with 3600-6000 grit pads. When the scratches no longer stood out I stained the bowl with a dark brown aniline stain (same colour I had used in the briar dust patch). I applied the stain and flamed it and repeated until the coverage was even. I wiped the bowl down with acetone and isopropyl alcohol on cotton pads to make it less opaque. It took quite a few wipes to get it to the colour I wanted. The next series of photos show the progress of the wipe down. (The stained briar dust and wood glue dough patch did not work well in terms of blending with the briar. It still stood out but now was a dark brown.) IMG_7816 IMG_7818 IMG_7819 photo o photo p I still needed to do more sanding on the bowl – particularly in the area of the patch as it looked grainy. I wanted it to be smooth to the touch so I worked on it with the micromesh sanding pads and tried to blend it in more with the stain on the bowl. I also sanded the bowl and stem with the micromesh sanding pads. I wet sanded as usual with 1300-2400 grit pads and 3200-12,000 grit pads. I rubbed the stem down between each three grits of pads with Obsidian Oil. IMG_7821 IMG_7824 IMG_7828 I decided to use a walnut stain and boiled linseed oil. I wiped it on the bowl and then wiped it down. I used a cork and candle stand to hold the bowl while I let the linseed oil dry. I put the stem back on the bowl and then buffed both the bowl and stem with White Diamond and gave them multiple coats of carnauba wax. I buffed with a soft flannel buffing pad between coats of wax to give it a deep shine. The finished pipe is shown in the photos below. It is ready to load and smoke an inaugural bowl of tobacco by whoever owns it next. IMG_7844 IMG_7845 IMG_7846 IMG_7847

For the Canadian Pipe Restorer Who Has Everything – Robert M. Boughton


Robert1
Guest Blog by Robert M. Boughton
http://www.roadrunnerpipes.com
http://about.me/boughtonrobert
Photos © the Author

“The old pipe gives the sweetest smoke.”
— Irish Proverb

“Never to be underestimated is the value of shielding the water and the wind from the bowl of the pipe.”
— The Author

INTRODUCTION
Well, this isn’t a truly old pipe as was likely envisioned by the proverbial author of the Irish quote above, although it is vintage, having survived our world since the days of the yippies, give or take a few years.Certainly it can’t be ranked among the great brands, either, although its name is well-known to pipe smokers with a grain of salt or more of experience.

But it is still a pipe of note, if not, say,as fast and exotic as a Porsche or as timeless and exquisite as a Paganini violin piece, still unique in its own way. And being both weather- and spark-proof to boot, for the enthusiastic smoker determined to light up and head out into natural elements including high wind and rain, this is the tool he wants. It’s also a peach of an apple, which is uncommon for its brand, and the bowl is crafted (if not by hand) of Algerian briar – other than the Bakelite swivel cover. For briar of that origin, the grain is even very nice.

What sets this wonderful specimen of a pipe apart from all others of its ilk, though, is the absence of the brand’s initials where they once were inlaid in the stem, before the original plastic piece fell out (as I have since gathered through research is common with older pipes of this type), and the way the hole was filled.

Robert2 By the way, I owe credit for the substitute inlay idea, as opposed to filling the hole with a replacement from a similar pipe or just using black Super Glue, to another restoration guru and my mentor, Chuck Richards. Thanks, Chuck, for the inspired thought, which indeed gives the pipe a definite Southwestern flair, as shall be shown.
So I ask, therefore, what better gift to present to the man who can have his pick from among all the legendary pipes, the man I have come to consider a friend and guide in pipe restoration – Steve Laug – than this simple but utilitarian Mastercraft Weatherproof-Sparkproof, made in France? I mean, Steve has already restored, and in many instances all but re-made, almost every brand and probably every style there is. Besides, he lives in Canada, where such a pipe could really come in handy.

BACKGROUND

Robert3I bought two Mastercrafts – the apple described here and its apparent mate, a tall billiard which had its MC inlay intact – among 19 pipes from an estate. I suppose that makes me responsible for the forced separation of what might have been a lifelong companionship between the two pipes, for all I know. Putting aside any such sentimental thoughts and planning on restoring most of the pipes for sale on my new Website but knowing ahead of time that I wanted to give Steve one of the Mastercrafts, I put considerable thought into which one to make the lucky winner, so to speak. I was seriously leaning toward the billiard because of its larger bowl and the fact that it was all there.

Then Chuck made his breakthrough brainstorm when I asked if he knew where, other than eBay, I might find an old Mastercraft stem with which to replace the smaller pipe’s altogether or extract its precious inlay for re-implant in the original. At the time, Chuck had no idea of my intention to give one to Steve; in fact, I’m sure he thought he was helping me sell the pipe online thanks to the unique character it would have.

Of course, my ultimate choice of the right gift for Steve was made for me on the spot. Dooming the poor billiard to an uncertain future, Chuck’s brilliant advice secured for its more weathered (pun intended) but soon to be made-over adorable petite amiea definite safe harbor in this often cruel world.

THE RESTORATION
With a cursory first look at the over-the-hill pipe, it seems to be a relatively easy restoration, except maybe for the missing stem inlay. Robert4 Robert5 Robert6 In fact, most of the process was indeed standard including the basic mineral water bath and removal of the rim burn. Where the situation escalated somewhat was reaming the bowl, which was crusted with decades of cake buildup that made a huge pile, sanding the inside of the bowl to make it baby-smooth again and cleaning the underside of the Bakelite cover that was difficult to reach given the facts that the only way to remove the thing seemed to be to break it off, and the maximum space to get under the lid was highly limited. Robert7 But I used good old-fashioned elbow grease and ingenuity, and with the reamer and some 150-grit shifting to 400-grit sandpaper, I worked out the three-tiered layers of cake until the bowl was almost down to fresh briar again.

Then I used up quite a few bristly stem cleaners soaked in alcohol getting under the cover and many more through the stem and shank before they came out clean. That alone took considerable time and patience. Robert8 I completed the cleaning of the bowl, shank and underside of the cover with a simple soaking with alcohol while the lid was closed.

The next task was to rub out some scratches and dings in the wood with 600 micromesh, which ended up being most difficult on the sides of the bowl where the Bakelite didn’t prevent me from going, and 1000 micromesh on the Bakelite itself.

Now, for Chuck’s suggestion, which was to insert a piece of genuine New Mexico turquoise into the hole in the stem where the original inlay once was fairly poorly set. The better part of valor being discretion, or good judgment, I was willing to take on the task myself but knew to seize a good opportunity to have it done right. That chance presented itself to me when I bought the desired piece of turquoise at a local gem store (http://www.mamasminerals.com/http://www.mamasminerals.com/).

Consulting the store’s gemologist and jeweler, a gentleman and a scholar named Dennis, on how to cut the small piece of turquoise without shattering it and make it a sturdy new part of the stem, I was surprised when he was intrigued enough by my project to offer to do it himself – for $10.

“I’ve done this kind of thing in just about everything, but never a pipe,” Dennis told me.

And so I accepted his offer, and here are the final results after re-staining the rim, buffing the bowl with White Tripoli and carnauba and doing the same to the stem with Red and White Tripoli before handing it over to Dennis to make his much appreciated contribution:Robert9 Robert10 Robert11 Robert12 CONCLUSION
To be brief for a change, it was all worth it. Over the past two and a half years, Steve has given me so much help and friendship, in addition to the immense support I receive from Chuck, that this small token of my appreciation hardly seems adequate. Thanks again for everything, Steve. May your days and nights in Canada be windy and rainy often enough to keep enjoying this pipe.Robert13

Restoring an older KB&B Borlum Dublin


I was gifted a small KB&B Dublin from a friend on Smokers Forums. I always like to know what I am working on when restoring old pipes so I did a bit of digging into the stamping on the pipe and found the following information. I already knew that Kaufmann Brothers and Bondy was the oldest pipe company in the USA, established in 1851. The Club Logo predated Kaywoodie with the “KB&B” lettering stamped within the Club, and a multitude of KB&B lines were in production long before “Kaywoodie” first appeared in 1919. So I knew that the pipe I had was a pre-1919, pre-Kaywoodie KB&B Made BORLUM Dublin.

pipe141 pipe140

It is stamped BORLUM in an arc over KB&B in a cloverleaf. Underneath it is stamped ITALIAN BRIAR in a reverse arc. All of the above is stamped on the left side of the shank. On the right side of the shank it is stamped UNBREAKABLE BIT. It was made before Kaywoodie became the flagship name for pipes from Kaufman Brothers & Bondy (KB&B). It was made before the Kaywoodie invention of the “Stinger” was added, and even before shank logos, model stamps and other features invented by Kaywoodie came to be standards of the pipe making industry. It comes from the time when names like Ambassador, Heatherby, Melrose, Suez, Rivoli, Cadillac and Kamello dominated the pre-Kaywoodie scene. Borlum is one of those vintage names.

The Borlum pipe featured some innovations which were new for the time but commonplace to us: (1) A solid rubber bit (vulcanite, ebonite), (2) aluminum inner-tube construction in the stem thus marked “Unbreakable Bit” on the right side of the shank, (3) a standard nickel plated band (marked KB&B) to strengthen the shank connection for the stem. The stem features the older style more rounded bit tip/orific button, and you can see the aluminum inner-tube fitting just inside the tip.

I have included several pictures that I found on the internet to show the unique stem tube that the Borlum has. The first photo shows the type of stem the pipe has. My little Dublin has a stem that is shaped like the second stem from the left but includes the same metal tube that shows in the bent stem, third from the left. The second photo shows the tenon end of the stem and the other end of the metal tube in the Borlum stem. It is the inclusion of the tube that gives rise to the claim that is stamped on the shank – Unbreakable Bit. The third photo below is a Borlum display and sales card. What is particularly interesting to me is the diagram at the top of the card showing the interior of the stem in place in the shank. It also includes the claim, “Guaranteed against Breakage”. I love these old pipes and the prices they sold for back in the day. Note the $1 and up tag on the sales card. pipe139 Exif_JPEG_PICTURE pipe137 The pipe that was a gift to me is similar to the Dublin at the bottom left of the above card. It has the same shape and straight shank. It also has a similar profile. The difference is that min has a shank band which is also part of the unbreakable system of these pipes. I guess they found that an unbreakable stem can still leave a breakable shank. The band stabilizes the shank and makes the pipe more indestructible. The band is stamped with the Club/Cloverleaf with KB&B in the center and under that Nickel Plated. It adds a touch of class to this little Dublin. The pipe was gifted to me by Jim Wagner from Smokers Forums. I recently refurbished an older KBB Yello-Bole and Jim said he had this one. It came this week and I took it on today. The pipe was in good shape when I took it out of the shipping package. The finish was clean but the rim had a few minor issues. There was a slight darkening near the back of the bowl and there were some ripples in the varnish finish on the rim. The cake was thin and even. The bowl was in round. The nickel band and the stem showed oxidation. I really like these old timers with the orific buttons. They are more rounded than the modern flat stem but are very comfortable in the mouth. Jim had mentioned that the stem was a hard material. In cleaning it up I found that it was indeed vulcanite or vulcanized rubber. It was hard but not as hard as an acrylic stem. There were no bite marks in the stem and minimal tooth chatter near the button. It was a beautiful old pipe that truly did not show it 100+ year age. IMG_7848 IMG_7849 IMG_7850 IMG_7852 I reamed the bowl lightly with a PipNet reamer to smooth out the thin cake. I cleaned out the shank with pipe cleaners, cotton swabs and isopropyl alcohol. I kept at it until the cleaners came out the same way they went into the shank – white.IMG_7858 IMG_7856 In order to address the issues with the rim I wiped it down with acetone on a cotton pad and then gently sanded it with an extra fine grit sanding sponge. My intent was not to top the bowl but to smooth out the ripples of the varnish and remove some of the darkening. In checking it out the darkening was not deep in the briar but merely on the surface so this method would remove the damage. IMG_7861 IMG_7862 I wiped the bowl and shank down with the acetone and cotton pads to clean off the slight darkening of the finish. I wanted to remove the varnish coat so that I could use just wax on the bowl. I did not want to remove any of the colour/stain. I wanted to leave the colour/patina intact with no change. IMG_7863 IMG_7864 IMG_7865 IMG_7866 I sanded the stem with 220 grit sandpaper and medium and fine grit sanding sponges. I shone a flashlight on the stem to highlight the oxidation and continued to sand with this combination until the brown/green hue was gone and the stem was a dull black. I rubbed it down with Obsidian Oil and then sanded it with my usual array of micromesh sanding pads. I wet sanded with 1500-2400 grit pads and dry sanded with 3200-12,000 grit pads. I rubbed the stem down with the Obsidian Oil after each set of three micromesh pads. IMG_7872 IMG_7873 IMG_7874 I polished the nickel band with a silver polishing cloth and then used the higher grits (6000-12,000) of micromesh on it to polish it further. I buffed the pipe and stem with White Diamond and then gave it multiple coats of carnauba wax, buffing with a soft flannel buff between applications of the wax. The finished pipe is shown below. It has been restored with little intrusion into the original shape or finish and is ready for many more years ahead. Thanks Jim for the beautiful little Dublin that you have added to my collection. IMG_7875 IMG_7876 IMG_7878 IMG_7879

Sasieni Four Dot Grosvenor Ruff Root Restoration


Blog by Al Jones

I’m a big fan of the pre-transition era Sasieni “Four Dot” pipes. This era was from 1946 to 1979 and while that makes a precise dating impossible, I’ve found them to be very well made and excellent smoking pipes. This Grosvenor Ruff Root Bulldog showed up on Ebay last week, complete with small and somewhat fuzzy photographs. From what I could see, the pipe looked solid and it pretty much flew under the radar. When the pipe arrived, it was easy to see that I had made a wise choice. The stem was only slightly oxidized with no teeth marks or other damage. The nomenclature was very clear and complete. The first picture was from the eBay ad.

Sasieni_Grosvenor_Ruff_Root5

Sasieni_Grosvenor_Ruff_Root_Before

Sasieni_Grosvenor_Ruff_Root_Before (3)

Sasieni_Grosvenor_Ruff_Root_Before (1)

Sasieni_Grosvenor_Ruff_Root_Before (2)

I own a Sasieni Grosvenor Walnut, an “S” model, which indicates the tapered stem. But, my favorite pipes are Bulldog or Rhodesians with a tapered stem.

Sasieni_Grosvenor-S_Gallery

The bowl had only a slight cake and the shank was very clean. I carefully reamed the cake out and soaked the bowl with some alcohol and sea salt.

I polished the stem with 800 grit paper, then 1500 and 2000 grade wet paper. Then I moved to the 8000 and 12000 grade micromesh paper, also wet. The stem was lightly buffed with white diamond. I’ve learned that the light blue Sasieni stem dots can fade over time, but the color of these dots was perfect.

I polished the bowl by hand with some Halycon wax and the pipe was complete, a very easy restoration.

Sasieni_Grosvenor_Ruff-Root_Gallery

Sasieni_Grosvenor_Ruff-Root_Finished (8)

Sasieni_Grosvenor_Ruff-Root_Finished (9)

Sasieni_Grosvenor_Ruff-Root_Finished (3)

Sasieni_Grosvenor_Ruff-Root_Finished (1)

Procedure for hand rusticating a pipe


I have rusticated quite a few pipes over the years and by much experimenting, with successes and failures have learned a few tricks in the process. I am by no means an expert in the process. I continue to experiment with developing different patterns of rustication and deeper, craggier finishes. I have done some rustications that have the look of old leather and others that are gritty and rough. I love the process of experimenting and seeing what I can make with the tools that I have close at hand. I am including some photos of the finishes I have done to illustrate the variety of patterns that can be achieved.

The first pipe is an author carved by John Bessai. It had so many fills in the briar that it was a mess in my opinion. It was a prime candidate for a new look. I used the handmade tool – nails in a piece of pipe to achieve the rustication and then buffed it with Tripoli to smooth out the high spots. I stained it with a black undercoat and dark brown top coat.
BessaiAfter2 BessaiAfter4
The second one is one of my own carvings. I wanted a look similar to the one on the Bessai by smoother and more leatherlike in terms of a finished look. I rusticated it with nails in a pipe, wire brushed the finish and then sanded to smooth out the high spots. I used a black understain and medium brown top stain to get the finish. finishedcarving003-1
The third pipe was a small Canadian with many fills in the shank and bowl. I did a shallow rustication with the pipe and nails and then used a dark brown and medium brown stain to get the look. All three of the first pipes have a leatherlike finish to them that was achieved by sanding or buffing the highspots on the finish after rusticating.IMG_6503 IMG_6504 IMG_6506
The fourth pipe pictured below was one of my creations, my first Frankenpipe composed of three different pipes. I used a Philips screwdriver that I made into a rustication tool to achieve the rustication pattern on the shank. I left areas in the pattern that were smooth. I stained the gouges with a black stain and the rest of the pipe with a medium brown stain. I wire brushed the rustication and then buffed it with Tripoli. img_6556
The fifth pipe pictured is another Canadian I rusticated. This one was a pipe that I finished shaping and made a stem for. The briar was bland with poor grain. It had a lot of bald spots in the briar so I decided to do a black and tan finish on it. IMG_2575 IMG_2577
The next two rustications were done with the Philips screwdriver. I tried for two different finishes on these pipes. The first is quite deep but then brushed and buffed before staining. The idea was to give a random broken look to the pattern. I stained it with a medium brown stain. The second is a very craggy rough finish. I used the screwdriver and went over the briar three times to roughen it and give it the roughness I wanted. I reversed the stains on this one and did a medium brown understain and a black topcoat. IMG_7749 photo3
I have rusticated many other pipes using a variety of tools that I have developed or repurposed to experiment with over the years. I have used a pipe with nails, a handmade wooden handle with nails, a floral frog, a modified Philips Screwdriver a flat blade screwdriver notched and sharpened, and a Dremel tool with a variety of burrs. I have used different sizes and clusters of nails in the pipe and each one achieves a slight variation of pattern on the finished briar. Each tool delivers a different finish and look. Even with the same tool a variety can be achieved by wire brushing the finish, buffing or sanding. I have also used a combination of tools at times – the nails and the floral frog work well together to make a tighter smaller rustication while the screwdrivers and the nails also give a unique looking pattern.

However, no matter which tool I use I always follow the same process. I have broken it down into steps in the list below for ease of use.

1. Clean the surface of the wood – I clean the surface of the briar with either acetone or isopropyl alcohol to remove the grime and the existing finish on the pipe. I do this because I like working on a clean surface. I know that others do not do this before rustication so the choice is yours.

2. Stain the surface with a dark stain to show contrast when rusticating – Many stain the briar with a dark stain before rusticating to make it easier to see the developing pattern in the rustication. Personally I only do this if the briar is raw and unstained. A stained pipe already has colour and the rustication shows up quite well.

3. Tape off any spots that you want to leave smooth using masking tape or painters tape. I wrap it with several layers of tape to protect the smooth wood underneath from an accidental slip when I am working the tools. I have also used scotch or cellophane tape. The idea is not to abuse the tape but use it as a straight edge to work toward and around. I often tape the shank end but you can also tape the line around the rim as well.

4. If partially rusticating a bowl mark off the area that you will rusticate with a permanent marker. On the Frankenpipe above I marked the angle of the shank and bowl junction that I wanted to rusticate.

5. Choose the place on the briar to start – personally I always start on the side of the bowl when rusticating. I remove the stem and work on the bowl alone. I have seen others snap a tenon while rusticating so I remove it. I work from the side down to the bottom of the bowl. I work the bottom of the bowl and then move to the shank and work the side that connects to side I have rusticated. I then work my way around the rest of the bowl.

6. I rusticate by pushing the rusticator into the wood and twisting it to gouge the briar. The harder you push the tool into the briar the deeper the rustication will be. So decide how deep or rough a rustication you are aiming for and press accordingly. Do not be afraid to rusticate too deeply. Most people are too timid and end up with mere scratches on the wood the first time they try the process.

7. Use a wire brush to knock off loose pieces of briar and chips that are left behind on the surface. I brush quite aggressively as there is no fear of scratching the briar. The idea is to clean up the rustication pattern. The more aggressively you brush the more variation you will get in the pattern. You can also buff the bowl and shank at this point as well to further smooth out the surface. If it is still too rough for your liking then lightly sand the high spots with 220 grit sandpaper to knock it down further.

8. Clean off the bowl with isopropyl alcohol on a soft cloth to remove the dust left behind by rusticating and wire brushing. I do this to prepare the finish to be stained. It dries very quickly so it is not a problem to stain immediately afterwards. I also use an aniline (alcohol) based stain so it is truly not an issue.

9. Stain the bowl with either the final stain or a base coat. I generally use a dark base coat and flame it with a lighter. Once it is dry wipe the high spots down with isopropyl or buff them with Tripoli. I then give the bowl a top coat of a lighter or the final stain and flame it again. I like the contrast look of dark valleys and lighter ridges on a rusticated pipe.

10. Buff the pipe lightly with White Diamond and then use Halcyon II wax to give the bowl a light shine. I have also used olive oil at this point instead of wax. I use a folded paper towel that has been dampened with olive oil and wipe down the bowl making sure to get into all the crevices or valleys in the finish.

That is the process I use to rusticate. The results are worth the effort to me. I like the feel of the rustication as the bowl warms in my hand. I like the looks of the finished bowl as it takes on age through use. Why not try it out on one of your own pipes or an estate that you have that is just too bland to draw your eye? Go for it and enjoy the process.

Working by Candle Light- Raising Tooth Dents


Blog by Greg Wolford

Browsing my Twitter feed this morning I noticed a conversation between Steve (@rebornpipes) and Peter Jones (@edpipeclub) about raising tooth marks on a stem with different methods of heat application. The methods discussed were using a soldering iron or a heat gun; Peter had access to the former but not the latter. I tweeted him that a candle flame is also a good option and Steve suggested I post a blog about that. So, without further introduction, here we go!

I use a heat gun if the dents are very deep, or I’m bending a stem, in the shop. But since I’ve been doing more restoration work in the kitchen, upstairs, I have found a candle to be a simple and effective tool for smaller, more shallow dents. A Bic-style lighter will also work for this method but I find myself with a “hot thumb” too often for my tastes using that!

Although about any candle would likely do, I prefer to use a tea candle, such as this:20140801-132659-48419405.jpg
They are inexpensive and small, which makes them easy to work with. And since my wife uses them for her potpourri-type pot, I almost always have them on hand.

20140801-132809-48489530.jpg
What I do is light the candle and hold the stem about 2″ above the flame, maybe a little more. It’s fairly important to keep the stem moving so as to not burn the stem; if the stem is acrylic or nylon keeping moving and higher above the heat is all the more important as, in my experience, ties materials will burn or catch fire with less “notice” and faster than vulcanite. Often with vulcanite you’ll smell an almost burnt-rubber smell before any damage is really done, and this is a sure sign you need to cool the stem; I keep a Tupperware type container of cold water beside me as I do any of this kind of work, no matter what me heat source.

A Video Demo of the Process

After a couple of minutes you’ll notice that the dents are raising up, the heat decompressing the material the stem is made of. Depending on the depth and size of the dent, it can take anywhere from one “pass” to three or more to get the dent as decompressed as possible. If the dent is too large/deep a fill will be required to get it completely level again.

I hope this extra “weapon” in your restoration arsenal is helpful to you; this method may not always be the best way to go but often will be more than sufficient and quick to set up and break down.