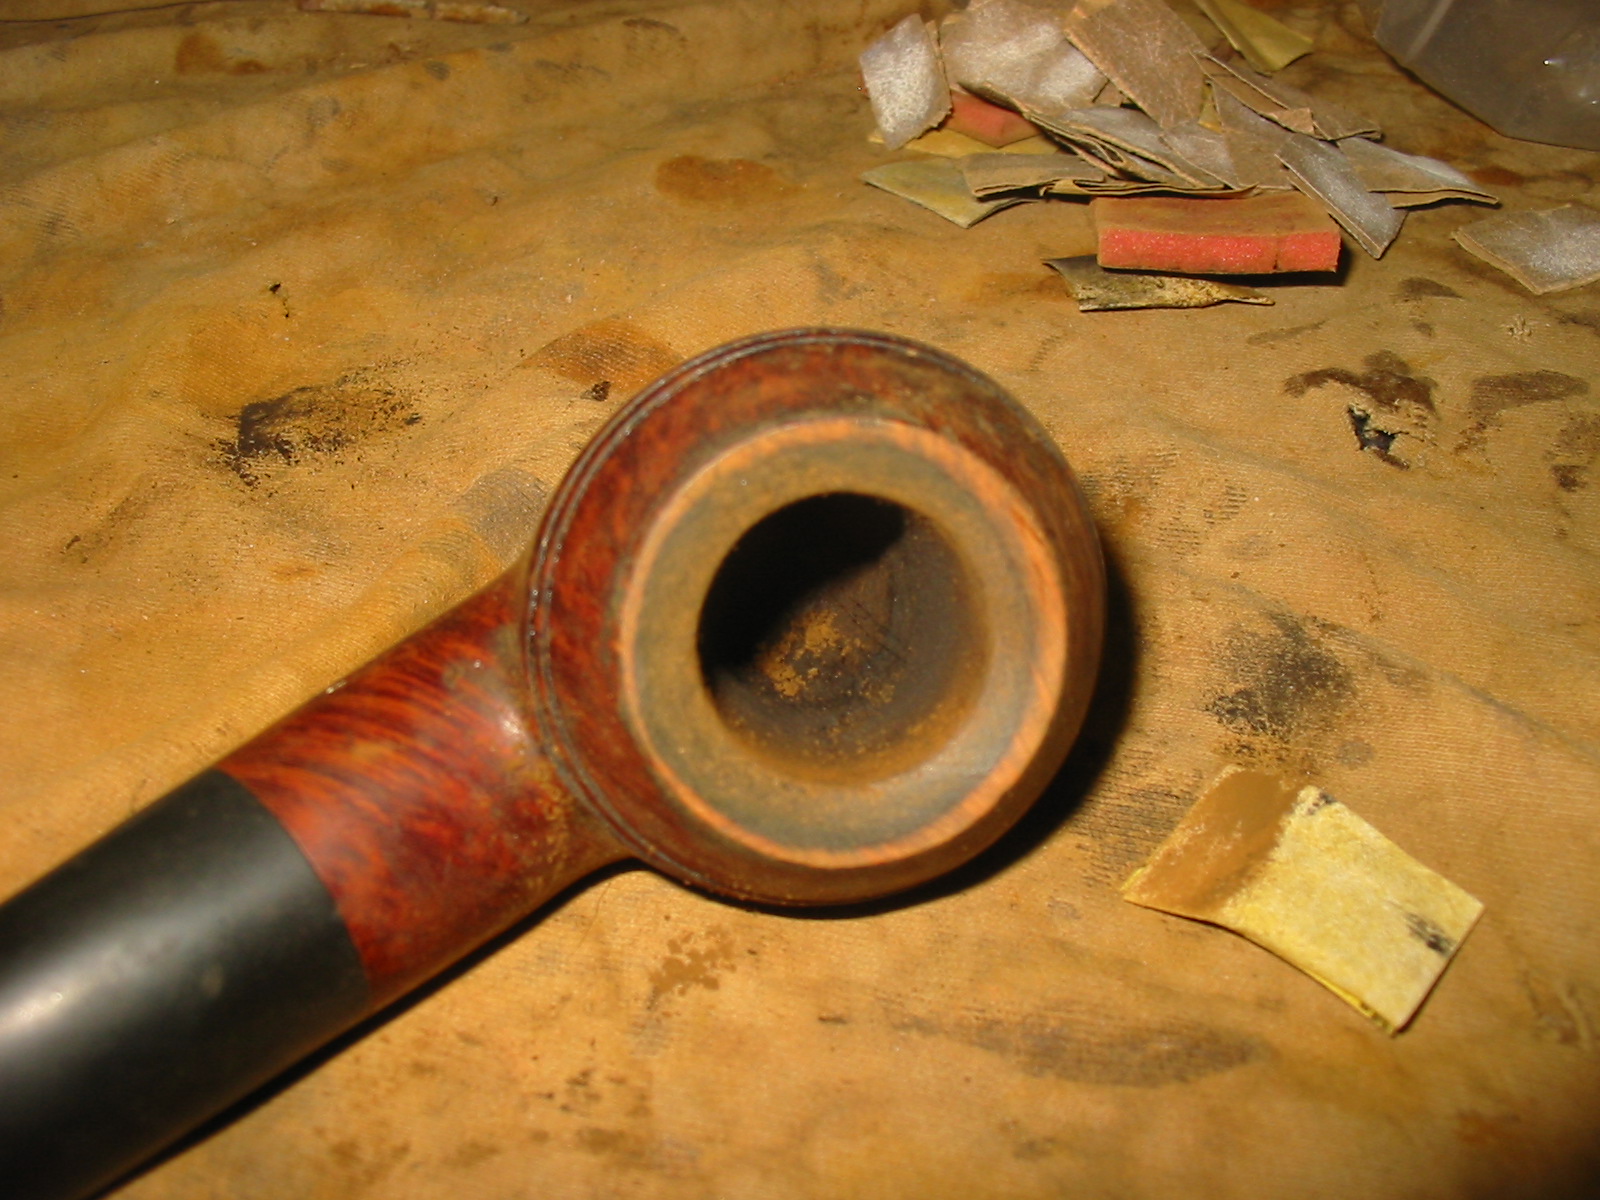
![]() I receive Alan’s newsletter from reborn briar and also follow his blog so I read what he has written with expectation that I will learn something new and so far I have never been disappointed. (You can access his blog by clicking here.) Often he clarifies things for me that I have long believed to be true but have not done enough research on or thinking about to make conclusions. In the case of this blog post Alan has given us a very useful tool on interpreting hallmarks in the gold of silver work on pipes. I have used many of the sites that Alan has linked but never seen them in one place like this. I wrote Alan and asked if I could post it here on rebornpipes. He responded that he would be glad to have it posted here. Thanks Alan for doing the hard work for us and giving us access to what you have learned.
I receive Alan’s newsletter from reborn briar and also follow his blog so I read what he has written with expectation that I will learn something new and so far I have never been disappointed. (You can access his blog by clicking here.) Often he clarifies things for me that I have long believed to be true but have not done enough research on or thinking about to make conclusions. In the case of this blog post Alan has given us a very useful tool on interpreting hallmarks in the gold of silver work on pipes. I have used many of the sites that Alan has linked but never seen them in one place like this. I wrote Alan and asked if I could post it here on rebornpipes. He responded that he would be glad to have it posted here. Thanks Alan for doing the hard work for us and giving us access to what you have learned.
Hallmarks have been around in the UK for over 800 years. They were originally introduced by a law in 1300 to protect the public from being defrauded into being sold an item not made of the purity of the precious metal that was being advertised. Hallmarking is a legal requirement in the UK as well as in many other countries, mostly in Europe. The countries in which it is a requirement have formed a Convention of hallmarking, and if the item has been hallmarked in one of the Convention countries, then it is officially recognised in any other Convention country. Many countries do not have any hallmarking requirements, the USA being one. But what exactly is hallmarking?
Background to Hallmarking
Hallmarking is the guarantee that an item of precious metal has been officially assay tested. It is a legal requirement that any item of precious metal in the UK is officially hallmarked before it is offered for sale. If no hallmarks exist then it is unlawful to describe an item as silver, gold or platinum and the item can only be referred to as white or yellow metal. The relevant Act of parliament governing hallmarks in the UK today is The Hallmarking Act 1973 which states:
Prohibited descriptionsof unhallmarked articles.
(1)Subject to the provisions of this Act, any person who, in the course of a trade or business –
(a) applies to an unhallmarked article a description indicating that it is wholly or partly made of gold, silver or platinum, or
(b) supplies, or offers to supply, an unhallmarked article to which such a description is applied, shall be guilty of an offence. 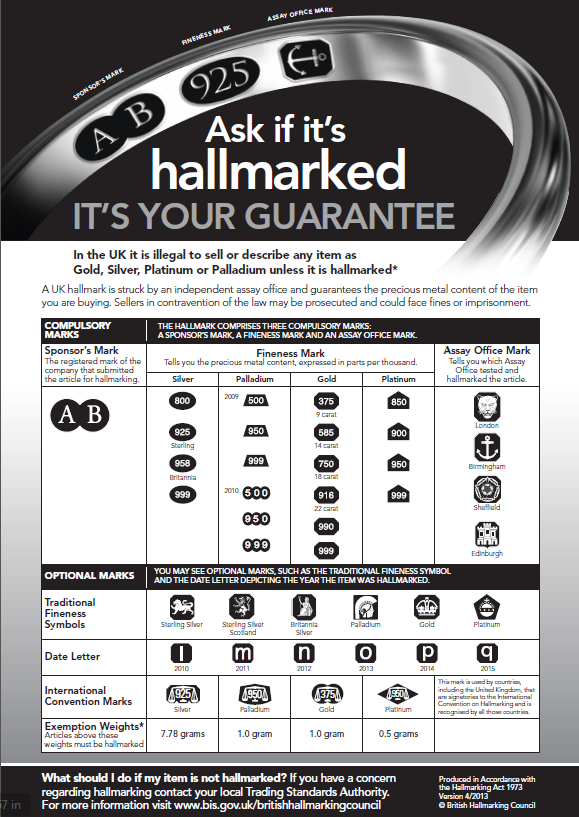
The process of hallmarking means that every single item of precious metal has to be sent to an officially recognized Assay Office which is a member of the British Hallmarking Council. There were a number of these around the UK in the past, though some have now closed and the remaining offices are London, Birmingham, Sheffield and Edinburgh (plus Dublin in the Republic of Ireland – relevant for hallmarking of Peterson pipes).
In the Assay Office, a sample of the metal is scraped from an inconspicuous part of the item. This sample is then chemically tested to verify its purity of precious metal. Items are hardly ever made purely of the precious metal alone (bullion excepted). They are normally alloys with other metals or contain other impurities. The standard for Sterling Silver is 925 which means that 925 parts in every thousand are pure silver. Purity of gold items vary from 9k gold (375 parts per 1000), 14k (585), 18k (750), 22k (916) up to 24k (999) which is virtually pure gold. Once the purity of the precious metal has been confirmed by the Assay Office, they hallmark the item accordingly, which is the symbol of guarantee.
Hallmarks consist of at least 4 symbols. The largest of the symbols is usually at the top and is normally referred to as the maker’s mark (read the term maker’s mark loosely as will be explained later). This is followed underneath by 3 further symbols which represent:
1. The official symbol for the Assay office which carried out the testing.
2. The symbol for the purity of the precious metal.
3. A symbol which represents the year in which the test was carried out.
In more recent times an additional symbol has been introduced which is internationally used and recognised throughout the Convention countries to symbolise the purity, which consists of a set of scales with the purity value written below (e.g. 925 for silver).
Hallmarks on Pipes
Hallmarking on the silver and gold decorations of pipes allow us certain advantages. They can be used in (most) cases to establish who made the pipe and when it was made. I state (most) cases as there are certain anomalies that we must take account of. We must remember that it is only the silver which needs to be hallmarked and this need not be (and in 99% of the cases would not have been) already applied to the pipe. It has been said in the past that some Peterson pipes have a silver collar with a date stamp which precedes the introduction of a certain series of designs. On others, the date mark on a silver collar does not match that of the date mark on a silver rim. This most likely occurs by Peterson sending off a large batch of silver collars to the Dublin Assay Office to be tested and hallmarked, which then sit in the factory until they are fitted to a pipe sometime later. In these instances it is more accurate to use the introduction date of that series of pipes than the date letter on the official hallmark. Or in the case of a mismatch of dates between a collar and a rim to use the later date mark. Why would this happen? It is a simple case of economics of scale. There can sometimes be anomalies in the maker’s mark too.
The “Maker’s” Mark
I stated above to read the term “maker’s mark” loosely. It was called this in the past, but as the law relates to the sale of these items, the legal liability for hallmarking ultimately lies with the retailer. This is an important issue to remember. The mark is officially called the Sponsor’s Mark and is referred to in the Act as such:
3 Sponsors’ marks.
(1)Before an article is submitted to an assay office to be struck with the approved hallmarks there shall be struck on the article a mark indicative of the manufacturer or sponsor and known as the sponsor’s mark:
Provided that the assay office and the manufacturer or sponsor of an article may make arrangements for the sponsor’s mark to be struck by that assay office upon submission of the article to be struck with the approved hallmarks.
Every sponsor’s mark in the UK is unique. It is made up of three elements:
1. the shape surrounding the mark (or shield)
2. the string of letters or initials
3. the font used in the letters
The combination of these three elements will make a unique mark for every sponsor. Before an item can be hallmarked, the sponsor must first register their sponsor’s mark with the assay office they wish to use.
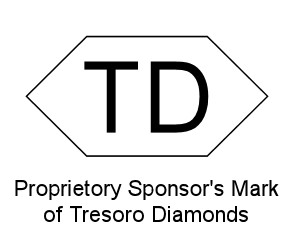 My knowledge of hallmarking comes from being involved in jewellery retailing. A number of years ago, my partner and I sold jewellery items online. We imported the items from abroad. They did not have any UK hallmarks on the items, and before we could sell the items as being gold, we had to have them hallmarked. We have a sponsor’s mark registered with the Birmingham Assay Office which comprises of the initials TD in Arial font inside a lozenge shaped shield.
Registering a sponsor’s mark is an expensive business. Firstly you must design a mark which must be unique to be accepted by the The British Hallmarking Council. Then you have the actual cost of registration. Then you must have a metal stamp made to stamp the items. As shown in the above extract from the Act, we had an arrangement with the assay office to hold our stamp on our behalf so that they could stamp the items with our mark whilst hallmarking, so I have never actually ever seen or held it. This involves a further fee. Even though most hallmarking today is carried out using a laser etching service, it is still a legal requirement to have an official metal stamp made!
Large jewellery companies in the UK like H. Samuel and Beaverbrooks do not make their own jewellery. Yet all the jewellery in their stores bears their own mark. This makes perfect sense. If an item is imported, the original maker will never have a registered mark in the UK to begin with, so the task must be undertaken by the retailer to comply with the law. So how does all this relate to pipes?
Confusion Surrounding Hallmarks
Hallmarks are not definitive and can lead to confusion in certain cases. I have already pointed out above some of the confusion surrounding dates. The sponsor’s mark can in certain circumstances lead to even greater confusion as to who actually mad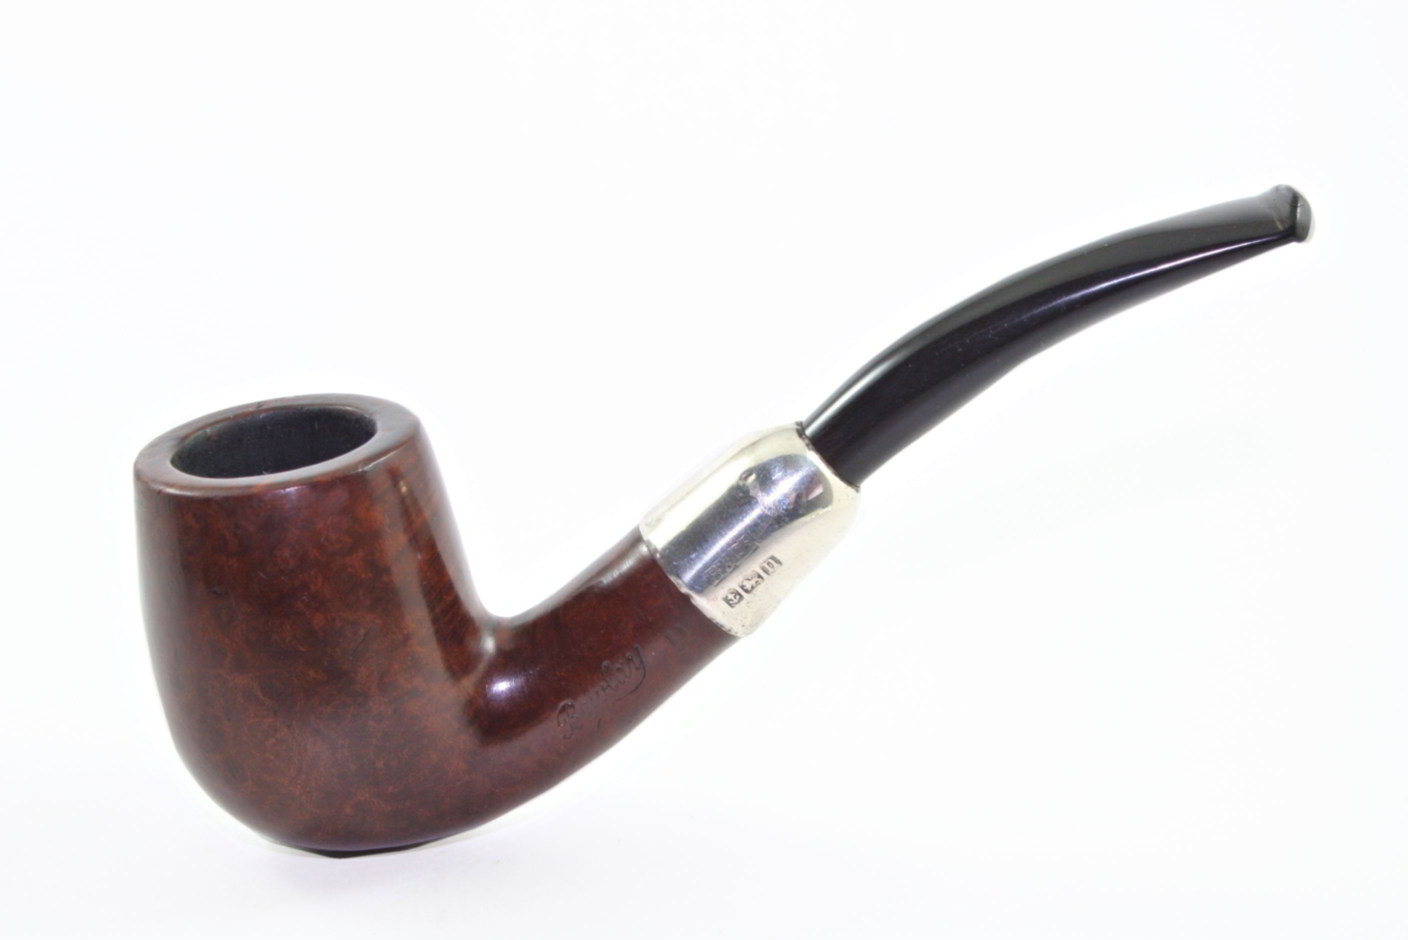 e a particular pipe.
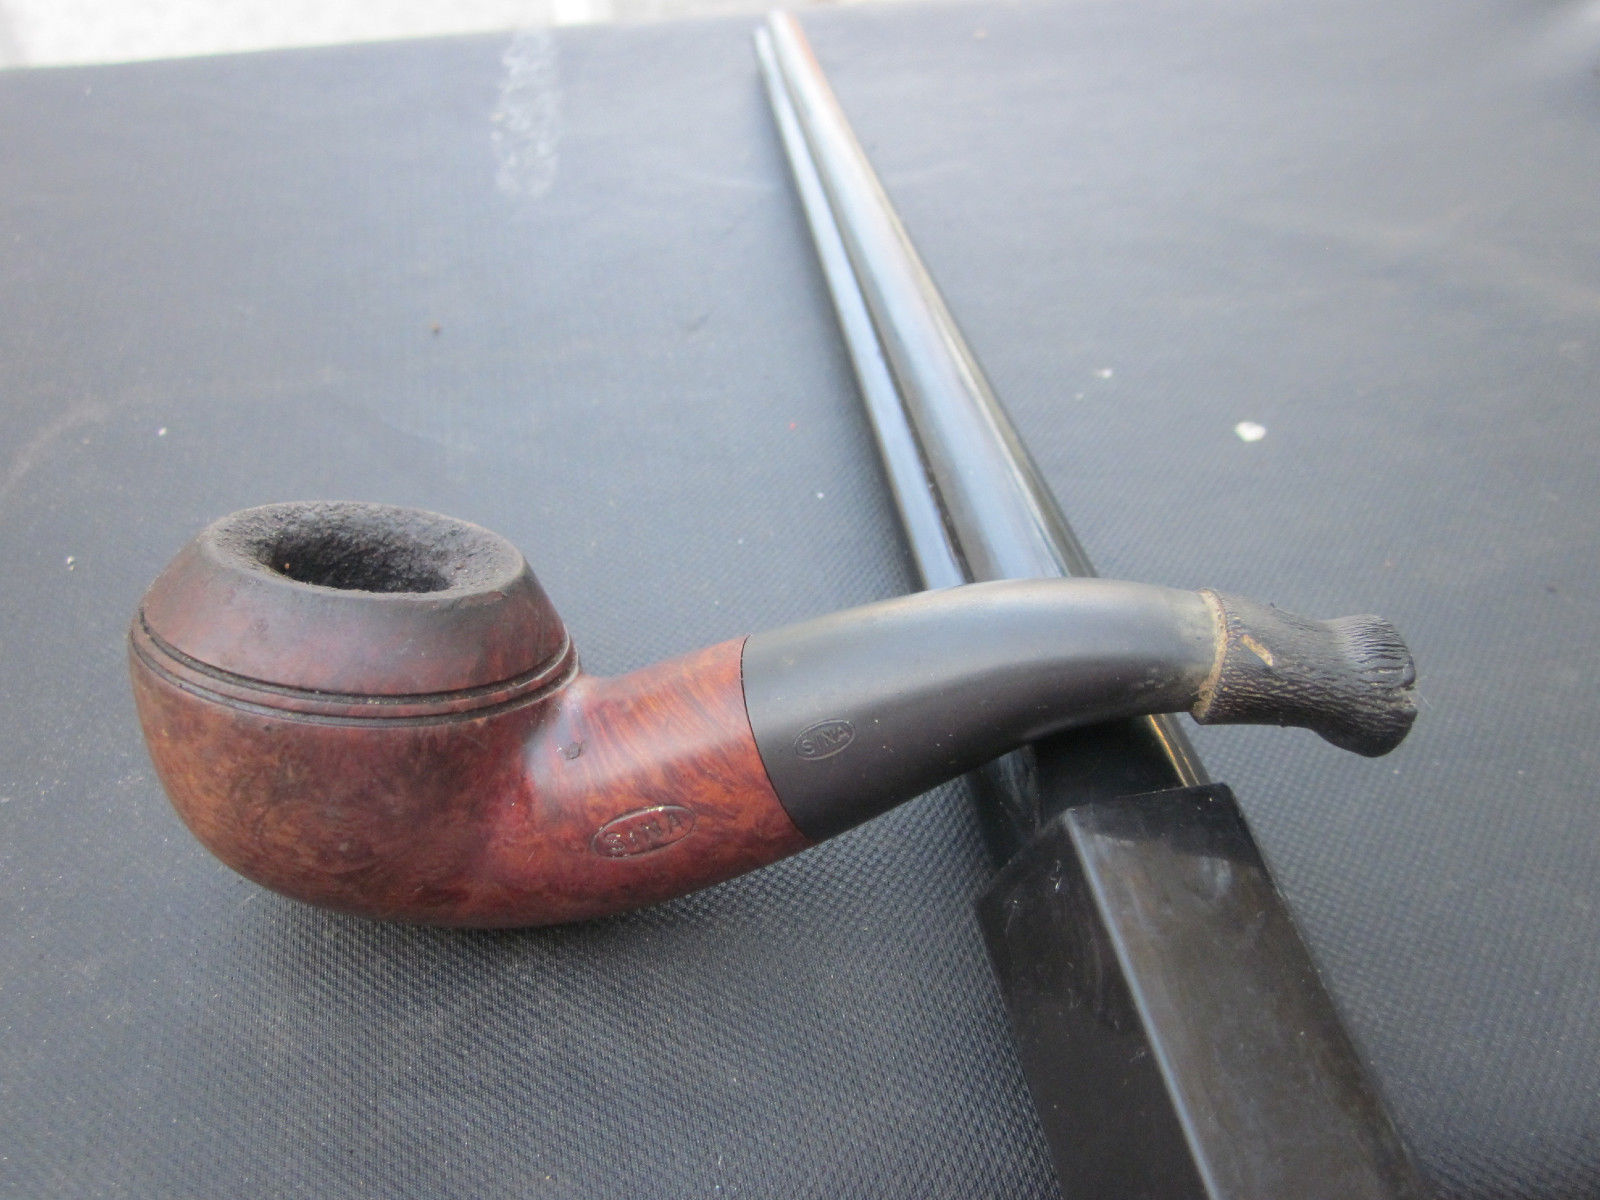
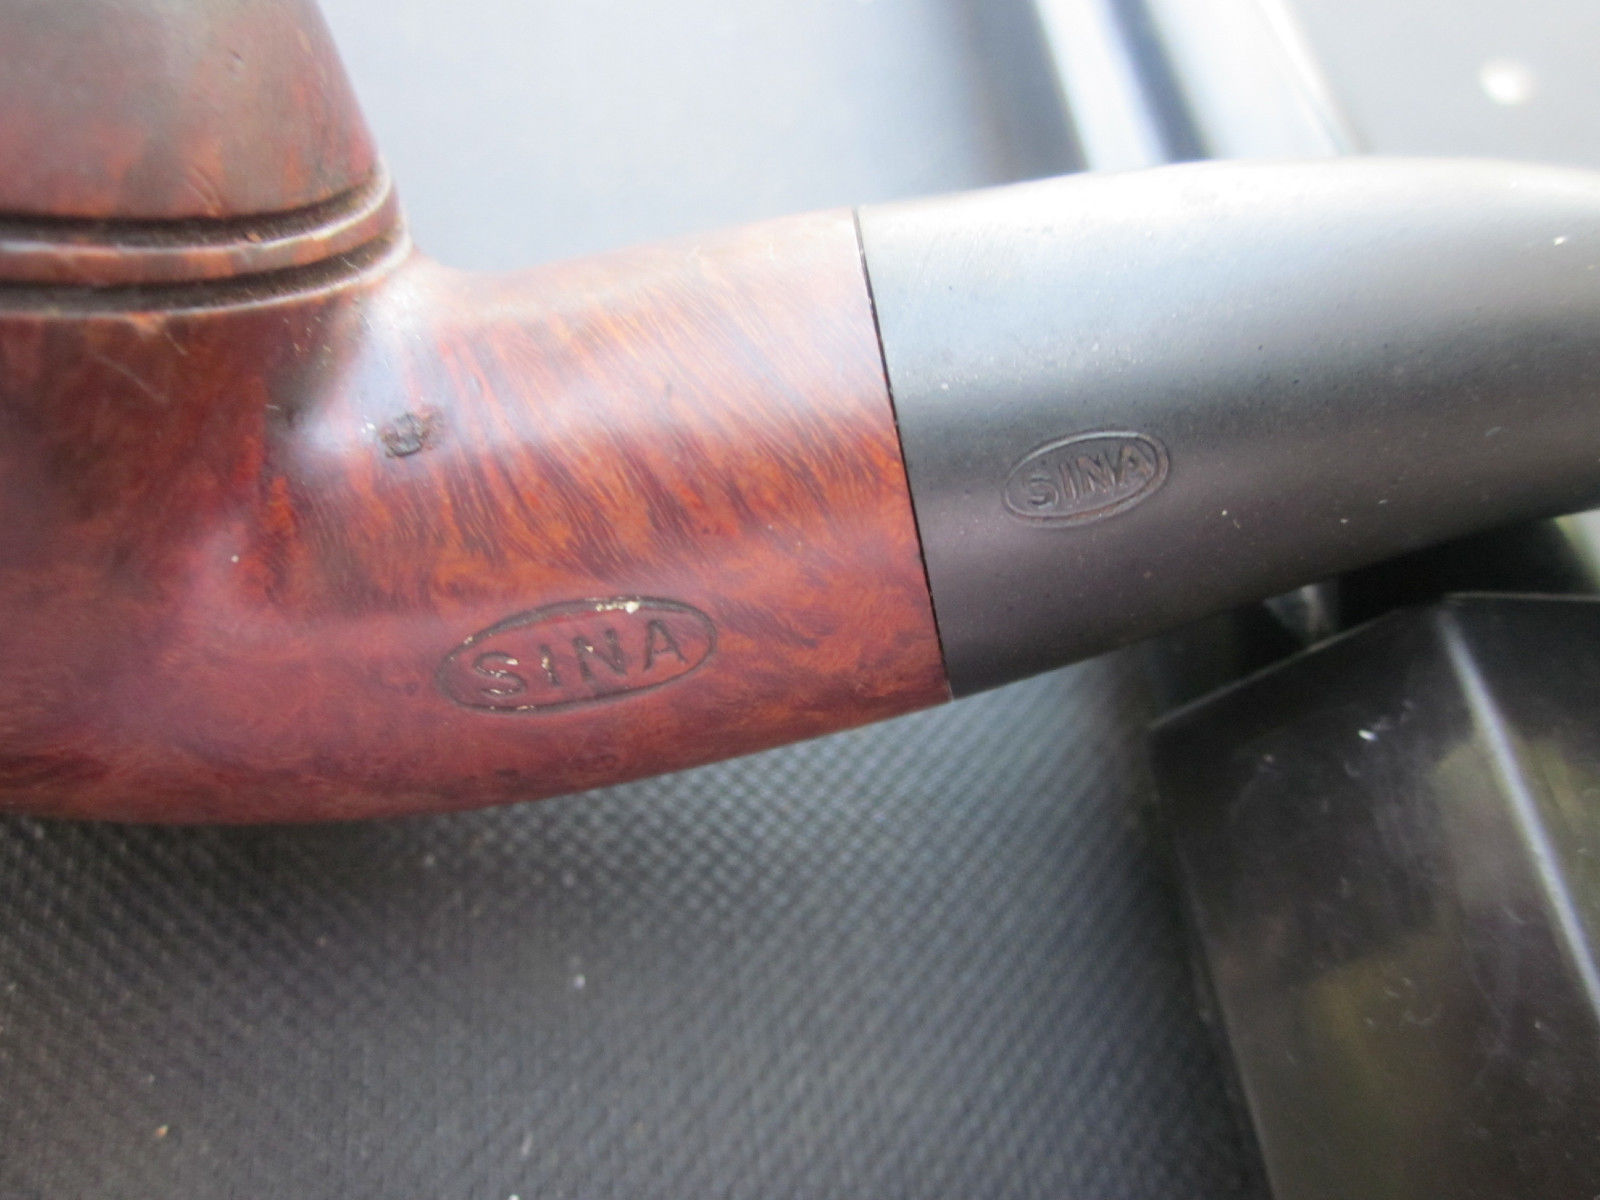
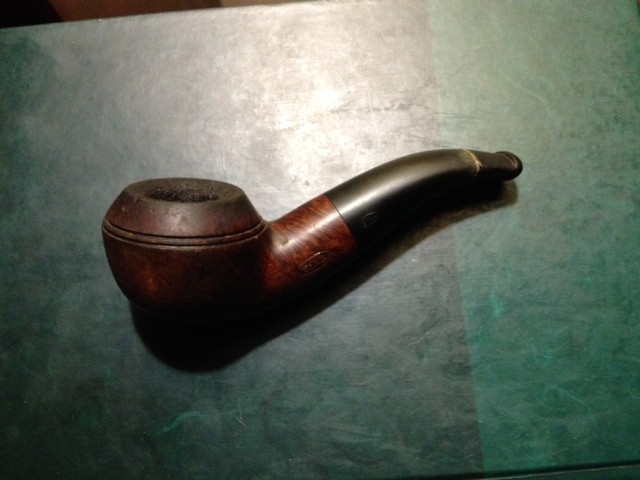
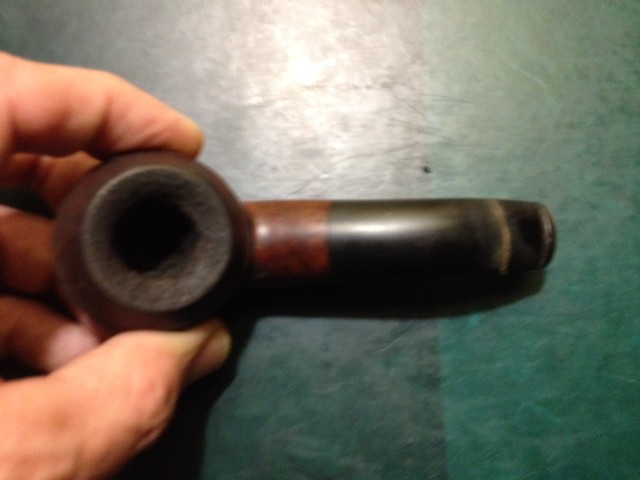
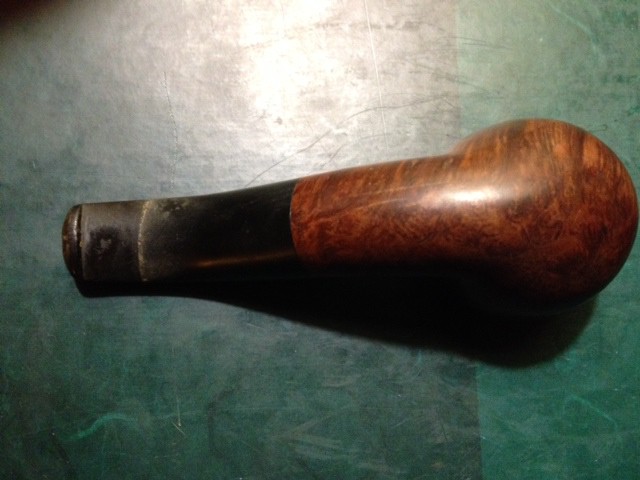
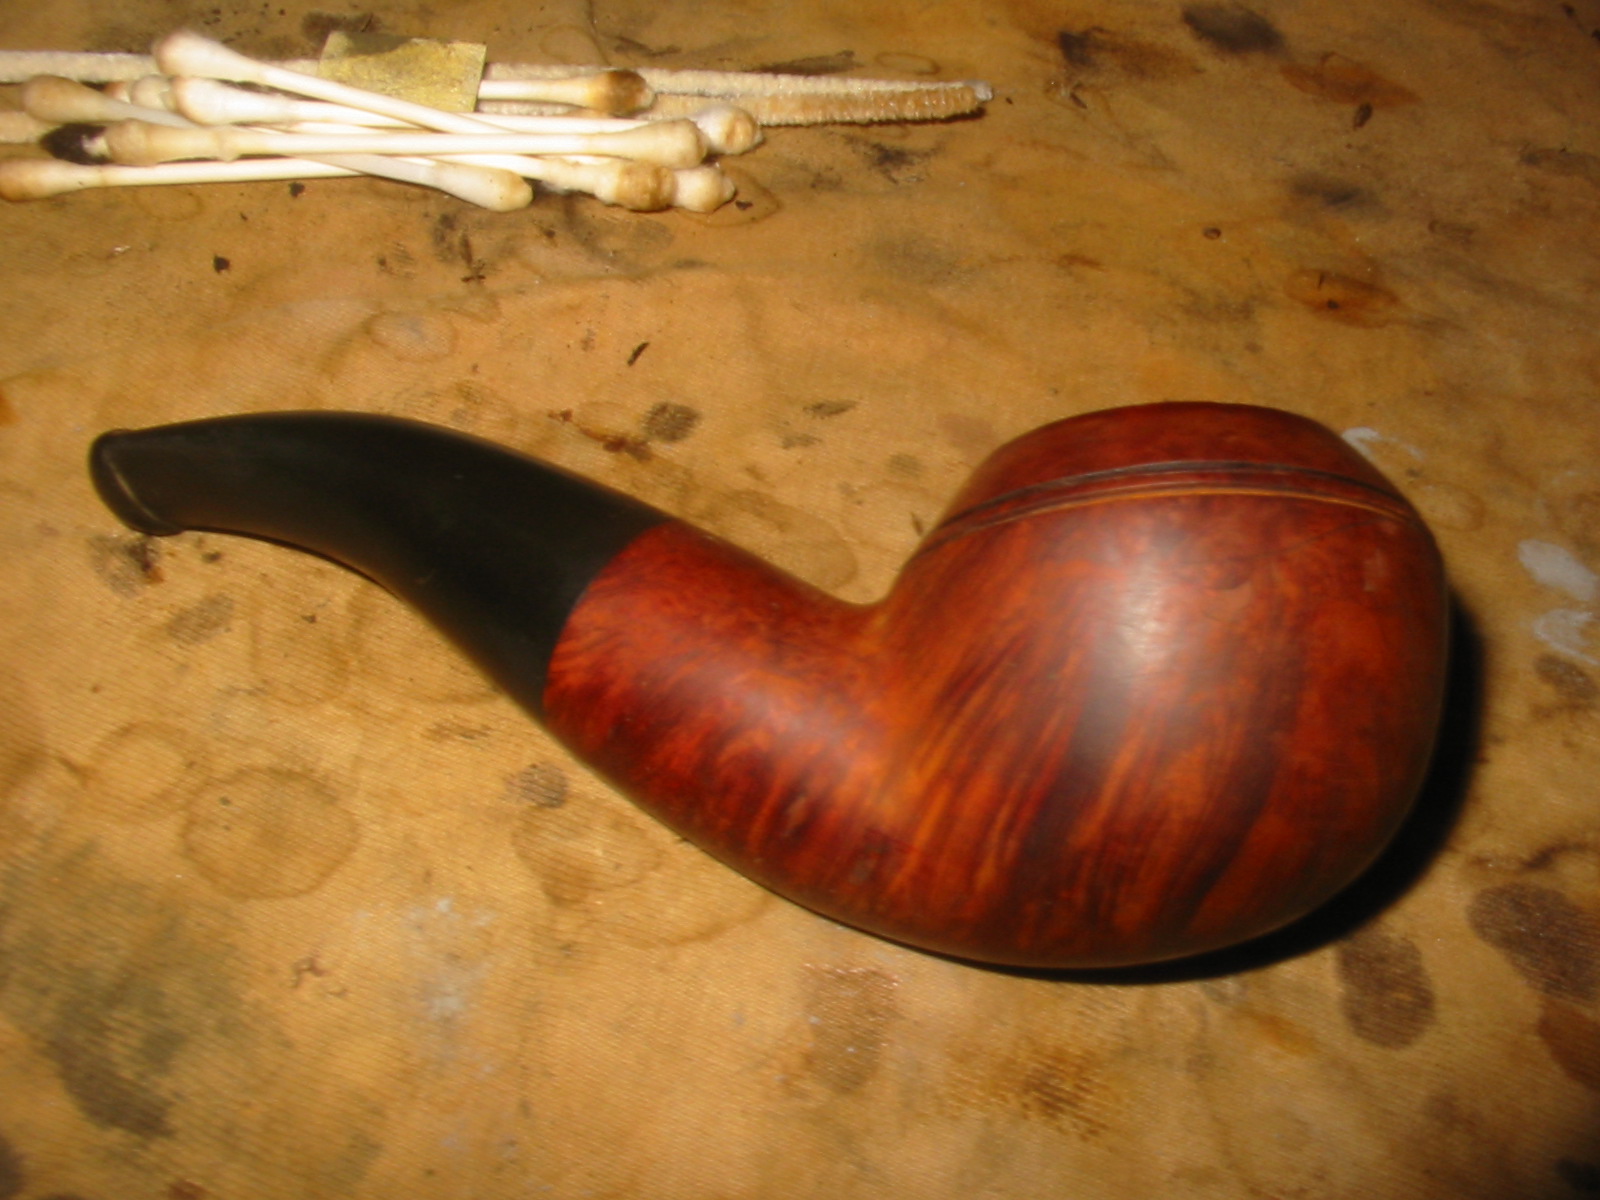
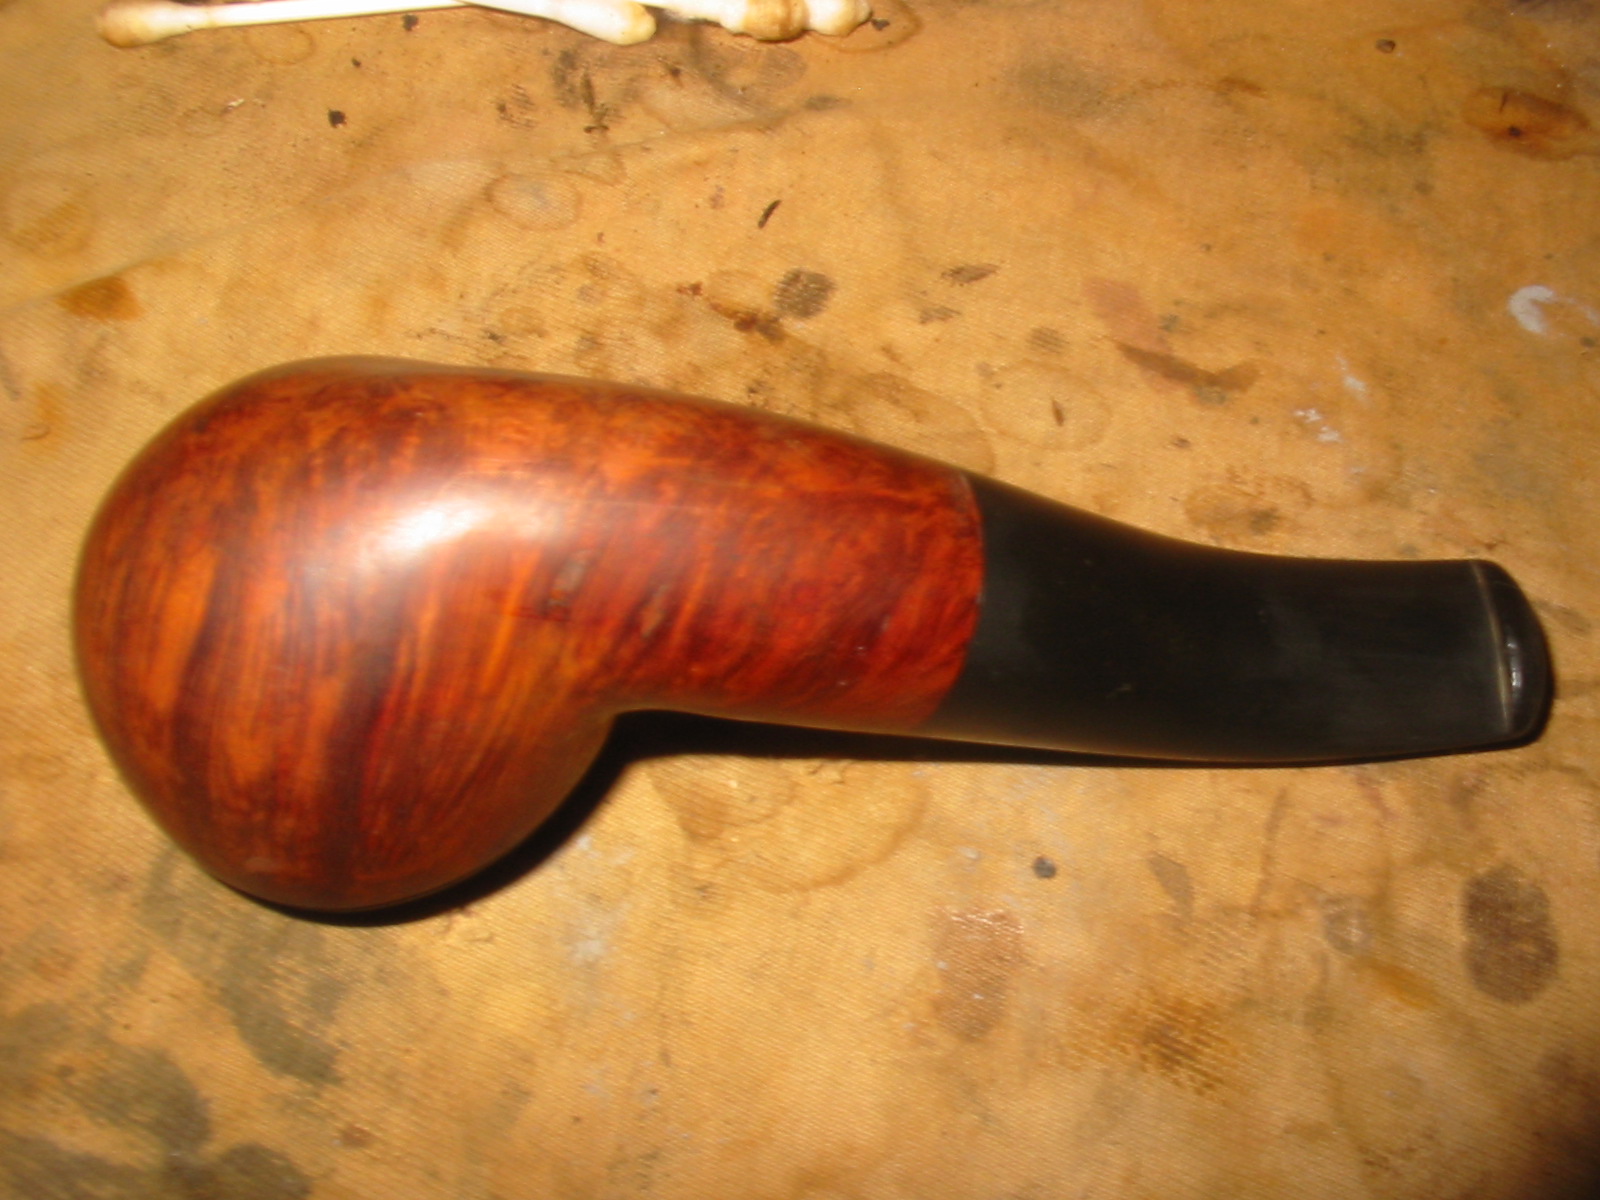
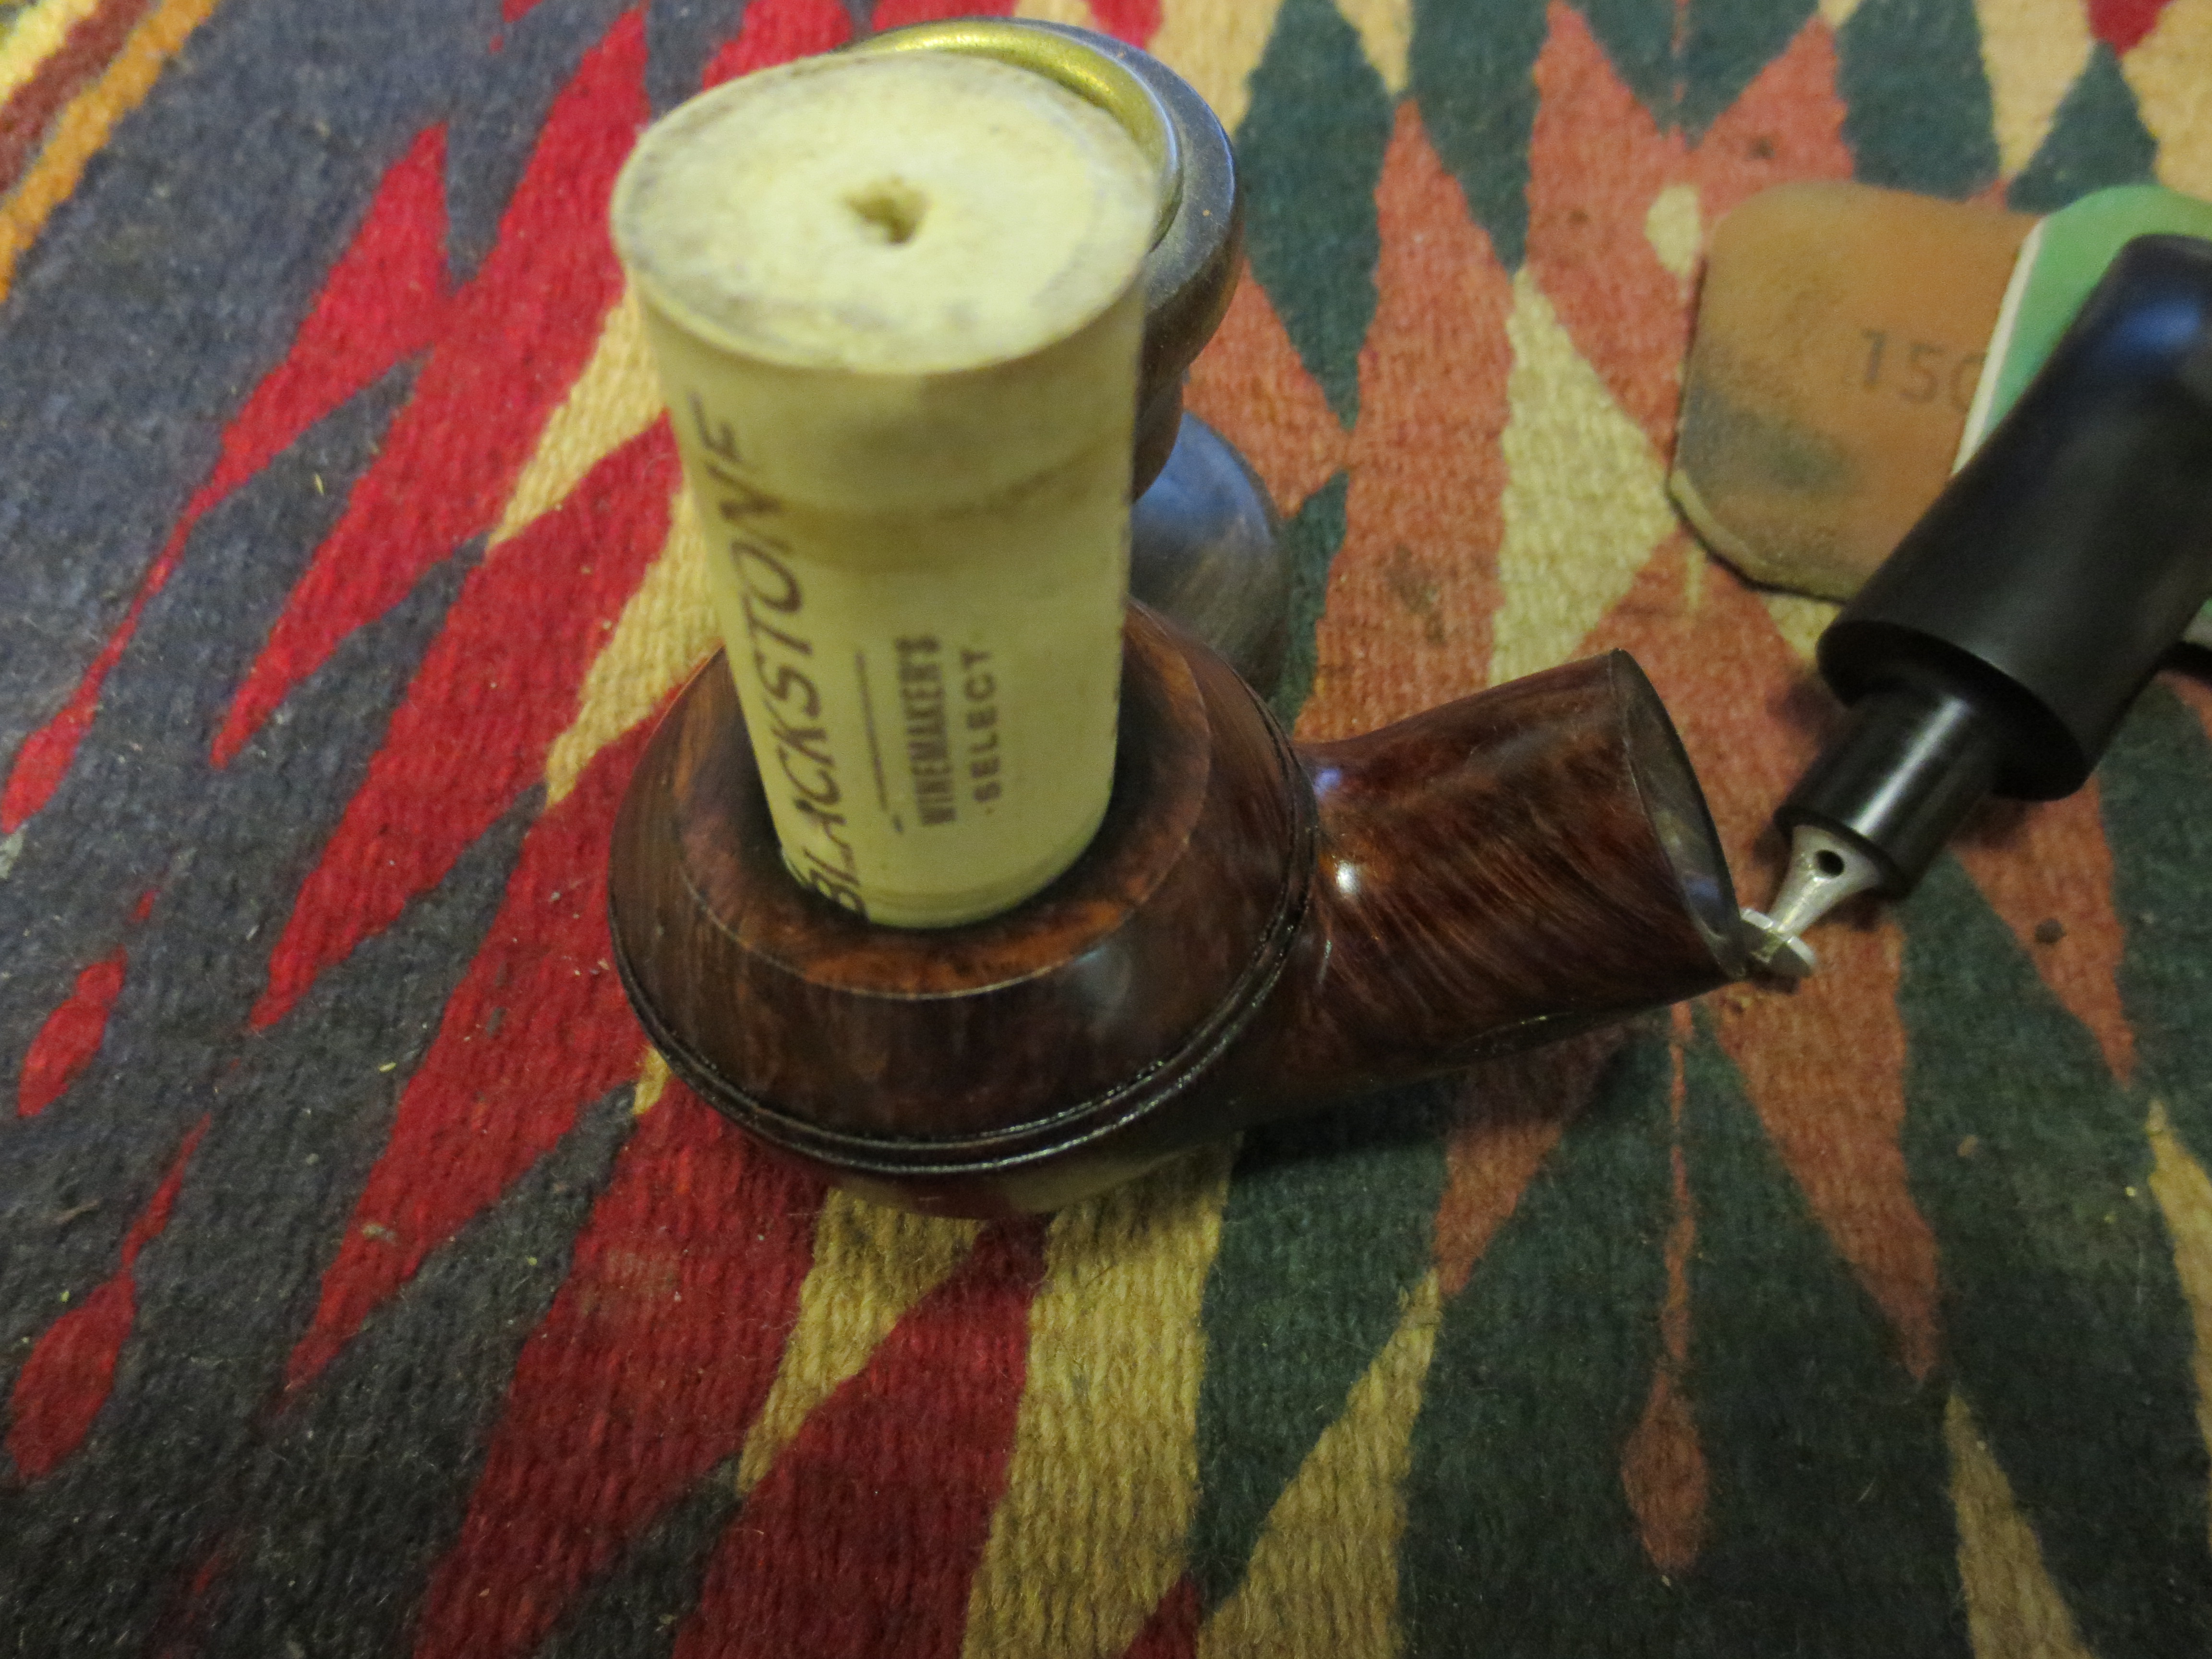
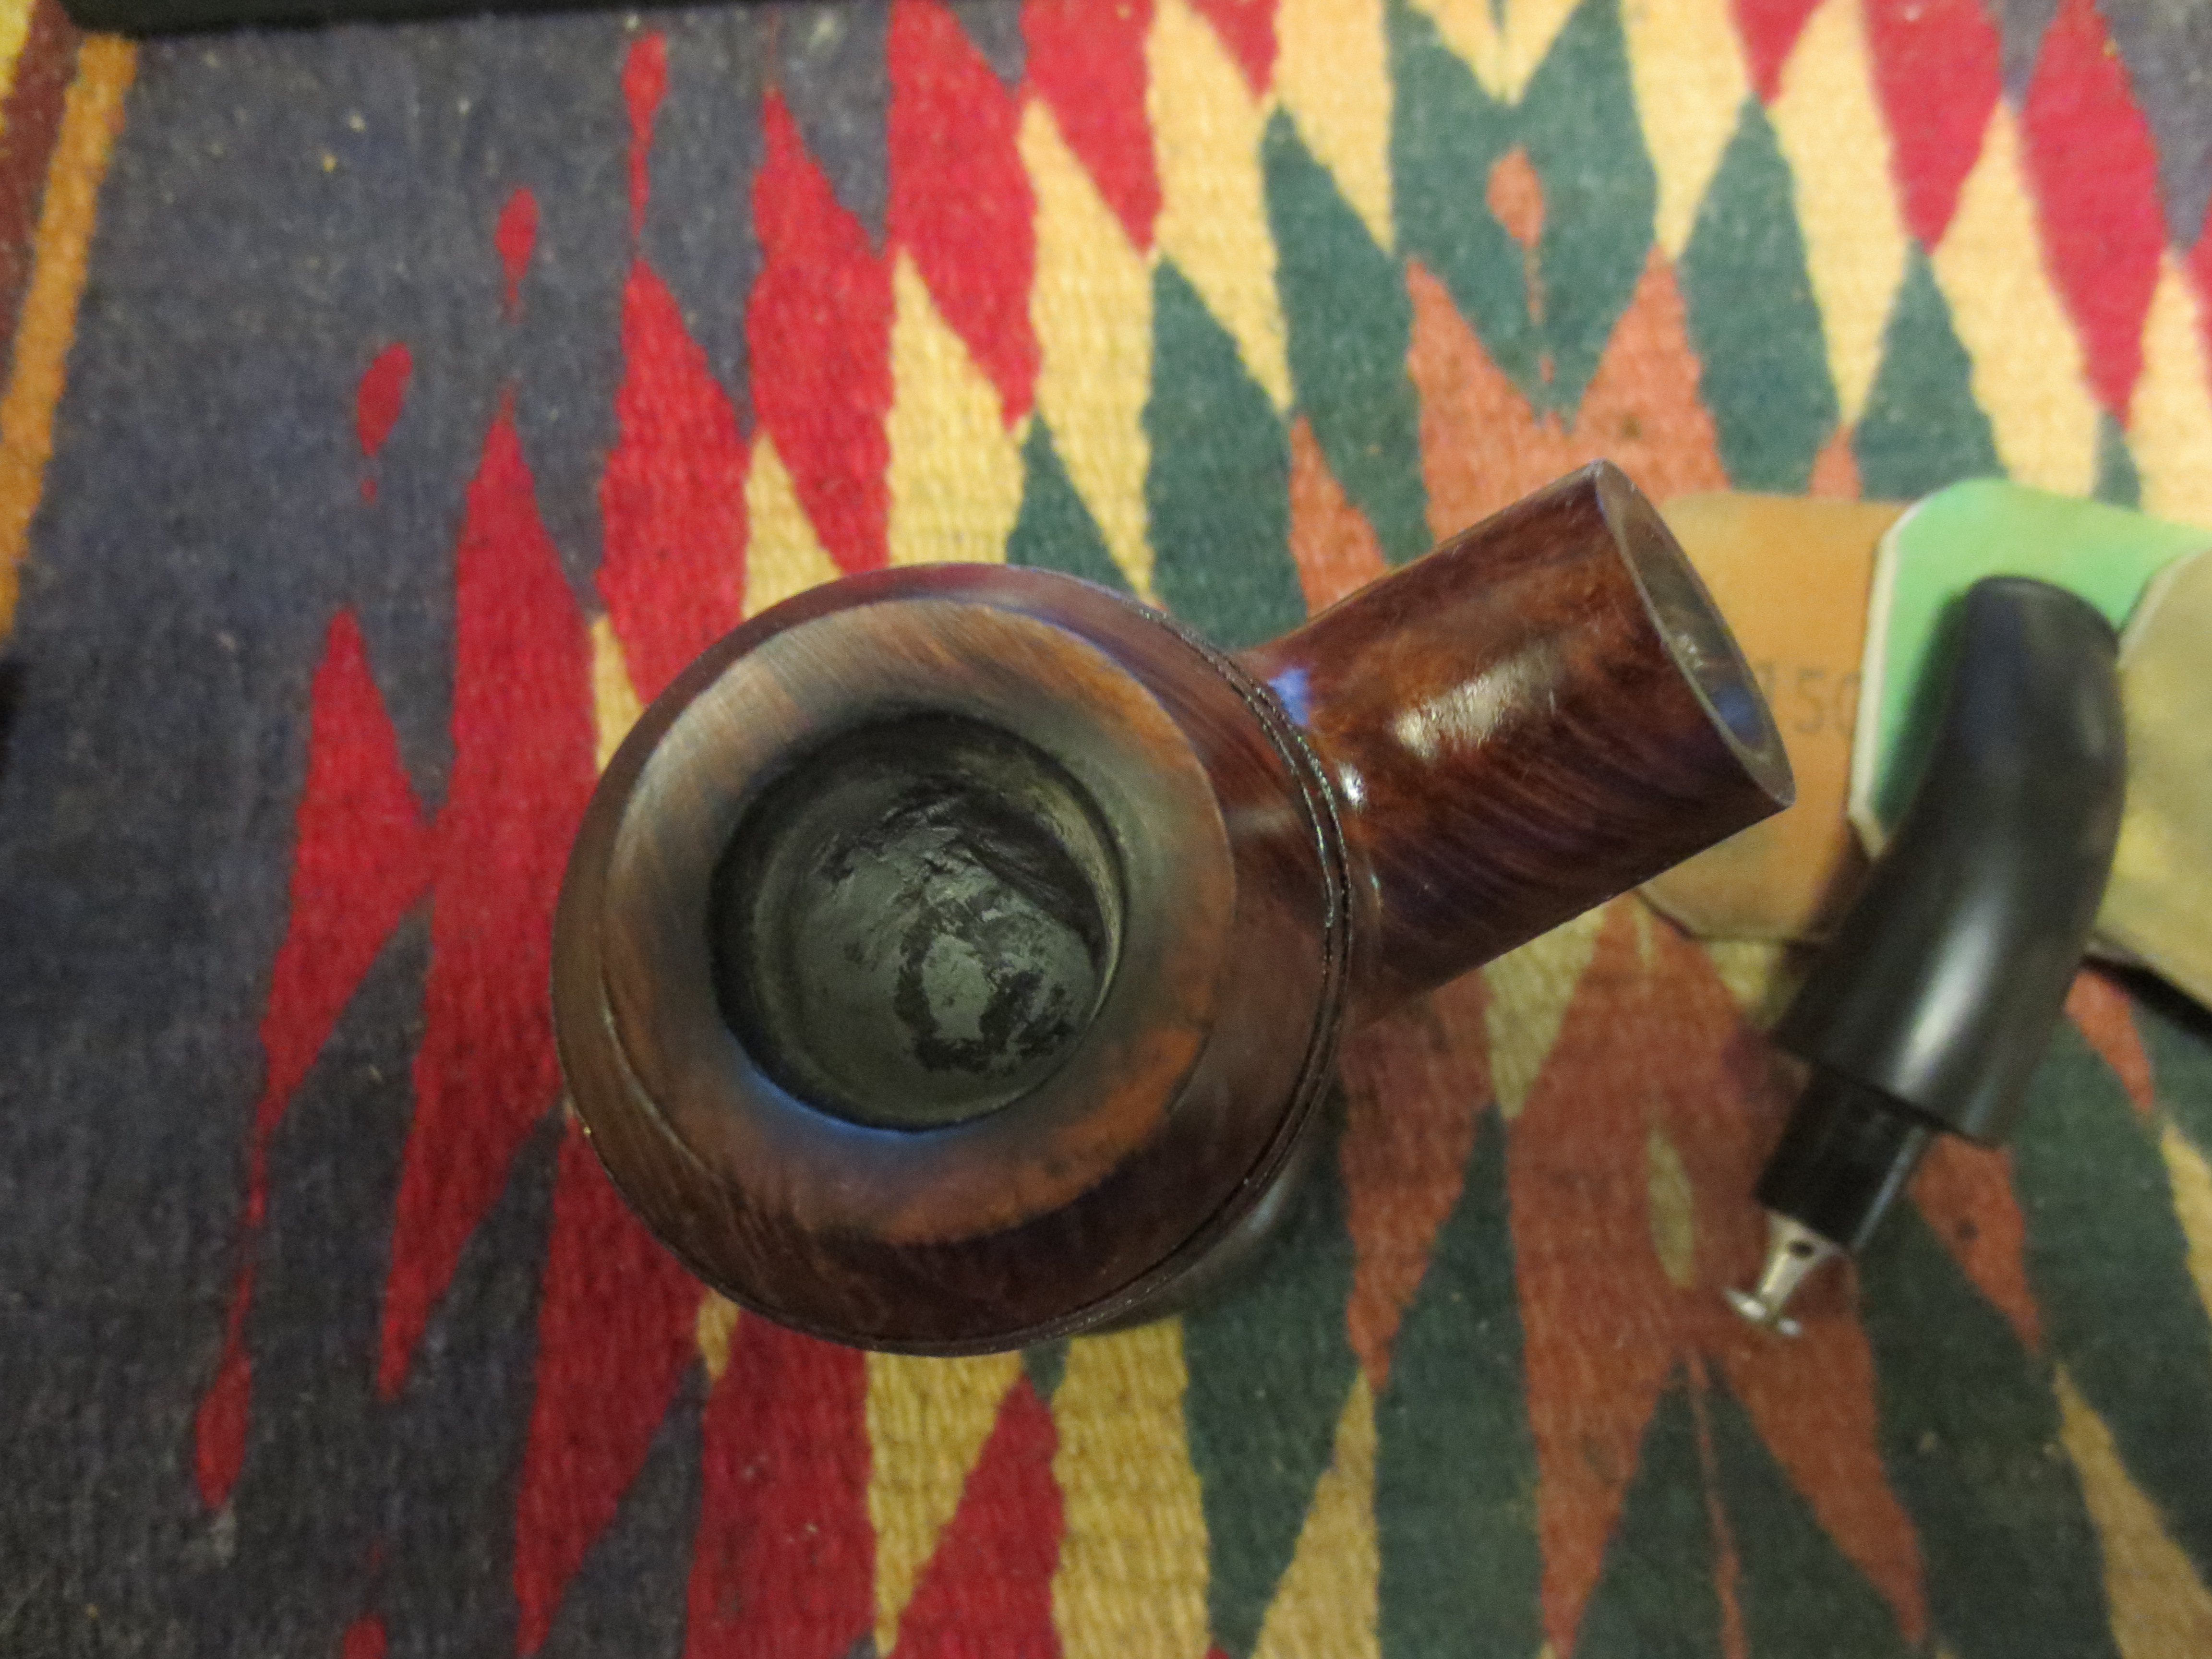
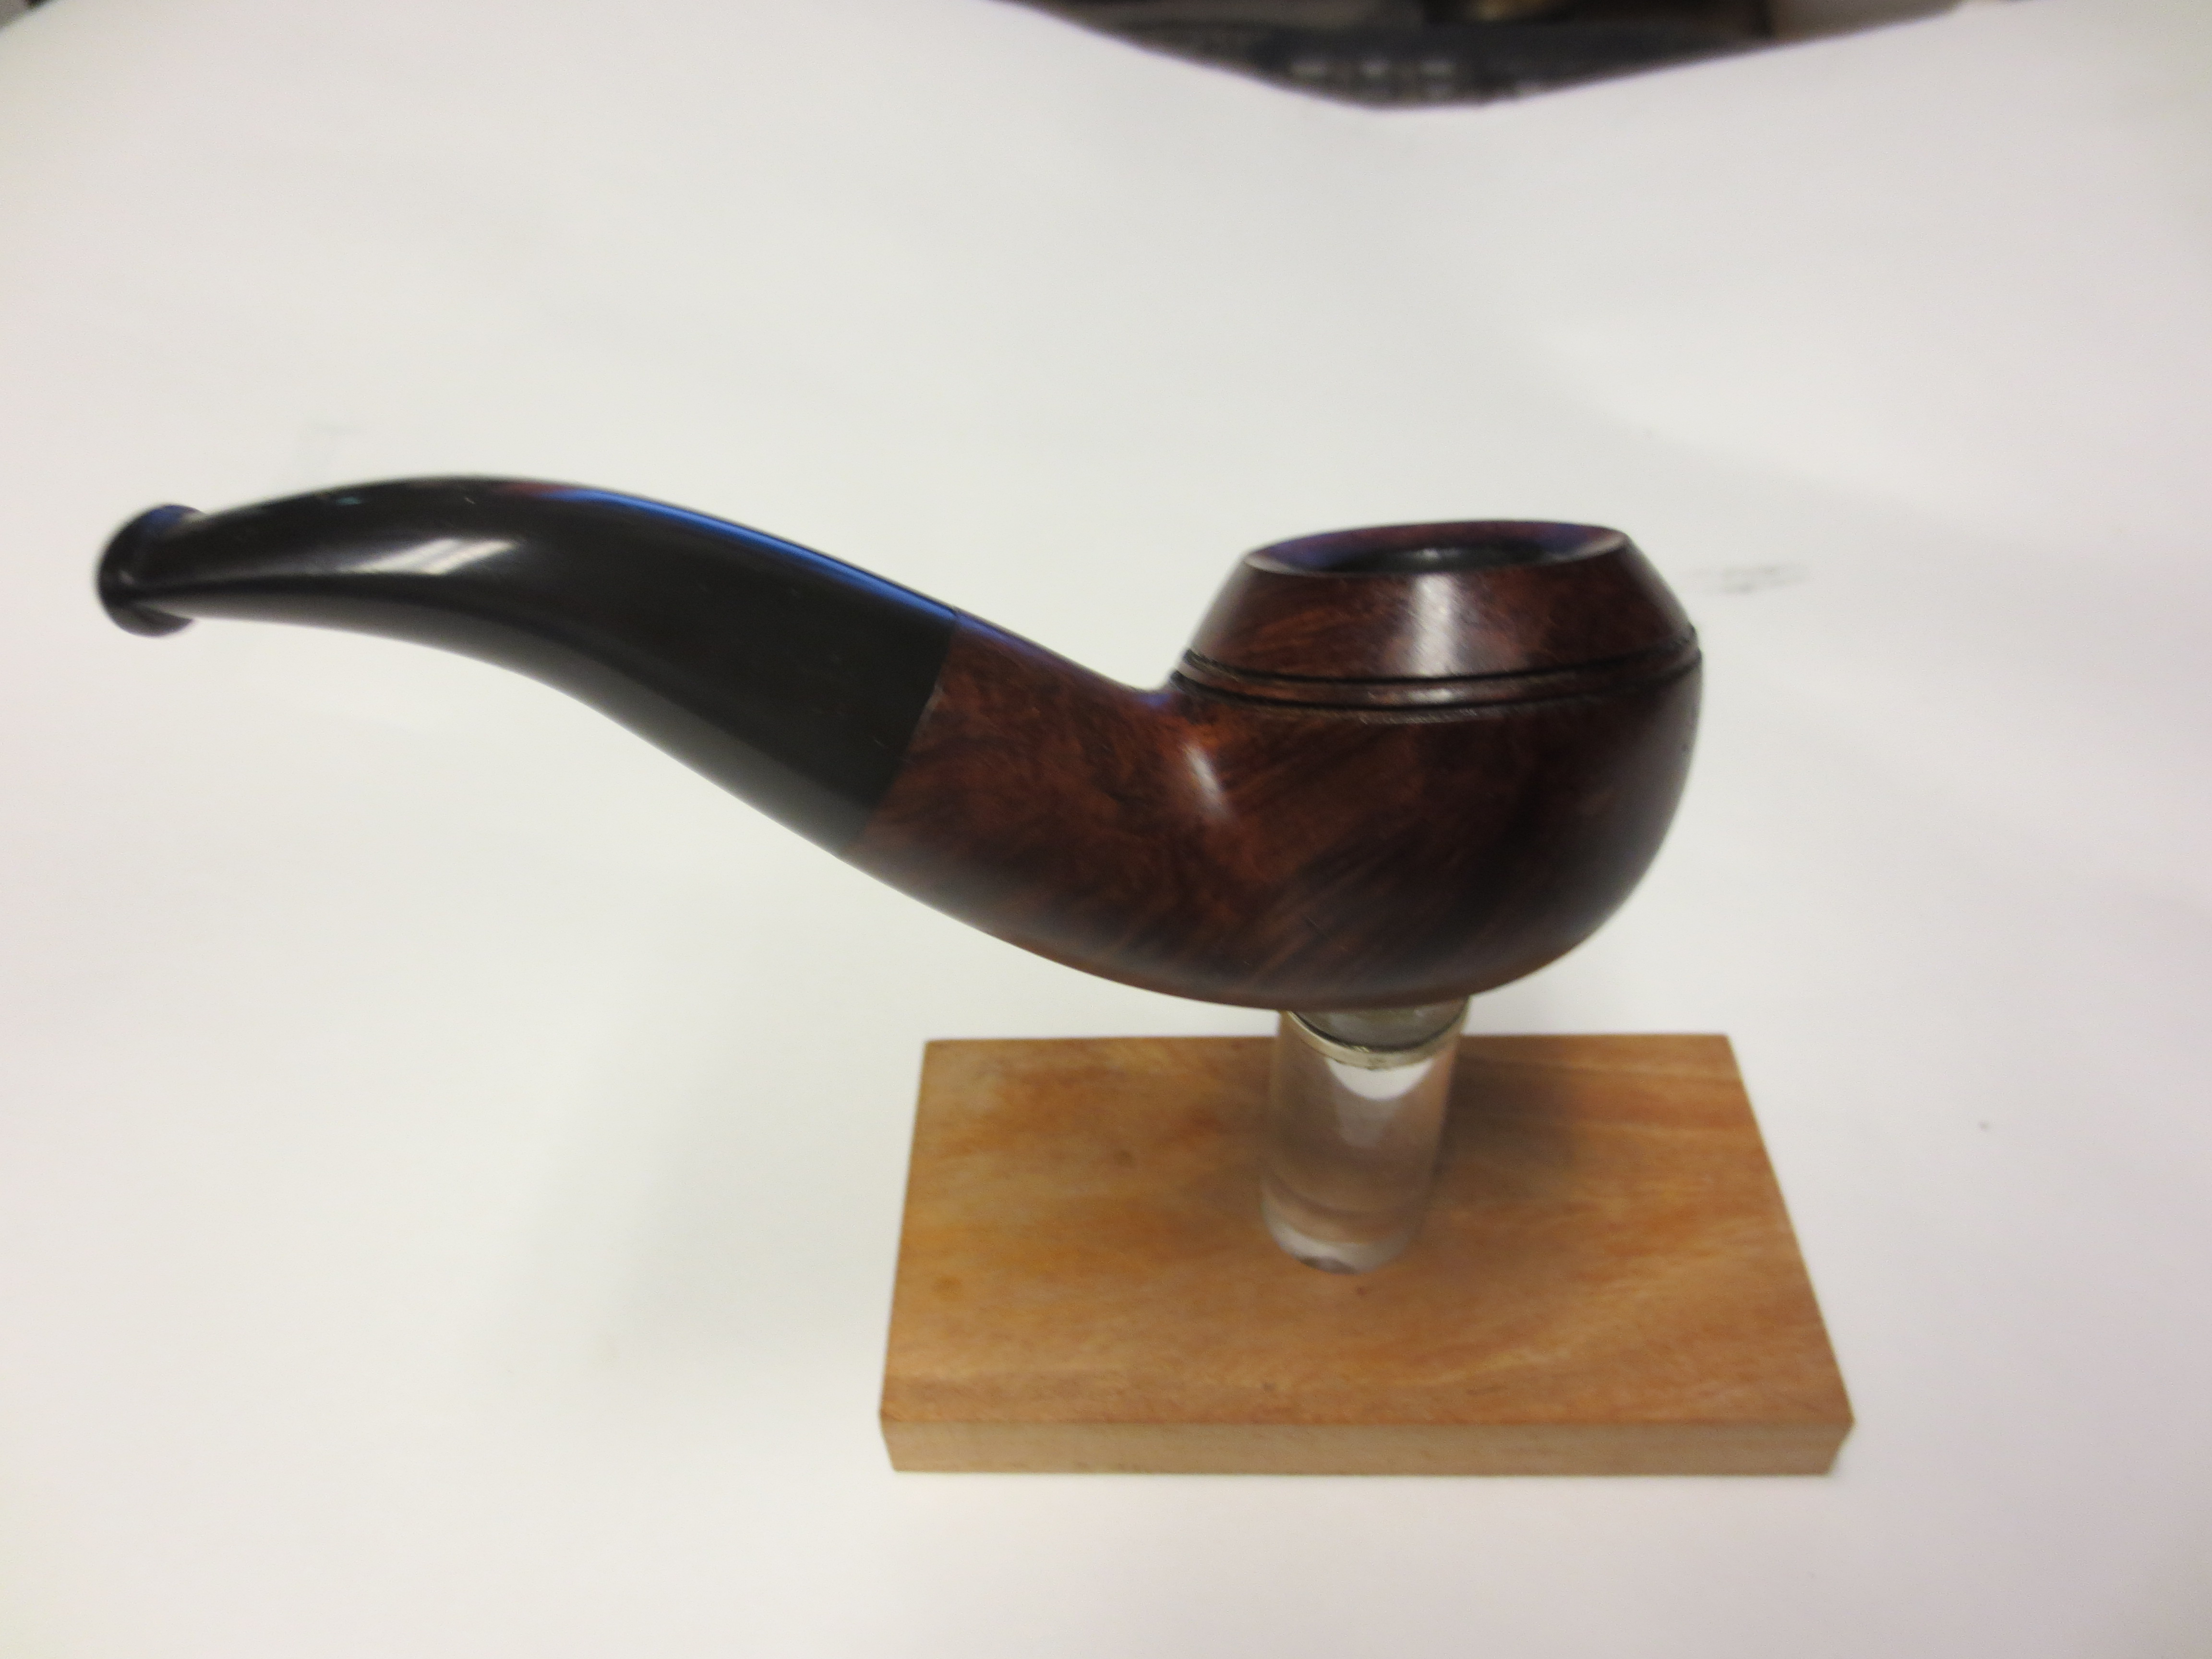
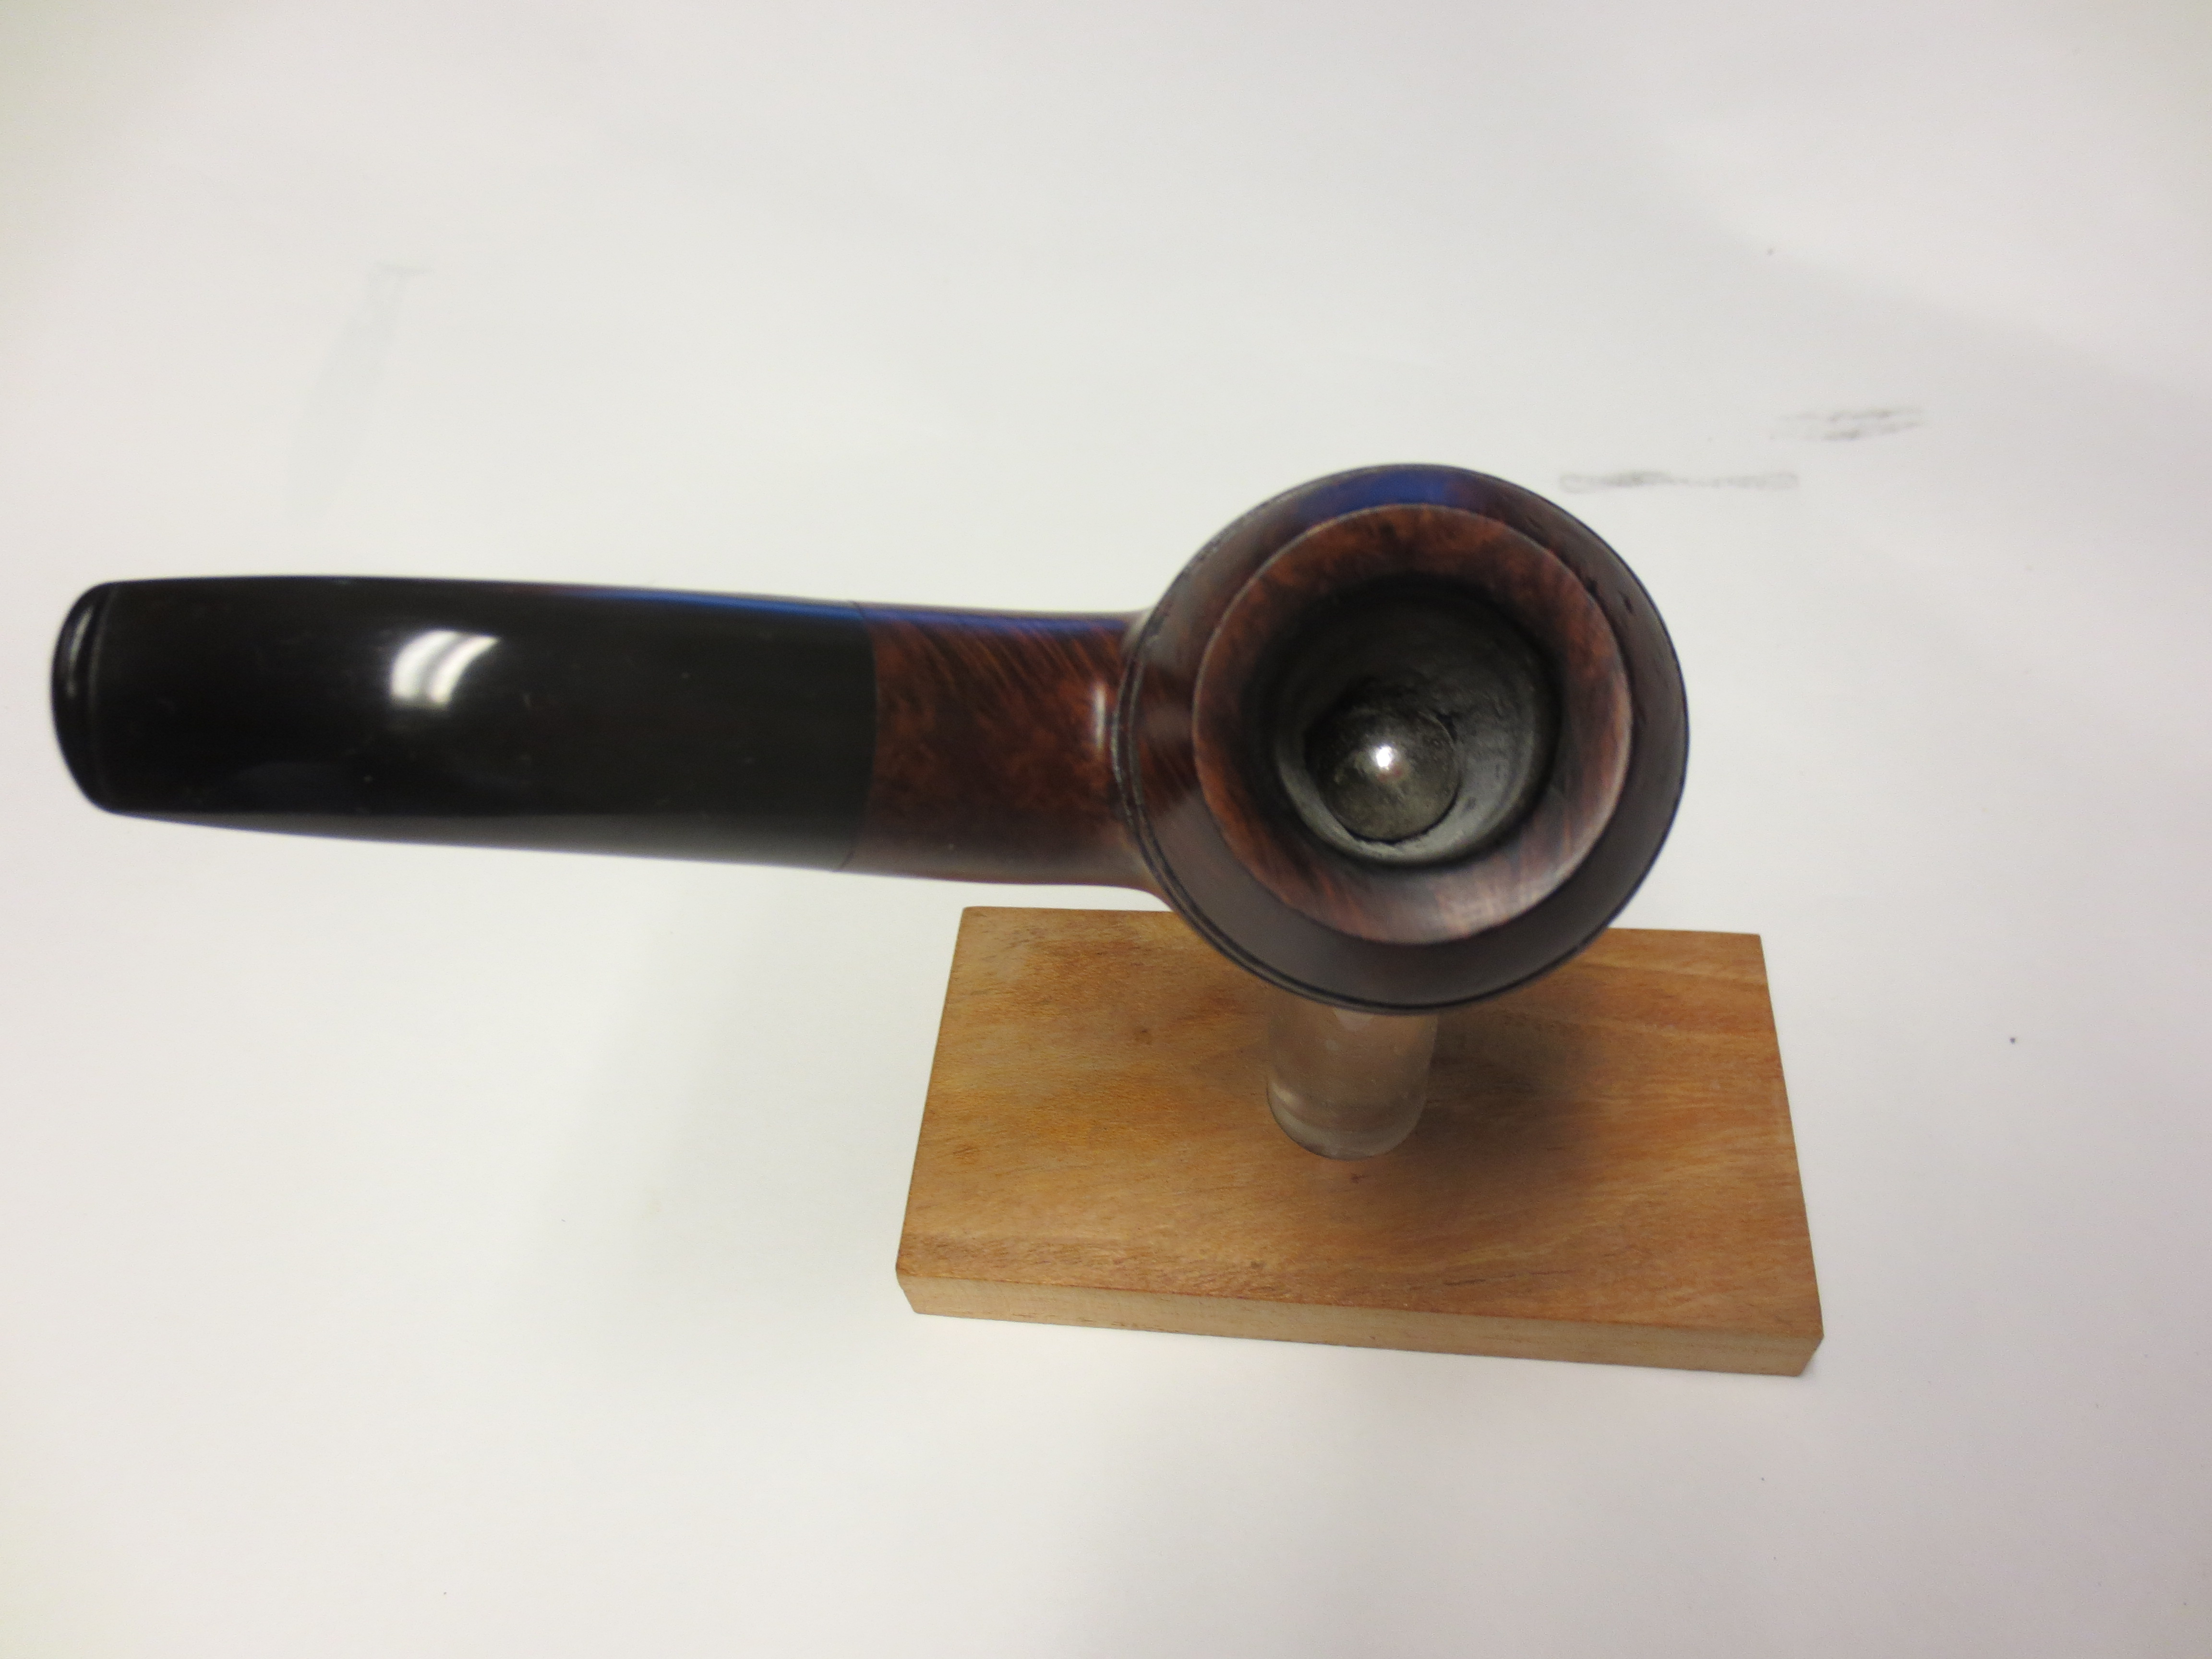
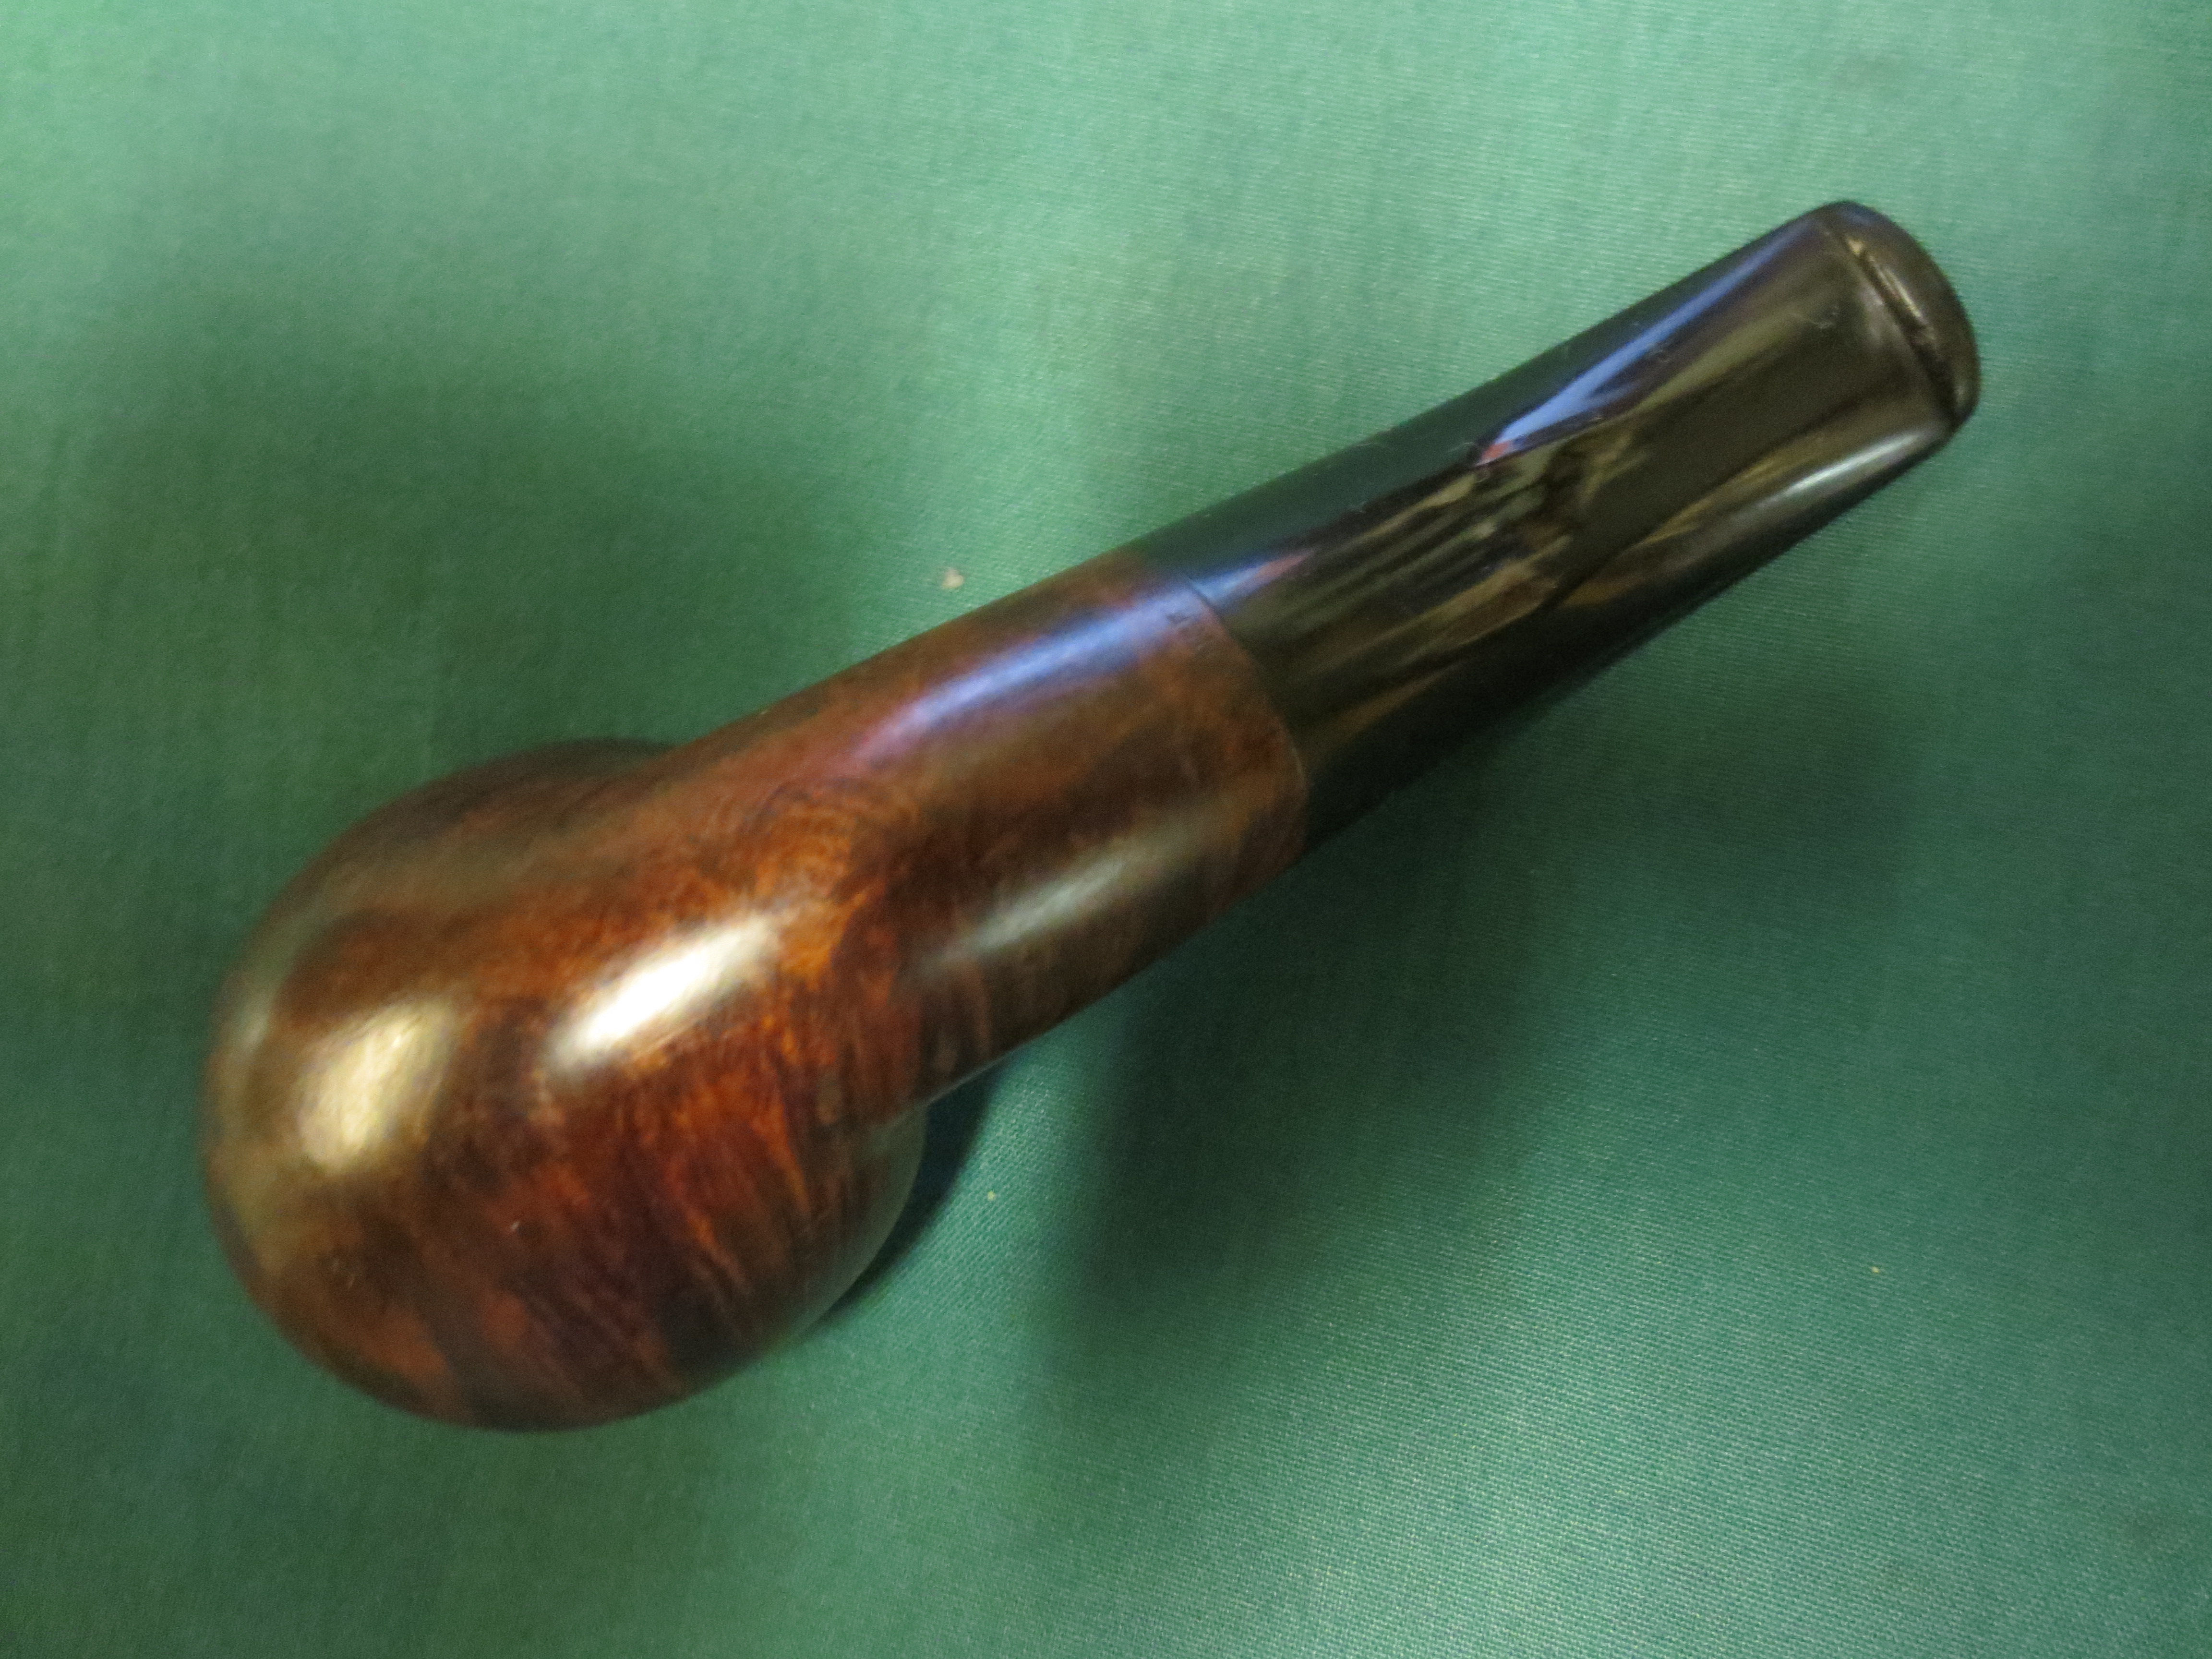
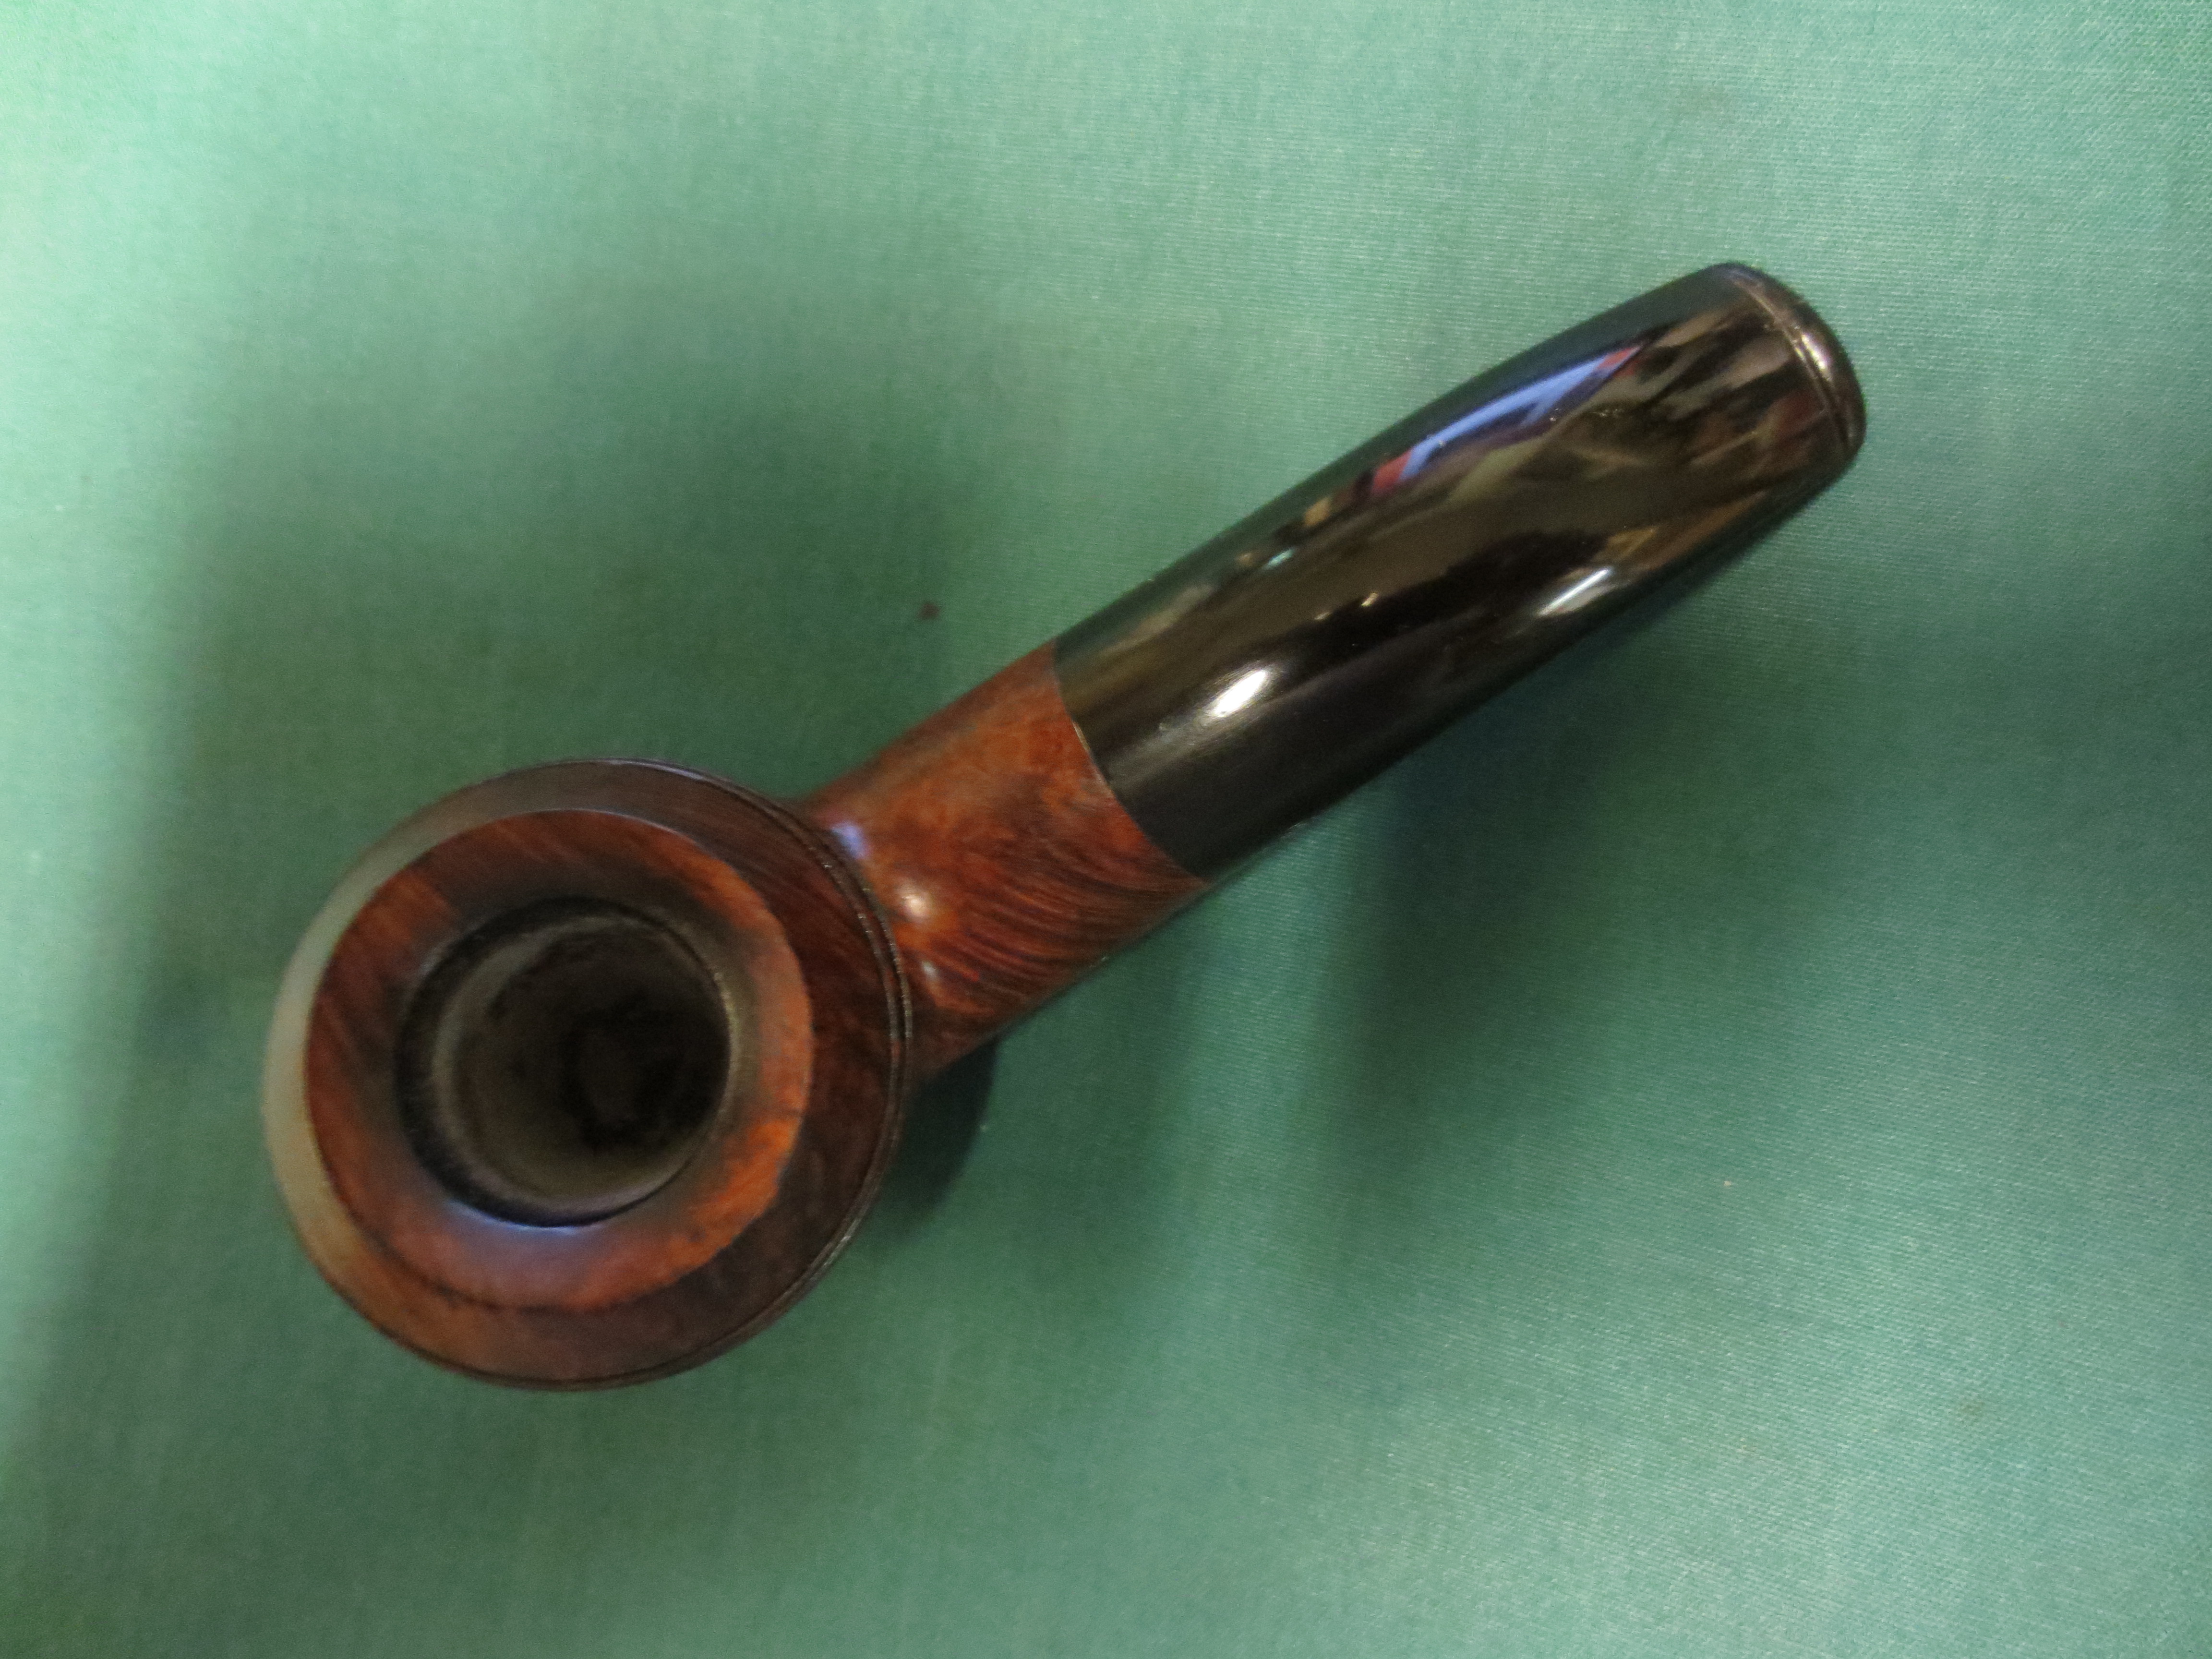
I was prompted to write this article while I was selling this 1910 Bewlay pipe, which I described as possibly being made by Barling, who were the largest supplier to Bewlay at the time. I received a message from a respected Barling authority – someone who I have the utmost respect for and who has helped me on many occasions. He said that the pipe in question could not be a Barling pipe as it did not have the EB.WB hallmark. He told me that he actually owned a Bewlay pipe from 1900 made by Barling. The shank was stamped Bewlay, but the silver band was hallmarked with the EB.WB hallmark. He rightly pointed out that other manufacturers also made pipes for Bewlay and that he could not quite make out the “maker’s mark”, which might show who actually manufactured the pipe.
I will digress for a moment. As I have my own registered sponsored mark, I could send off a pipe to the assay office to have the silver band hallmarked. However, the cost of sending over a single pipe to be hallmarked is likely to be around £30, which would be more than the value of the silver in the band to begin with. It therefore wouldn’t make economic sense. The cost would be made up of the following:
1. posting the pipe to the assay office
2. a “checking in” fee
3. a “per item” fee for the actual testing and hallmarking.
4. a “checking out” fee
5. The cost applied by the assay office for return shipping which must be fully insured (read expensive!)
The least expensive of these fees is the actual hallmarking fee! It therefore makes sense to send a large number of items to the assay office at the same time to spread out the overall cost of the other ancillary fees – especially for silver items. Obviously Barling as a manufacturer could take advantage of this economy of scale.
Barling made pipes for many pipe retailers around the country. They would in most cases (sometimes exclusively) stamp the shank with the name of the retailer, while the silver band retained the EB.WB stamp which allows us to distinguish them today as a Barling made pipe. So why was this? It was not the case that it was Barling’s responsibility to hallmark the bands. It was simply the case that most pipe retailers were single outlet businesses and the simple economy of scale would mean that it was cost prohibitive for the small retailer to register his own mark and they were happy that the manufacturer had taken the responsibility.
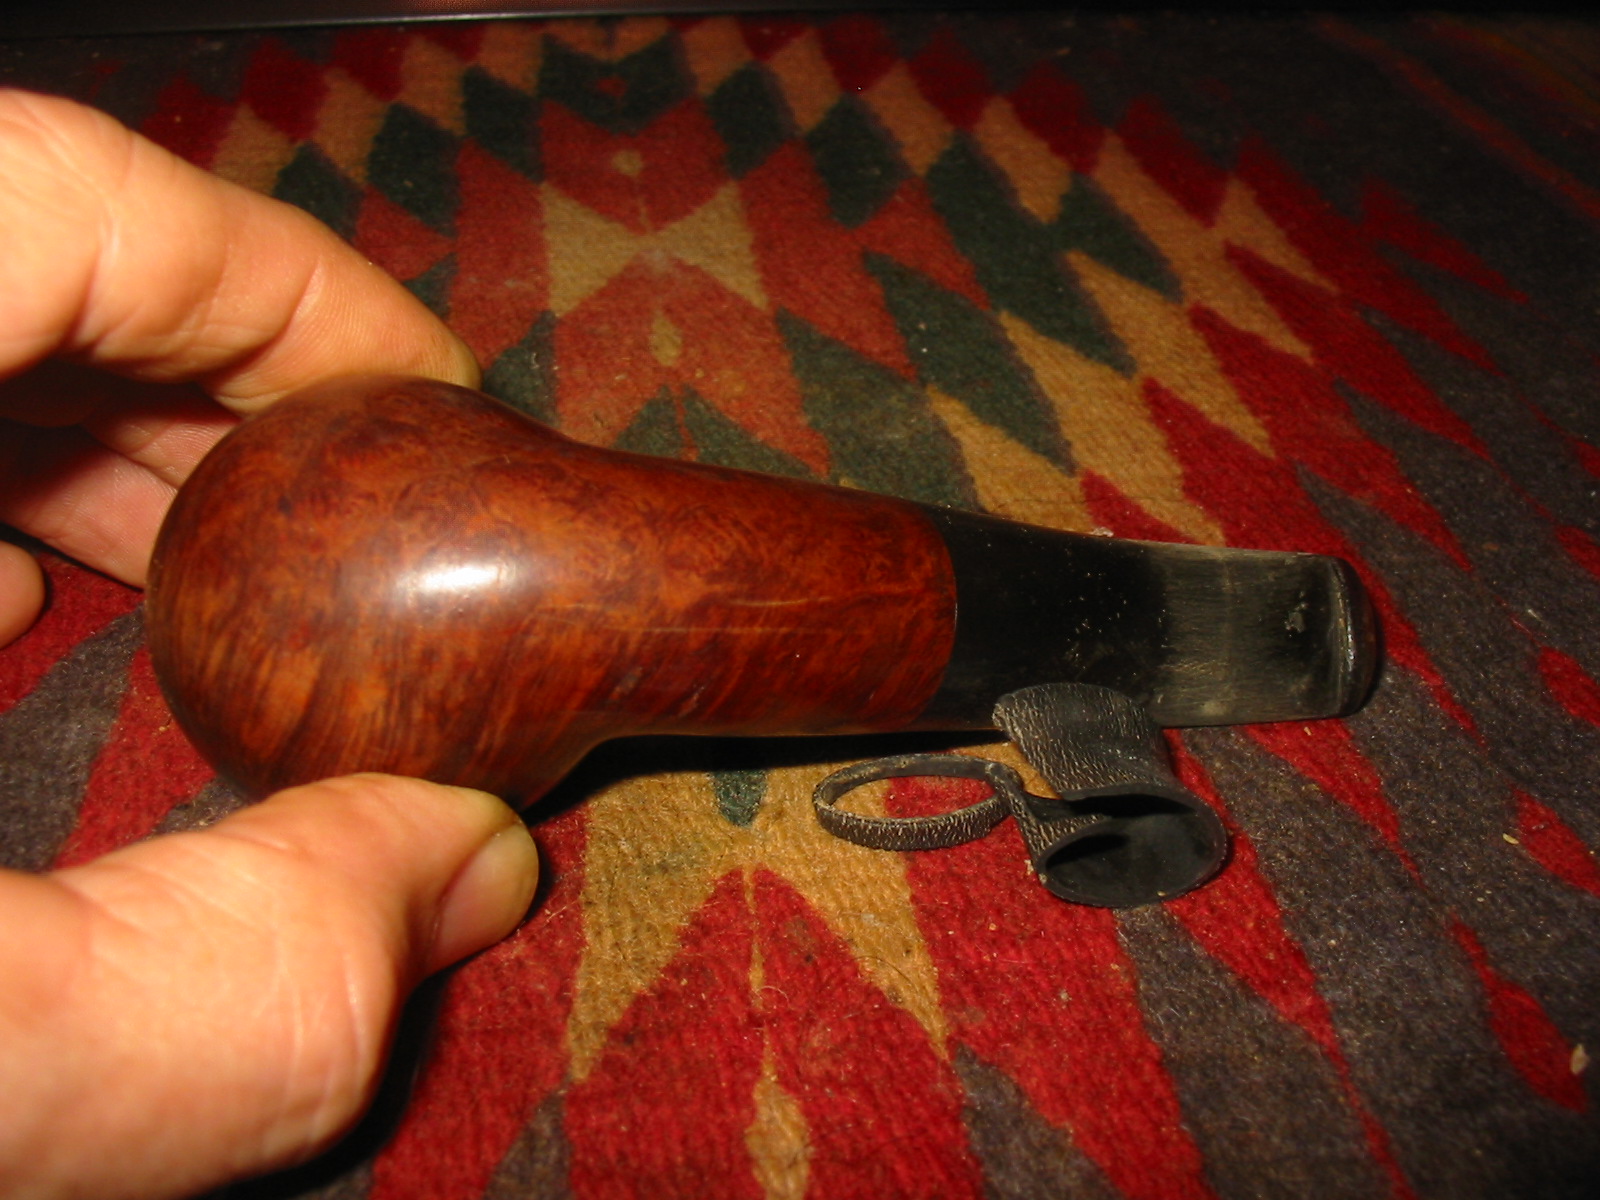
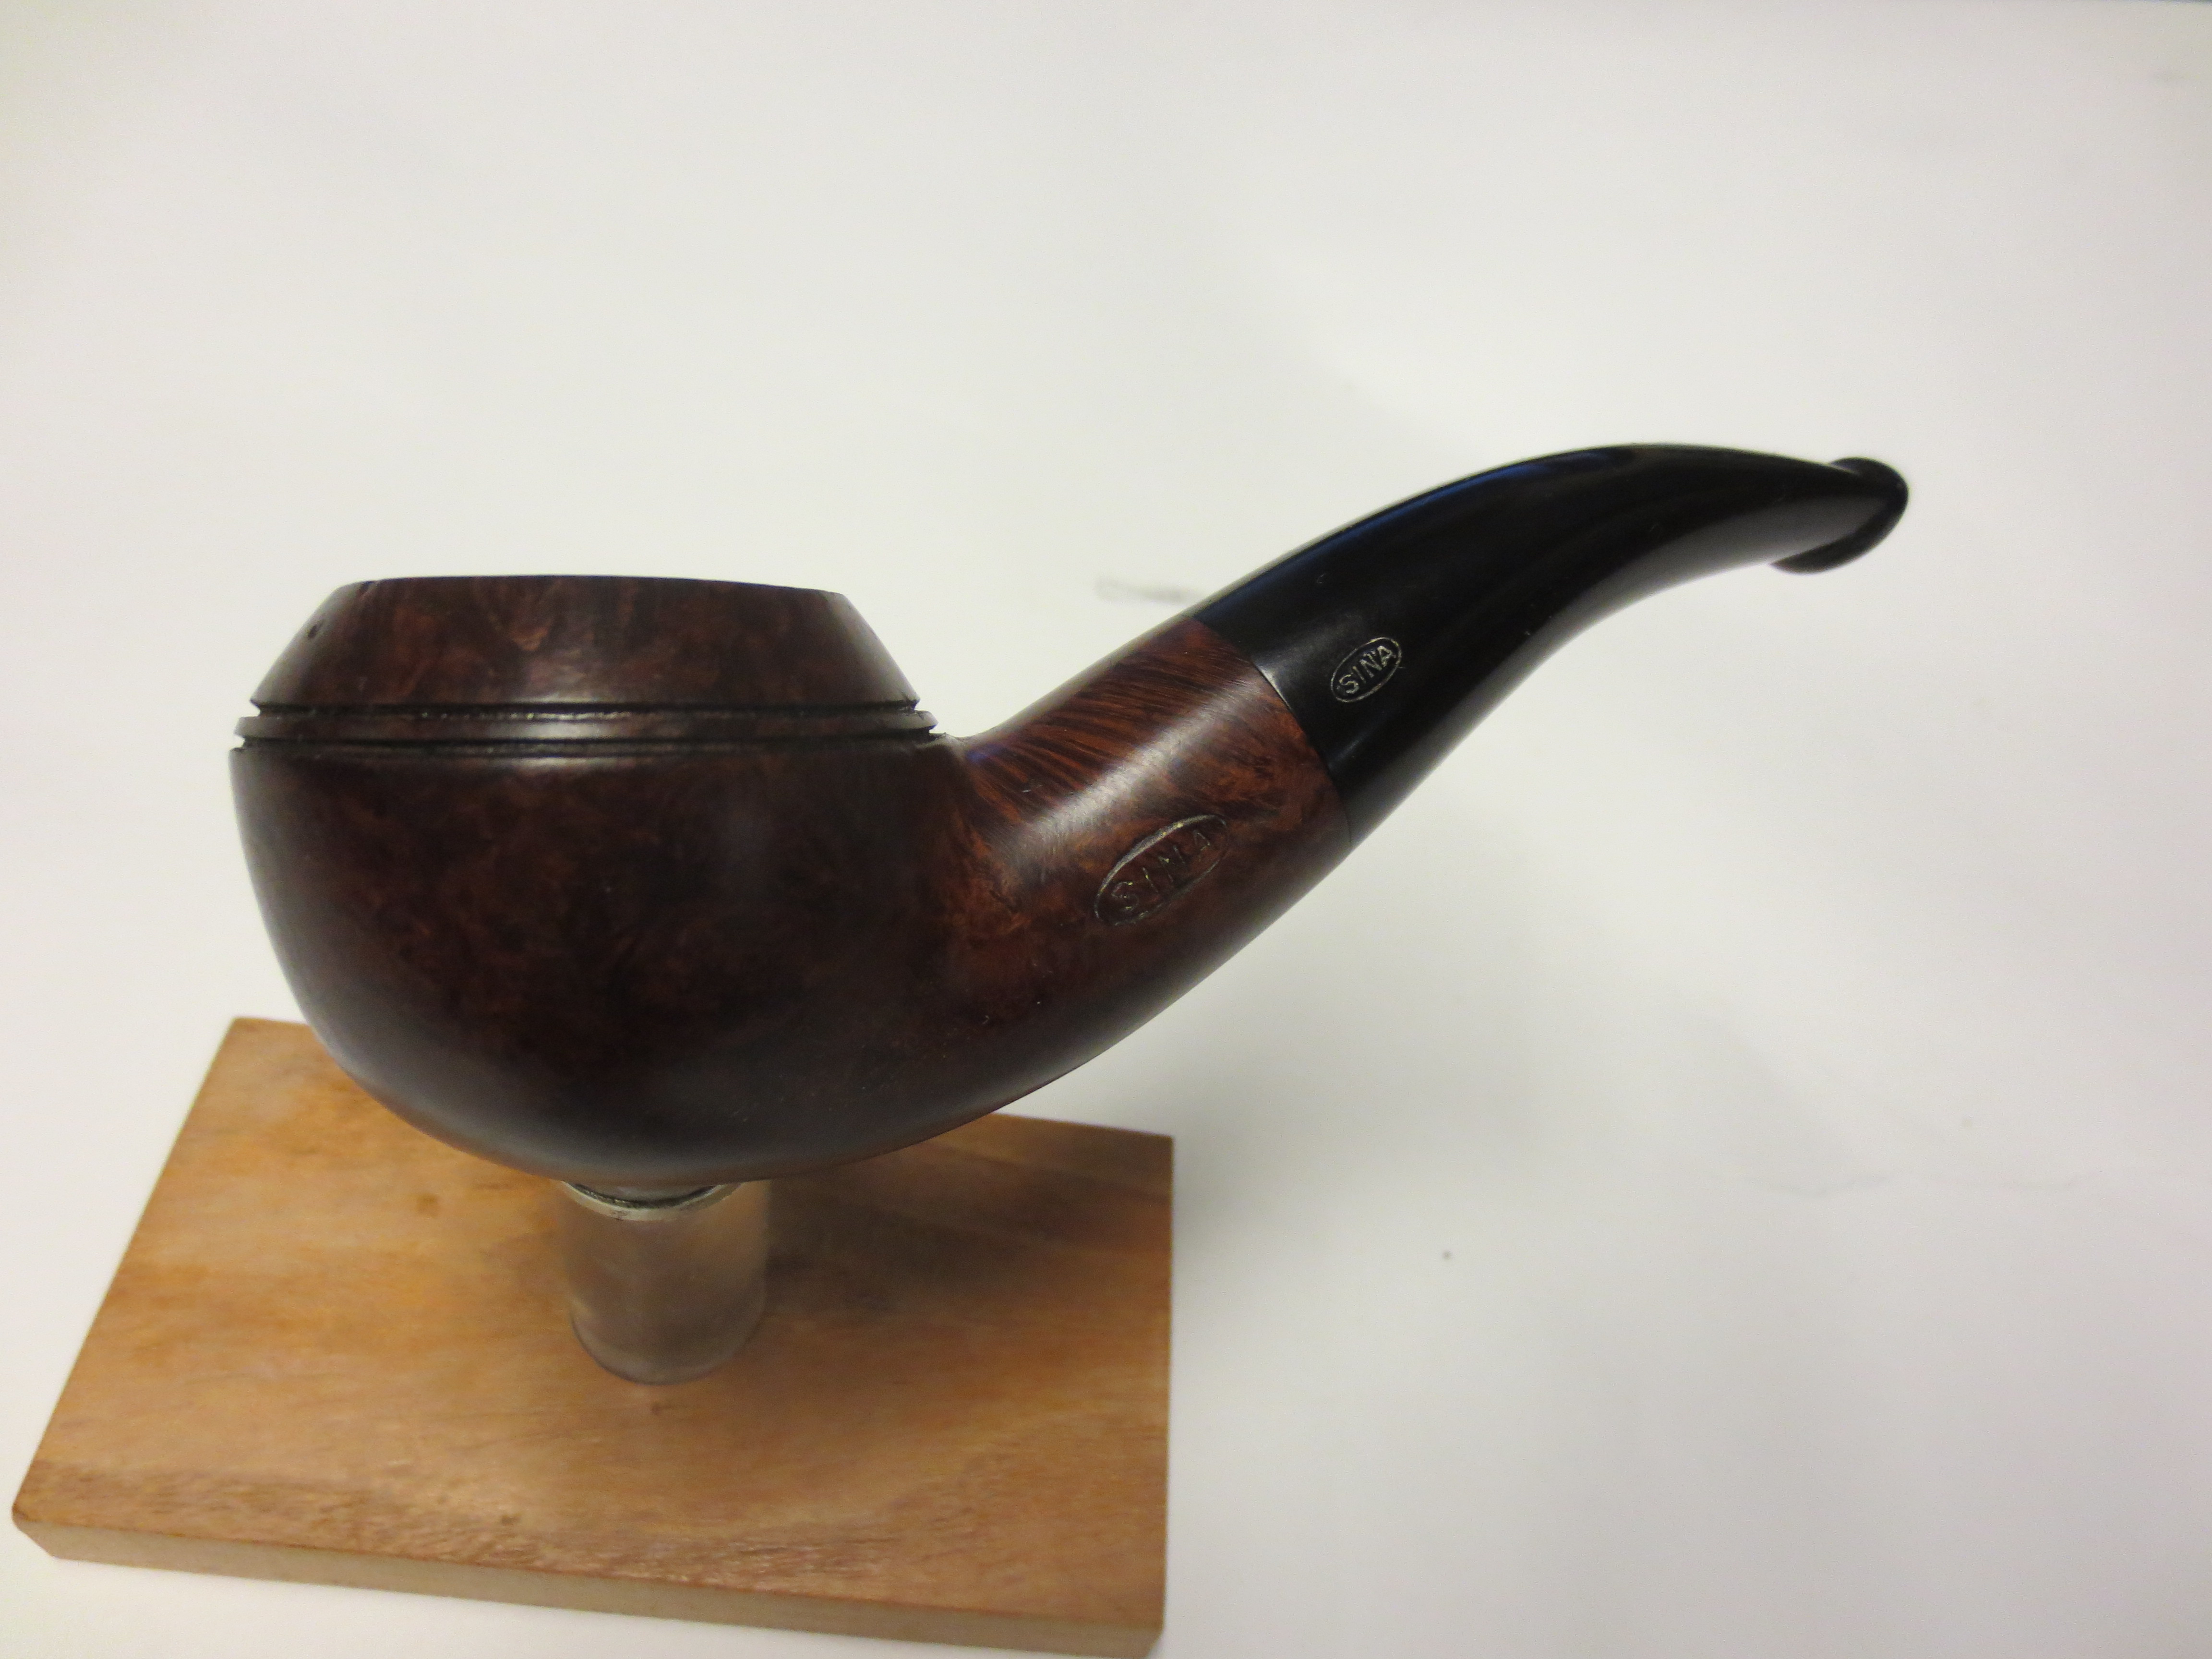
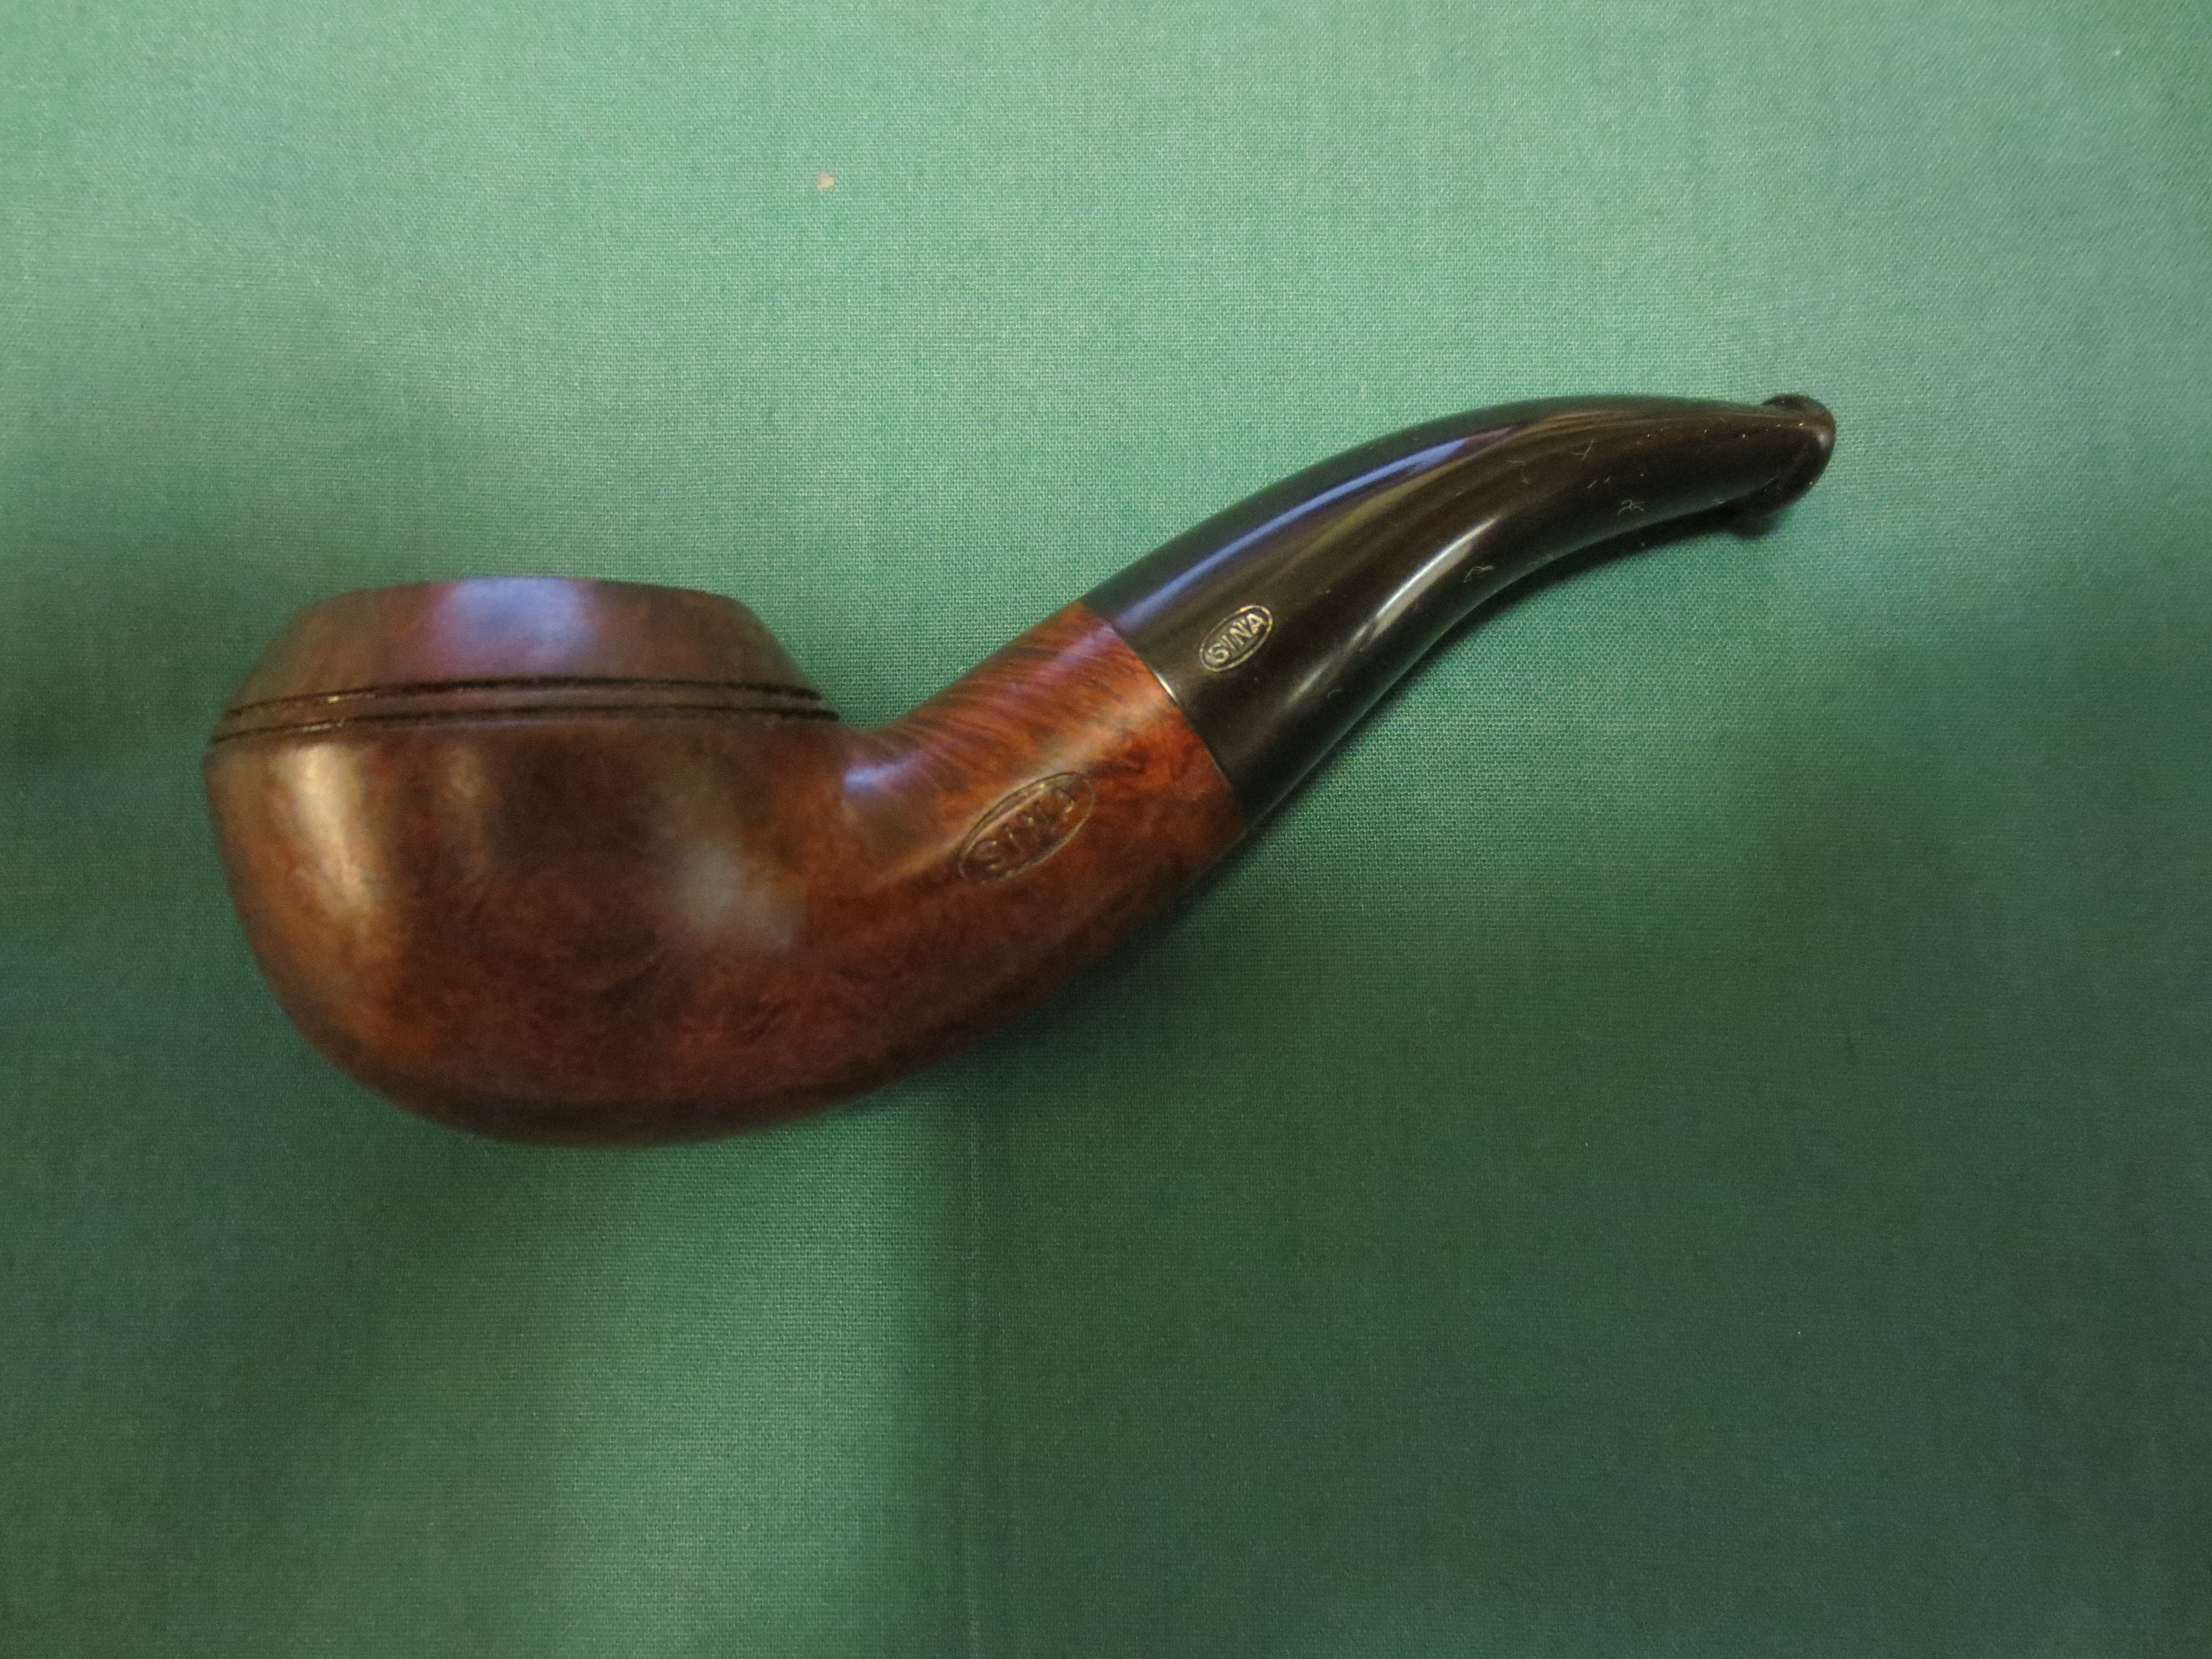
Back to the pipe in question, I already knew what the sponsor’s mark was on this pipe. It was B&Co which was the registered sponsor’s mark for Bewlay& Co. This obviously didn’t help distinguish who made the pipe. Other companies who supplied Bewlay like Loewe and Charatan also had their own hallmarking arrangements, so why was this stamped as B&Co?
At the time, the House of Bewlay was the largest tobacconist and pipe retailer in the UK. It had many outlets all over the country. So why did a retailer who could have bought in all their pipes already hallmarked want to register their own mark? To many small retailers the hallmarking of a few pipes would have been expensive and an administrative burden. But to Bewlay’s, who had the economies of scale, the answer is simple. Having your own mark brought about a symbol of prestige and proprietorship. Not only could the shanks of their pipes be stamped exclusively with their own name, but now the silver bands could be too. I can imagine the minutes of a meeting between Bewlay and the pipe manufacturer’s proceeding as follows:
Managing Director of Bewlay – “From now on, we would like you to supply all your pipes without hallmarking the silver band” (thinking…prestige and ownership).
Managing Director of Pipe Company: (thinking Bewlay is their largest single customer!) “Certainly Sir!” (… also thinking about cost reductions due to the headache of hallmarking being removed)
This though does not explain the 1900 Bewlay pipe which has the silver band hallmarked by Barling themselves. A little investigation into this reveals the most likely answer. Although Bewlay was officially founded in London in 1780 it was not until the early 20th century that it saw its major expansion, having been bought by Imperial Tobacco Company. Imperial also acquired the Salmon &Gluckstein retail empire in 1902 which at that time was the largest tobacconist in the country. Hence a ready made retail network of stores which were re-branded as House of Bewlay in 1902.The sponsor’s mark B&Co was not registered until 1903, hence the 1900 pipe still retaining the Barling hallmark.
In conclusion, the presence of the B&Co sponsor’s mark means we cannot definitively say that the pipe was made by Barling. Likewise we cannot definitively say that it was not! We therefore have to rely on experience of the look and feel of the pipe against what the other manufacturers were producing around that time, and rely upon a best guess analysis.