The 2013 Peterson Antique Collection: Return of the 1905 “Pat.”
Leave a reply
Blog by Steve Laug
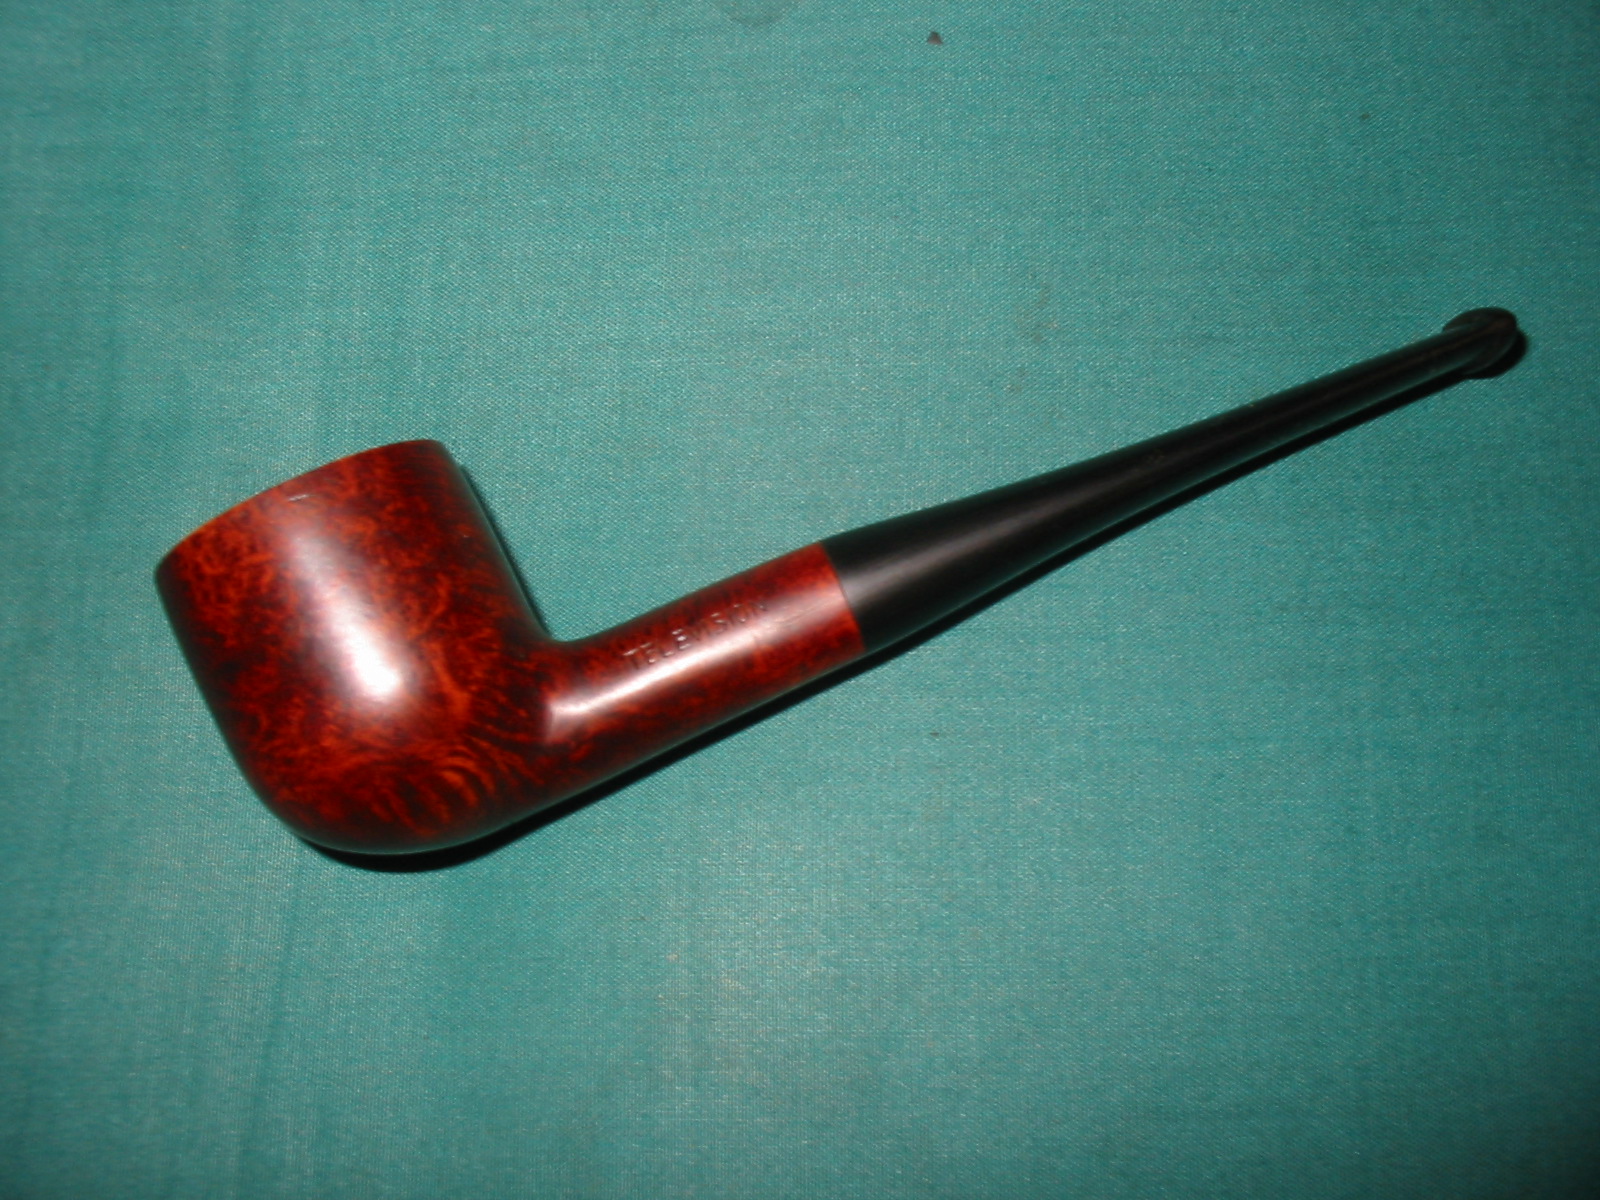
The first Television pipe of the two that came to me in a gift box of bowls needing stems was this pot shaped bowl. I had not heard of the brand before so I put a question on the online pipe forums that I frequent and got two responses with information. The first was a link to the Smoking Metal website which has become a standard place I check for metal pipes that I pick up or pipes with screw on bowls. I had not thought of looking on that site as the Television pipes that I had found were regular briar pipes. The link follows and gives a look at a unique Television pipe with a threaded bowl http://www.smokingmetal.co.uk/pipe.php?page=277. The second response came from Jose Manuel Lopes – Pipes Artisans and Trademarks. Lopes states that the brand was sold by A. Grunfield Co. and was produced by Gasparini. They were known to be an English brand with long stems.
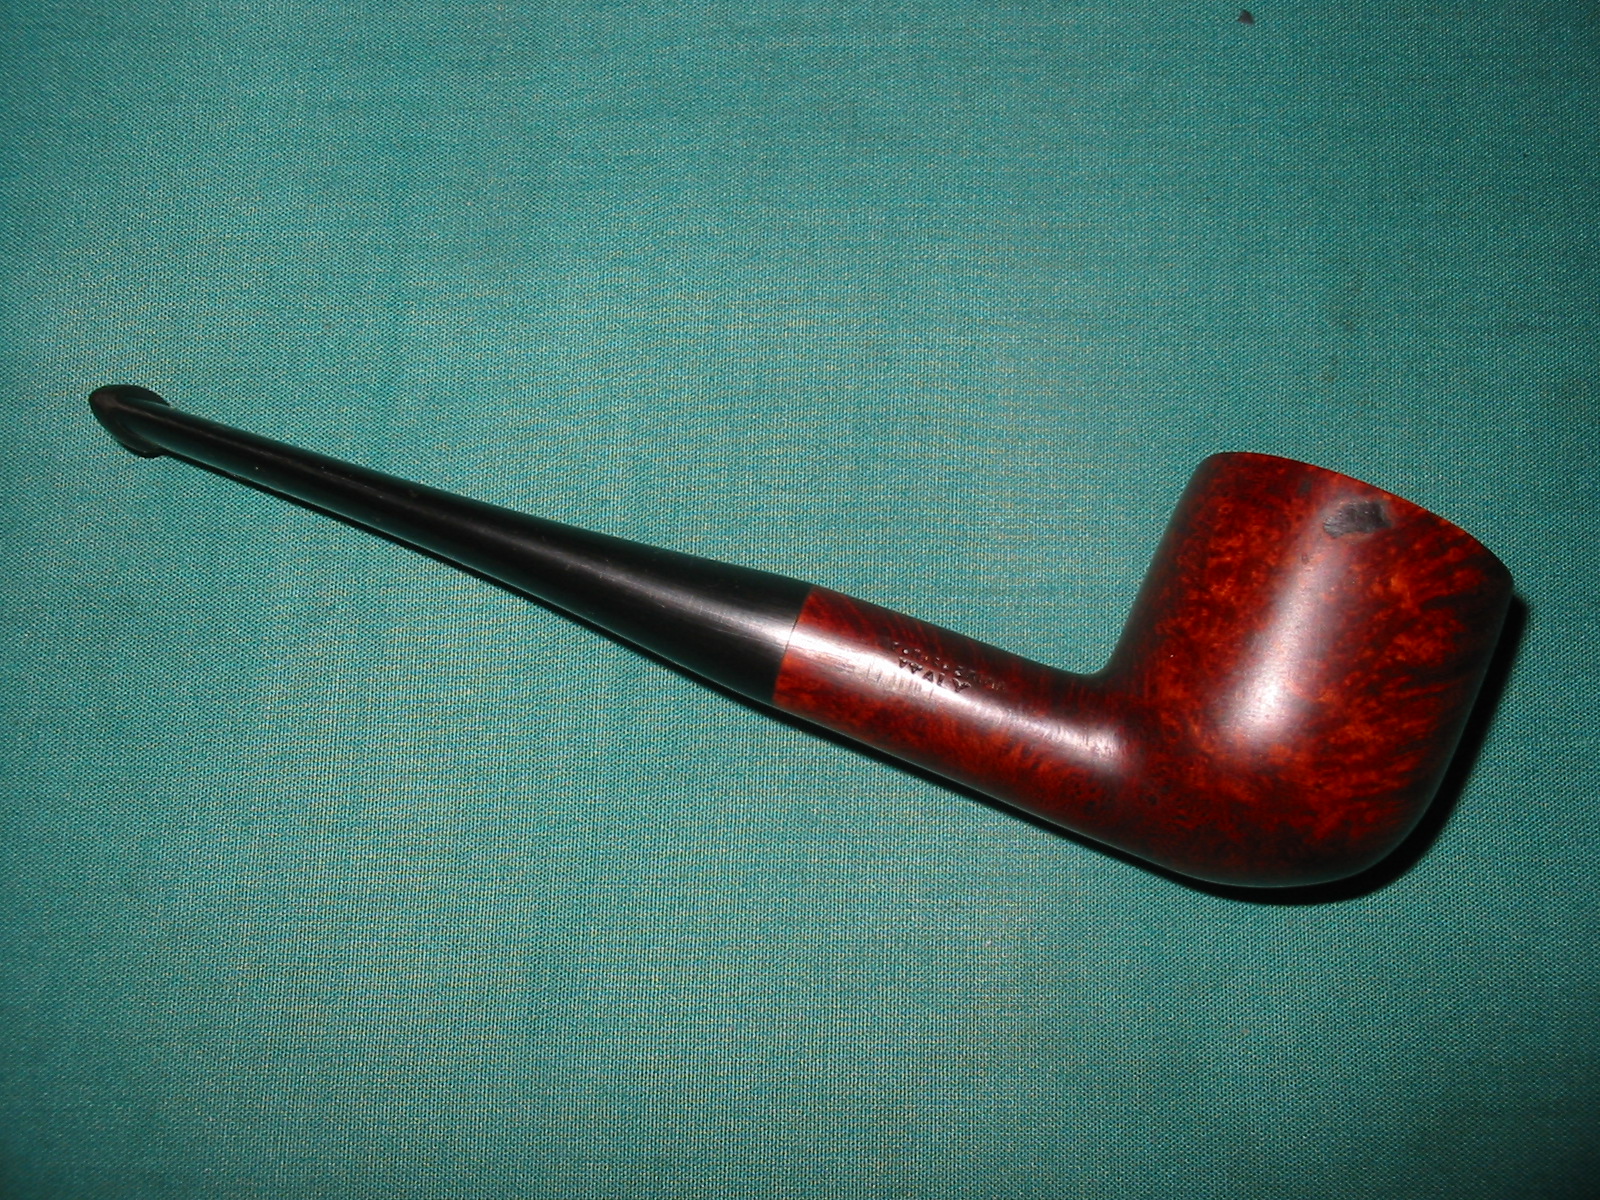
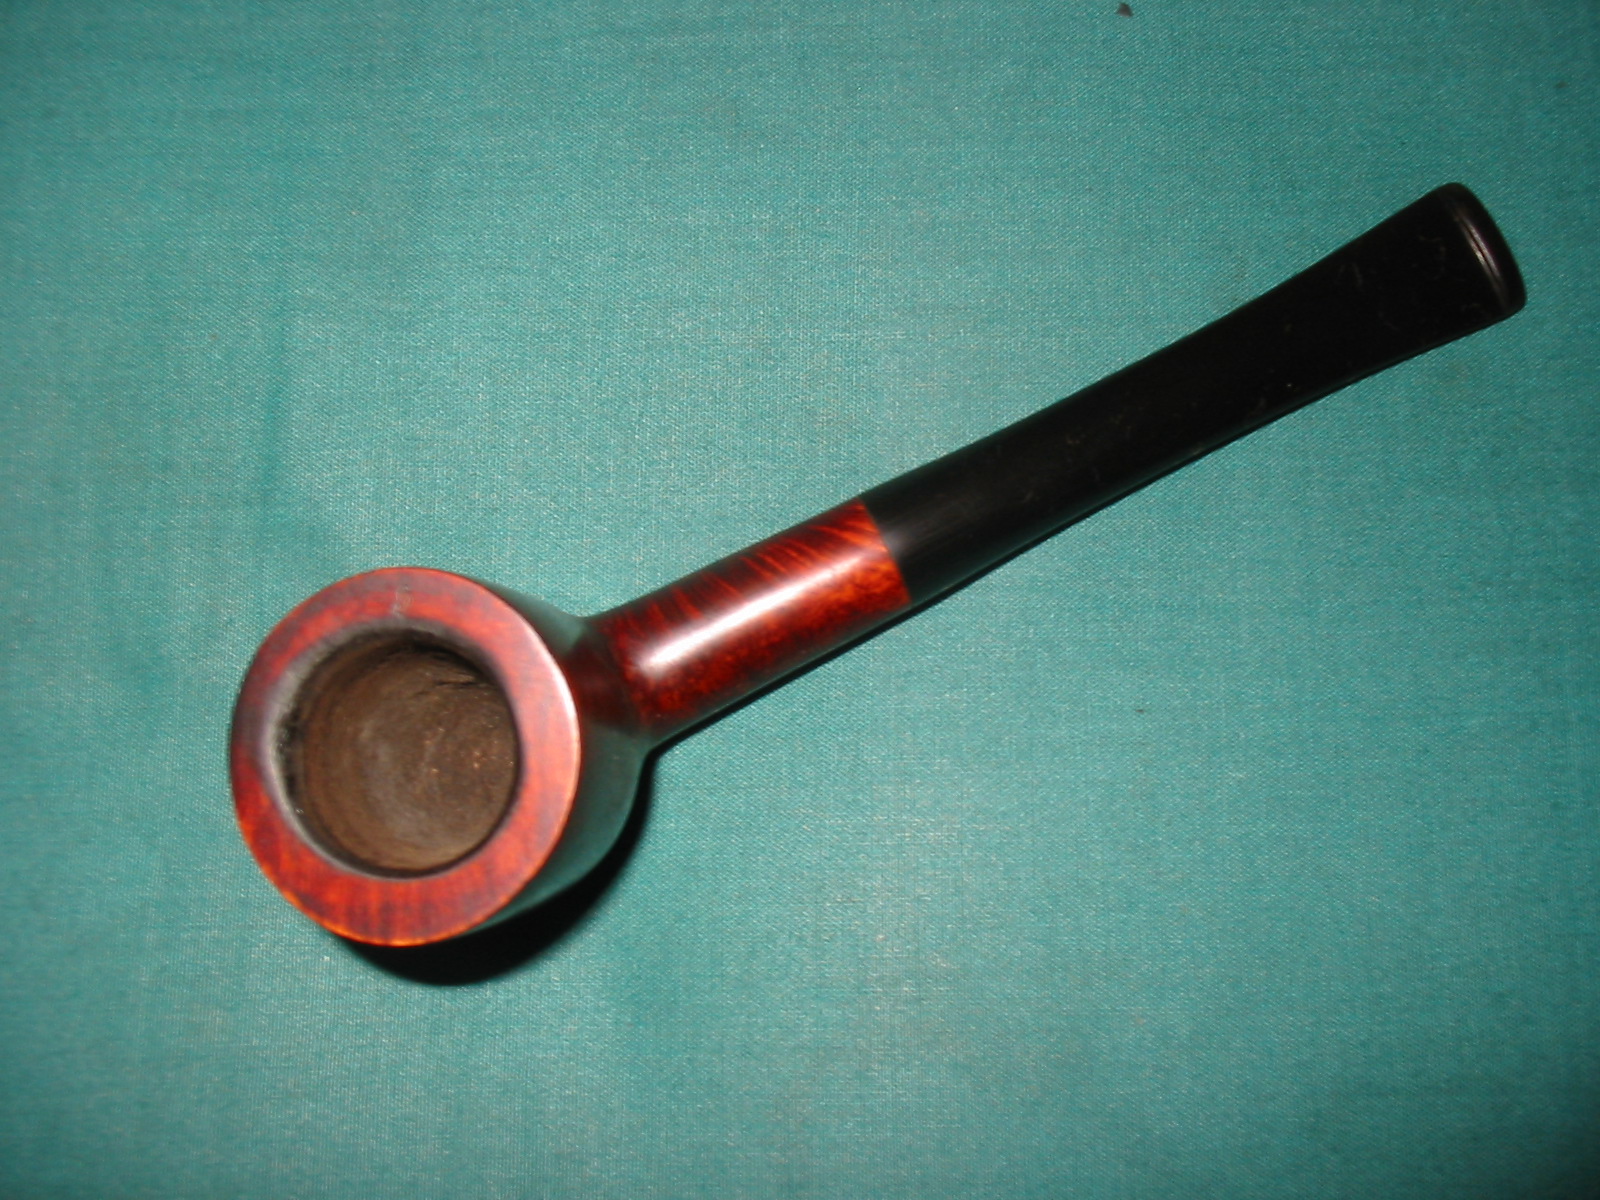
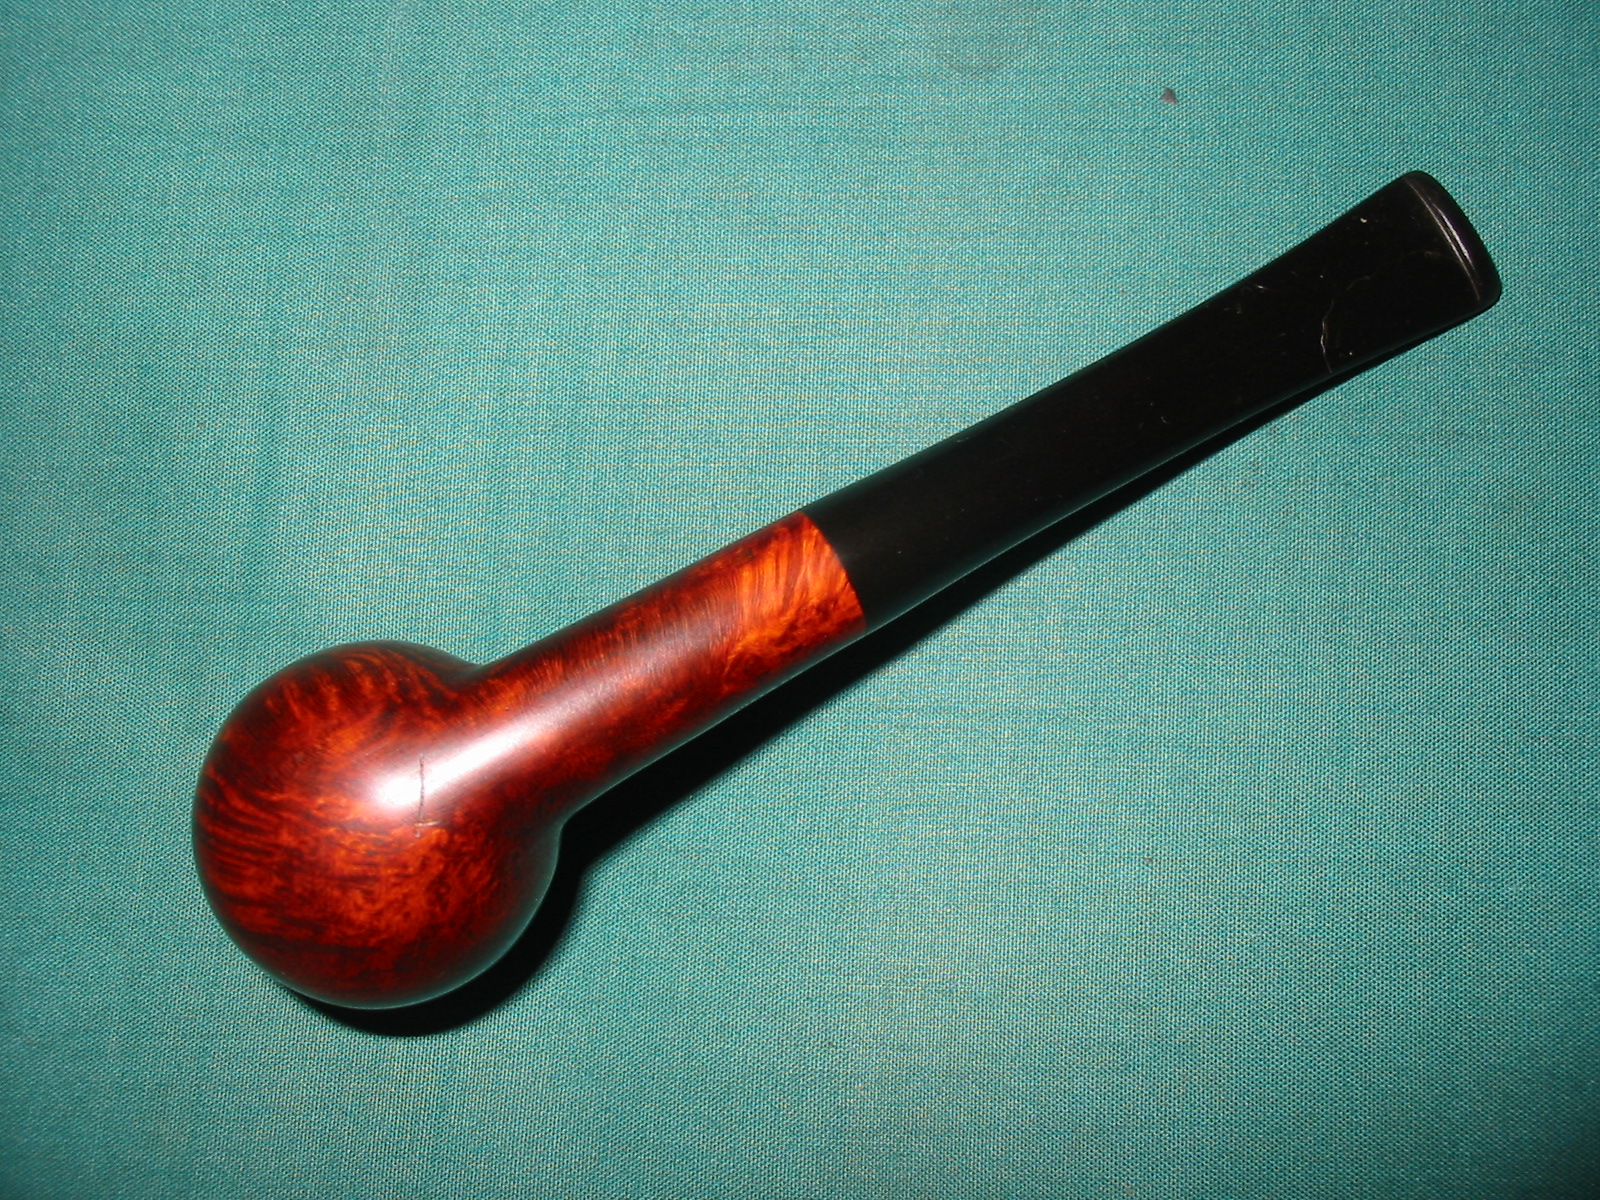
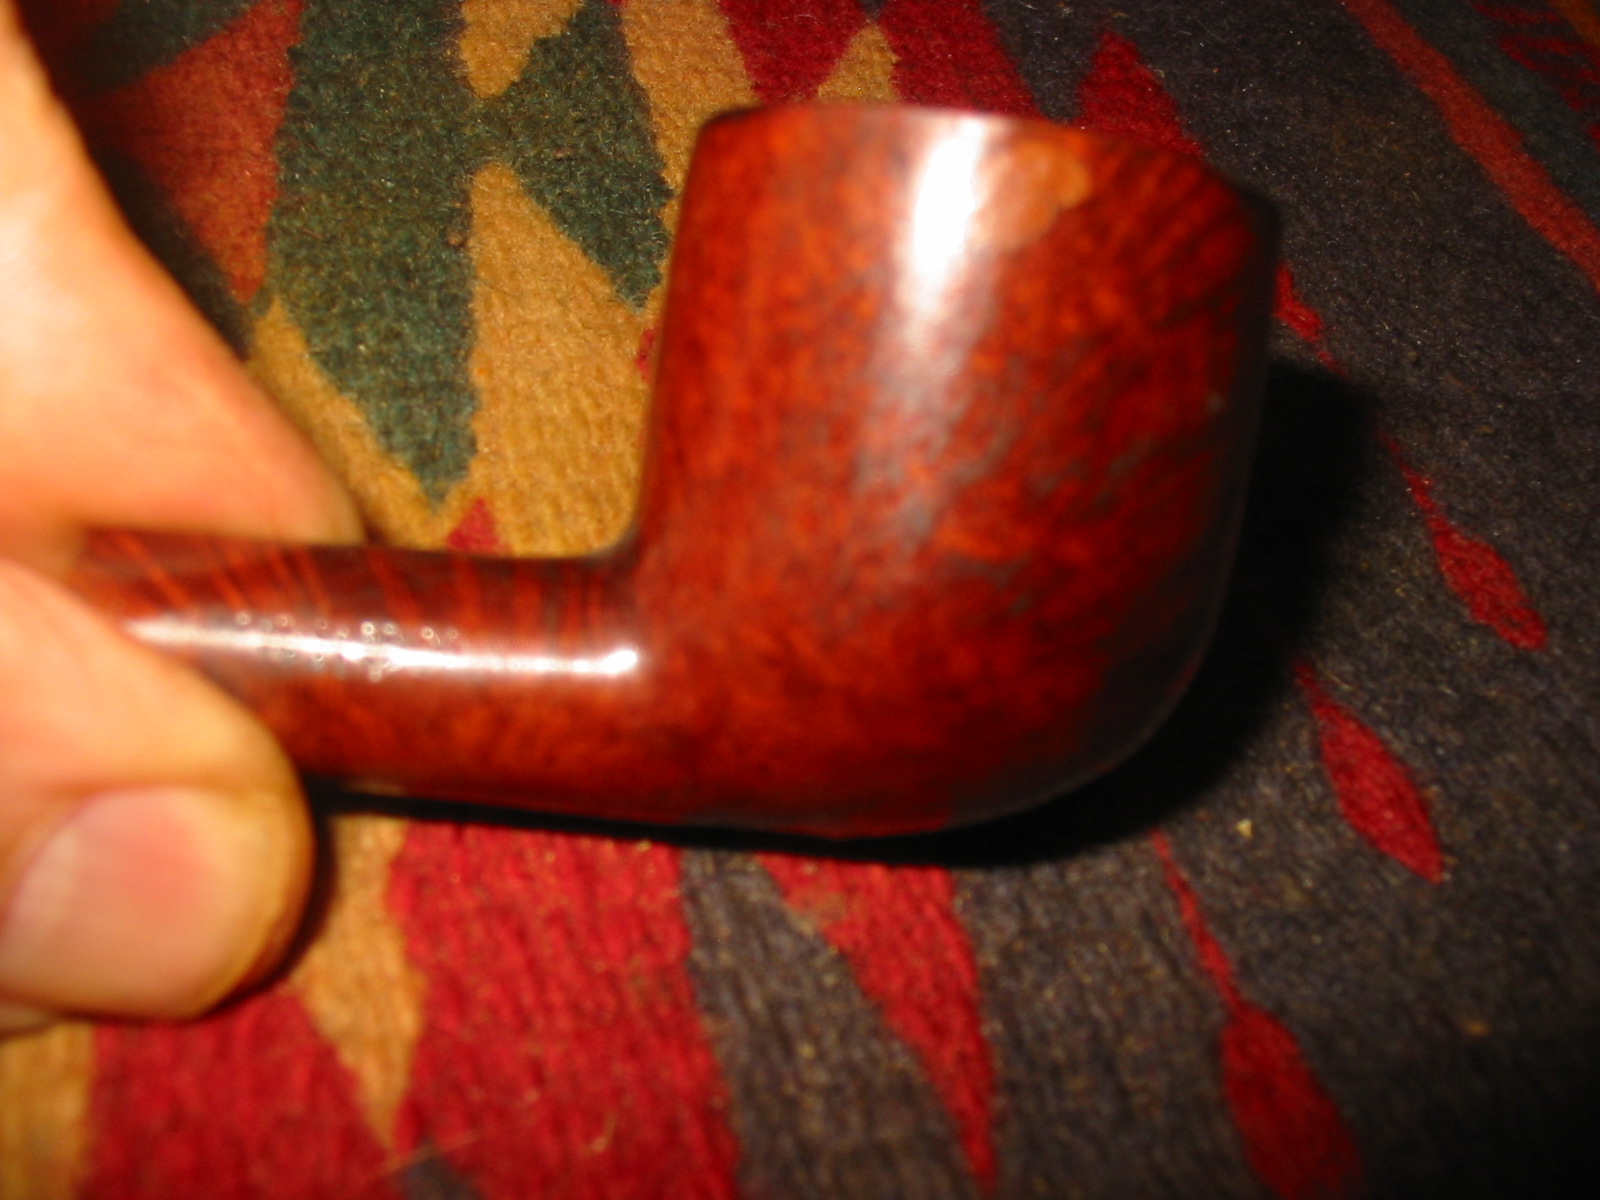
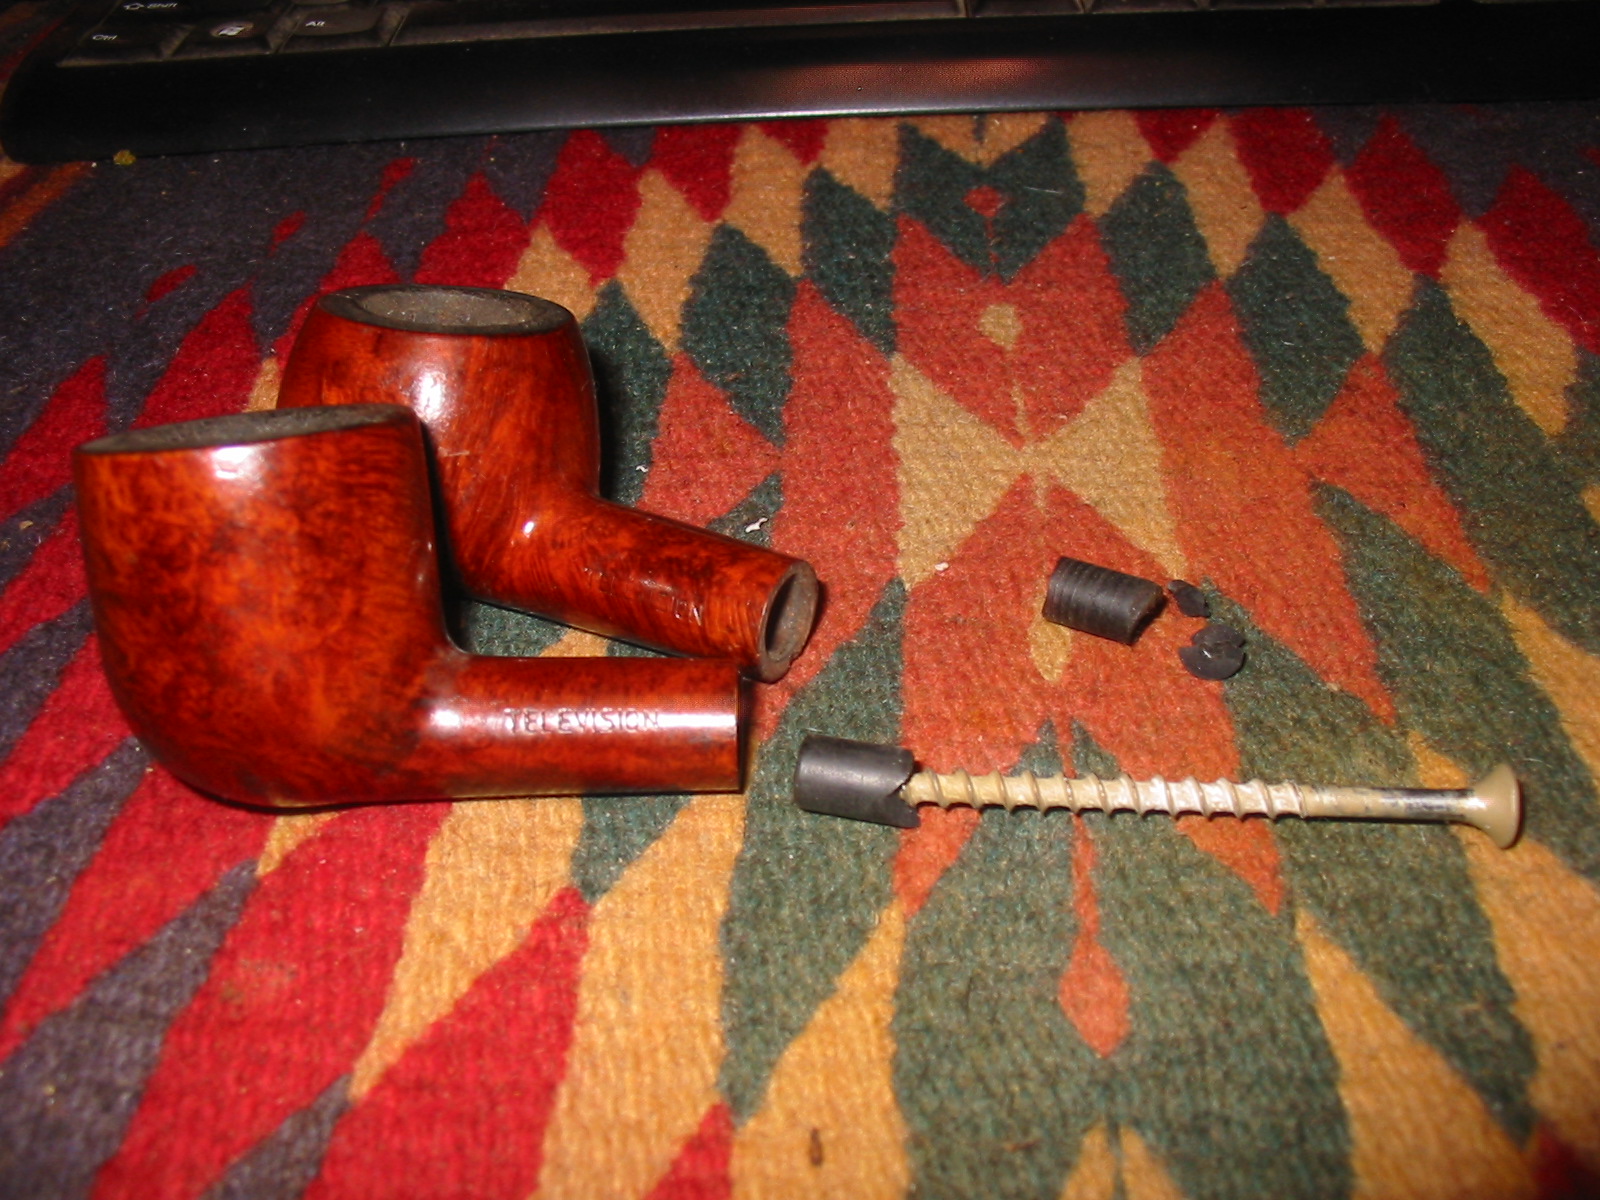
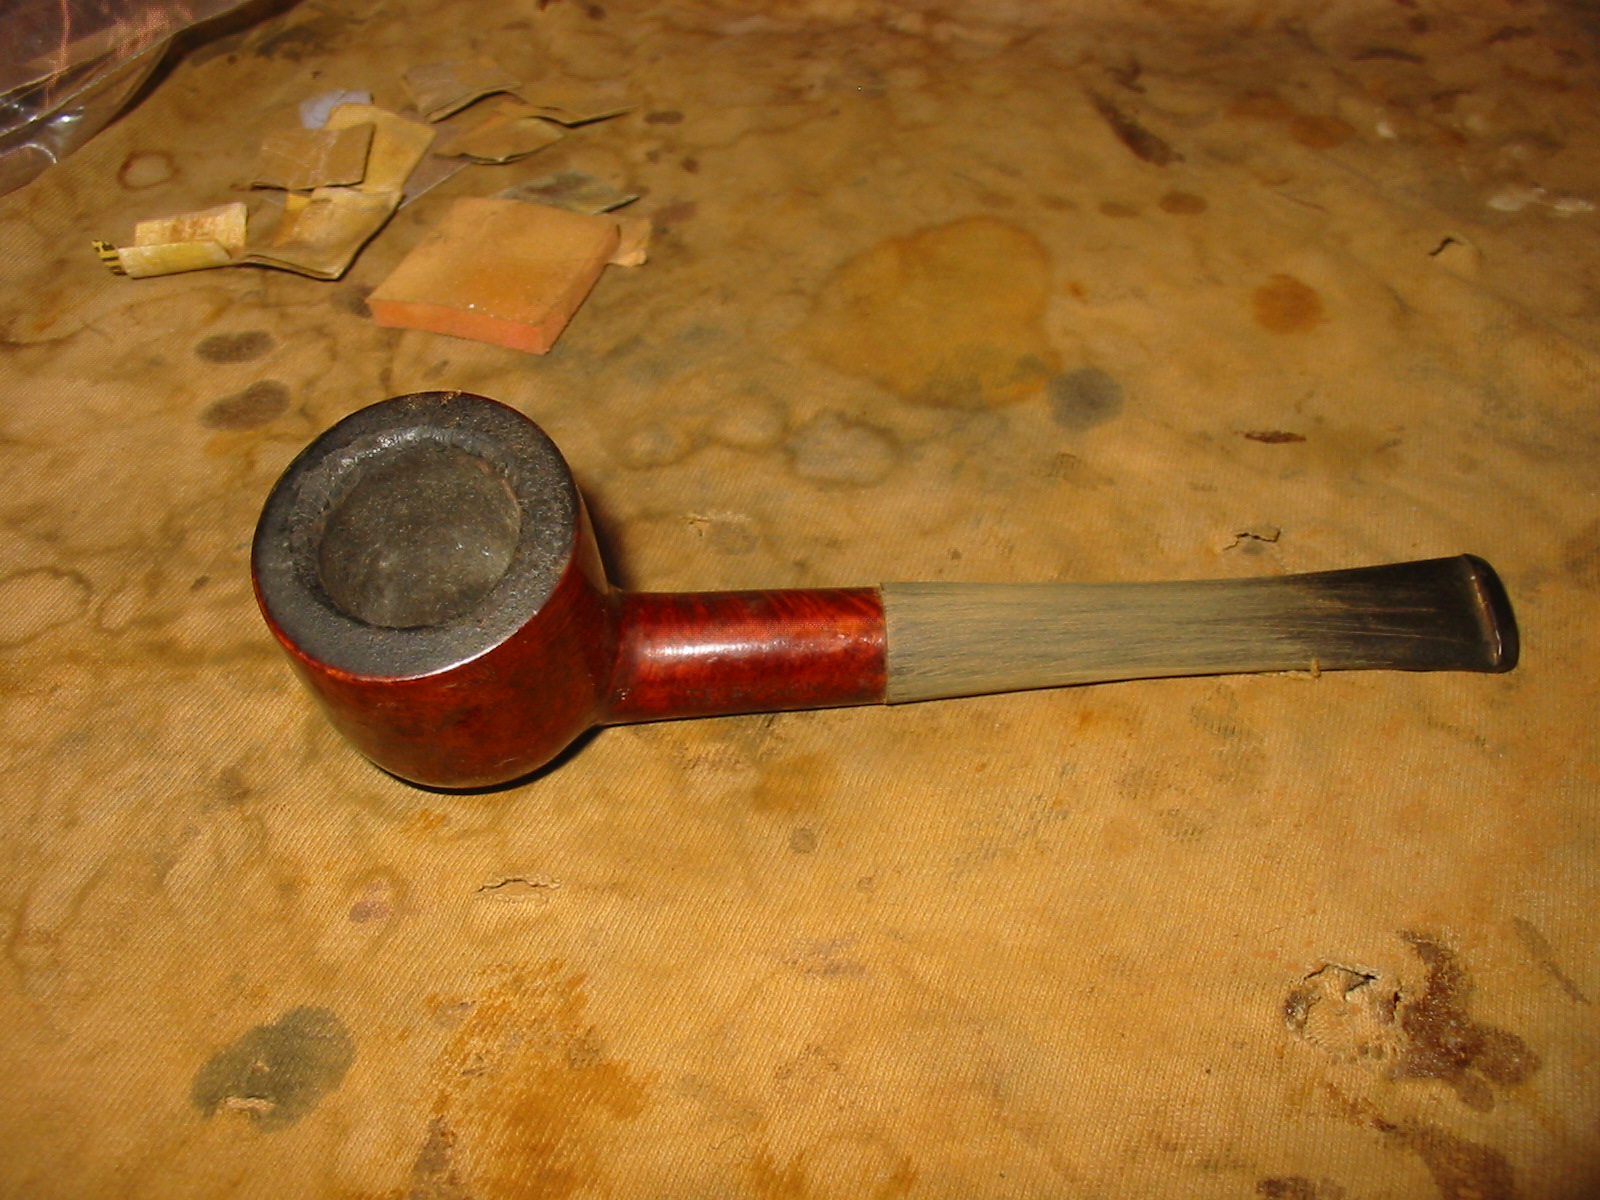
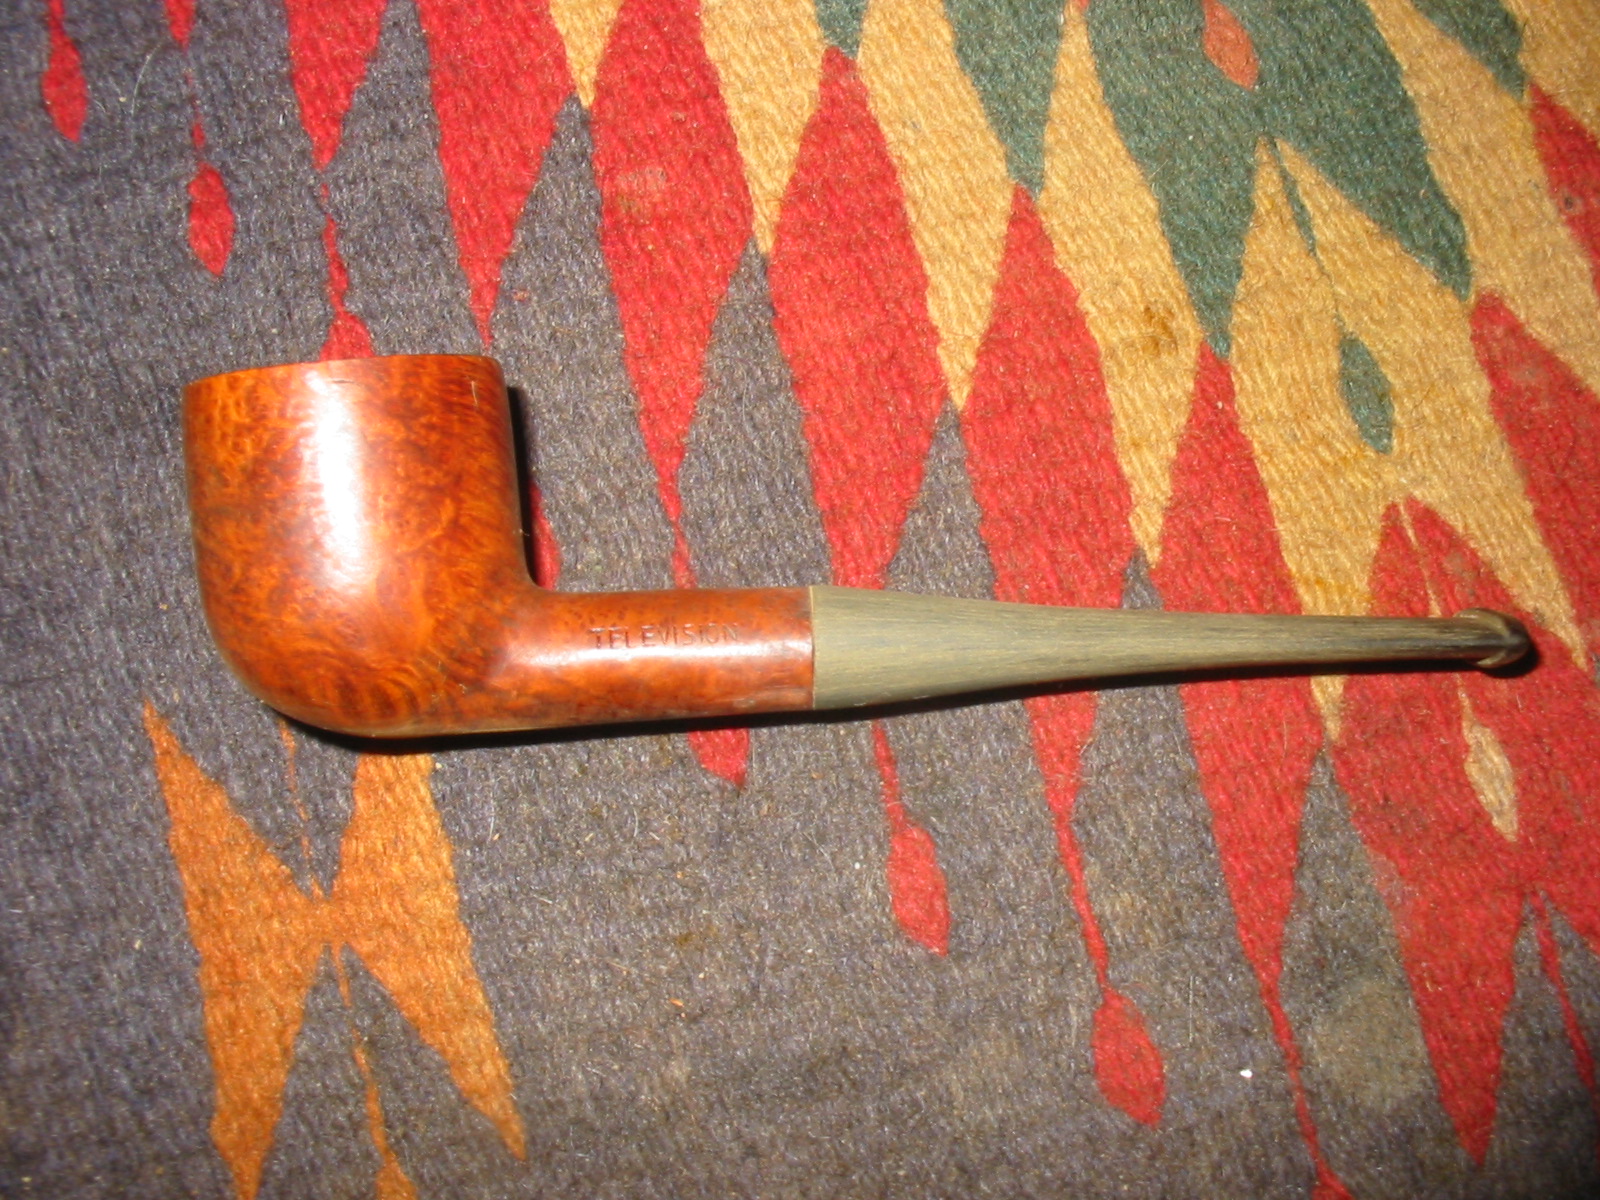
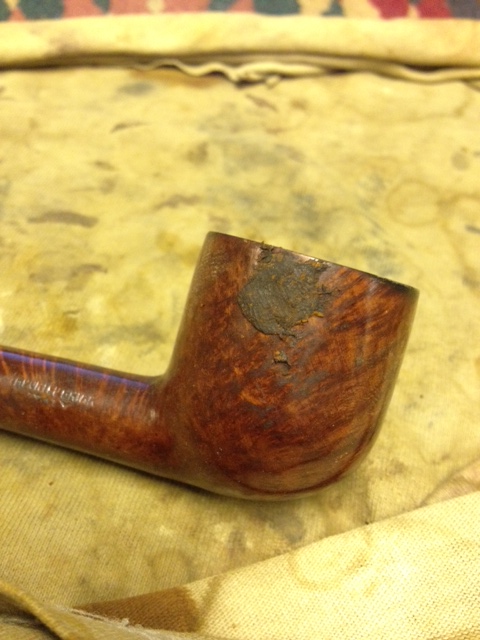
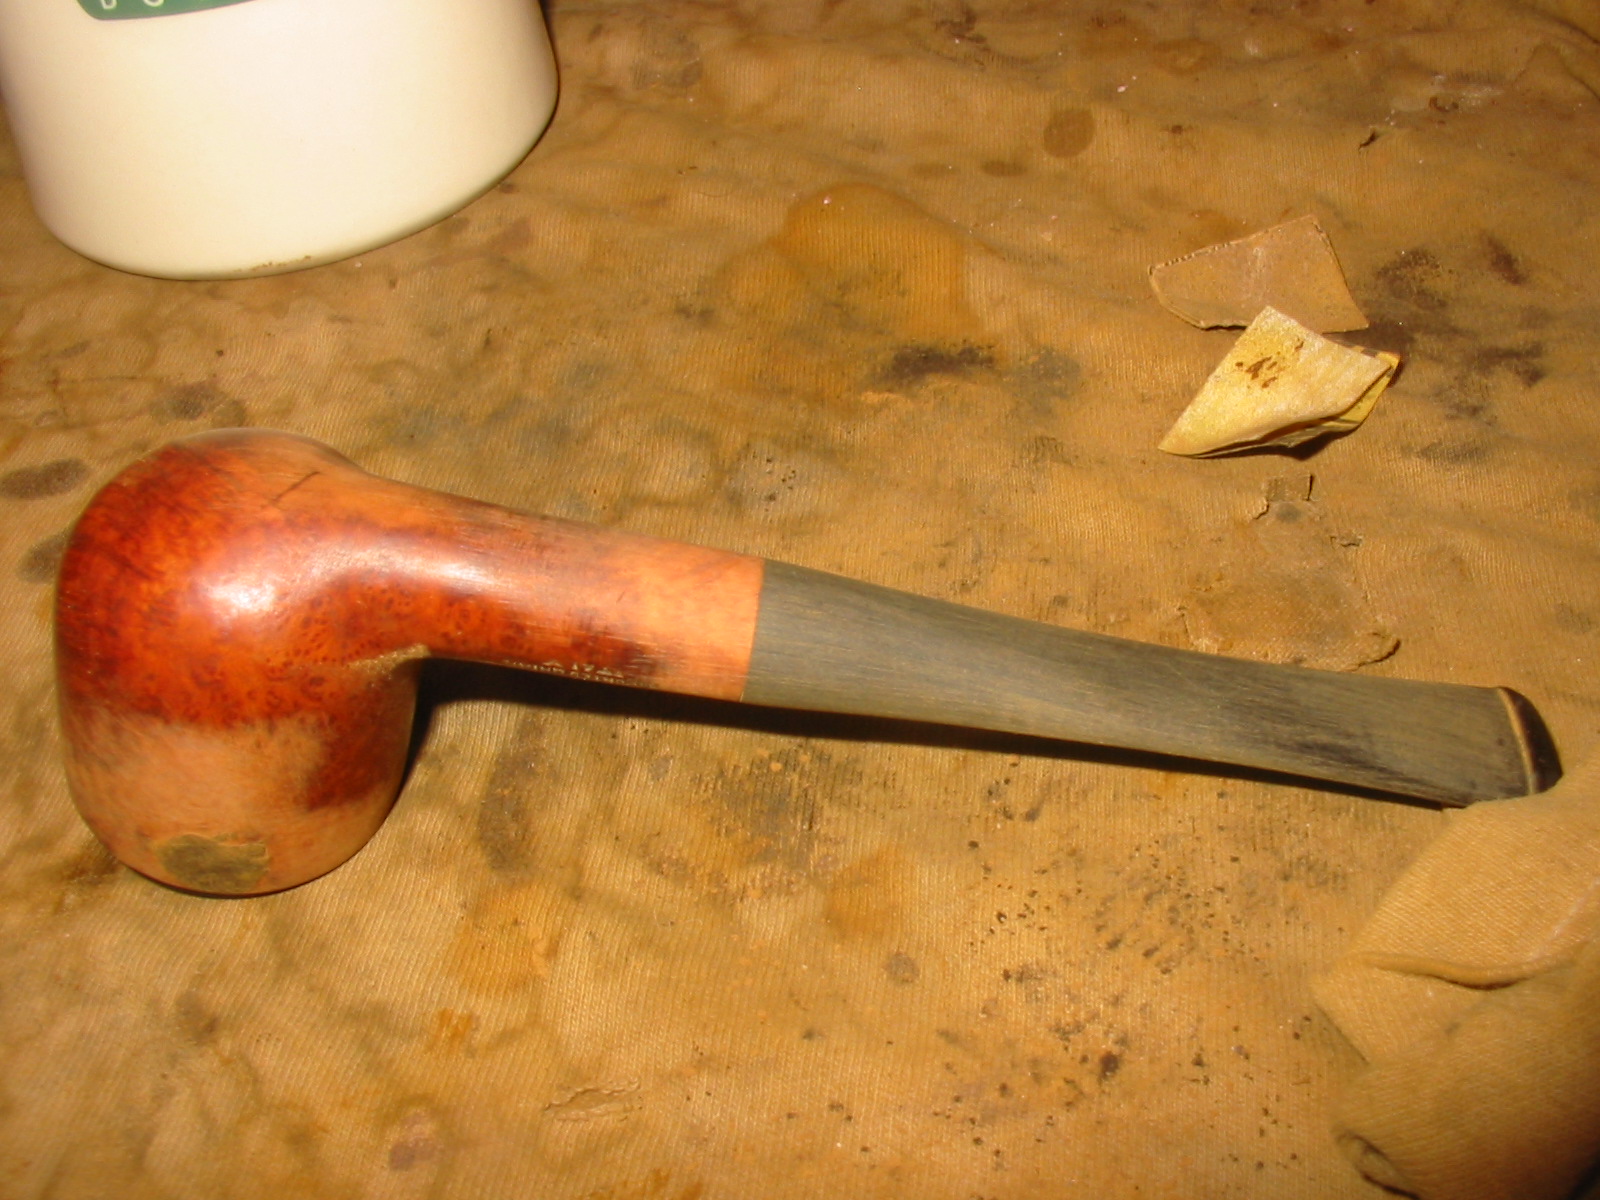
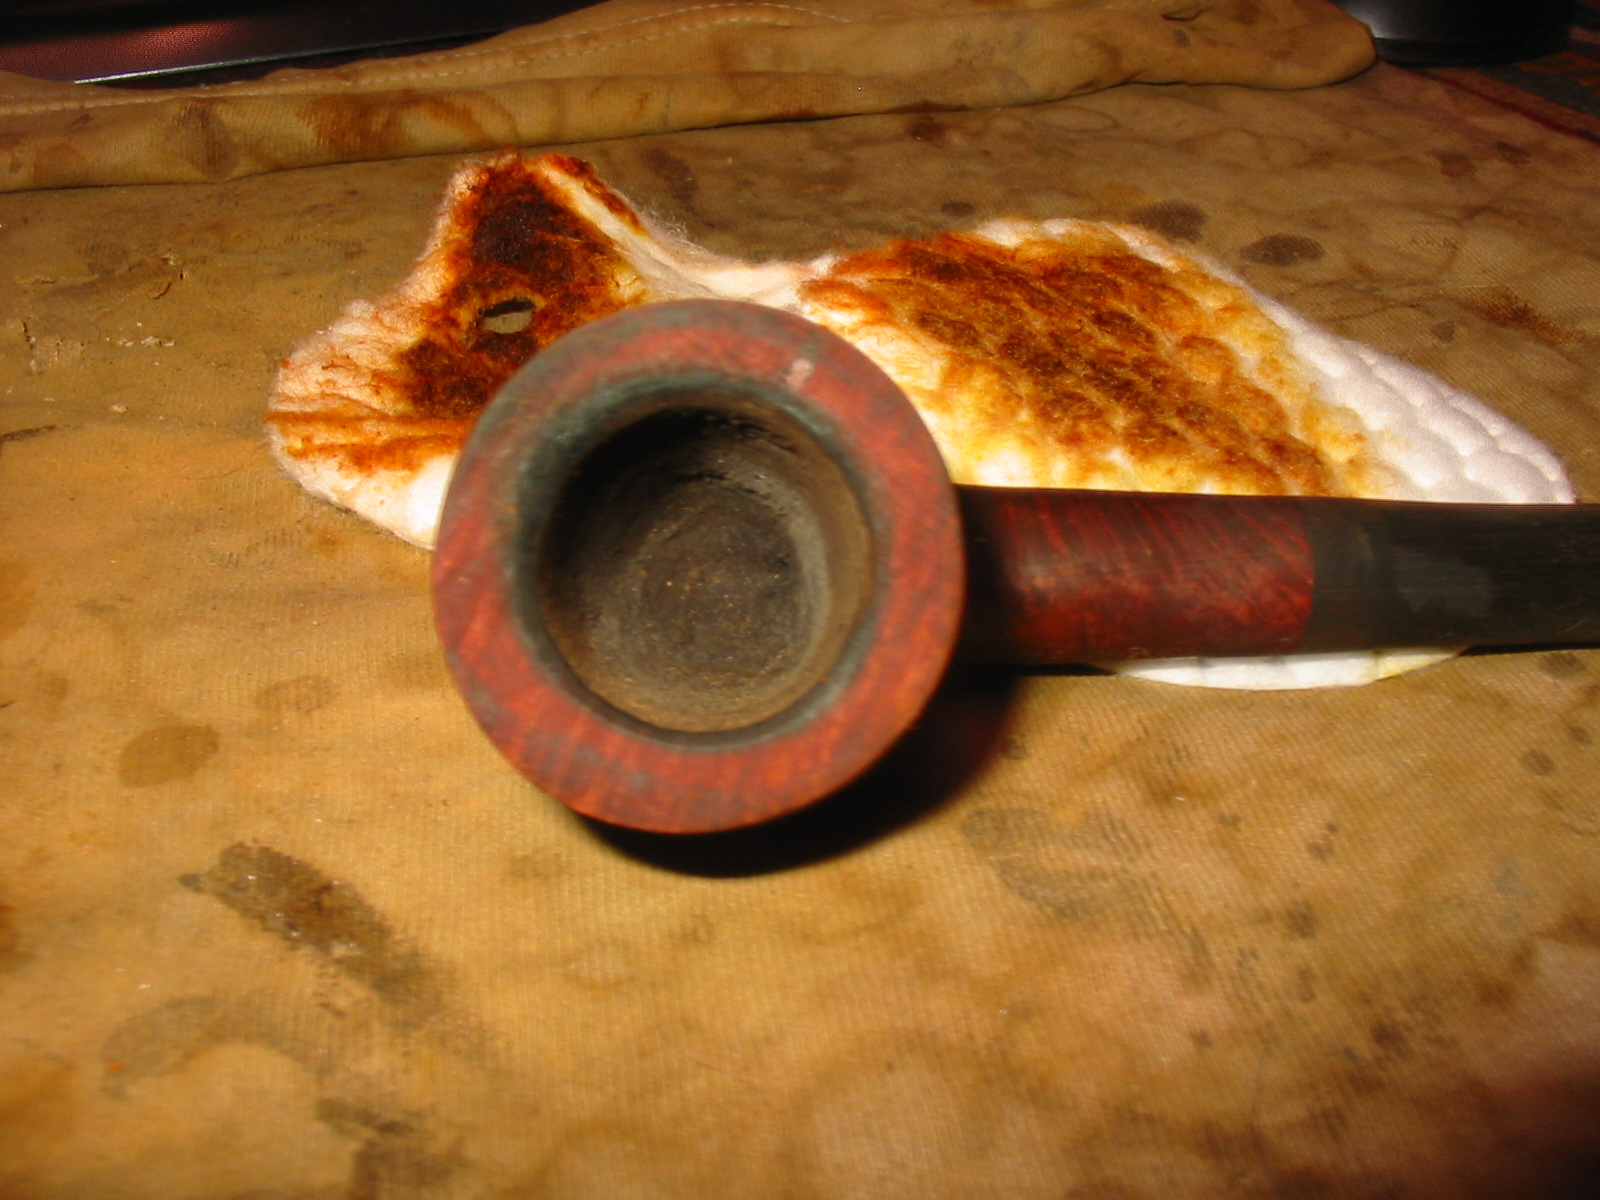
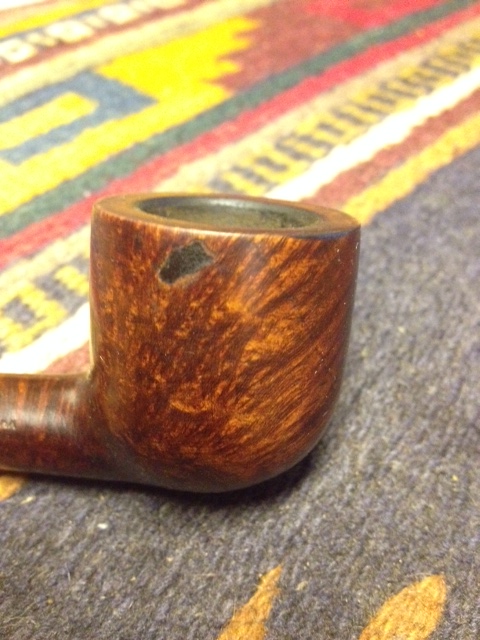
The first bowl I had was a pot shape without a stem. Like the second bowl it had a thick coat of varnish. There was a large fill on the right side of the bowl toward the top. It was a putty fill and was lighter than the briar. The grain on the pipe was very mixed. On the back and front of the bowl was cross grain and on the sides was some nice birdseye. The rim had a tarry buildup and a burned area on the back right side of inner rim. The bowl had an uneven cake on the inside. The right side of the shank was stamped Imported Briar over Italy and the left side was stamped TELEVISION. The second pipe bore identical stamping. There were no shape numbers on either bowl or shank. Both pipes had a broken tenon in the shank. 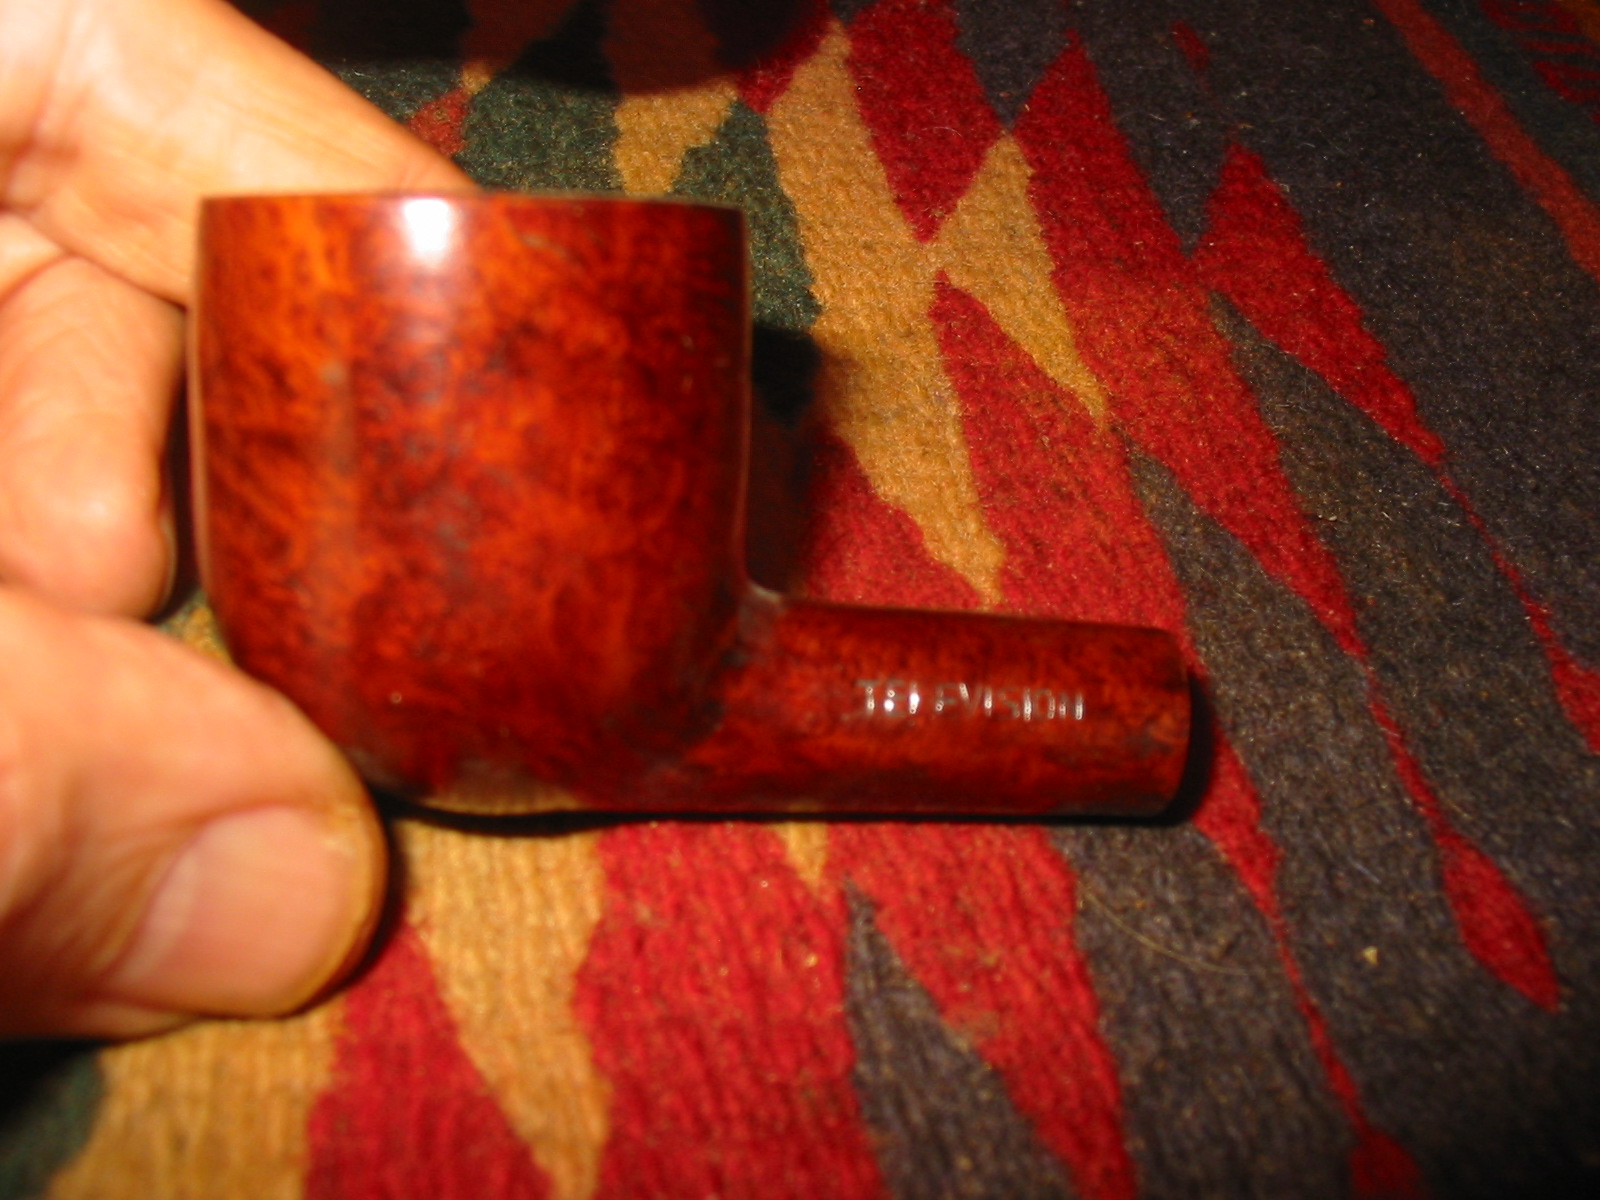
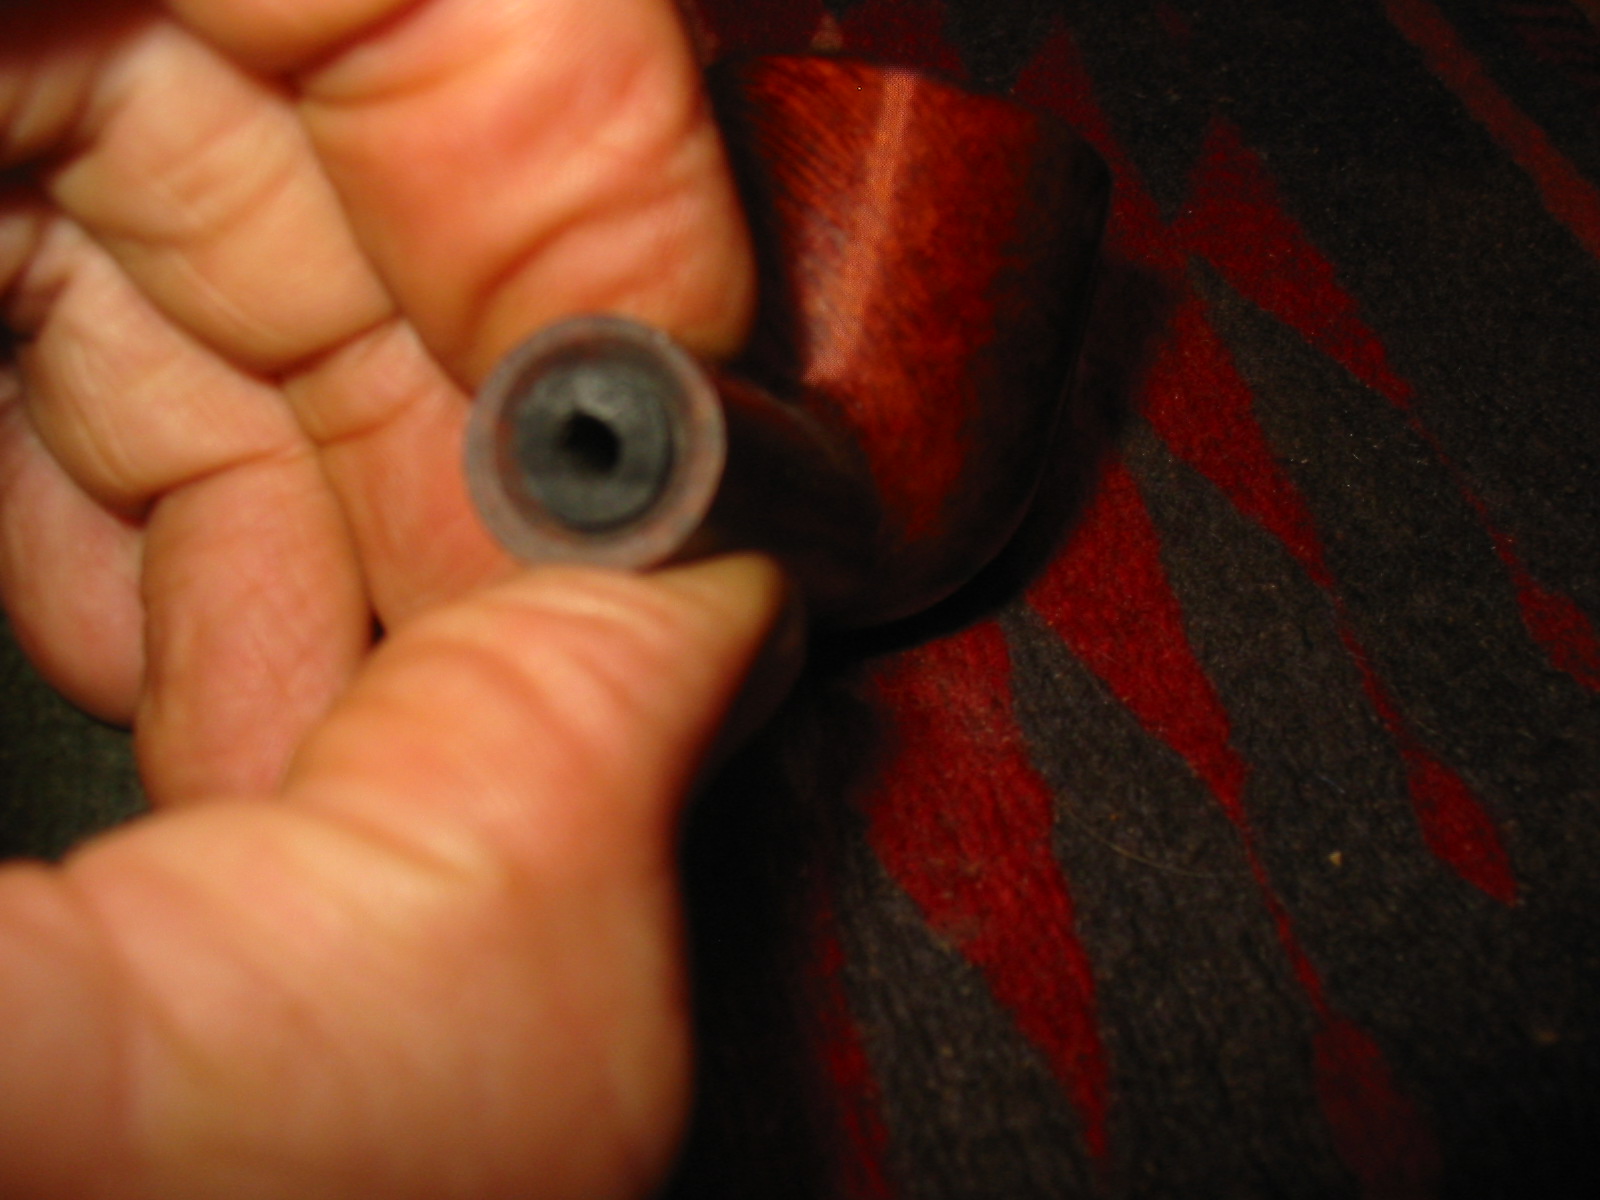
 I used a wood screw I keep around for pulling out the broken tenons. I screw it in by hand and the wiggle it until it comes out. I removed the broken tenon from both of the pipe shanks while I was at it.
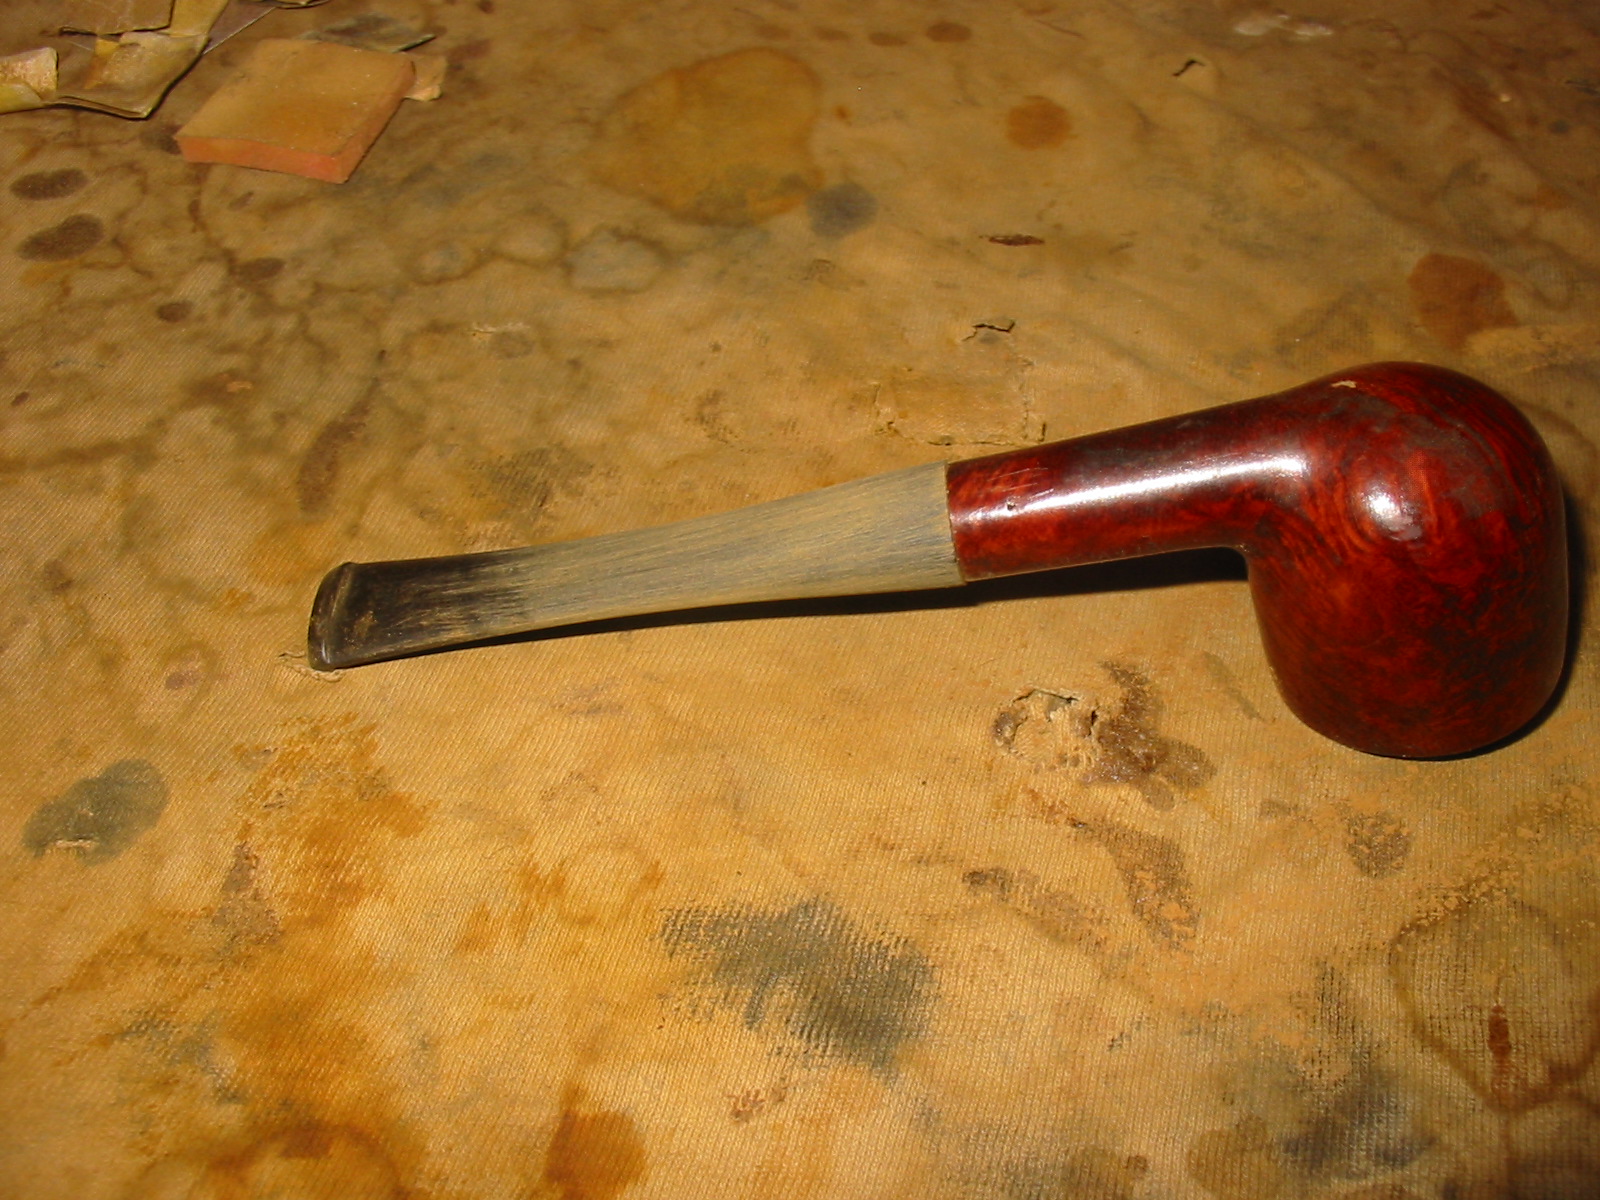
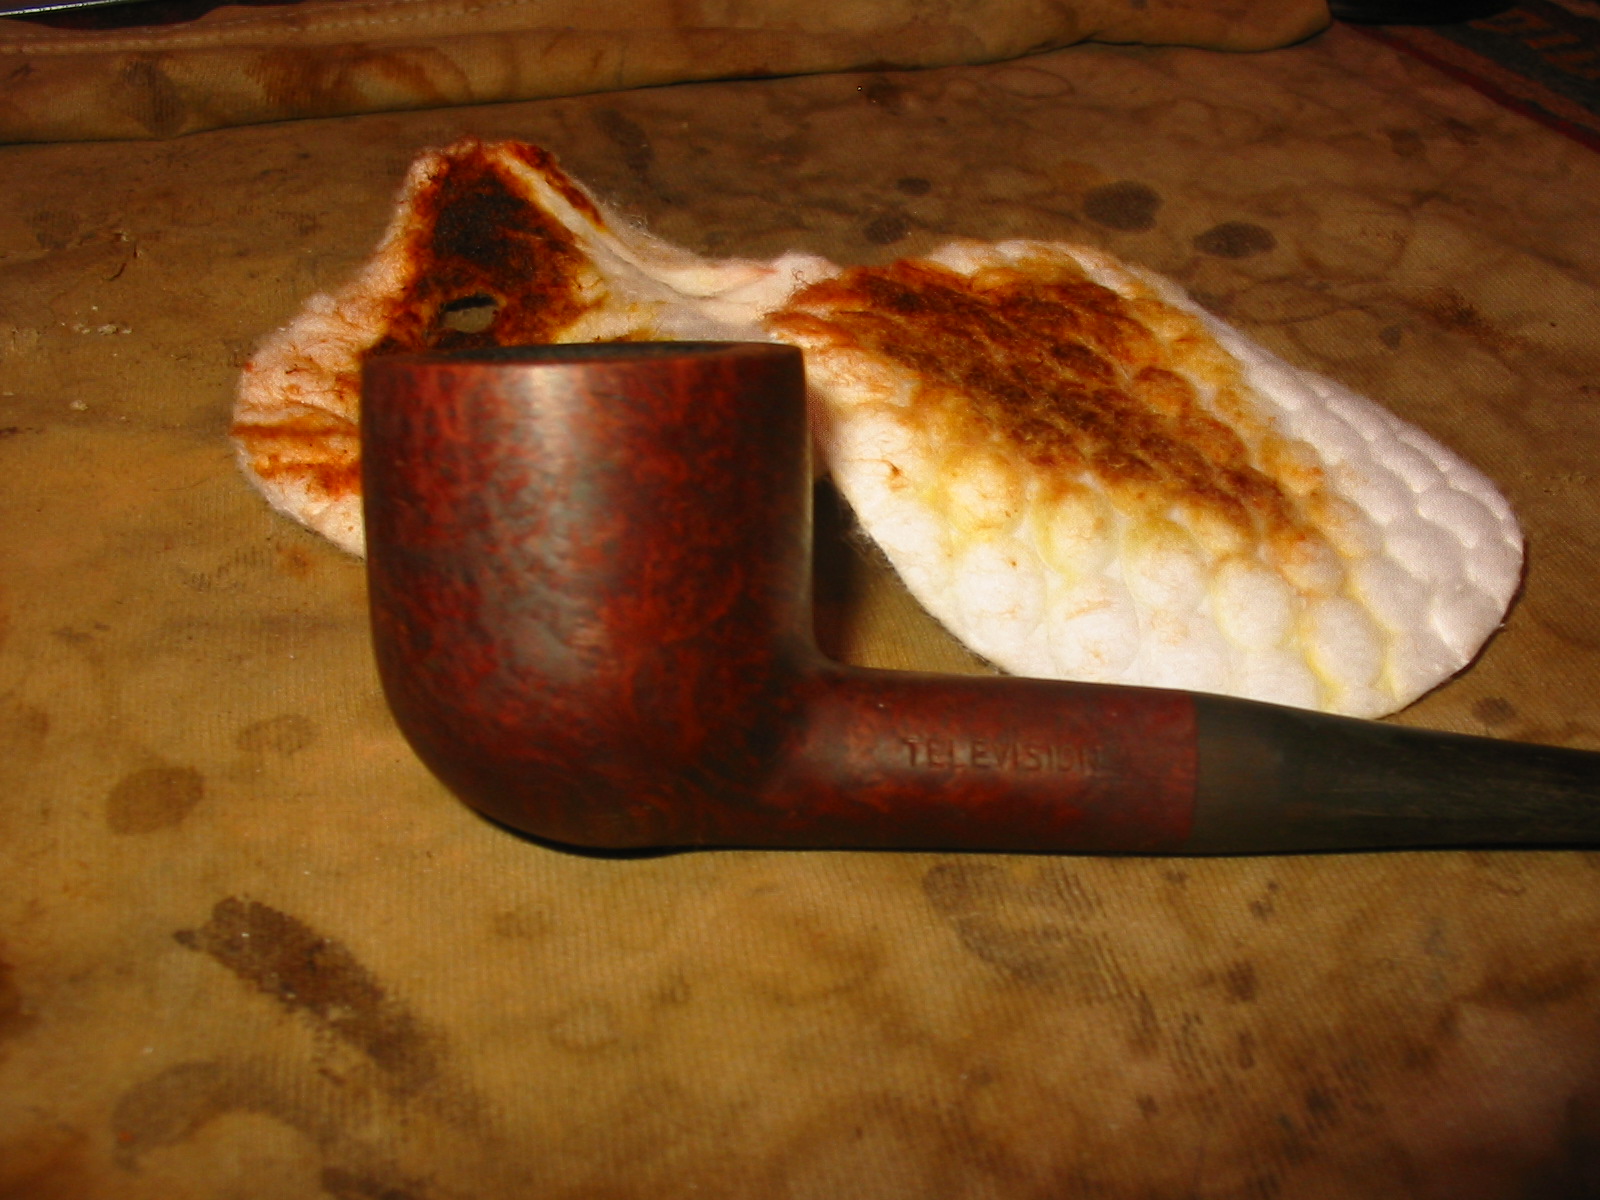
 I found a vulcanite stem in my can of stems that would work with the pipe and make it a standard pot shape pipe and stem. I turned the tenon on the PIMO Tenon Turning Tool until it was close and then fine tuned the fit with 220 grit sandpaper. The diameter of the stem was larger than that of the shank so I sanded it with 220 grit sandpaper to match the two.
 I decided to replace the large ugly fill on the right side of the bowl. It was a light brown/pink colour and stood out from the rest of a decently grained pipe. I picked it out with a dental pick and found that underneath the surface it was a white hard putty.
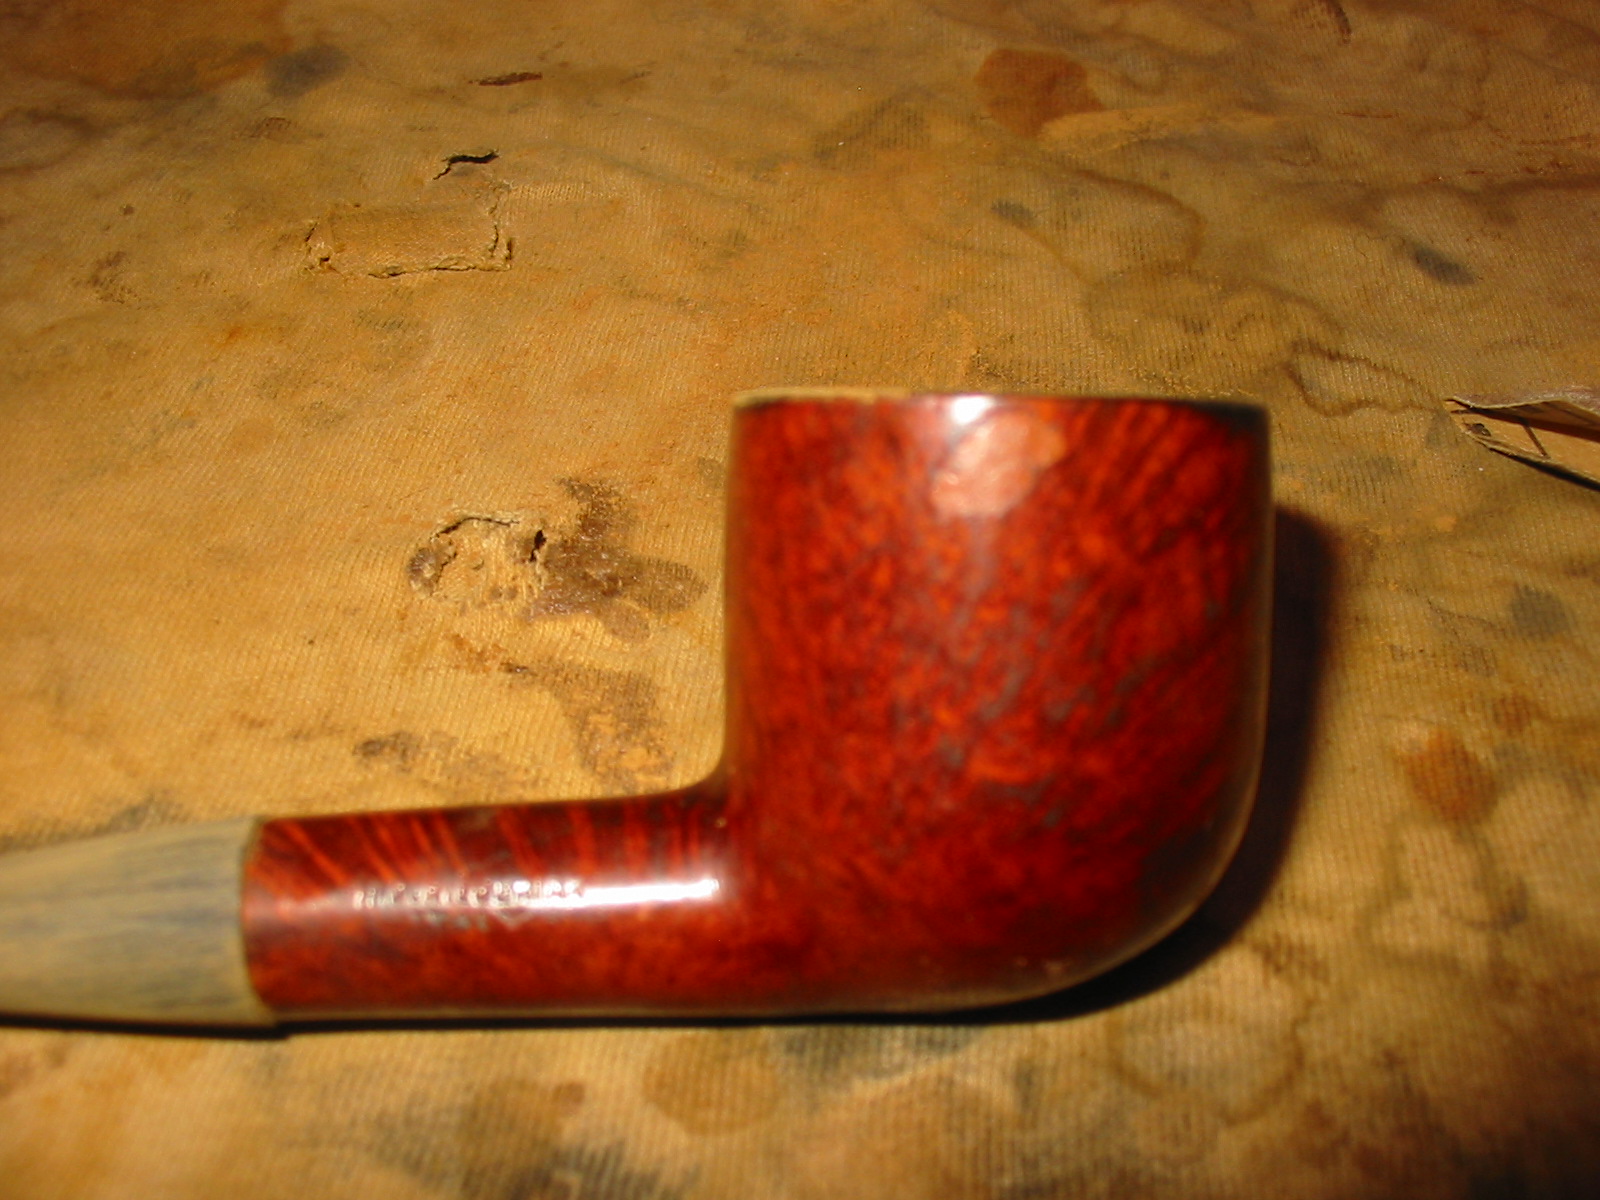
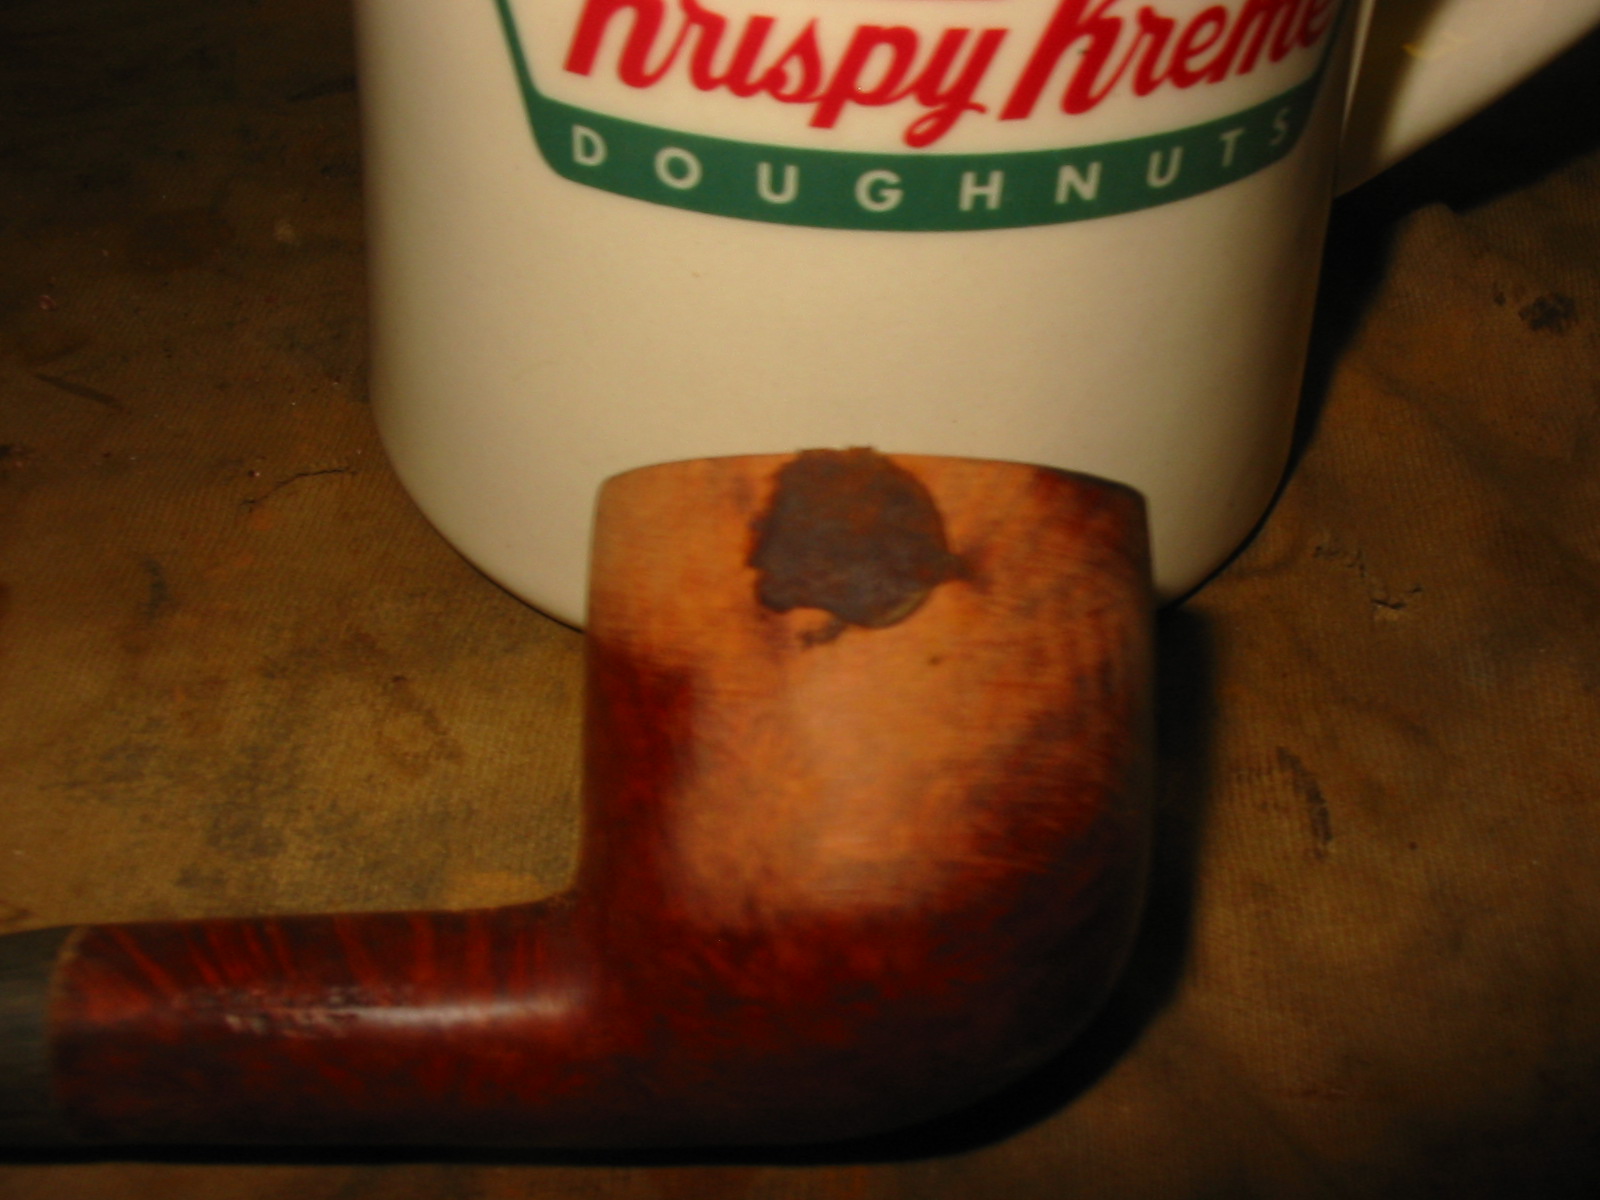
 There was also a fill on the underside of the bowl that I picked out and one on the rim. I decided to top the bowl to see how close to the side fill the top one was. I set up the sanding board and topped the bowl. Once it was topped I could see the fill on the rim and I decided to leave it as it was close to the inner edge of the bowl.
 I wiped off the surface of the bowl with isopropyl alcohol and spent time scrubbing the large fill on the side of the bowl. I then took some briar dust that I had and began to work on the patching material for the hole. I poured some Fiebings Dark Brown stain into the briar dust and mixed it until the briar dust was evenly stained a dark brown.
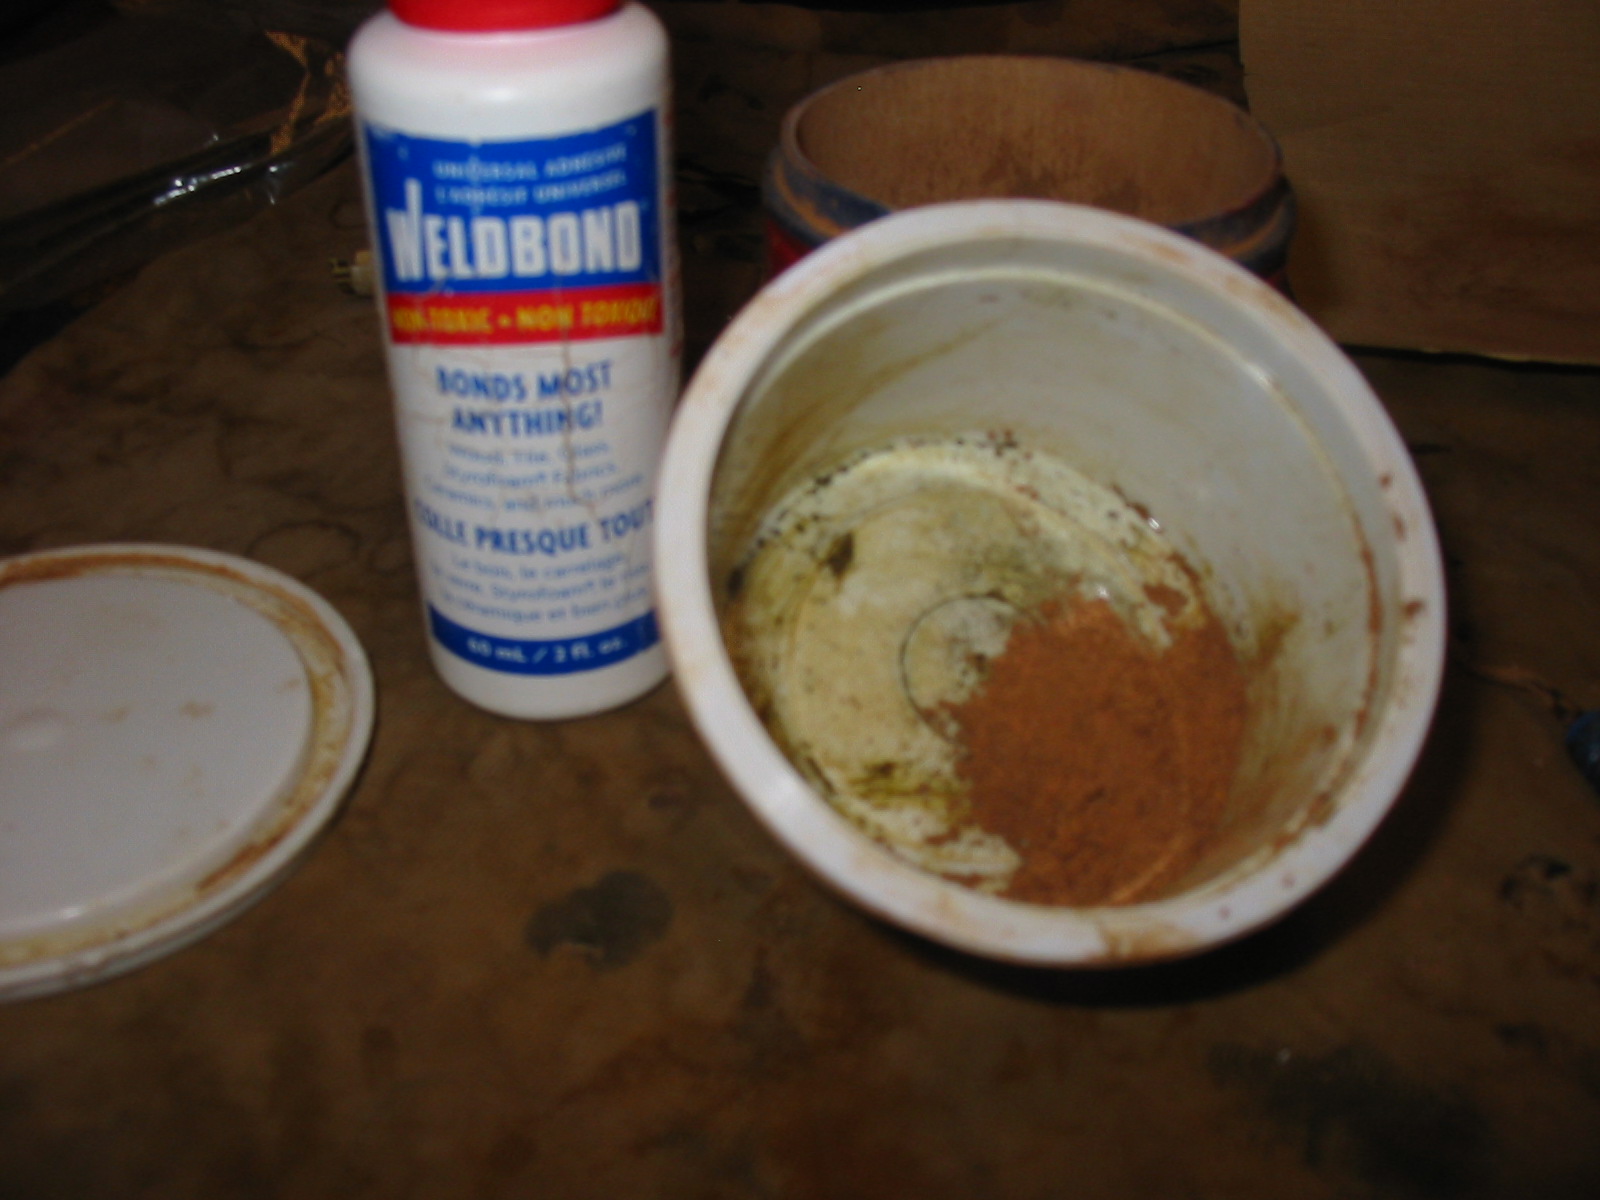

 I then mixed in some Weldbond multipurpose white glue into the stained briar dust. Once it began clumping I worked it into a dough and kneaded in the briar dust until it was evenly mixed.
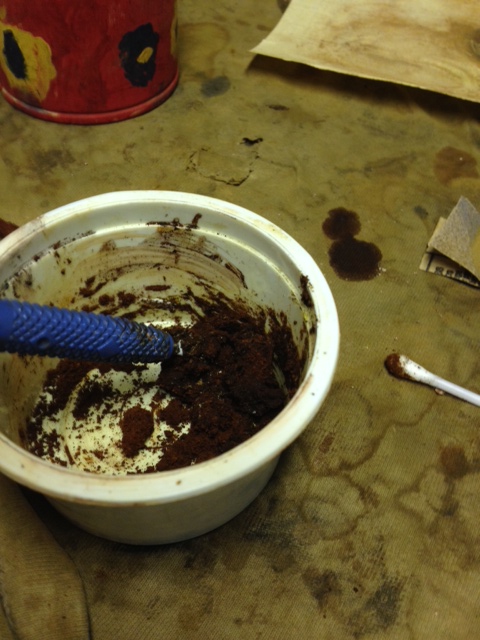
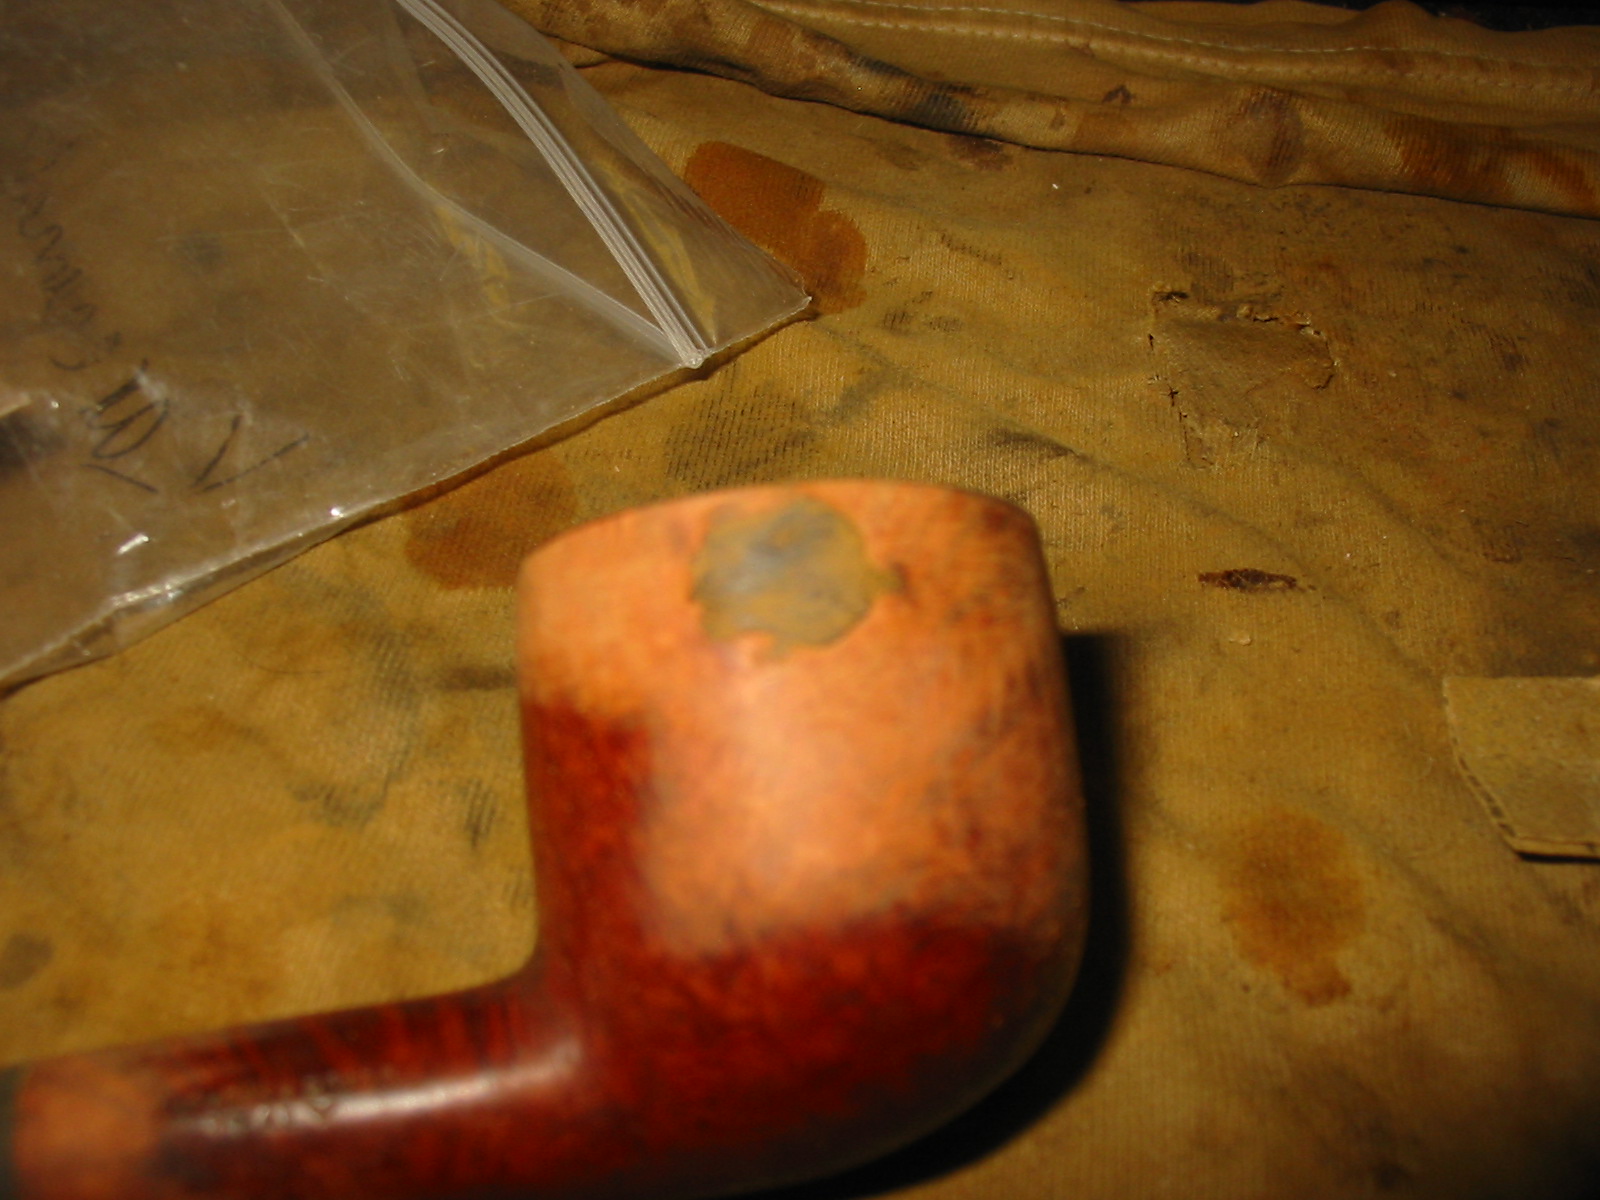
 The mixture was tacky but not wet. I tamped it into the two repairs on the bowl, the bottom and the left side. I pushed it down into the deep parts of both fills with a dental pick and a pipe nail.
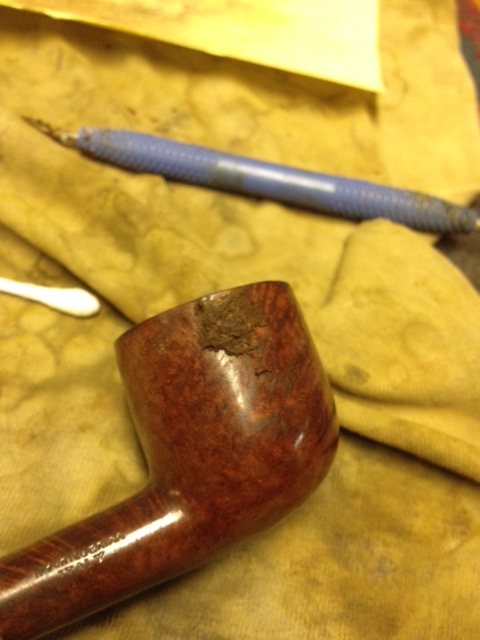
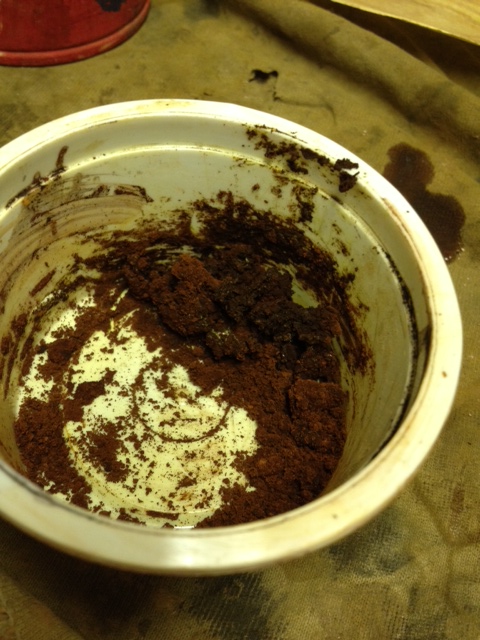
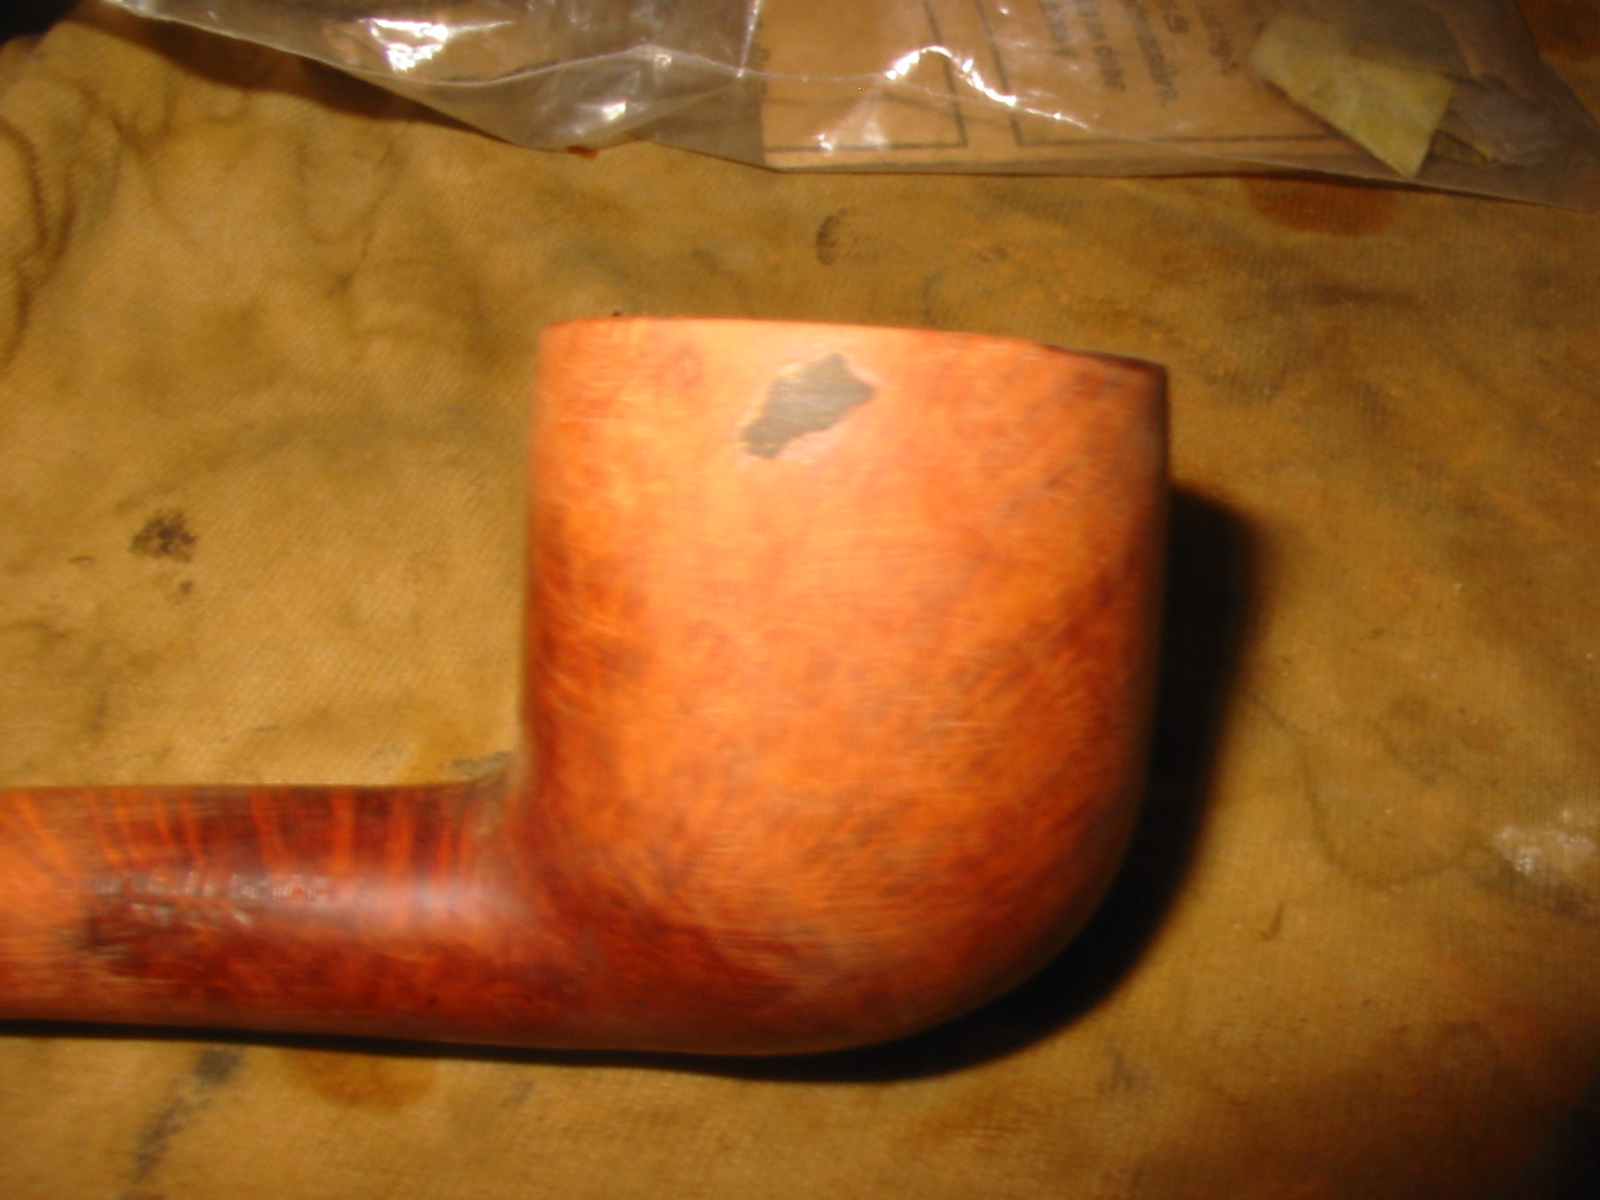
 When the patch had cured overnight it looked like the photo below. It was a solid bump on the side of the bowl. It took a lot of sanding with 180 grit sandpaper and 220 grit sandpaper to reduce the footprint of the patch and level it with the surface of the briar. The next series of photos show the process of sanding the patch.
 I also sanded the shank to smooth out the junction of the stem and the shank at the same time I worked on sanding the patch. I used 220 grit sandpaper and then sanded both the bowl and shank with medium and fine grit sanding sponges.

 When all the sanded areas were smooth I sanded them again with micromesh sanding pads – wet sanding with 1500-3200 grit pads and dry sanding with 3600-6000 grit pads. When the scratches no longer stood out I stained the bowl with a dark brown aniline stain (same colour I had used in the briar dust patch). I applied the stain and flamed it and repeated until the coverage was even. I wiped the bowl down with acetone and isopropyl alcohol on cotton pads to make it less opaque. It took quite a few wipes to get it to the colour I wanted. The next series of photos show the progress of the wipe down. (The stained briar dust and wood glue dough patch did not work well in terms of blending with the briar. It still stood out but now was a dark brown.)
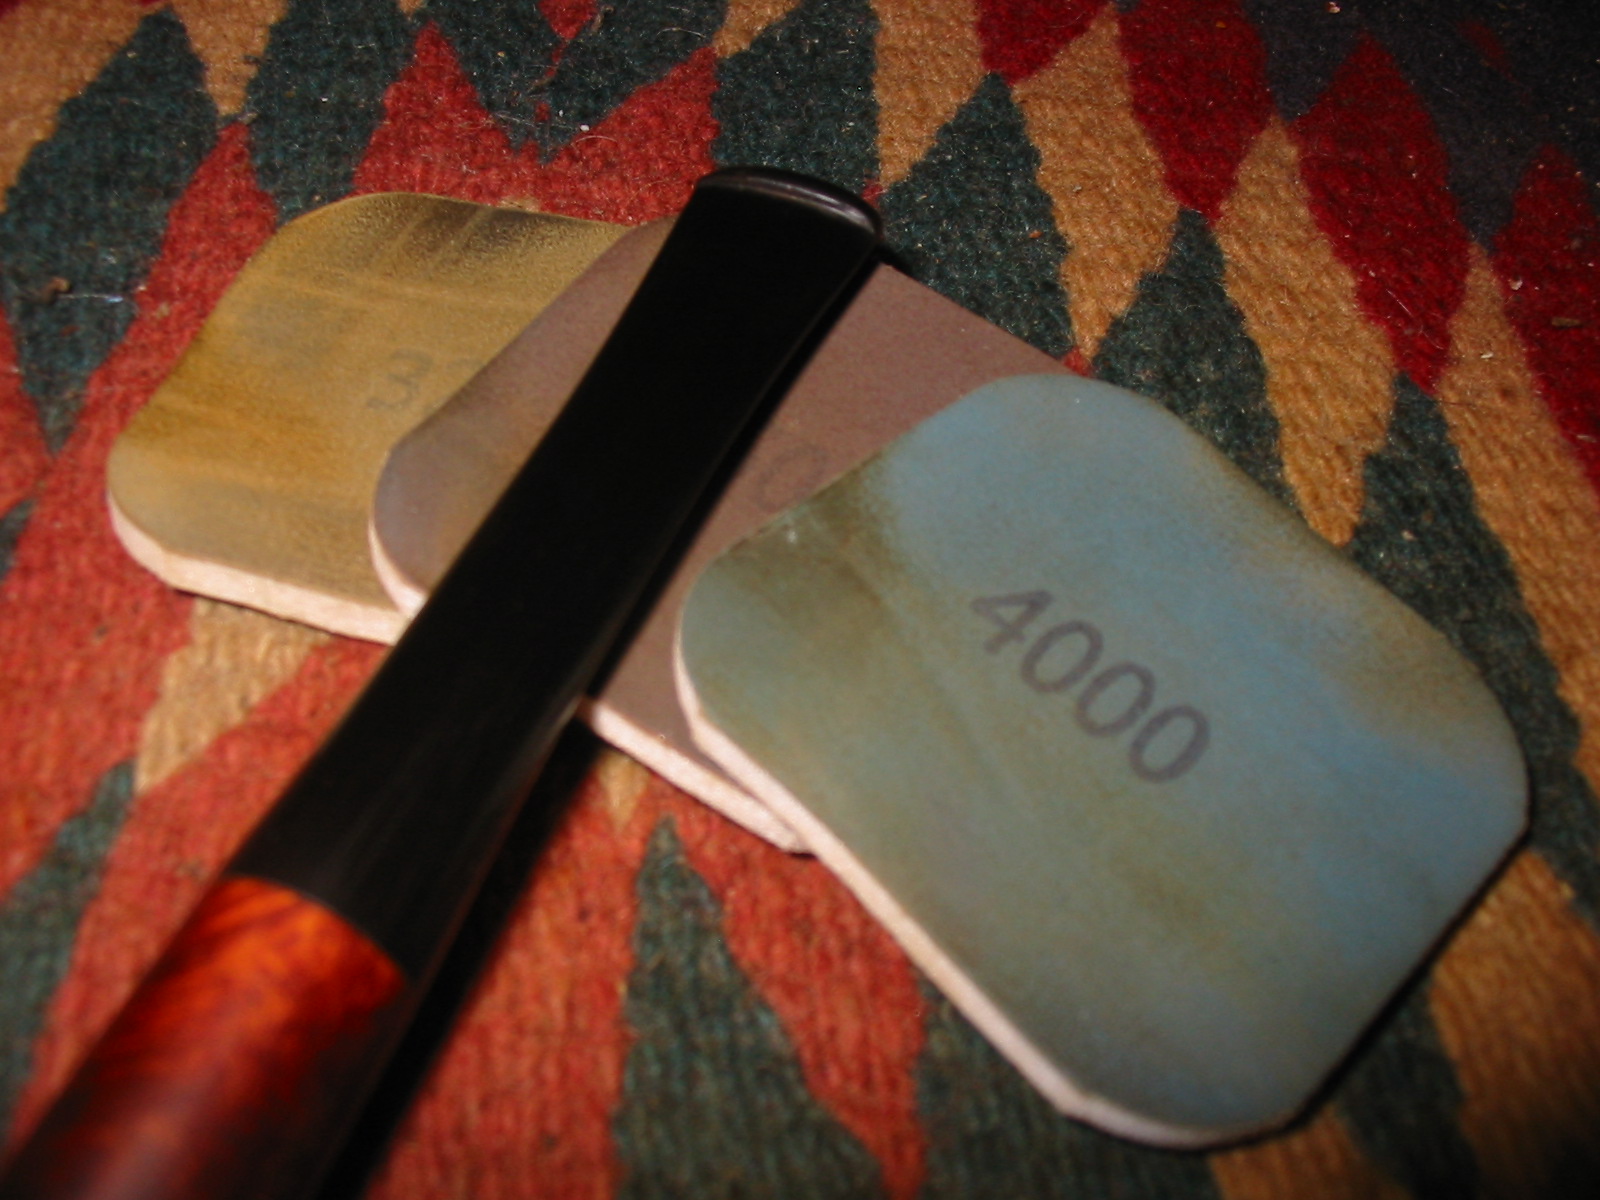
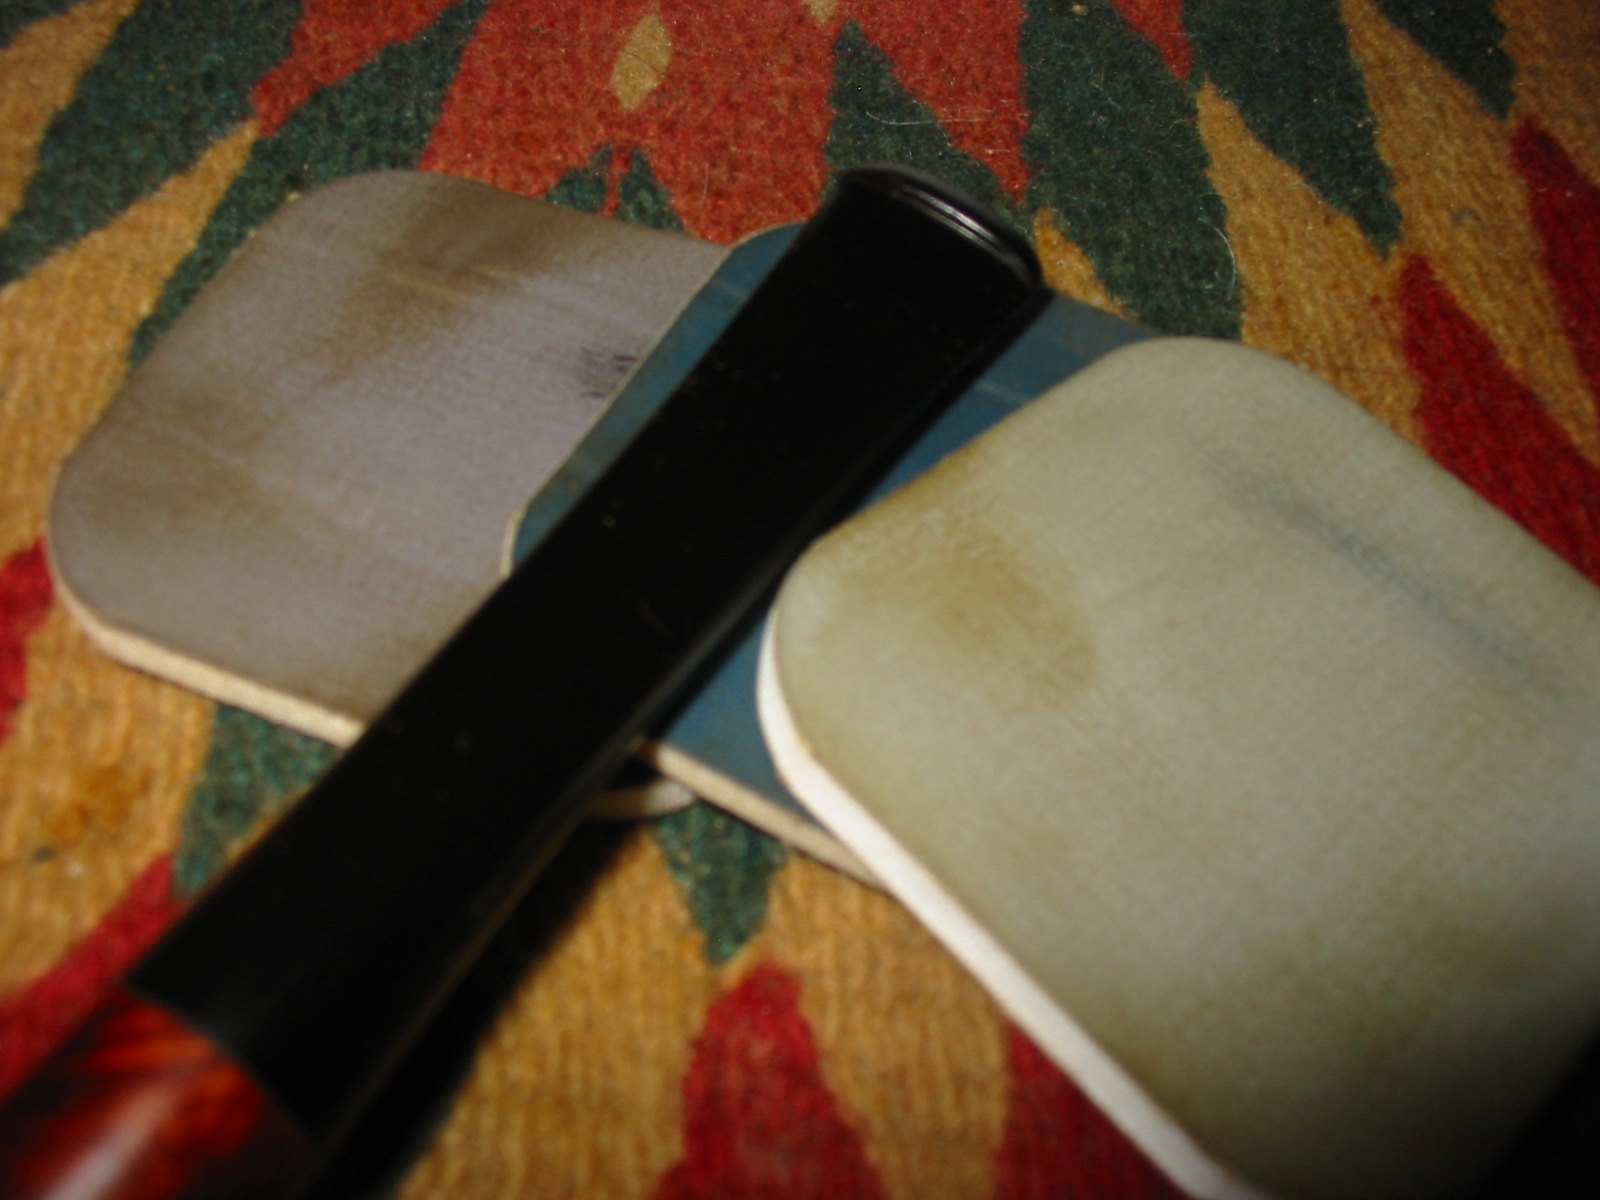
 I still needed to do more sanding on the bowl – particularly in the area of the patch as it looked grainy. I wanted it to be smooth to the touch so I worked on it with the micromesh sanding pads and tried to blend it in more with the stain on the bowl. I also sanded the bowl and stem with the micromesh sanding pads. I wet sanded as usual with 1300-2400 grit pads and 3200-12,000 grit pads. I rubbed the stem down between each three grits of pads with Obsidian Oil.
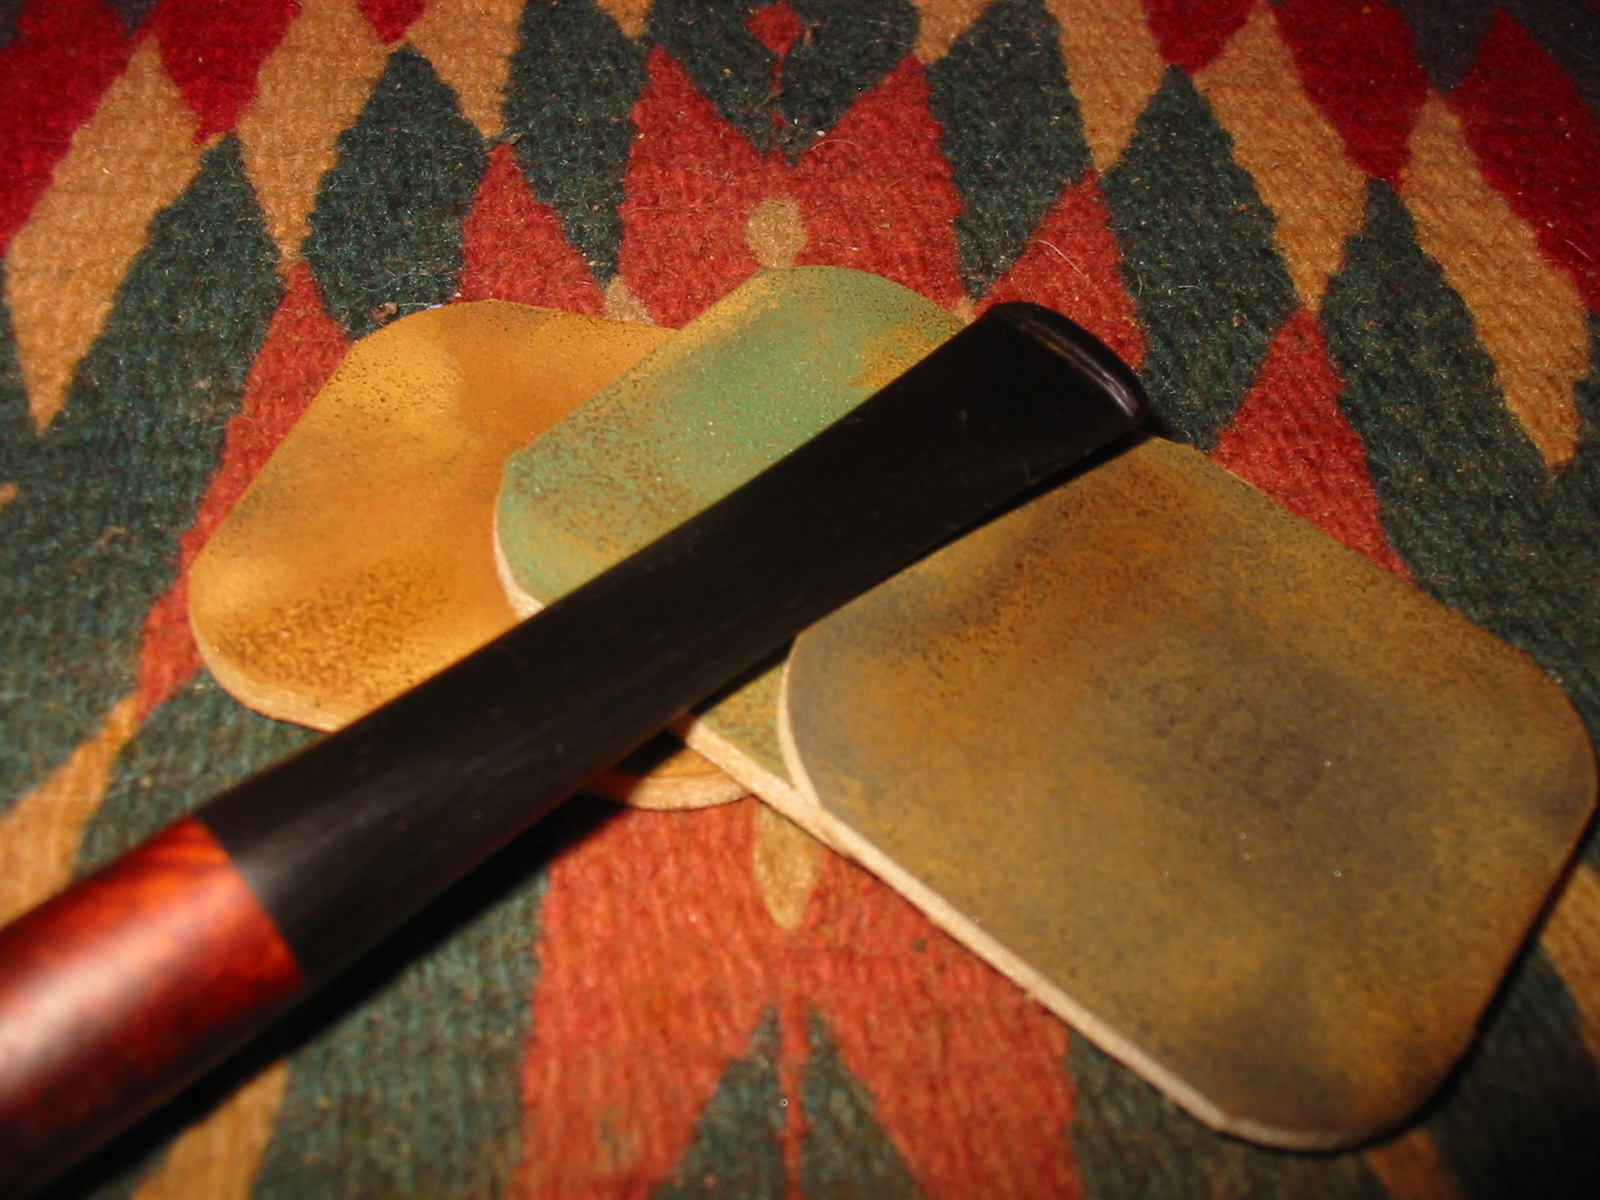
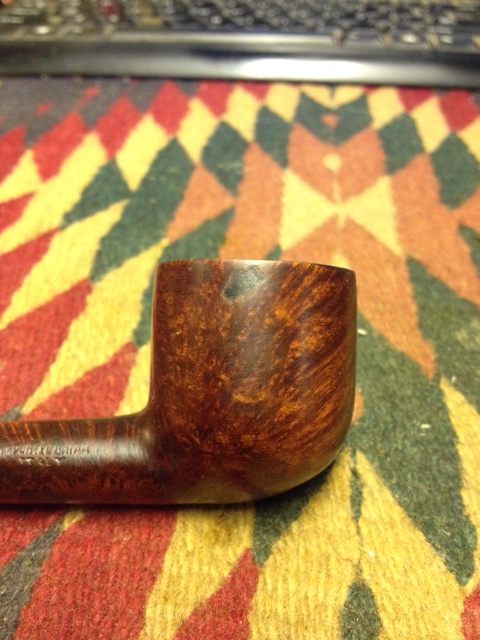
 I decided to use a walnut stain and boiled linseed oil. I wiped it on the bowl and then wiped it down. I used a cork and candle stand to hold the bowl while I let the linseed oil dry. I put the stem back on the bowl and then buffed both the bowl and stem with White Diamond and gave them multiple coats of carnauba wax. I buffed with a soft flannel buffing pad between coats of wax to give it a deep shine. The finished pipe is shown in the photos below. It is ready to load and smoke an inaugural bowl of tobacco by whoever owns it next.