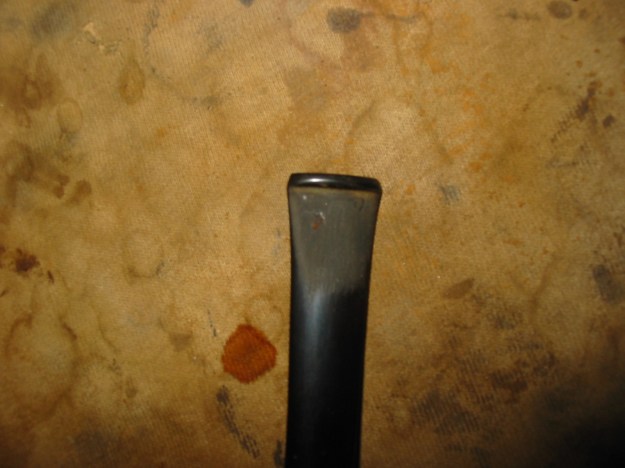
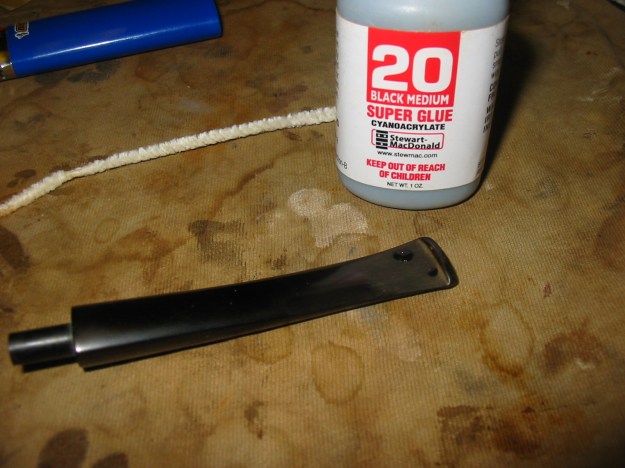
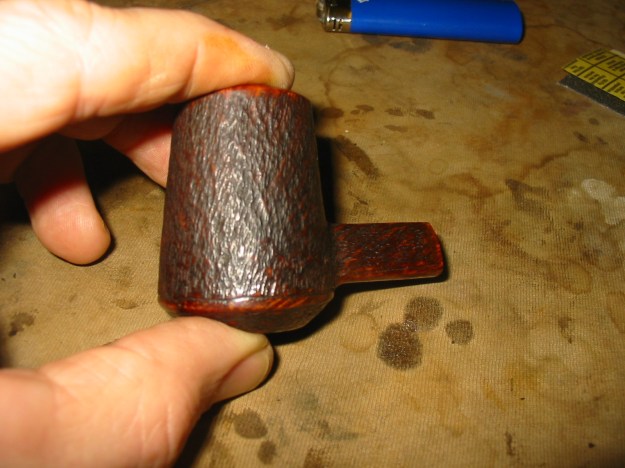
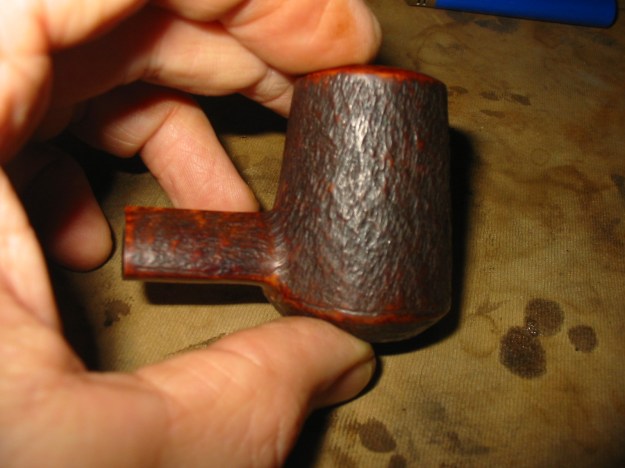
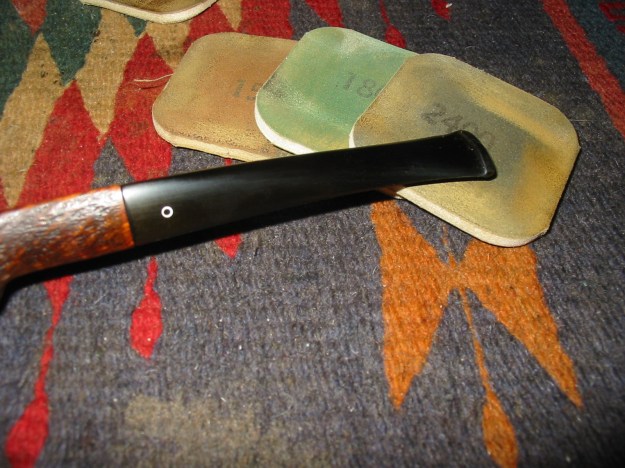
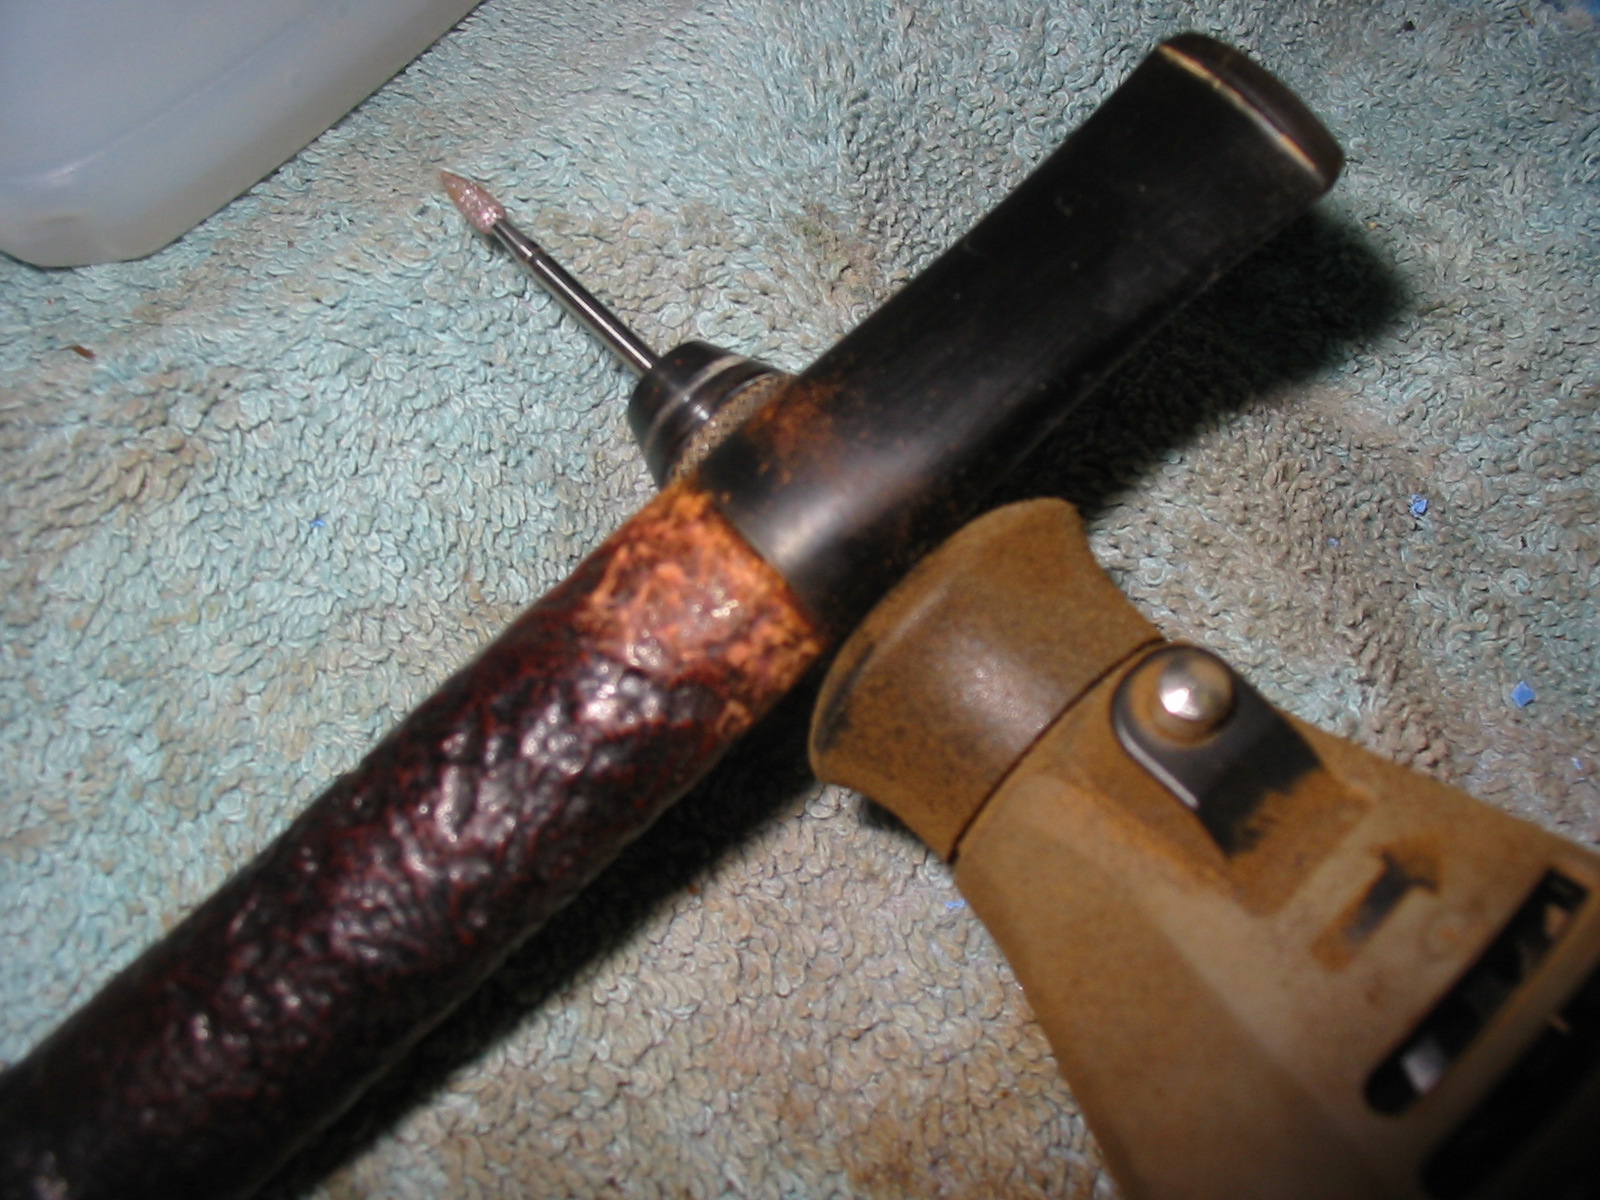
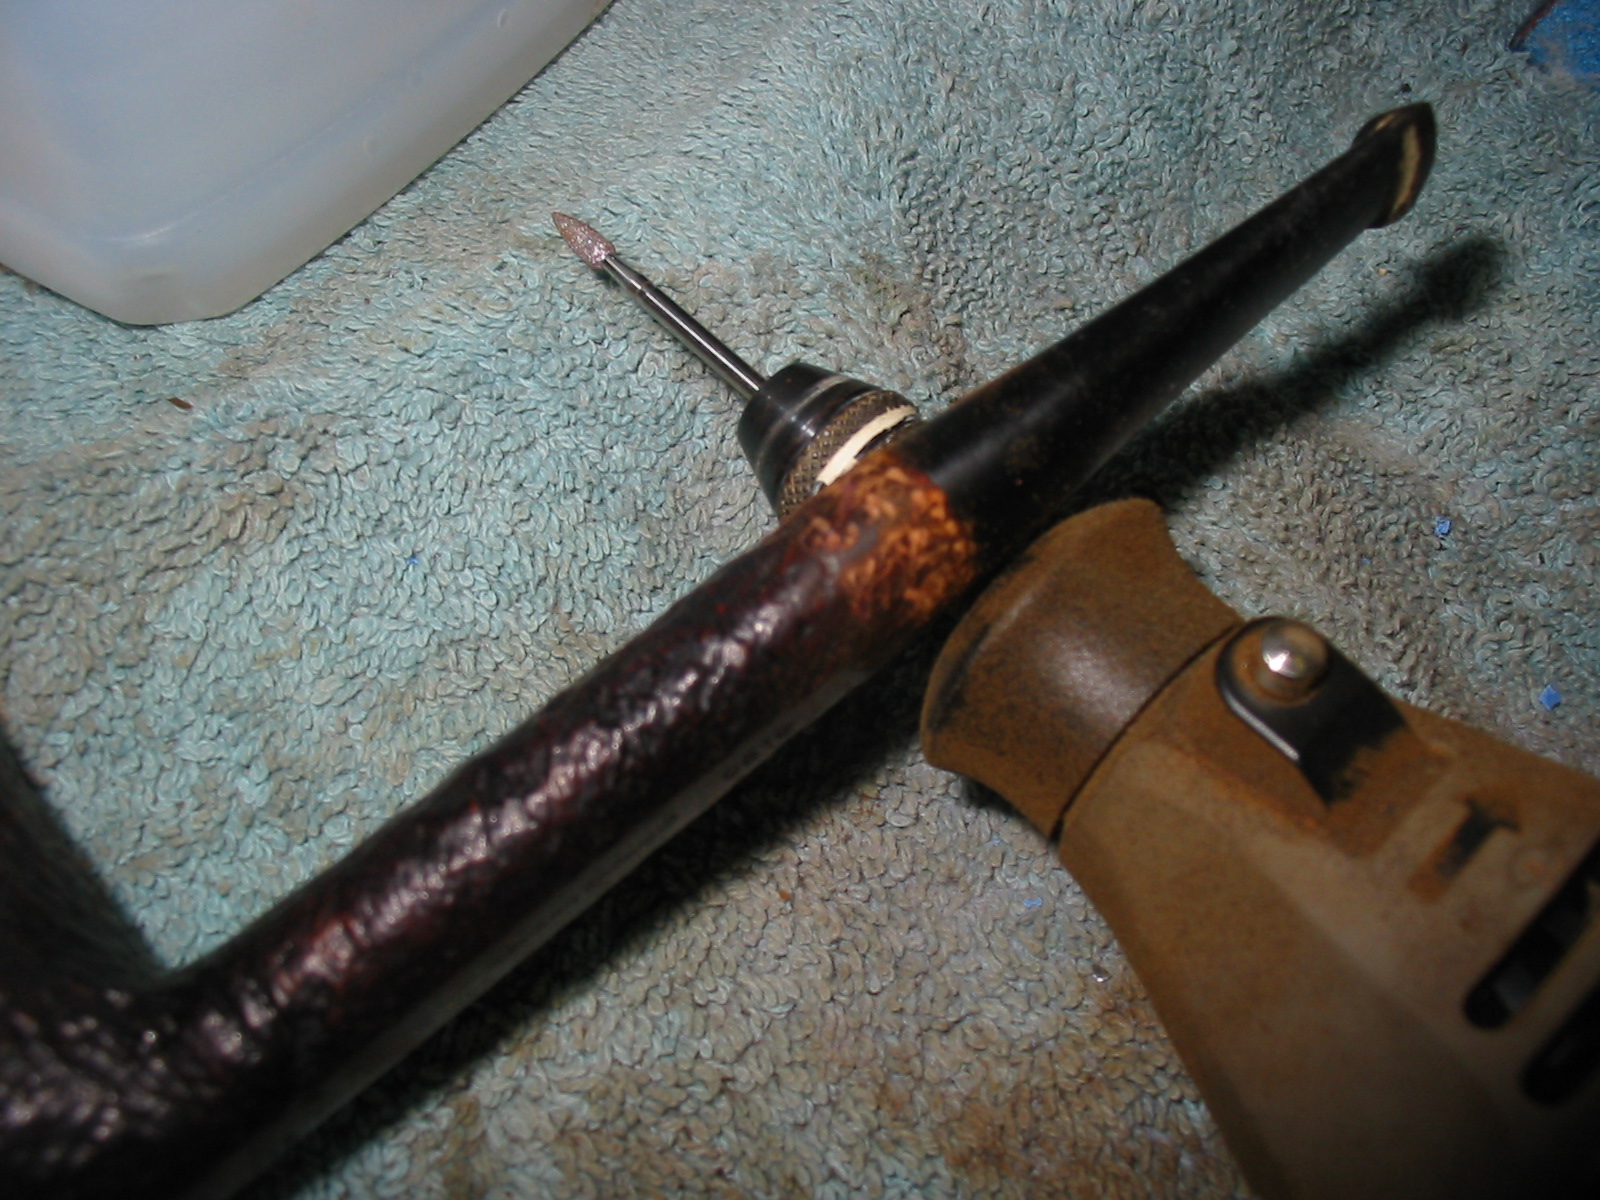
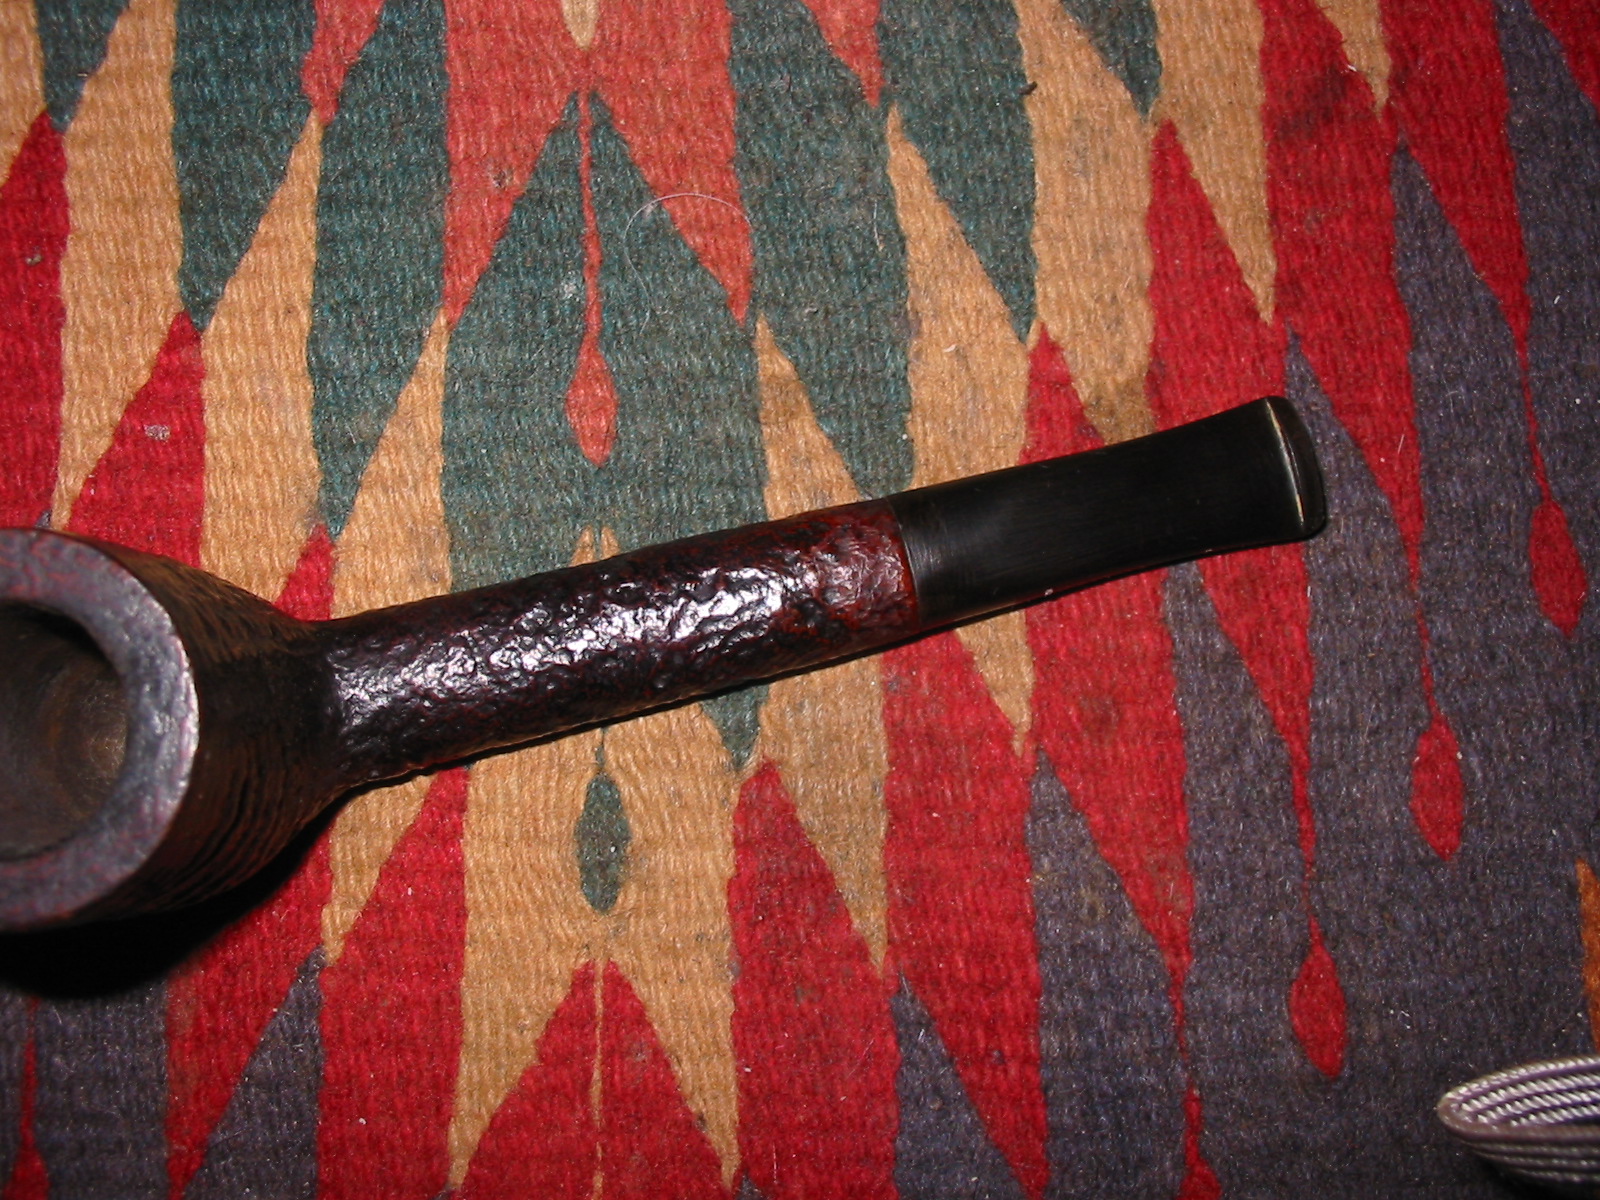
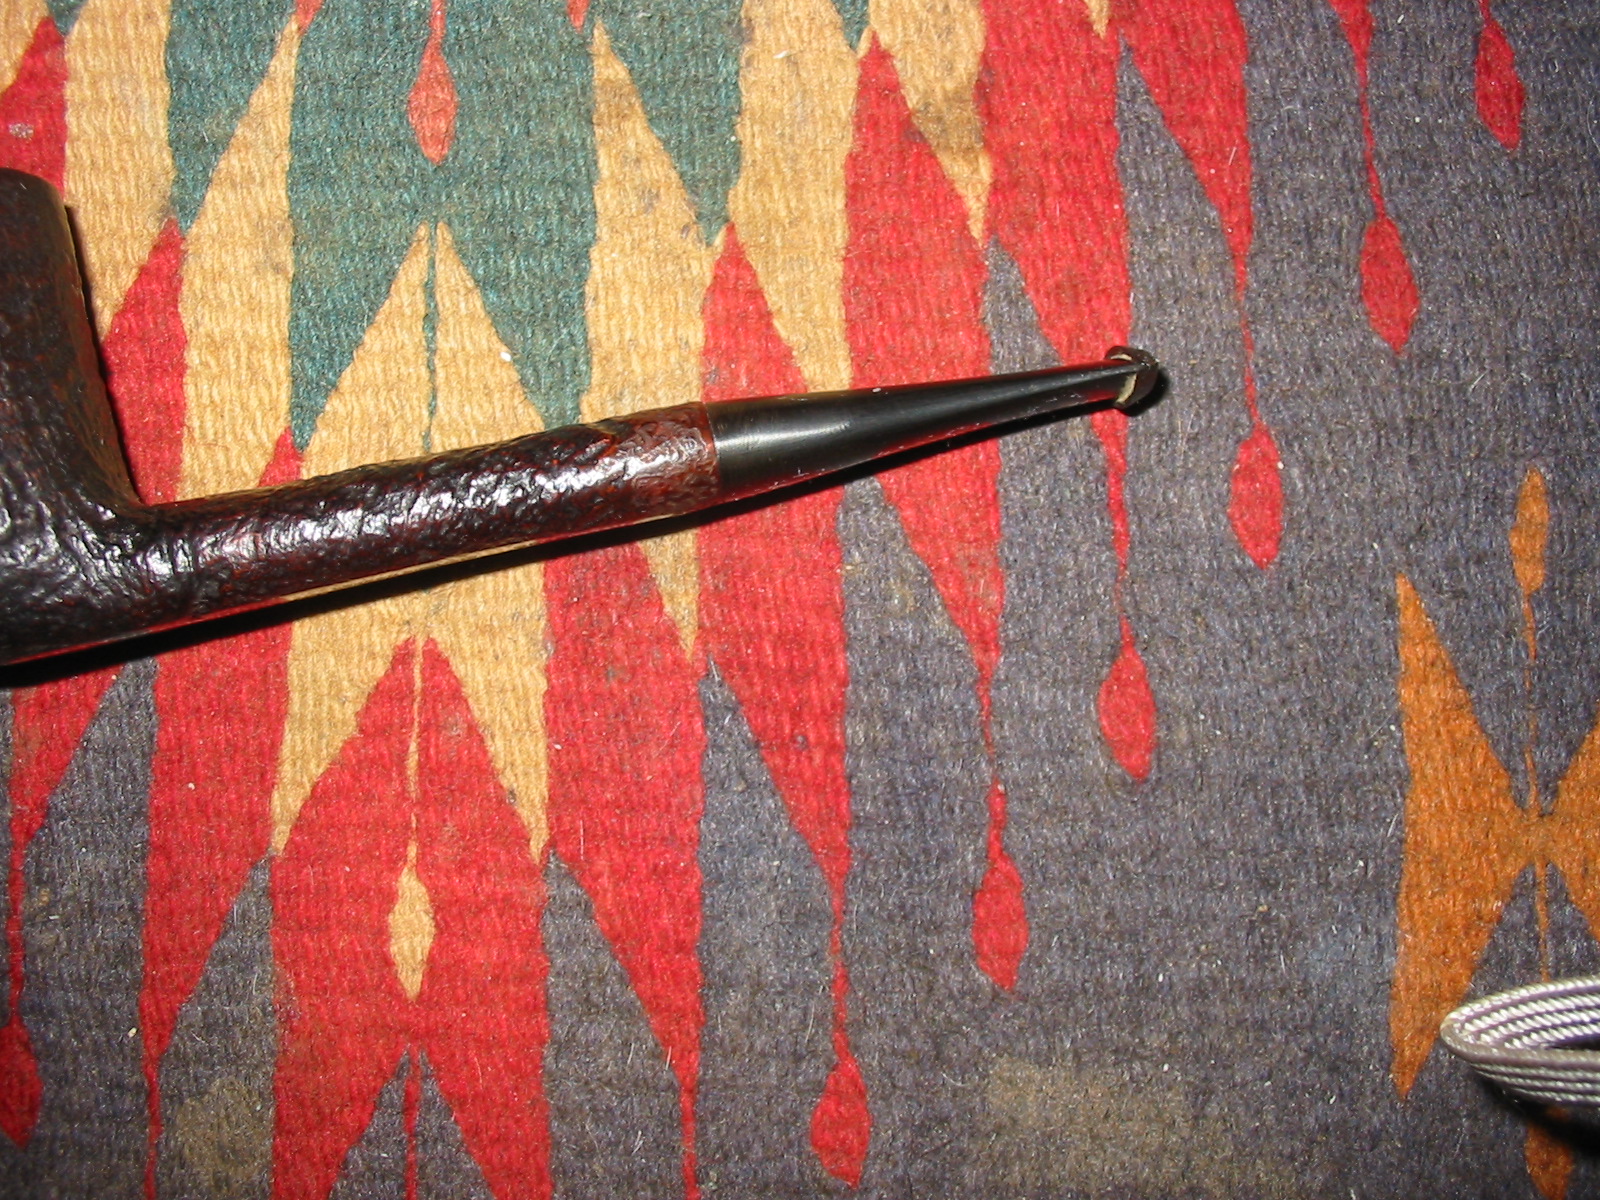
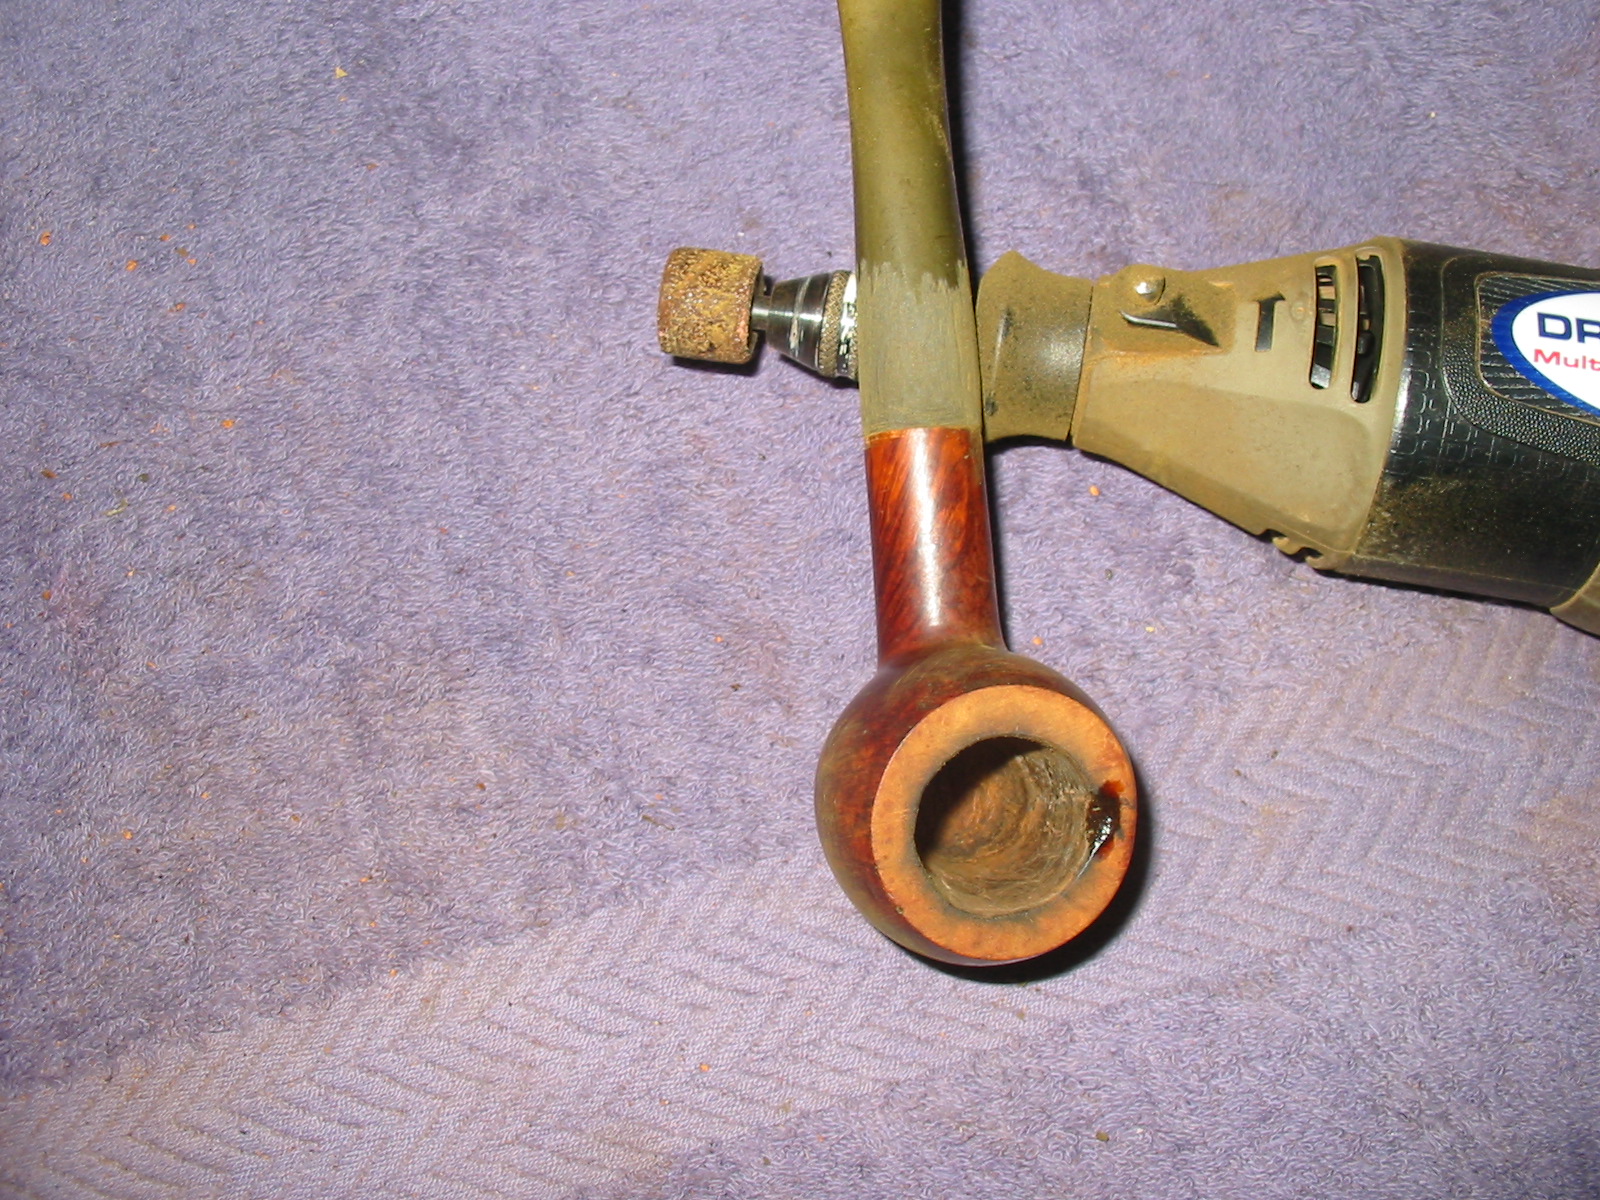
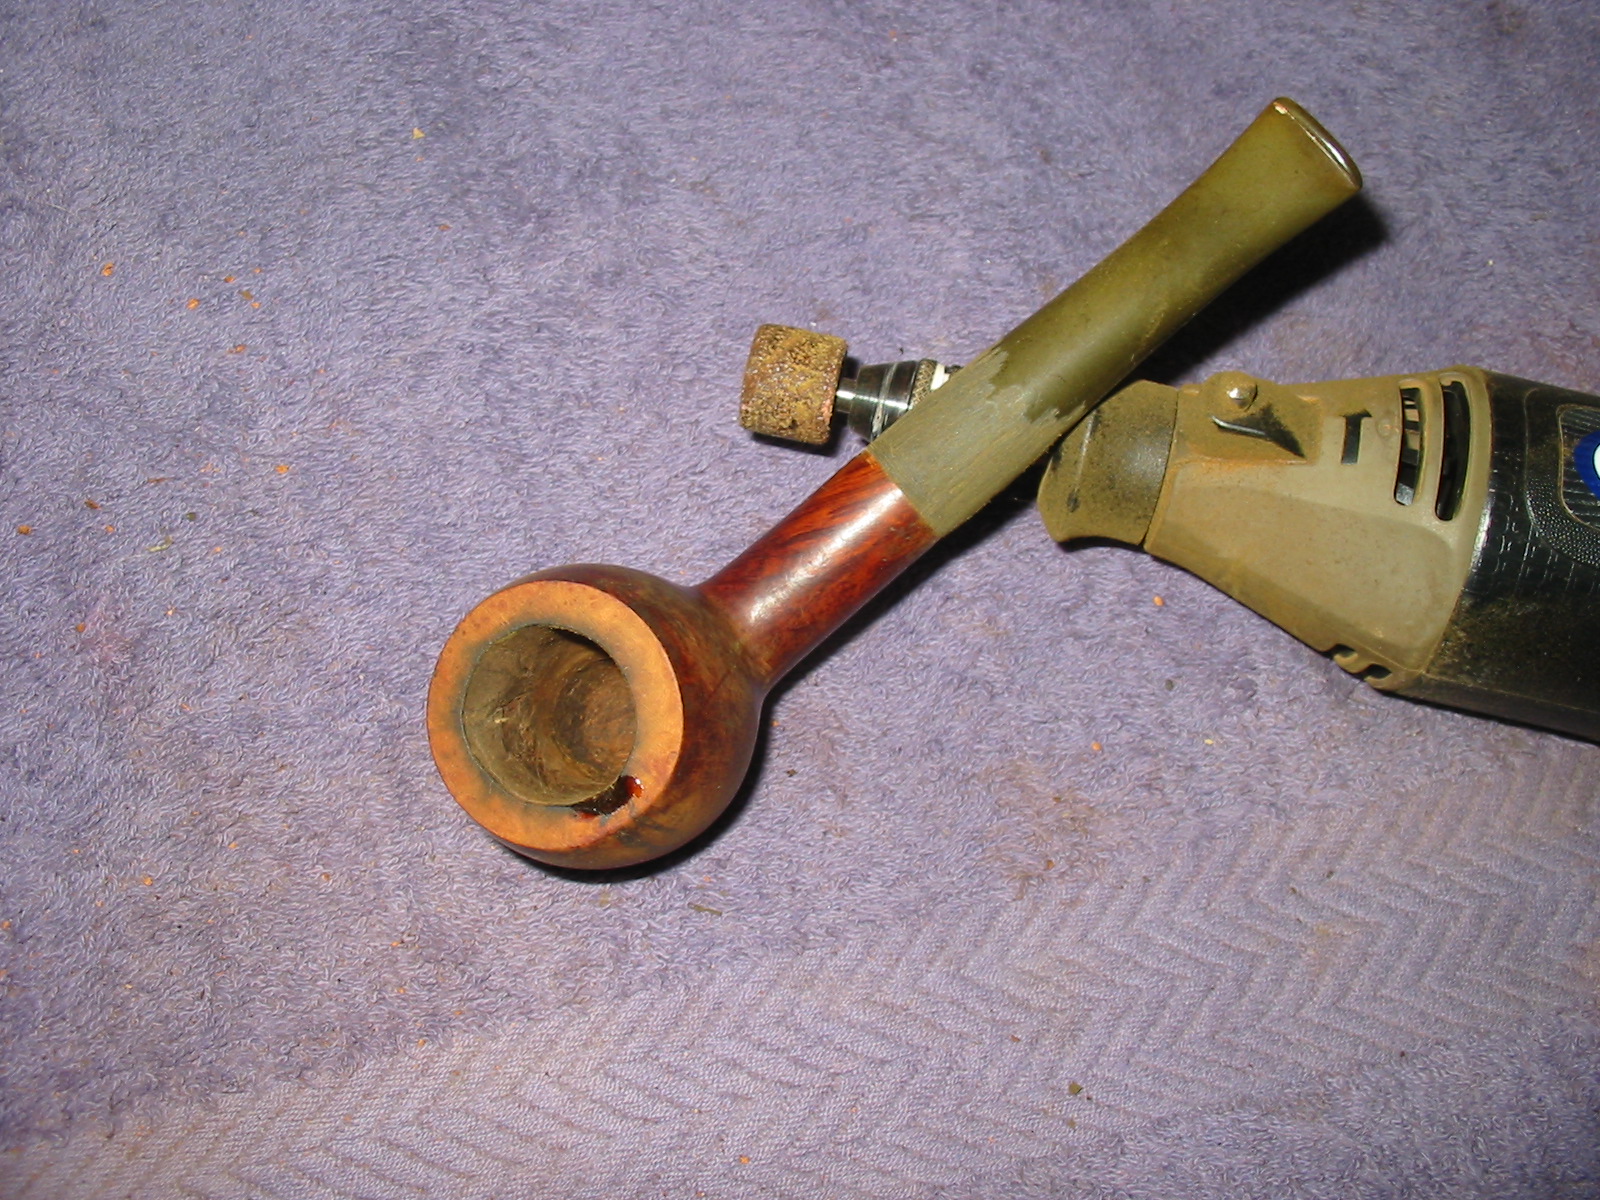
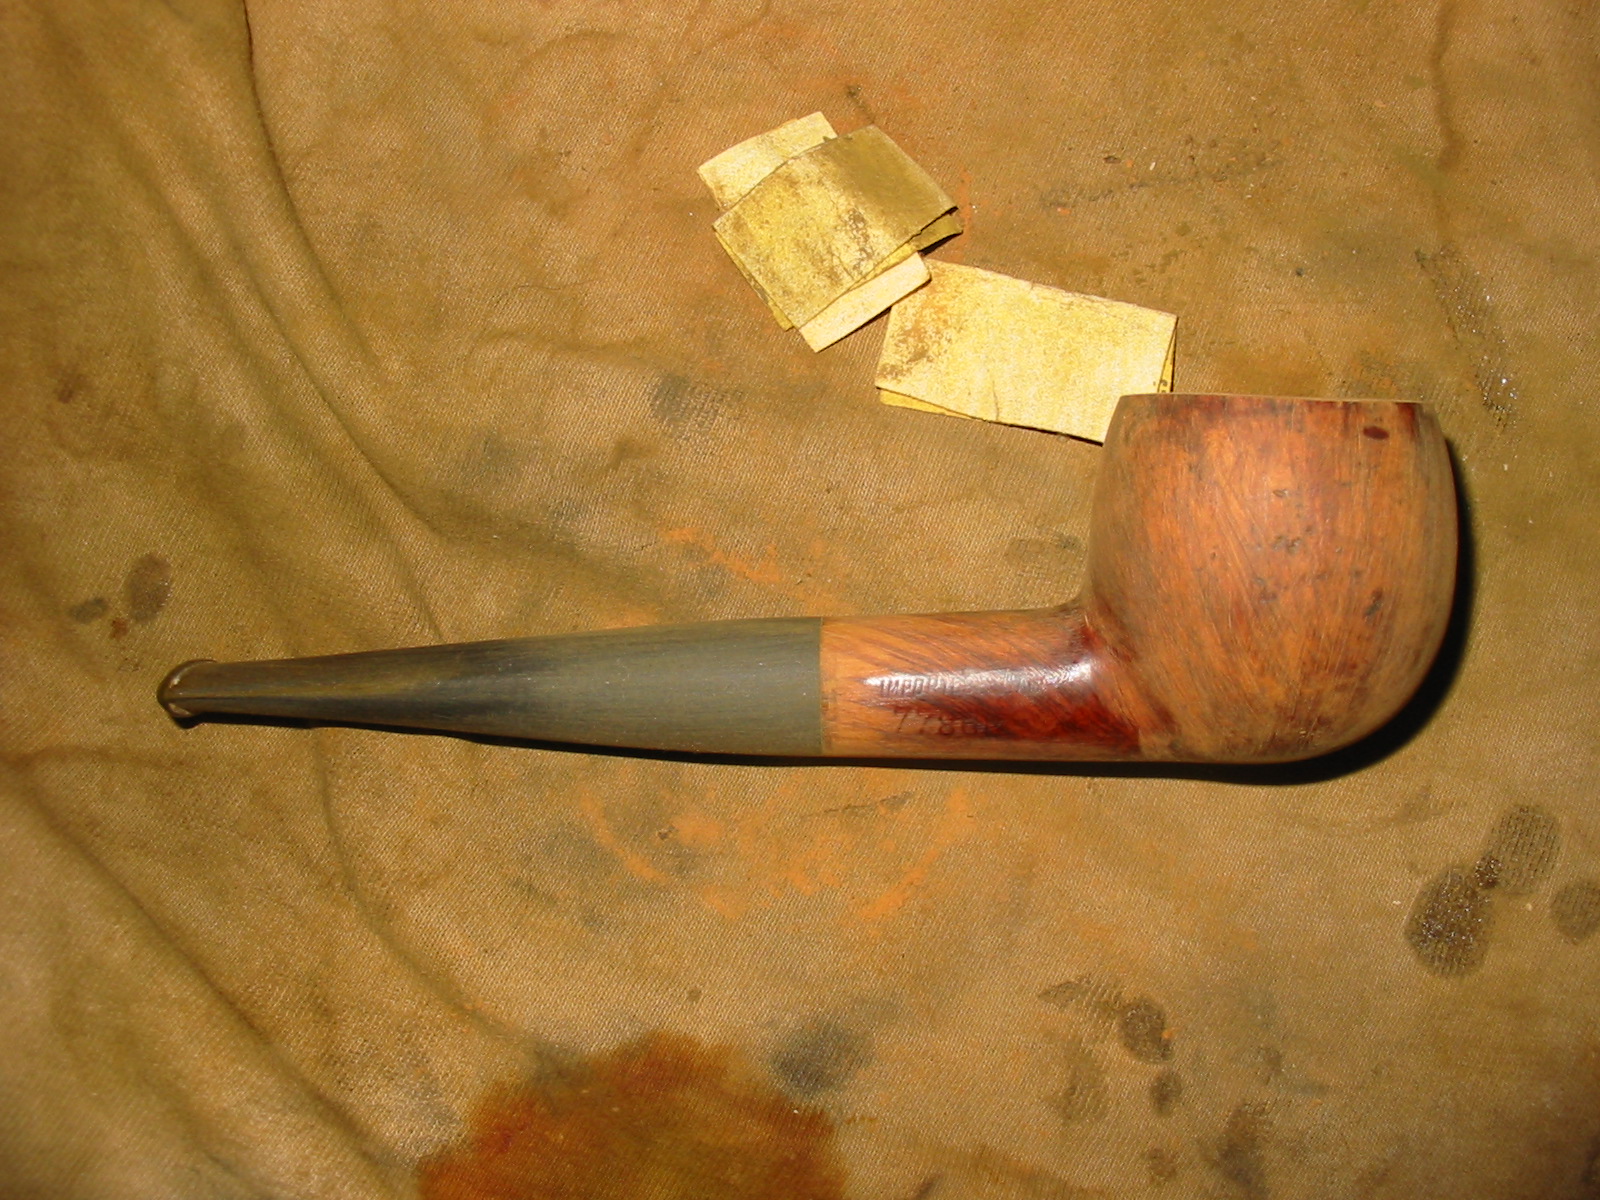
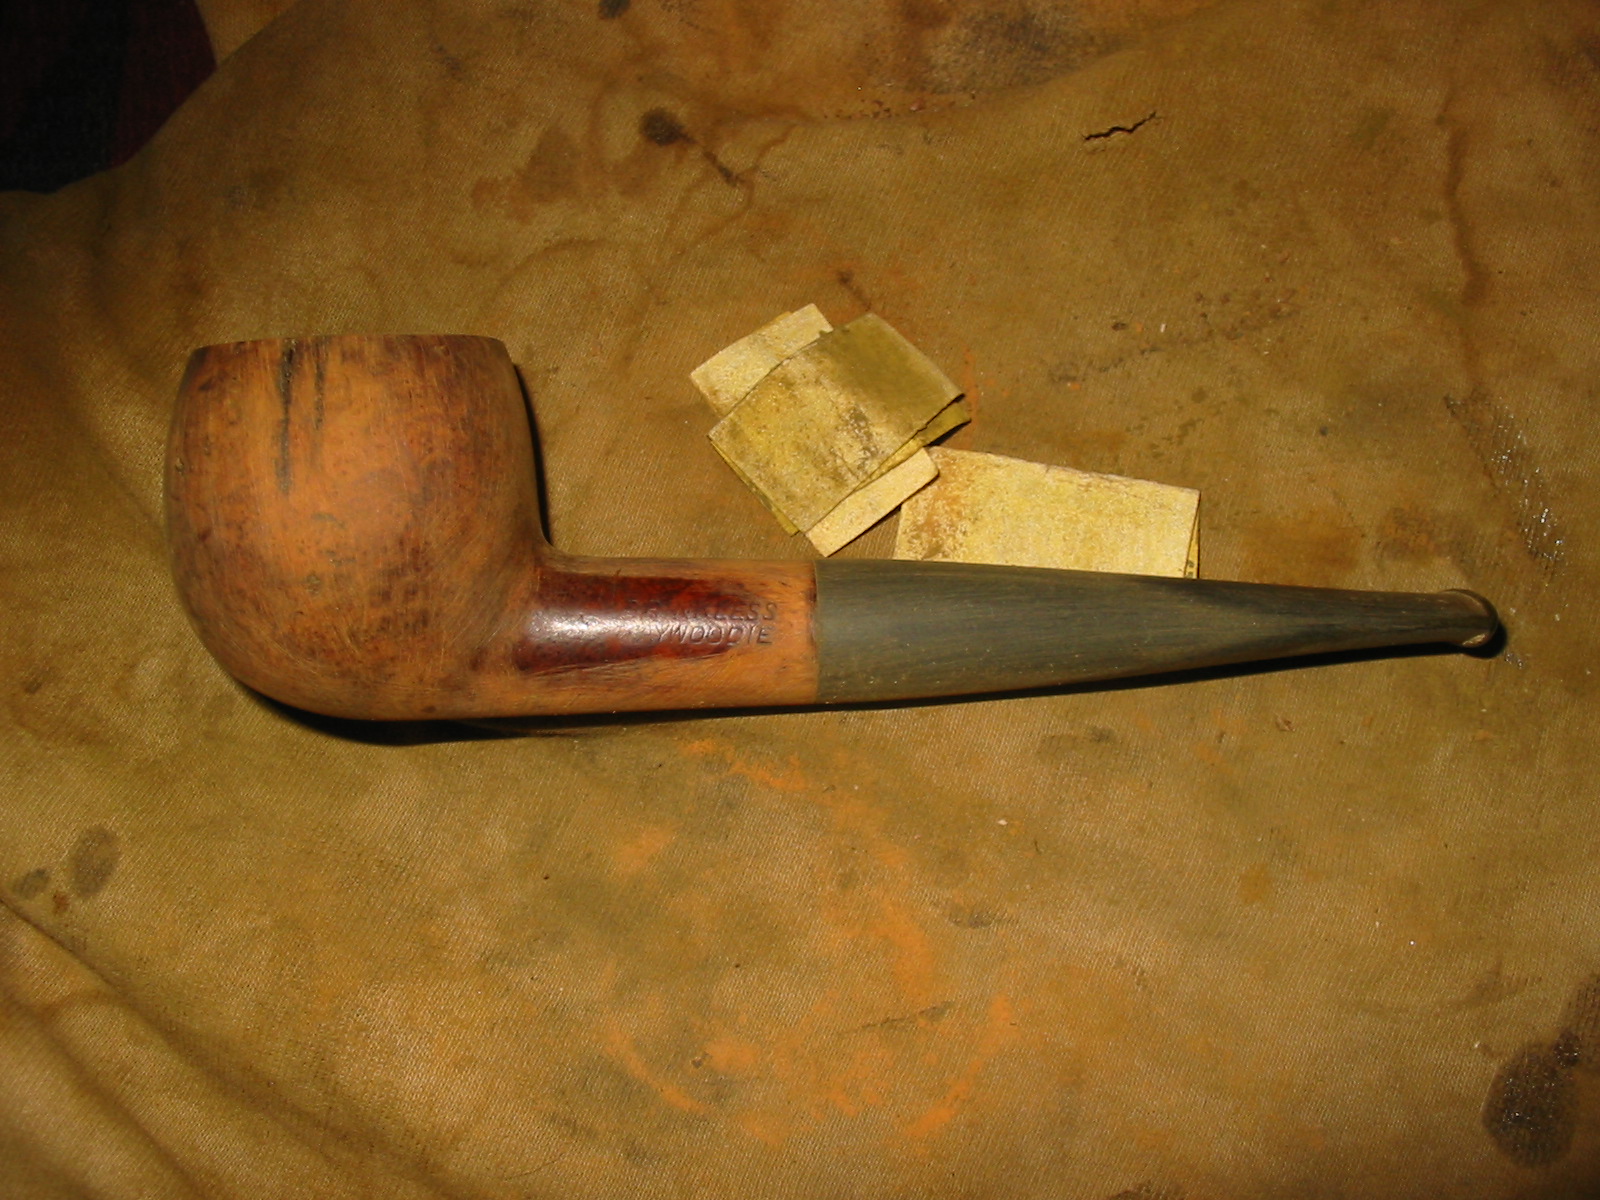
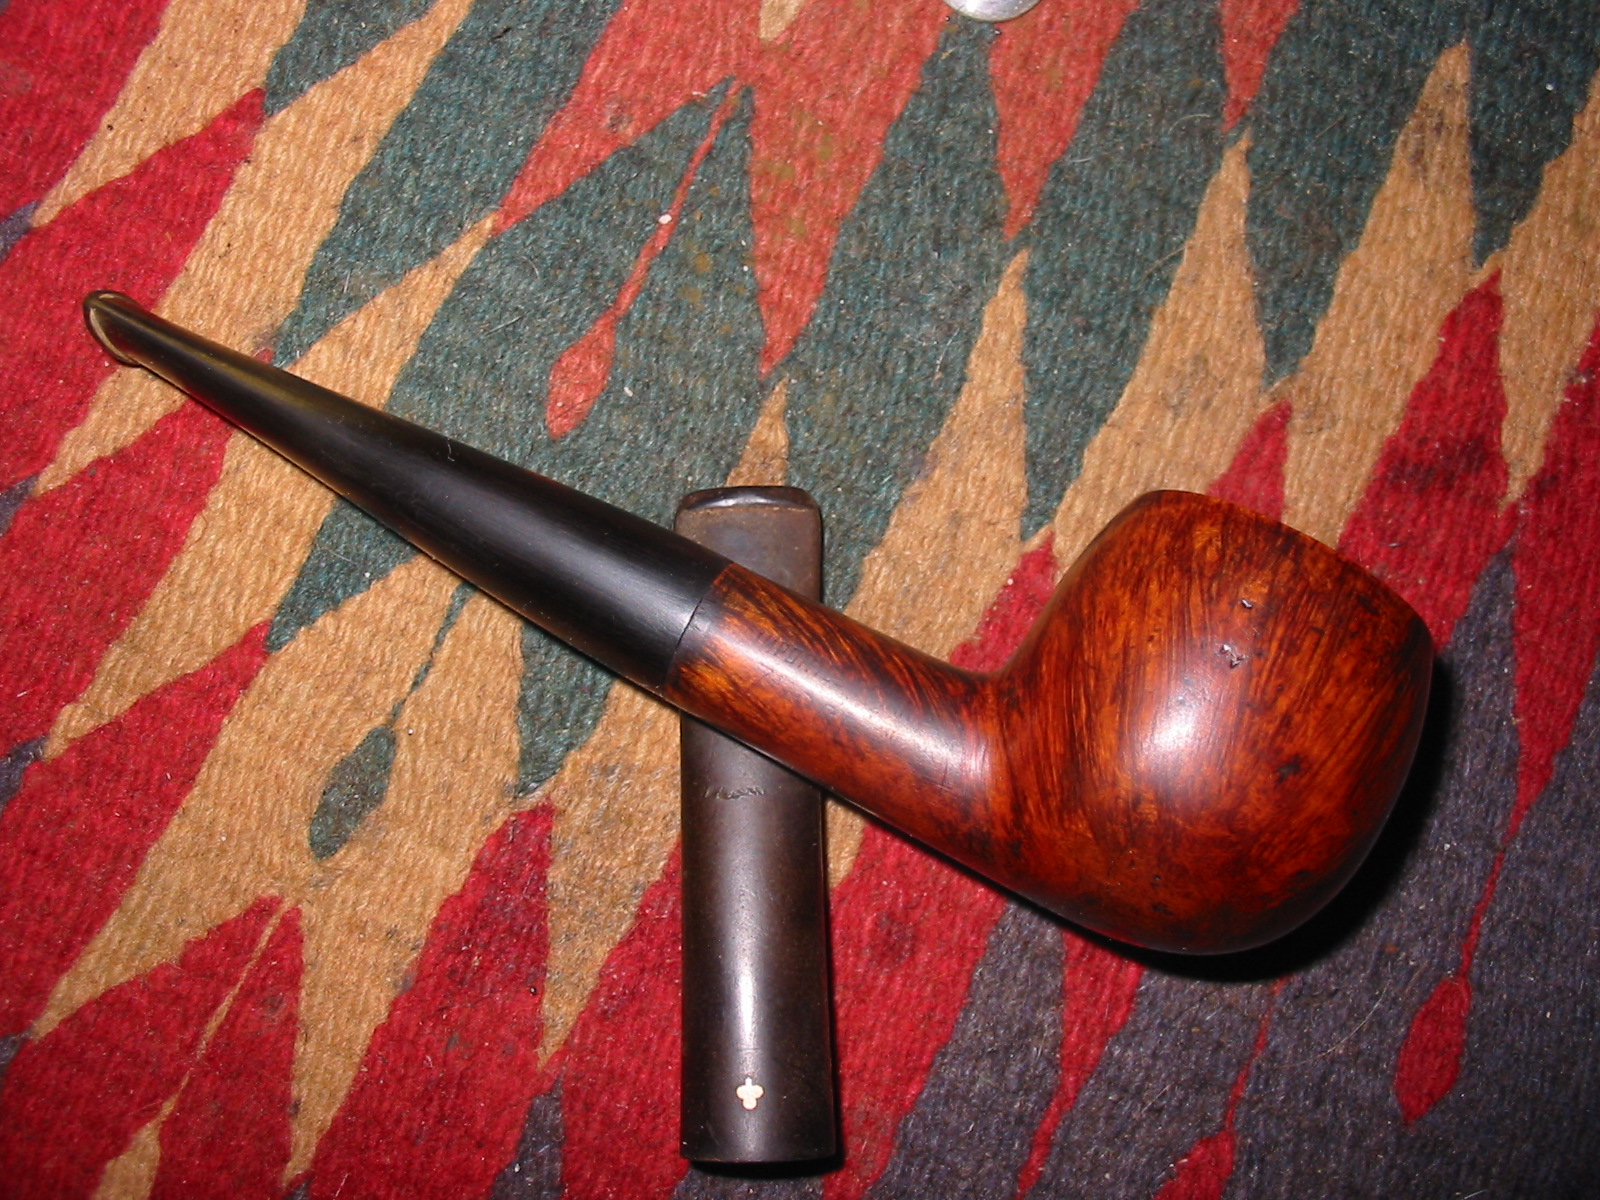
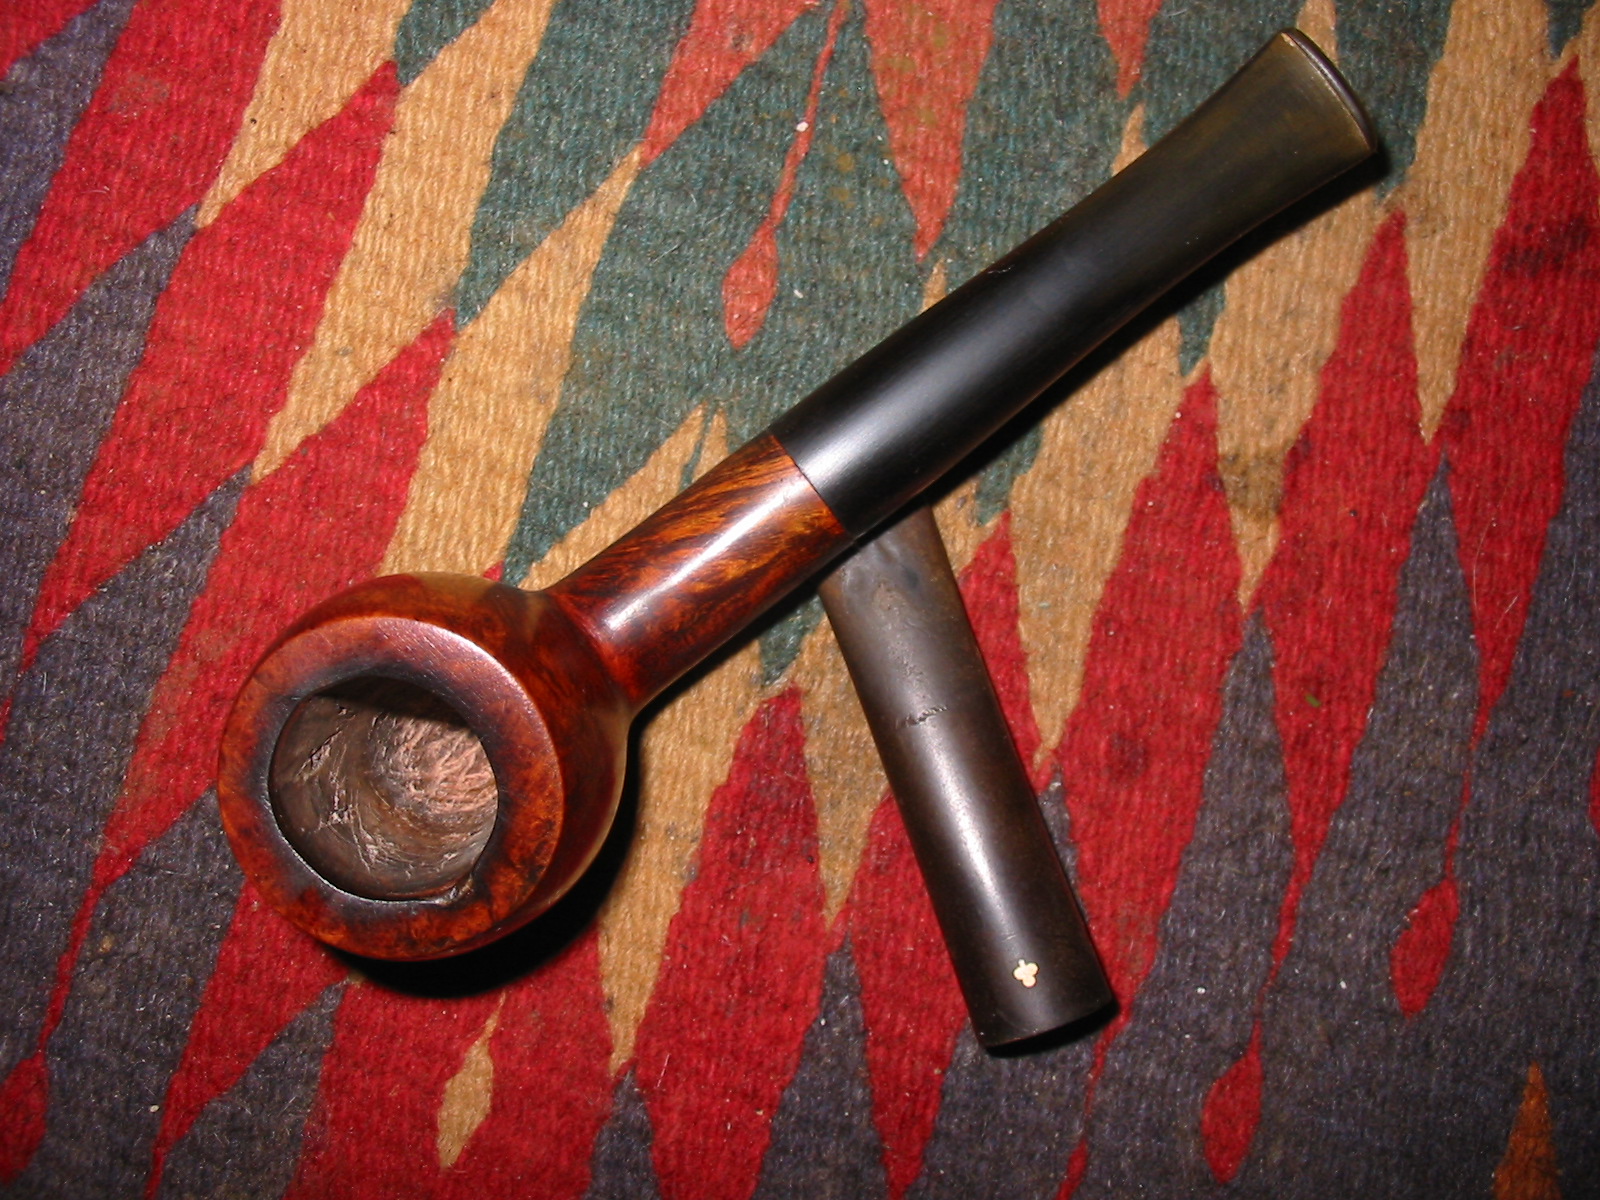
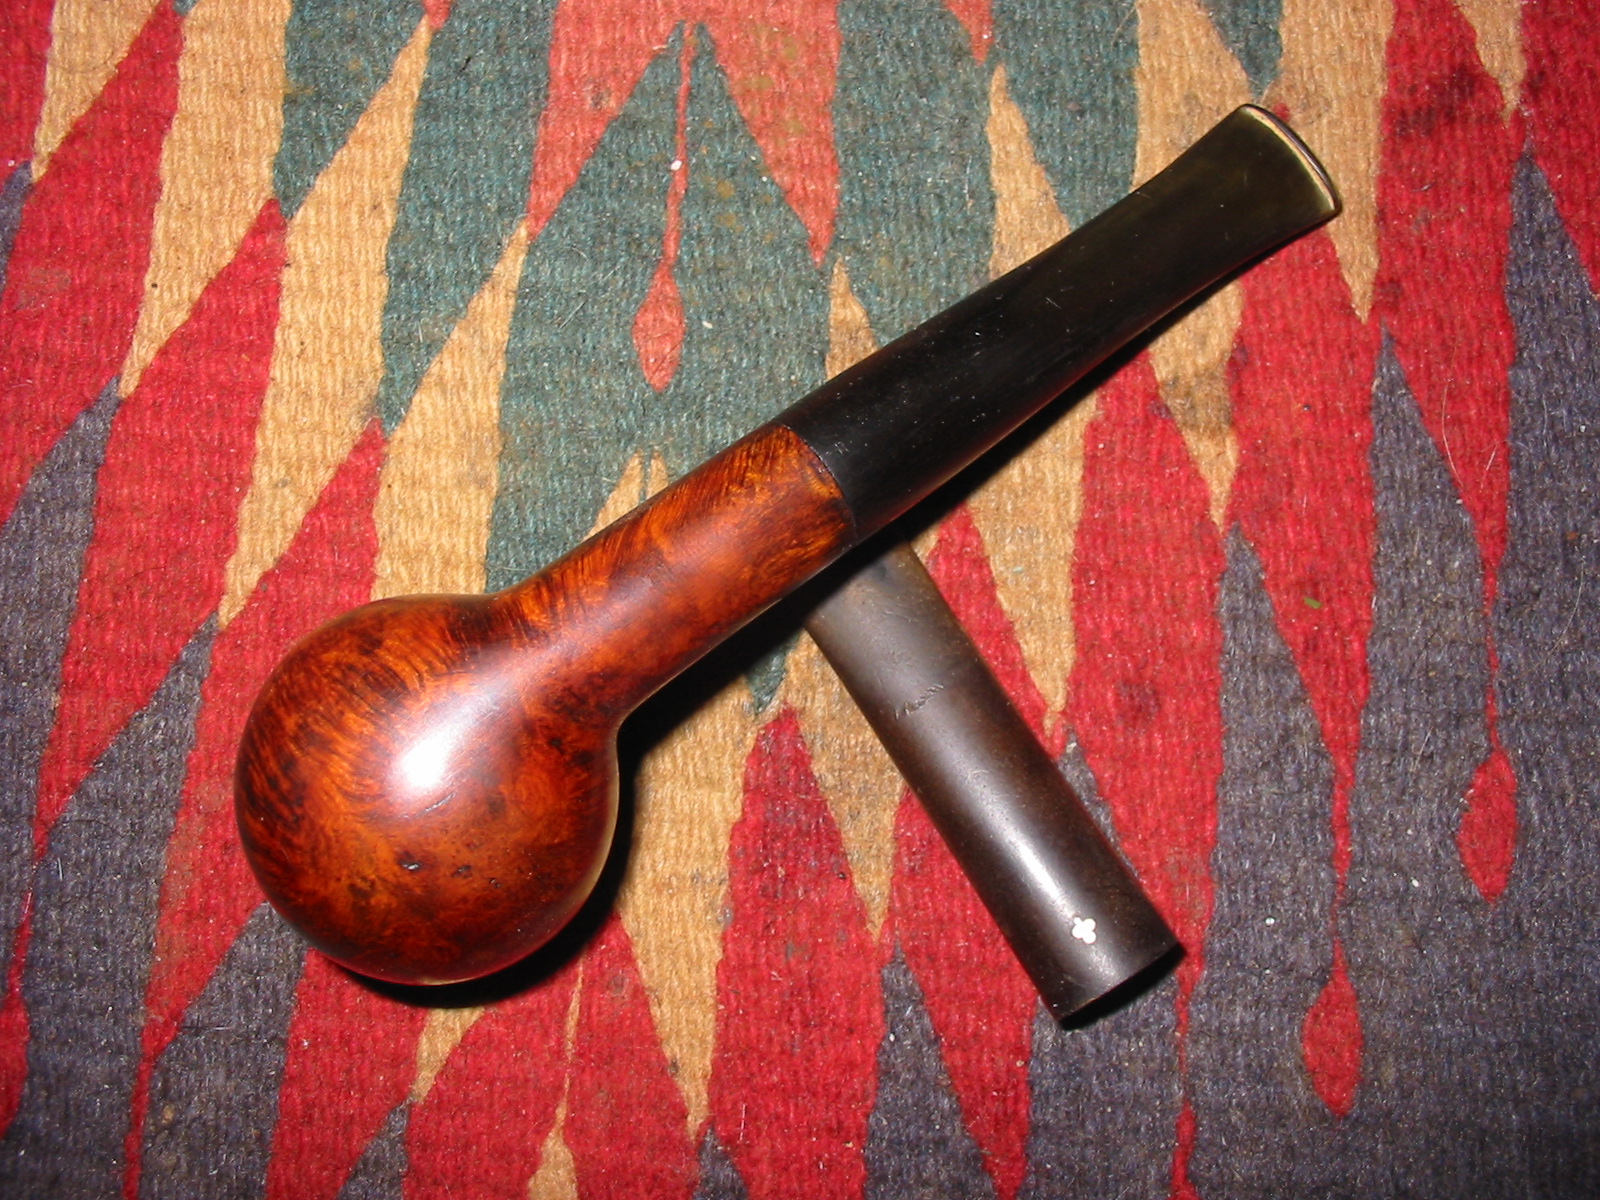
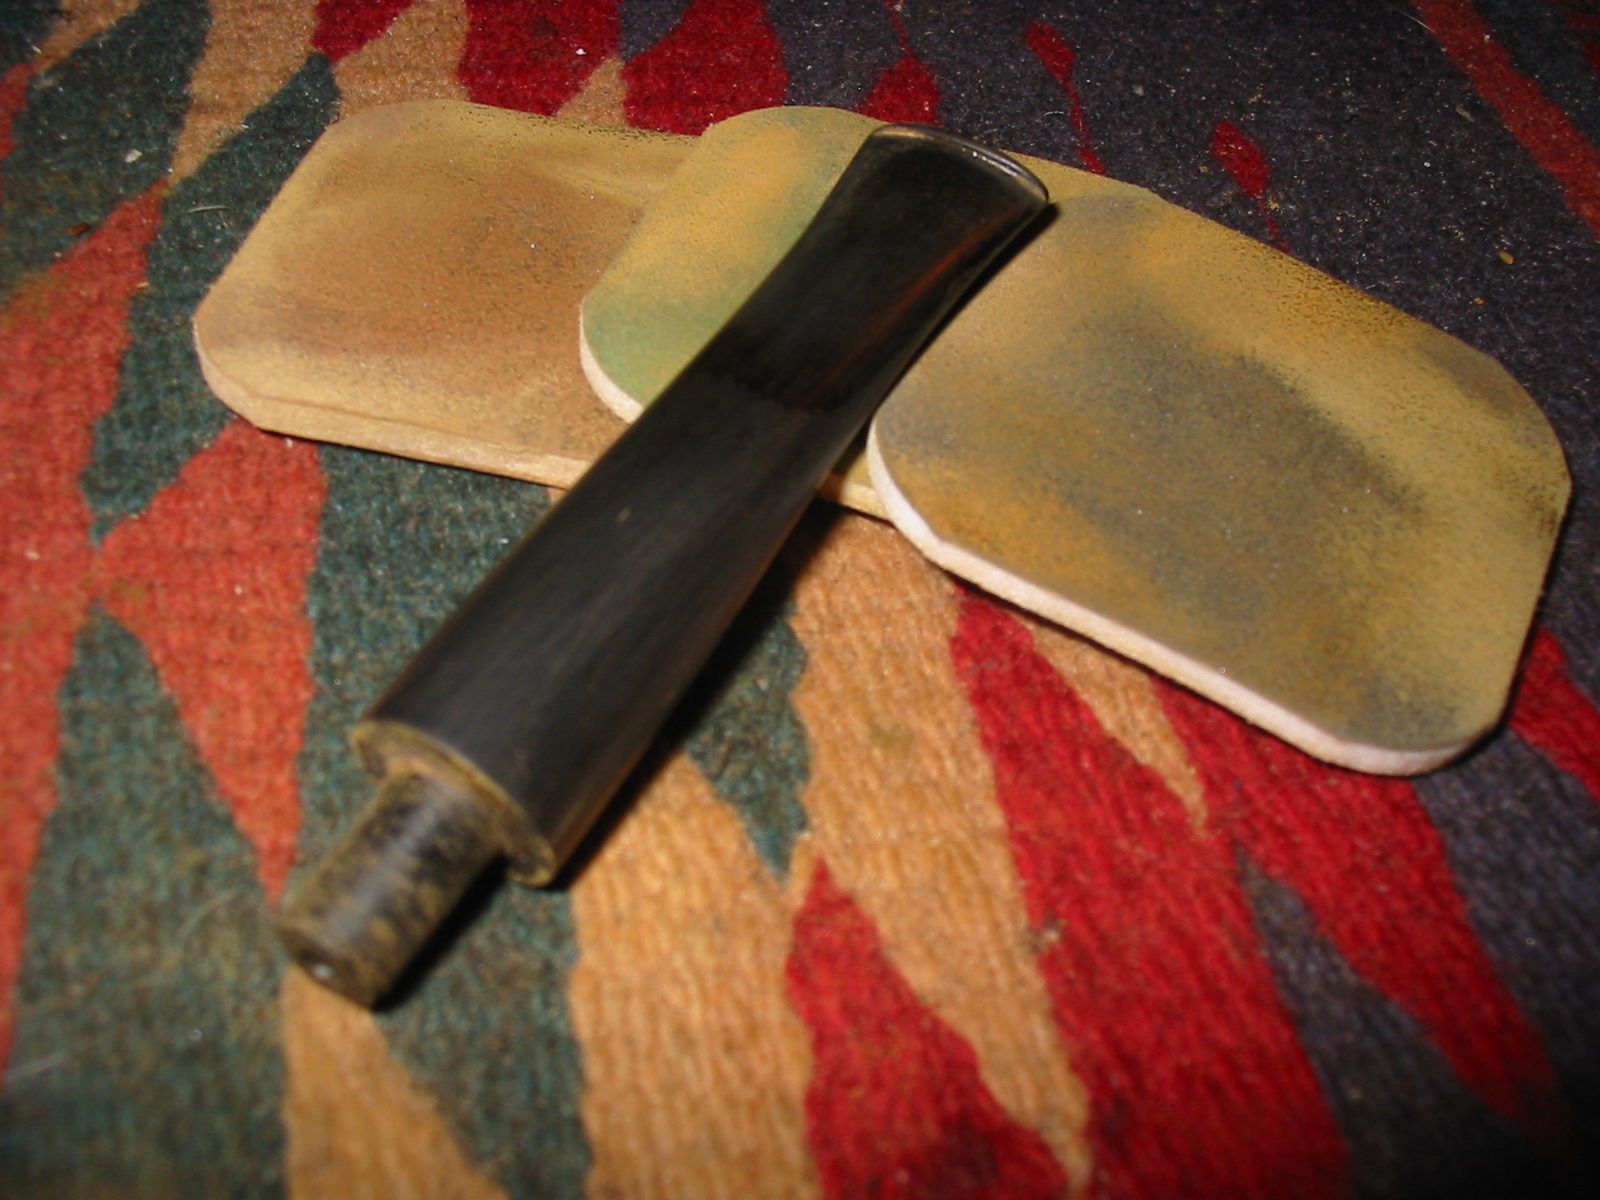
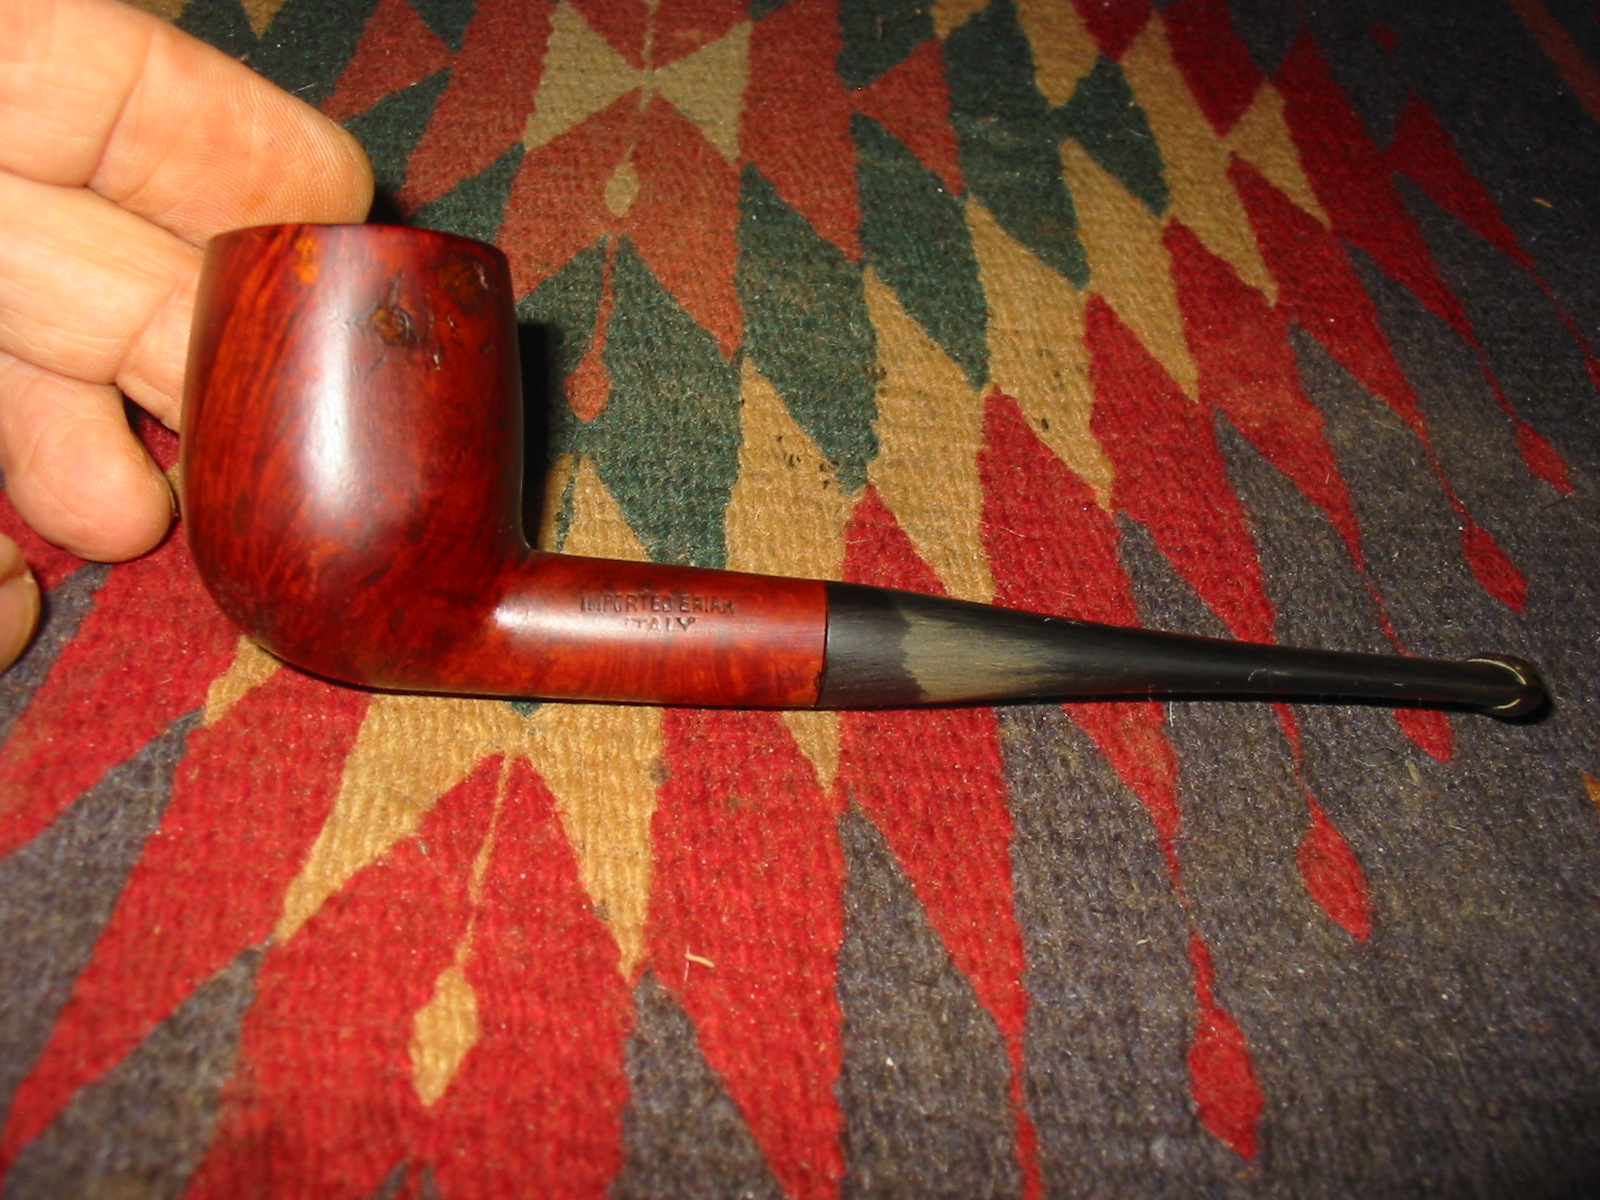
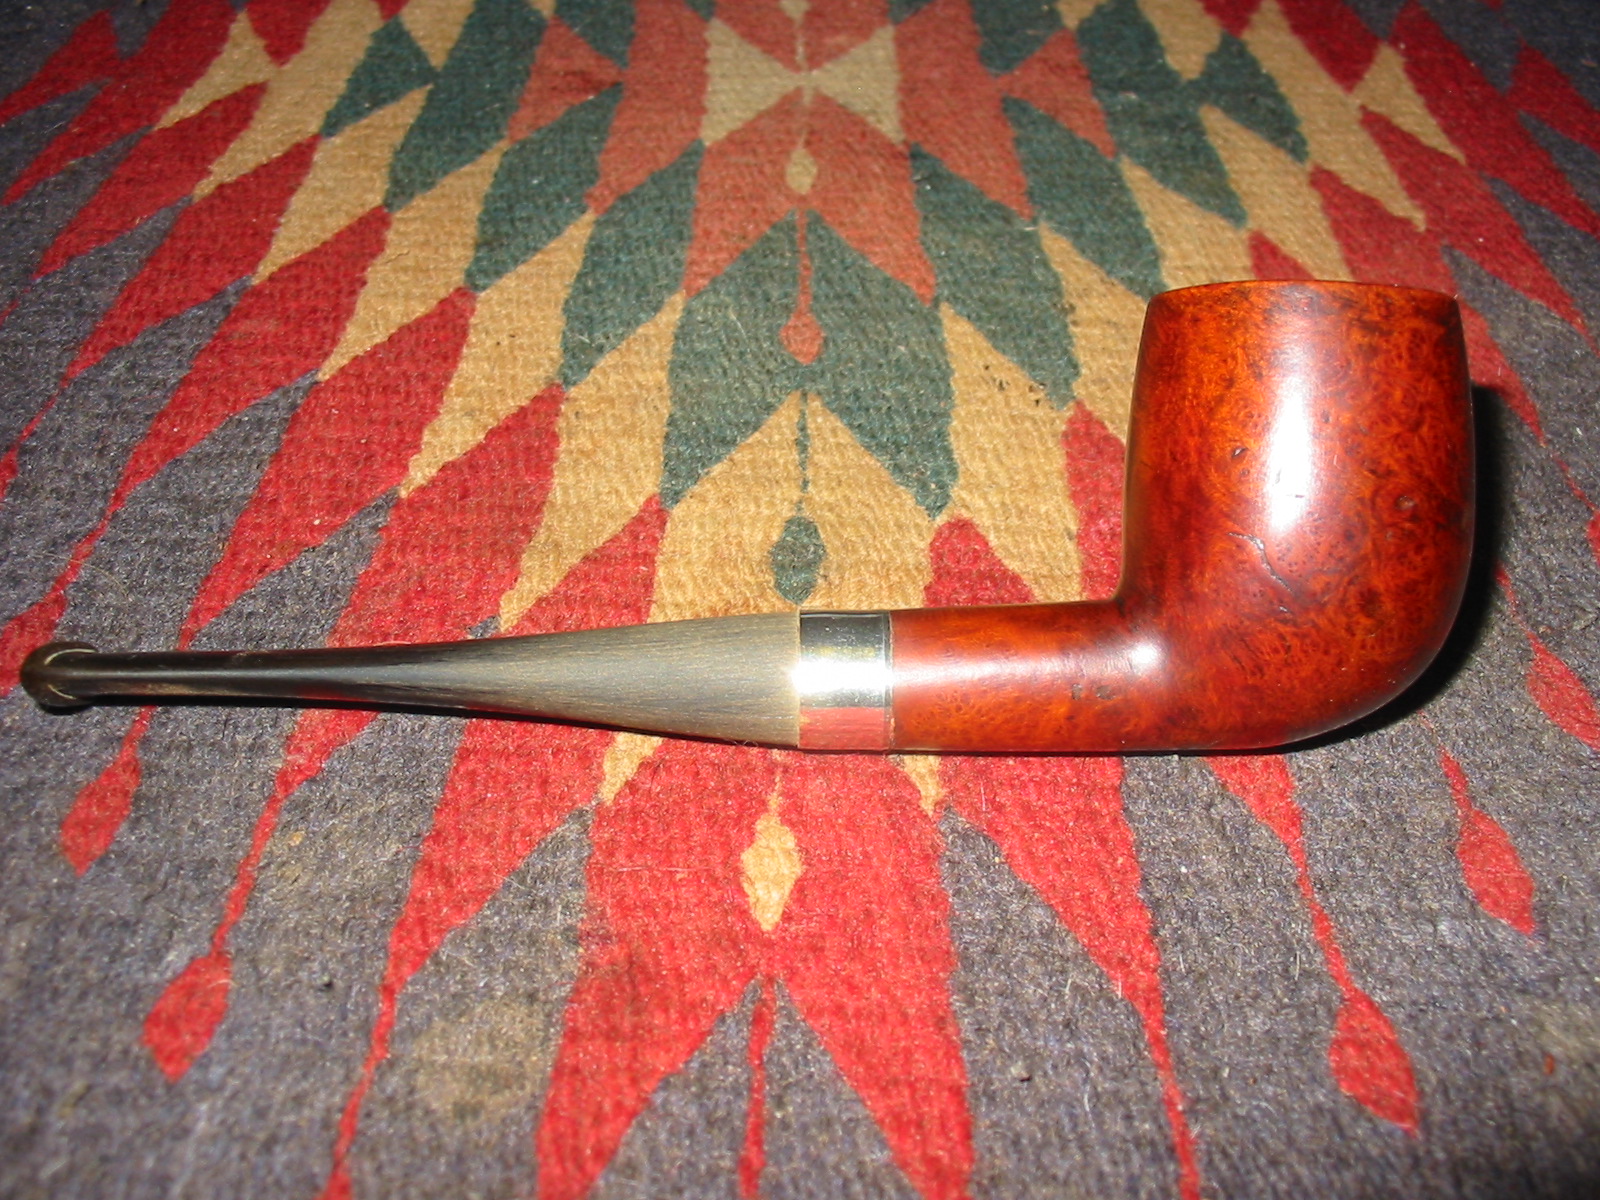
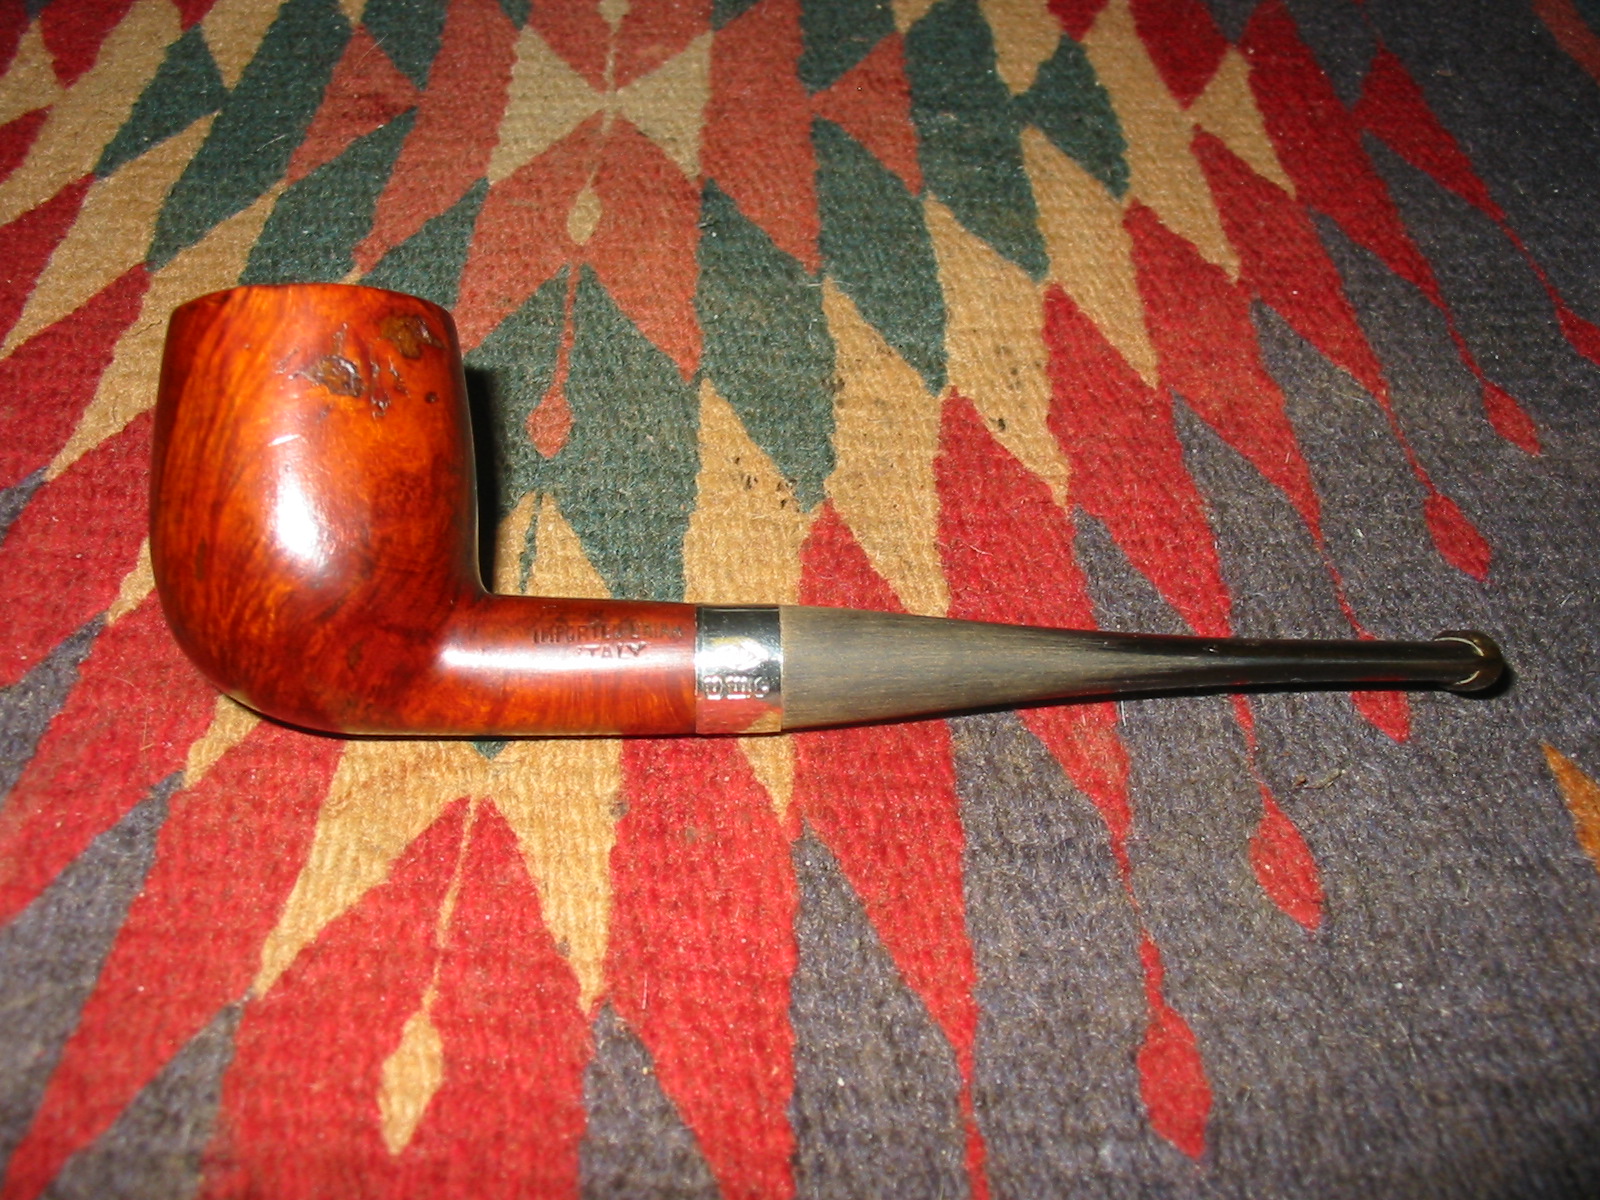
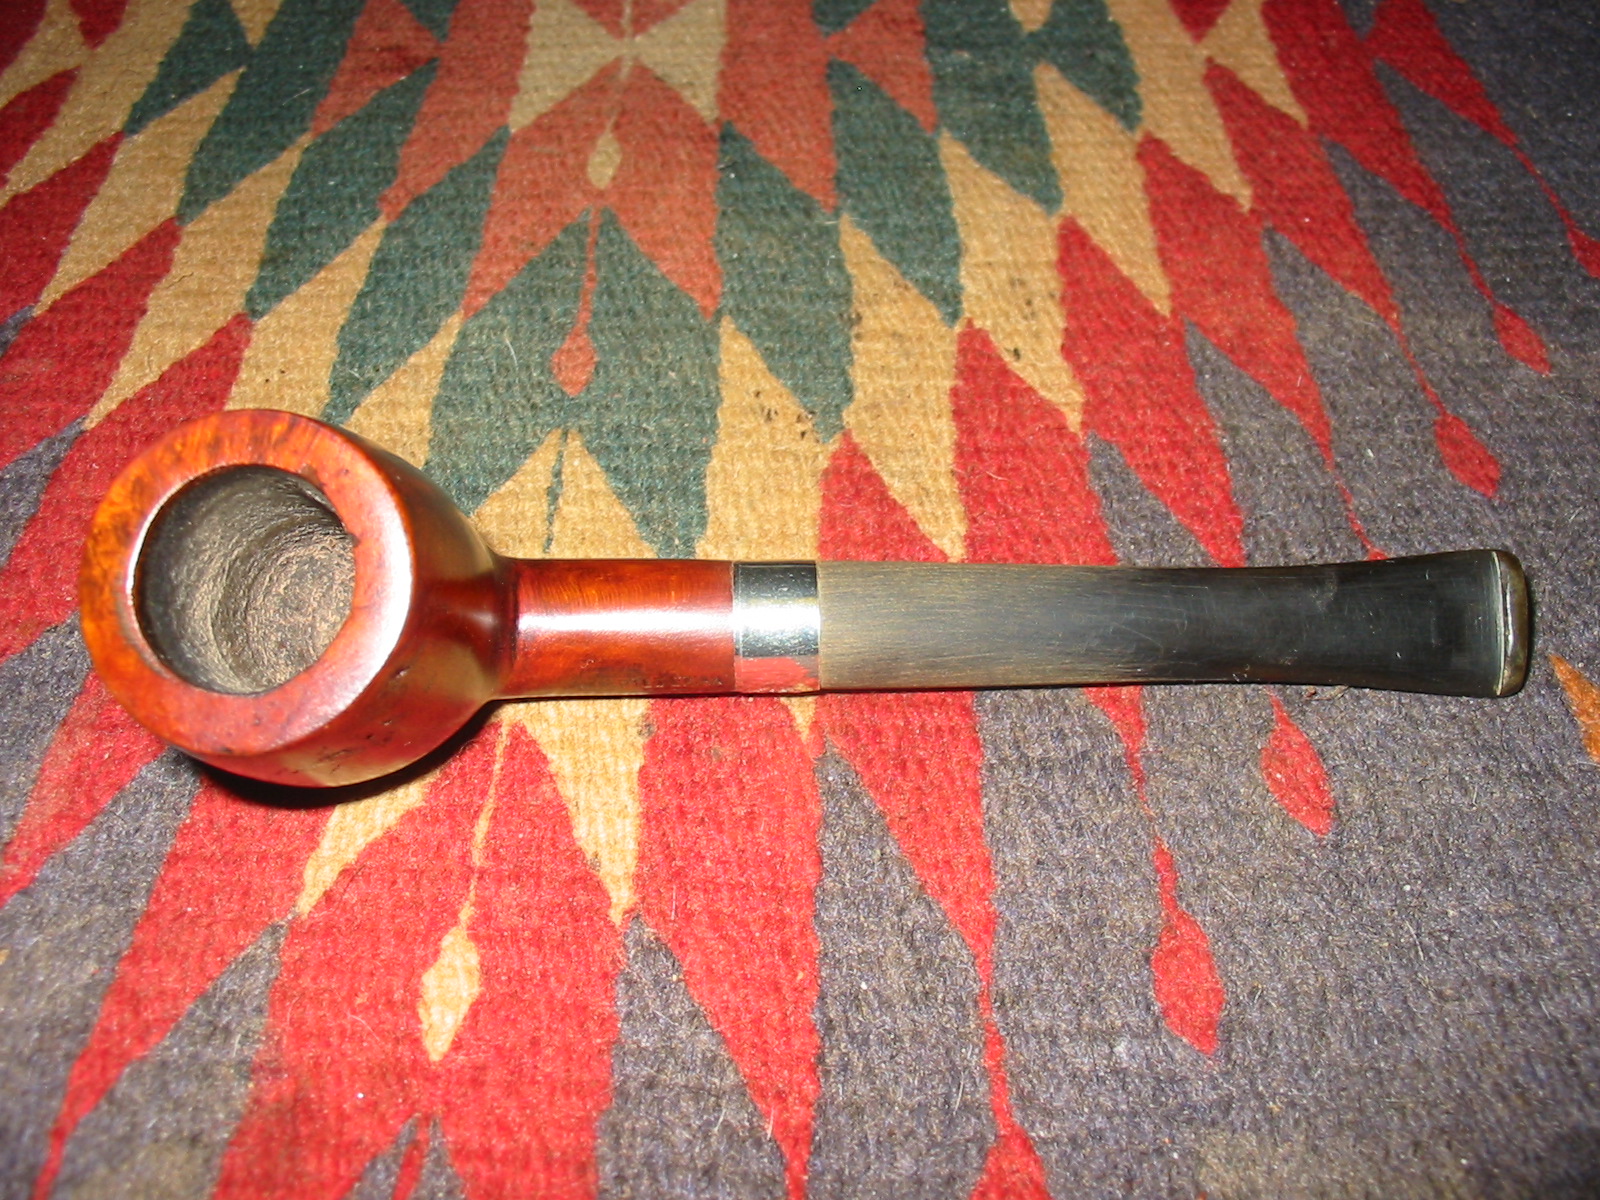
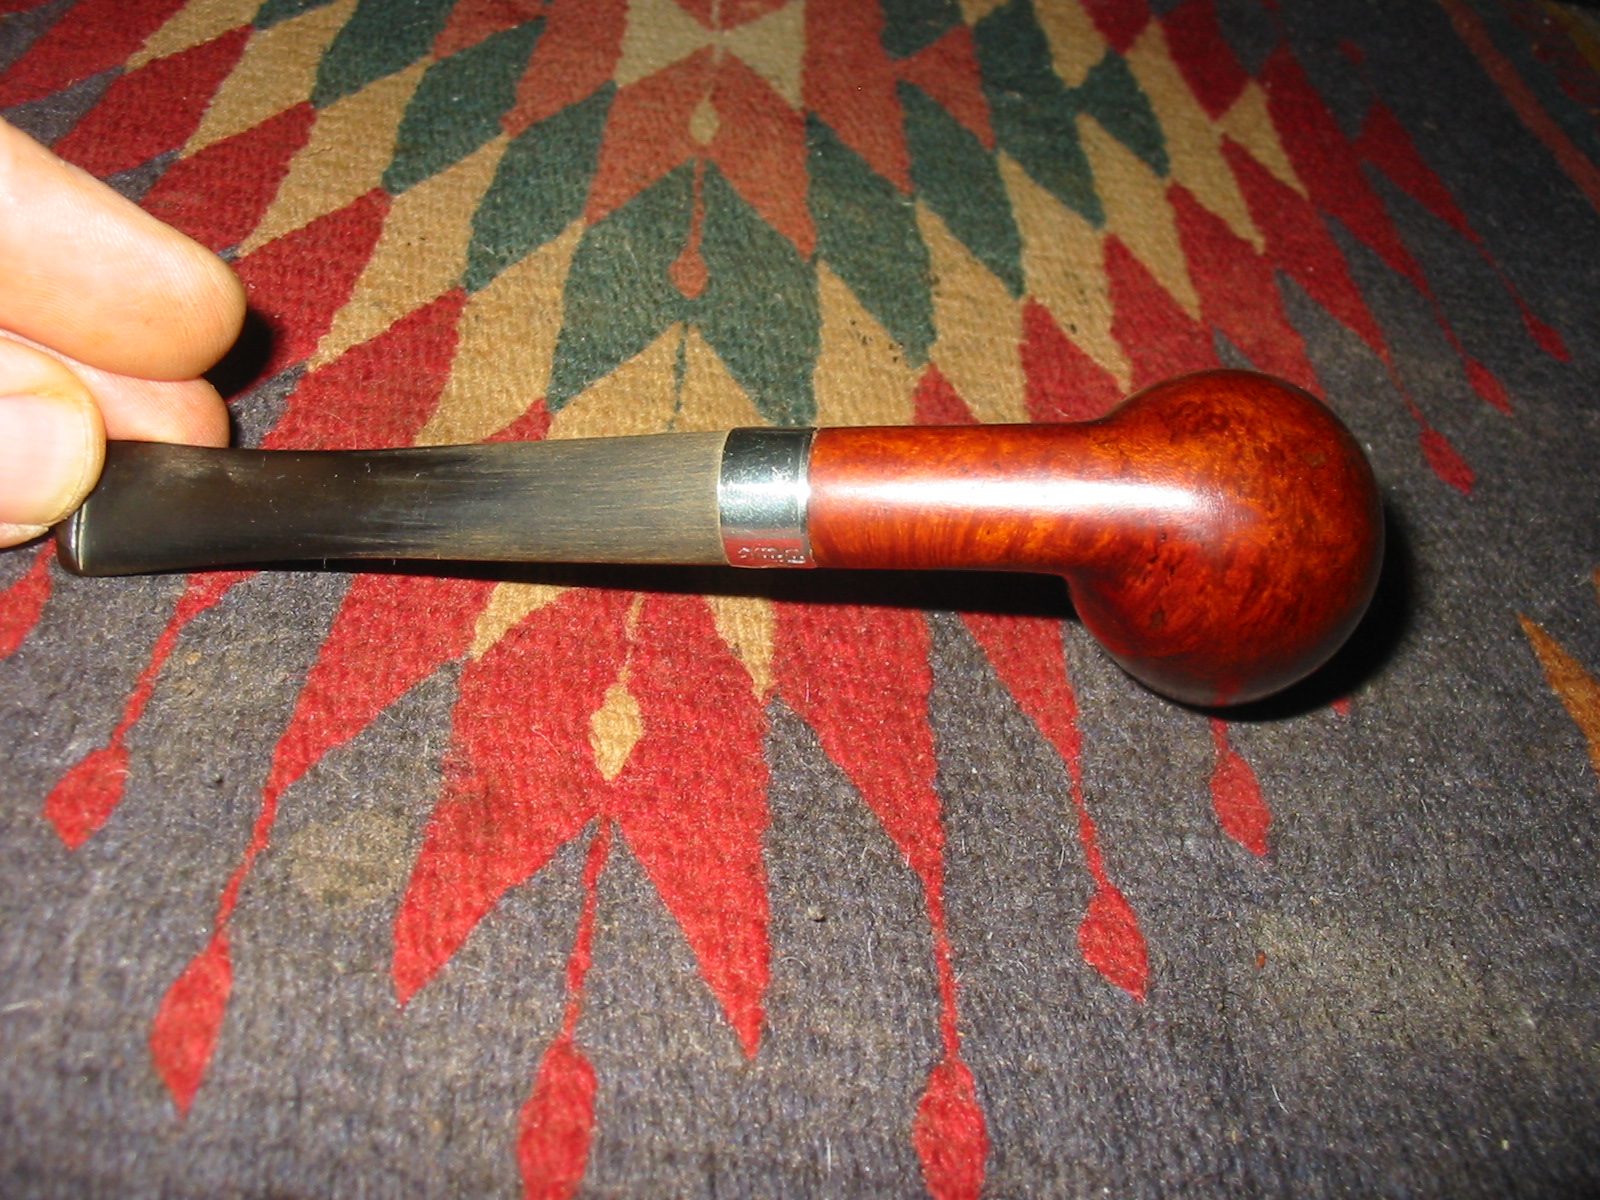
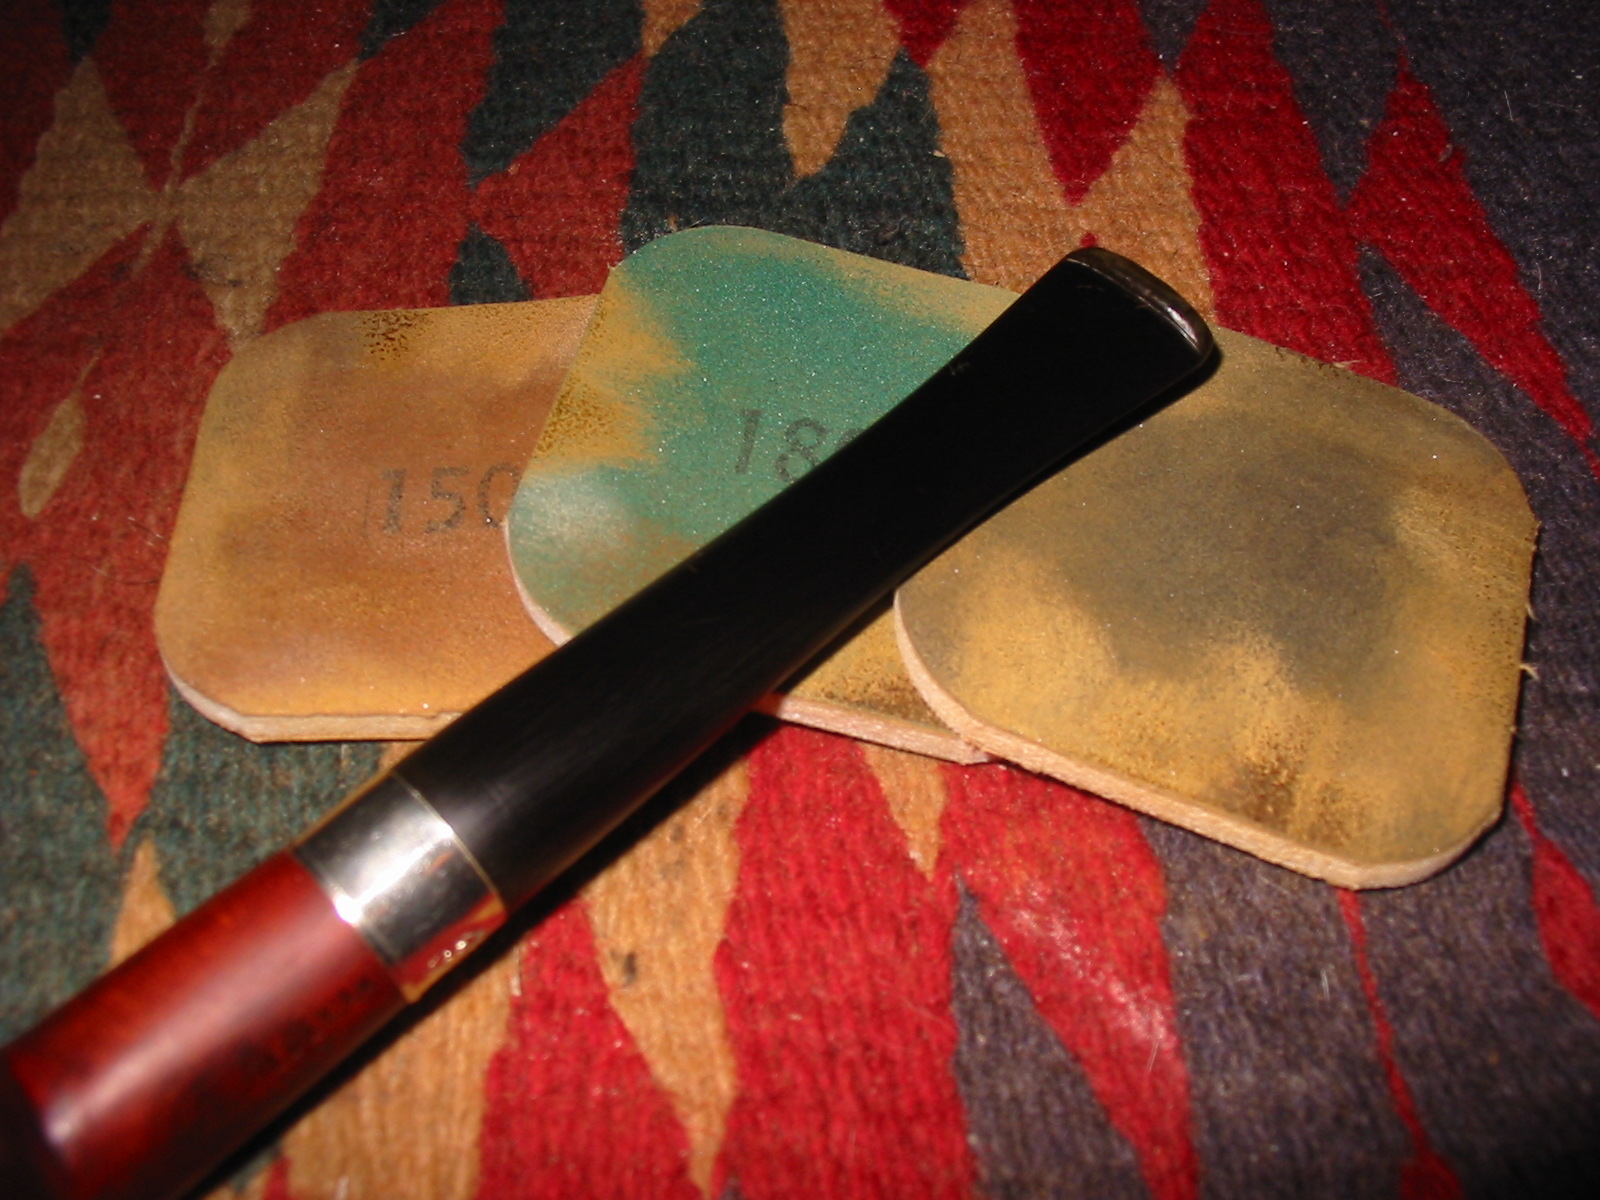
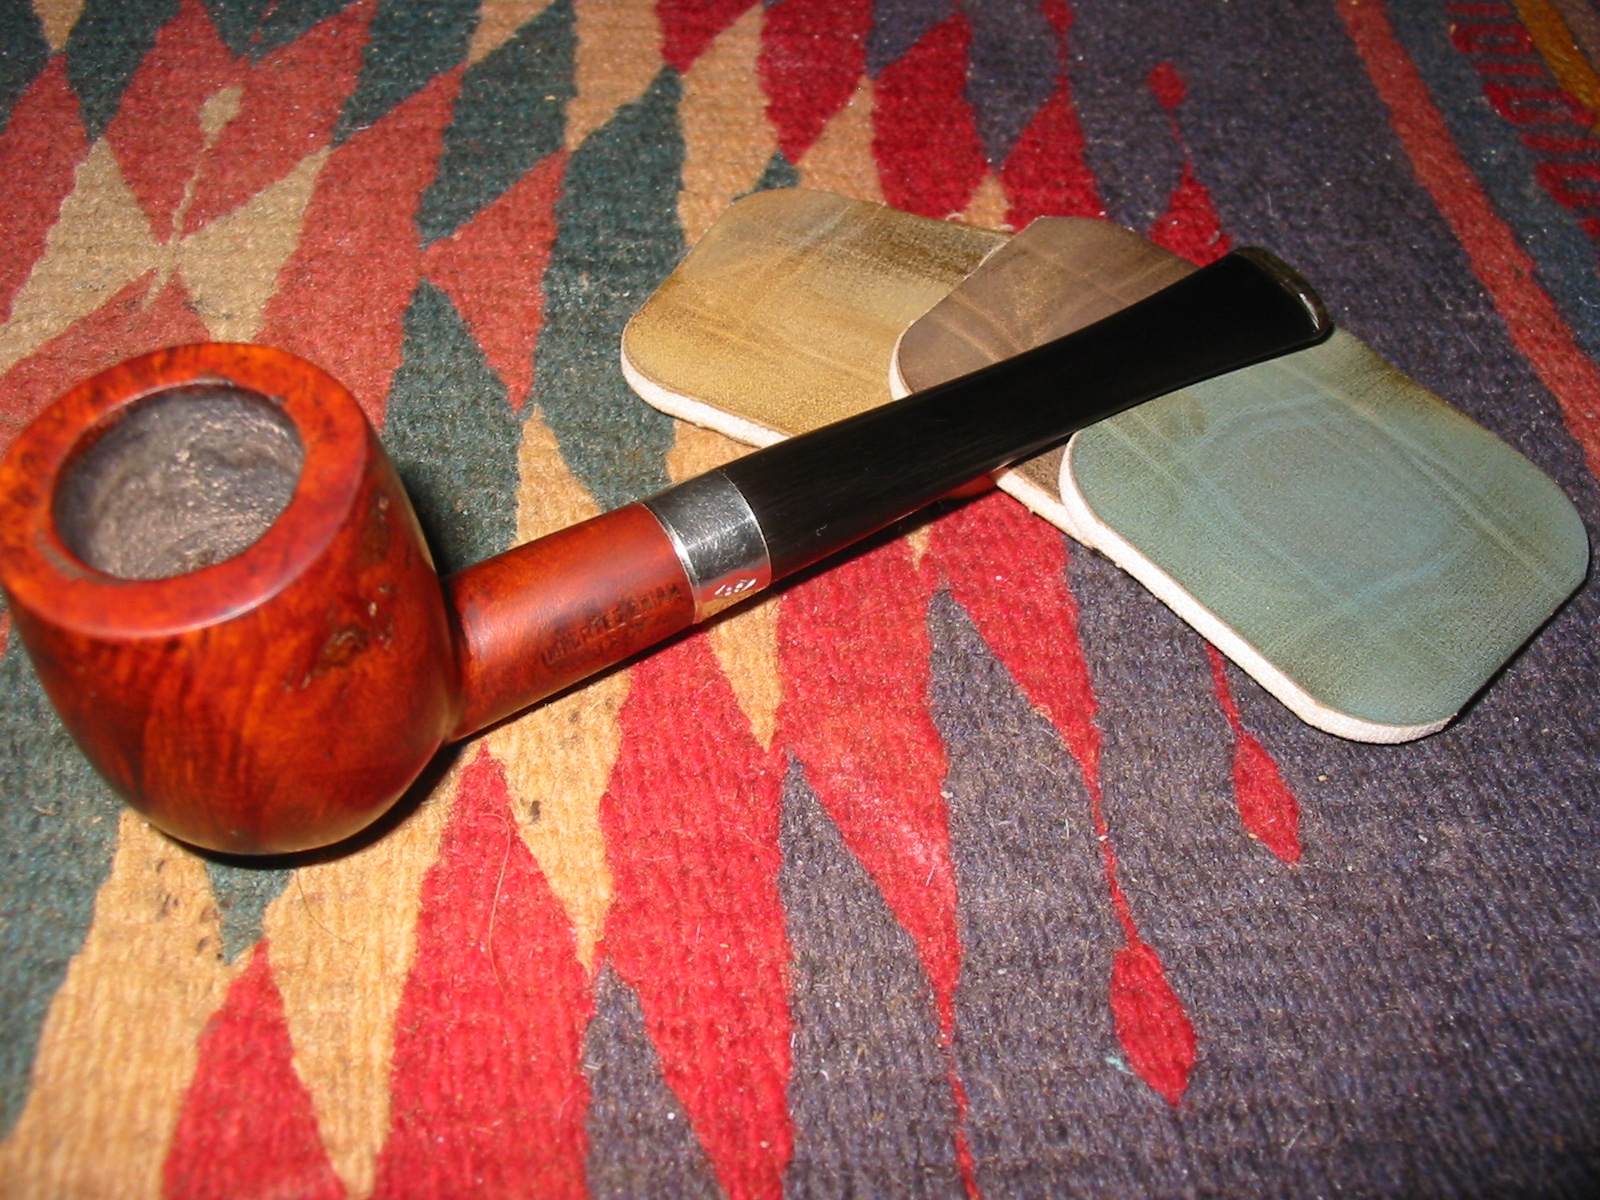
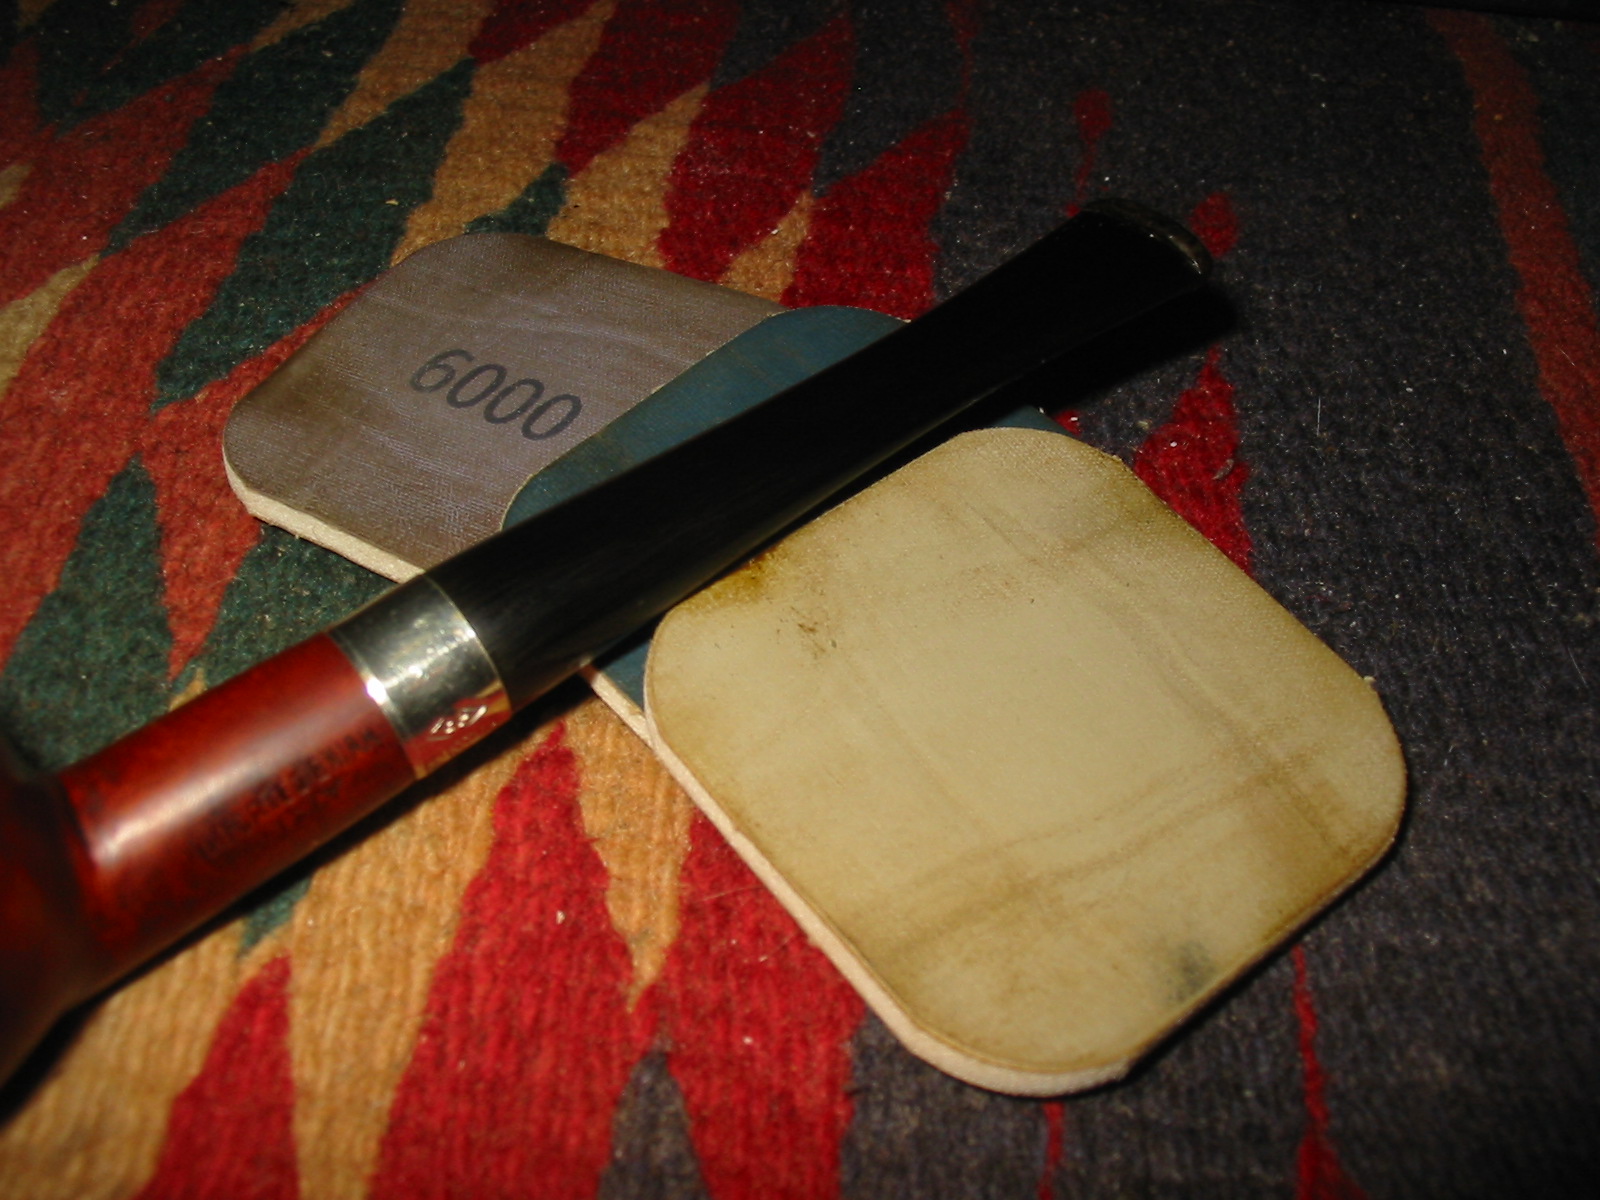
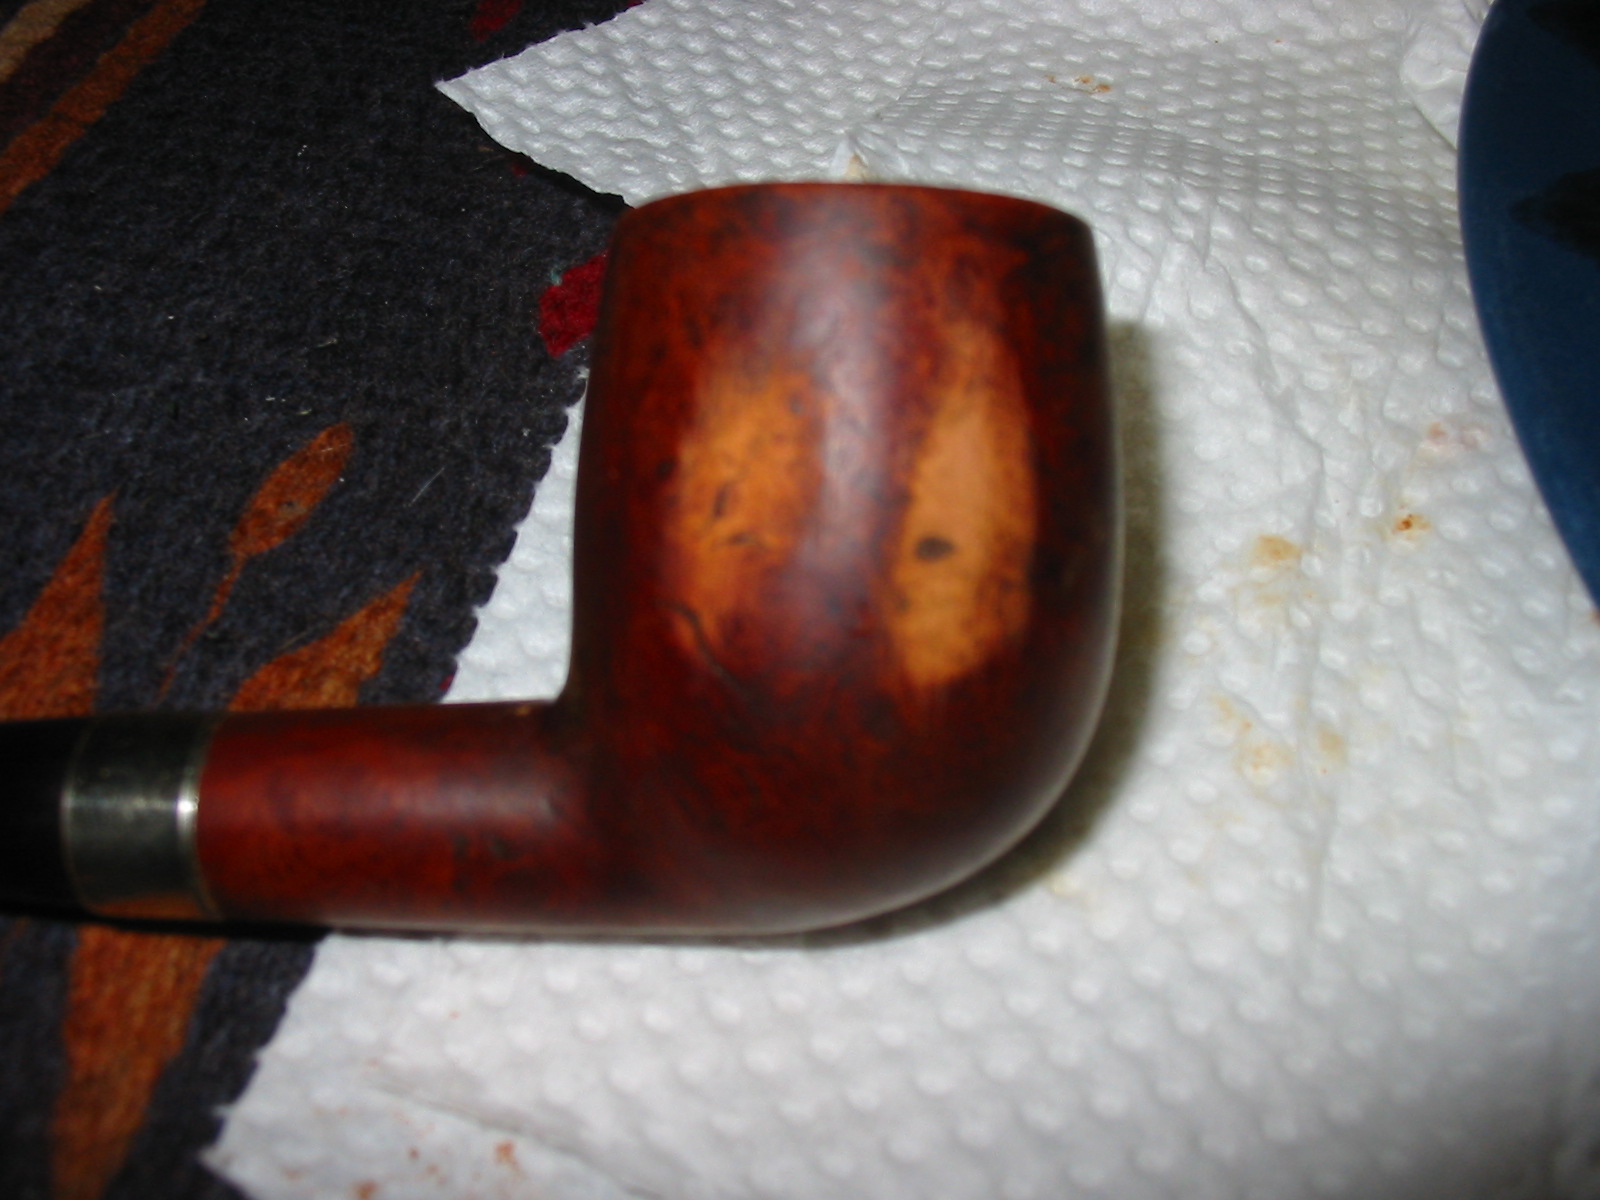
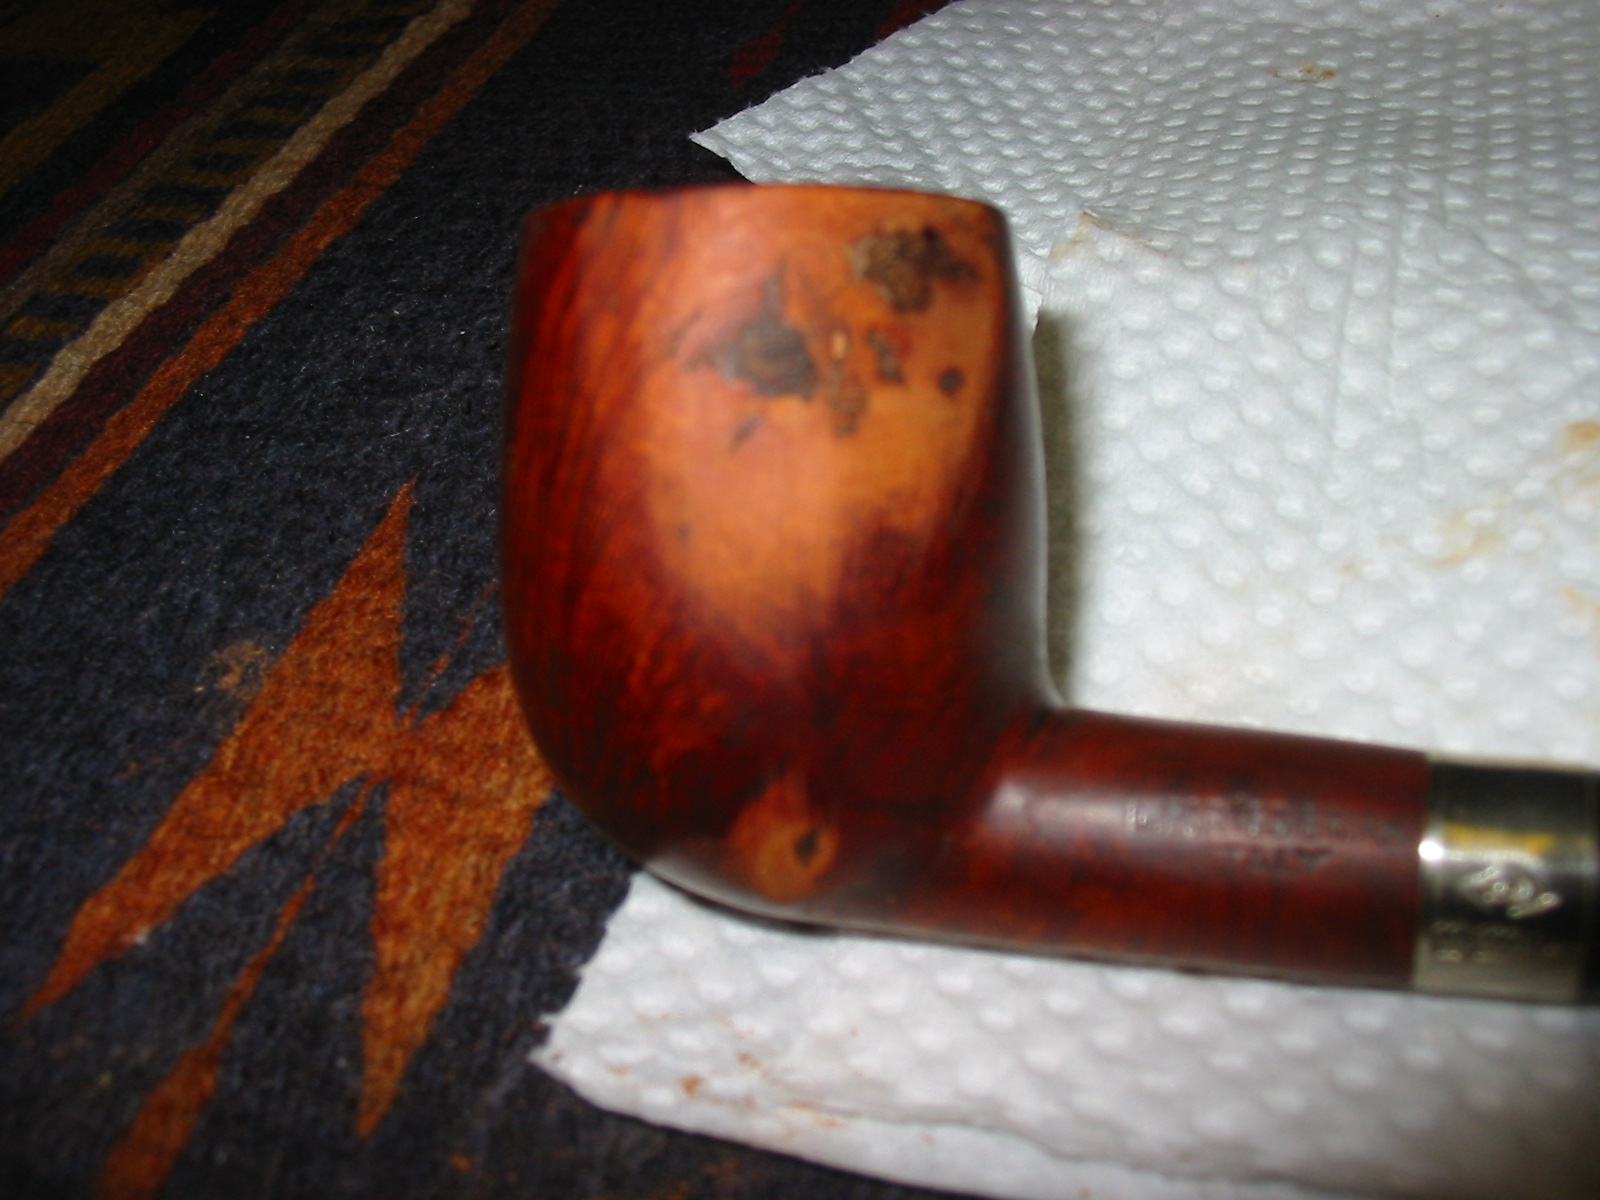
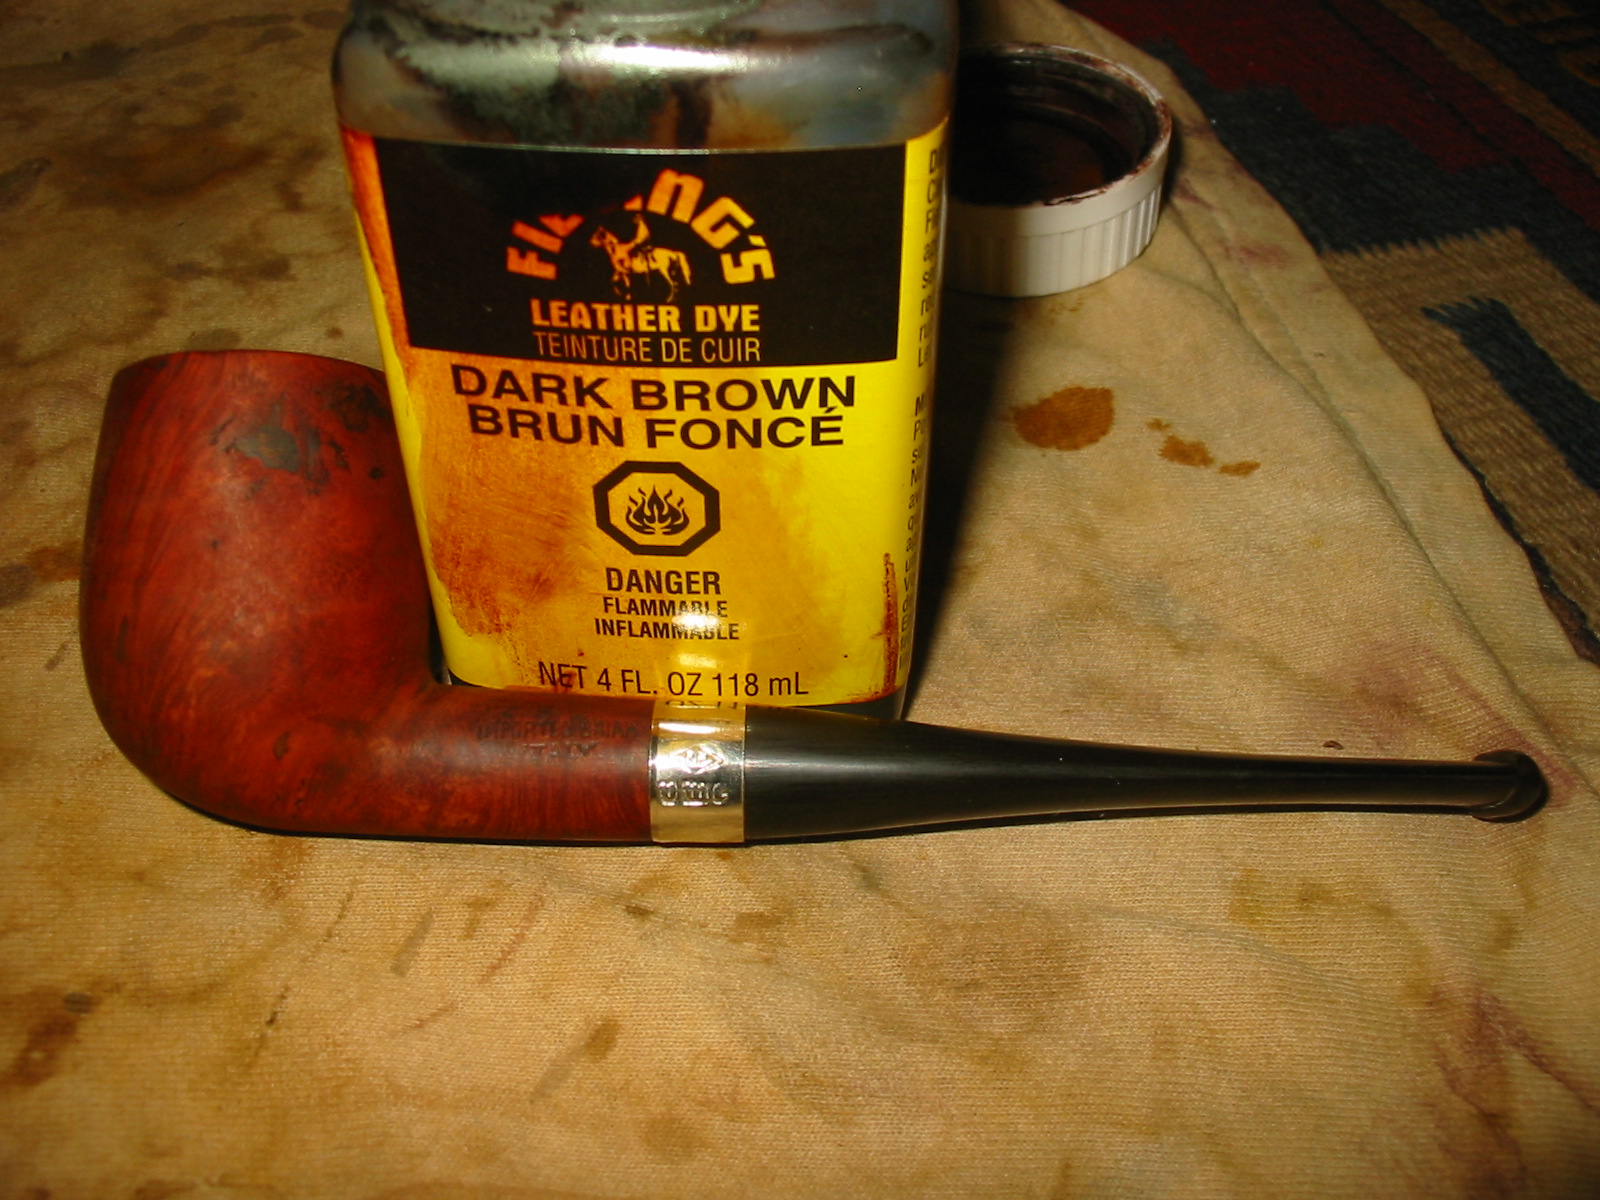
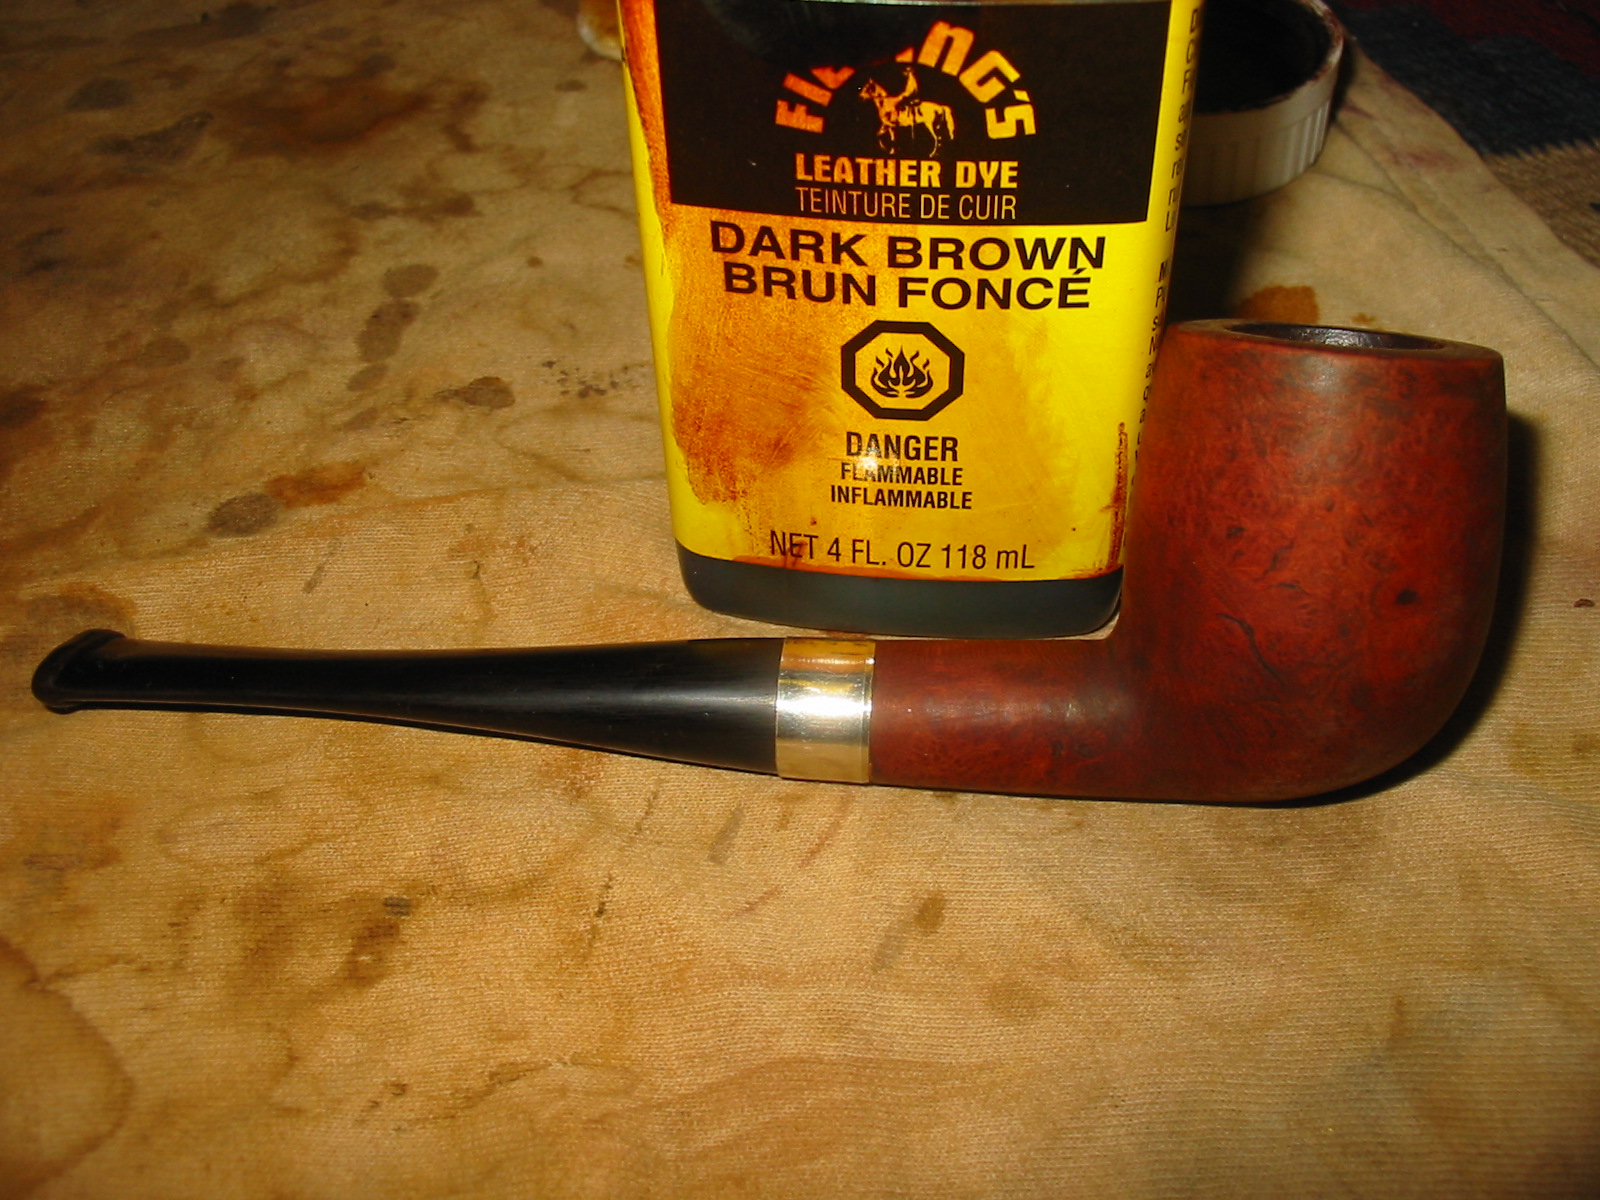
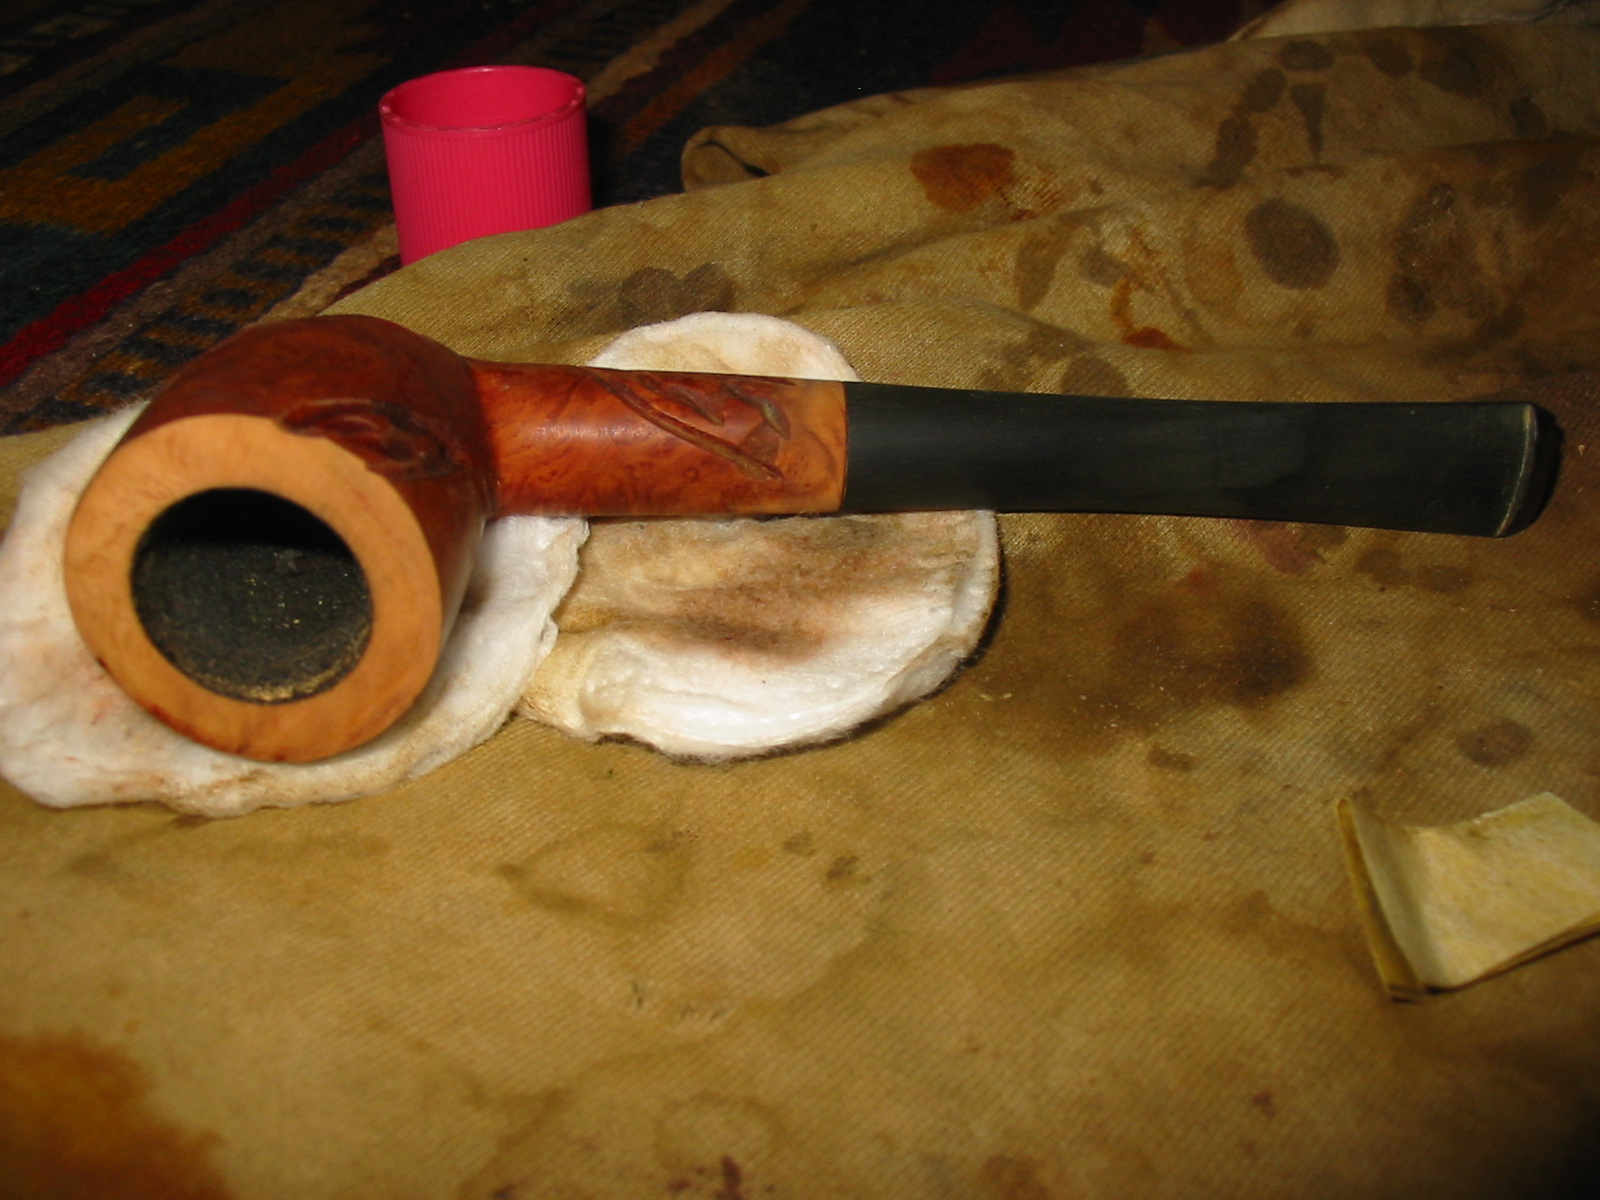
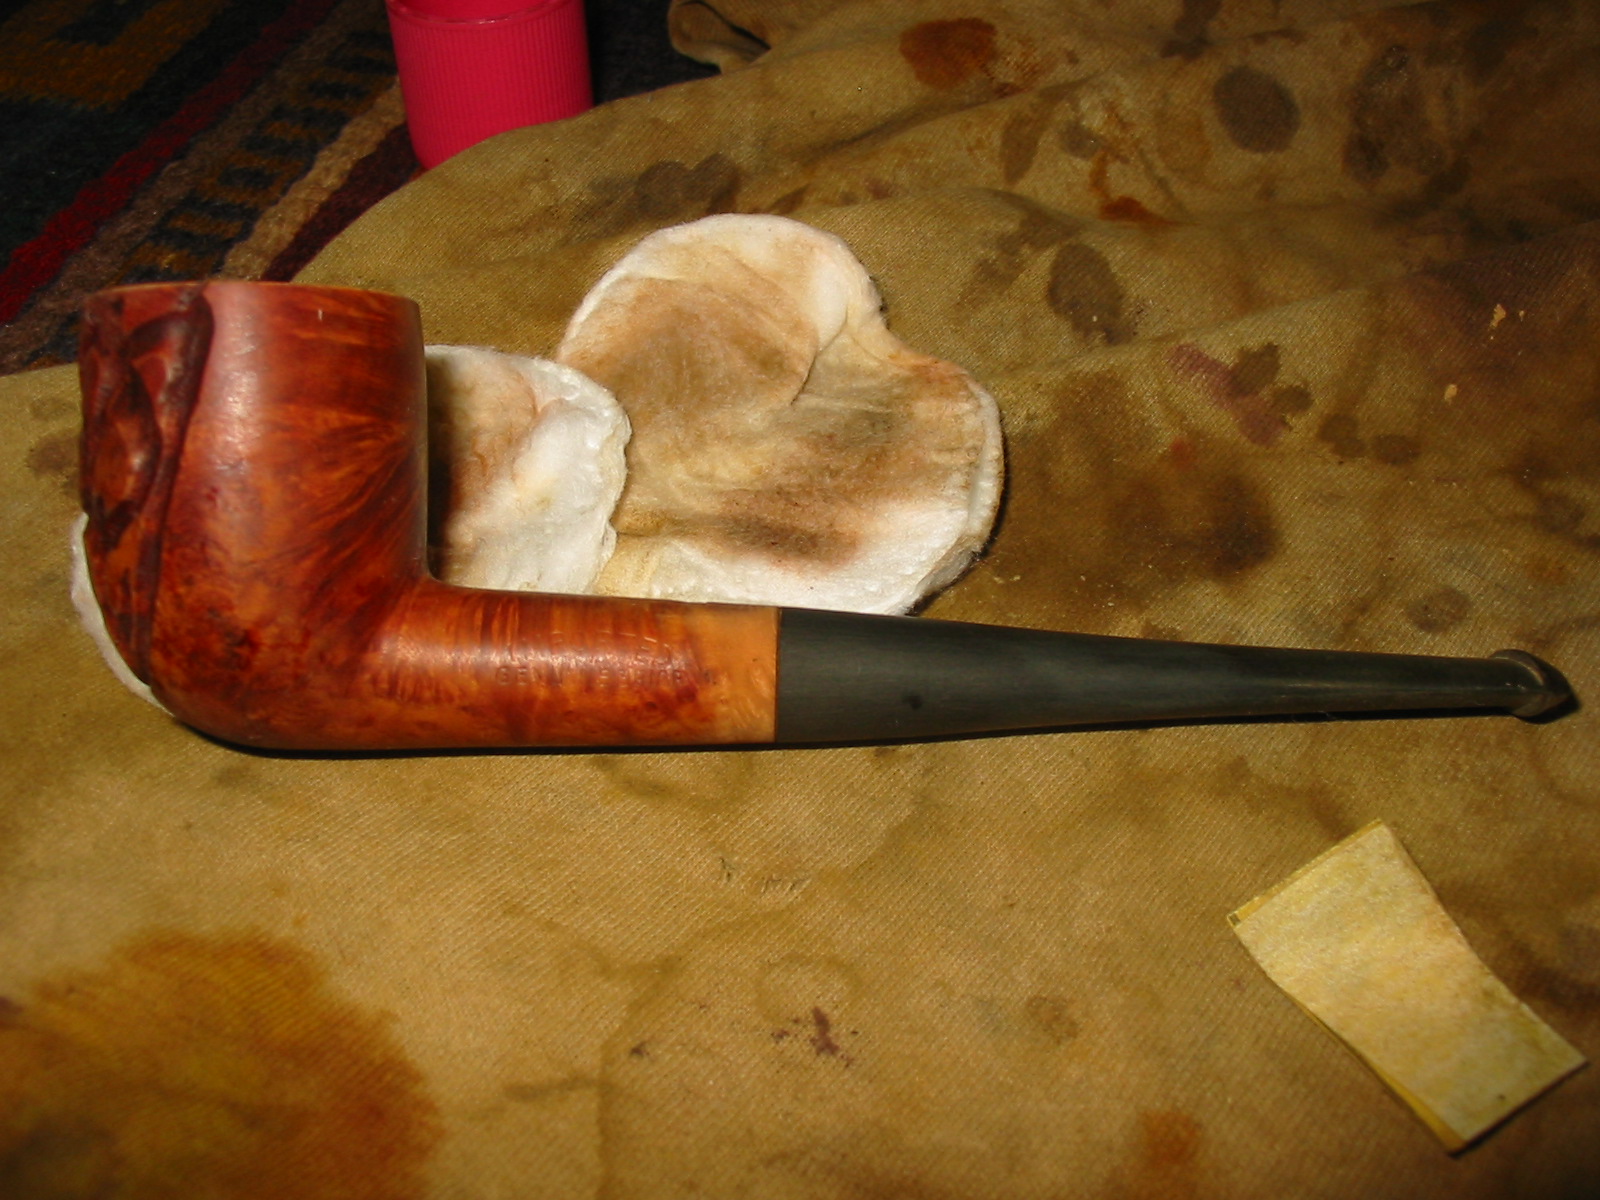
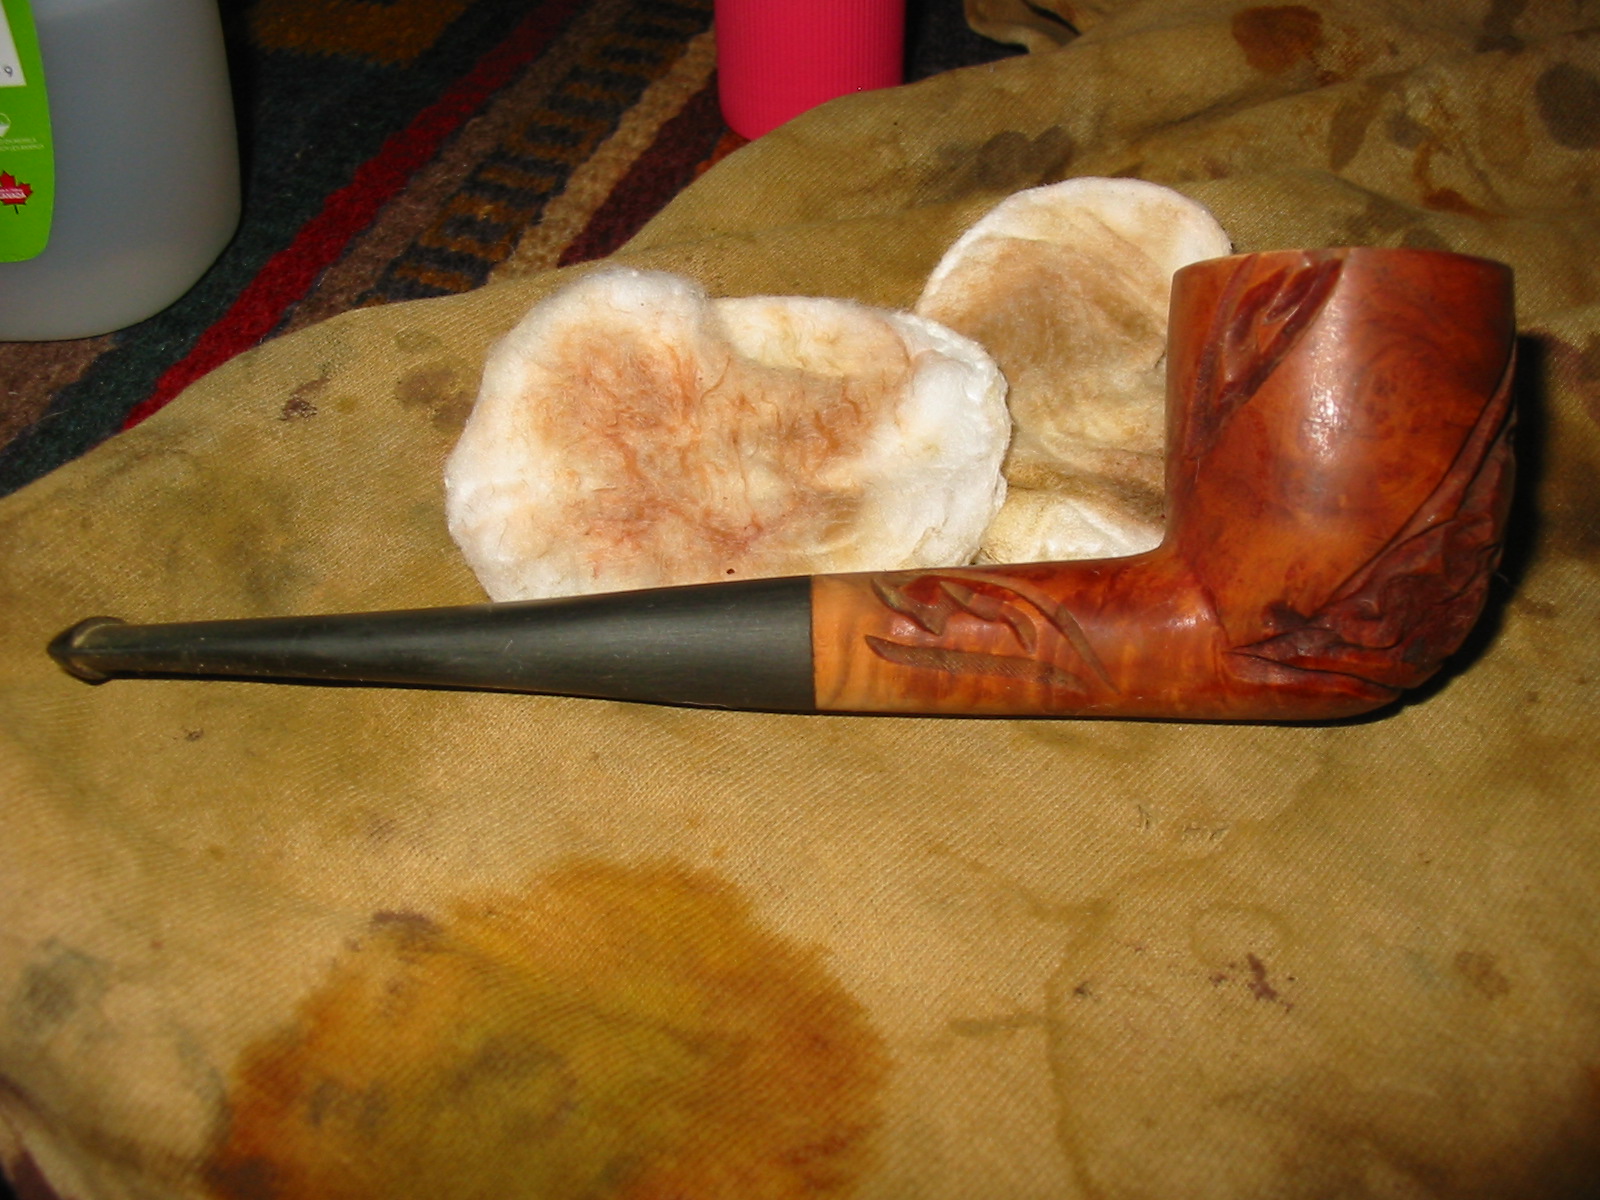
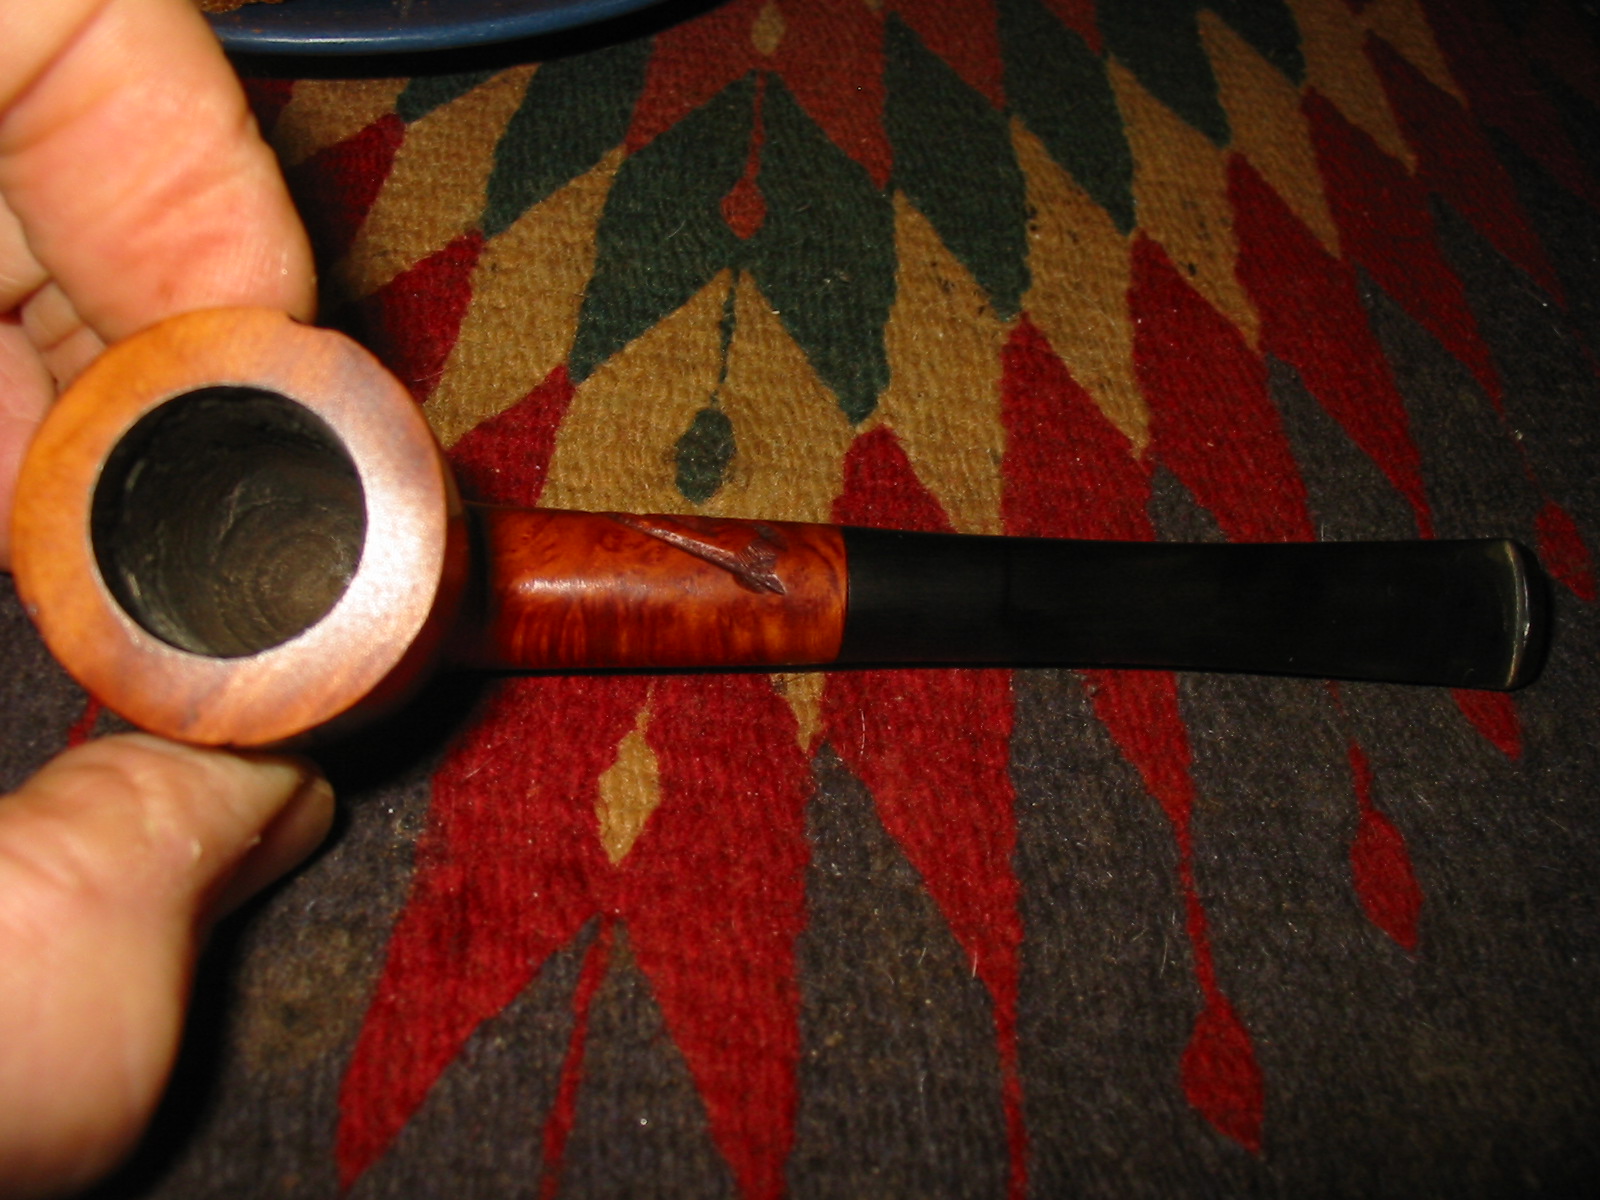
Tag Archives: waxing a stem

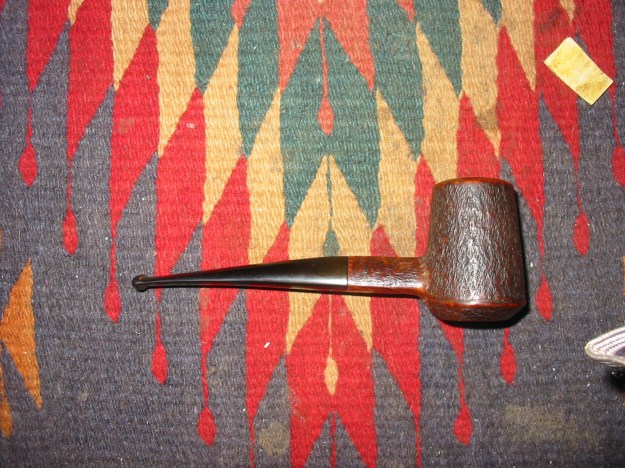
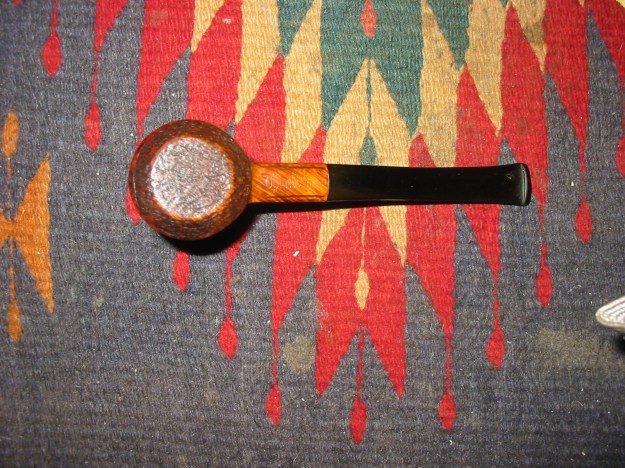
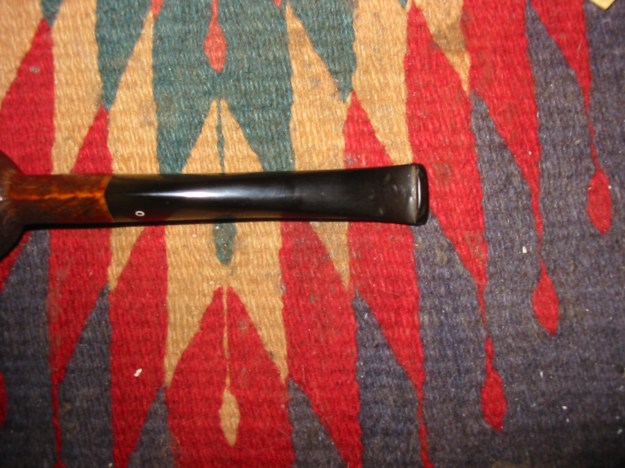
Restemming and Refurbishing a Planter Opera Pipe


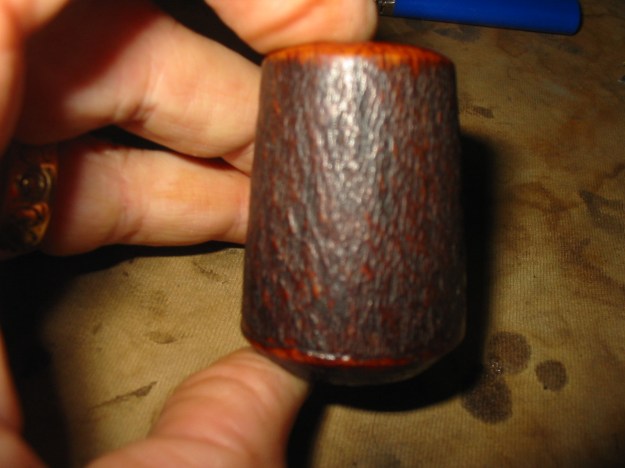
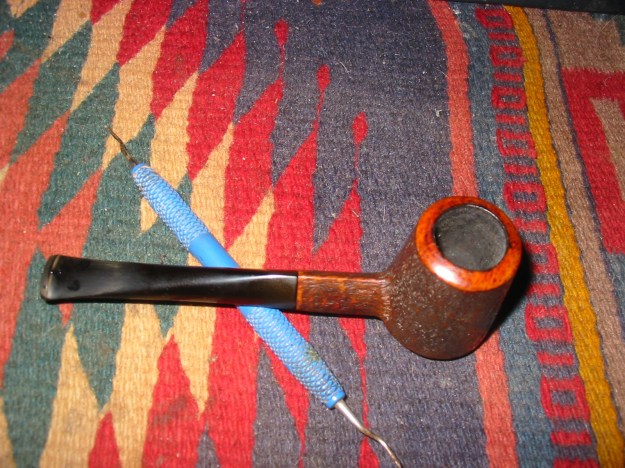
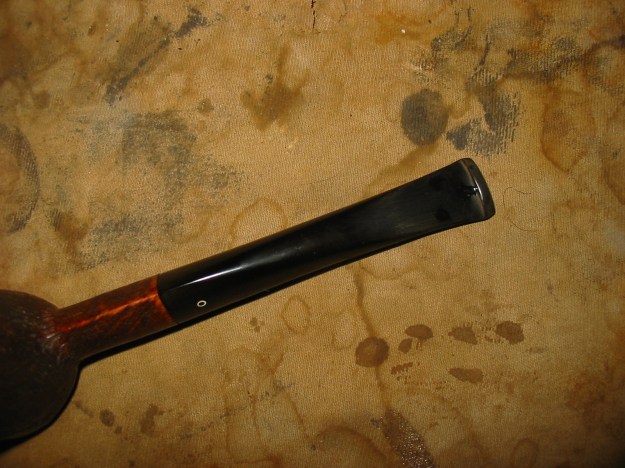
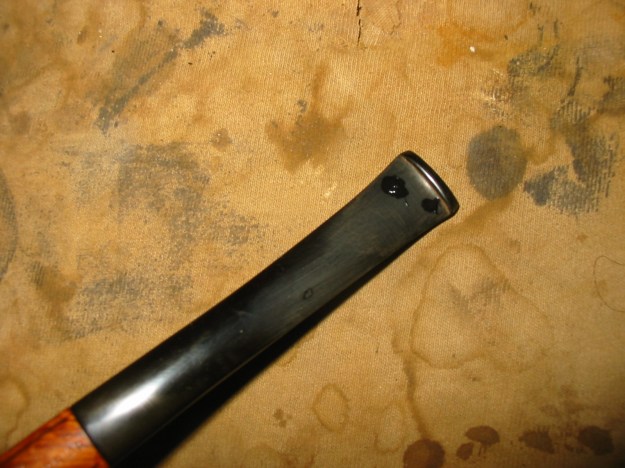
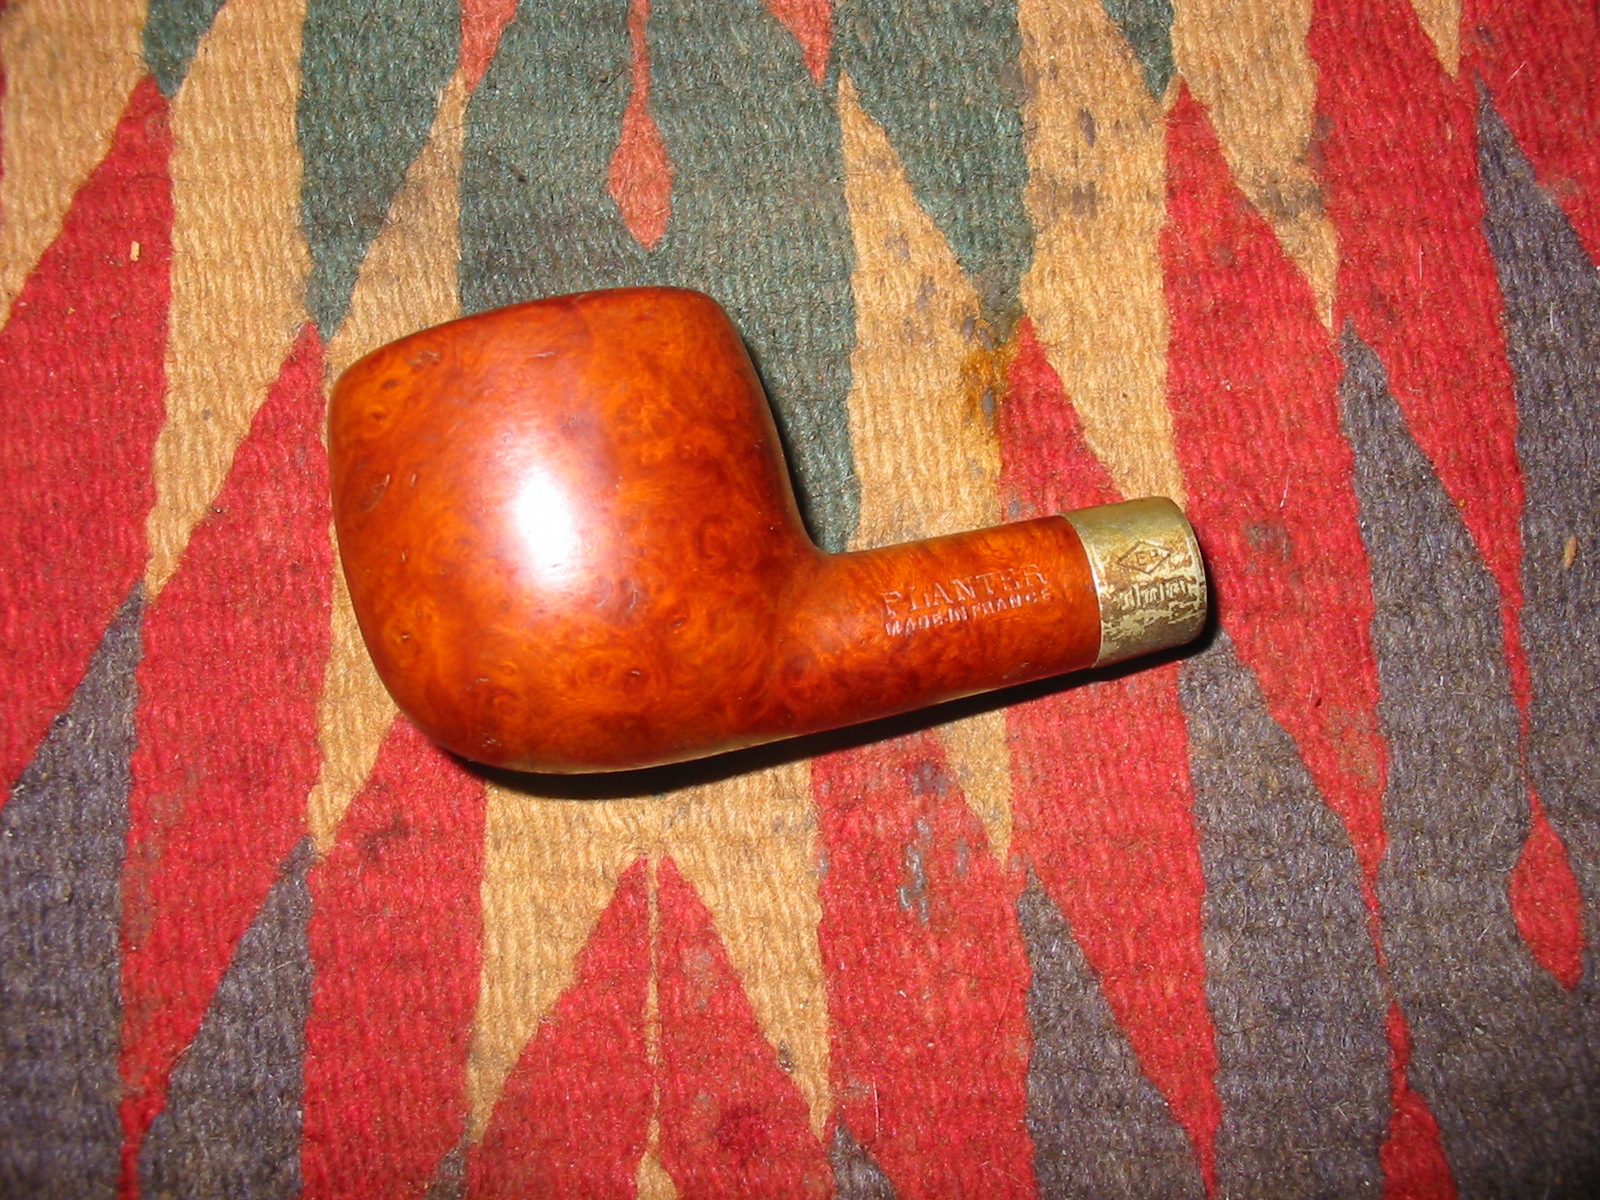
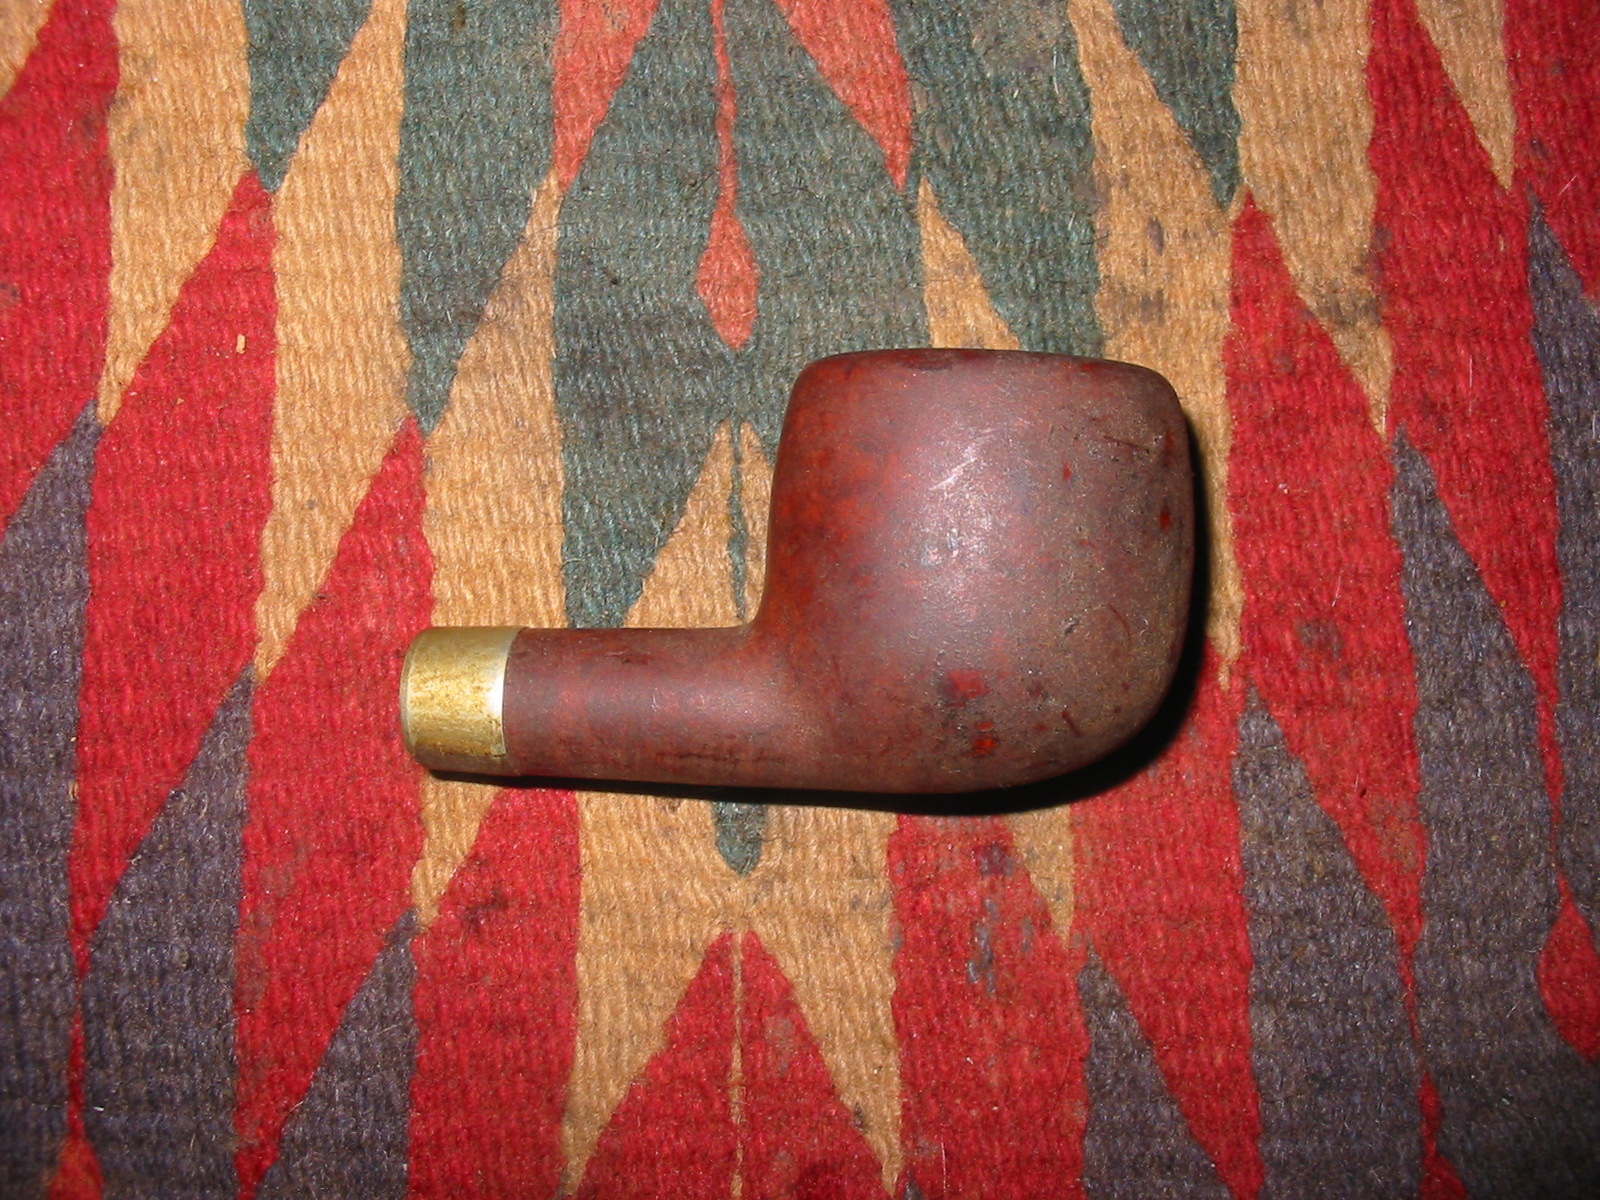
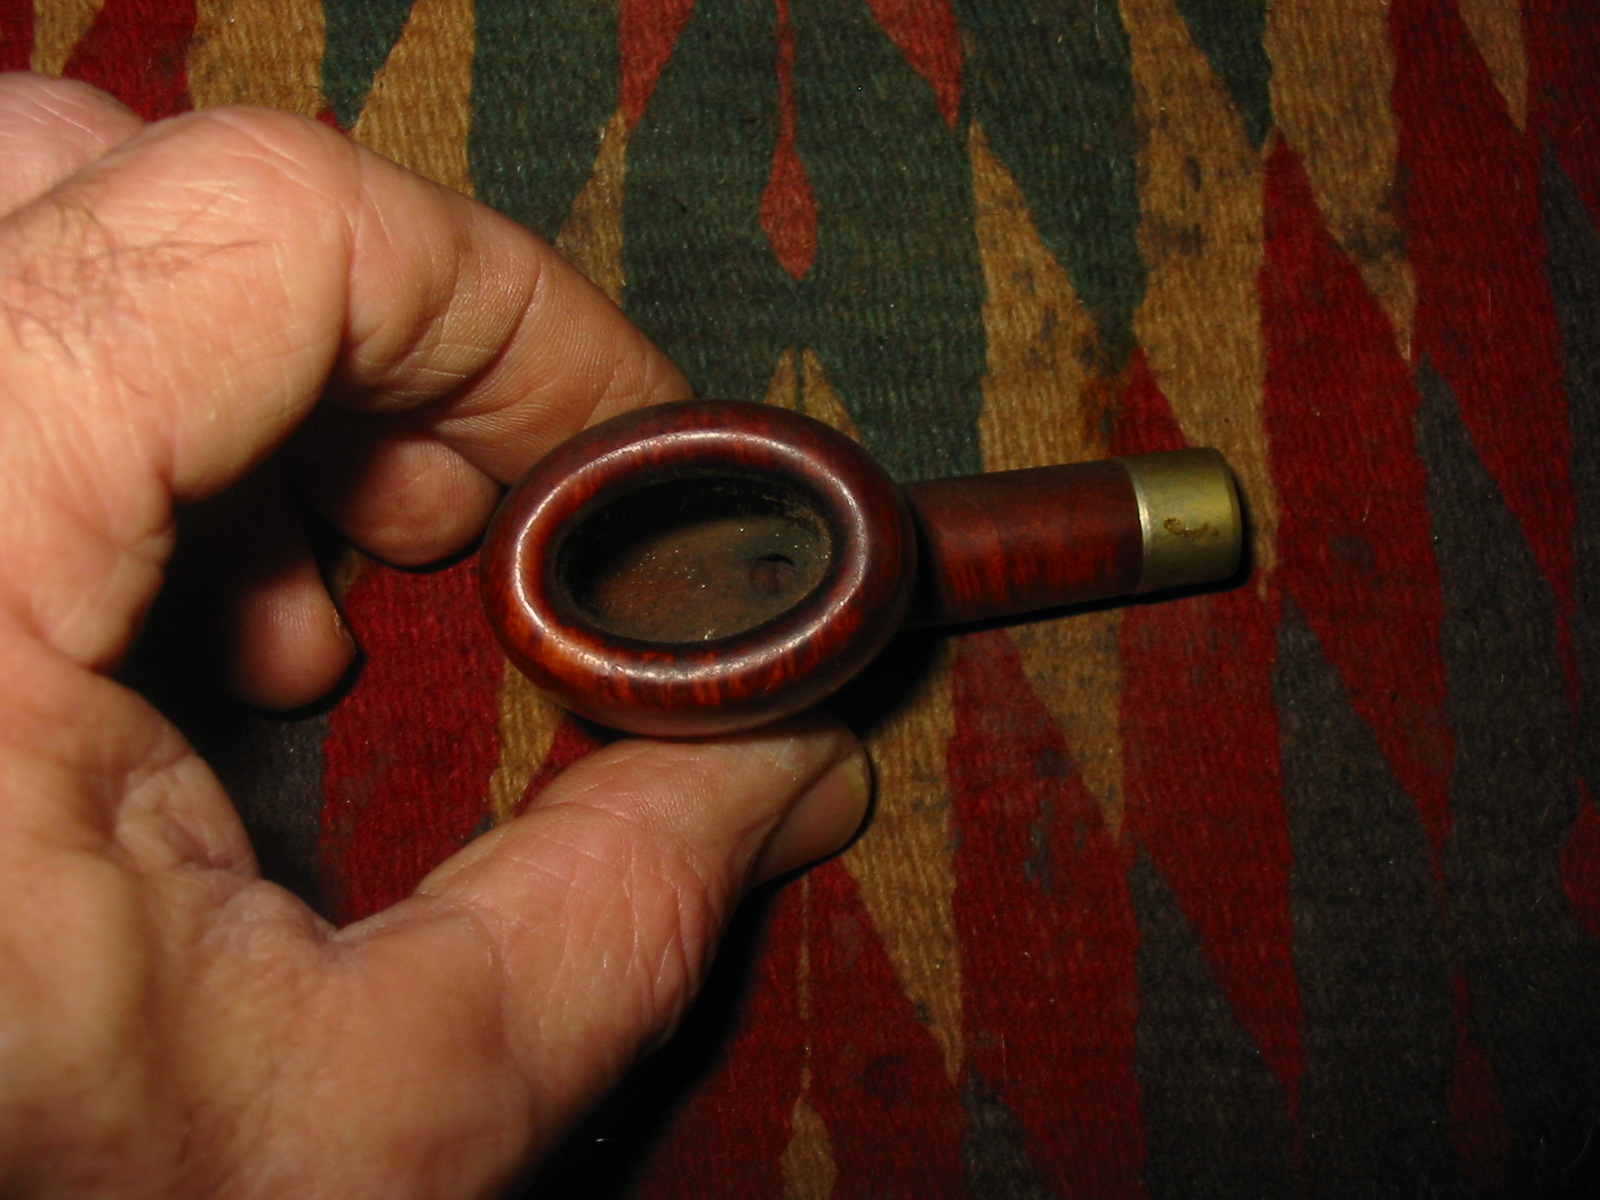
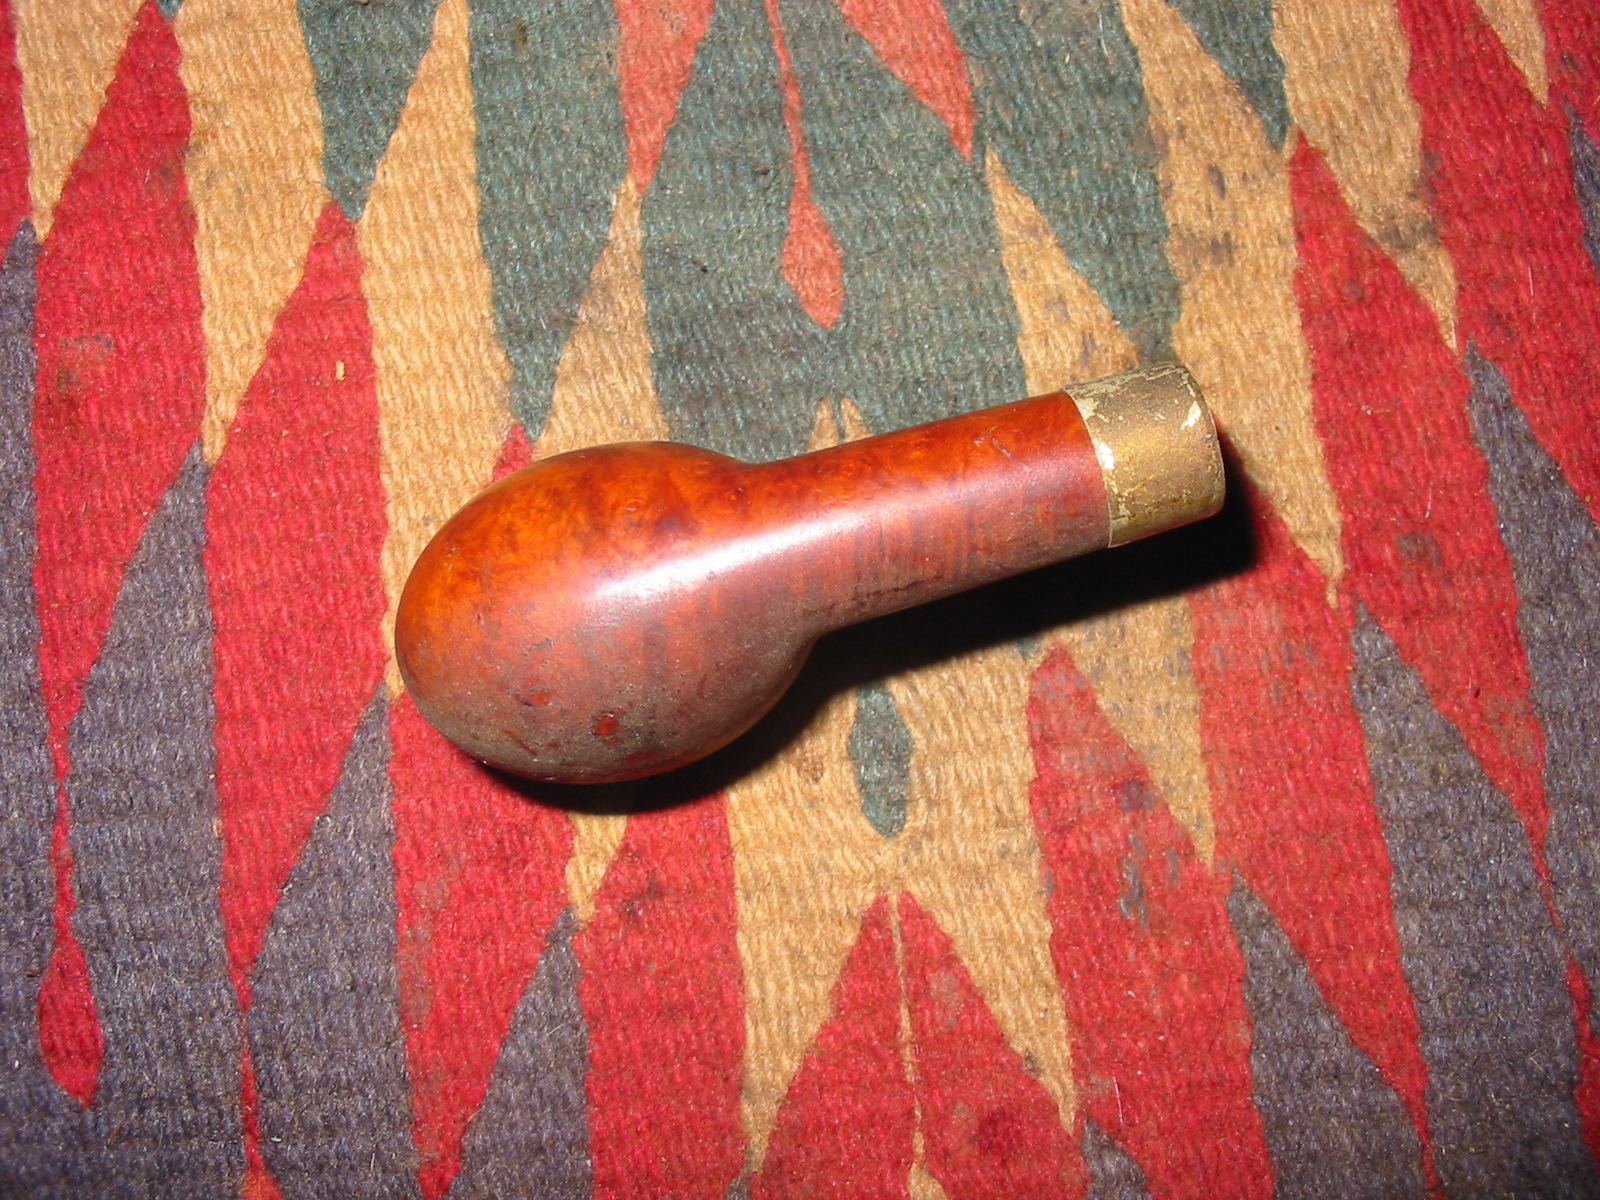
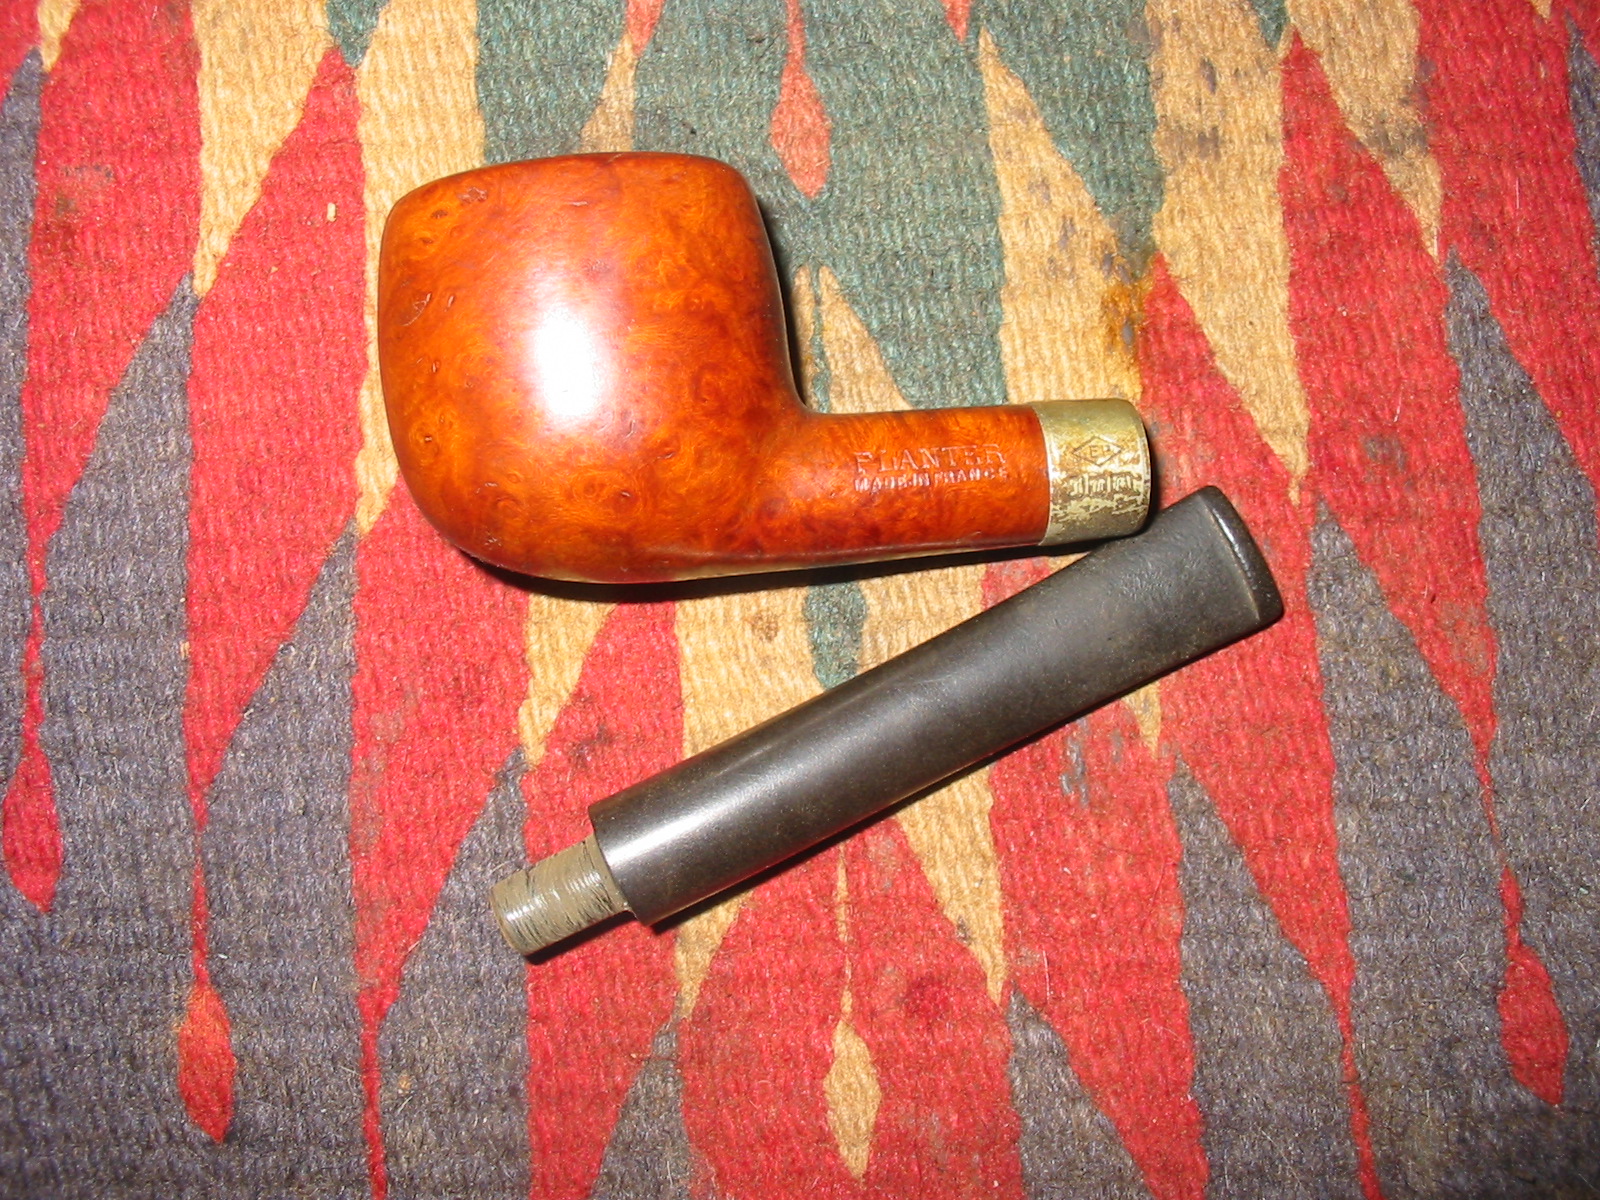
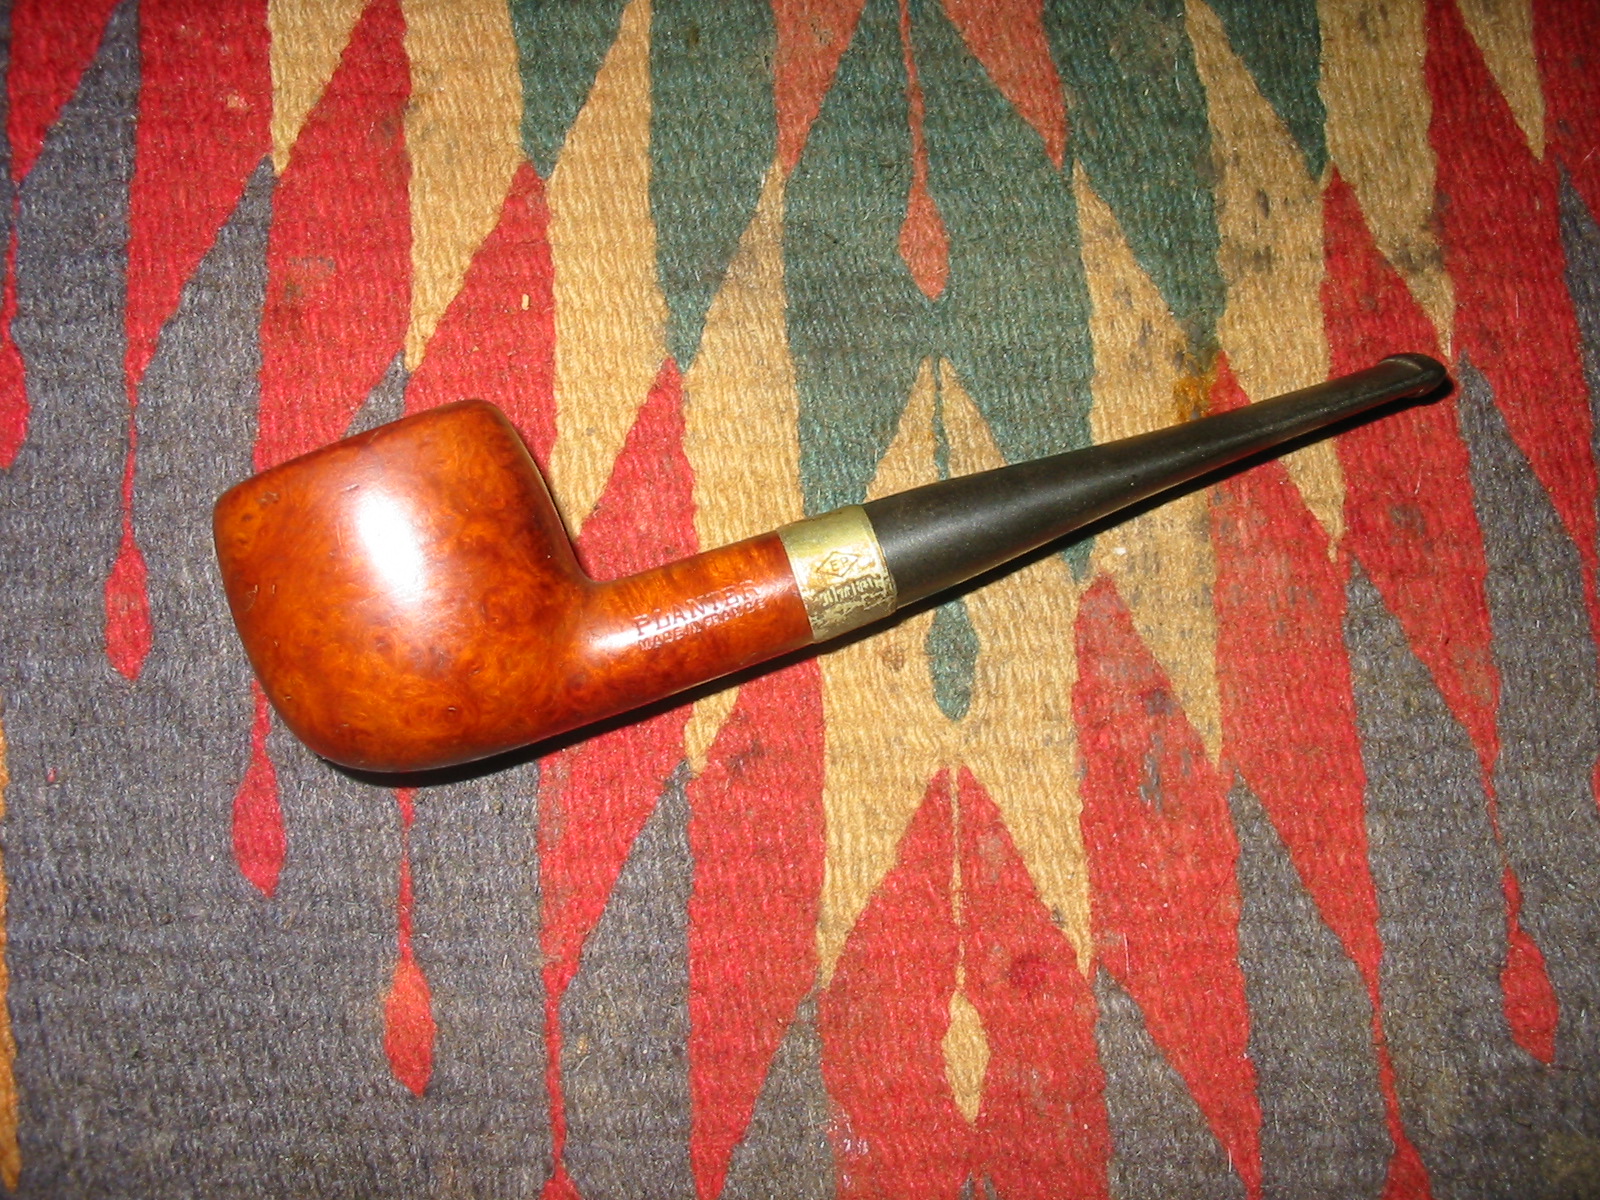
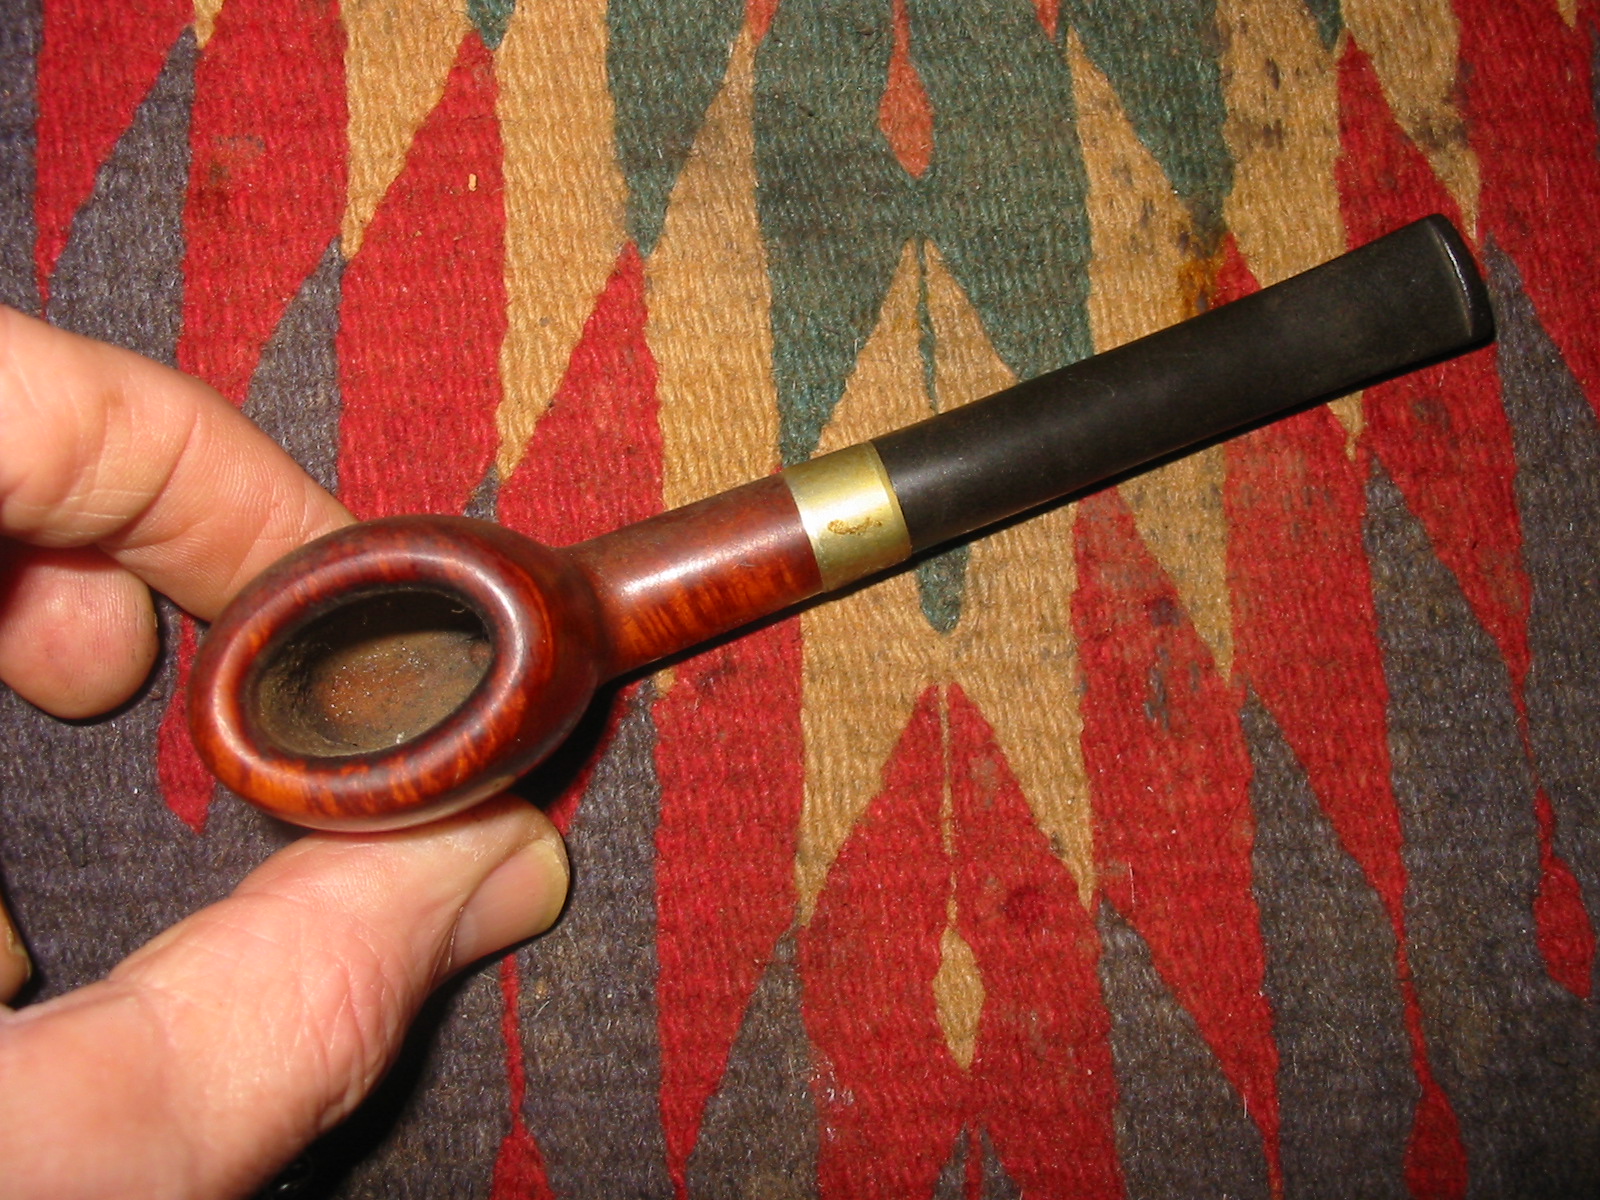
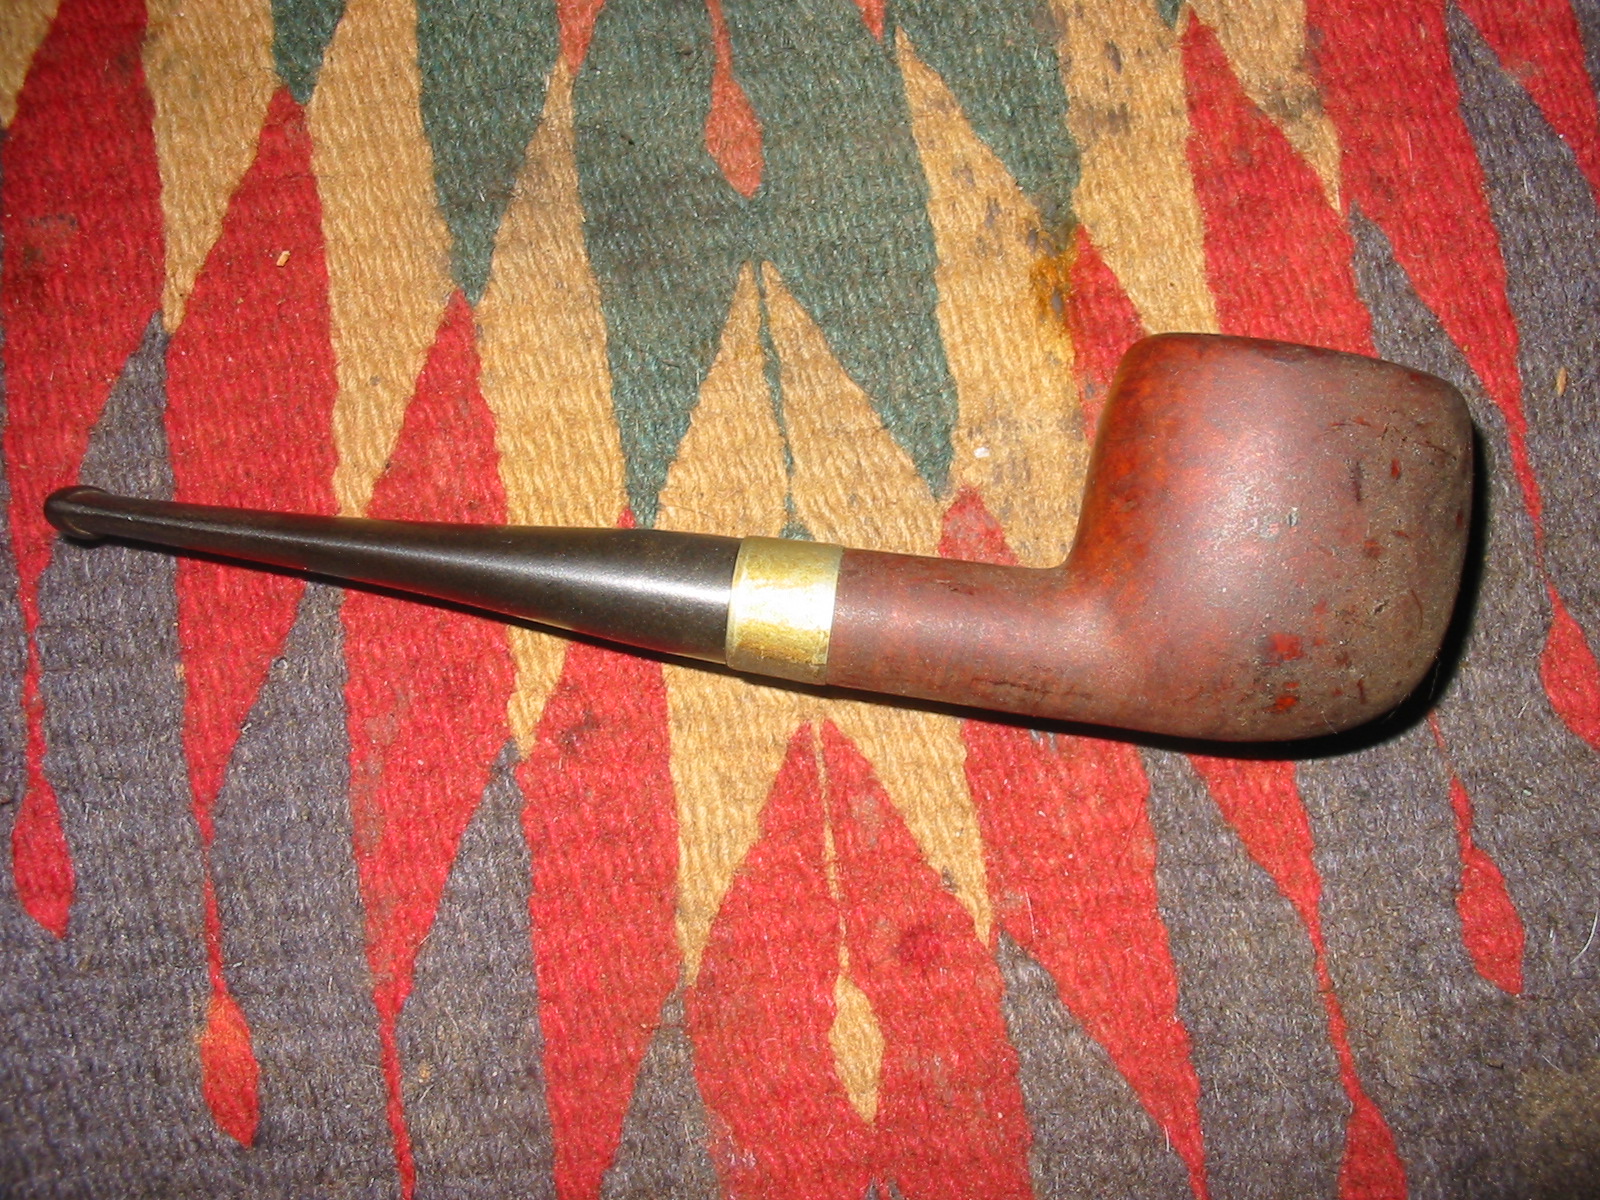
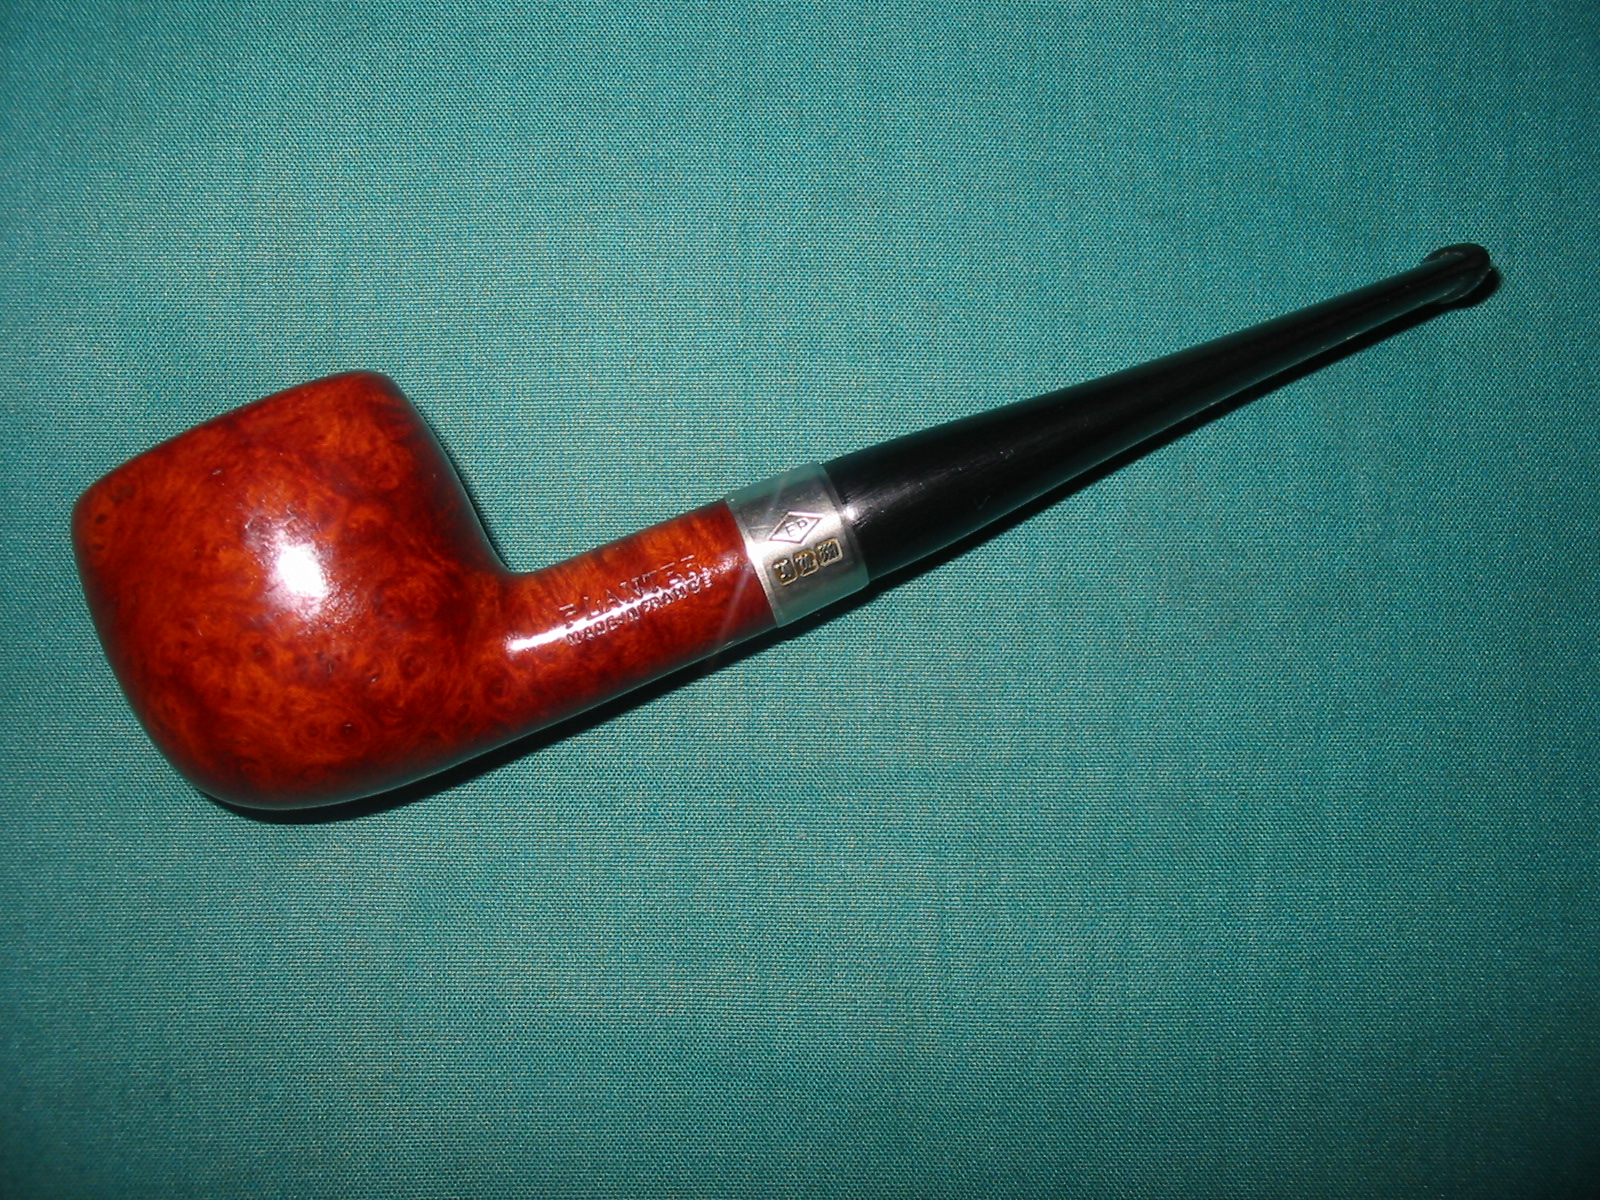
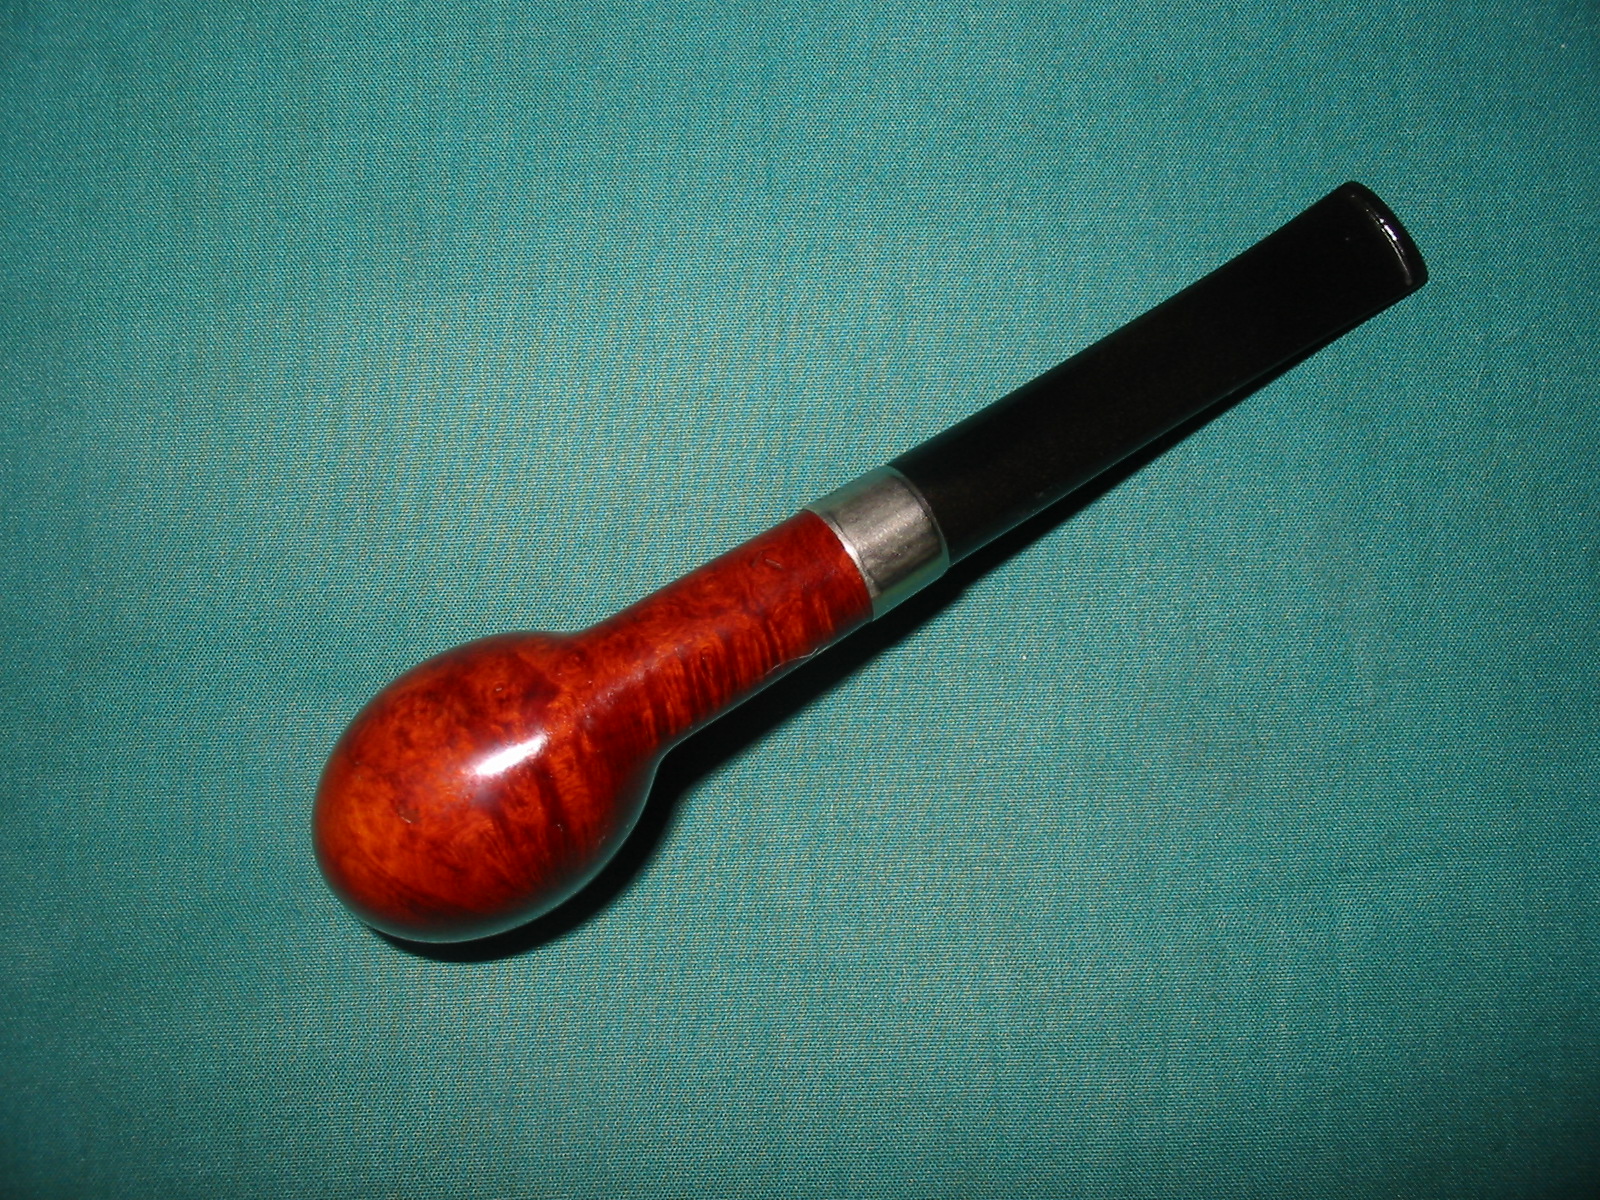
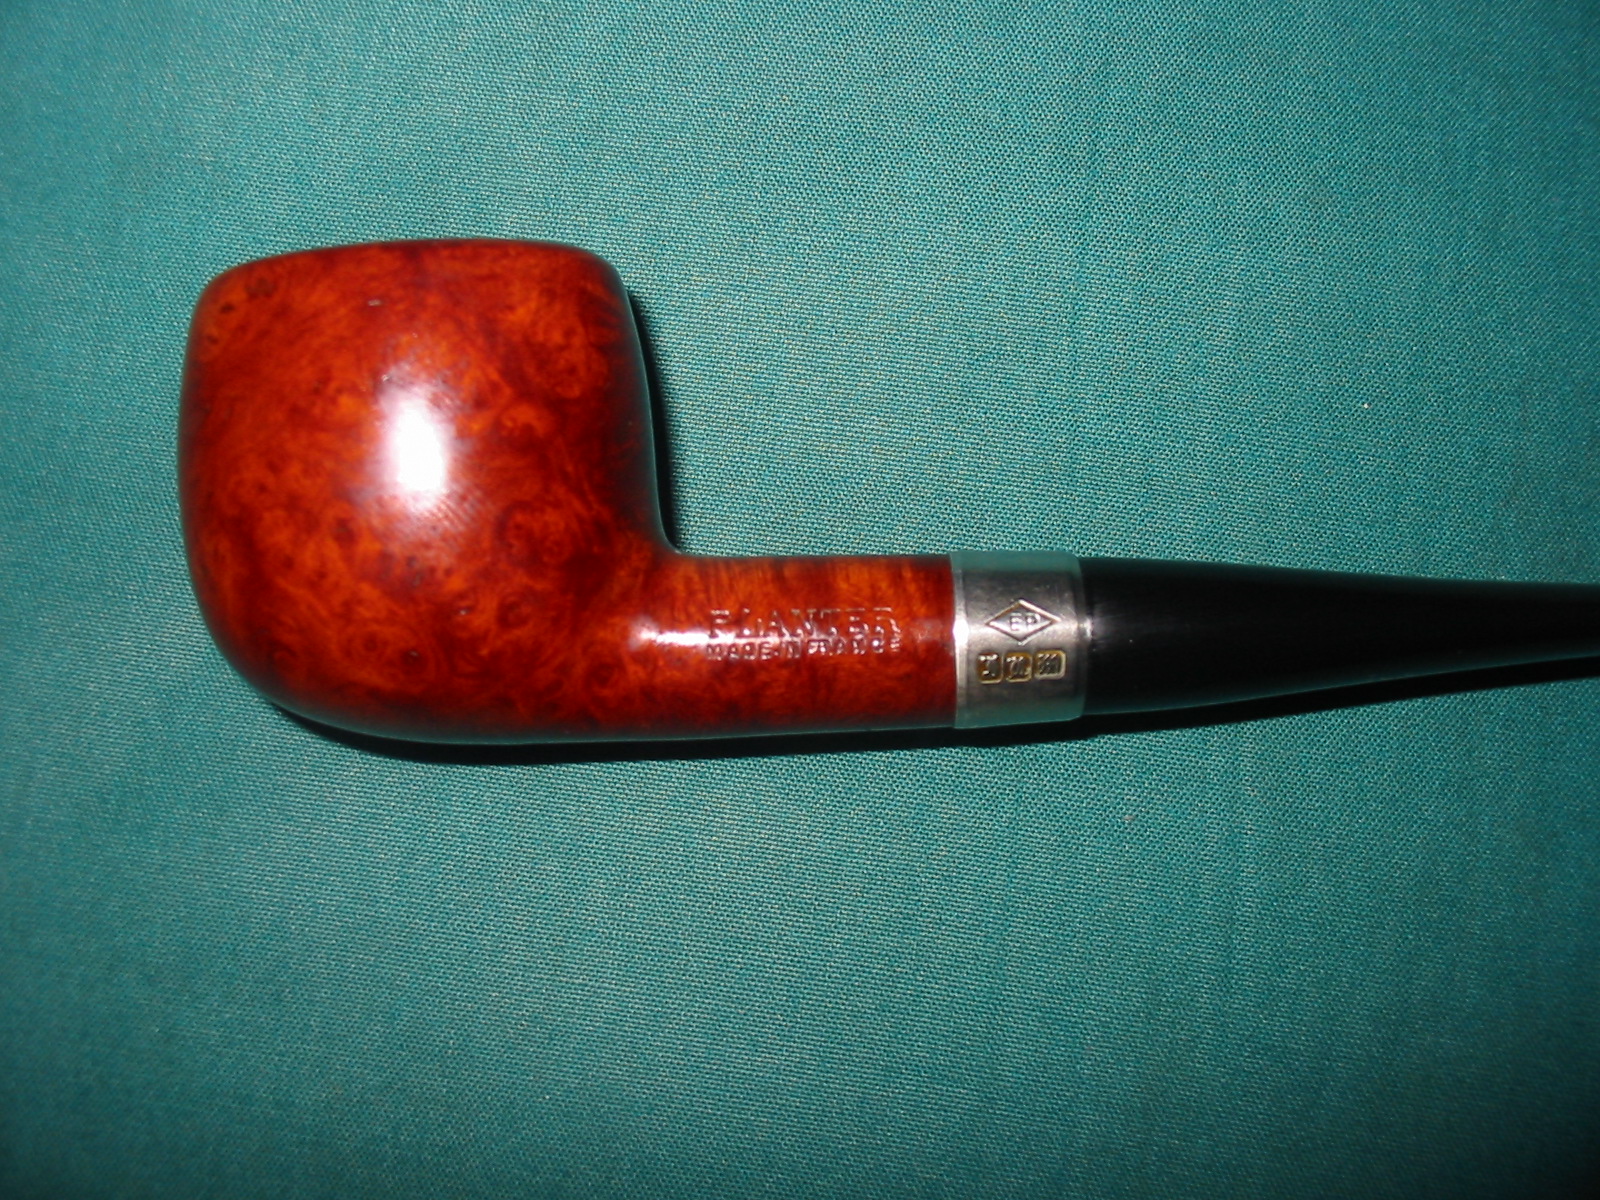
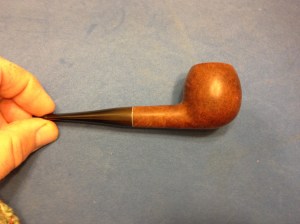
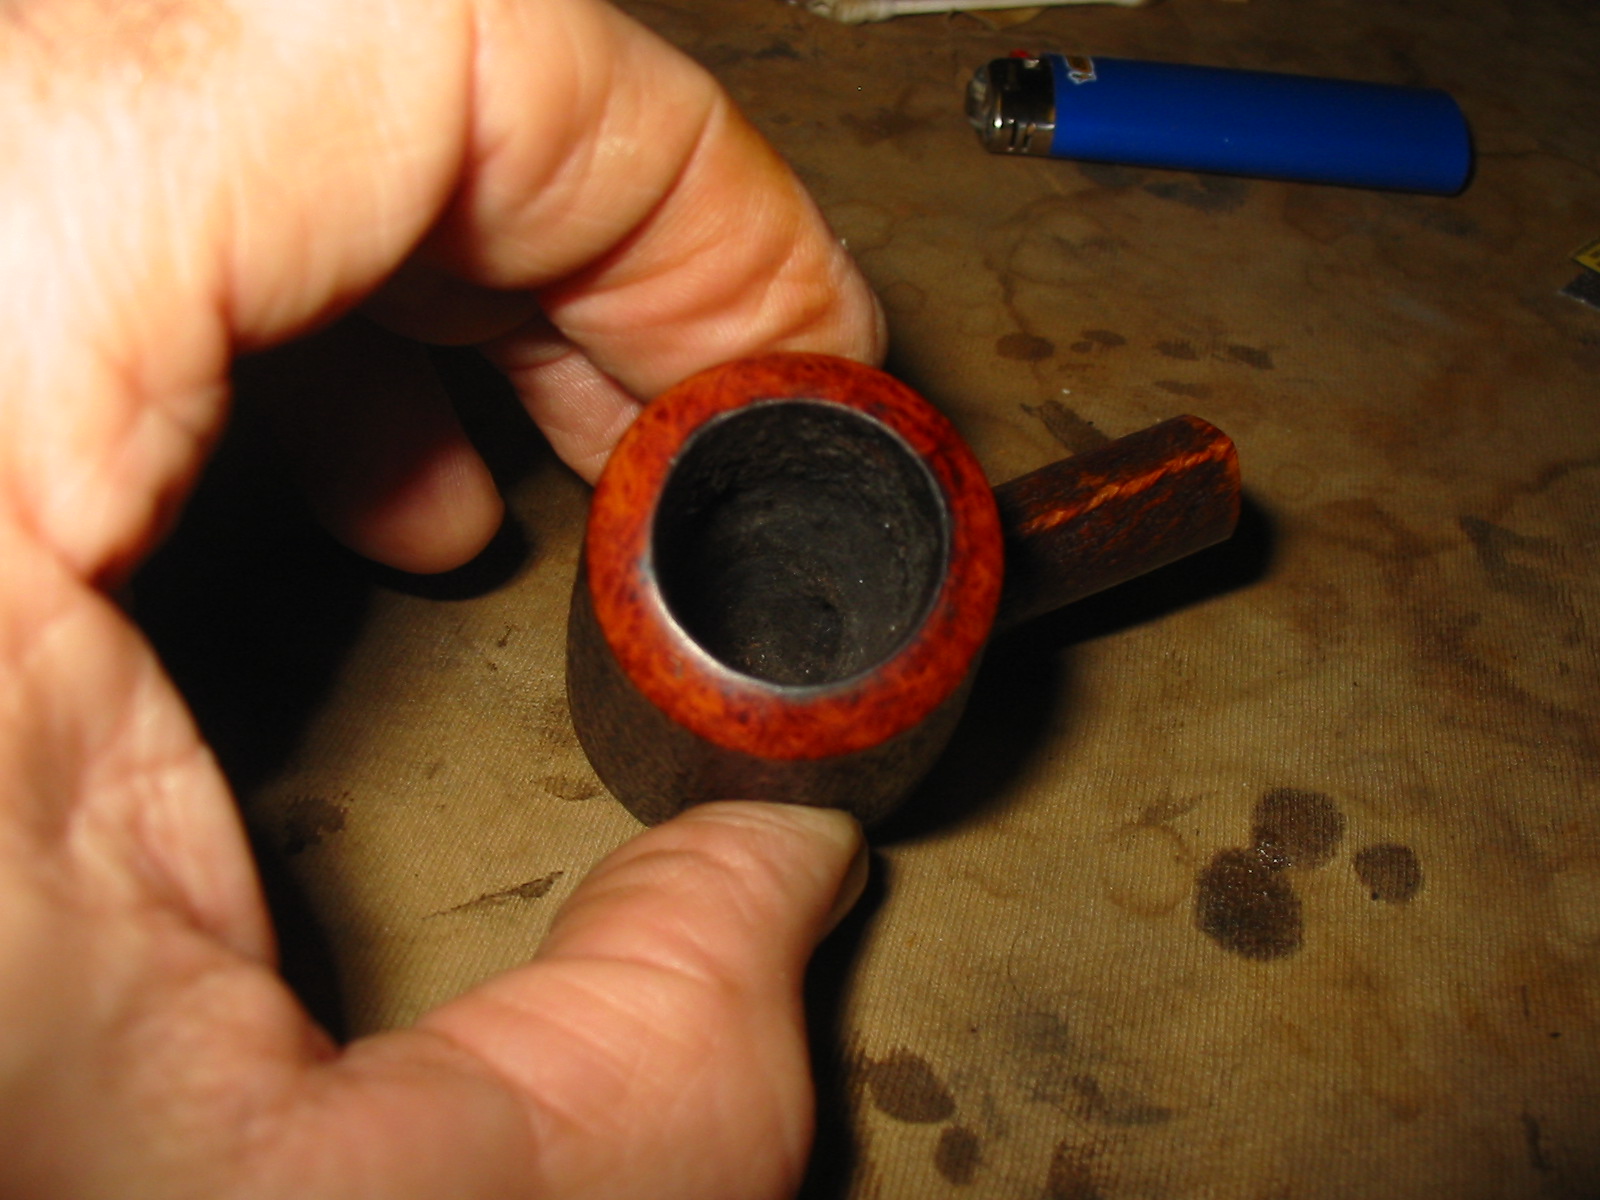
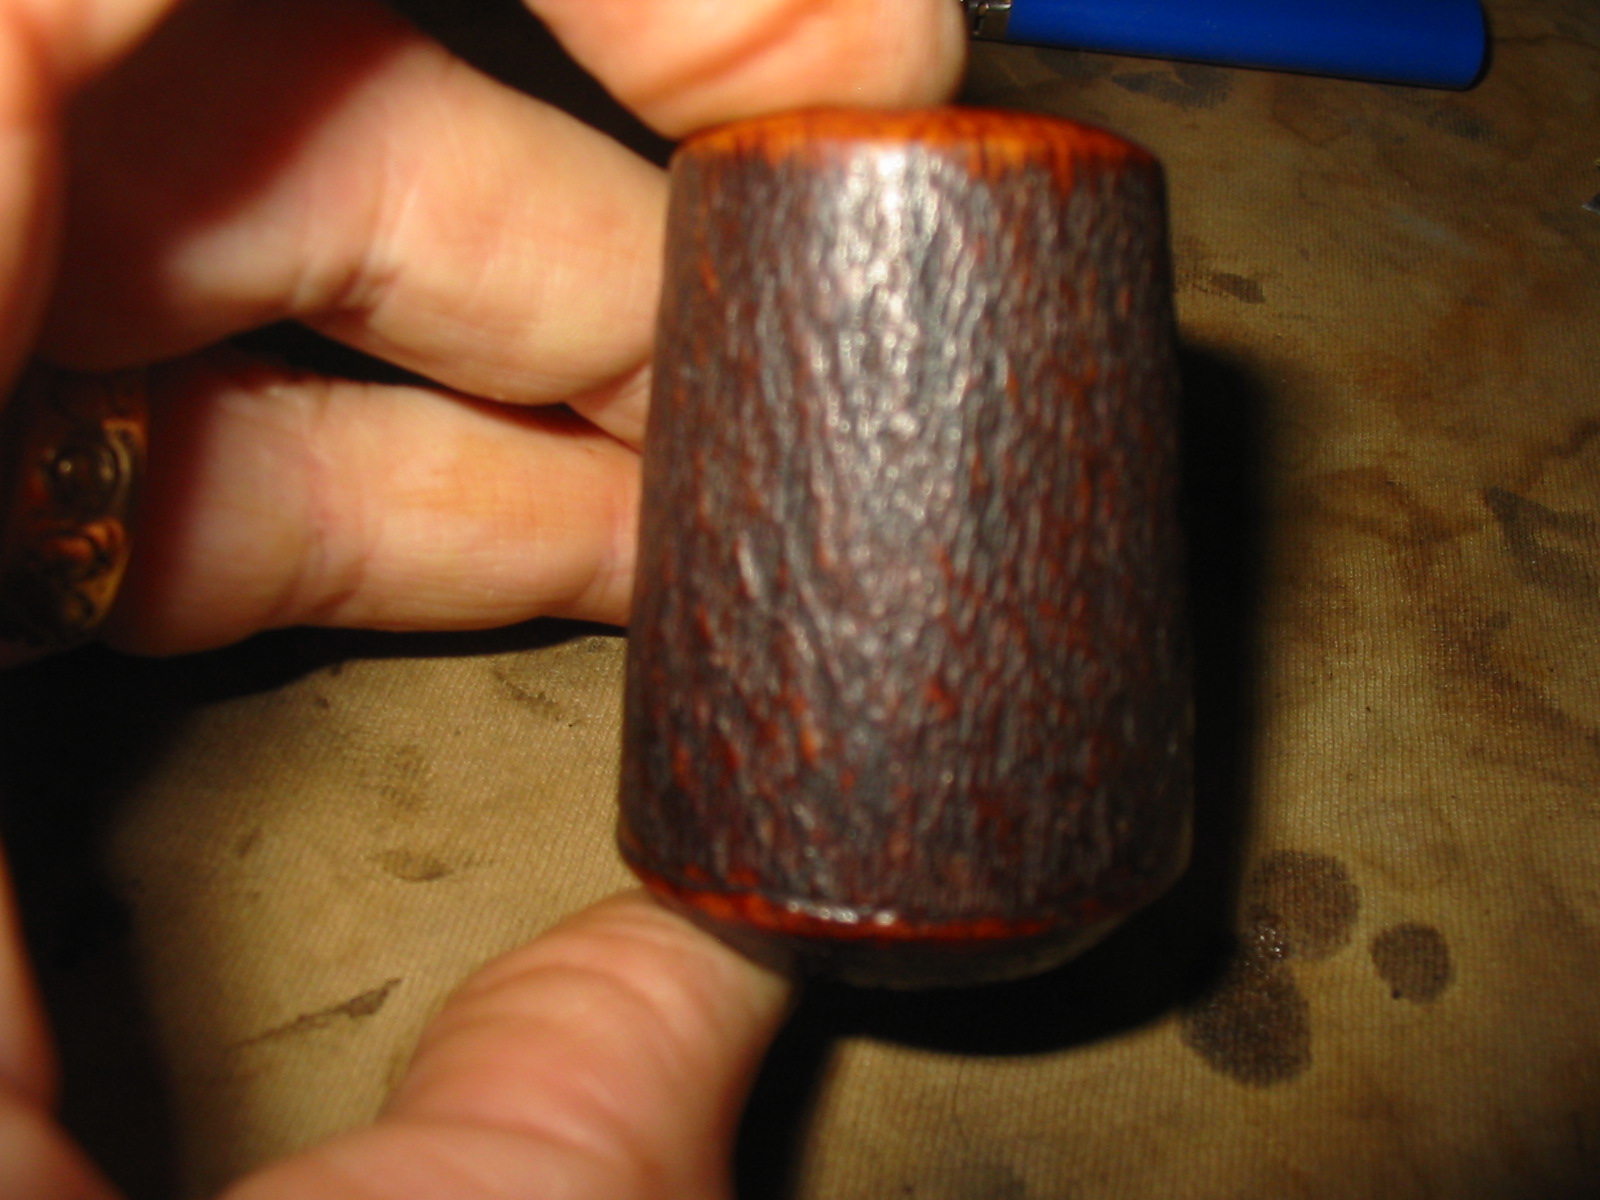
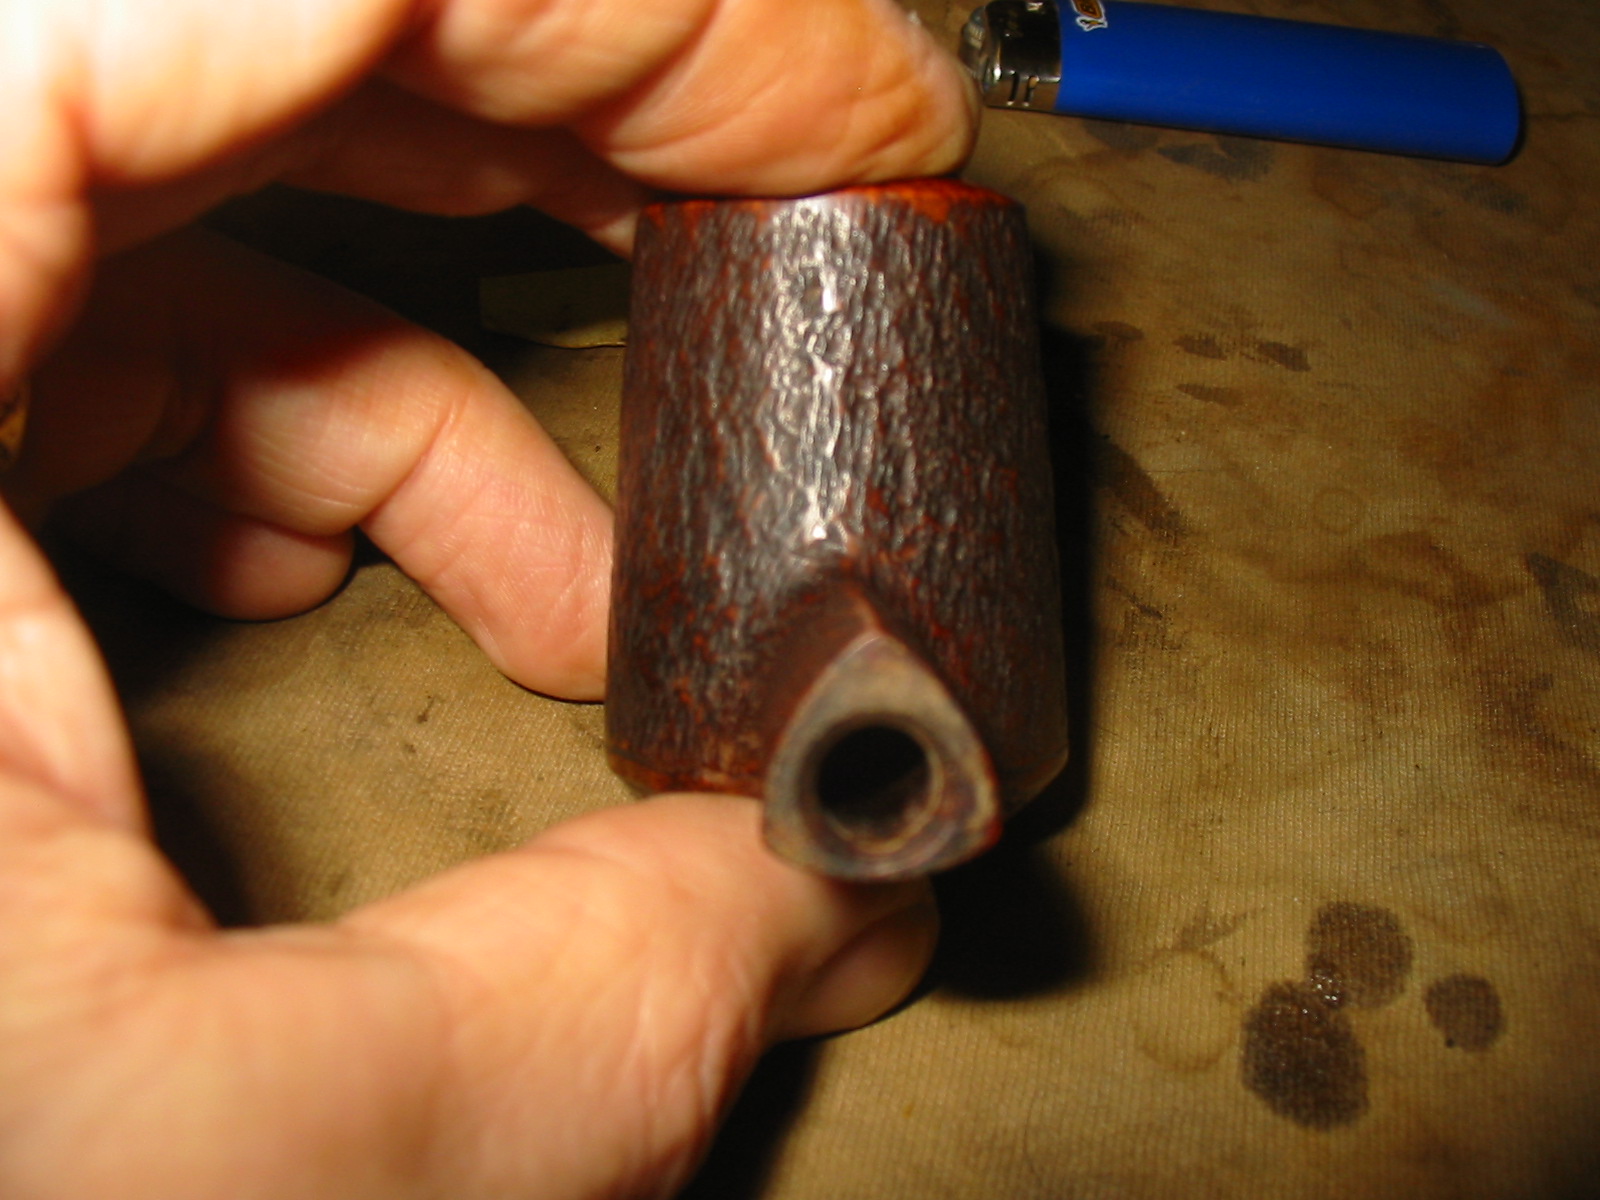
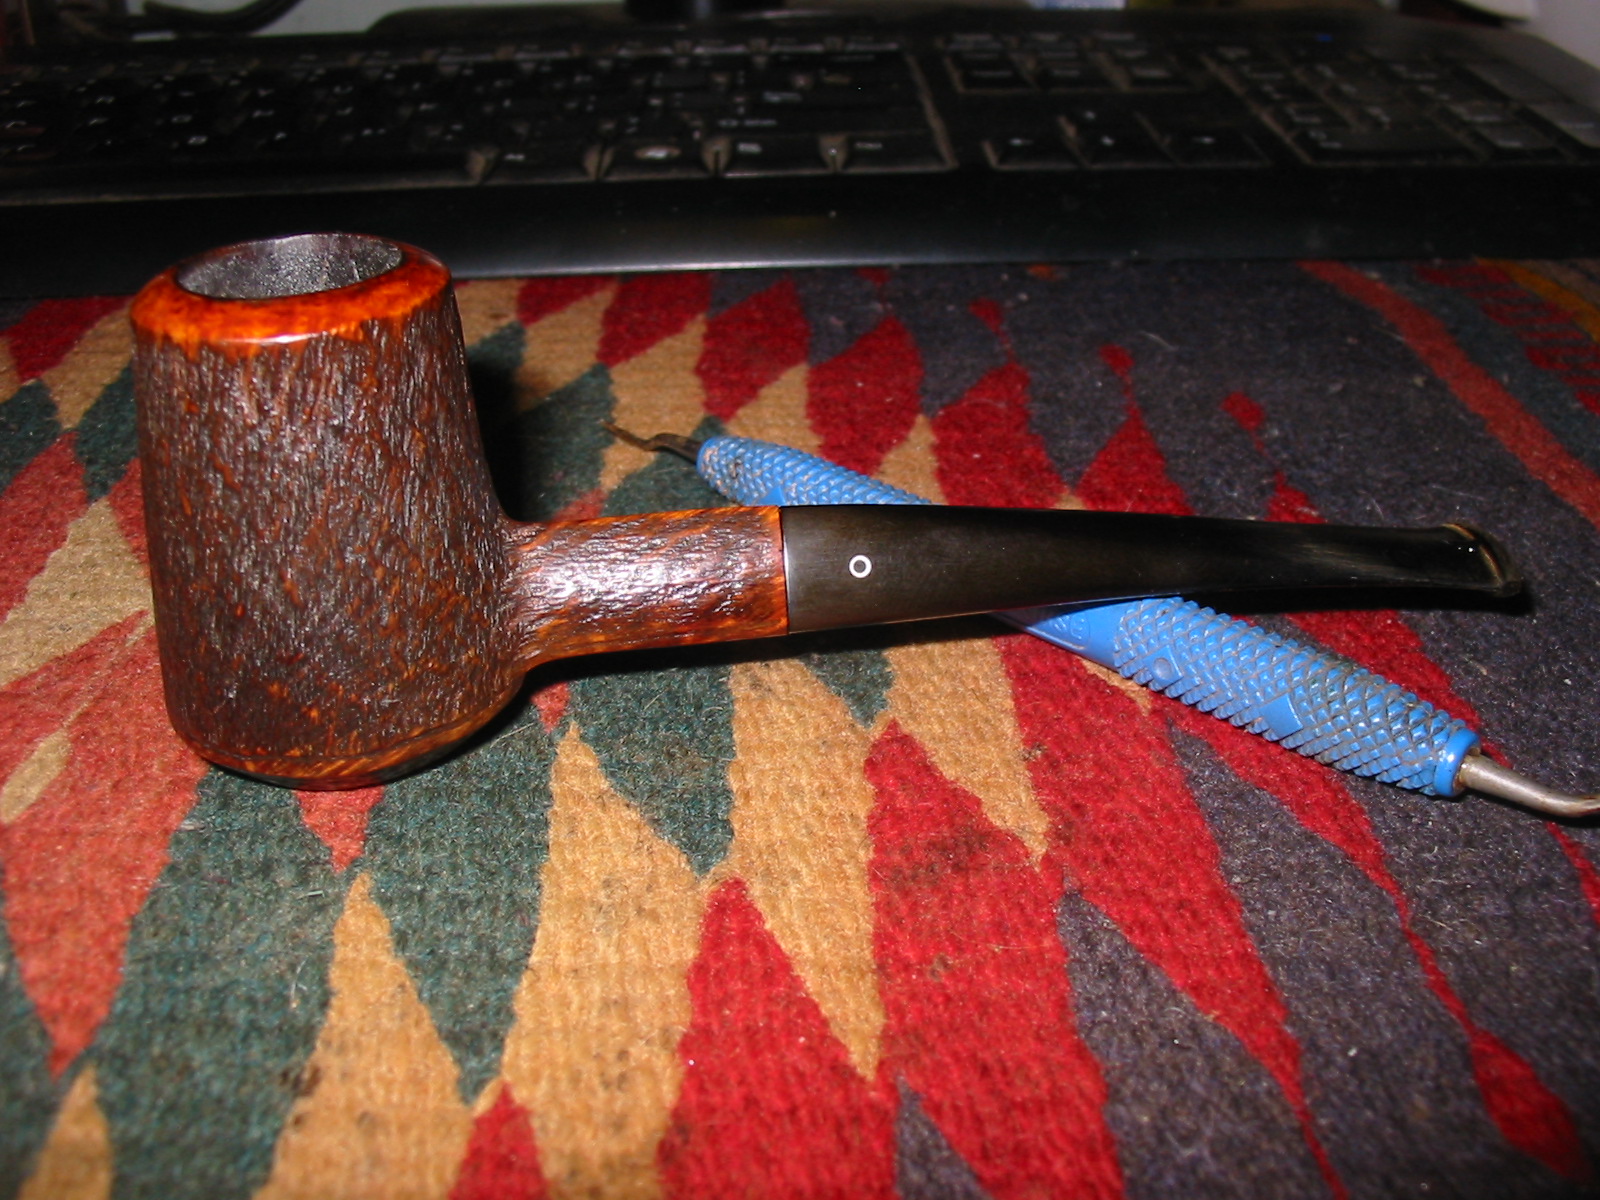
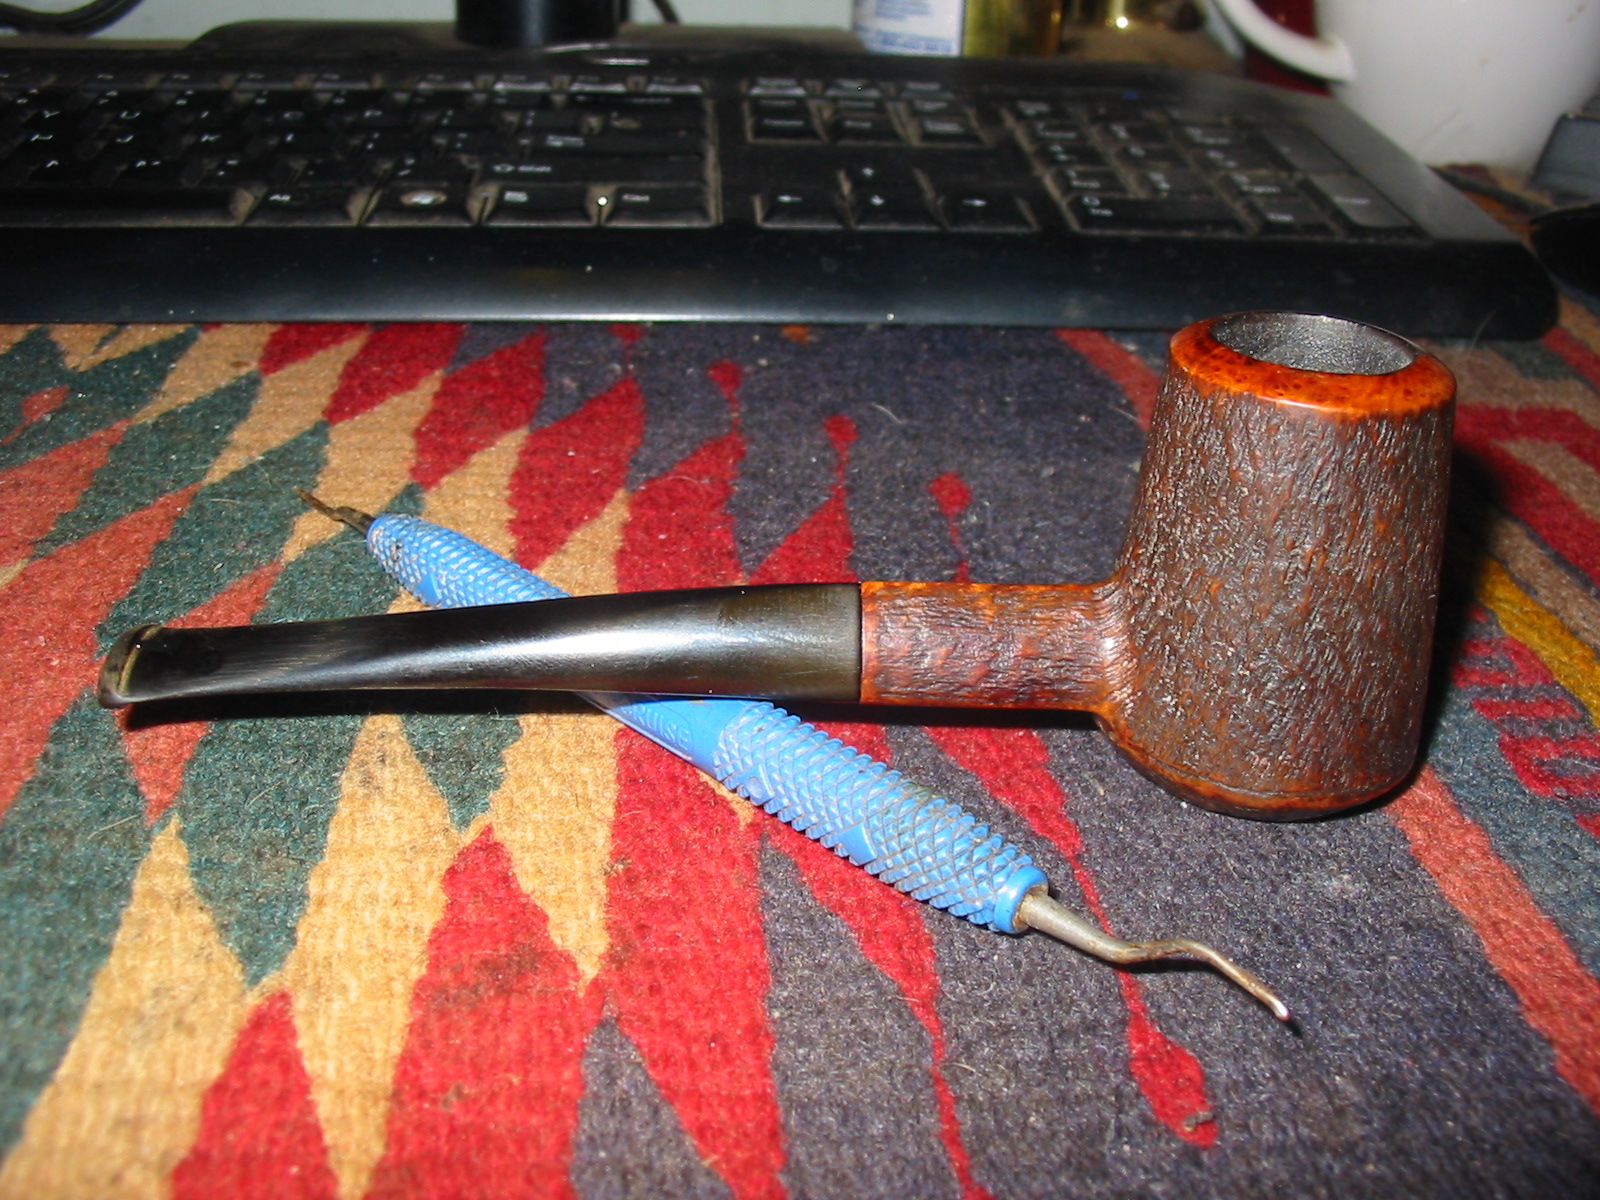
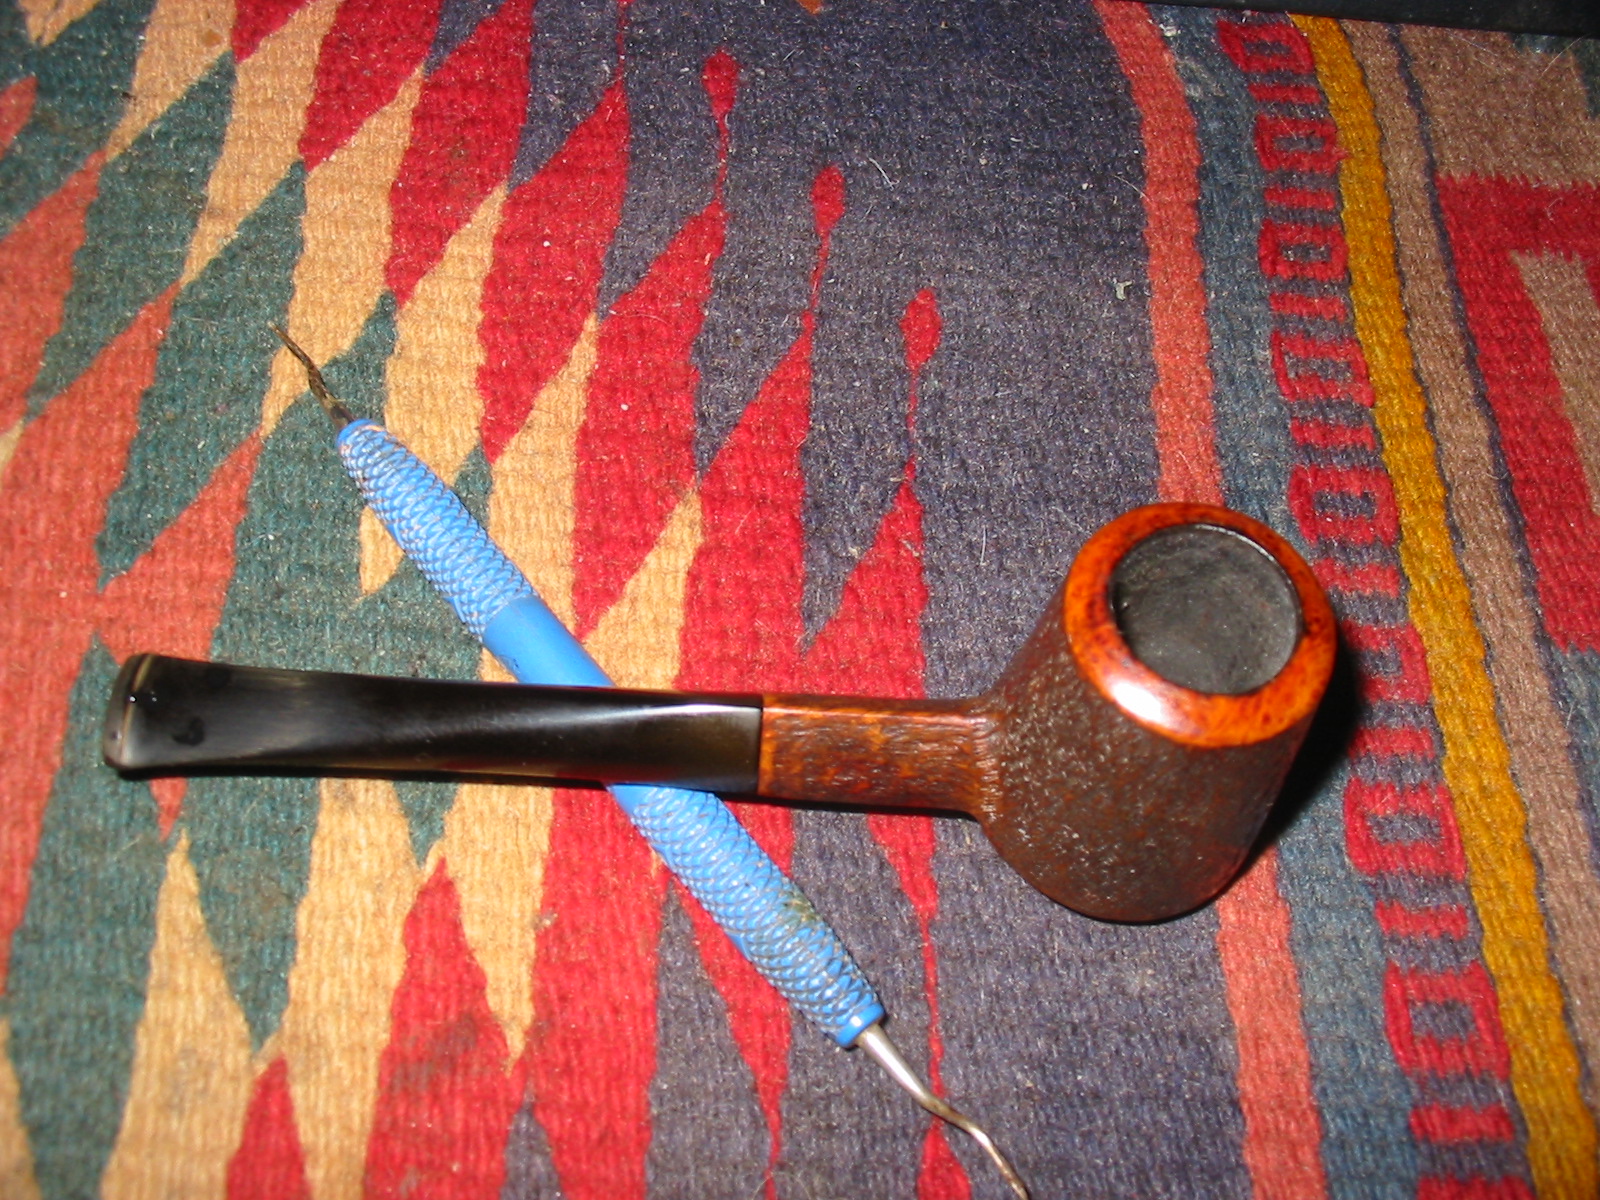
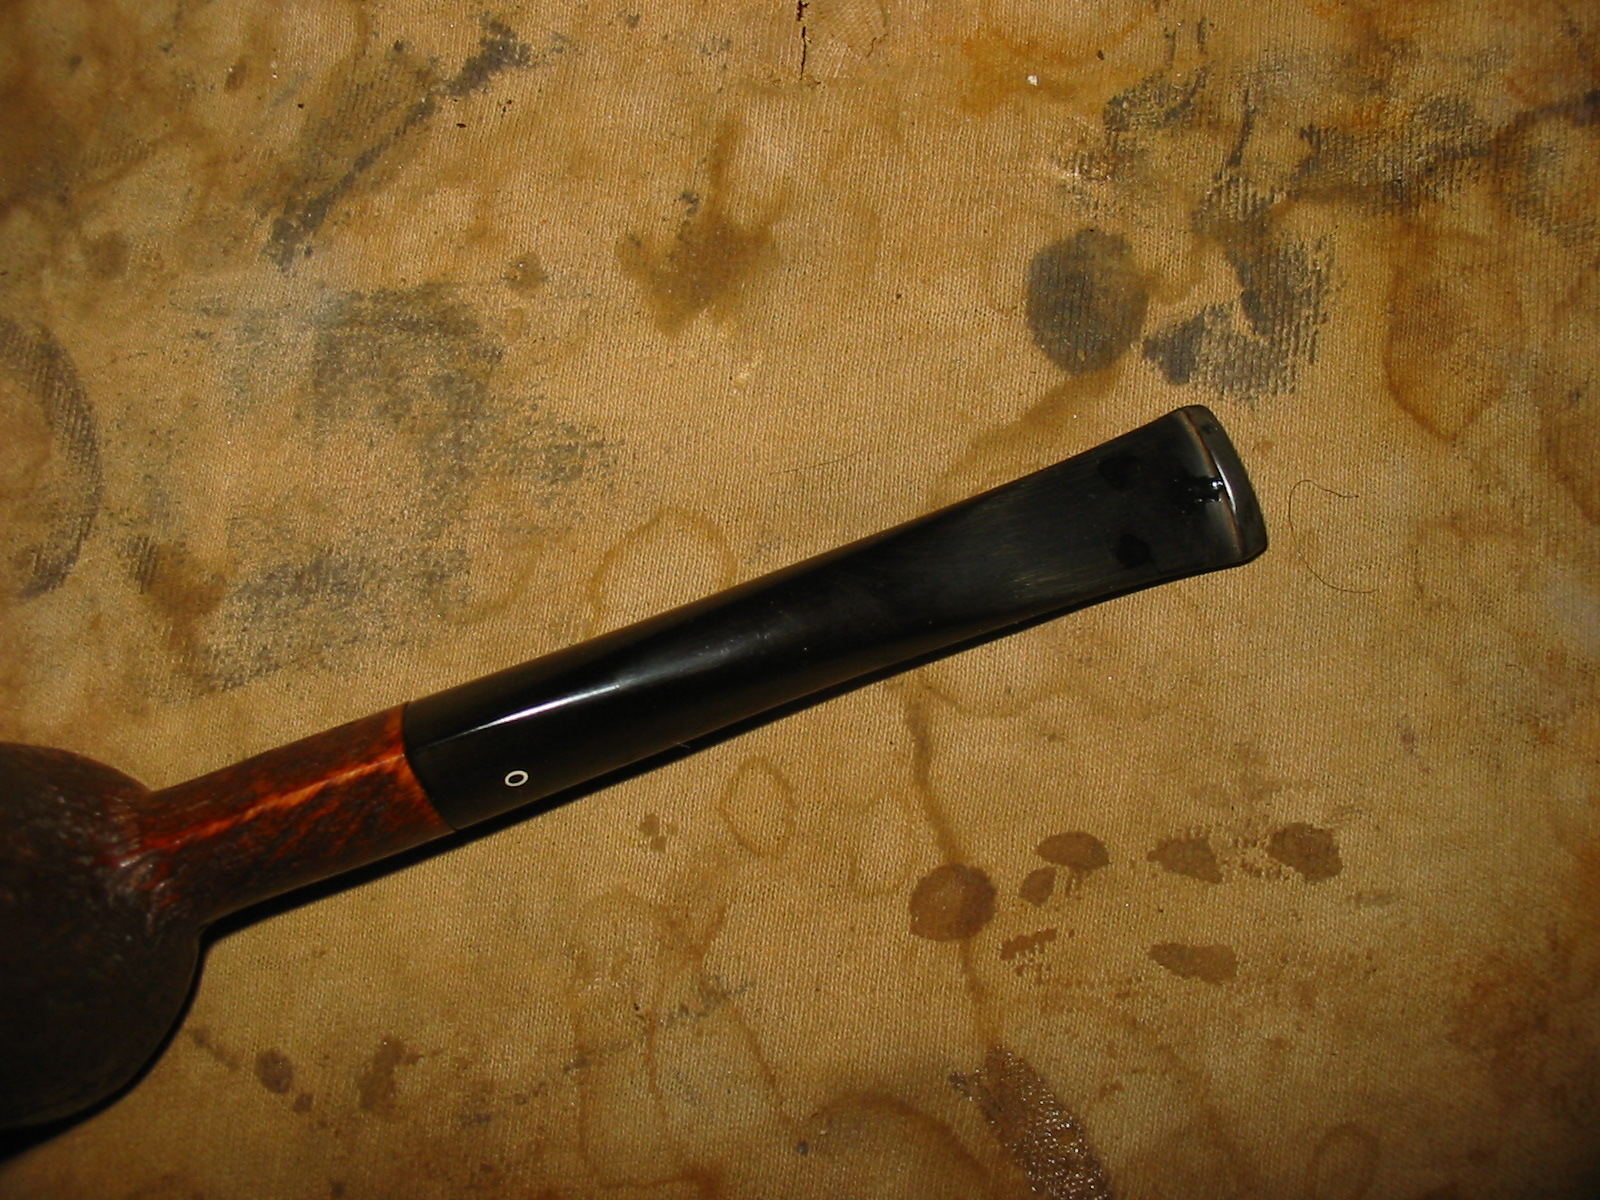
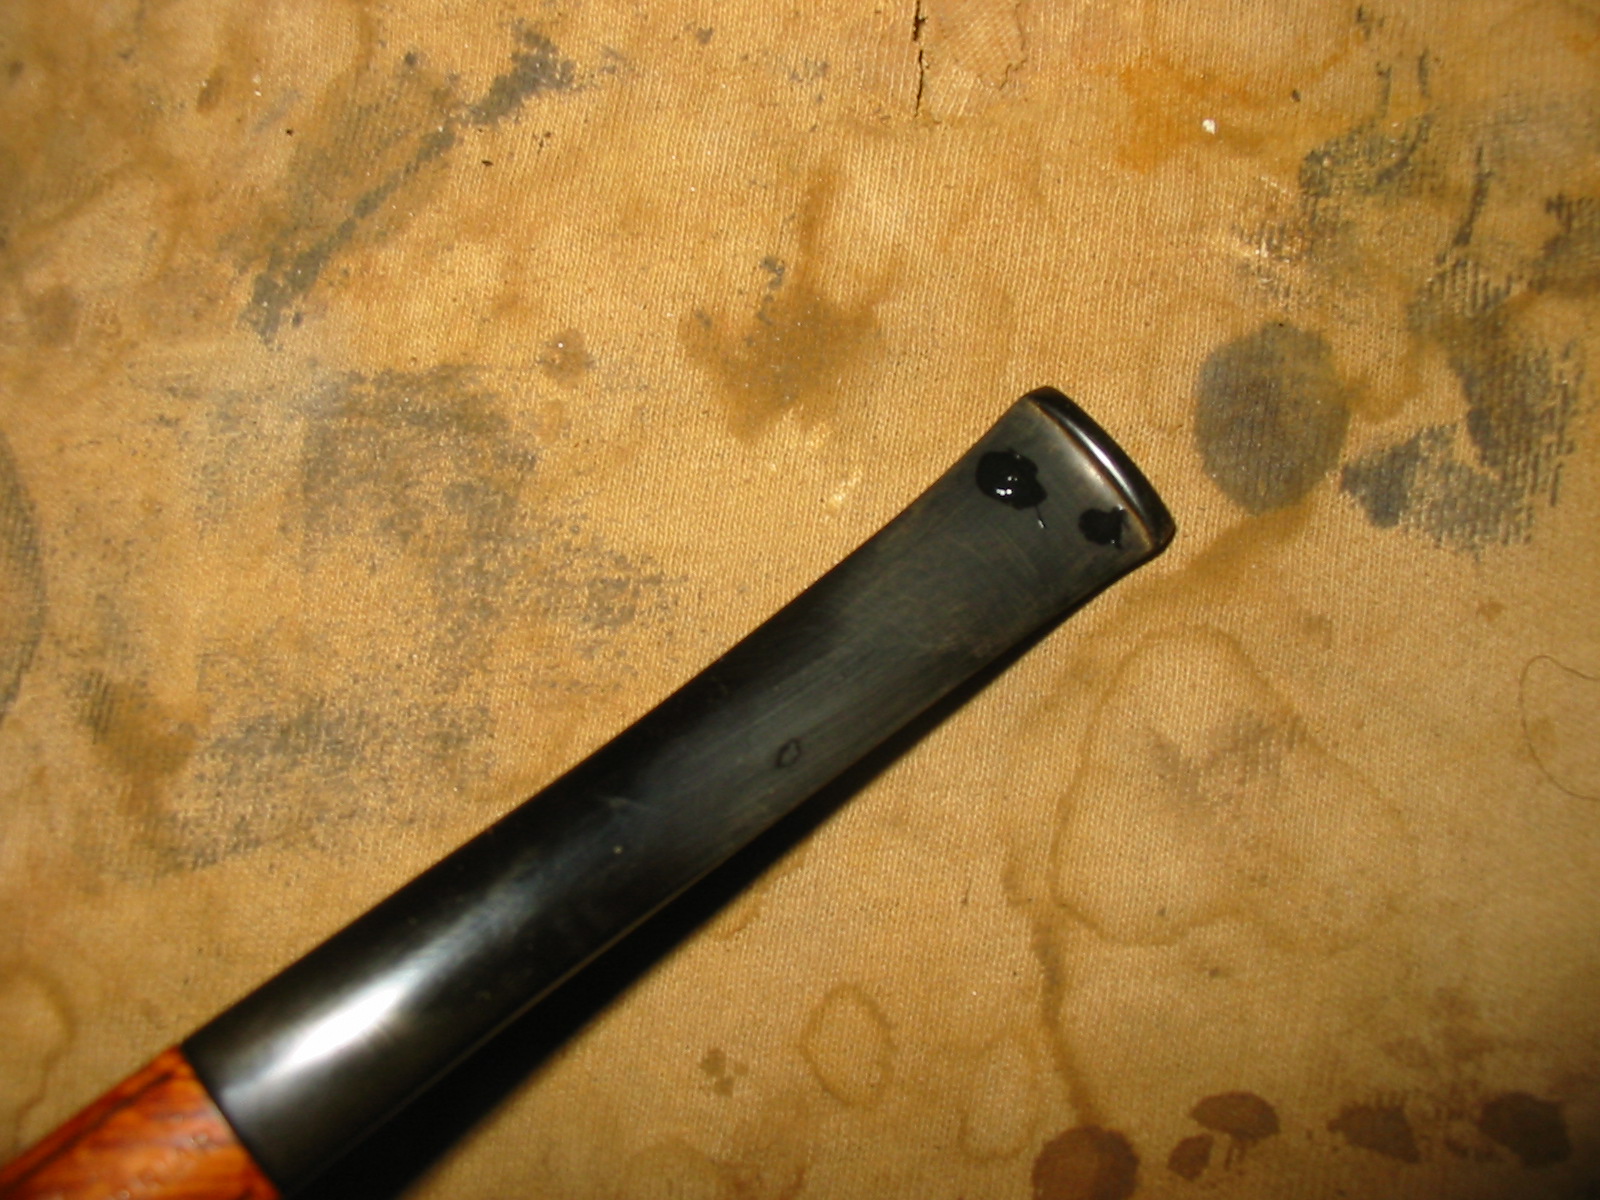
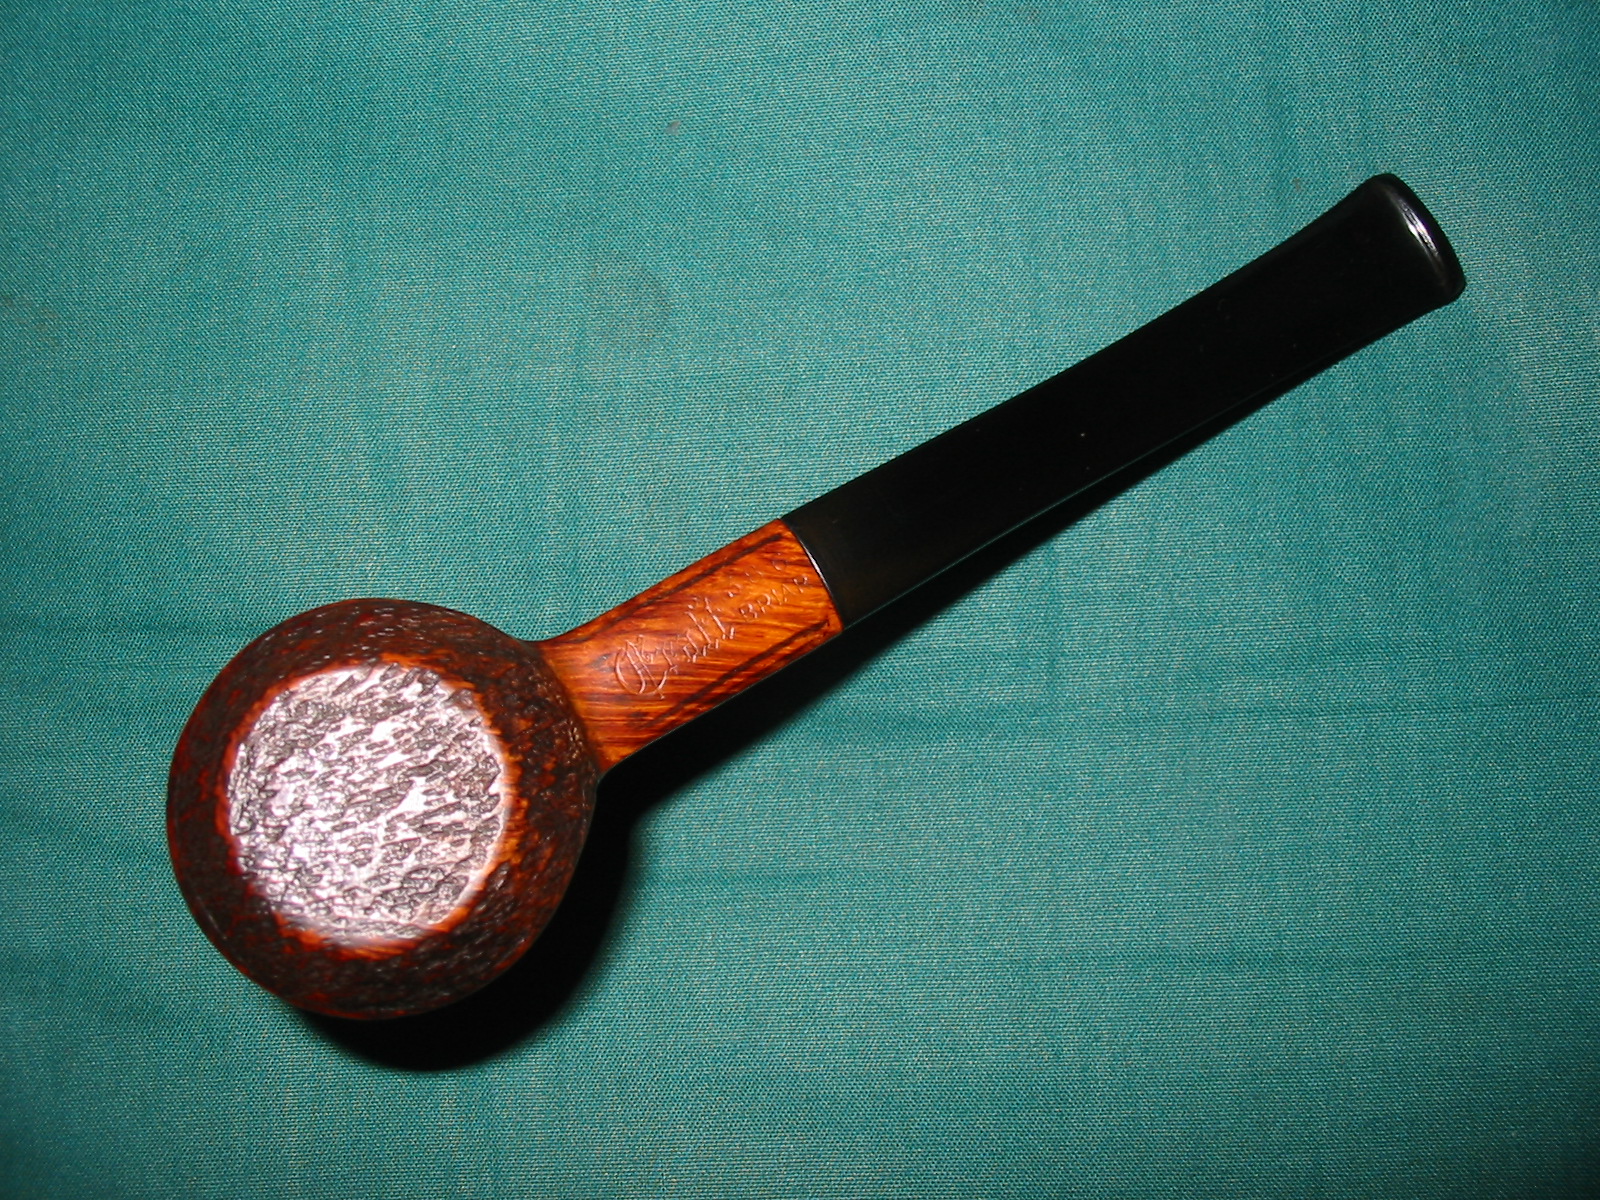
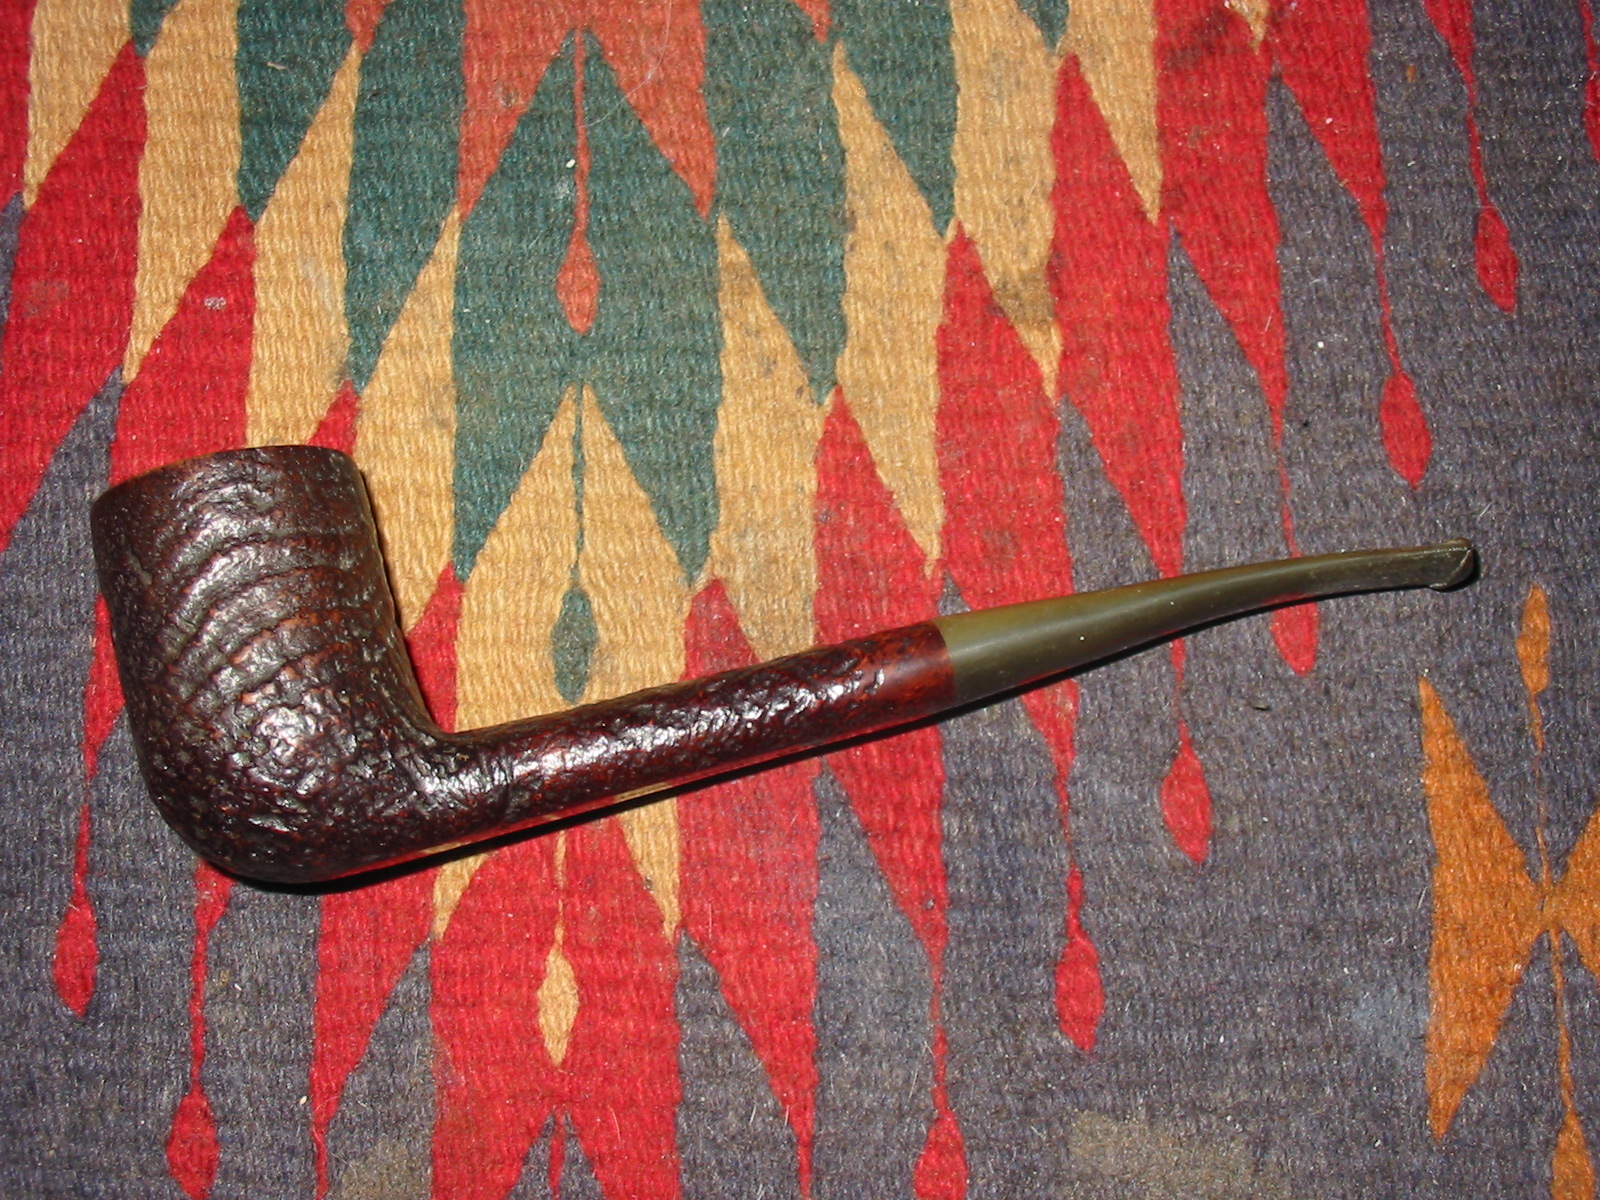
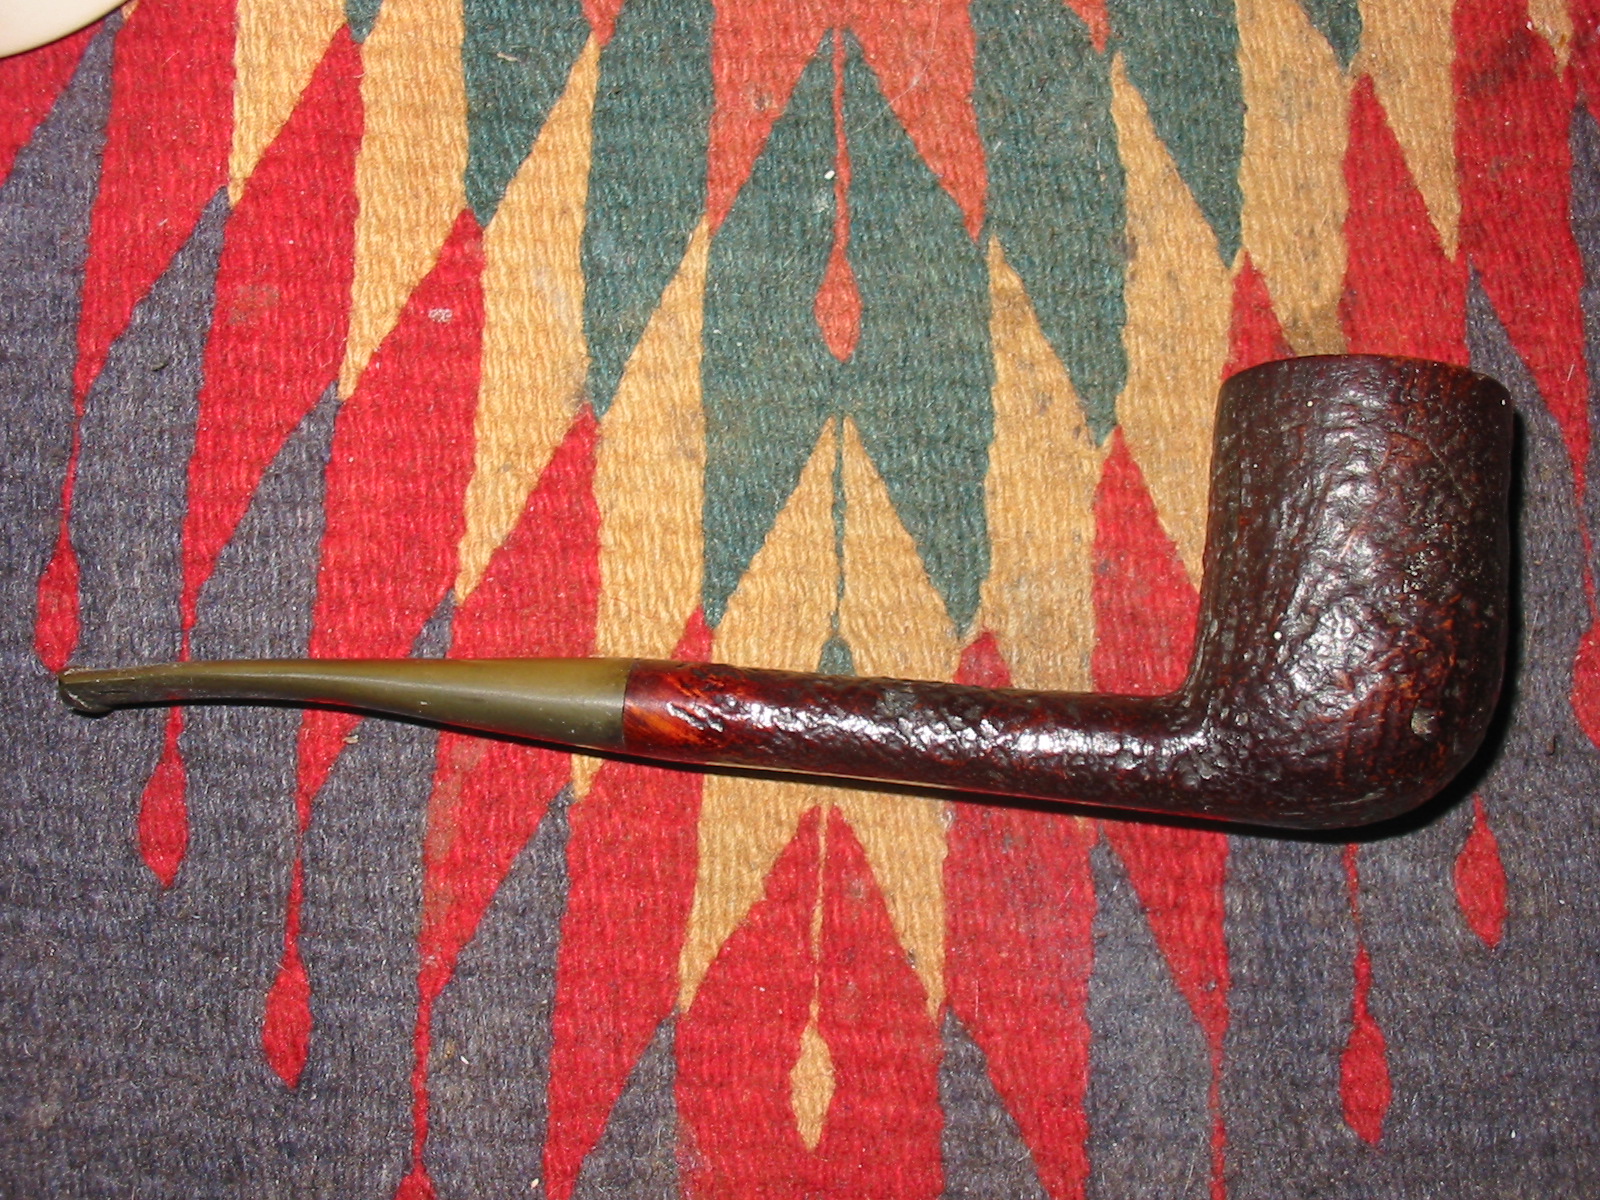
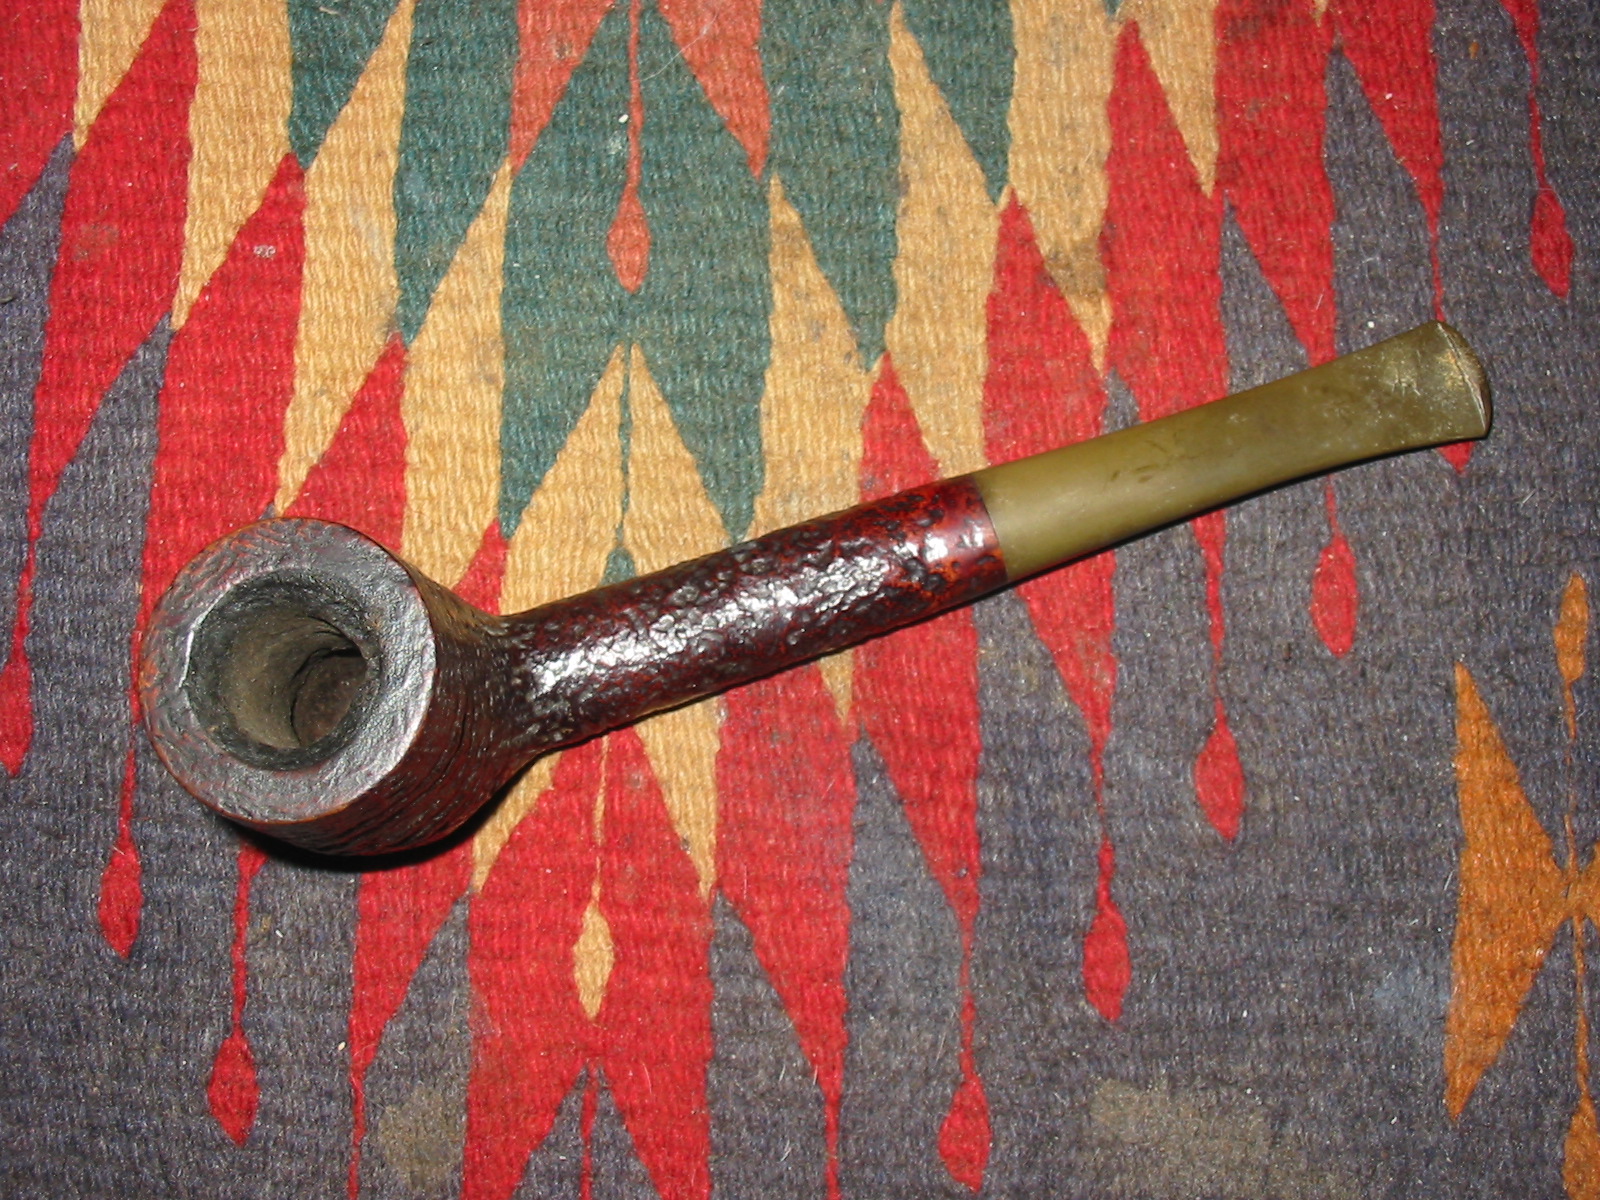
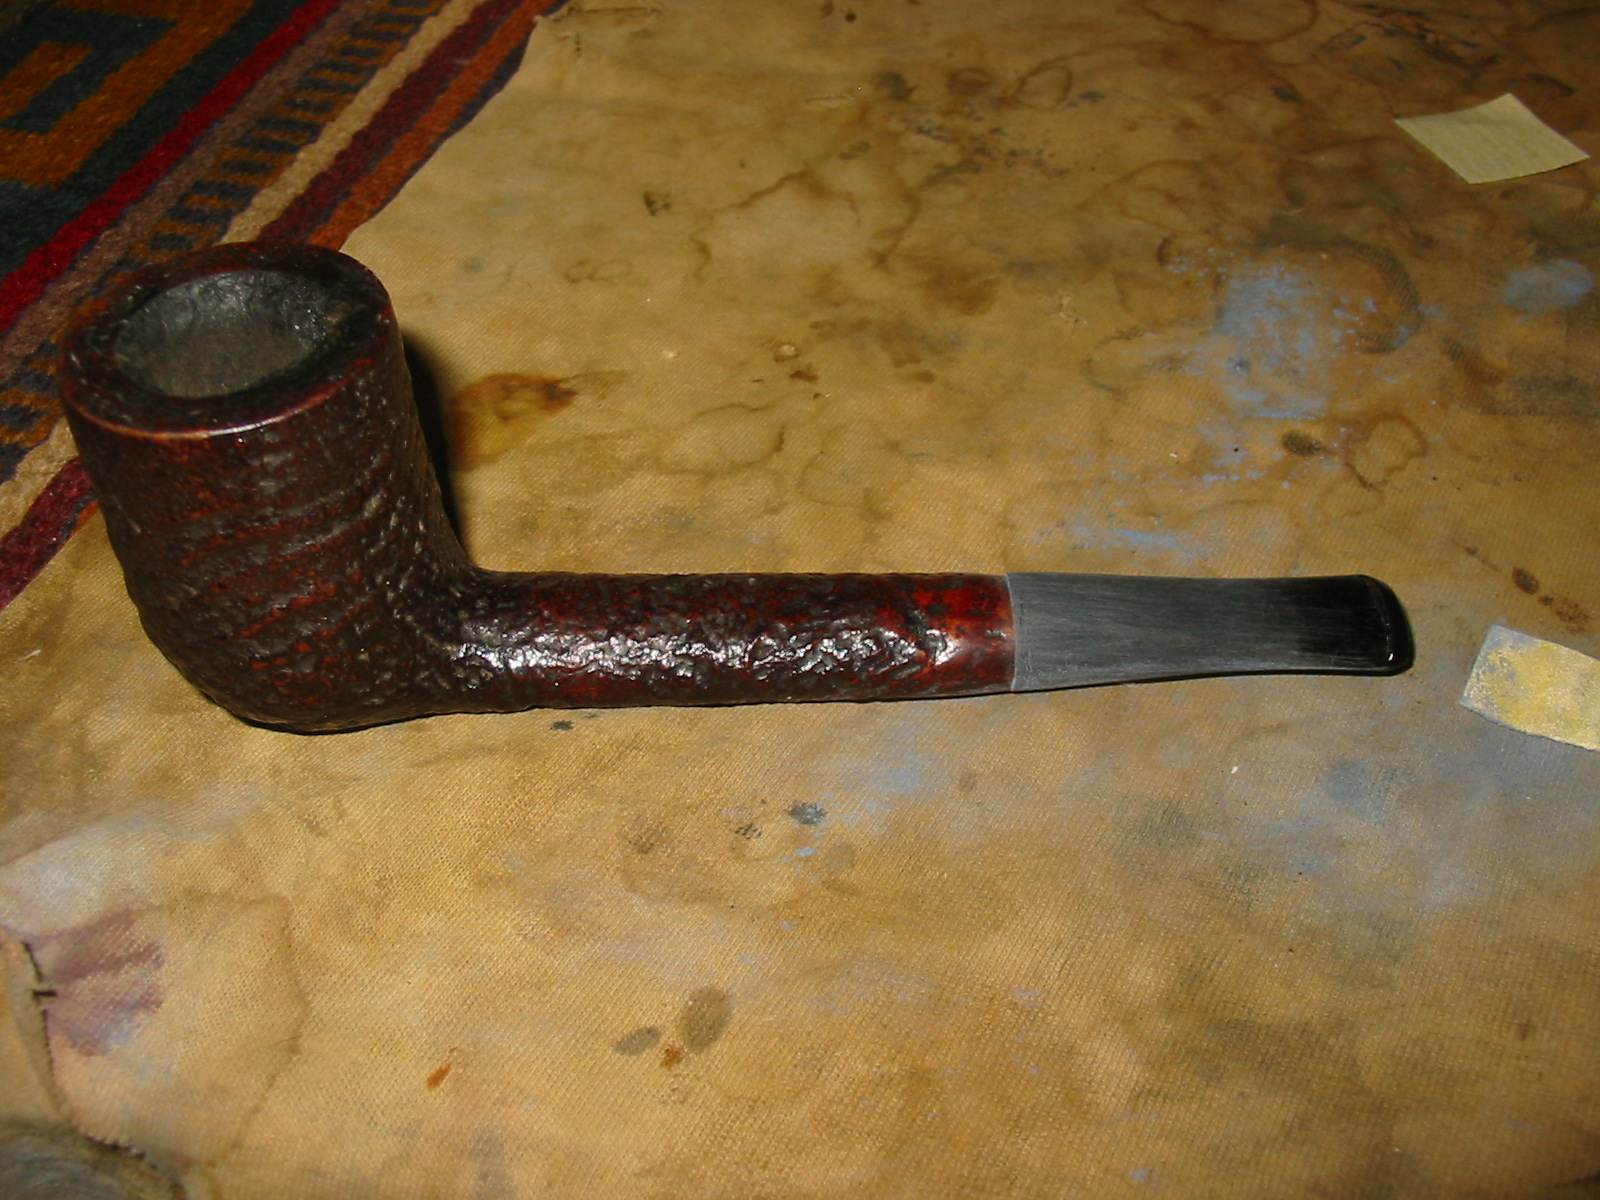
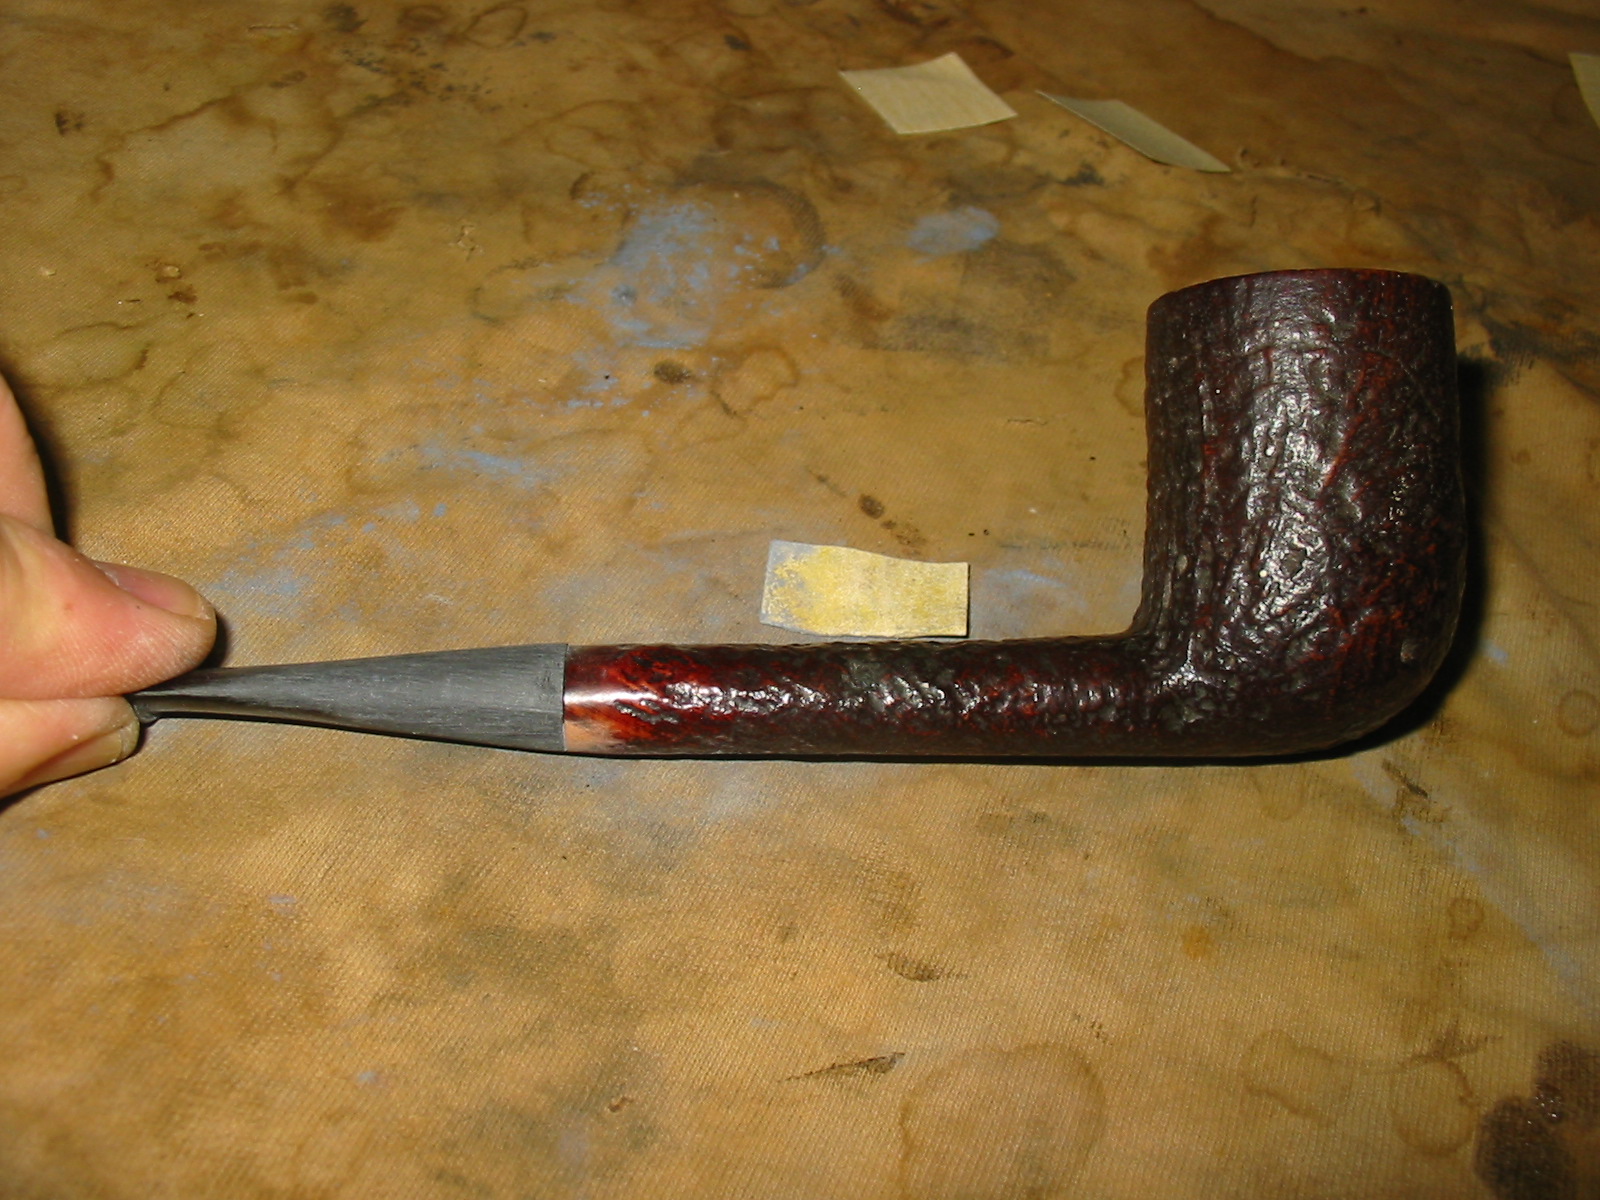
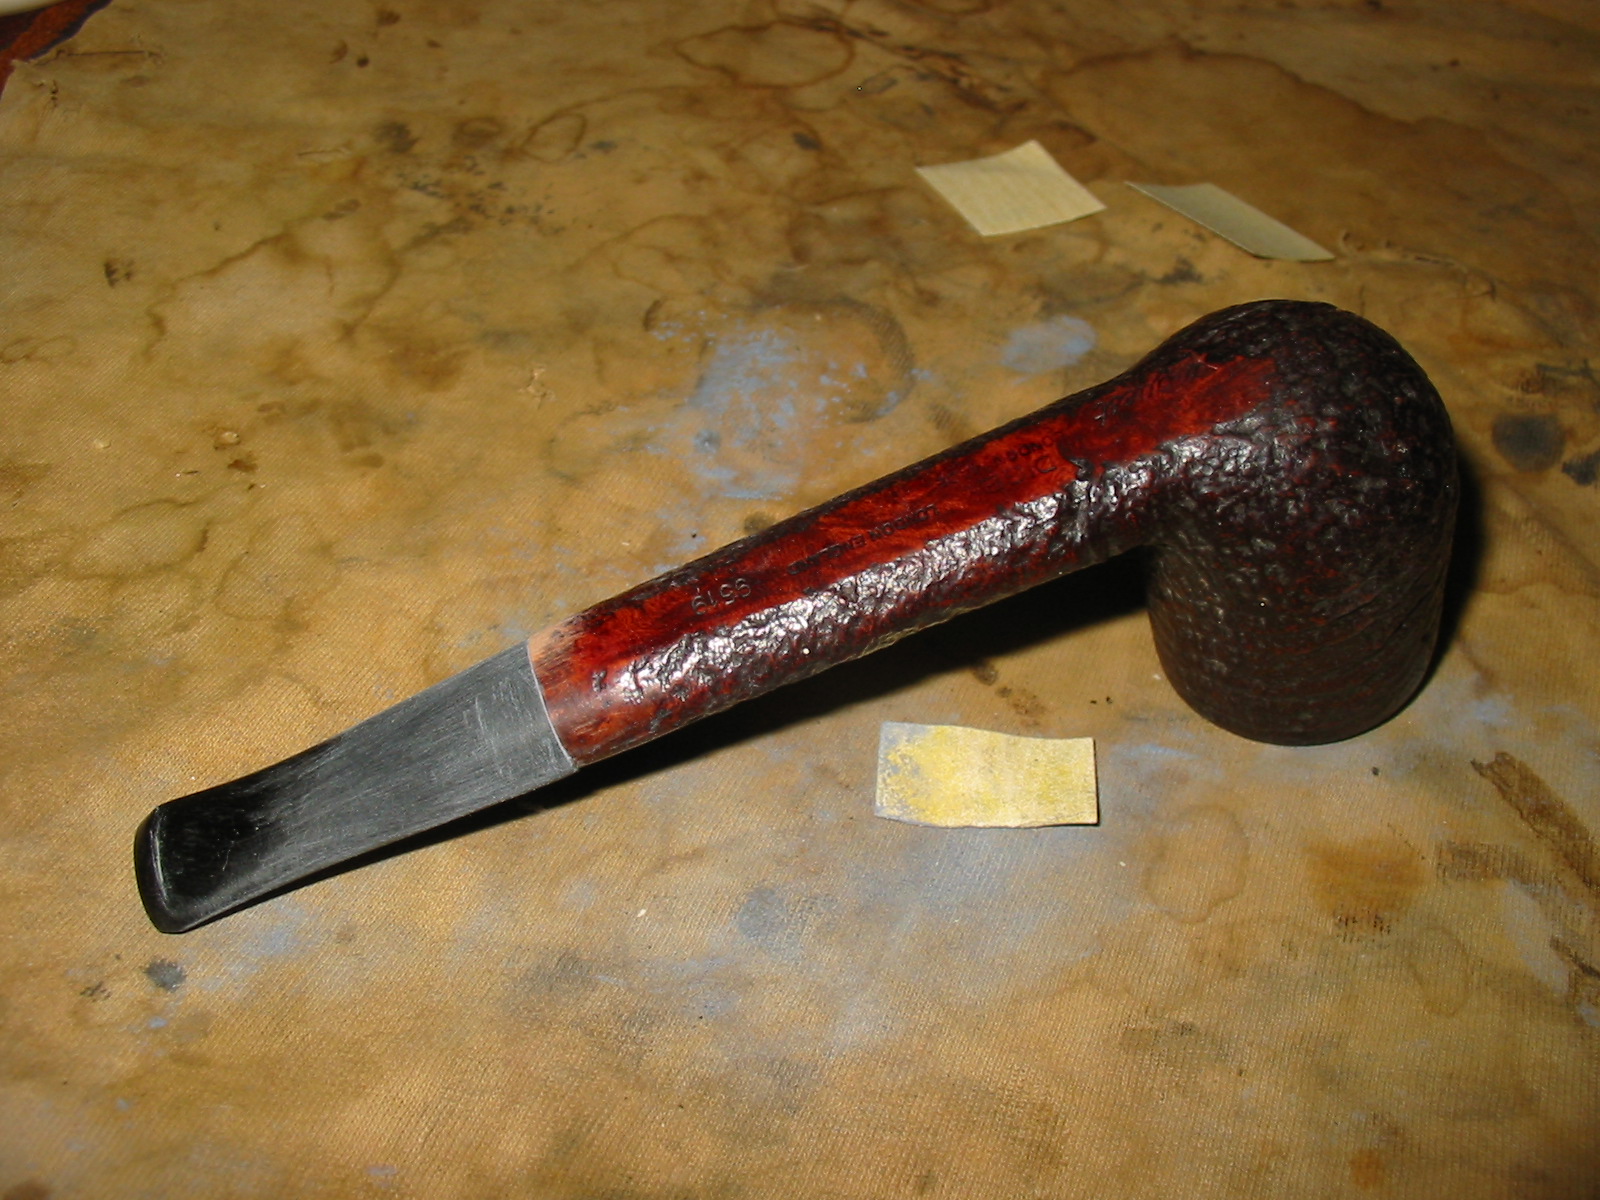
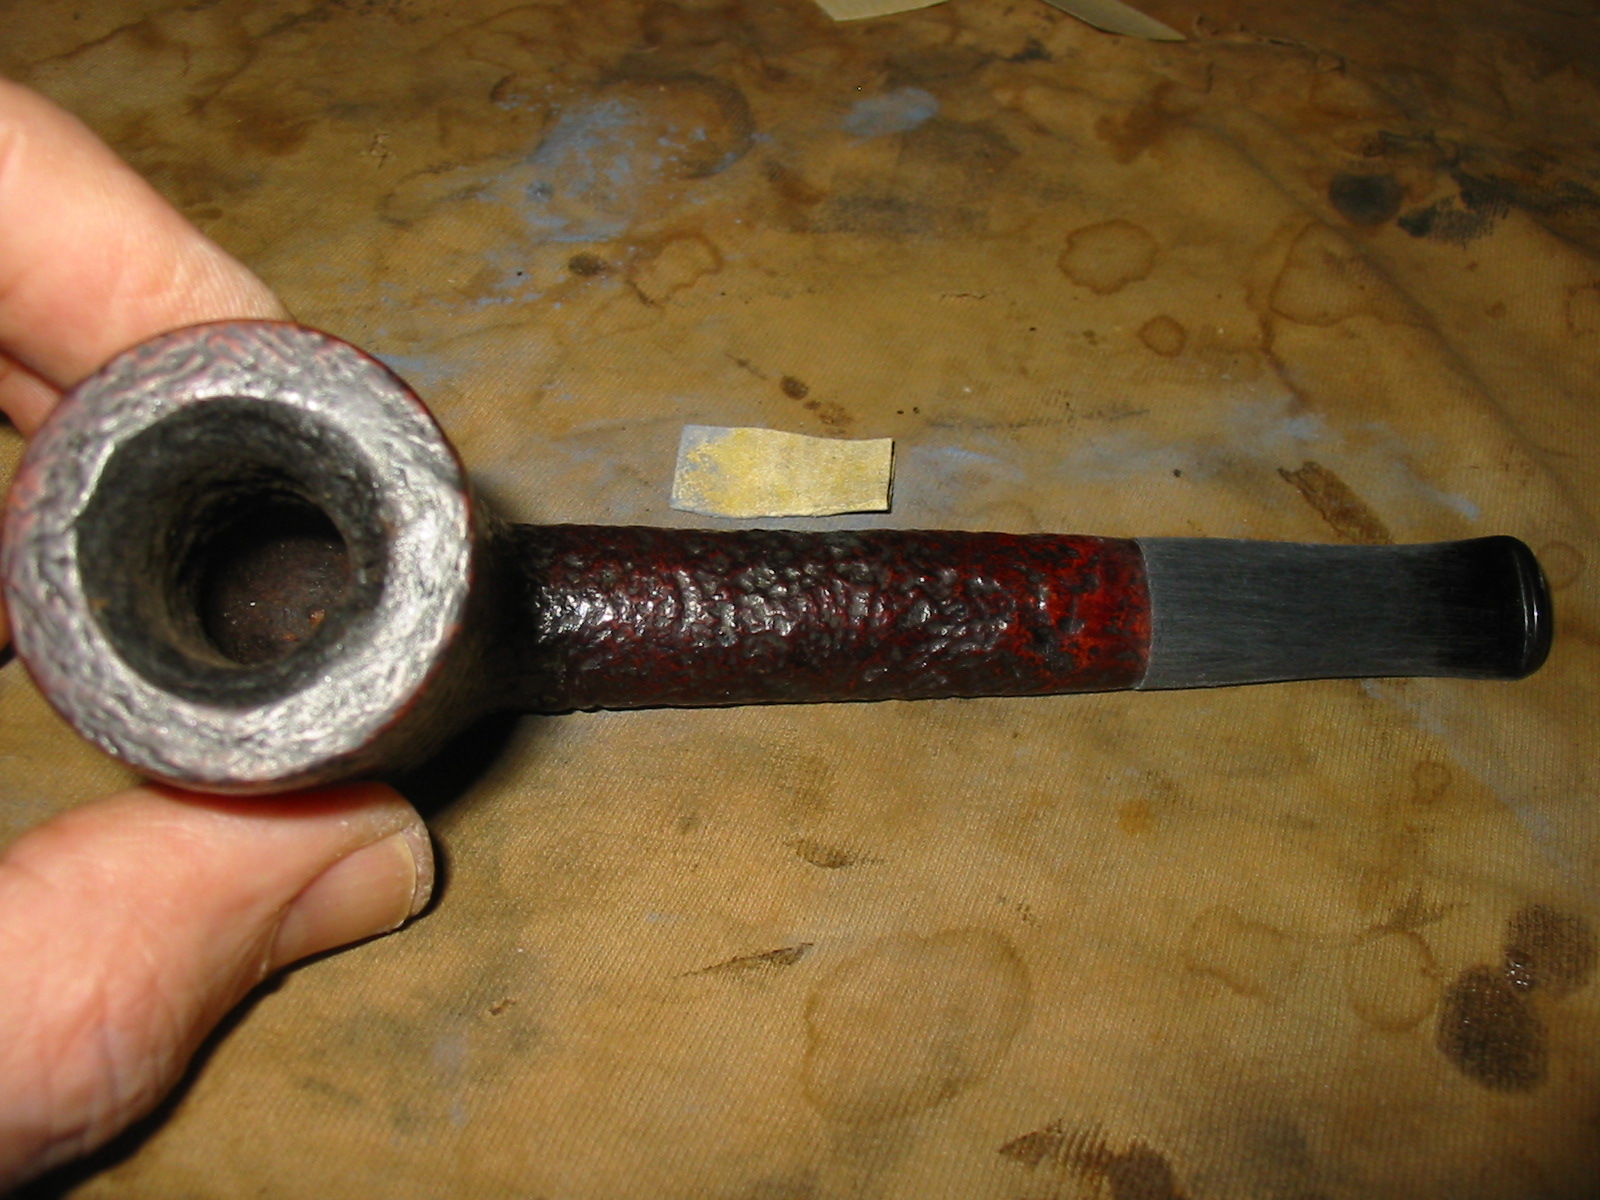
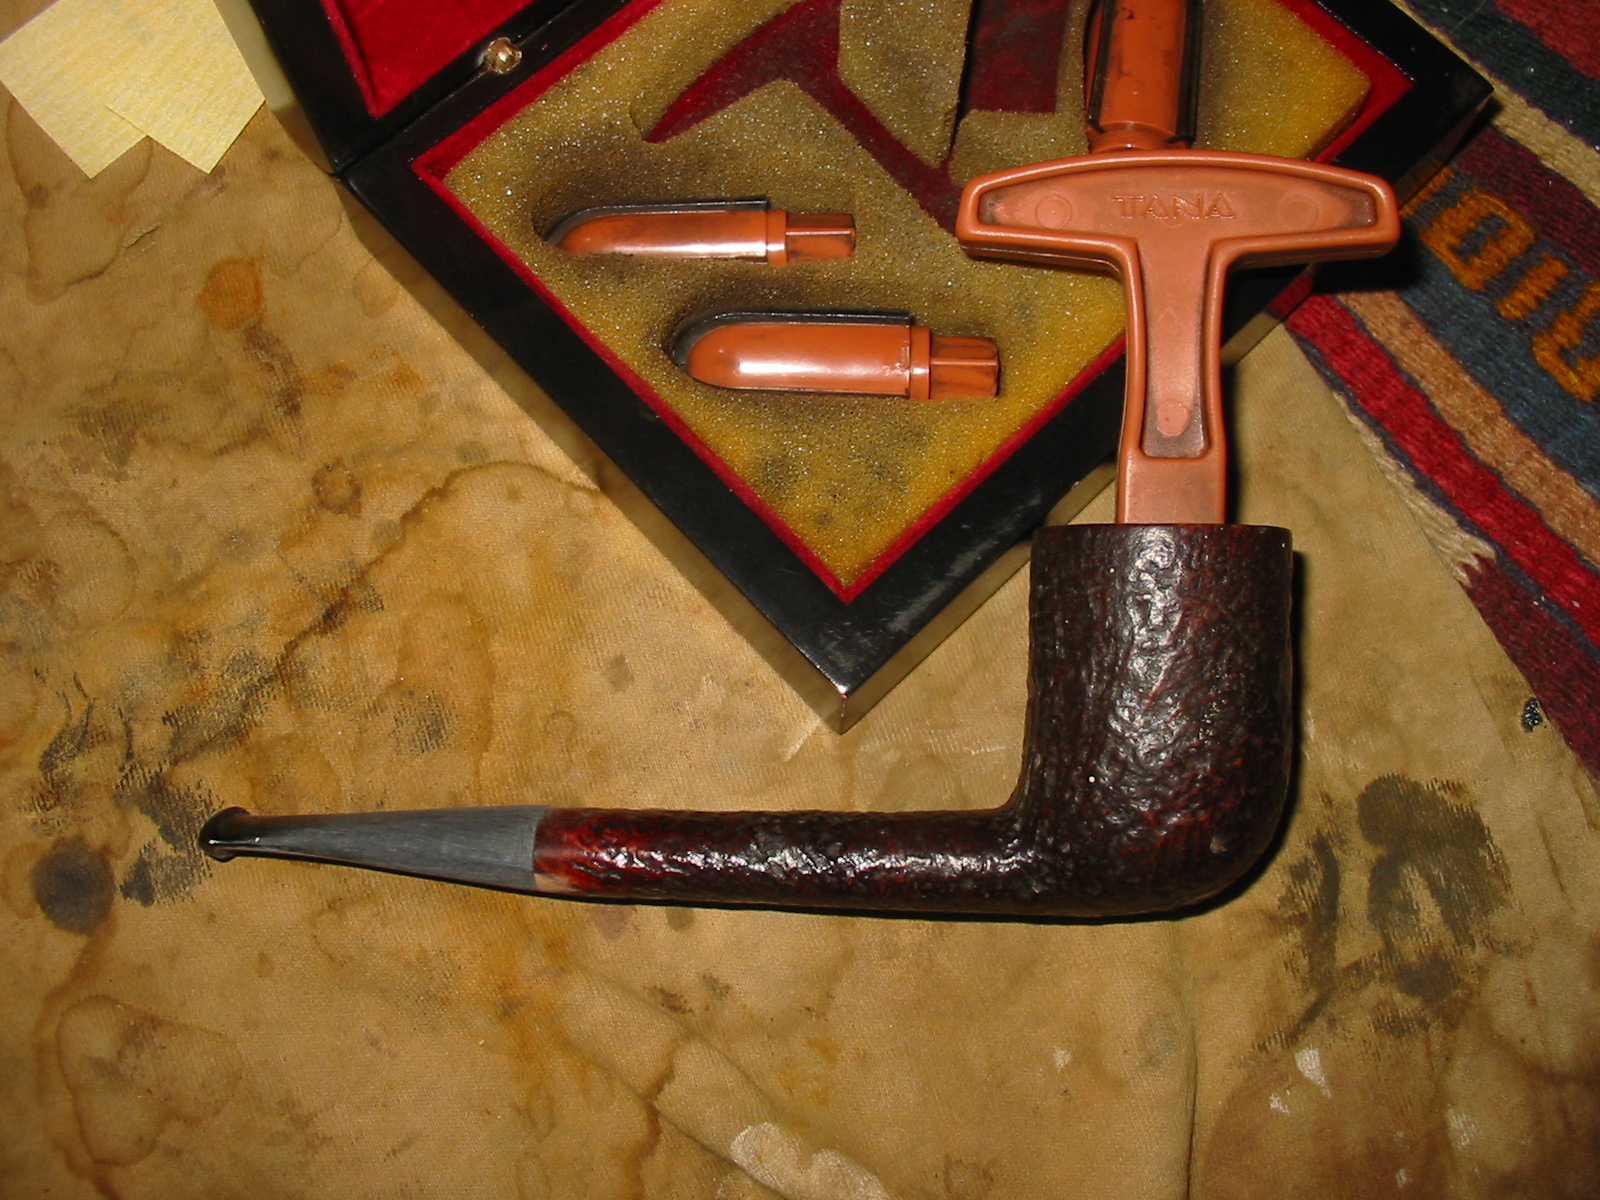
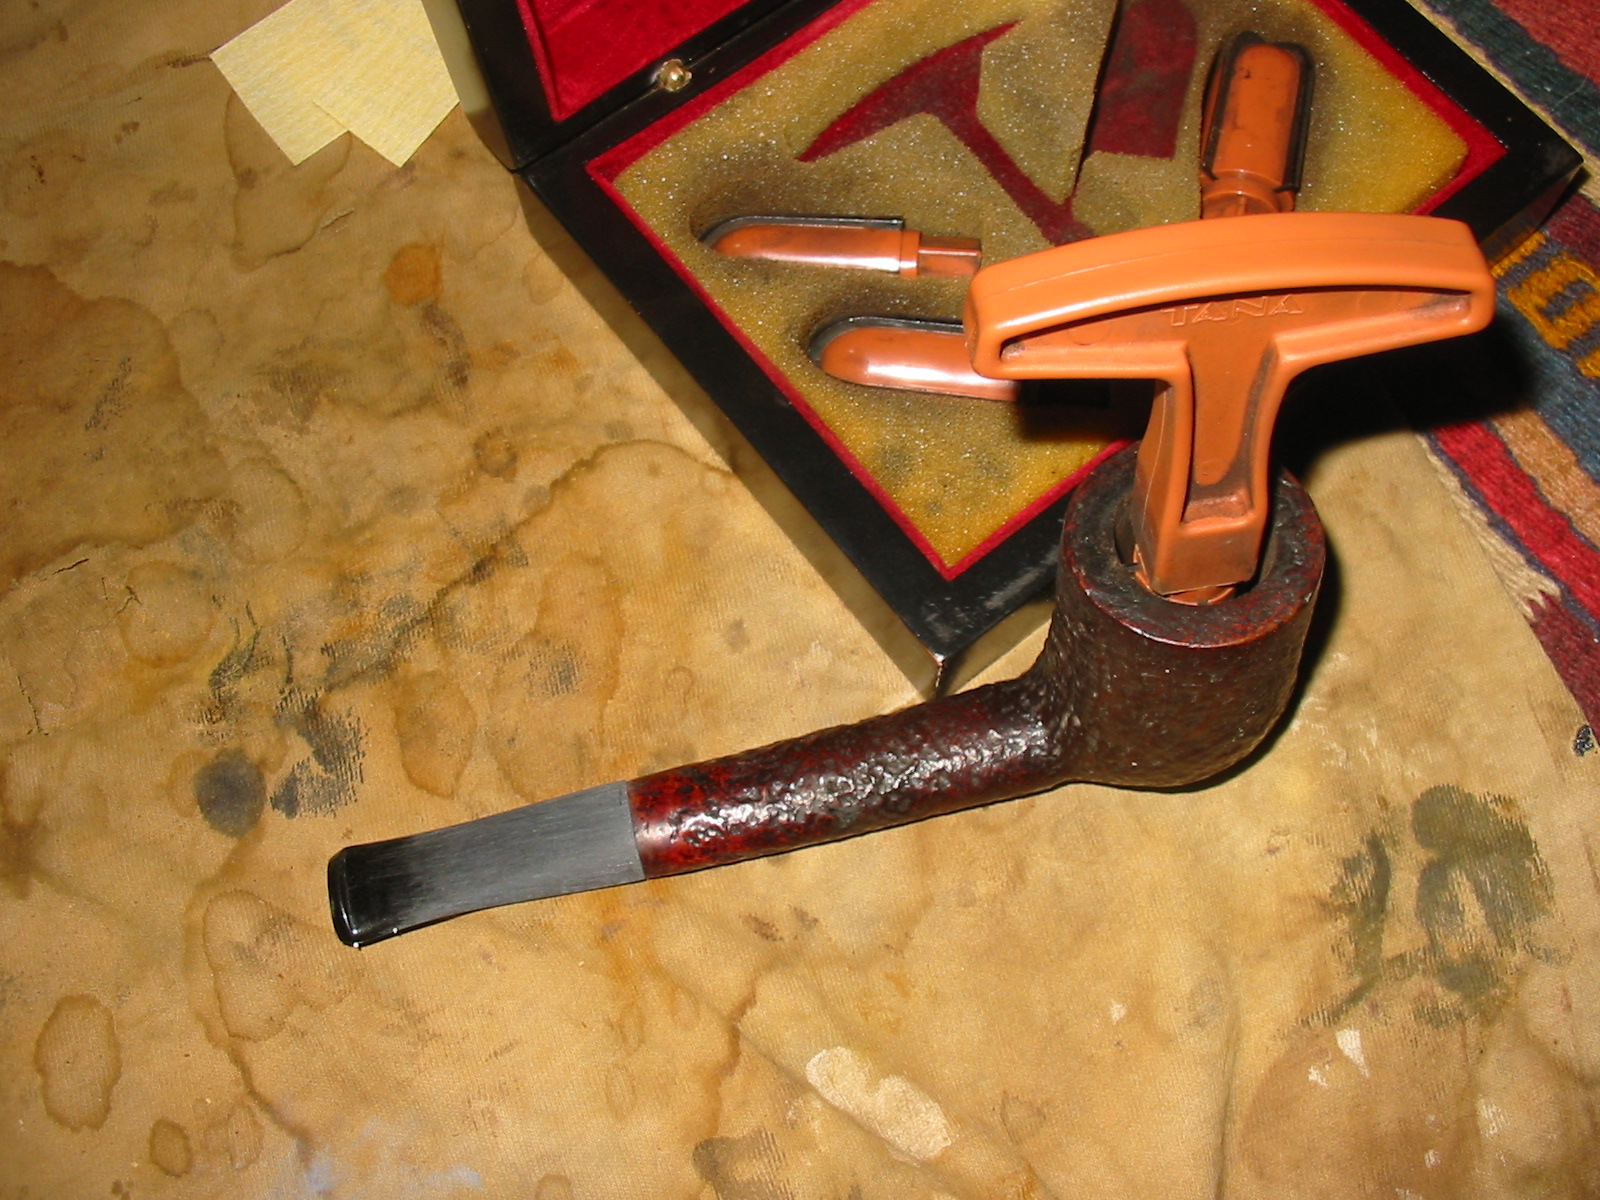
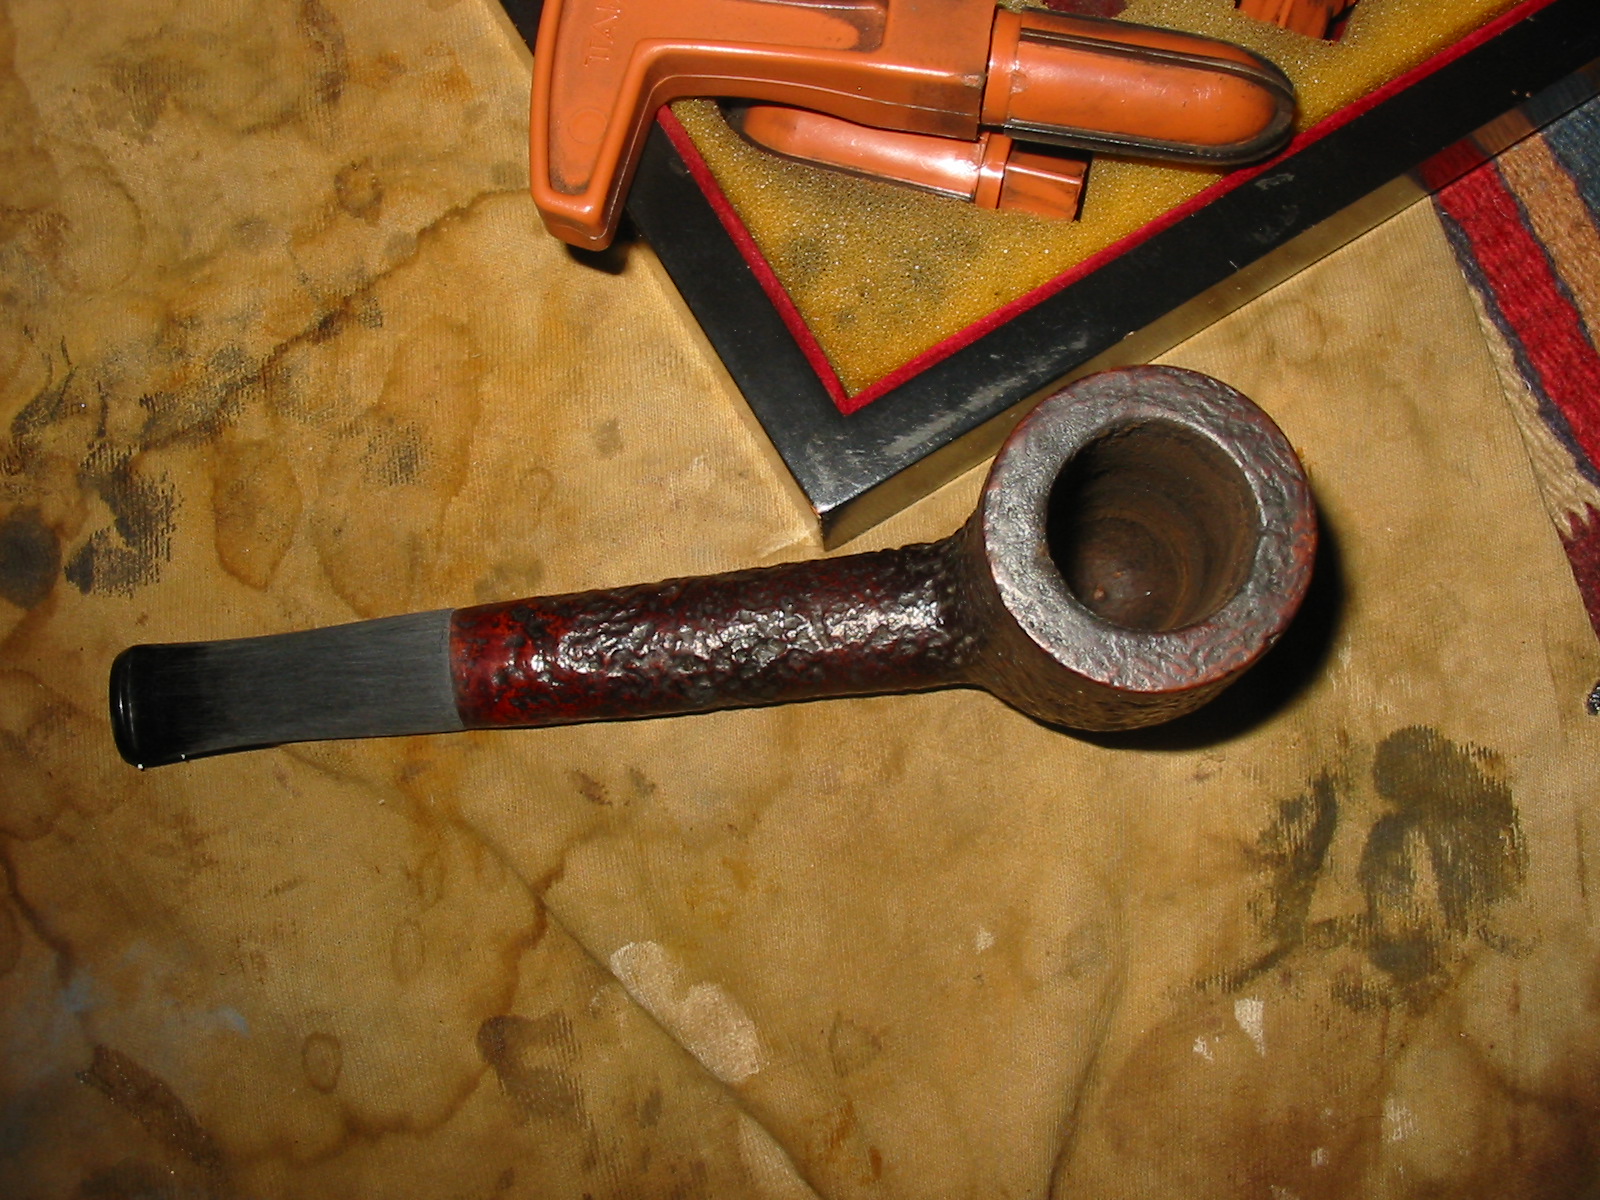
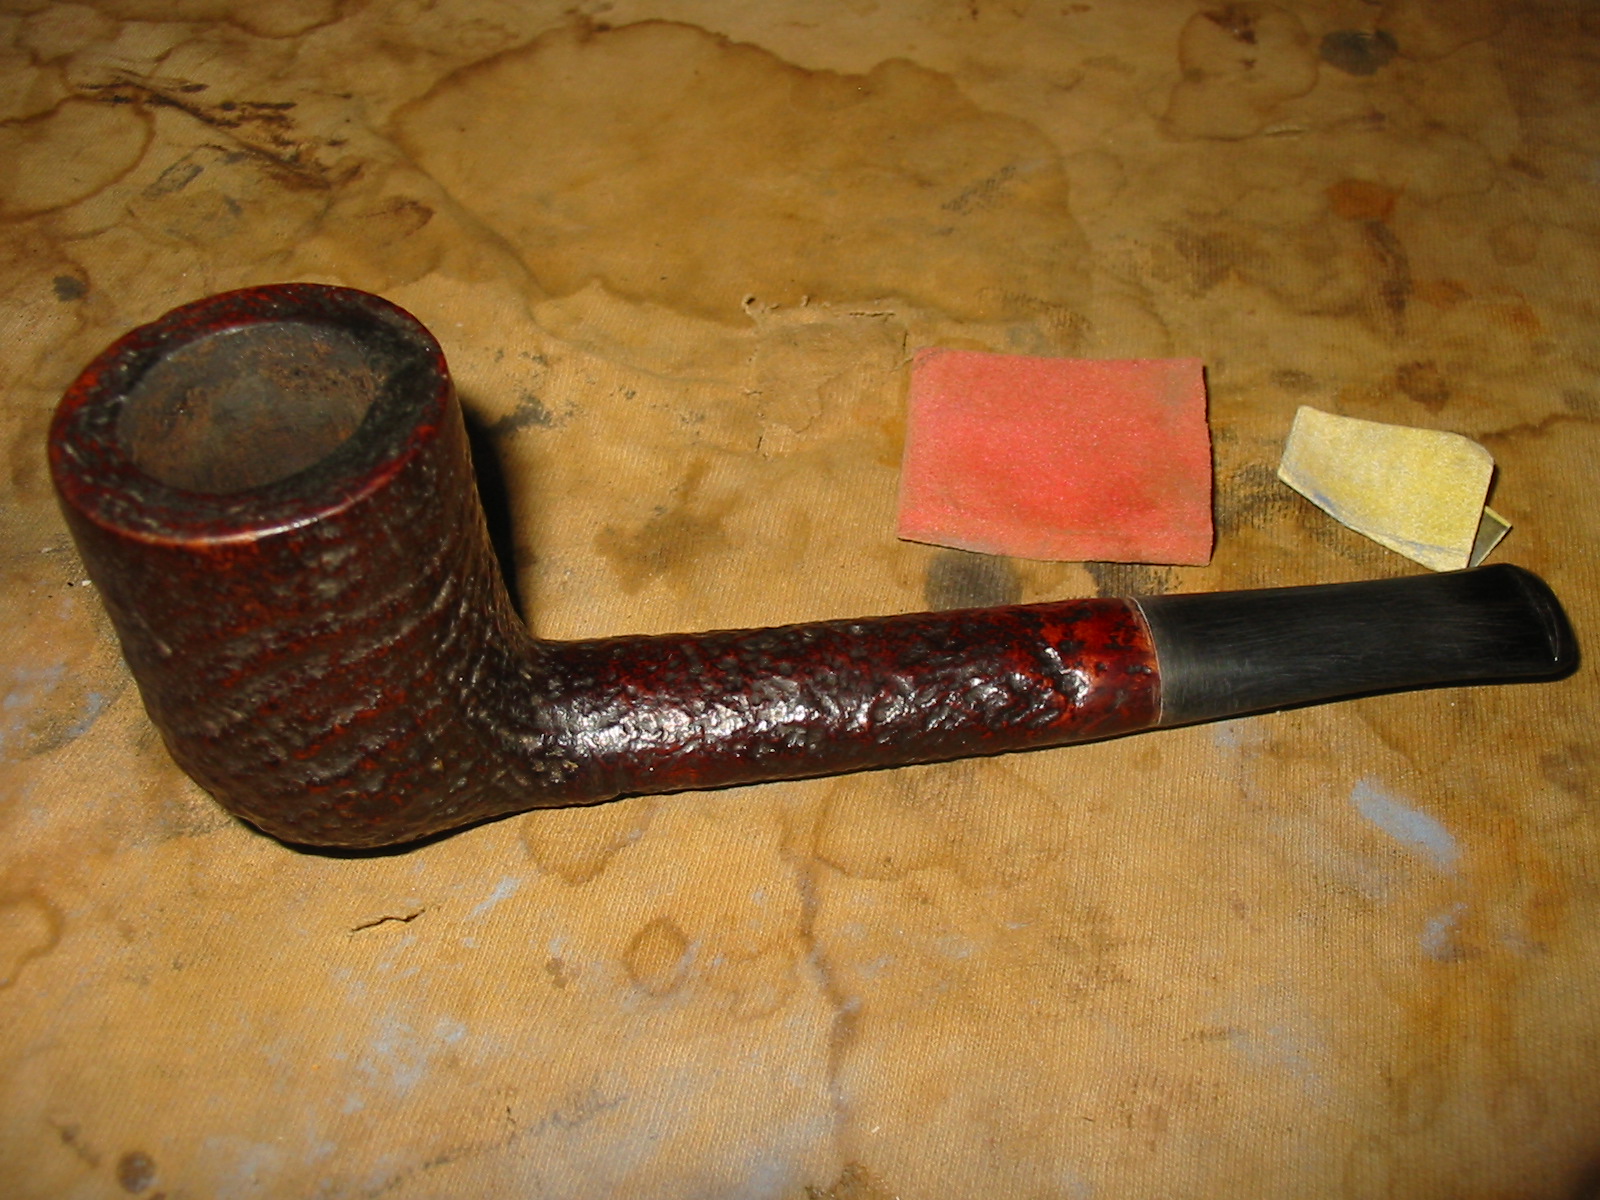
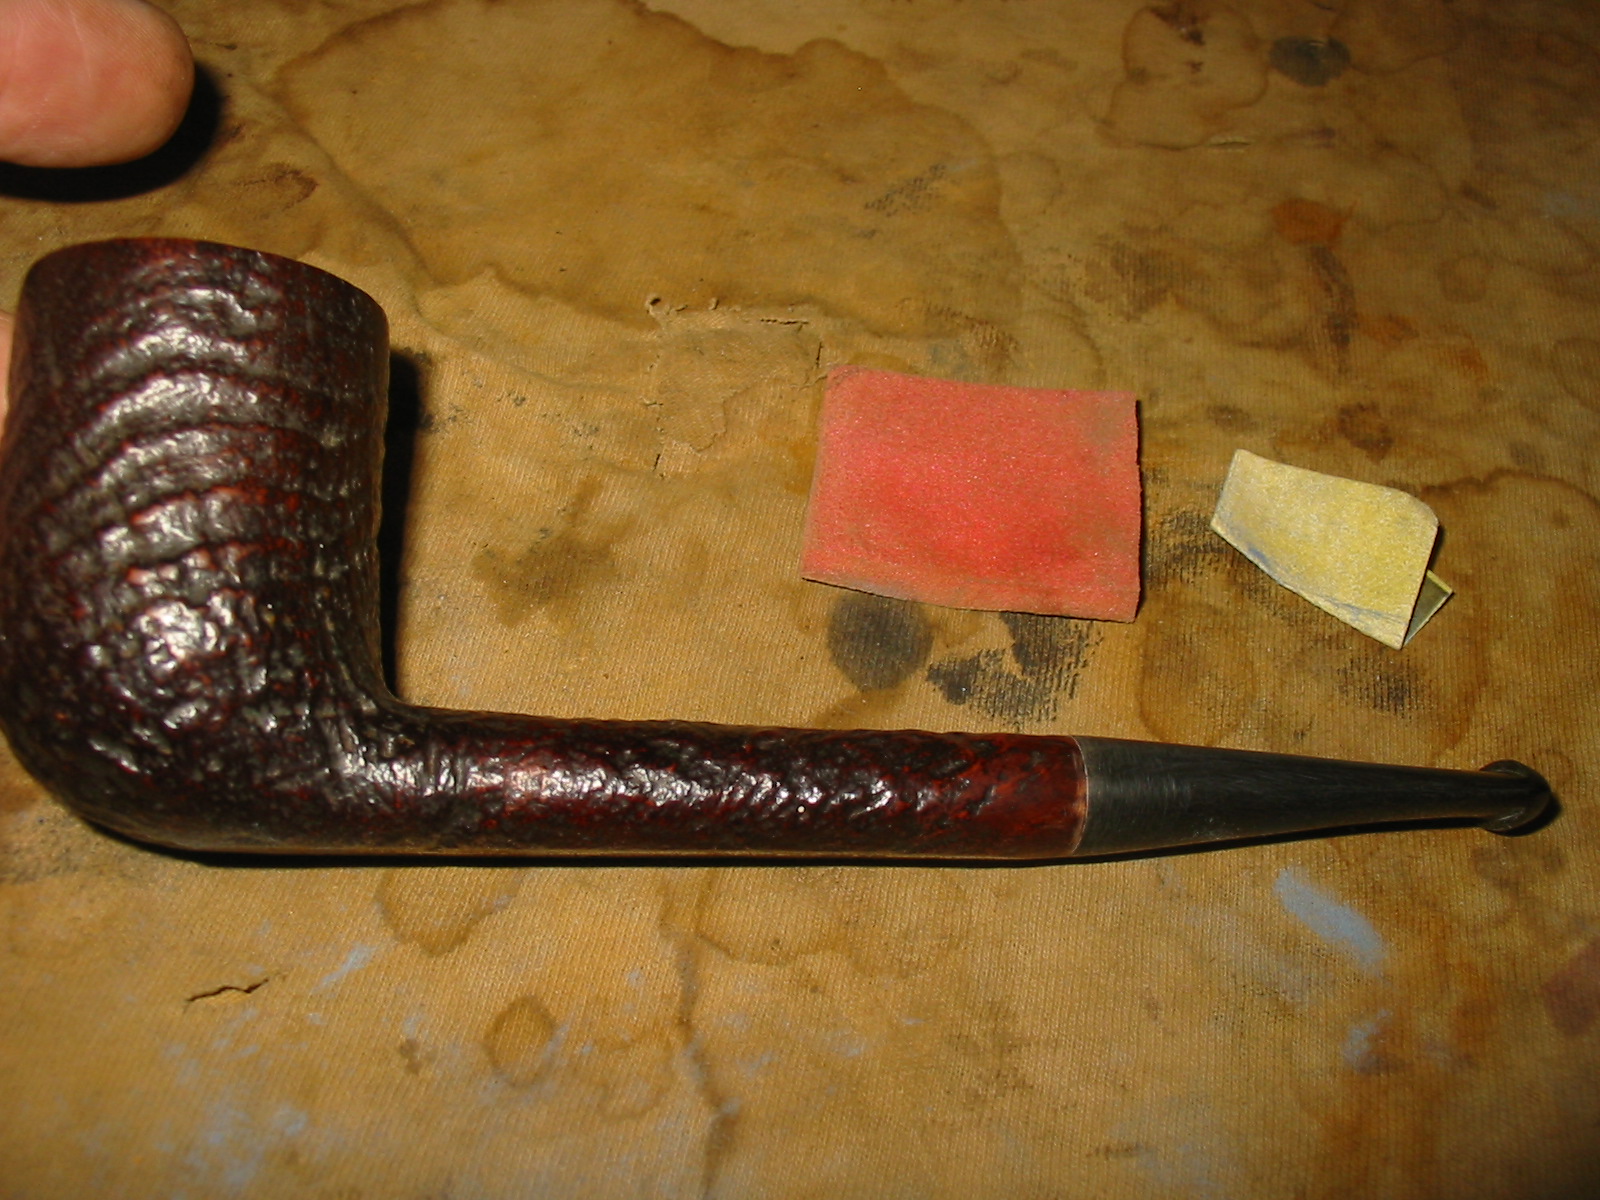
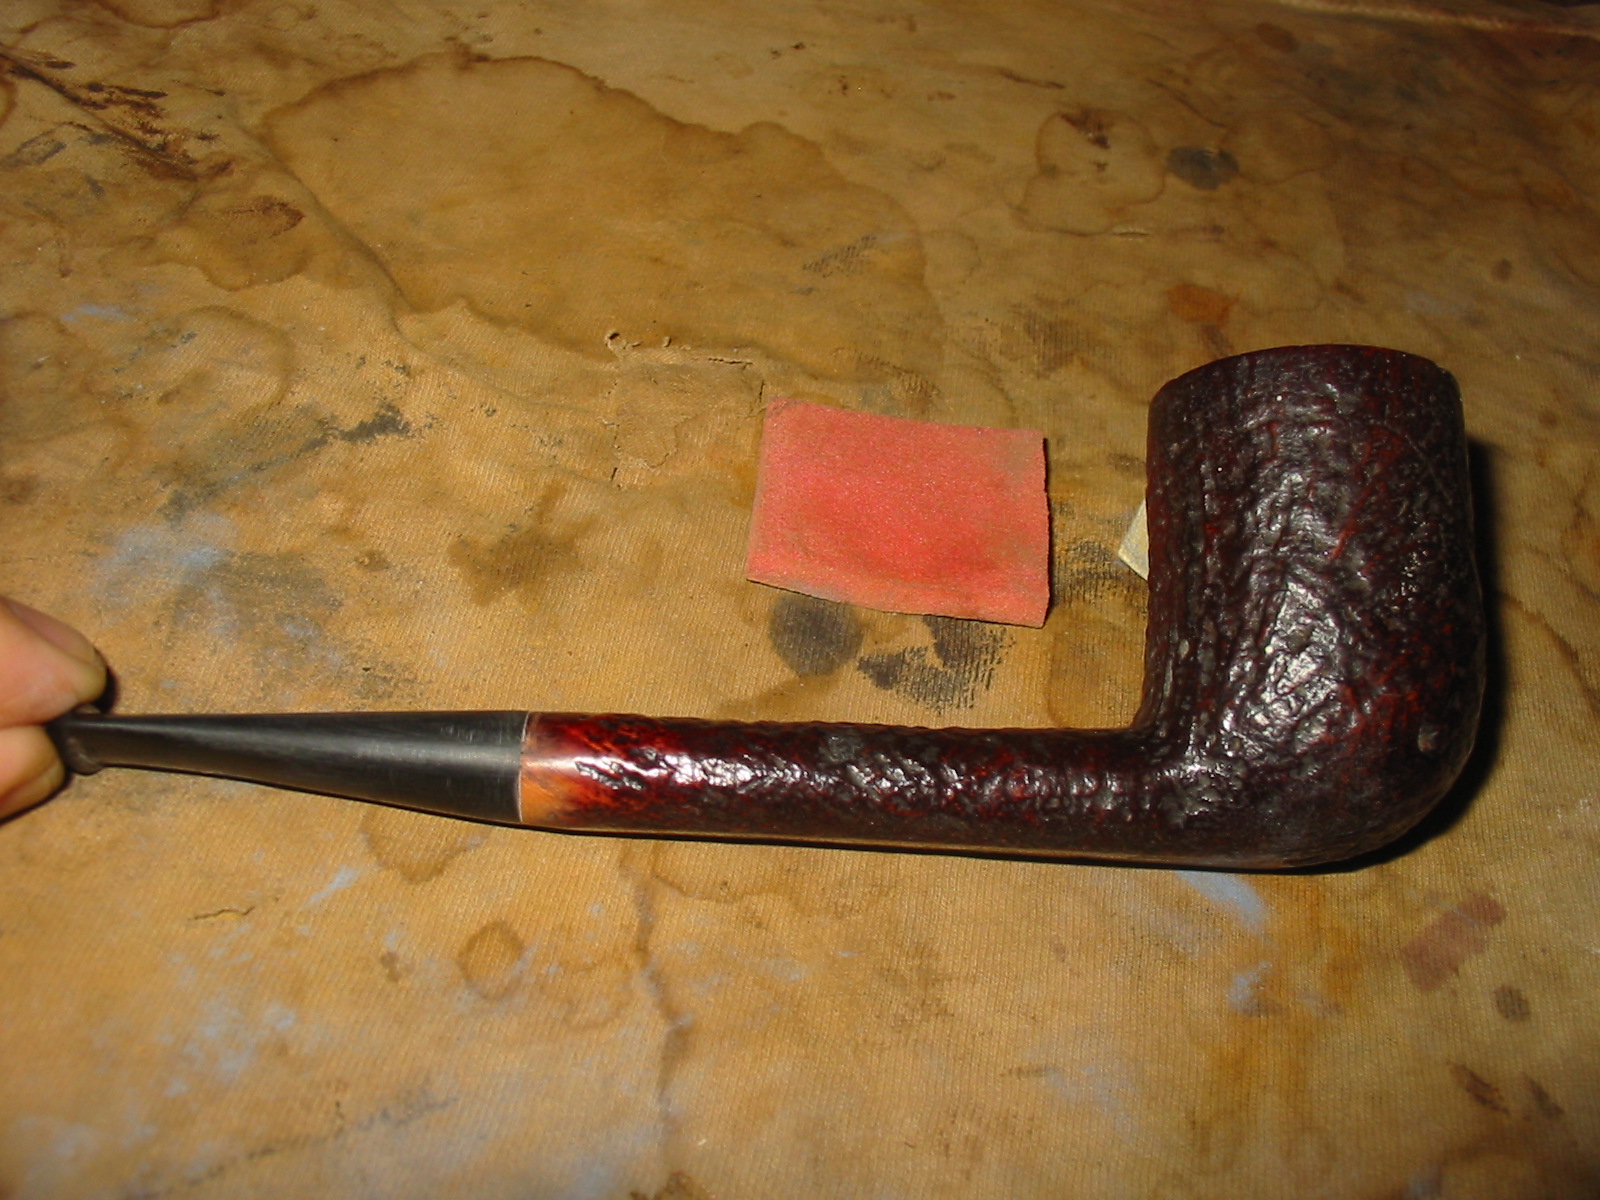
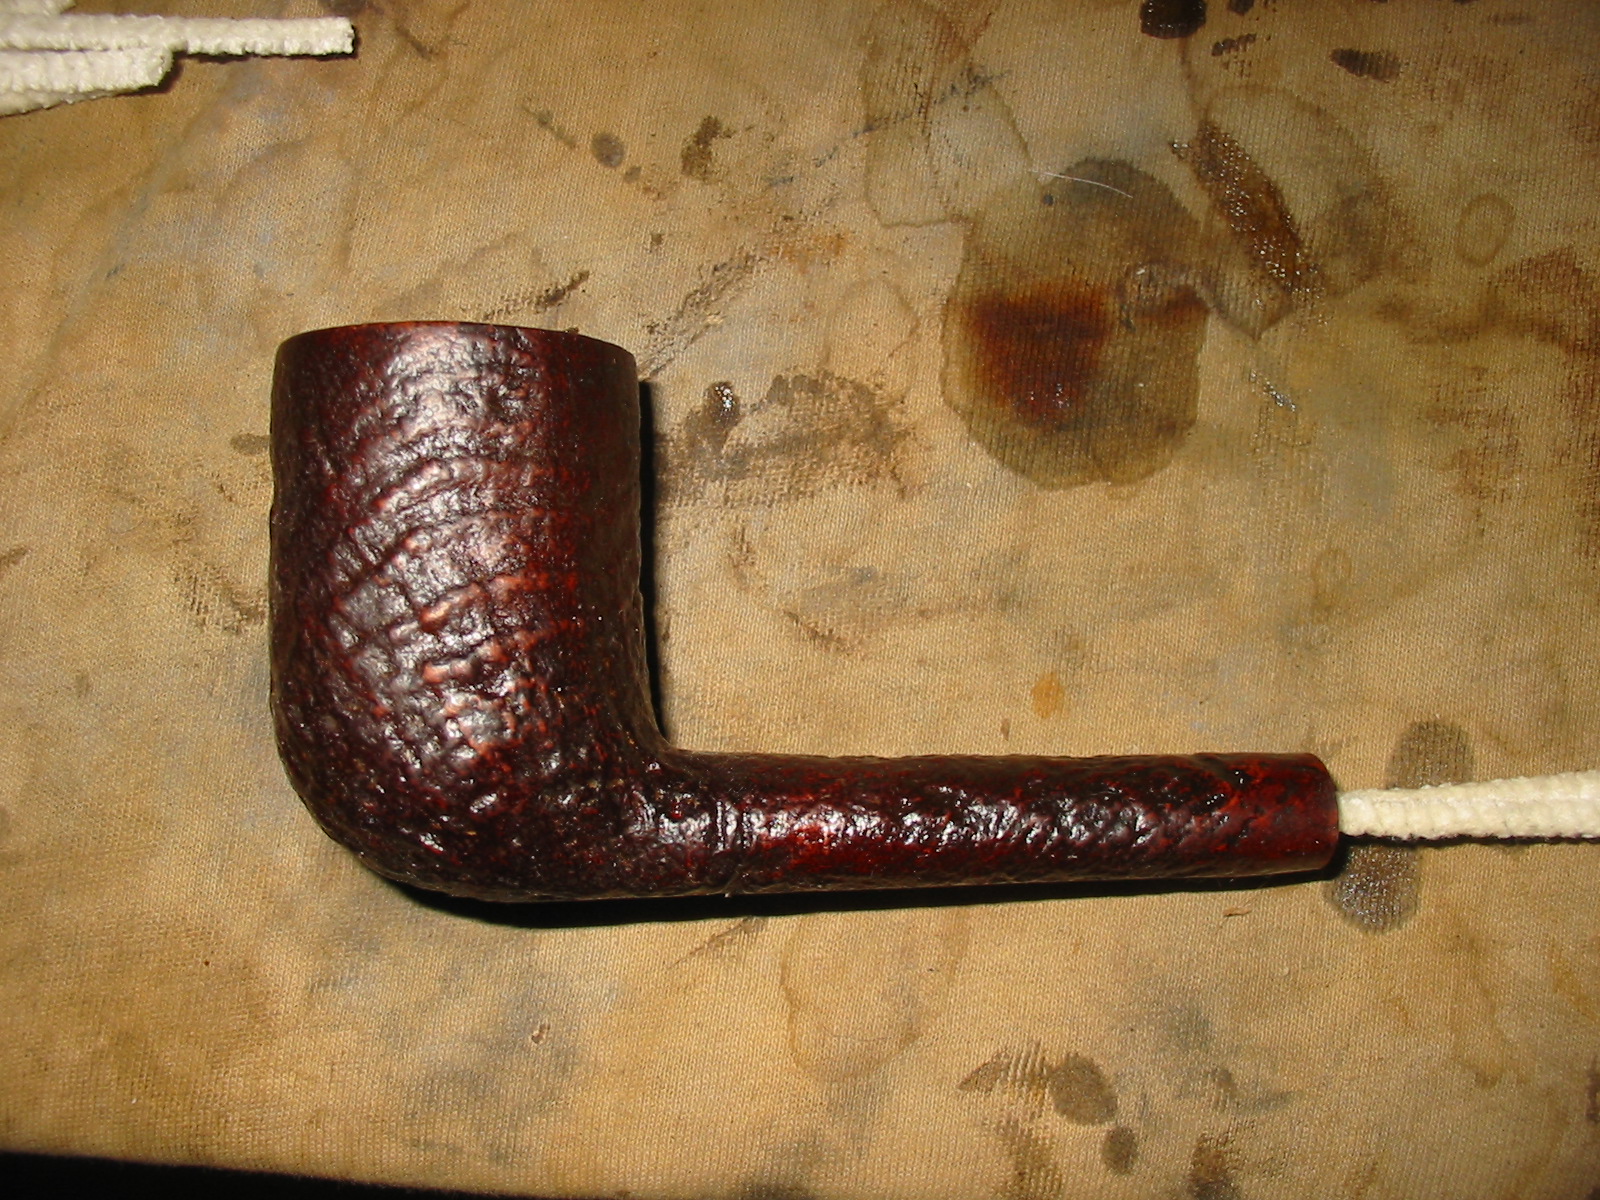
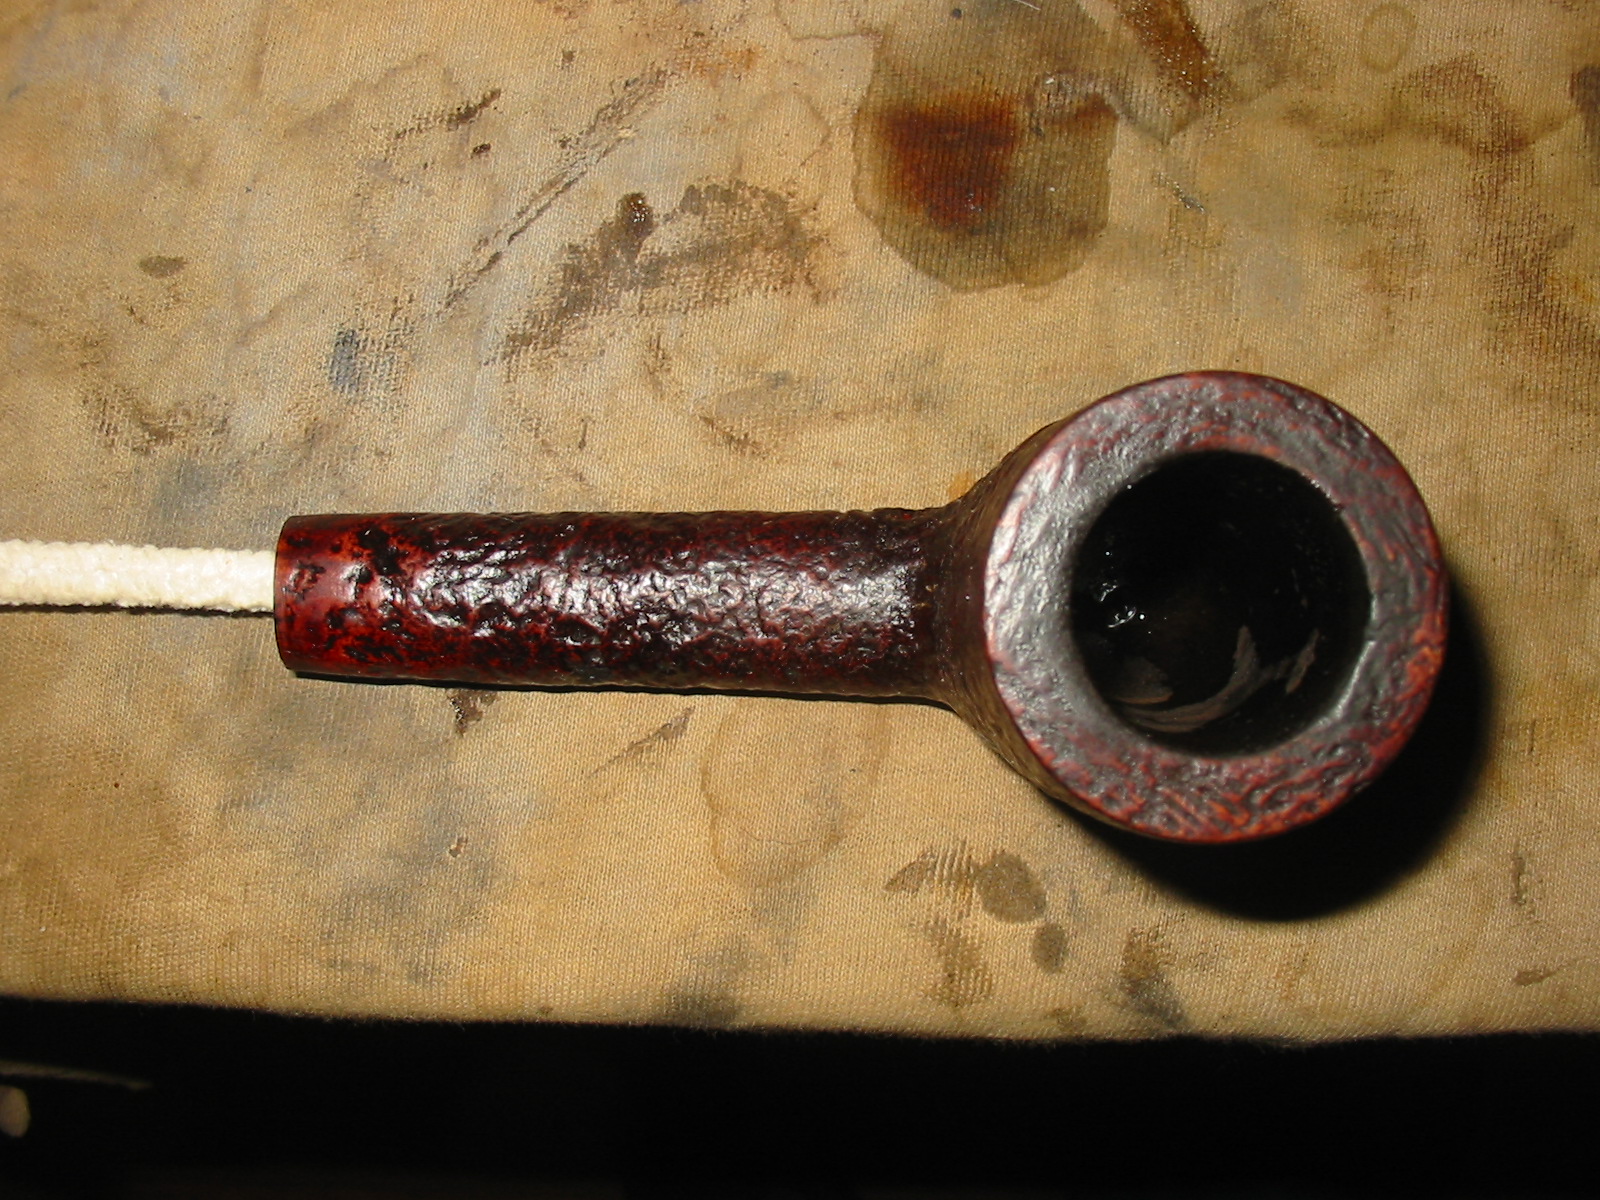
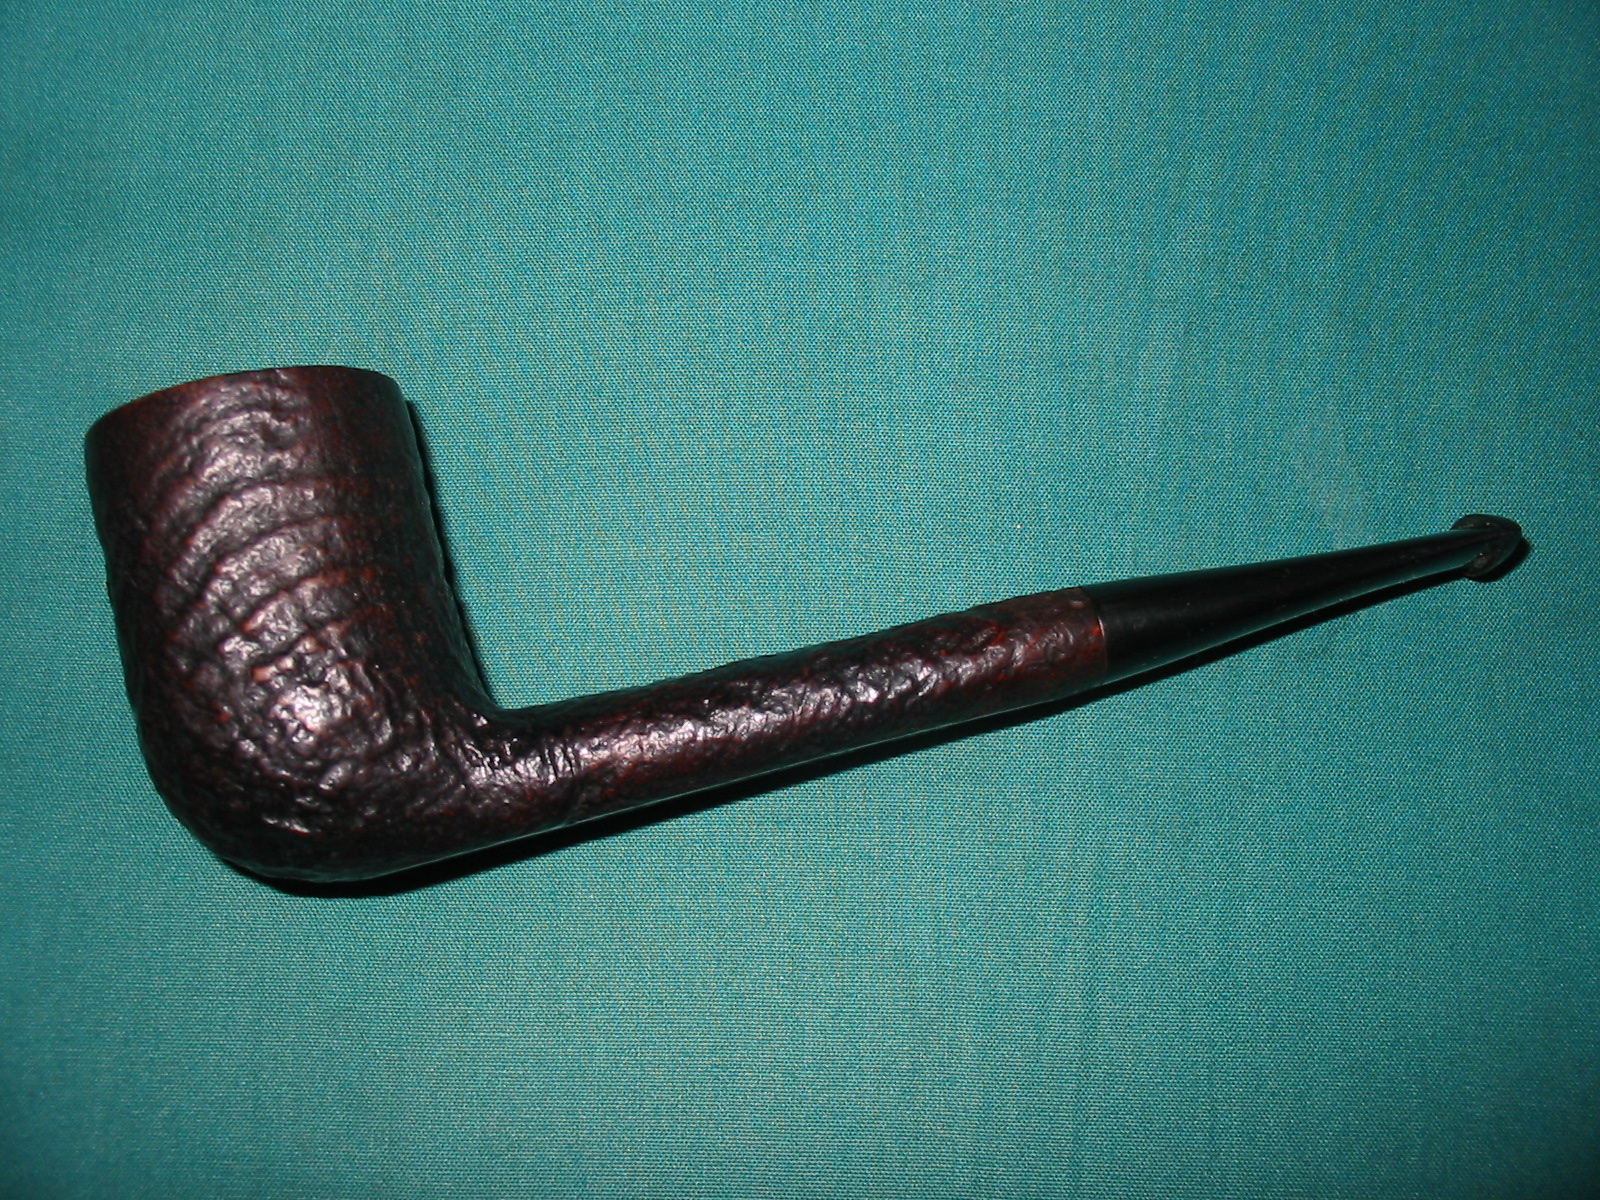
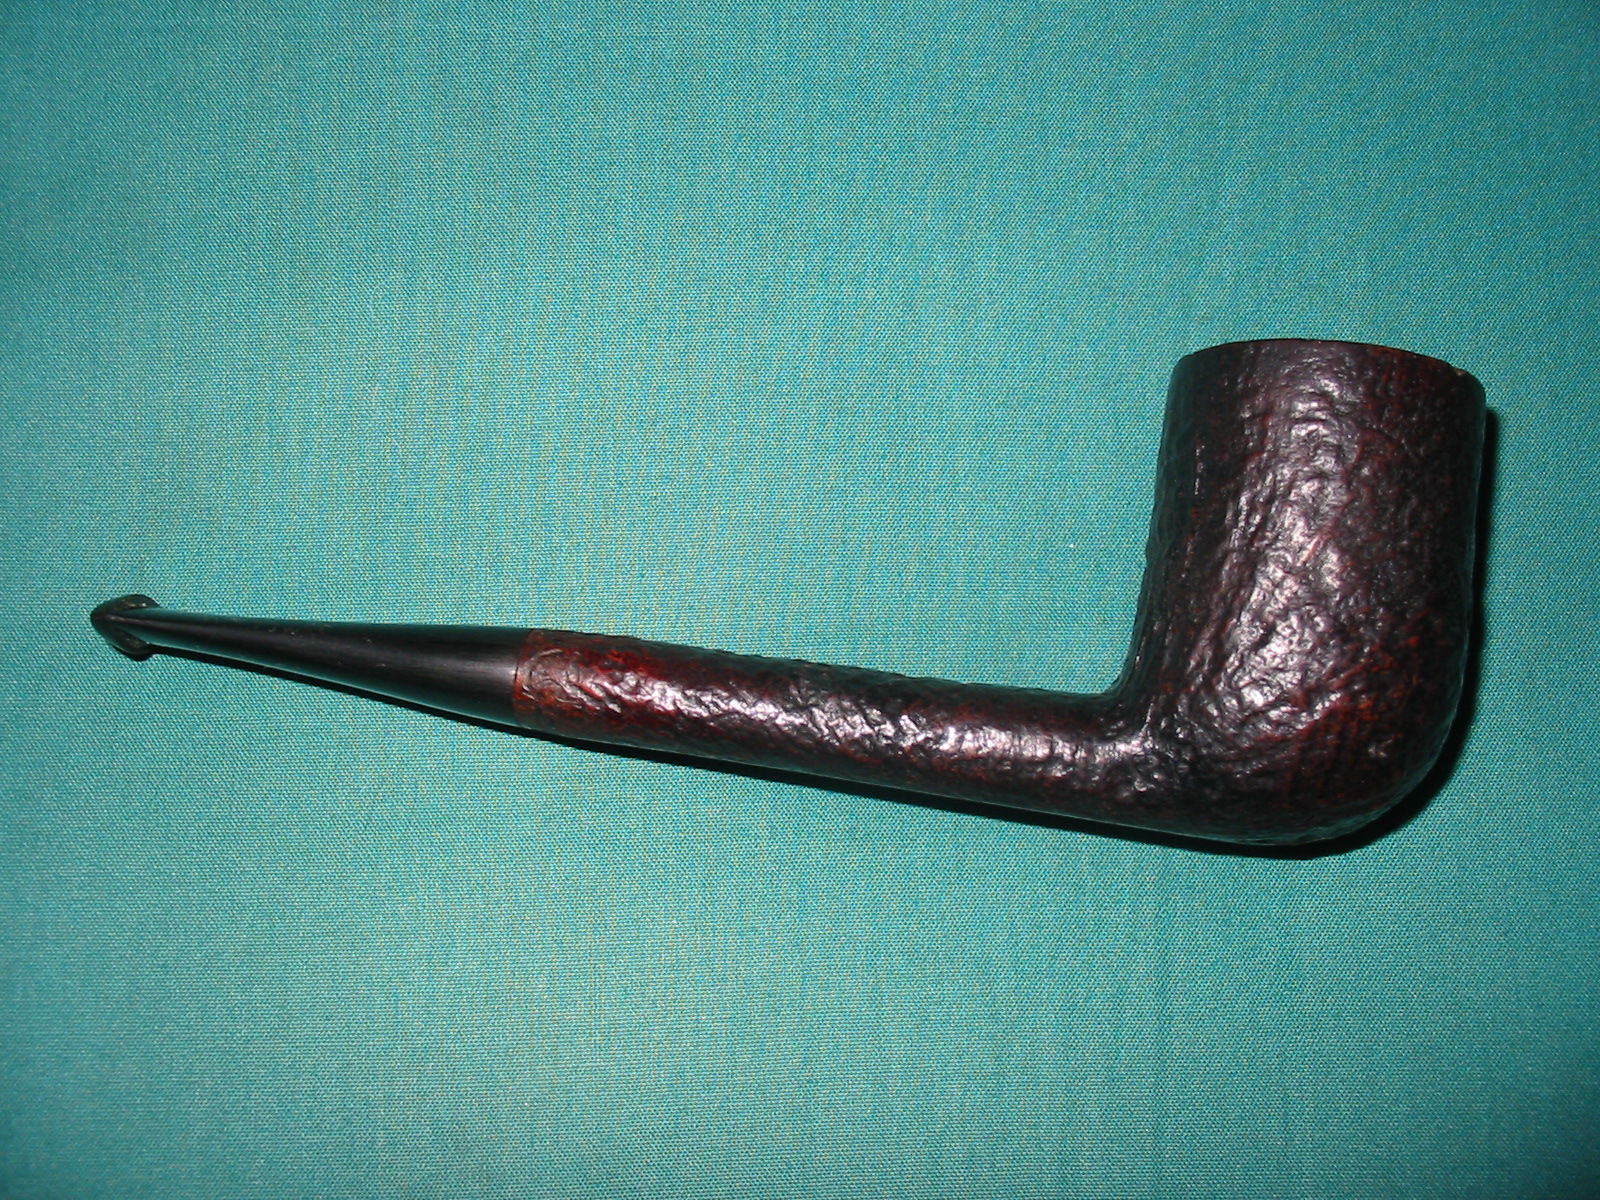
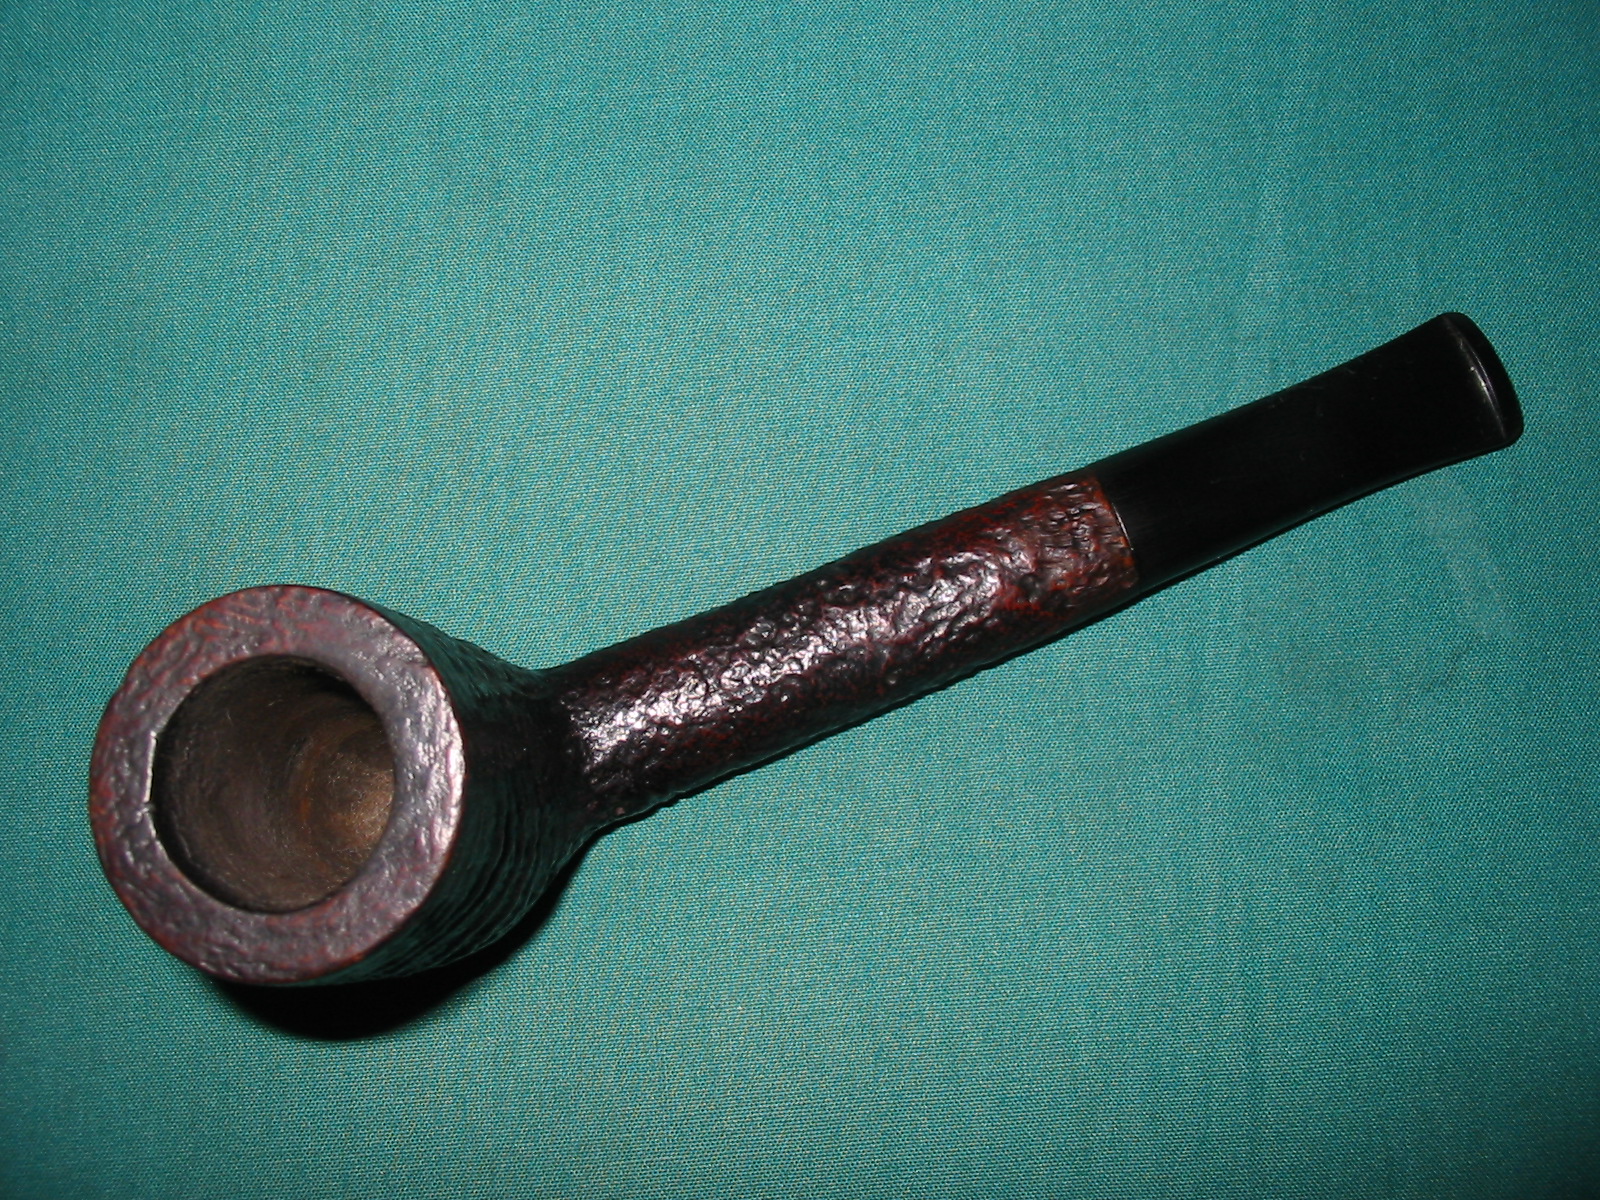
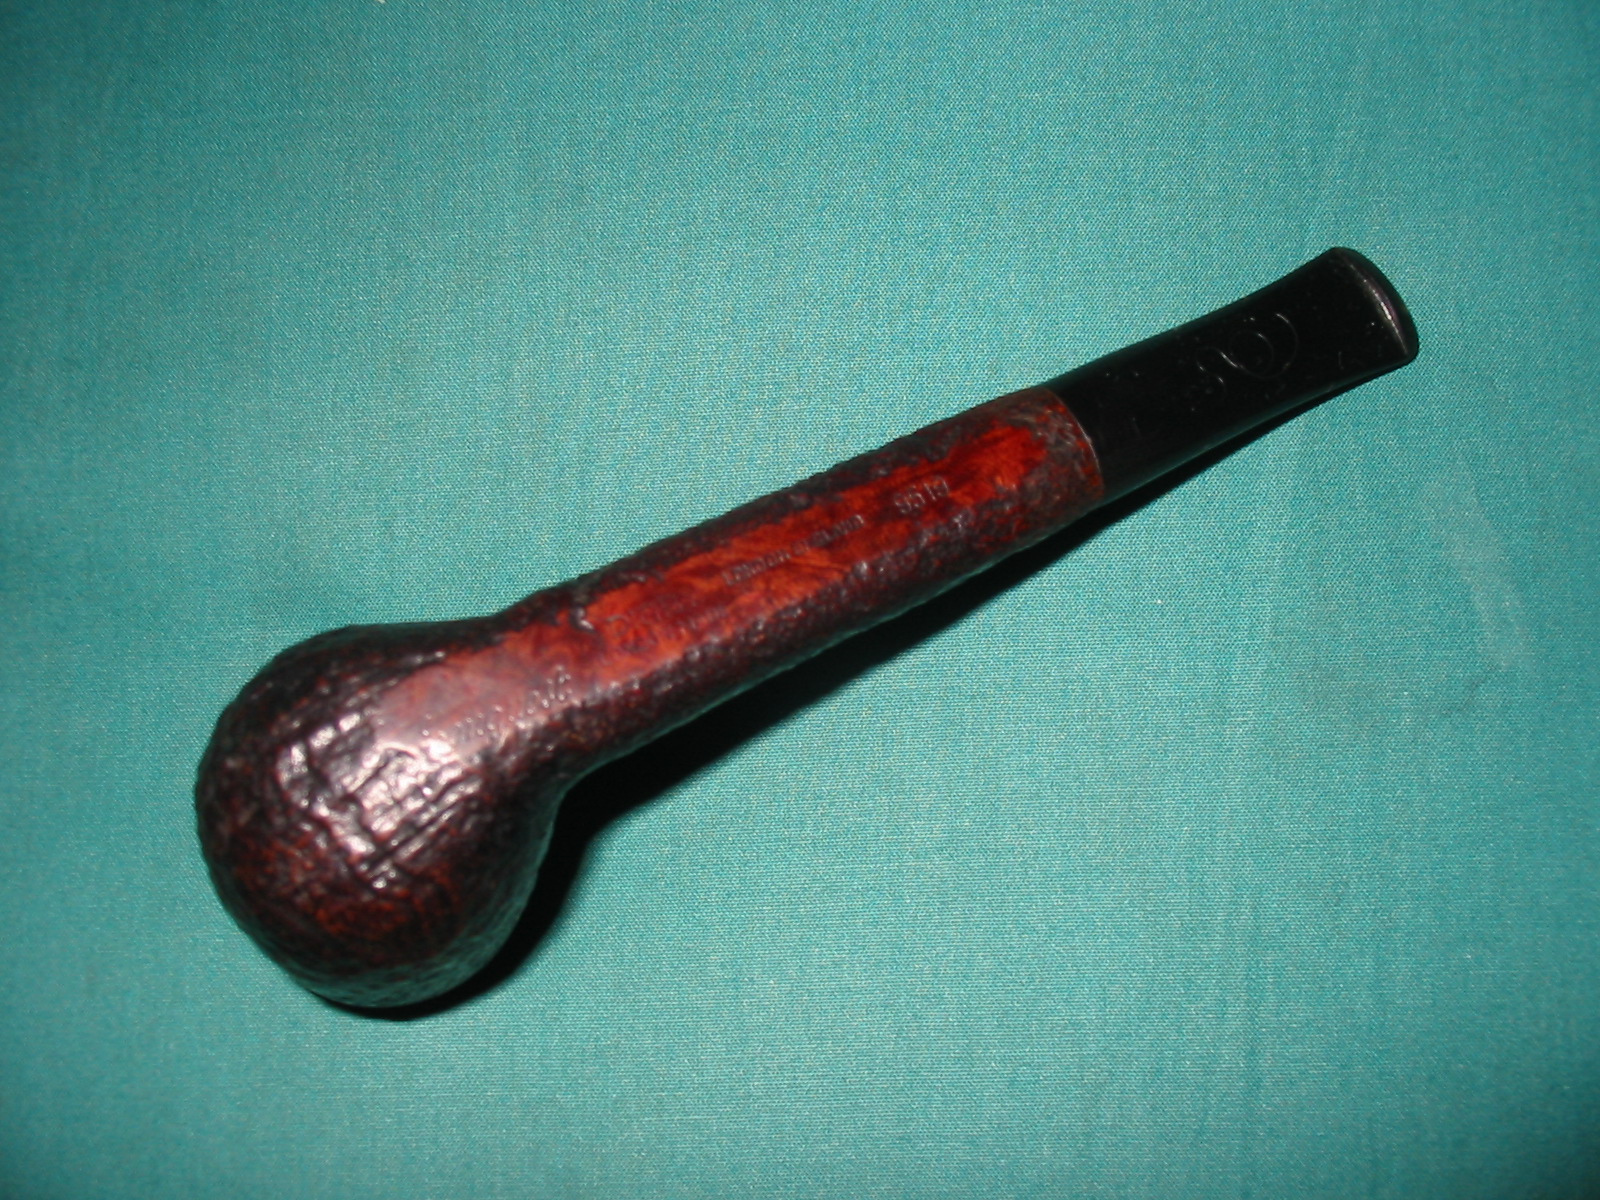
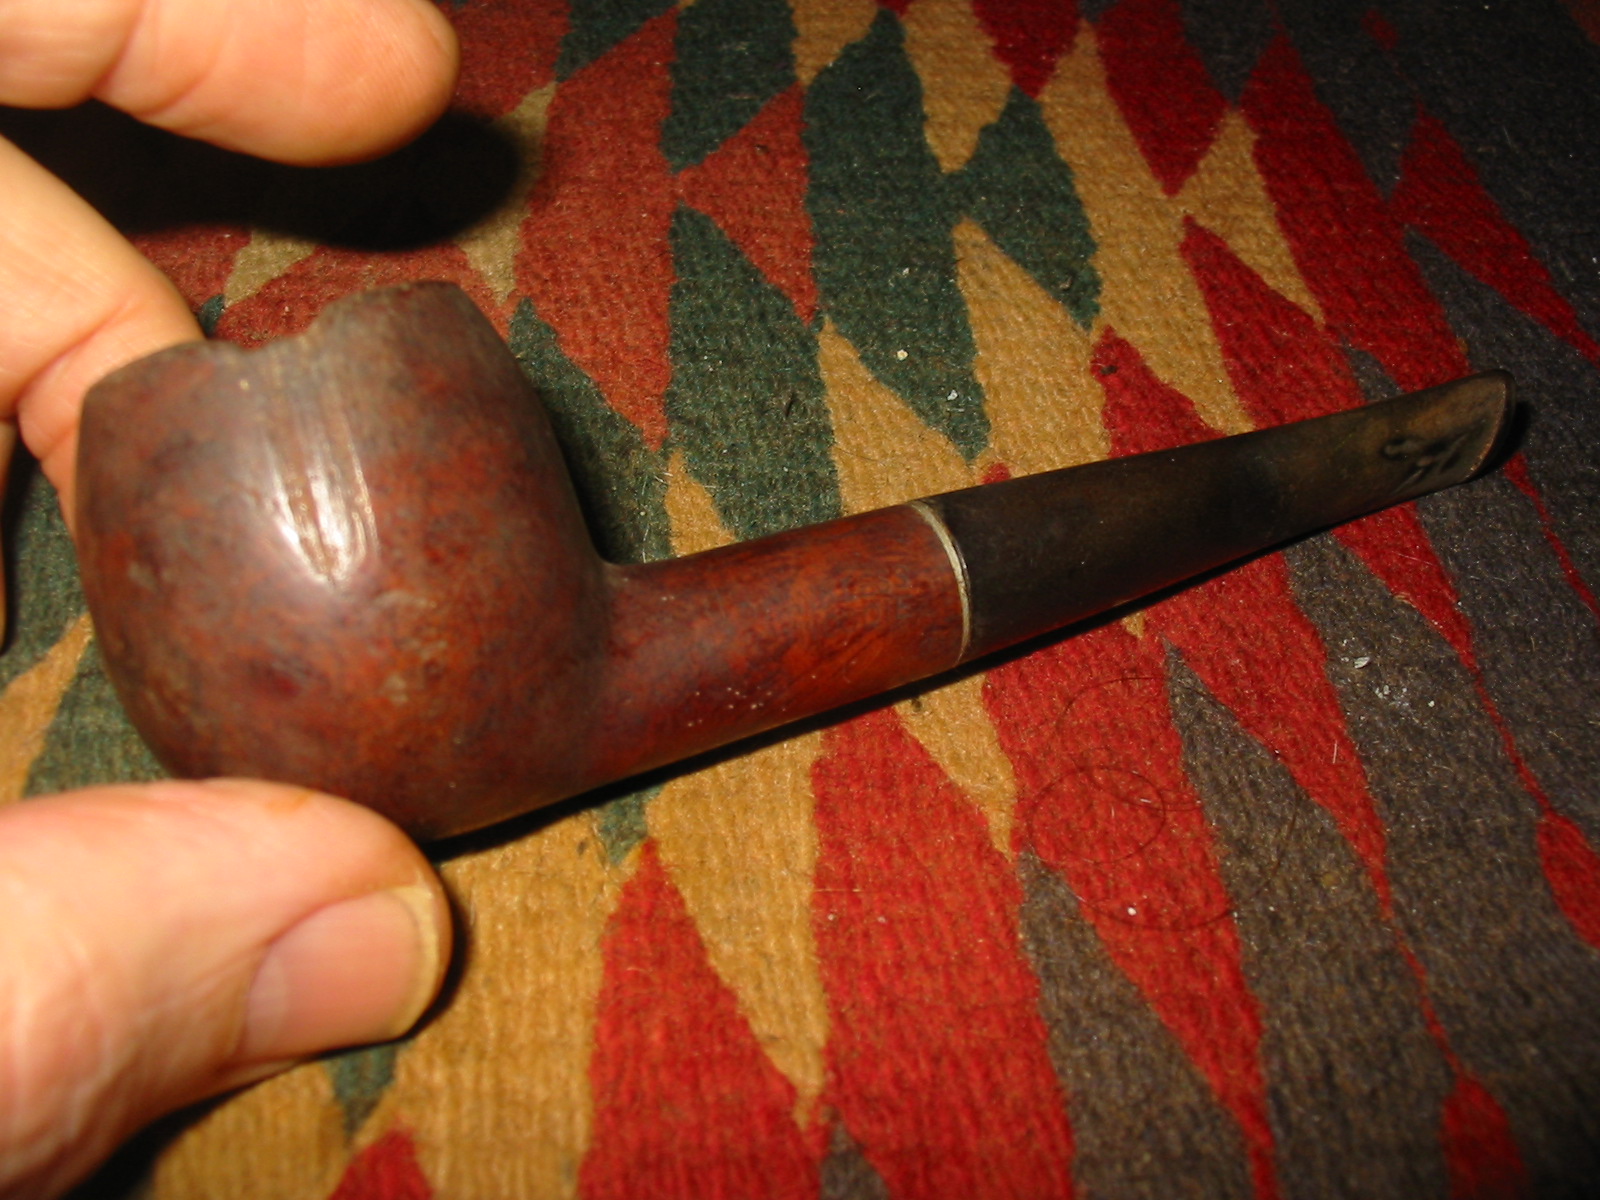
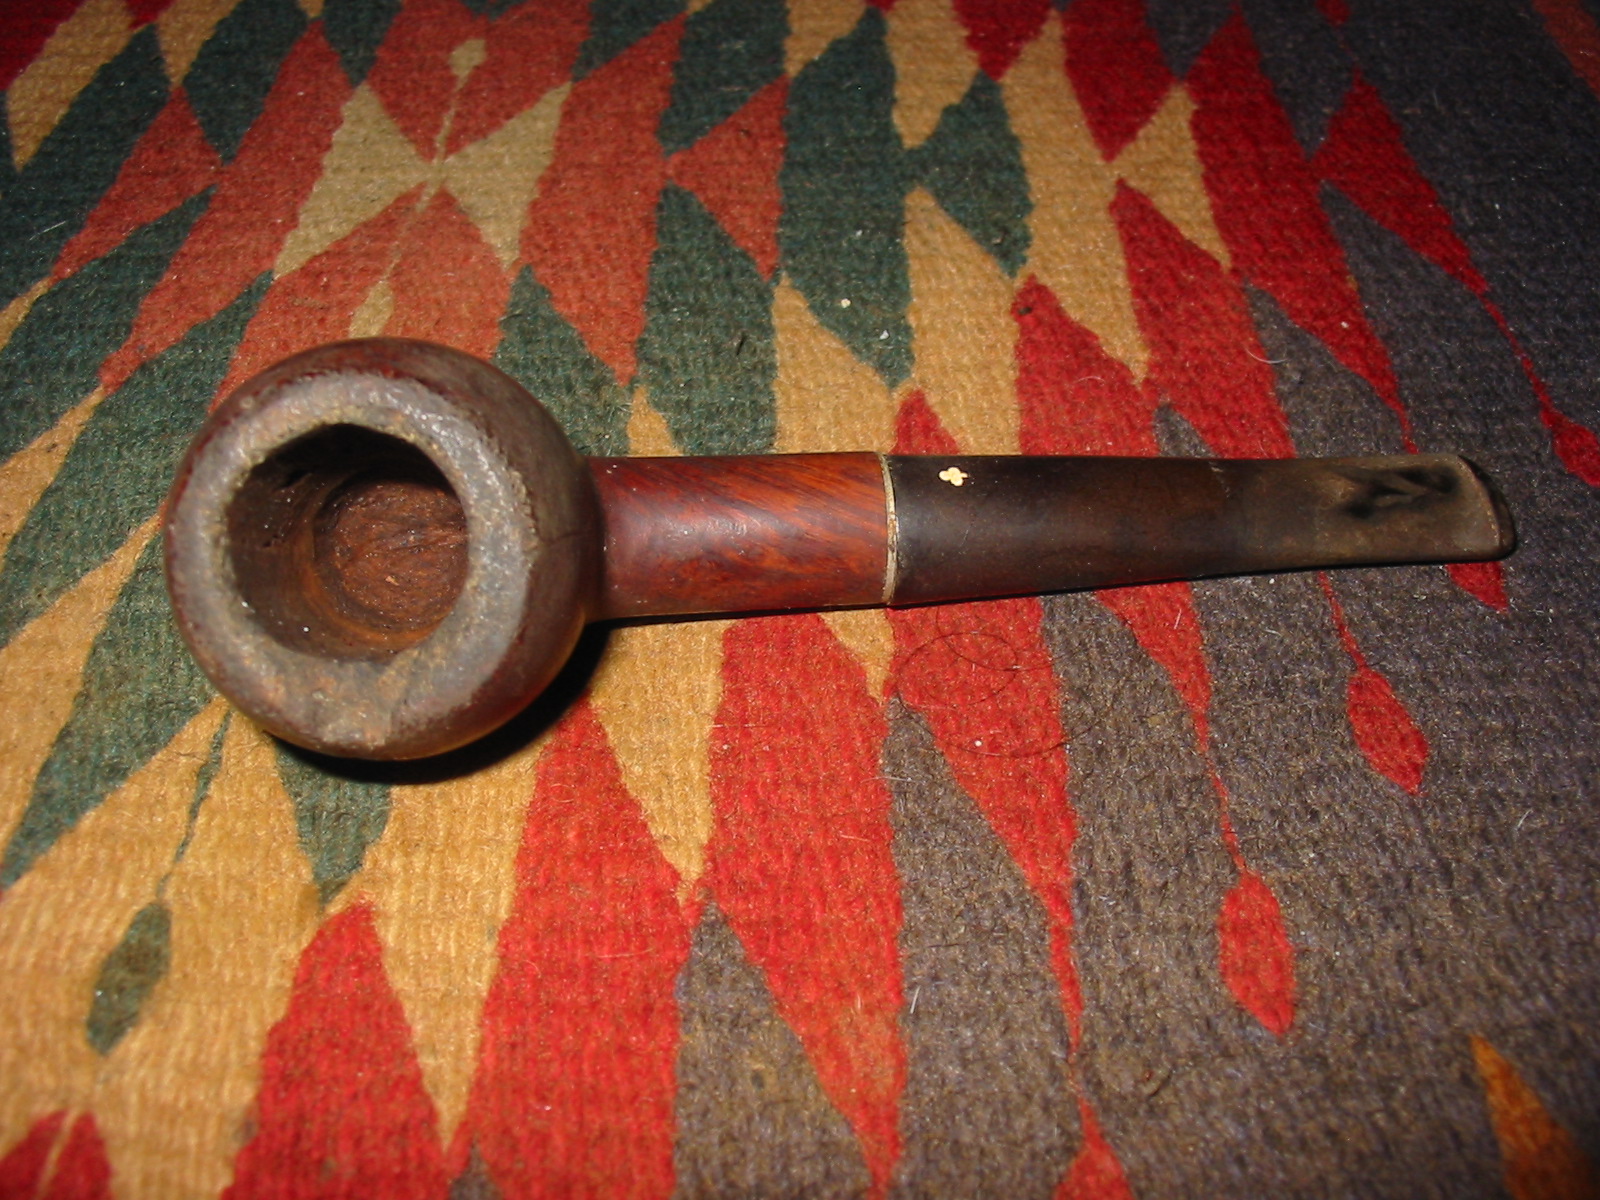
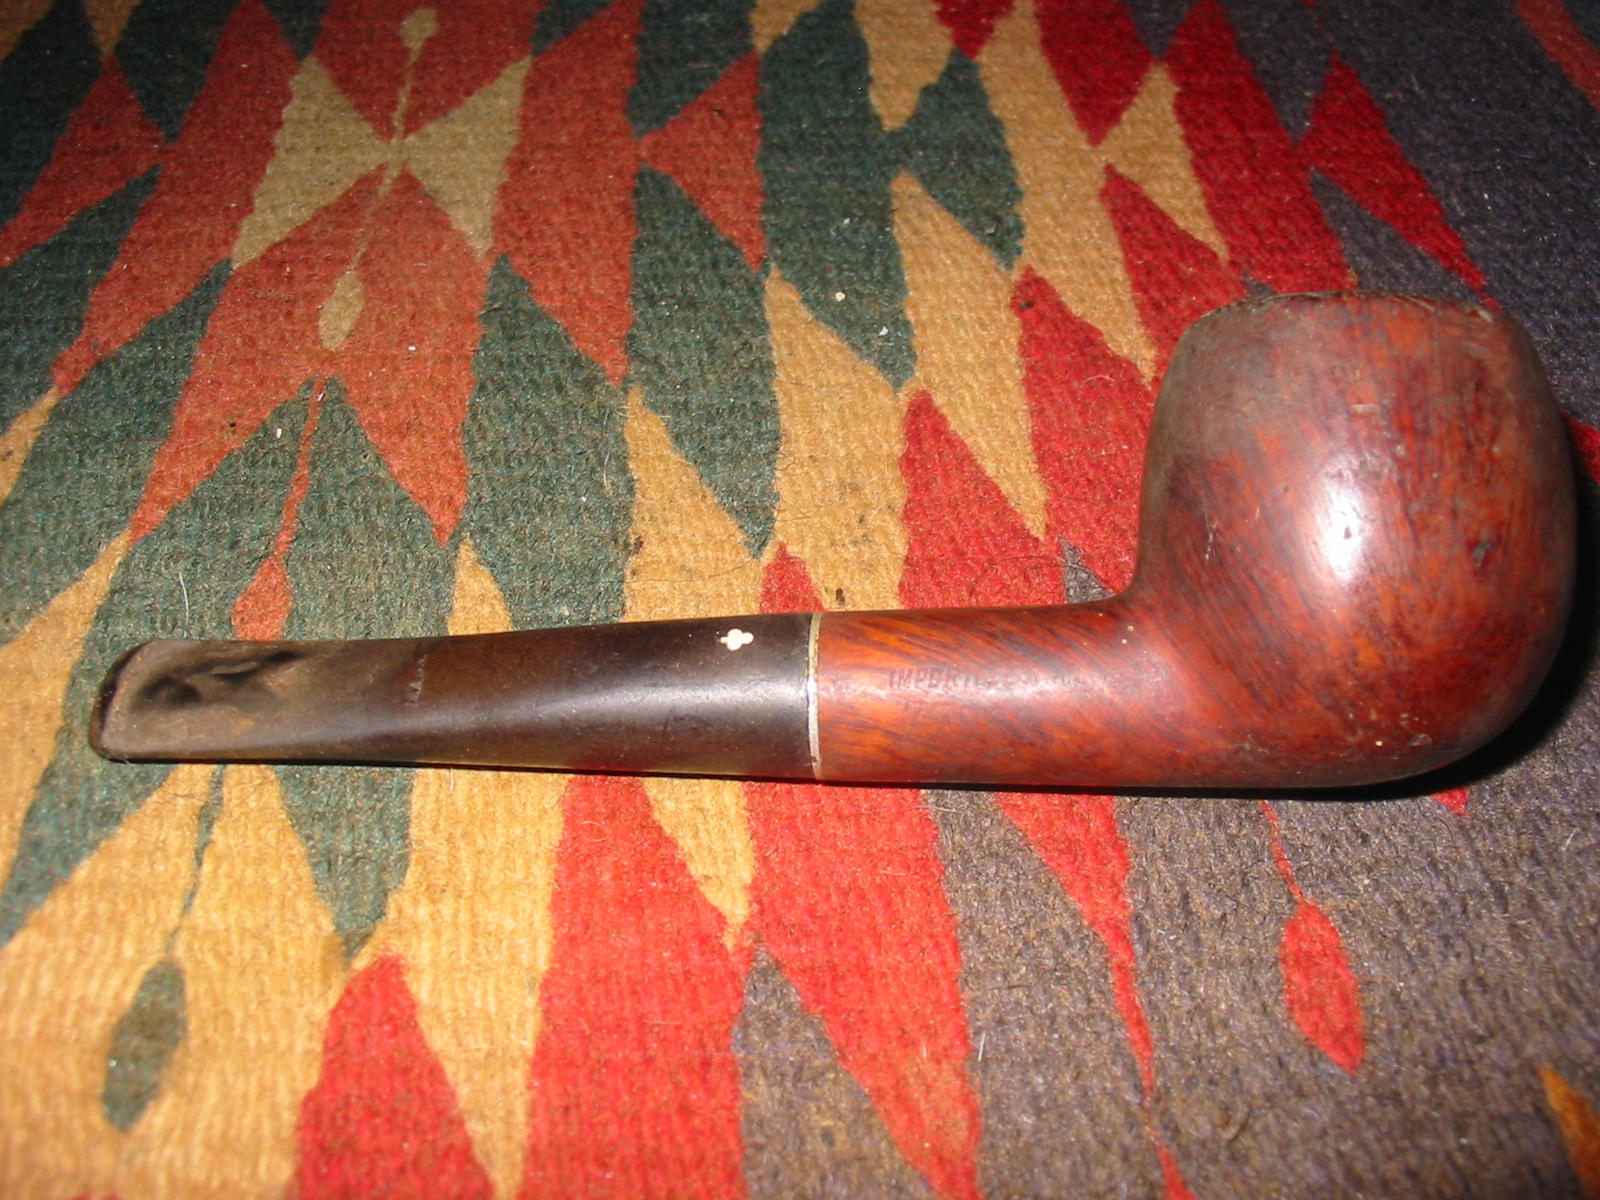
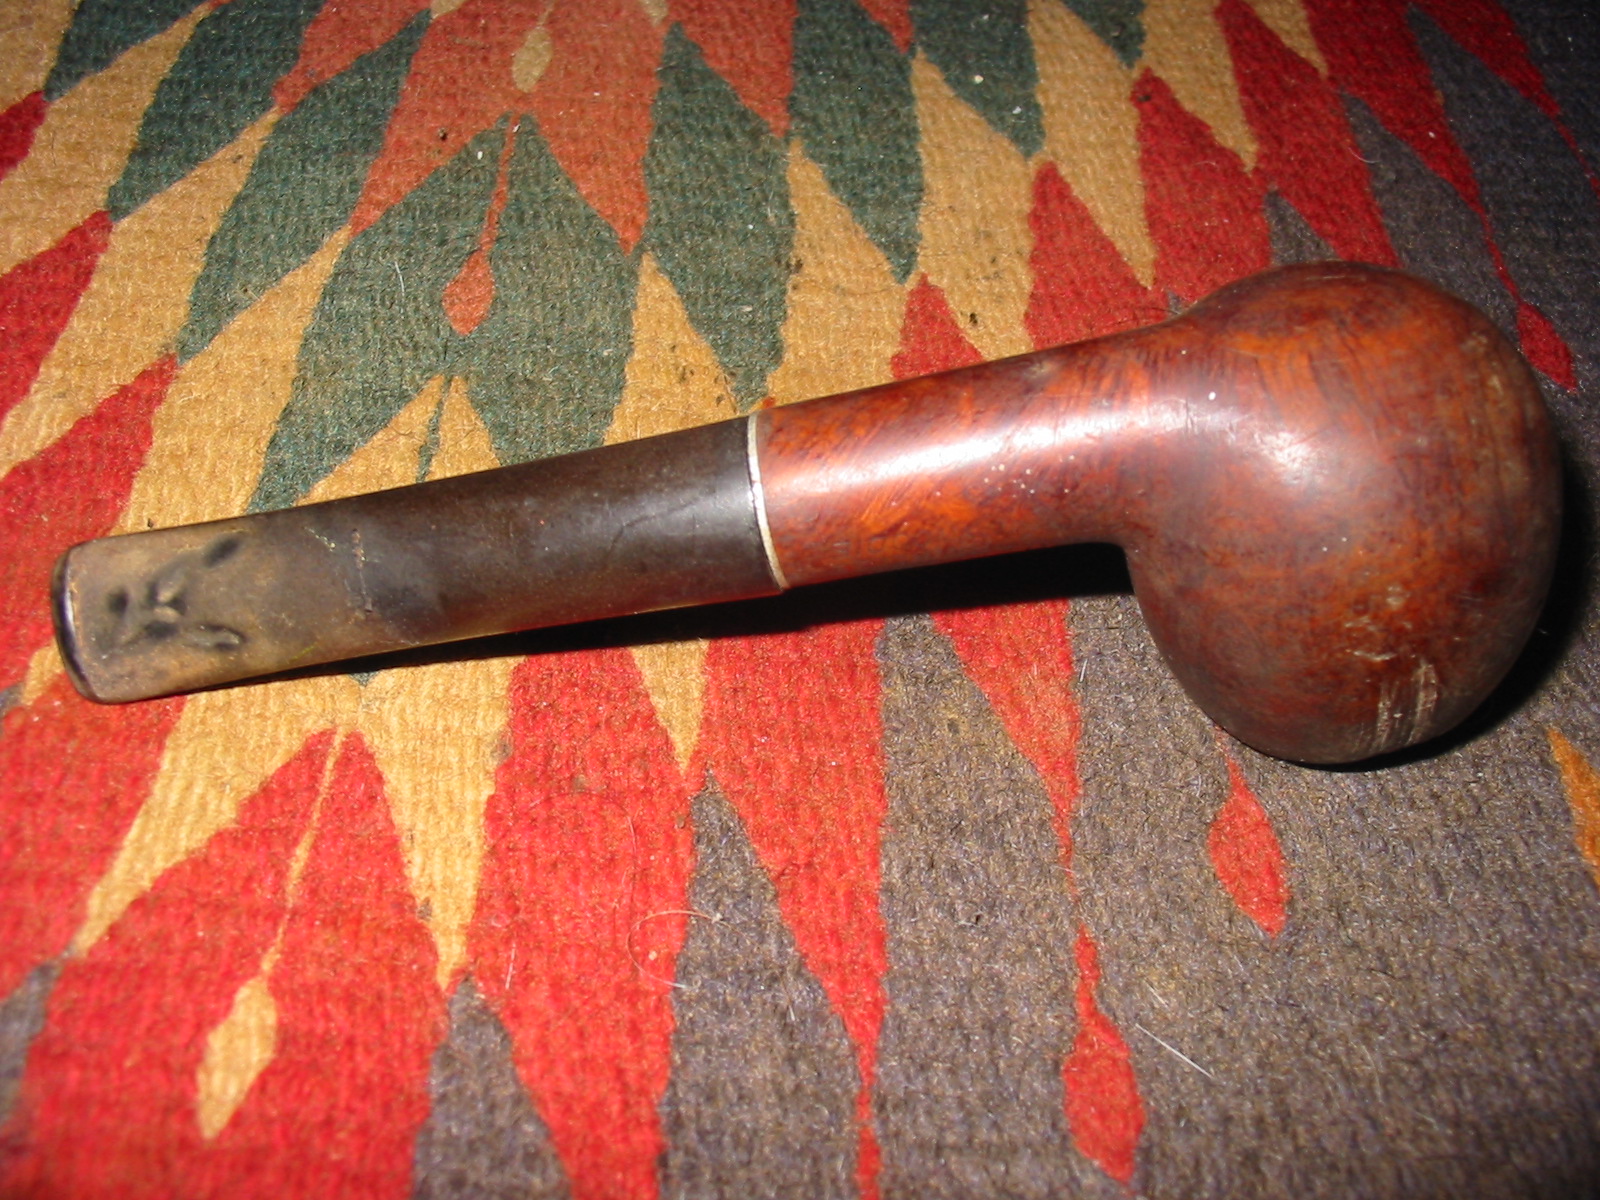
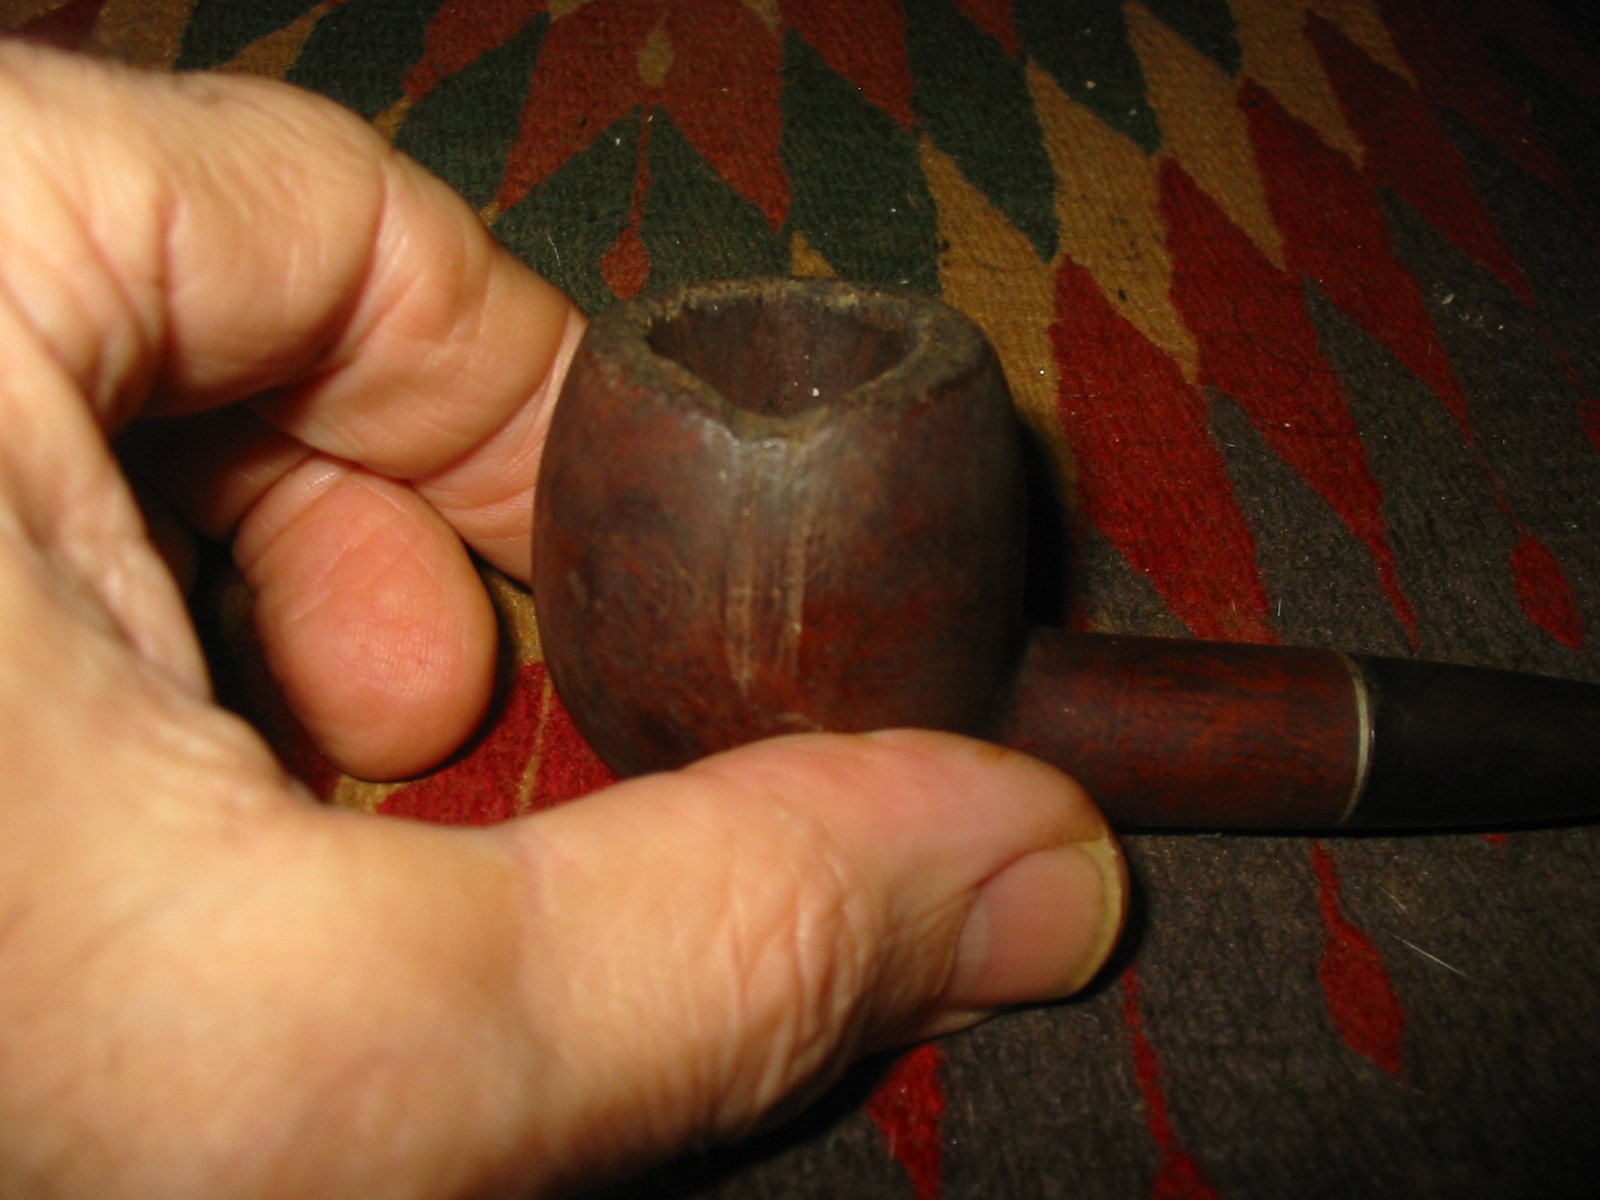
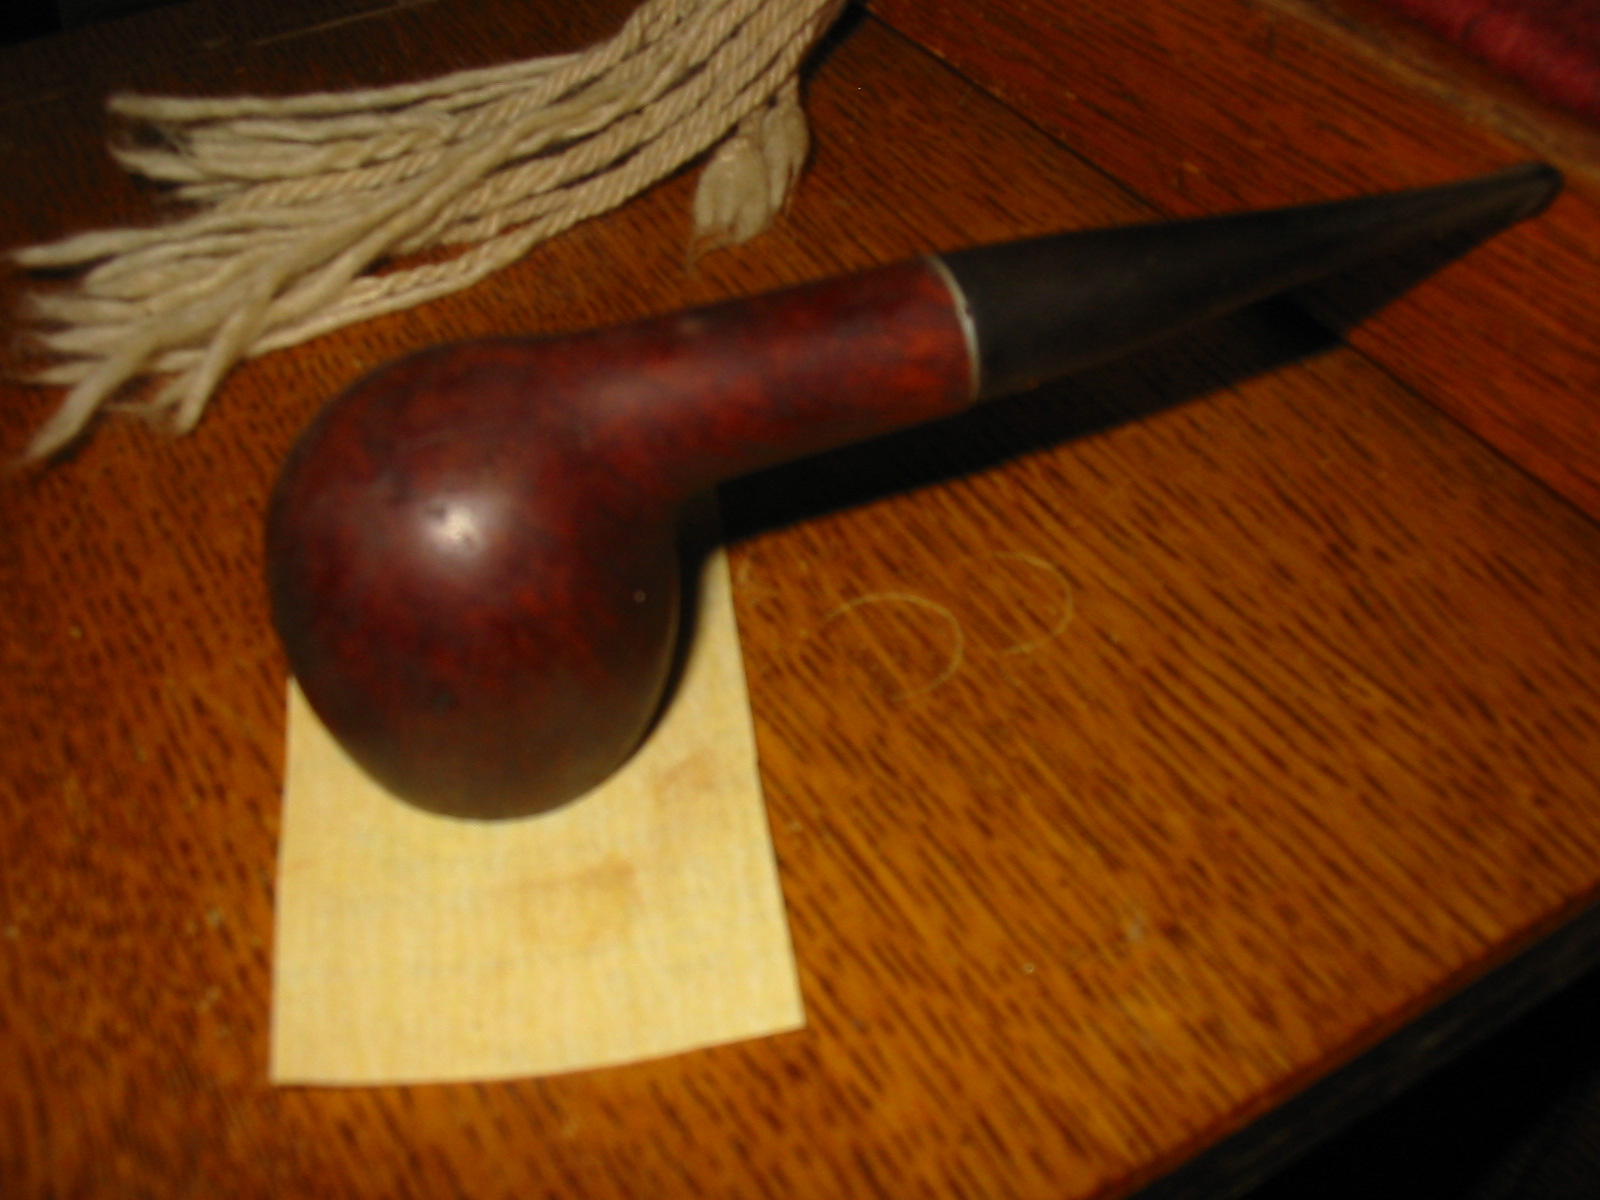
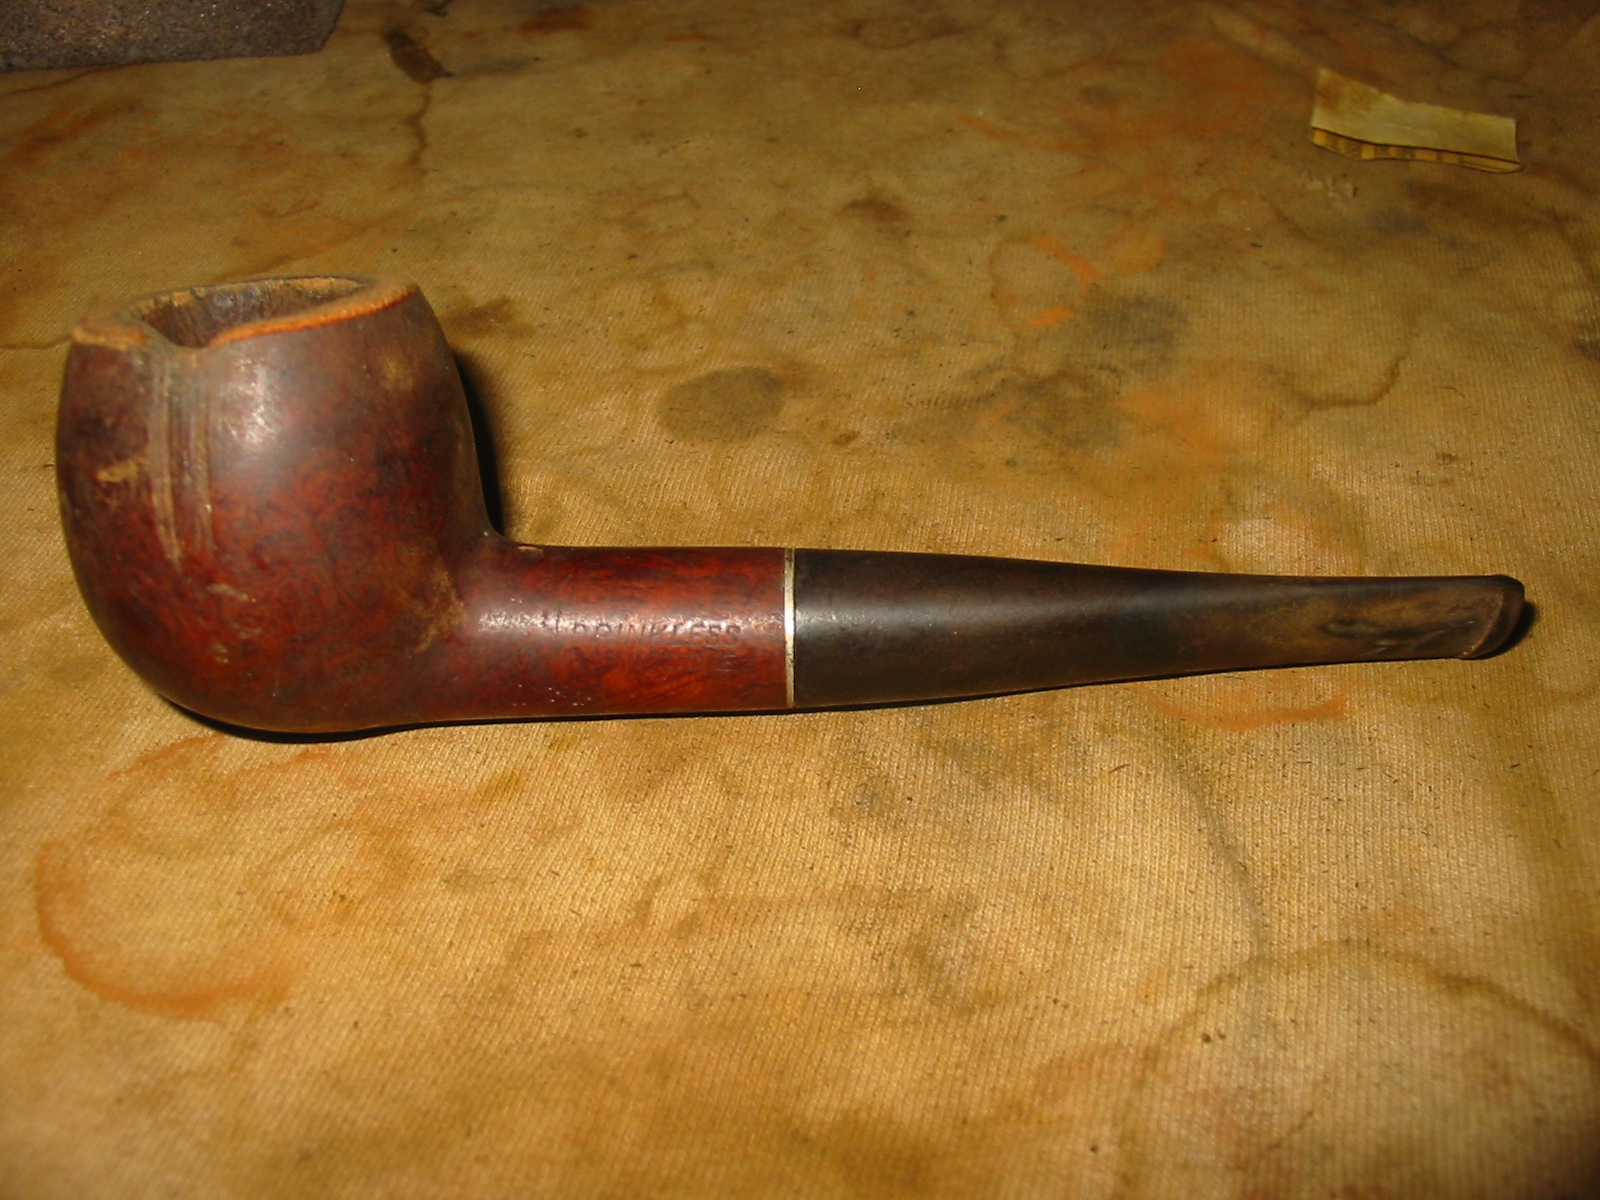
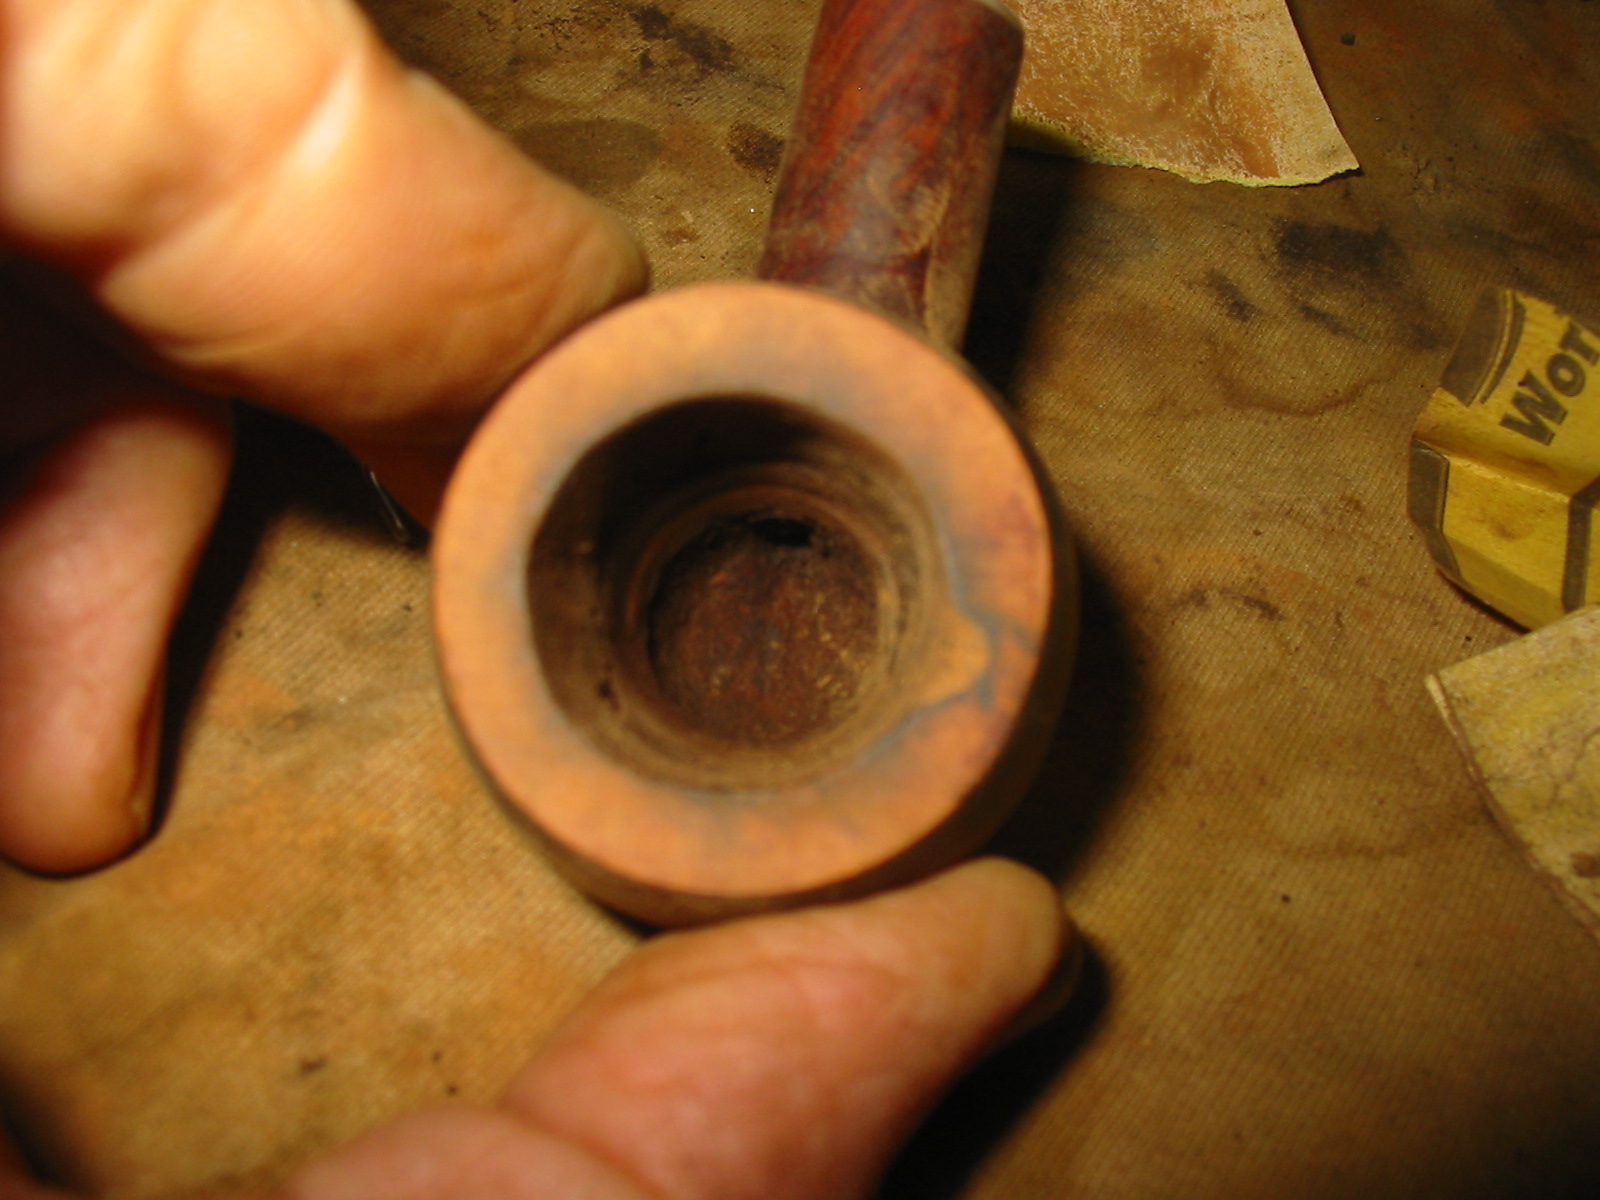
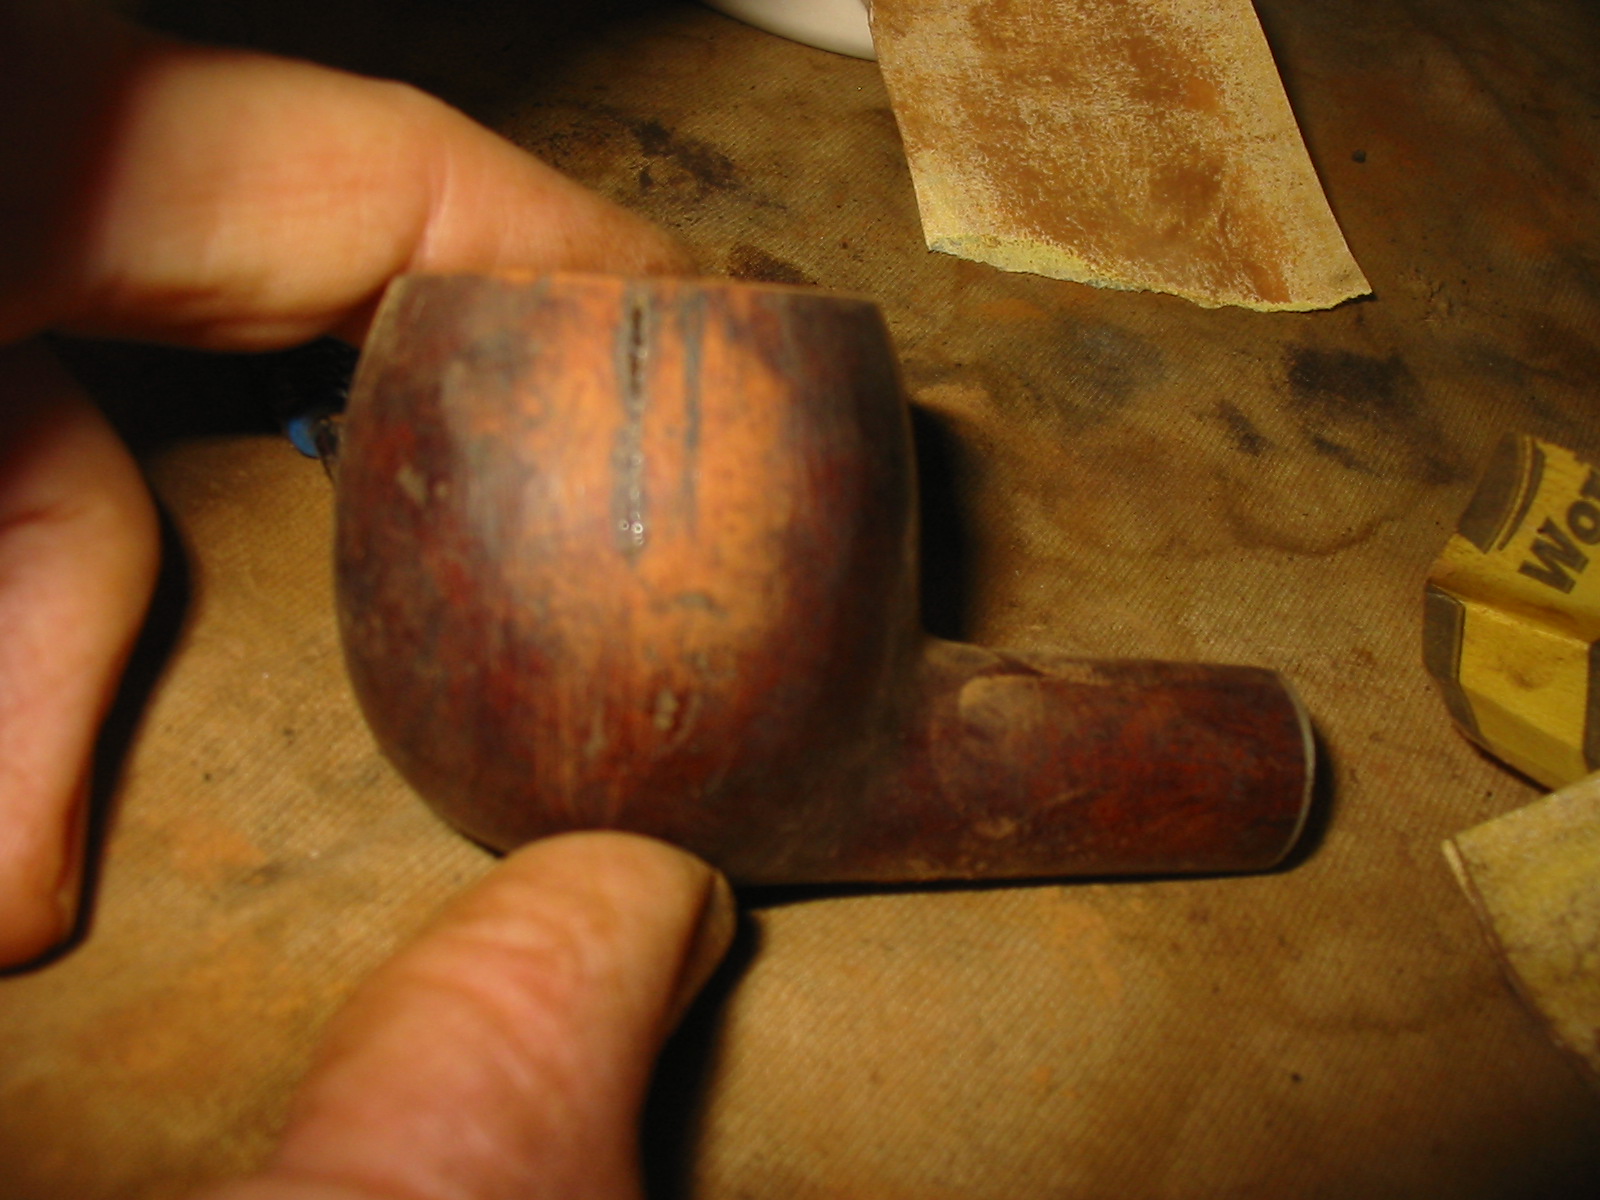
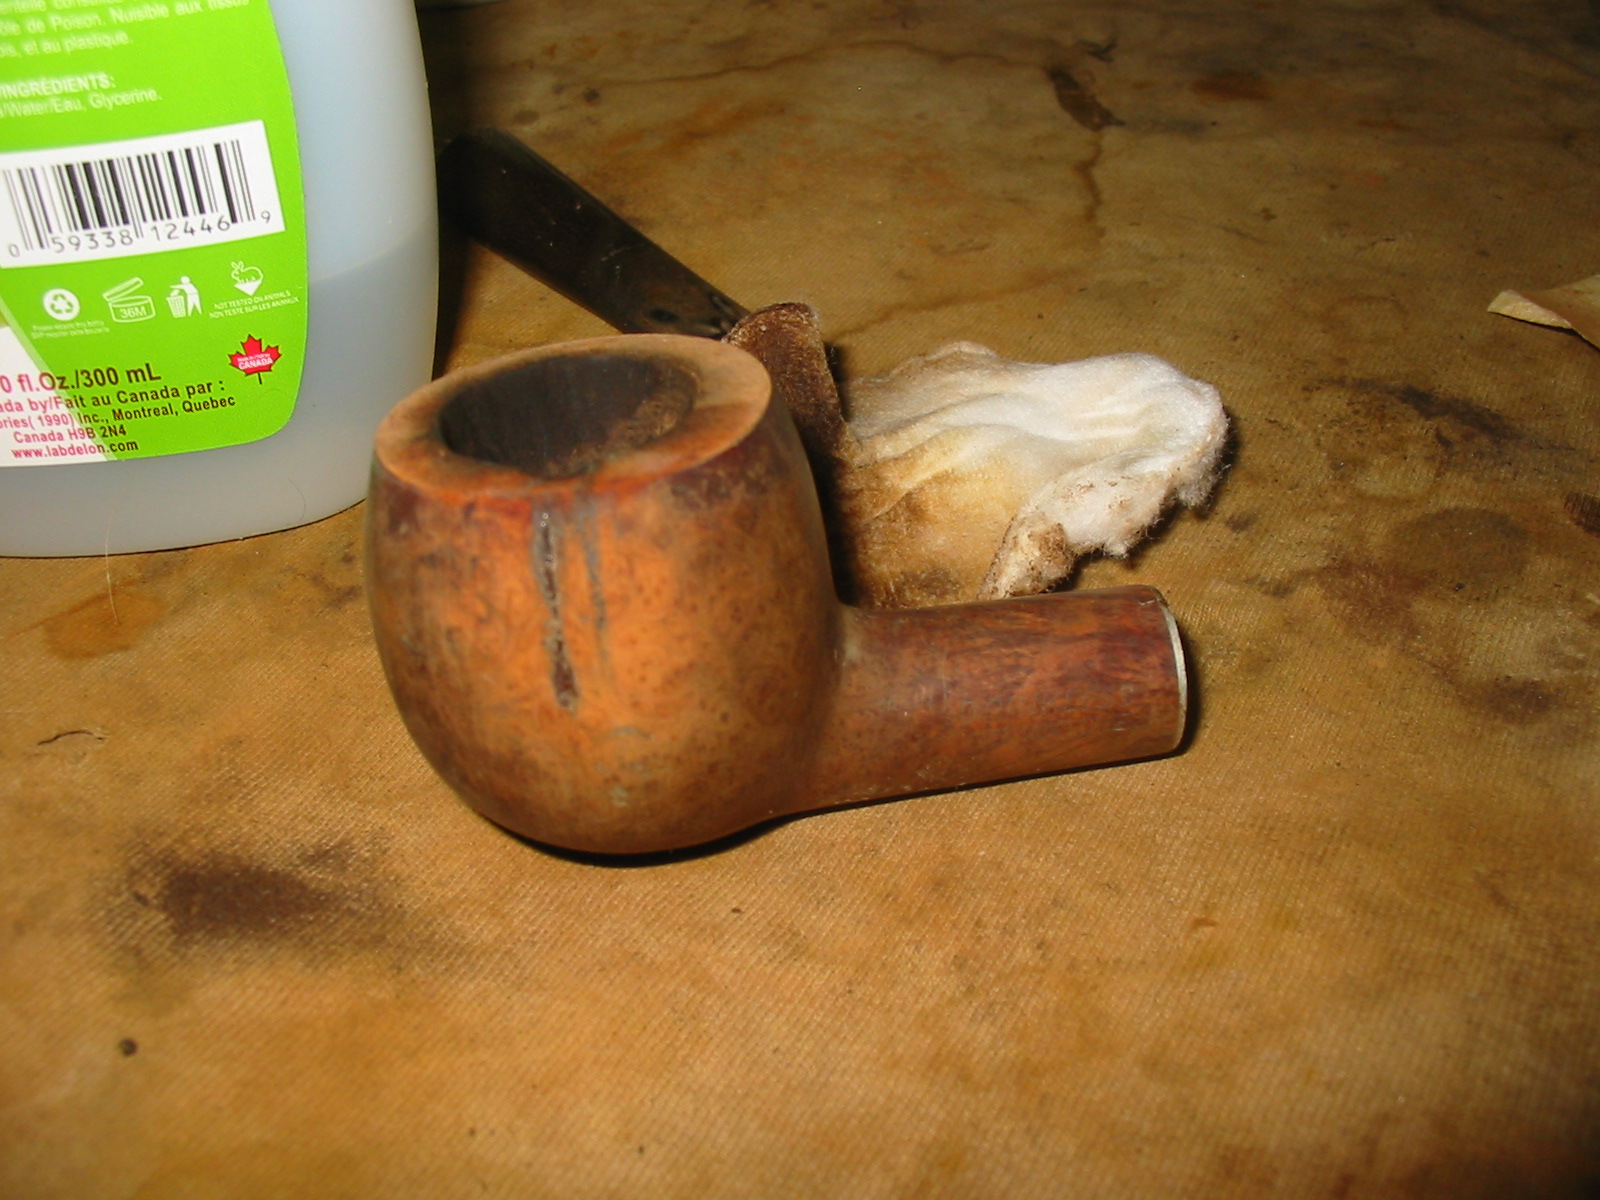
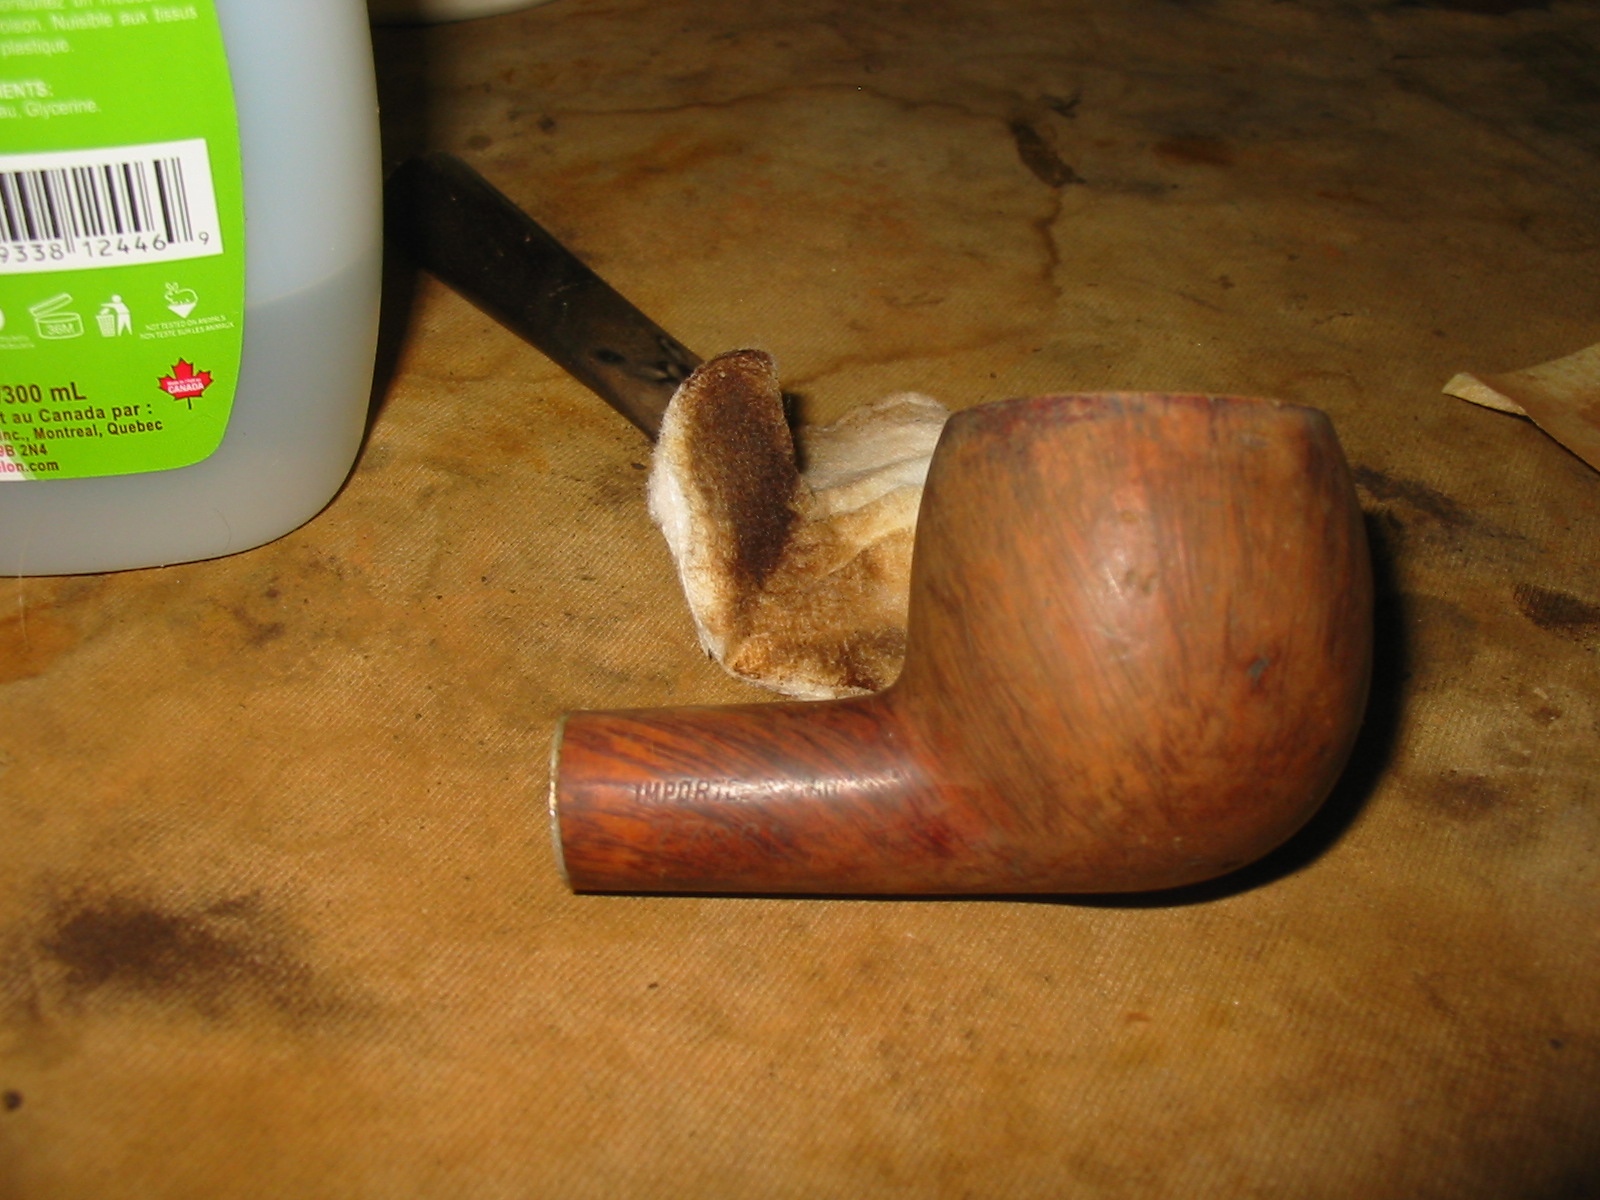
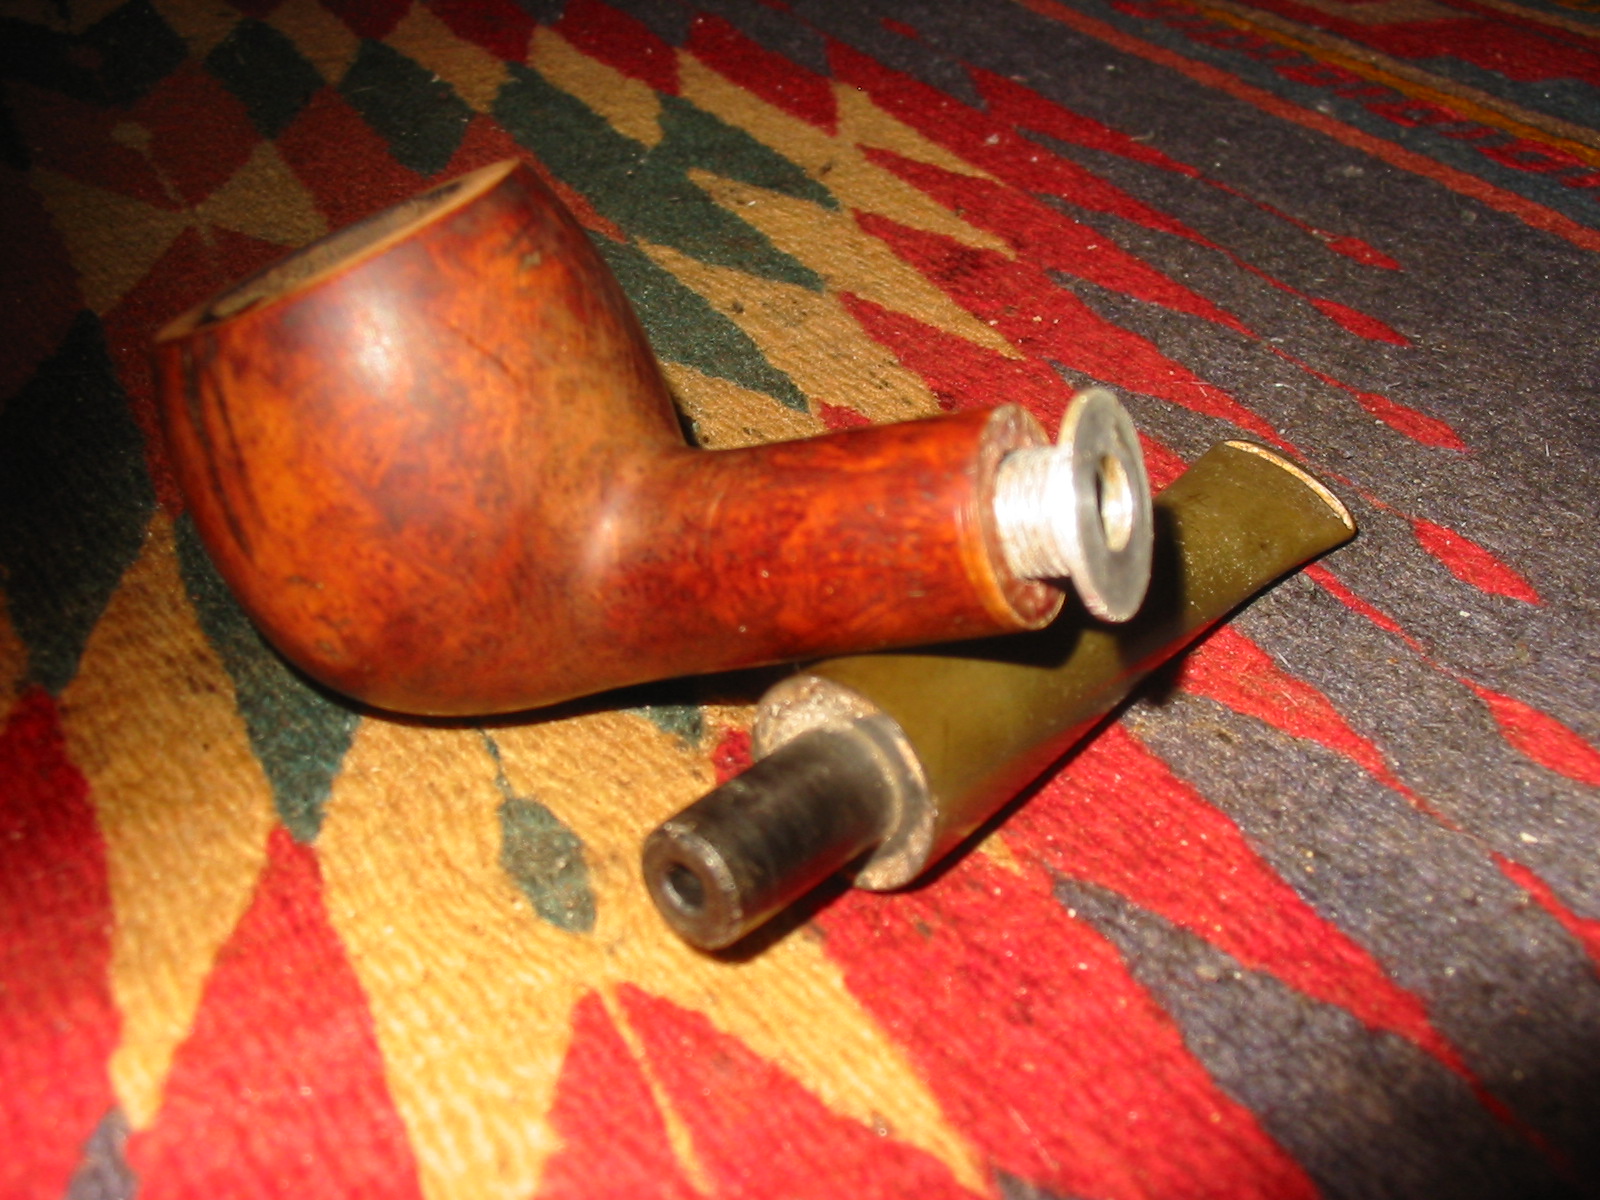
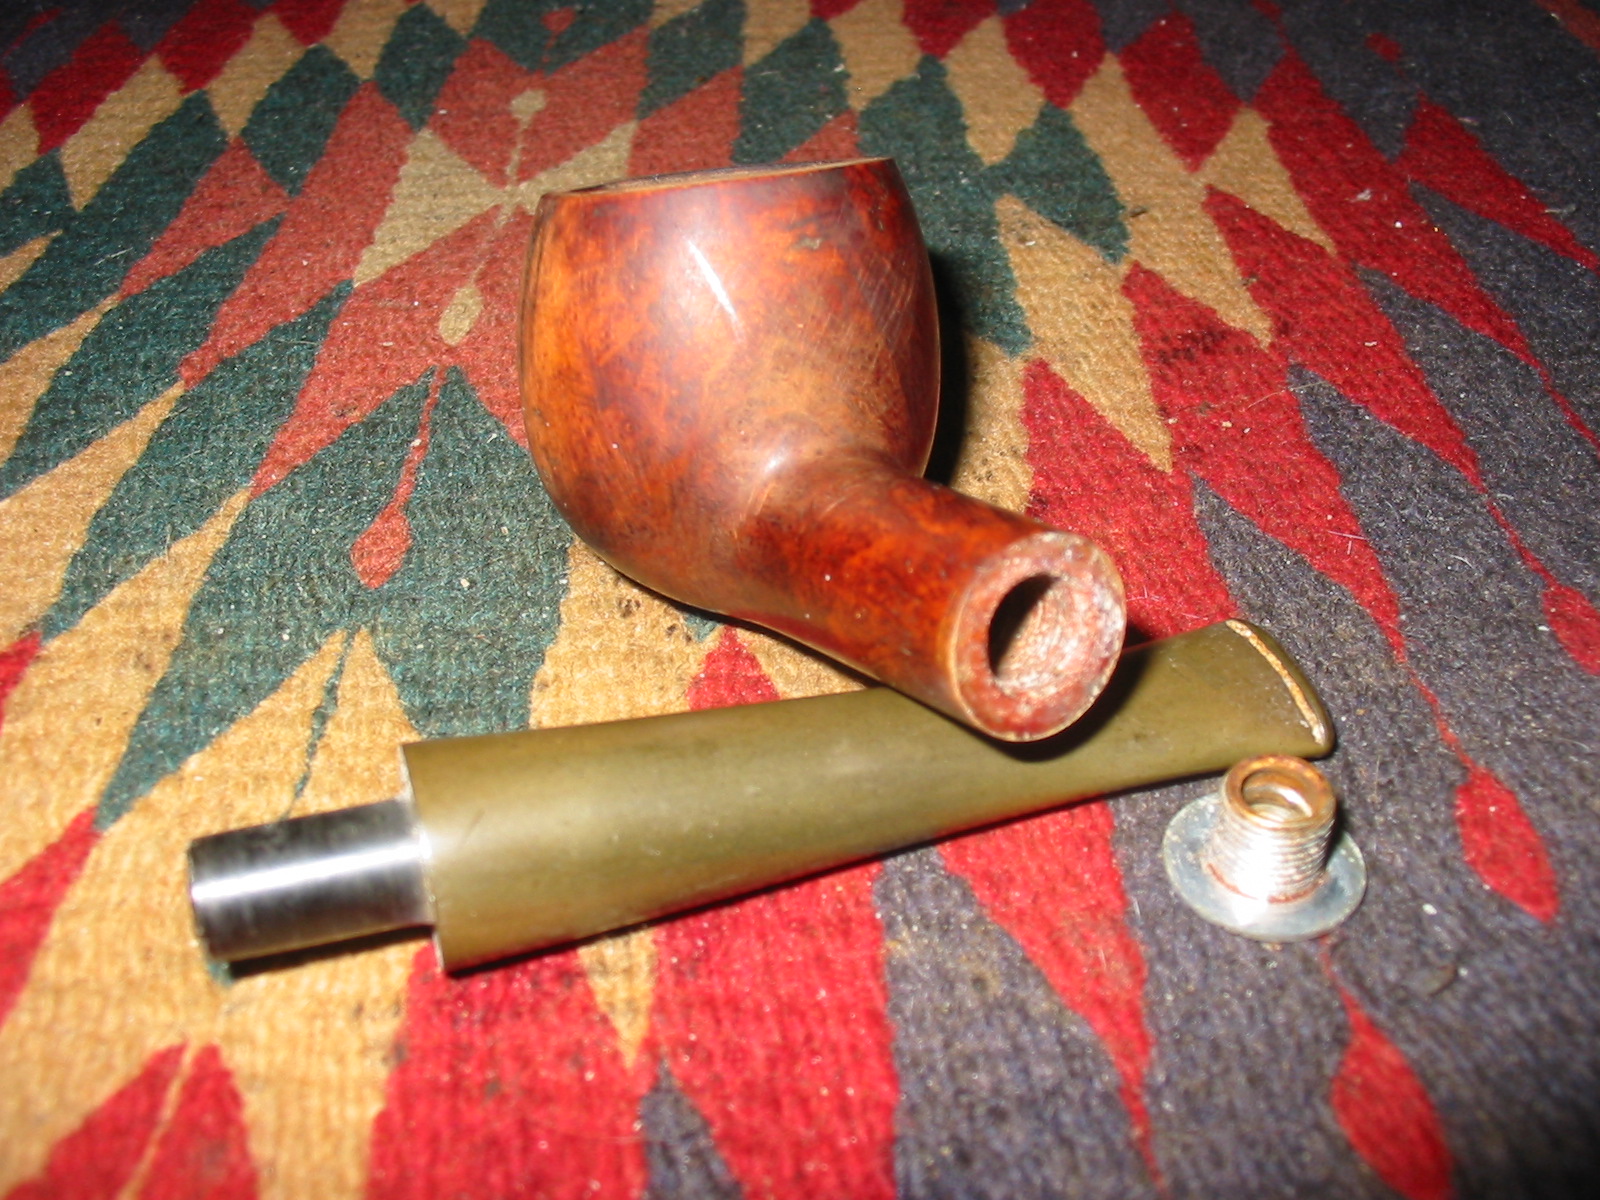
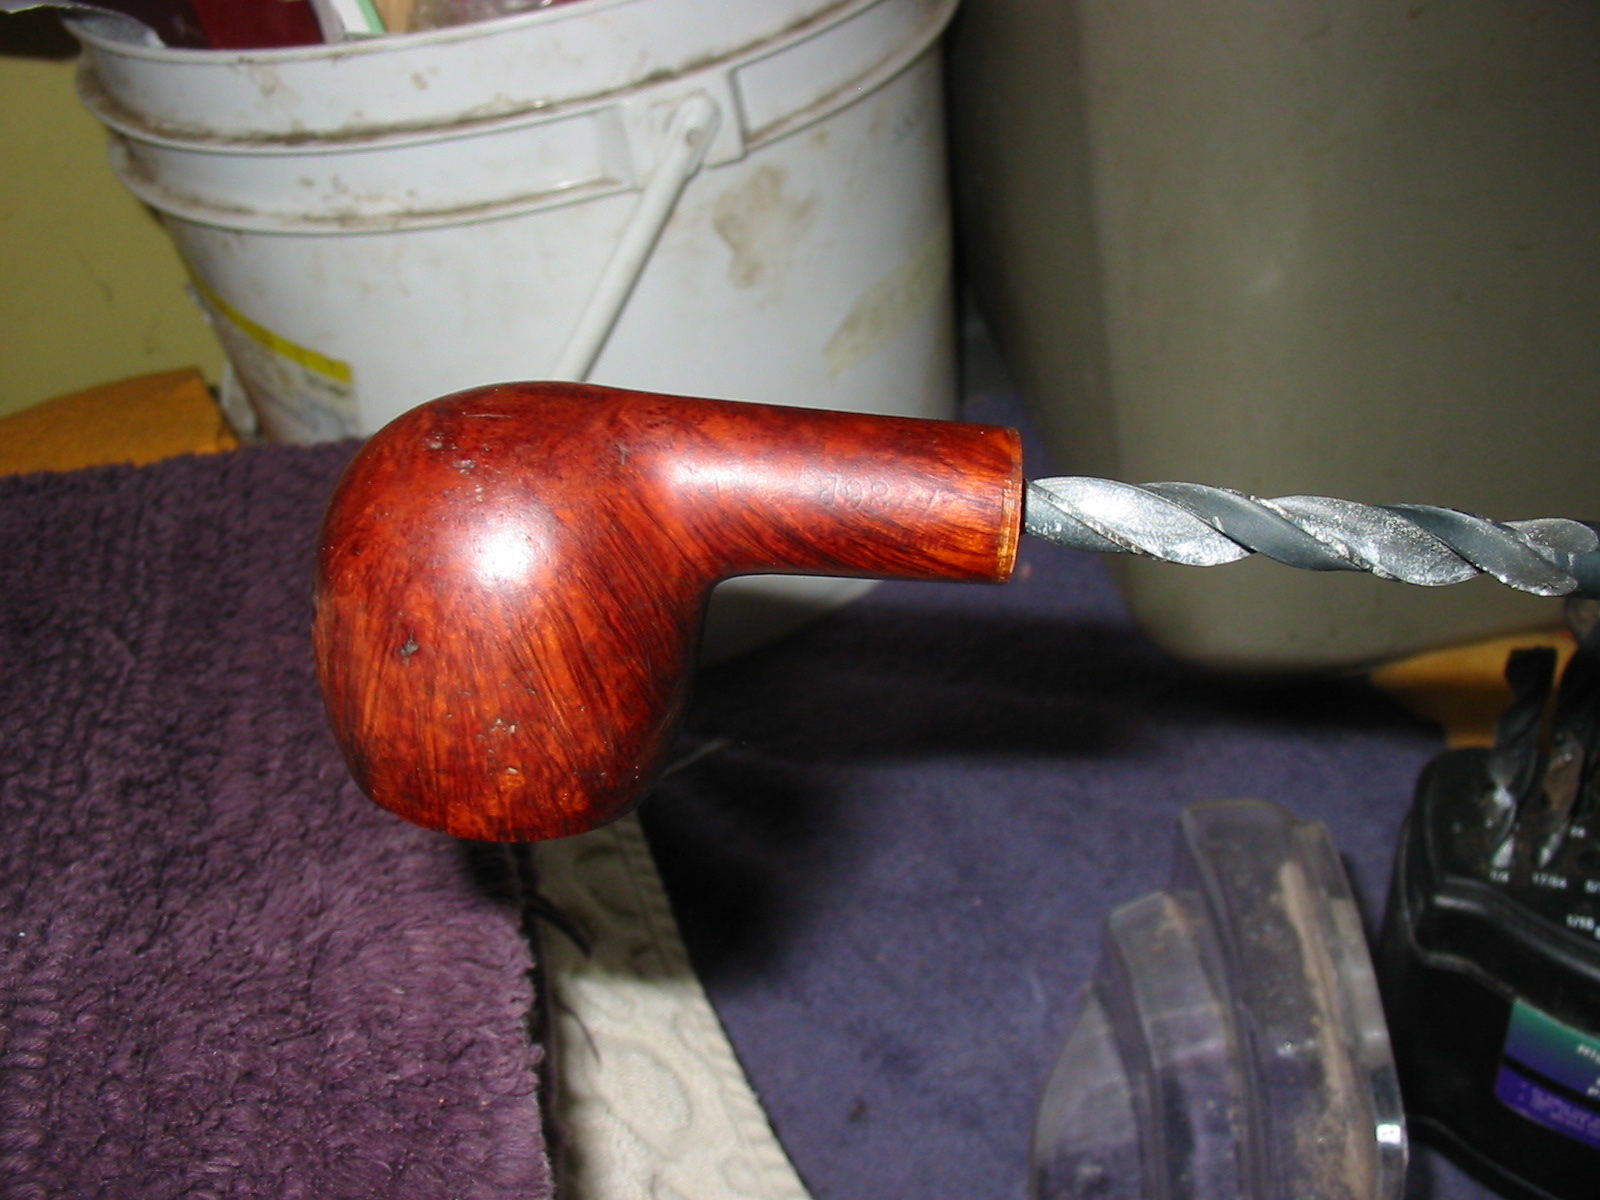
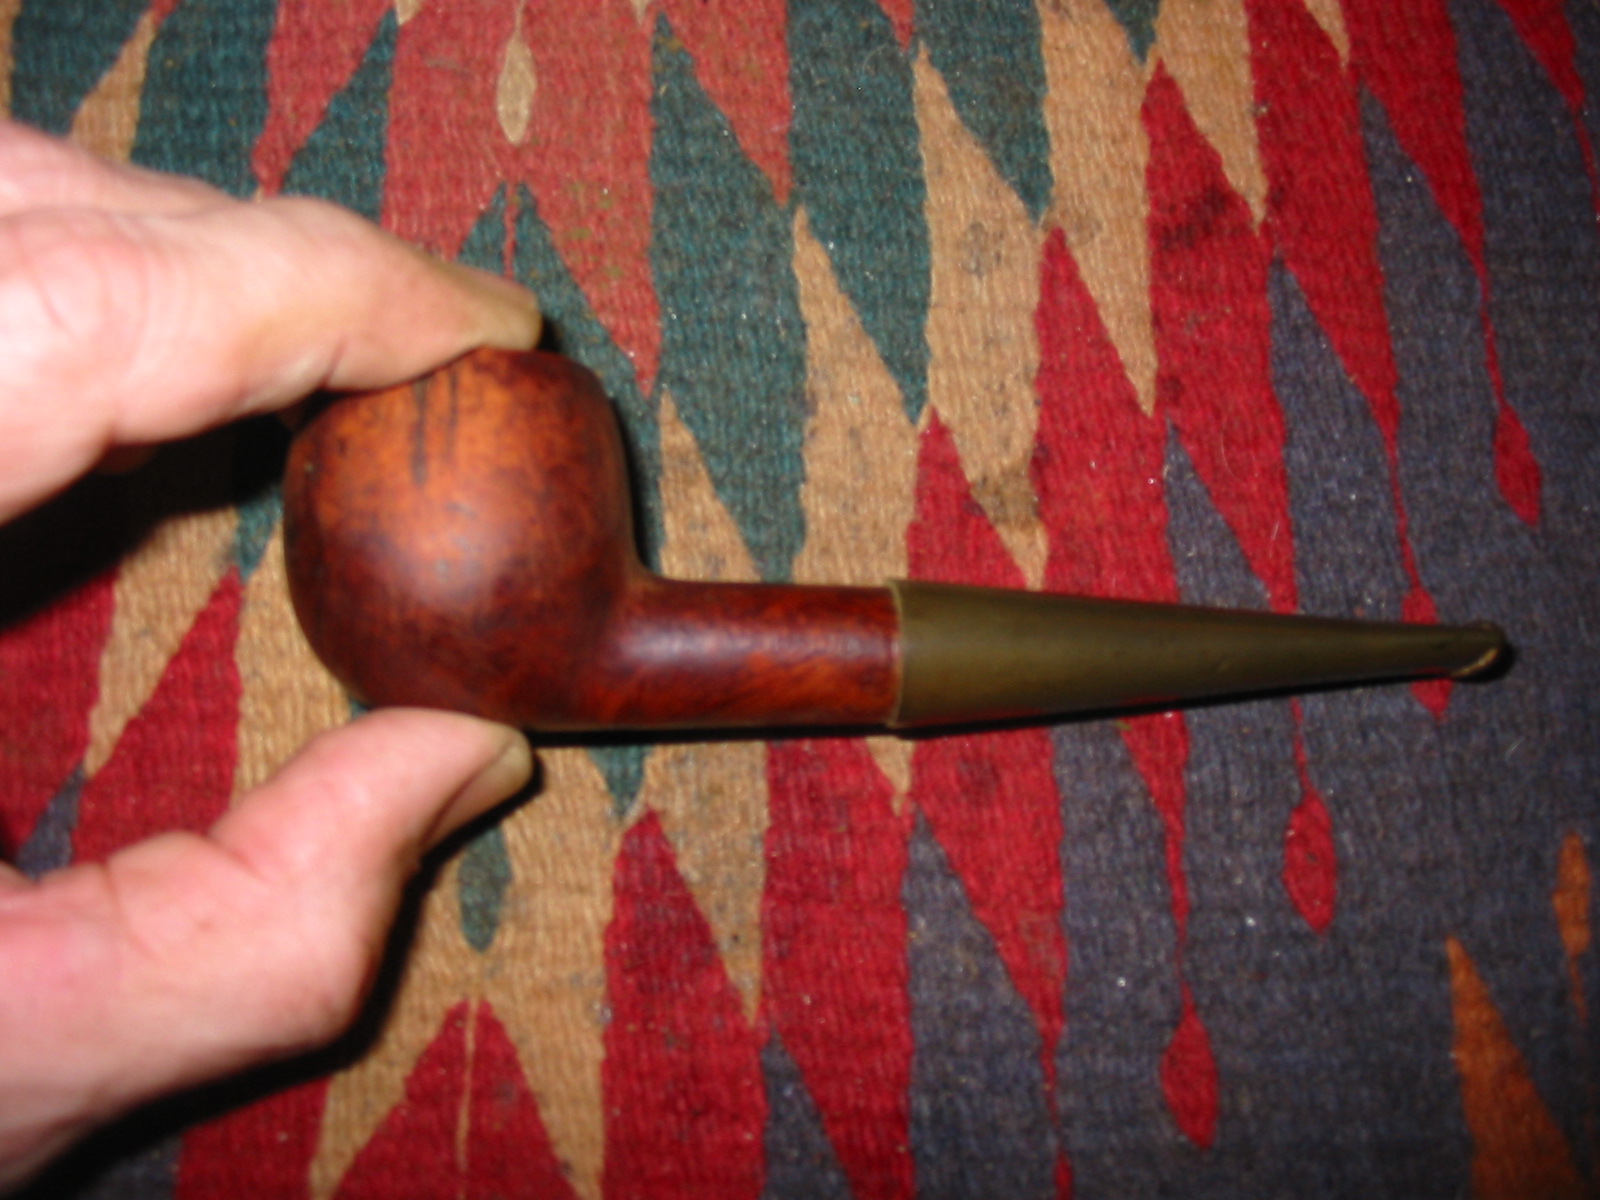
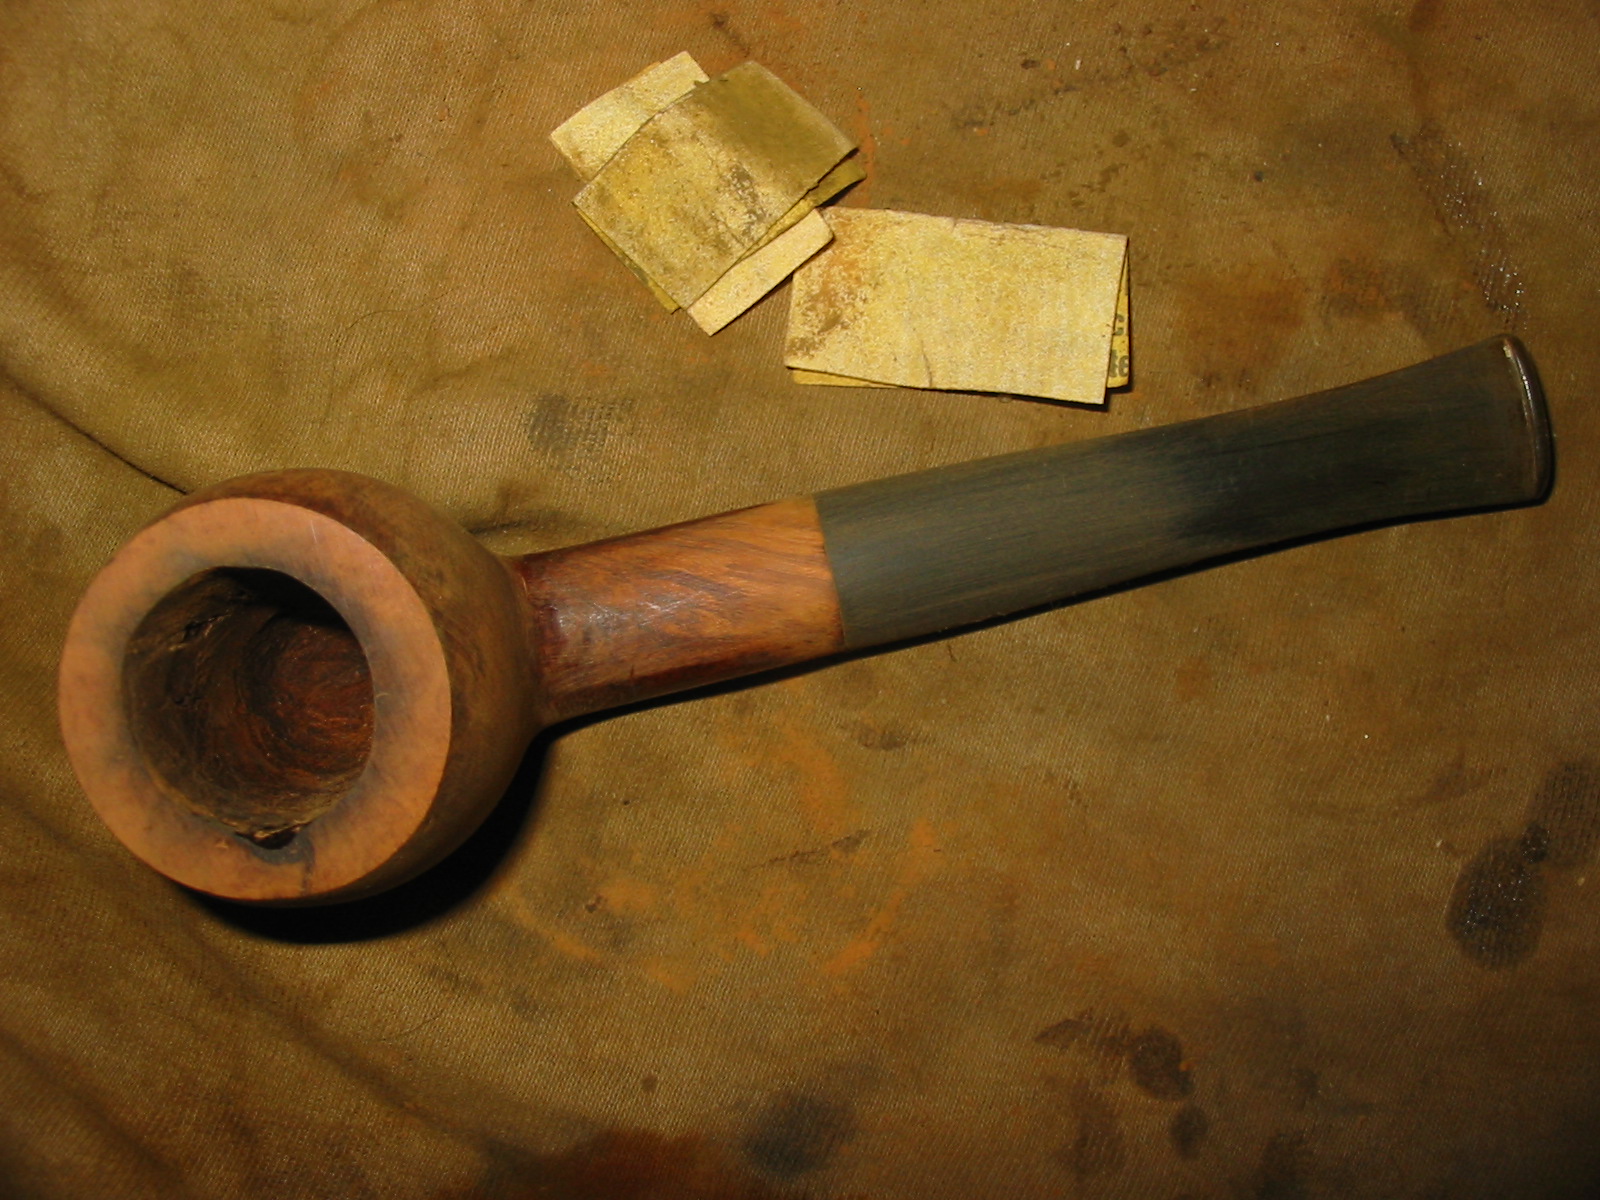
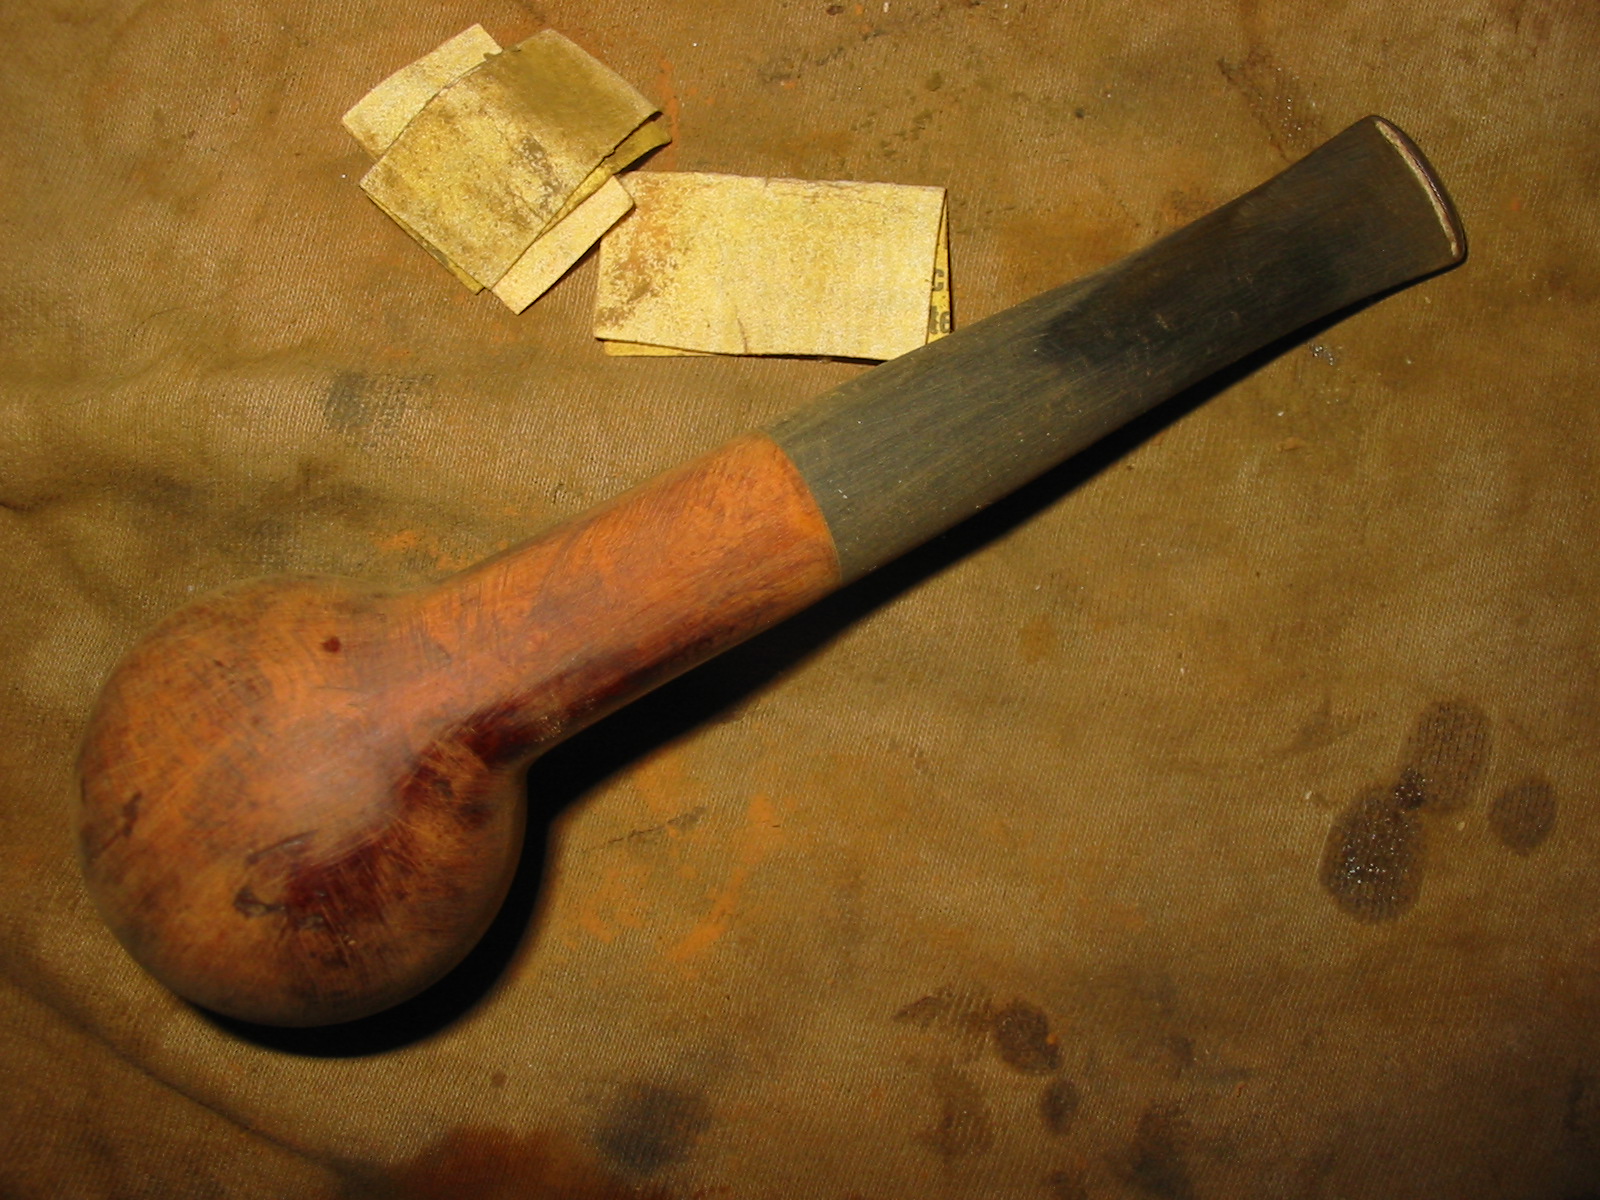
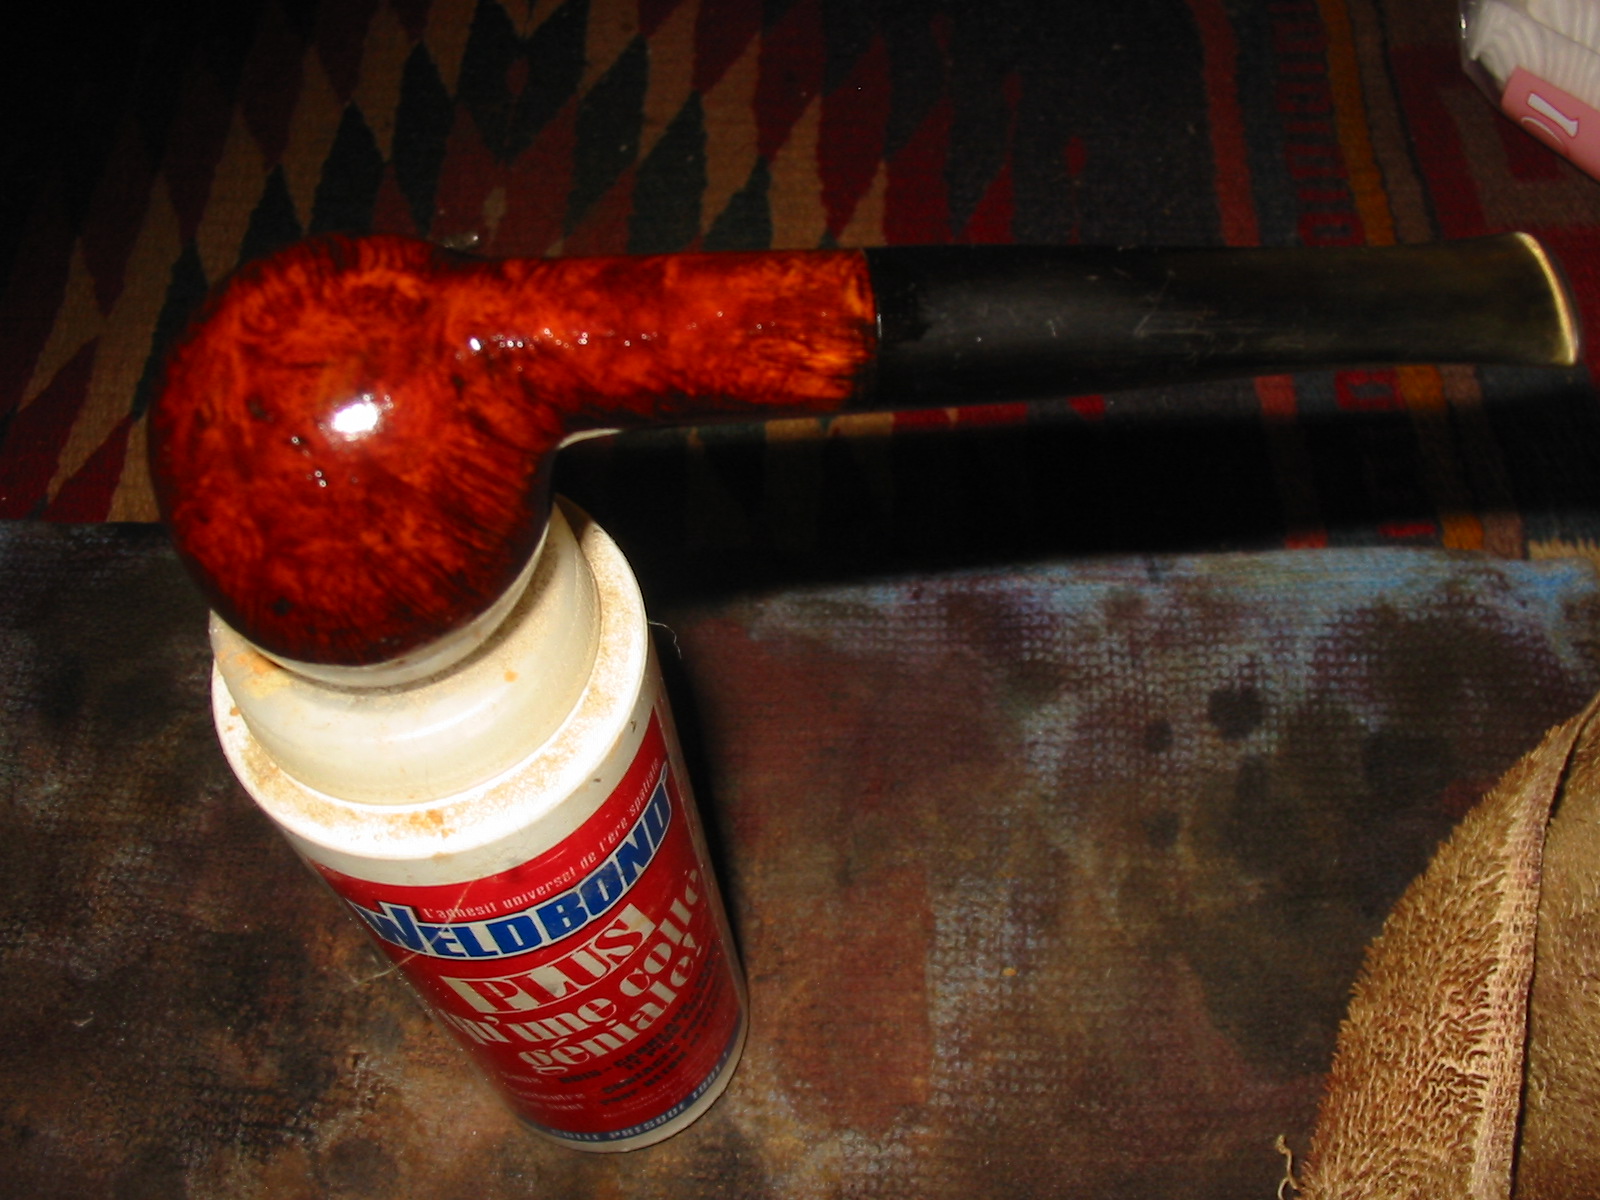
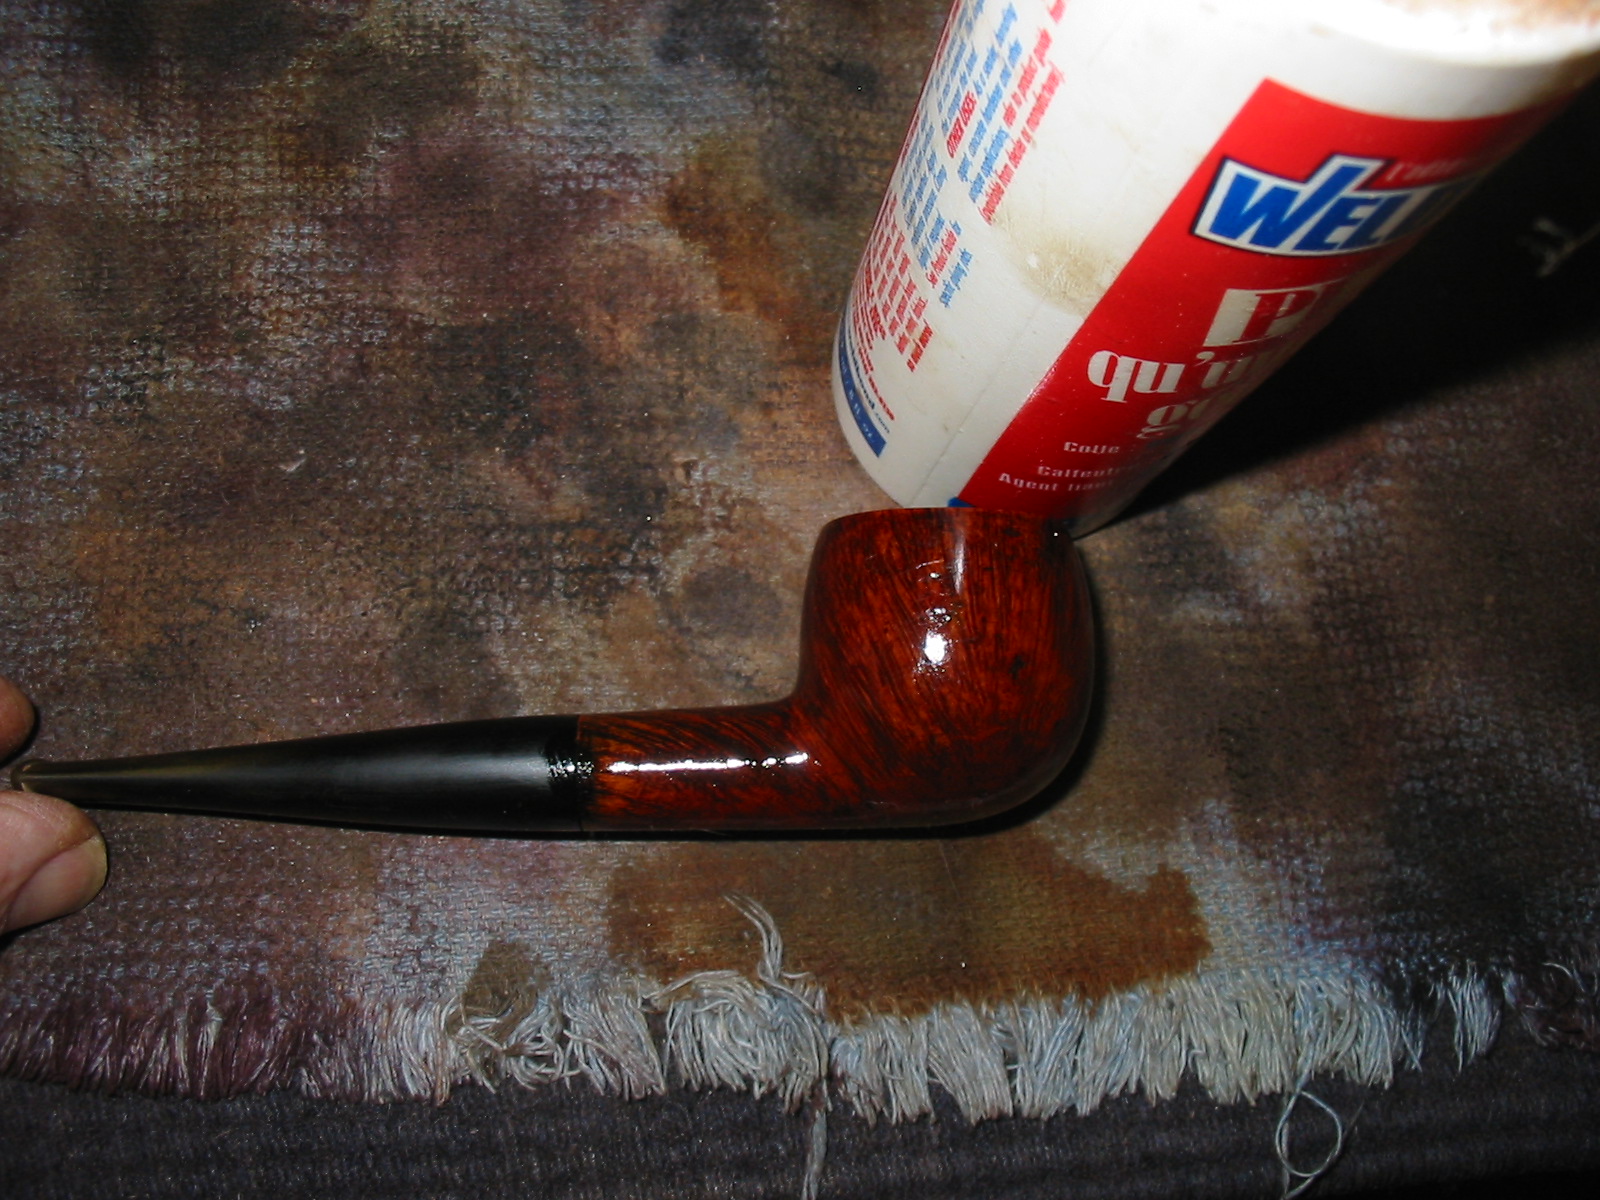
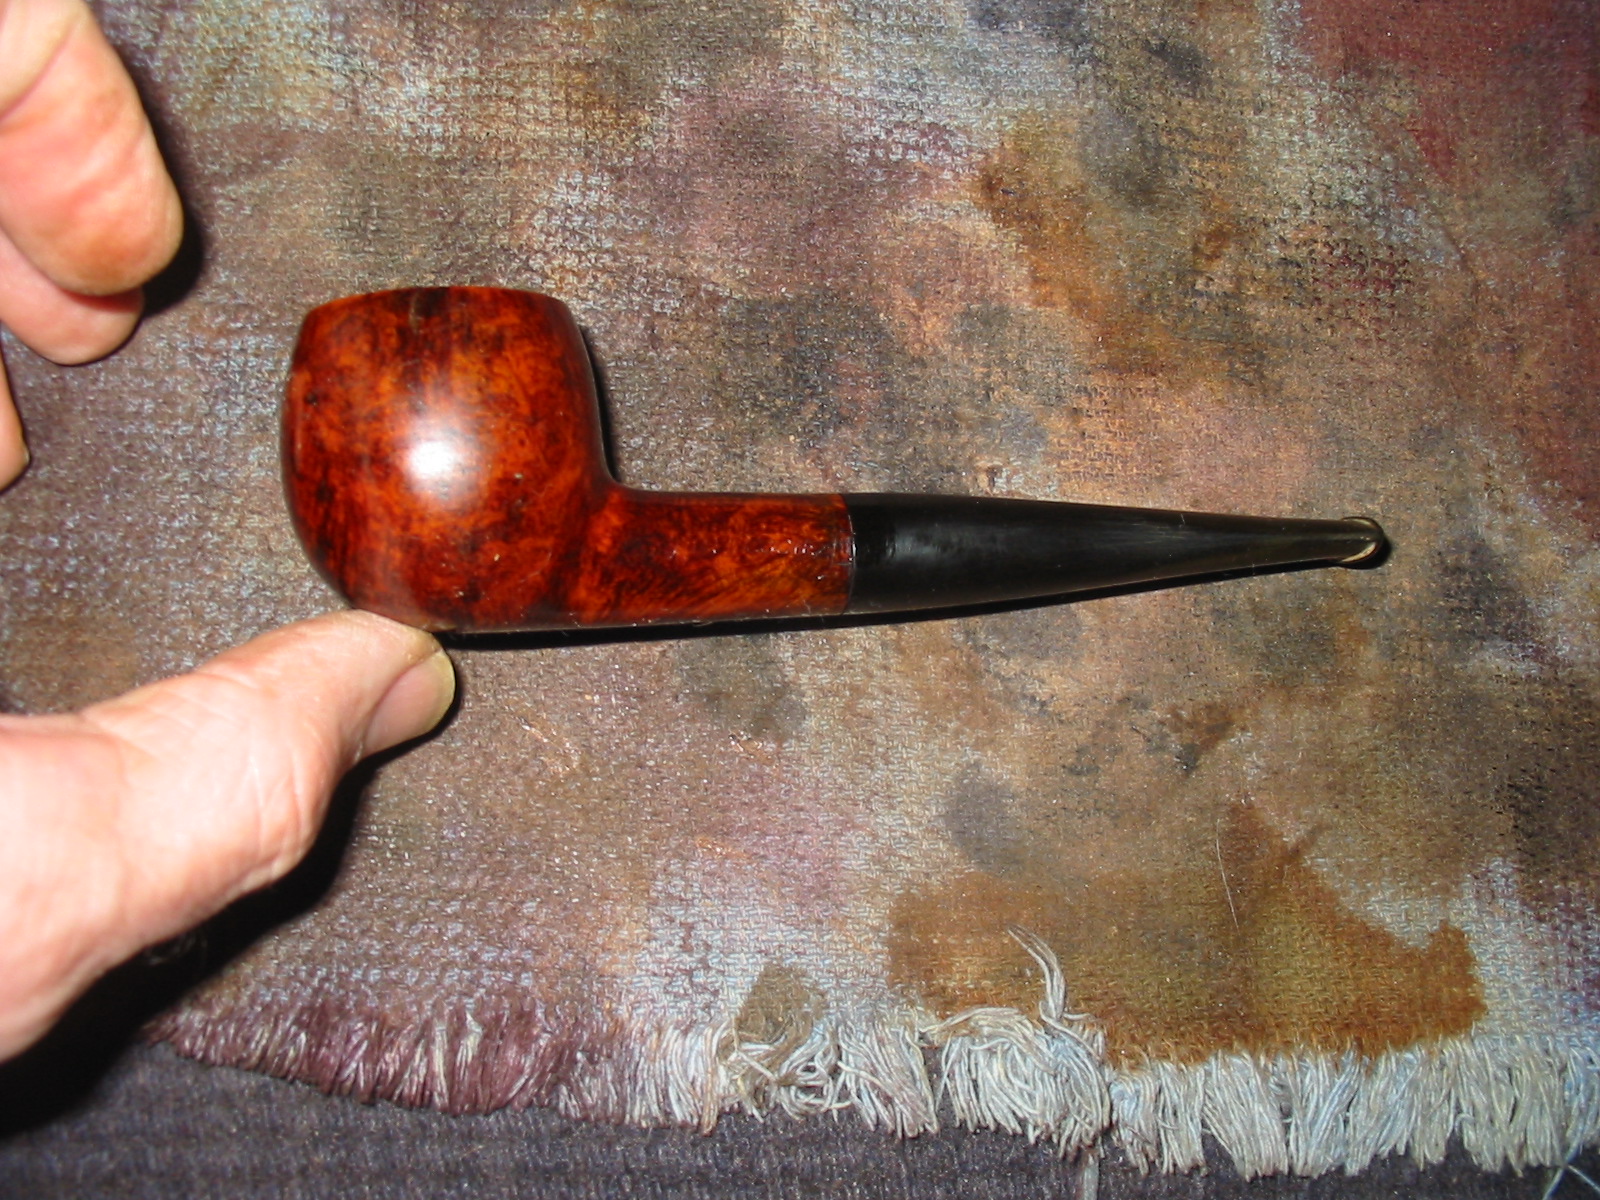
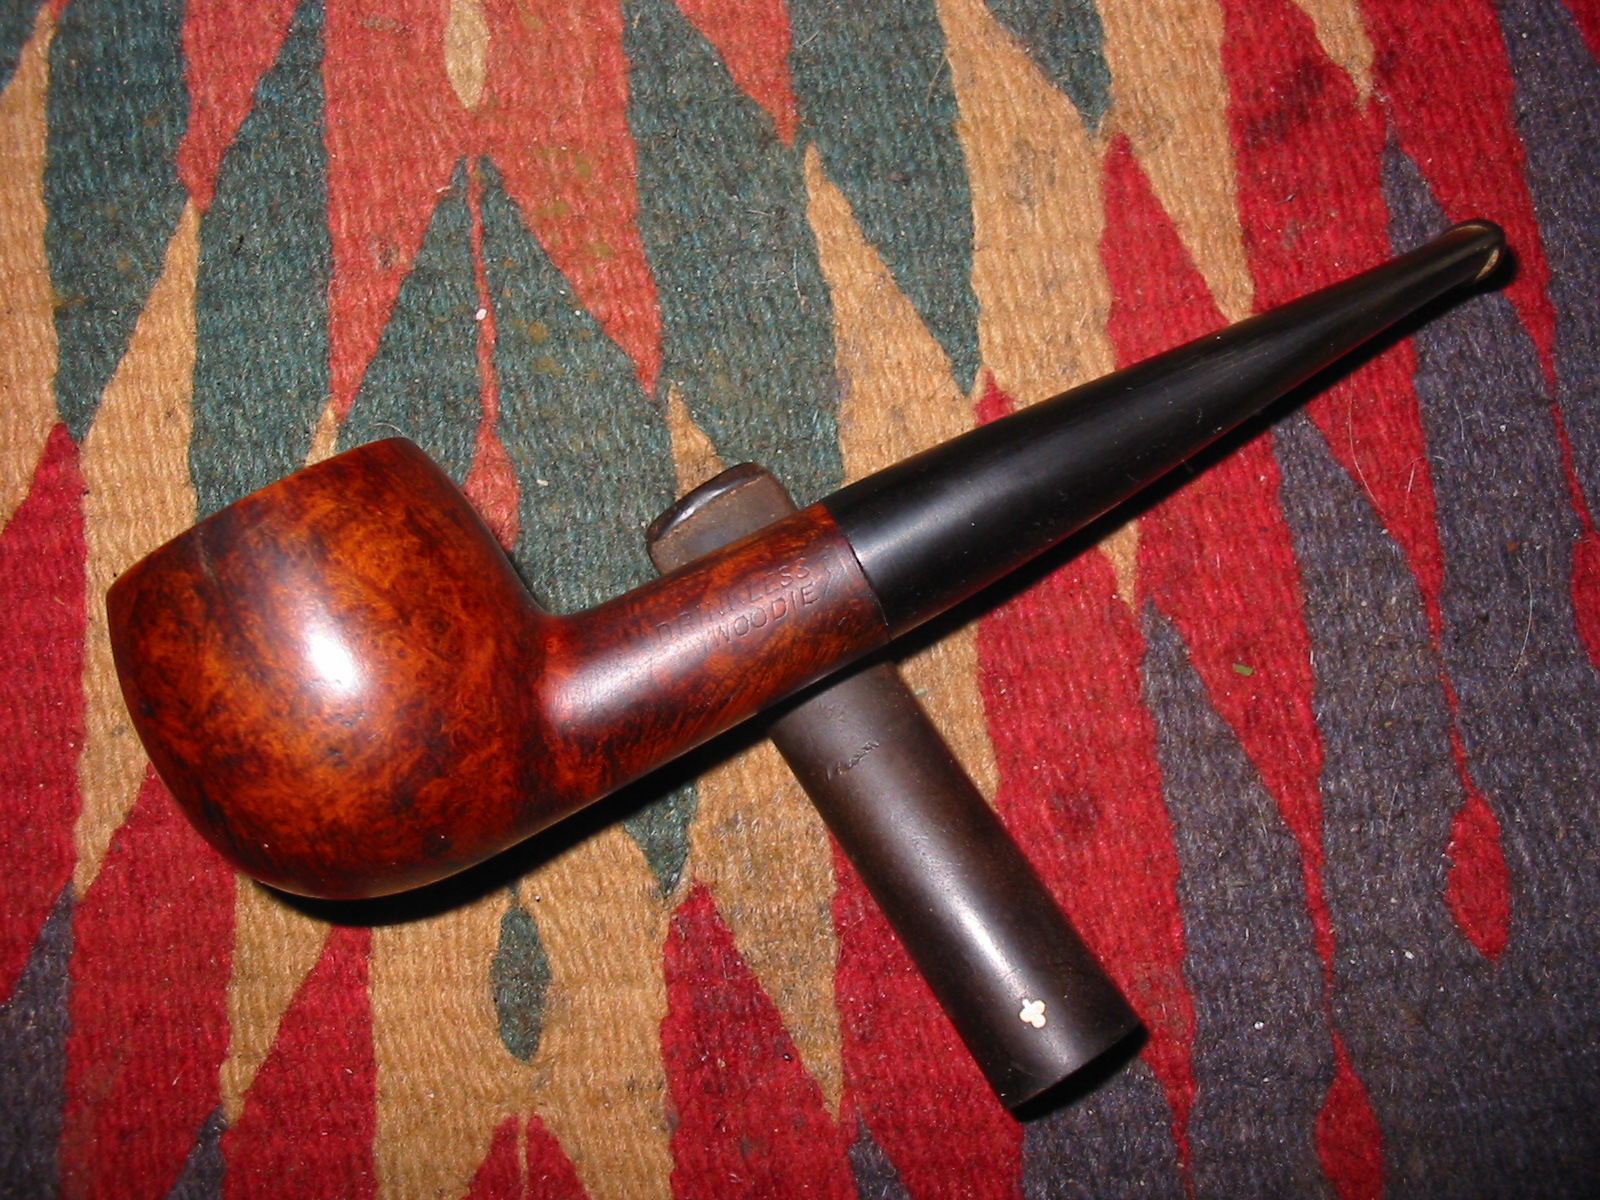
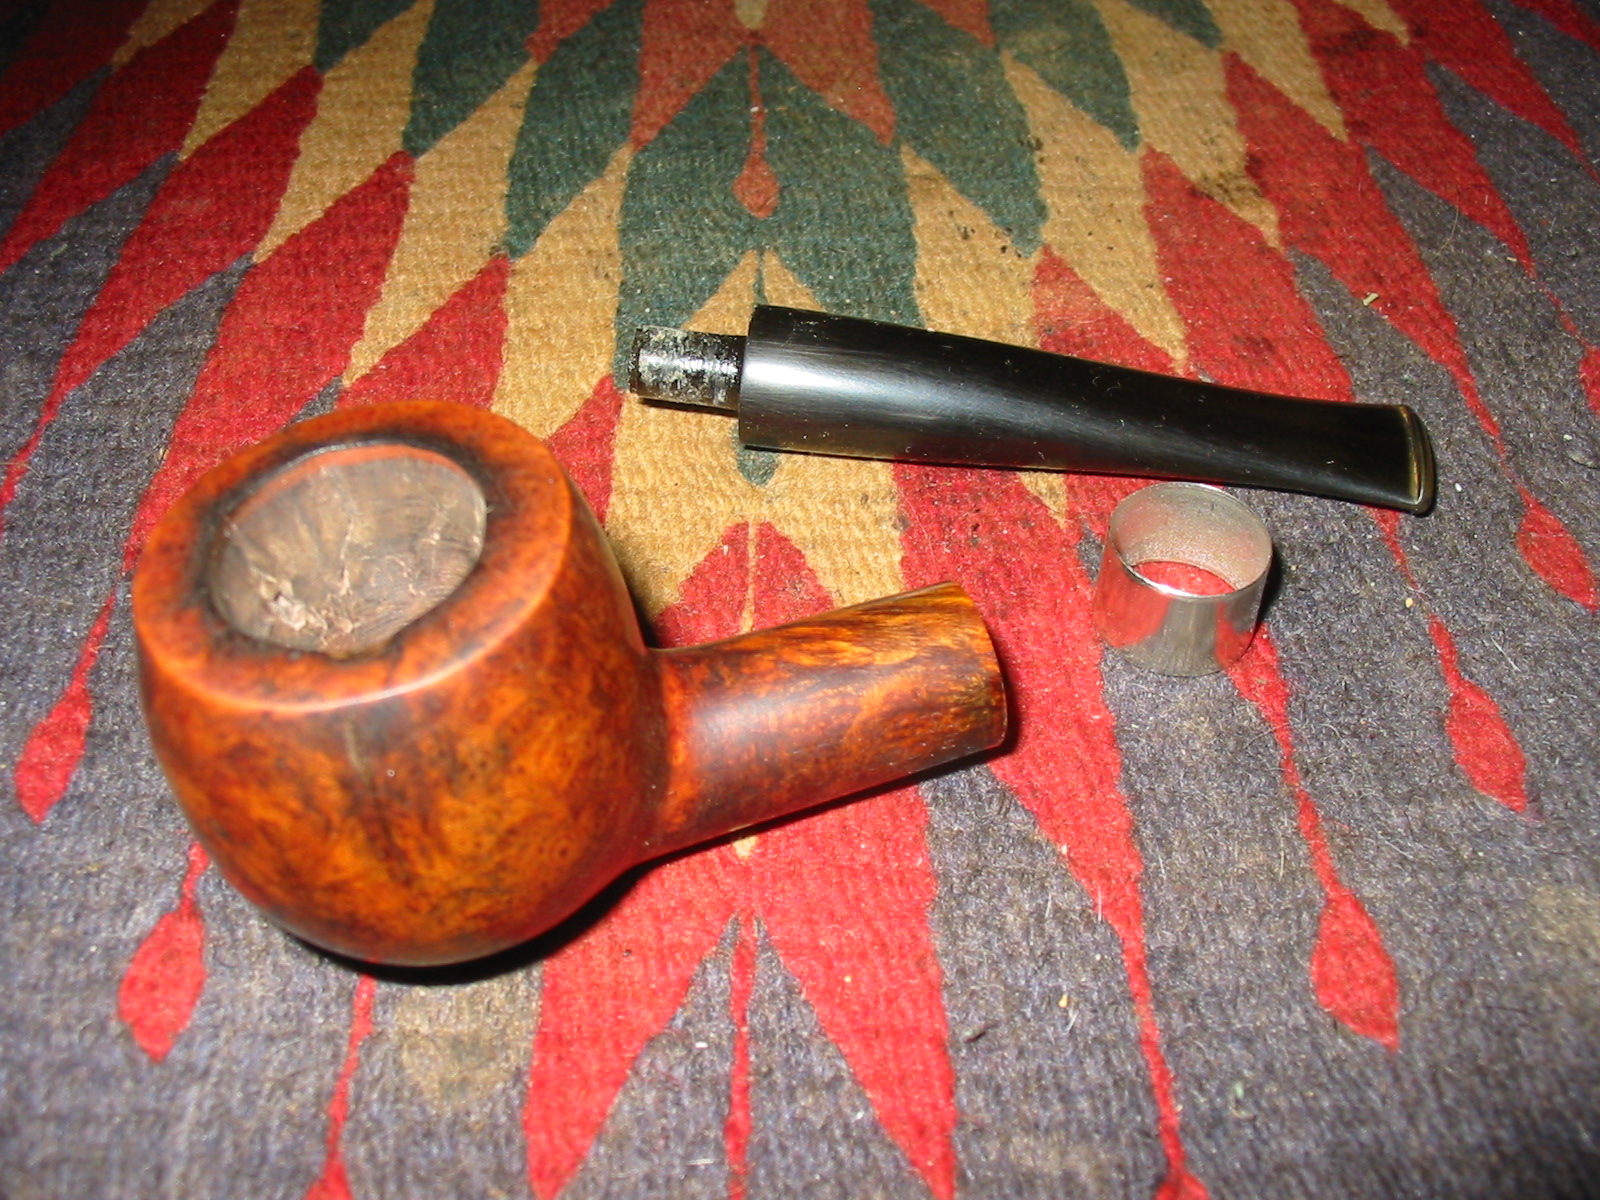
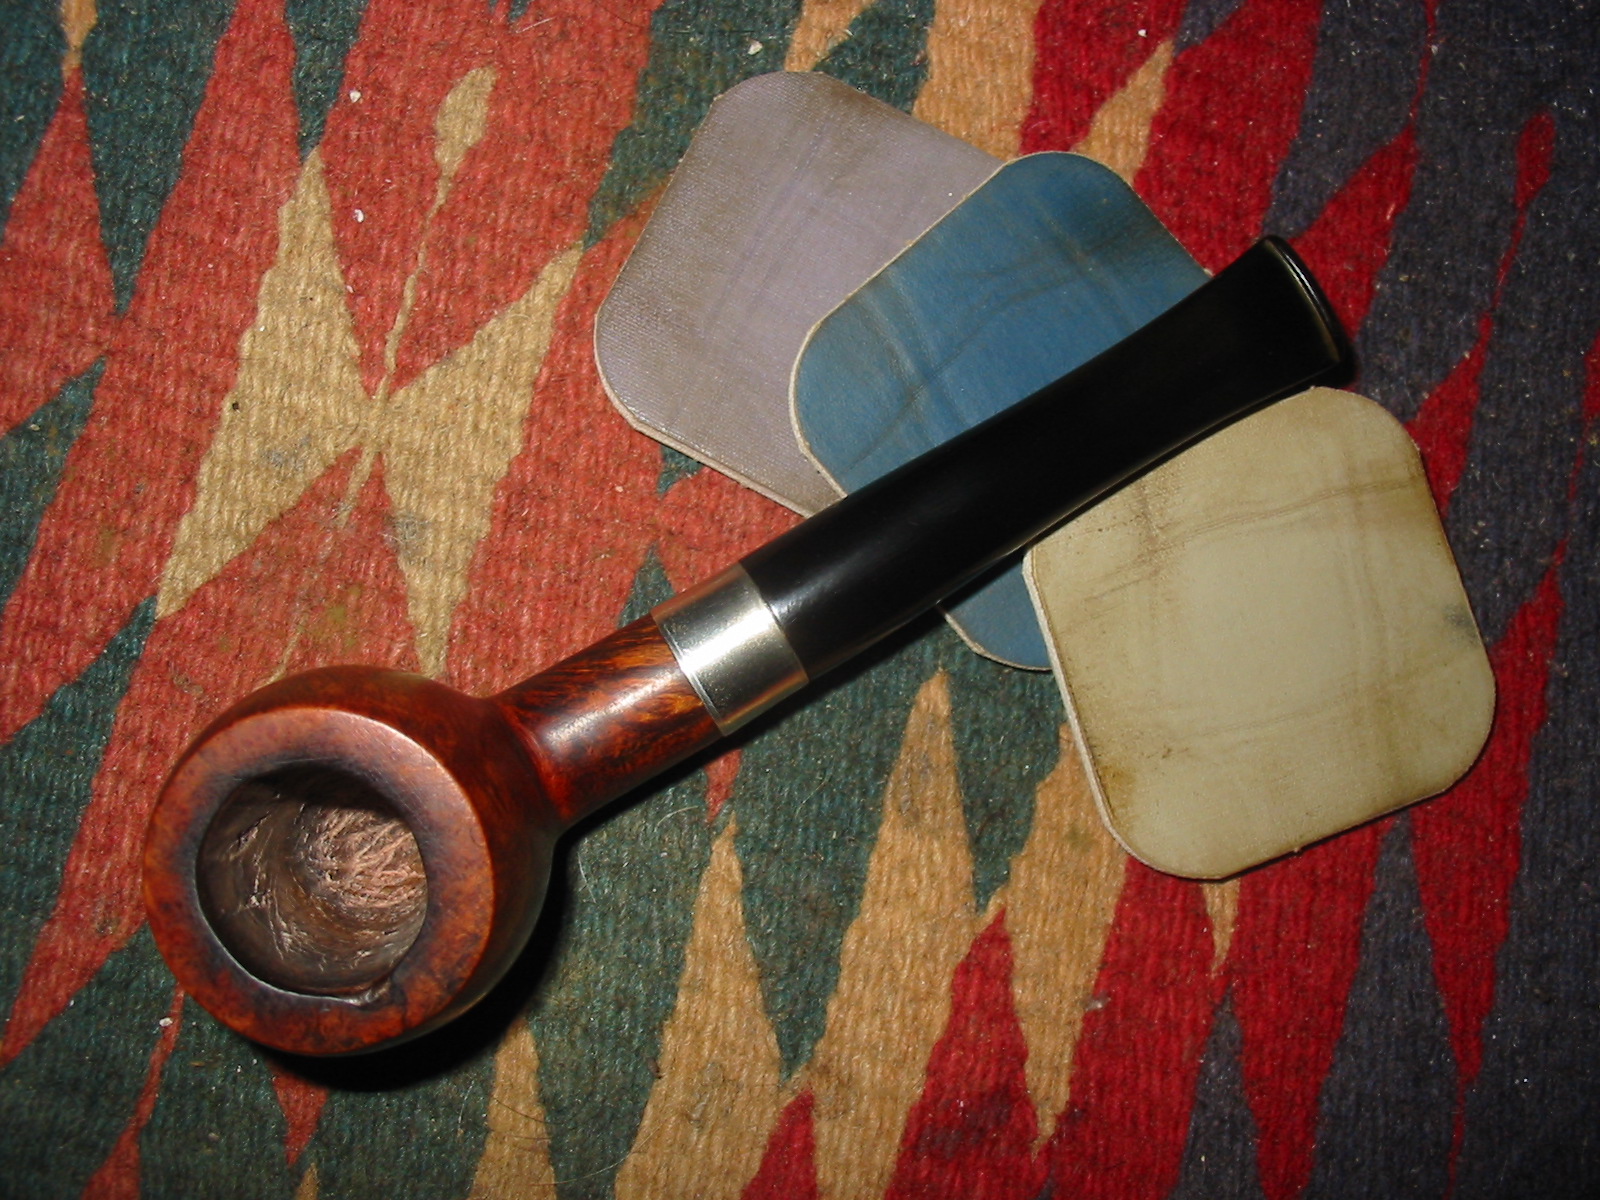
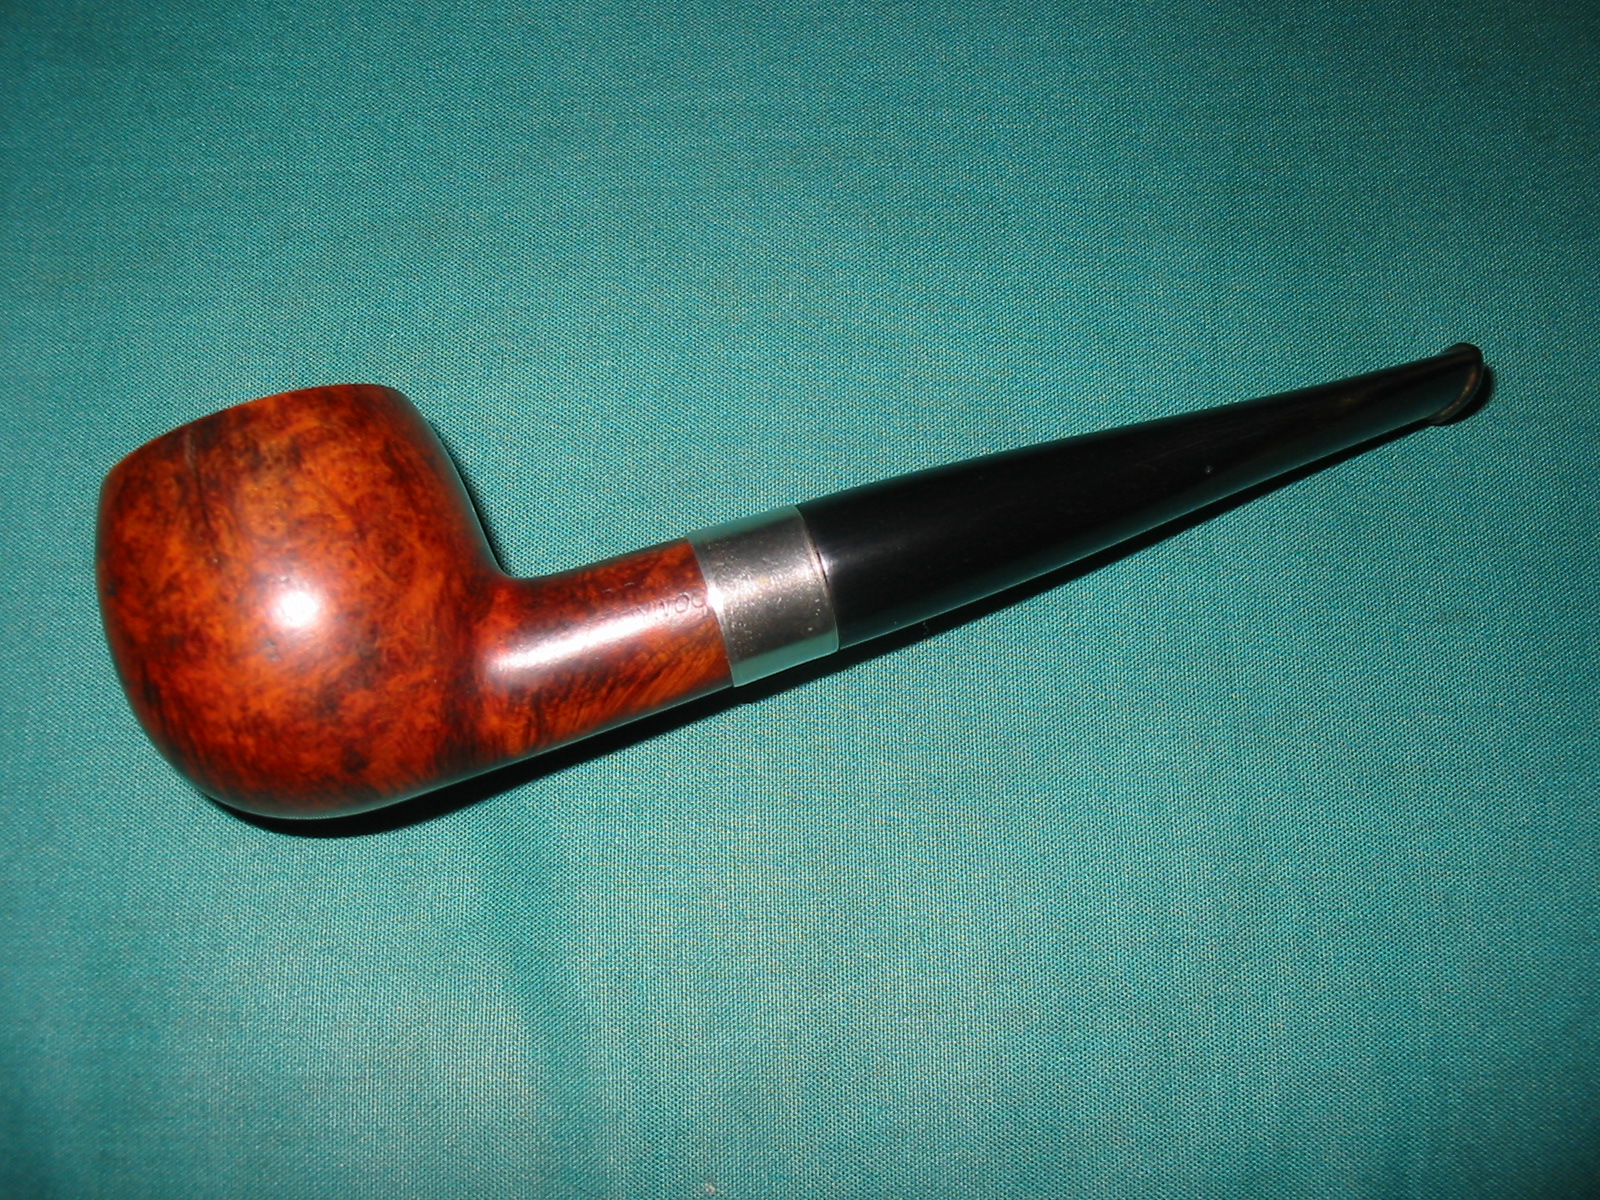
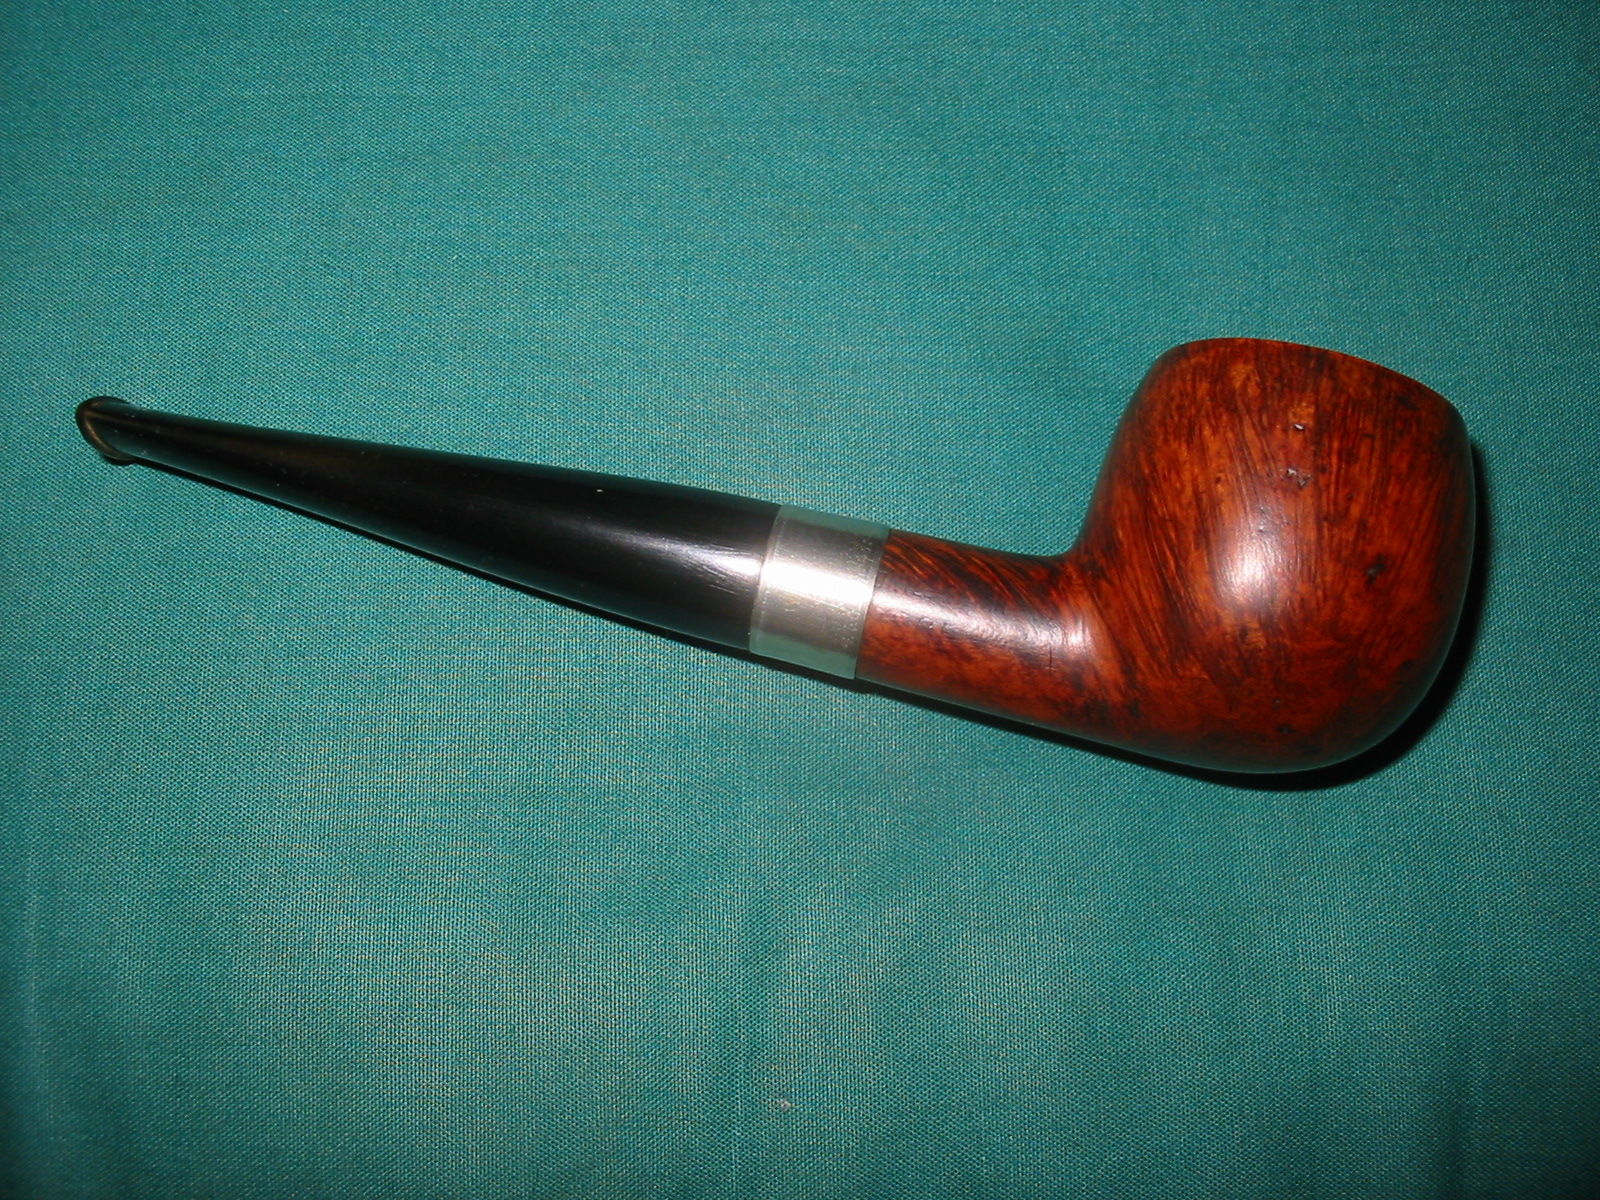
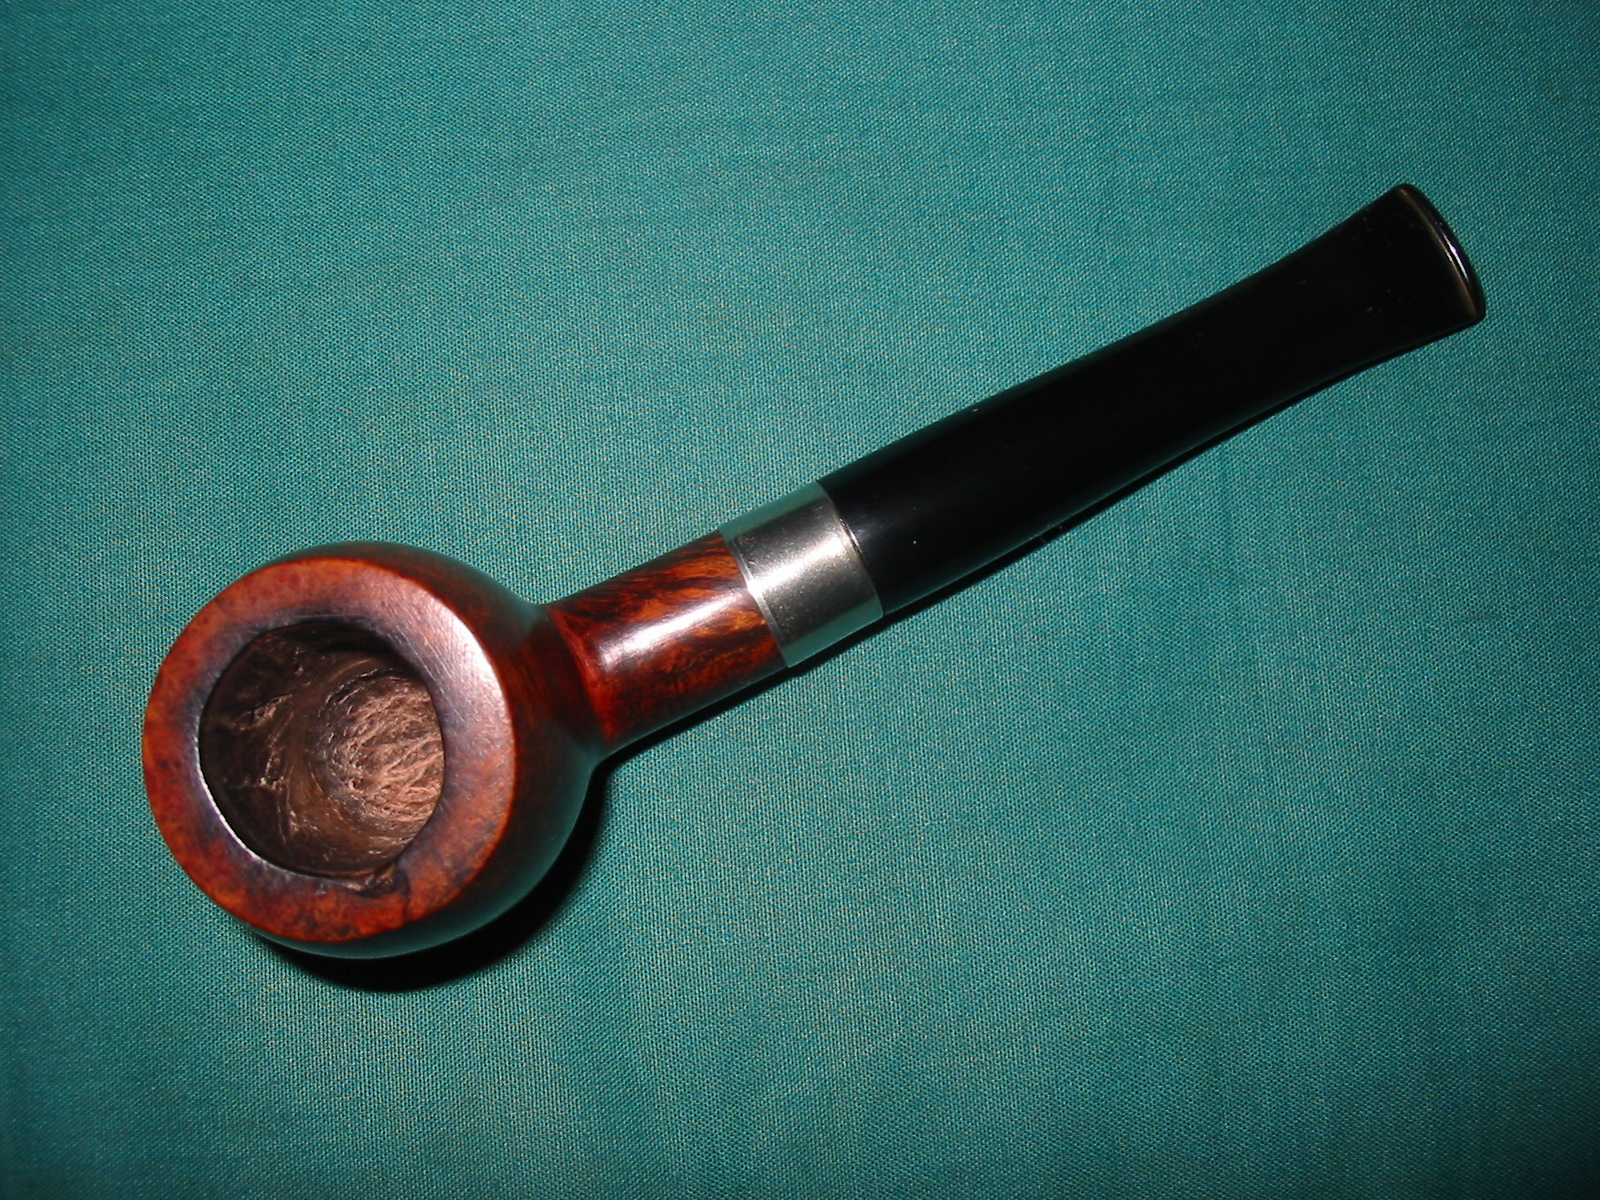
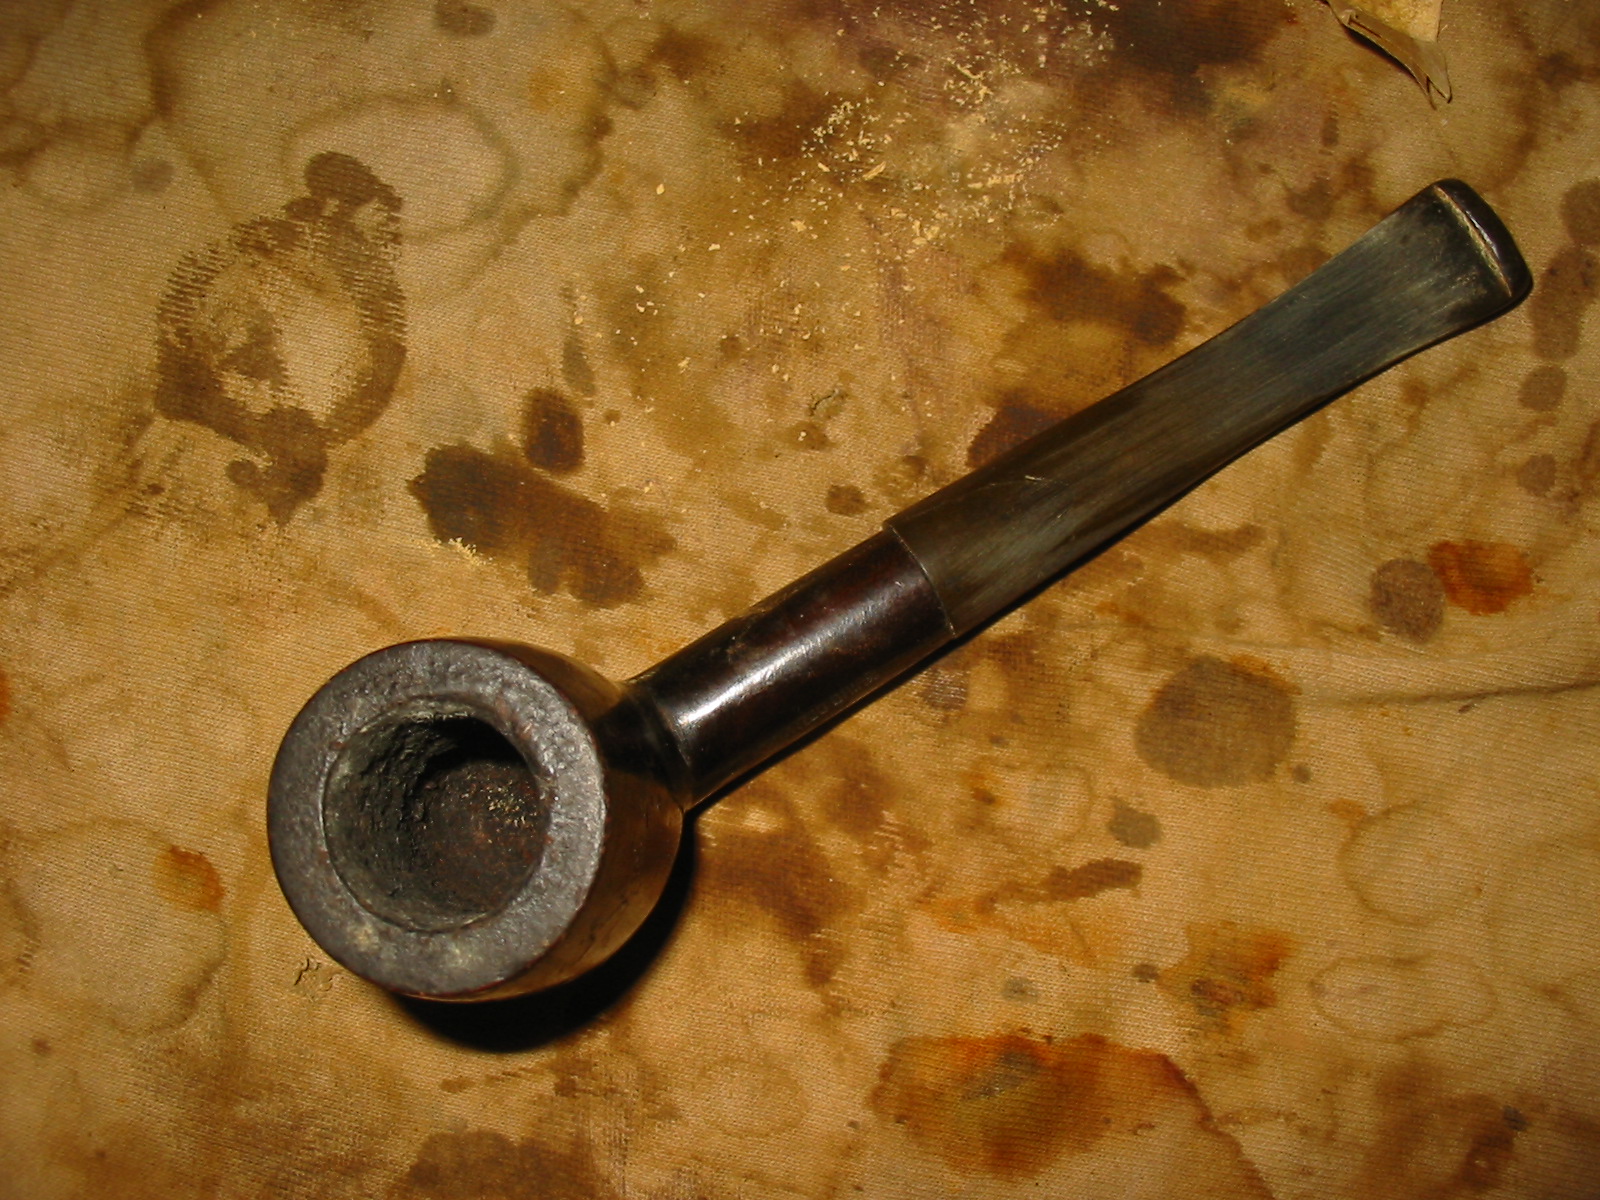
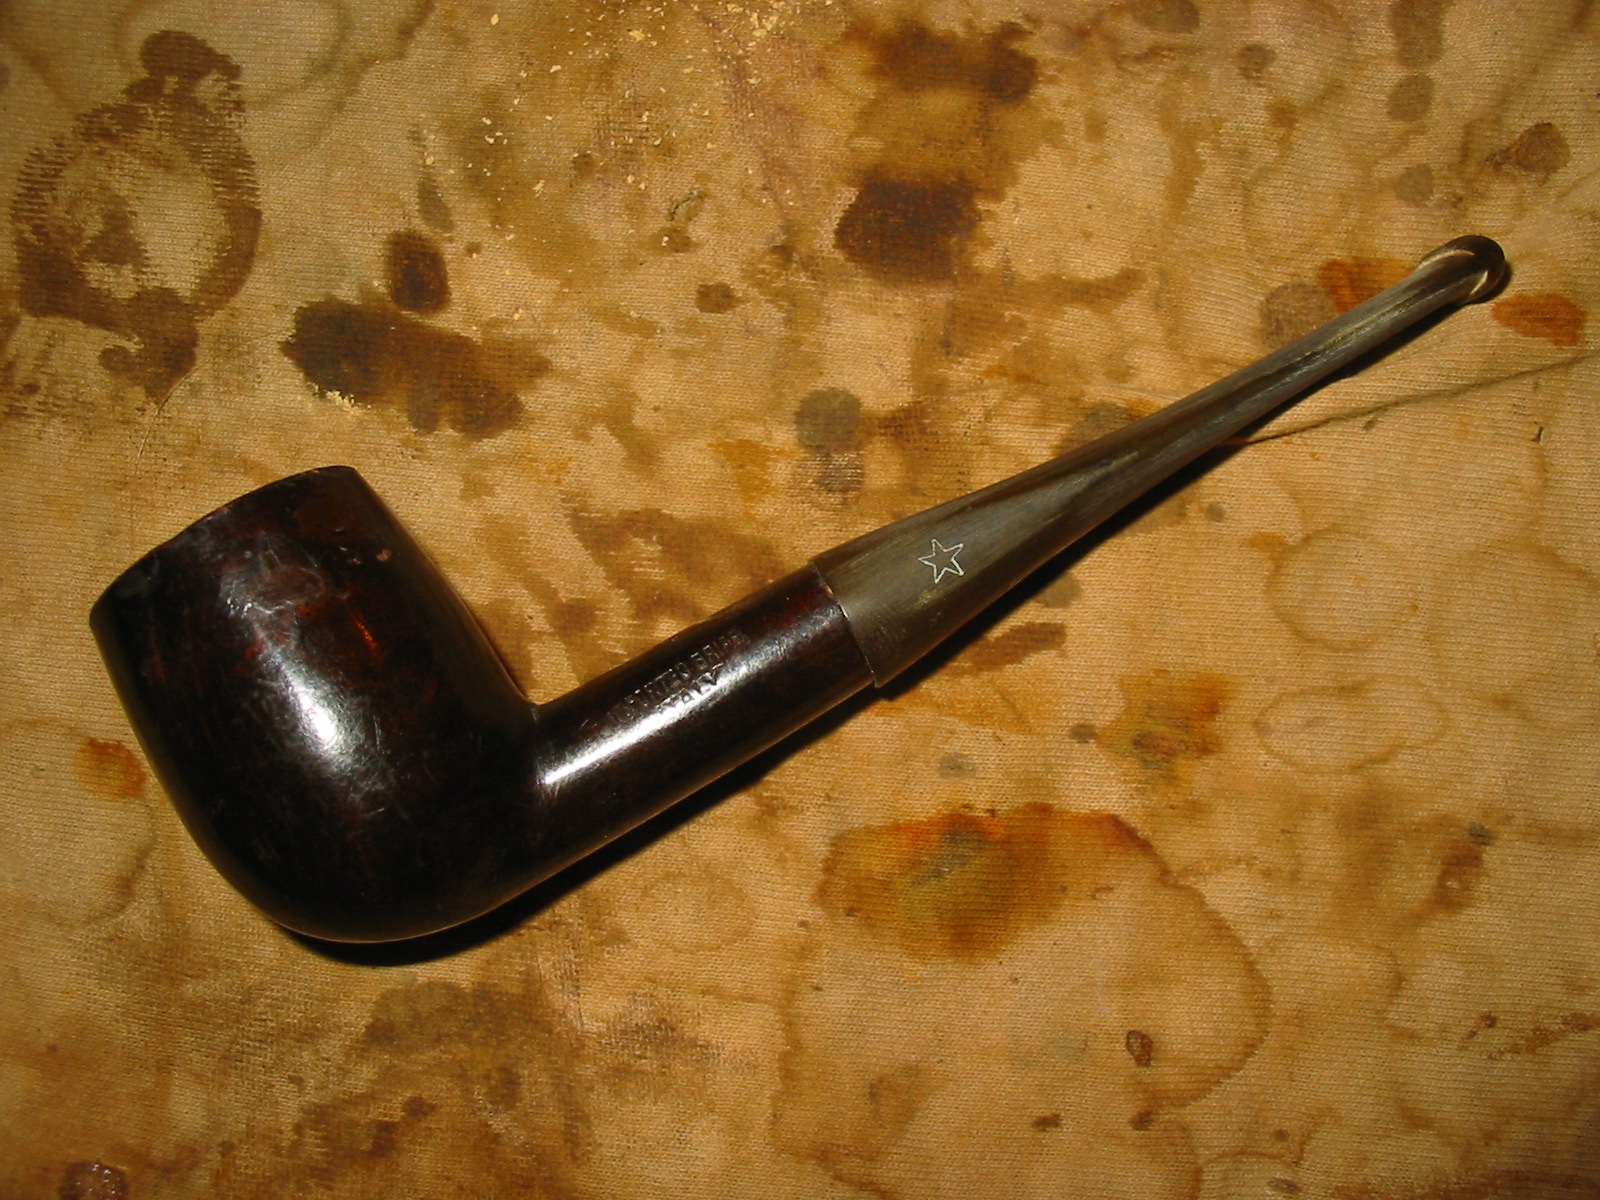
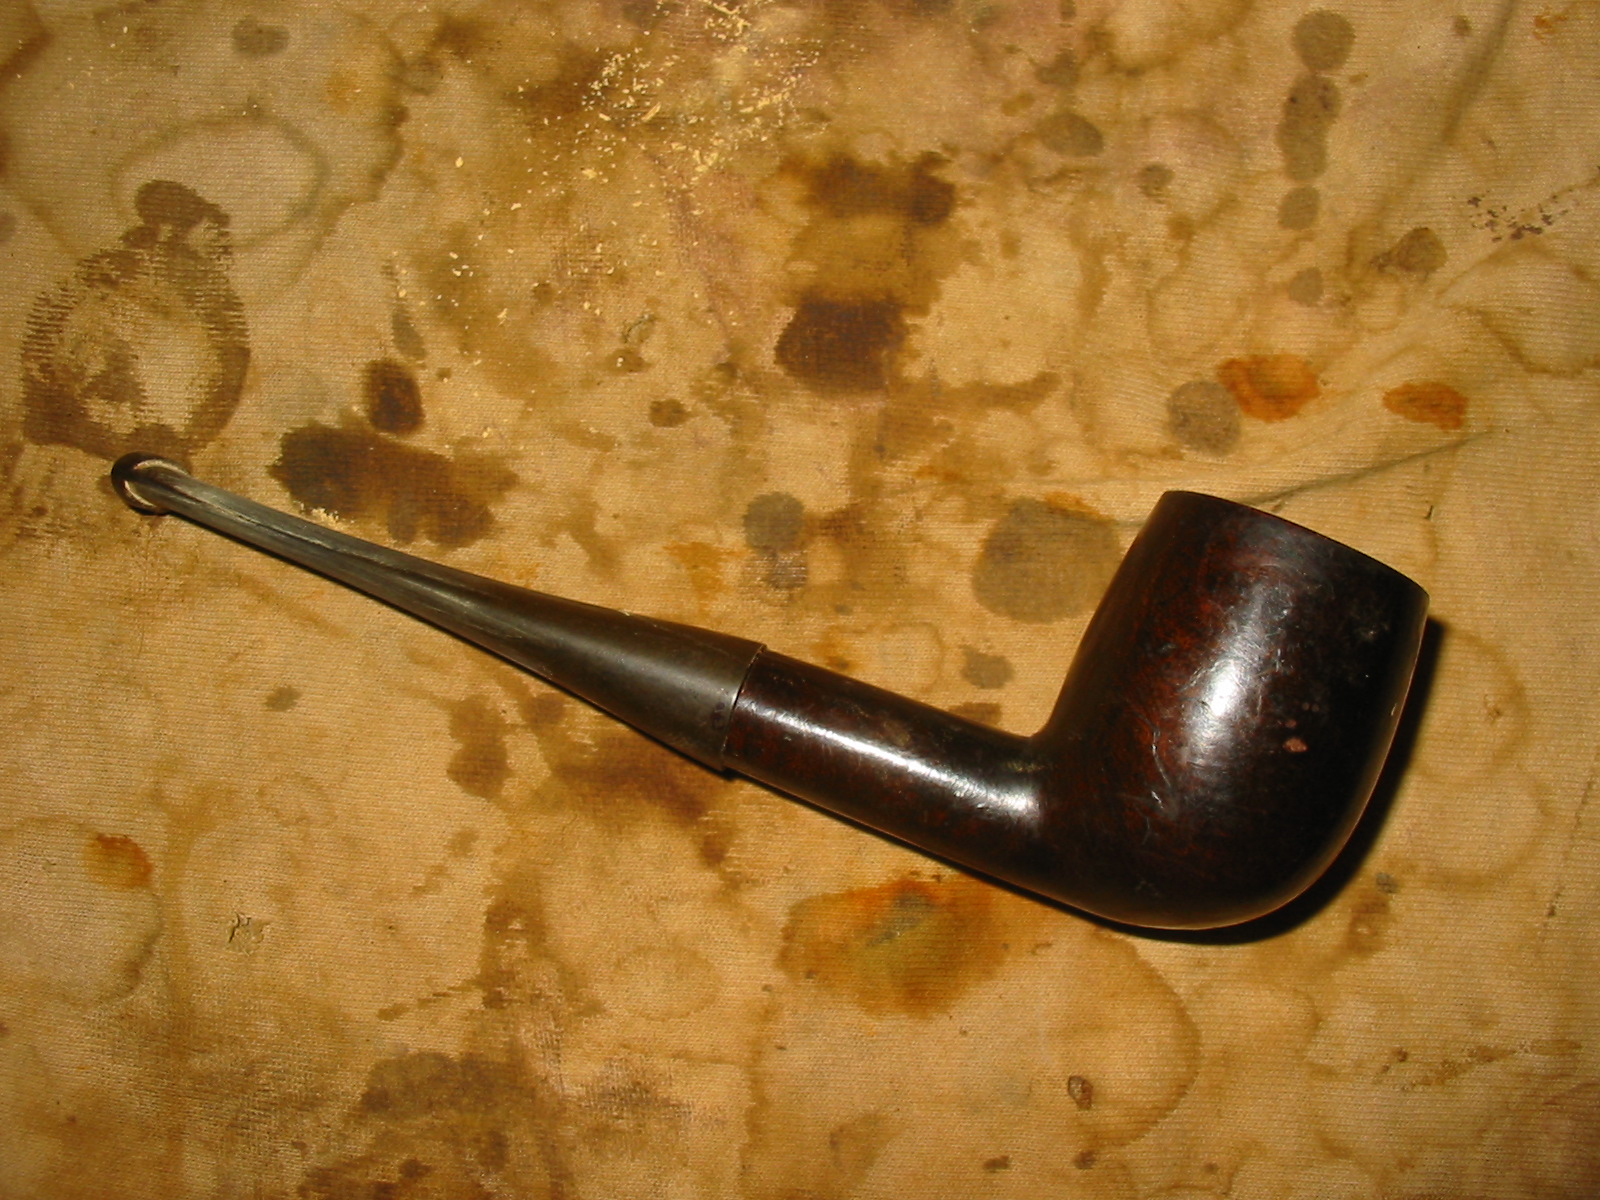
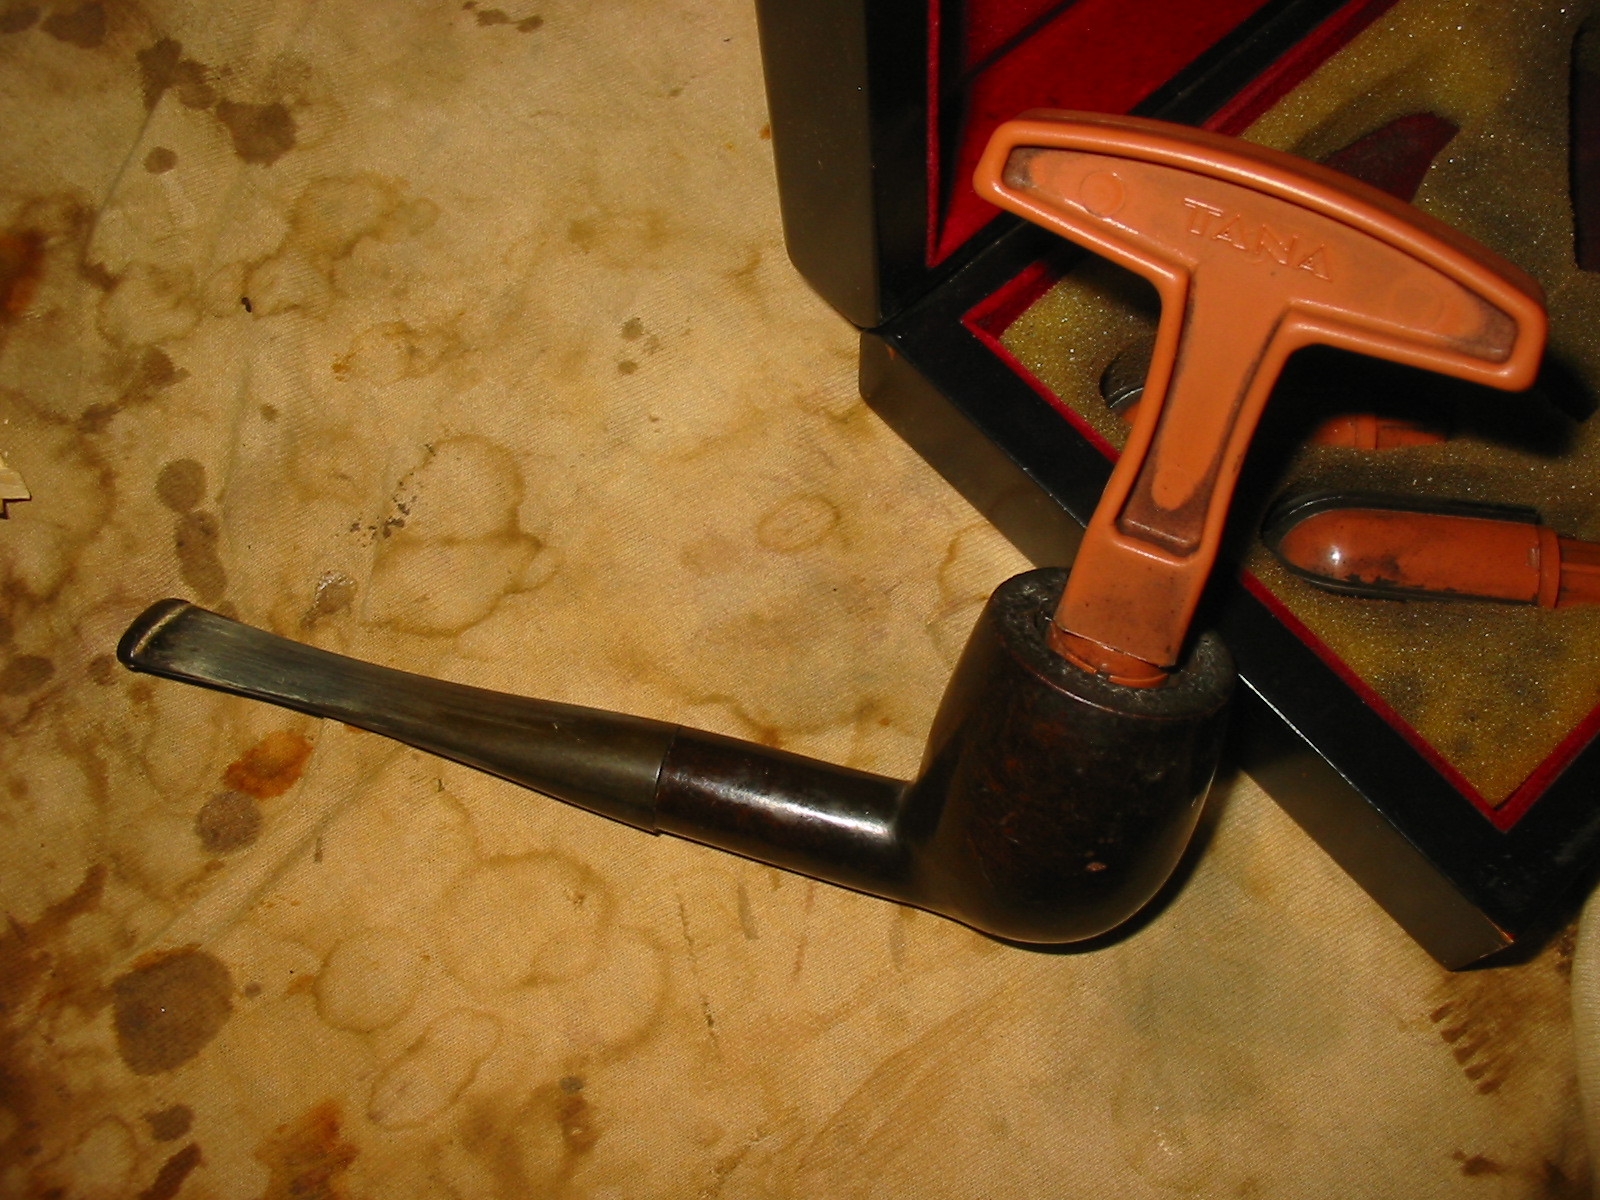
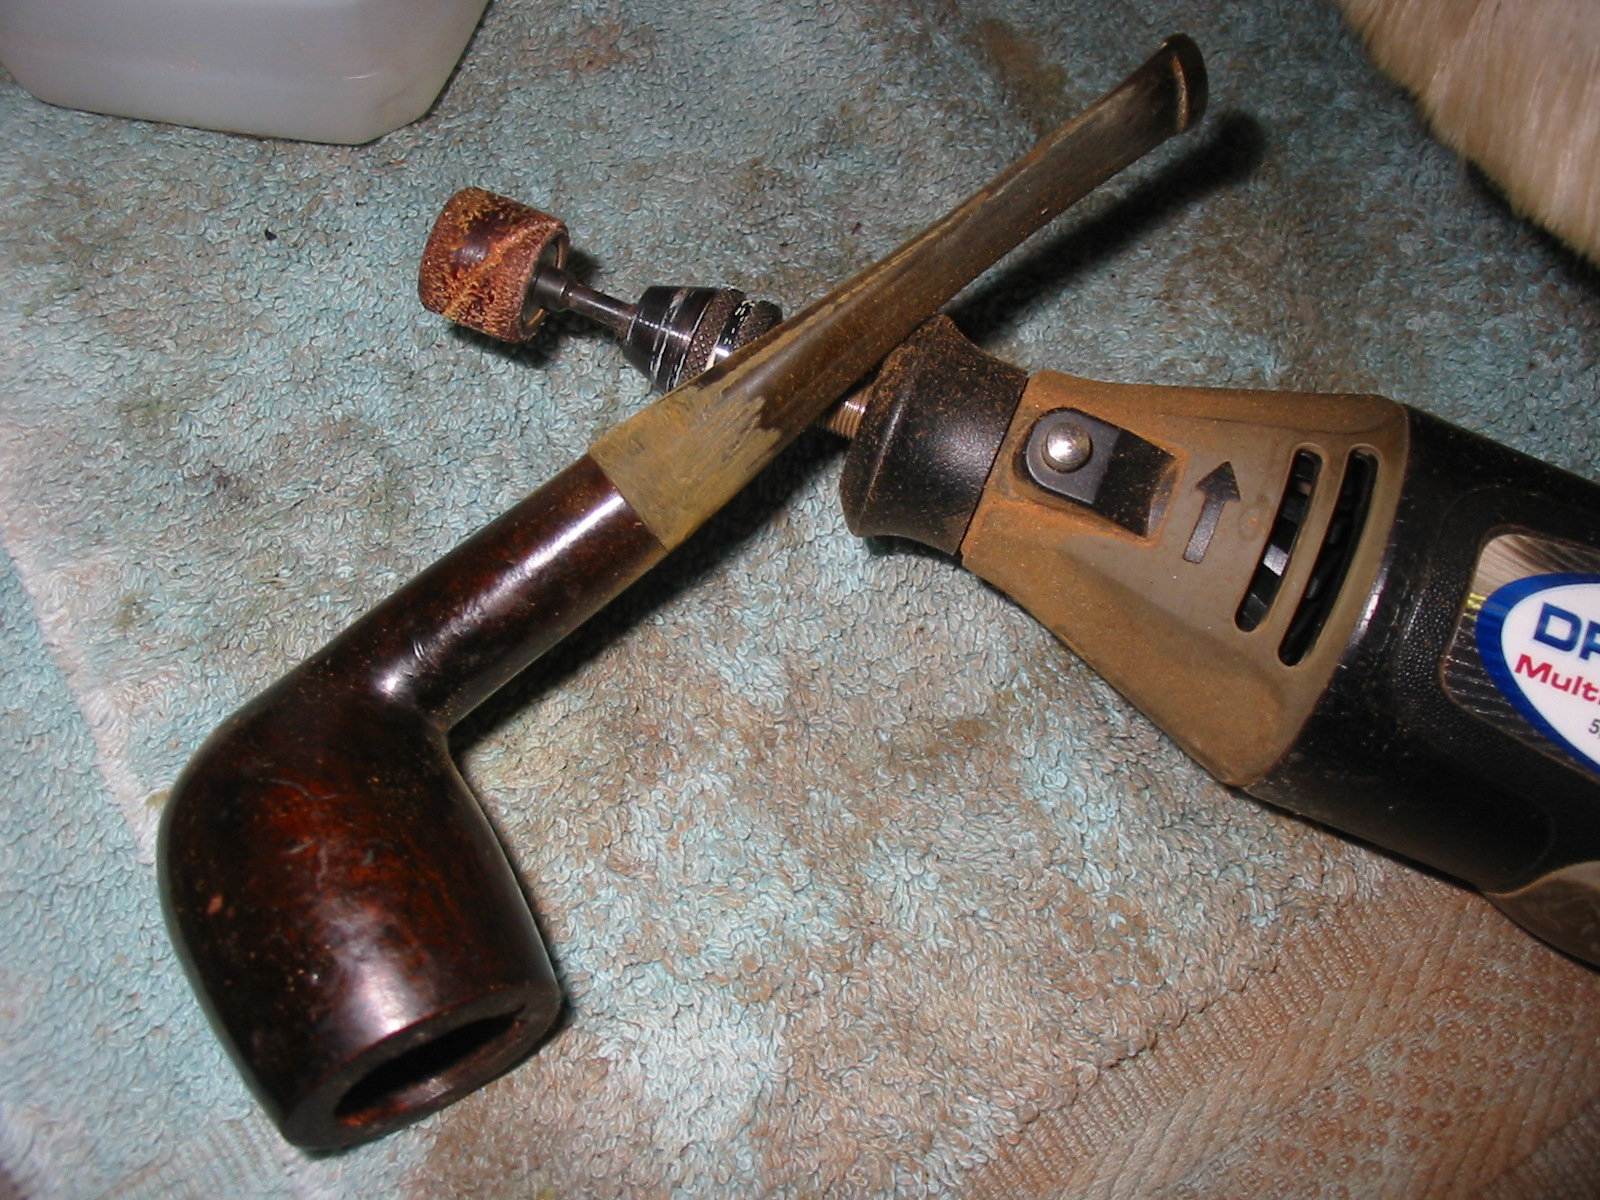
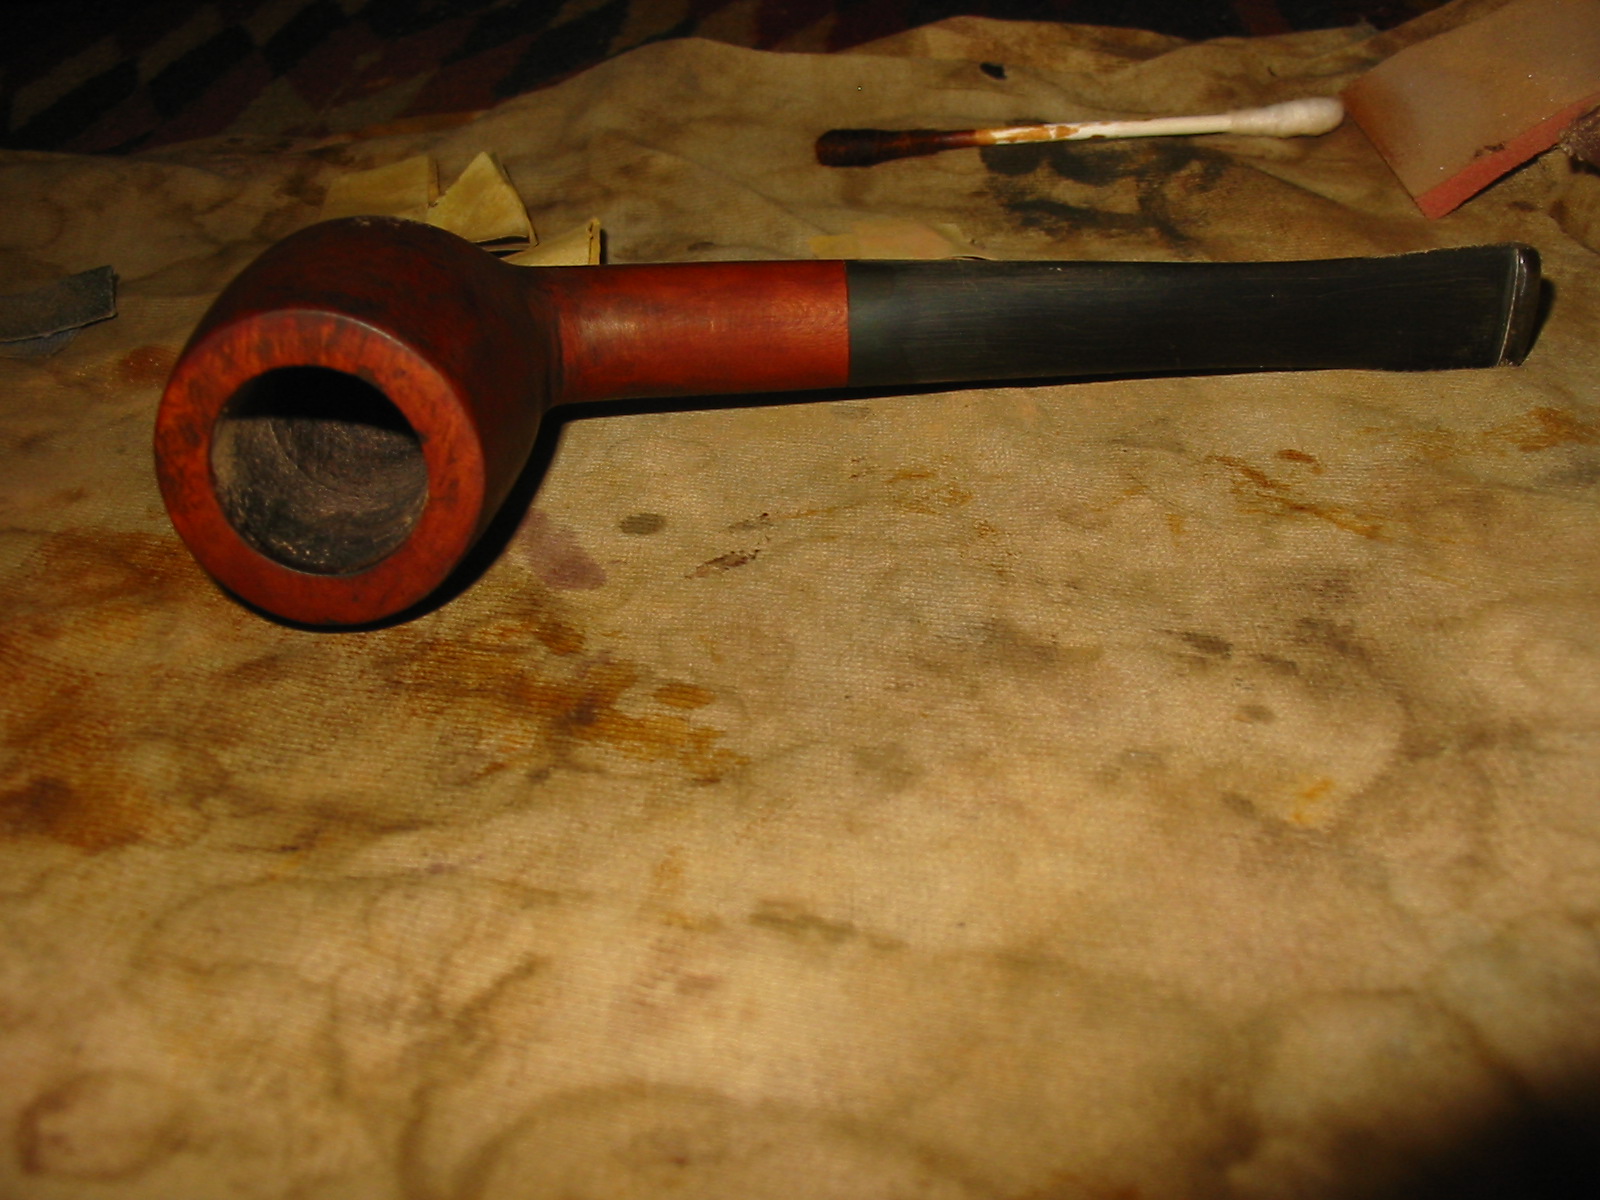
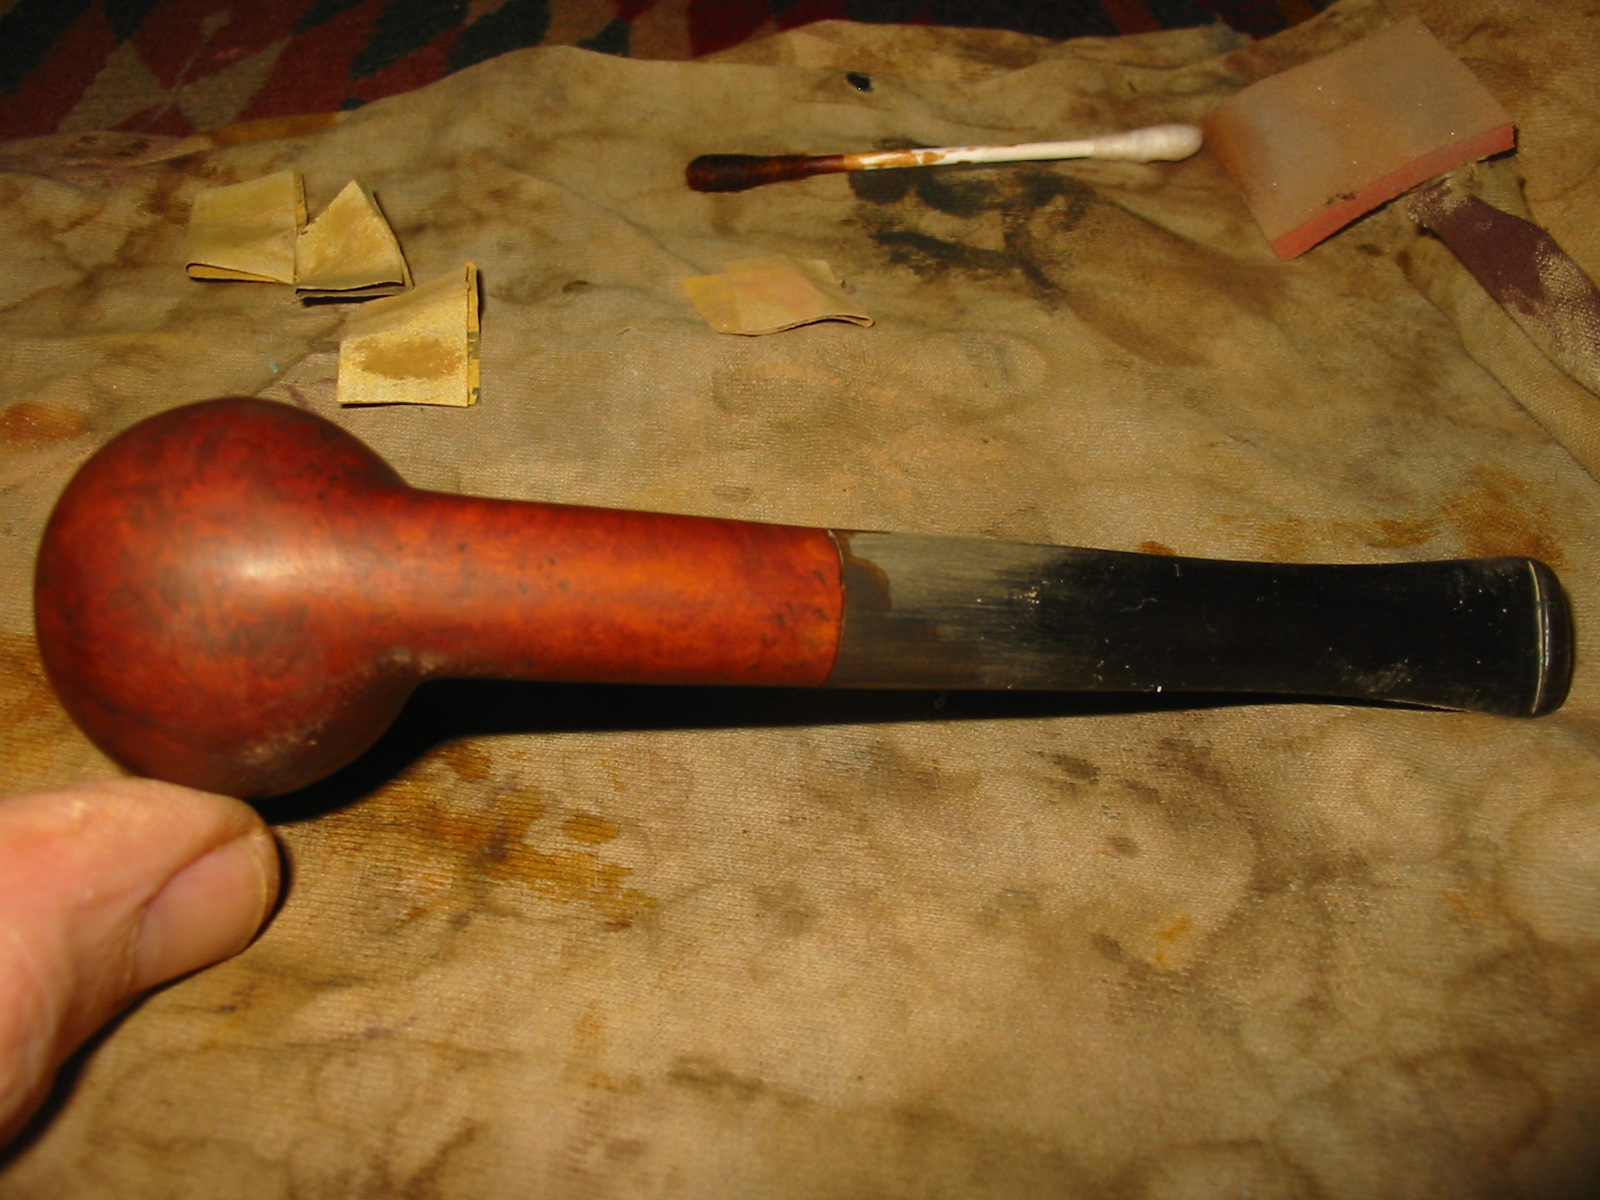
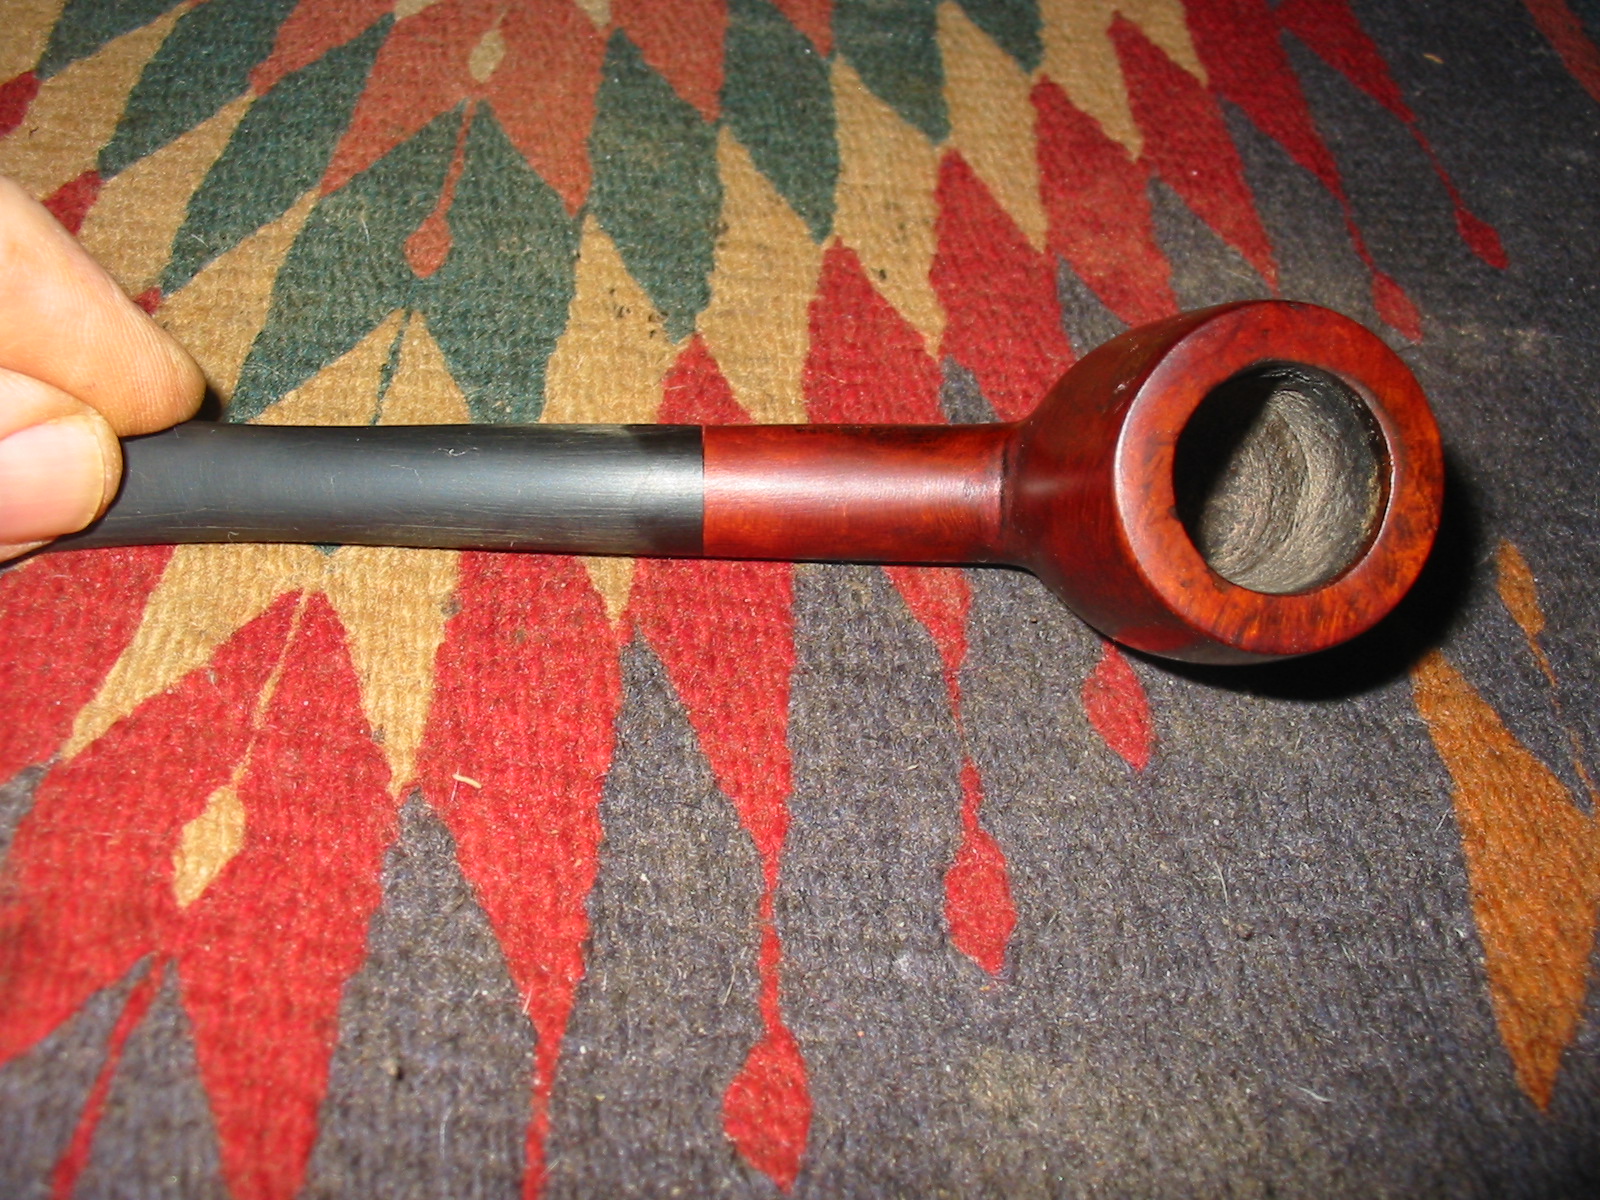
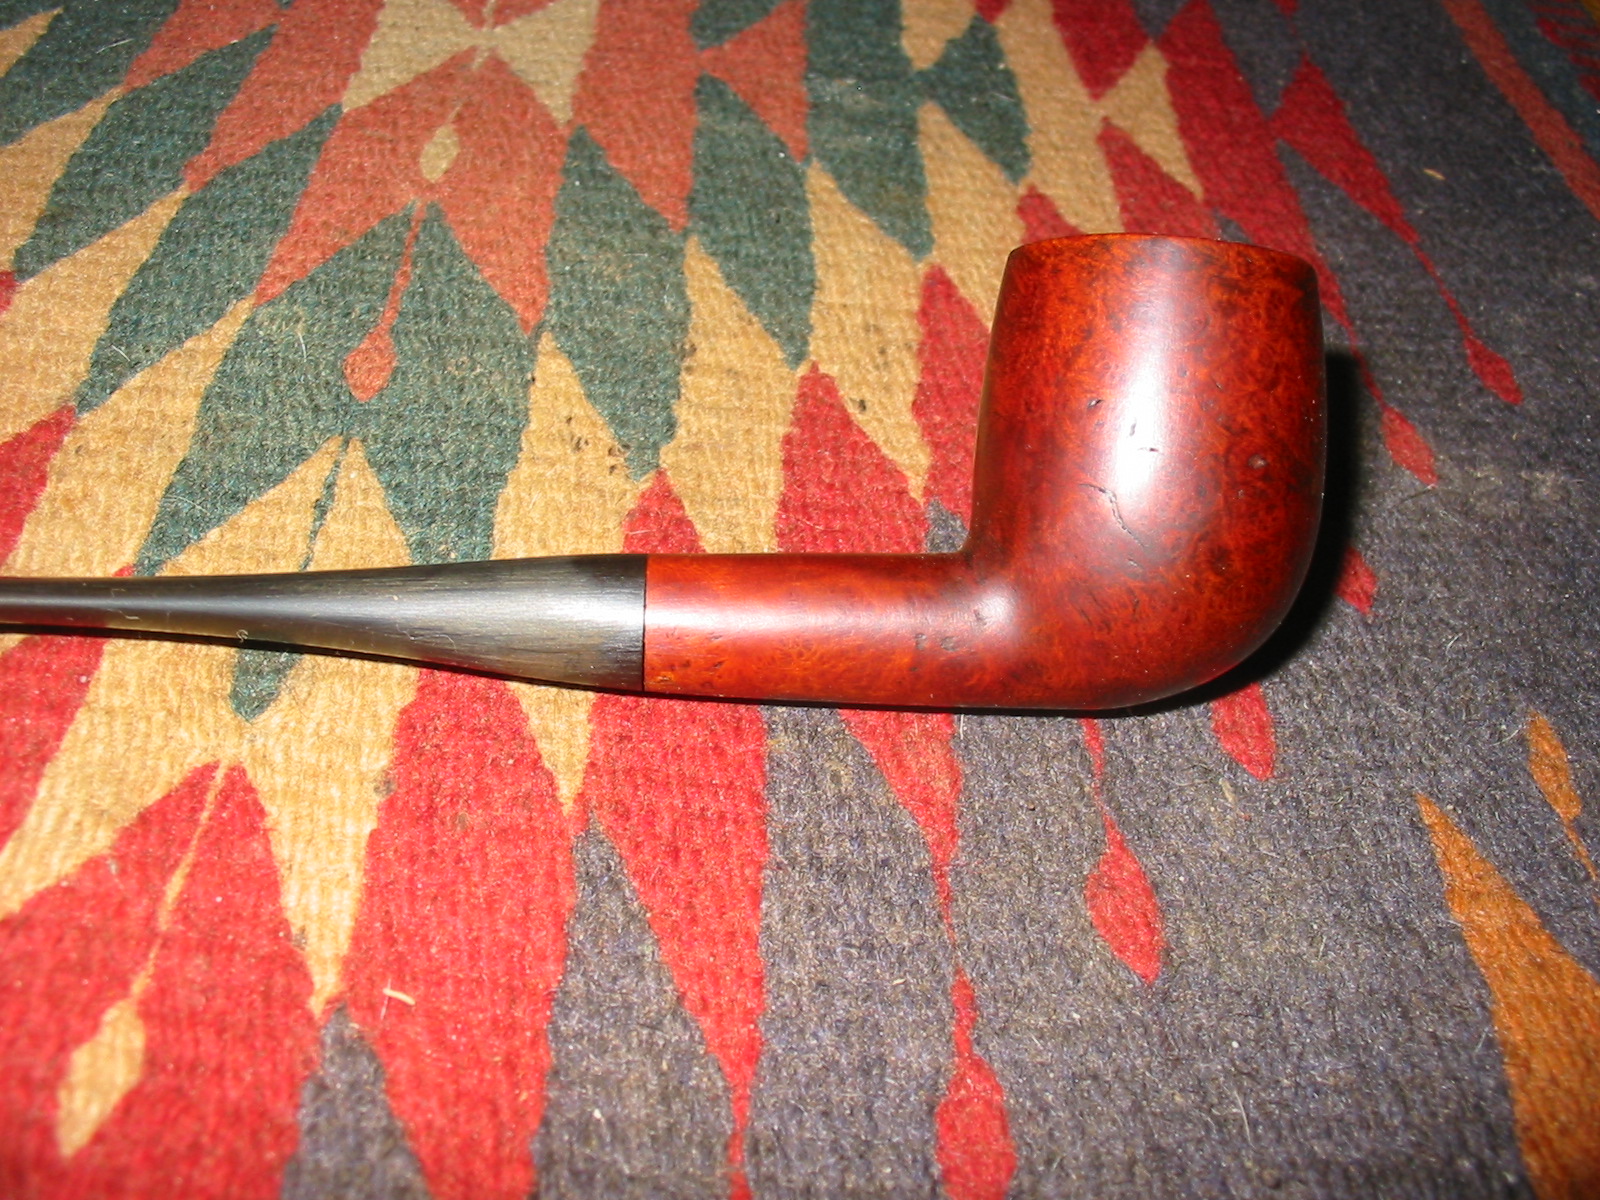
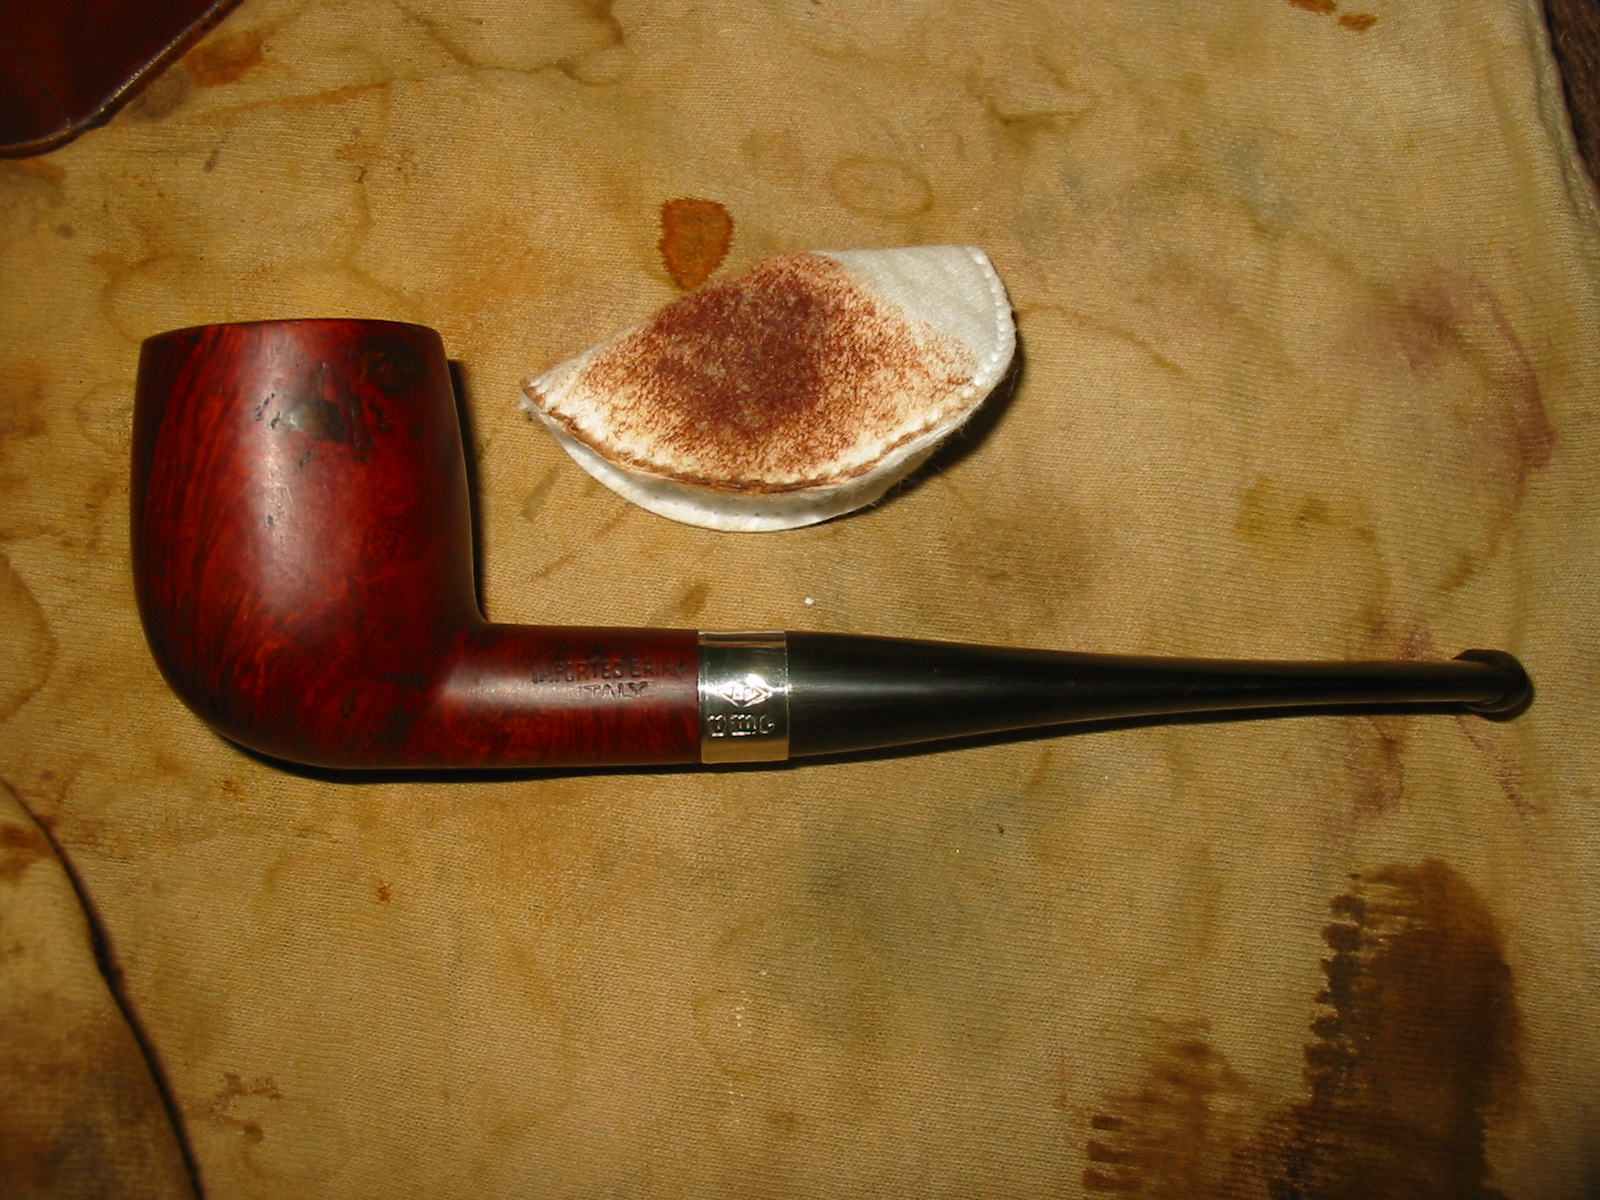
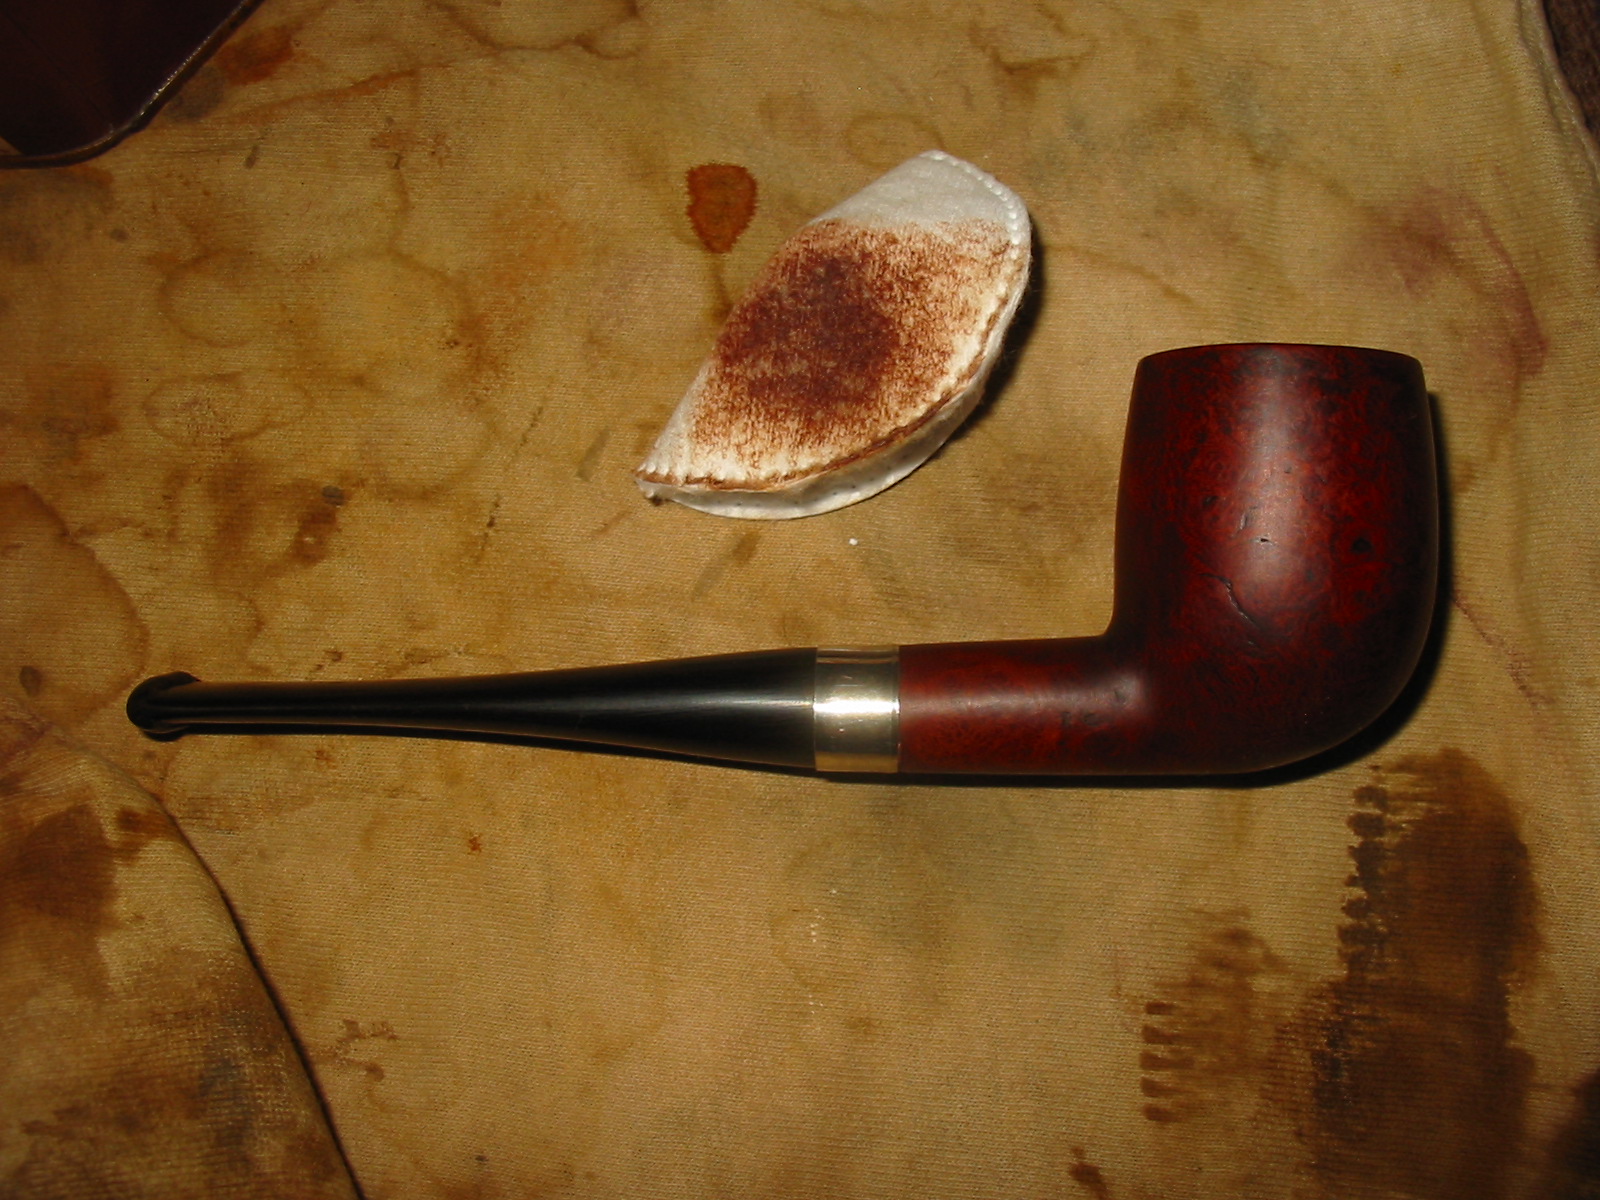
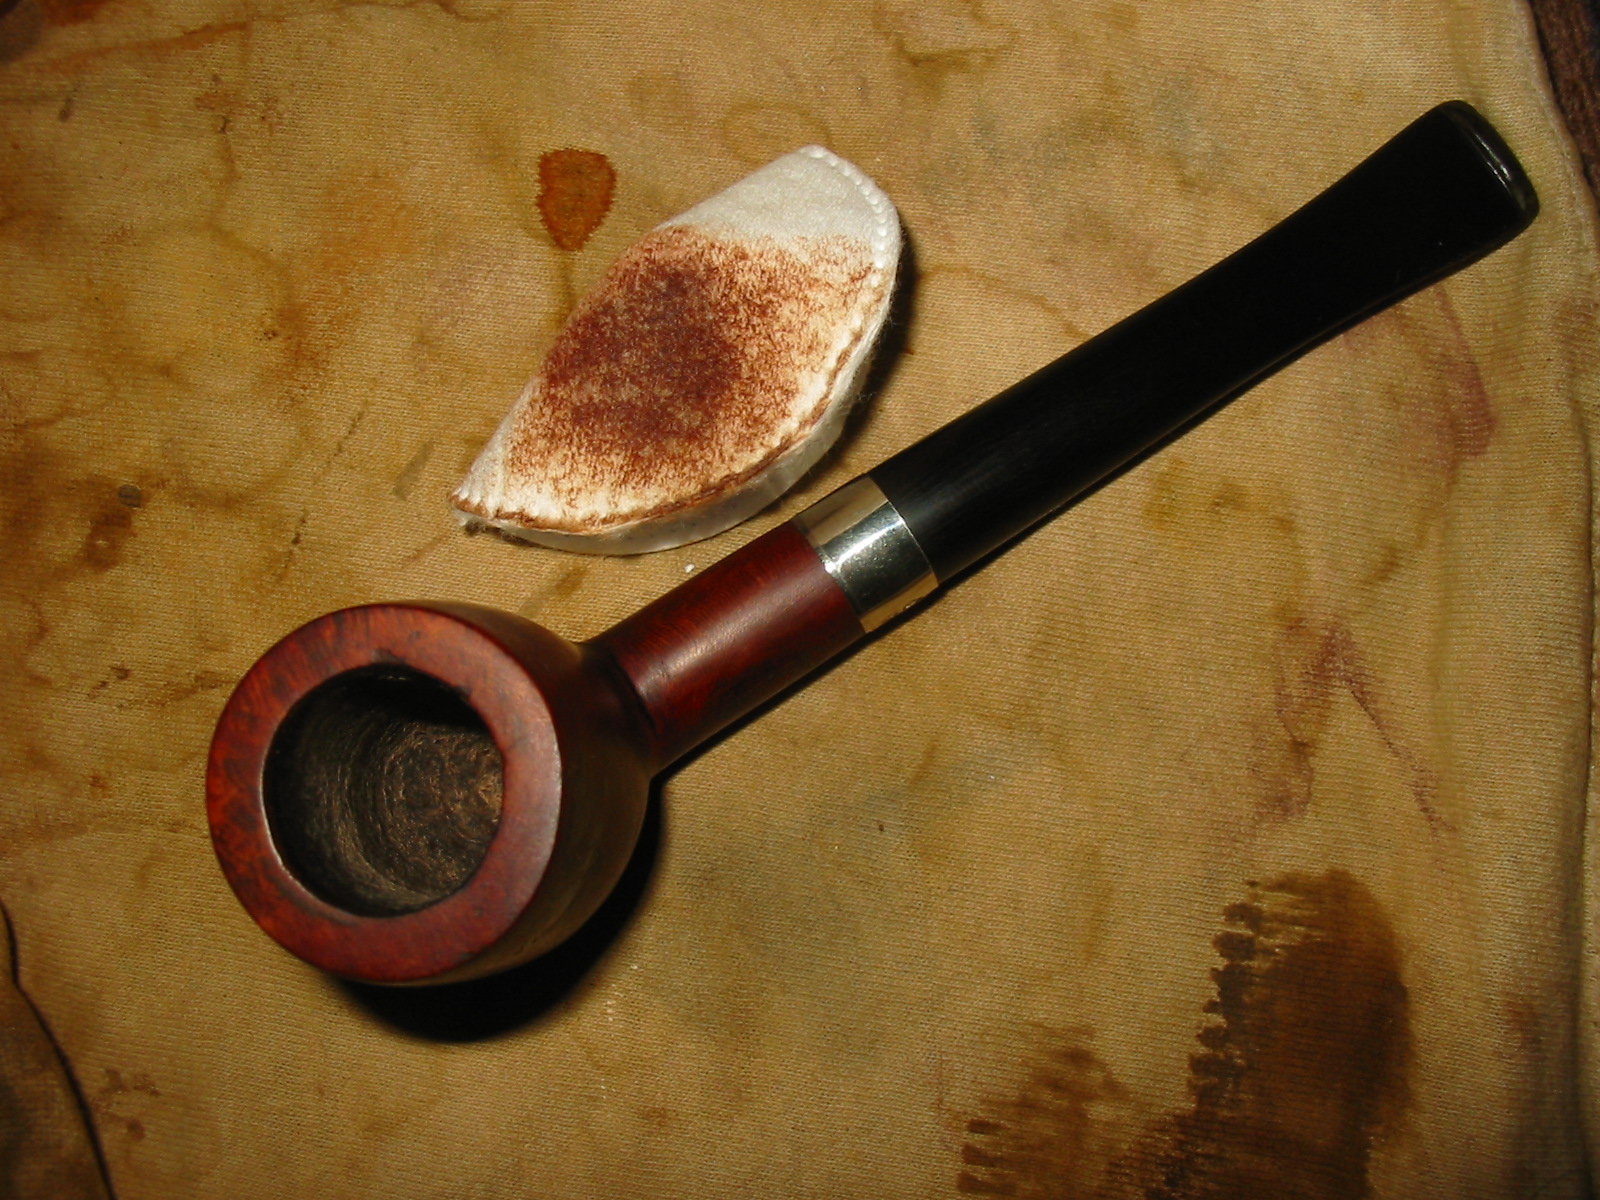
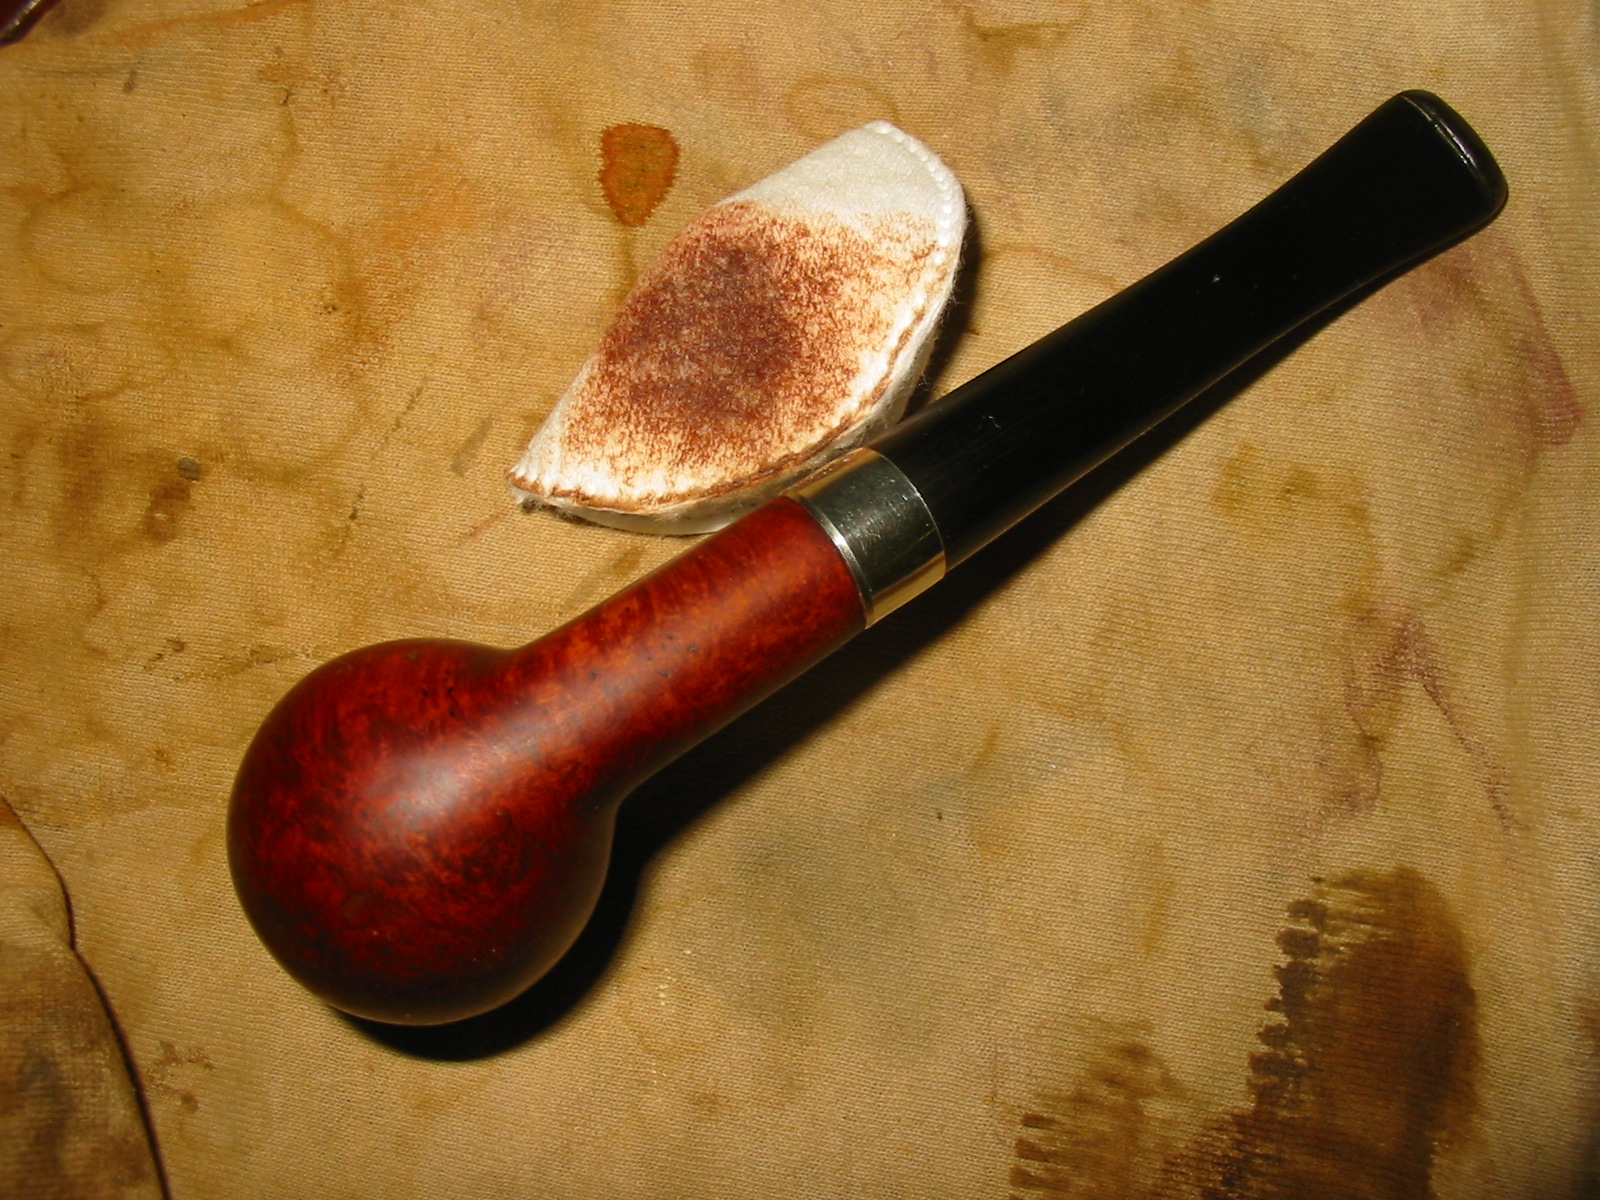
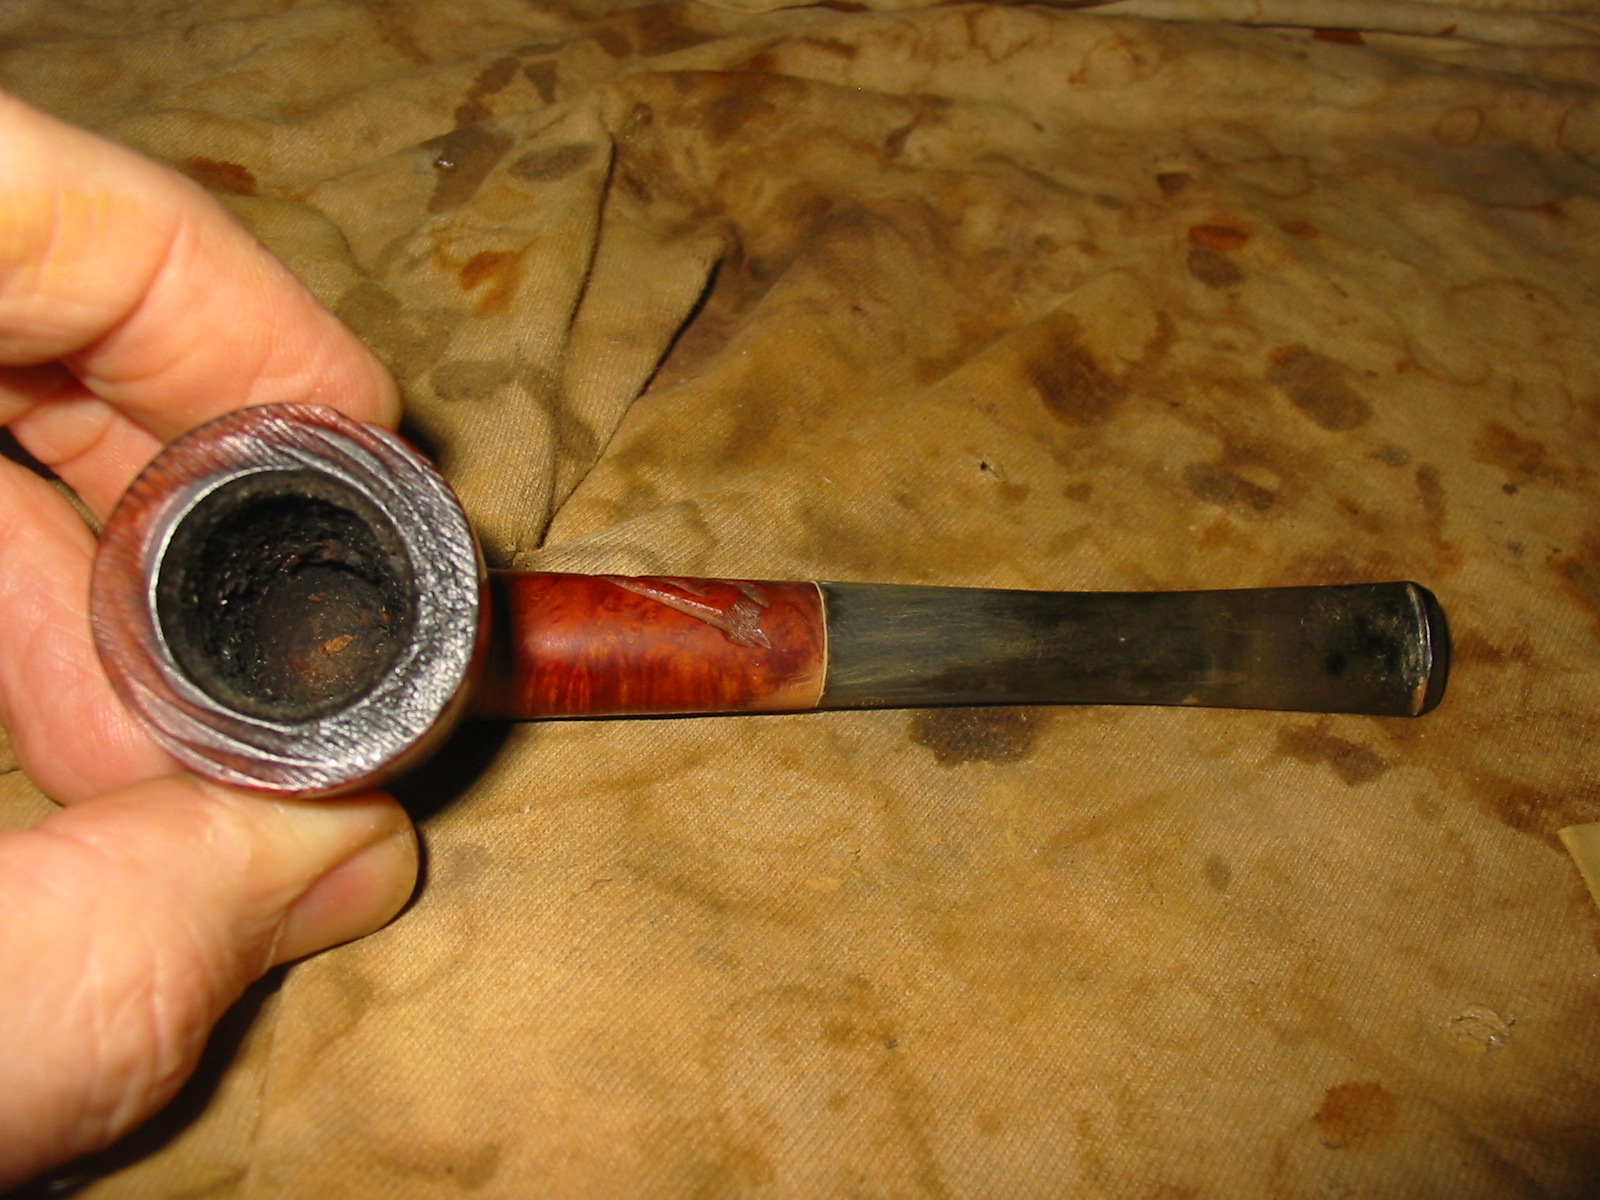
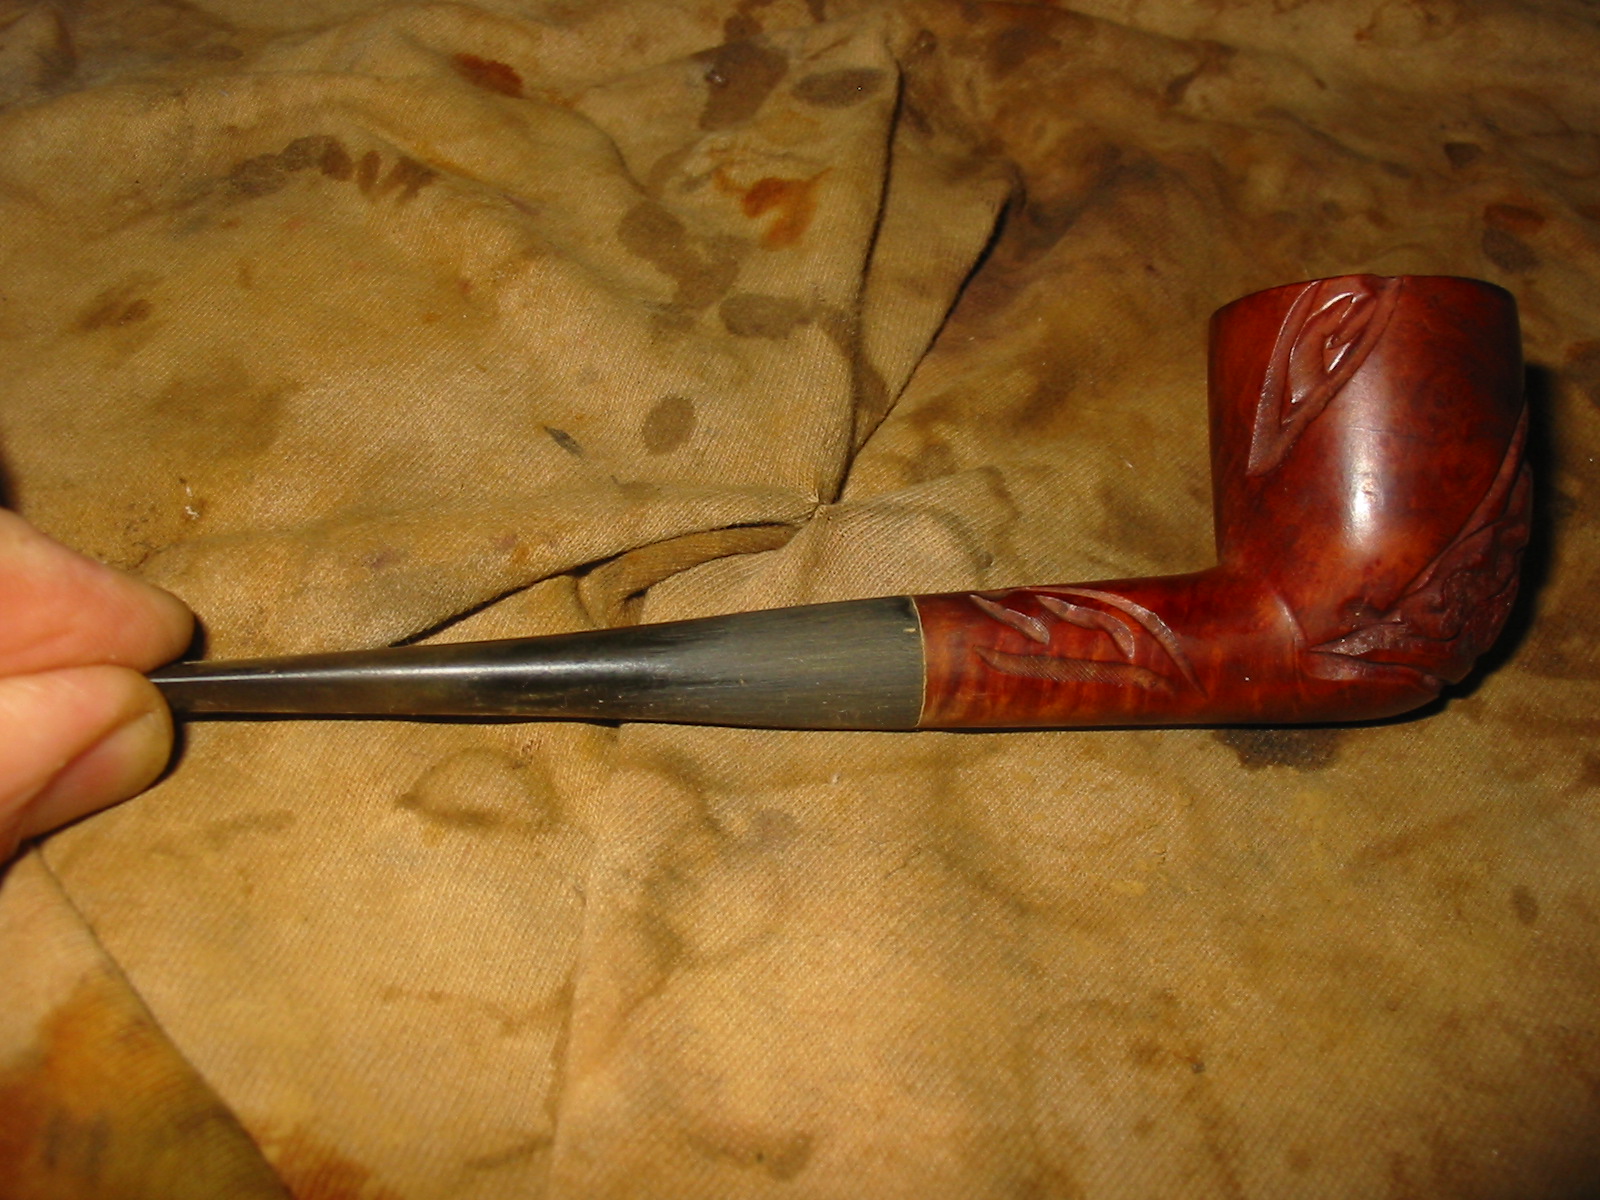
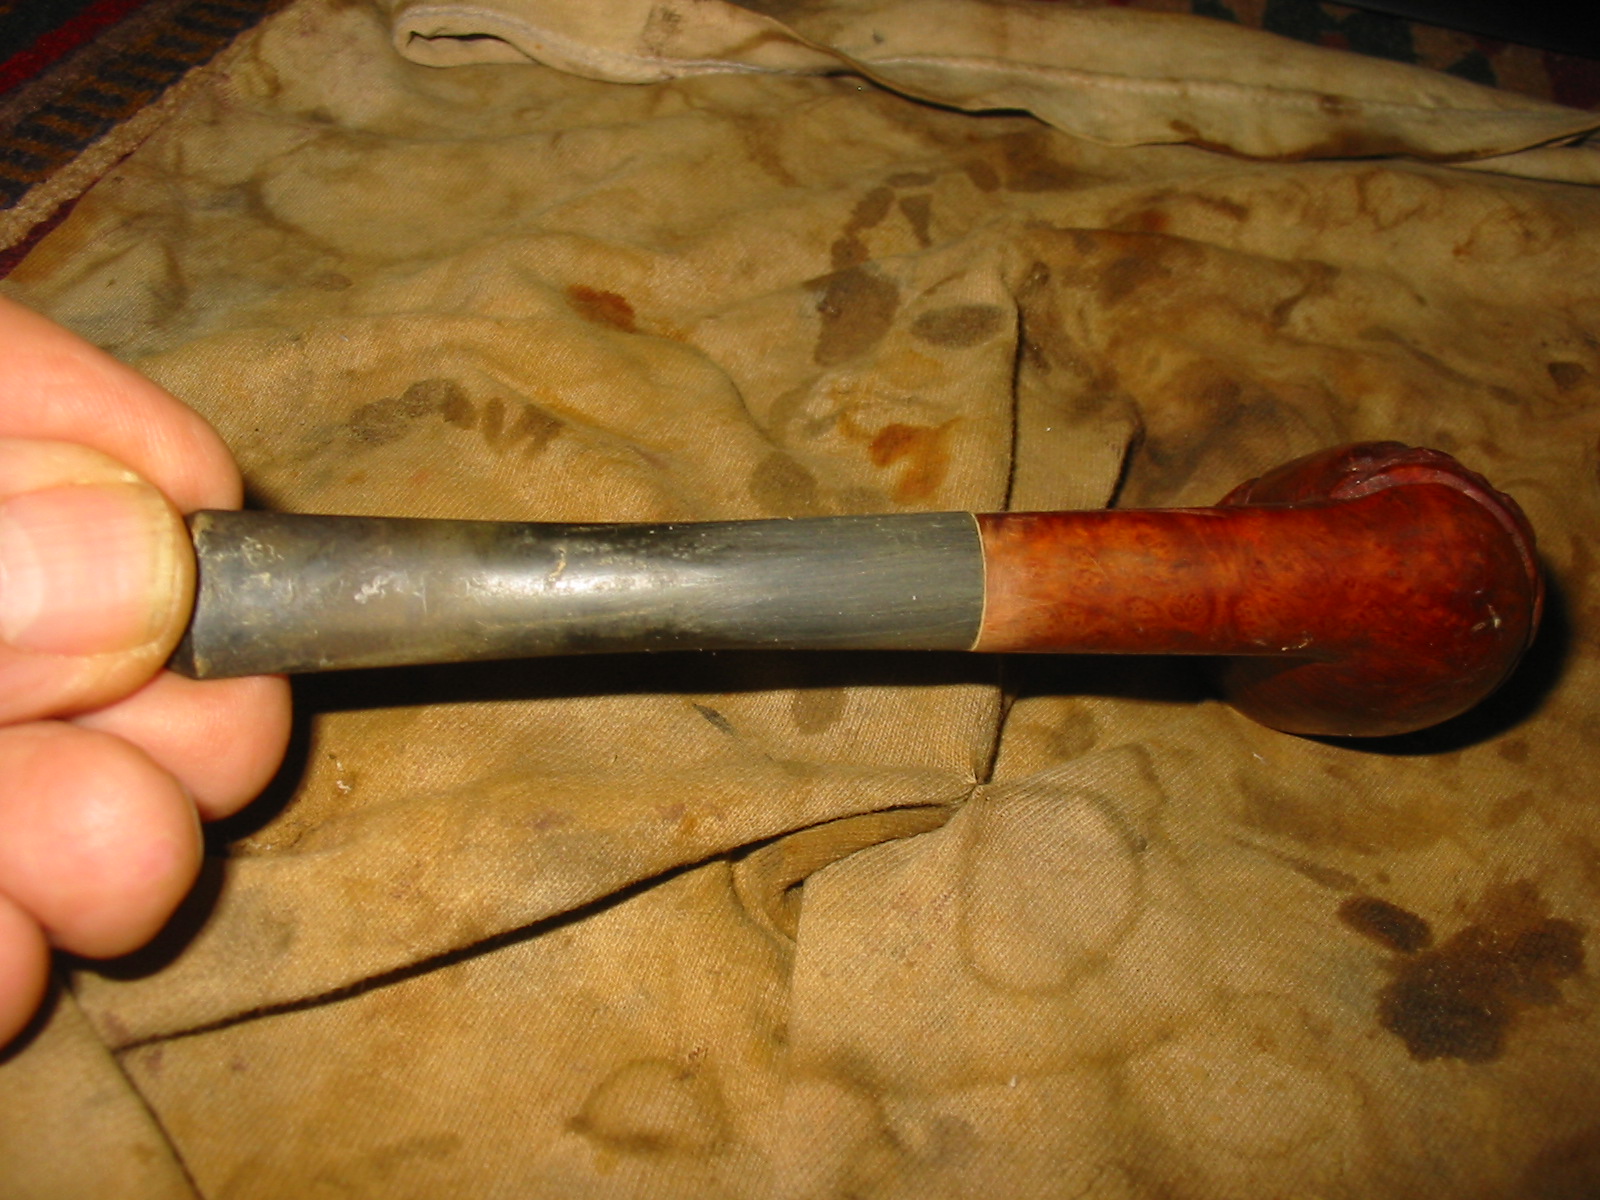
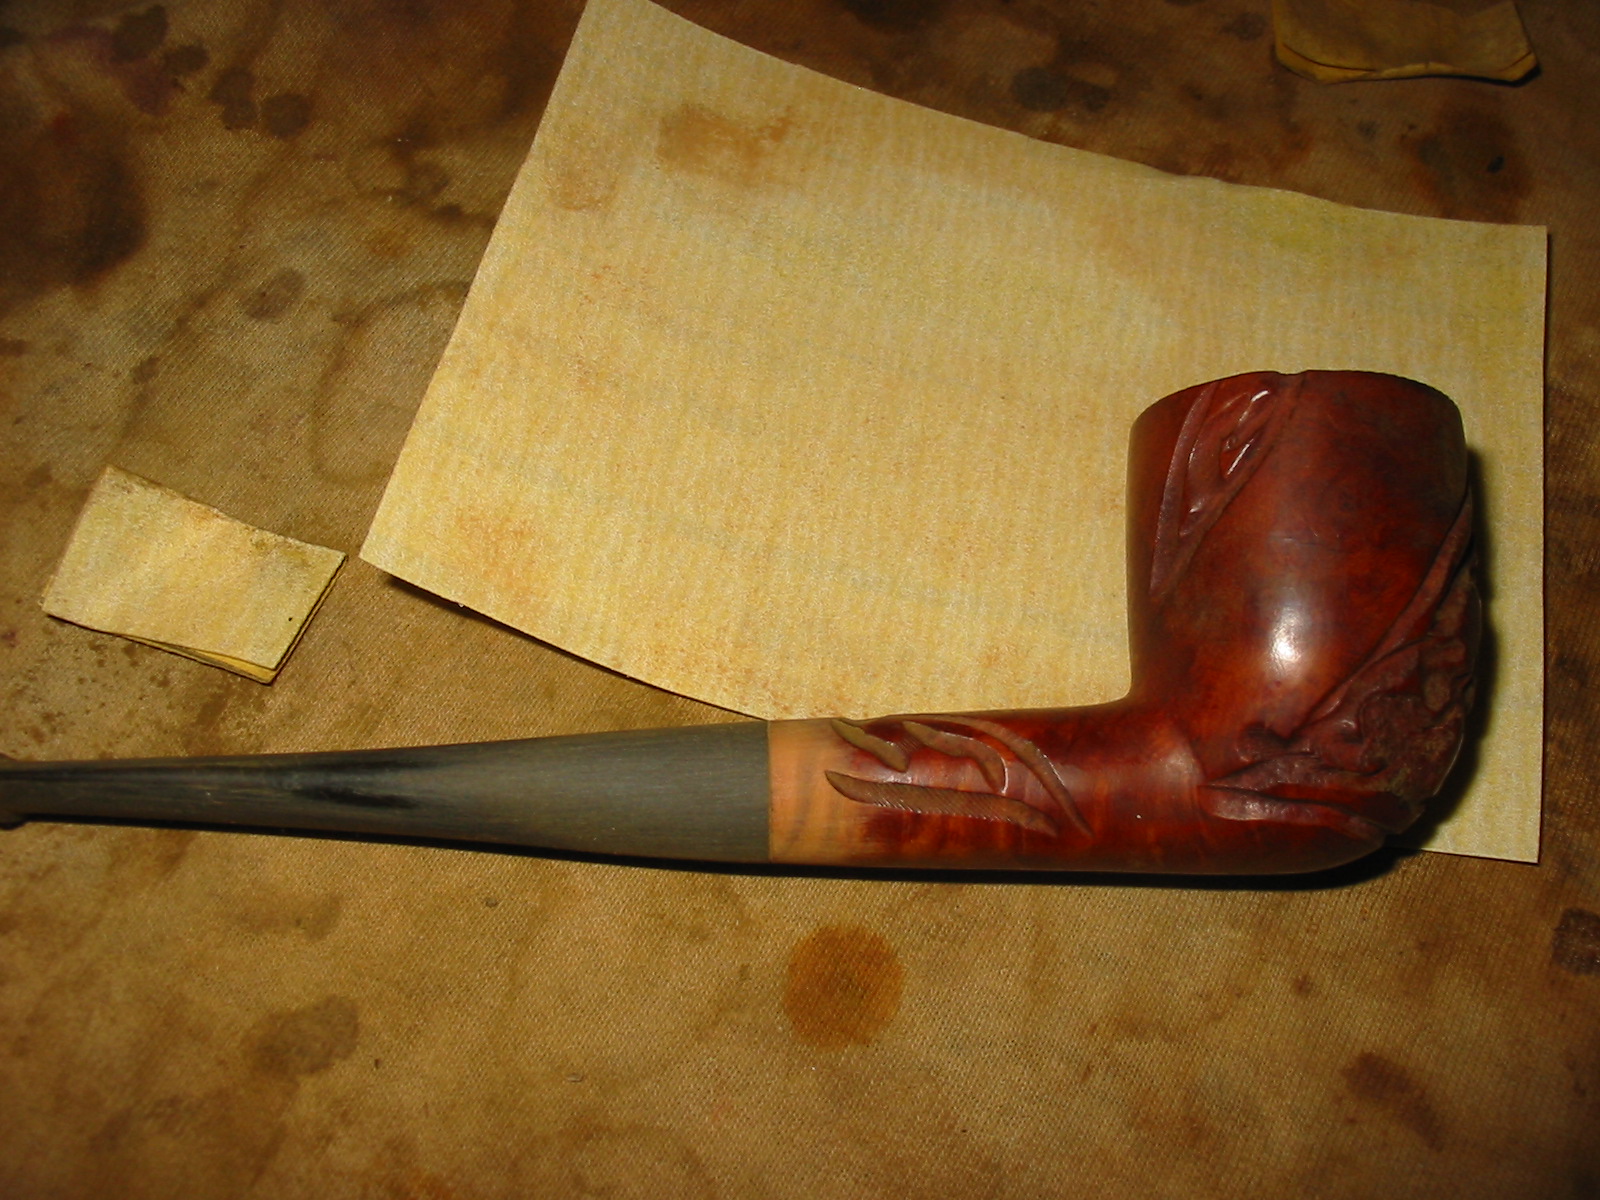
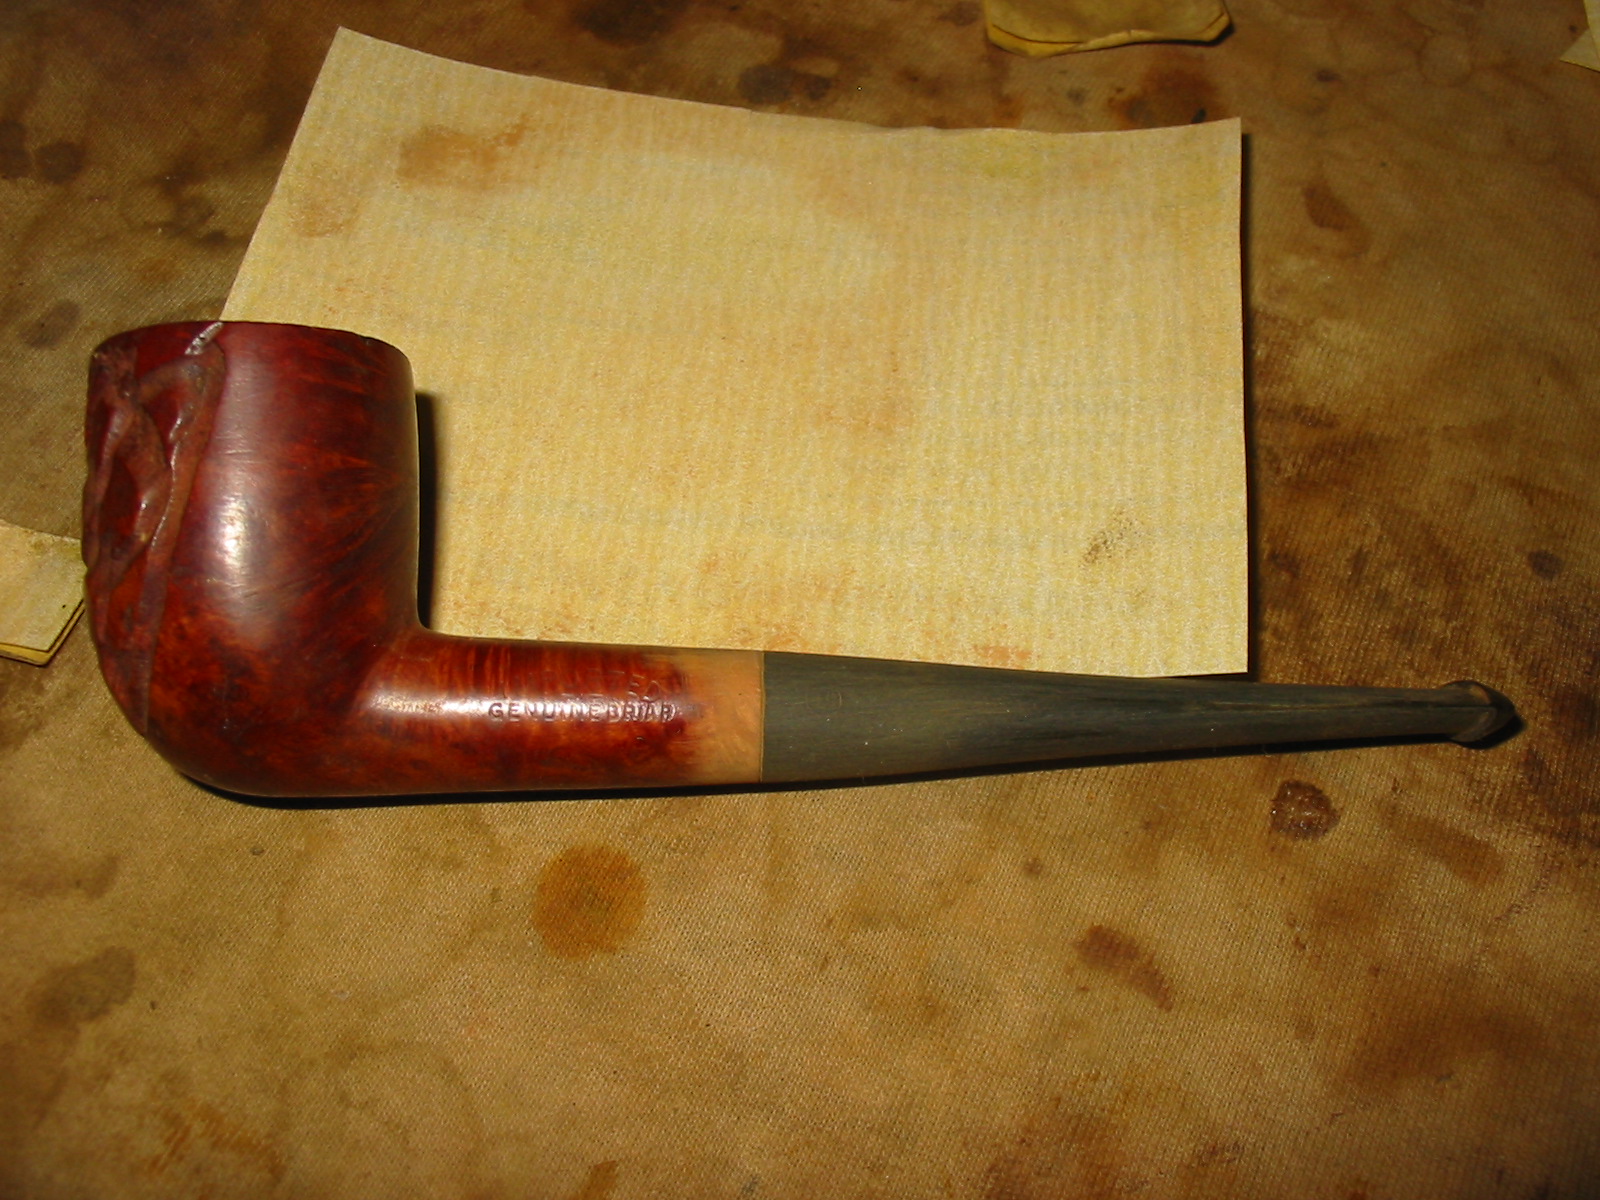
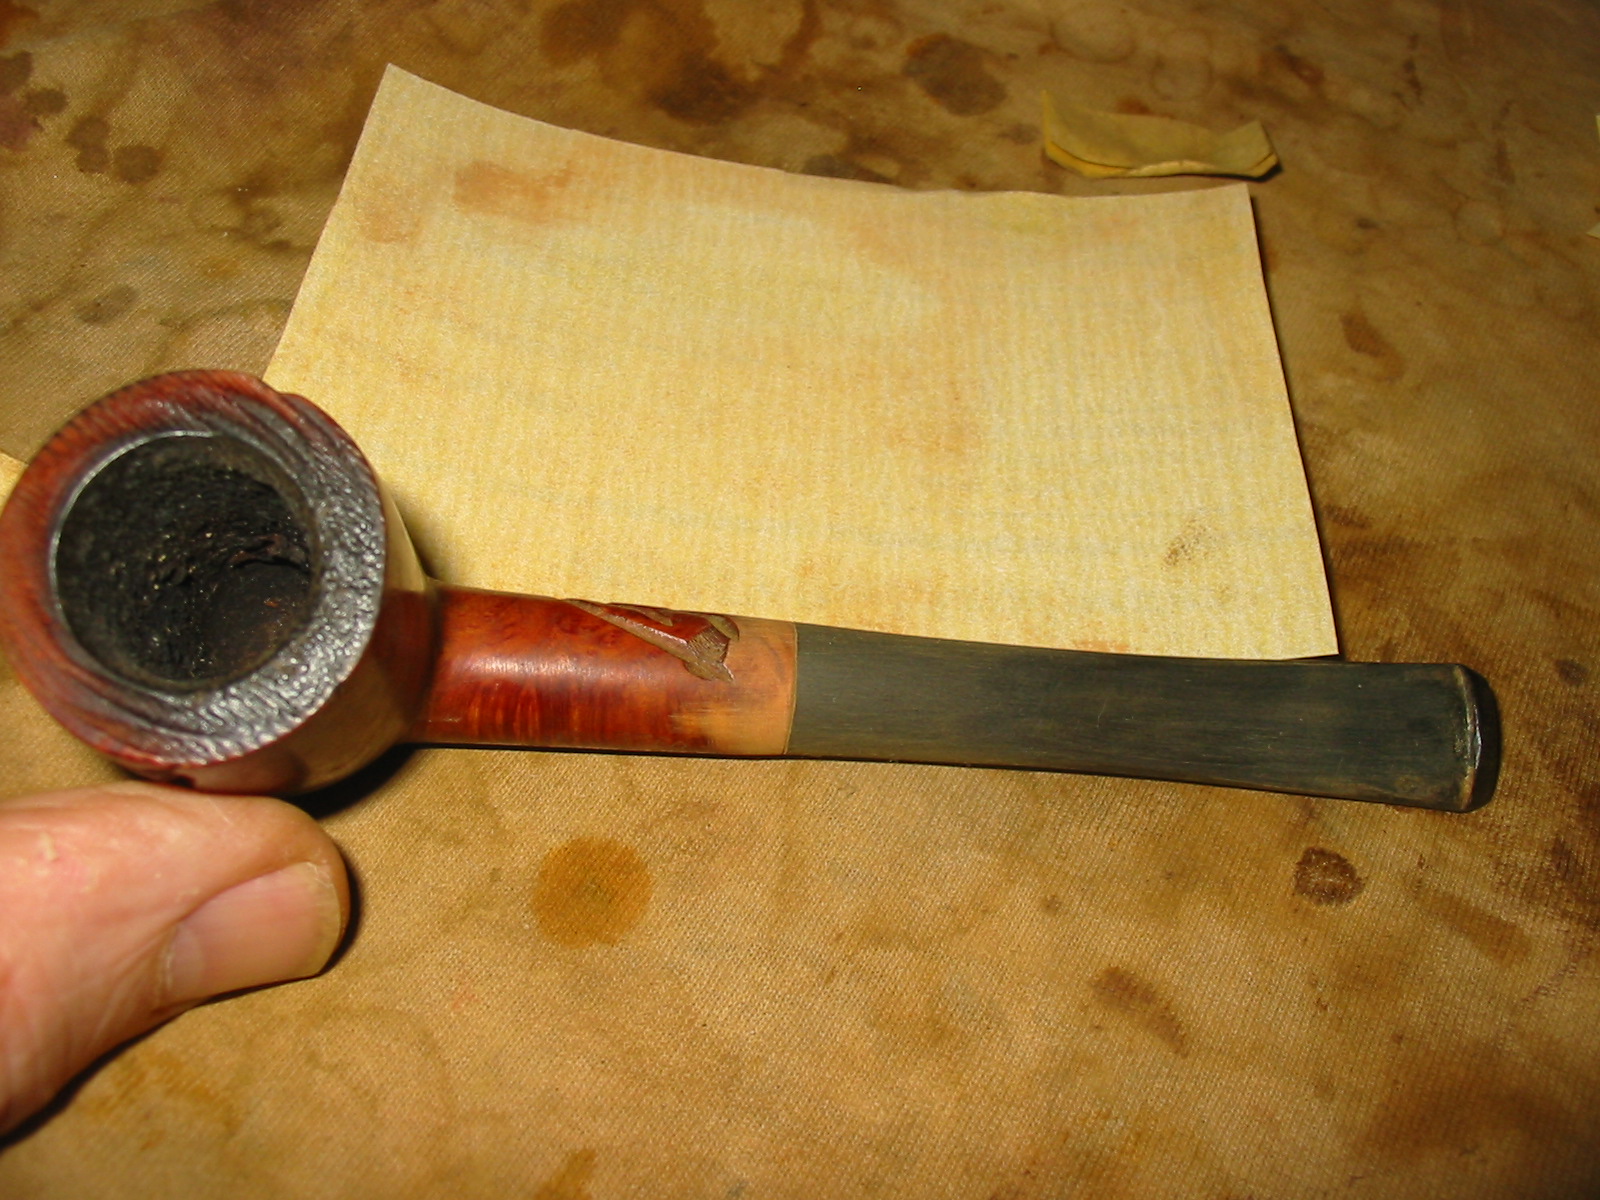
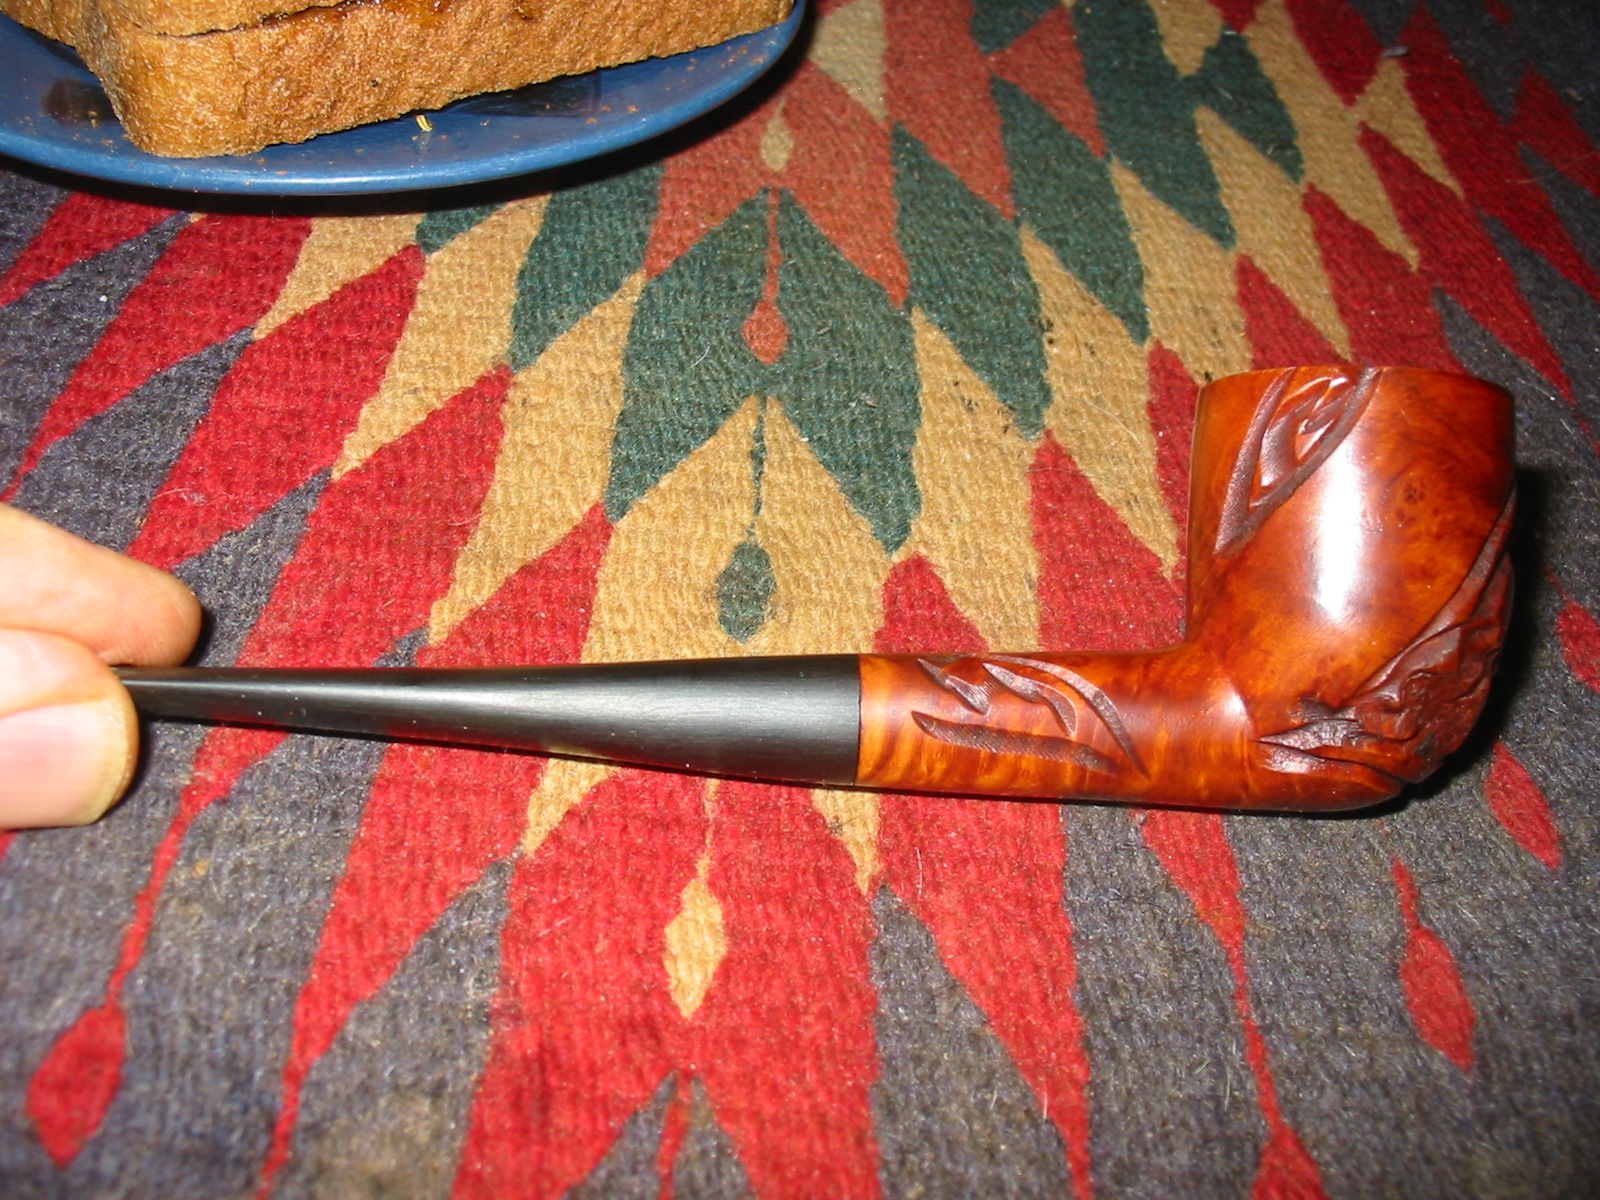
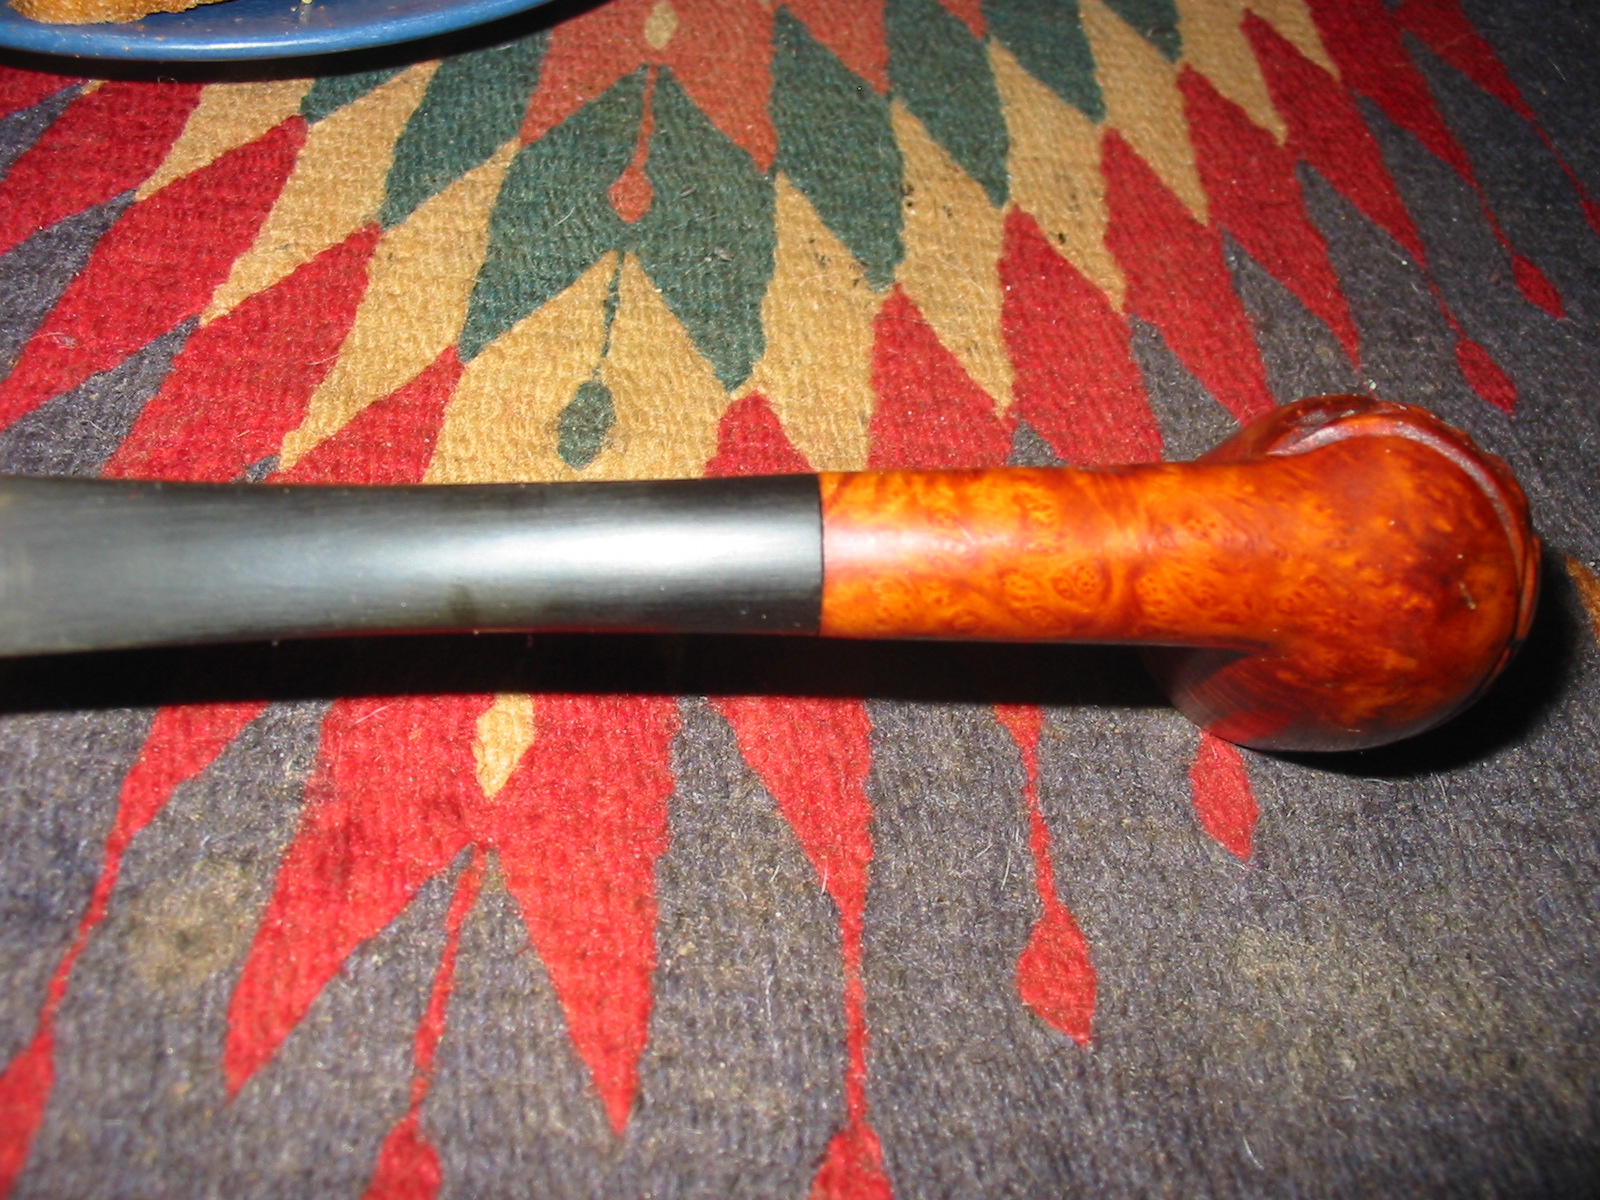
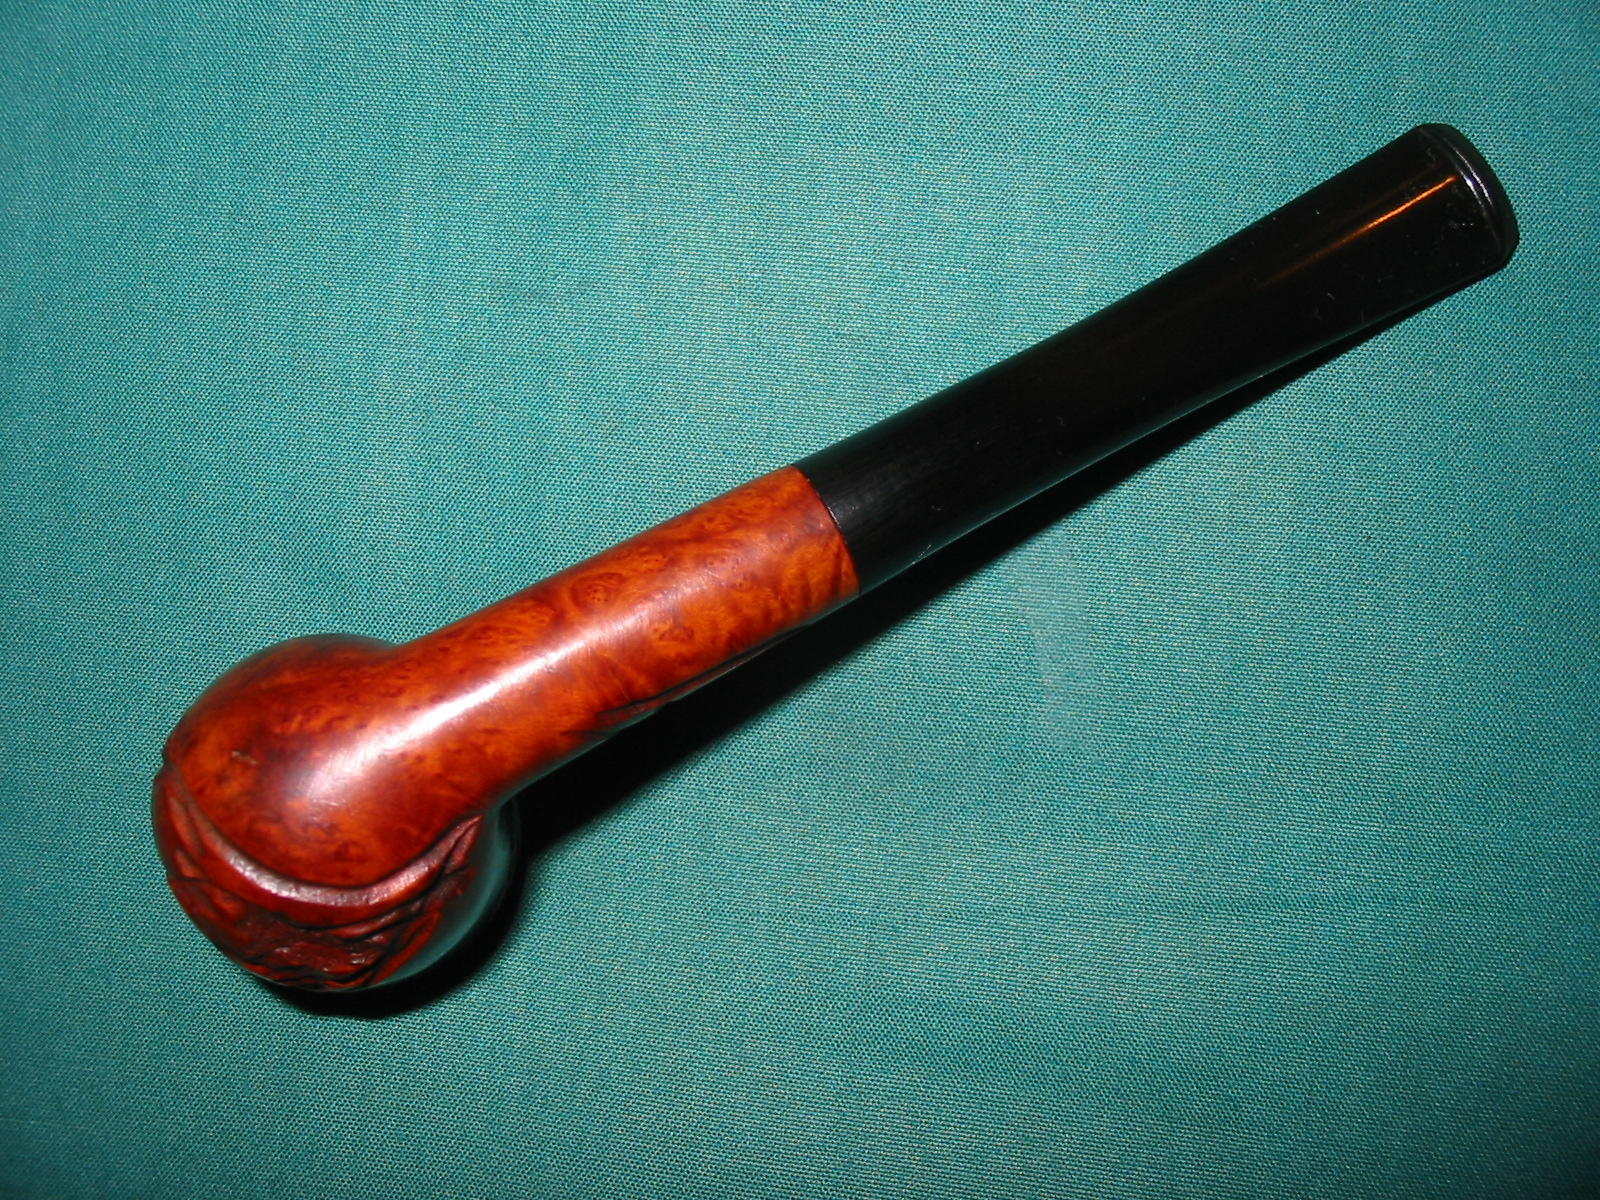
This is the fourth bowl that I chose to work on from the antique mall lot. It had some great potential to clean up well as it was by far one of the least damaged of the bowls. It is stamped Planter over Made in France on the left side of the shank. There is no other stamping on the bowl or shank. There is no shape size or numbering on the shank. The right side is unmarked. I looked it up online and did not find any maker for the pipe. Pipephil did not have in on his logos and stampings pages nor did any of the other sites I frequent when searching for info online. I turned to my books and found out from “Who Made That Pipe” that the brand was made by Comoy’s in France. I checked Lopes book and it was not listed. The bowl itself was pretty clean on the inside and the interior of the shank was also clean. It barely looked to have been smoked. There were a few remnants of unsmoked tobacco on the walls of the bowl. On the exterior, one side of the bowl was clean and the other was covered with a greasy, dirty buildup. There was some nice looking grain under the grit and grime – both birdseye and cross grain. It looked like it would clean up nicely. There was one small fill on the right side of the bowl. The metal band was tarnished and yellow. The bowl did not come with a stem when I bought it at the antique mall.
IMG_6239

IMG_6241

IMG_6242

IMG_6243
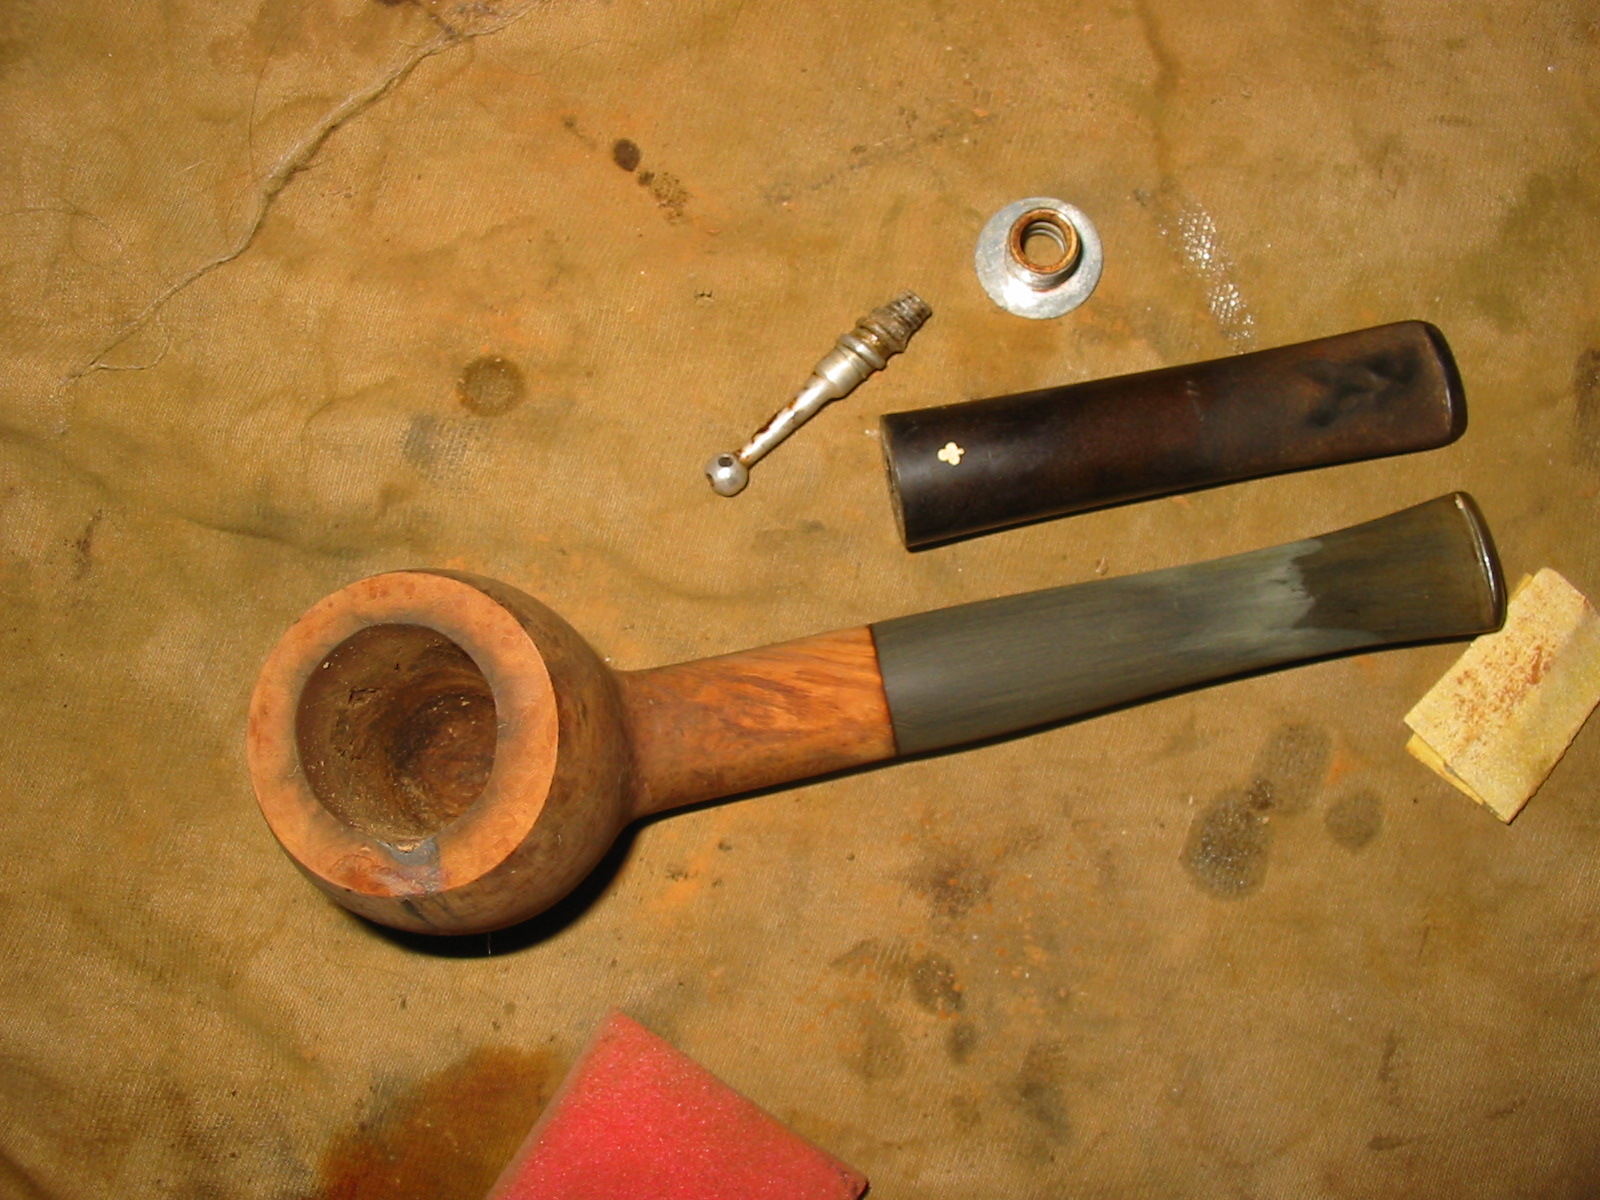
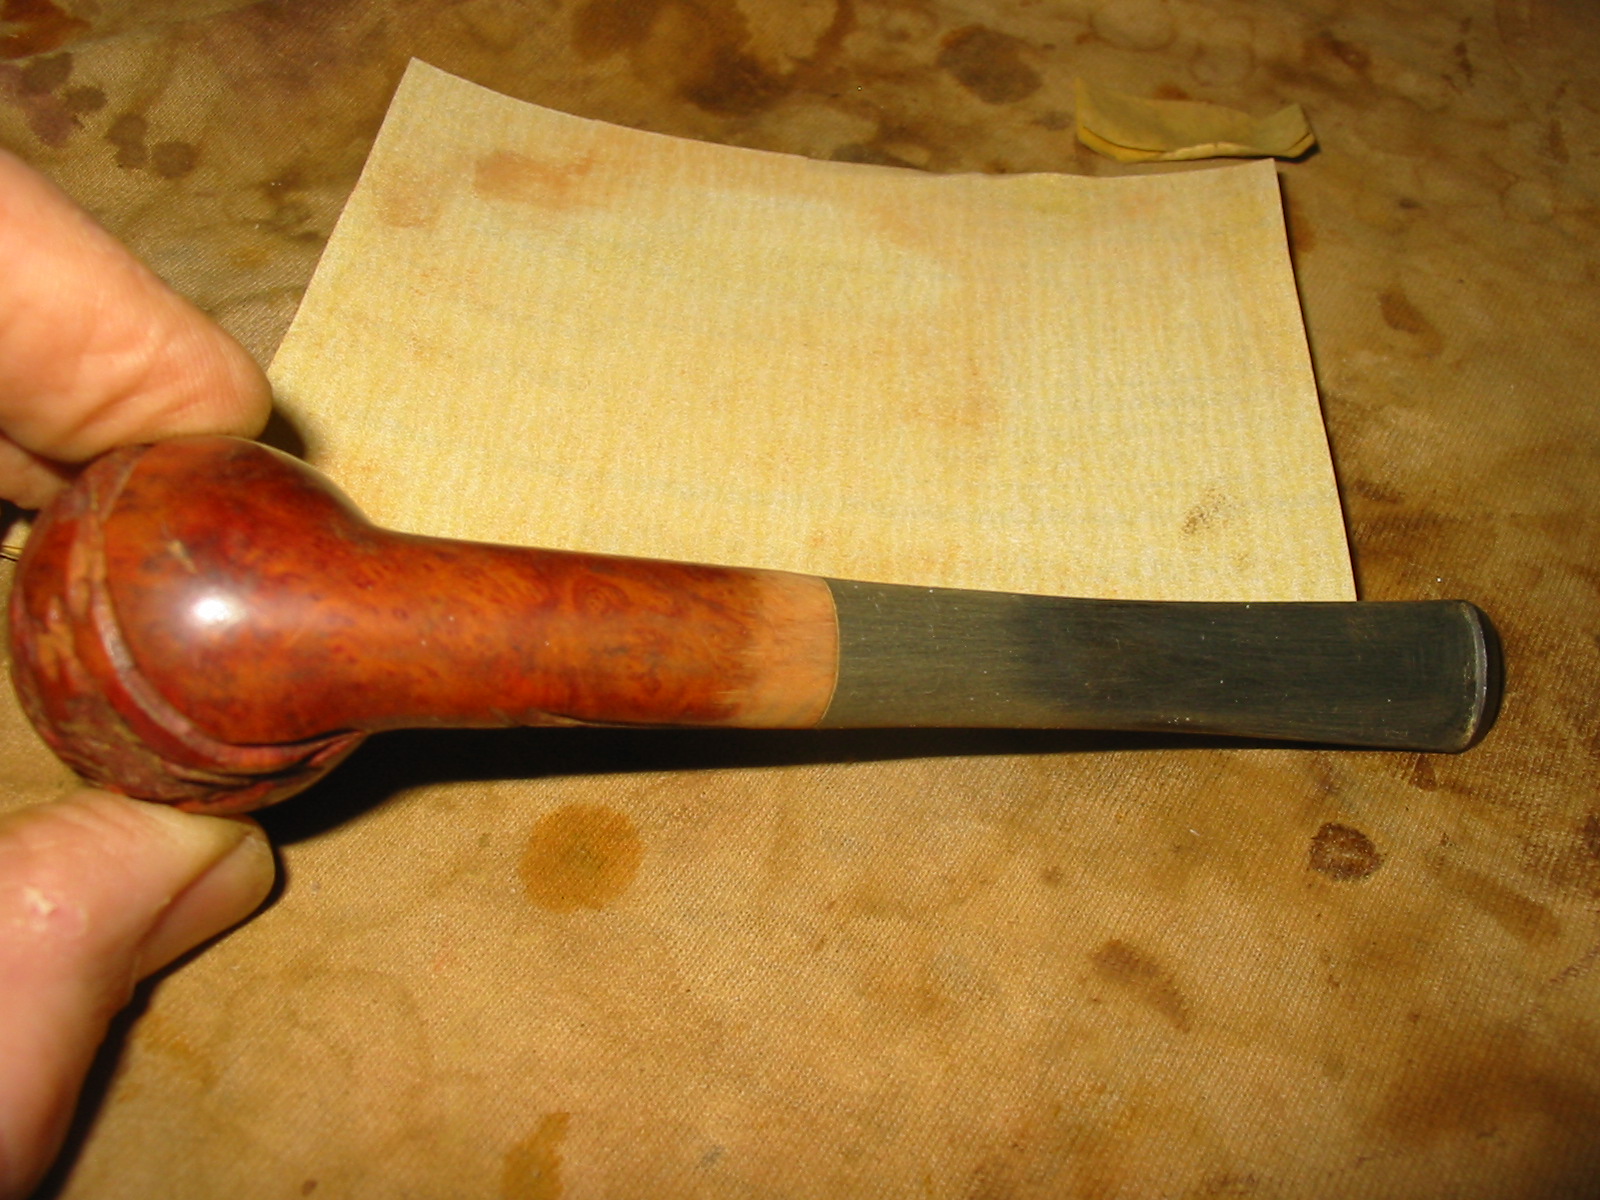
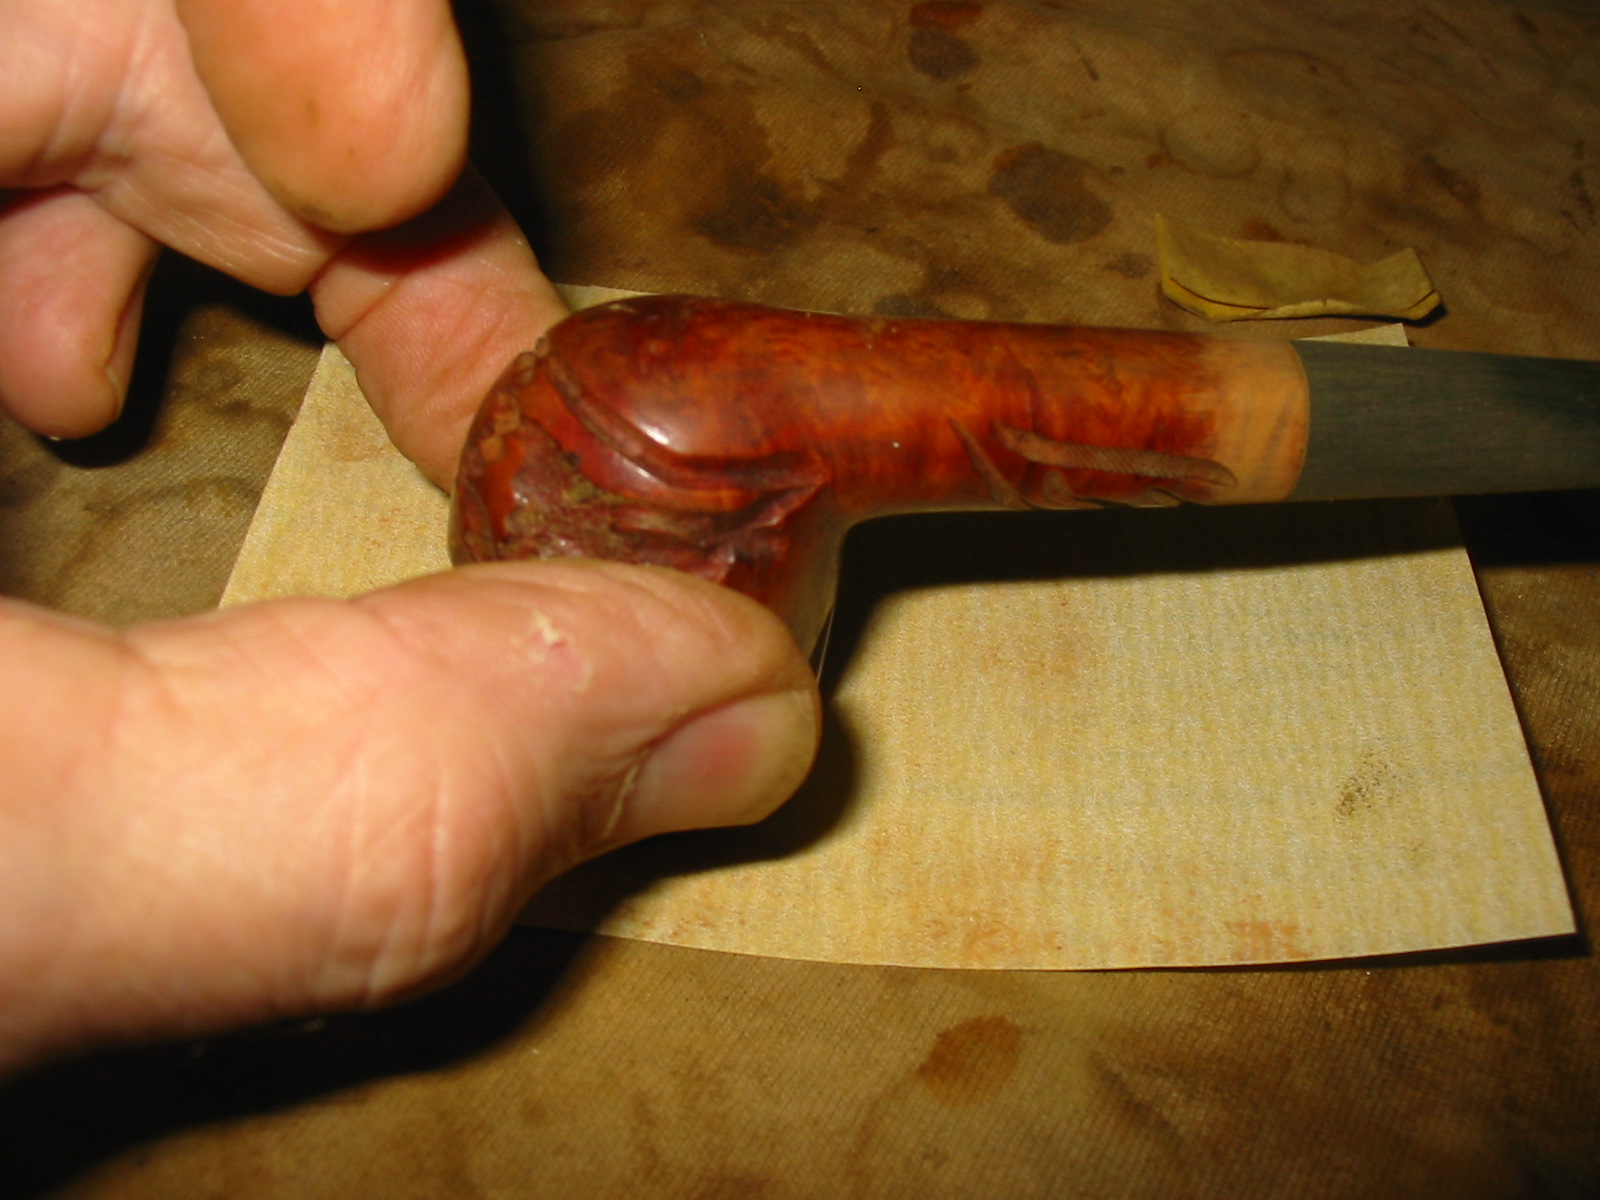
I went through my can of stems and found one that would fit with very minimal adjustments. I sanded the tenon with a folded piece of sandpaper and it fit well against the shank. There were some issues on the diameter of the stem. It appeared that it was slightly out of round on the right side. It would need to be sanded on the right side, top and bottom for a perfect fit.
IMG_6244

IMG_6245

IMG_6246

IMG_6247
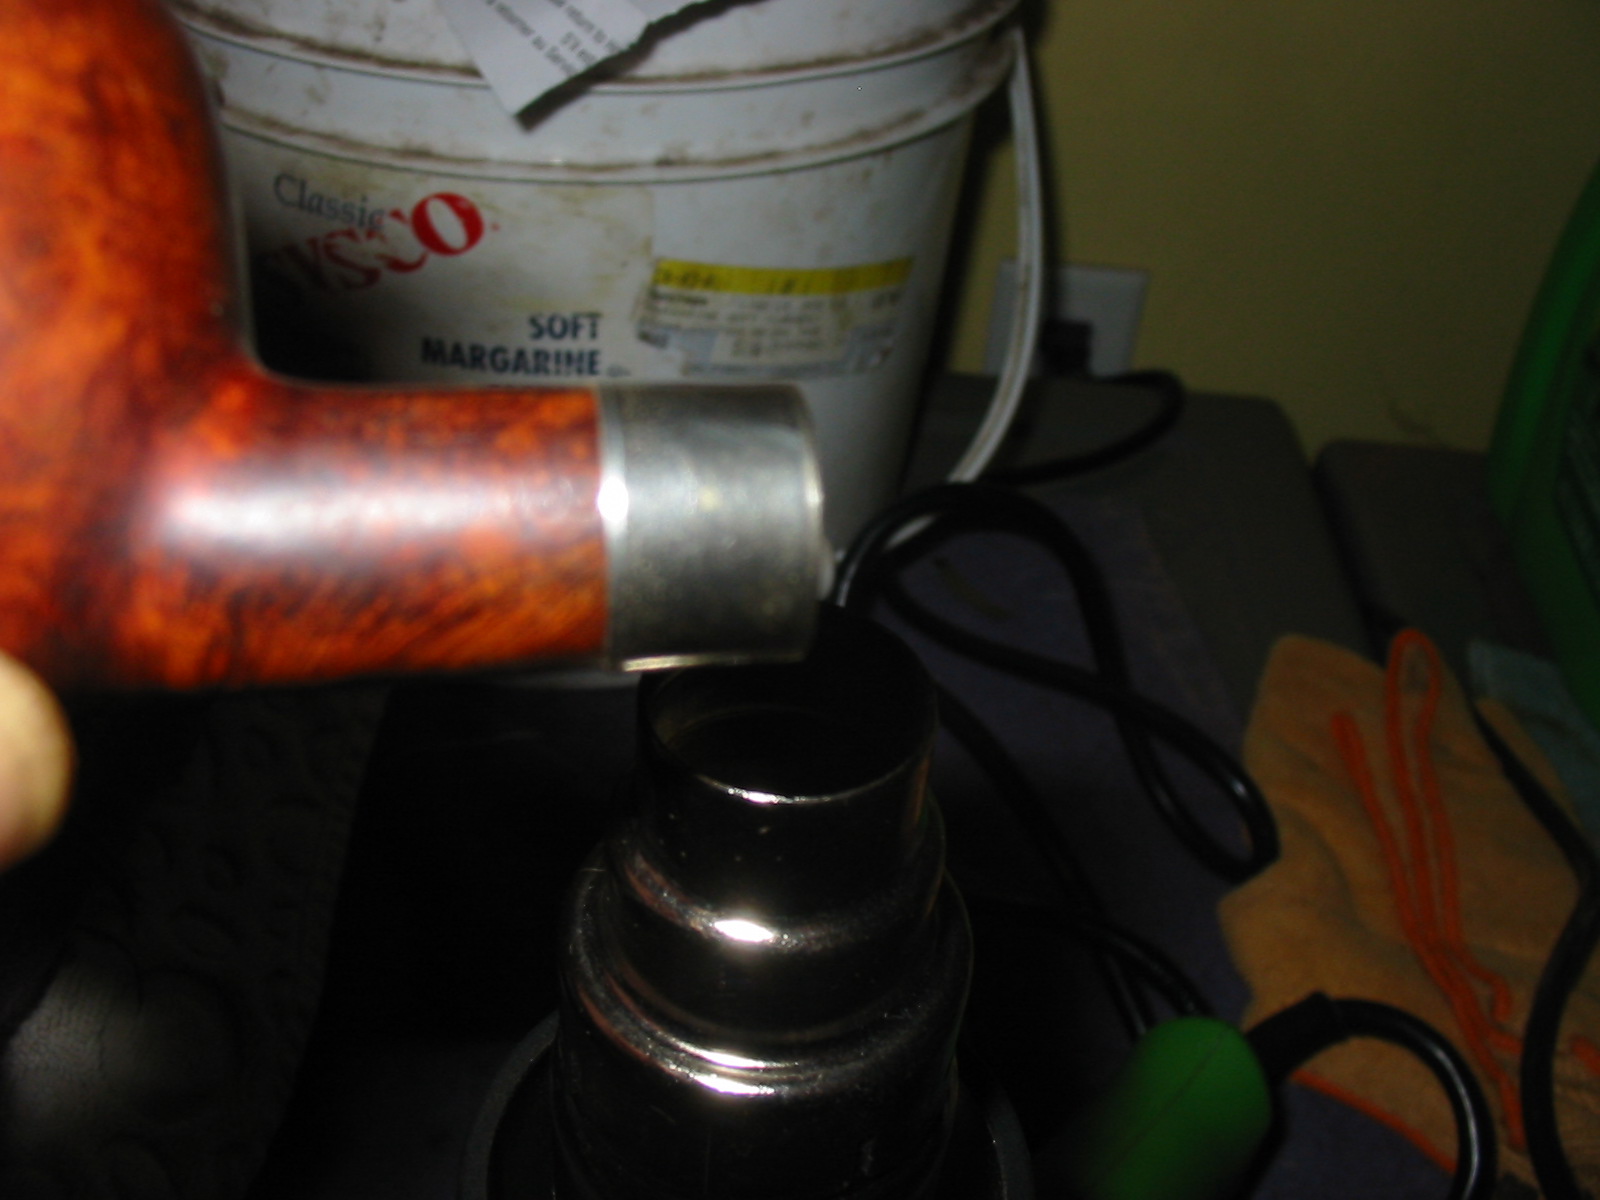
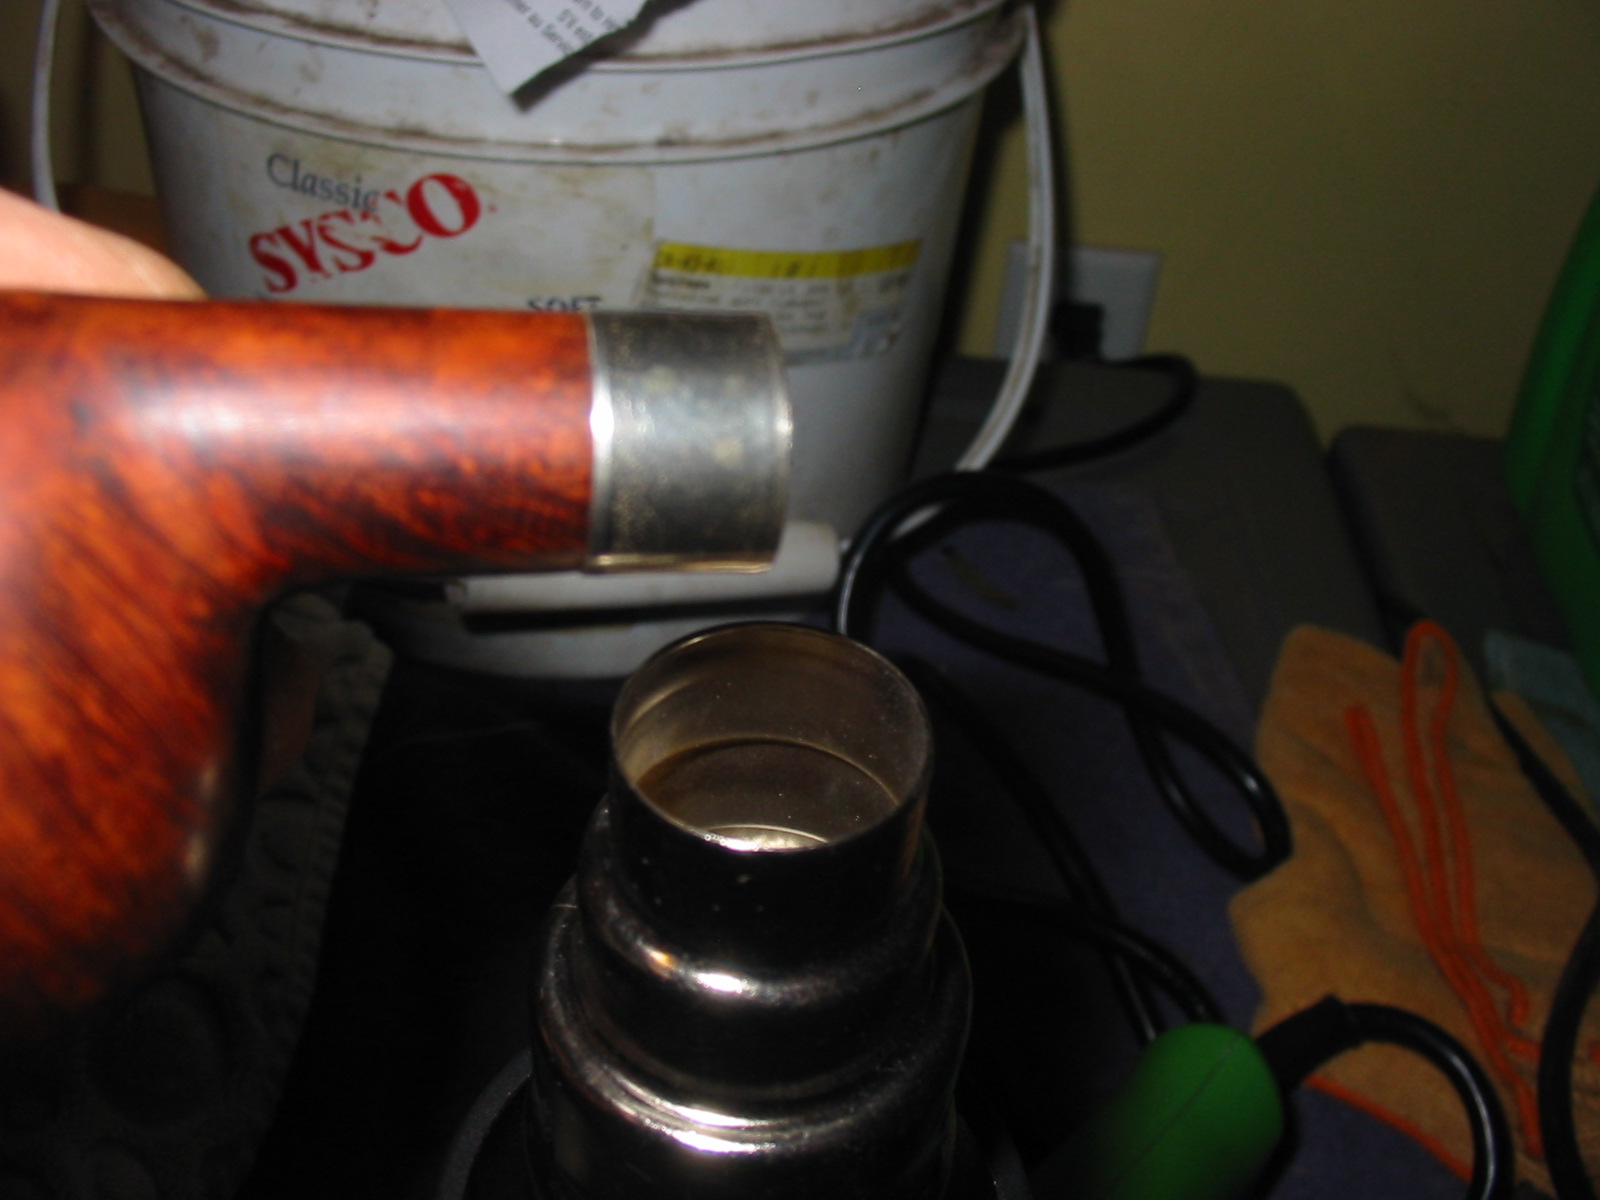
The band was not totally in place on the shank. It had slid toward the end of the shank over the years so I needed to heat it and press it into place. The benefit to this was that it heated up the yellow buildup on the band and it came off quite easily with some silver polish/metal cleaner. I scrubbed the band with some Hagerty Tarnish Preventative Silver Polish that I bought years ago at a jewelry shop. It removed the tarnish and oxidation and with repeated scrubbing it cleaned out the tarnish in the hallmarks.

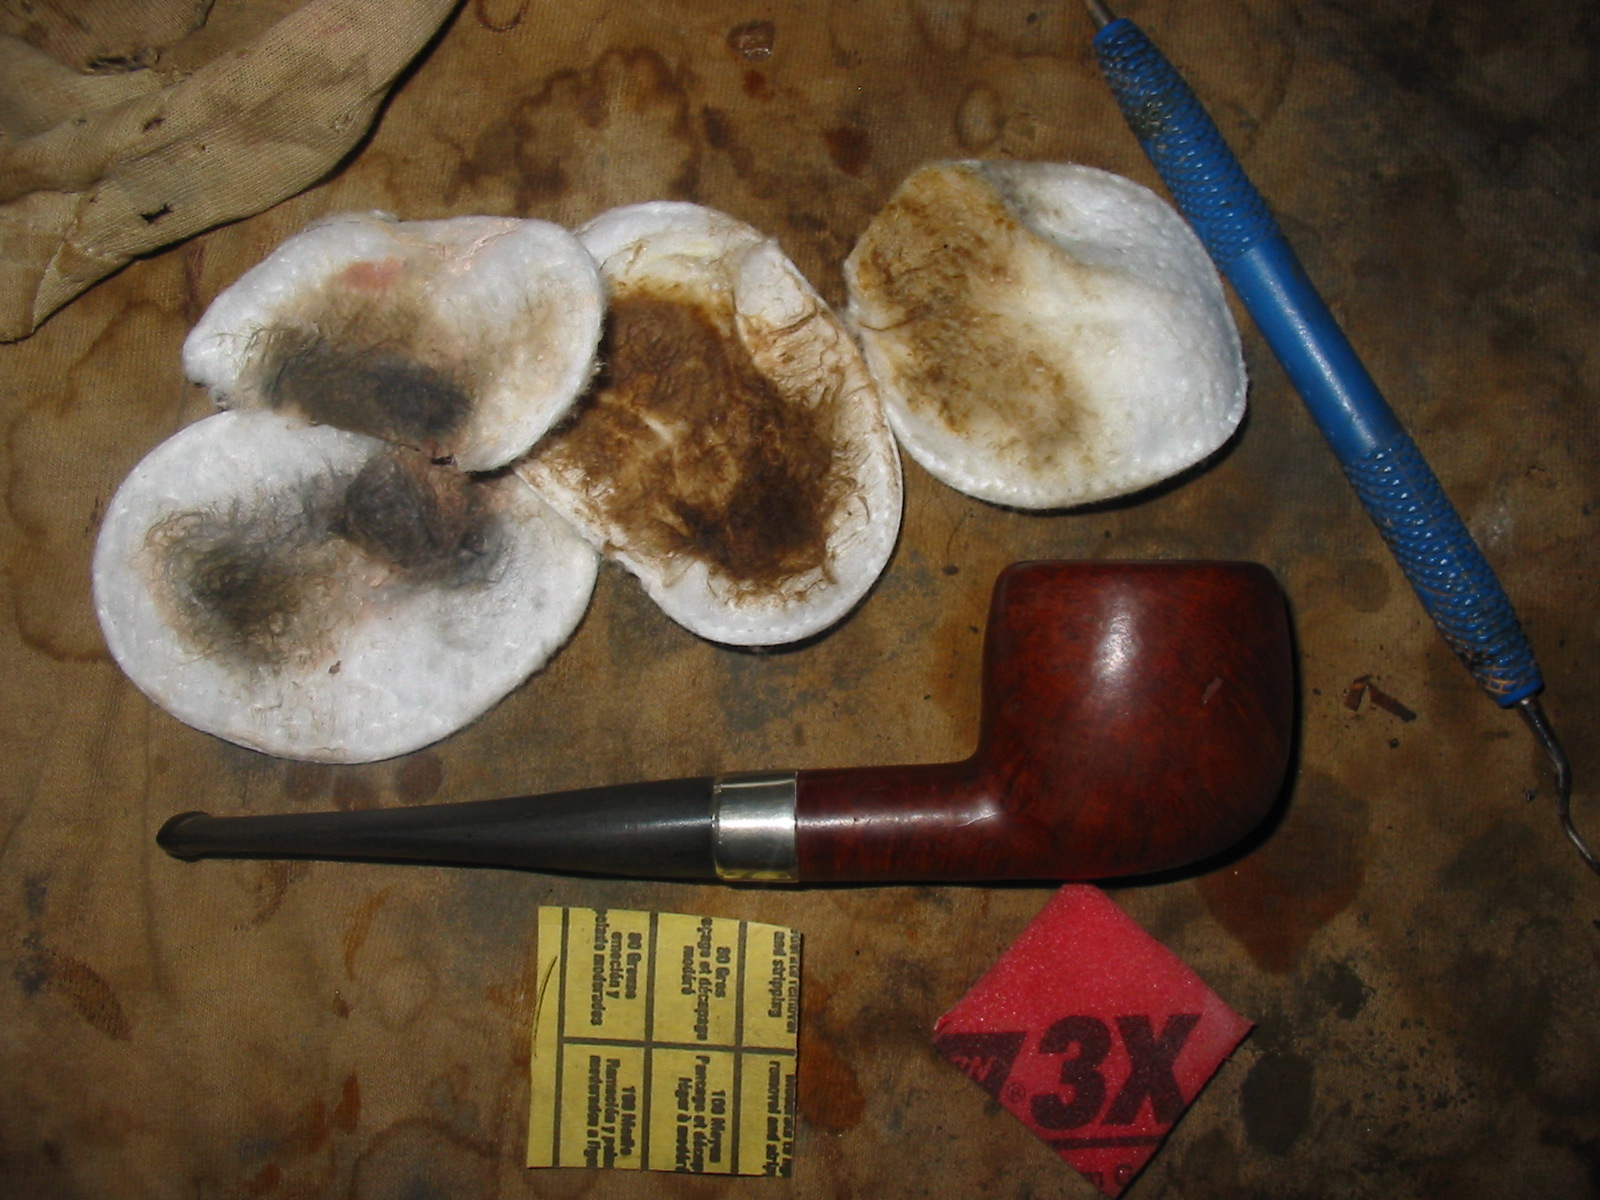
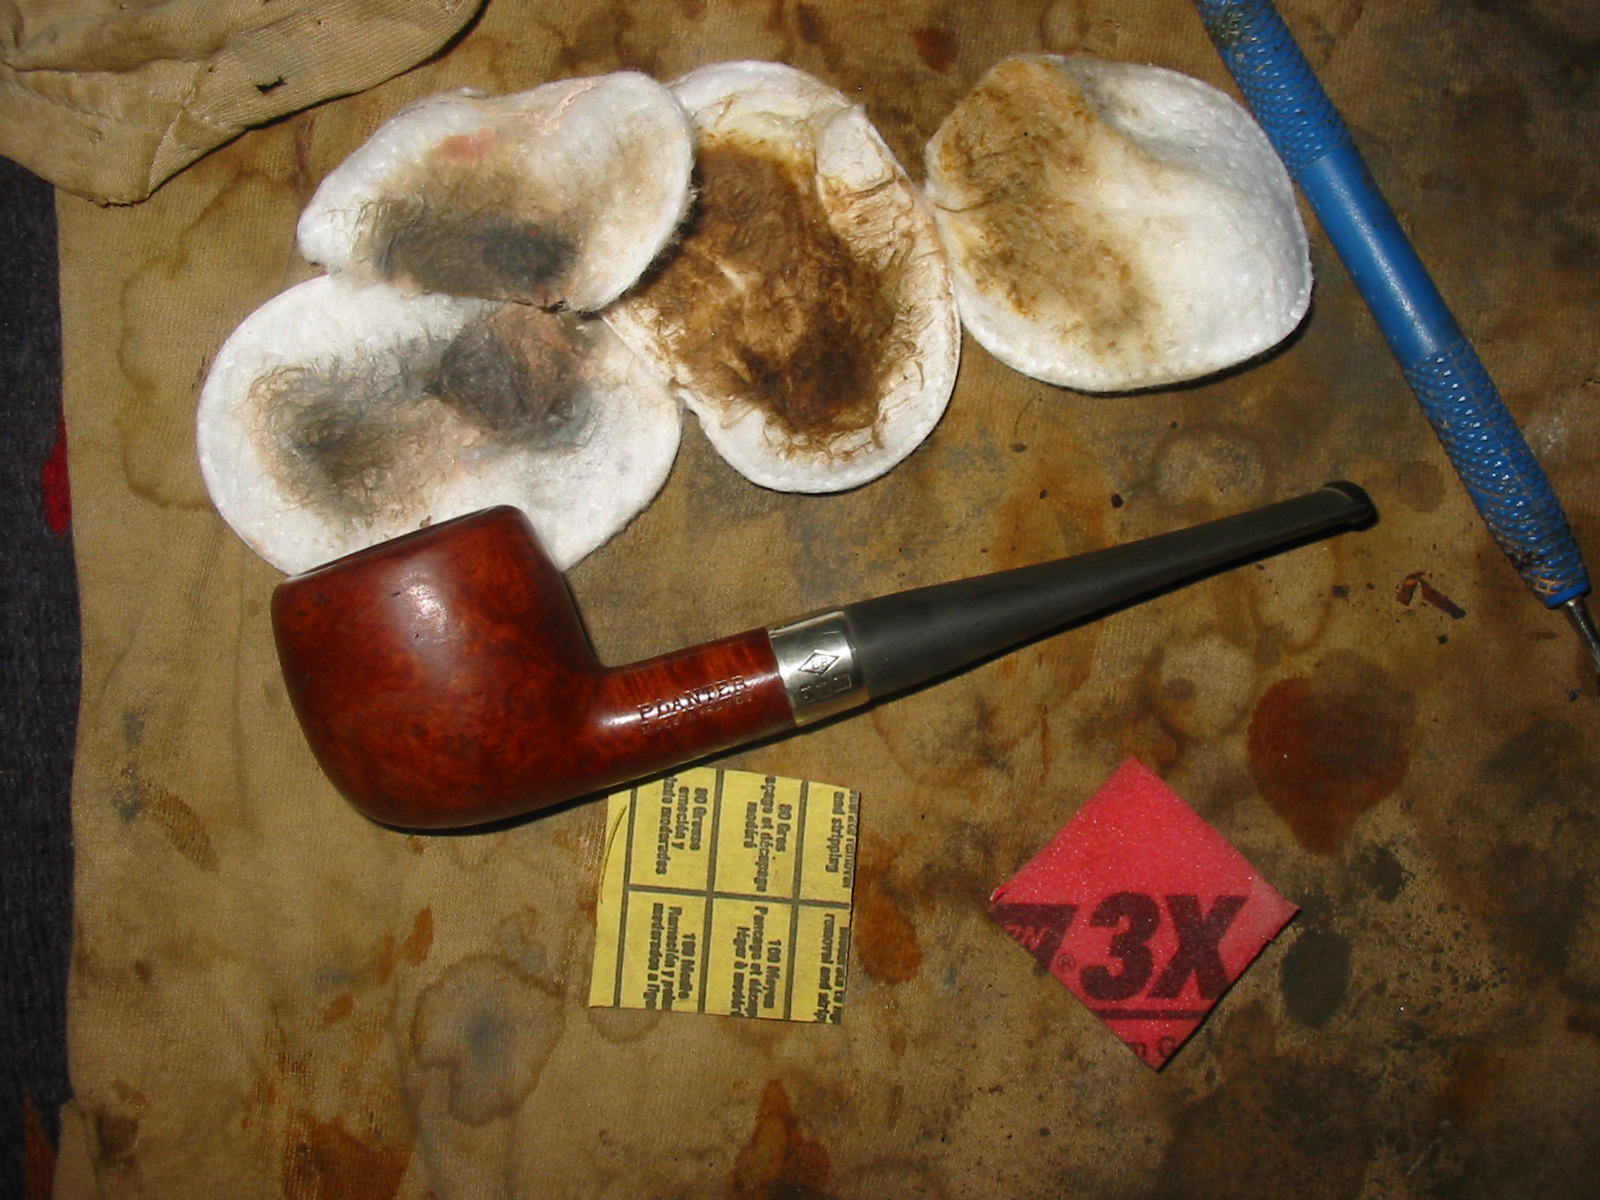
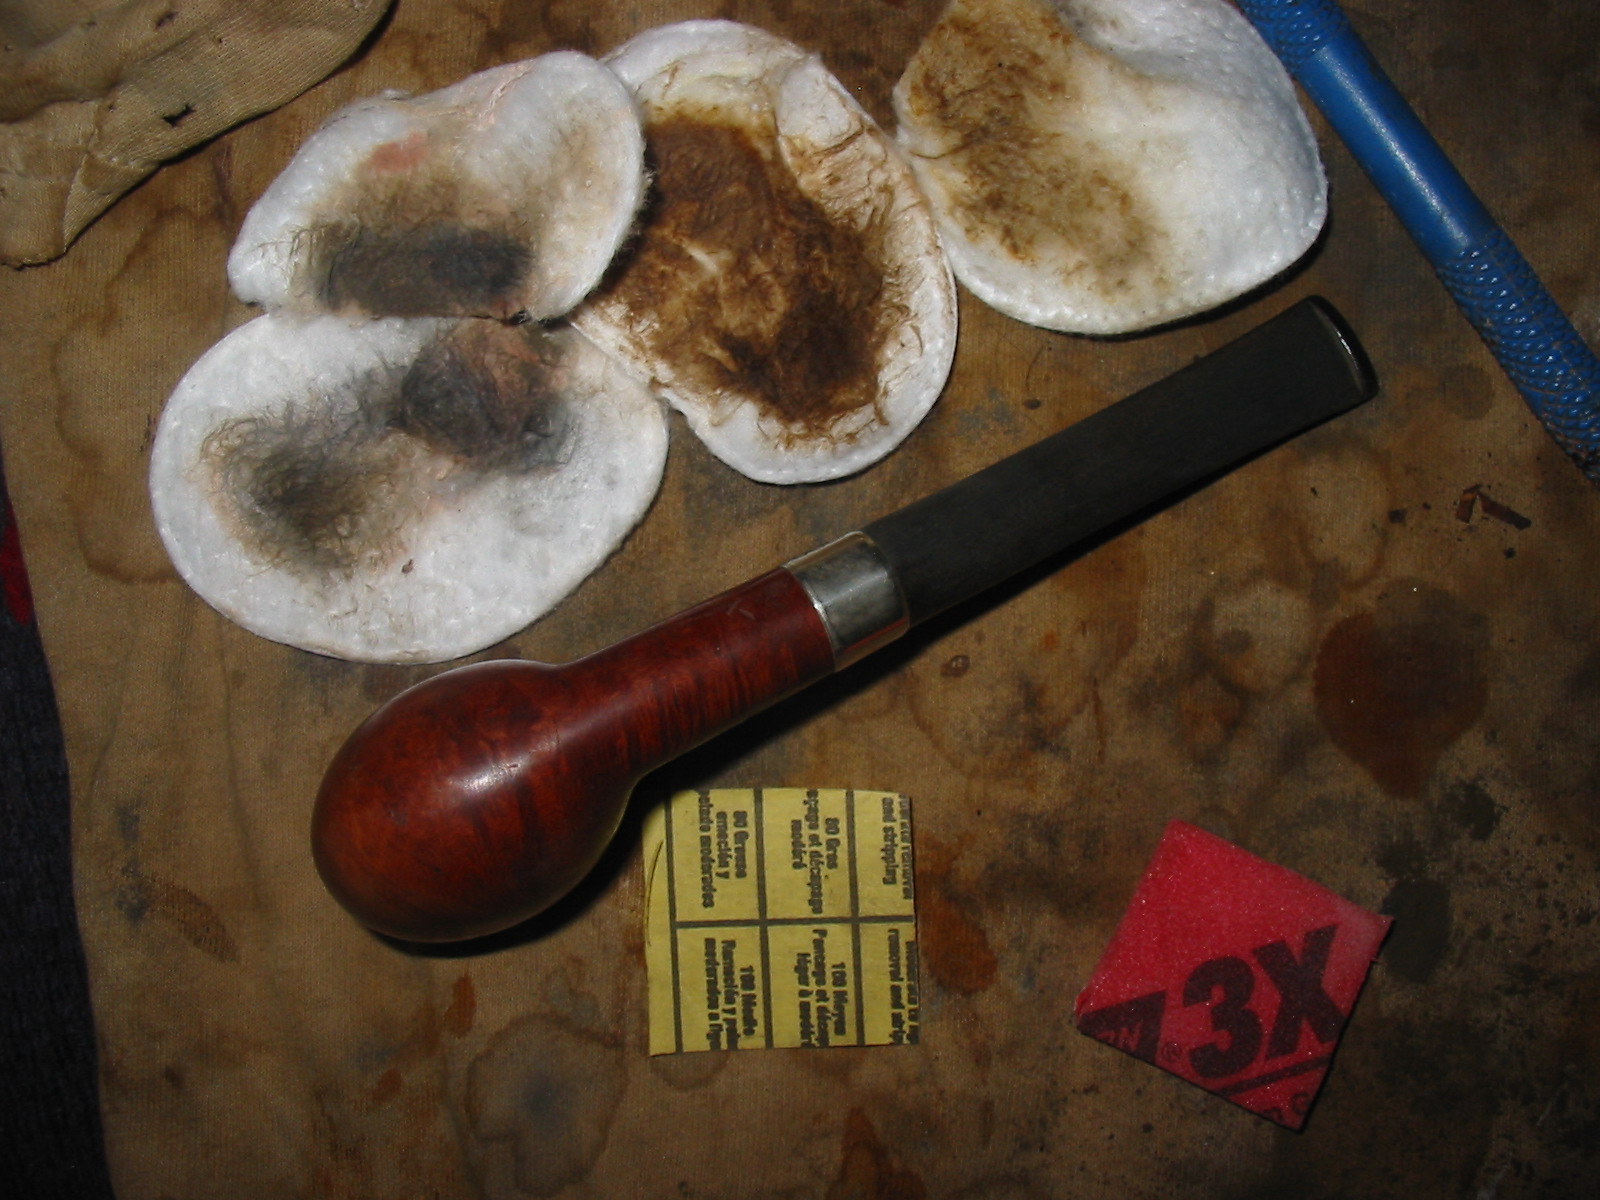
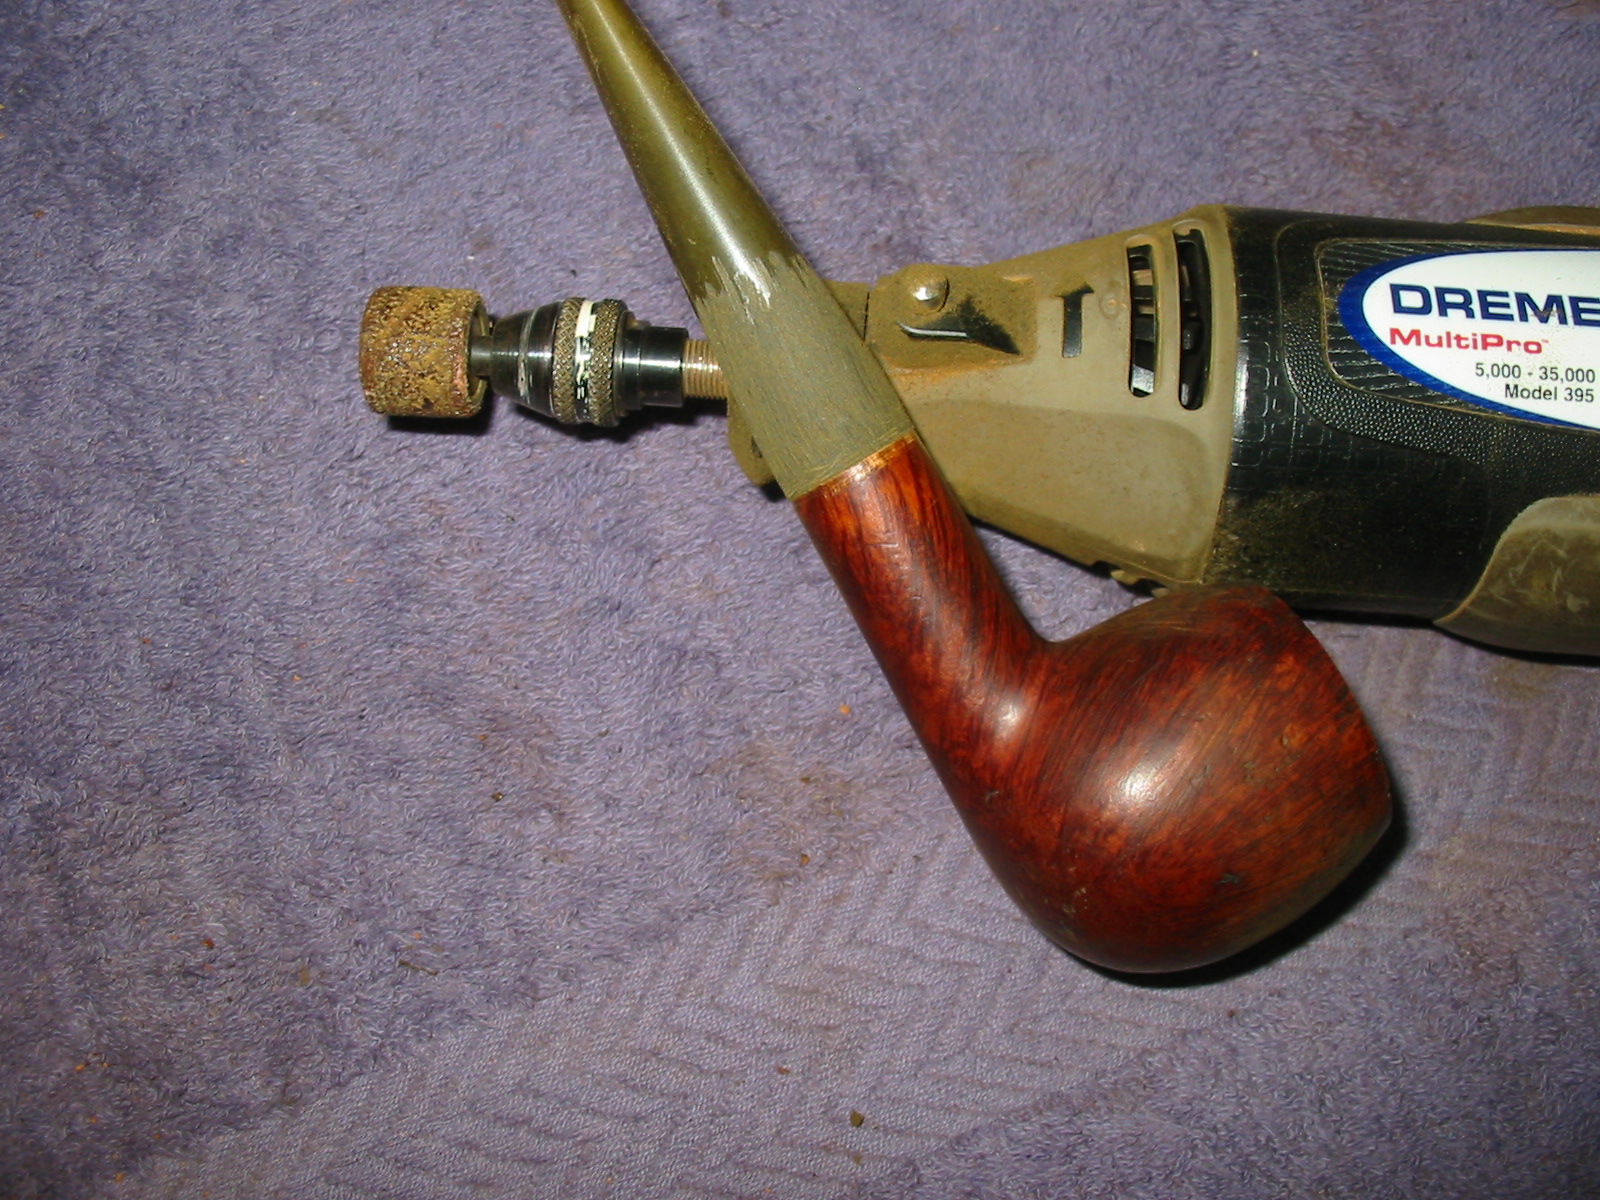
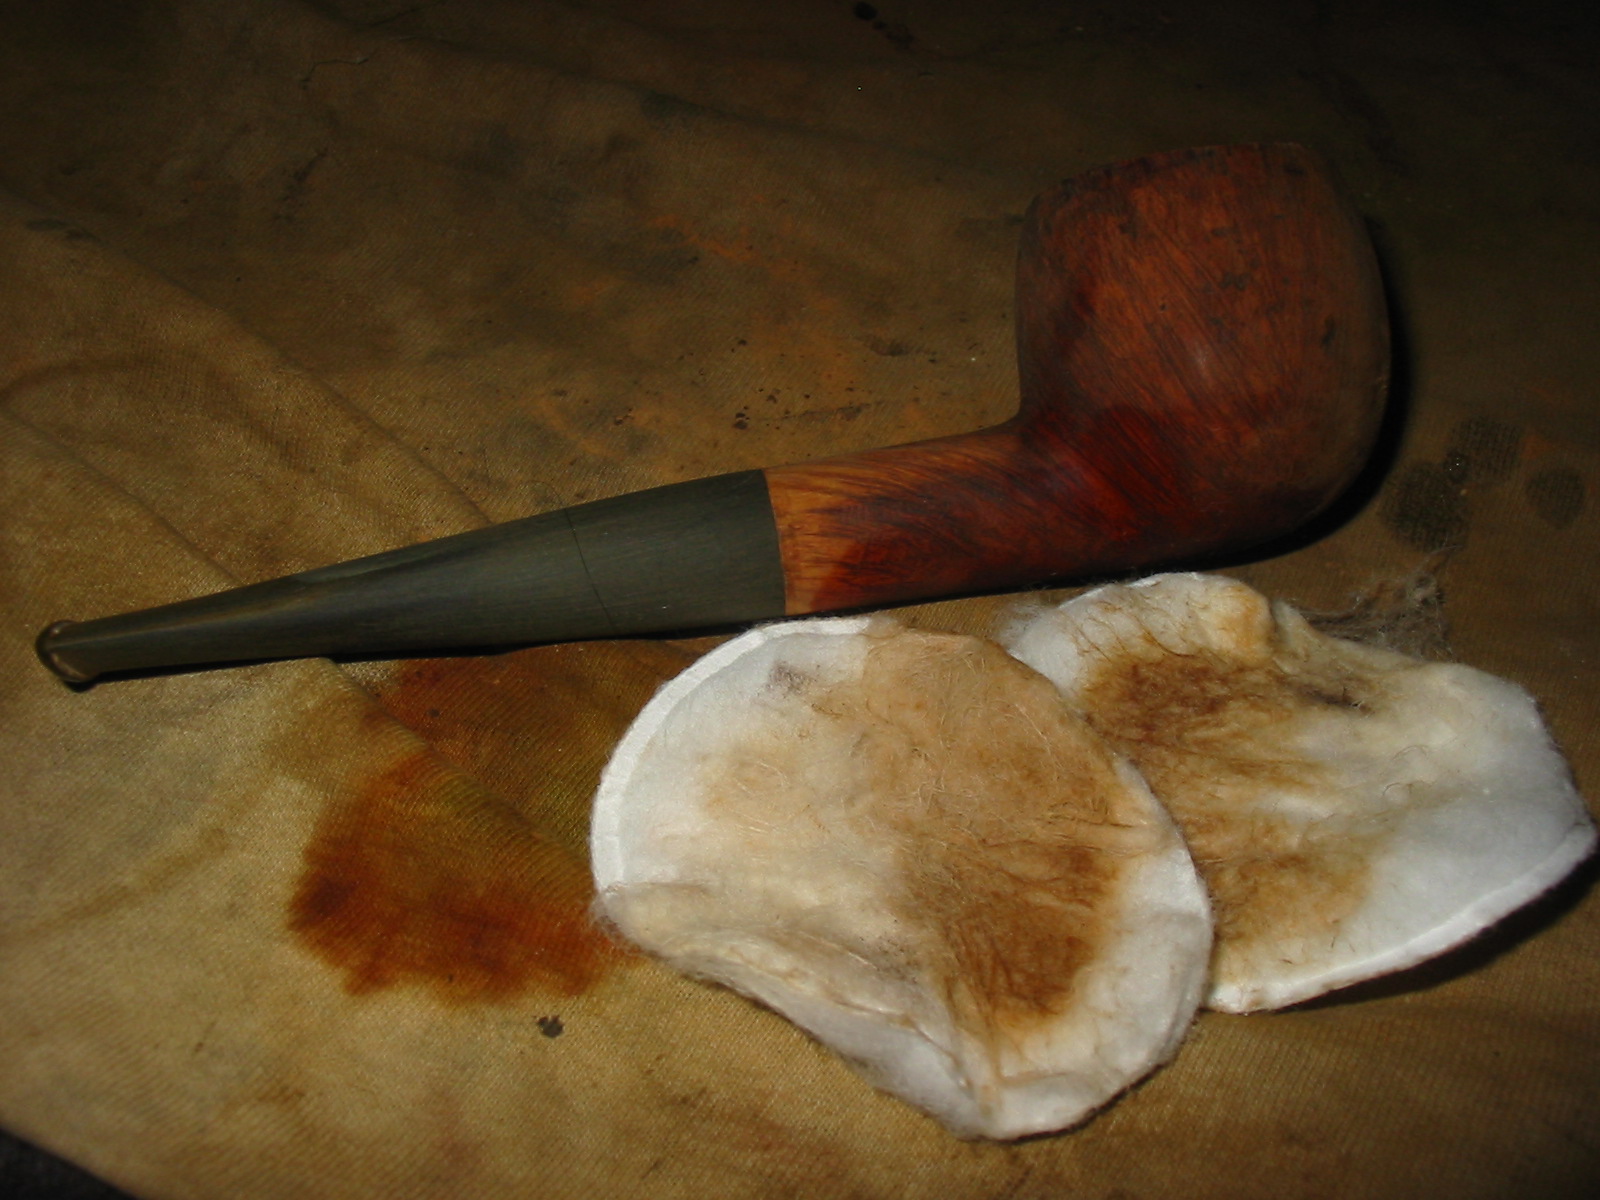
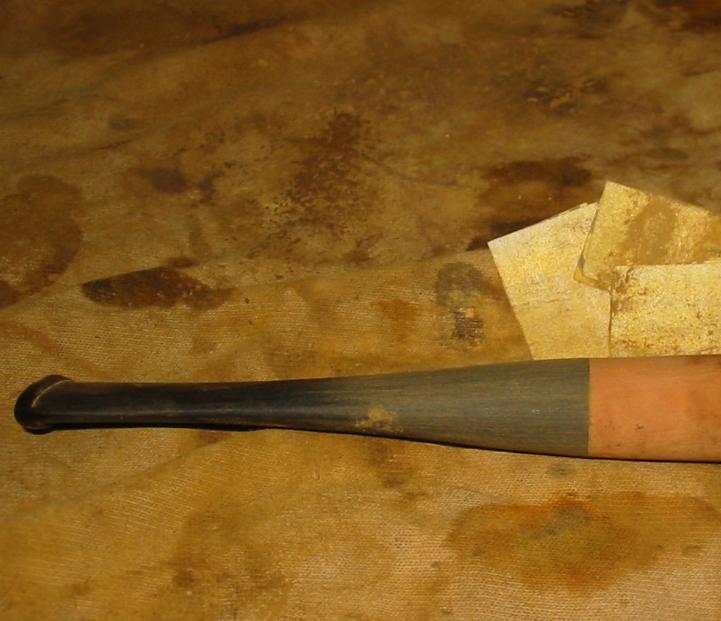
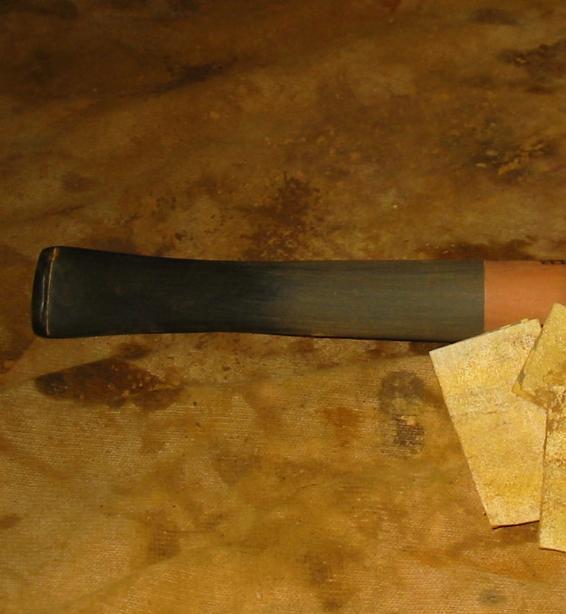
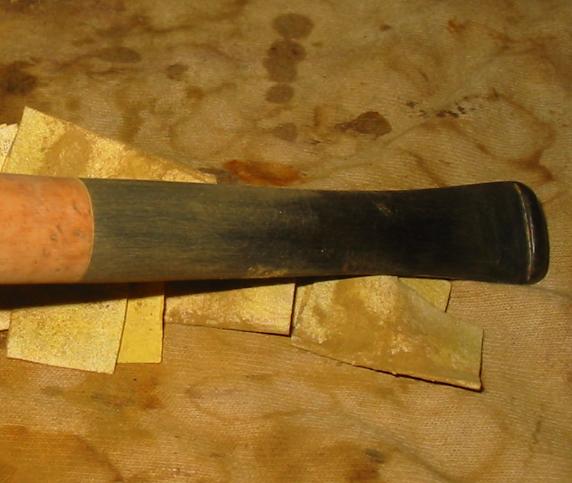
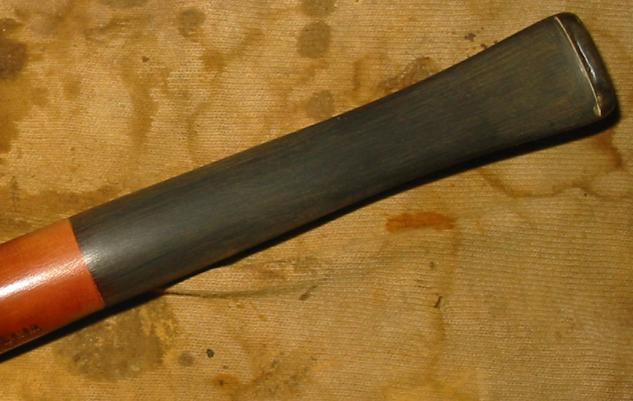
I scrubbed the exterior of the bowl with Murphy’s Oil Soap to remove the greasy buildup on the right side of the bowl and shank. I followed that up with a wipe down of isopropyl alcohol to finish removing the grime. I sanded the stem on the right side to remove the excess vulcanite and make it line up with the band. I always look at the end view of the pipe and see if the diameter of the stem matches the edge of the band that it will sit against. I strive to make it the same all the way around as I think it looks better when done that way. I used 220 grit sandpaper and a medium and fine grit sanding sponge to get the fit right. In the photos below the pipe is shown after all the scrubbing and fitting of the stem.
IMG_6248

IMG_6250

IMG_6251
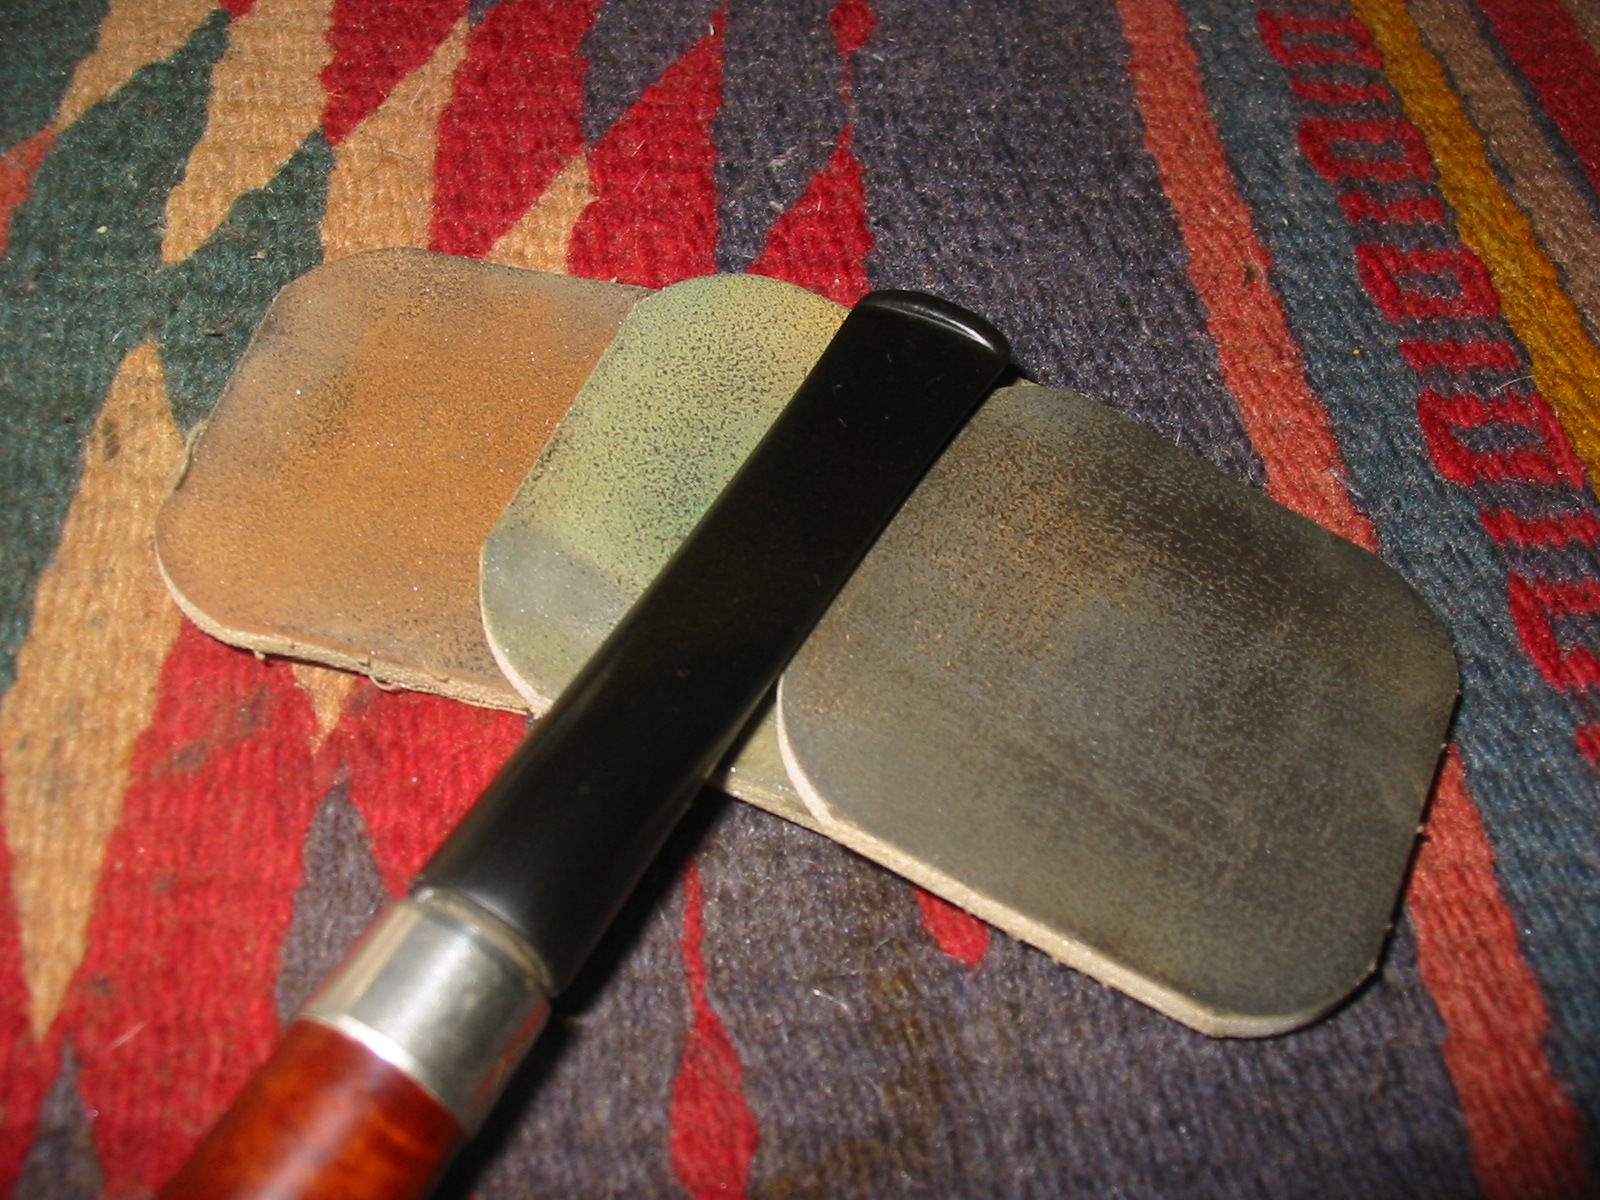
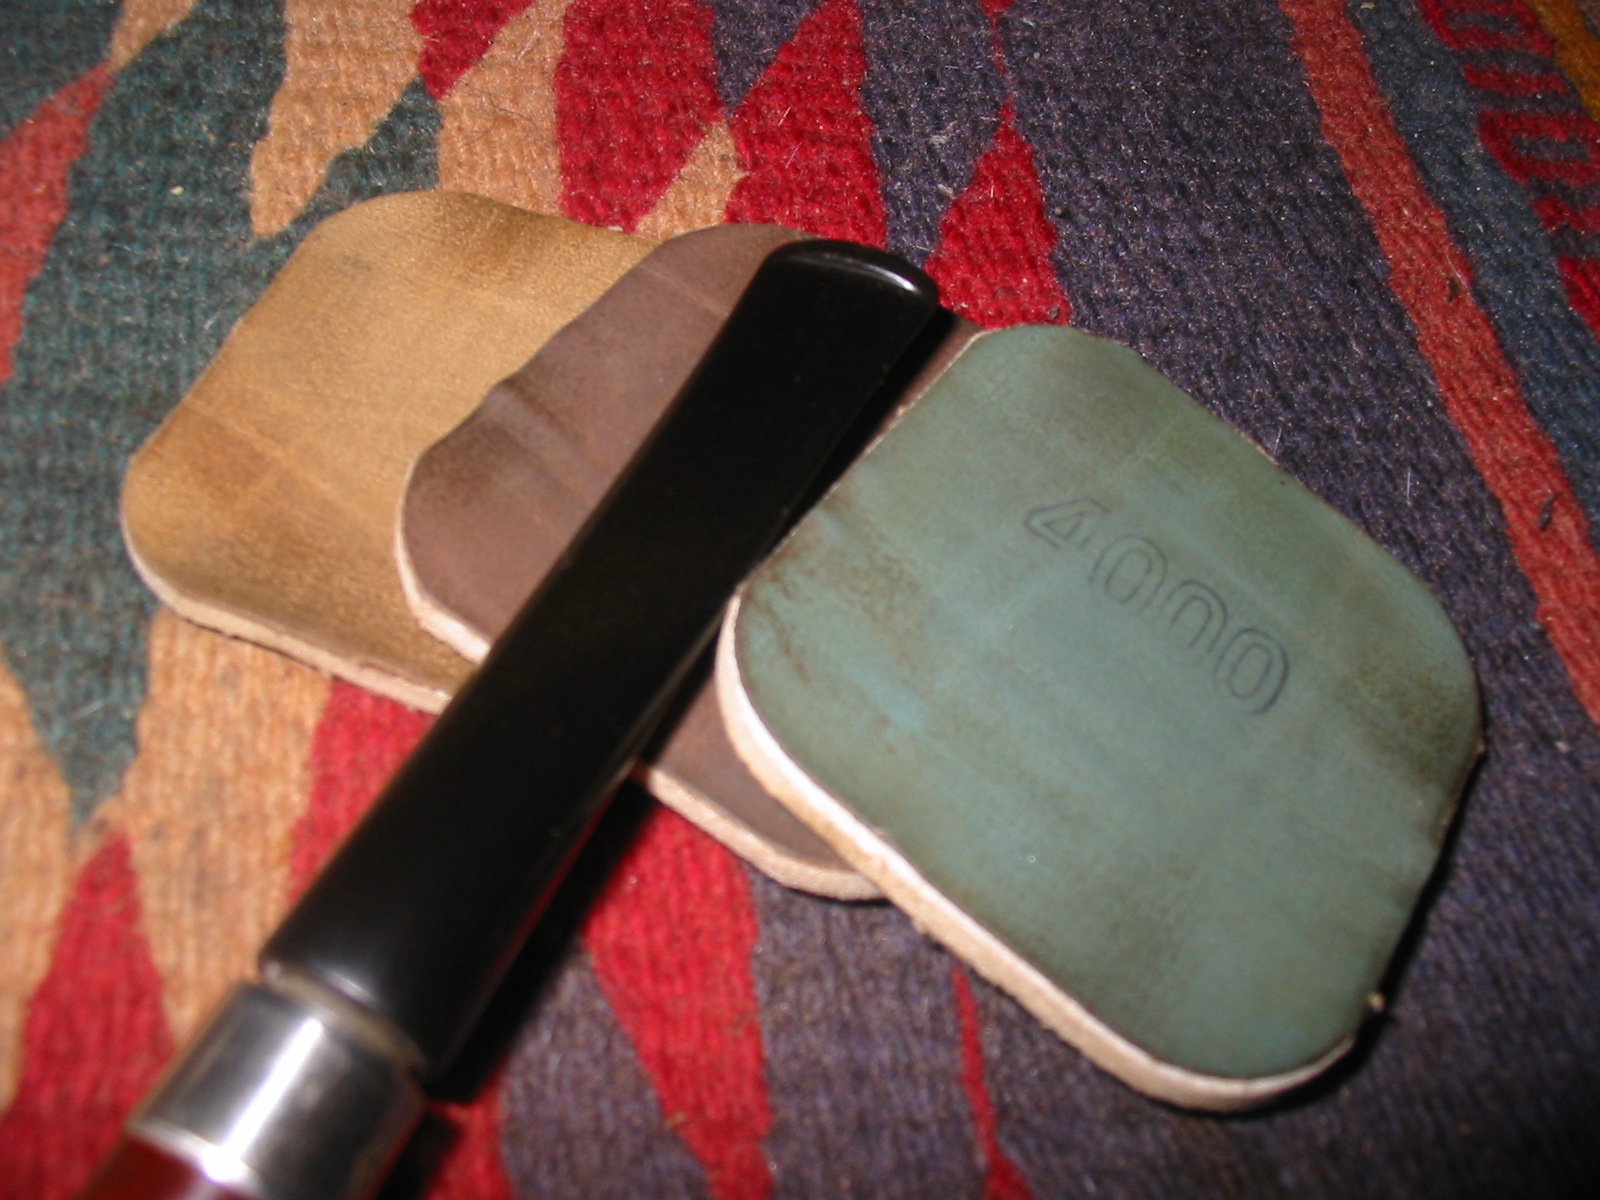
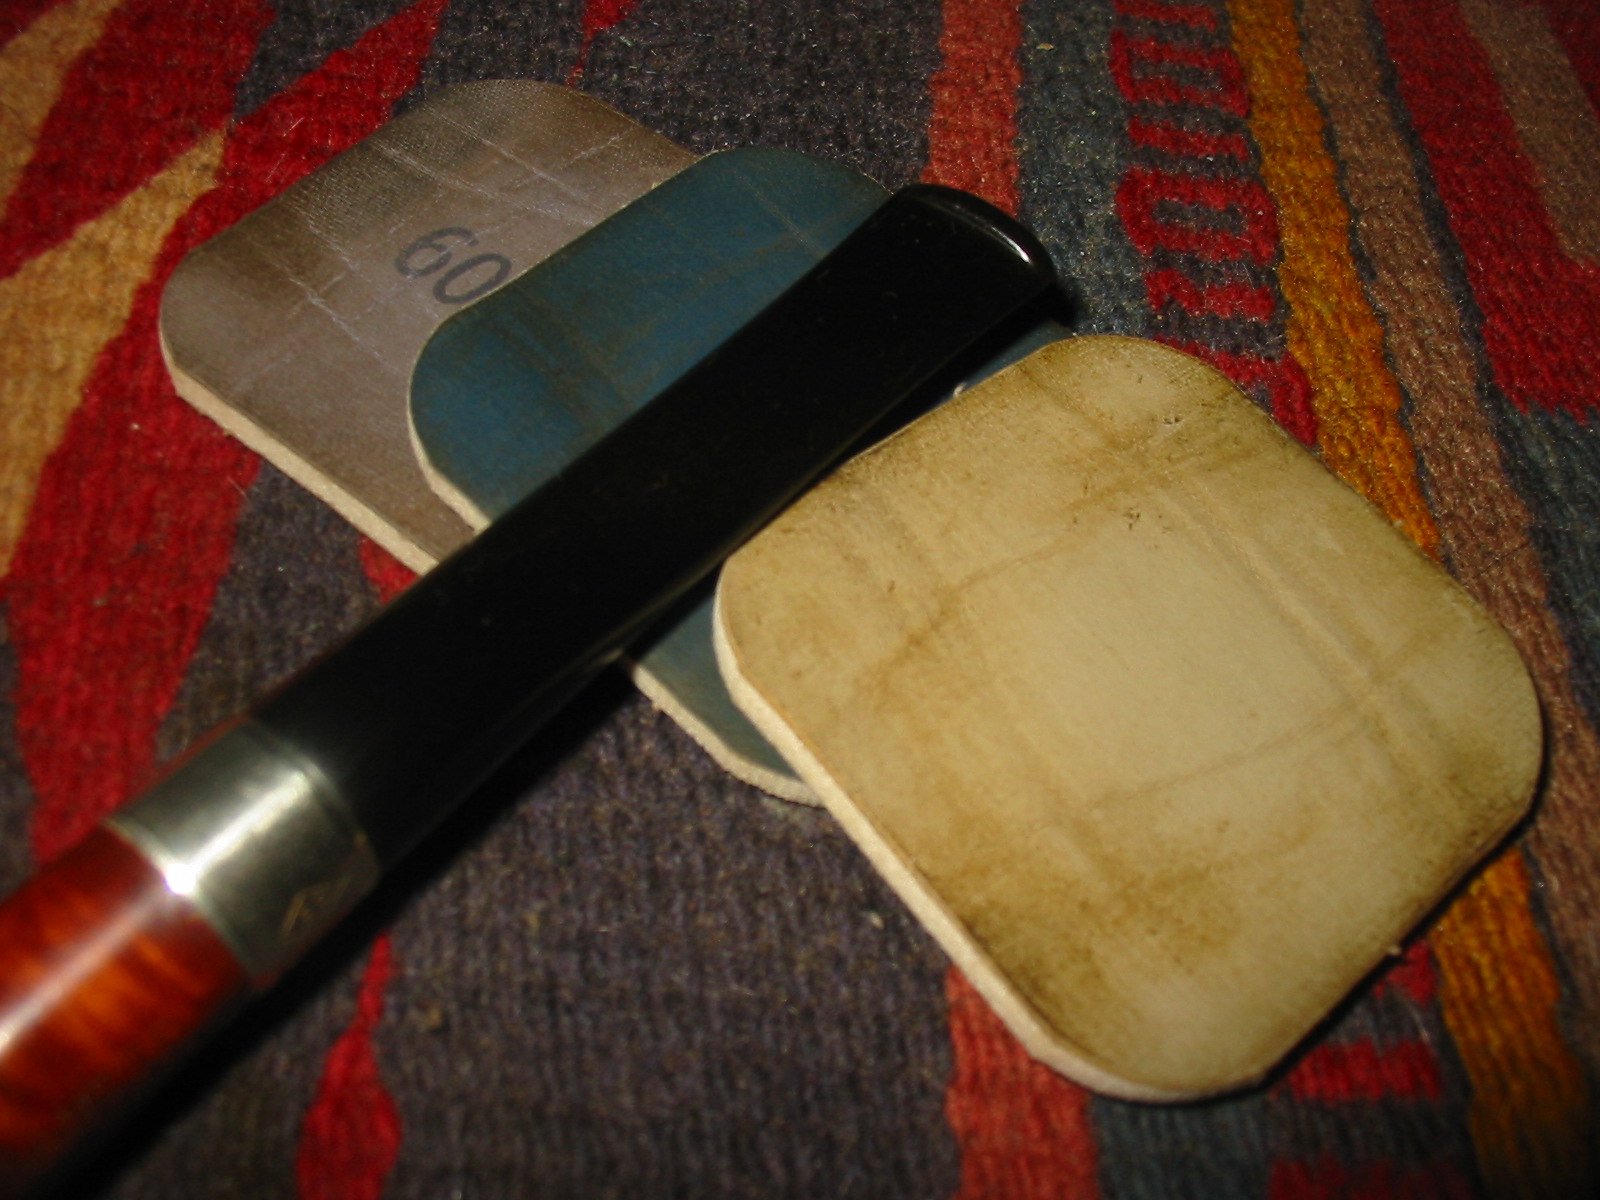
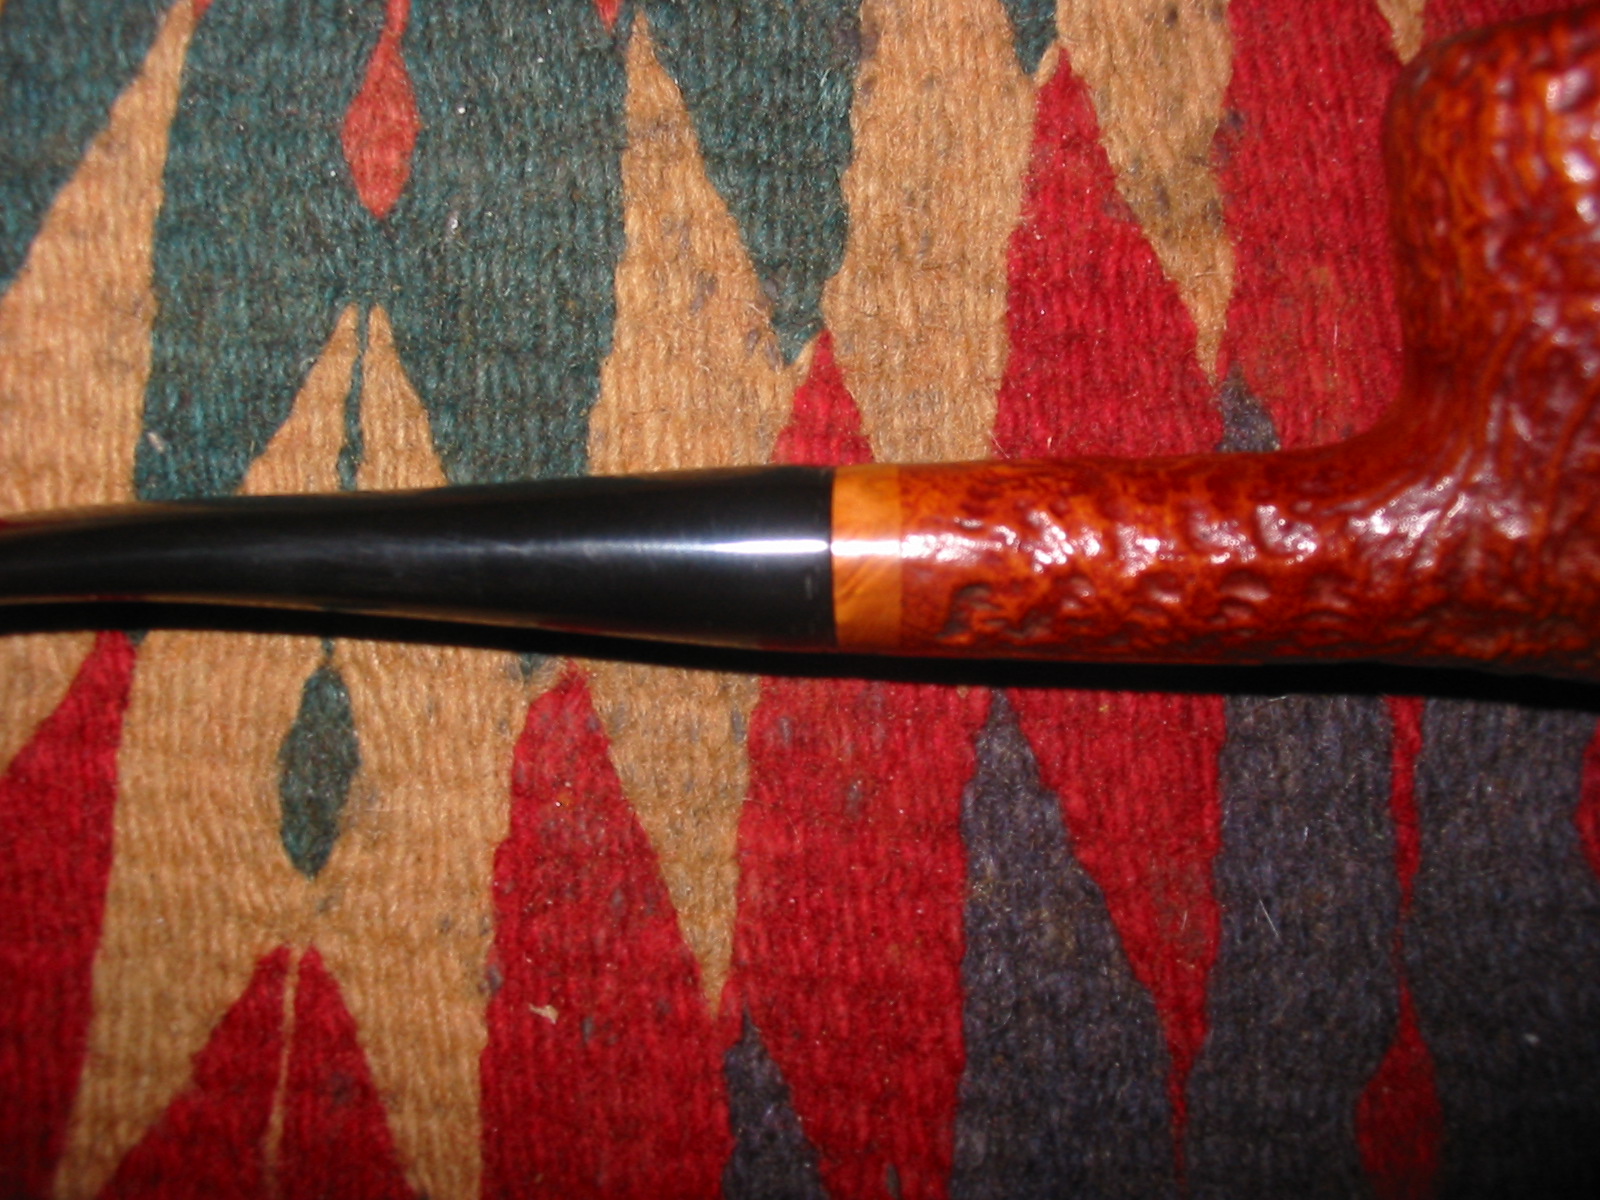
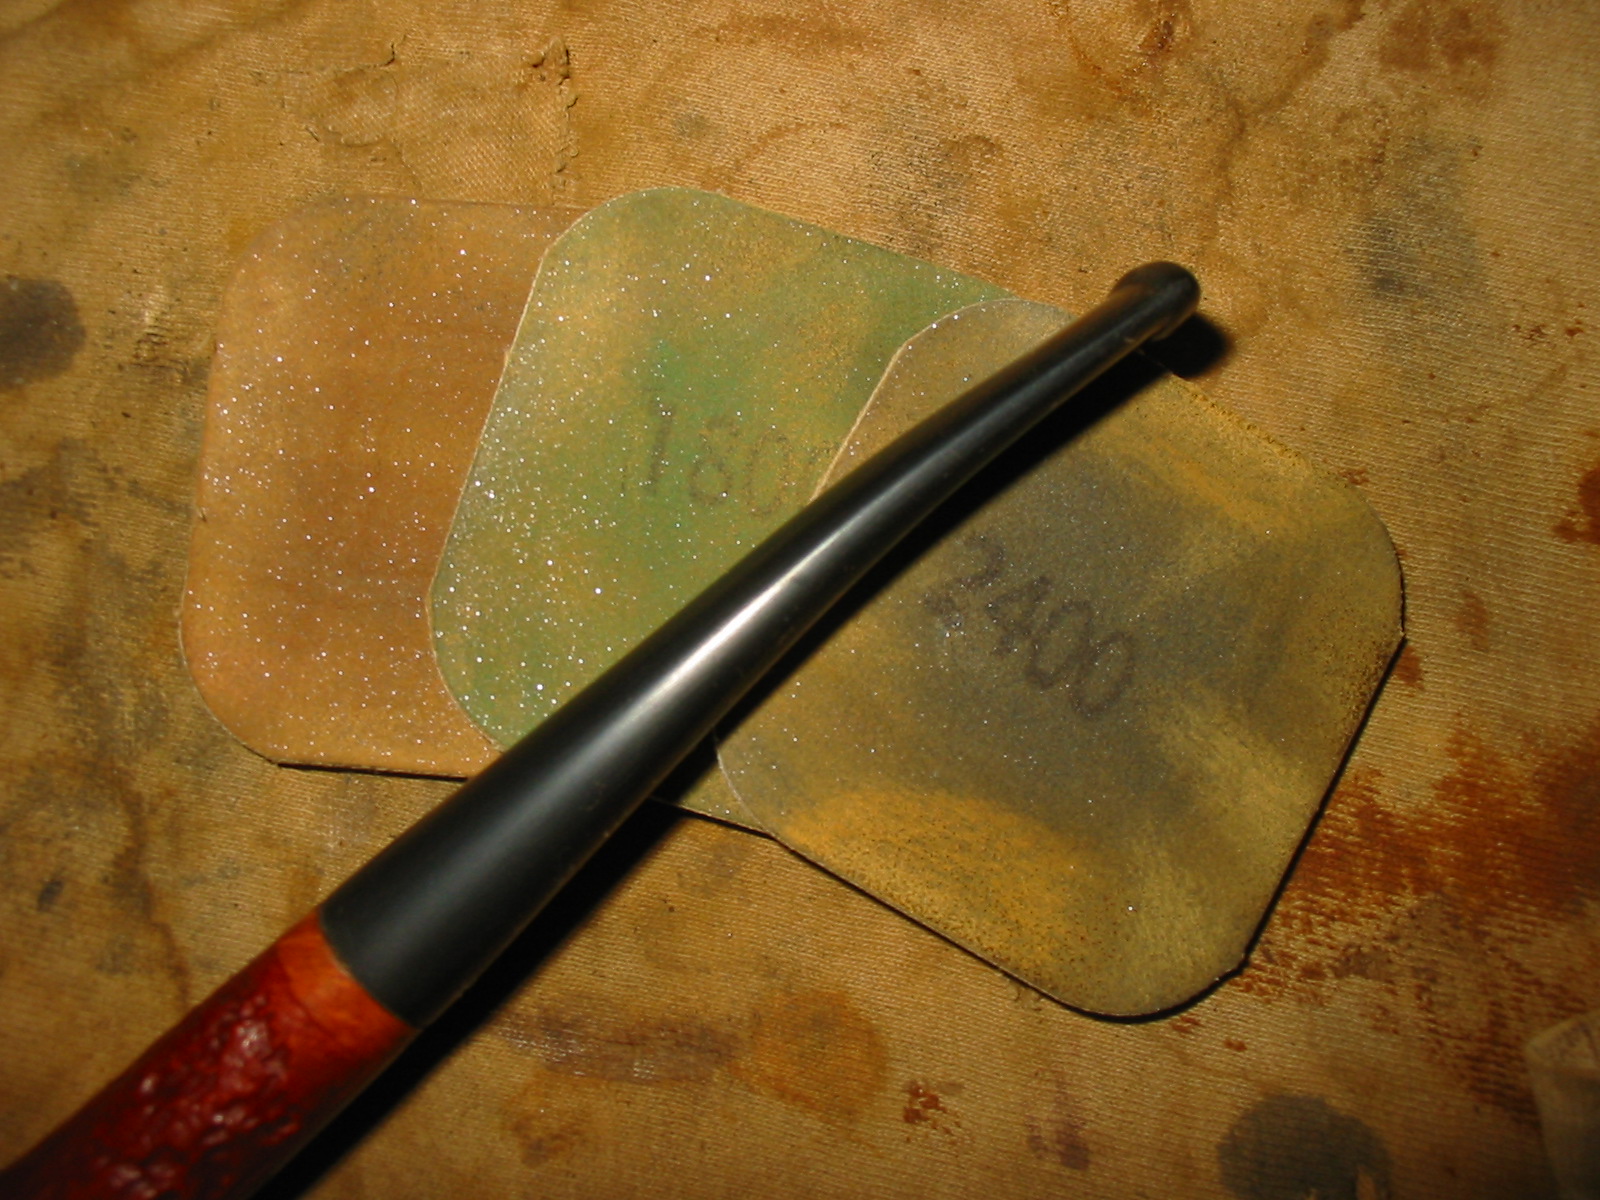
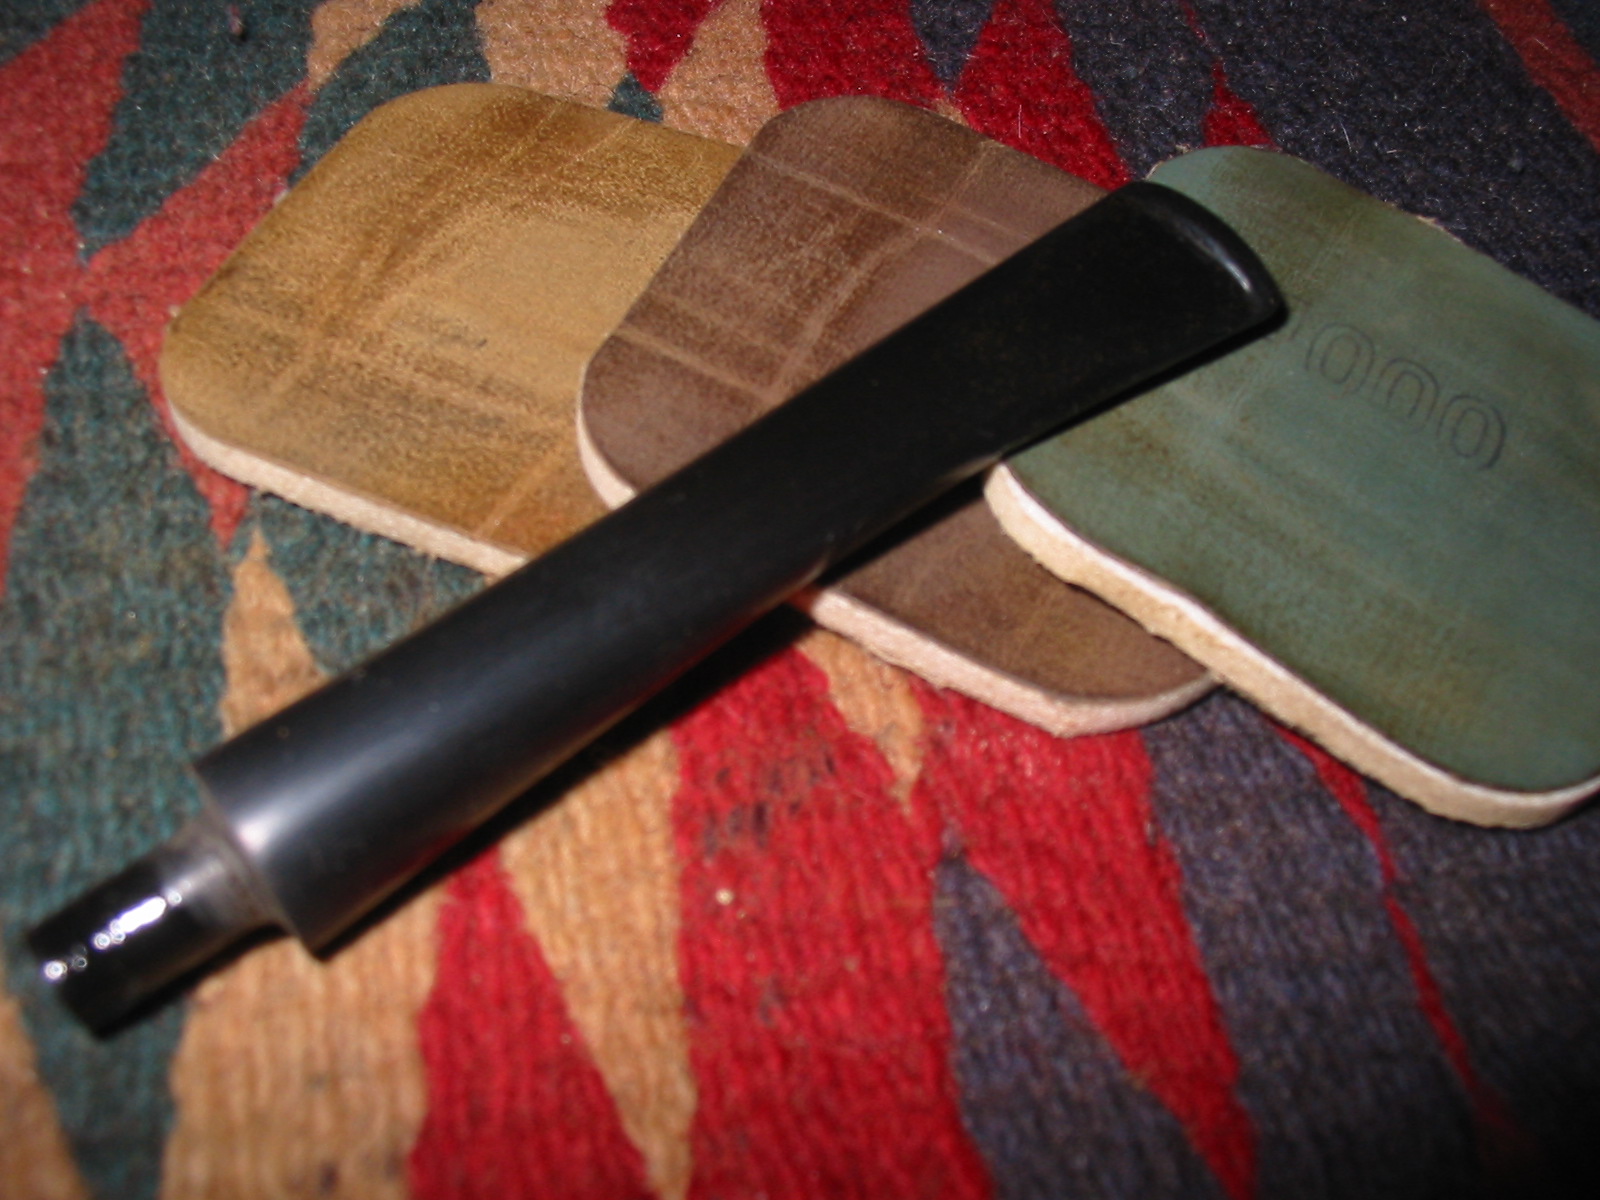
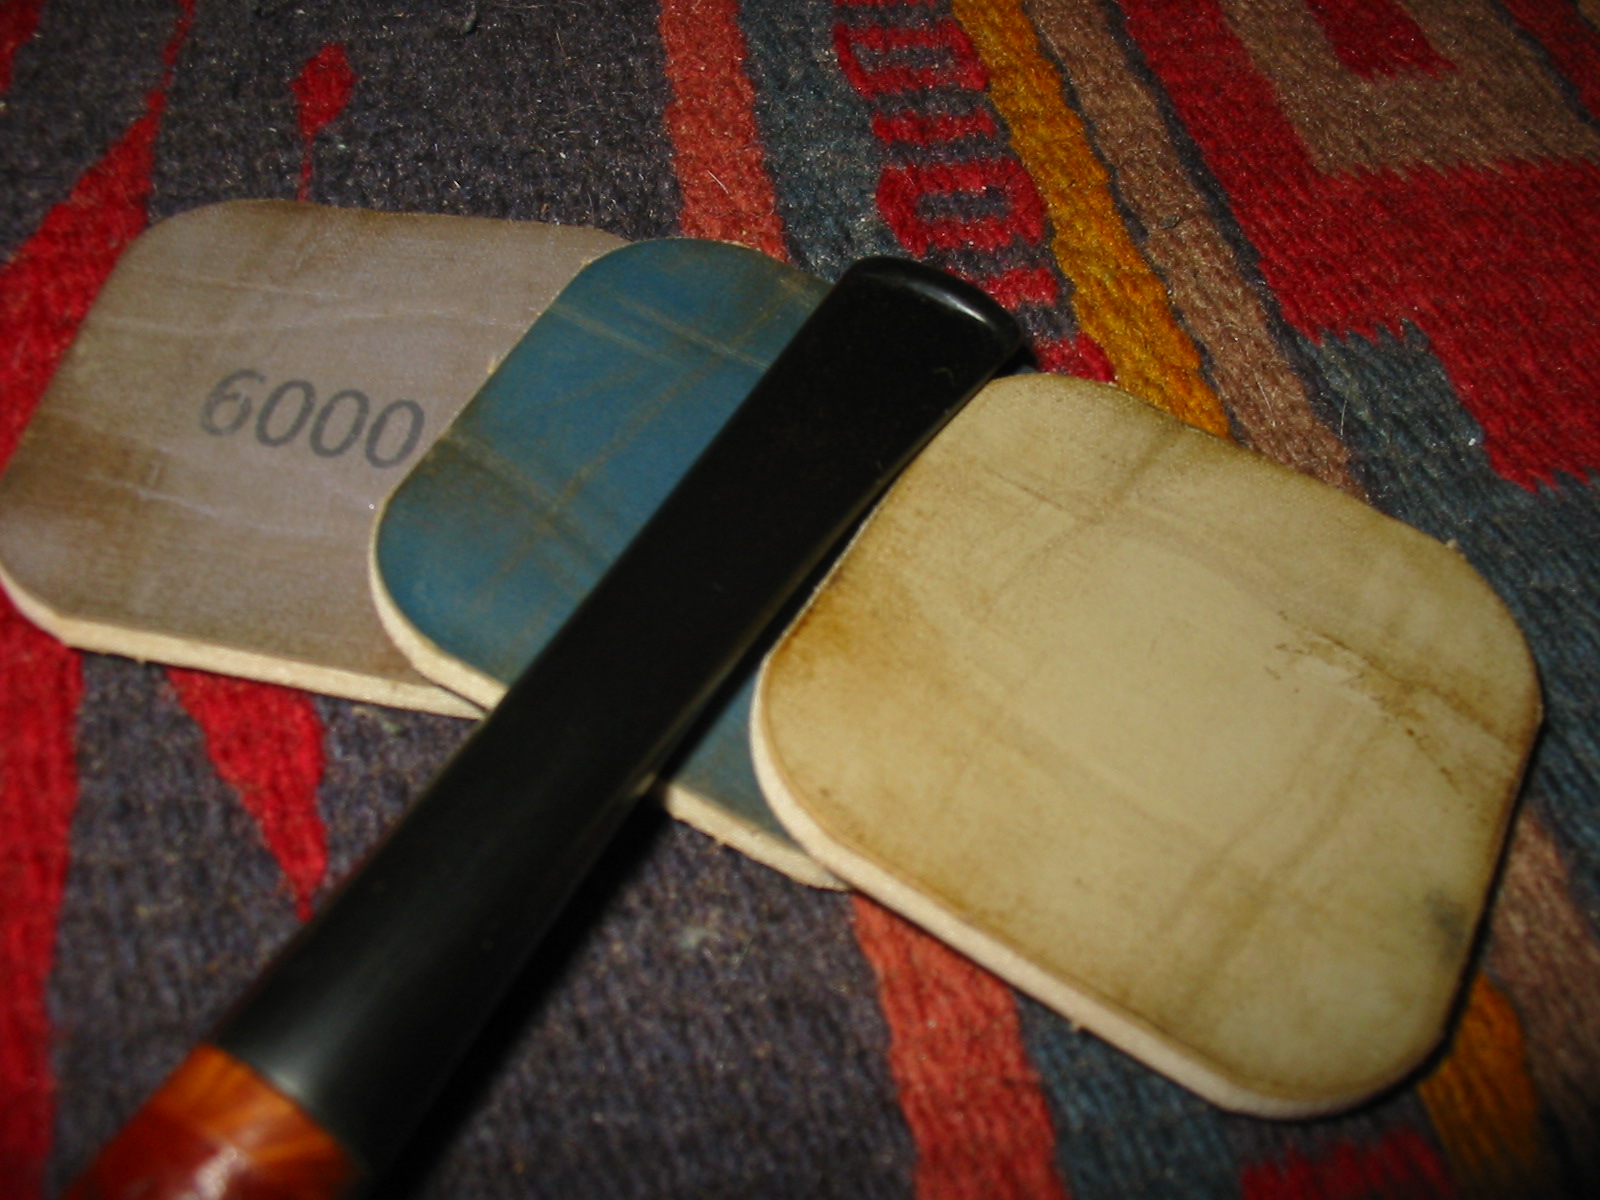
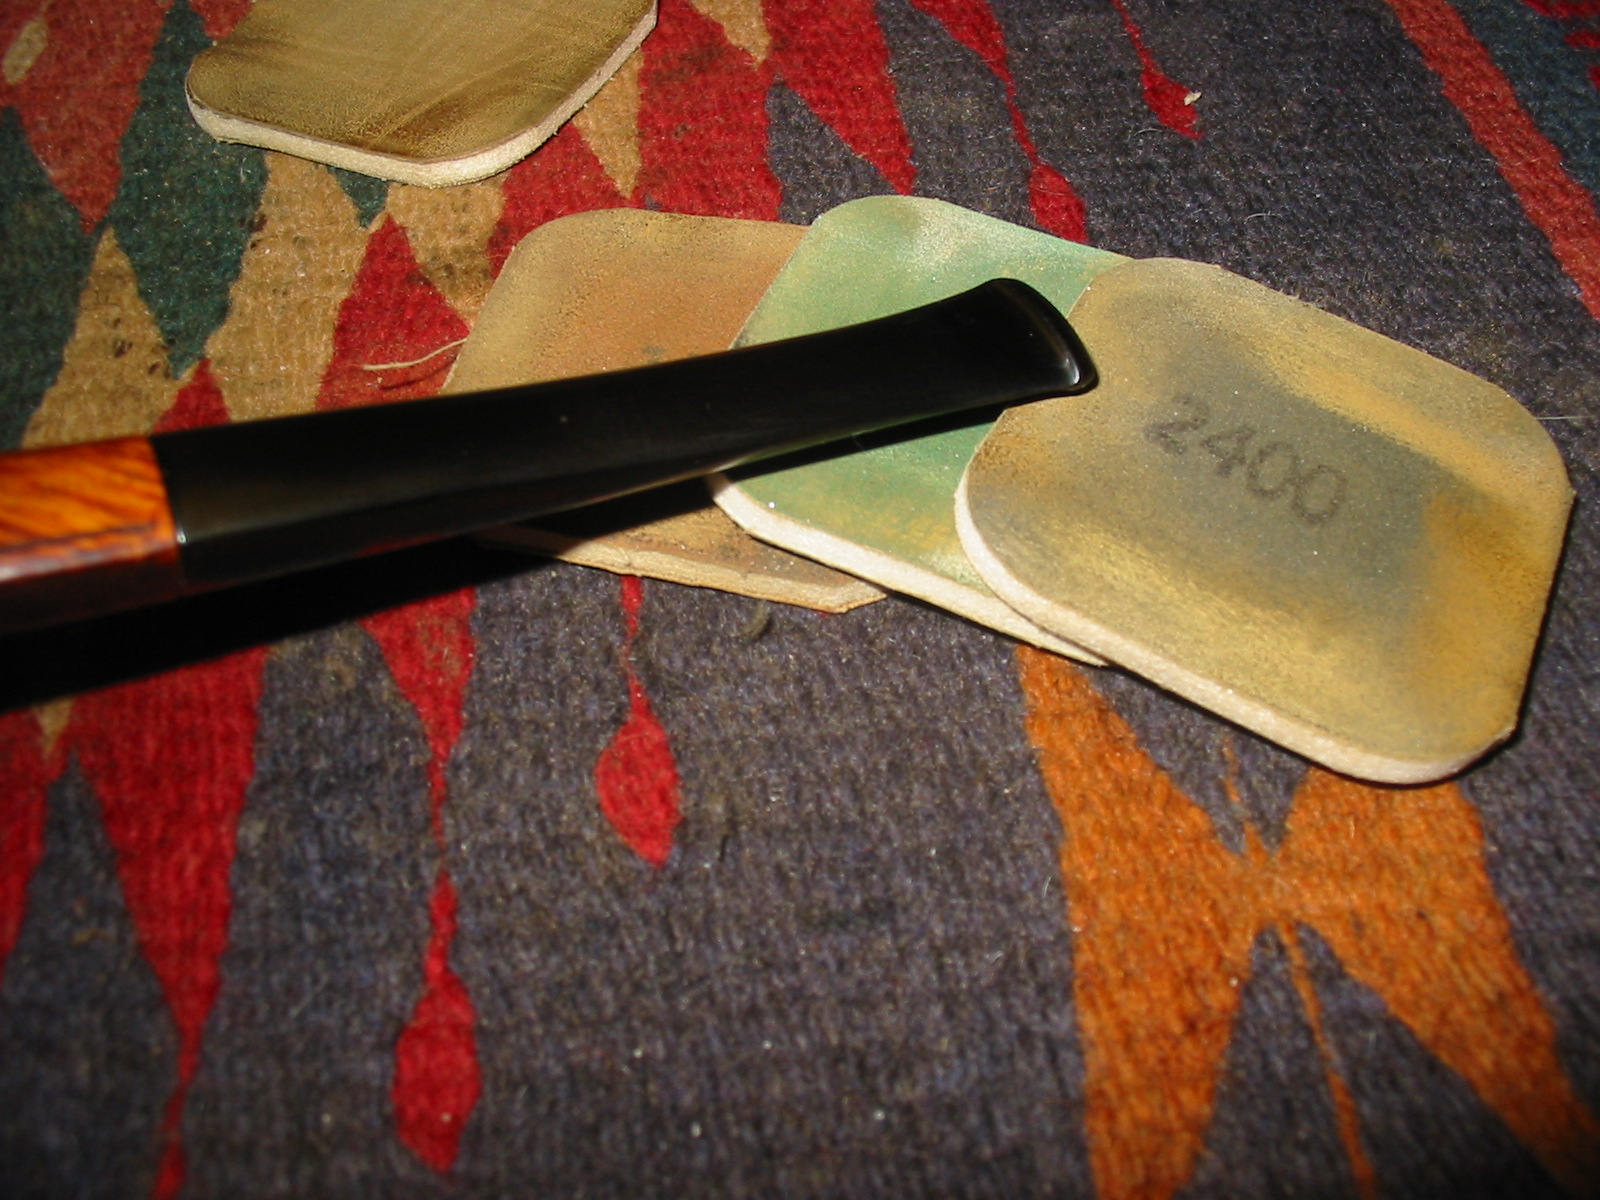
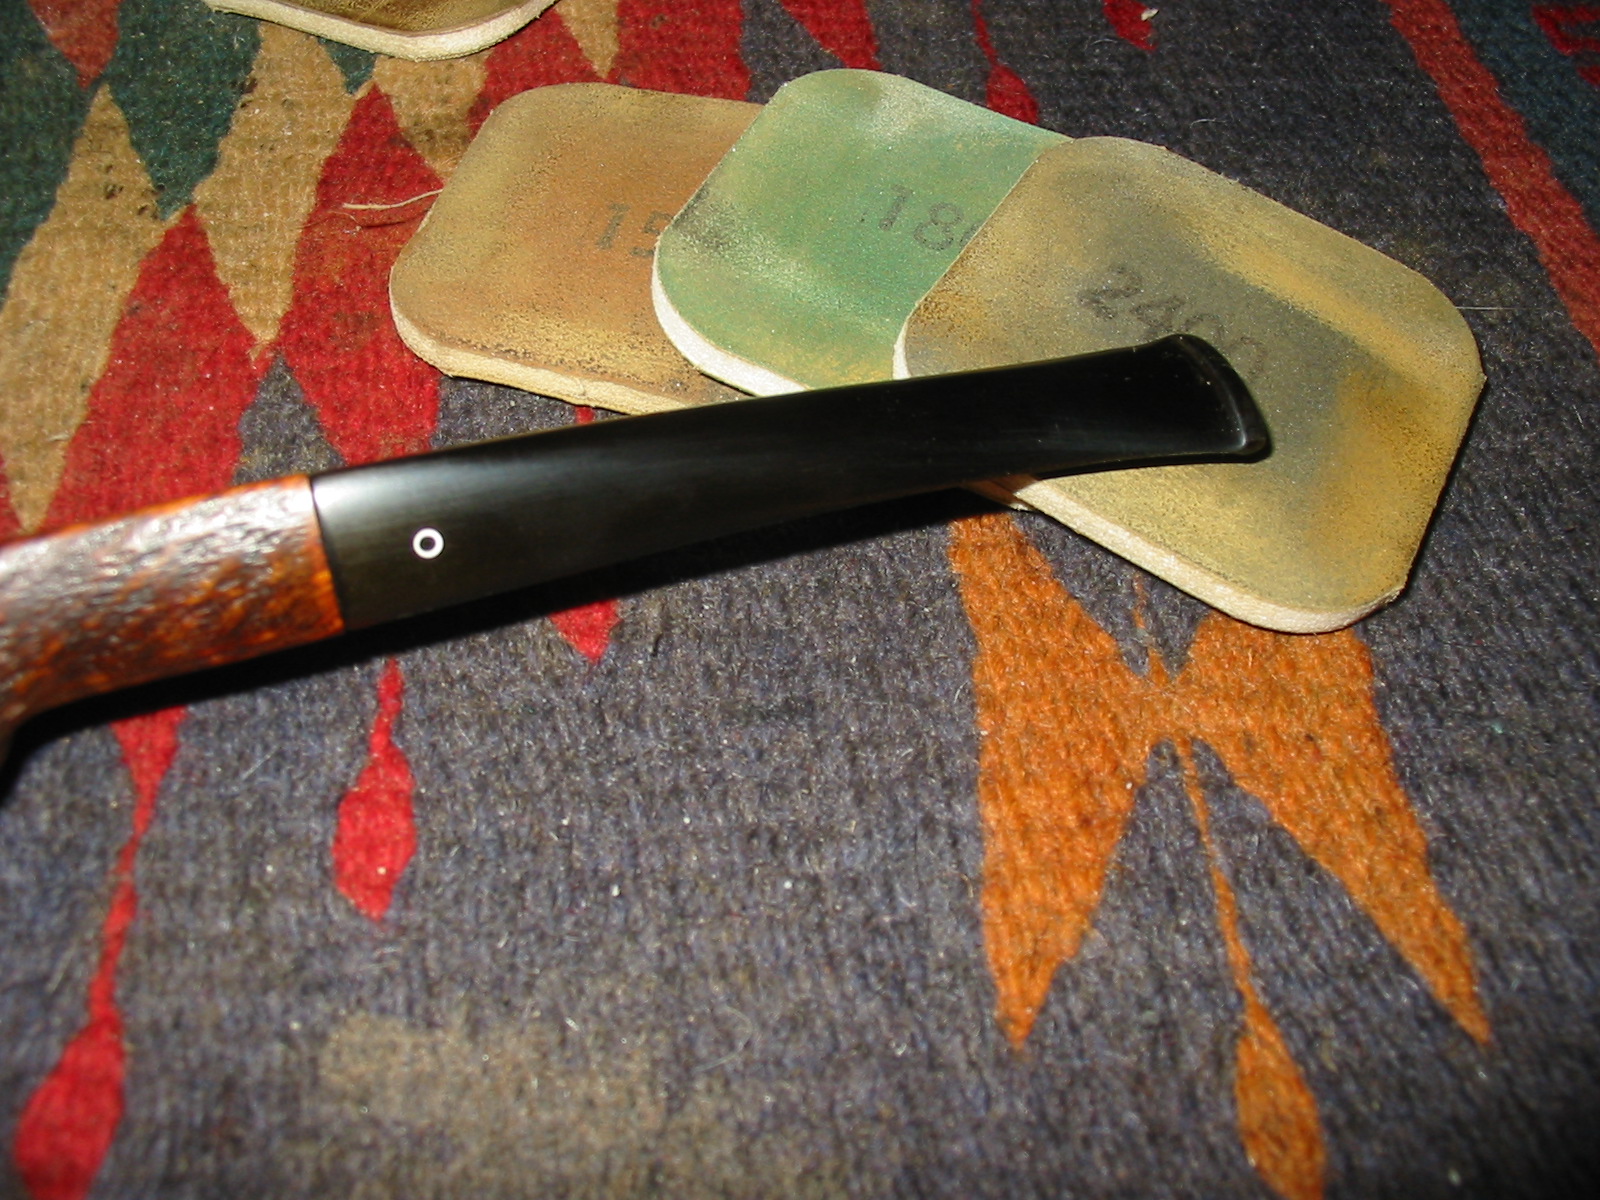
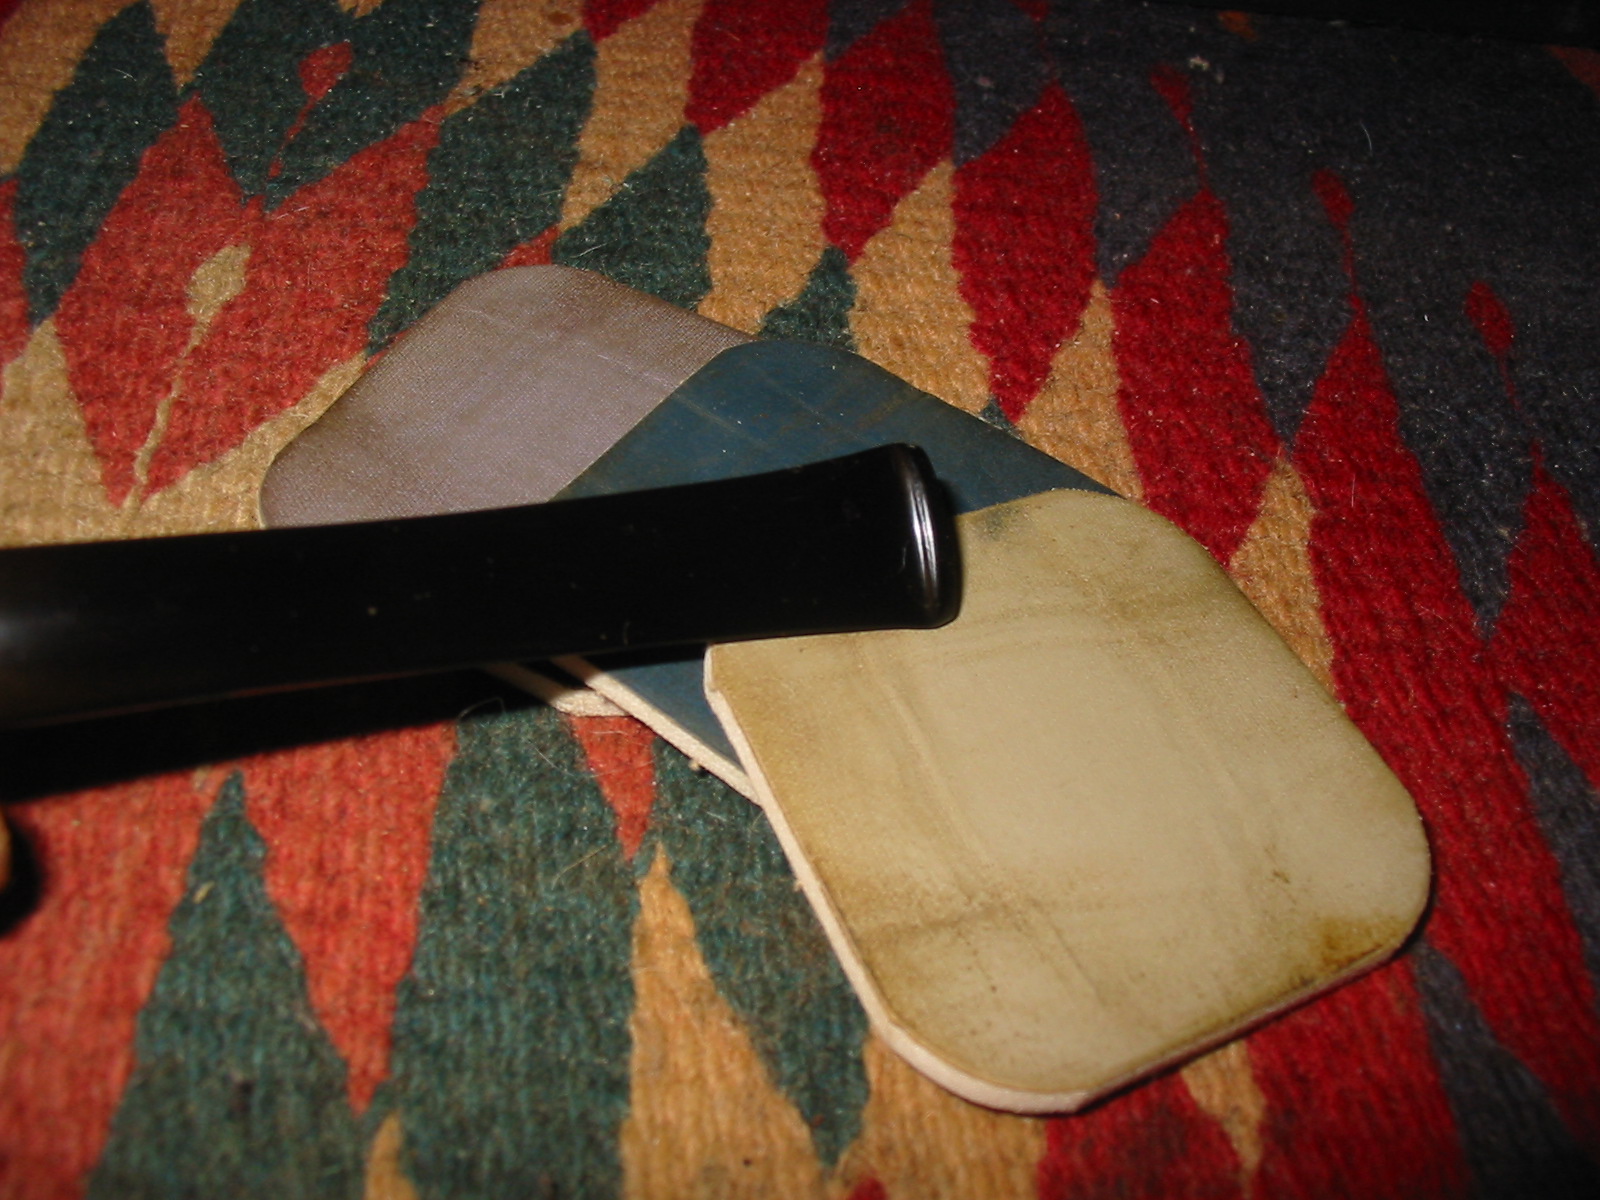
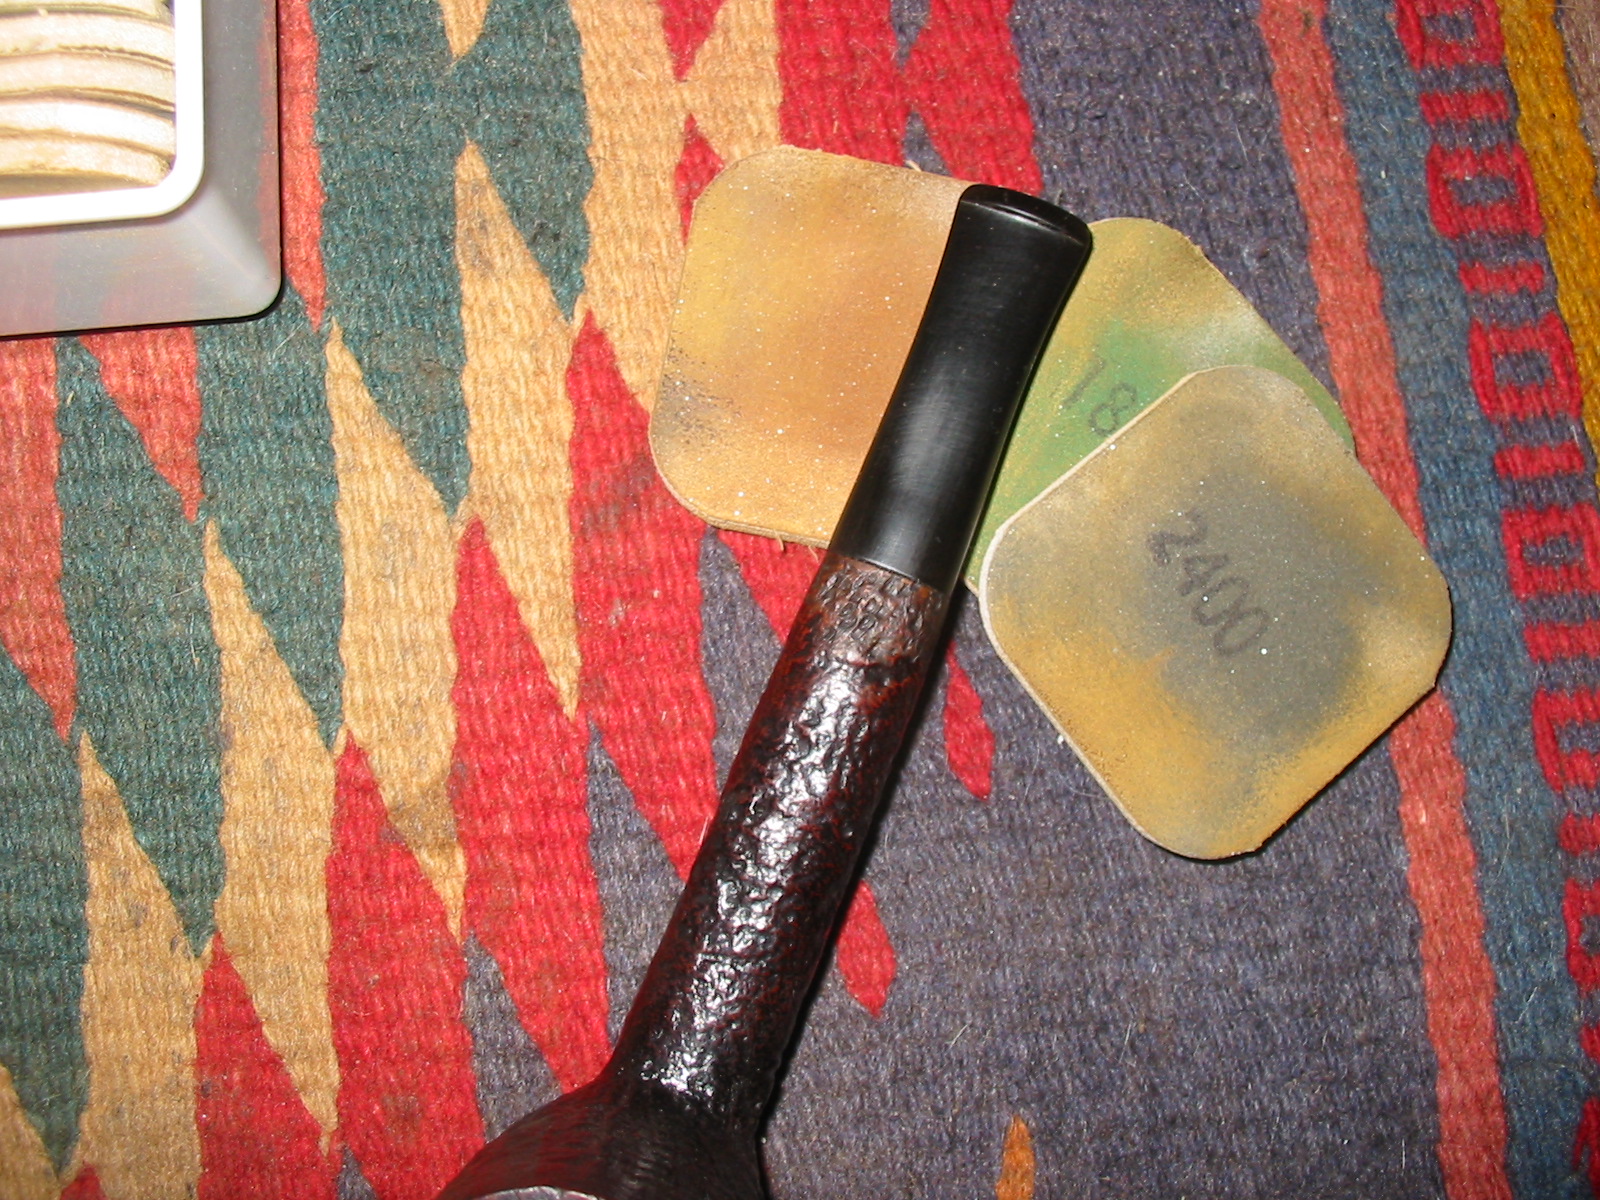
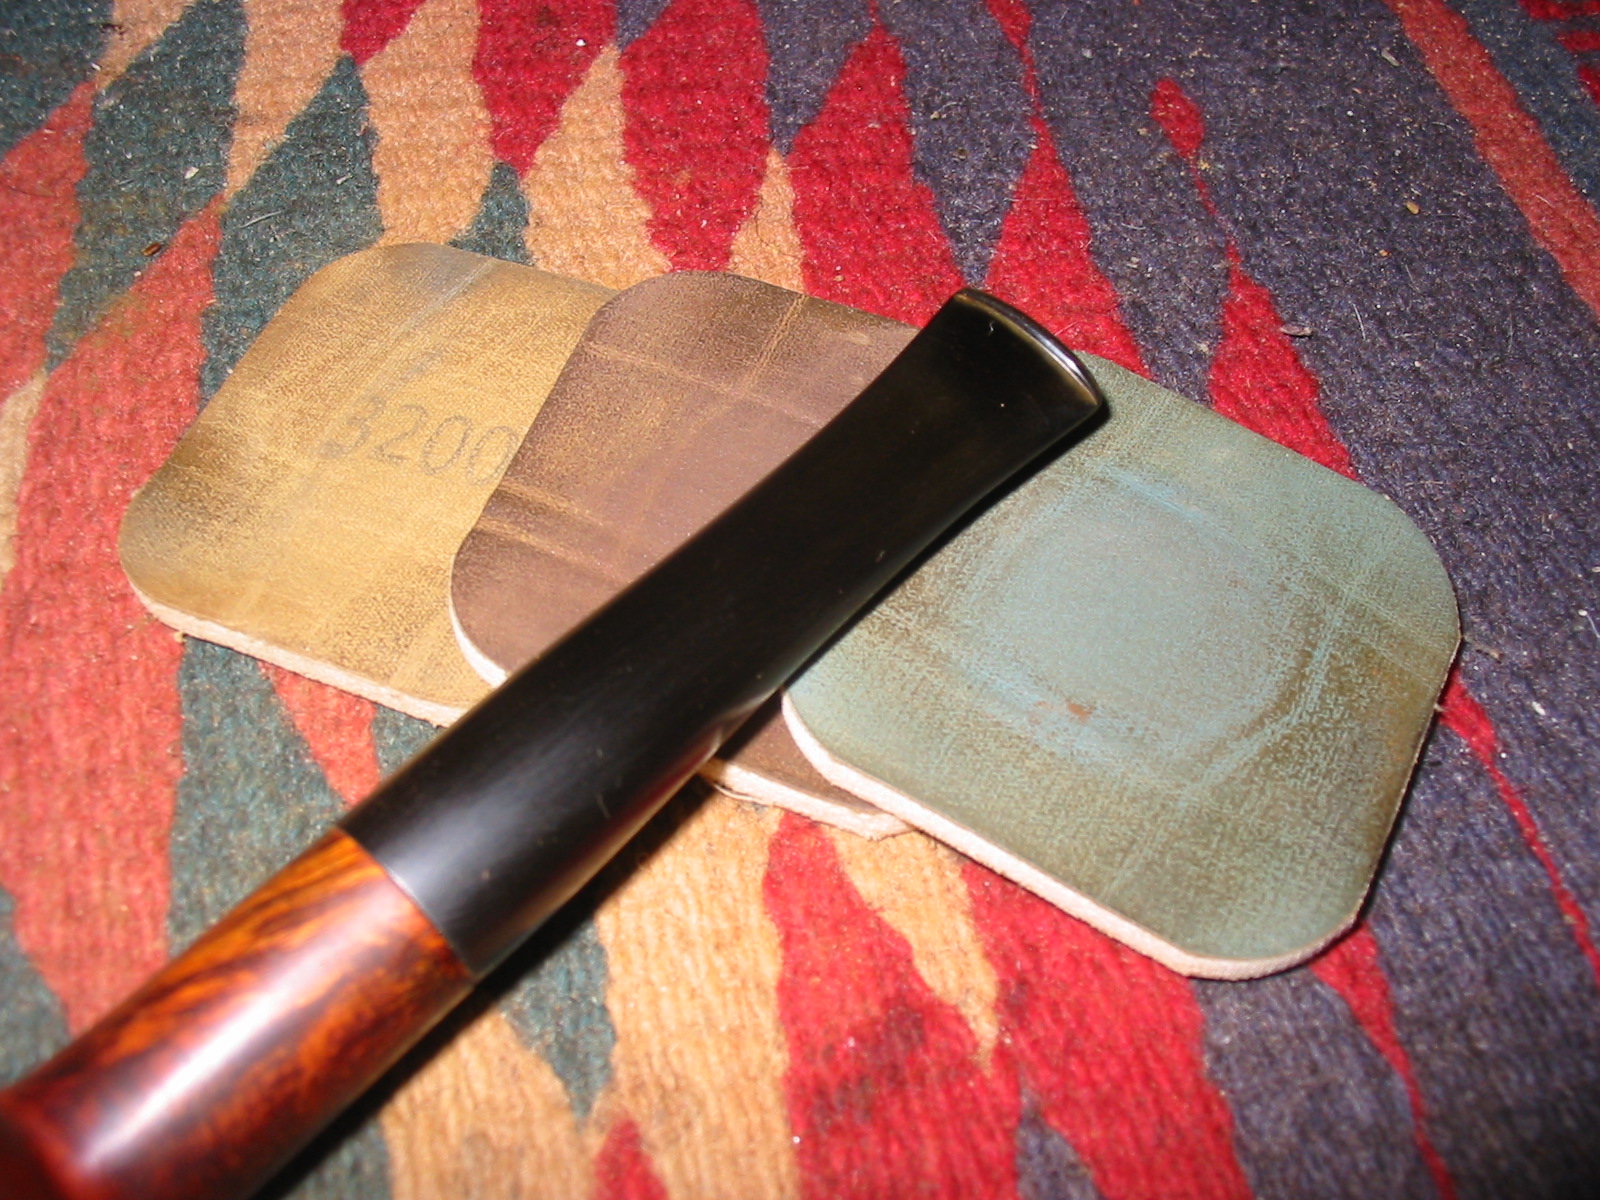
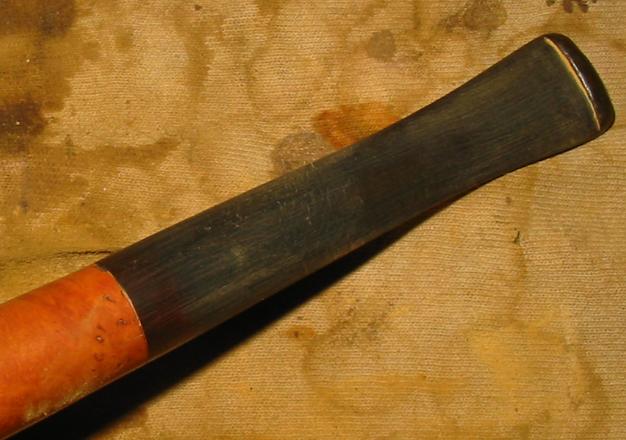
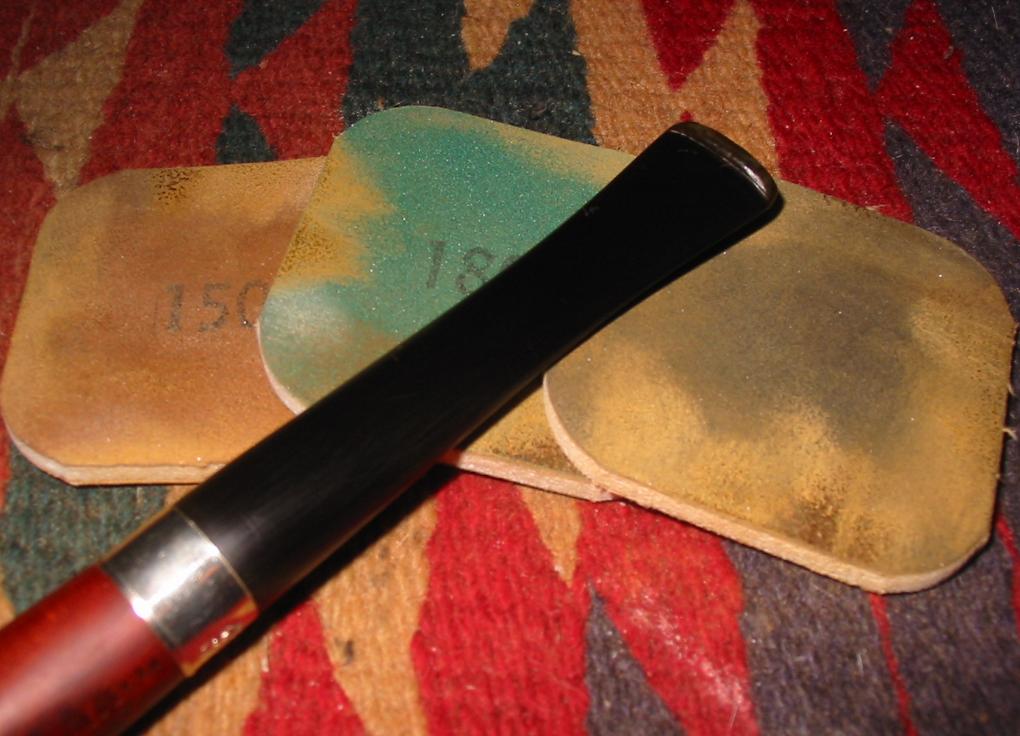
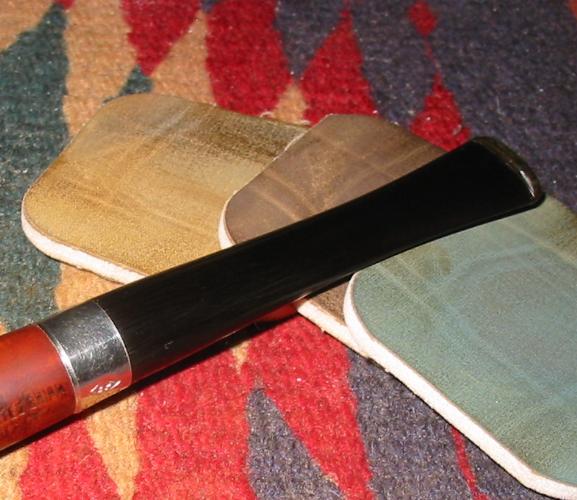
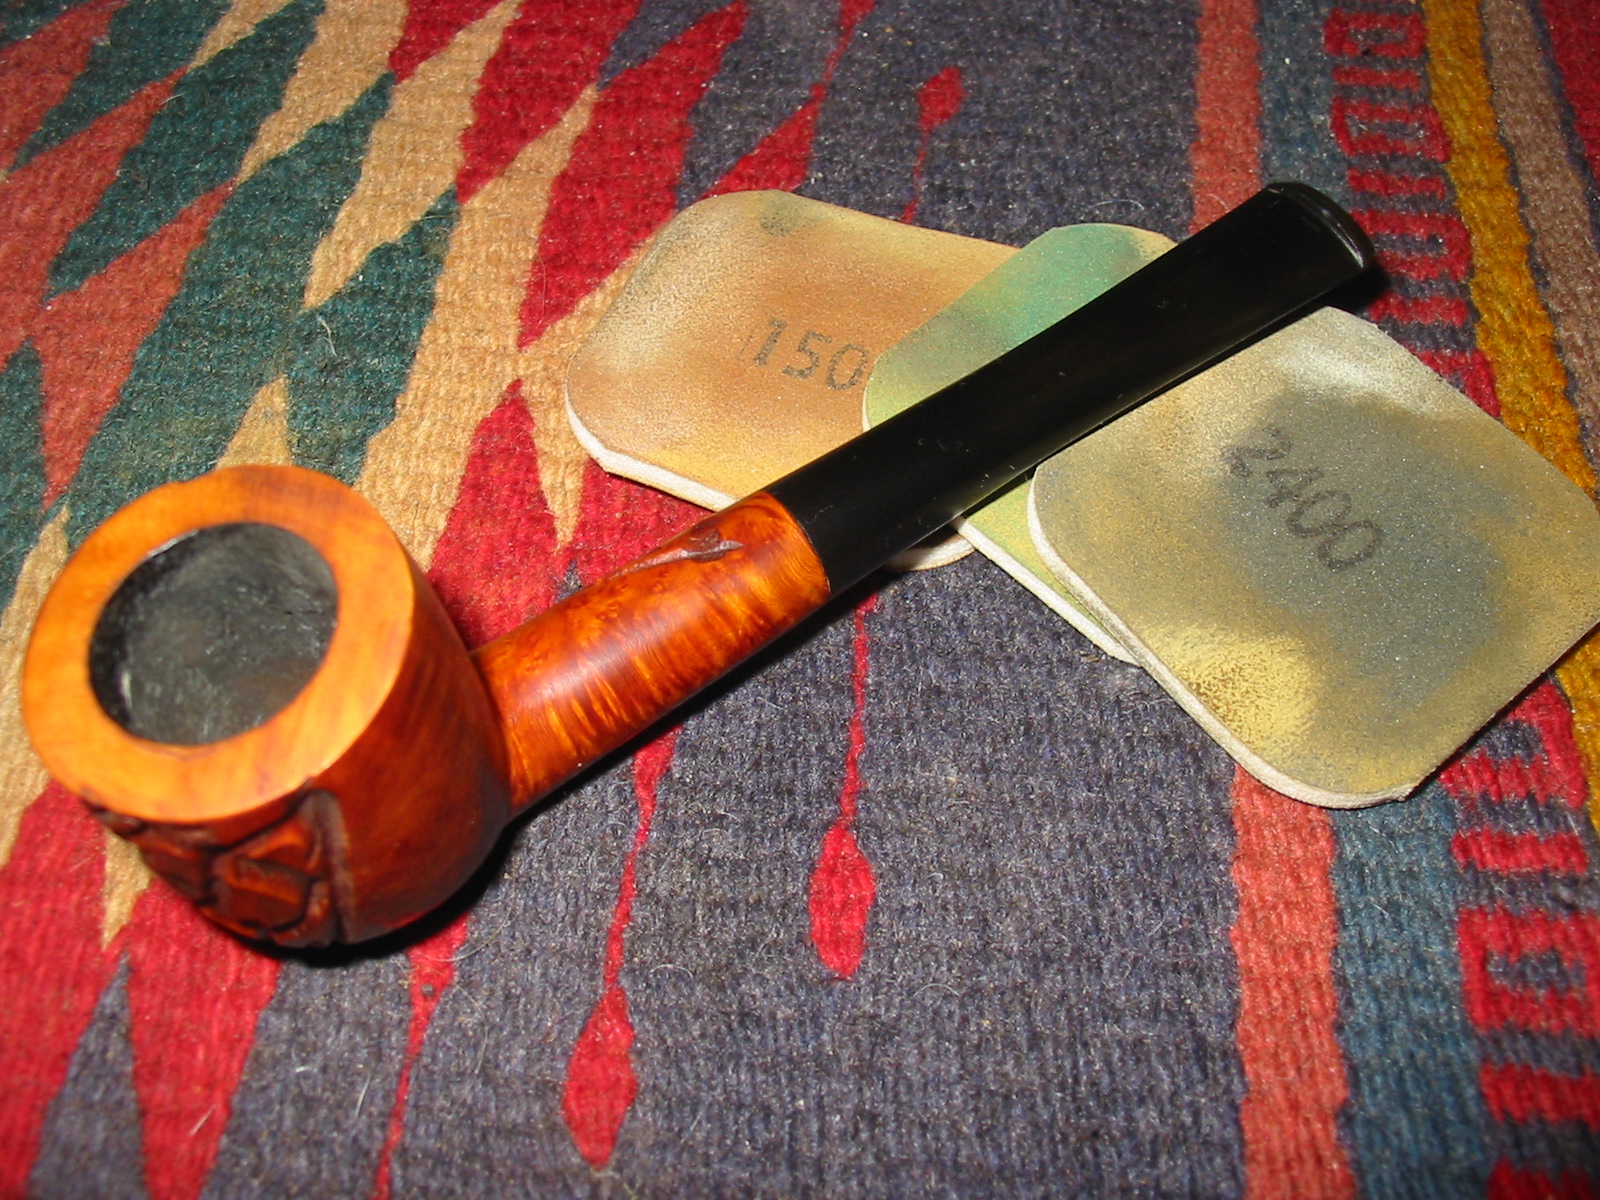
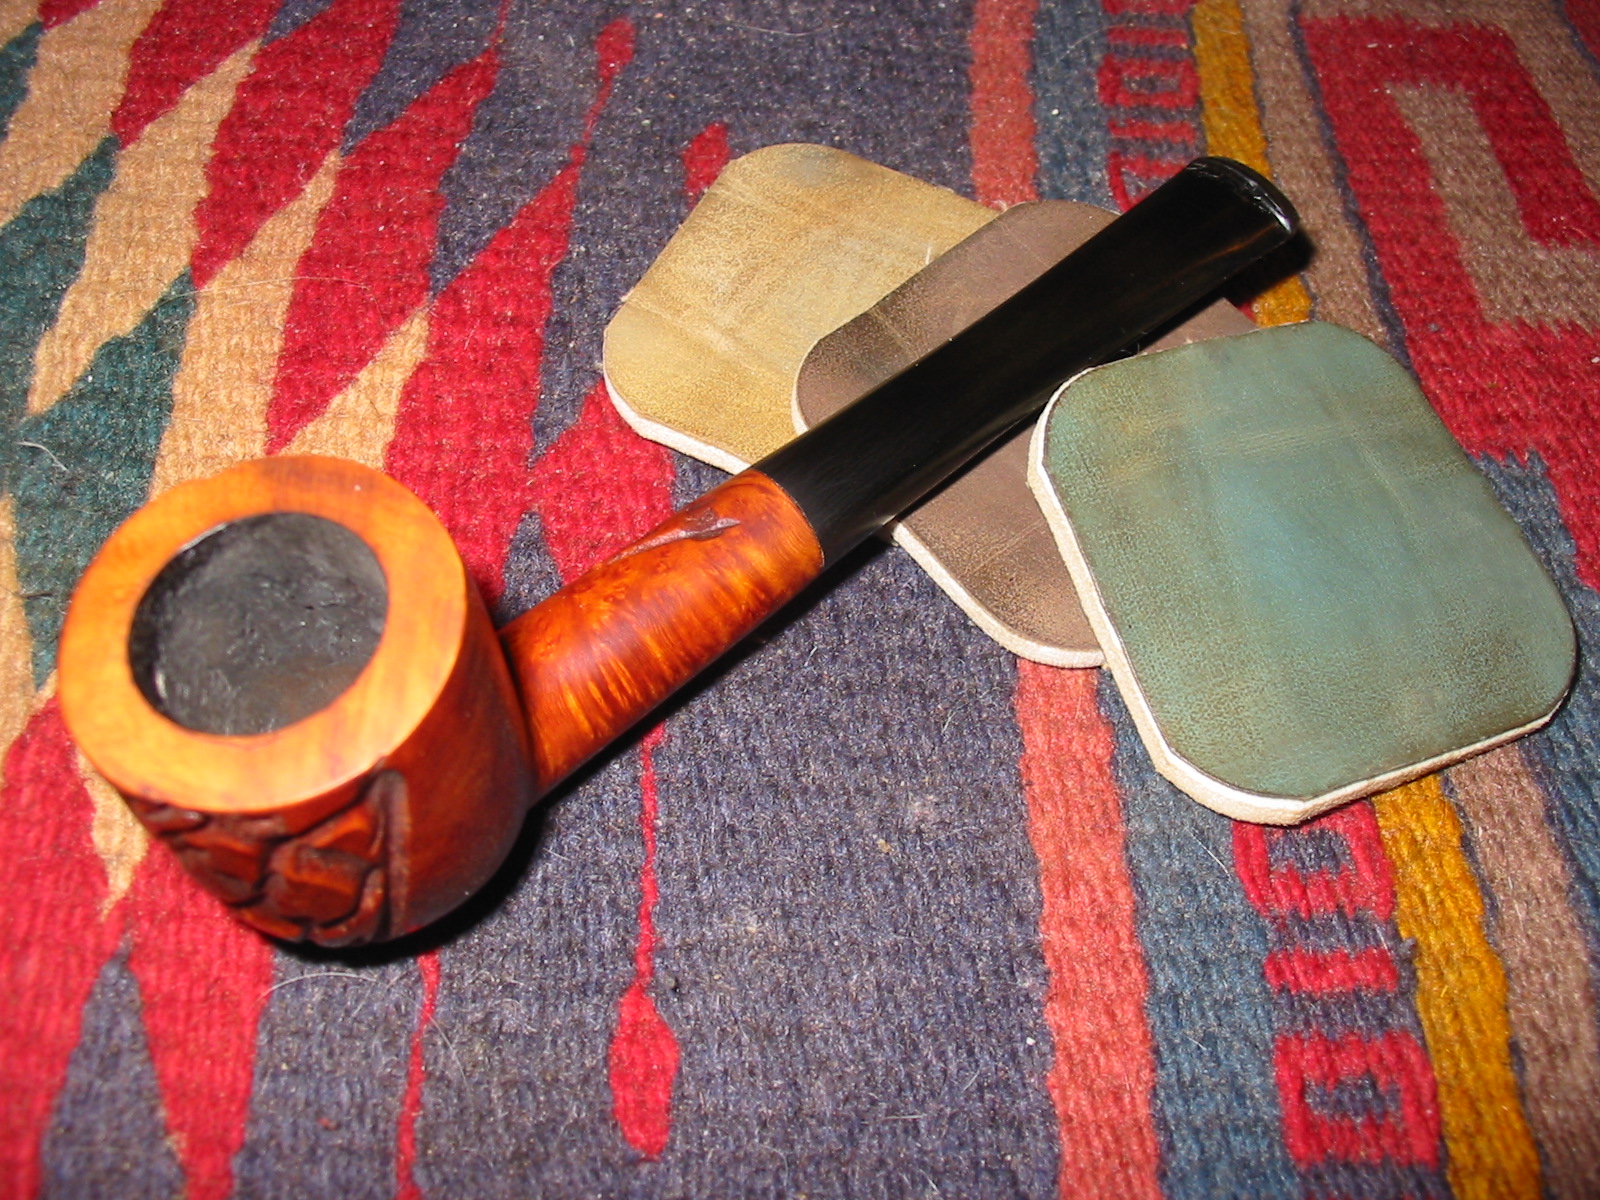
You can see from the few steps taken with the pipe that it was a very simple clean up. It took more time to fit the stem that it did to clean up the bowl and band. I gave it a quick buff with White Diamond before working on the stem. I took it back to the work table and sanded the stem with a medium and fine grit sanding sponge (the pink square pictured above is one of those sponges). I then sanded the bowl and stem with micromesh sanding pads – wet sanding with 1500-2400 grit pads and dry sanding with 3200-12000 grit pads.
IMG_6252

IMG_6254

IMG_6255
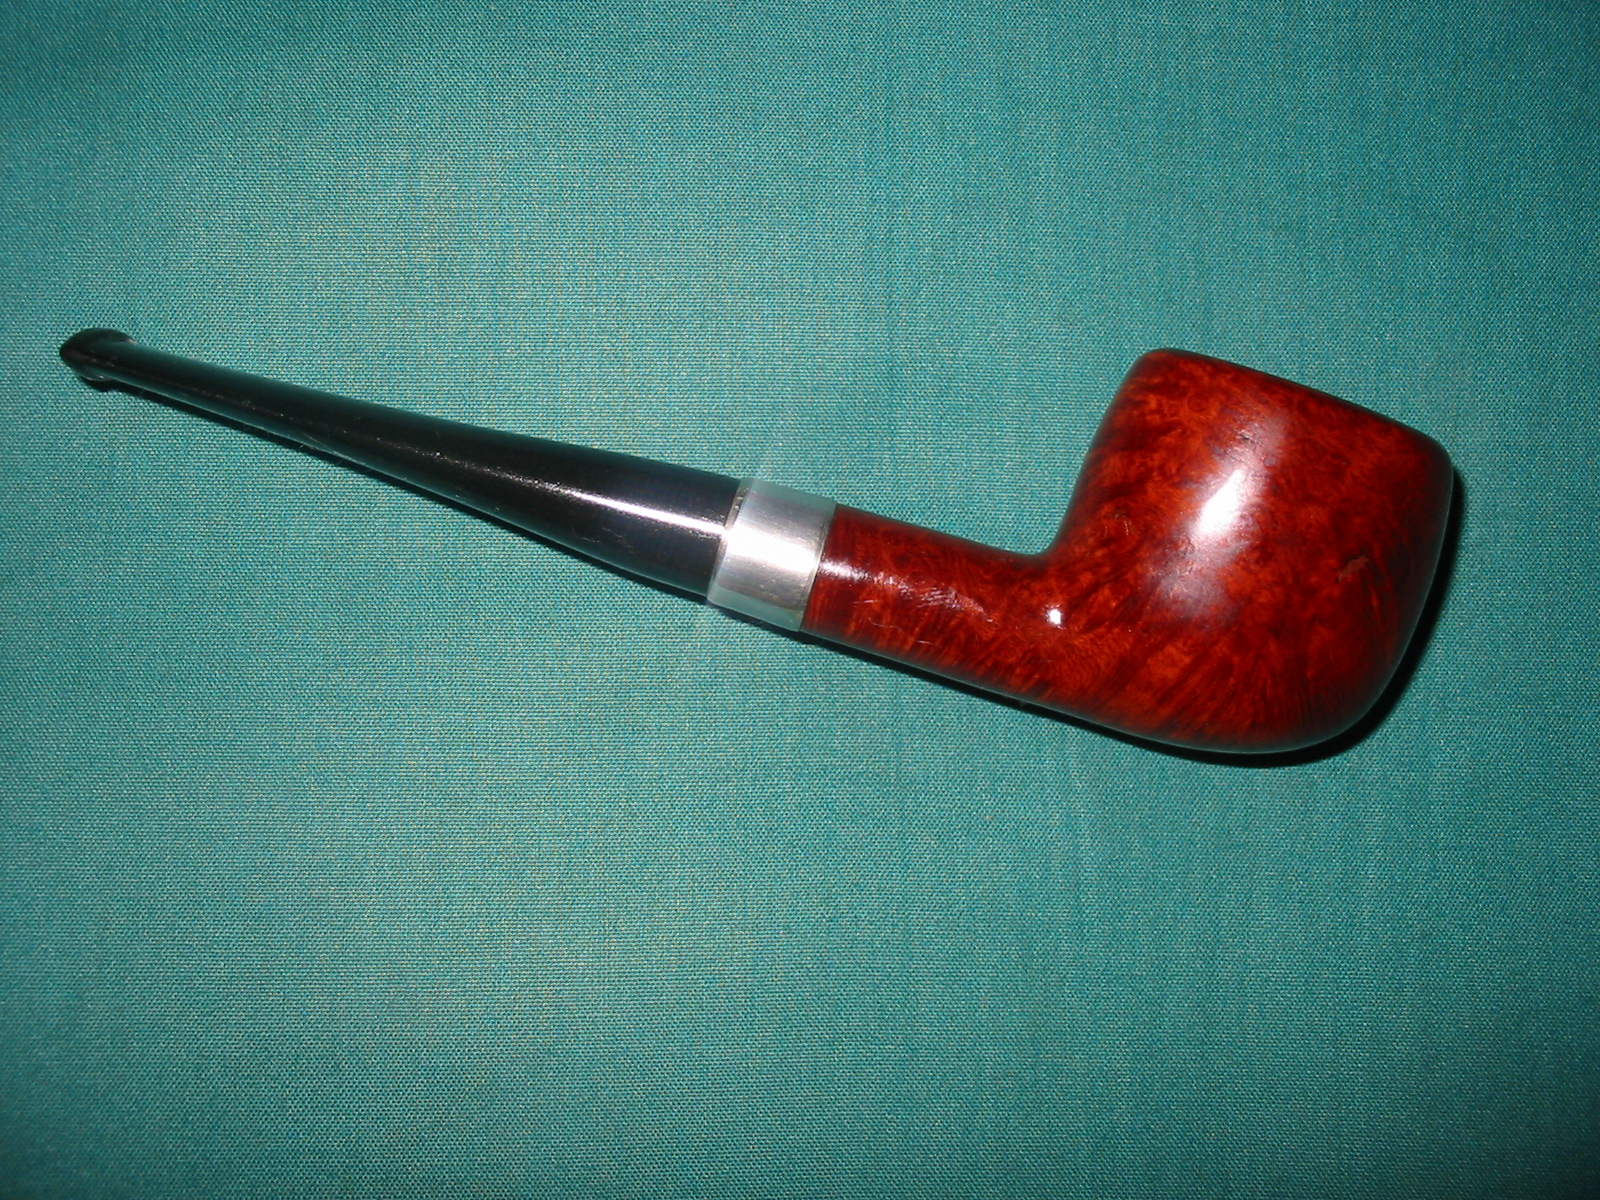
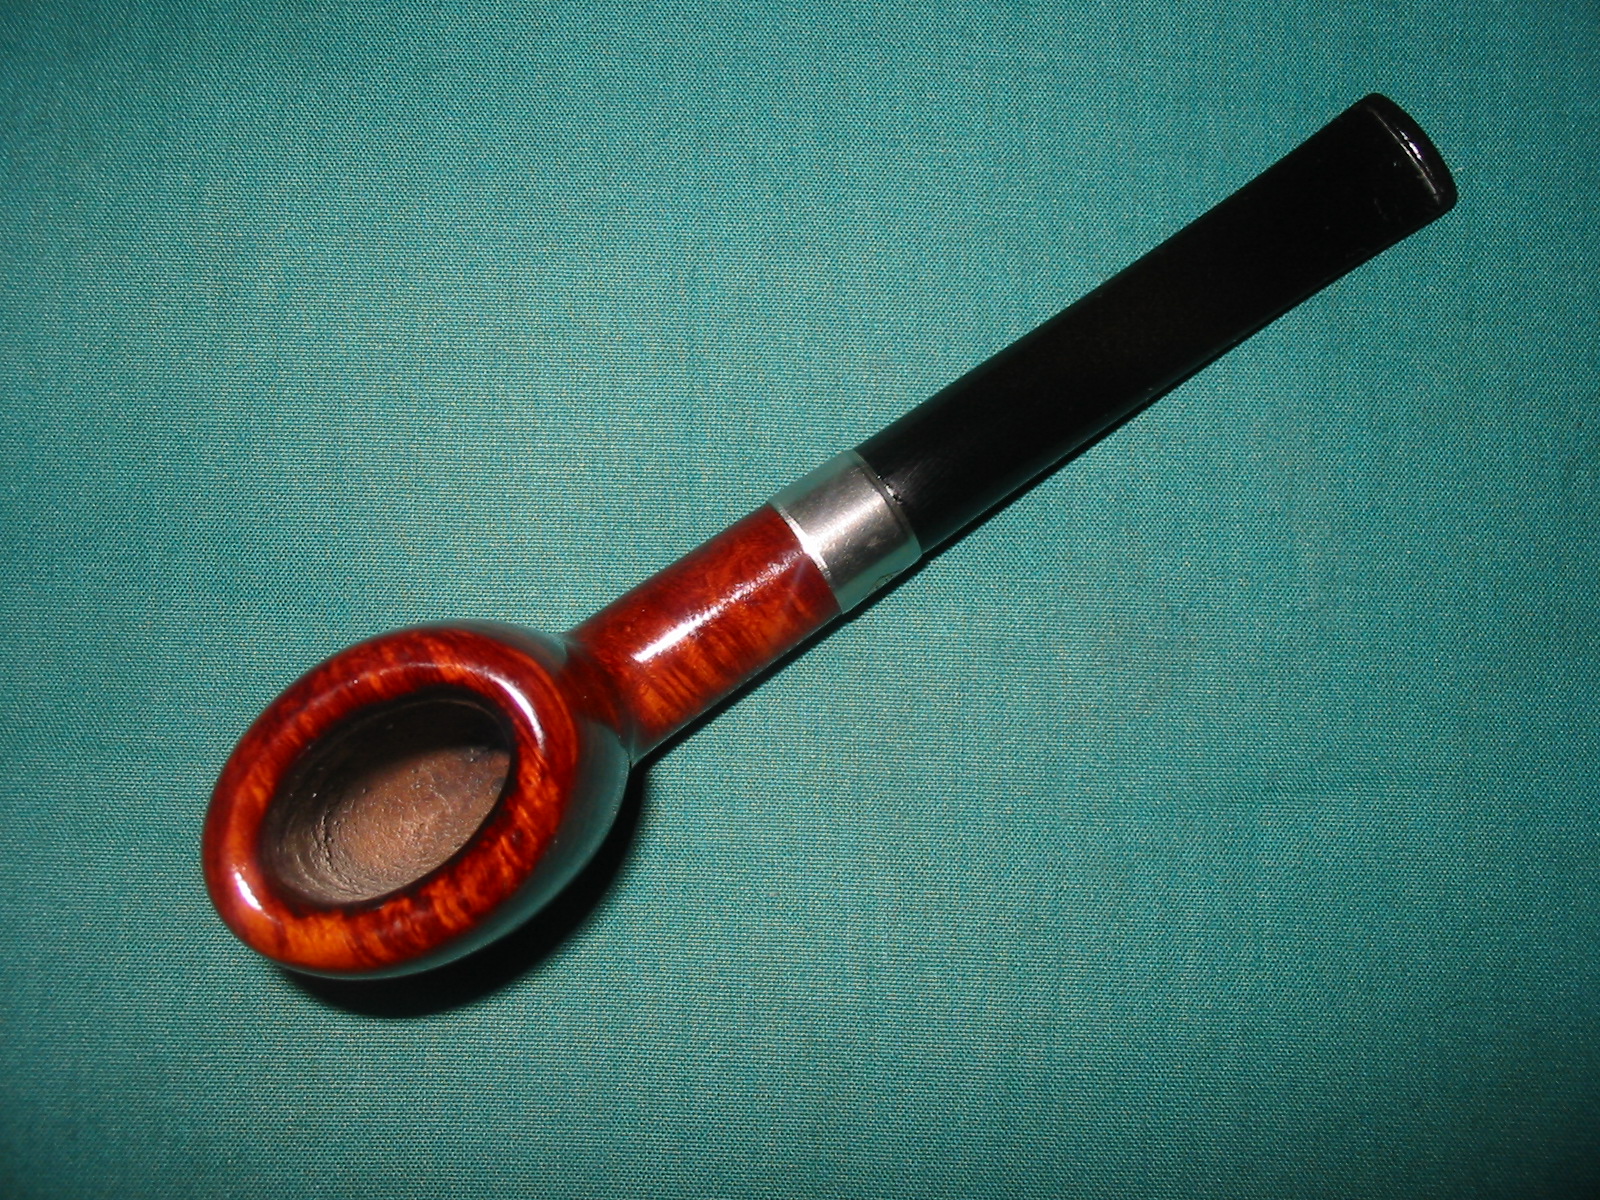
I finished by rubbing down the stem with Obsidian Oil and when it had been absorbed into the stem I buffed the stem and bowl with White Diamond. I gave it multiple coats of carnauba wax to protect and give it a shine. I finish with a soft flannel buffing pad on the buffer. The finished pipe is pictured below. Sometime today I will load a bowl and give it a smoke.
IMG_6256

IMG_6258

IMG_6259

IMG_6260

IMG_6261

A Kaywoodie Reworked, with a Little Mystery!


Blog by Greg Wolford

This year has not been a banner one, so far, for me personally. The harsh weather, an accident, and a failure of one of my orthotics has had me mostly sidelined since the first of the year. My workshop is downstairs, in the garage, and it isn’t exactly the warmest, most comfortable place to work in the temperatures we’ve had, not to mention the difficulty of actually getting myself up and down the stairs … but I digress … so I’ve been able to do very little work on either of my hobbies so far in 2014.

Last week my wife had a little pity on me and allowed me to bring a few necessary tools and supplies up to the kitchen so I could work on a few old pipes; leather work is out of the question until the temperature and my body cooperate. I think she knew I was getting a bit restless, not being able to get into any of my projects. When I said she “allowed” it, she corrected me with “I didn’t say you could do that” but she didn’t send it all back down to the shop either, so I take that as permission I told her! LOL

Now, I must admit that my photographs, when I remember to take them (that’s a preview hint that I haven’t remembered as often as I should have), aren’t as good as I would like but I don’t have as good a set-up as I normally do. So, I ask you to bear with me on the quality and quantity of them.

Sometime back I acquired an older Kaywoodie model 33. It is an apple shape with a rounded bowl-top. The pipe was in pretty good condition other than the front edge was damaged from being knocked-out and the bottom of the stem had been bitten off. because of the stem damage I put off working on this pipe for months; I wanted to save the stem but didn’t have the black super glue yet, which I planned on using, to do the job. Here are a couple of photos (all I could find) of it before I started working on it.

Kaywoodie Apple (10) Kaywoodie Apple (11) Kaywoodie Apple (13)

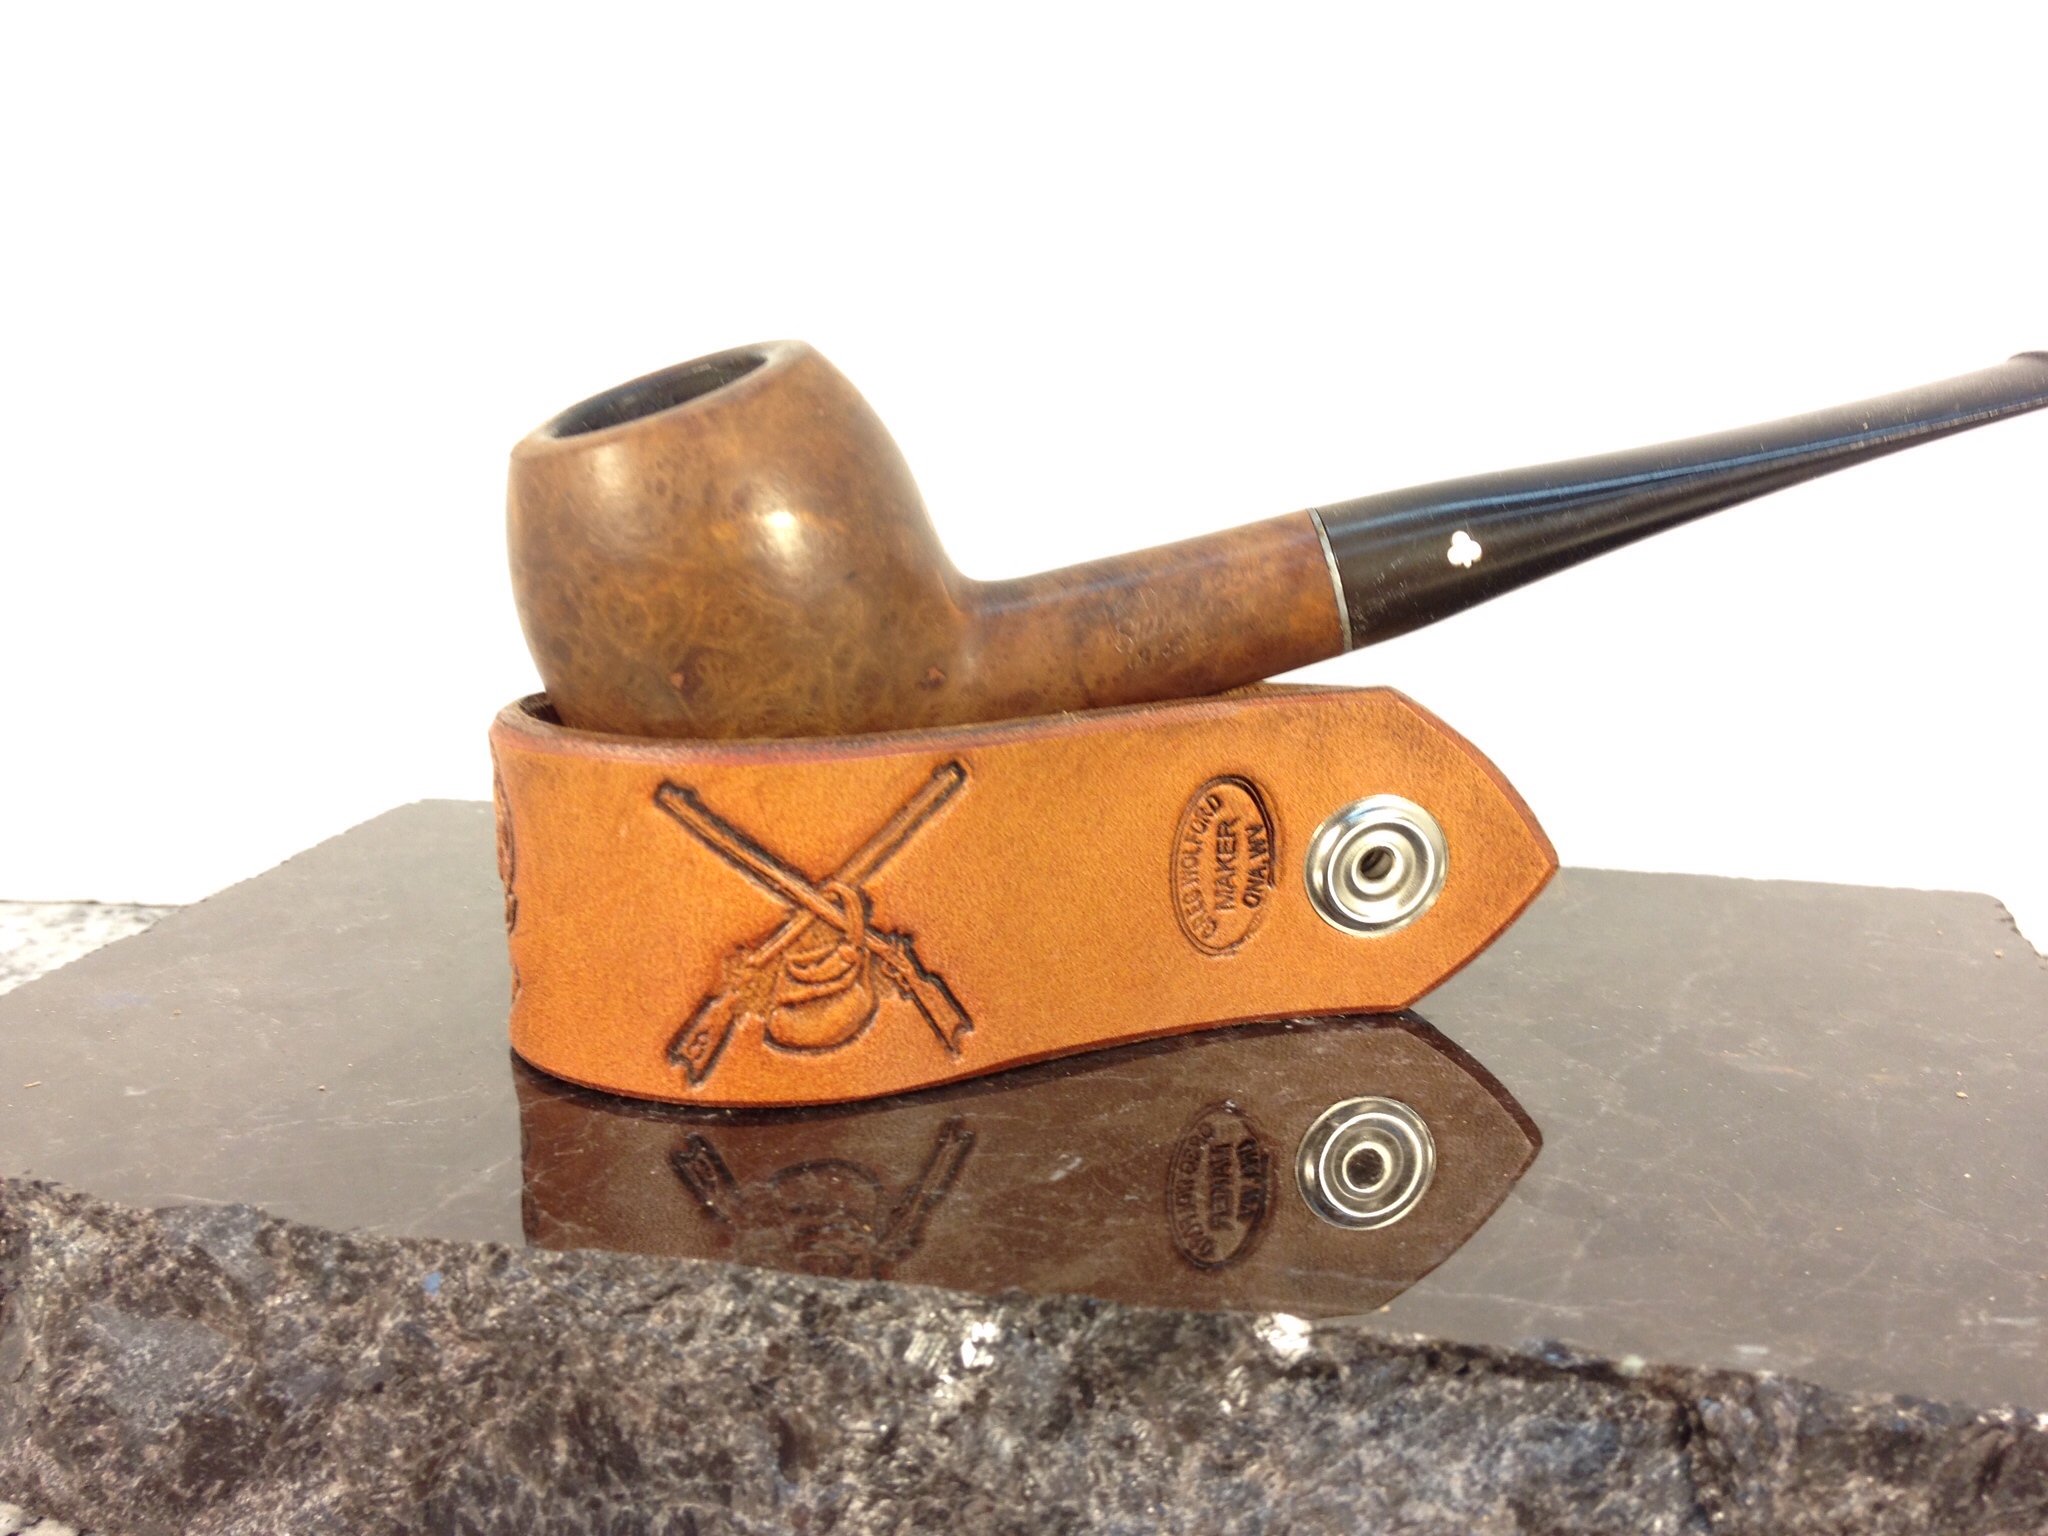
Unfortunately all I can find are some photos that I used it as a “prop” in and one of the underside of the stem. You can see the pipe itself wasn’t too bad but the stem was another story.

Initially I tried to patch the chip with black super glue; I tried this three times: the first attempt the pipe cleaner I was using as a plug absorbed all the glue and the other two times, using different materials for the plug, the patch failed. It turned out that the chip was just too large for me to patch well so I decided to cut it off and file a new button since there seemed to be plenty of room to work with on this stem.

I used a hacksaw on a small frame to remove just behind the bite through. When I looked at the air hole I noticed two things, neither good: first I had closed off the airway accidentally with the glue and second the air hole wasn’t drilled center. I fixed the glue-plug problem quickly by drilling out the hardened glue with a pin vice and then picking out the small fragments that were left. One problem down – now onto forming a new button and slot.

I used various needle files to shape the new button, being timid about not getting it too thin. I recently bought a new set of Kobalt needle files, a big upgrade from my old ones, and found that this (only my second or third time making a whole new button and transition) went much smoother and faster than in the past. I also used the files and a bit of sandpaper to open and funnel the slot, again I was a bit timid in not going too thin; I have done that once and suffered a cracked bit afterward. This is a fair representation of what I ended up with:

Kaywoodie Apple (8)

Once I had the stem to my satisfaction I turned to the stummel.

I had at some time past already reamed the bowl lightly, it had very little cake, and cleaned the shank and stem. I now began by cleaning the stummel with acetone wetted cotton pads to remove the old finish and dirt. After the acetone I moved on to some alcohol wetted pads to lighten up the grime on the bowl top. When it was sufficiently clean I decided to use some 400 grit sandpaper to lightly smooth the edge damage. I didn’t know it at the time – because I failed to look first, a fault I have all too often – but the rim was supposed to be rounded. Luckily I liked the general look of the rounded top and thought it might be the way it was supposed to be so I wanted to keep it rather than topping the entire bowl. I personally like, in general, the less sharp lines on a bowl top so this was an easy choice – one that turned out to be a good one as well.

Once I had reduced the damage to the rim and front, keeping the shape as close to original/symmetrical as I could, I moved to micro mesh pads to sand and polish the bowl top. After getting through the first two grades I thought the entire pipe would look nice just polished with the micro mesh. At this point I reassembled the pipe and began to look for nomenclature to avoid during my polishing; this is when I discovered my “mystery”.

On the bottom of the stem, a origianl Kaywoodie, three-hole stinger with white clover logo, I saw something I had never seen before: there was stamping on the vulcanite “D-2”. This immediately intrigued me; I knew I would have to find out more about that … but lets’ wait a paragraph or two on that.

Kaywoodie Apple (9)

I polished the entire pipe with all of the micro mesh grits in order from 1500 – 12000, avoiding all of the stamping, including on the stem. I wet sanded the stem (only) through 4000, then polished the stem with plastic polish, before finishing the entire pipe through 12000 grit. I then applied Halcyon II wax to the entire pipe and hand buffed it. I was really pretty pleased with the results, considering I didn’t have access to my buffer and this was, more or less, my first experience with the Halcyon wax.

Kaywoodie Apple (2) Kaywoodie Apple (3) Kaywoodie Apple (5)Kaywoodie Apple (4)Kaywoodie Apple (6) Kaywoodie Apple (7) 

I missed some file marks on the stem, and the “bits” near the bit; I figure when I can properly buff the pipe I will get those taken care of, as well as put a better shine on it with some carnauba wax. But until then I am enjoying this old gal just as she is!

The stem still has oxidation near that stamping, which I began to research after I finished the work on the pipe. None of the other Kaywoodies I have, or have ever had, have any stamping on their stems like this one does. I scoured the ‘net and asked as many folks as I could think of to no avail … well, almost none. I am a member of the Kaywoodie Pipes Group on Facebook and one of the members there is Bill Fuerbach is as well. He saw my question that I posted about the stamping in that group and replied as follows:

Hey guys. I’ve seen this also on some older Kaywoodie stems. unfortunately at this time I don’t know what the significance is. :(:(

So unfortunately there is not yet an answer to what the stamping means or its significance is – and the mystery remains …  If by chance anyone what reads this knows the answer I would really appreciate it is you would leave a comment with the answers!

Edit

I received an email from Chris at PipePages about this question. He said in his personal opinion, and that it is only a guess, that it could be a factory replacement stem and the number was a style/guide for the repairman to know which stem to use. Although it is only a shot-in-the-dark type of guess, it seems like a plausible answer to me.

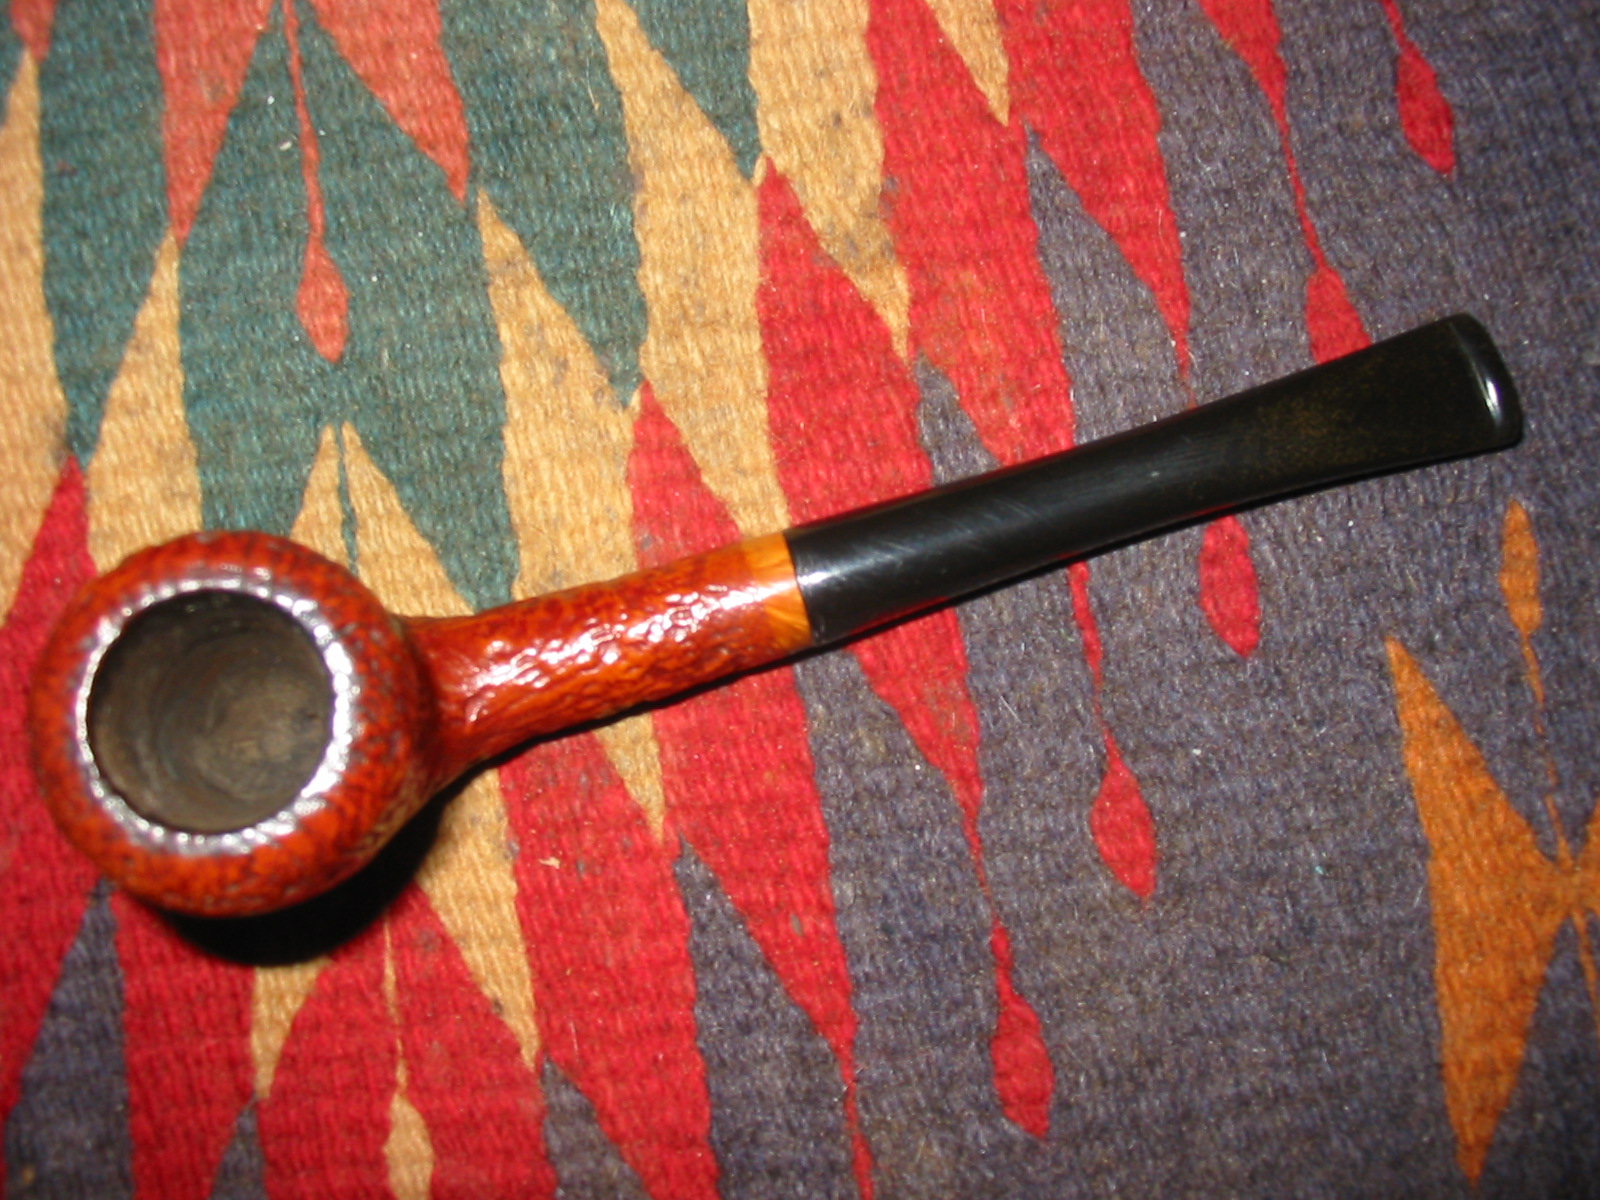
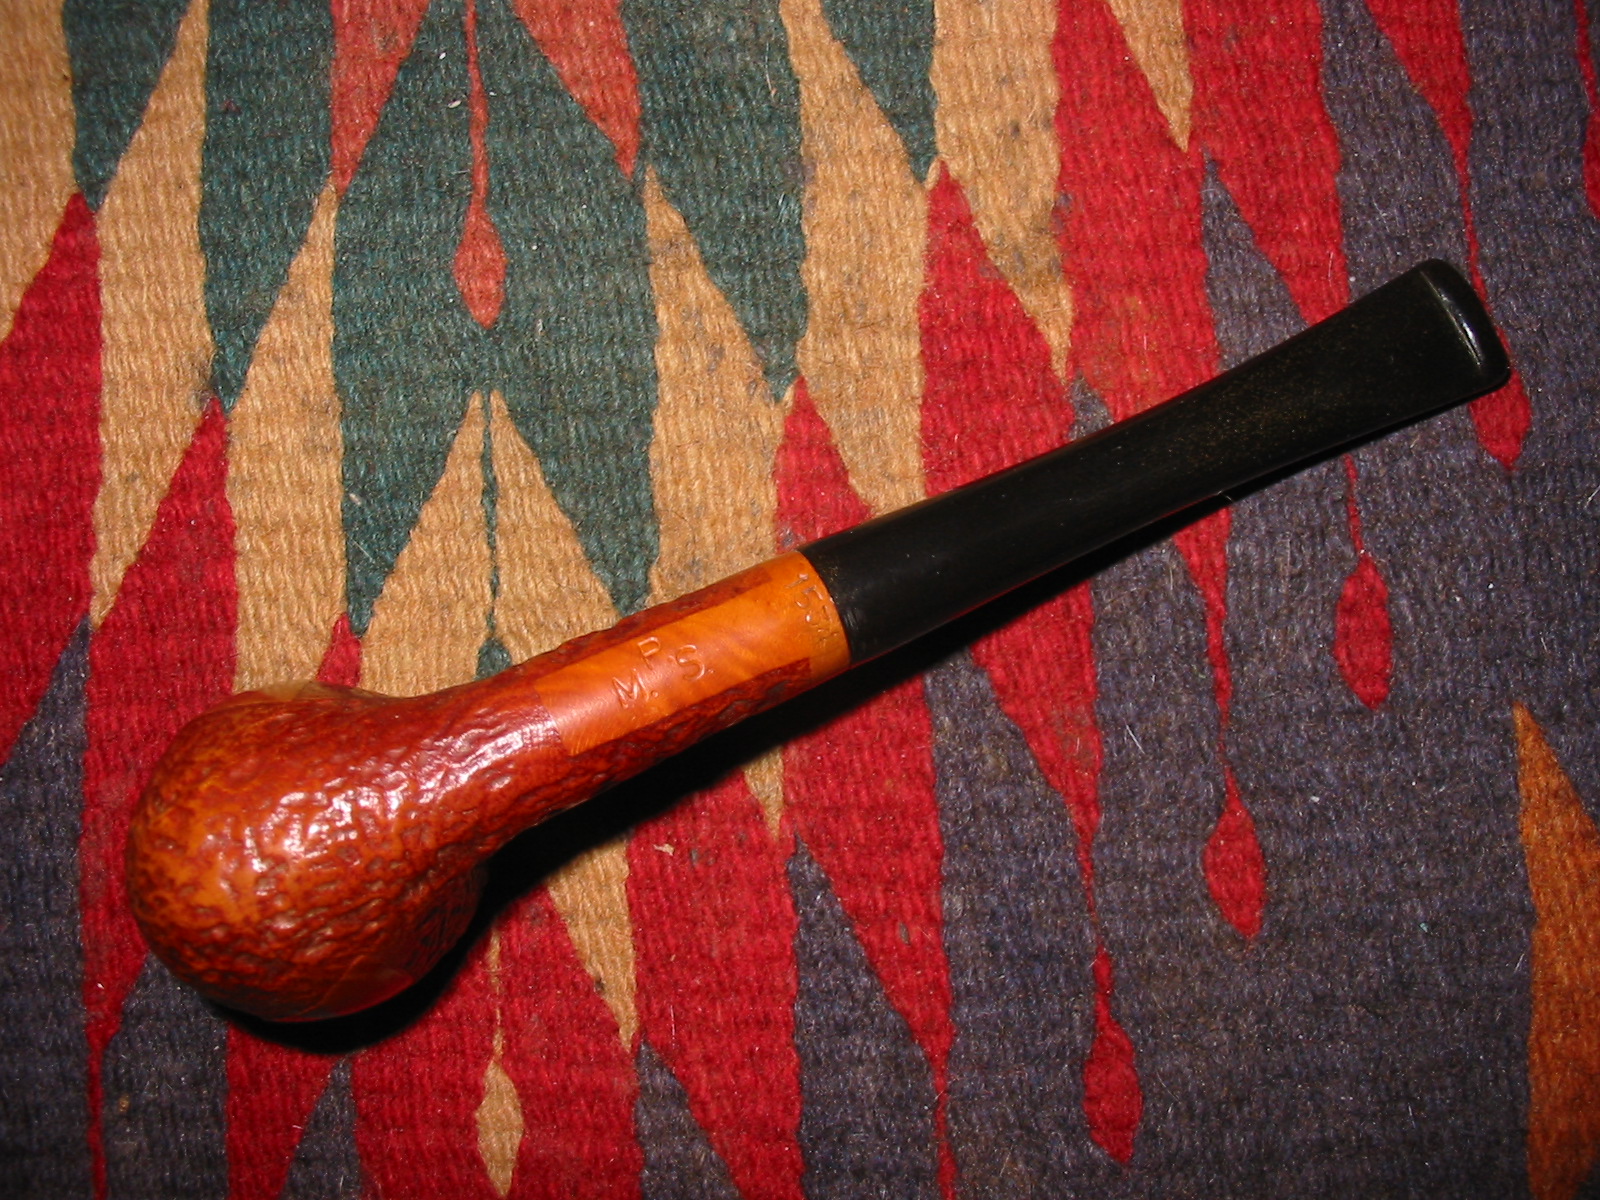
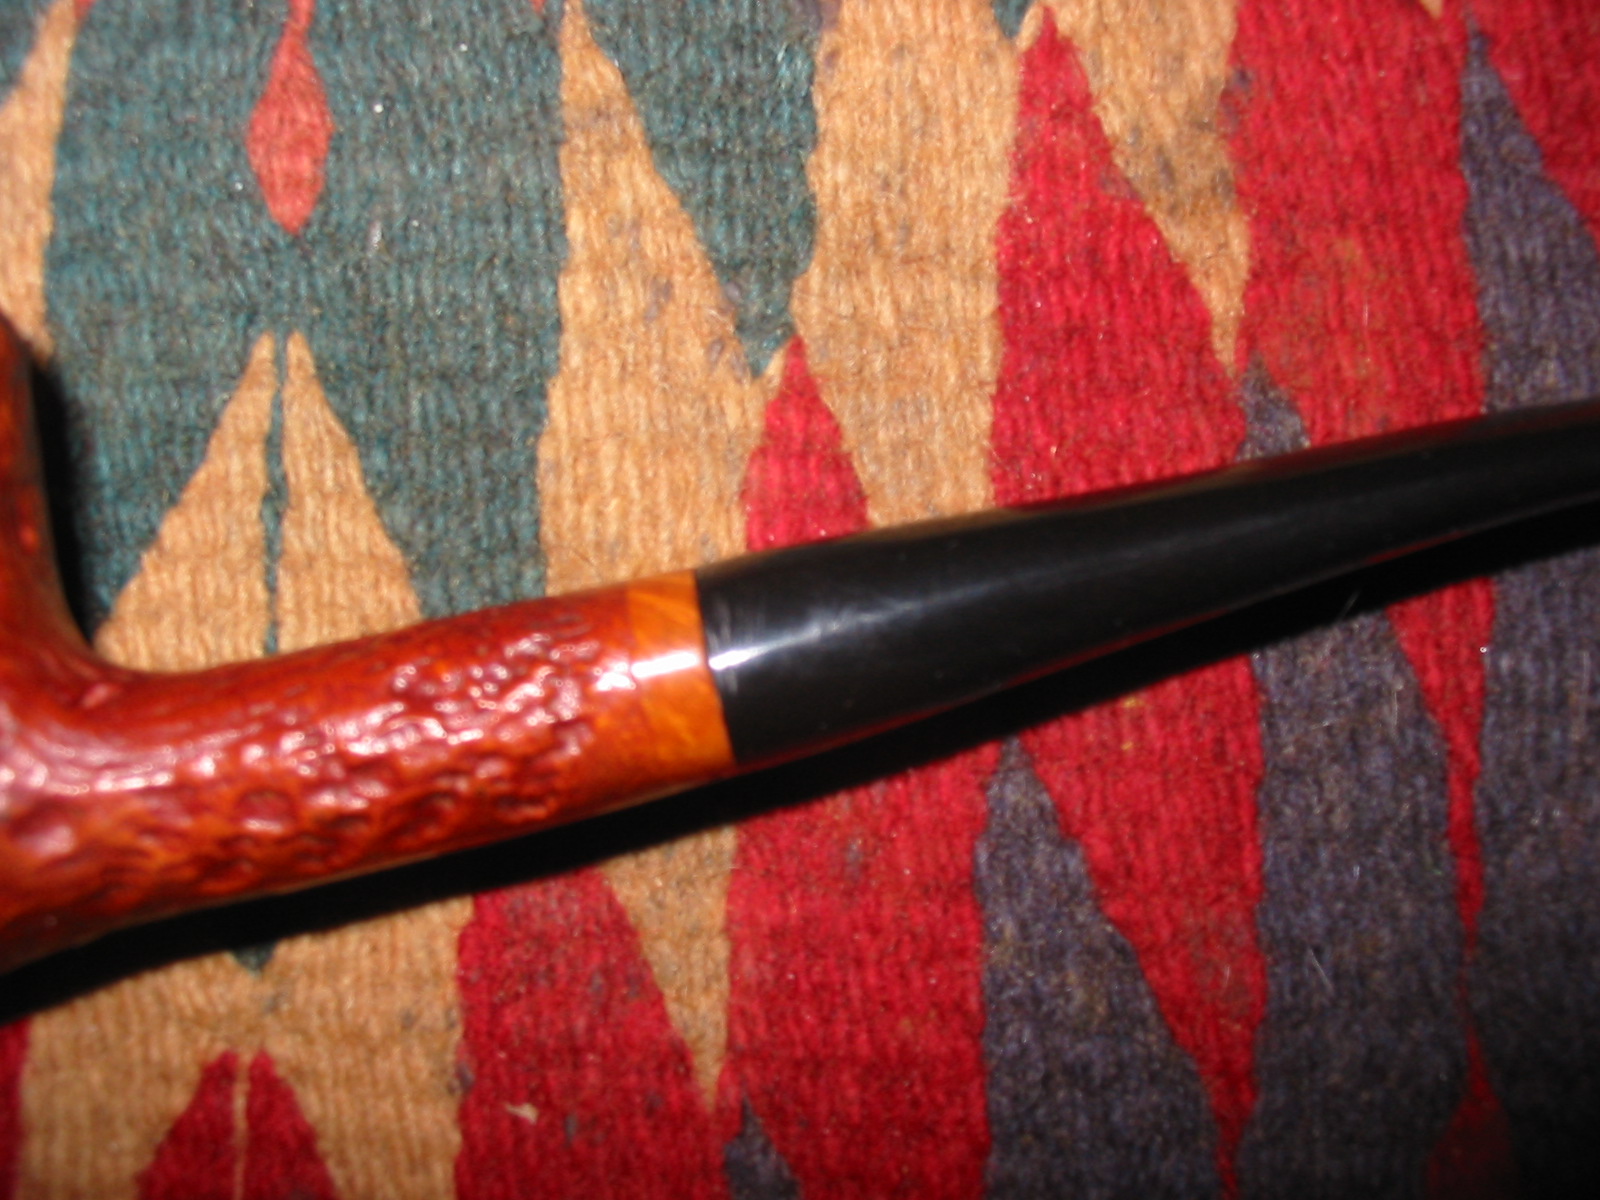
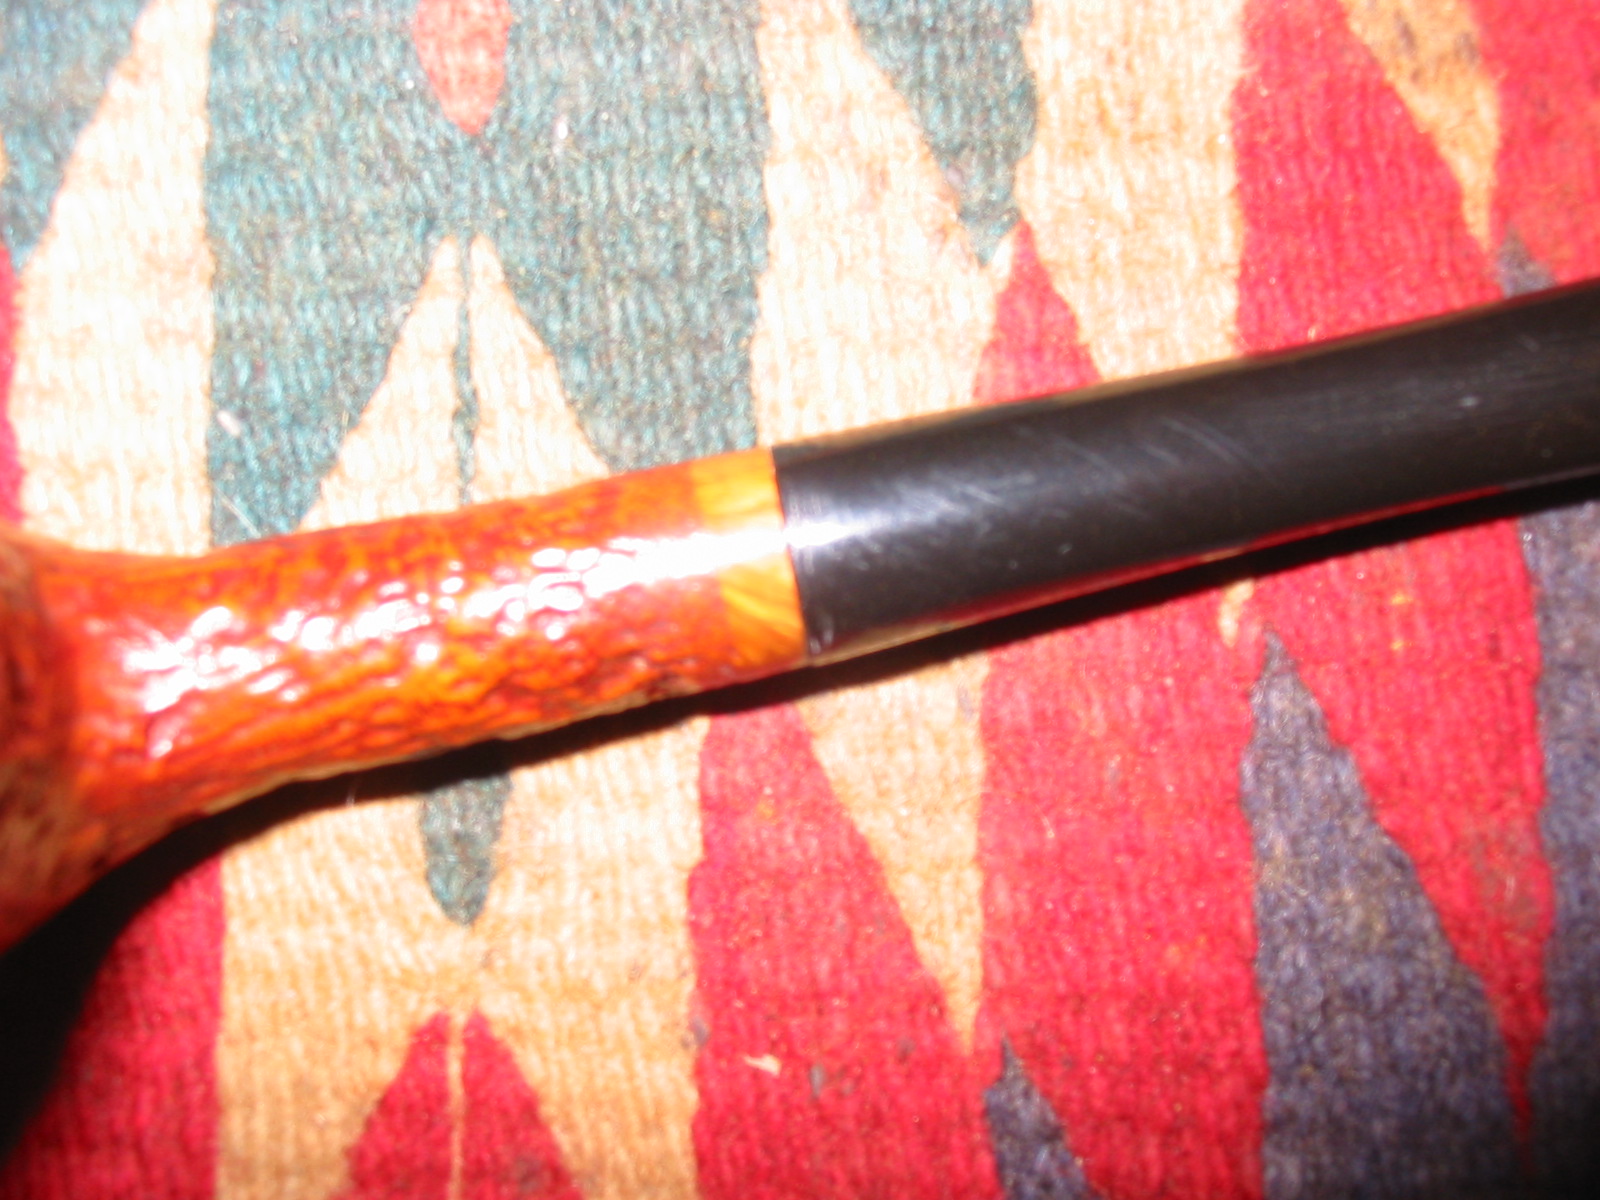
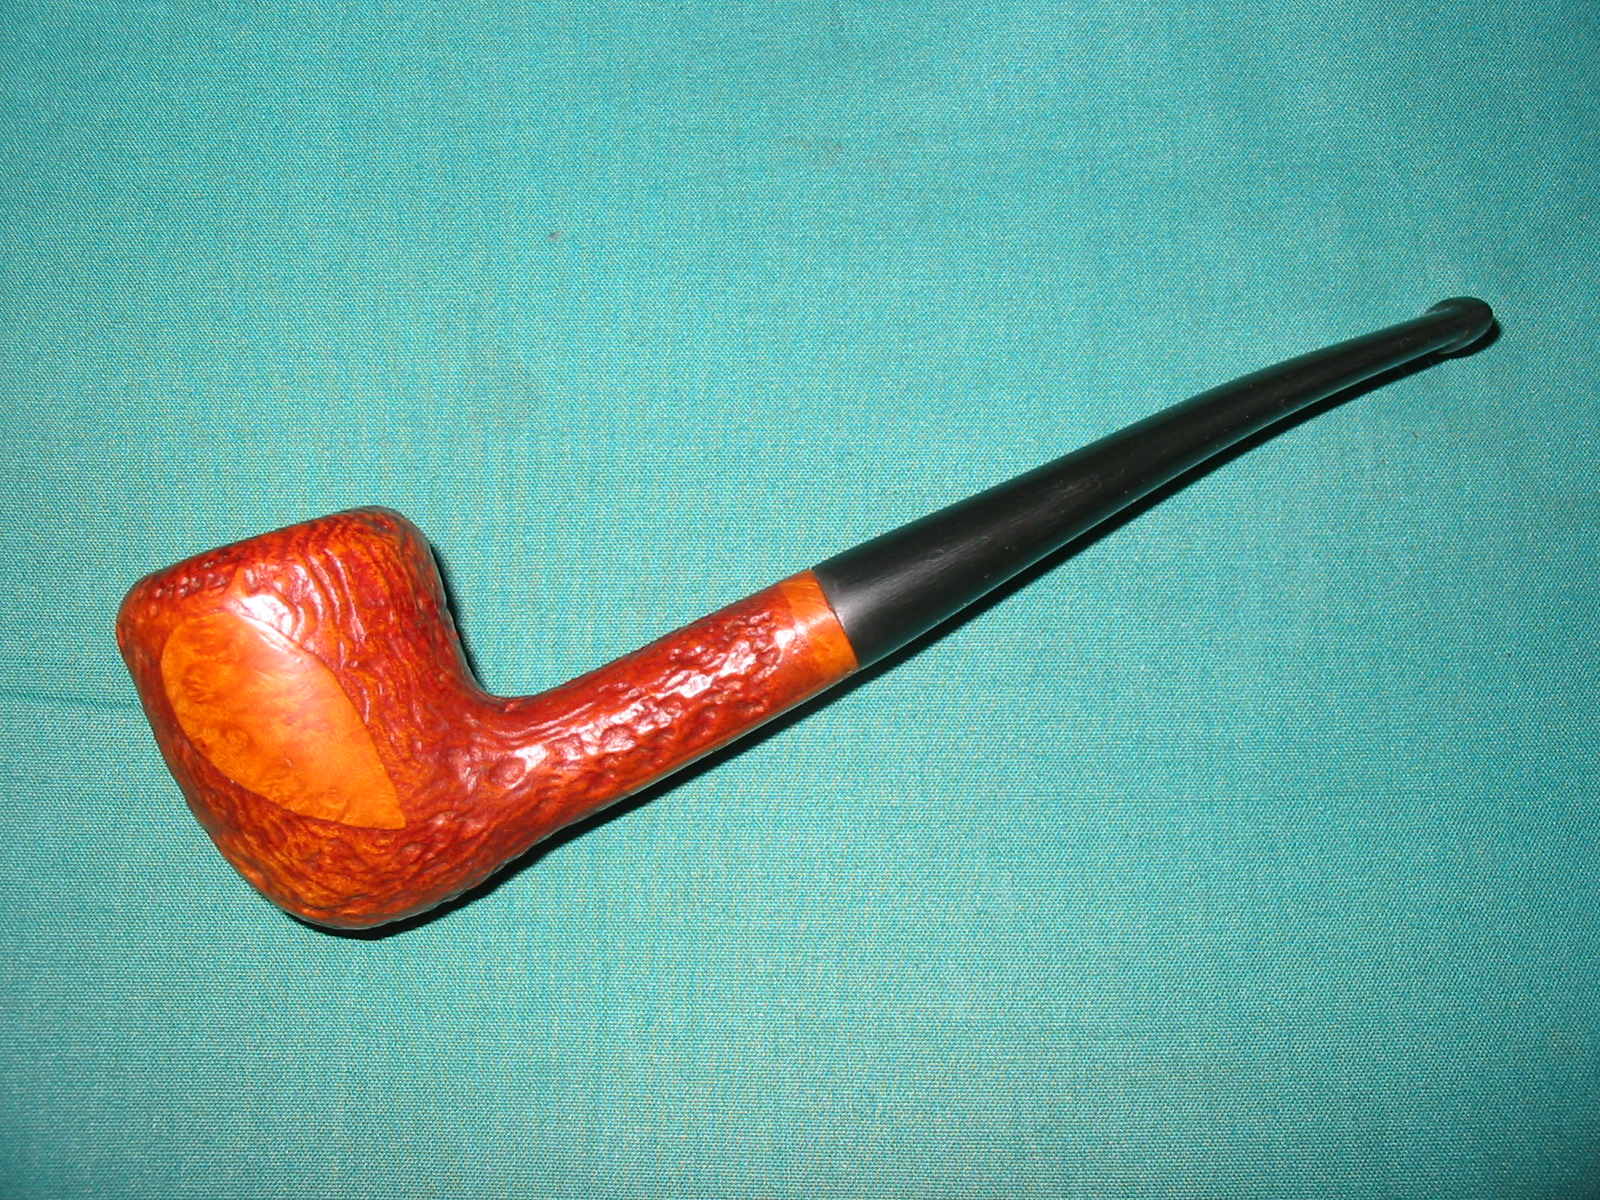
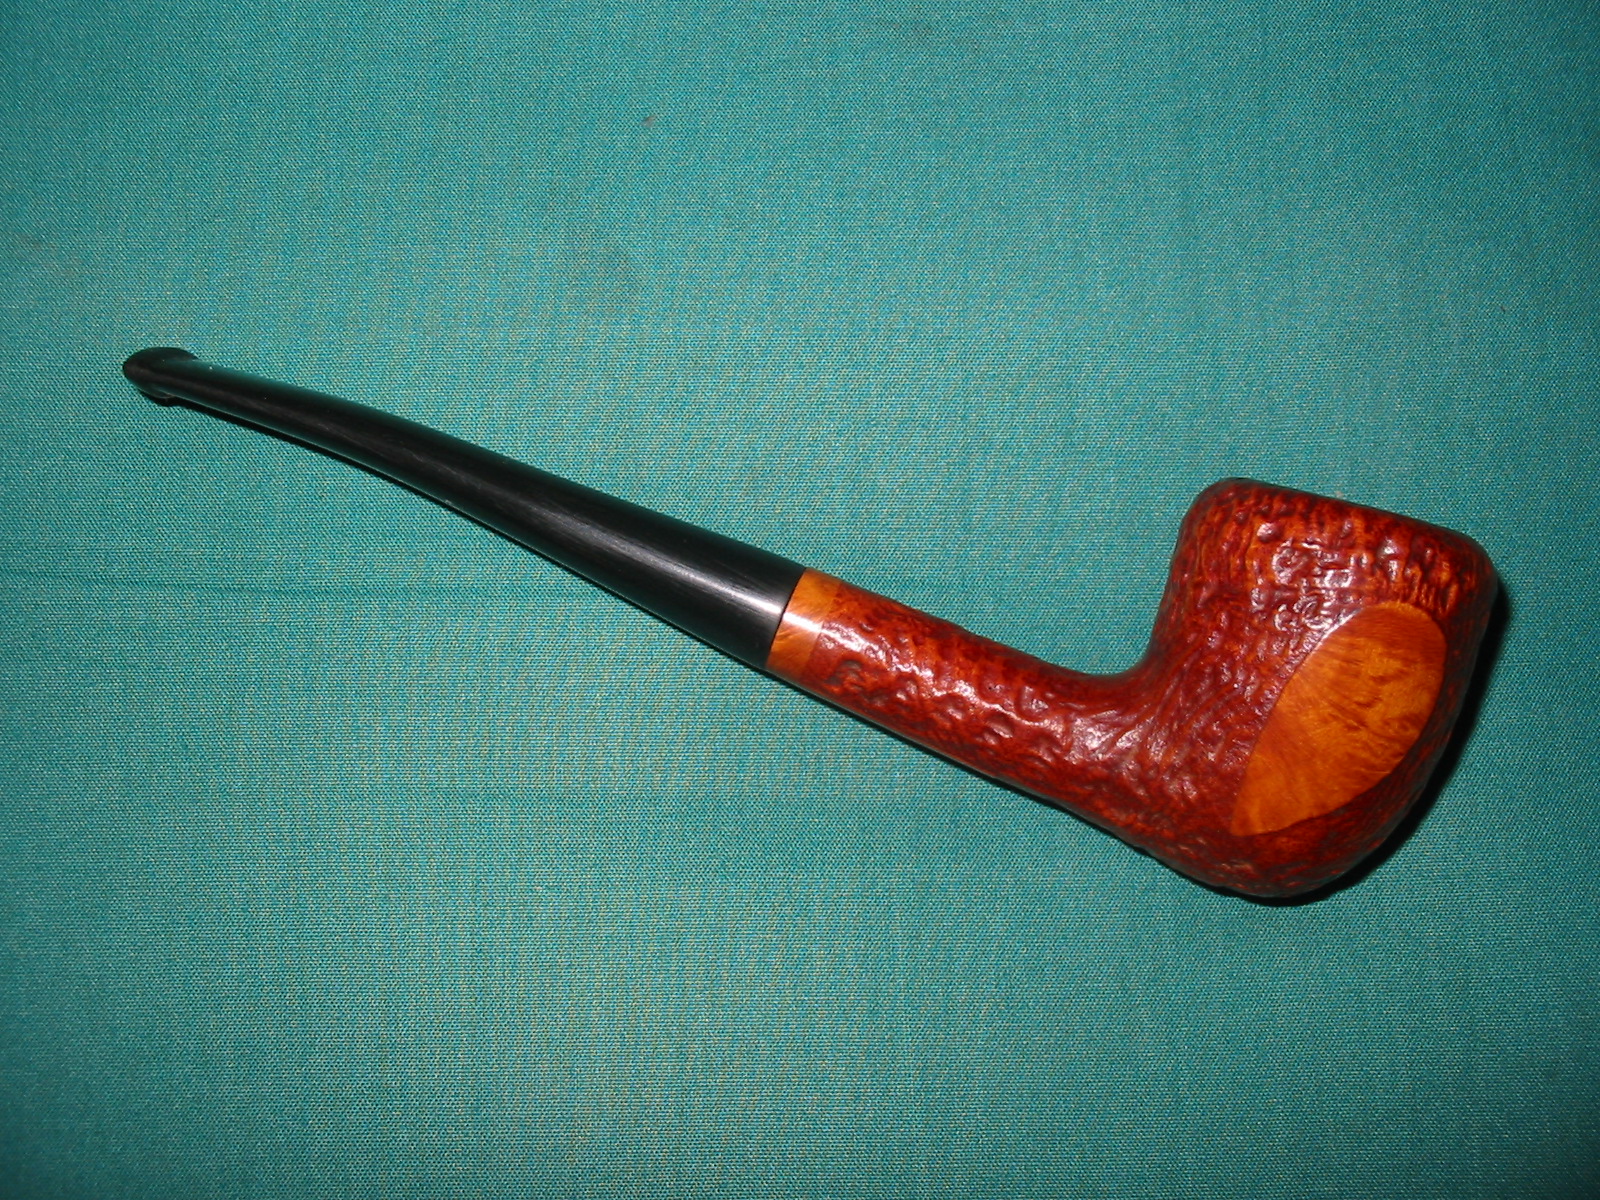
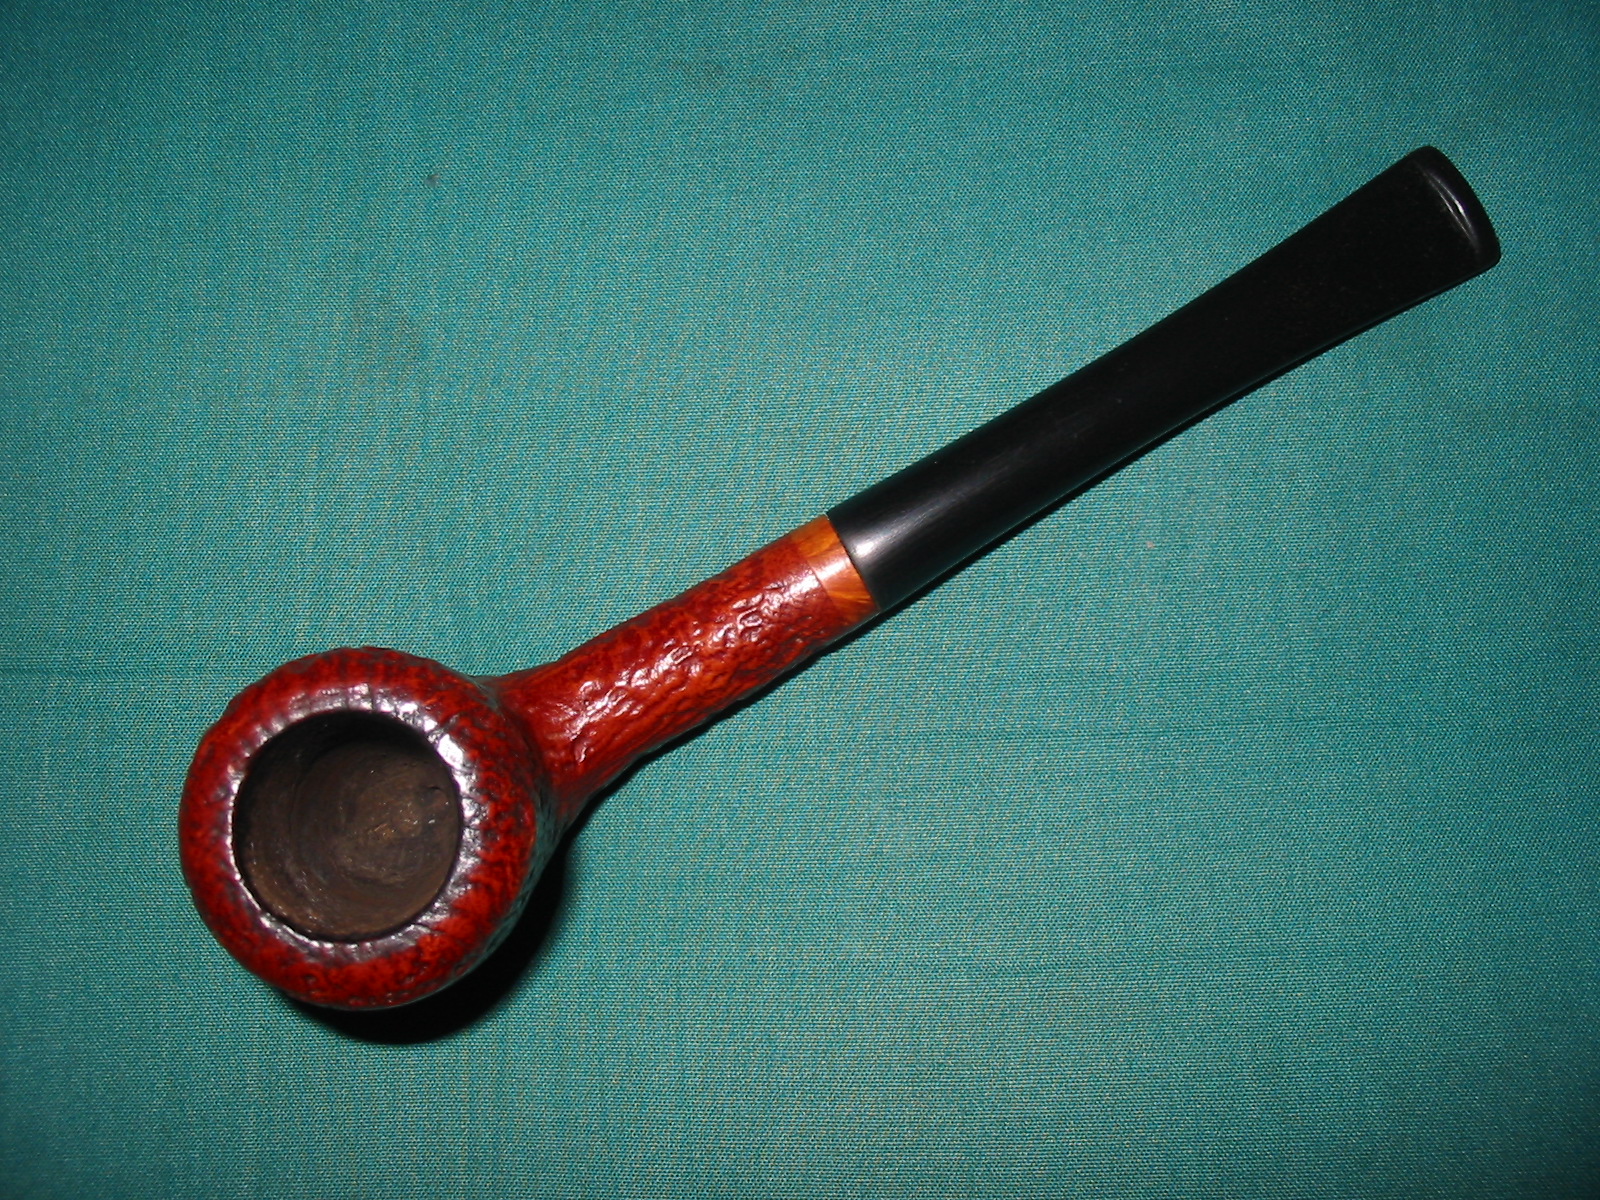
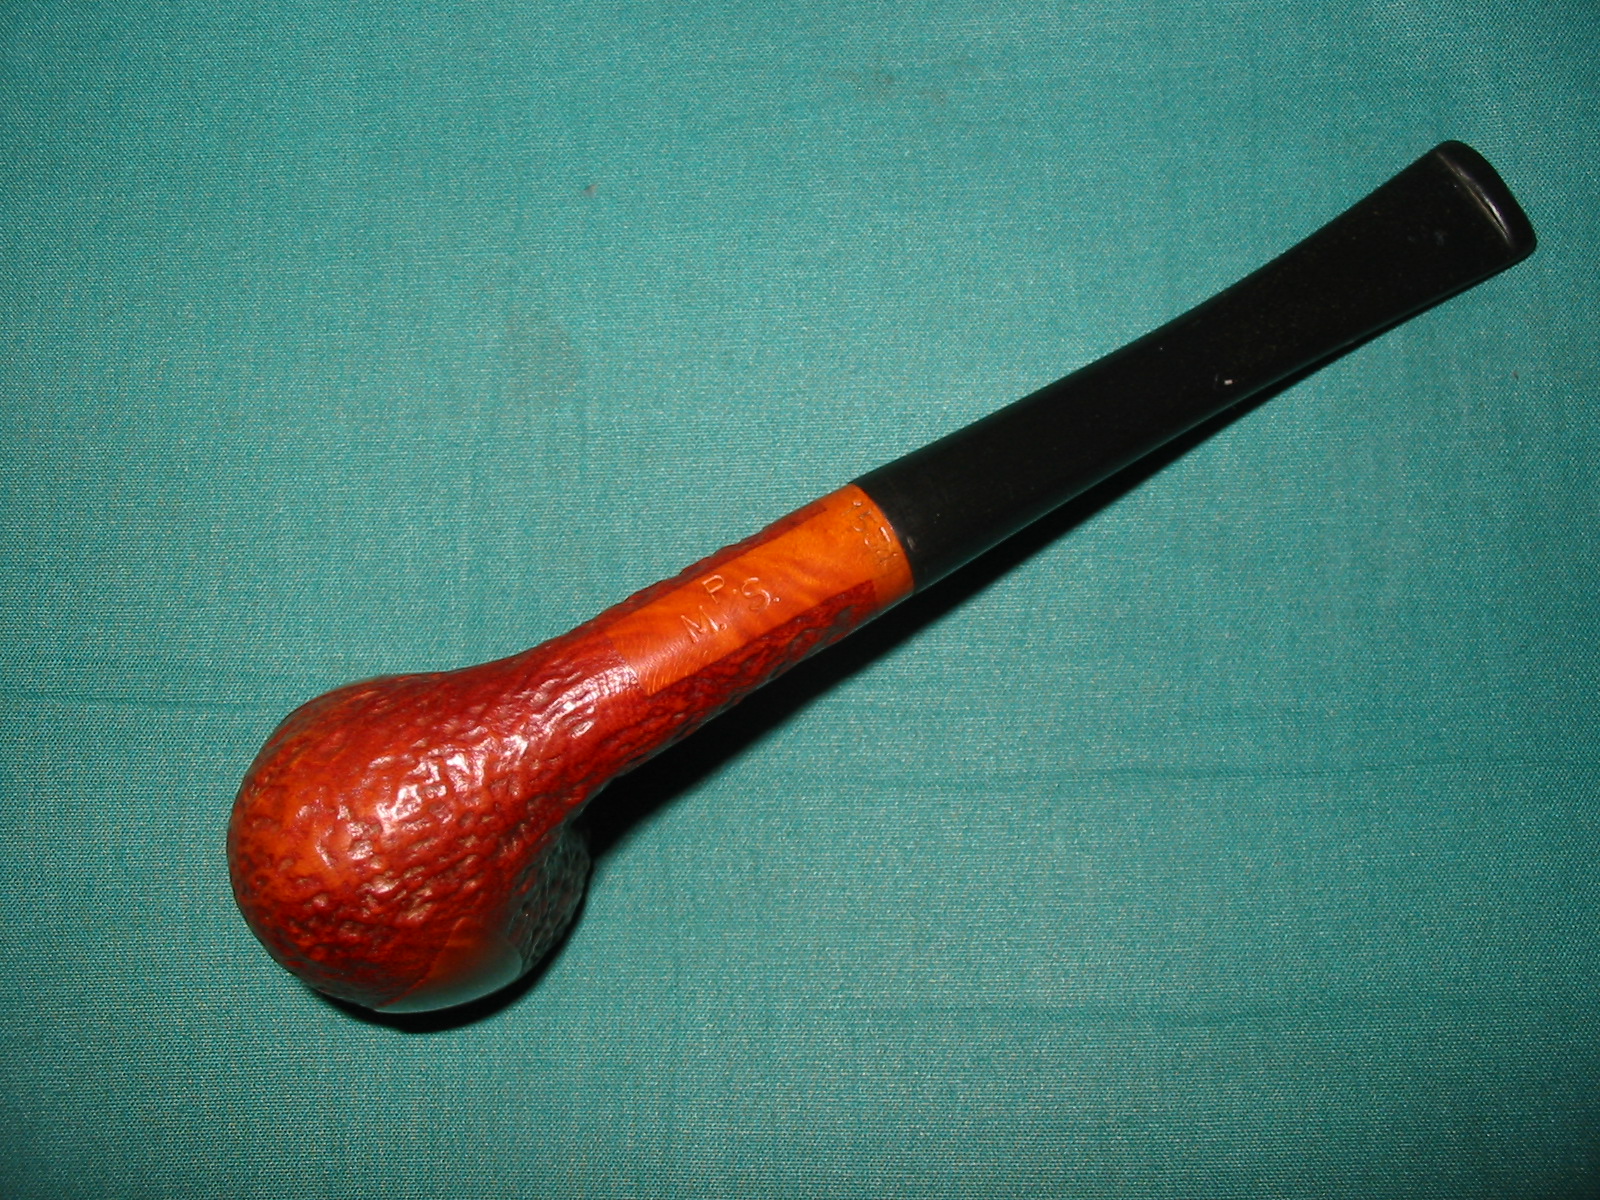
Reworking the Stem/Shank Junction on a MPS 1534


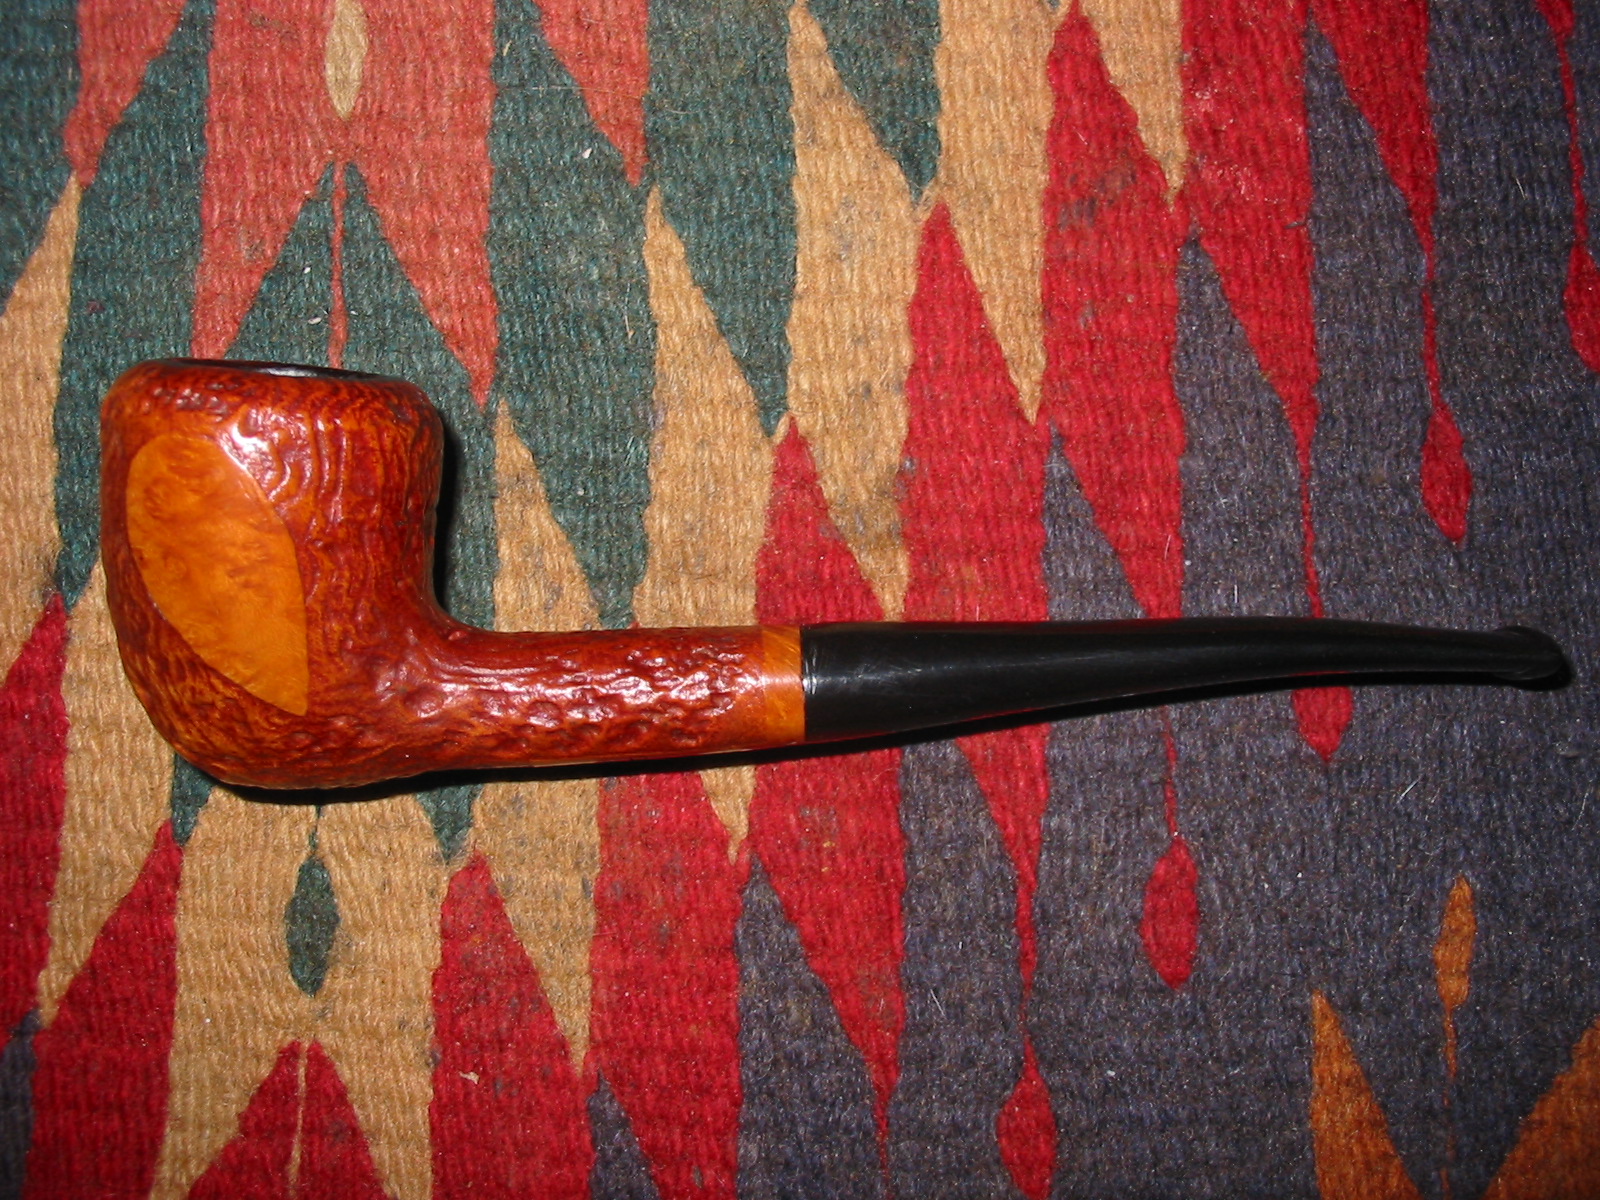
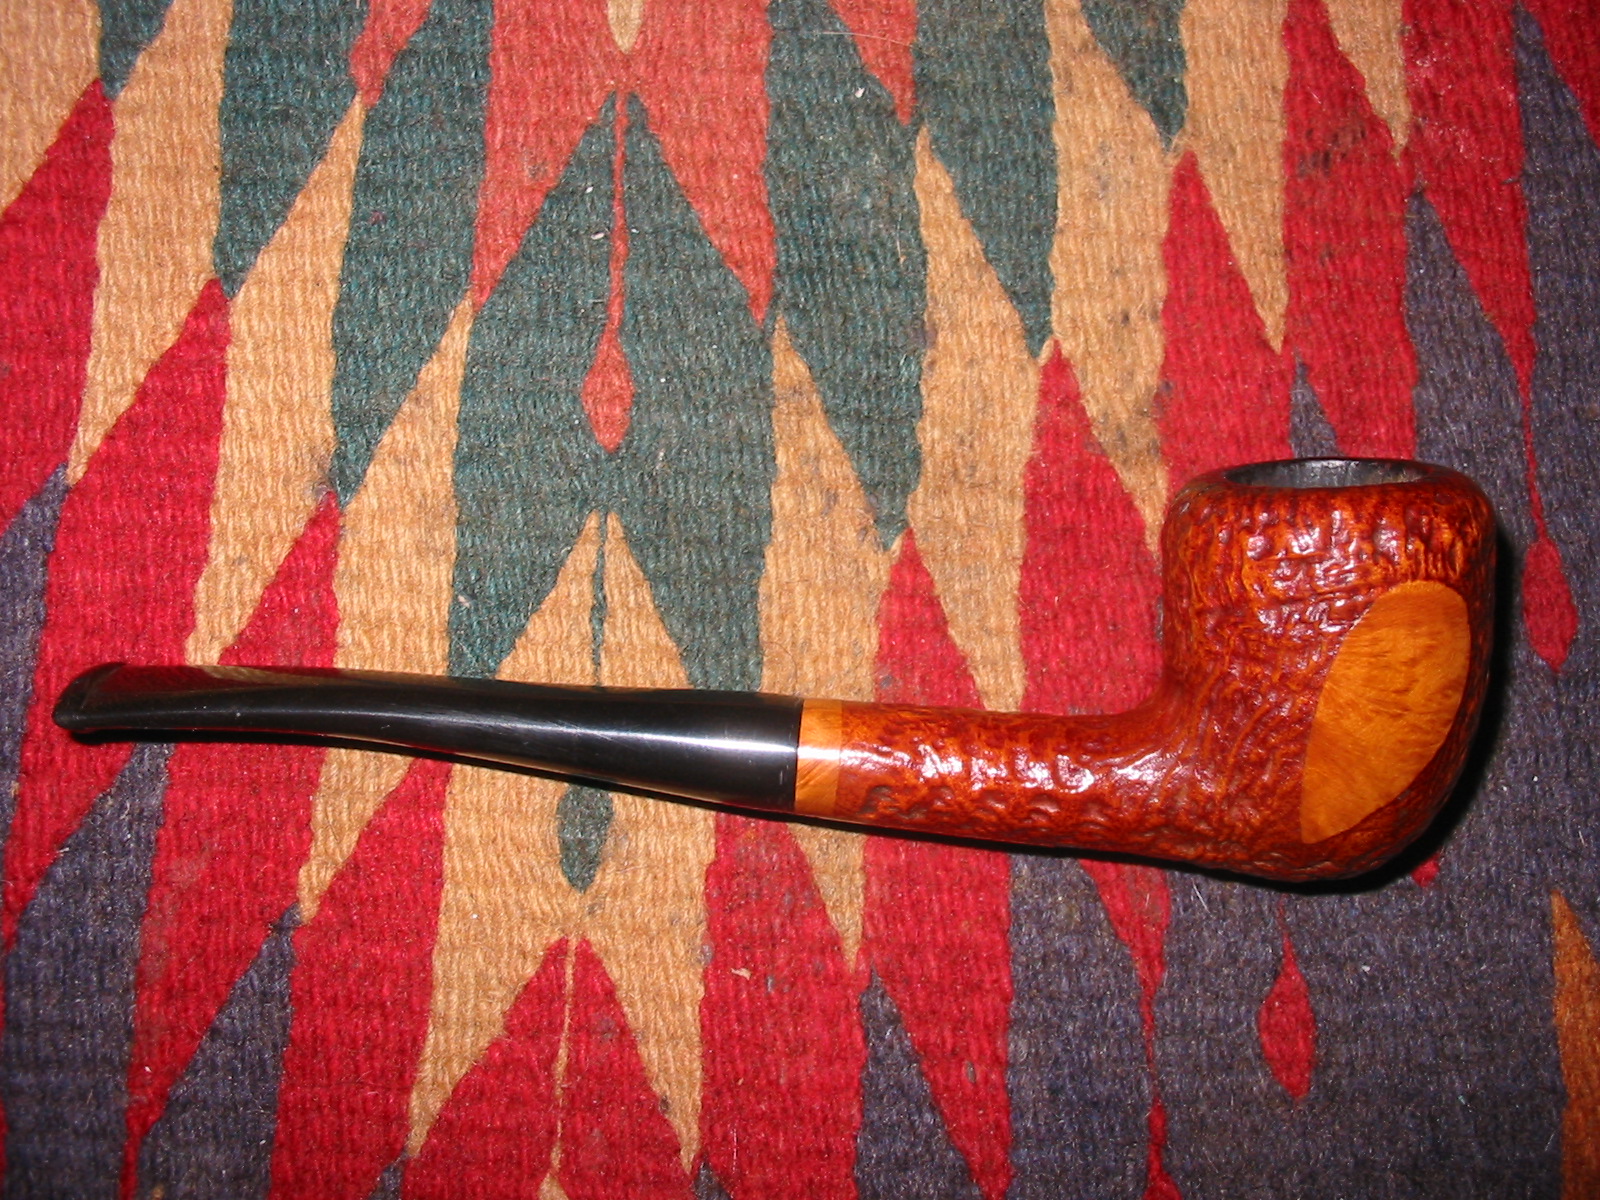
I went through the box of pipes for the Vancouver Pipe Club a final time and found two more that needed some cosmetic work. The first is rusticated acorn or Peewit shape with smooth “leaves” on the side of the bowl and a smooth spot on the shank and a band at the end of the shank. It is stamped on the underside of the shank M.P.S. with the P slightly higher than the M and S forming almost a triangle. Along the end of the shank it is stamped 1534. The pipe is in great shape and needed no cleaning or reworking. What was wrong with this one was the rough fit of the stem to the shank. It was clearly a replacement stem and showed the marks of the work done to fit it to the shank. There was no gap between the stem and shank and the tenon fit in the mortise snugly. The stem itself was slightly larger in diameter than the shank and was very rough. There were lots of lines and pits in the stem itself making the transition quite bumpy.
IMG_4414

IMG_4415

IMG_4416

IMG_4417

I took the following close up photos to show the gouges and scratches on the stem near the junction.
IMG_4418

IMG_4419

IMG_4421

I sanded the stem with 220 grit sandpaper and with a medium grit sanding sponge to smooth out the transition and remove the scratching and gouges. It took quite a bit of sanding to smooth it out but the fit when I finished was far better. I then sanded it with the usual array of micromesh sanding pads – wet sanding with 1500-2400 grit sanding pads and dry sanding with 3200-12,000 grit pads. I wiped the stem down with Obsidian Oil and rubbed it into the surface.
IMG_4422

IMG_4423

IMG_4424

When the Obsidian Oil had soaked into the vulcanite I took the pipe to the buffer and buffed it with White Diamond to polish the stem and bowl. I then gave it multiple coats of carnauba wax to protect and polish it. The pipe is ready to go back in the box with the rest of the lot that will go to the Vancouver Pipe Club. It should provide someone with a great smoking pipe.
IMG_4425

IMG_4427

IMG_4428

IMG_4429

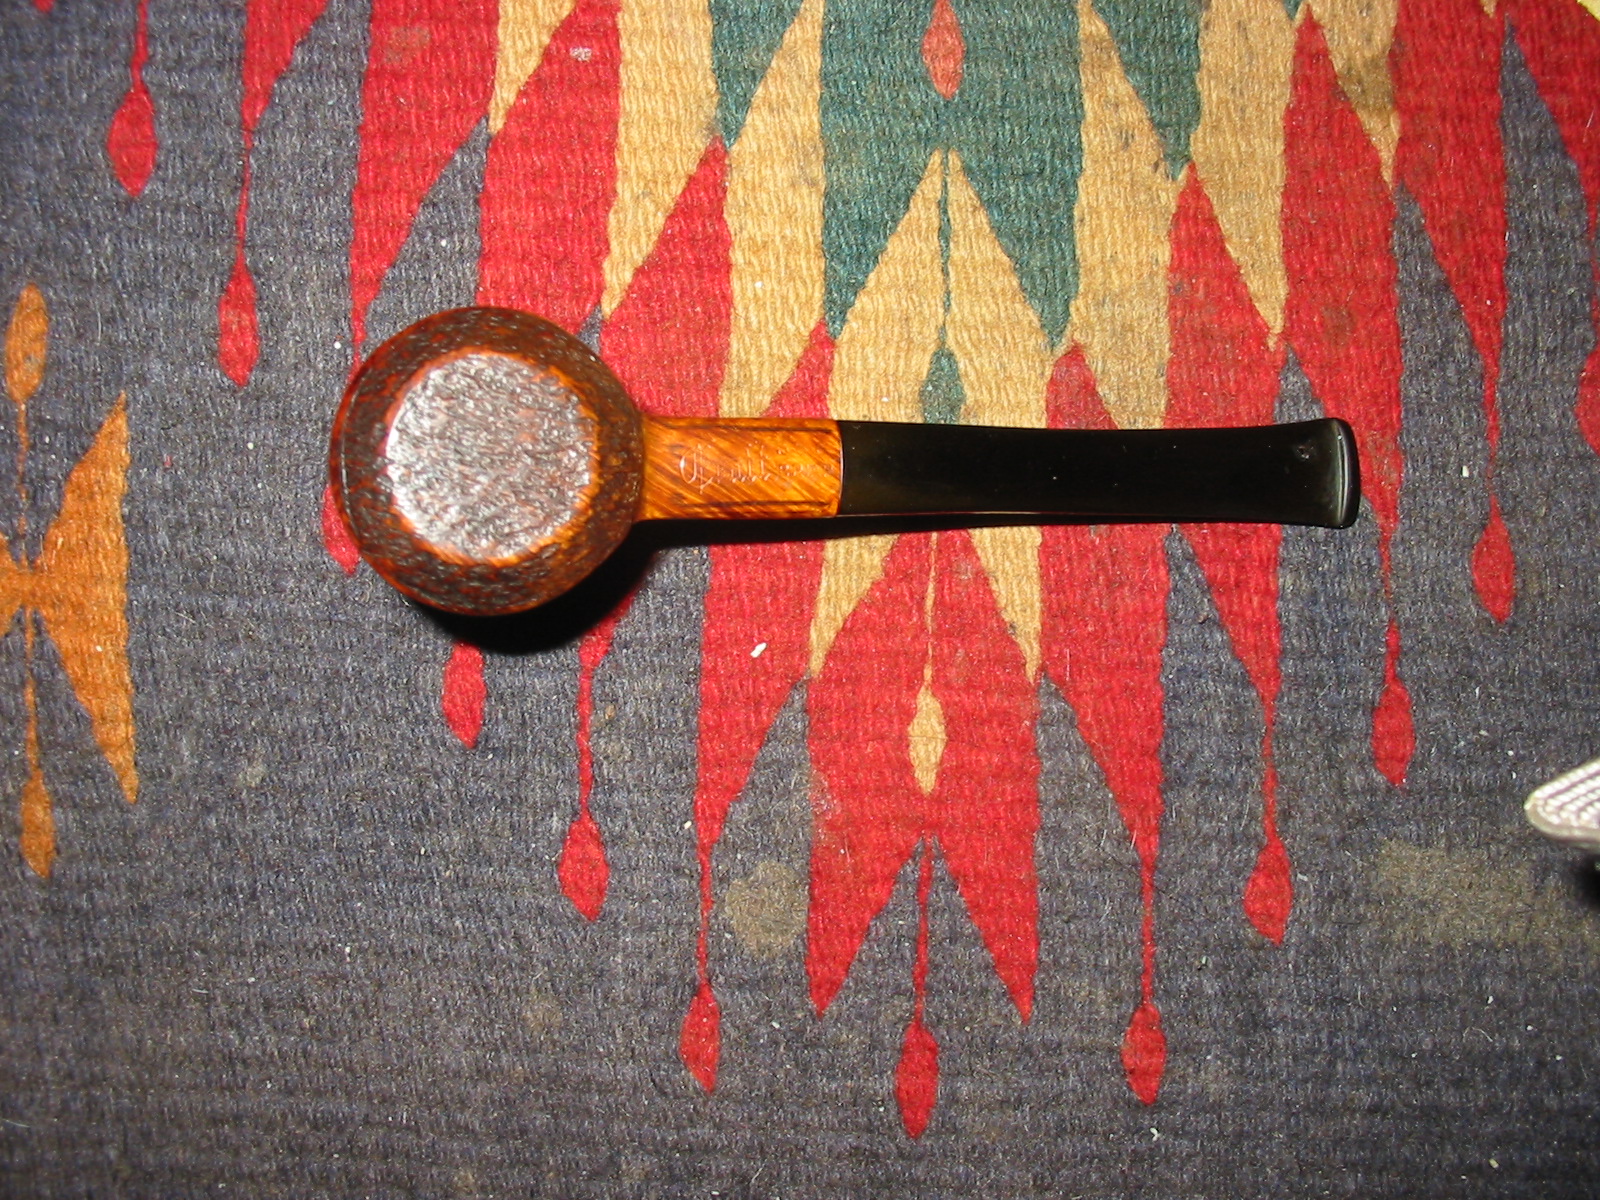
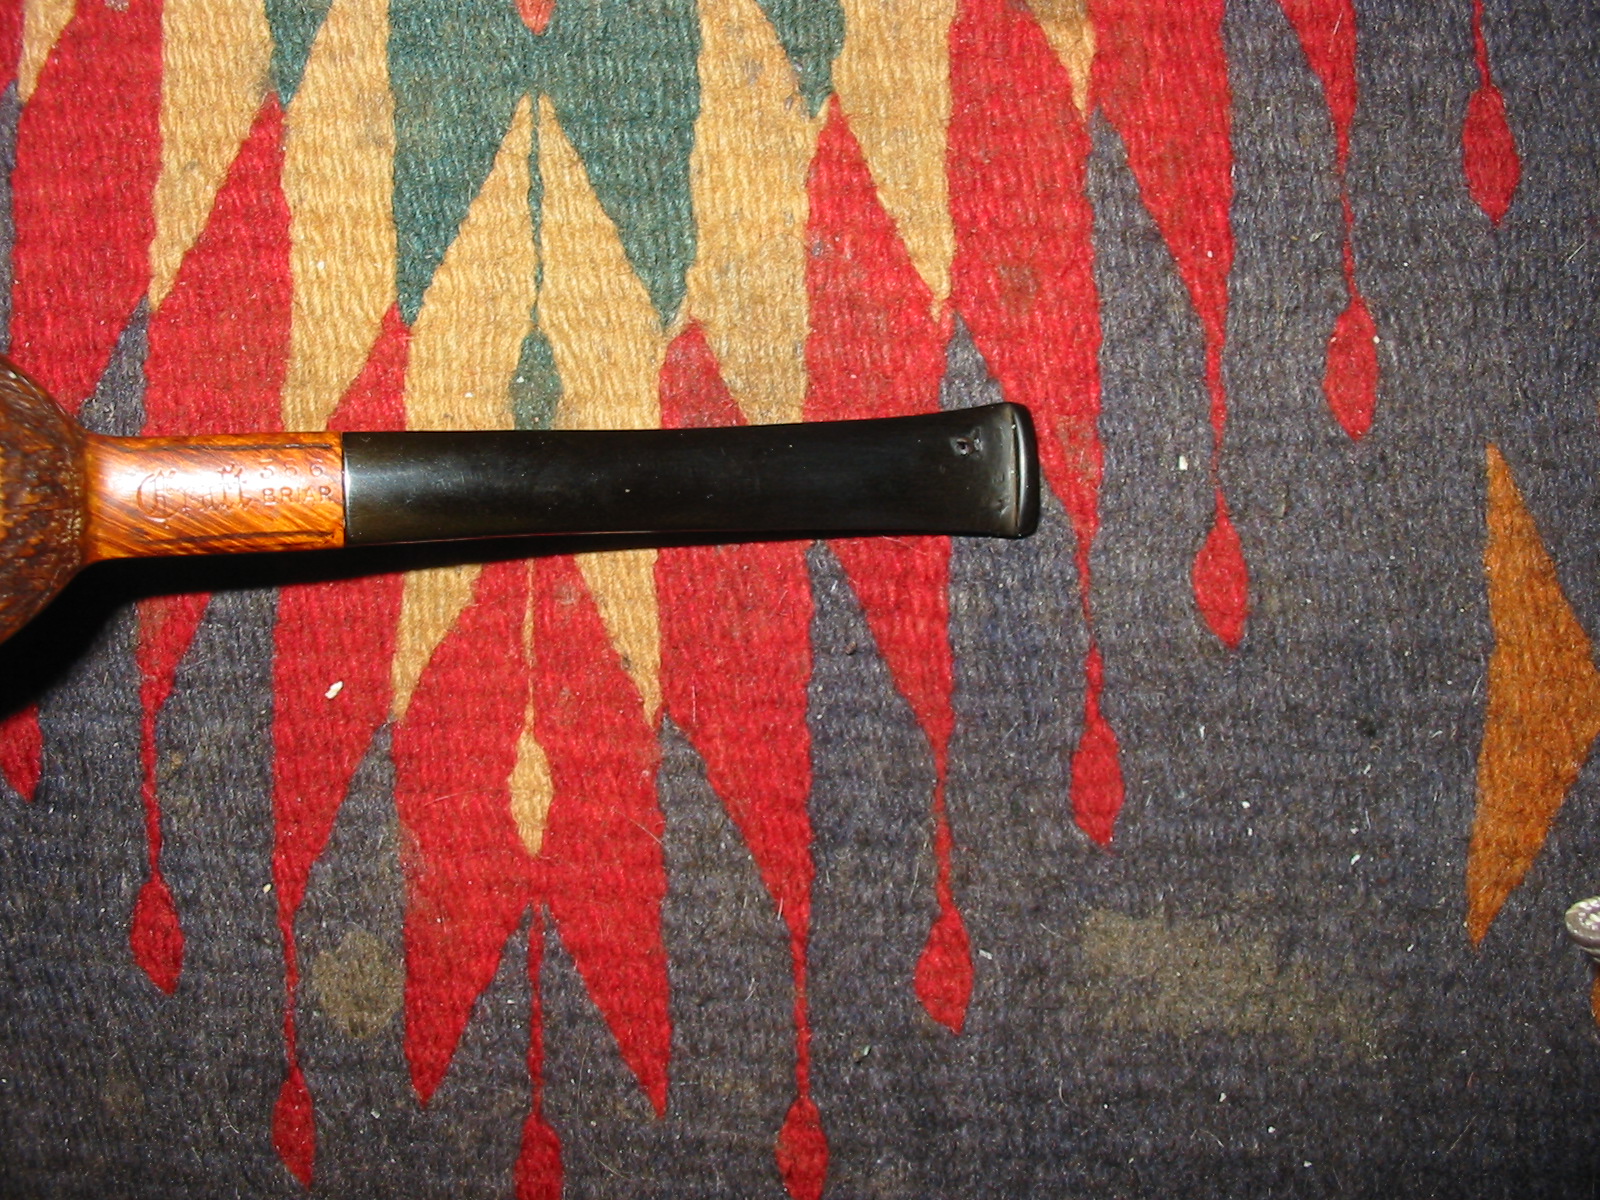
Restoring A Craft Briar Volcano/Poker


Finding this old pipe comes with a tale that is just too good not to tell. I have written it up here for your reading and also to help me remember the tale.

Yesterday I paid a visit to the Vancouver Flea Market to see if I could add any more pipes to my stock of pipes to refurbish. I generally have had some good luck there picking up older pipes at a good price. There is one seller at the market that has some pipes that have always caught my eye but her prices have been unreasonable. She would not negotiate on prices at all so I generally walked away from her and bought from other sellers. However, this time I decided to play a bit of her game. I looked at the various pipes and asked her prices. She walked away so I did as well. I made a loop around the market and then came back to her. She had a twinkle in her eye when I came back and she asked, “Are you serious to buy or do you just look?” I laughed and said, “That my dear lady depends solely upon you!” Again she had that same look and she responded, “Which pipe are you wanting?” I started with the one furthest away from the one I wanted and asked her price. It was a Savinelli Autograph in very nice shape. She took it from the case and waxed eloquent about its beauty. Now I knew her price was based on how beautiful the pipe was to her. She spoke of how her father had smoked a pipe in the old country and she had prepared his tobacco for him. She got a faraway look in her eye.

That did not last long and she was back to business. “You want it?” she asked. I asked her price which was far more than I was willing to pay. So I moved her on to the other pipes in her display case. These she said were less beautiful and were priced accordingly. I carefully went over each pipe talking about how I restore them to their original beauty because I was a pipeman. I loved pipes and everything about them. I enjoyed the process of restoration. She was hooked! I finally got around to the pipe that I had had my eye one for quite a while over the past trips I have made to the market. I asked her the price. She replied that it was $49 but the other one she had shown was way better. She said I should not wait and think too long as opportunities move quickly in our world and who knew if it would be there the next time I came back.

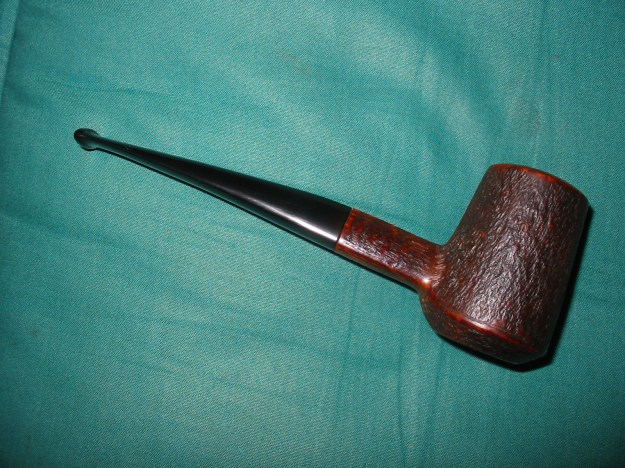
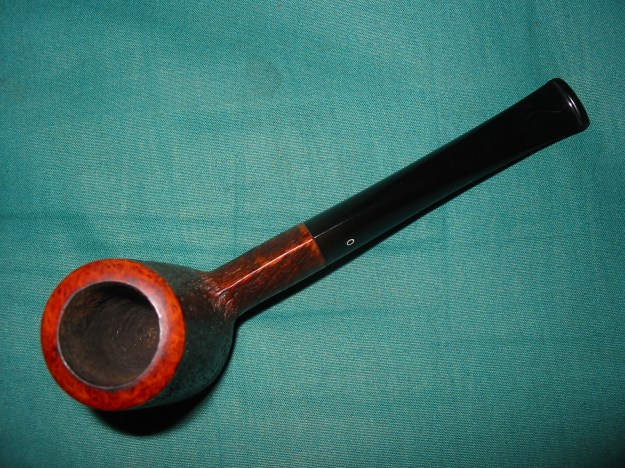
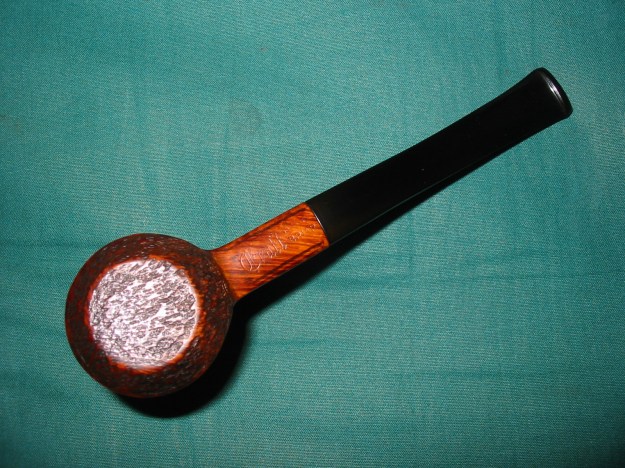
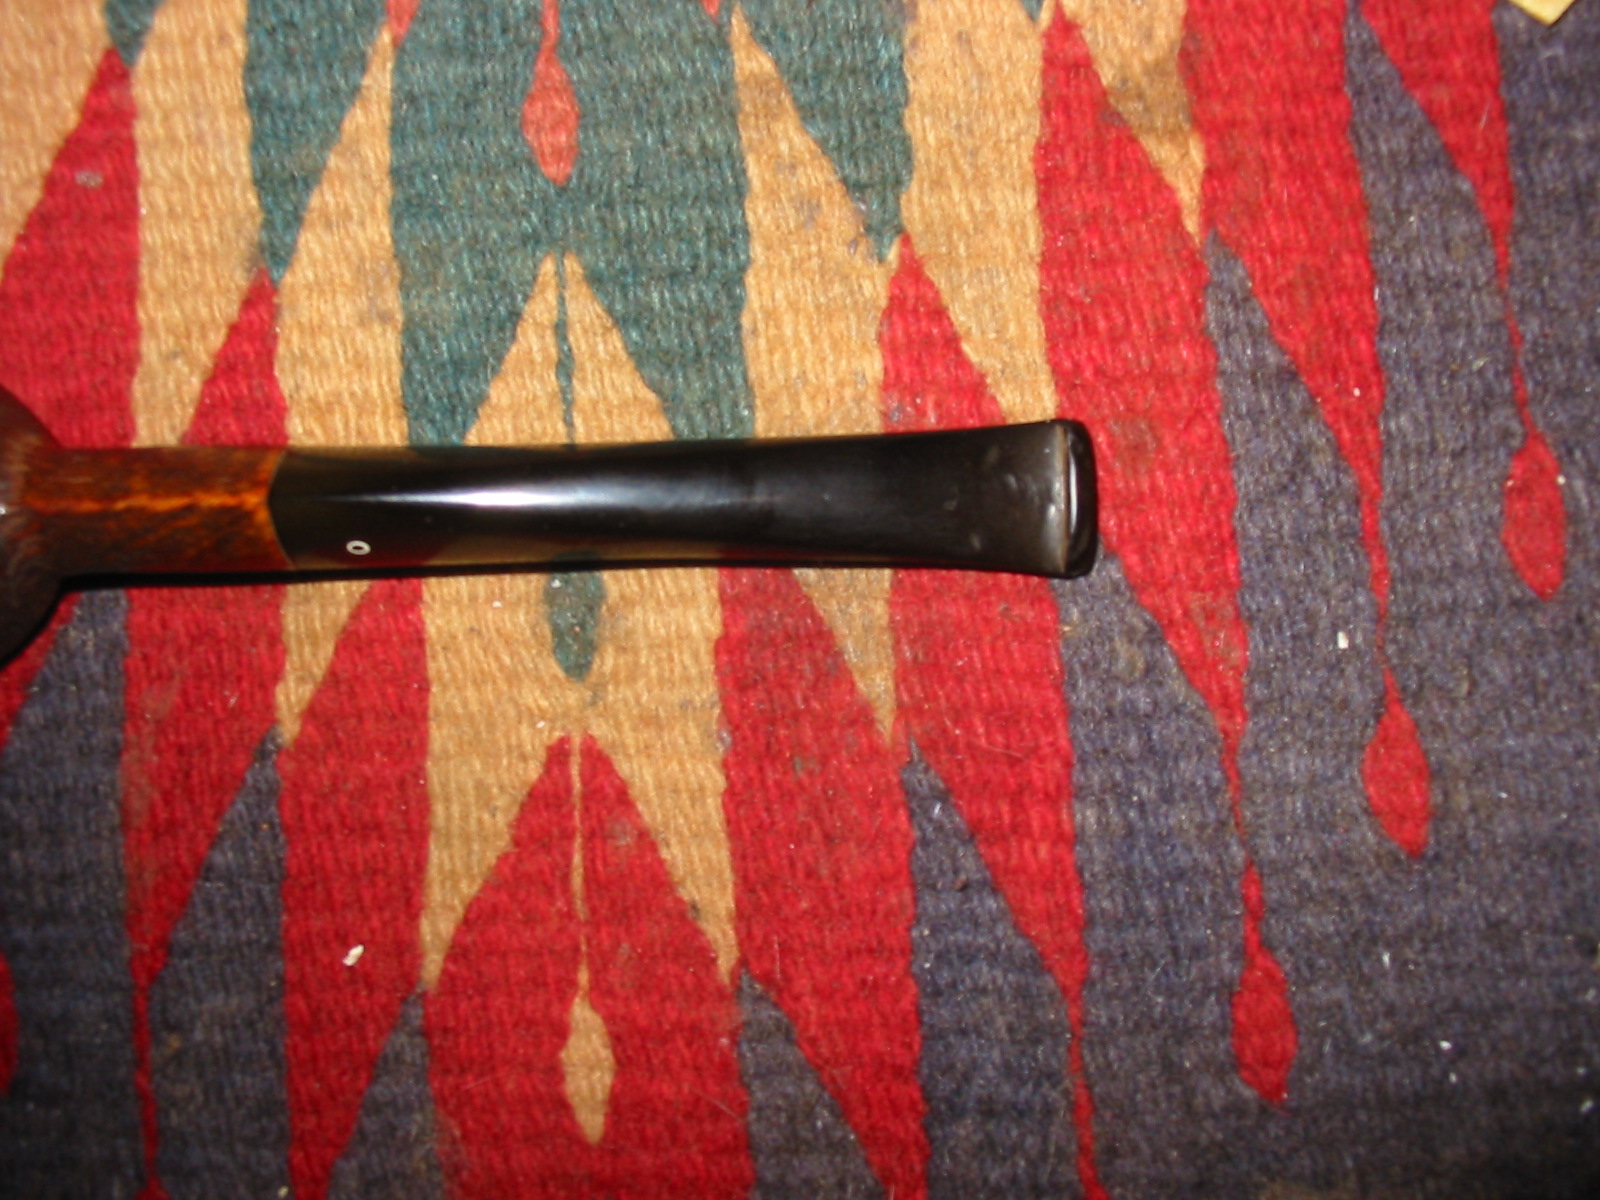
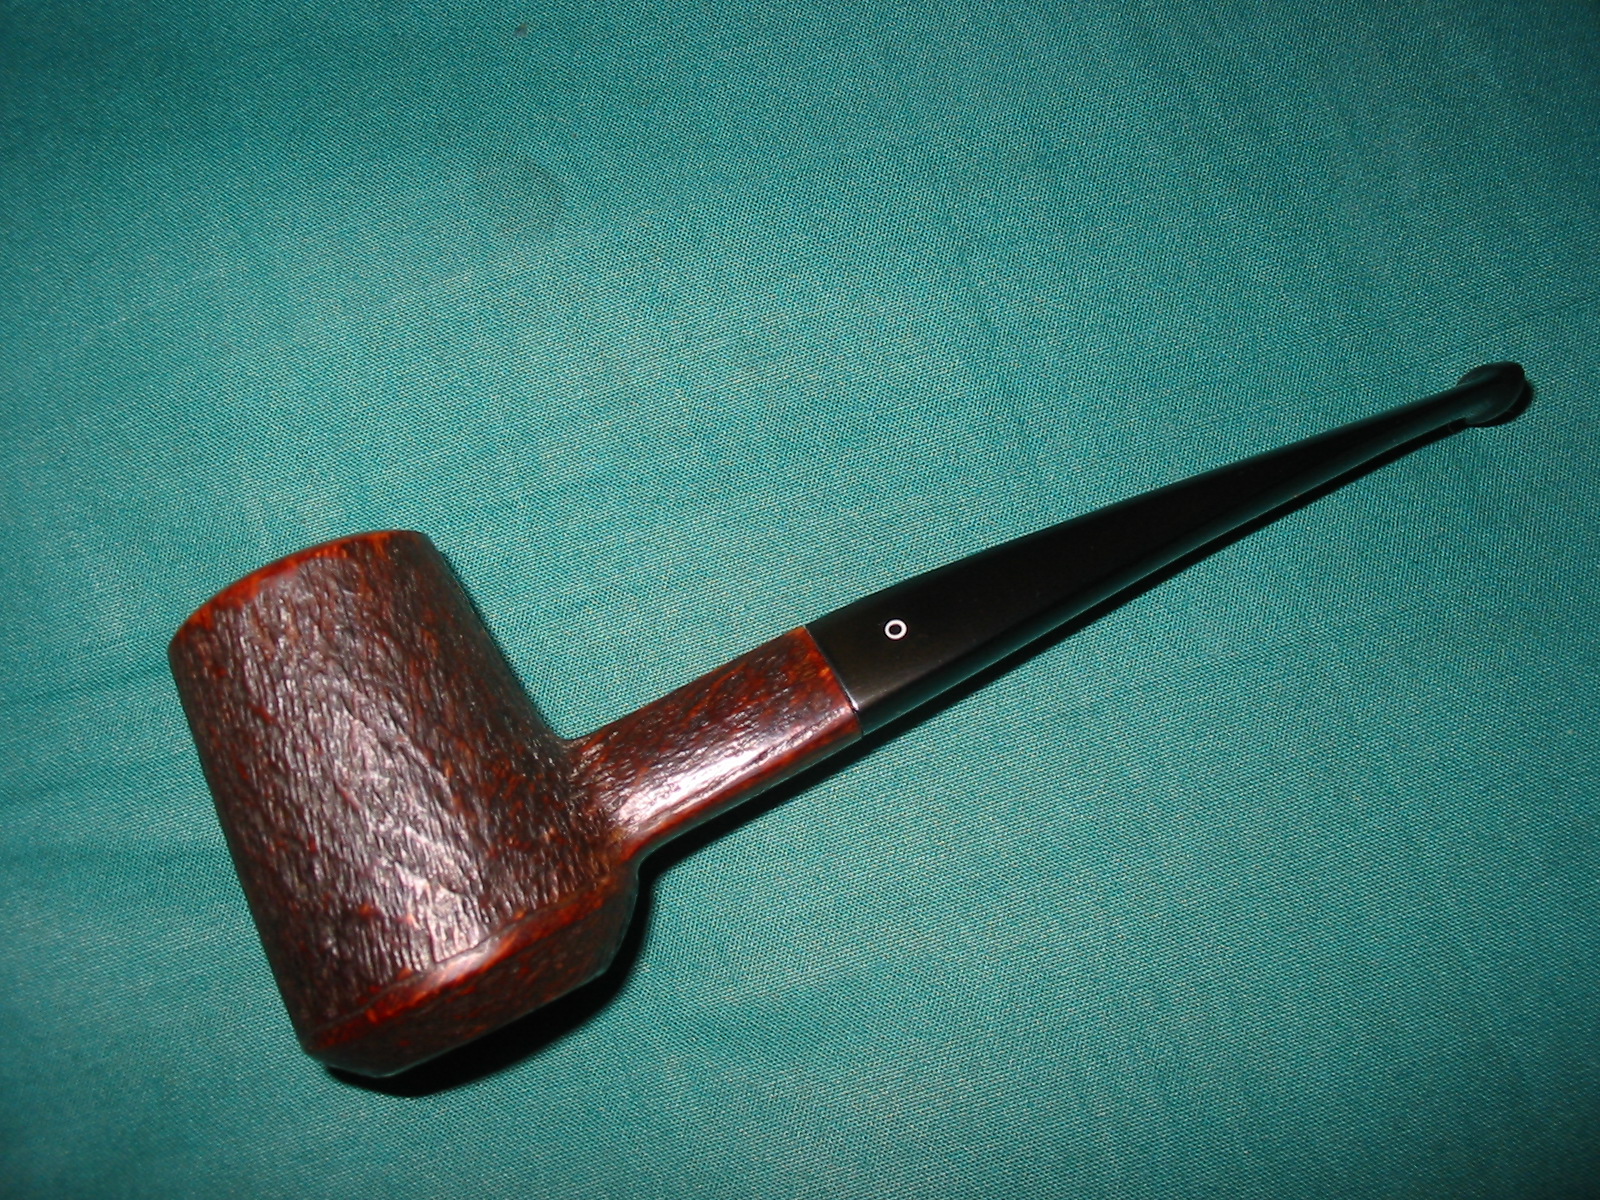
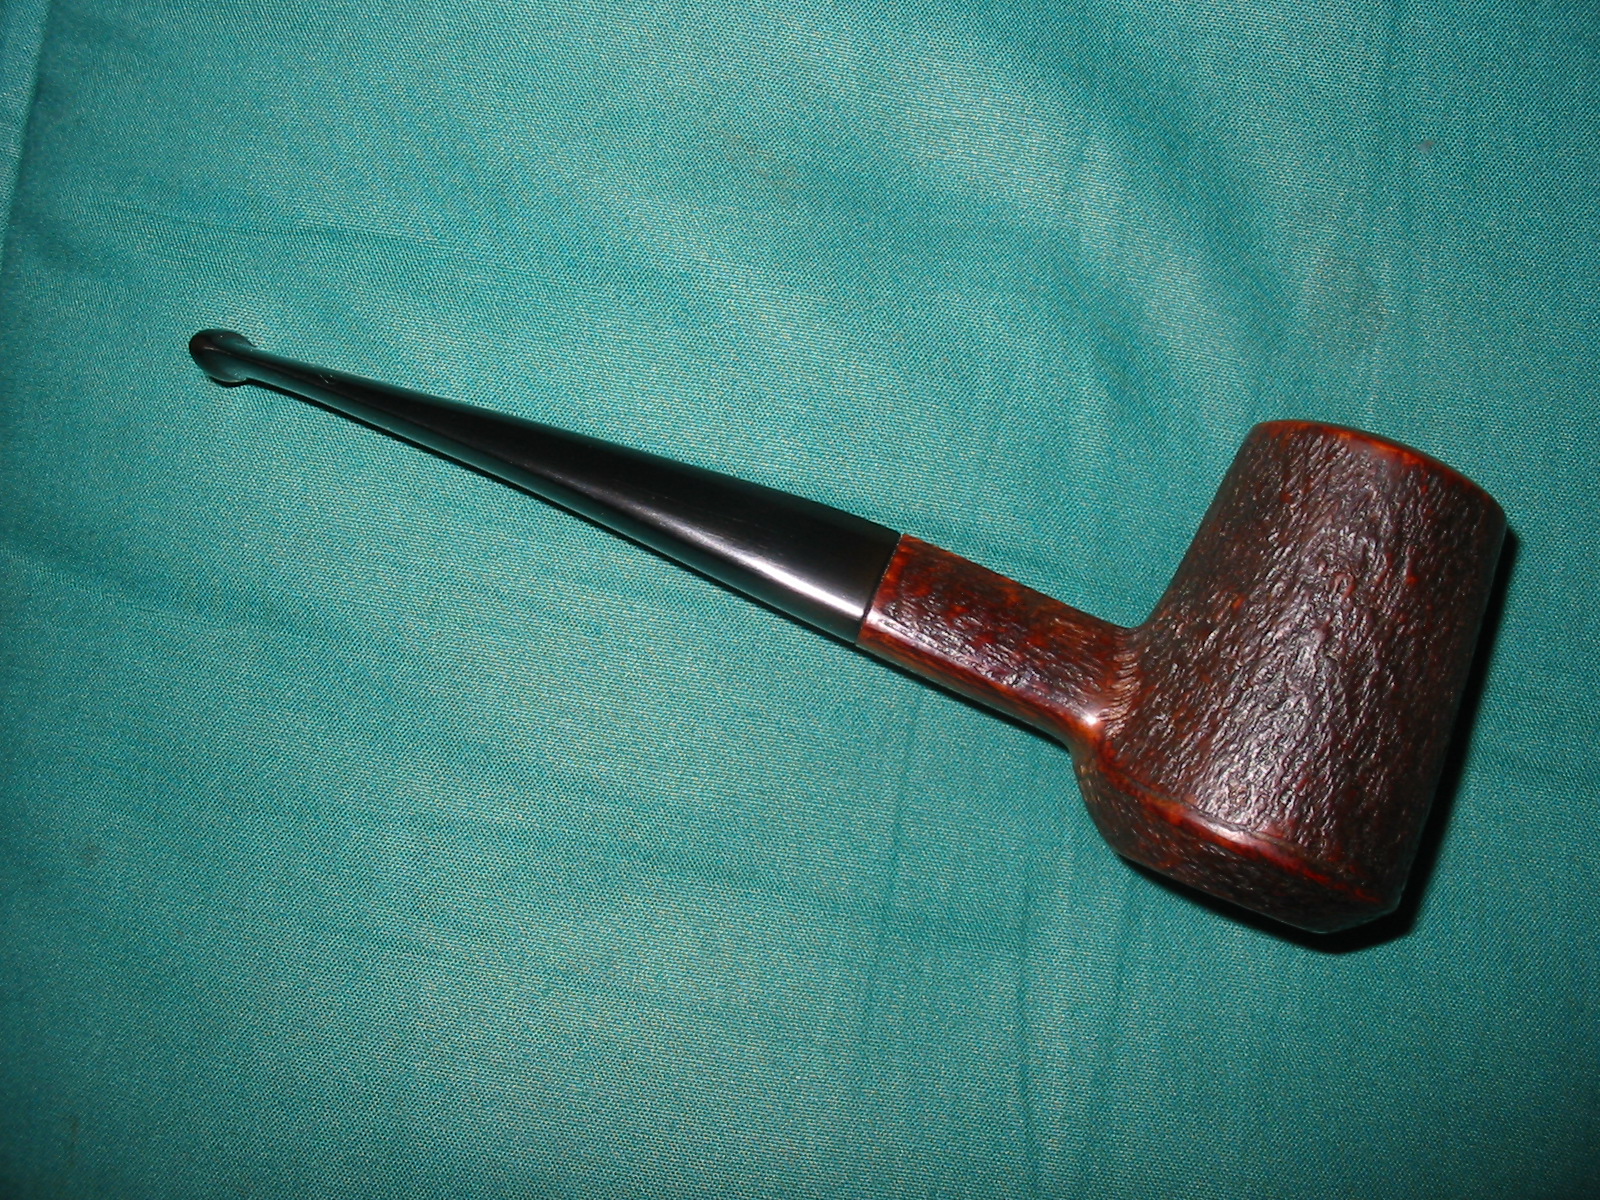
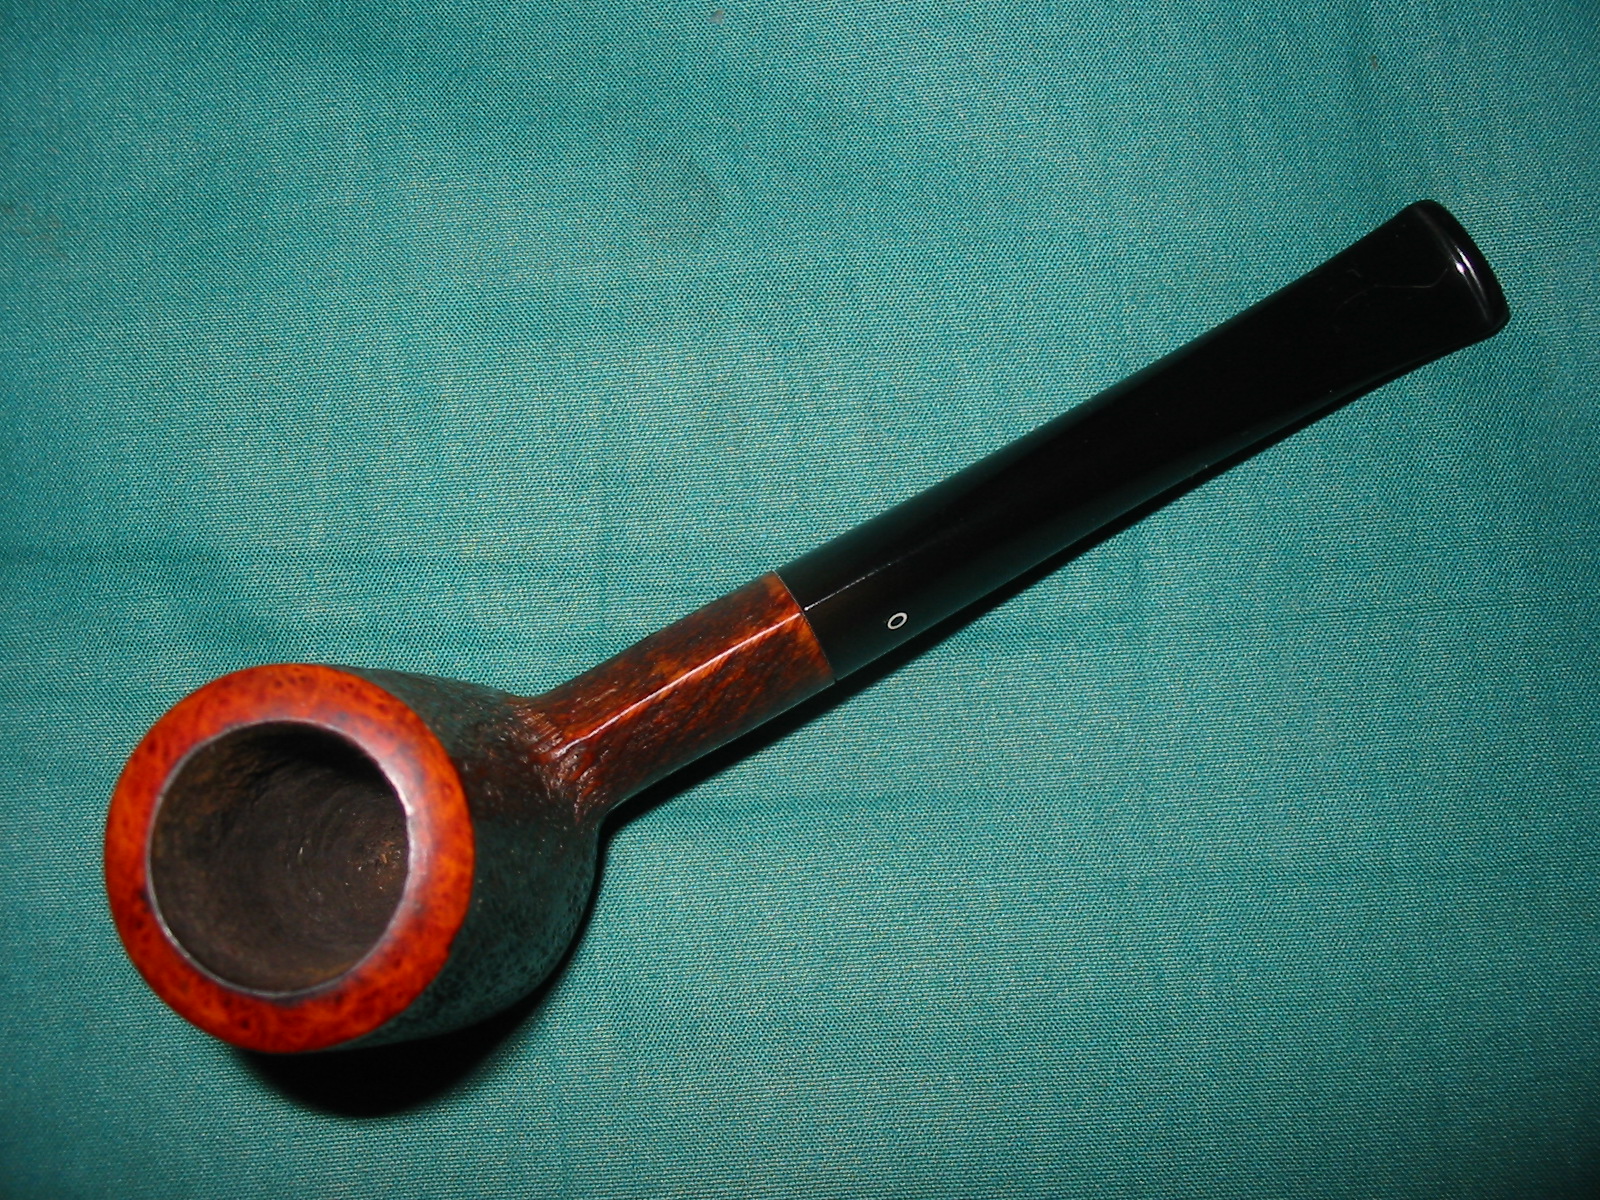
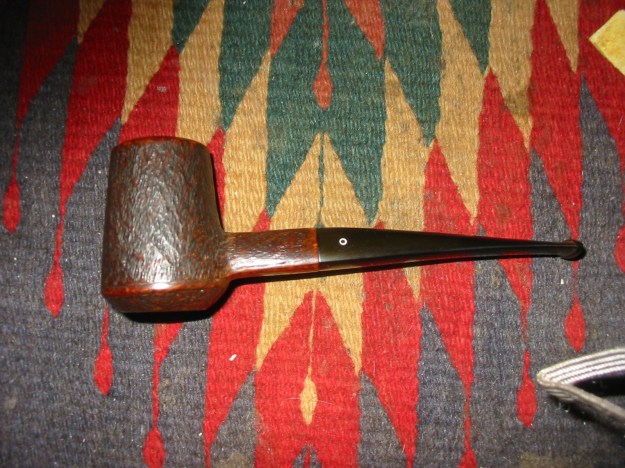
While she spoke I checked out the pipe I wanted. It was stamped on the bottom of its triangular shank, Craft in a Germanic Script and next to that Briar. Stamped above Briar was the number 386. It had an unusual rustication patter on it, a smooth rim and smooth lines on the edges of the triangular shank, the end of the shank and around the rounded bowl bottom. The bottom of the shank was smooth as well. The stem was clean and well fit, with slight oxidation around the shank. There were deep tooth marks on the top and bottom of the stem. The bowl was quite clean with a slight cake and the rim was relatively clean as well – a little tarry buildup at the back of the rim. There was no charring or burning. All of this was taken in while she waxed on about taking every opportunity to by the Savinelli.

When she paused for a breath I asked her the price on the pipe in my hands, knowing full well that there was a price tag on the underside of the stem. Without missing a beat she said, “You want that one? I will make a deal”. Ah, now I knew I could make an offer for the pipe. Too low an offer and she would be insulted but too little a variation from her price would insult her. What to do. I quickly came to a price in my mind and spoke it out, “I will pay you $40 cash right now. No tax and no more for this pipe of less beauty than the one you love so much.” She smiled and nodded her head. “We have a deal,” she said and held out her hand for the cash. I was ready and had two brand new $20’s in hand and laid them on her upturned palm. She smiled and told me to enjoy the new pipe but to not let the beautiful one pass without taking it home too.

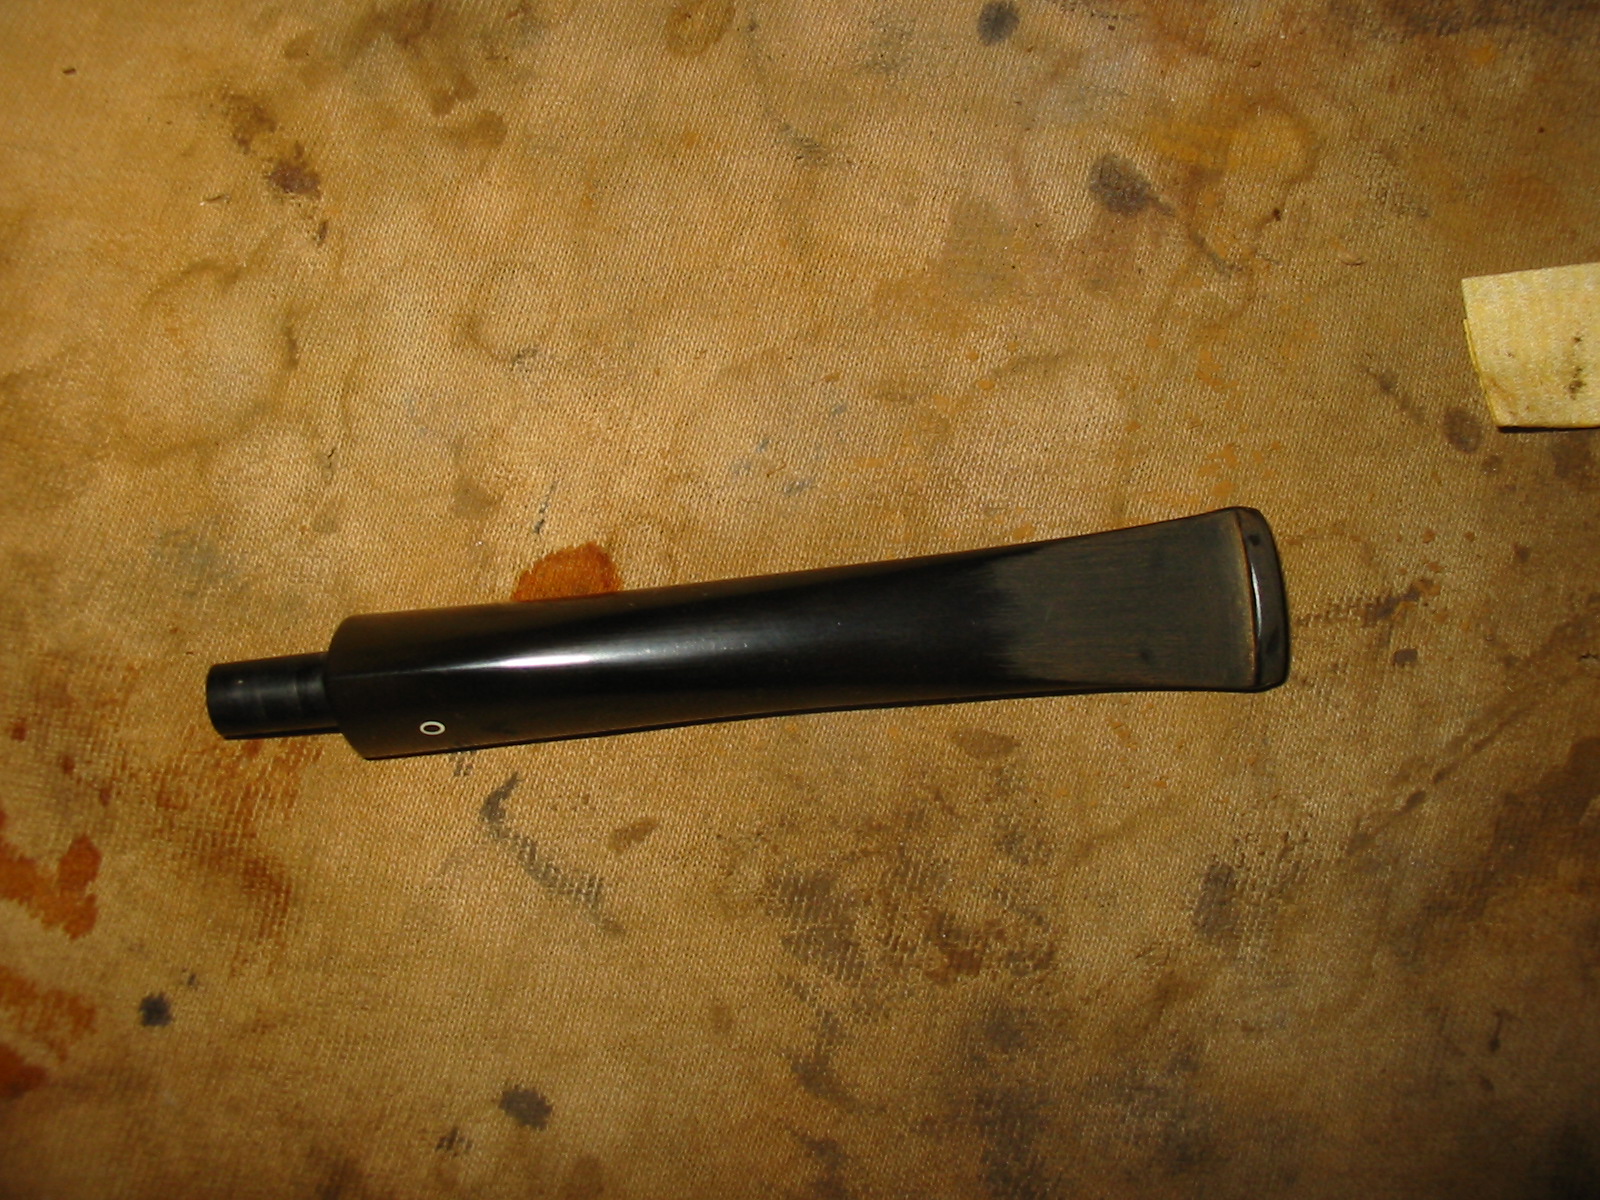
I walked away and went to the coffee shop. I sipped a coffee while I did a bit of searching on the web regarding the Craft brand of pipes. Somewhere in the recesses of my memory it was a familiar name to me. The “o” logo on the stem looked familiar as well. I had a hunch the pipe was made by Julius Vesz, a Toronto pipemaker selling out of the York Hotel. I found a notation on the web that confirmed that the pipe was made in Toronto and sold out of a shop at the York Hotel. The address given on the site matched Vesz’ shop there. I was fairly certain that my hunch was correct. Another site stated that the Craft Briar Pipe Company’s principal was Julius Vesz. The identity of the carver was certified by the web.
IMG_3525

I still wanted to take one further step in confirming that the pipe did indeed come from Julius Vesz. I googled his website and sent an email via the website to the webmaster. I also emailed him directly from the contact information given on the site. Here is the web address should you want to check out some of his pipes: http://www.juliusvesz.ca/
welcome

I have included our correspondence about the pipe in full below.

On Dec 29, 2013, at 6:44 PM, Steve Laug wrote:
aboutpg

Good evening Mr. Vesz
I came across a pipe that I believe came from your shop if my research is correct. It is stamped Craft Briar and 3B6 and has a white o on the triangular stem. I was wondering if you could confirm that it is indeed one of your pipes. I have several of yours and thoroughly enjoy them and was caught by the “o” logo on the stem and the great shape of this one. Thank you for your time.
Kind regards
Steve Laug

On Dec 30, 2013 Rob Vesz wrote:

Hello Steve
This is Rob Vesz, Julius’ son replying. I take care of my father’s email and website. Thanks for your message and kind words.

Yes, Craft is the name Julius stamped on his very early pipes. It is in fact still the name of his company, but he operates under “Julius Vesz”. That pipe would be around 50 years old. My father stopped stamping Craft around the mid 1960’s.

It would be interesting to see a photo if you don’t mind emailing one.

Thanks again.

Rob Vesz

There is was – the web confirmation was confirmed by Rob Vesz that the pipe was indeed crafted by Julius Vesz and gave a date when the stamping on the pipes changed from Craft Briar in the mid 1960’s. I wrote back to Rob and sent the requested photos of the pipe and asked for clarification on the number stamp on the shank of the pipe. I wondered if it was not a date stamp. Below is that correspondence.

On Dec 30, 2013, at 12:37 PM, Steve Laug wrote:

Hi Rob
Thank you for your prompt reply. I appreciate the information. I am in the process of restoring the pipe now. Soon I will write it up for the rebornpipes blog – a blog I run for refurbishing of pipes.

I have attached three photos of the pipe. It is in pretty good shape other than some deep bite marks on the stem, top and bottom near the button.

One more question – can you interpret the stamping for me? The number on it is 386 – does that give me date information?
Thanks
Steve

On Dec 30, 2013 Rob Vesz wrote:

Steve
The 386 should be a style # that my father used. Will speak to him to see if he has any further thoughts on that.

Rob

Below are three more photos of the pipe showing what it looked like when I brought it home to refurbish.
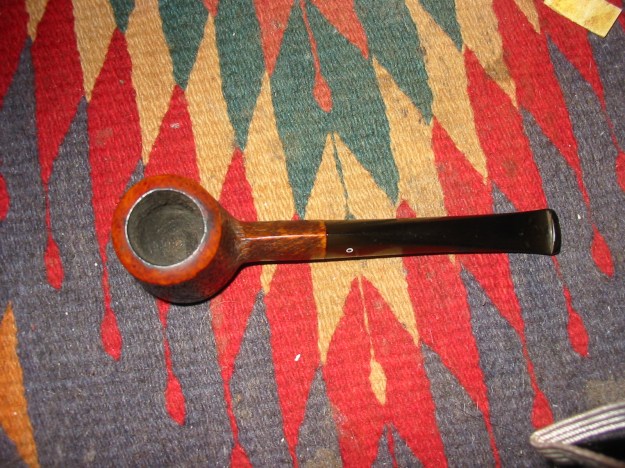
IMG_3524

IMG_3526

IMG_3527

I took several photos of the end of the stem to show the tooth mark damage that was present. It truly was the only thing wrong with this pipe. The first photo shows the underside of the stem but does not show the size or the depth of the bite mark at the top of the photo.
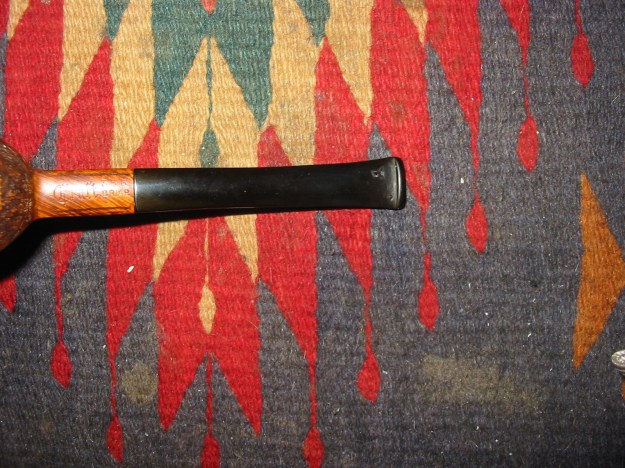
IMG_3528

IMG_3529

I heated the stem with a heat gun to try to lift the tooth marks. The ones on the top of the stem lifted almost to the surface and a little sanding took care of the remnants there (Photos 1 and 2 below). The ones on the underside were deeper. Two of them lifted to the surface and with sanding disappeared. The one on the left side of Photo 3 was very deep and the surface of the vulcanite was broken so that it did not lift. It left a pit in the surface of the stem. I picked it clean with a dental pick.
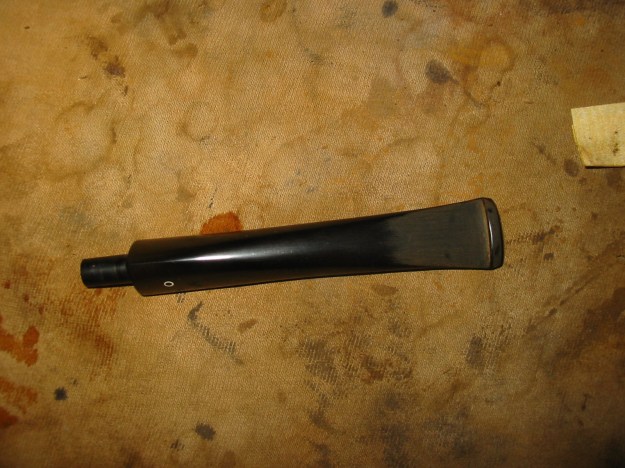
IMG_3530

IMG_3531

IMG_3532

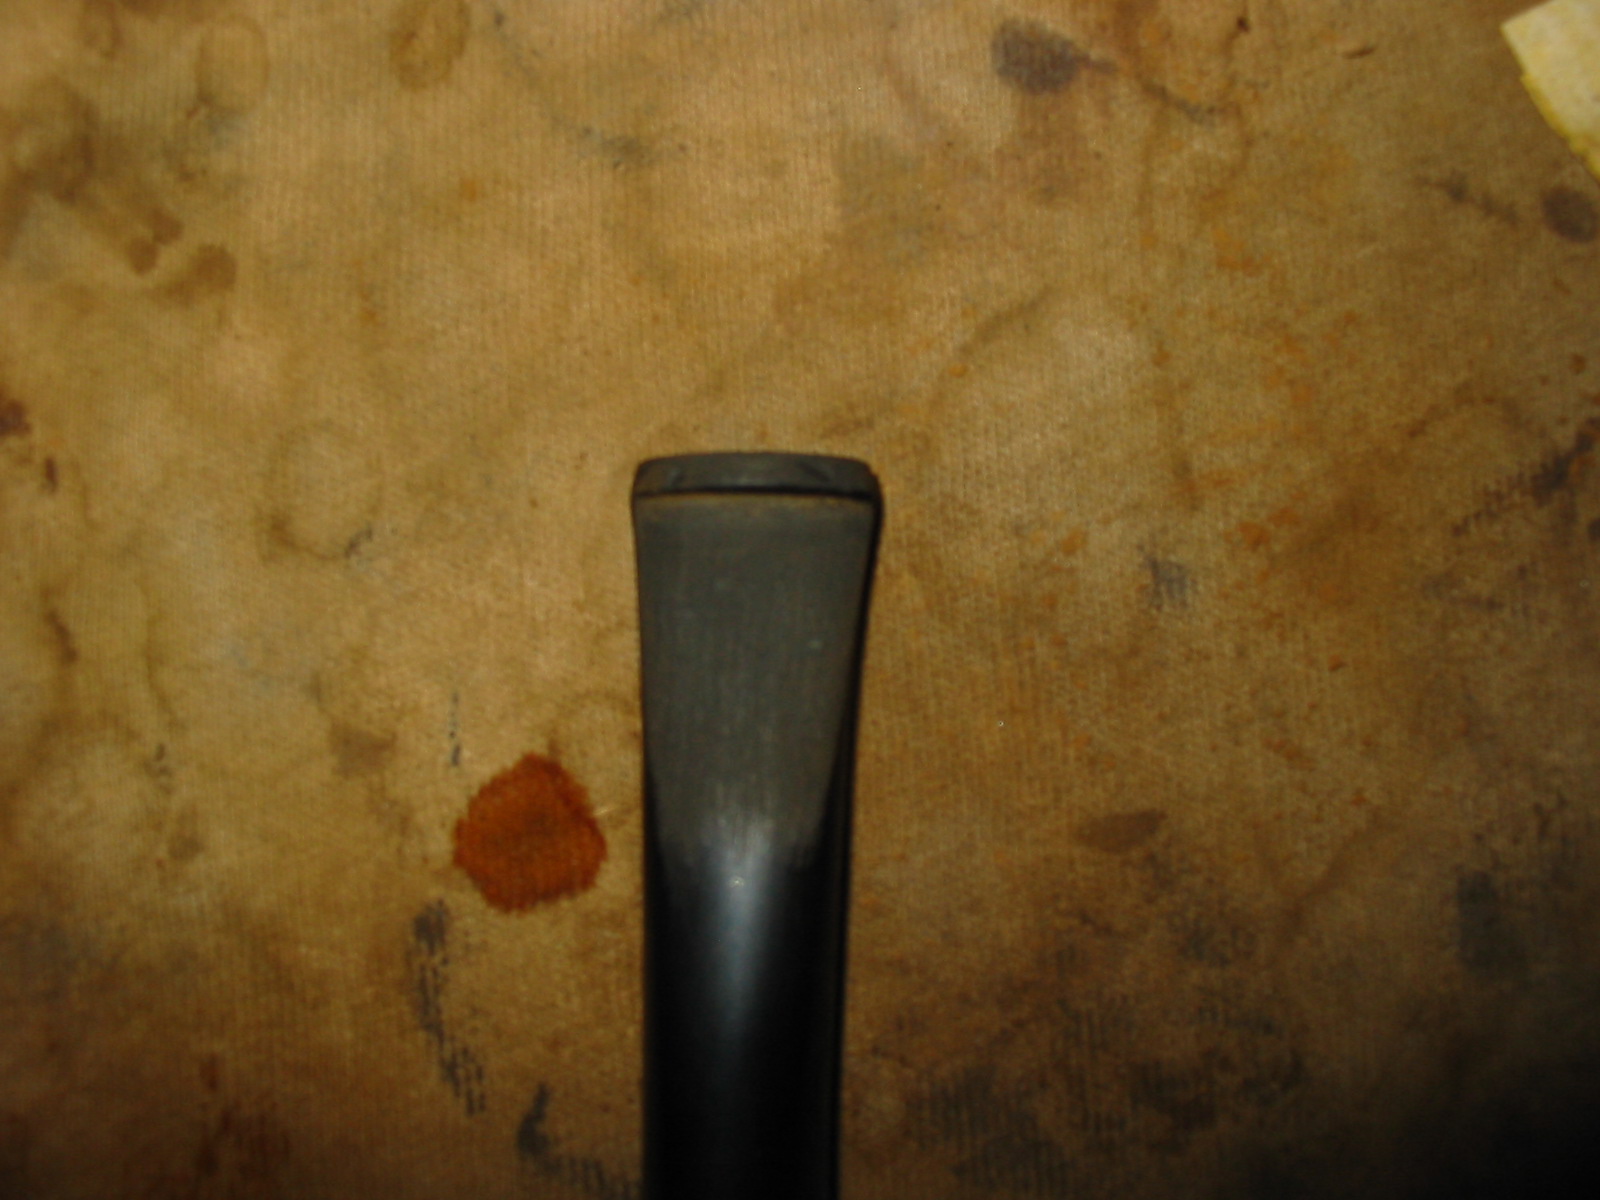
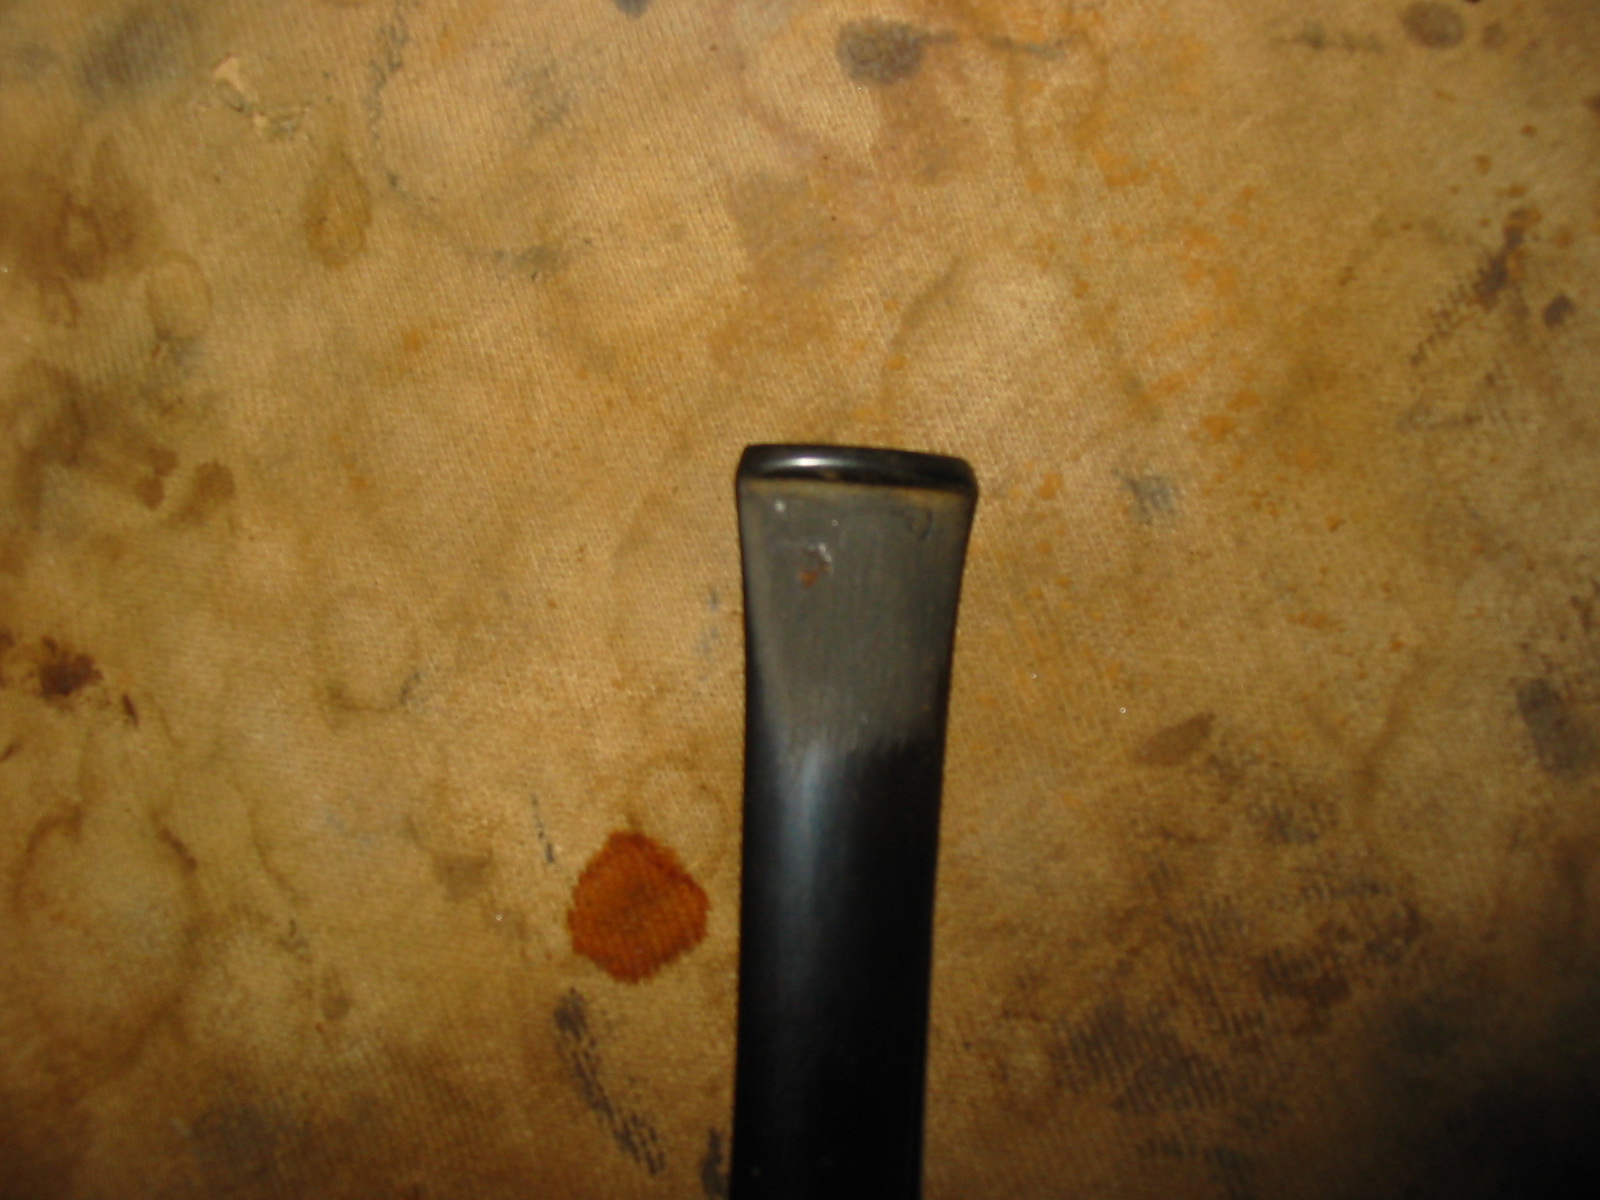
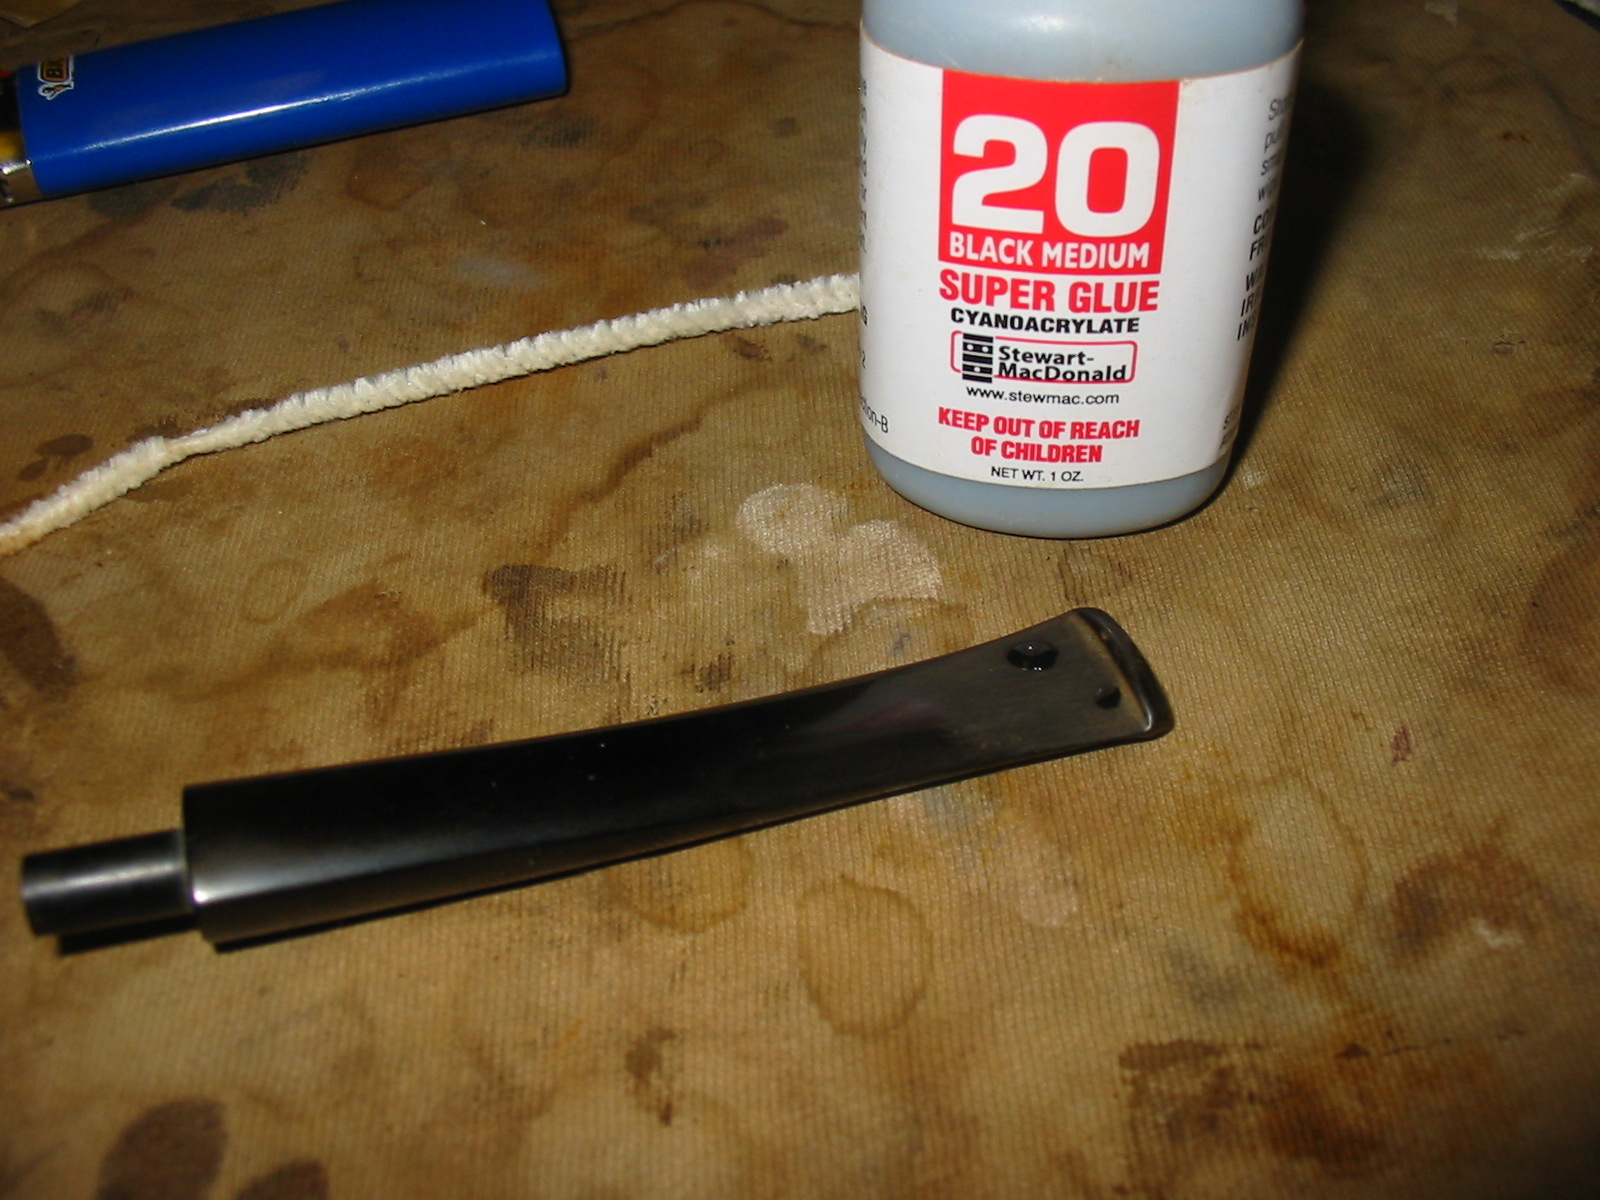
I wiped the sanded area of the stem down with Everclear on a cotton pad to clean the surface before using black superglue to repair the deepest bite mark and to also fix a small one to the right of it. The next two photos below show the drops of superglue on the surface of the stem. I set the stem aside for the glue to cure and went on to clean the bowl and rim.
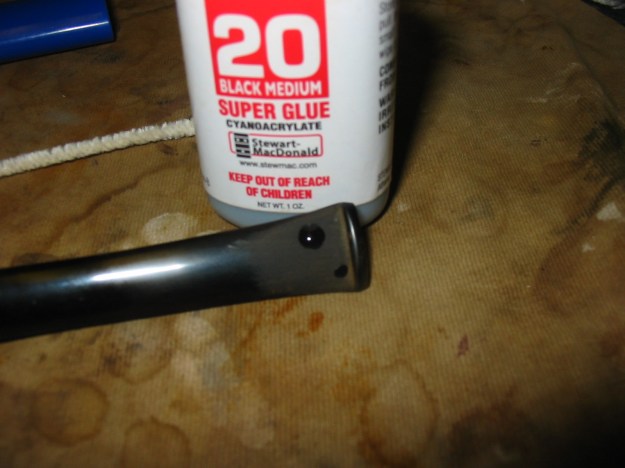
IMG_3534

IMG_3533

I scrubbed the tars on the rim with saliva on a cotton pad until they were gone. The photo below shows some of the buildup still remaining that took a bit more elbow grease to remove. I also wiped down the rest of the bowl with a damp cotton pad to remove grime and dust.
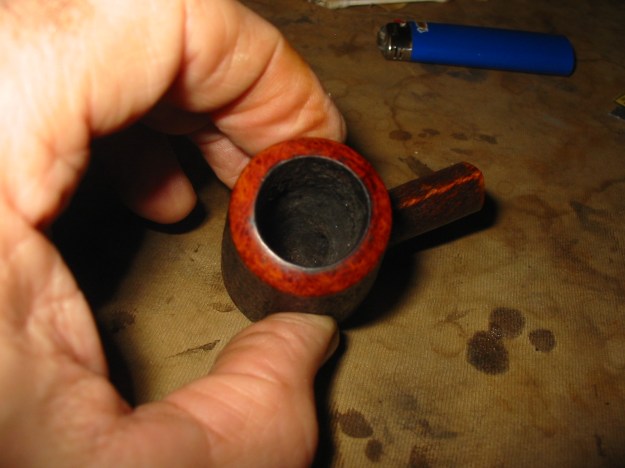
IMG_3535

IMG_3536

IMG_3537

IMG_3538

IMG_3539

I cleaned out the shank with cotton swabs, pipe cleaners and Everclear to remove tars and oils left behind by smoking. I reinserted the stem in the shank and set the pipe down to continue to dry. There were two small marks left behind after I had sanded the top of the stem so I used the black superglue on them as well and set the pipe to rest on a dental pick while the glue on both sides of the stem dried.
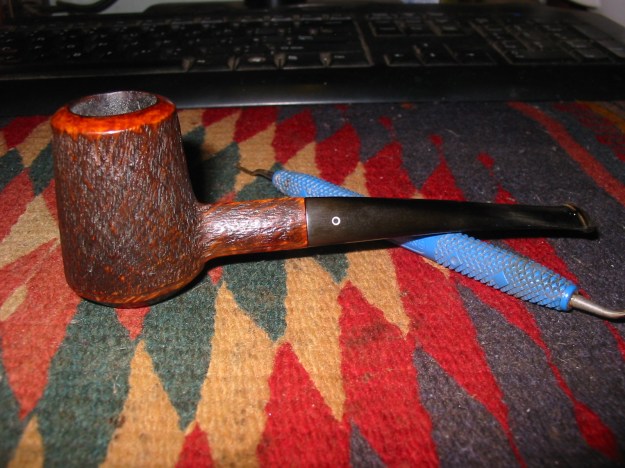
IMG_3544

IMG_3545

IMG_3546

IMG_3547

IMG_3548

Once it was dry I sanded the excess with 220 grit sandpaper, a medium grit sanding sponge and then micromesh sanding pads. I wet sanded with 1500-2400 grit sanding pads and dry sanded with 3200-12,000 grit pads. After sanding with each group of three grits I wiped the stem down with Obsidian Oil and went on to sand with the next group of three.
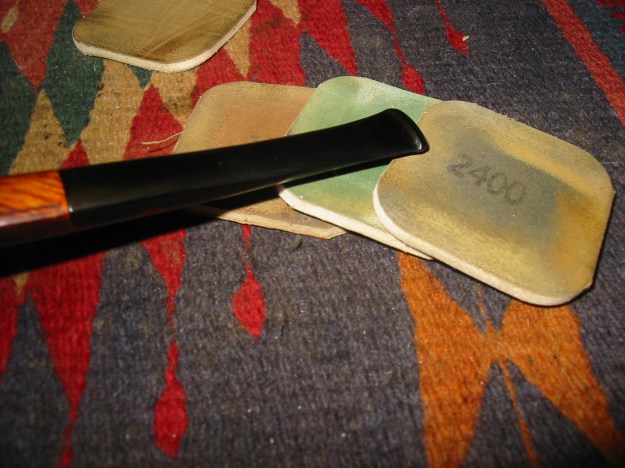
IMG_3574

IMG_3575

IMG_3576

IMG_3577

IMG_3578

IMG_3579

When I had completed the sanding with the micromesh pads I wiped the stem down a final time with the oil and then buffed the bowl and stem with White Diamond on the buffing wheel. I completed the refurbishing with repeated coats of carnauba wax on the buffing wheel applied to the stem and Halcyon II wax hand applied to the bowl. I buffed the bowl and stem with a clean soft flannel buff for a final shine. It is nice to have a bit of history on an old pipe. The added story of the purchase is something that adds colour to the pipe and makes it unique in my collection.
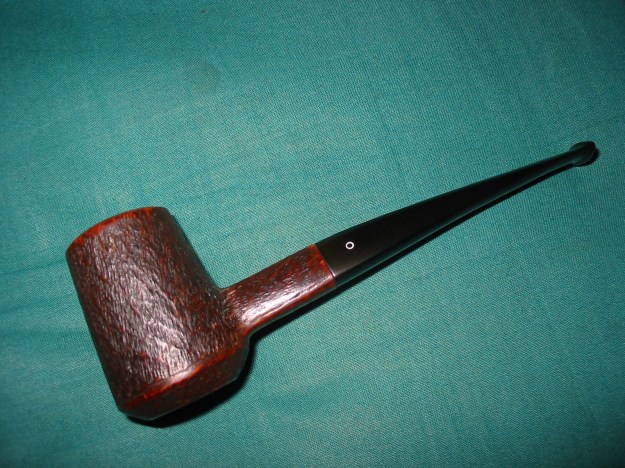
IMG_3581

IMG_3582

IMG_3583

IMG_3585

I received an email from Rob on New Years afternoon giving some more detail on the date and stamping of the pipe. I include Rob’s note in full.

Hello Steve. Happy New Year!

I spoke to my father and have some more information for you. The “386” represents two things. The “3” is the price category. At that time Julius had 1 through 6 for pricing. Your pipe would have been in the middle. The “86” represents the style. I asked my father about the style associated with that number WITHOUT showing him the photos. He was able to describe it in detail, triangular shank/stem and all. He hasn’t made an “86” in a long time. It was his own custom shape. It looks somewhat like “poker” to me. Also, some other interesting bits of trivia- typically the “3” would would have been within a circle (ie- his pipes have been known as Circle 3’s, Circle 4’s etc., and continue to be known as such based on price). Your pipe is very old. Julius only made 200-300 “Craft” stamped pipes. Those that didn’t have circle around price number are even fewer and older. For awhile he didn’t have a circular stamp and that’s where yours fits in. So, you have a real gem and rarity! It looks great in the pictures. My father doesn’t use a computer, so next time I see him I’ll be sure to show him on my iPhone or iPad. He will enjoy seeing it and be glad that it’s in the hands of someone who appreciates it!

Hope this information had been helpful.

Sincerely,
Rob Vesz

Reclaiming a Digby Conquest Canadian


Blog by Steve Laug

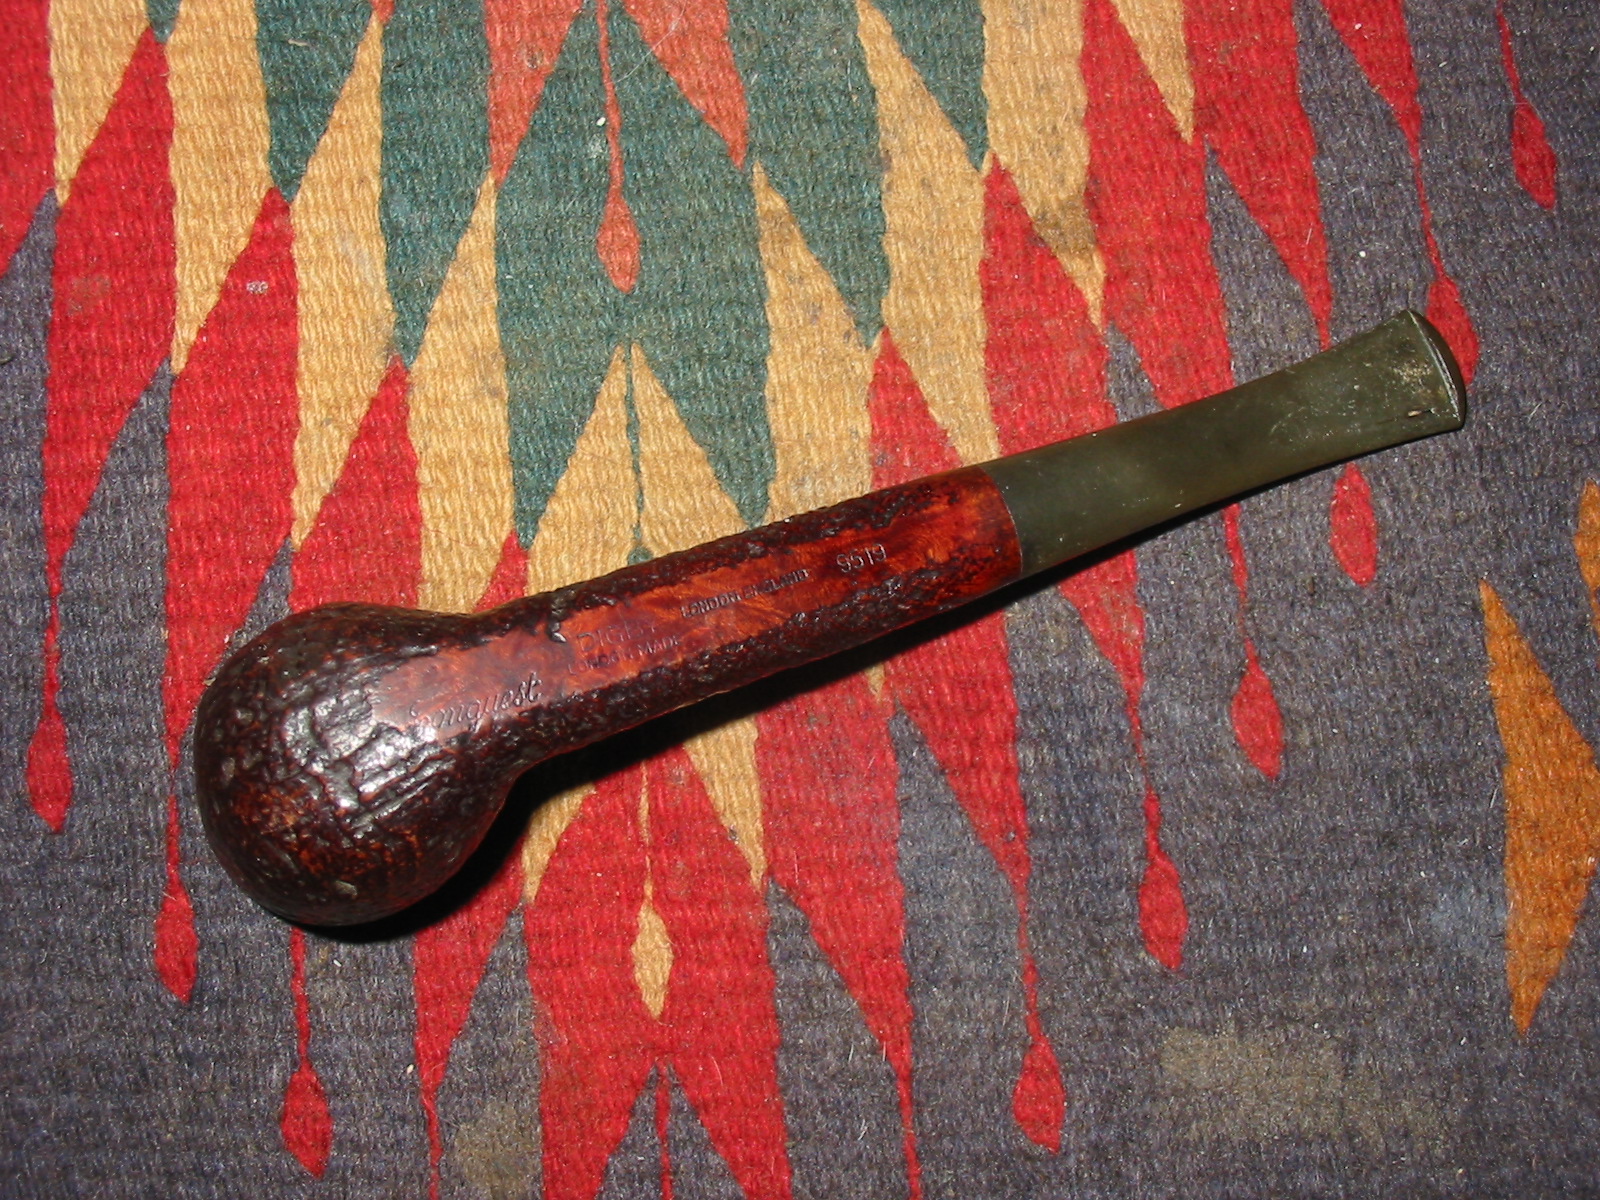
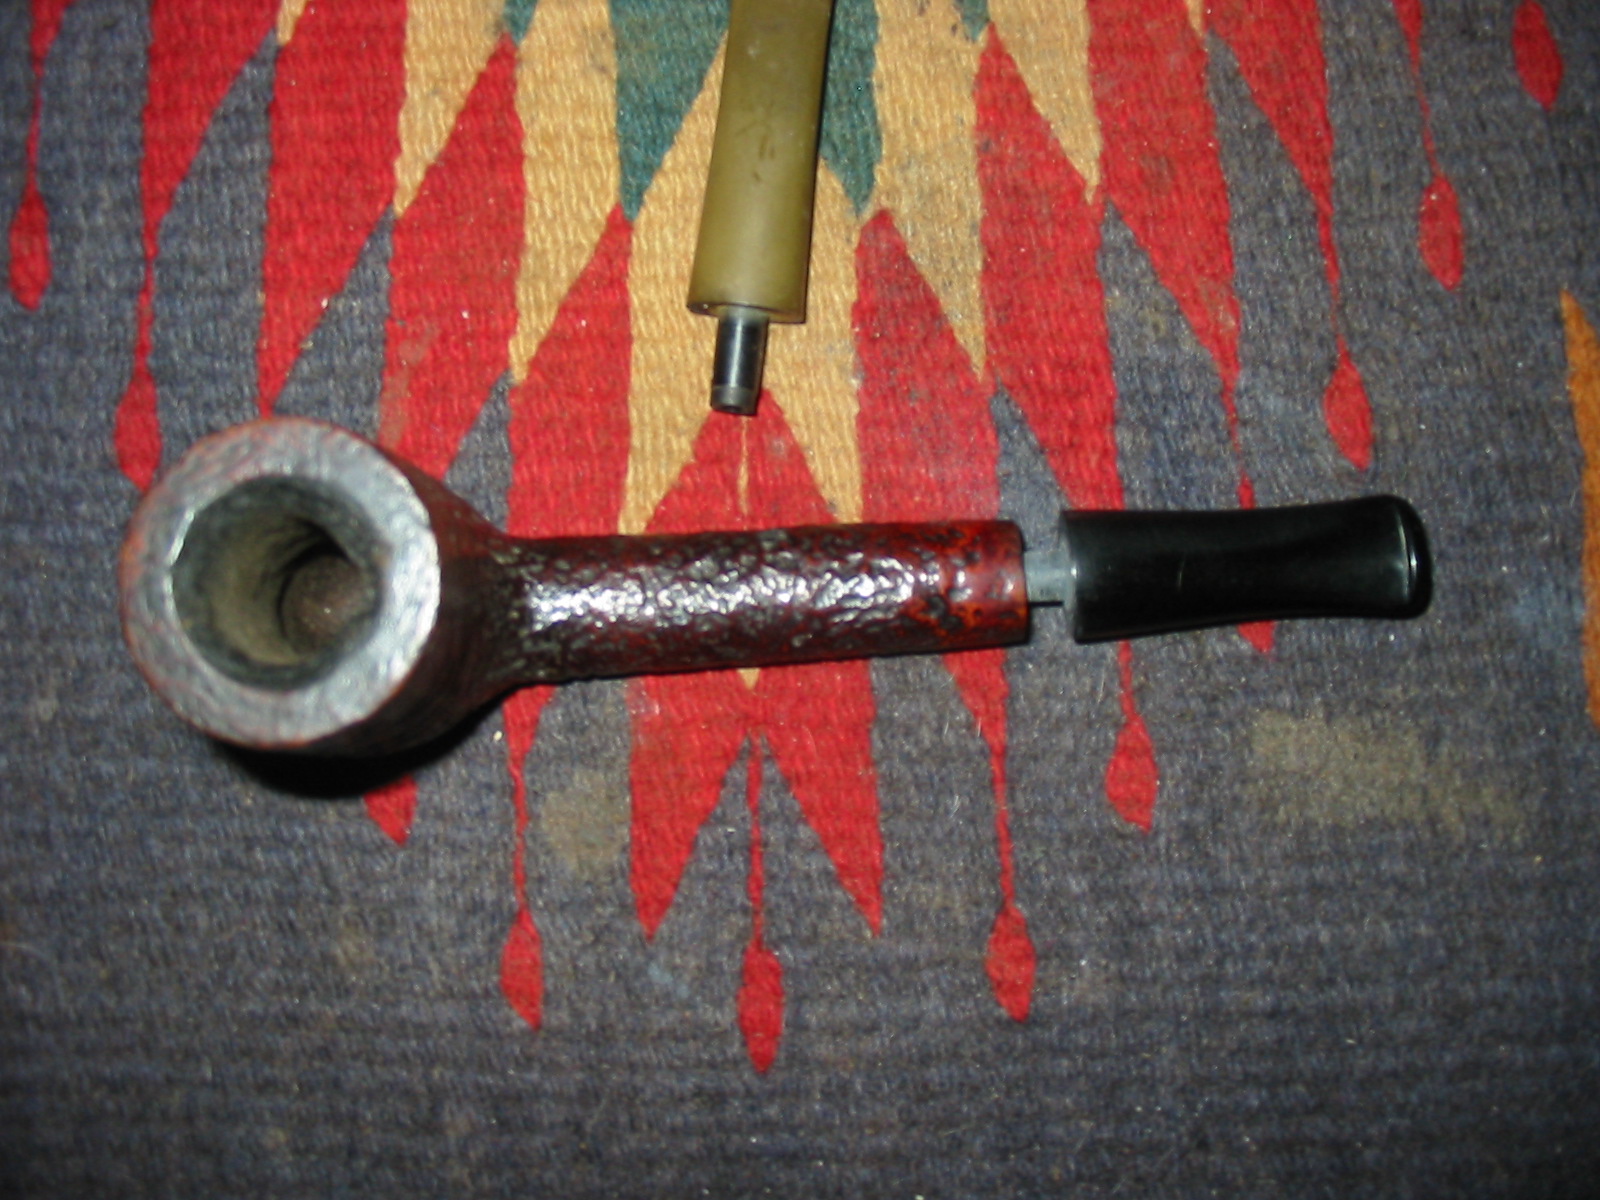
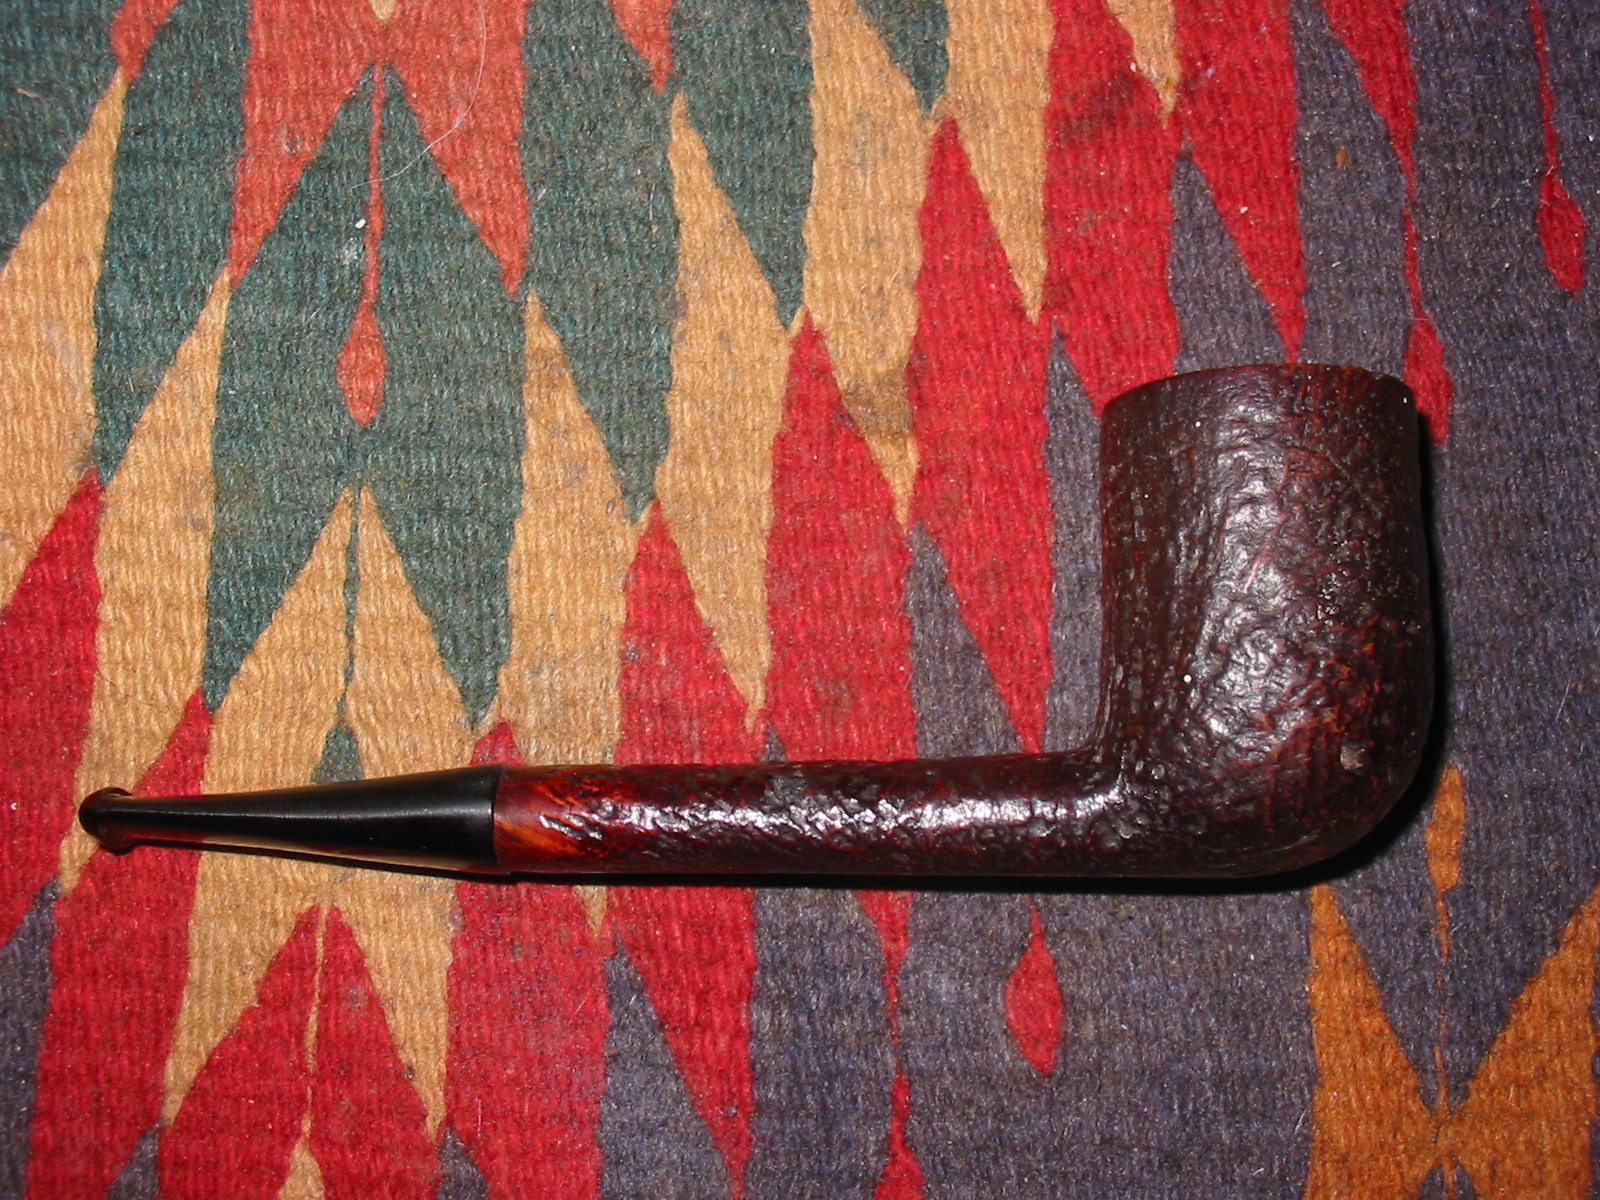
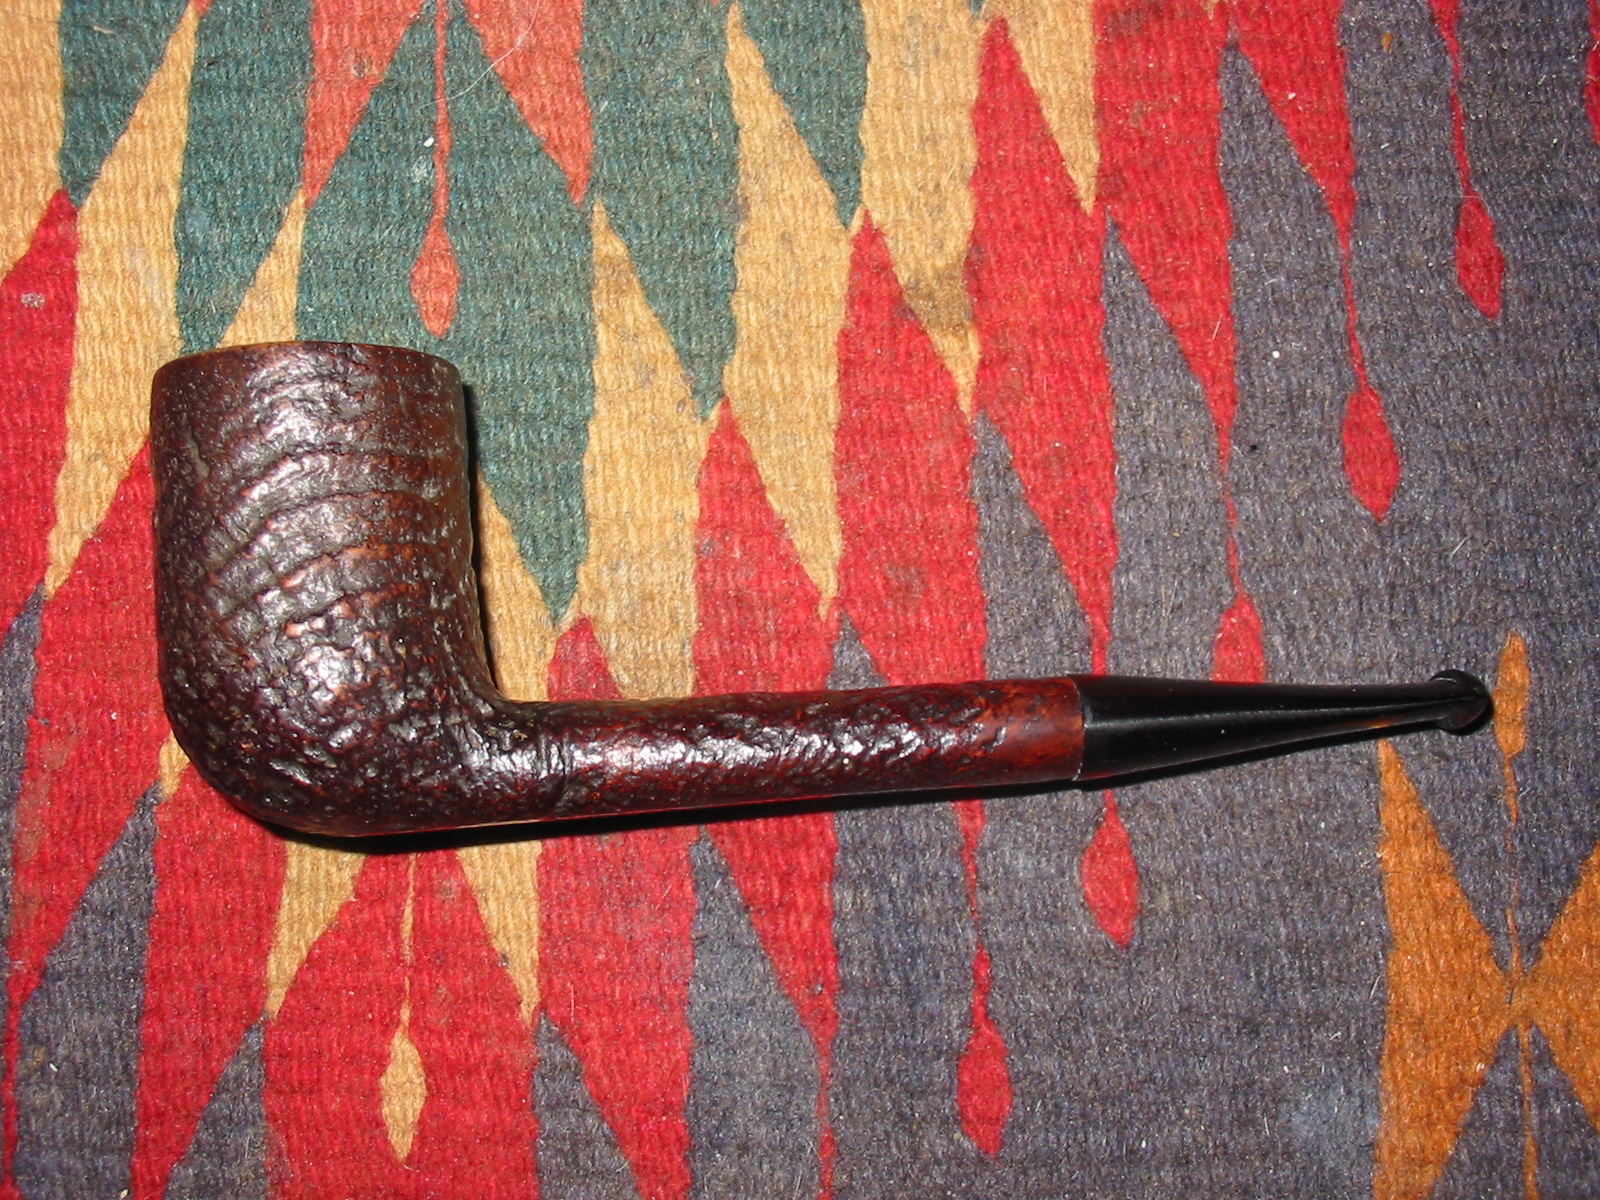
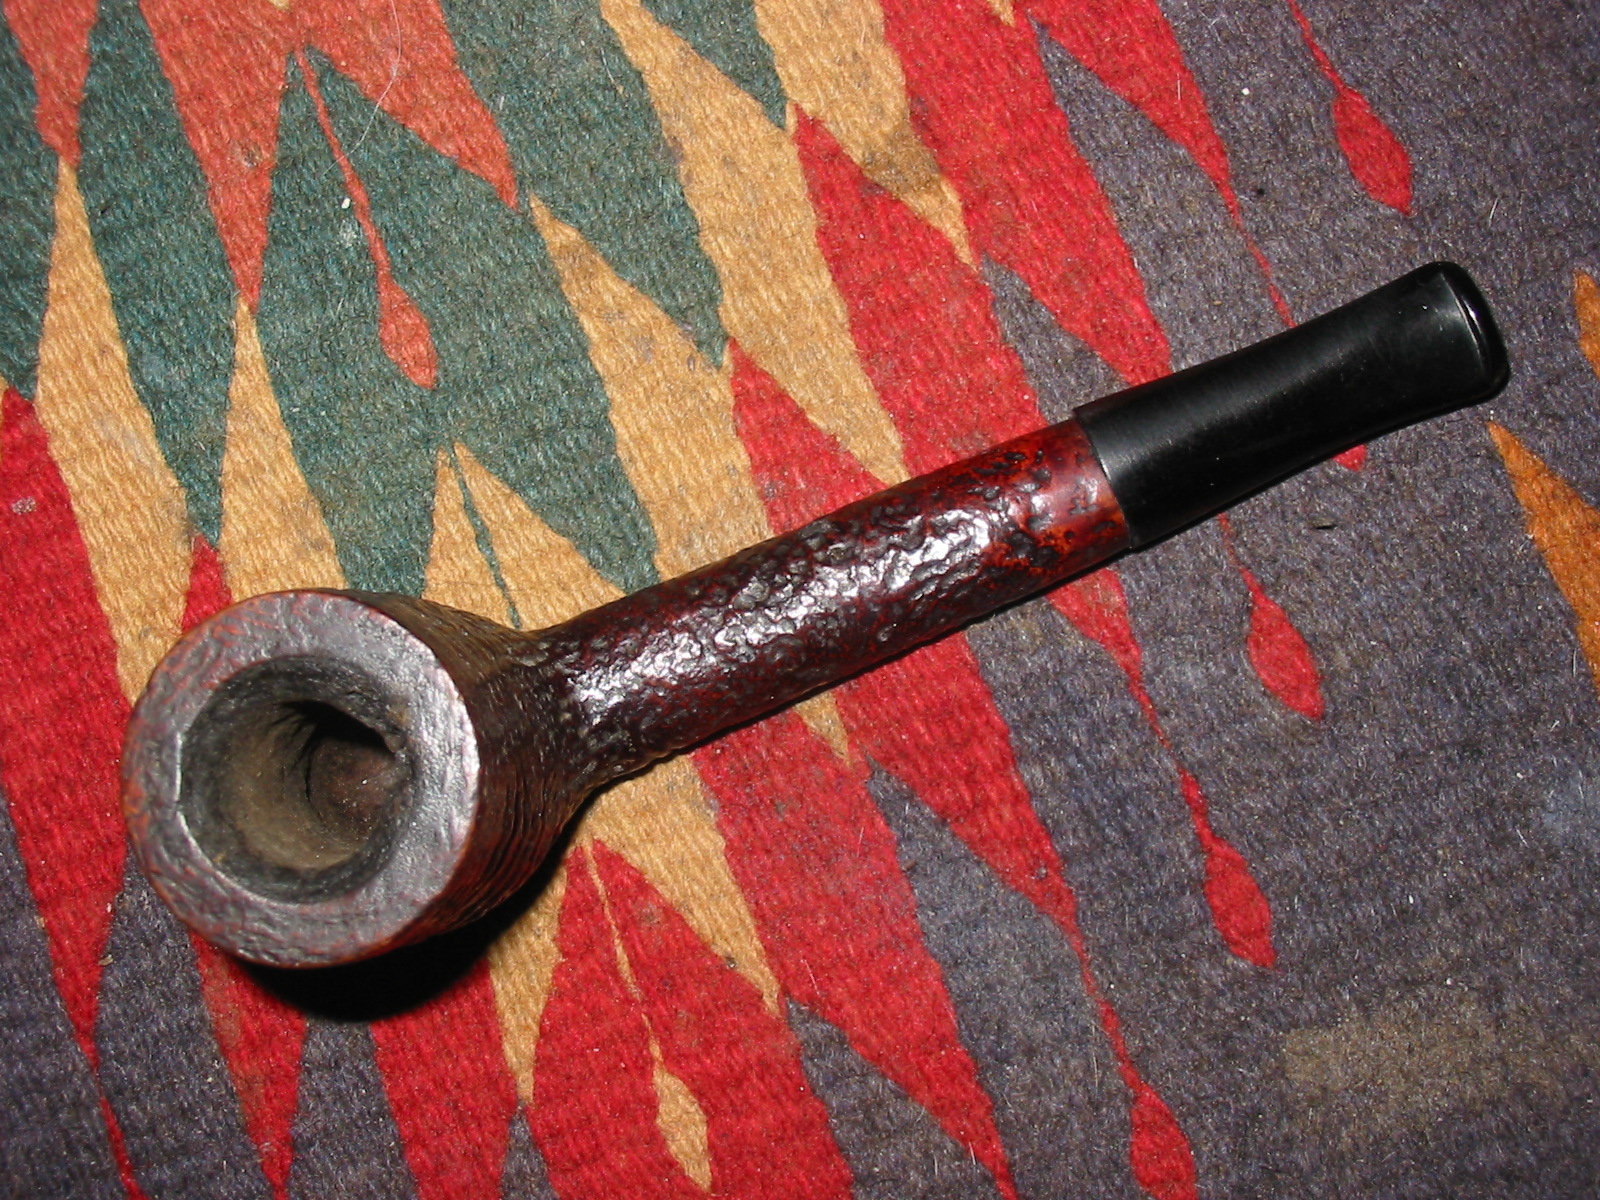
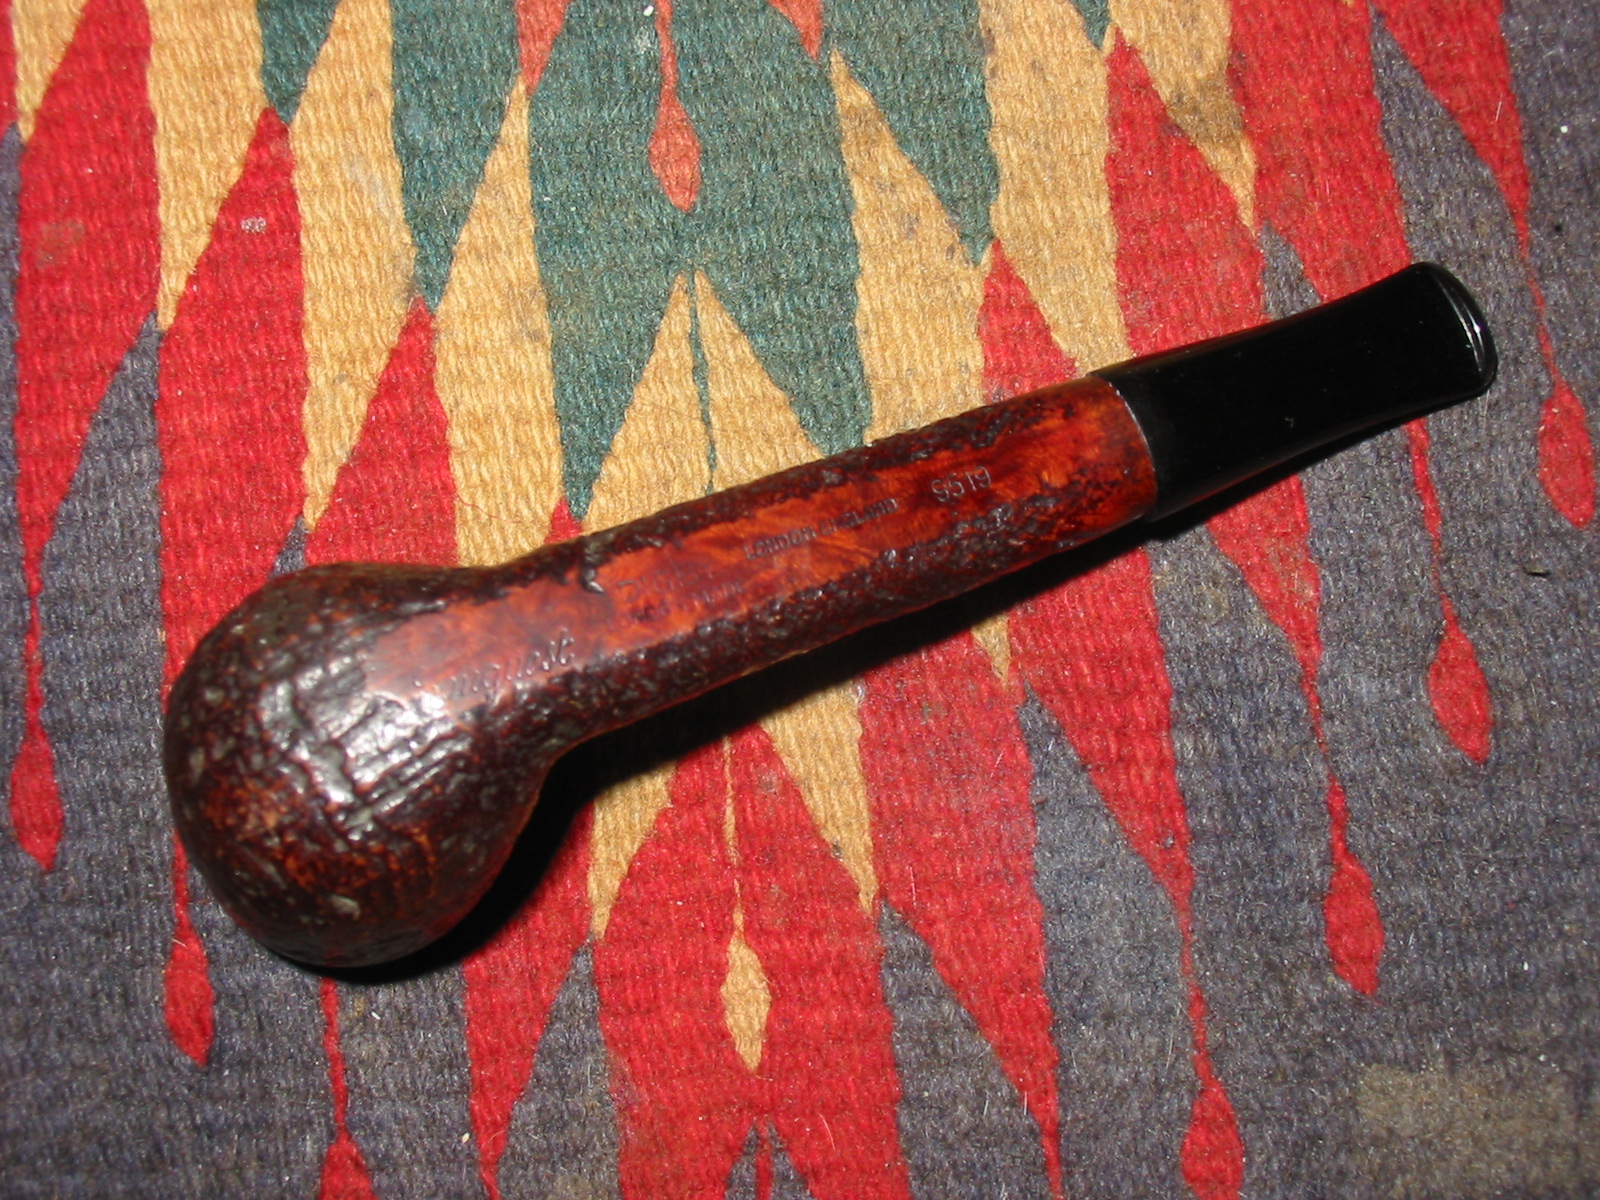
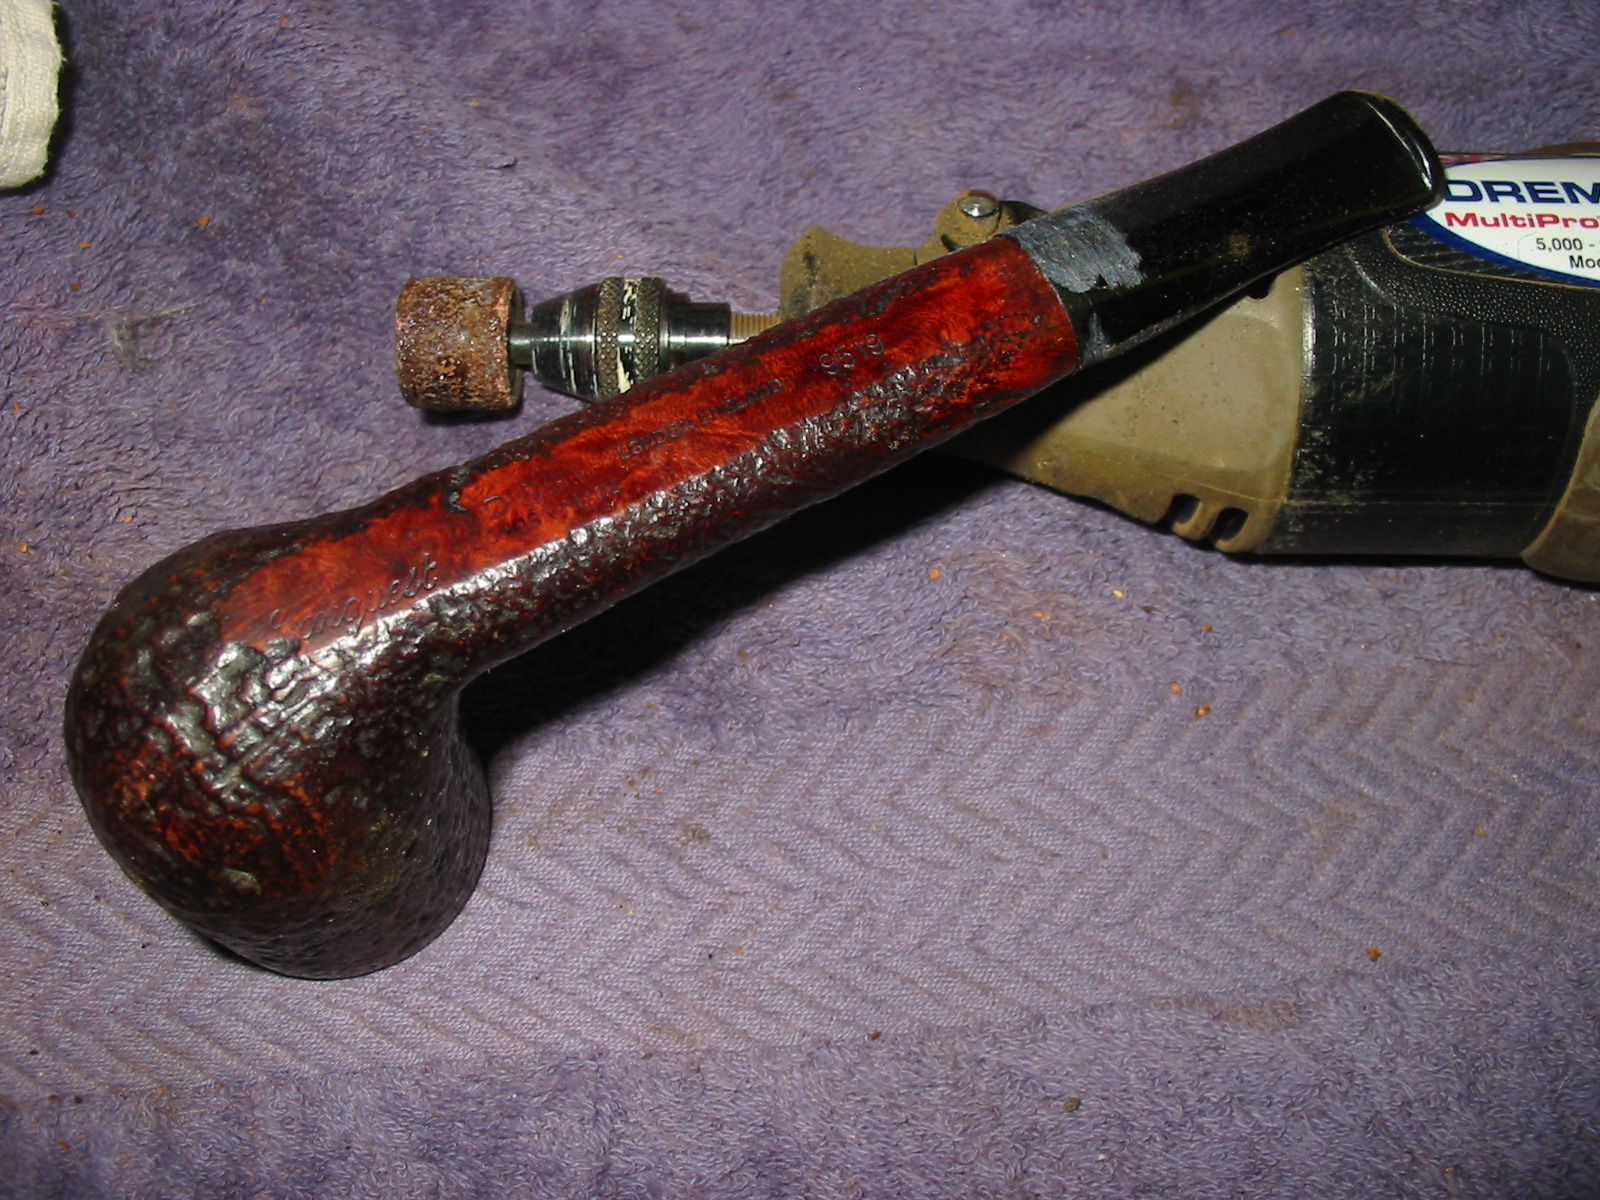
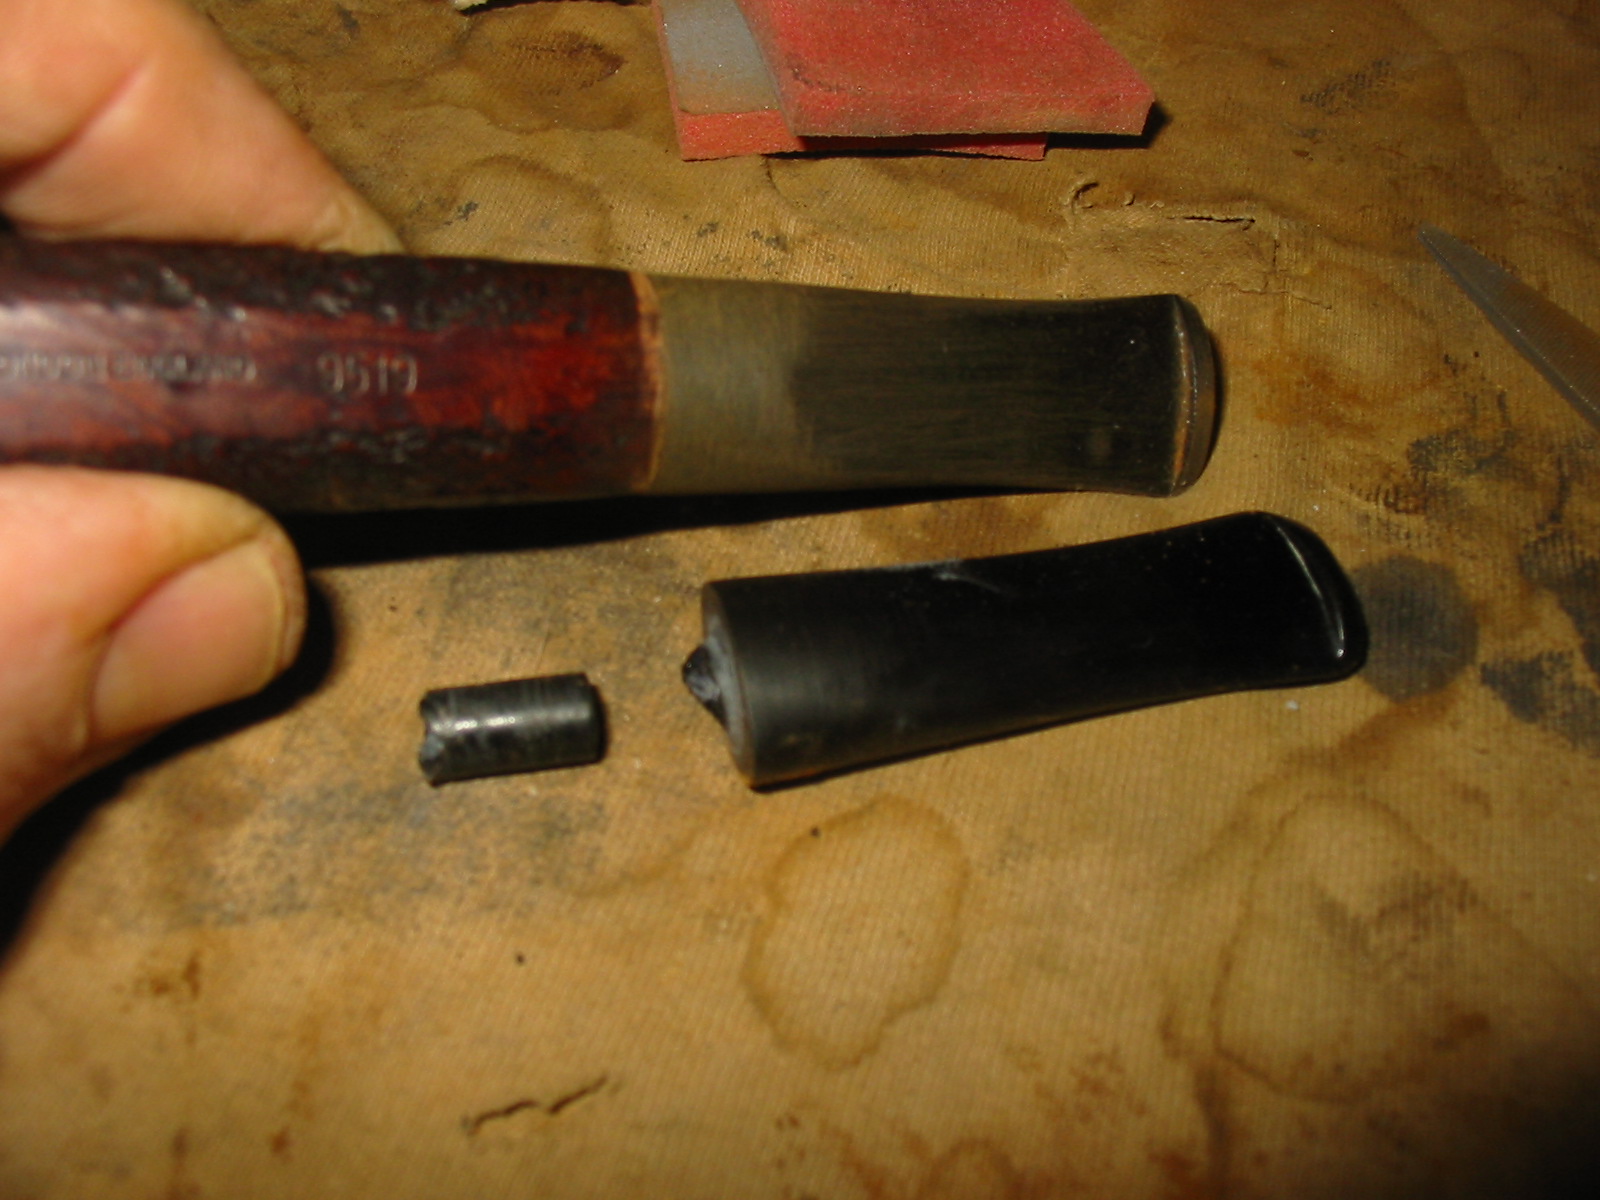
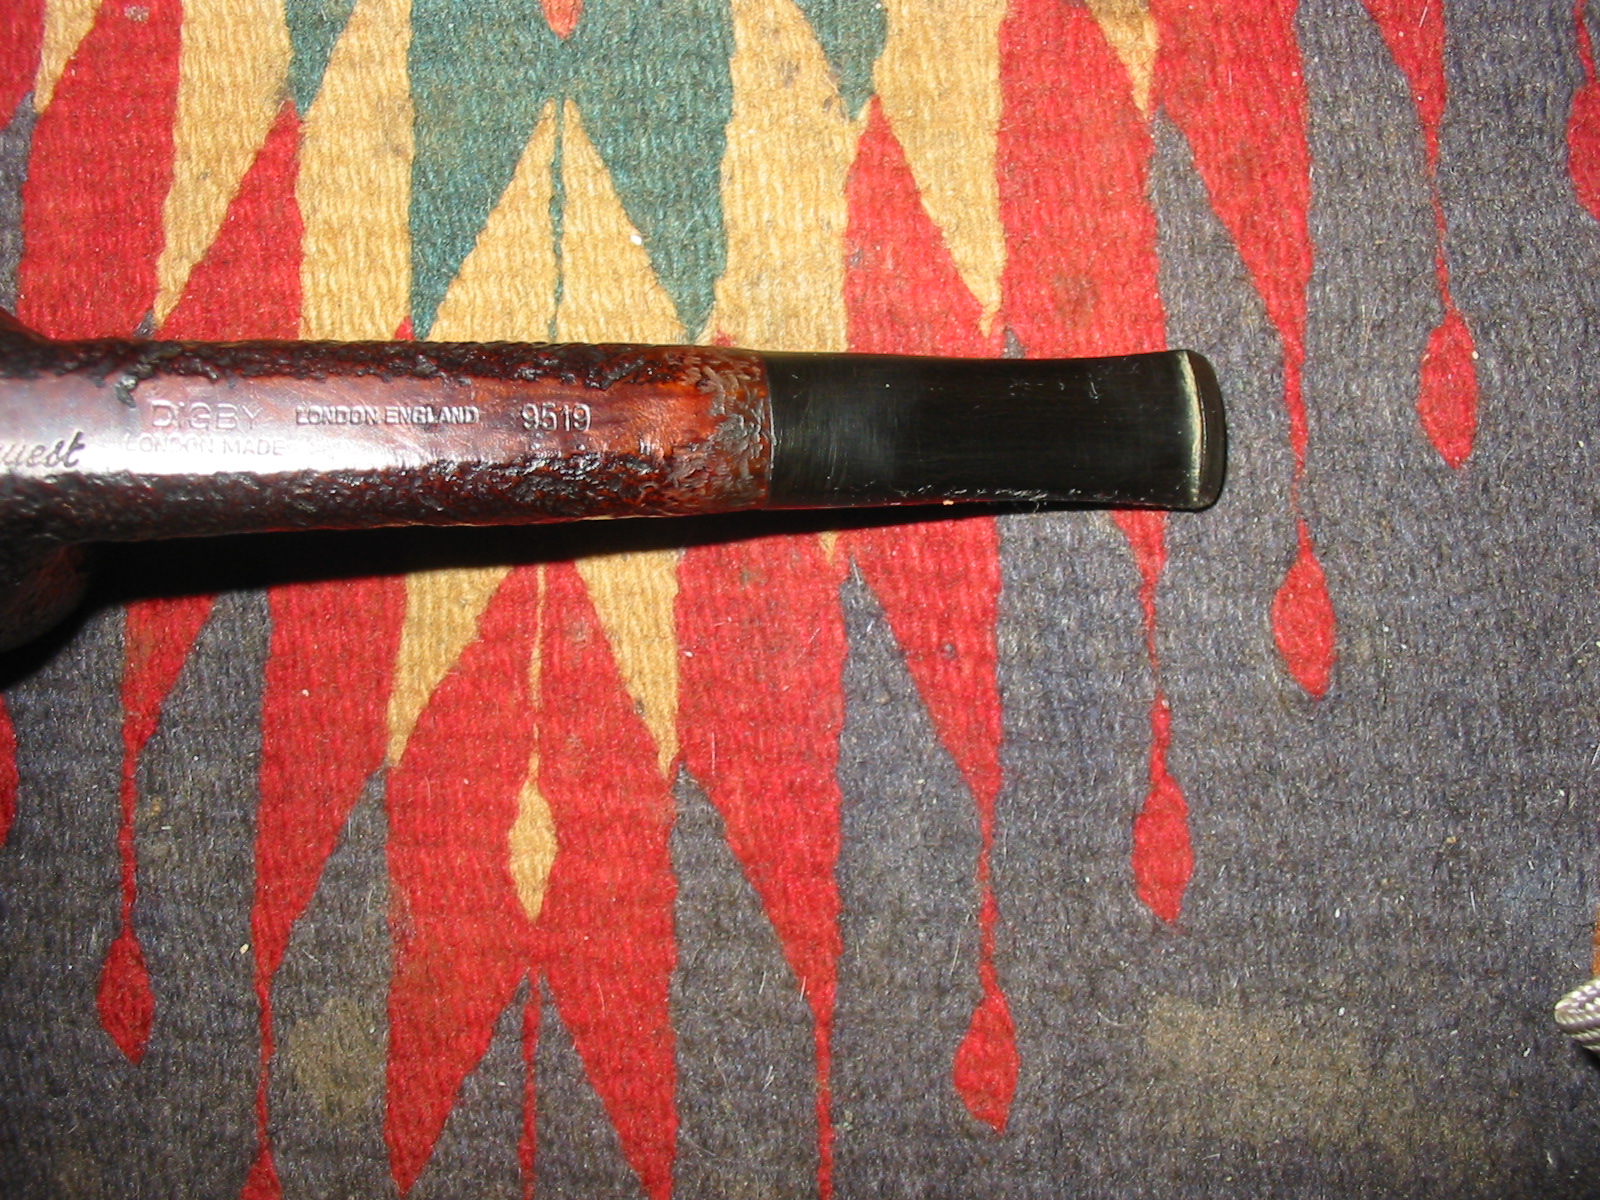
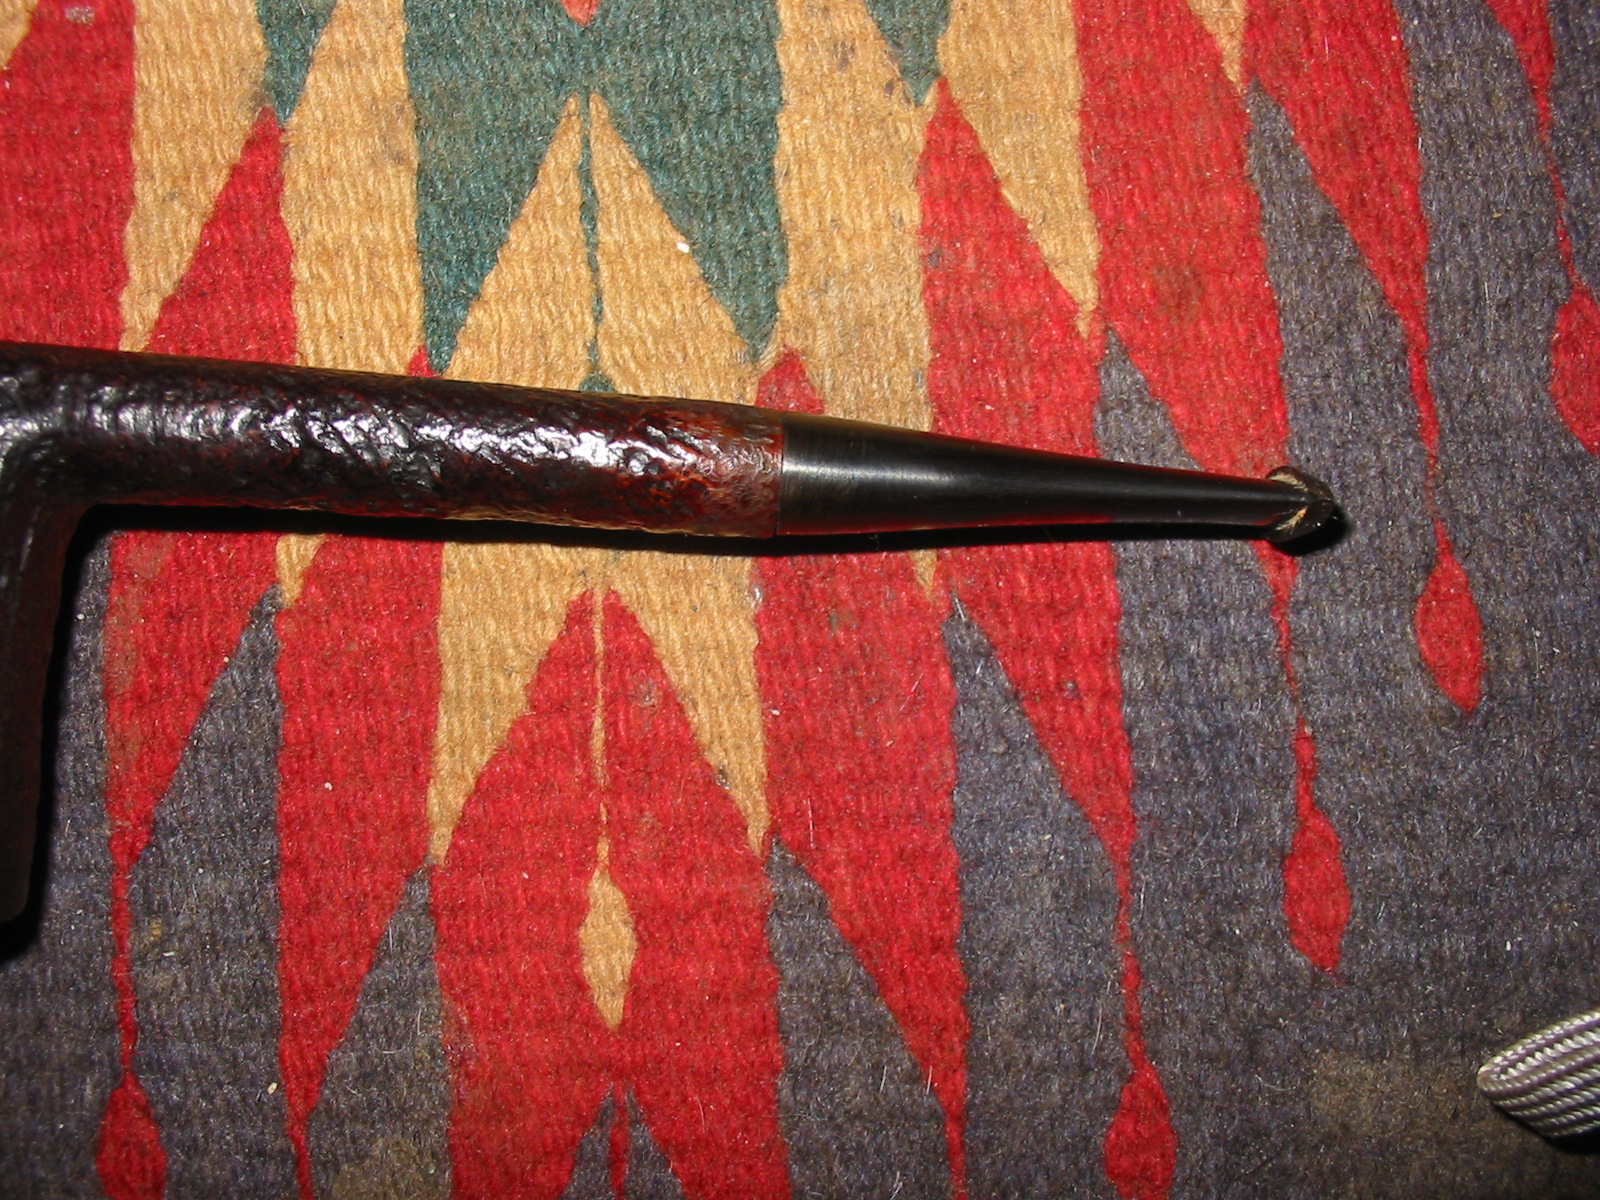
On the weekend I went pipe hunting to refill my box of pipes for refurbishing. I found some nice ones to add to the box. The first one that I took on was odd looking when I picked it up. The stem on it was an aftermarket replacement that proportionally was all wrong. The addition of the stem made the pipe over seven inches long. The stem was also a twin bore which was not standard on GBD line pipes. The stamping on the bottom of the shank is Conquest in script followed by Digby over London Made. That is followed by London England and the shape number 9519. Digby is a GBD second line. It has the same blast as a GBD Prehistoric which lends one more question mark to what makes a pipe a second. In checking the GBD shape numbers there is no shape #9519 listed on the GBD shape site. http://www.perardua.net/pipes/GBDshape.html

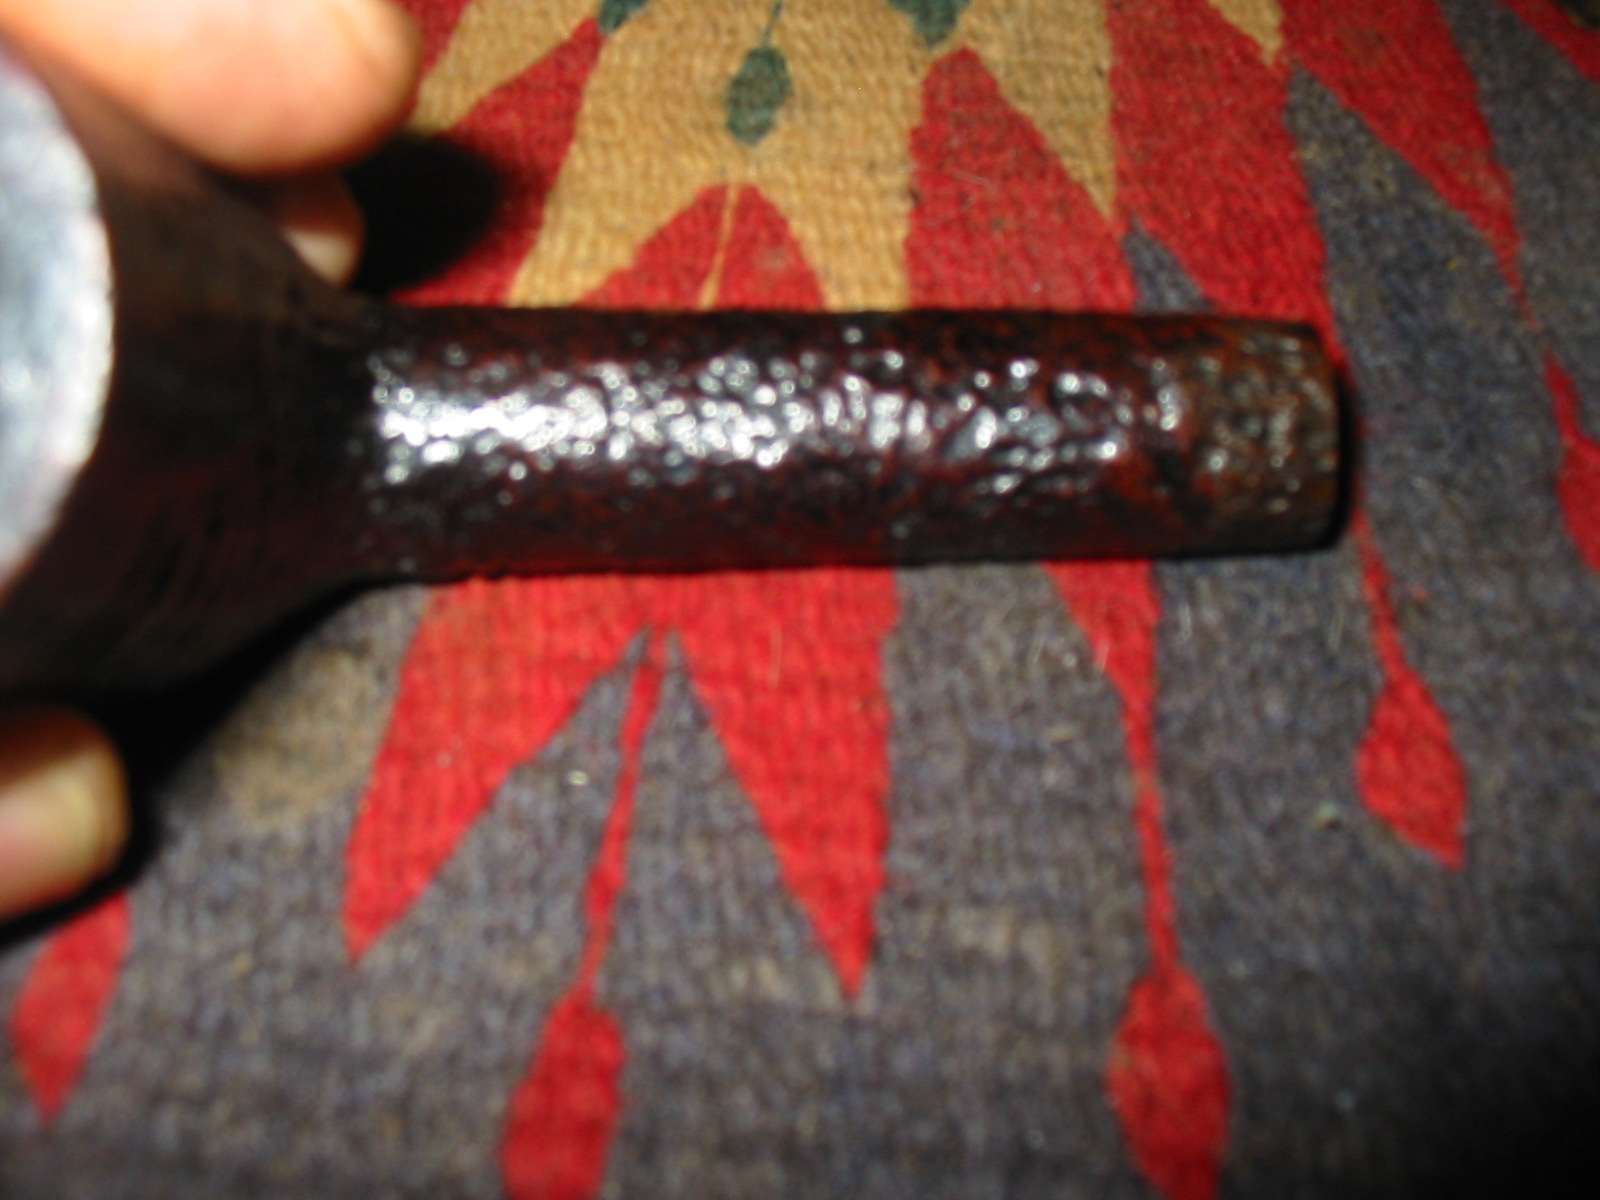
The blast on the bowl was quite nice while the shank was rusticated. The person who added the new stem to the pipe changed the shank to fit the new stem rather than the other way around. In doing so they sanded the shank and removed the blast/rustication on the end of the shank. They also tapered both sides and top and bottom to meet the new stem. While both of these “errors” in fitting a stem are a pain to deal with they are not irreparable. It just means that any new stem must follow the new lines of the pipe and that the rustication pattern needs to be repaired as well. The bowl itself was thickly caked and the rim dirty and with a slight buildup of tars. The finish was spotty and the reddish brown stain was worn.
IMG_3467

IMG_3468

IMG_3469

IMG_3470

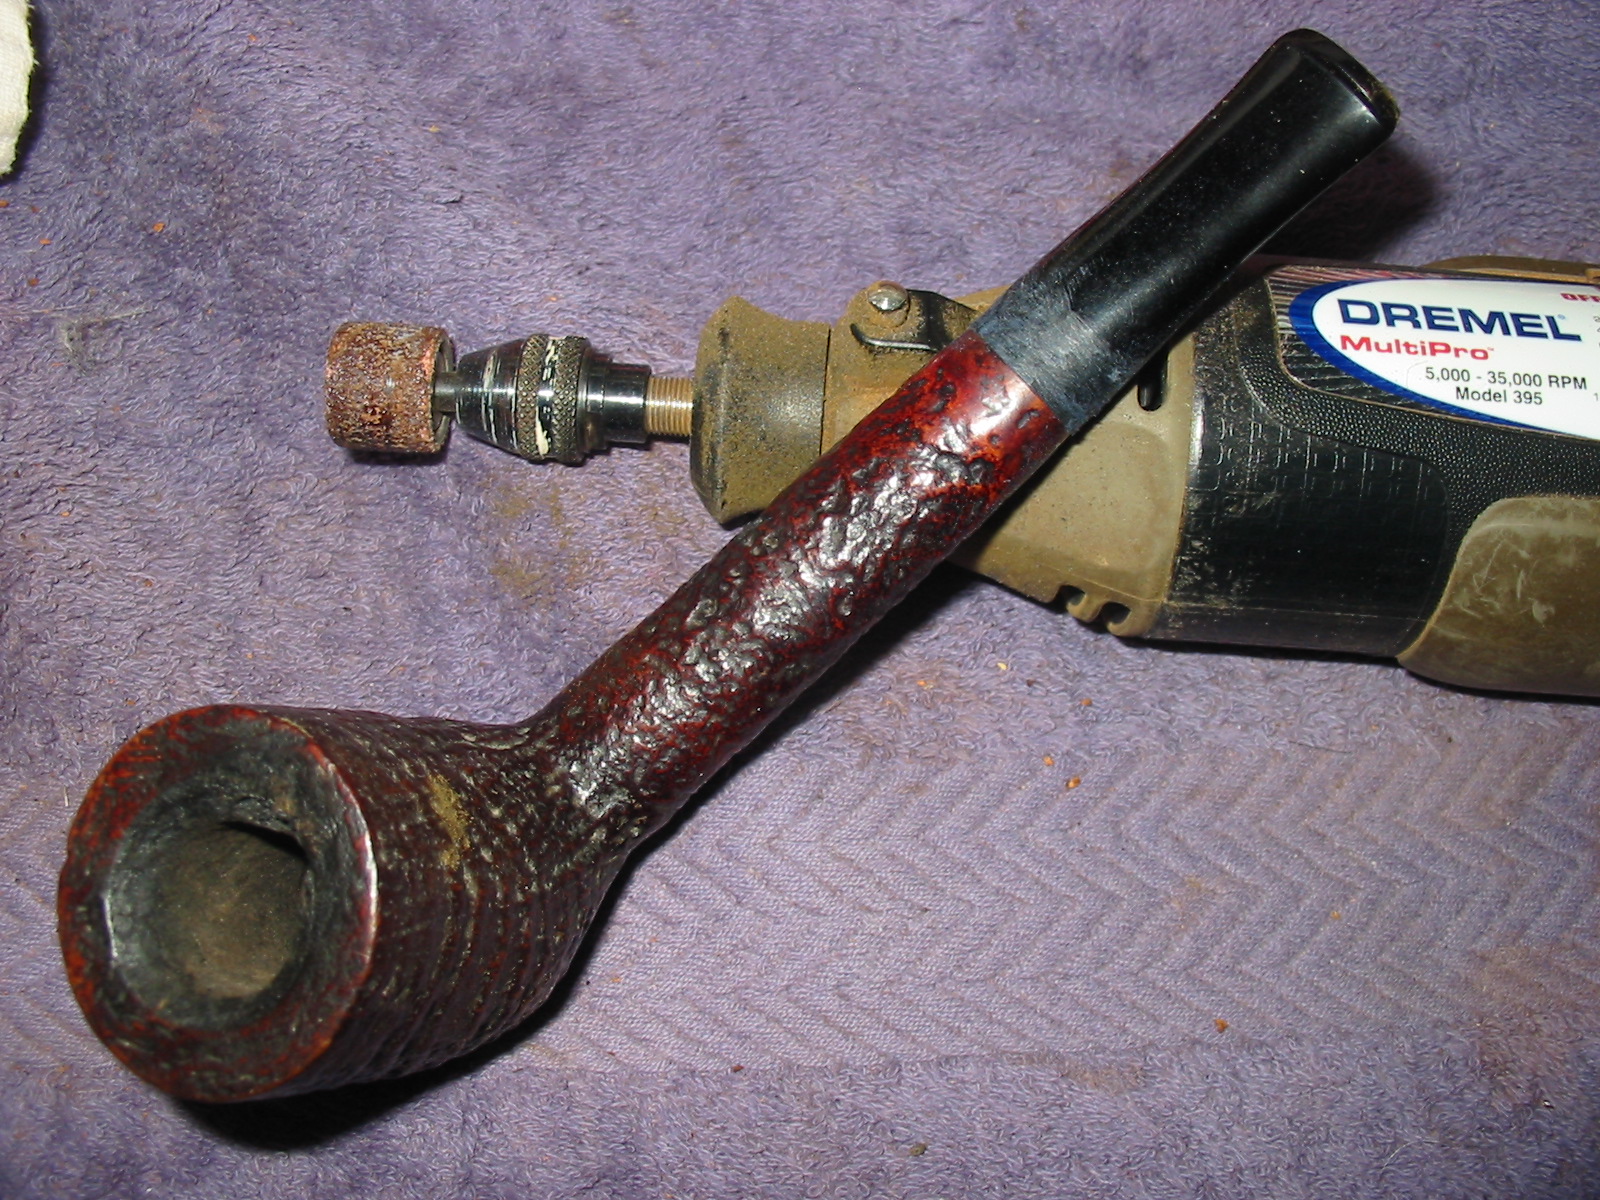
I went through my can of stems to find one that would properly fit a GBD style Canadian with an oval shank and found several. I chose the acrylic one in the photo below and used the PIMO Tenon Turning tool to reduce the diameter of the tenon. I also used the Dremel and sanding drum and hand sanding to further fit the tenon to the shank.
IMG_3471

IMG_3460

With the tenon fitting well, the overall diameter of the stem needed to be reduced to fit the shank diameter. It was just slightly bigger so the work on it would not be difficult. The excess is visible in the four photos below. Note also the smoothing of the shank that had been done in the previous repair.
IMG_3463

IMG_3464

IMG_3465

IMG_3466

I used a Dremel with a sanding drum to remove the excess acrylic material and bring the stem into line with the shank. I took care to not nick the shank even though I later planned to rework the rustication on it.
IMG_3472

IMG_3473

IMG_3474

IMG_3476

With the fit roughed in I took it back to the work table to hand sand the stem and make fit seamless. To begin the process I used 220 grit sandpaper to do the hand work. On the right side bottom of the shank I noted that the oval was slightly out of round with the stem removed and gave the new tapered stem a bulge in that area. I sanded the shank and the stem together at that point to correct the previous damage.
IMG_3477

IMG_3478

IMG_3479

IMG_3480

With the fit nearly finished on the stem I reamed the bowl of the pipe with a PipNet reaming set. I began with the smallest cutting head and then ended with the proper sized head for the bowl. I cut the cake back to bare wood.
IMG_3481

IMG_3482

IMG_3484

I worked some more on the stem shank junction with a fine grit sanding sponge to remove the scratches in the briar and the stem. I was more concerned with the briar as I wanted to give it a coat of stain.
IMG_3493

IMG_3494

IMG_3495

IMG_3496

Staining would be a complicated process of using a variety of stains to match the original stain colour on the prehistoric. For the first stain colour I used an oxblood aniline stain. I would use other stains later in the process to get the colour I was aiming for.
IMG_3504

IMG_3506

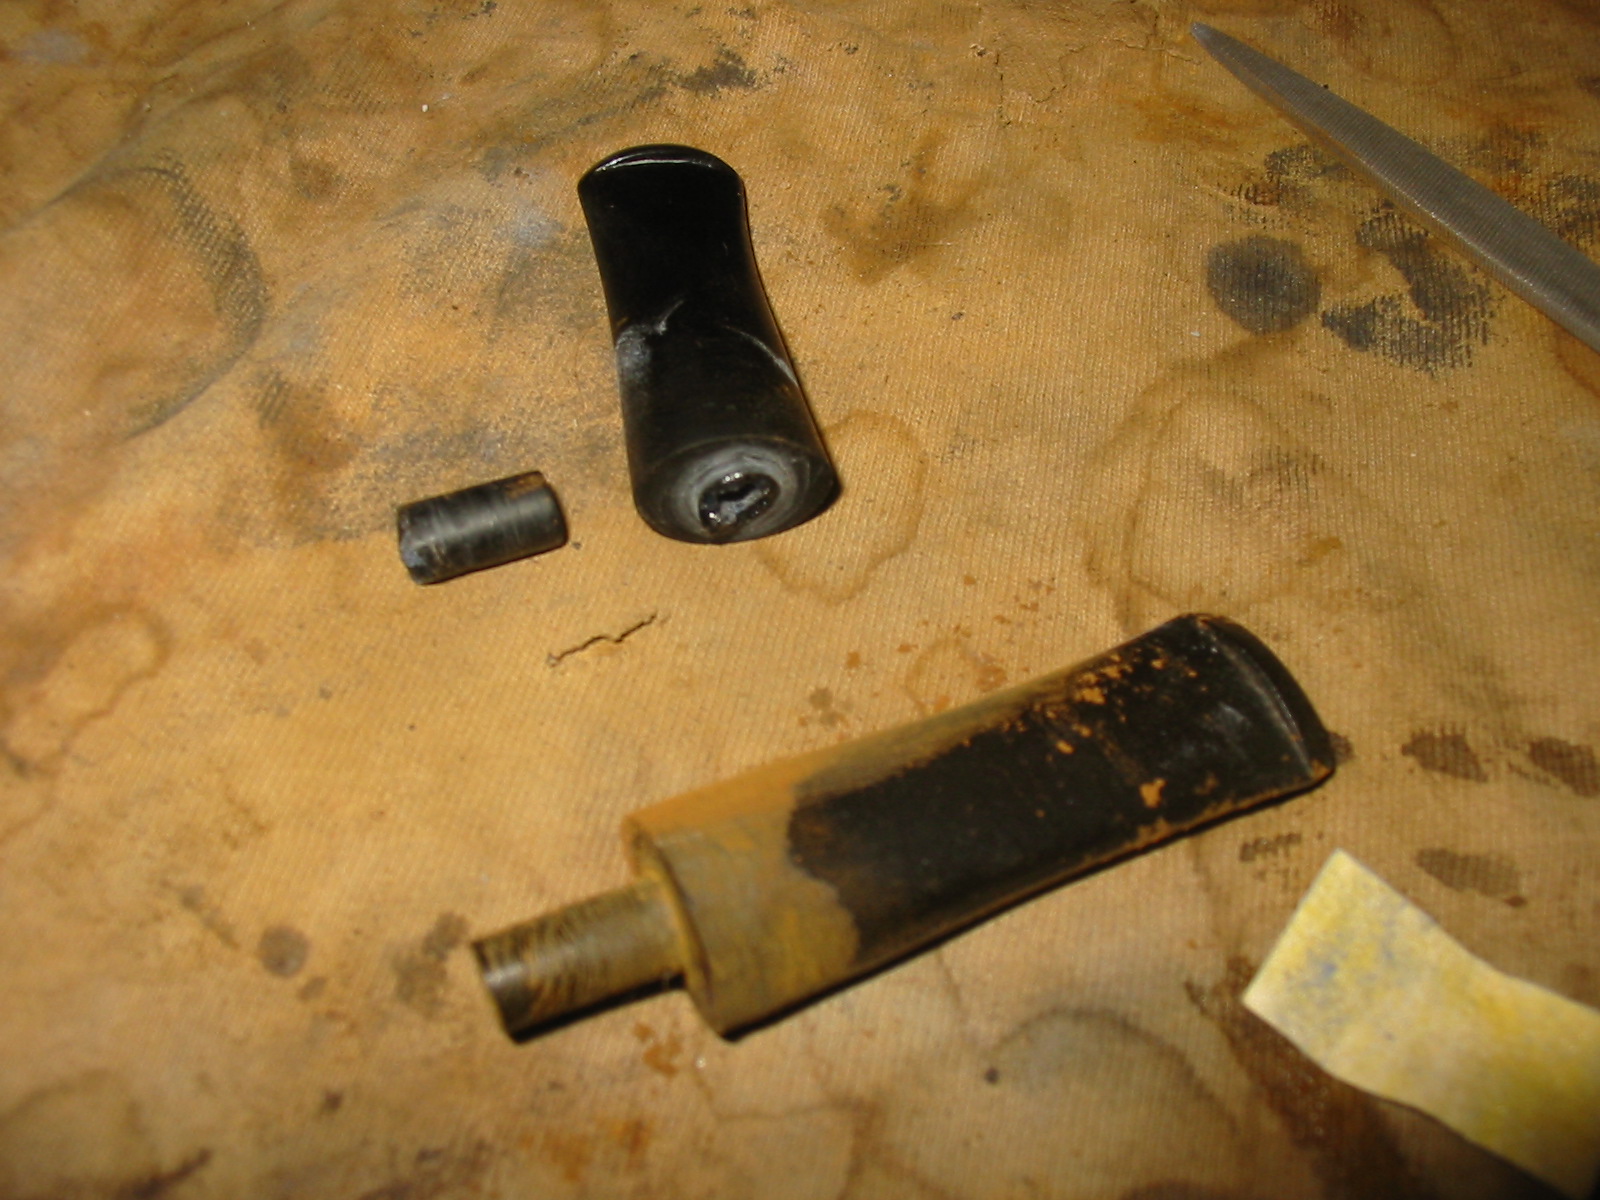
As I put the newly fitted stem in place so that I could lay it down to dry the tenon snapped on the new stem. As I examined it I could see the many small fractures in the acrylic. This is one of the frustrations of pipe repair. You get a pipe on its way to the finish line only to have something like this happen and have to begin again. I took another stem out of my can of stems. I once again had to go through the process of turning the tenon, using the Dremel and sanding drum and finally hand sanding to fit the tenon in the shank. I also had to trim back the diameter of the new stem to match the shank with the Dremel. One good thing is that doing it the second time everything is set up to do it again more quickly the second time.
IMG_3508

IMG_3509

IMG_3510

Once I had a good fit on the stem it was time to re-rusticate the shank using an etching head on the Dremel. In the next two photos the cutting tool is visible and the rustication of the shank is completed. I did both sides of the shank and the top to match the pattern on the upper portion of the shank. On the underside I brought the pattern around the flattened oval stamping area of the shank and matched the pattern around that area.
IMG_3511

IMG_3513

I stained the newly rusticated shank area with the oxblood stain. The stained rustication is visible in the next four photos. I am pleased with the match on the pattern of the rustication on the shank that I was able to achieve with the tool.
IMG_3515

IMG_3516

IMG_3517

IMG_3518

I still needed to use several more colours of stain to achieve a match to the bowl. I used aniline black and an aniline dark brown stain to approximate the mix of stains to blend the repaired portion with the remainder of the pipe. I would still need to do a top coat of oxblood to truly blend in the repair.
IMG_3519

I sanded the stem with the usual regimen of micromesh sanding pads. I wet sanded with 1500-2400 grit pads and dry sanded with 3200-12,000 grit pads.
IMG_3520

I gave the shank a final coat of the oxblood stain and lightly buffed the shank with White Diamond to blend the wear of the older portion with the new rustication. I rubbed down the stem with Obsidian Oil and then buffed the stem with White Diamond as well. Once the buffing was done I gave the stem multiple coats of carnauba on the wheel and then buffed it with a soft flannel buff. I rubbed in Halcyon II wax on the bowl and shank and then lightly buffed the bowl with a soft flannel buff. The “new” Digby Canadian is now ready for its inaugural smoke. It is shown below in the final four photos.
IMG_3540

IMG_3541

IMG_3542

IMG_3543

Kaywoodie Drinkless Apple Repurposed and Refurbished


Blog by Steve Laug

I was gifted this old Kaywoodie Apple in an exchange recently. It is the last of the box of pipes that I have to refurbish. I left it to last as it had some serious problems. The stem was overturned and had deep tooth marks at the button. The bowl had some deep scoring on the left side of the bowl. Those issues might not seem too serious at first glance but they were more so than I had expected. I inspected the stinger apparatus and saw that it had been reglued in the stem. I heated the stinger with a heat gun and turned it back into the shank of the pipe. As I turned it carefully the stem fell off in my hand. I looked and saw that it was corroded through and the heat had softened the glue and the piece literally fell out of the stem. I tried to epoxy it back into the stem and connect the two pieces but it would not stay. Each time I put it back into the shank it fell out – no matter how much curing time I gave it. That was the first issue. In looking at the tooth marks they were repairable but with the broken stinger and threaded tenon I wondered whether it was worth fixing it. The grooves on the bowl and the dip in the rim above them could be repaired and would be a simple fix if I decided to keep the pipe. Those were the issues that caused me to lay the pipe aside for a bit and work on other pipes. That is why it is the last pipe in the bottom of the box.
IMG_3047

IMG_3048

IMG_3049

IMG_3050

Because of the extent of damage to this pipe it was unlikely that it would ever be truly collectible again. Though to some my next decisions will appear to have desecrated an older Kaywoodie I decided to use this pipe to experiment with a few repair ideas. I topped the bowl with my usual method to remove the rim damage. I removed the damaged portion of the bowl and flattened the rim against the sandpaper. When I was finished topping the bowl the rim was flat again however the inner edge of the rim needed to be repaired. It was missing a large chunk of briar.
IMG_3051

IMG_3052

IMG_3053

IMG_3054

The missing chunk matched the twin scoring marks on the outside of the bowl and made me wonder how the previous pipeman had caused that kind of damage to the bowl. The divot on the rim was not a burn mark but a divot that had been caused in the same moment the scoring occurred on the outside of the bowl. I sanded down the scored areas and cleaned the bowl with acetone. I then patched the score marks with superglue and briar dust. I also built up the top of the rim in the divot area with the same mixture. I kept the mix on the top of the rim as much as possible with very little of it on the inside edge. I did not want to use it inside the bowl.
IMG_3055

I sanded the bowl to remove the excess of the glue and briar dust mix and then wiped the entire bowl down with acetone on cotton pads. The three photos below show the state of the bowl and the repairs down with the briar dust and superglue. The third photo shows the top patch.
IMG_3056

IMG_3057

IMG_3058

Because the stem was not functional I had a decision to make. I could drill out the disintegrated end of the stinger and put a new replacement tenon in place or I could remove the metal shank insert and make a new push stem for the pipe. The faintness of the stamping on the shank and the extent of damage that I had repaired on the bowl made me take the second choice. I removed the metal shank insert from the shank. This is not as hard as it sounds. I have heard of others drilling it out and leaving it in place. I have opted to remove it. It is threaded and can be unscrewed from the shank with a small pair of needle nose pliers. The next two photos show the process. I sorted through my stem can and found a stem that could be repurposed to fit this shank and then be adapted to fit the diameter of the shank.
IMG_3355

IMG_3354

Before I could properly fit the tenon in the shank I needed to drill the mortise deeper. The current depth of the mortise was the same length as the threaded portion of the metal shank attachment in the photo. I wanted the tenon to be longer so I drilled out the mortise to double the length of the current depth. I would need to remove some of the tenon length on the stem to make a good fit but that is a simple task.
IMG_3356

With the drilling done, I used the PIMO Tenon Turning Tool to remove some of the excess diameter of the tenon and also shortened the tenon slightly to get a good tight fit in the shank and clean joint at the tenon shank union. The larger diameter of the stem is visible in the photo below.
IMG_3357

I used the Dremel with the sanding drum and carefully reduced the diameter of the stem while it was in place on the shank. I run the Dremel at a speed that allows me to carefully and steadily control it as I work close to the shank of the pipe.
IMG_3359

IMG_3360

IMG_3361

IMG_3362

IMG_3363

Once I had it roughed in to fit with the Dremel it was time to take it back to the work table and do the hand work with sandpaper to make the fit seamless. Since I was going to restain the pipe anyway I sanded the shank as I sanded the stem to make the transition smooth. In the first two photos the stamping is visible in the light of the flash. In real life it is quite a bit fainter and shallow. I also use some superglue and briar dust to repair some of the deeper dings and marks on the bowl to ready it for staining. I sanded it with 220 grit sandpaper and then with a medium grit sanding sponge to smooth out the surface and remove the scratches left behind by the sandpaper.
IMG_3364

IMG_3365

IMG_3366

IMG_3367

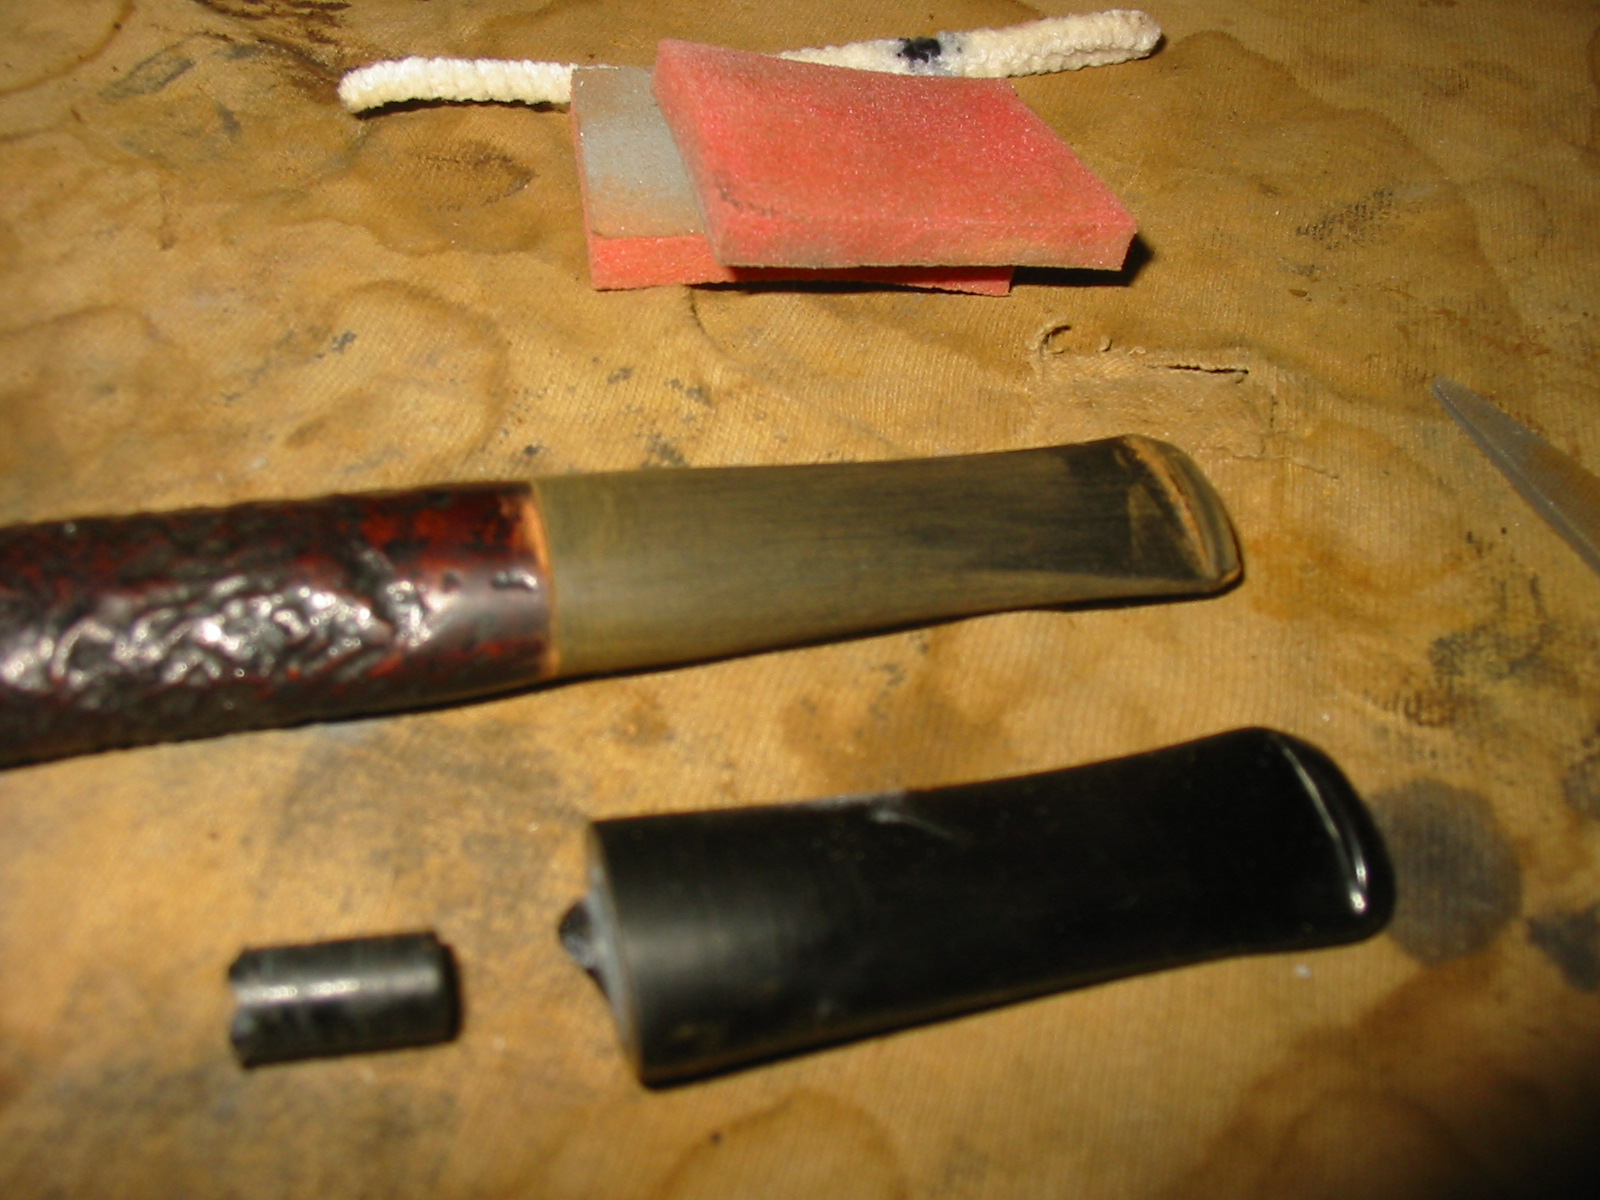
I wiped the bowl down with Everclear to remove the sanding dust and give it a last cleaning before I started giving it a new stain coat. I have also included two photos of the new stem with the older KW stem and broken parts for comparison sake. I really like the way the new stem fit the shank and the look of the pipe after the repairs.
IMG_3368

IMG_3369

IMG_3370

I wanted to continue to experiment with contrast staining so I gave the pipe a first coat of stain with black aniline stain. I applied the stain and flamed it and repeated the process until the coverage was even. I then heated the entire bowl by passing over it with the flame of a Bic lighter to warm the briar and set the stain.
IMG_3371

IMG_3372

IMG_3373

IMG_3374

The black aniline stain is transparent enough that the brown of the briar actually makes the stain appear to be a dark brown. It also covers the repairs on the bowl and blends them into the grain in way that makes them less visible. This was especially important with the repair I had made to the two deep scoring marks on the left side of the bowl. Once the stain dried I wiped it down with acetone to remove the top coat and leave only the grain darkened with the black. After doing that the bowl was still do dark for my liking. Though the grain patterns are very visible I wanted it to be lighter so that when I put the contrast stain coat on it would really pop to the surface.
IMG_3375

IMG_3376

IMG_3377

I sanded the bowl with 220 grit sandpaper and then with a medium grit sanding sponge to further remove the black stain. I finished the sanding by wet sanding the bowl with 1500-2400 grit micromesh sanding pads. Sanding with the micromesh pads removed the scratching left behind by the other sandpapers and prepared it for the next coat of stain that I wanted to give it. I stained the bowl a second time with a coat of Minwax Water based stain. I chose a red mahogany stain for this coat. I like the contrast the reddish colour of the mahogany with the black undercoat. I applied the stain and then wiped it off with a soft cotton cloth.
IMG_3378

IMG_3379

IMG_3380

IMG_3381

I finished the contrast staining with a third colour – a Minwax medium walnut stain for the finish coat. I applied the stain and wiped it down using a soft cotton cloth and then hand buffed it with a shoe shine brush. The next series of four photos show the finish after the application of the three stains and a hand buffing. I really like the contrast finish that the three stains gave the pipe.
IMG_3382

IMG_3383

IMG_3384

IMG_3385

I sanded the bowl and stem with micromesh sanding pads to bring out the shine. I wet sanded the stem with 1500-2400 grit pads and then dry sanded the bowl and stem with 3200- 4,000 grit pads. At that point I made a decision that some will like and others will hate.
IMG_3387

IMG_3388

I took out my box of nickel bands and found one that would fit the shank. I took the photo below with the band next to the pipe to symbolize the thinking process that went into this decision. I put the band against the shank and the stem next to it to see how it looked. I looked at the faint stamping and the fact that is was a non-collectible pipe anyway due to my stem modifications and decided to give it a go.
IMG_3389

I put the band on the end of the shank. For those banding a pipe shank pay attention to the diameter of the band – the end that goes on the shank is slightly larger than the end the faces the stem. I took the pipe and heated the band with a heat gun and then pressed it into place on the shank.
IMG_3390

IMG_3391

I took it back to the work table and finished sanding the stem and bowl with 6,000, 8,000 and 12,000 grit micromesh sanding pads. In the photo below the newly banded shank is visible. The band is solely cosmetic as the shank was not cracked and the fit of the stem was perfect. I liked the added bling on this pipe quite a bit.
IMG_3393

I wiped the stem down with Obsidian Oil and rubbed it into the surface of the vulcanite and then buffed the pipe with White Diamond. I avoid buffing the band as much as possible because it discolors the stem and the shank with the black residue caused by buffing the nickel. I then buffed the pipe with multiple coats of carnauba wax to protect and give a rich finish to the pipe. The finished pipe is shown below in the last four photos. The contrast stain worked well on this pipe. The flaws are there and visible but do not detract from the finish. The stem has a good glow with the lines of the pipe and the nickel band gives a nice polished look to the old pipe. Overall this experiment in repairs ended well. I like the finished look of the pipe and I learned a few new tricks along the way.
IMG_3398

IMG_3399

IMG_3400

IMG_3401

Giving a Smokemaster Bard Billiard a Facelift


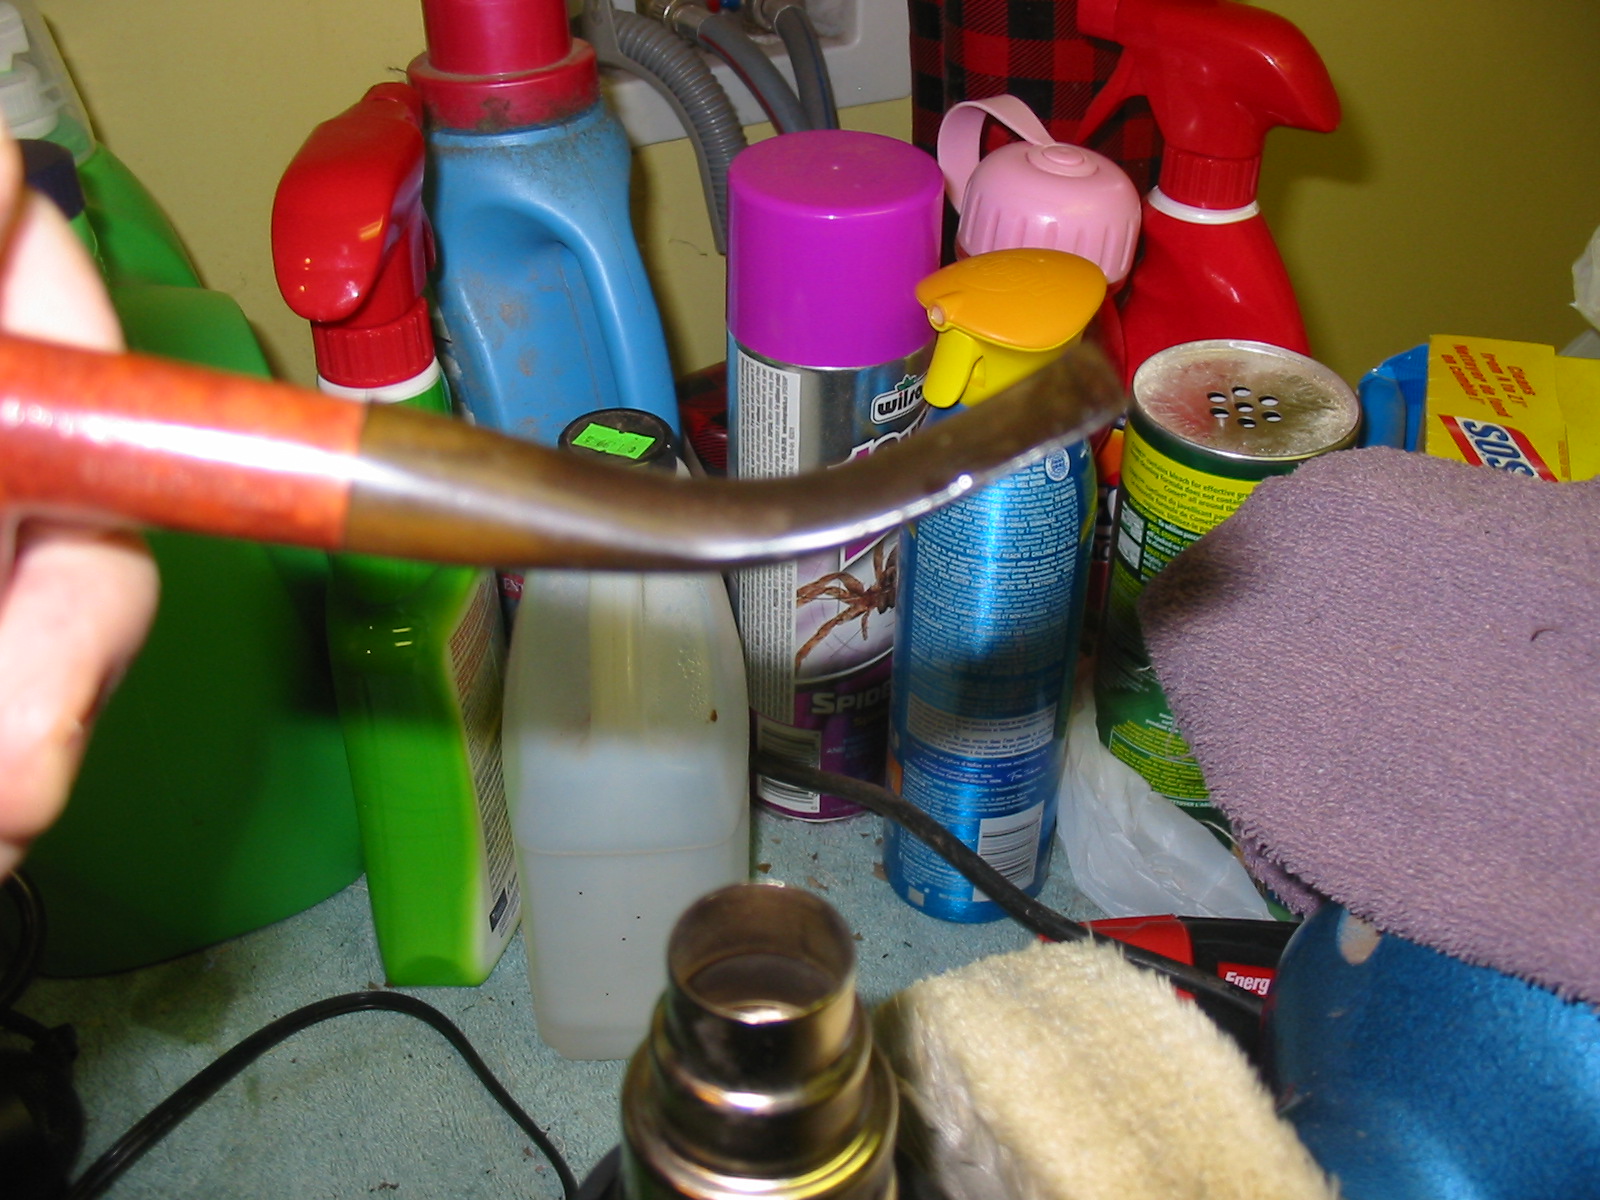
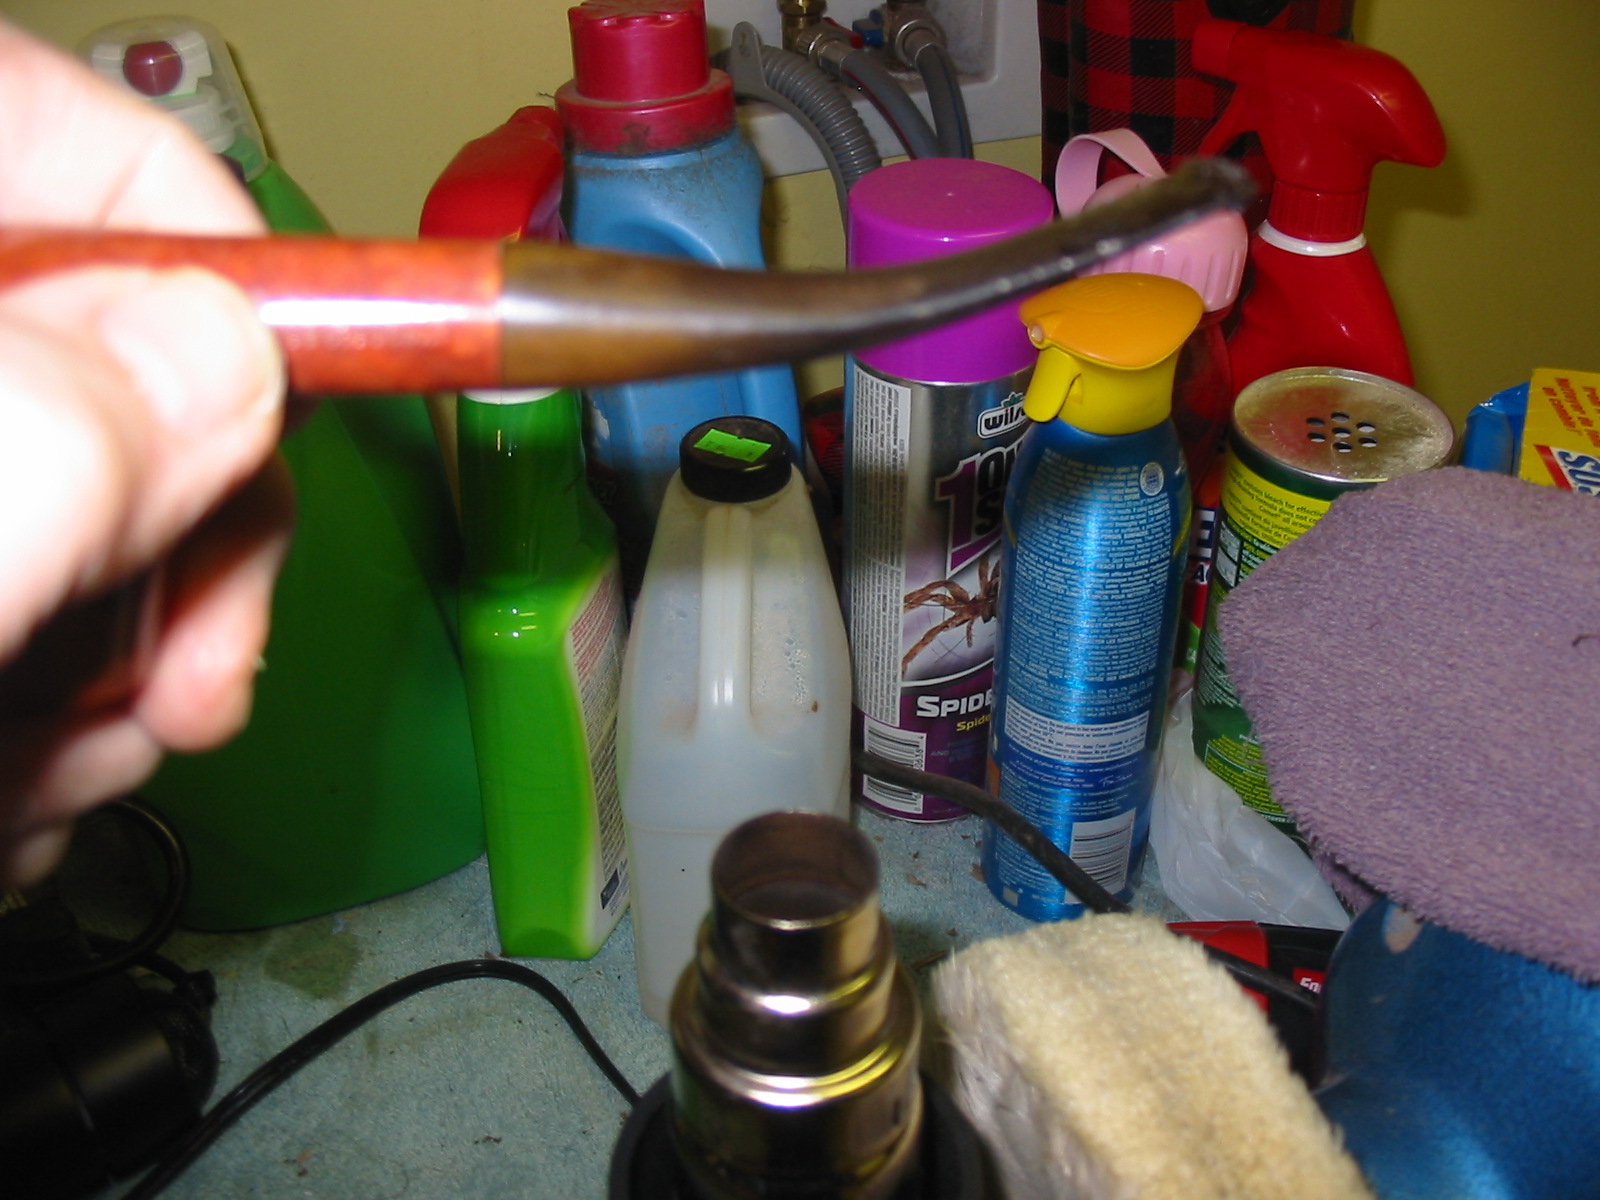
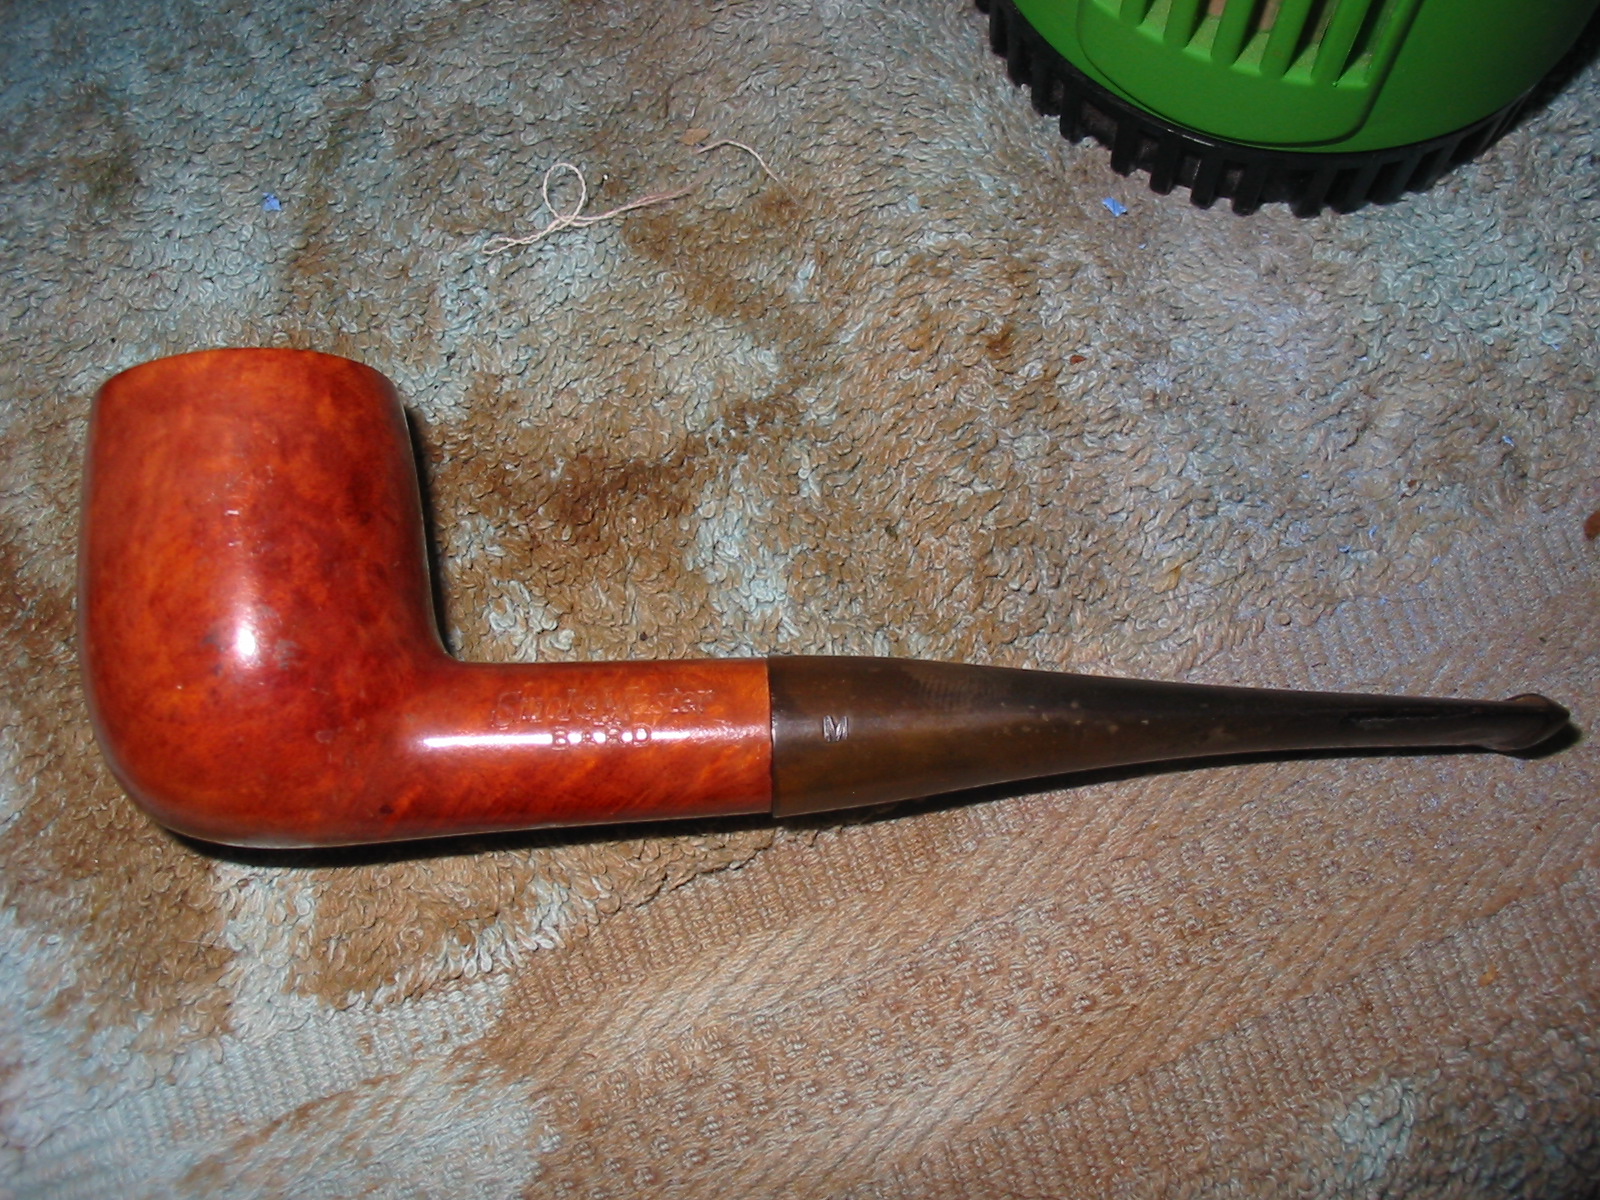
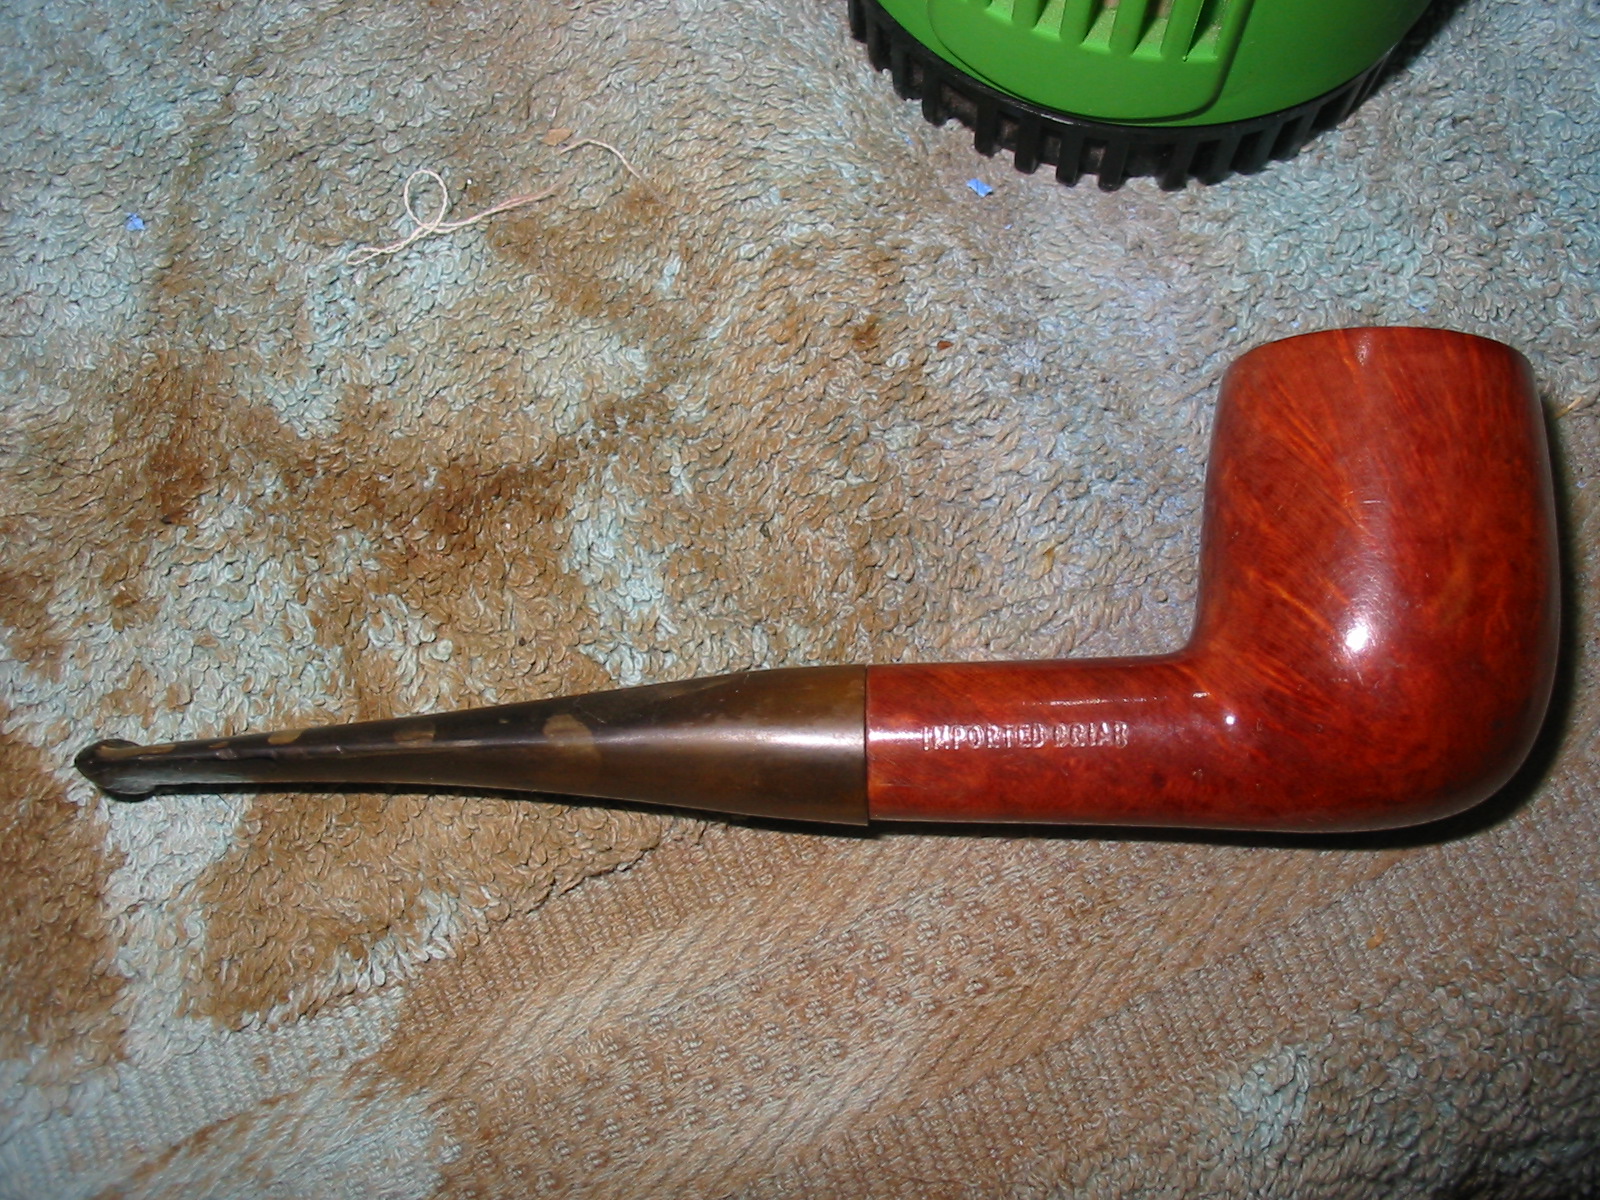
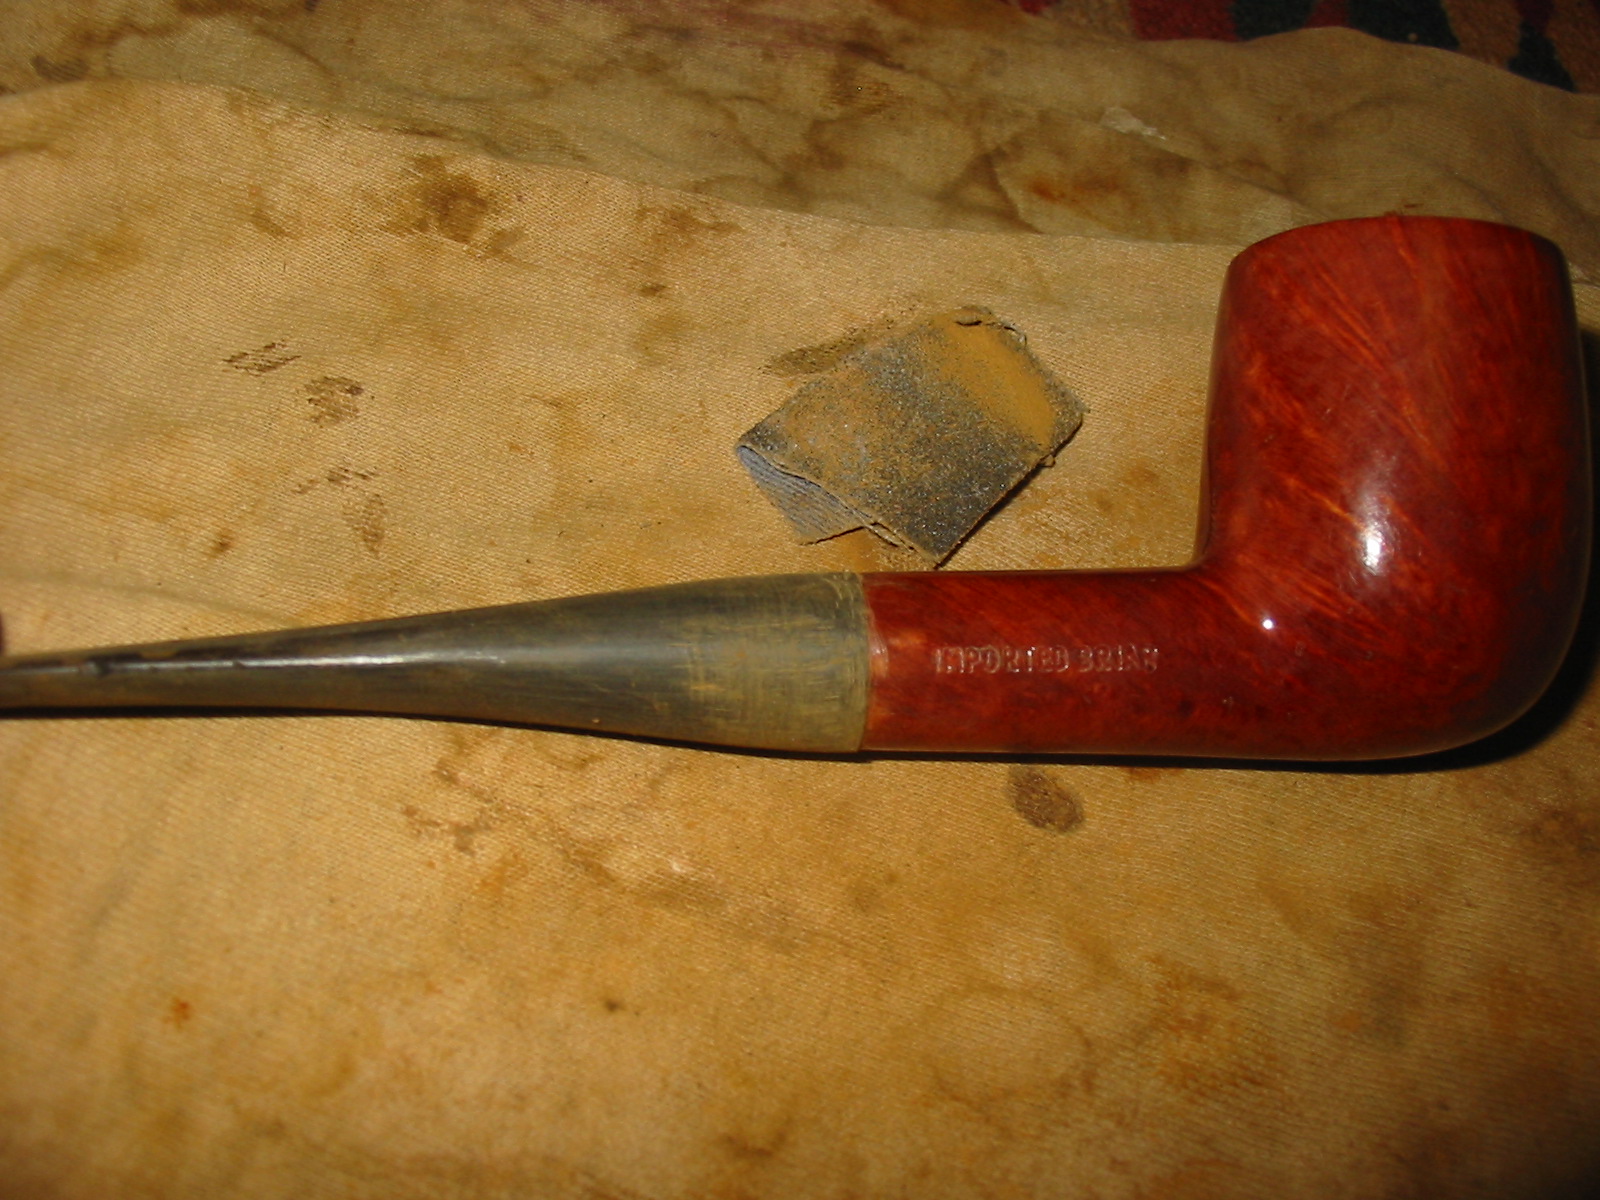
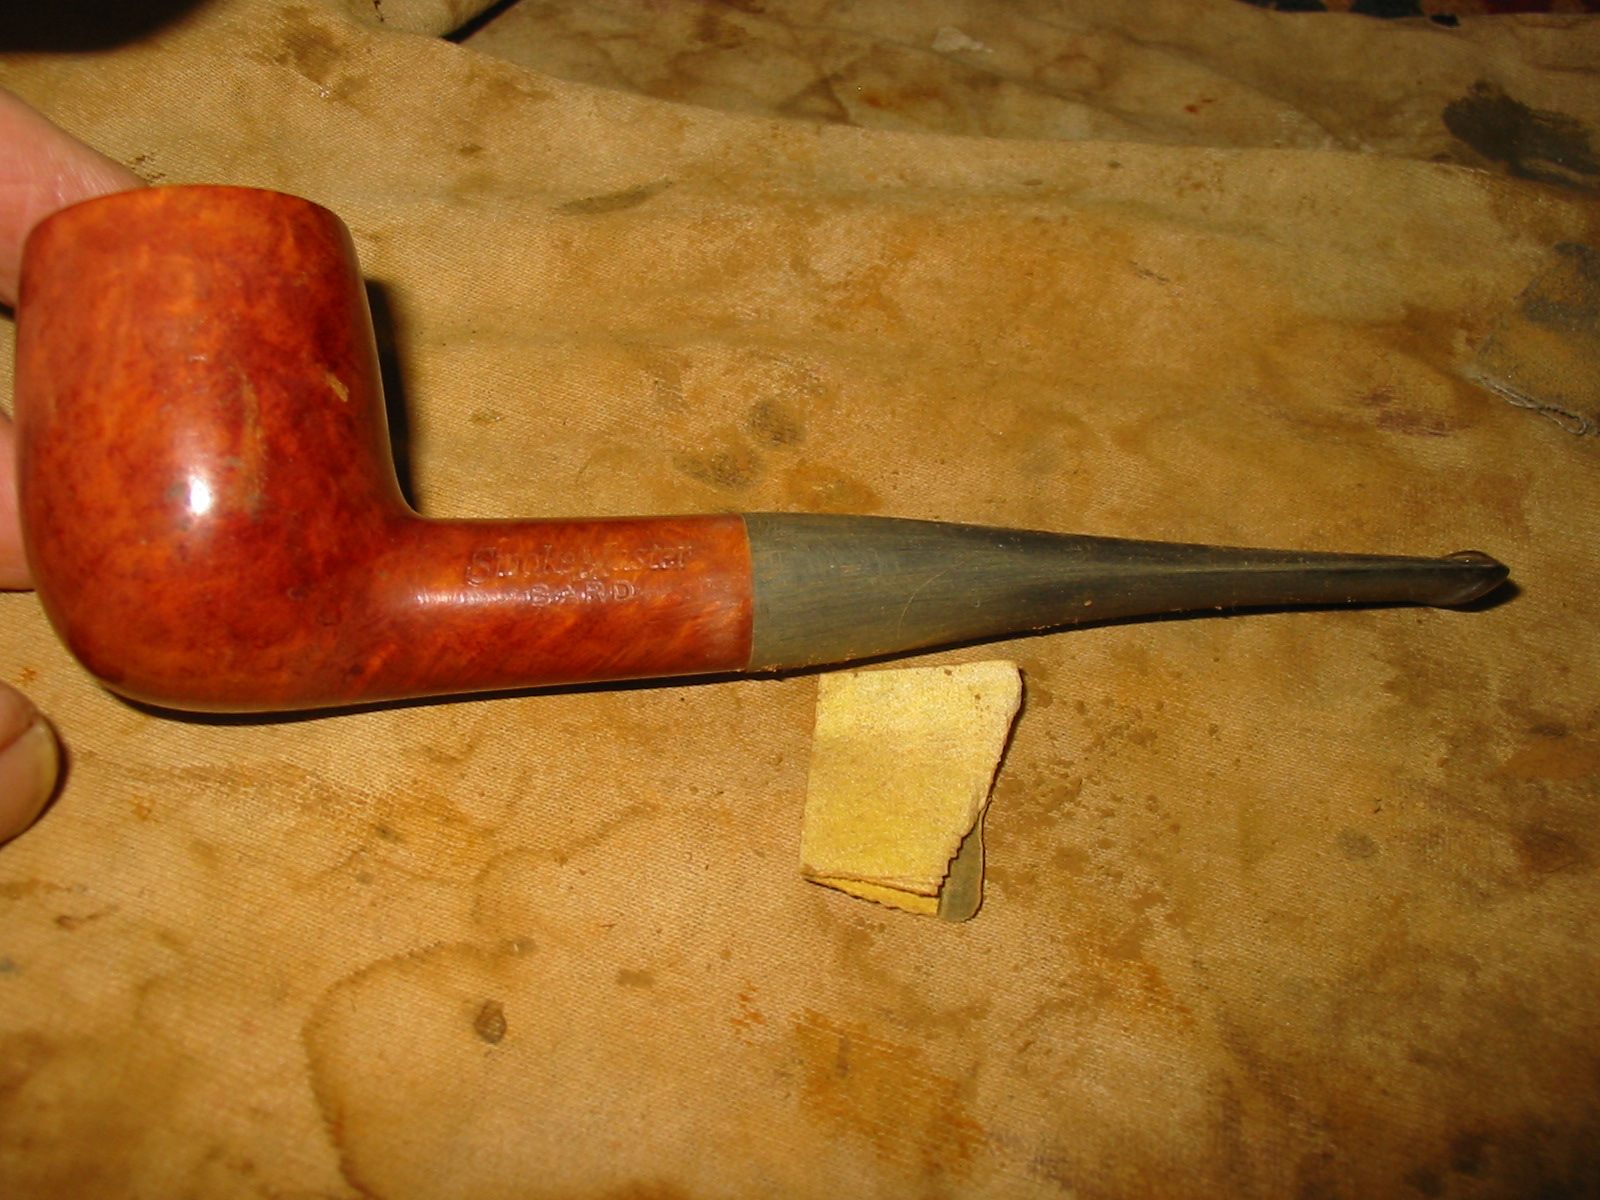
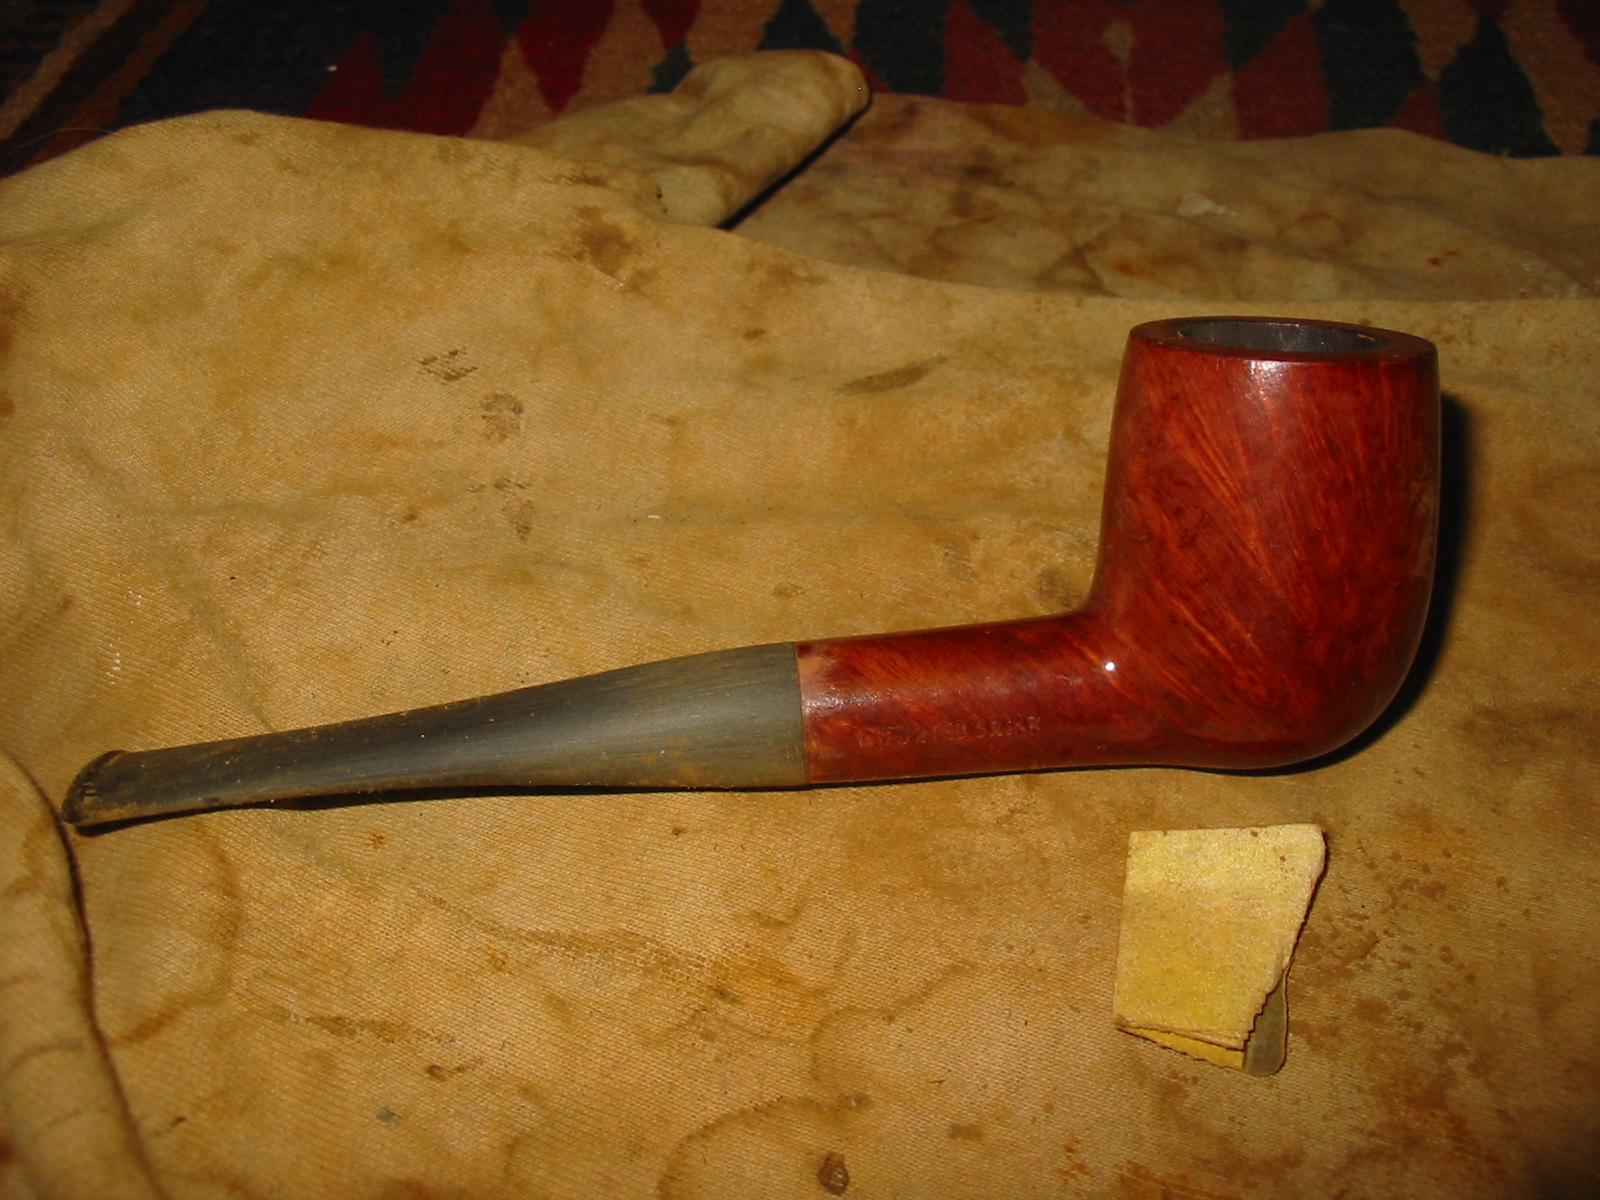
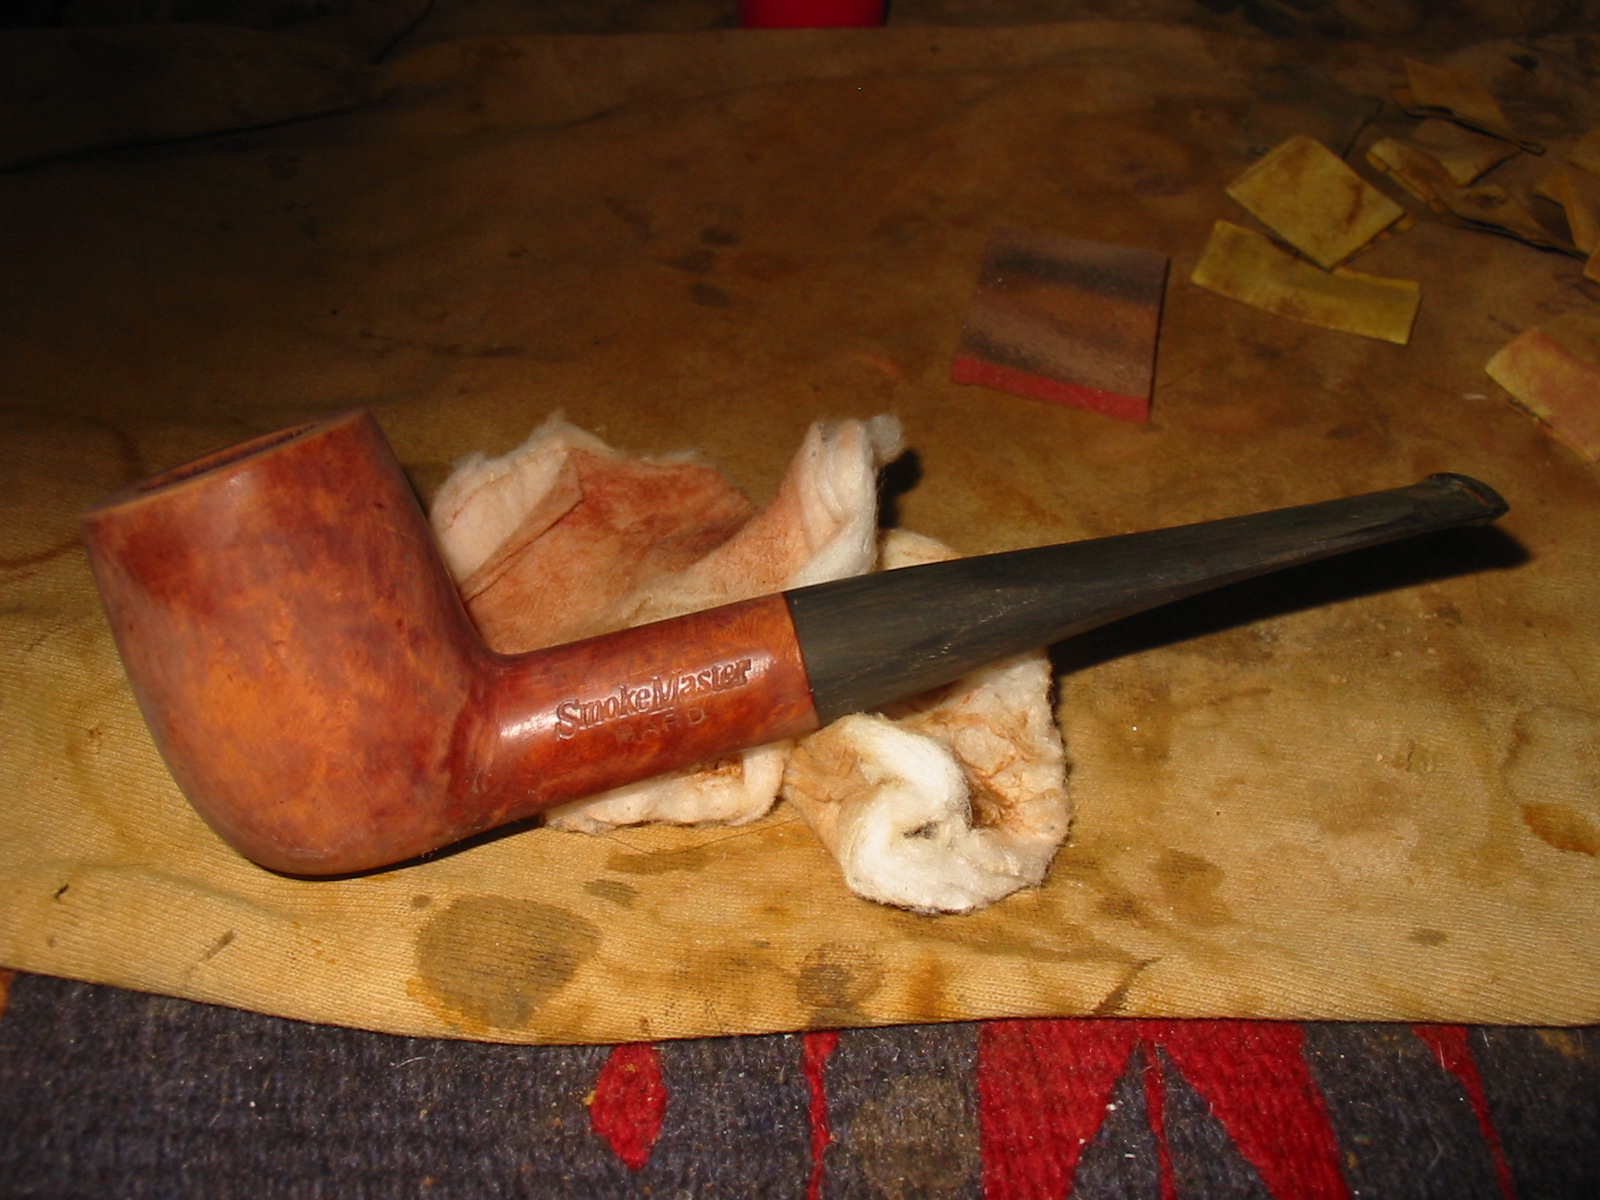
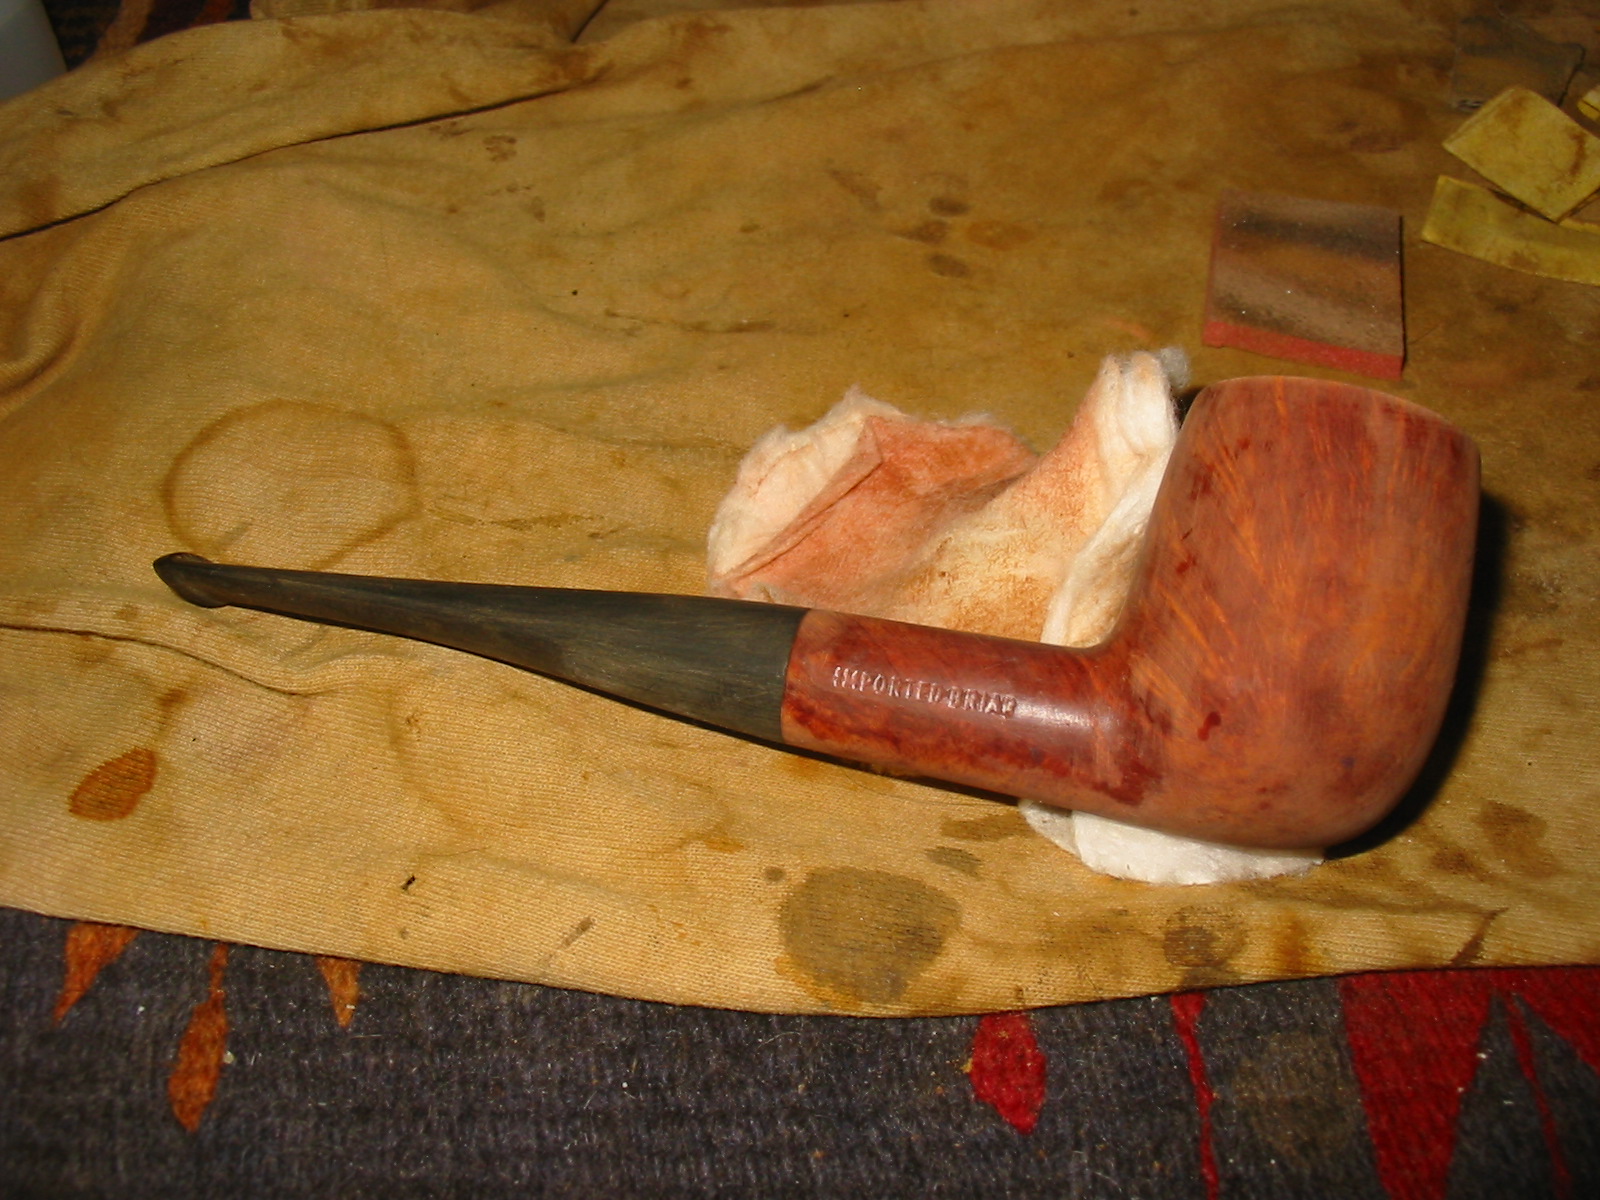
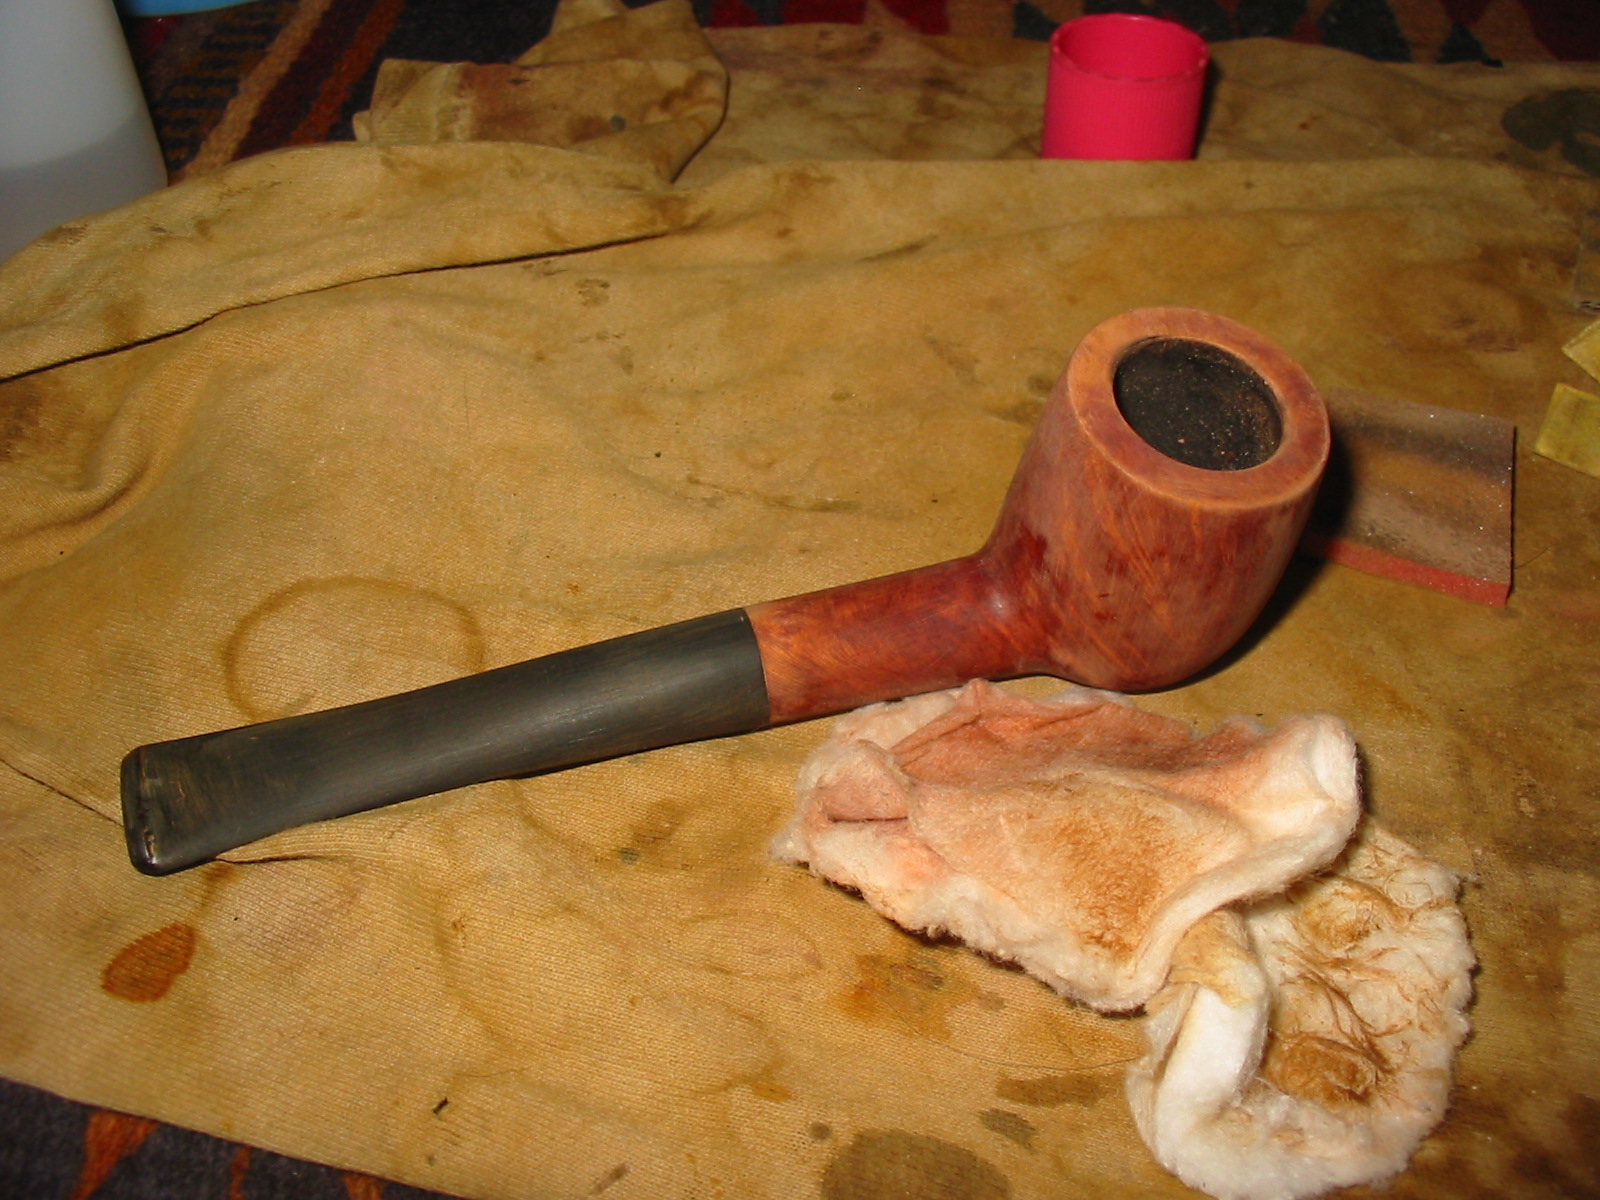
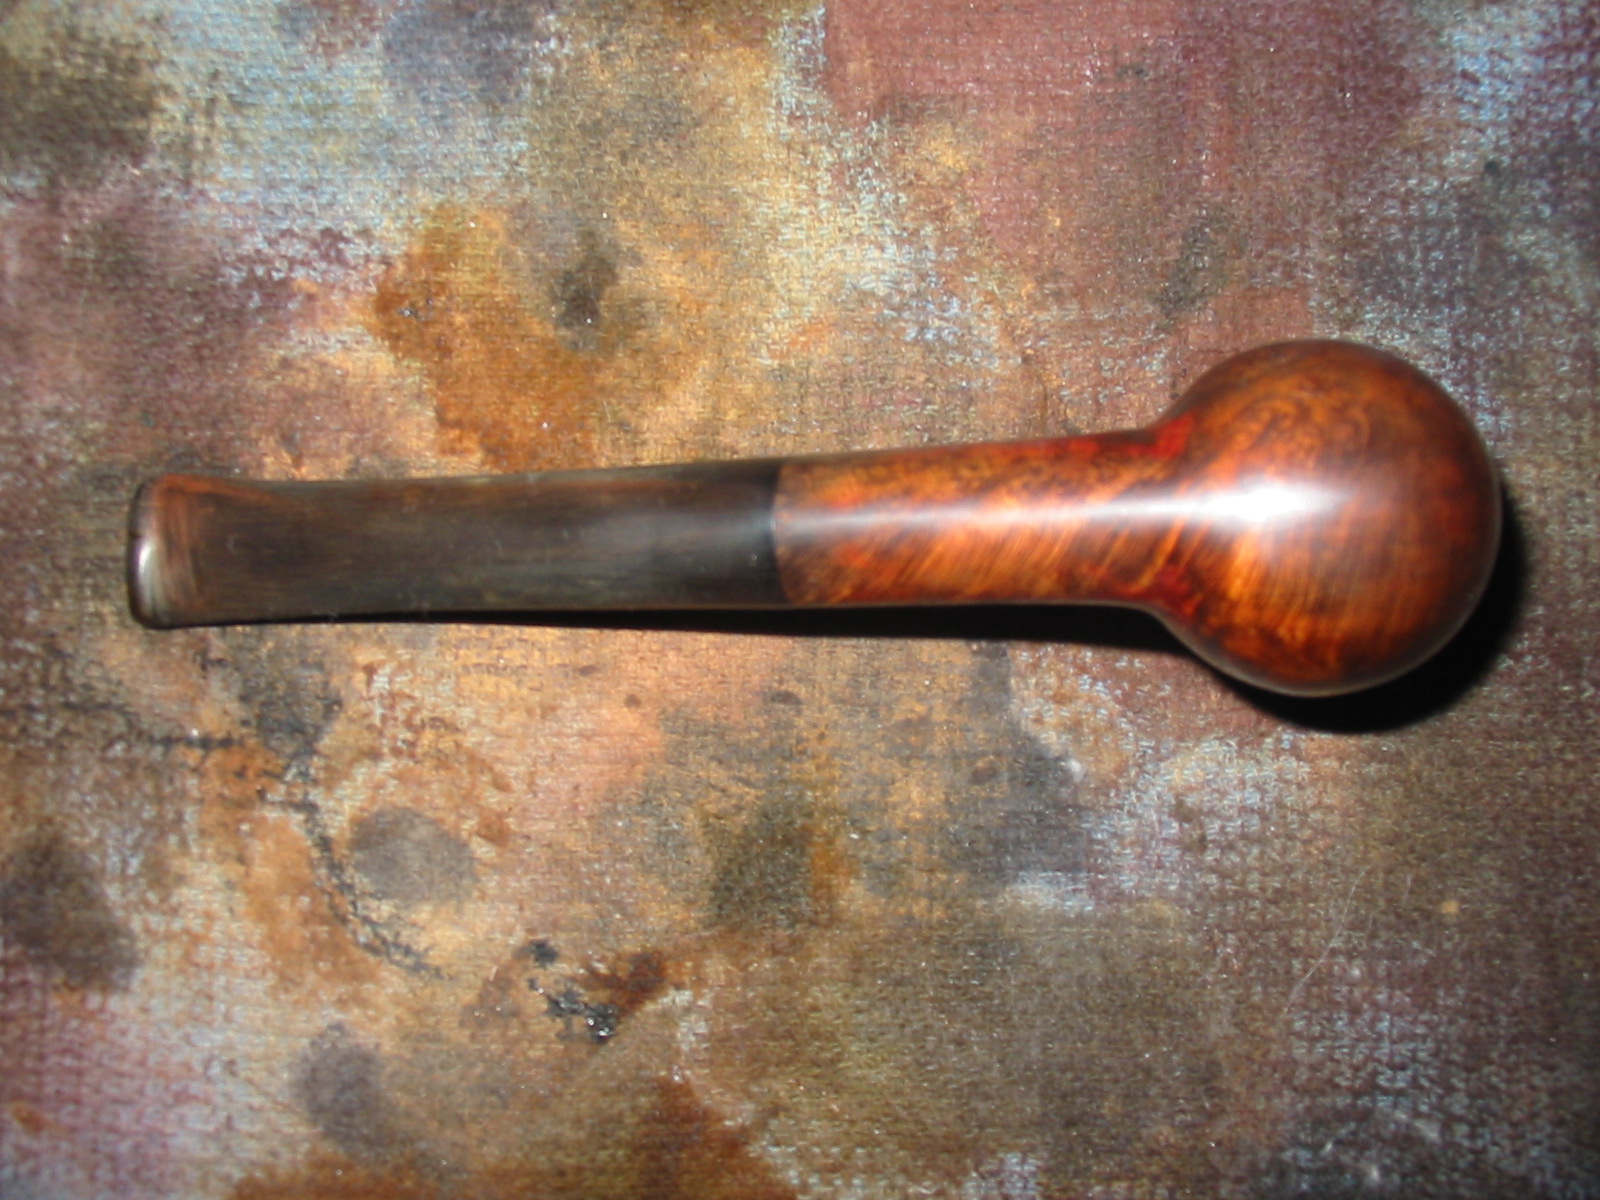
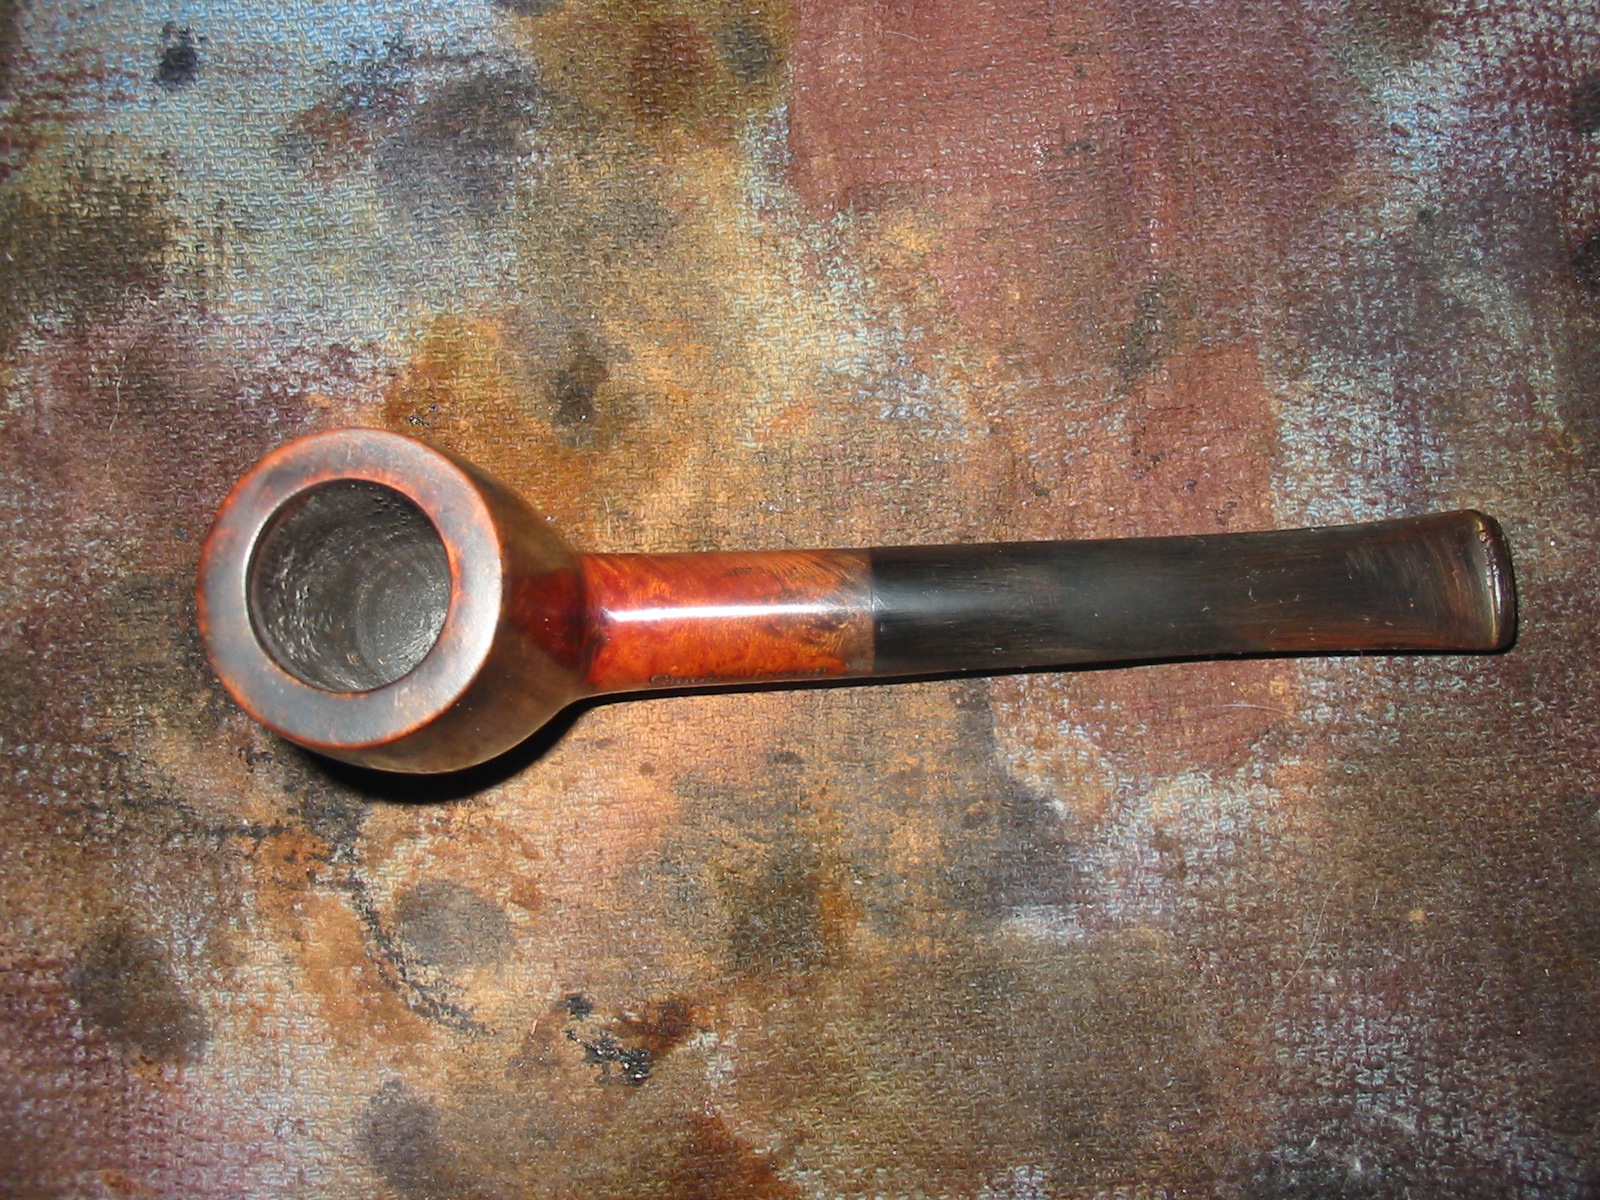
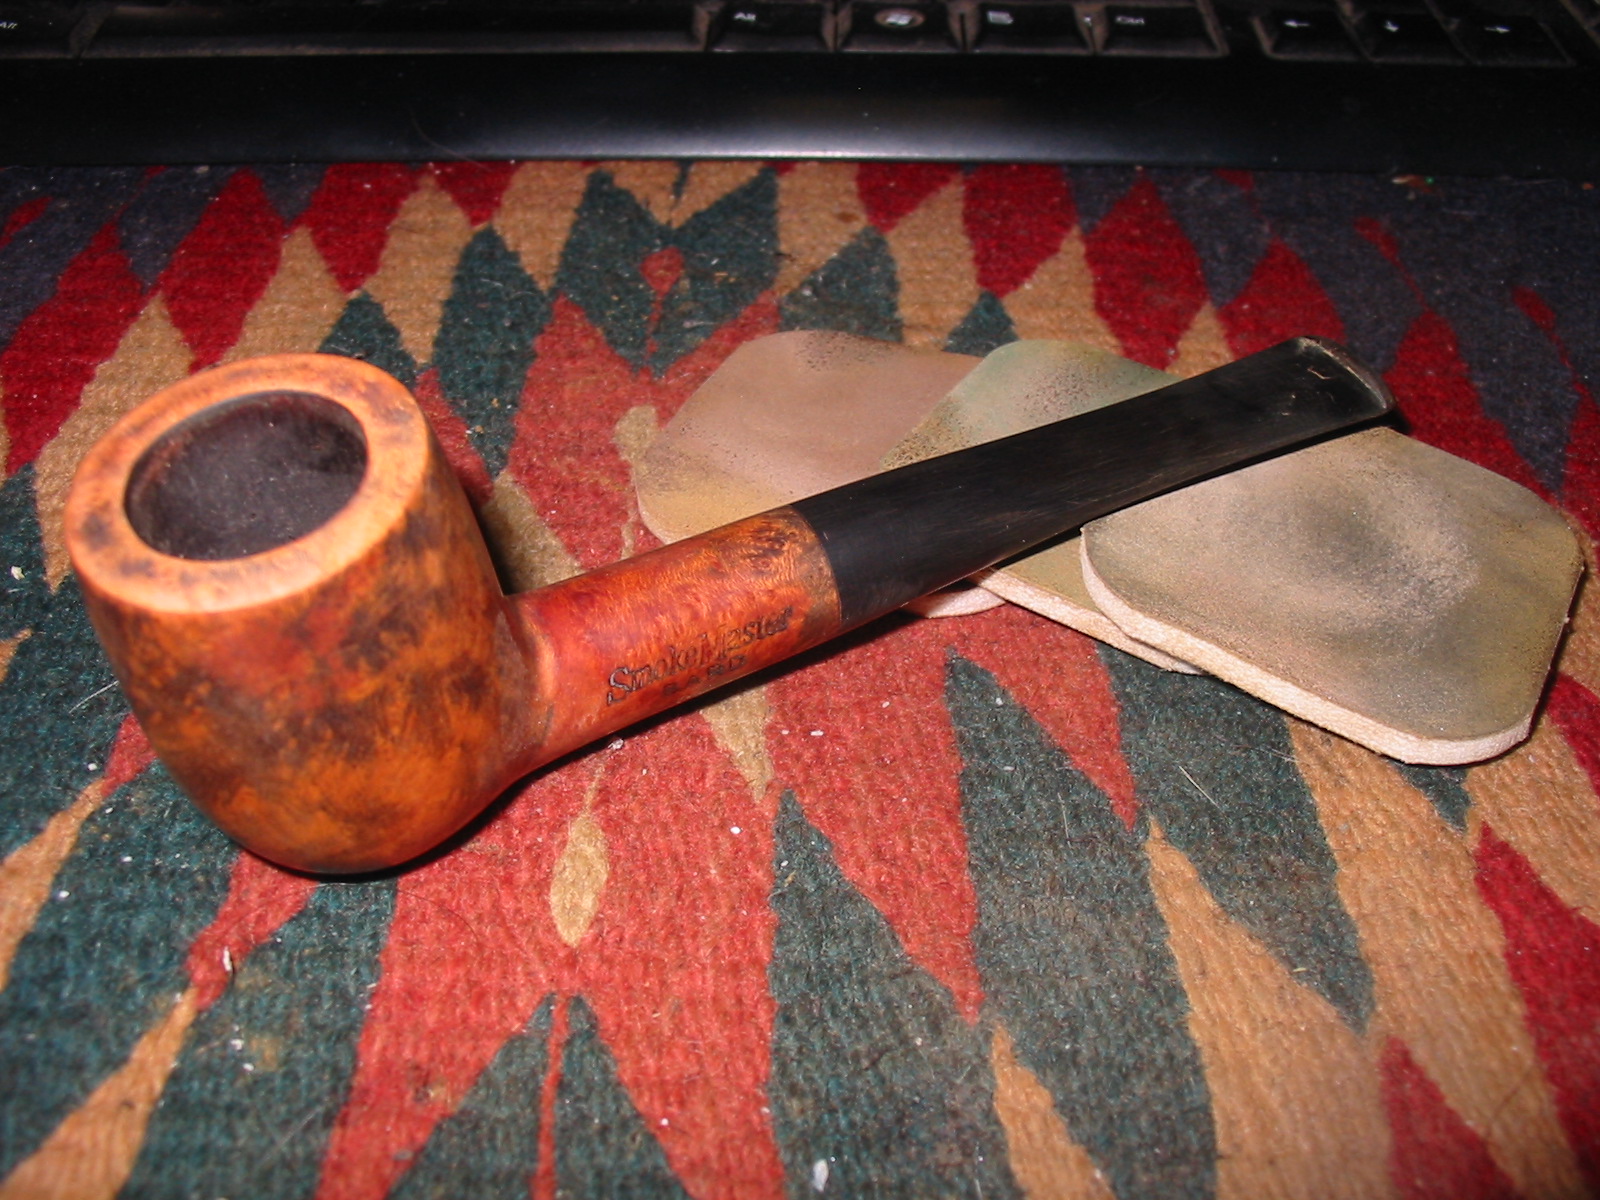
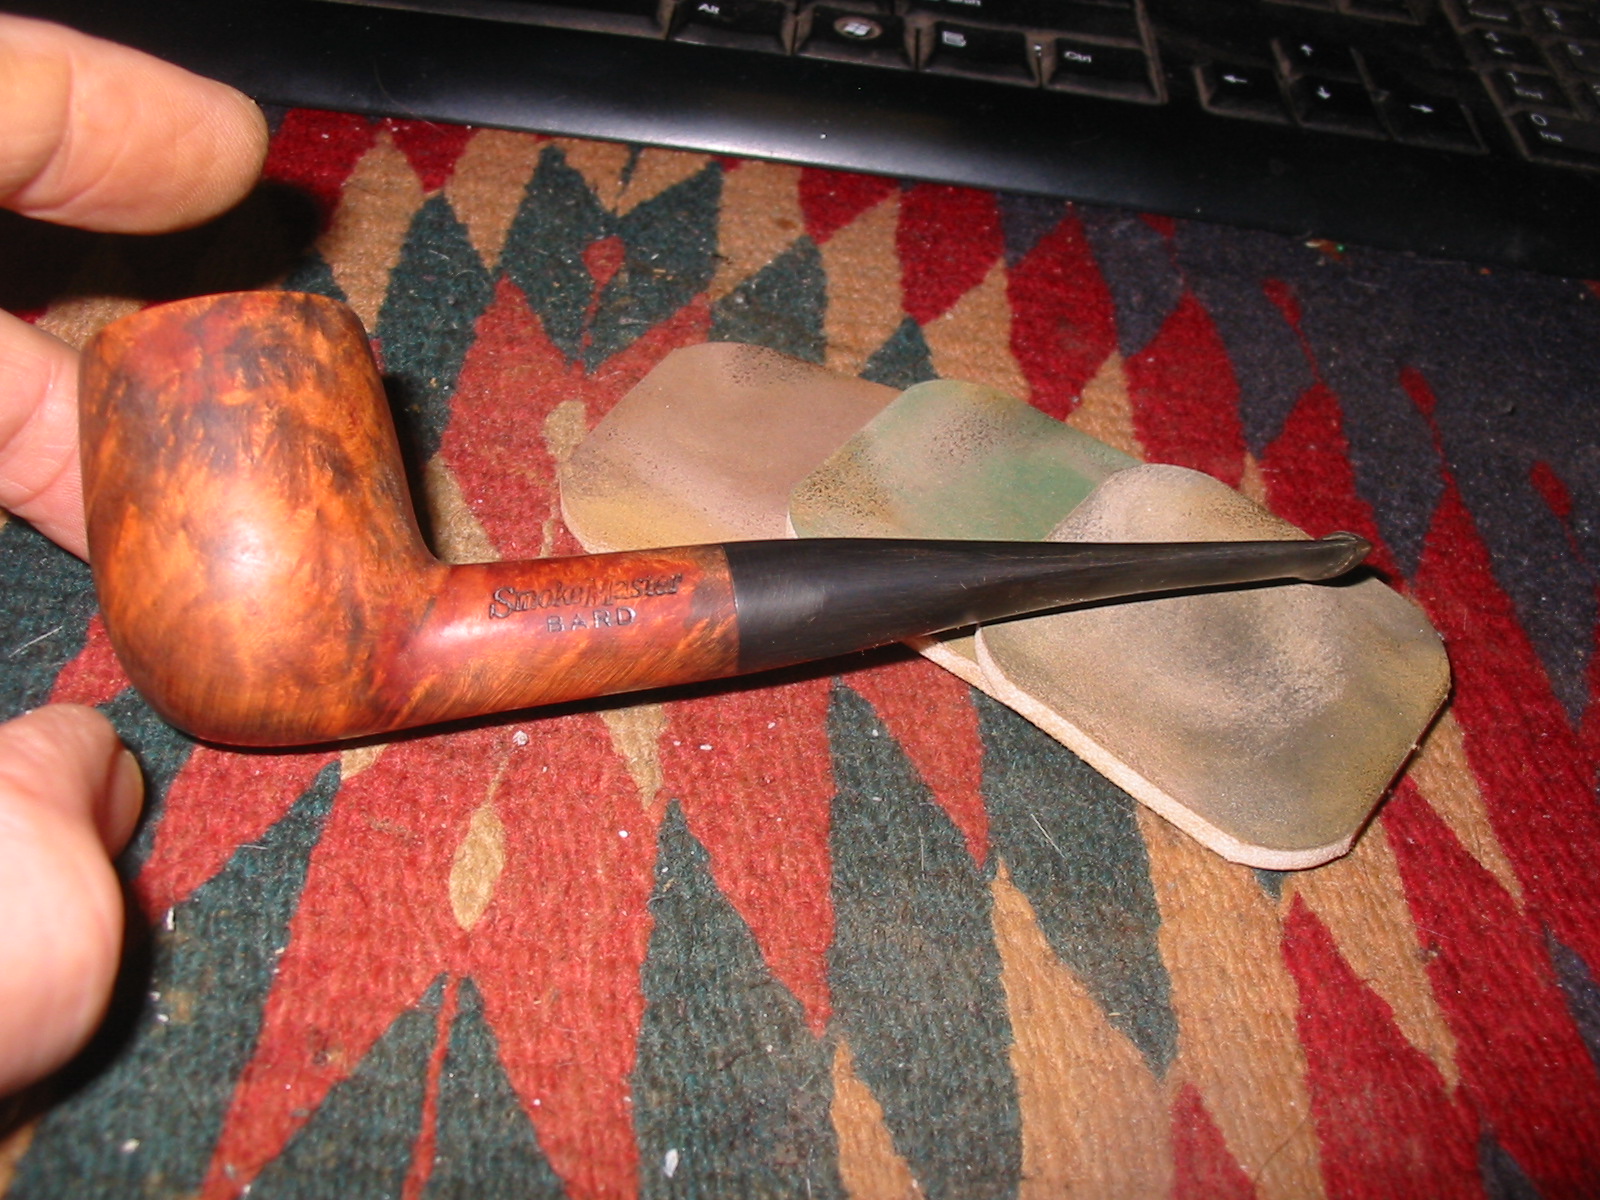
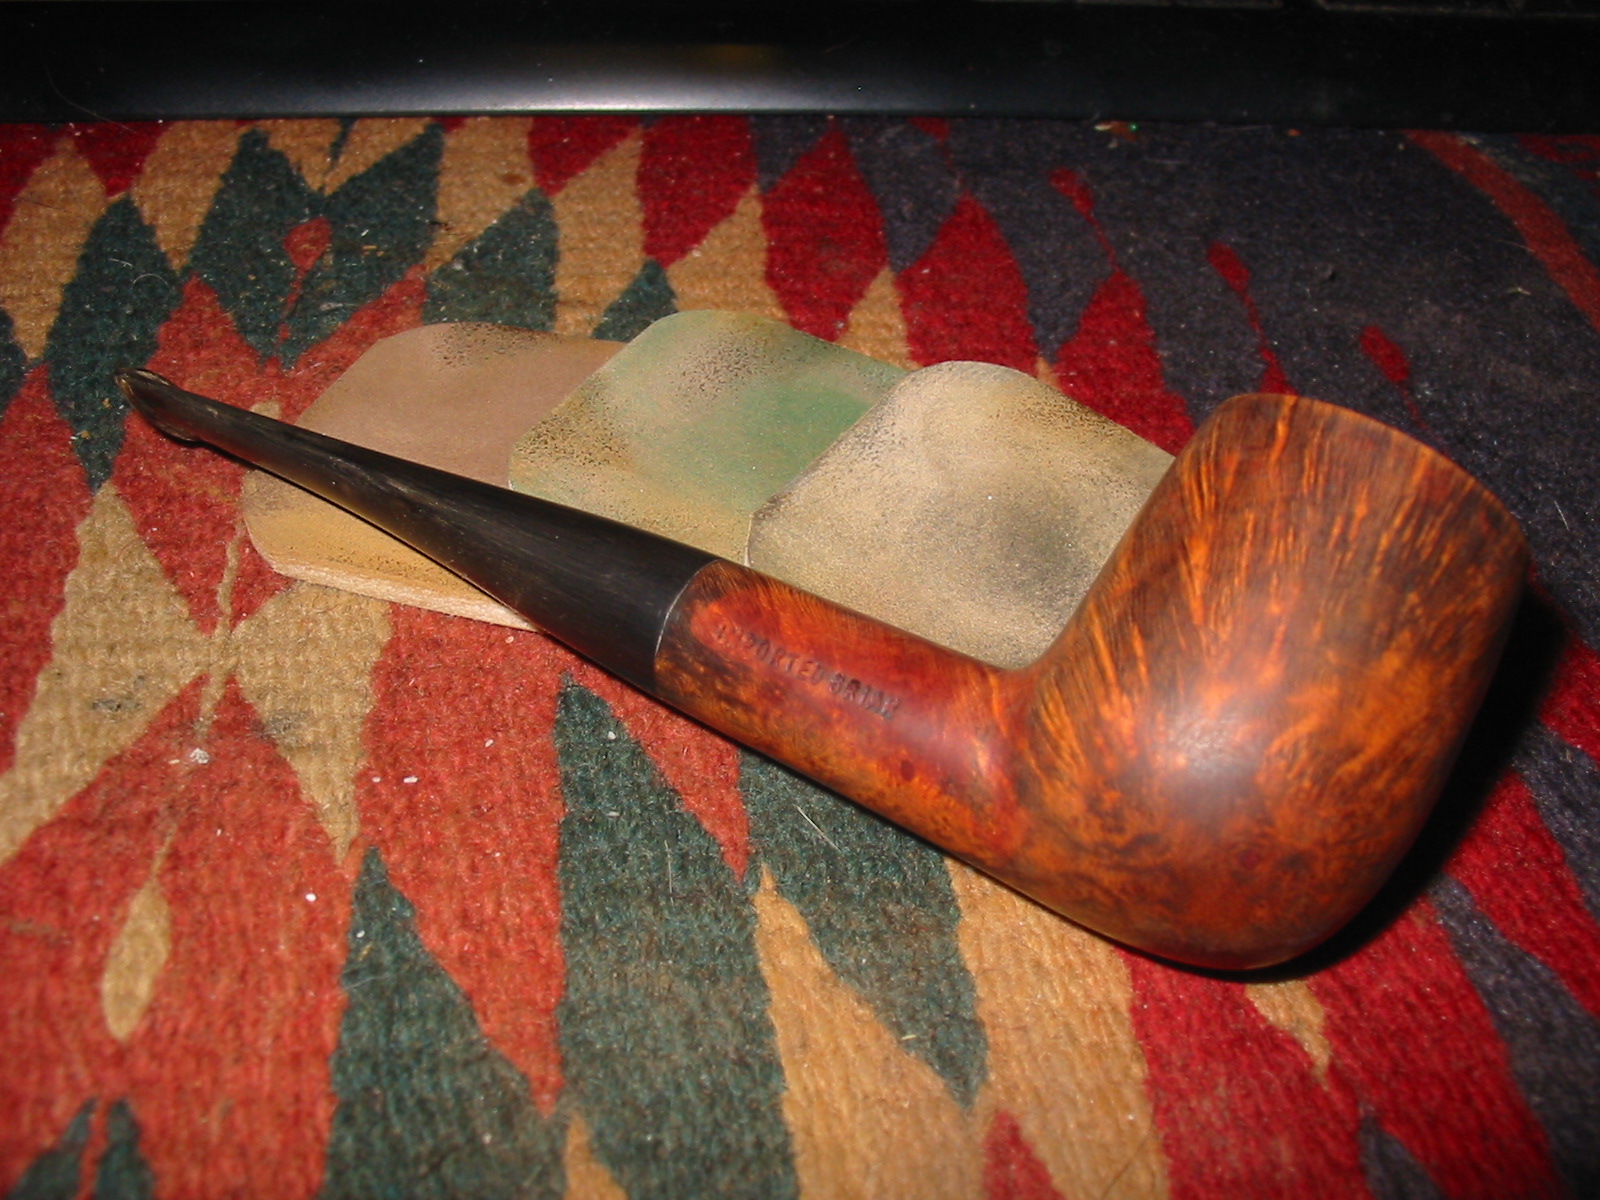
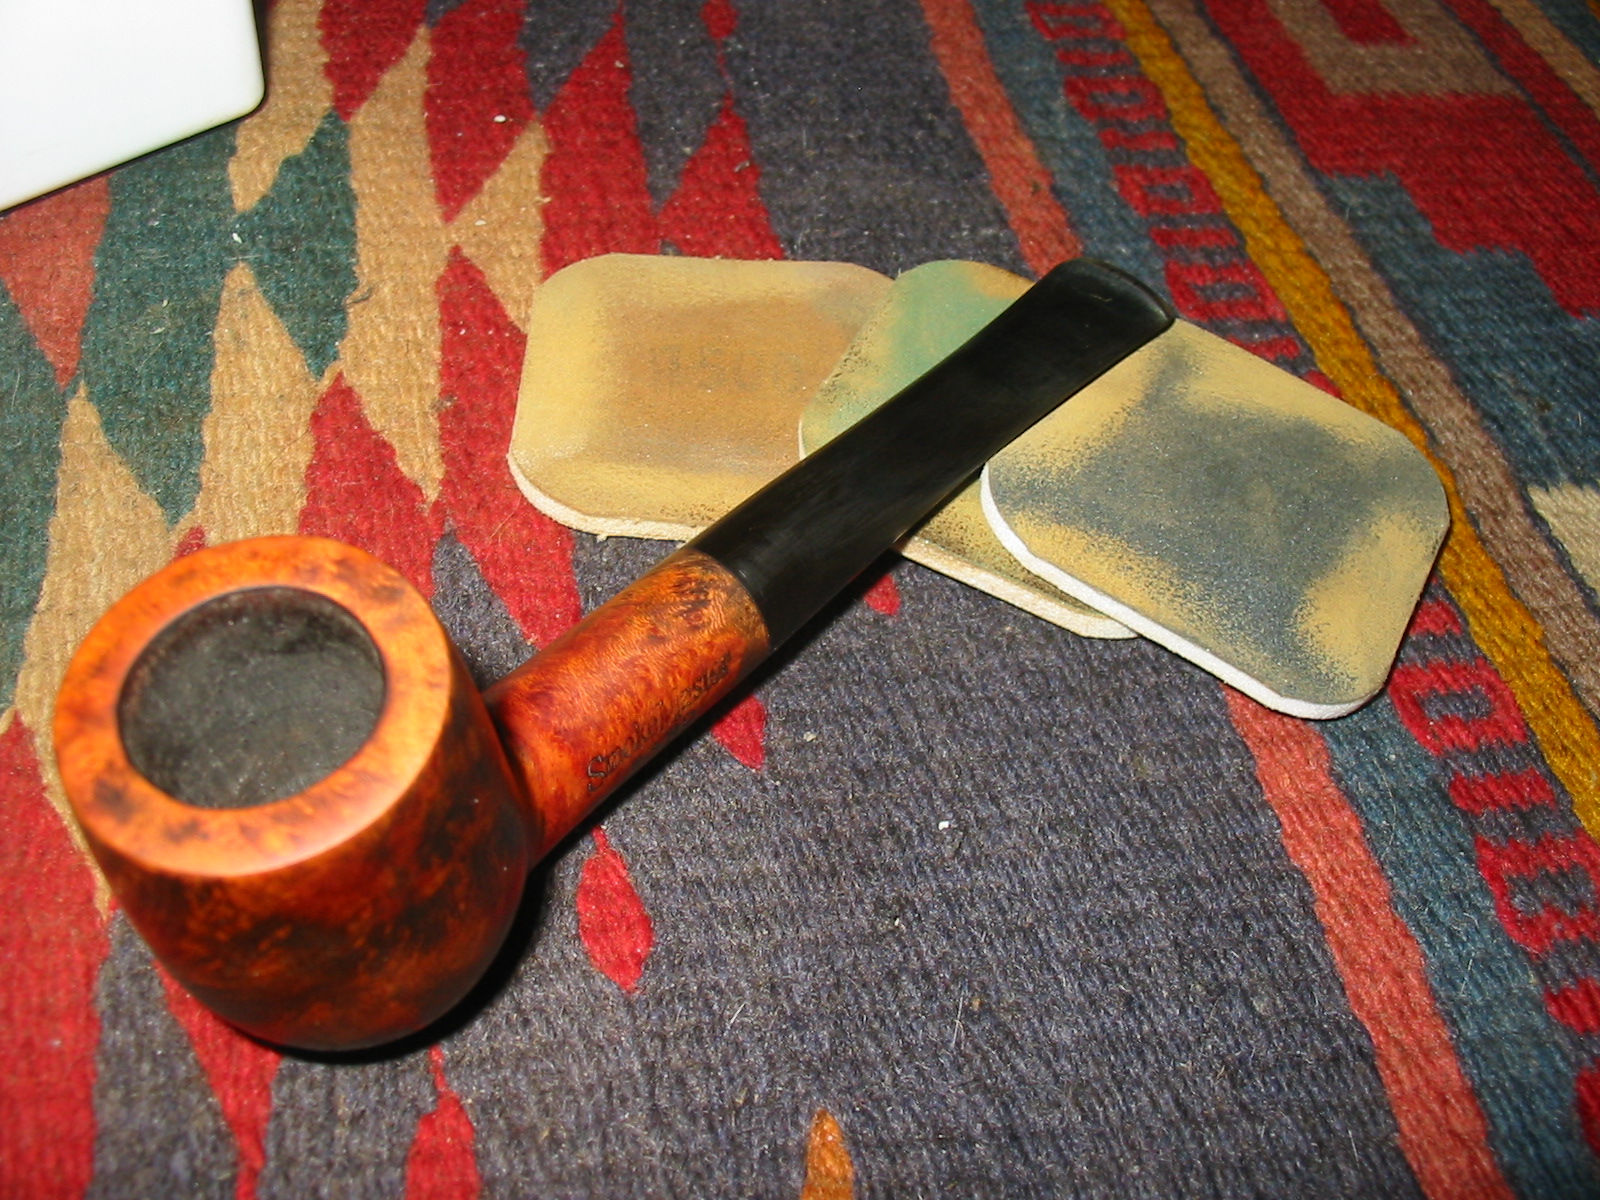
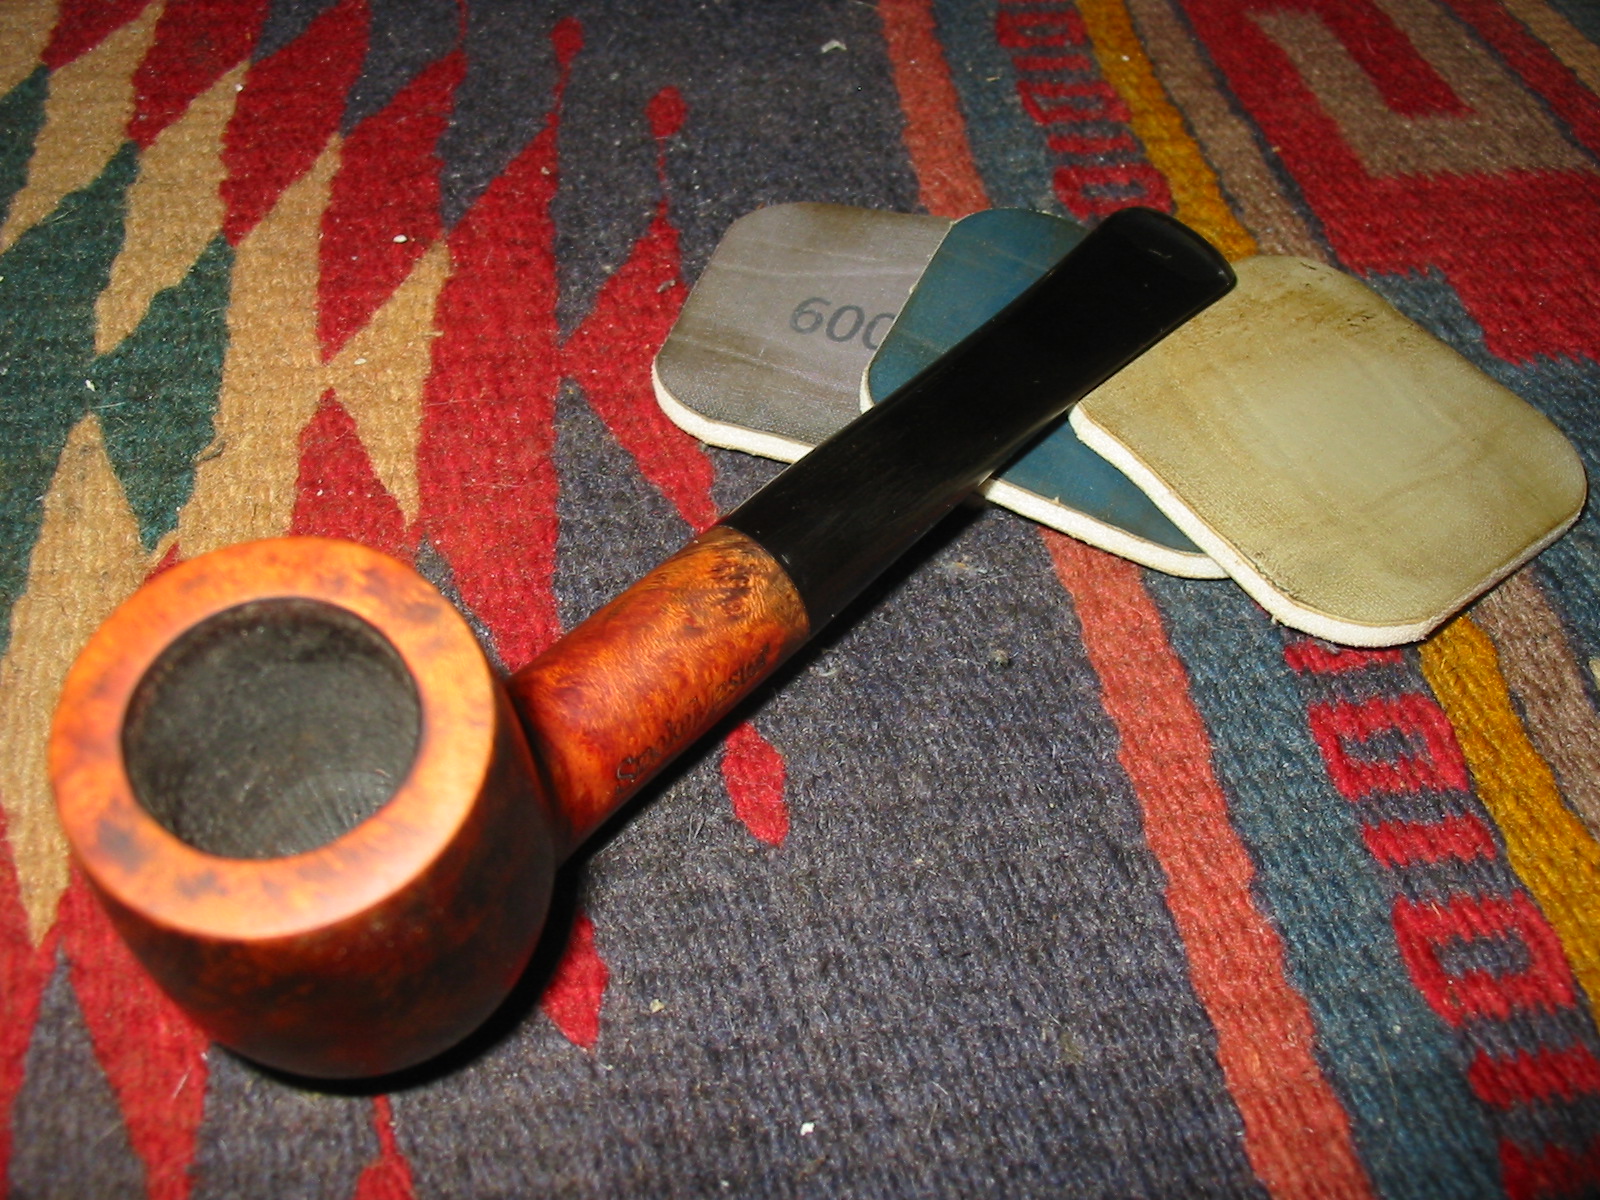
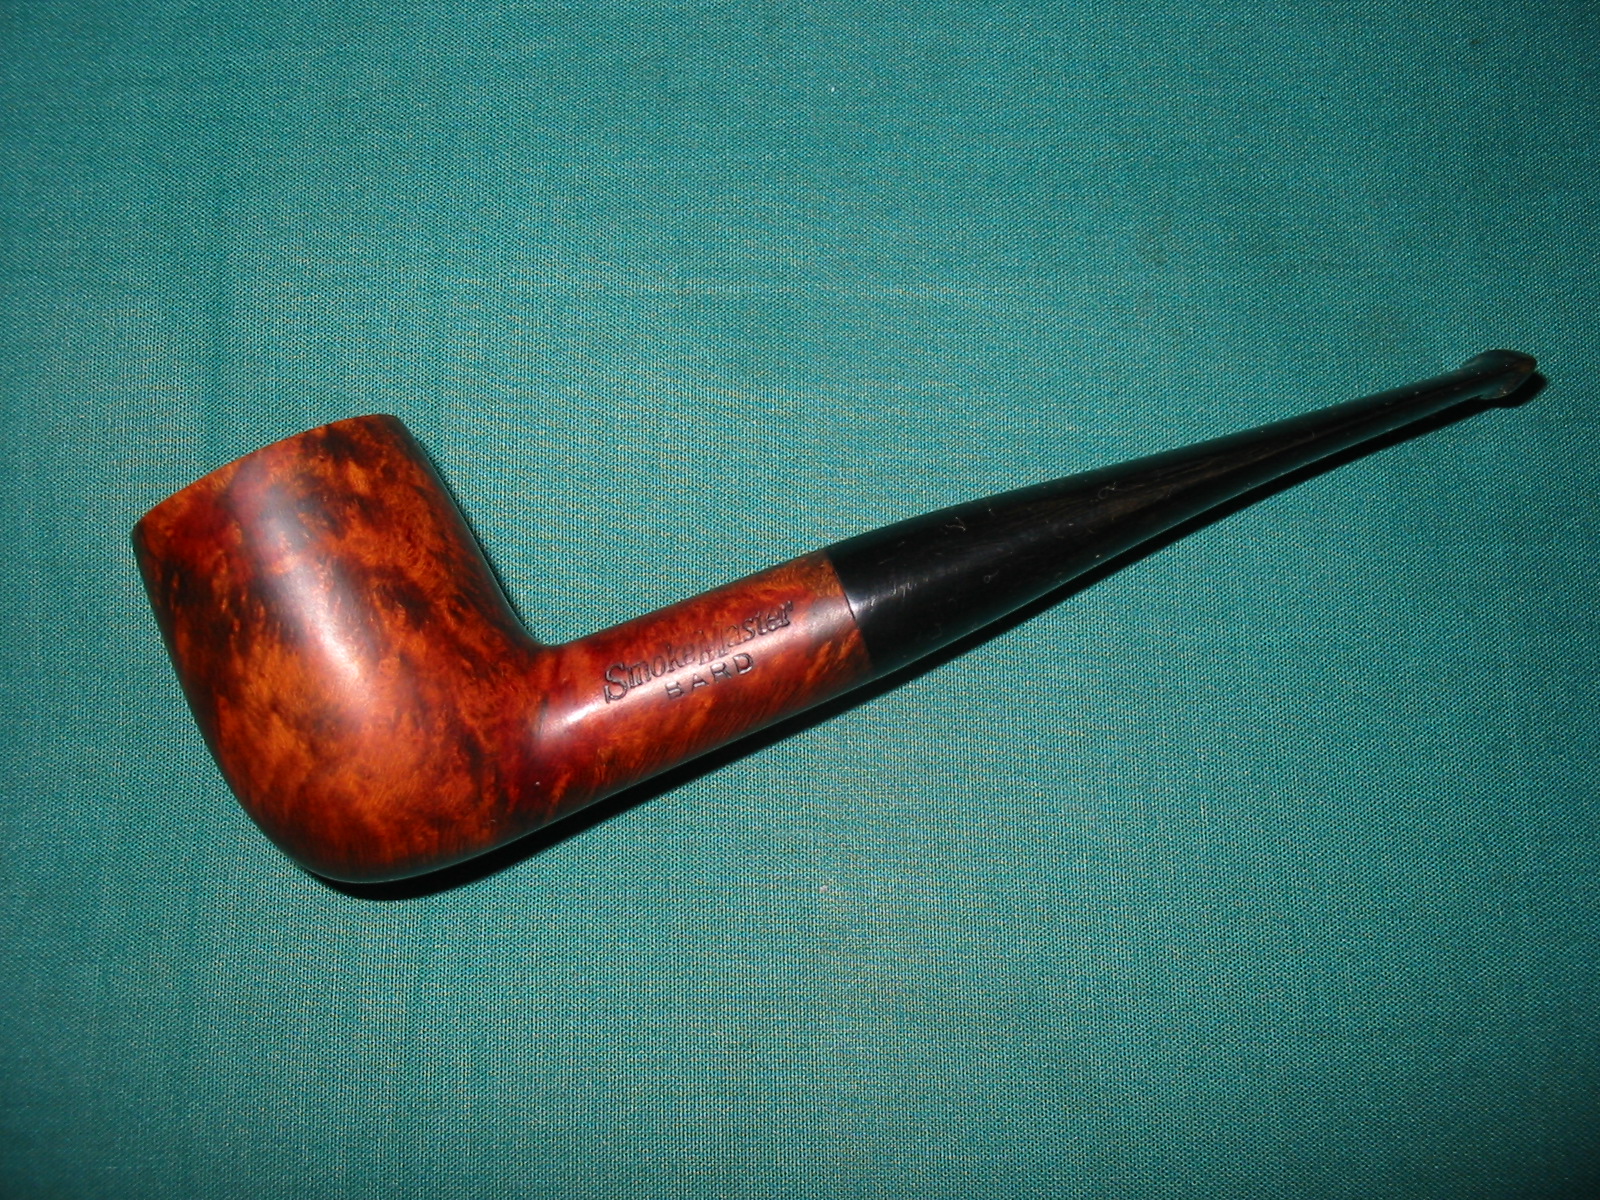
I am down to the bottom of my box of pipes to be refurbished. I have three left. In the bottom of my box was a pipe bowl stamped Smokemaster Bard on the left side of the shank and on the right side of the shank stamped Imported Briar. I found a stem in my can of stems that fit the shank after I adjusted the tenon. The diameter of the stem was slightly larger than the shank but that would be an easy adjustment. The bend would need to be straightened but that would be a simple process. The bowl was lightly smoked and the finish was a very shiny Varathane coating that made the bowl look like plastic. The shank was clean and took very little work to remove the dust that had built up in it.
IMG_3191

I knew nothing about Smokemaster pipes and had no idea who made them. The finish and shape reminded me a lot of Dr. Grabow pipes that I have reworked but that was not enough for me. As has become my habit with pipes I don’t know about, I did a bit of research on the web and found out that the pipe was made by the Briarcraft Pipe Company. The Company was very prosperous between 1920 and 1940. They produced both Briarcraft pipes and a line of seconds under the following names: Airo, Arcadian, Briarmeer, Smokemaster, Cavalcade, Hallmark, Sterling Hall, Filter Kleen and Wimbledon. They closed their doors in 1950. The pipe that I had was definitely not made pre-1950 and the stamping was wrong for it to be made by them. The original Briarcraft stamping was more stylized and had a Germanic script for the stamp. This one was italicized.

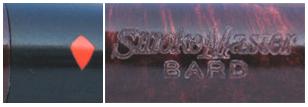
Further digging uncovered the fact that around 1967 Dr. Grabow acquired the name and system rights to the Smokemaster line, and was produced until the mid 1990’s. Thus my initial thought of it being a Grabow was correct. It turned out that Dr. Grabow made three series of Smokemaster pipes – the 100, 200, and 300. I have restored and restemmed several of these over the years but never found one that had the original stem intact. Dr. Grabow also made a line of Smokemaster pipes for L.L. Bean. Below are two photos – one of the stem logo which is a shield and the other is the stamping that is on the pipe that I refurbished.
smokemaster

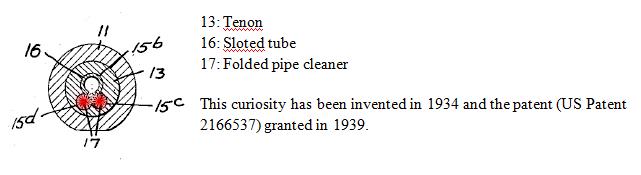
I found out that the Smokemaster had a very unique filter system and was distinct from other filter systems in that it did not include a stinger apparatus. Rather it used a slotted tube that had two special holes in it. A folded pipe cleaner was inserted into the two holes and extended the length of the shank. It collected the tars and moisture of the smoke and could be easily changed and replaced by the pipe smoker. The diagram below shows the design from the end of the tenon.
smokemaster1
I did a patent search and it gave me the following information. This includes both the original description by the inventor and also a diagram submitted at the time of the patent application. I found it at this site: https://www.google.com/patents/US2166537?dq=2166537&hl=en&sa=X&ei=r2u4UtPOHI_ZoAT9moHYCg&ved=0CEAQ6AEwAQ

Description
1939 – B. M. SHOEMAKER 2,166,537
TOBACCO PIPE Filed Oct. 12, 1934 crnar B.M. Shoemaker INVENTOR v ATTORNEY Patented July 18, 1939 UNITED STATES PATENT OFFICE 1 Claim.
My invention relates to tobacco pipes and more particularly to the type in which the bit and bowl portions are separately united to each other.
The principal object of my invention is to maintain the smoke passage in the pipe substantially free of solid deposits, making for general cleanliness in the interior of the pipe and sweet, cool smoking qualities.
I accomplish this object by arranging within the pipe a readily replaceable absorptive member which is designed to receive condensate and solid matter from the smoke as it passes through the pipe. The preferred form of such absorptive member is an ordinary pipe cleaner which, as is well known in the art, comprises a highly flexible metallic core portion carrying a large number of bristles extending there from.
One embodiment of the invention is illustratively exemplified in the accompanying drawing in which Fig. 1 is a longitudinal sectional view of a pipe; Fig. 2 is a transverse sectional view on the line 22 of Fig. 1; Fig. 3 is a transverse sectional view on the line 3-3 of Fig. 1; Fig. 4 is a broken elevation view of a metallic tube or liner constituting one of the pipe elements; Fig. 5 is an elevation view broken intermediate its ends, of the form of absorptive member used in the present construction.
Referring to the drawing, and more specifically to Figs. 1 to 3, denotes the pipe bowl, 1 the bowl stem, 2 the bit and 3 the tenon by which the bit and bowl stem are separately united. The bowl stem has the usual well l4 and the bit the usual smoke or draft passage 15. The bit 12 is further provided with three bores, 15b, c, d, and forming a continuation of the smoke passage 16. A metal tube 16 is provided which is longitudinally slotted at its lower portion and through the slot l8 the products of well be omitted. The tube l6 lies in the bore 15b. The pipe cleaner is doubled upon itself and the two legs or branches of the pipe cleaner enter the bores 15c and l5d and rest there during use of the pipe. The bores 15c and l5d parallel the bore 15b at opposite sides of its longitudinal centre. The embodiment of the invention described is a very desirable construction inasmuch as it receives a standard length pipe cleaner, which in its folded position in the passage 14 is offset from the axis thereof, and which when rotated or twisted with the tenon to seat the same the folded strands of the cleaner engage and brush or clean the wall of the bore.
The operation of the device is very simple. The pipe is sold complete with the pipe cleaner in position. After the pipe has been used for a length of time it will be found that the pipe cleaner is practically saturated with deposited matter. Thereupon the pipe cleaner is simply removed from the pipe and a new one inserted in its place. If desired, the cleaner may also be used in the ordinary manner, naturally before it has become fouled, by moving it back and forth once or twice through the draft passage l5 and/or tube.
What I claim is: In a tobacco pipe, a bowl portion having a stem provided with a central bore, and a bit portion for said stem, the bit having a centrally disposed smoke passage and grooves arranged in the bottom of said passage, a tubular liner mounted in the smoke passage and adapted to project into the bore of the stem, said liner having its underside provided with a longitudinal slot opening into the grooves and bottom of the central bore of the stem beyond the bit, and an absorptive member mounted in said grooves and arranged under the liner throughout its length to receive condensate from the liner and to wipe the wall of said bore when the bit is turned.
BERNARD M. SHOEMAKER.
Classifications

U.S. Classification 131/184.1, 131/203

International Classification A24F1/00

Cooperative Classification A24F1/00, A24F2700/03

European Classification A24F1/00

US2166537-0

I find that kind of information fascinating and am always intrigued by the designers urge to provide a cooler and cleaner smoke for the pipeman who uses his invention. I was not able to find out if Dr. Grabow continued to use the patented design when it took over the line from Briarcraft but I am assuming so until it is shown otherwise by information from those who read this or by a pristine stem that still has the apparatus intact on one of the Grabow Smokemaster pipes.

So armed with that information I went to work on the pipe. I began with the newly fitted stem and heated it with a heat gun to straighten the bend. Vulcanite has memory so with heat the stem returns to its original shape. I held the stem about 6 inches above the heat source, ran the gun on high and watched as the stem began to return to normal. It is important not to hold the vulcanite too close to the heat as it burns and to not rush the bend by helping it as it can snap if not properly heated.
IMG_3192

IMG_3193

The straightened stem is pictured below. It can also be seen in the next three photos that the diameter of the stem is slightly larger than the diameter of the shank. I also left a slight bend to the stem as I liked the look of it on this pipe.
IMG_3194

IMG_3195

IMG_3196

I used a Dremel with a sanding drum to reduce the diameter of the stem to match the shank. This has to be done slowly and with a steady hand so as not to nick the shank of the pipe. I move the Dremel slowly along the diameter of the stem and also backward toward the button to keep the lines accurate and not bulge after the sanded area. I sand it as close as possible to the correct diameter and then hand sand it to fit.
IMG_3197

IMG_3198

IMG_3199

I took it back to the work table and sanded the stem with medium grit emery cloth to smooth out the finish and fit of the stem. I then used 220 grit sandpaper and continued to sand until the stem fit was smooth. At this point I also began to use a sanding block to make the transition between the new stem and the shank smooth. I did not worry about sanding the stem as I intended to remove the plastic finish and rework the entire pipe with a new finish. I also sanded the top of the bowl to remove the two burn marks that were present on the inner edge of the rim. This is visible in the last of the series of photos below.
IMG_3200

IMG_3201

IMG_3202

IMG_3203

IMG_3204

I wiped down the bowl with acetone on a cotton pad to try to remove the plastic like finish that was on the pipe. The acetone succeeded in dulling the finish but not in removing it from the briar. I continued to wipe it down until I was through the finish coat. I sanded the bowl with a medium grit sanding sponge between the acetone washes. (I had previously tried the alcohol bath on pipes with this type of finish and found that they did not penetrate the finish.)
IMG_3205

IMG_3206

IMG_3207

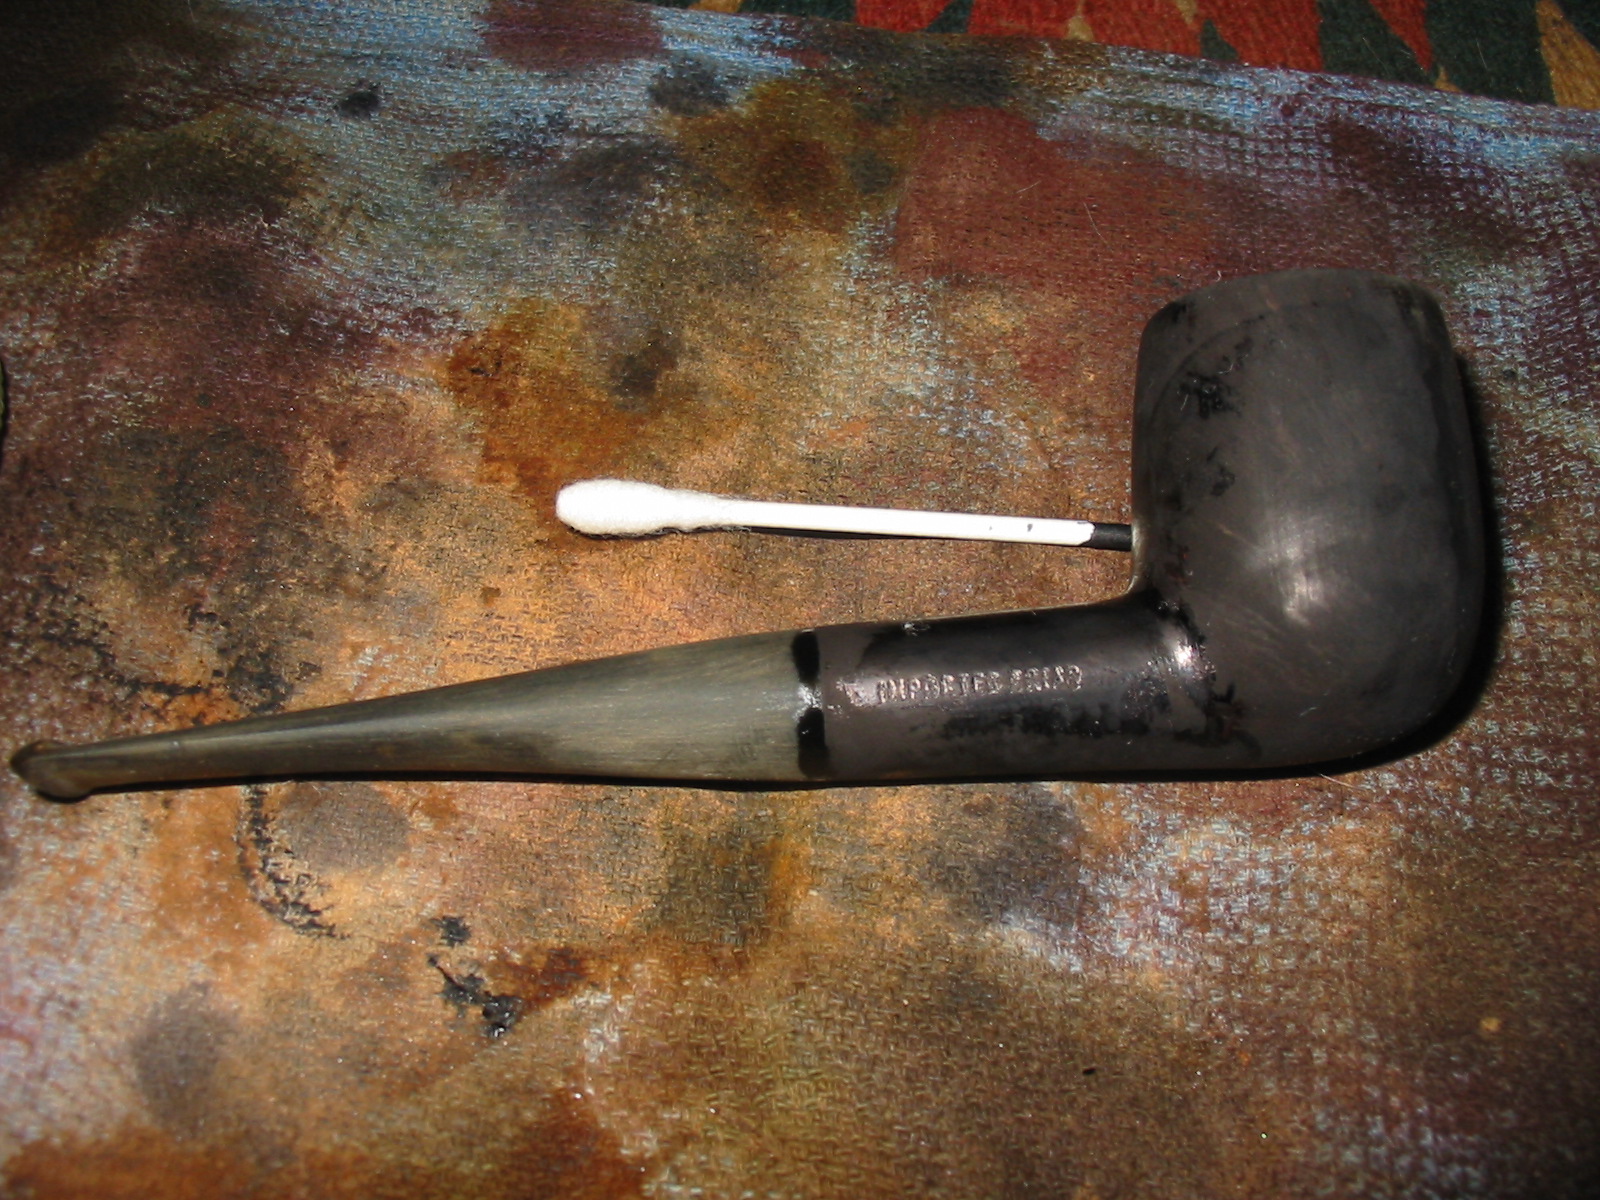
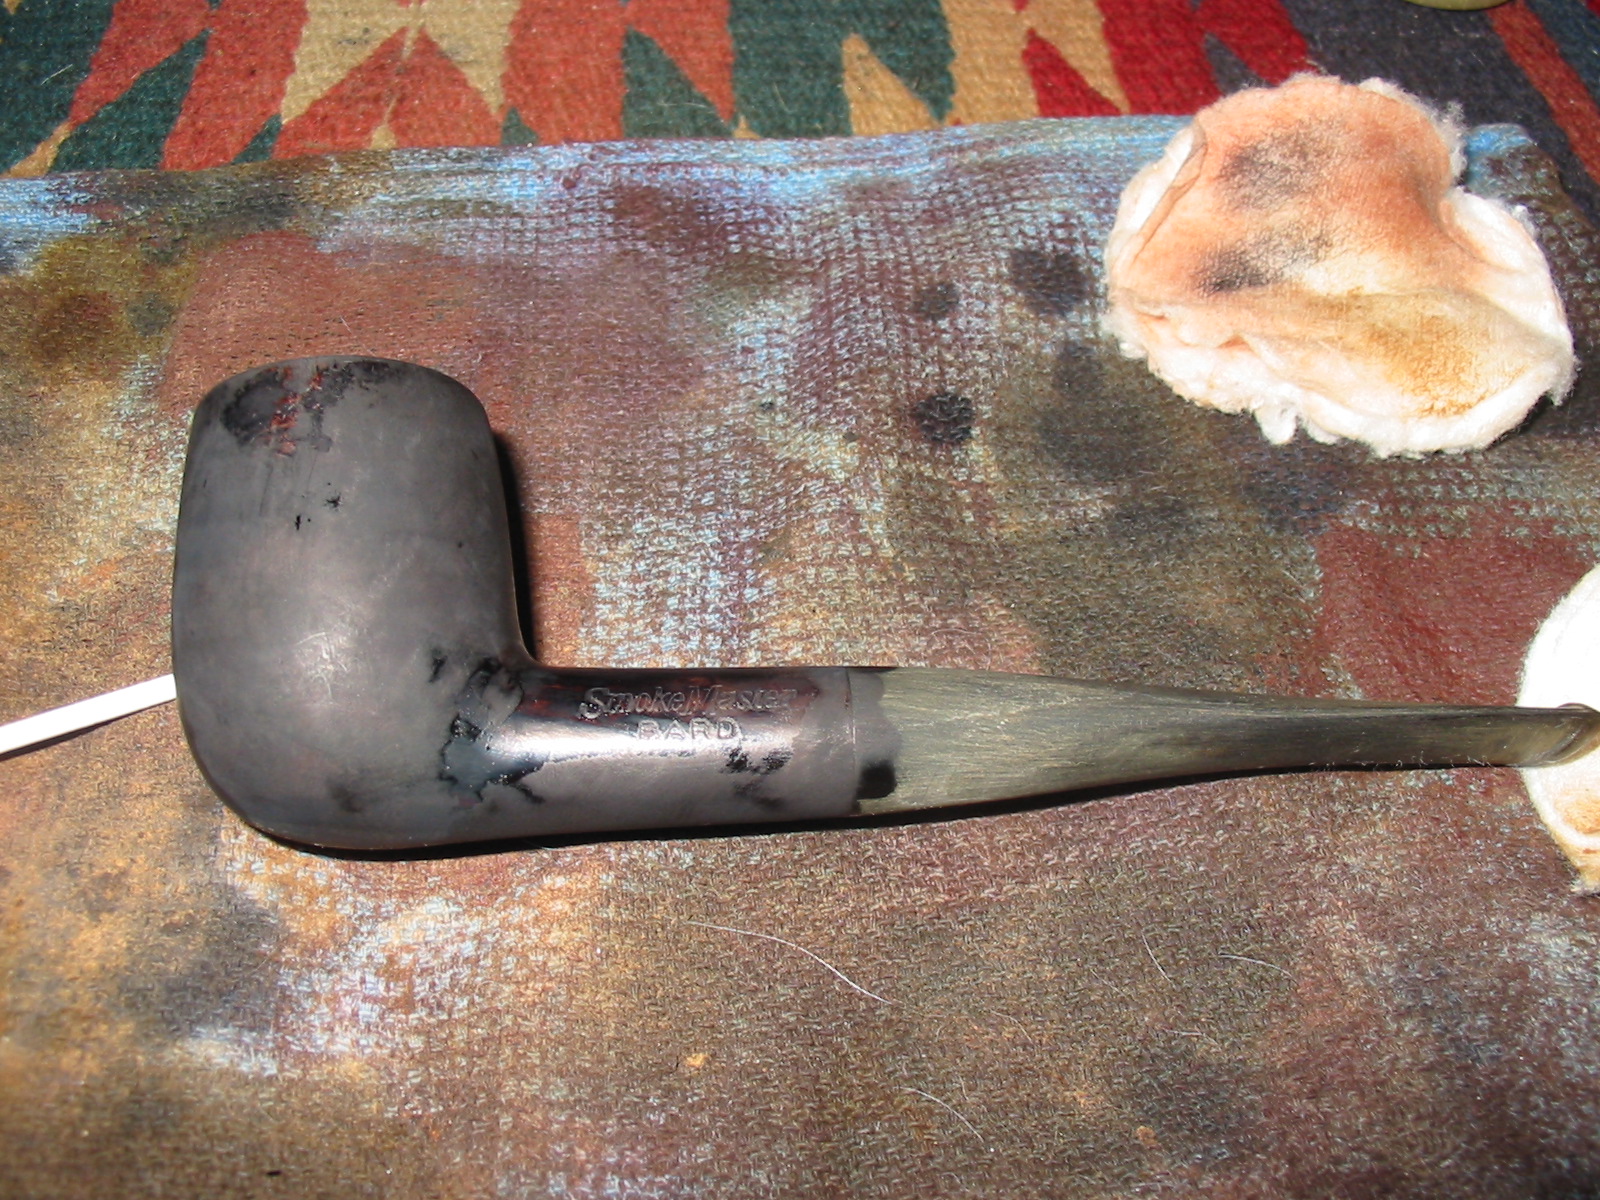
Once the finish was removed I sanded the pipe with a fine grit sanding sponge to remove the scratches as much as possible. I was not overly worried at this point in removing them all as I intended to do a two part stain and sand between the stain coats. I stained the pipe with a black aniline stain, flamed and stained and flamed again. I also heated the bowl to drive the black stain deep into the grain of the pipe so that when I sanded it the grain would show well.
IMG_3208

IMG_3209

IMG_3210

I wiped the bowl down with Everclear on a cotton pad to remove the topcoat of the stain. I knew that the stain would have penetrated deep enough into the grain to leave the parts present that I wanted highlighted.
IMG_3211

IMG_3212

I buffed the pipe with red Tripoli to further remove the black stain. The next four photos show the bowl after buffing. I still wanted to remove more of the stain from the pipe to get the desired effect and differentiate the grain for the finished look of the pipe.
IMG_3213

IMG_3214

IMG_3215

IMG_3216

I wet sanded the bowl and the stem with 1500-2400 grit micromesh sanding pads to further remove the black stain from the surface of the bowl. The sanding also served to remove the scratches left behind by the fine grit sanding sponge before staining. The first four photos below show the finish after I had sanded the bowl with these grits of micromesh. I then dry sanded the bowl and stem with the remaining grits of micromesh pads from 3200-12,000. The state of the bowl and stem can be seen in the last two photos below.
IMG_3217

IMG_3218

IMG_3219

IMG_3242

IMG_3243

IMG_3244

Once I had removed as much of the black as I wanted I stained the pipe with the second stain – an oxblood aniline stain. I heated the bowl, applied the stain, flamed it and reapplied and reflamed it until the coverage was even around the bowl. Once it was dry I buffed the bowl and stem with White Diamond to polish the finish and the stem. I rubbed the stem down with Obsidian Oil to protect the vulcanite and when dry gave the bowl and the stem multiple coats of carnauba wax to polish and protect the pipe. The finished pipe is pictured below. I really like the contrast stain and the matte like finish on the pipe. The two step stain process highlighted the grain on the pipe and gives it a far more polished and finished look than the previous plastic coat had down. This piece of briar, though not stellar, did not have fills or flaws that are visible. It should make someone a great addition for their pipe rack.
IMG_3245

IMG_3246

IMG_3247

IMG_3248

NOTE: I was just reading on PSU and saw a post there that had this photo of the filtration system on these pipes. http://pipesmokerunlimited.com/showthread.php?4015-Smokemaster-Filter-Pipe Thanks to the poster, Hammerhead (Terry Swope???maybe) for posting the photo for us to see.
Smokemaster_zps5e85a518

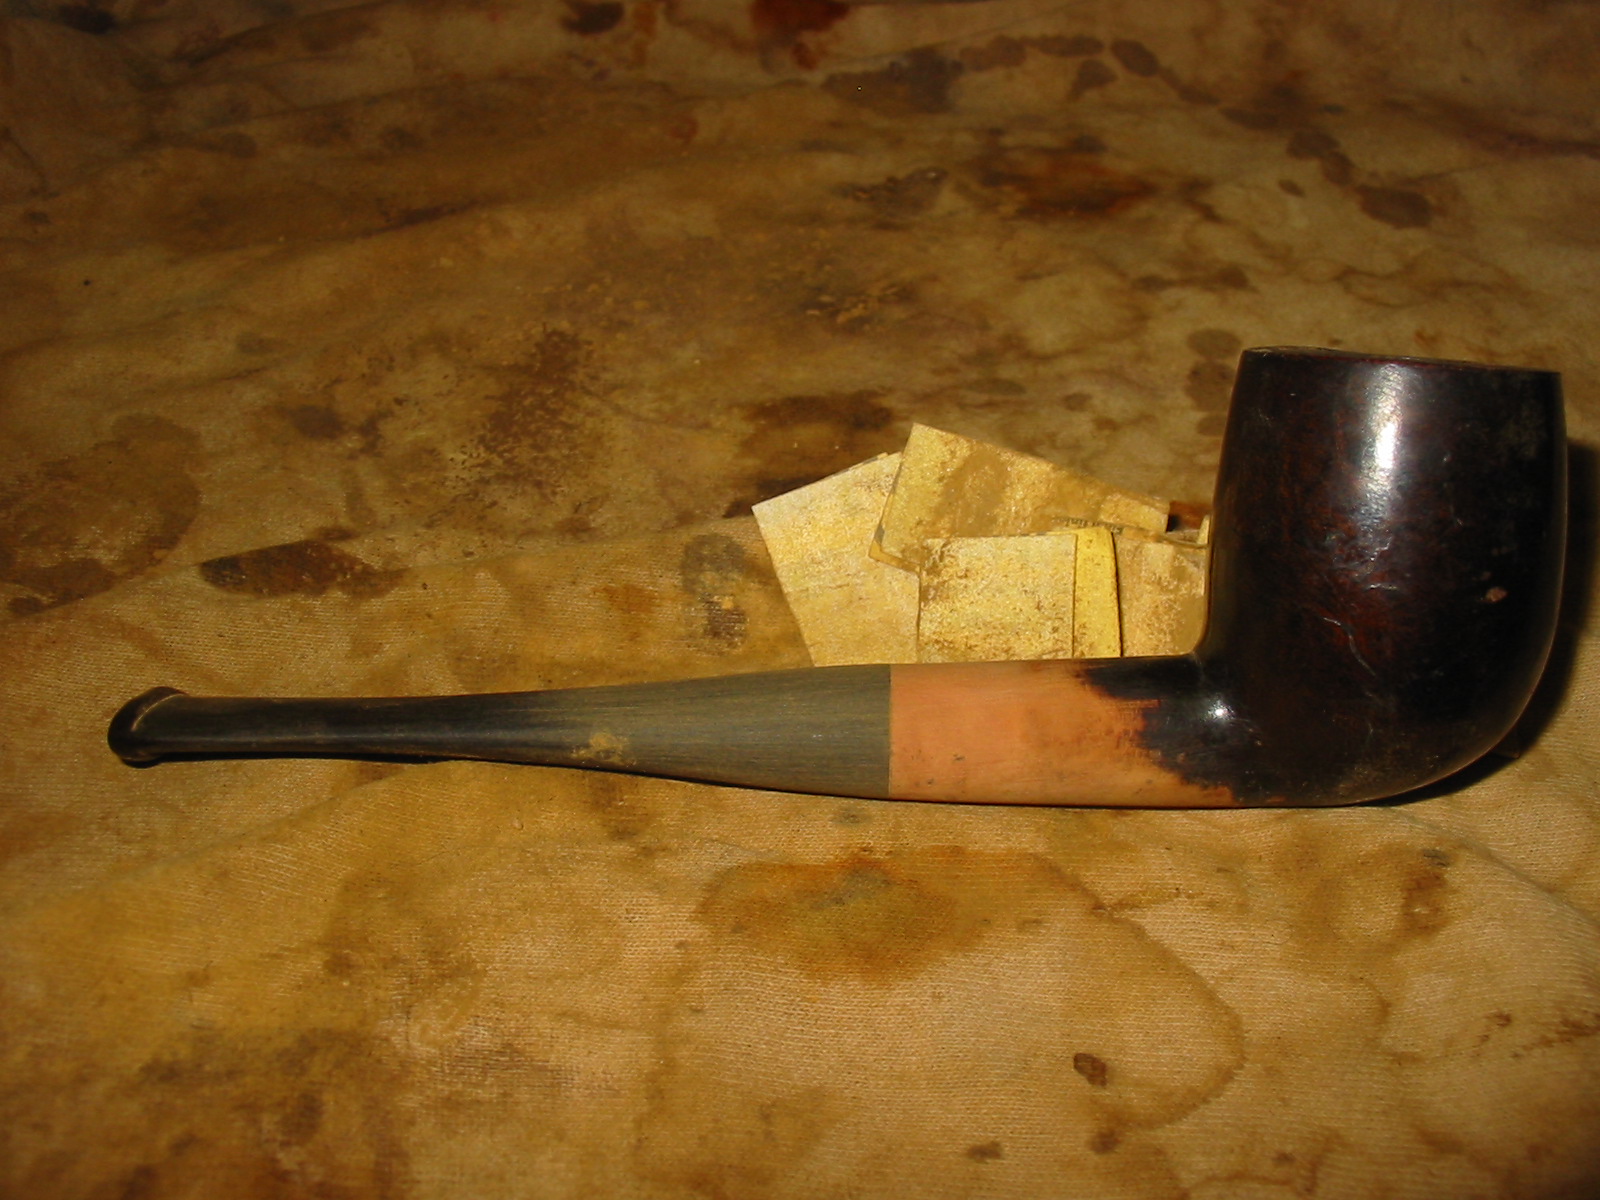
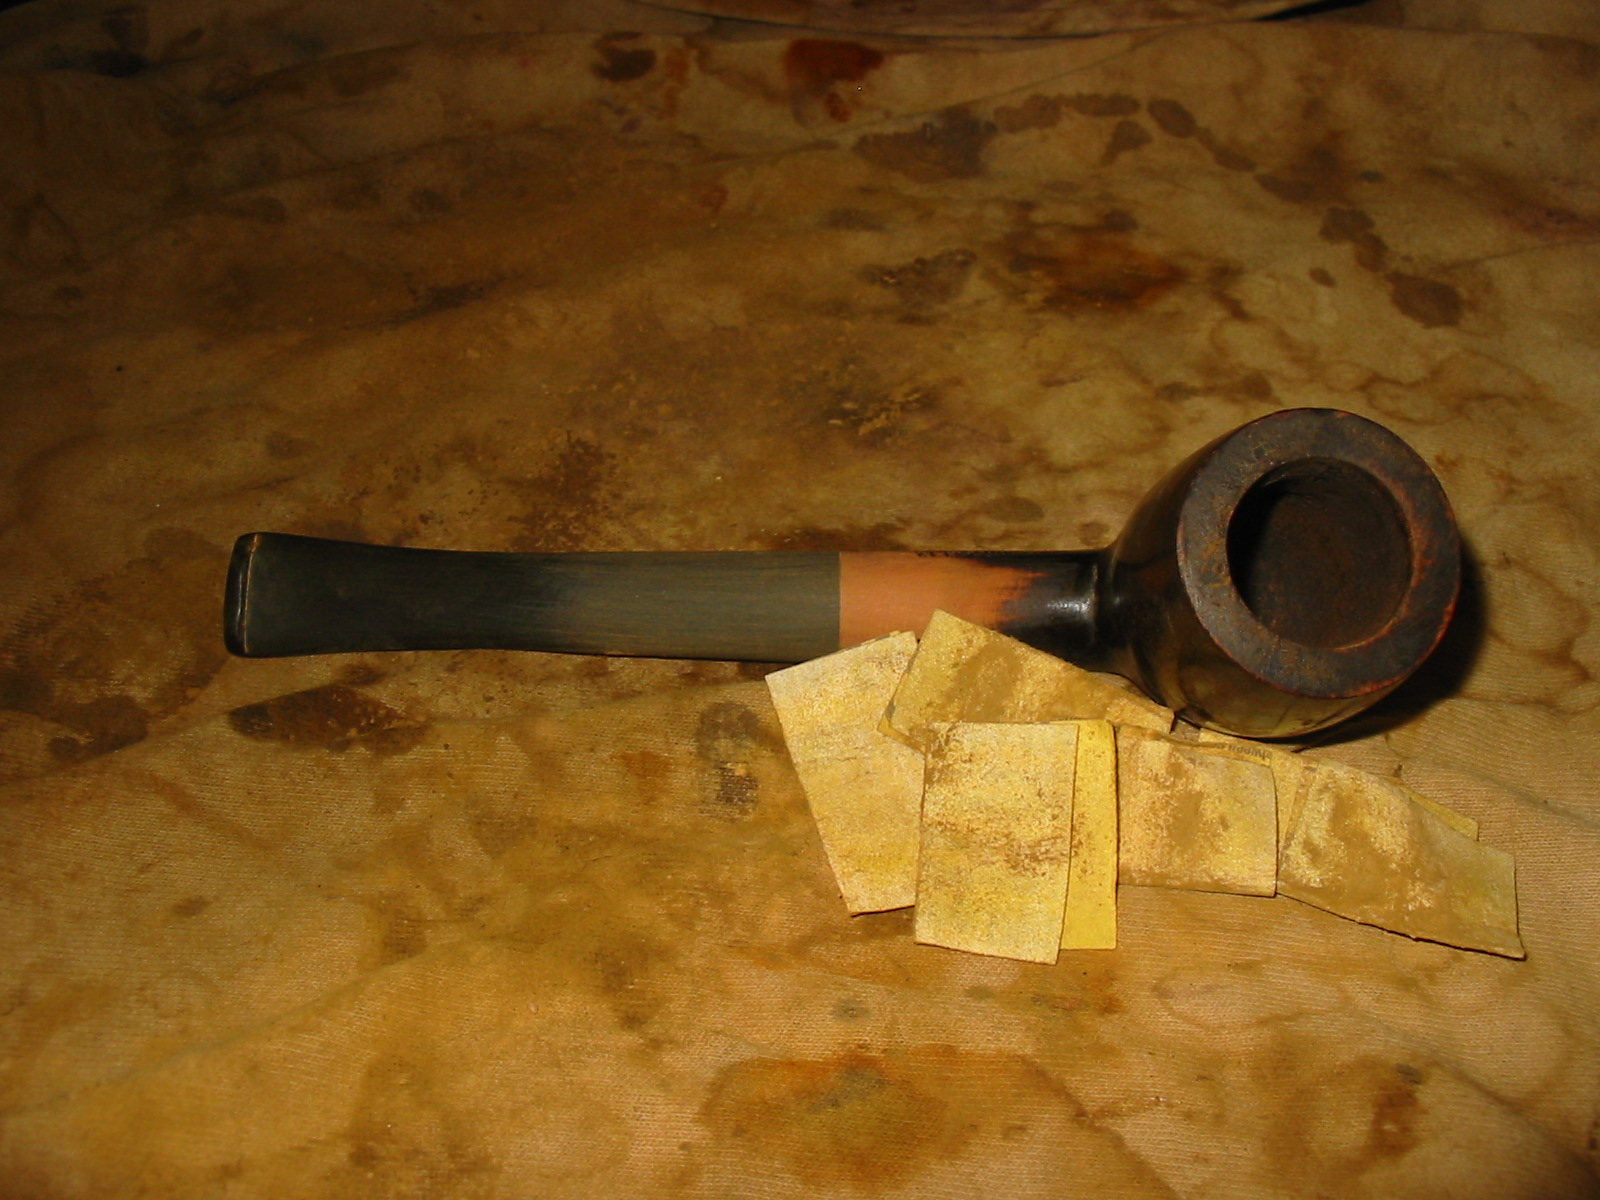
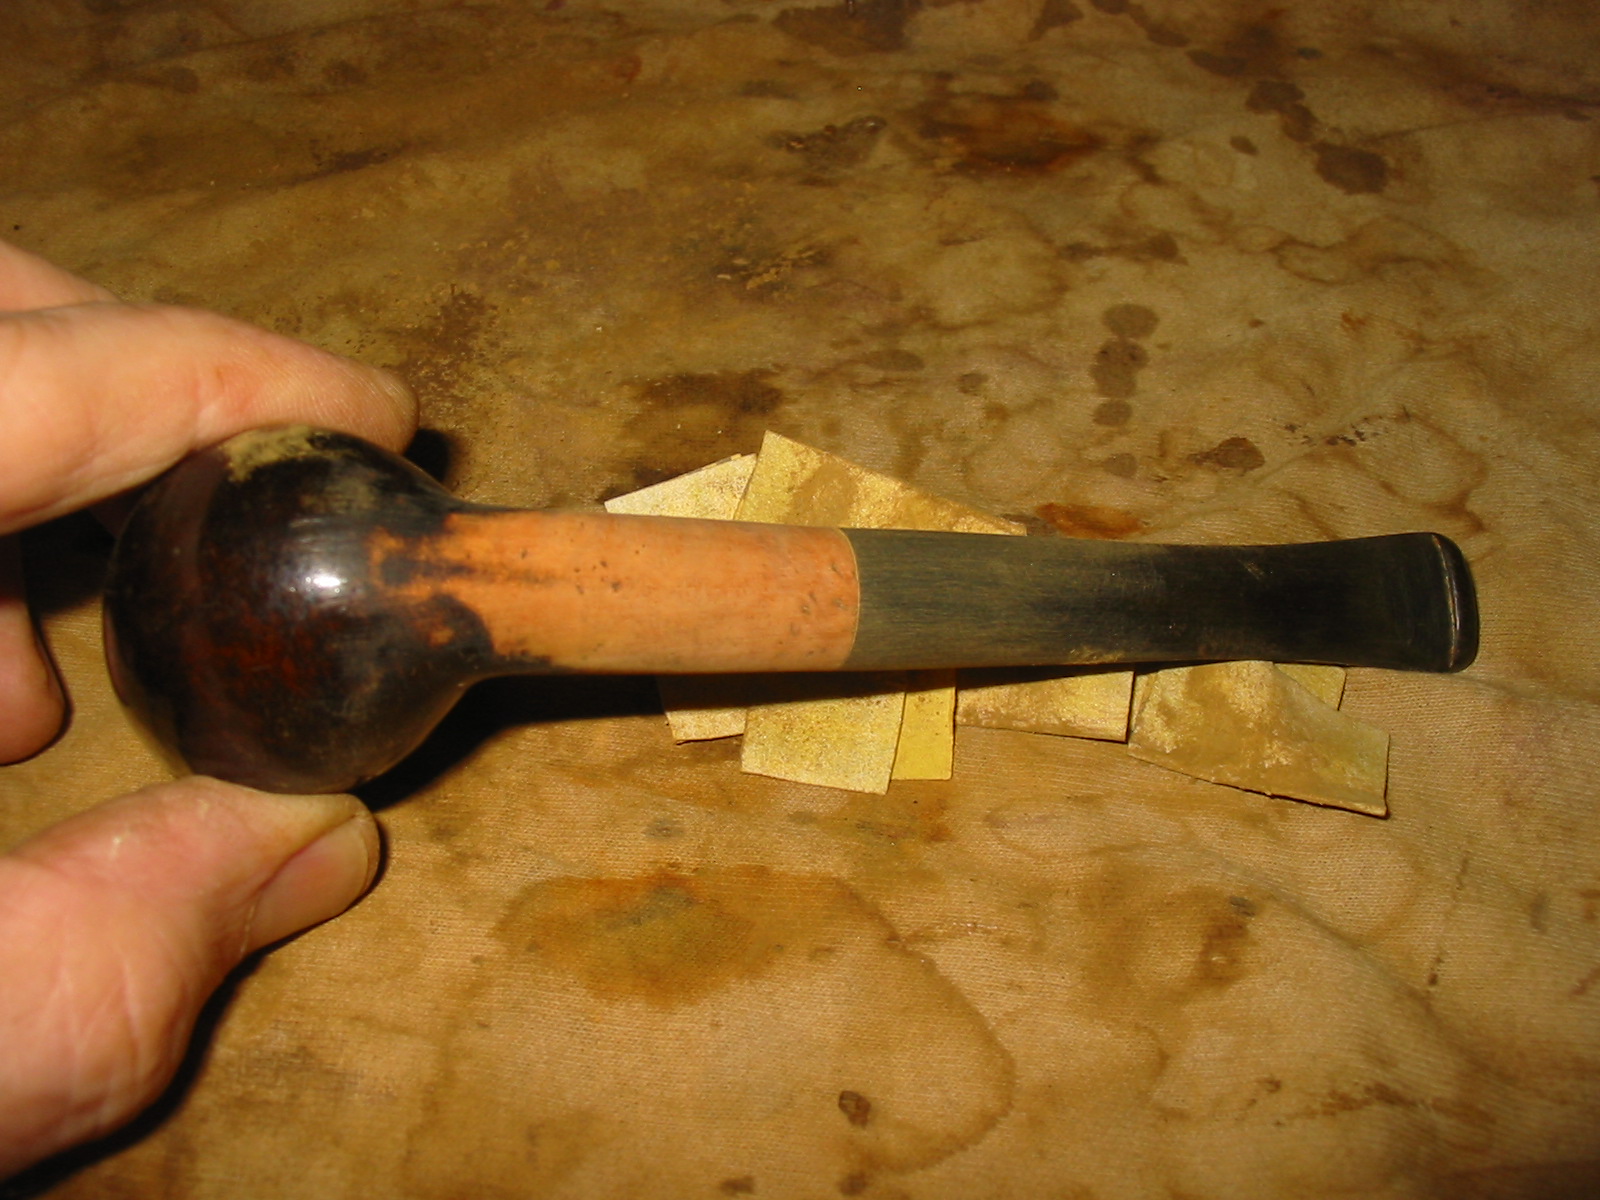
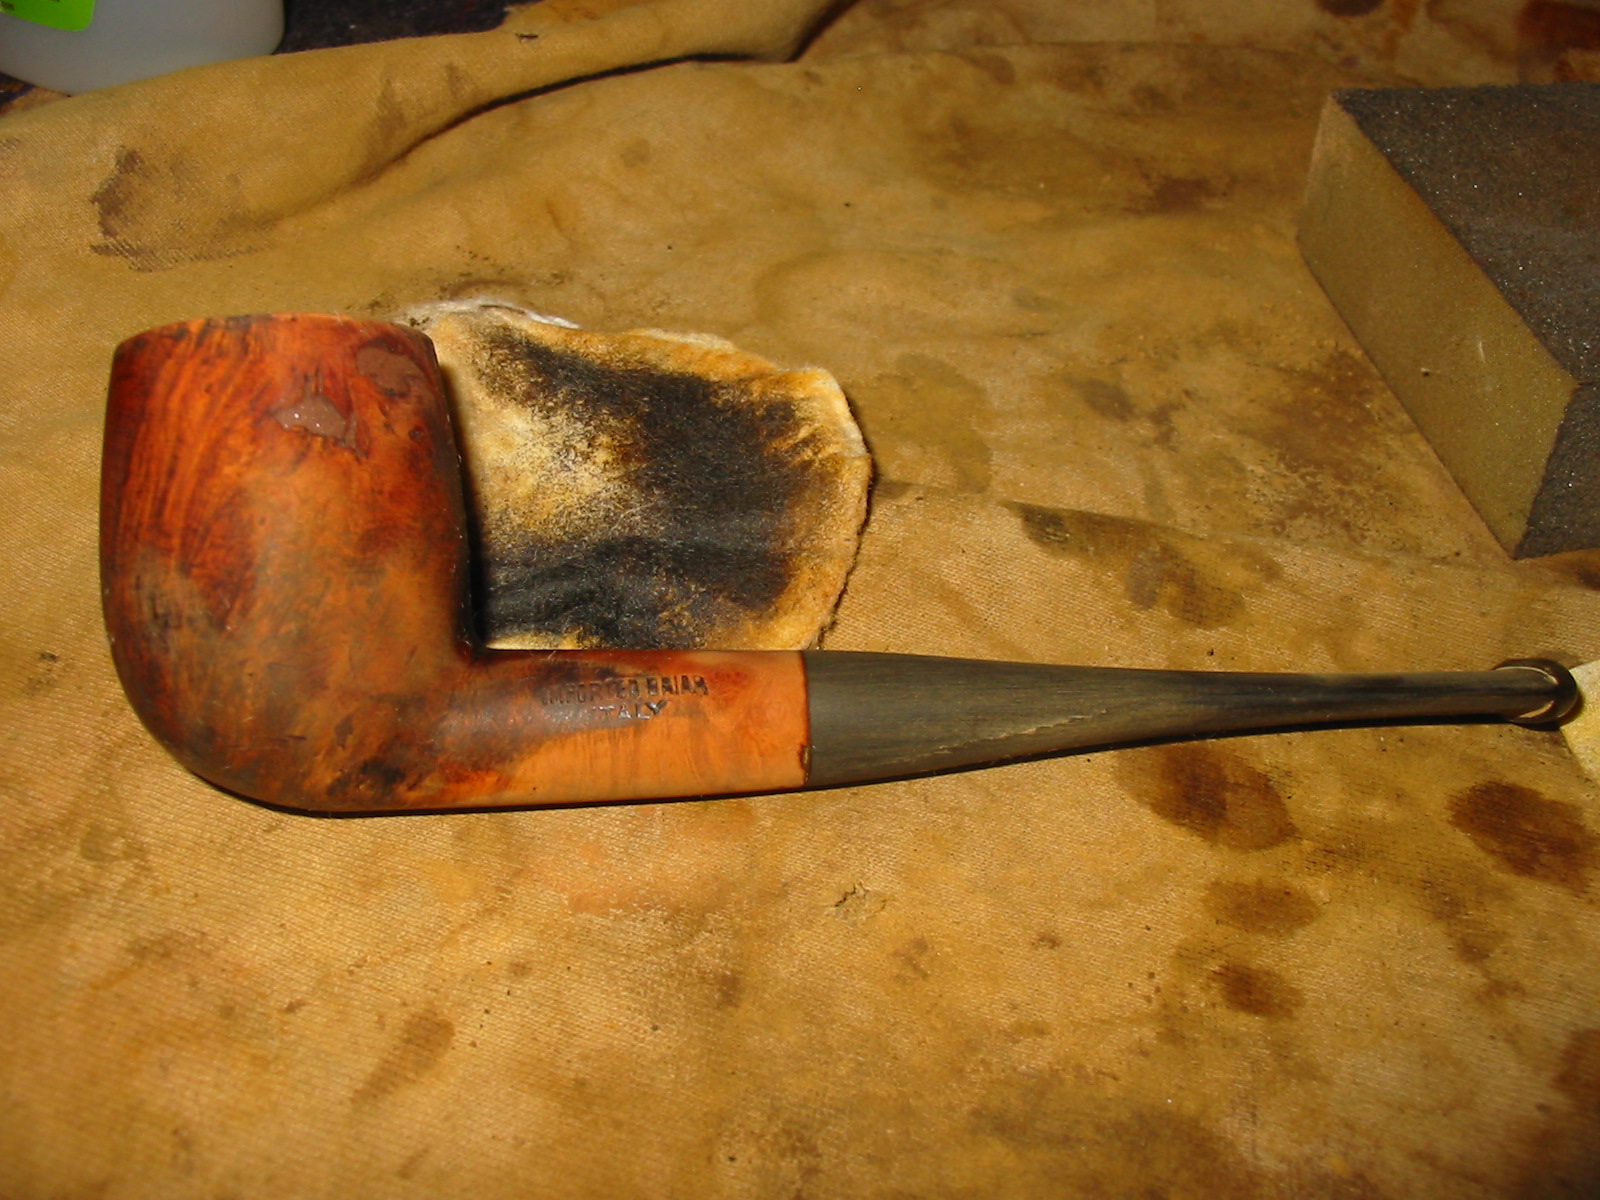
Shaping a Stem with a Dremel and Sandpaper


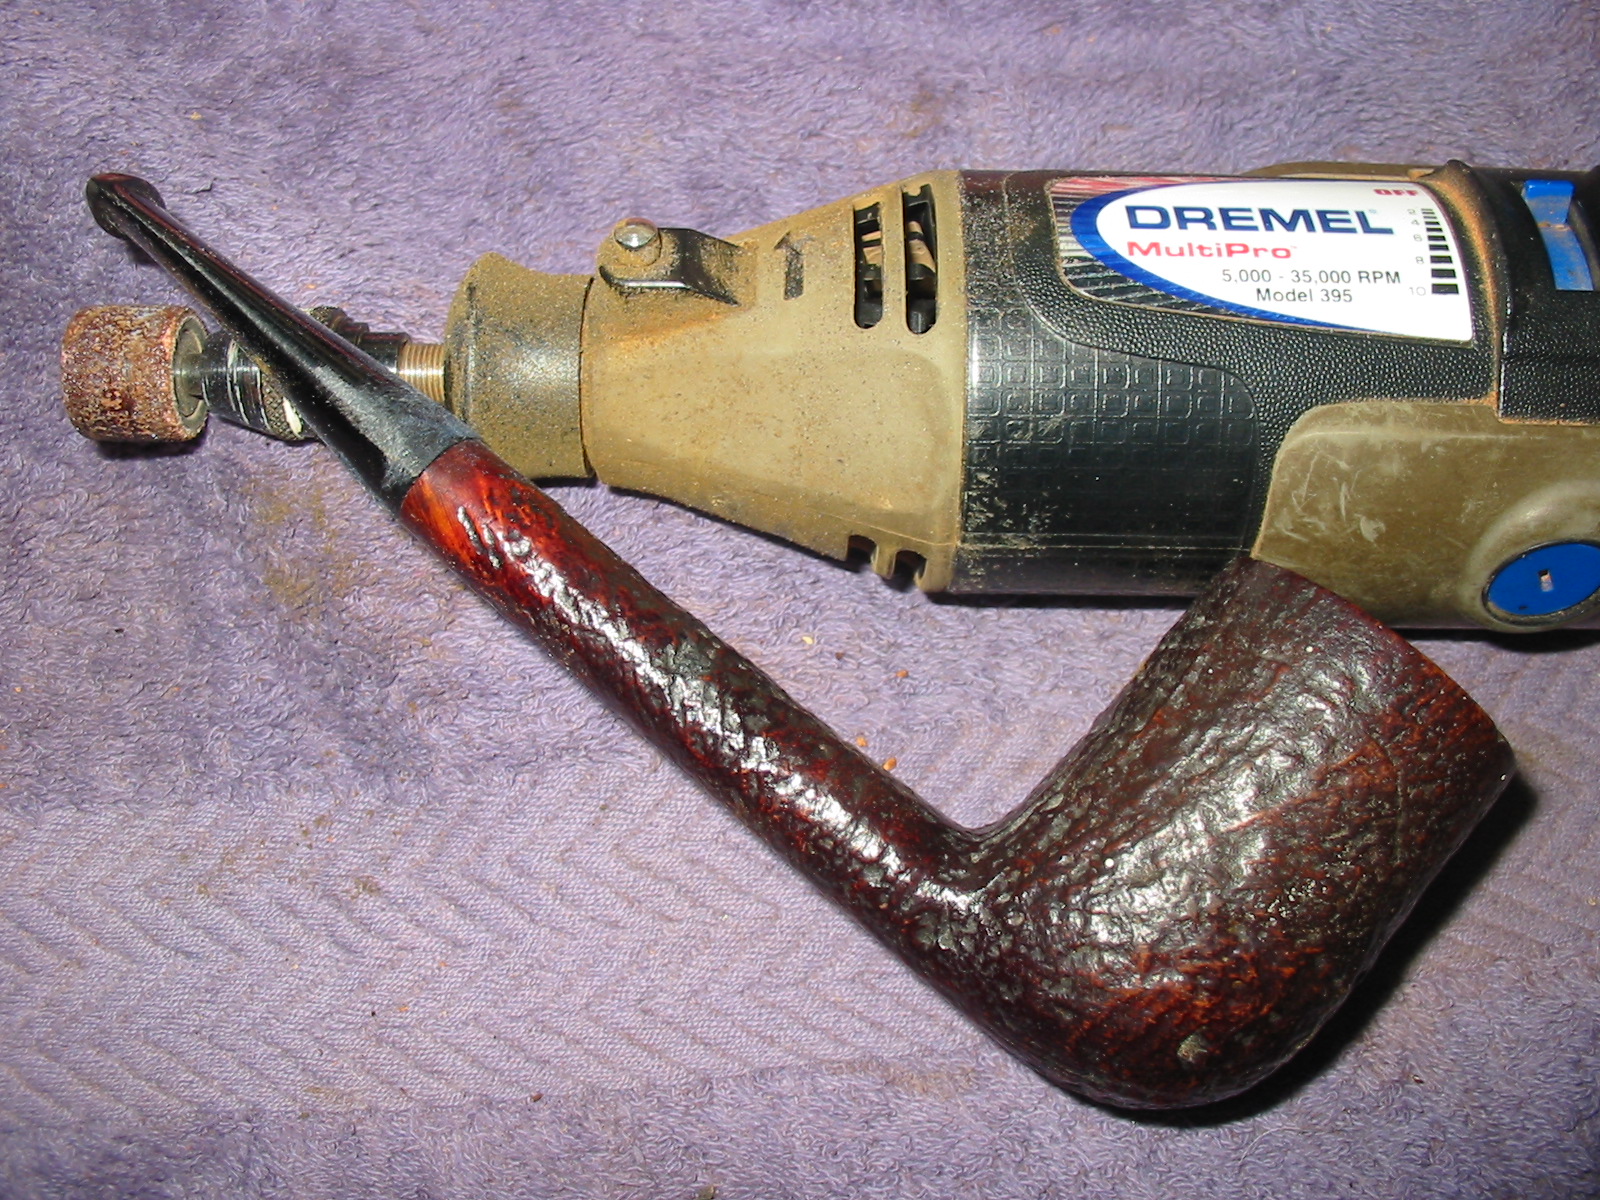
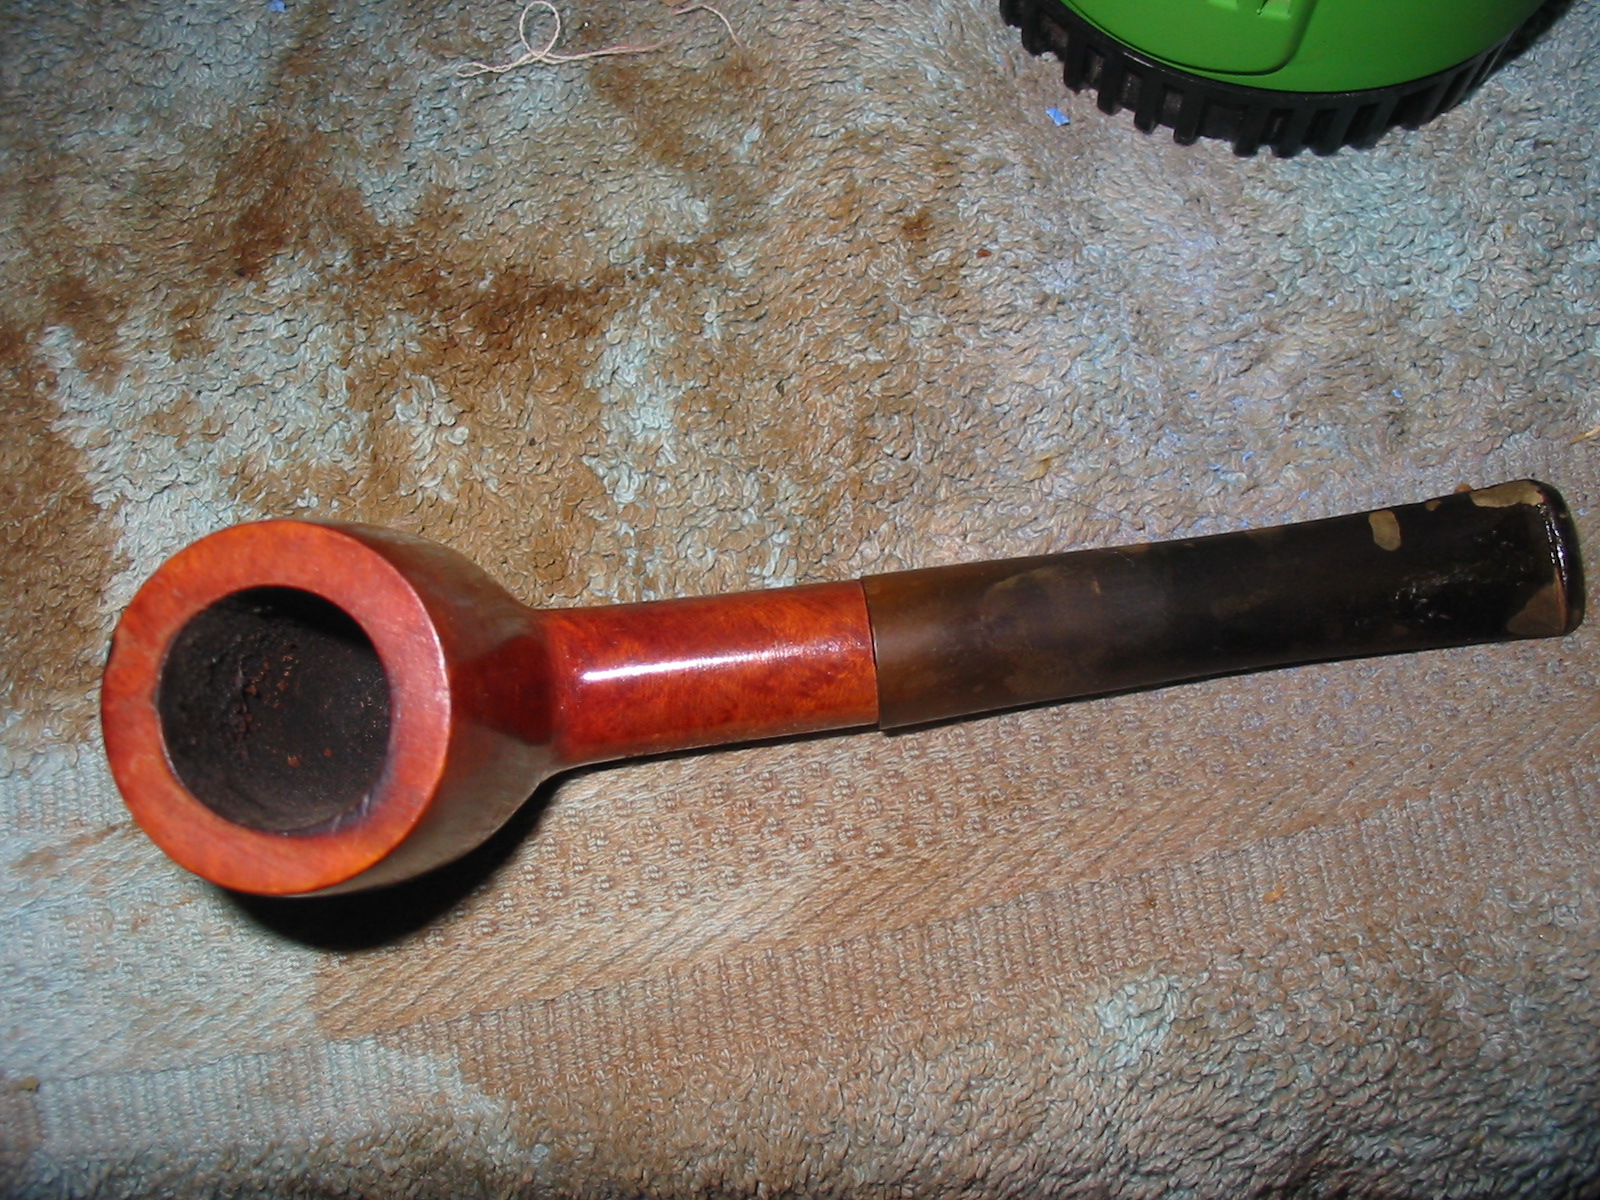
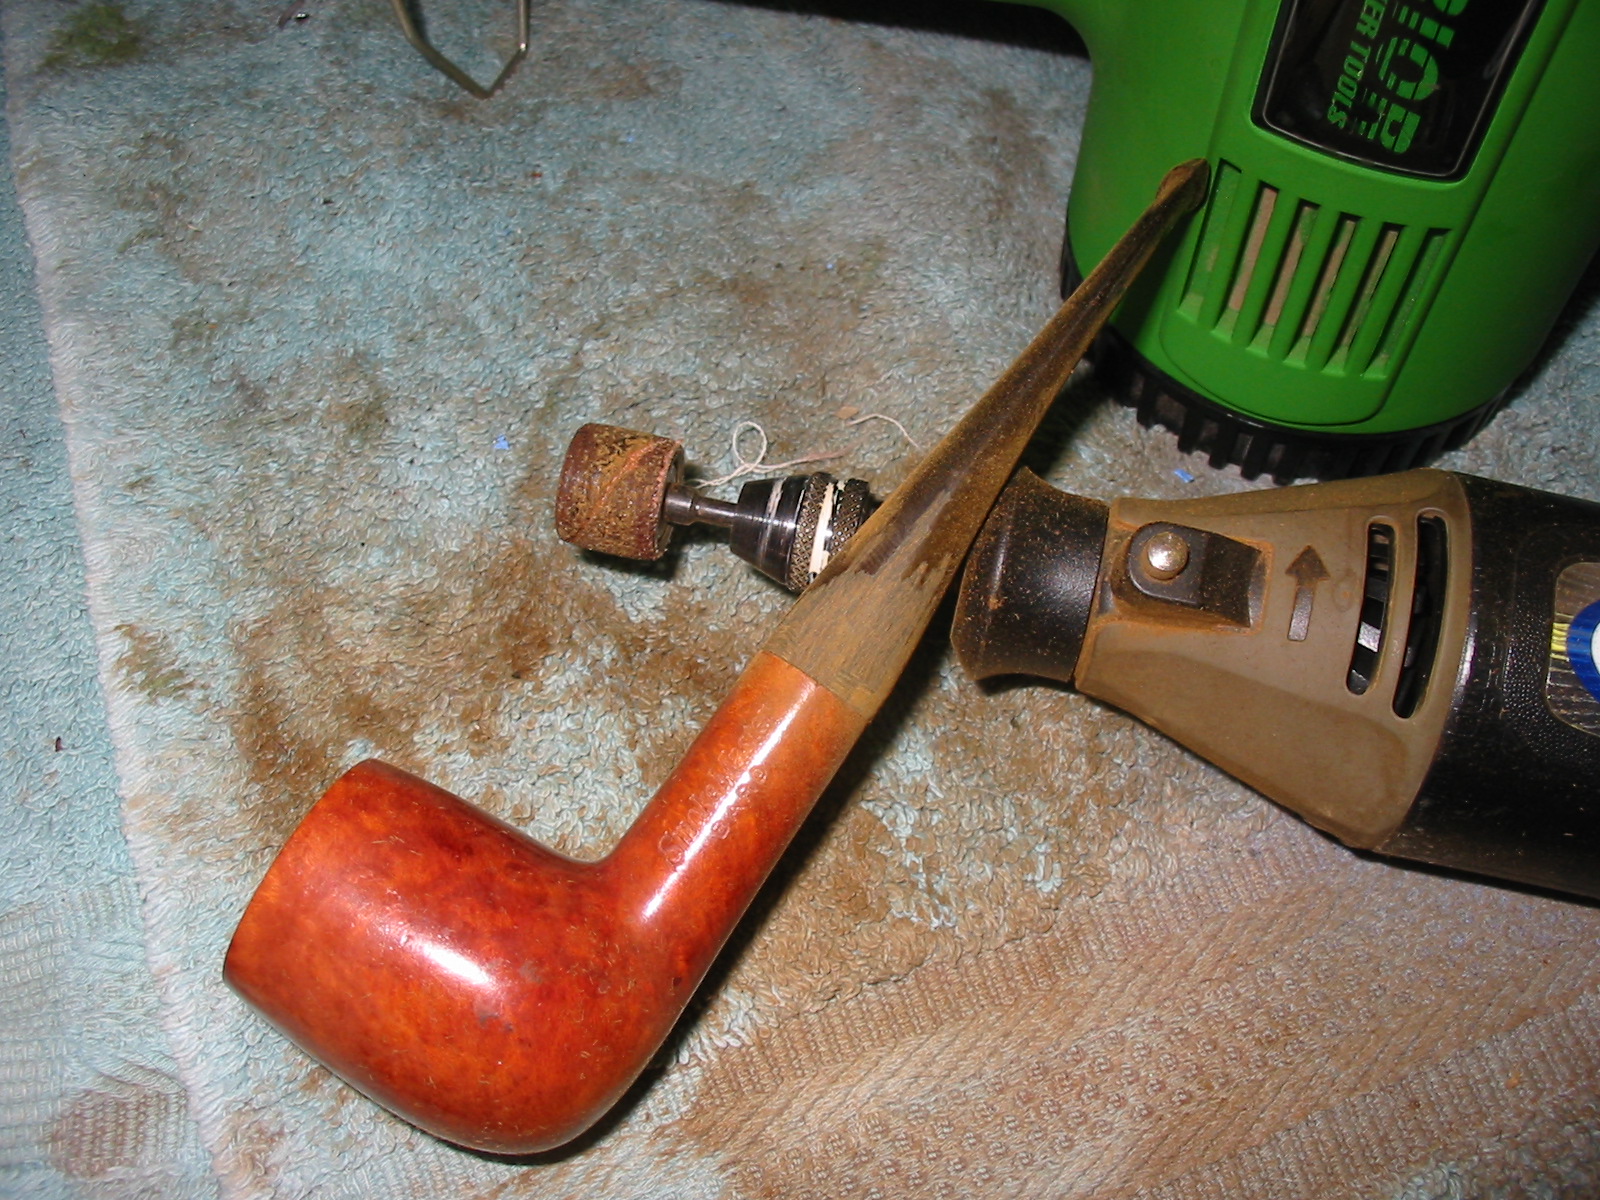
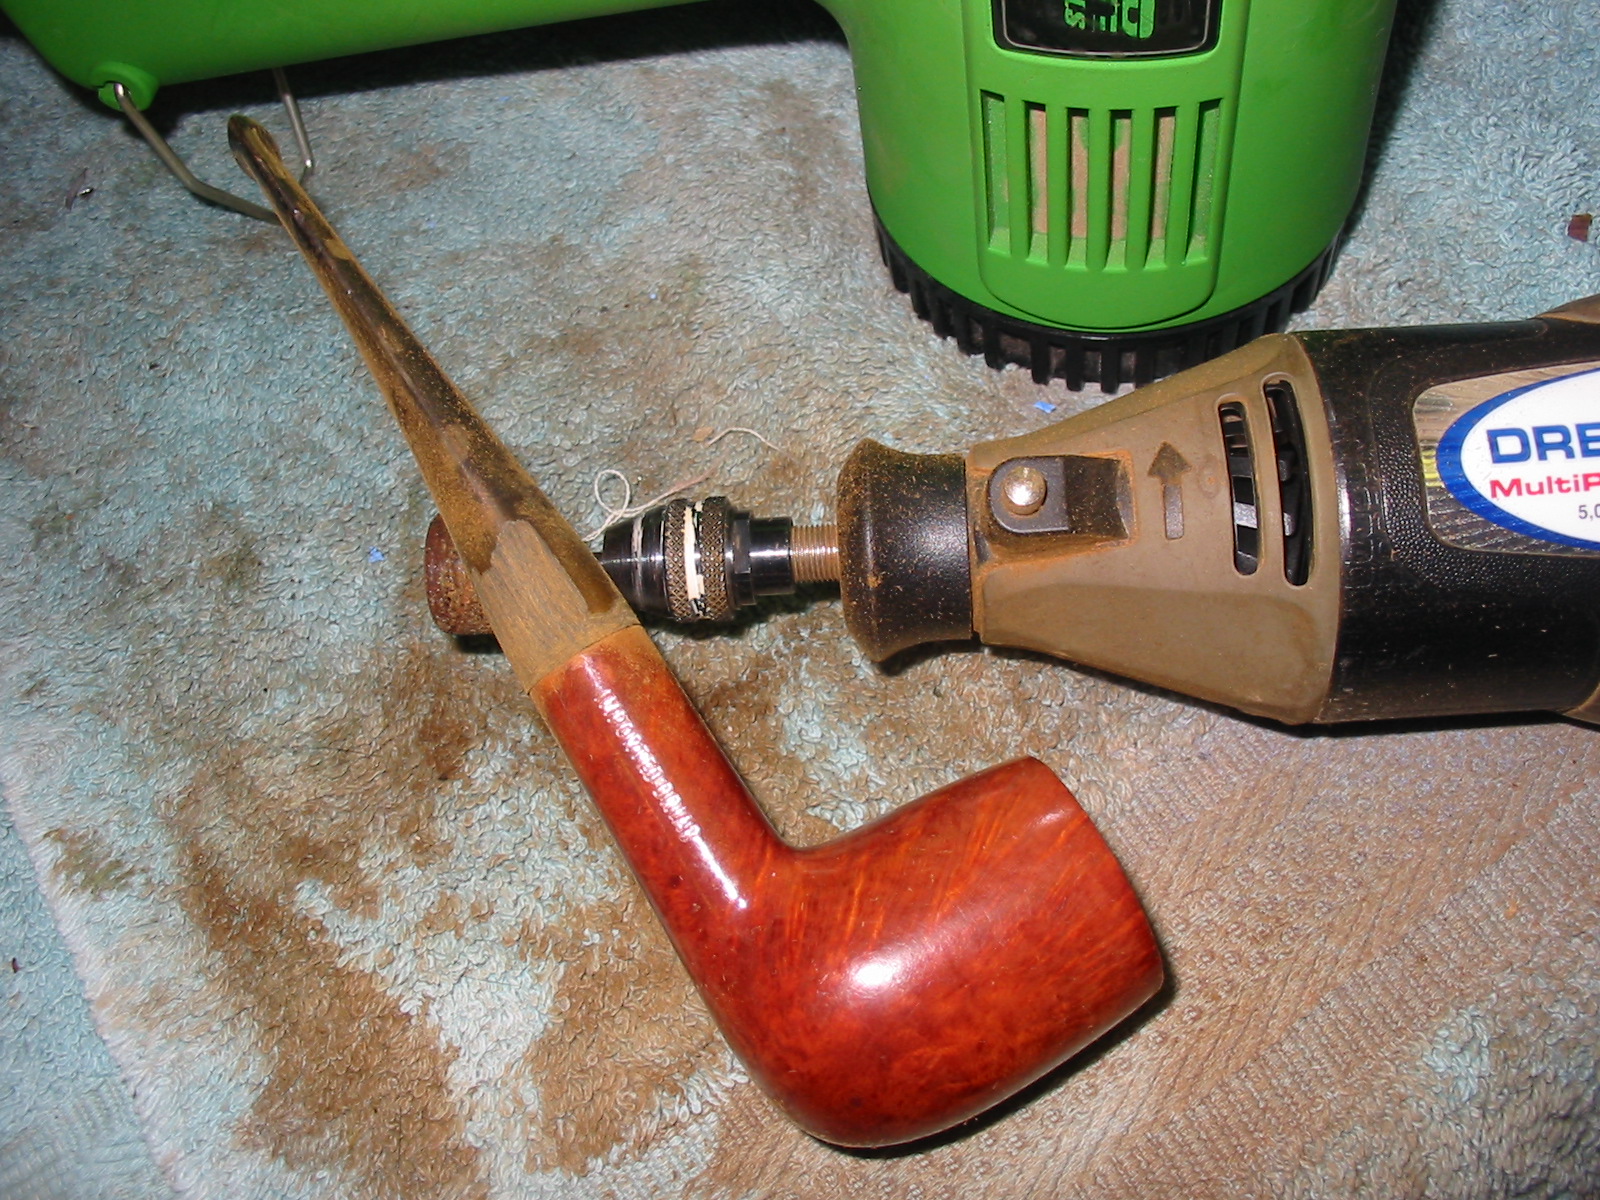
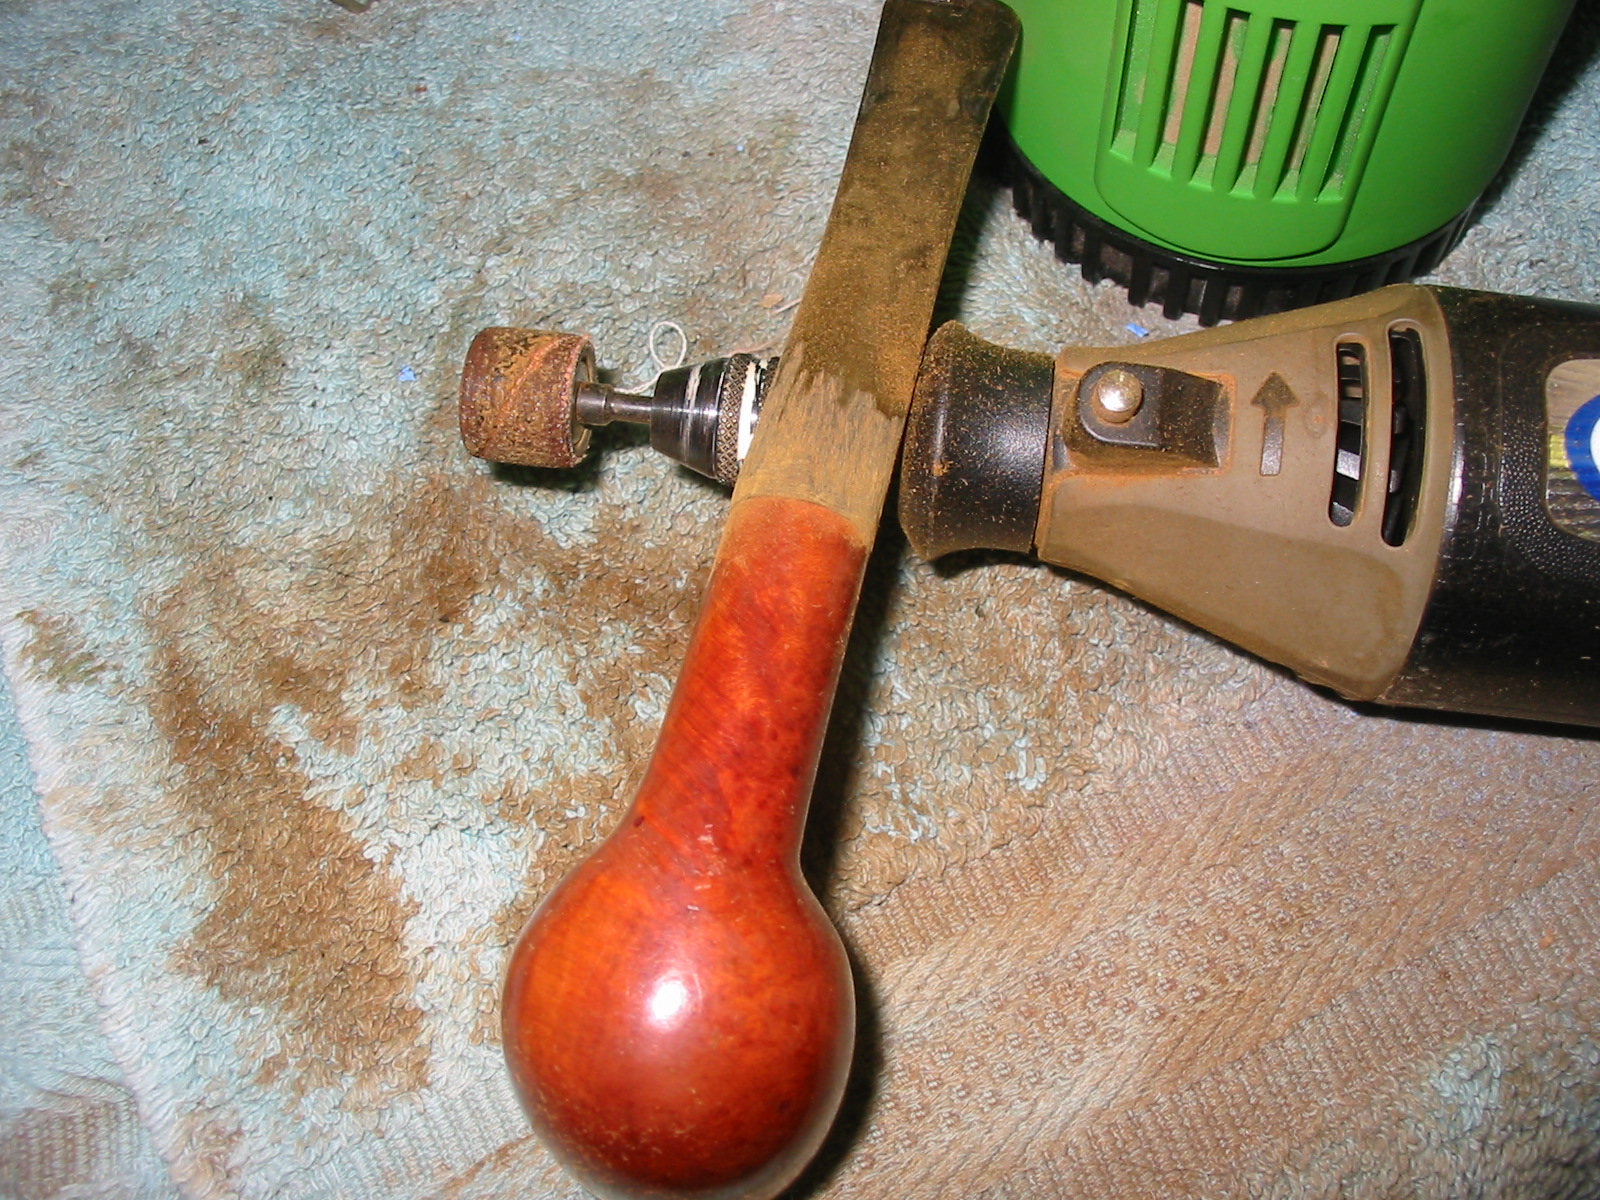
Over the past three years I have been working and developing my own process of fitting stems to pipe bowls. I use both stem blanks and older recycled or reinvented stems that I have collected over the years. It is rare that either of them actually fit the diameter of a shank right from the stem bin. Sometimes I am able to get close to a good fit after turning the tenon and sometimes it is a bit more work. There have been times when I have had to shape a thin taper out of a saddle bit and times I have had to shape a saddle out of a large tapered stem. Doing this I have learned a few tricks that work for me.

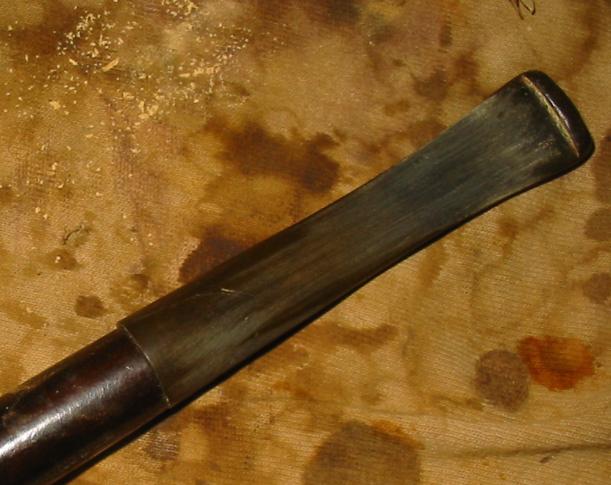
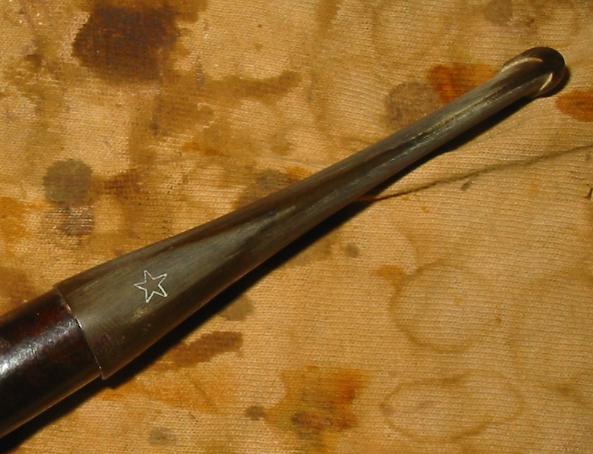
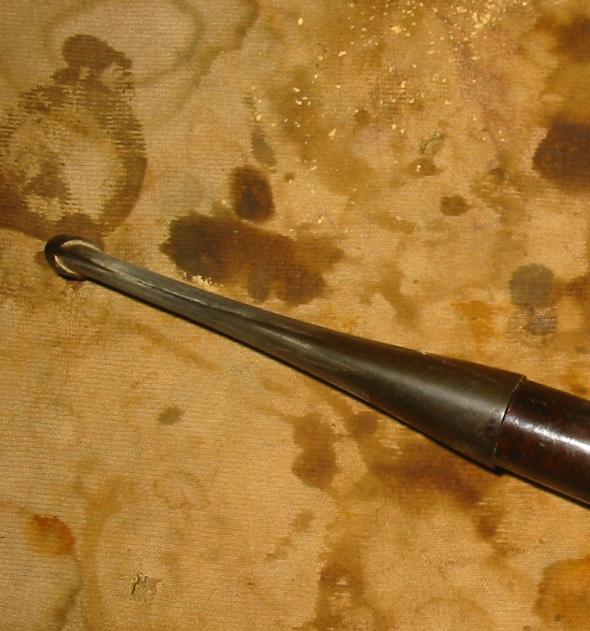
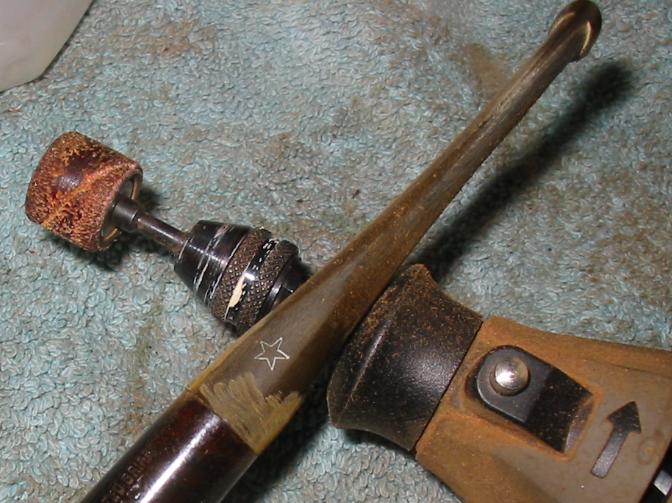
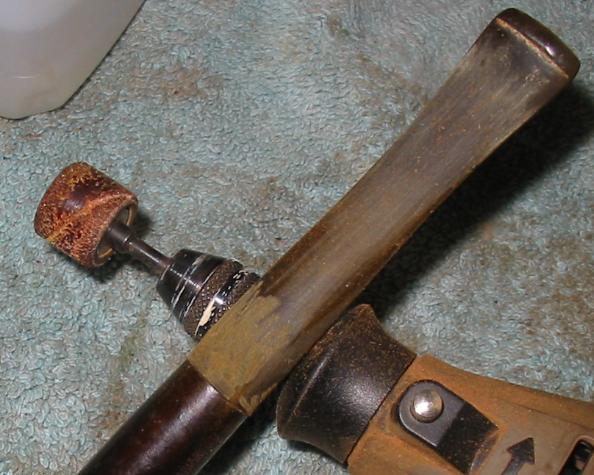
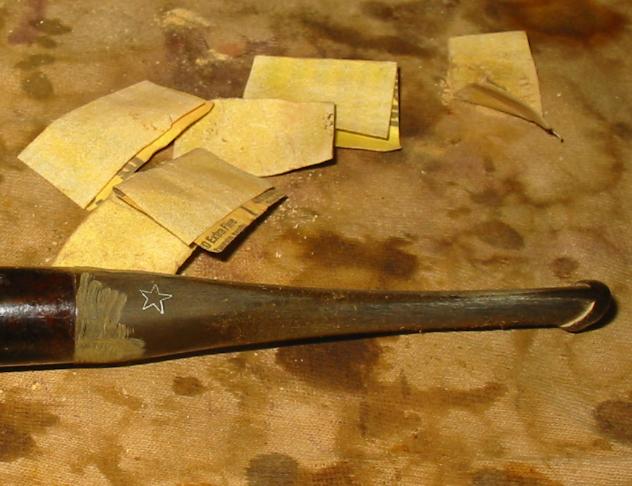
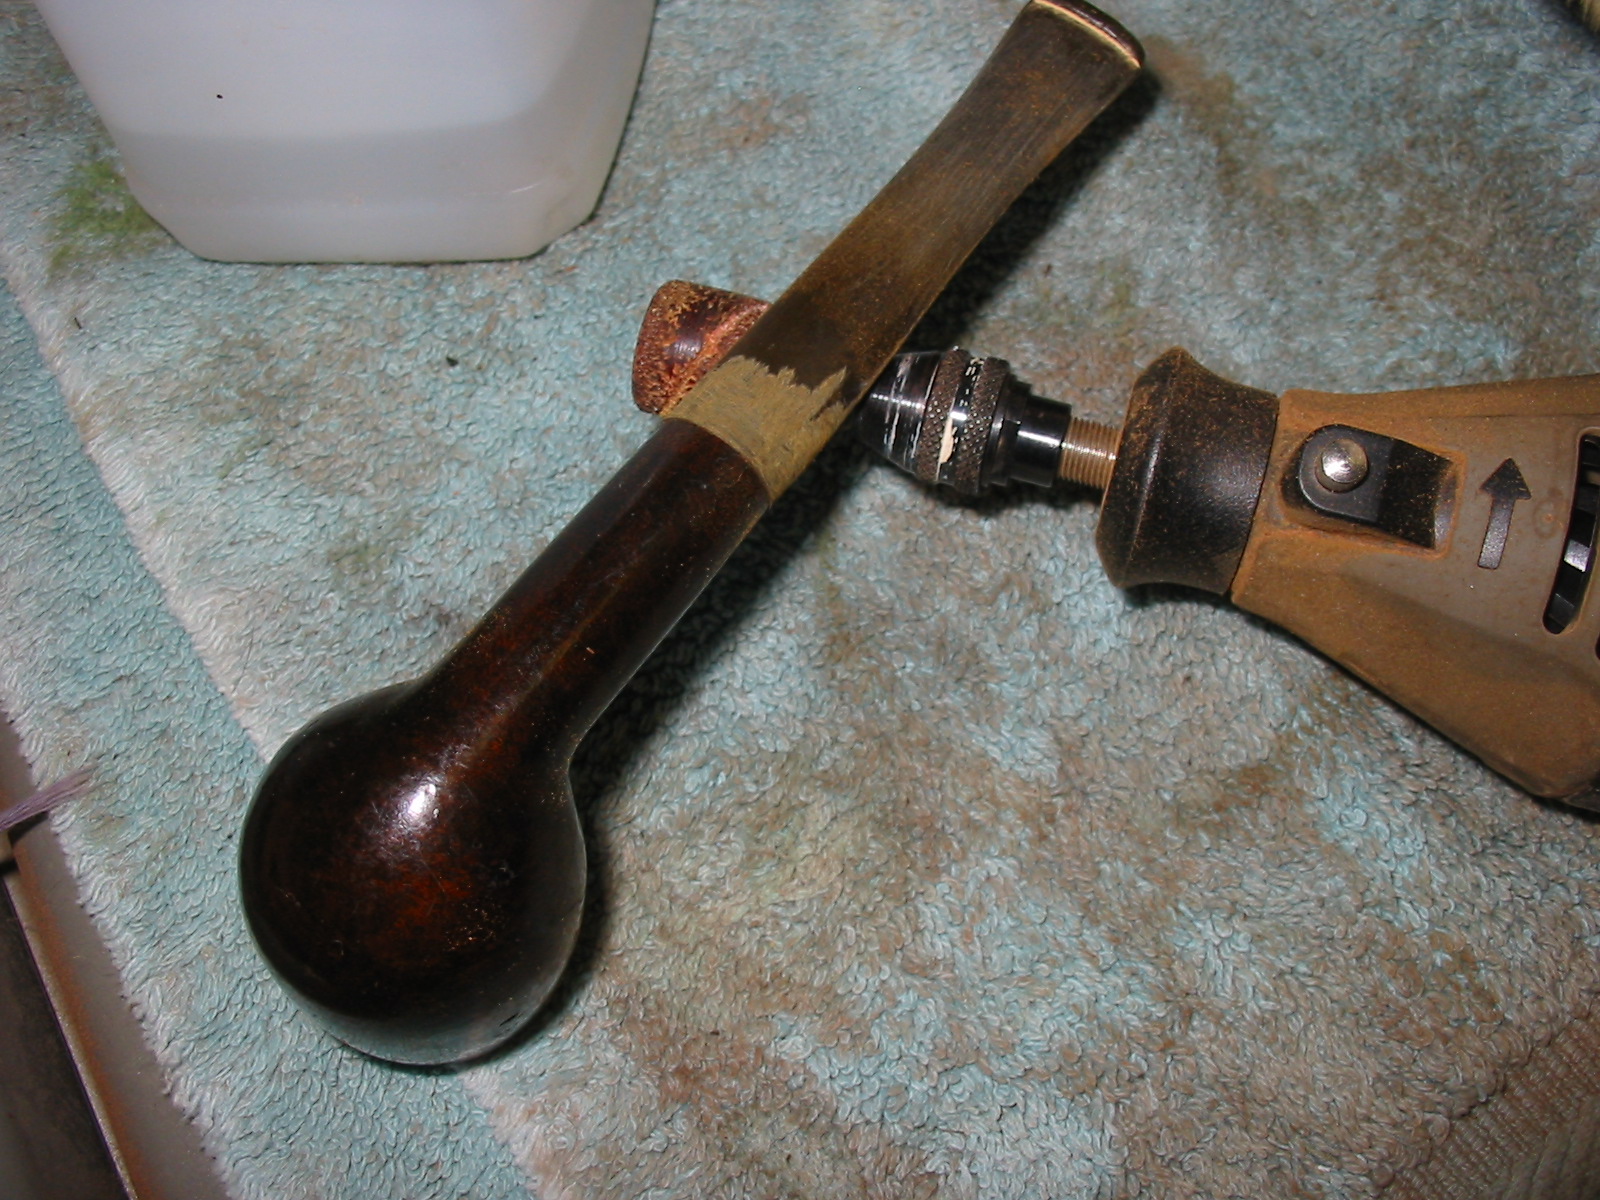
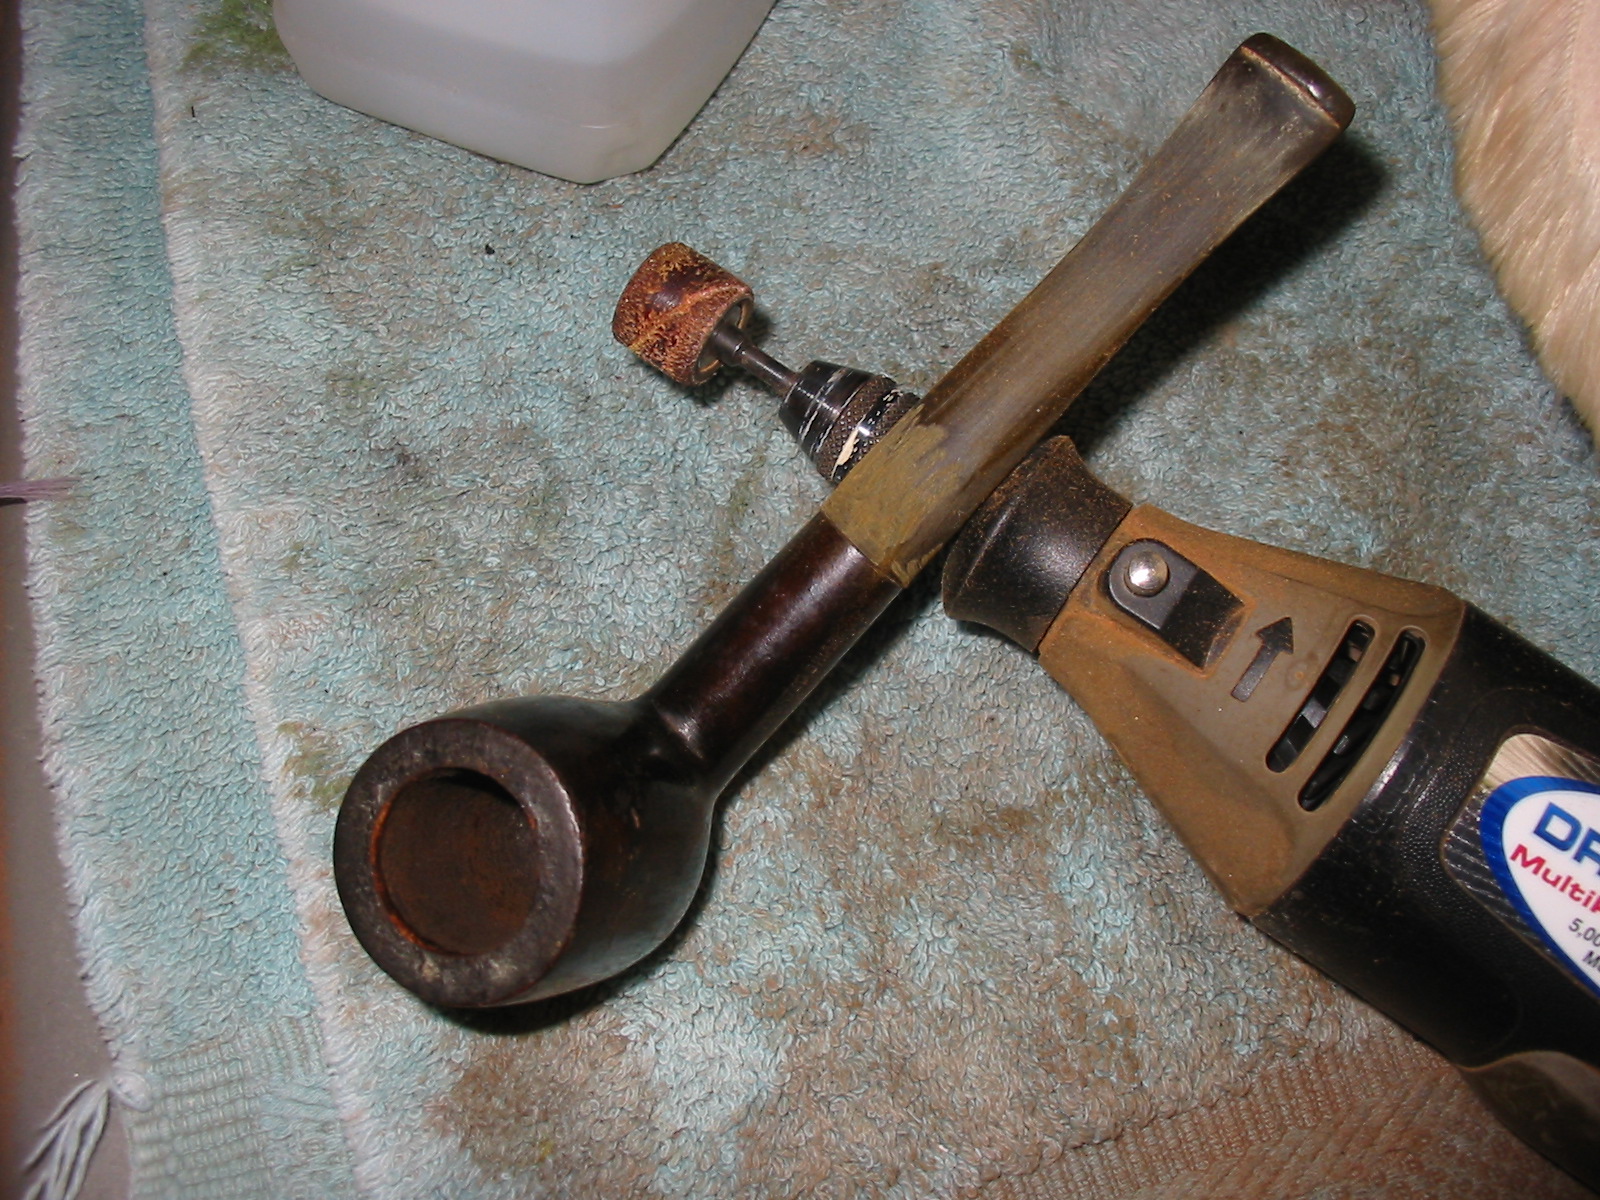
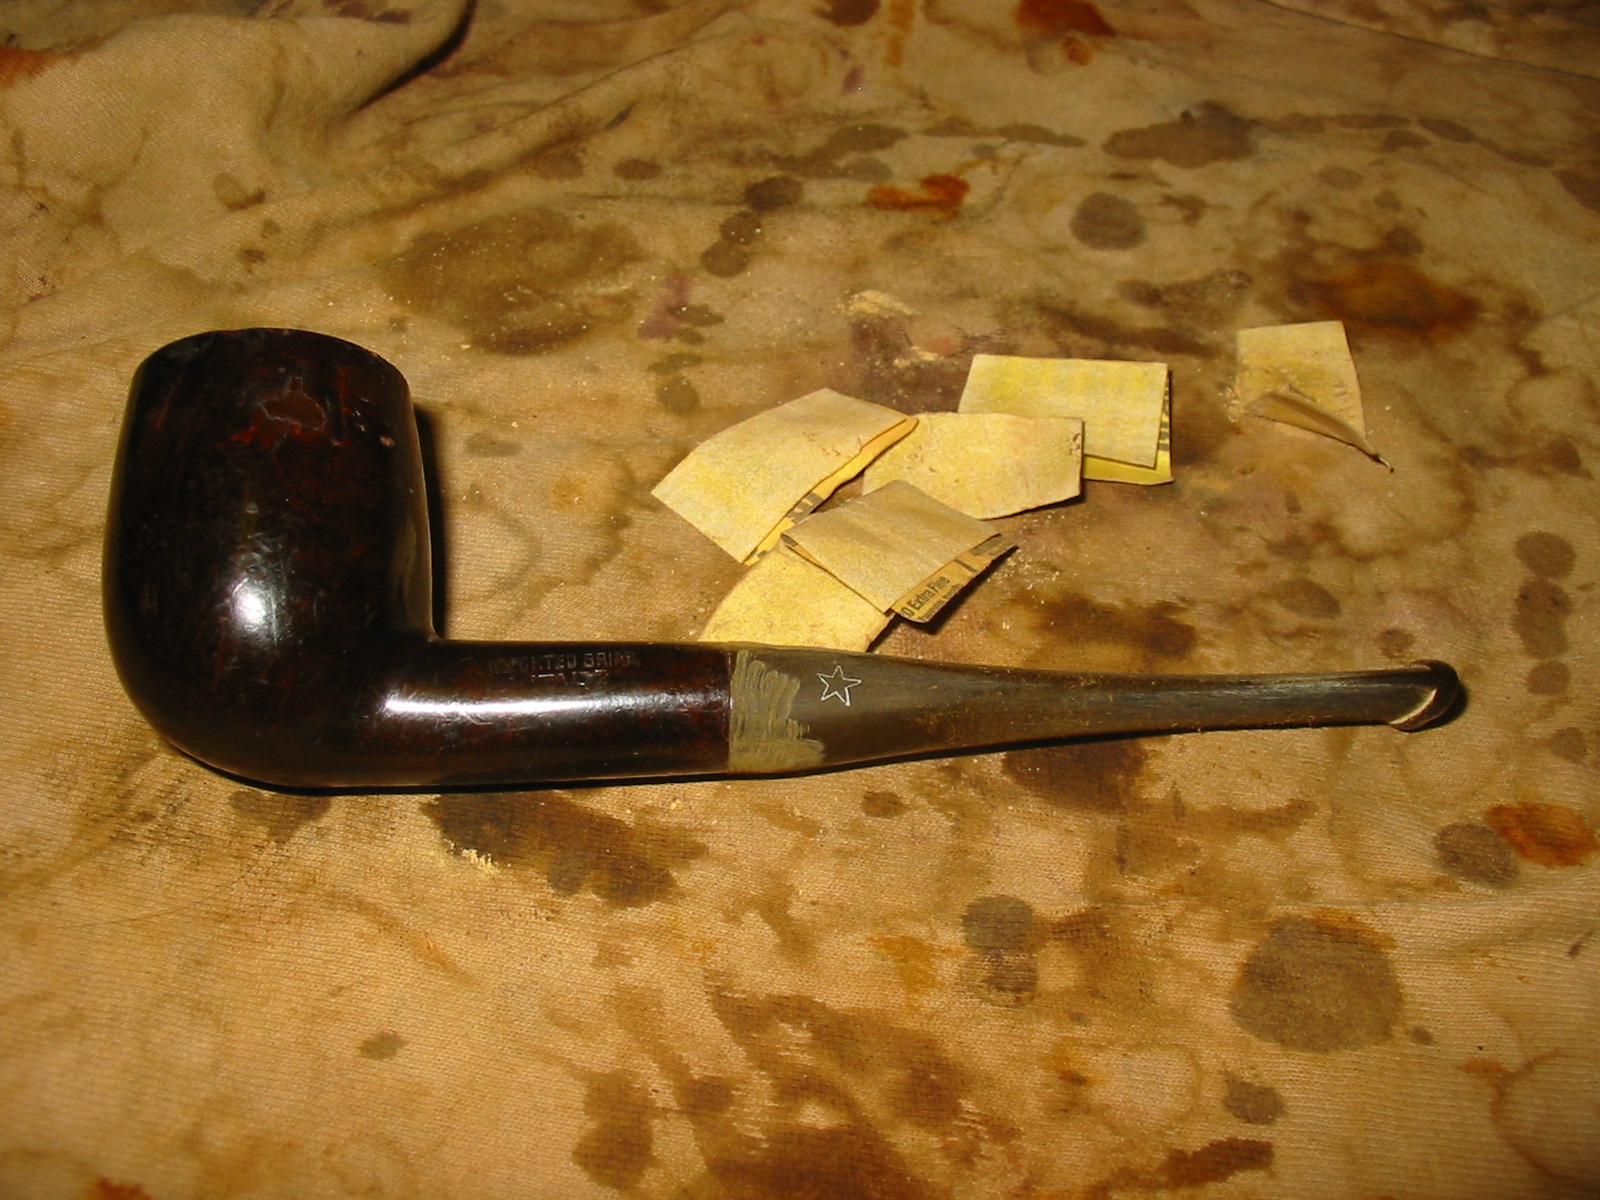
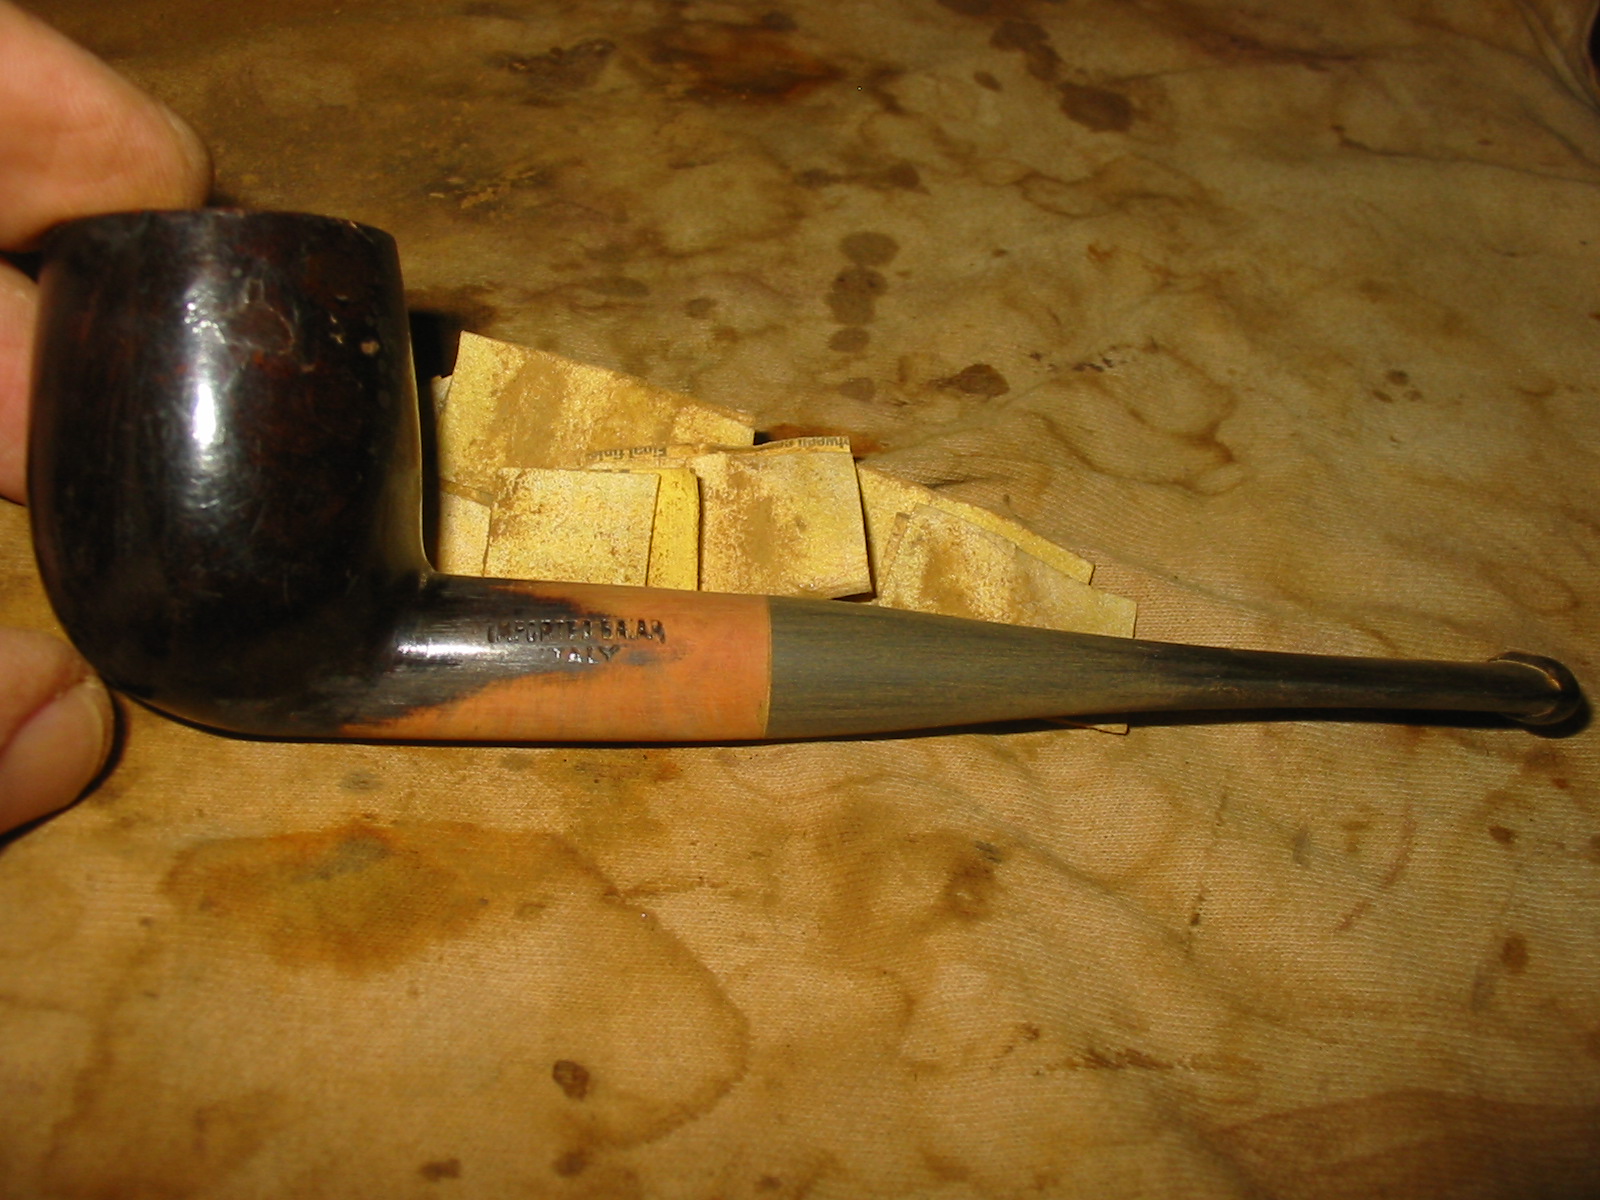
While I was restemming an old basket pipe from the bottom of my refurbishing box I thought I would document the process of shaping the stem using a Dremel and sandpaper. In the case of the stem below you will notice that I decided to sand the shank and restain the whole pipe. I don’t always do that and in fact it is rare that I do unless the pipe is one that I intend to totally rework anyway. The stem I chose was a recycled one probably from a City DeLuxe pipe or at least one that bore the five point star stamping. In this case I intended to sand out the stamping as the diameter of the stem was larger than that of the shank. The four photos below show the stem from top, bottom and left and right sides to give an idea of the size of the stem when I started.
Stem1

Stem2

Stem3

Stem4

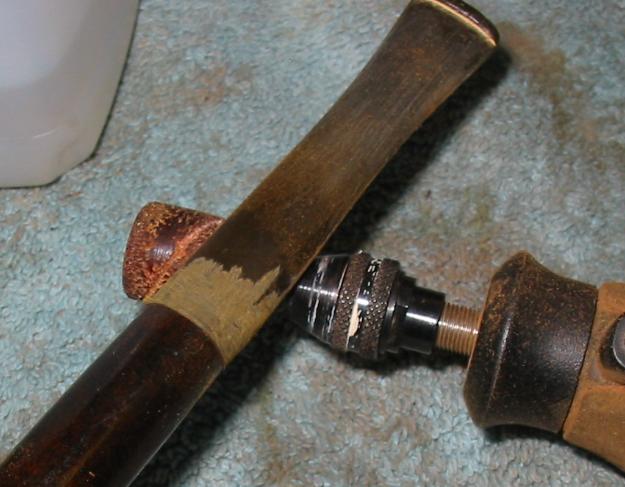
I use a Dremel with a large sanding drum to remove the excess material from the stem at the shank stem junction. I am careful to not damage the shank in the process but push the end of the sanding drum as close to the shank as I can. The next series of four photos show the stem after the sanding drum has done its work. The diameter of the stem is very close to that of the shank at the end of this process.
Stem5

Stem6

Stem7

Stem8

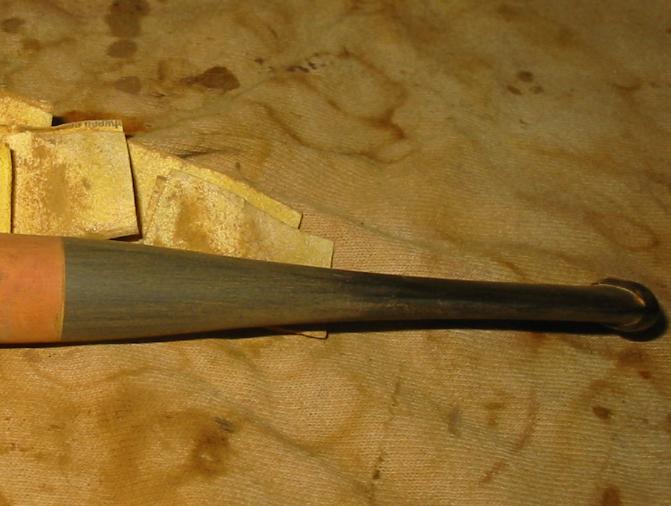
The remainder of the fine tuning of the fit I do by hand with folded sandpaper to shape and match the stem and the shank. On this pipe the finish on the pipe was a heavy dark varnished stain that I was going to remove from the pipe for refinishing so I sanded the shank the same time I sanded the stem. The next five photos show the stem and shank after sanding with 220 grit sandpaper to match the two surfaces.
Stem9

Stem10

Stem11

Stem12

Stem13

I buffed the stem and shank with red Tripoli to remove some of the surface scratching before I went on to sand the stem with a medium grit sanding sponge. The next two photos show the stem after sanding with the sanding sponge. The stem and shank fit is very tight and smooth and the feel of the transition from briar to vulcanite is almost seamless.
Stem14

Stem15

On this pipe I decided to band the shank for cosmetic purposes so the remaining photos show the shank banded. You will note though from the above photos that the stem fit is actually very smooth and clean. I sanded the stem with micromesh sanding pads to remove the scratches and bring out the deep shine of the polished vulcanite. The final three photos show the fit of the stem after sanding with the micromesh sanding pads. From this point I wiped the stem down with Obsidian Oil and then buffed it with carnauba wax to finish the work.
Stem16

Stem17

Stem18

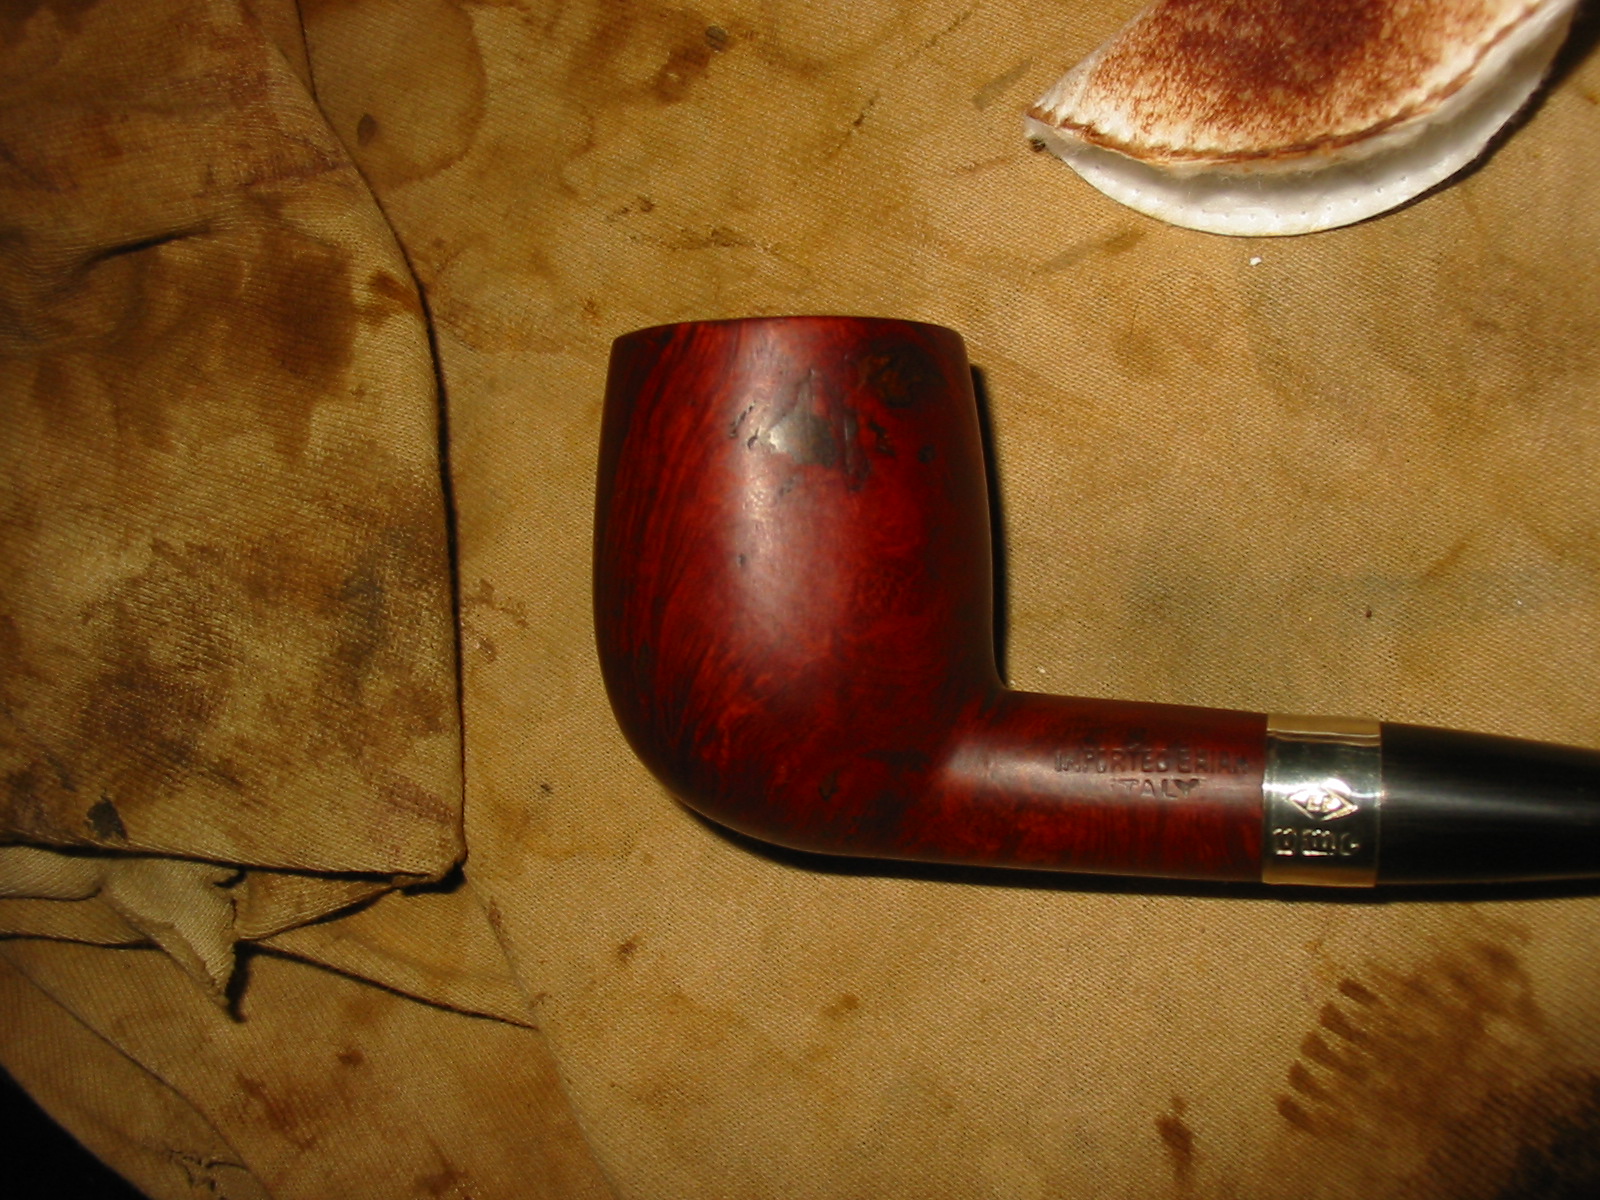
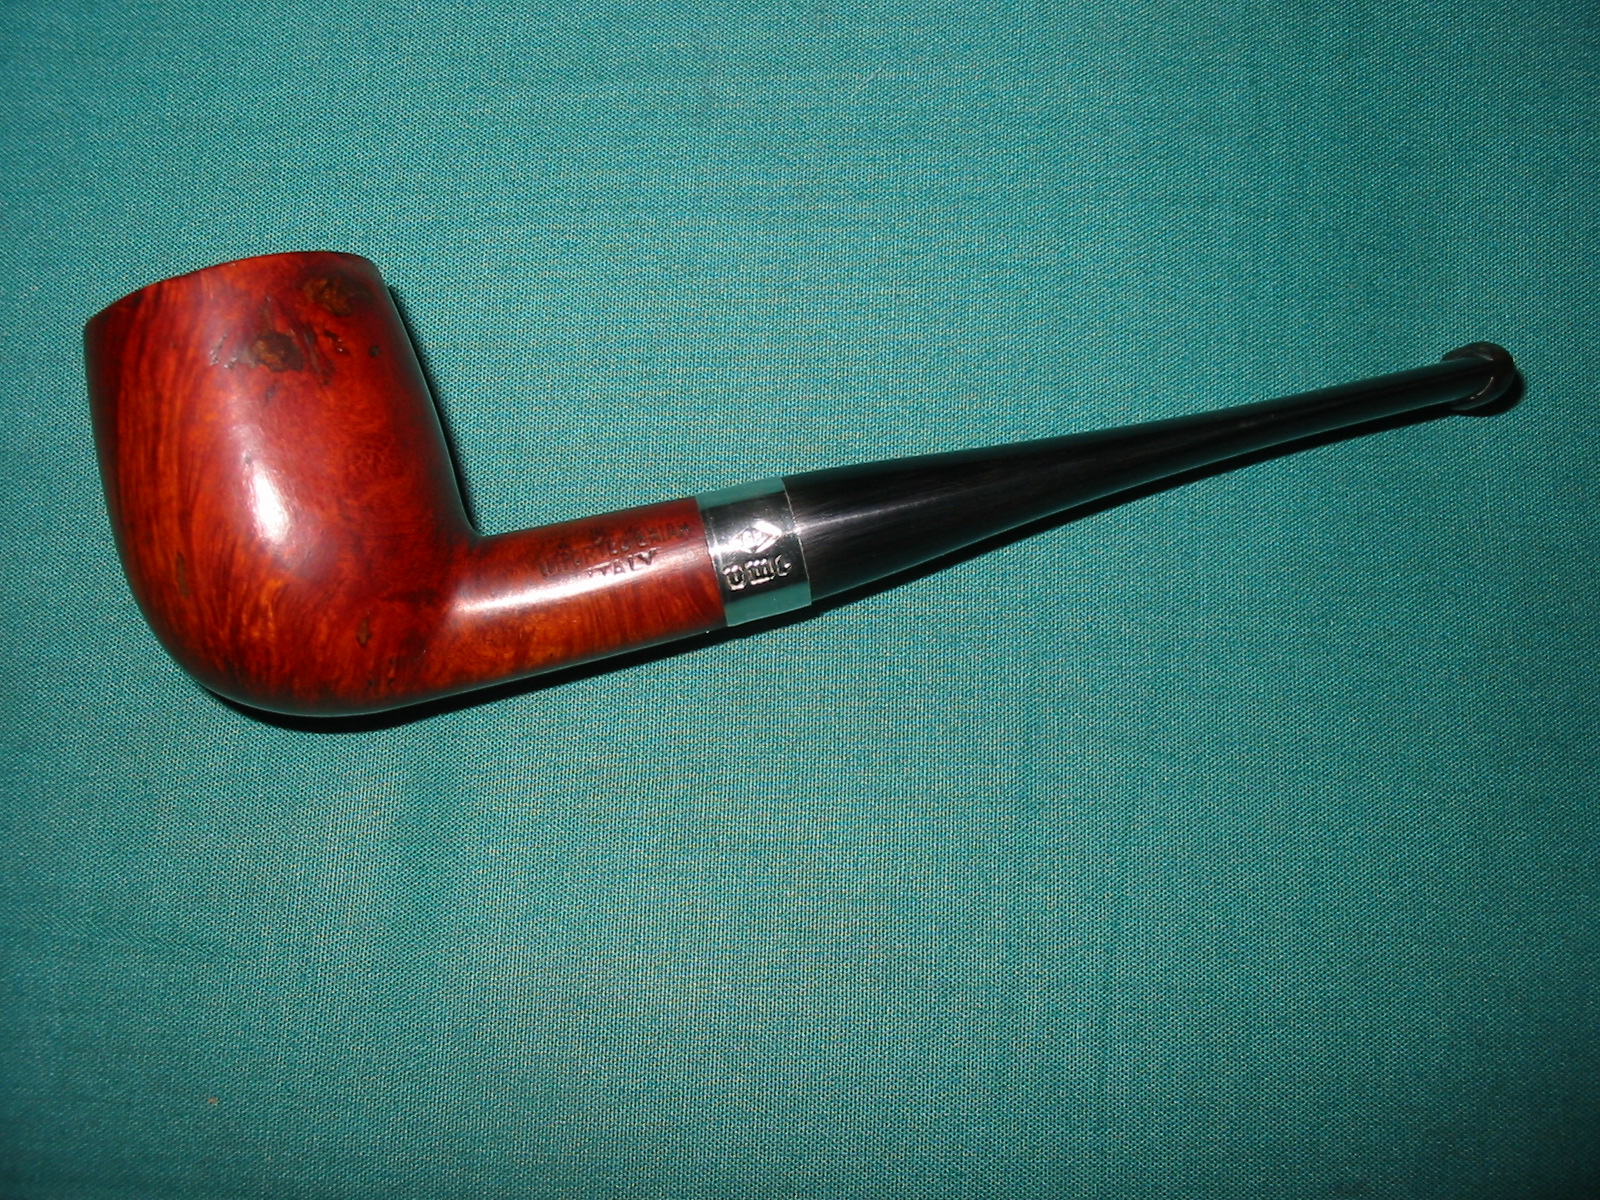
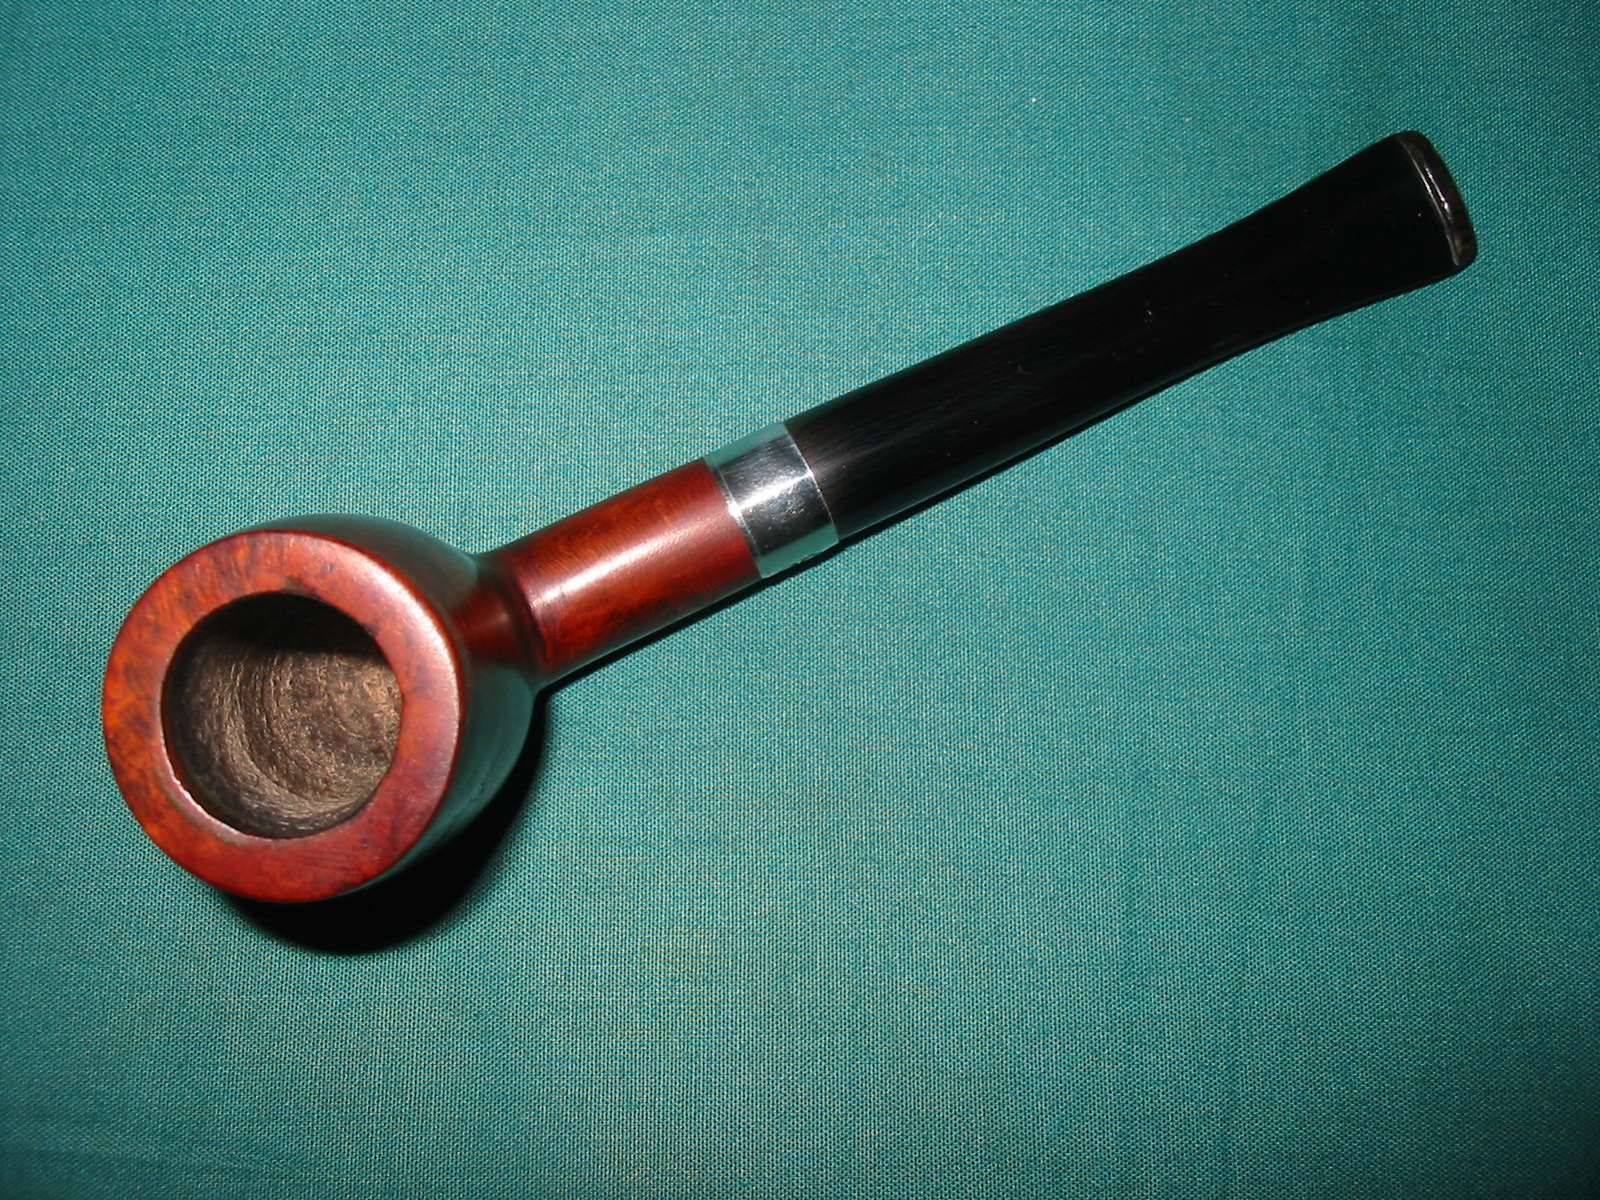
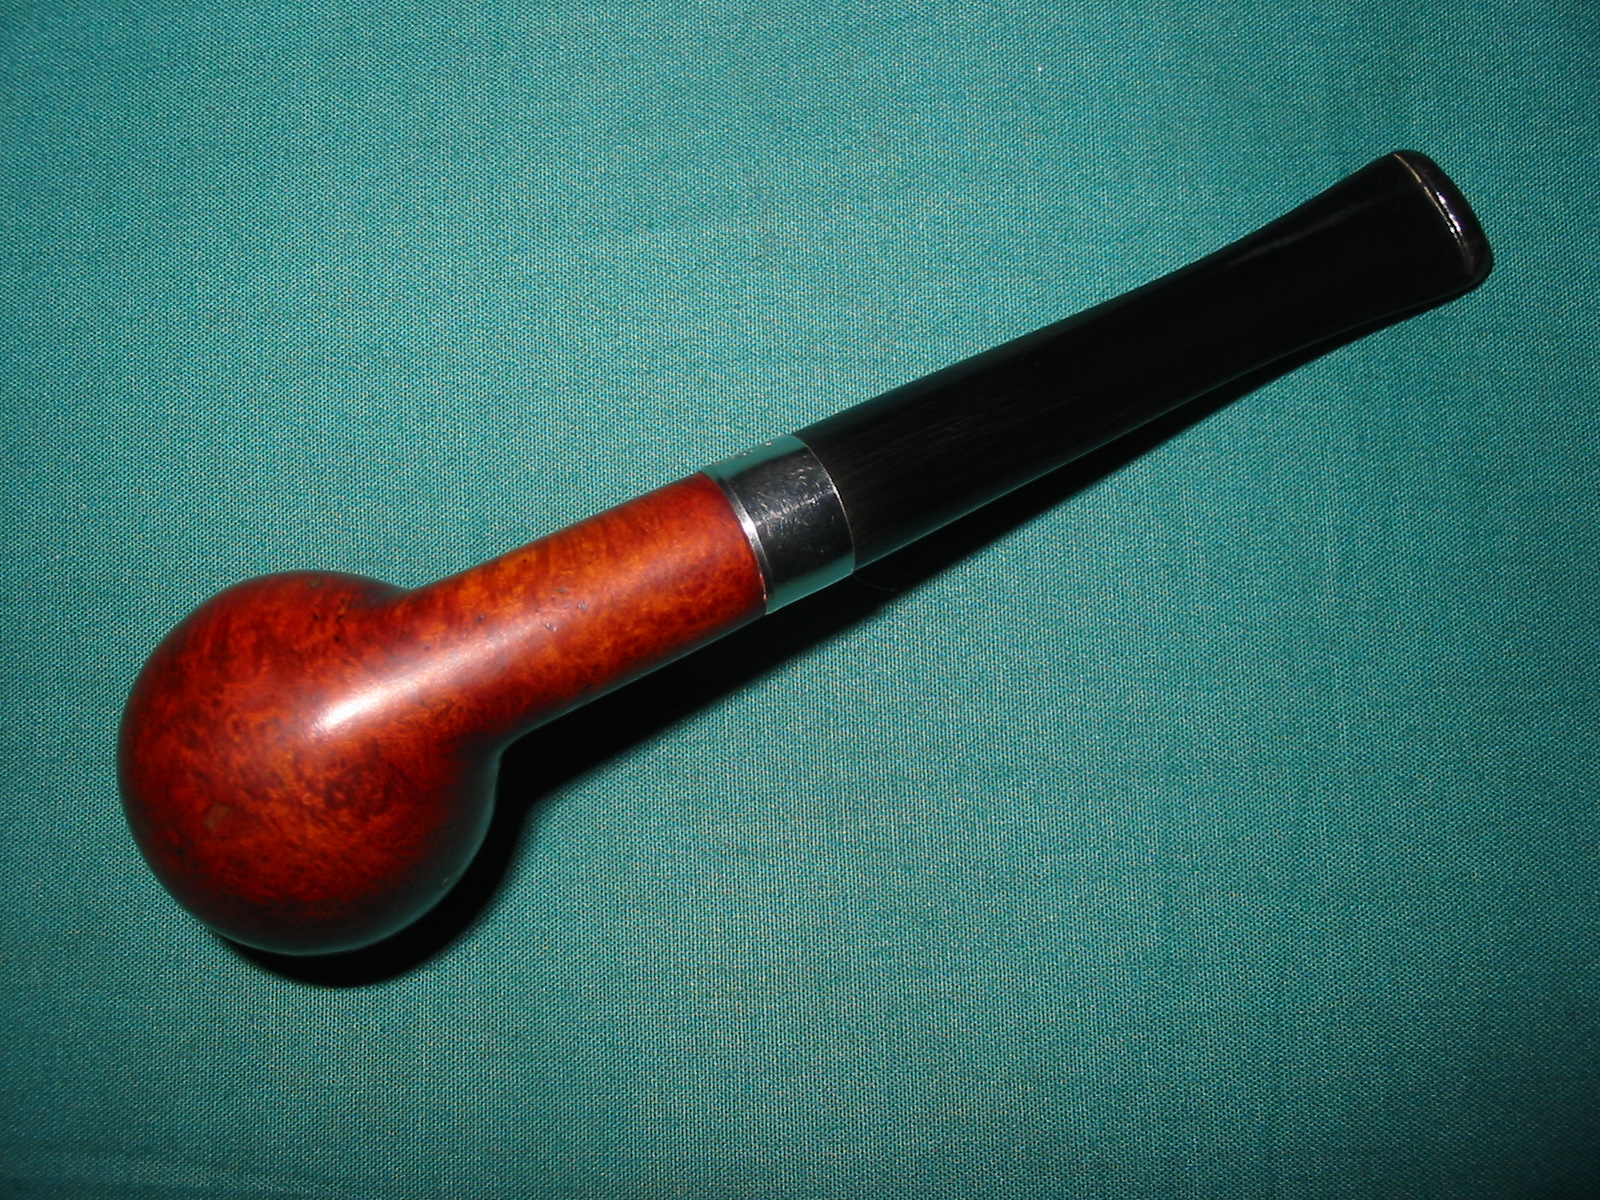
A New Look for an Italian Made Billiard – Restemmed and Reworked


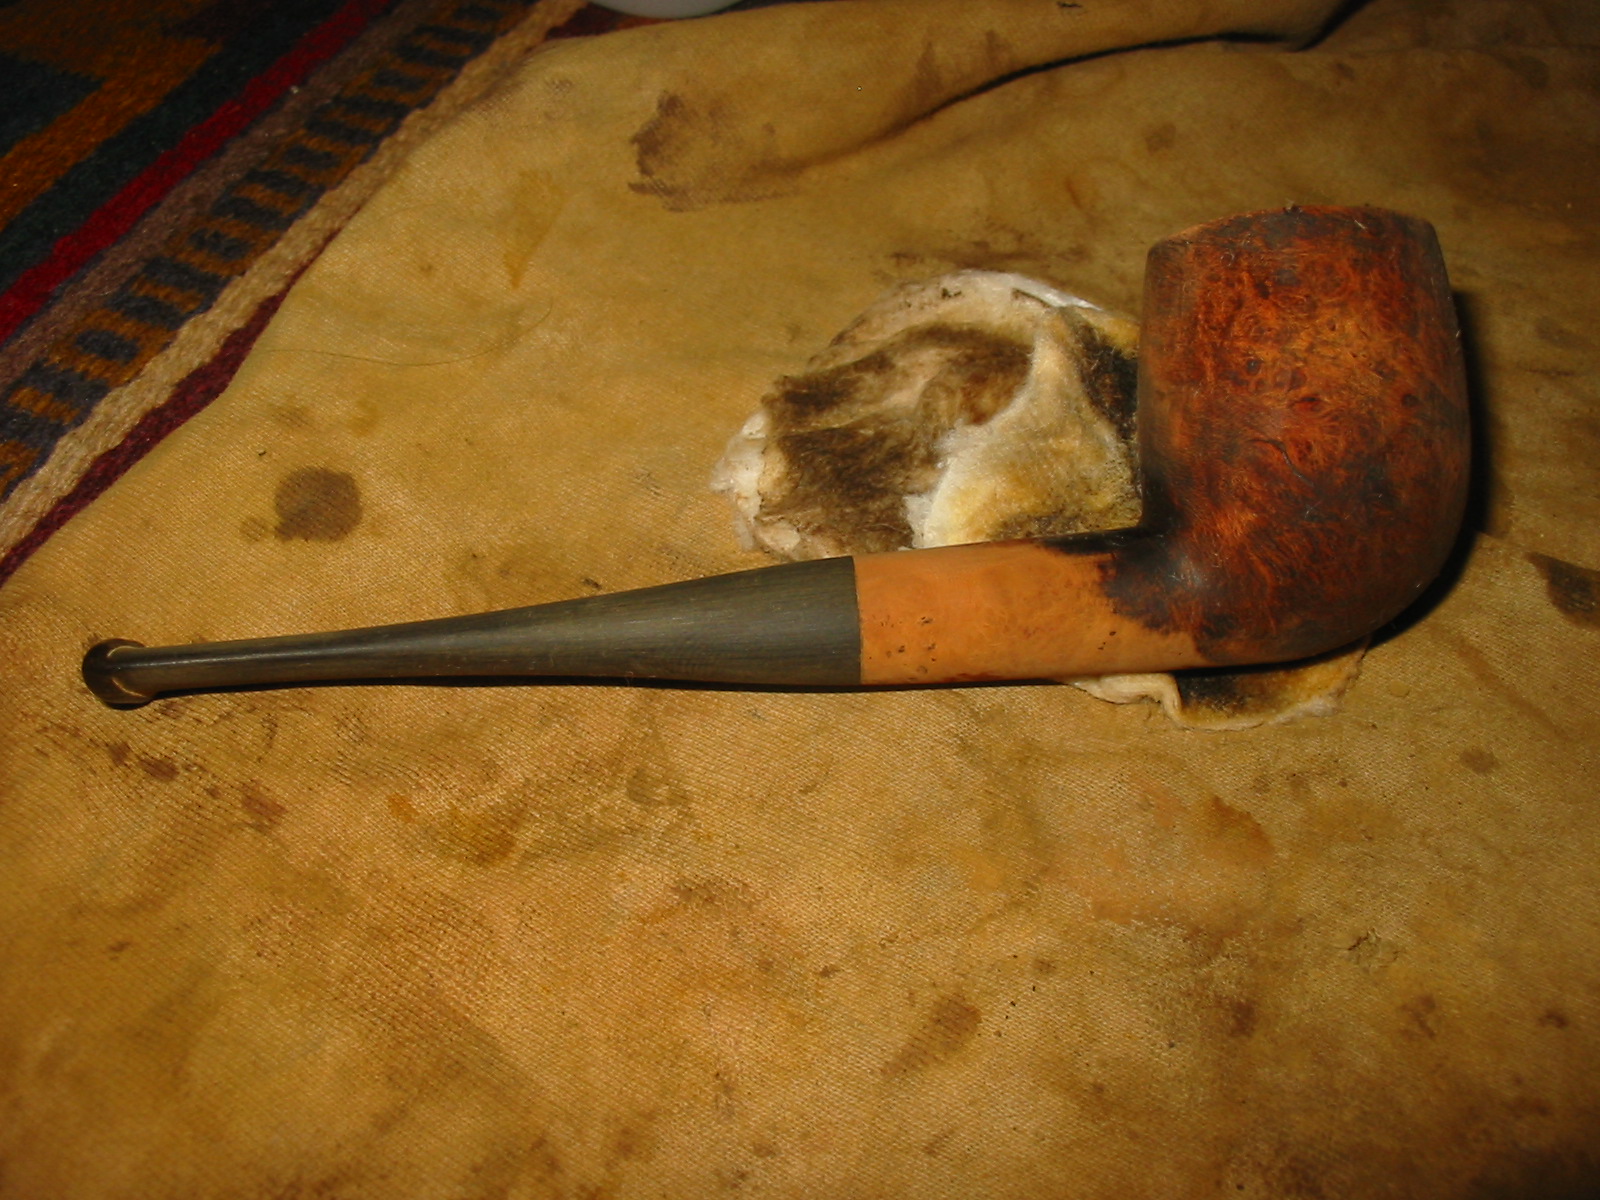
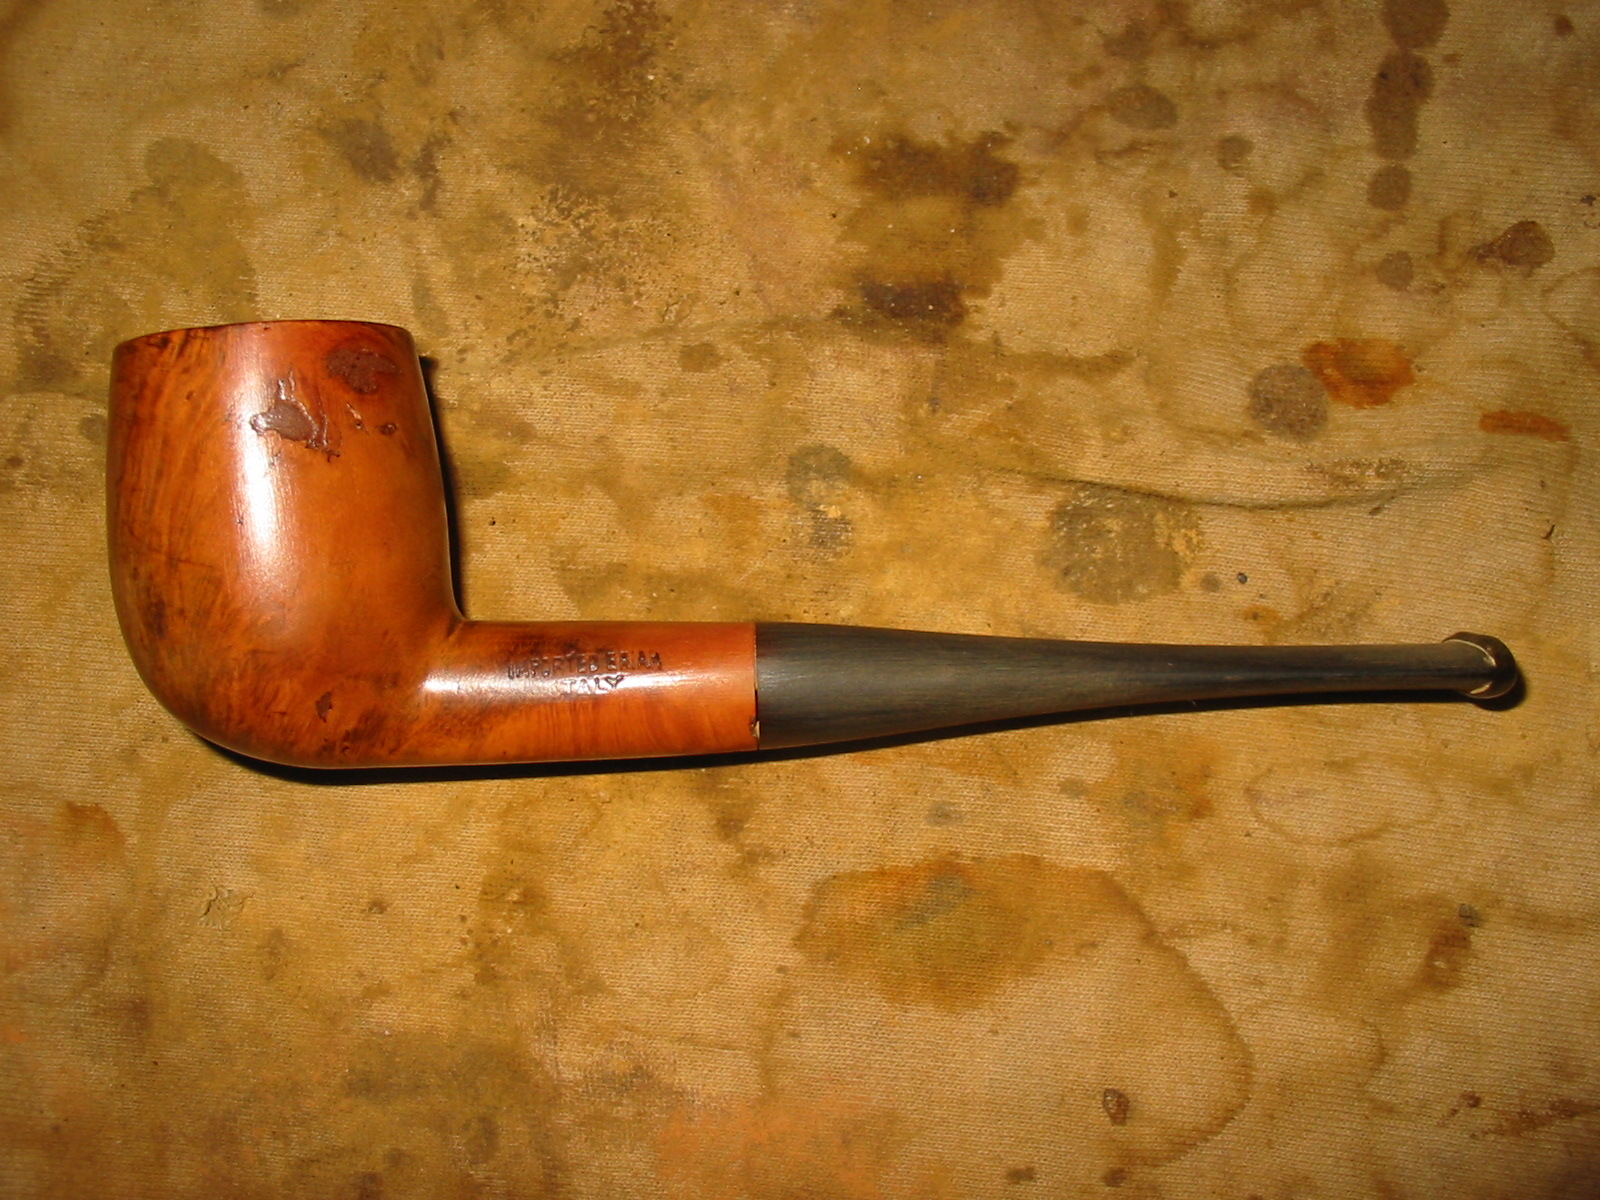
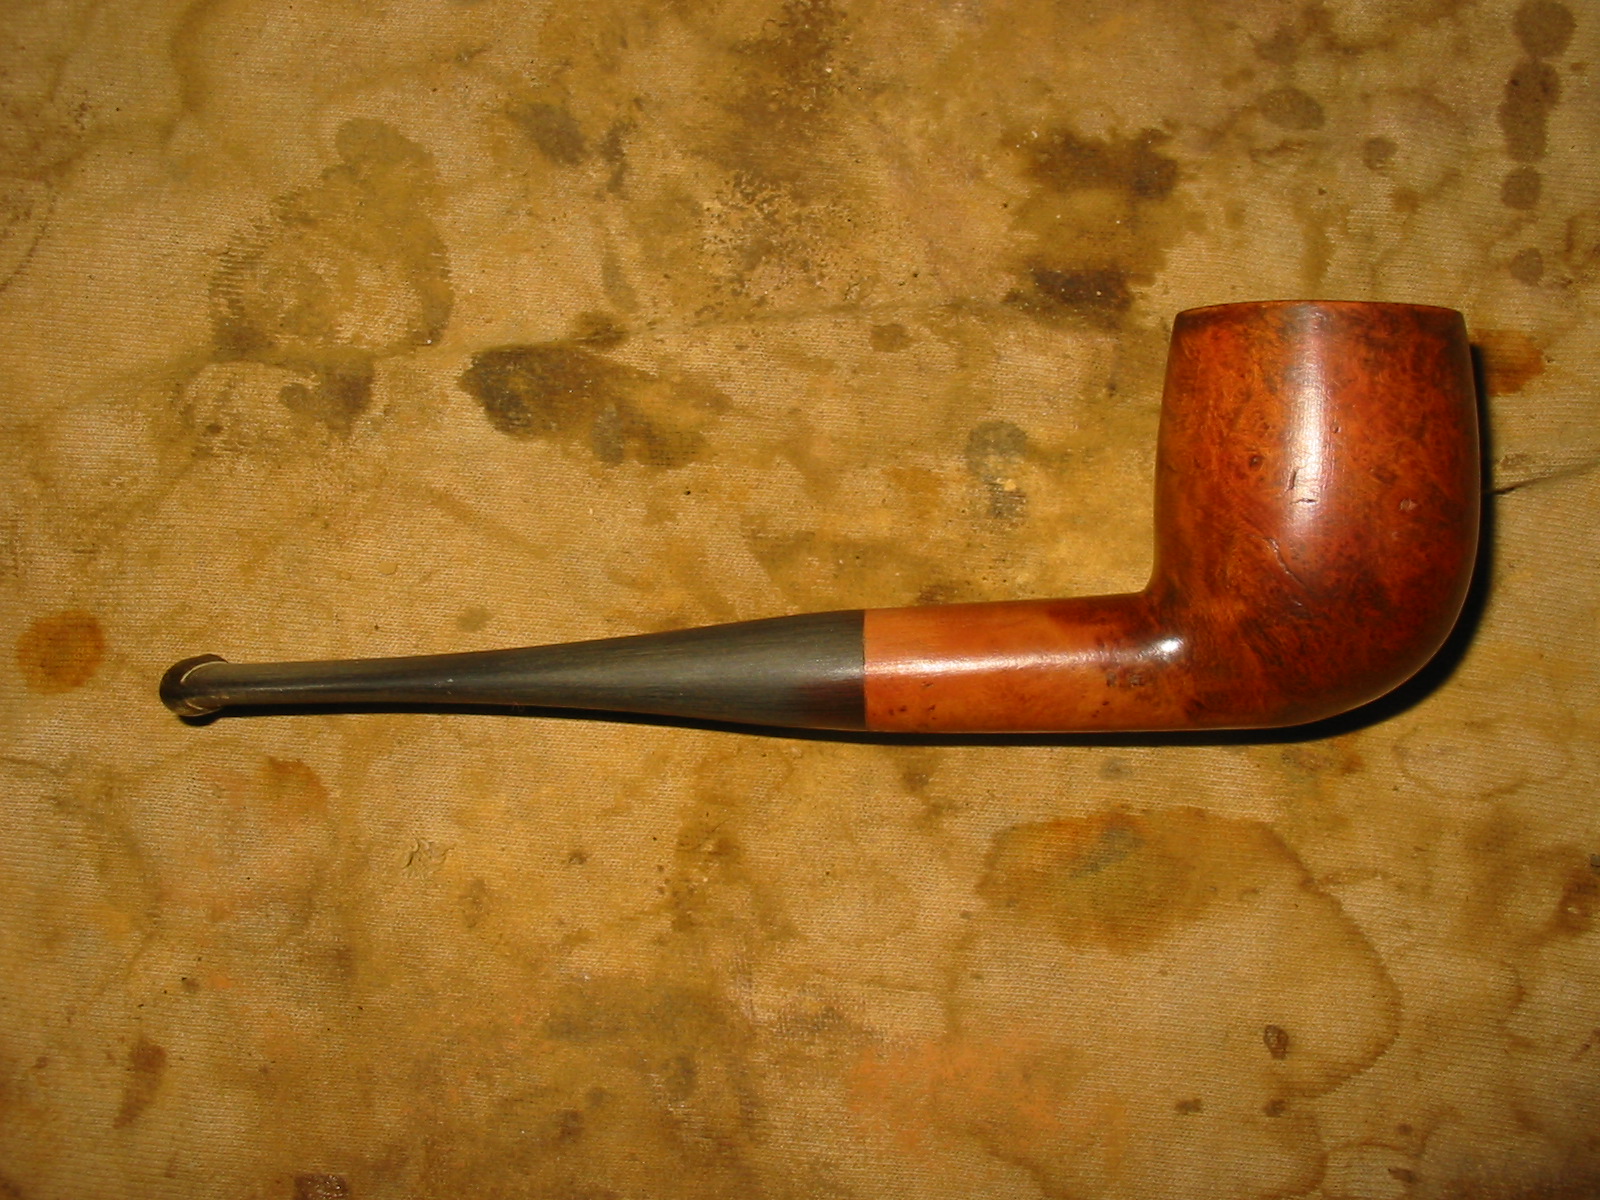
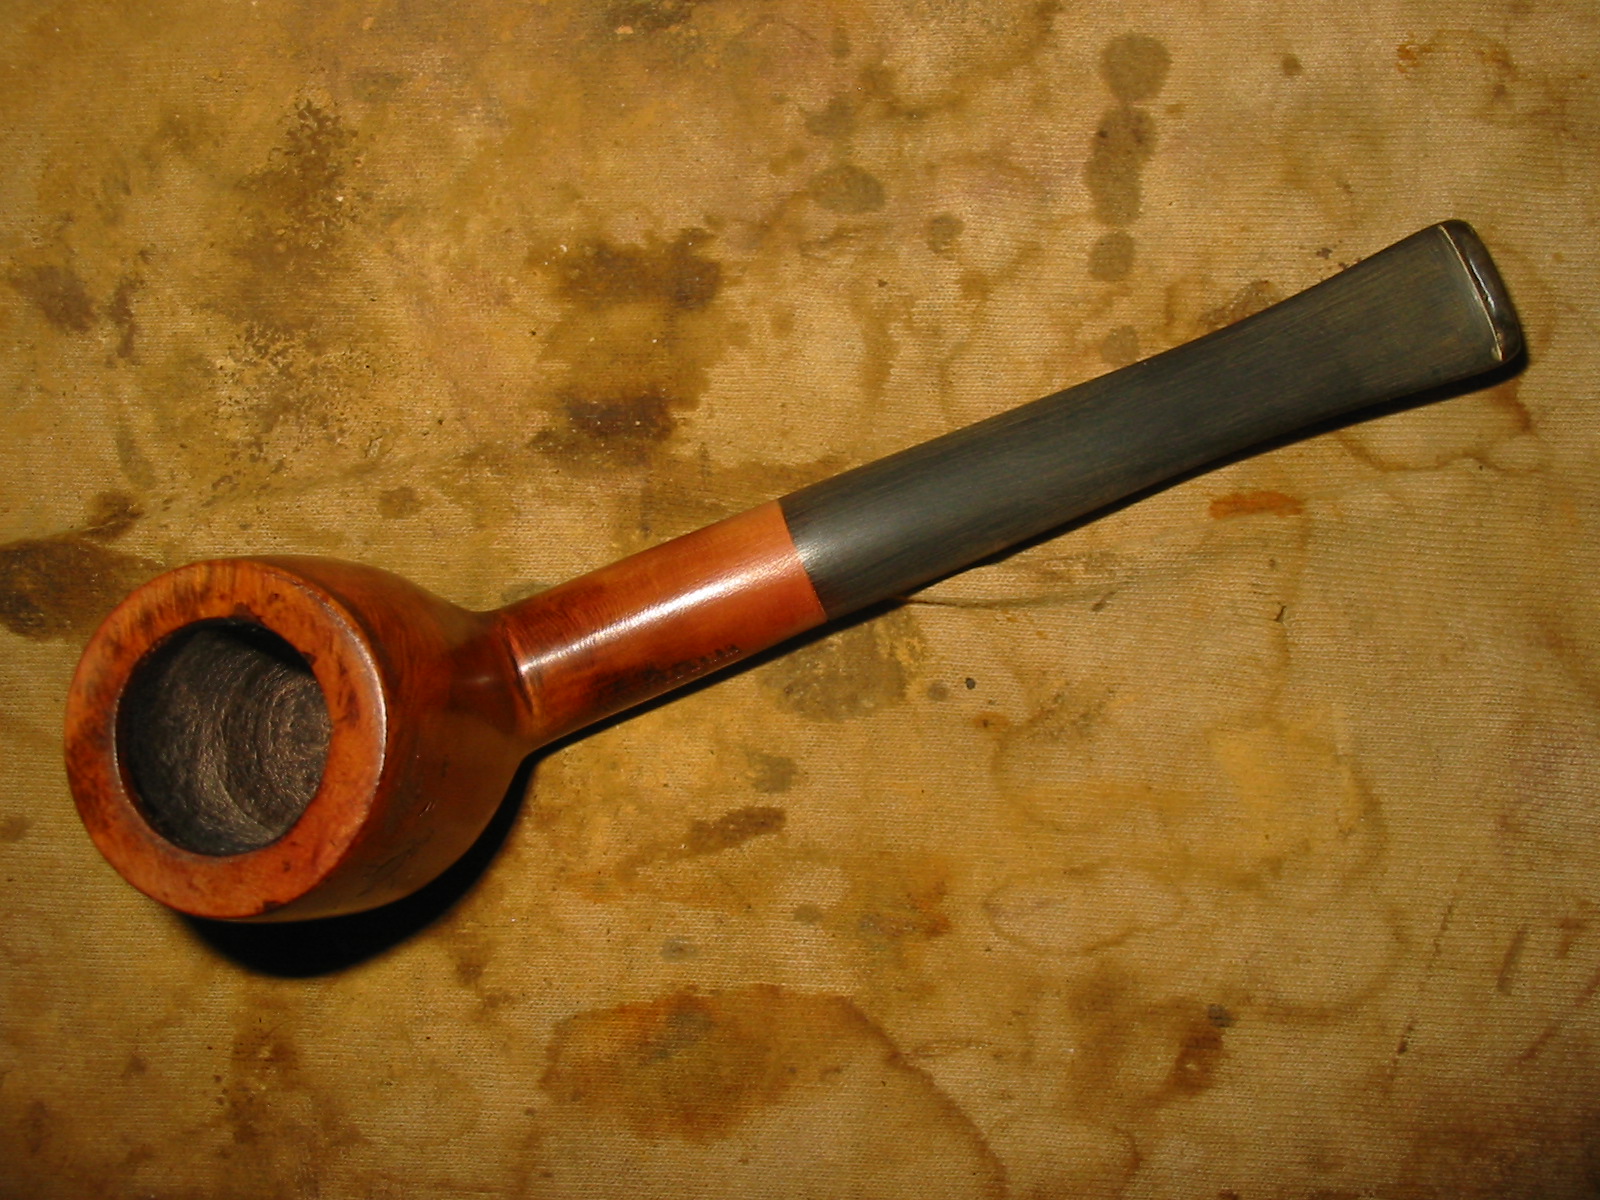
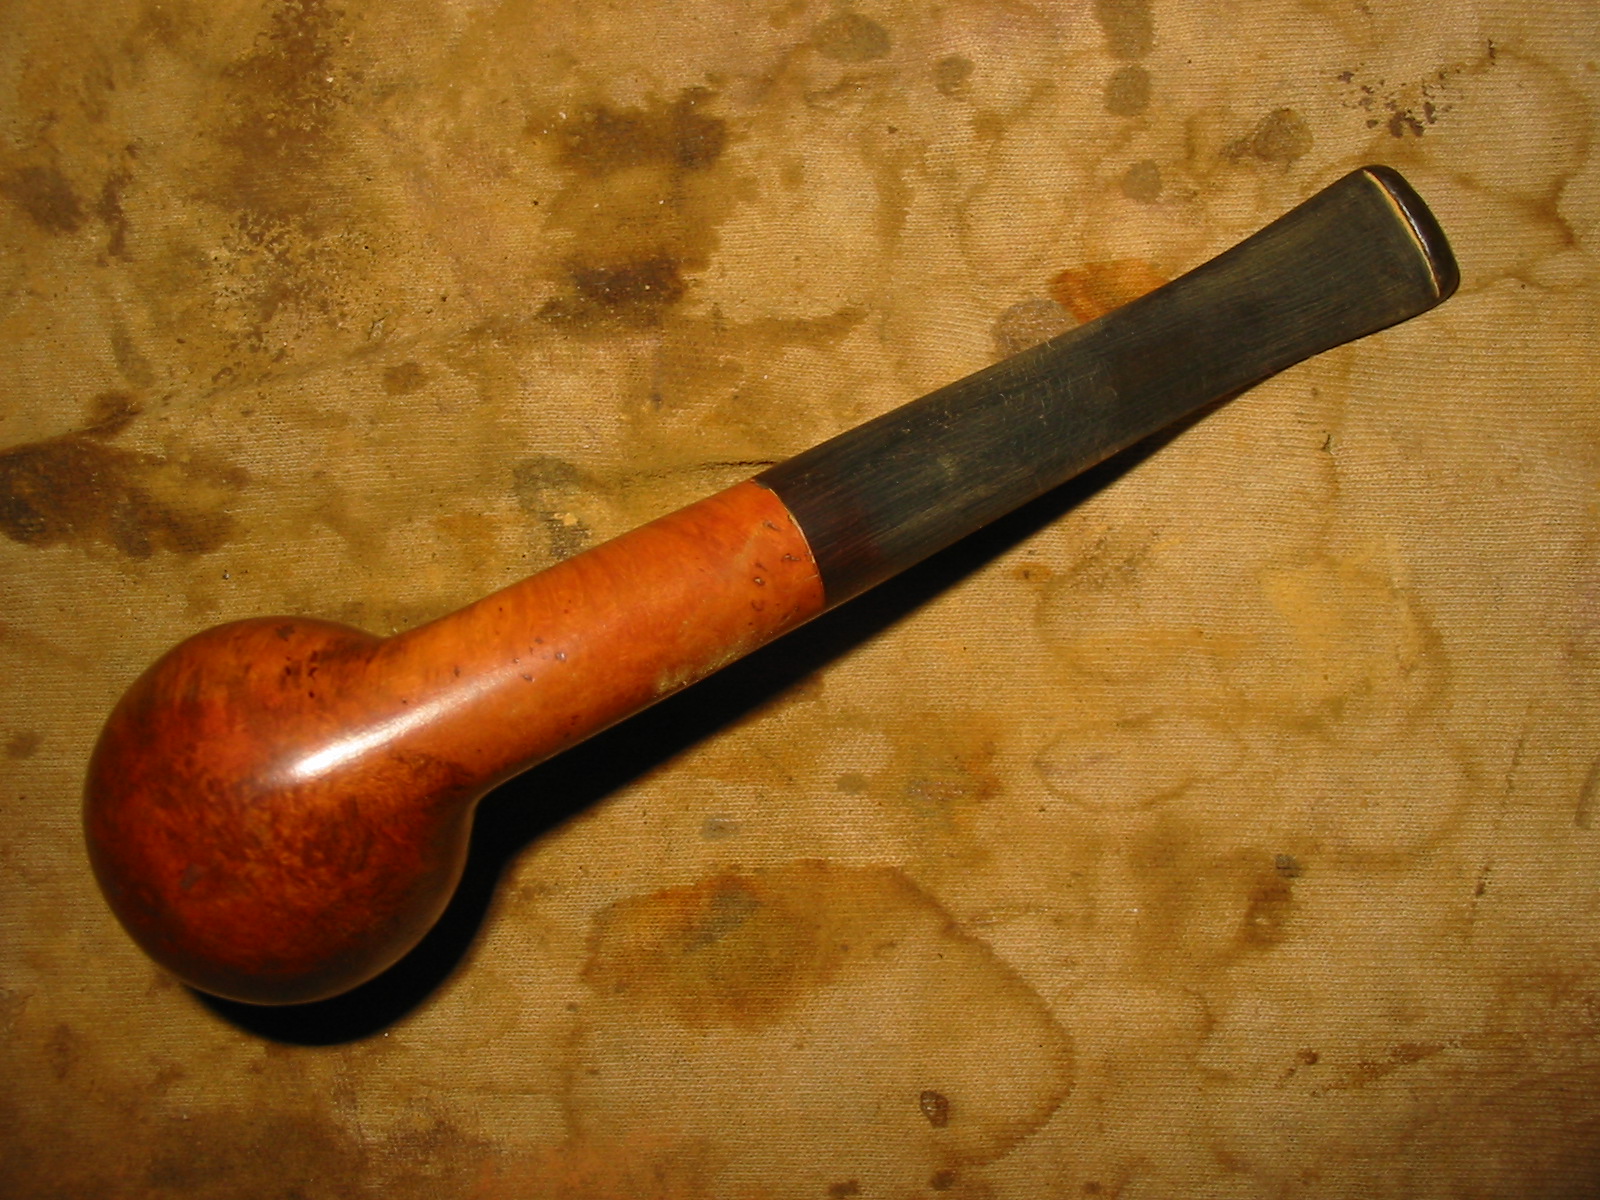
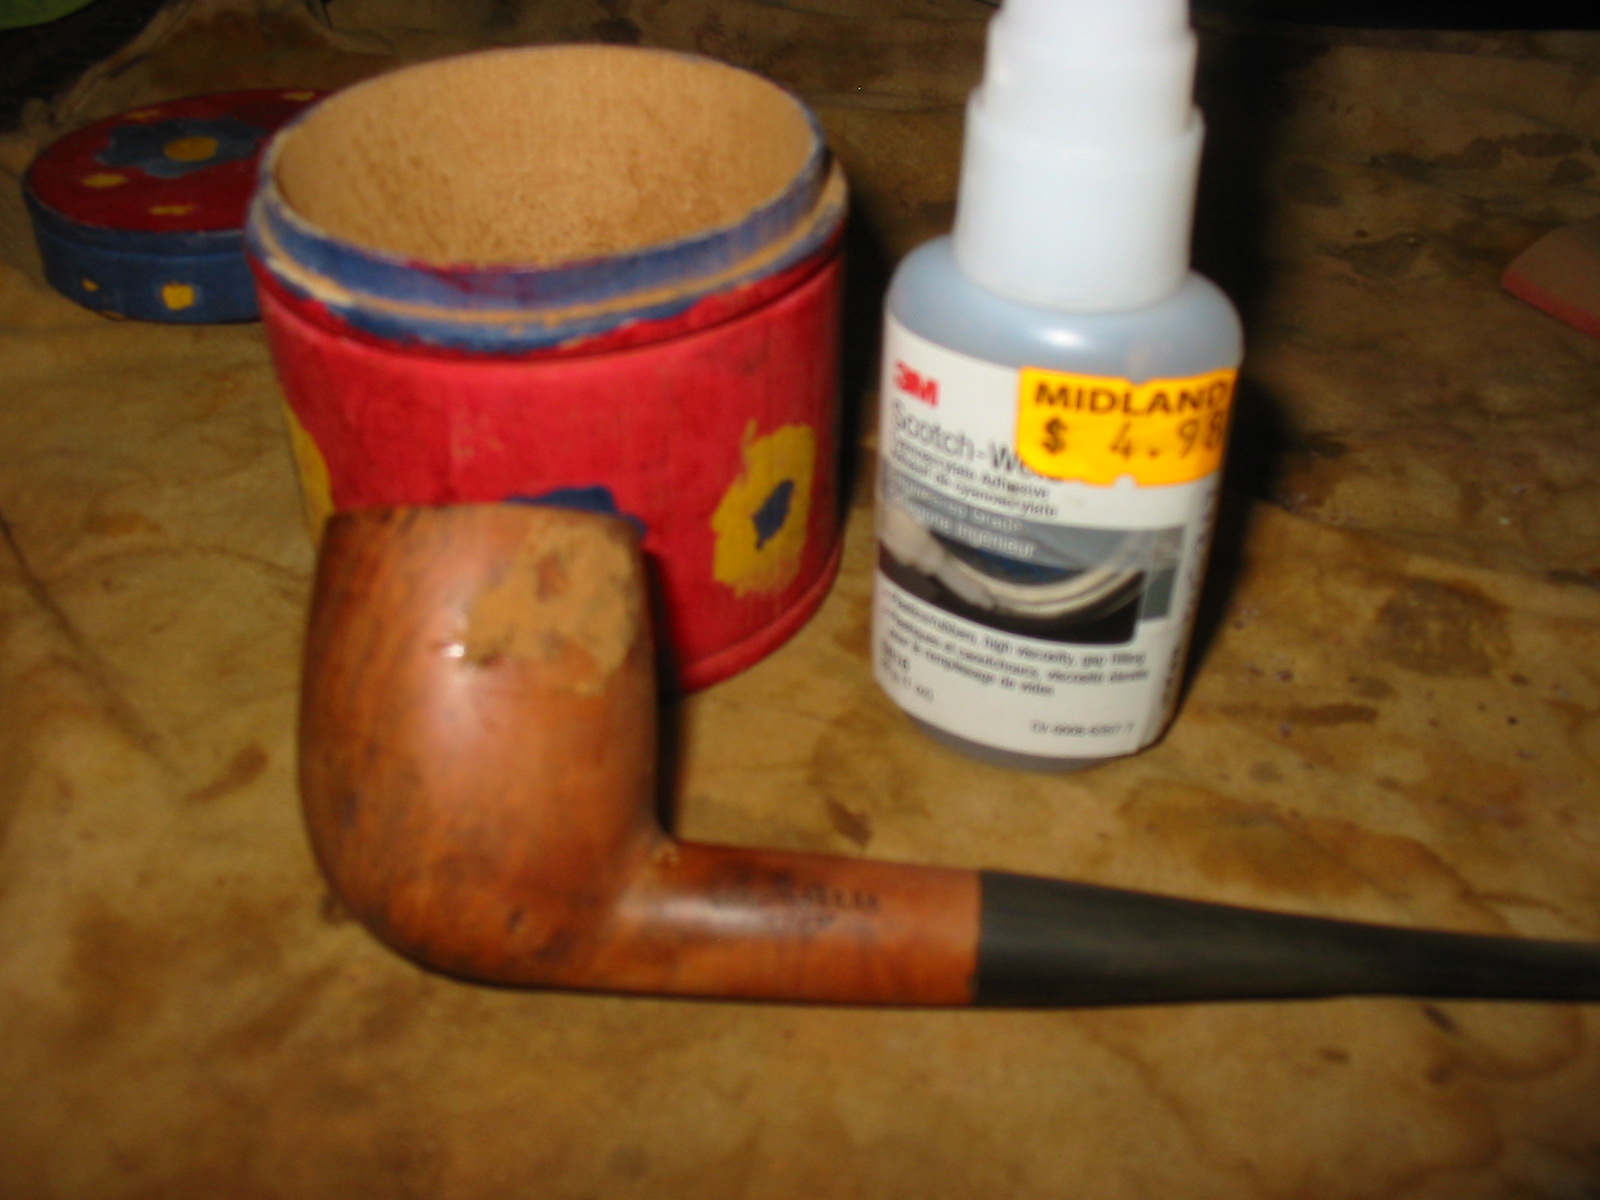
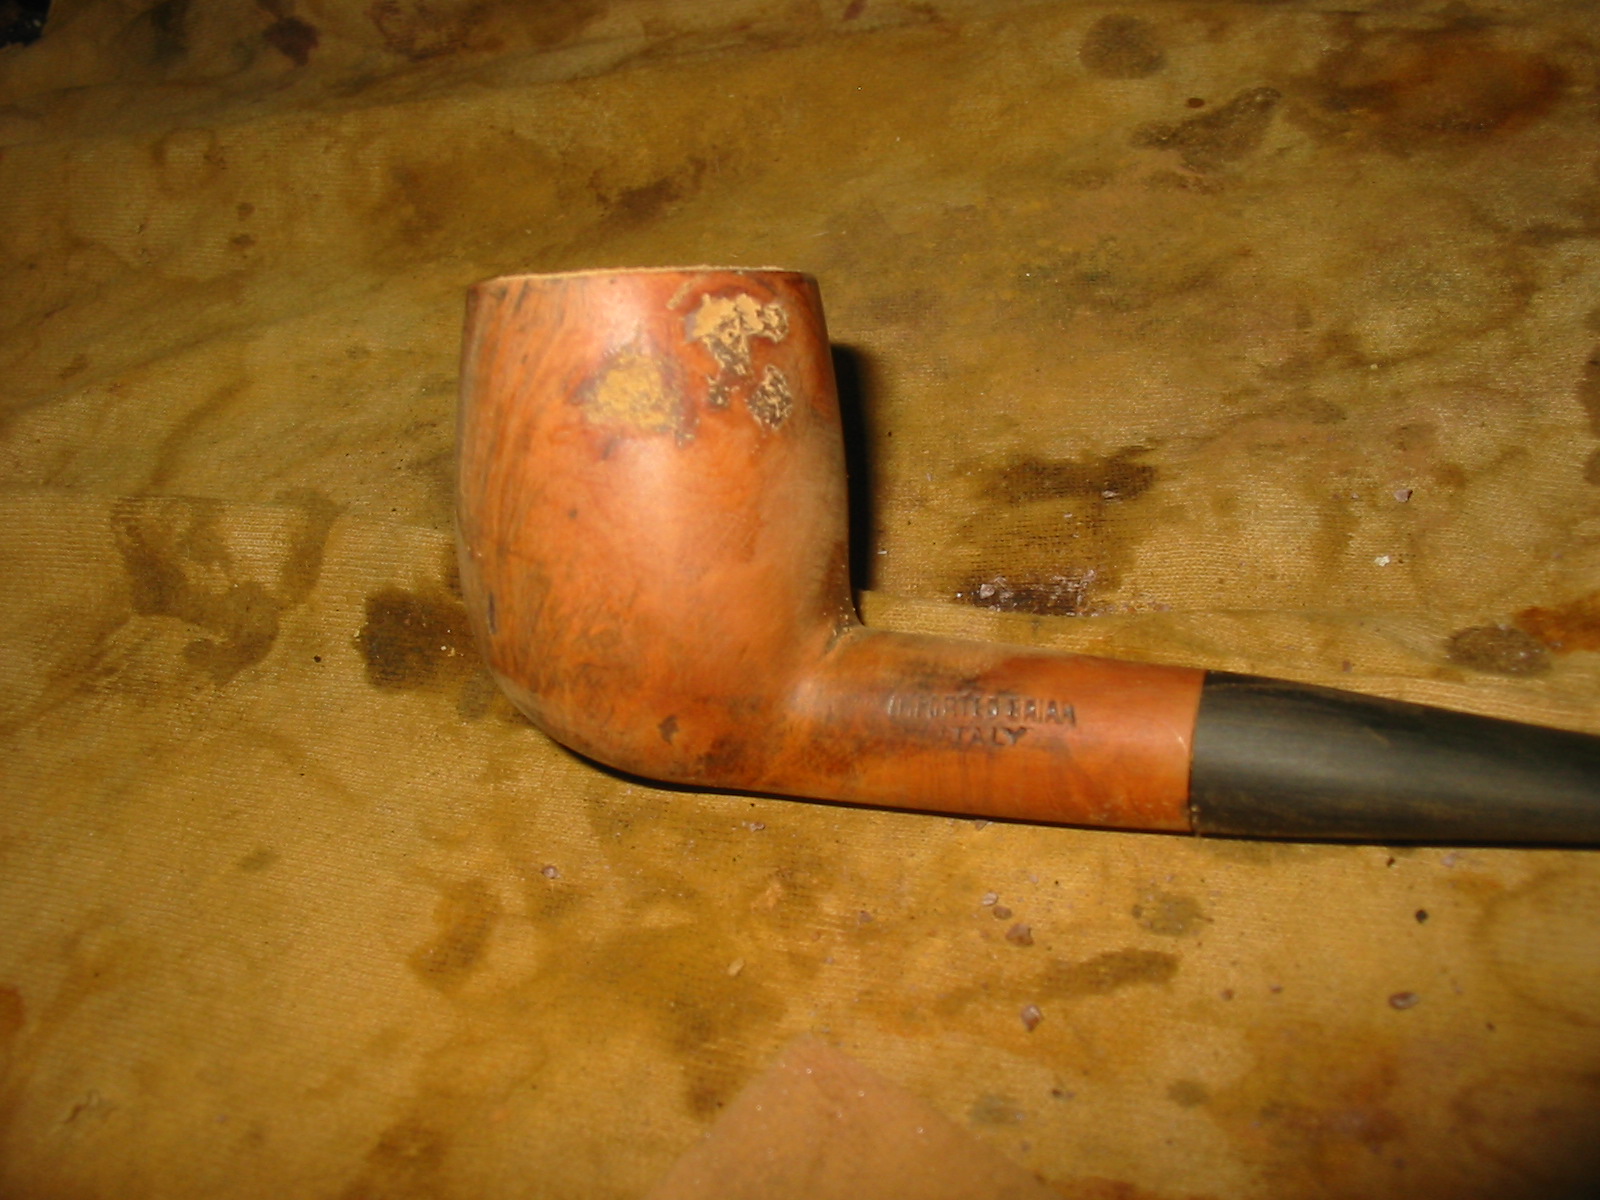
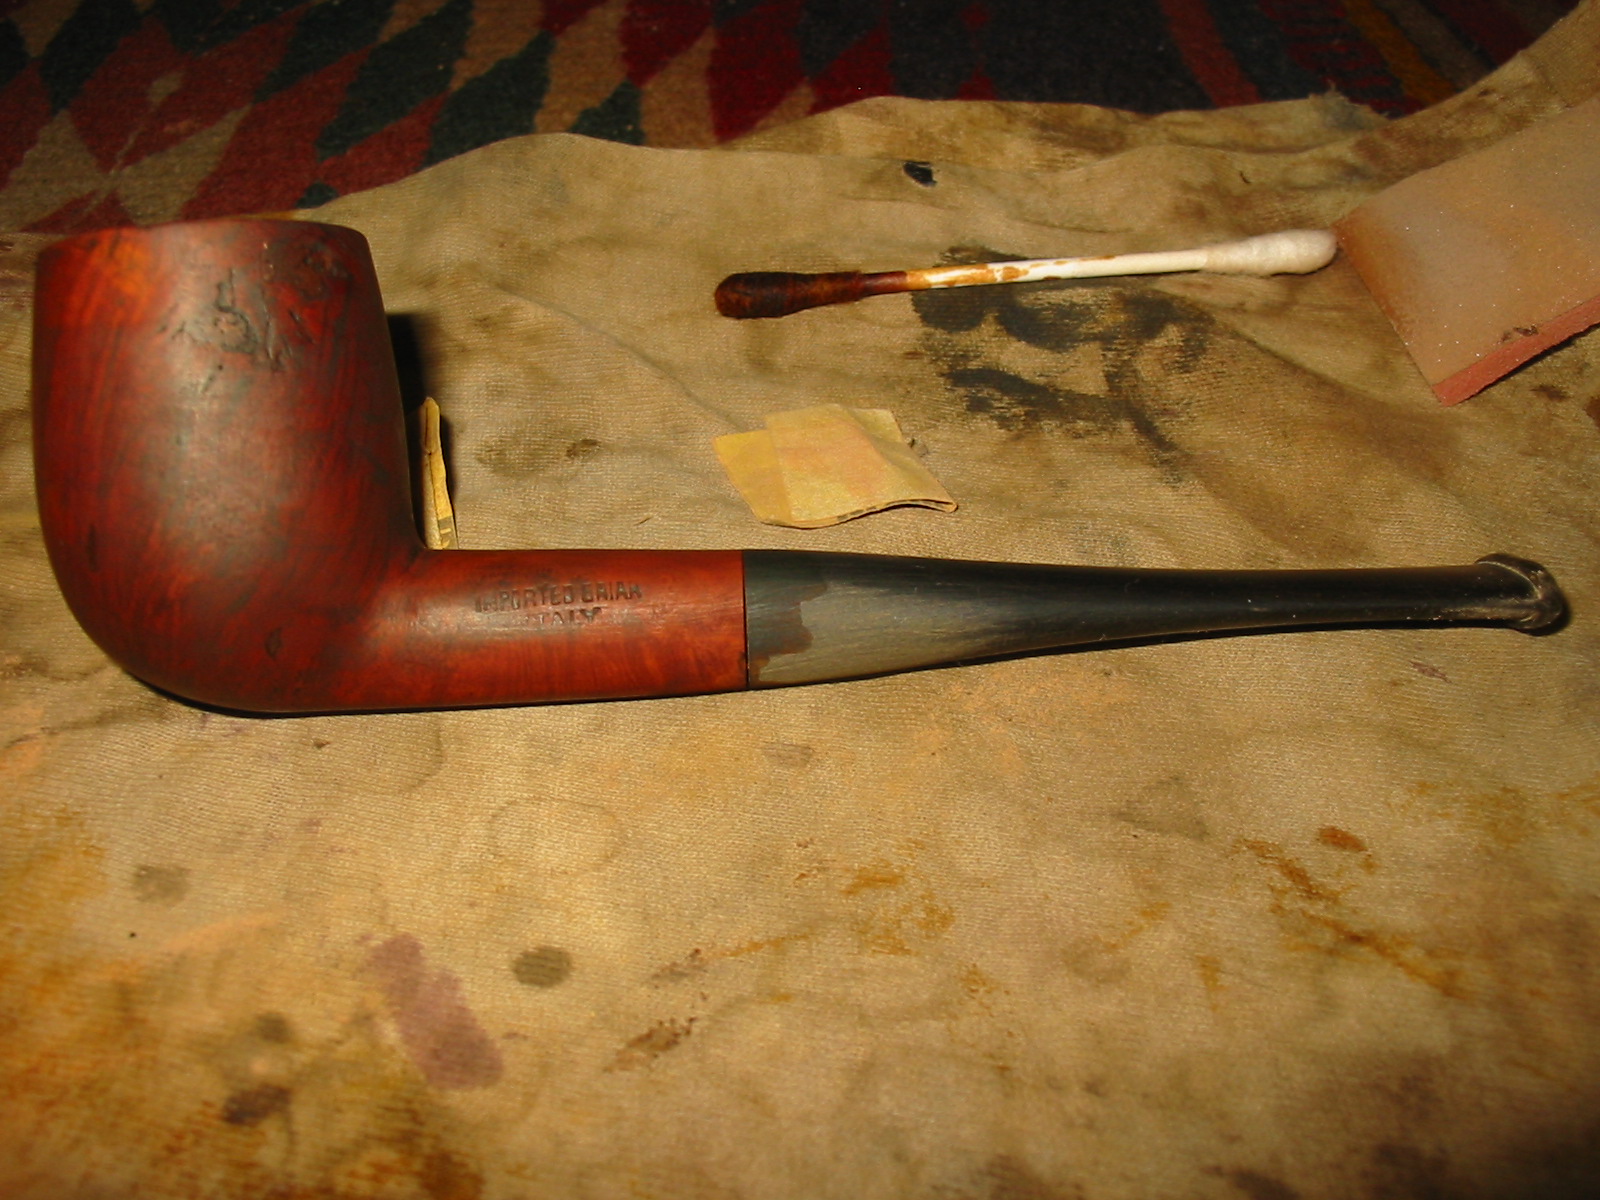
This is yet another bowl from the bottom of the box of pipes for refurbishing. This one is an Italian made no name basket pipe. The stamping merely says Imported Briar Italy. The finish was spotty and peeling from the bowl. It almost looked like a dark brown opaque stain coat and then a thick varnish coat over that. The bowl was badly caked, the shank was filthy and the rim caked and peeling. There were some large fills on the left side of the bowl that were coming out of the holes and were peeling around the edges. The bowl did not have a stem so I found one in my box of stems that fit with a little adjustment to the tenon.
IMG_2826

IMG_2827

IMG_2828

IMG_2830

I reamed the bowl with a PipNet reamer to take the cake back to bare briar. The bowl and shank smelled heavily of aromatics with a fruity overtone and I wanted to remove that so that the new owner could form a cake of his/her own choice.
IMG_2831

The stem was too large in diameter at the stem shank junction. So I sanded it back with a sanding drum on a Dremel. I have found that a Dremel run a medium speed can be carefully used to take back the diameter of a stem to almost match the shank with the stem in the shank. Care must be exercised so as not to nick the briar of the shank with the sanding drum.
IMG_2832

IMG_2833

IMG_2834

IMG_2835

I took the pipe back to the work table and sanded it until it fit well with 220 grit sandpaper. I also decided to sand the shank with the sandpaper as well to achieve a good flow from shank to stem. I also wanted to remove the heavy black/brown finish on the pipe so removing it from the shank was not problematic.
IMG_2837

IMG_2838

IMG_2839

IMG_2840

IMG_2841

Once I had sanded the transition smooth I wiped the bowl down with acetone on a cotton pad to remove the remainder of the finish on the bowl.
IMG_2842

IMG_2843

IMG_2844

After wiping it down I gave it a buff with red Tripoli on the buffing wheel to remove the remainder of the finish and give me an idea of what would still need to be done with the bowl.
IMG_2845

IMG_2846

IMG_2847

IMG_2848

I sanded the bowl with a medium grit sanding sponge and then picked out the large broken fills on the left side of the bowl. I wiped it with acetone to clean it one more time before packing the fills with briar dust. I packed in the briar dust with a dental pick and then tamped it down with flat head tamper to make sure the pack was good and tight. I dripped some superglue gel into the briar dust and then more briar dust on top of the glue. I tamped it another time to get a good solid fill. I sanded the excess briar dust superglue mixture with 220 grit sandpaper and then a medium grit sanding sponge.
IMG_2849

IMG_2852

IMG_2854

I stained the pipe with a dark brown aniline stain thinned 2:1 with isopropyl alcohol as the undercoat on the pipe. I stained and flamed the stain repeatedly until the coverage was even and solid over the entire pipe. The patch on the side is still visible but in no longer flaking and falling out the fill. The surface remains slightly rough but I will continue to sand it before giving it another coat of stain.
IMG_2855

IMG_2856

IMG_2857

IMG_2858

I buffed the bowl with Red Tripoli and then with White Diamond in preparation for the next coat of stain. I sanded the fill area with a fine grit sanding sponge and then sanded the bowl with micromesh sanding pads 1500-2400 grit. I then restained the bowl with a oxblood stain as the second coat on the bowl. I applied it and flamed it until the coverage was even. Then buffed it with White Diamond.
IMG_2859

IMG_2860

IMG_2861

IMG_2862

During this second staining I removed the stem and examined the end of the shank and saw small hairline cracks in several places. They did not go through to the surface of the shank but they were troublesome enough to me that I decided to band the pipe. There were also several nicks in the outer edge of the shank that made a tight fit relatively impossible to attain. I heated a nickel band with a heat gun and pressure fit it in place on the shank. I had to reduce the tenon slightly to get a good fit on the stem. I also sanded the stem around the junction so that it would fit properly against the banded shank.
IMG_2863

IMG_2865

IMG_2866

IMG_2867

The fills still needed more work but for the time being I worked on the stem some more. I sanded it with micromesh sanding pads. I wet sanded with 1500-2400 grit pads and dry sanded with 3200-12,000 grit pads. I rubbed the stem down with Obsidian Oil and I took it to the buffer and buffed it with White Diamond and gave it multiple coats of carnauba wax.
IMG_2868

IMG_2869

IMG_2870

I decided to do some more work on the areas of the fills. I sanded the areas of the fills down with 220 grit sandpaper and then a medium grit sanding sponge. I then sanded the entire bowl and shank with a fine grit sanding sponge to remove the finish. I wiped it down with a cotton pad and Everclear to remove the last of the finish and also the sanding grit. I used superglue to refill the fills and even out the surface and dips that still remained after the first reworking. I then sanded the spots with 220 grit sandpaper, a medium grit and a fine grit sanding sponge to remove the scratches and blend the fills into the surface of the bowl.
IMG_2876

IMG_2877

IMG_2878

I stained the bowl with a 2:1 mixture of aniline dark brown stain and isopropyl alcohol. I applied the stain with a cotton swab and flamed it. I reapplied and reflamed it several times until I had a good even coverage on the bowl and shank.
IMG_2879

IMG_2880

I buffed the pipe with White Diamond to smooth out the surface of the bowl and then gave it a top coat of oxblood stain. I wiped the stain on with a cotton pad and flamed it repeating the process until I was happy with the coverage on the bowl. I was much happier now with the fills as they were smooth to the touch and there were no more pits or divots in them.
IMG_2881

IMG_2882

IMG_2883

IMG_2884

IMG_2885

I took the pipe to the buffer and buffed the bowl and stem with White Diamond one more time. It brought a deep rich shine to the bowl and the stem. I then gave the bowl and stem multiple coats of carnauba wax to protect and polish the pipe. The four photos below show the finished pipe. It is ready for someone to load it and fire it up. It should provide a reliable and lightweight pipe for someone’s rack.
IMG_2890

IMG_2891

IMG_2892

IMG_2893

Restemmed and Restored Imported Genuine Briar Billiard


This is another bowl from my refurbishing box. It is stamped Imported in an arc over Genuine Briar on the left side of the shank. The finish was varnished and dirty. I intended on stripping it so when I restemmed it I block sanded the stem fit. I had an old Erhlich stem that fit very well and gave the pipe a nice line. The rim had a strange rustication pattern on it that did not match the carvings on the front of the bowl. It was tarred and the varnish coat had bubbled on it. So I decided I was going to top it and give the bowl a smooth rim to match the smooth portions of the bowl. I sanded the shank and stem junction to make sure that the transition was smooth. I sanded with 220 grit sandpaper, a medium grit sanding sponge and then a medium grit sanding block.
IMG_2714

IMG_2715

IMG_2716

IMG_2717

I reamed the bowl with a PipNet reamer and cleaned out the old stem and the shank with cotton swabs and pipe cleaners dipped in Everclear. I cleaned it until both came out white. I then continued to sand the union of the stem and shank with the 220 grit sandpaper until the transition was very smooth. I was careful around the stamping as I wanted to leave that intact and clear. Some nice grain began to come out once I had the finish removed at the junction. It bode well for what would be under the varnish coat once I stripped that away.
IMG_2718

IMG_2719

IMG_2720

IMG_2721

I used my usual method for topping the bowl – a piece of 220 grit sandpaper on a board and twisted the bowl rim into the sandpaper being careful to keep the rim flat against the board. I kept sanding until all of the carved grooves on the rim were gone and the rim was smooth. I also sanded the rim with a medium grit sanding sponge and then a medium grit sanding block to smooth out the scratches left by the 220 grit sandpaper. I finished the rim sanding with 1500-2400 grit micromesh sanding pads in preparation for the new stain coat.
IMG_2722

IMG_2723

I wiped the bowl and shank down with acetone on a cotton pad to remove the varnish coat and as much of the stain as possible so that blending the stain on the sanded areas into the overall finish would be simpler.
IMG_2727

IMG_2728

IMG_2729

With the finish removed I restained the bowl with a medium walnut stain in a linseed oil mixture. I think it was Mark who asked in a comment on the Dr. Grabow Royal Duke write up why I did not use the aniline stains on the past few pipe restorations. The answer is quite simply that I am out of brown aniline stain so I have been using this walnut stain until I can get time to replenish my supplies. I used cotton pads to apply the stain to the bowl and wiped it down until it was an even colour on the pipe. I repeated the process until it met my expectations. When it had dried I took it to the buffer and buffed the bowl and rim with White Diamond.
IMG_2734

IMG_2735

IMG_2736

IMG_2737

I then worked on the stem with micromesh sanding pads. I wet sanded with the 1500-2400 grit sanding pads and then dry sanded with 3200-12,000 grit pads. Each of the photos below shows the progressive shine to the vulcanite becoming more pronounced.
IMG_2738

IMG_2739

IMG_2740

With the bowl finished and the stem polished I took the pipe to the buffer and buffed it with White Diamond and then gave it multiple coats of carnauba wax. I finished by buffing it with a clean flannel buff. The finished pipe is pictured below. The colour on the rim appears lighter than the bowl in the photos. In real life it is a good match. The new look of the pipe is much better than the original in my opinion. This one should make someone a great smoking pipe in the future. The stem is a comfortable one and the light weight of the briar will make it a good yard pipe.
IMG_2741

IMG_2742

IMG_2743

IMG_2744