Blog by Paresh Deshpande
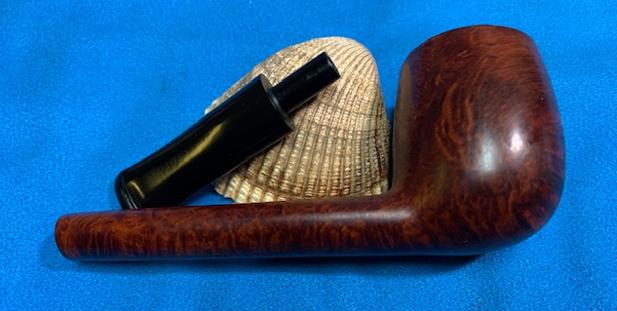
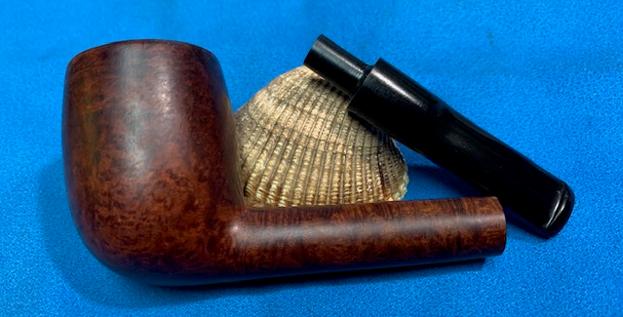
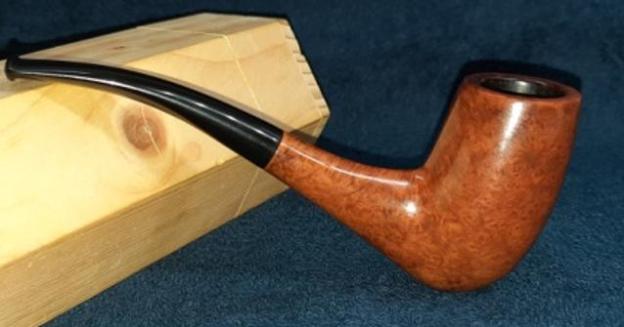
The next pipe selected for refurbishing is a commonly shaped pickaxe Danish pipe. I say common because through the 1960s and 70s, this shape and its variations was the most loved and common on many Kriswill and Stanwell pipes as well as with various artisan pipe carvers from Denmark.
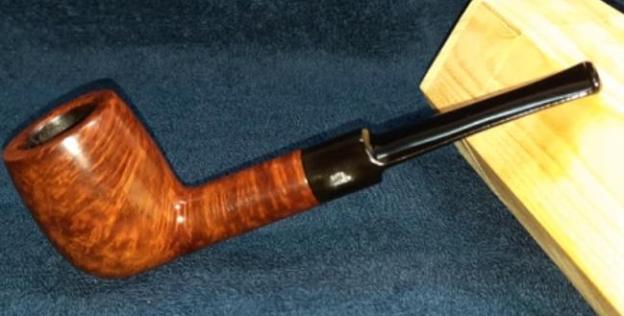
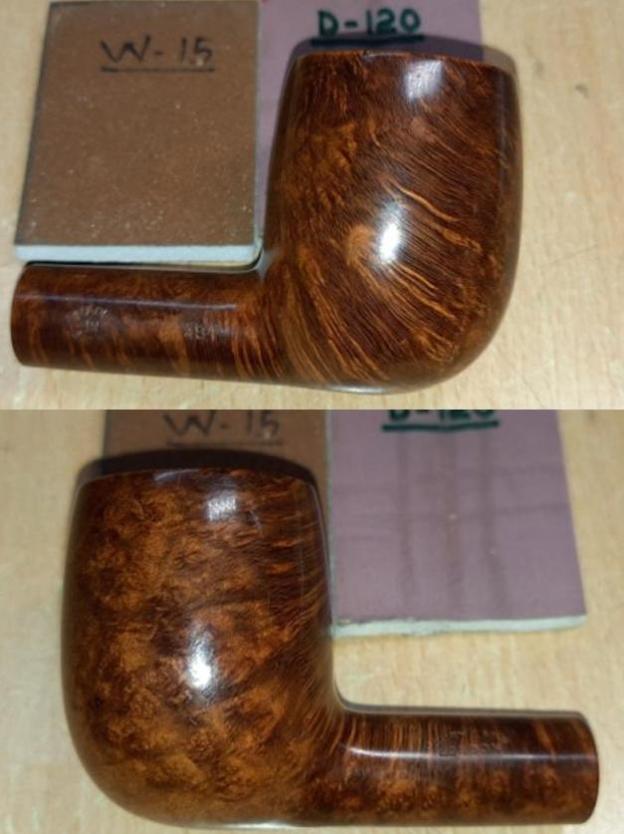
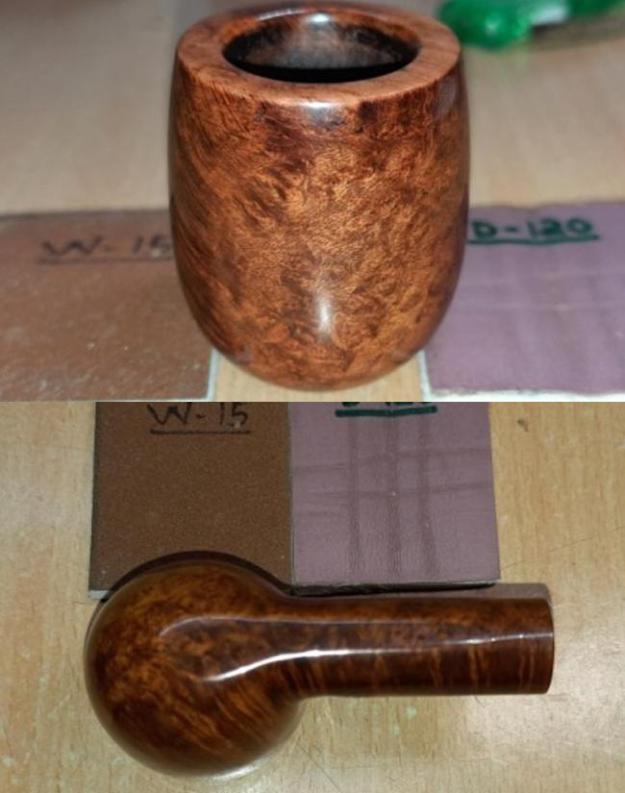
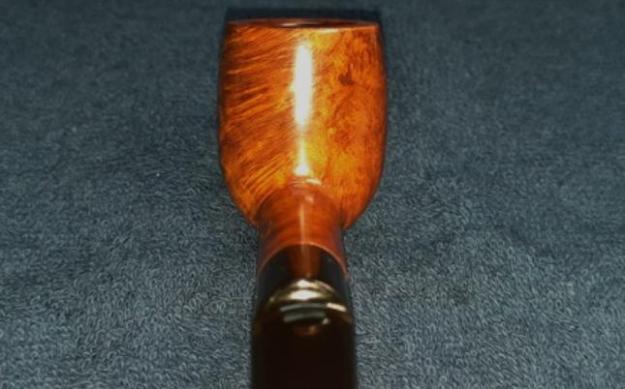
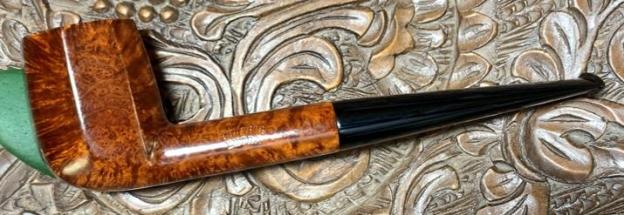
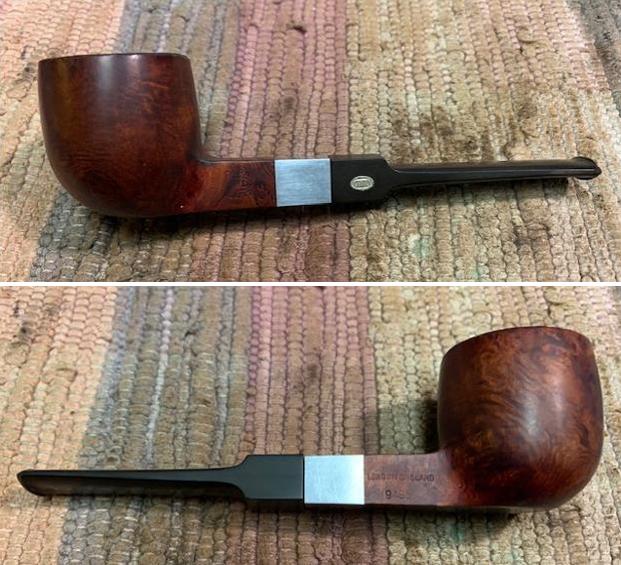
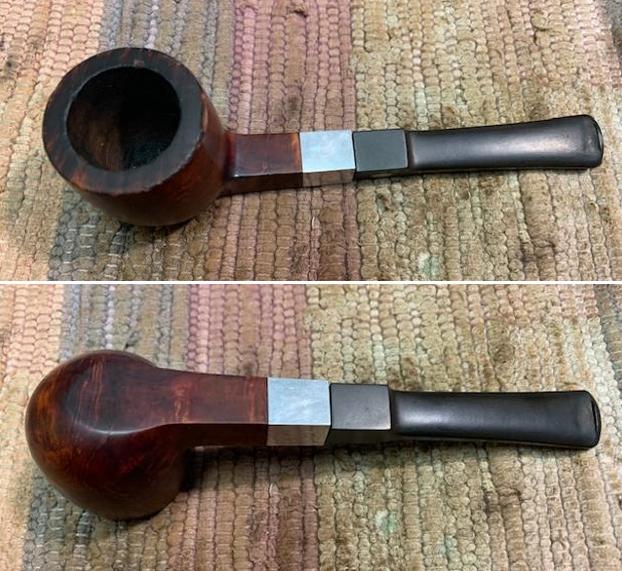
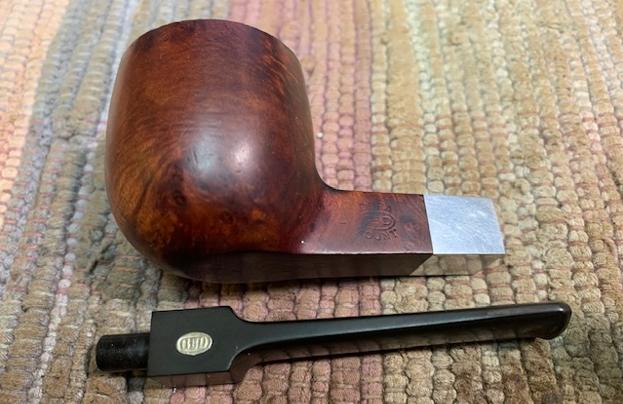
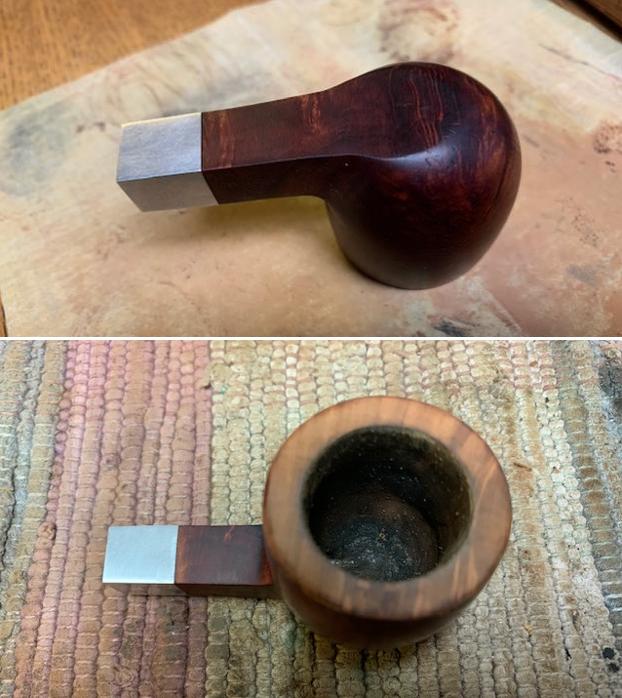
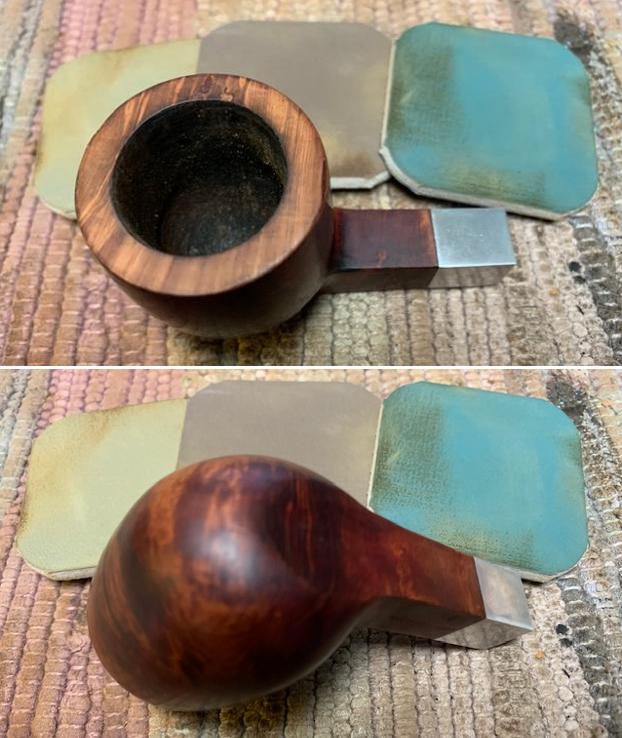
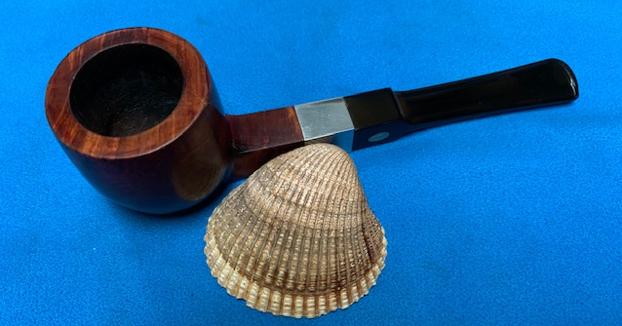
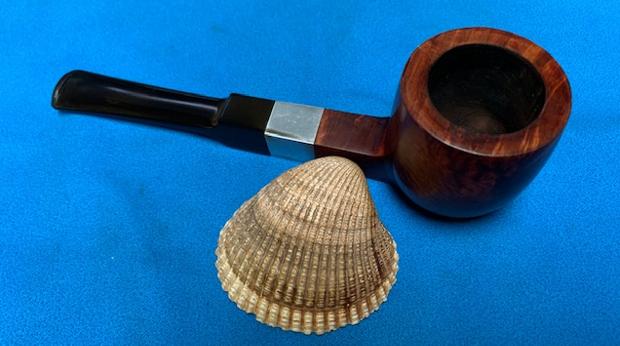
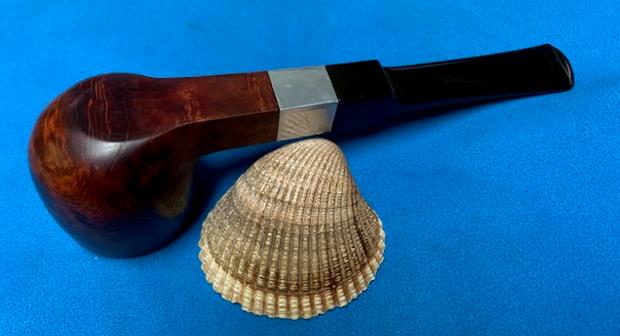
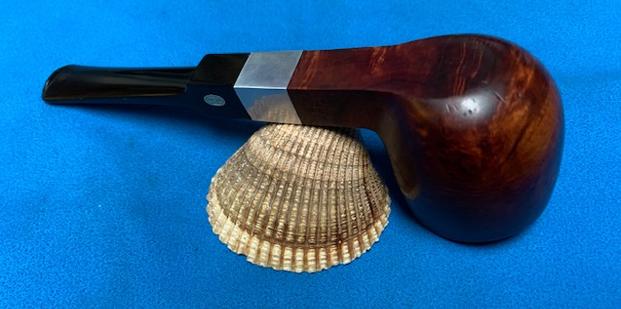
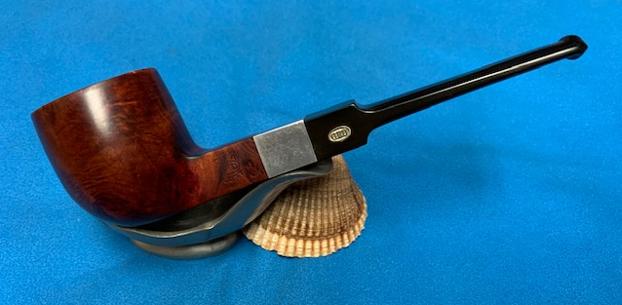
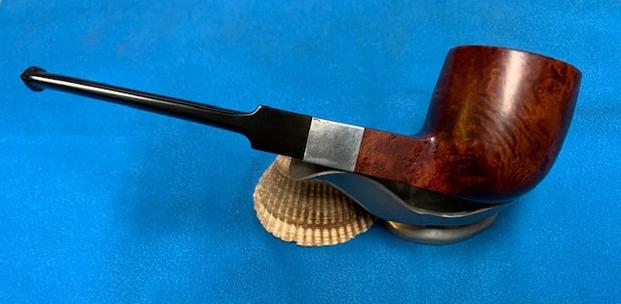
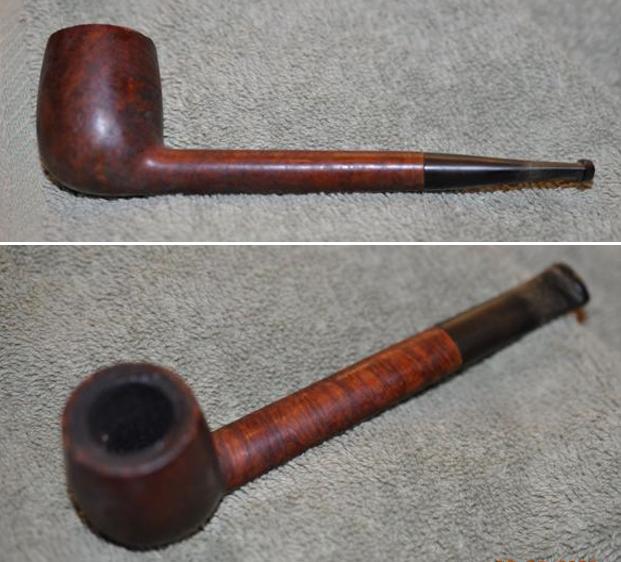
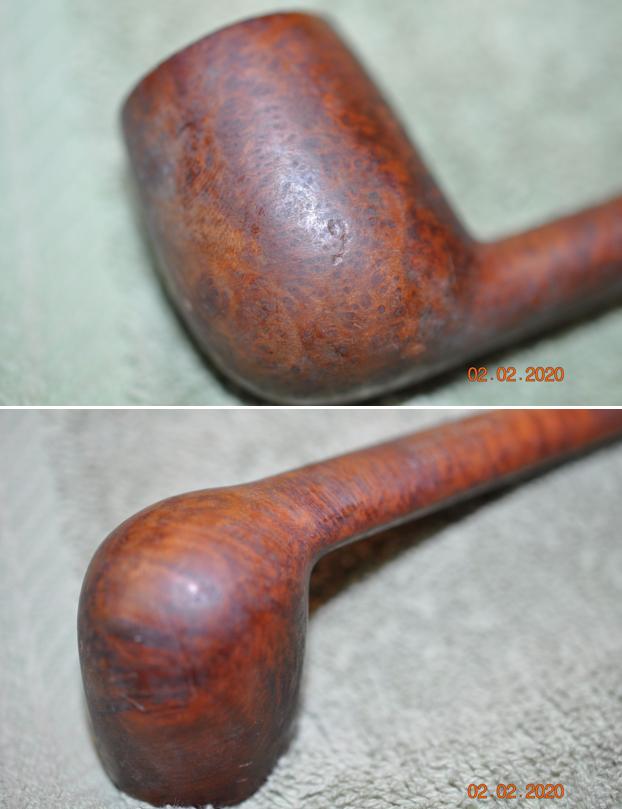
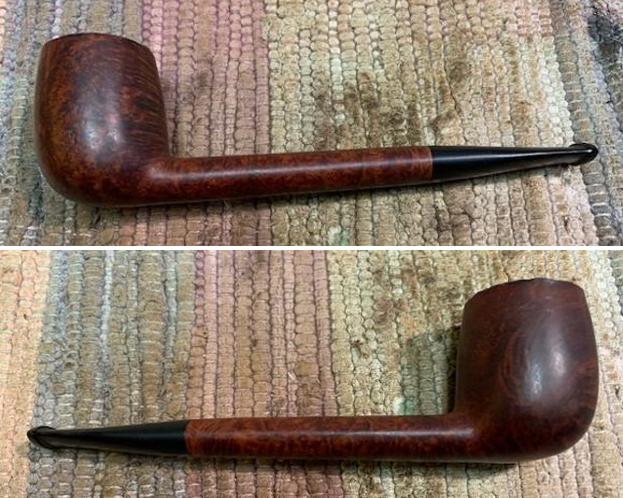
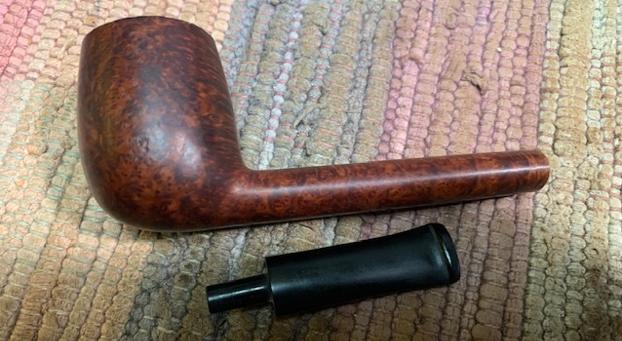
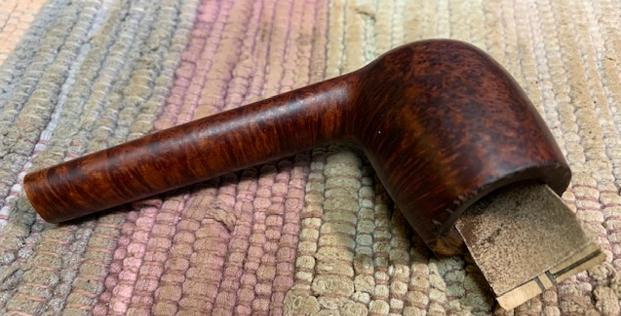
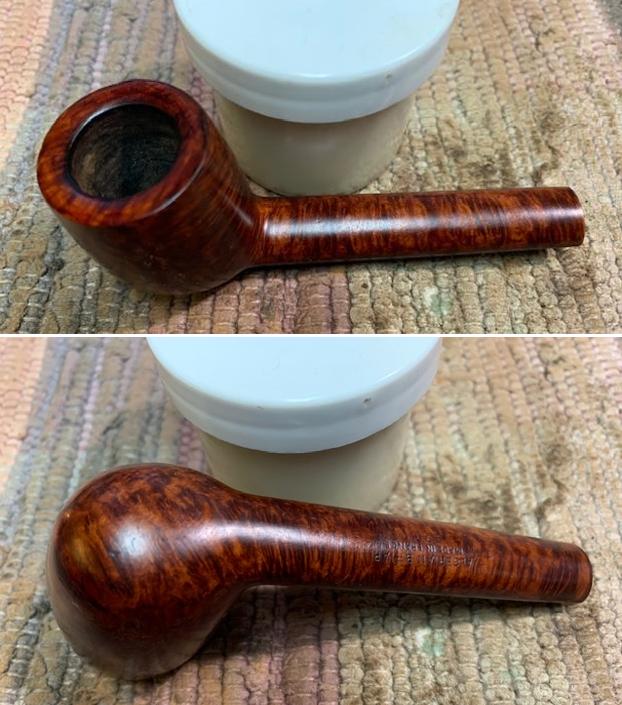
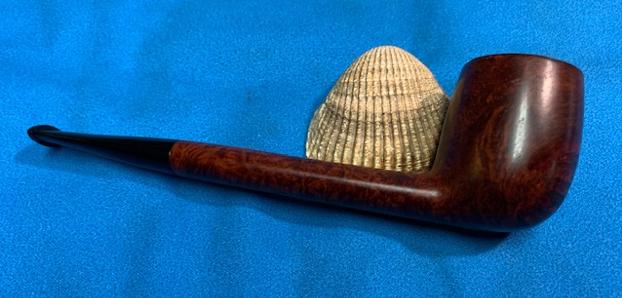
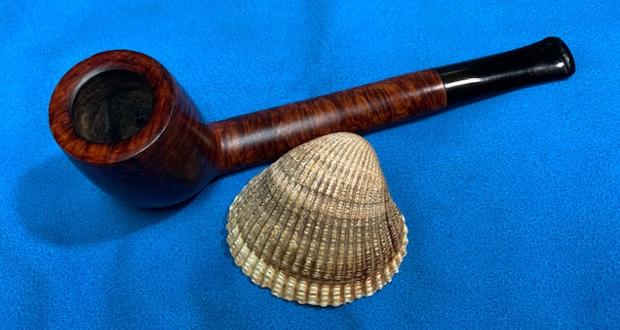
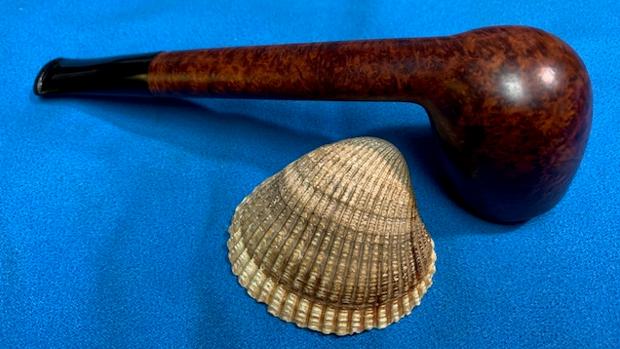
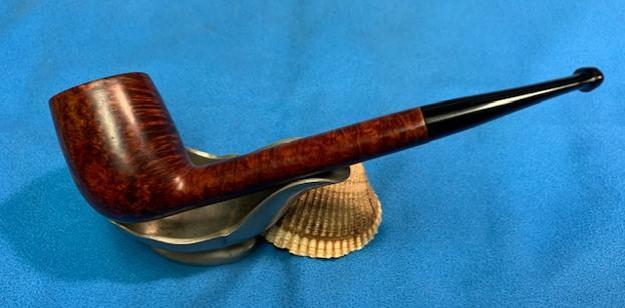
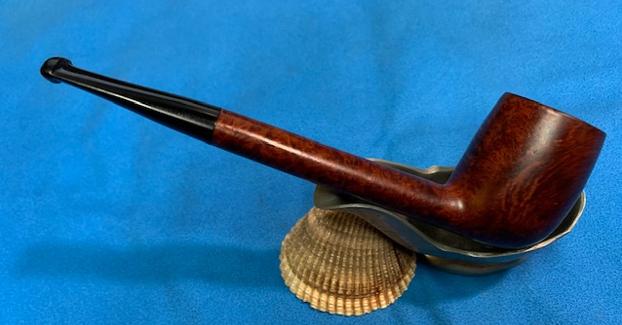
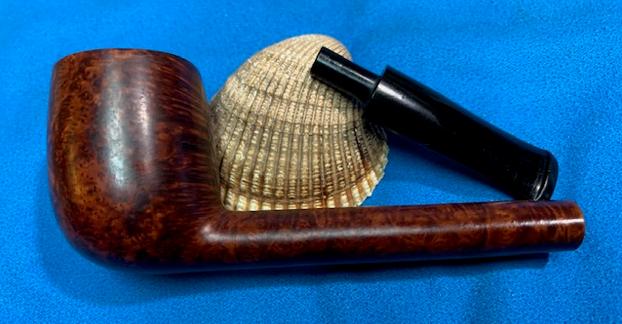
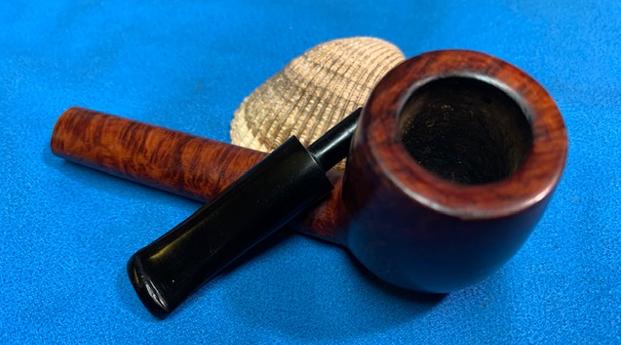
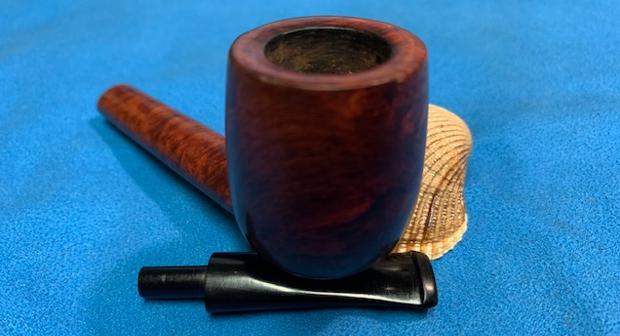
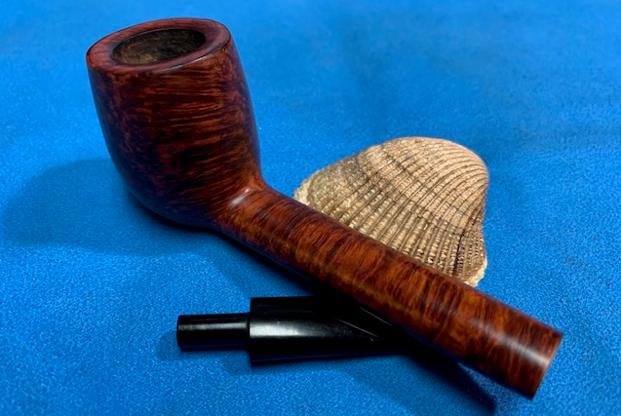
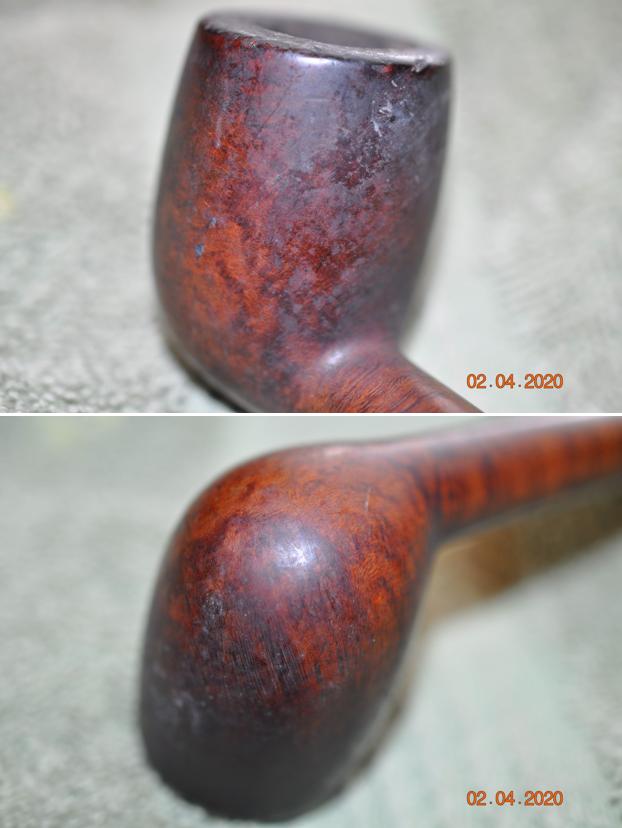
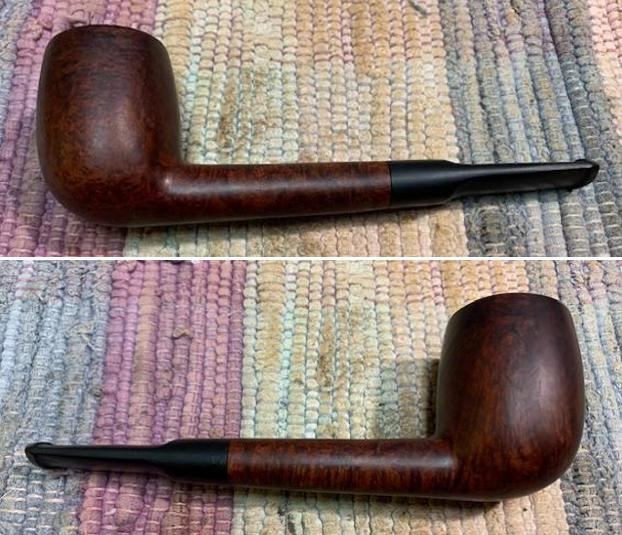
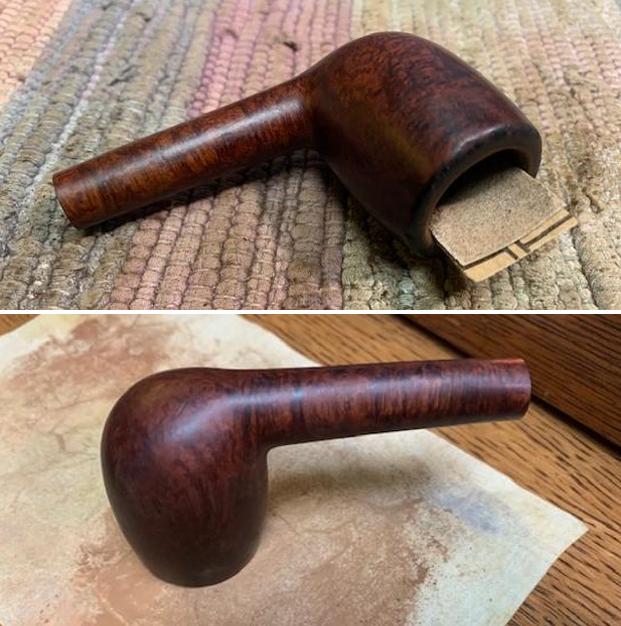
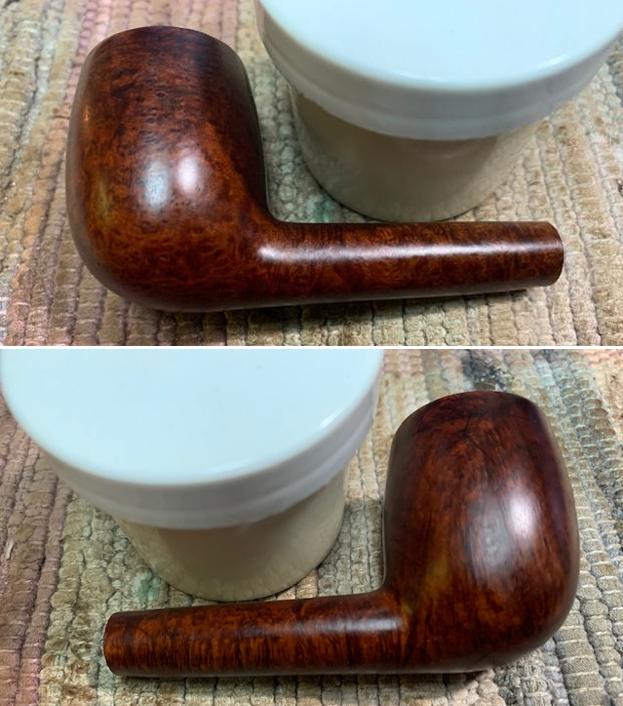
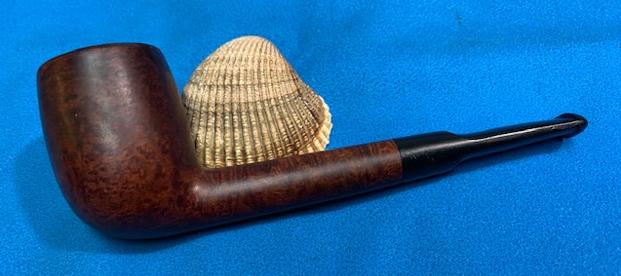
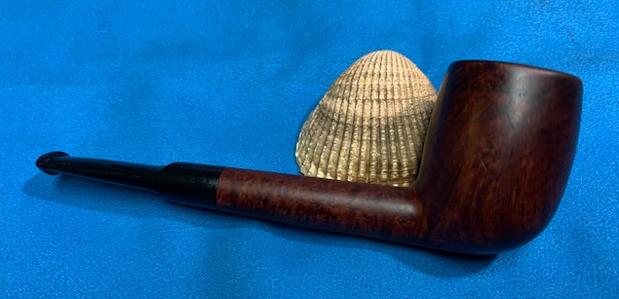
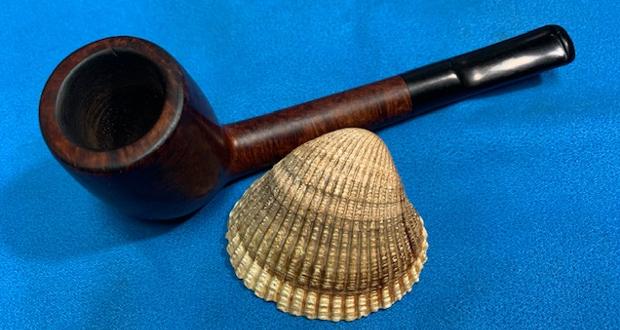
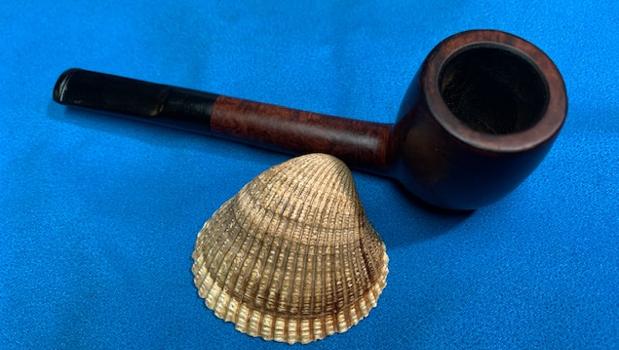
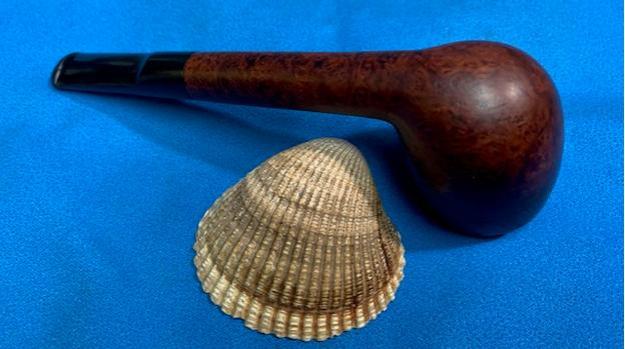
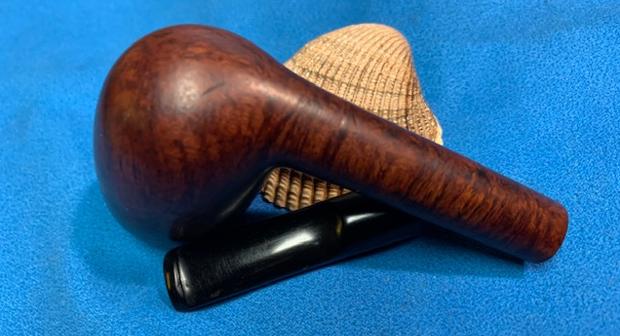
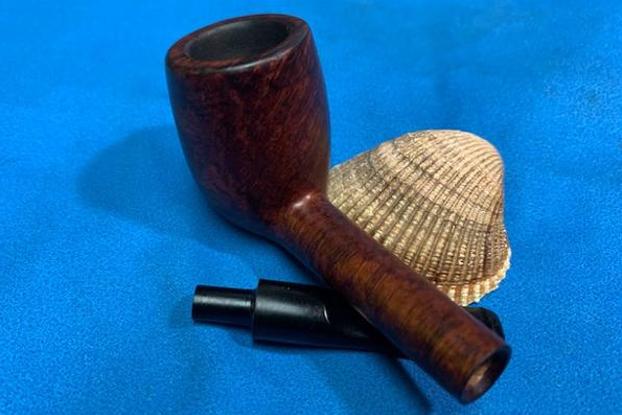
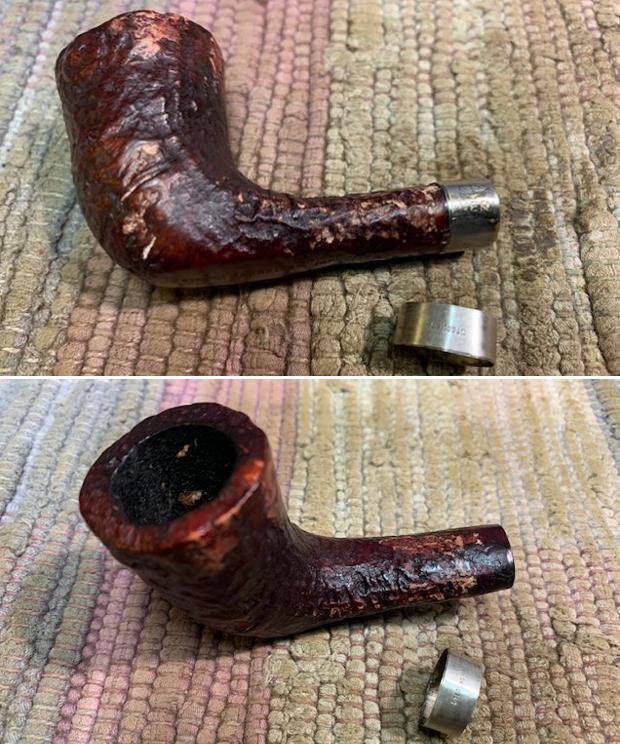
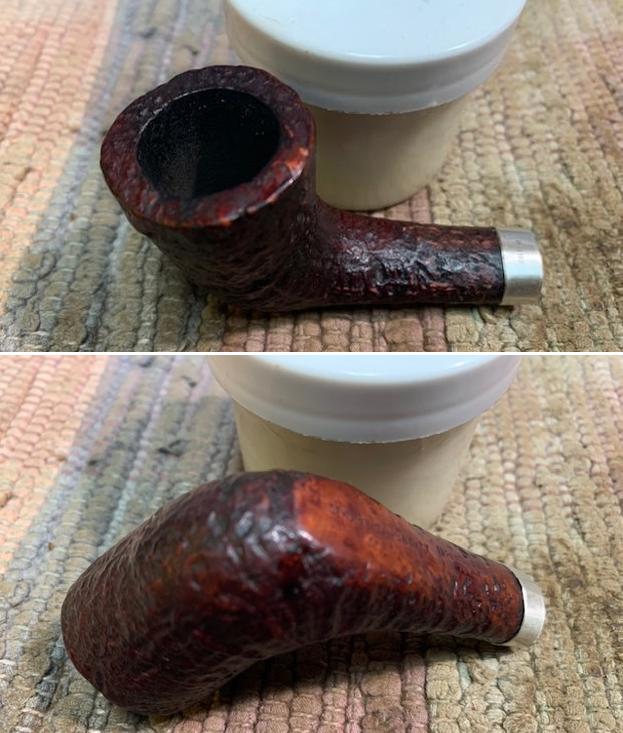
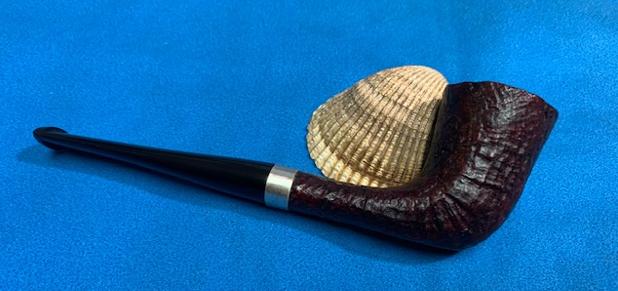
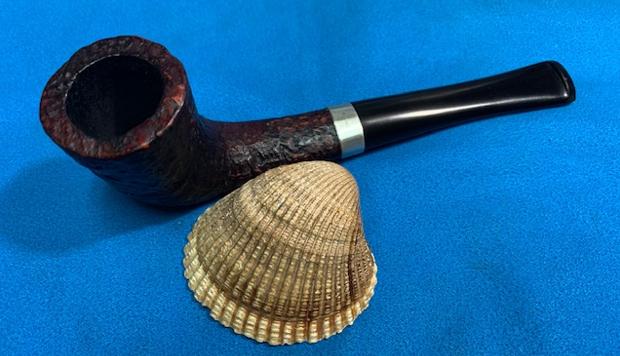
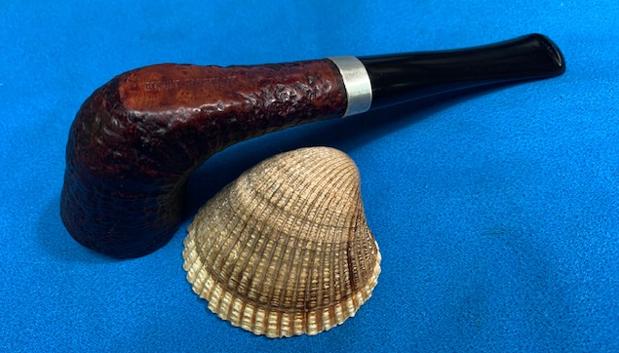
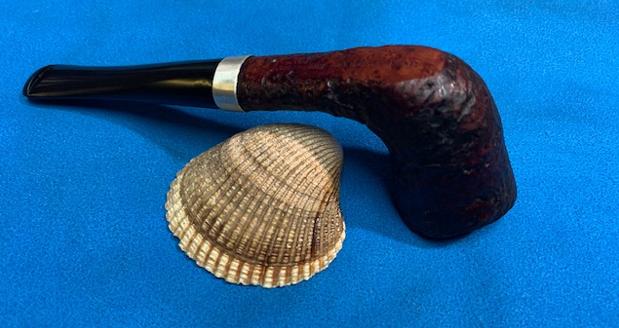
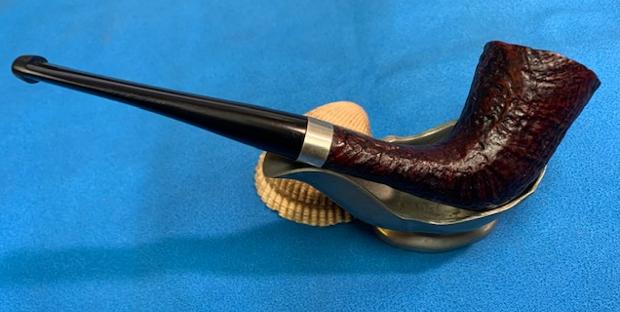
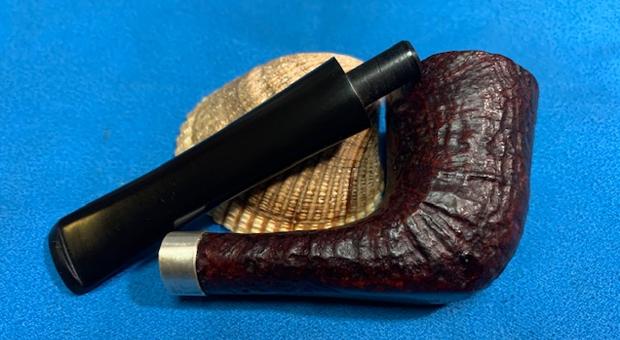
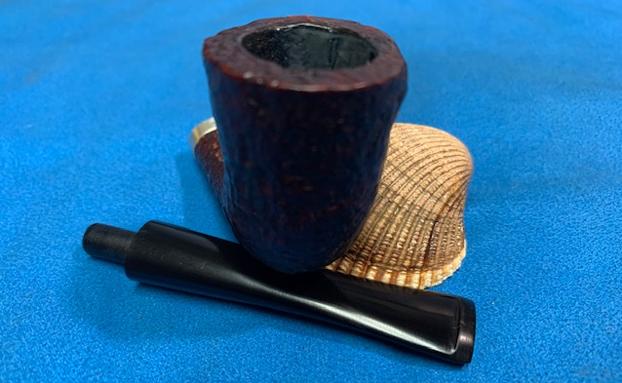
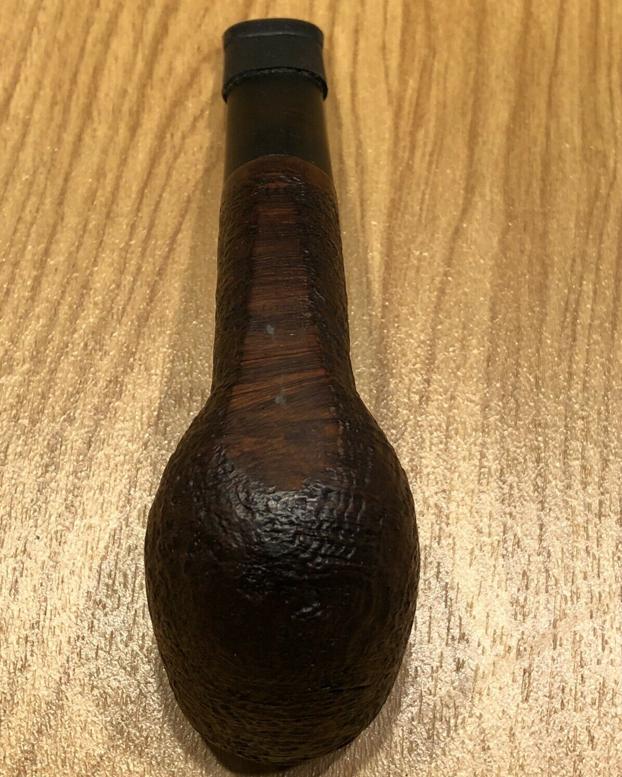
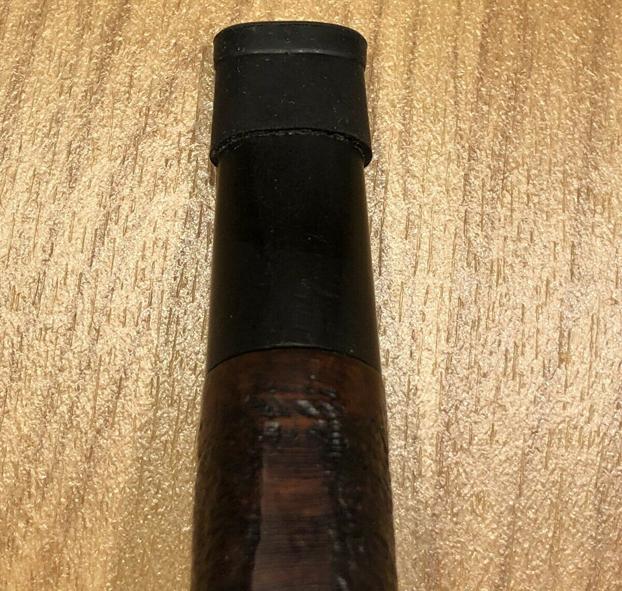
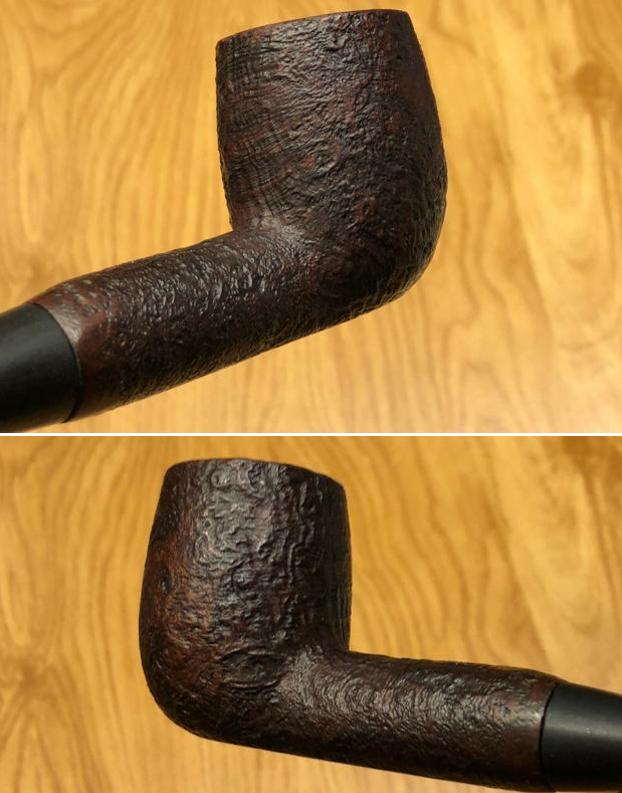
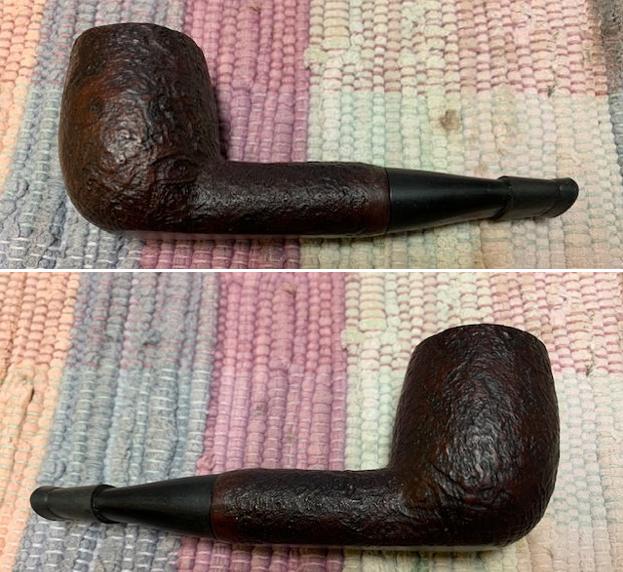
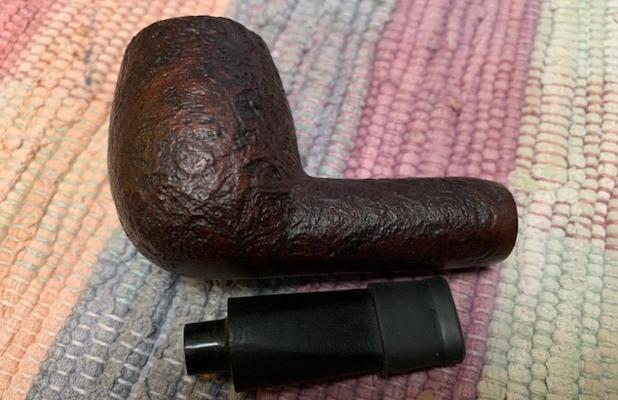
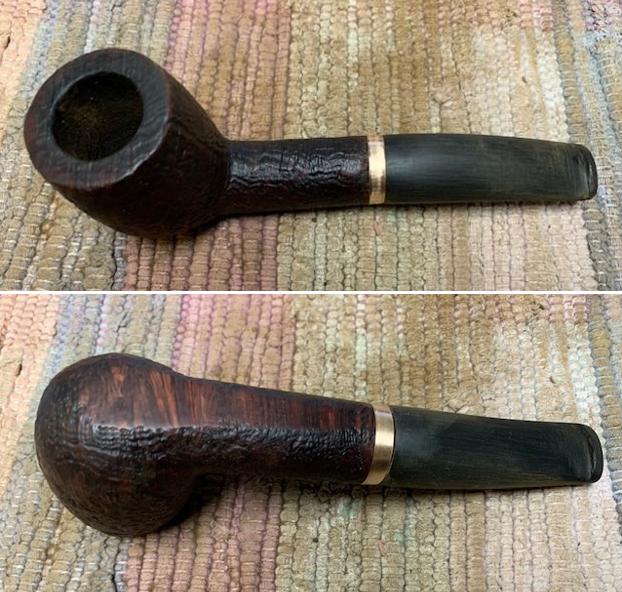
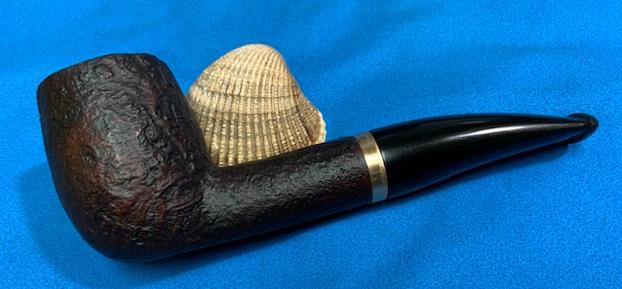
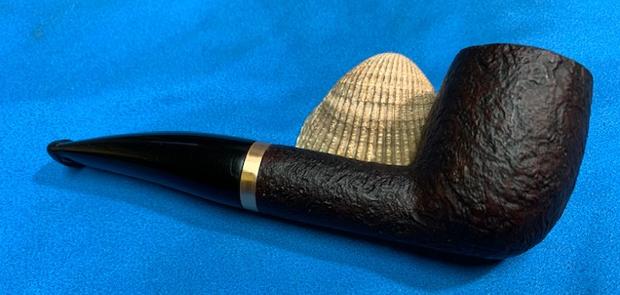
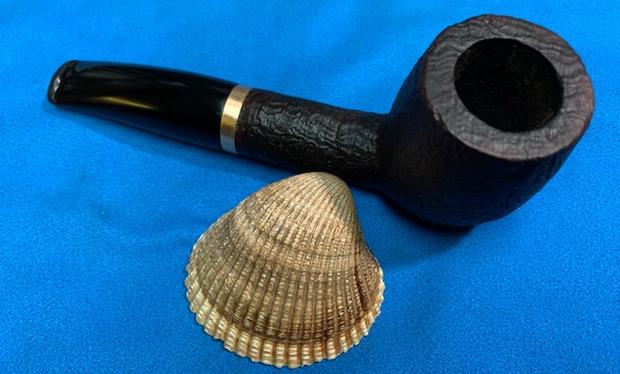
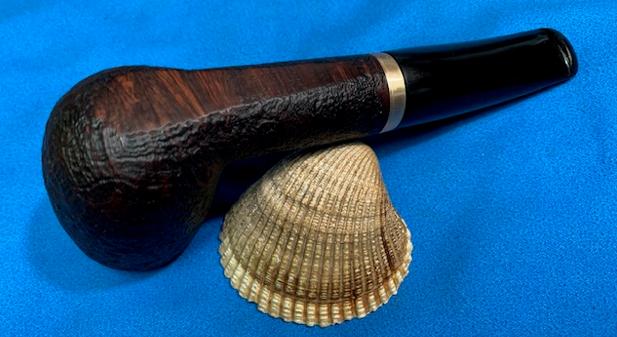
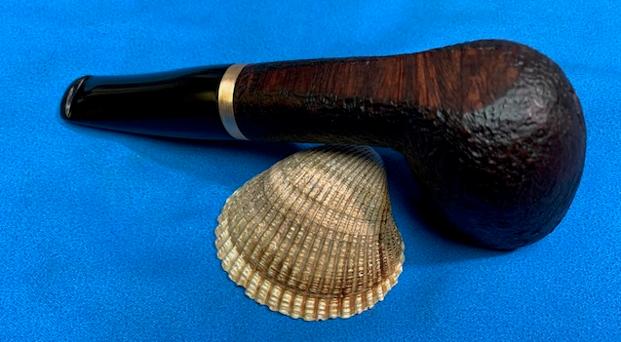
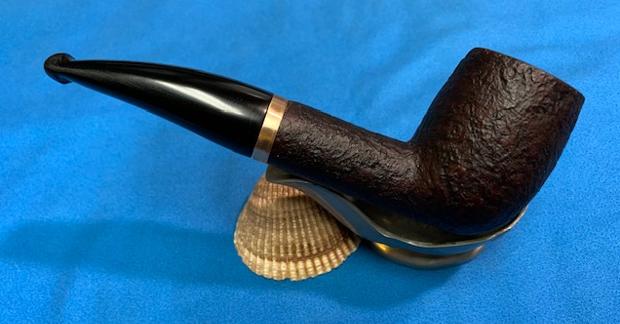
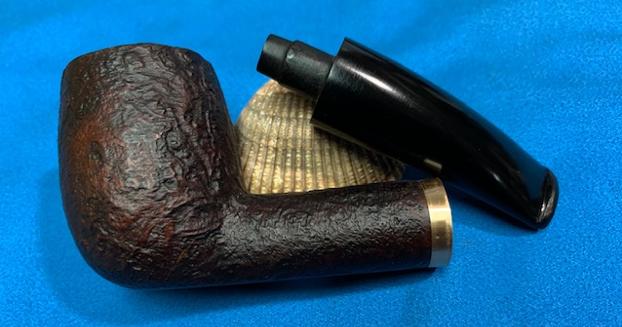
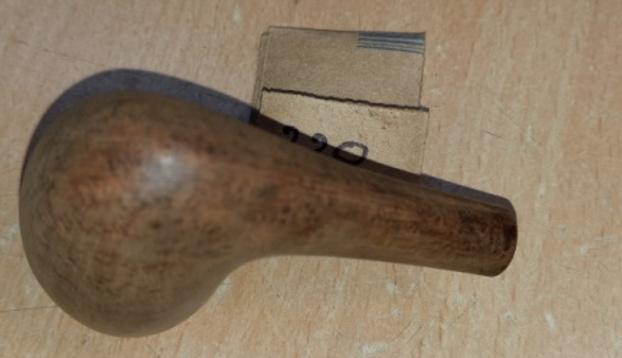
This pipe has a smooth stummel with a natural finish (I guess) that has darkened over a period of time. For a pipe with a length of 5 ½ inches and bowl height of 2 inches and chamber depth of 1 ¾ inches, it’s pretty much ultra light weight, making it a perfect pipe to clench. The vulcanite stem is thin and delicate. The smooth stummel surface displays beautiful cross grains to the front and aft of the bowl while the sides boast of lovely bird’s eye grains. It would need a good TLC to bring these grains to the fore. Here are a few pictures of the pipe that Abha had taken before she did her part of initial cleaning of the pipe.
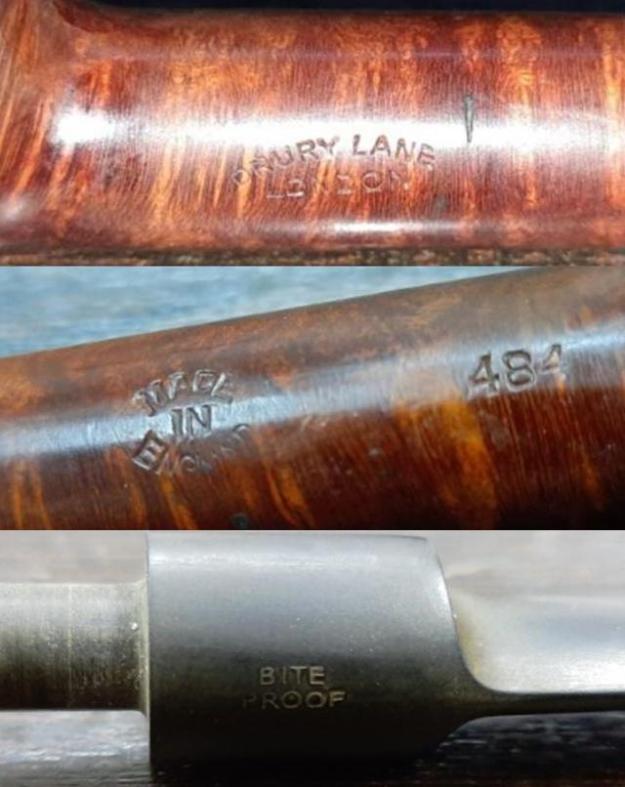
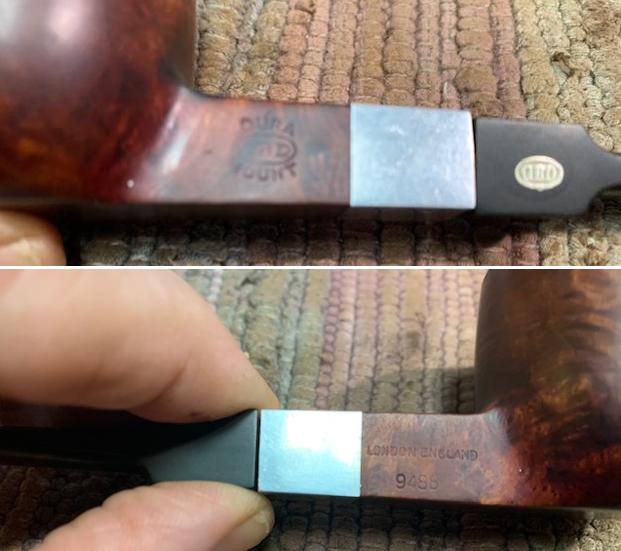
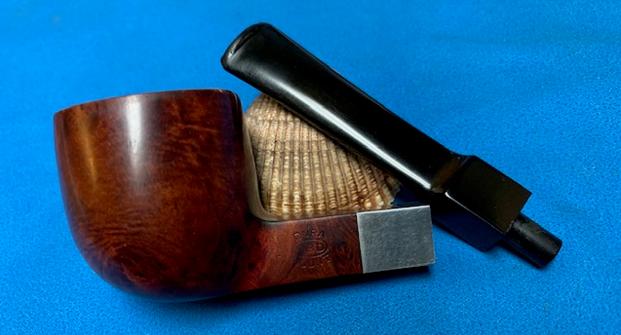
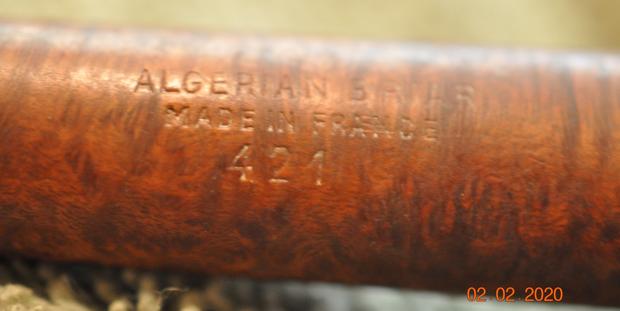
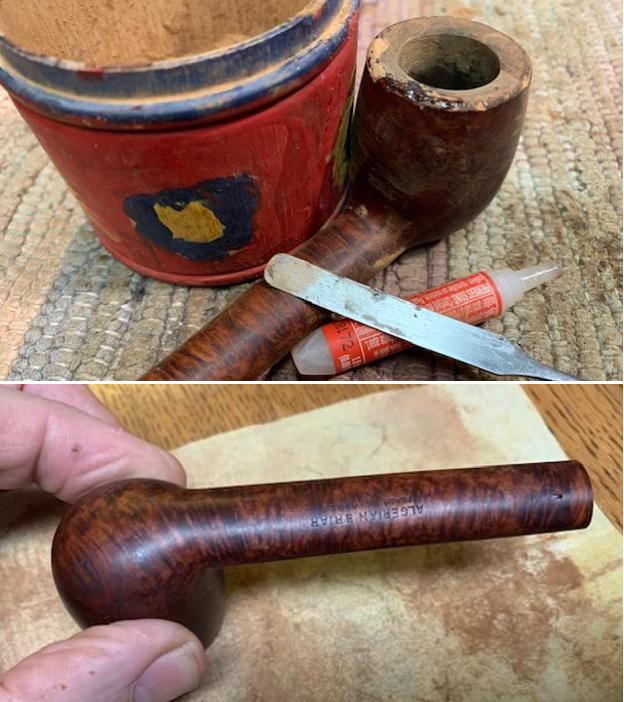
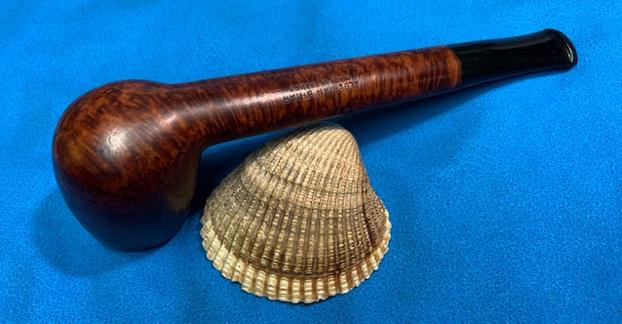
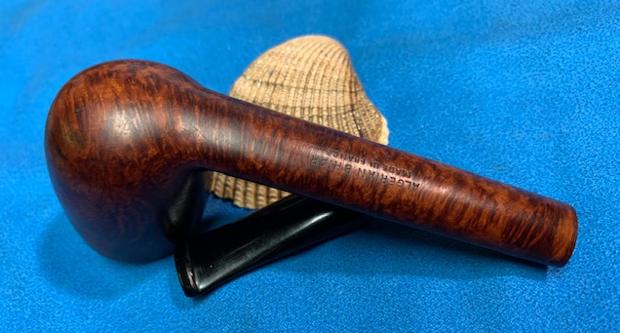
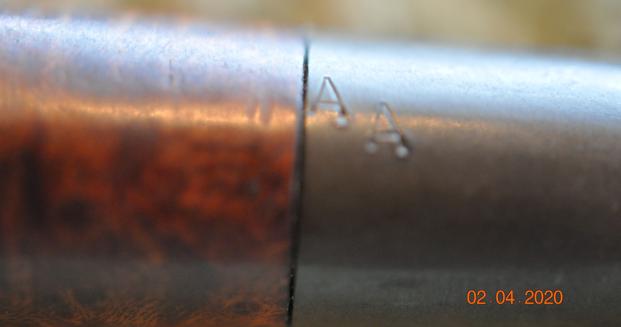
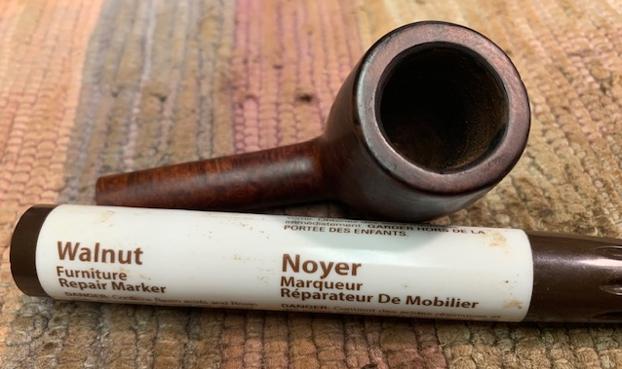
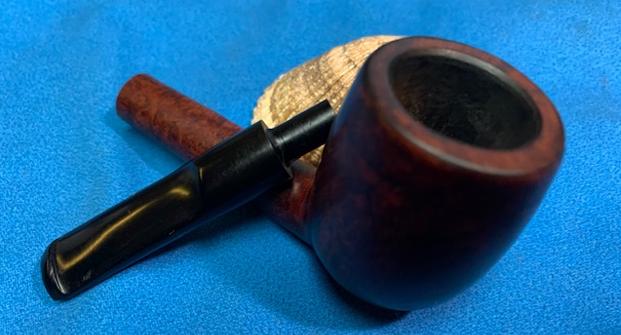
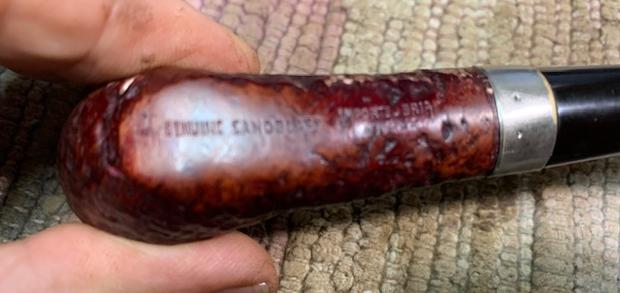
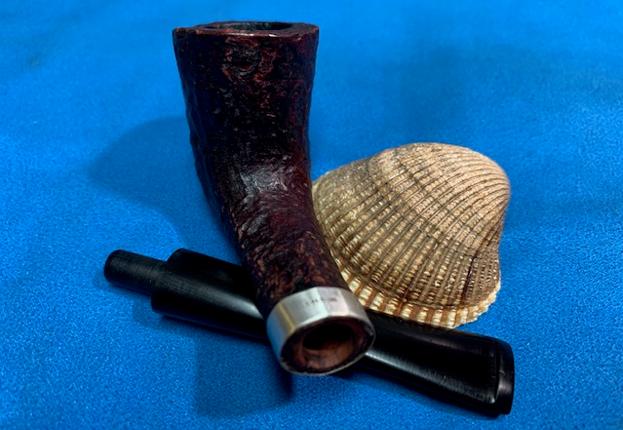
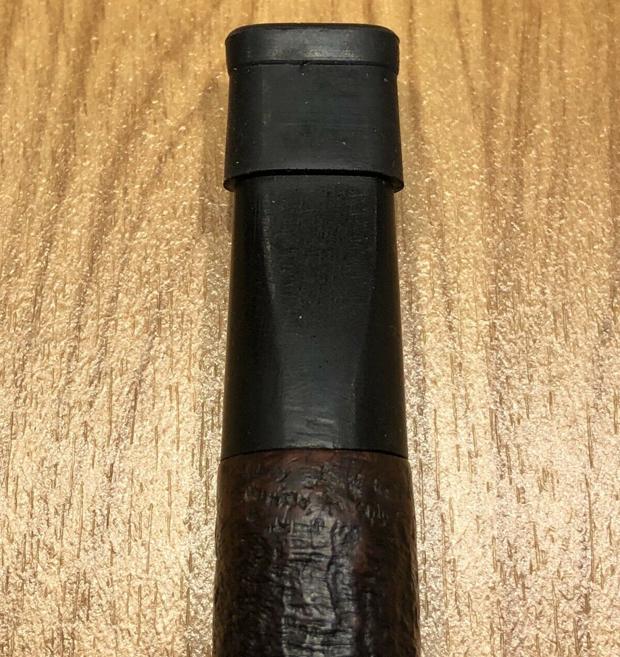
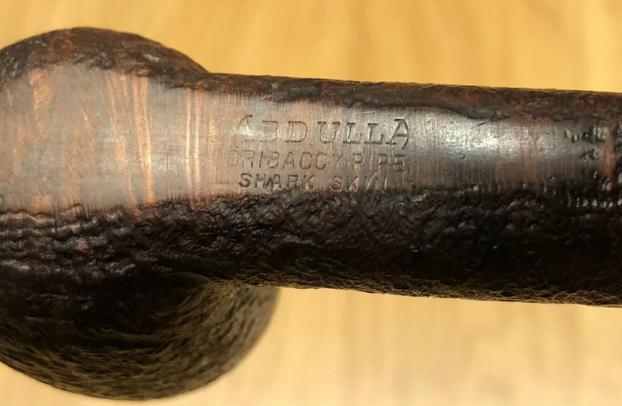
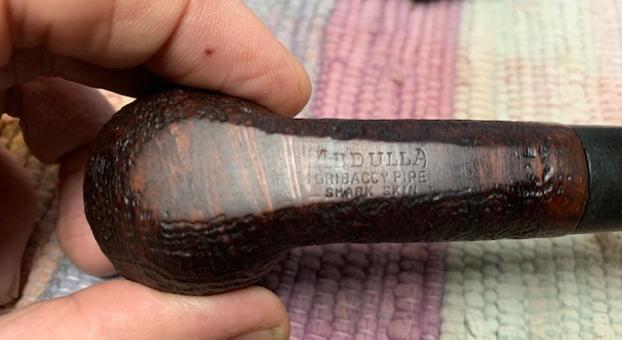
 The pipe is stamped on the left surface of the shank as “Kriswill” in script hand over “CHIEF” over “HANDMADE DENMARK”. The bottom of the shank, at the shank end, is stamped with the shape code “35”. The vulcanite stem bears the stamp “KRISWILL” in script hand over the left surface.
 Last year, I had worked on a unique Kriswill “GOLDEN CLIPPER” that had a stummel shaped like the chimney of early steam locomotive engines. Here is the link for the write up… Restoring a Kriswill “Golden Clipper” Freehand Chimney | rebornpipes. I am sure you will find it an interesting read.
I had researched the brand at that time and I went through the above write up and also through the material that was available on pipedia.org and pipephil.eu. There are three facts which I wish to highlight:-
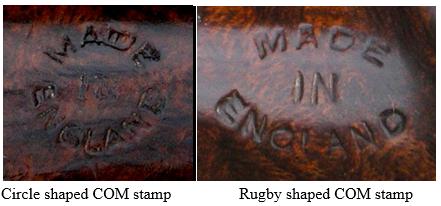
Firstly, “Prior to 1970 the stampings are in script letters on the shank and on the mouthpiece. The star on the stem and block letters on the shank were introduced from that date on”
Secondly, the stem stamping changed to “stylized compass rose” prior to 1969 and not 1970 as evidenced from the Kriswill Pipe catalog pages of January 1969 (https://pipedia.org/images/5/5f/KriswillCatalog-Jan1969.pdf)
Thirdly, there is no mention of this shape code # 35 in the “CHIEF” line up in the 1969 and 1970 catalogs further implying that this shape code was discontinued after 1969,of course this is assuming that the complete catalog is made available at the above given link.
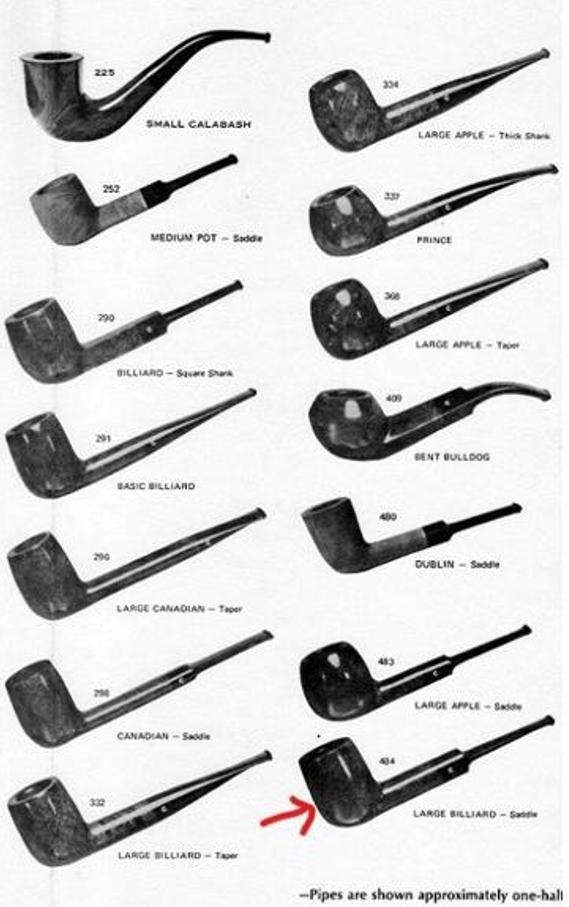
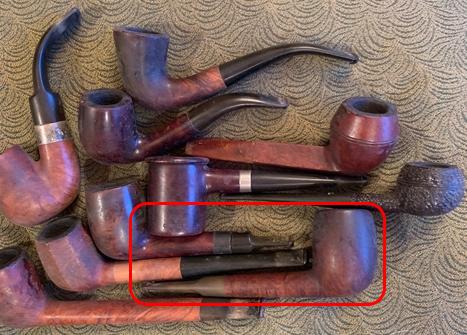
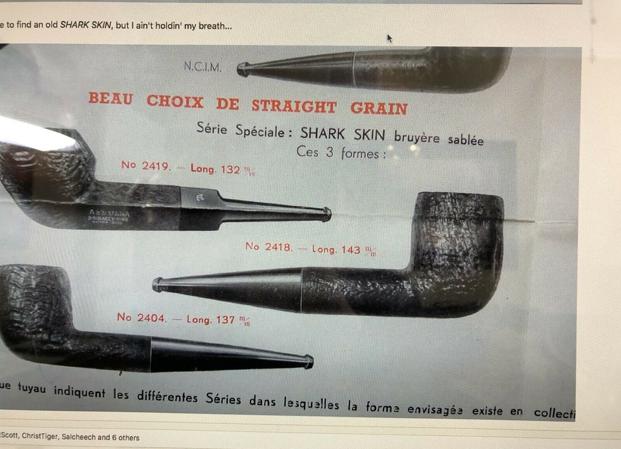
On pipedia.org, I came across an early catalog which does have a shape code # 35 pipe that is currently on my work table and is indicated with a red arrow. It’s a Nature finished pipe in brown color as indicated by the shape code. Thus from the above, the pipe that I am now working on definitely pre-dates to 1970s since the stamping is in script and the stem is sans the star and probably even prior to 1969.
With the provenance of the pipe satisfactorily established, I proceeded to carry out a visual inspection of the condition of the pipe in my hand. This helps me map the road to restoring the pipe by identifying the issues involved and identify methods/ options to address the same beforehand.
Initial Visual Inspection
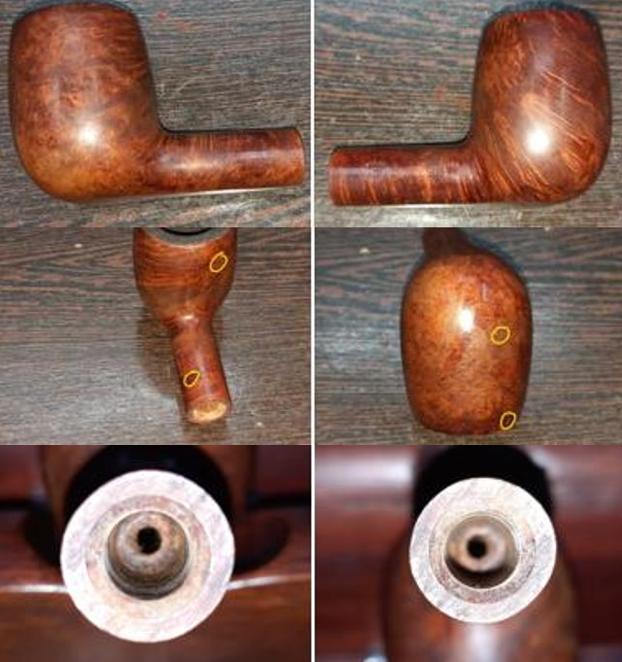
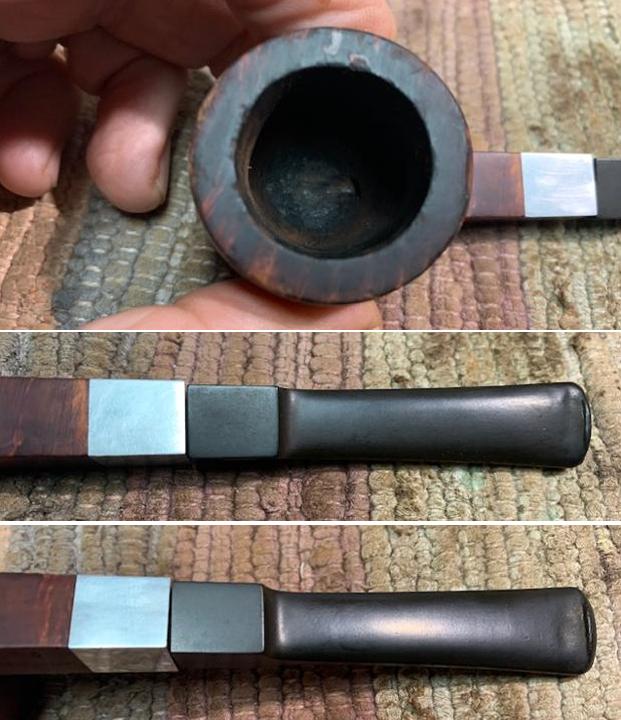
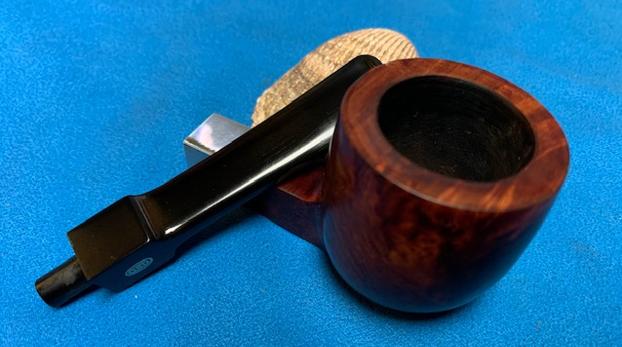
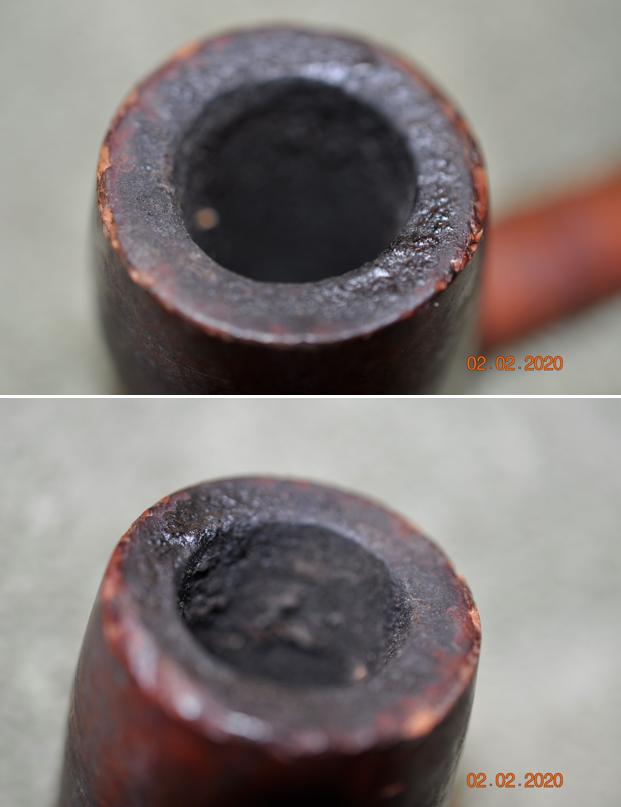
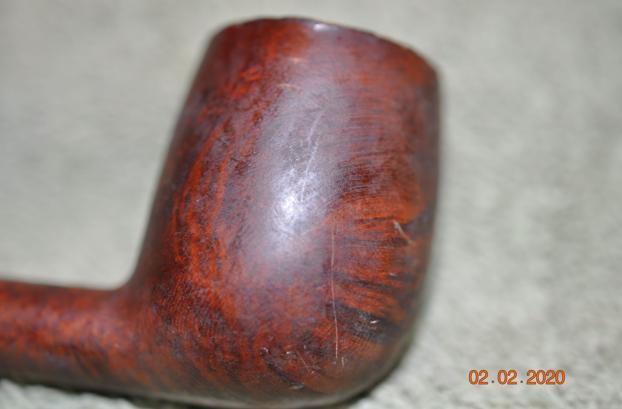
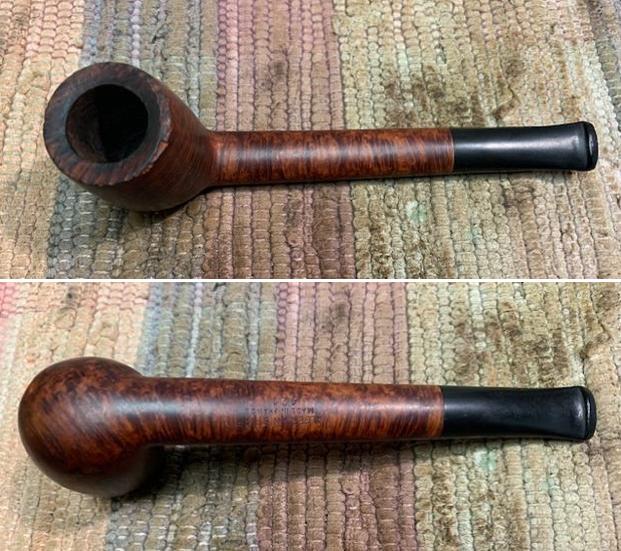
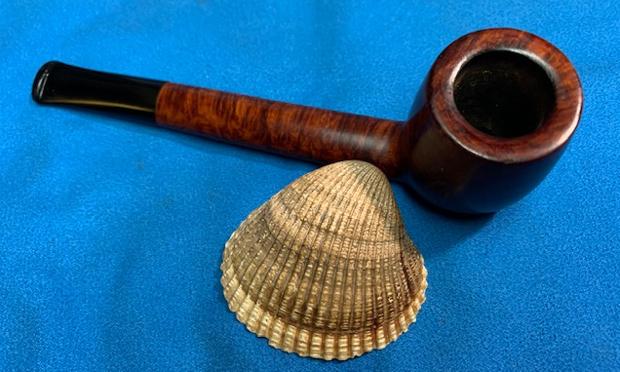
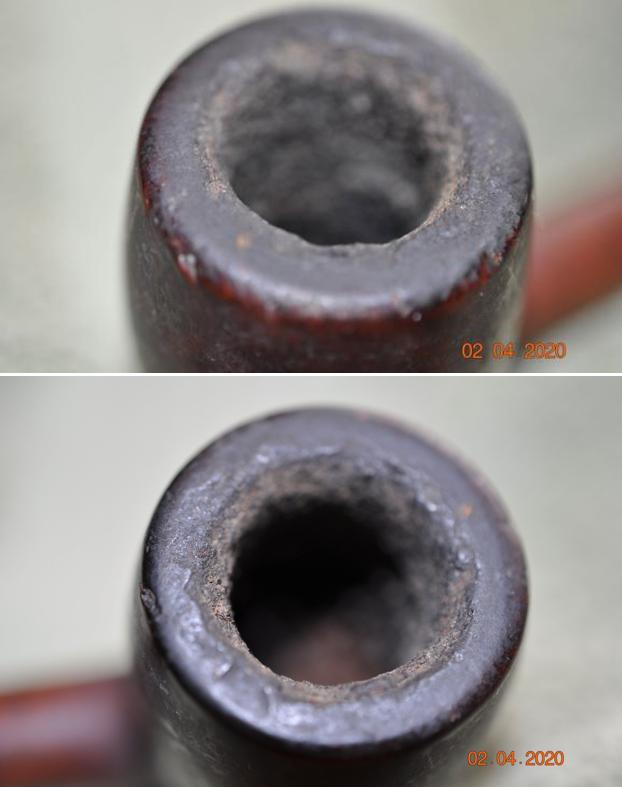
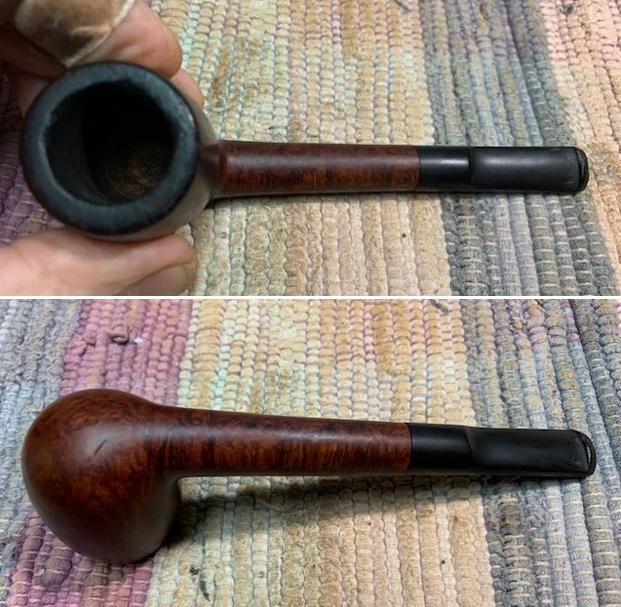
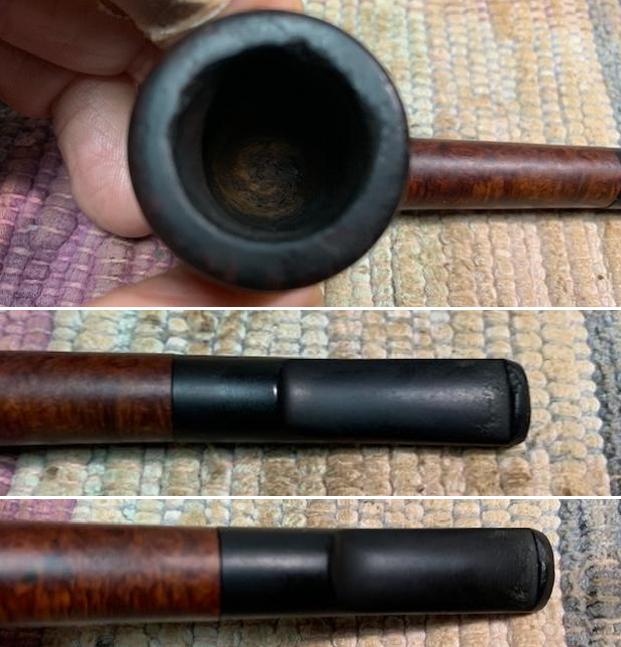
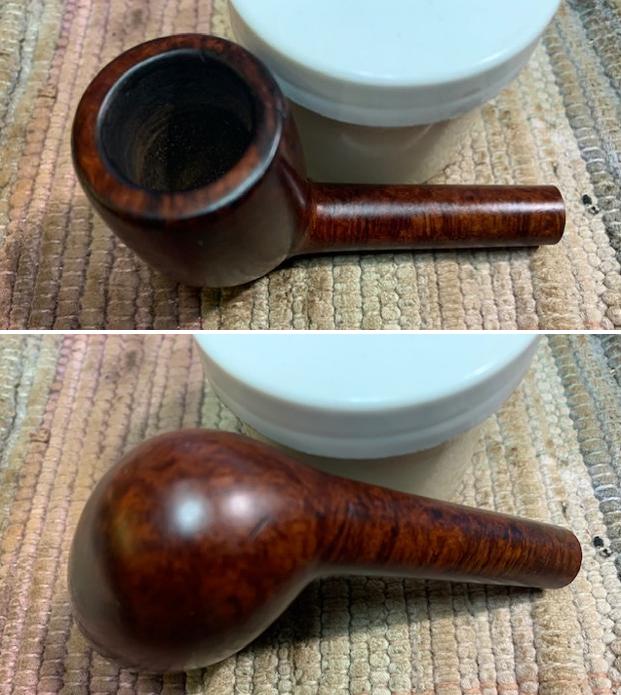
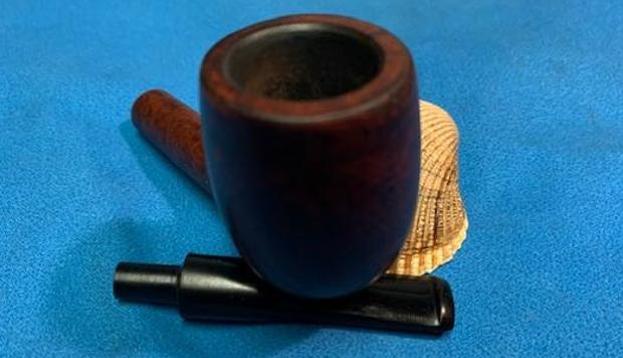
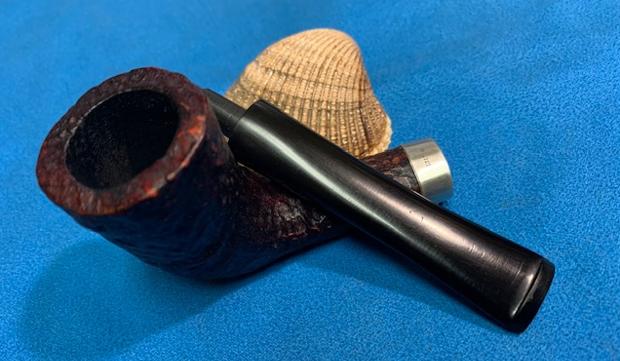
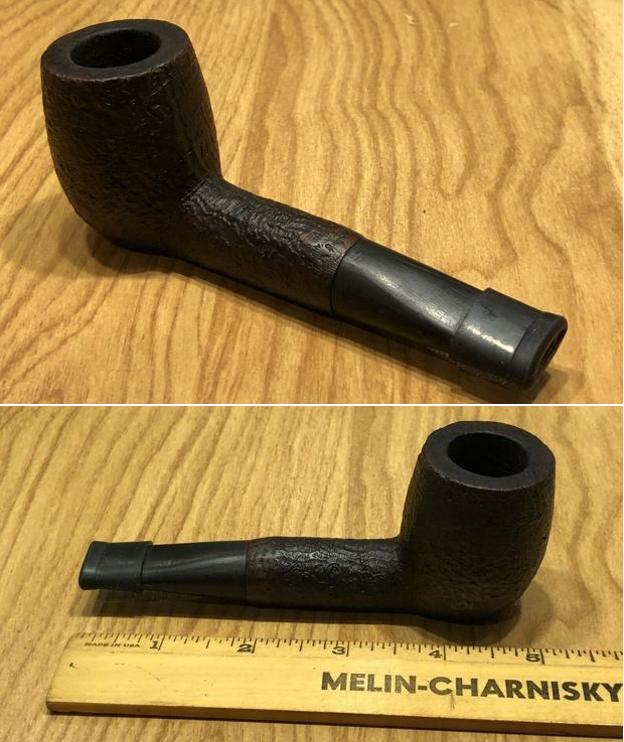
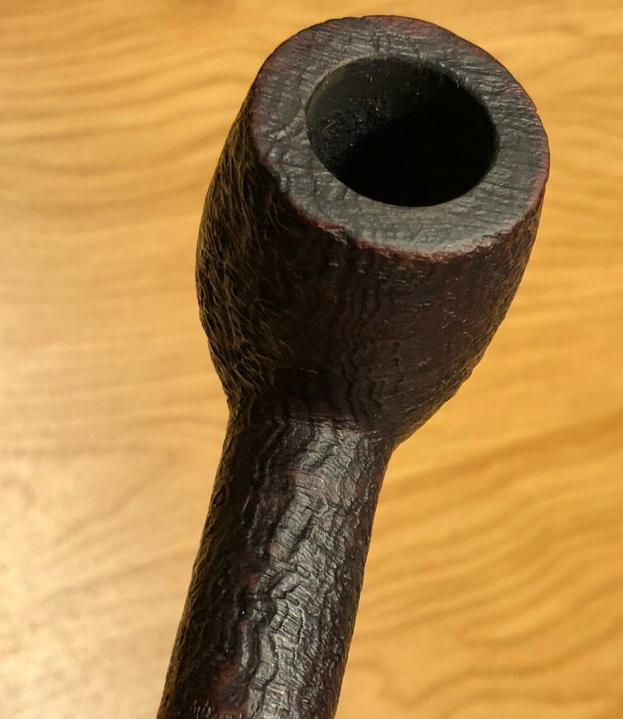
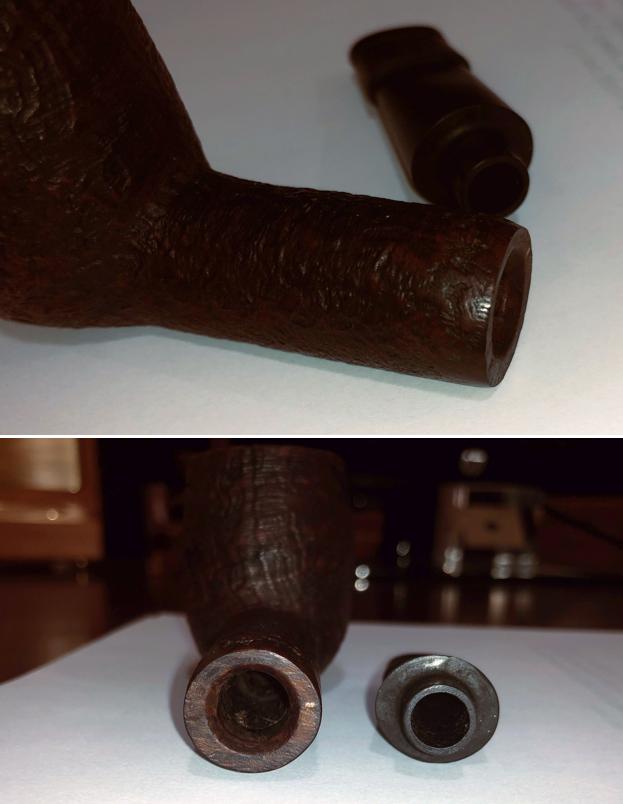
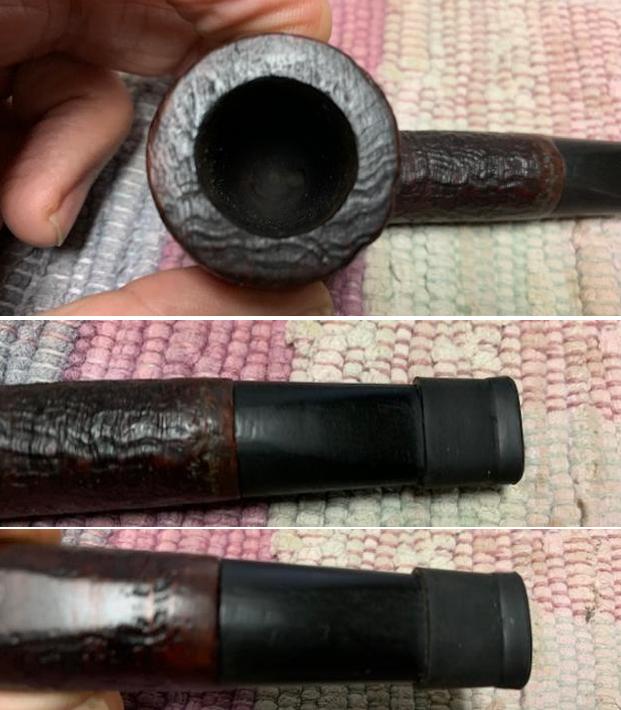
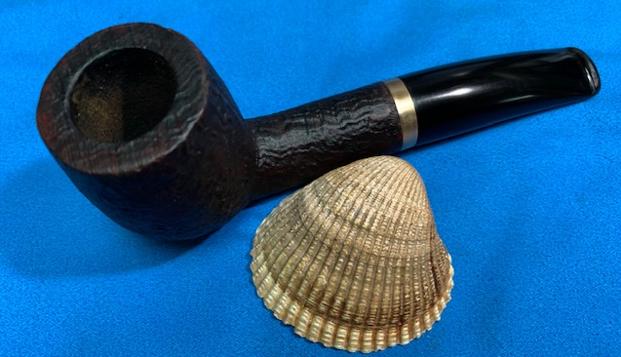
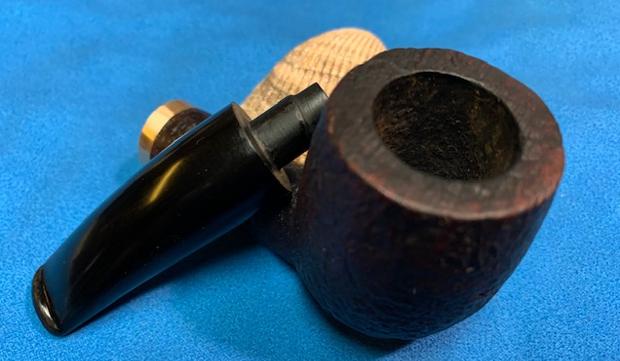
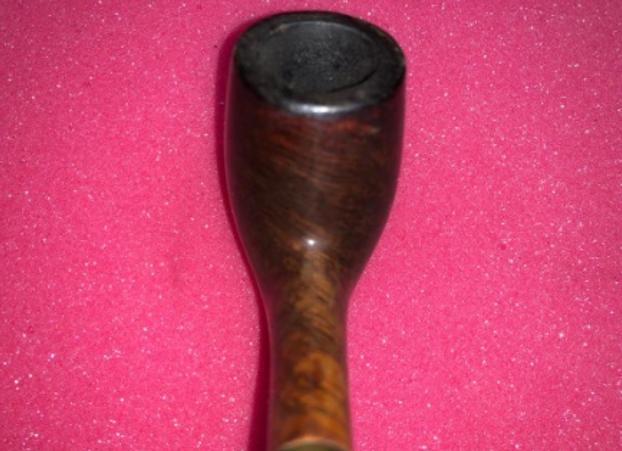
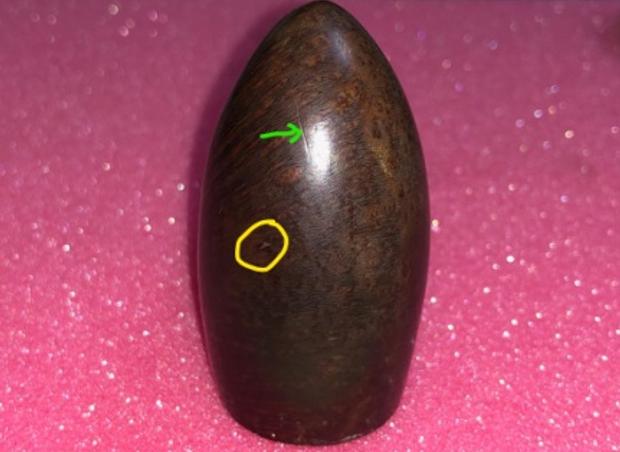
The chamber is so filled with cake that I am unable to reach the bottom of the bowl with my little finger. The build-up of the cake is heavier on the bottom half of the bowl, but overall well maintained. The condition of the inner walls of the chamber can be commented upon only after the cake has been taken down to the bare briar. The rim top appears darkened and is covered with dust, lava and grime. The inner rim edge is uneven under the lava overflow and the exact condition will be ascertained once the rim top has been cleaned. The chamber odors are not very strong and should be completely eliminated once the cake has been removed and the shank has been thoroughly cleaned. The stummel surface appears dull and lackluster due to the accumulated dirt, dust and grime of years of usage and subsequent uncared for storage. One minor nick (encircled in yellow) and a scratch (indicated with green arrow) is seen over the front of the stummel surface. The mortise is clogged with oils and tars. This should be an easy clean up job.
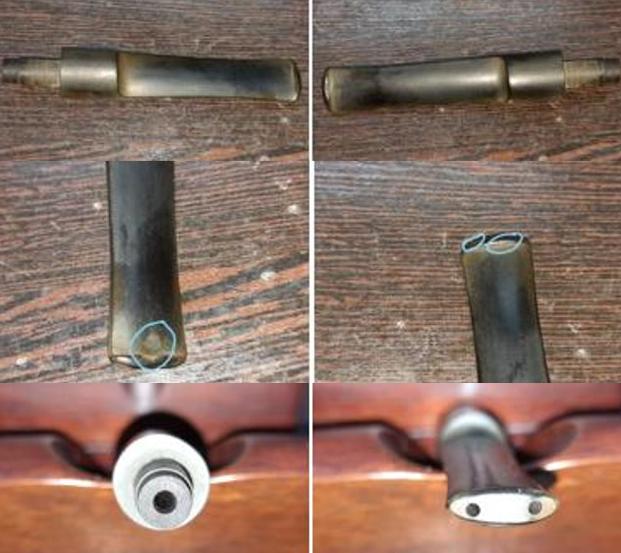
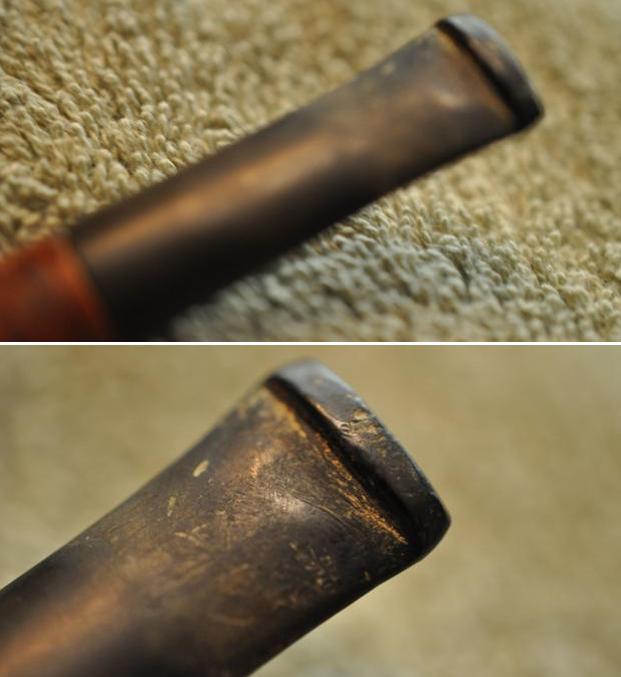
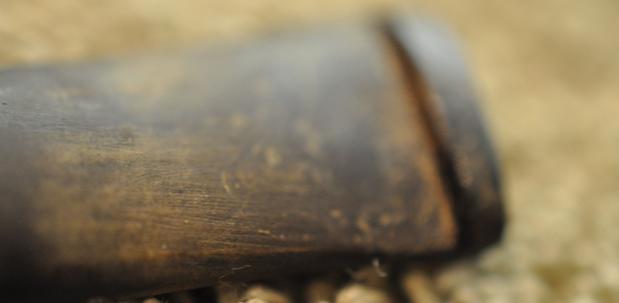
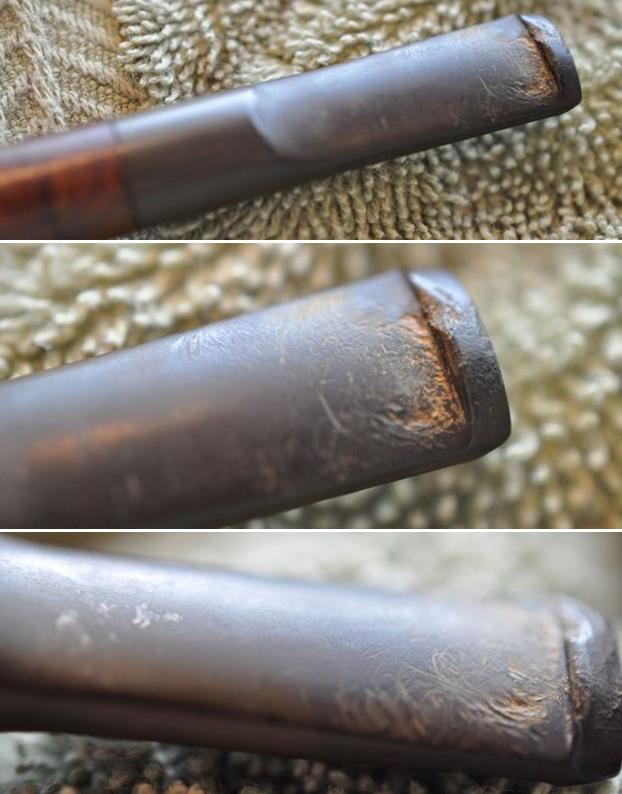
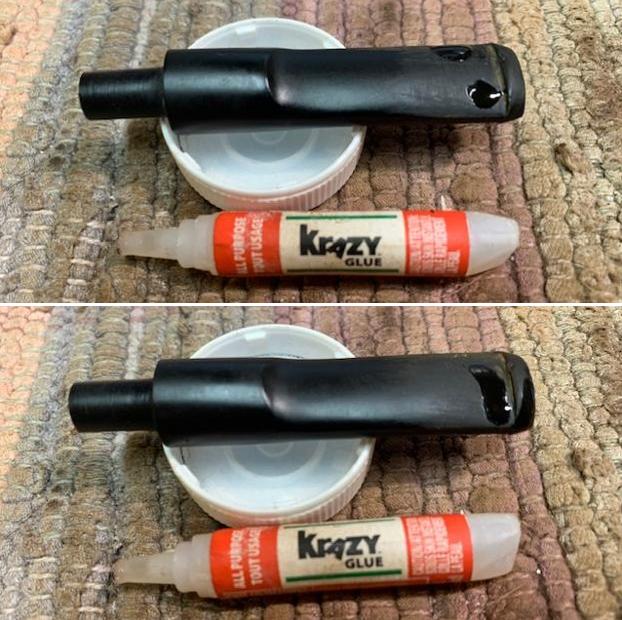
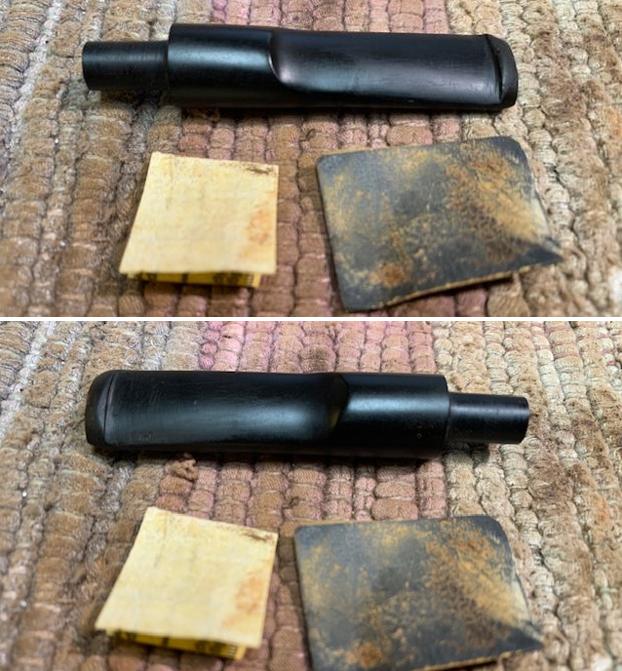
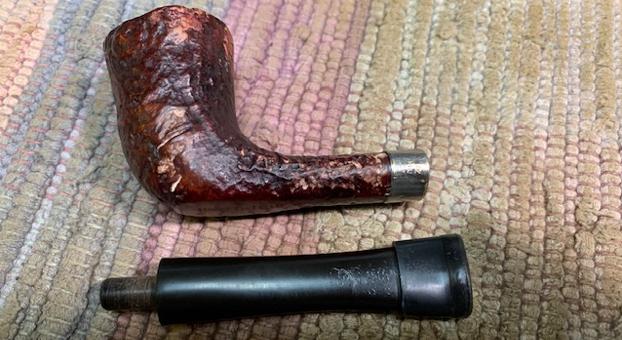
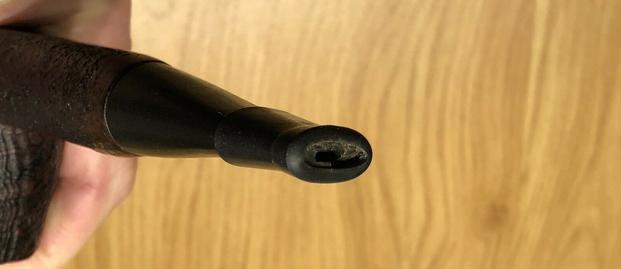
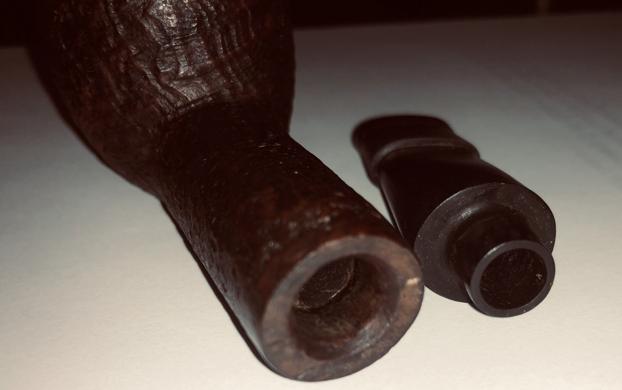
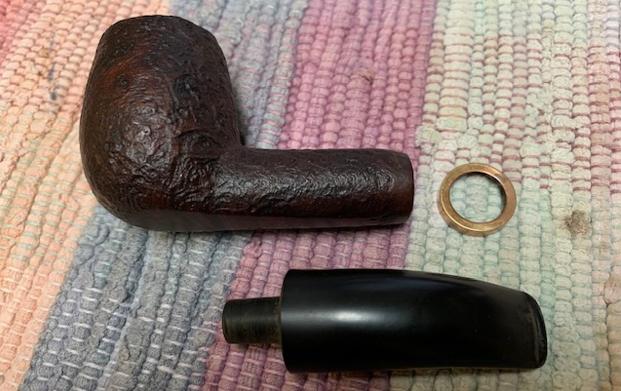
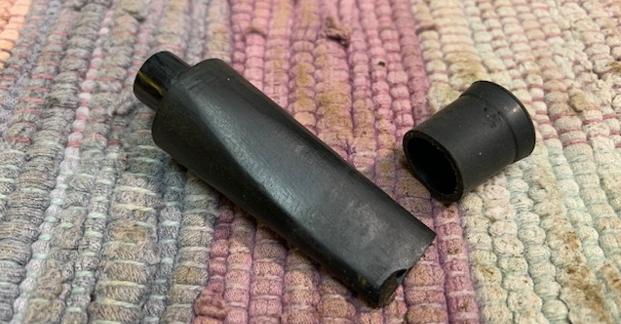
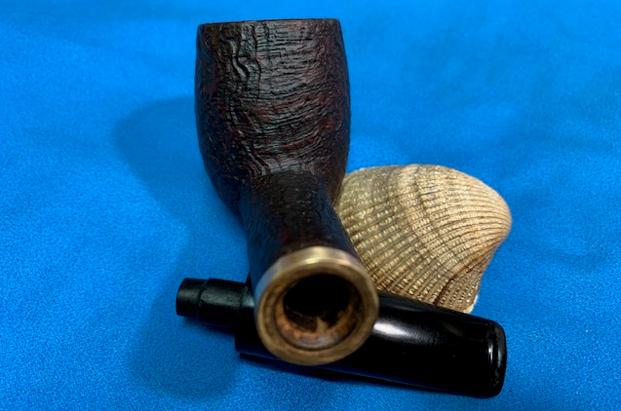
 The vulcanite stem is heavily oxidized. The button has some bite marks on both surfaces and will need to be rebuilt and reshaped. There is minor tooth chatter in the bite zone on both the surfaces. The airway in the stem is blocked resulting in a restricted draw and will need to be cleaned. The tenon and the horizontal slot show accumulation of dried oils, tars and gunk on the inside as well as on the outside. This will have to be cleaned. The aluminum inner tube is covered in dried oils and tars. I shall clean it and keep it aside in my box with other inner tubes and stingers as I never use them with my pipes.
 Initial Cleaning By Abha…
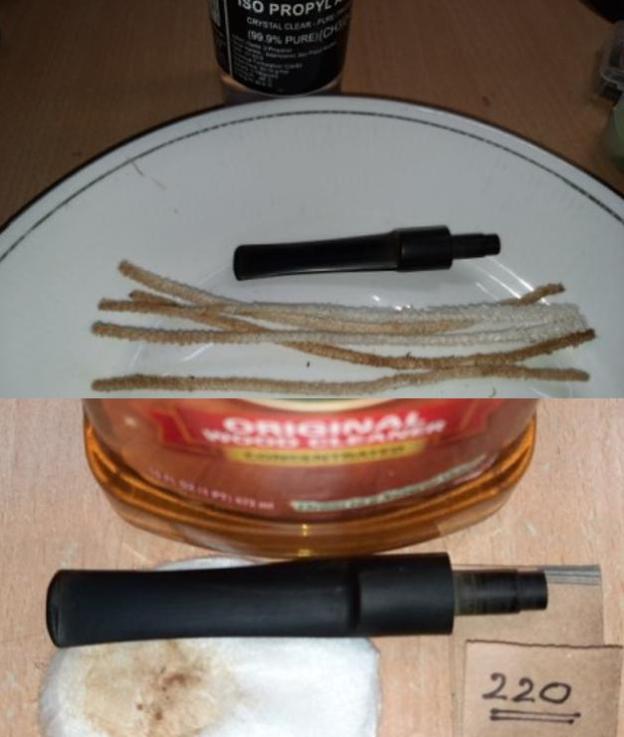
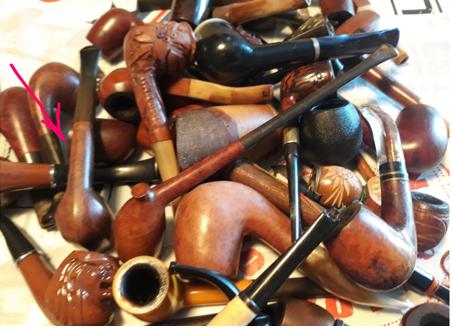
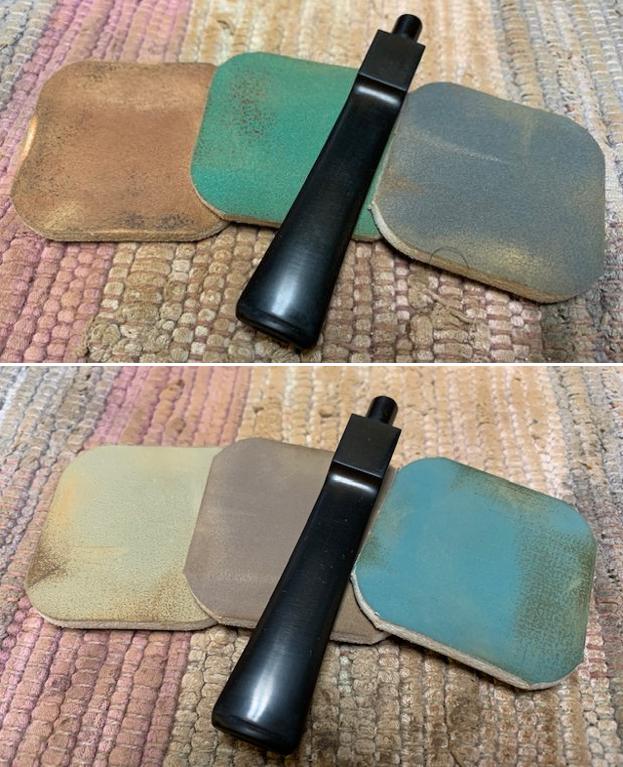
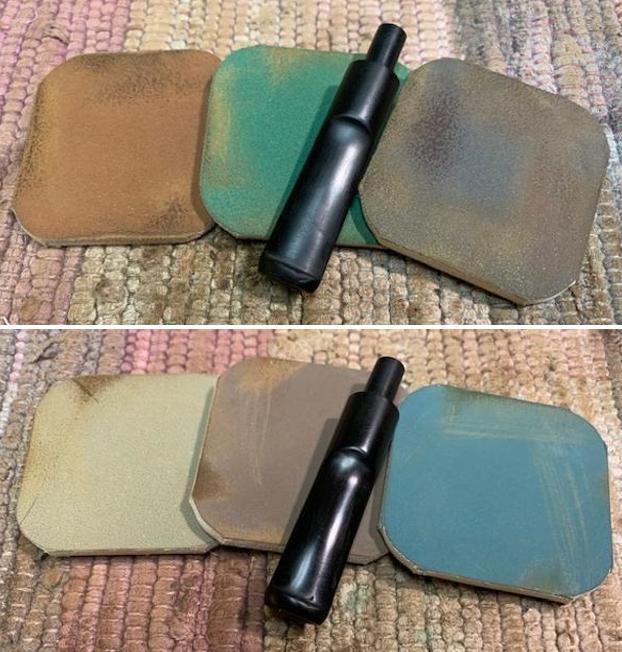
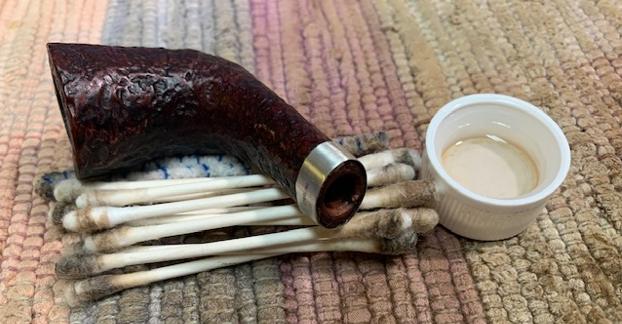
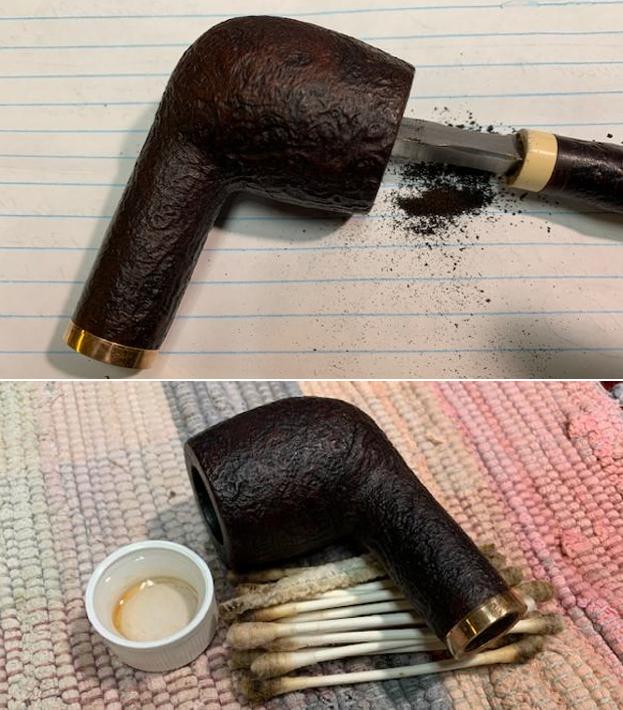
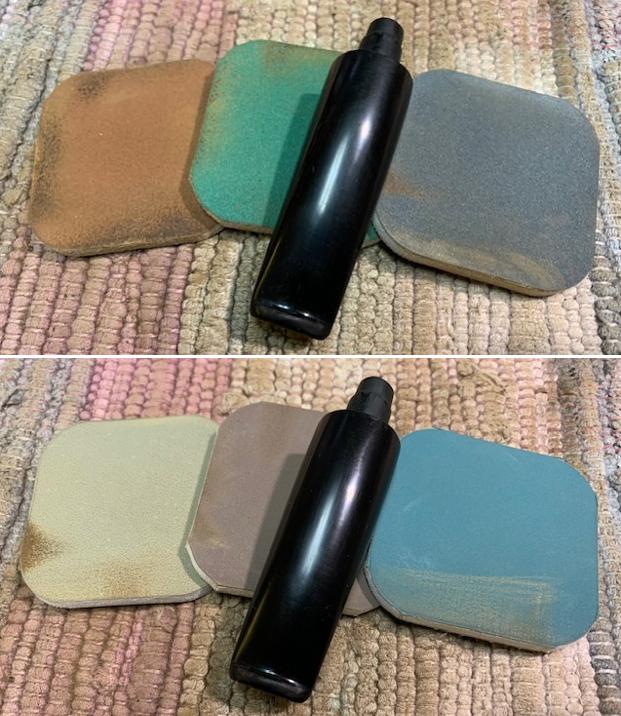
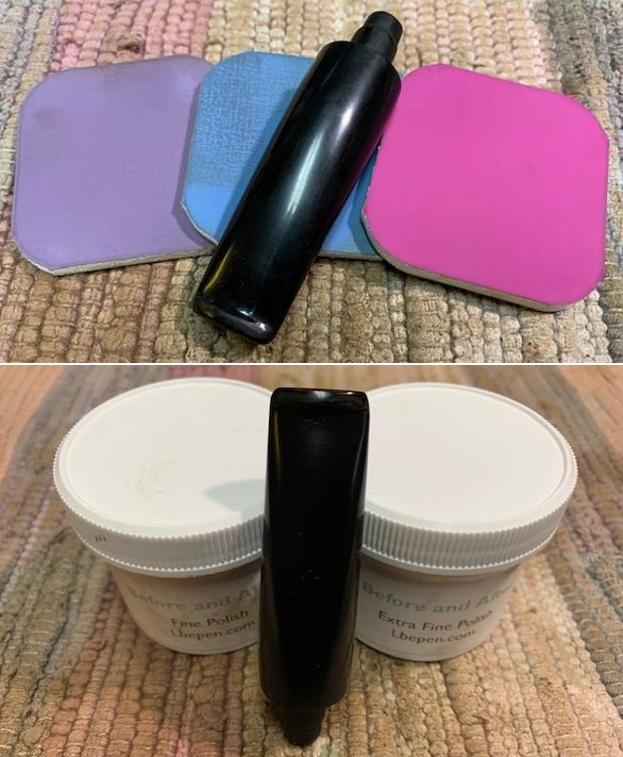
The initial cleaning on this pipe was done by Abha, my wife (she has cleaned up around 40-50 pipes and these had reached me for further restoration). She reamed out the complete cake and further smoothed out the chamber walls with a folded piece of 220 grit sand paper. She further cleaned out the internals of the shank with pipe cleaners and alcohol and cotton buds. She followed the internal cleaning of the shank with external cleaning of the stummel using Murphy’s Oil soap and hard bristled tooth brush and dried it with paper napkins and cotton cloth. Next she cleaned out the internals of the stem air way and immersed it in “Before and After Deoxidizer” solution along with the stem of other pipes in line for restoration (the pipe that I am working on is indicated by yellow arrow). Once the stem had soaked overnight, she cleaned the stem under running warm water and scrubbed the raised oxidation from the stem surface using Scotch Brite pad. She further removed the oxidation by scrubbing the stem with 0000 grade steel wool and applied a little olive oil to rehydrate the stem. She had removed the inner tube from the tenon and cleaned it with cotton swabs, pipe cleaners and alcohol.
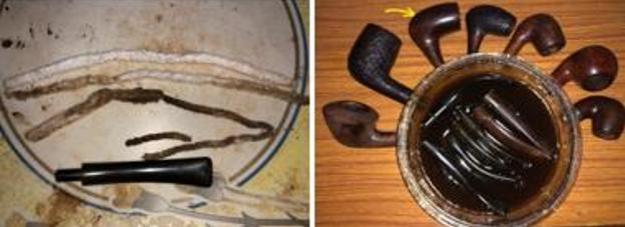 Once The Pipe Is On My Work Table…
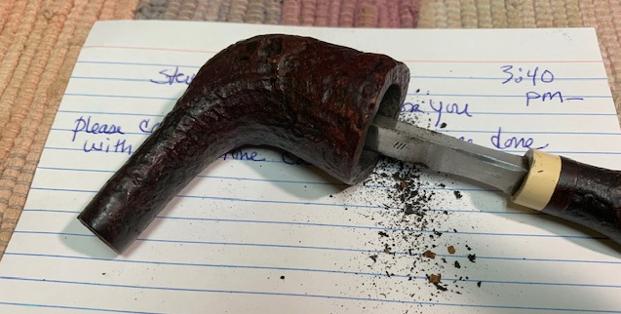
The initial cleaning by Abha, my wife, is thorough and while saving me time, it also provides a clear picture of all the issues that needs to be addressed during the restoration process. She also makes a note of all the issues that she observed during initial cleaning for me to address and includes this note with each pipe that she packs. It’s a big saving on the time factor and I am really thankful to her for indulging me.
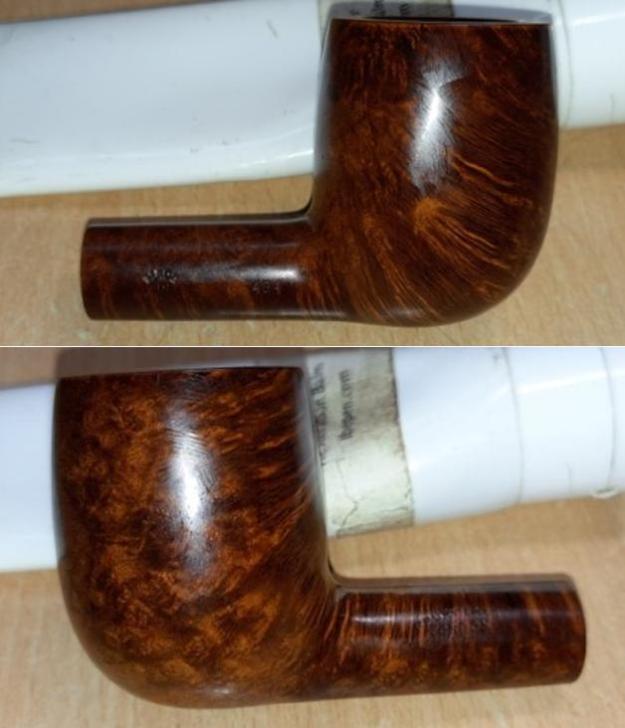
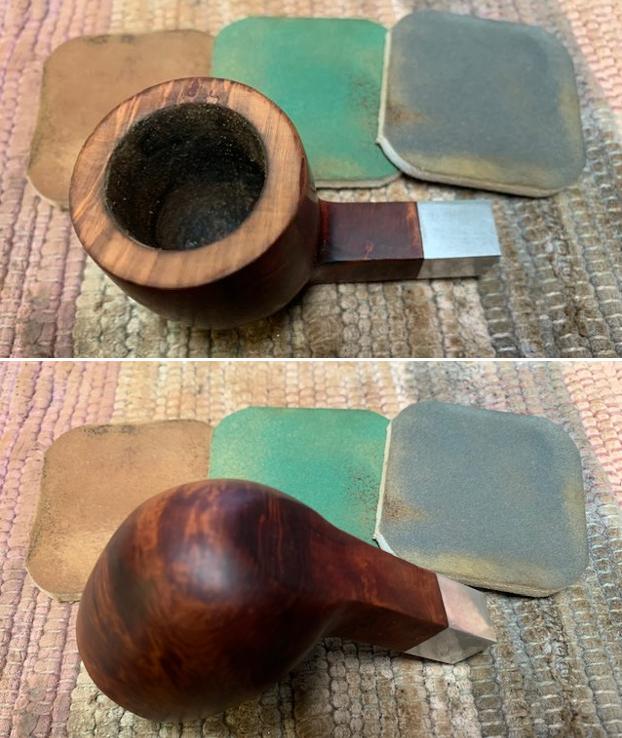
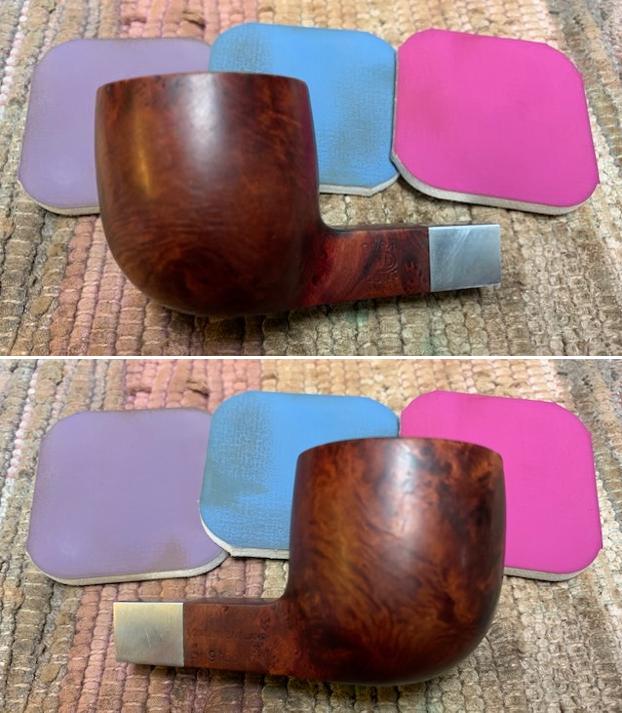
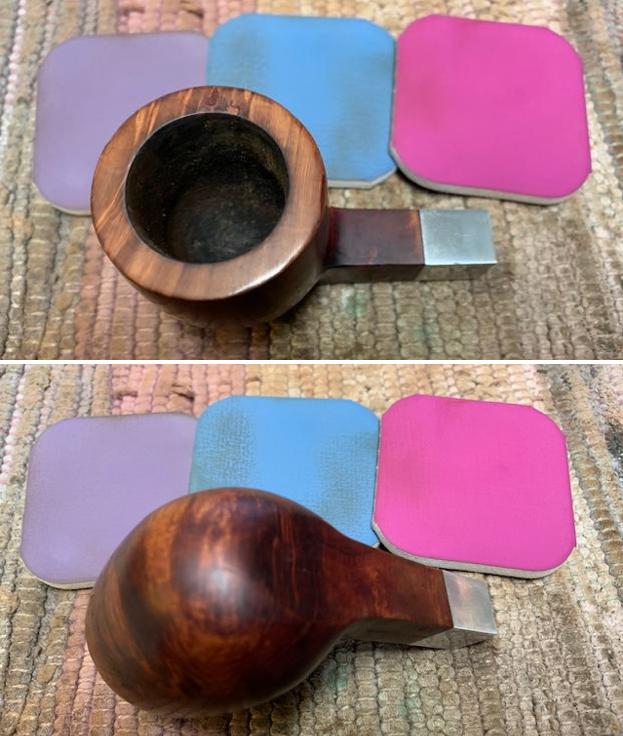
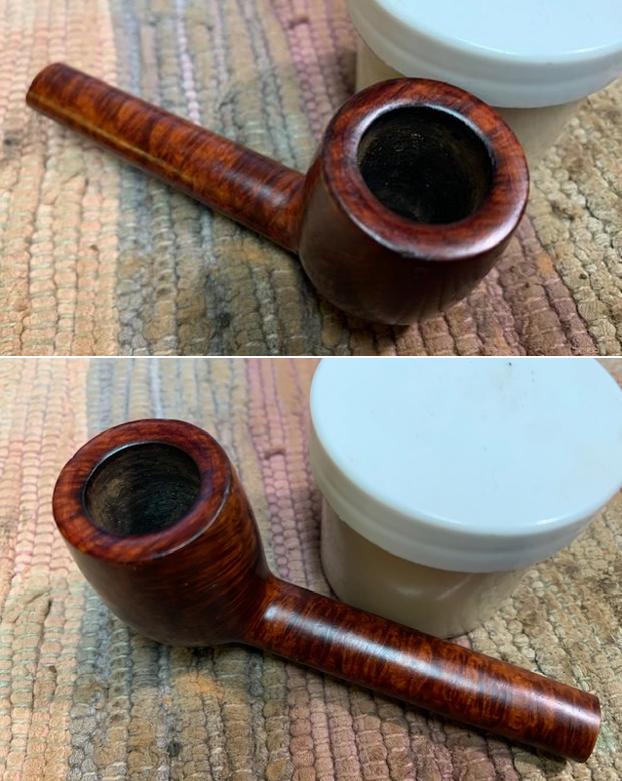
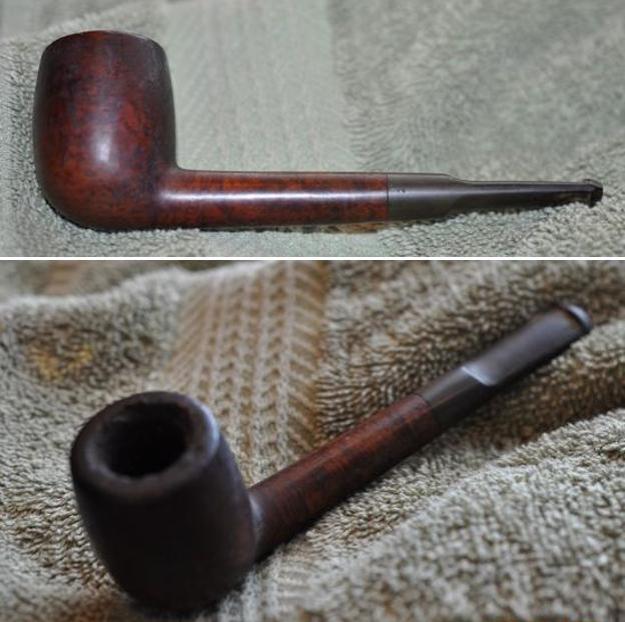
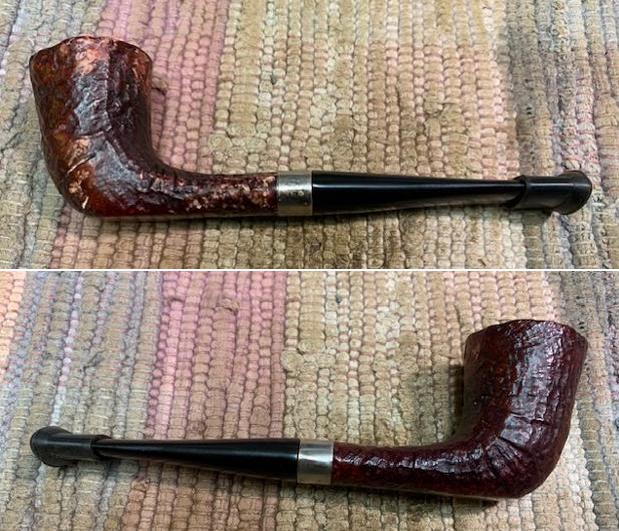
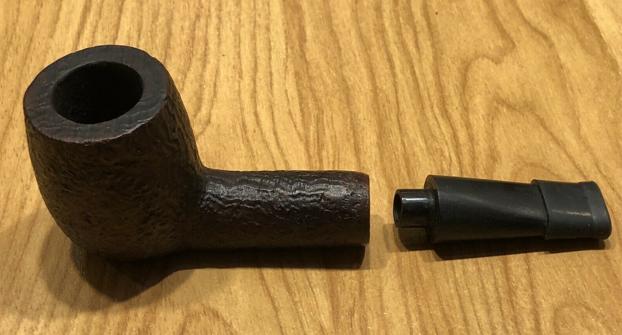
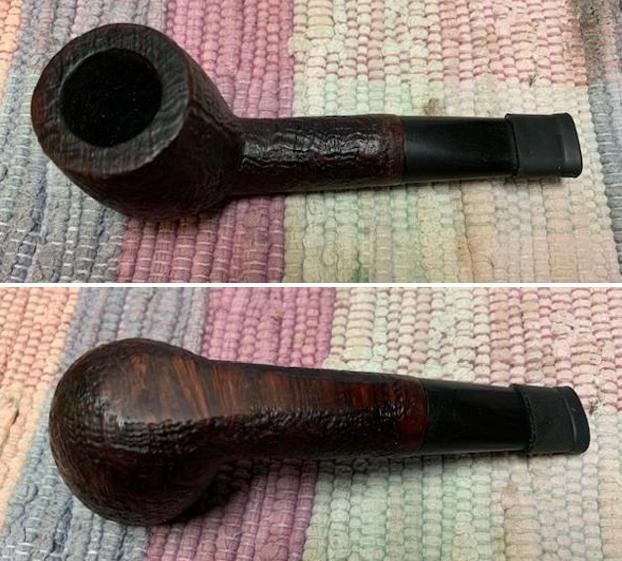
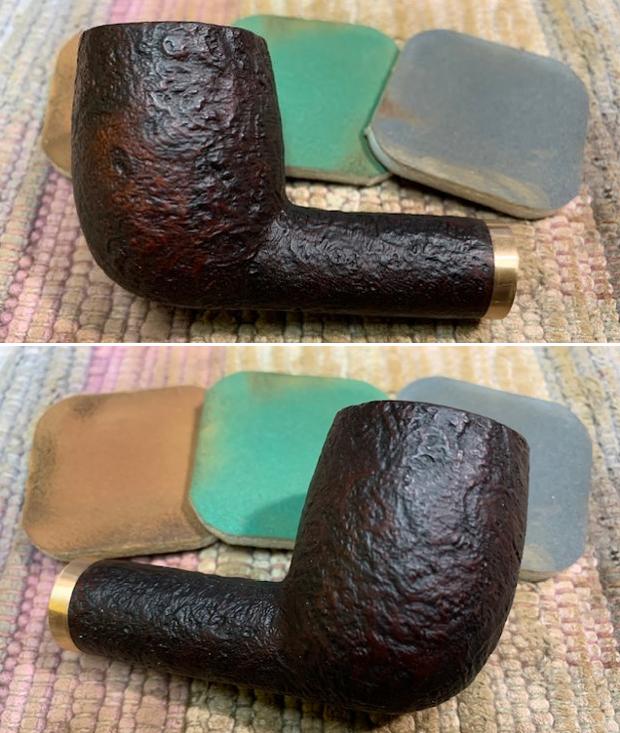
This is how the pipe came to me after Abha had worked her magic.

 The stampings on this pipe, as detailed above, are crisp and easily readable.
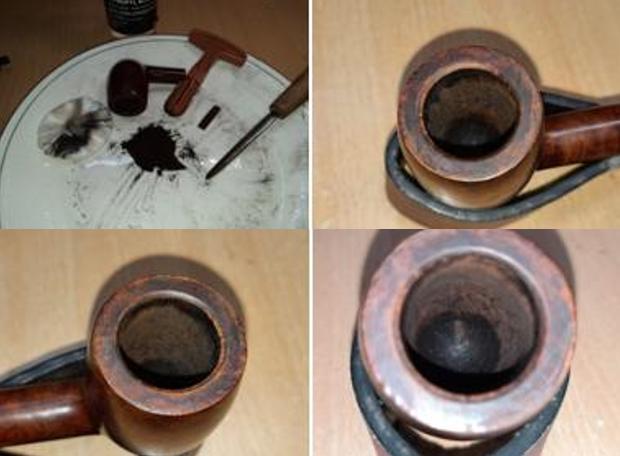
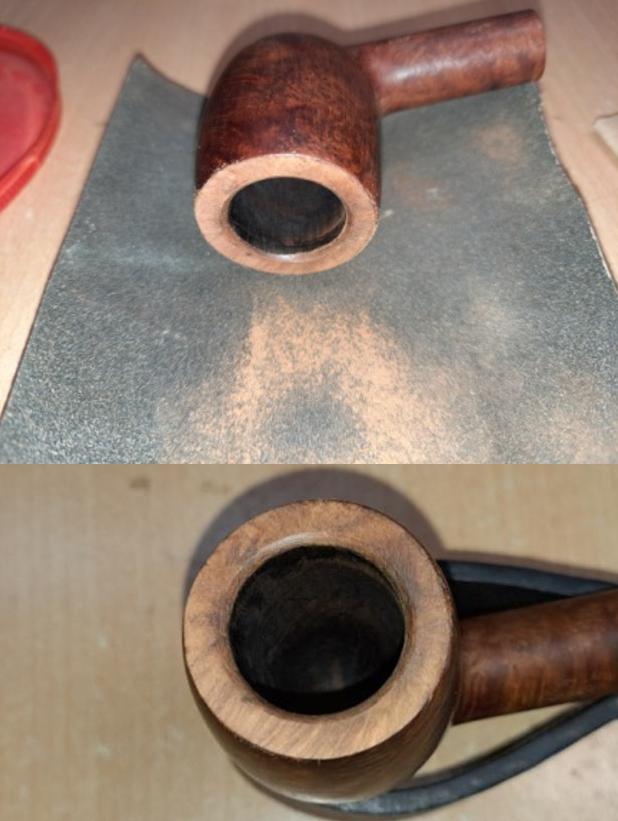
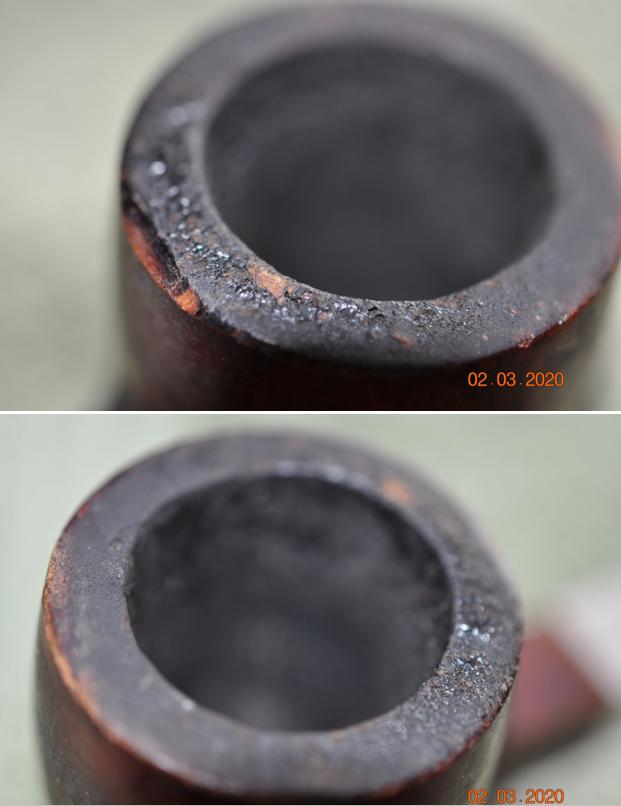
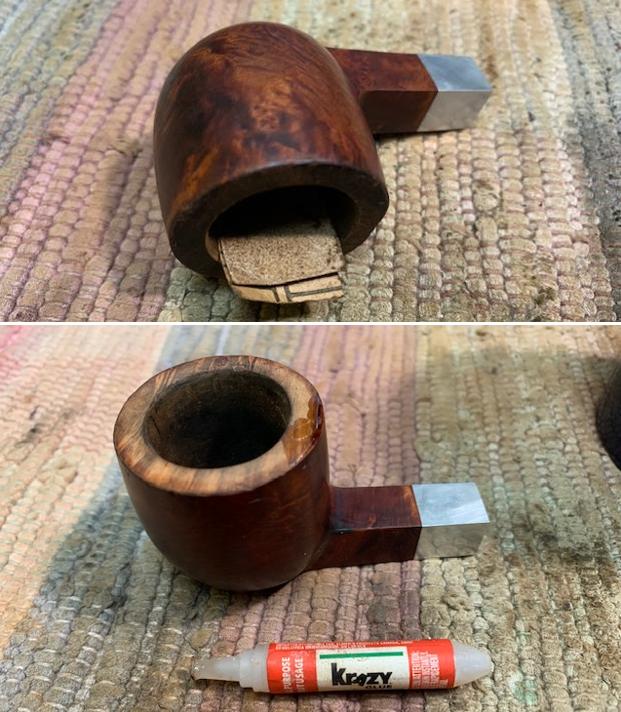
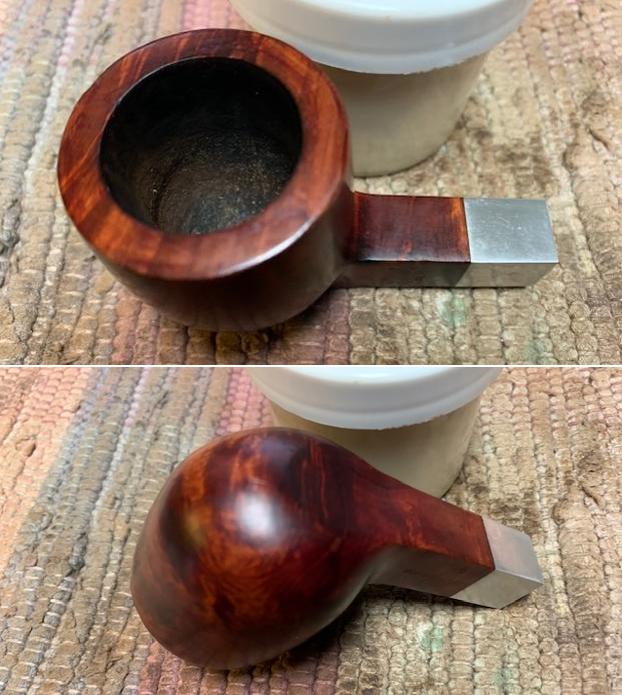
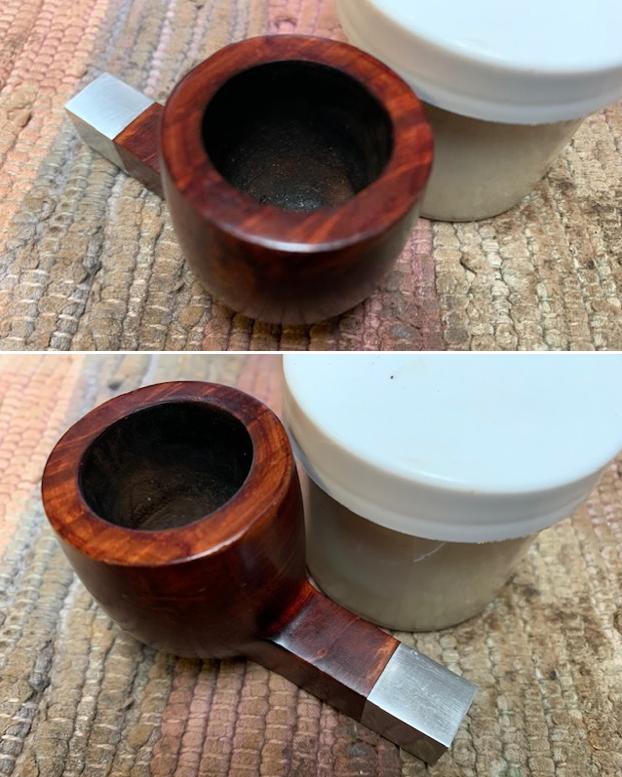
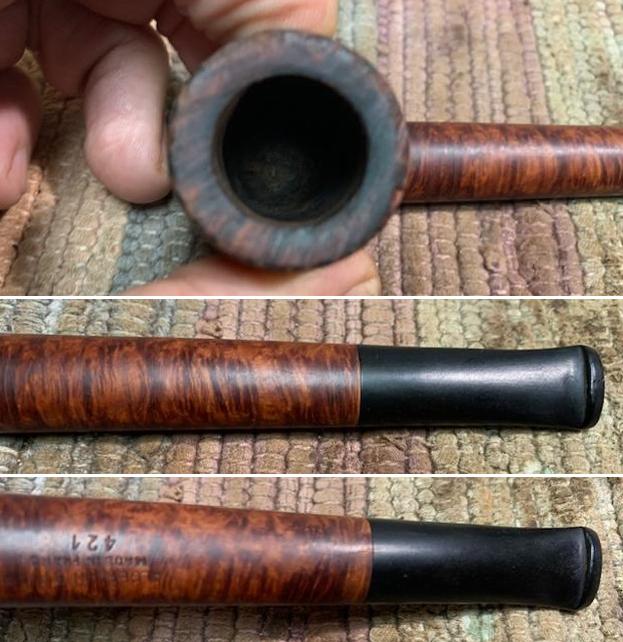
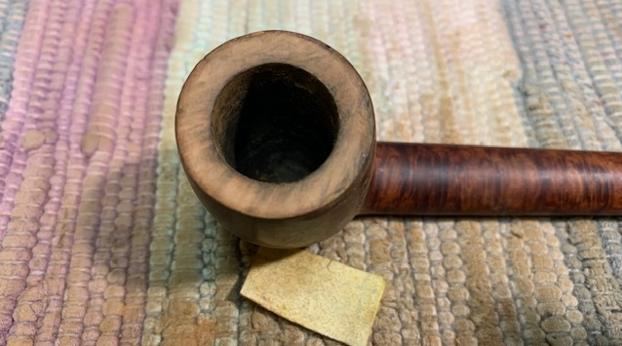
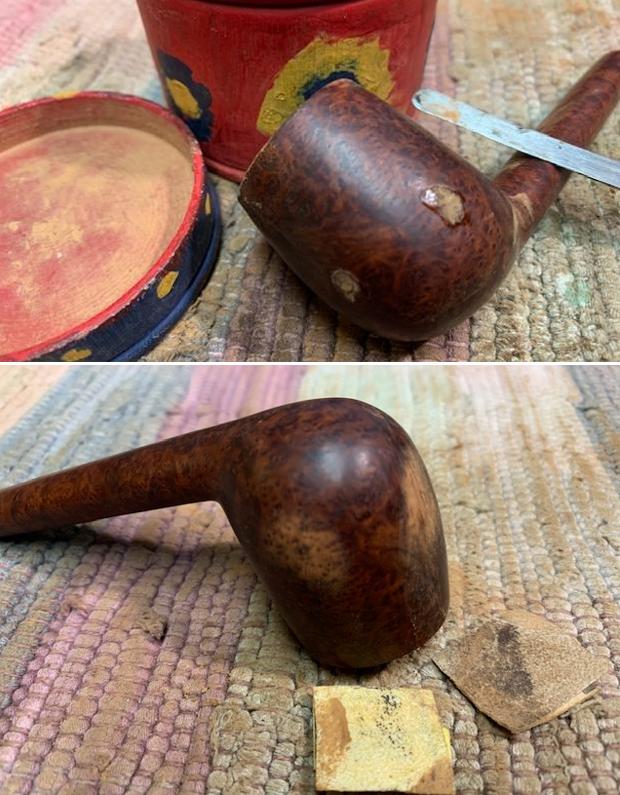
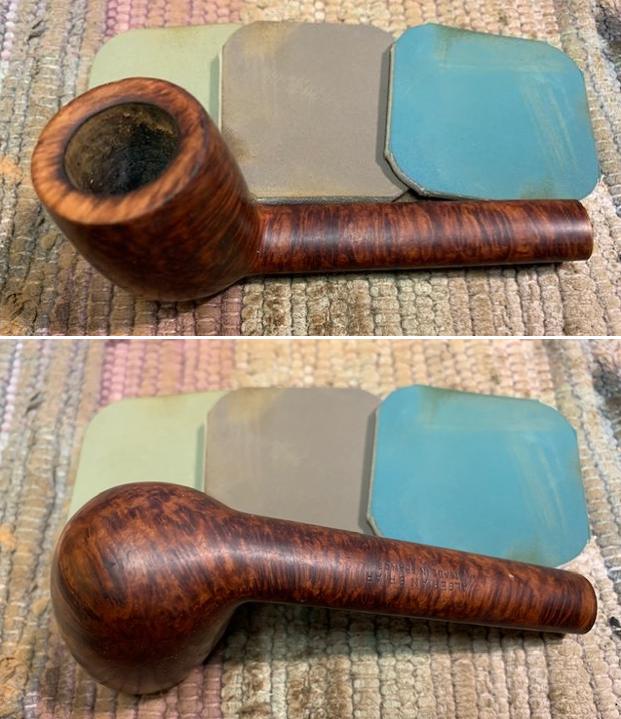
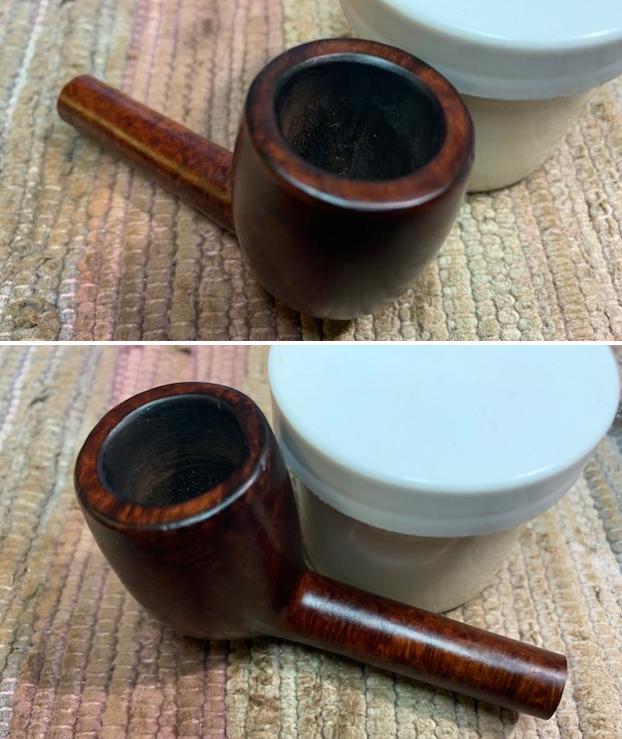
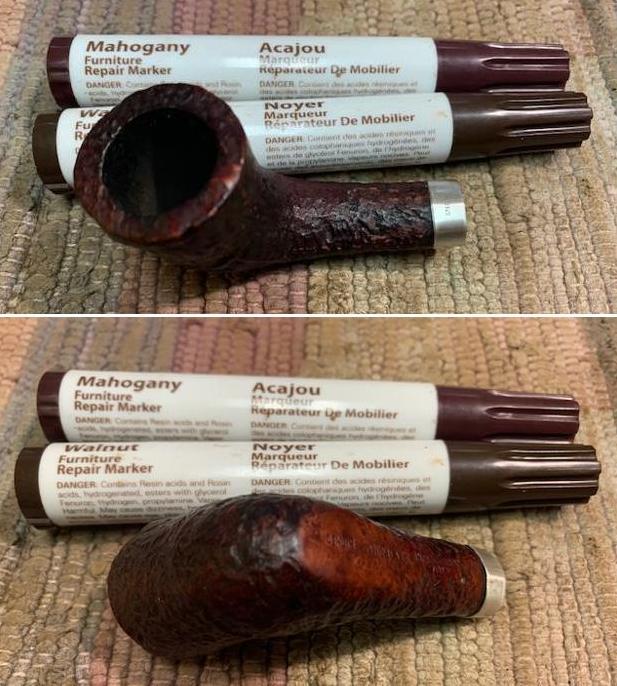
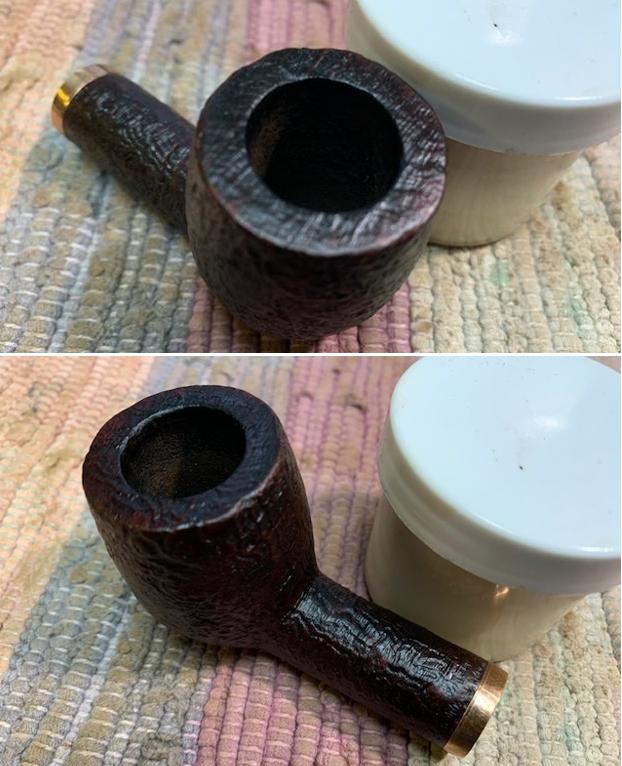
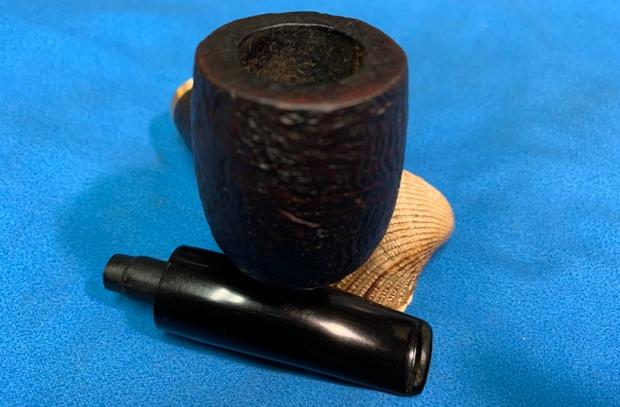
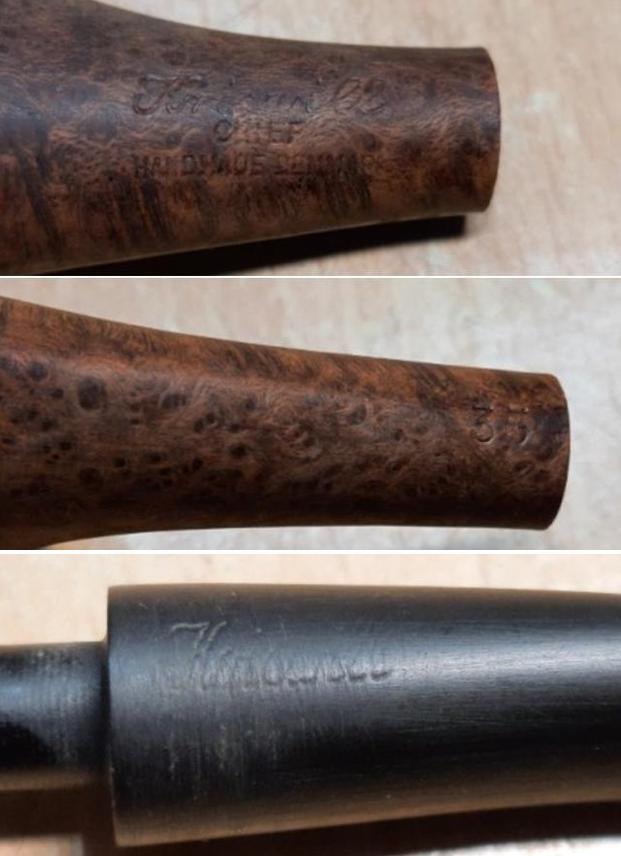 The rim top surface does have a few issues that have now come to the fore after cleaning. The inner edge has minor charring between 12 o’clock and 1 o’clock direction and is encircled in yellow. The chamber walls have numerous, disjointed and very minor heat fissures which would need to be addressed. These heat fissures are indicated with green arrows. The inner edge is uneven in the 6 o’clock direction (encircled in blue). It has been my experience that these heat lines/ fissures may also appear if the complete cake has not been reamed out and once the complete carbon cake is reamed out, these lines disappear. That is what I shall try first!
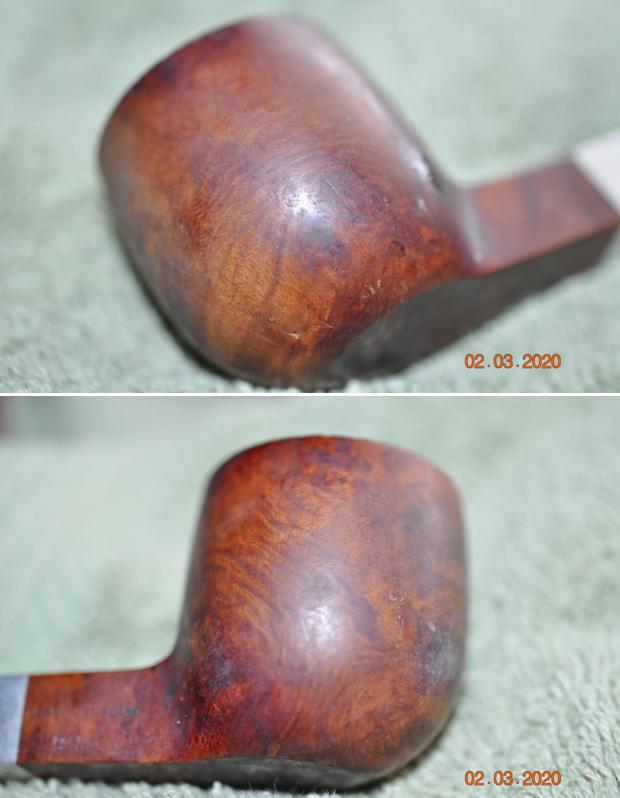
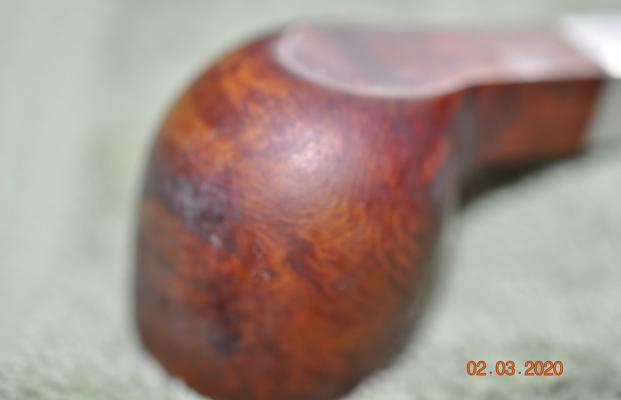
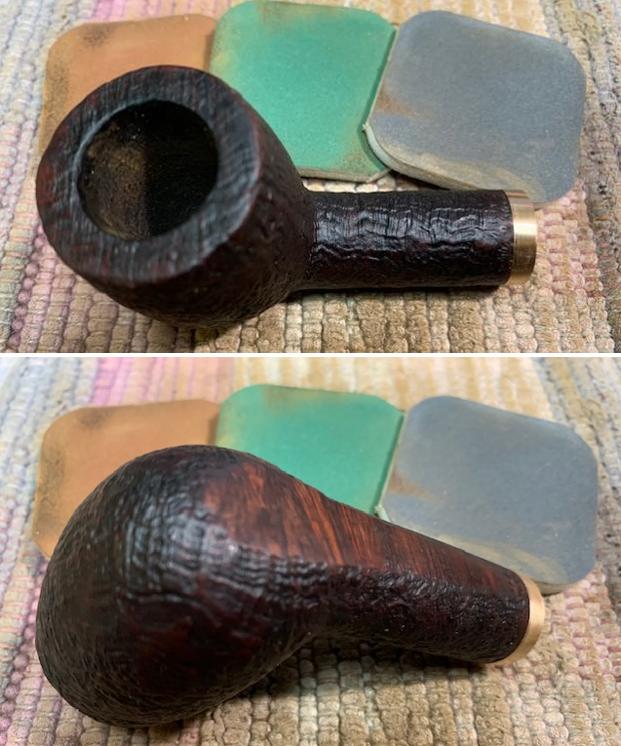
 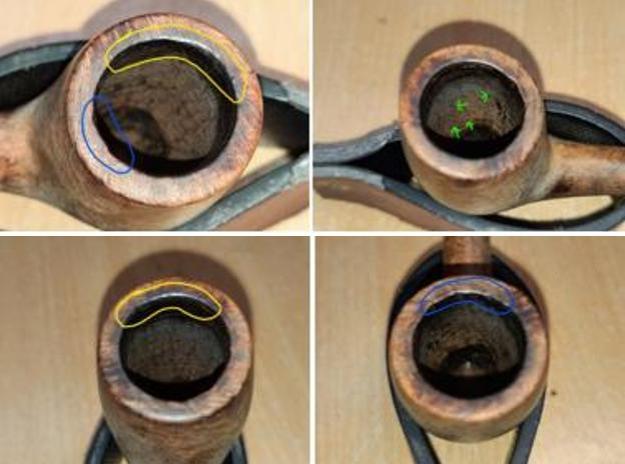 Through the cleaned stummel surface, the beauty of this piece of briar can be appreciated further. The beautiful bird’s eye and cross grains over the stummel will be further highlighted once the stummel has been polished and rejuvenated. I shall deal with the small nick that is observed over the front of the bowl either by filling it or may even leave it be. This nick and the scratch should be addressed to a great extent after I sand the stummel surface followed by subsequent polishing pads. The mortise is nice and clean with no ghost smells.
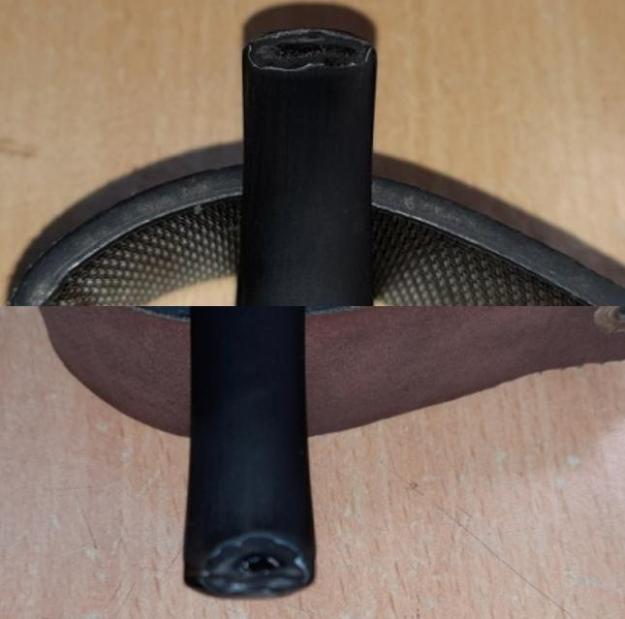
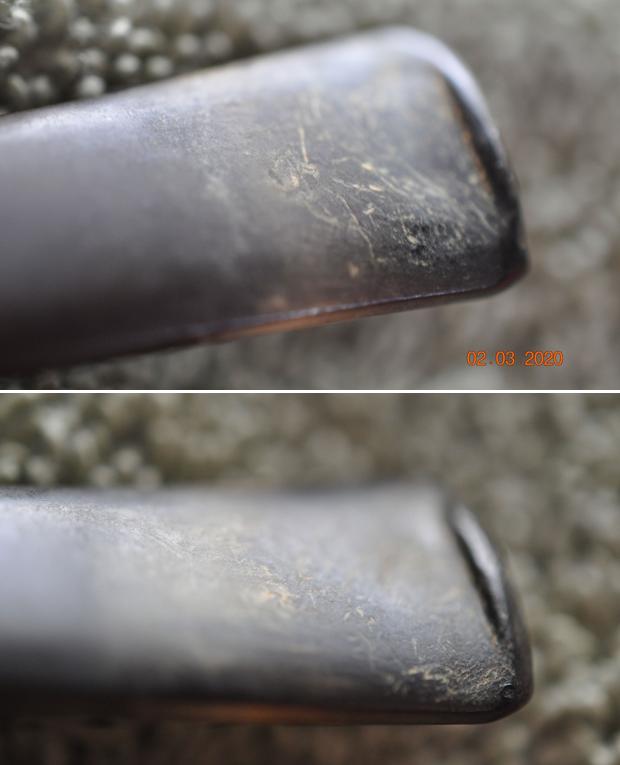
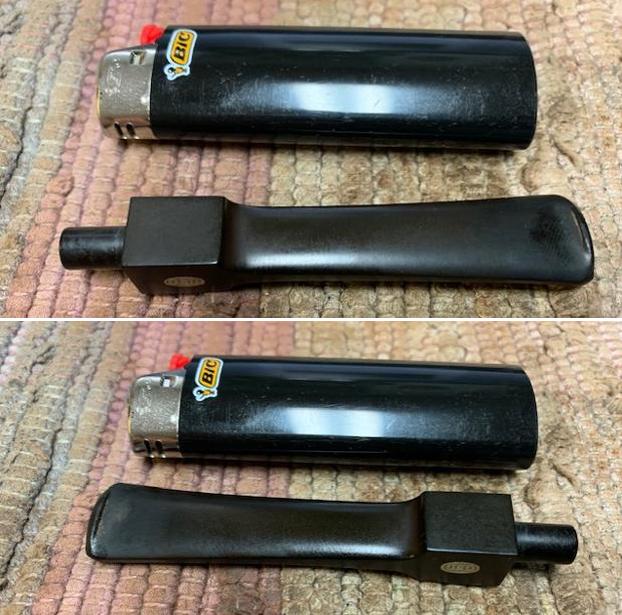
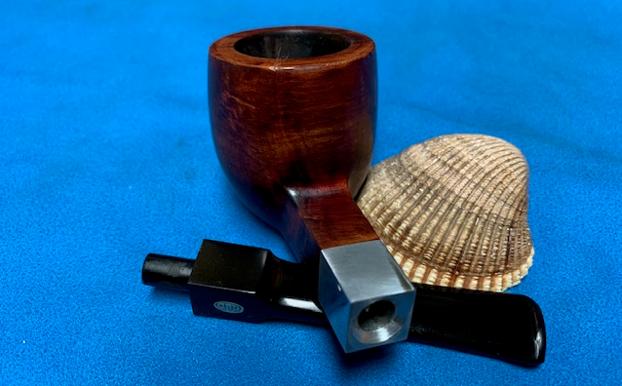
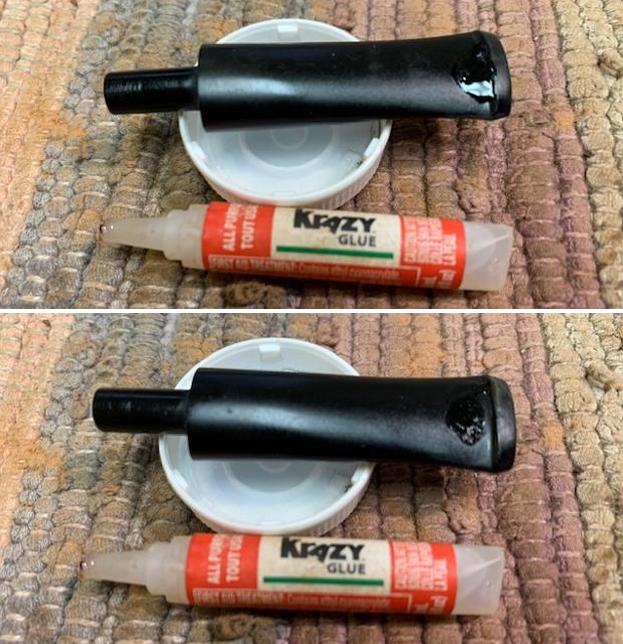
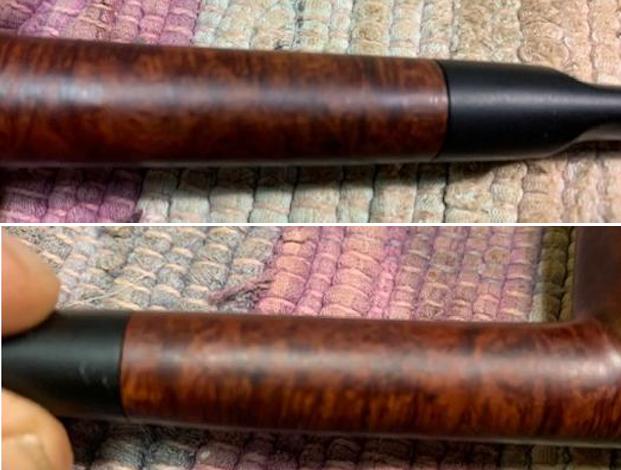
 The stem has cleaned up nicely and the oxidation is completely eliminated. One deep tooth indentation (marked in pastel blue) is seen on both the upper and lower stem surface in the bite zone. I shall address this issue with a fill of activated charcoal and CA superglue. The horizontal slot and the tenon end are clean with a full and even draw.
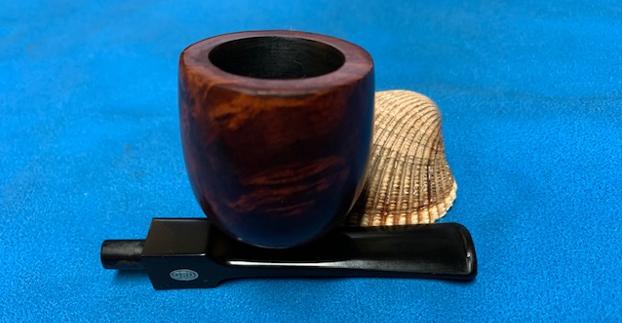
 The Process…
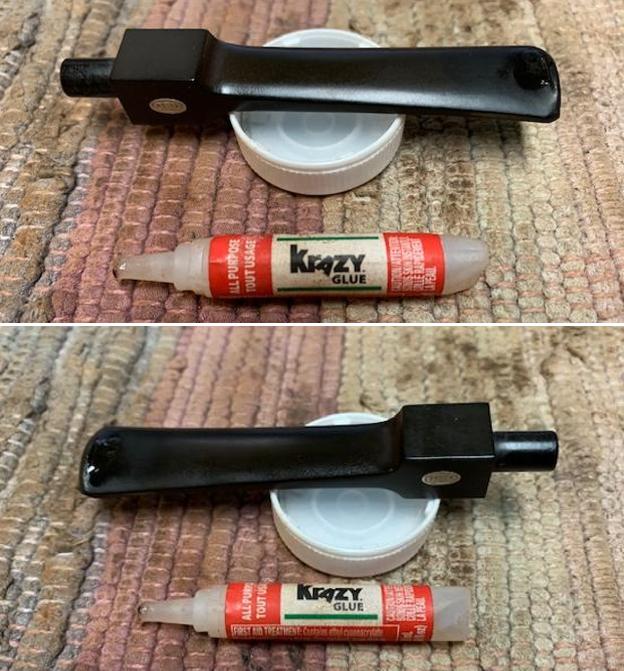
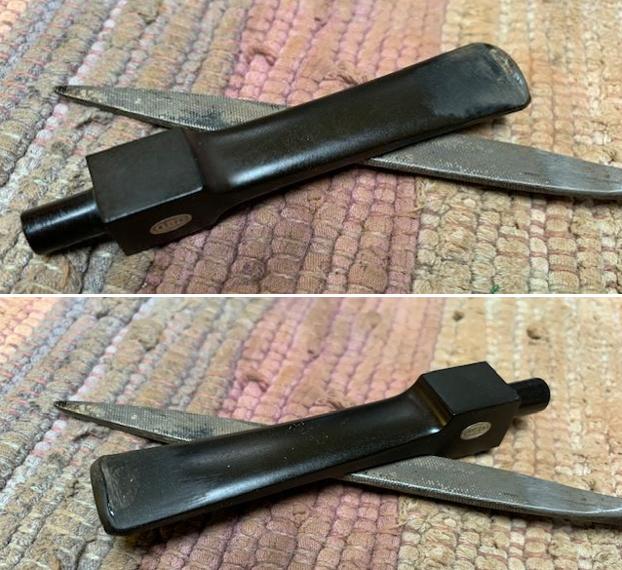
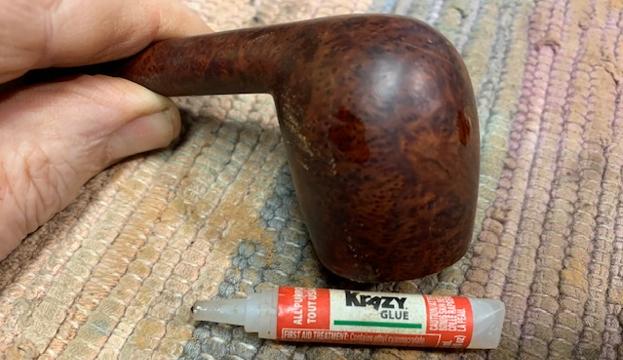
The first issue that I addressed was that of the stem repairs. I flamed the surface of the stem with a lighter to raise the tooth indentations on the stem. The heat from the flame of the lighter causes the vulcanite to expand and regain its natural shape, reducing the marks. I wiped the stem surface clean with a cotton pad dipped in alcohol to remove all the dust and dirt from the surface. The tooth marks which were visible after the flaming and sanding were filled with a mix of activated charcoal and clear CA superglue and set aside to cure overnight. With the stem fills set aside for curing, I worked the rim top surface. To address the uneven and charring of the inner rim edge, I topped the rim surface on a 220 grit sand paper. Though it is recommended to have a wooden board with the 220 grit sand paper firmly fixed over it, I just keep the sand paper on a flat table top, holding it firmly with my left hand and rotating the rim top over it with my right hand. I have come to realize that this set up gives me lot more freedom of movement, better control and convenience of storage. I frequently checked the progress being made as I hate to lose briar estate any more than absolutely necessary. I am pretty happy with the inner rim edge and what little darkening and unevenness remains will be masked by creating a slight bevel to the edge. This is how the rim top appears at this point in restoration.
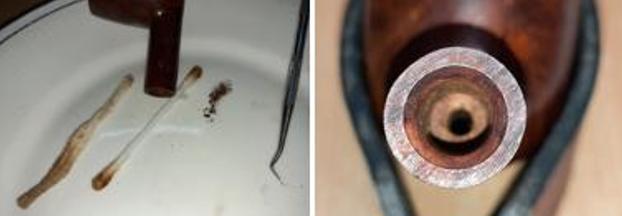
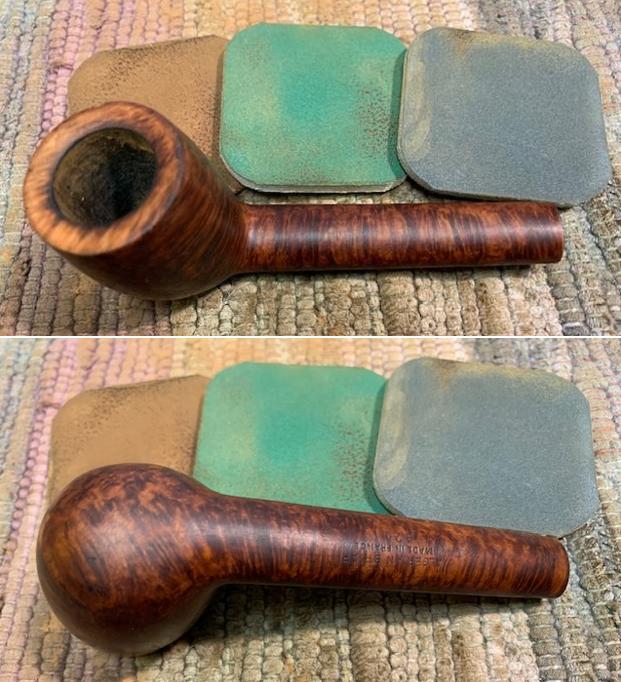
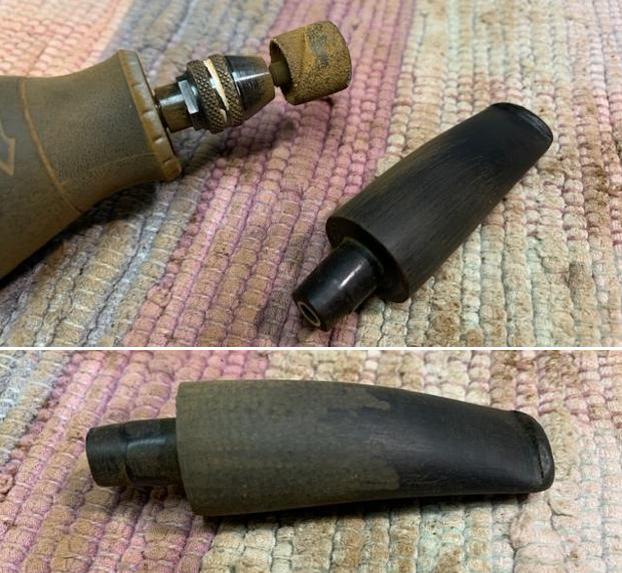
 Taking these pictures, I remembered to ream the chamber to address the issue of suspected heat fissures. Using my fabricated small knife, I scraped away all the carbon from the chamber walls and followed it by sanding the wall surface using a 220 grit sand paper to a smooth surface. The chamber appears to be solid with no issues to the chamber walls.
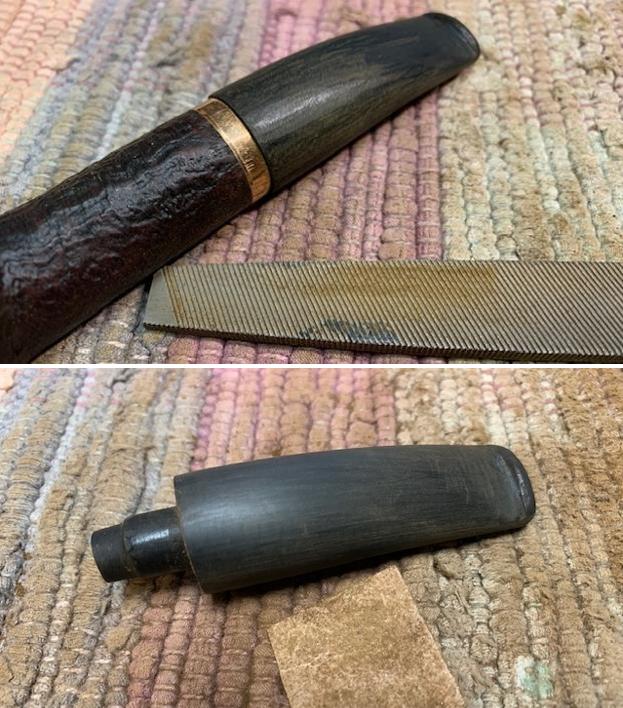
  Staying with the rim, the next issue that I addressed was with the rim edges, both inner and outer. With a folded piece of 220 grit sand paper pinched between my thumb and fore finger, I created a bevel on the inner edge. This addressed the issue of the uneven and out of round chamber and also reduced the darkened edge.
 Next, I sanded the entire stummel with a piece of 220 grit sand paper. This helps to remove the minor scratches, nicks and dings from the stummel surface.

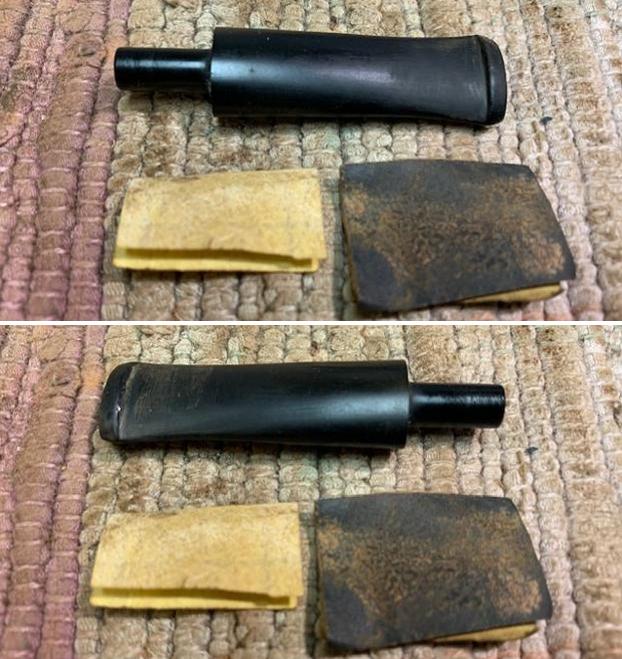
 While I was working on the stummel, the stem fills had completely cured. With a flat head needle file, I worked on the filling till I had achieved a rough match with the surrounding surface and had sufficiently sharpened the button edges. I further sanded the fills with a piece of 220 grit sand paper to achieve a better match. Thereafter, I began the process of bringing a nice shine to the surface by sanding with 320, 400, 600, 800 and 1000 grit sandpapers. I applied a little EVO to the stem surface to hydrate it and set the stem aside for the oil to be absorbed in to the surface.
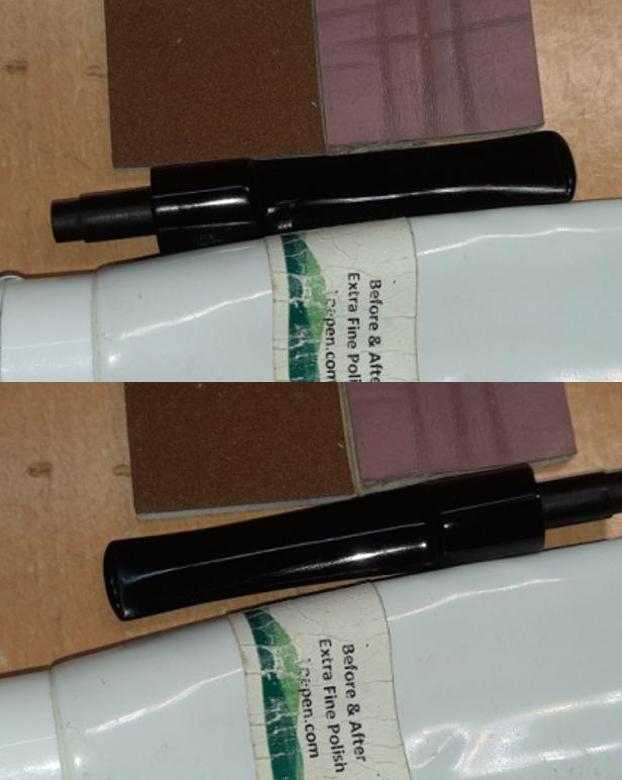
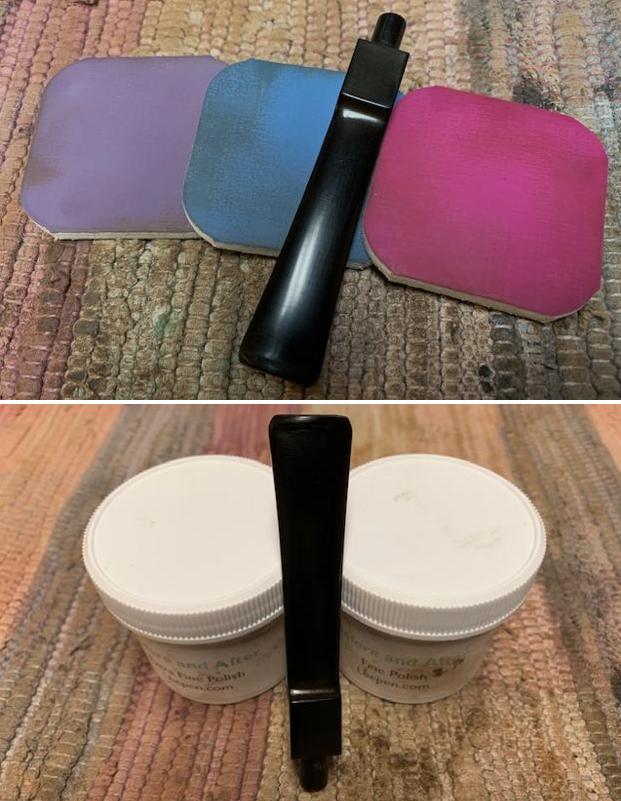
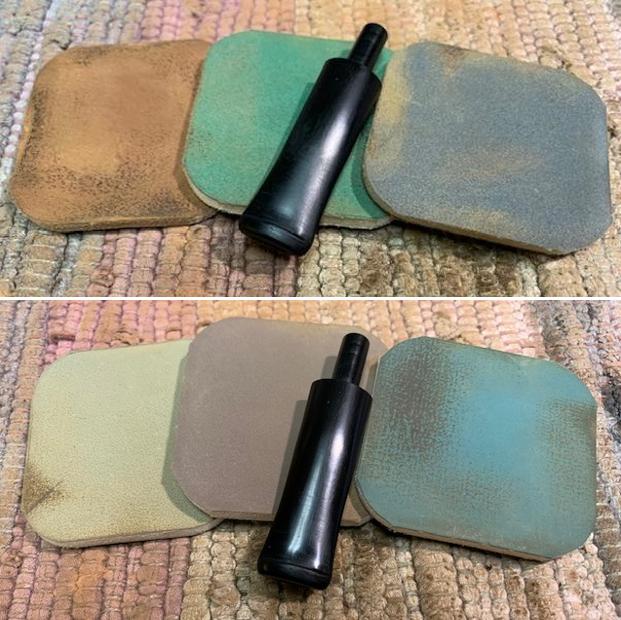
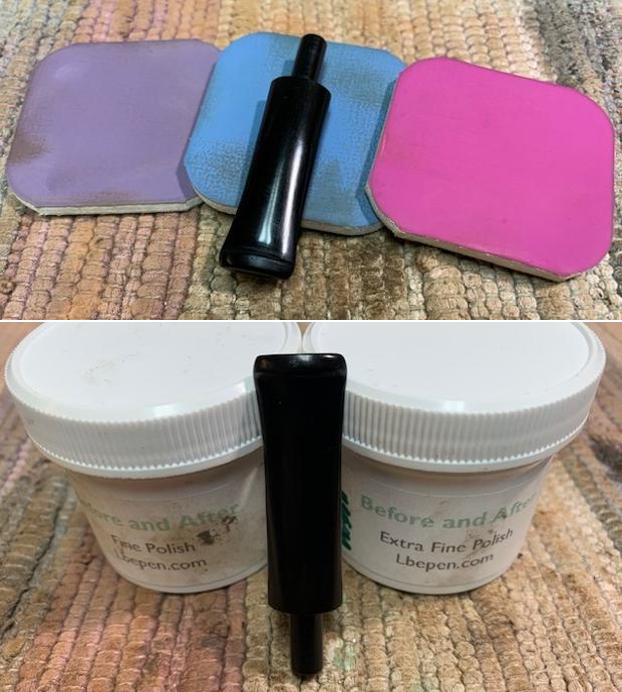
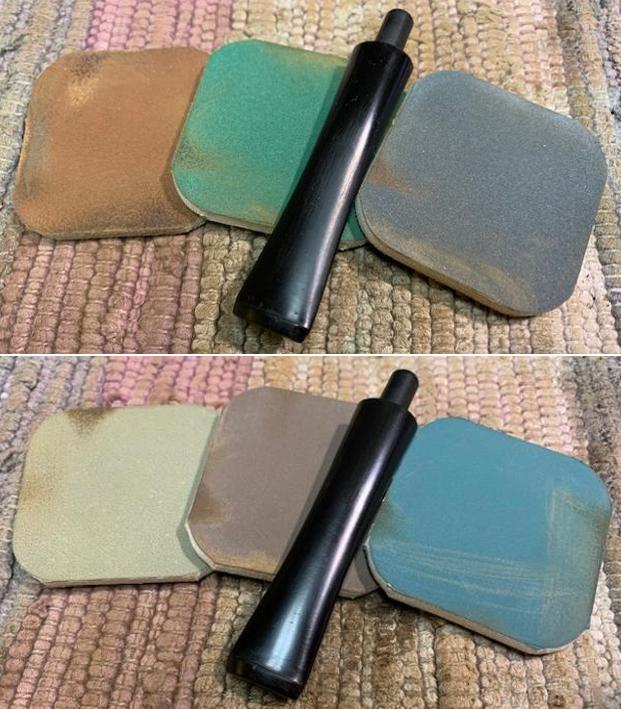
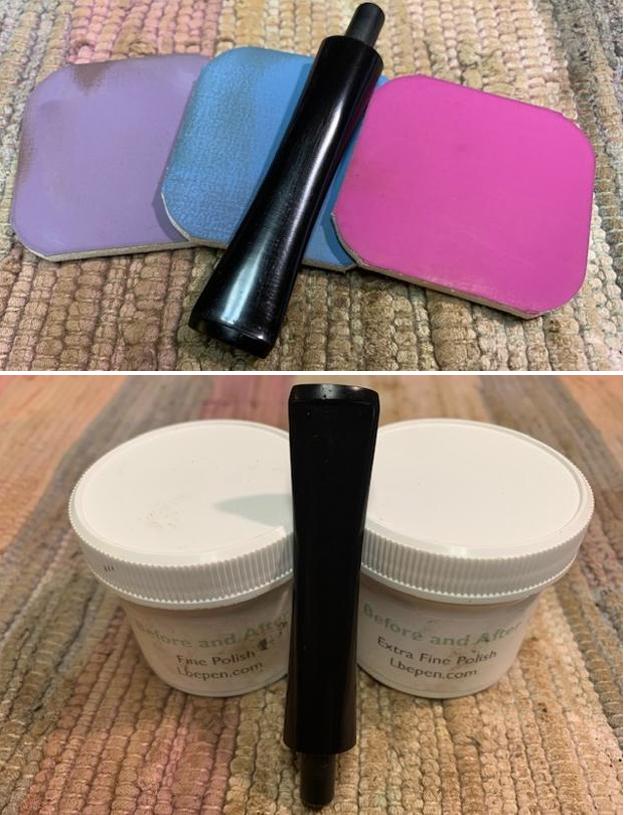
 To bring a deep shine to the stem, I went through the complete set of micromesh pads, wet sanding with 1500 to 12000 grit sandpapers. I wiped the stem with moist cloth after each pad. At the end of micromesh cycle, I polished the stem with “Before and After Fine & Extra Fine” paste. I also refreshed the stem stamping with a white correction pen. The finished stem is shown below.
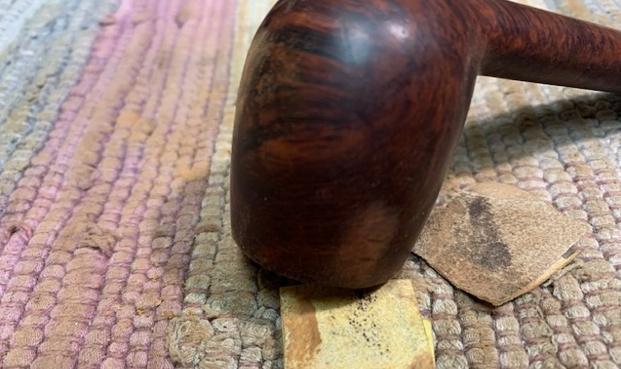
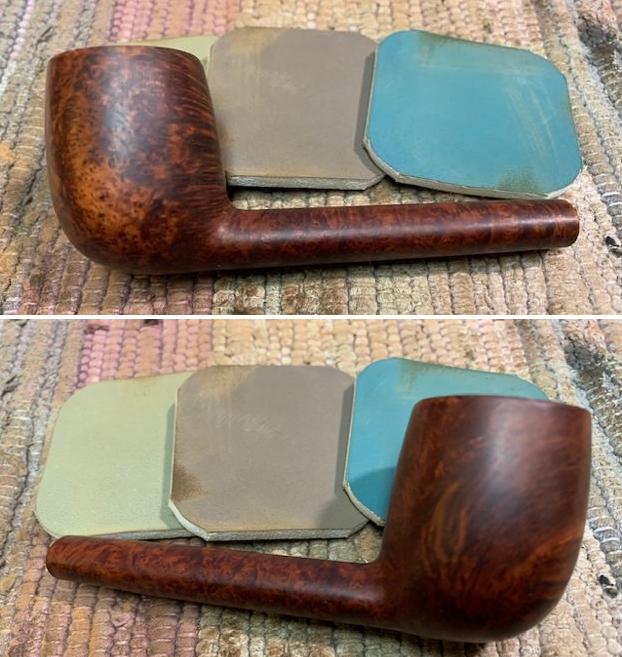
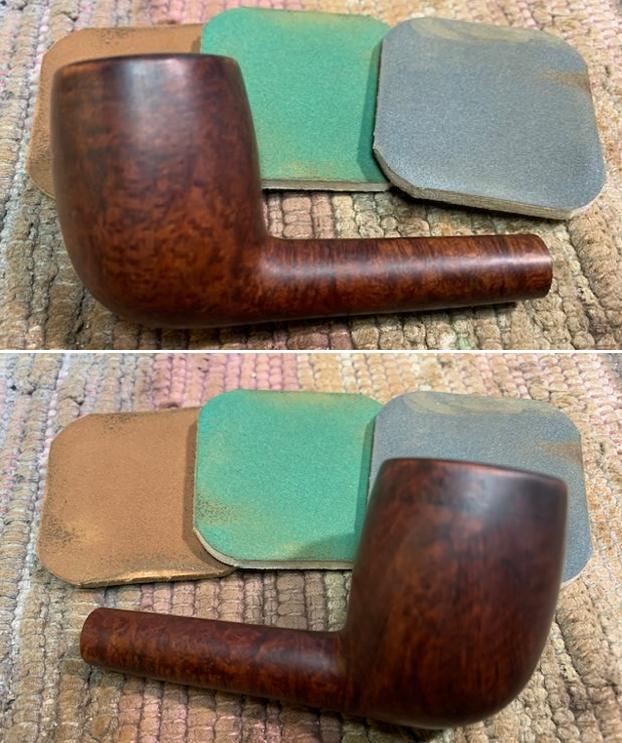
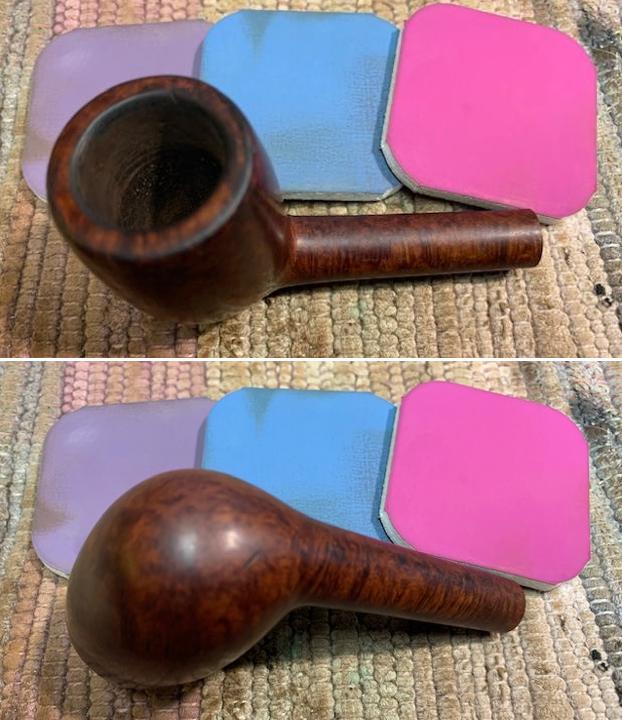
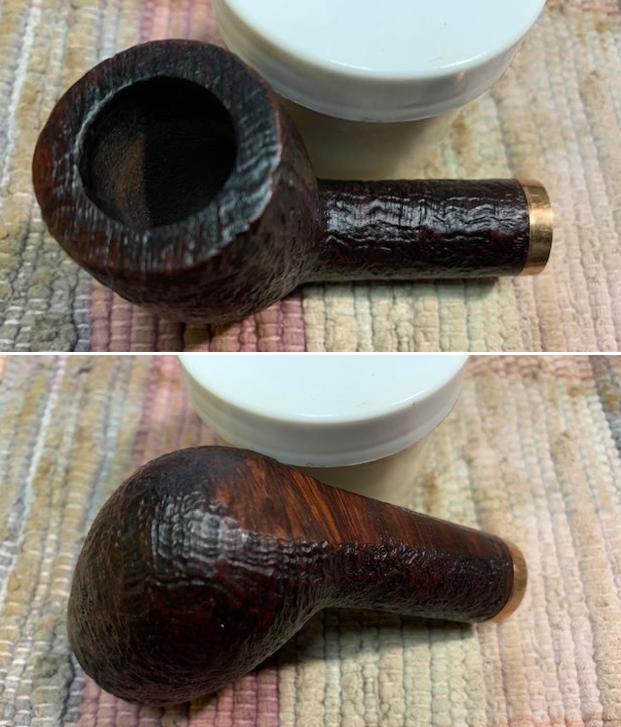
 With the repair completed, I turned my attention back to the stummel. I wet sanded the stummel with 1500 to 12000 grit micromesh pads, wiping frequently with a moist cloth to check the progress. I really like the looks of the stummel at this point in restoration. The grains and the clean lines of this piece of briar is really appreciable.

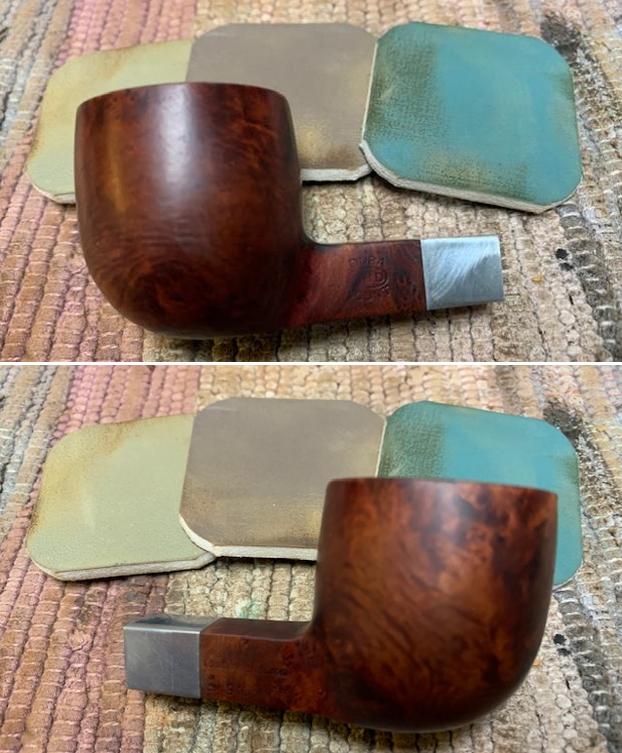
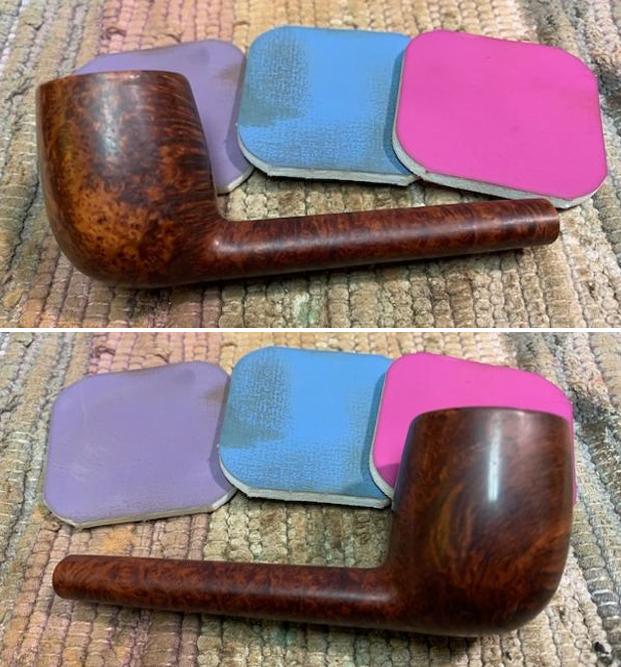
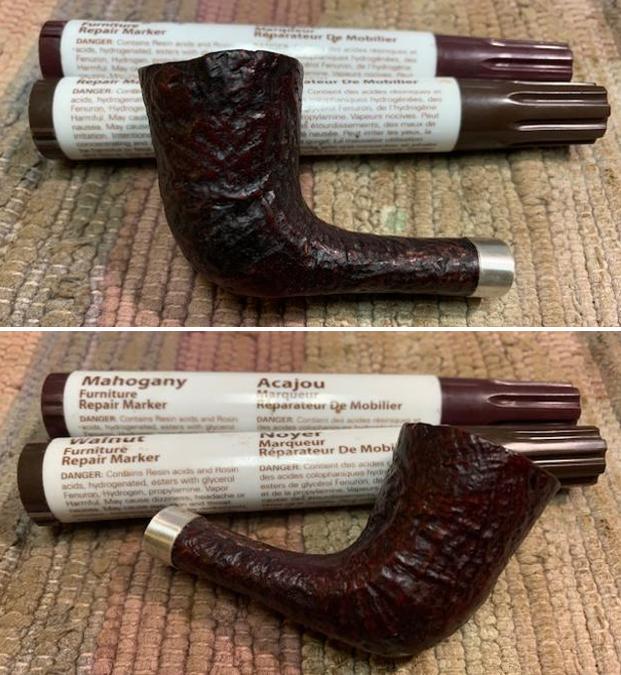
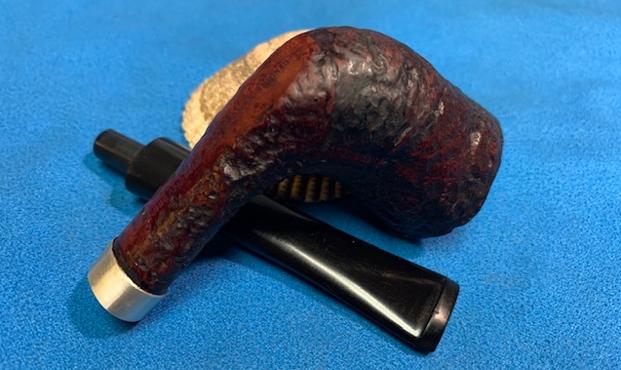
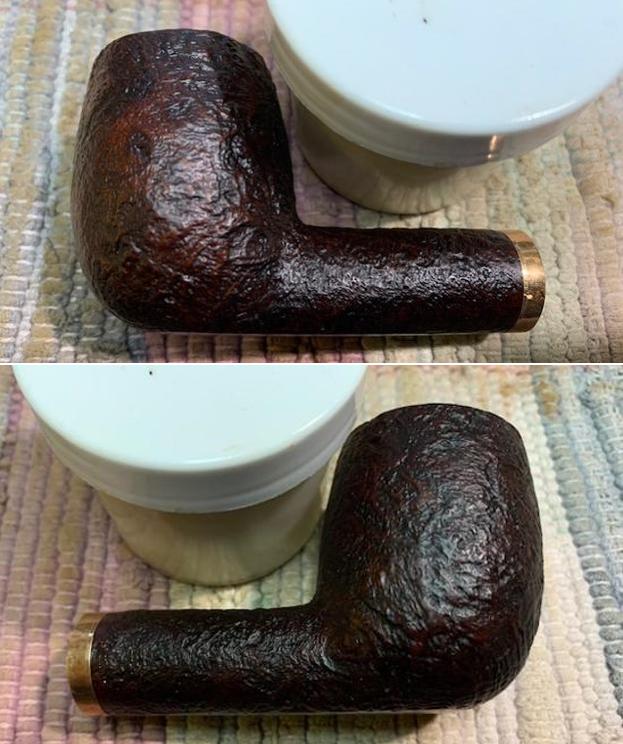
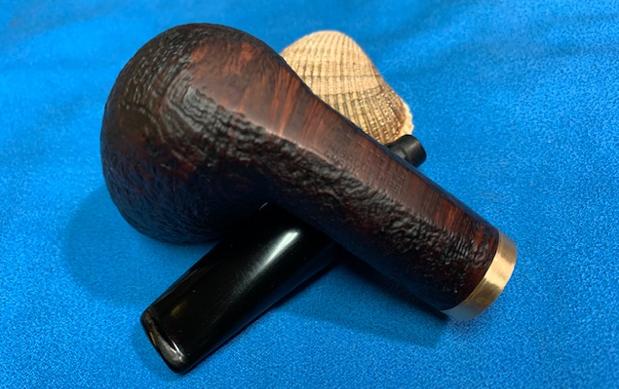
 Next, I rubbed a small quantity of “Before and After Restoration Balm” deep in to the briar with my finger tips and let it rest for a few minutes. The balm almost immediately works its magic and the briar now has a nice vibrant appearance with the beautiful grain patterns displayed in their complete splendor. I further buffed it with a horse hair brush. The contrast of the dark browns of the Bird’s eye and cross grains with the natural finish of the rest of the stummel adds an interesting dimension to the appearance of the stummel which may be insufficiently described in words and be rather seen in person.
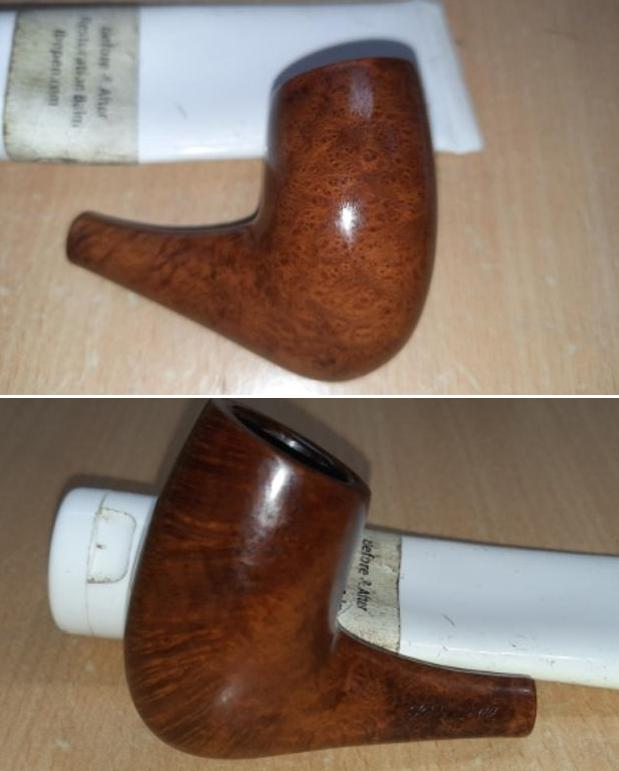

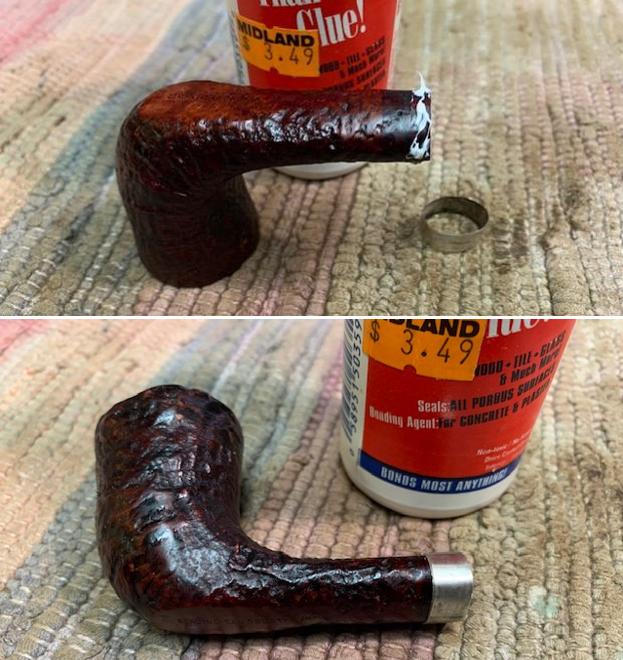
 I have now reached the homestretch in this restoration project. To complete the restoration, I mounted a cotton cloth buffing wheel on to my hand held rotary tool and polished the stummel and stem with Blue Diamond compound. This compound helps to remove the minor scratch marks that remain from the sanding.
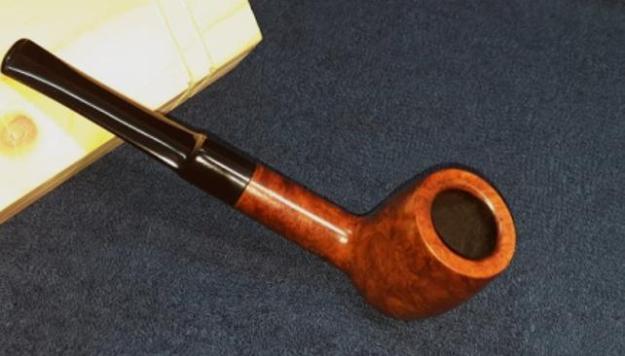
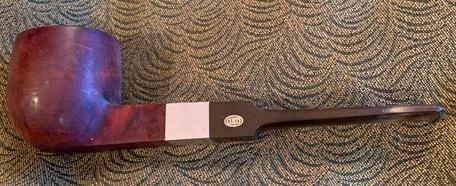
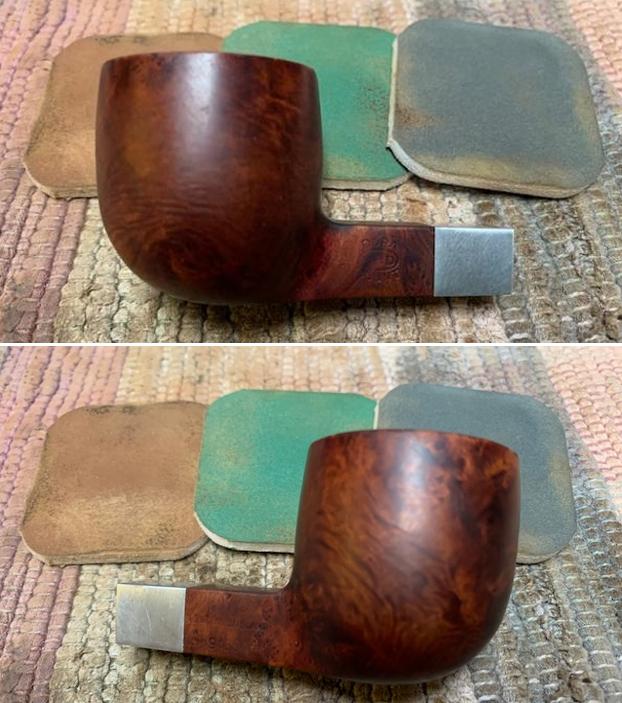
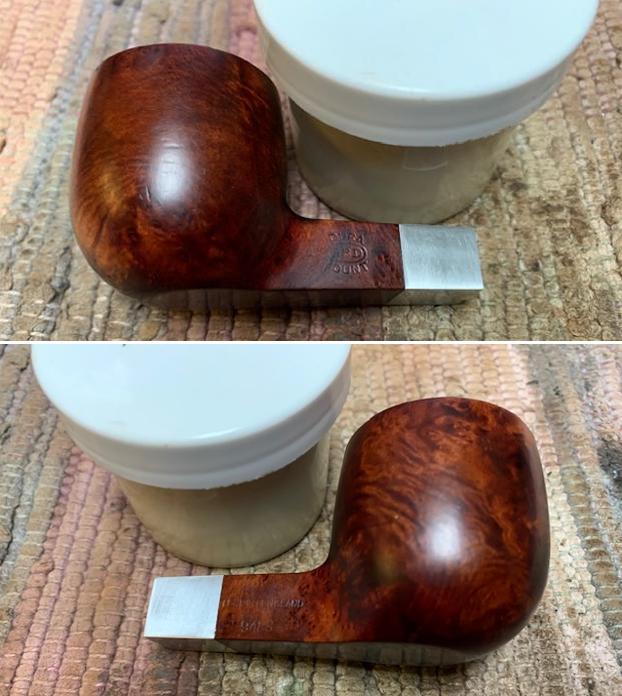
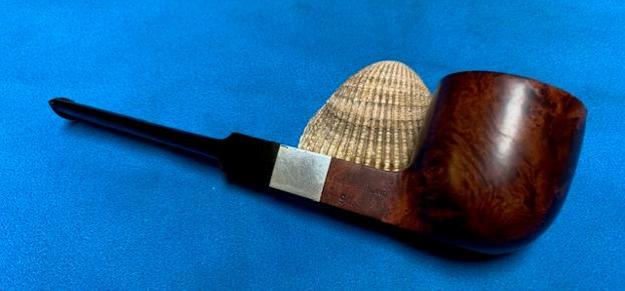
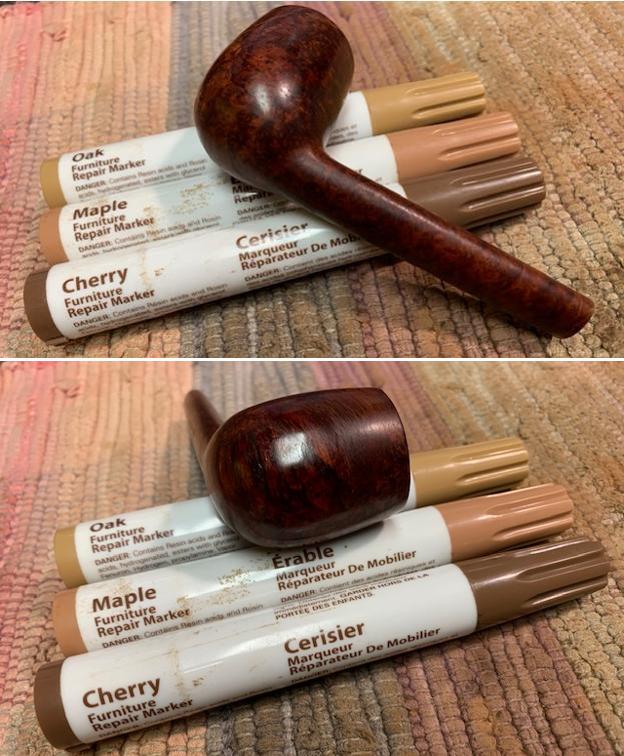
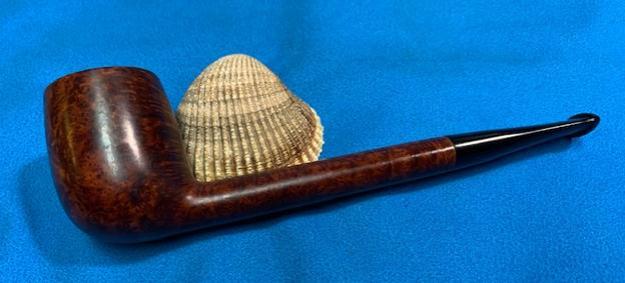
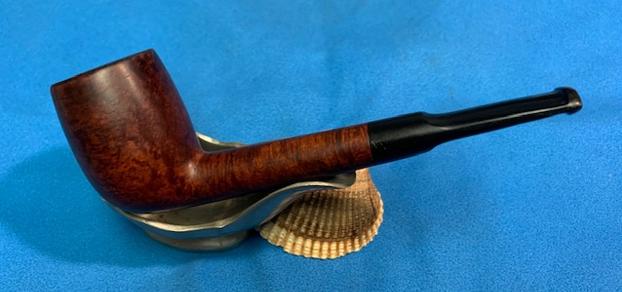
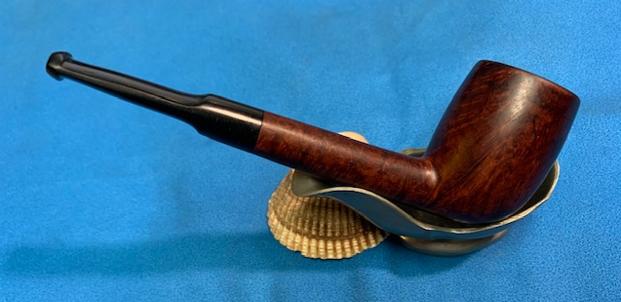
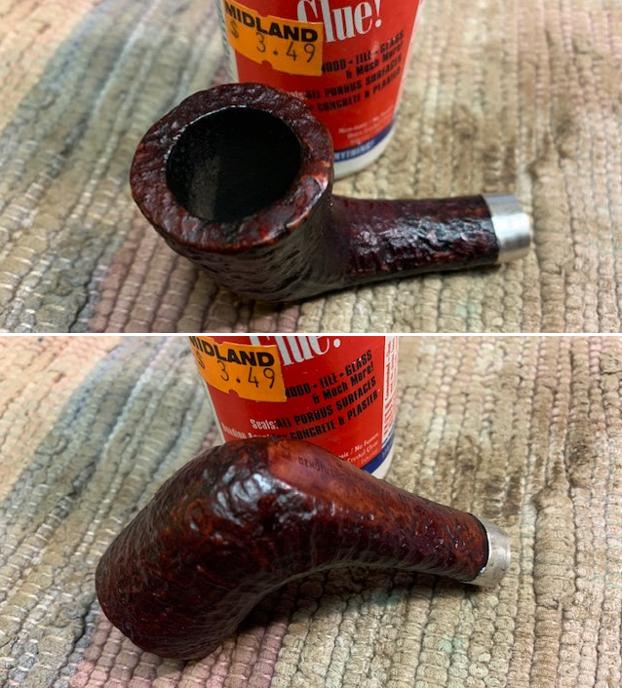
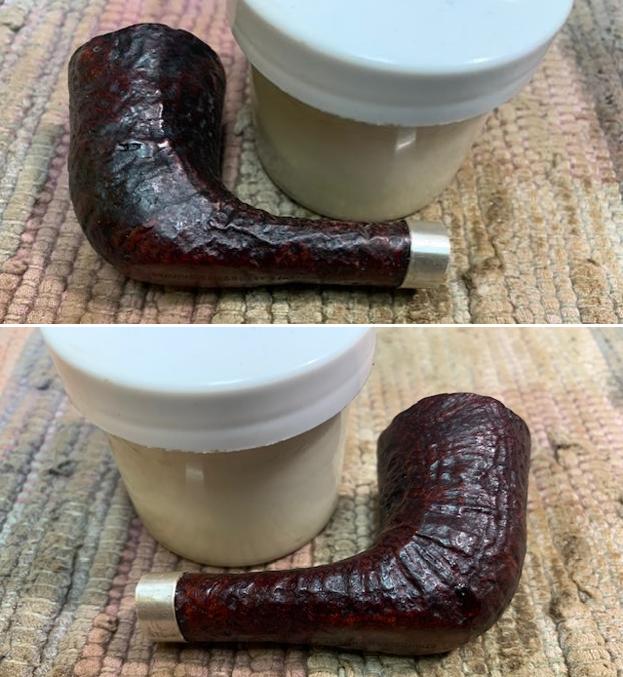
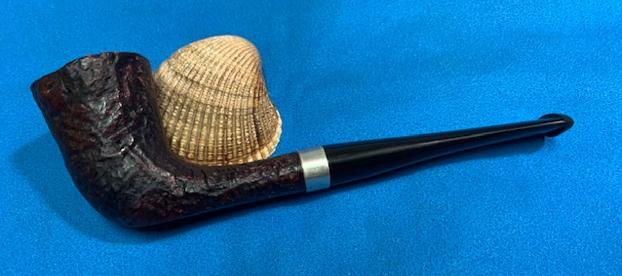
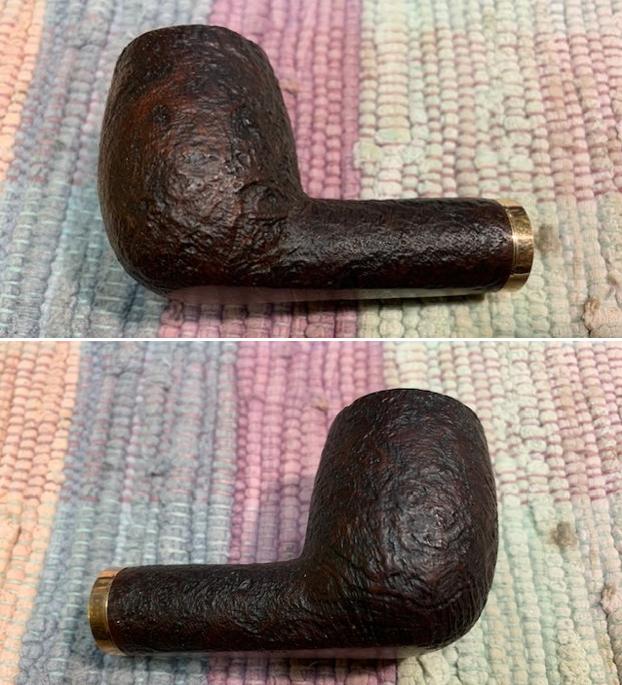
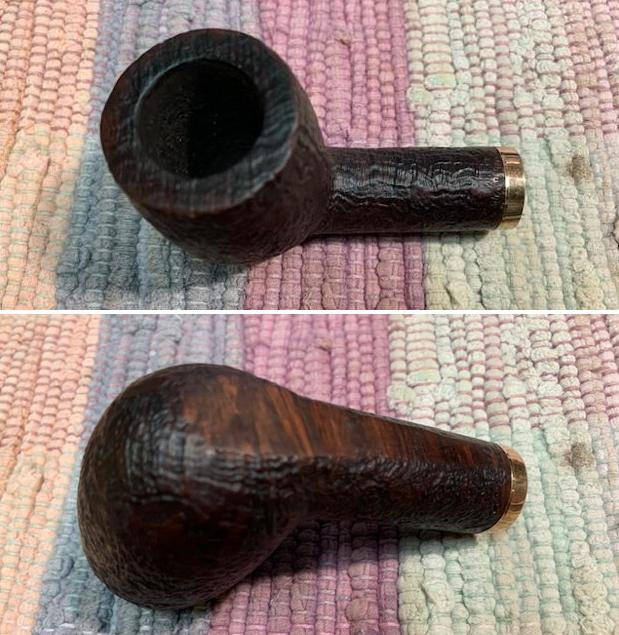
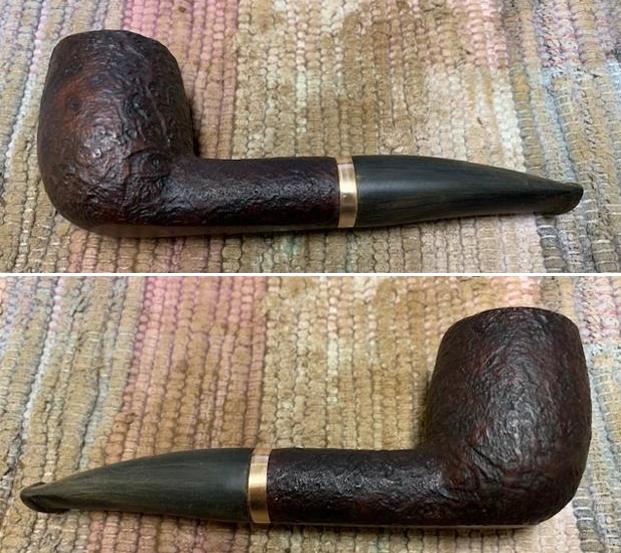
 Next, I mounted another cotton buffing wheel that I have earmarked for carnauba wax and applied several coats of the wax. I finished the restoration by giving the entire pipe a rigorous hand buffing using a microfiber cloth to raise the shine further. The finished pipe looks amazingly beautiful and is ready to join my collection. I only wish it could share with me it’s story of the past years while I enjoy smoking my favorite Virginia blend in it or maybe an English blend or maybe just keep admiring it!! The finished pipe is as shown below.


 P.S. I had completed this pipe (and next 6 restorations) during the months of November and December of last year. The reason for the delayed write ups is because I have moved out to a new work place and my luggage, including pipe restoration equipment, materials and pipes, were transported from old station to new place of work. My family will be moving in with me now (after a separation of nearly five years) by next month end after winding up the household in Pune. I should be settling down in to my new routine by end of April and only then will I be able to undertake any new projects. So in the intervening period, I intend to complete all my pending write ups so that I am still in touch with all the esteemed readers, who I miss very much.
A note of thanks to all the readers who have joined me in this journey that has been such a pleasure! You and your loved ones are always in our prayers…Stay home…stay safe!!