Blog by Steve Laug
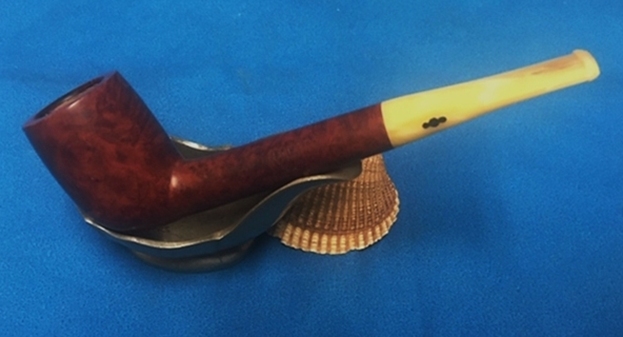
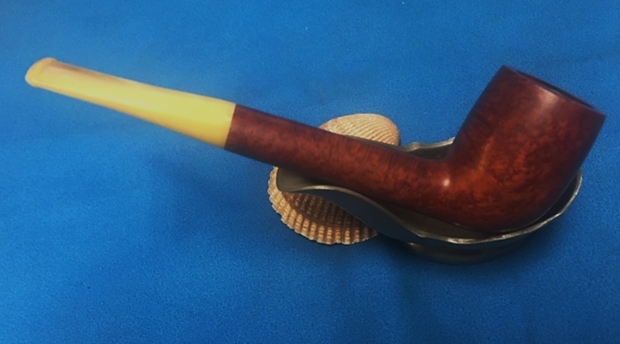
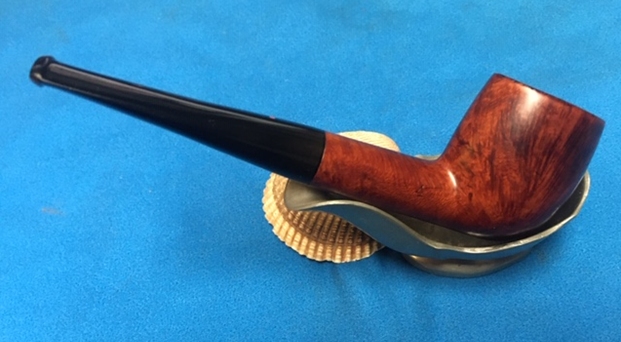
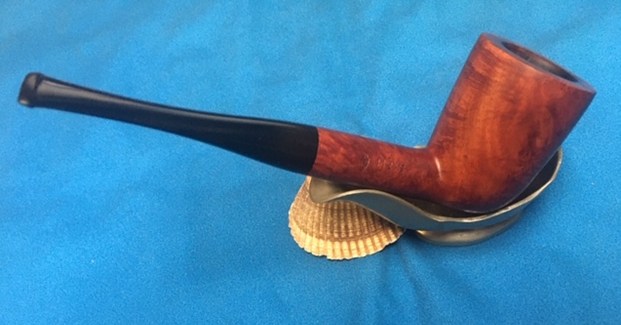
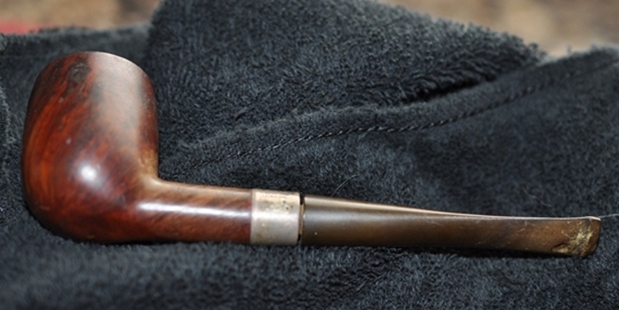
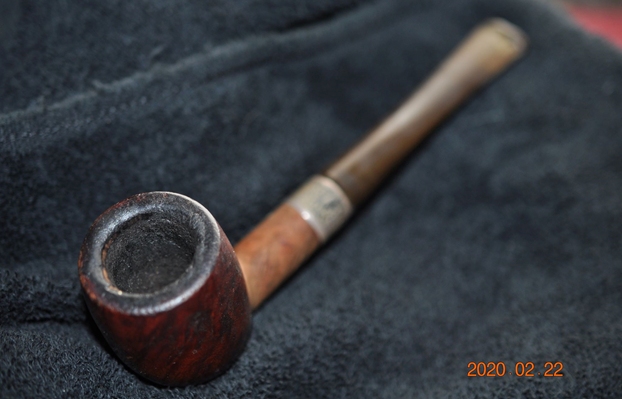
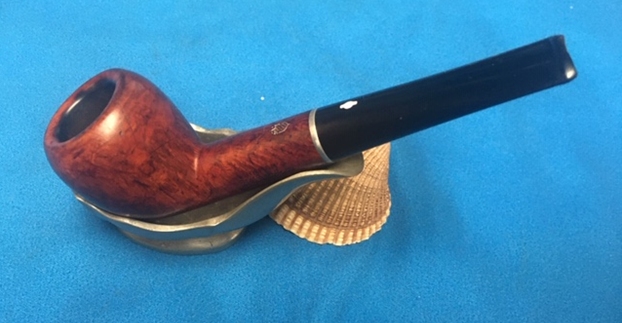
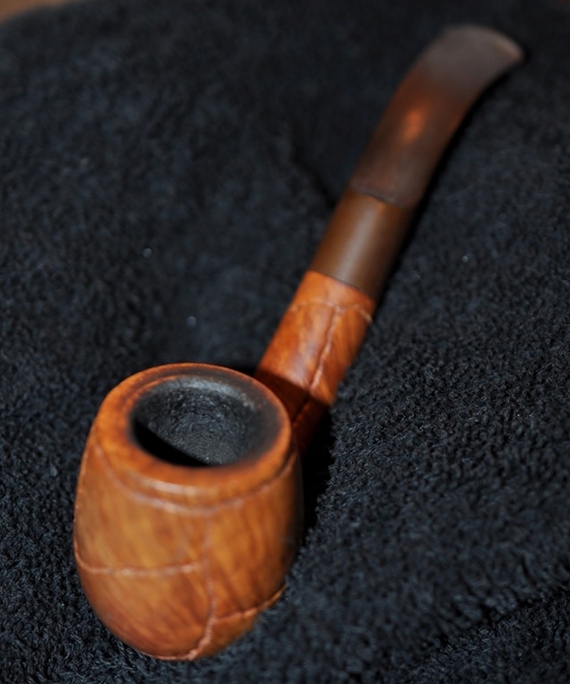
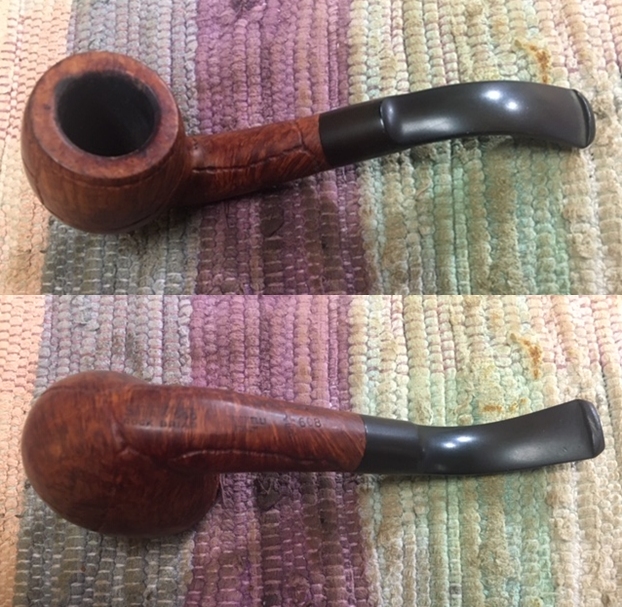
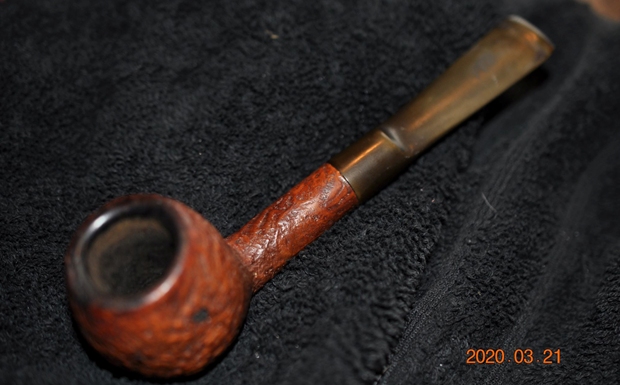
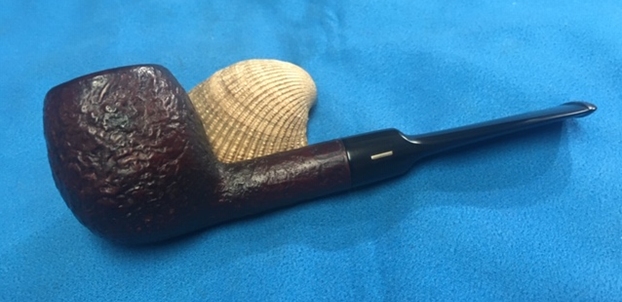
The next pipe on the table is from the next box of pipes I am working through. It is another Stanwell pipe. This time it is a nicely grained bent billiard. It is a Stanwell Sixtus shape 212 ¼ bent billiard with a hexagonal shank and stem. The Billiard shaped bowl, hexagonal shank and black acrylic hexagonal stem combine to make this Stanwell Sixtus a beauty. To me this is another classic Stanwell shape and it instantly recognizable. The finish is a smooth well grained piece of briar stained with a mix of stains to highlight the grain. The top of the bowl is smooth. It was stamped on the second panel and third panel of left side and reads Stanwell Made in Denmark followed by the line Sixtus and the shape number 212. The finish was very dirty with a heavy coat of grime ground into the bowl and rim top as can be seen in the photos. The bowl had a thick cake with a lava overflow onto the plateau rim top and the inner edge of the bowl. The acrylic stem was dirty and there was a Softee bit that was made to protect the surface of both sides and on the top and bottom edges of the button. I would not know if it worked until we removed it during the cleanup. Originally the Stanwell Crown S on the top of the hexagonal stem was a gold decal. Jeff took photos of the pipe before he cleaned it up so you could see what we saw. 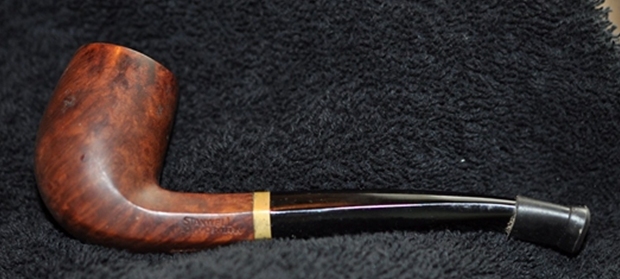
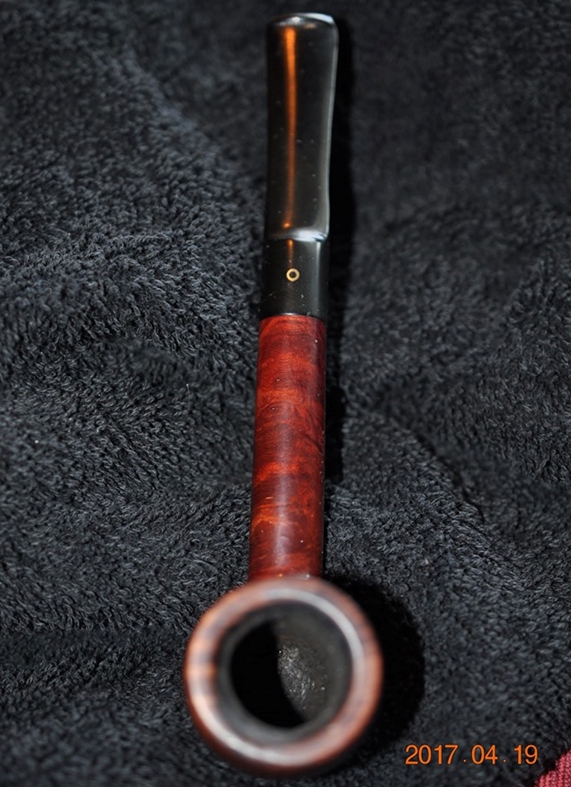
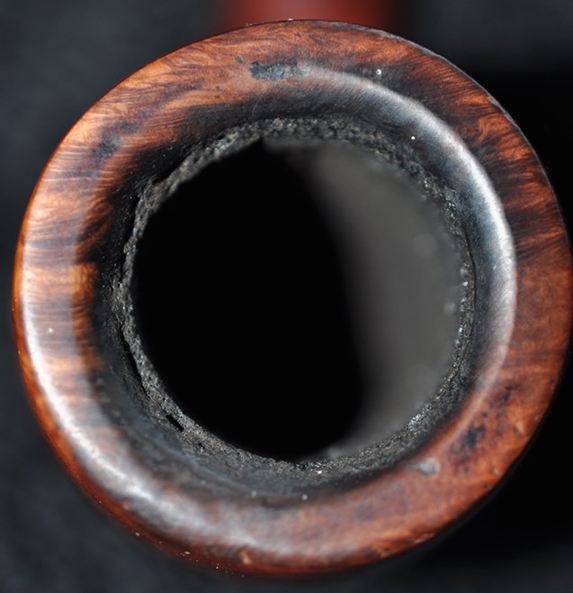
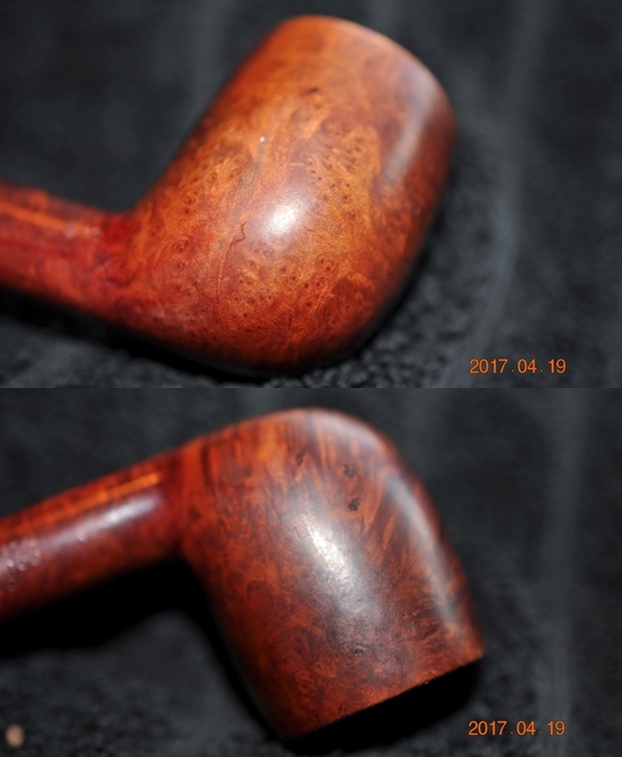
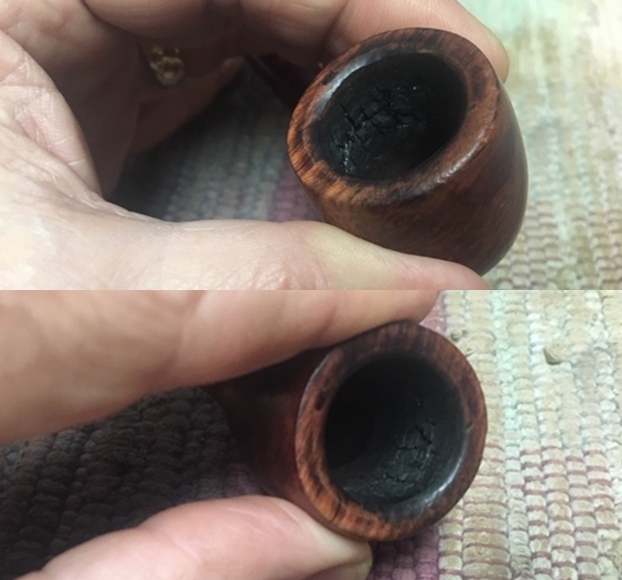
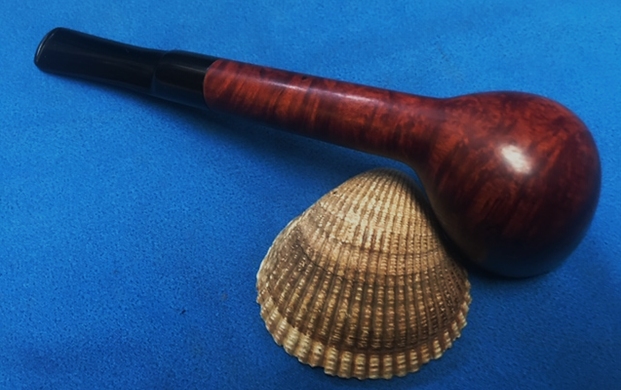
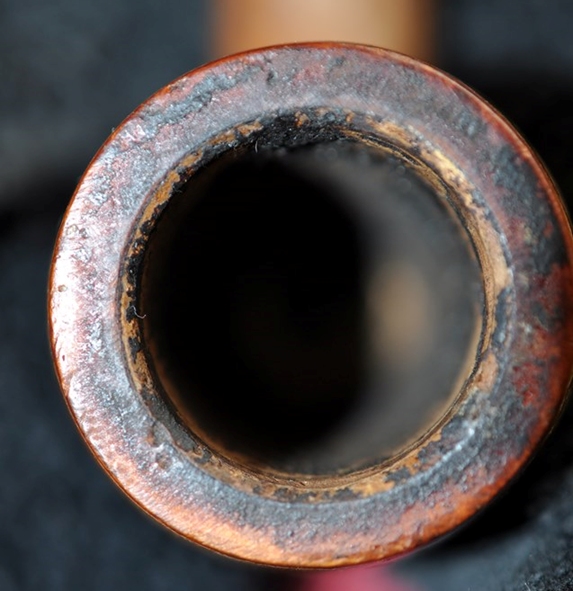
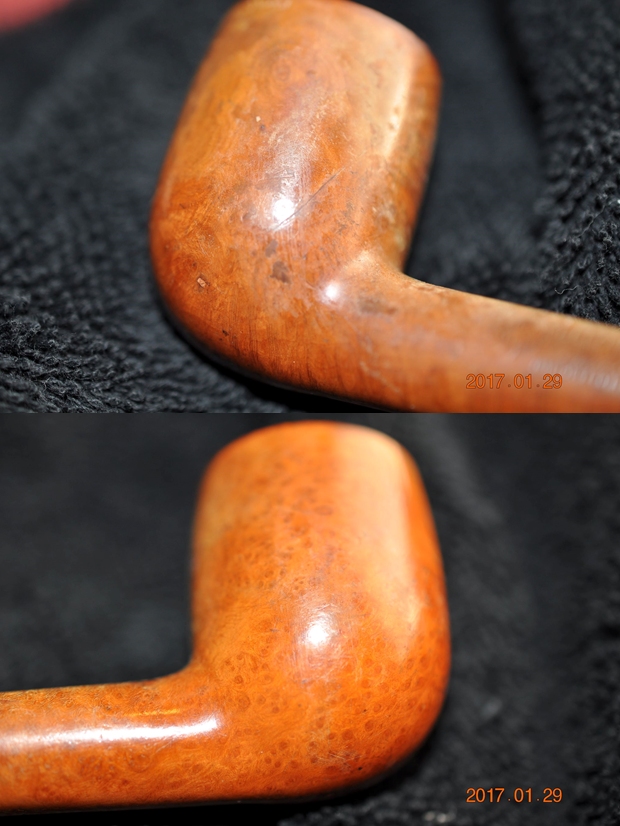
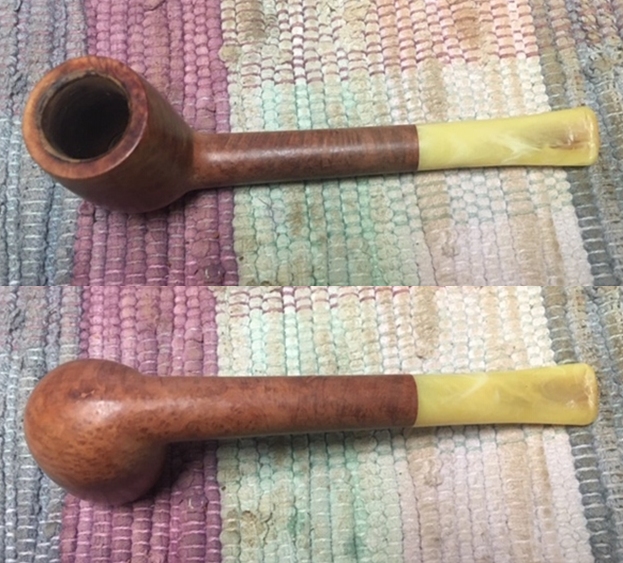
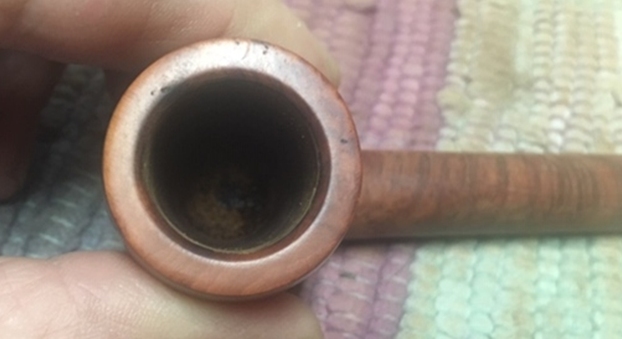
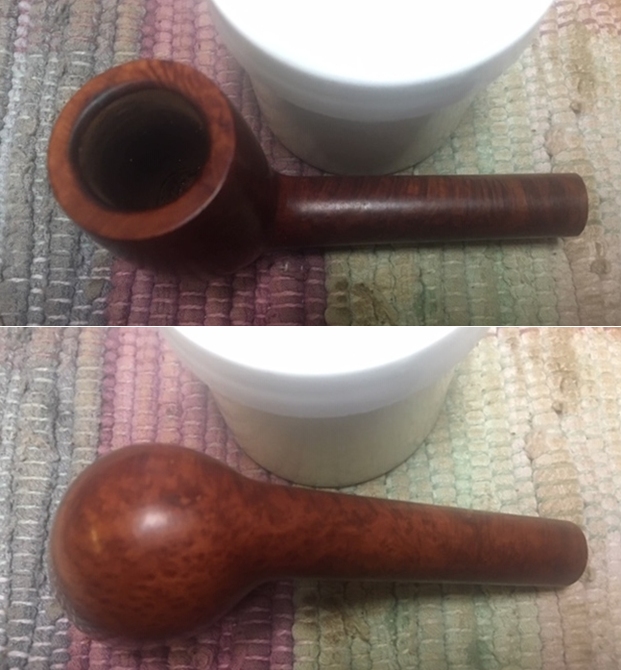
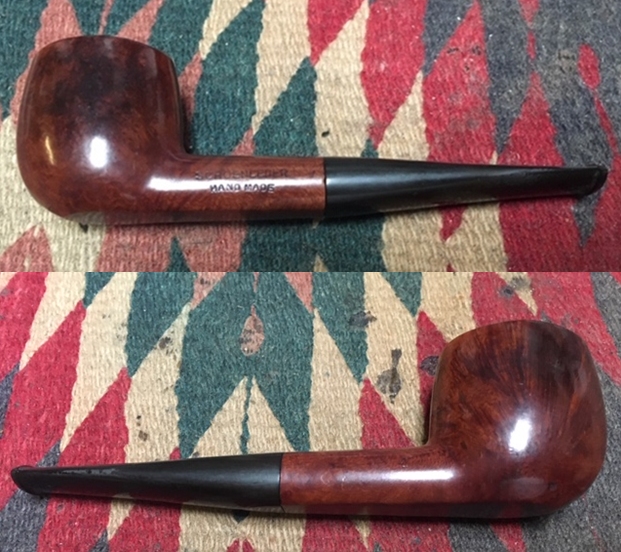
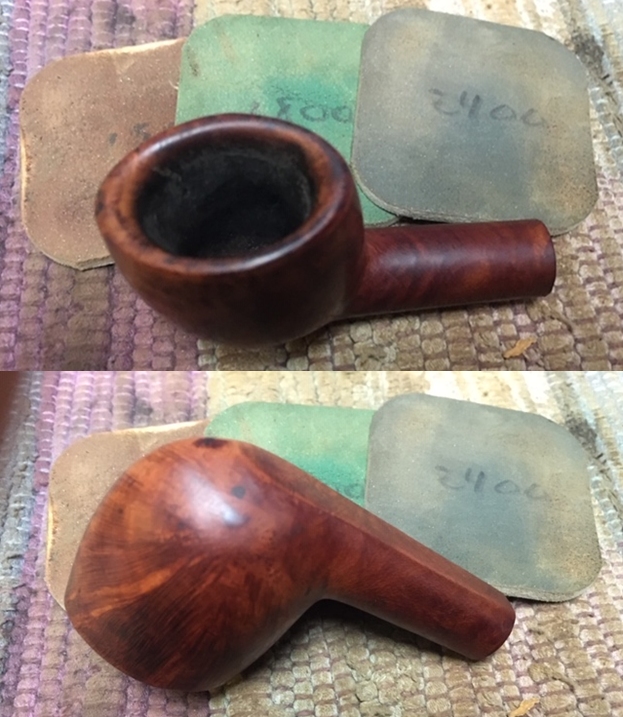
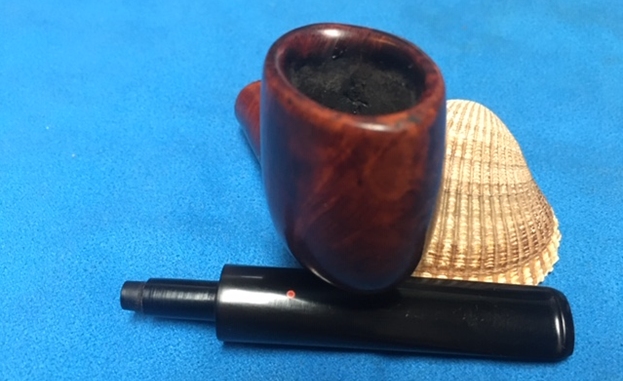
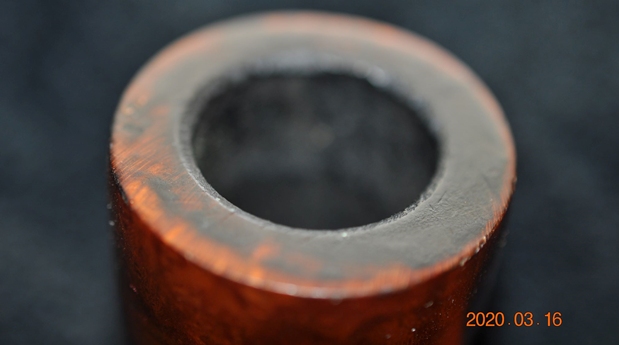
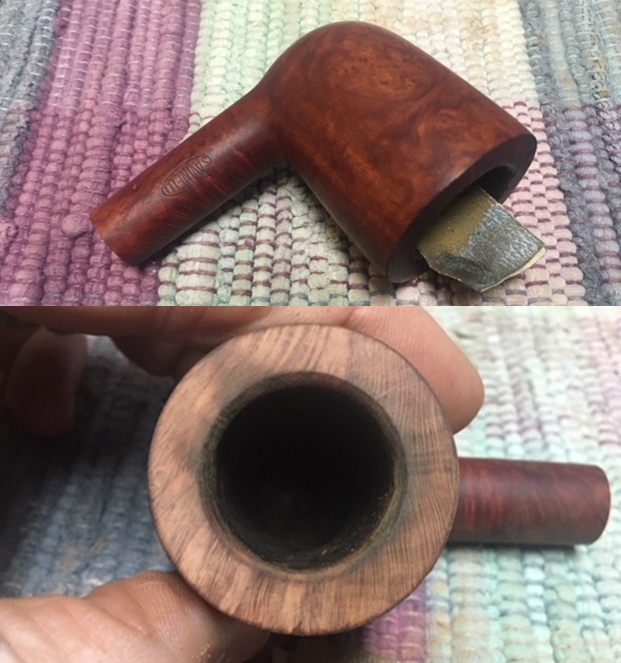
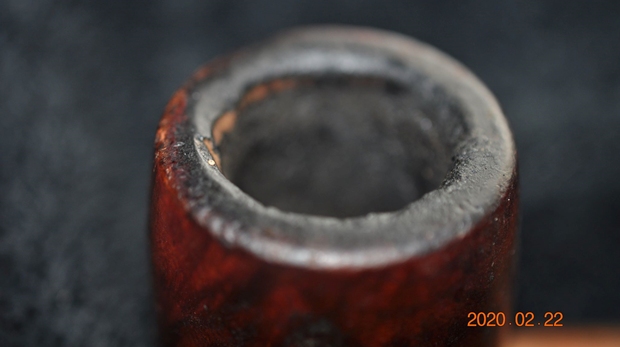
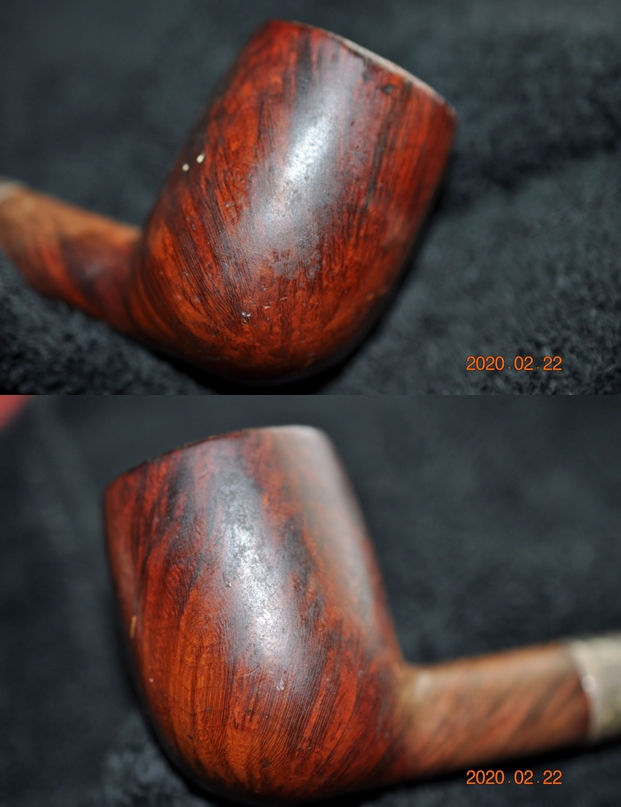
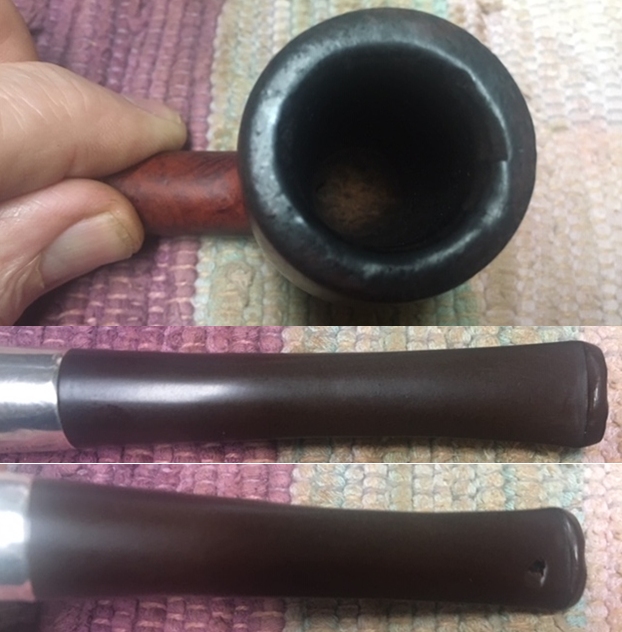
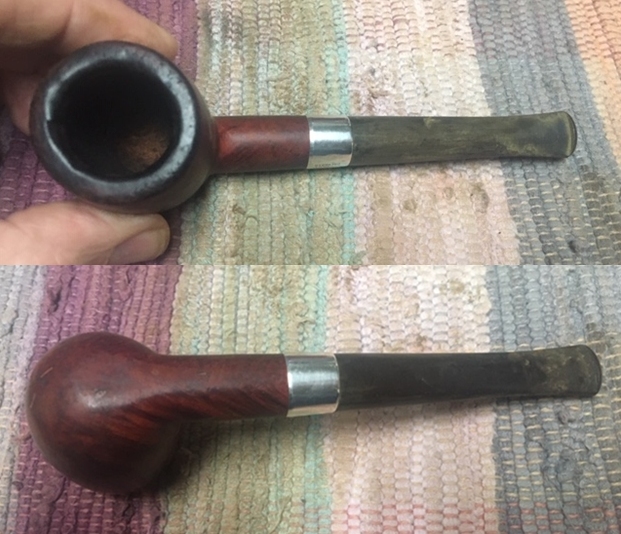
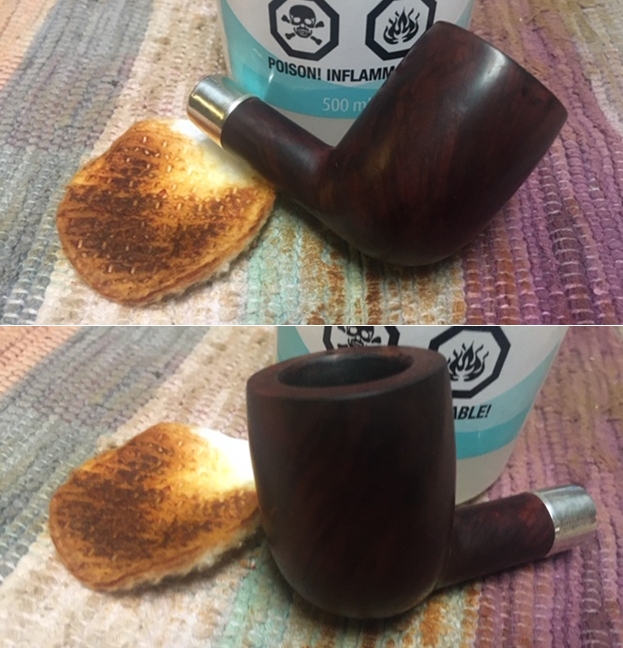
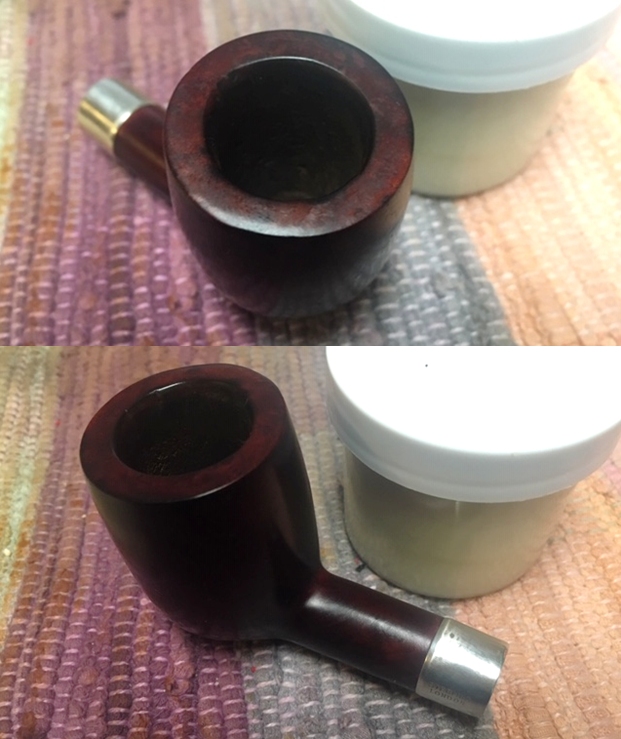
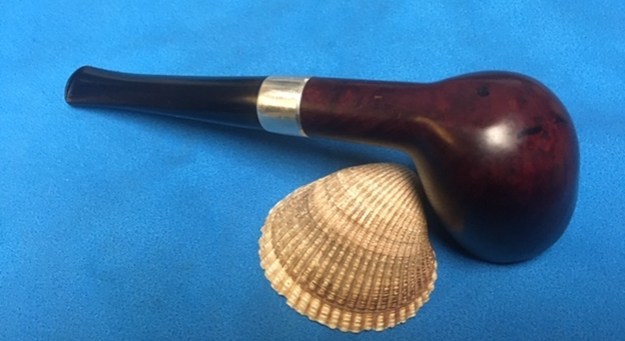
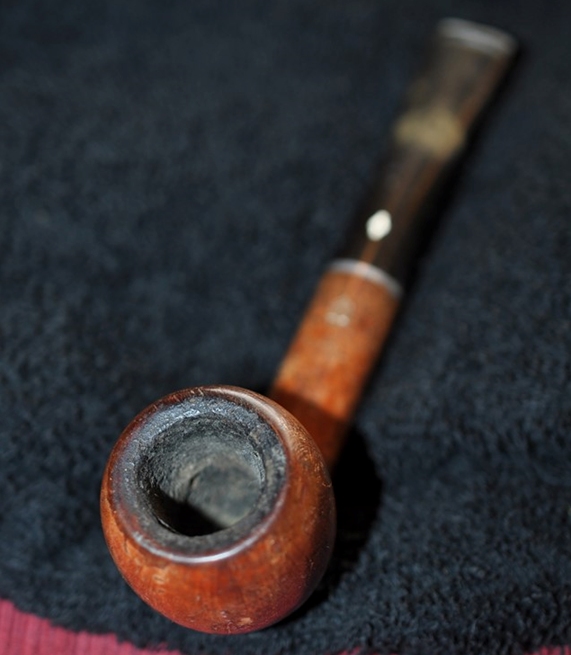
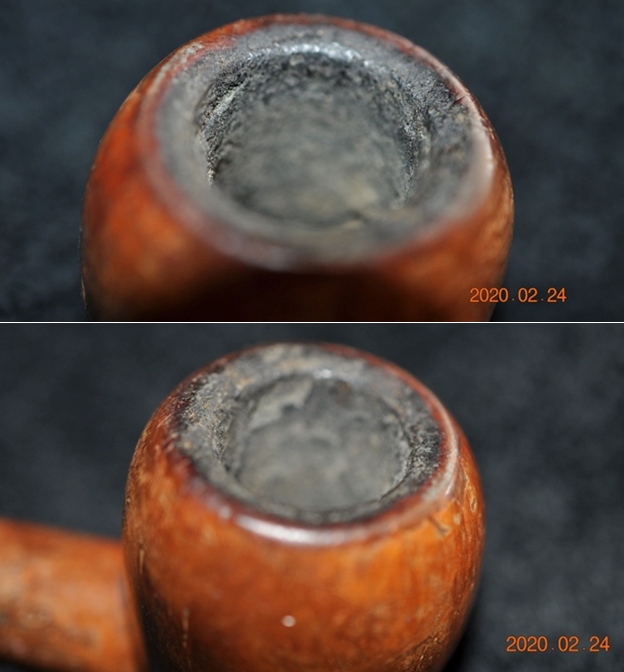
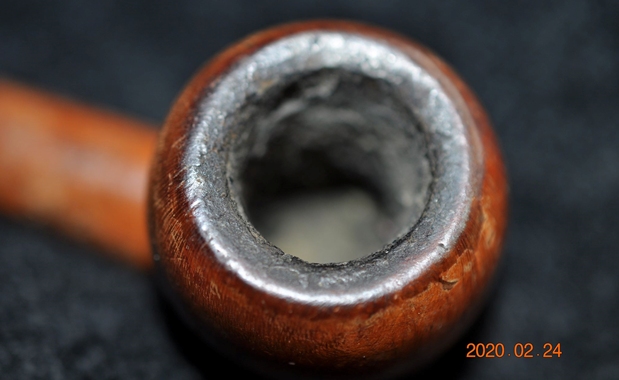
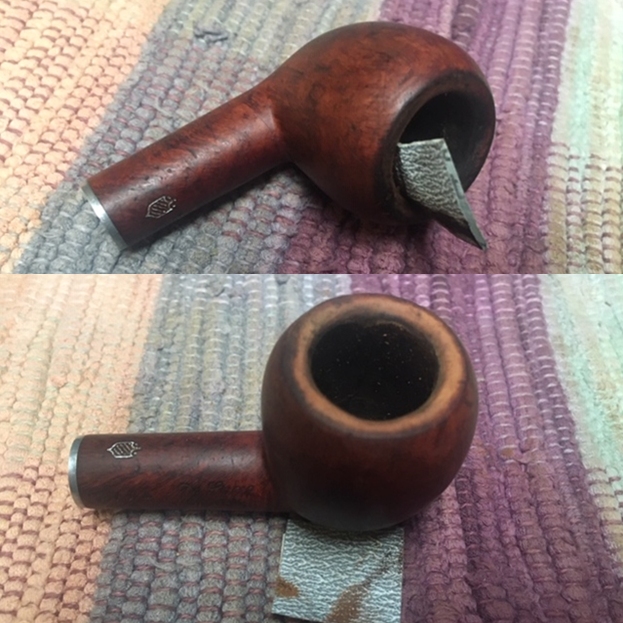
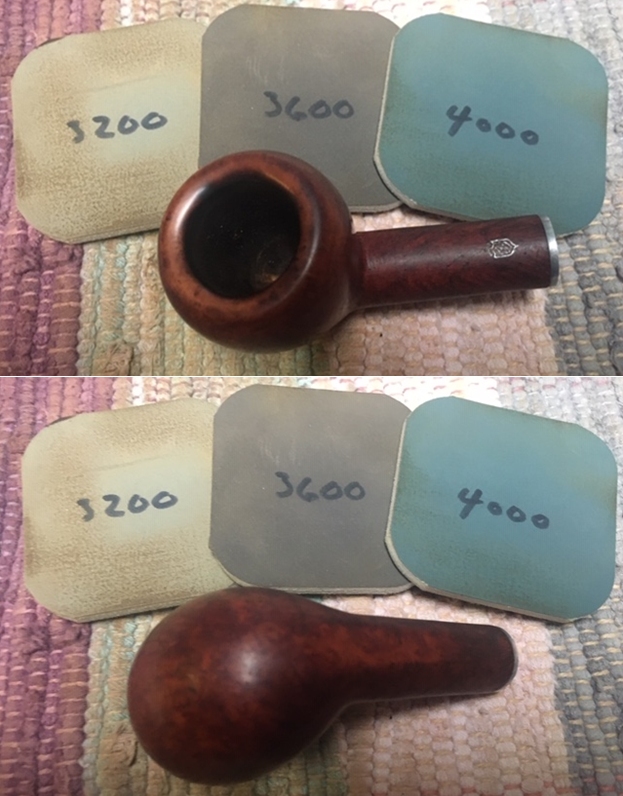
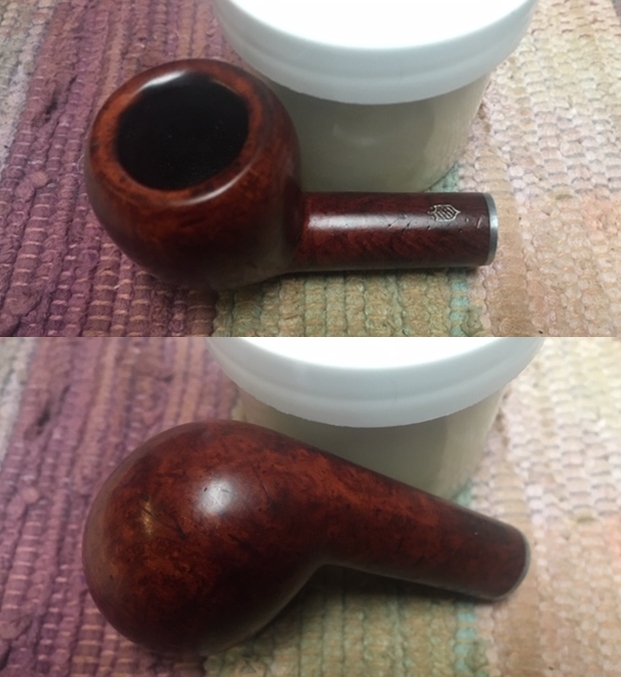
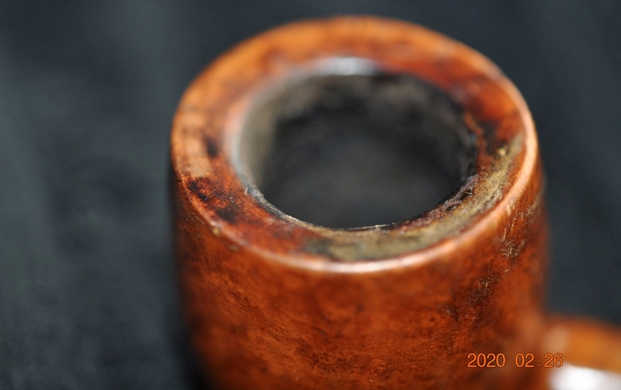
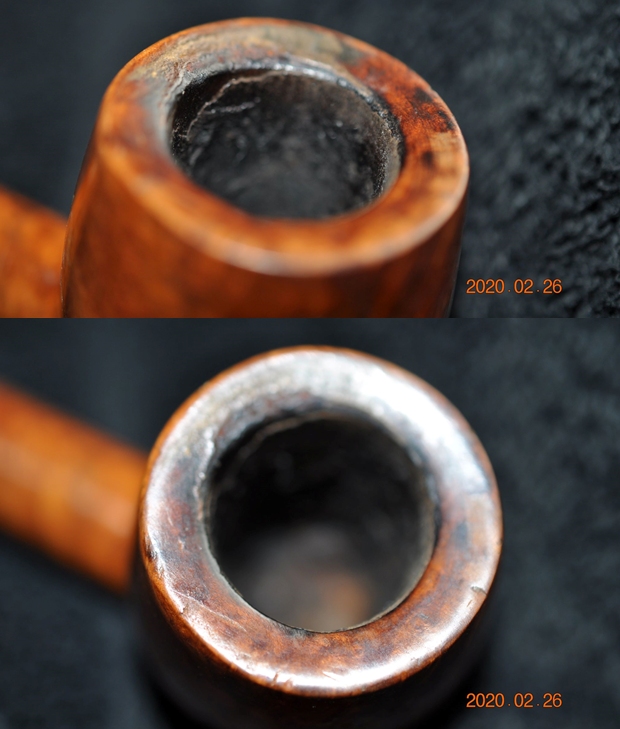
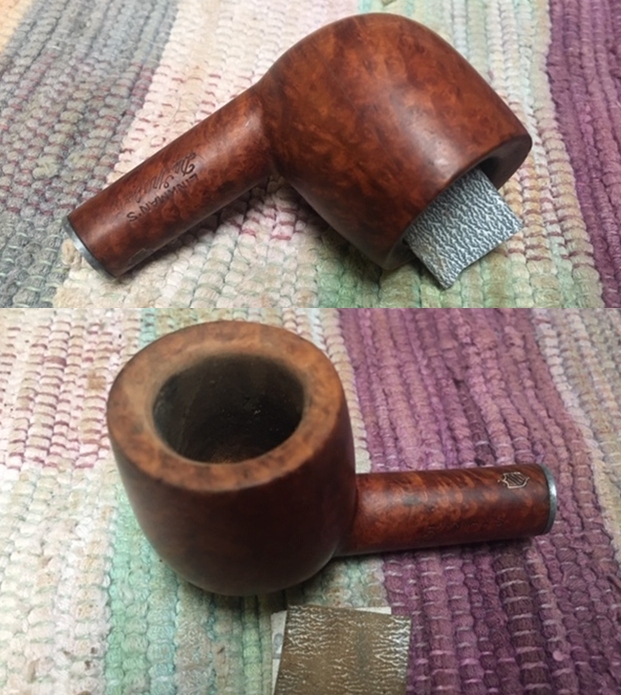
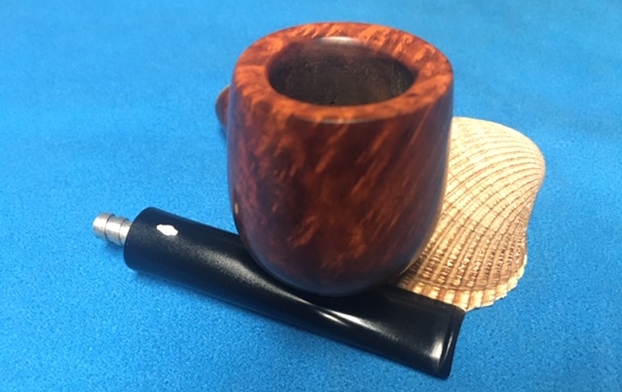
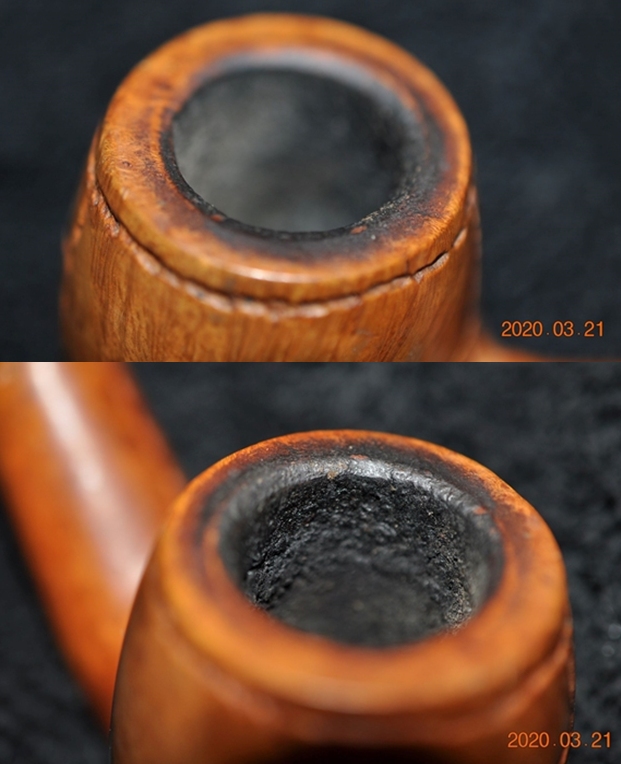
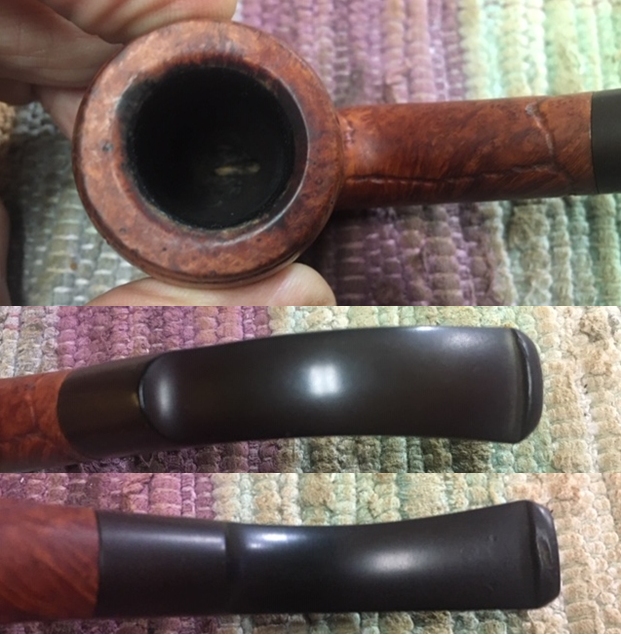
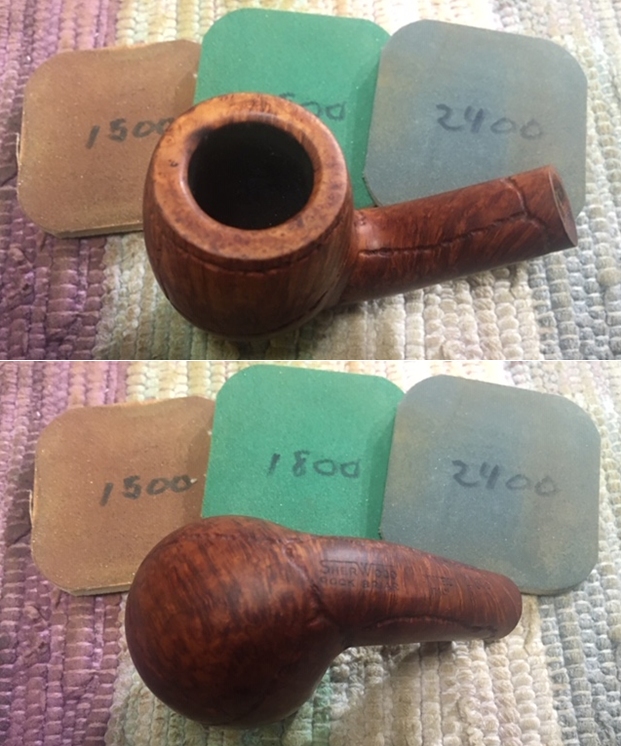
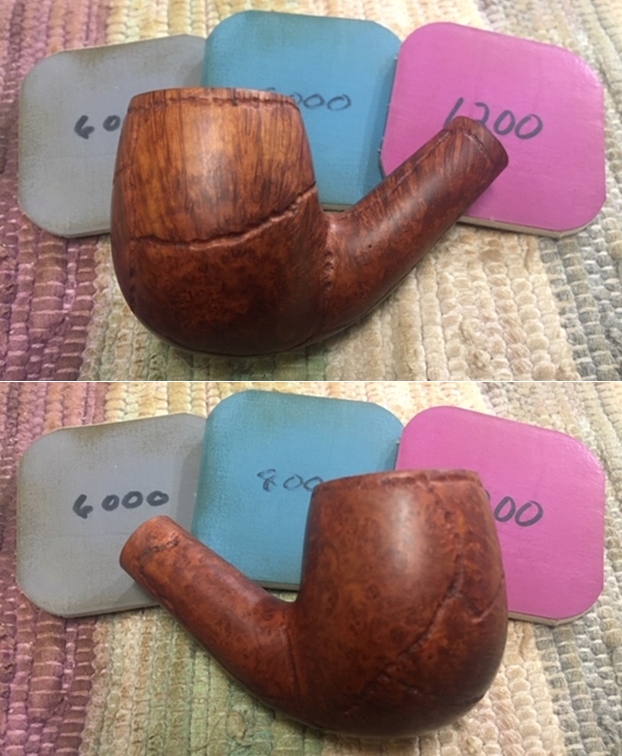
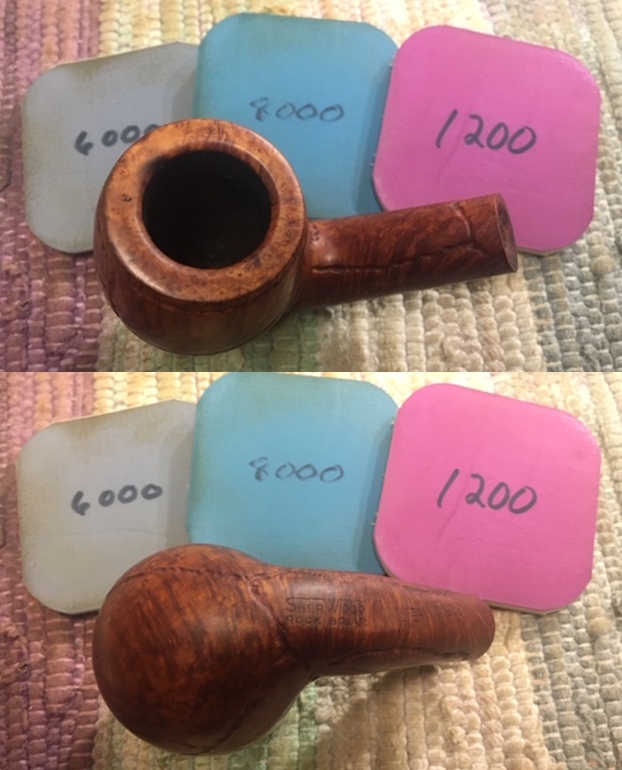
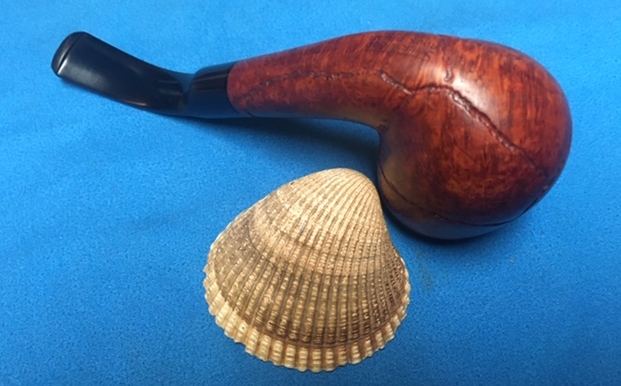
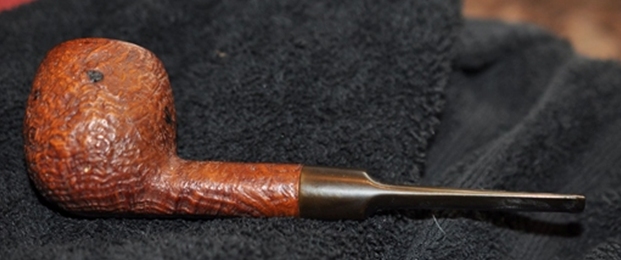
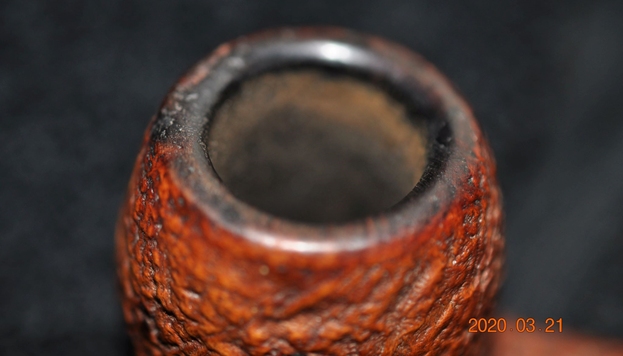
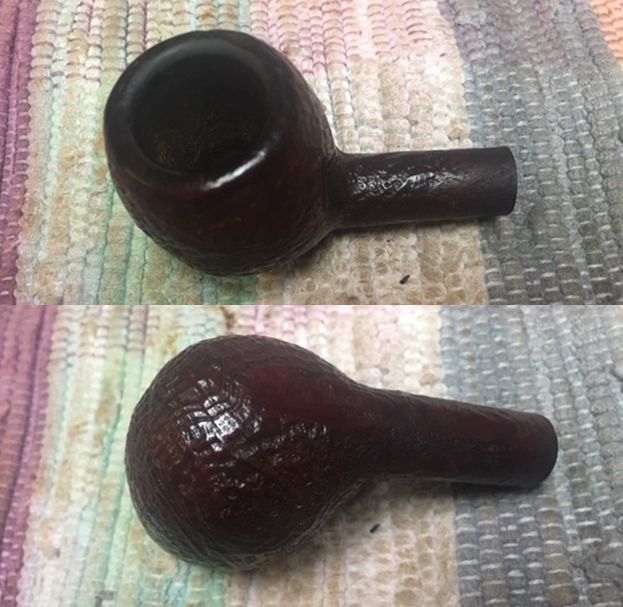
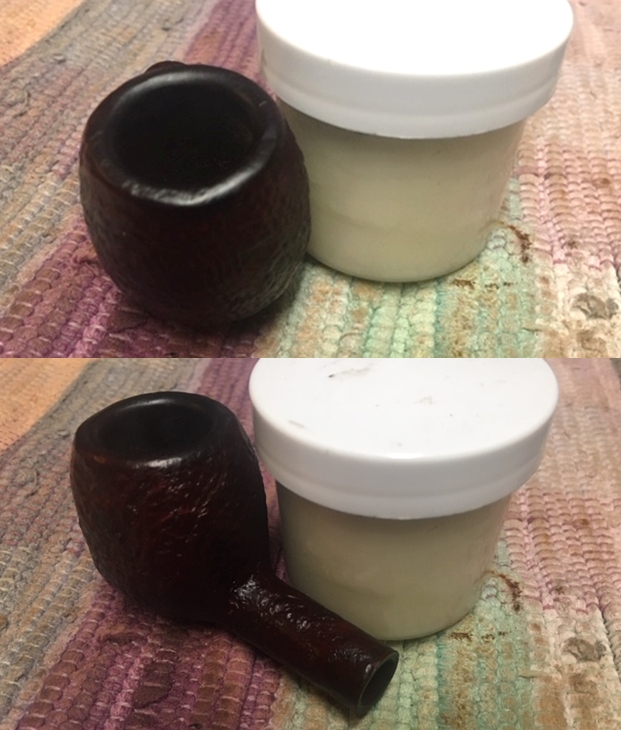
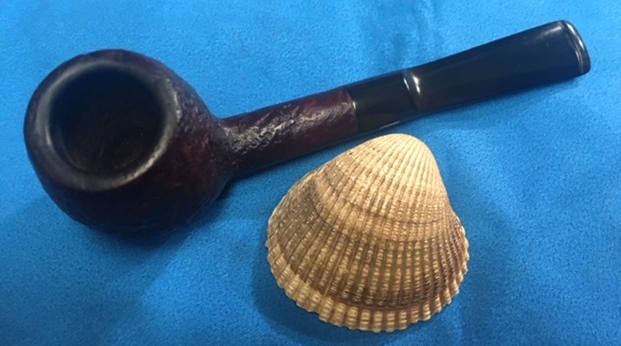
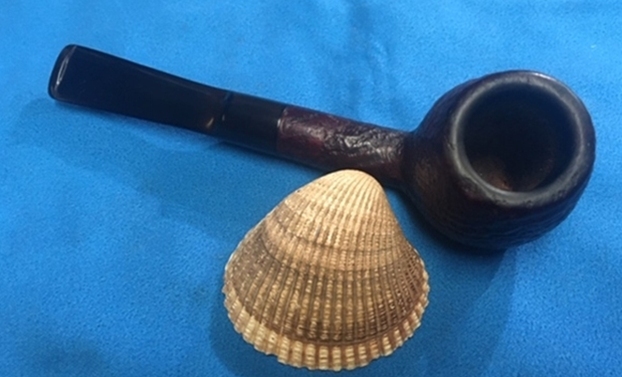
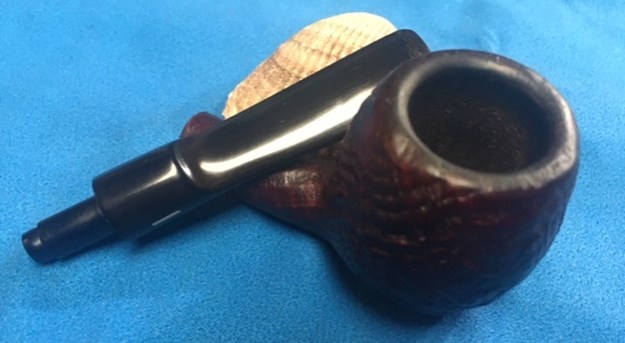
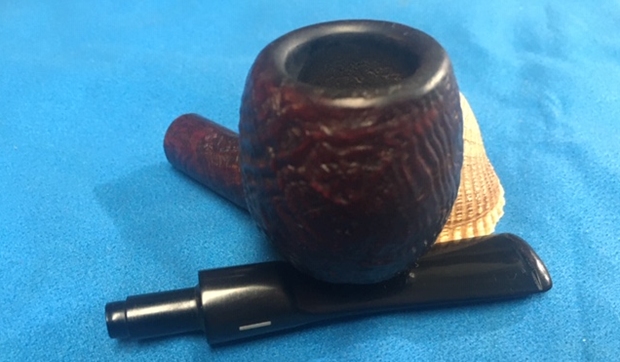
 Jeff took a photo of the rim top to show lava build up in the plateau rim top, the edges and cake in the bowl. This one was obviously someone’s favourite pipe and it was a mess.
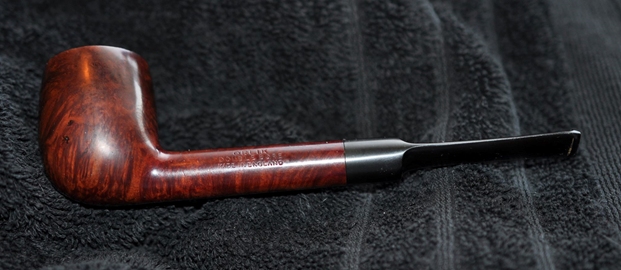
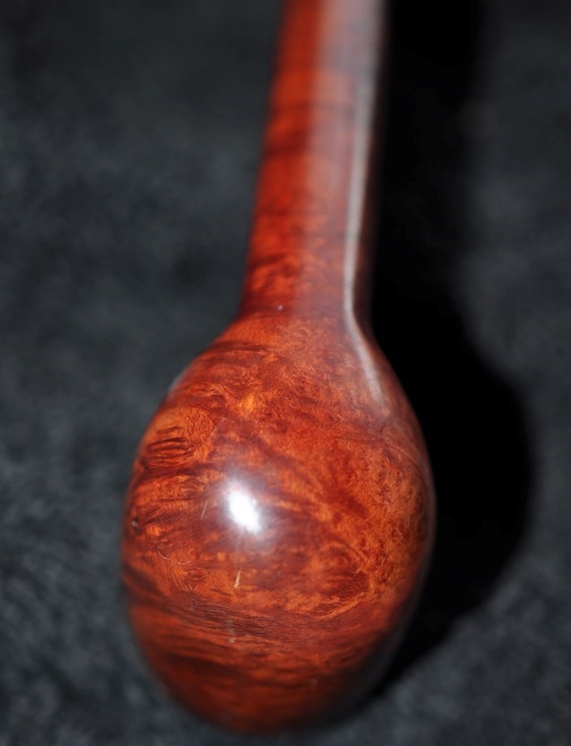
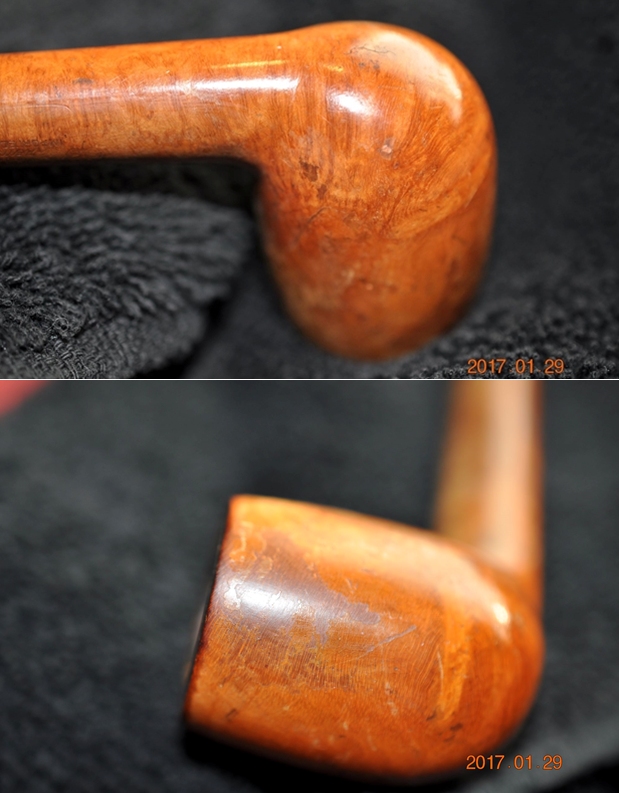
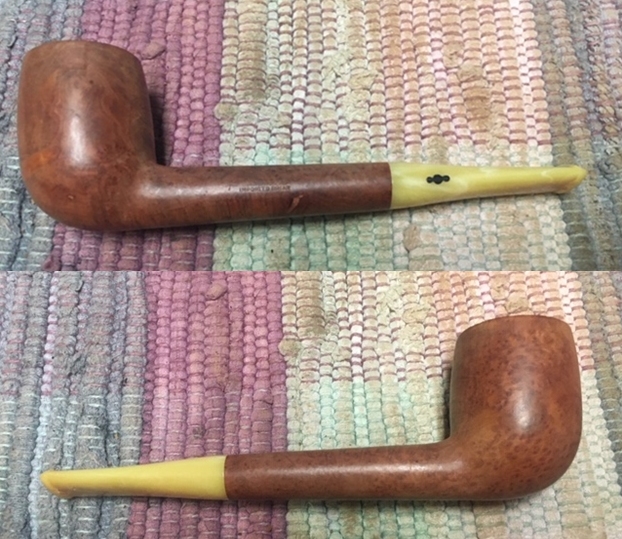
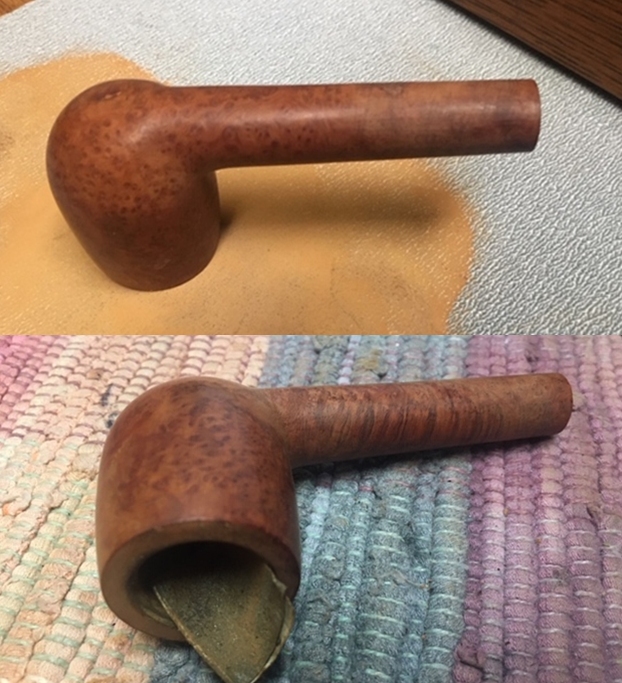
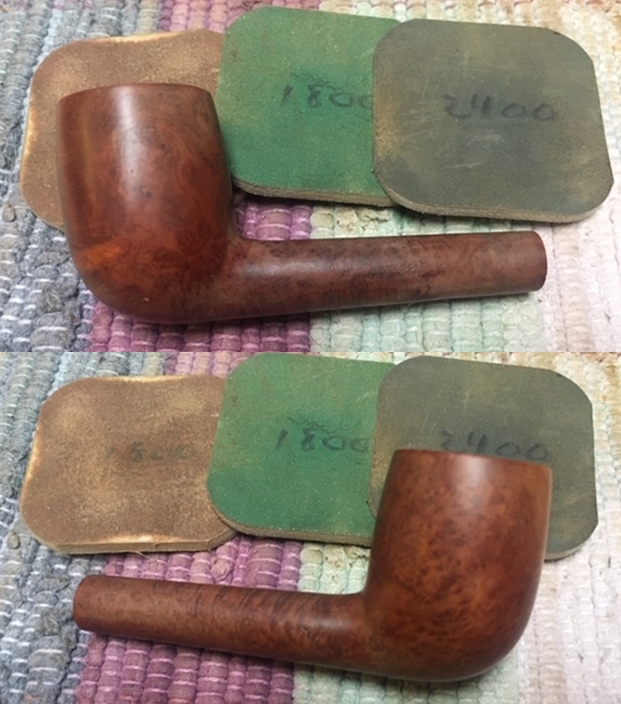
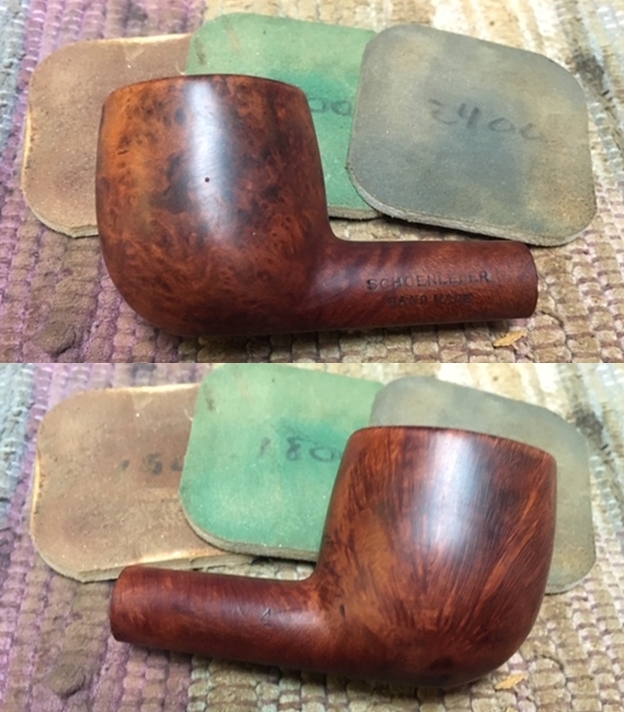
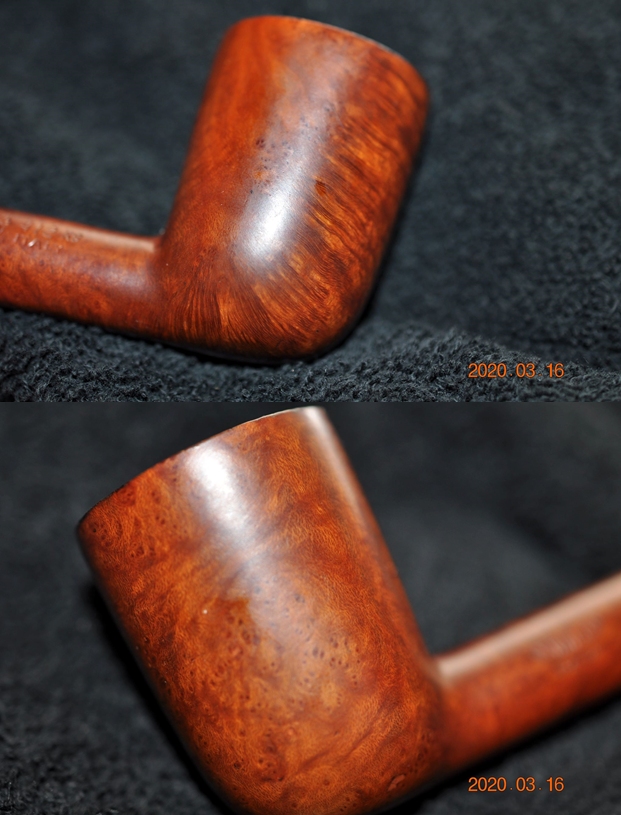
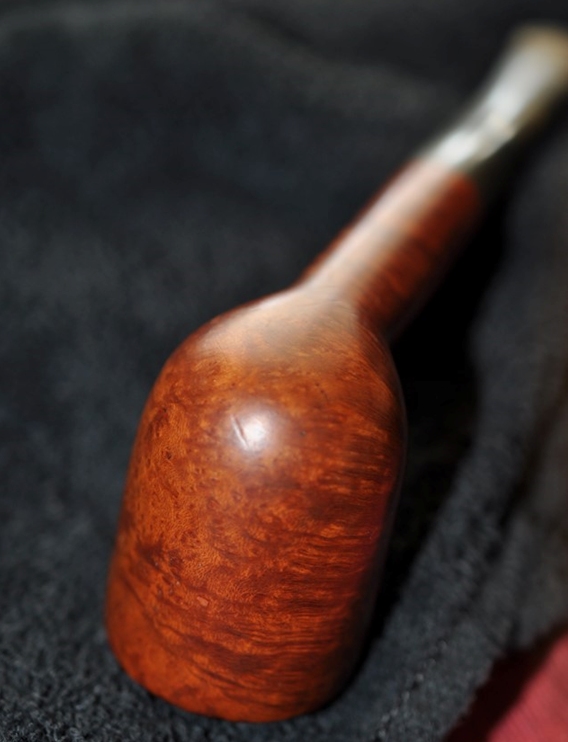
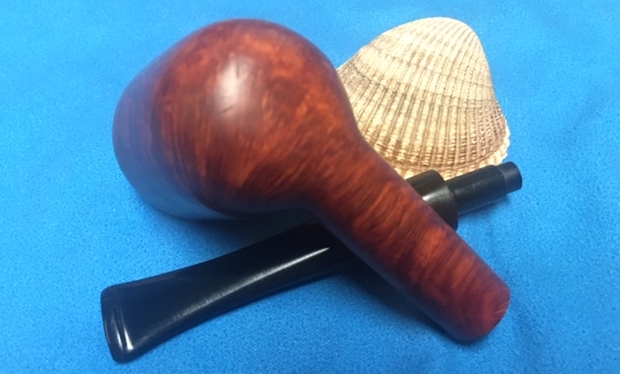
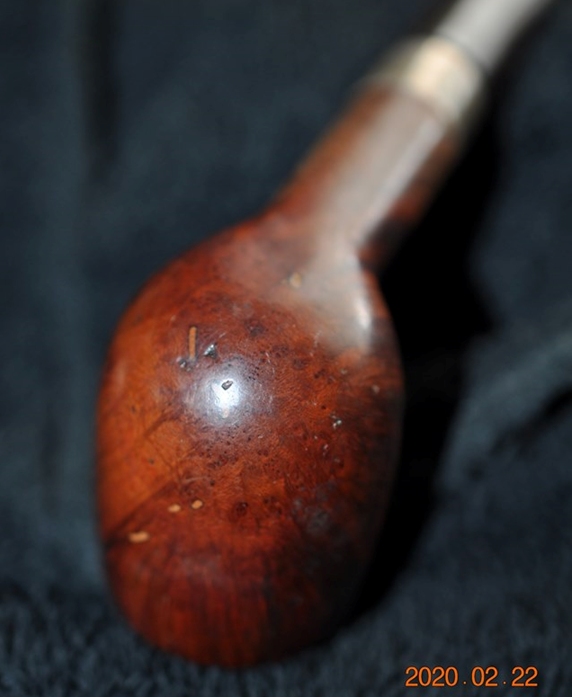
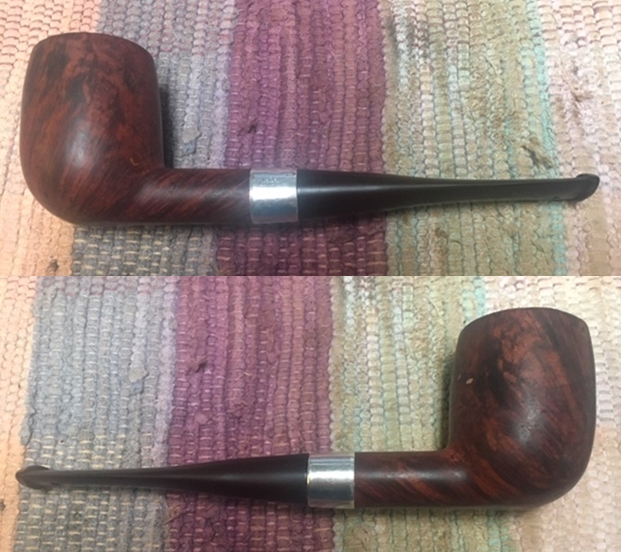
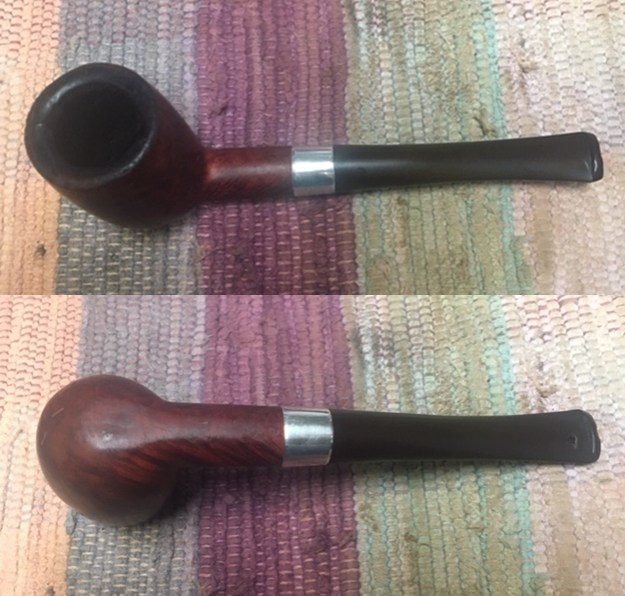
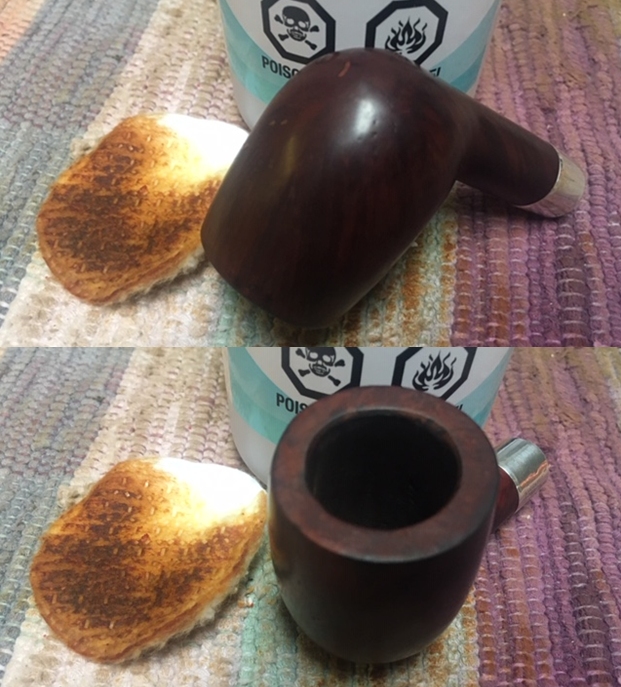
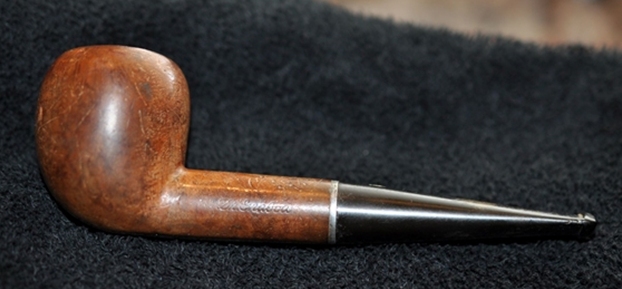
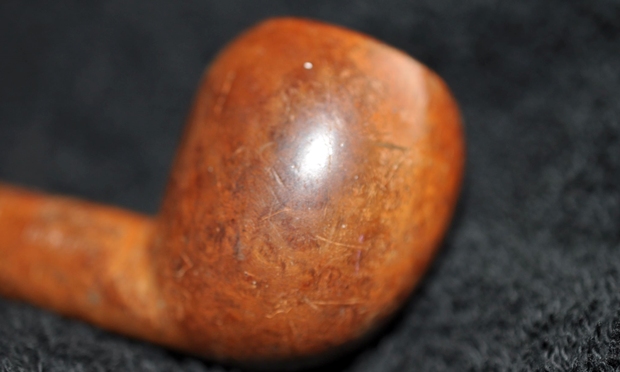
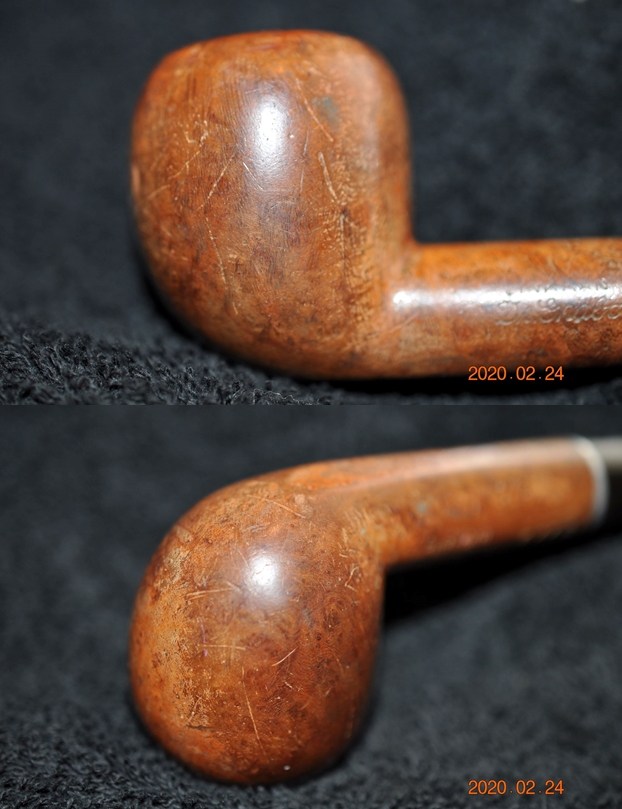
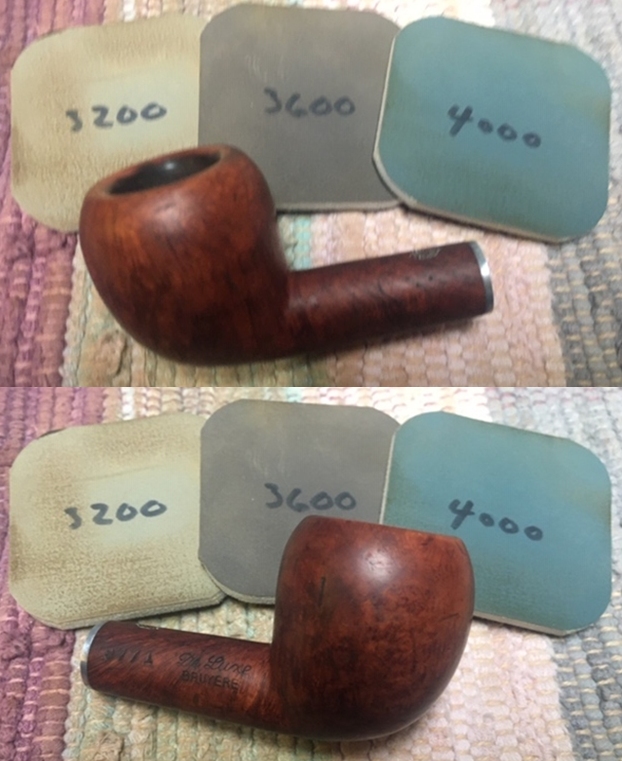
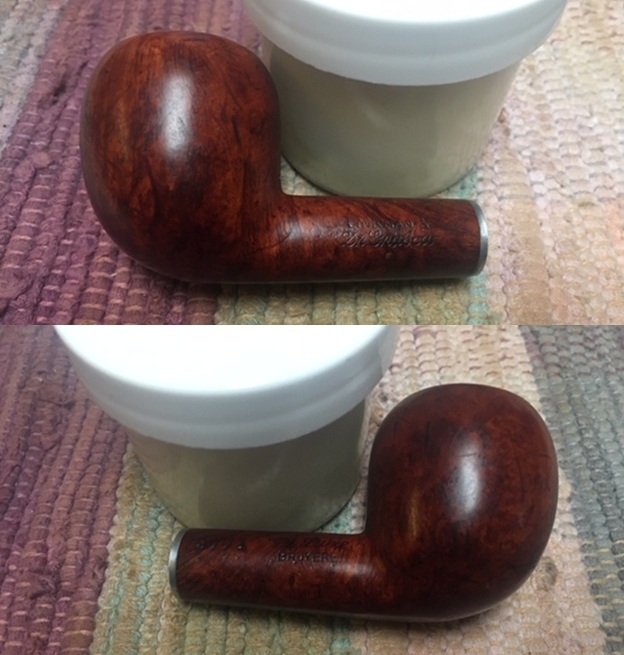
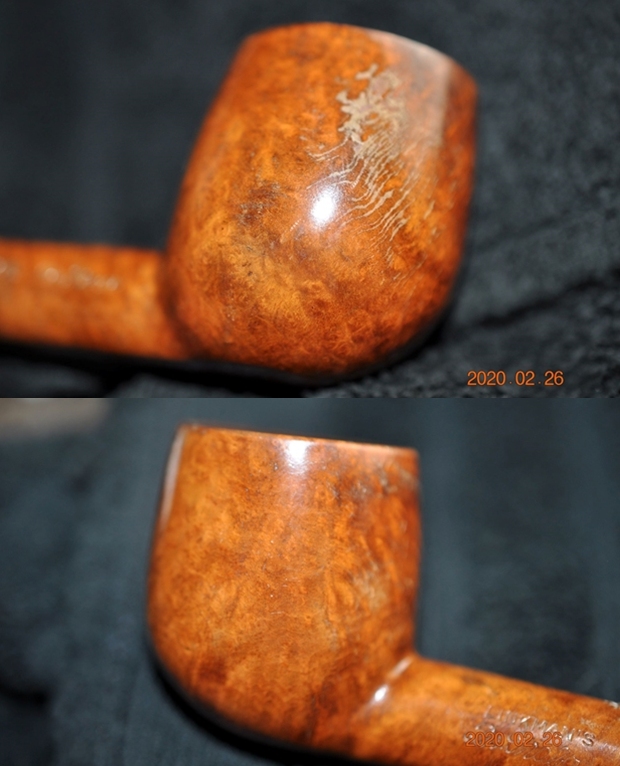
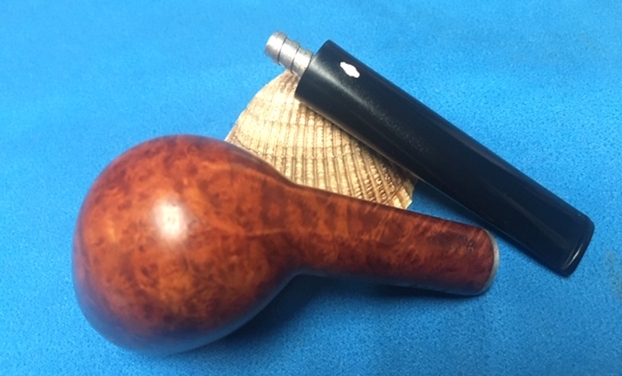
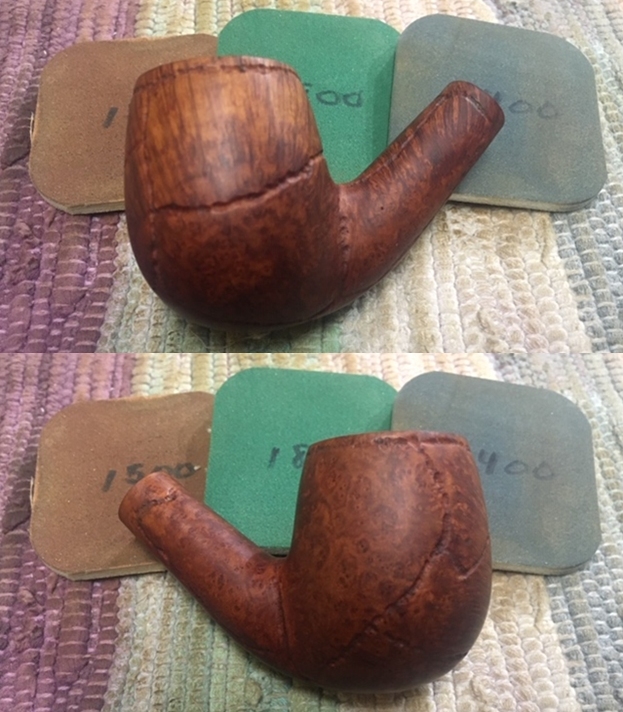
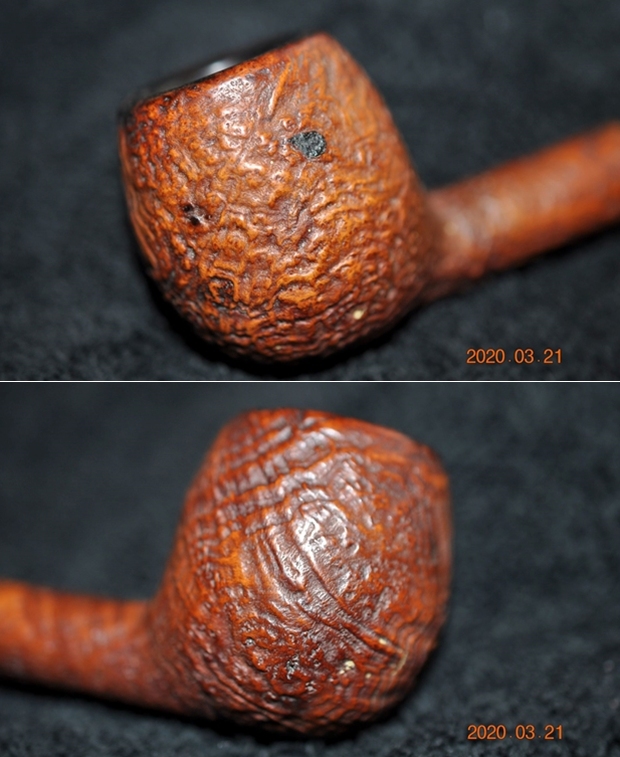
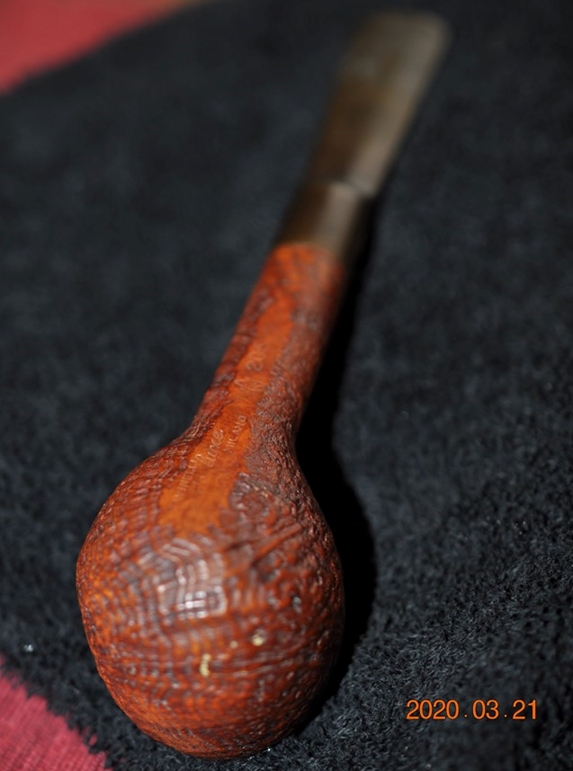
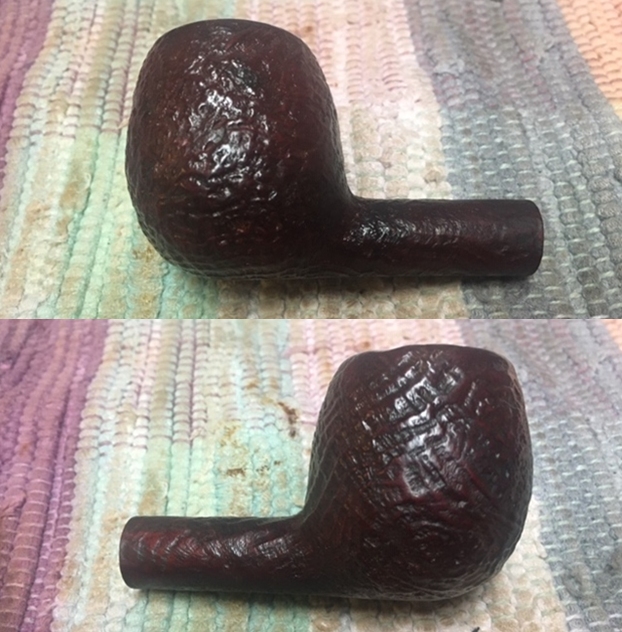
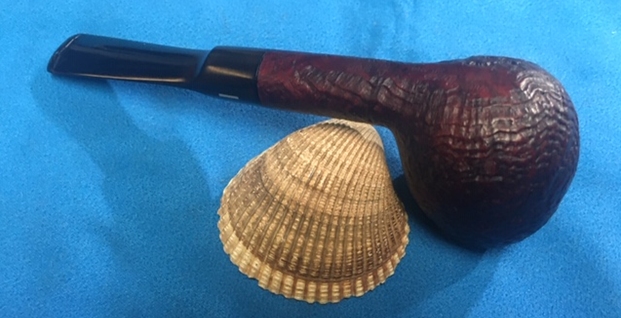
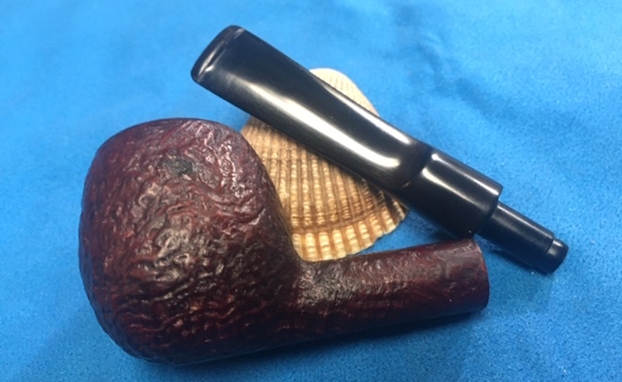
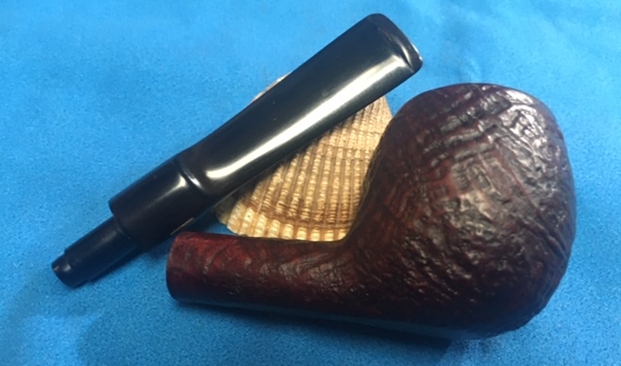
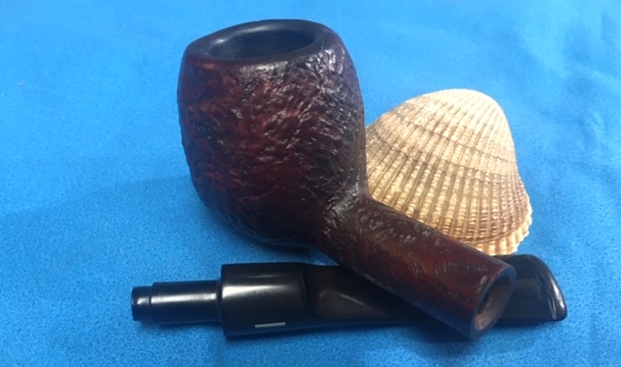
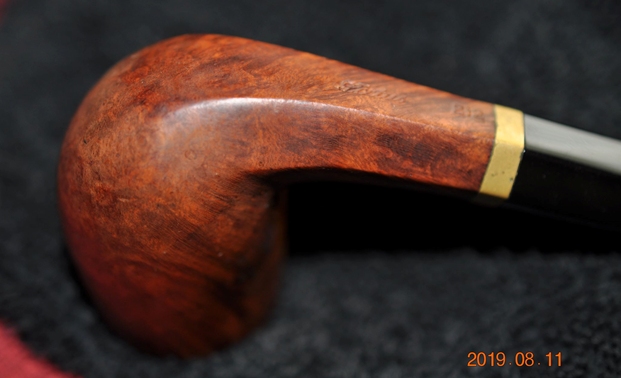
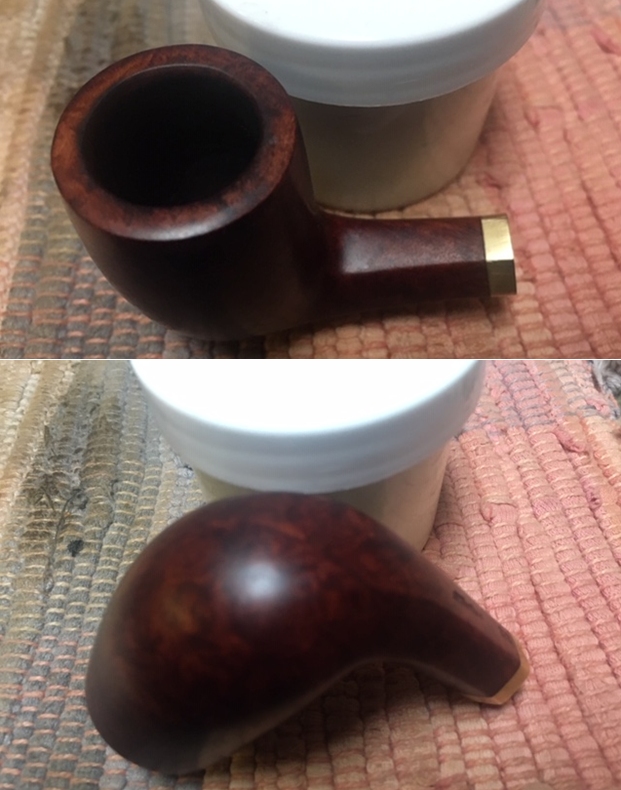
 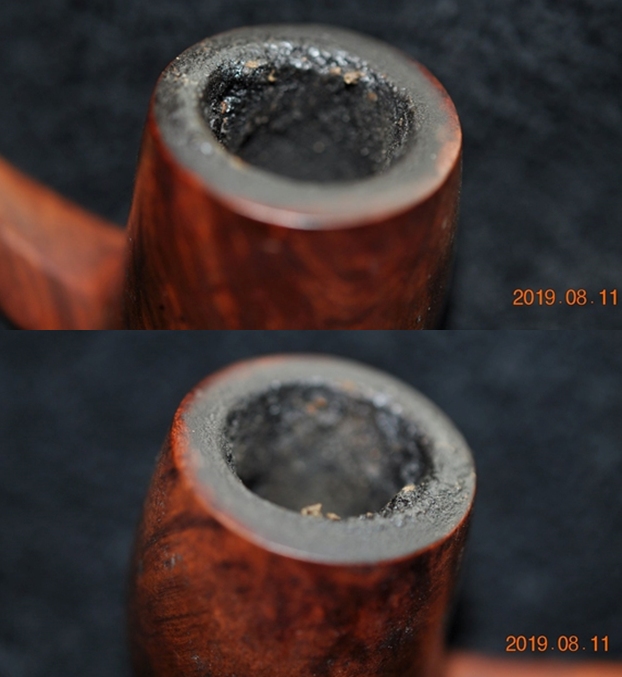 Jeff took some photos of the bowl sides and heel to show the absolutely dirty finish ground into the briar. It was a dirty pipe but I think it will be a beautiful one once we are finished.
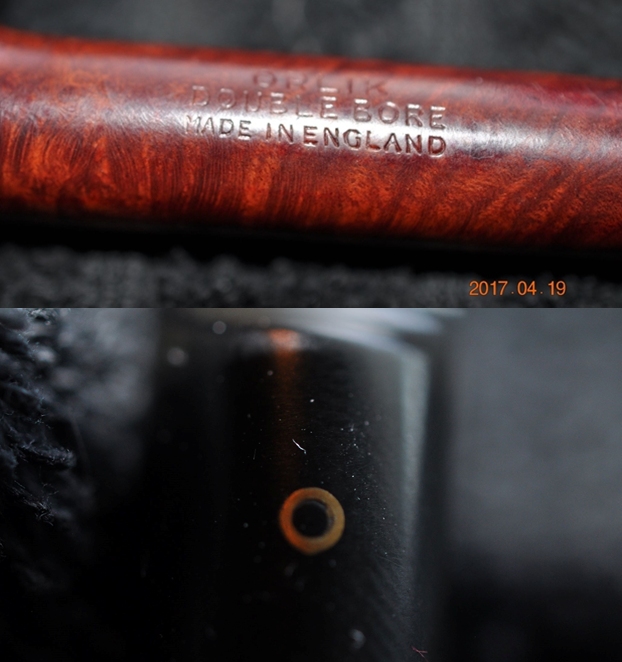
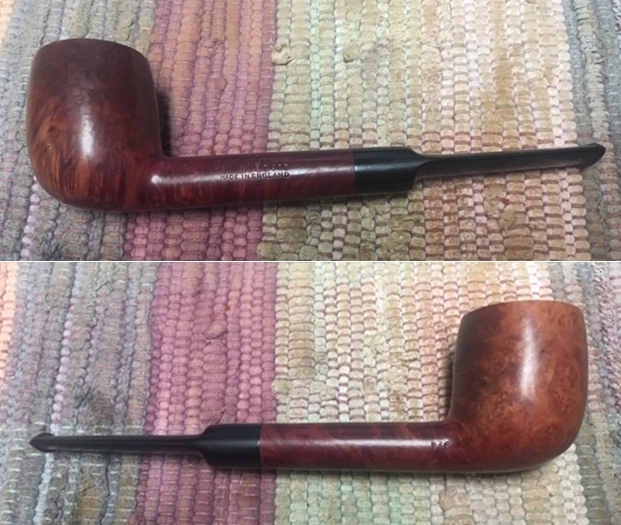
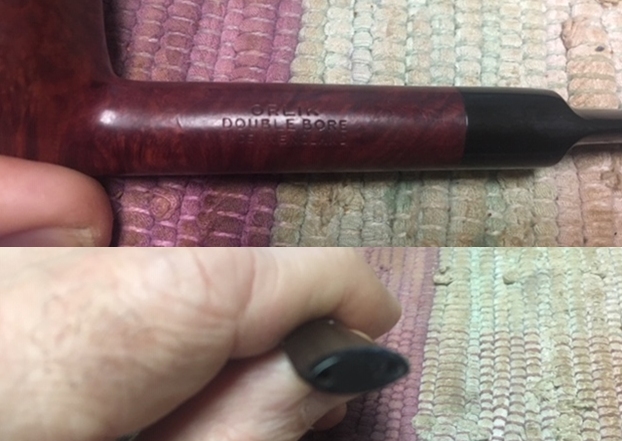
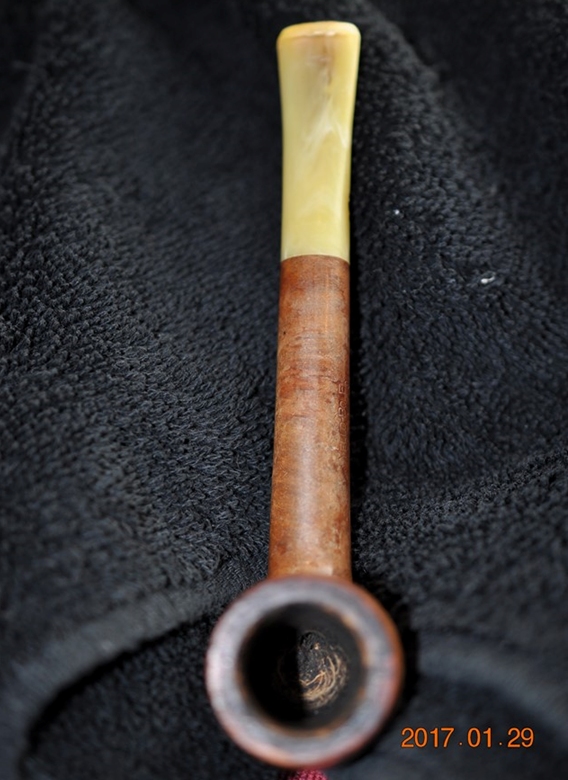
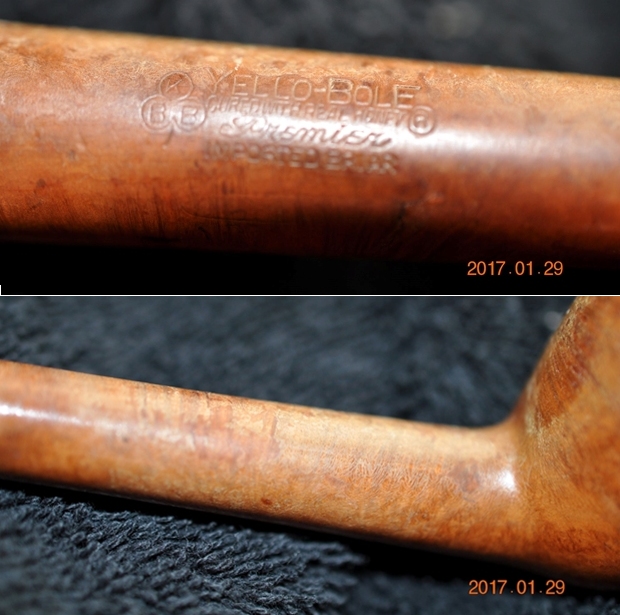
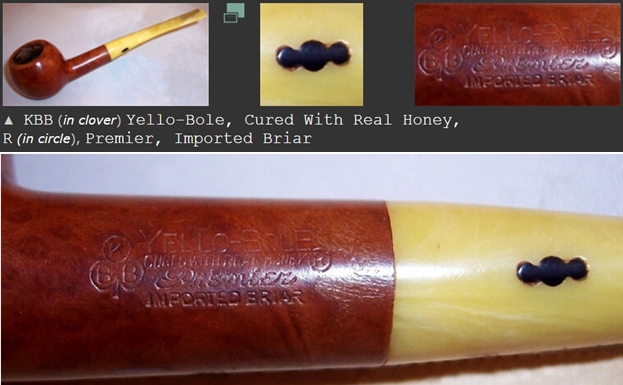
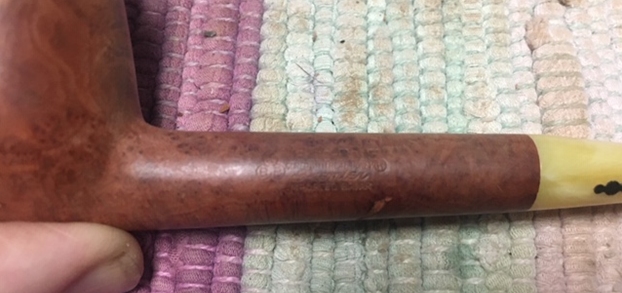
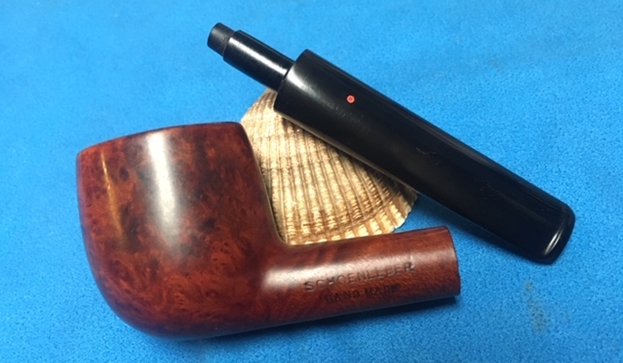
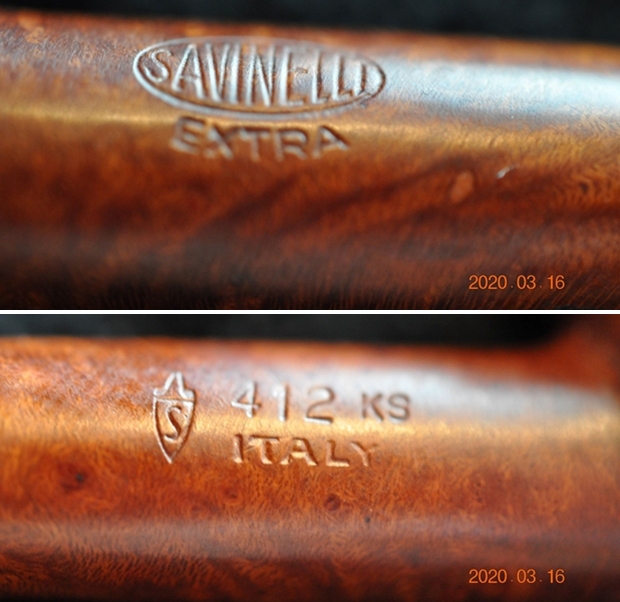
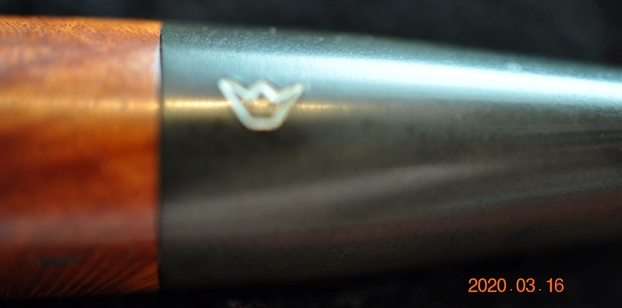
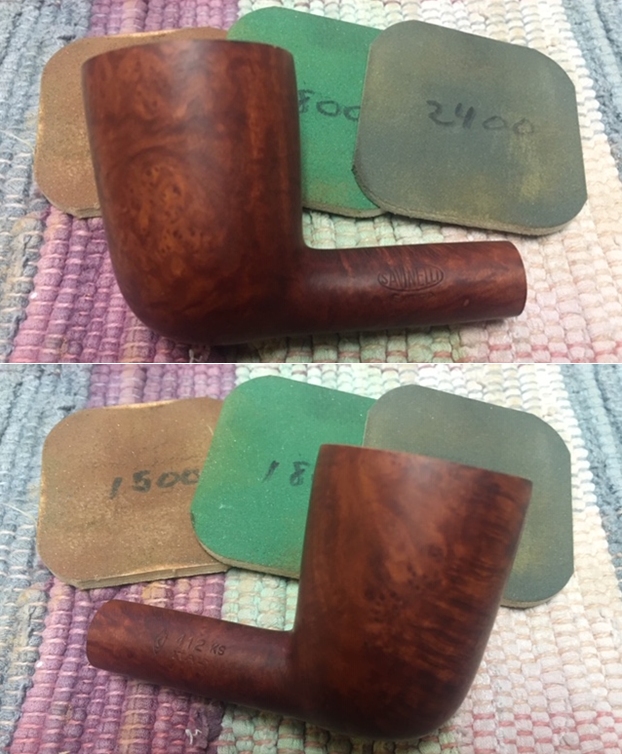
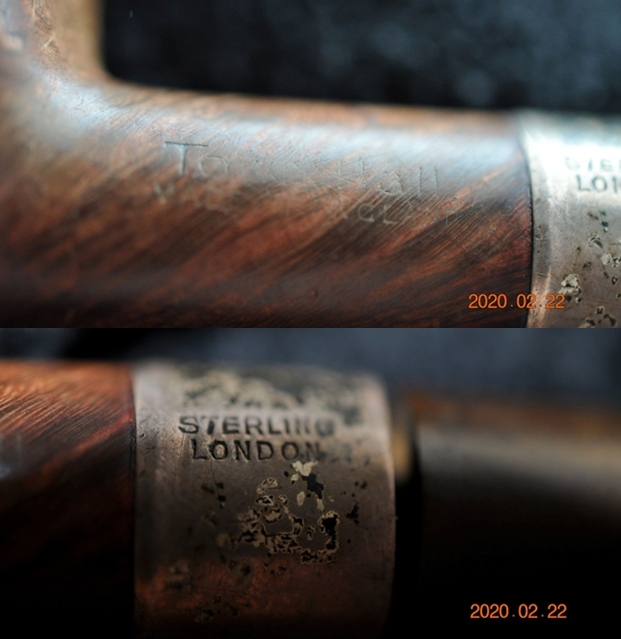
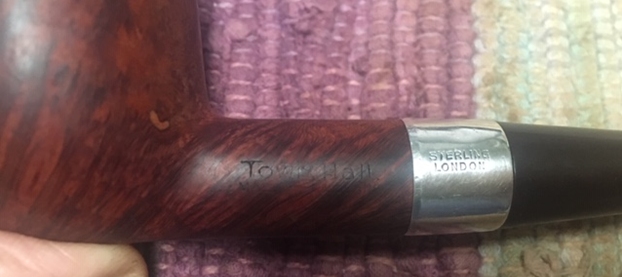
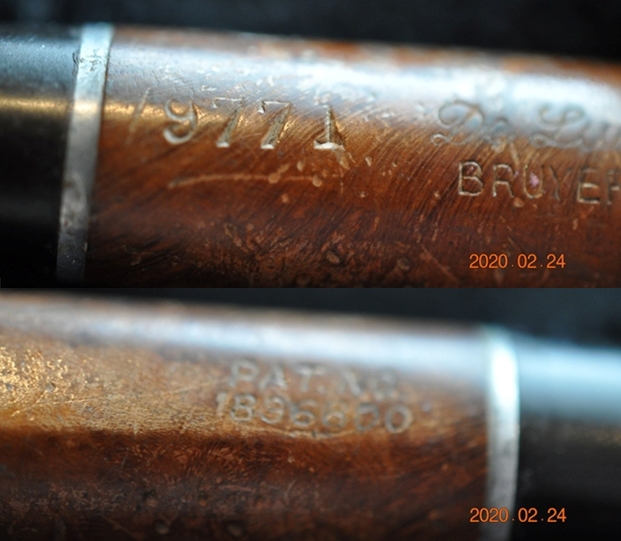
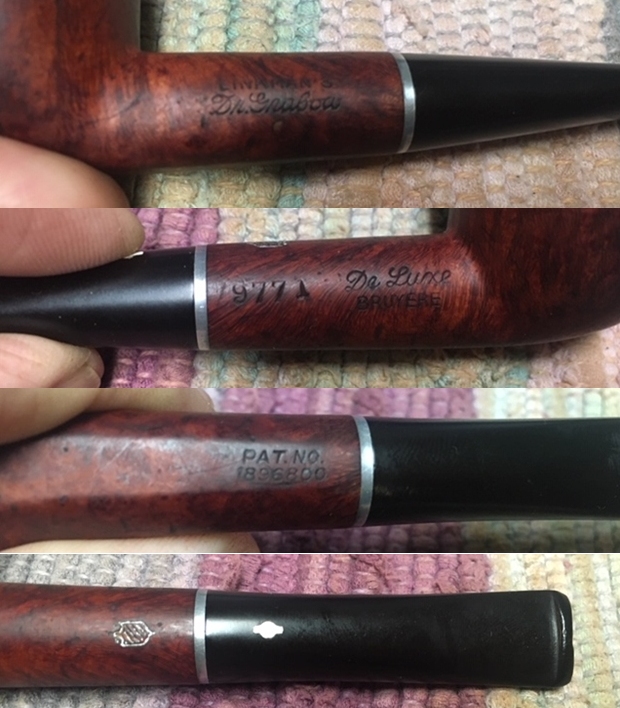
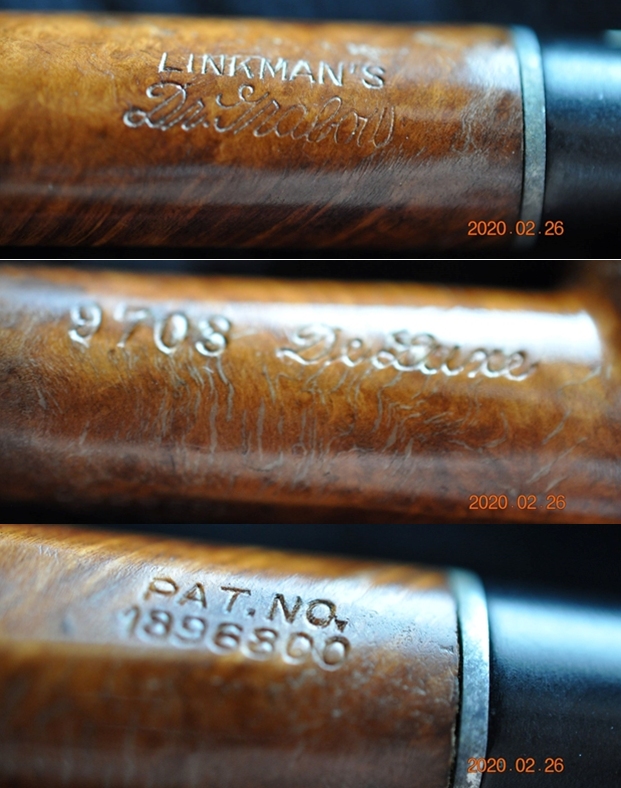
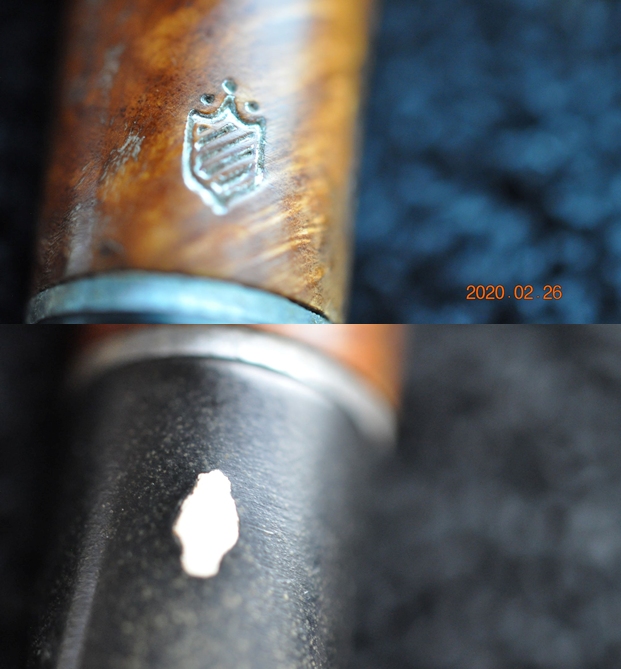
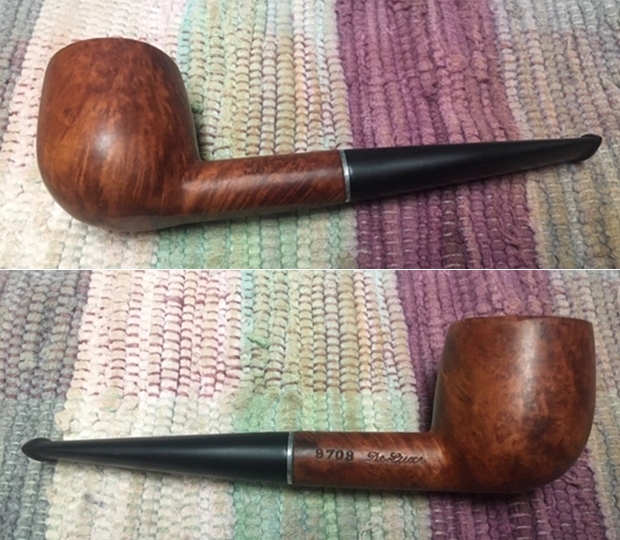
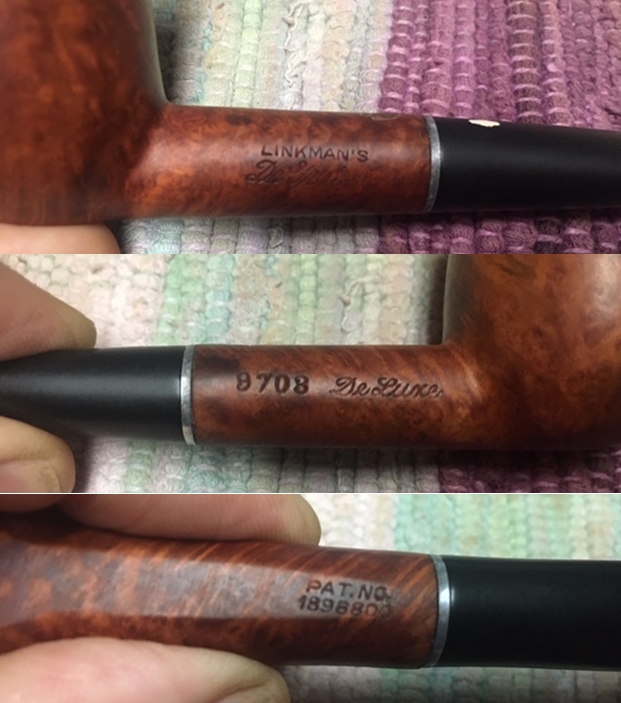
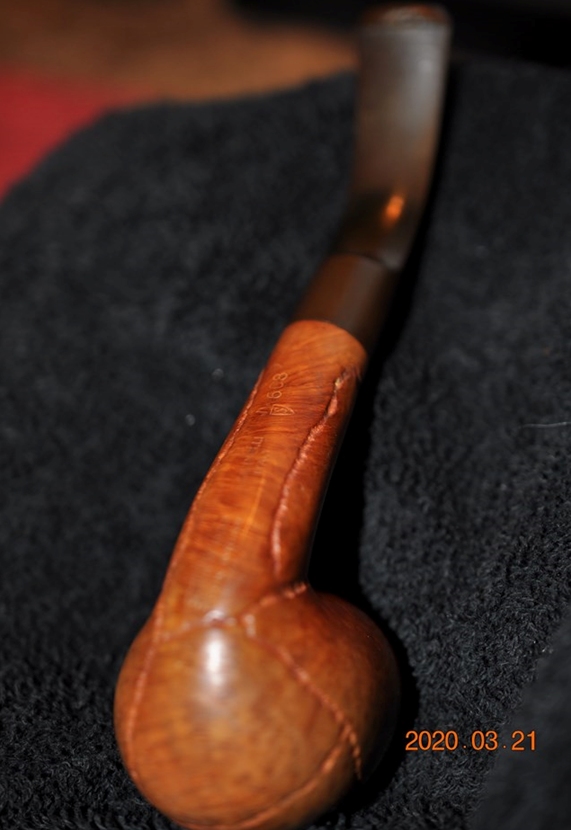
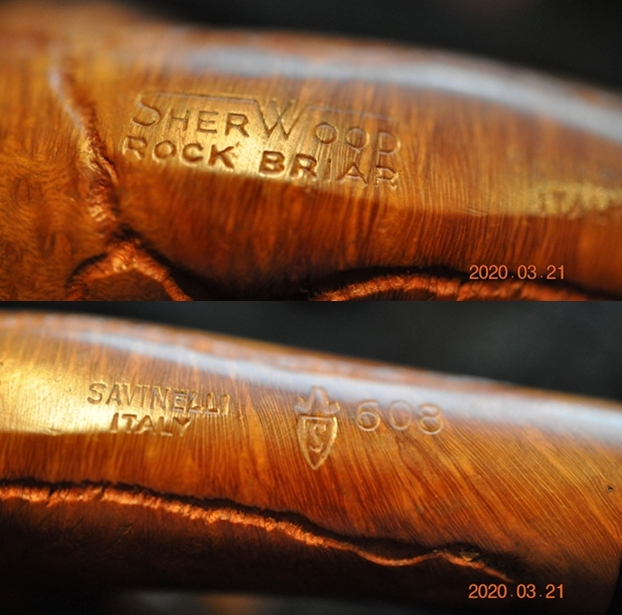
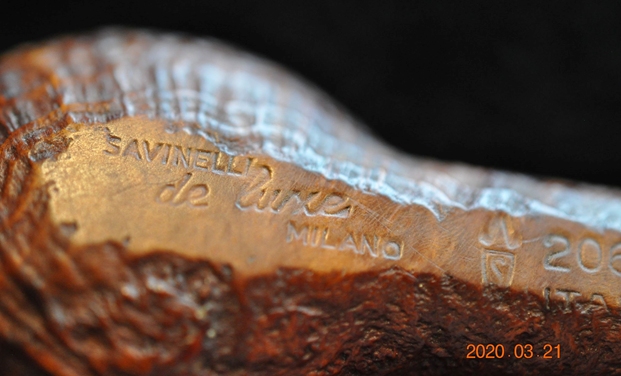
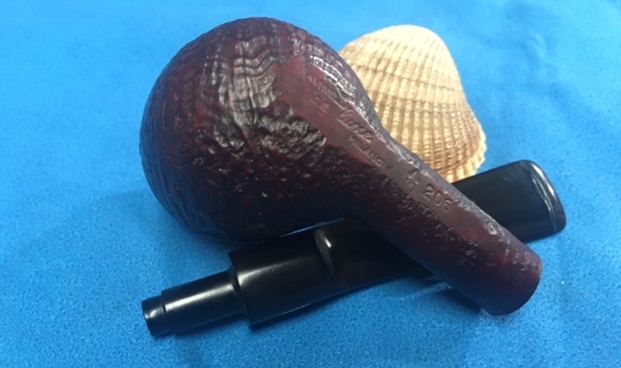
 The stamping on the underside of the shank is shown in the photo below. It is clear and read as noted above. There was a Stanwell Crown S logo decal on the top of the stem that was damaged and missing parts.
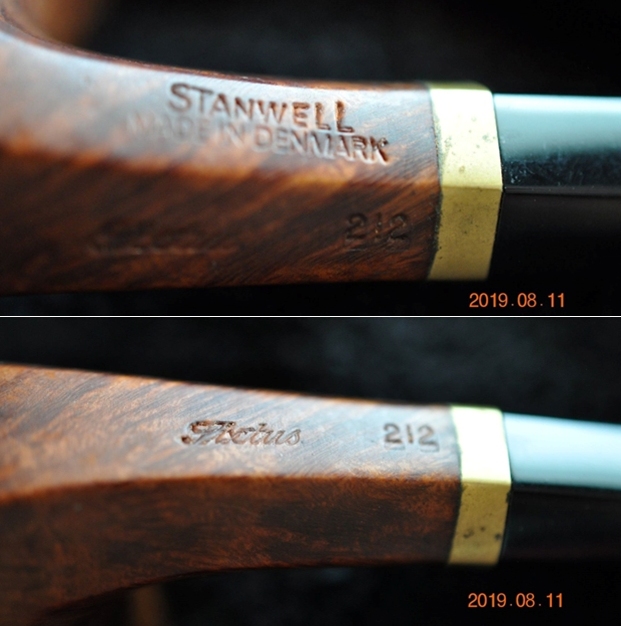
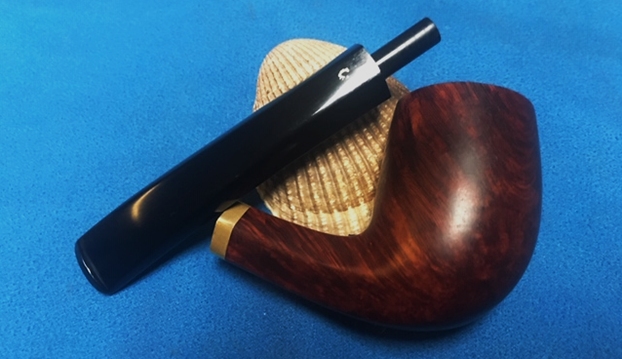
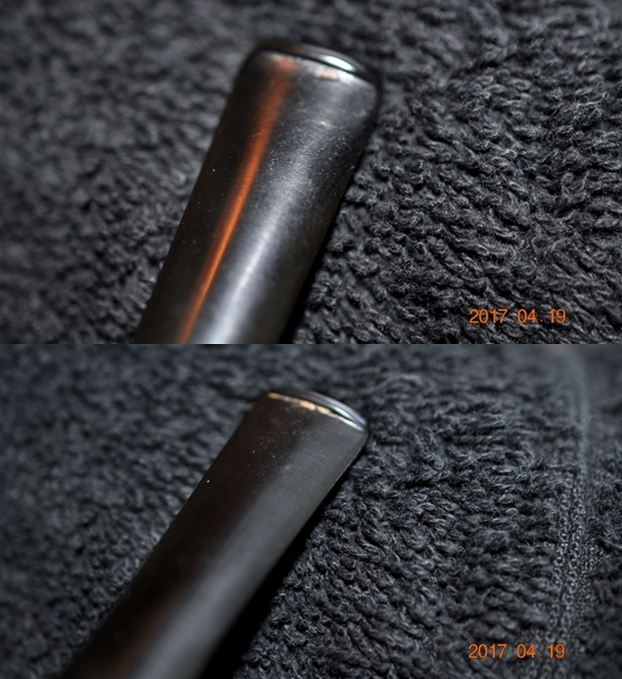
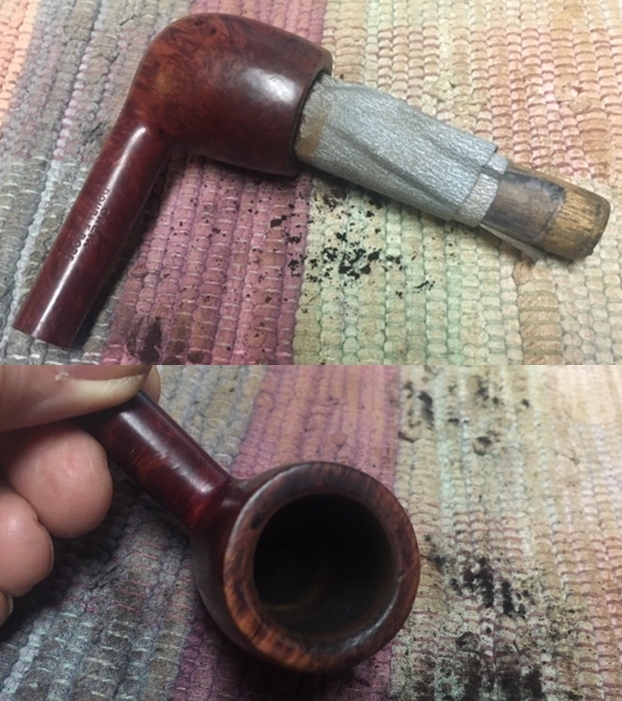
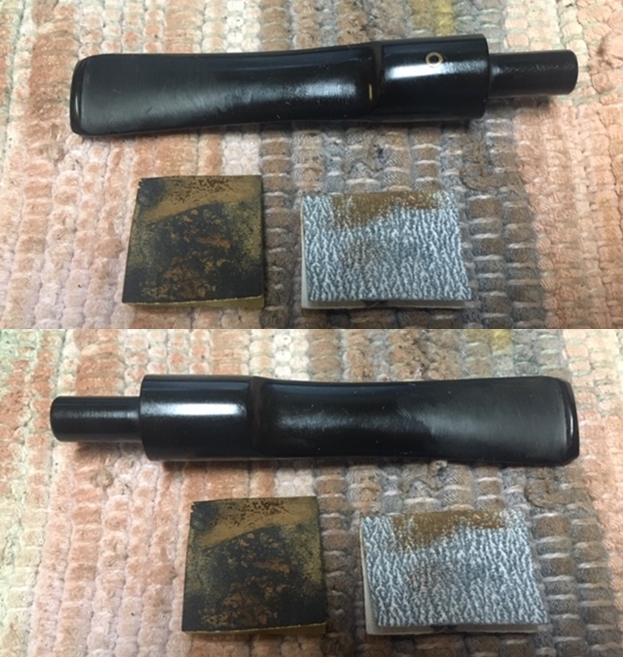
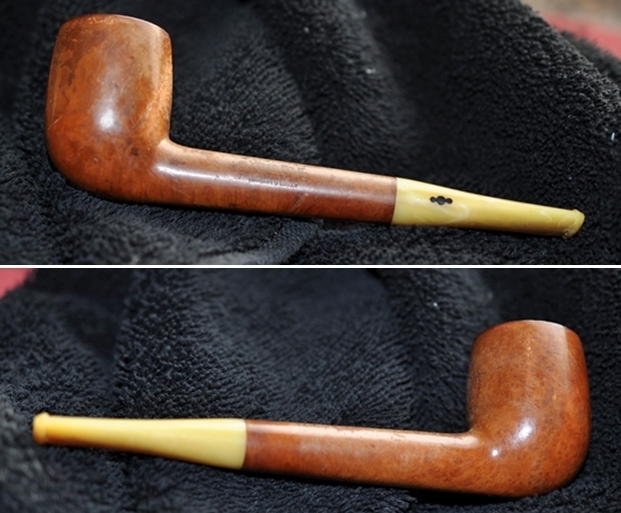
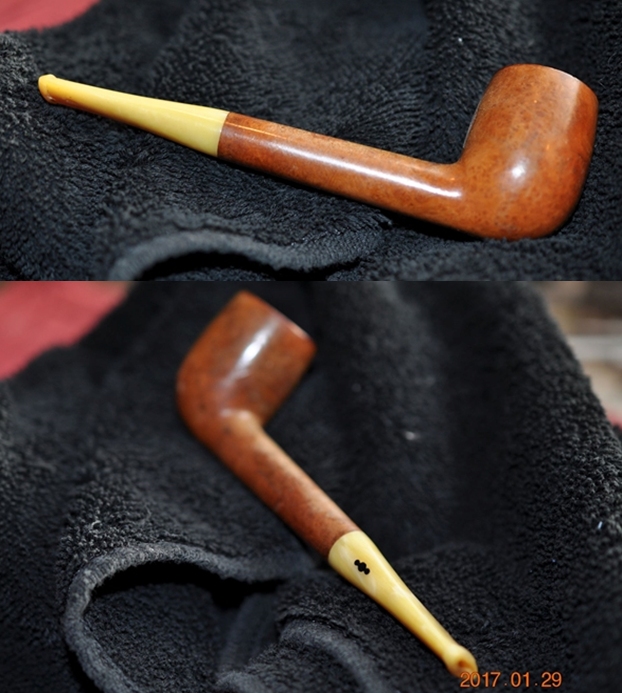
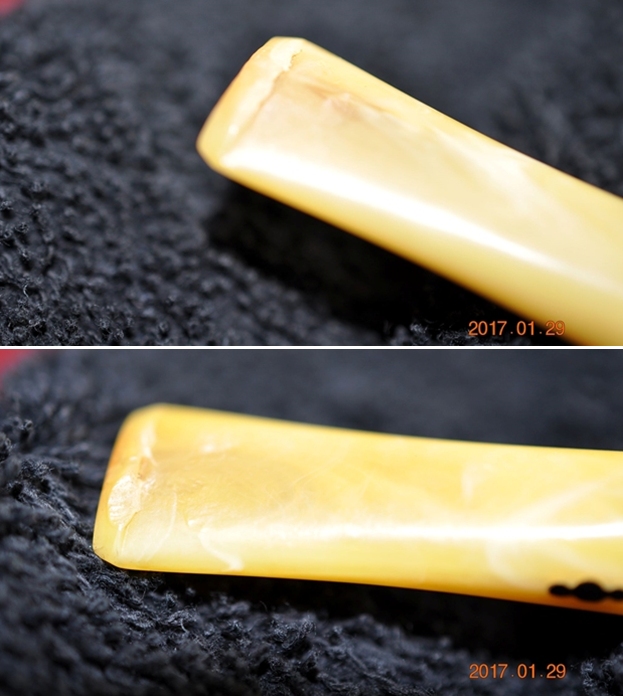
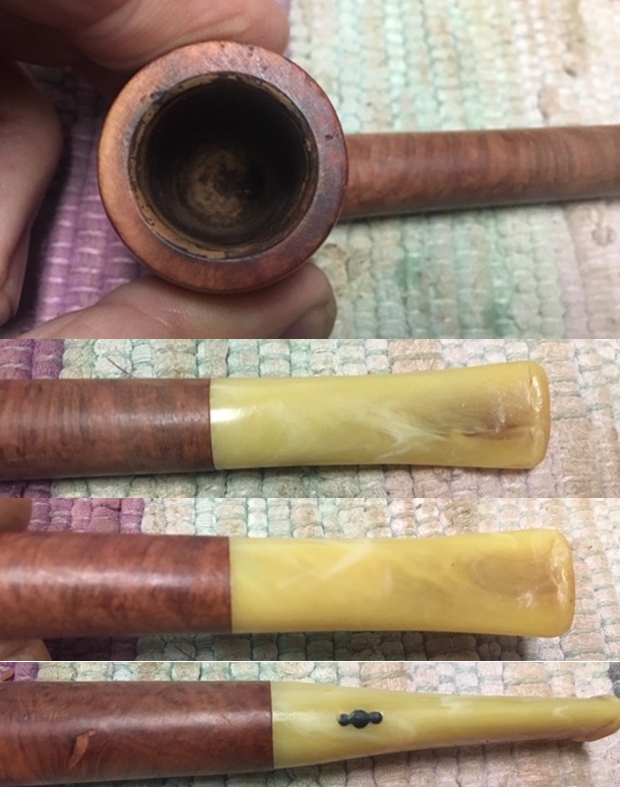
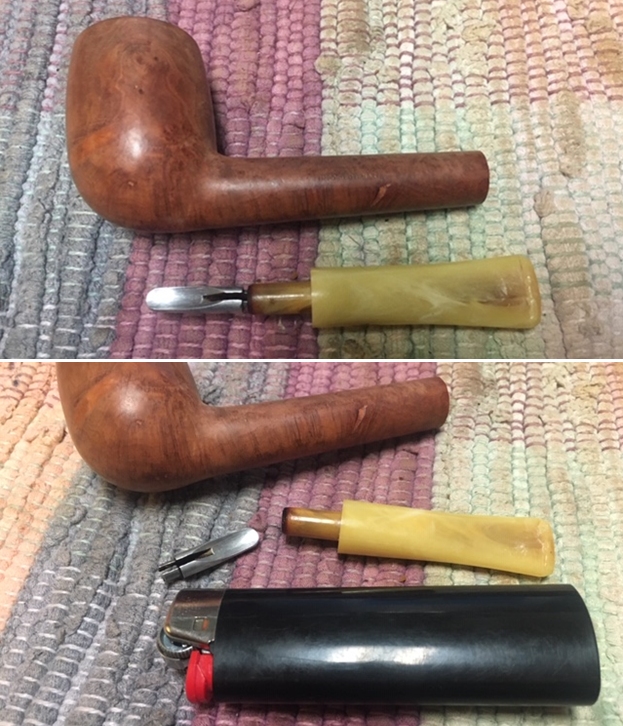
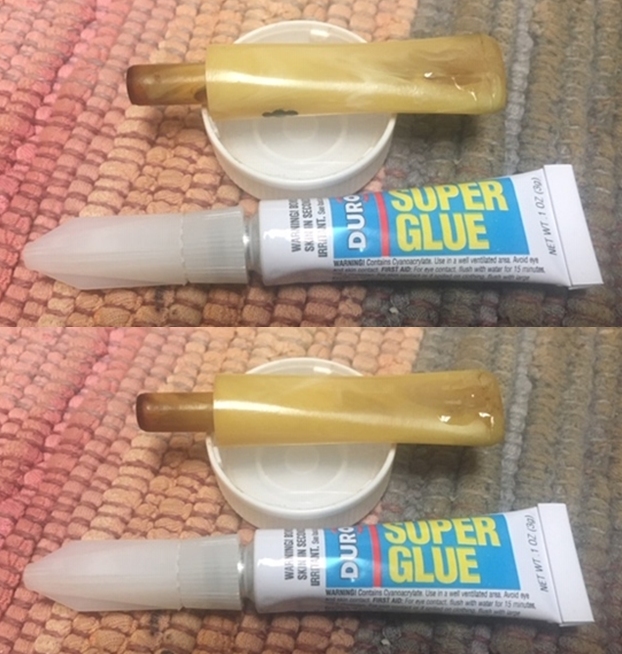
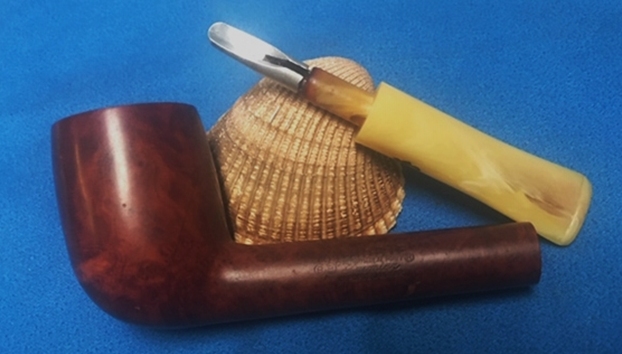
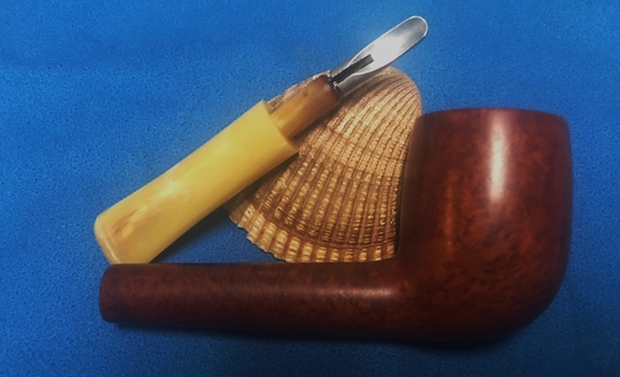
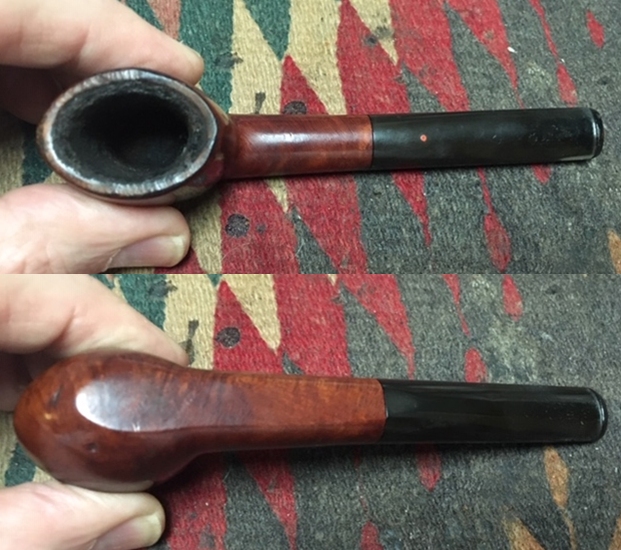
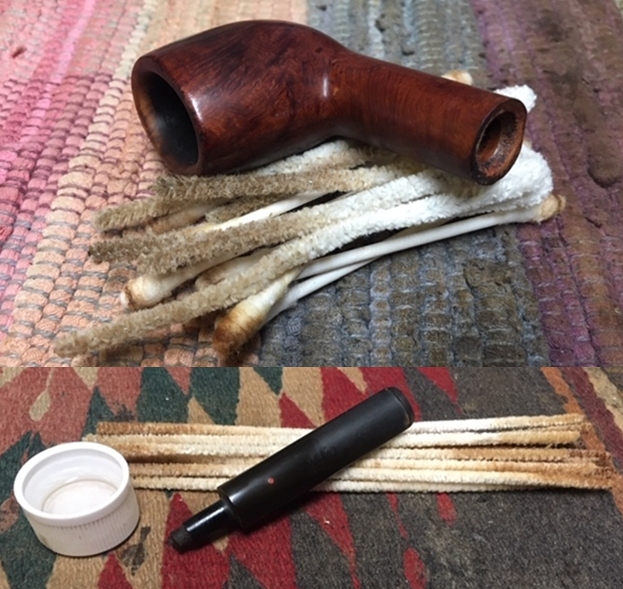
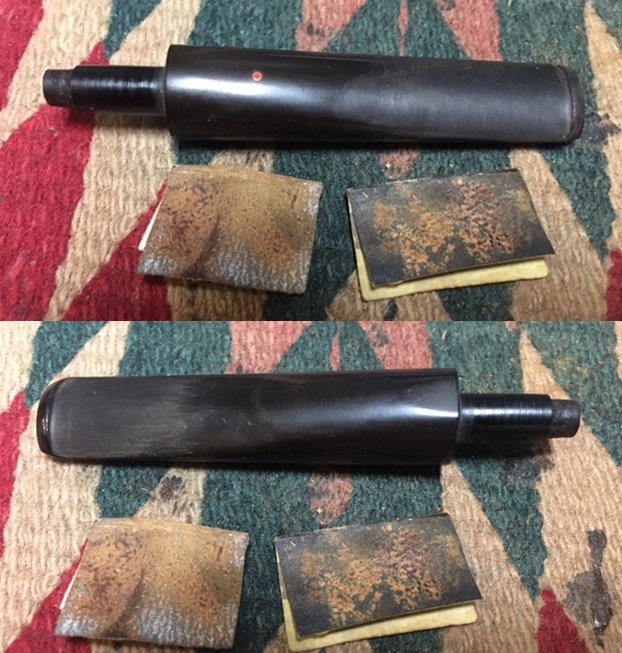
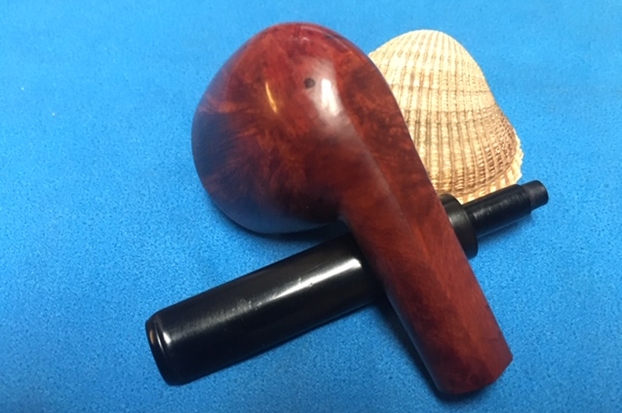
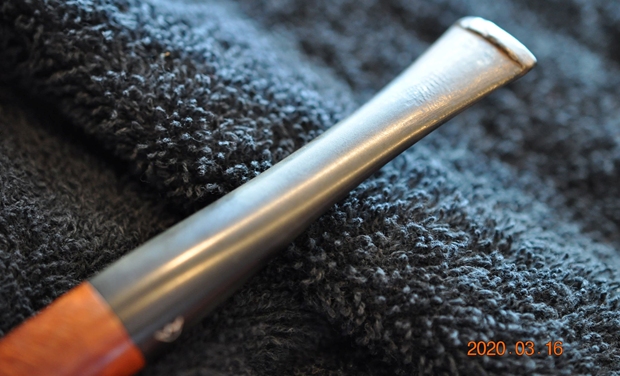
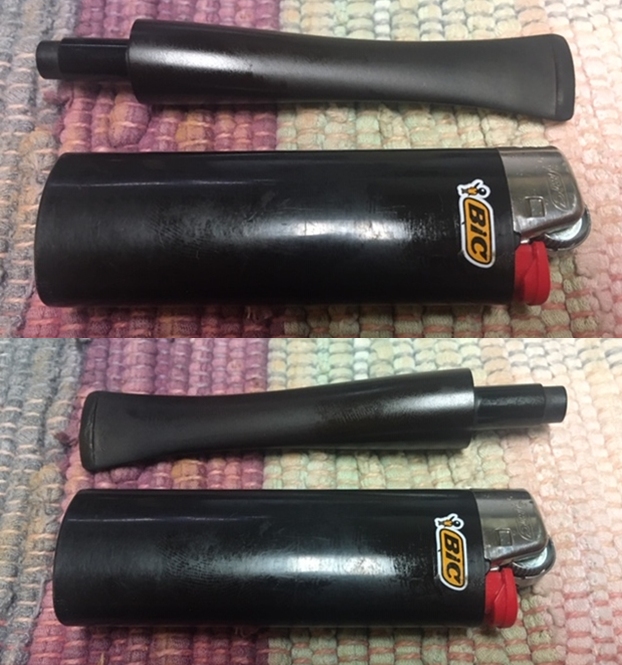
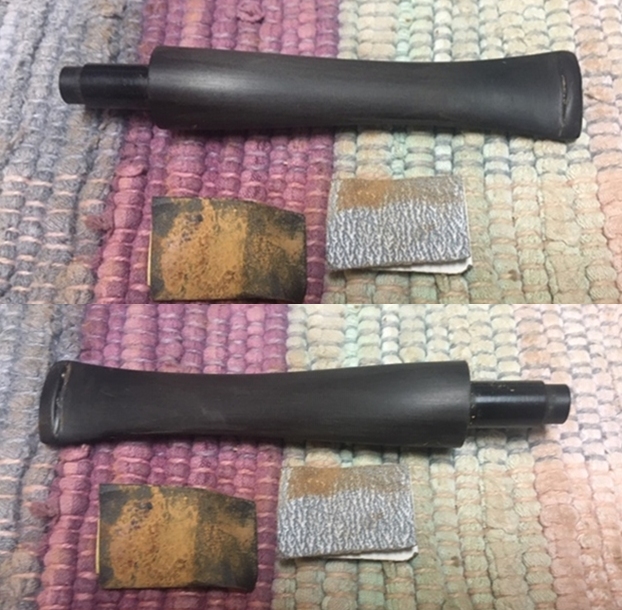
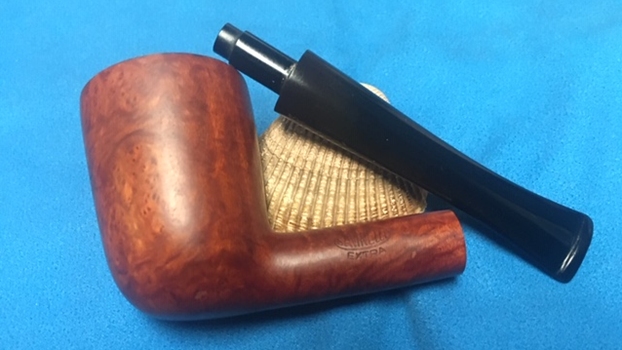
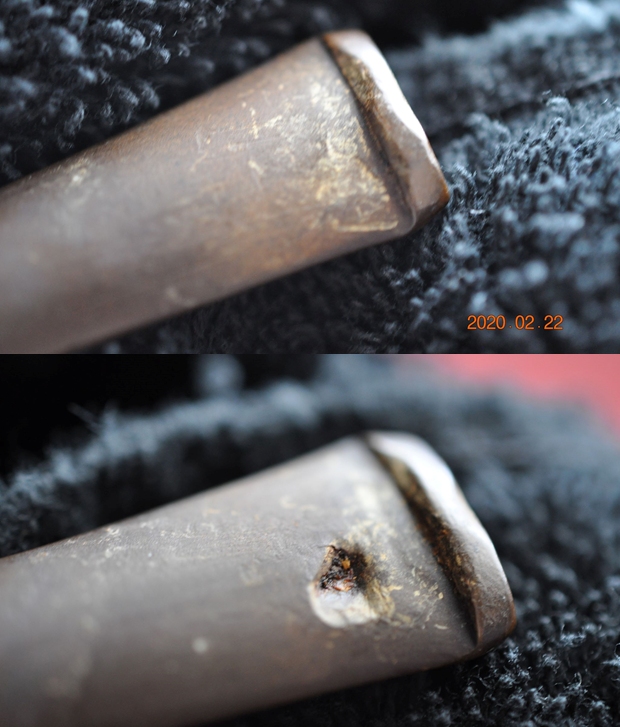
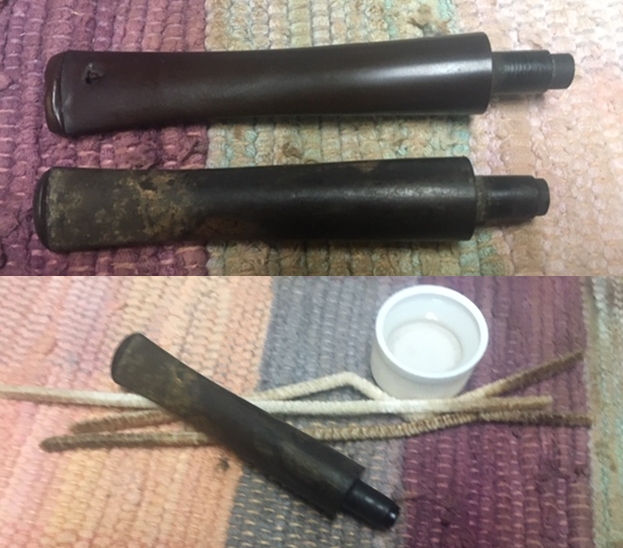
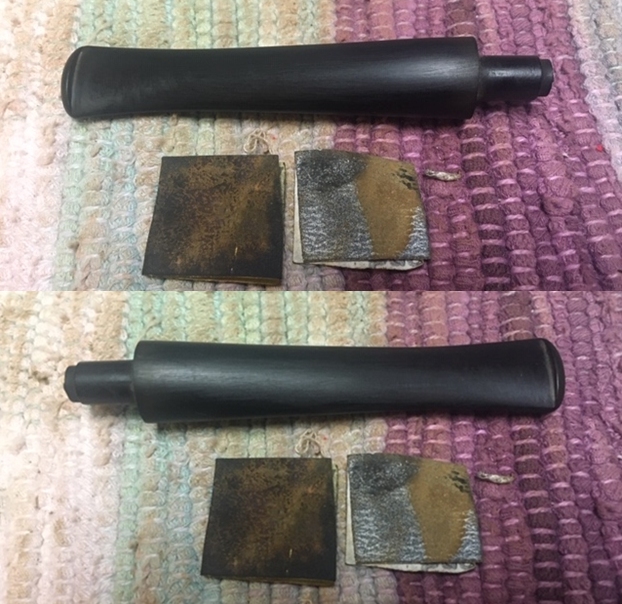
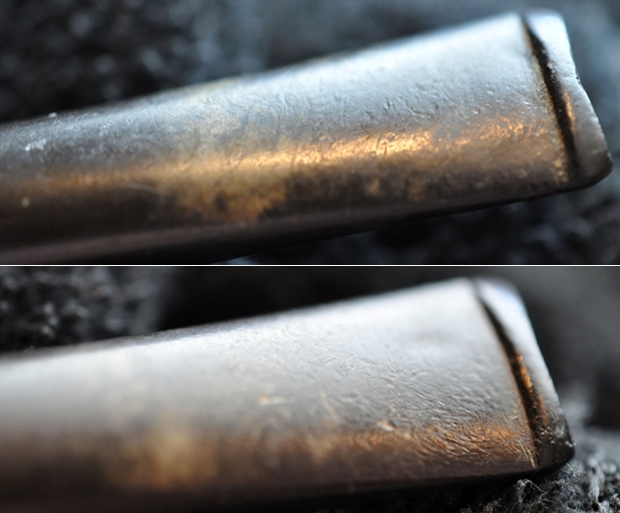
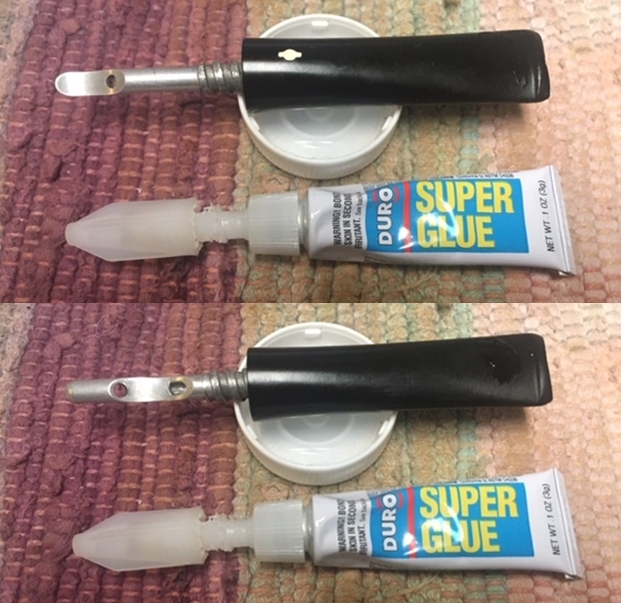
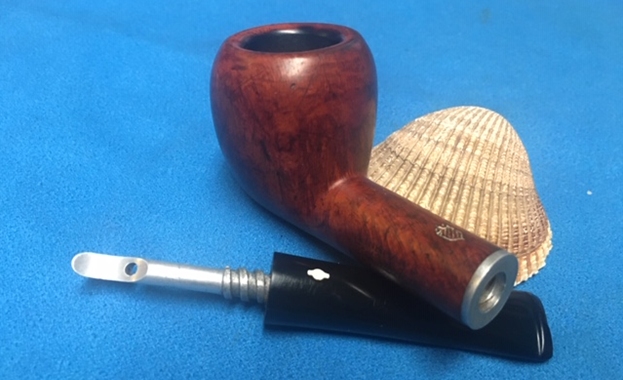
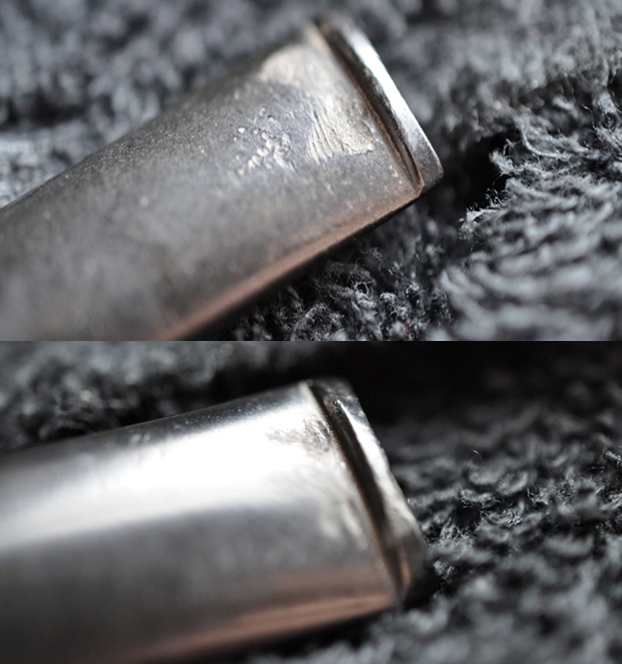
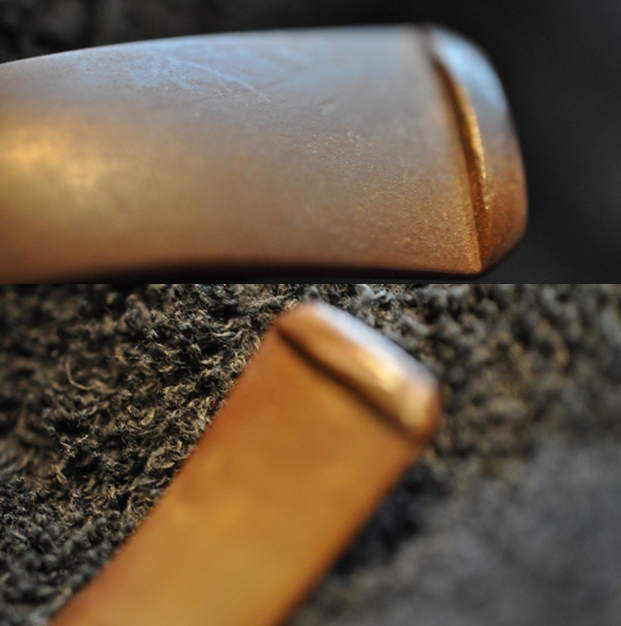
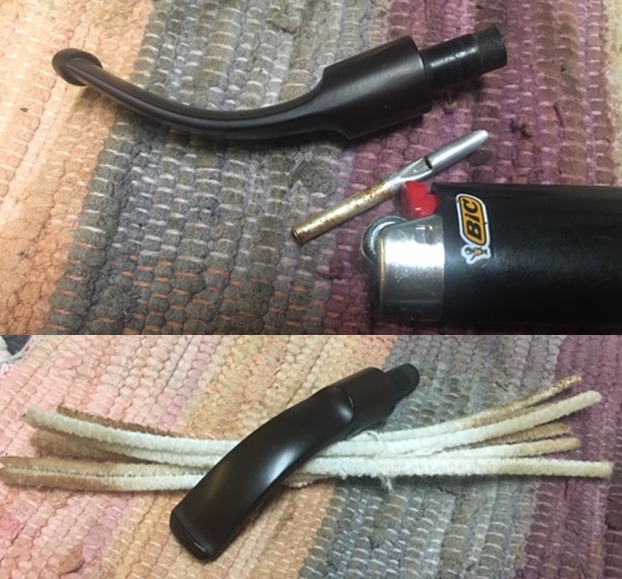
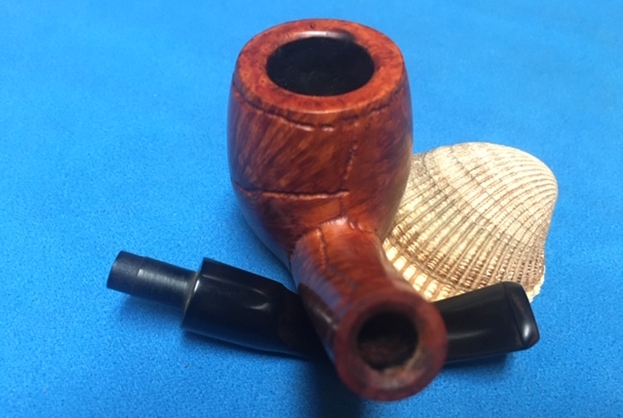
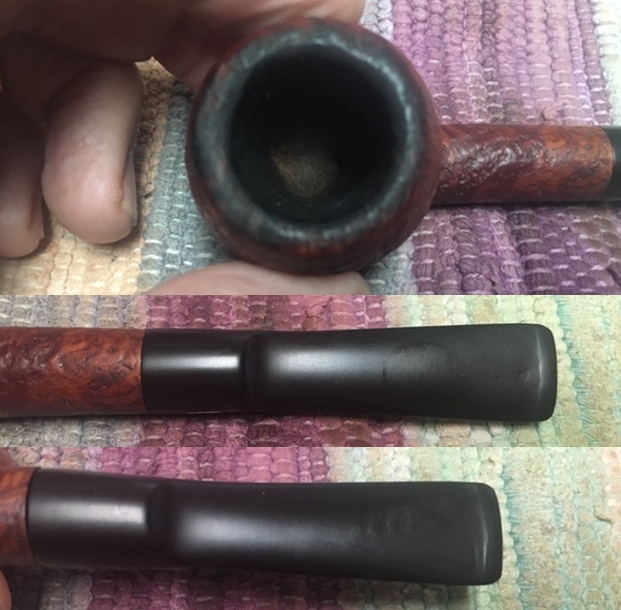
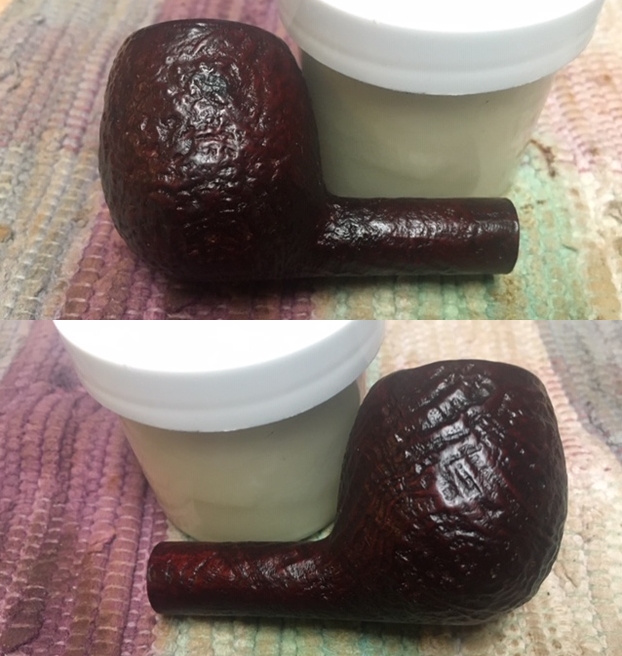
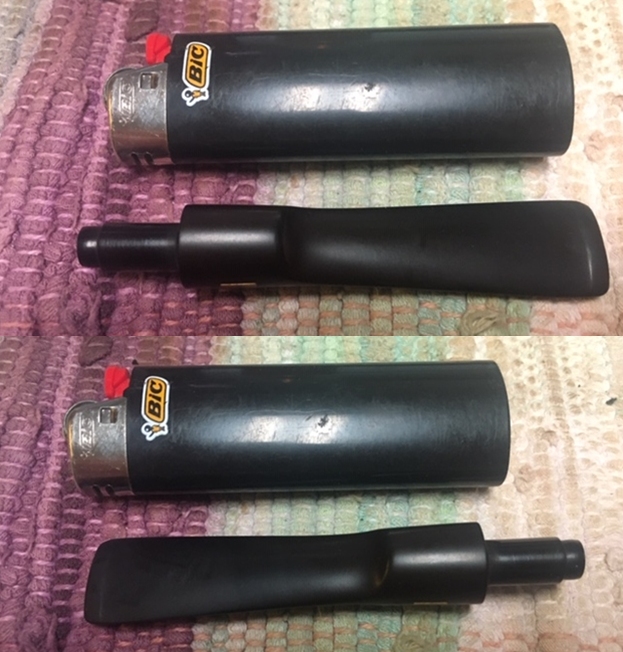
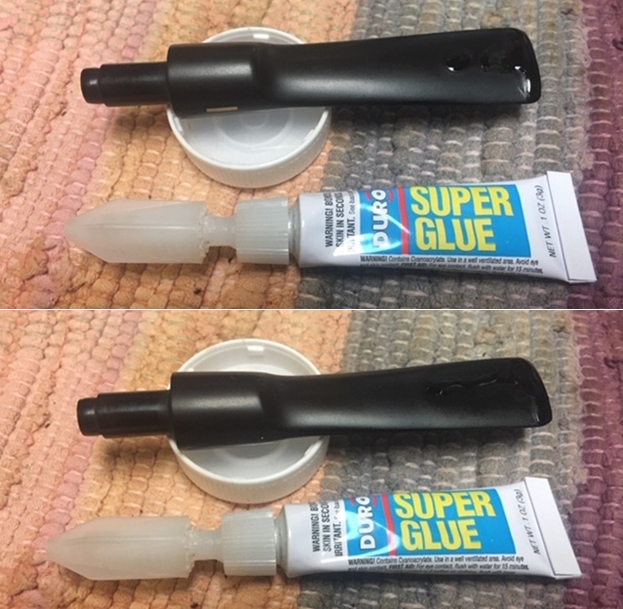
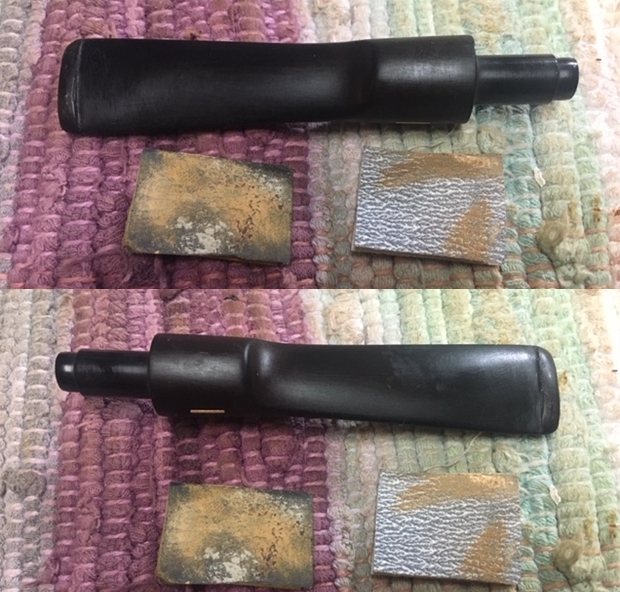
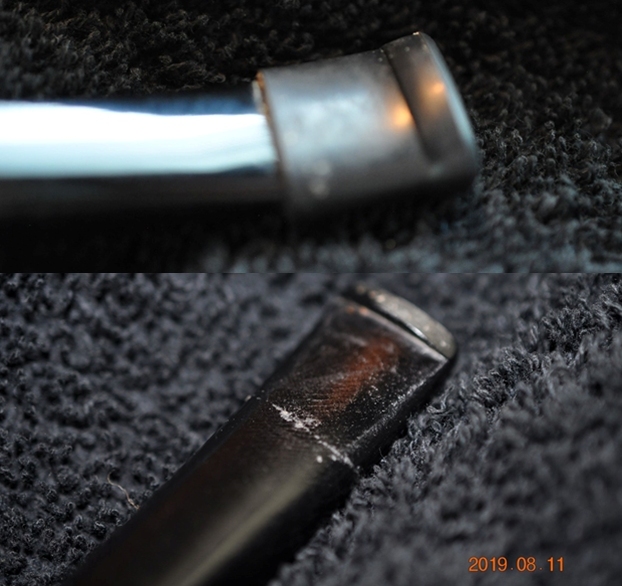
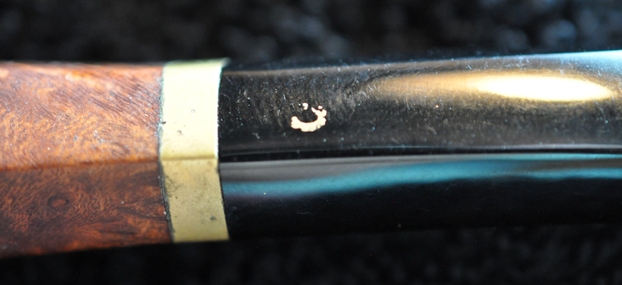 The acrylic stem was dirty and had debris stuck to the surface. In the first photo of each pair below you can see the rubber Softee bit on the stem and in the second photo of each pair it is removed. The bit did a good job of protecting the stem surface from the majority of tooth damage but even so there are light spots on the surface that will need to be removed.
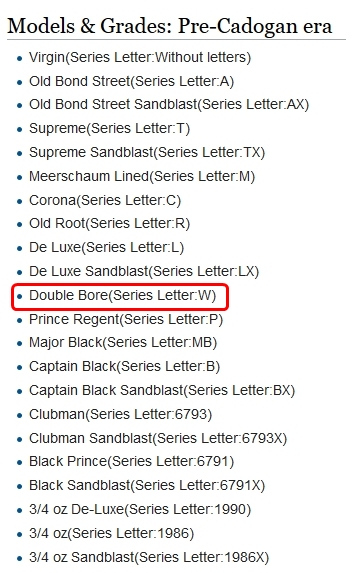
 I checked my usual sources for information on the Sixtus line but there was nothing specific on either Pipedia or Pipephil’s site. I also checked on the Pipedia site in the article there on shape number and shape designers(https://pipedia.org/wiki/Stanwell_Shape_Numbers_and_Designers). From there I found that the shape number 212 was designed by Tom Eltang and was a Freehand with and acrylic stem. I did a screen capture of the listing and have included it below.
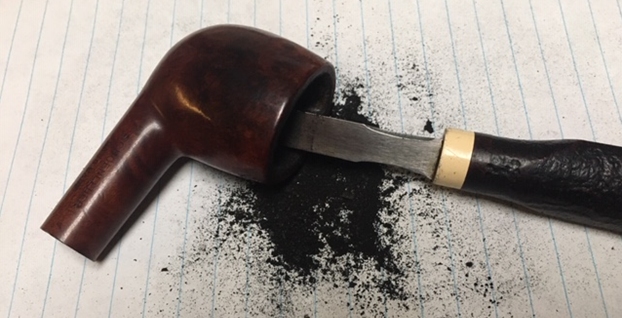
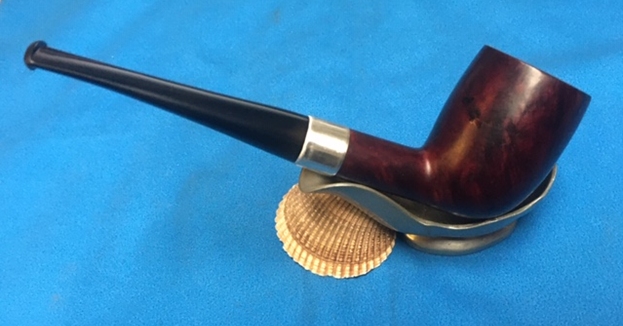
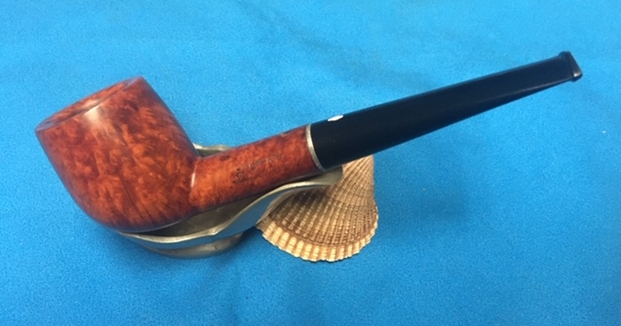
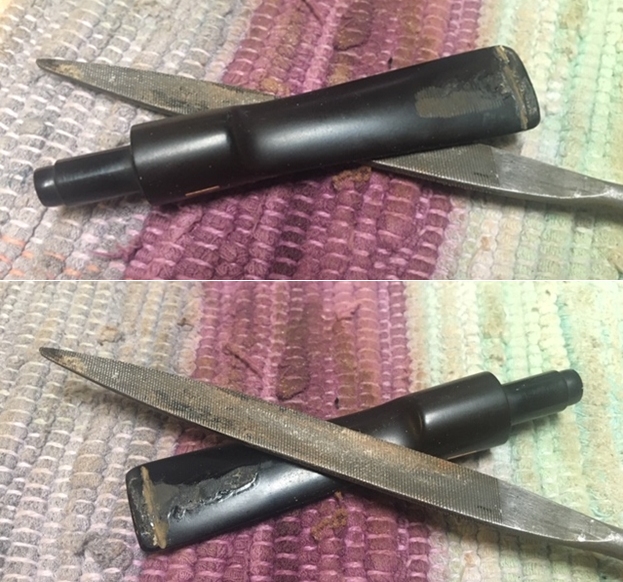
 It looks like I am dealing with a pipe designed for Stanwell by Tom Eltang. Now it was my turn to work on the pipe. Jeff had done his usual thorough cleanup of the pipe. He had reamed the pipe with a Pipnet piper reamer and taken the cake back to bare briar. He cleaned up the remaining cake with a Savinelli Fitsall Pipe Knife. He scrubbed the interior of the bowl and shank with pipe cleaners, cotton swabs and alcohol to remove the tars and oils. He scrubbed the exterior of the pipe with Murphy’s Oil Soap and a tooth brush to remove the grime from the finish. He worked on the rim top lava and darkening with the soap and tooth brush. He scrubbed the inside of the stem with alcohol and pipe cleaners. He scrubbed the exterior with Soft Scrub and then soaked it in Before & After Deoxidizer. He washed the stem off with warm water to remove the Deoxidizer. The pipe looked far better. I took photos of the pipe when I received it before I started working on it.
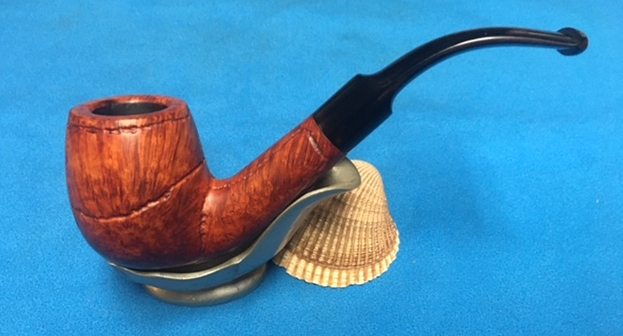
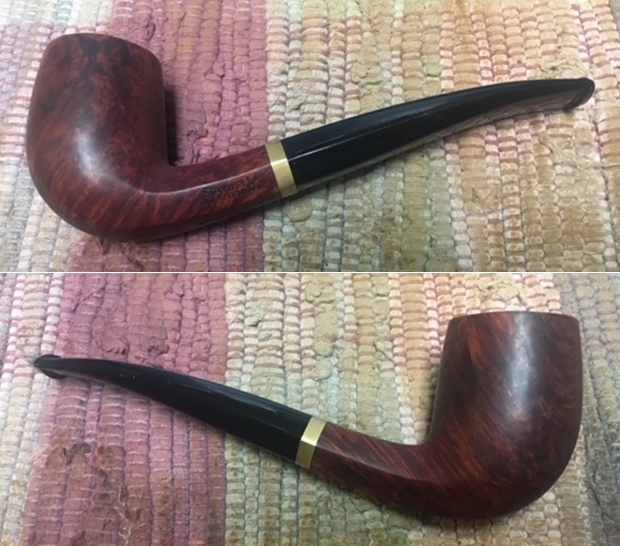
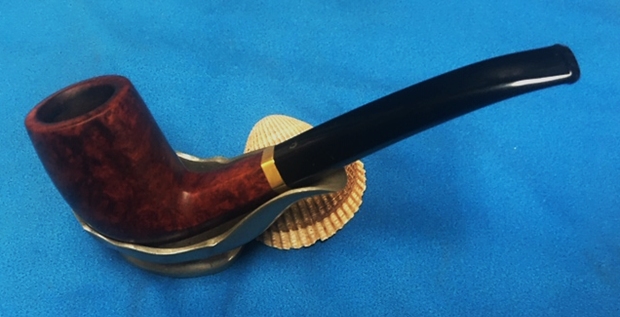
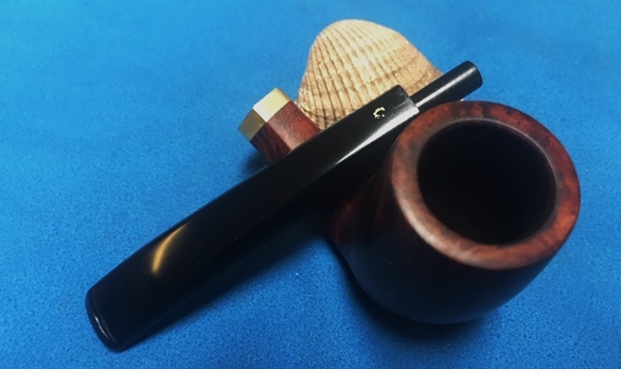
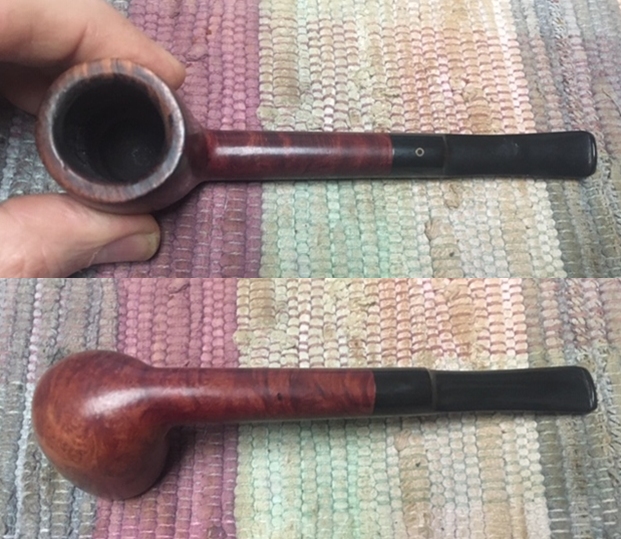
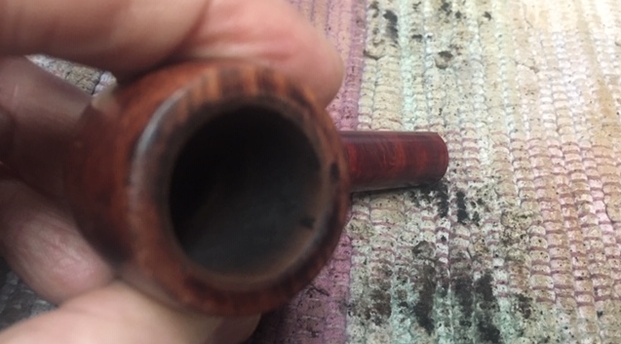
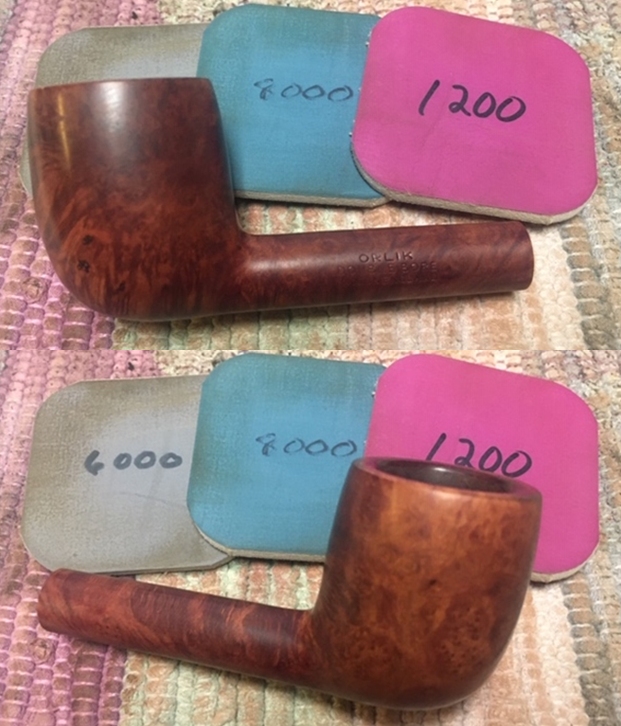
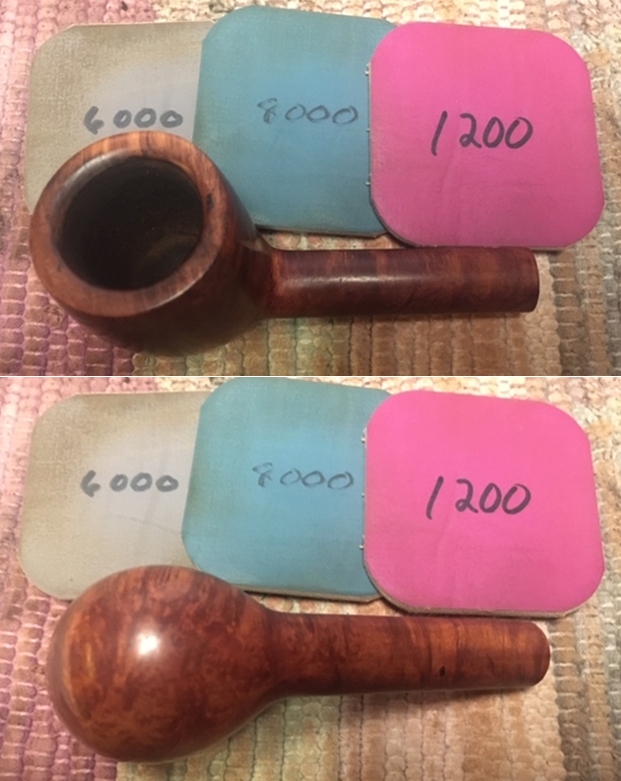
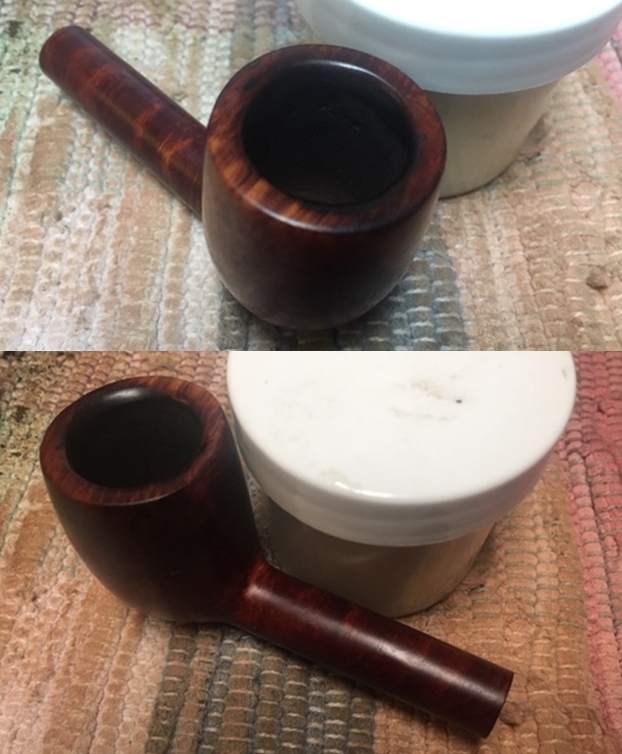
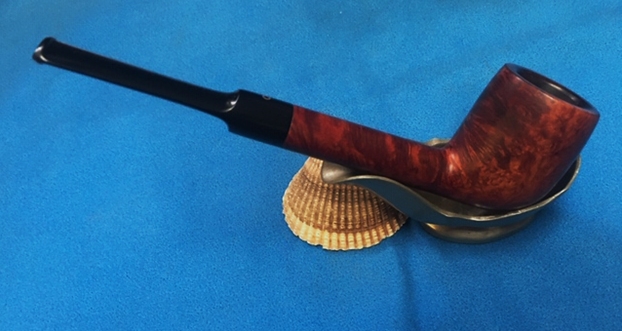
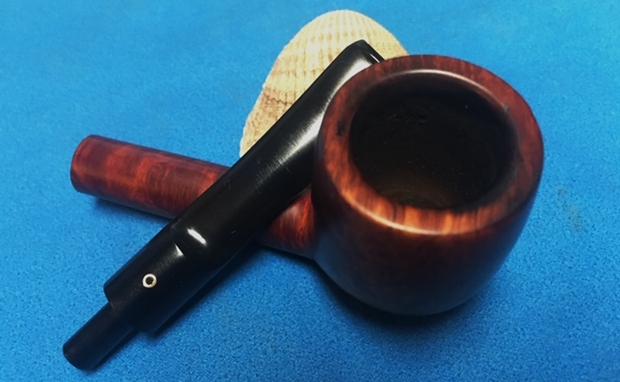
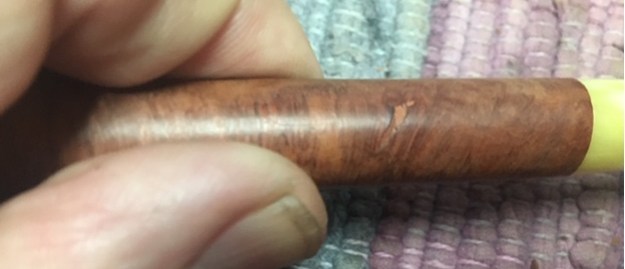
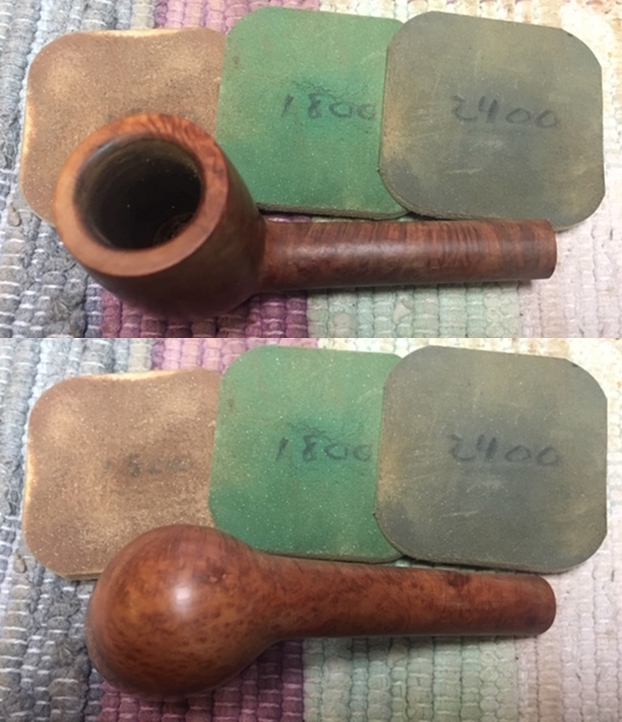
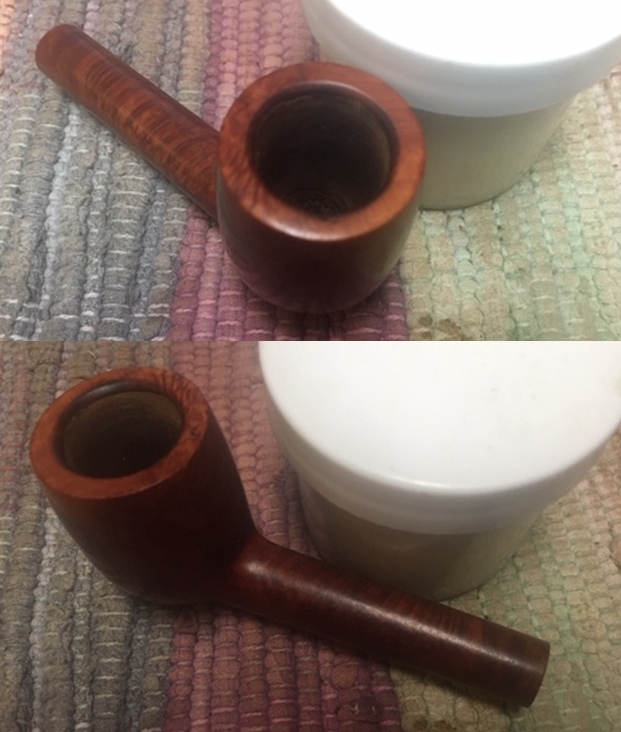
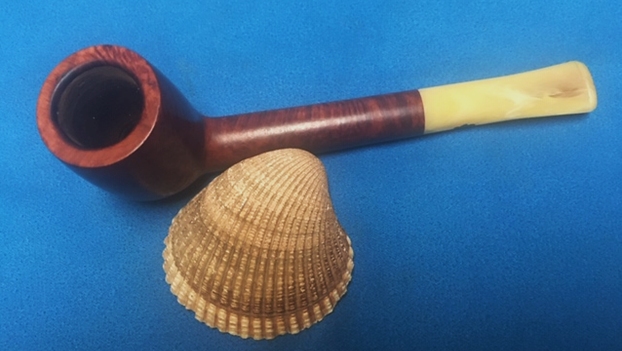
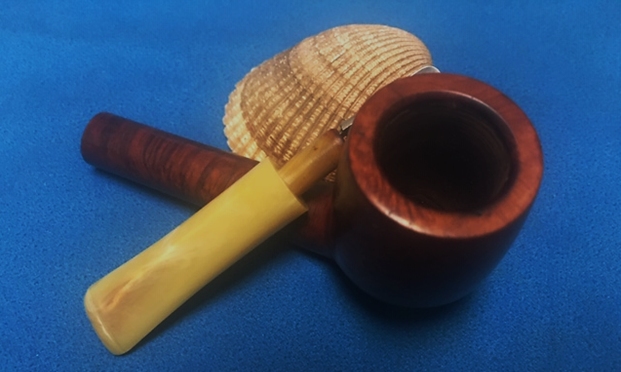
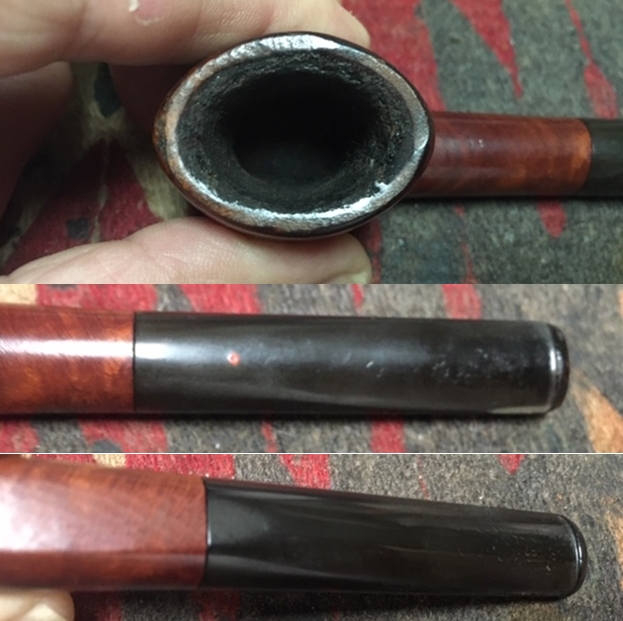
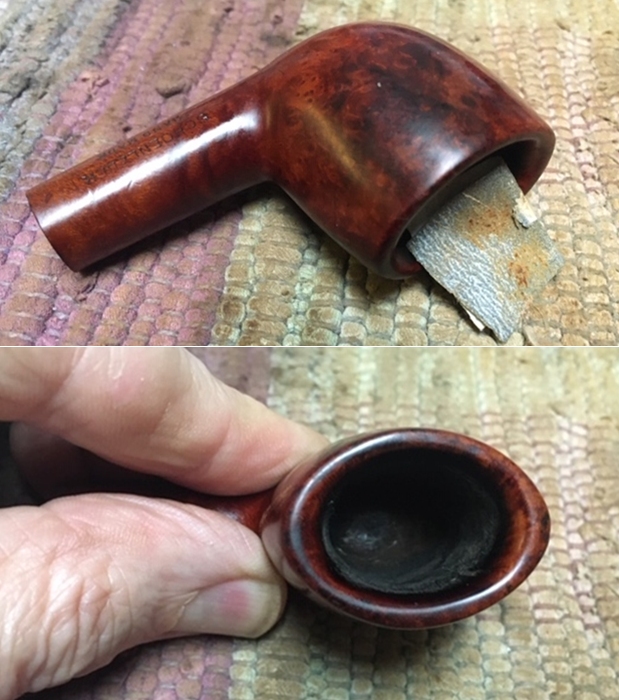
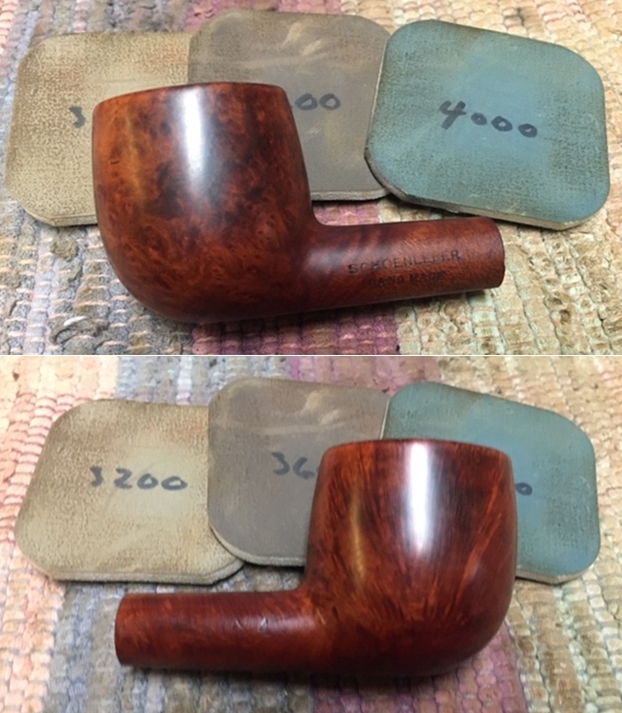
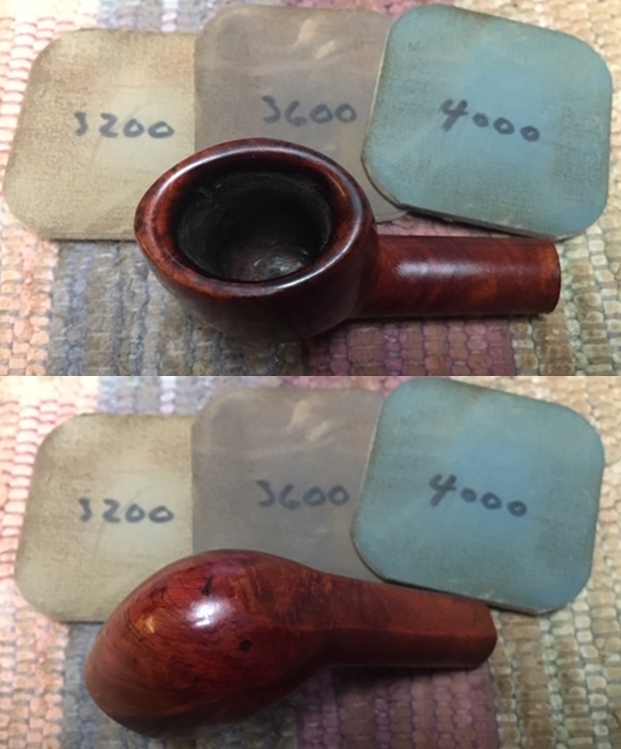
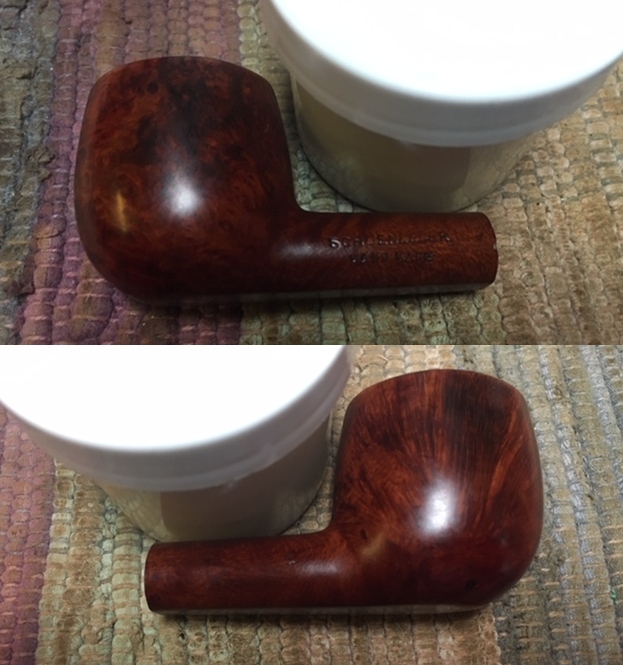
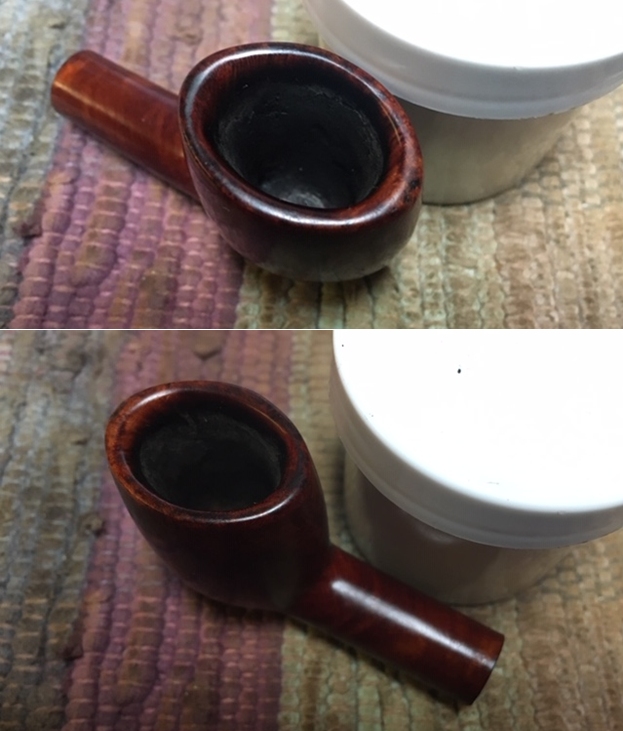
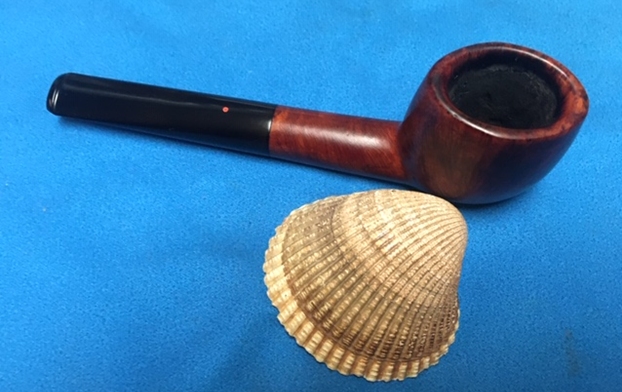
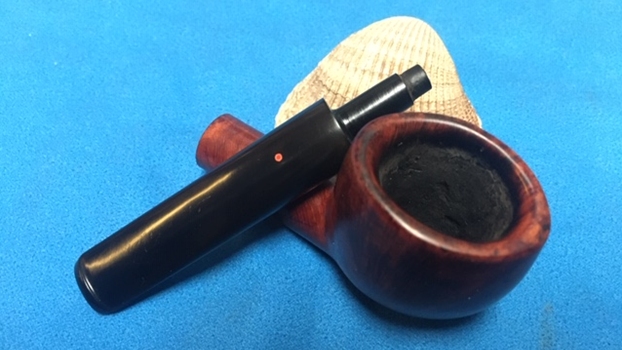
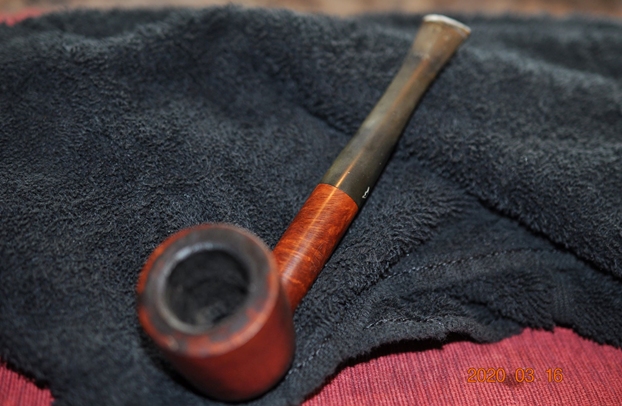
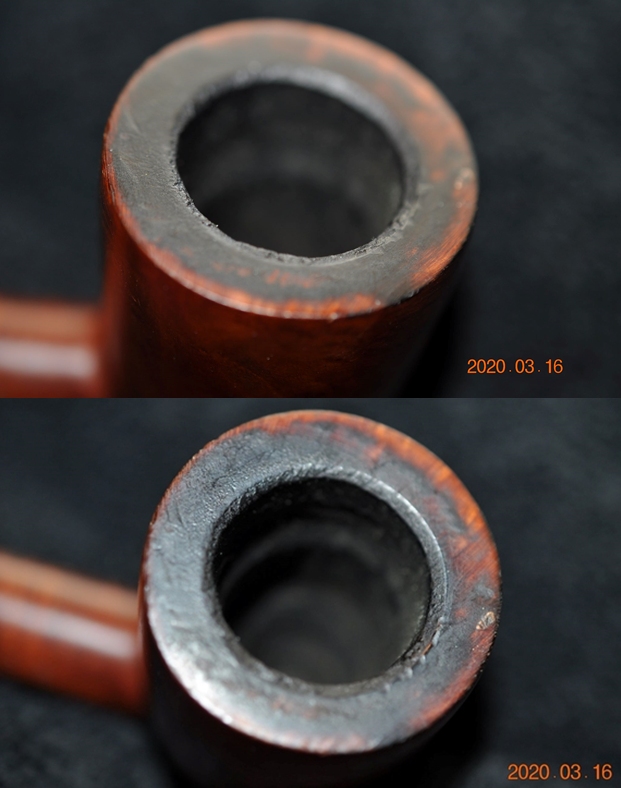
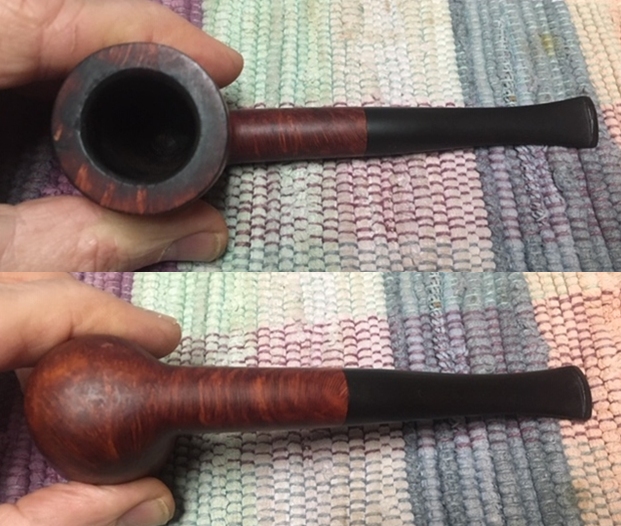
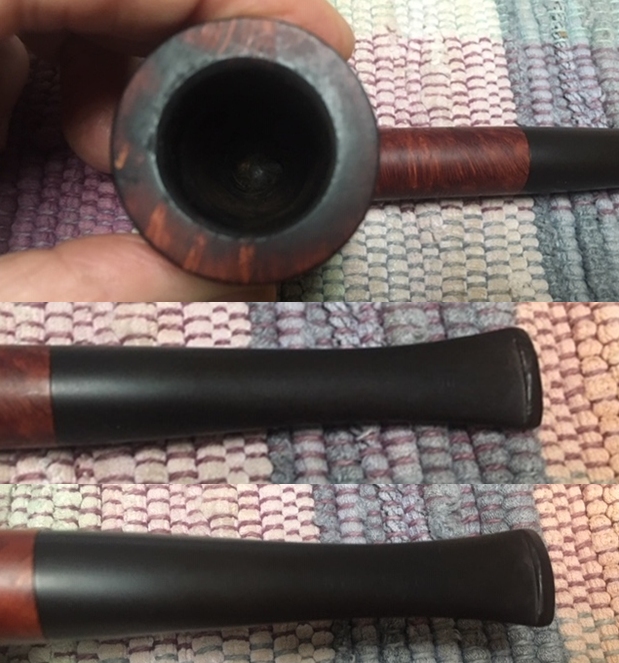
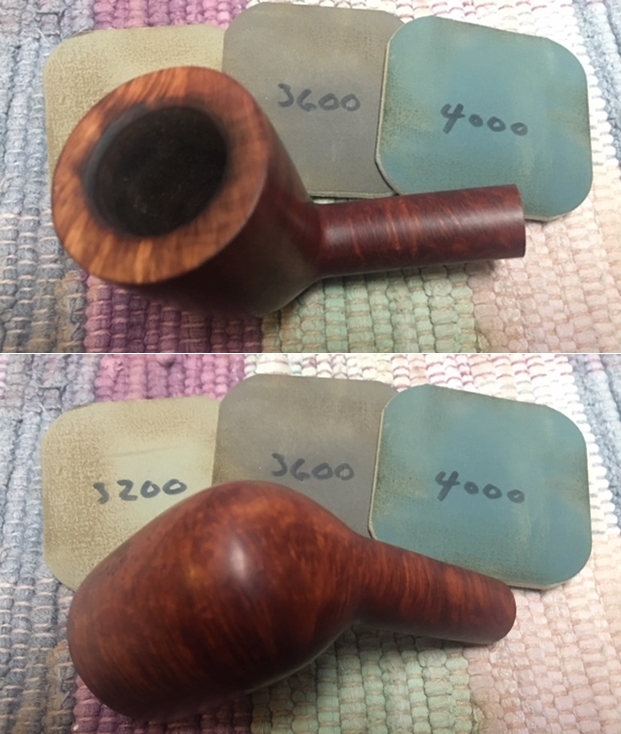
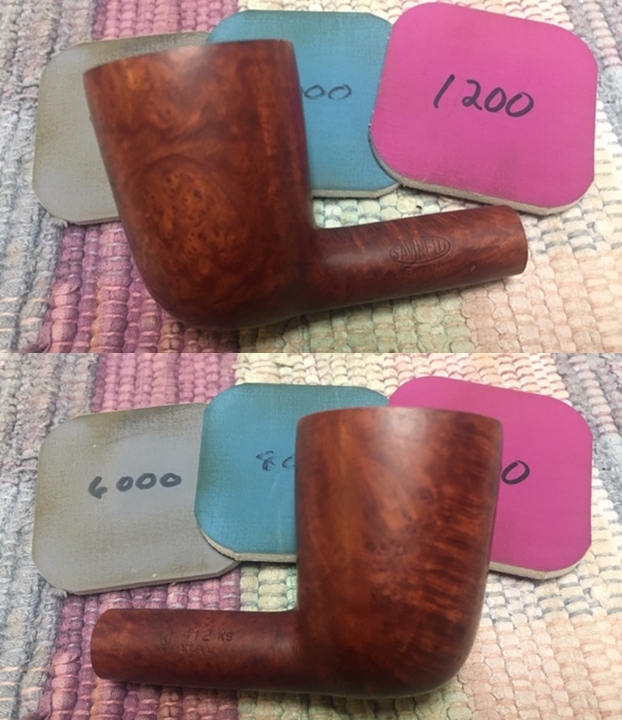
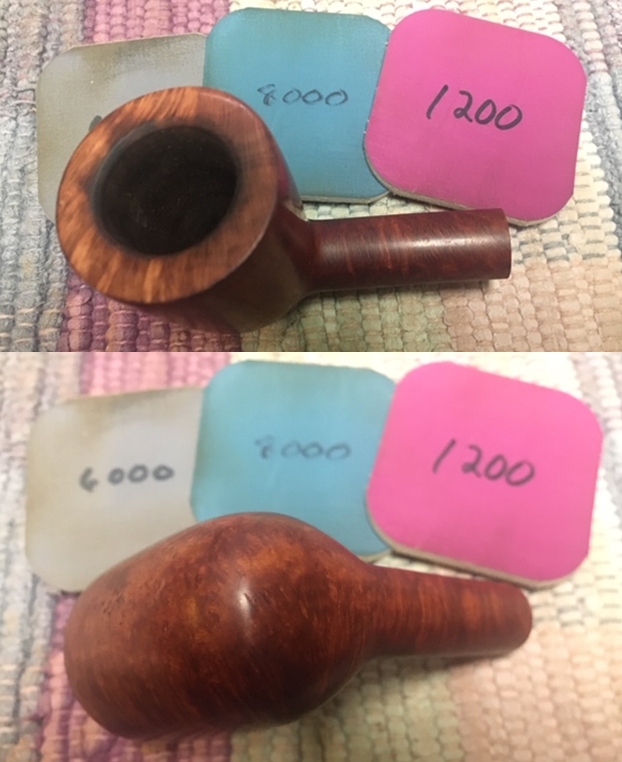
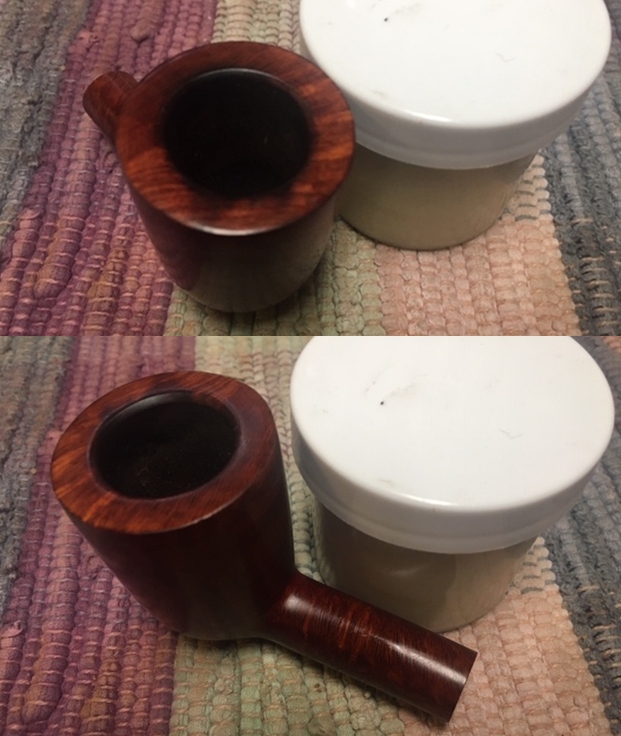
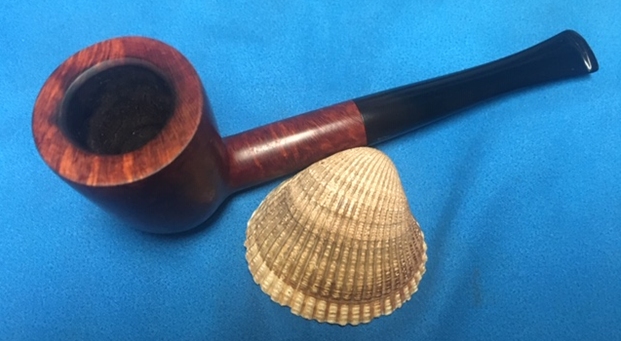
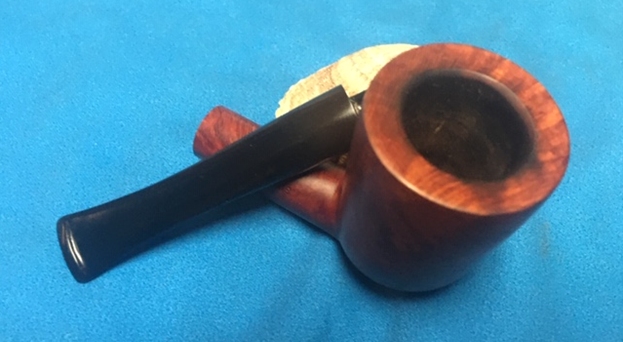
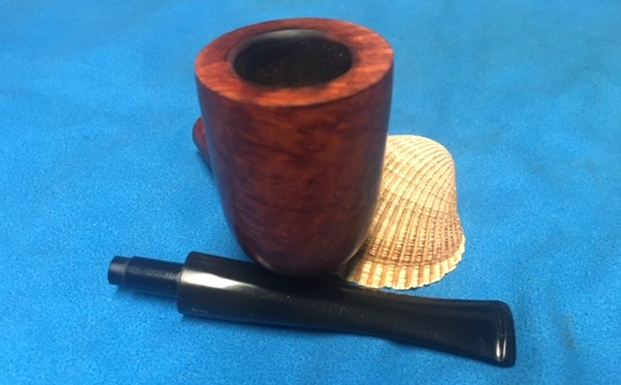
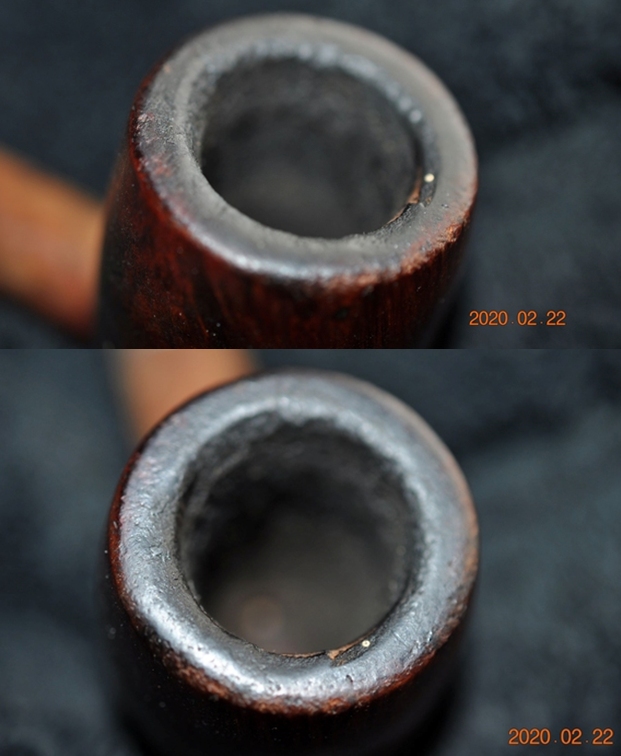
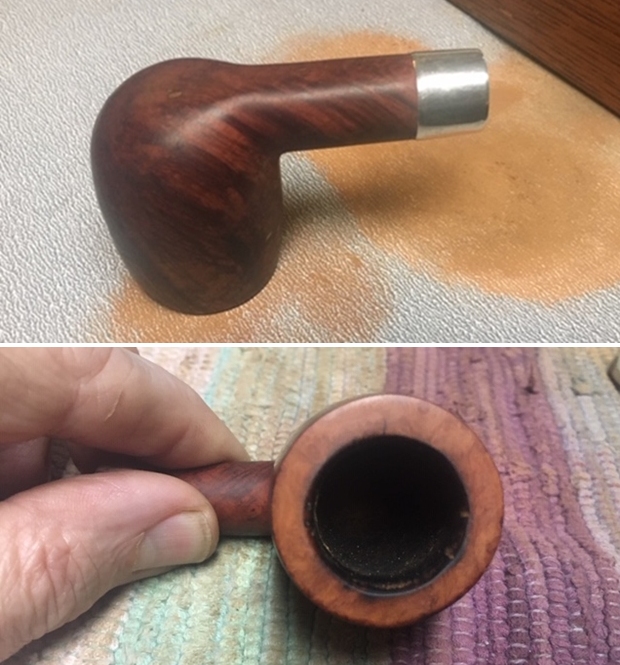
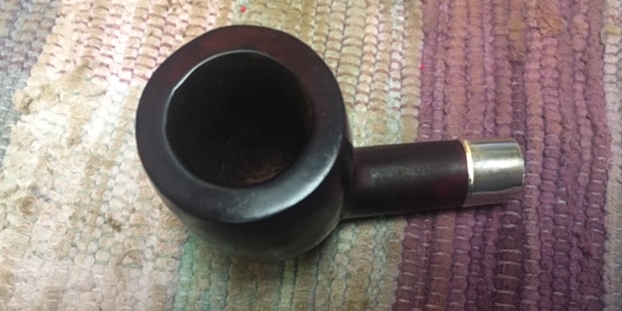
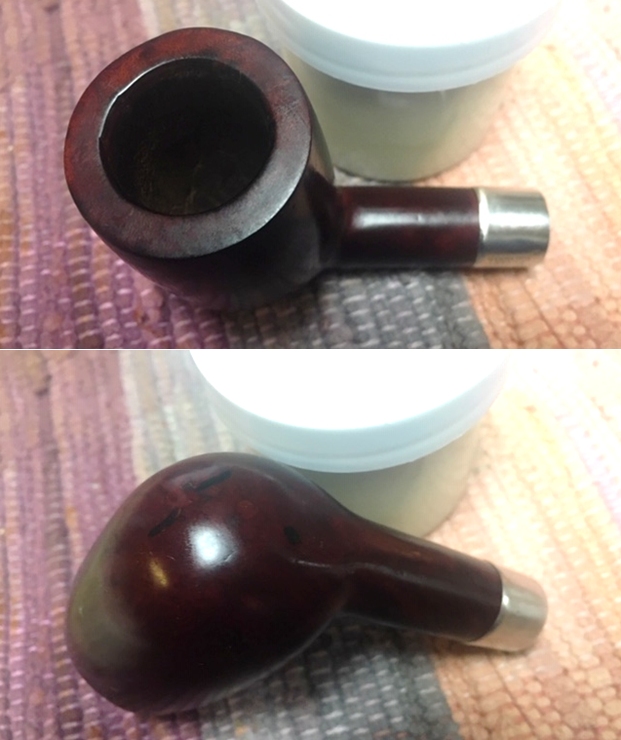
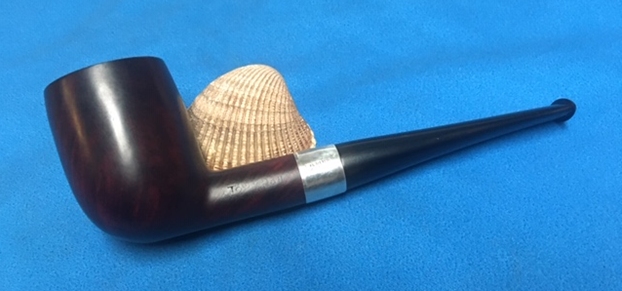
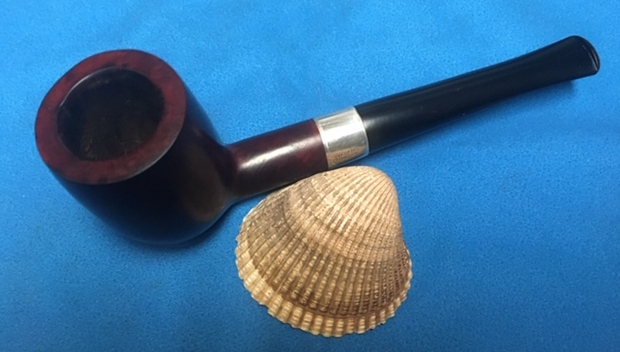
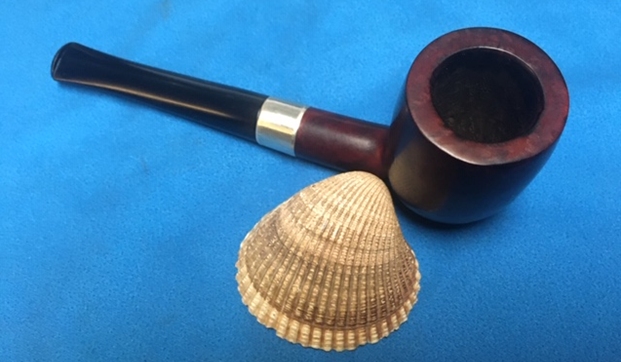
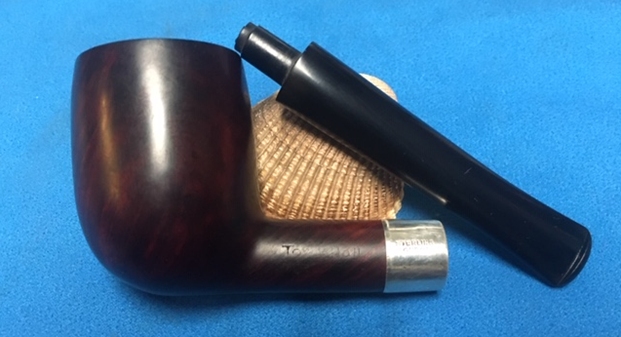
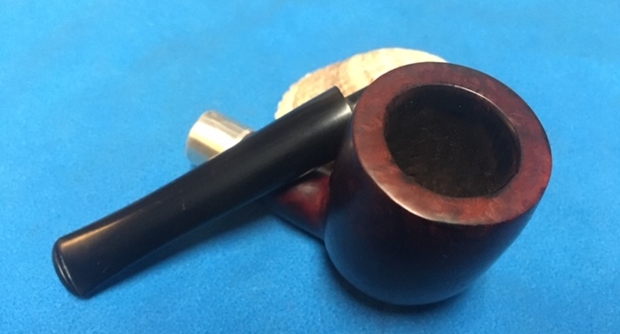
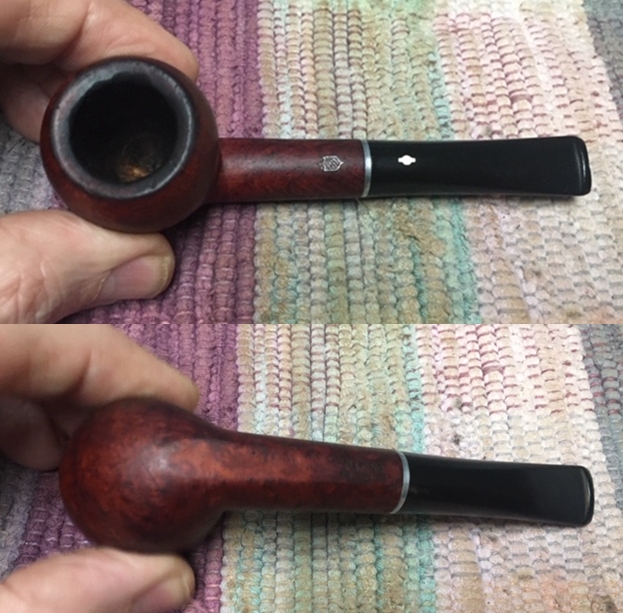
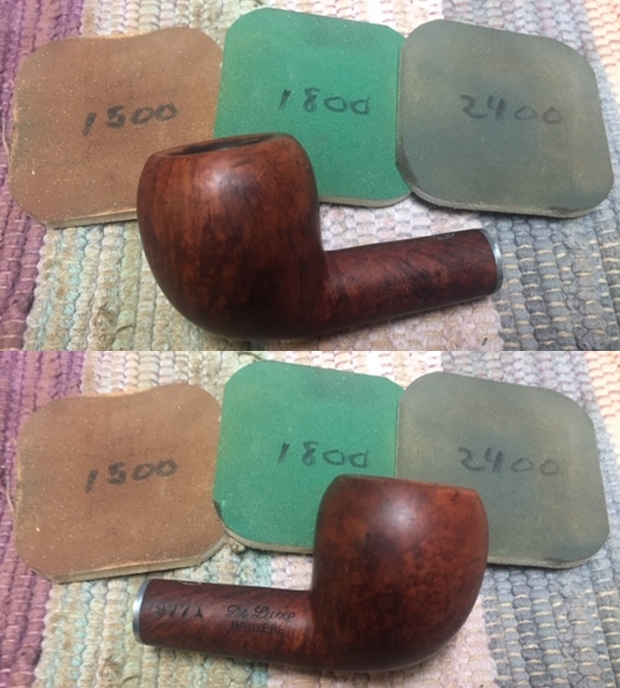
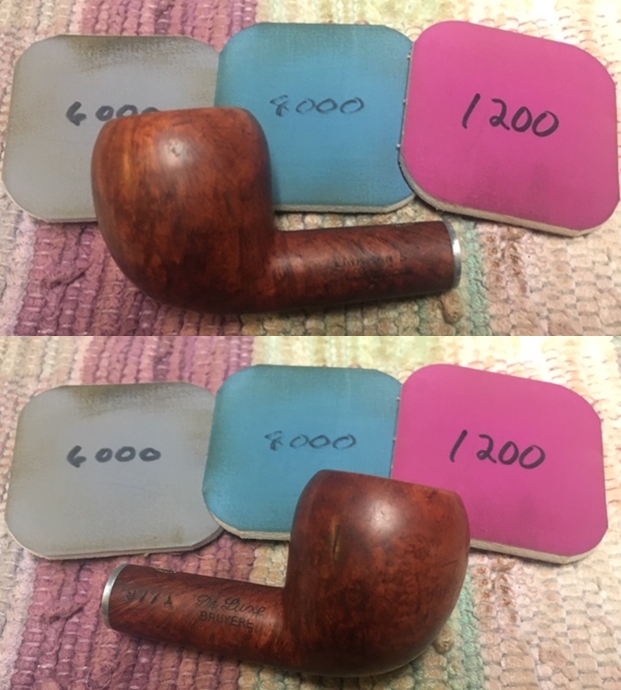
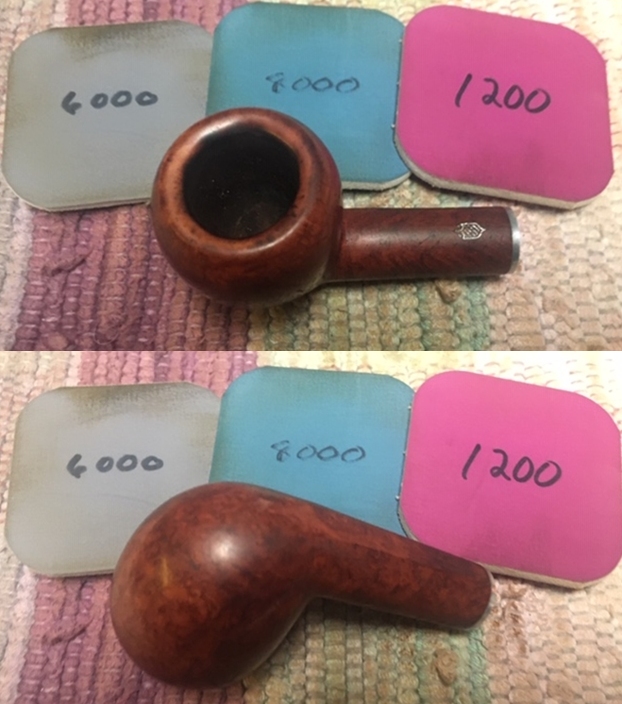
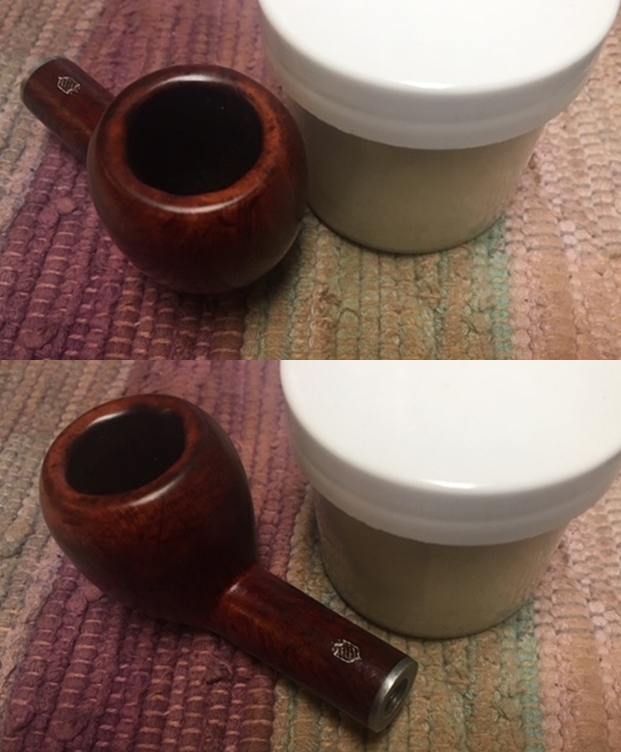
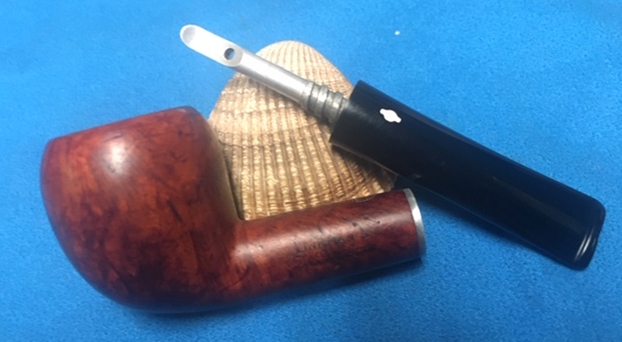
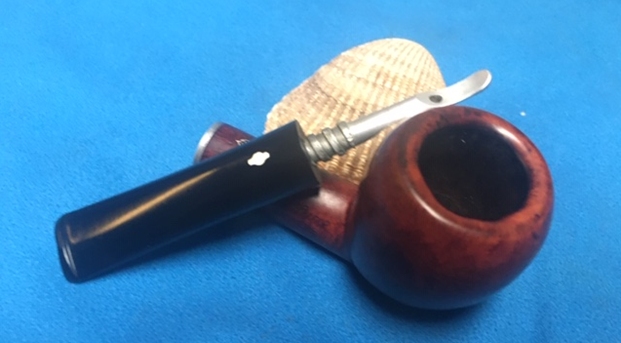
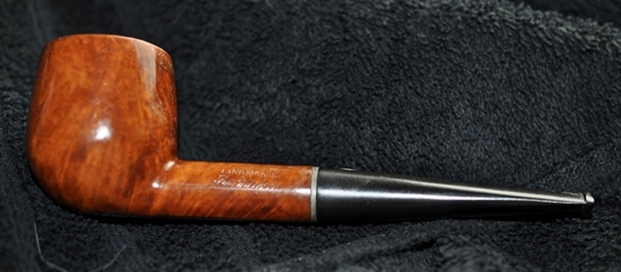
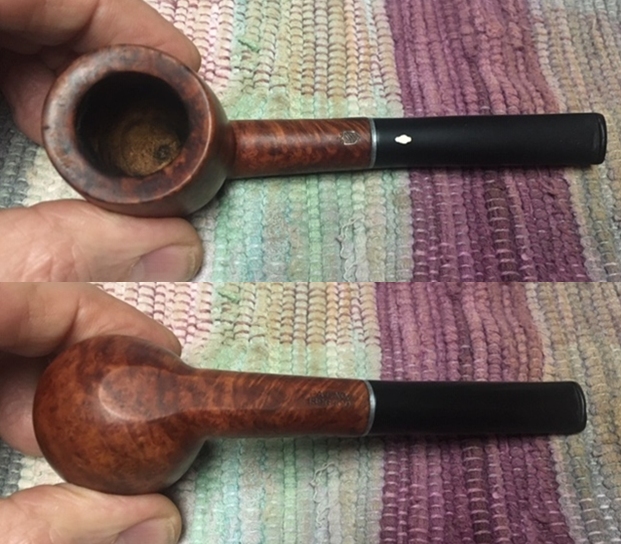
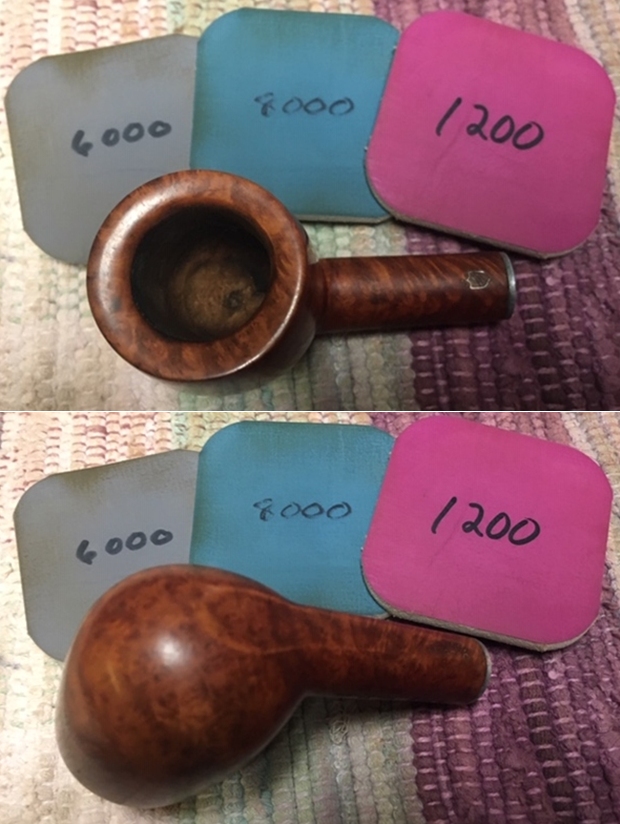
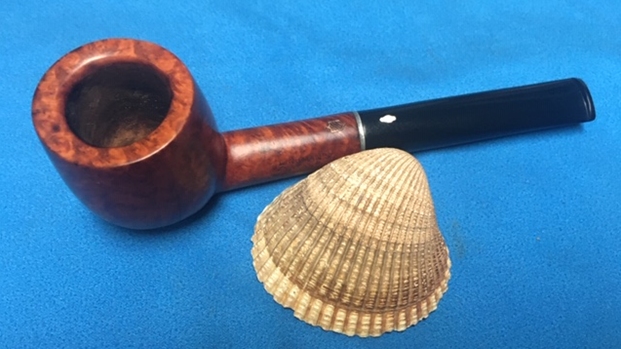
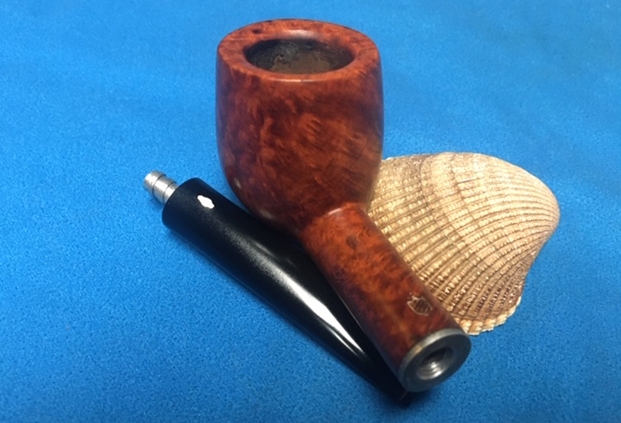
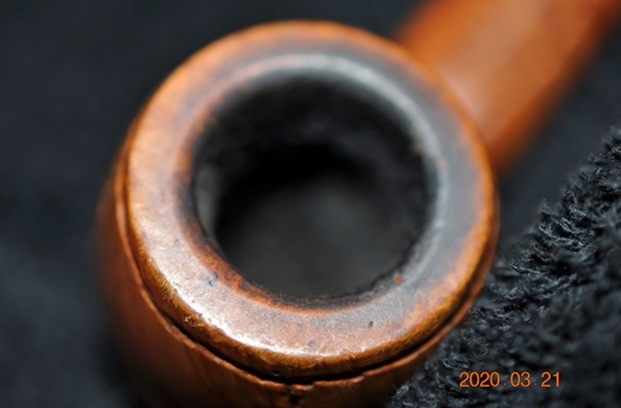
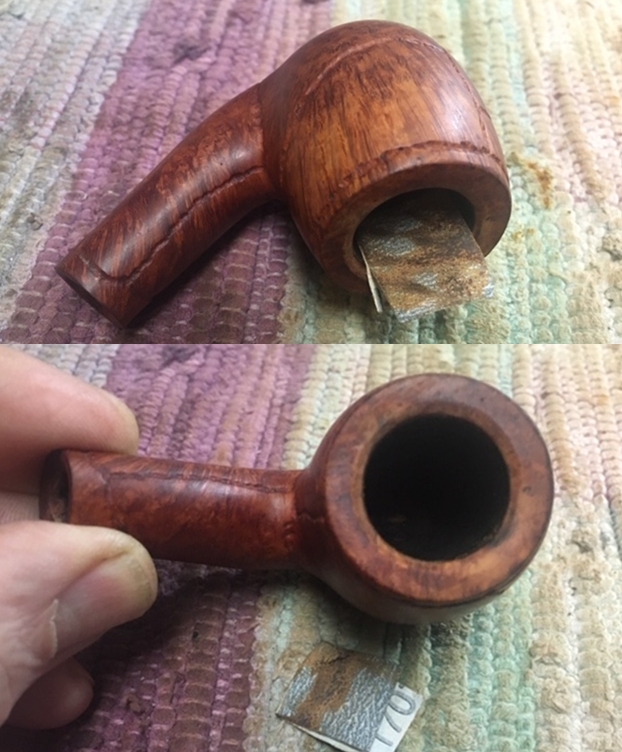
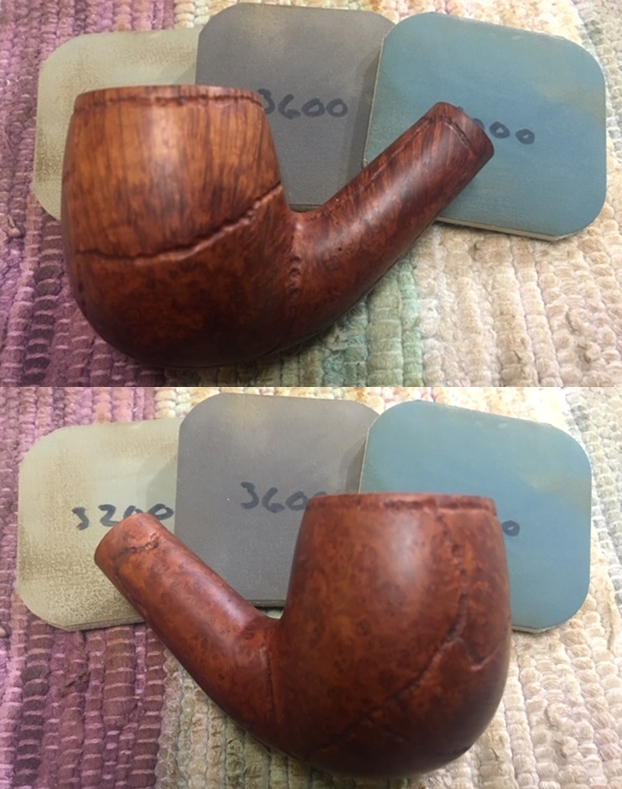
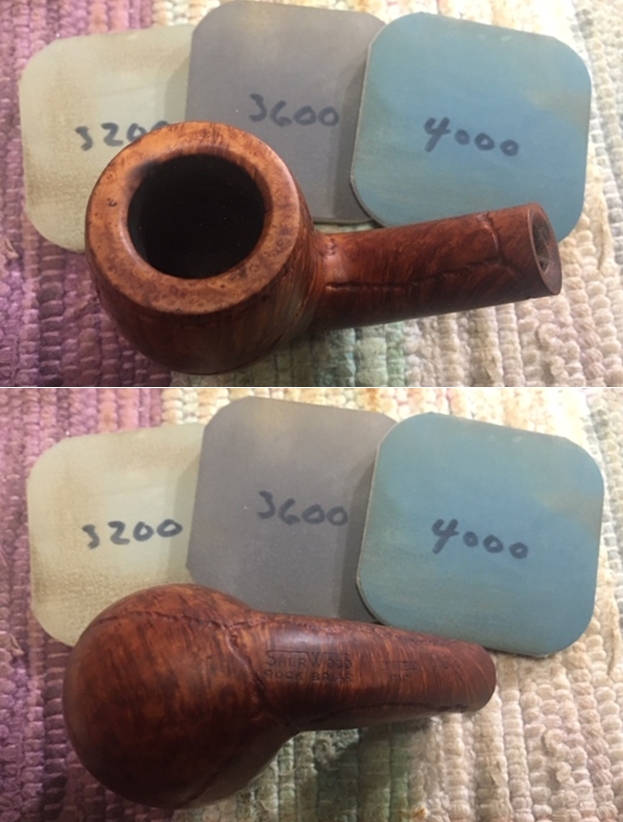
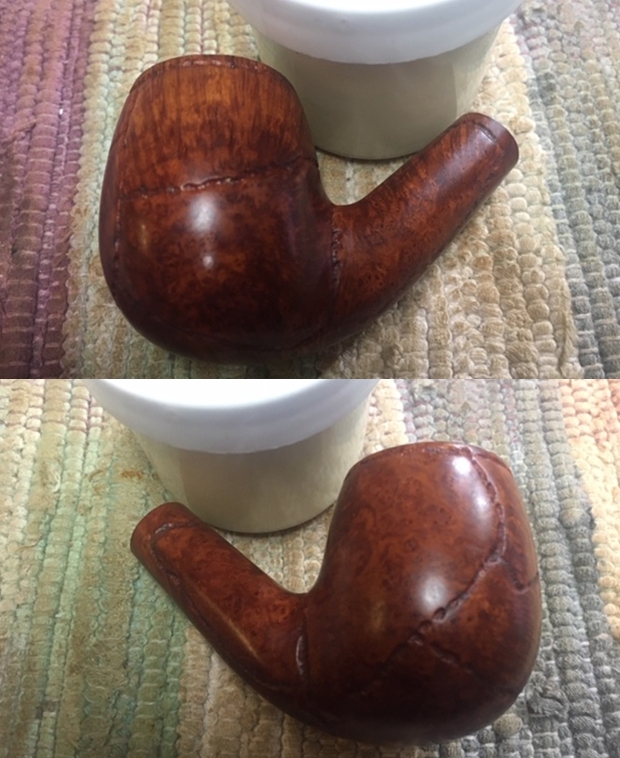
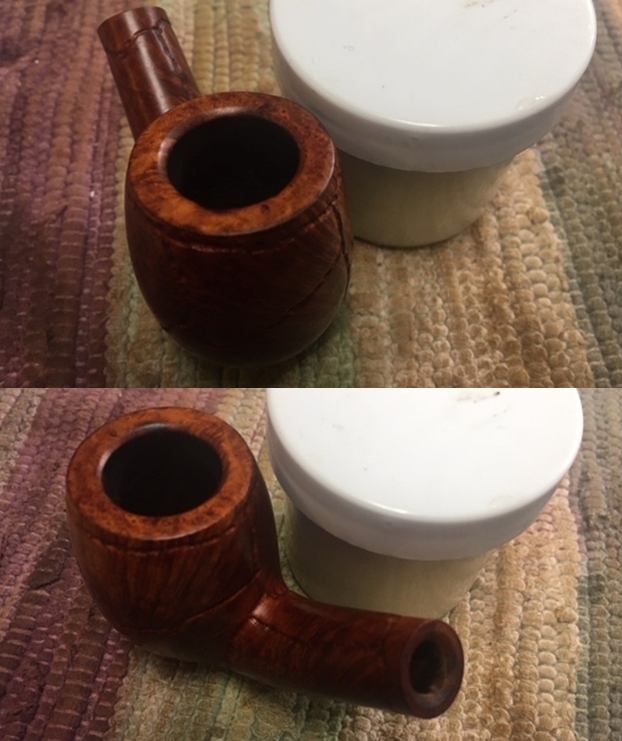
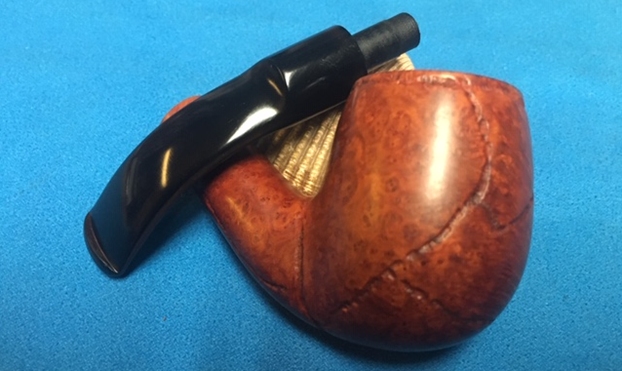
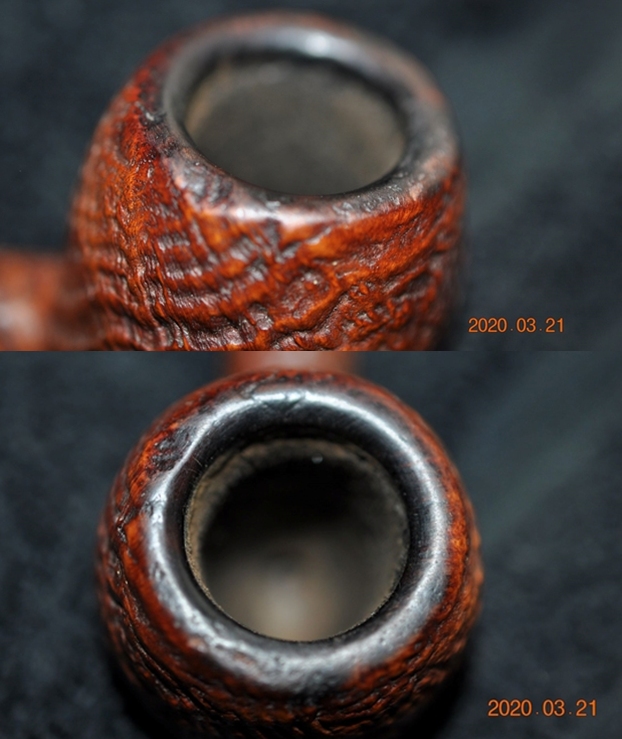
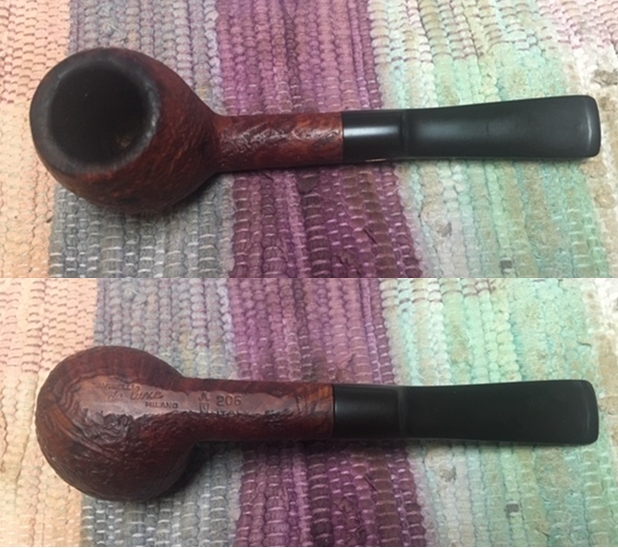
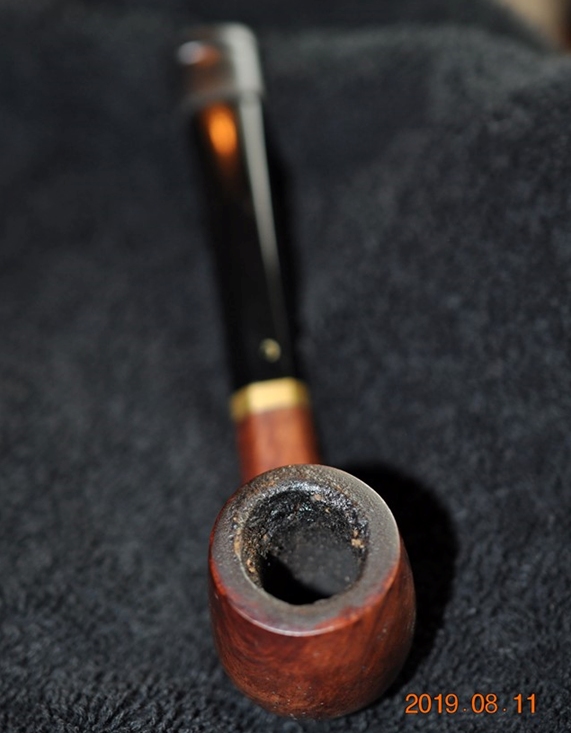
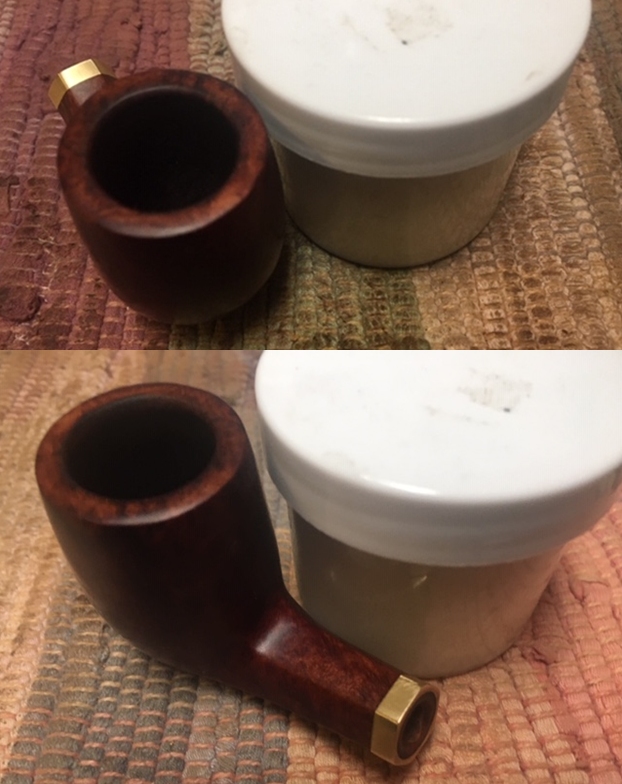
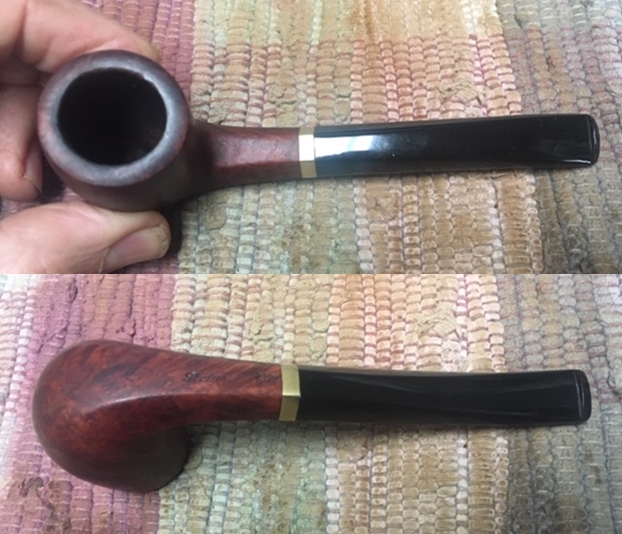 I took photos of the bowl and rim top as well as the stem to show how clean they were. The inner edge of the rim had some damage and was slightly out of round. The rim top had some darkening and light nicks. The stem is clean and the minimal damage on the button top and bottom edges is not too bad.
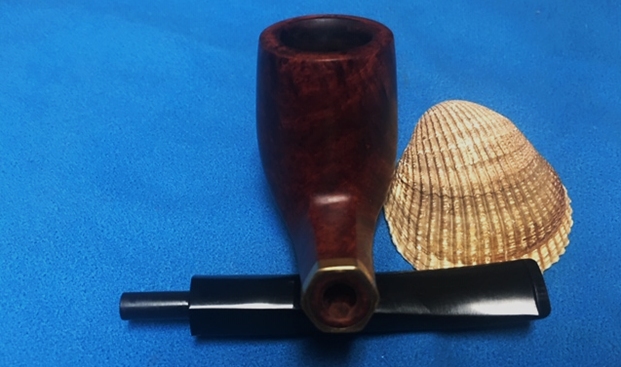
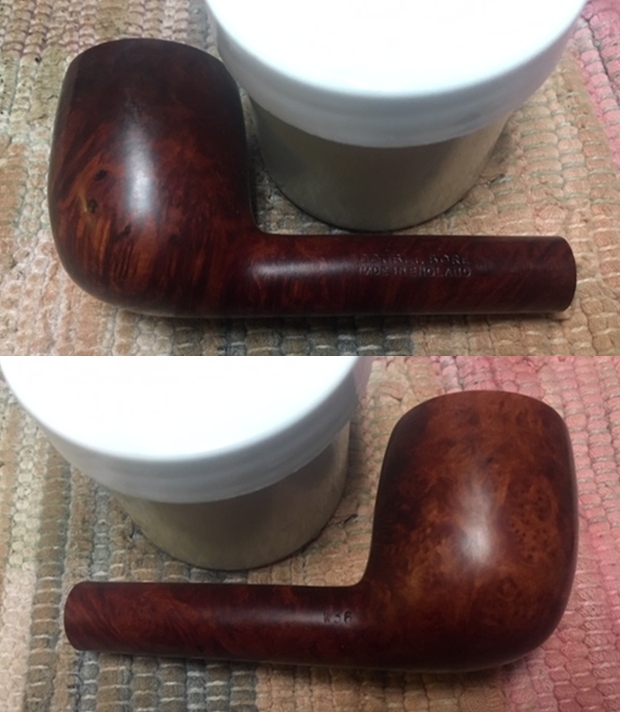
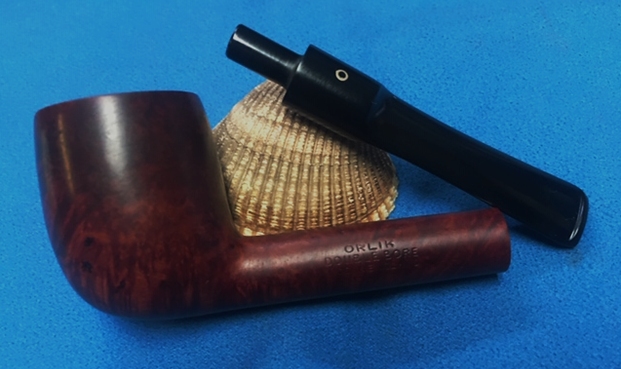
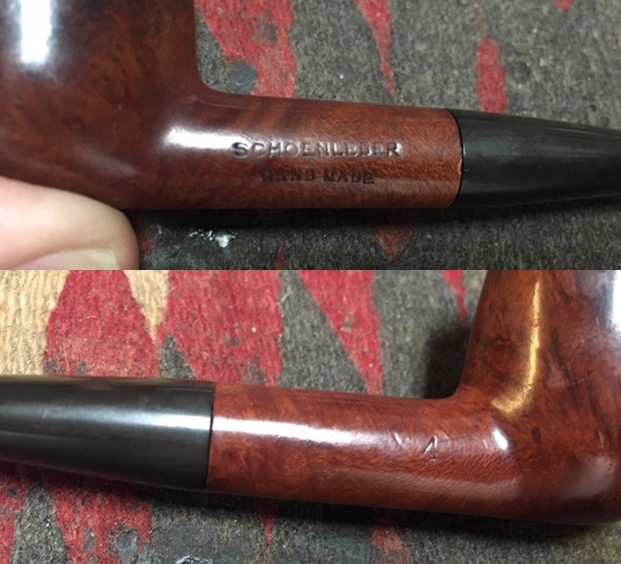
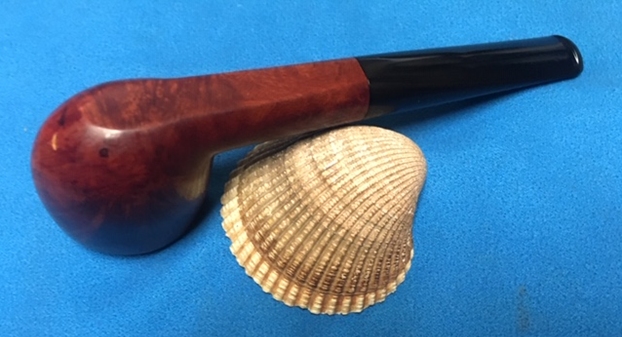
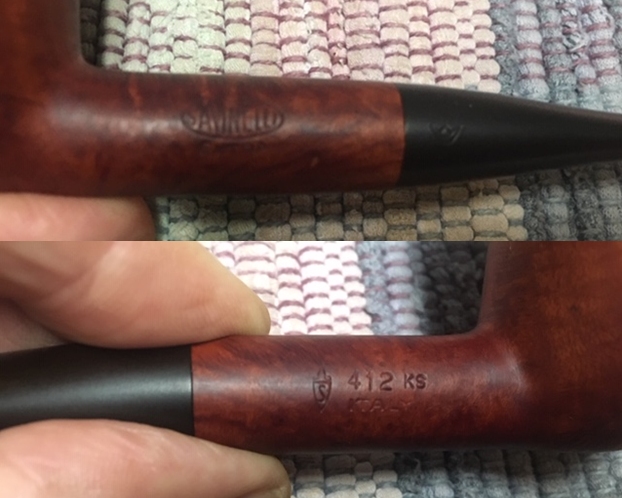
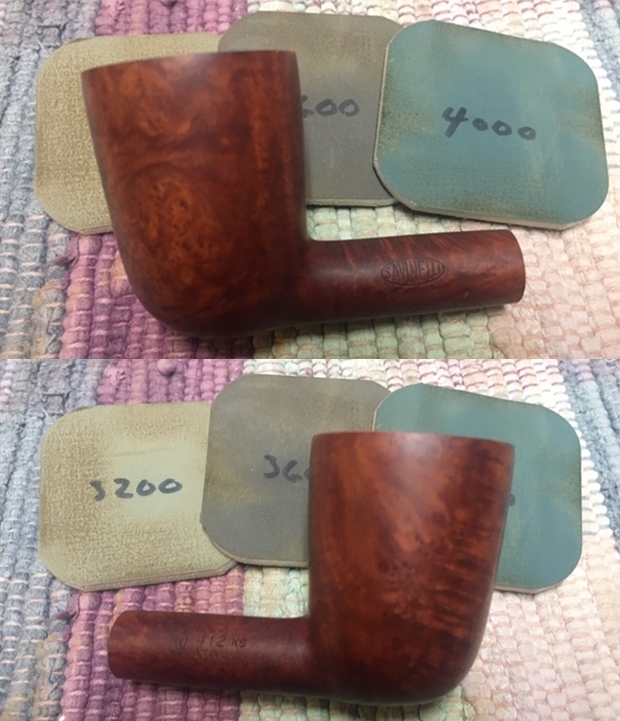
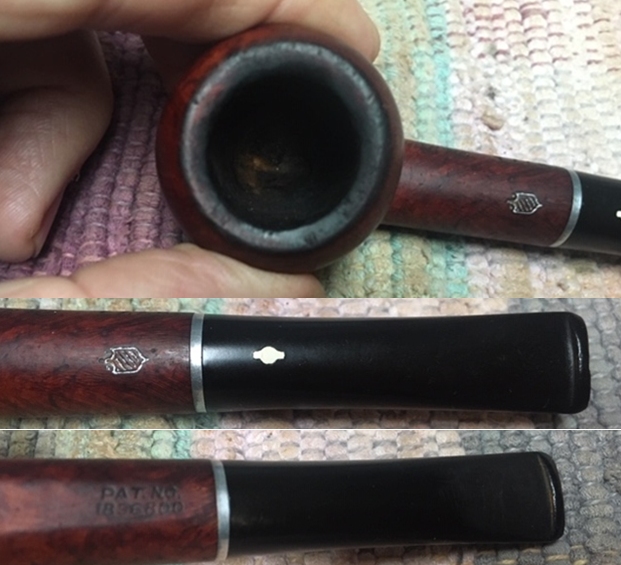
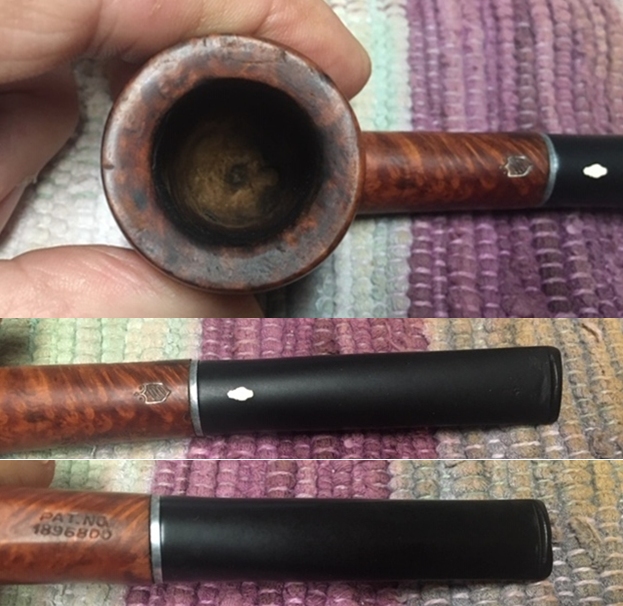
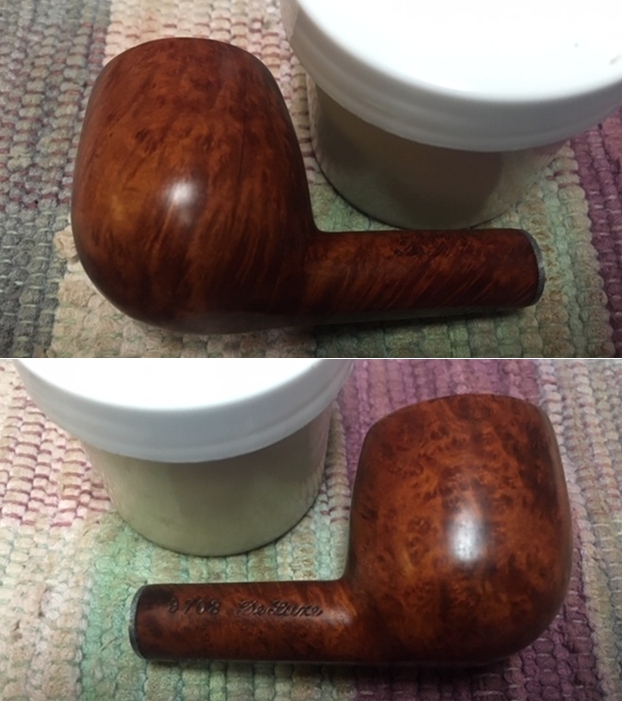
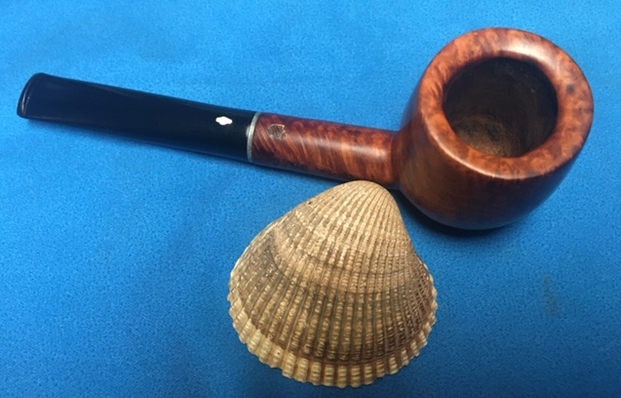
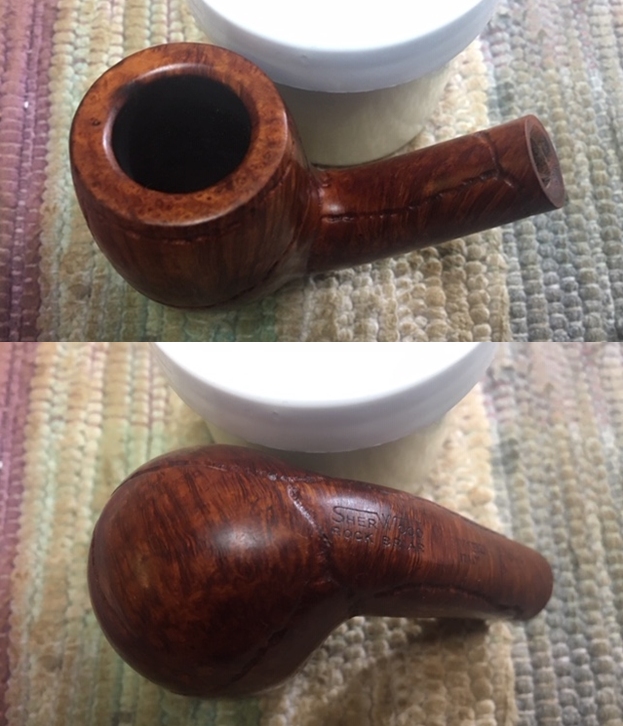
 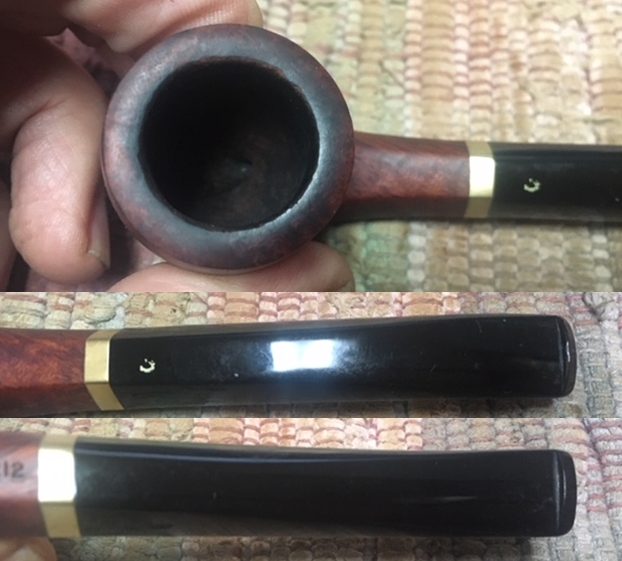 I took a photo of the stamping on the hexagonal patterns of the shank. The stamping is readable as noted above.
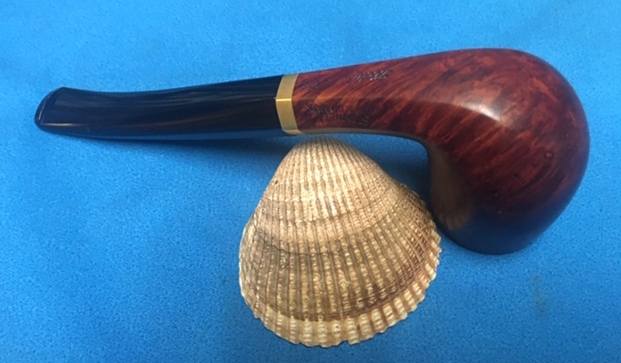
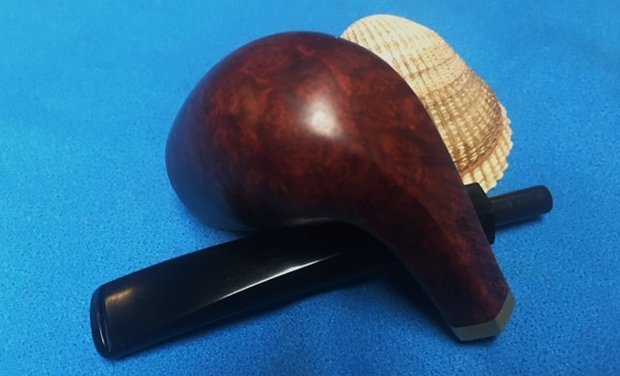
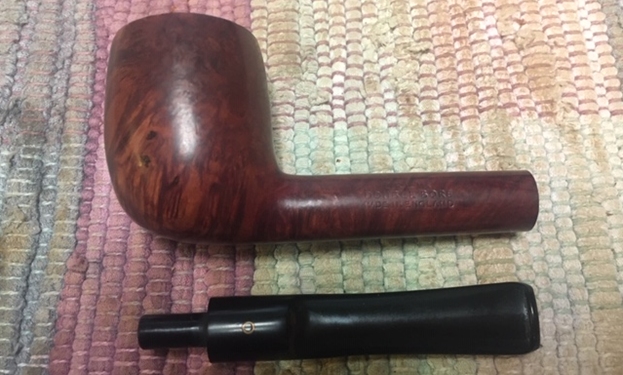
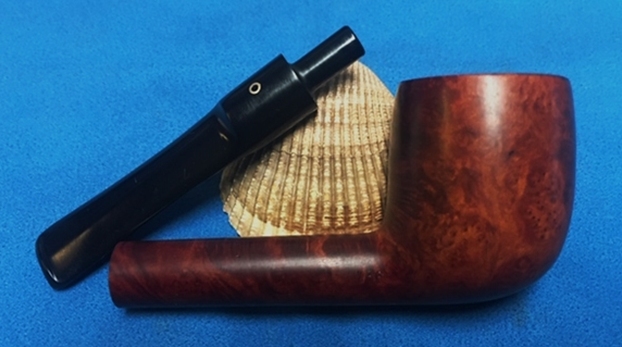
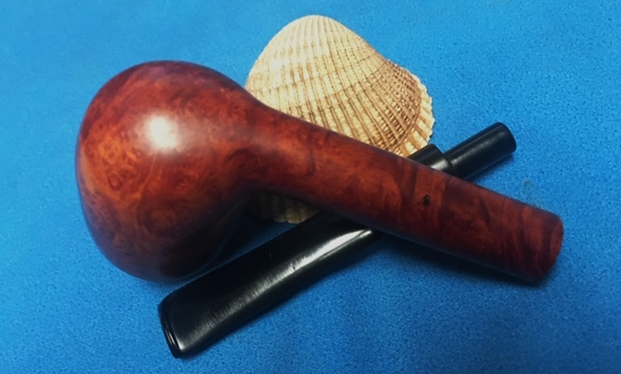
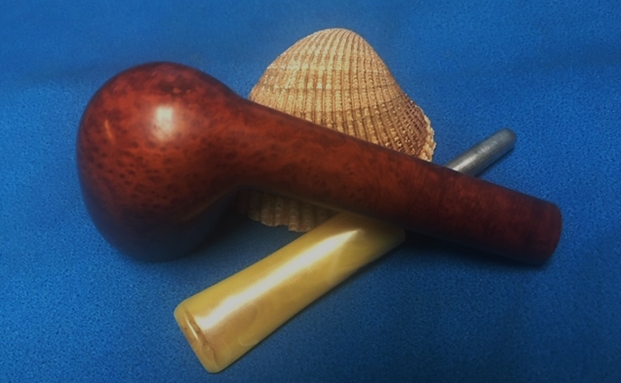
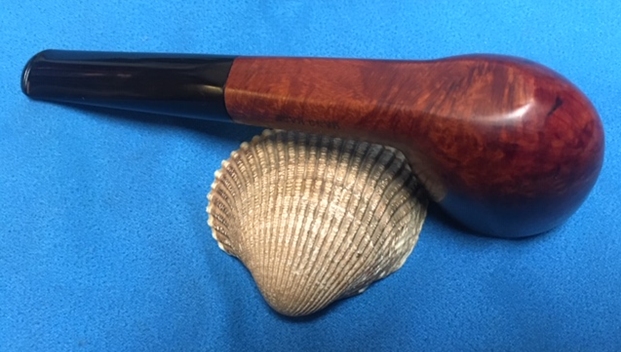
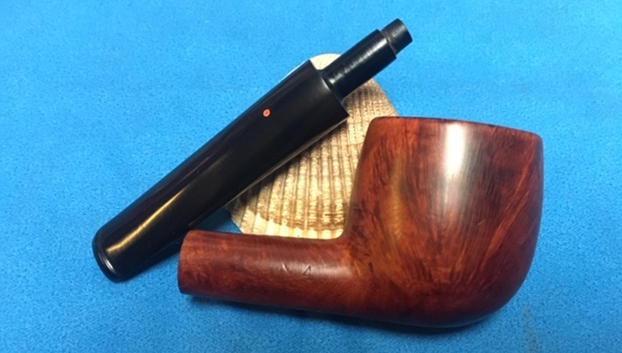
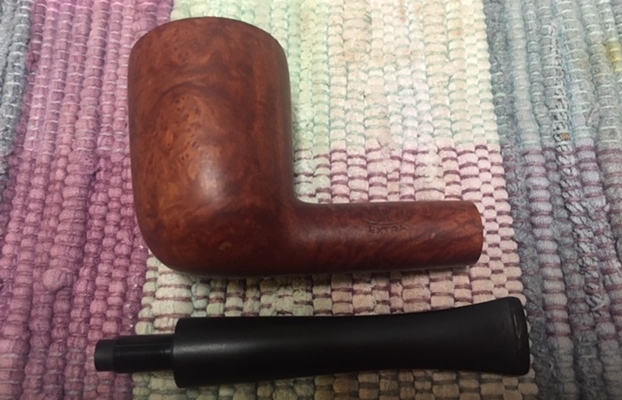
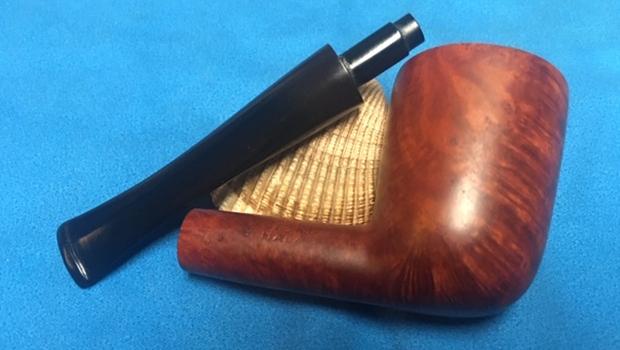
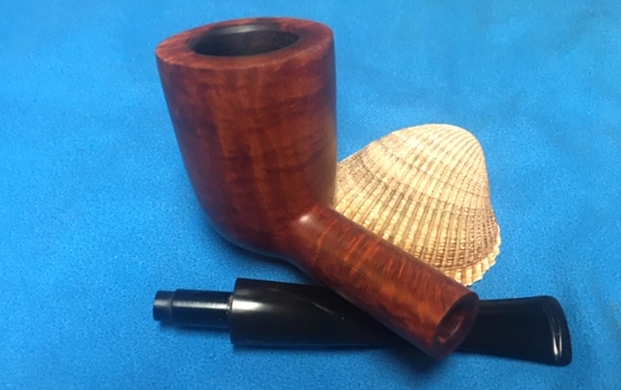
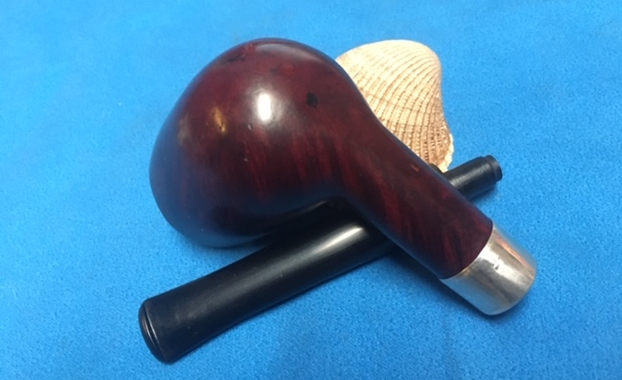
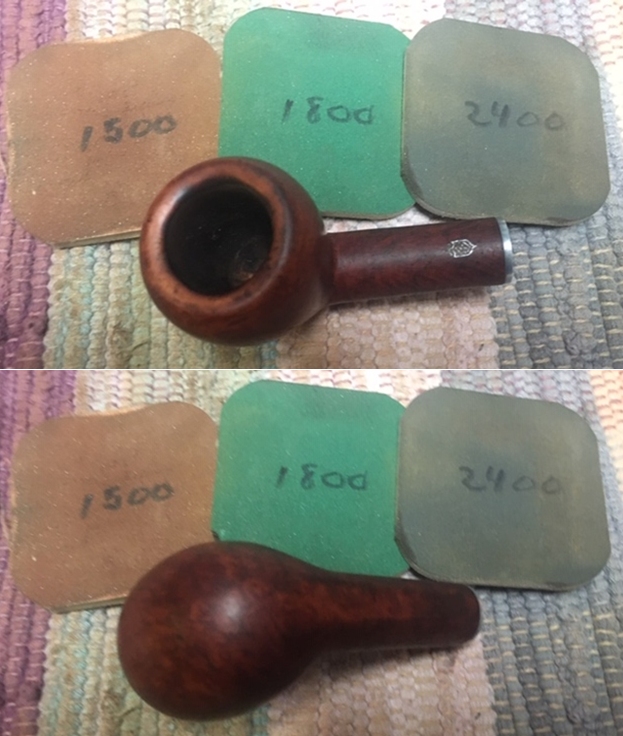
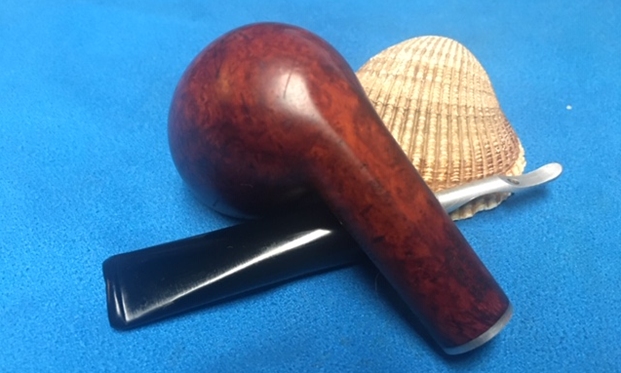
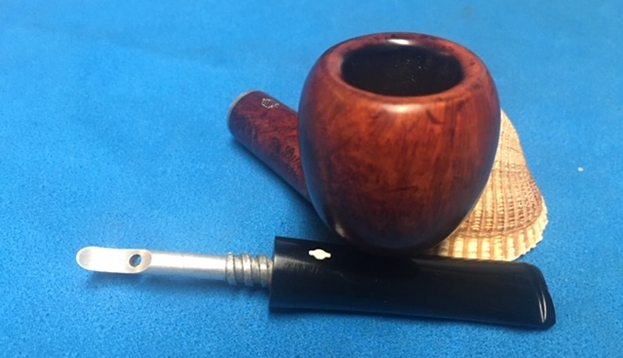
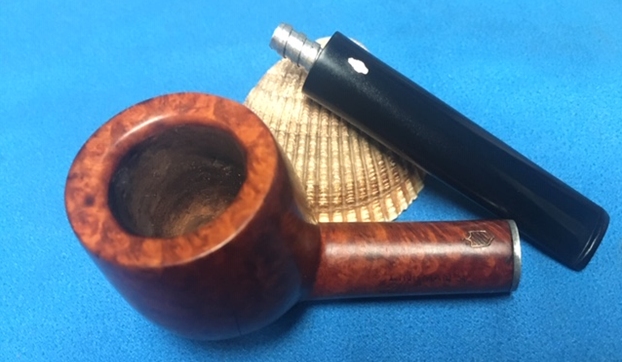
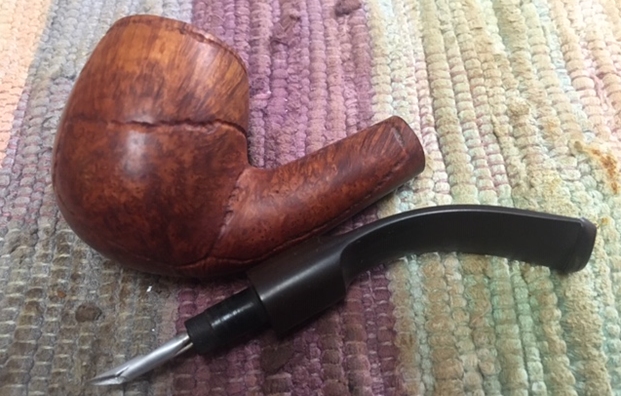
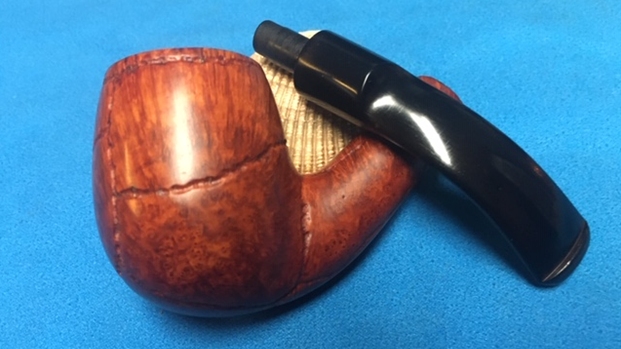
 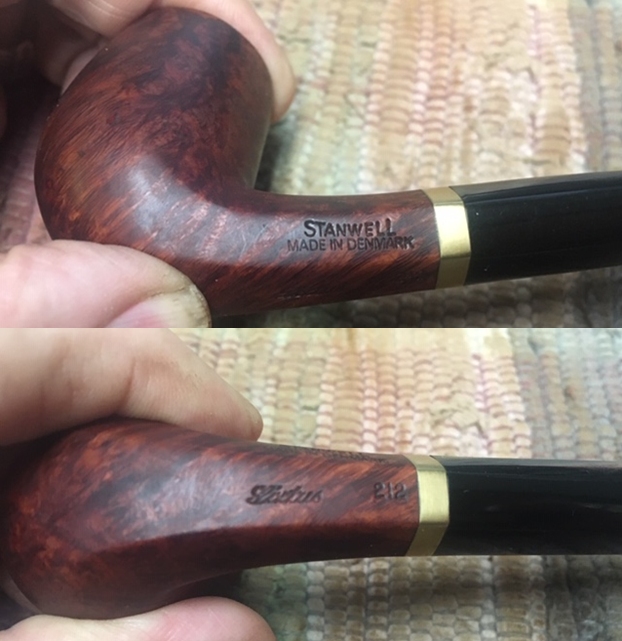 I took the stem off the bowl and took a photo of the pipe showing the overall look of the design.
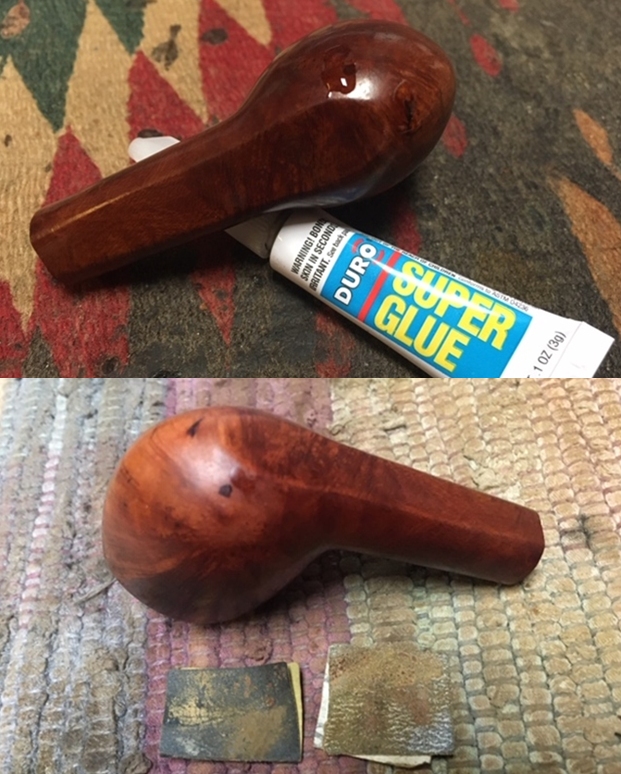
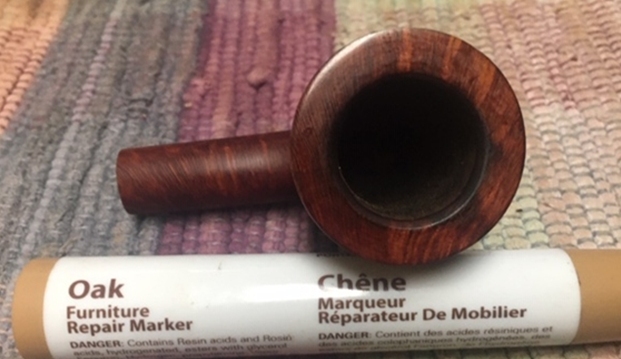
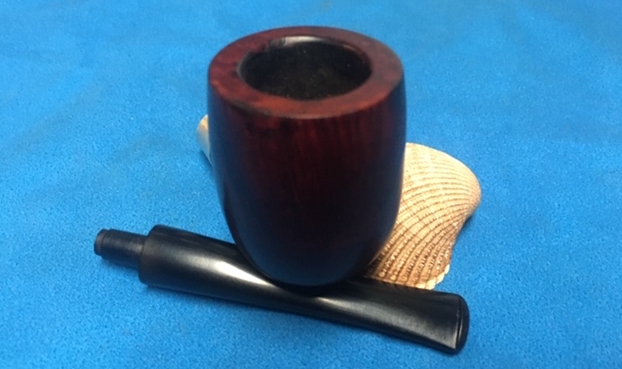
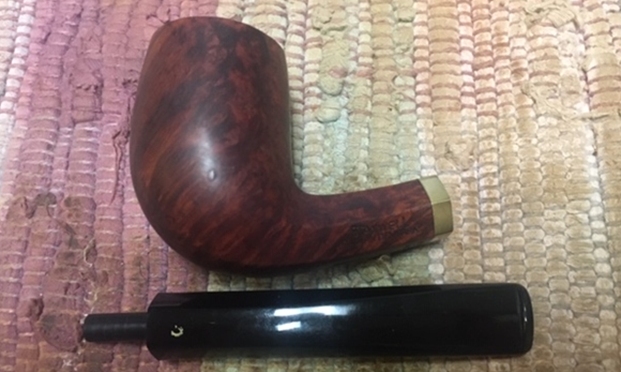 I decided to address the issues of the damage to the inner edge and rim top first. I used a folded piece of 220 grit sandpaper to smooth out edge and reshape it. I also smoothed out the damage on the rim top and darkening at the same time. It looked a lot better once I had finished.
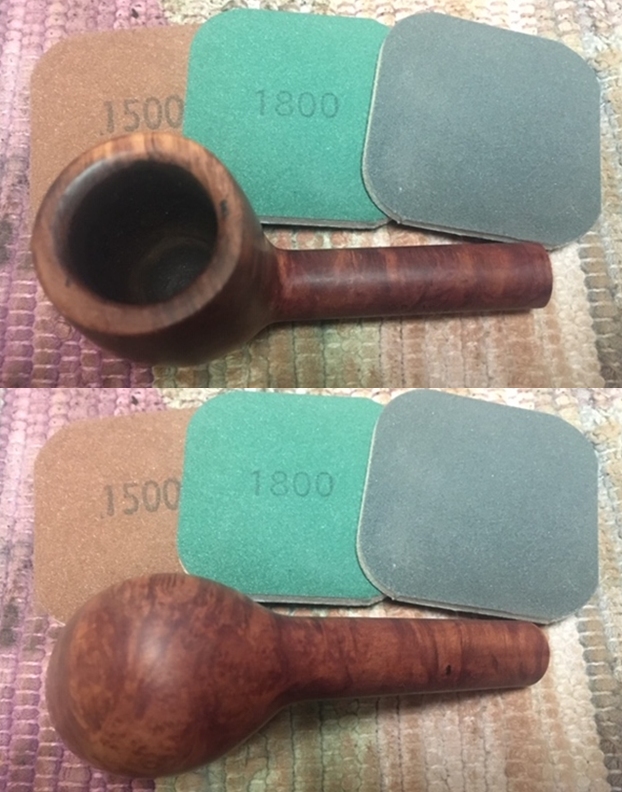
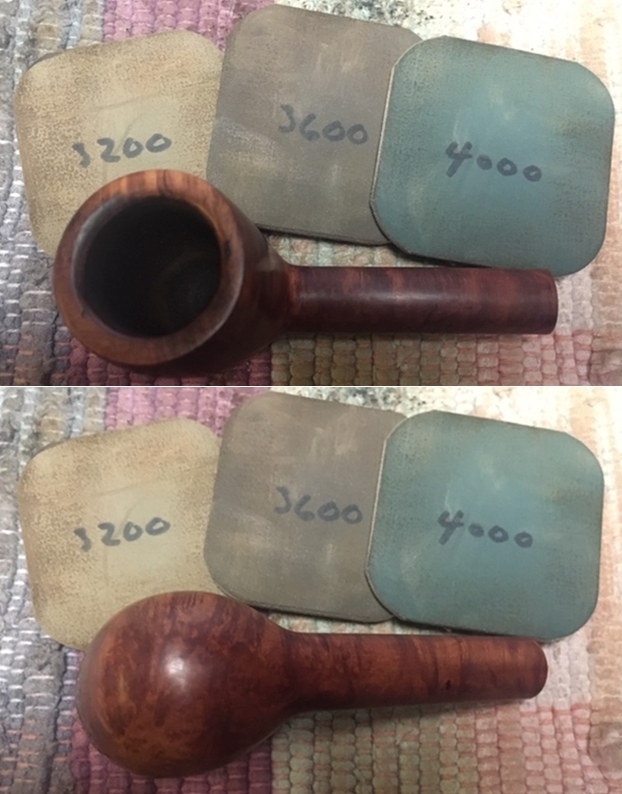
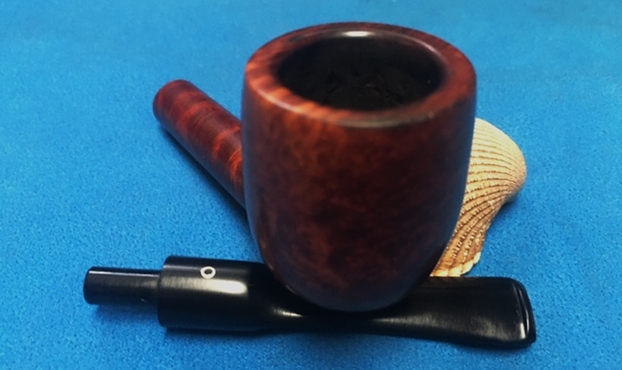
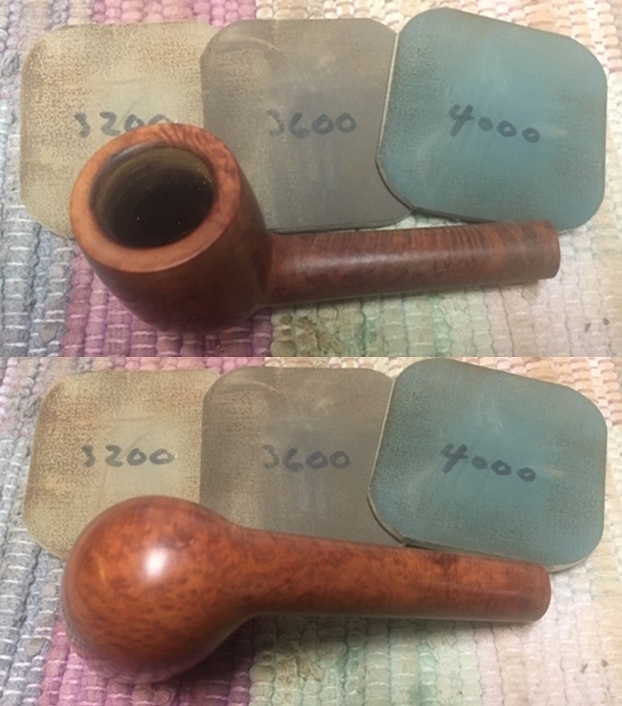
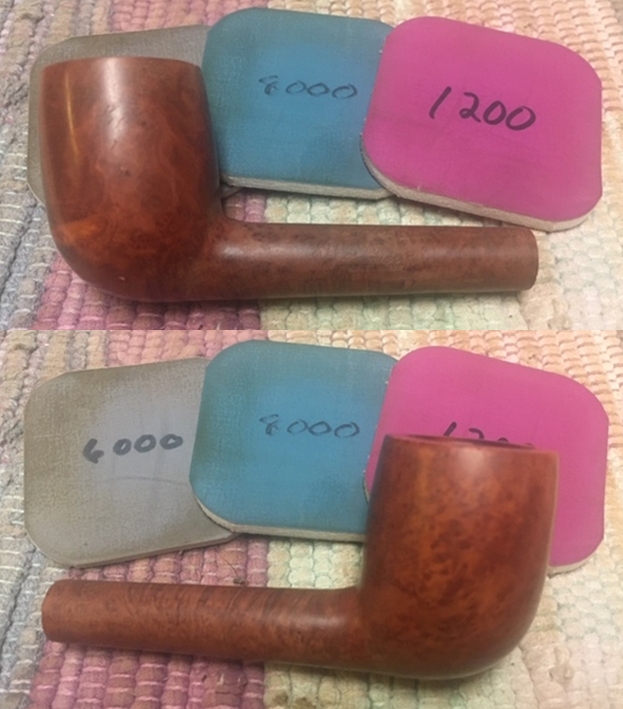
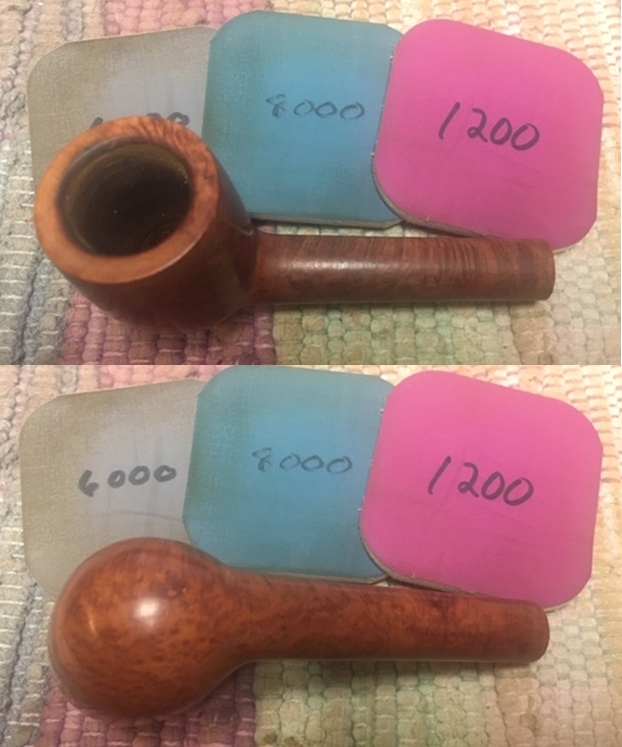
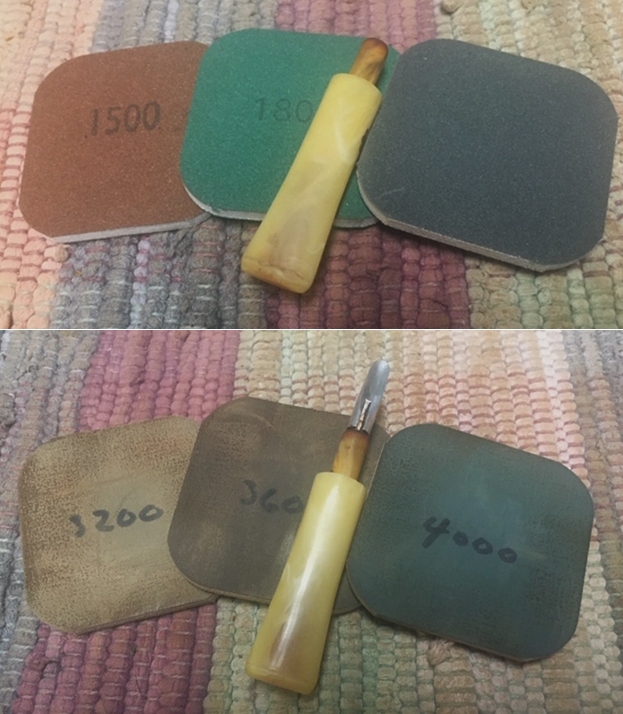
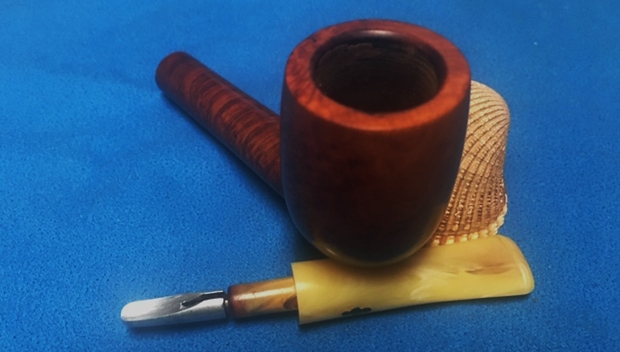
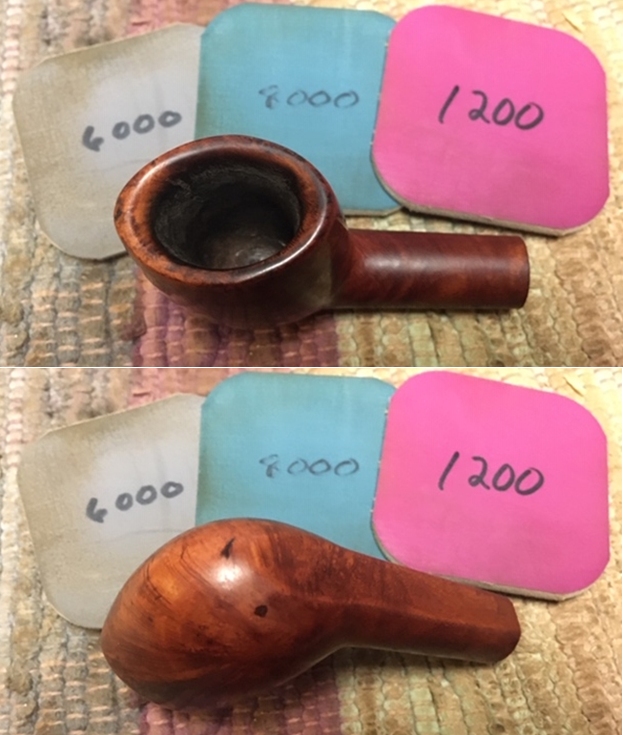
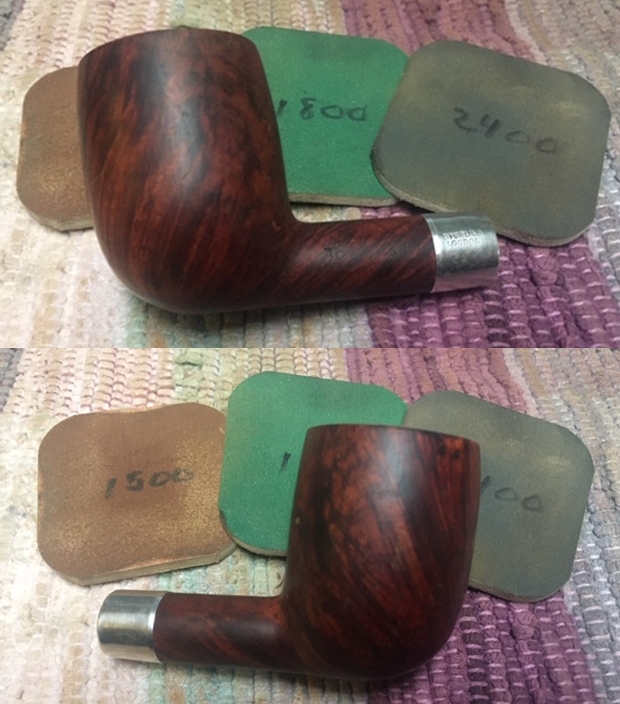
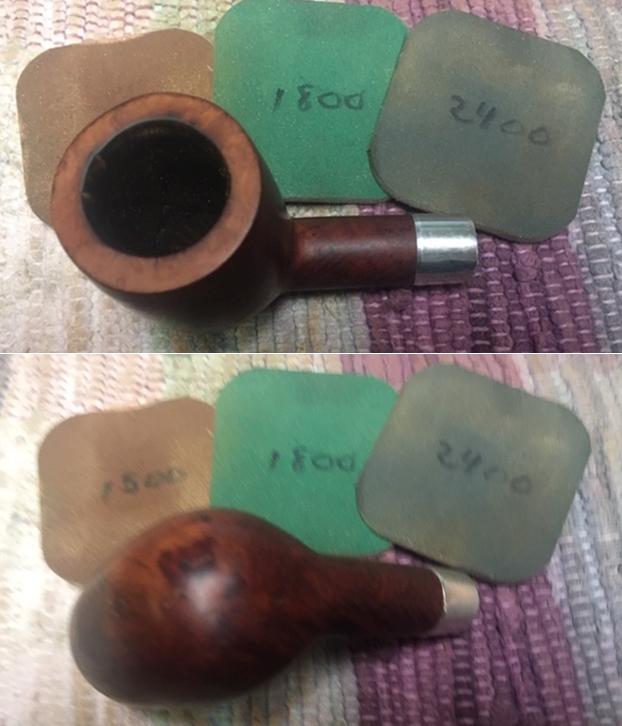
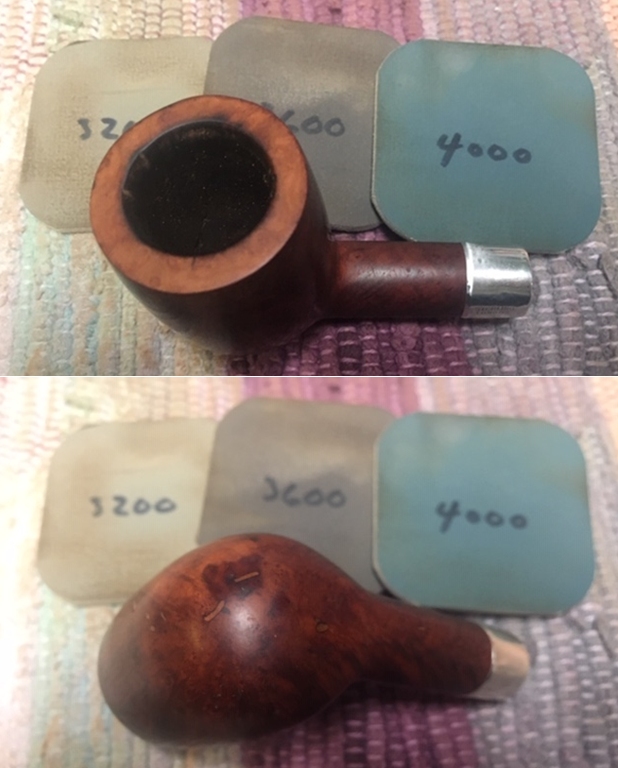
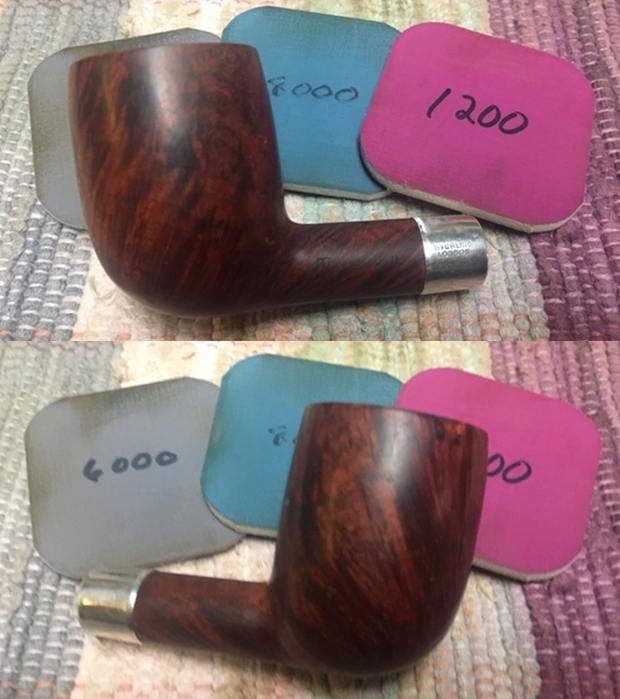
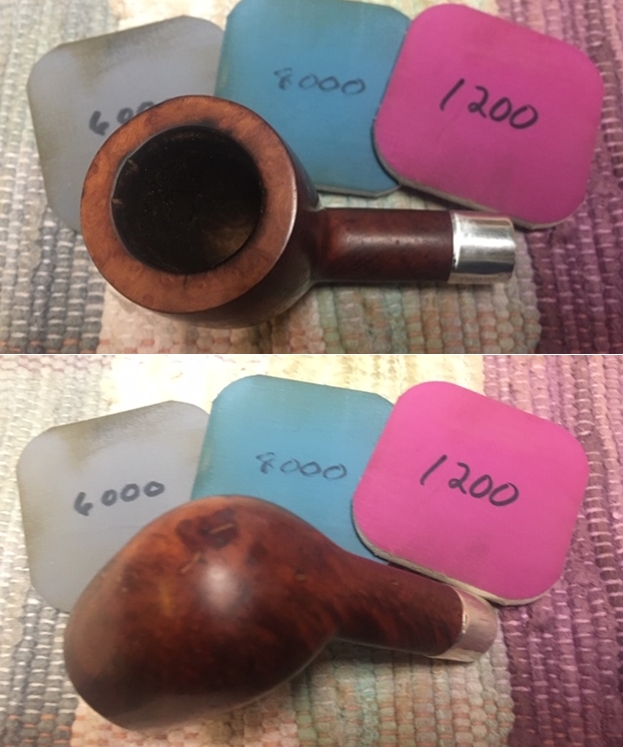
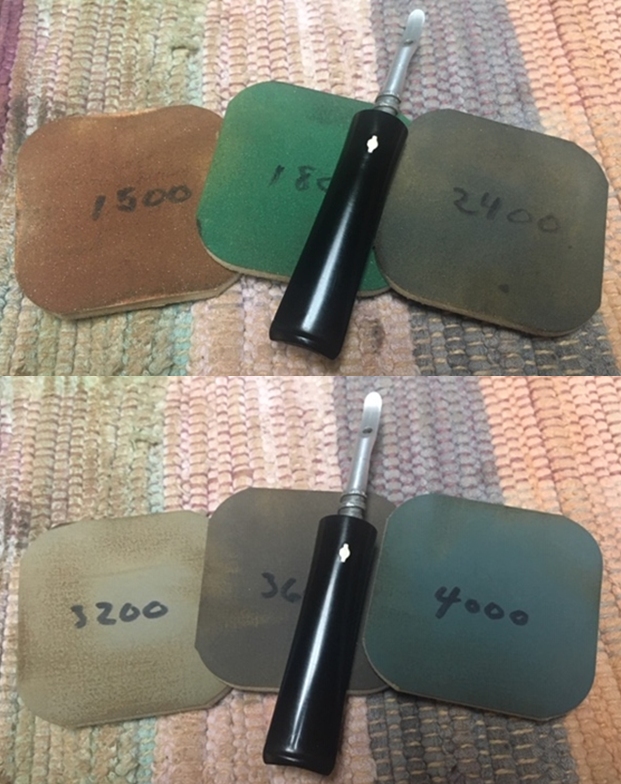
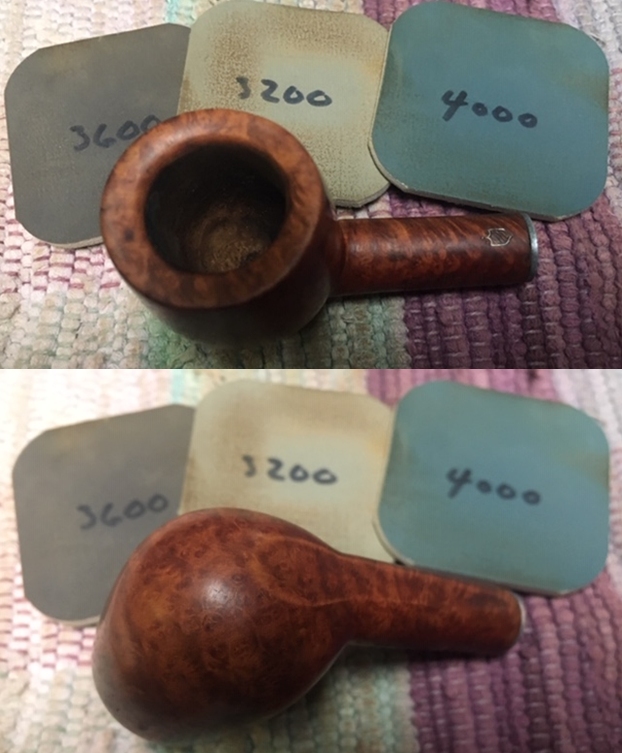
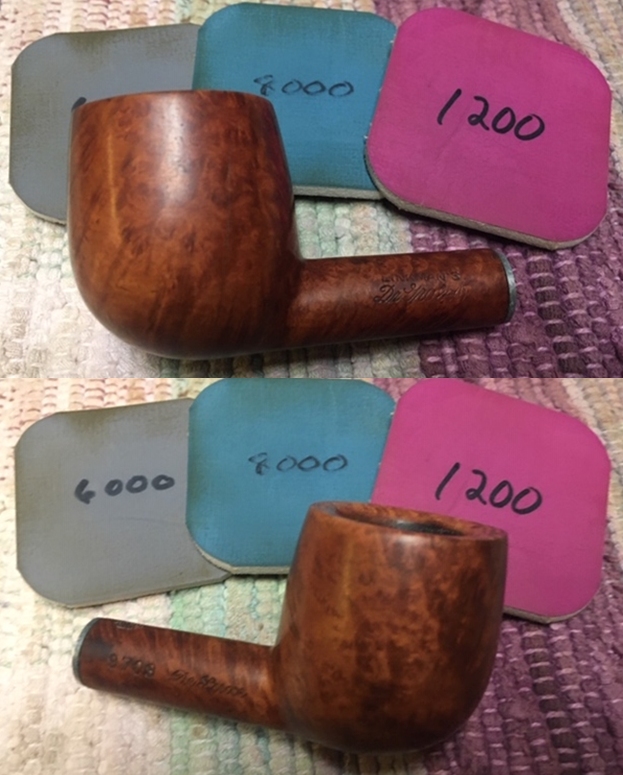
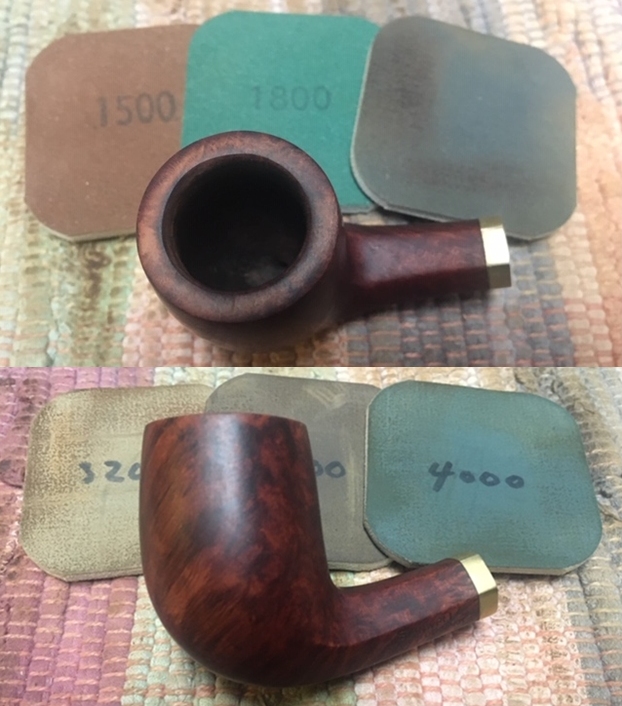
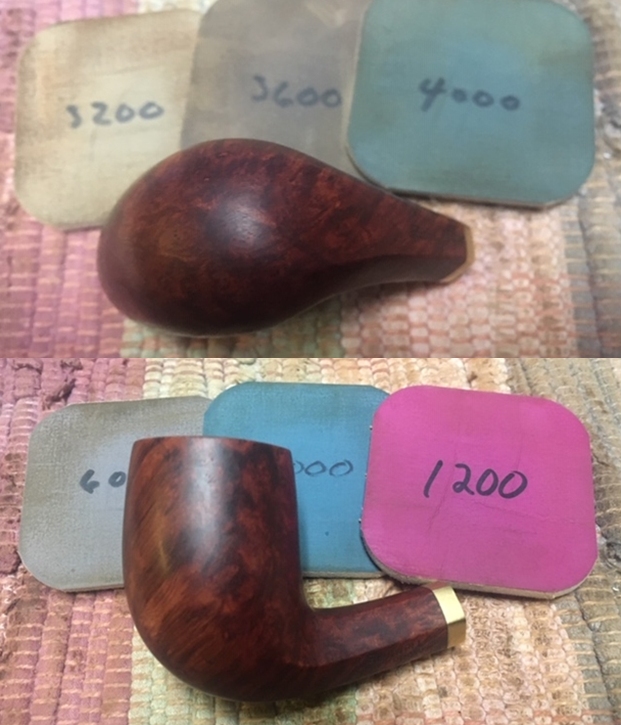
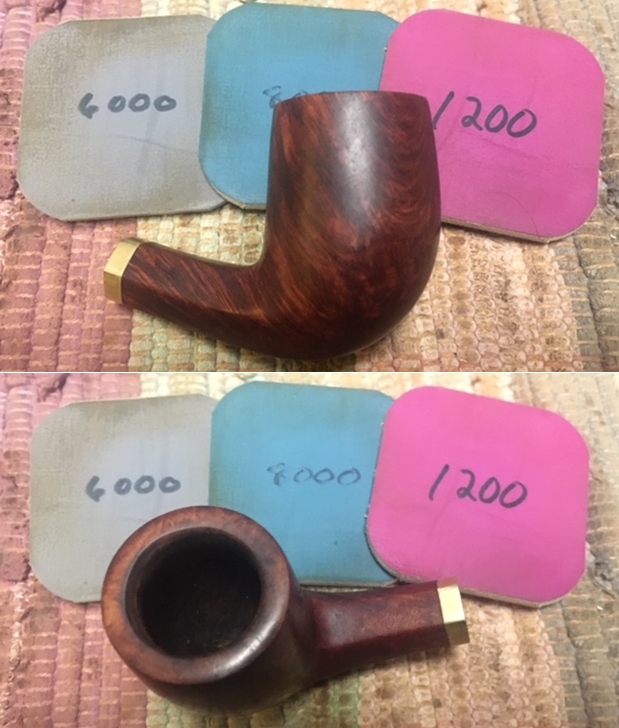
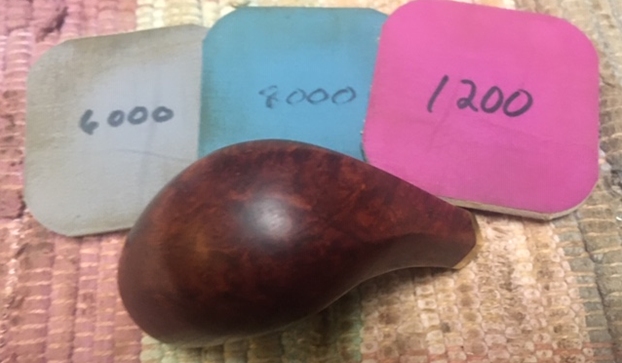
 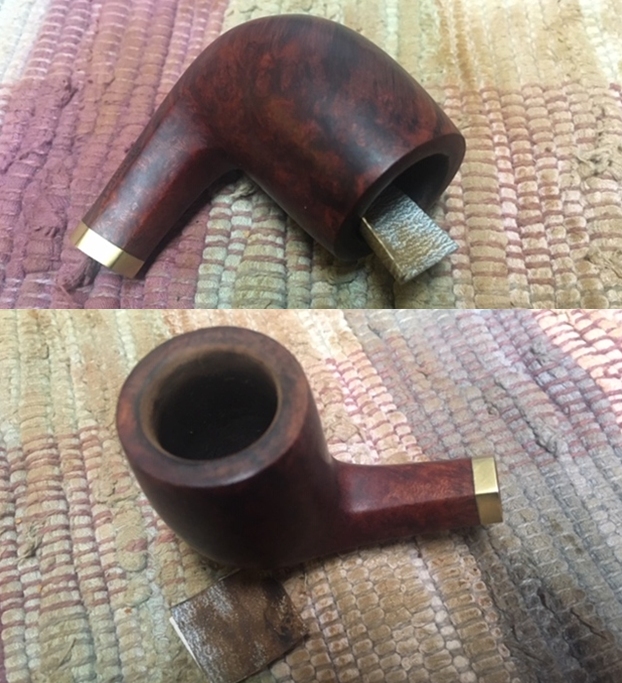 I polished the briar with micromesh – wet sanding with 1500-12000 grit micromesh sanding pads. I wiped the bowl down after each sanding pad with a damp cloth.

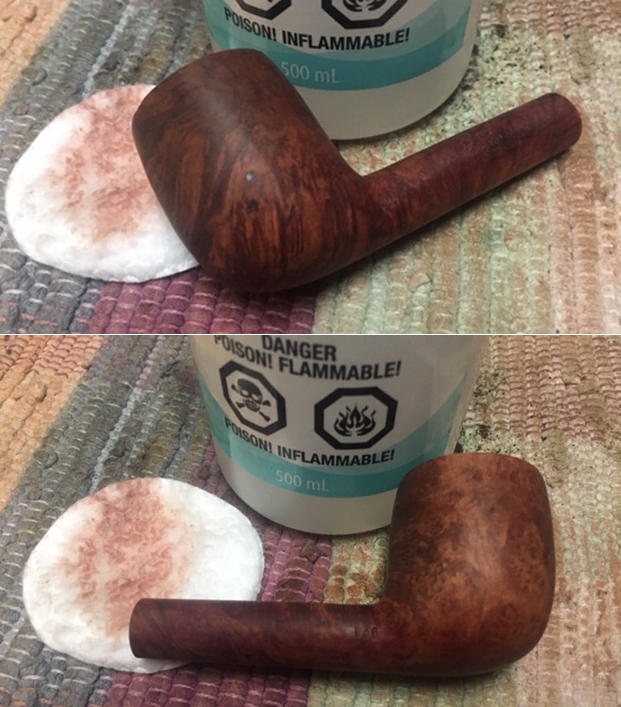
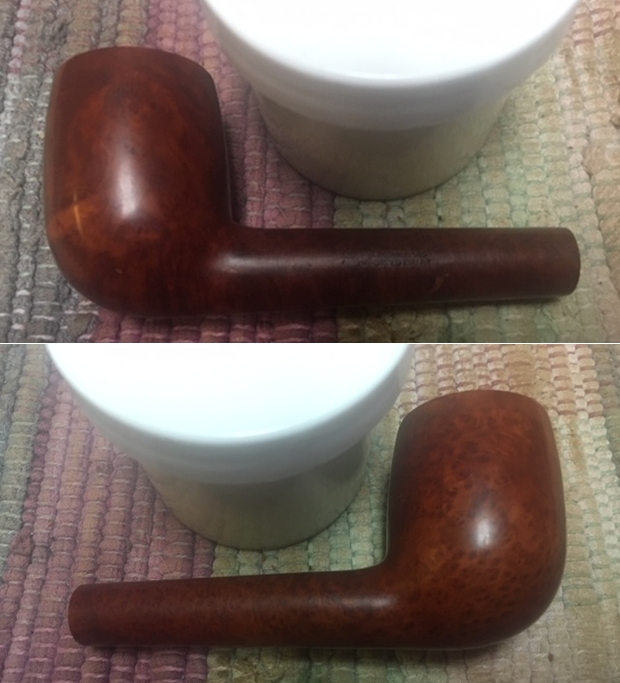
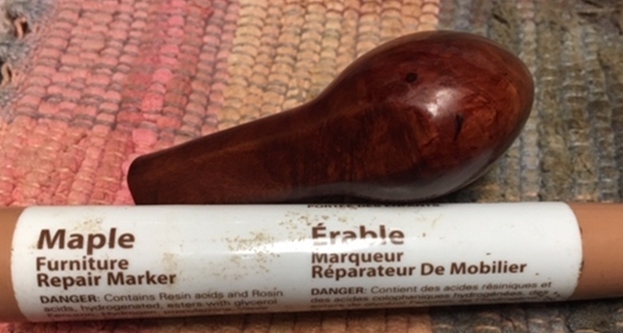
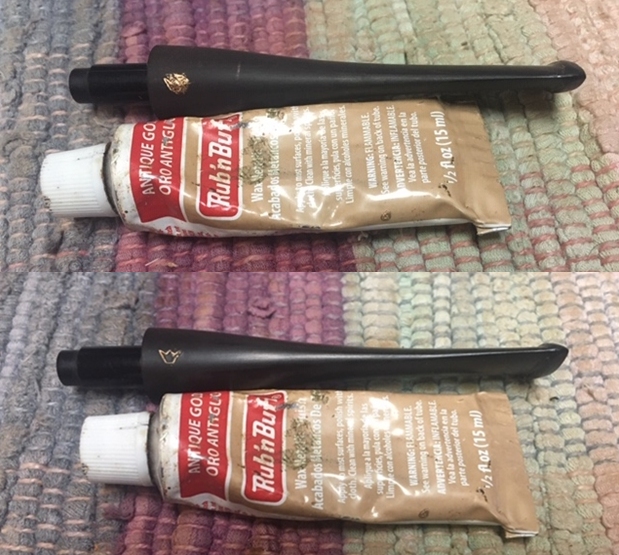
 I rubbed the briar down with Before & After Restoration Balm. I worked it into the briar with my fingertips. The product works to clean, enliven and preserve the briar. I let it sit for 10 minutes while I worked on the stem. After the time passed I buffed it with a cotton cloth to deepen the shine. The briar really comes alive with the balm.
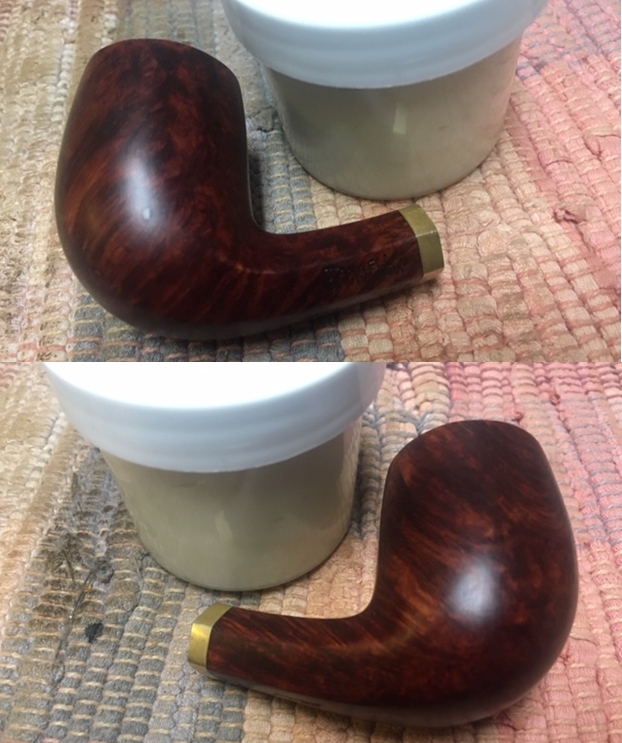
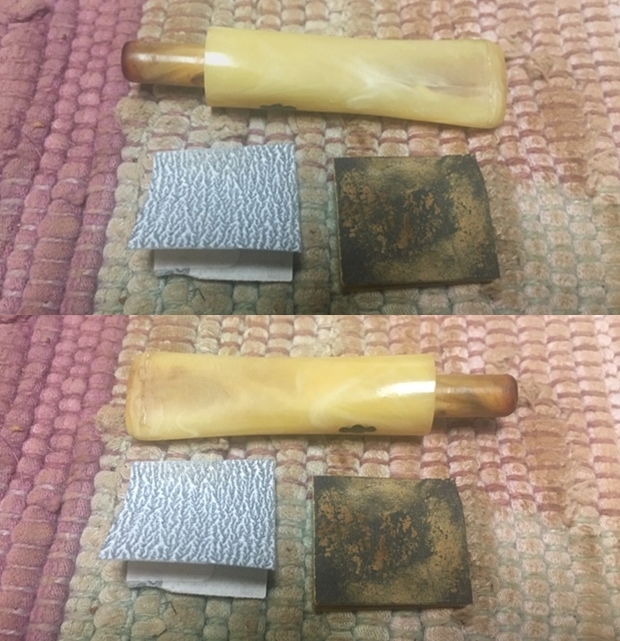
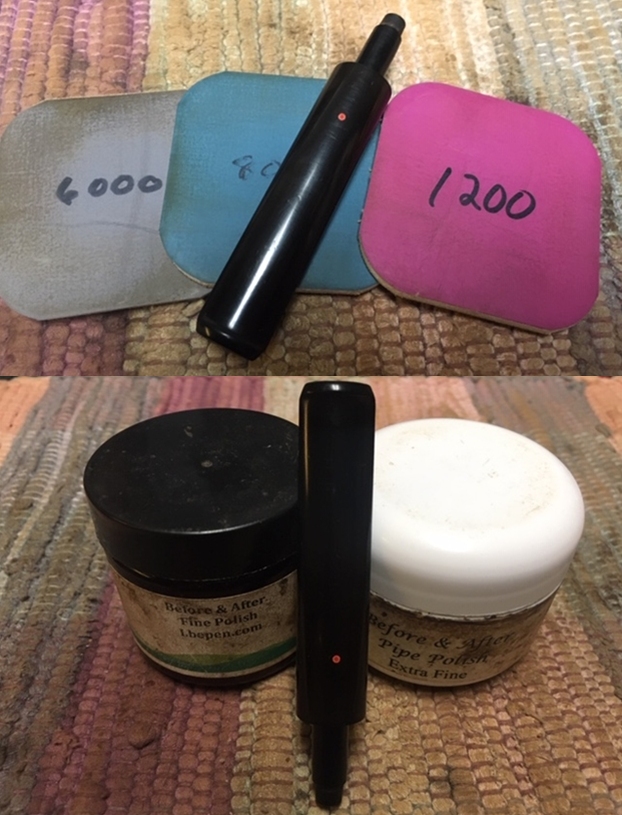
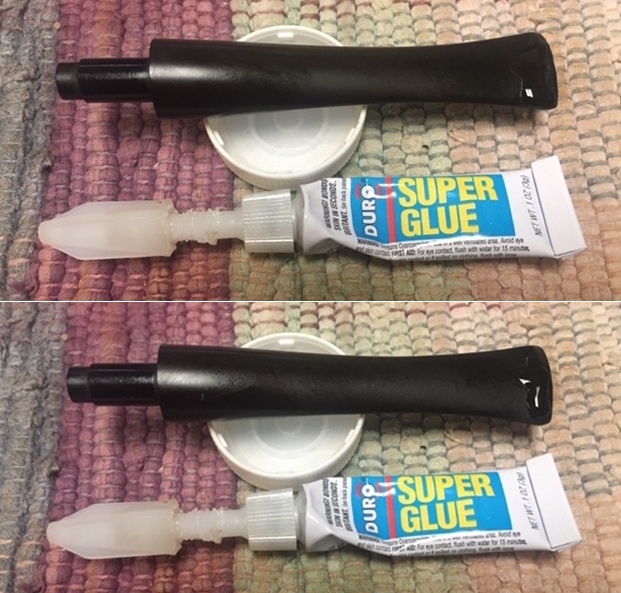
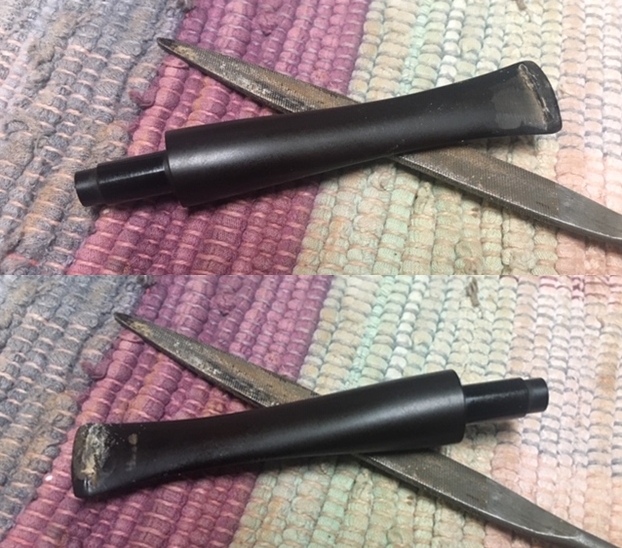
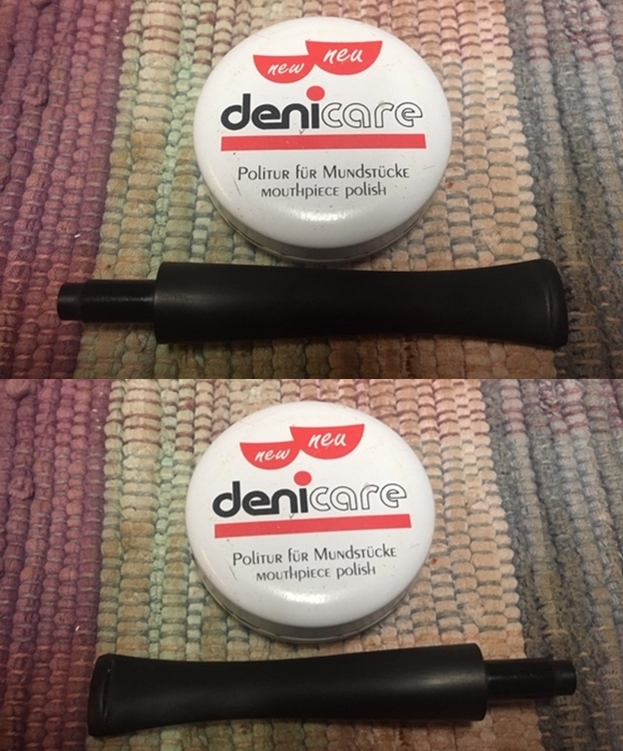
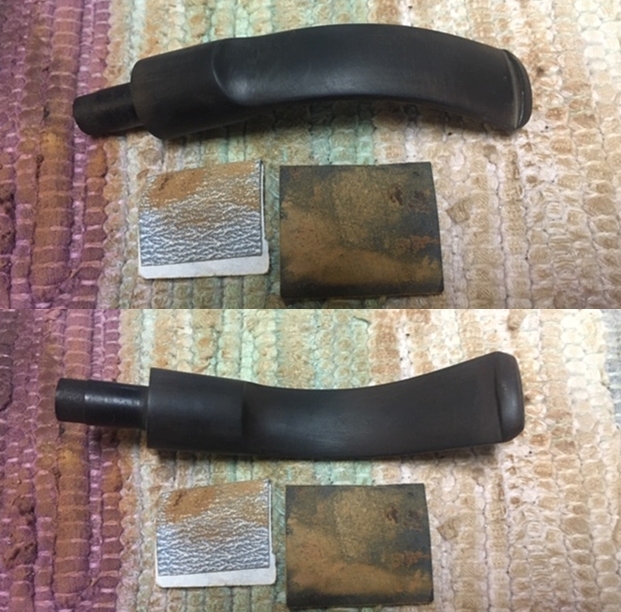
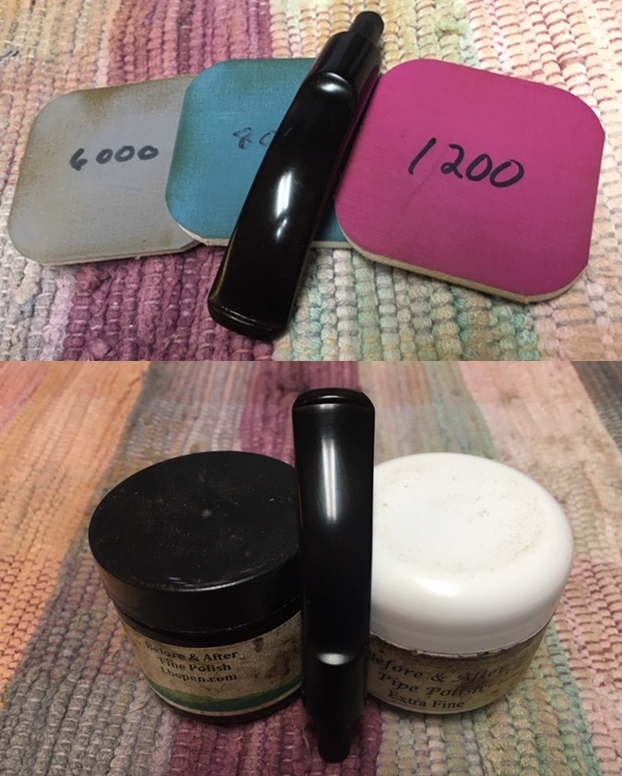
 I sanded the stem with 220 grit sandpaper to remove the small tooth chatter and marks near the button. I started polishing the stem with 400 grit wet dry sandpaper. I wiped the stem down with Obsidian Oil before further polishing it.
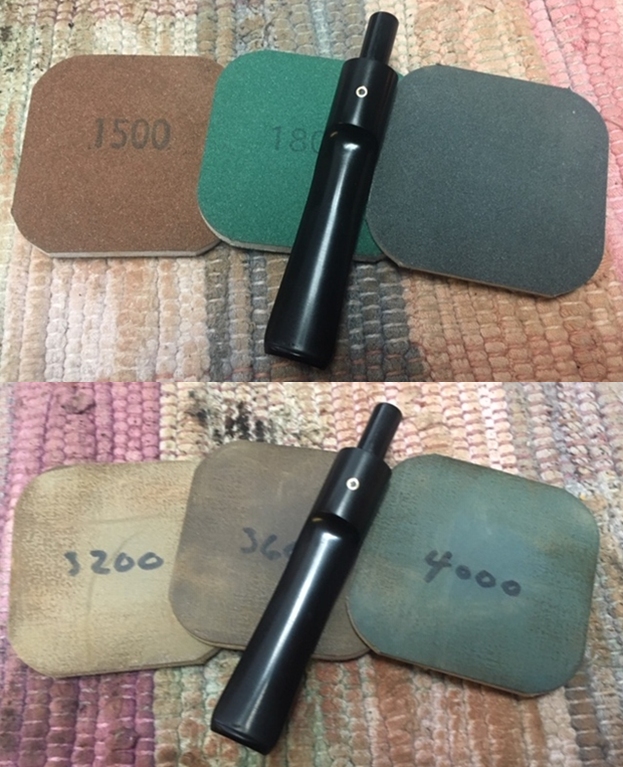
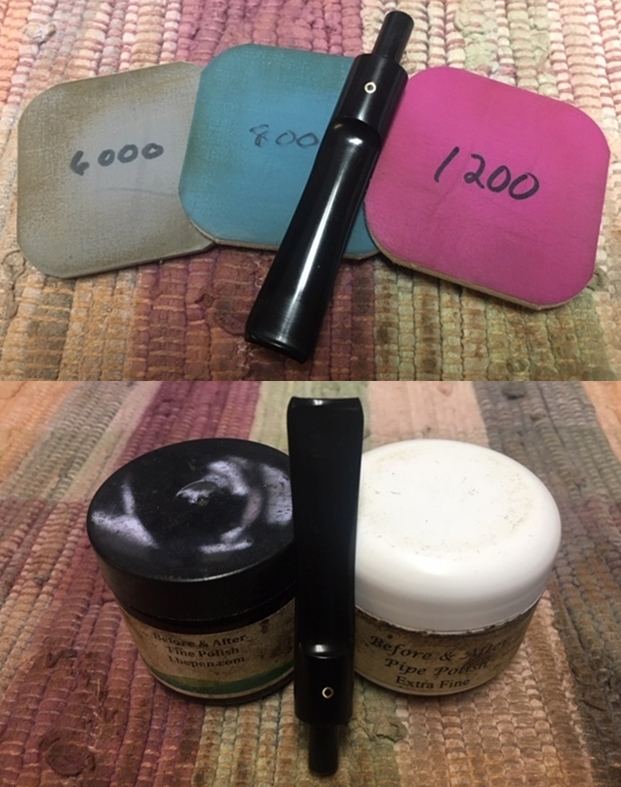
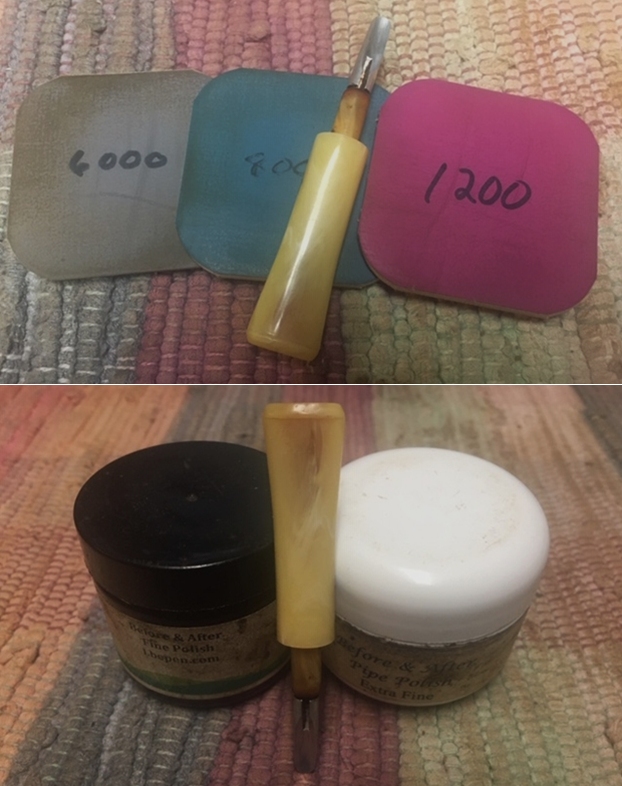
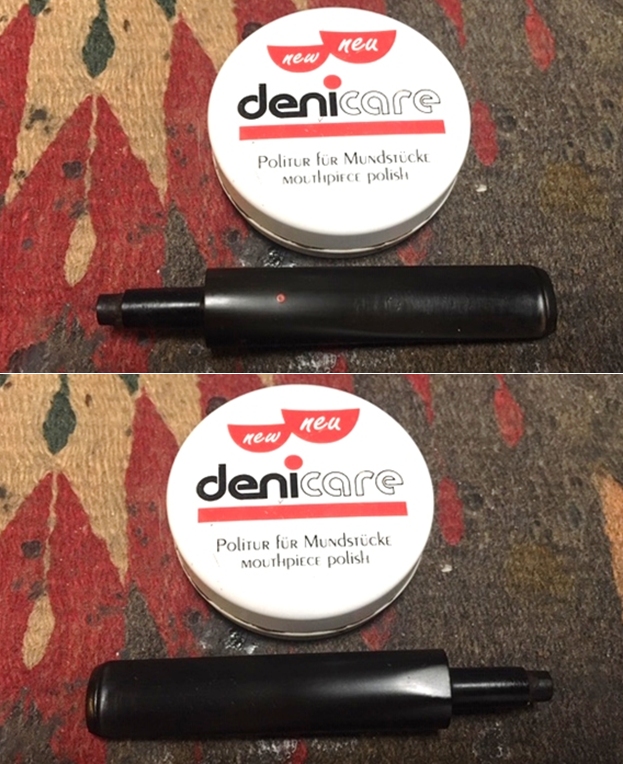
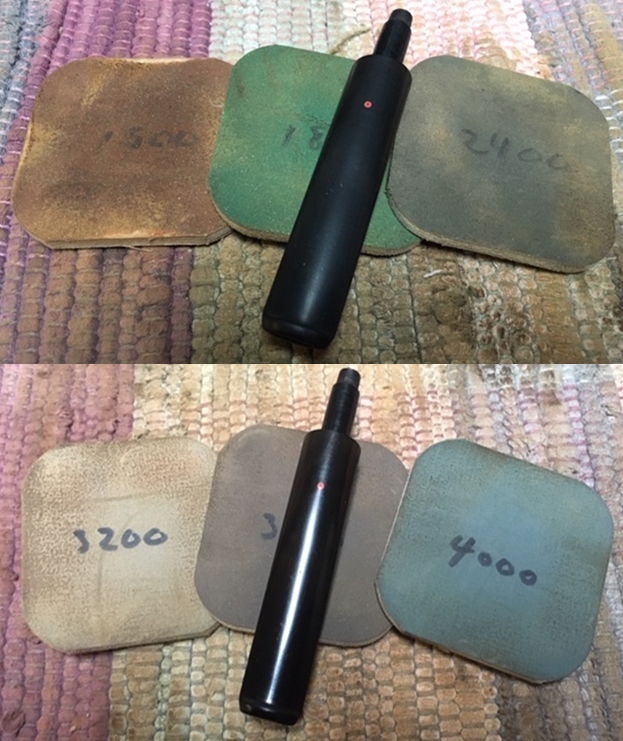
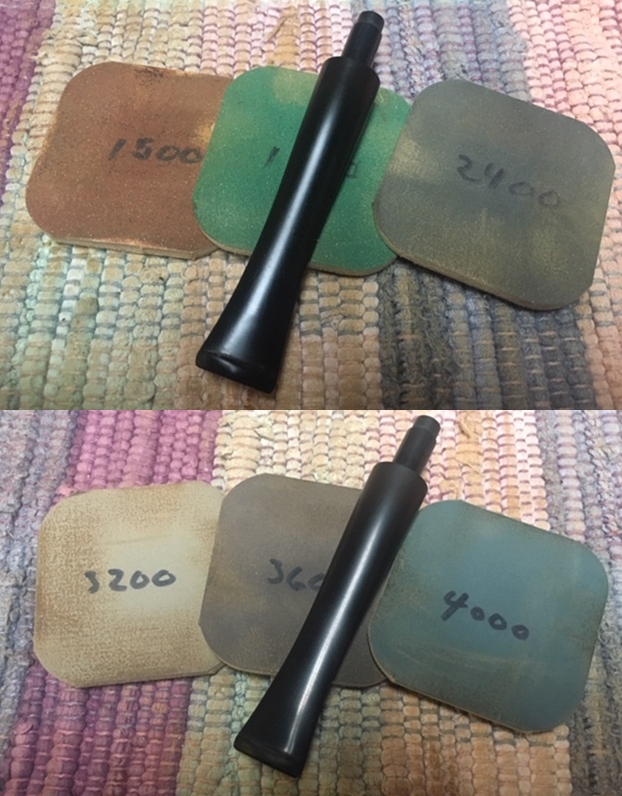
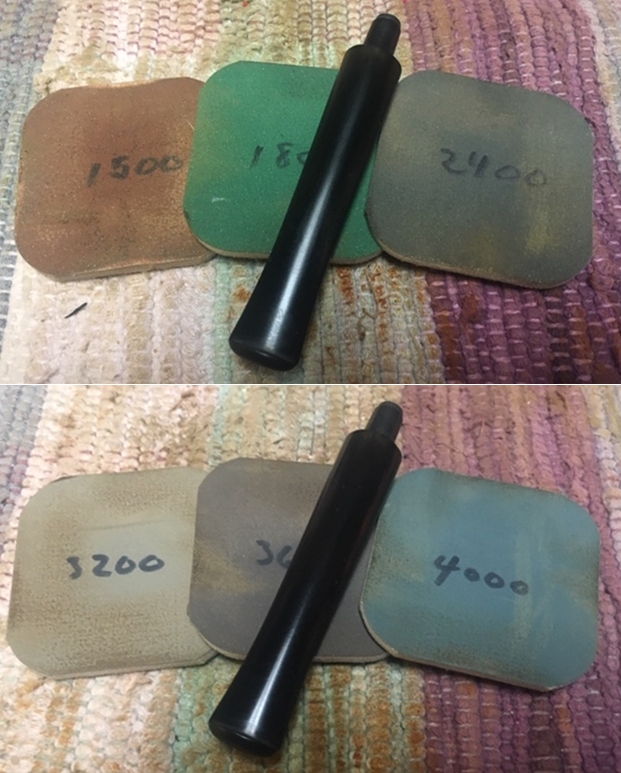
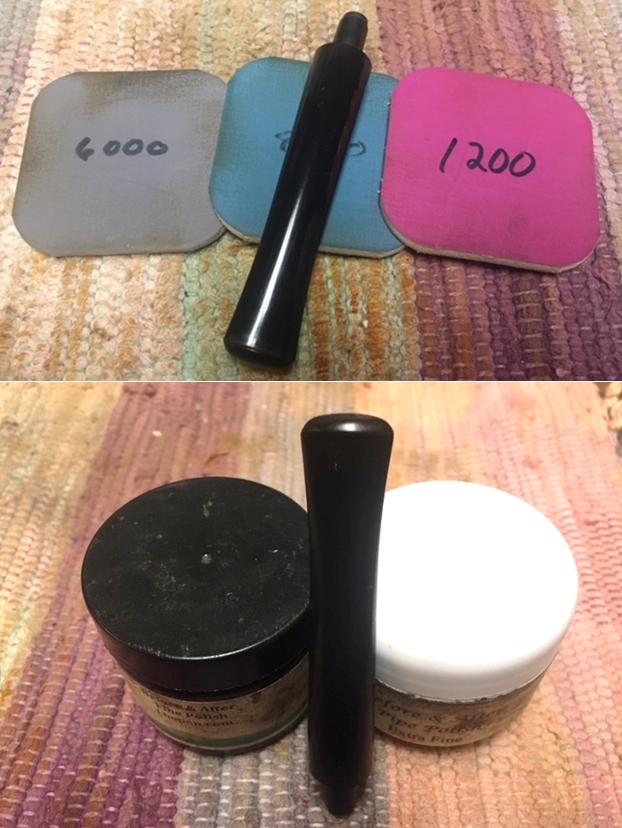
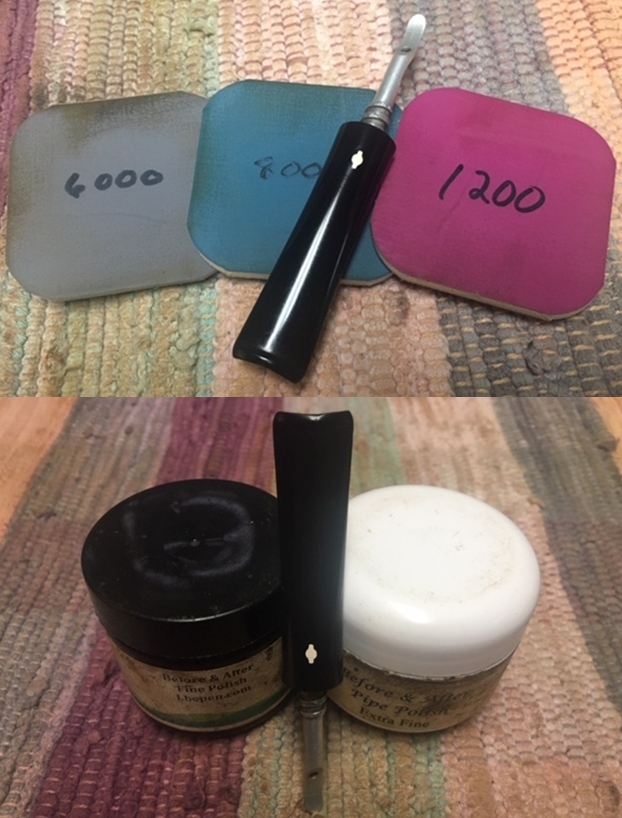
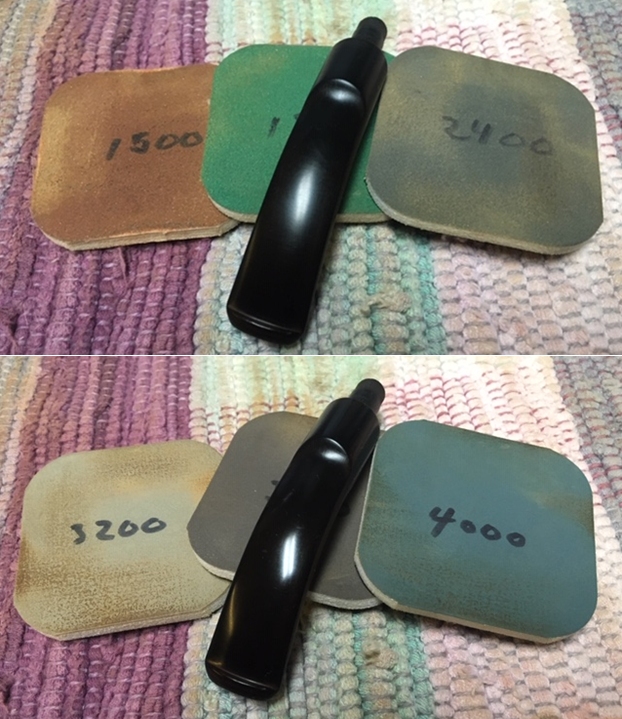
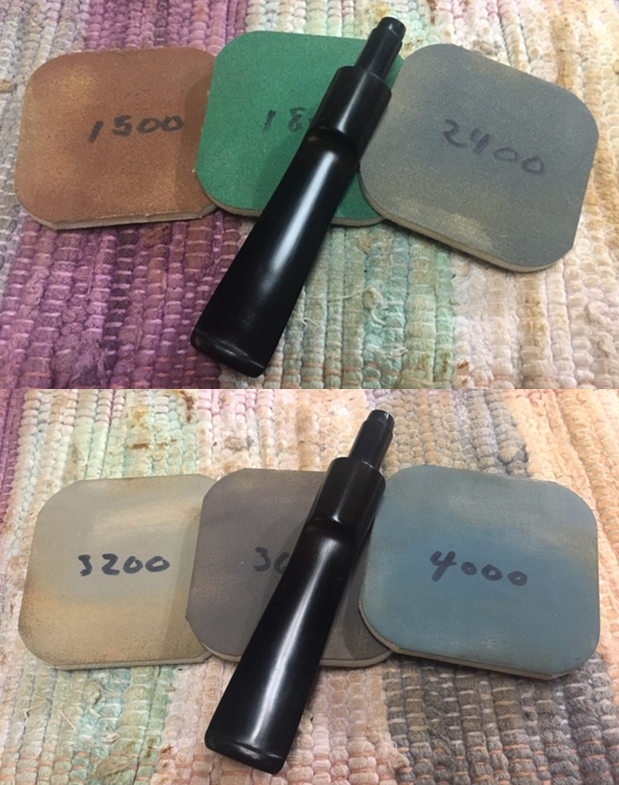
 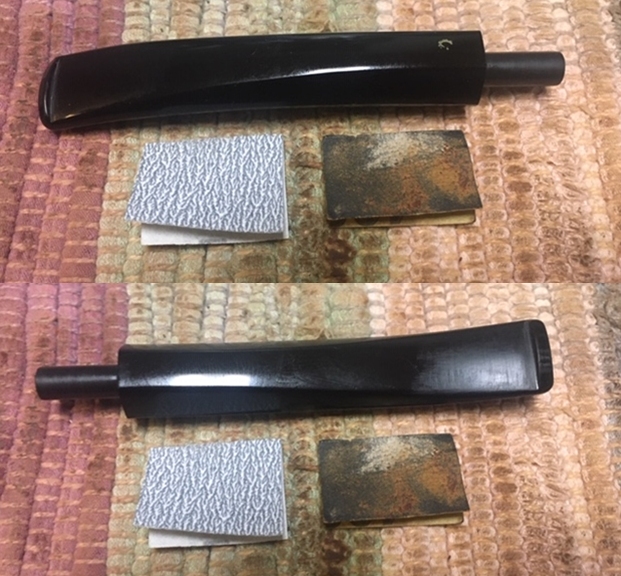 I polished the vulcanite with micromesh sanding pads – 1500-12000 grit pads. I wiped it down with Obsidian Oil after each sanding pad. I used Before & After Pipe Polish – both Fine and Extra Fine to further polish the stem.
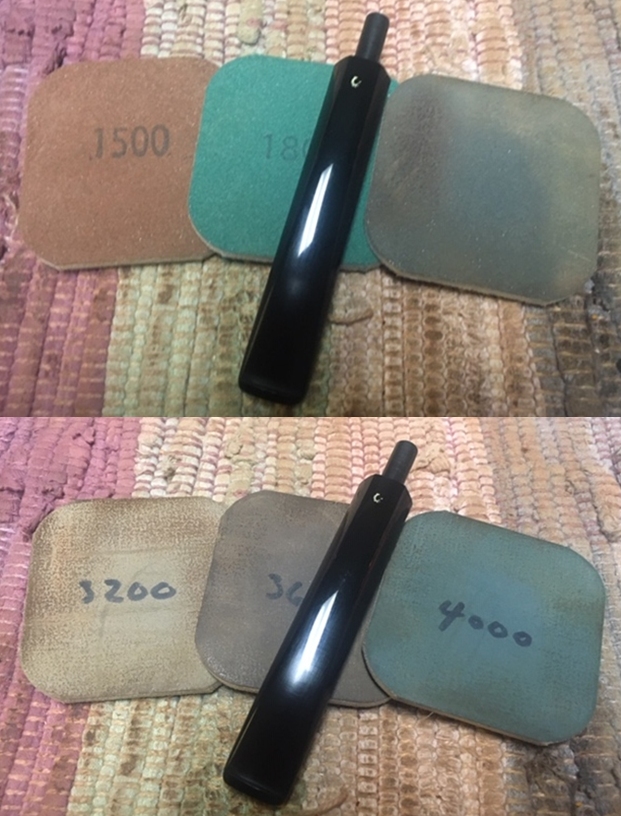
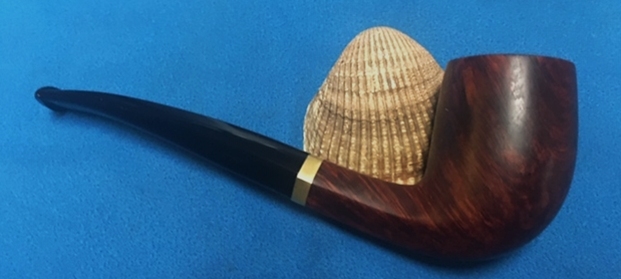
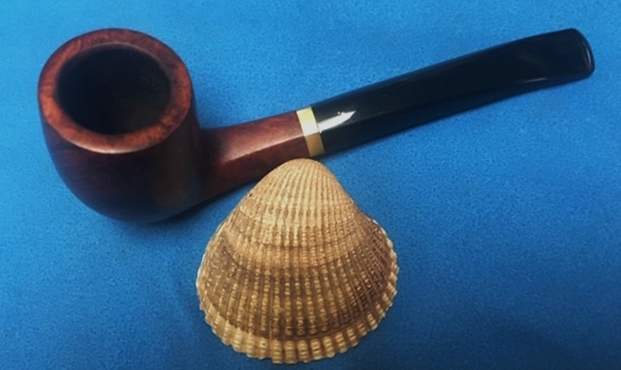
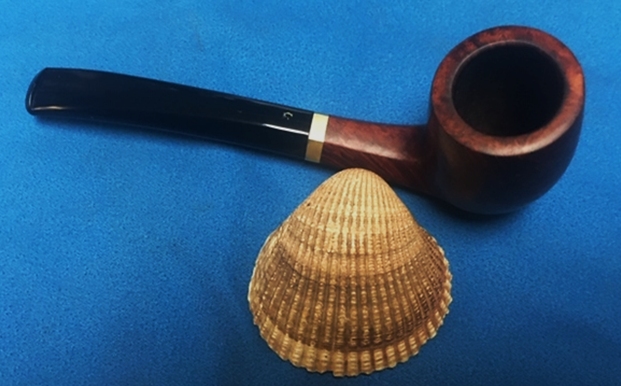
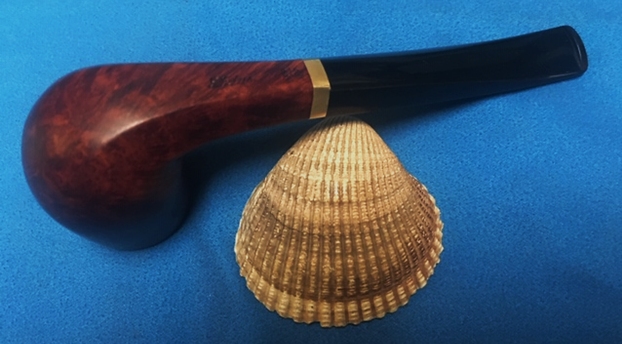
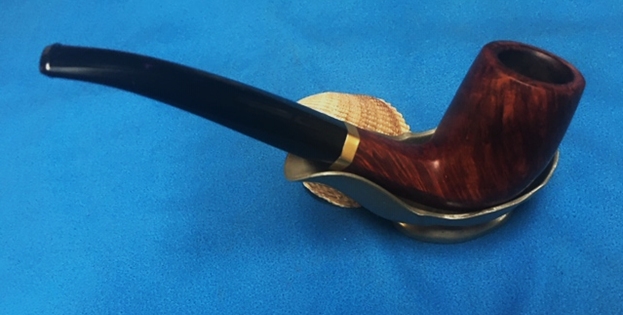
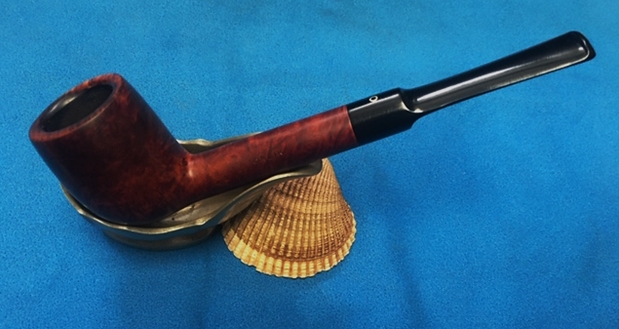
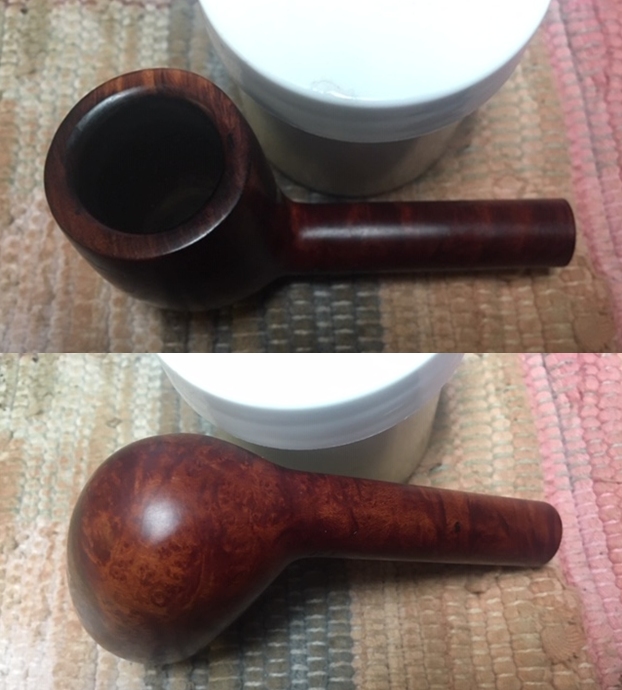
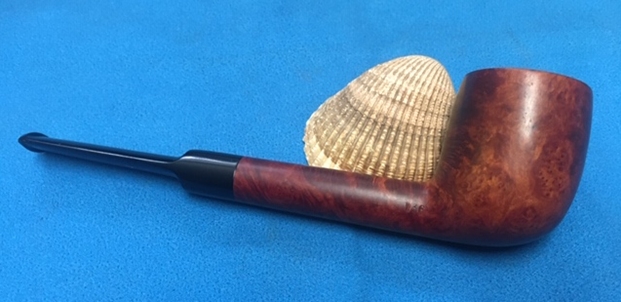
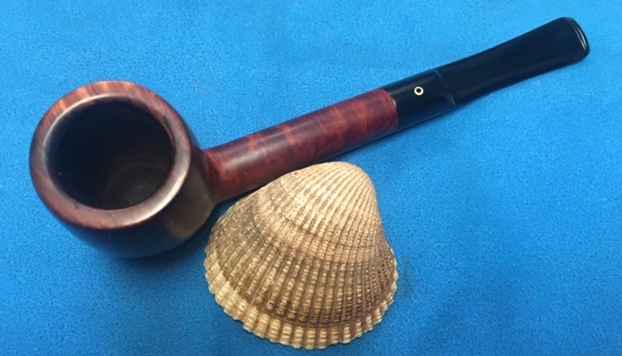
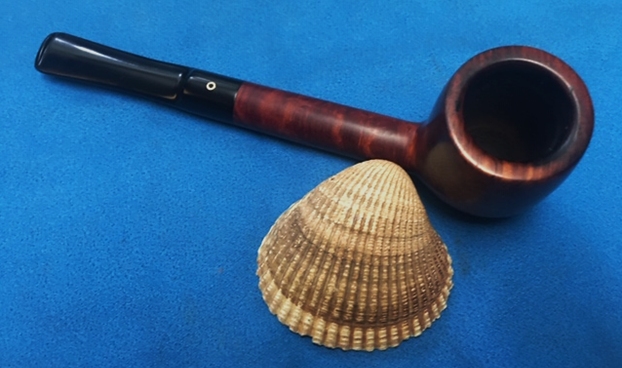
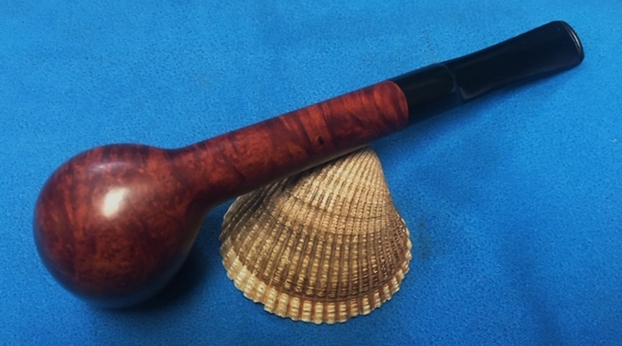
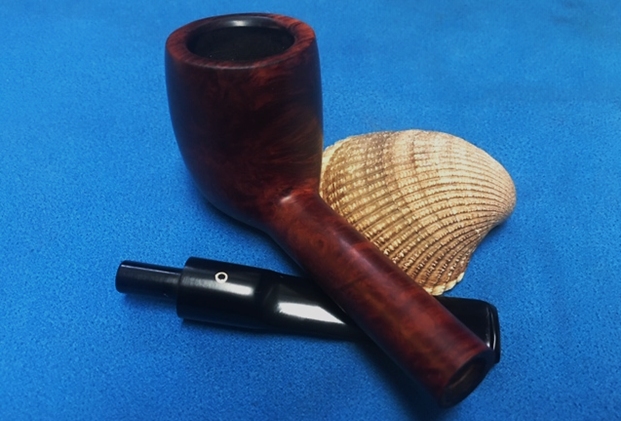
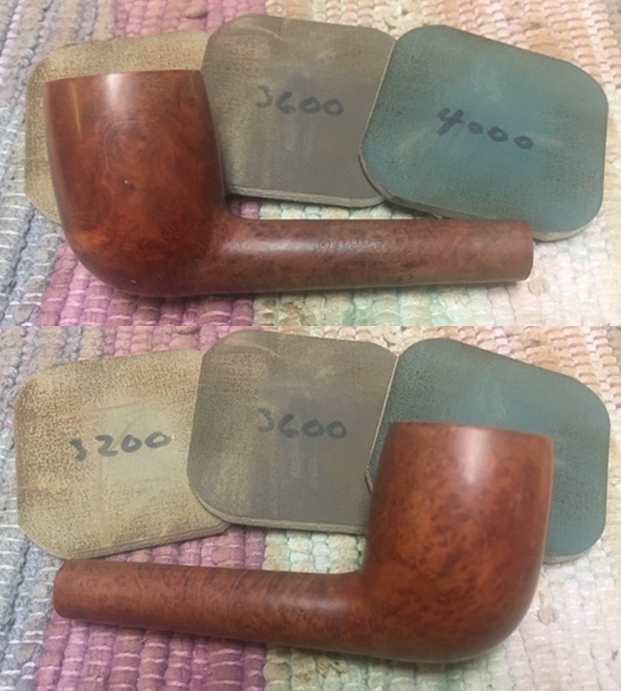
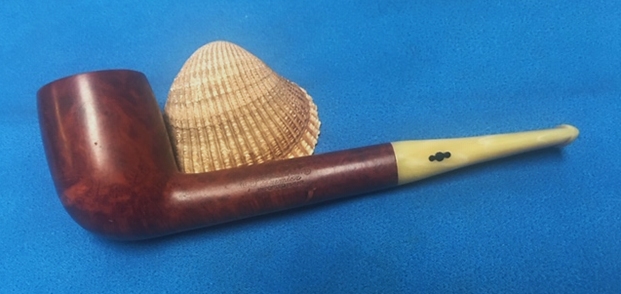
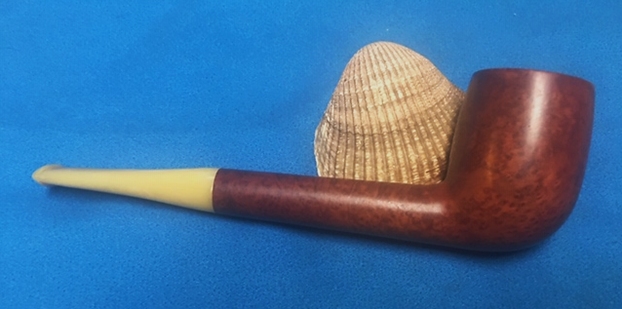
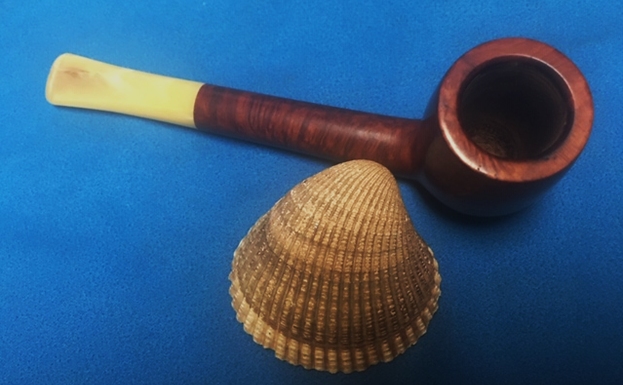
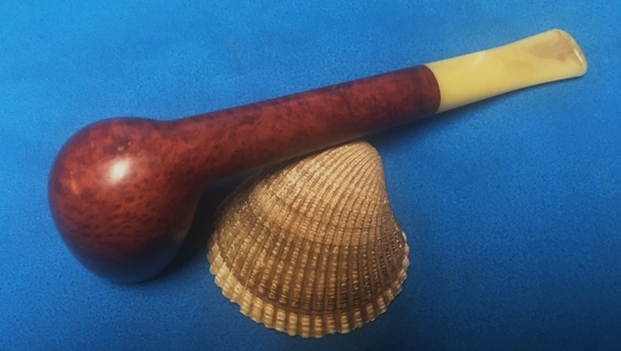
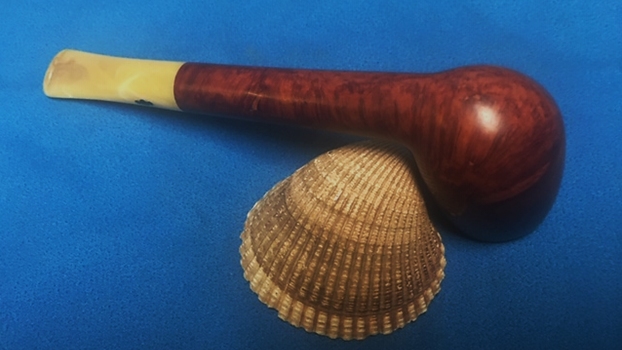
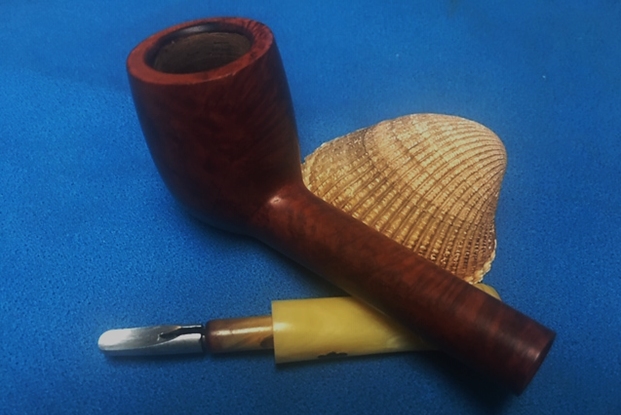
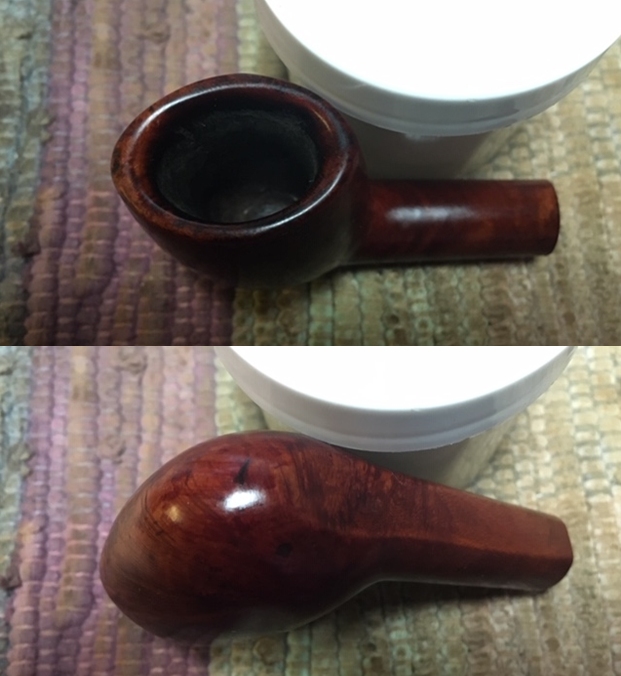
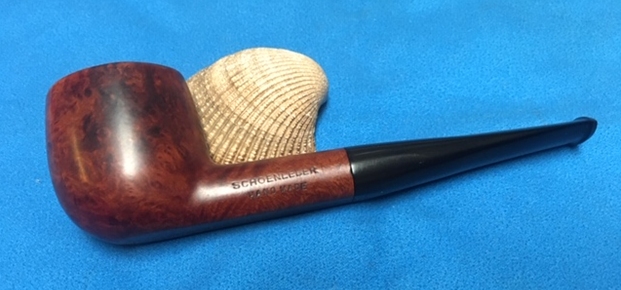
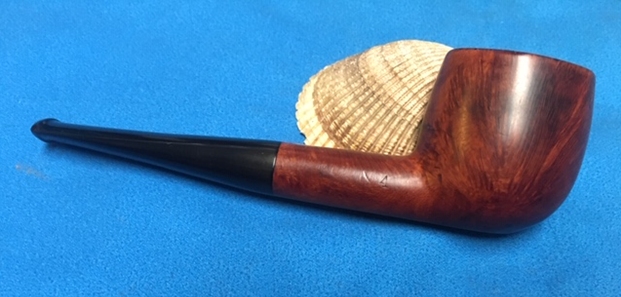
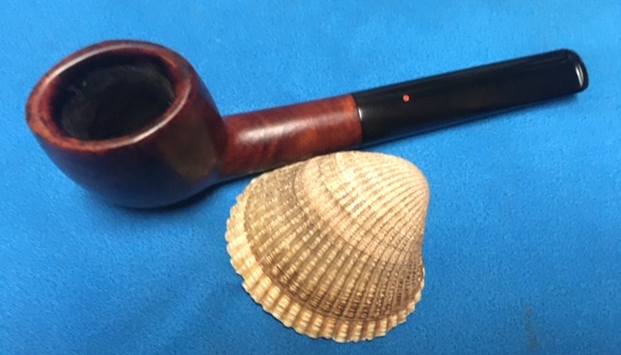
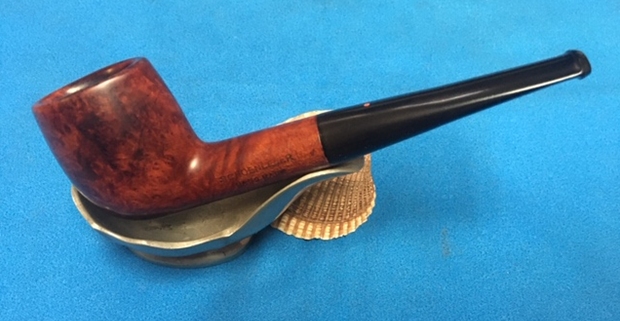
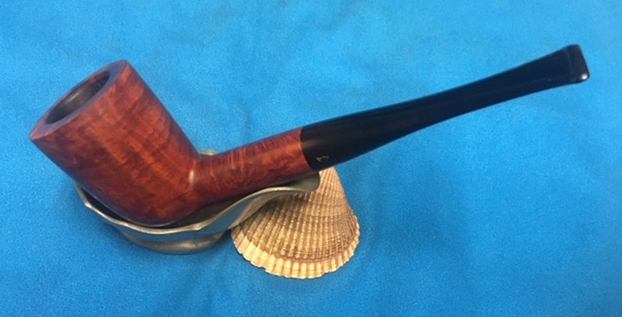
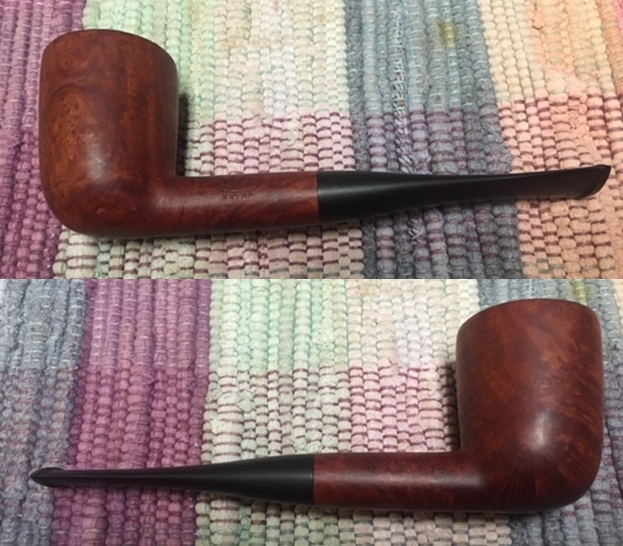
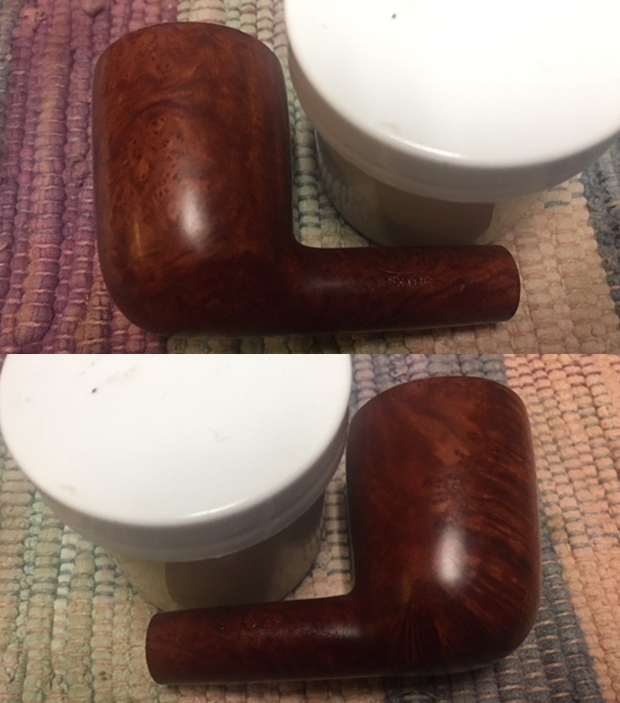
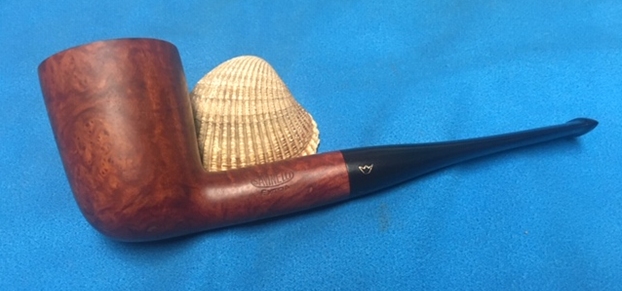
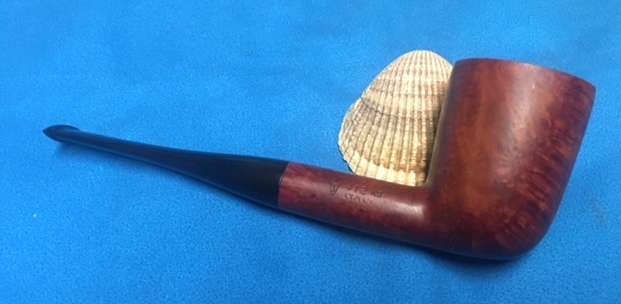
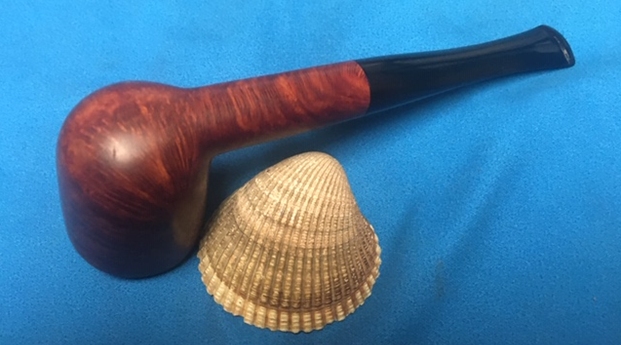
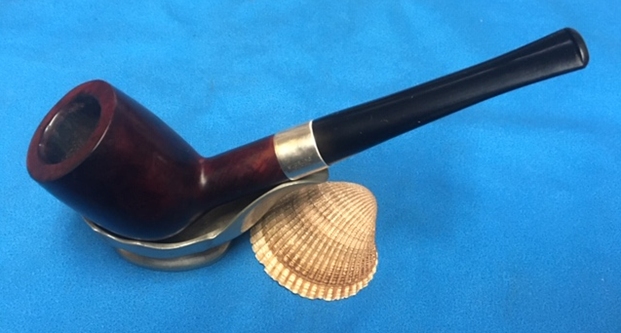
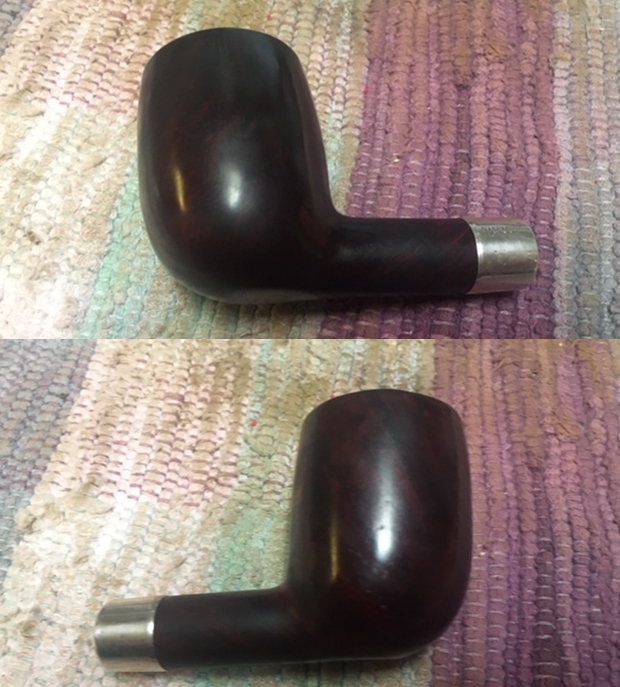
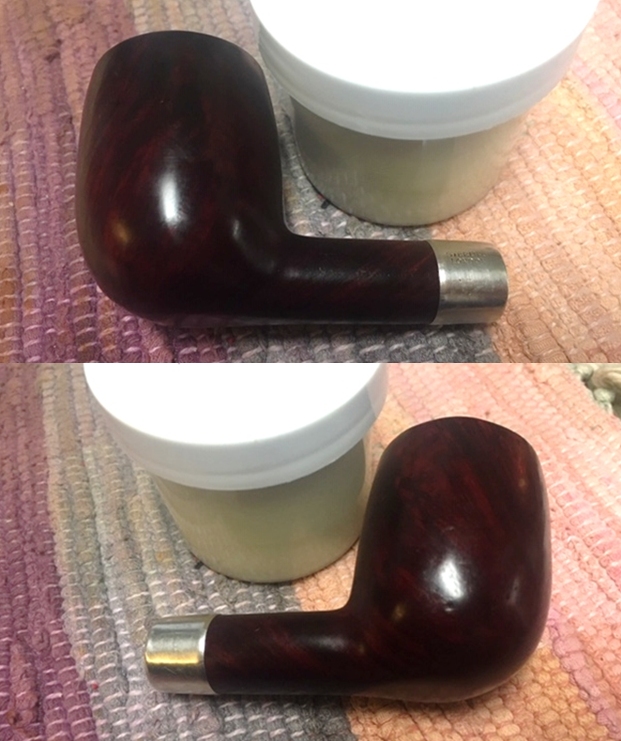
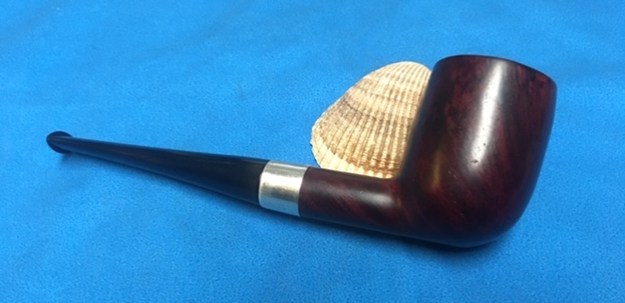
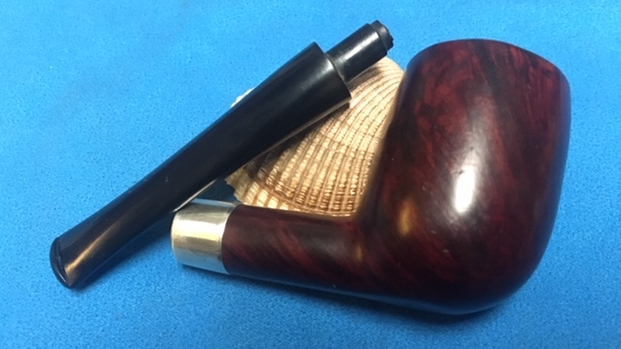
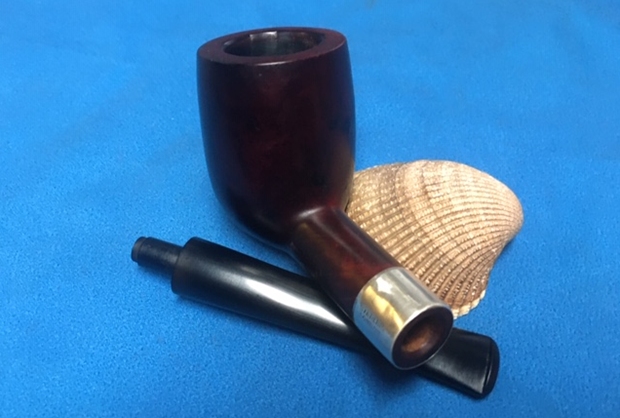
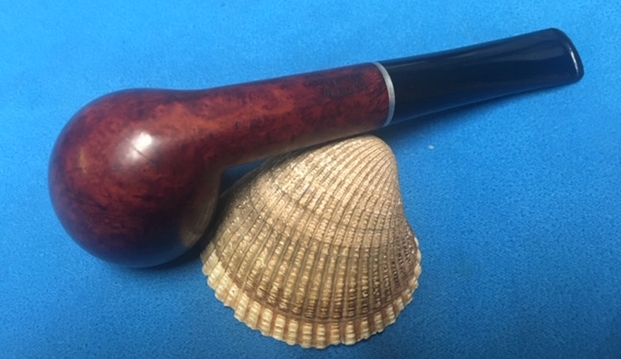
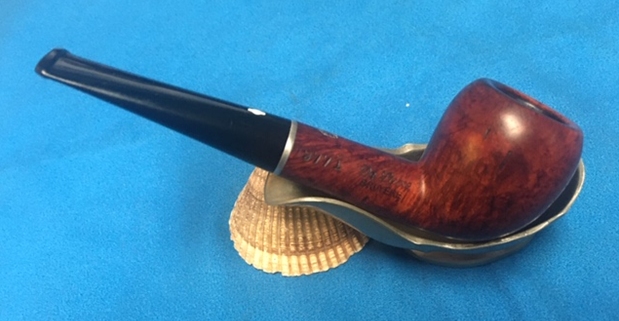
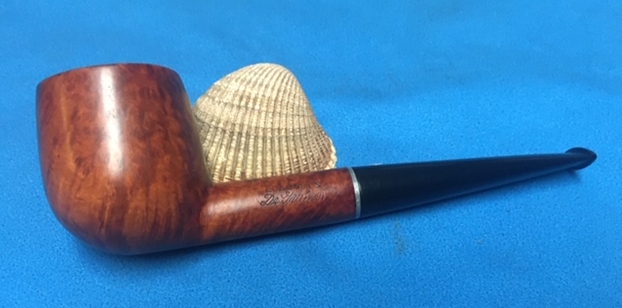
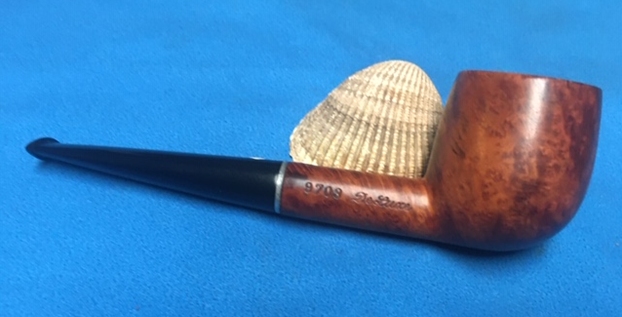
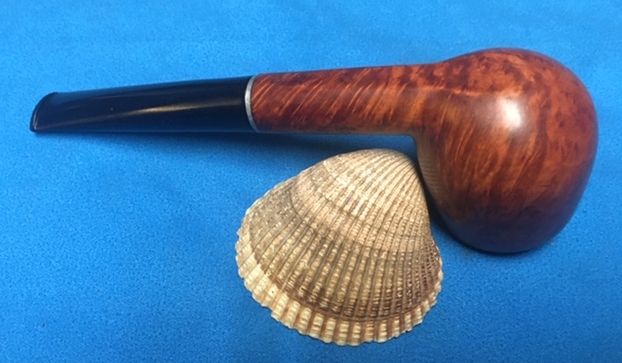
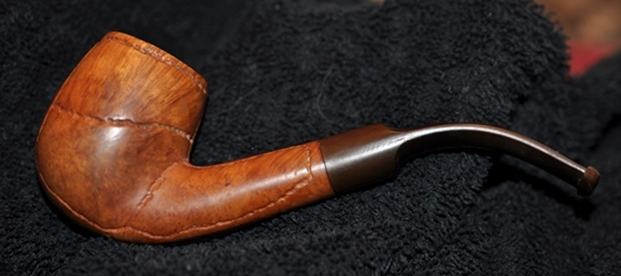
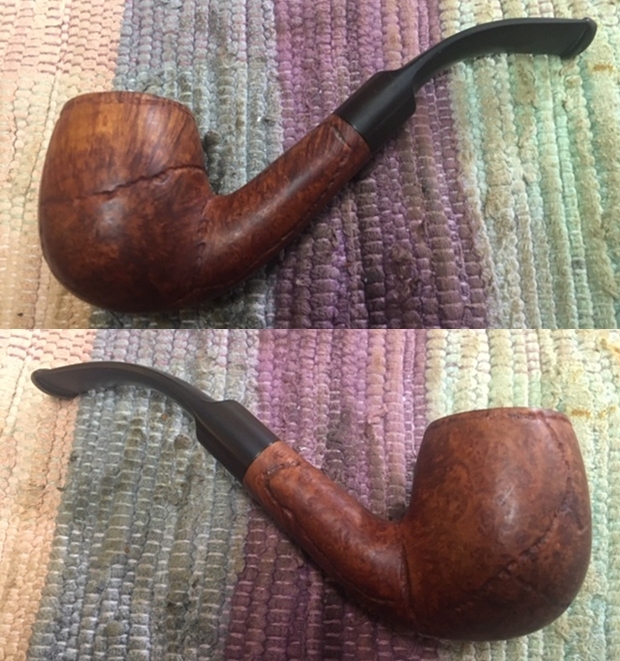
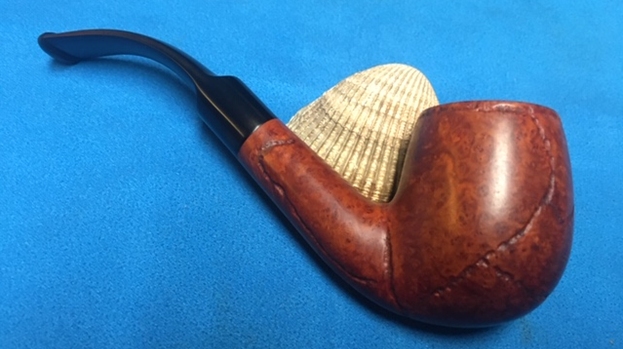
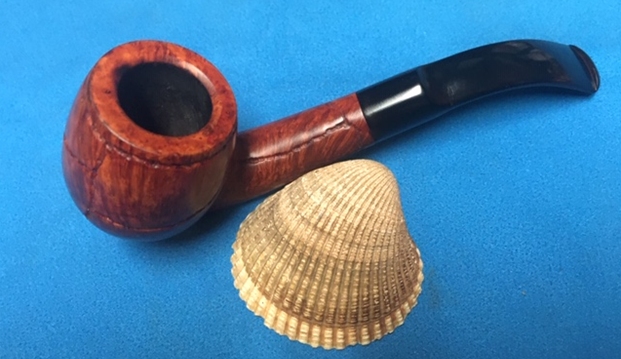
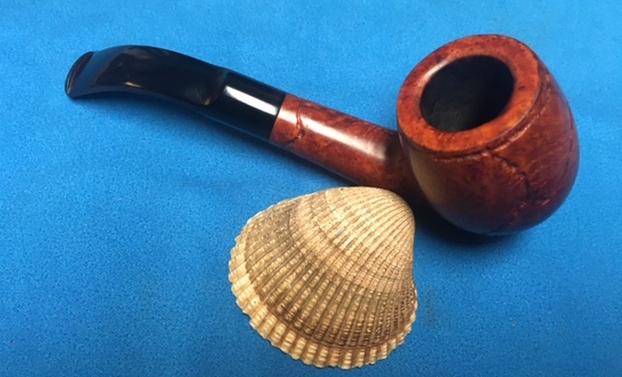
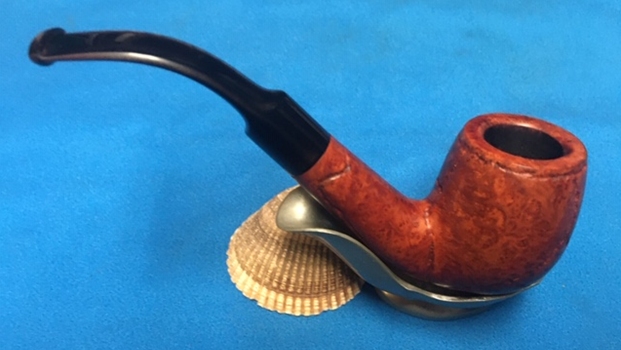
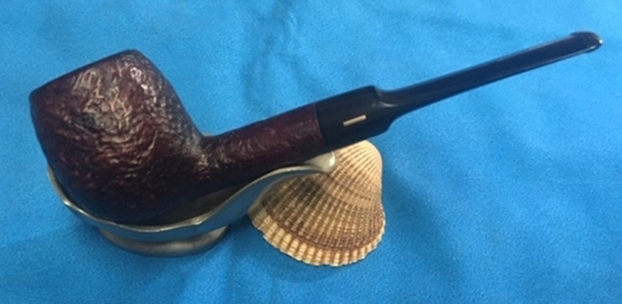
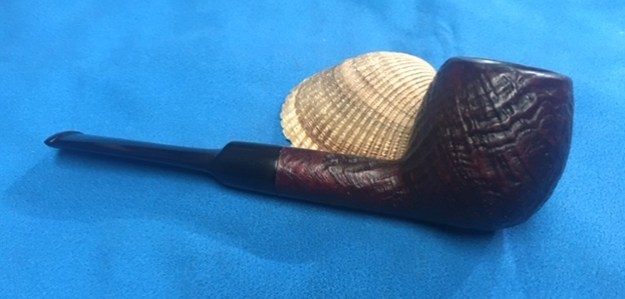
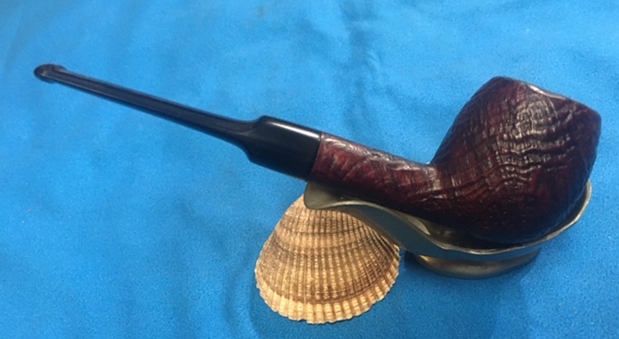
 This Stanwell Sixtus 212 Tom Eltang Designed Billiard with hexagonal shank and stem turned out very nice. The mix of brown stains highlights the grain around the bowl sides and bottom. The rim top and edges look very good. The finish on the pipe is in excellent condition. I put the stem back on the bowl and carefully buffed the pipe with Blue Diamond on the buffing wheel. I gave the bowl and stem multiple coats of carnauba wax on the buffing wheel and followed that by buffing the entire pipe with a clean buffing pad. I hand buffed the pipe with a microfiber cloth to deepen the shine. The finished Bent Billiard is very nice and feels great in the hand. Give the finished pipe a look in the photos below. It is a nice pipe whose dimensions are Length: 5 ½ inches, Height: 2 inches, Outside diameter of the bowl: 1 ¼ inches, Chamber diameter: ¾ of an inch. Thanks for walking through the restoration with me as I worked over another beautiful pipe. This Stanwell Sixtus 212 Bent Billiard designed by Tom Eltang will be going on the rebornpipes store shortly. If you are interesting in adding it to your collection let me know! Thanks for your time.