Blog by Kenneth Lieblich
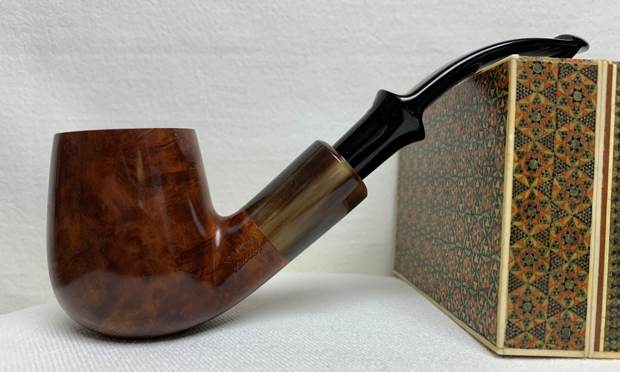
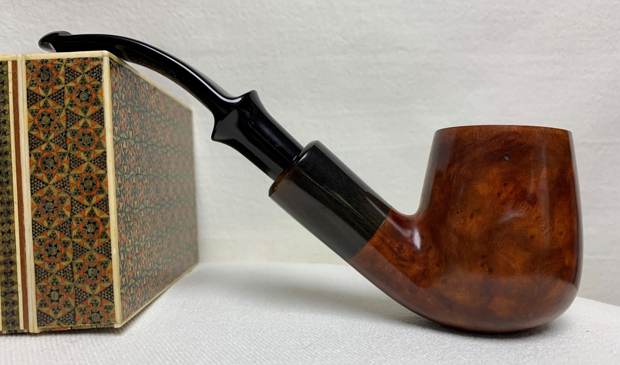
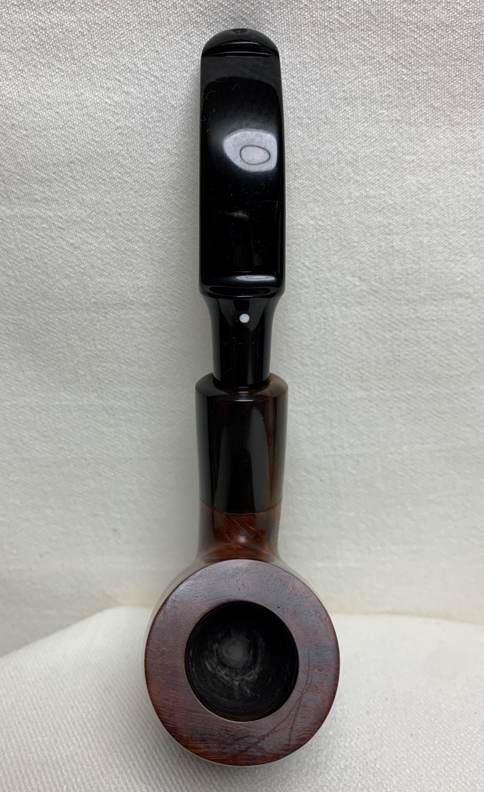
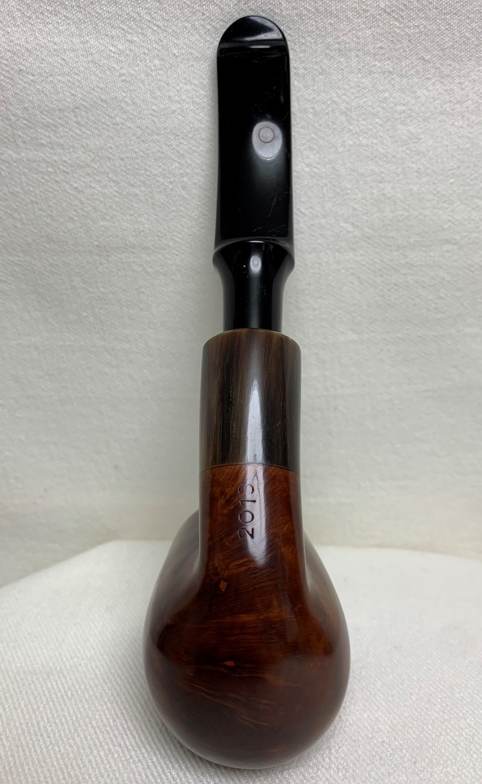
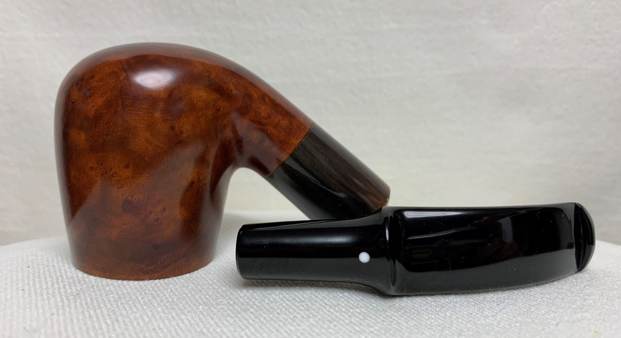
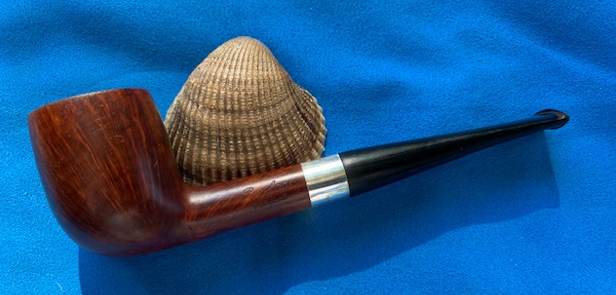
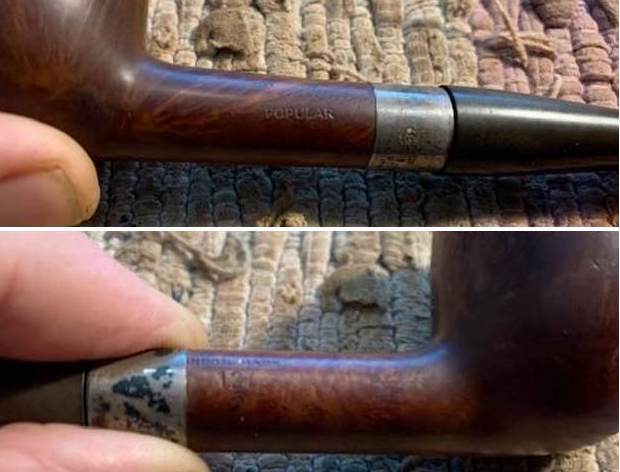
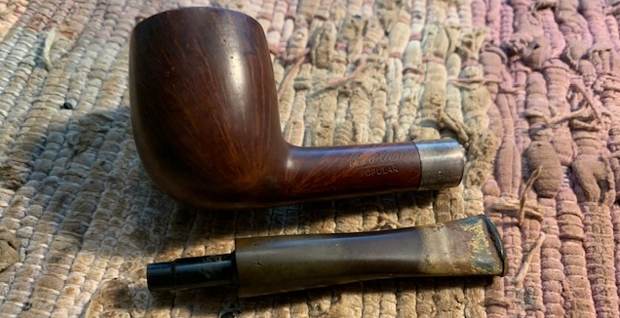
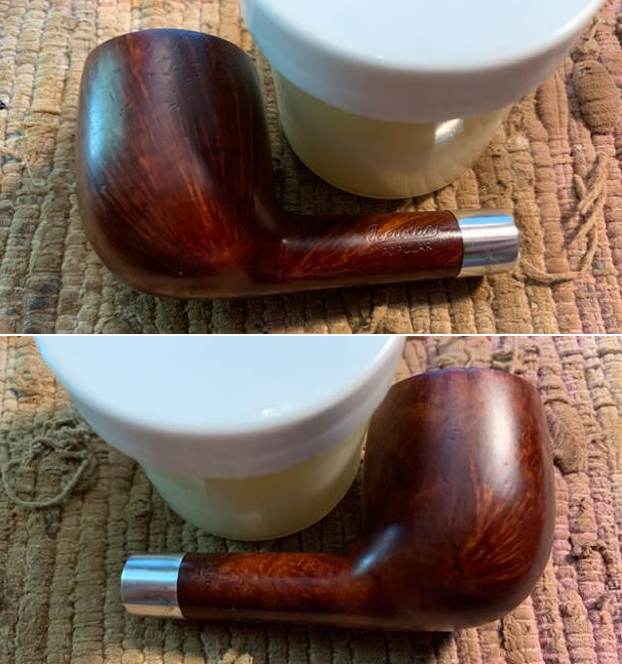
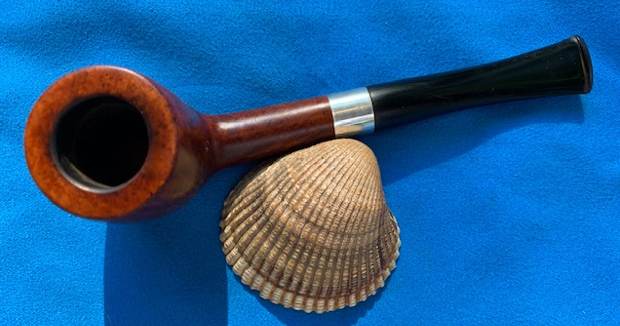
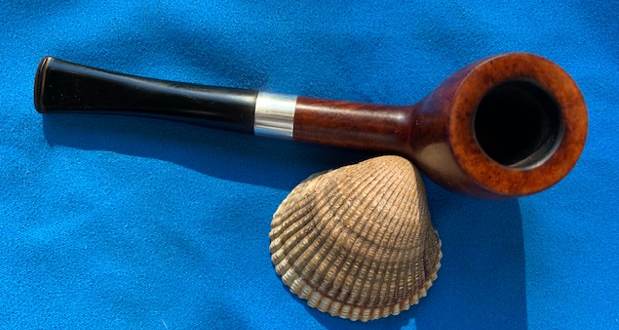
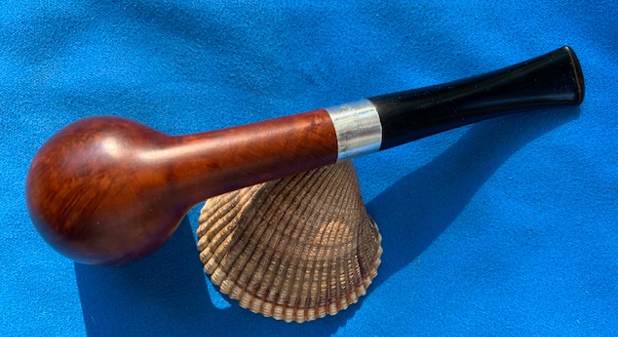
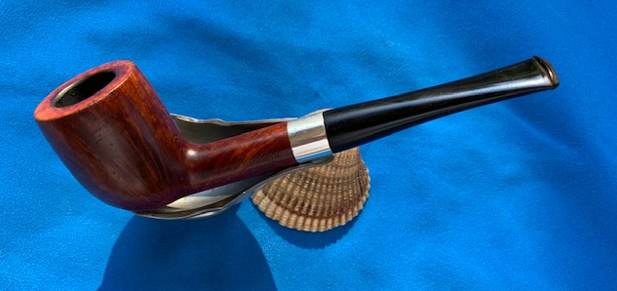
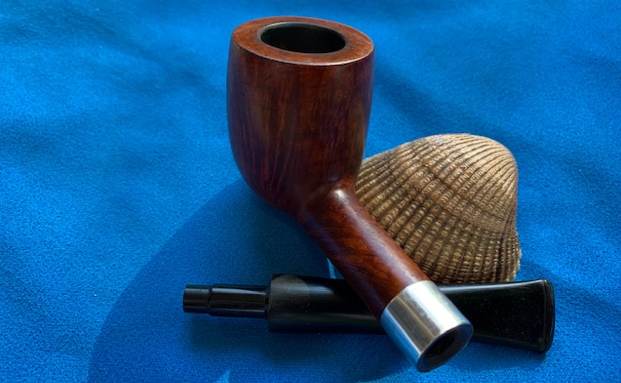
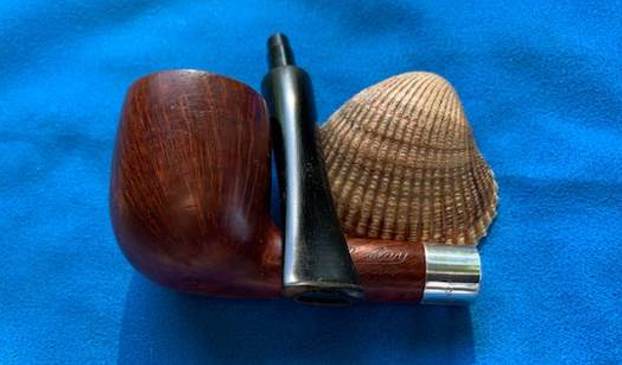
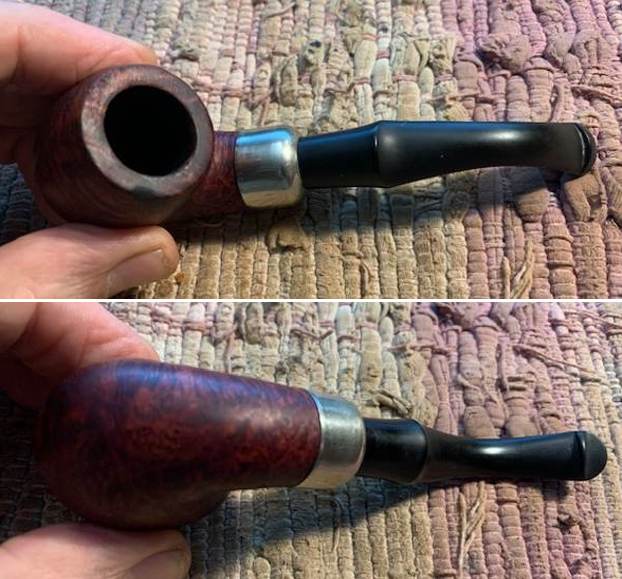
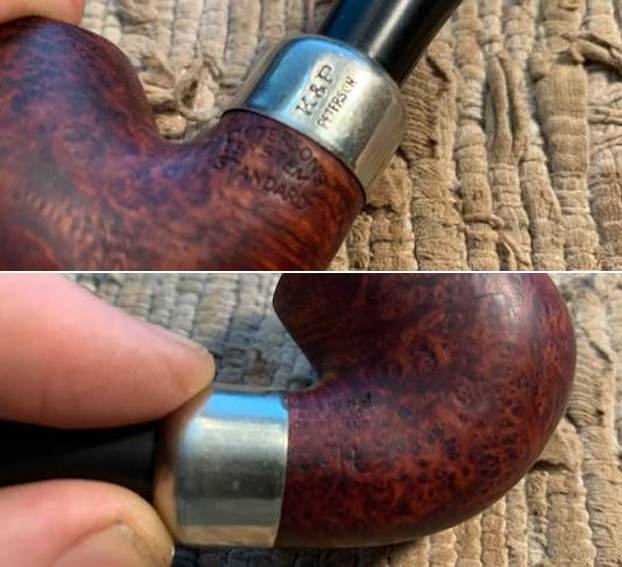
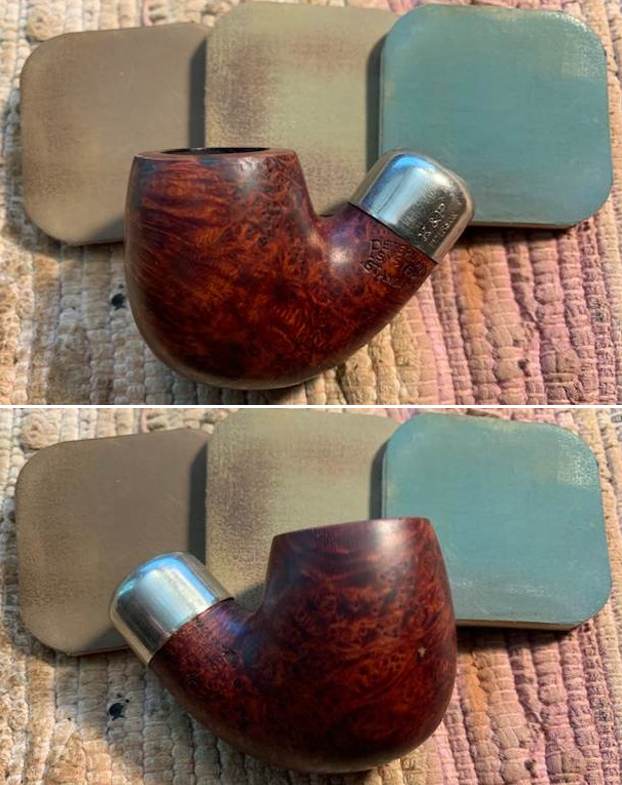
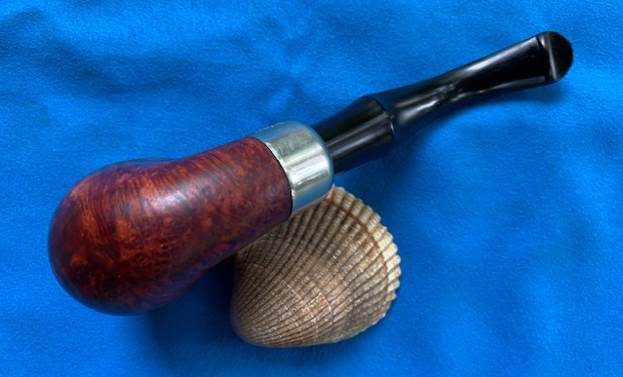
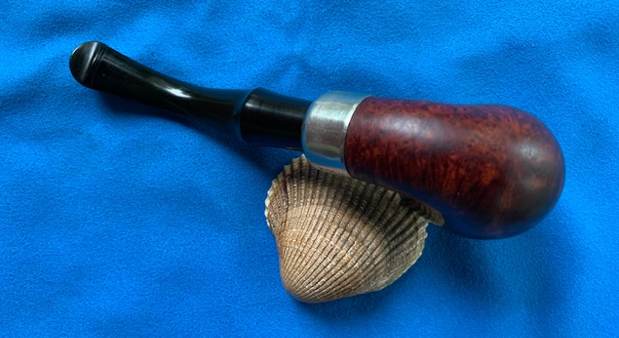
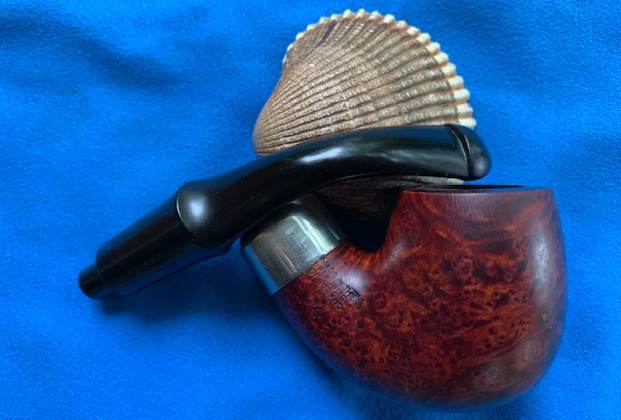
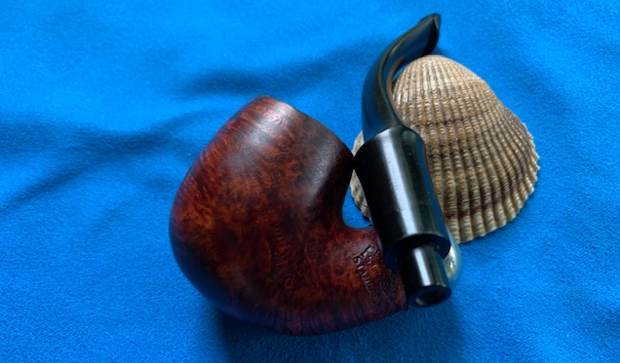
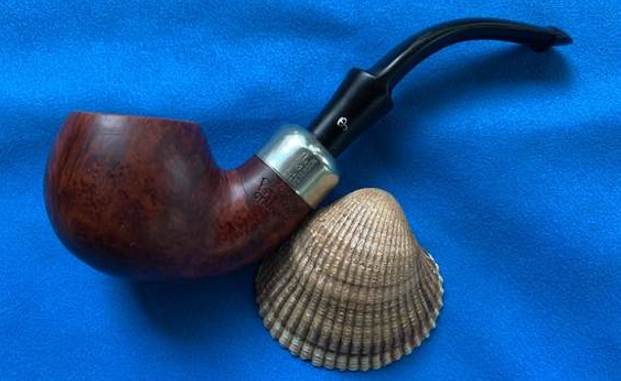
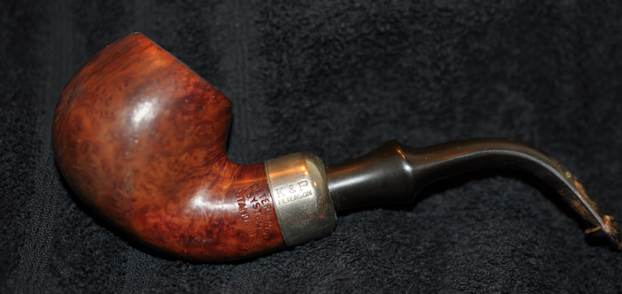
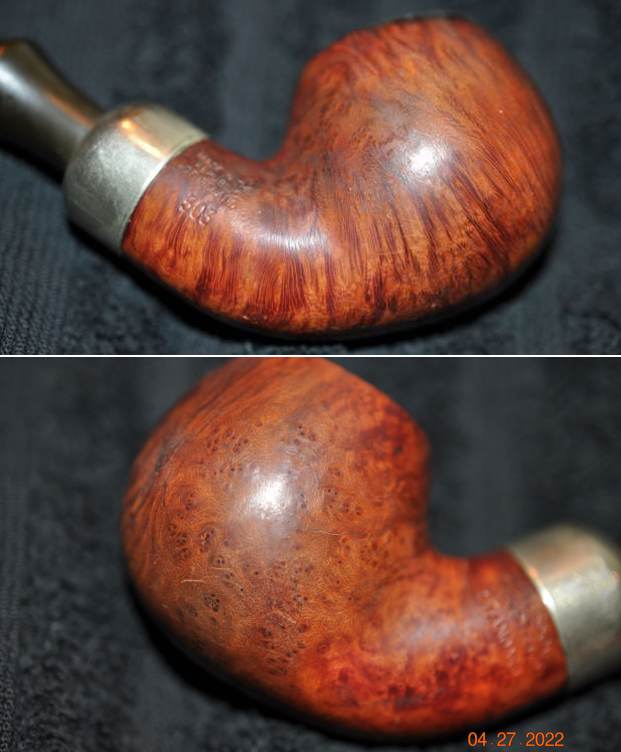
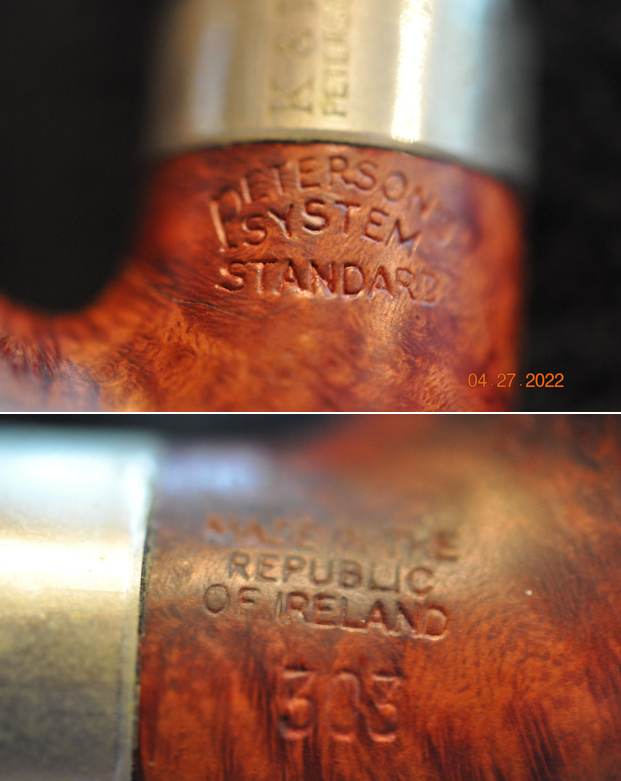
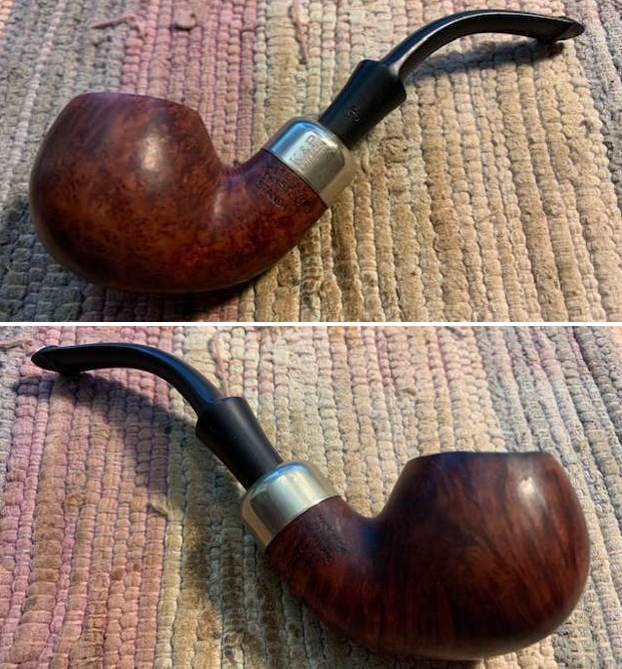
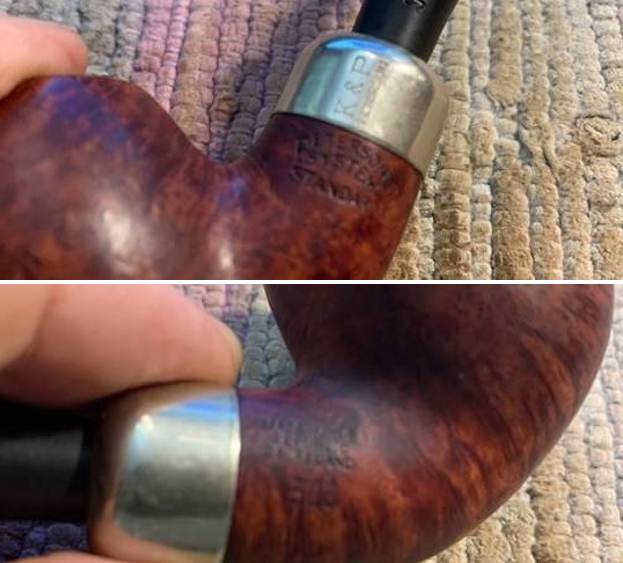
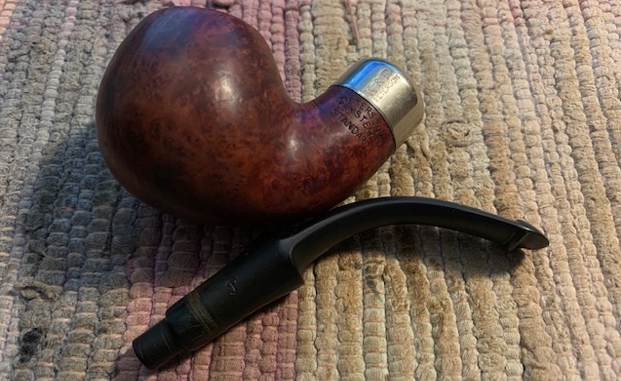
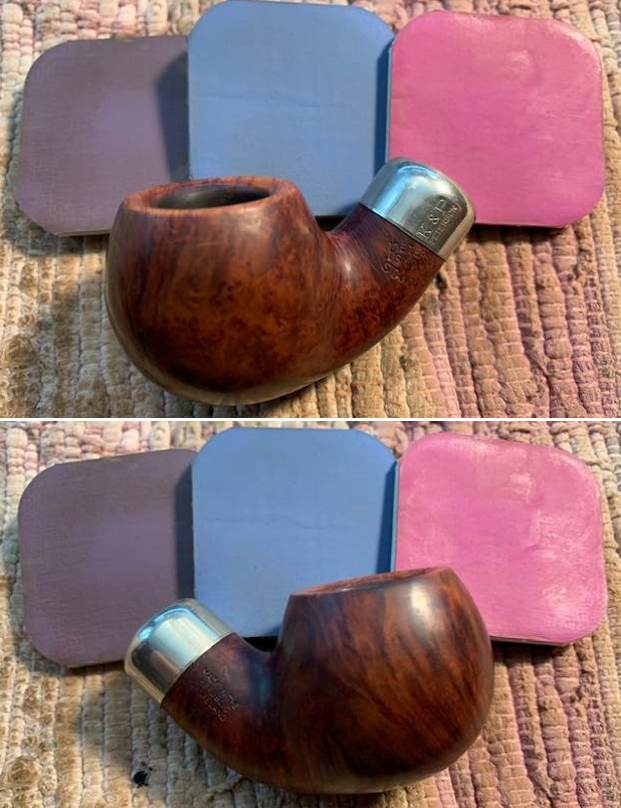
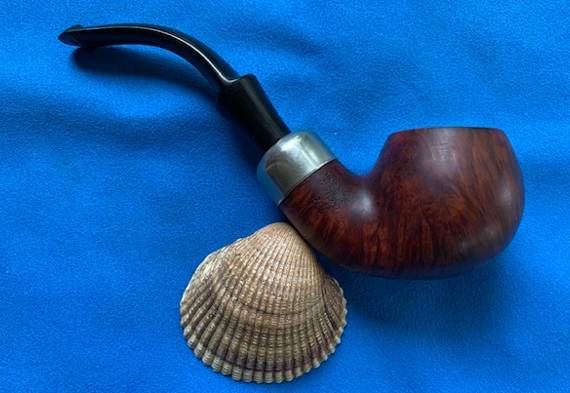
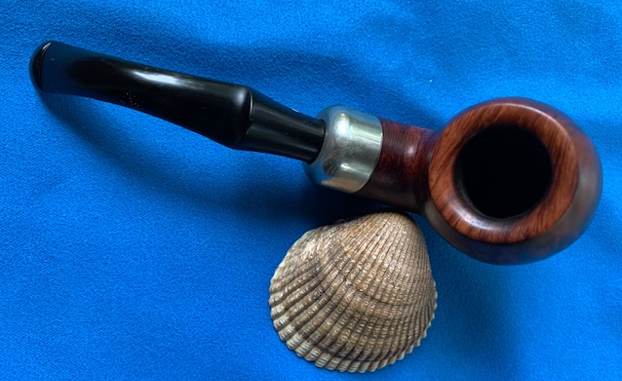
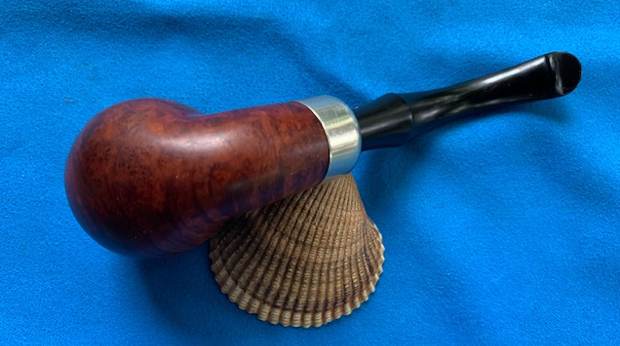
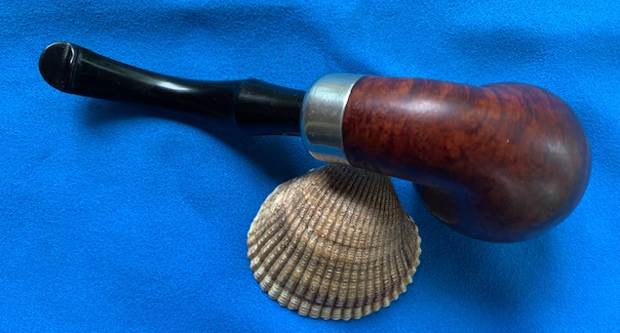
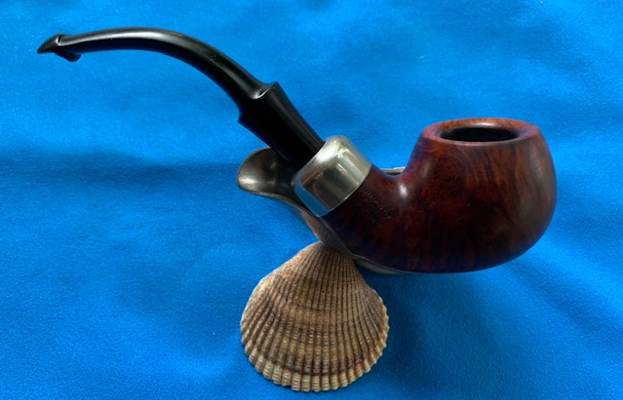
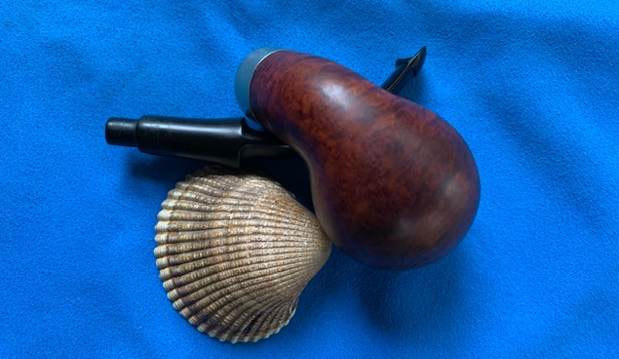
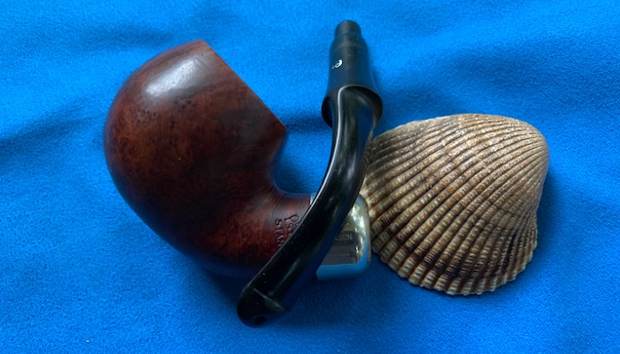
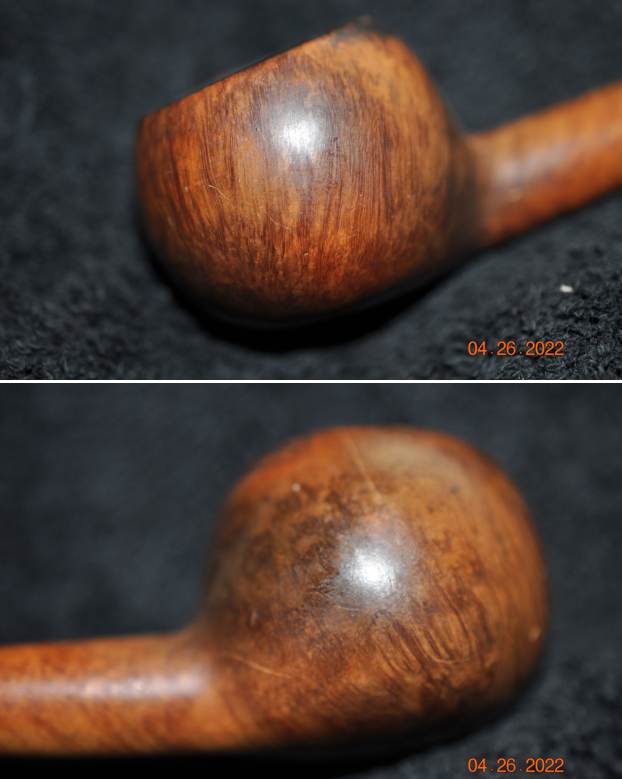
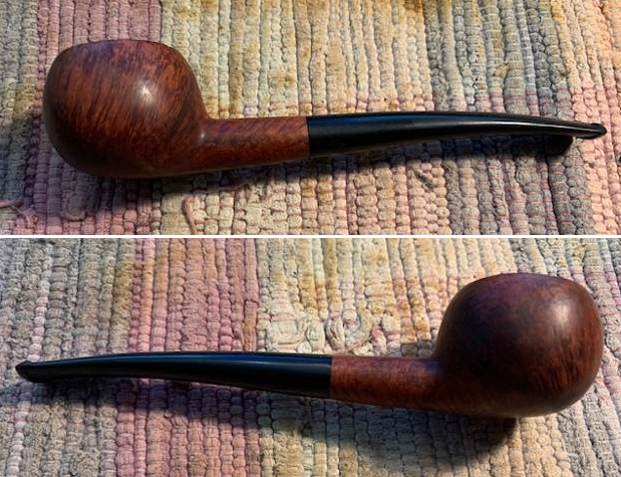
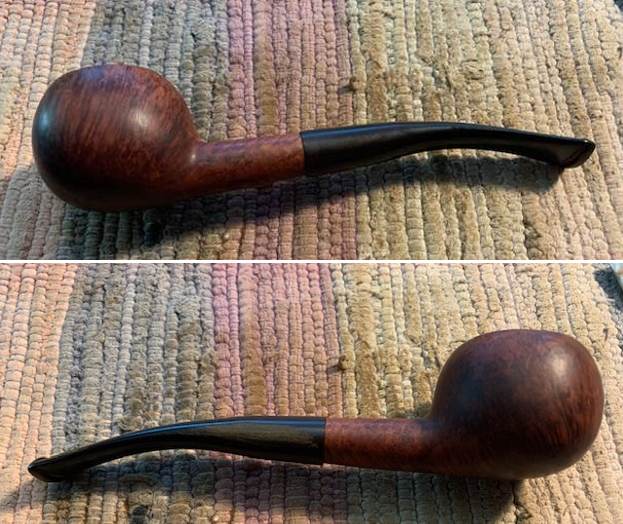
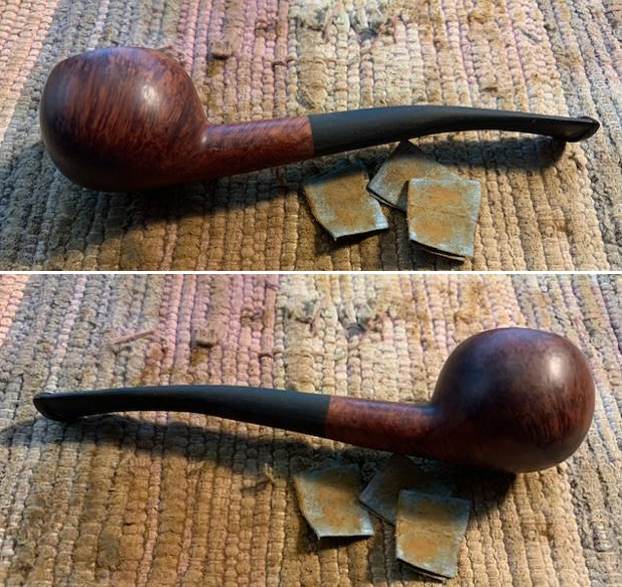
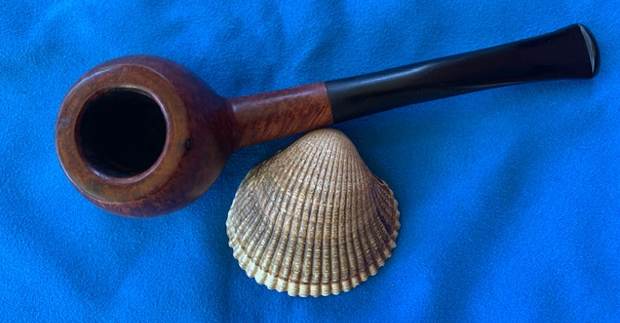
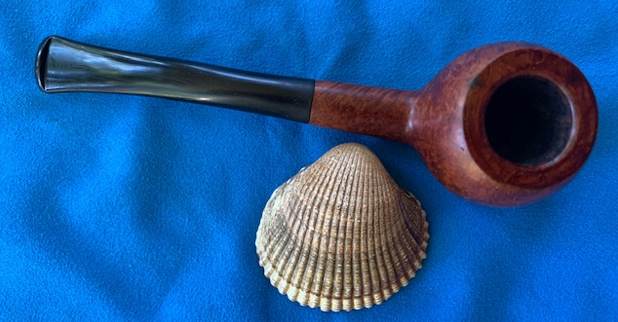
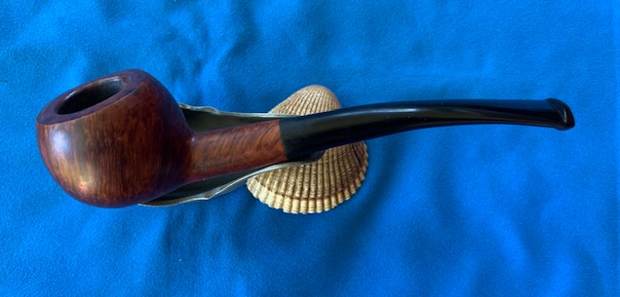
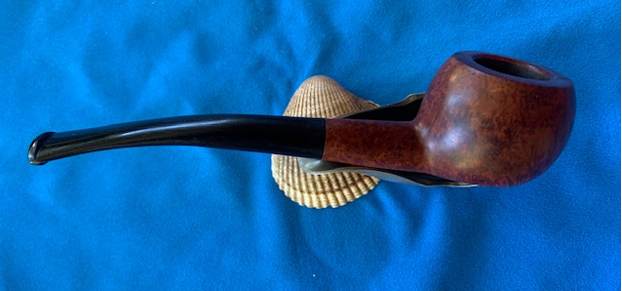
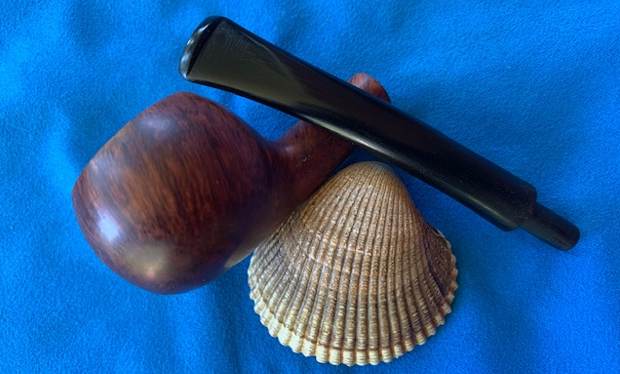
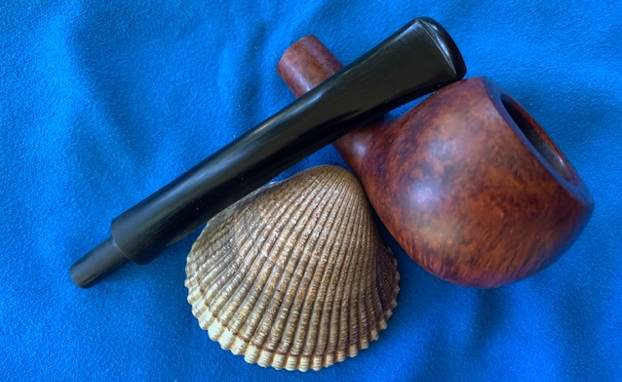
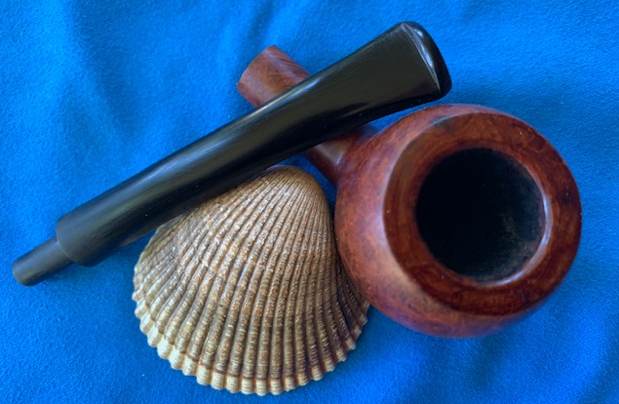
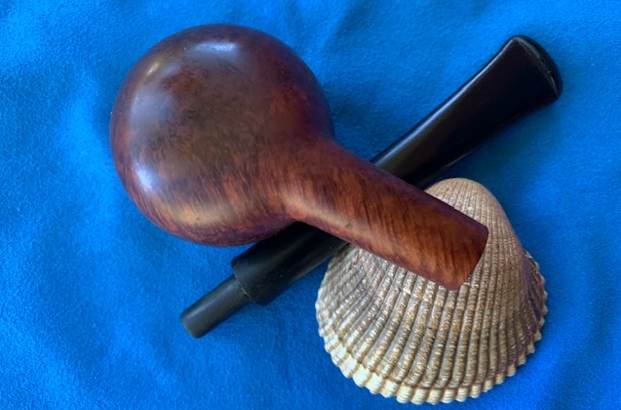
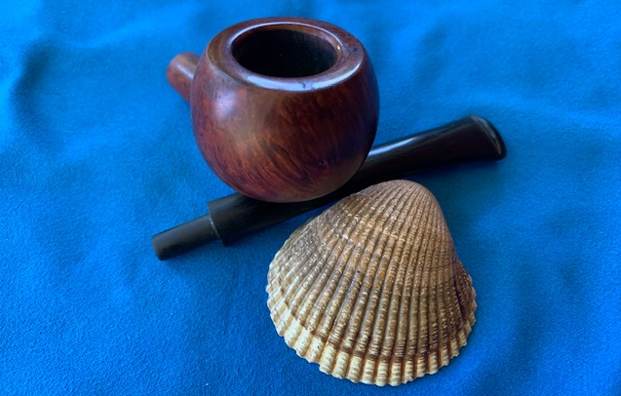
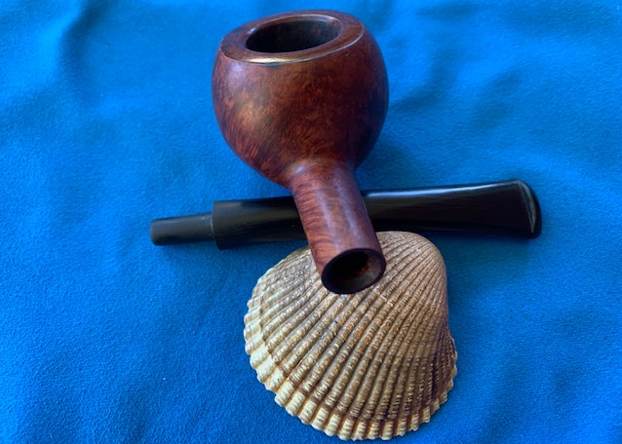
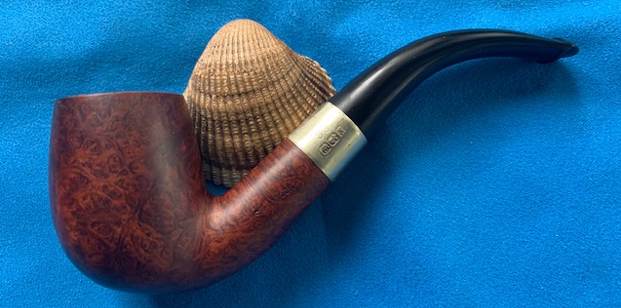
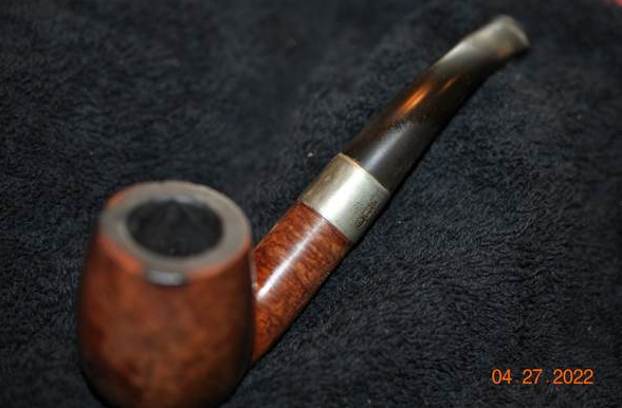
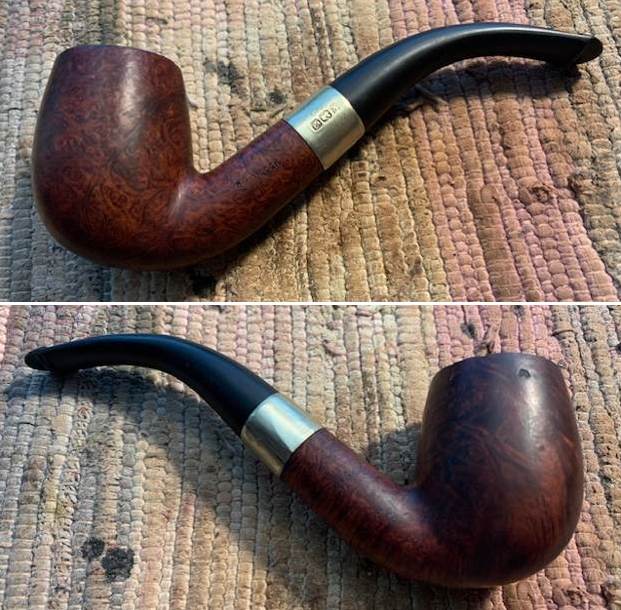
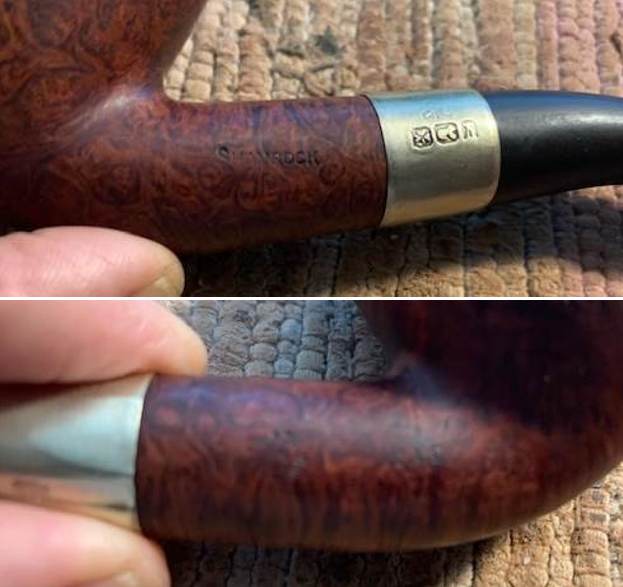
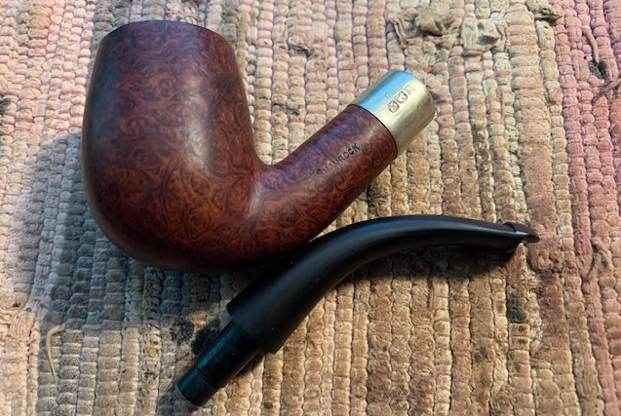
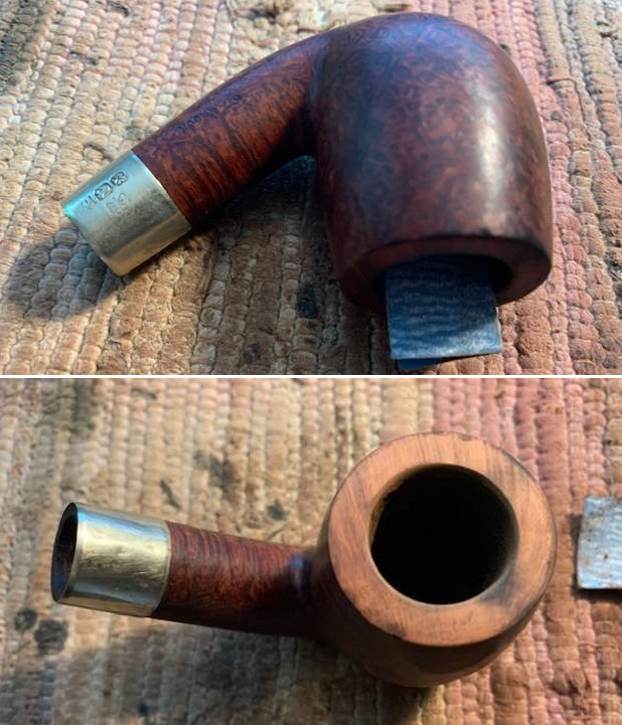
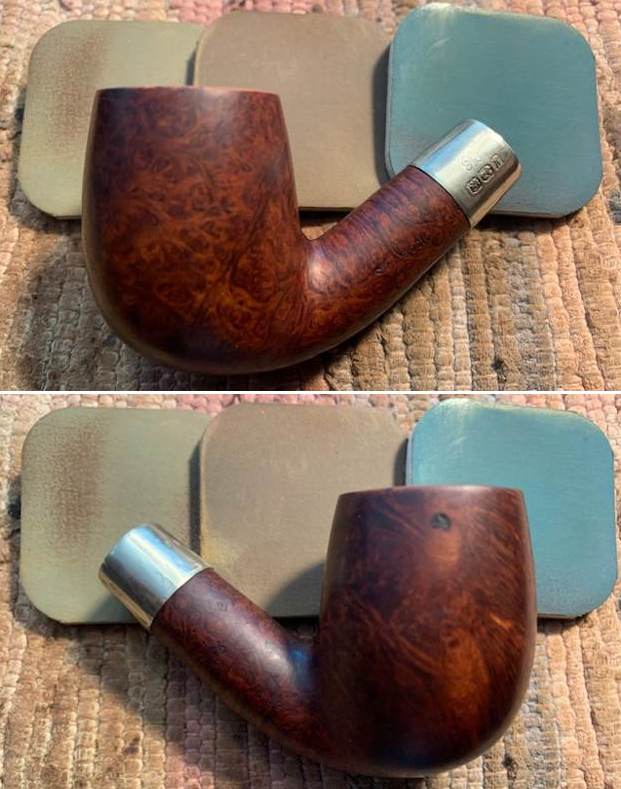
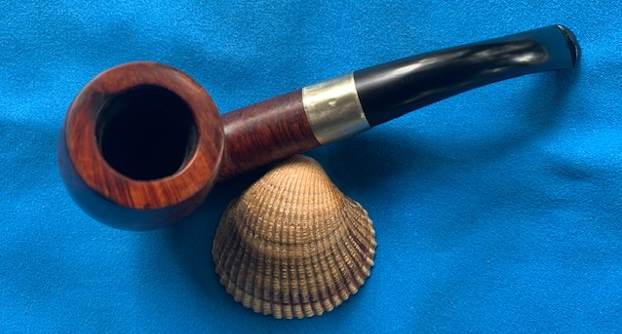
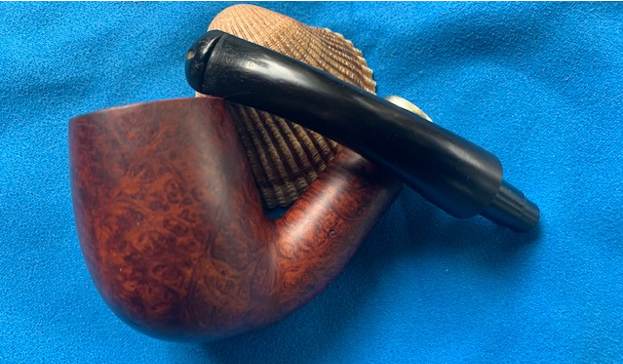
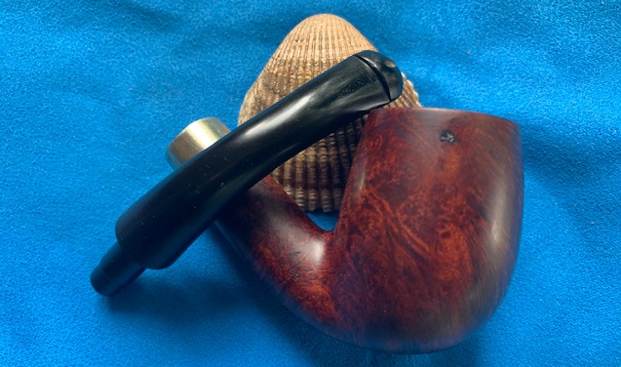
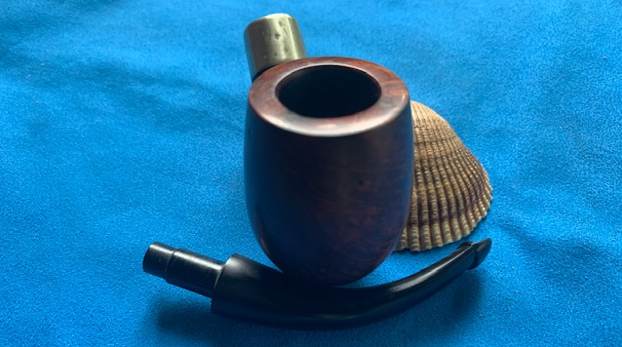
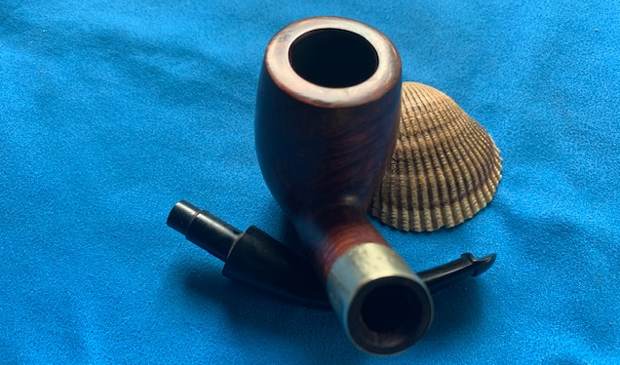
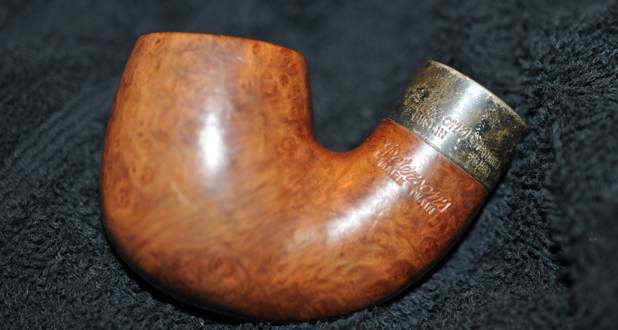
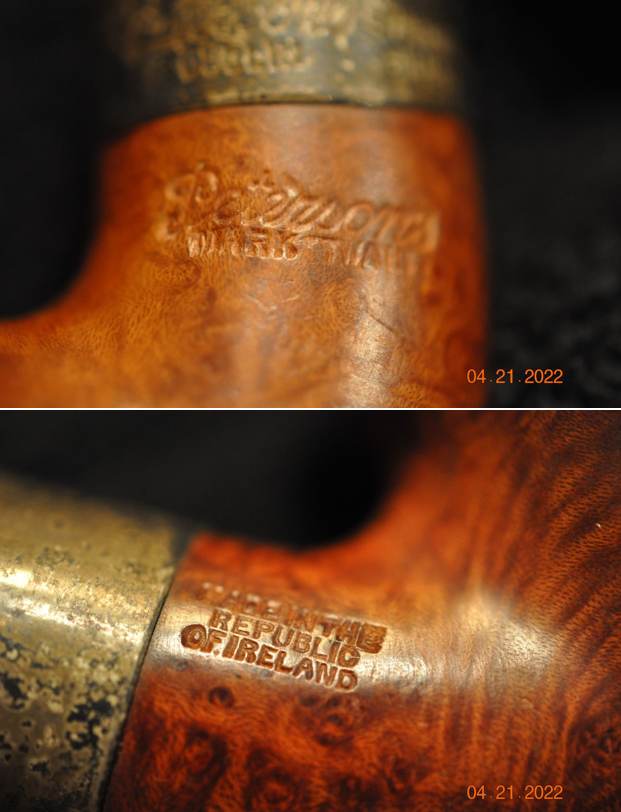
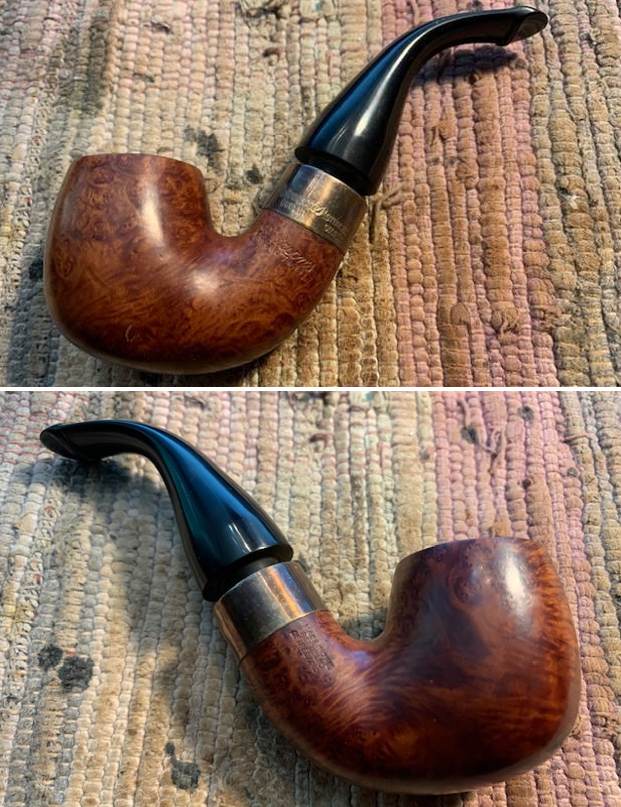
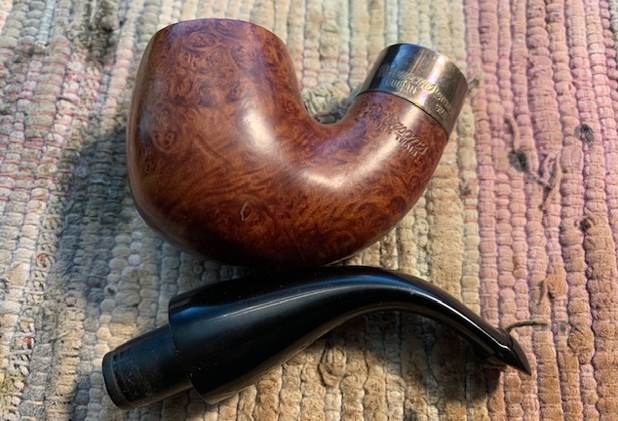
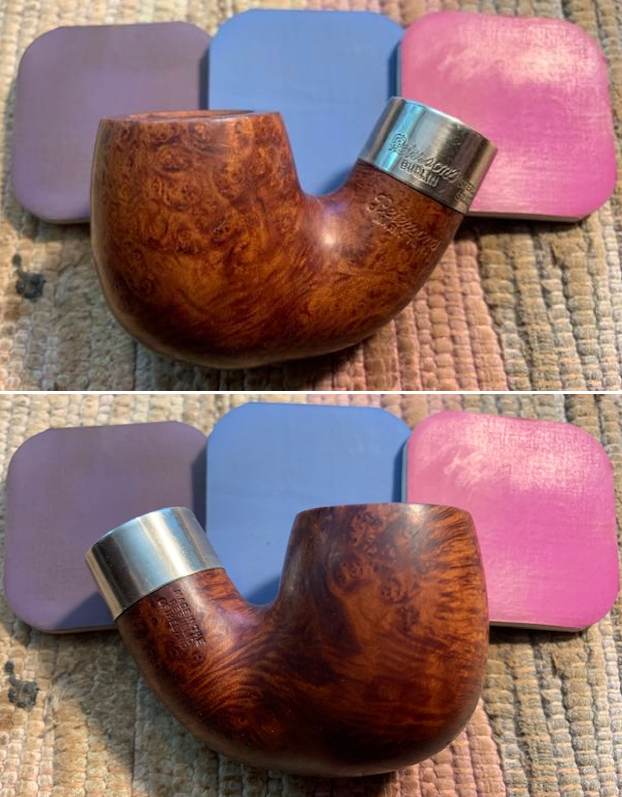
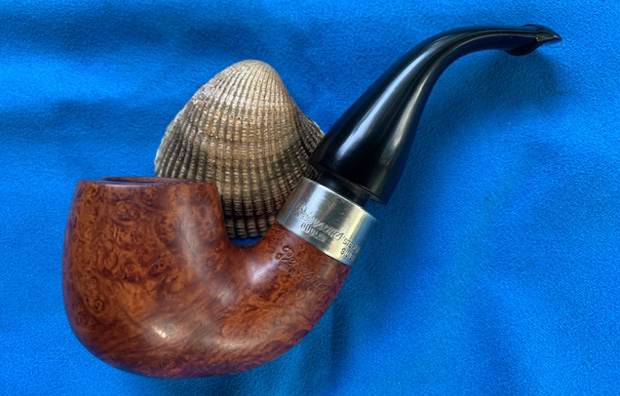
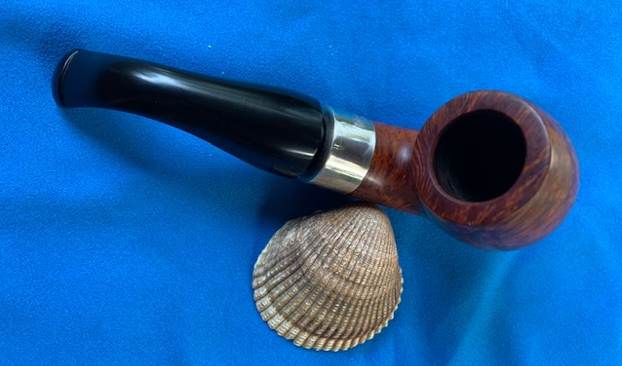
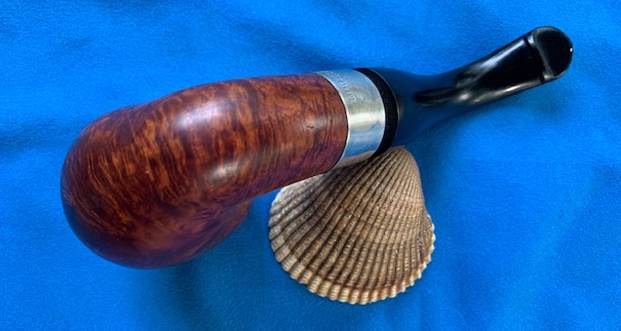
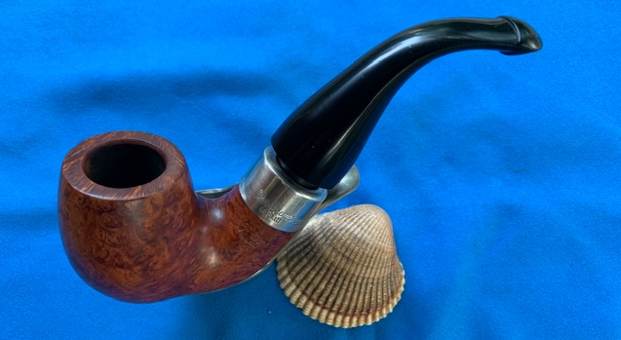
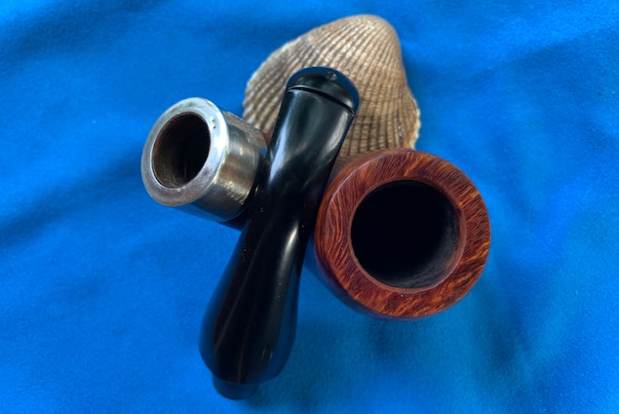
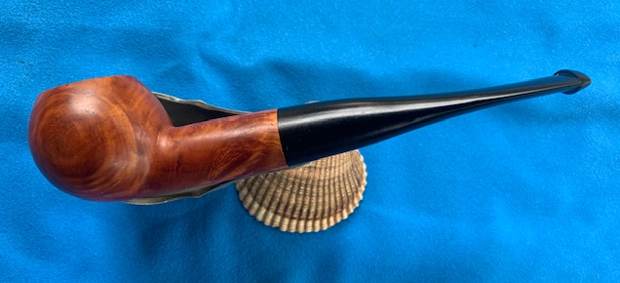
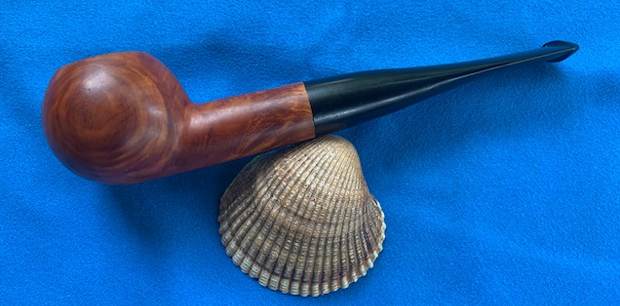
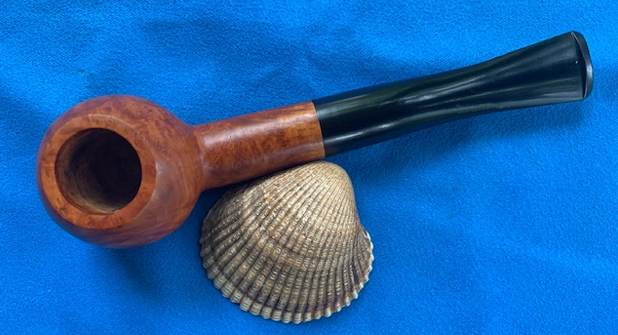
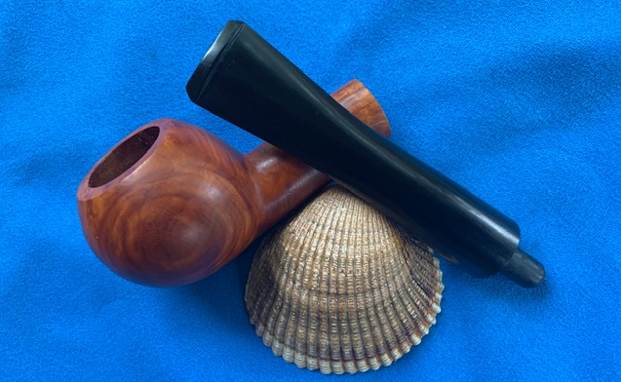
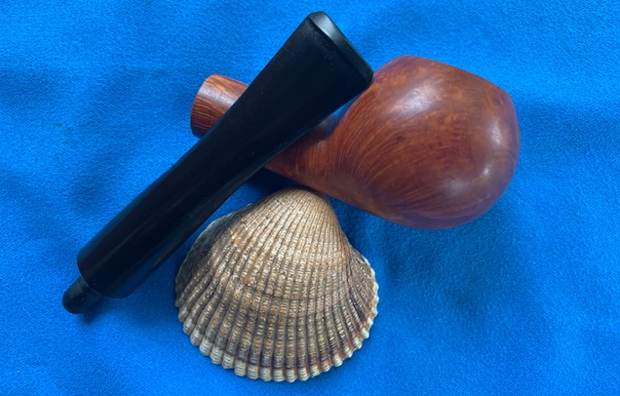
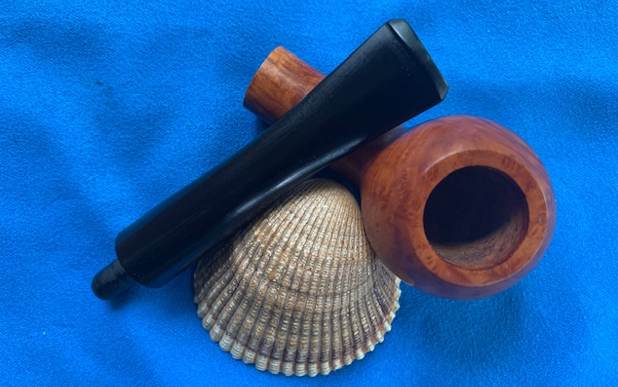
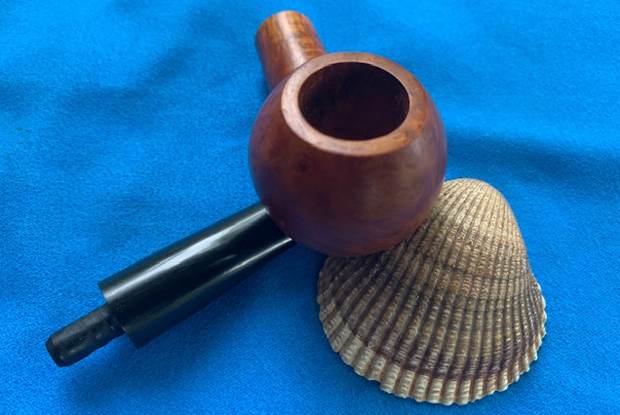
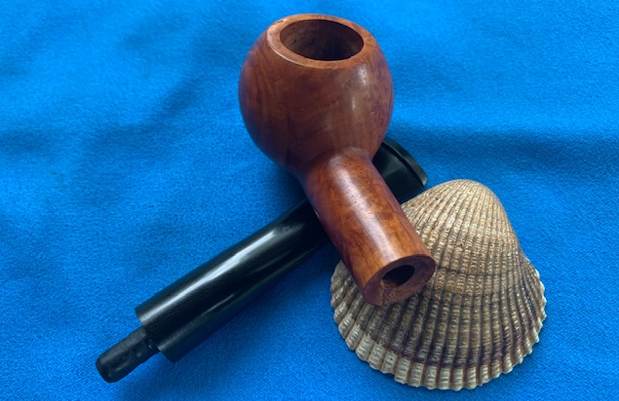
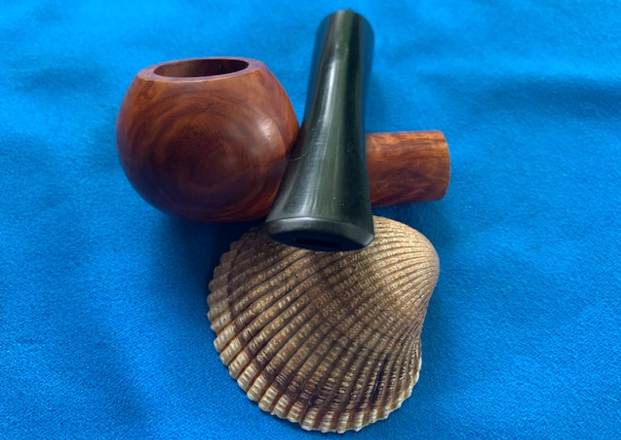
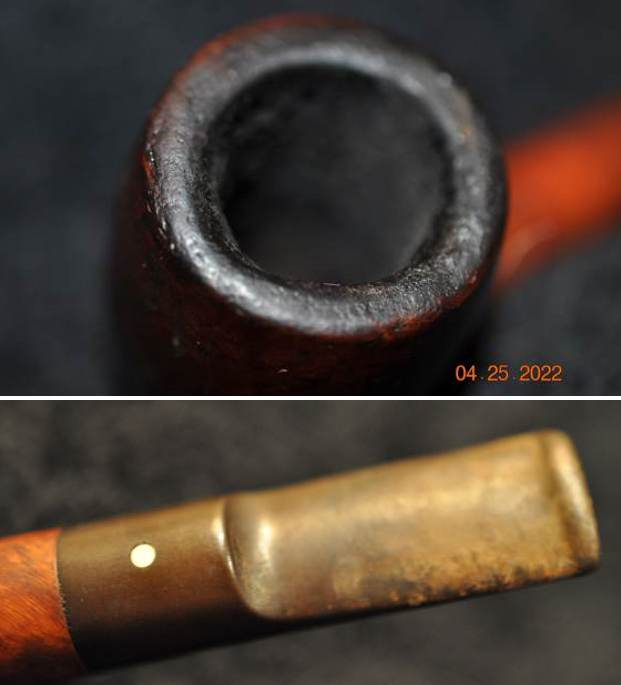
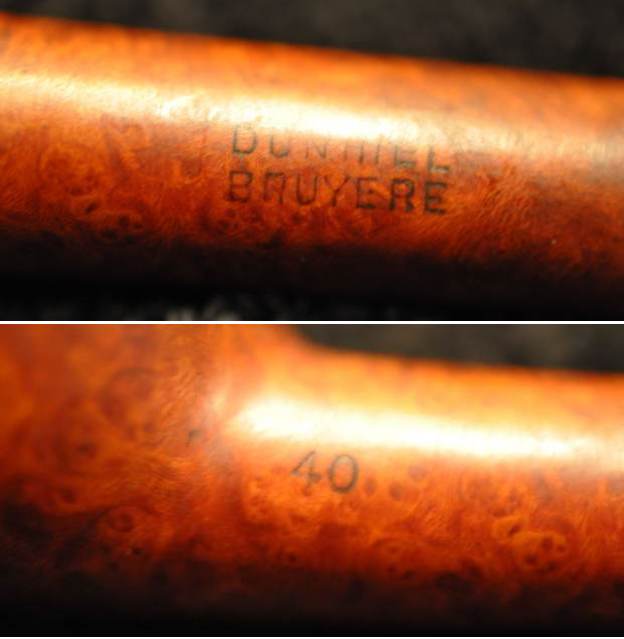
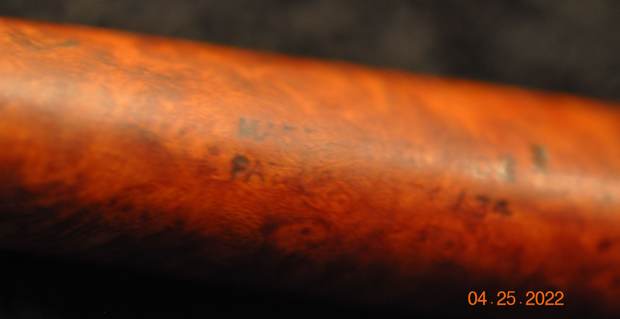
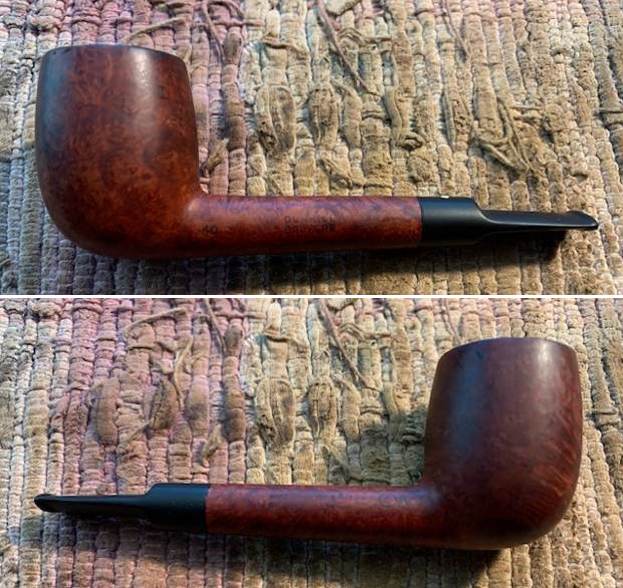
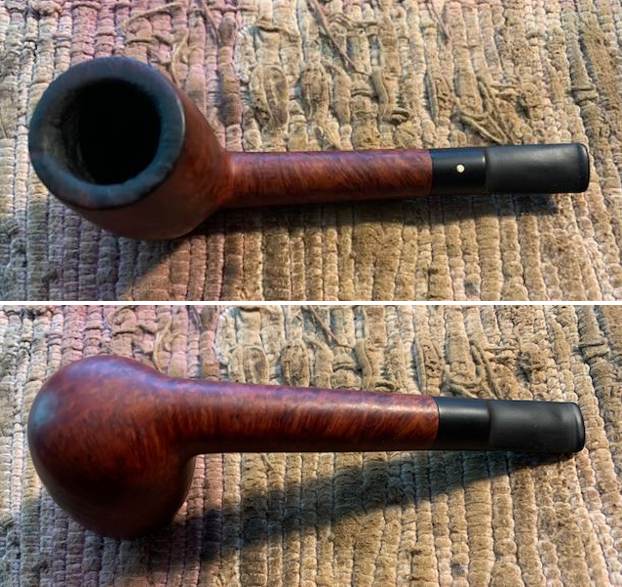
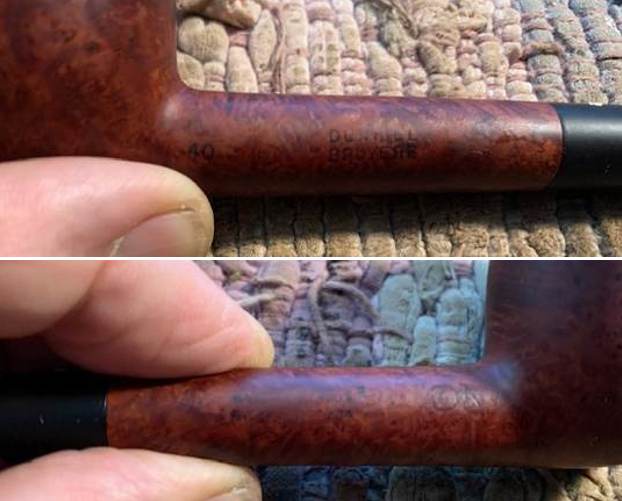
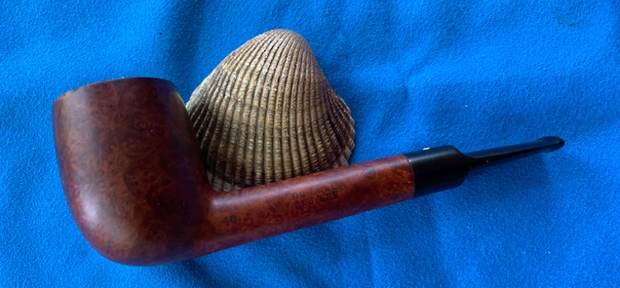
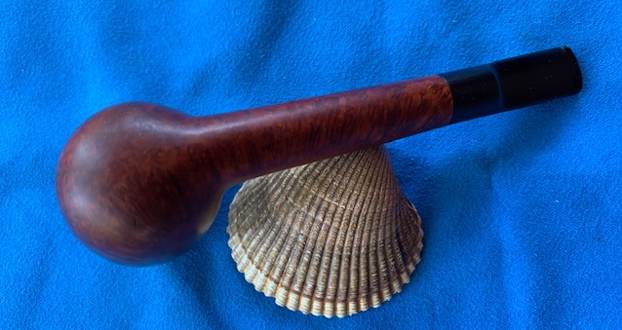
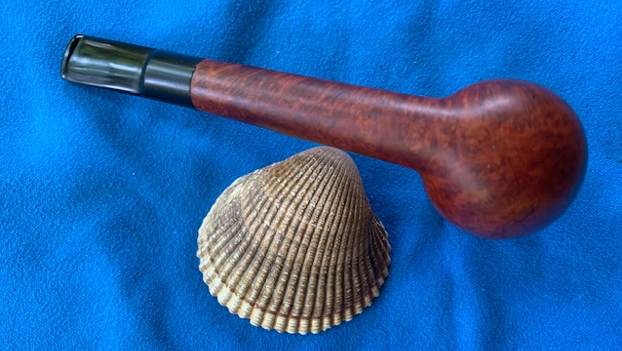
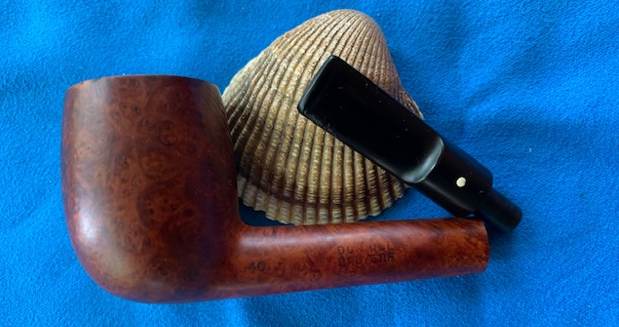
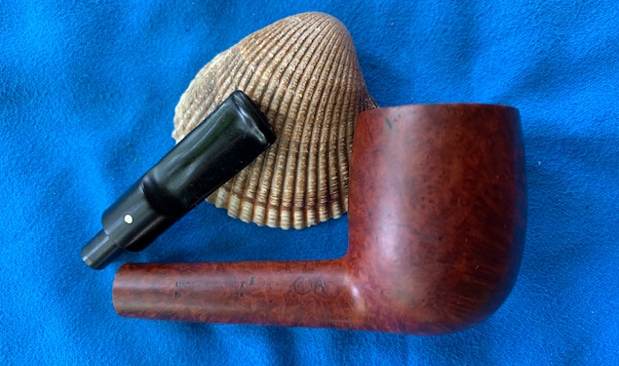
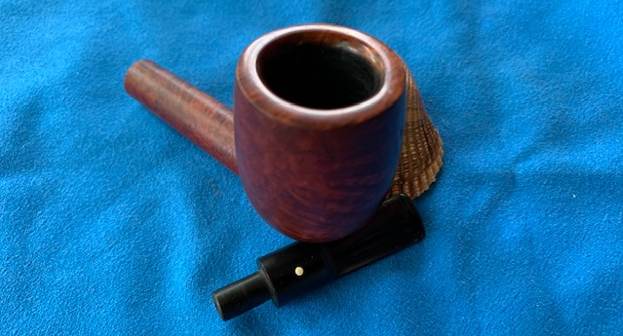
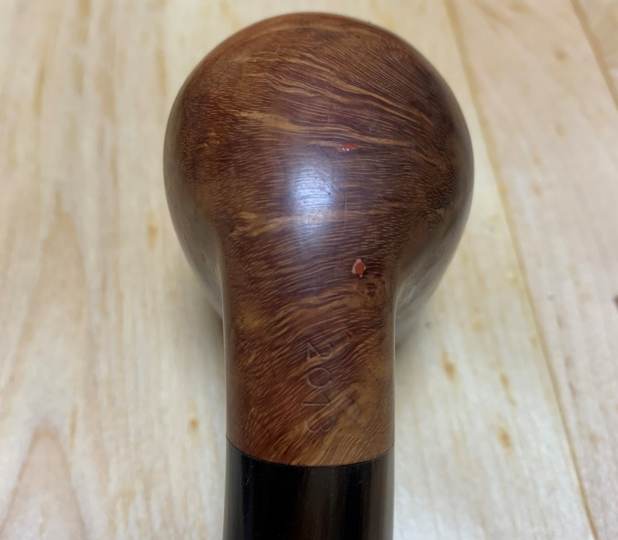
Next on the chopping block is a handsome Vauen, which I acquired from a Craigslist pipe lot. Although not an old pipe, it is a handsome one. It’s rather big and hefty, but not heavy, and feels good in the hand. I’m really glad that my customer picked out this pipe, as it has been sitting around unused for far too long. I’m happy that it has found a new home.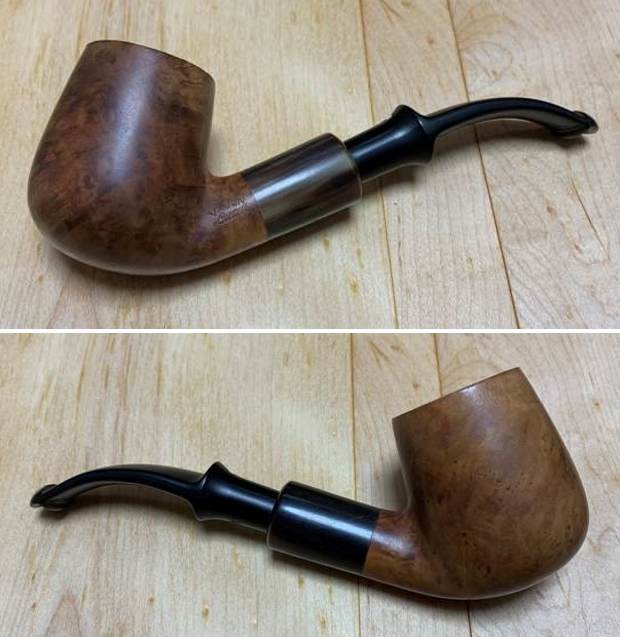 This pipe is a Vauen Luxus 2013 chunky, bent billiard with a beautiful horn ferrule, It also takes a 9 mm filter. The stem has the traditional Vauen white dot (not unlike Dunhill’s) and, most interestingly, it has a P-lip, very reminiscent of Peterson’s. The ‘2013’ does not refer to the year of manufacture, rather, it refers to the shape number. The markings on the pipe are as follows: on the left side of the shank, it reads Vauen [over] Luxus. The underside of the shank shows the model number 2013, and the top of the stem shows the classic white Vauen dot.
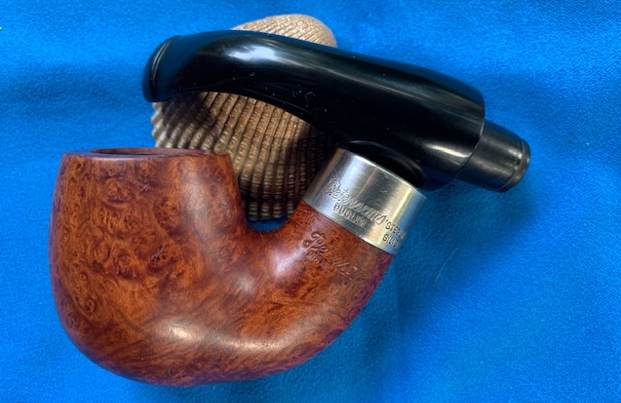
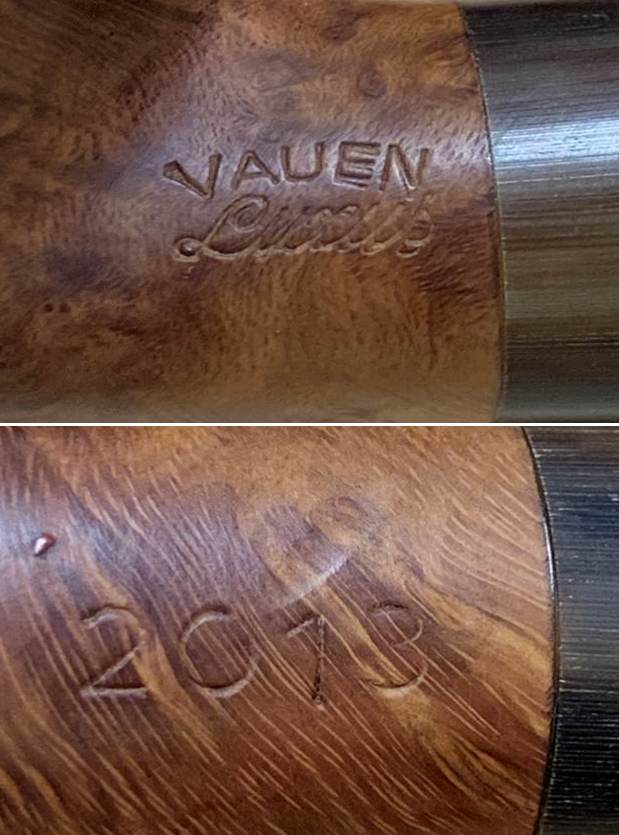 I searched on Pipedia for some history of the Vauen brand. Here’s what I found:
In 1848 Karl Ellenberger and his partner Carl August Ziener turned an idea into reality in Nuremberg. In the first German pipe manufacturing company they produced tobacco pipes from selected woods for connoisseurs throughout the world.
The Vereinigte Pfeifenfabriken in Nuremberg (known in short as VPFN) was brought into being in 1901 with the amalgamation with the Gebhard Ott pipe factory founded in 1866, also in Nuremberg. In this way, a business was created under the management of Ernst Eckert, a scion of the founding family Ott, and its products and services were to attend and shape the culture of tobacco and smoking in Europe and overseas for a long time – for 150 years now.
In the 1920s, VAUEN had taken out a trademark on a white dot on the mouthpiece for Germany and Austria, at the same time that Dunhill had done the same for the international market. The companies ended up in court with the result that Dunhill may use the white dot internationally, whereas VAUEN may use it only in Germany and Austria and has to use a differently-coloured dot for all other markets. They have used light blue and grey dots internationally since then. The white or coloured dot denotes the higher quality pipes of VAUEN; the lower-end pipes are only marked by the VAUEN imprint on the stem.
In the search for a term which would be easy for all pipe friends to remember and not confuse with anything else, Ernst Eckert’s son, Adolf Eckert coined a new name for the business in 1909.
VAUEN, consisting of the initial letters V (pronounced VAU) from Vereinigte Pfeifenfabriken and the N (pronounced EN) of Nuremberg. A brand name for the future had been created.
After 1945 Ernst Eckert, son of Adolf Eckert, succeeded in overcoming the destructive effects of the war with an unshakeable pioneering spirit. VAUEN grew to become a business with a worldwide reputation once more.
Alexander Eckert, now the fifth generation of pipemakers, has been at the head of the oldest German pipe-manufacturing company since 1982. The company, which has been in the hands of the founder’s family since it was established, is expanding again in importance as a result of increased international commitment.
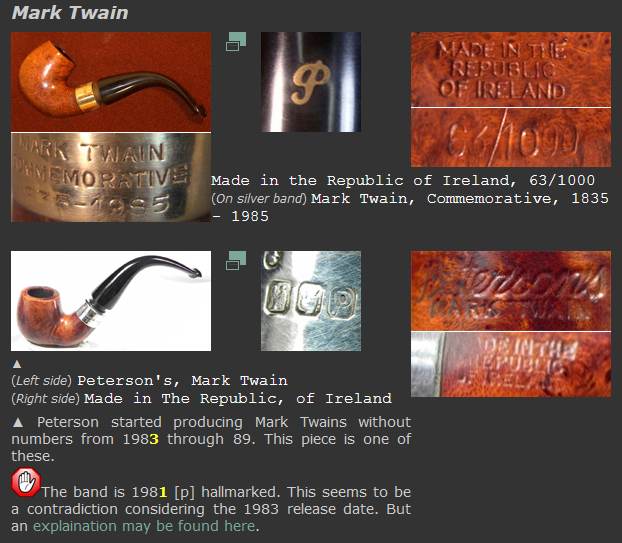
 Over at Pipephil.eu, they note that “Some of the pipes in Vauen’s Dr. Perl line (Germany) are equipped with a conventional P-lip stem.” In this context, the word ‘conventional’ is referring to the same P-lip invented by Peterson in 1898.
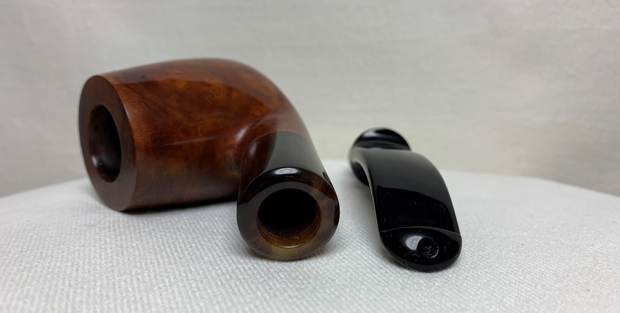
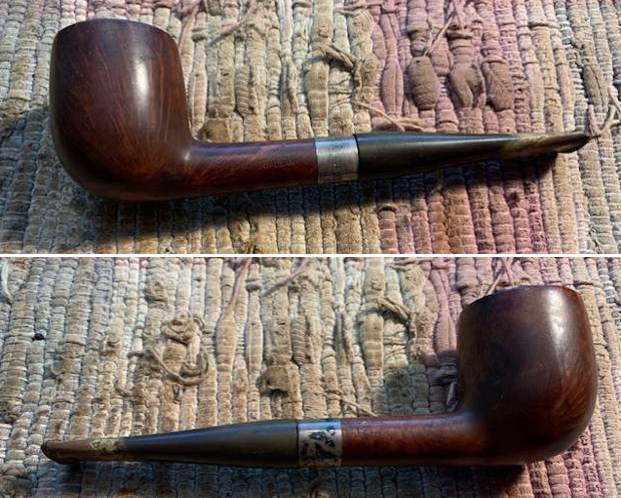
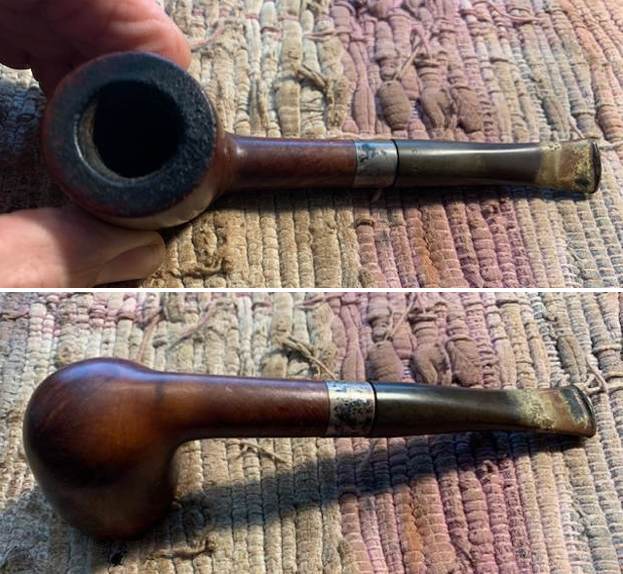
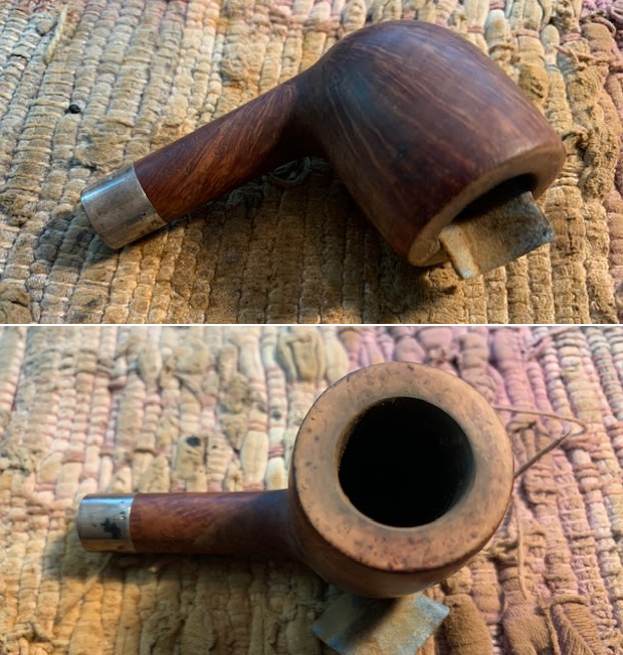
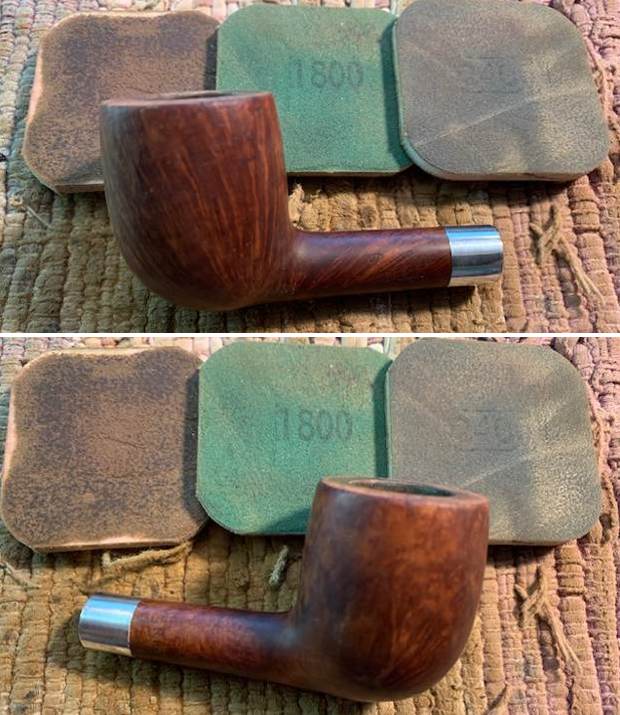
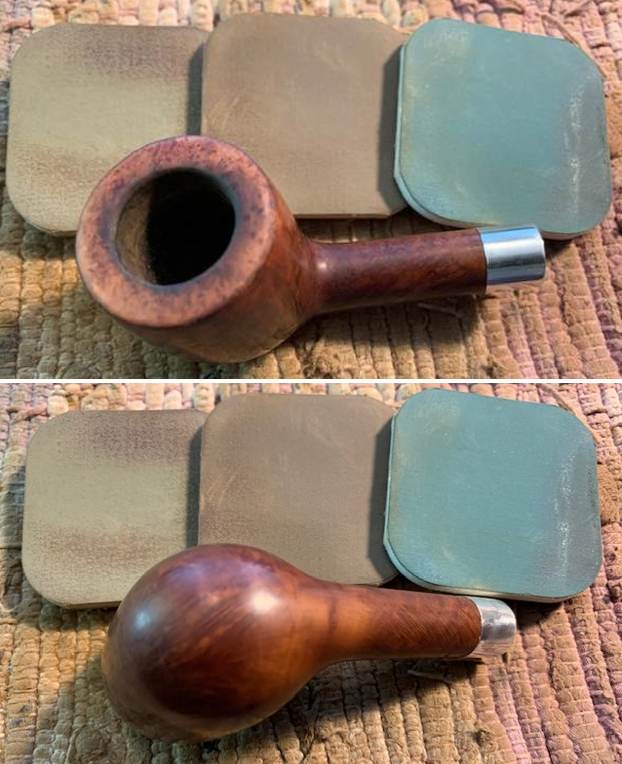
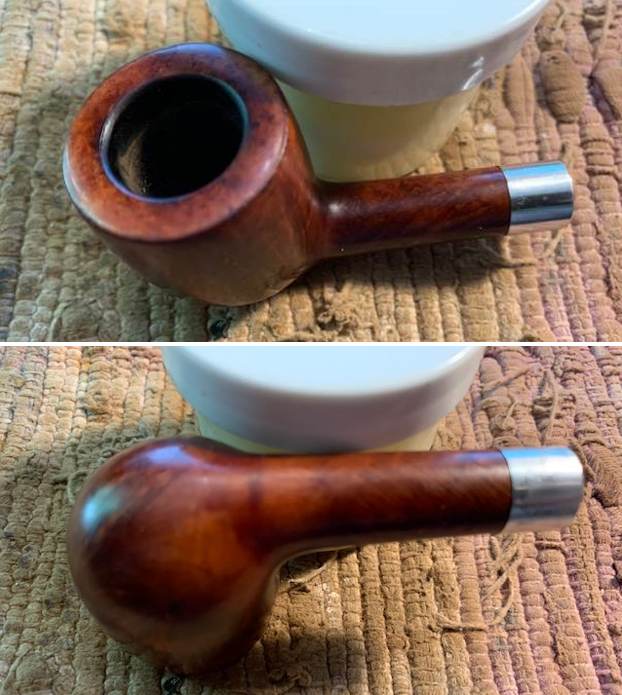
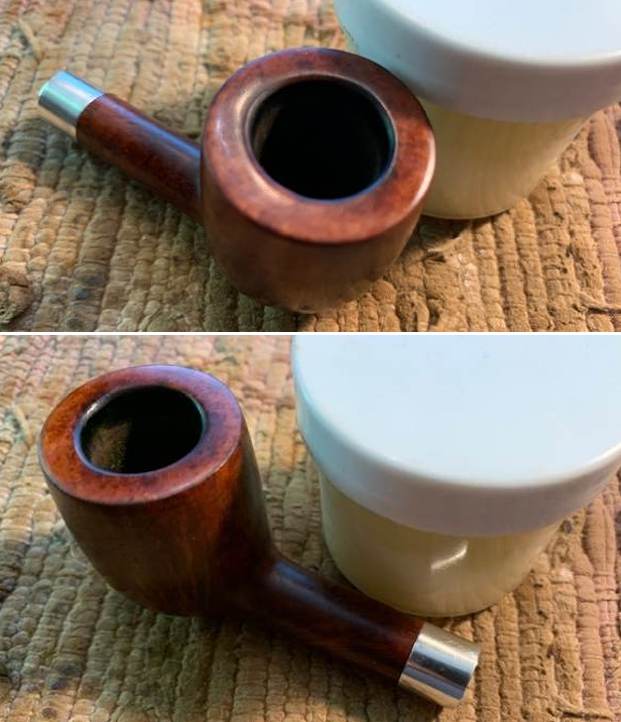
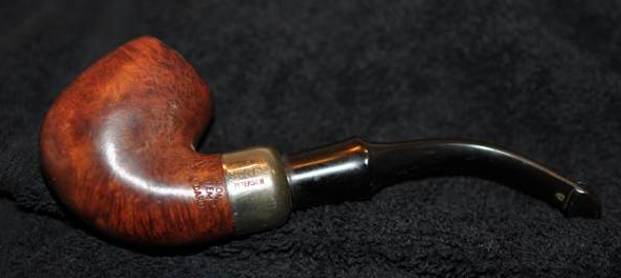
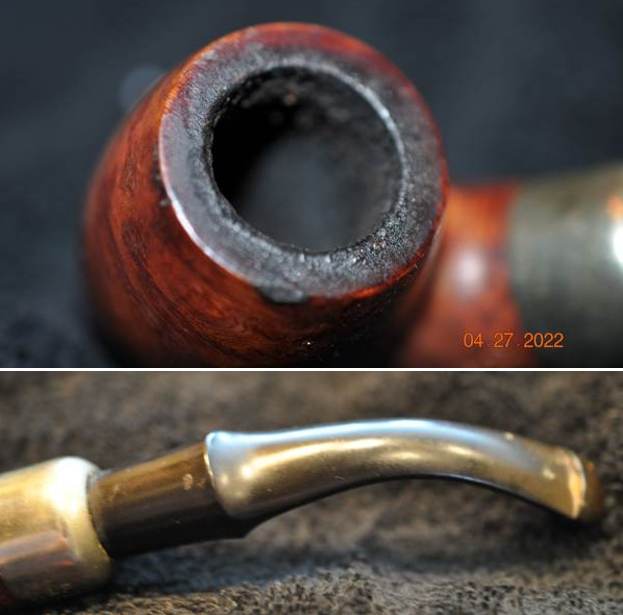
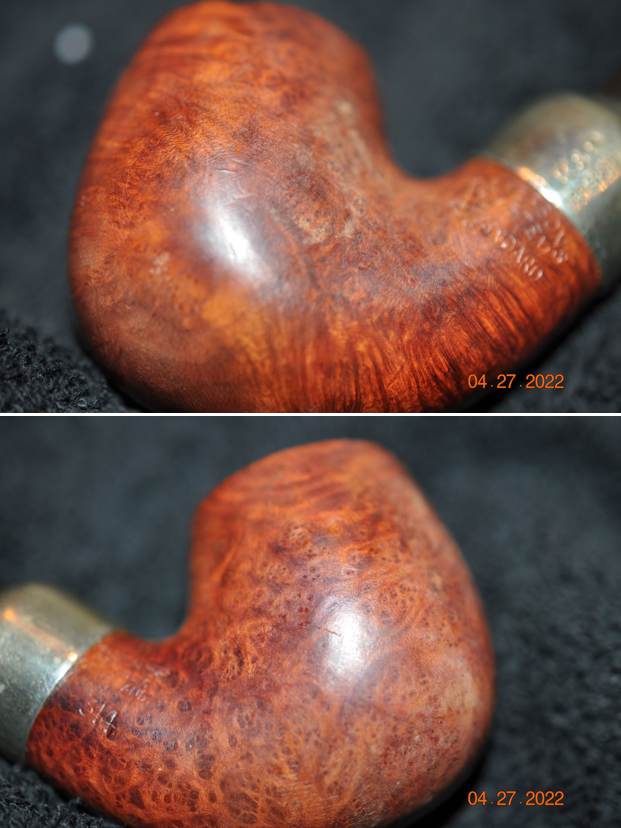
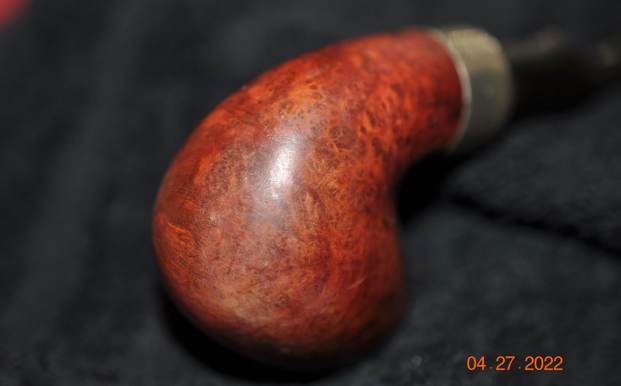
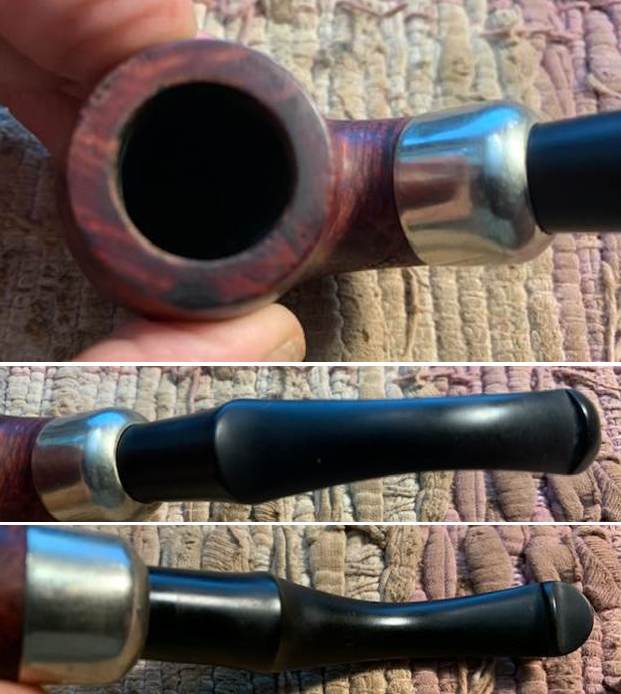
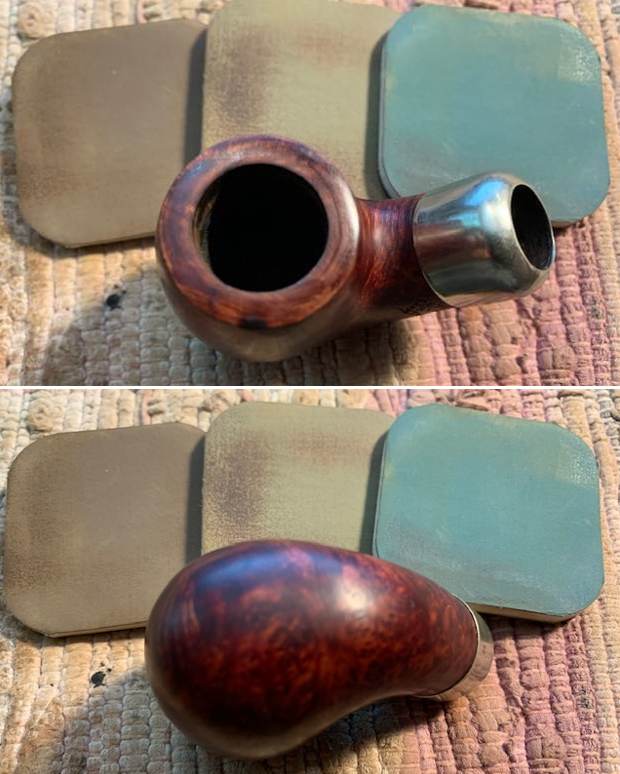
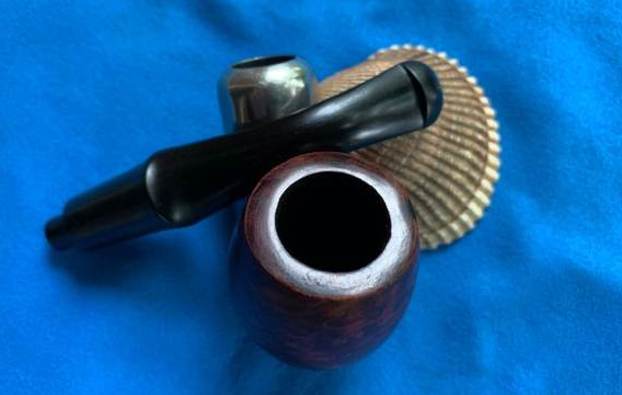
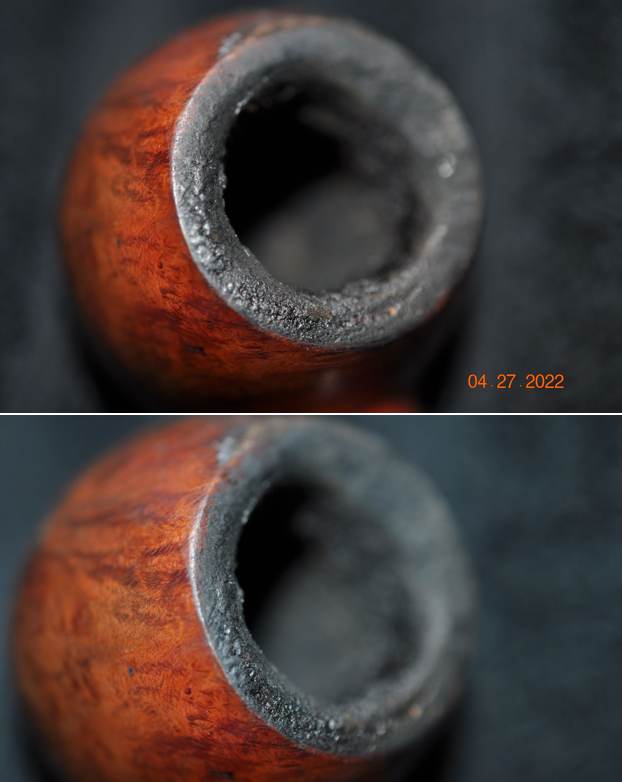
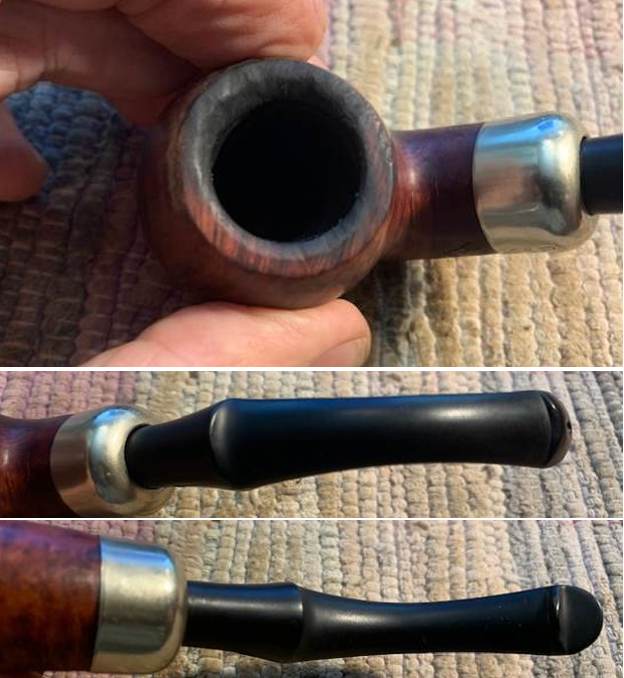
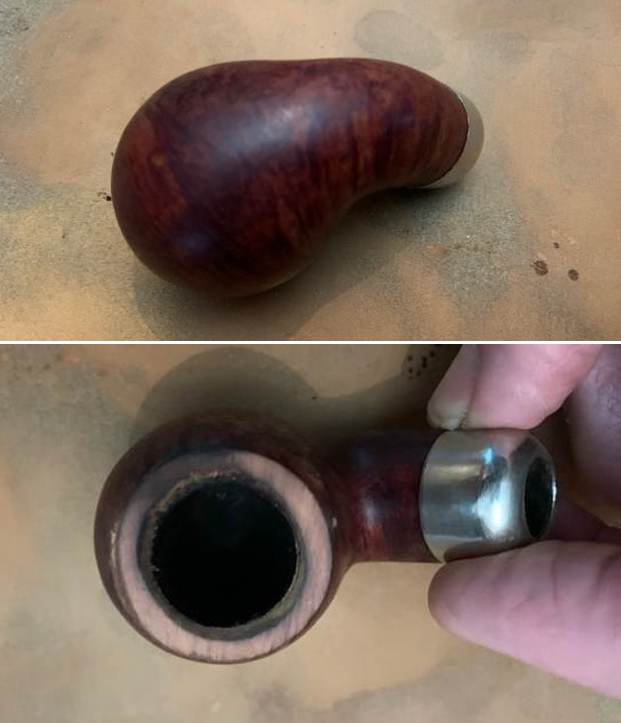
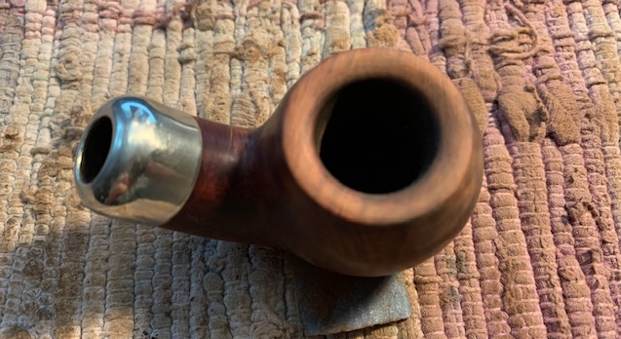
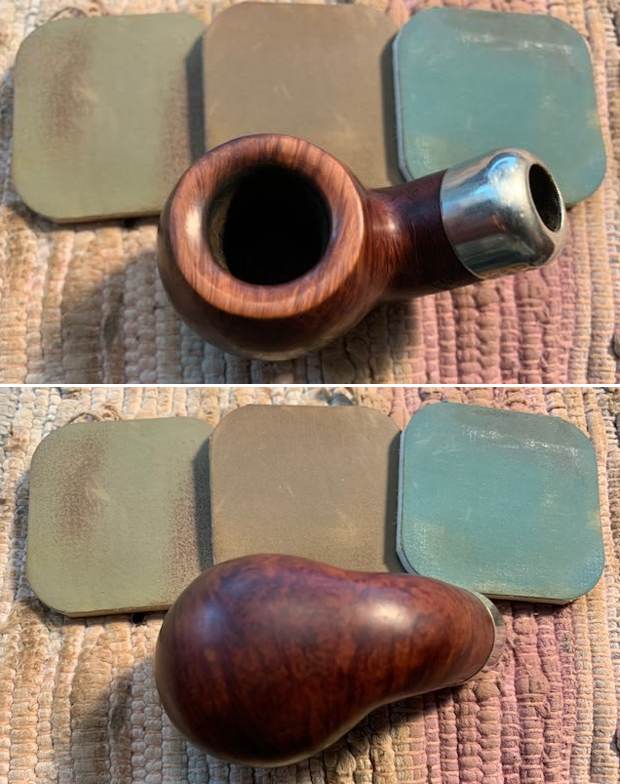
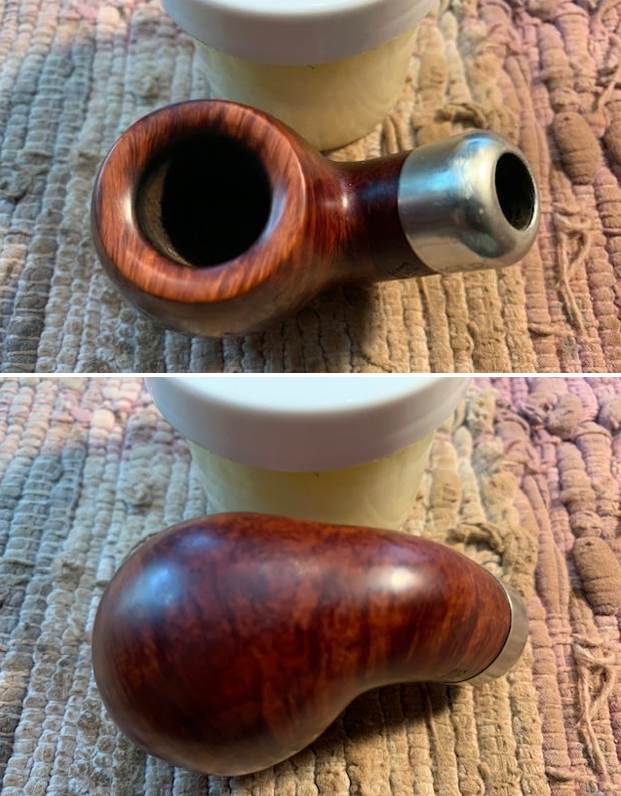
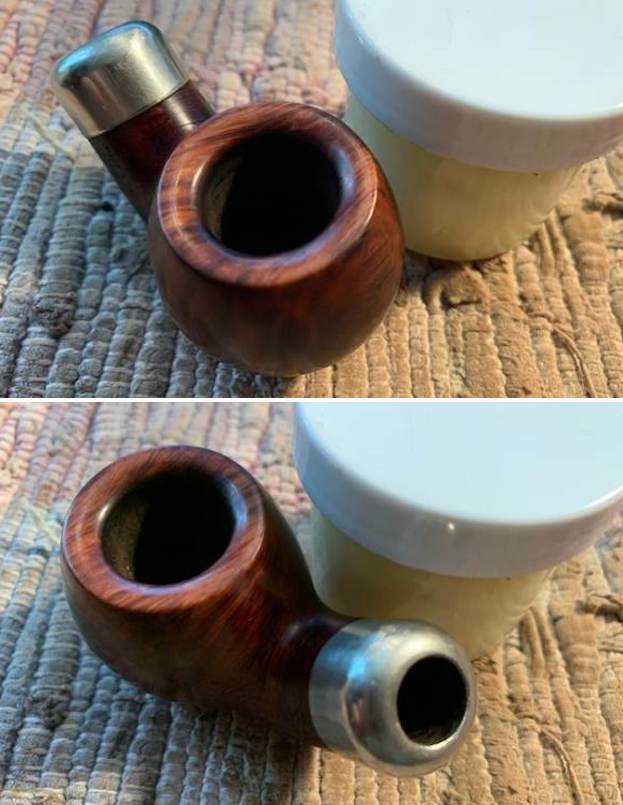
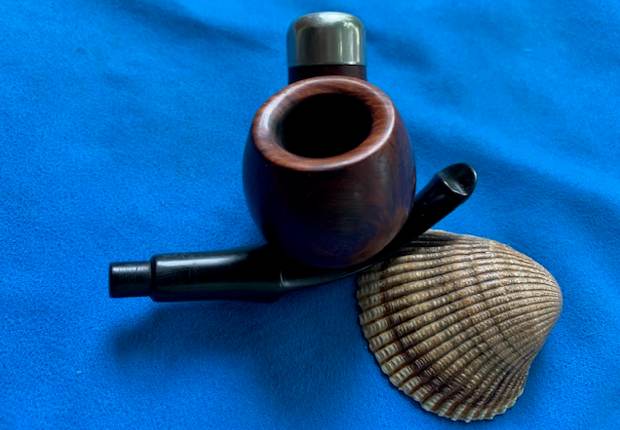
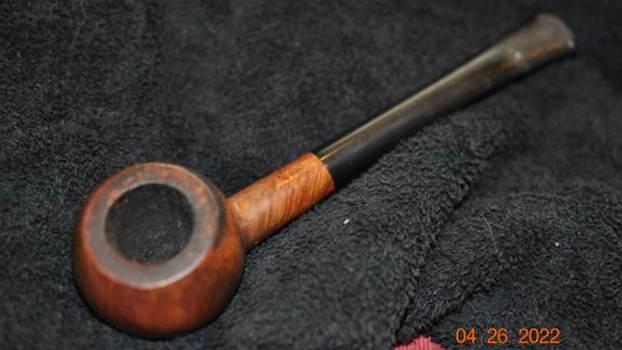
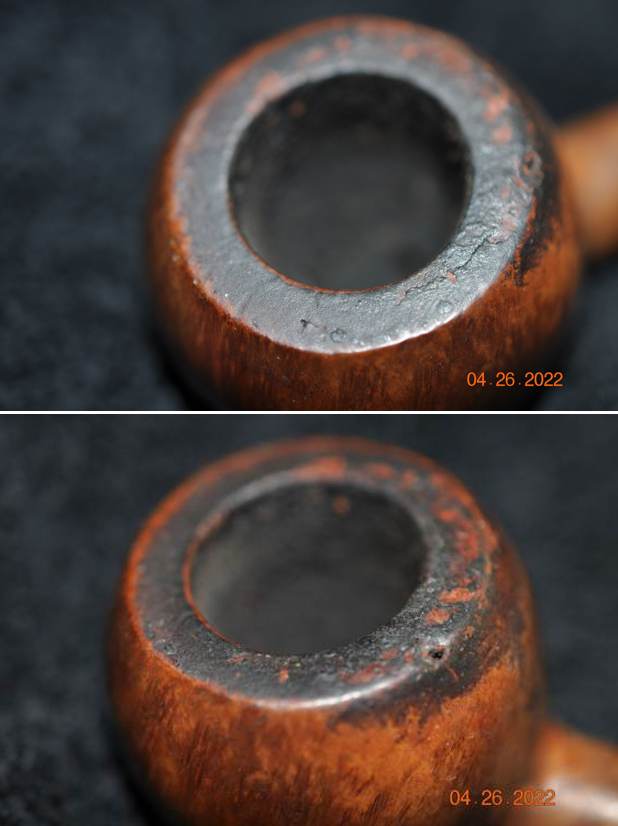
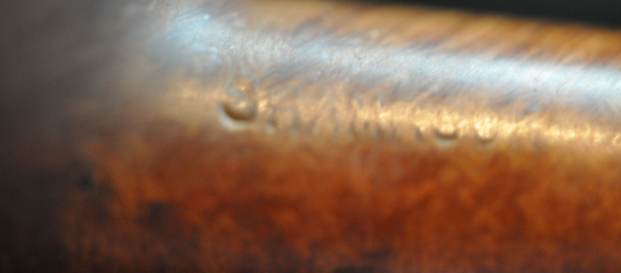
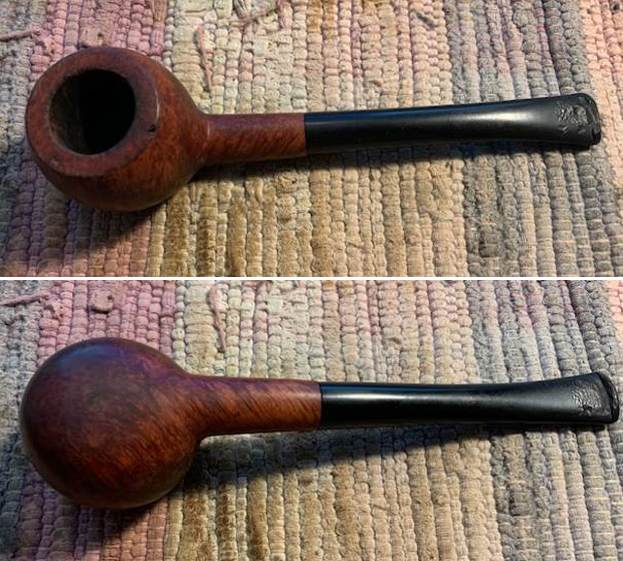
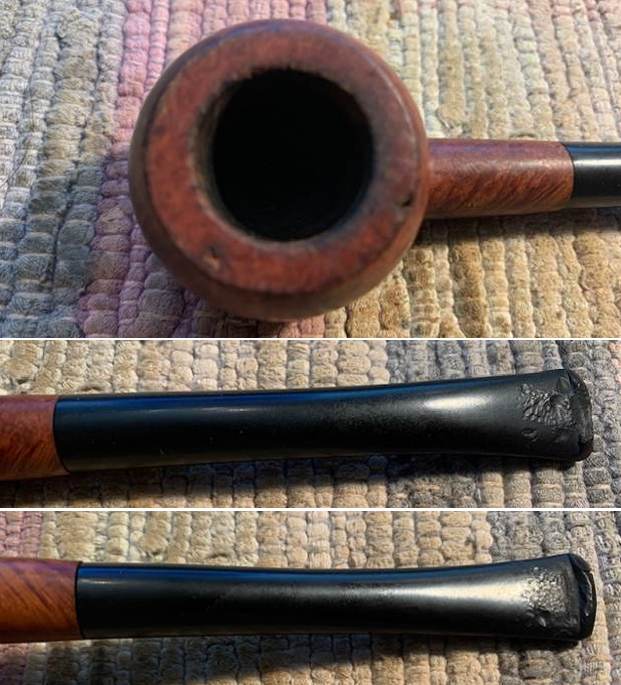
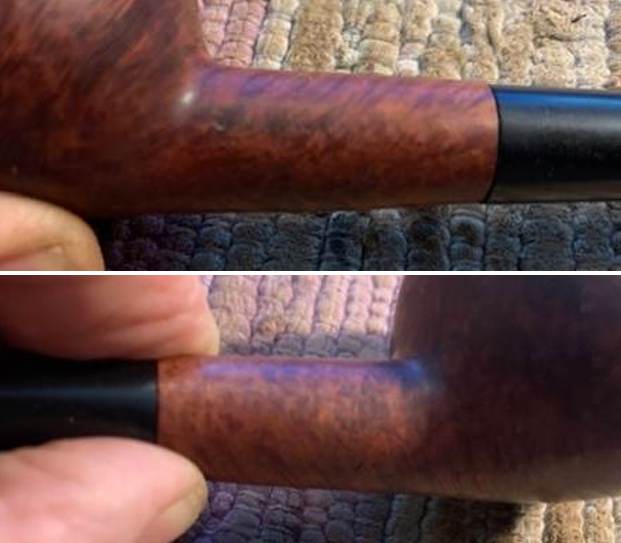
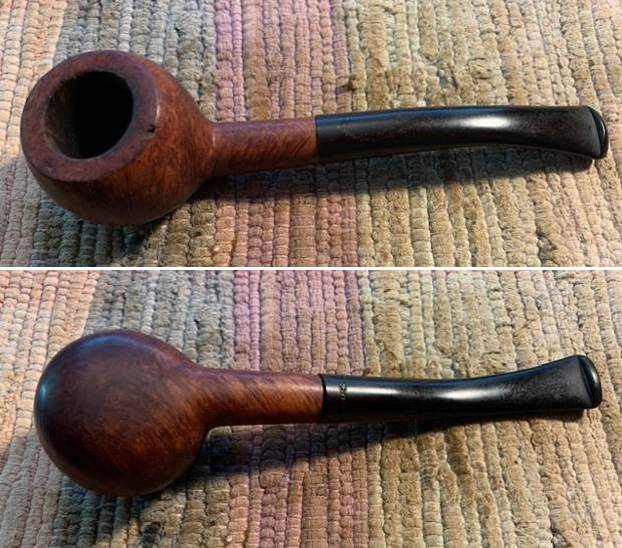
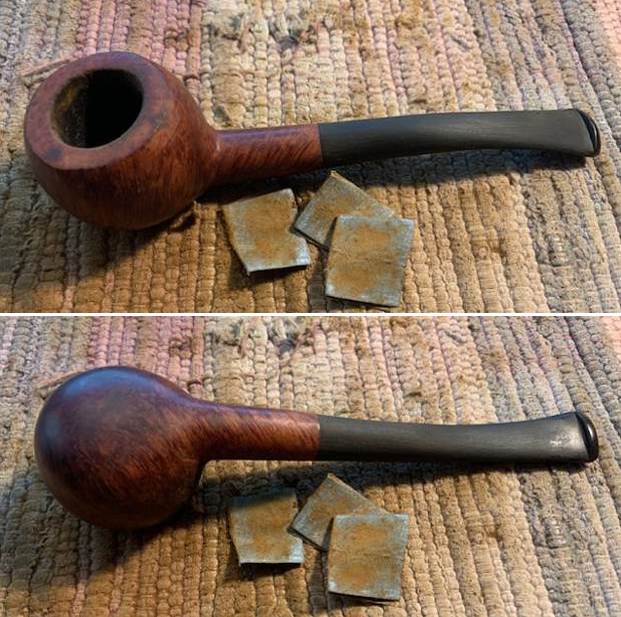
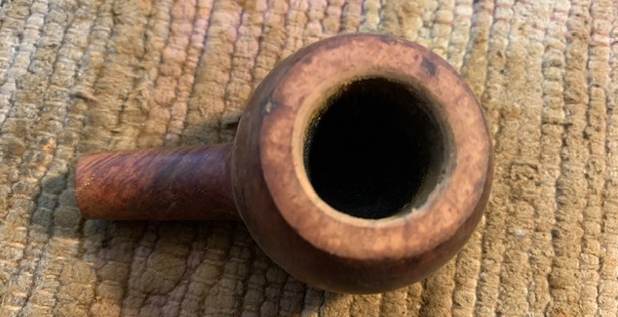
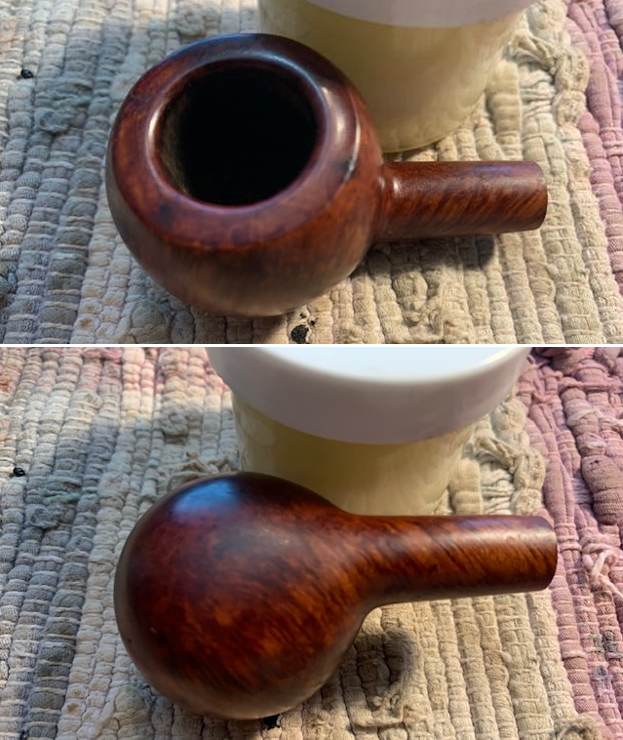
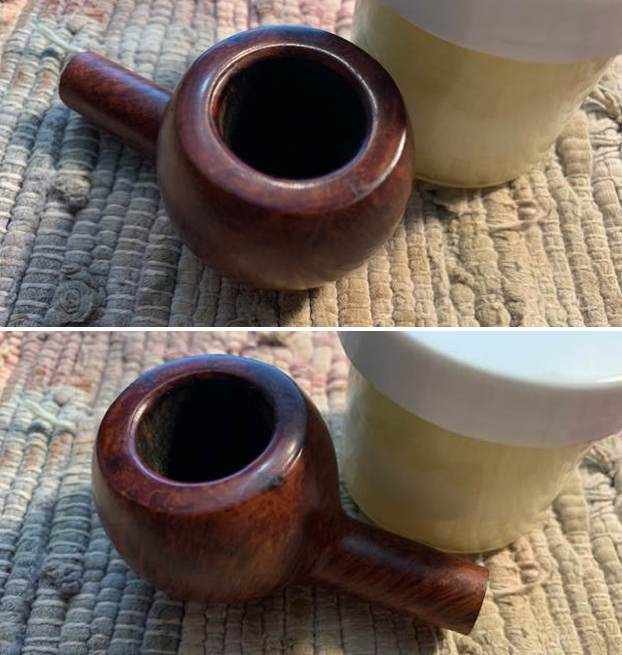
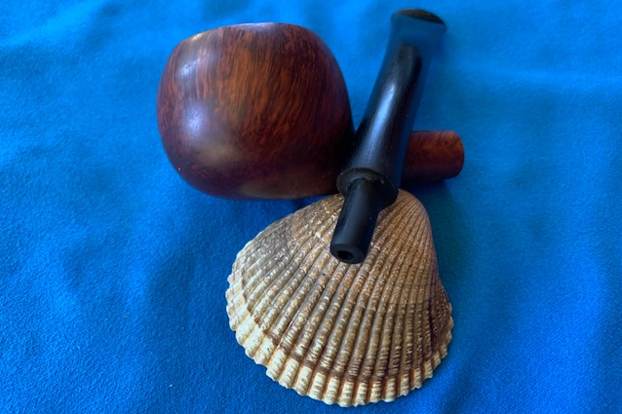
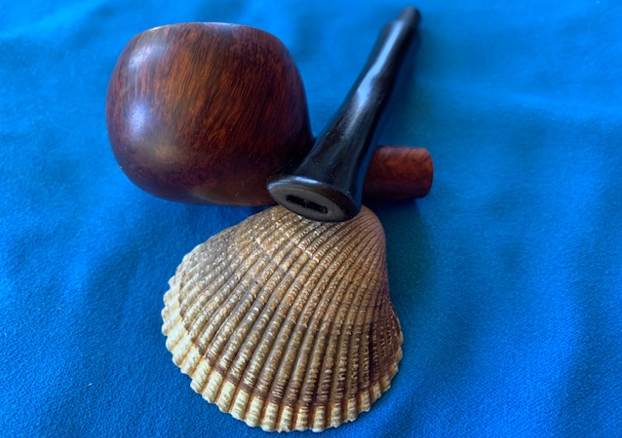
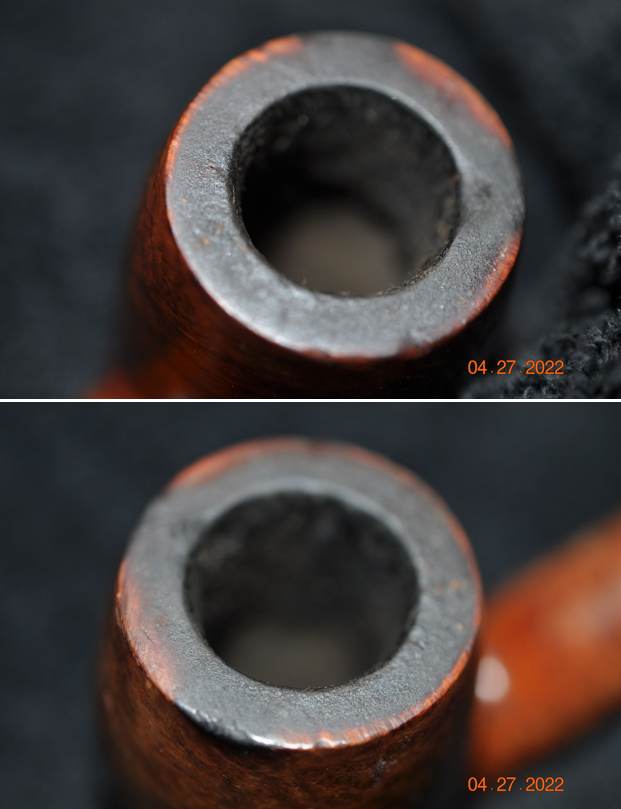
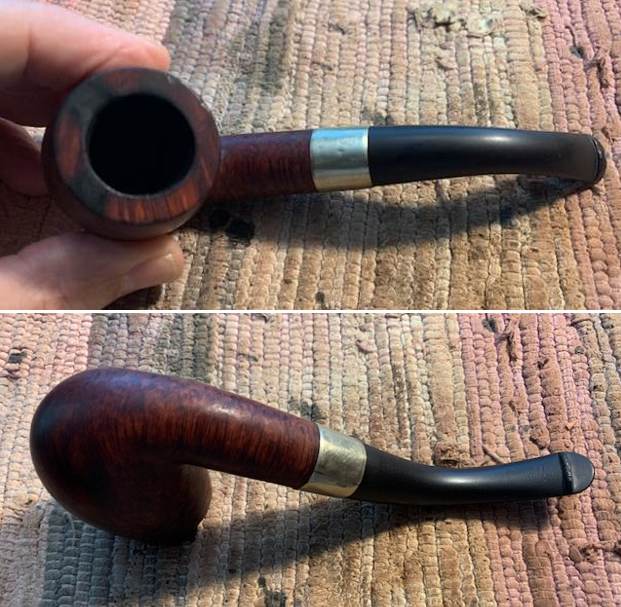
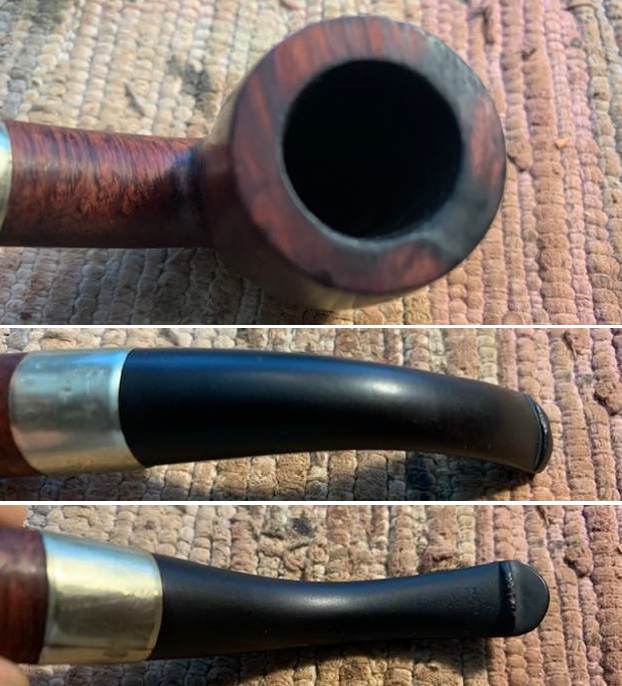
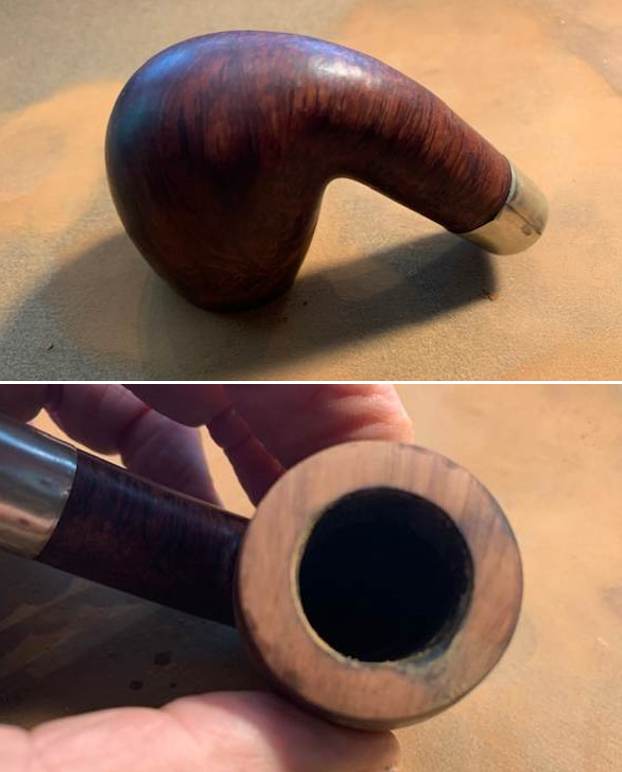
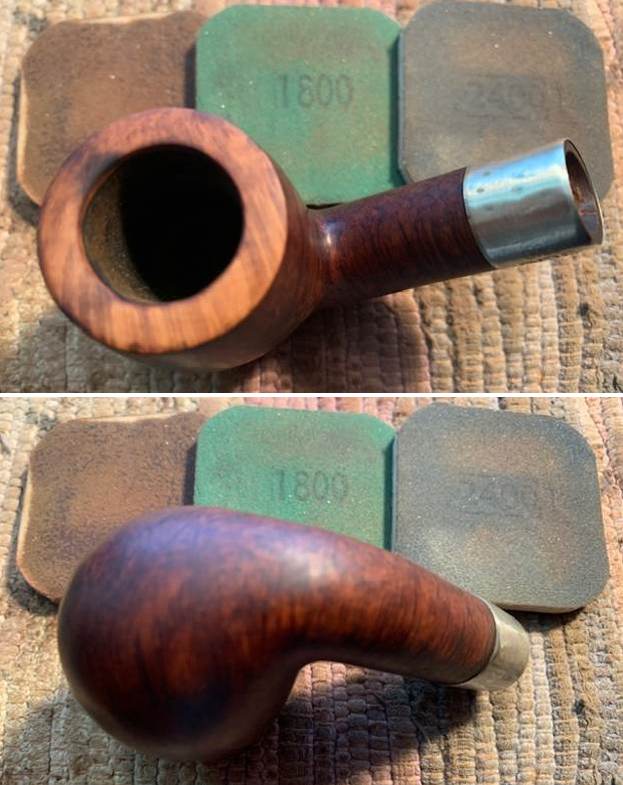
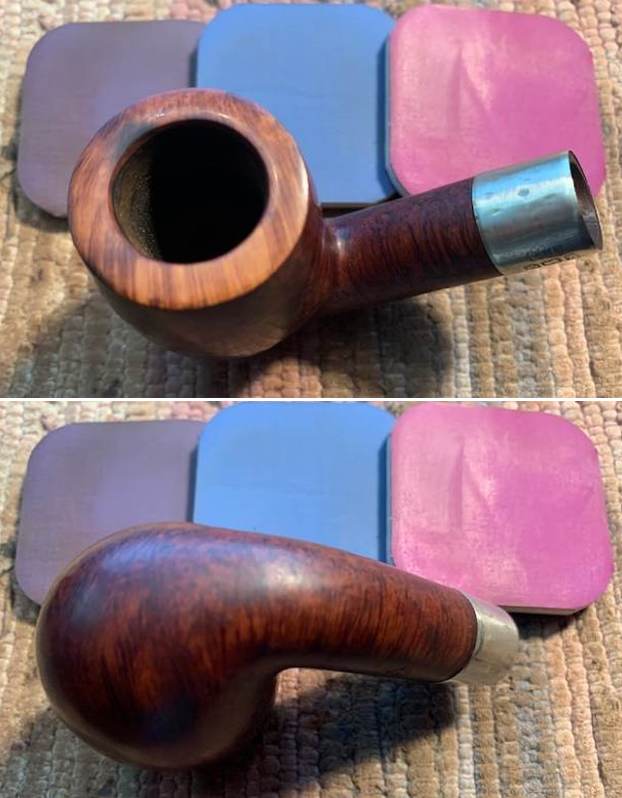
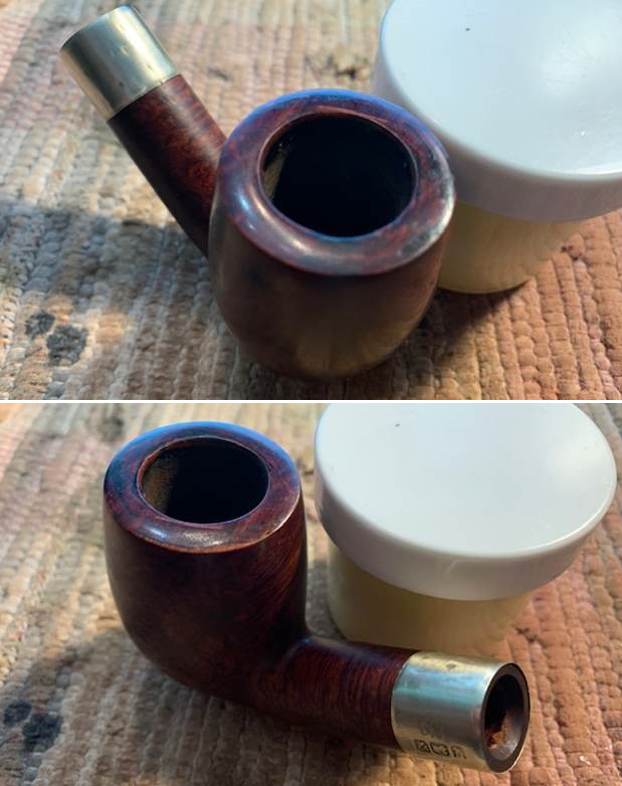
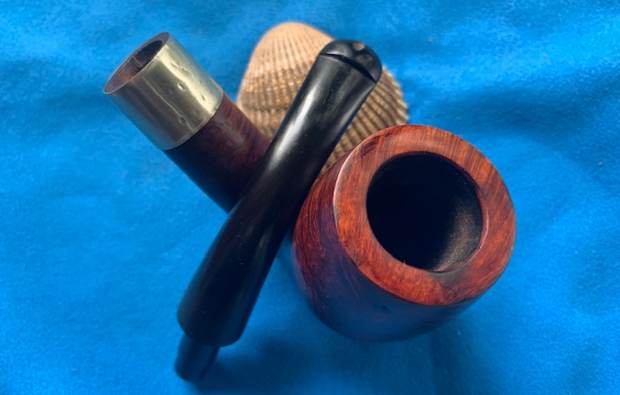
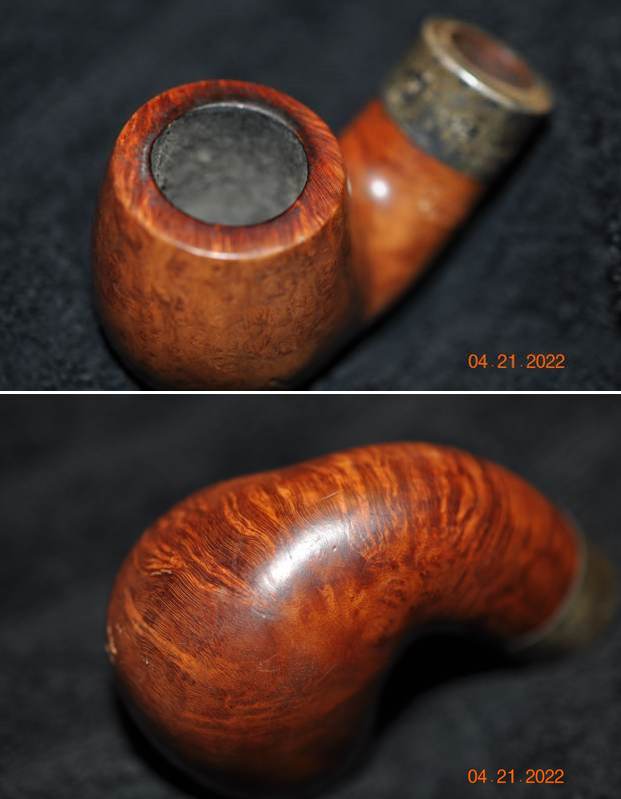
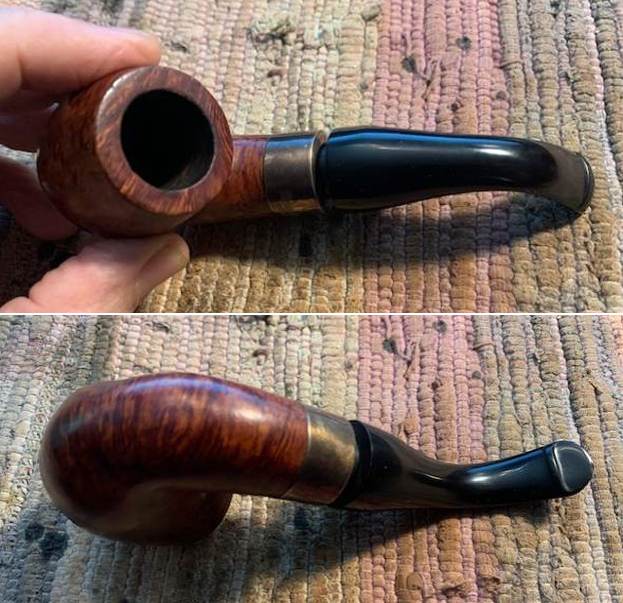
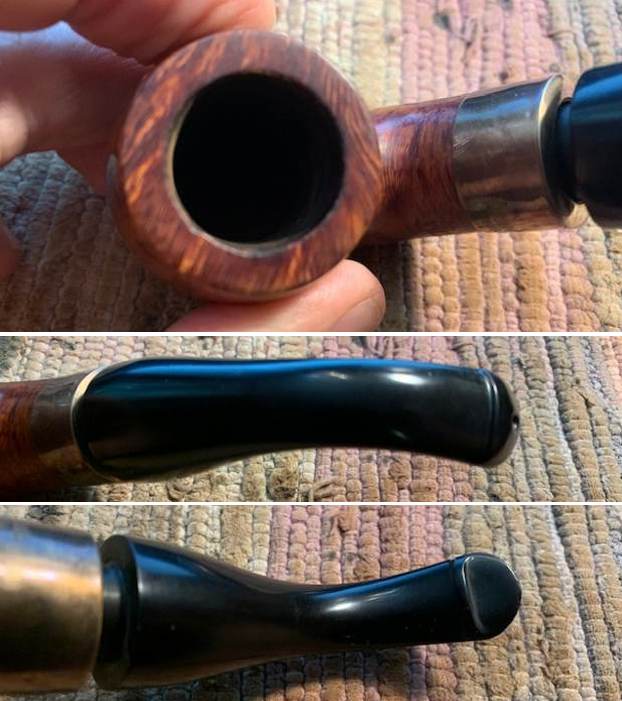
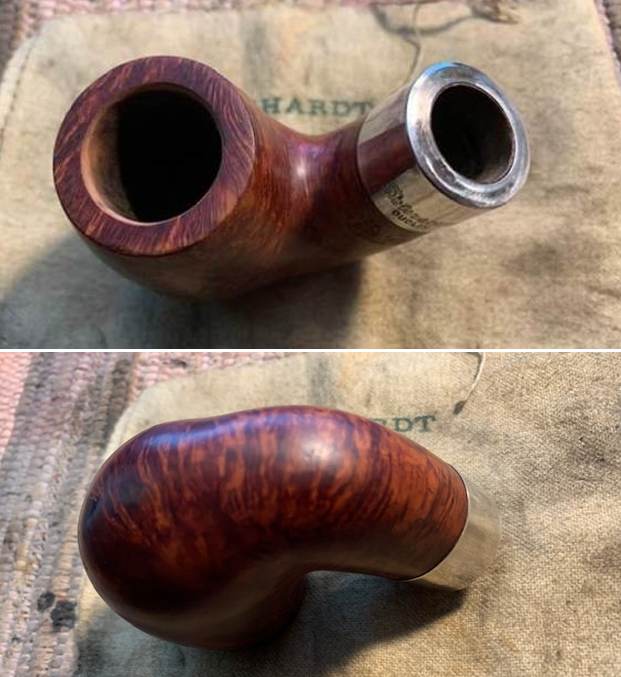
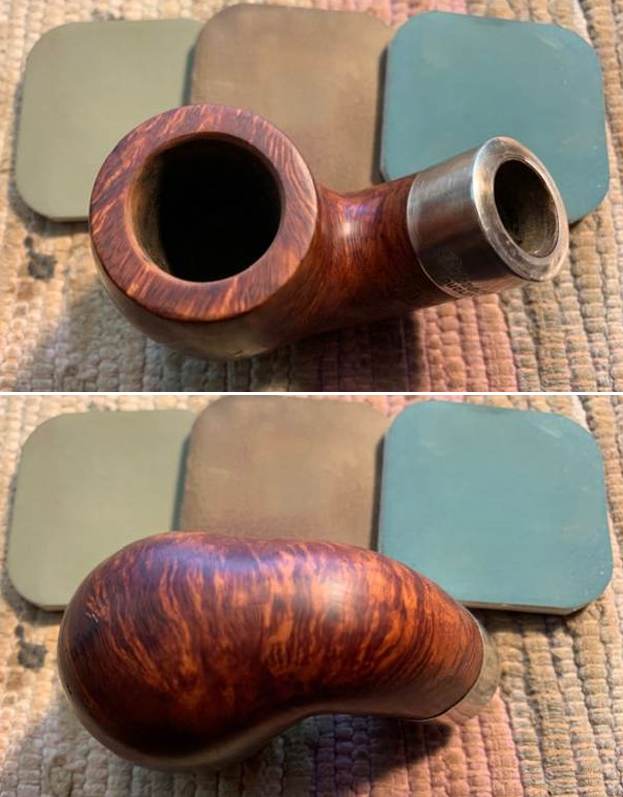
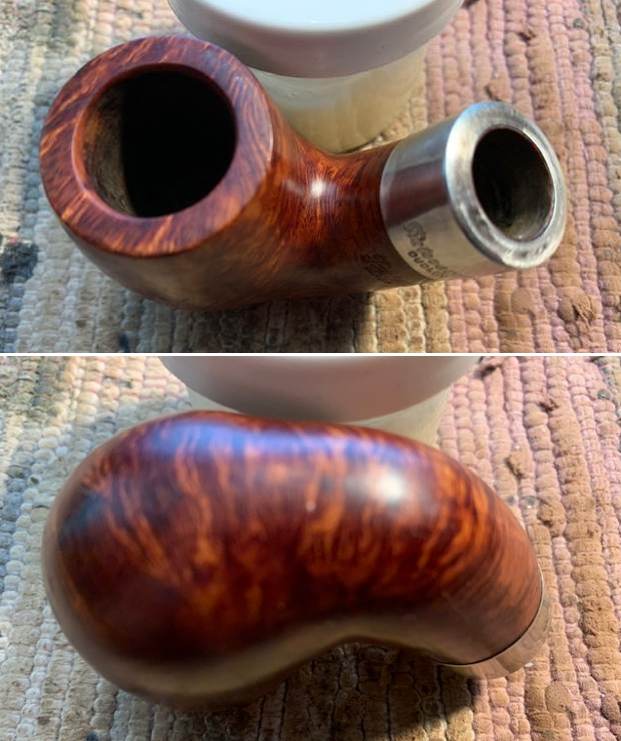
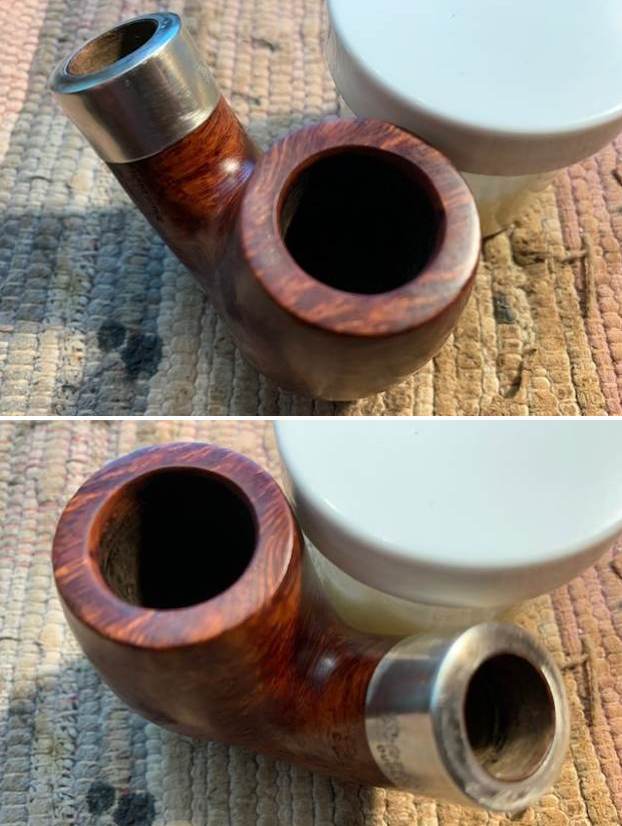
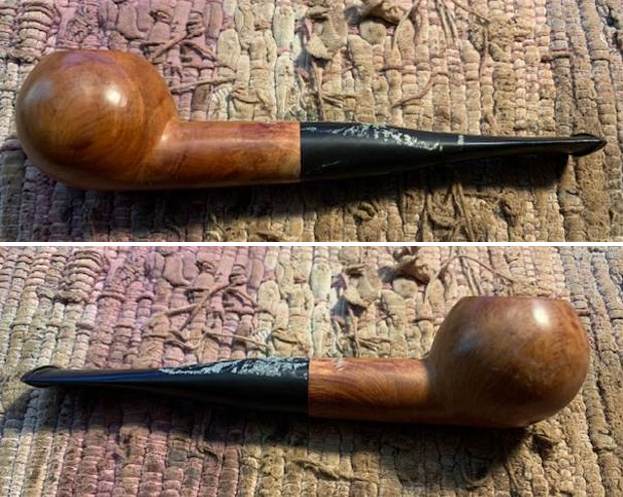
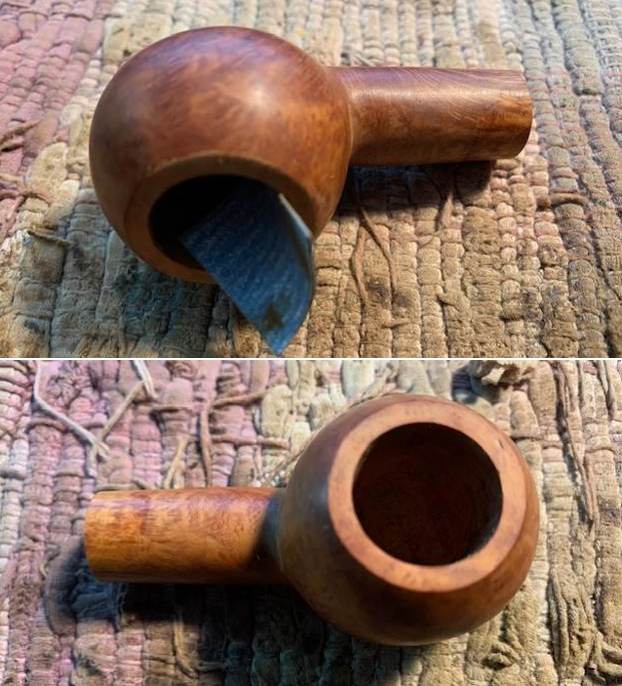
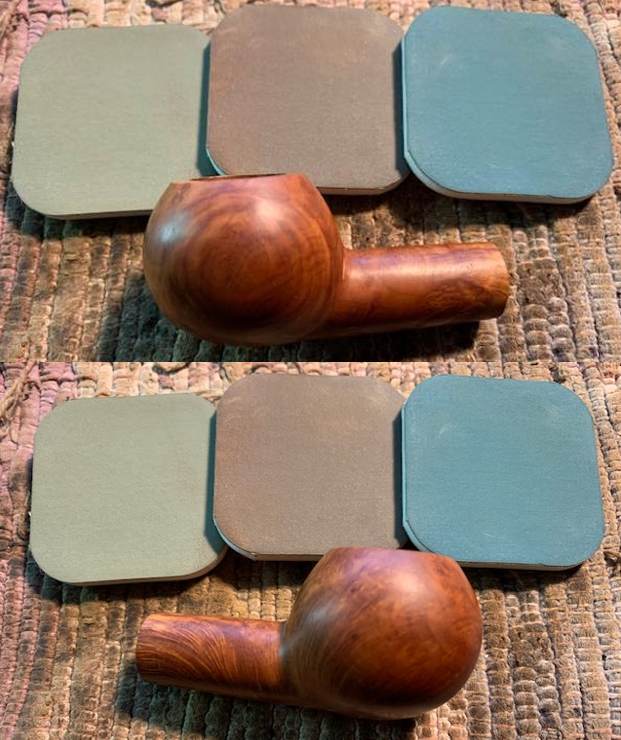
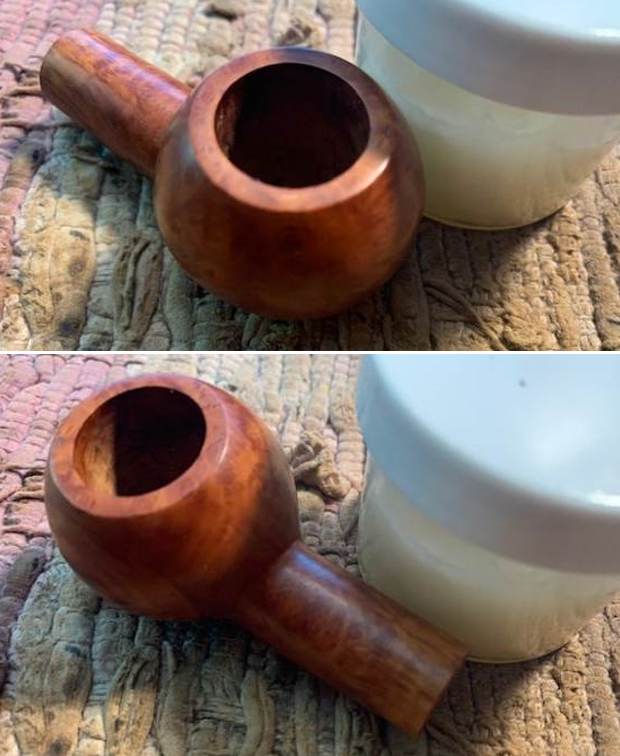
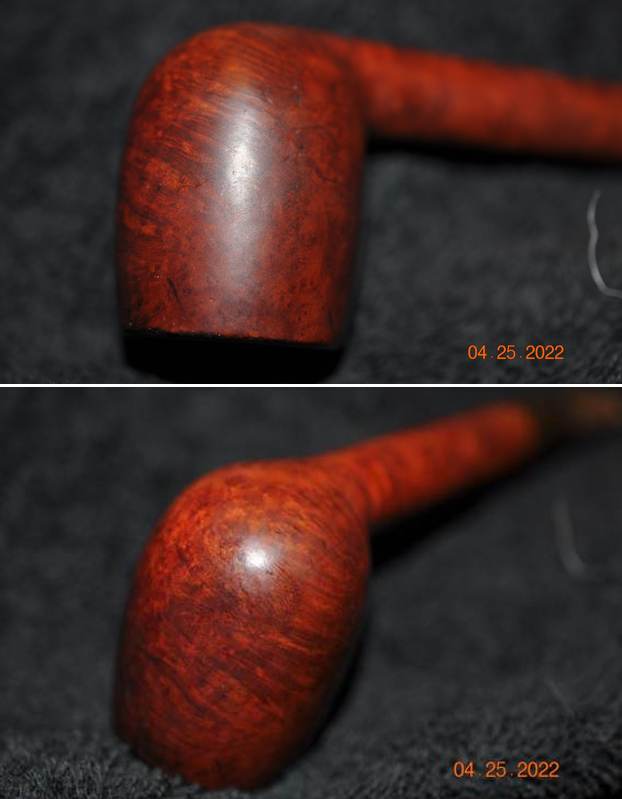
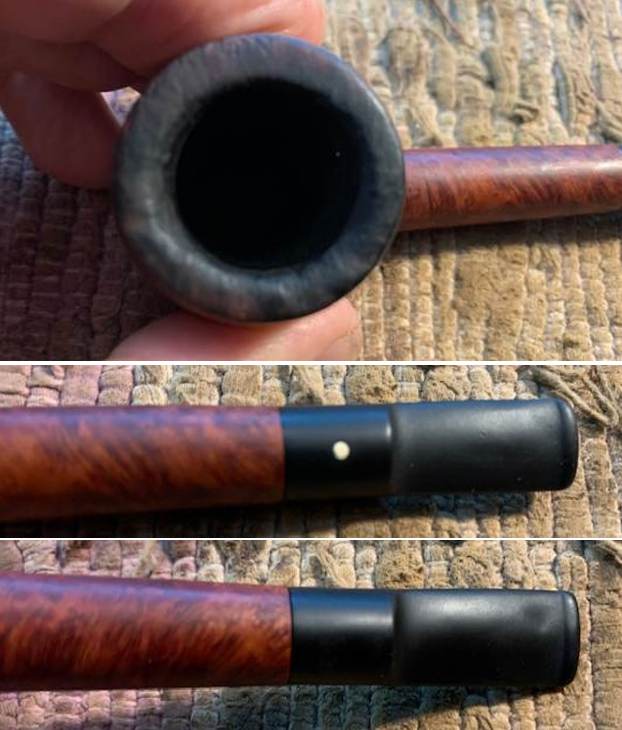
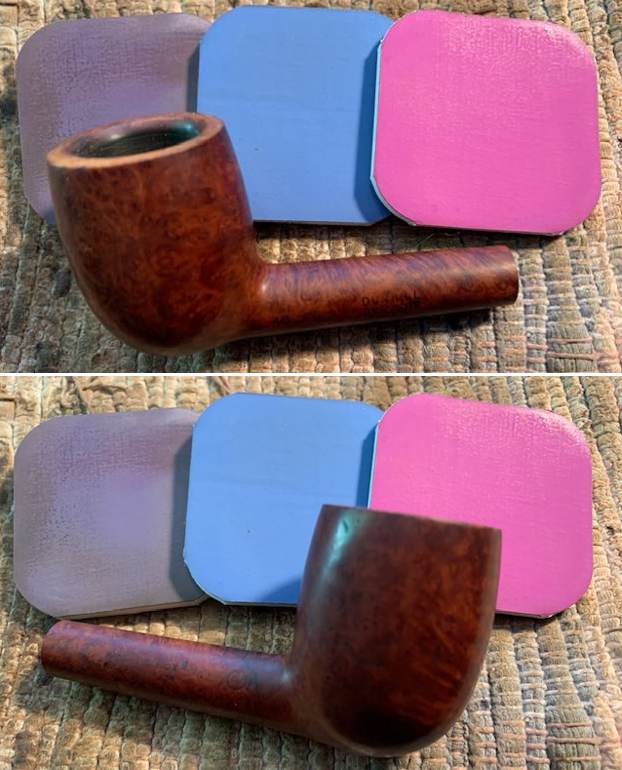
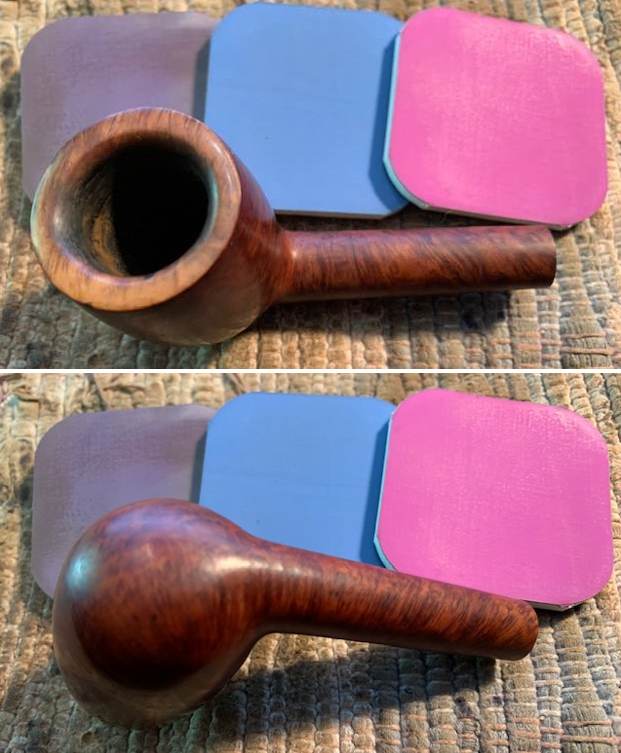
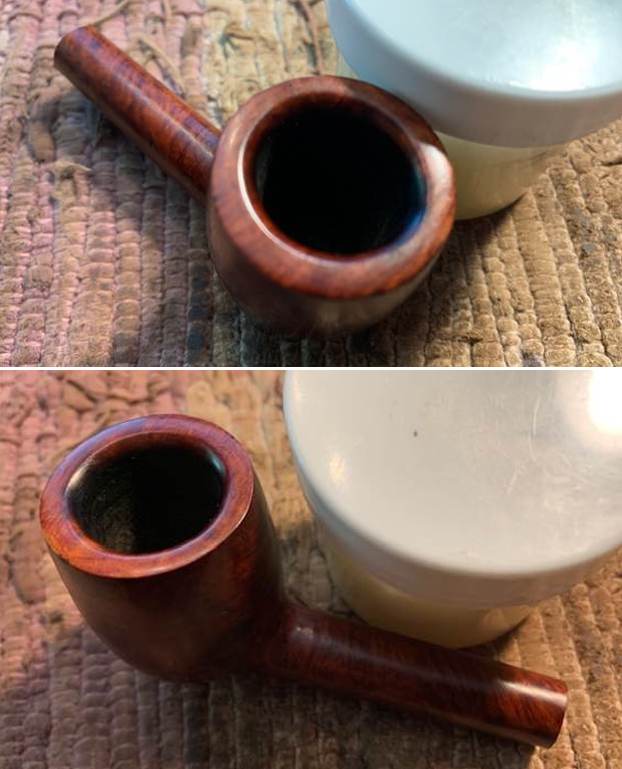
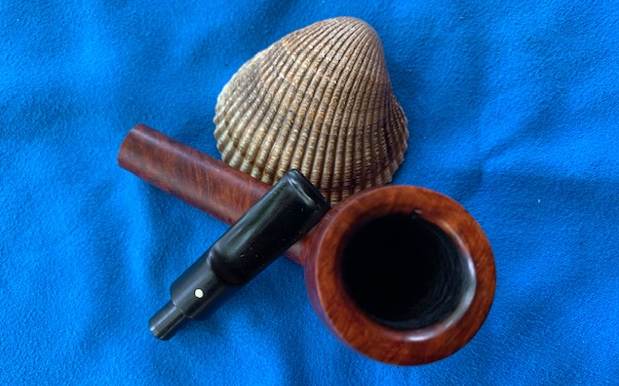
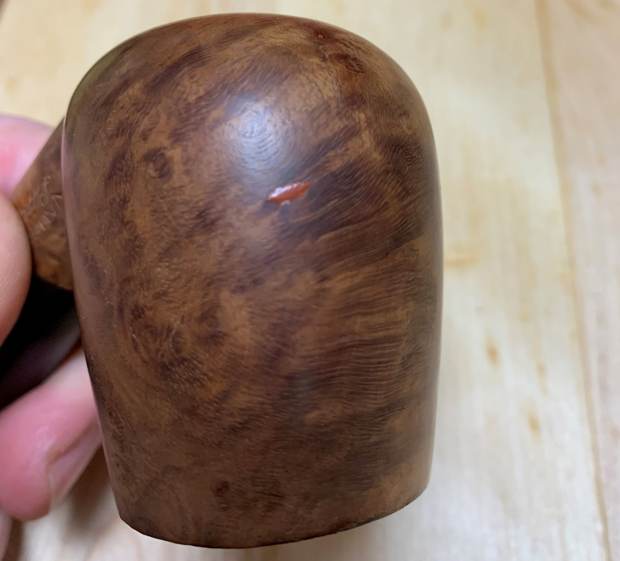
On to the pipe: given that it wasn’t very old, the pipe was in pretty good shape, but as usual, there were a couple of issues. The rim on the stummel was blackened and a bit burnt – that would need to be addressed. The insides were fairly dirty and would need some work to clean out. There were also some small fills in the wood, and they had ever-so-slightly expanded so that you could feel them when rubbing your finger over the surface. My customer didn’t want the fills dug out and replaced, so I would need to stain the fills instead. Mercifully, the beautiful horn was in good shape and wouldn’t need anything other than a polish. 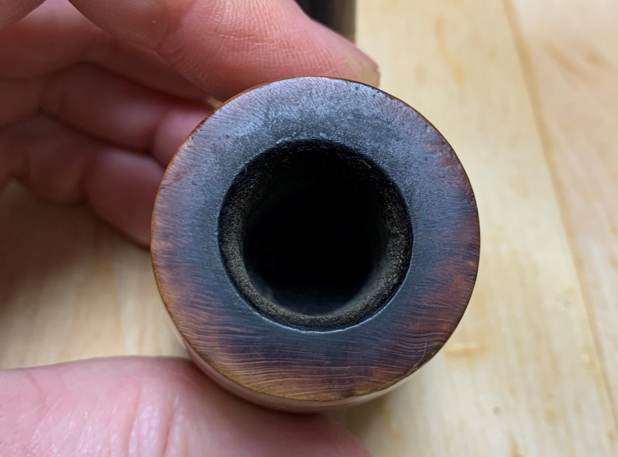
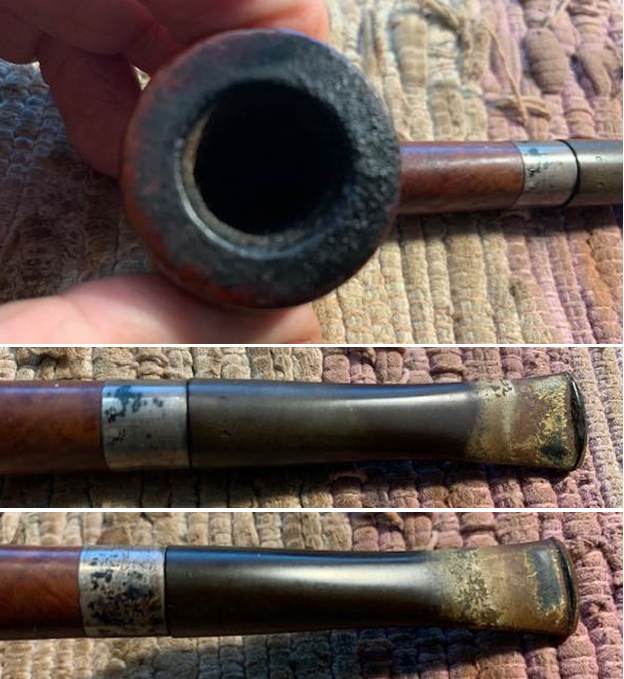
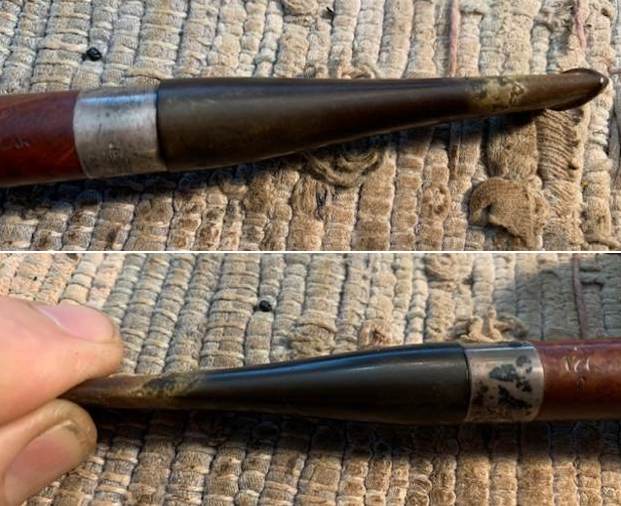
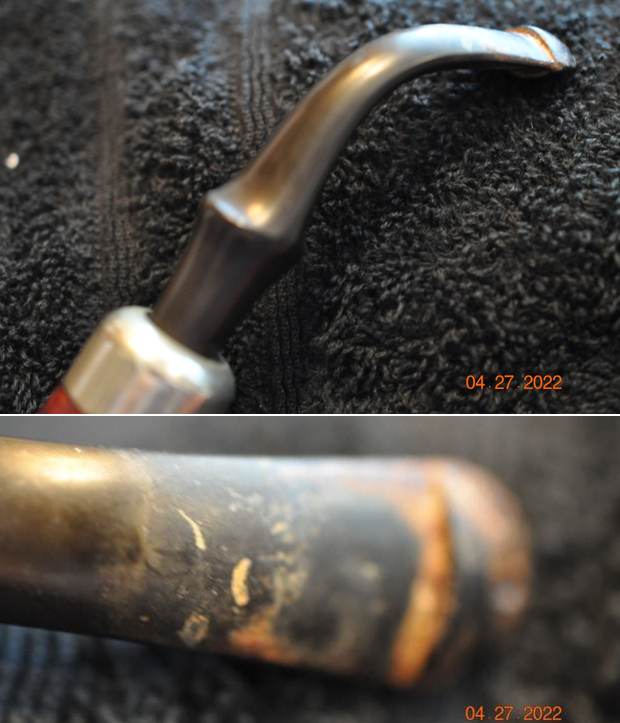
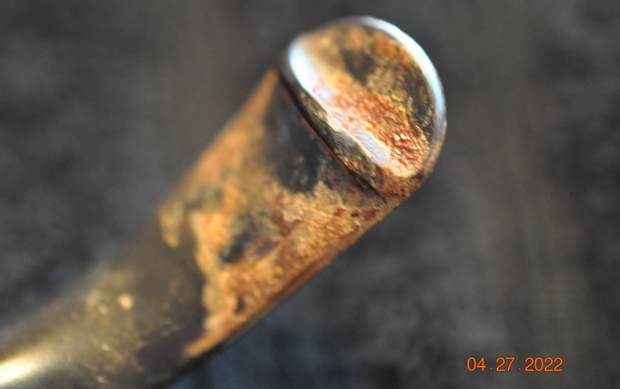
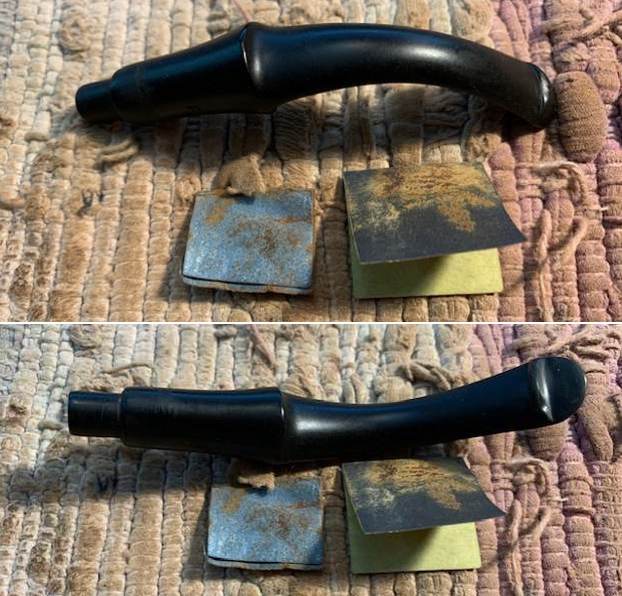
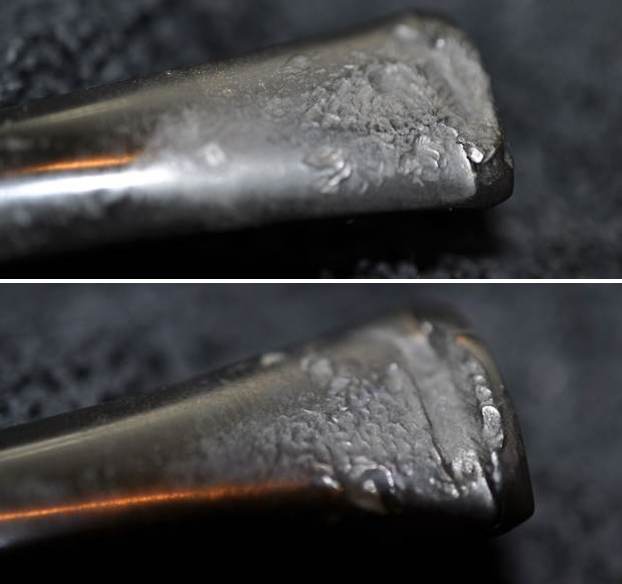
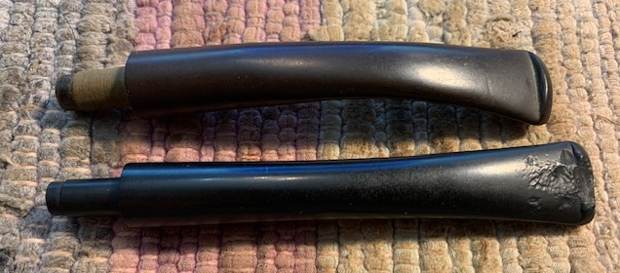
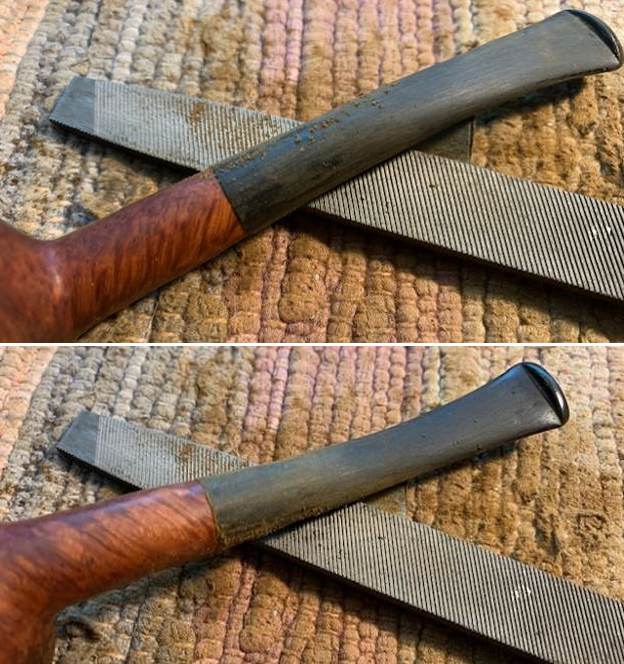
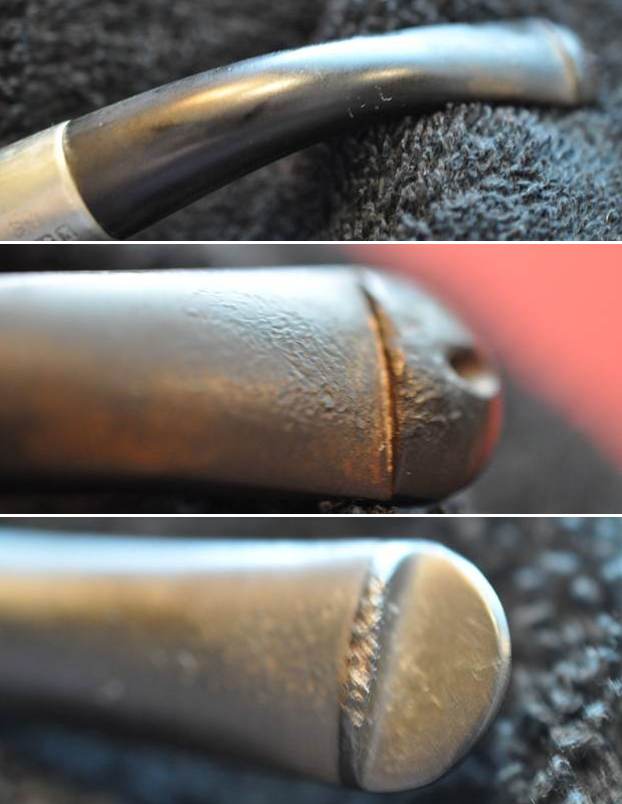
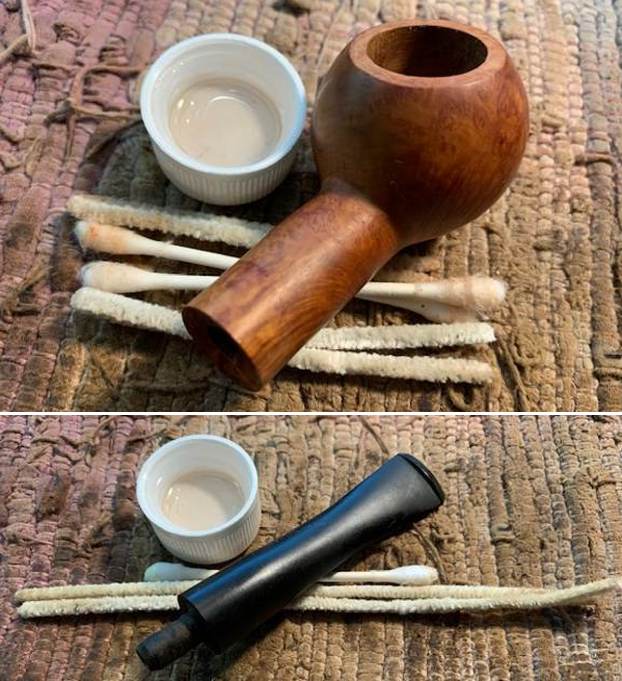
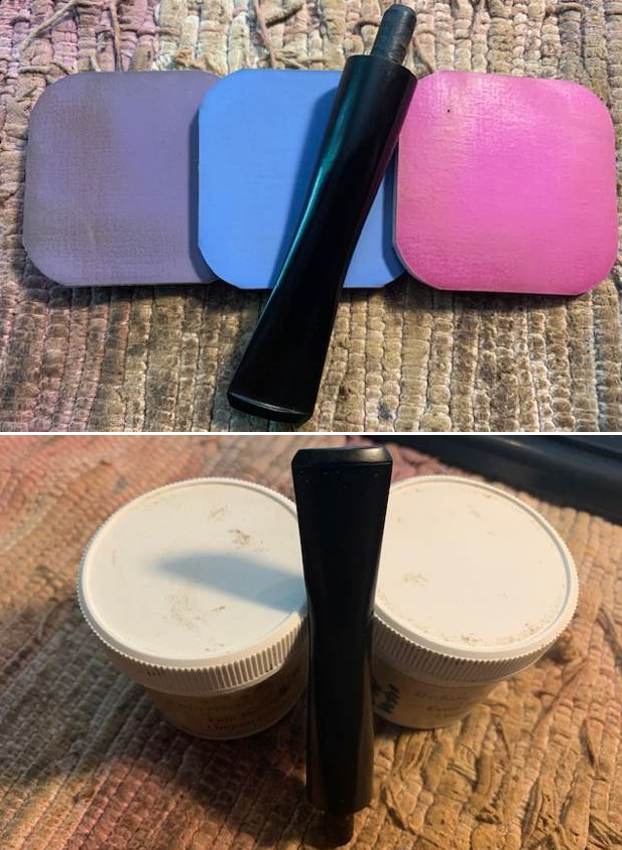
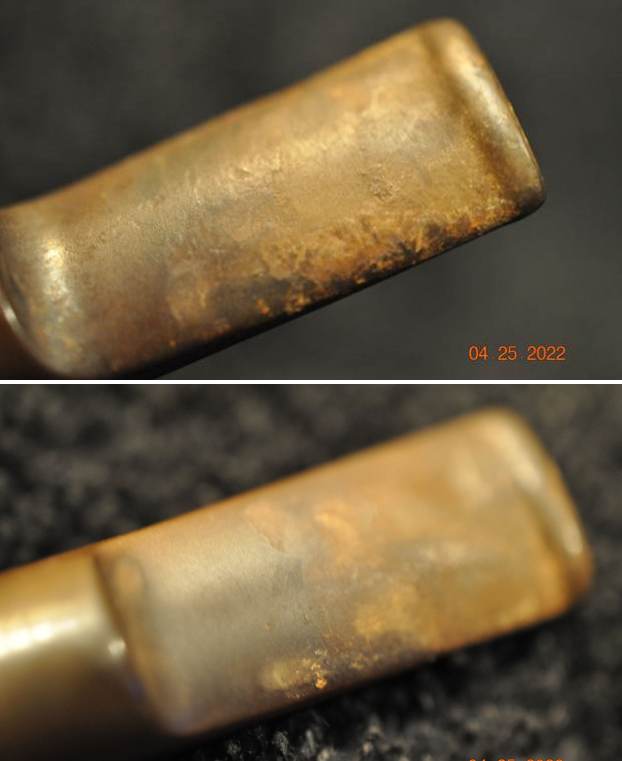
 The stem needed some work. It was definitely dirty inside and the cavity that holds the filter would need a thorough cleaning. The stem also had some calcification and tooth marks/dents that would need addressing. In addition, the button would need to be reshaped.
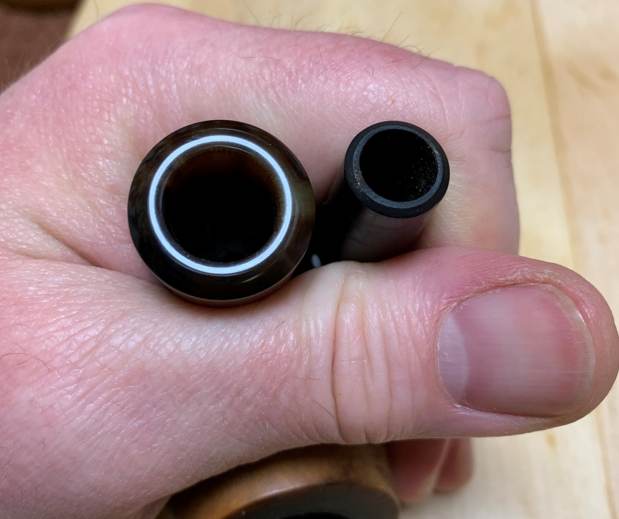
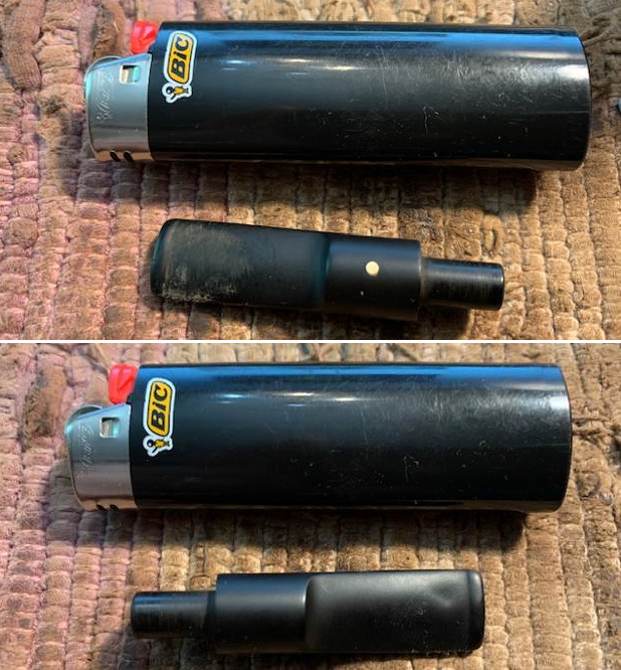
 The stem was first on my list. I wiped down the outside of the stem with Murphy’s Oil Soap on some cotton pads. I also took a BIC lighter and ‘painted’ the stem with its flame in order to lift the bite marks and dents. Unfortunately, this didn’t really work, but I have ways of sorting this problem out.
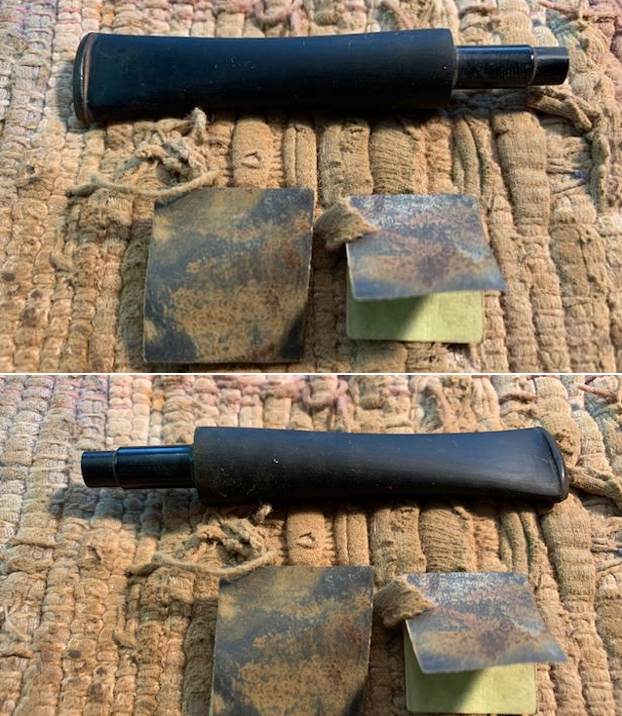
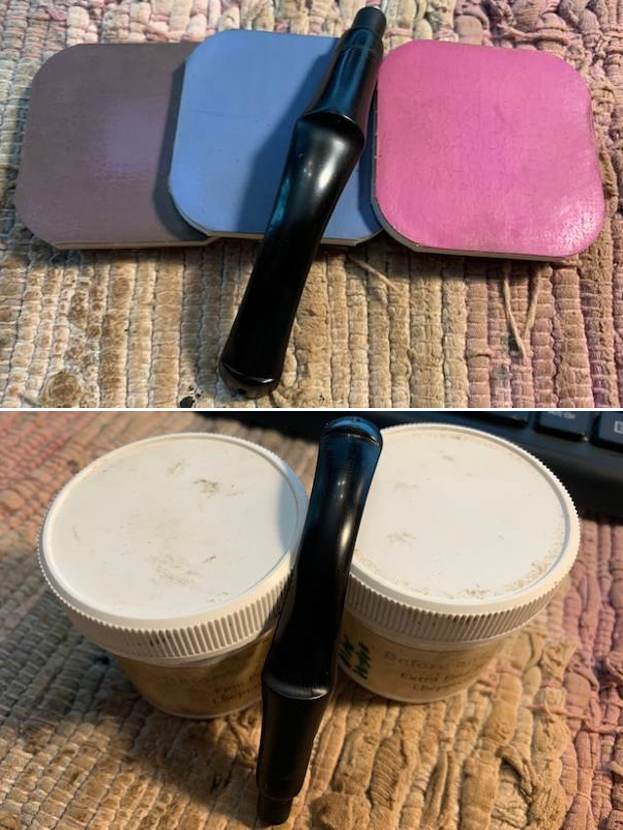
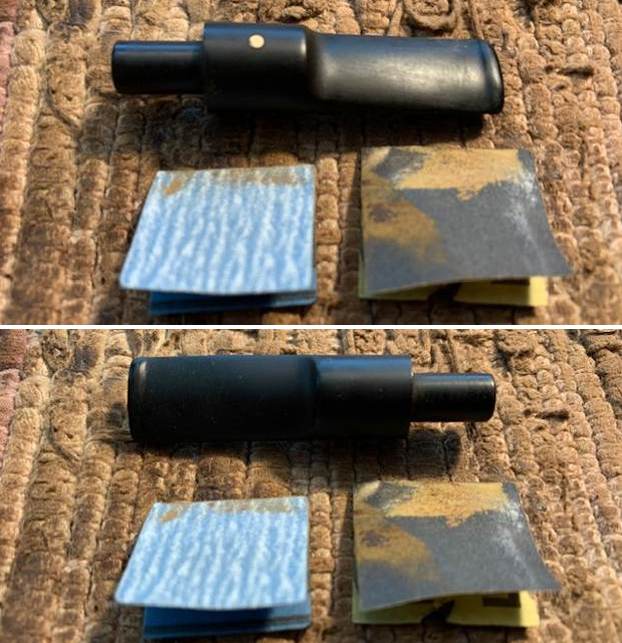
Then, I cleaned out the inside with pipe cleaners and isopropyl alcohol. It was pretty dirty and required quite a few pipe cleaners. Once this process was done, the stem went for an overnight soak in the Pipe Stem Oxidation Remover.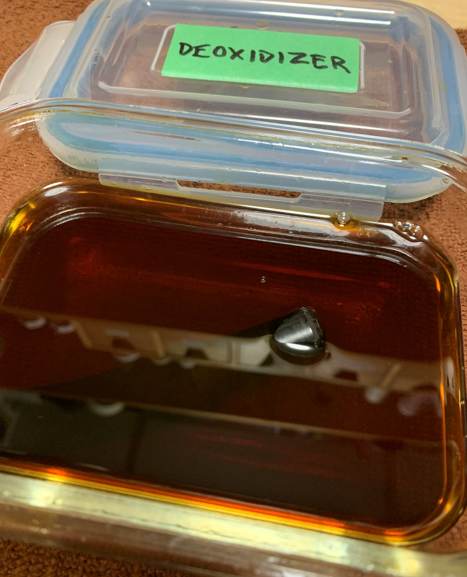 The following day, I cleaned all of the de-oxidizing mess off with alcohol, pipe cleaners, et cetera. The oxidation had migrated to the surface and would be fairly straightforward to remove. I scrubbed with SoftScrub on some cotton pads to remove the leftover oxidation on the stem.
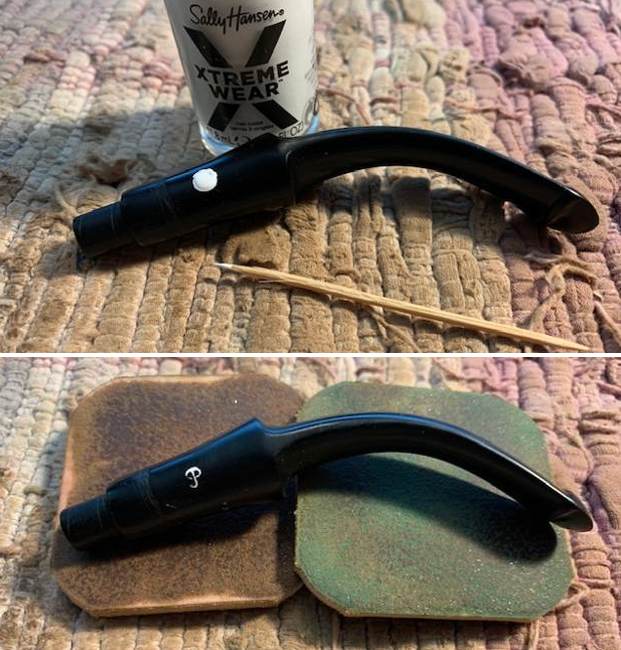
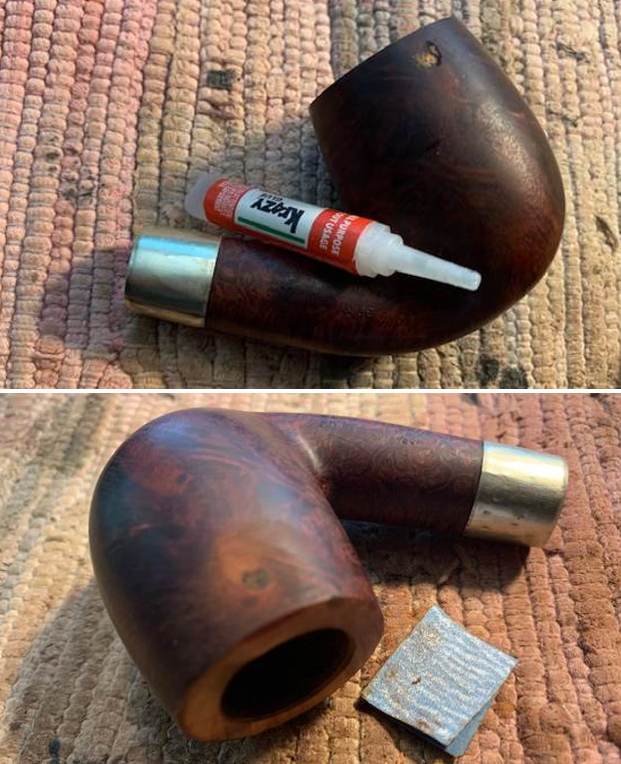
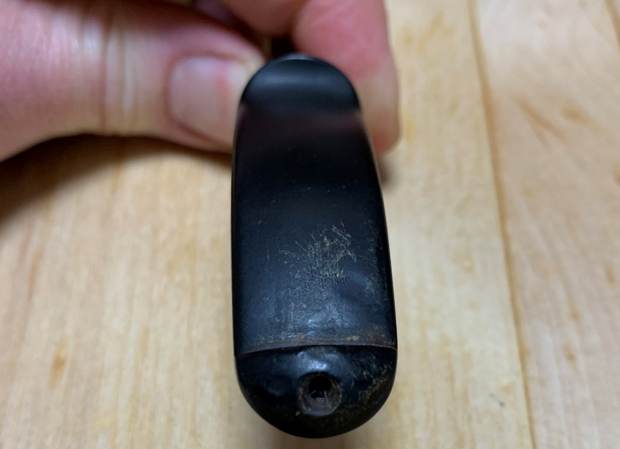
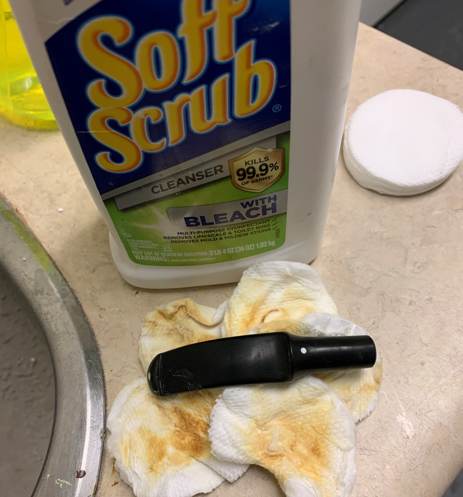 The bite marks on and around the button had to be dealt with, so I whipped out my black cyanoacrylate adhesive to fill those in and let them fully cure.
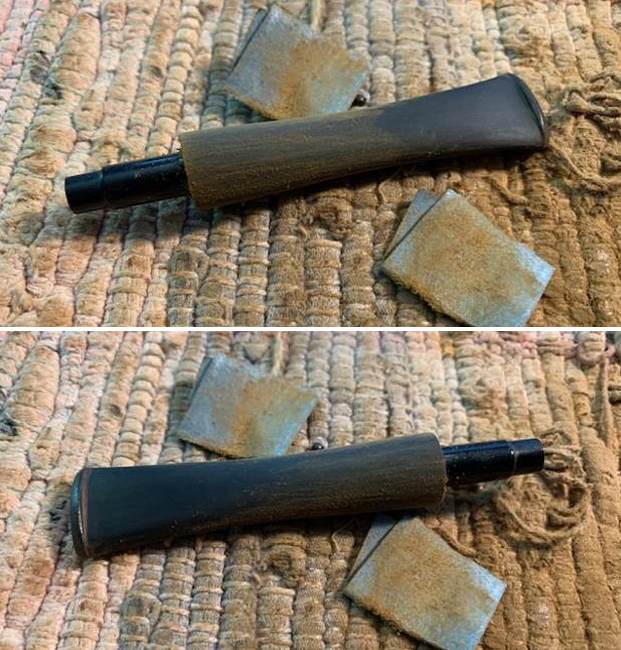
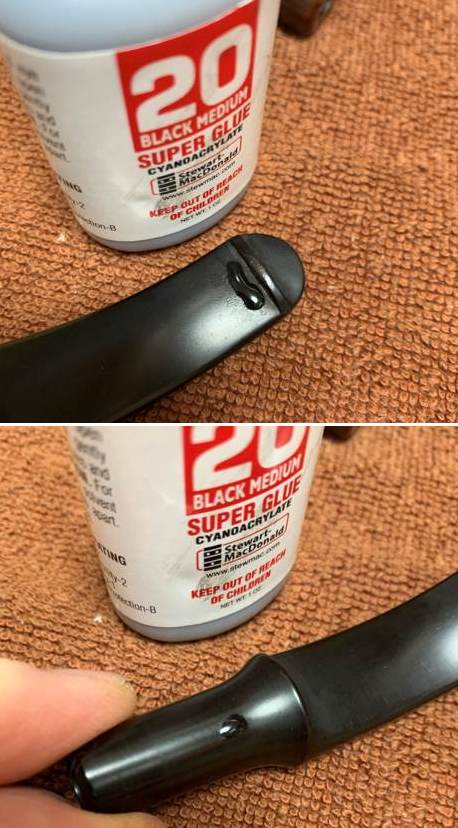
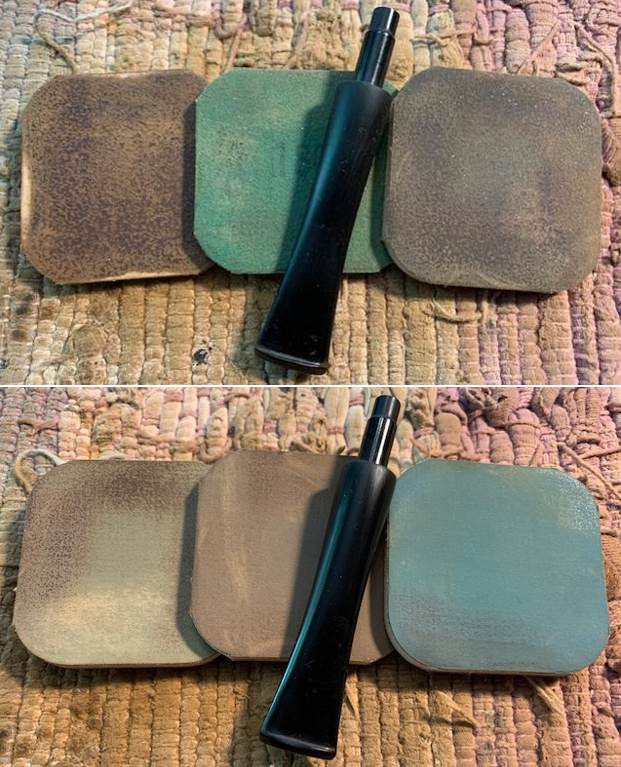
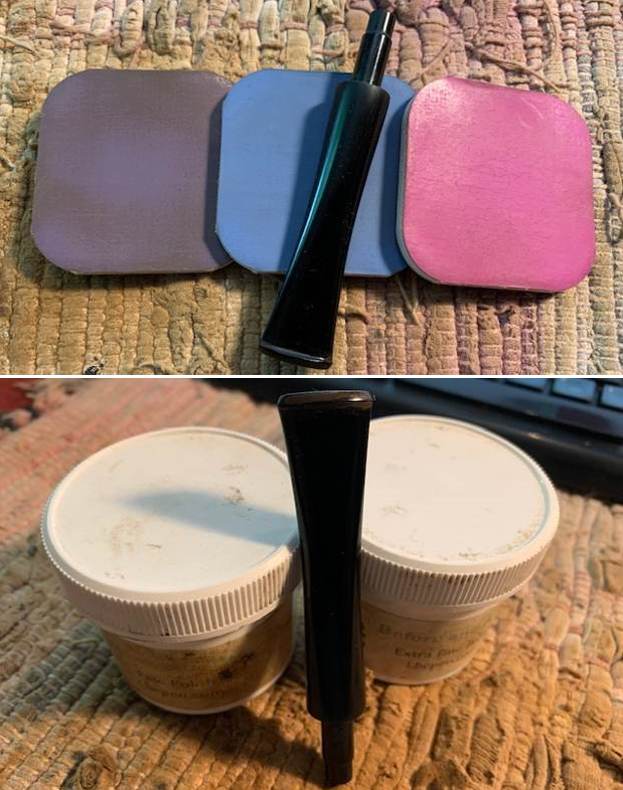
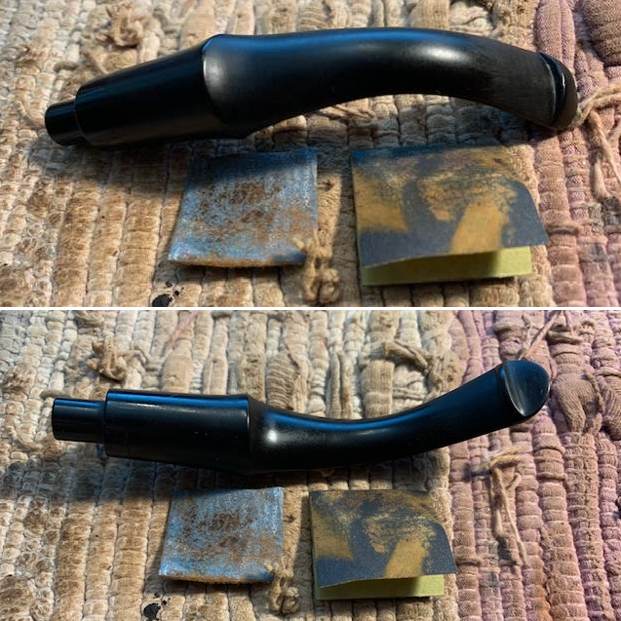
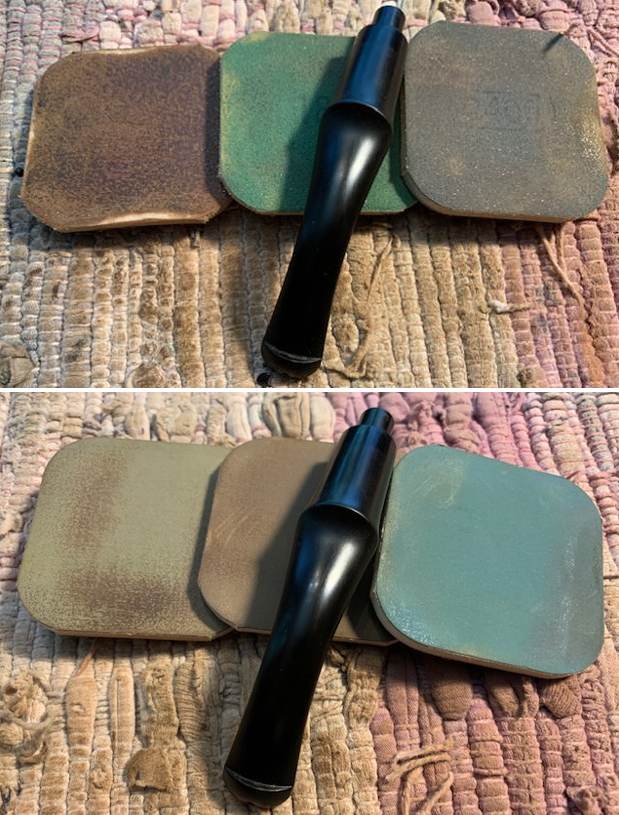
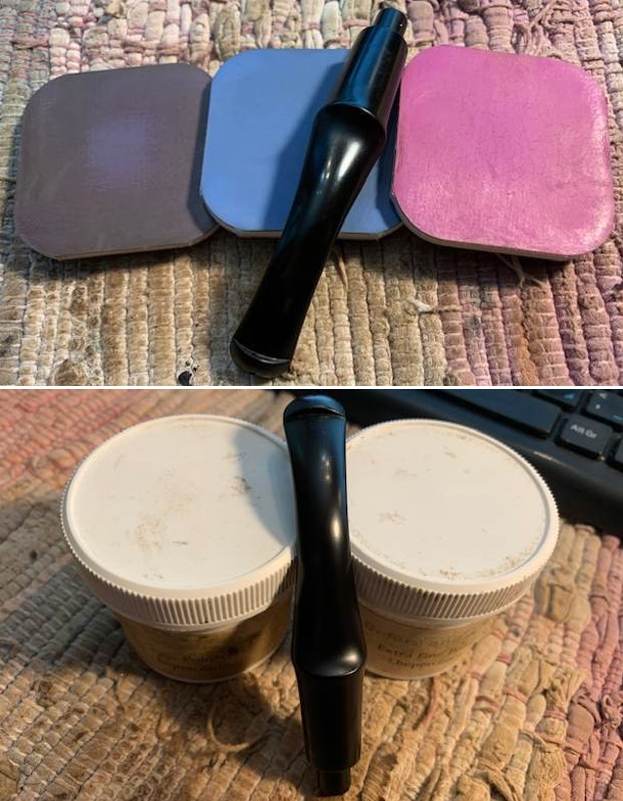
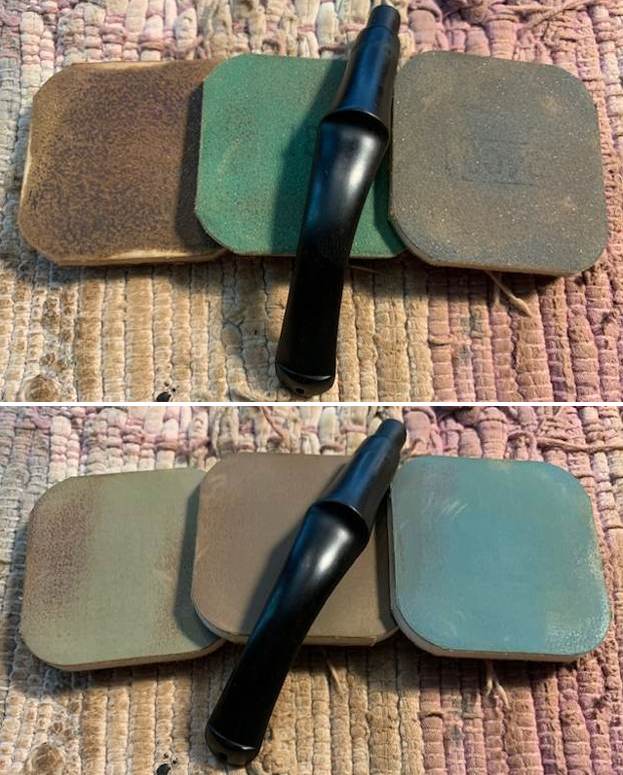
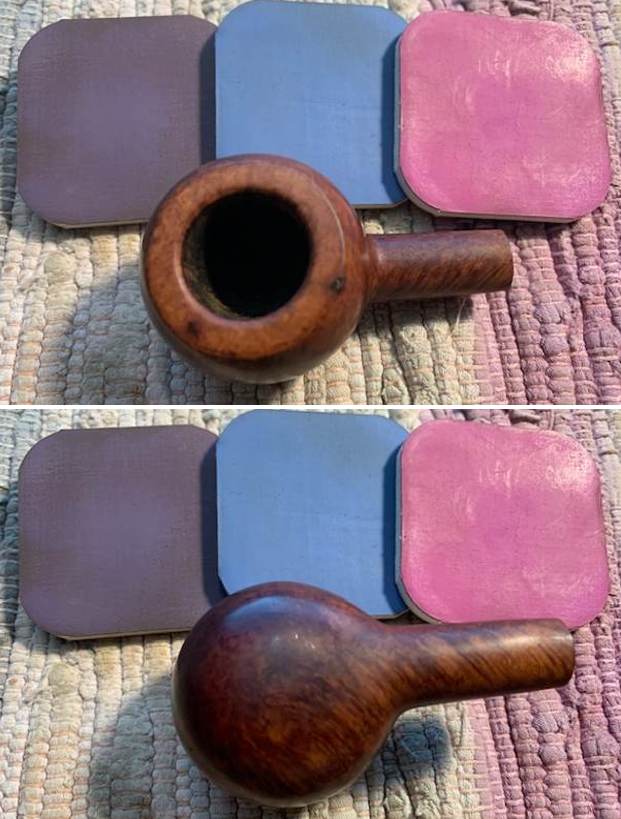
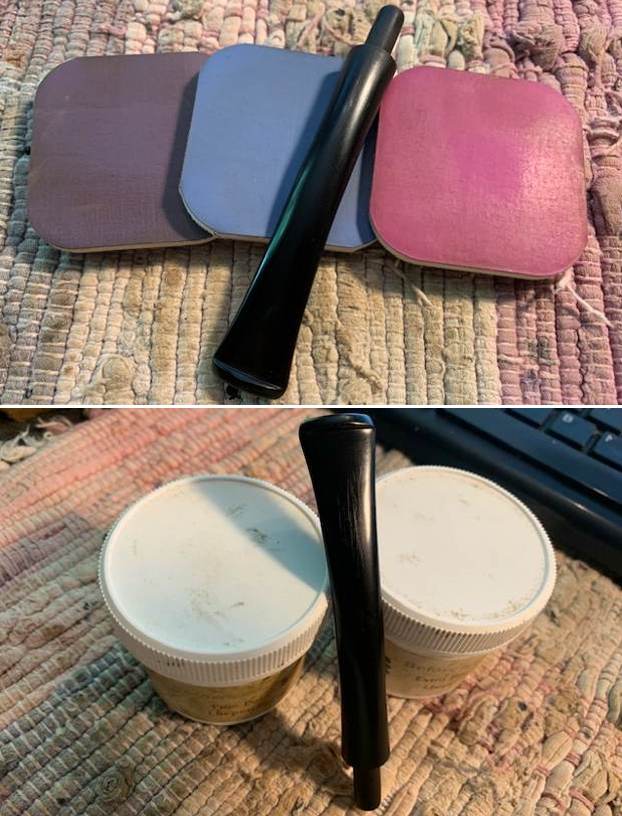
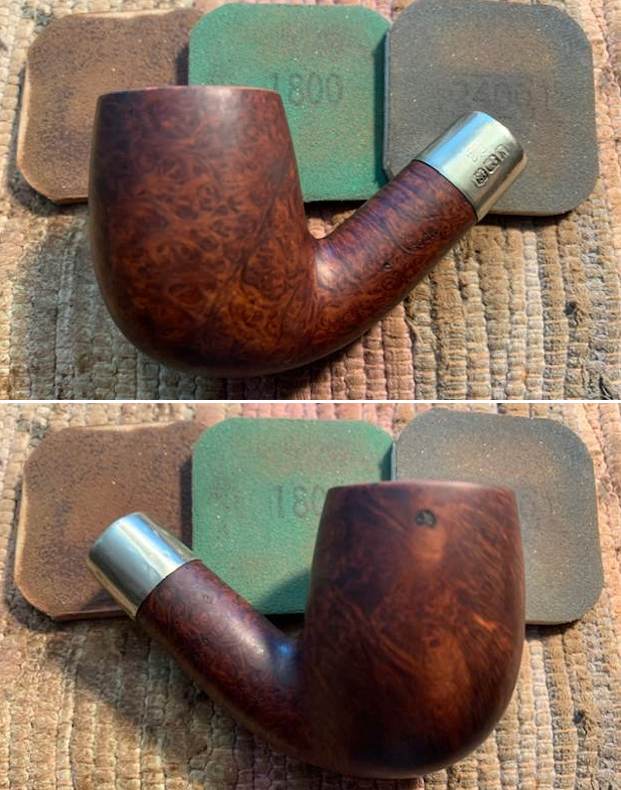
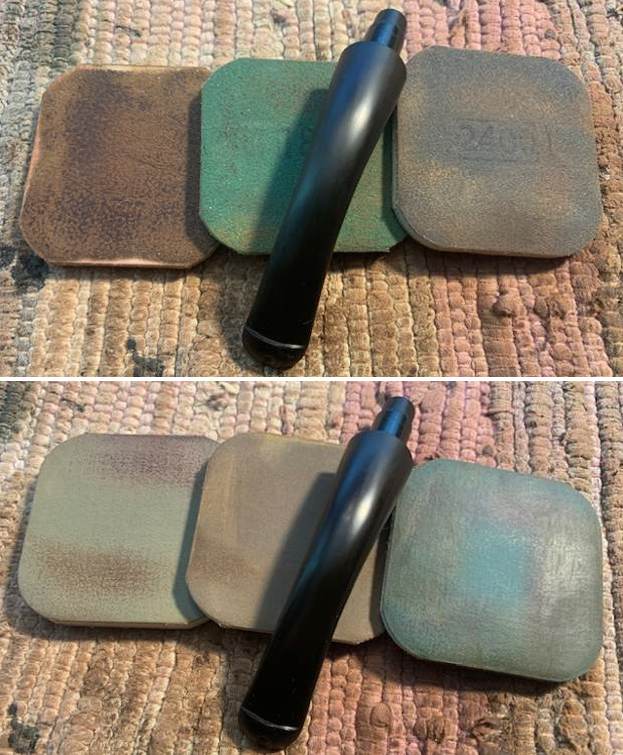
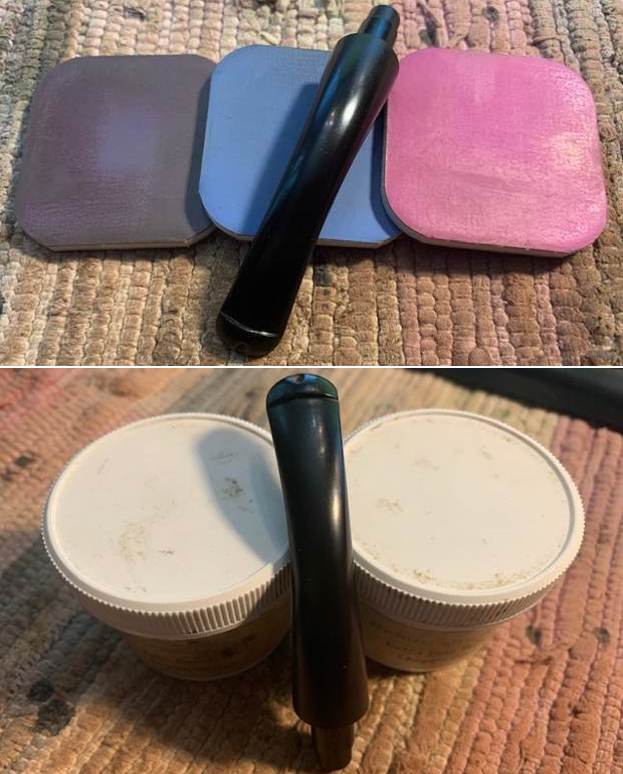
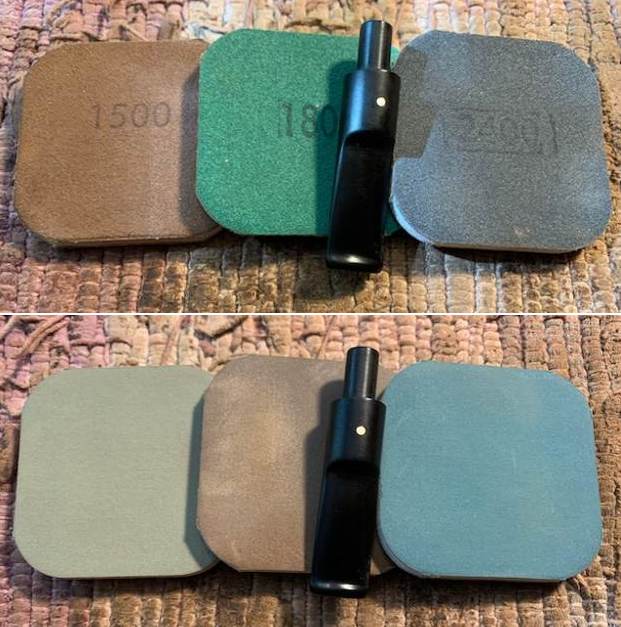
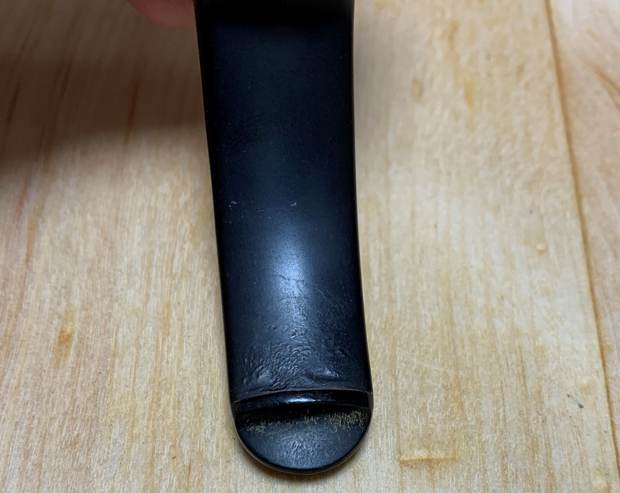
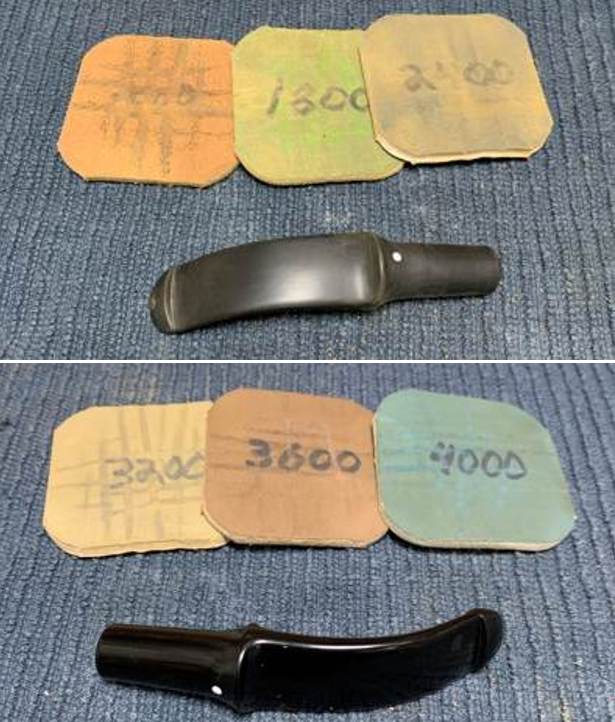
I then sanded the adhesive down with 220-, 400-, and 600-grit sandpapers to meld seamlessly into the stem. Next, I used all nine Micromesh pads (1,500 through 12,000 grit) to bring out the lovely black lustre on the stem. I also used Obsidian Pipe Stem Oil in between each pad scrubbing.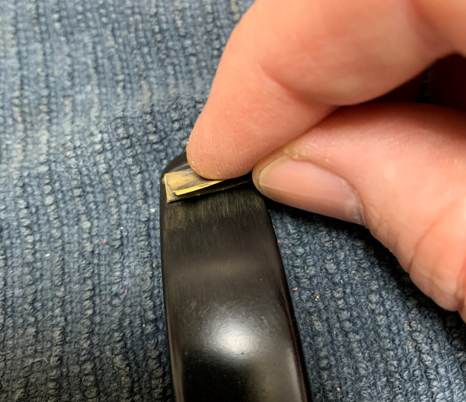
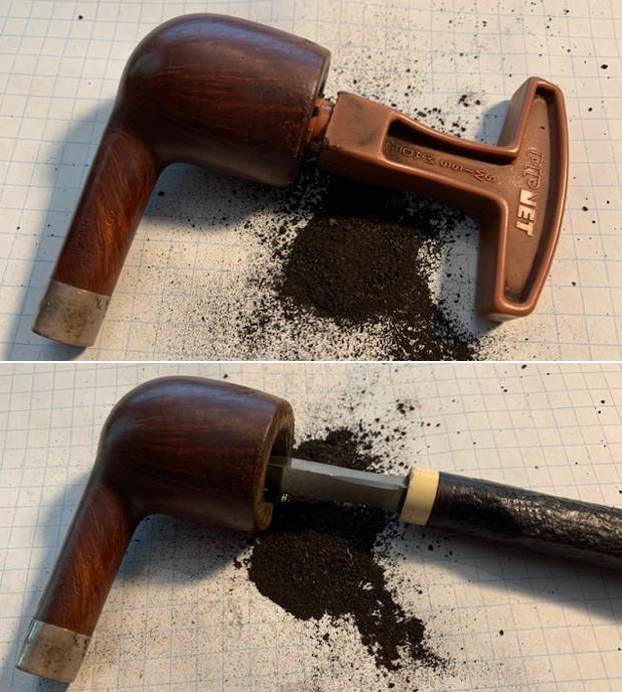
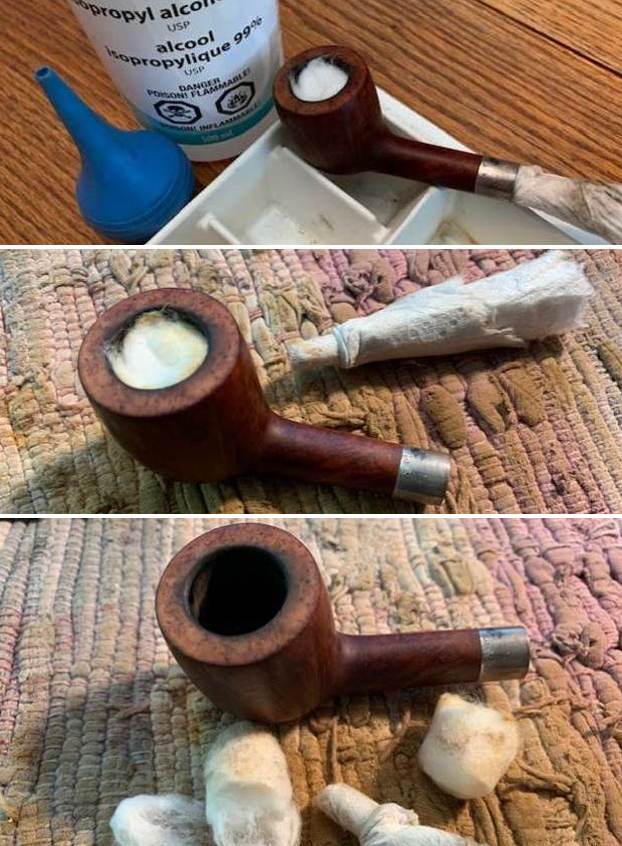
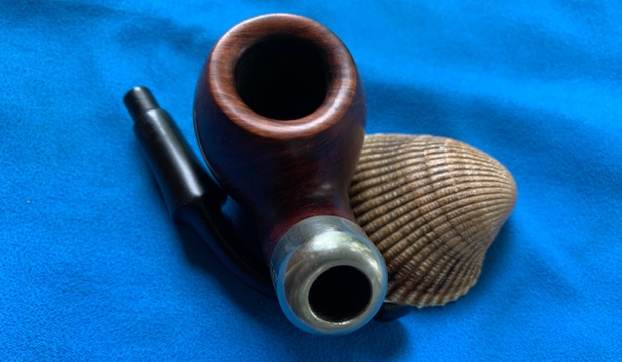
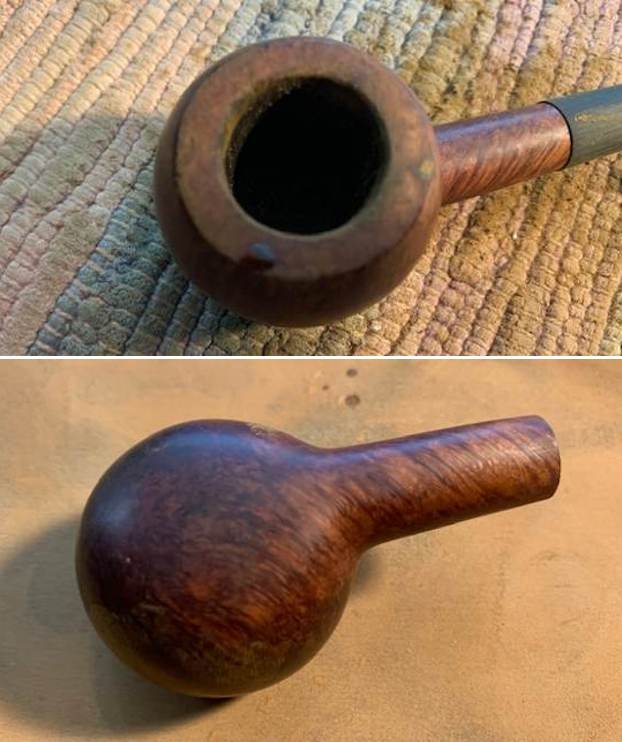
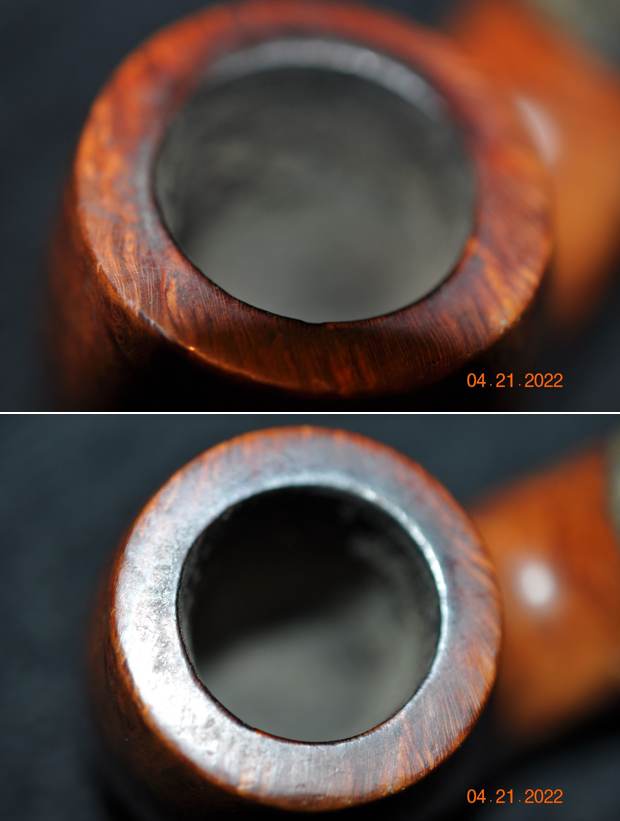
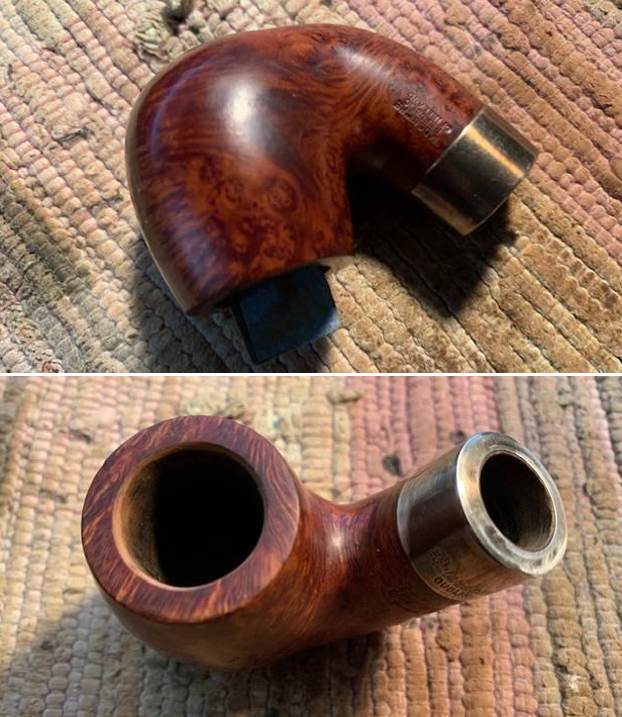
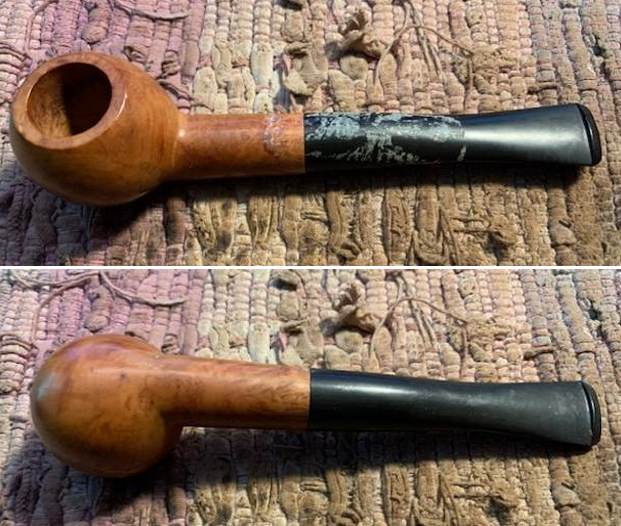
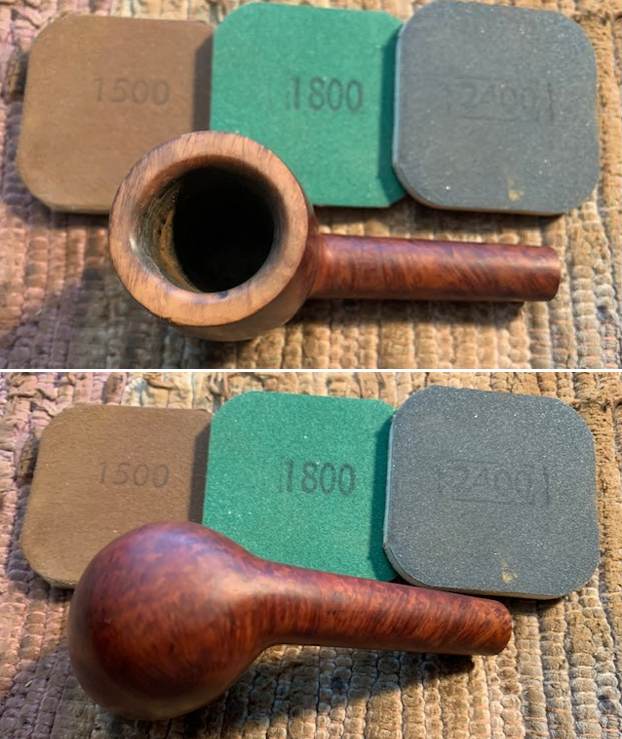
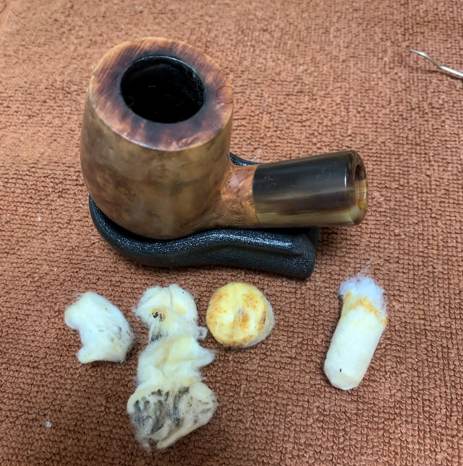
 On to the stummel, and the usual cleaning procedures were in order. The bowl really needed reaming so I used the KleenReem to remove the built-up cake and followed that with 220-grit sandpaper on a dowel to eliminate as much as possible. I took the chamber down to bare briar, as I wanted to ensure there were no hidden flaws. Fortunately, there were none.
  I then proceeded to clean out the insides of the shank with Q-tips, pipe cleaners, and isopropyl alcohol. There was quite a bit of filth inside these stummels and it took a lot of cotton to get them clean. I followed that up by cleaning the insides with some dish soap and tube brushes.
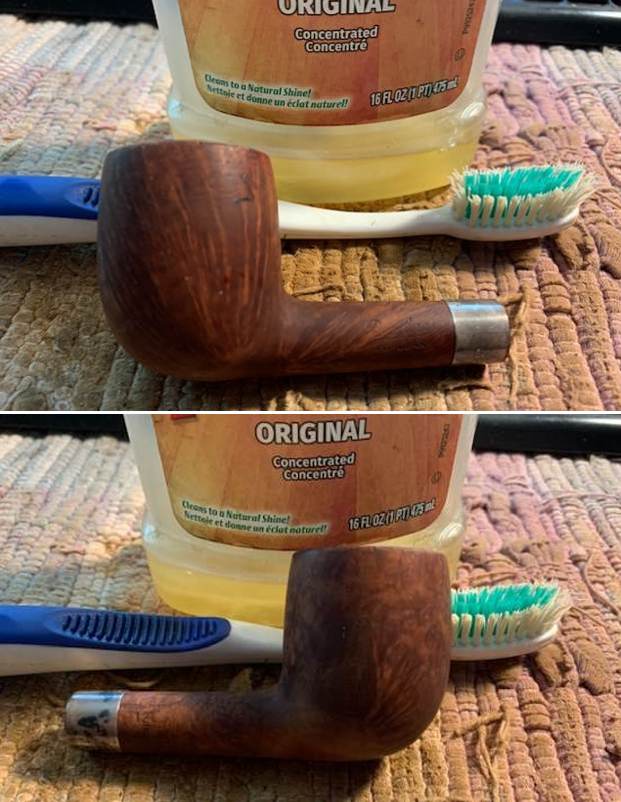
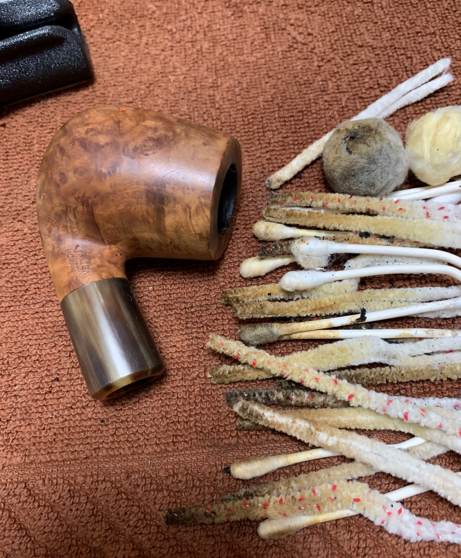 I used a toothbrush and some Murphy’s Oil Soap to scrub the outside of the stummel and then the lava on the rim of the pipe.
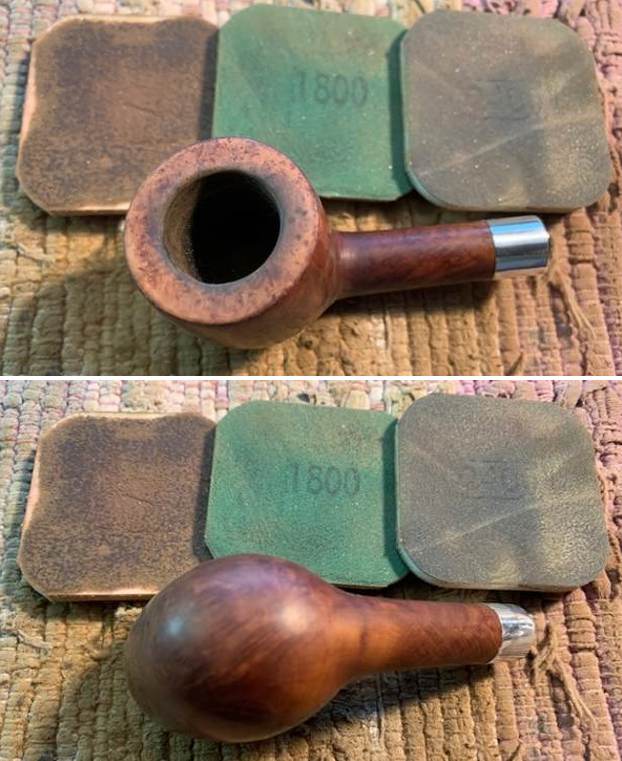
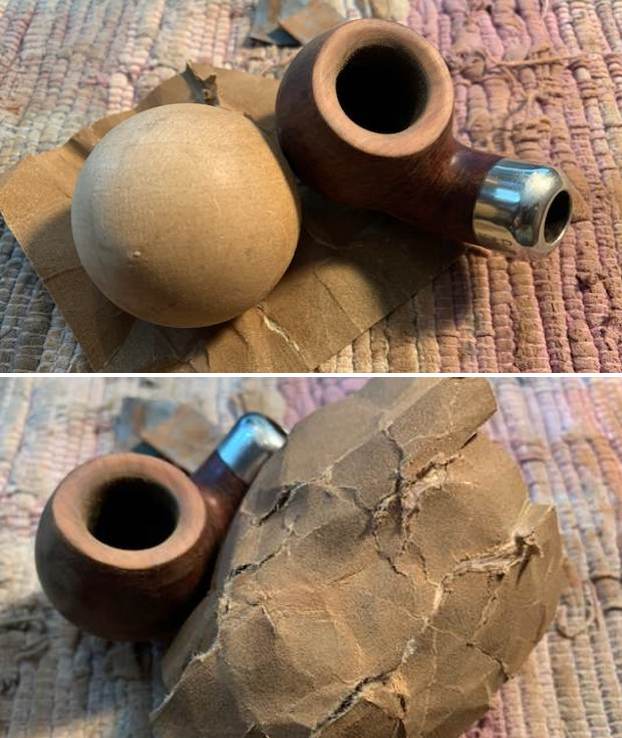
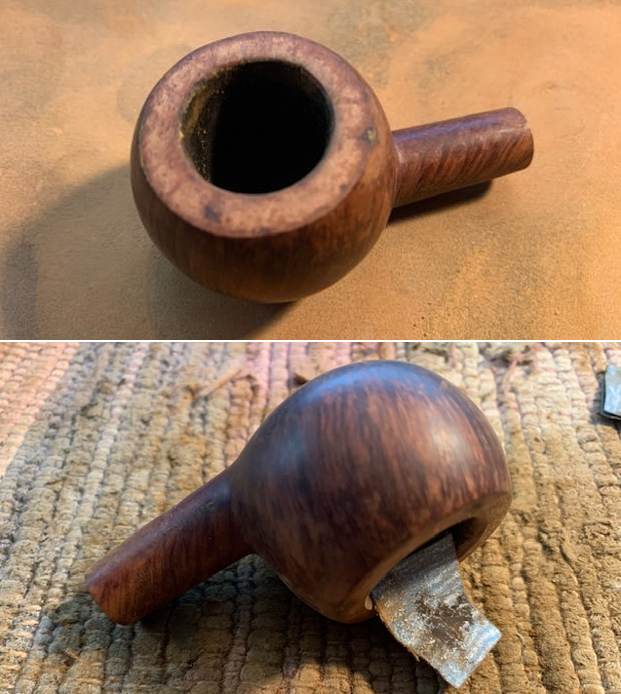
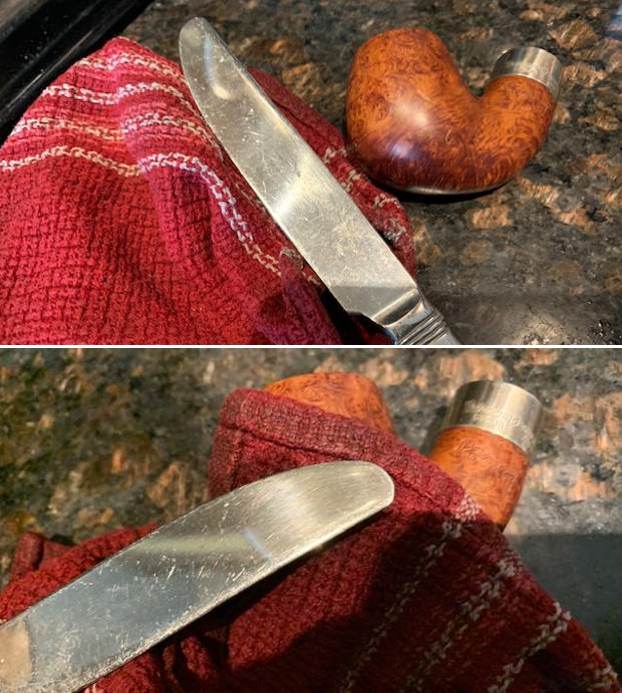
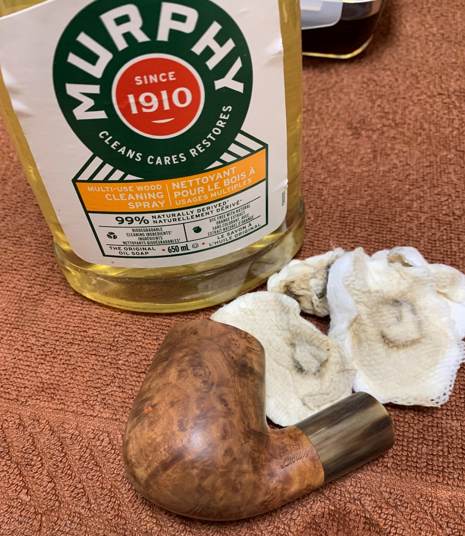 The burn marks remained, so in order to remove the remaining burns and nicks on the rim, I “topped” the pipe – that is to say, I gently and evenly sanded down the rim on a piece of 220-grit sandpaper. This effectively removed the damage, without altering the look of the pipe.
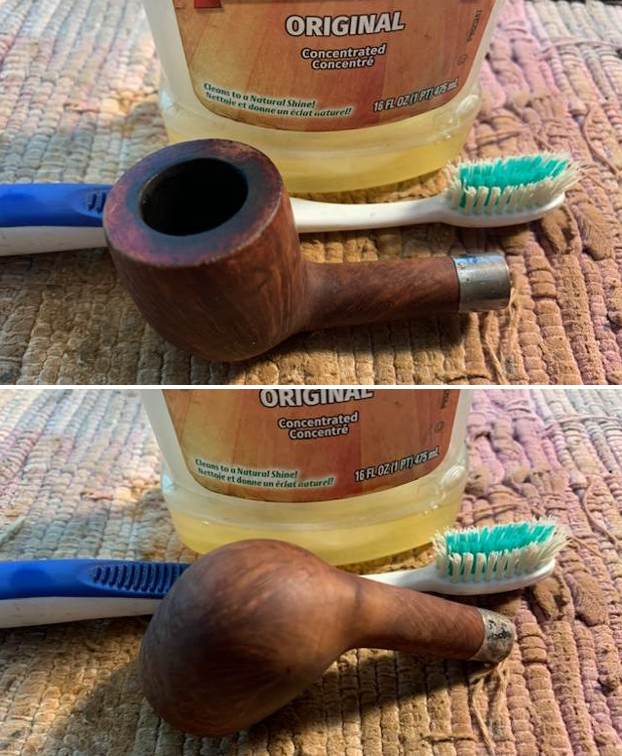
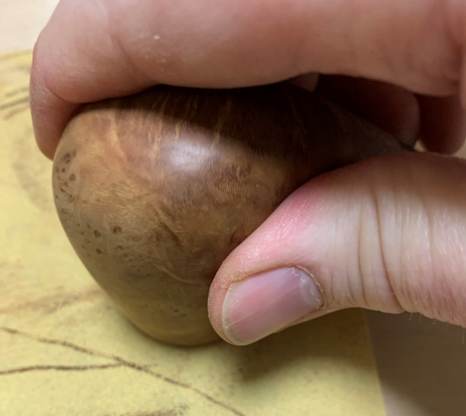 A de-ghosting session also seemed in order, so I thrust cotton balls into the bowl and the shank and saturated them with 99% isopropyl alcohol. I let the stummel sit overnight. This caused the oils, tars and smells to leach out into the cotton. The bowl was nice and clean after this.
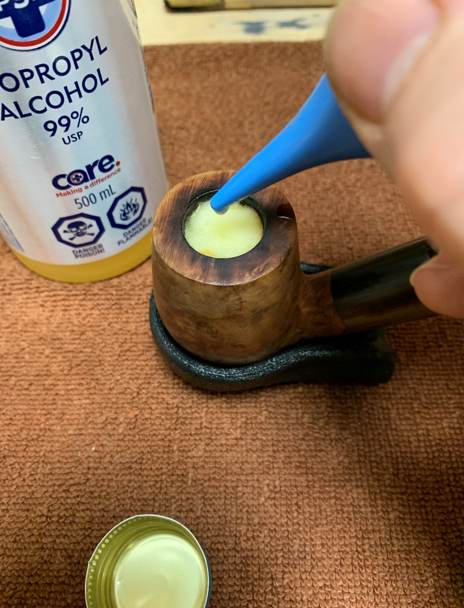
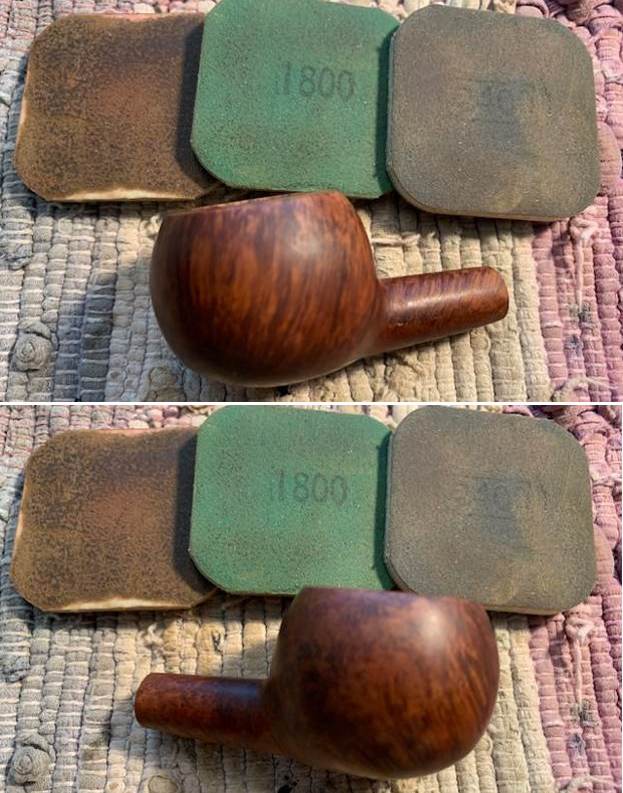
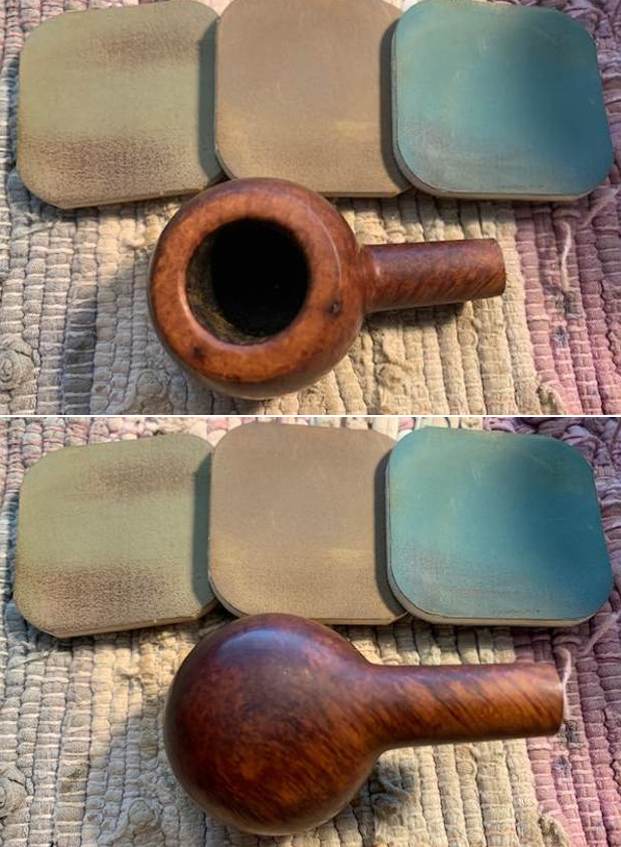
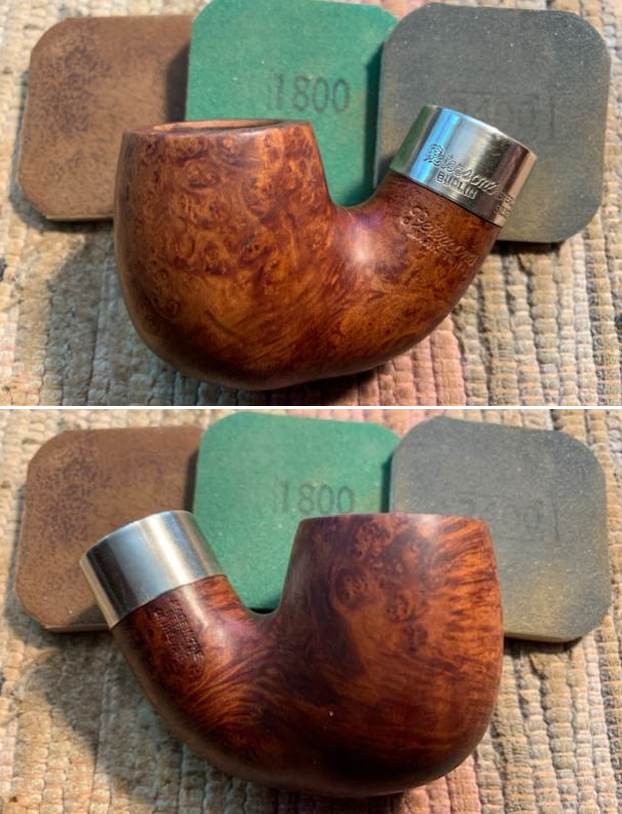
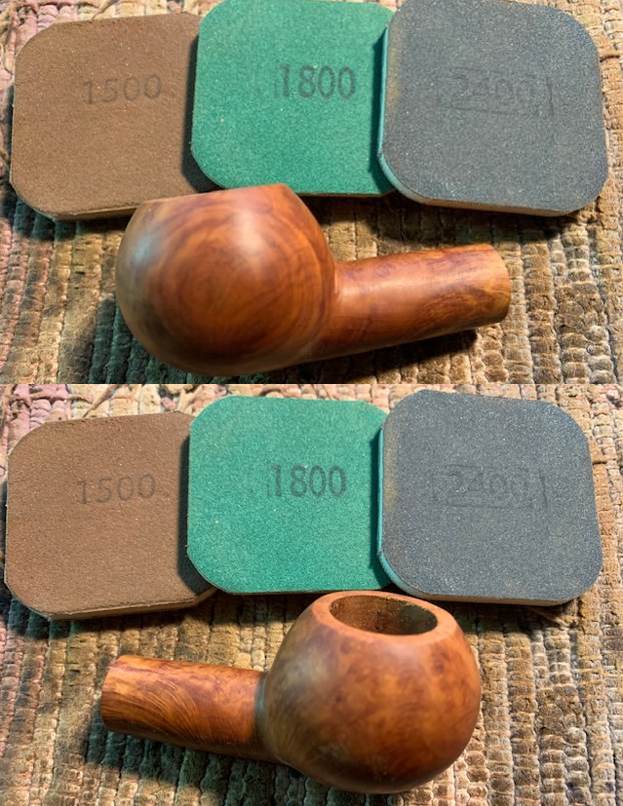
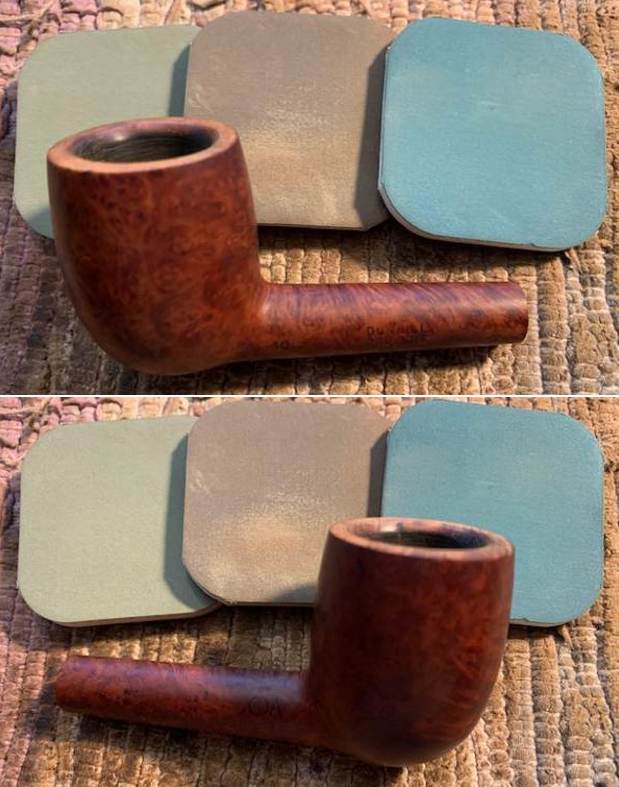
 Just before sanding, I covered the horn with painter’s tape to prevent any damage to it. I then used all nine Micromesh pads (1,500 through 12,000 grit) on the stummel to make it lovely and smooth.
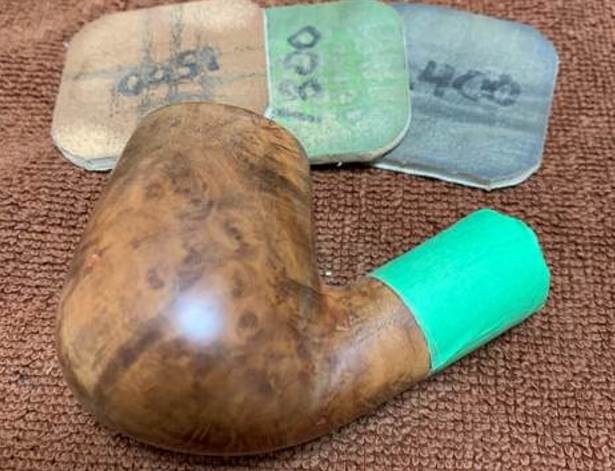
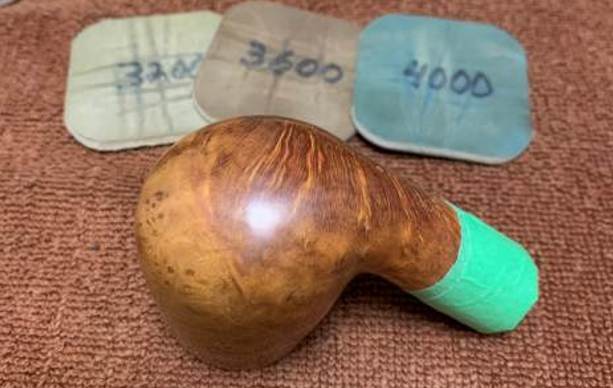
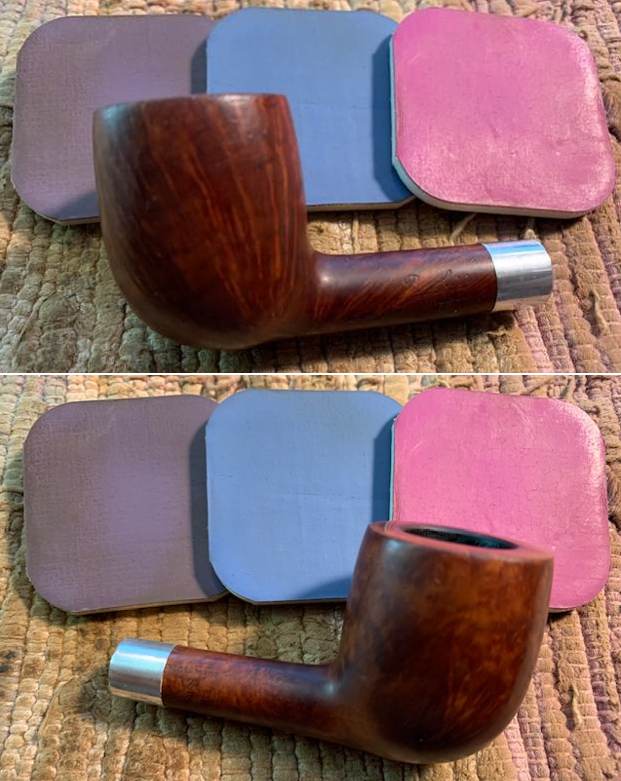
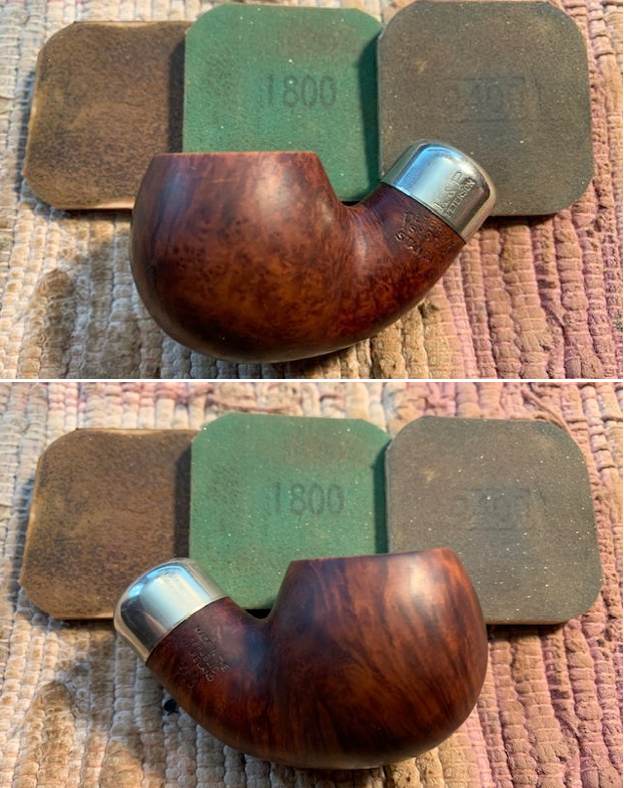
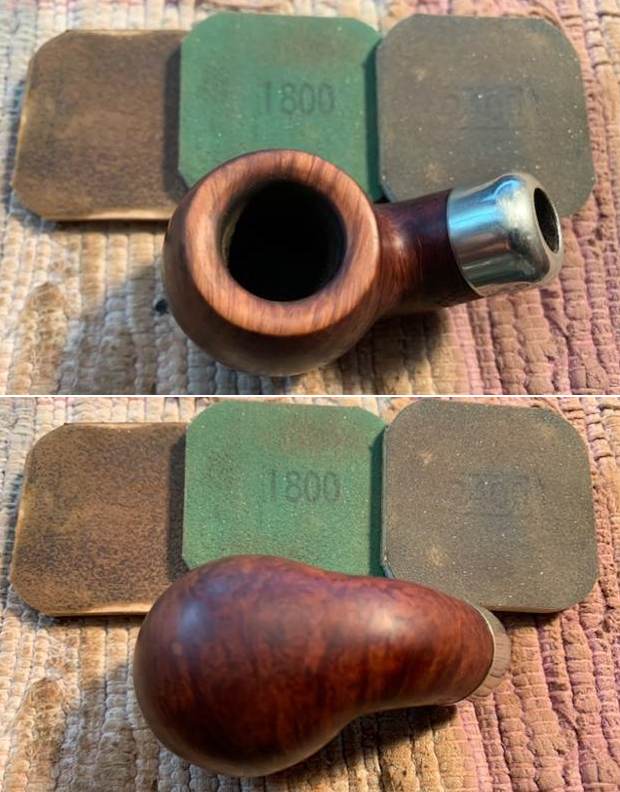
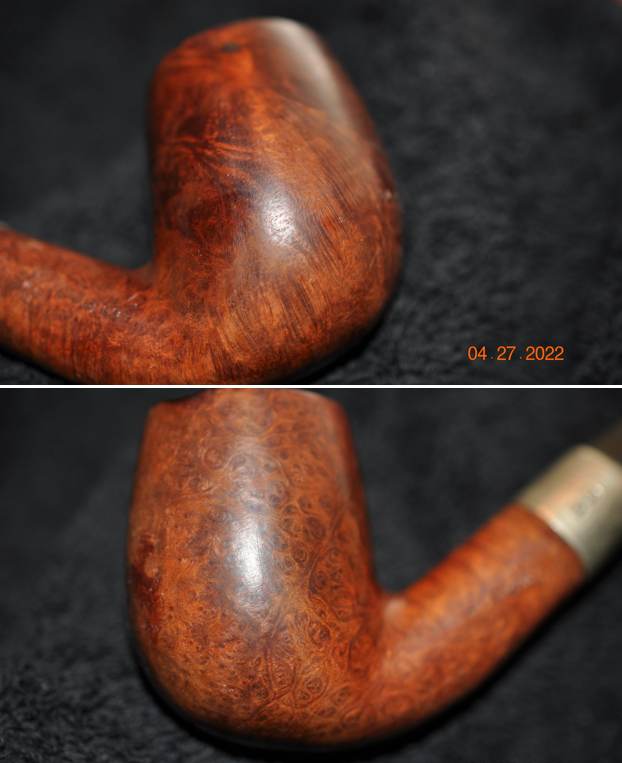
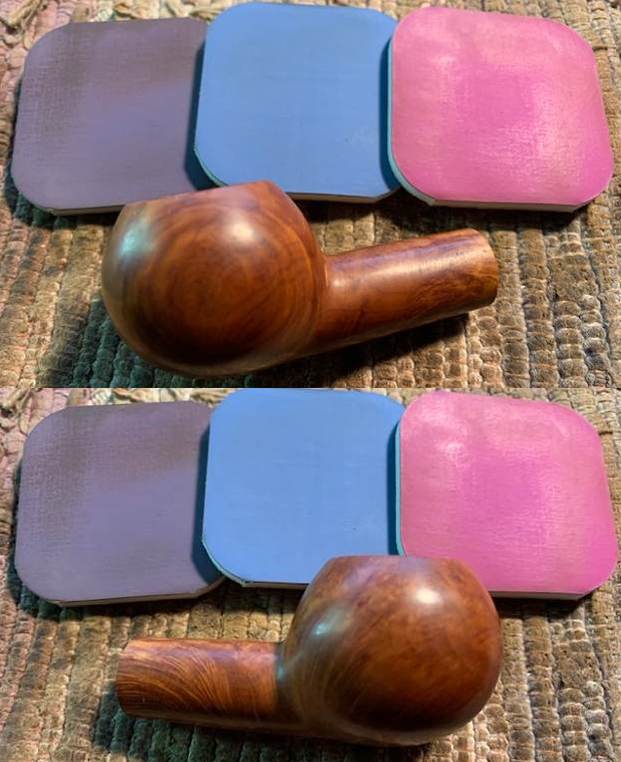
 After that, a light application of Before & After Restoration Balm brought out the best in the wood.
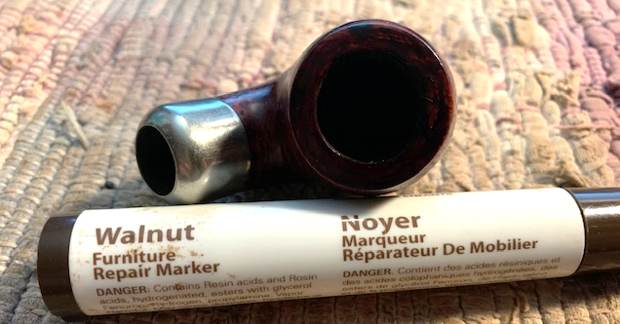
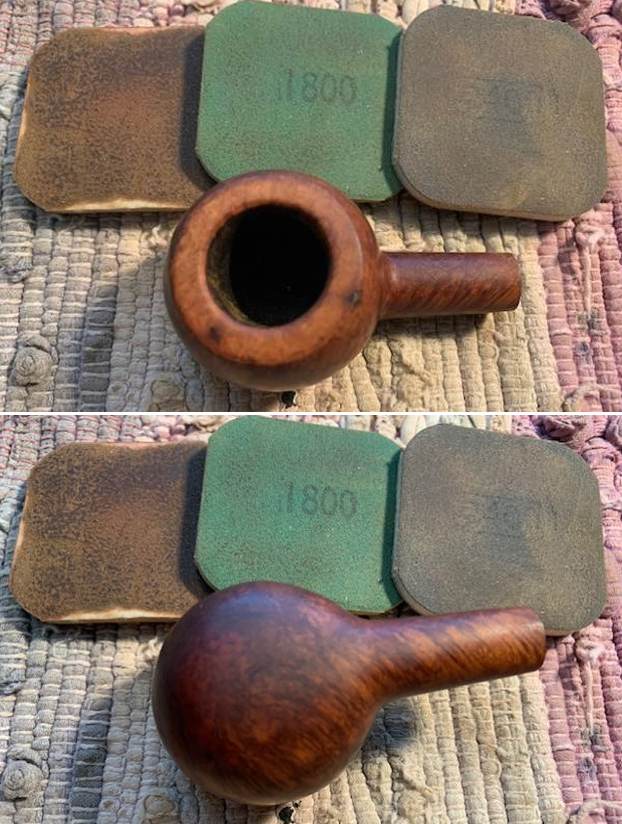
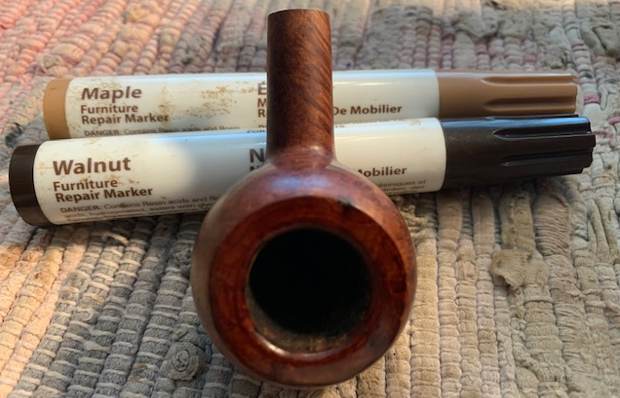
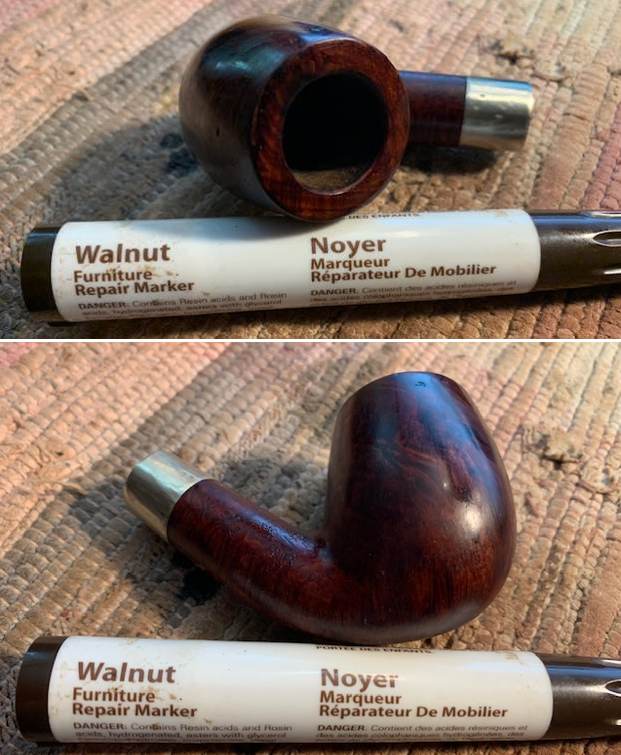
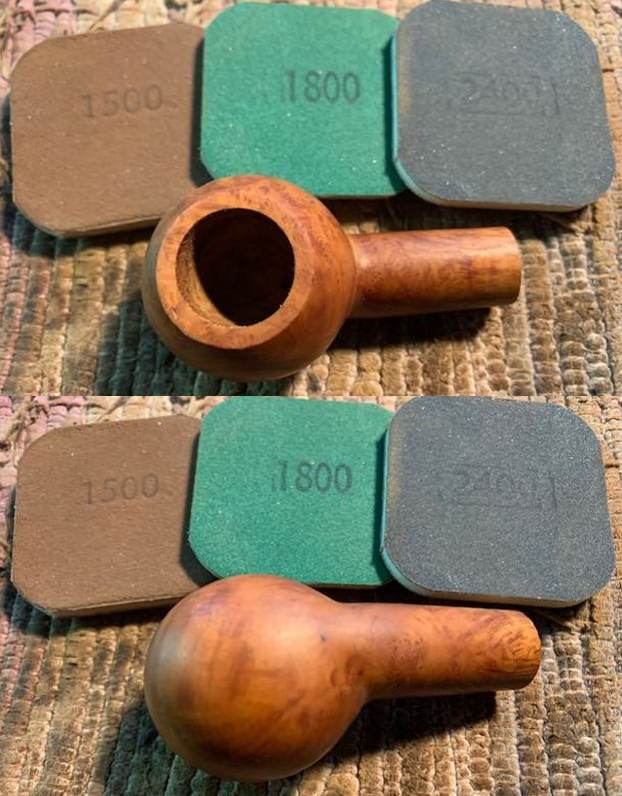
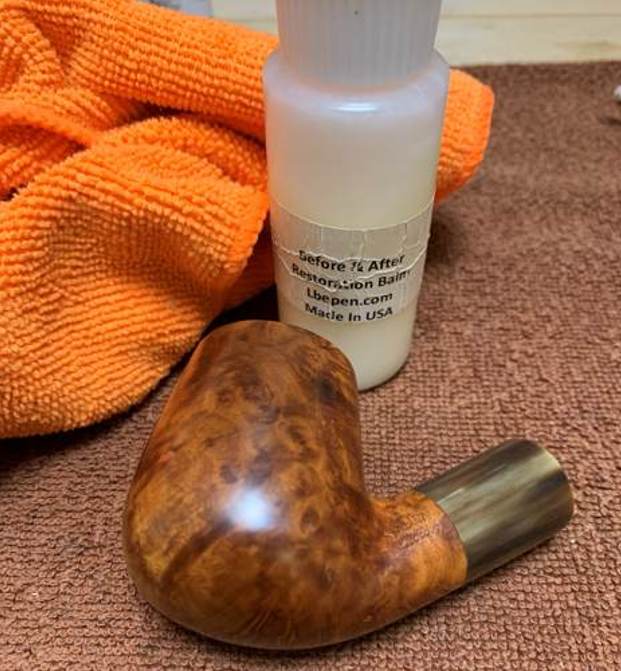 In order to minimize the appearance of the fills, I opted to apply some stain to the wood. First, however, I used some furniture pens on the fills and the newly sanded rim to darken them a bit.
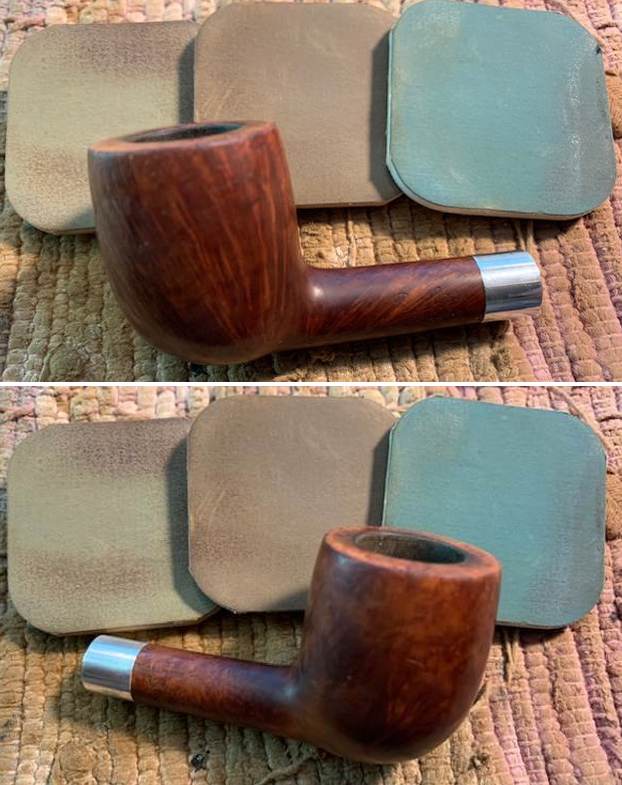
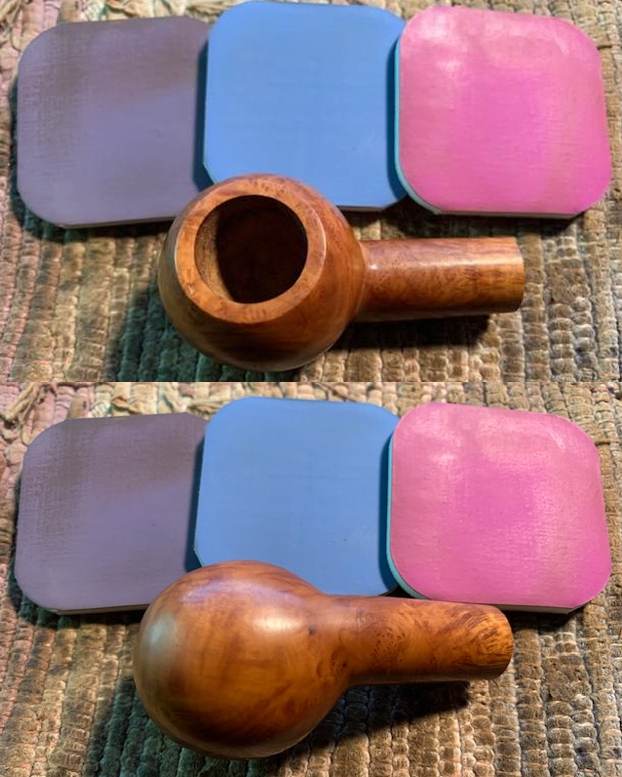
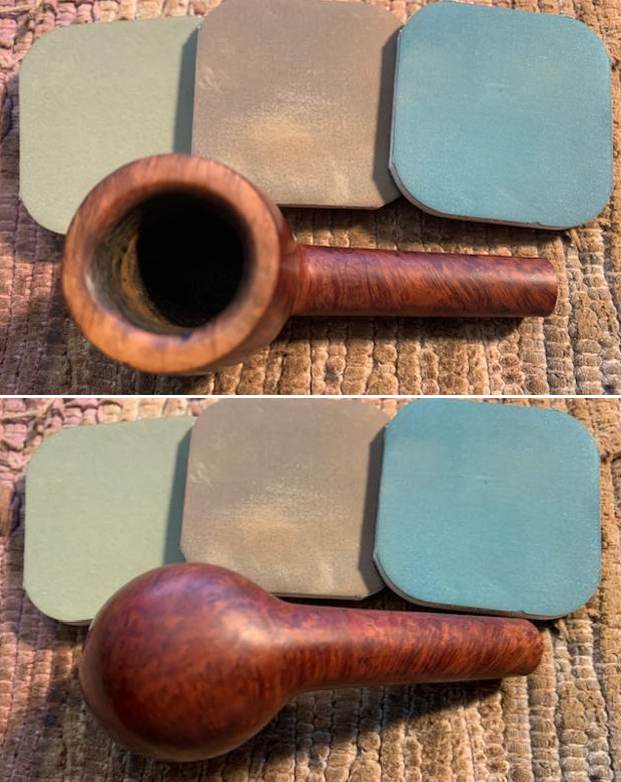
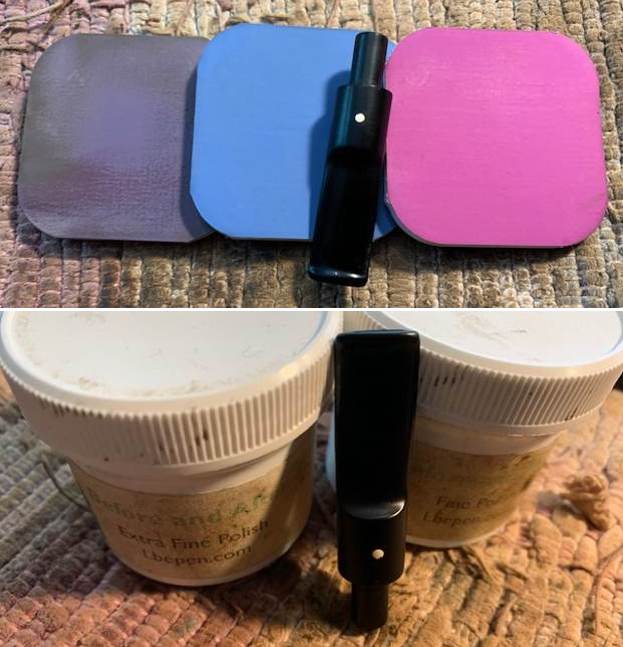
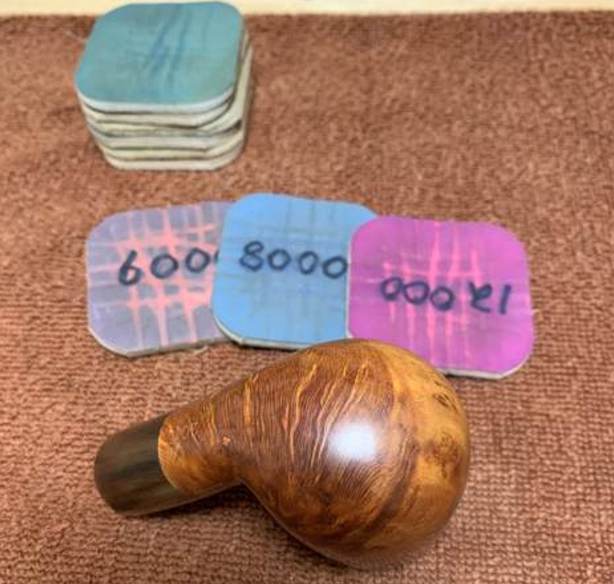
  I began by applying a layer of Fiebing’s Light Brown Leather Dye to the pipe. After applying the dye, flaming it with a BIC, and letting it set for a few hours, I wiped the stummel down with isopropyl alcohol to remove much of the dye. Then it was time for the second round of staining, following the same steps as before.
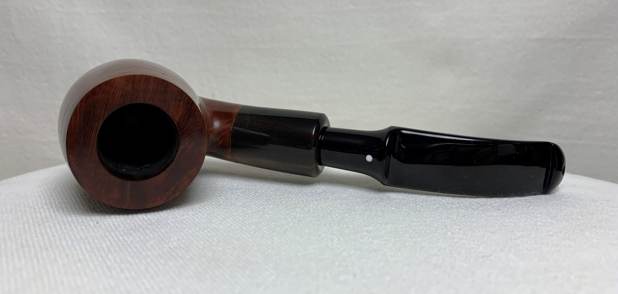
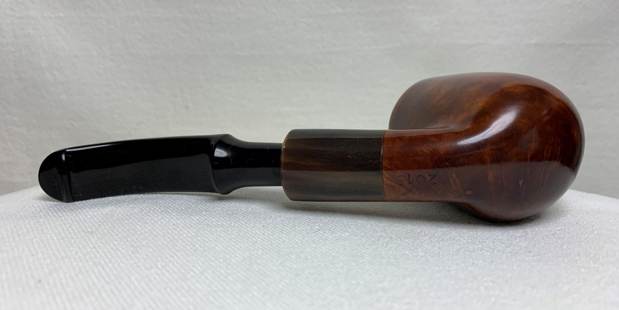
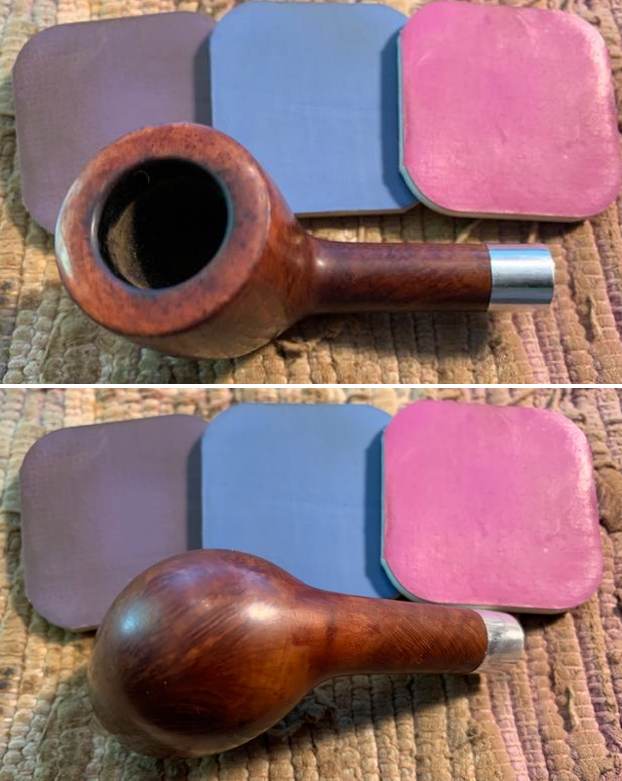
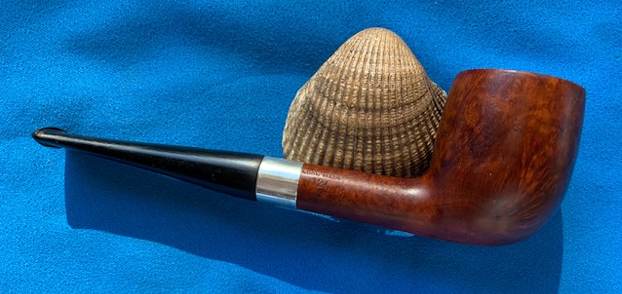
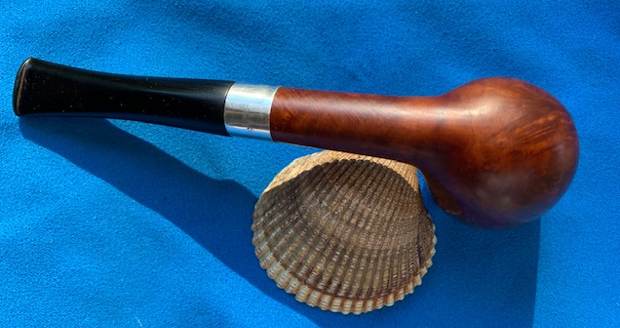
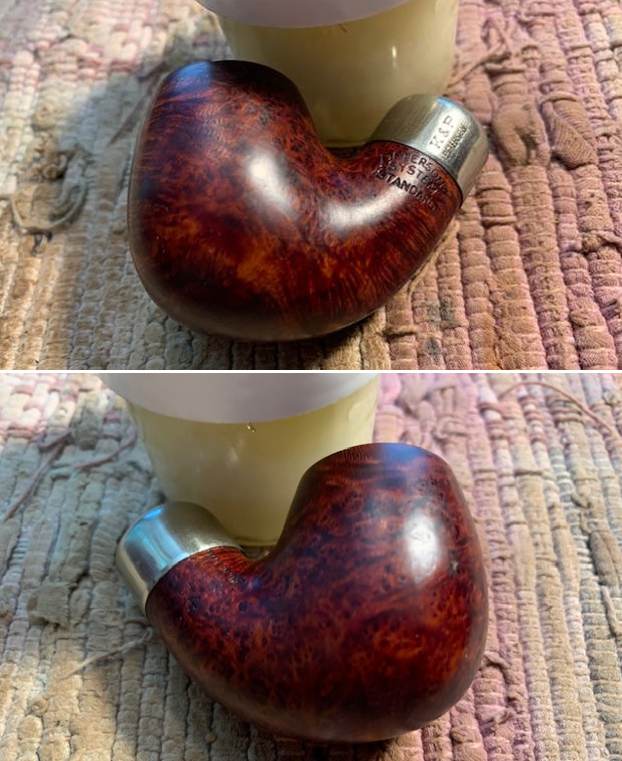
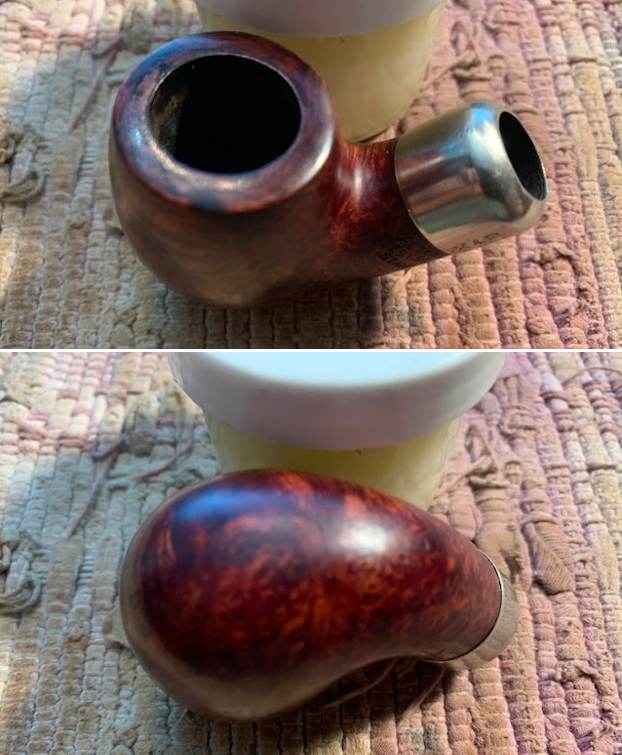
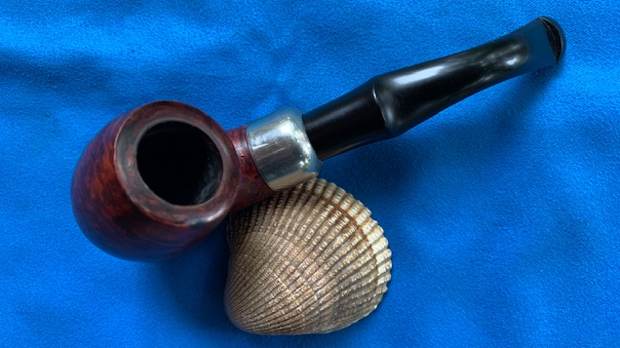
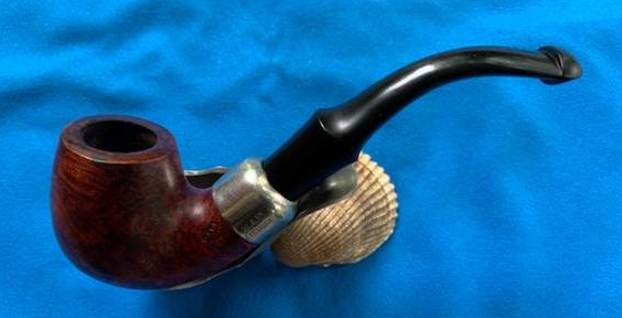
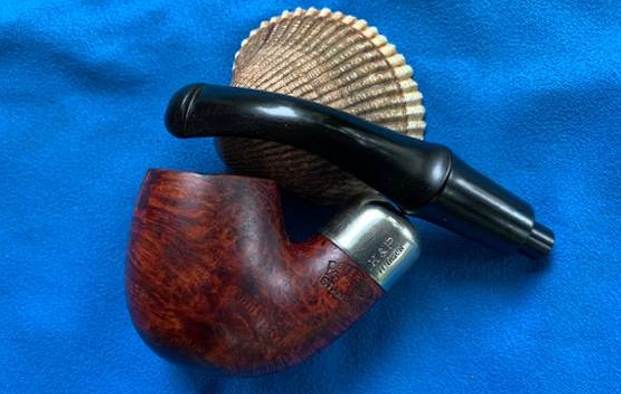
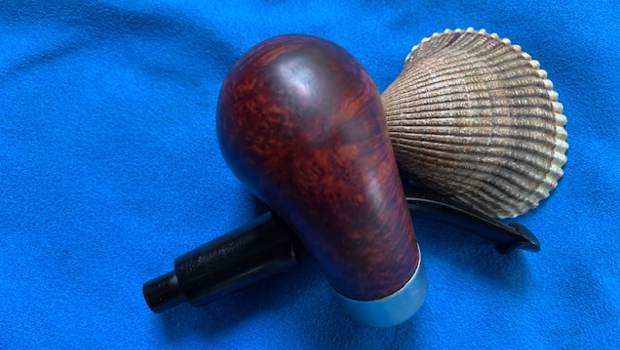
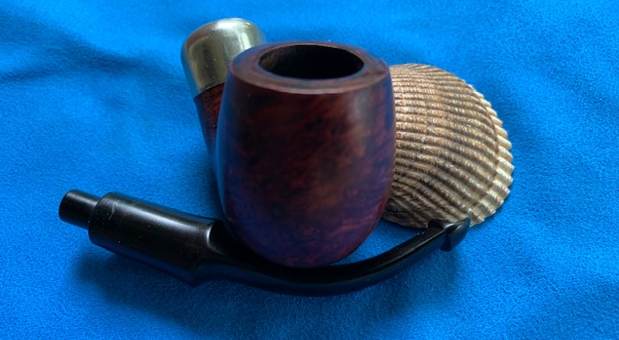
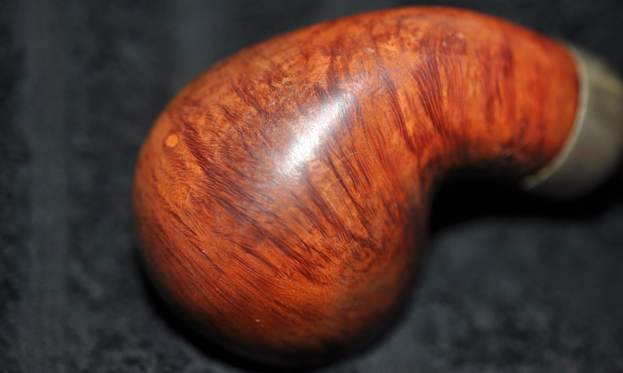
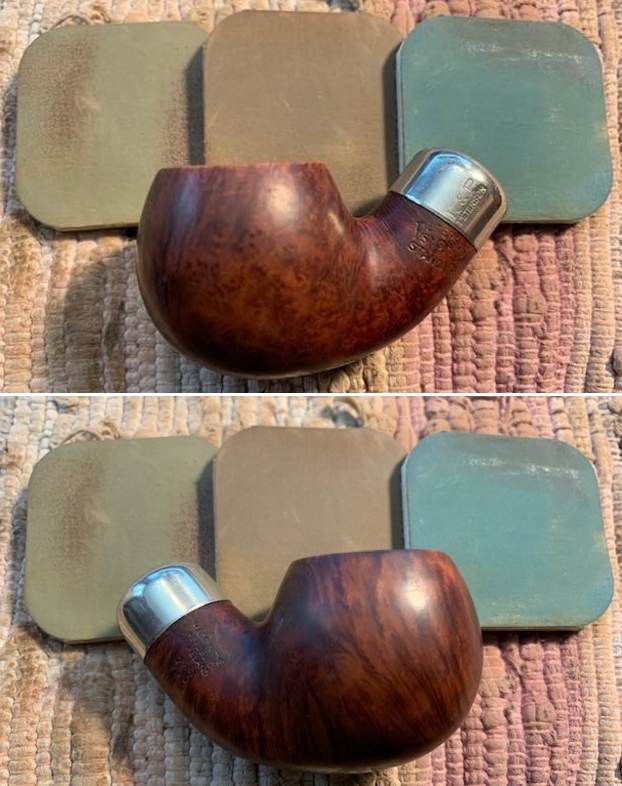
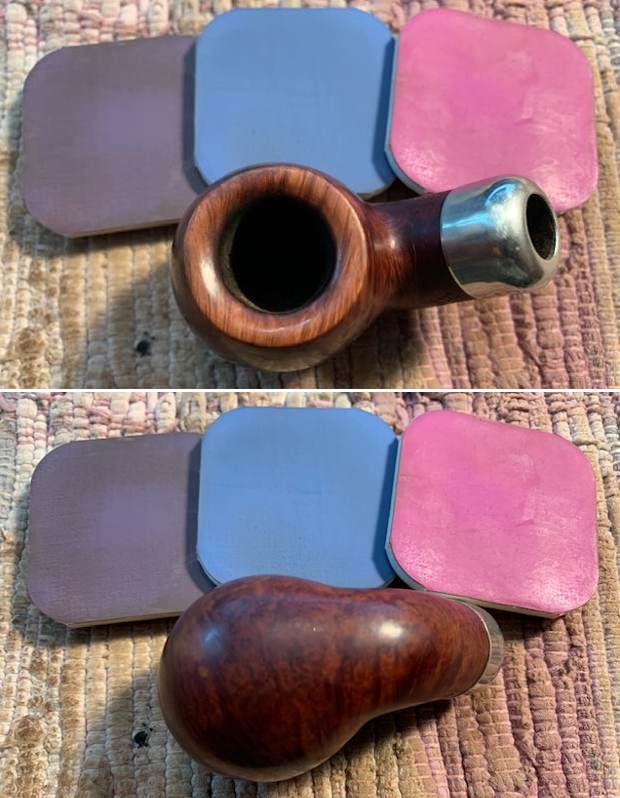
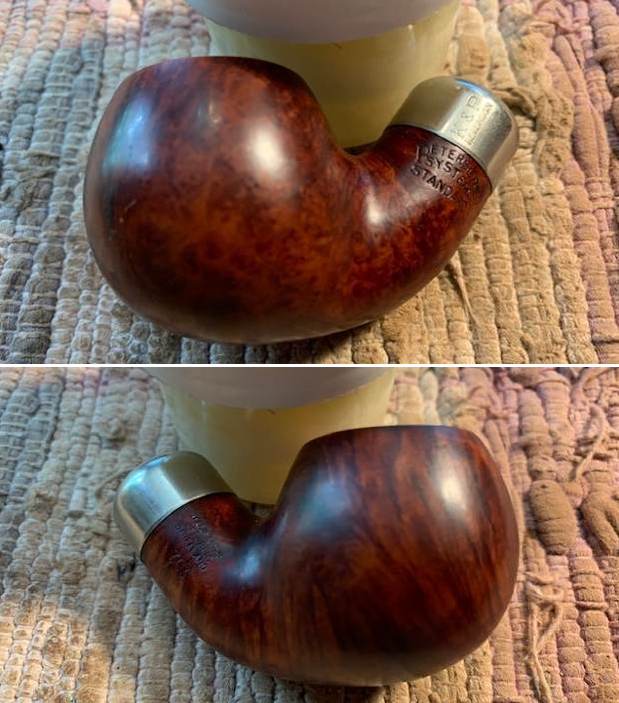
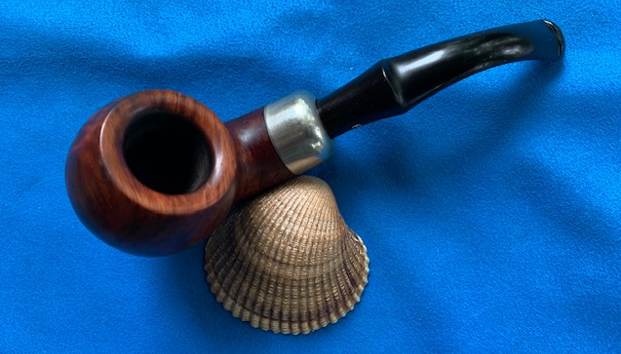
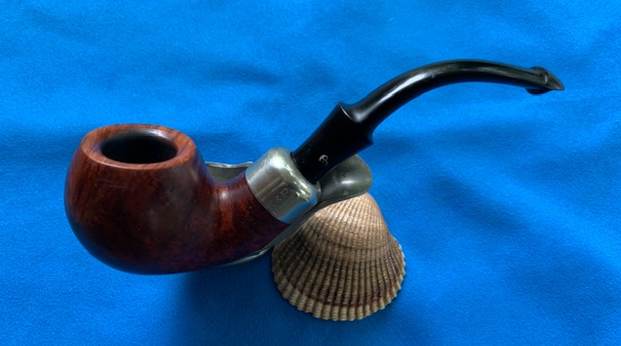
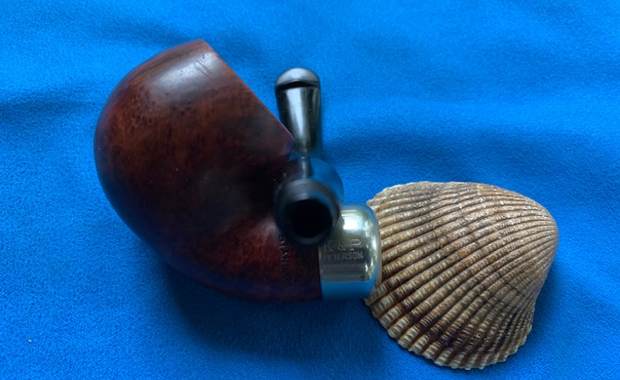
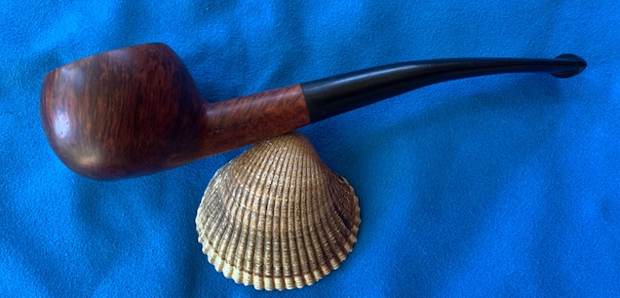
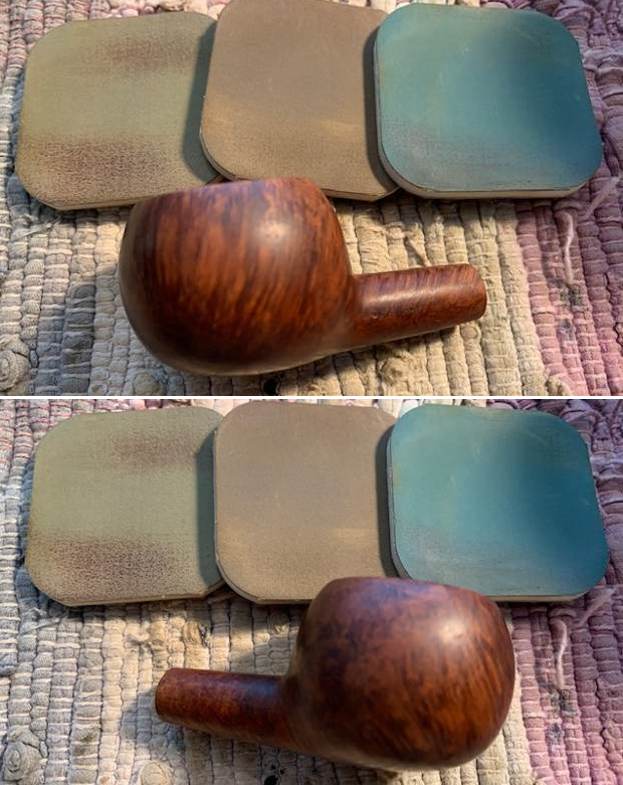
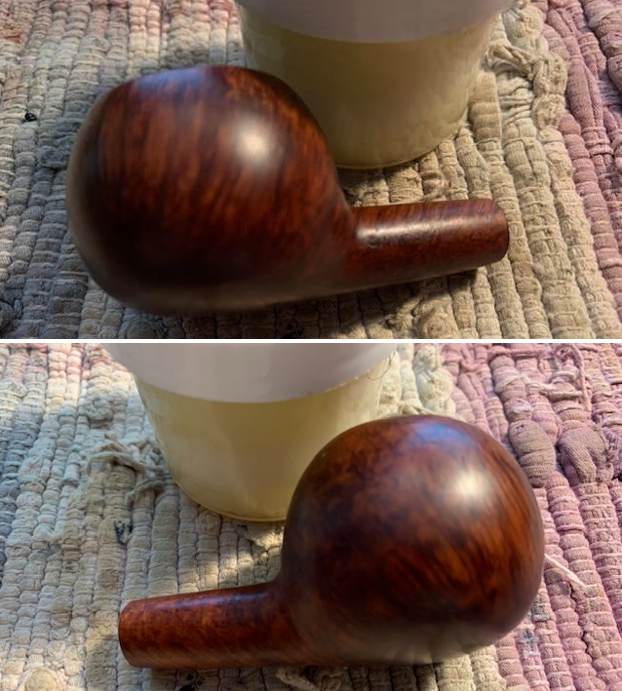
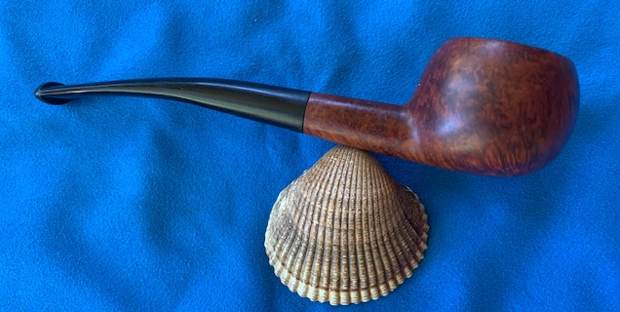
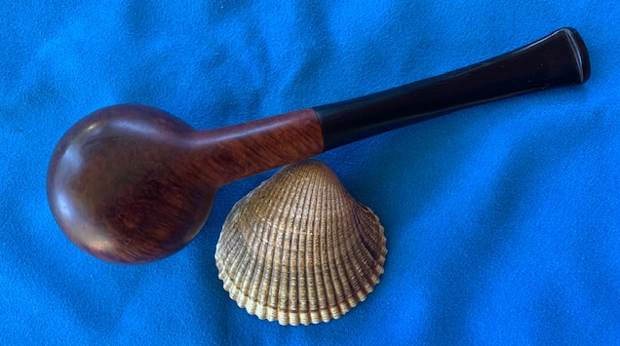
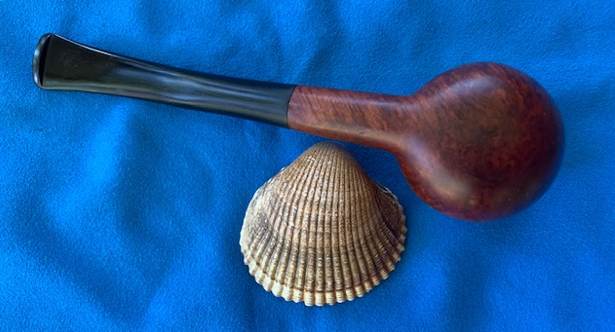
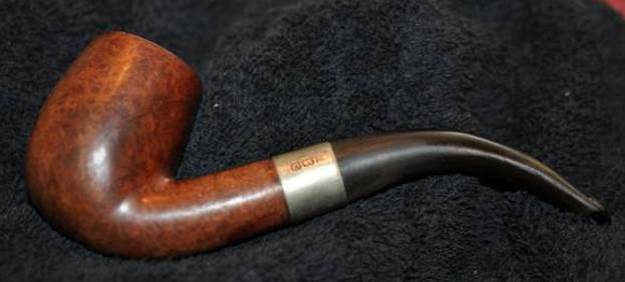
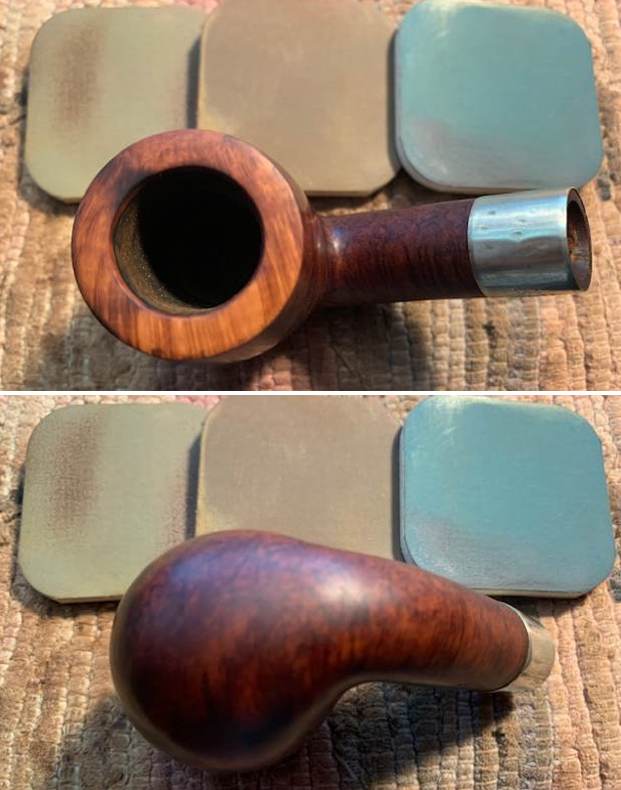
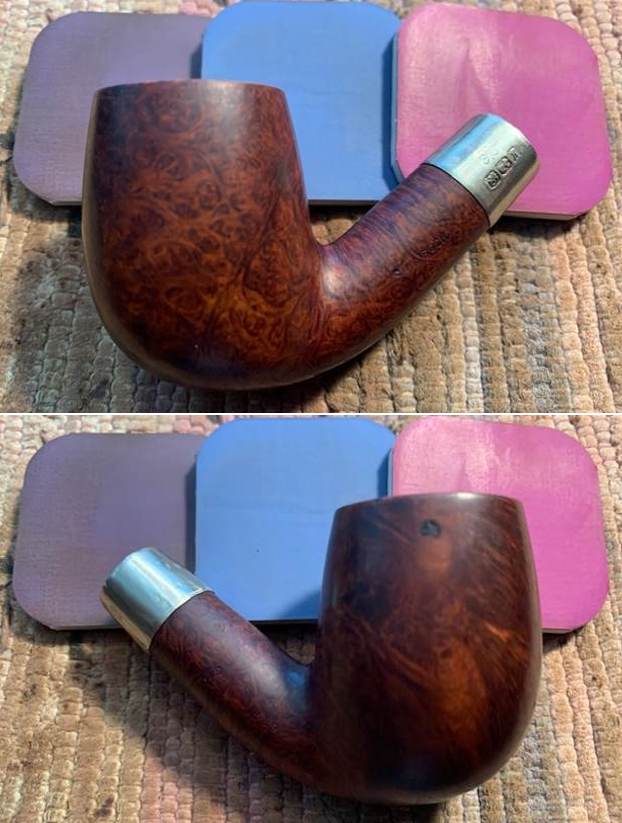
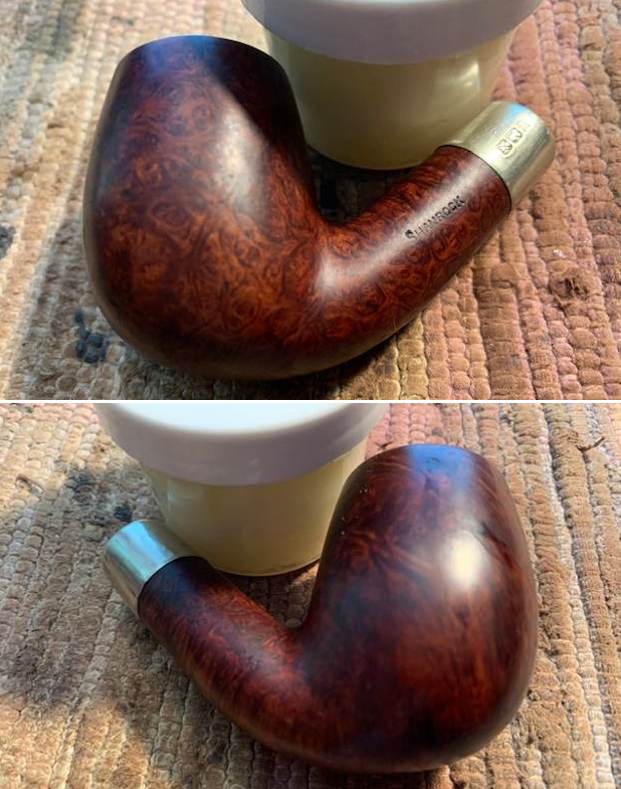
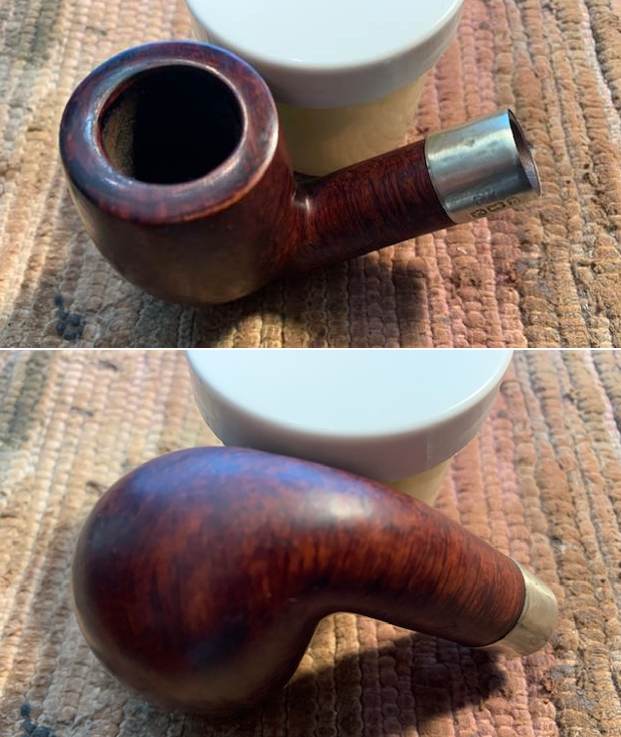
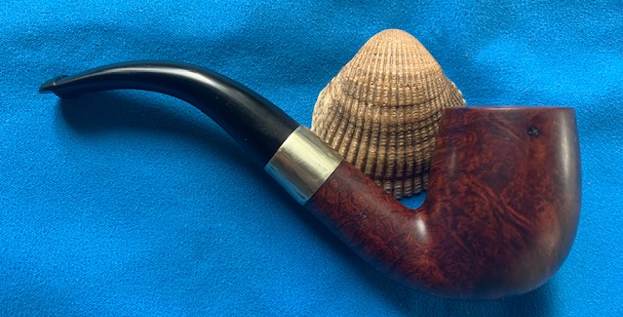
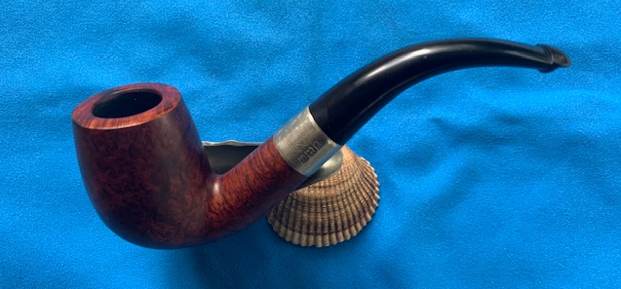
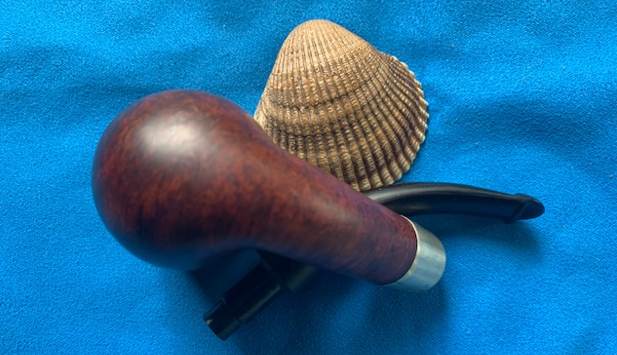
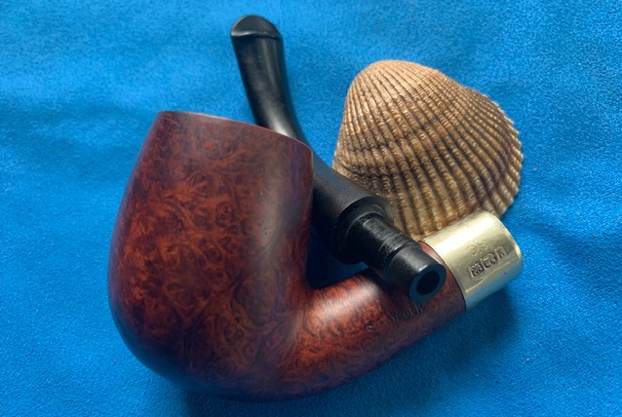
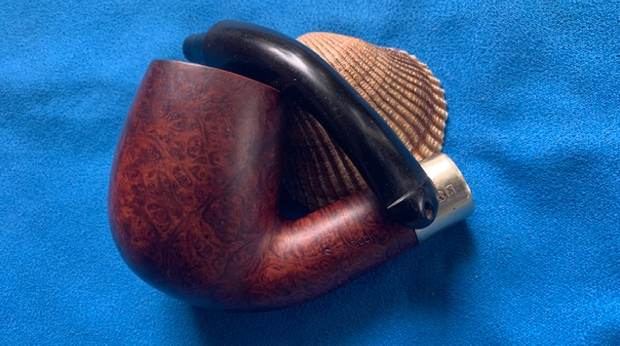
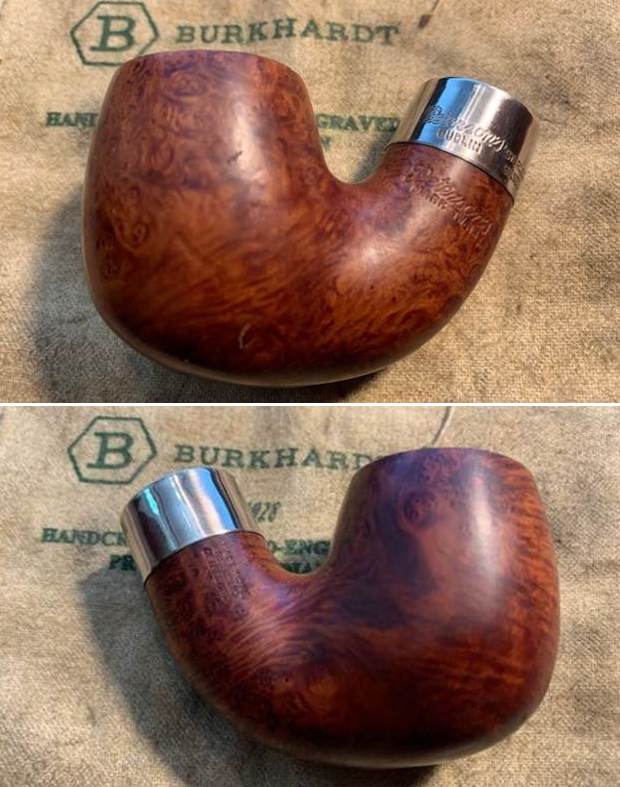
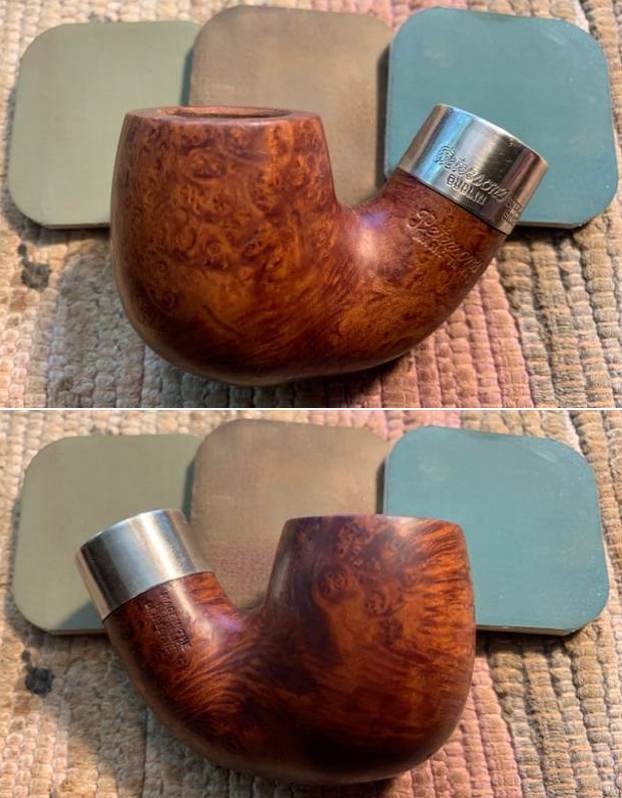
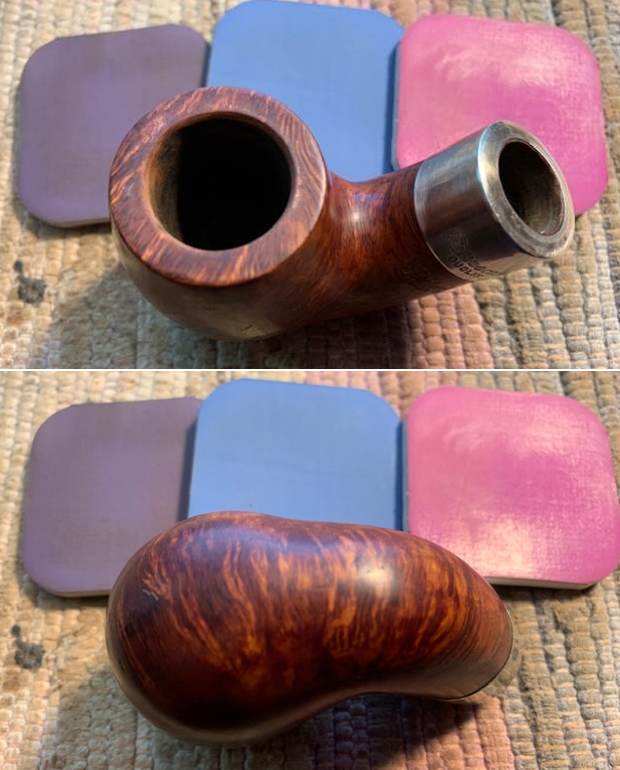
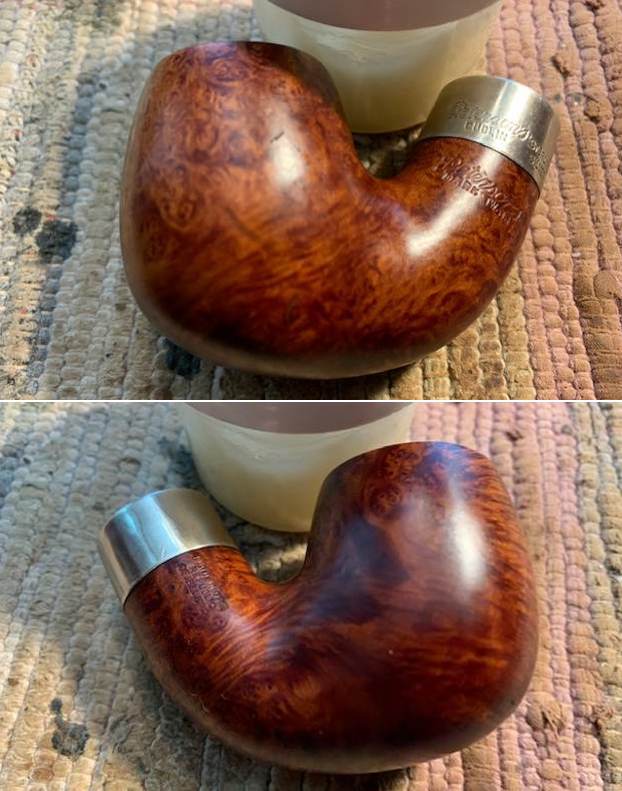
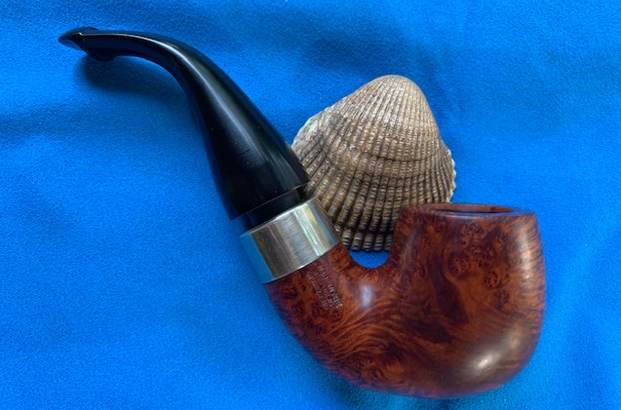
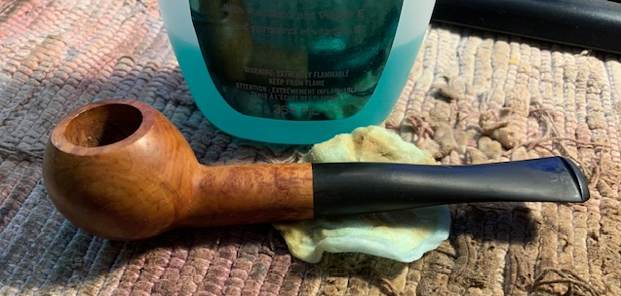
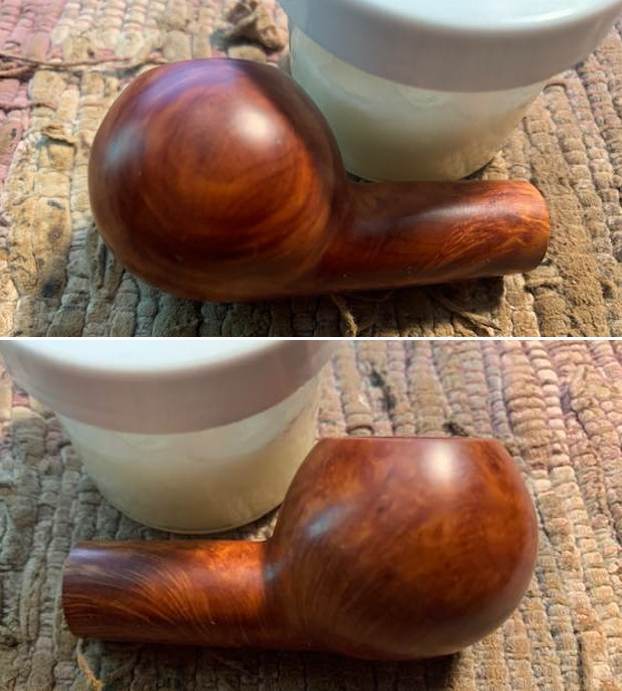
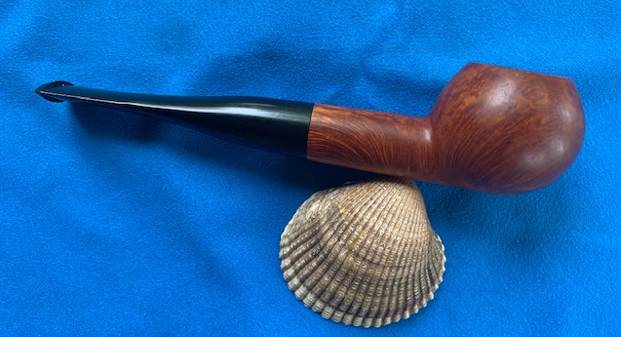
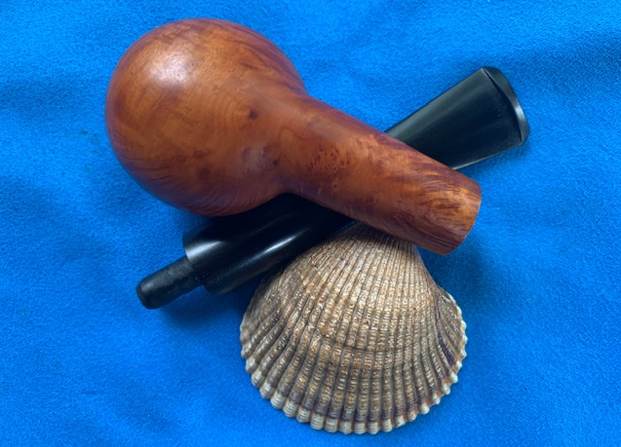
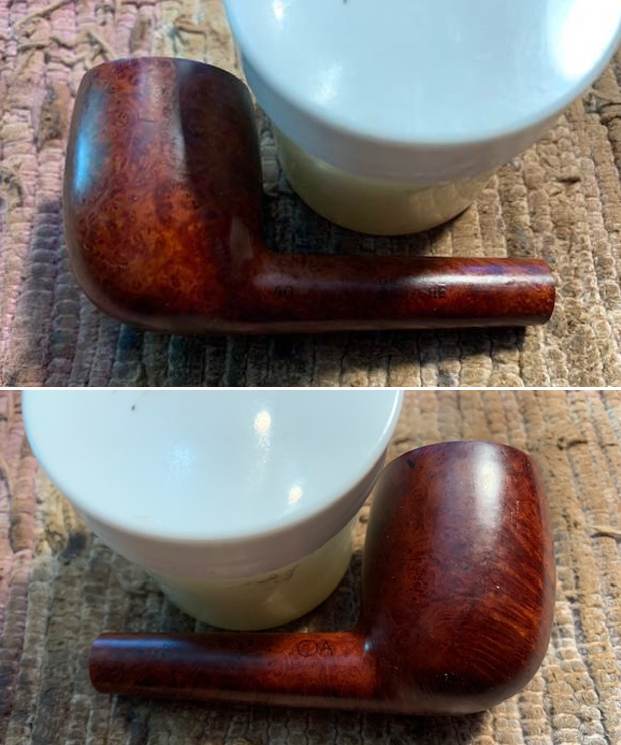
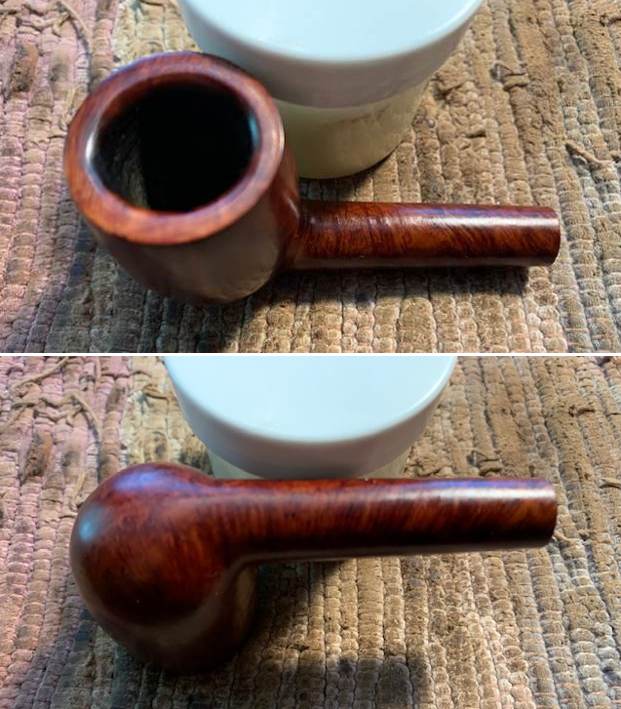
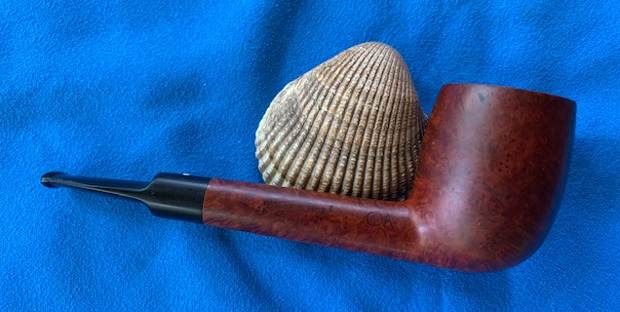
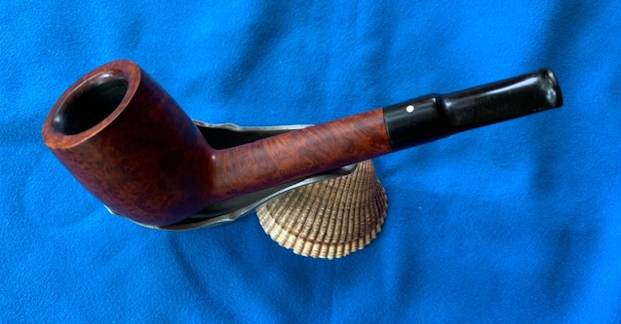
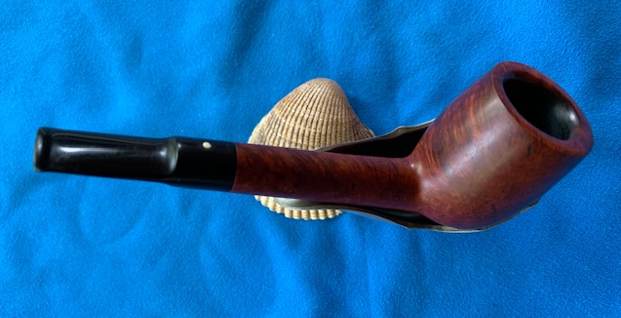
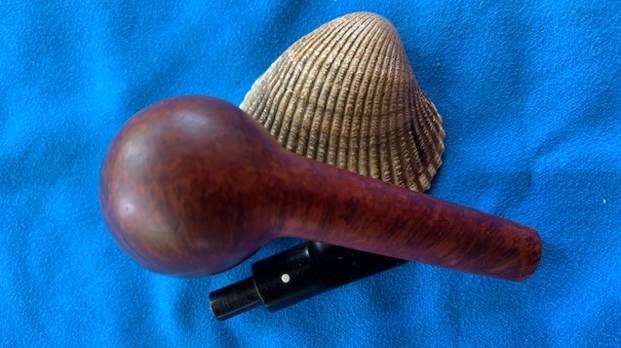
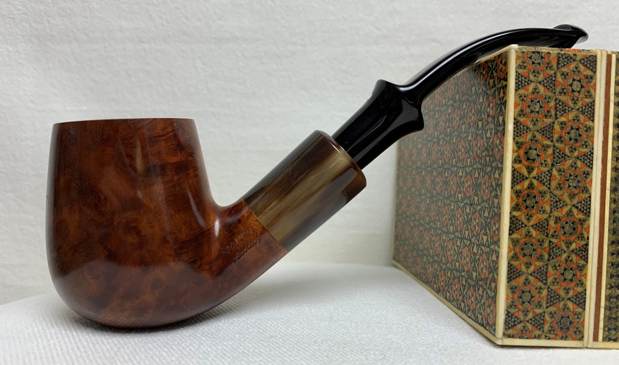
 Finally, it was off for a trip to the bench polisher. A dose of White Diamond and a few coats of carnauba wax were just what it needed. The lovely shine made the wood look absolutely beautiful. This Vauen Luxus looks fantastic and arise ready to be enjoyed again by the next owner.
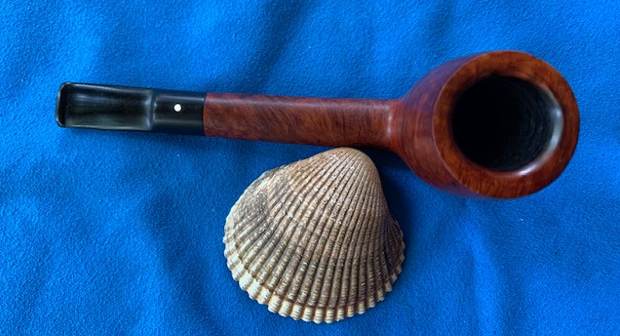
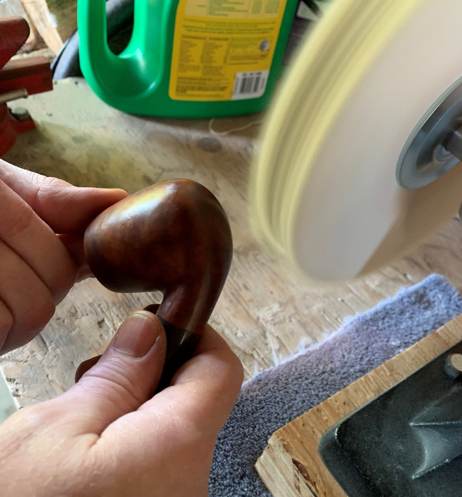 I know that the new owner will enjoy smoking it for many years to come. I hope you enjoyed reading the story of this pipe as much I as I did restoring it. If you are interested in more of my work, please follow me here on Steve’s website or email me directly at kenneth@knightsofthepipe.com. The approximate dimensions of the pipe are as follows: length 6 in. (150 mm); height 2.3 in. (59 mm); bowl diameter 1.4 in. (35 mm); chamber diameter 0.8 in. (20 mm). The weight of the pipe is 2.5 oz. (72 g). Thank you very much for reading and, as always, I welcome and encourage your comments.