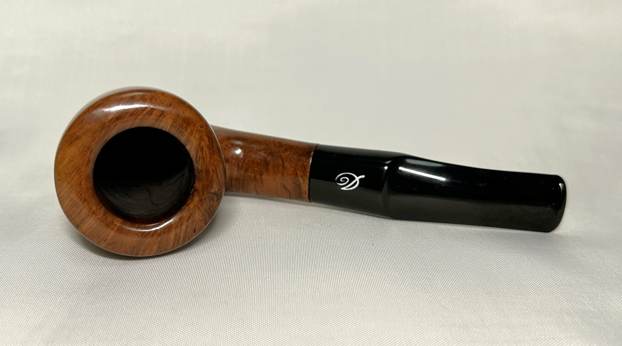
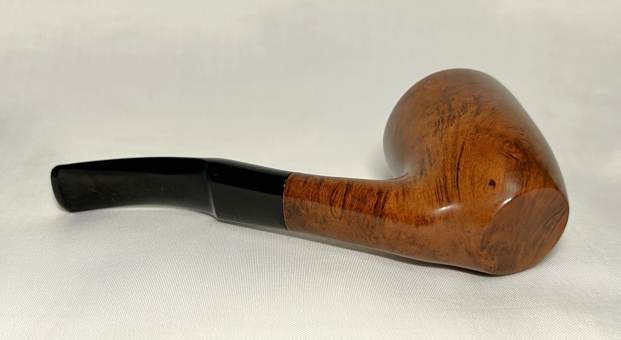
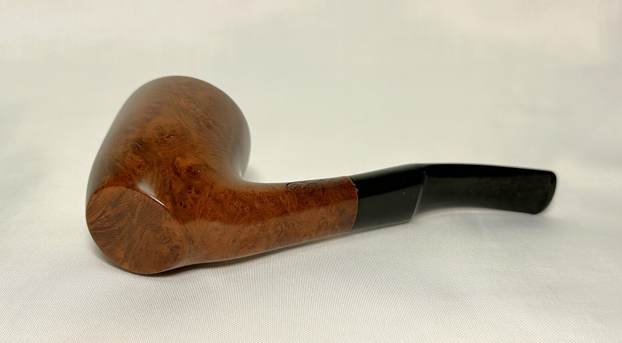
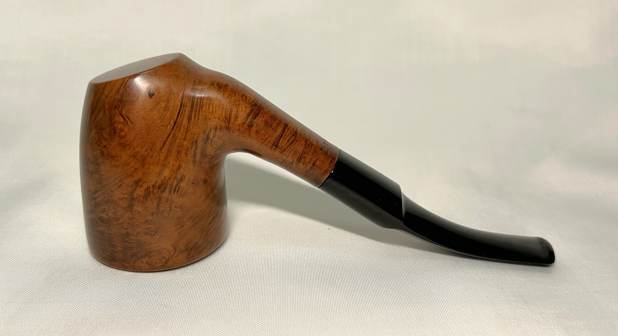
Blog by Steve Laug
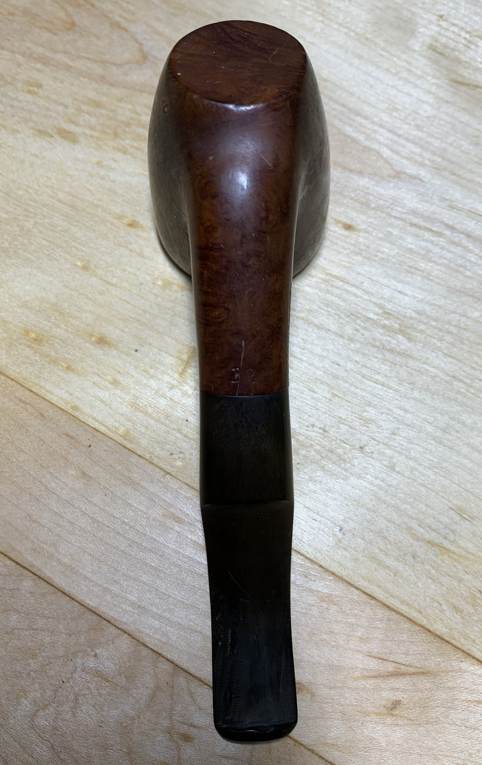
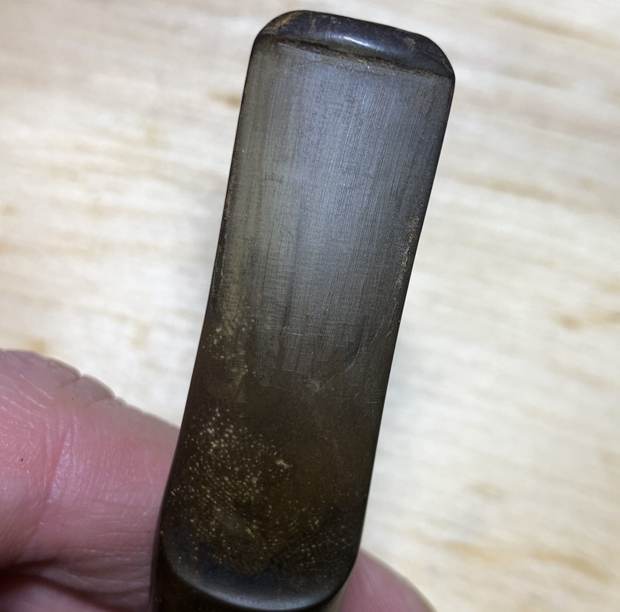
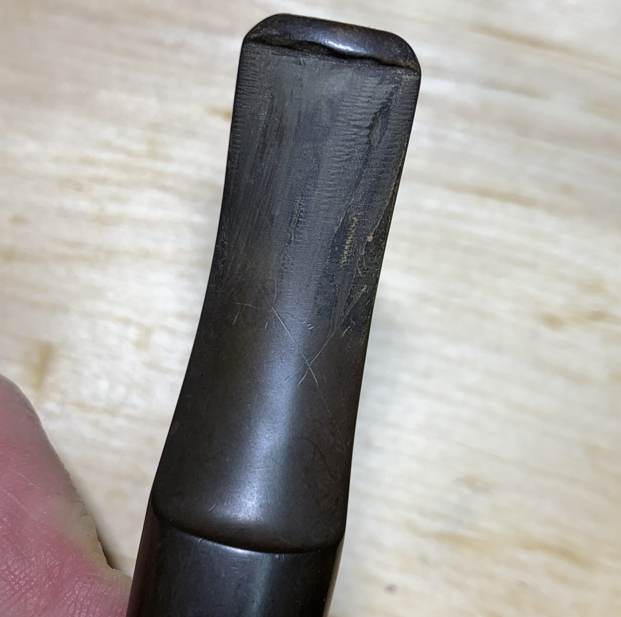
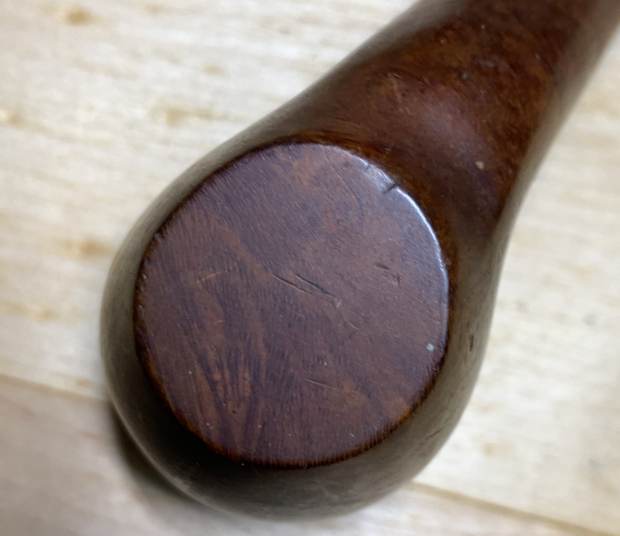
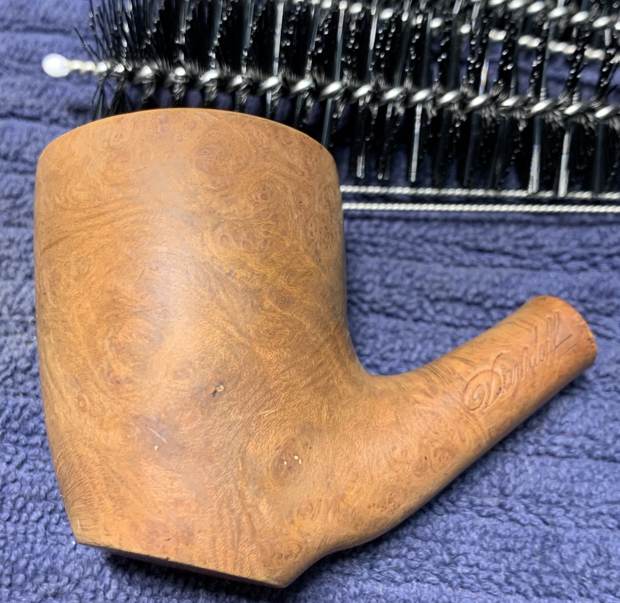
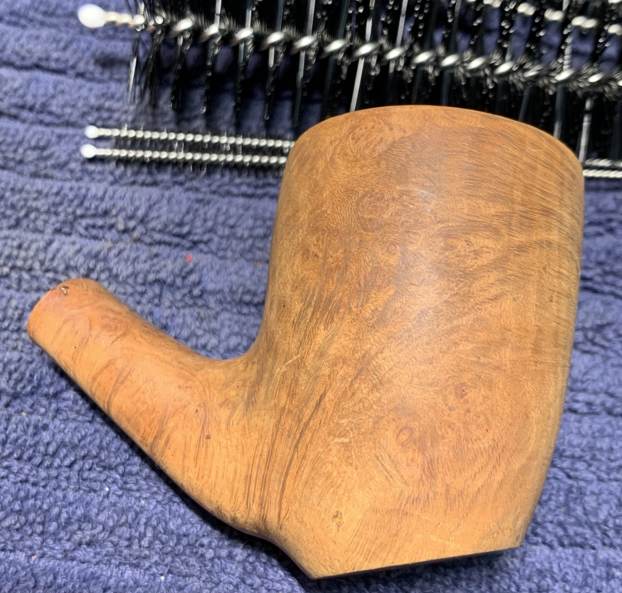
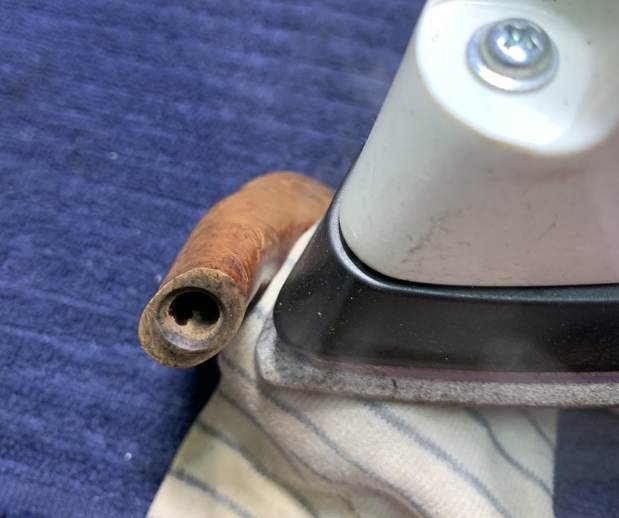
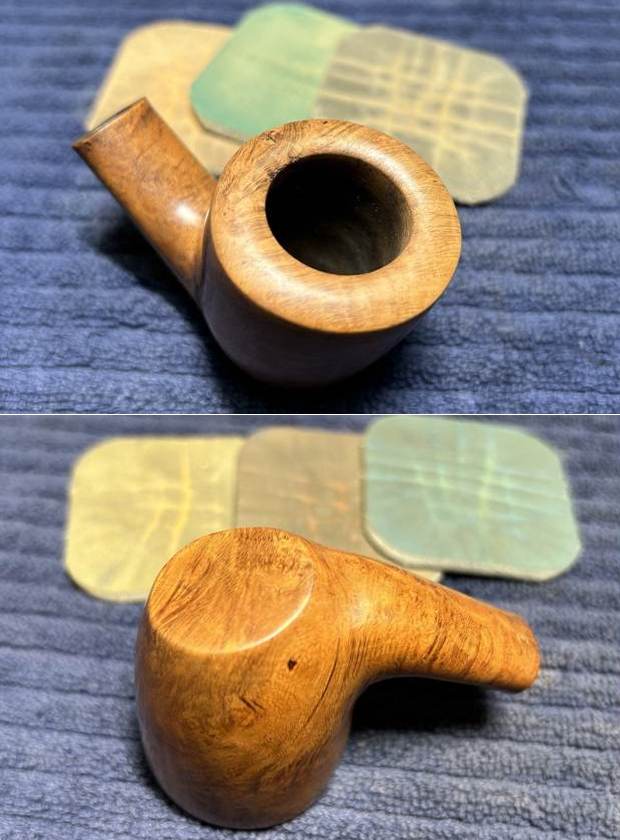
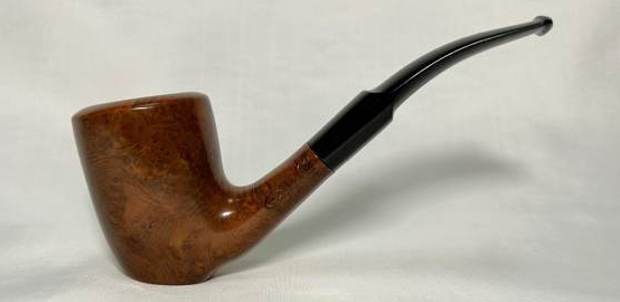
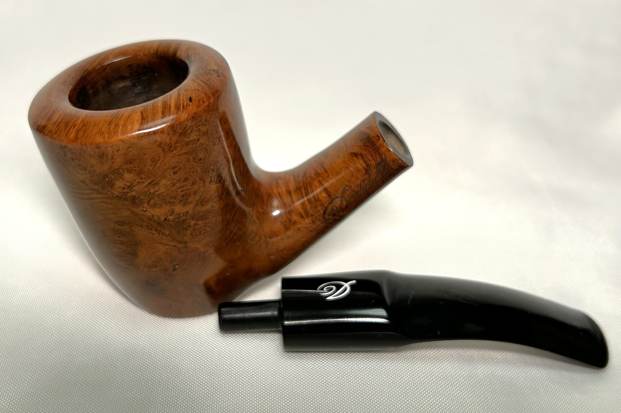
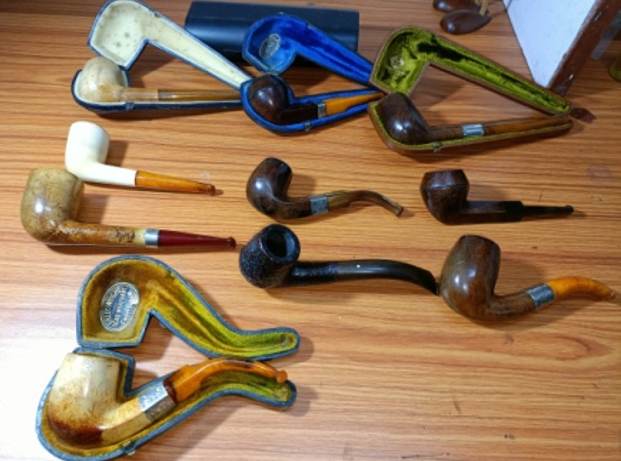
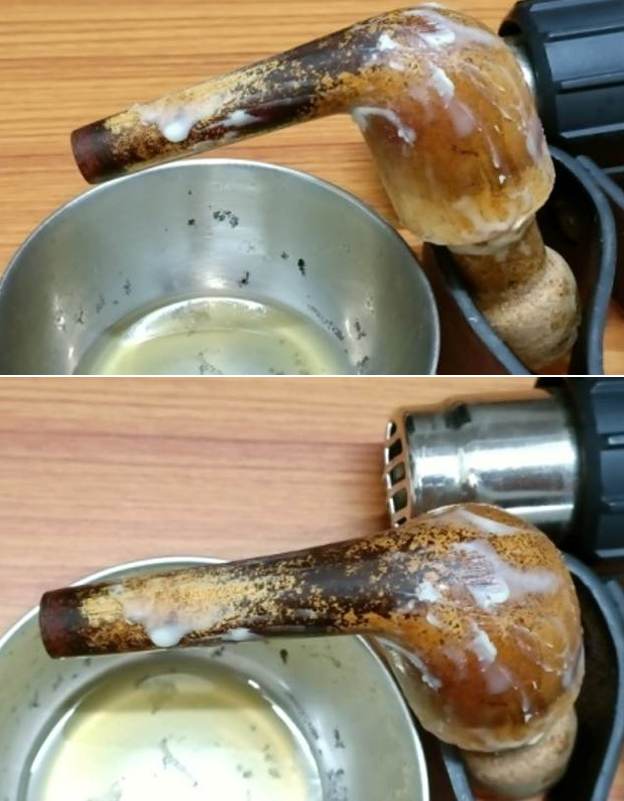
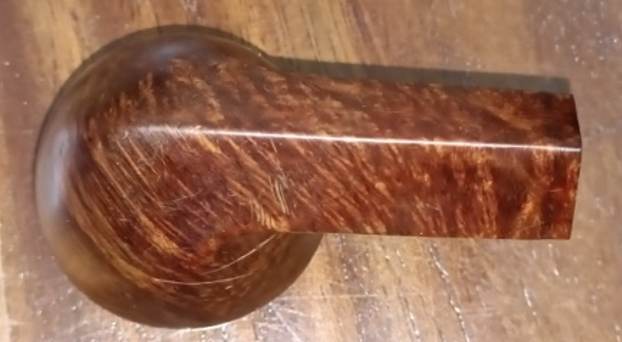
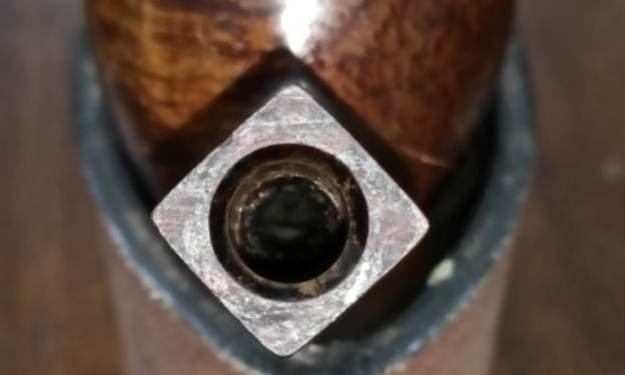
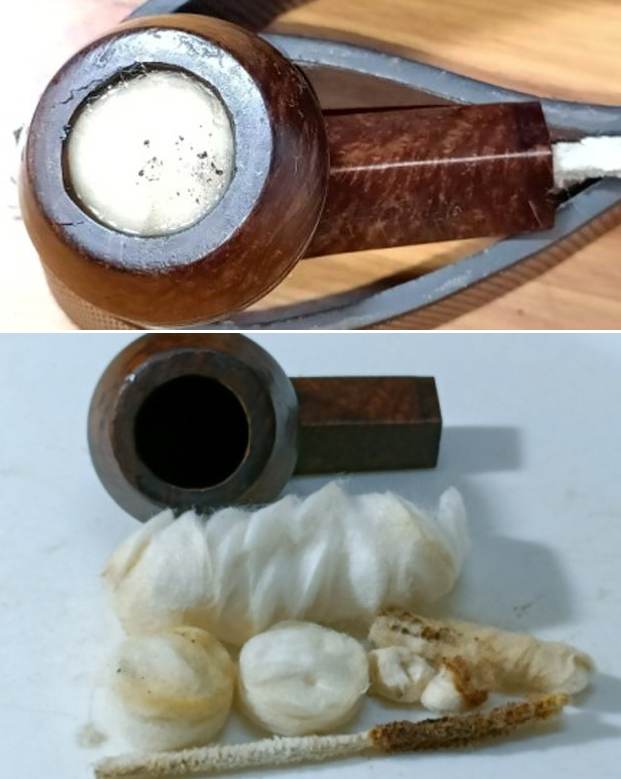
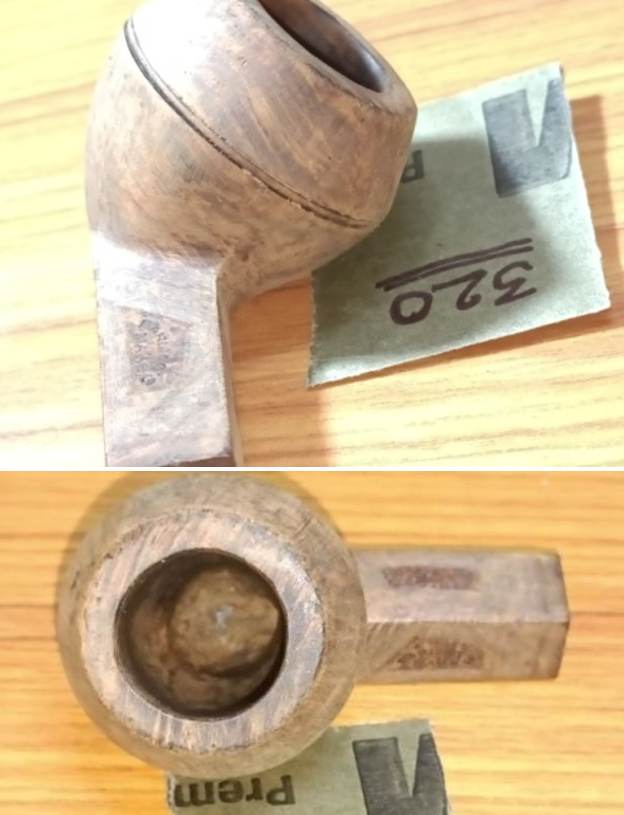
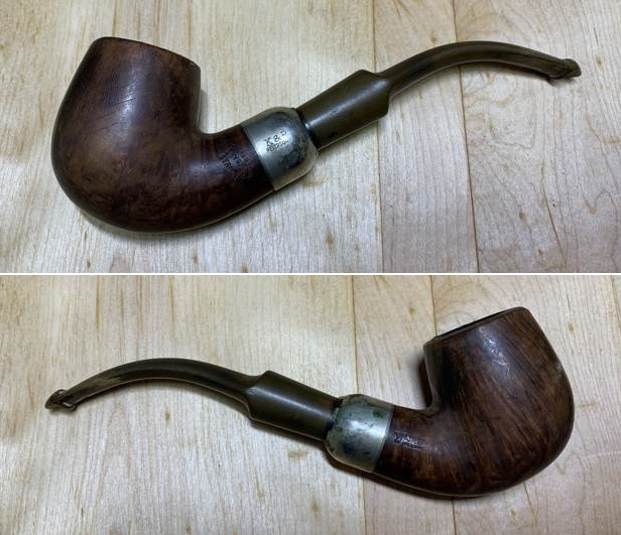
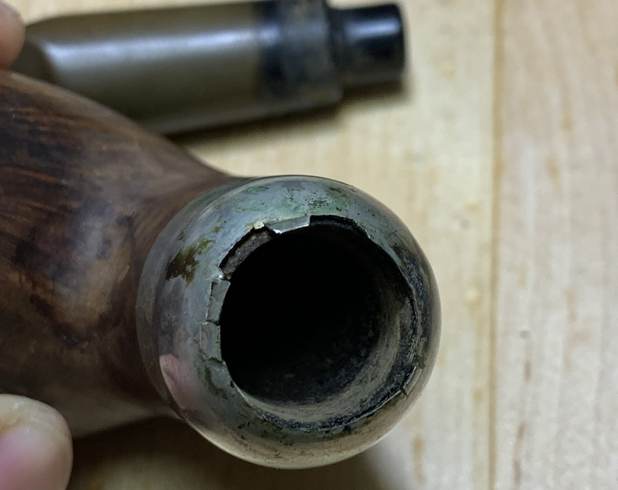
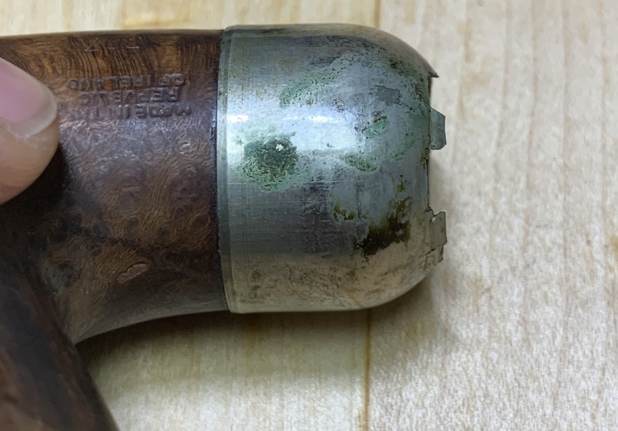
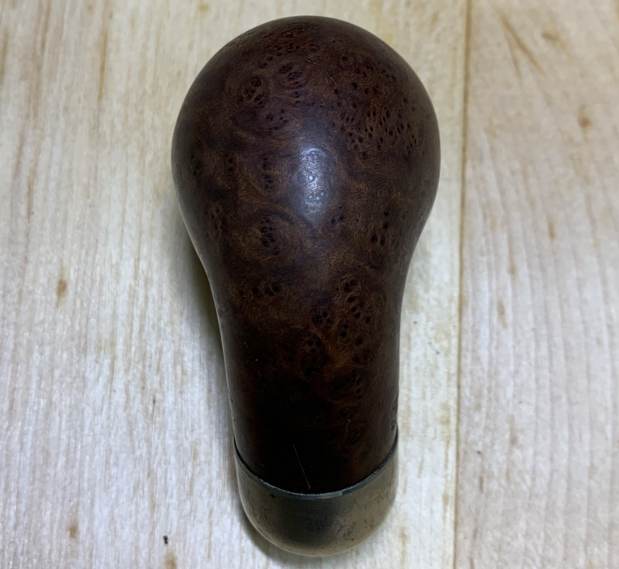
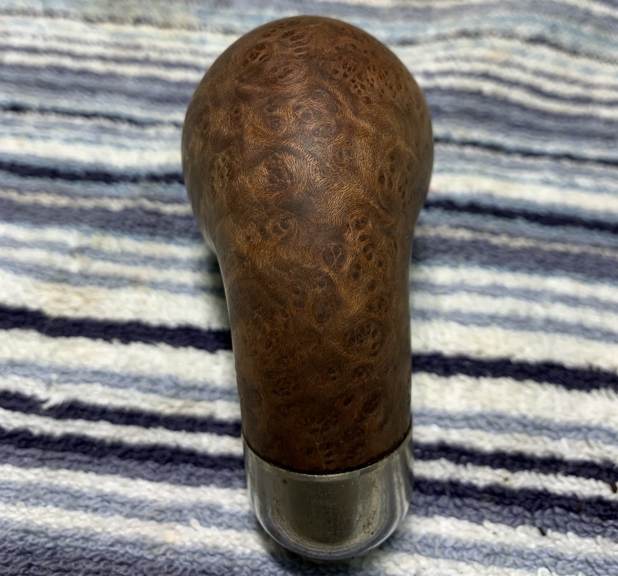
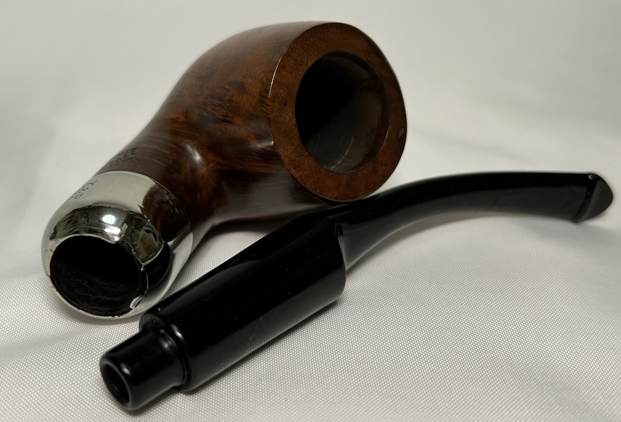
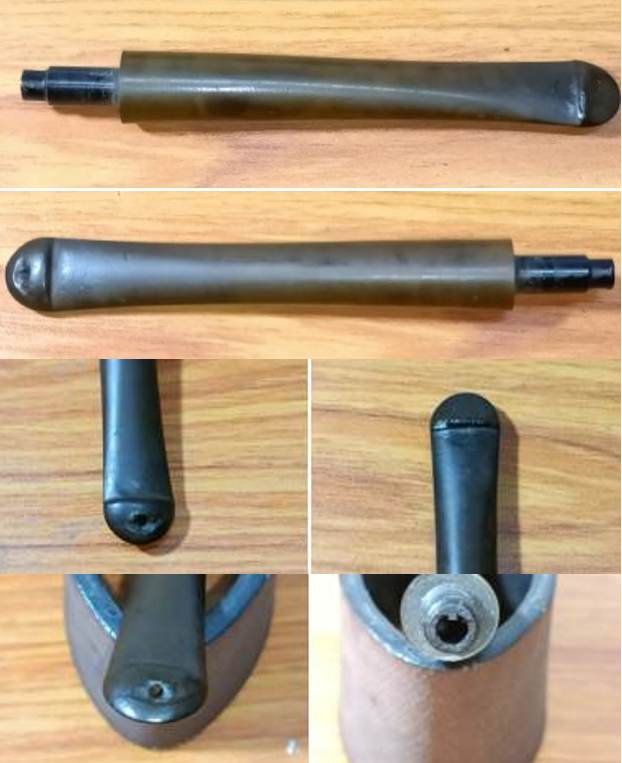
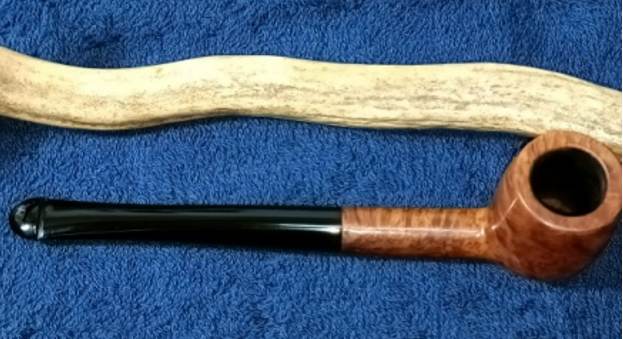
The next pipe on the table was in a box of Danish pipes that Jeff and I had put aside. I actually had no idea (nor did Jeff) why we had put it in that box. The stamping was completely worn off and unreadable. I could make out a faint ghost of a stamp. But the shape reminded me of a Choquin A Metz Origine made by the company that came to be known as Butz-Choquin. The pipe was in rough condition. The finish on the bowl and shank were worn and dirty with spotty grime spots on the surface all around the bowl sides. There was a large, solid fill on the left side toward the bottom of the bowl. Under the tars the rim top and inner and outer edges of the bowl had darkening and light burn damage. The shank end had a metal shank cap that was tarnished looking and I was not sure what the metal was underneath. Inserted in the shank cap was a tube that was made of an albatross wing bone. It fit in the shank cap and was discoloured for the first half inch. The other end of the shank tube was also darkened for the same distance ahead of end cap that was attached to the horn stem. The metal had the same pattern as the previous one. The stem and cap fit snug on the wing bone extension. The horn stem was dirty and had tooth marks and chatter on both sides ahead of the orific button. I took photos of the pipe before I started my clean up work on it to give a clear photo of the condition of the pipe before I started my work.
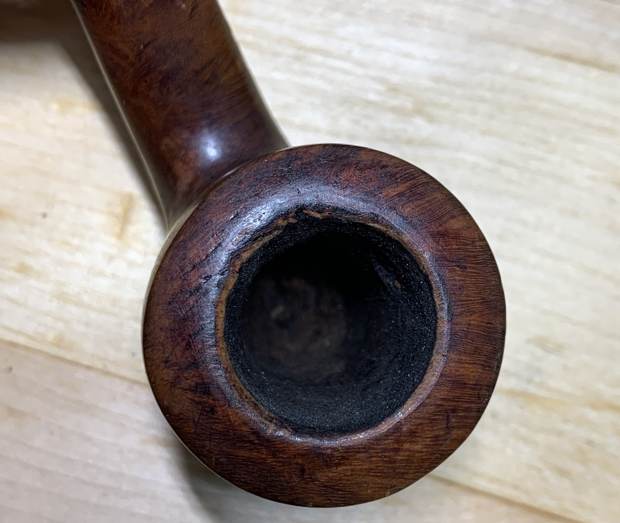
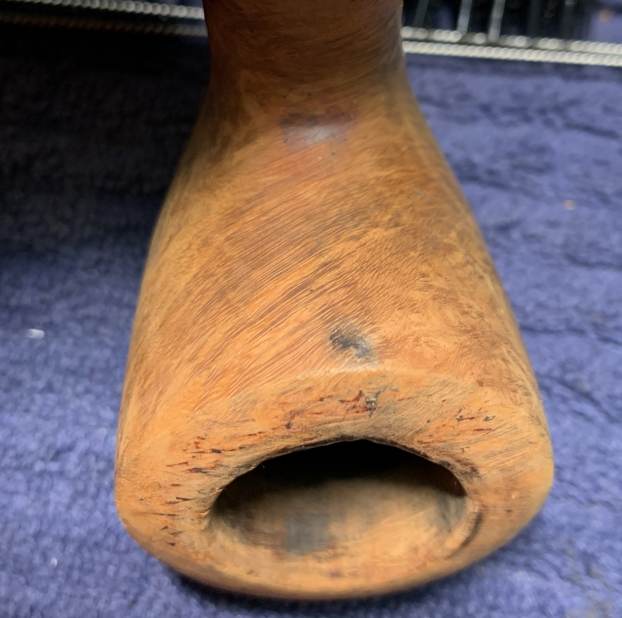
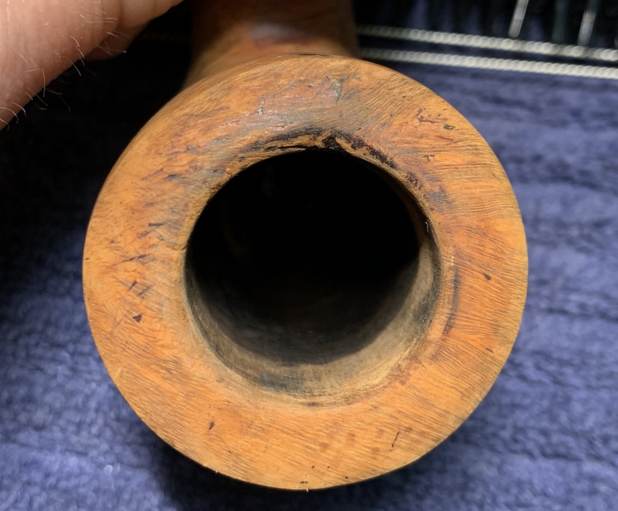
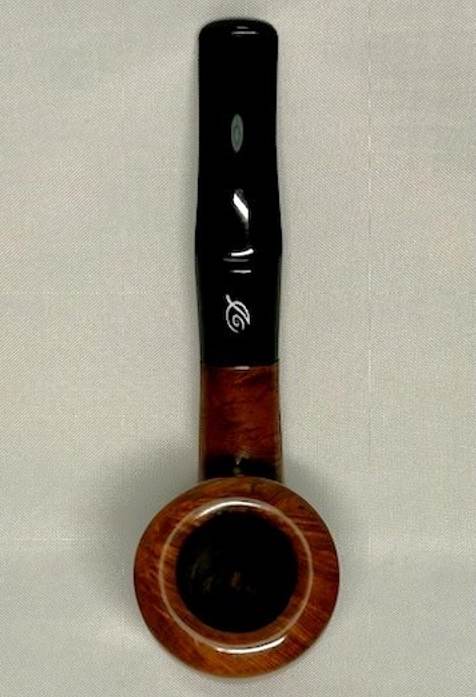
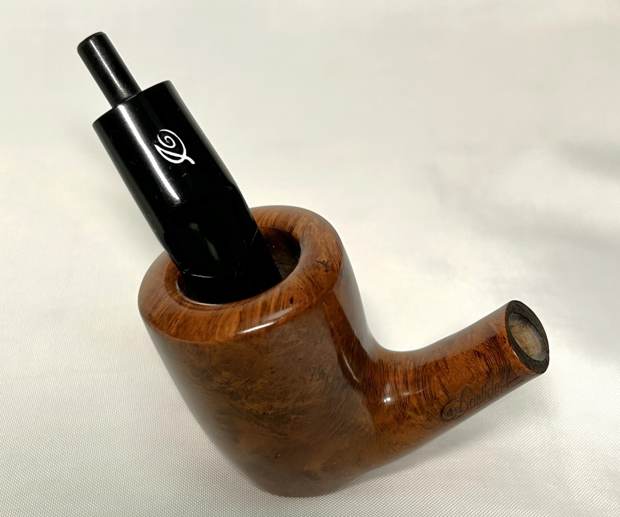
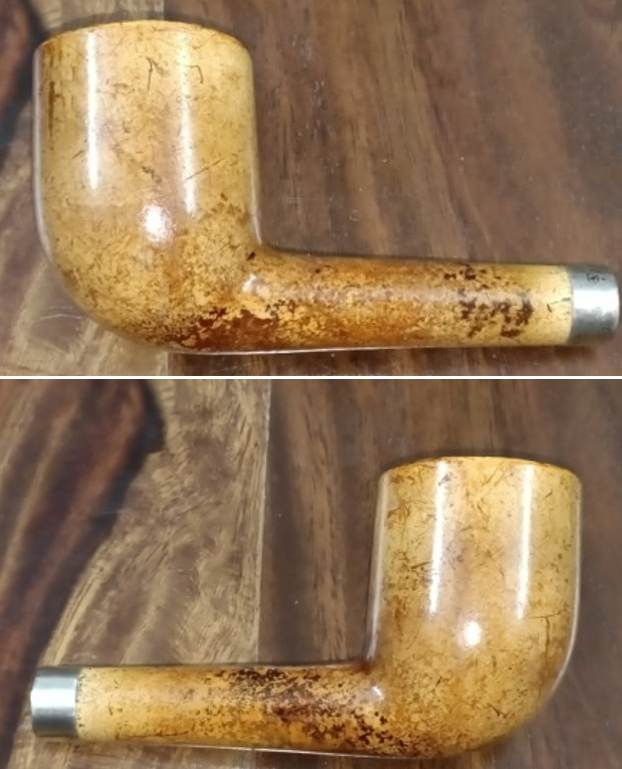
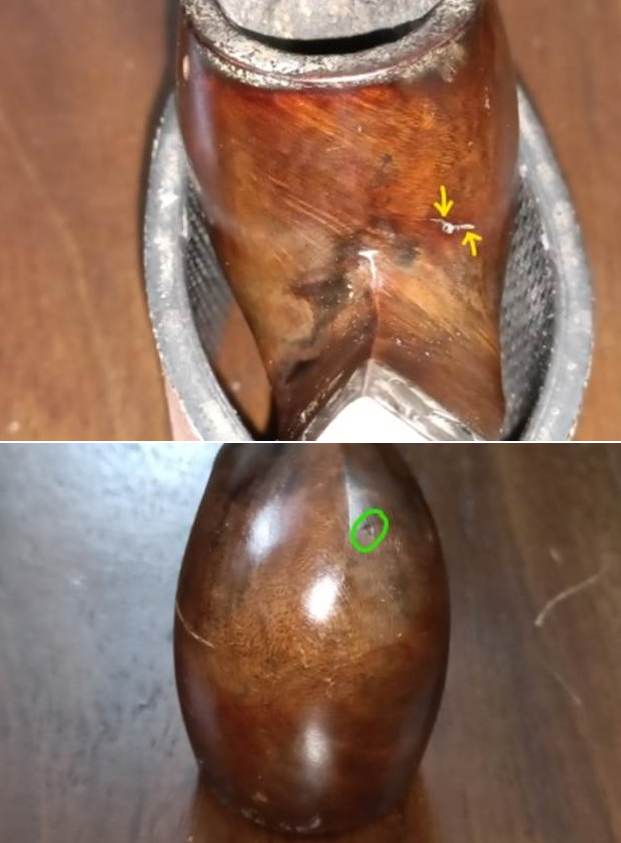
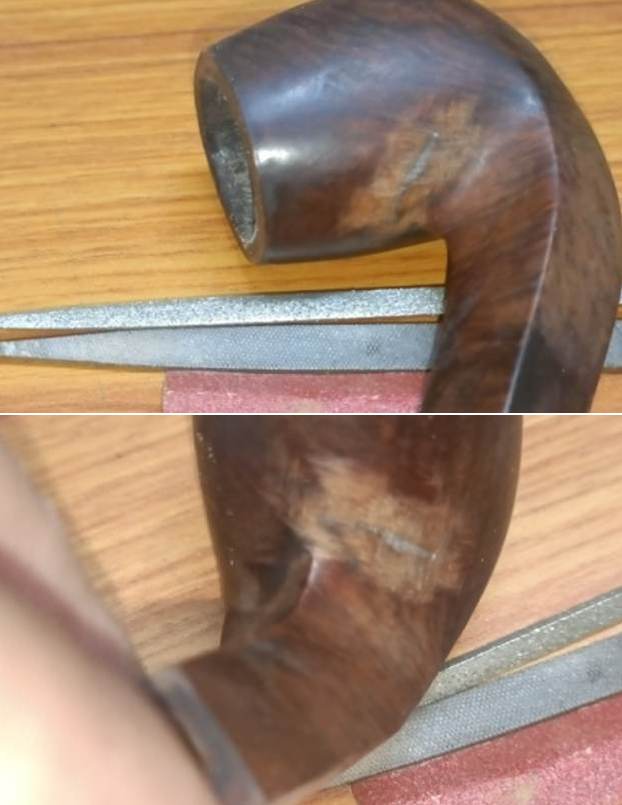
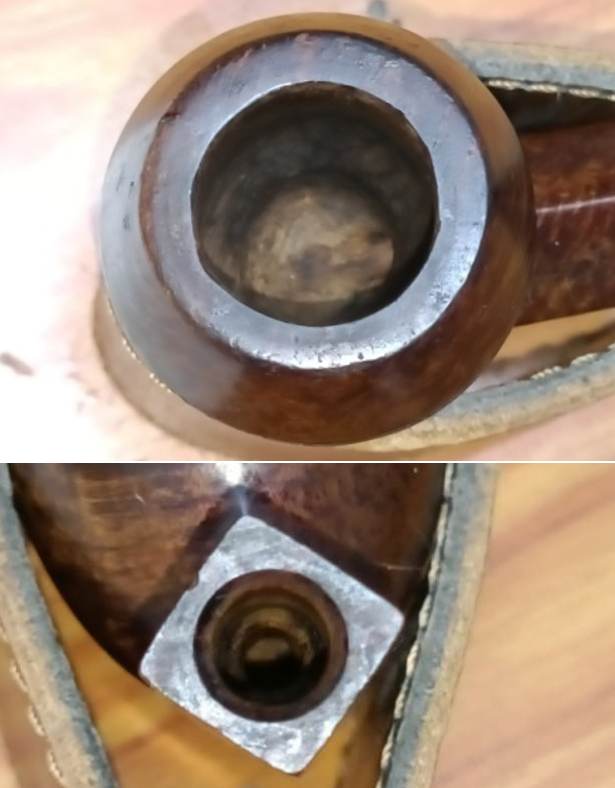
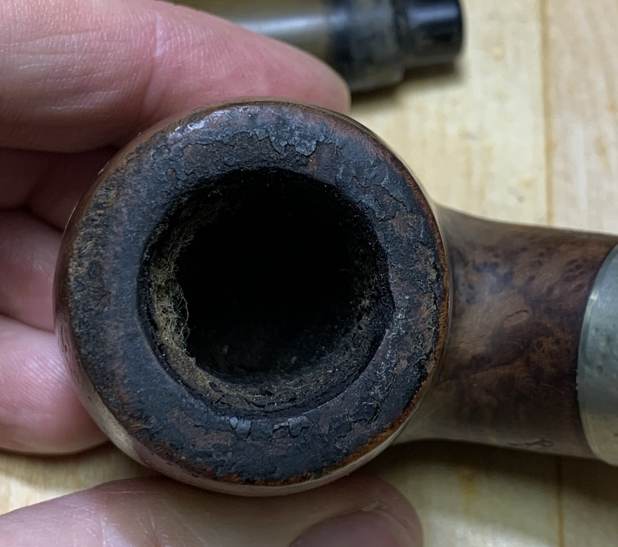
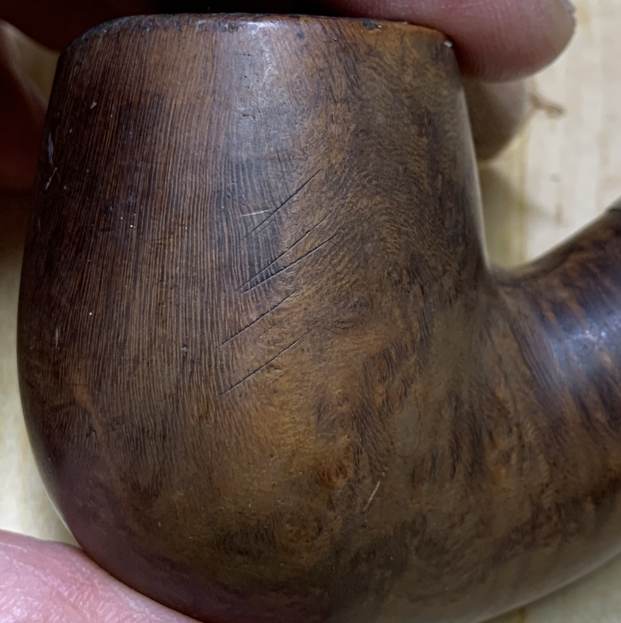
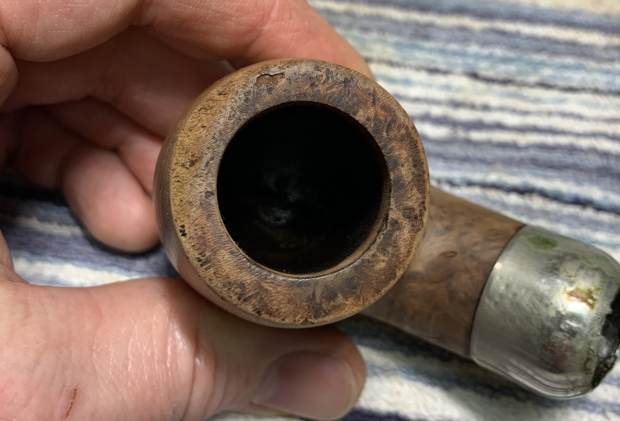
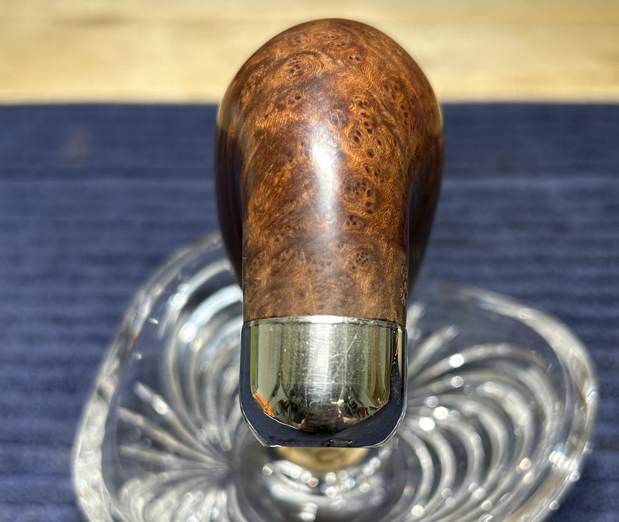
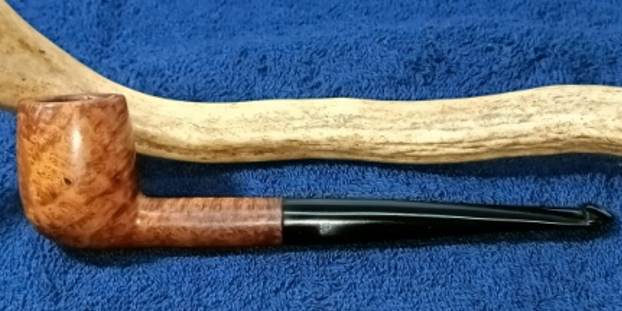
 I took a photo of the bowl and the rim top. The bowl had a thick cake on the bowl walls and there was tobacco debris in the bottom of the bowl. The rim top was dirty and had darkening and some burn damage on the inner edge of the bowl. The shank cap and stem cap were tarnished and dirty. The horn stem shows the tooth marks and chatter on both sides ahead of the button as mentioned above. It had promise but it was dirty!
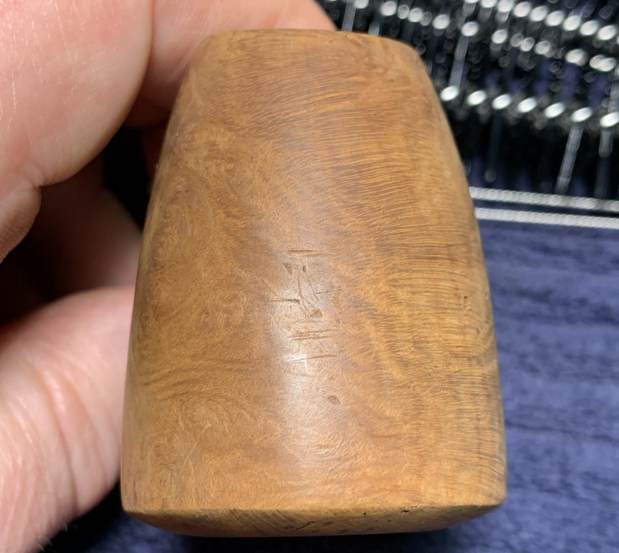
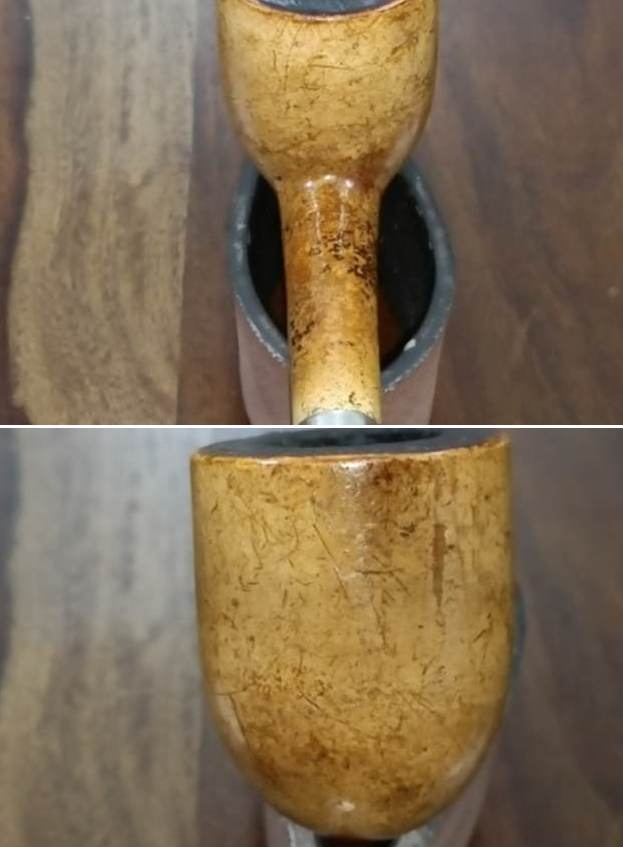
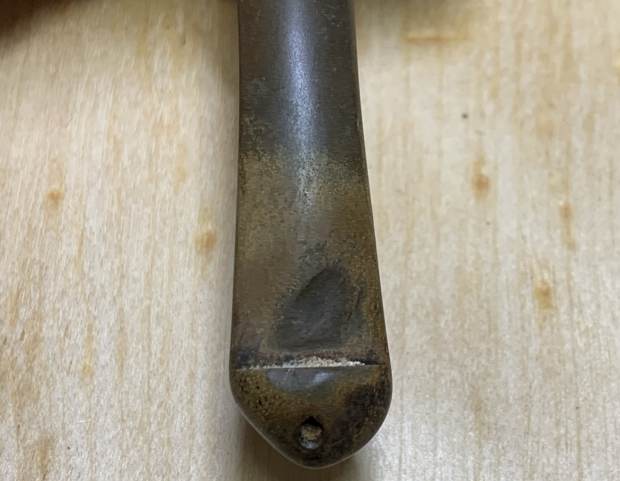
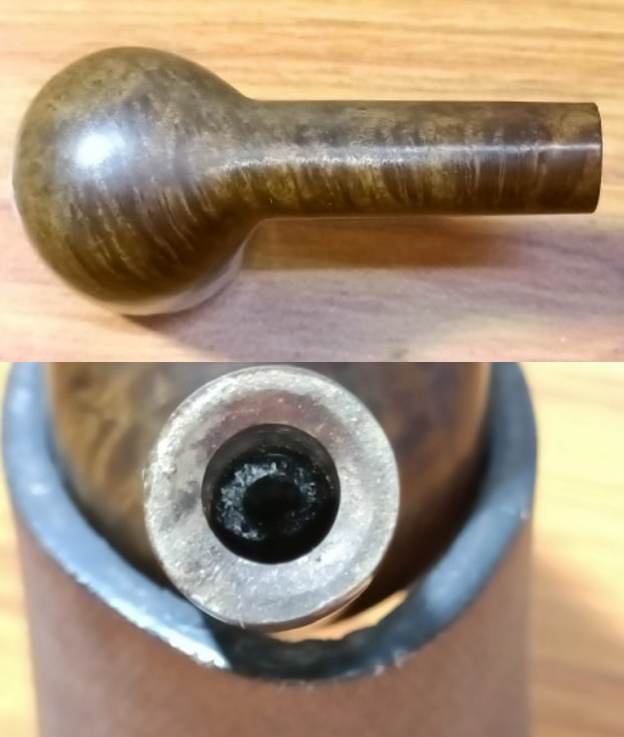
 I took photos of the shank sides to try to capture the faint stamping on the briar. If you look closely you can see something there. It is unreadable as it is so faint but on the left side it looks like it possibly reads Choquin [over] A Metz [over] Origine. Because I expected this I can faintly see it. The stamping on the right side is not readable at all.
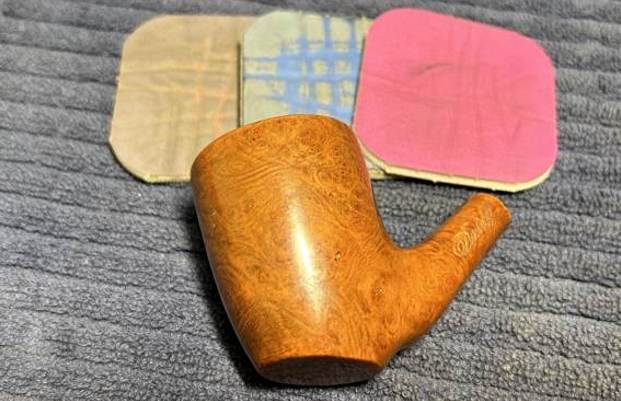
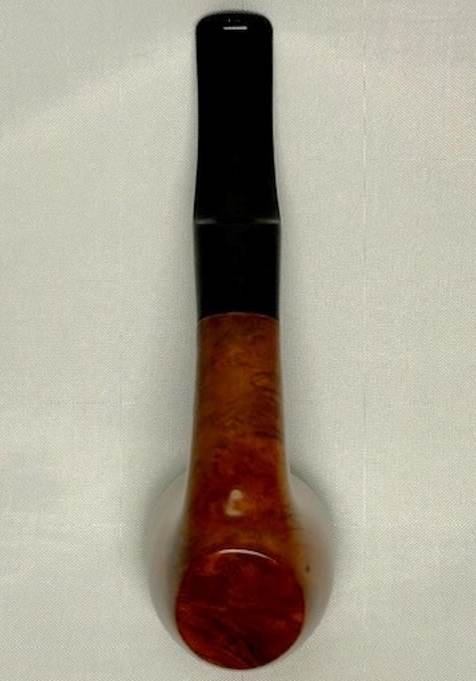
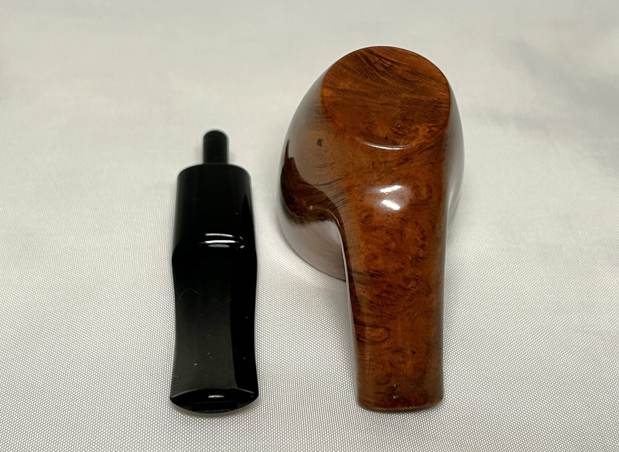
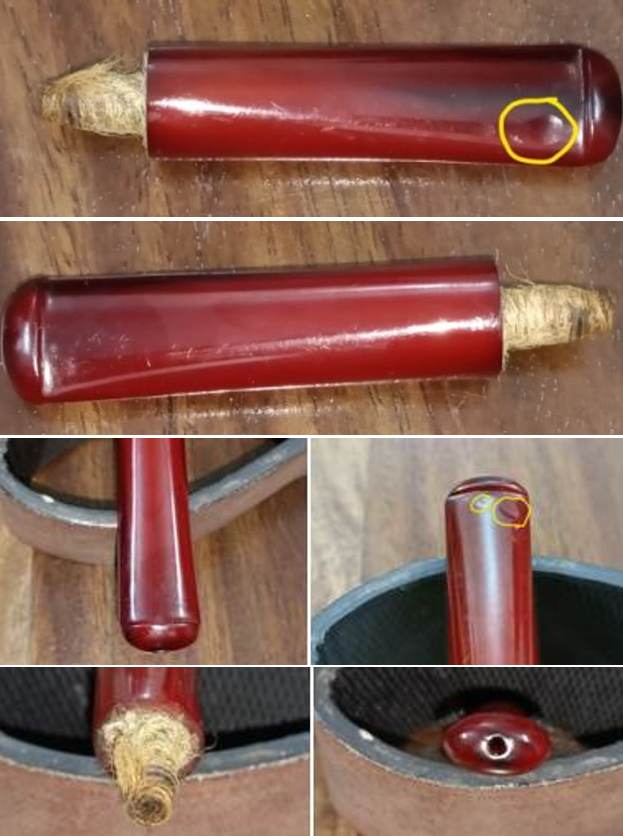
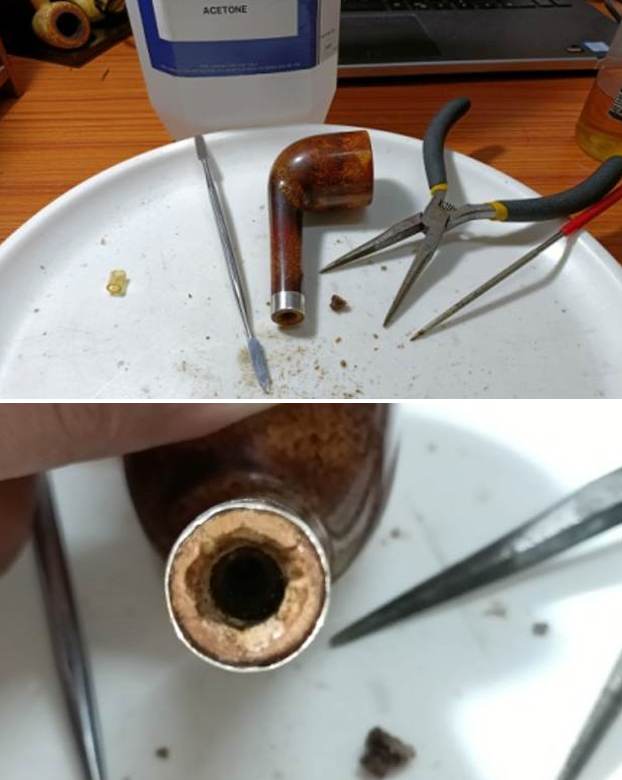
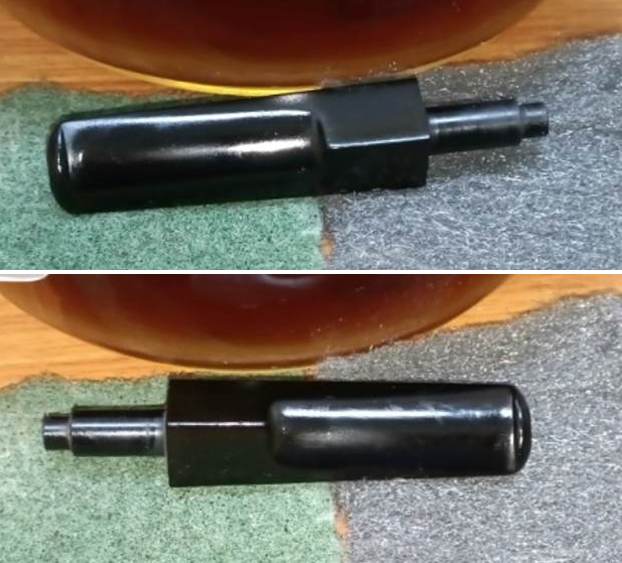
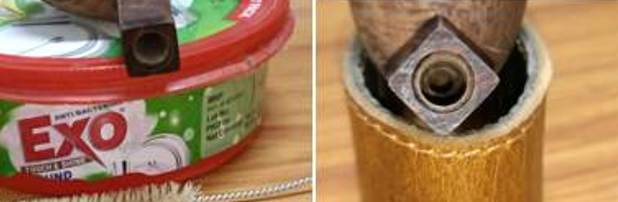
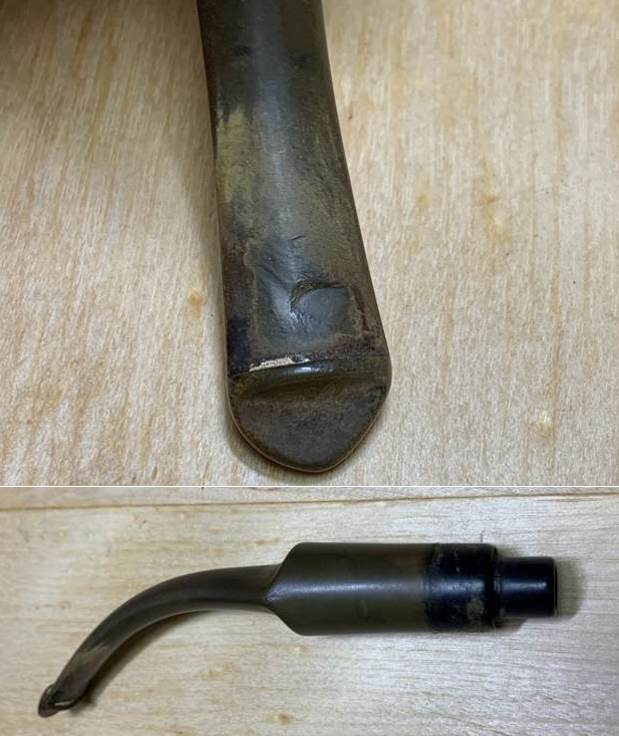
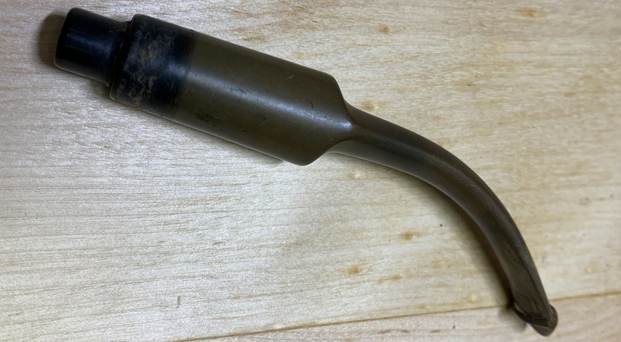
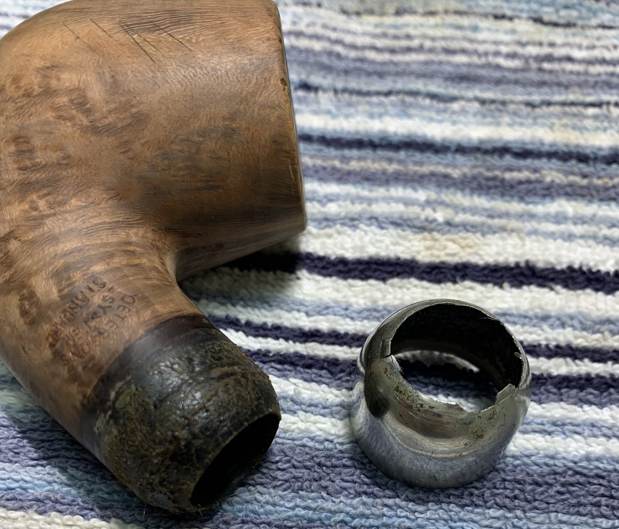
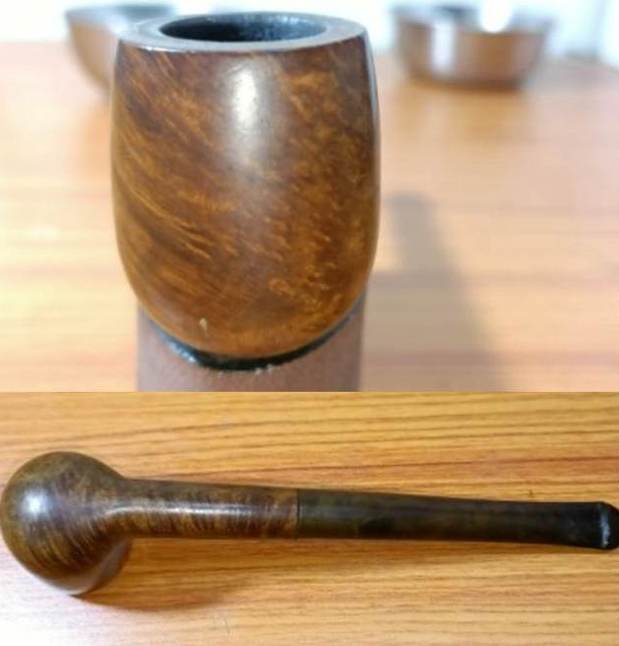
 I was able to remove the stem from the albatross bone shank extension. I set it aside and dribble some alcohol with a pipe cleaner on the shank cap that held the other end of the extension tightly in place. It took a little work but I was able to wiggle it free. I took a photo of the parts of the pipe to show the overall size and ratio of the parts. It is going to be a pretty pipe!
 I had worked on two of the Second Generation A Metz Origine in the past. These had an acrylic stem and an acrylic shank extension. I have included the links to those blogs below for your information and for a quick review of the shape and the differences with the one I have in hand now.
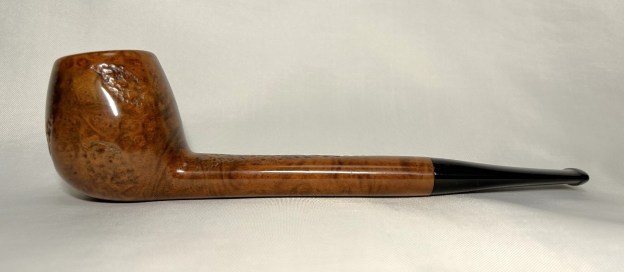
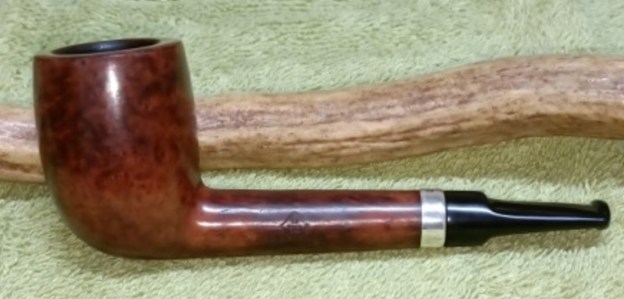
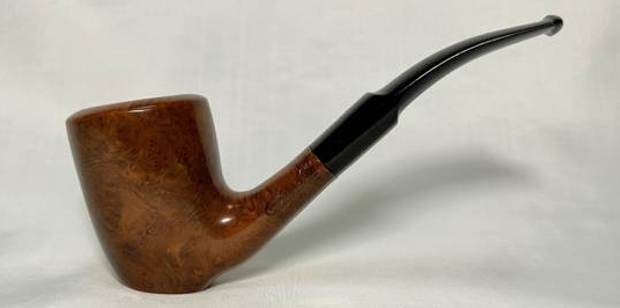
https://rebornpipes.com/2020/04/13/new-life-for-a-second-generation-butz-choquin-a-metz-origine/
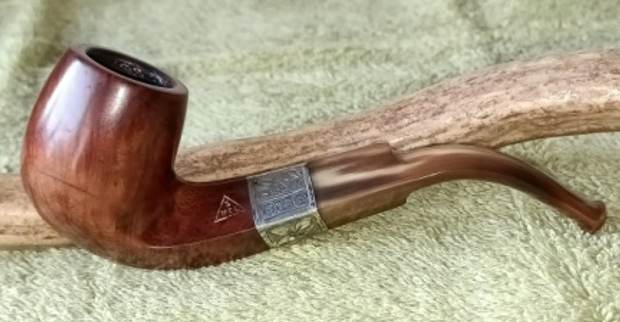
Back in 2018 I had worked with Paresh on Facetime on a First Generation Choquin A Metz. It was very different than the previous two. It had a horn stem and an albatross wing bone as a shank extension (https://rebornpipes.com/2018/11/17/a-challenging-restoration-of-vintage-era-first-choquin-a-metz/). Given that information, I knew that I was looking at another First Generation A Metz. It had the horn stem and the albatross wing bone shank extension. The pipe on my worktable brings back a lot of fond memories for me. I remember walking through the restoration of Paresh’s Grandfather’s A Metz Origine with him. We chatted on Facetime many times during this particular restoration. Paresh had determined that this pipe was very old. I quote below and also have included a photo:
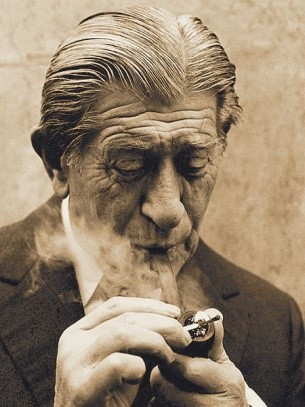
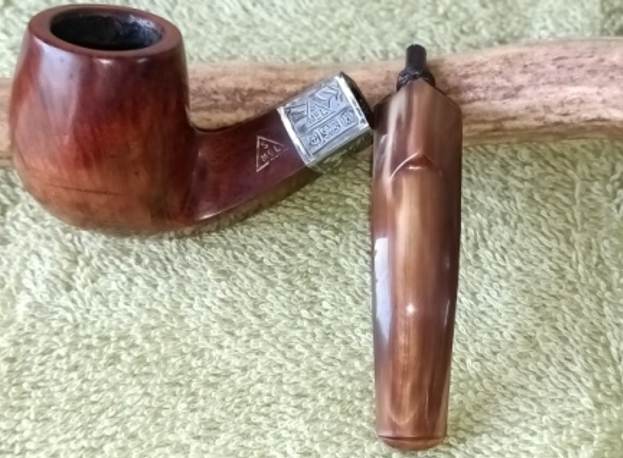
From all the input that I have gathered, the flat bottom bowl, the stamping, the sterling silver adornments, the bone shank extension and horn stem, I can safely place this piece as being one of the first A Metz pipes from the 1858 era! 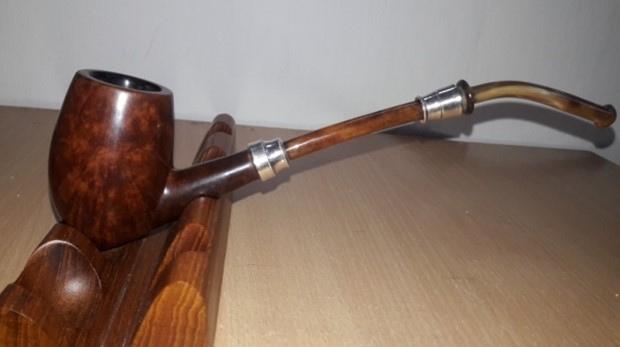 That was the first memory of Paresh’s A Metz Origine. The second memory is also one I cherish. On a trip to India to visit Paresh and Abha and their daughters Mudra and Pavni in 2019, Jeff and I had the privilege of not only seeing this pipe up close but I also was the first one to smoke it since the restoration. What a privilege to be able to smoke Paresh’s Grandfather’s pipe. It was so light weight in hand and it was an amazing smoke. It was cool and dry to the end of the bowl. I cannot thank Paresh enough for letting me fire up this old timer. Dal wrote about this in a great blog about the trip called West meets East in India (https://rebornpipes.com/2019/05/30/west-meets-east-in-india-to-restore-a-grandsons-treasure-an-1846-bbb/). I quote Dal as he so ably described this experience and have also included a photo panel from the blog:
As we had planned, in celebration of the completion of the restoration together we smoked 3 unbelievable vintage pipes with albatross shank extensions and horn stems – all from the 1800s. Oh my…. We each thoughtfully packed our bowls with our choice of blends and lit up and, well…. What a treat for Paresh to share the treasure trove of pipes left to him by his grandfather. Jeff did the honor of commemorating this event with pictures. (Photo from Dal)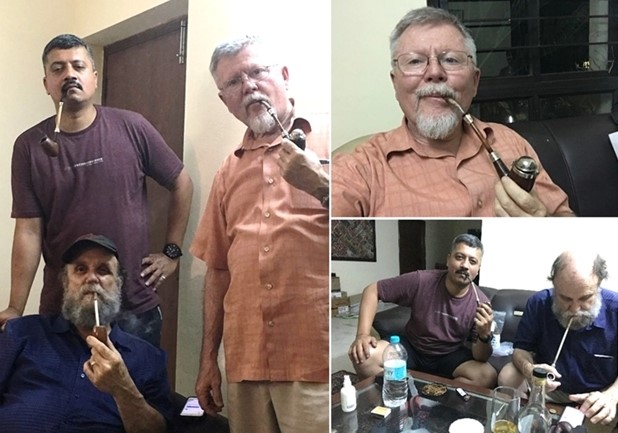 I had written a previous blog on a restoration of a second generation Butz-Choquin A Metz Origine (https://rebornpipes.com/2020/04/13/new-life-for-a-second-generation-butz-choquin-a-metz-origine/). It was a smooth briar pipe but the information that I included was helpful and applicable. I am including some of that below.
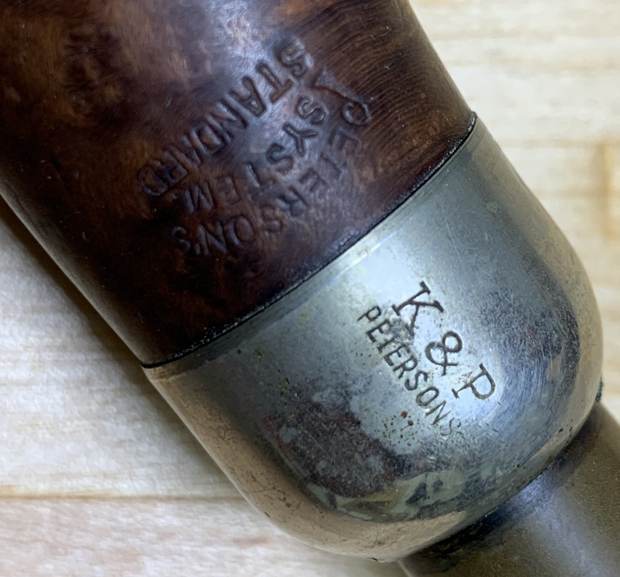
I turned to Pipephil (www.pipephil.eu/logos/en/logo-butzchoquin.html) to get a bit of background on the brand and found this write up and photo of the second or the modern version of the Origine pipe. I have included a screen capture of the pertinent section below. (Interestingly the notes below the photo speak of the one that I have in hand.) On the GQ Tobaccos site I found some interesting information about the brand and this particular pipe. The link is: http://www.gqtobaccos.com/pipes/butz-choquin-origine-sandblasted/. I quote in full from the website.
The Butz Choquin Origine pipes represent one of the first designs created by Jean-Baptiste Choquin and Gustave Butz in the mid 1800’s. The Original Origine made use of an albatross wing bone, for the long, extended stem. The deep billiard style bowl, sports a slight foot on the base and is finished sandblasted with a brown stain. The stem extender is made from Acrylic (faux bone effect) and fitted with a nickel spigot and matching band near the mouthpiece. The black acrylic mouthpiece is curved, making this demi warden/reading pipe ideal for hands free smoking. The spigot fitting makes the use of the common 9mm filter impossible, but it can be used without easily.
Butz Choquin started life back as a tobacconist in Metz, during 1850’s run by Jean-Baptiste Choquin. One of Jeans longest serving members of staff was a young Gustave Butz who had a desire to not only sell pipes, but also create them. In 1858 Gustave married Jeans eldest Daughter Marie and become an actual part of the family.
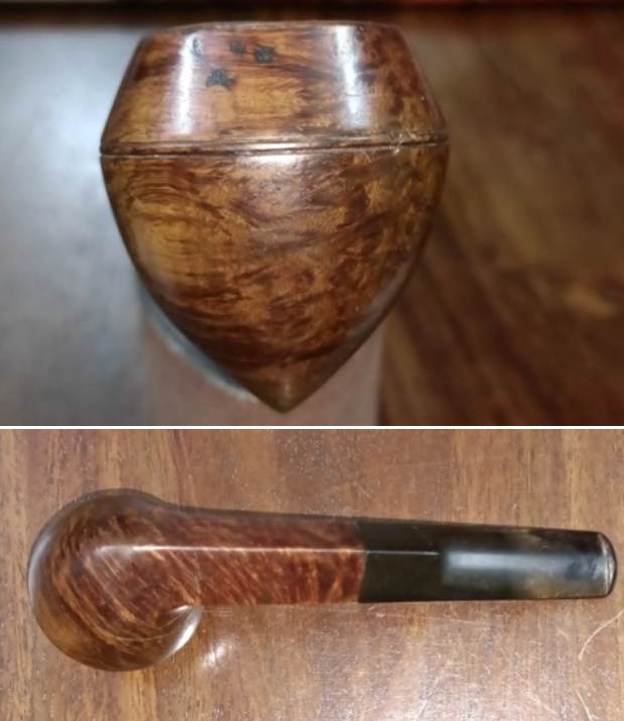
The pair set about creating a unique and distinct pipe, the now world famous “BC Origine” was first created in same year. This flat bottomed bowl was fitted with a long albatross bone shank and dual silver rings. To this day this pipe is one of the most iconic from Butz Choquin range, although sadly it no longer has the natural shank, replaced with acrylic.
Over the years the pair created a large range of pipes which not only sold within their own, but exported all over Europe and further field. The popularity of the pairs pipes grew and grew and by the 1951 the Berrod-Regad company brought out the family company. Production continued in Metz until 2002 when the whole operation was shifted to the mountain community St Claude. This picturesque village had been the centre of the worlds Briar trade for generations and the local craftsmen continued to produce high quality pipes.
To this day Butz Choquin are renowned for their desire of making more interesting and left field colour schemes. Using high quality briar, original equipment and colourful dyes/acrylic rods.
With that information I turned to work on the pipe. Looking at the bowl it is very different from the photos of the ones that I have seen online. The extension is not the white acrylic and the plumbing for holding it all together is very different from the current photos. It makes me wonder the age of the pipe. We purchased it from the fellow in Denmark that we have purchased many pipes from.
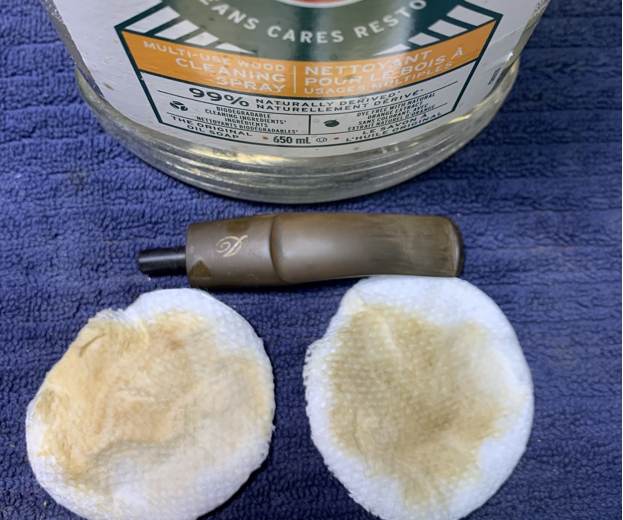
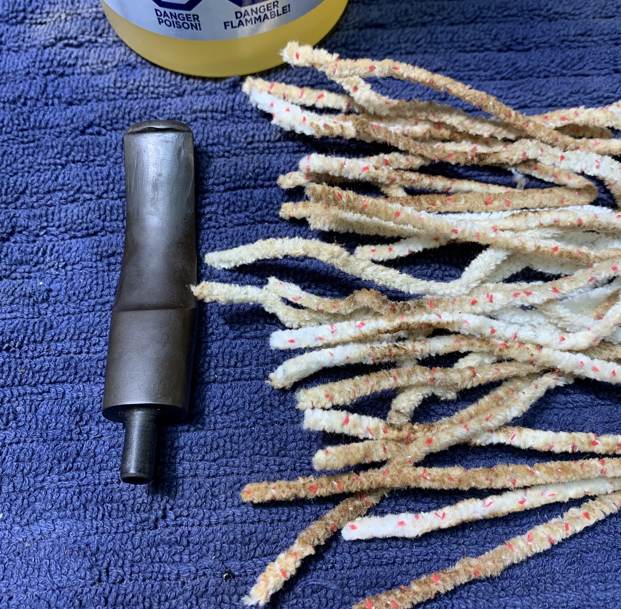
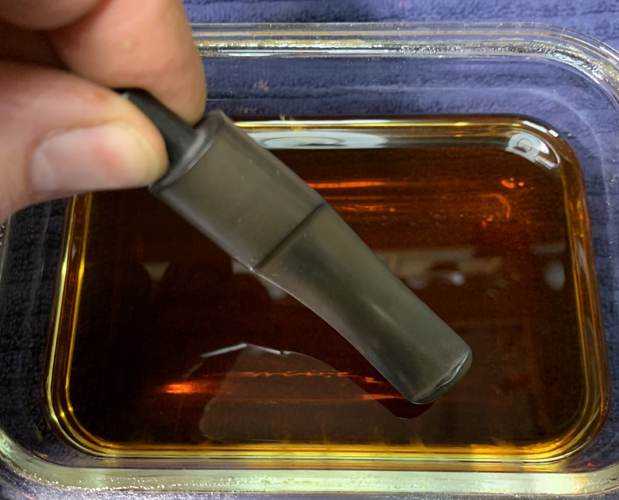
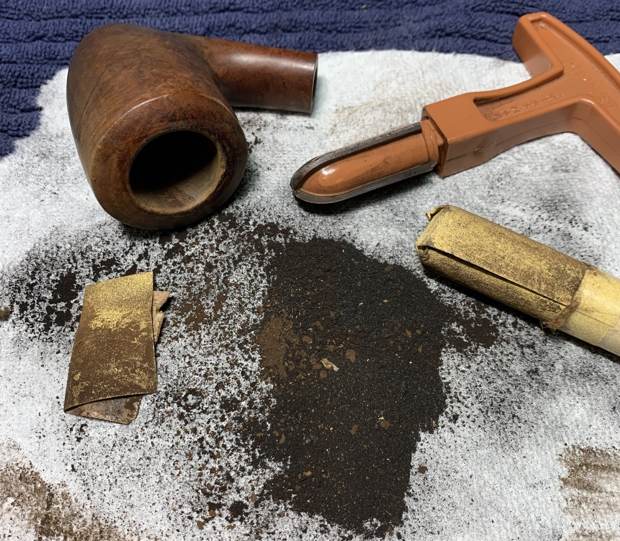
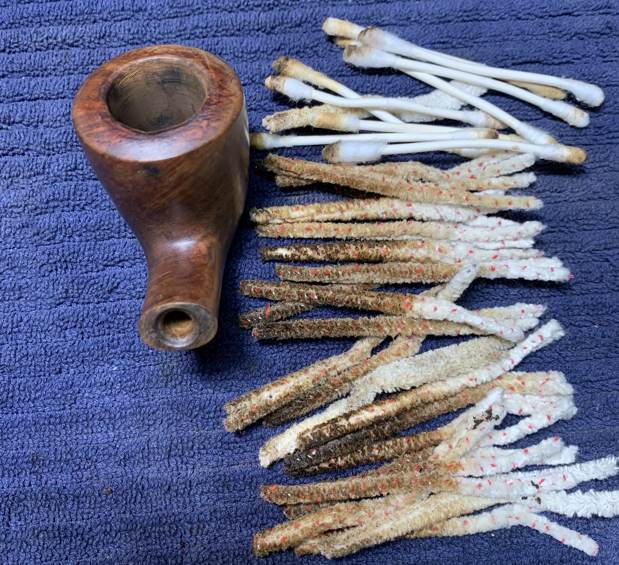
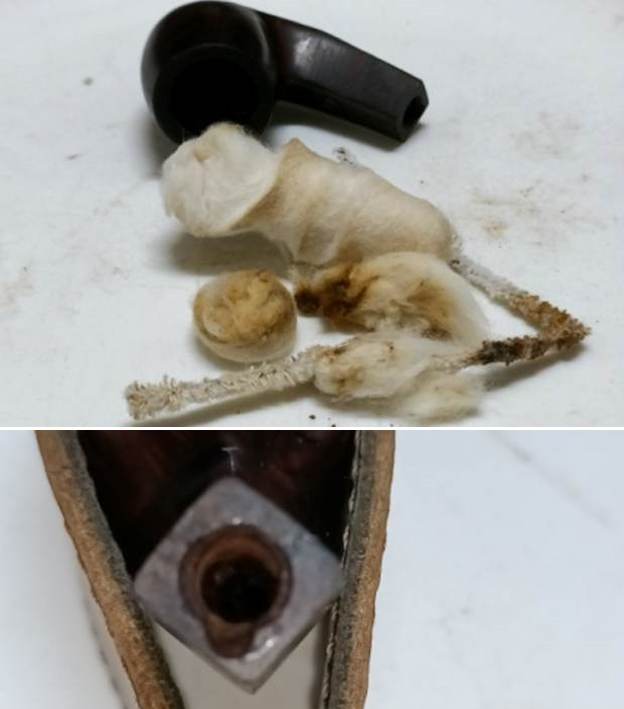
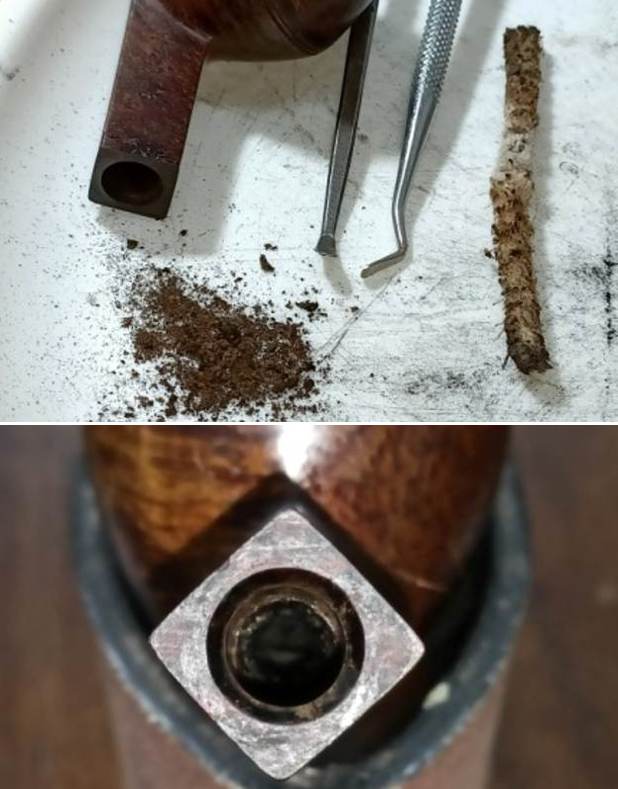
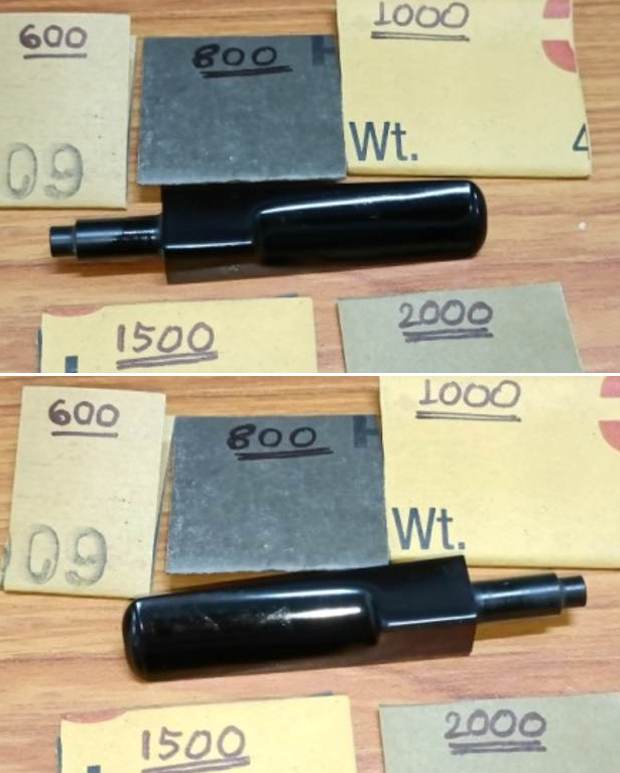
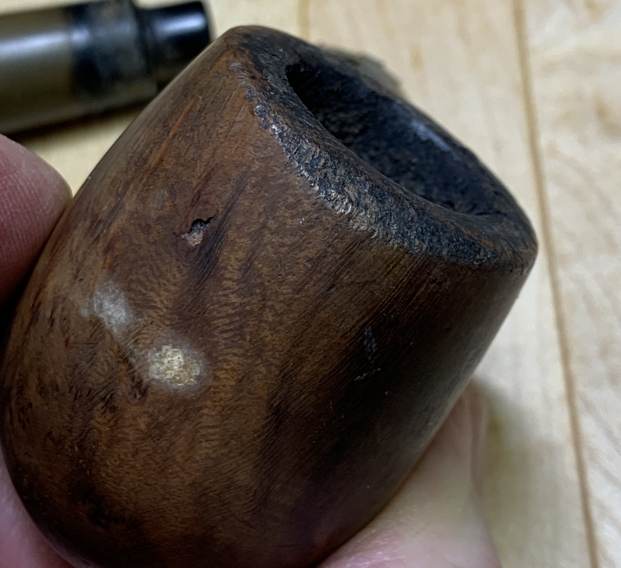
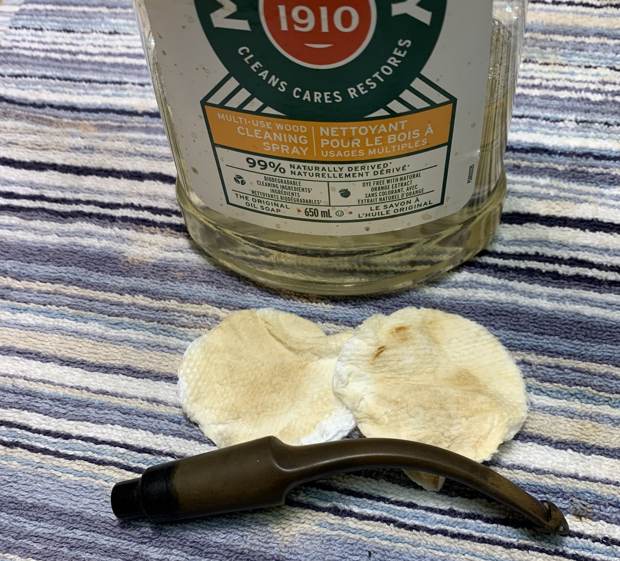
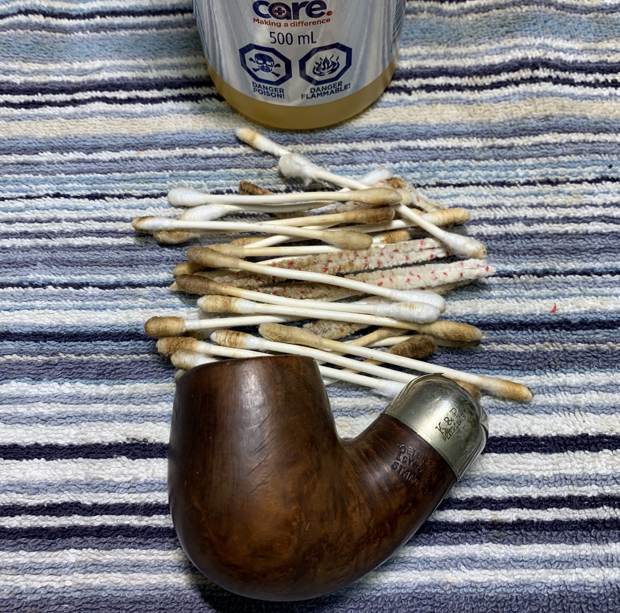
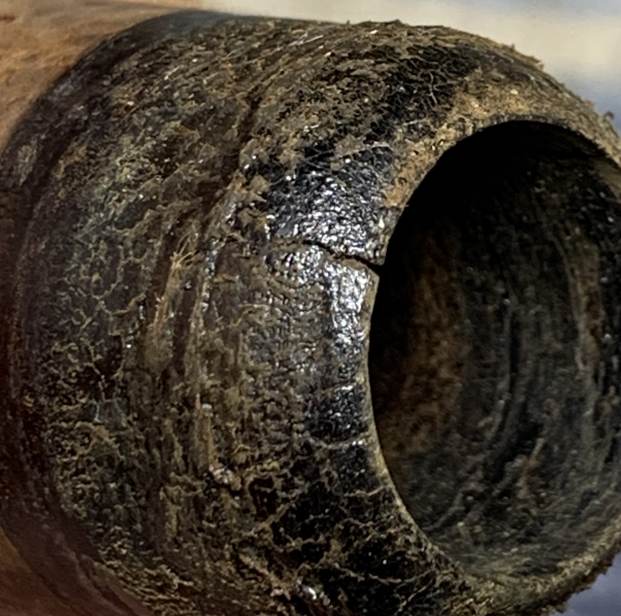
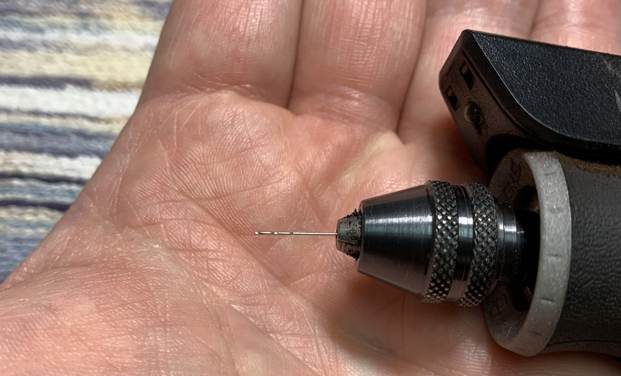
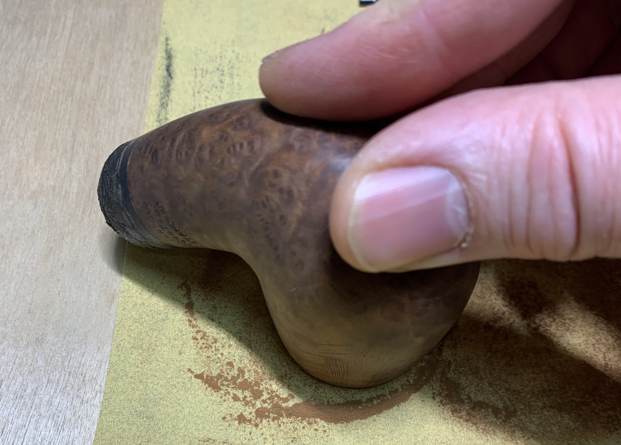
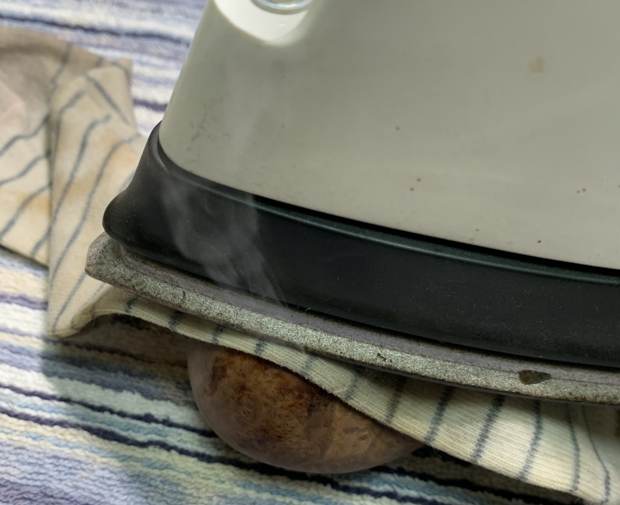
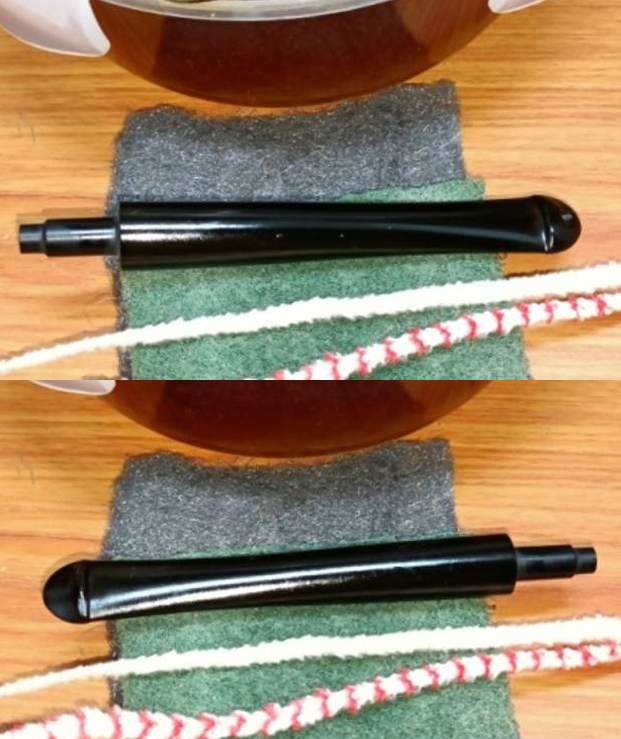
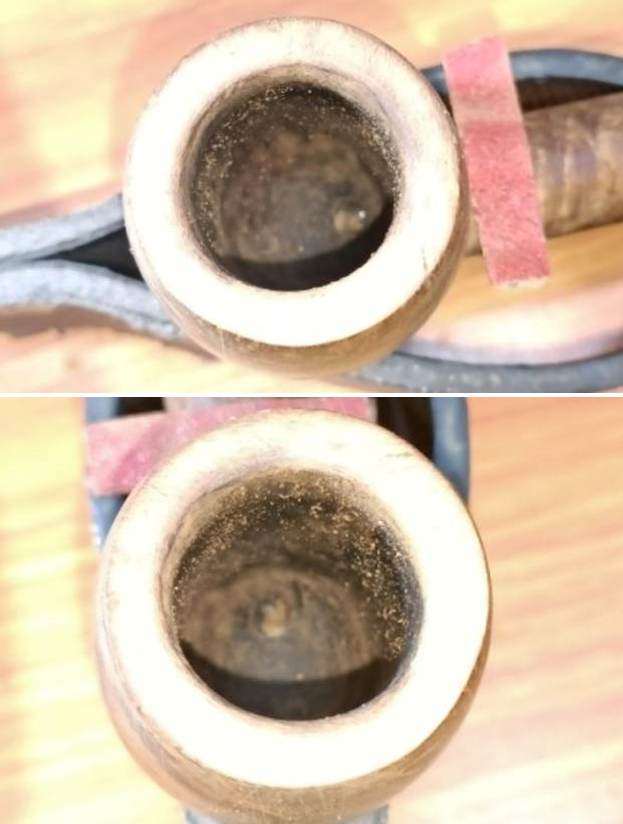
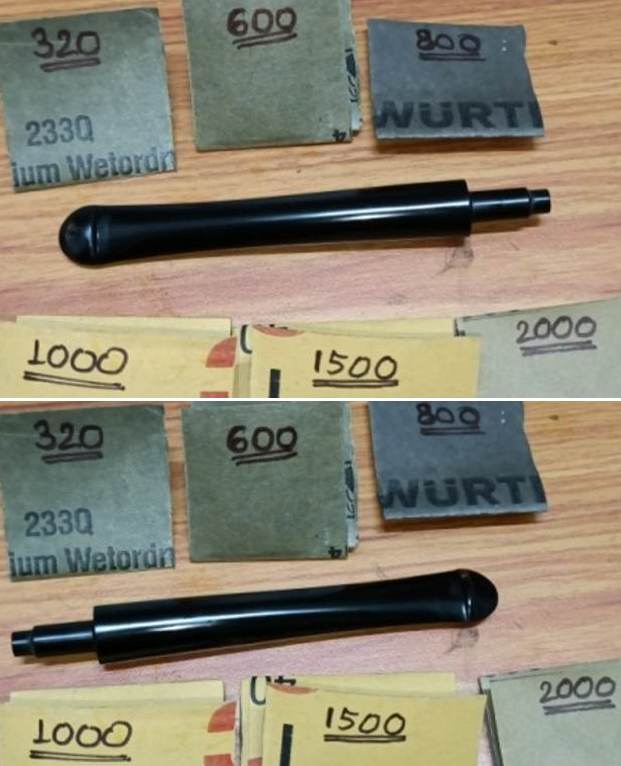
I started my work by reaming the bowl with a Savinelli Fitsall Pipe Knife. I scraped the bowl walls back to bare briar so that I could examine the walls for damage. I followed that by sanding the walls of the bowl until they were smooth with 220 grit sandpaper wrapped around a piece of dowel. The bowl walls showed no checking or cracking which is remarkable. I cleaned out the airway and mortise in the shank, the airway in the wing bone tube and the airway in the horn stem. I used 99% isopropyl alcohol, pipe cleaners and cotton swabs to remove the tars and oils. It was extremely dirty and once cleaned smelled and looked better.
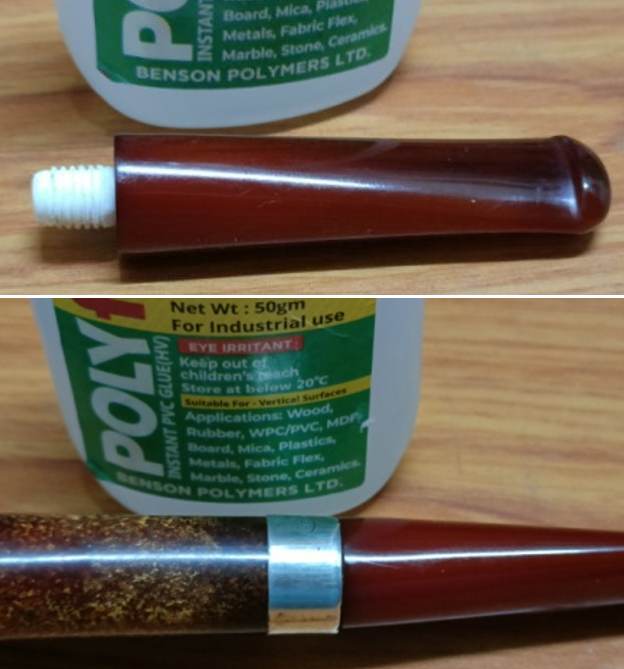
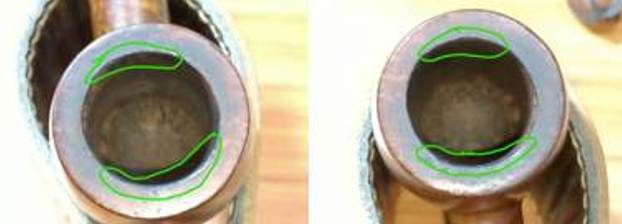
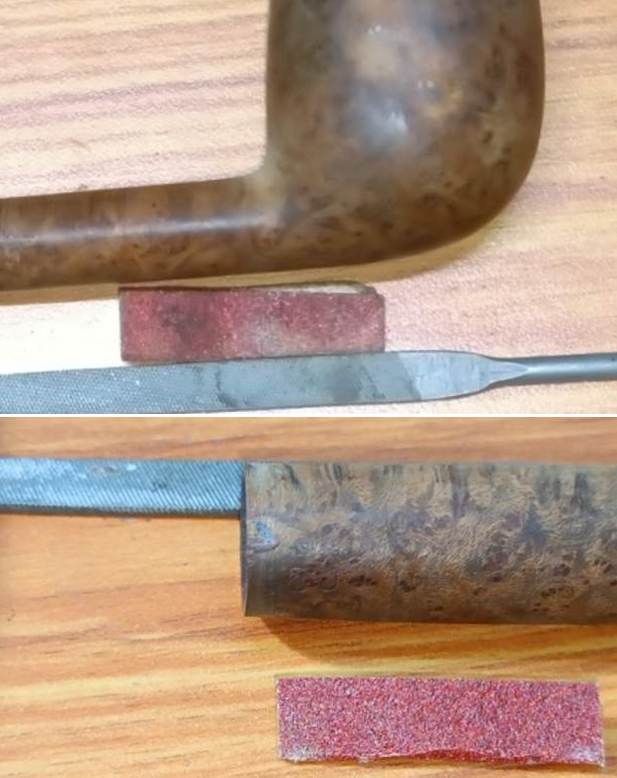
 I cleaned up the rim top and the inner and outer edge of the bowl with a folded piece of 220 grit sandpaper. Once finished it looked much better. The finish would need to be removed to deal with the grime and the large fill on the left side of the bowl. (Note I had also used some worn sandpaper to remove some of the tarnish on the band).
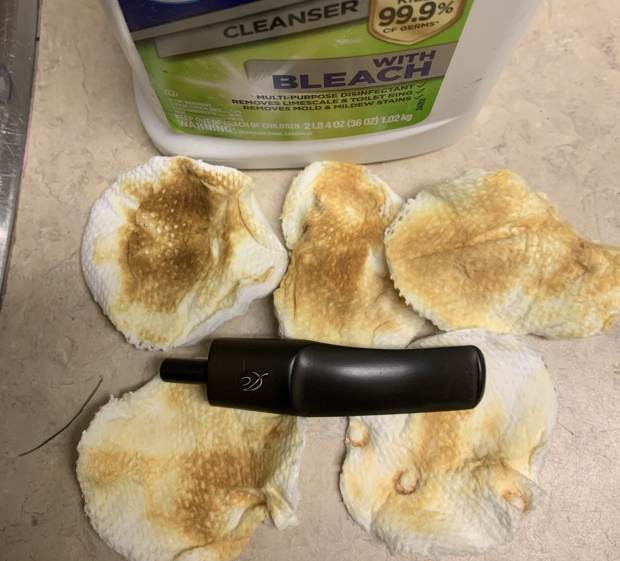
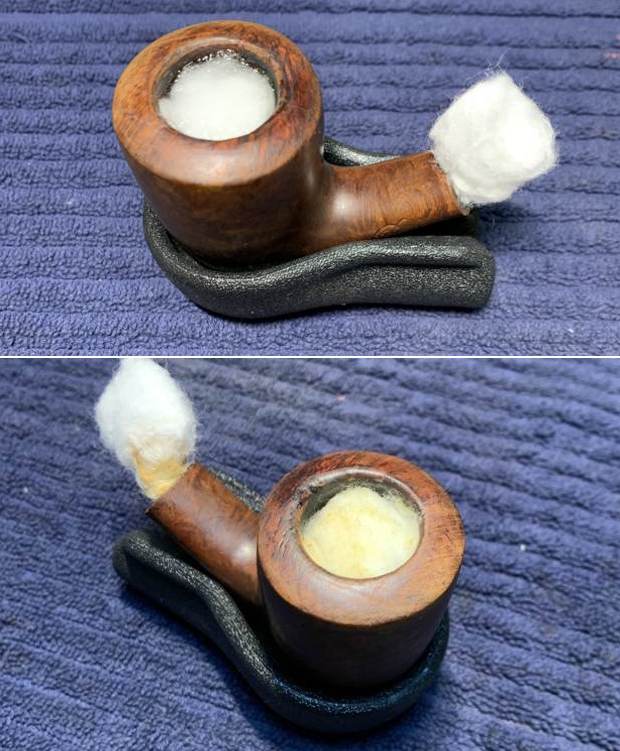
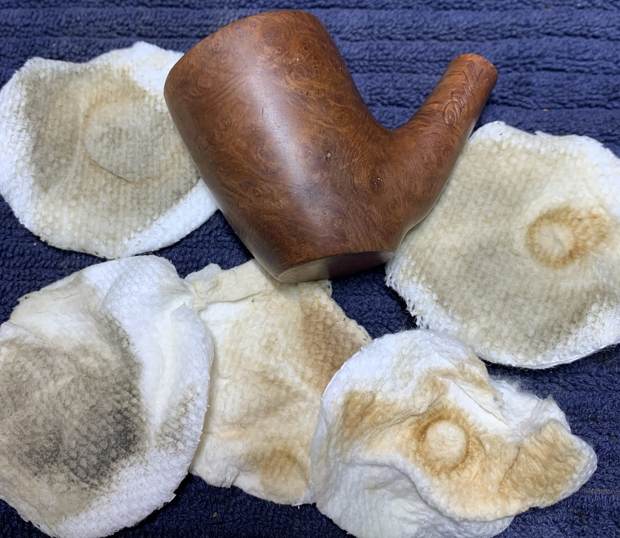
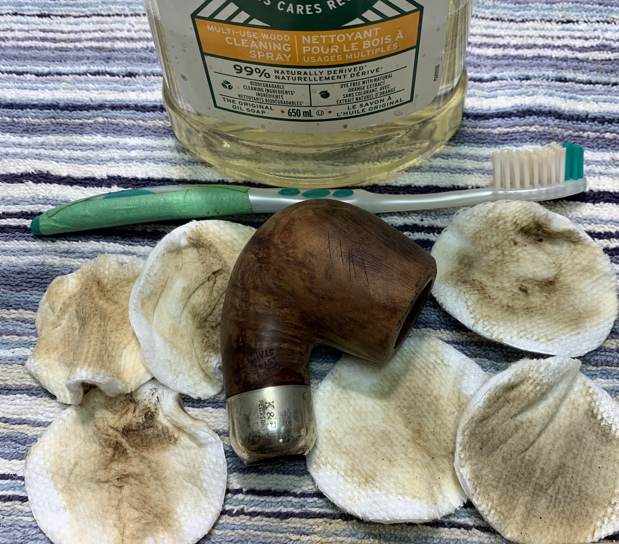
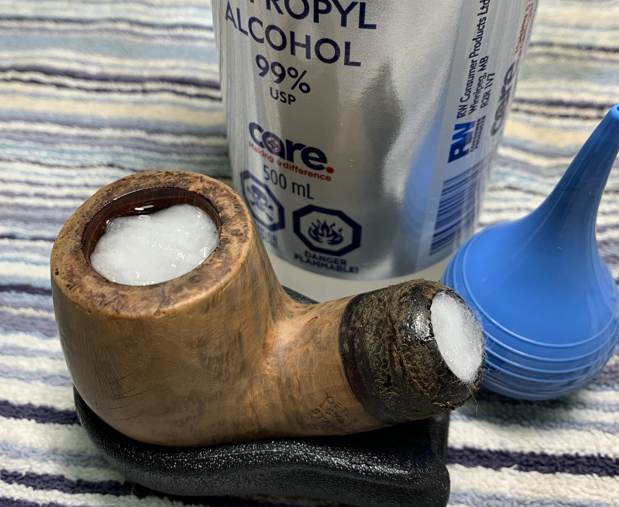
 I stripped off the finish with acetone on cotton pads. I wiped it down repeatedly until the shiny finish was removed and the briar was clear and clean.
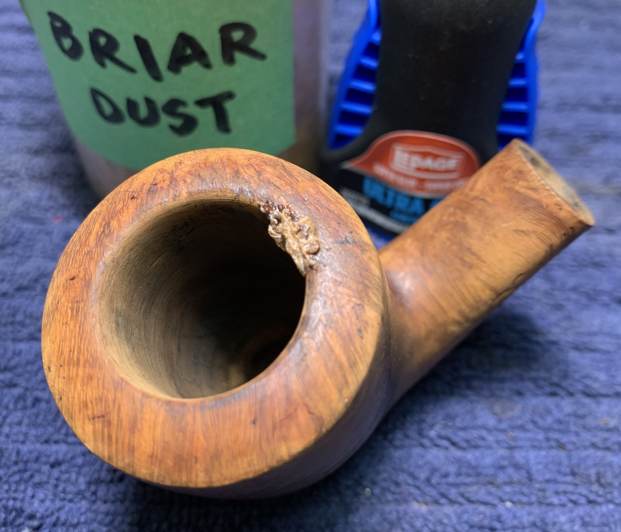
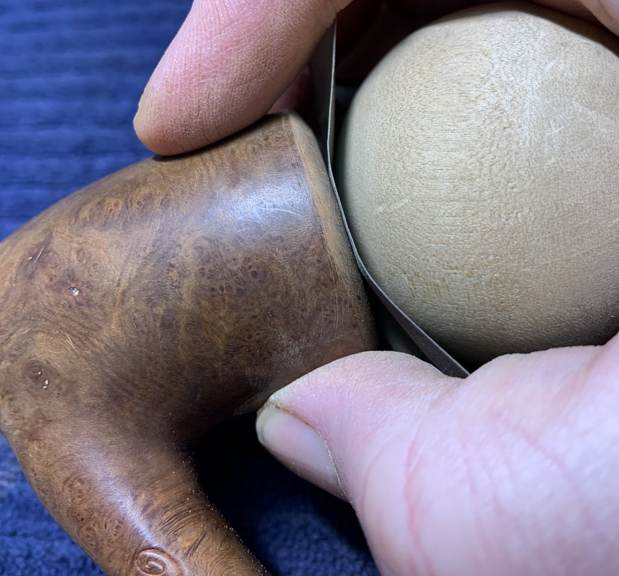
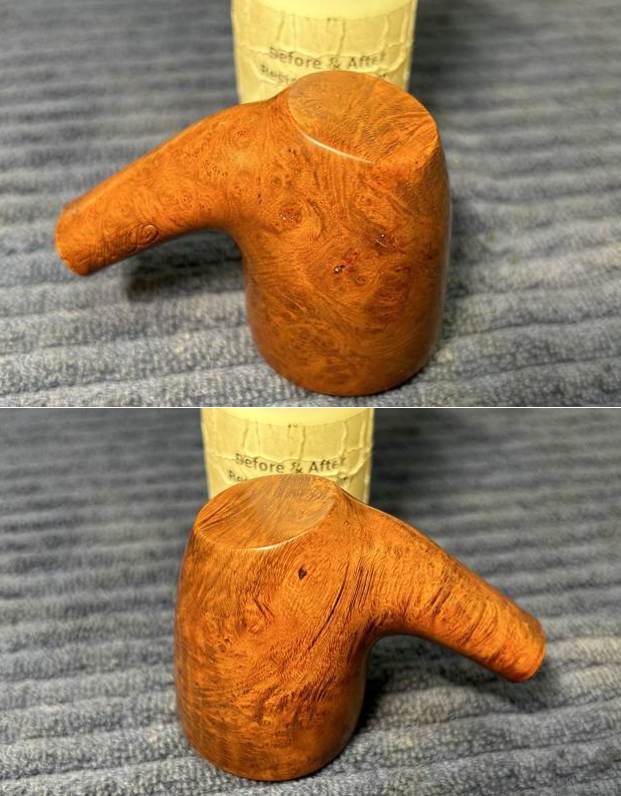
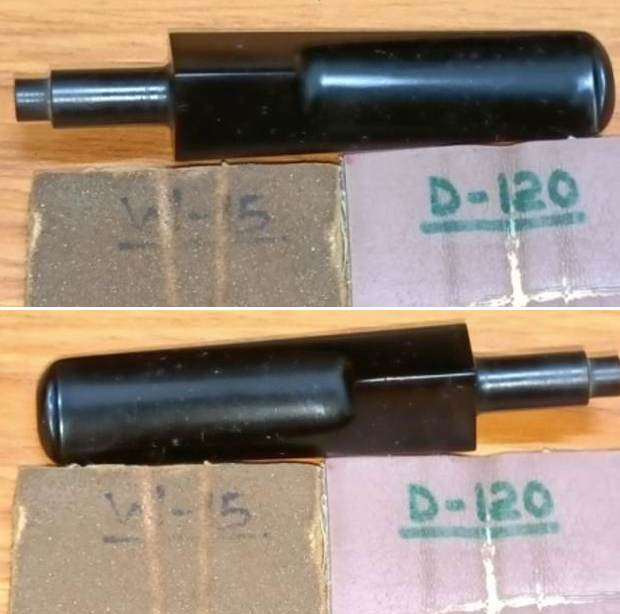
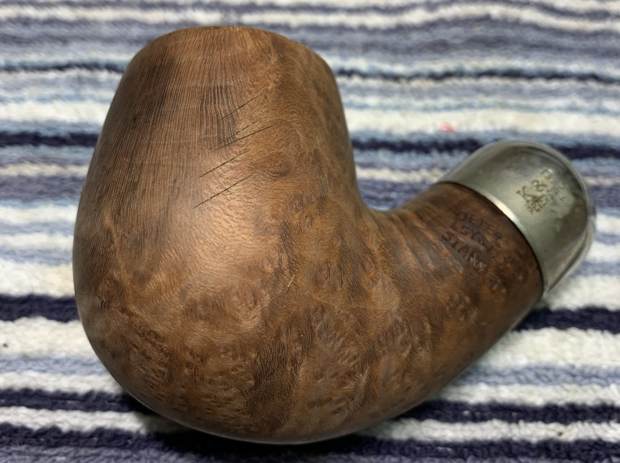
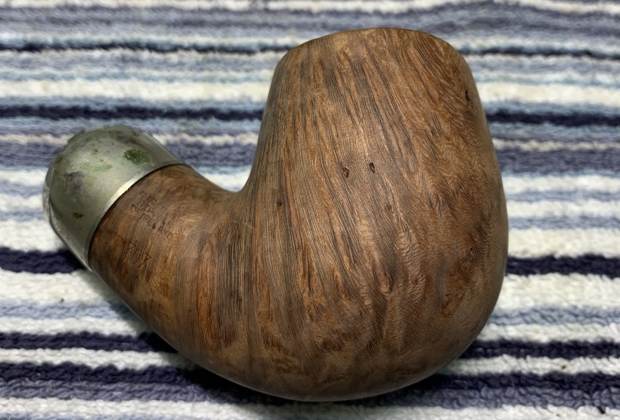
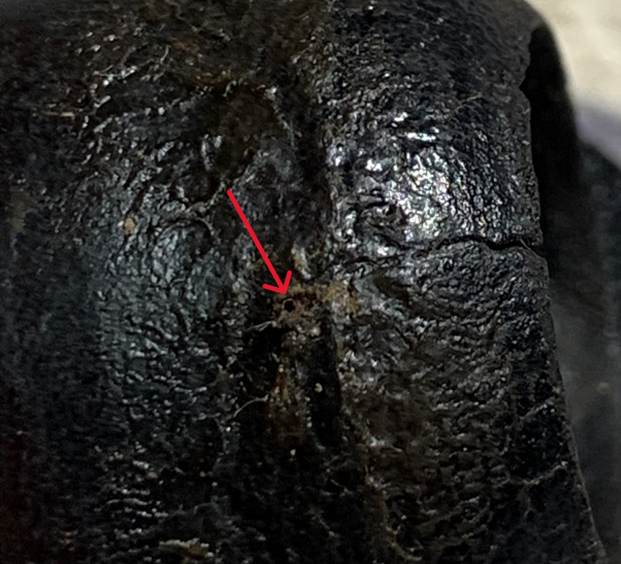
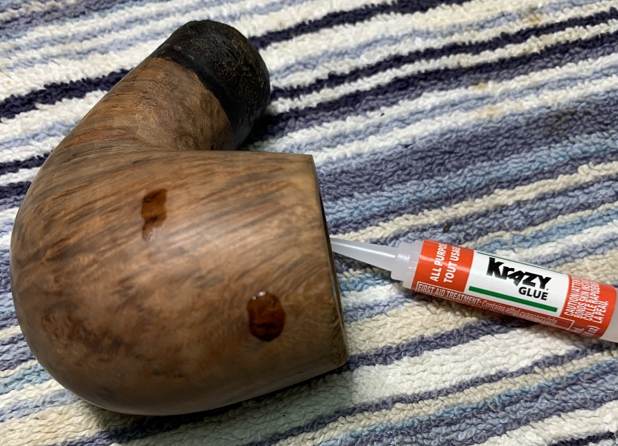
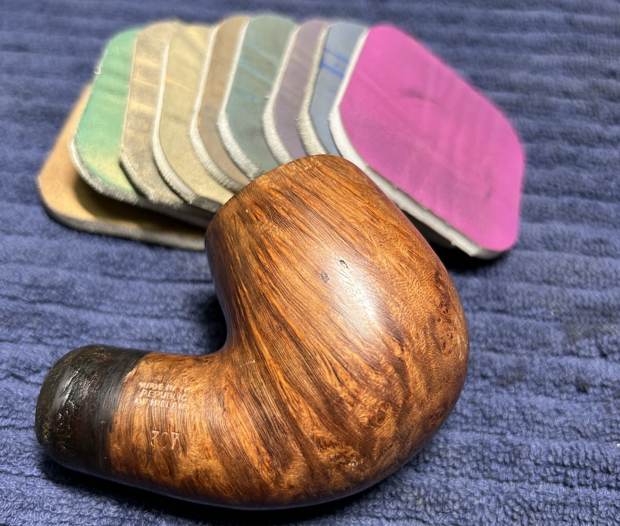
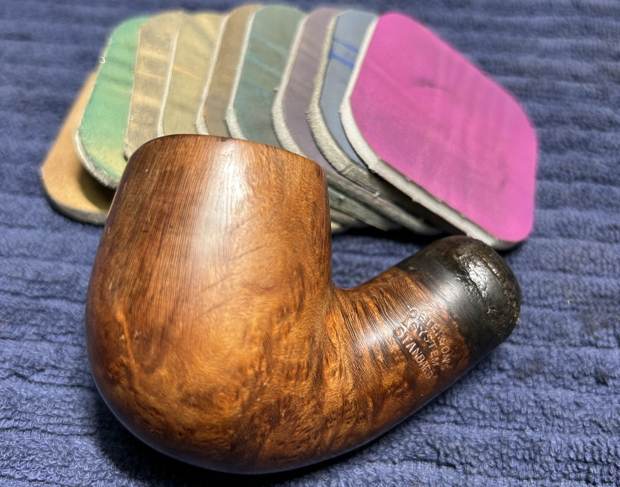
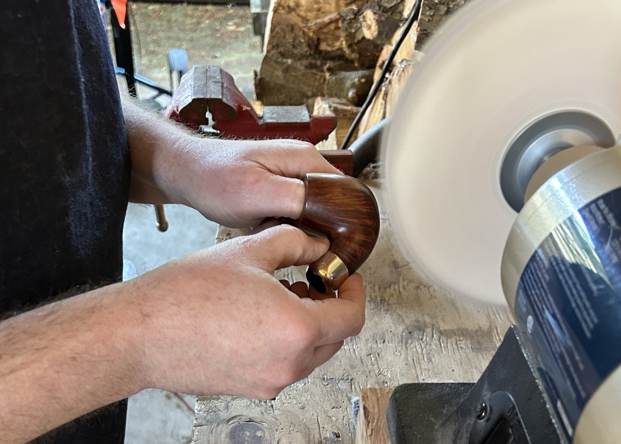
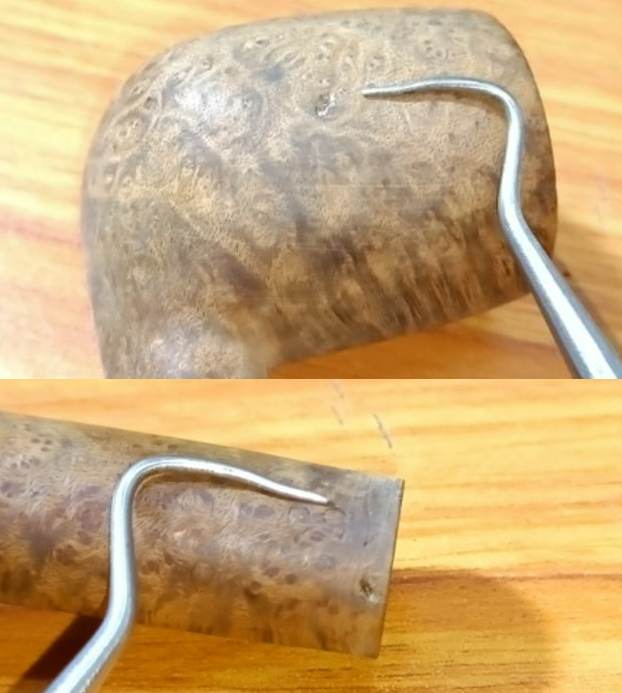
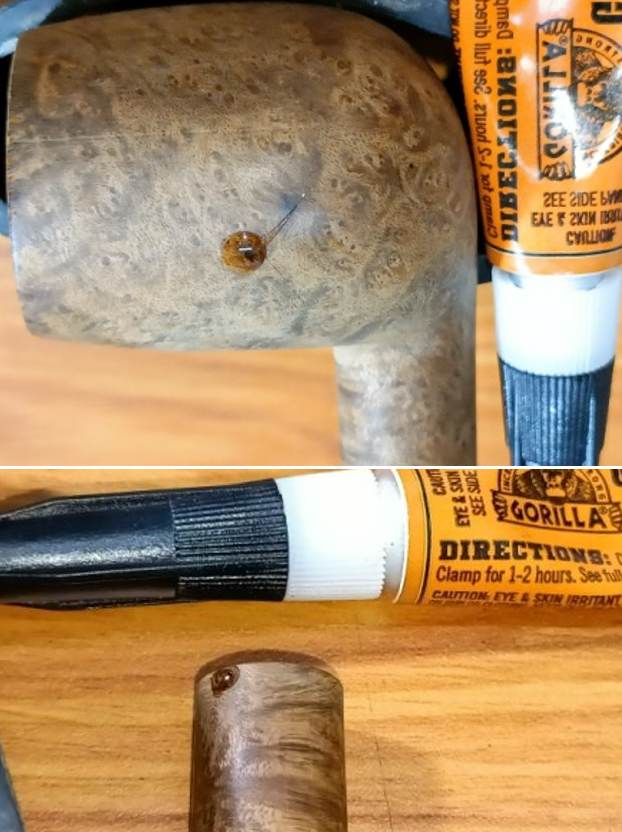
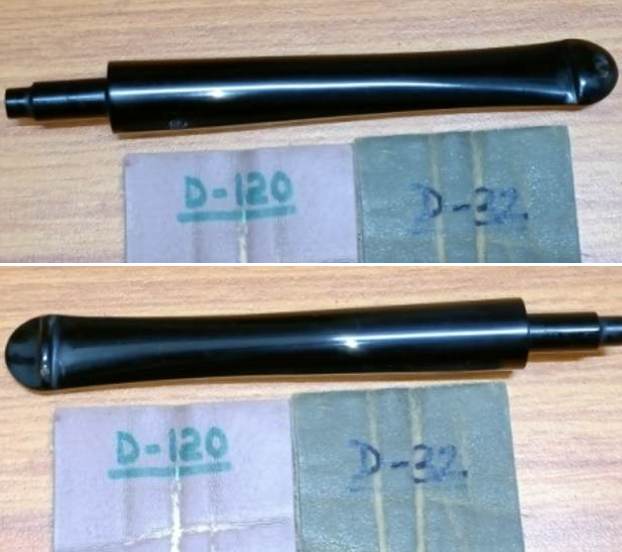
 I polished the briar and the albatross wing bone shank extension with micromesh sanding pads – dry sanding with 1500-12000 grit pads. After each pad I wiped the bowl down with a damp cloth to remove the sanding debris. It really took on a shine by the last three sanding pads. The fill is still visible but it is solid. I decided to polish it out and leave it.


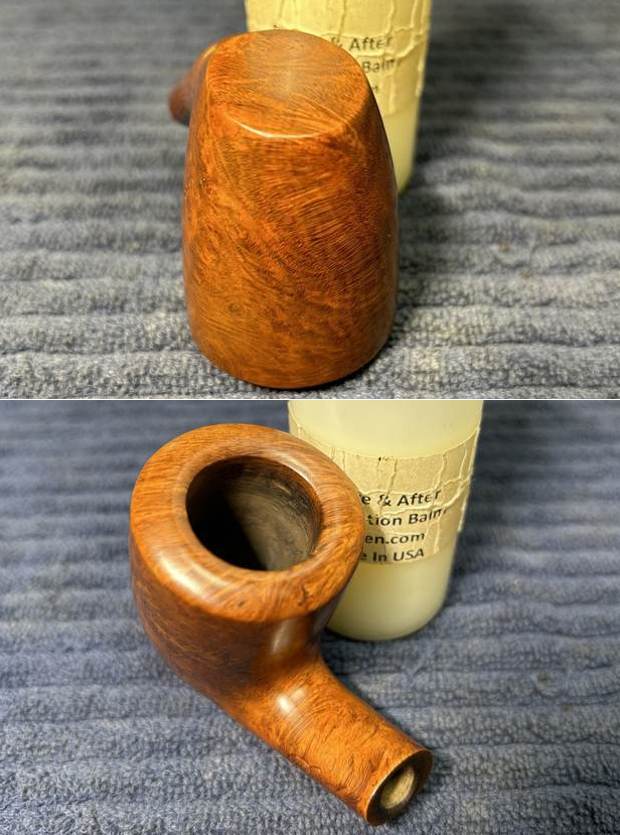
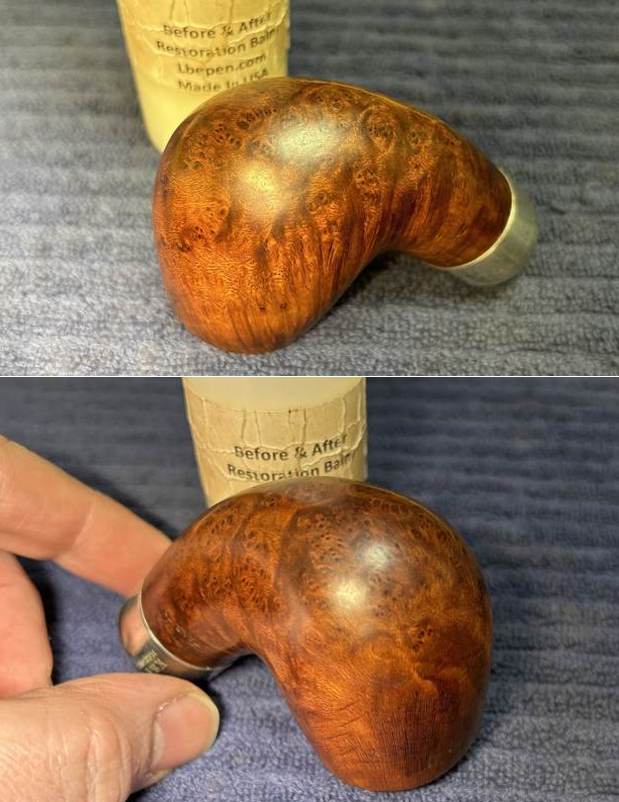
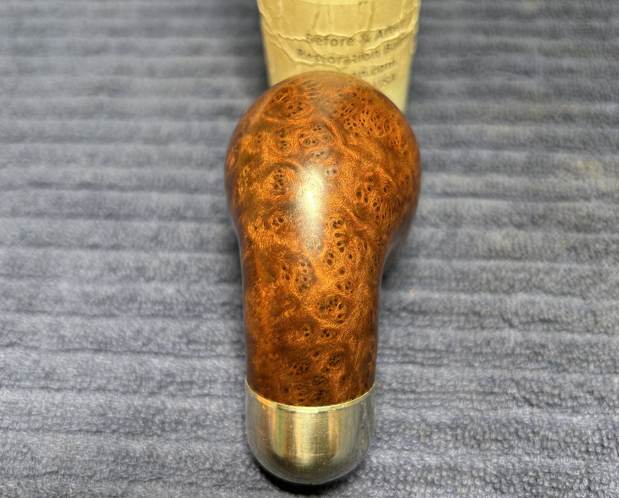
 I rubbed the bowl and wing bone shank down with Before & After Restoration Balm. I worked it into the surface of the briar and the bone where it works to clean, restore and preserve them. I let it do its magic for 15 minutes then buffed it off with a cotton cloth. I put the wing bone tube back on the shank after polishing. The pipe looks incredibly good at this point in the process.

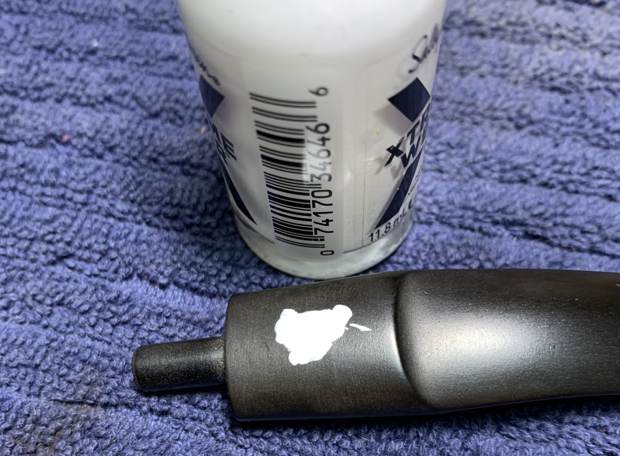
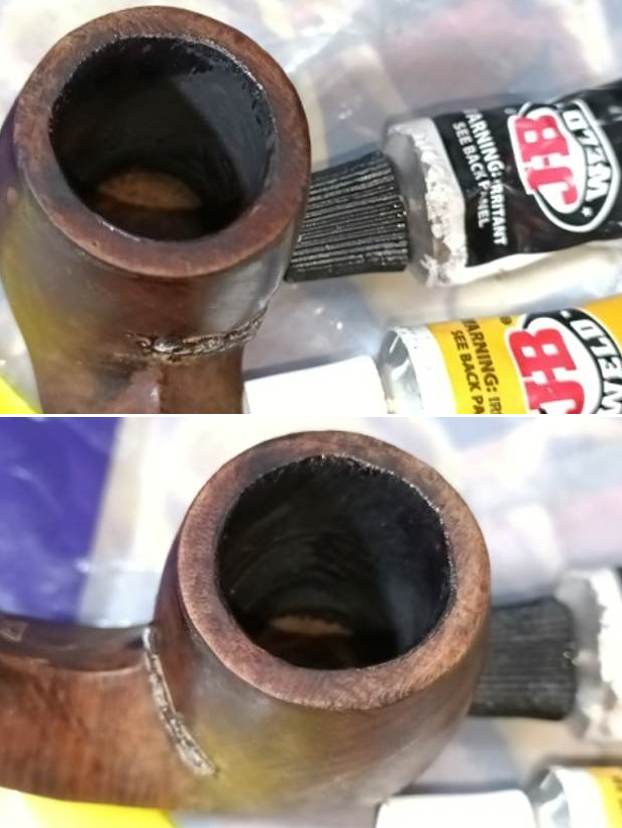
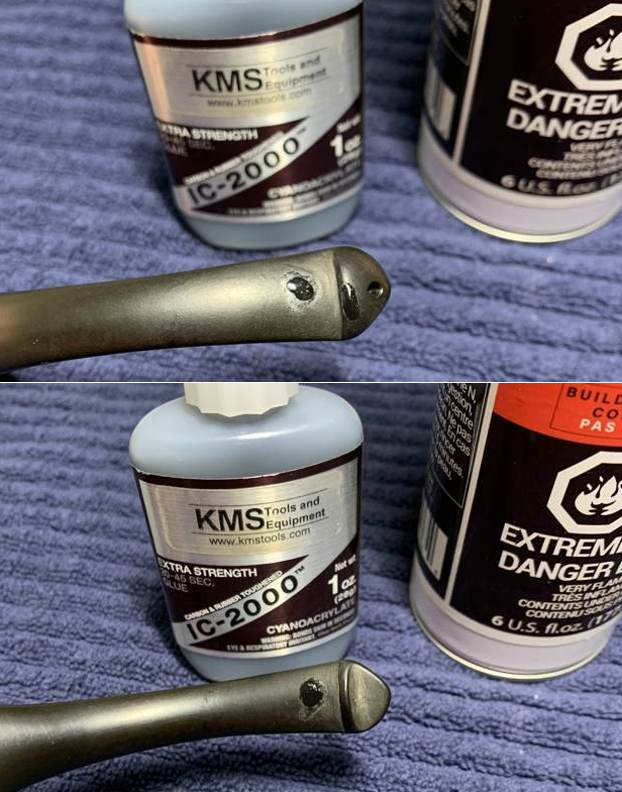
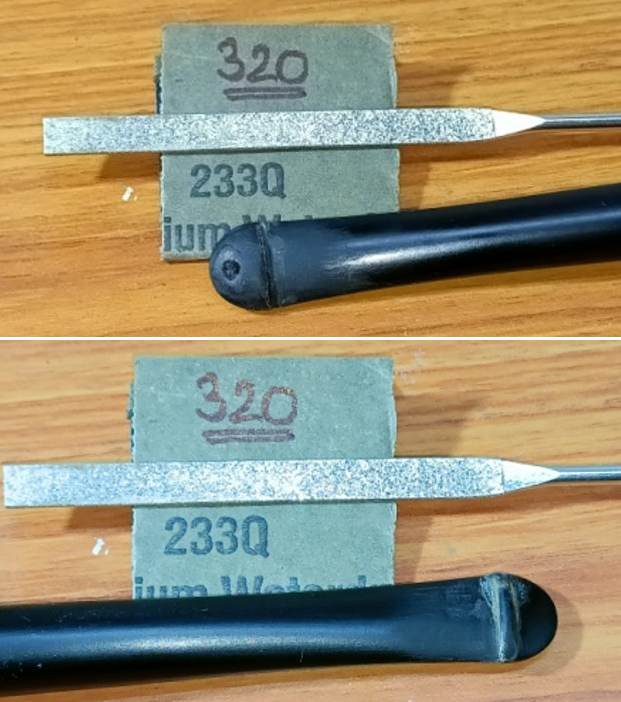
 I filled in the deep tooth marks on the top and underside of the horn stem with clear CA glue. I set it aside to cure. Once the repairs cured I flattened out the repairs with a small needle file to blend them into the stem surface. I continued the process by sanding it with 220 grit sandpaper and started polishing it with 600 grit wet dry sandpaper. It looked very good at this point.

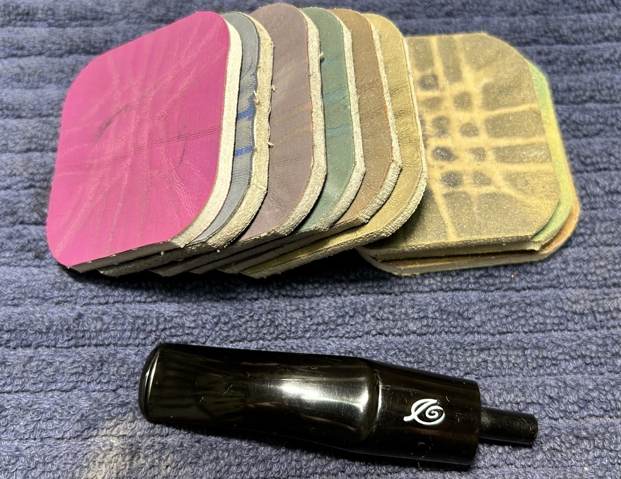
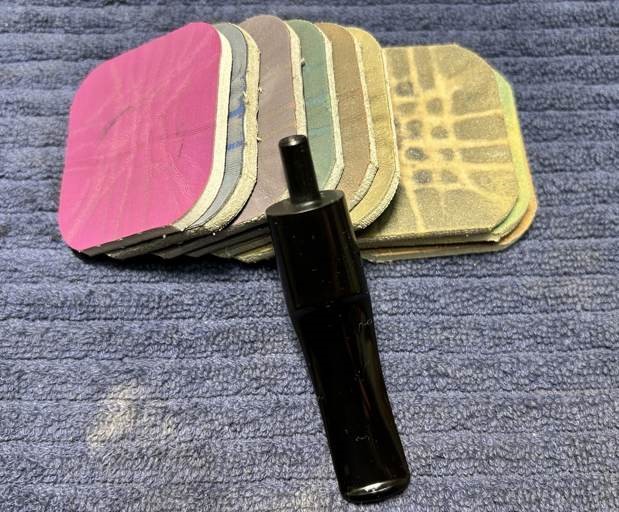
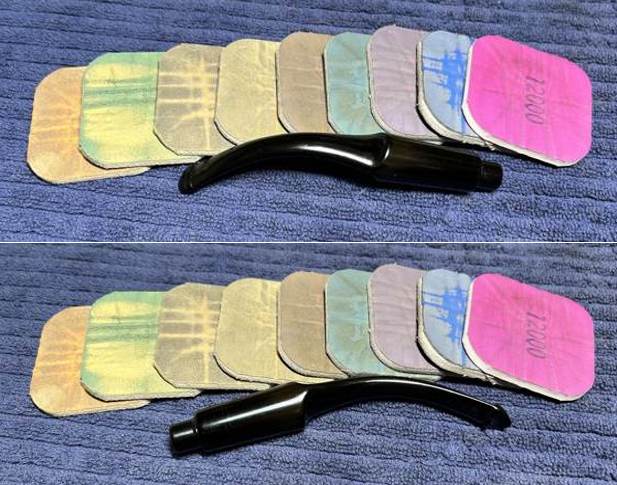
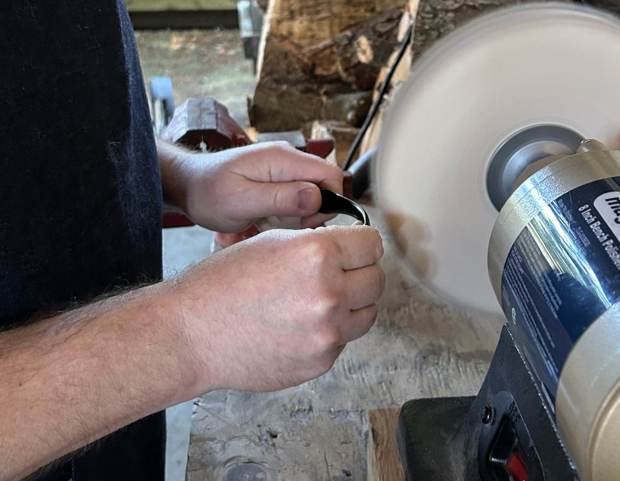
 I set the bowl aside at this point and turned my attention to the stem. I polished the stem and cap with micromesh sanding pads – 1500-12000 grit sanding pads and water to wet sand the stem. I wiped it down after each sanding pad with Obsidian Oil on a cotton rag after each sanding pads. I find that Obsidian Oil does two things for all stems – first it gives some protection to the stem from buildup and second it gives the sanding pads bite in the polishing process.
 I have found that Before & After Fine and Extra Fine stem polish works well to remove the fine scratches in the horn stems. I rub the Fine Polish on the stem and wipe it off with a paper towel and then repeat the process with the Extra Fine polish. I finish the polishing of the stem down with a final coat of Obsidian Oil and set the stem aside to let the oil absorb. This process gives the stem a shine and also a bit of protection.
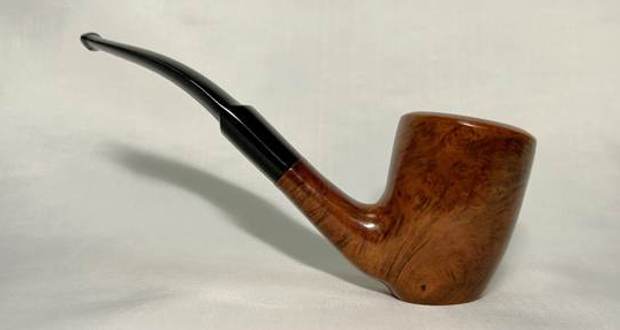
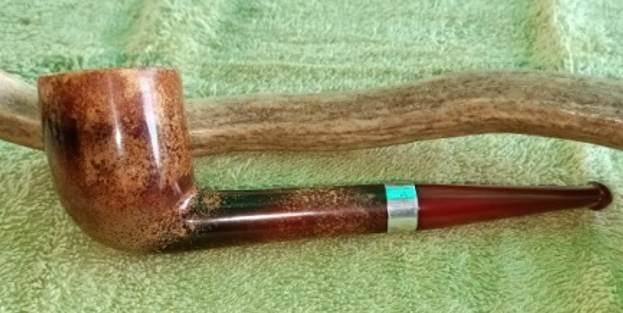
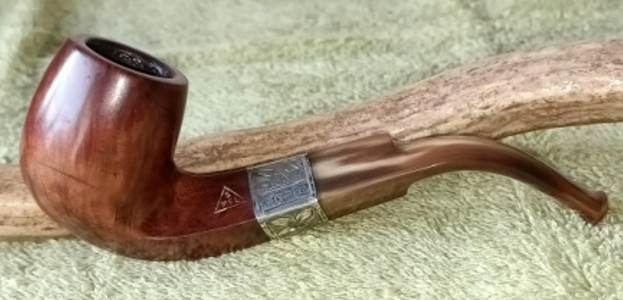
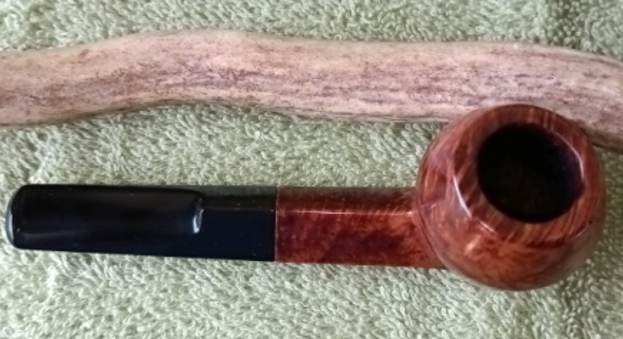
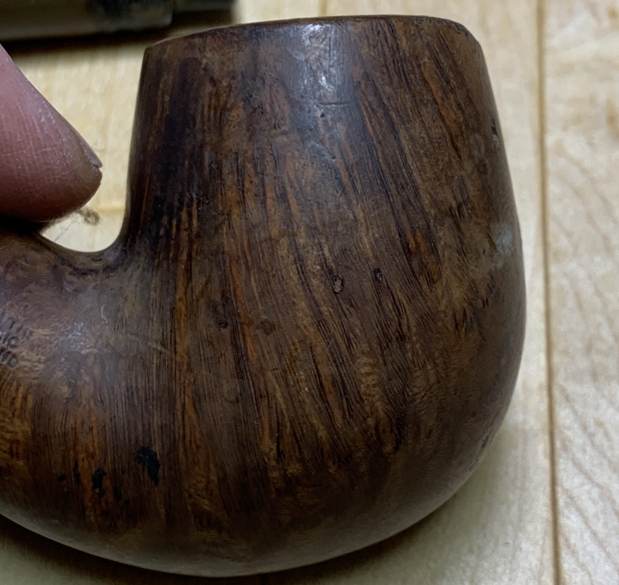
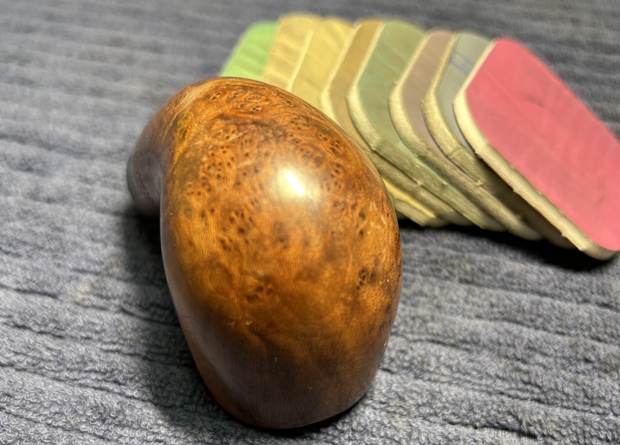
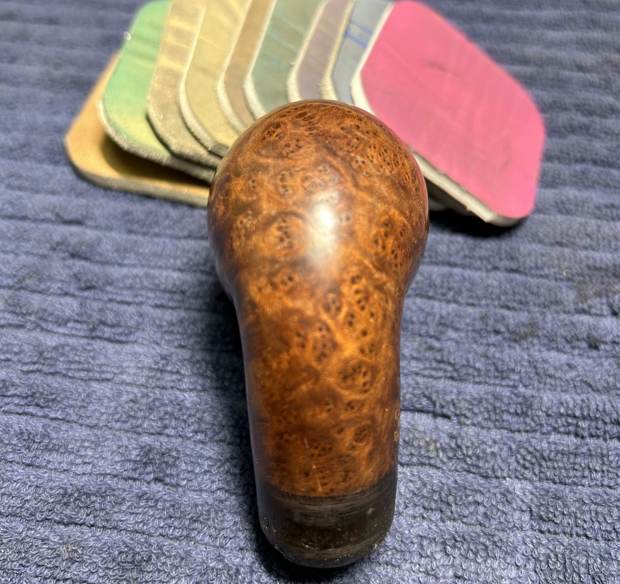
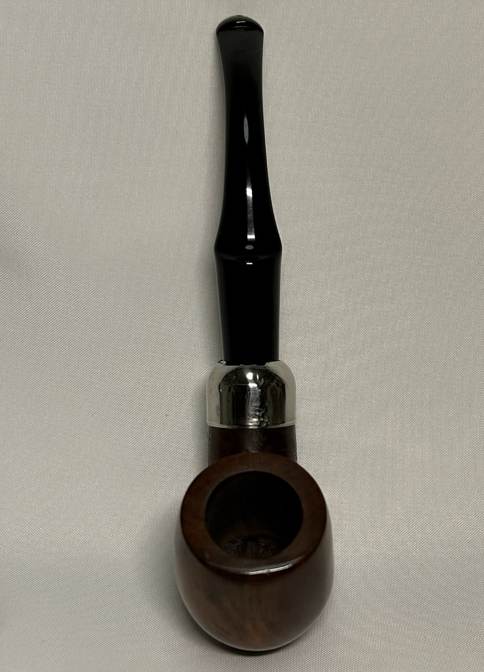
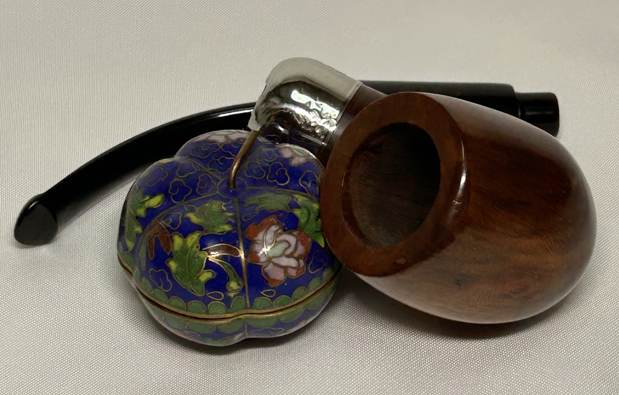
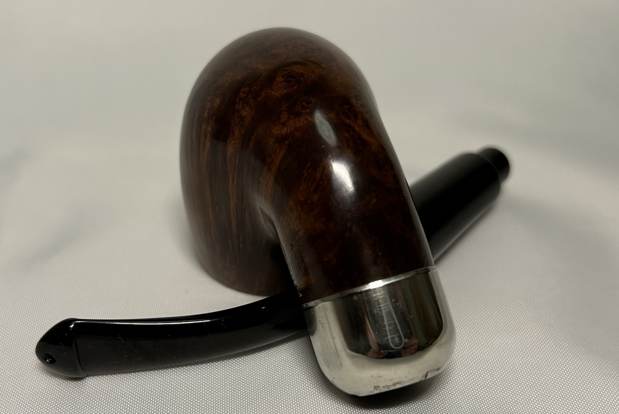
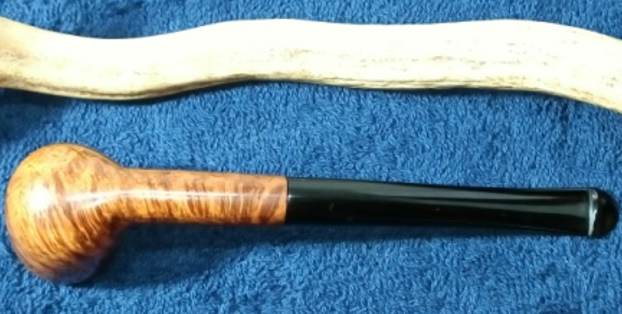
  I am excited to finish restoration of this late 19th/early 20th century, First Generation Choquin A Metz Egg. I put the pipe back together and buffed it with Blue Diamond on the buffing wheel. I gave the bowl and the stem multiple coats of carnauba wax. I hand buffed the pipe with a clean buffing pad to raise the shine. It is fun to see what the polished bowl looks like with beautiful mixed grain all around it. I decided to leave the filled flaw on the left side intact as it is a real part of the story of the pipe. I love the look of the polished grain on the pipe with the bone shank extension and horn stem. This smooth Older Choquin A Metz Egg with an Albatross Wing Bone shank extension and a horn stem is great looking and the pipe feels great in my hand. It is light and well balanced. Have a look at it with the photos below. The dimensions are Length: 7 inches, Height: 2 ¼ inches, Outside diameter of the bowl: 1 1/8 inch, Chamber diameter: ¾ of an inch. The weight of the pipe is 38 grams/ 1.34 ounces. It turned out to be a beautiful pipe. I will be adding this to my collection of older pipes. Thanks for your time reading this blog. If you have any questions or insights into the pipe and its age and making please feel free to ask.