Blog by Anthony Cook
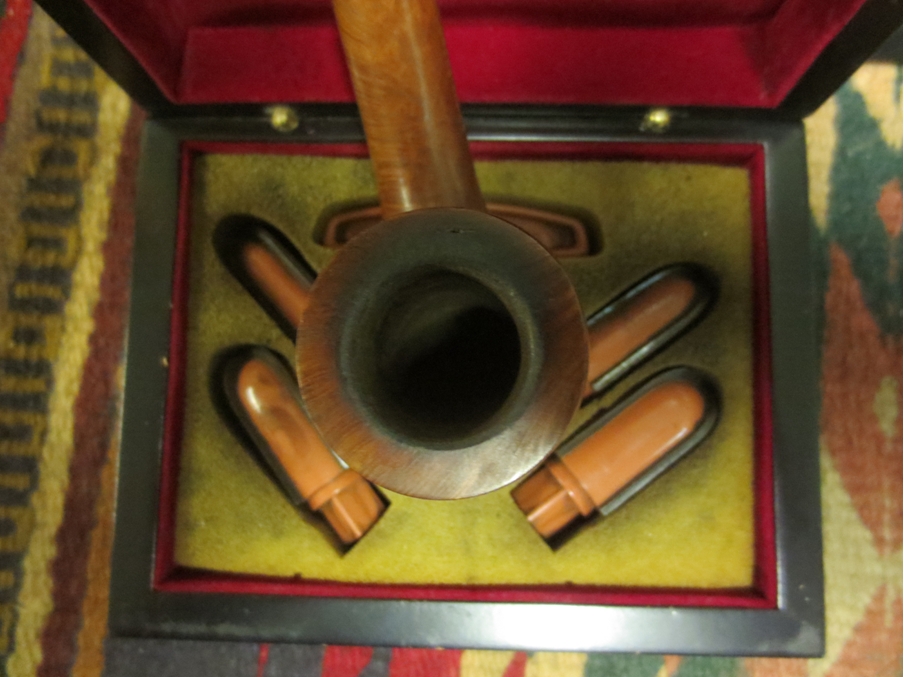
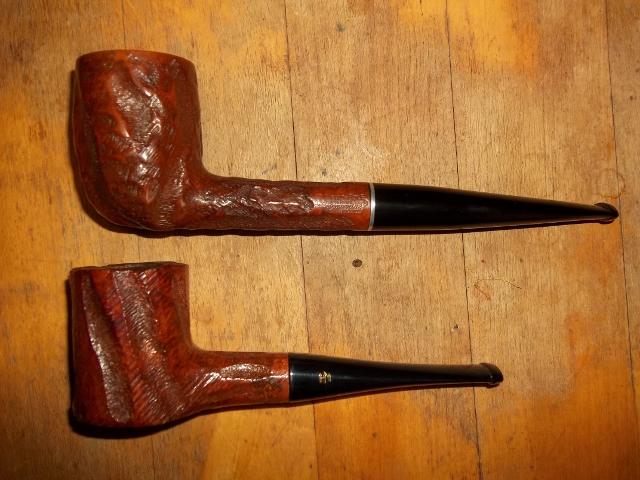
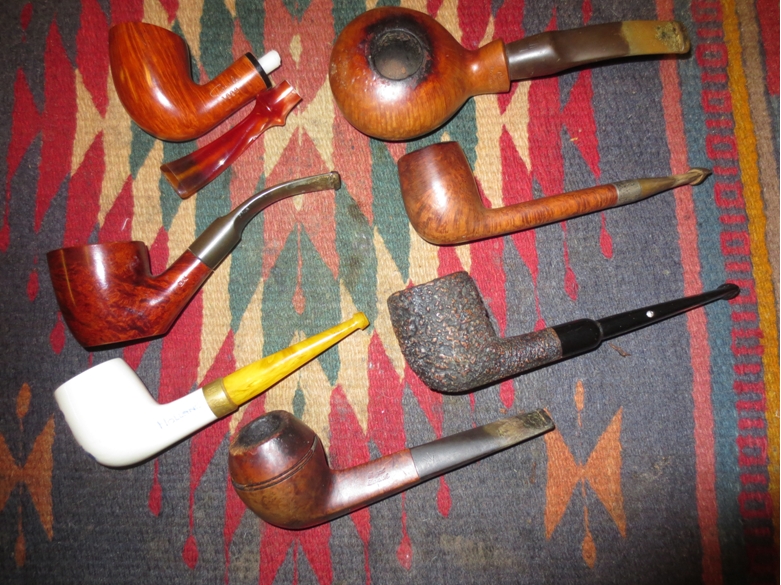
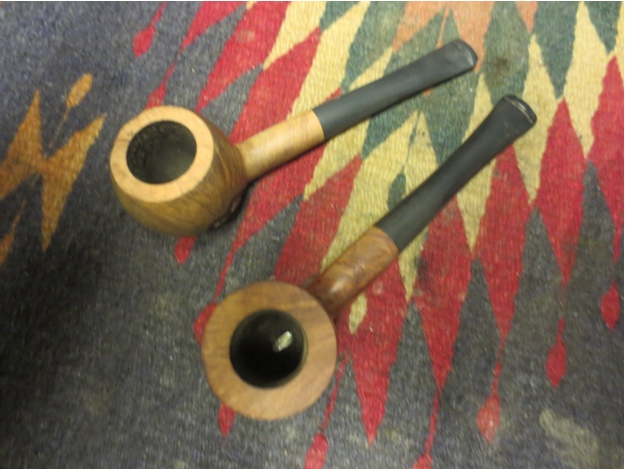
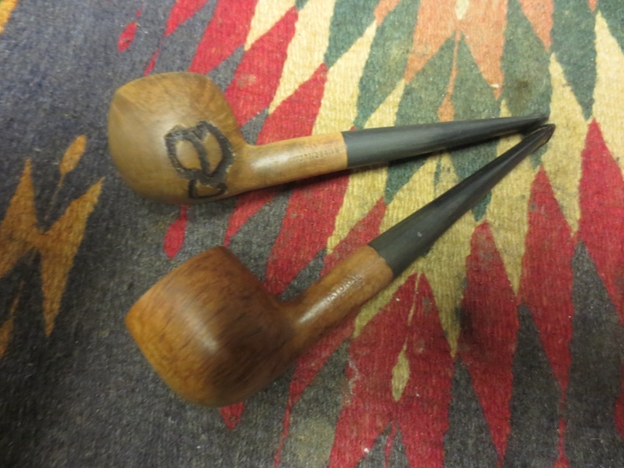
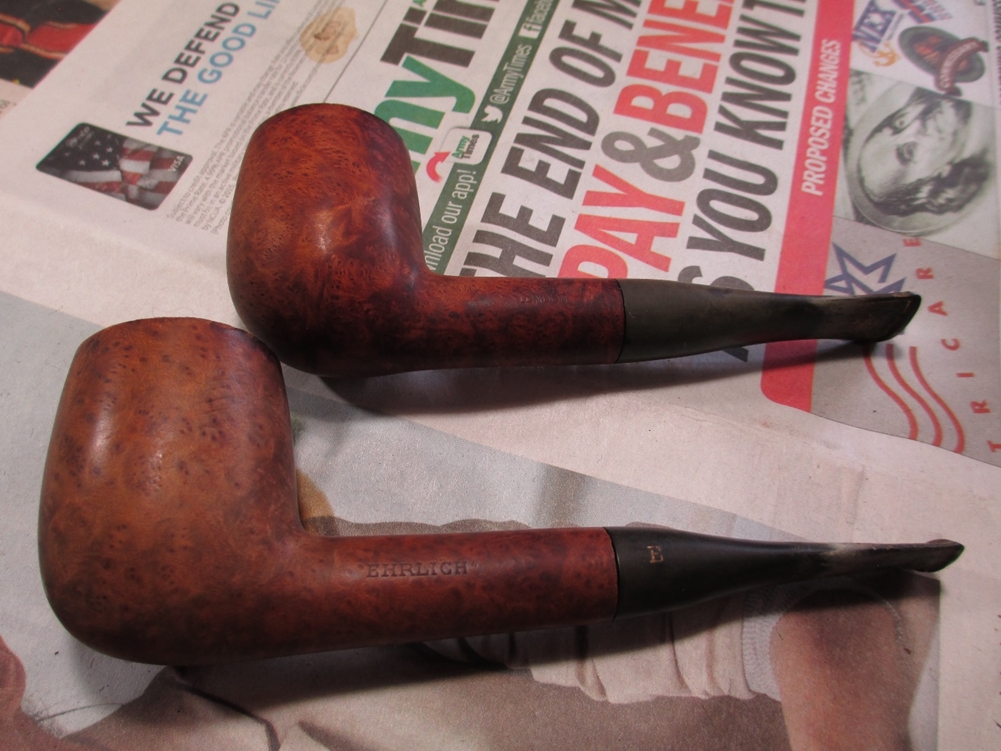
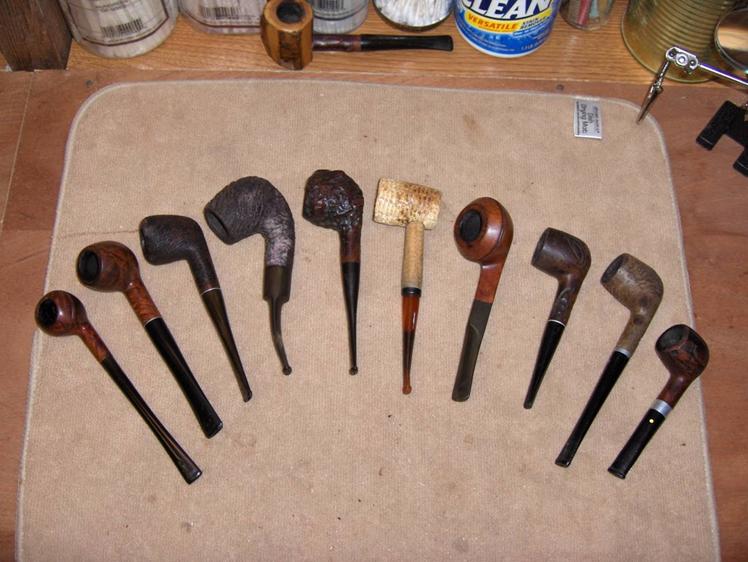 The photo above represents the start of my first semester at the University of Reborn Pipes (by the way, Steve, we need T-shirts, a mascot, and a fight song). It was taken several months ago and it shows the first batch of pipes that I had collected for restoration practice. It’s a motley crew to be sure, but I have a special fondness for each of them. You never forget your first, as they say.
I’ve completed the restoration of the majority of these since the photo was taken (sadly, I failed the cob test, but it was rigged I tell you), but four of them were placed back into the box after cleaning and have remained there. Those four had issues that required either tools, materials, or experience that I just didn’t have at that point. Over time, other pipes attracted more of my attention and those remainders continued to linger in the dark and gather dust once again.
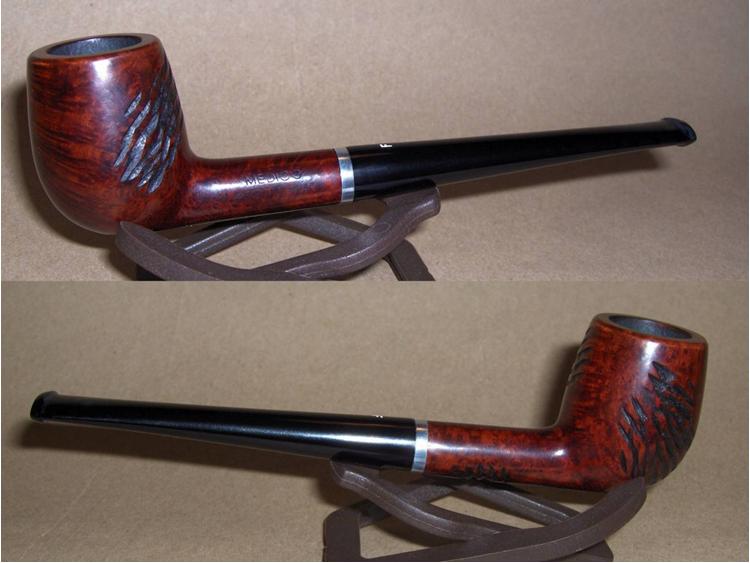
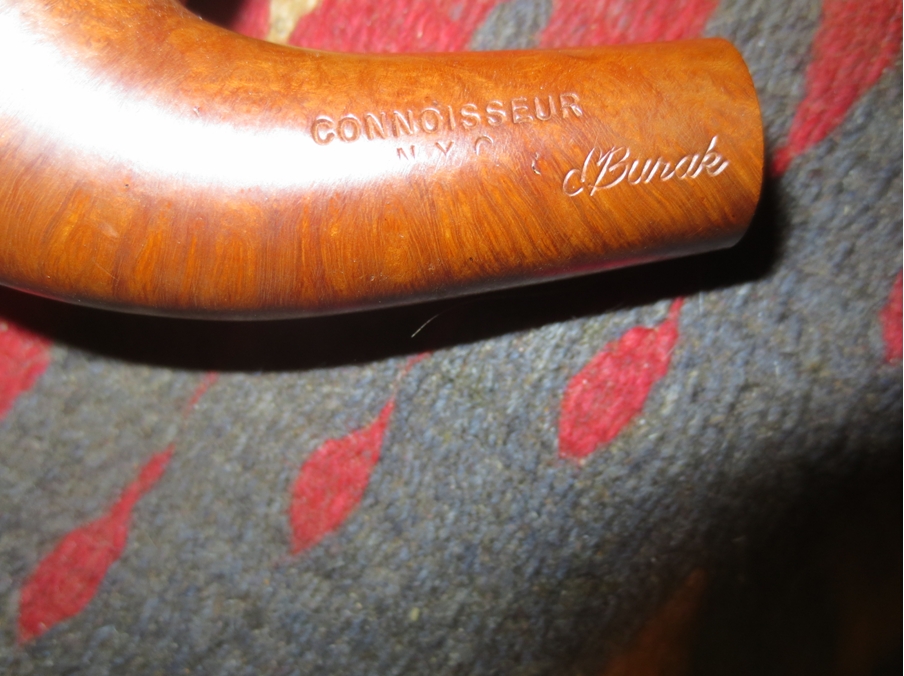
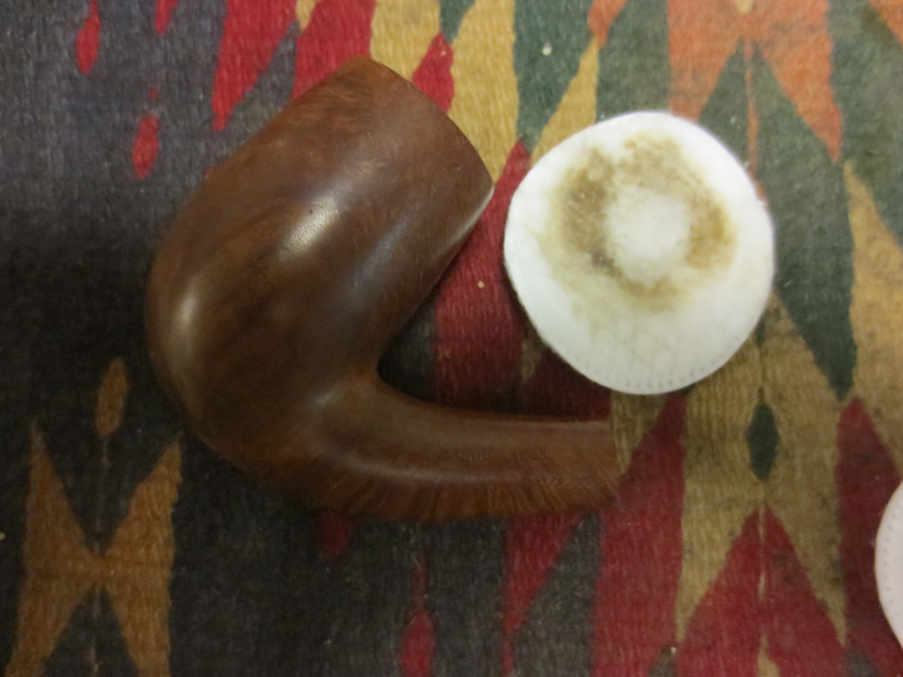
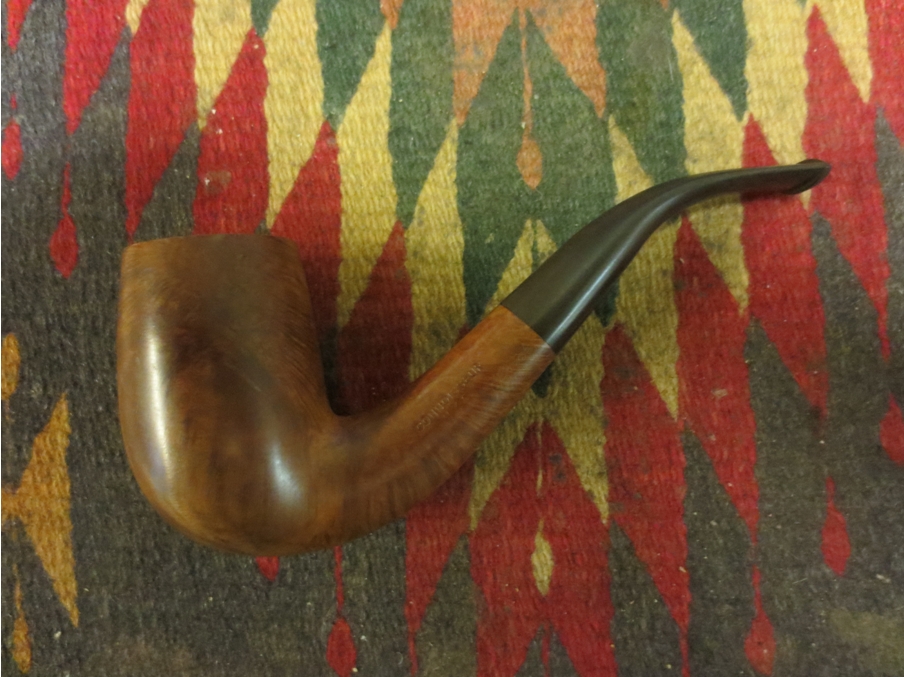
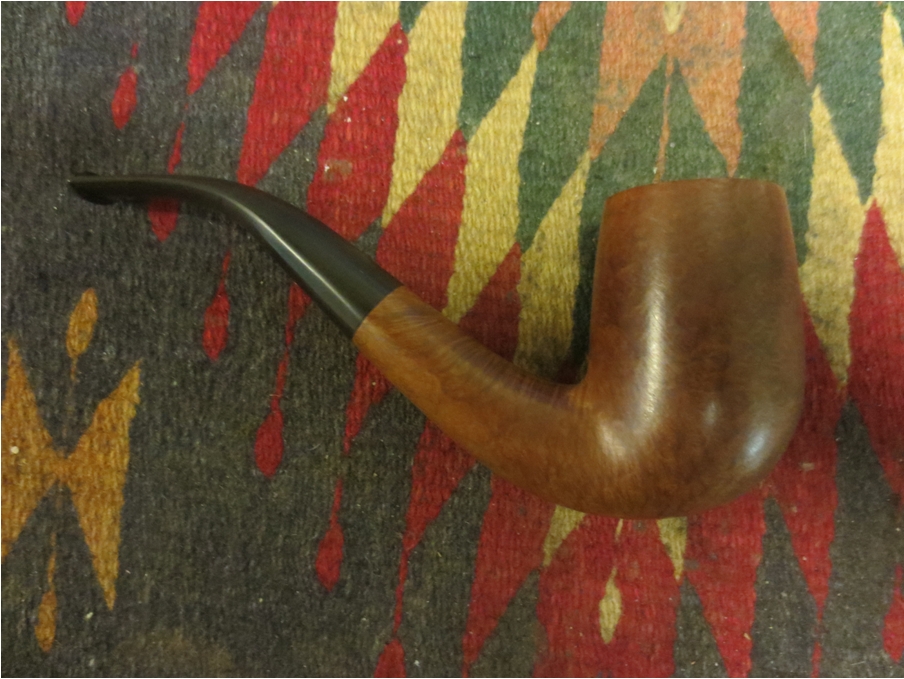
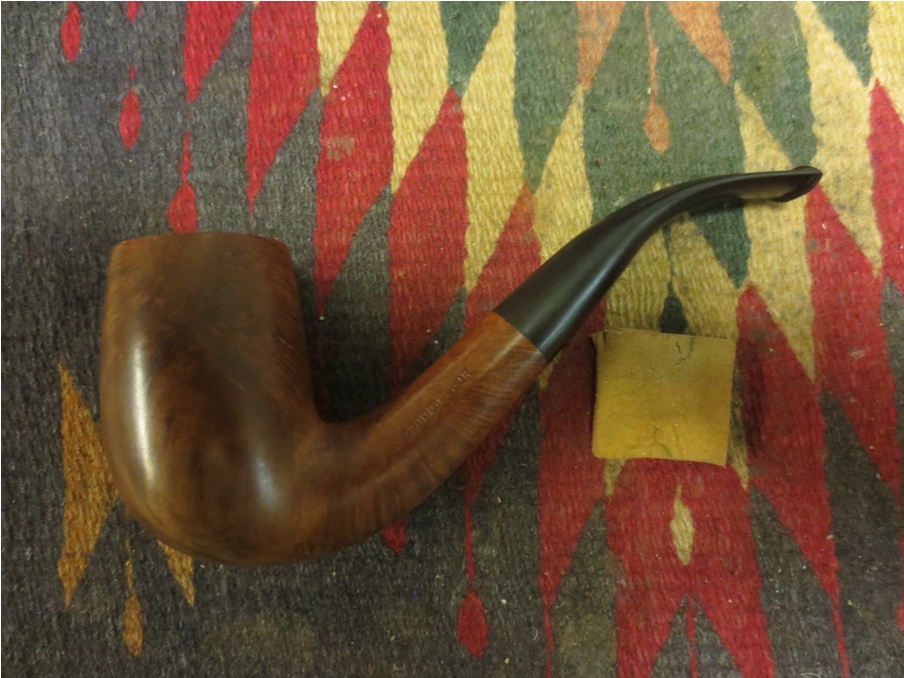
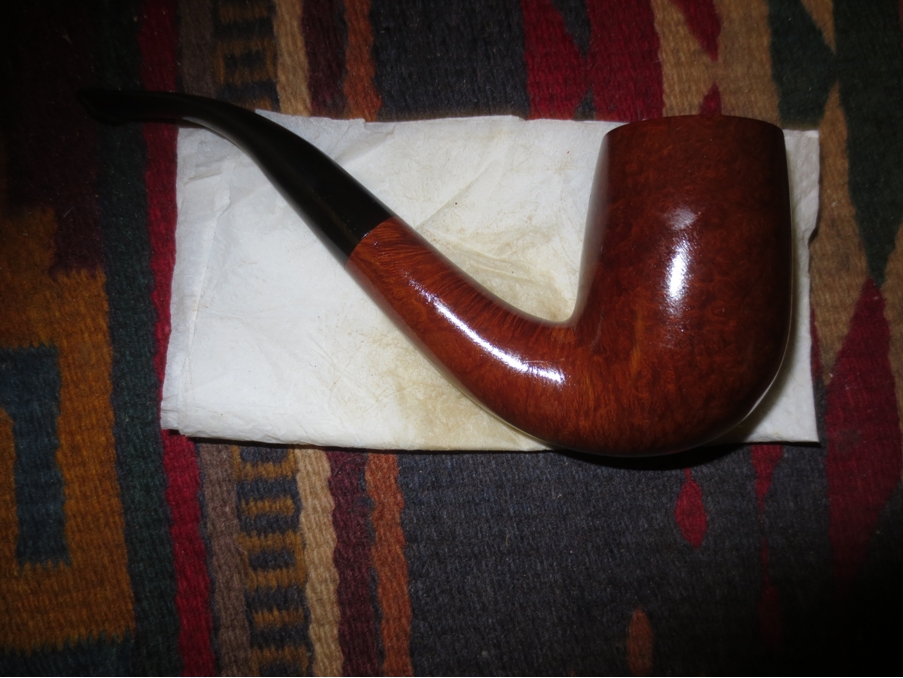
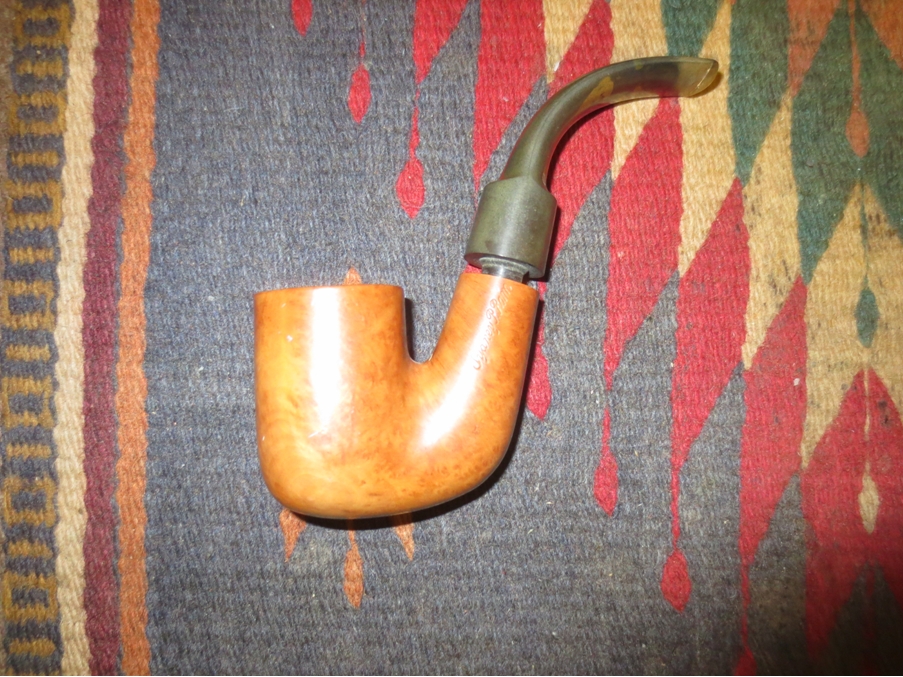
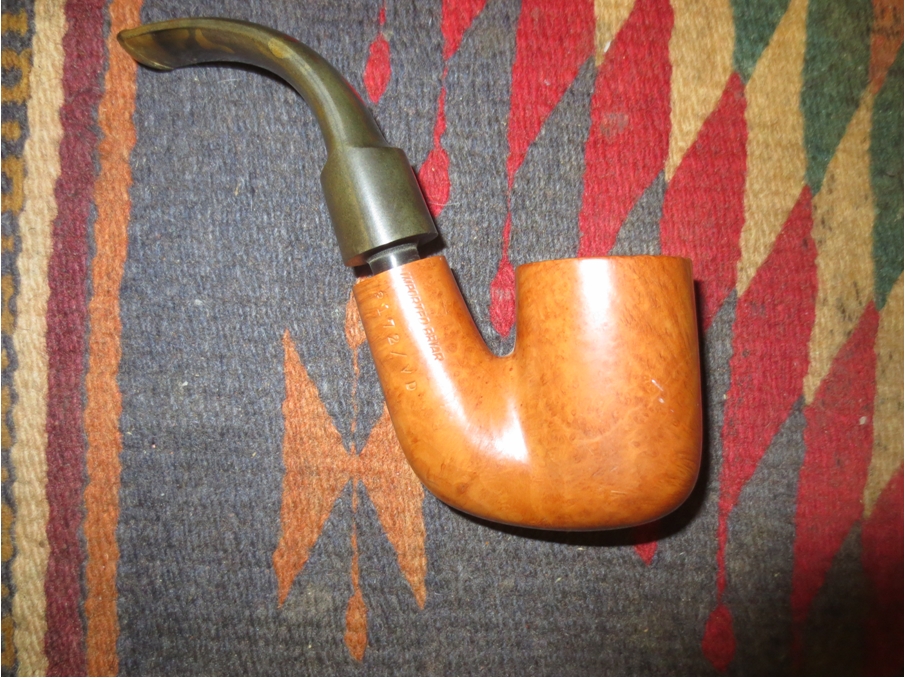
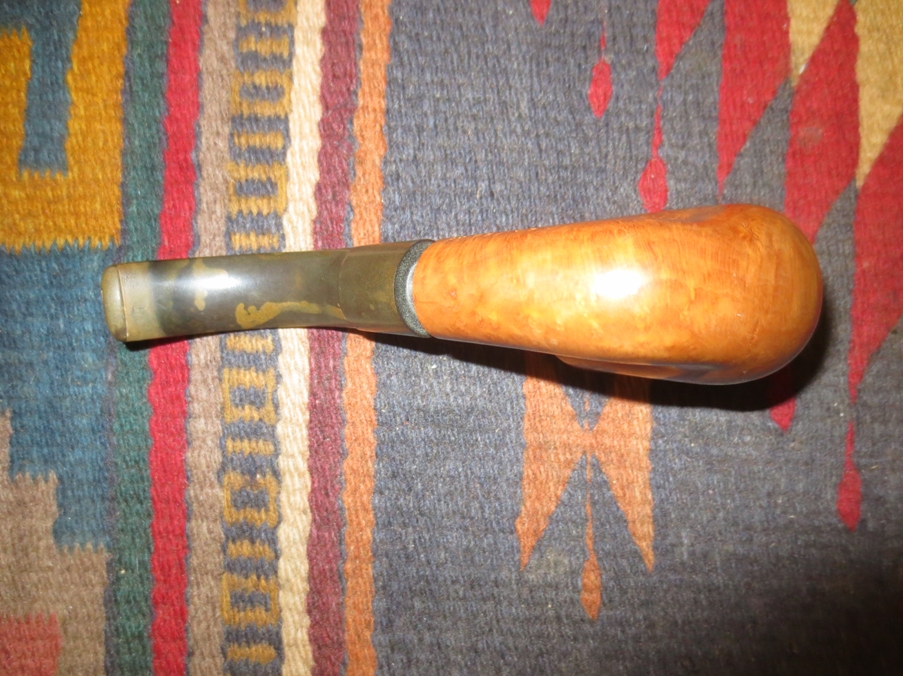
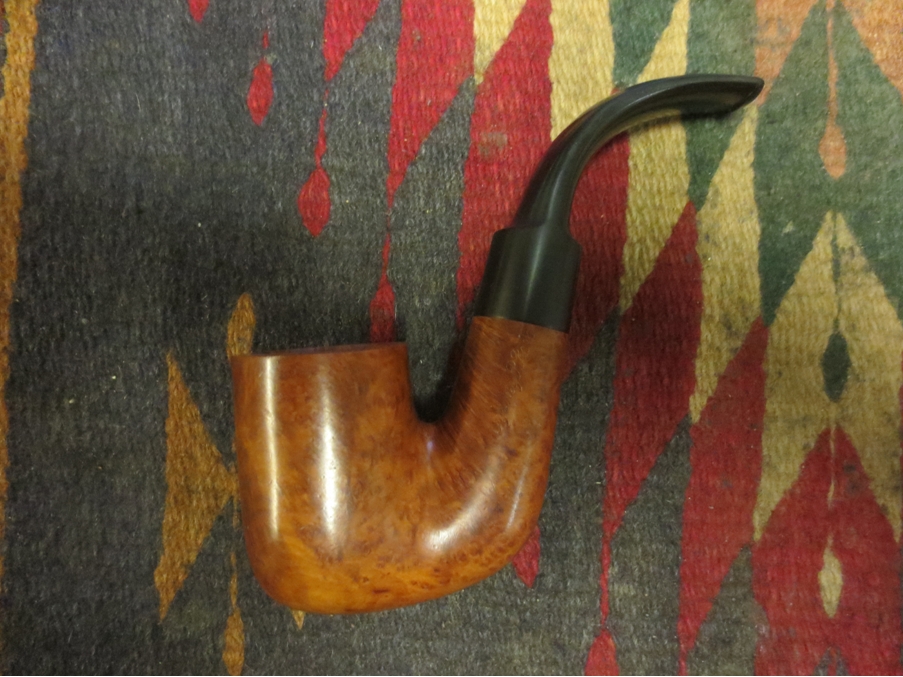
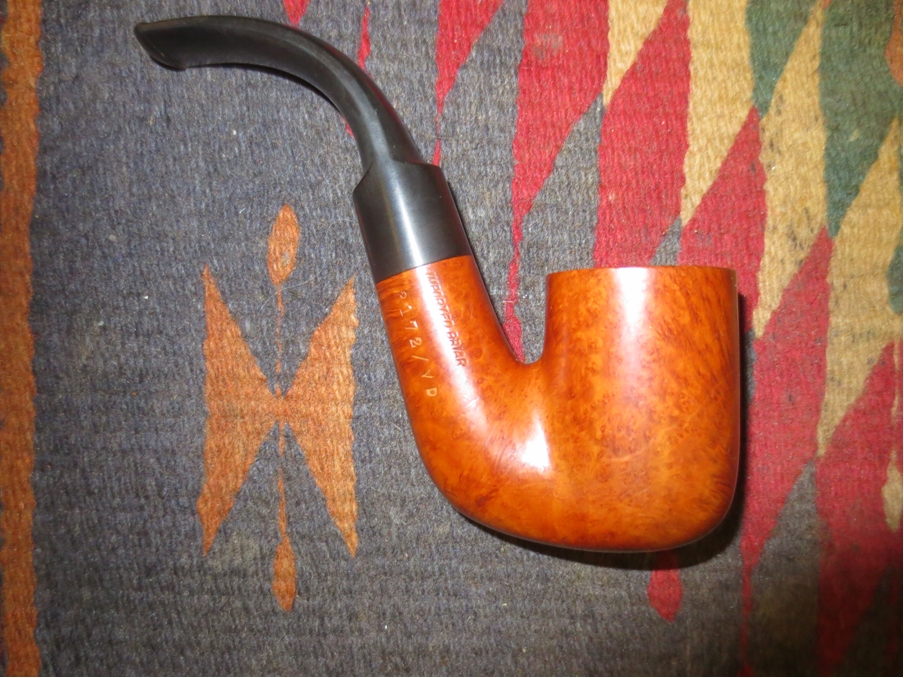
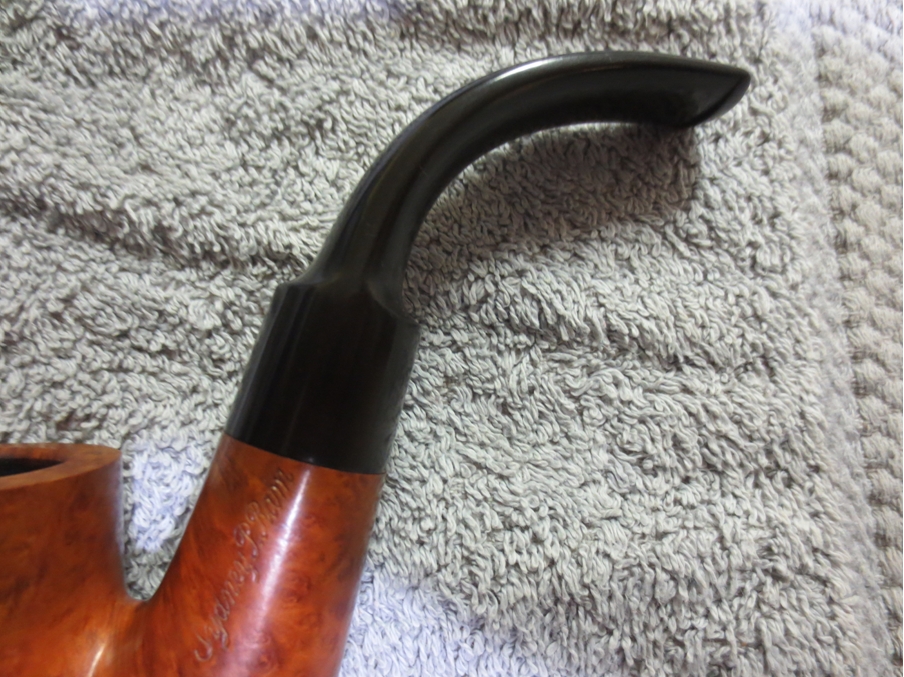
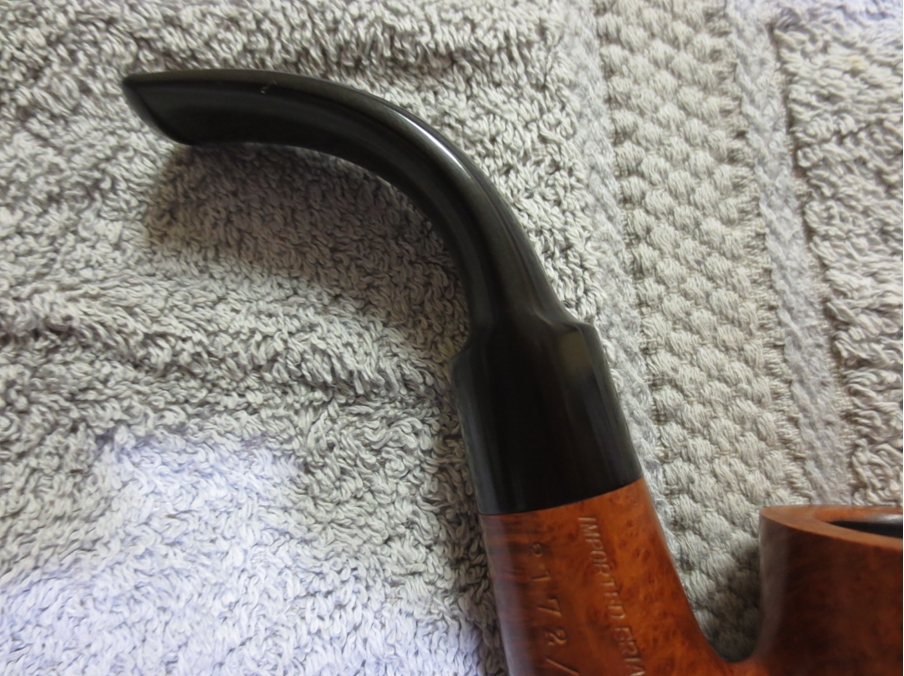
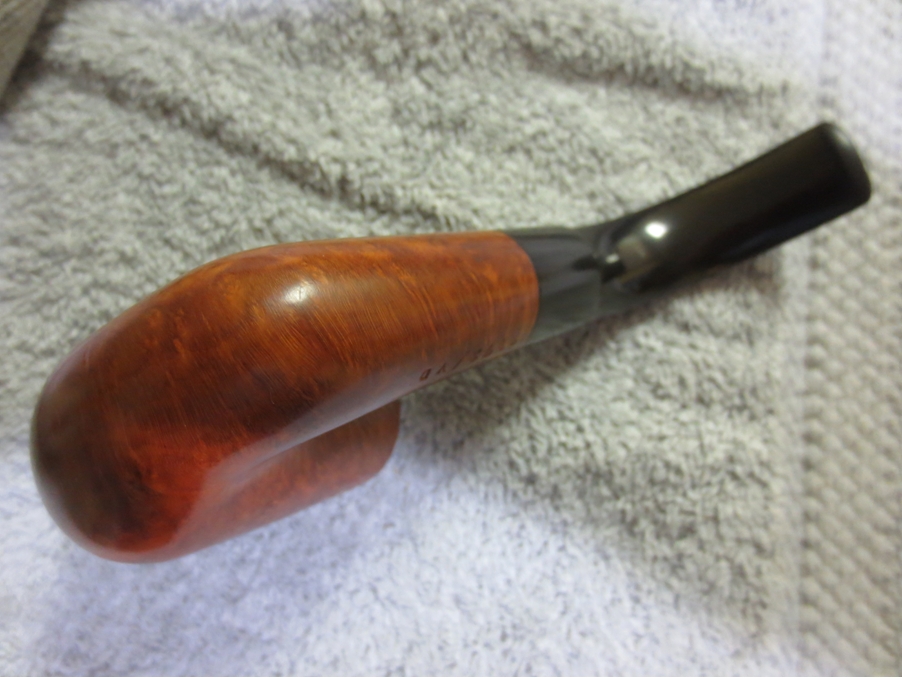
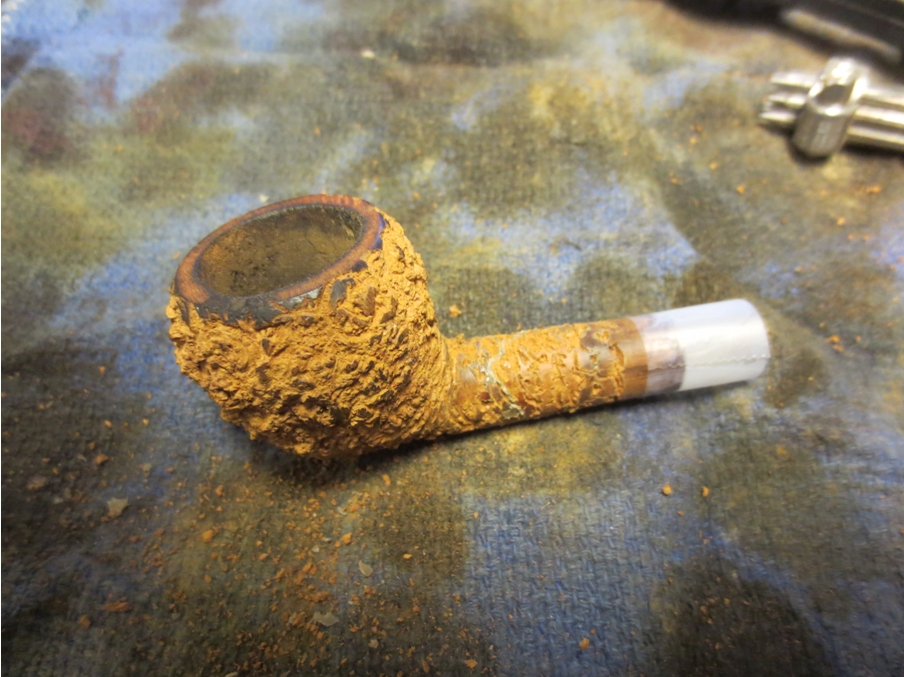
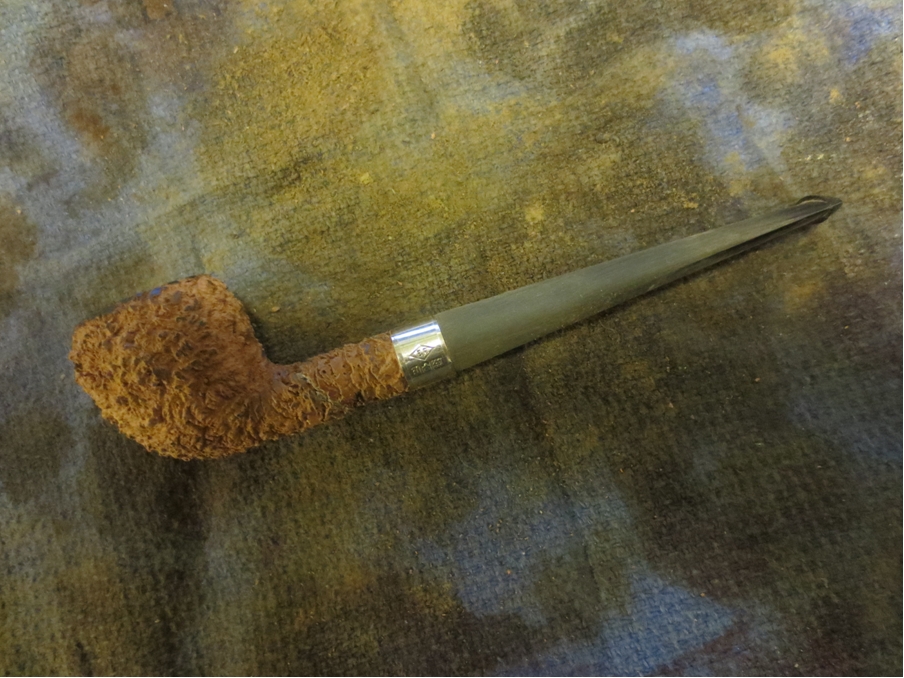
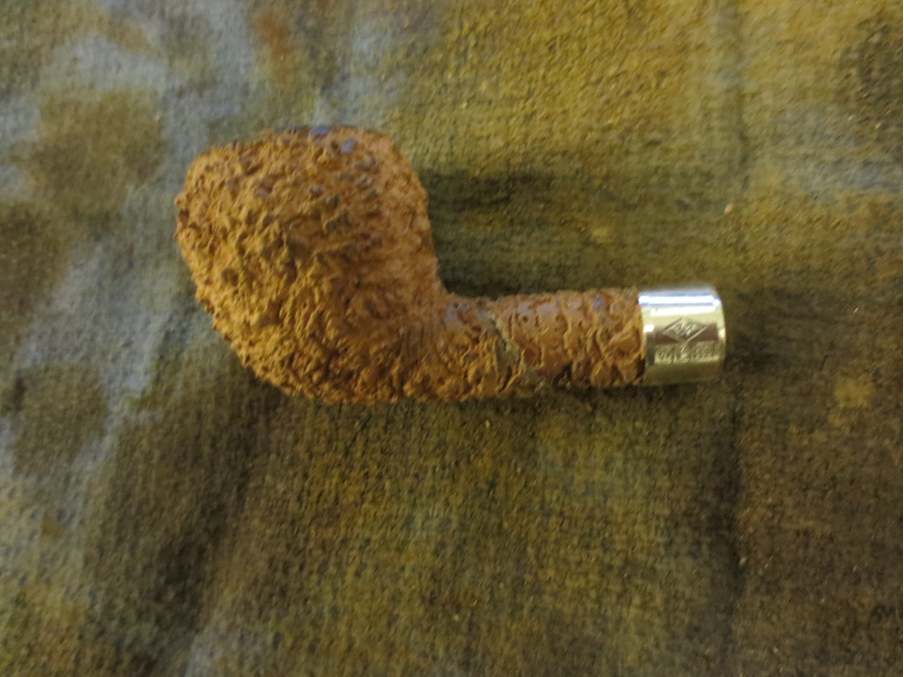
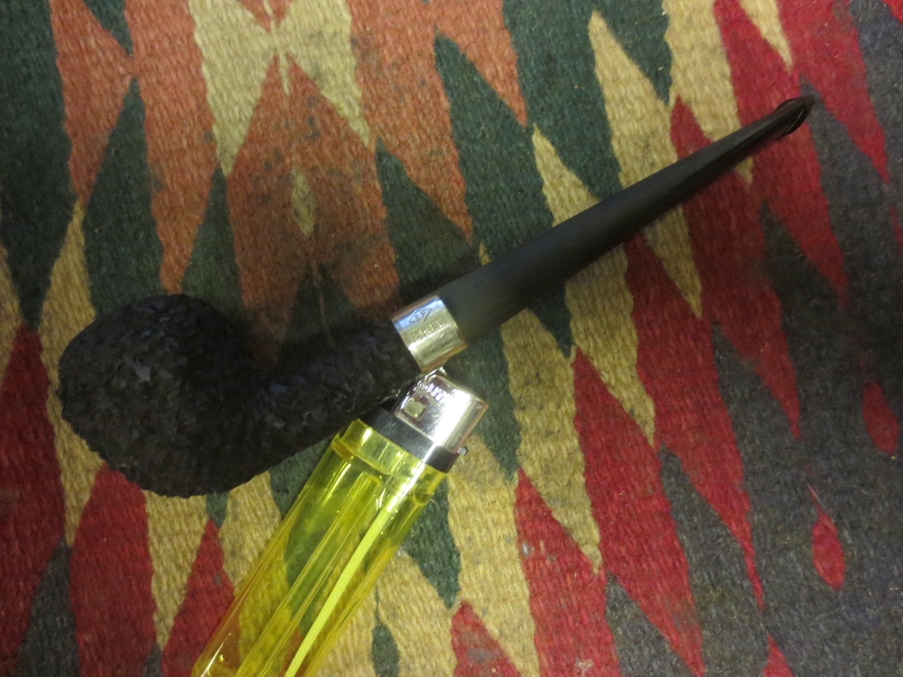
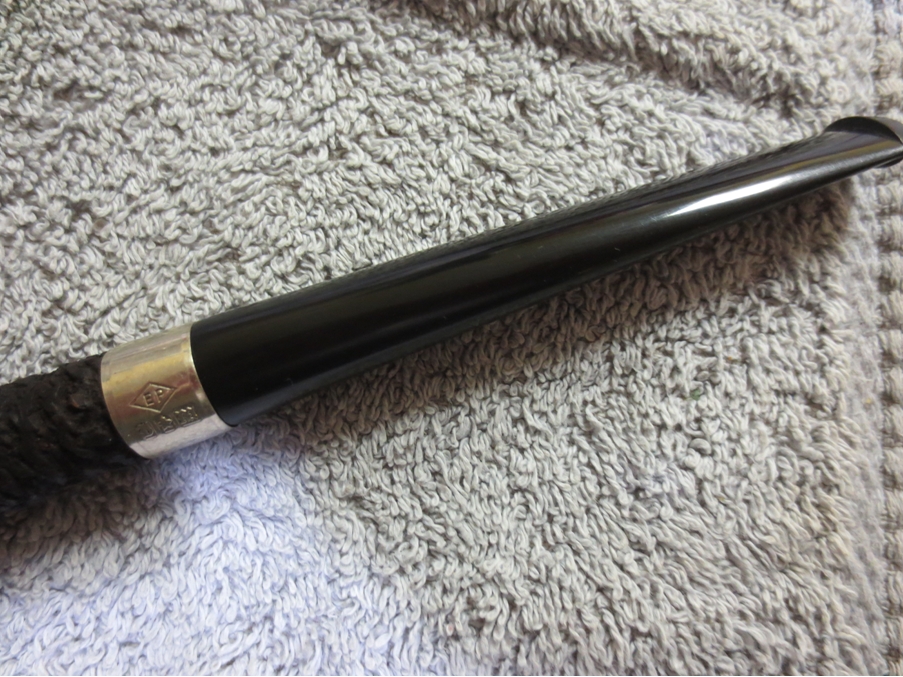
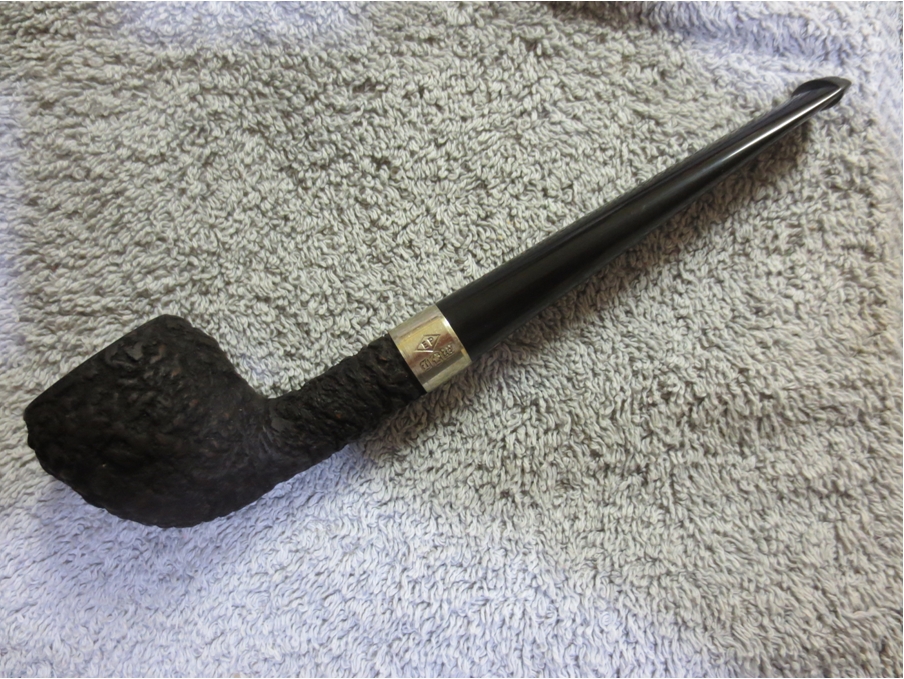
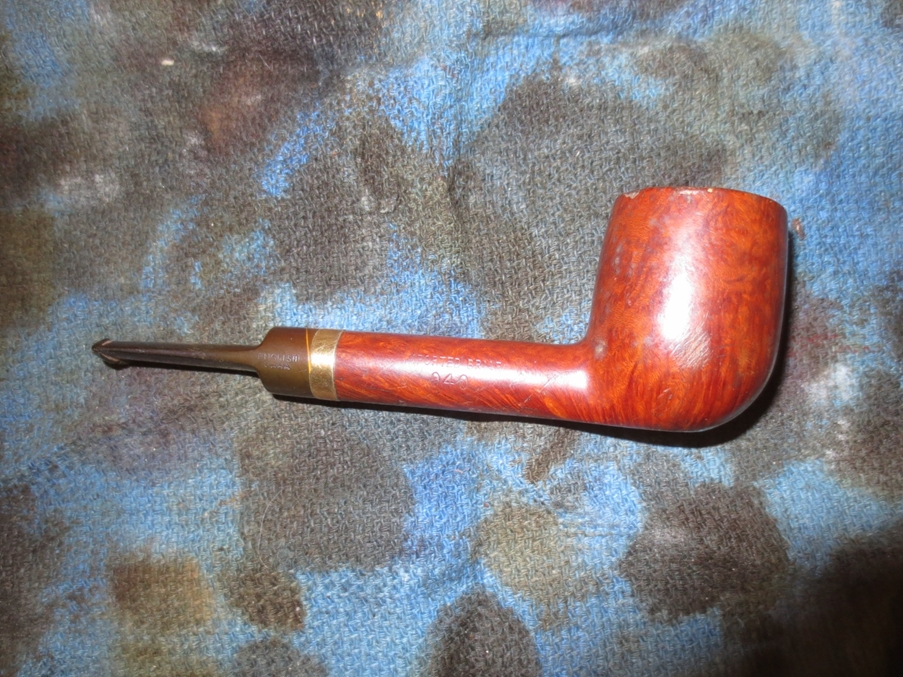
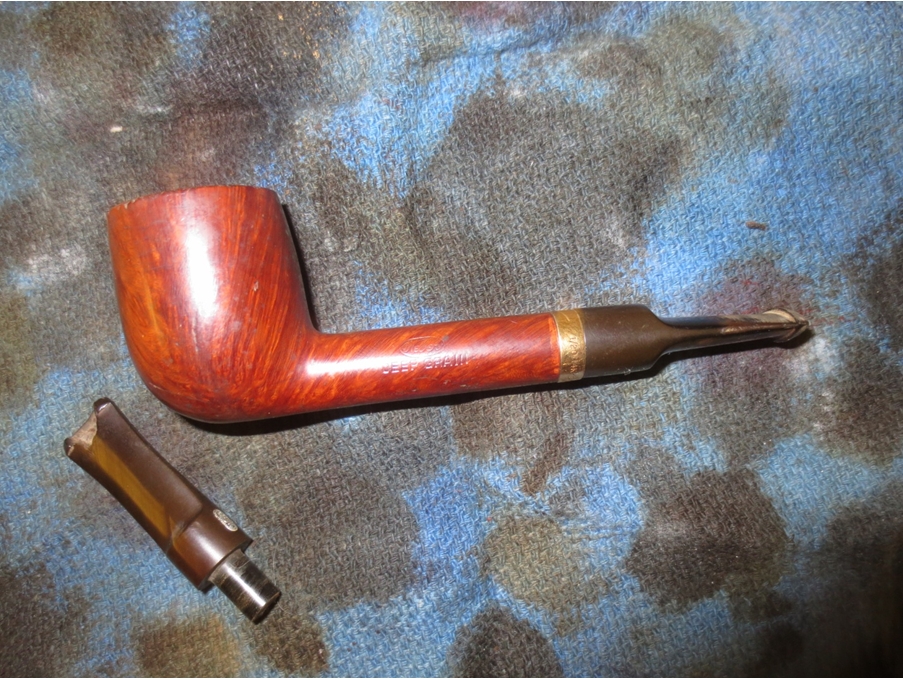
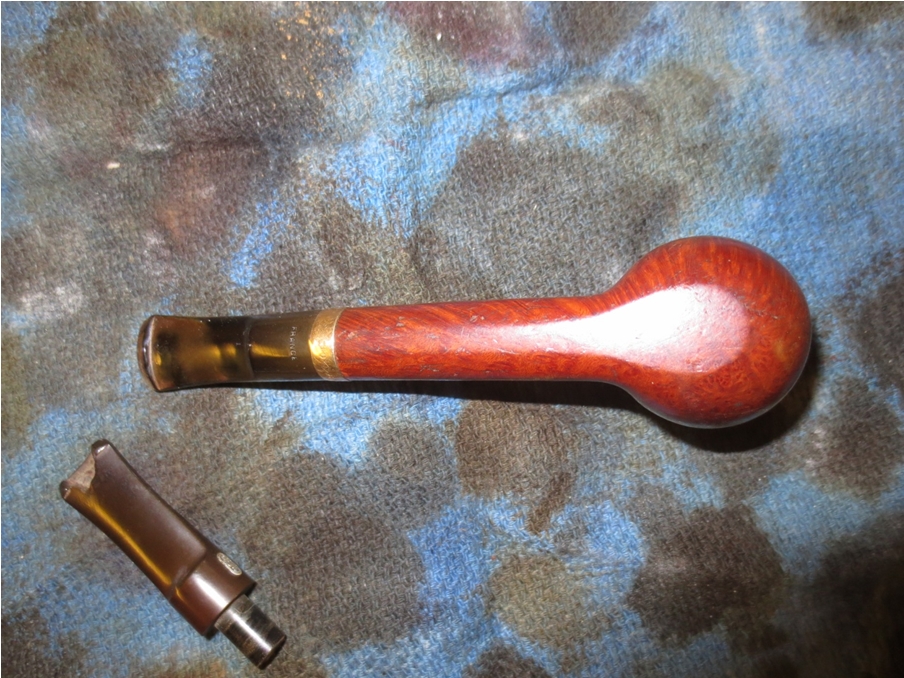
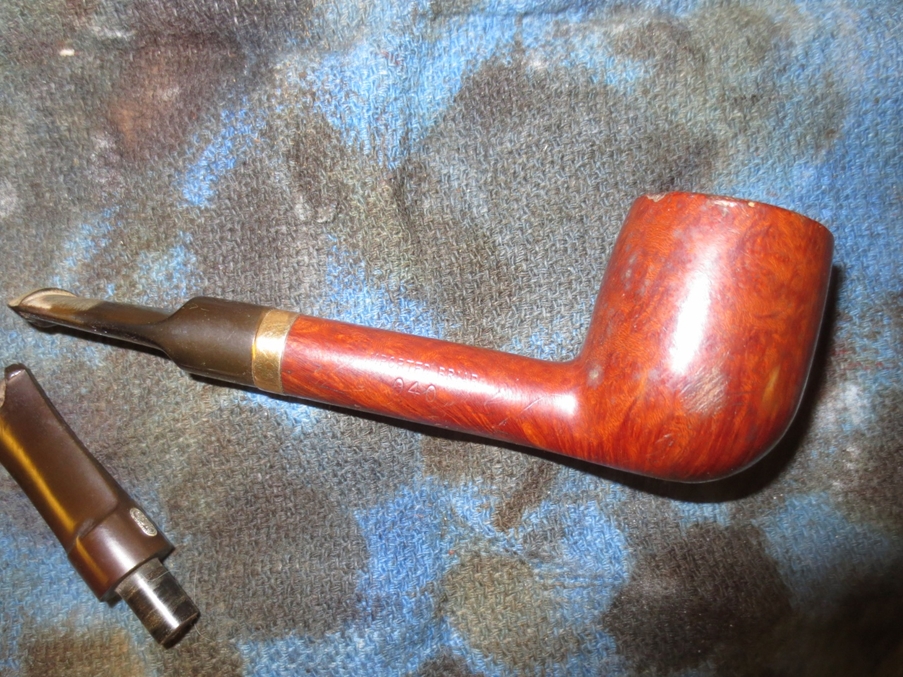
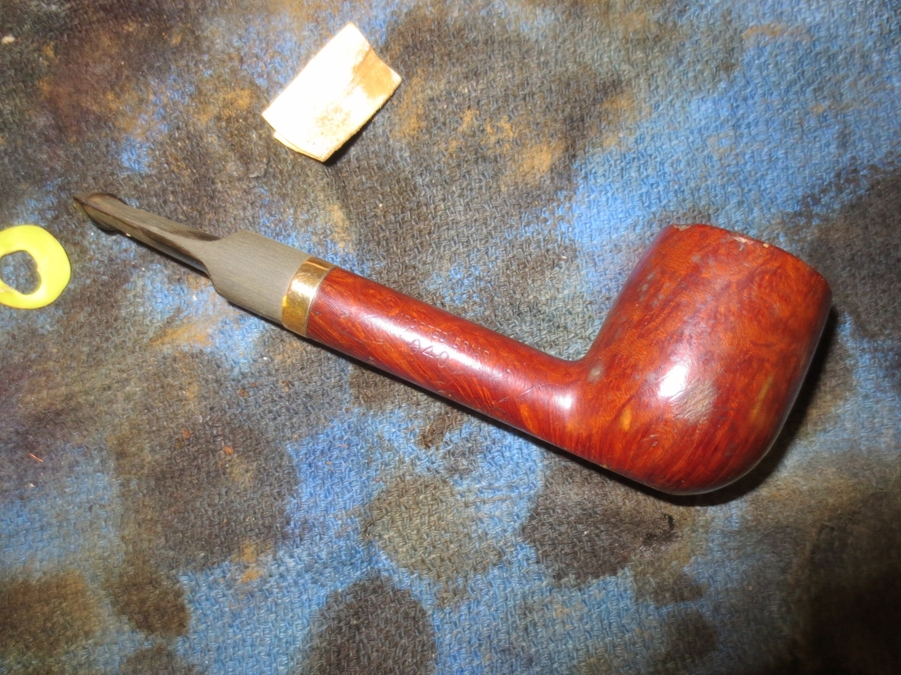
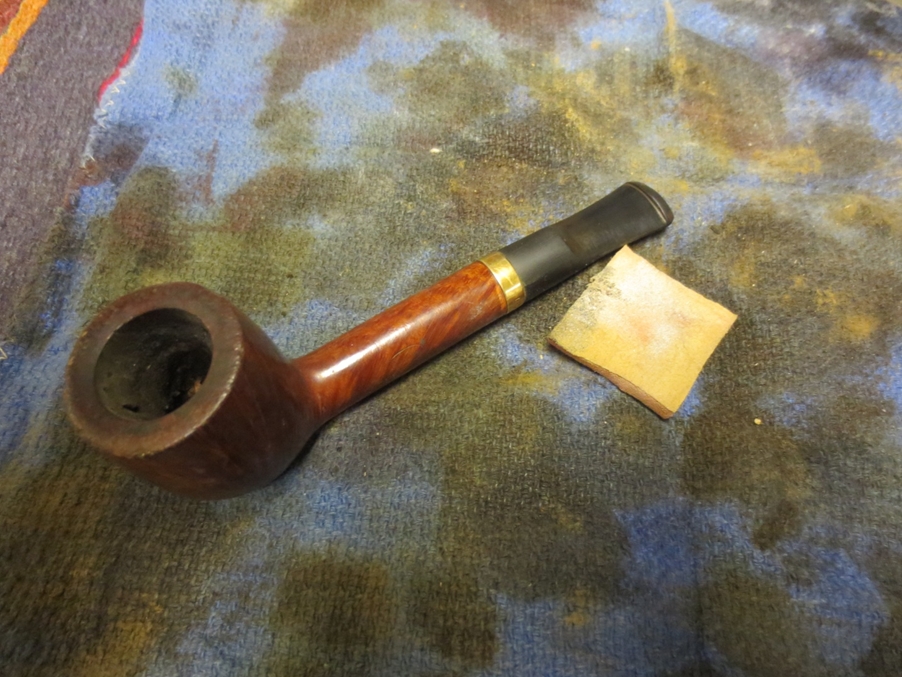
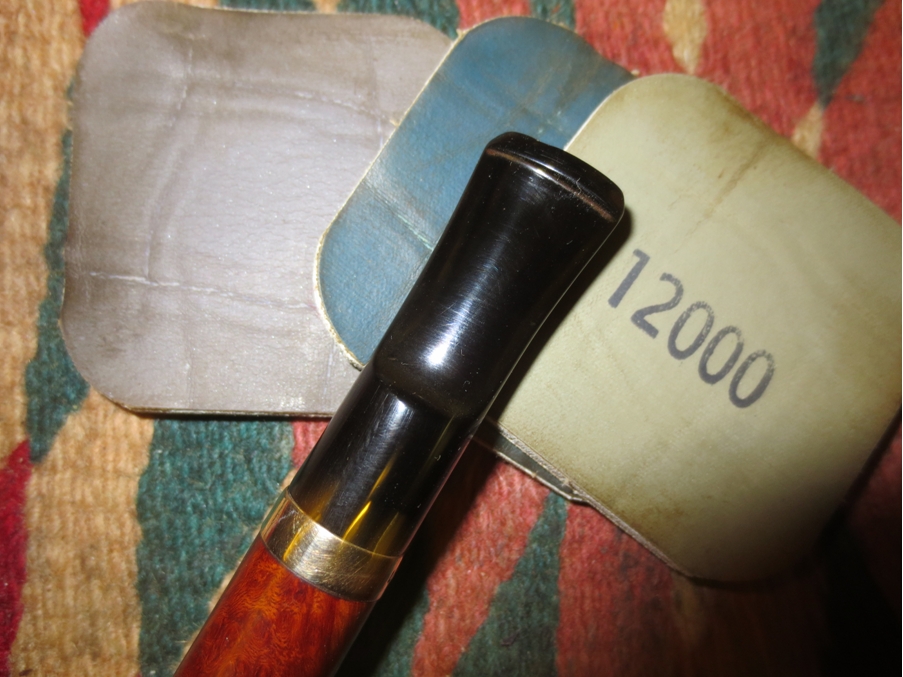
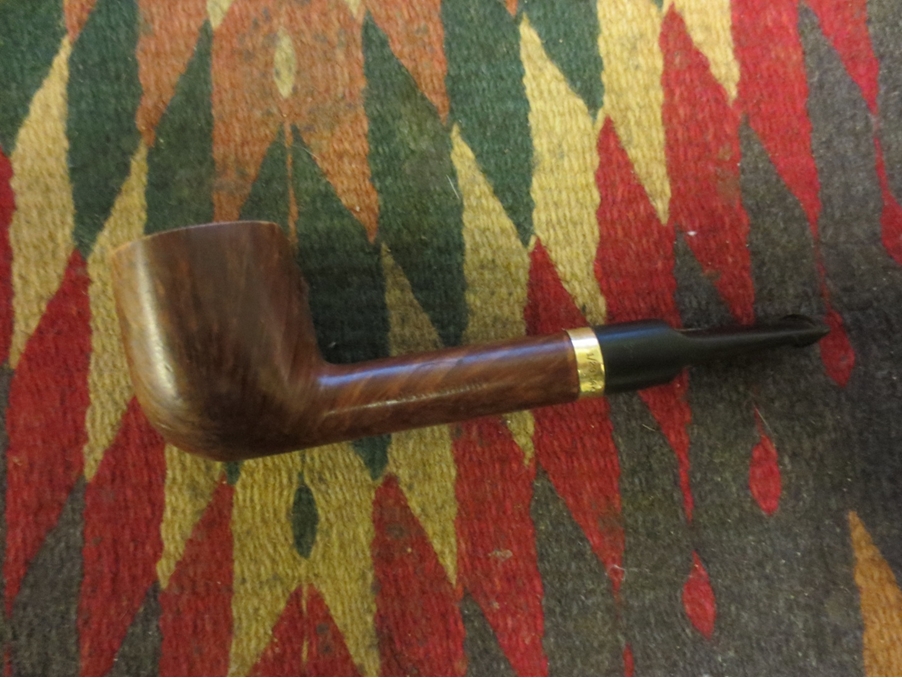
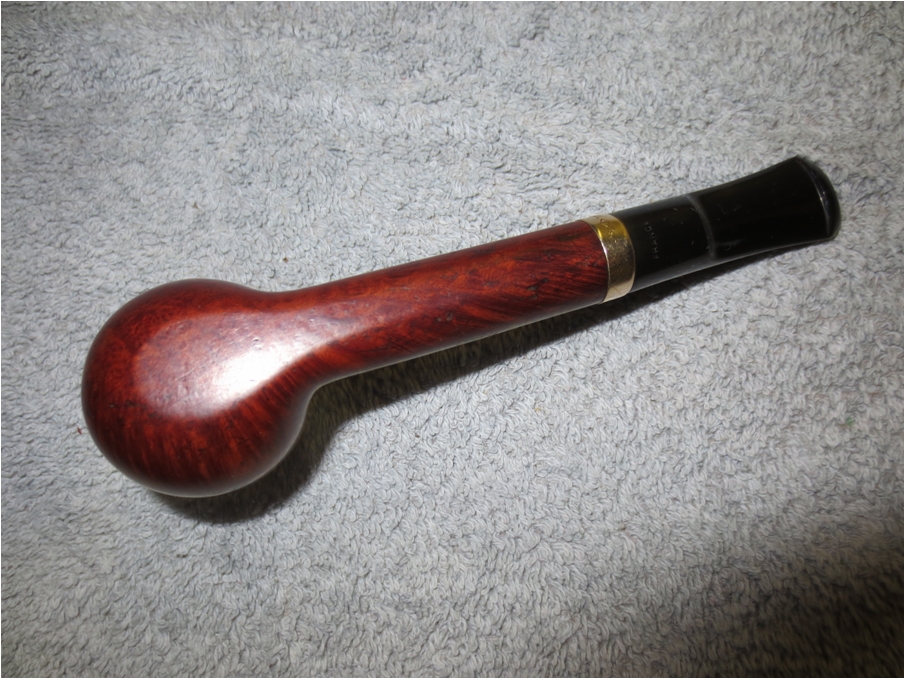
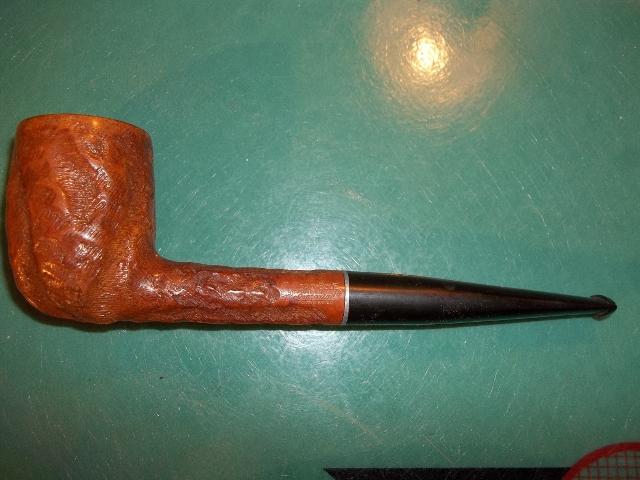
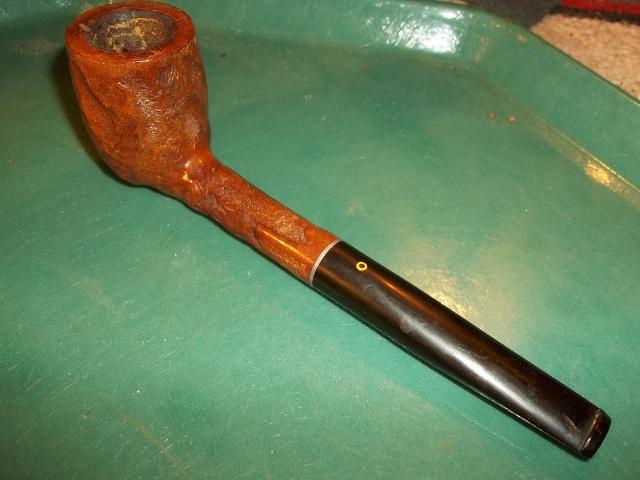
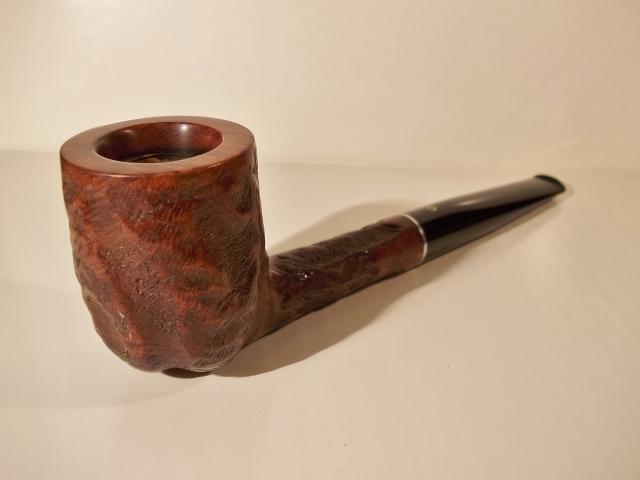
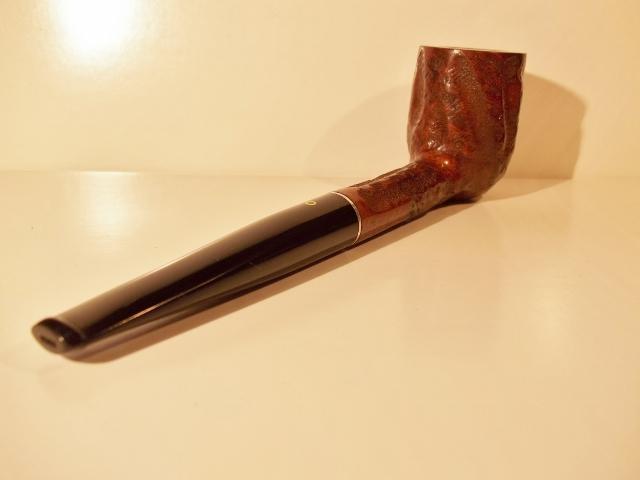
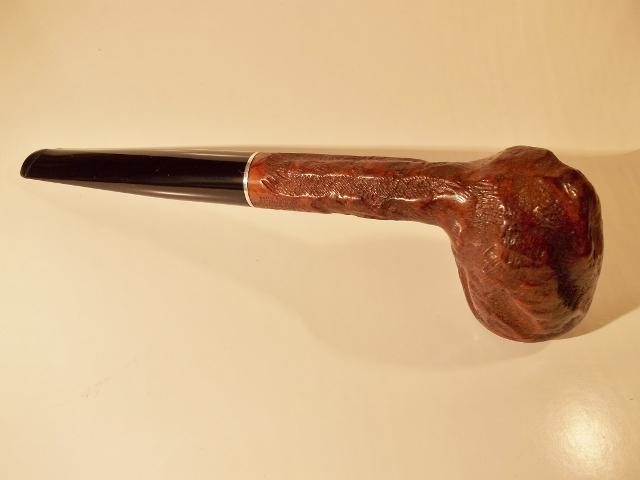
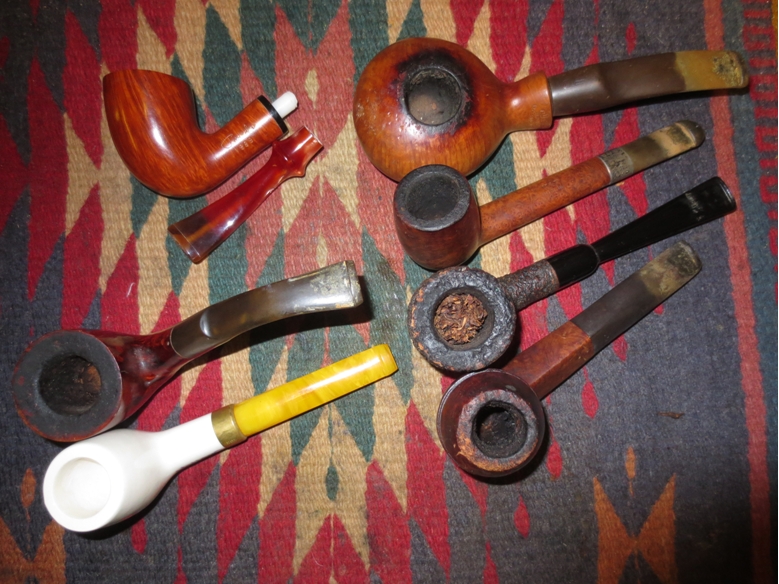
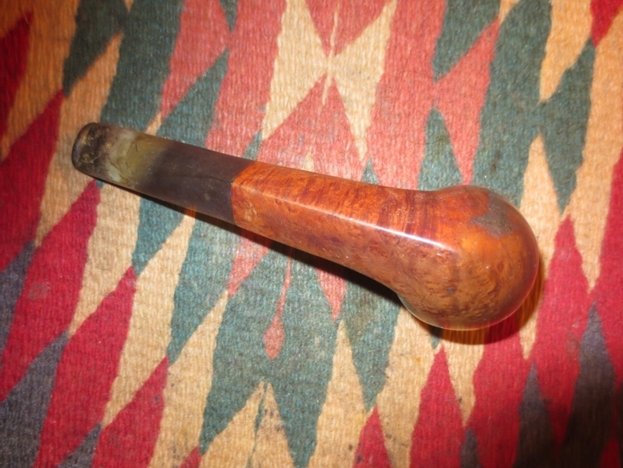
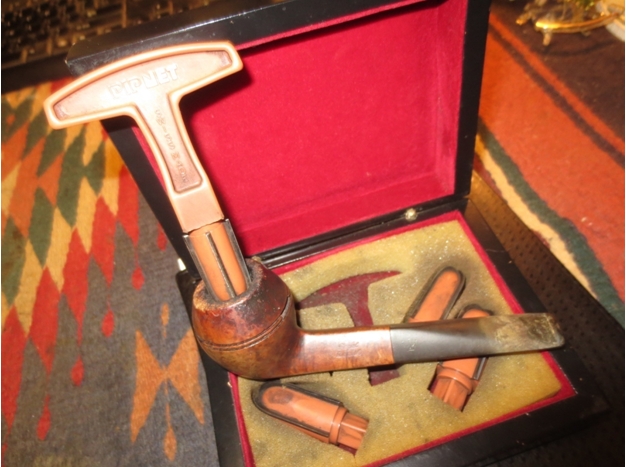
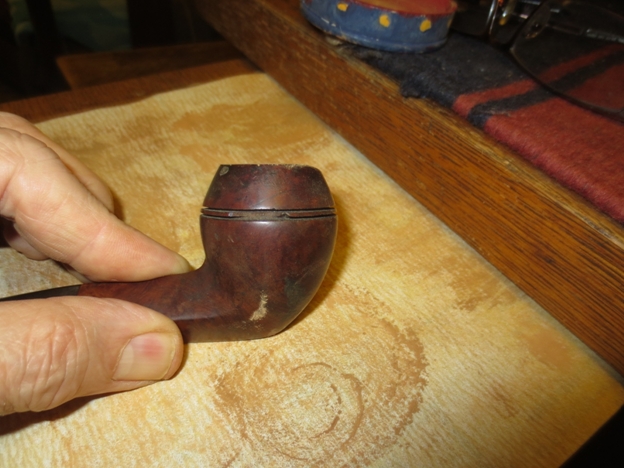
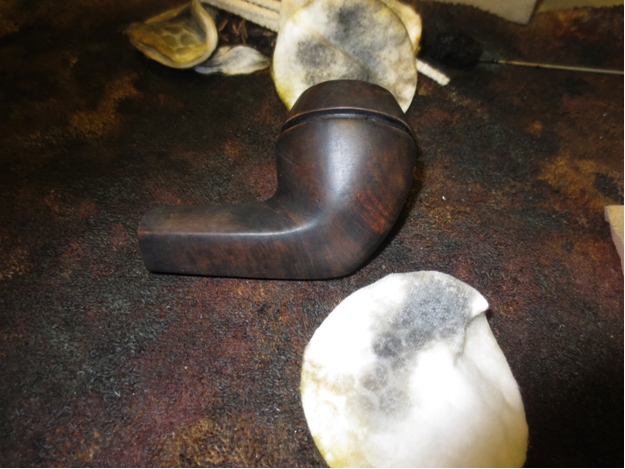
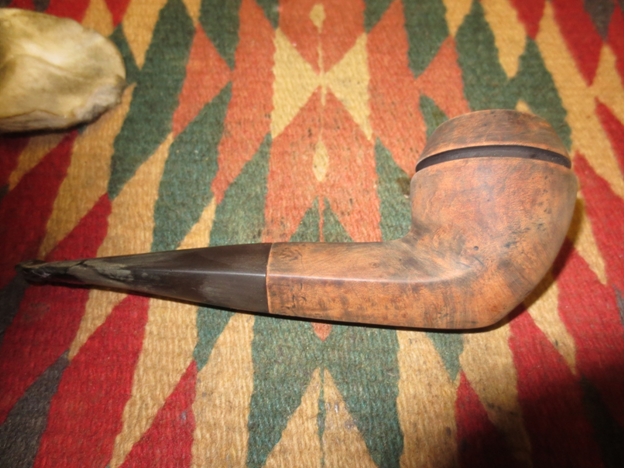
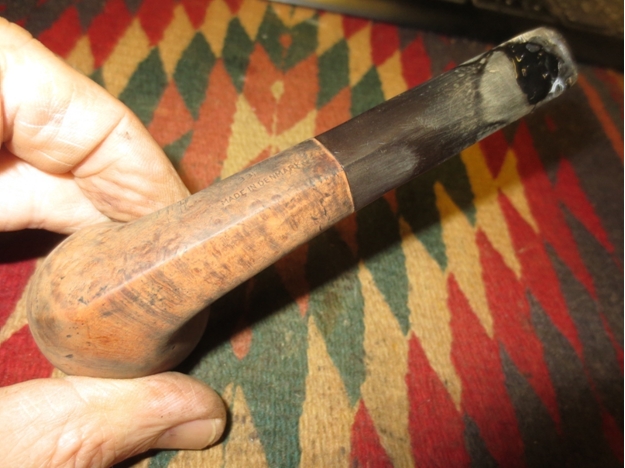
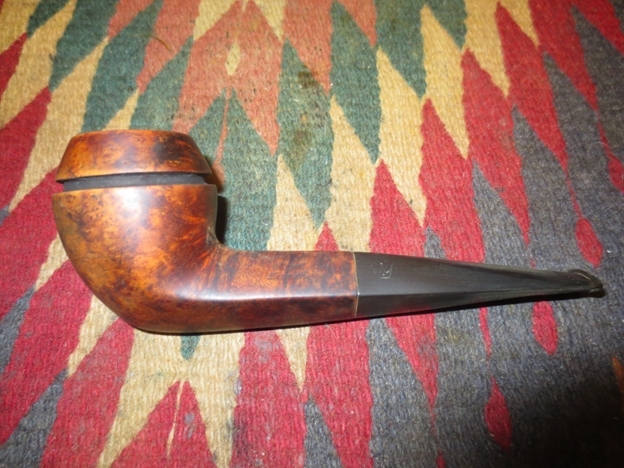
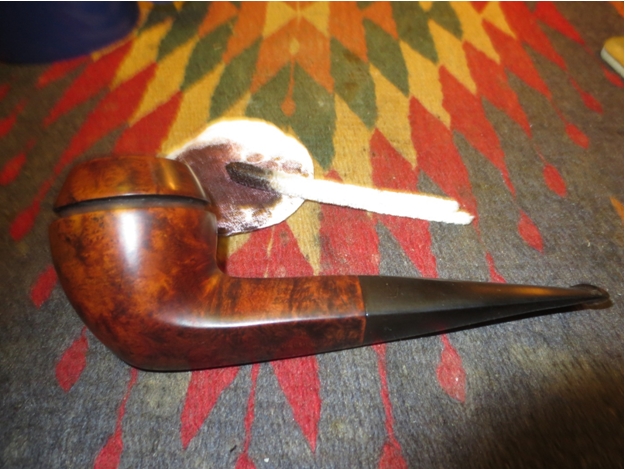
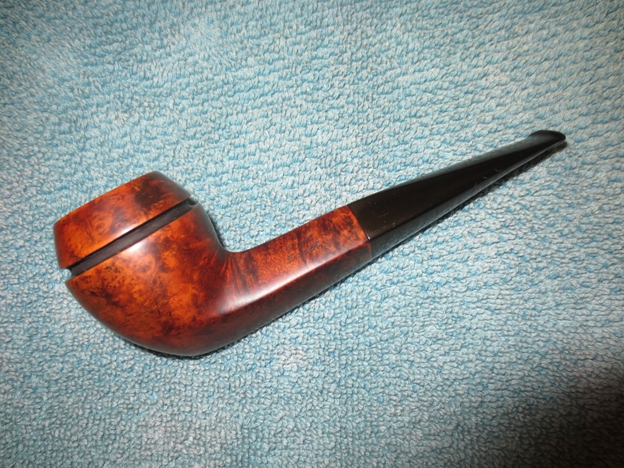
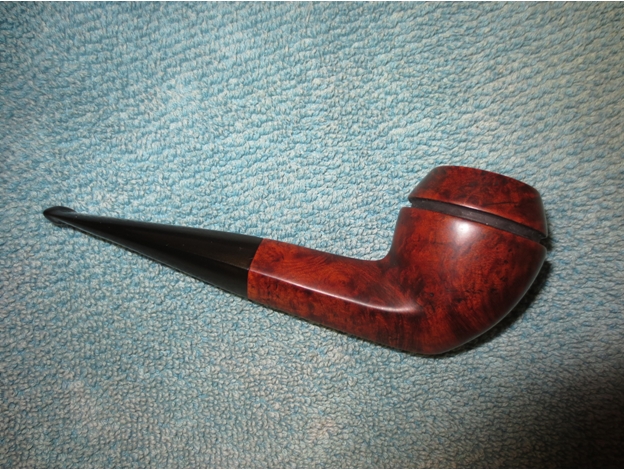
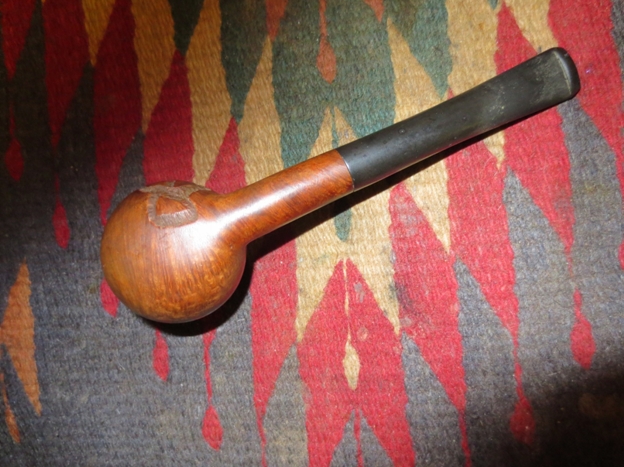
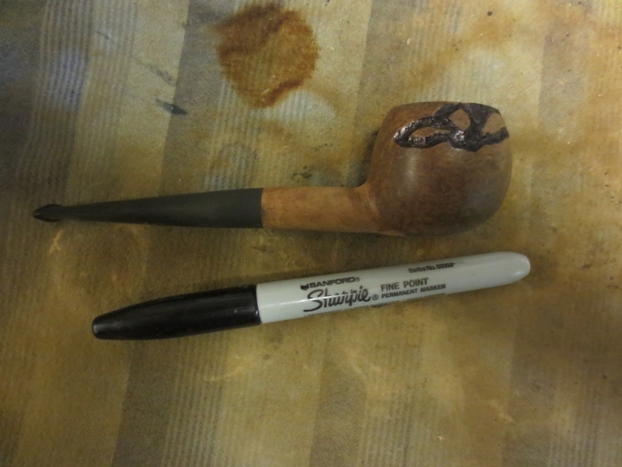
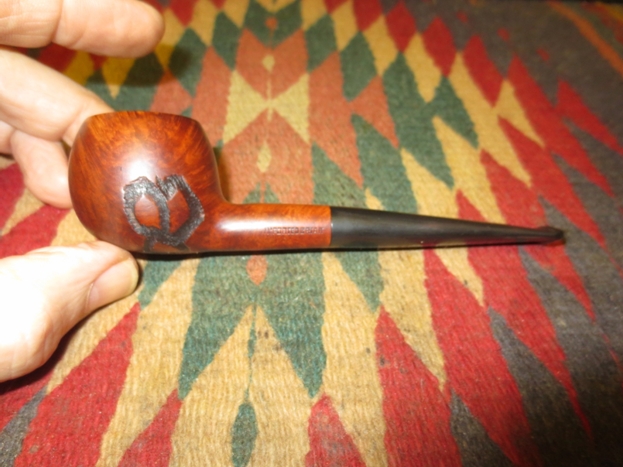
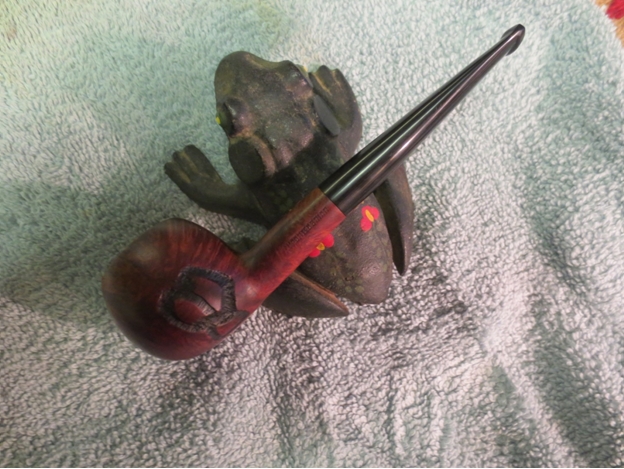
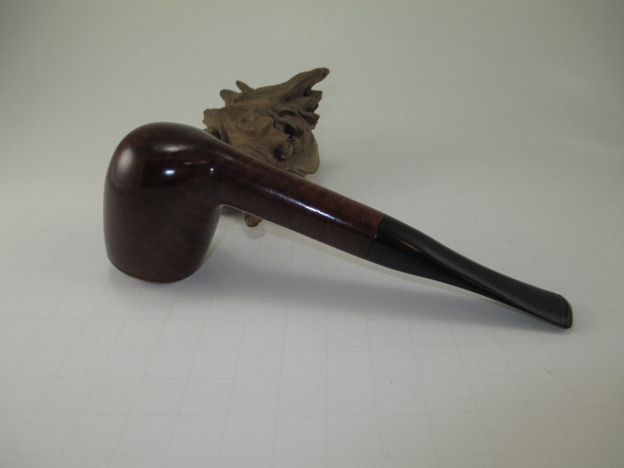
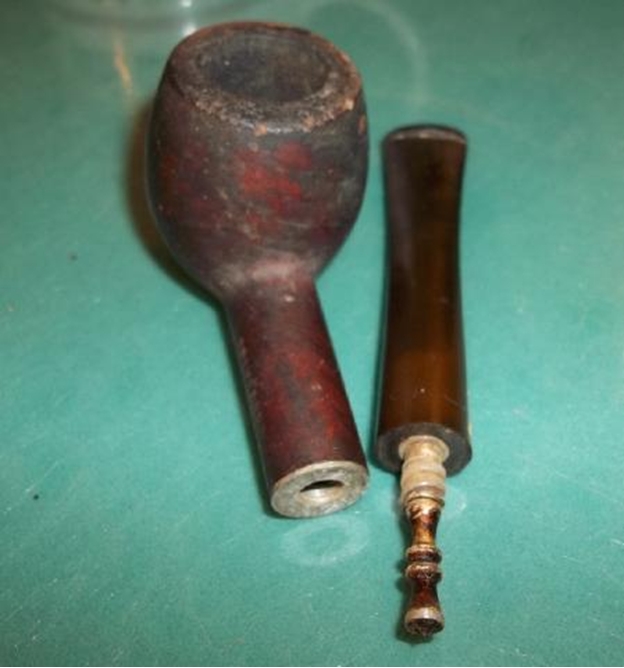
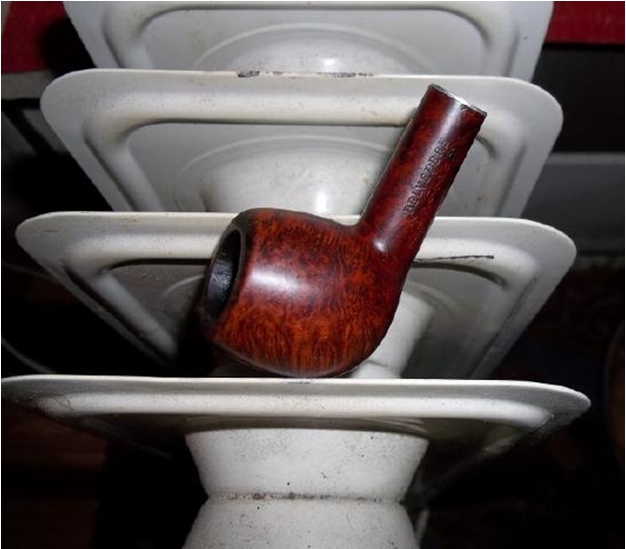
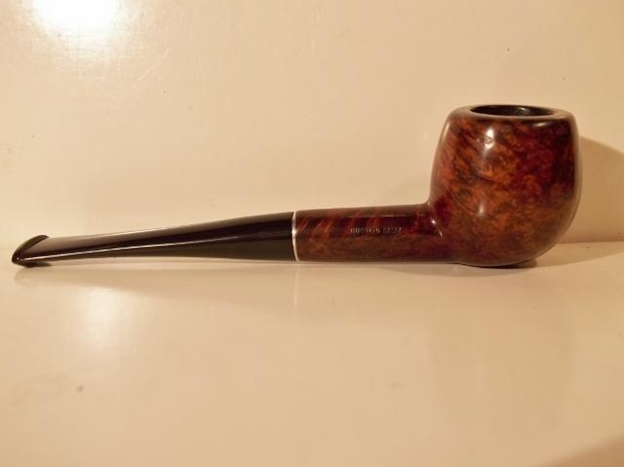
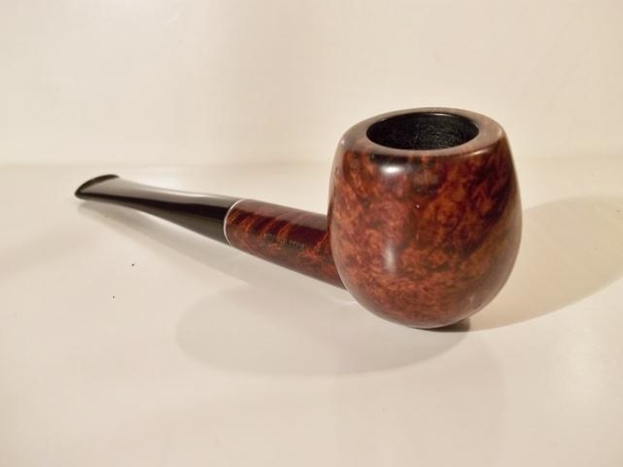
Now that I’ve acquired a few credit hours, I thought it might be time to drag them back out into the light; sort of as midterm exams to see if I’ve learned anything. The pipe that is second from the right in the group photo above is the one that I selected for my first exam. It’s an unnamed Medico billiard. The stamping on the shank reads simply “MEDICO” over “IMPORTED BRIAR” and the stem bears the “F” stamp found on some older Medicos. I learned from Dave Whitney, author of Old Briar, that the “F” stamp was probably discontinued in 1955, which gave me some idea of the pipe’s age.
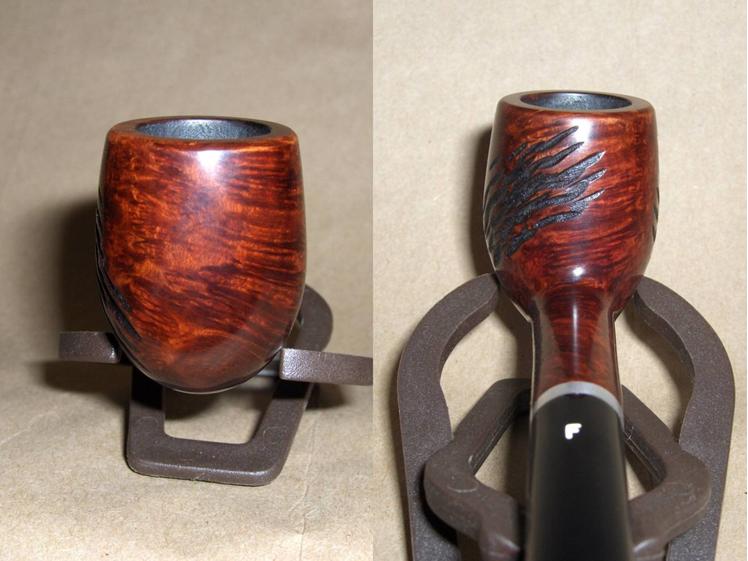
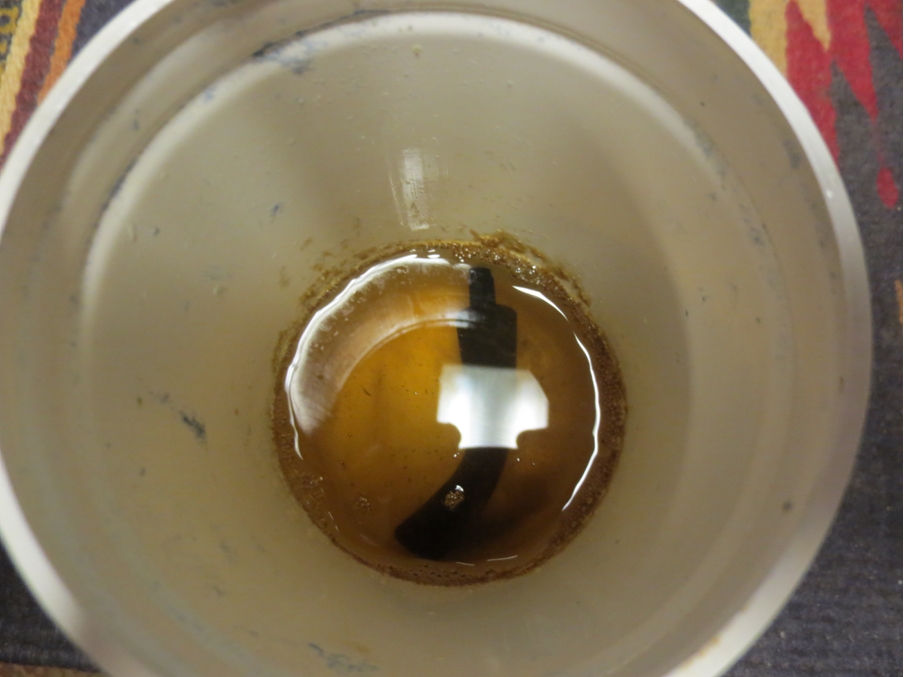
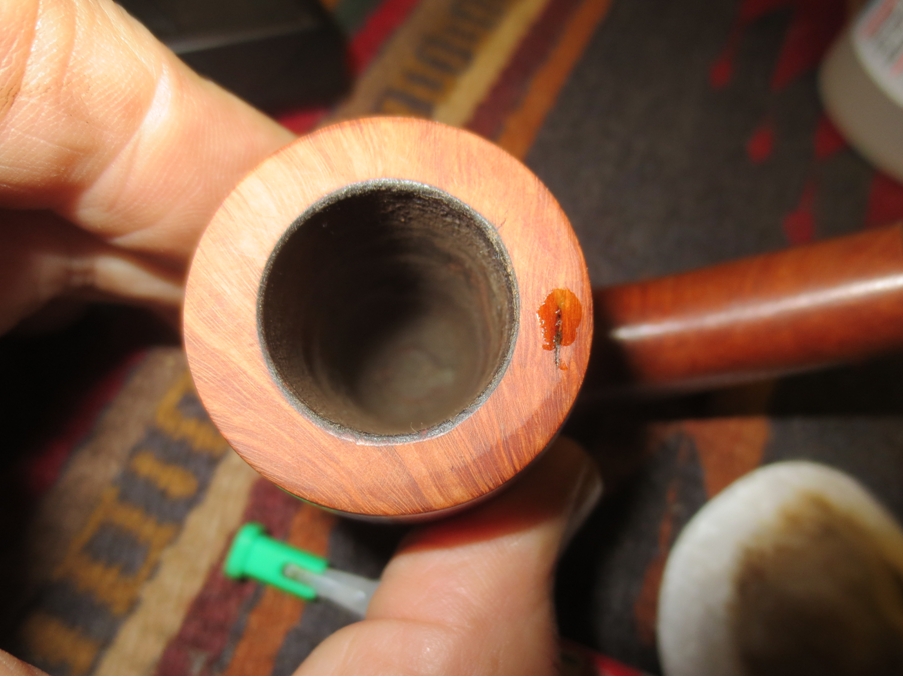
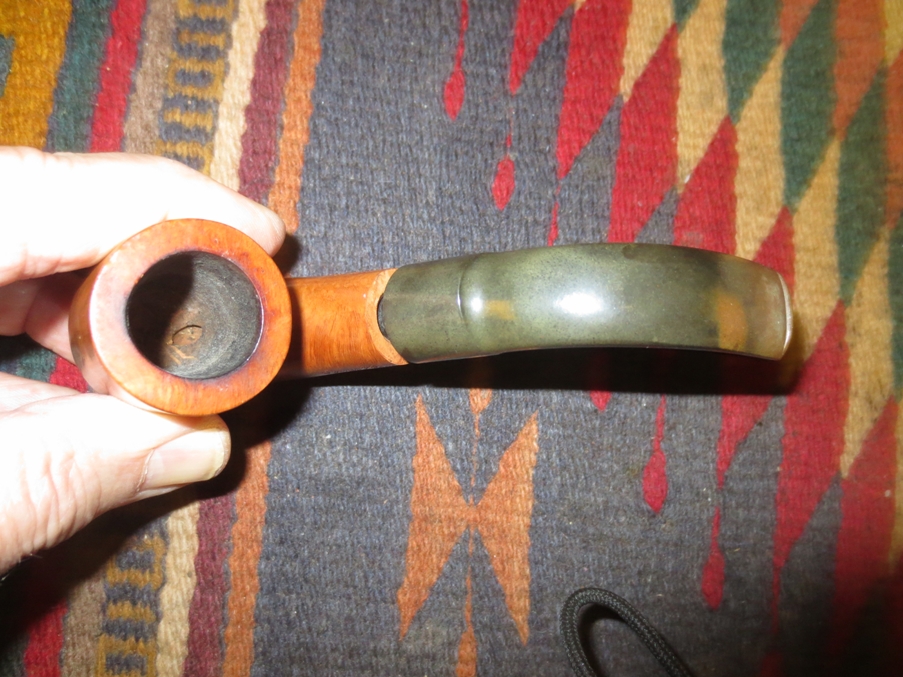
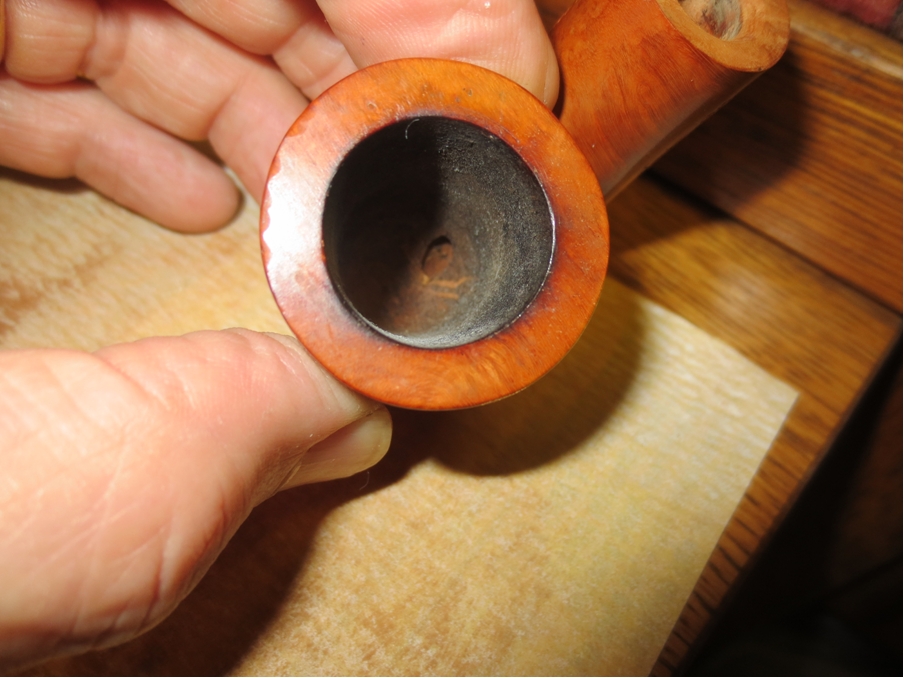
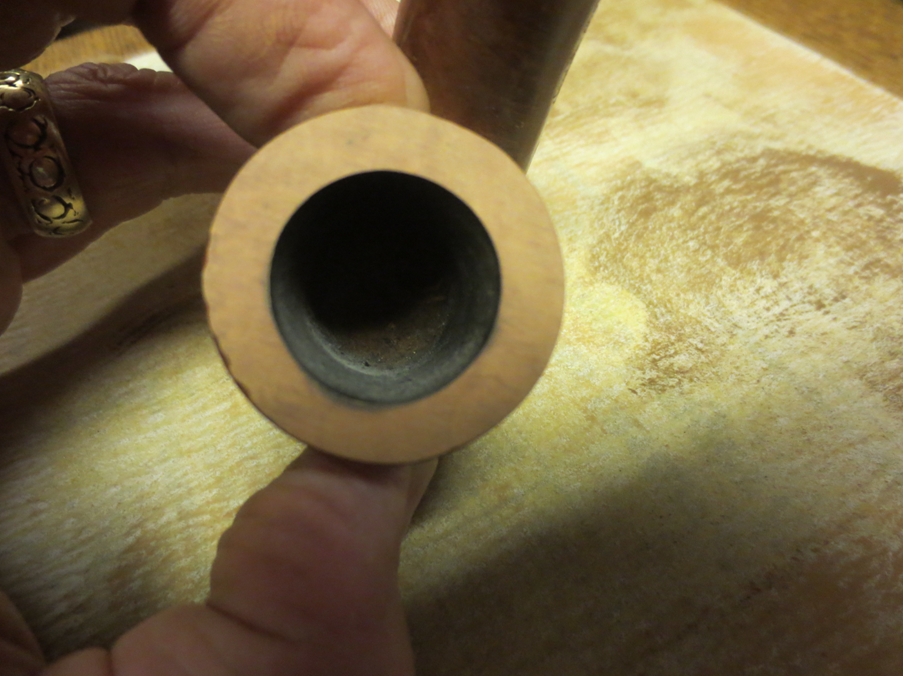
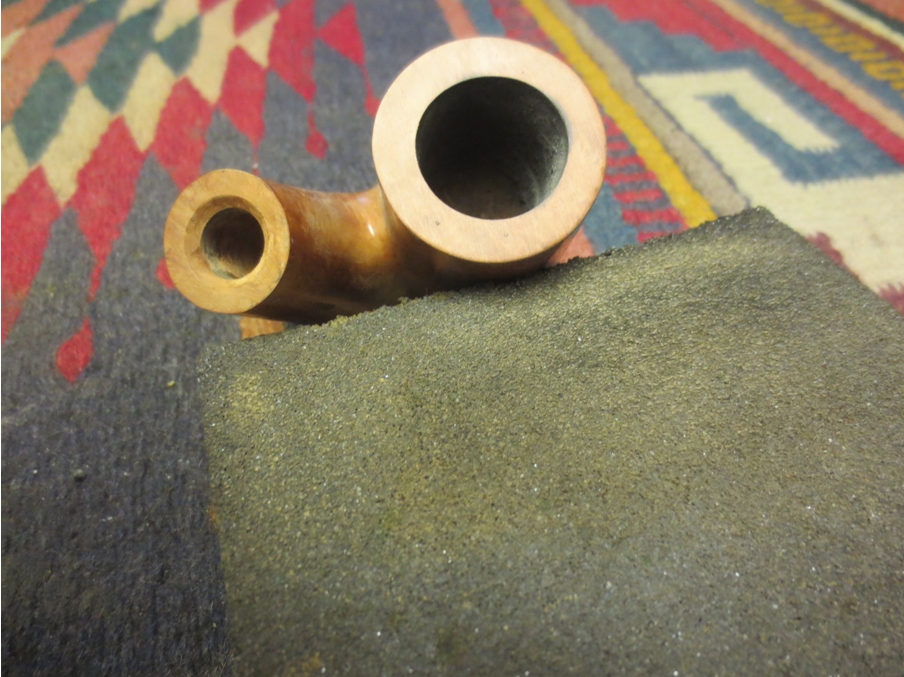
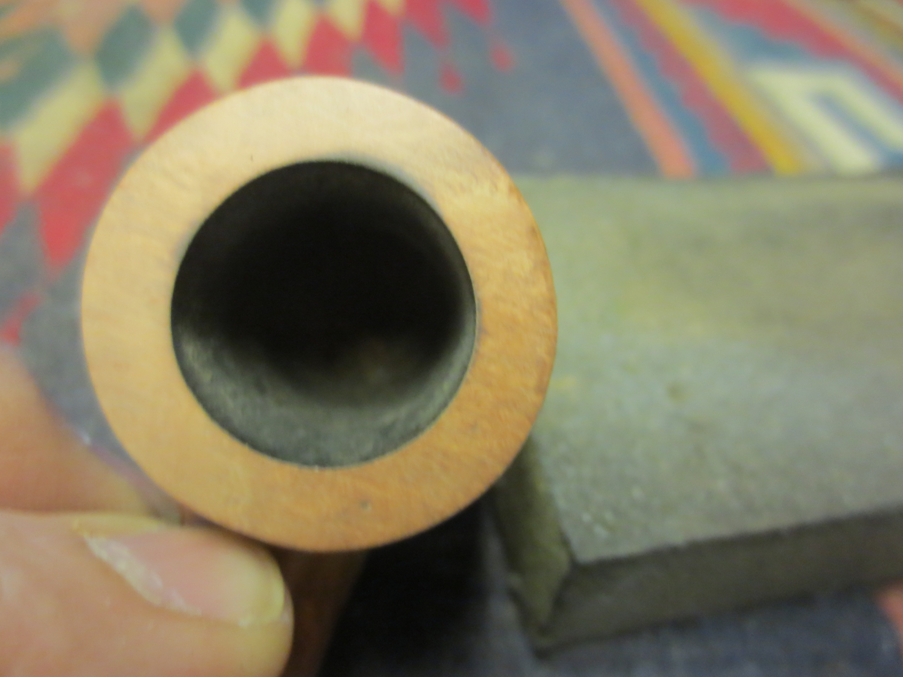
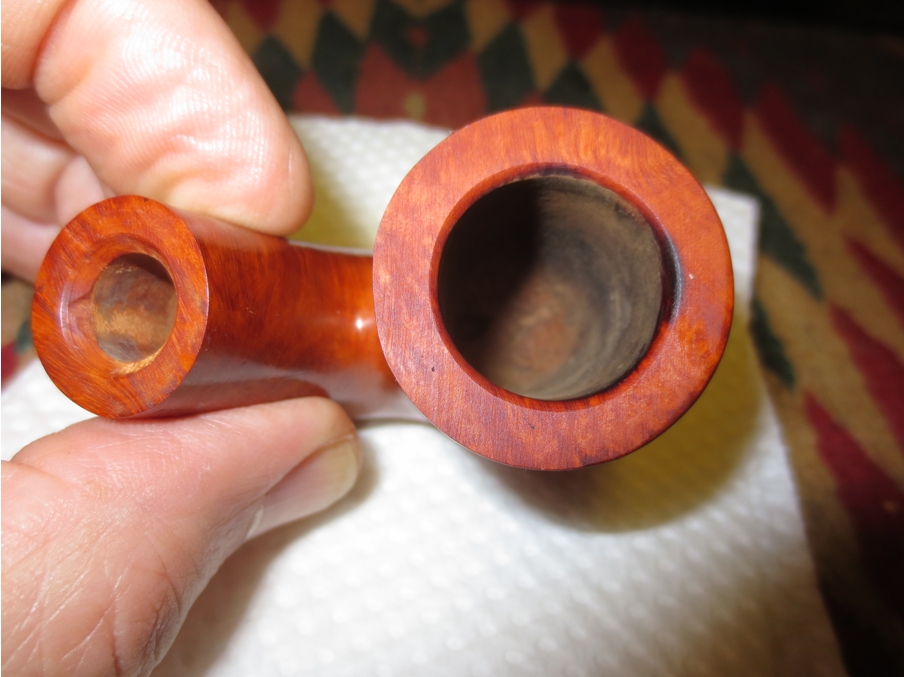
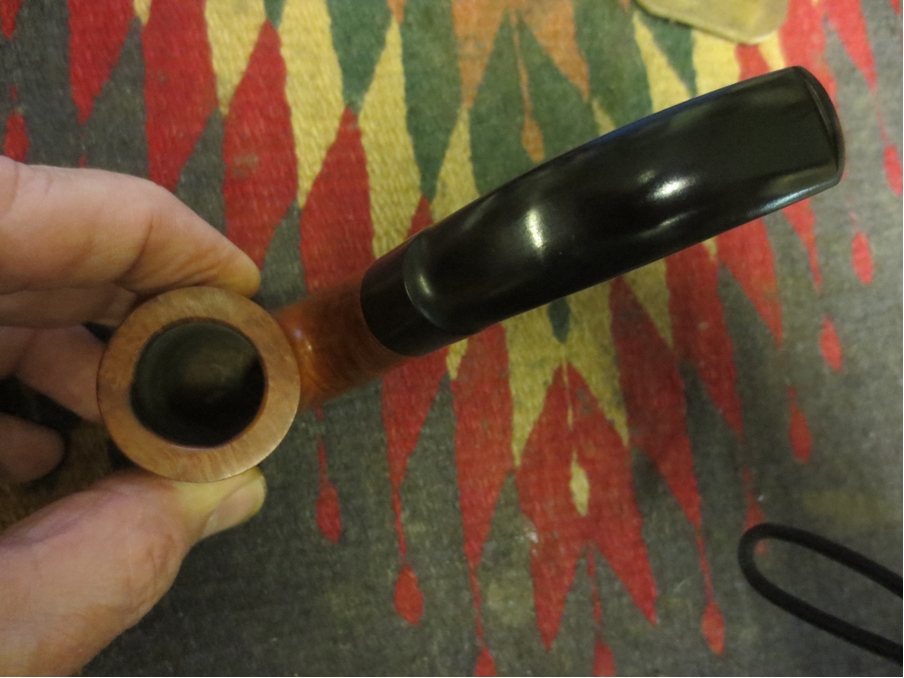
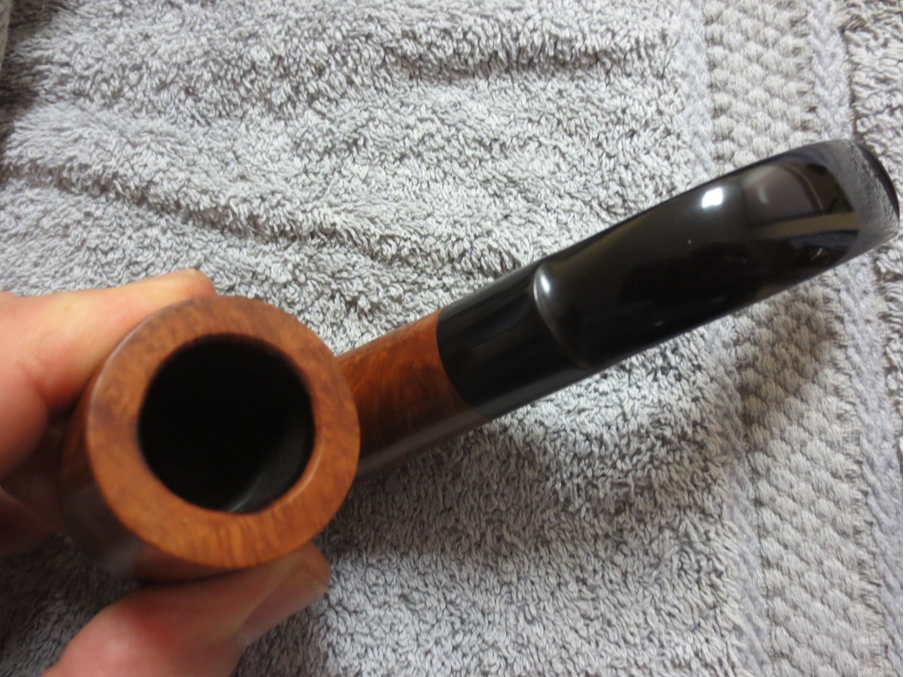
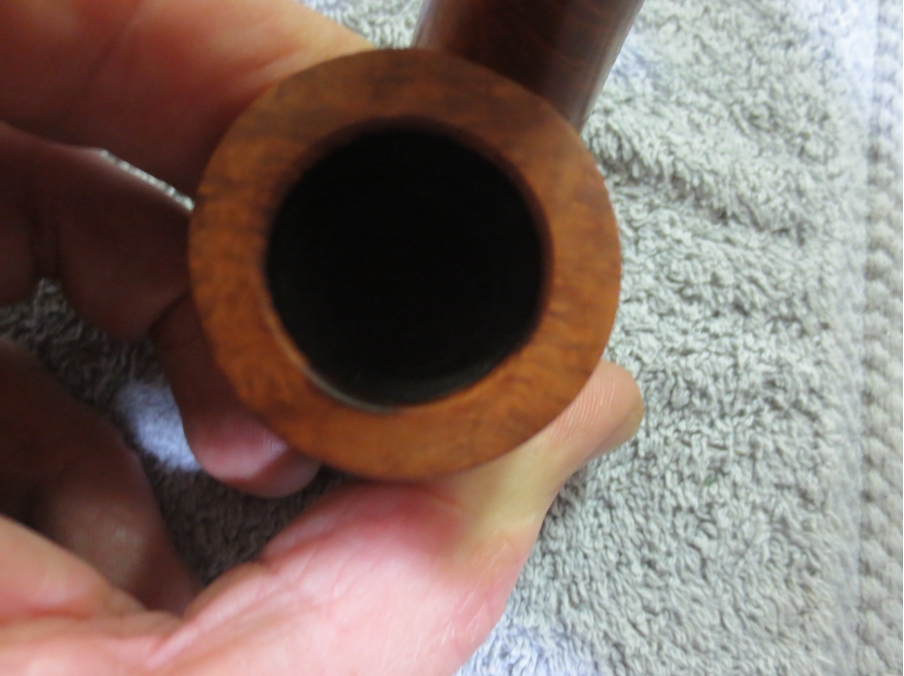
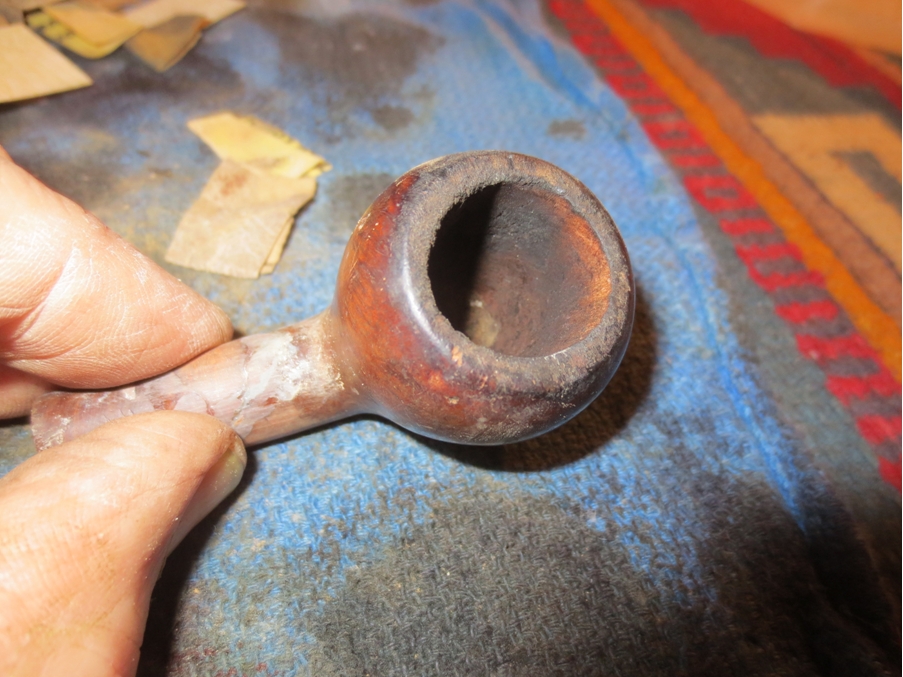
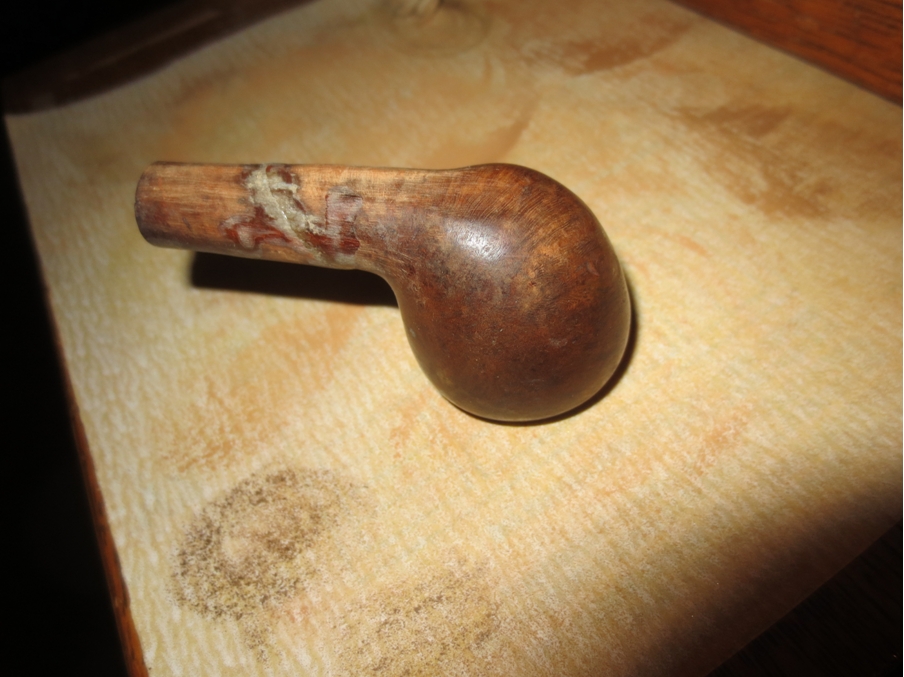
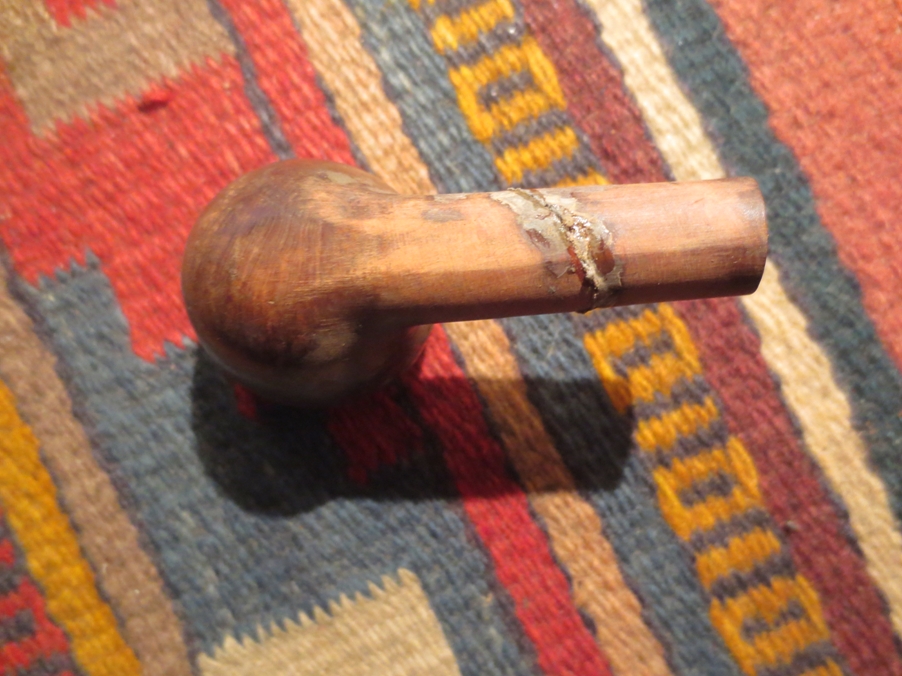
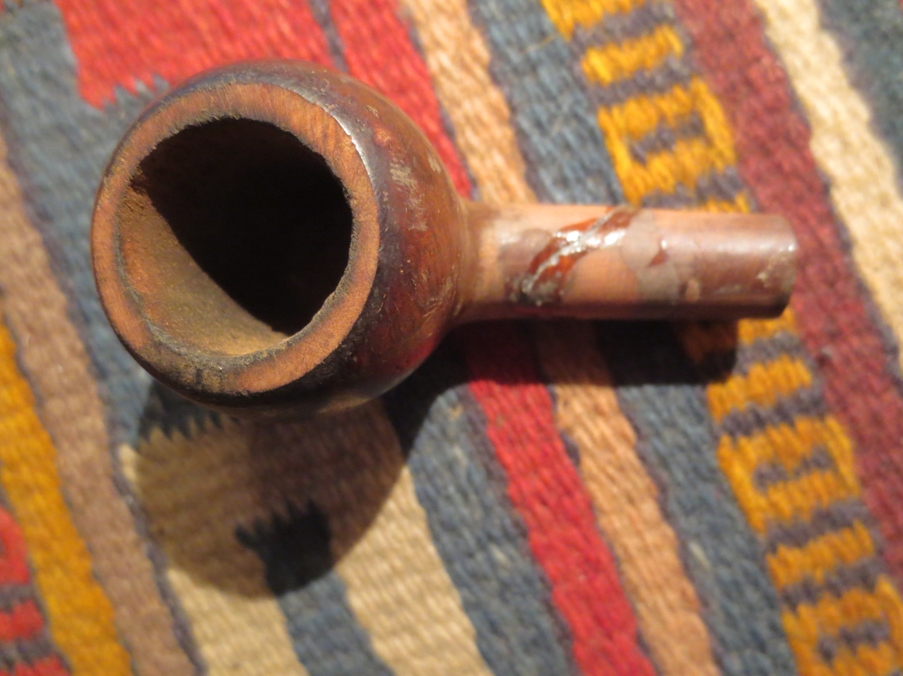
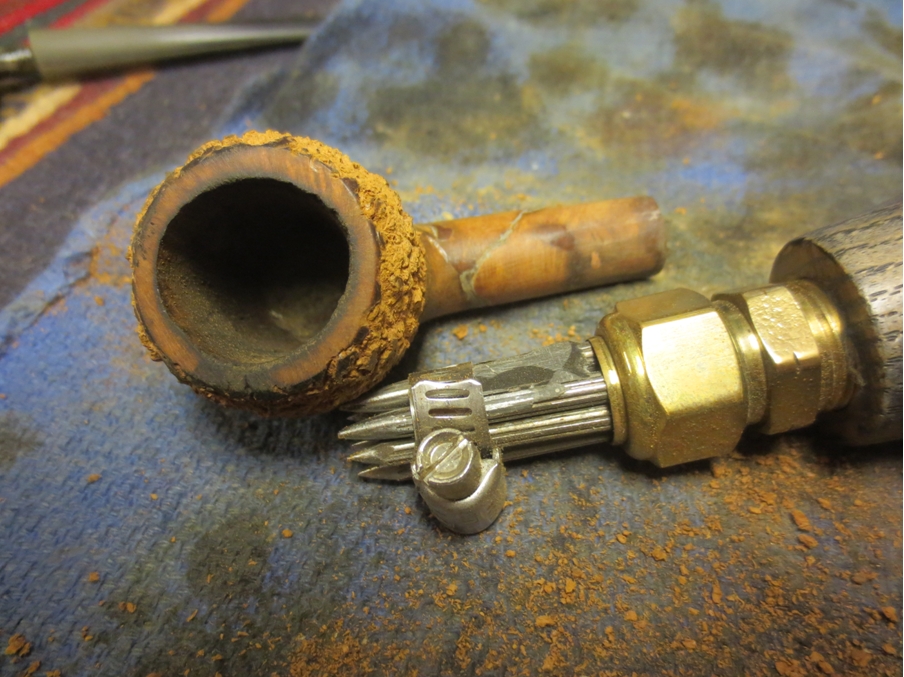
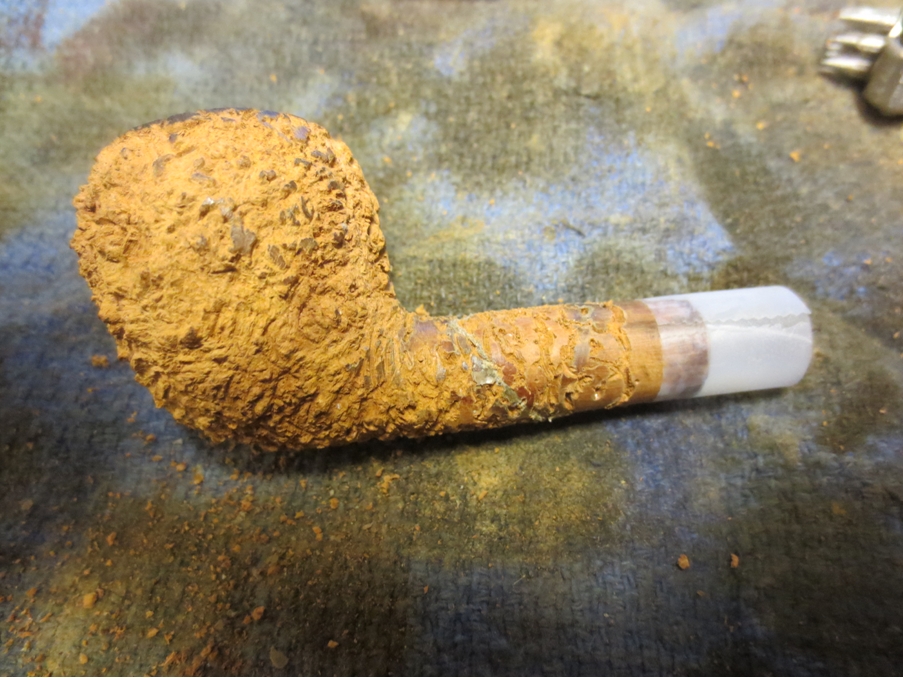
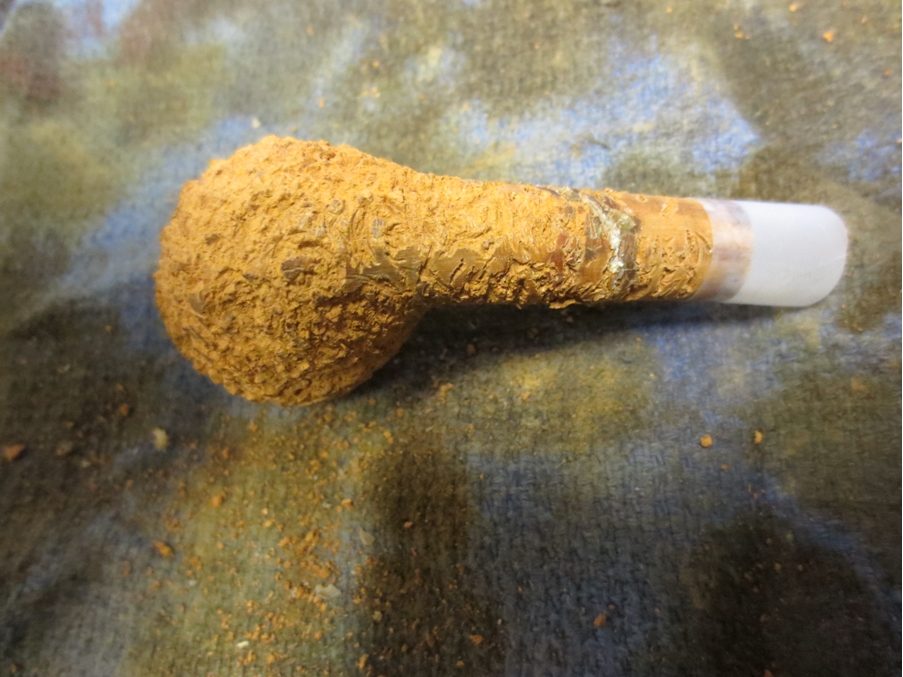
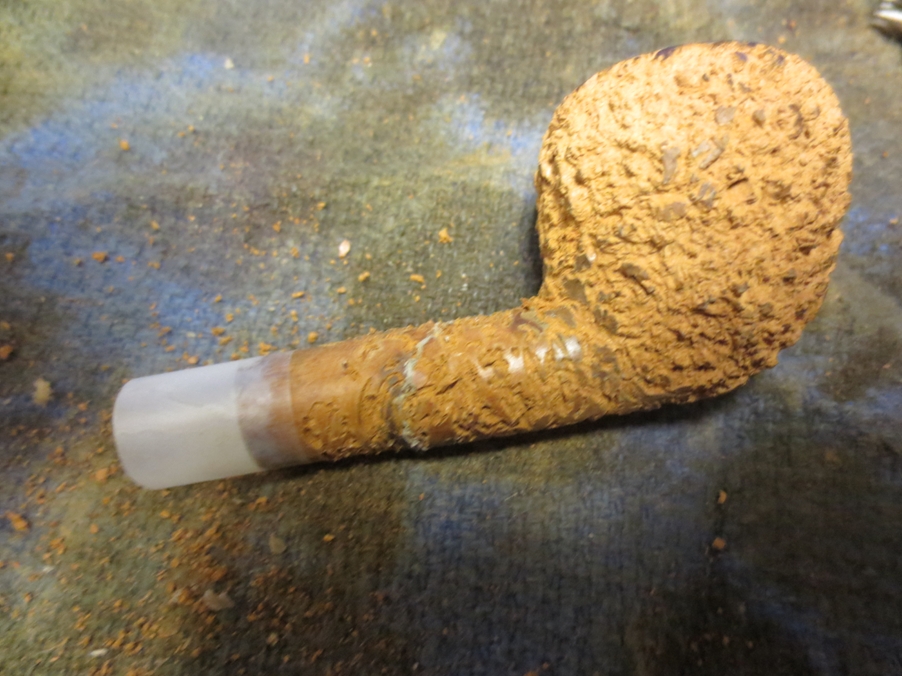
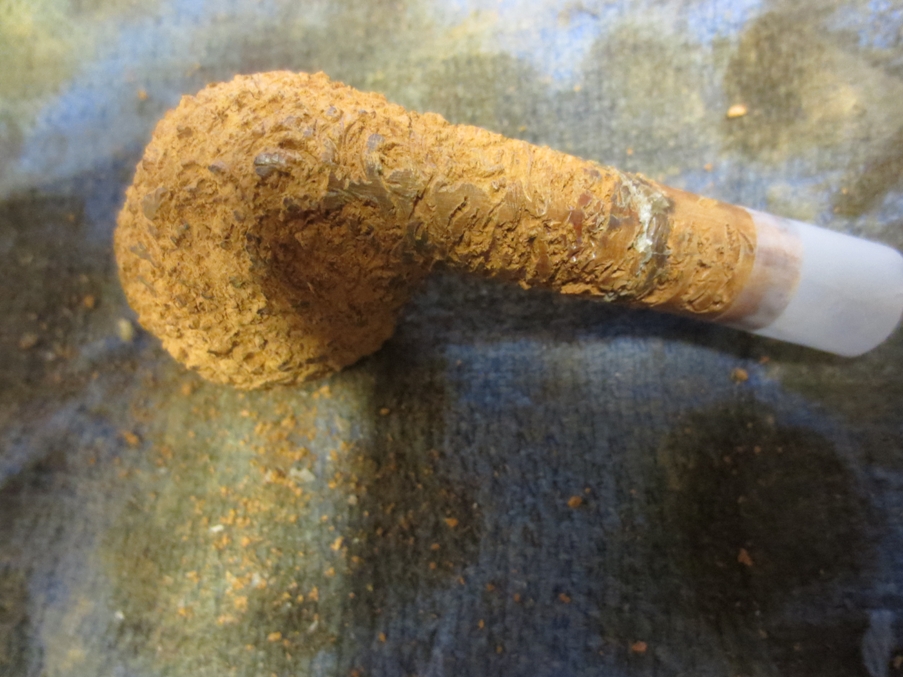
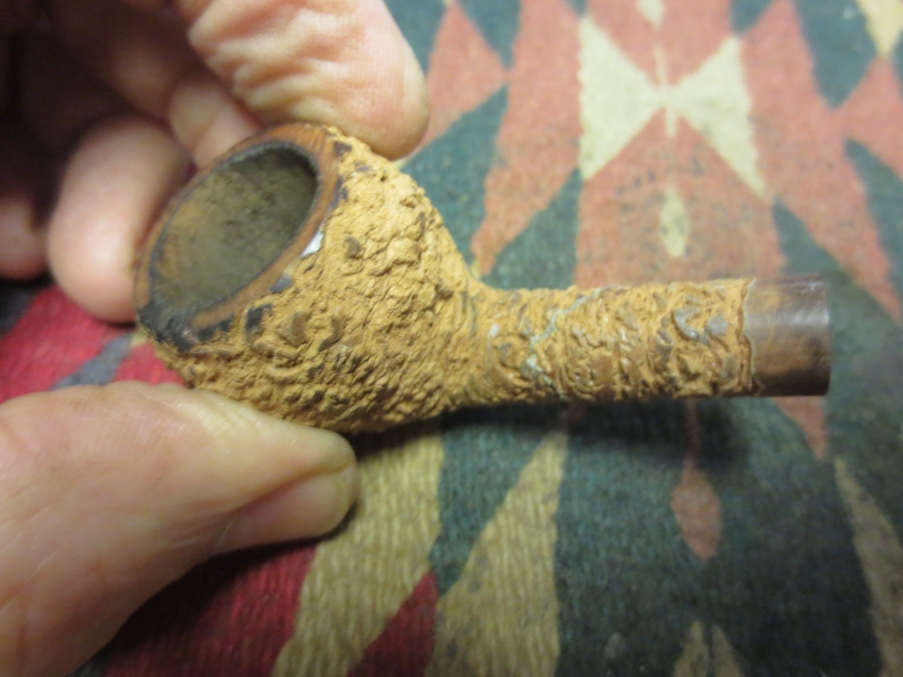
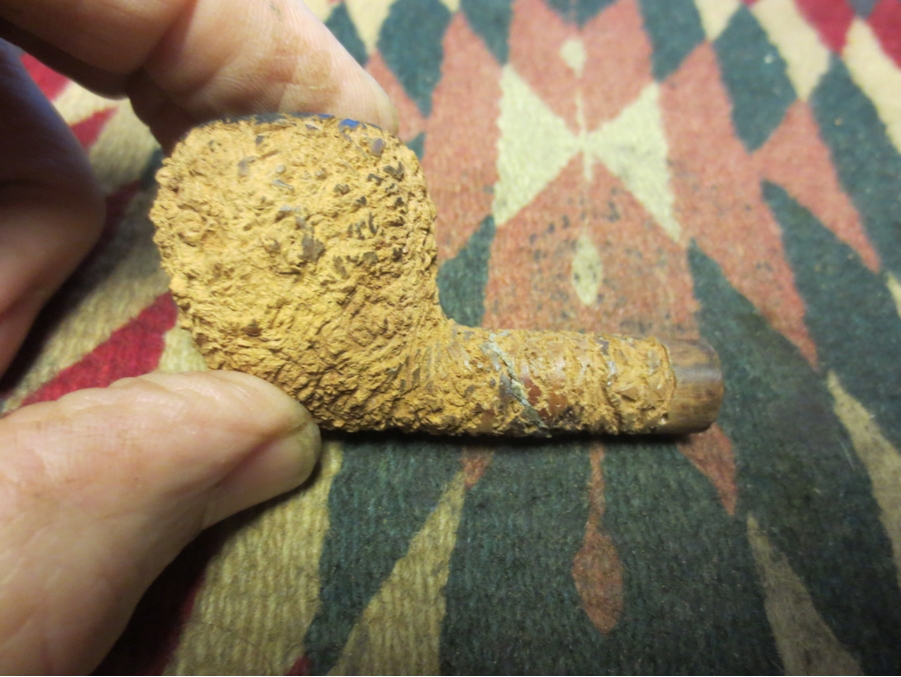
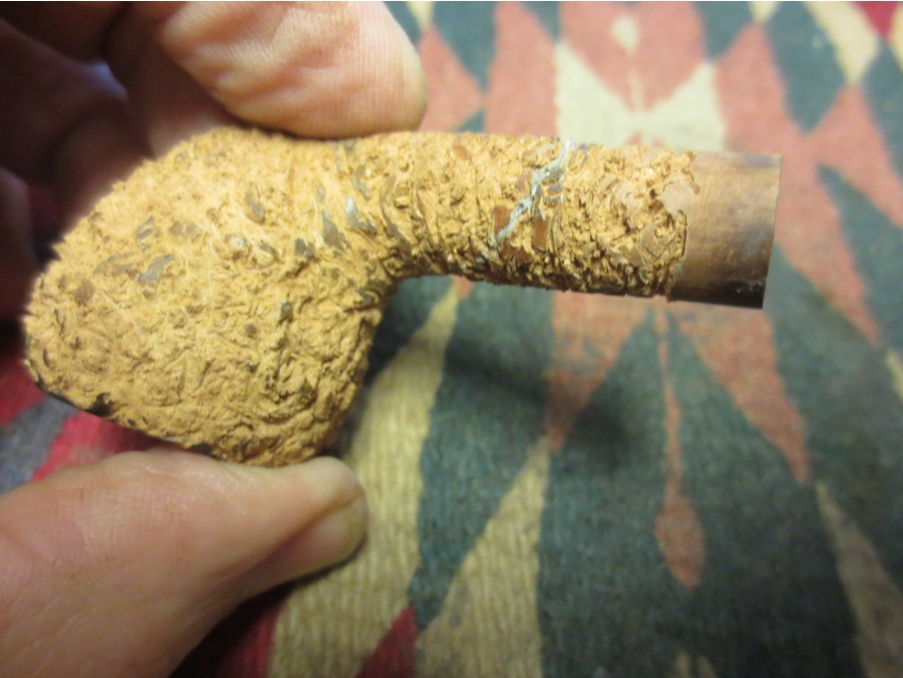
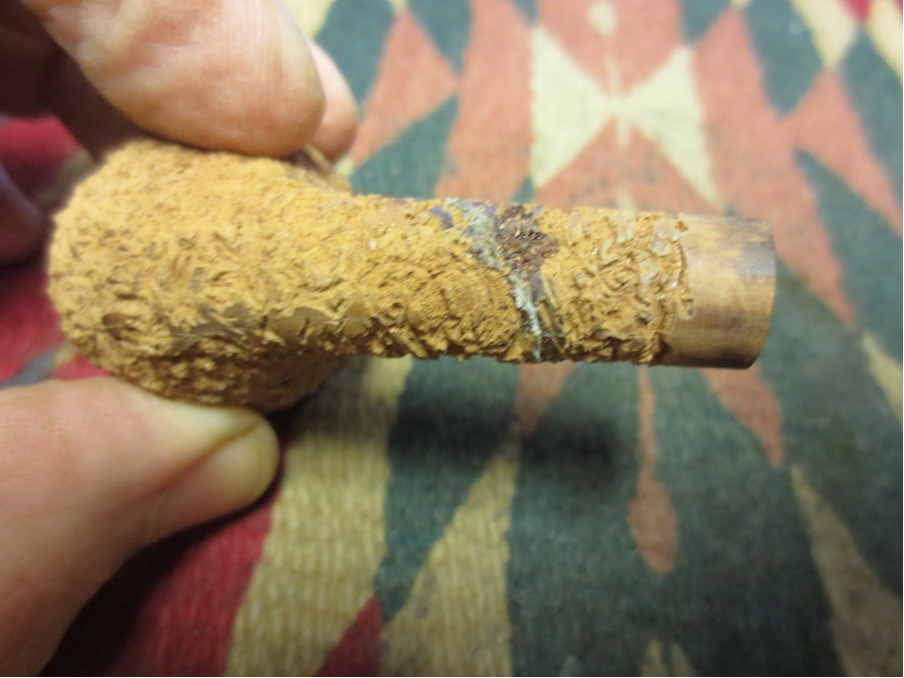
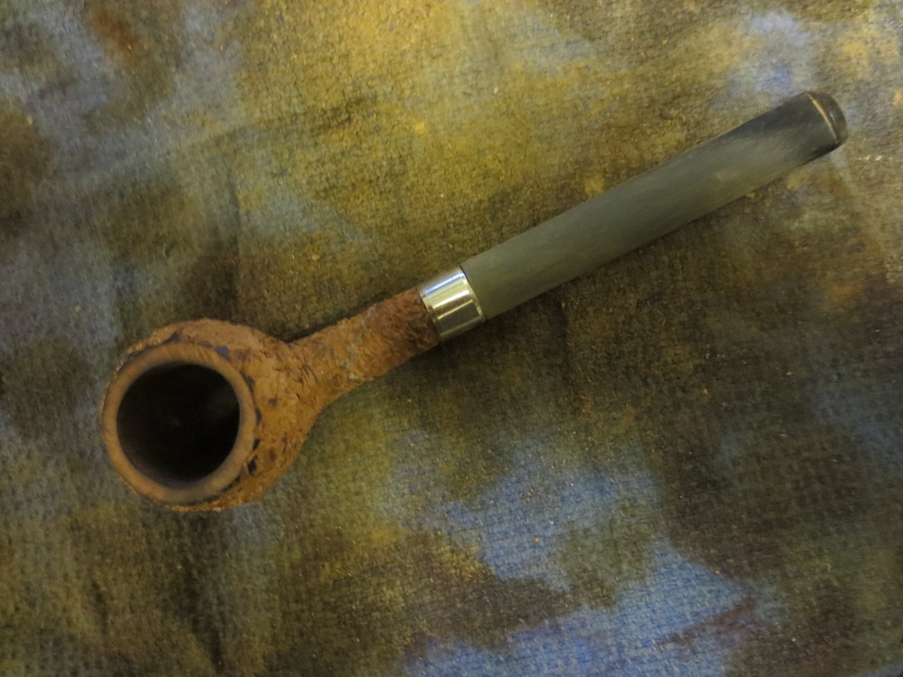
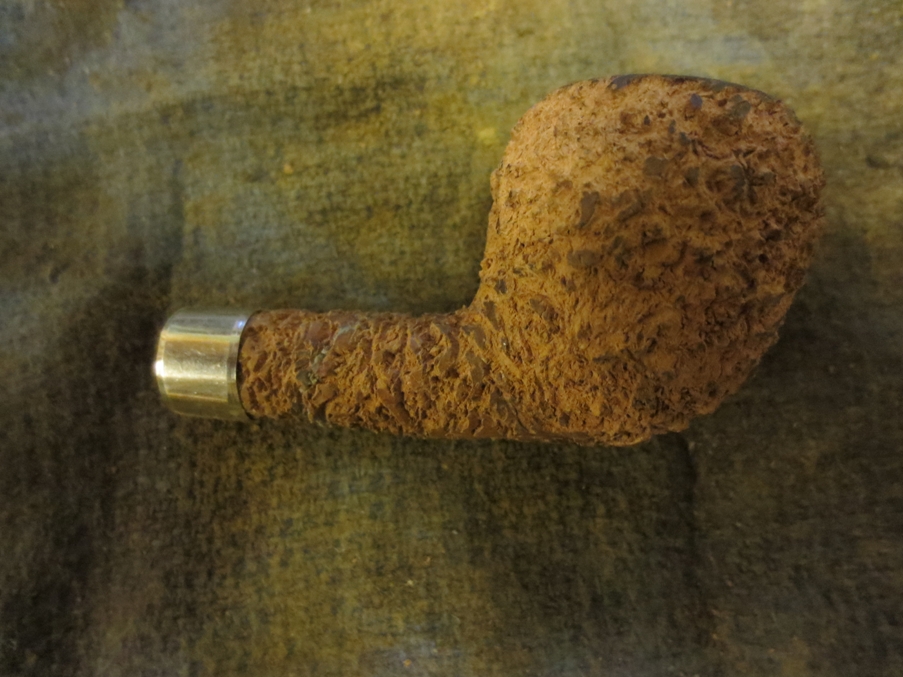
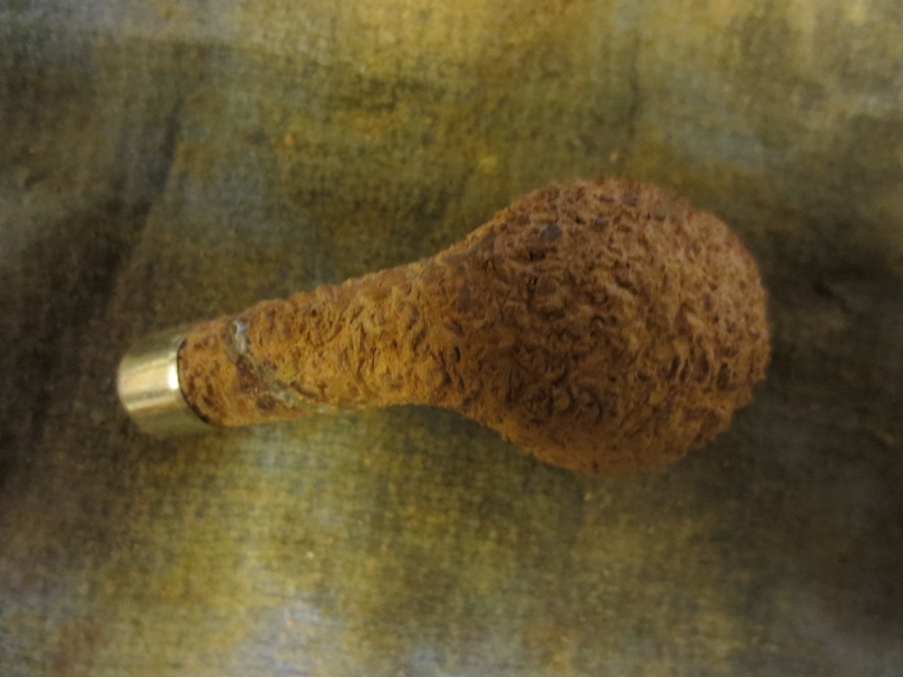
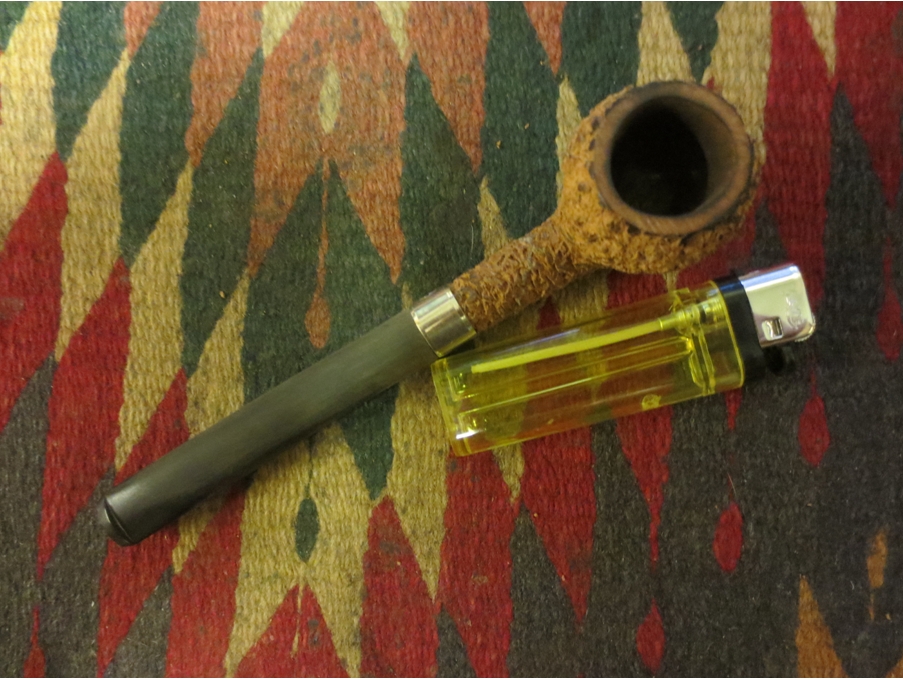
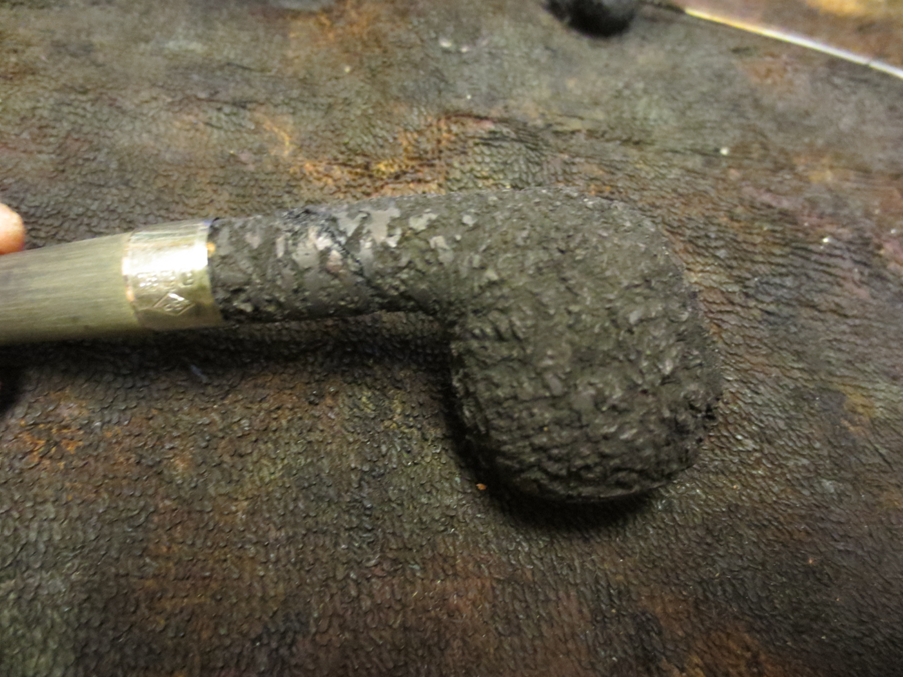
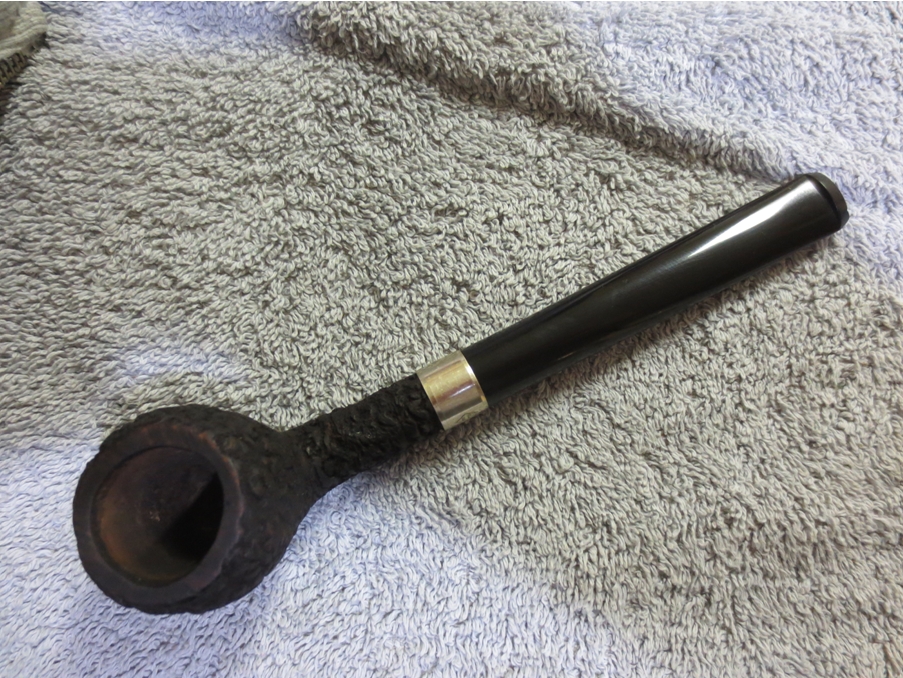
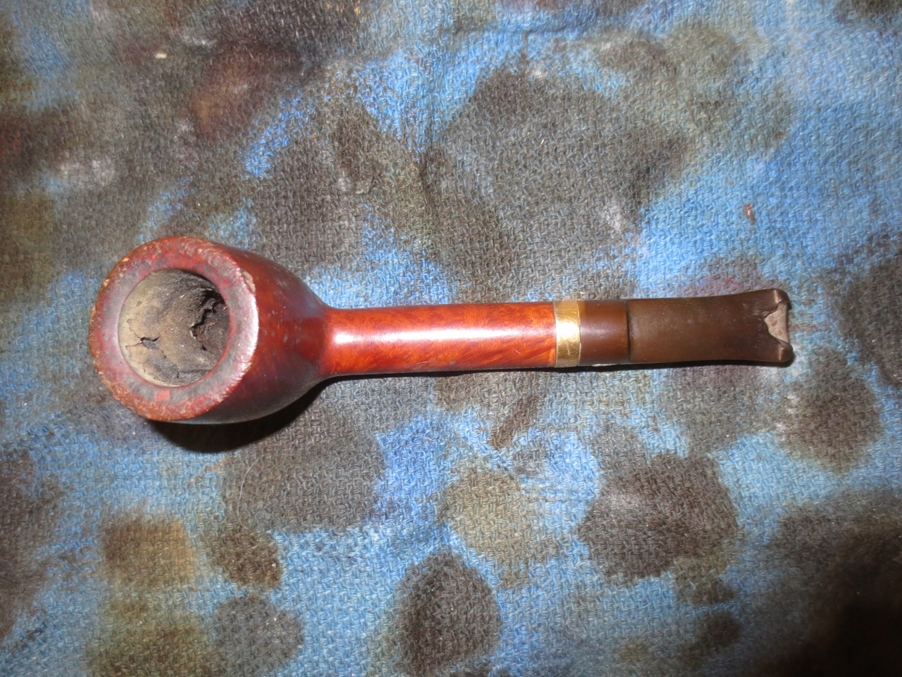
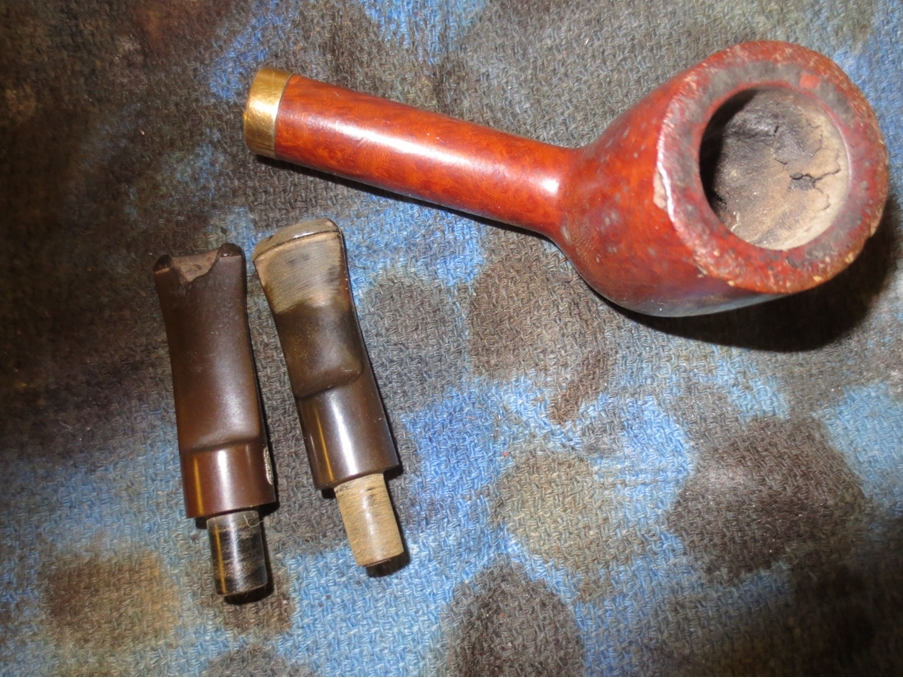
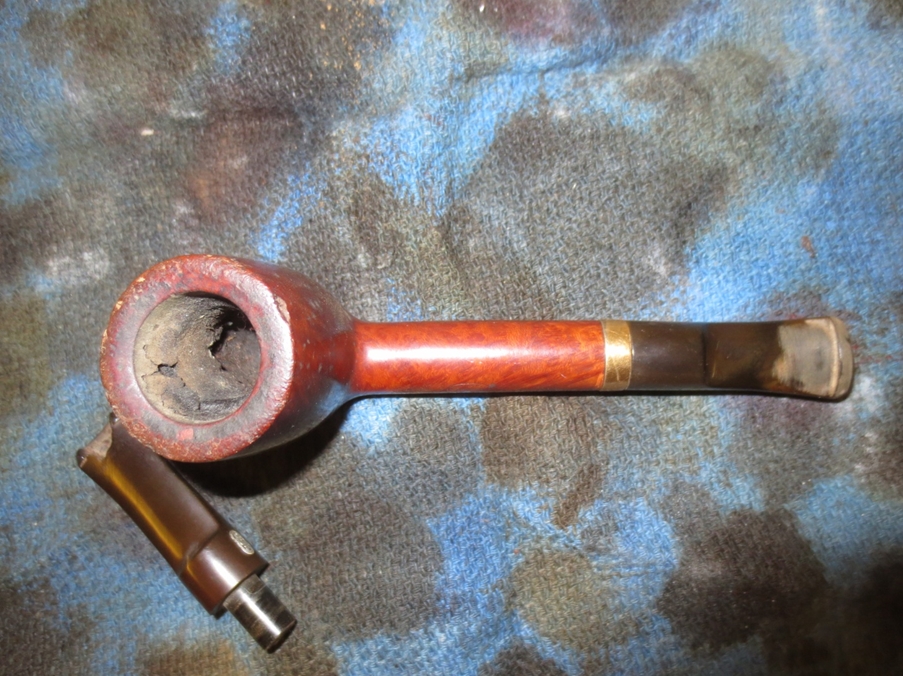
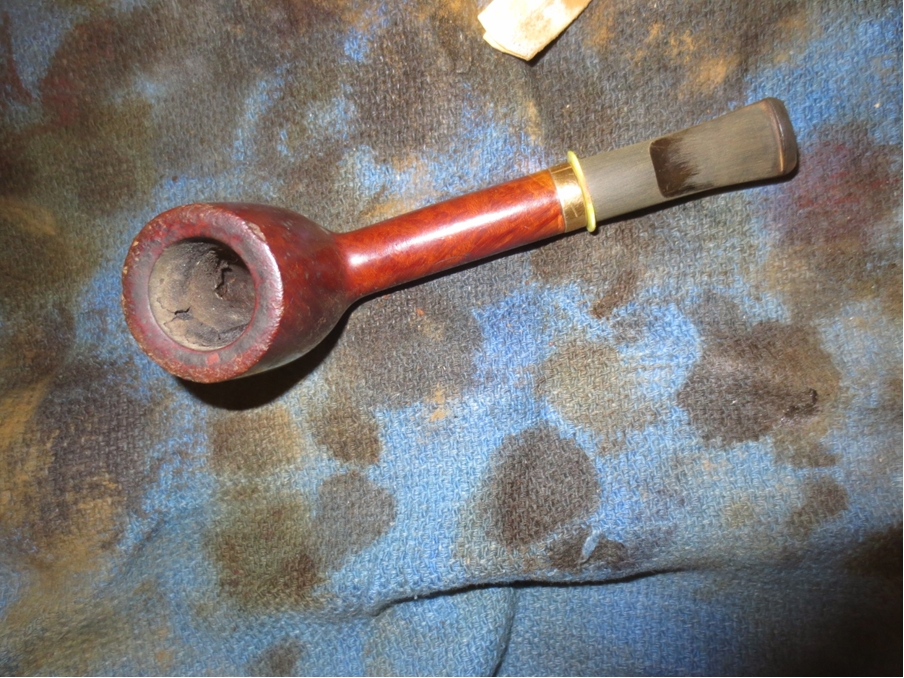
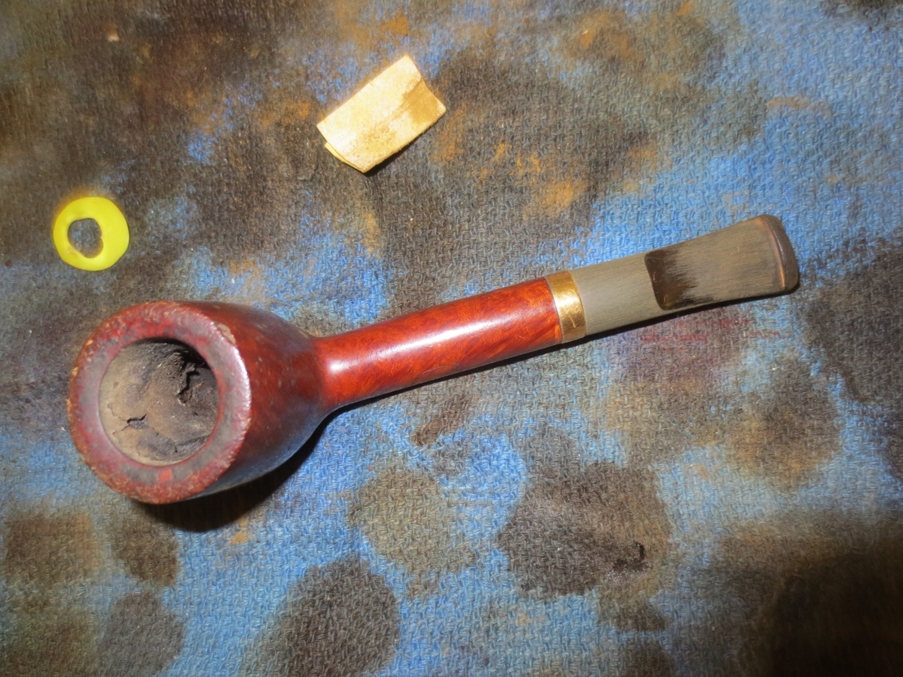
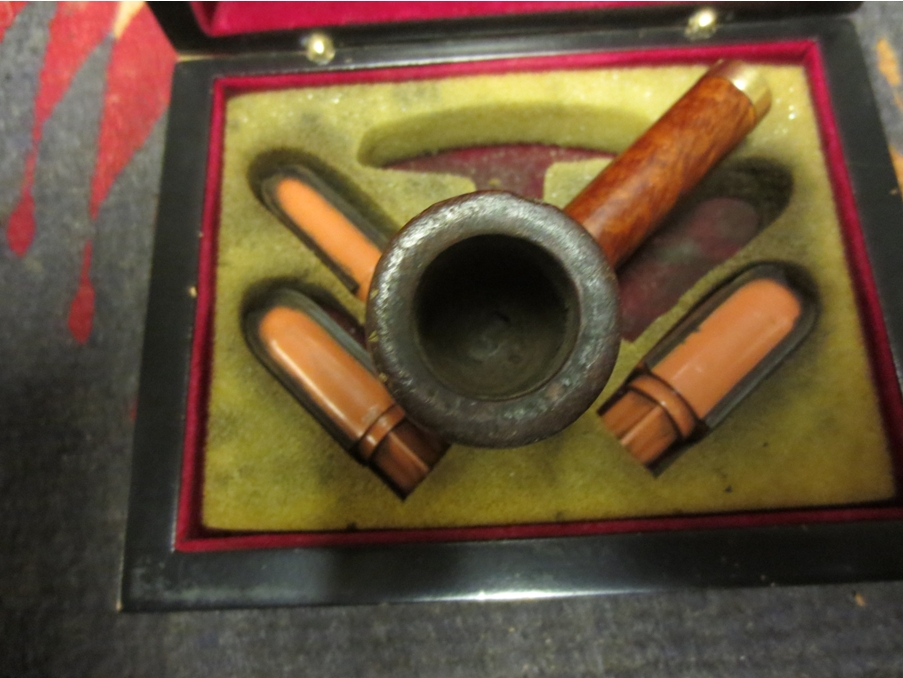
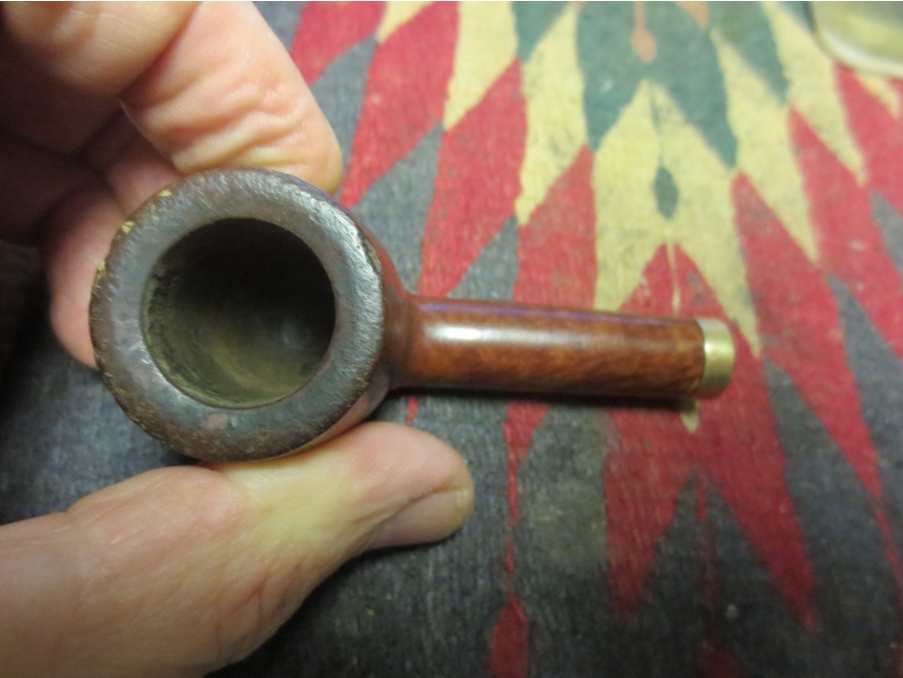
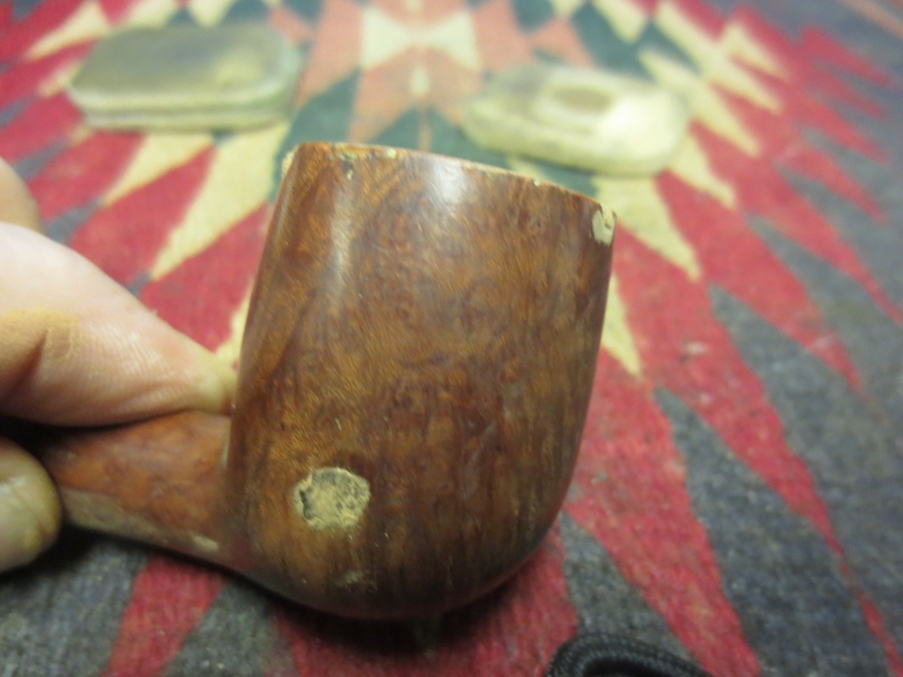
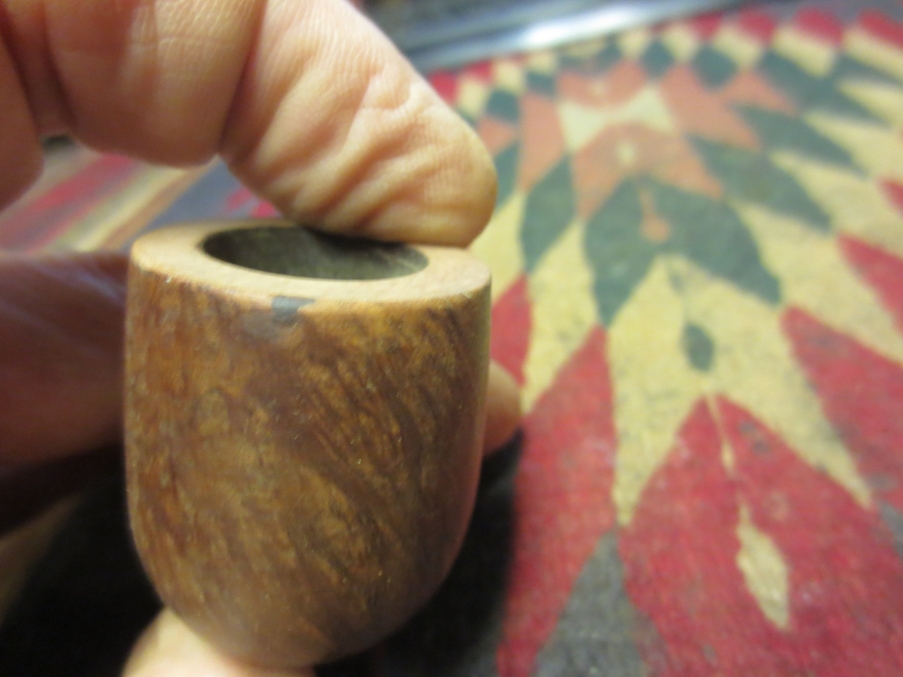
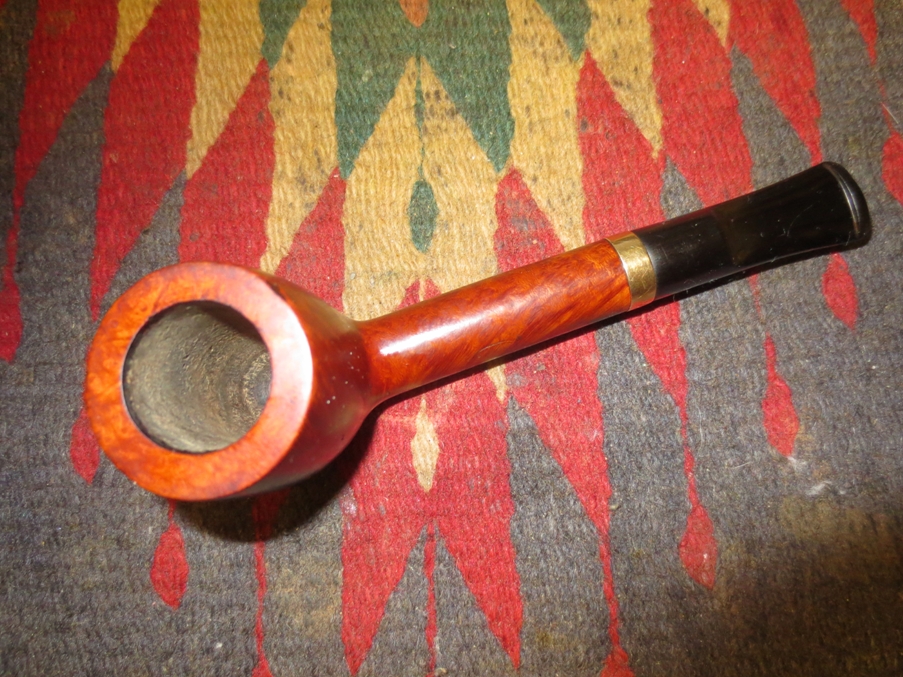
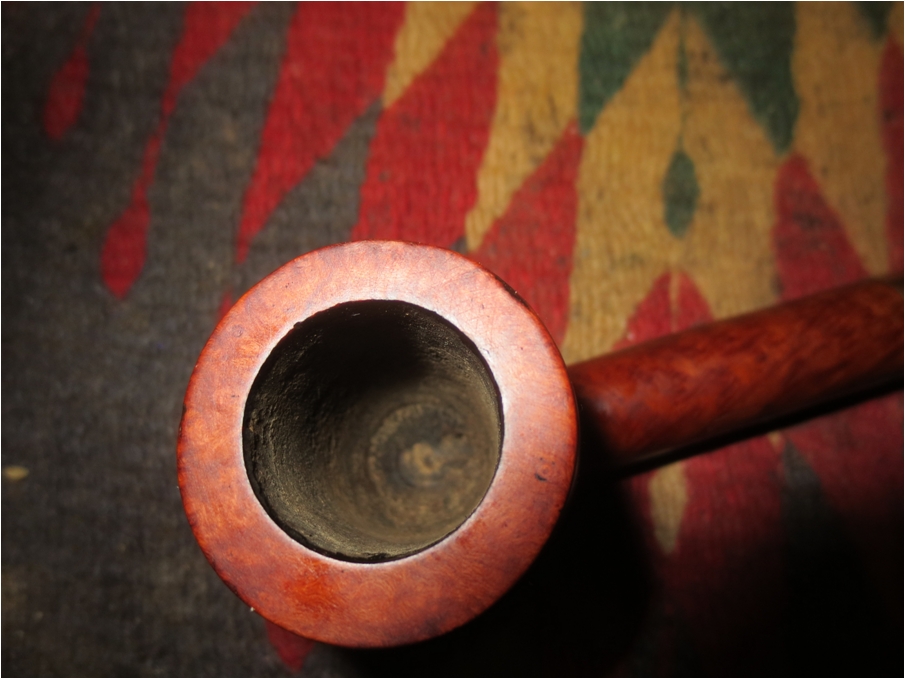
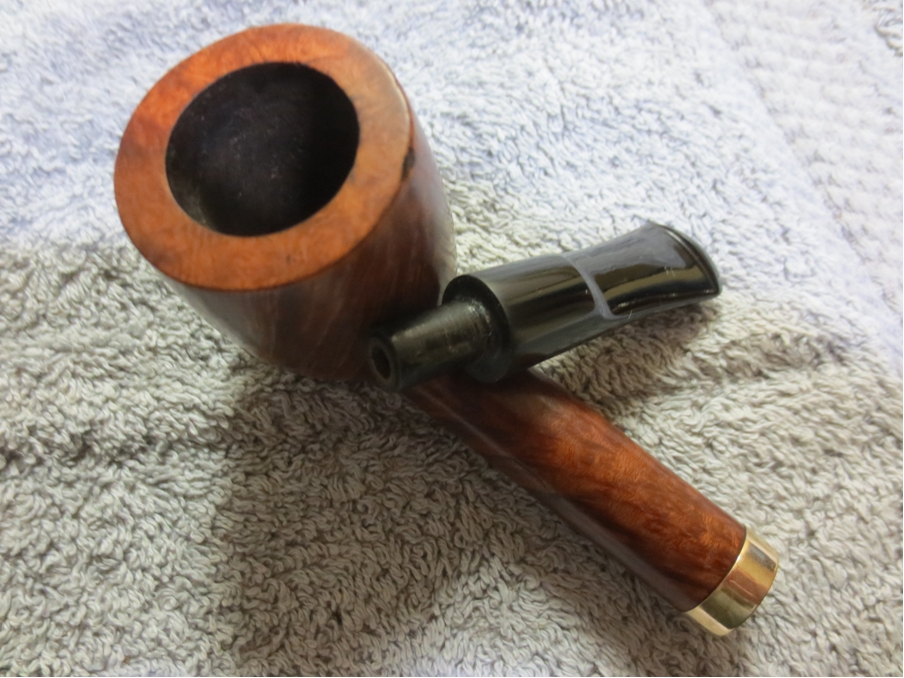
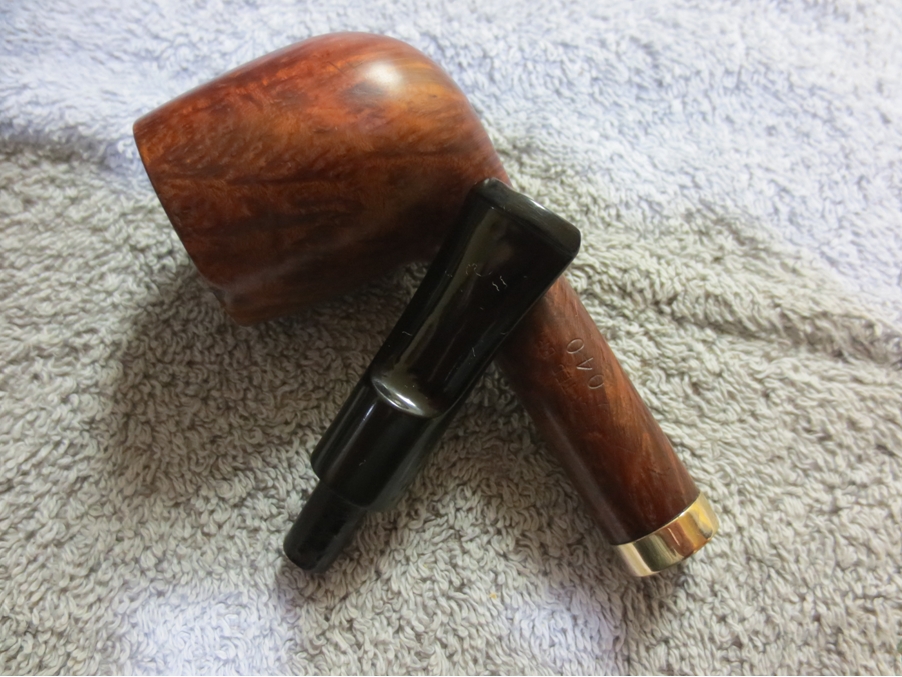
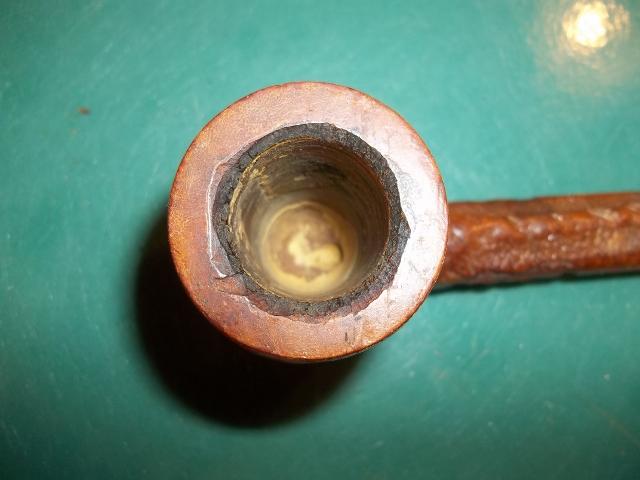
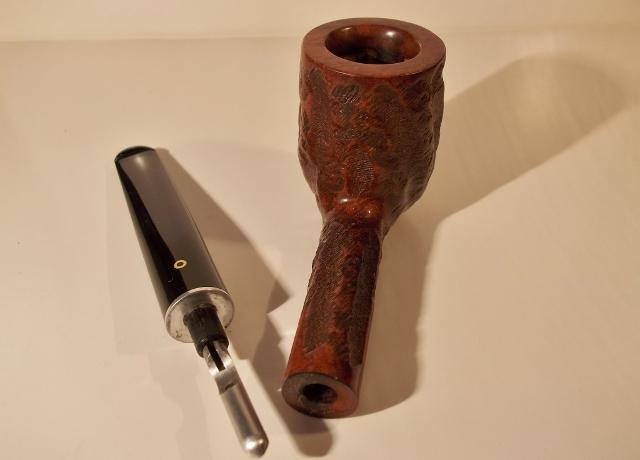
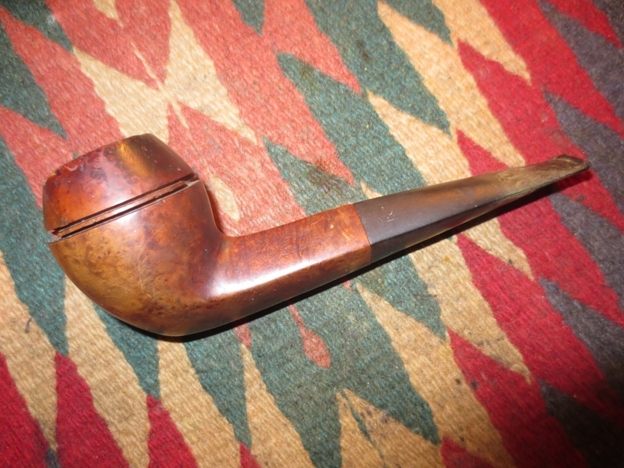
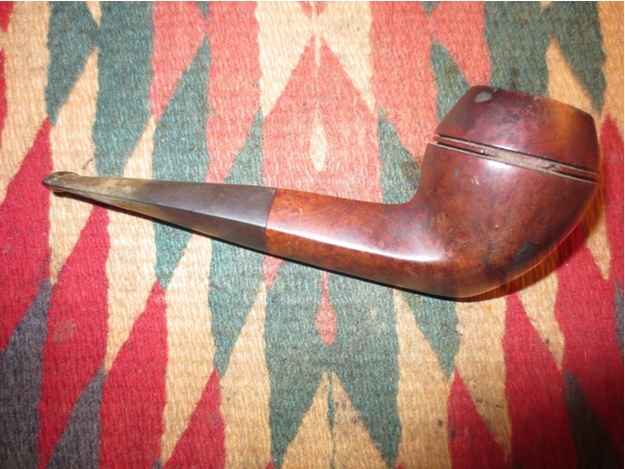
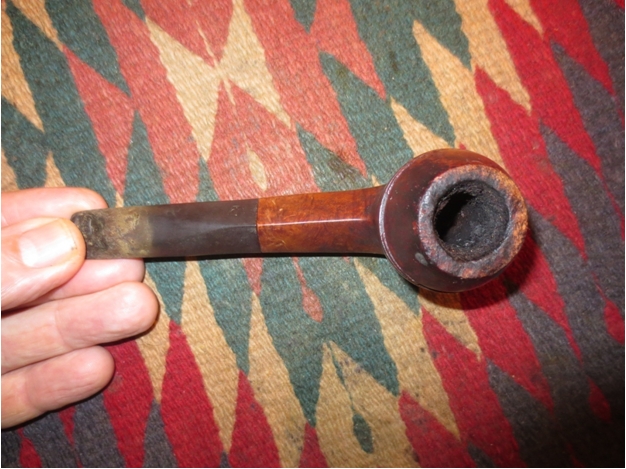
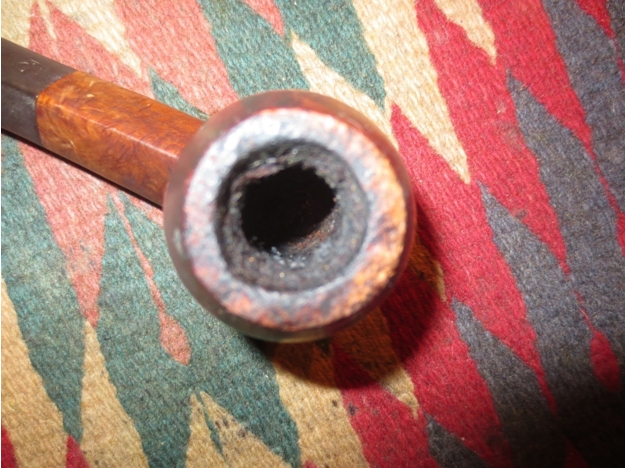
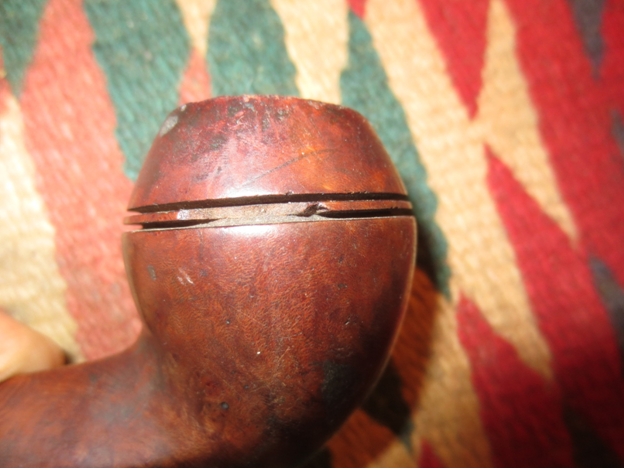
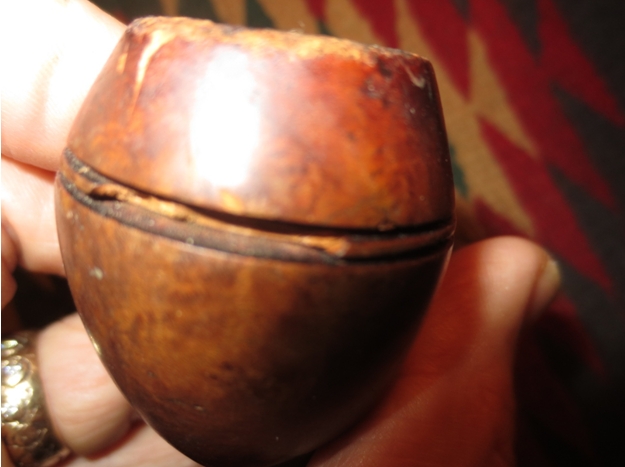
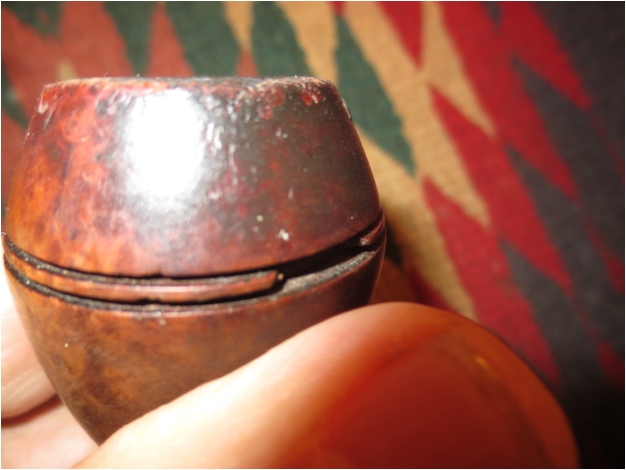
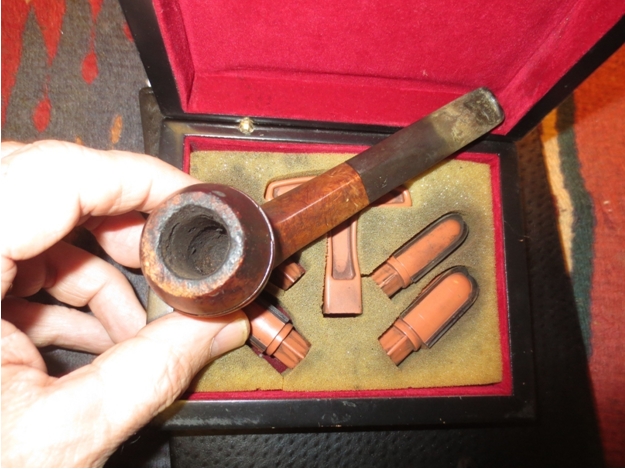
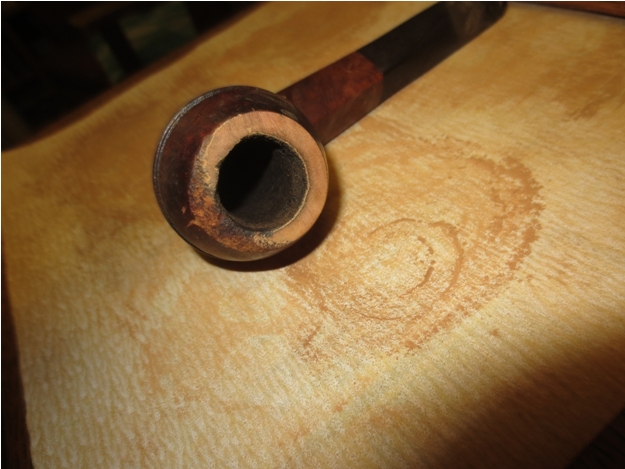
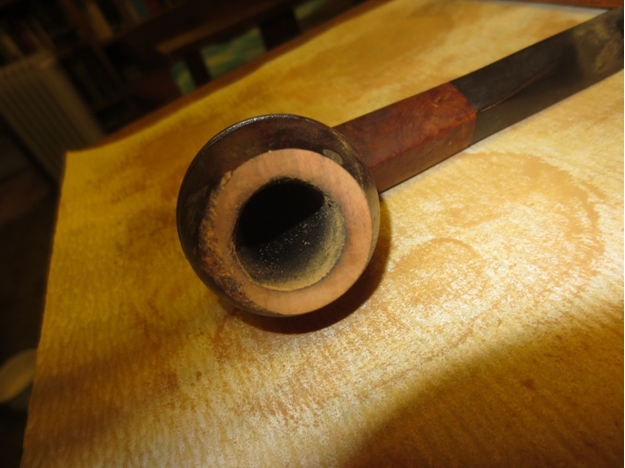
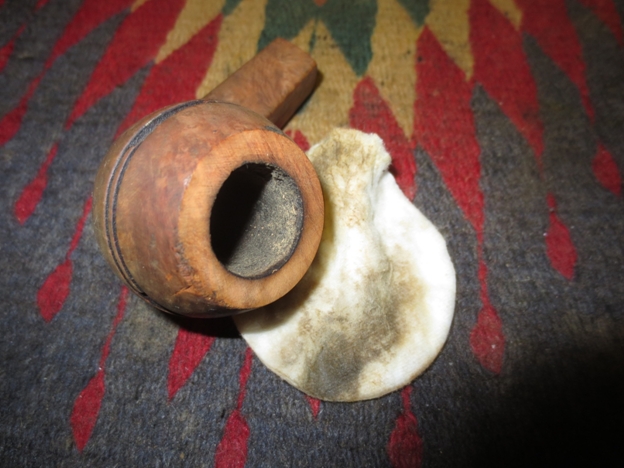
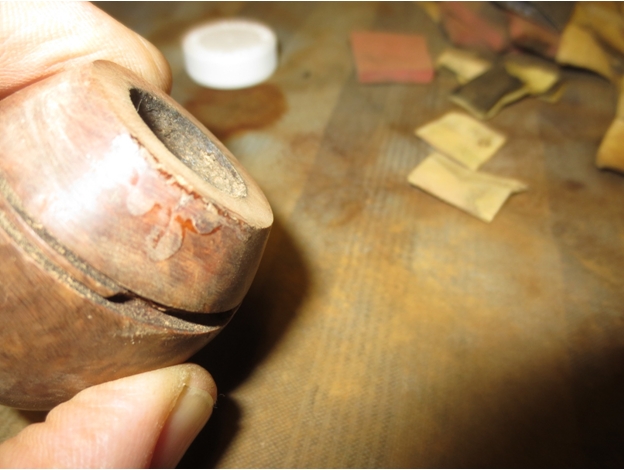
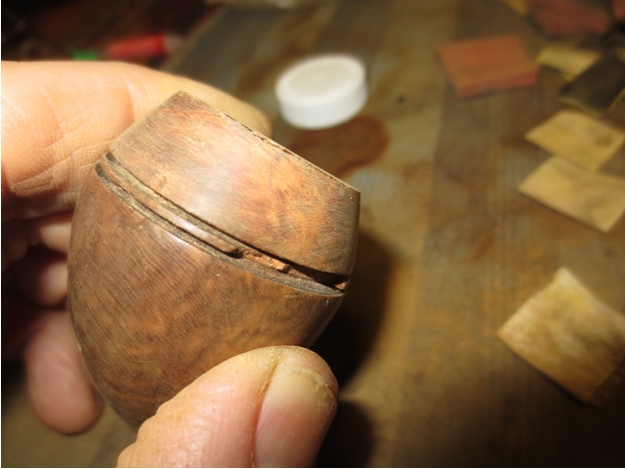
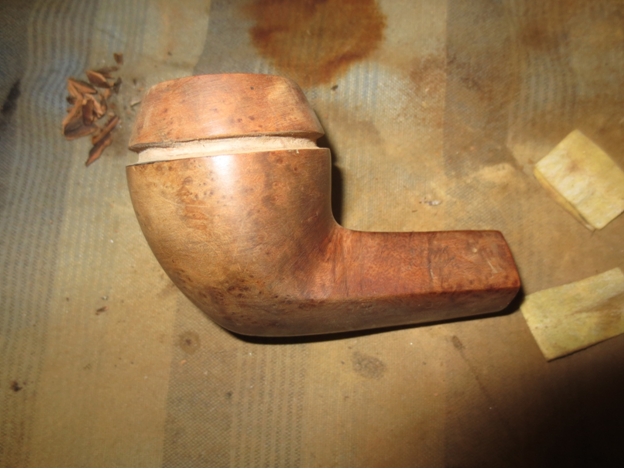
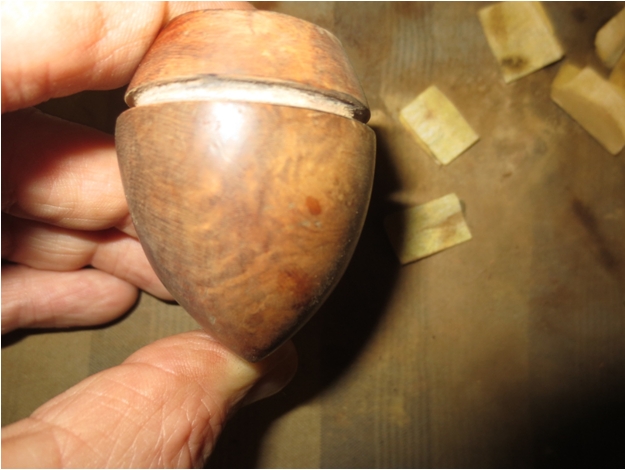
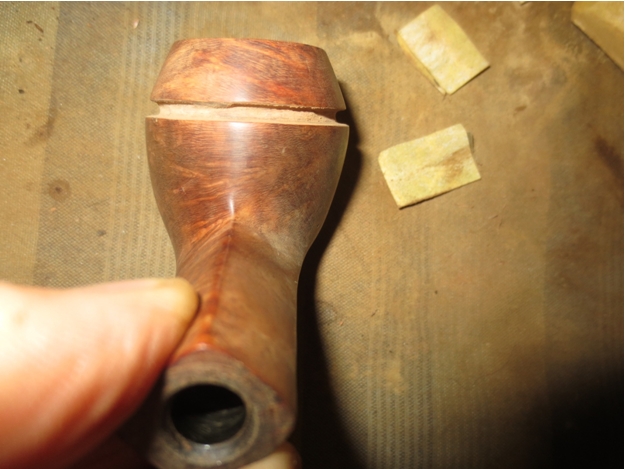
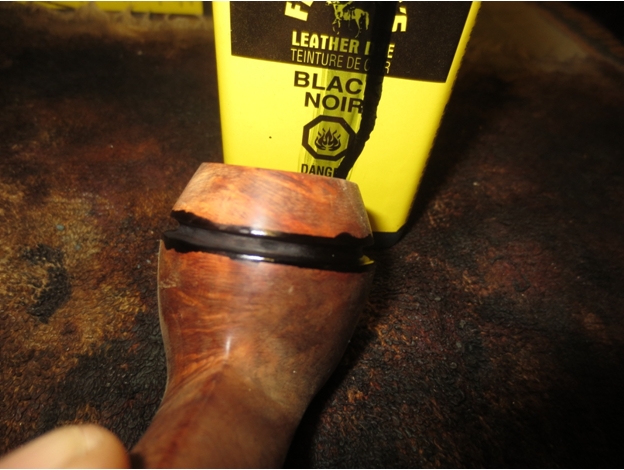
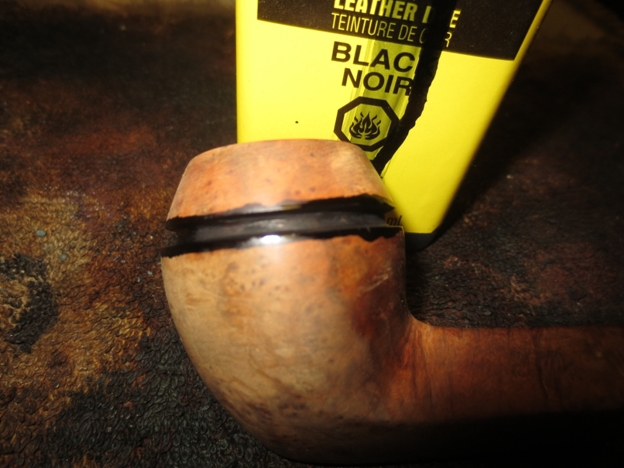
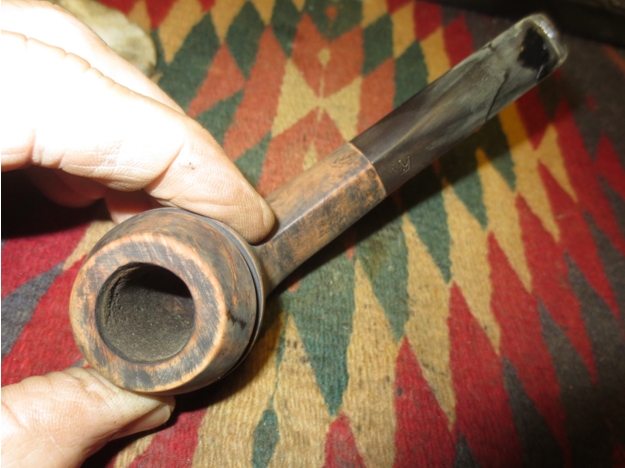
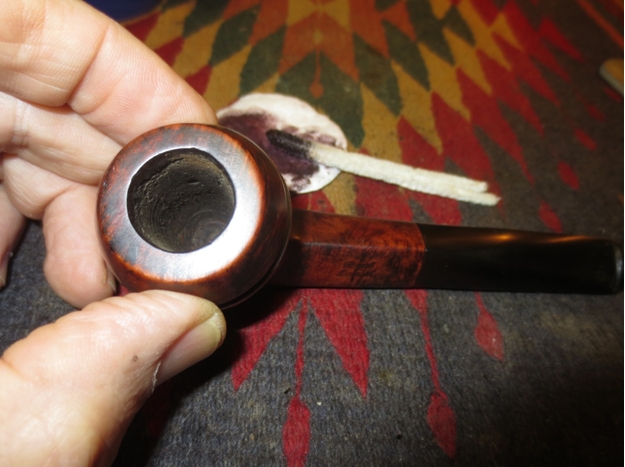
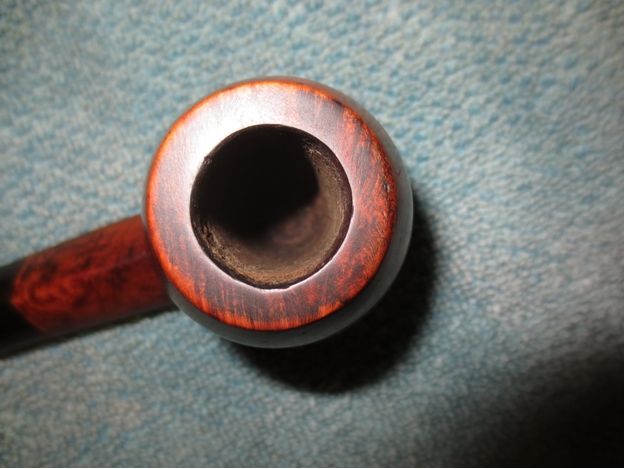
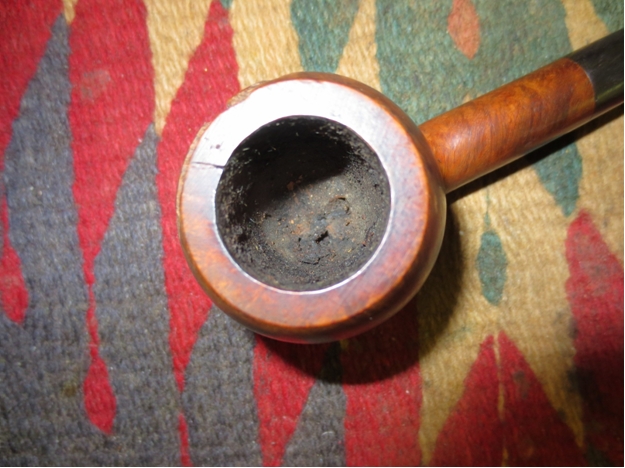
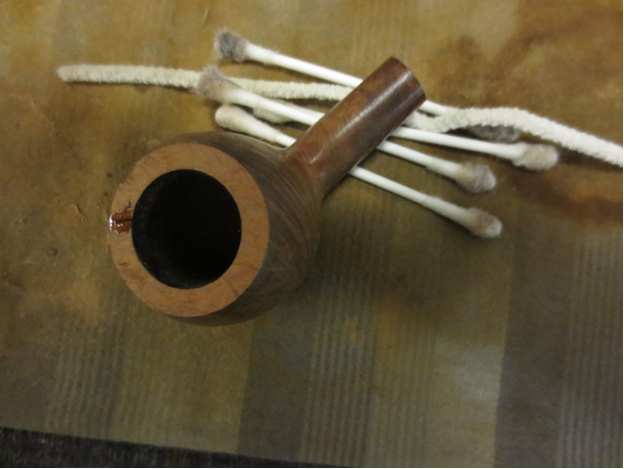
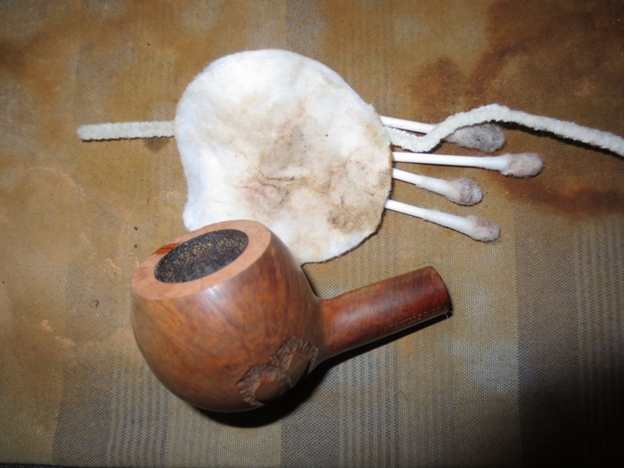
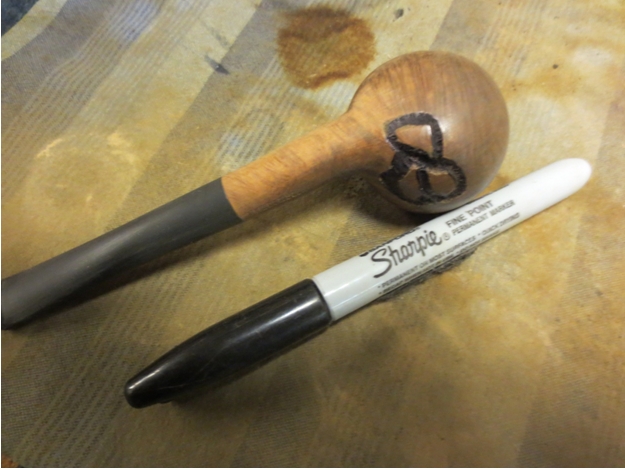
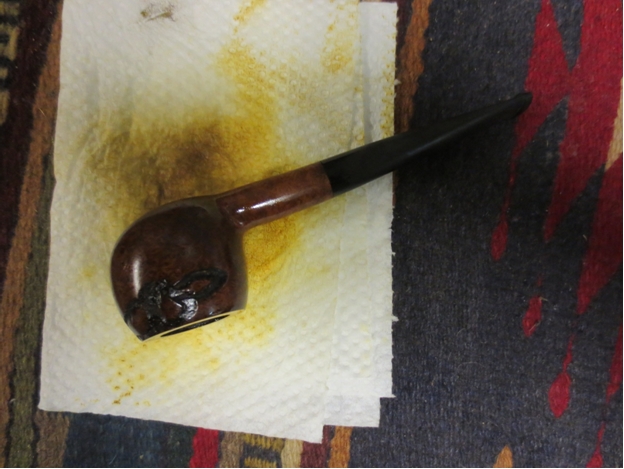
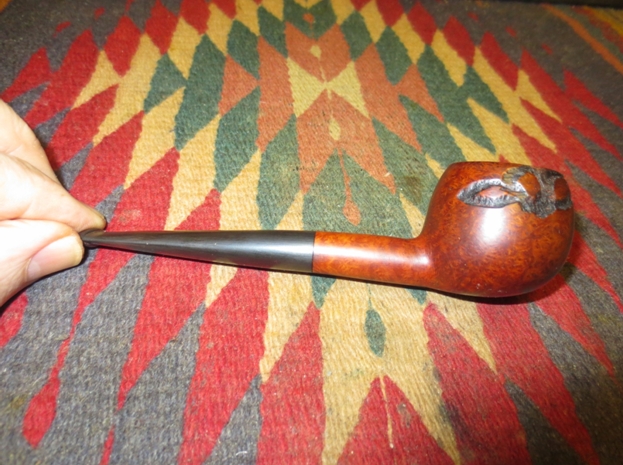
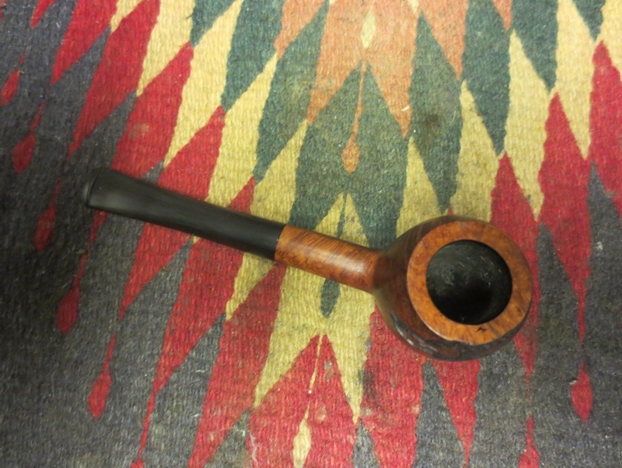
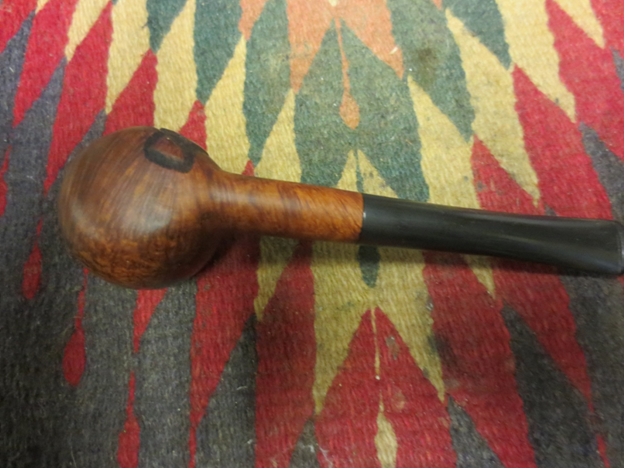
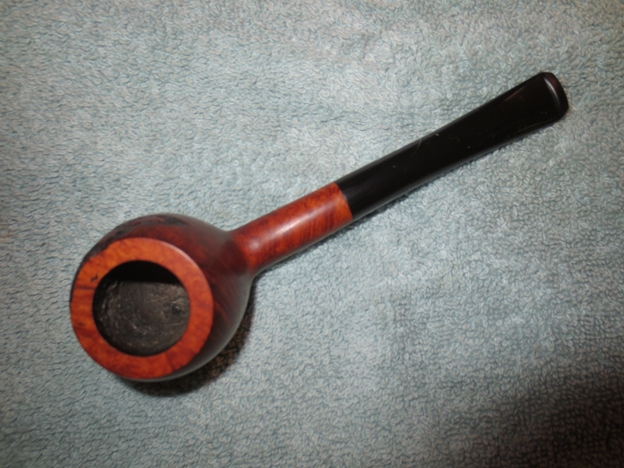
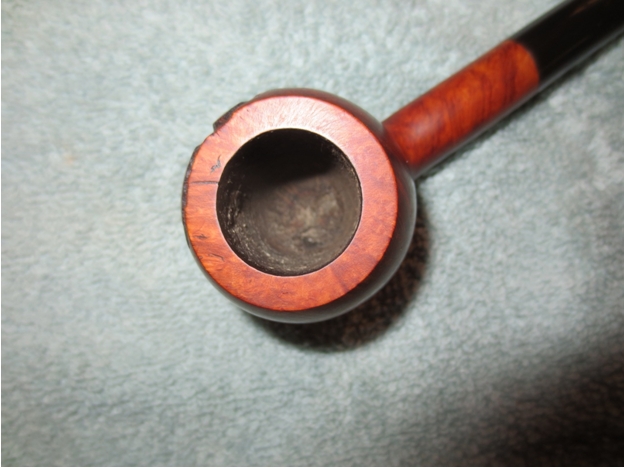
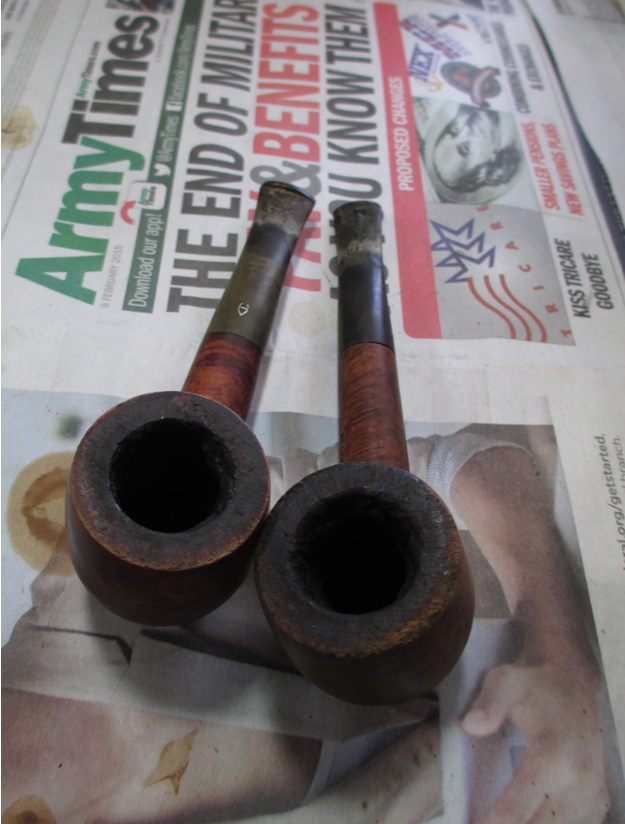
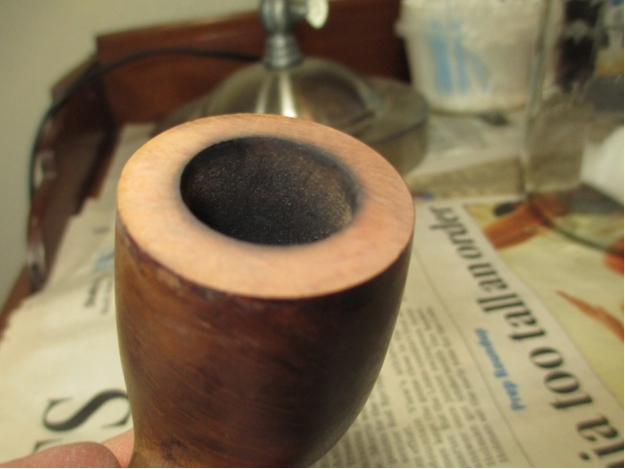
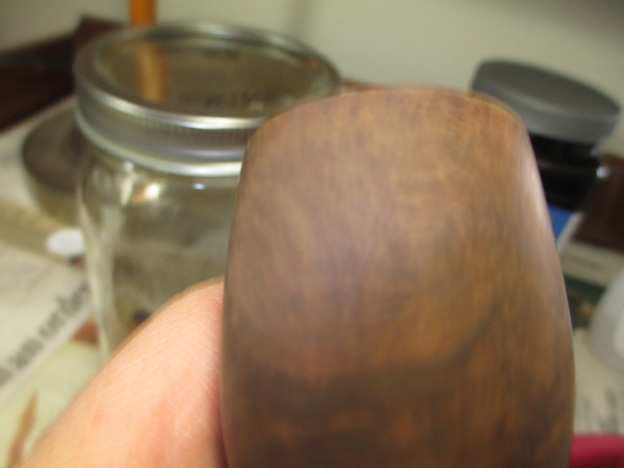
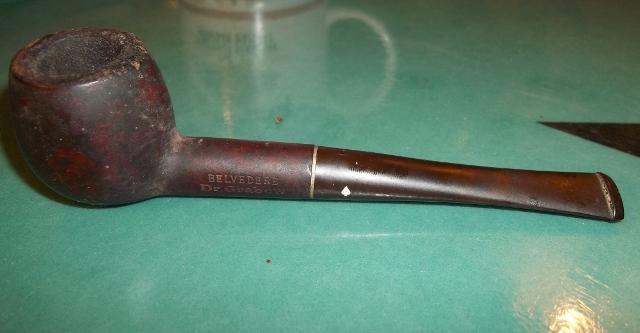
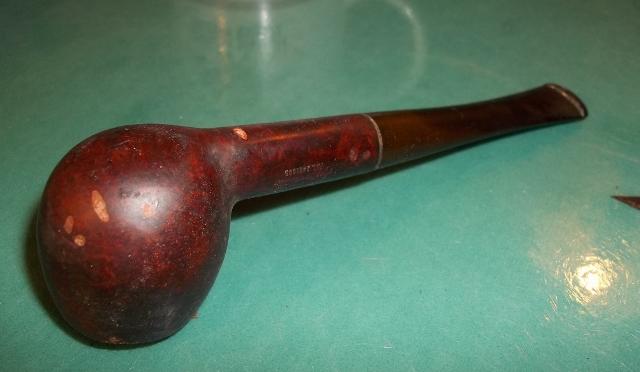
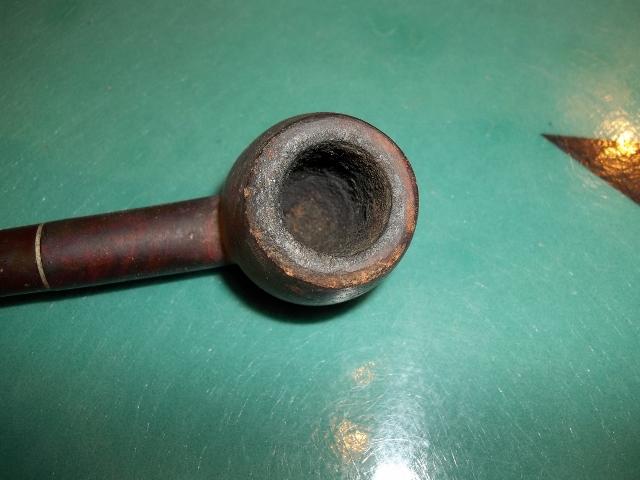
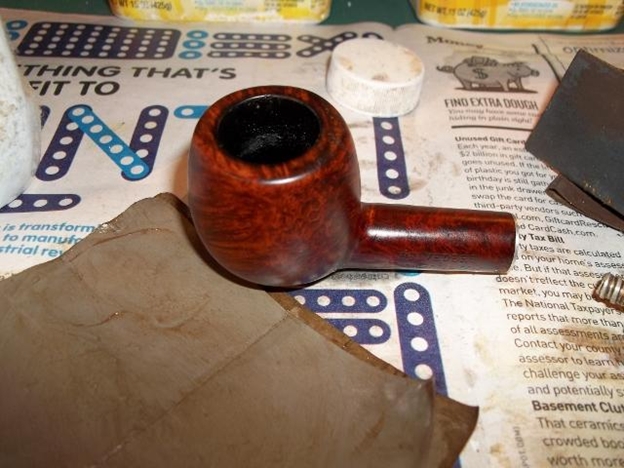
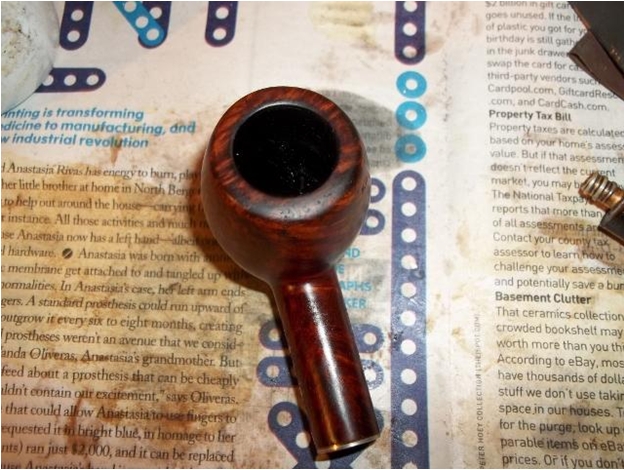
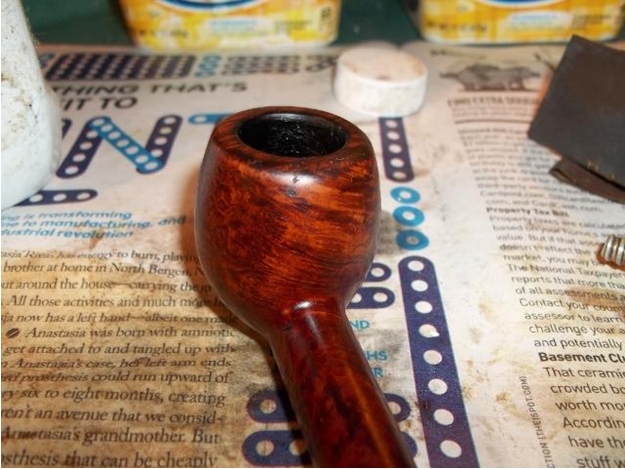
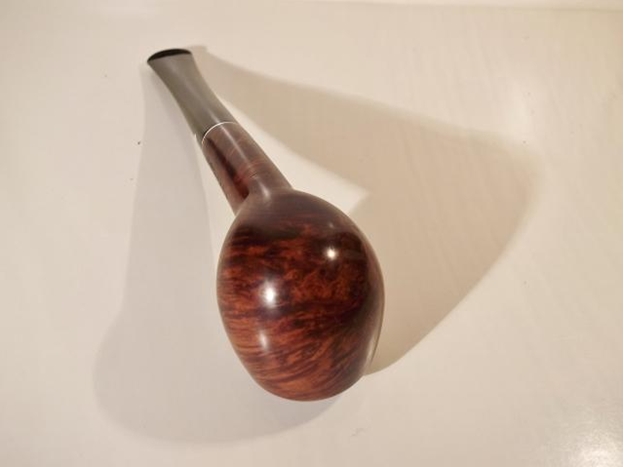
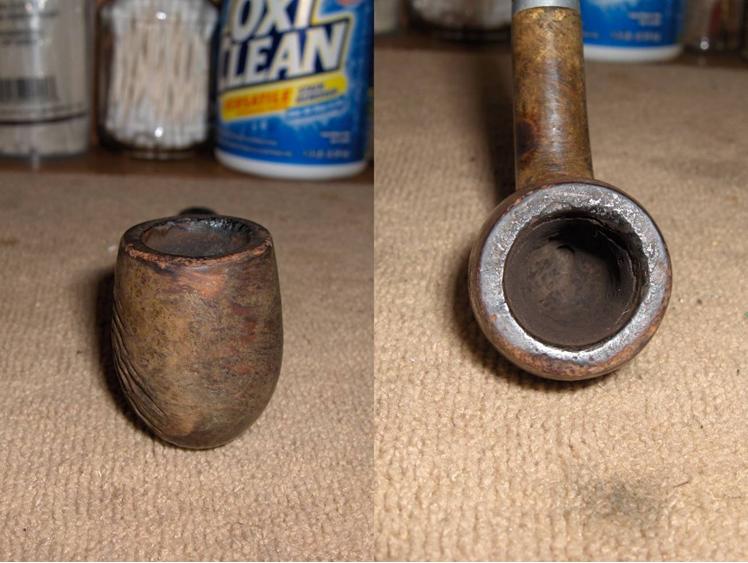
The main reason that this one was shuffled back into the box was because of the extensive damage to the bowl. There were large fills within the carved rustication on the right side and several cracks had developed in the area both outside and inside the bowl. I discovered during cleaning that at least one of them penetrated completely into the chamber.
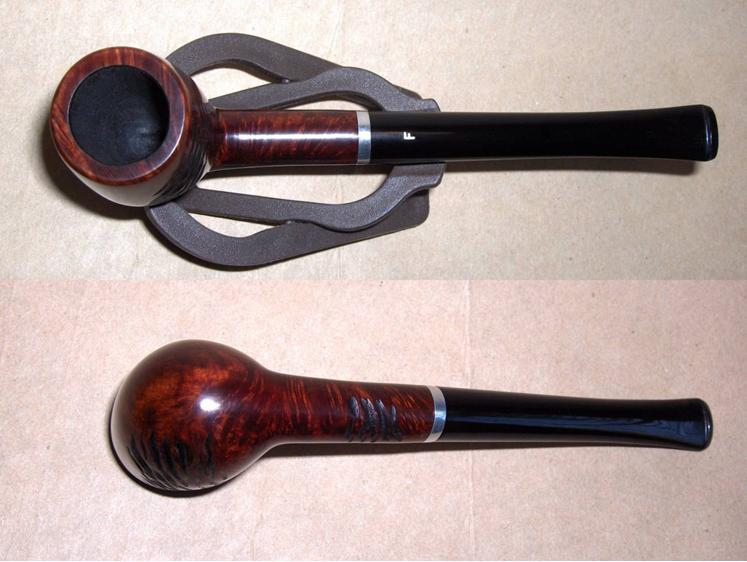
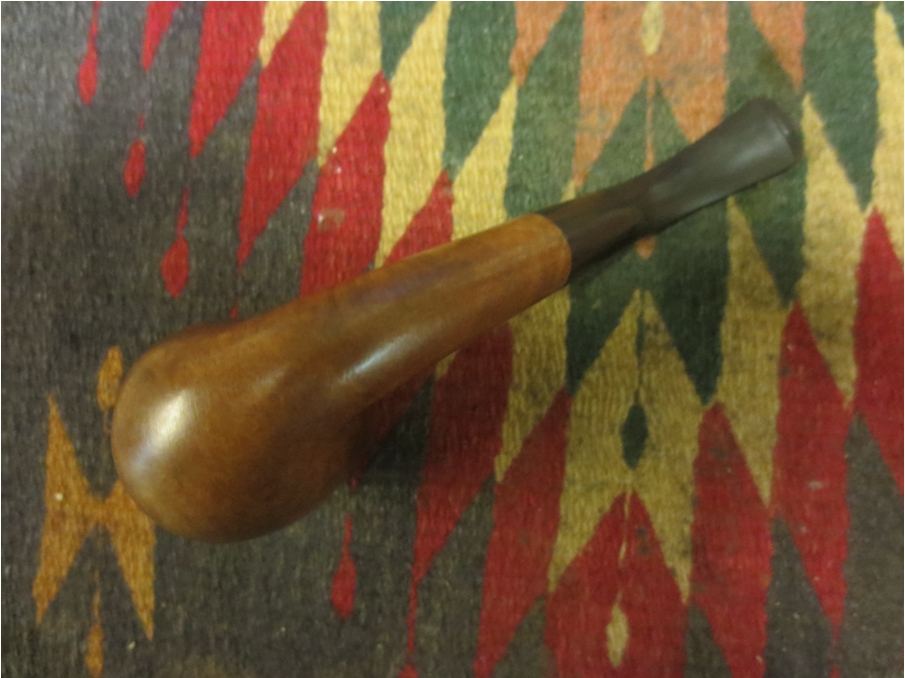
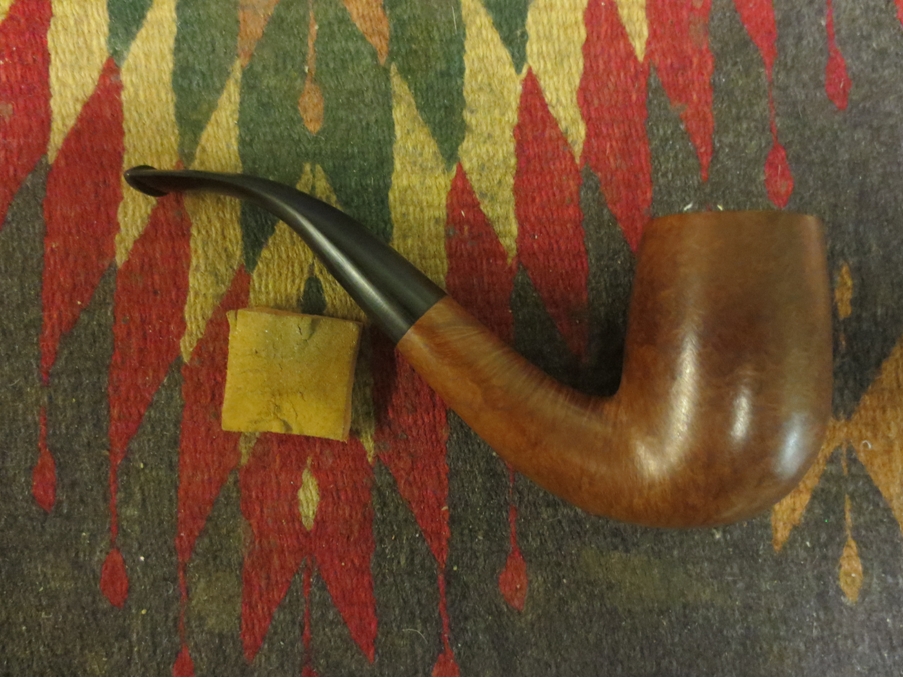
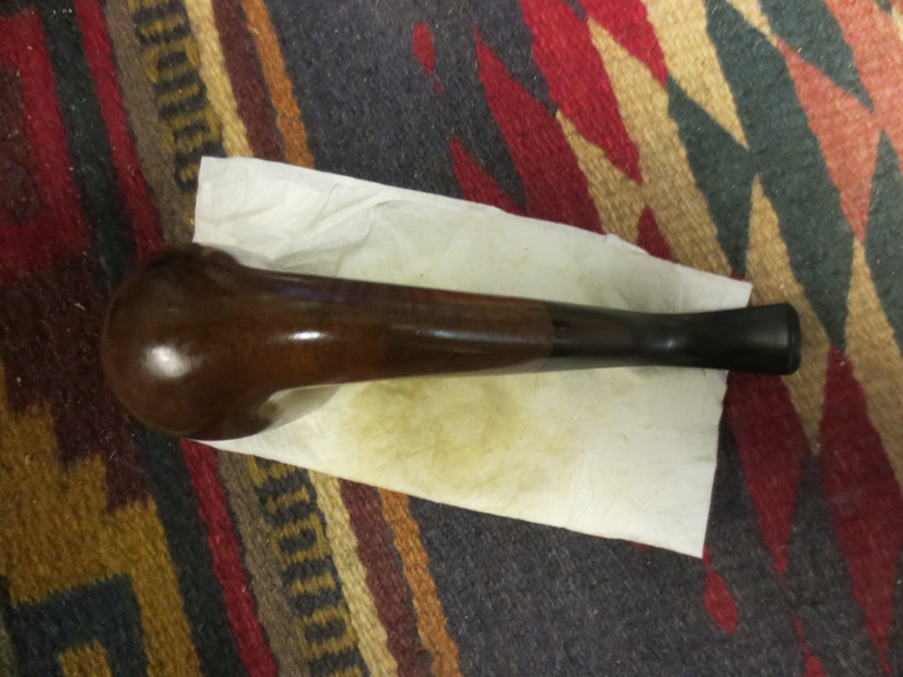
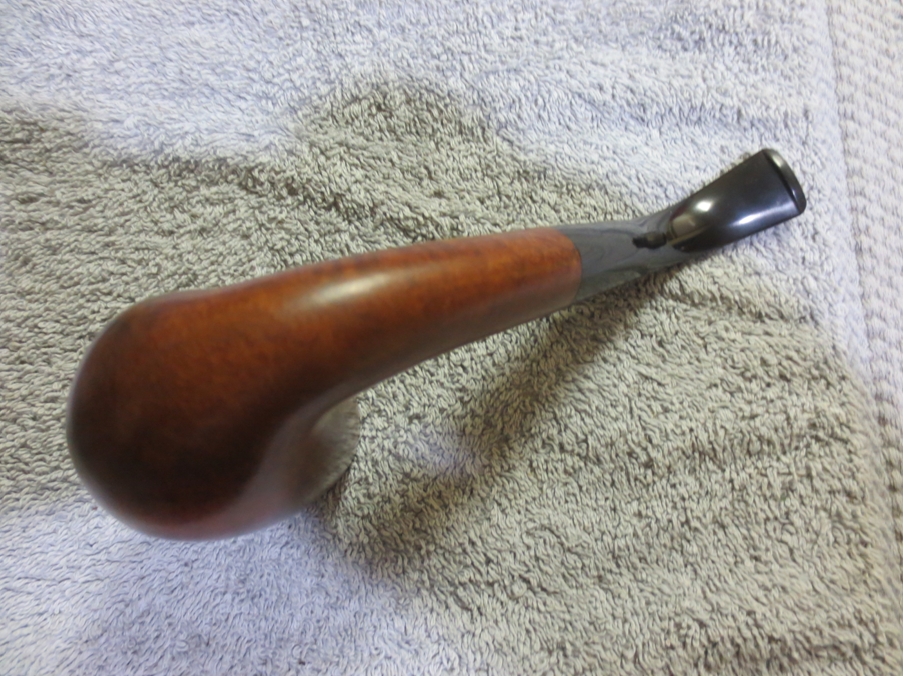
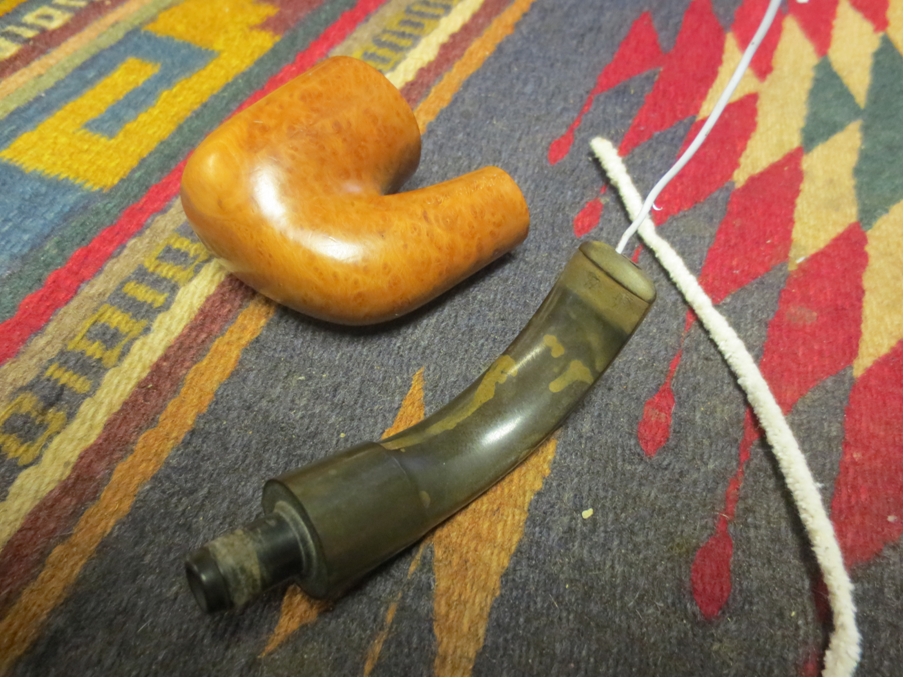
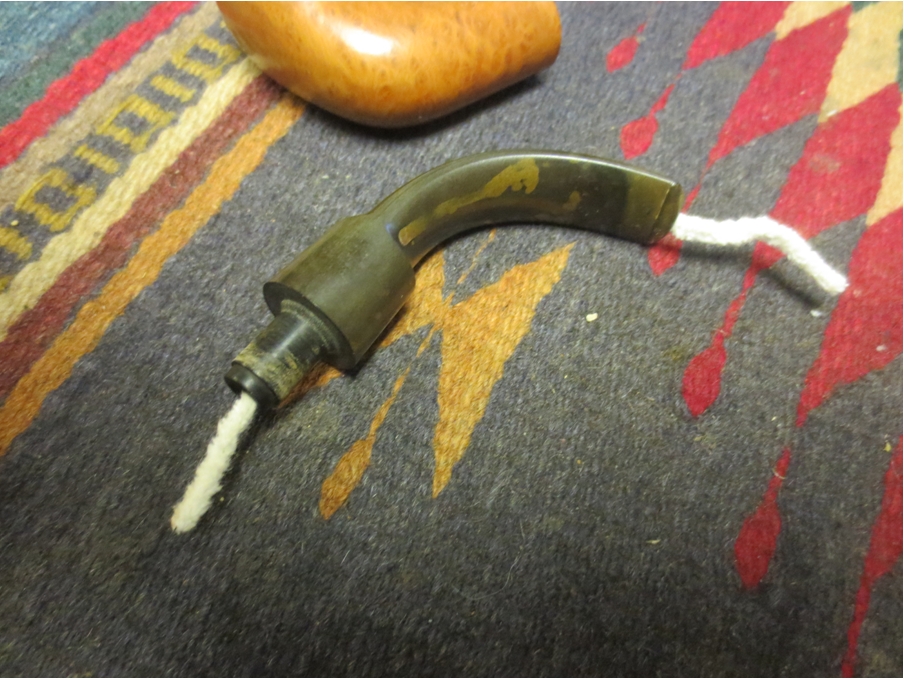
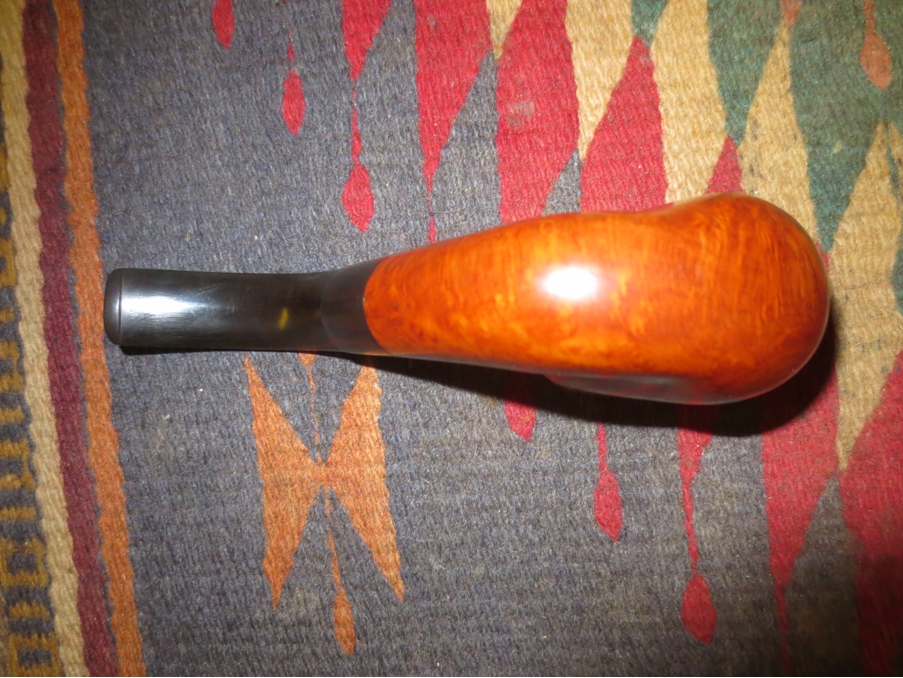
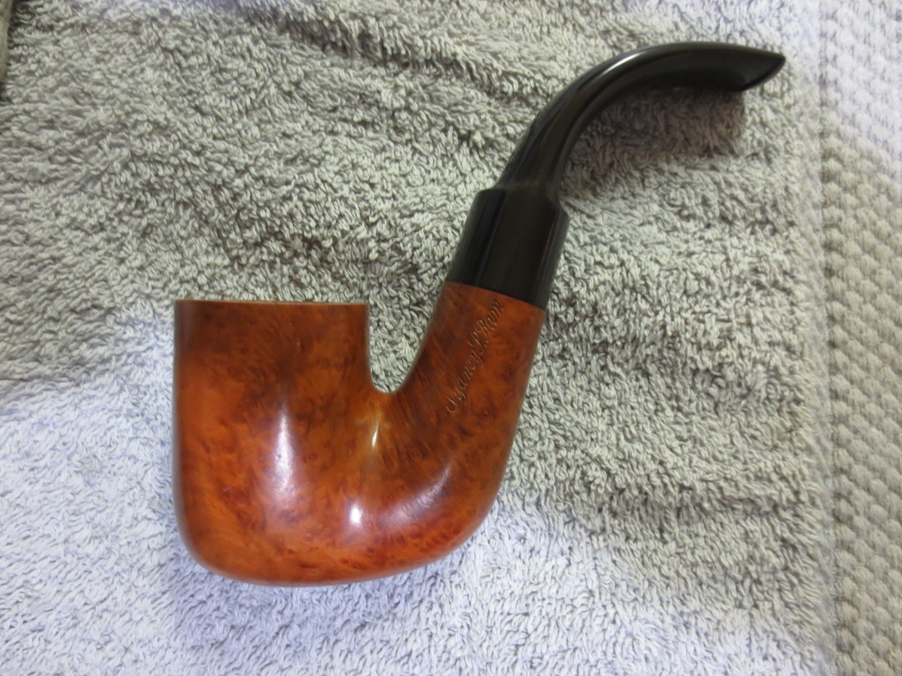
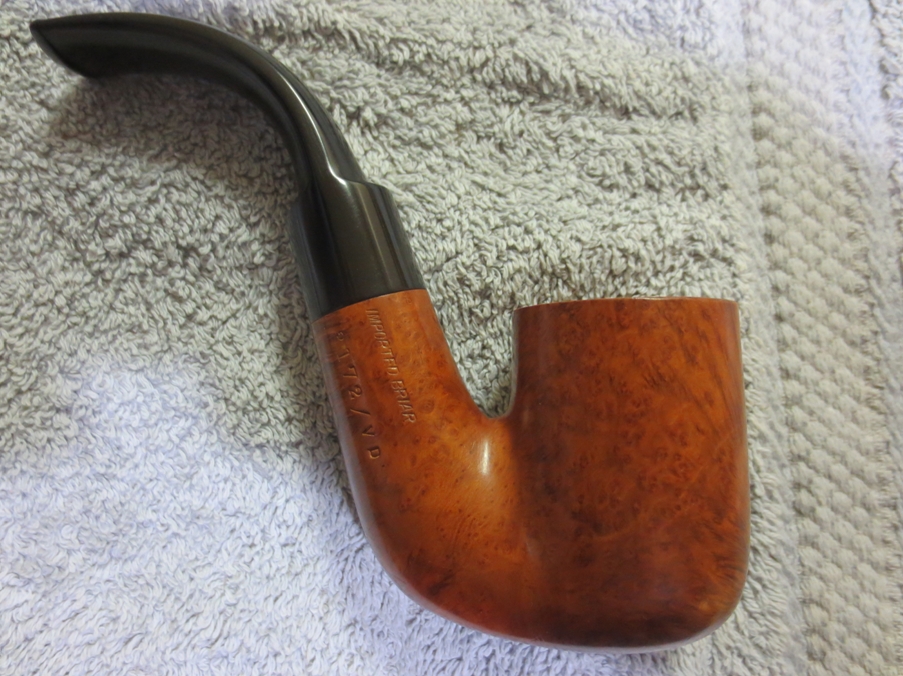
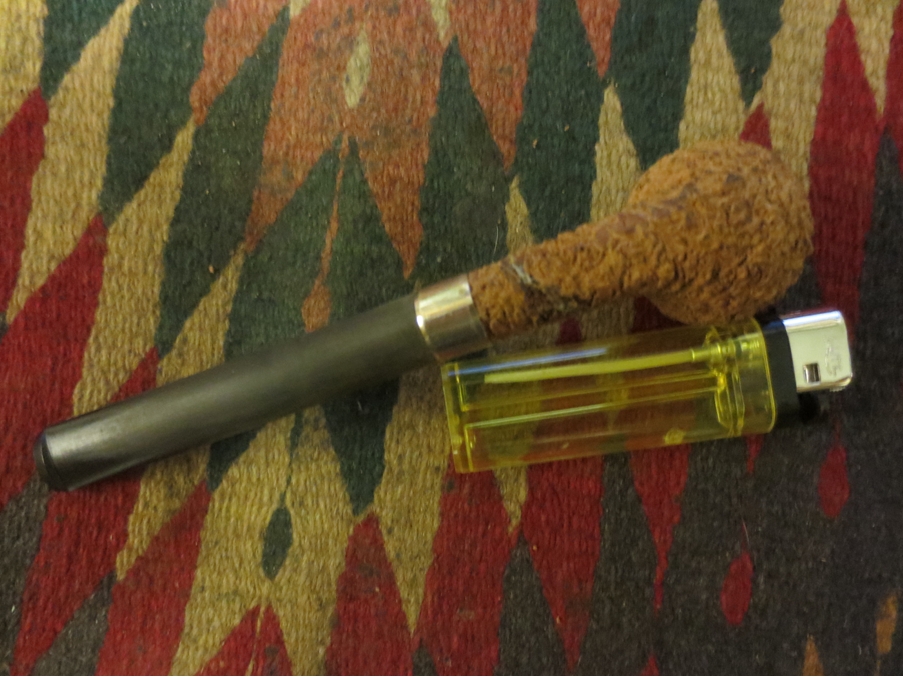
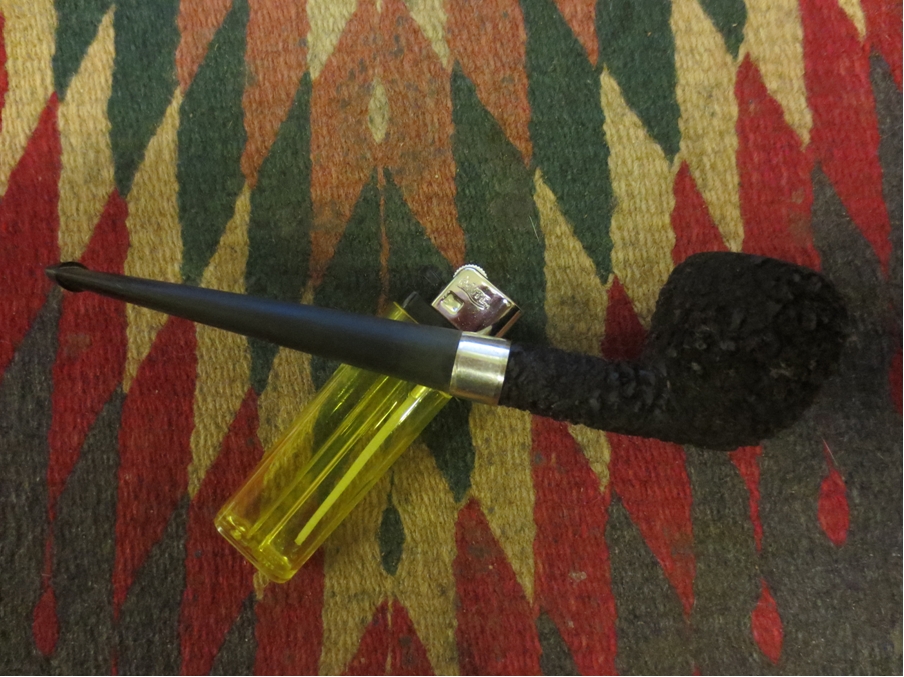
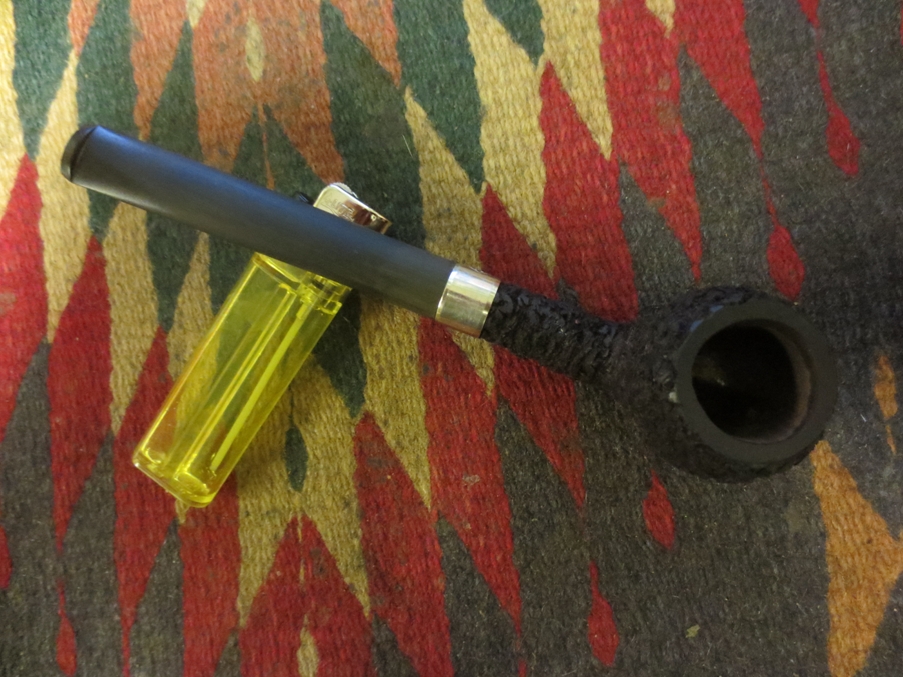
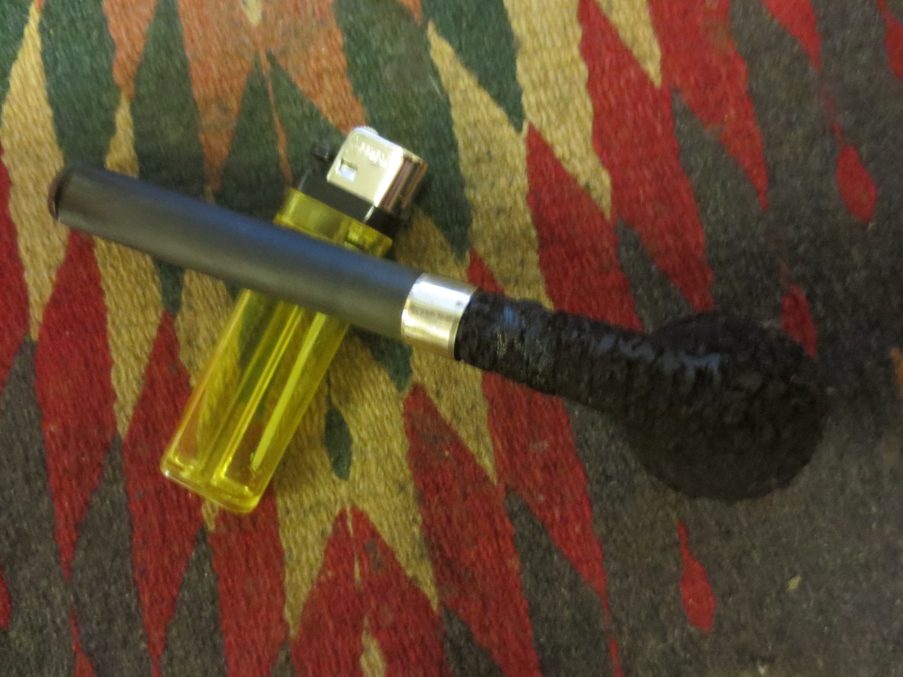
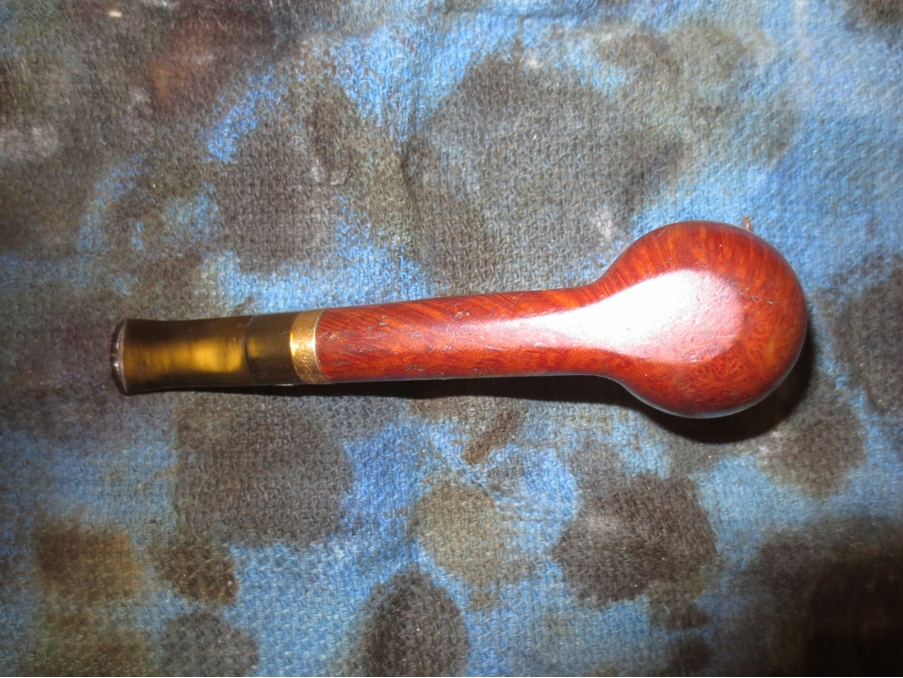
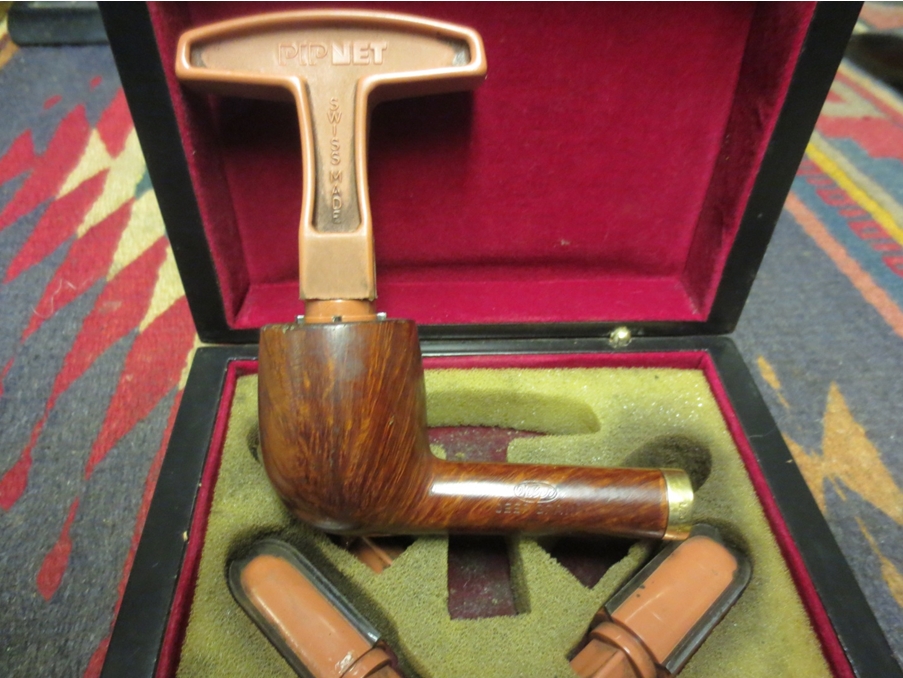
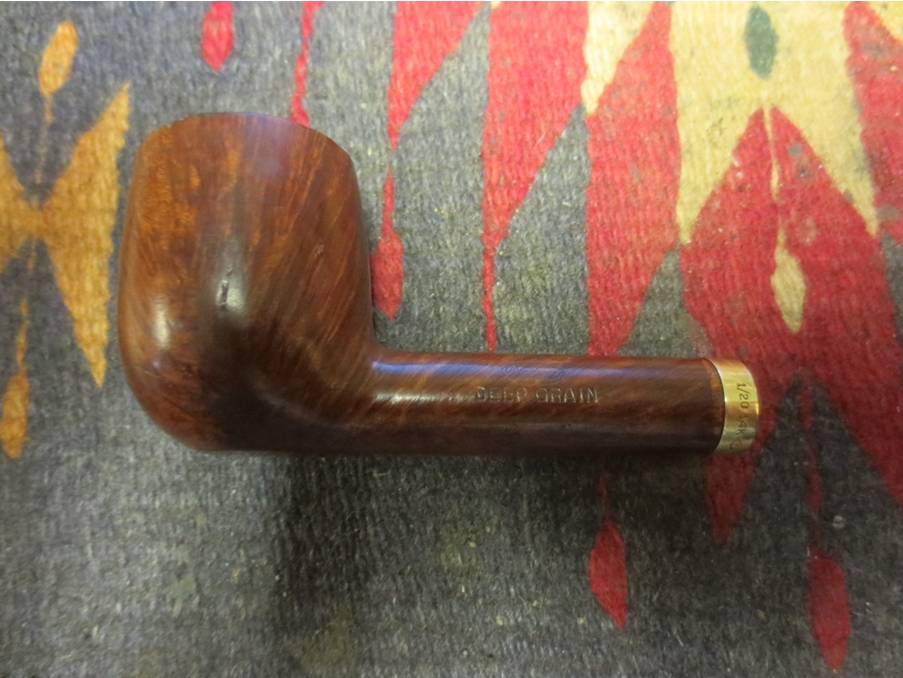
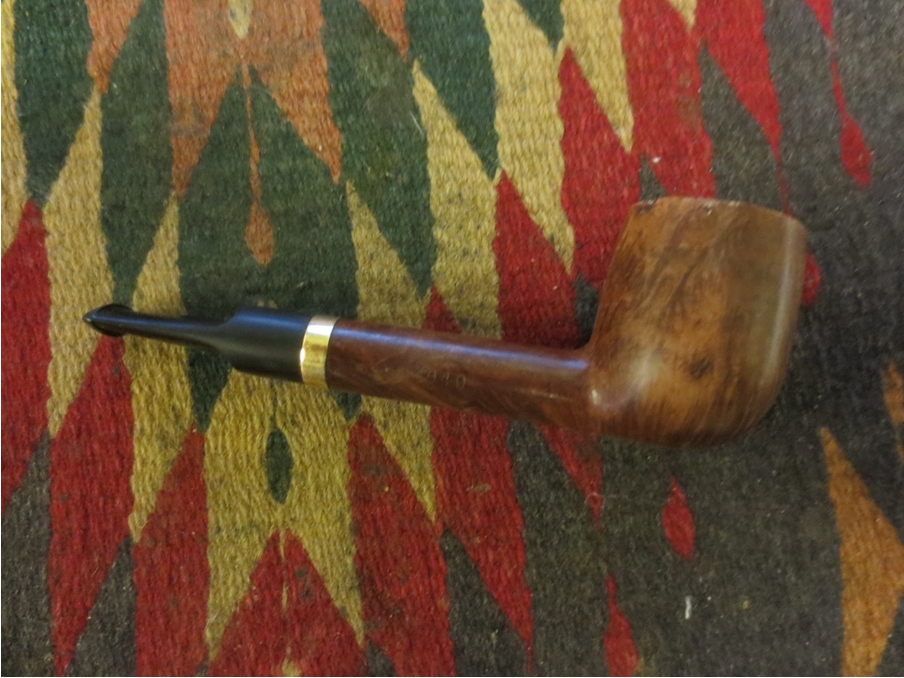
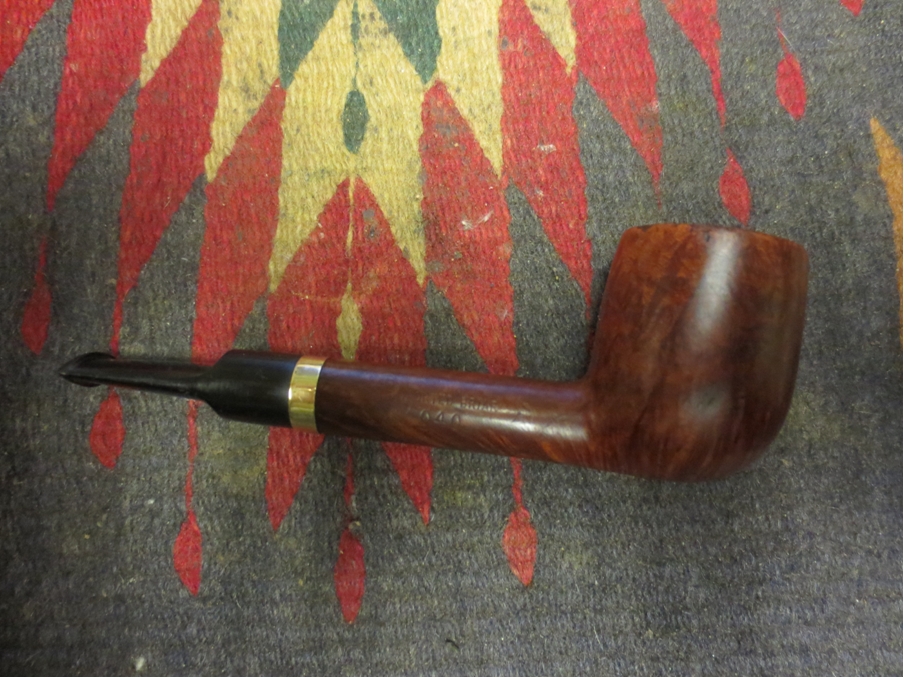
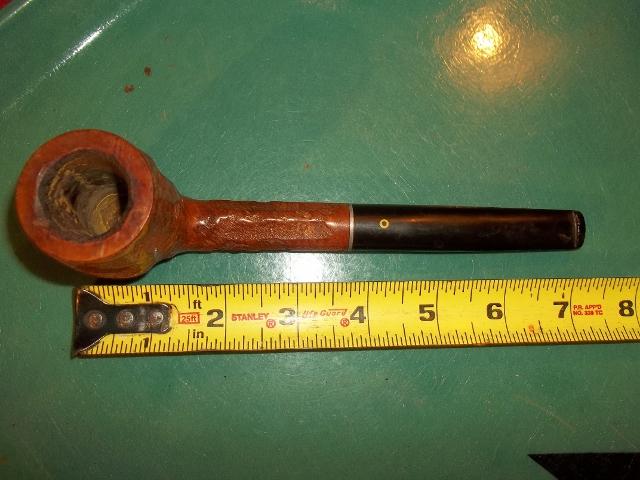
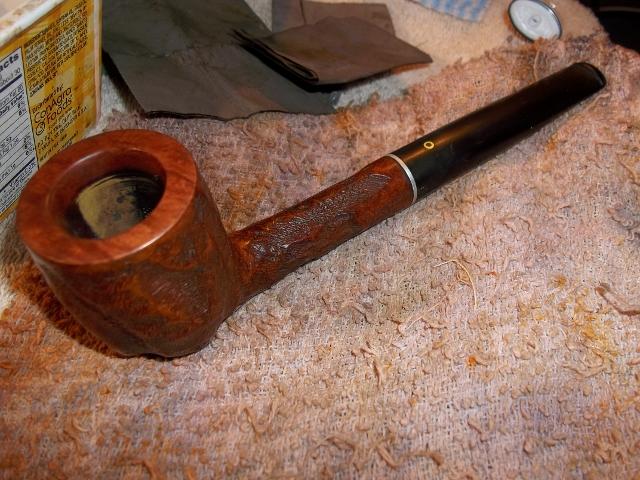
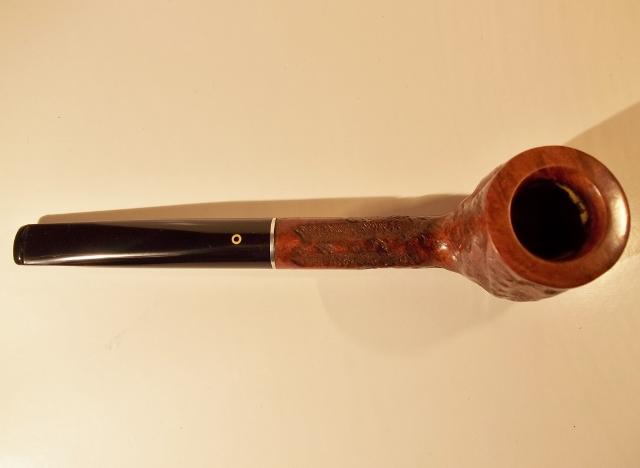
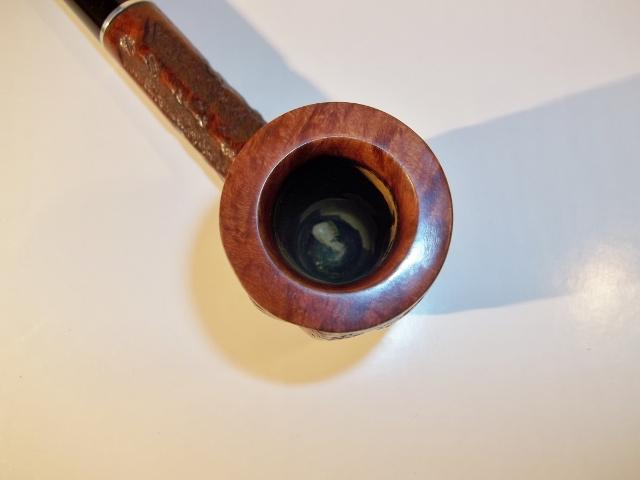
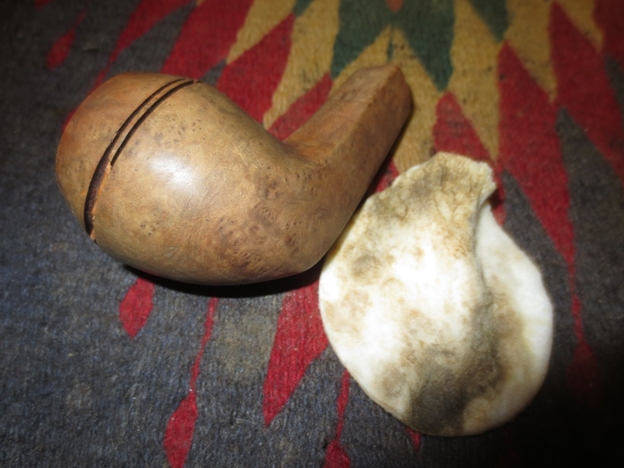
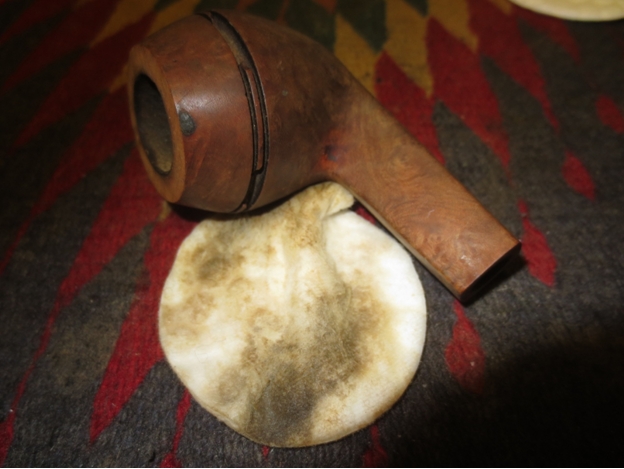
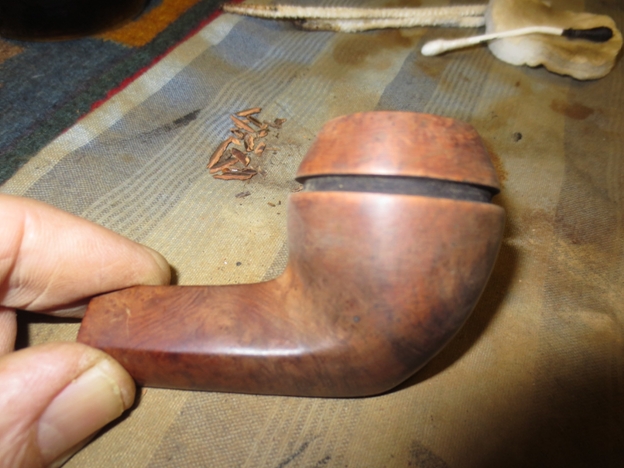
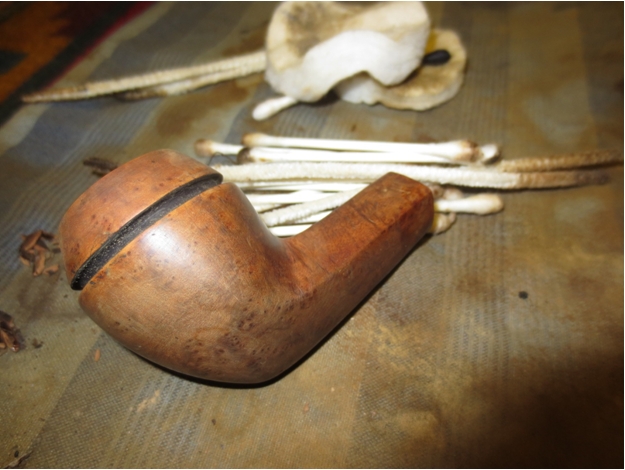
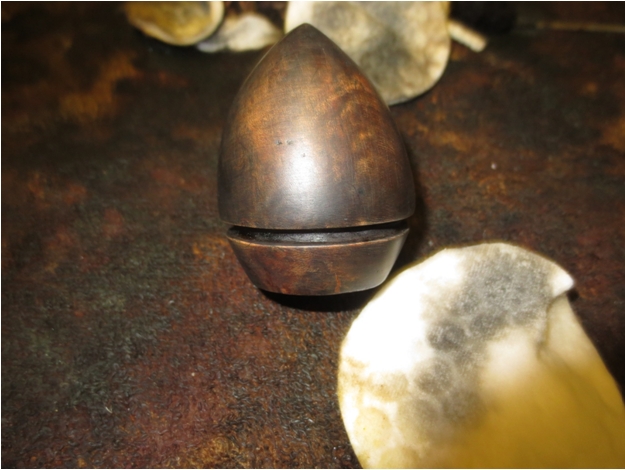
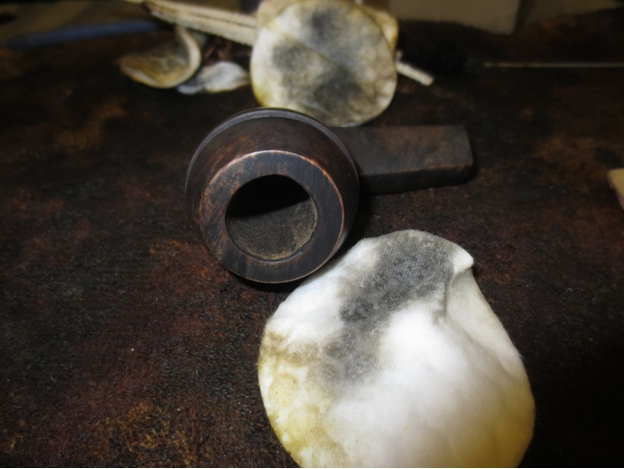
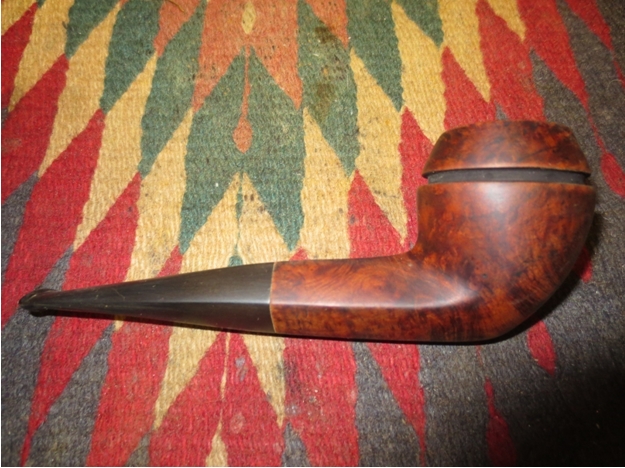
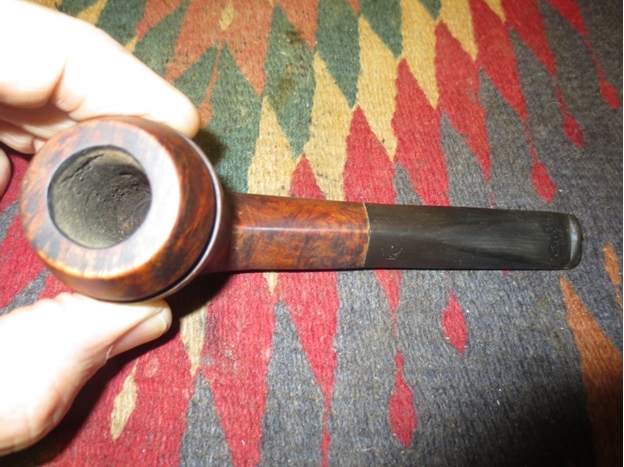
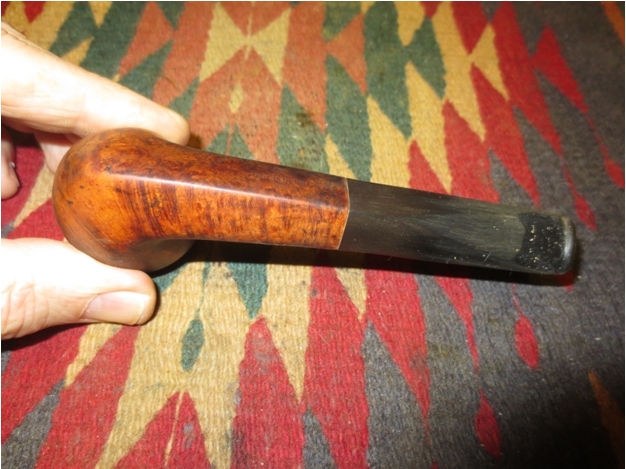
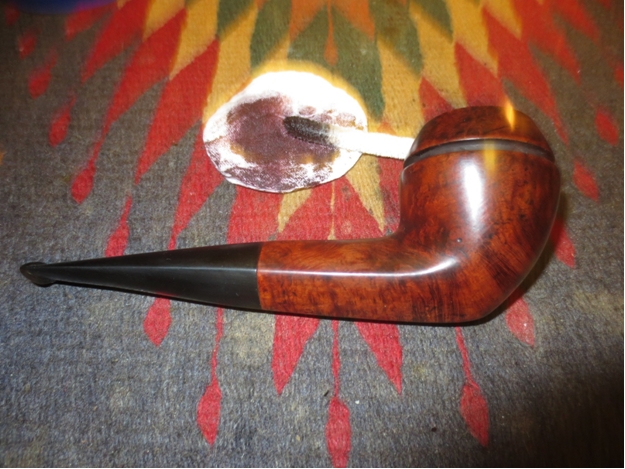
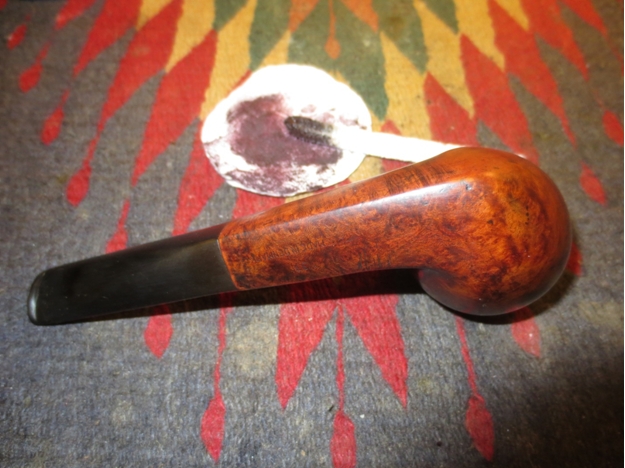
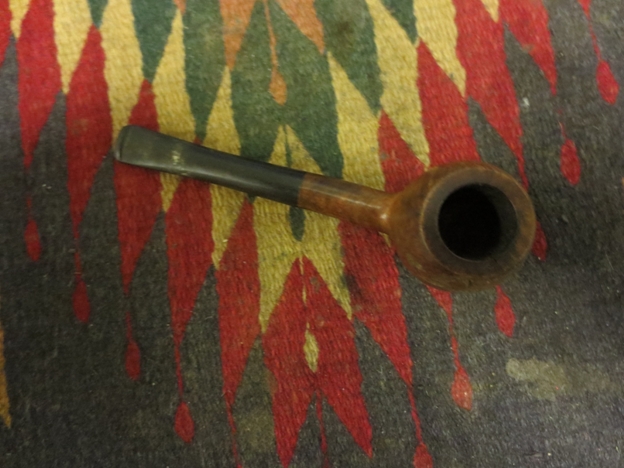
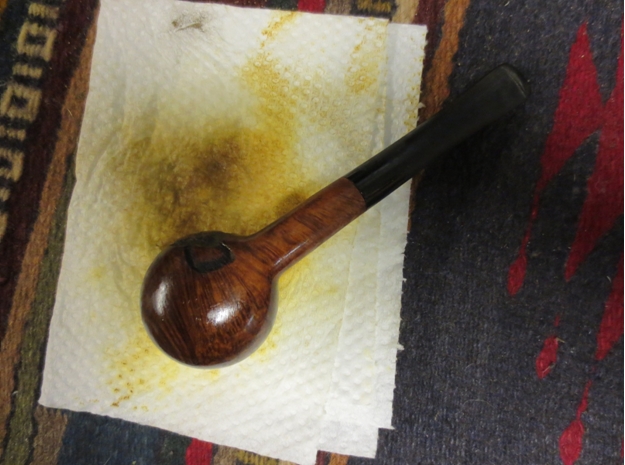
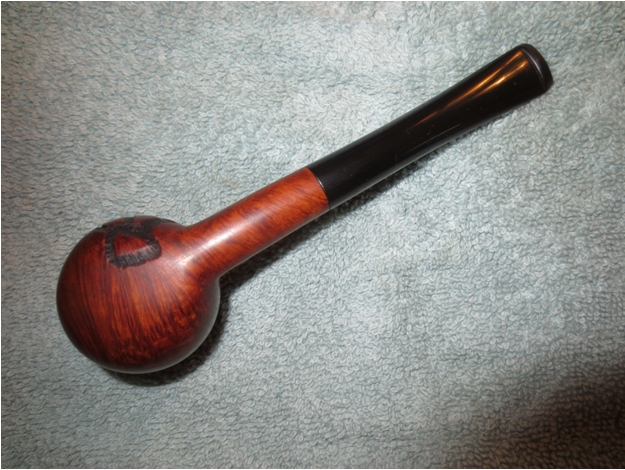
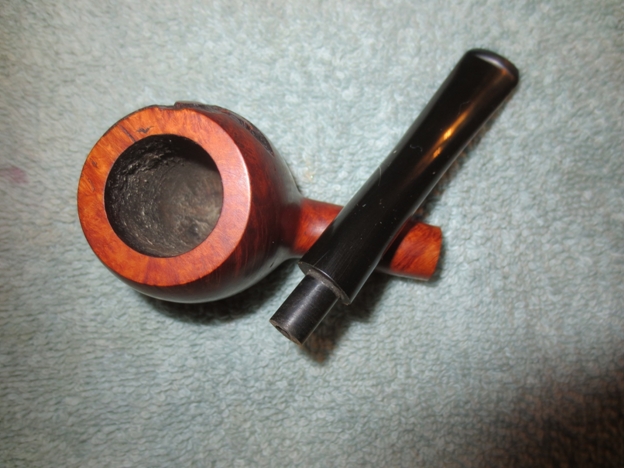
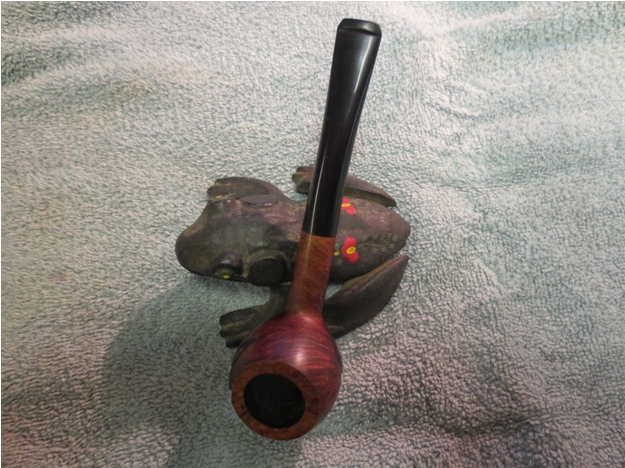
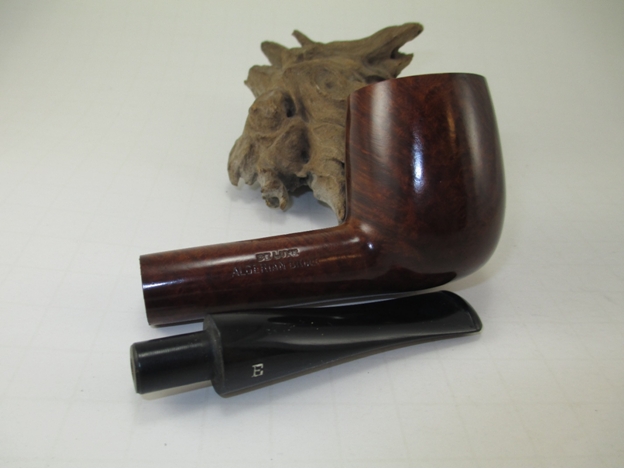
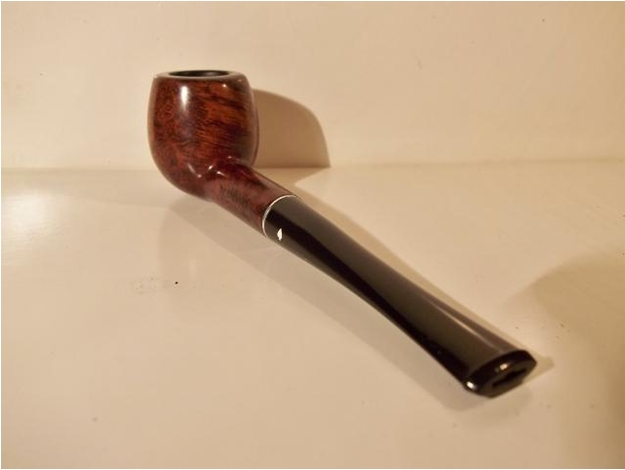
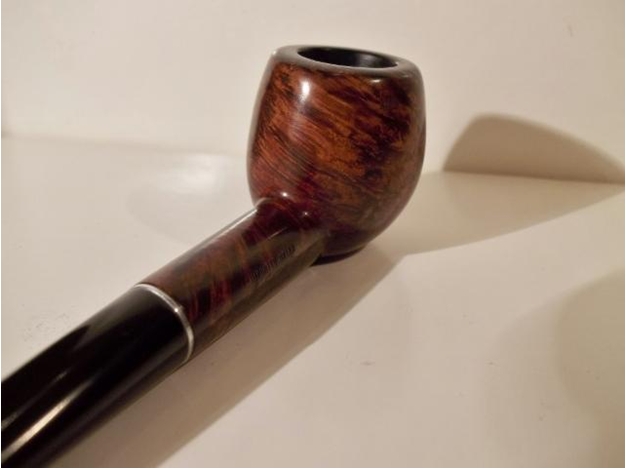
Below, you can see more of the original pictures that I took of the pipe shortly after it arrived. I had not done anything with it other than ream the bowl at the time these photos were taken.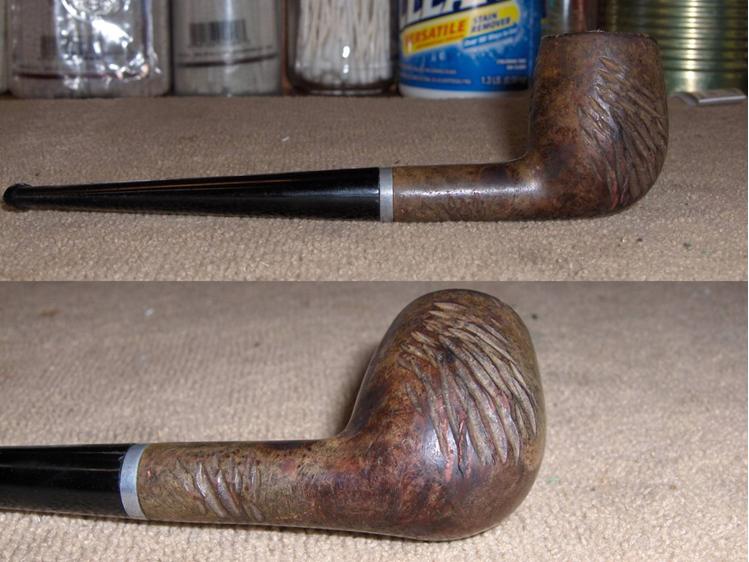
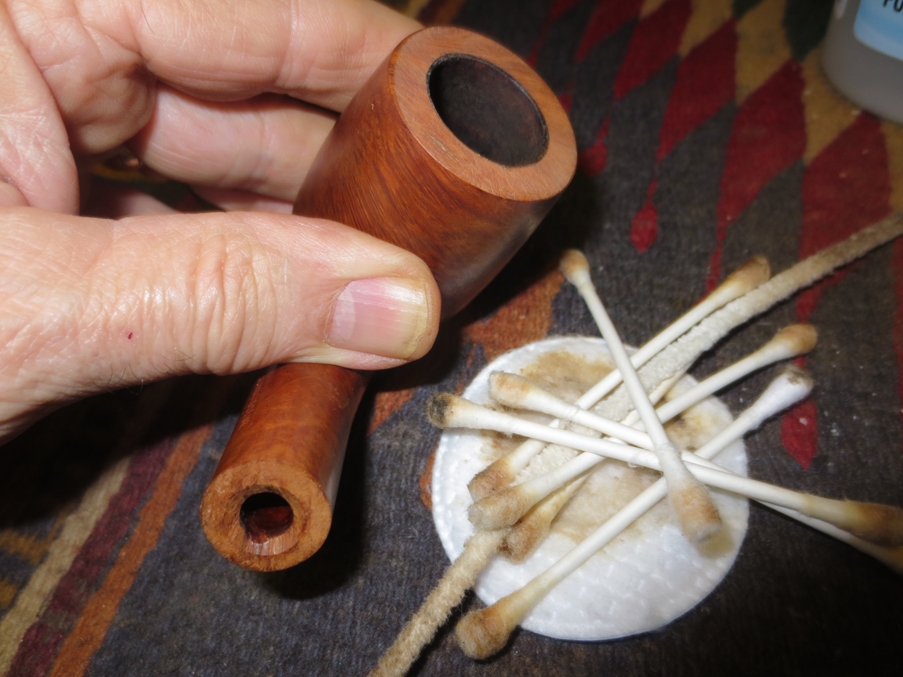
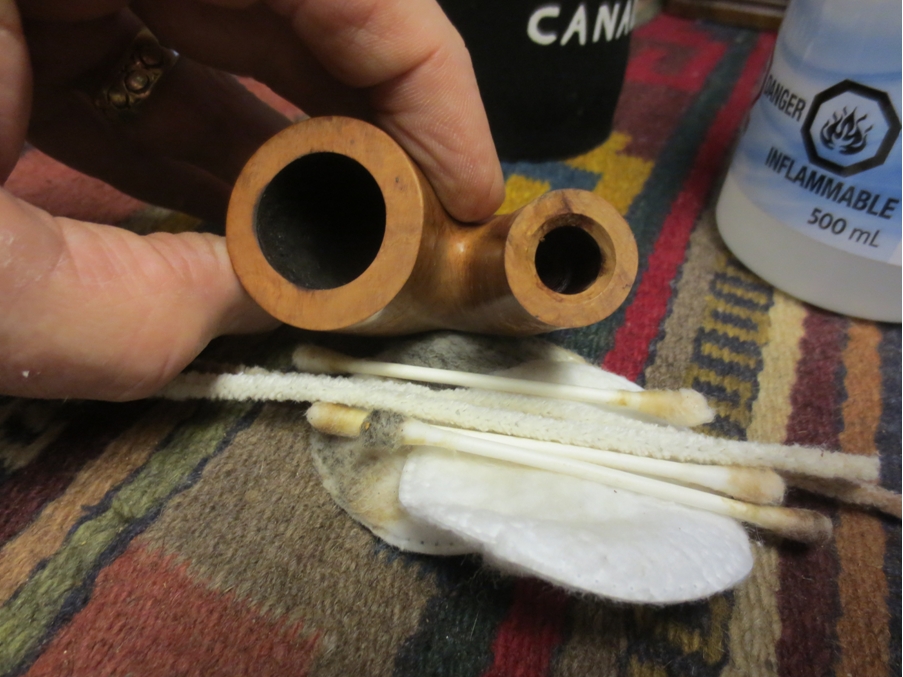
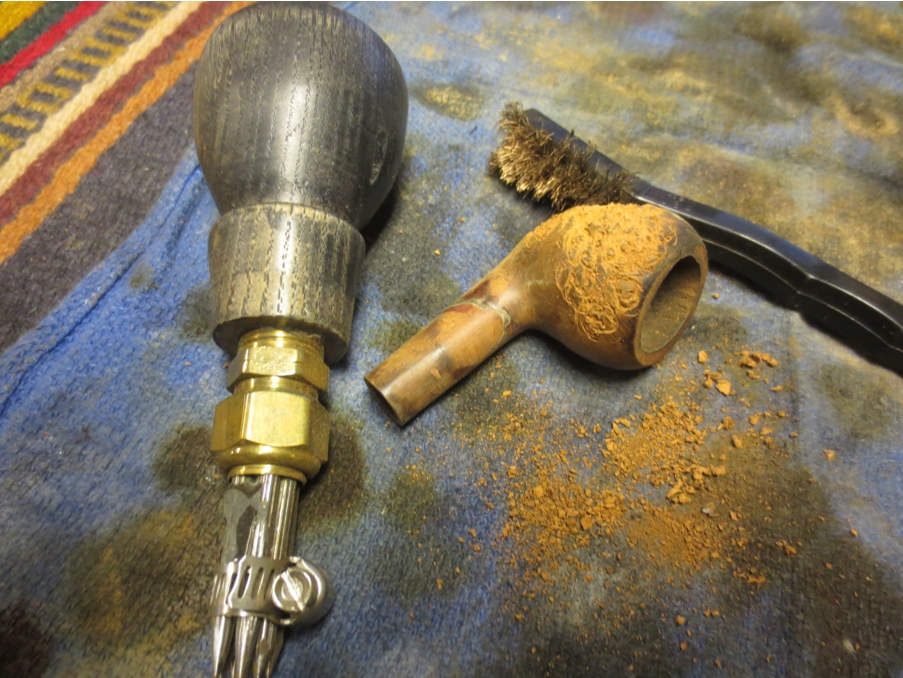
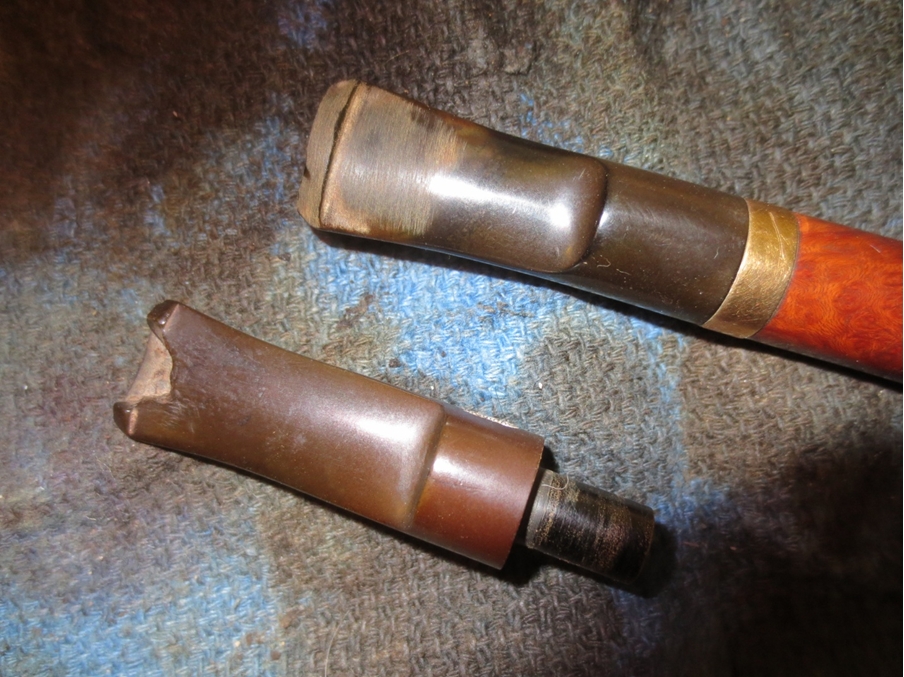
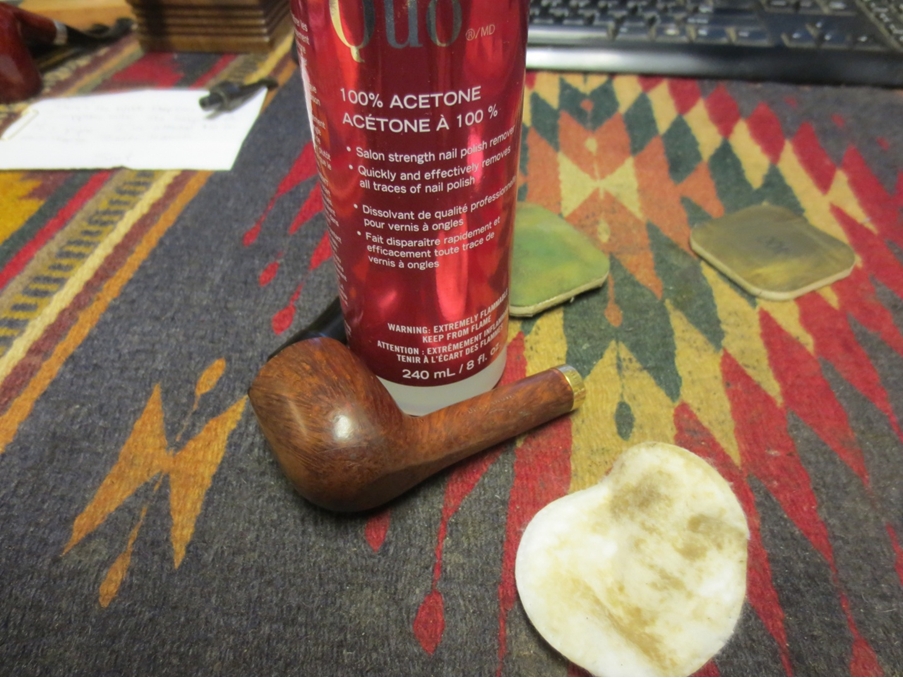
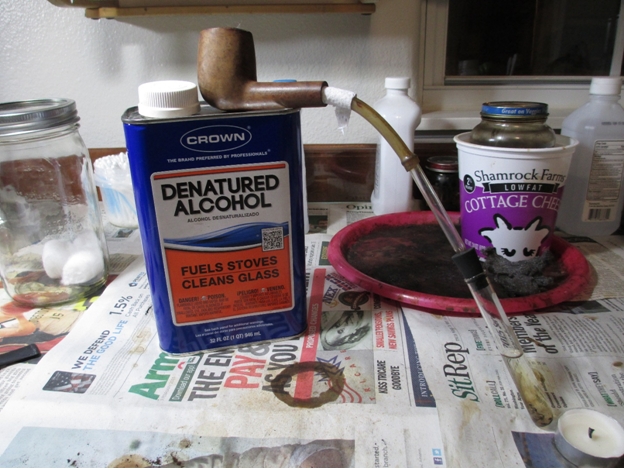
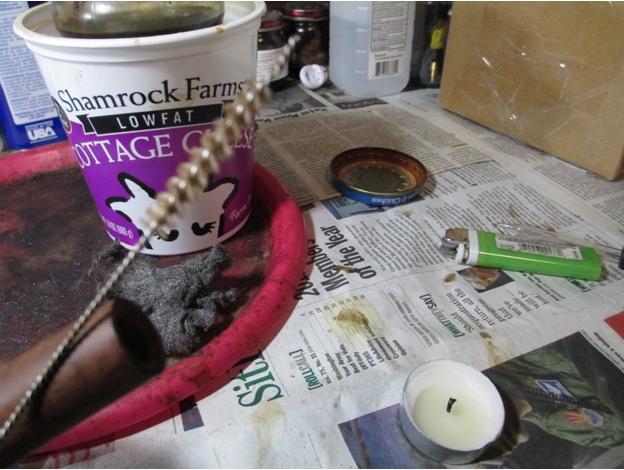
 As I mentioned, I had already cleaned the internals of the pipe before dropping it back in the box. So, I started work by dropping the stummel into a jar of alcohol to soften the lacquer finish. The metal ferrule at the end of the shank was loose enough to fall off. So, it was removed it and set aside. After a couple of hours, I removed the stummel from the bath and wiped it down with a cotton cloth. Then, I used acetone and #0000 steel wool to remove the lacquer coating. I also picked out the pinkish-orange putty from the fills, and then used the pick to scrape any loose or charred wood from the cracks.
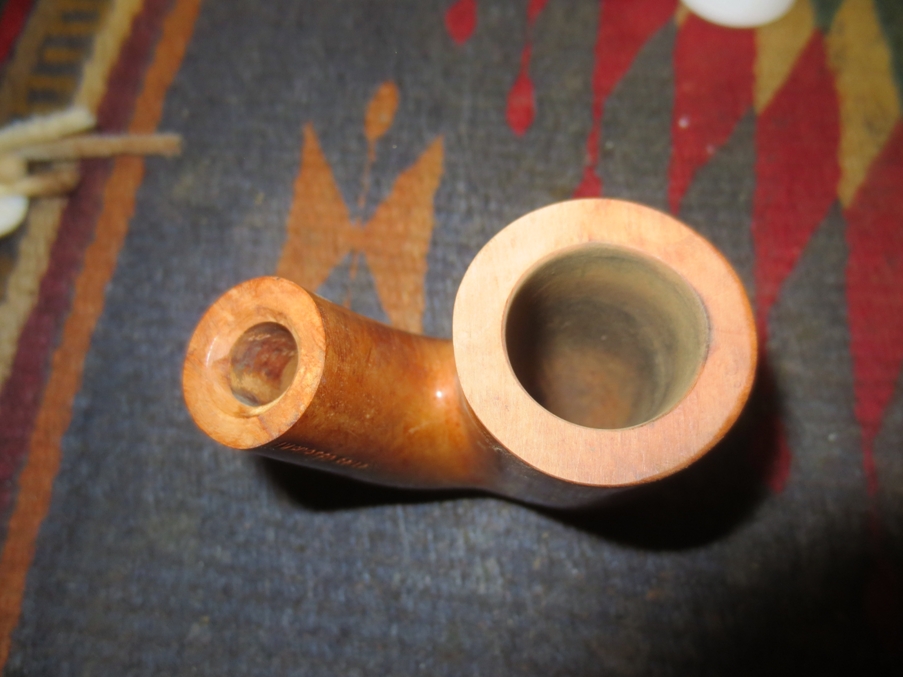
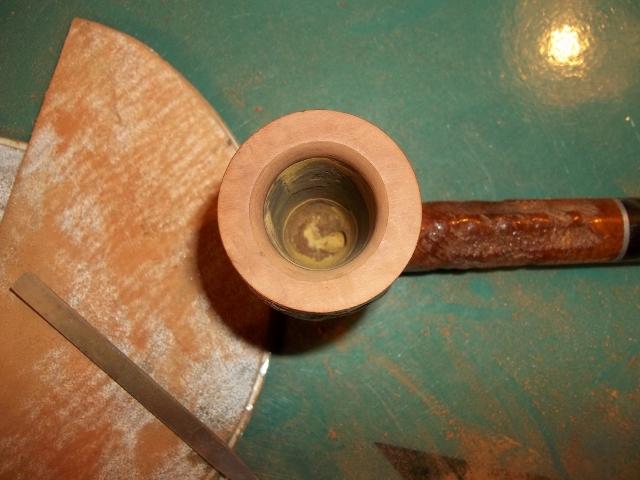
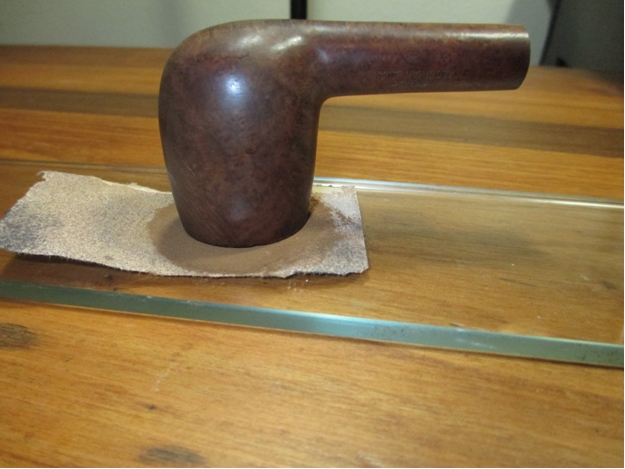
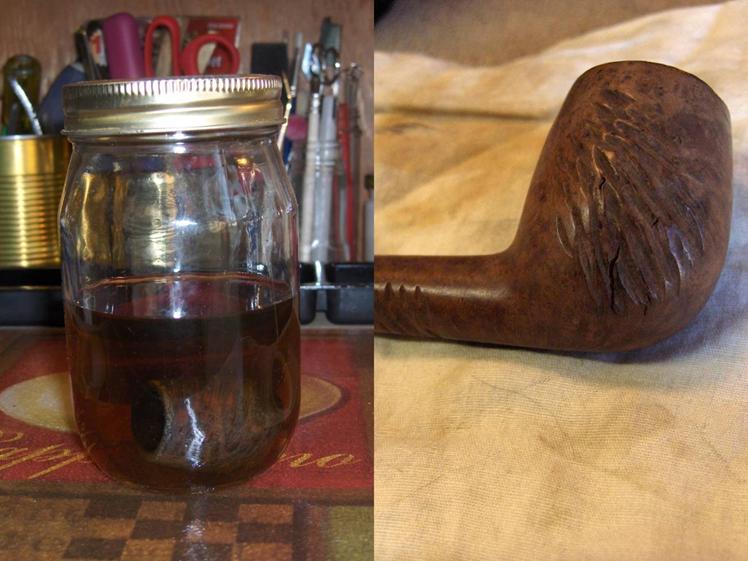 A lot of scratches and gouges were revealed once the rim was clean. So, I set up my topping surface and lightly sanded the majority of the blemishes away using 220-grit and 320-grit sandpaper.
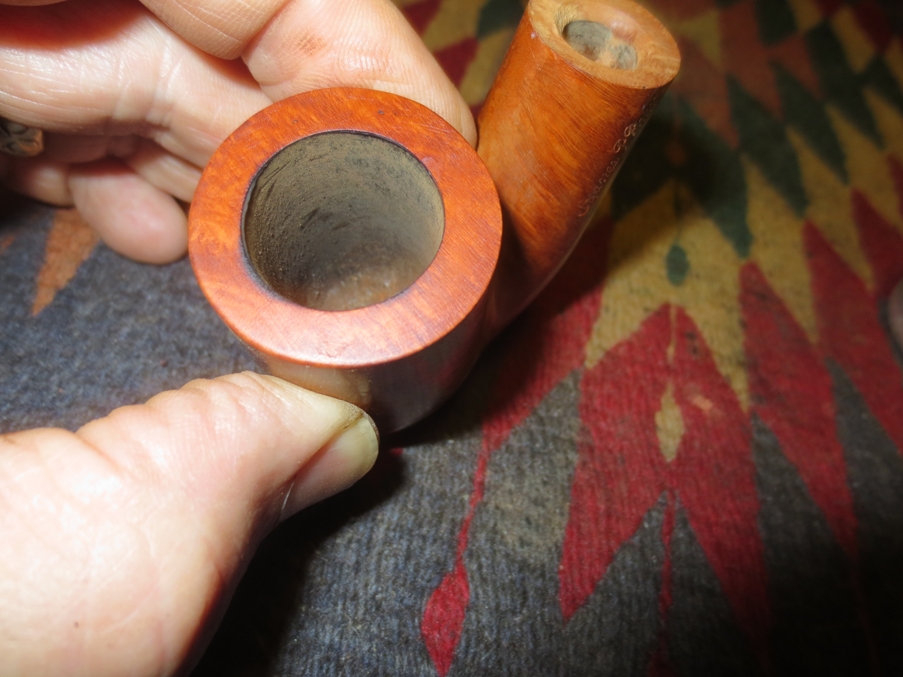
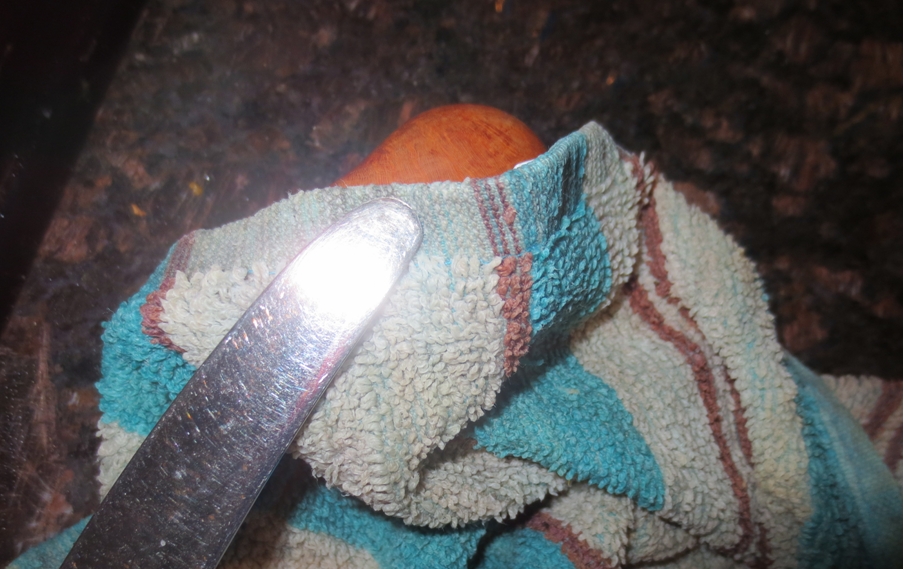
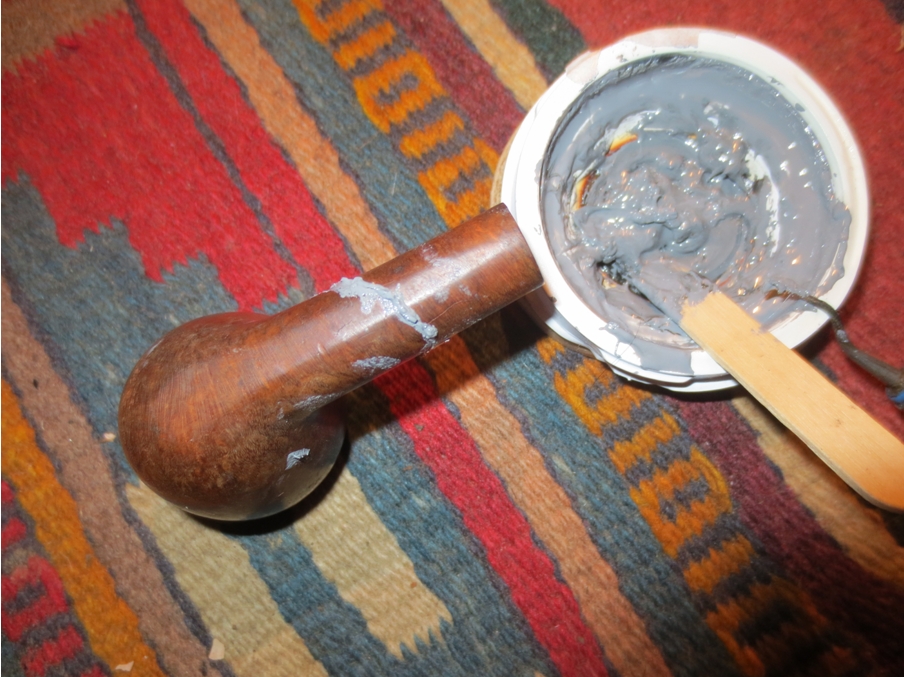
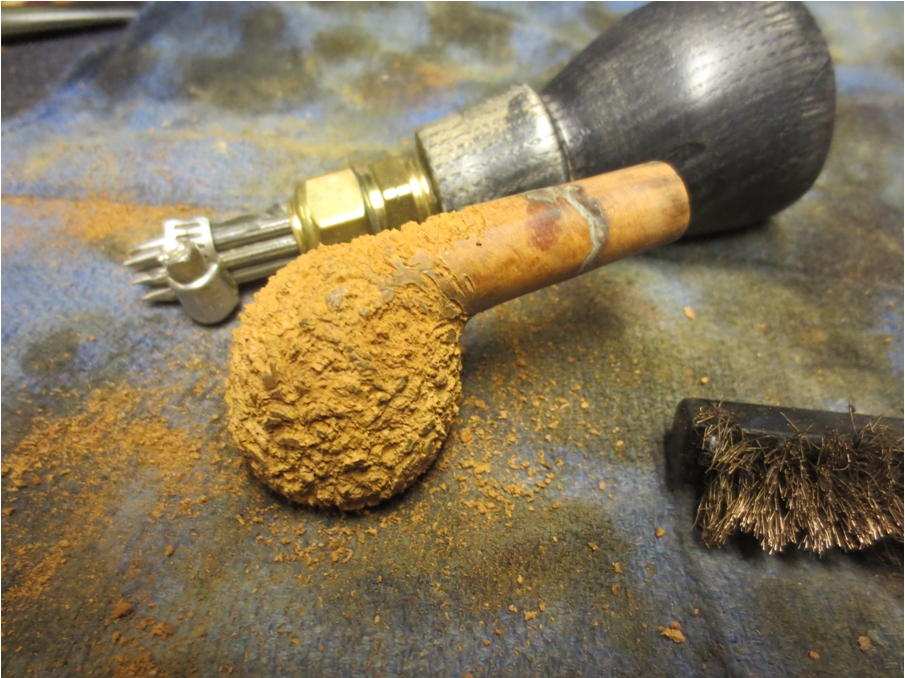
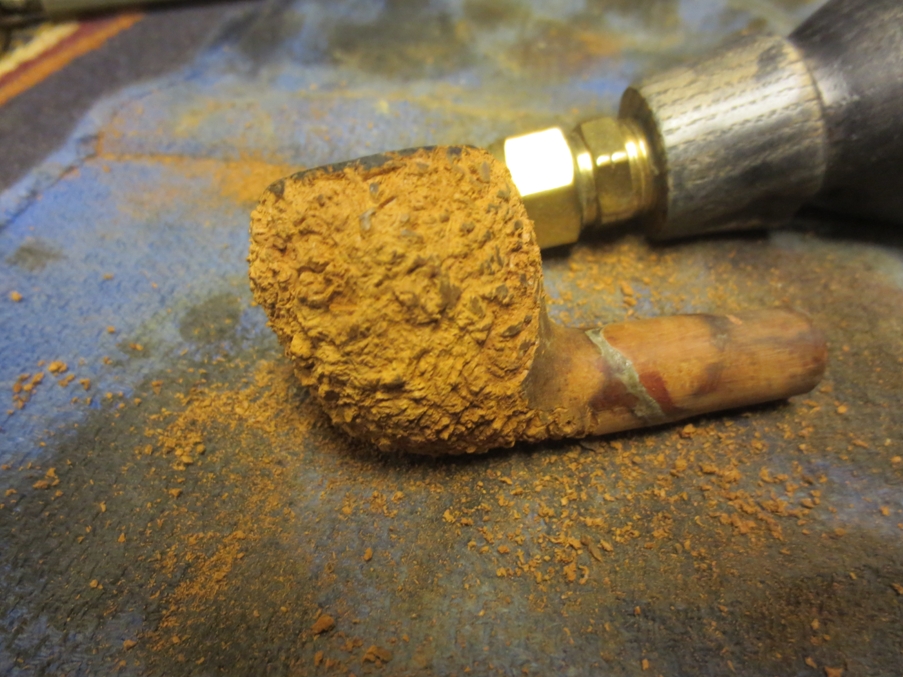
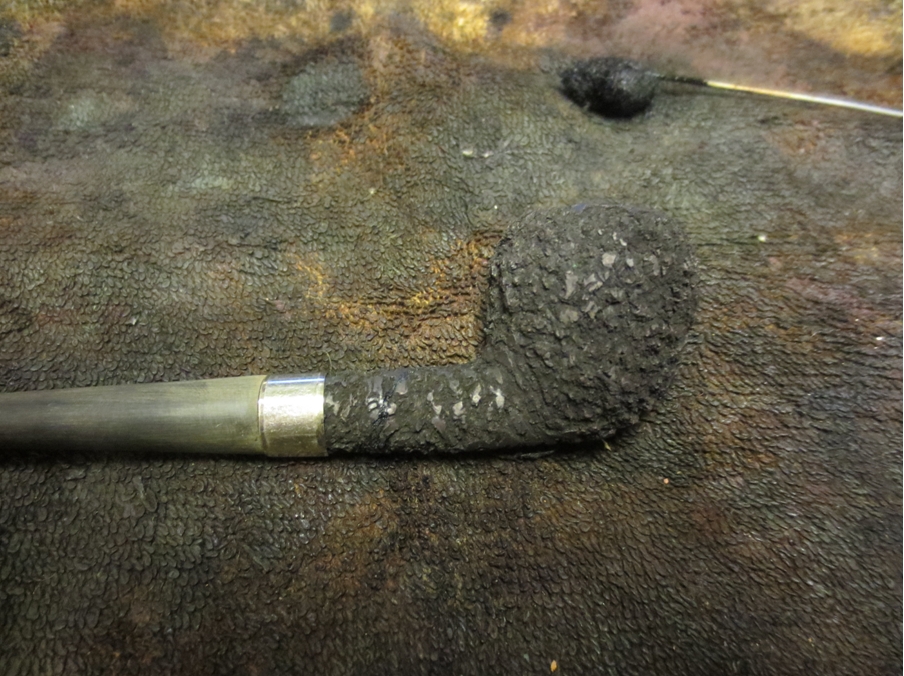
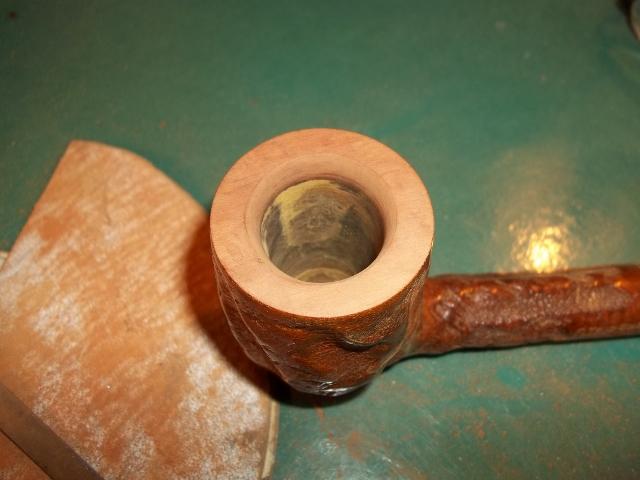
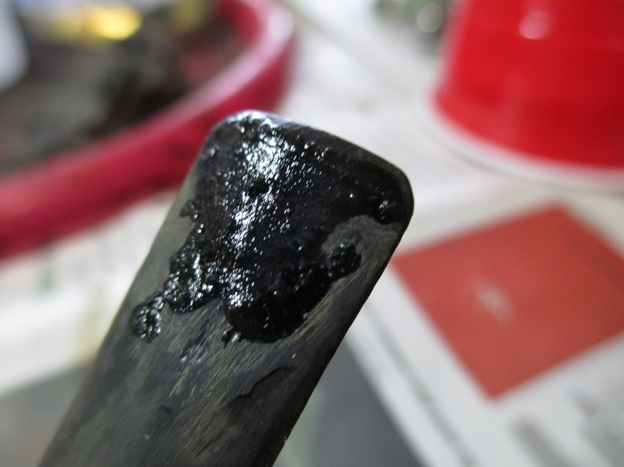
 I mixed together powdered pumice, activated charcoal, and sodium silicate to make a bowl patch. After protecting the airway with a pipe cleaner, I applied a small amount of the patch mix directly to the cracks with a flat toothpick and firmly tamped to push it into the cracks. Then, I used the scoop on my pipe tool to apply a thin layer across the entire area for protection.
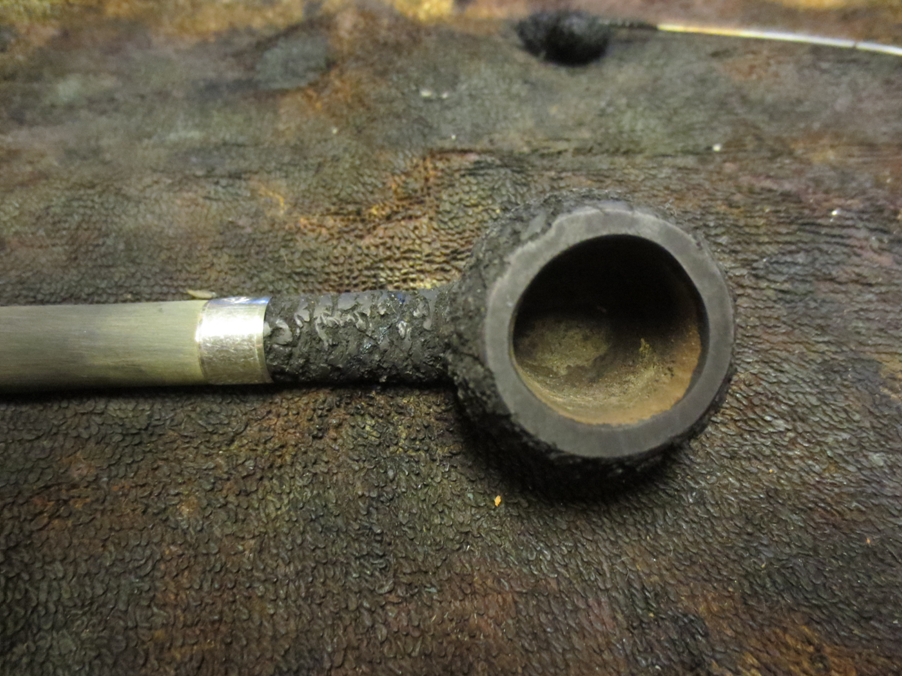
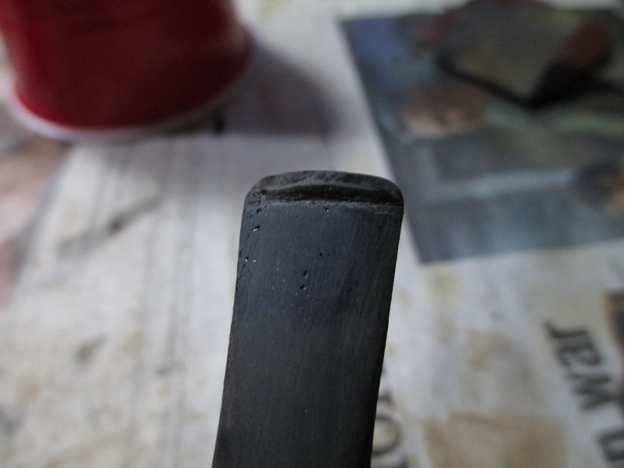
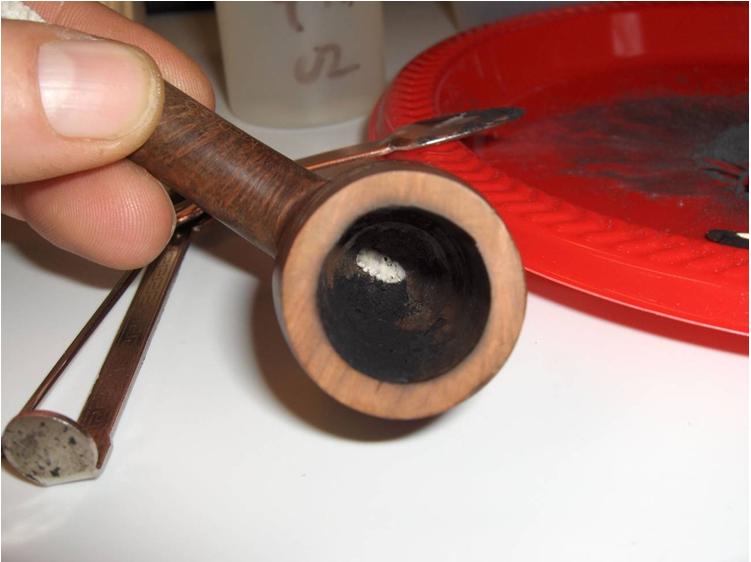 Next, I addressed the cracks and pits on the outside of the bowl by filling them with a few layers of briar dust and CA glue. I applied the glue with the end of a toothpick to avoid getting glue into the carved areas as much as I could. After the patches had dried, I sanded them down with 220-grit and 320-grit sandpaper. The same progression of grits was used to put a slight chamfer on the outside of the rim to remove the gouges that remained there. While I was working the bowl, I also sanded the chamber patch smooth with 400-grit paper.
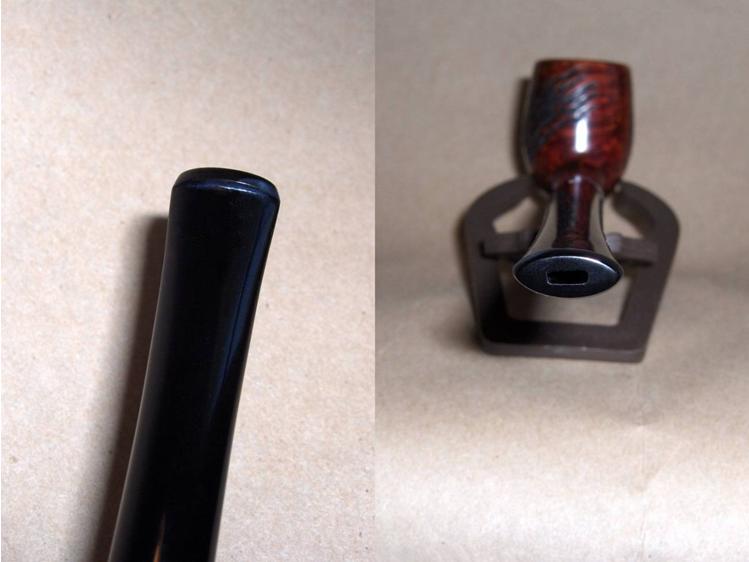
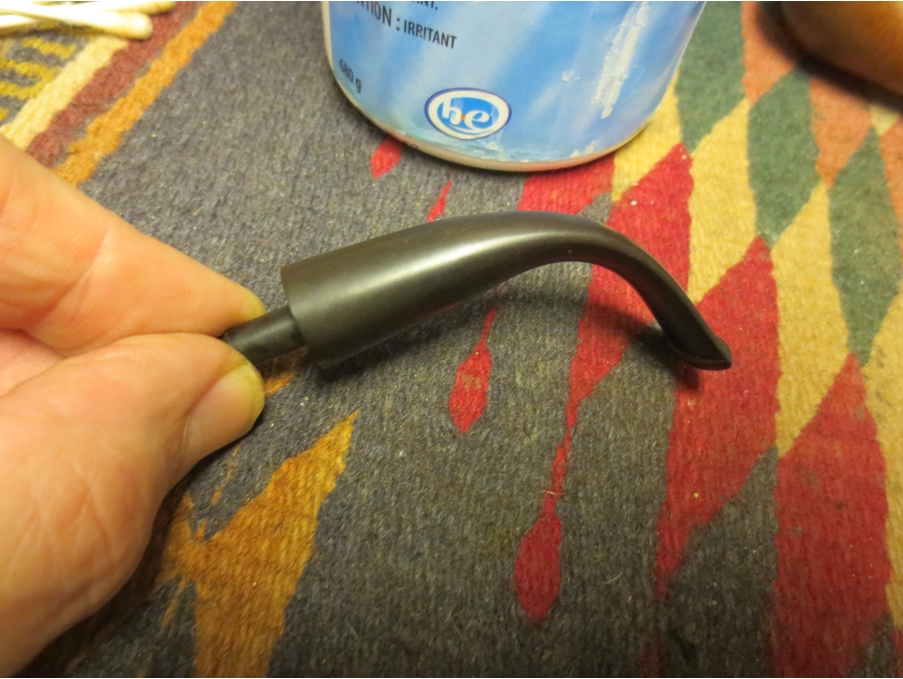
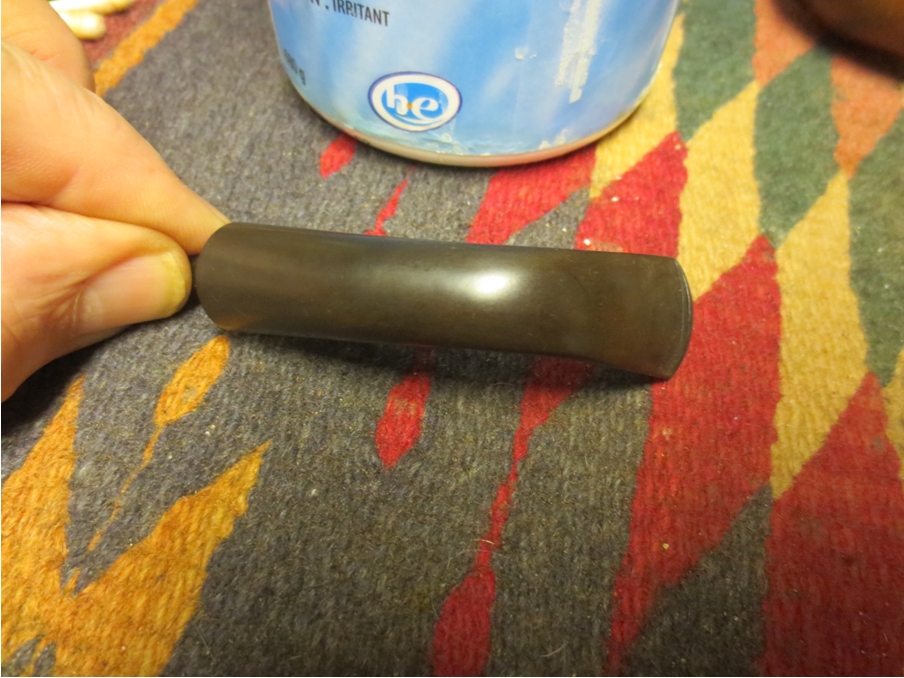
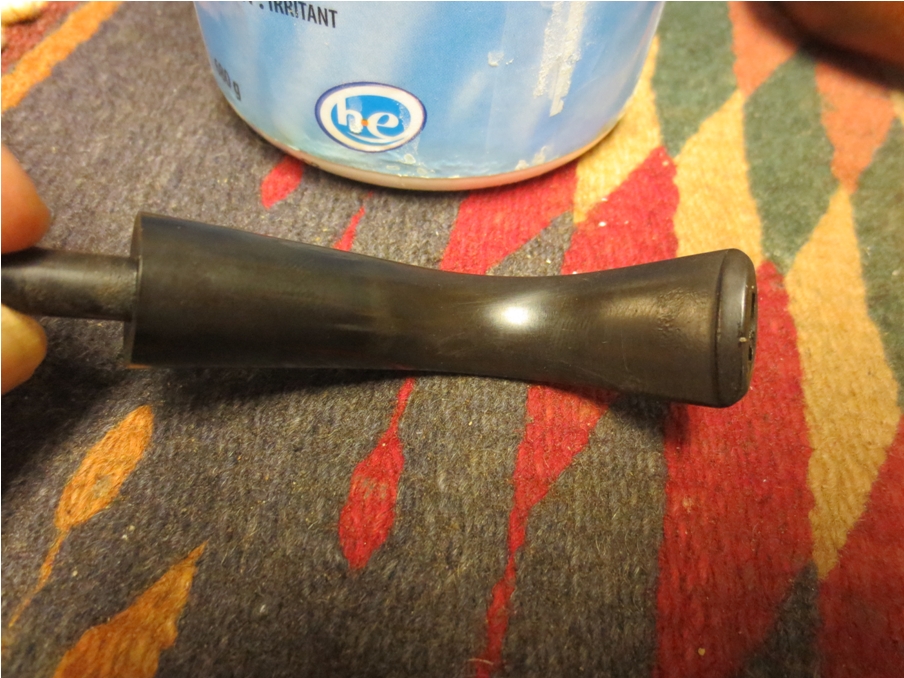
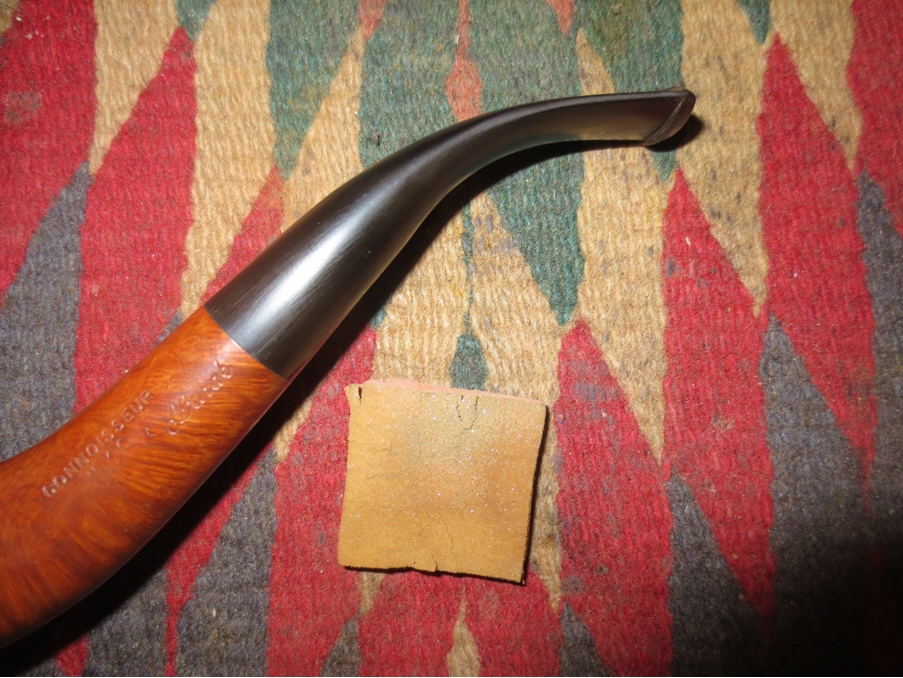
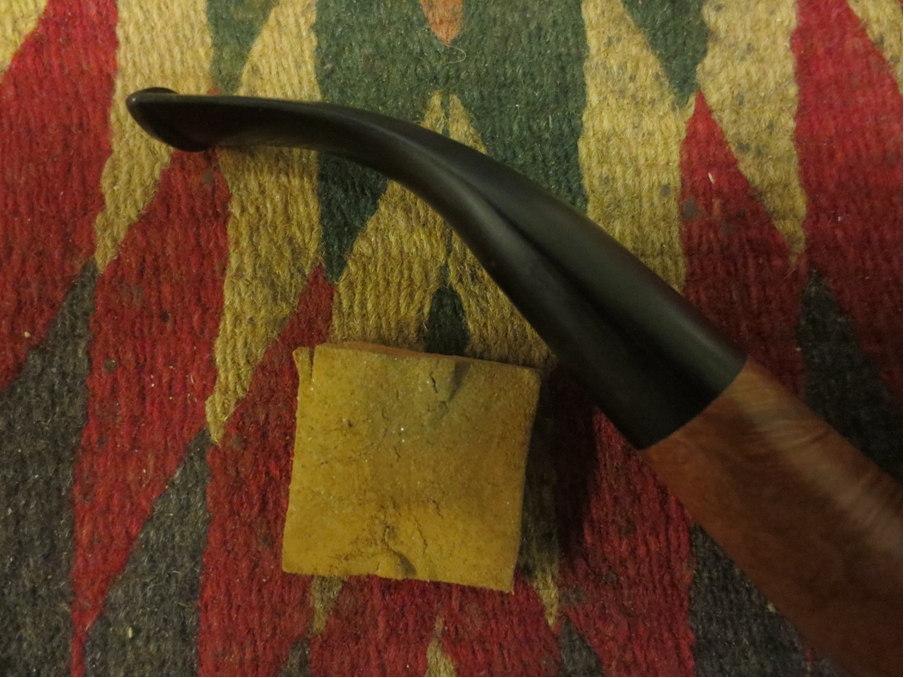
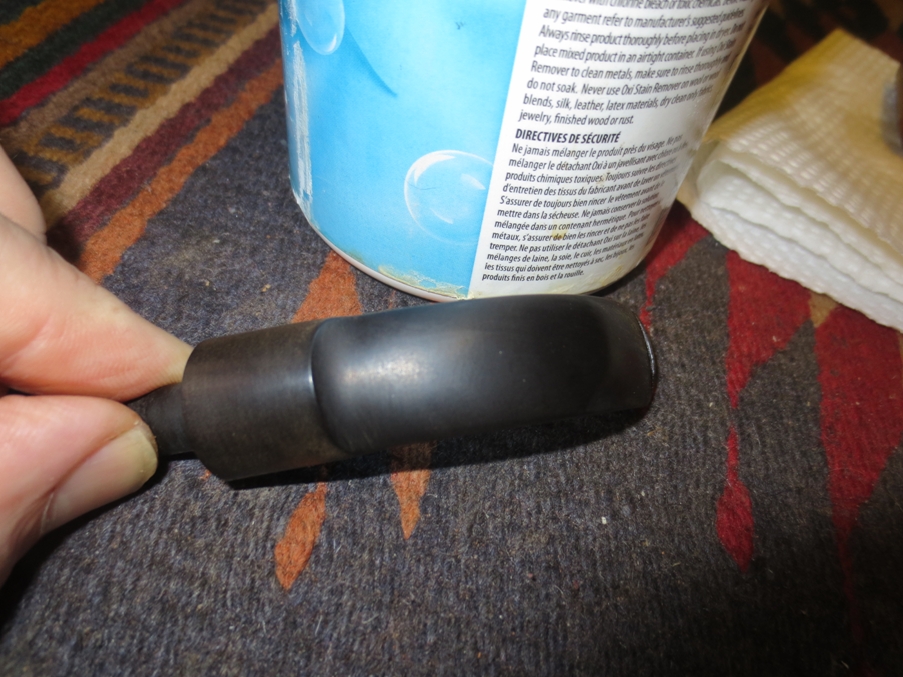
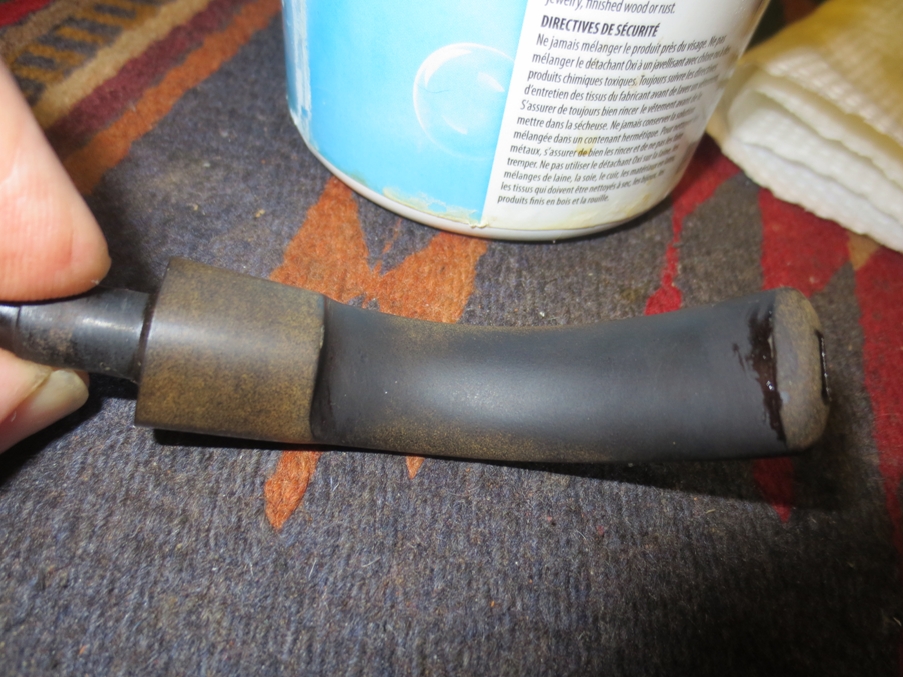
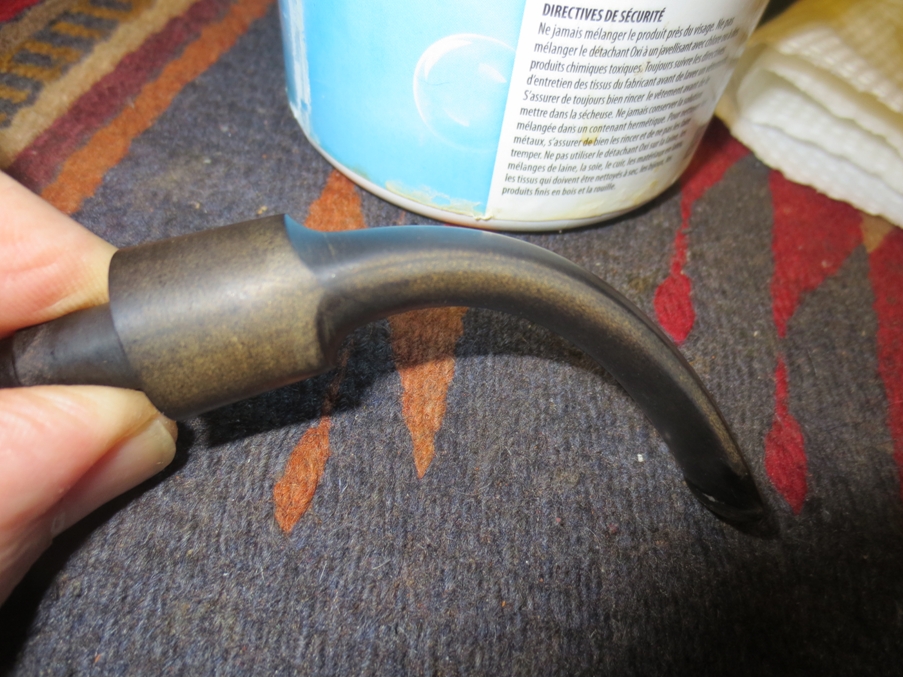
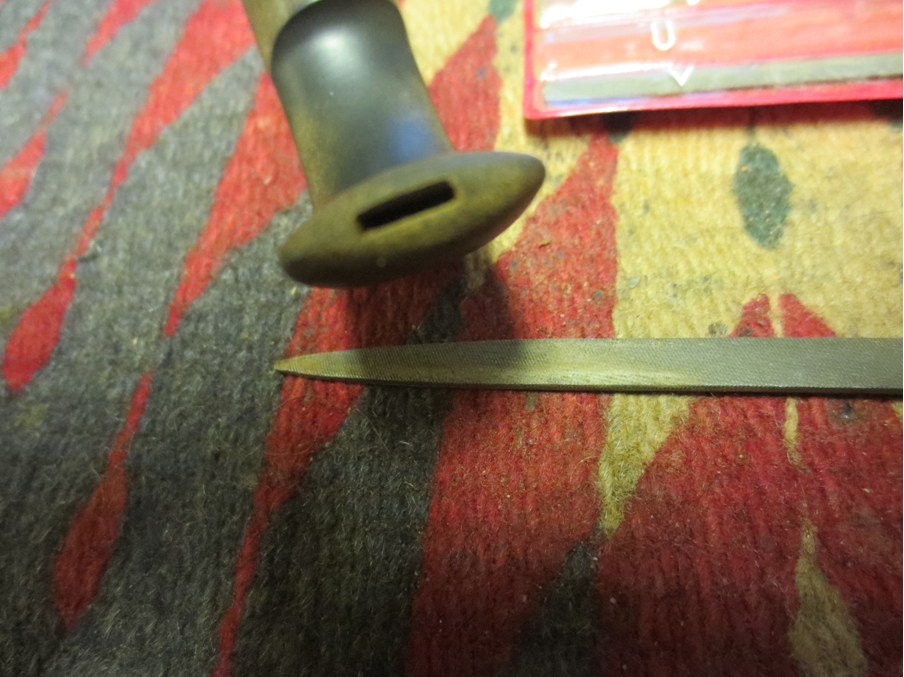
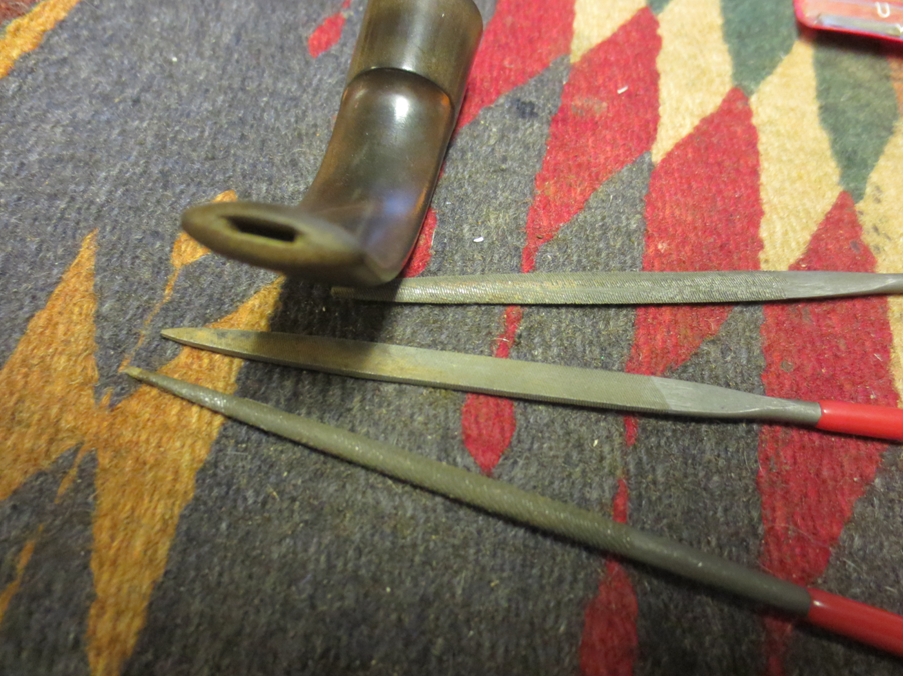
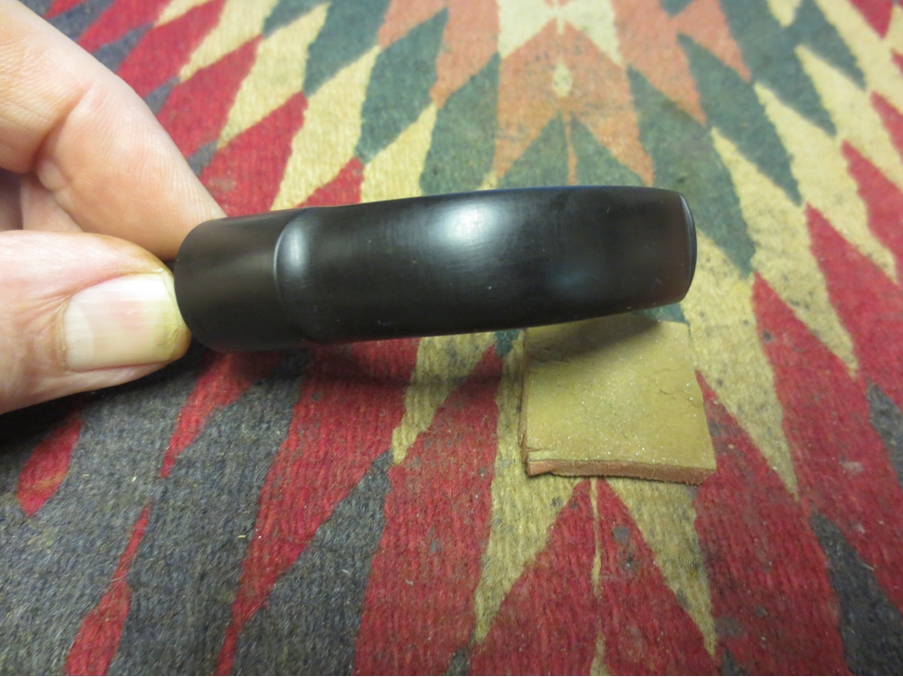
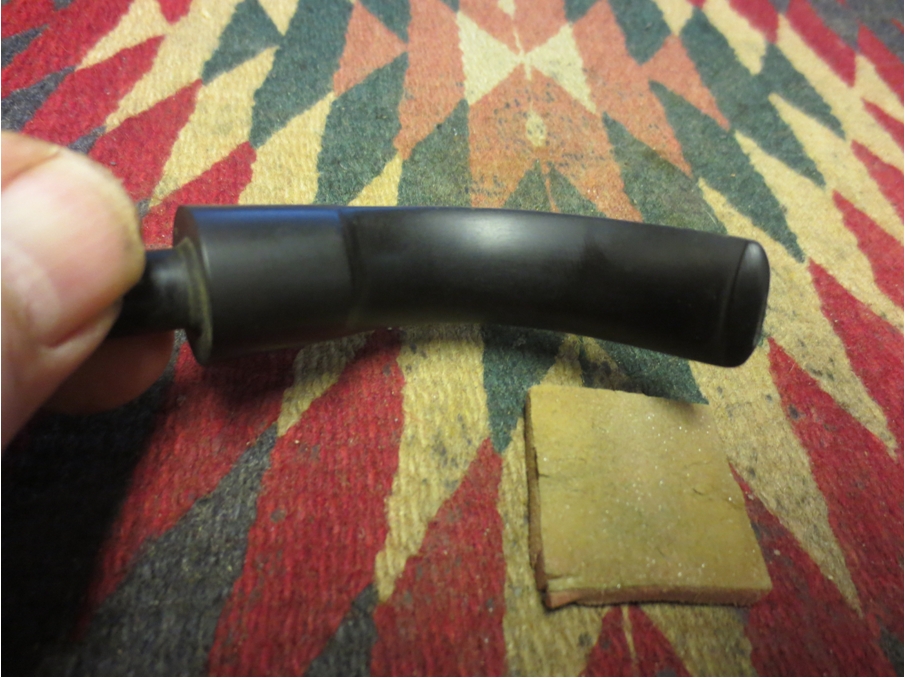
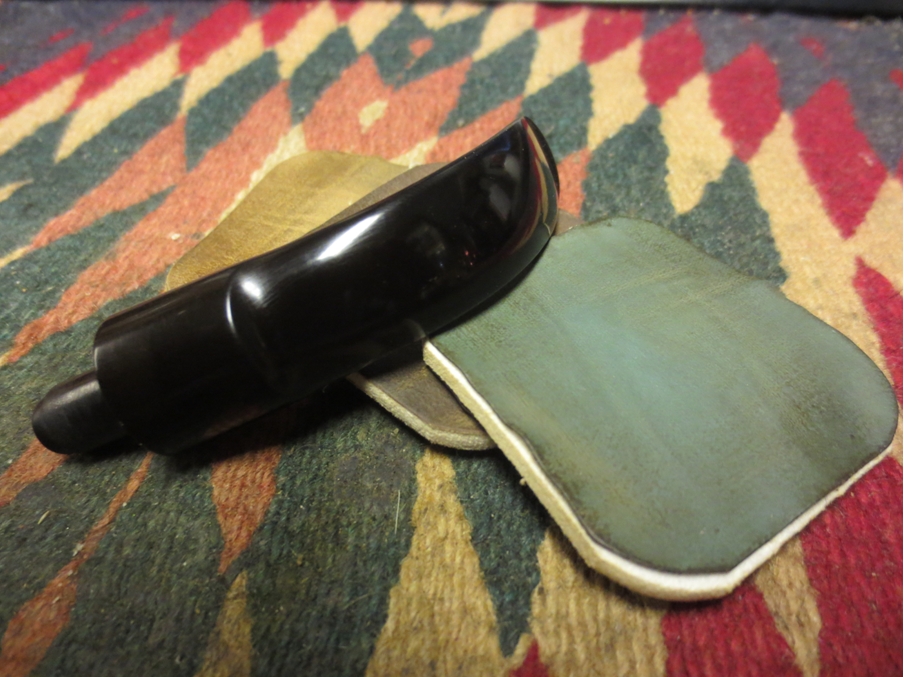
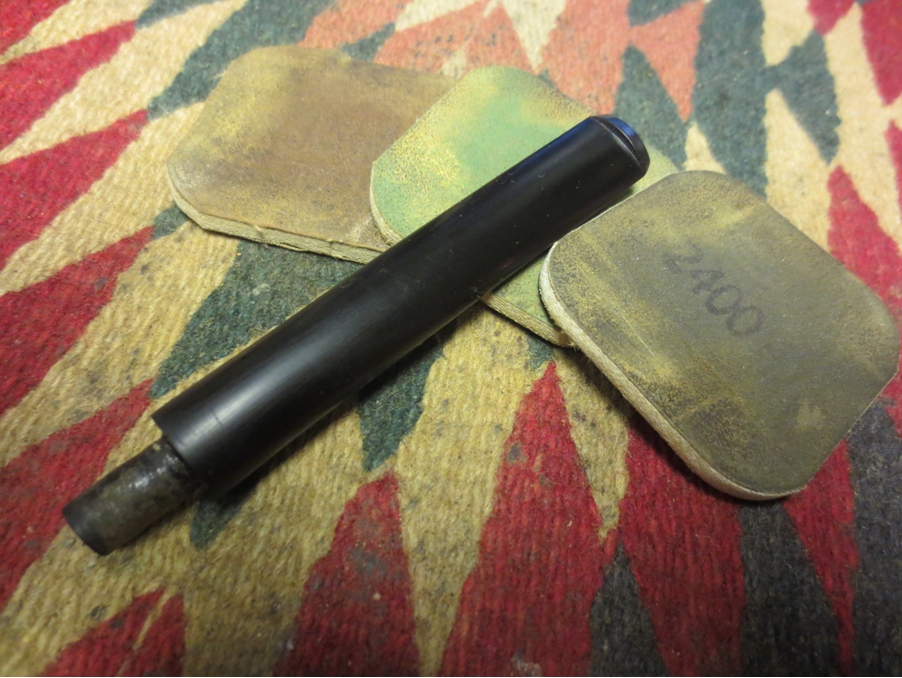
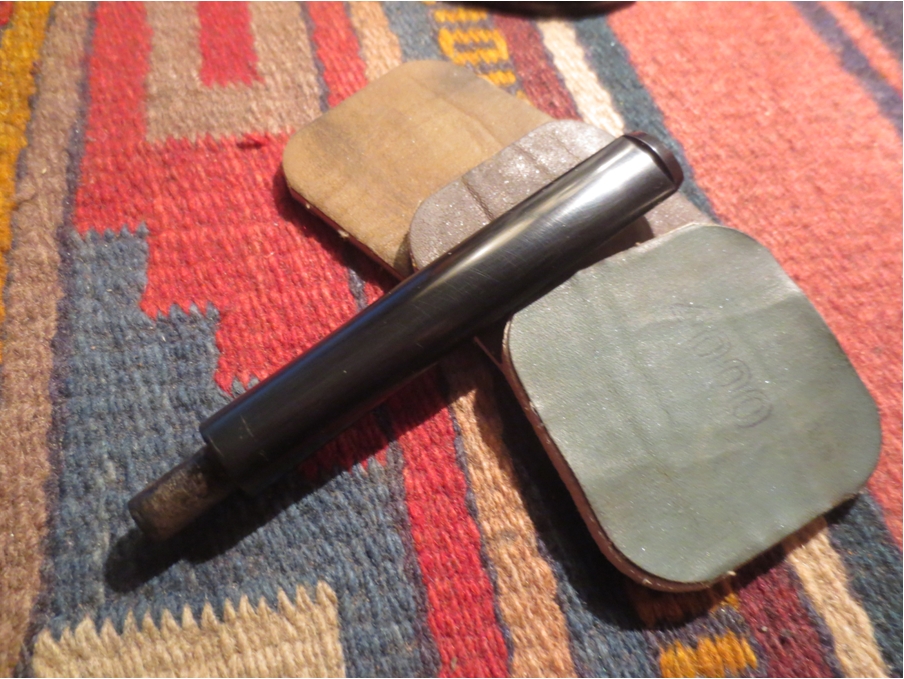
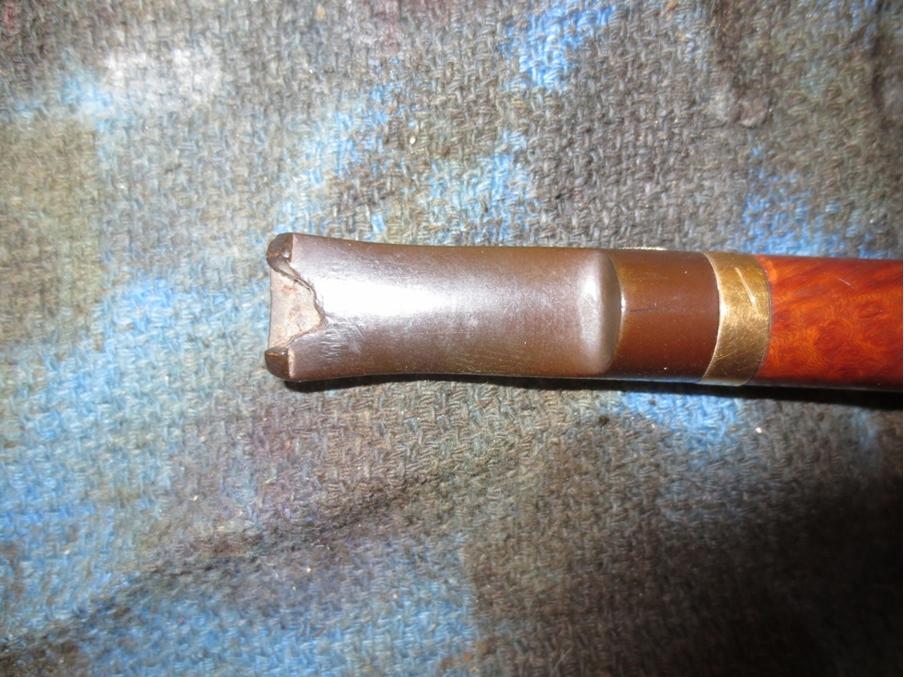
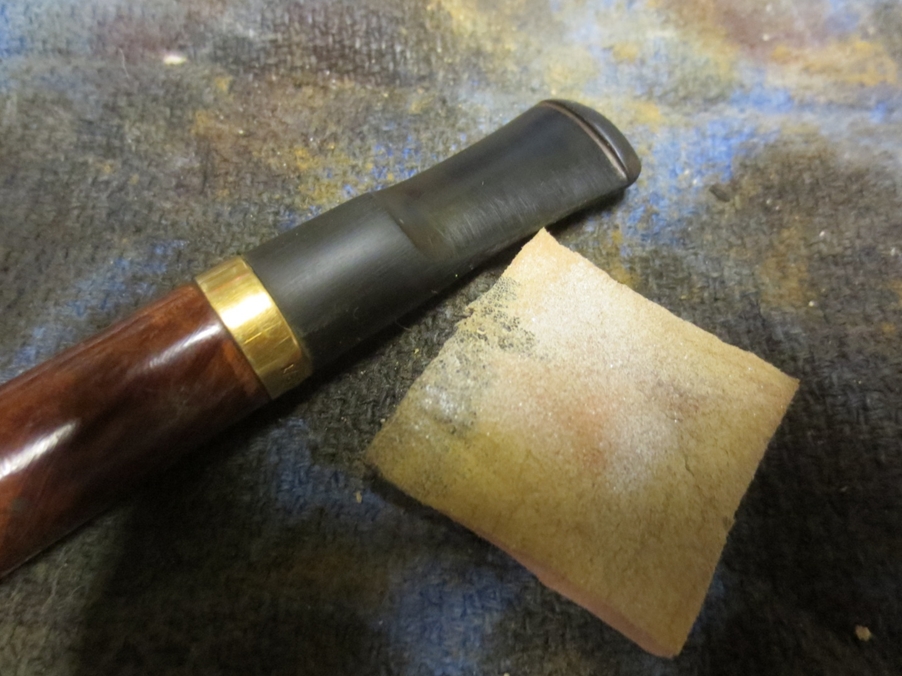
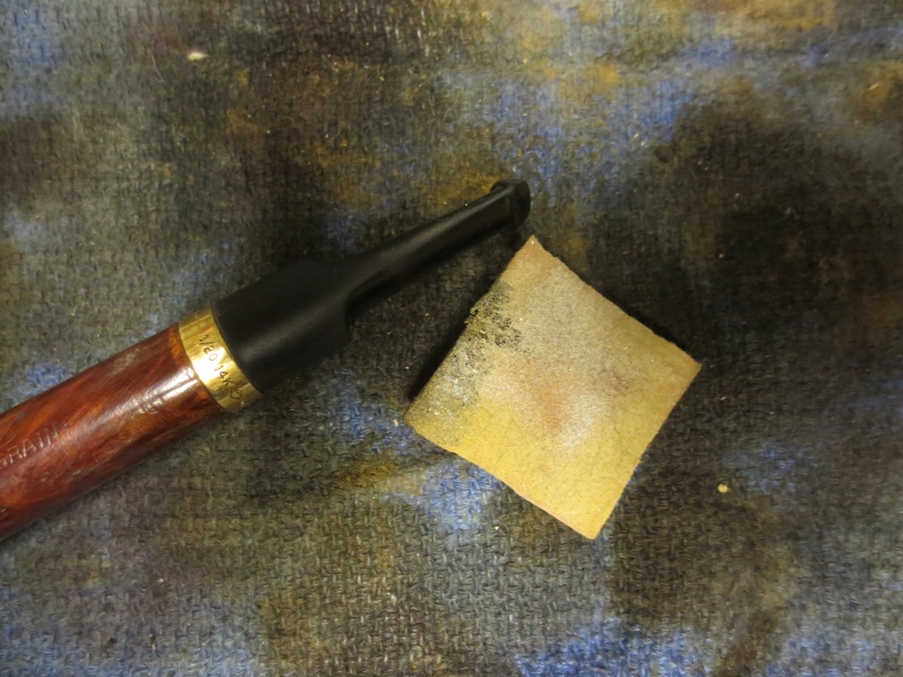
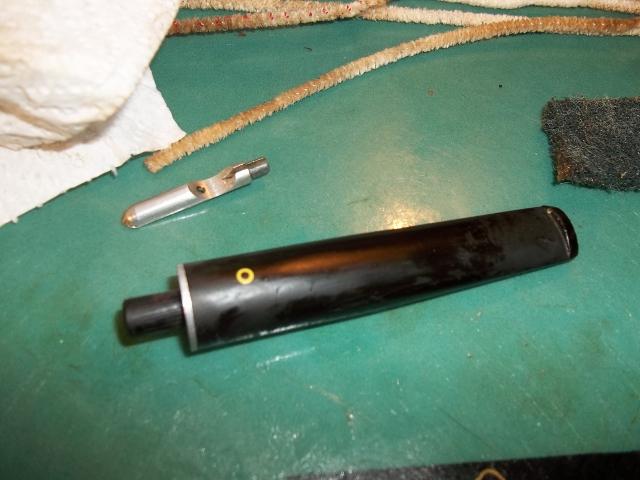
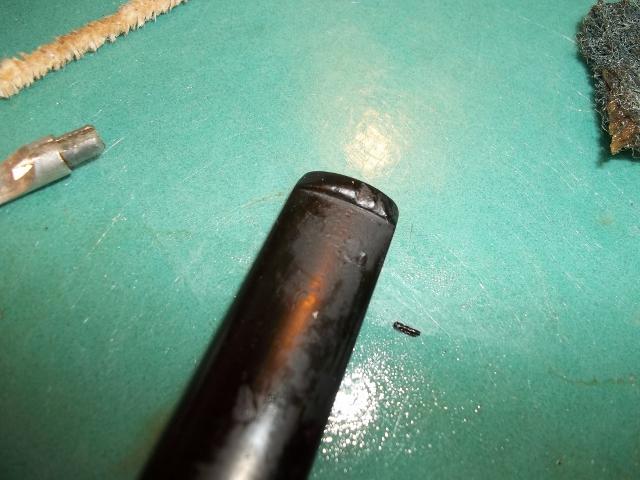
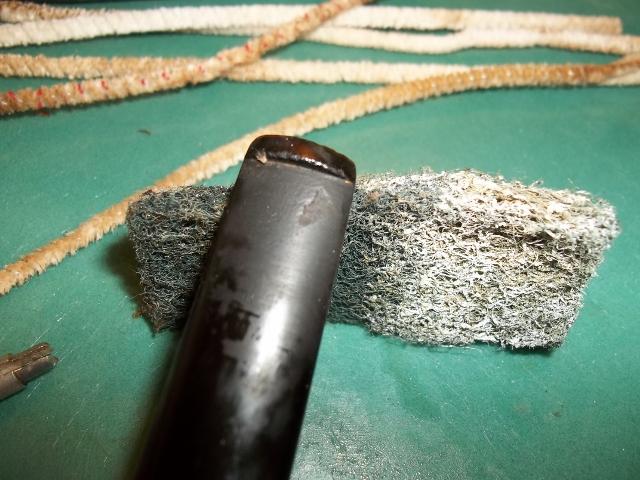
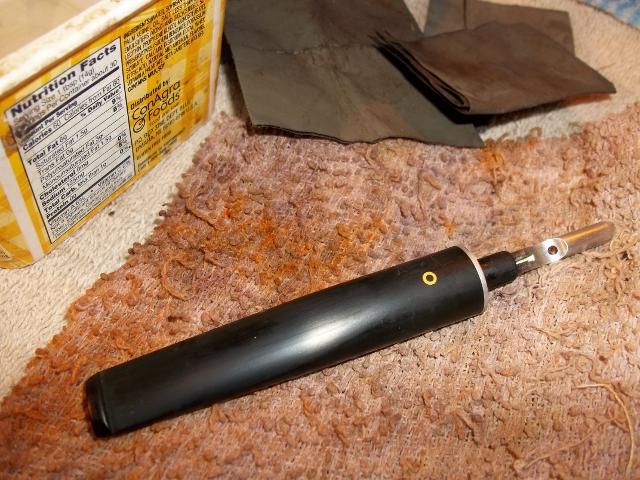
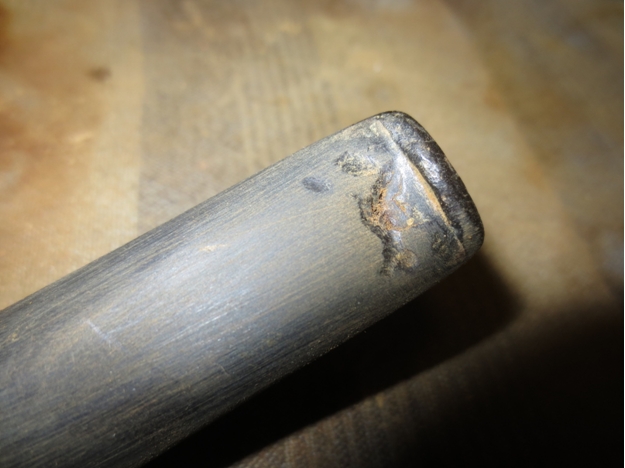
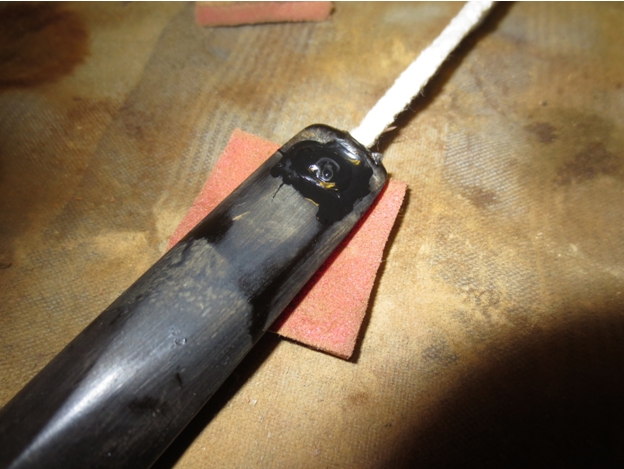
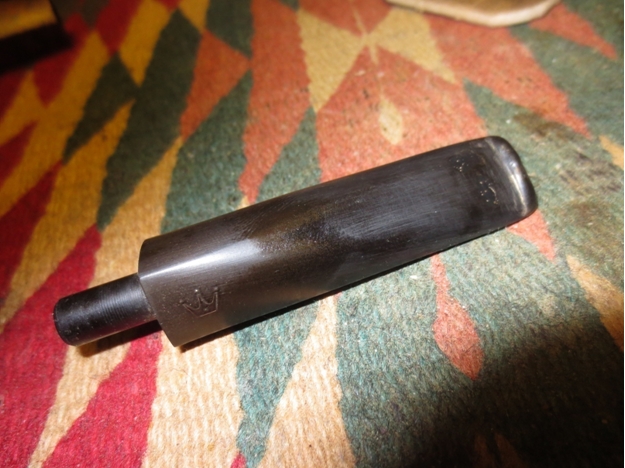
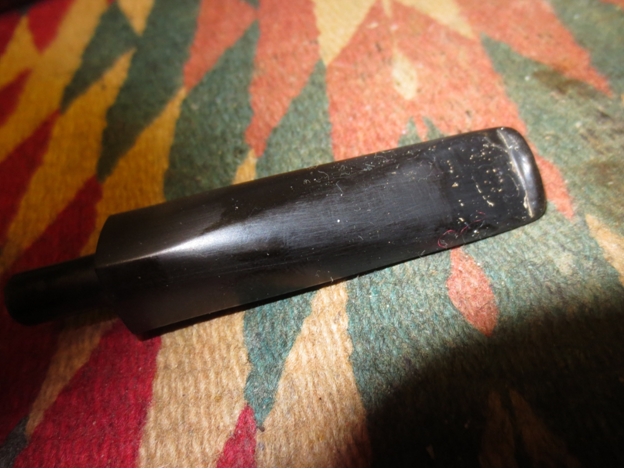
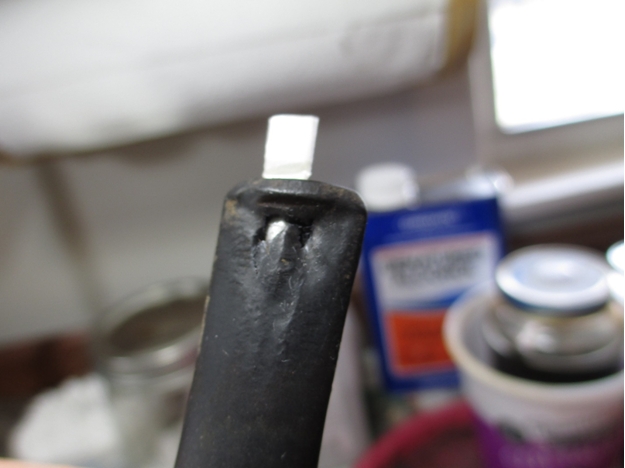
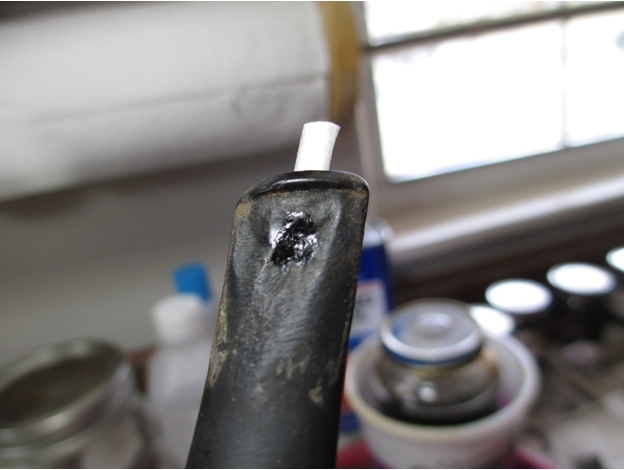
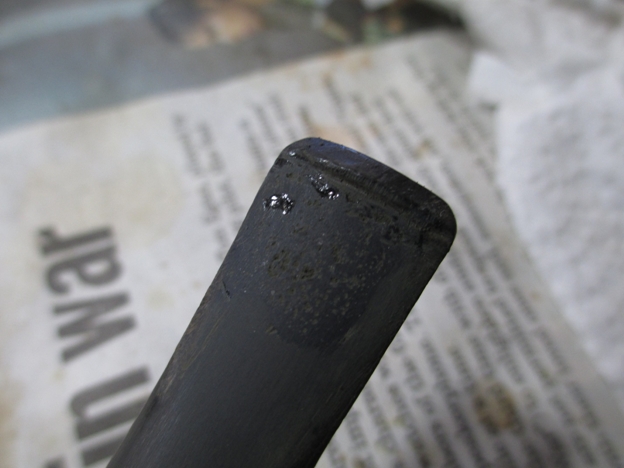
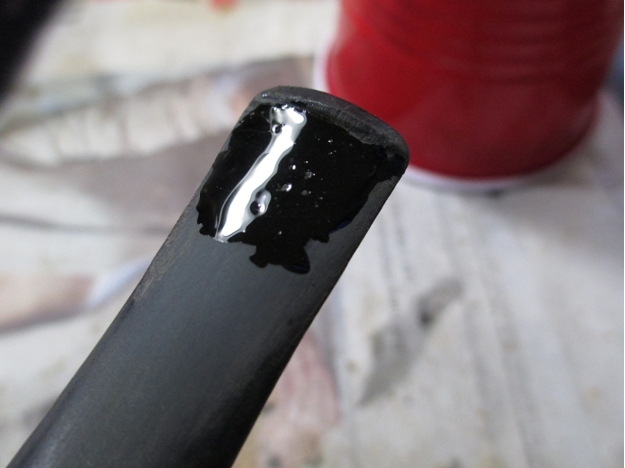
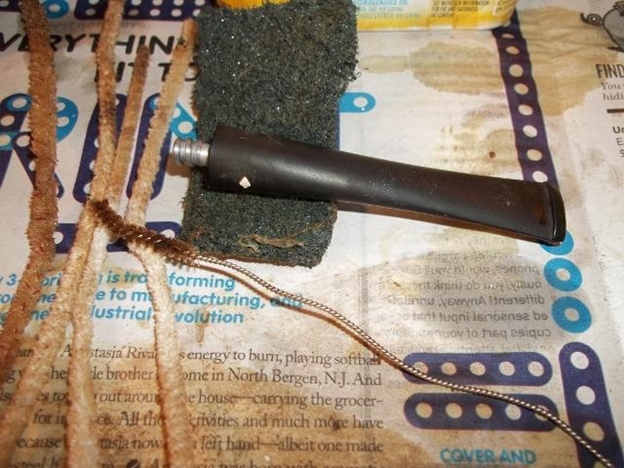
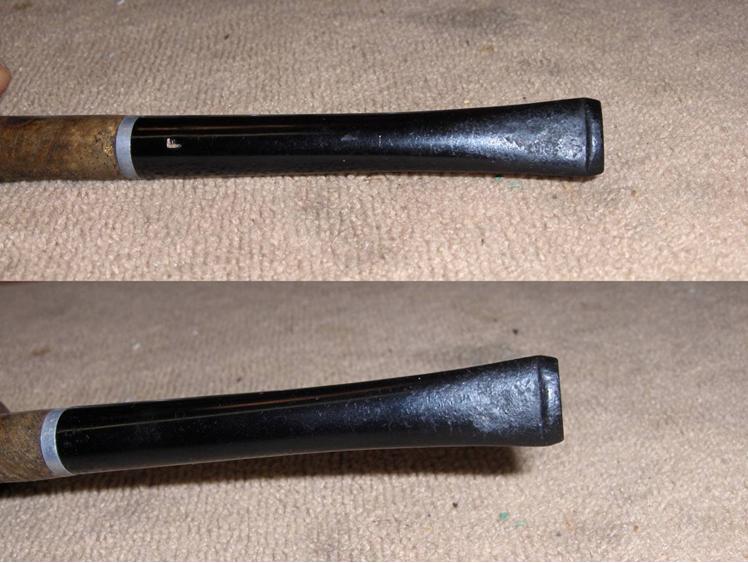
 I sat the stummel aside for a time to pay some attention to the stem. There was a lot of chatter near the button and tooth dents on both sides of the stem. I applied black CA glue (medium thickness) to the dents with a toothpick and dripped a couple of drops of activator over it to set it up quickly. When it was completely dry, I sanded out the glue patch and leveled the chatter with 220-grit paper. The two photos below show the patch before and after rough sanding.
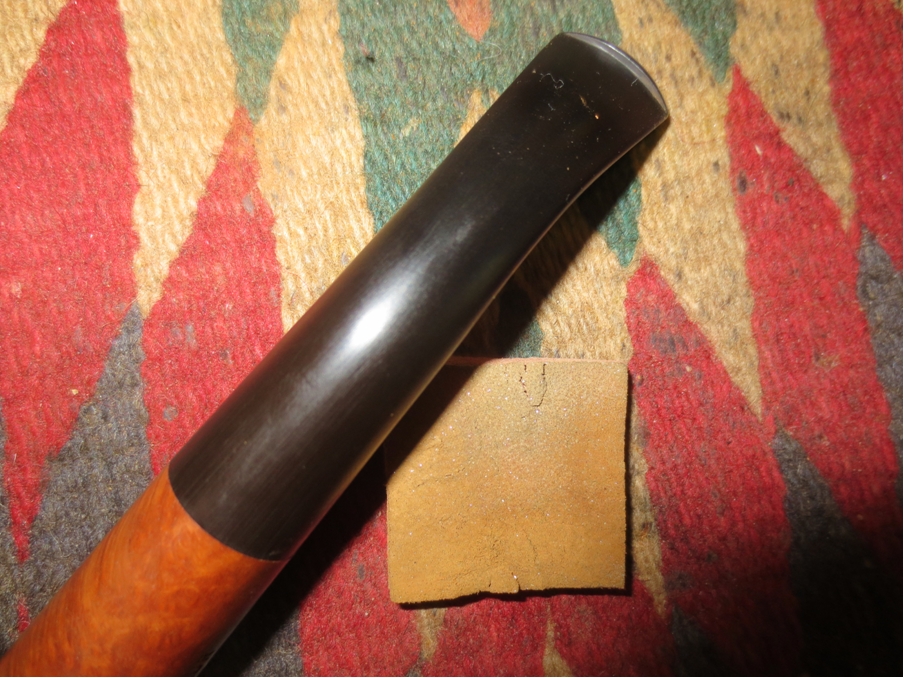
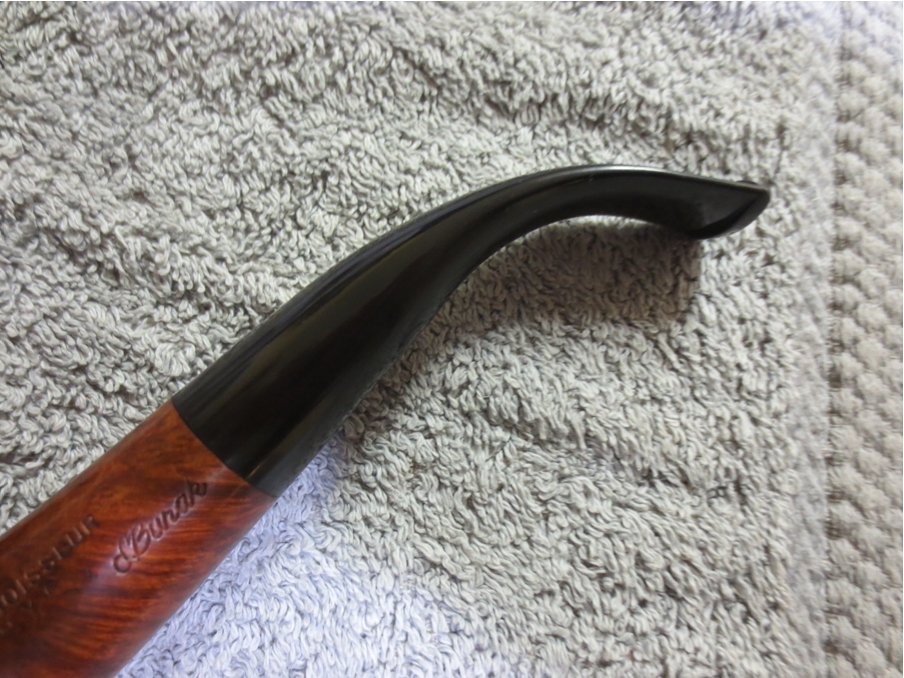
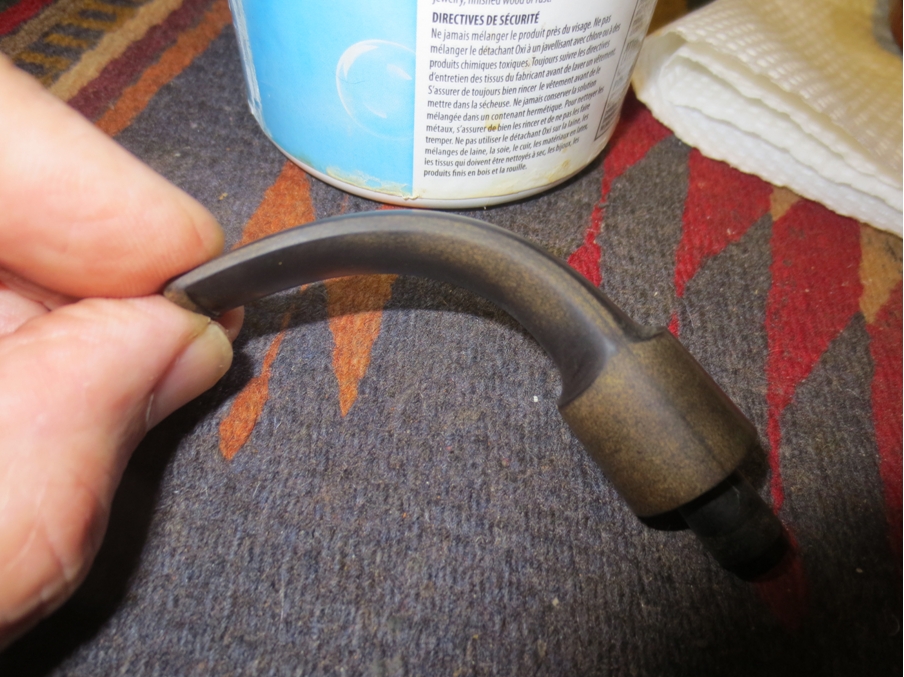
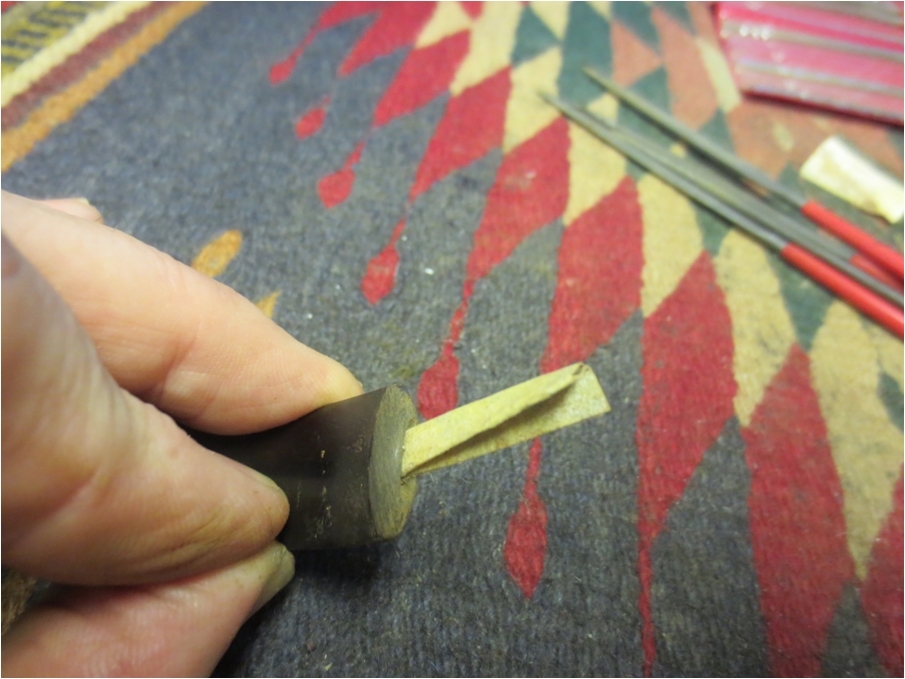
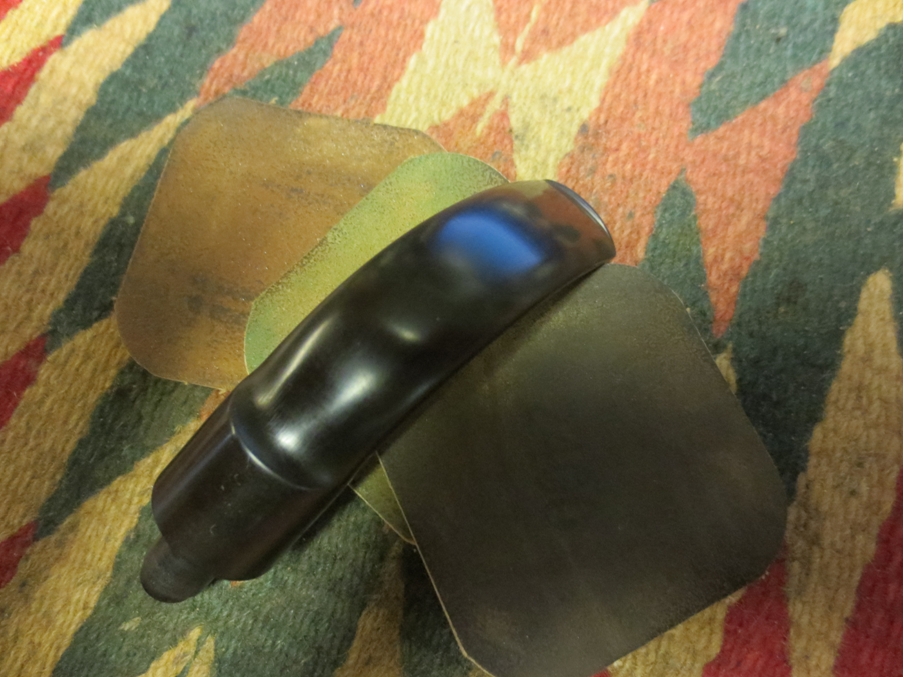
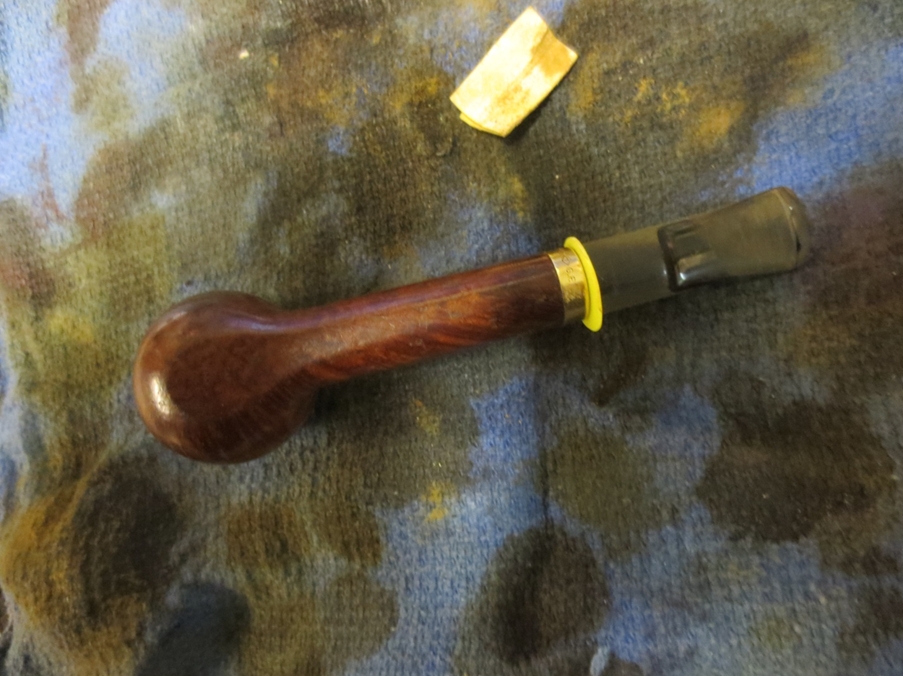
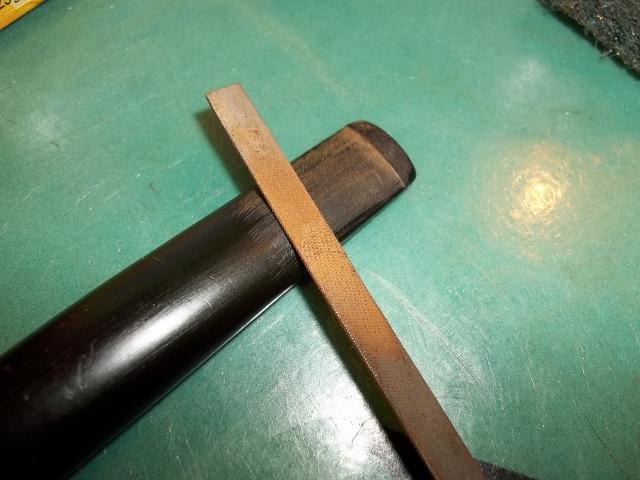
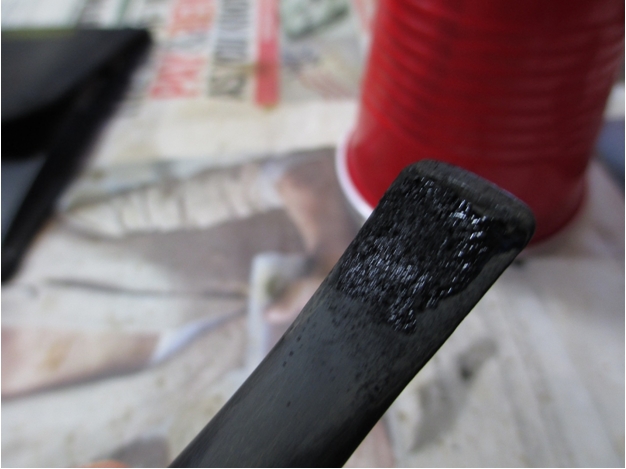
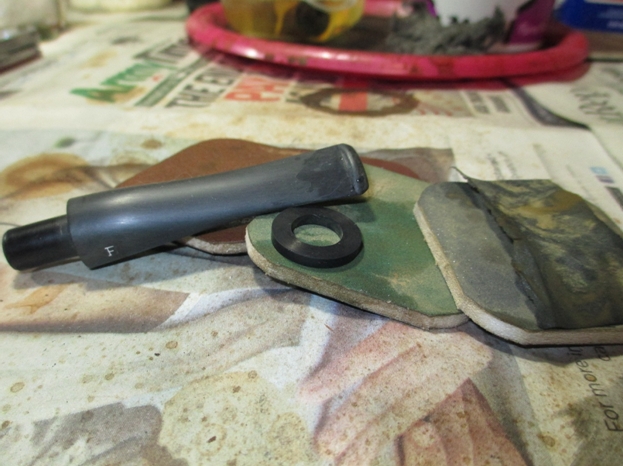
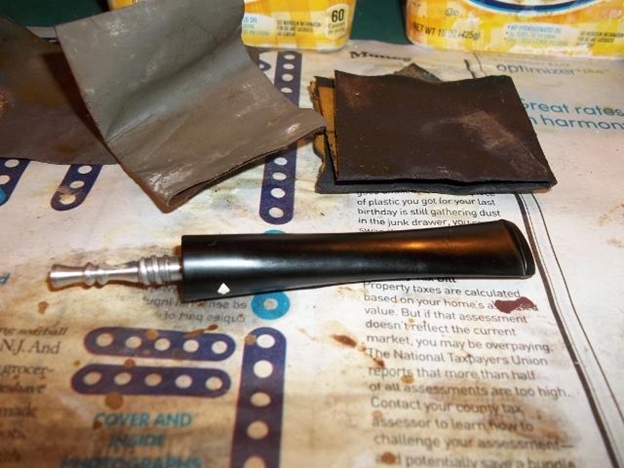
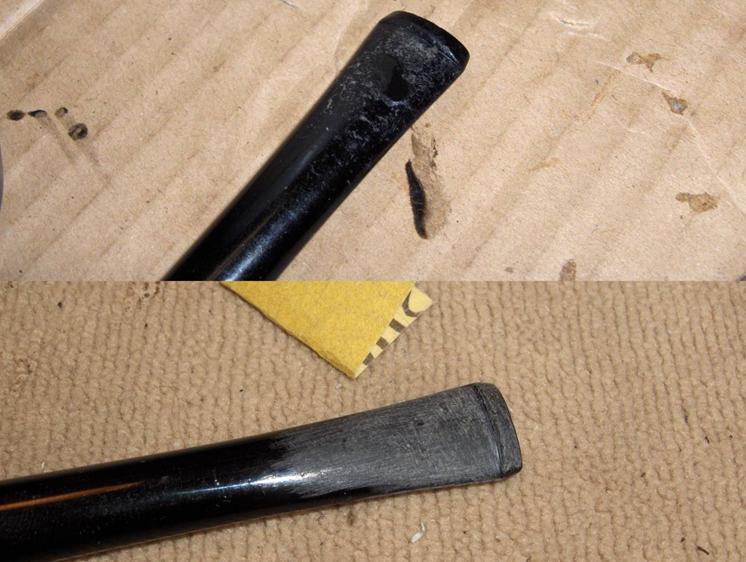 While I was working, I decided that I didn’t like how worn and rounded the edge of the button had become. So, I decided to build a new, sharper edge. I wrapped clear packing tape around the stem to mask it just below the button. I built up the layers until it was the depth that I wanted my new button to be. Then, I used a flat toothpick to “paint” black CA glue (thick) along the edge of the mask and dripped activator over it when I was satisfied with the coverage. Before the glue could completely set up, I quickly peeled the tape away to reveal my new (although rough at this point) button edge.
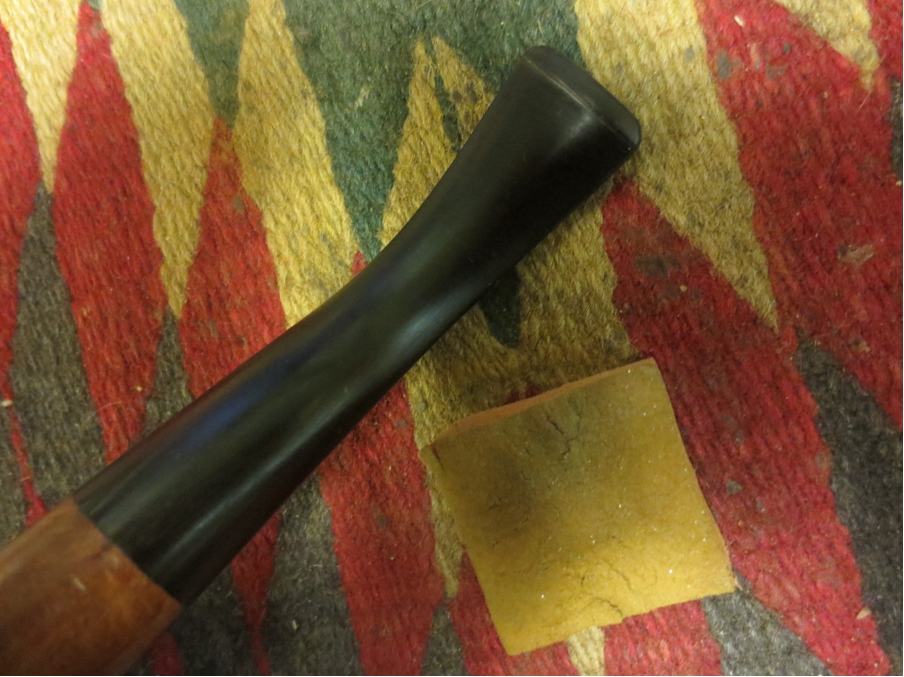
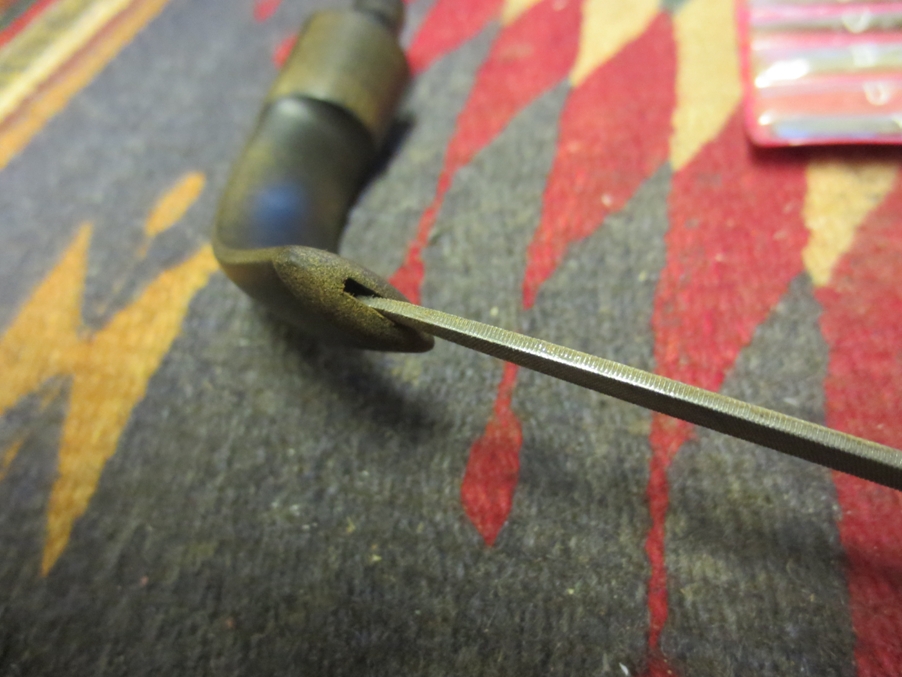
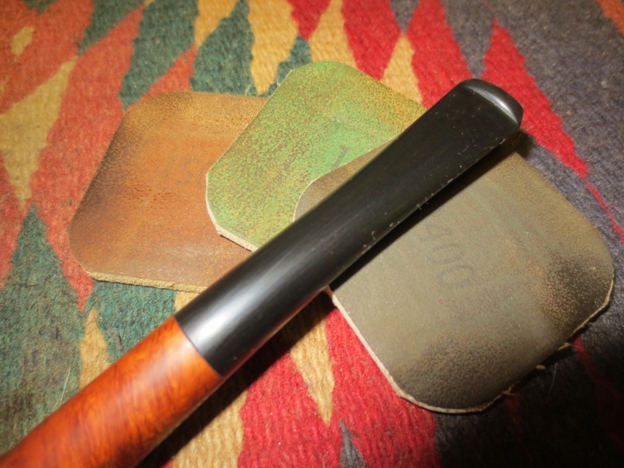
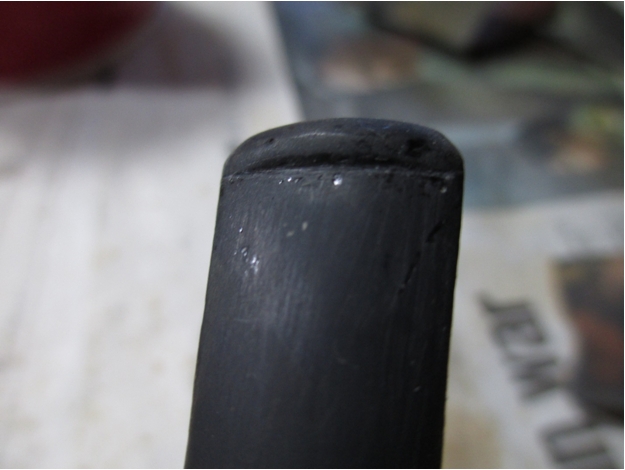
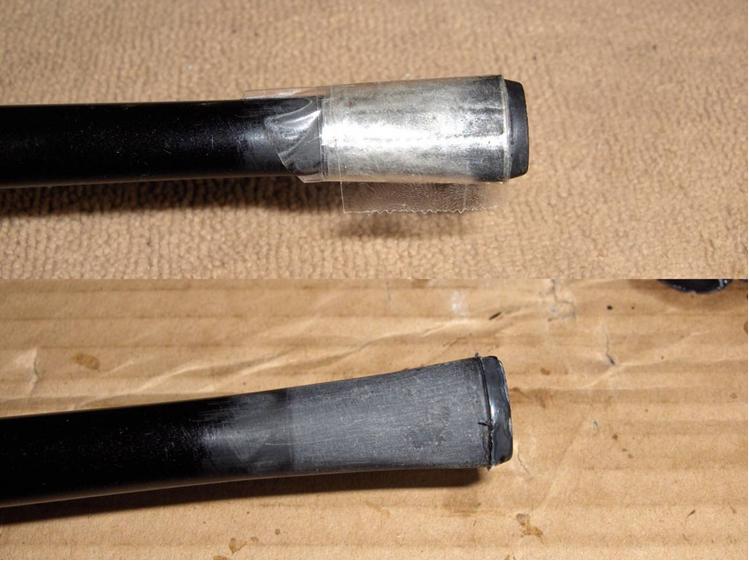 I used 220-grit paper and a sanding file to start shaping the button, and then 320-grit and 400-grit to refine the button shape and further blend the patch area. I also used 400-grit paper to remove the unsightly (to my eyes) molding seams along the sides of the stem. I placed a rubber washer over the tenon to preserve the sharp edge of the stem face and lightly sanded the entire stem with 600-grit and 1200-grit paper.
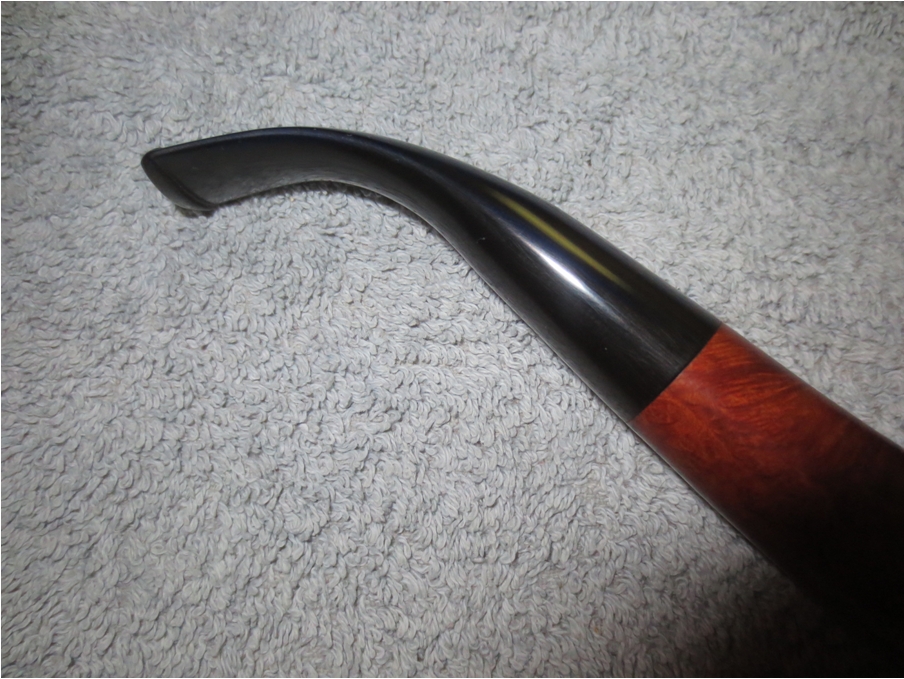
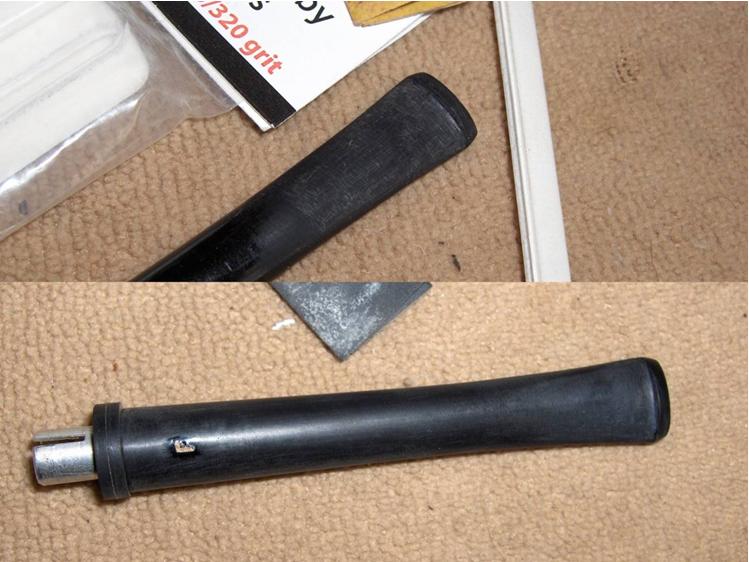 The stem logo was in fair condition, but the paint was cracked and discolored. So, I filled it in using a grout pen and carefully sanded off the excess with 1200-grit paper. The grout paint left a slight, white residue smeared around the logo, but that would be removed with further polishing.
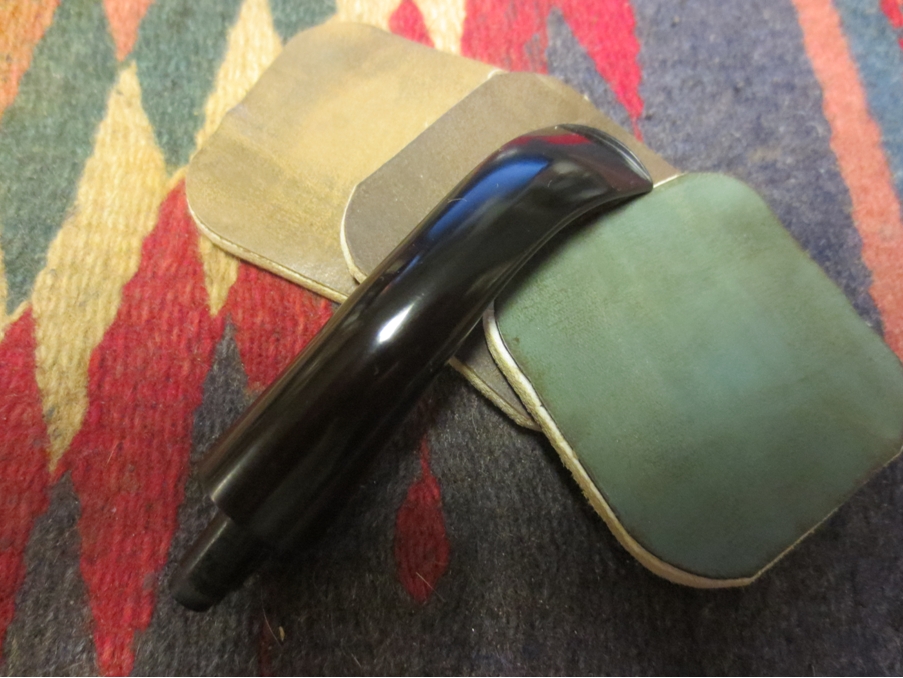
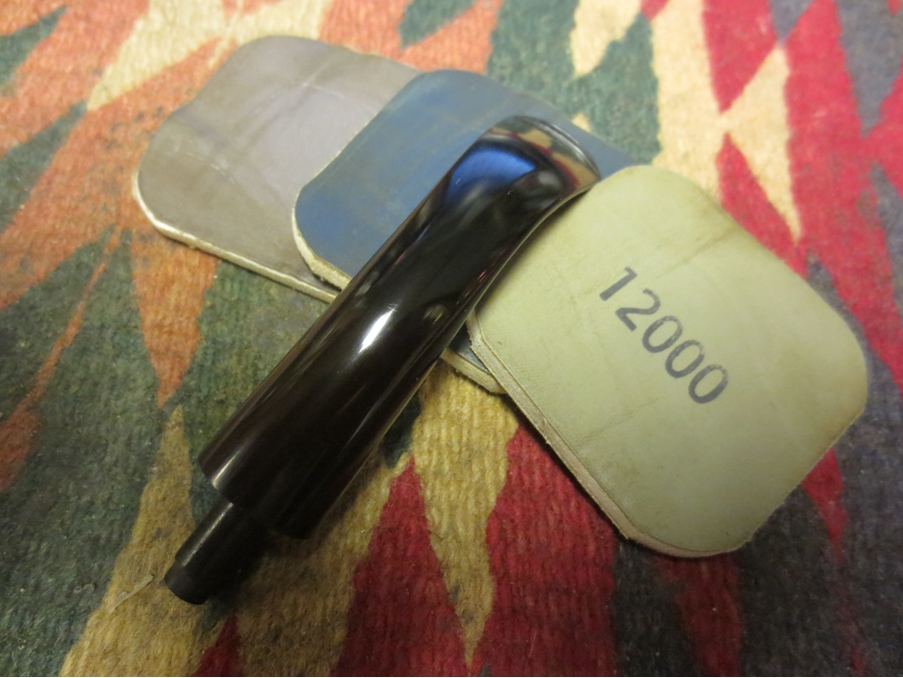
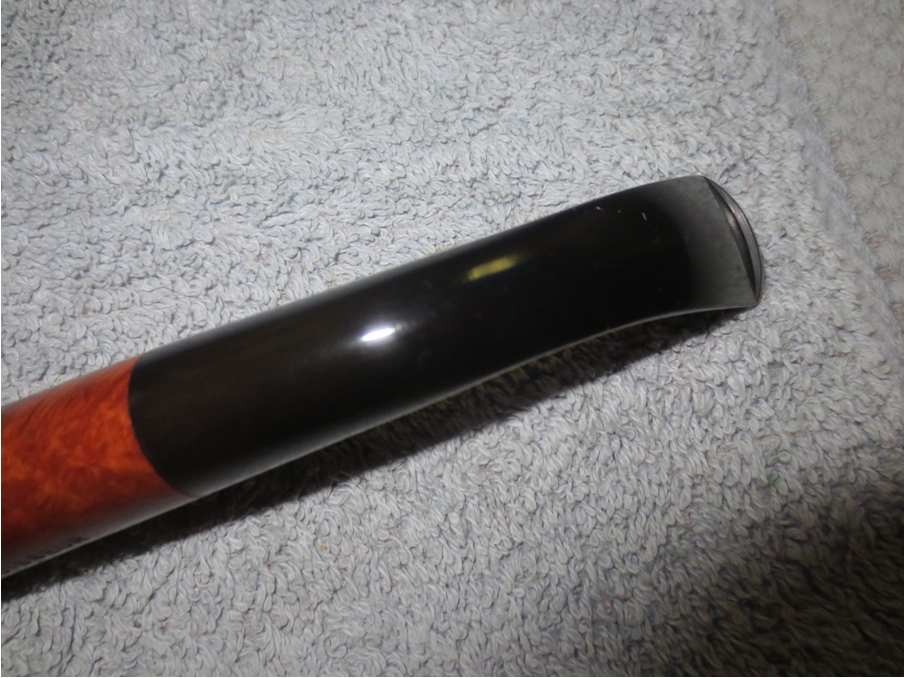
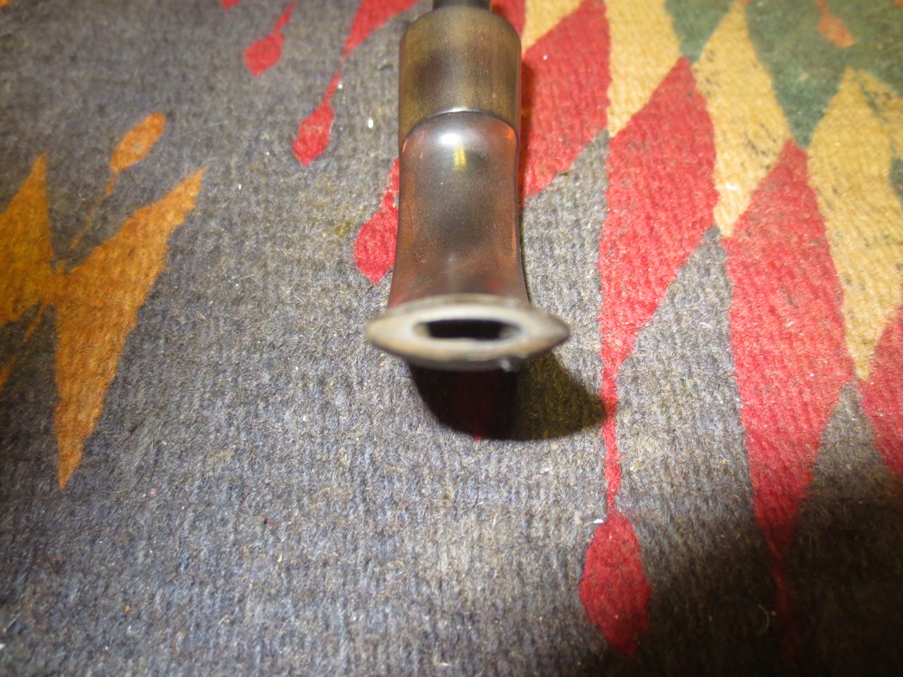
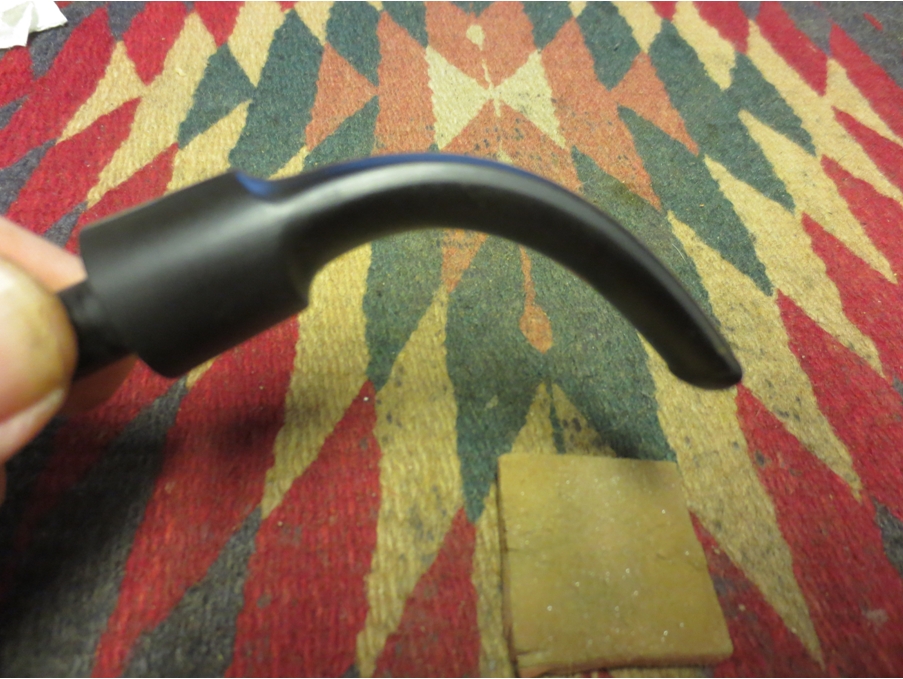
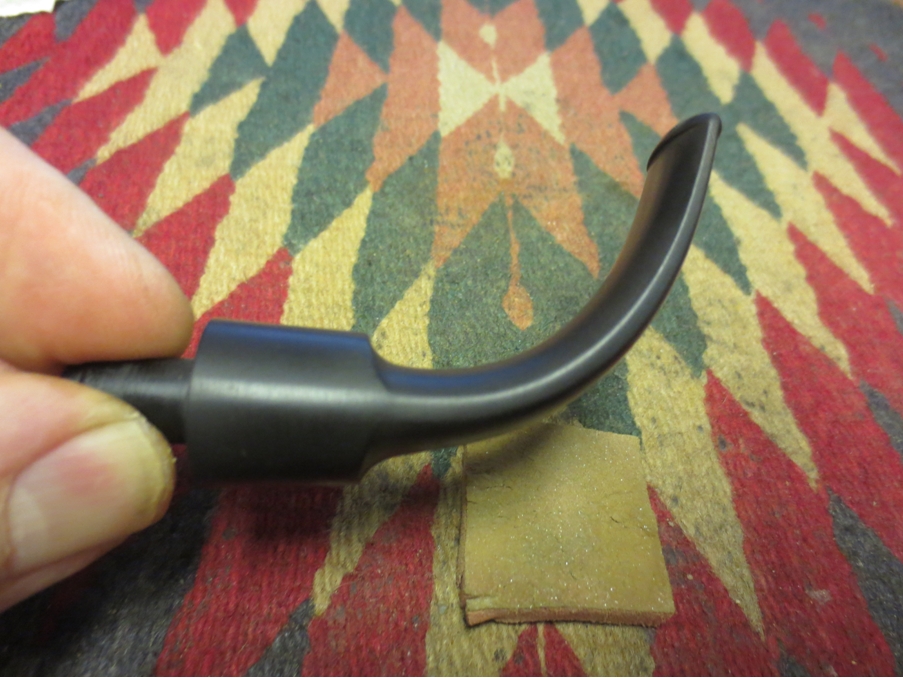
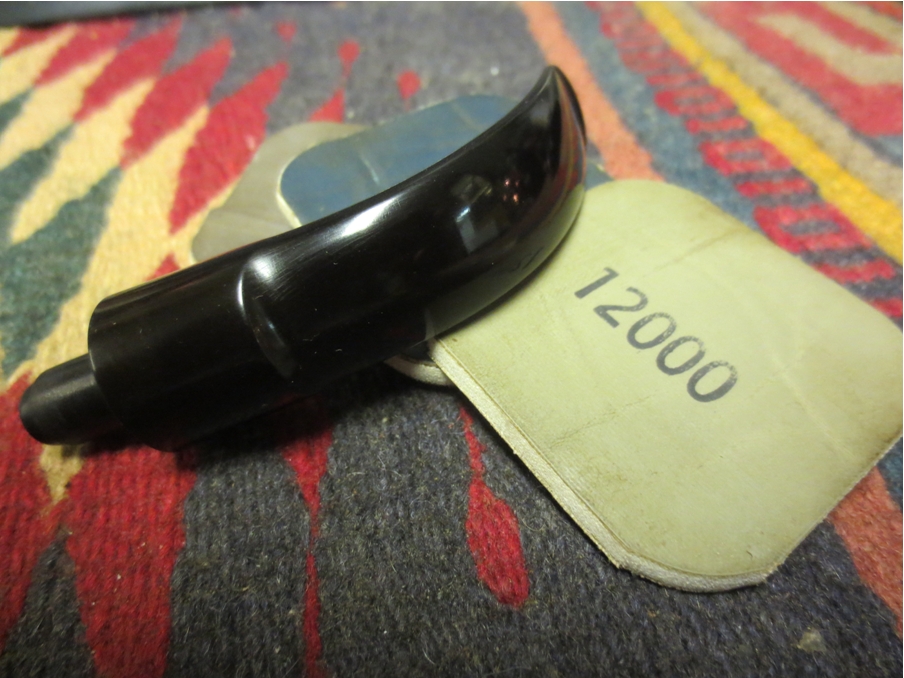
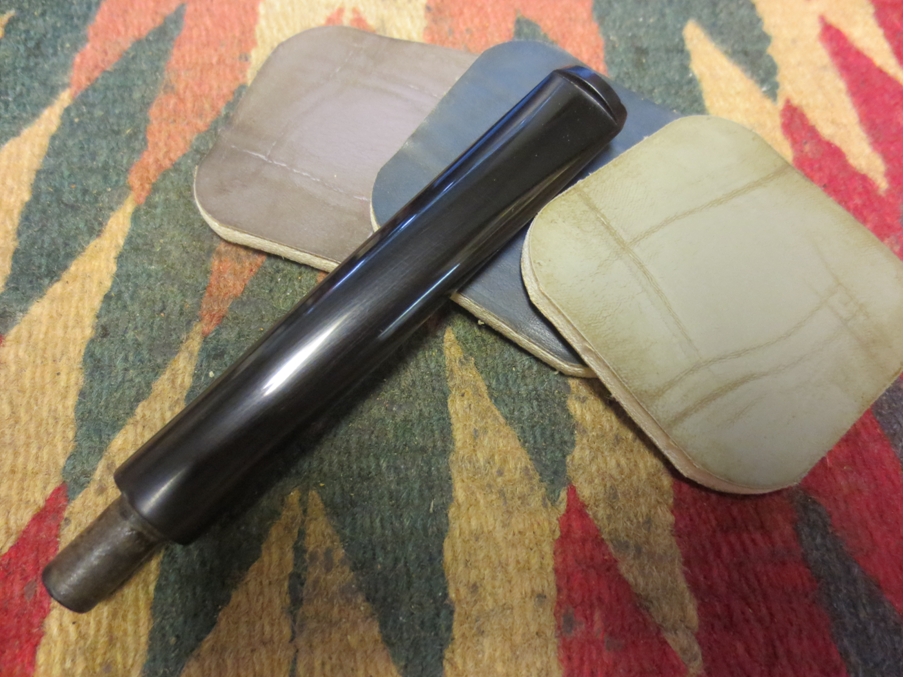
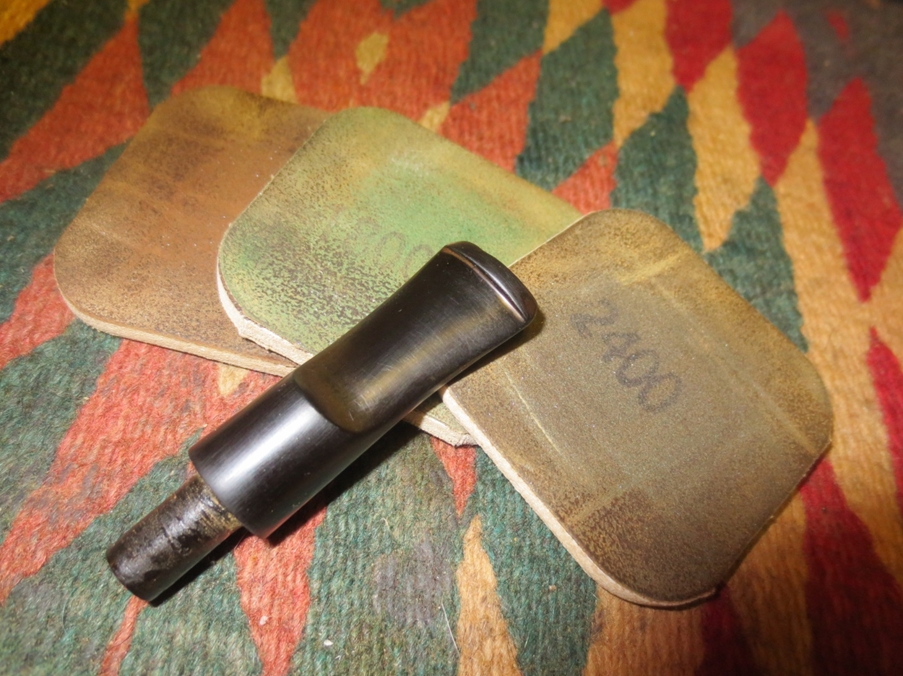
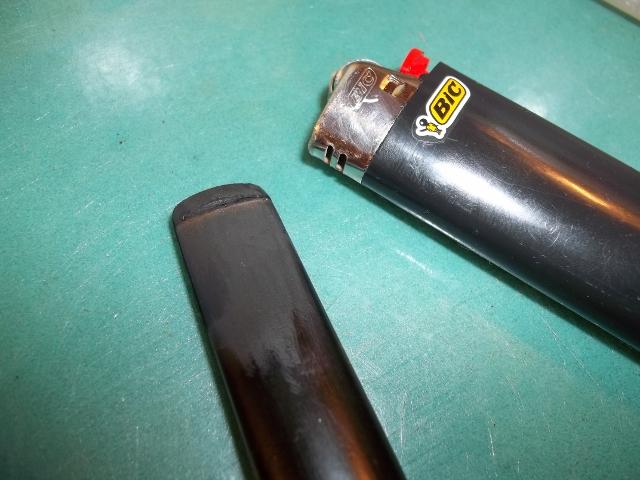
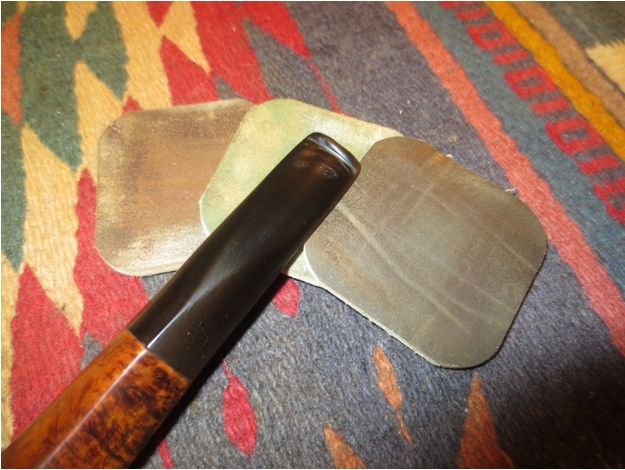
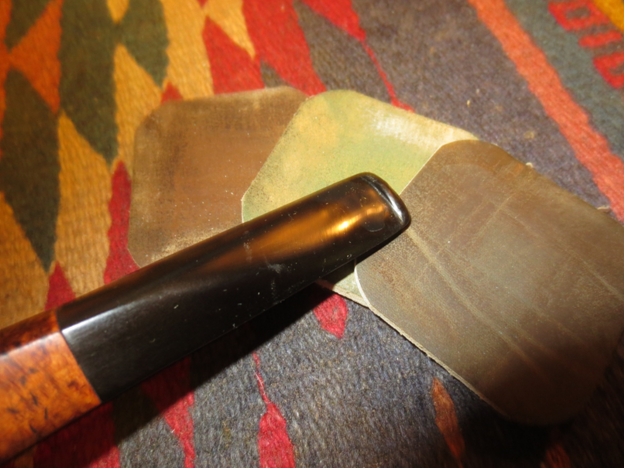
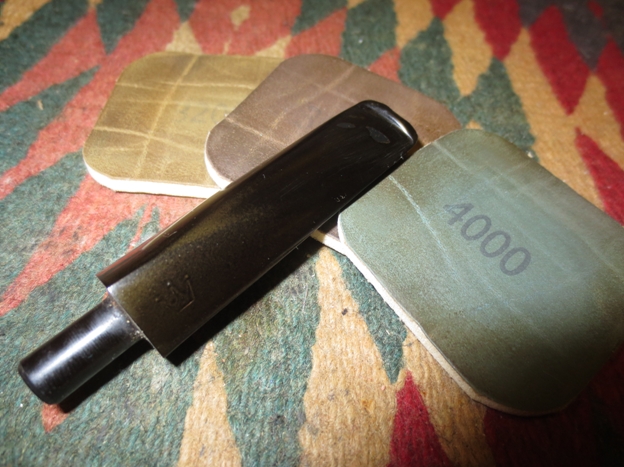
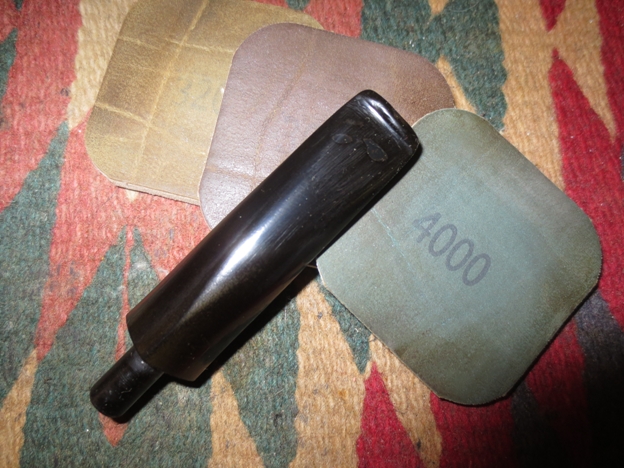
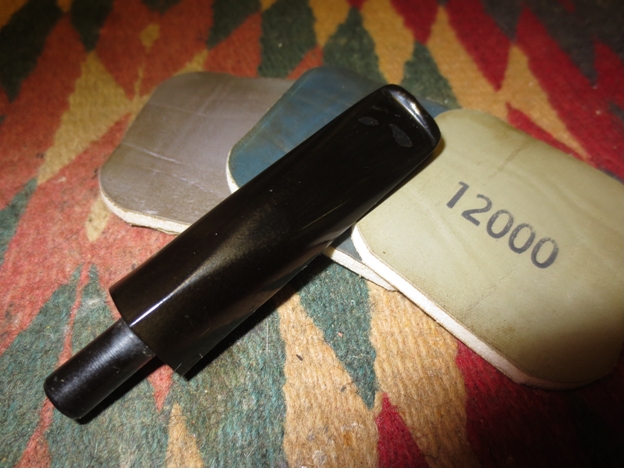
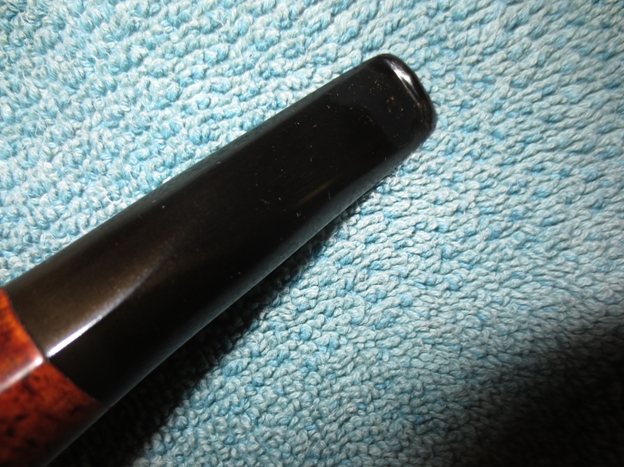
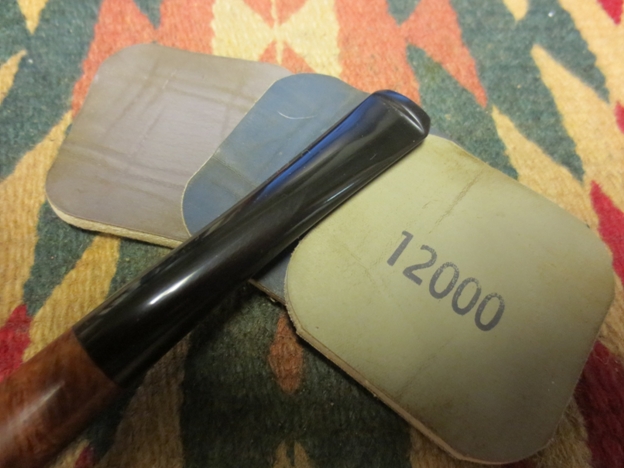
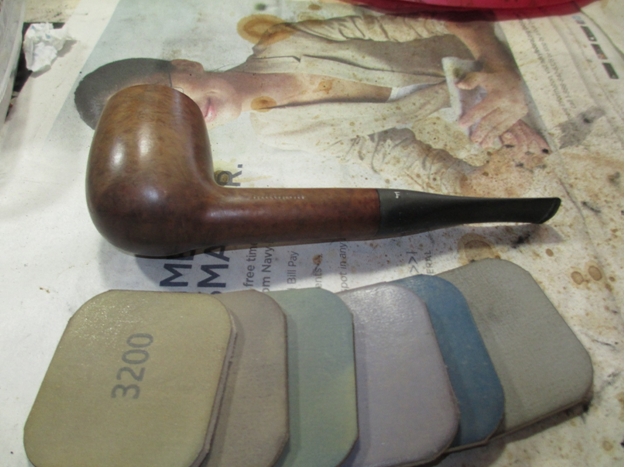
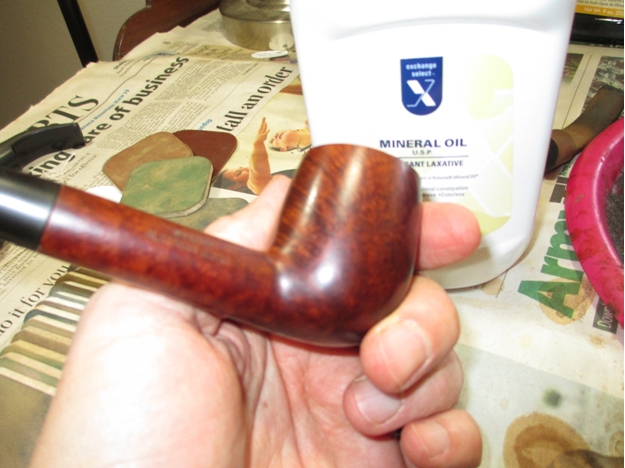
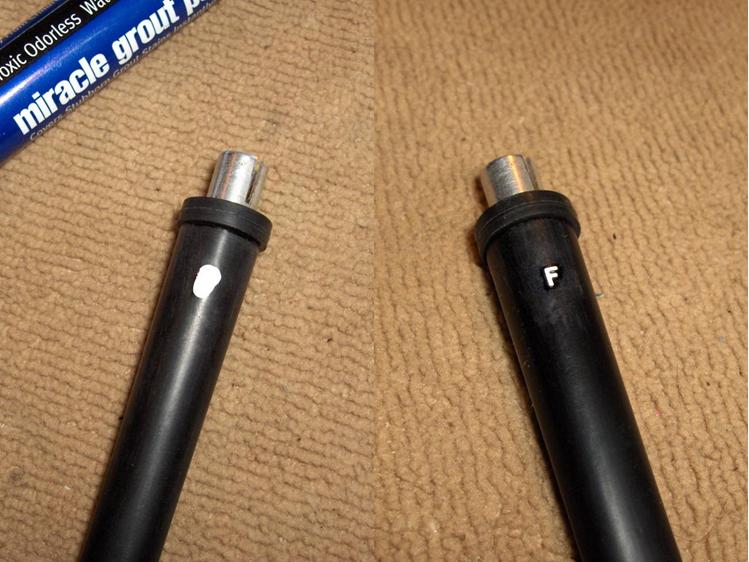 Before polishing the stem, I rubbed it down with a drop of mineral oil, let it sit for a couple of minutes, and wiped it away. I hoped that this would moisturize the surface a bit and maybe prevent some of the nylon fiber splintering that always seemed to leave behind fine scratches in the finished stem. Then, I polished with micro-mesh pads 1500-grit to 12000-grit. I added a second and third drop of oil between 2400/3200 and 4000/6000 pads. I was pretty pleased with the results. The final stem was much more blemish-free that the previous nylon stems I’ve worked on.
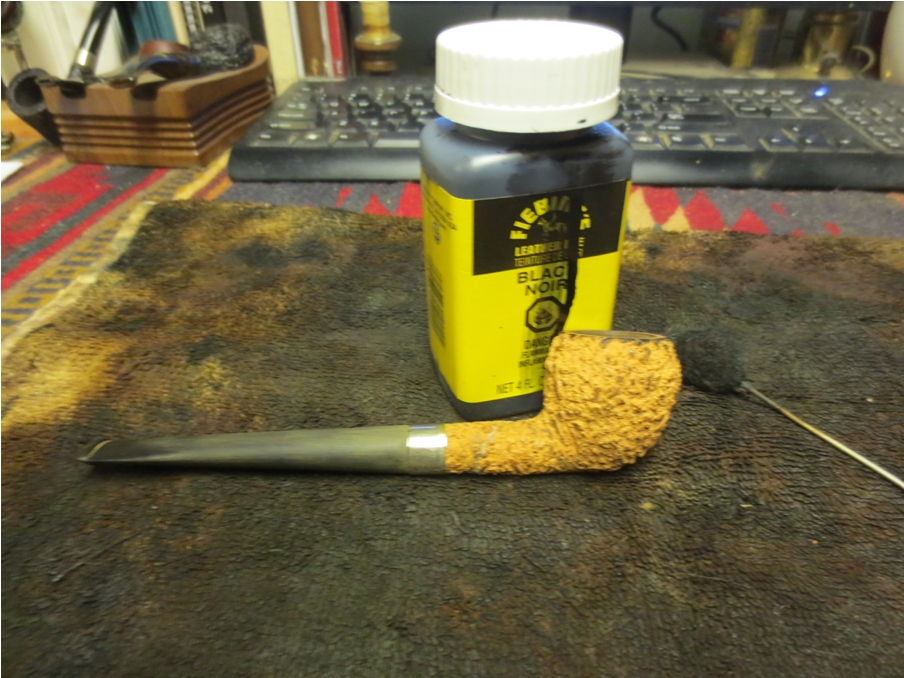
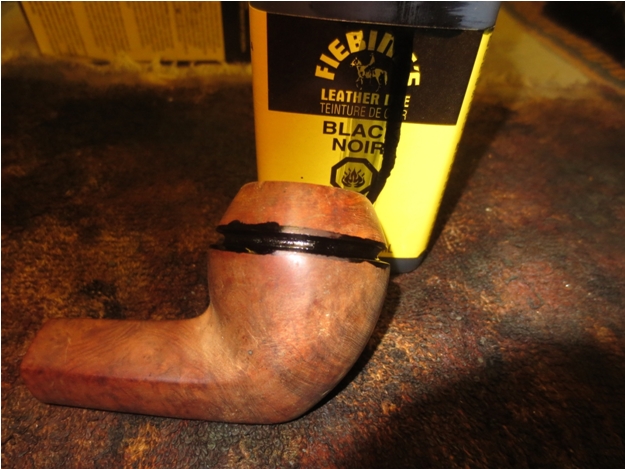
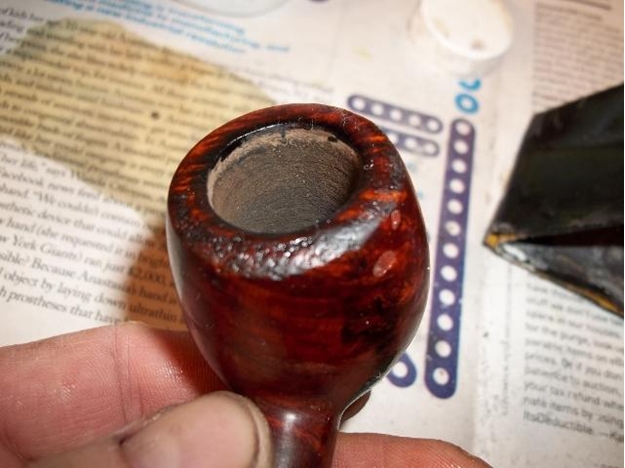
With the stem finished up, I returned to the metal ferrule that I had set aside earlier. I gave it a once over with #0000 steel wool, and then polished it with Semichrome polishing paste and a soft cloth. I buffed of the excess with my Dremel and a small buffing wheel to give it a nice shine. Back to the stummel, I applied a 3:1 mixture of isopropyl alcohol and Fiebing’s black dye, hand-buffed the stummel with a soft rag to remove the excess, and then used 600-grit paper to remove the scratches and most of the dark stain except for inside of the carved rustications and what had set into the grain. I also made small adjustments to the width and angle of the rim chamfer with the sandpaper to make sure that it was even all the way around.
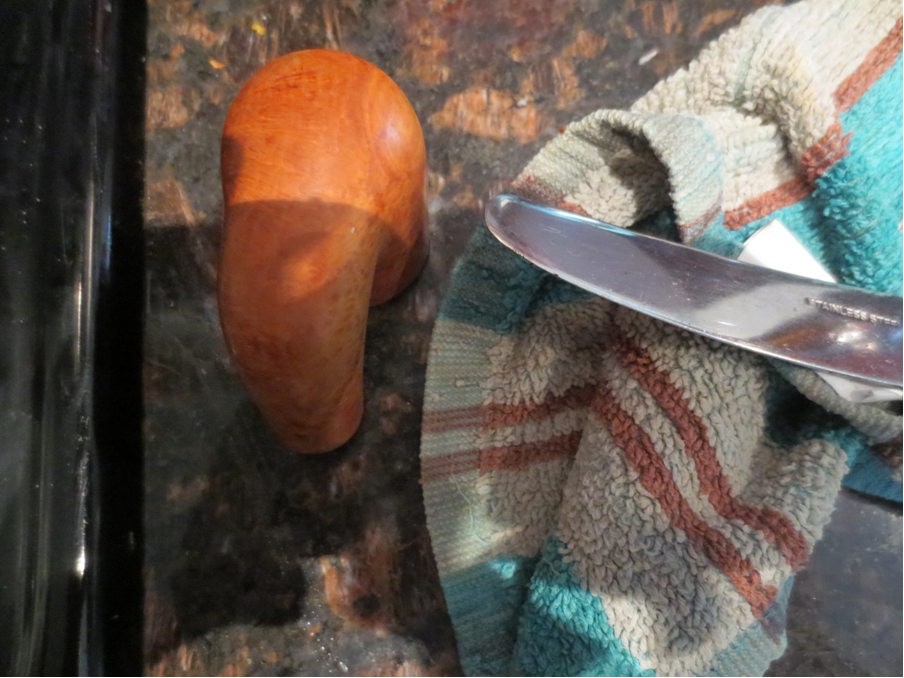
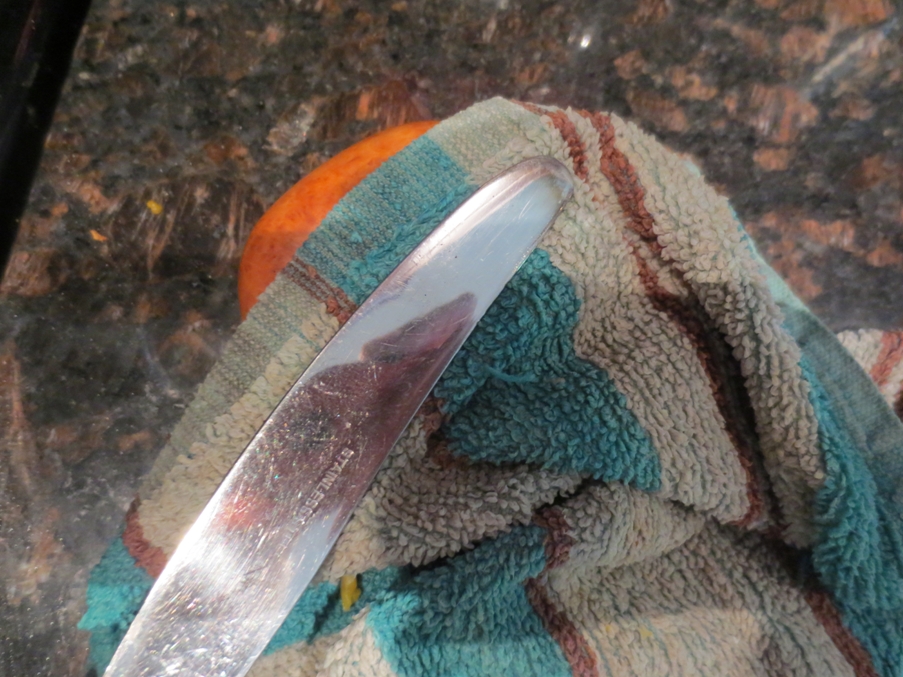
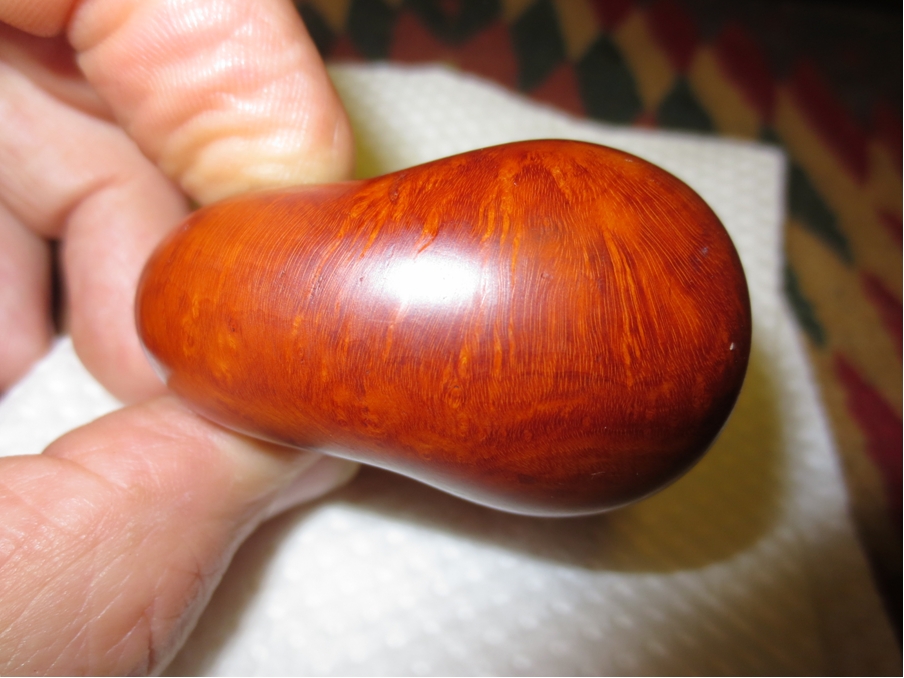
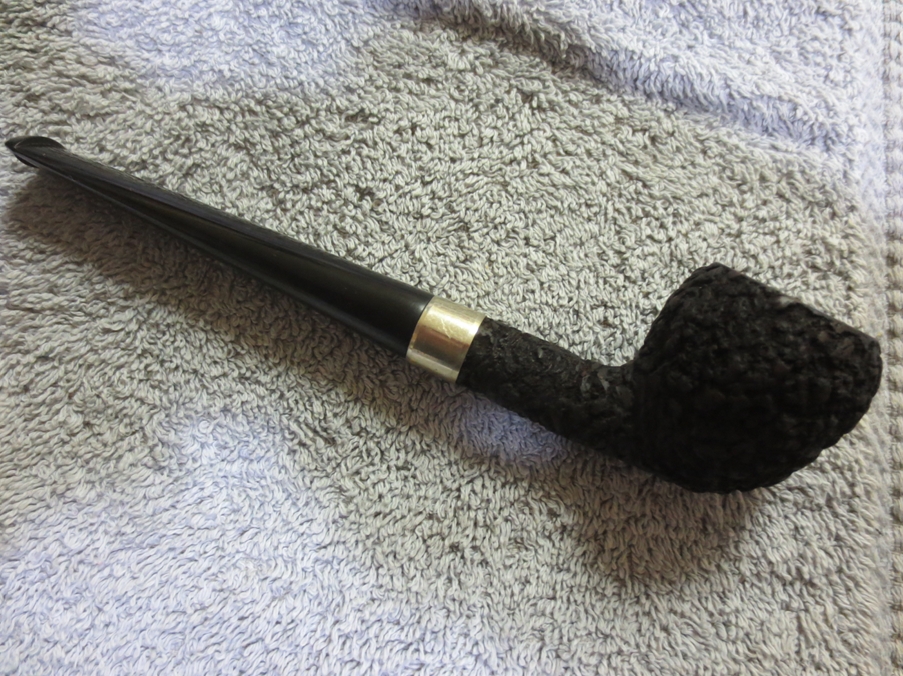
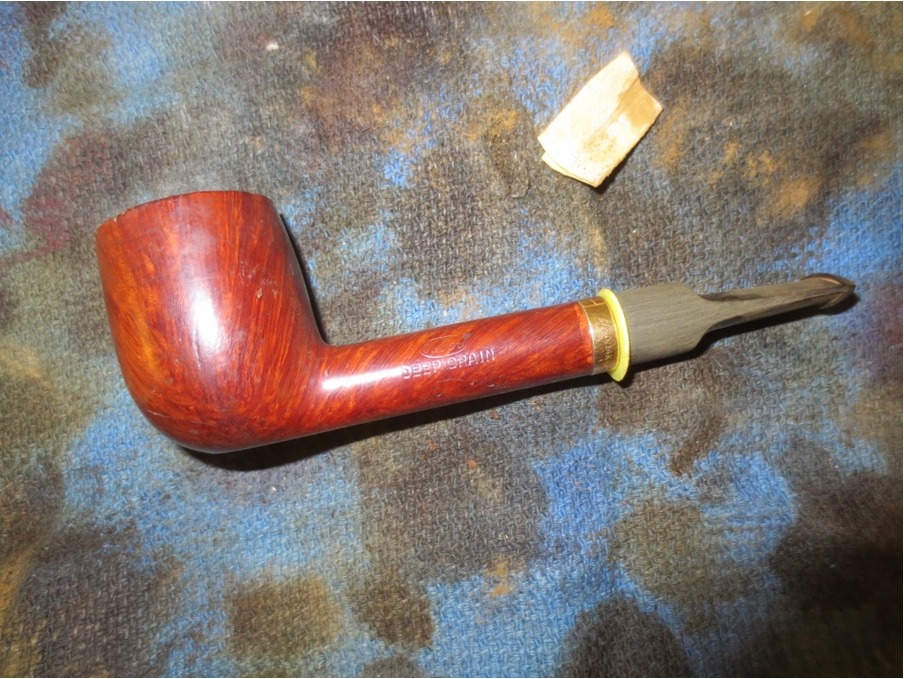
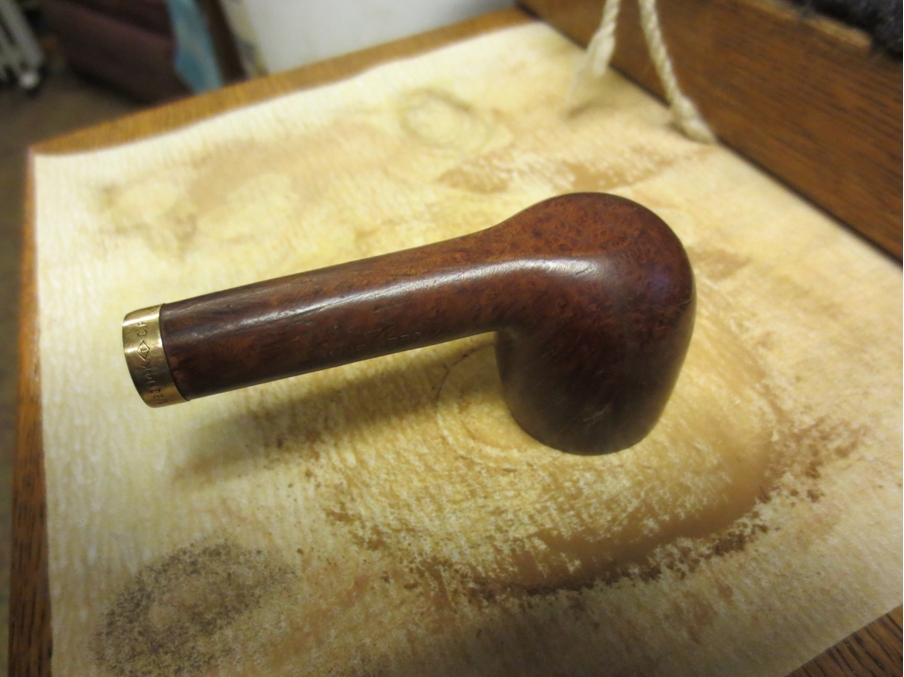
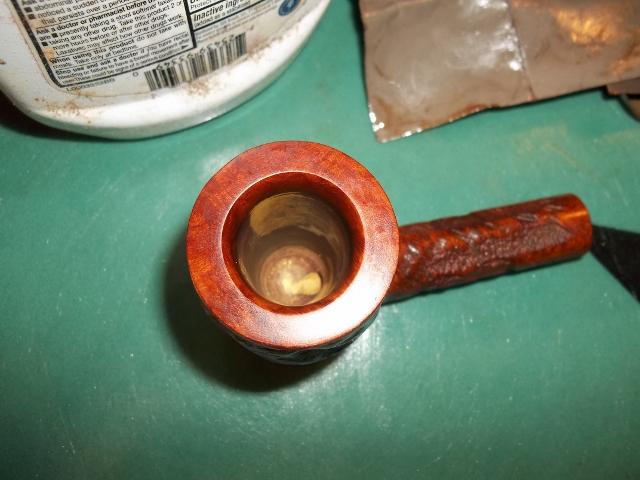
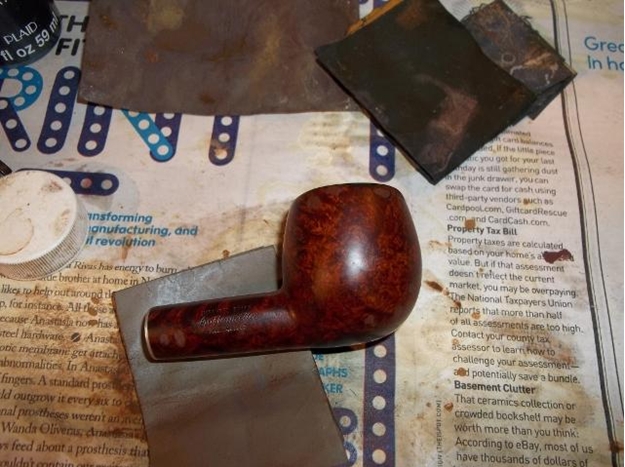
Next, I applied a 3:1 stain solution of isopropyl alcohol and Fiebing’s dark brown, buffed off the excess by hand, and lightly sanded the entire stummel with 1200-grit sandpaper to smooth the surface and soften the edges of the rim. Then, I applied a 3:1 solution of ox blood stained and hand buffed again.
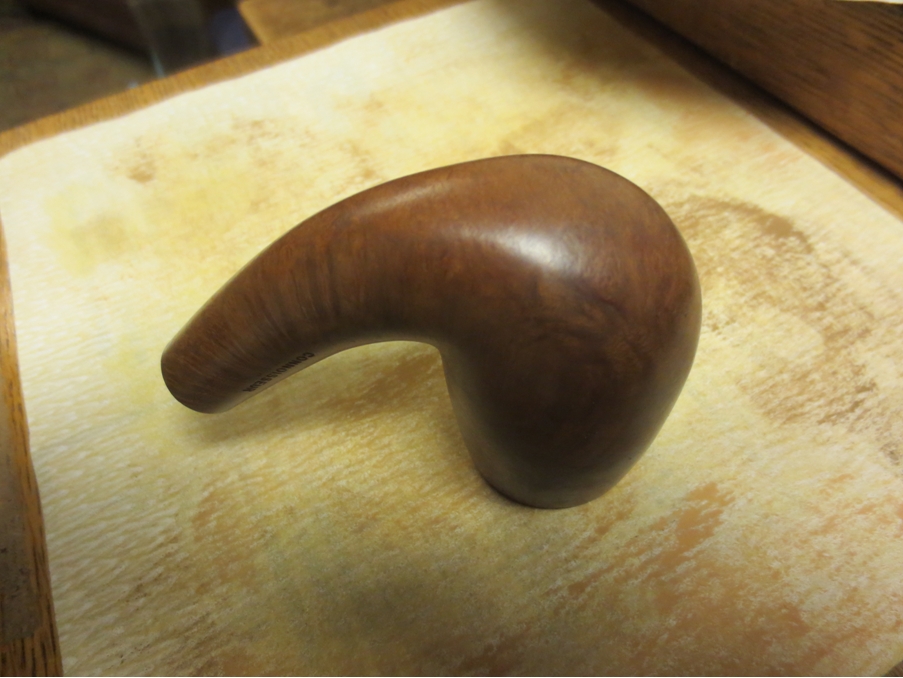
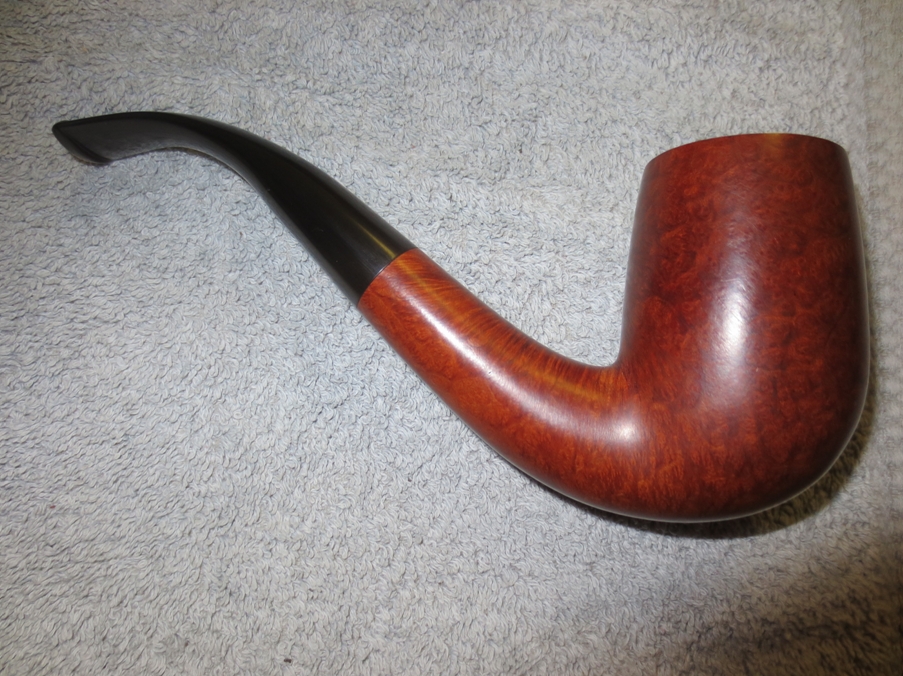
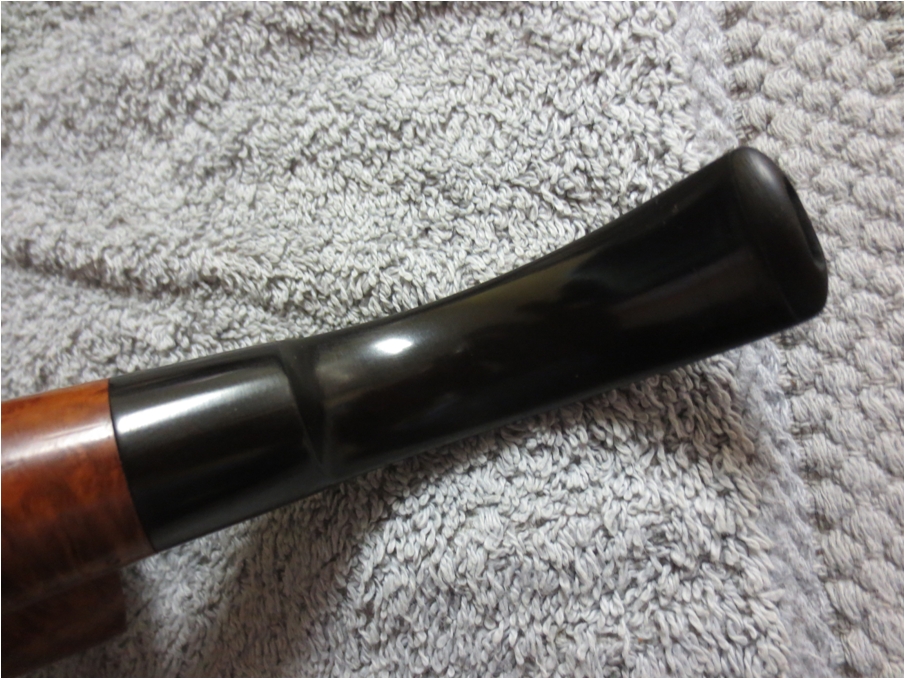
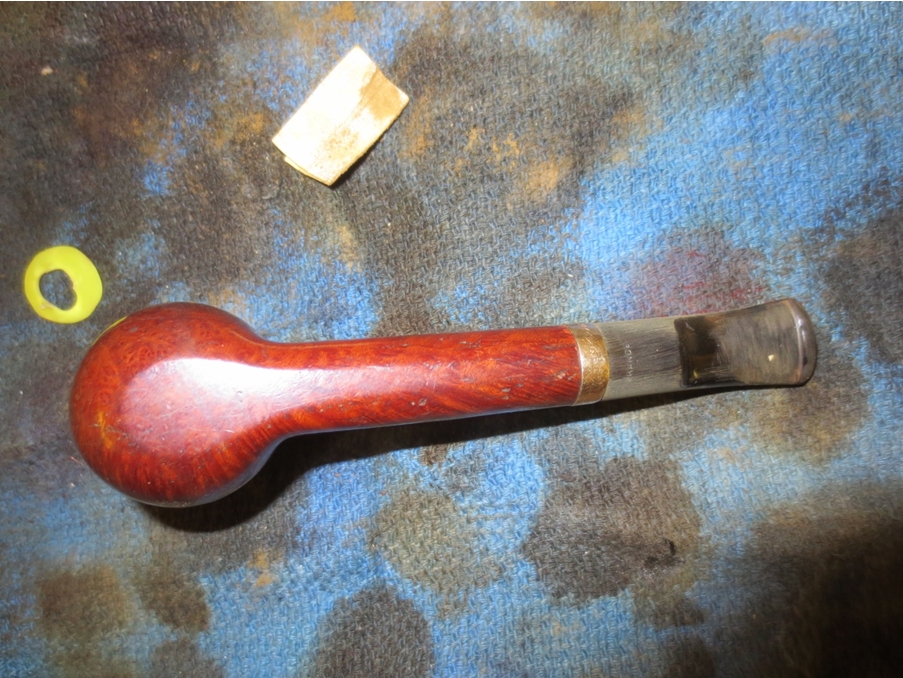
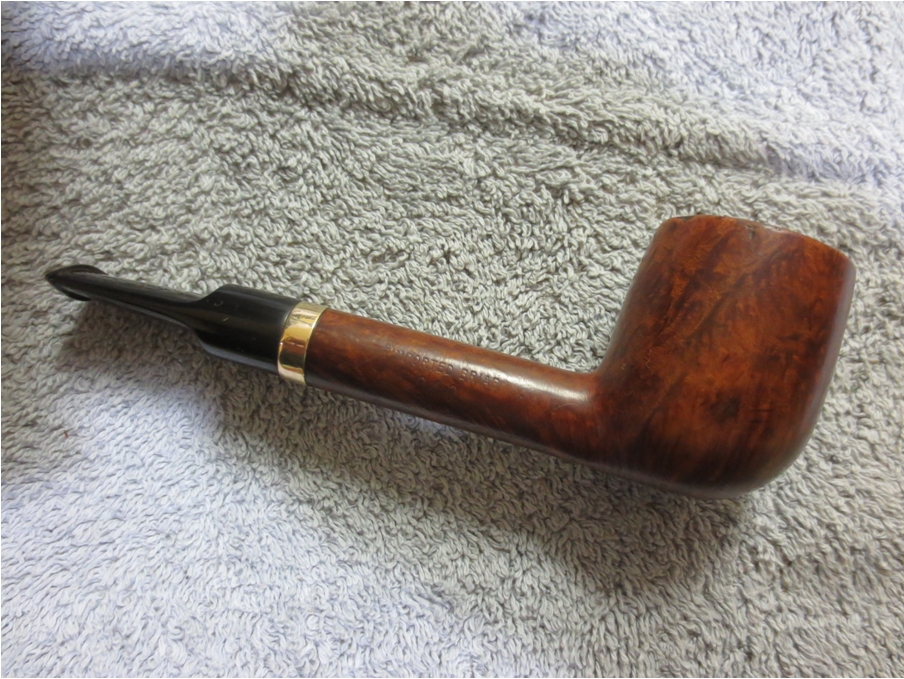
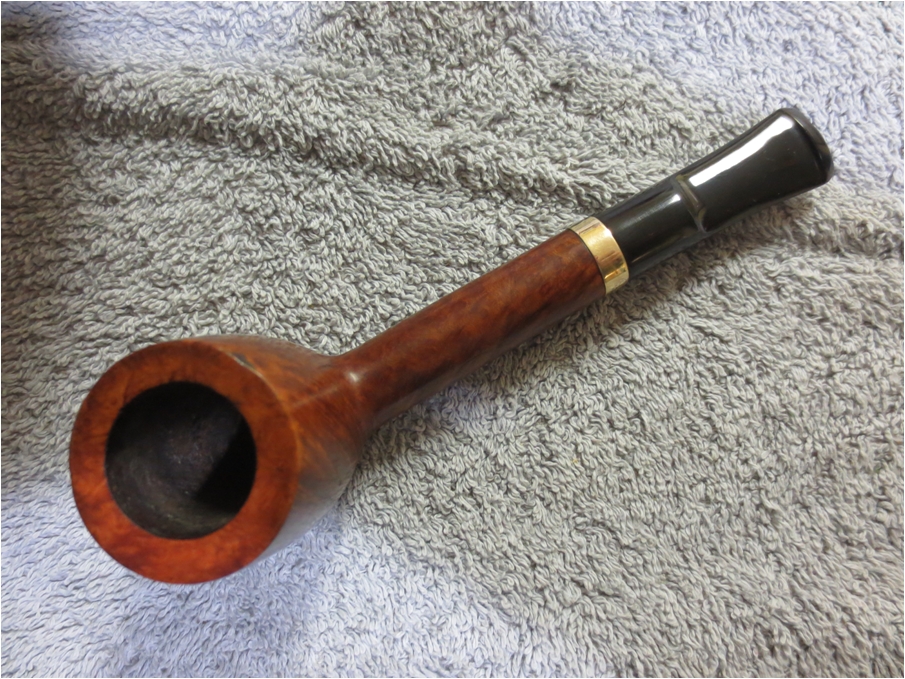
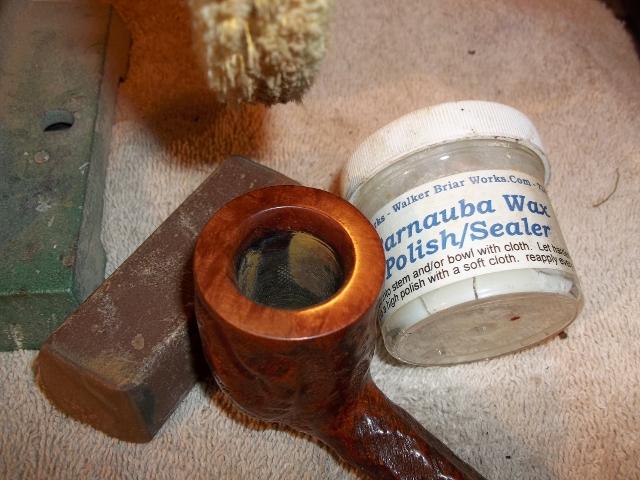
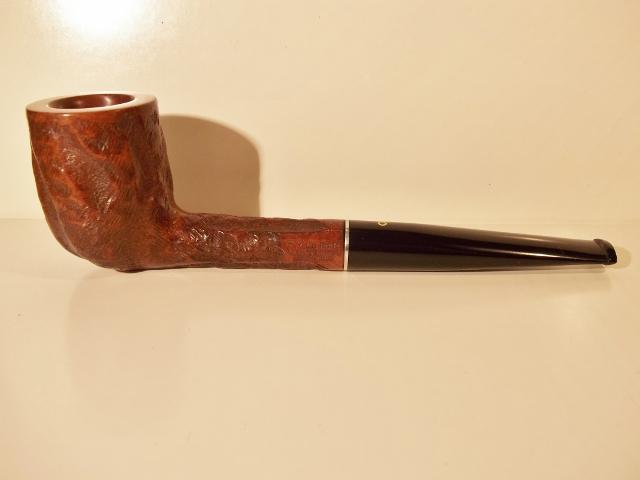
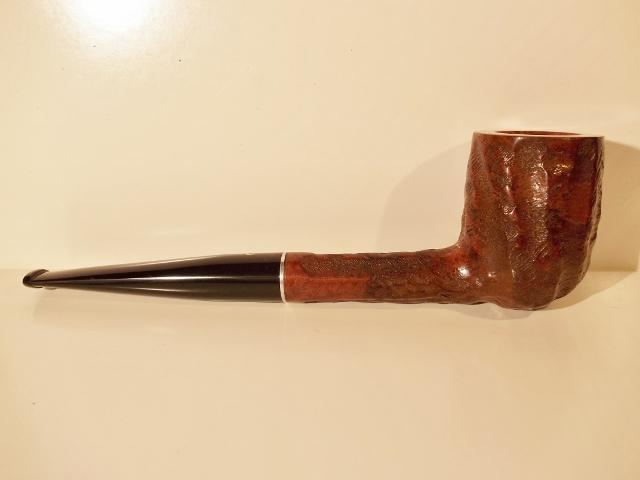
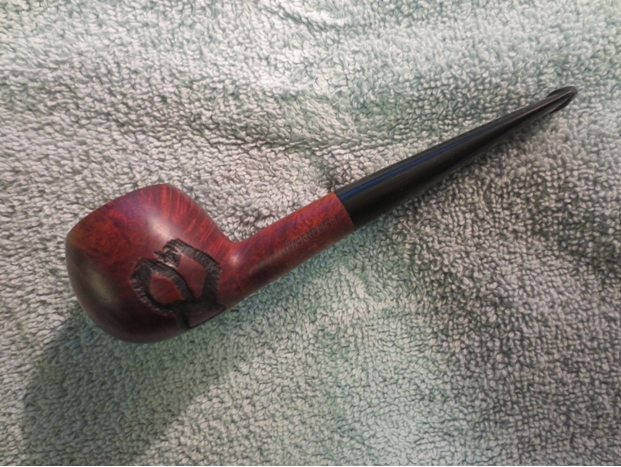
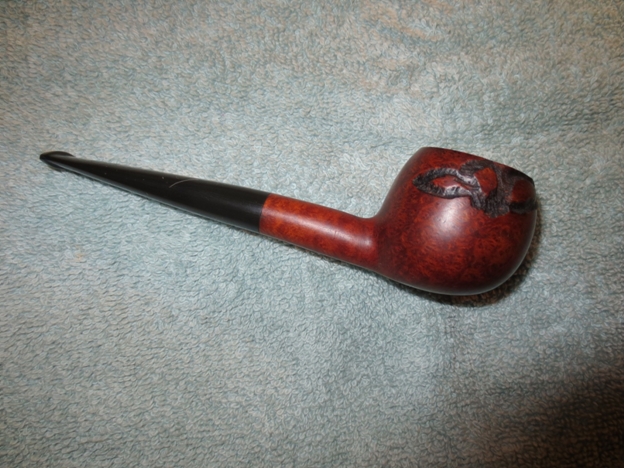
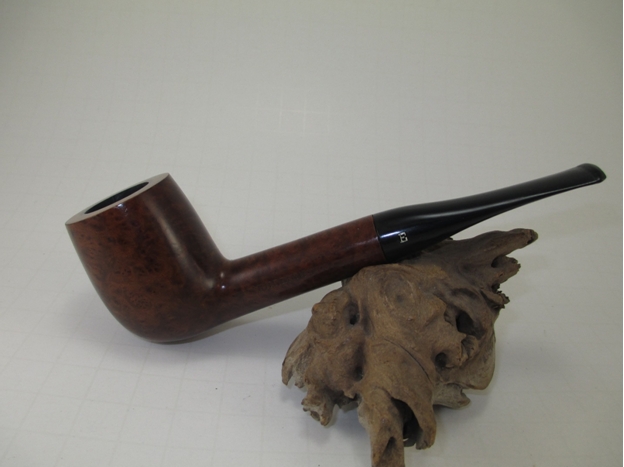
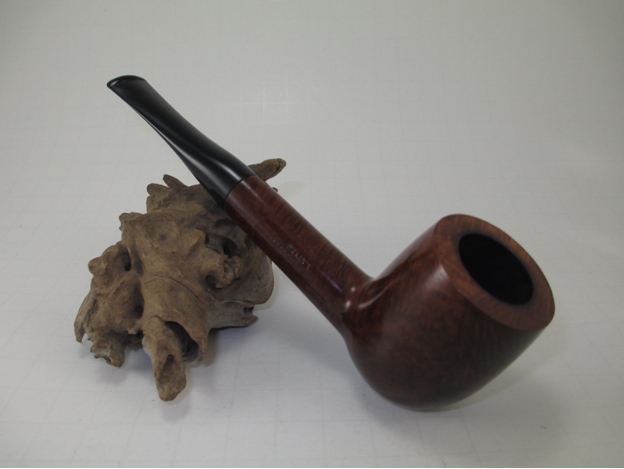
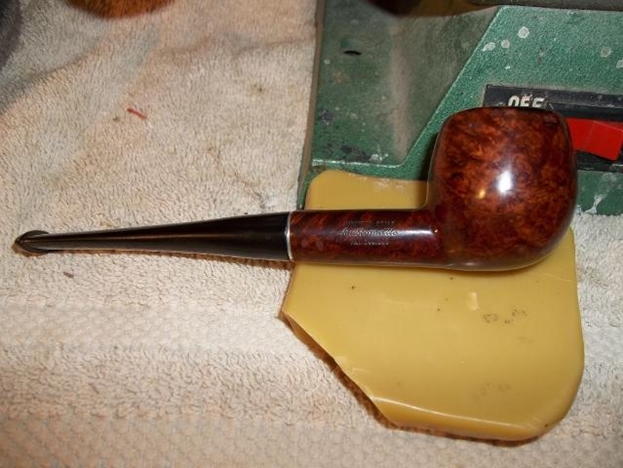
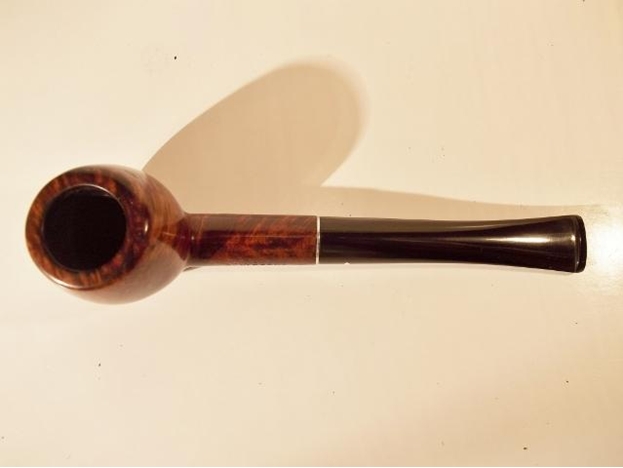
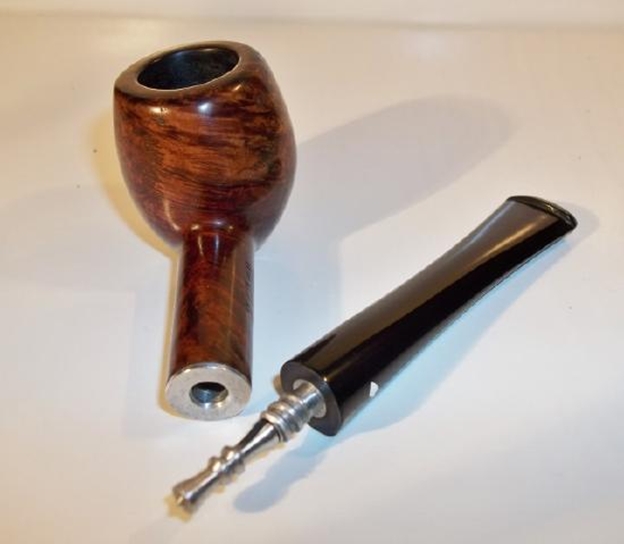
Finally, I polished the stummel with micro-mesh pads 1500-2400 before applying a 4:1 mahogany dye mix. I wiped the stummel down with an alcohol dampened cloth until I achieved a dark copper color and finished up by polishing with the remaining micro-mesh grits.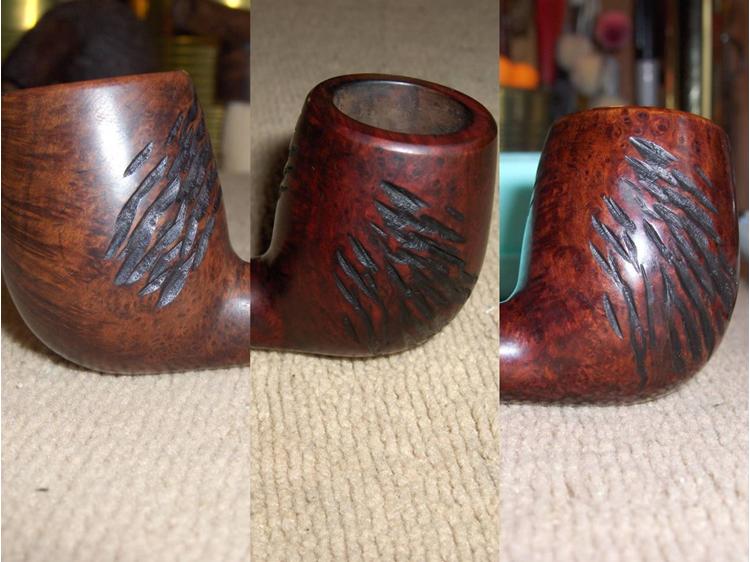 Then it was time to put all of the pieces back together and give the pipe the final touches. I reattached the ferrule to the stummel with some 5-minute epoxy. When that had set, I applied a bowl coating mix of sour cream and activated charcoal to help promote the cake formation in the repaired chamber. I let that dry for about two hours before reattaching the stem and taking the pipe to the buffer. I buffed the stummel and stem with White Diamond, and then I gave the pipe several coats of carnauba wax.
With all of that done, I turned in my first exam. I’m feeling pretty good about it, but I never really know how I’ve done on these things until the grades finally come back. I’m not going to worry about it now, though. I still need to cram for the second exam. It’s going to be a long night.