Blog by Steve Laug
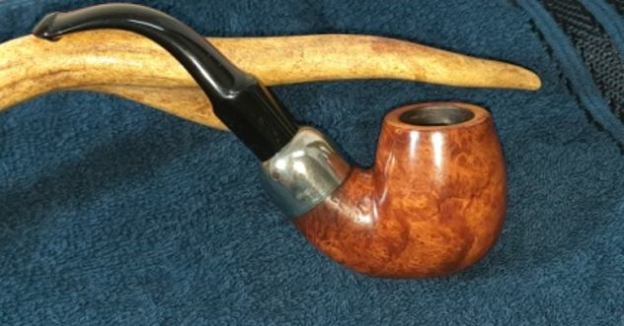
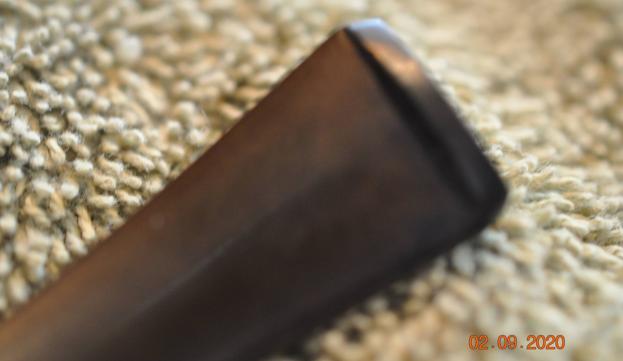
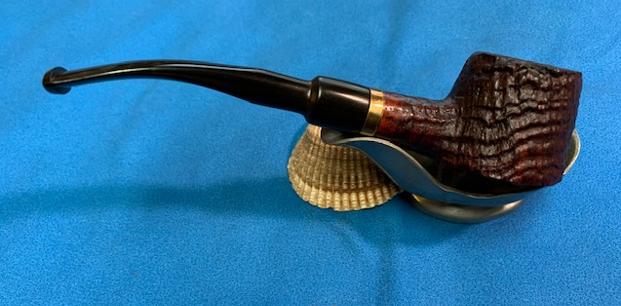
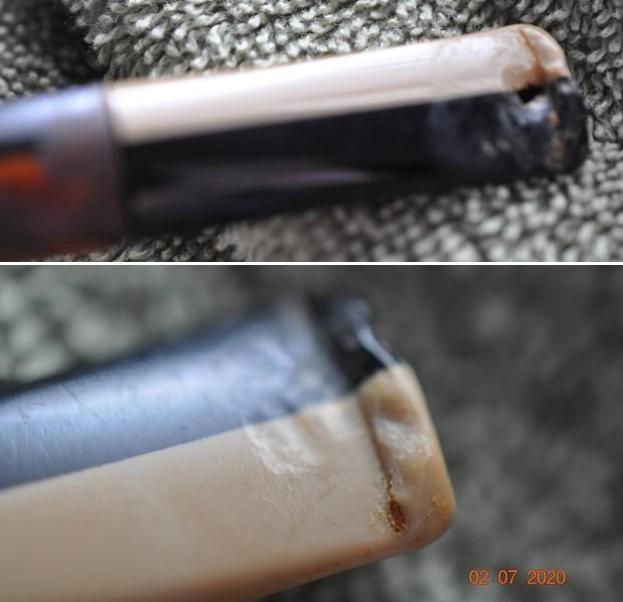
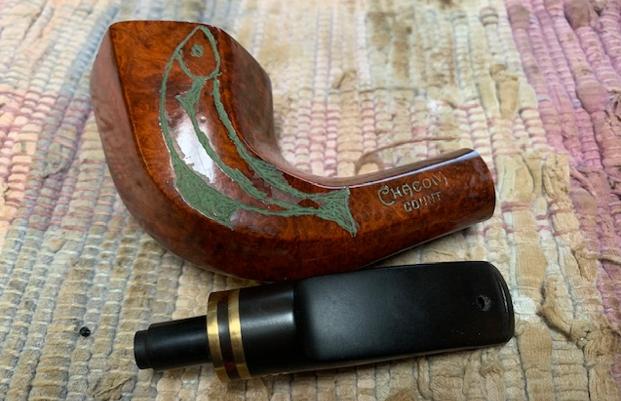
The next pipe on the table is a Butz-Choquin Spigot style pipe with a polished nickel ferrule and a polished nickel stem end. The pipe had classic shape and at first glance looked very good. We purchased this from an online auction late in 2020 in Elgin, South Carolina, USA. It had a rich finish somewhere underneath all of the debris, grime and damage to rim edges and sides. There was a thick cake in bowl and lava on the rim top. The rim top was uneven with dips and burns on the top. The front of the bowl had significant burn damage from the rim top down into the surface of the briar on the front. The left side had the same issue and had been worn away over time so that it was canted inward making that part of the bowl thinner on the side. The pipe is stamped on the left side of the shank Butz-Choquin at an angle [over] Casino and on the right side it was stamped St Claude in an arch over France [over] the shape number 1575. The nickel ferrule and stem end were oxidized and scratched. The stem was oxidized but had deep tooth marks on the top and underside near the button. The deepest marks were on the underside with one that was almost a bite through. The BC logo on the topside was faded and needed to be touched up. Jeff took photos of the pipe before he started his clean up work.
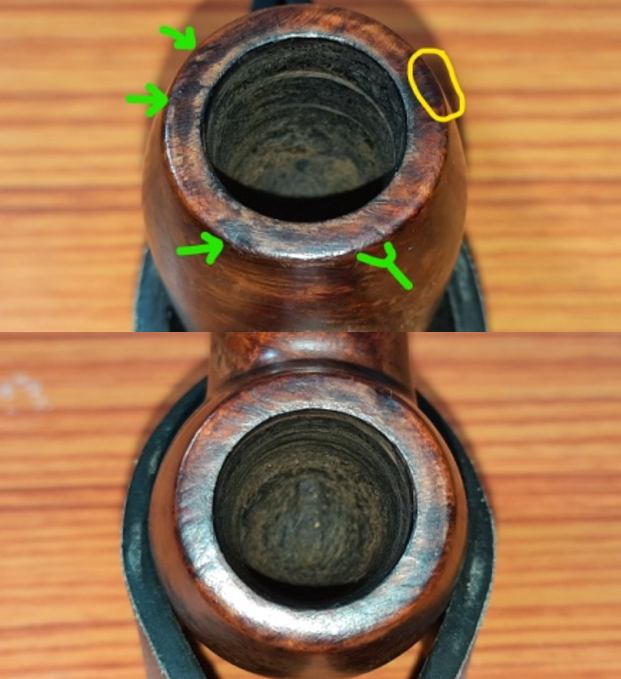
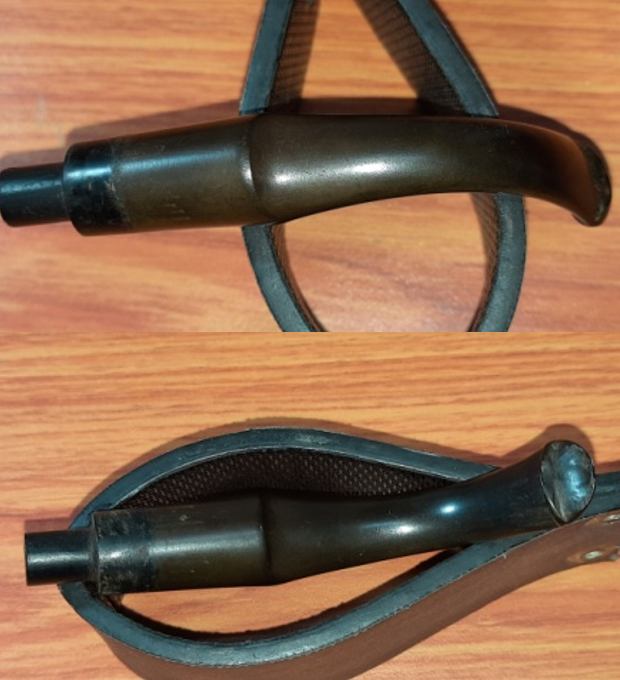
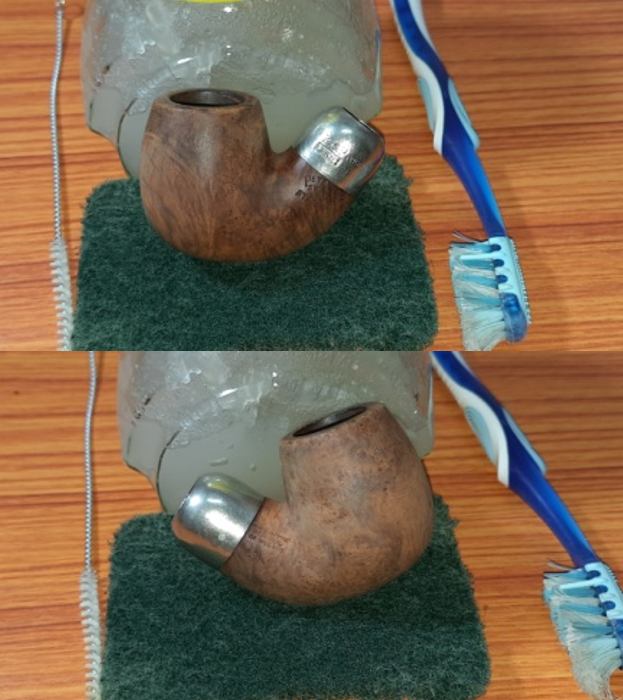
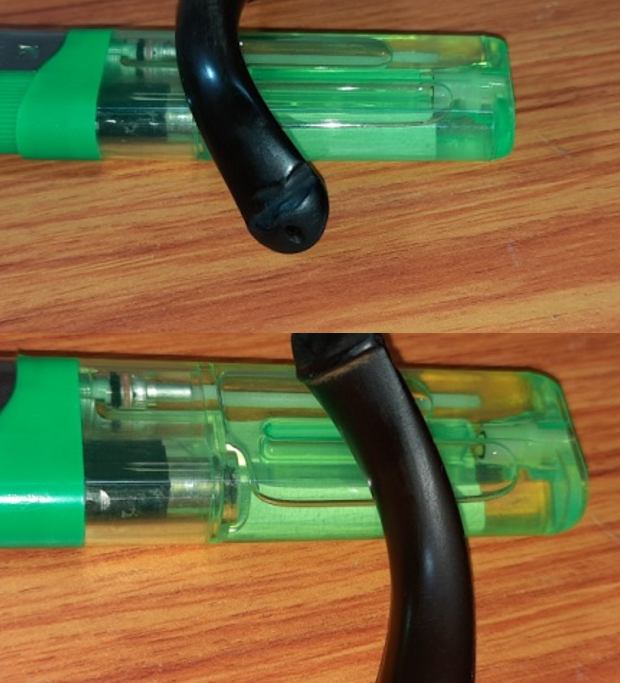
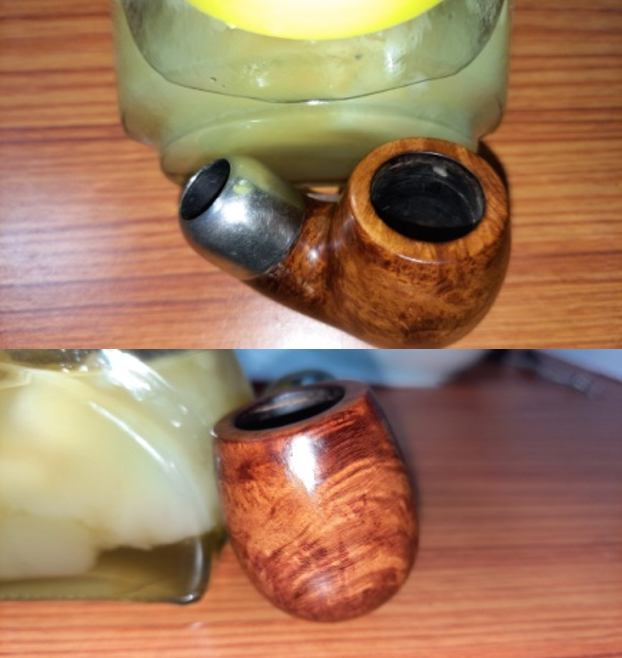
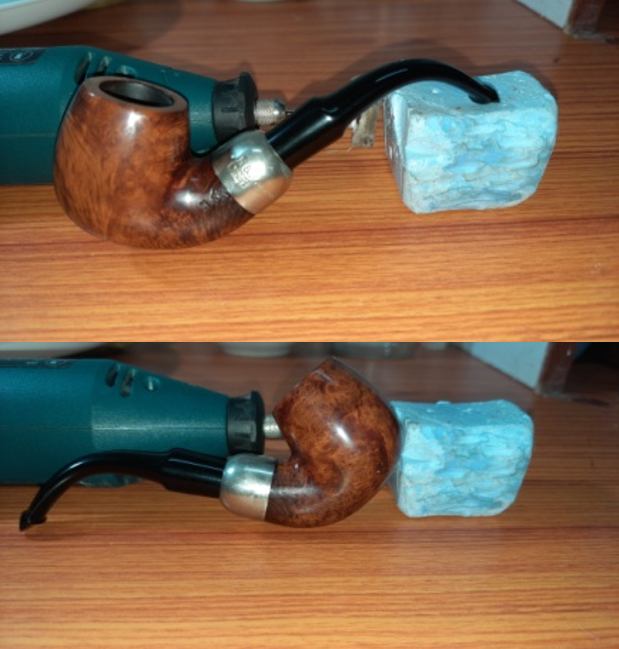
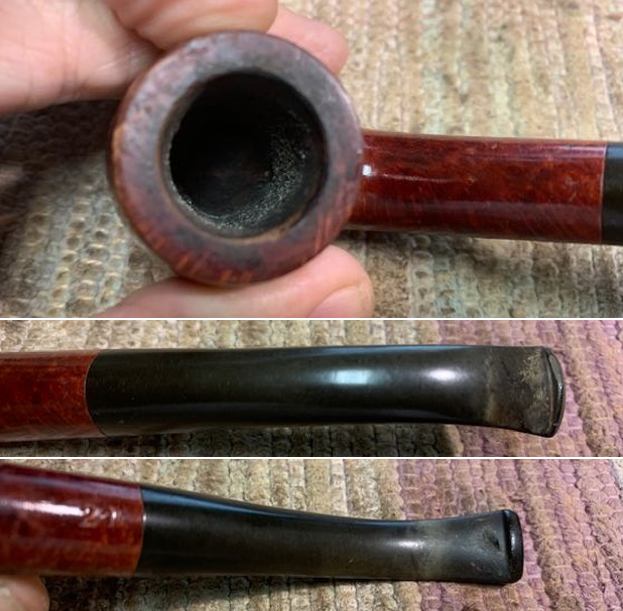
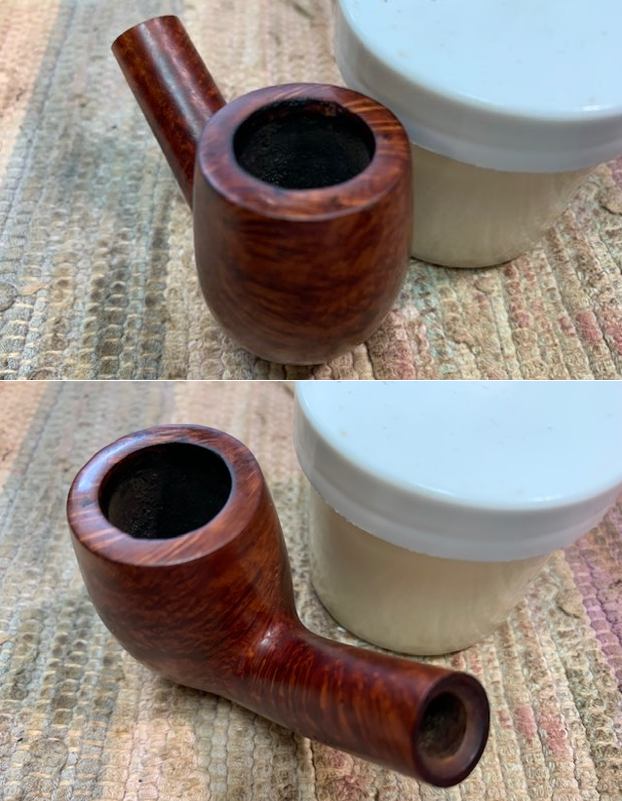
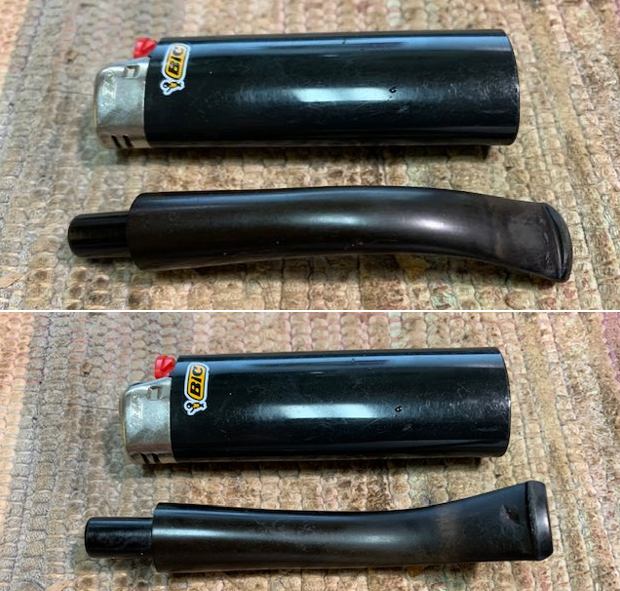
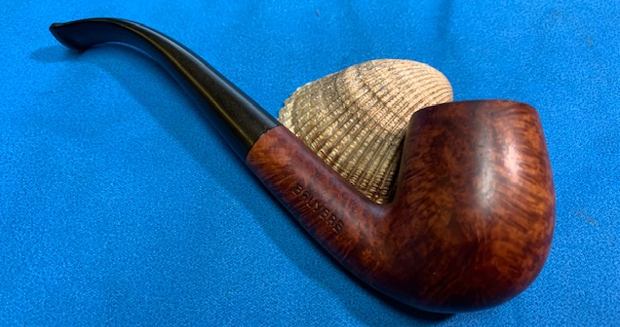
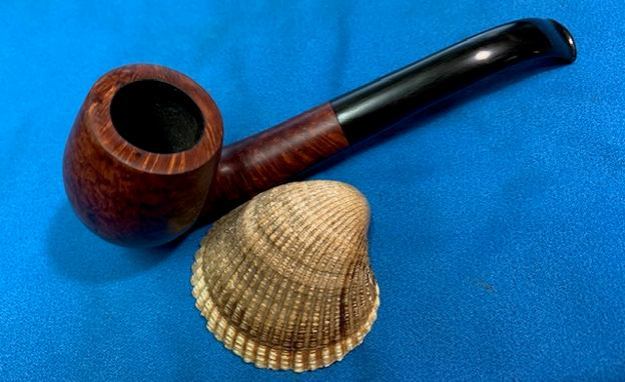
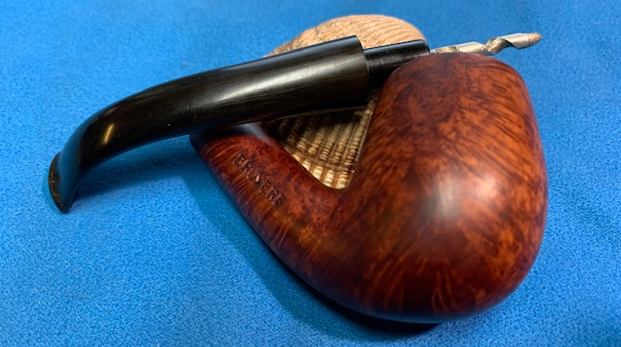
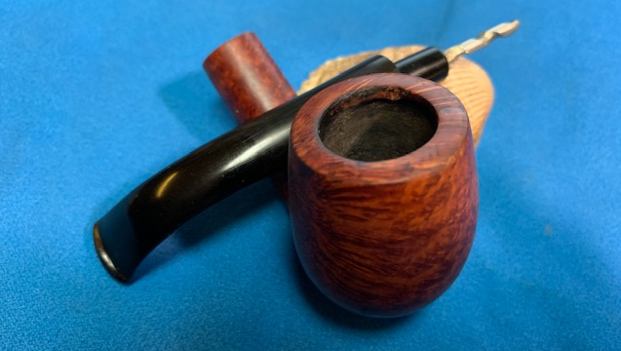
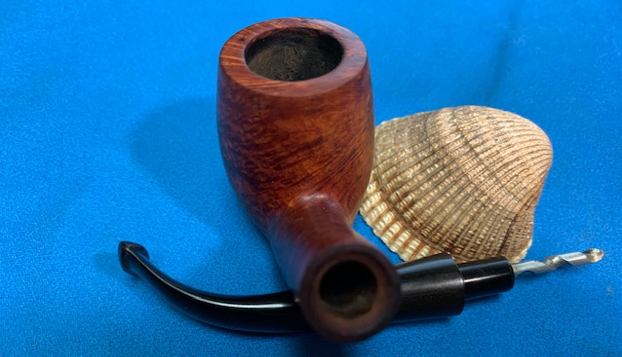
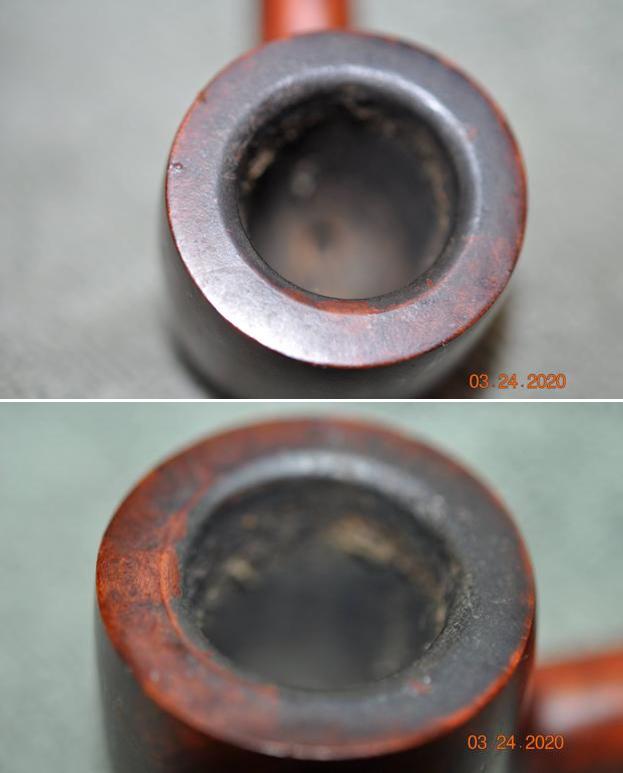
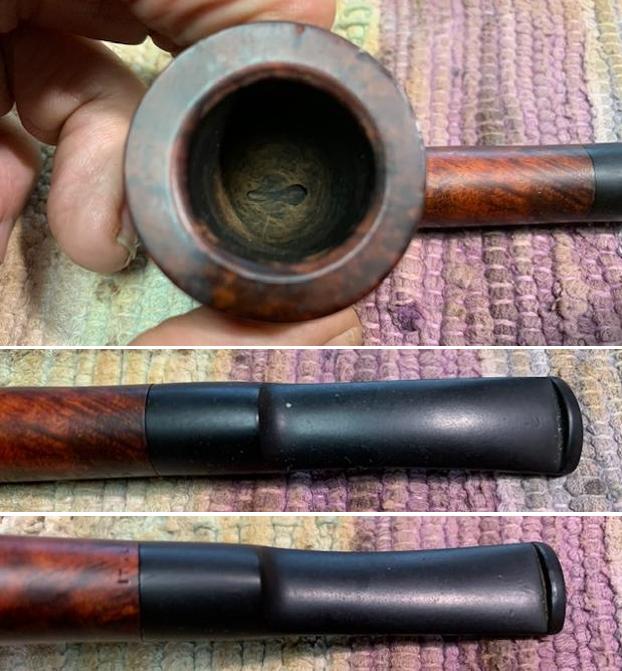
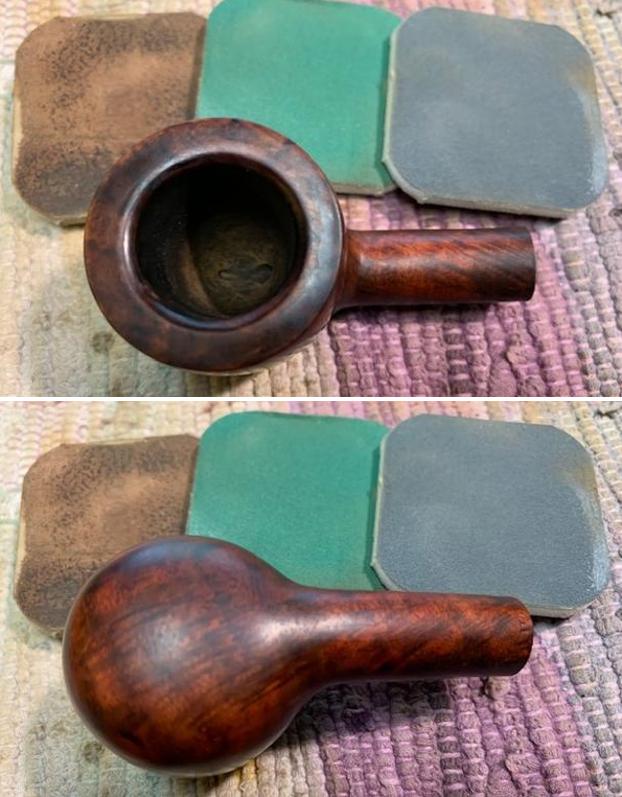
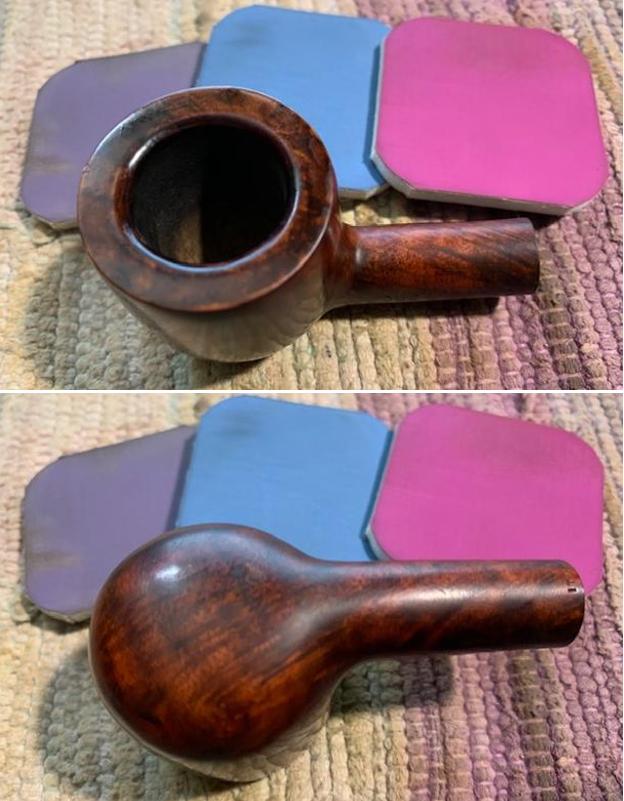
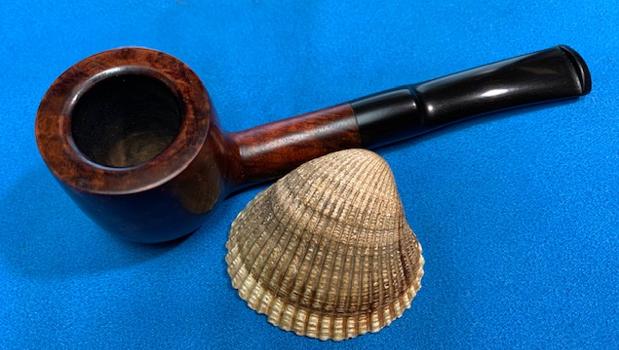
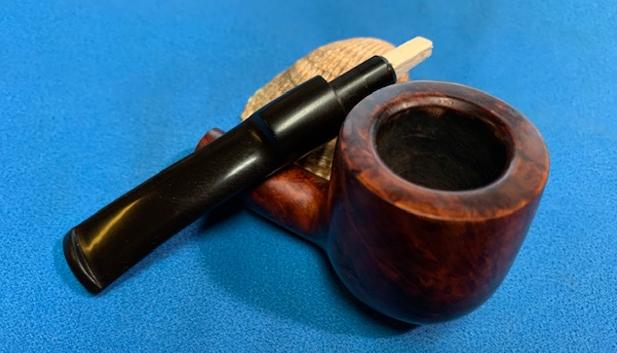
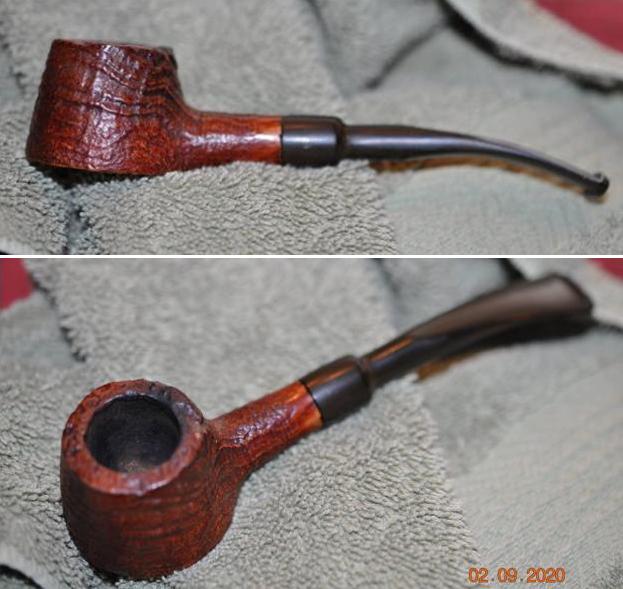
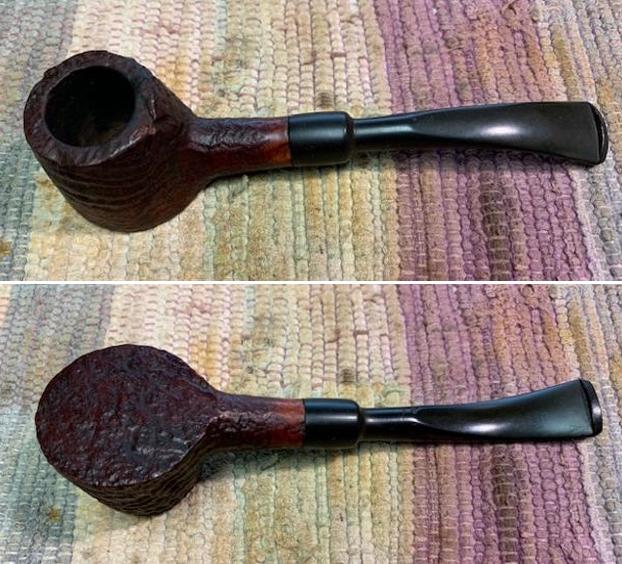
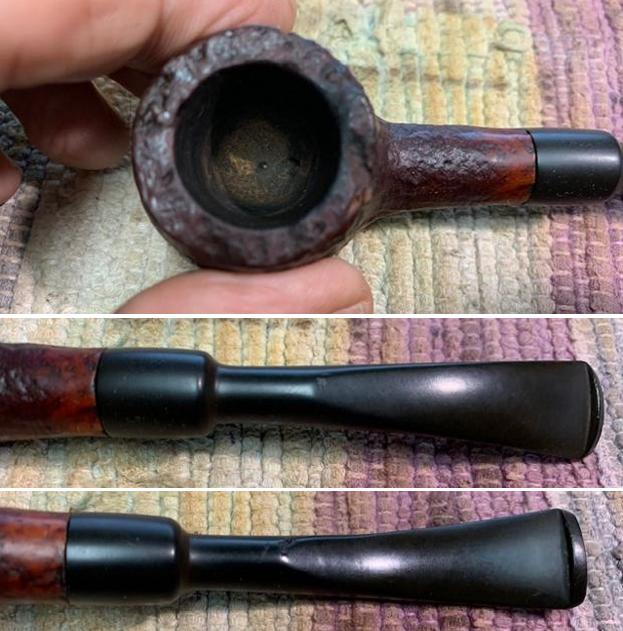
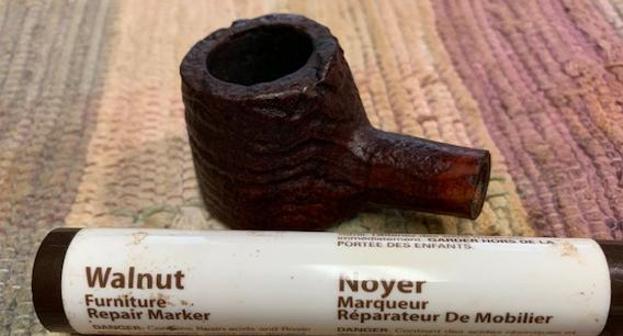
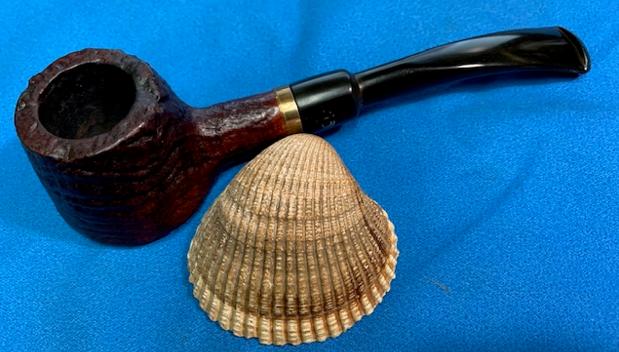
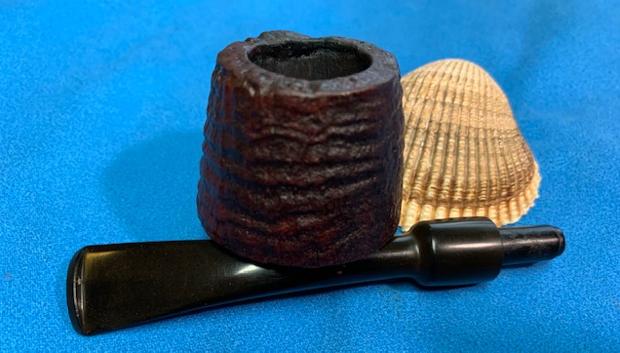
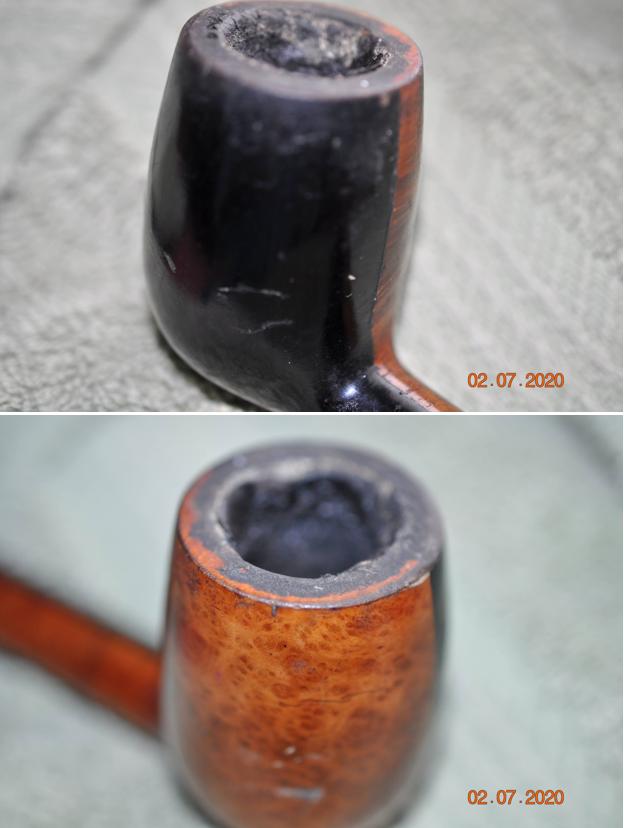
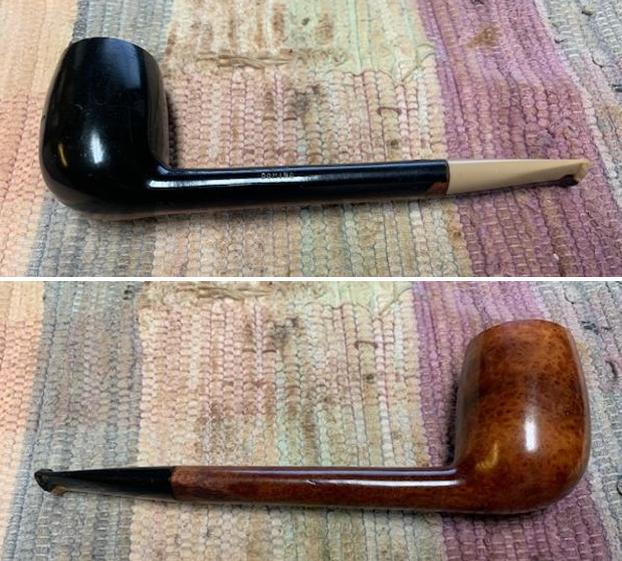
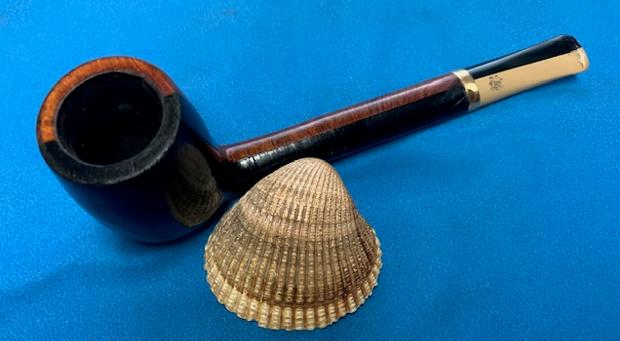
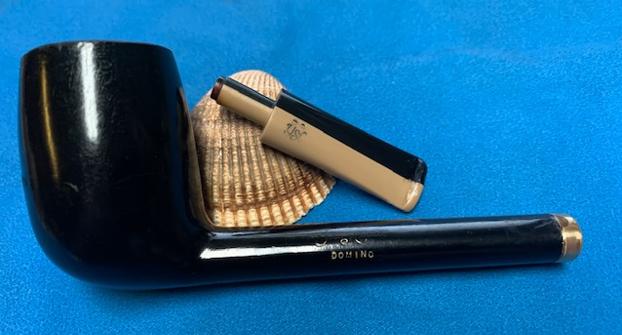
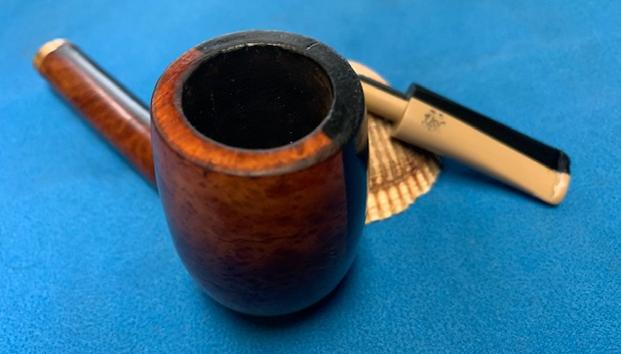
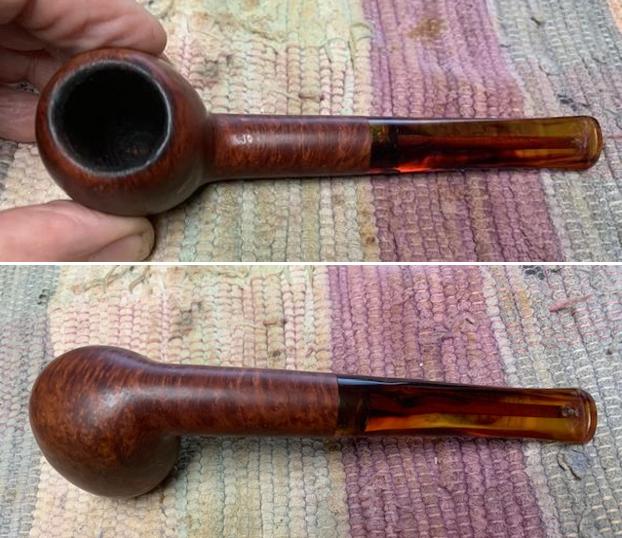
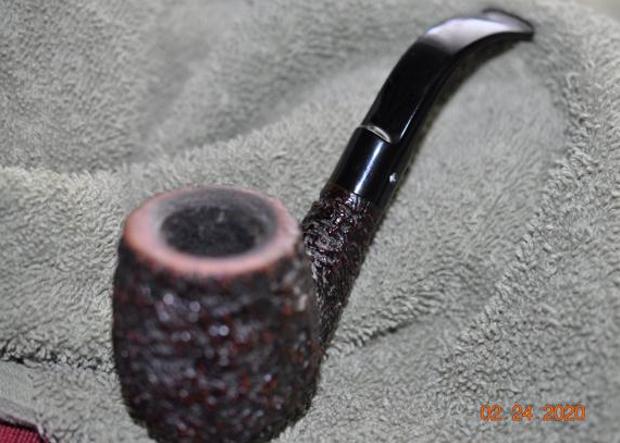
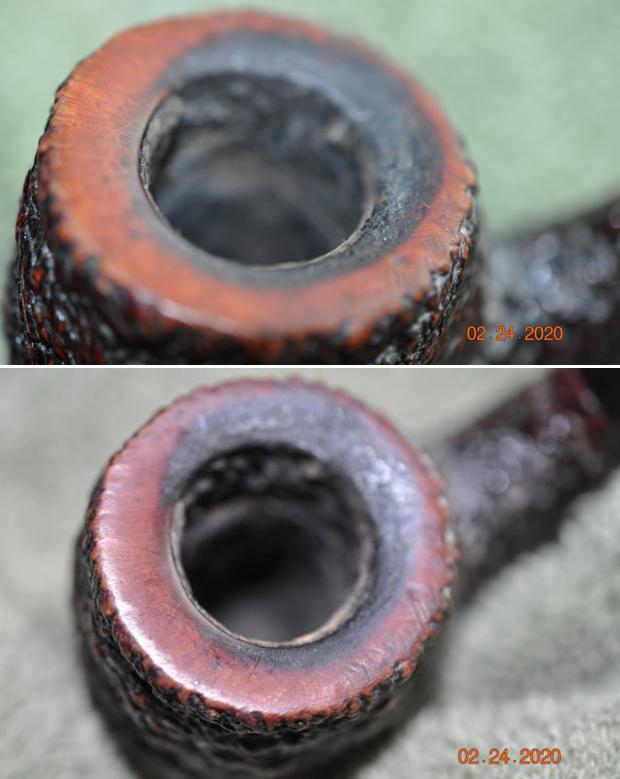
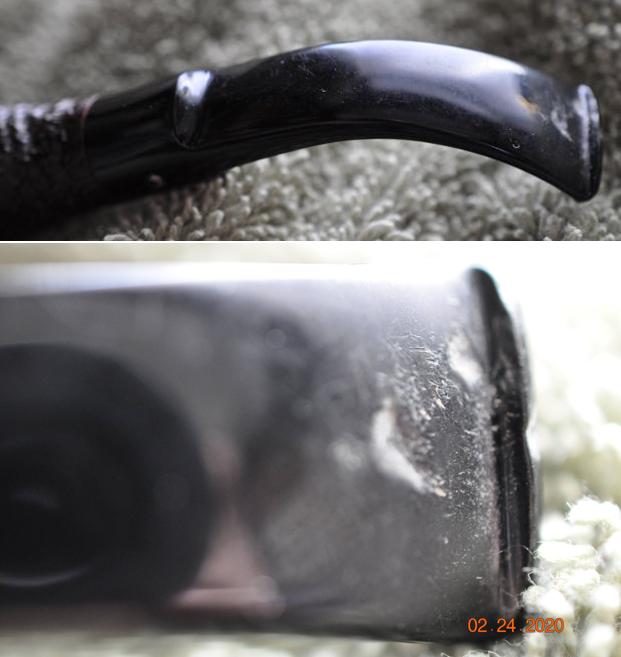
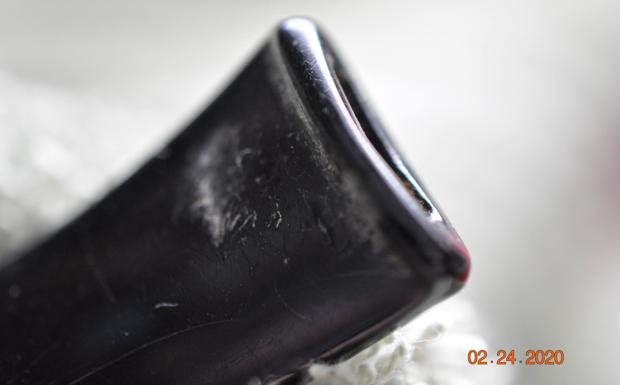
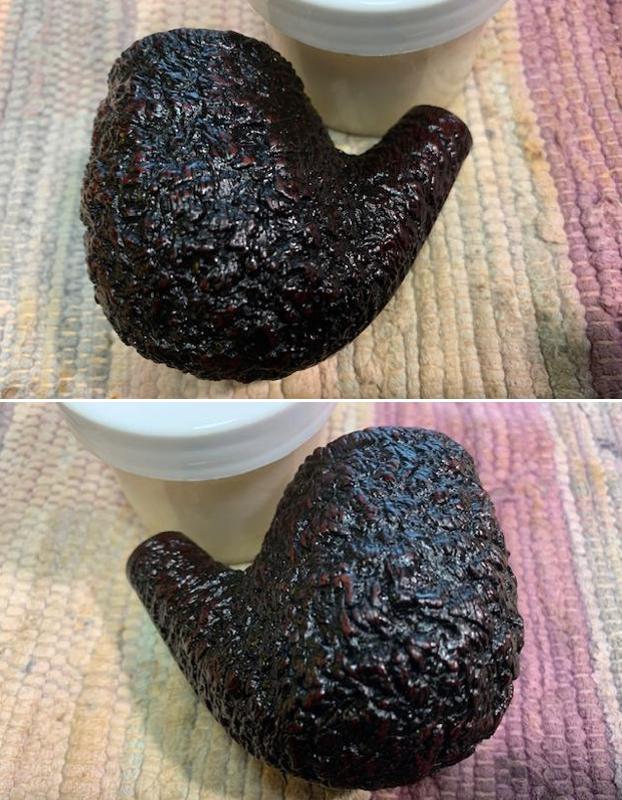
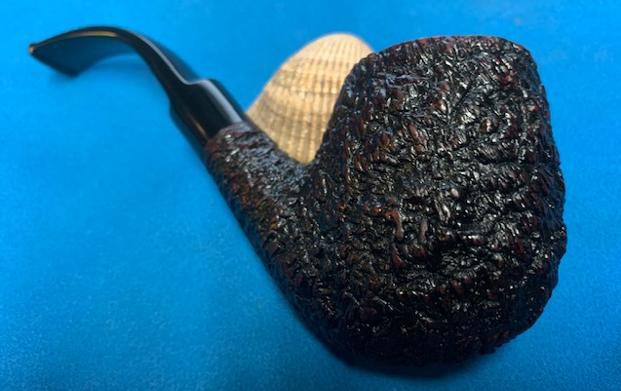
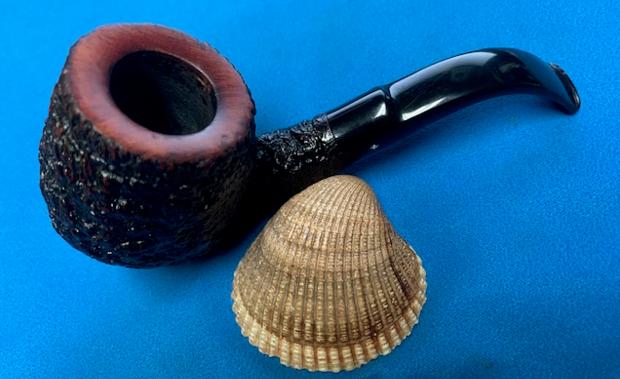
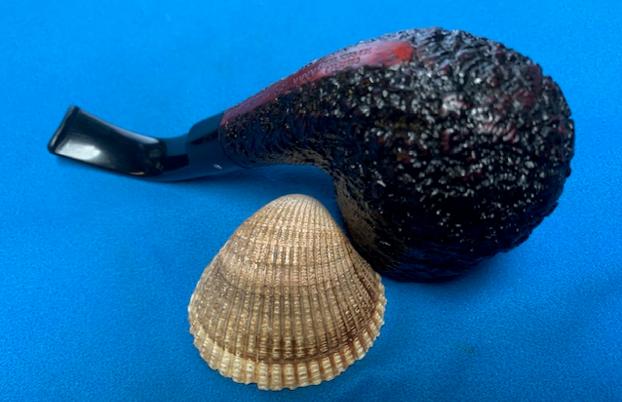
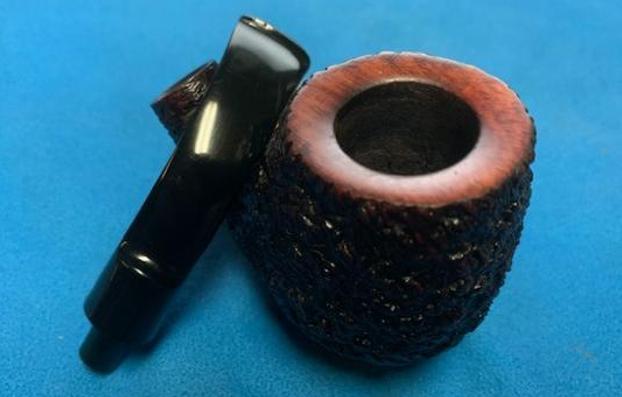
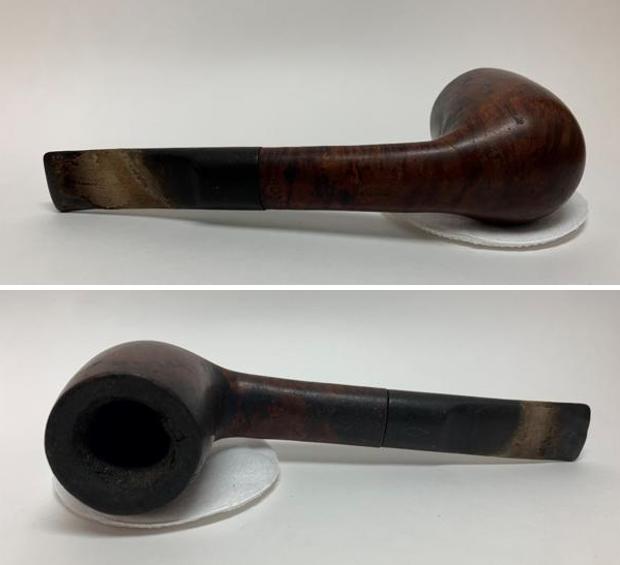
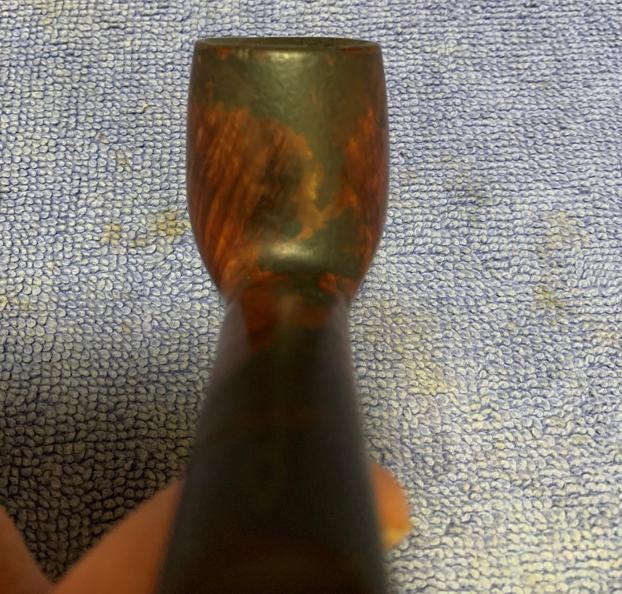
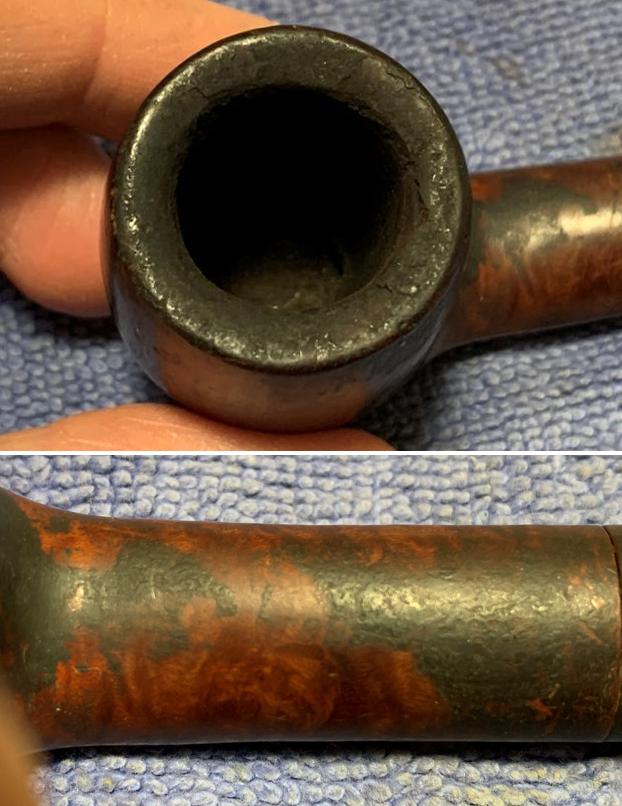
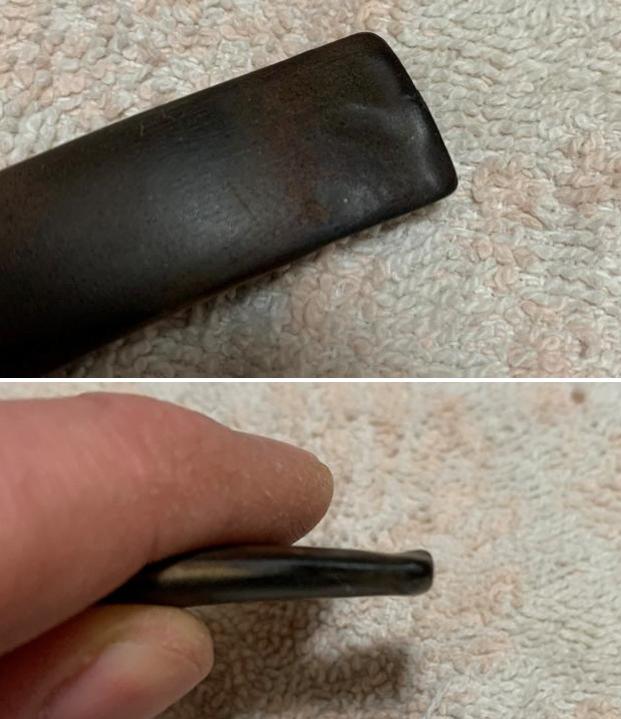
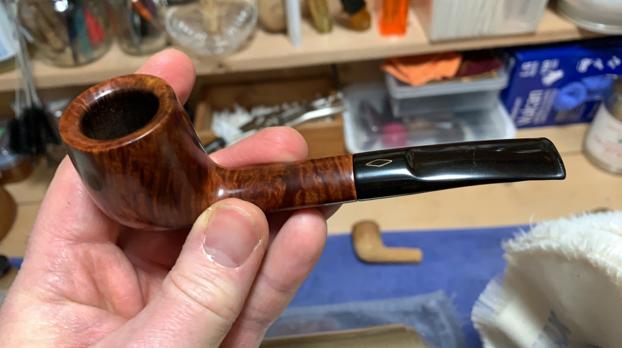
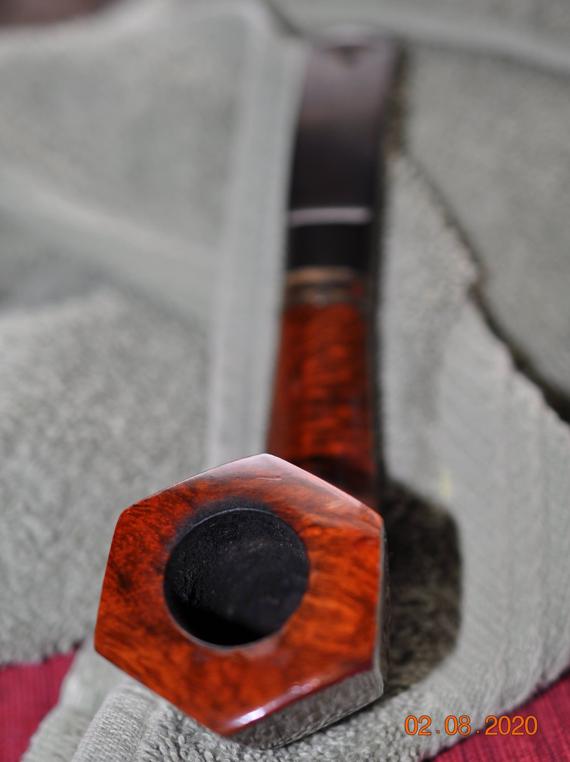
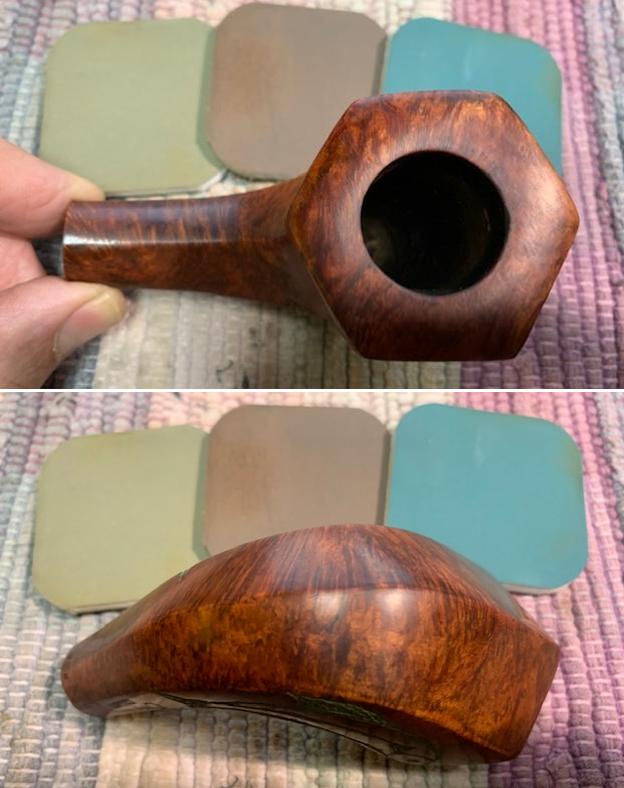
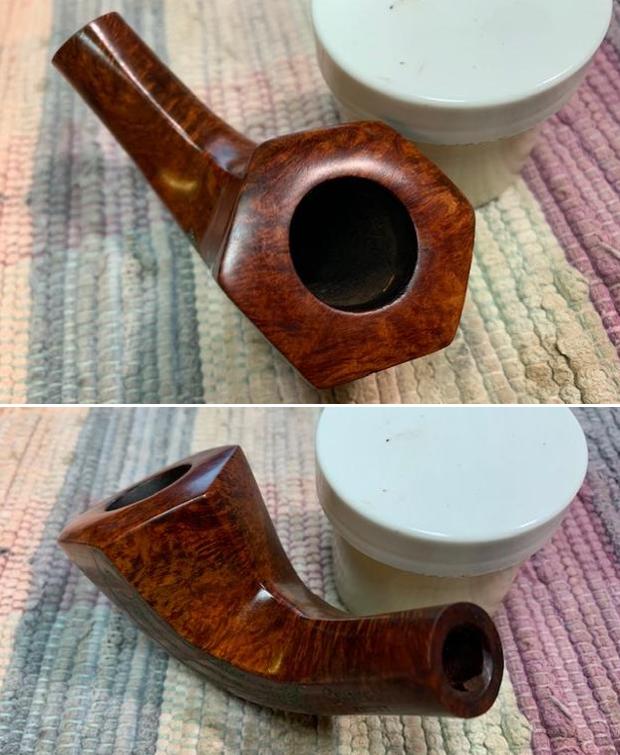
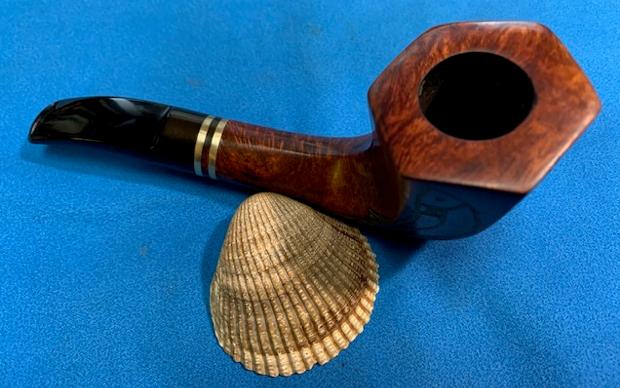
 I like to have an idea of how the pipe was smoked before we got it and what the bowl and rim top looked like. Jeff always takes some photos of the bowl and rim from various angles to show what it looked like. This bowl and rim top were in rough condition. The stem was a real mess with deep tooth marks and damage on both sides.

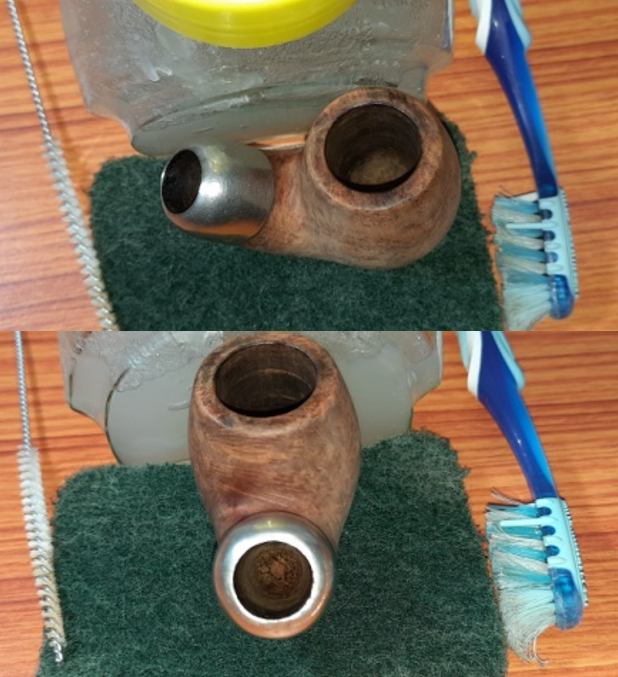
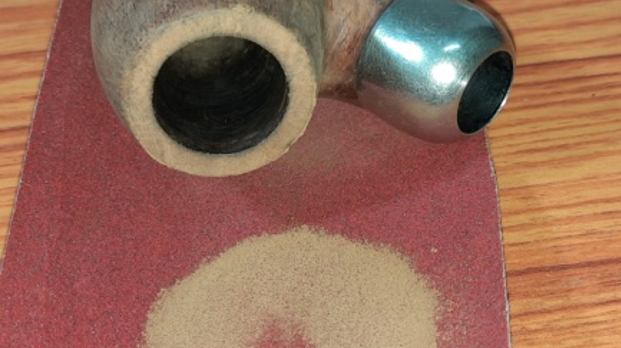
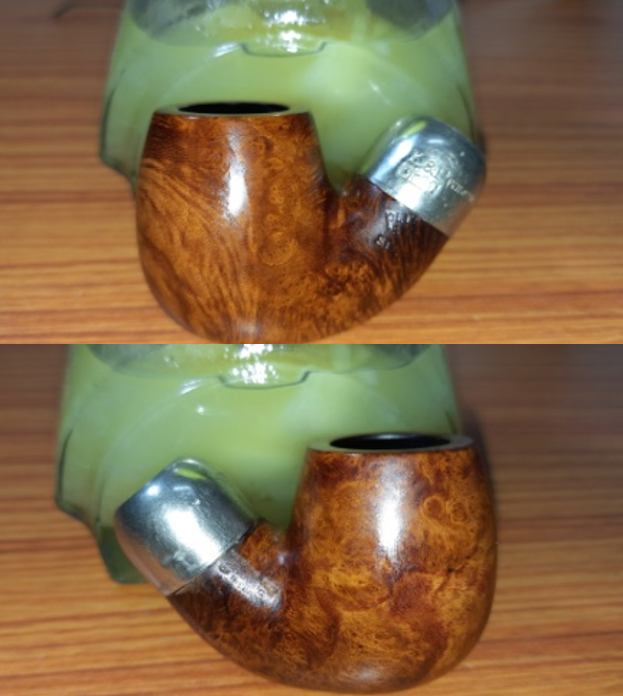
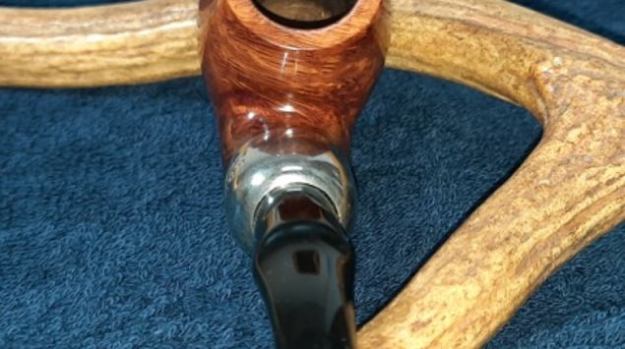
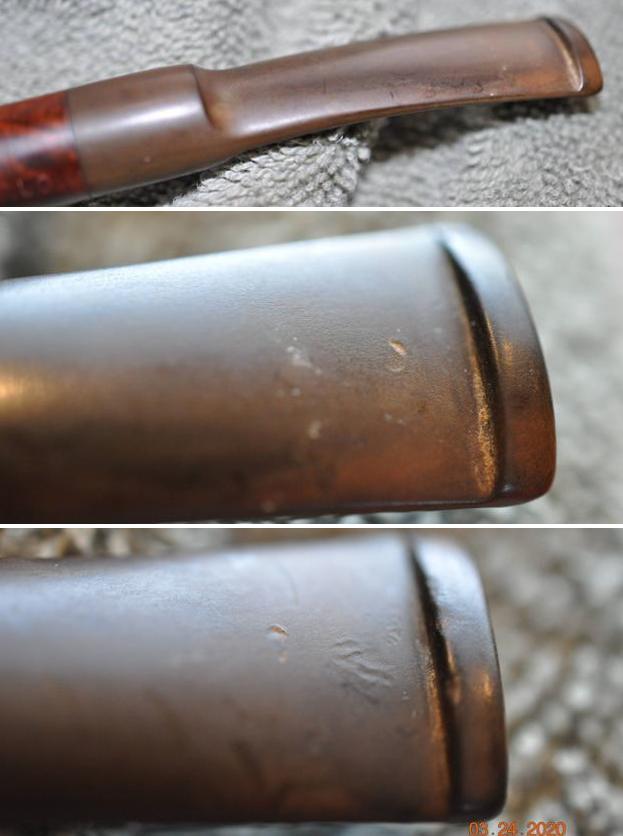
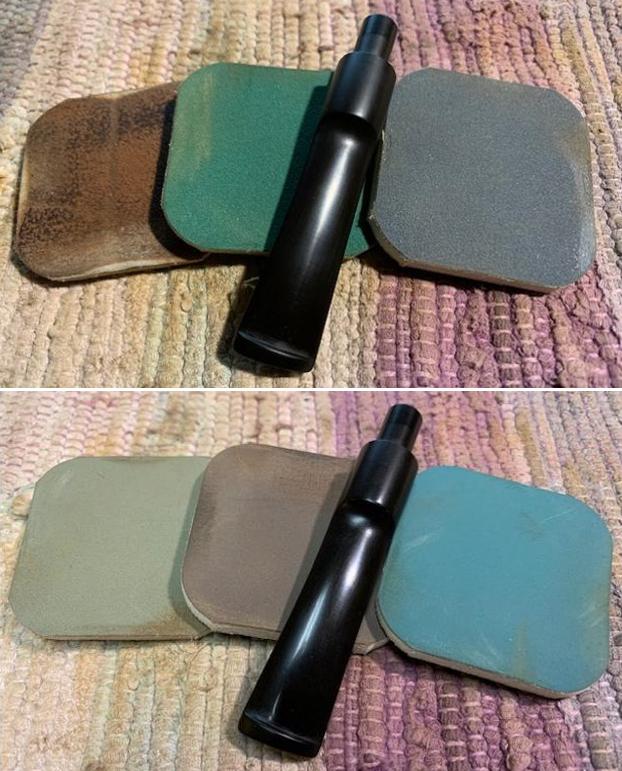
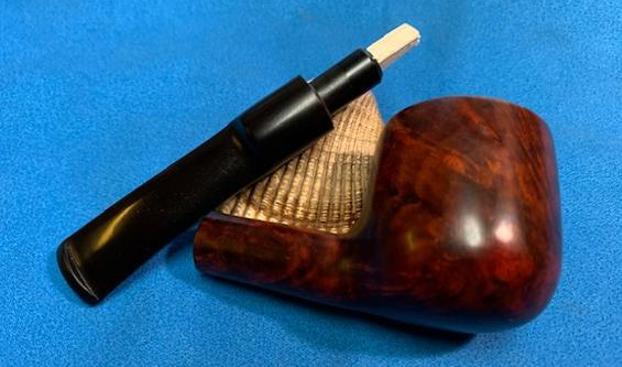
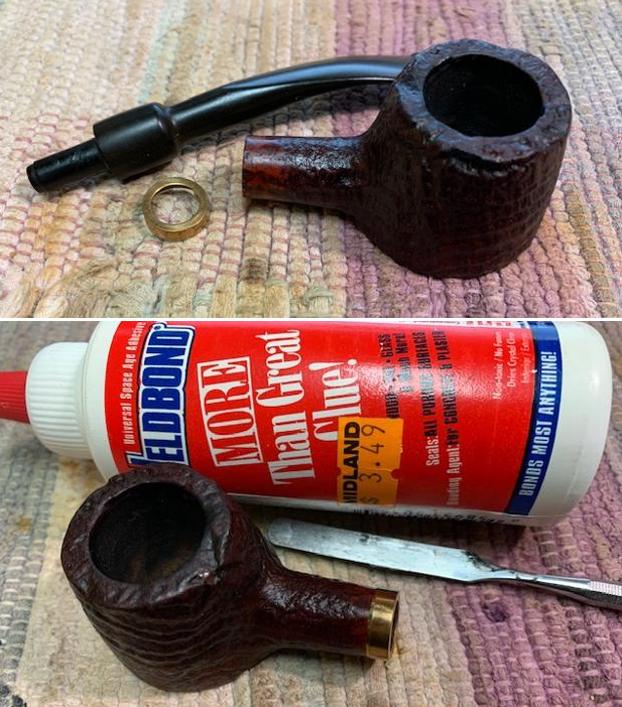
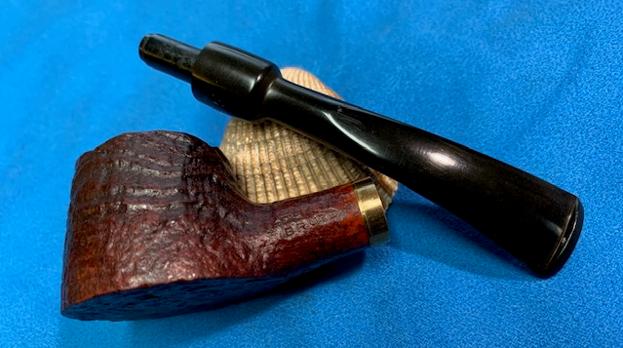
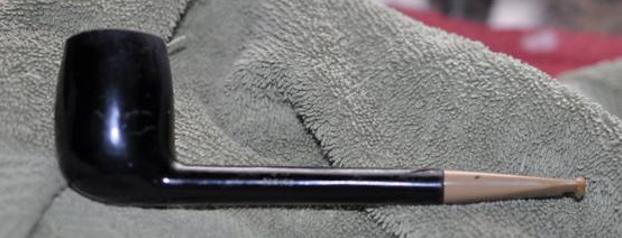
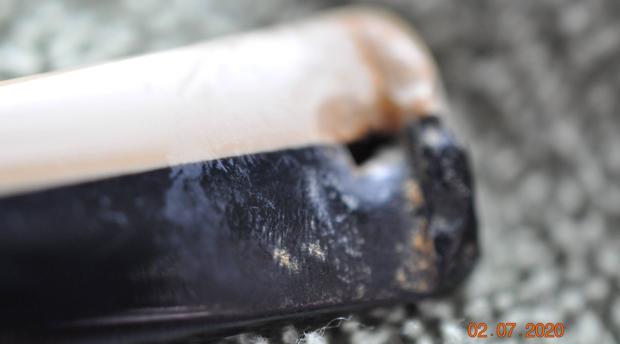
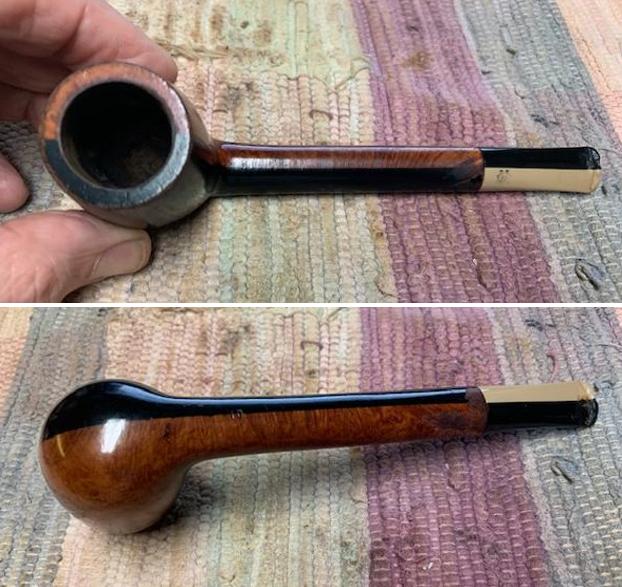
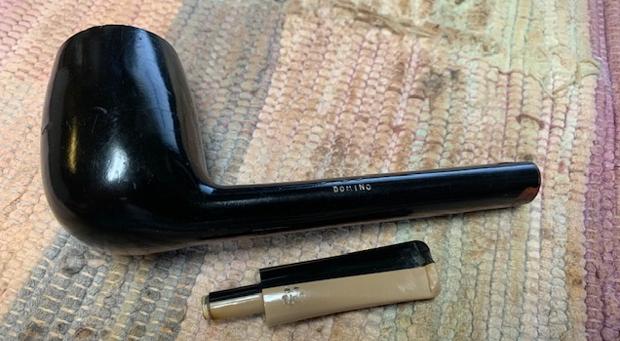
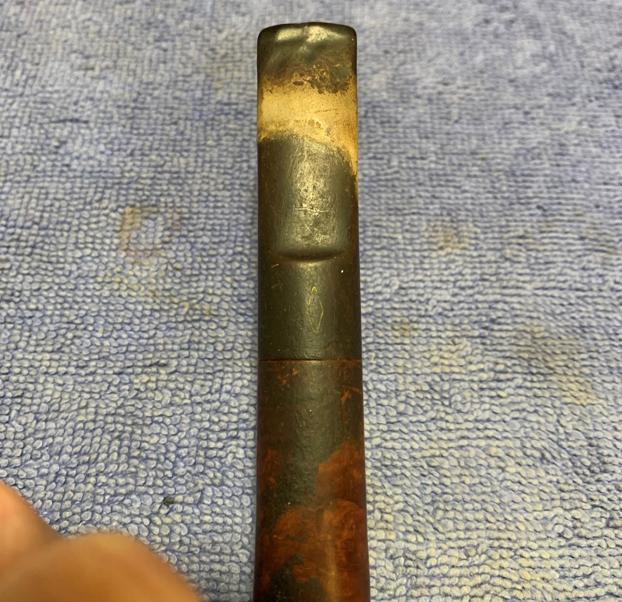
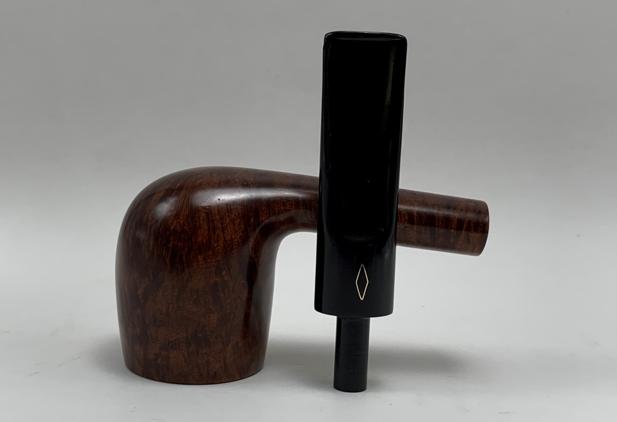
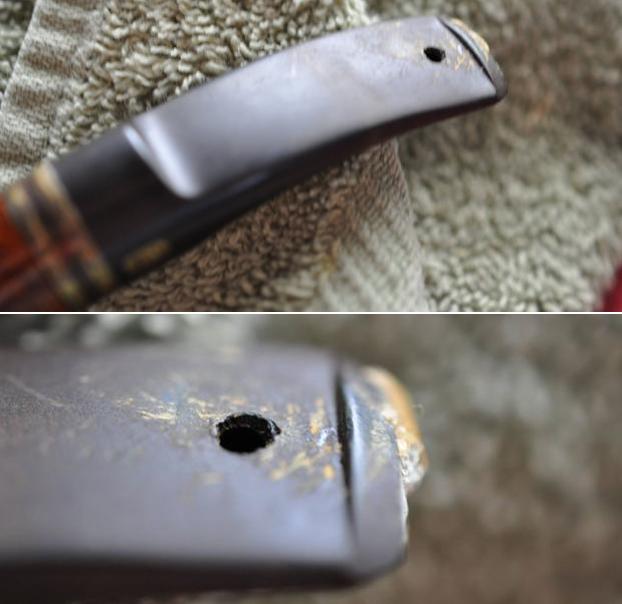
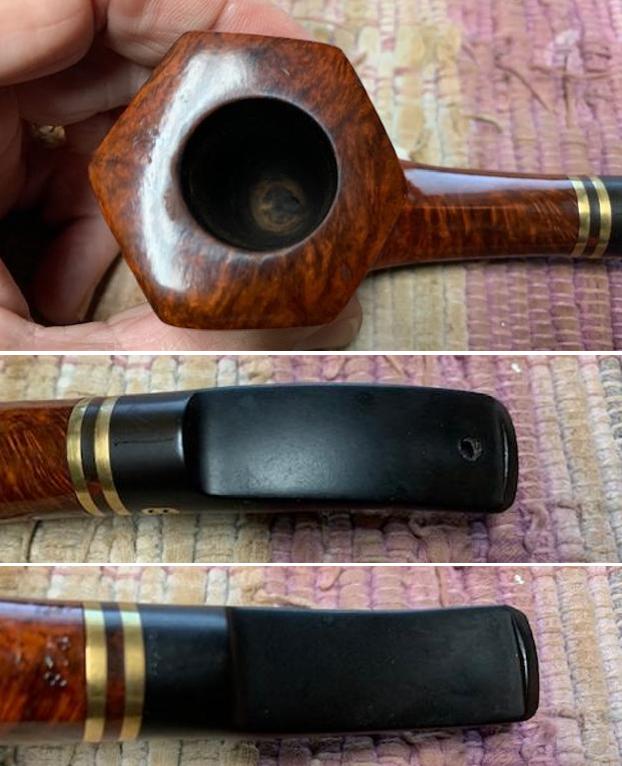
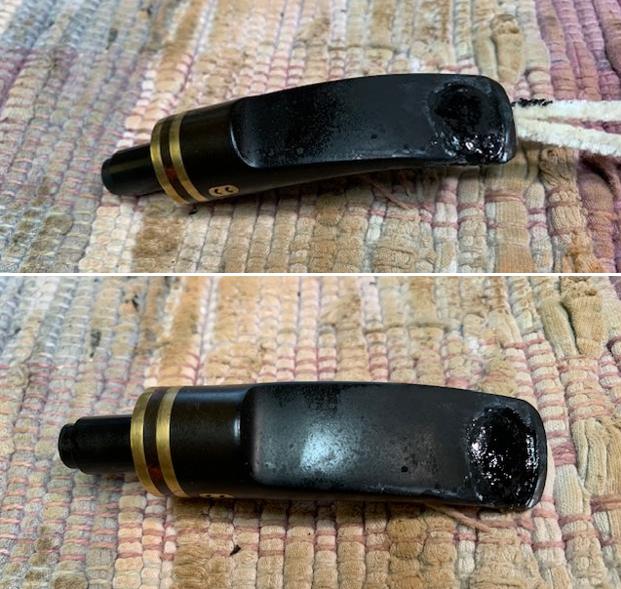
 He took a photo of the nickel ferrule and stem end to give a picture of their condition when we received the pipe. It definitely needs work.
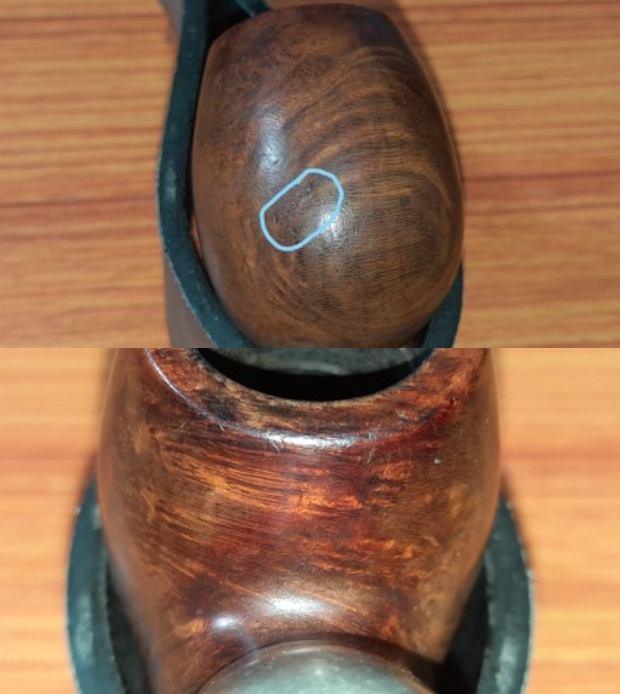
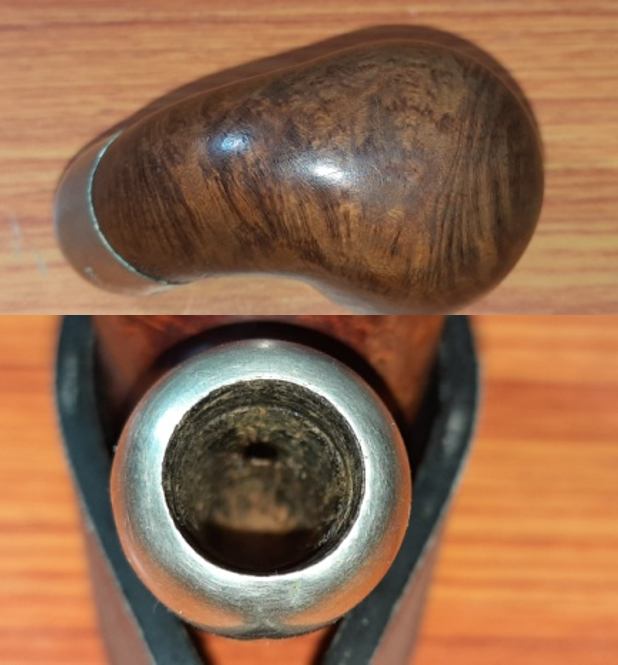
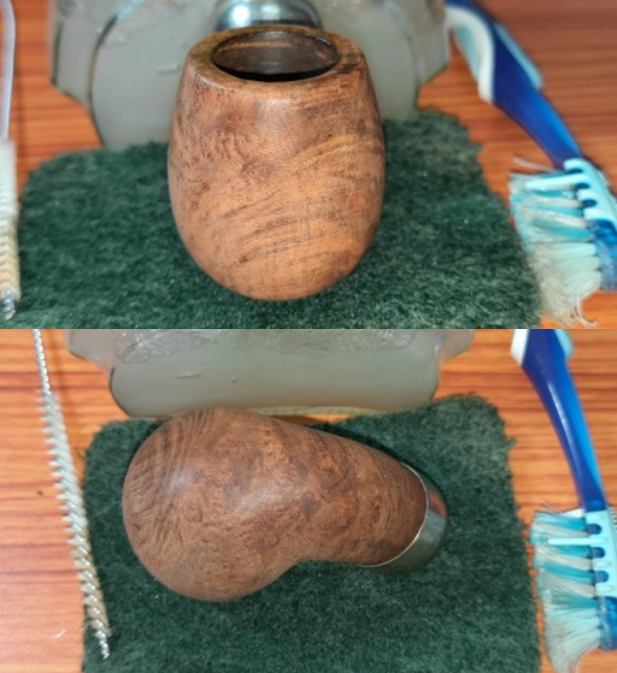
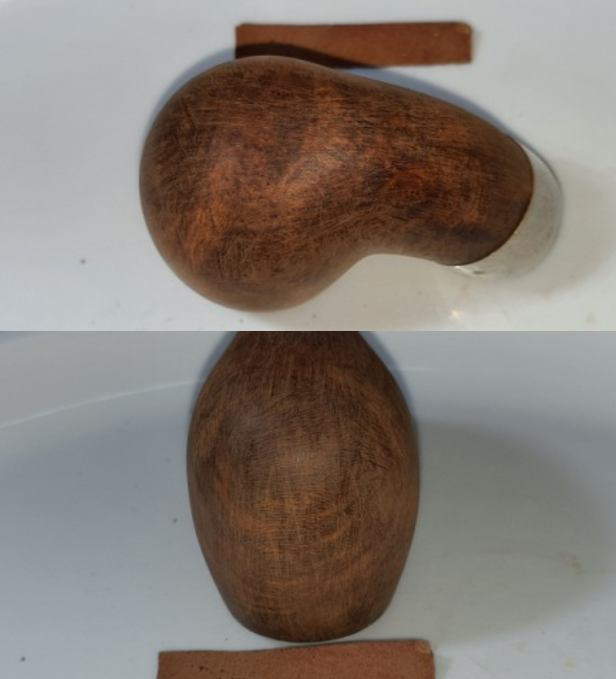
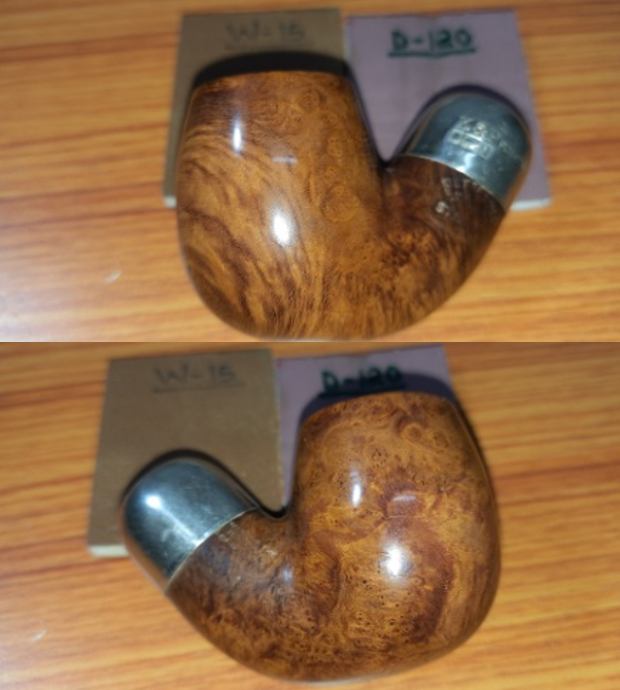
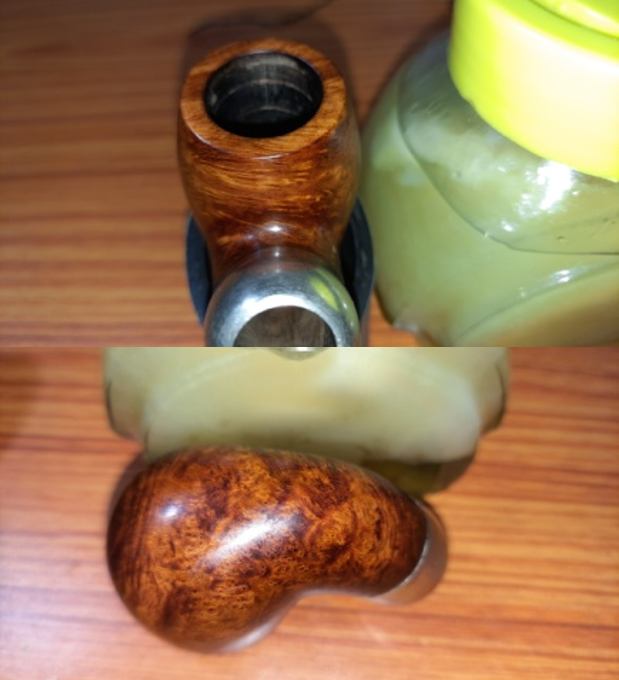
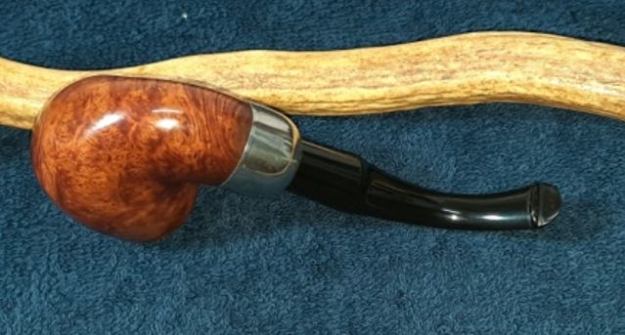
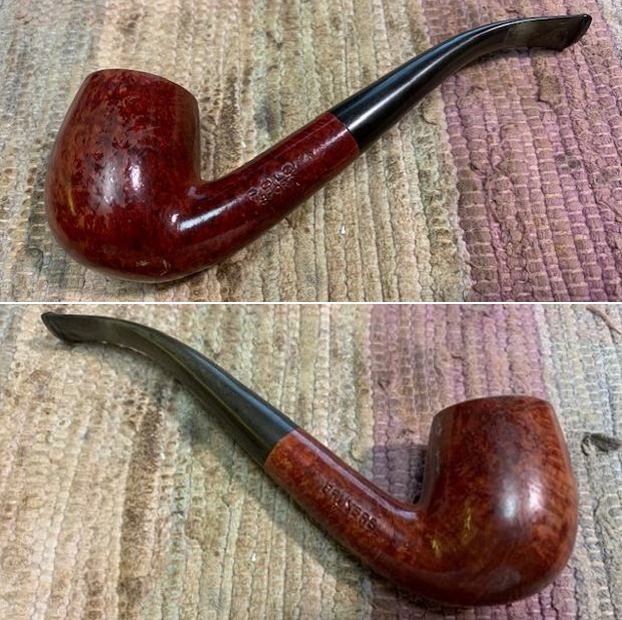
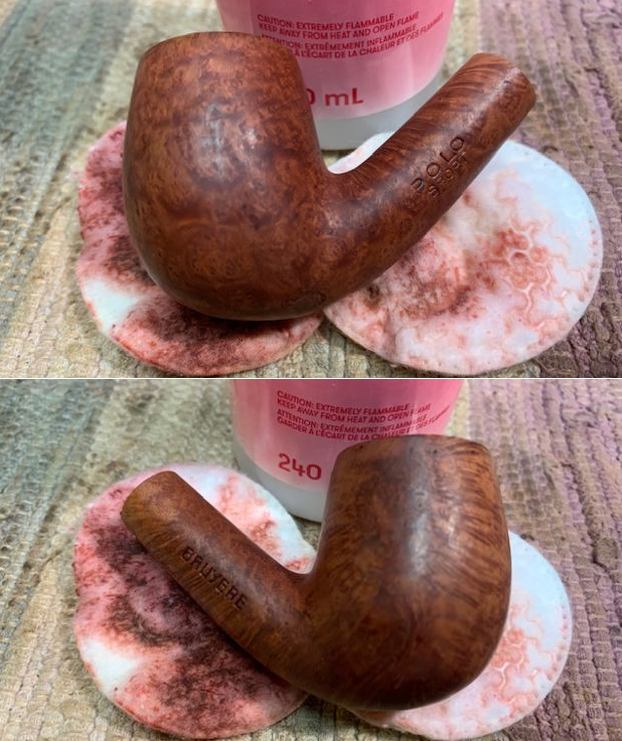
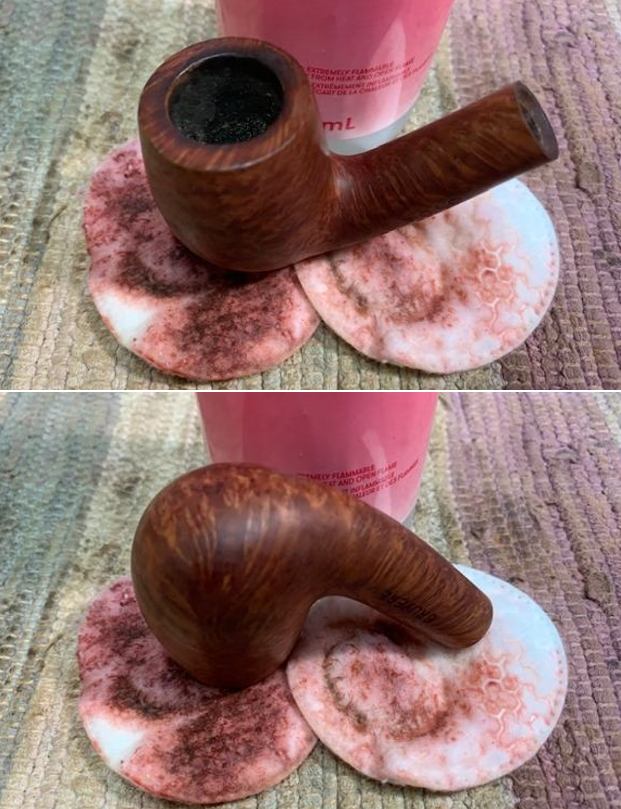
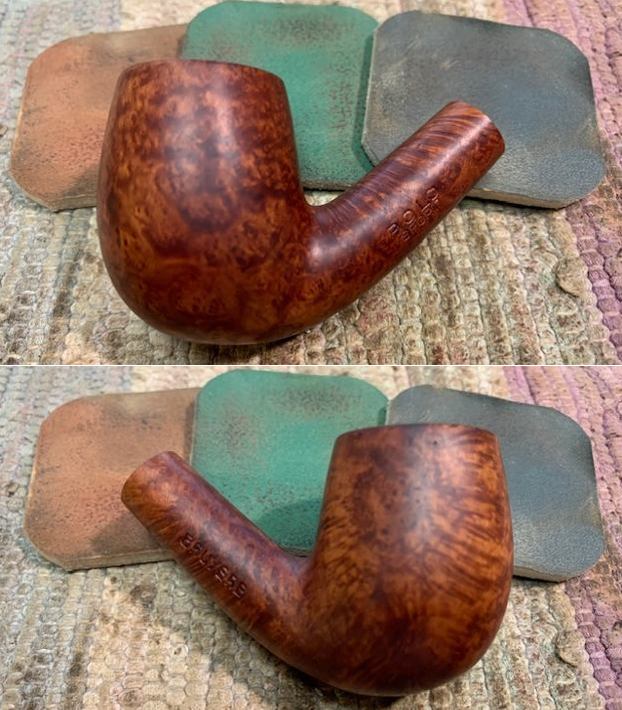
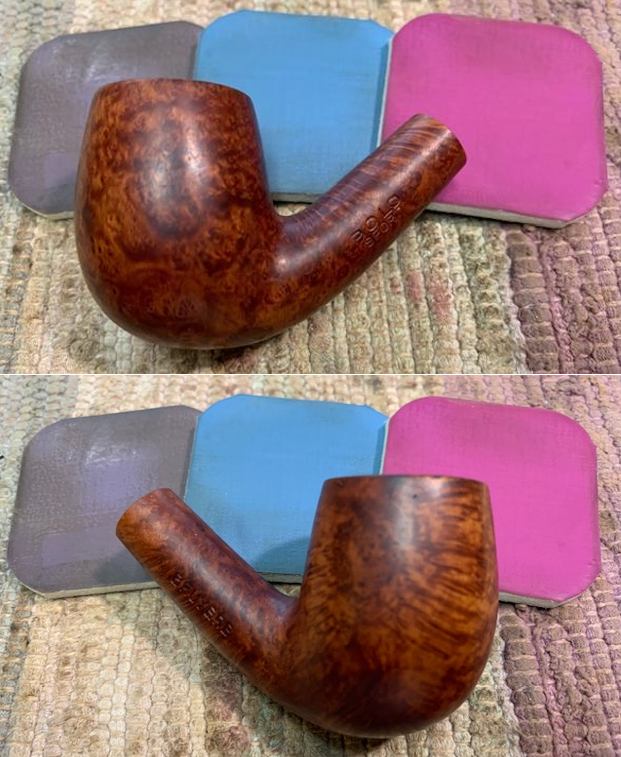
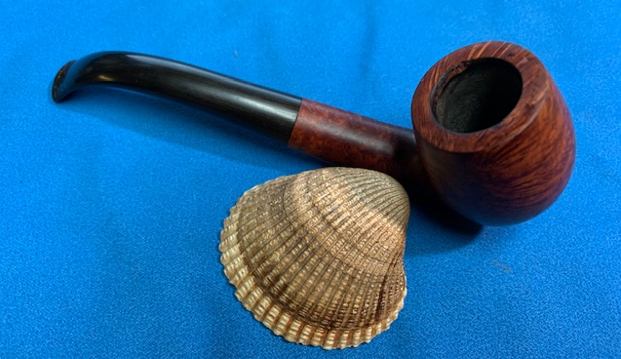
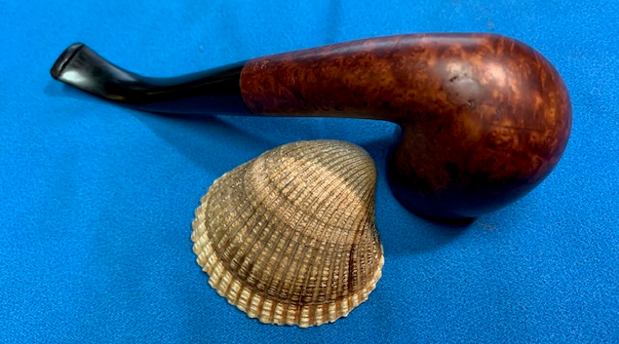
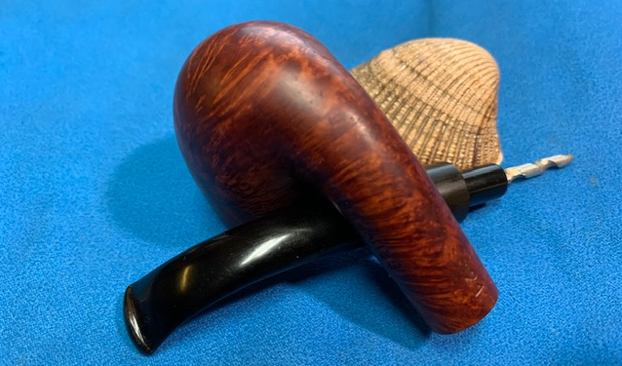
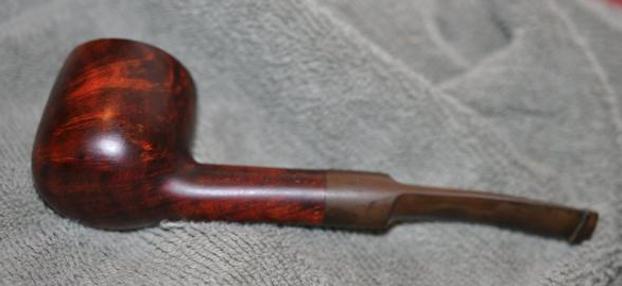
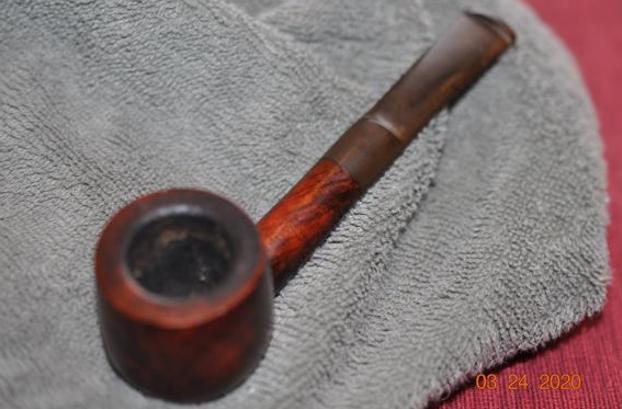
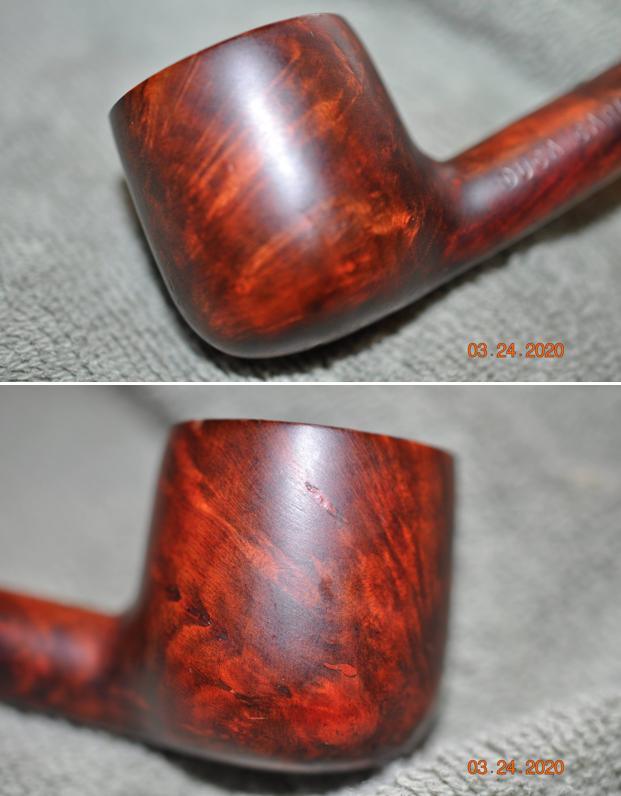
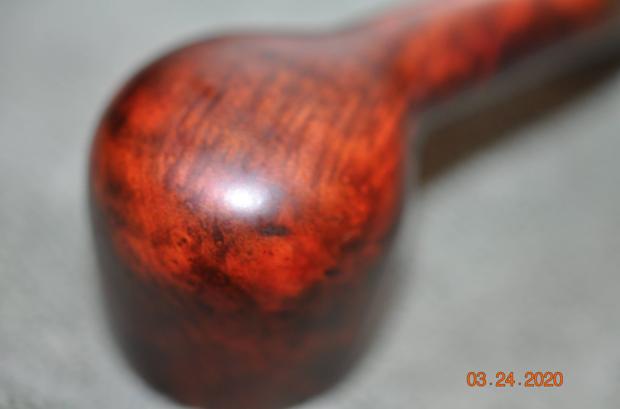
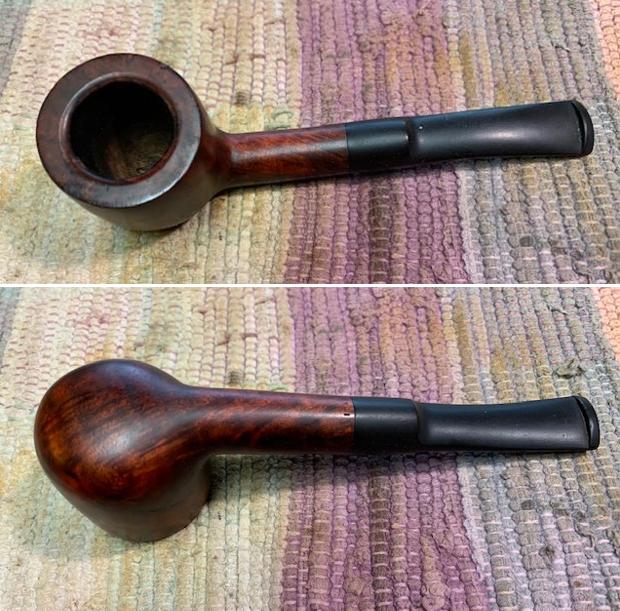
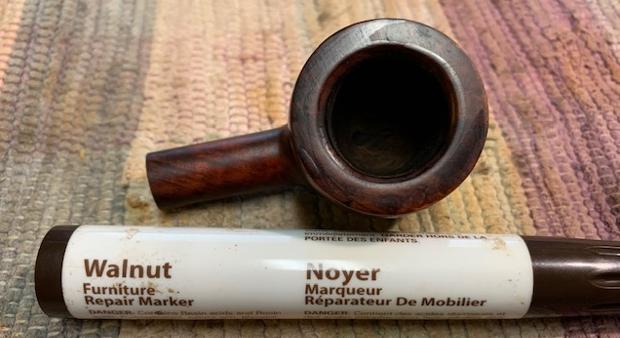
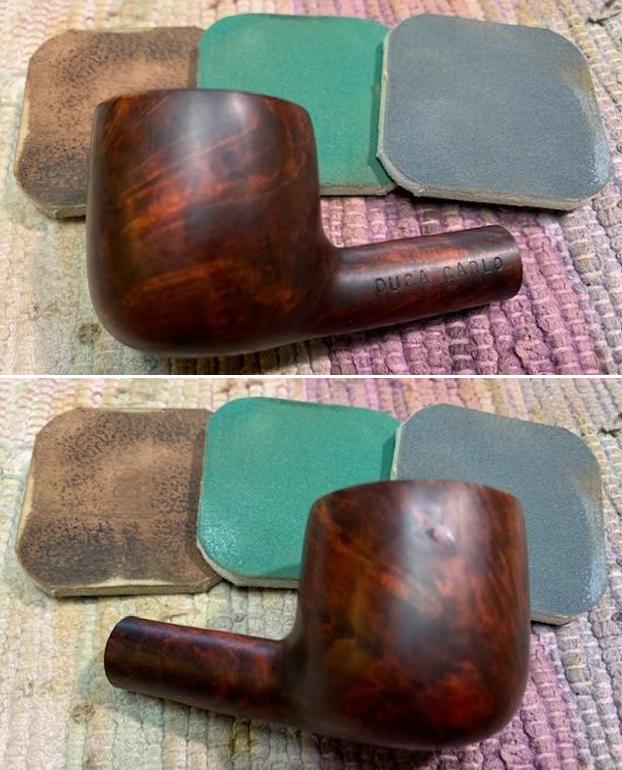
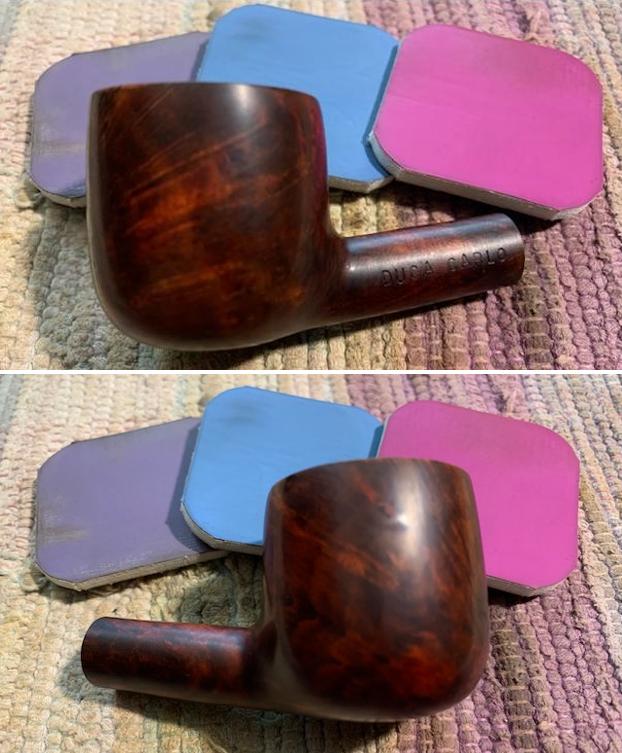
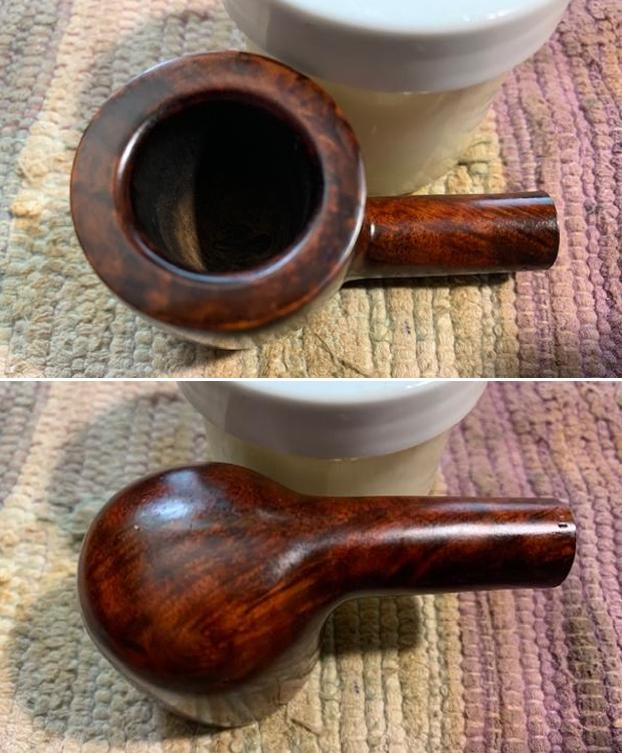
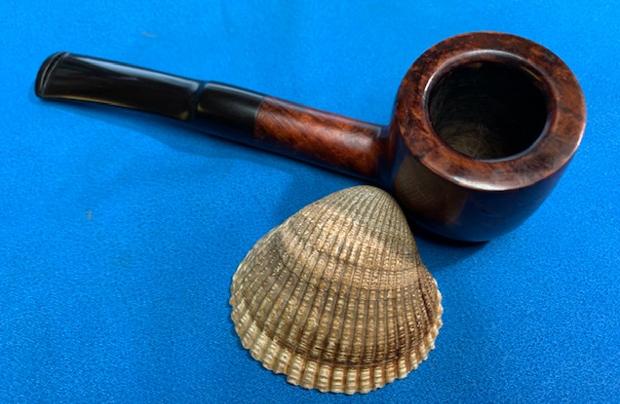
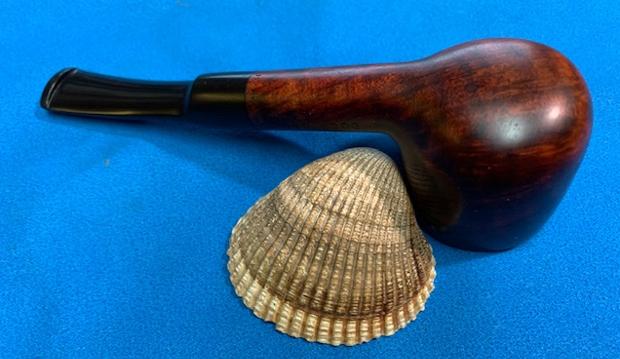
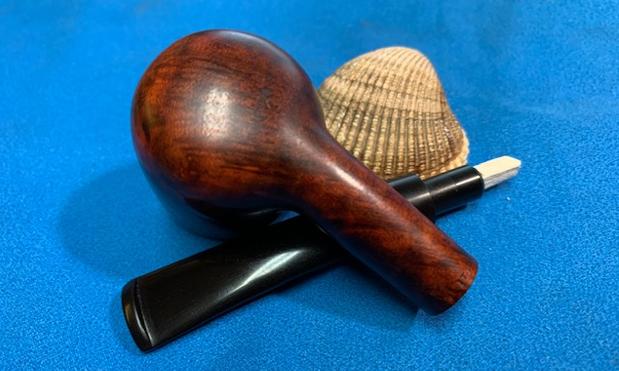
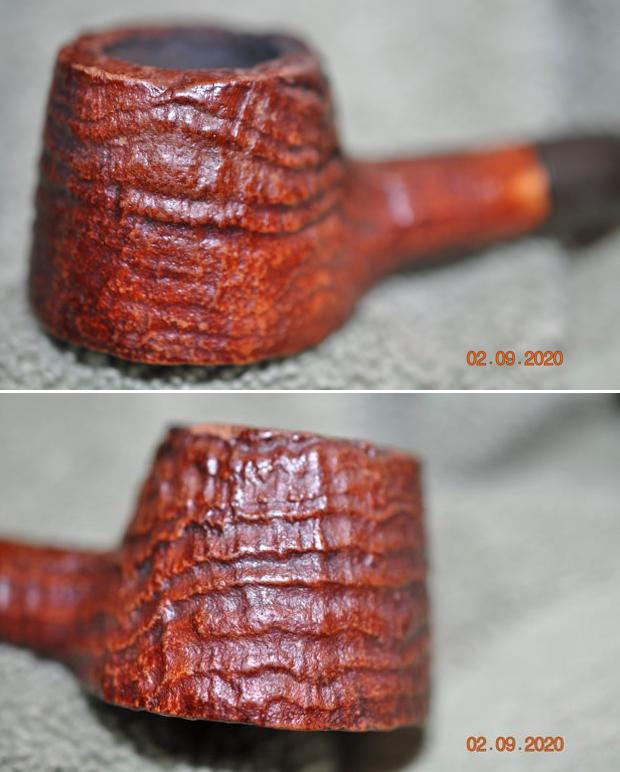
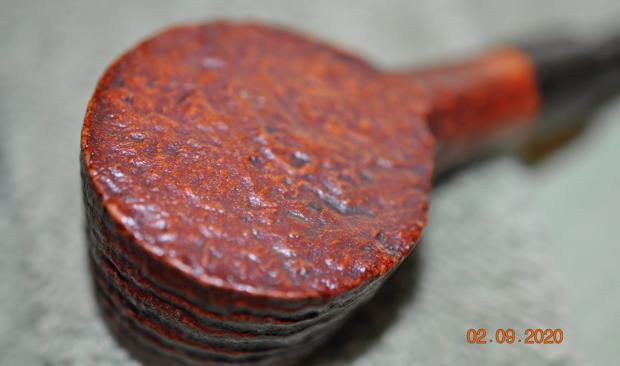
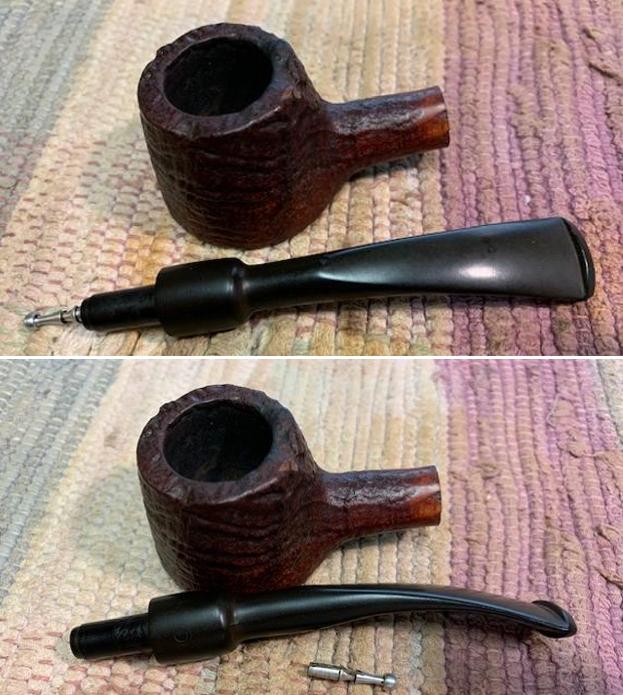
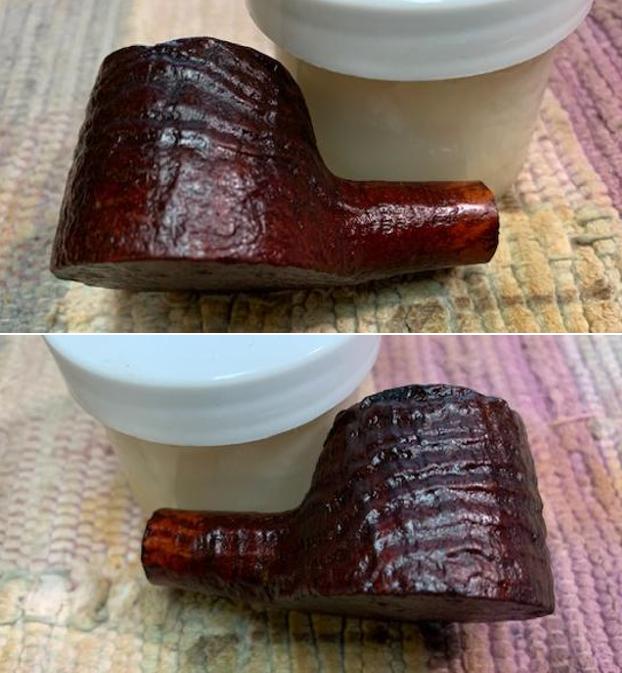
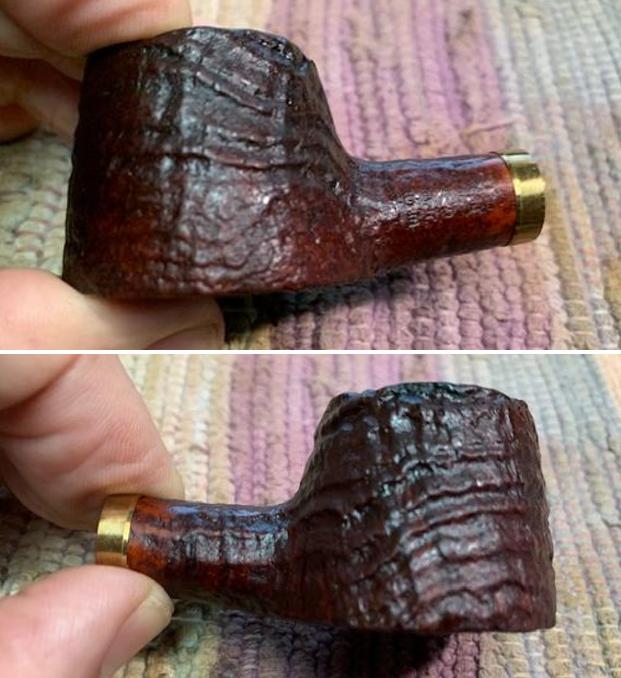
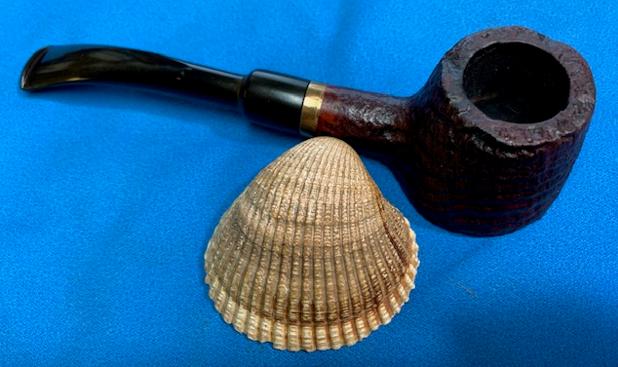
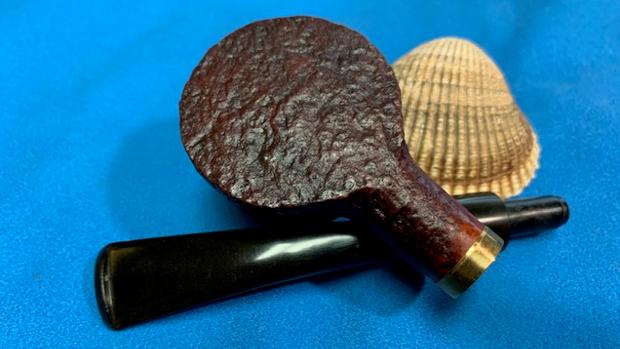
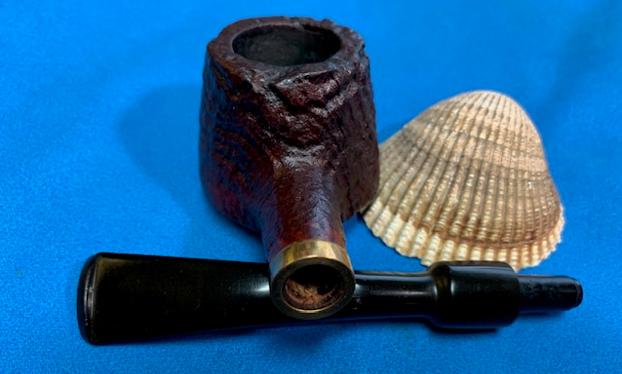
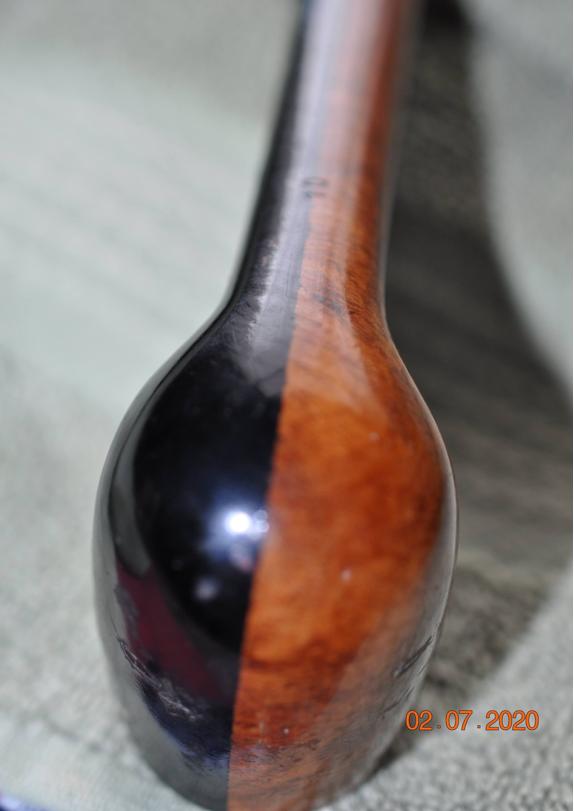
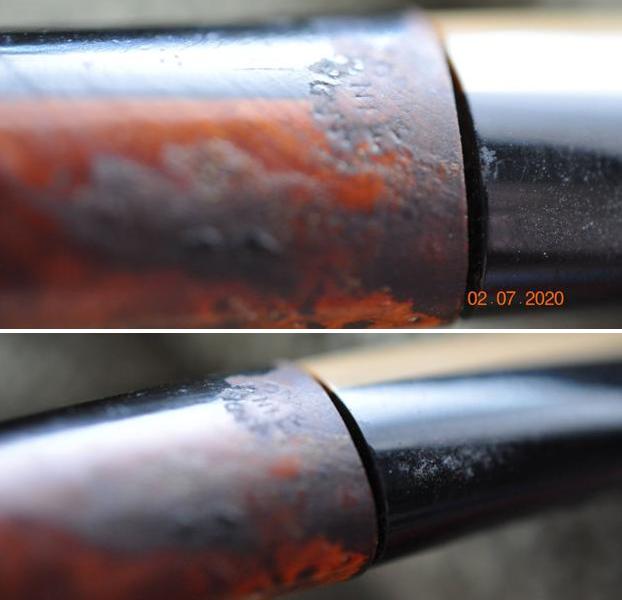
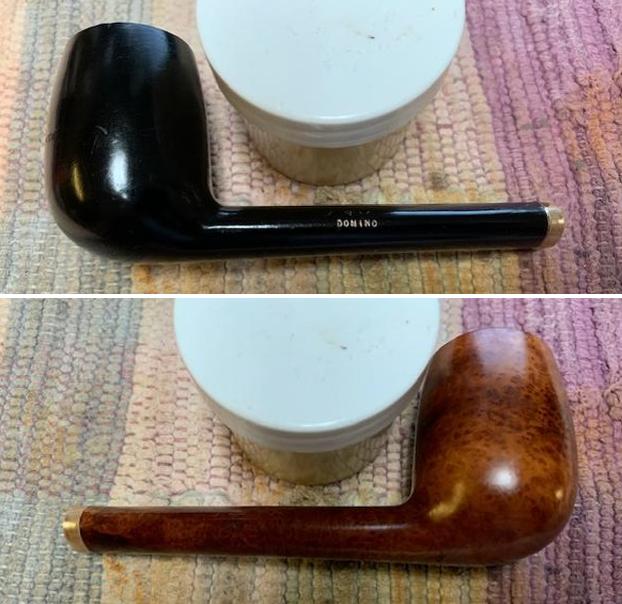
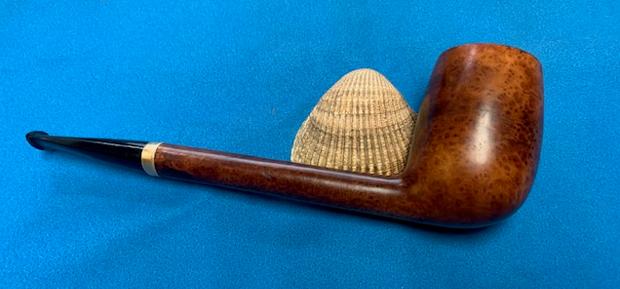
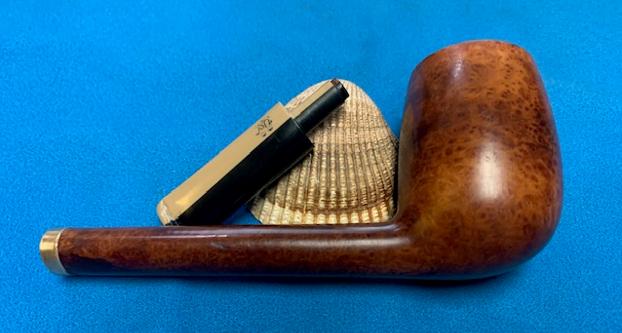
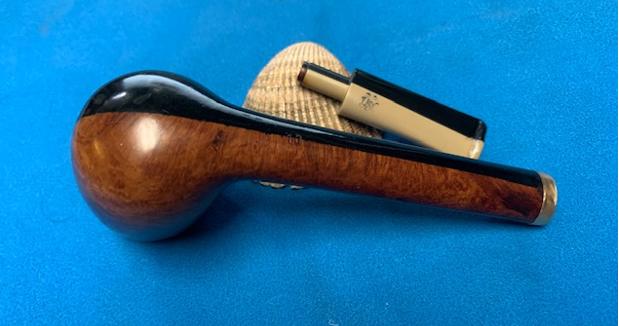
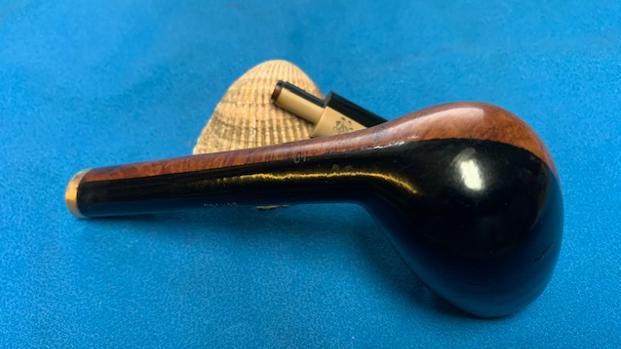
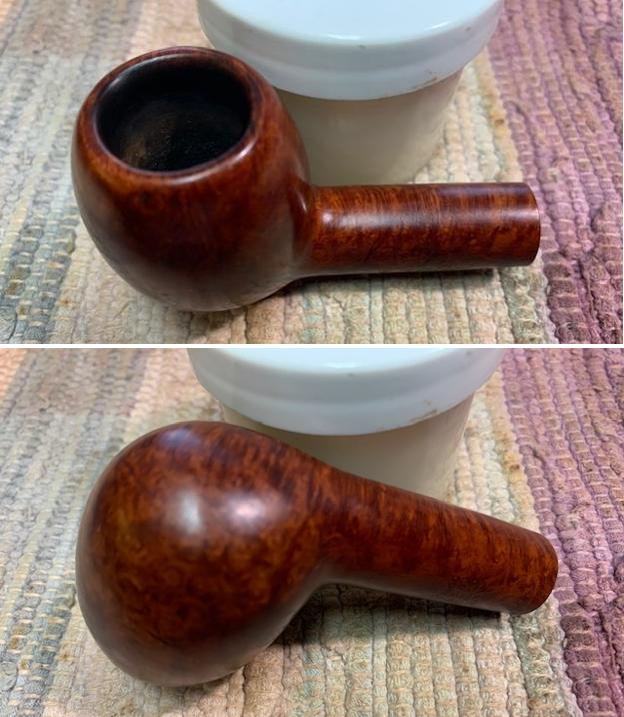
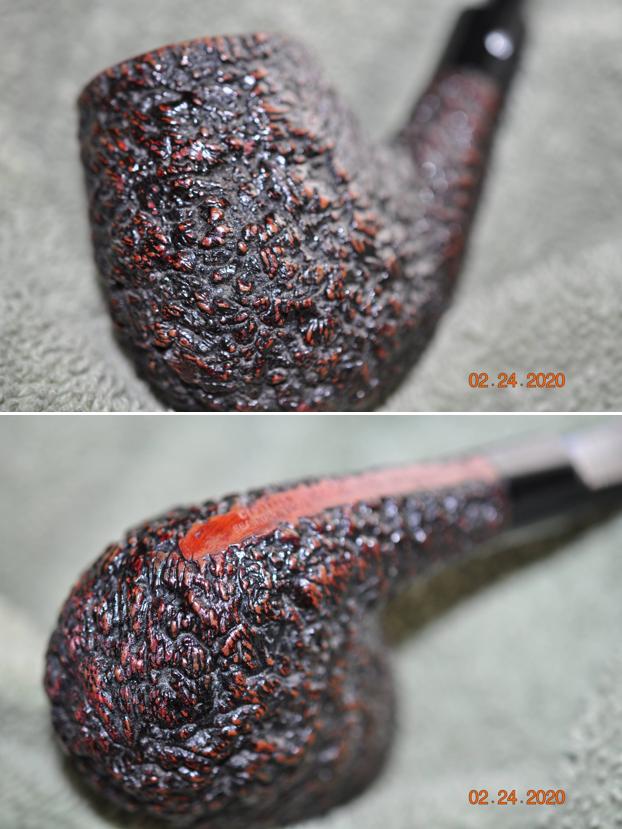
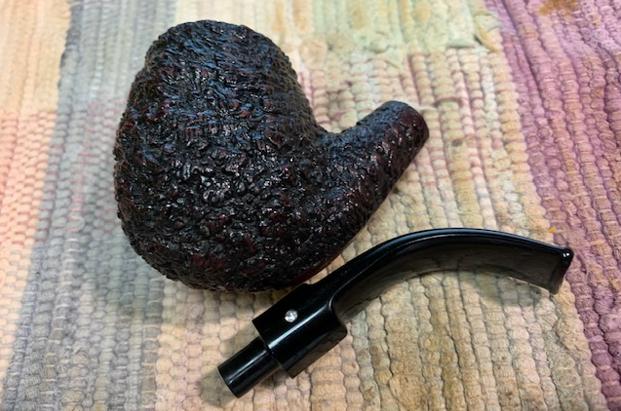
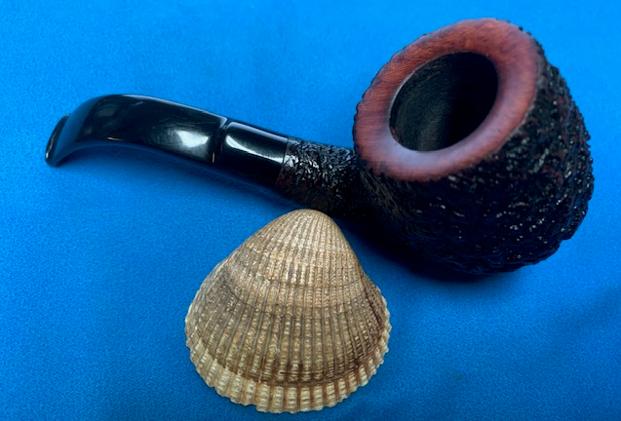
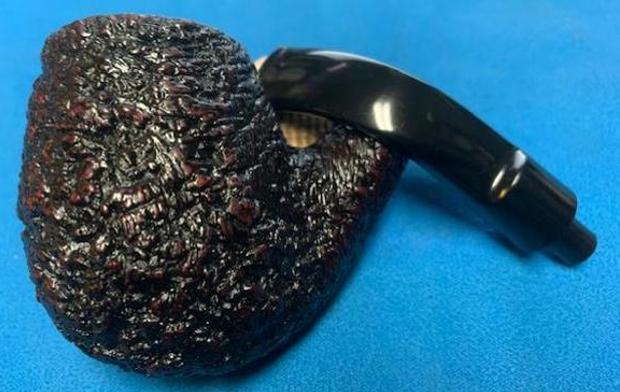
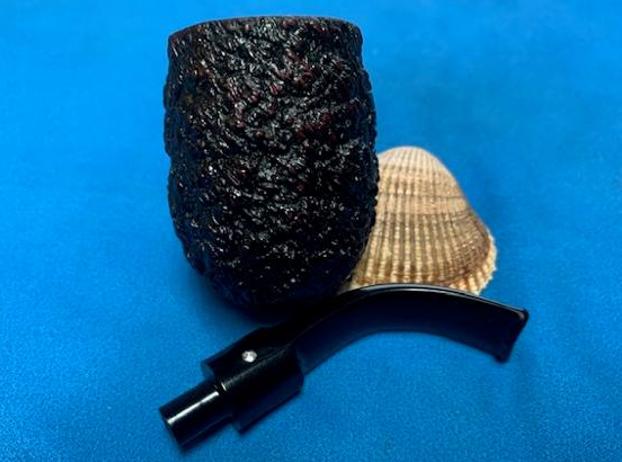
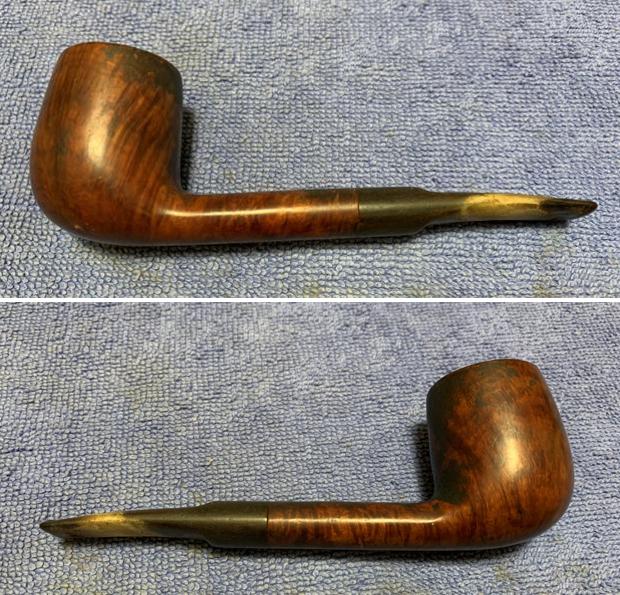
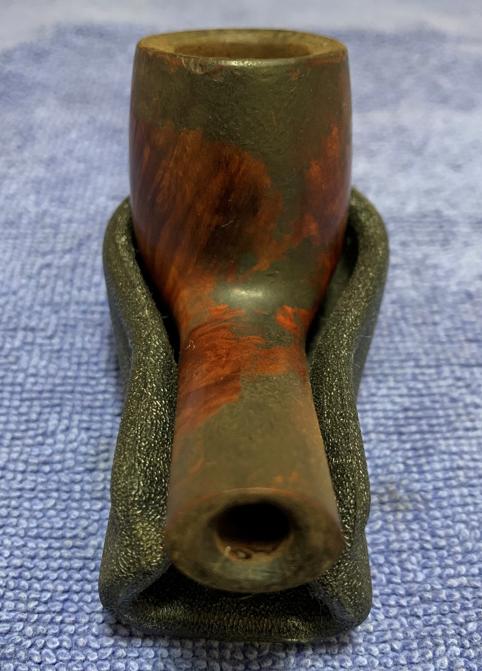
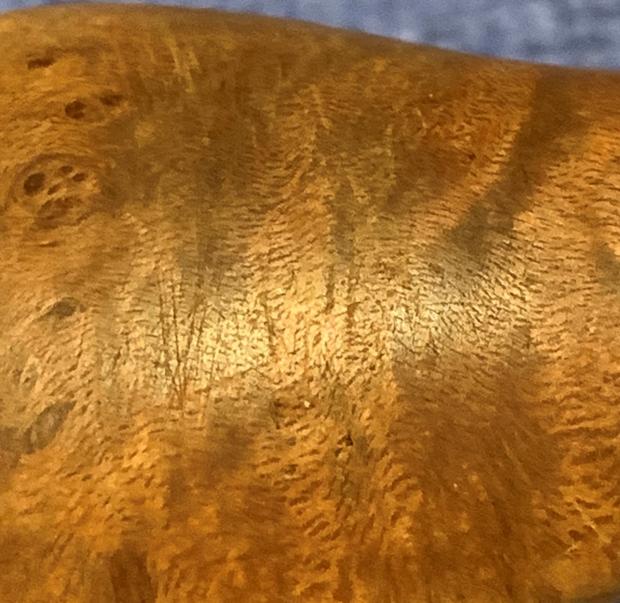
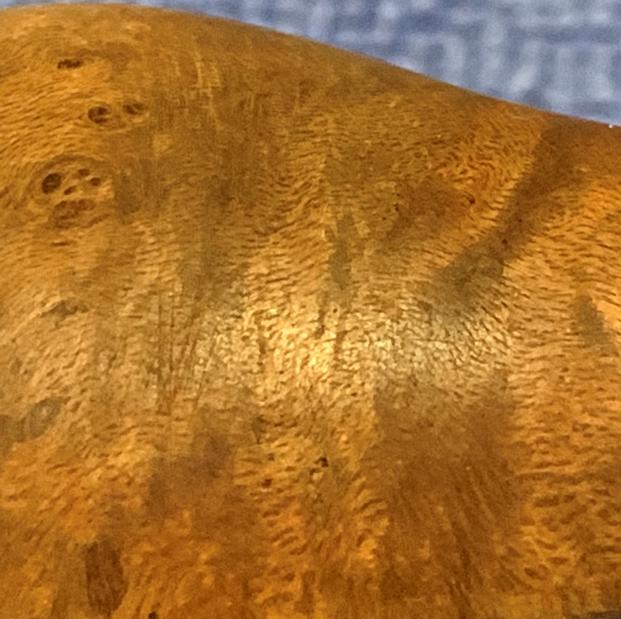
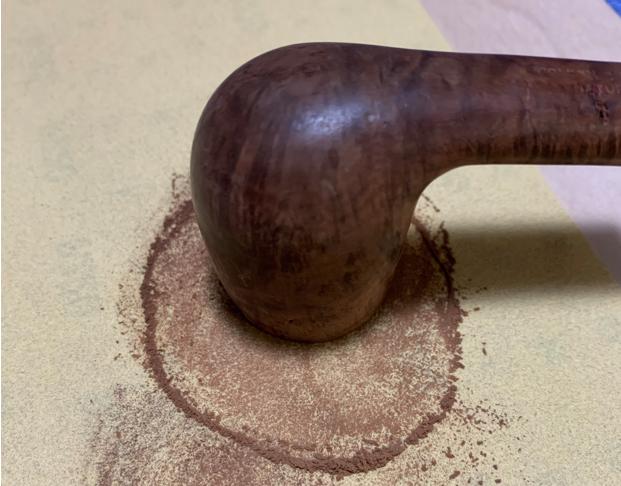
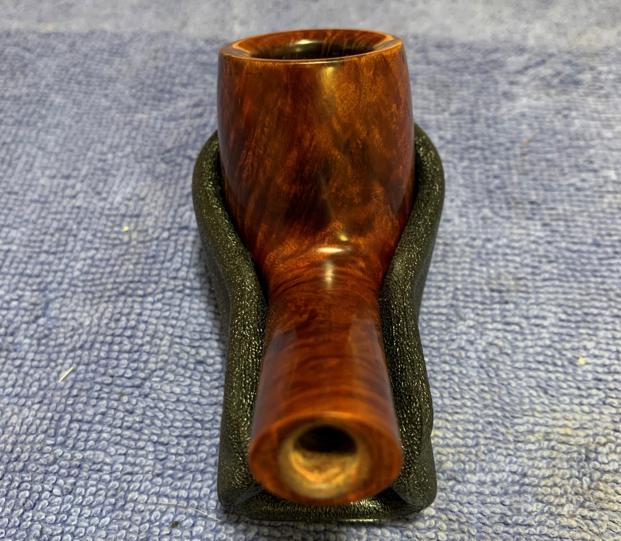
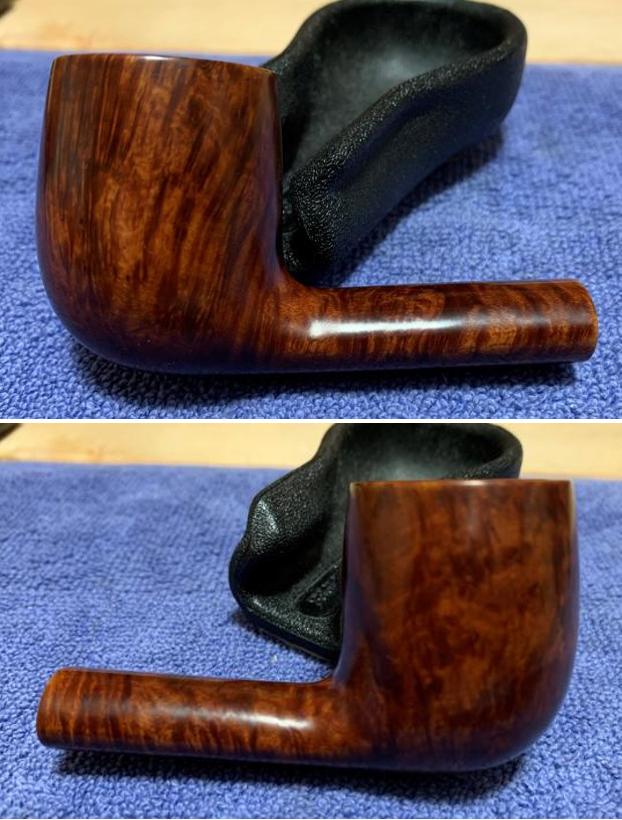
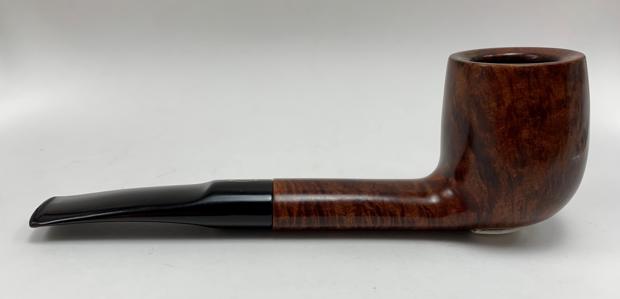
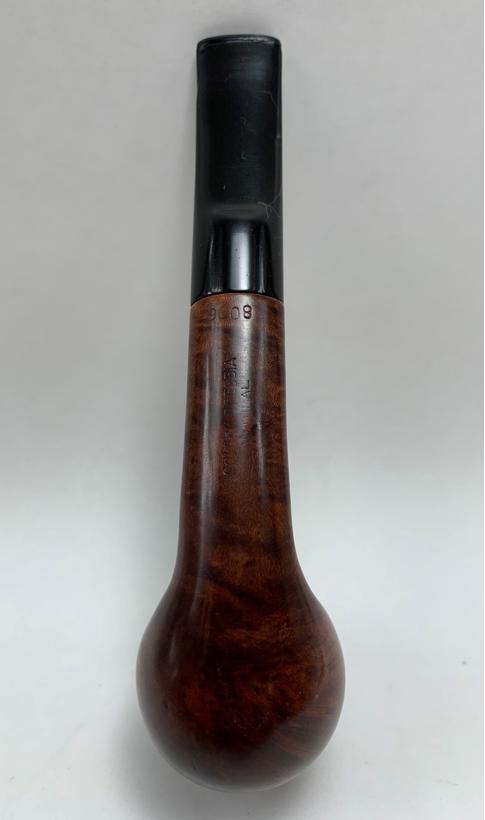
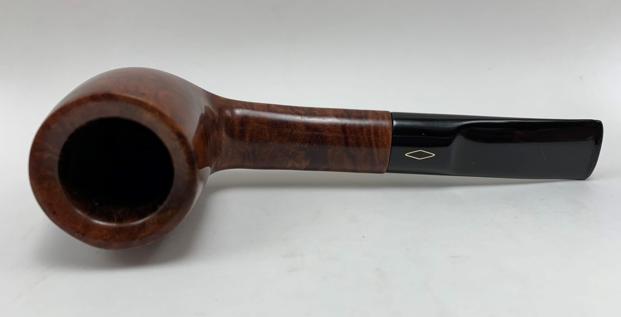
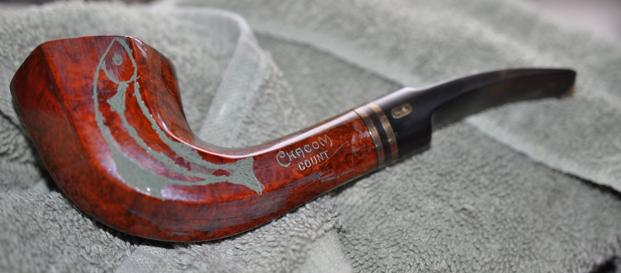
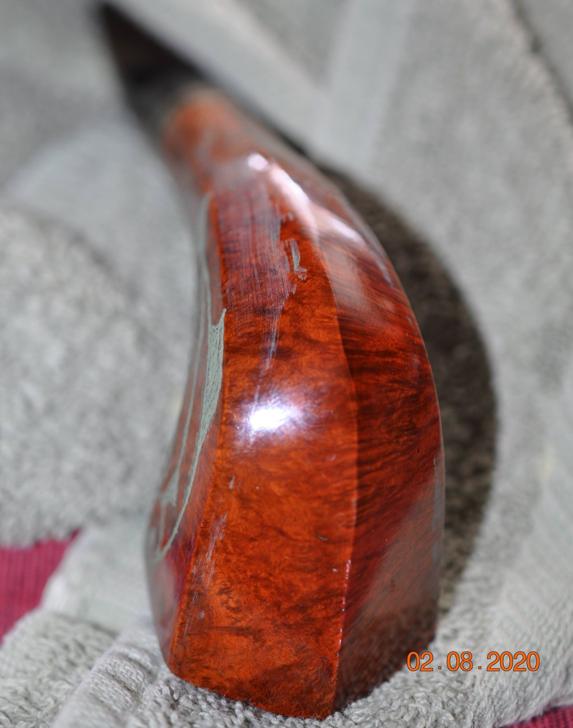
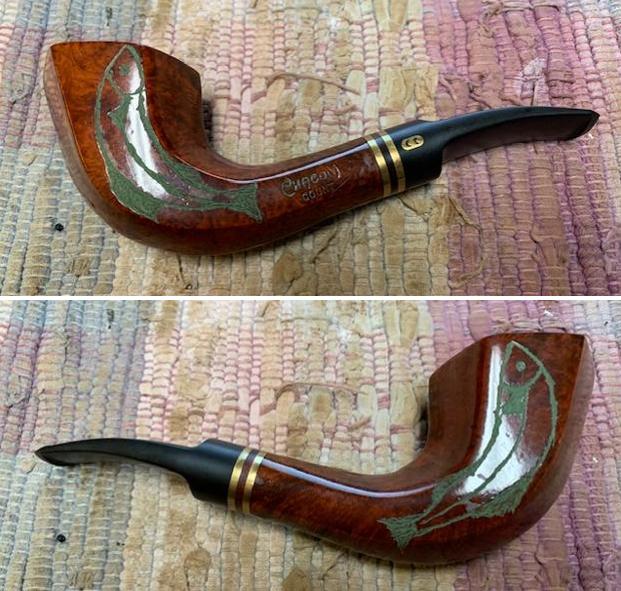
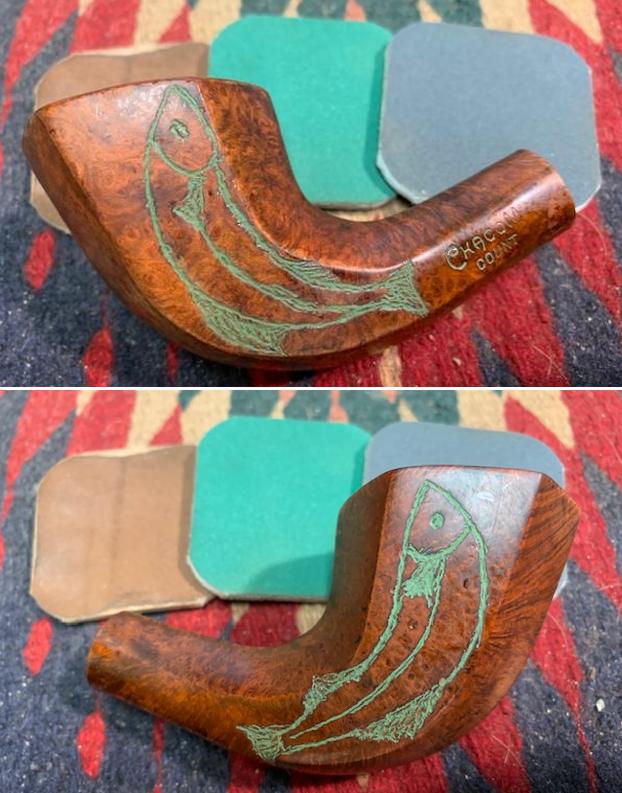
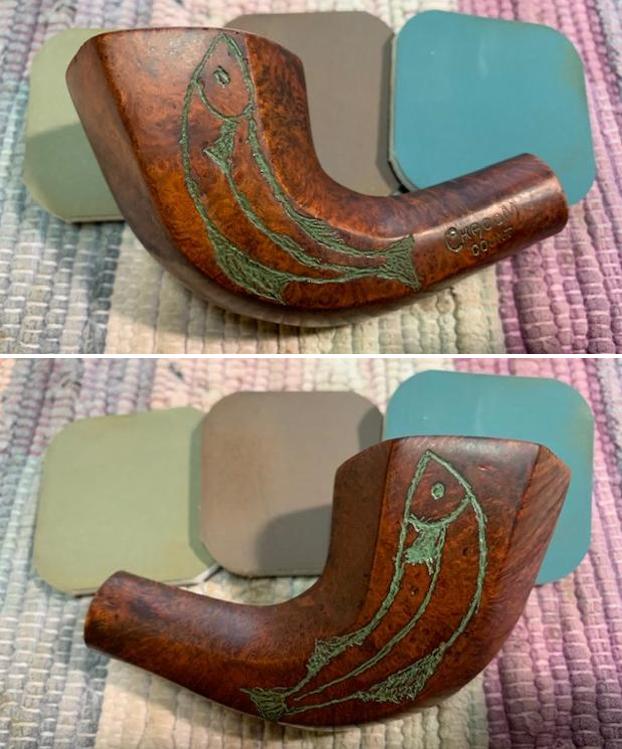
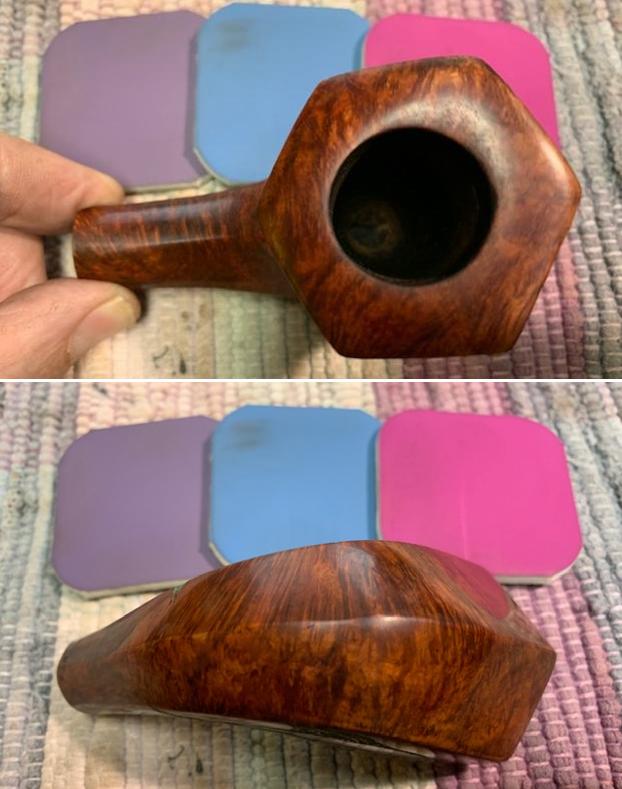
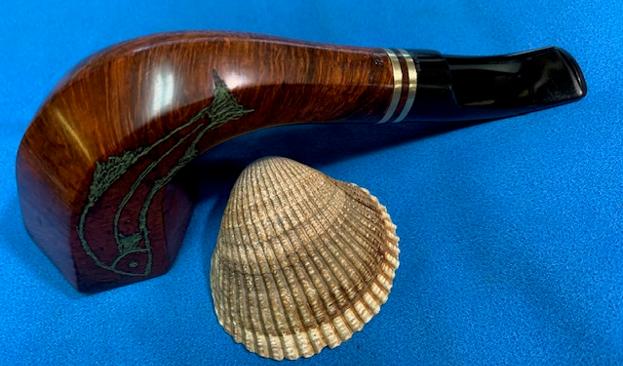
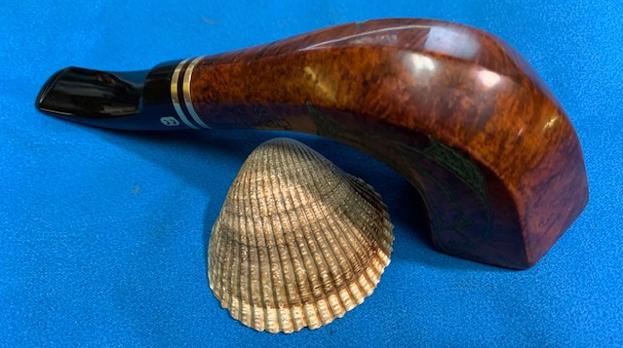
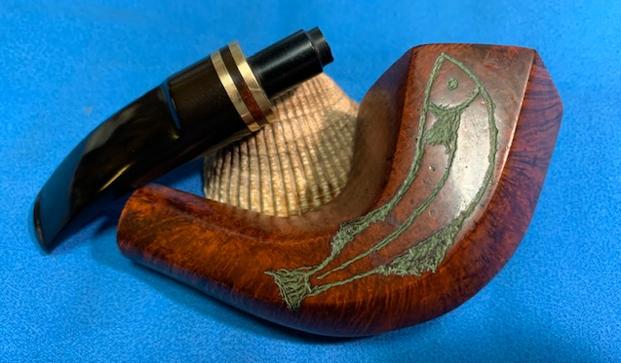
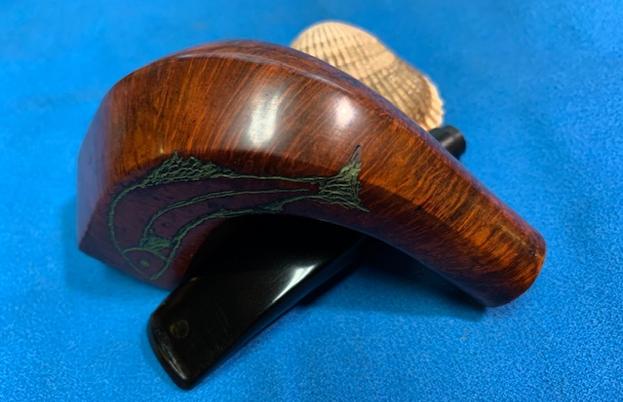
 He took photos of the sides and heel of the bowl to give a sense of the grain on the pipe. You can also see the damage around the top front and sides in the photos.
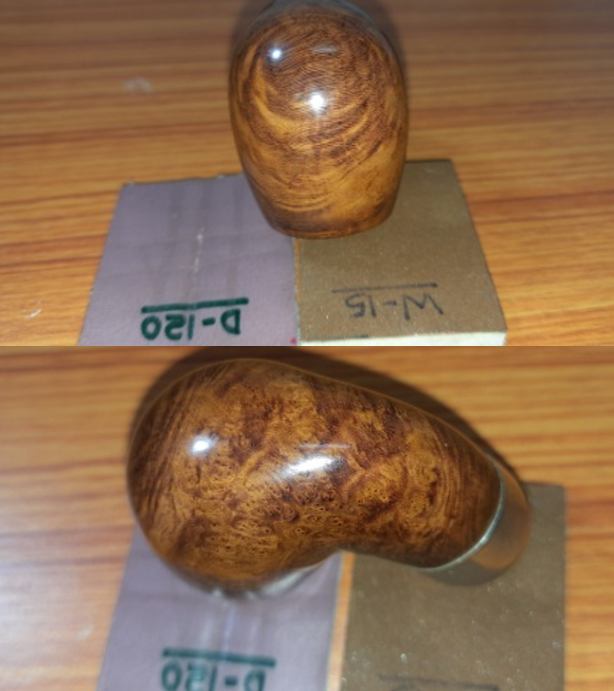
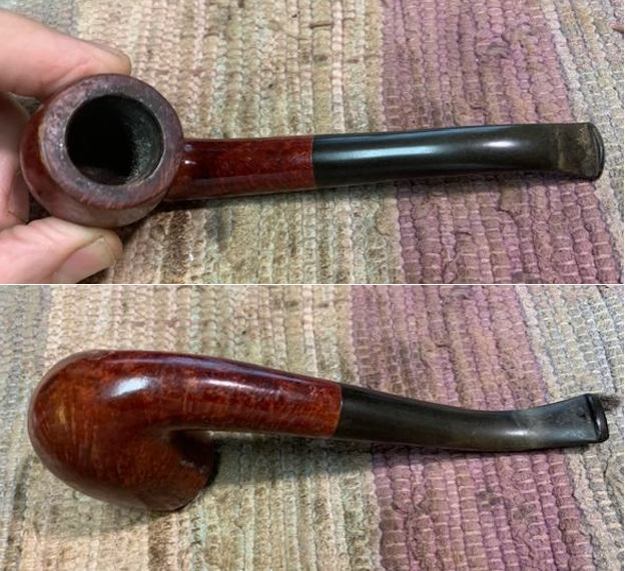
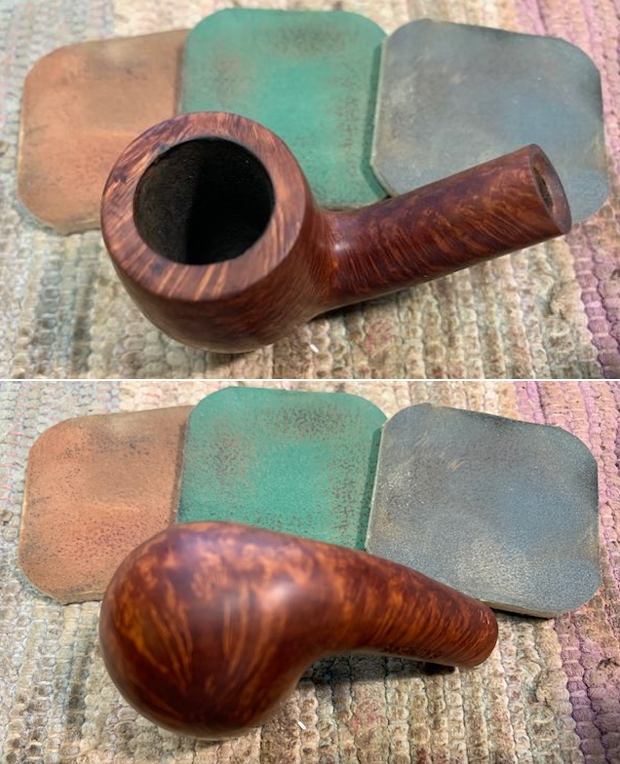
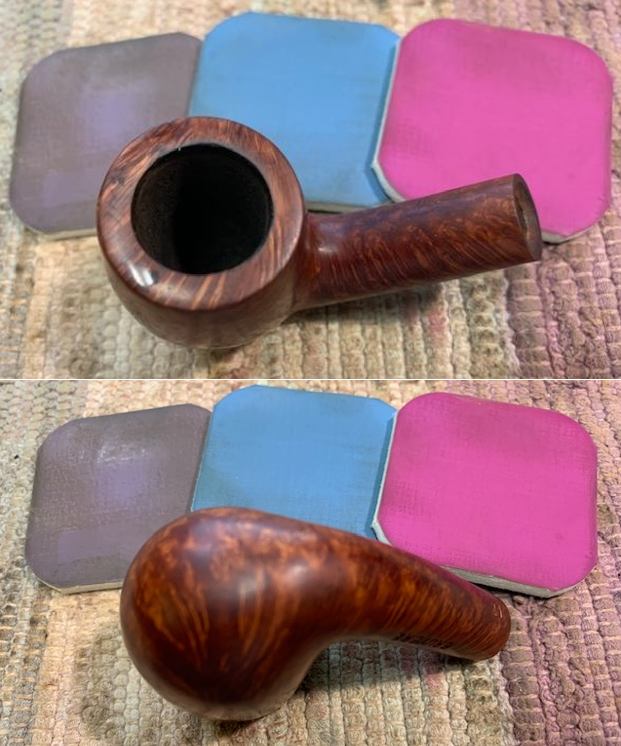
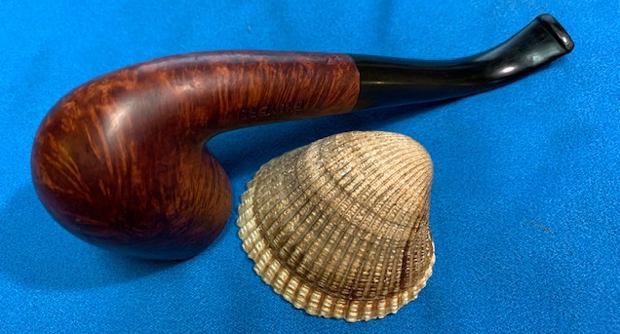
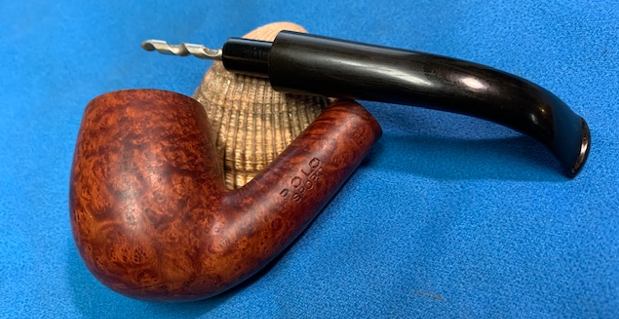
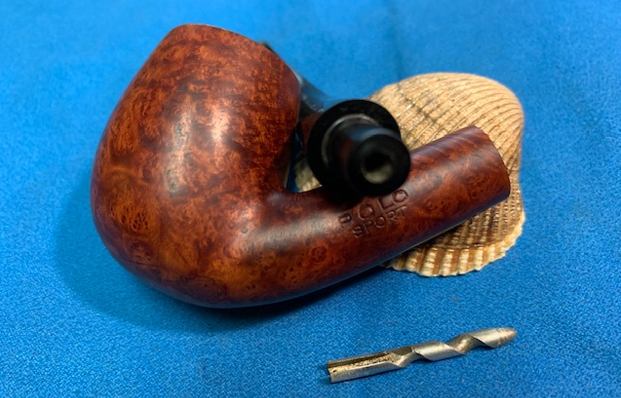
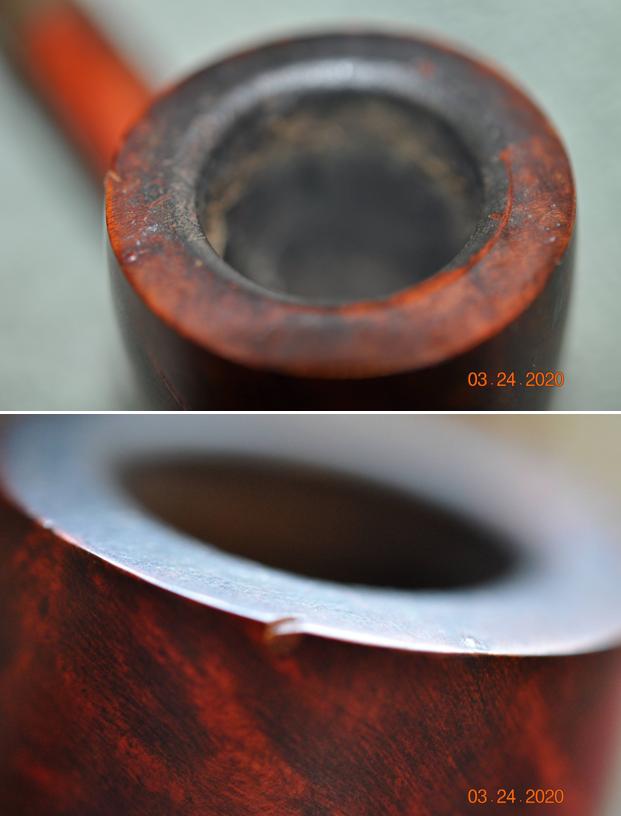
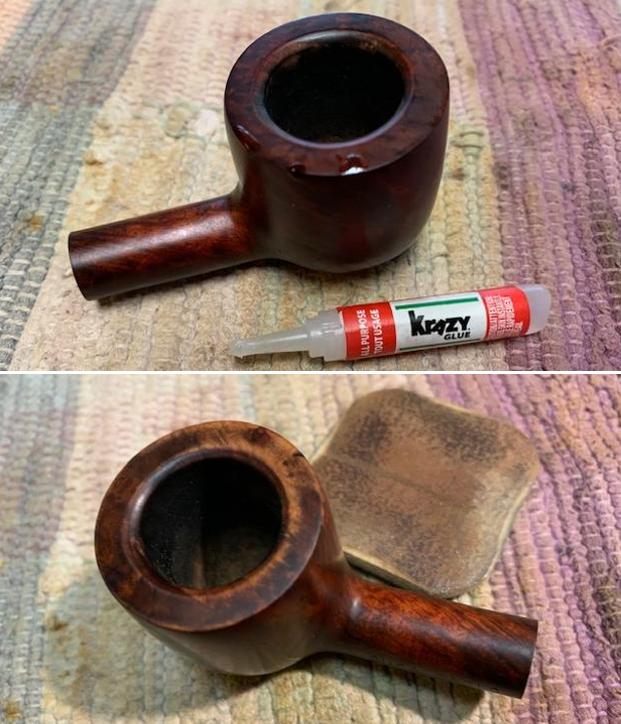
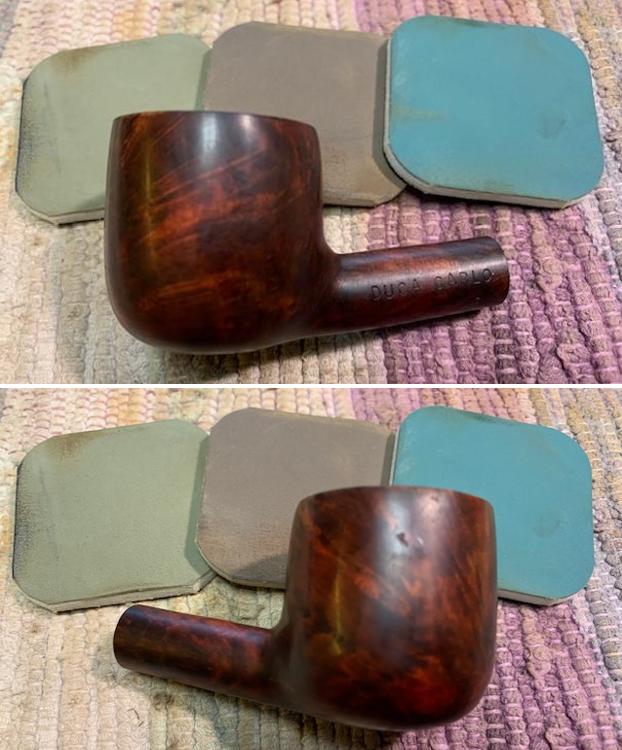
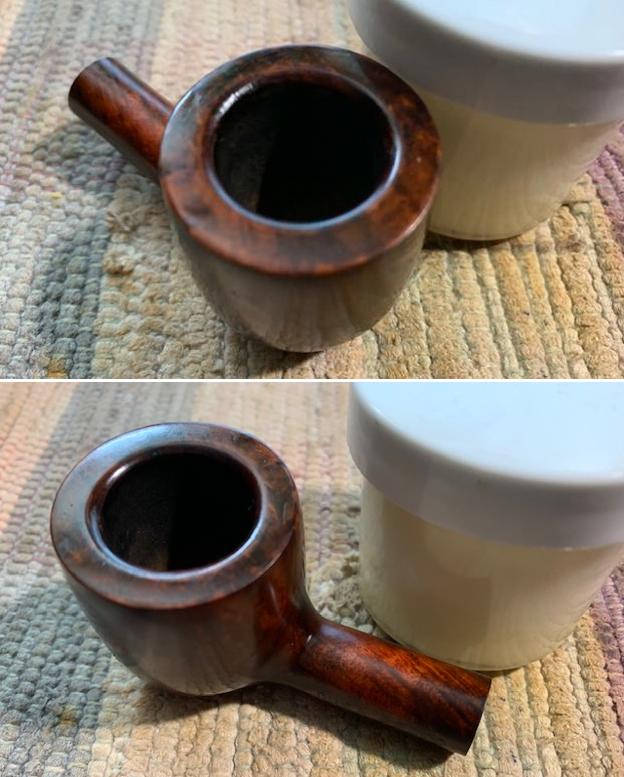
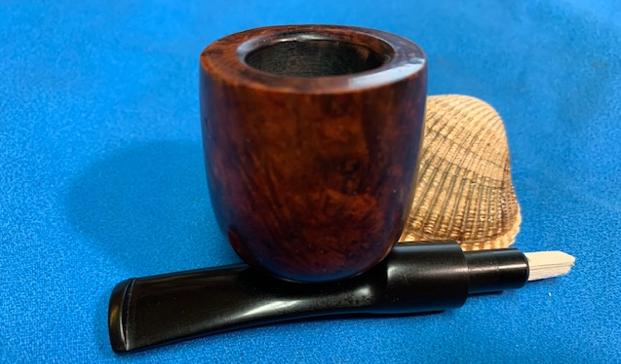
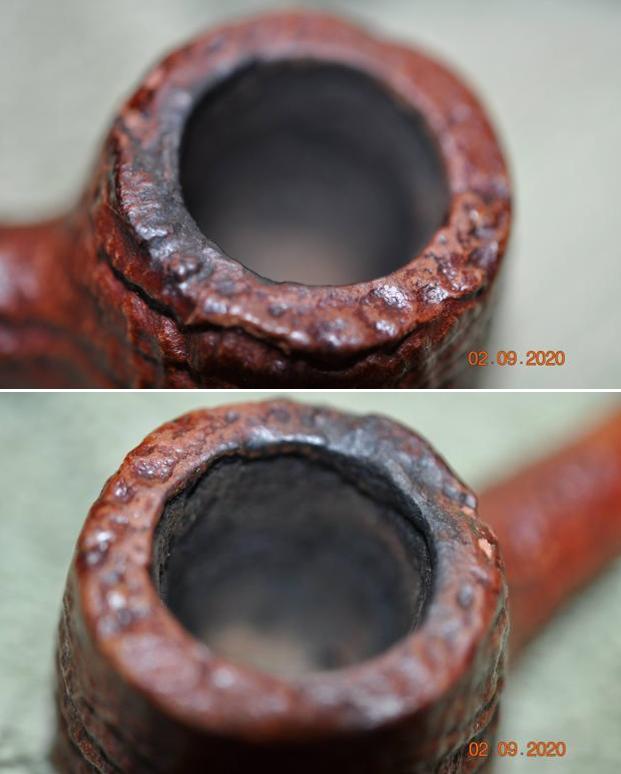
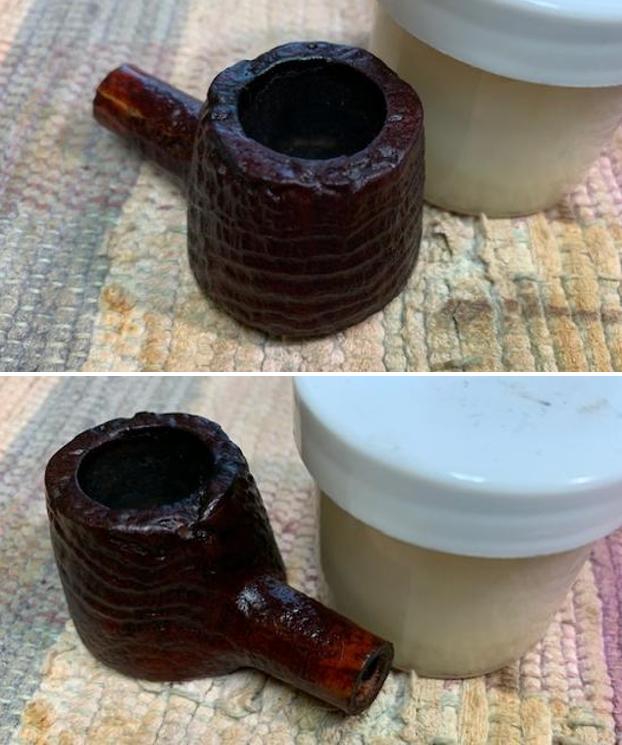
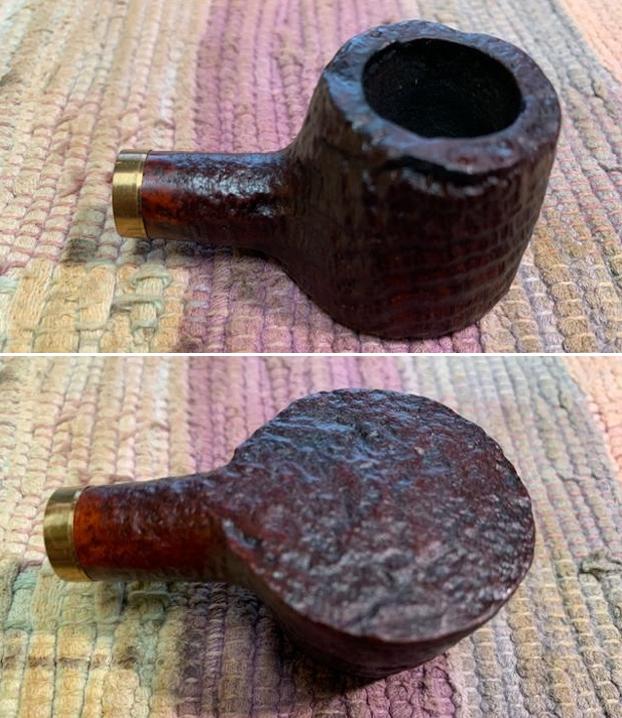
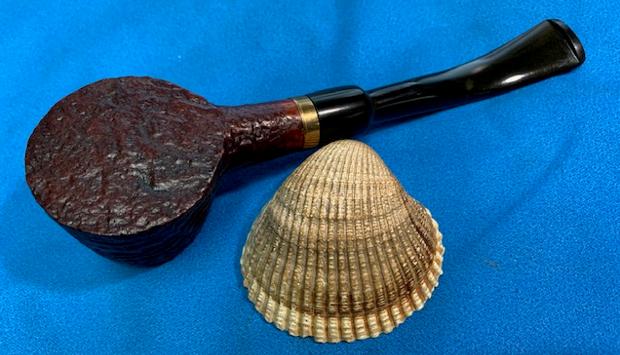
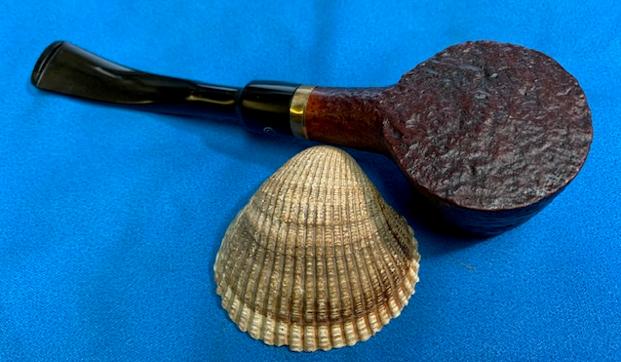
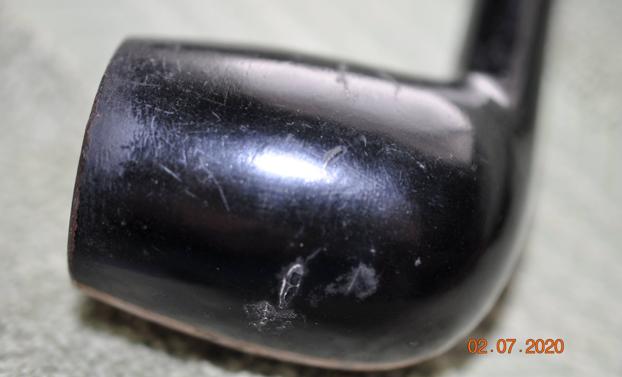
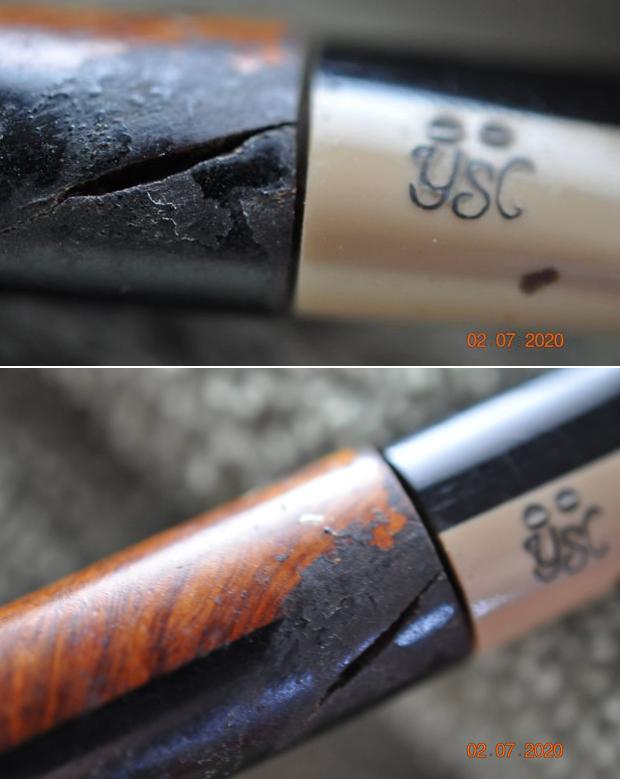
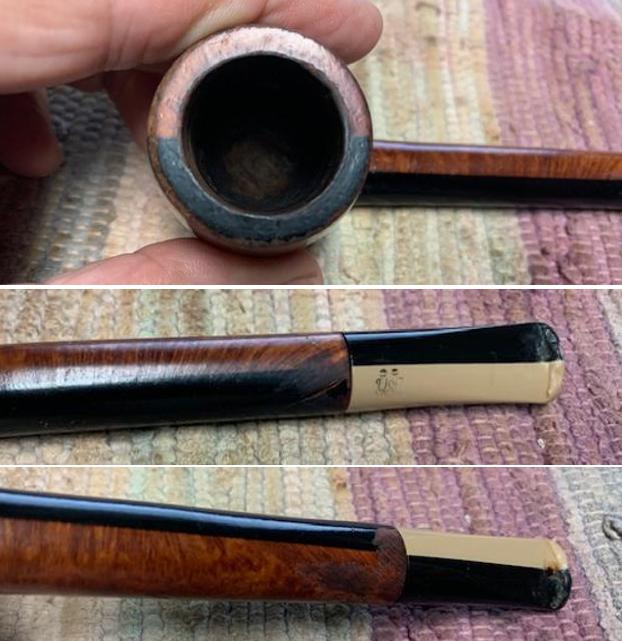
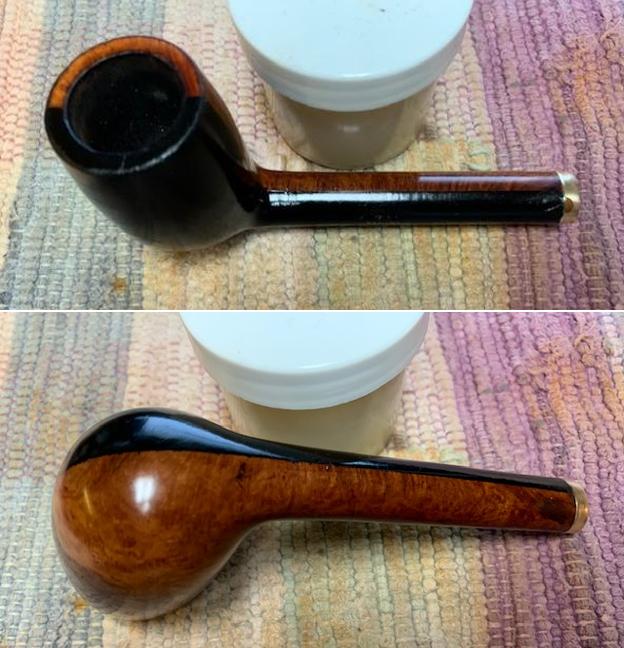
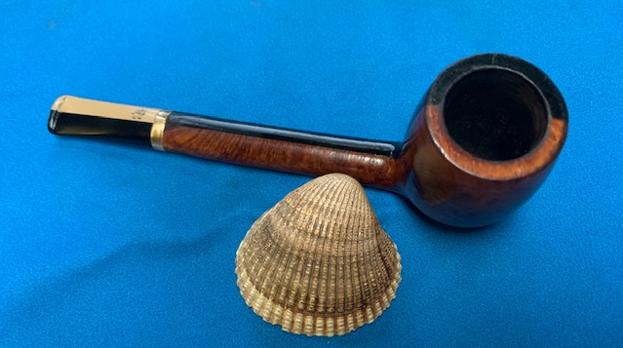
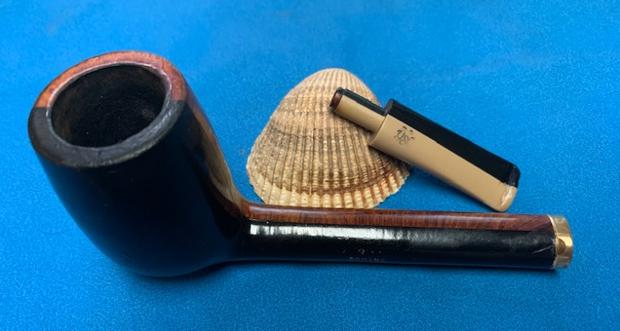
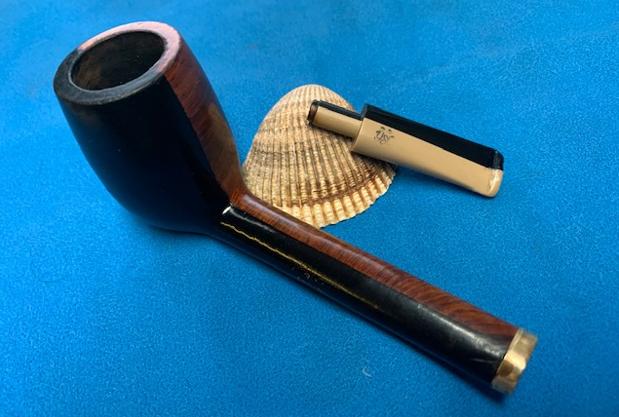
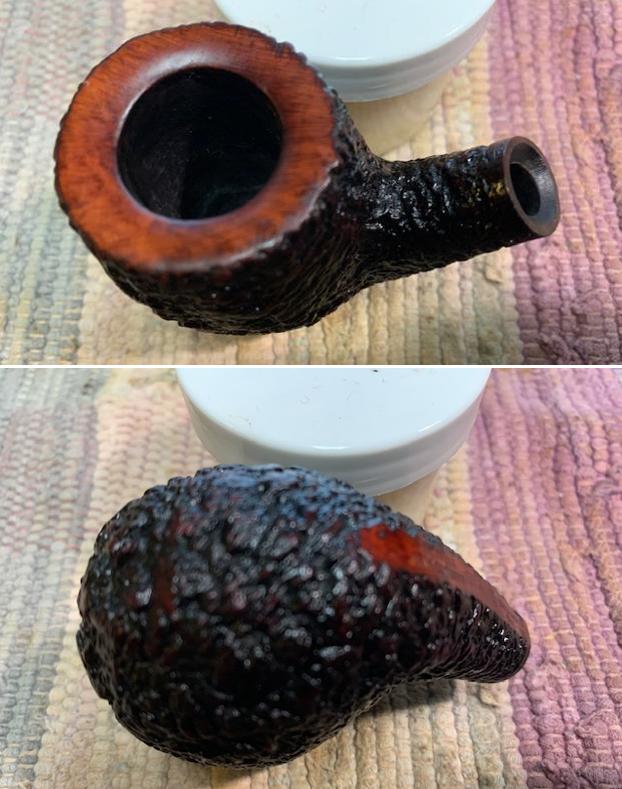
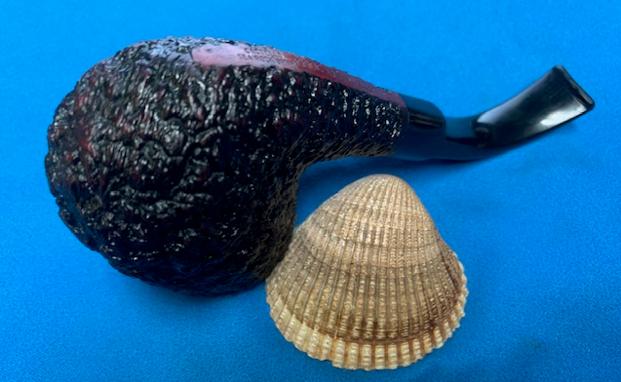
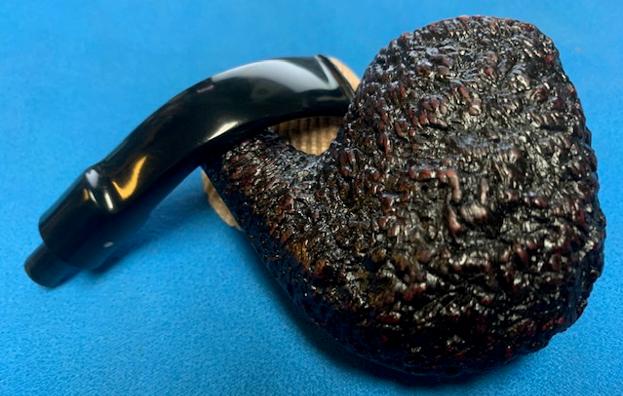
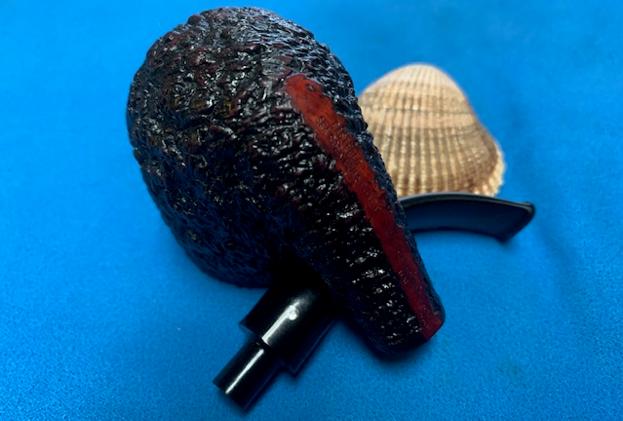
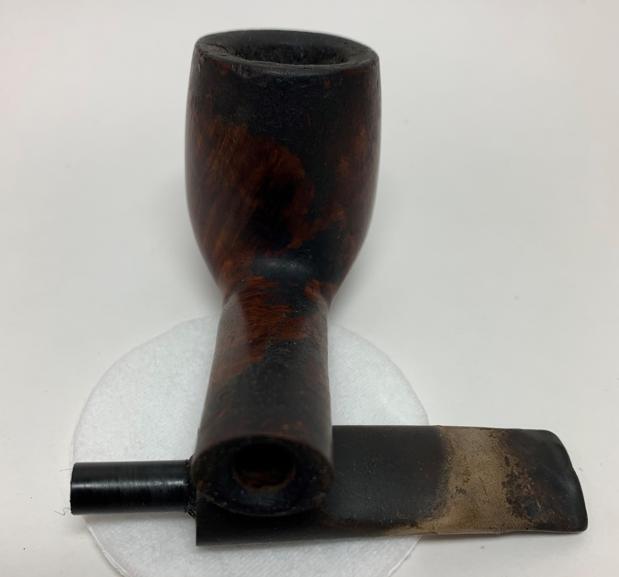
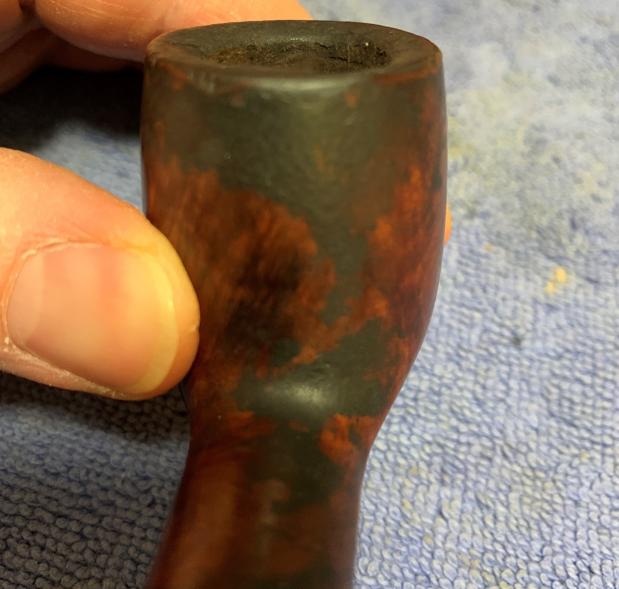
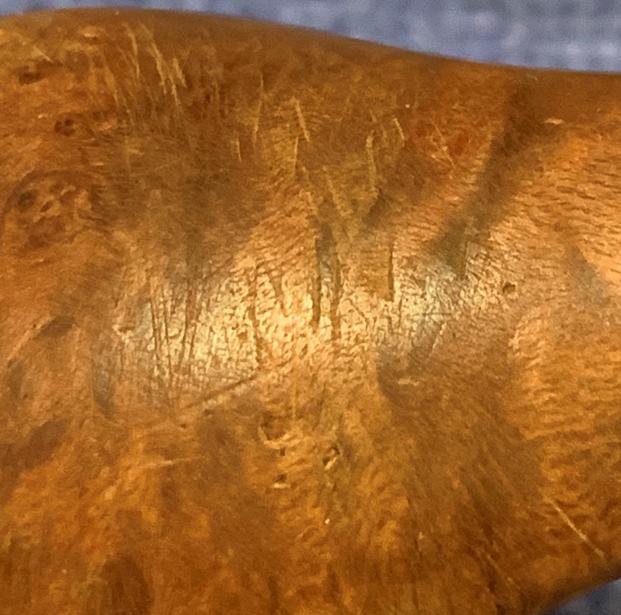
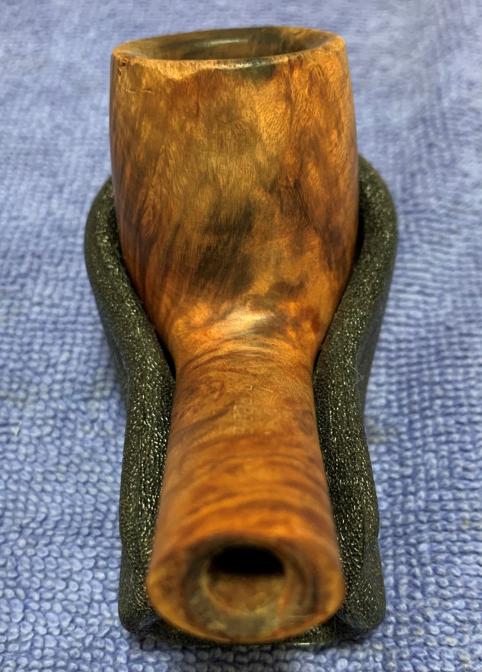
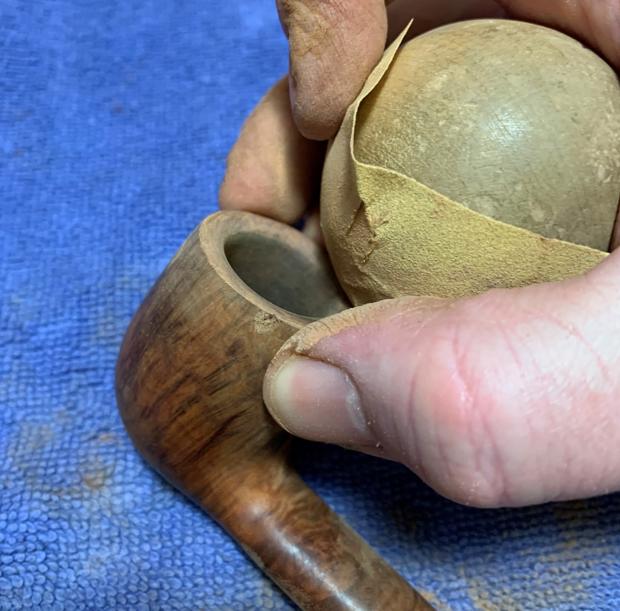
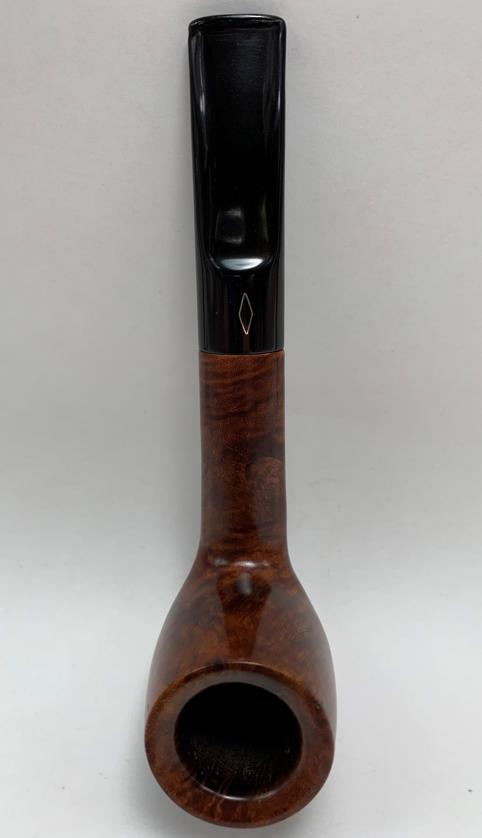
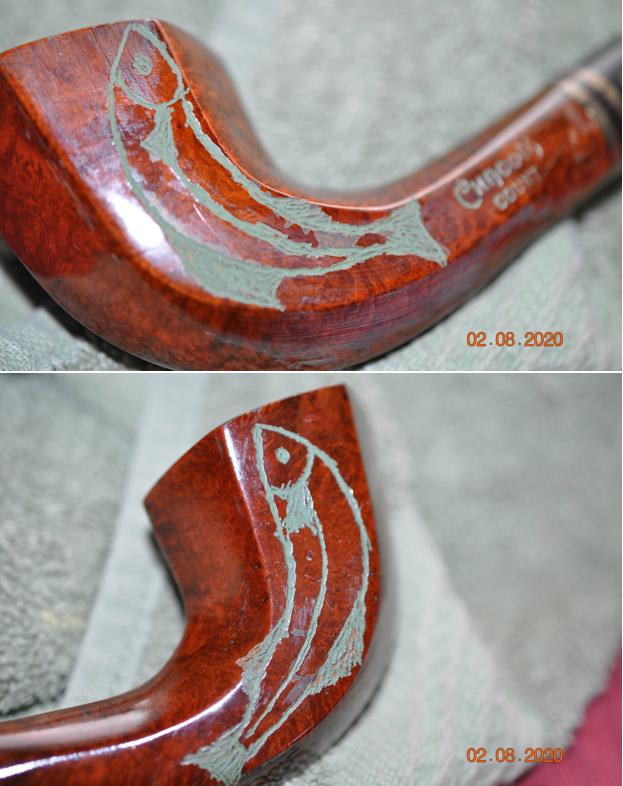
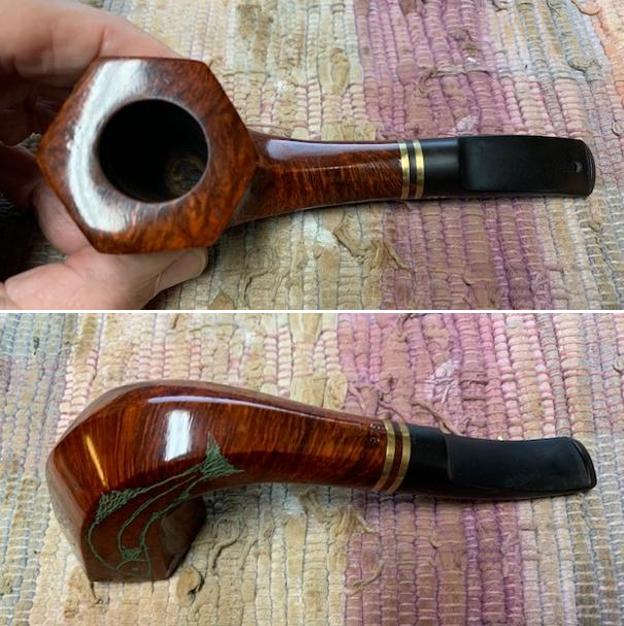
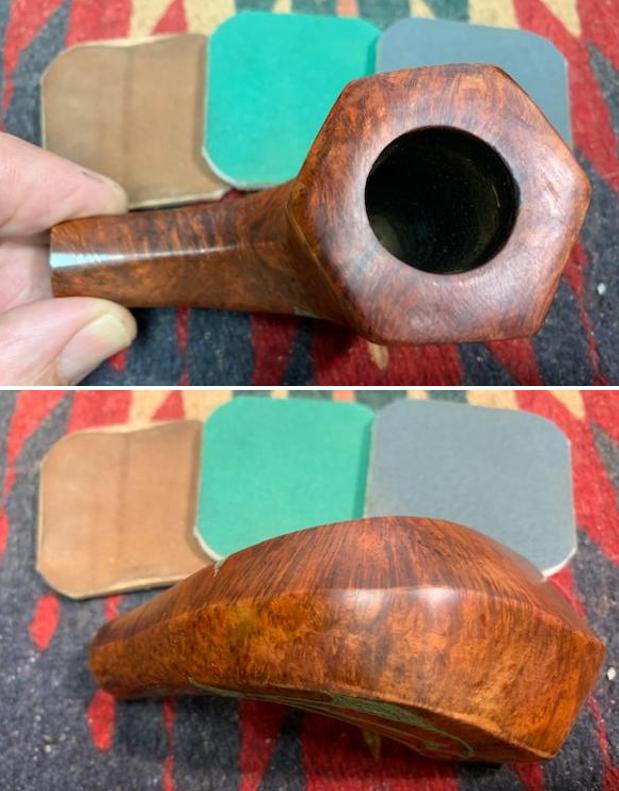
 Jeff captured the burn damage on the front of the bowl in the next photo and some of the nicks and gouges in the sides of the bowl in the second photo. There is work to do on this one!
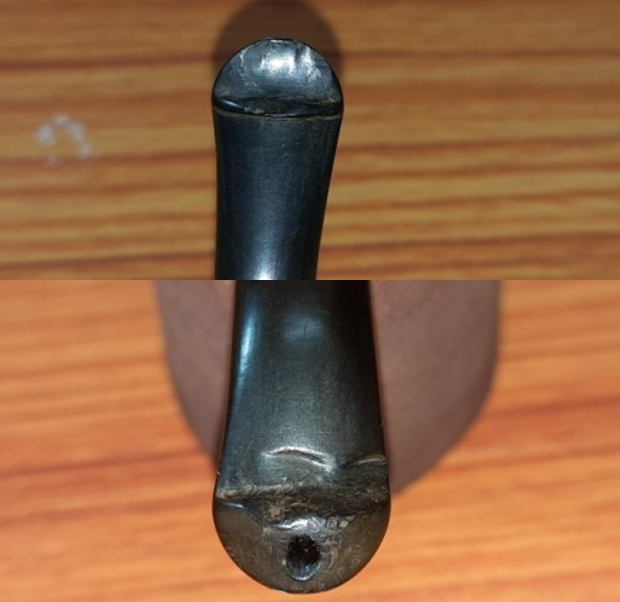
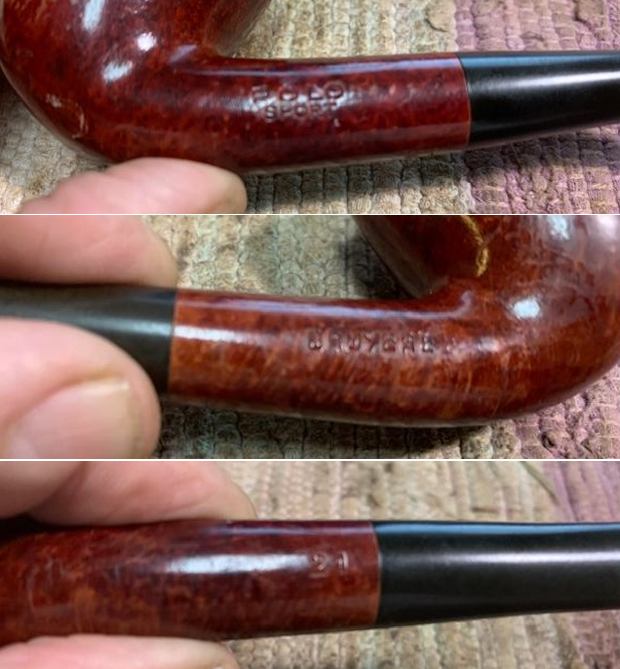
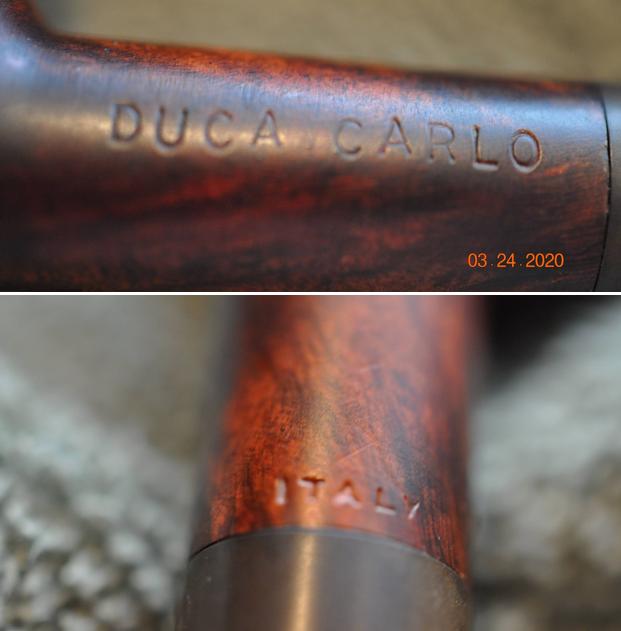
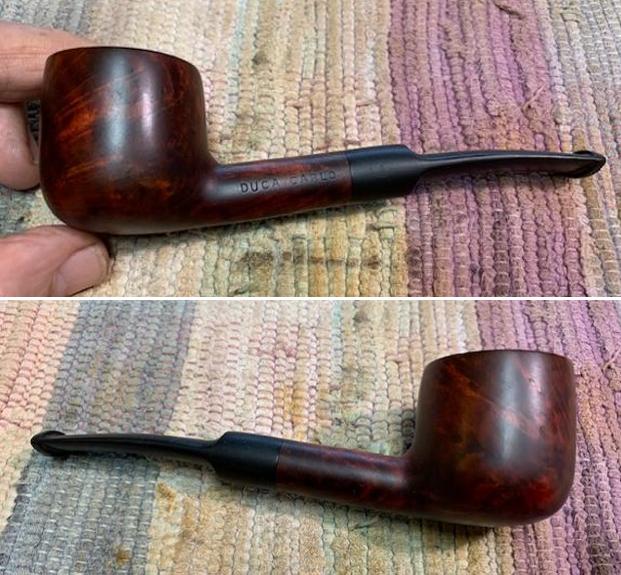
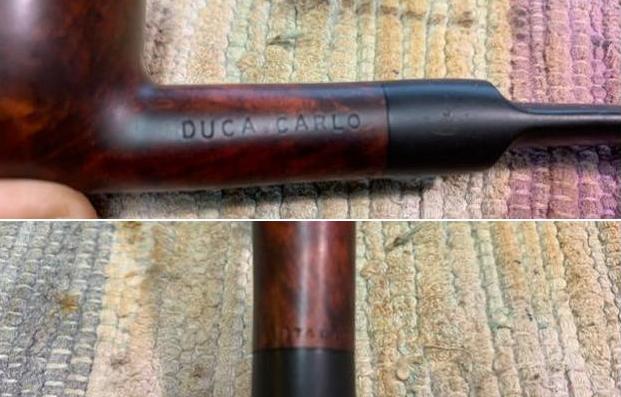
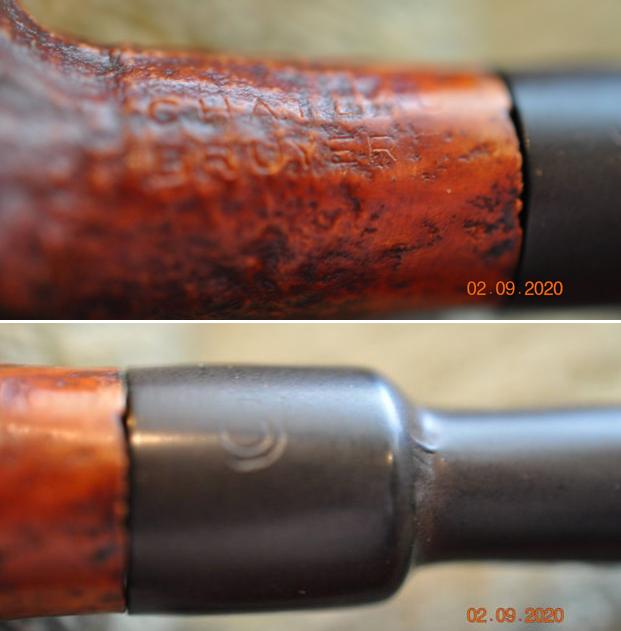
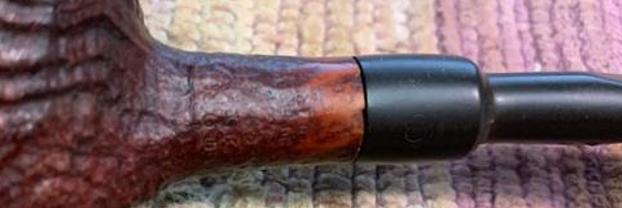
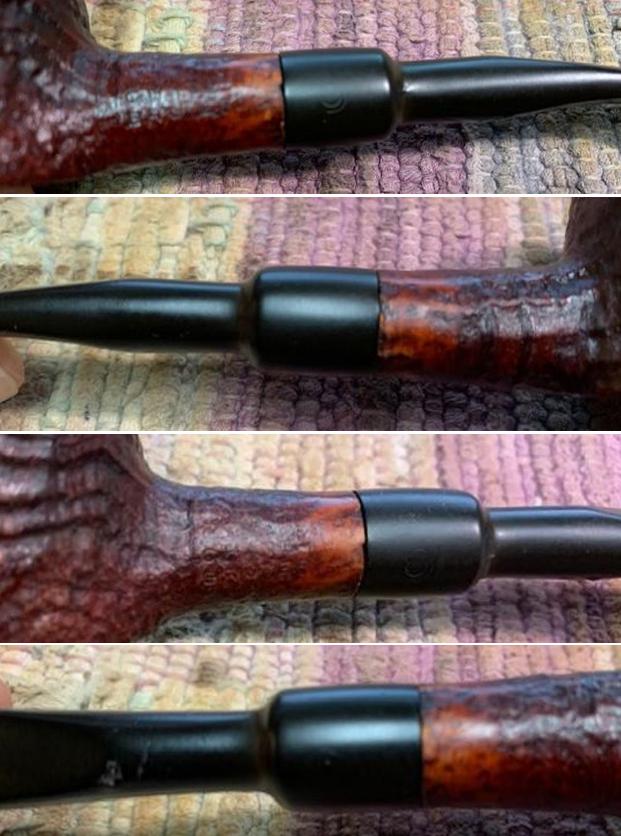
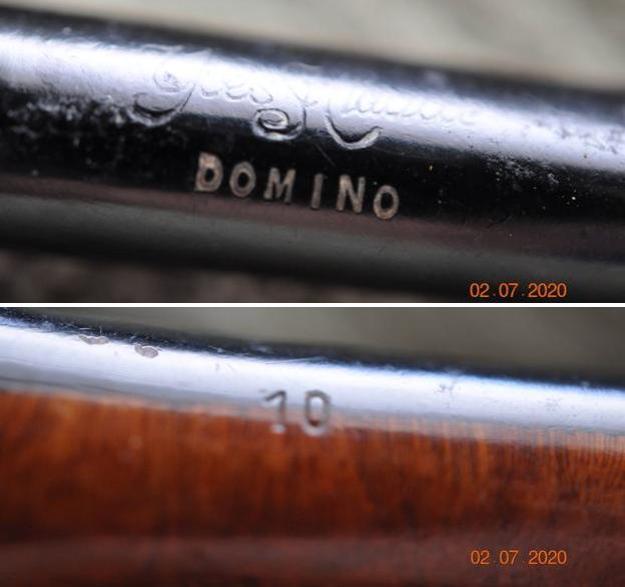
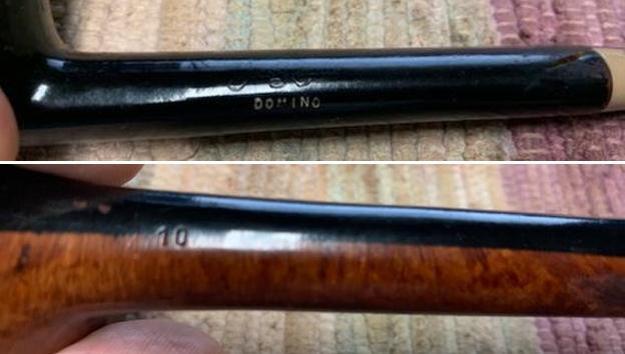
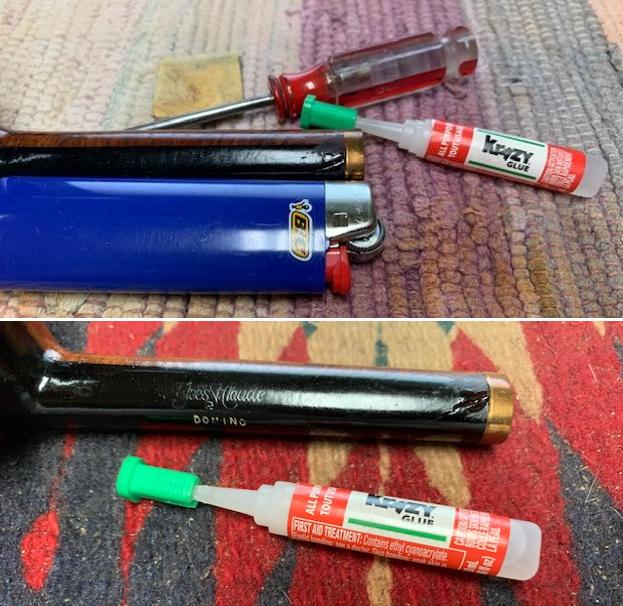
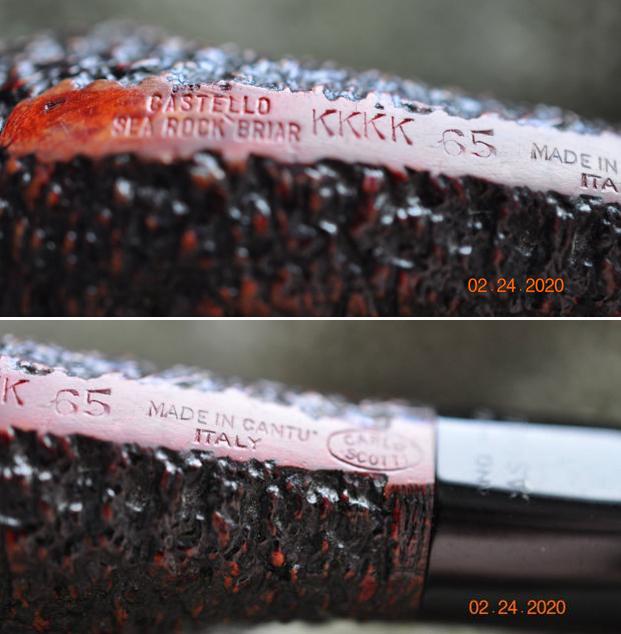
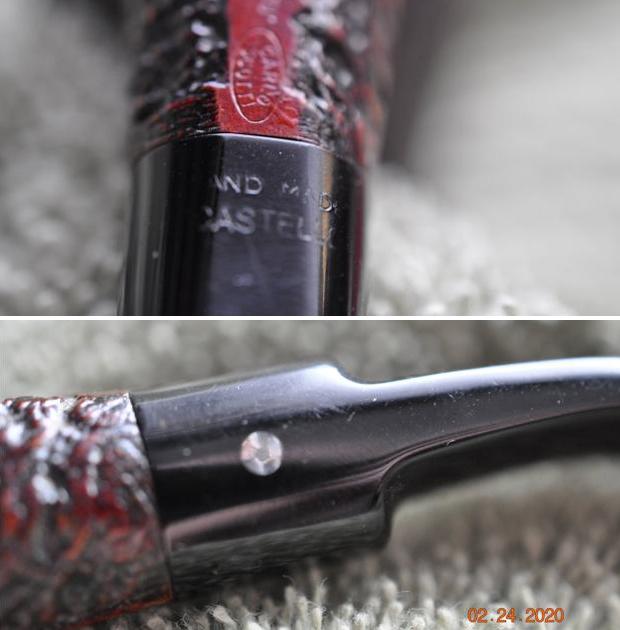
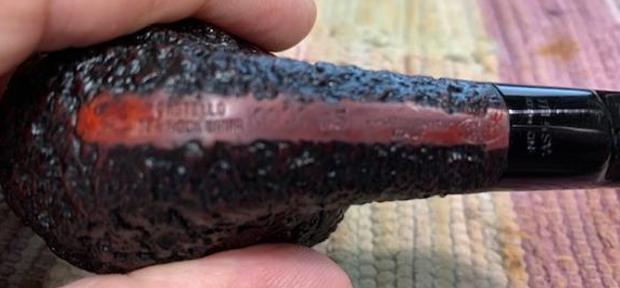
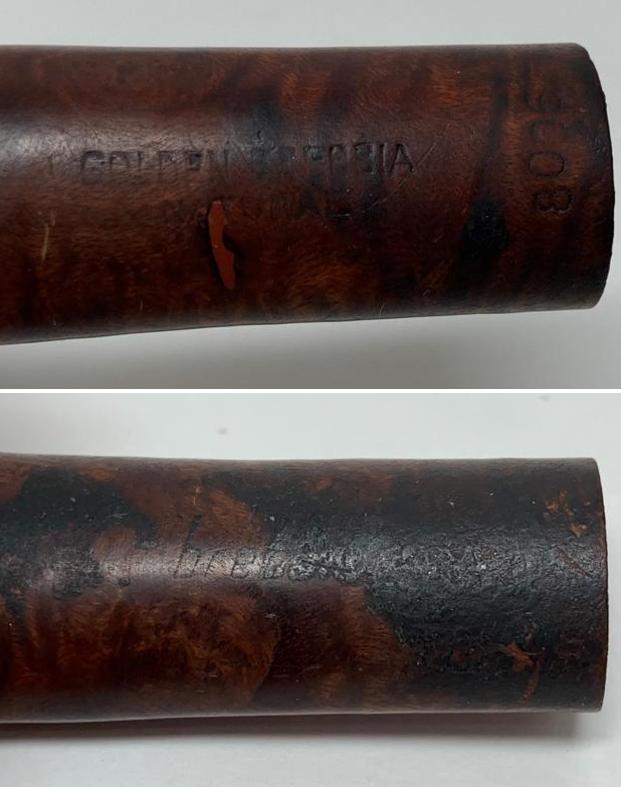
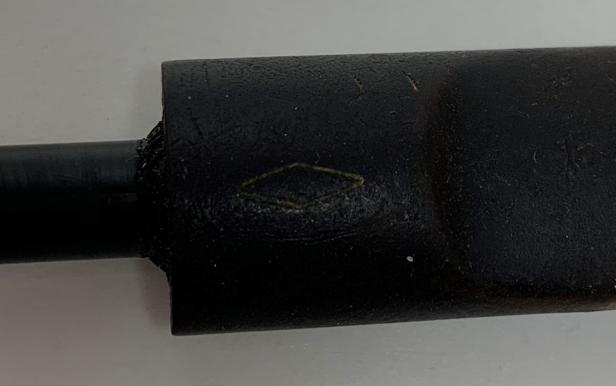
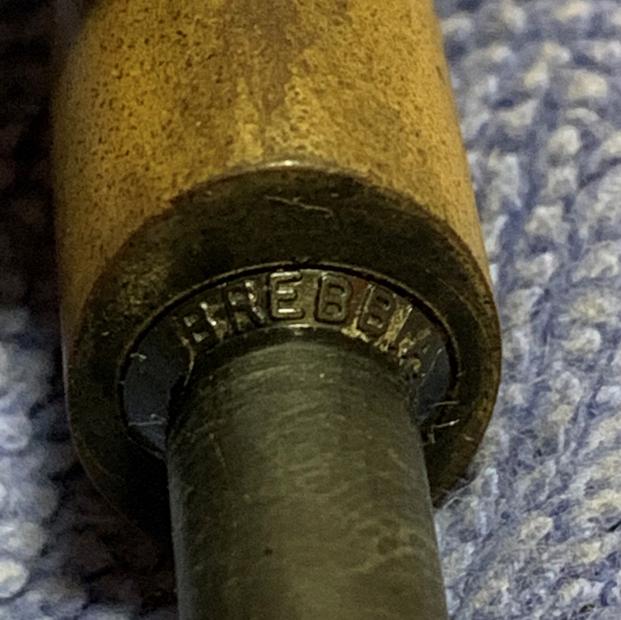
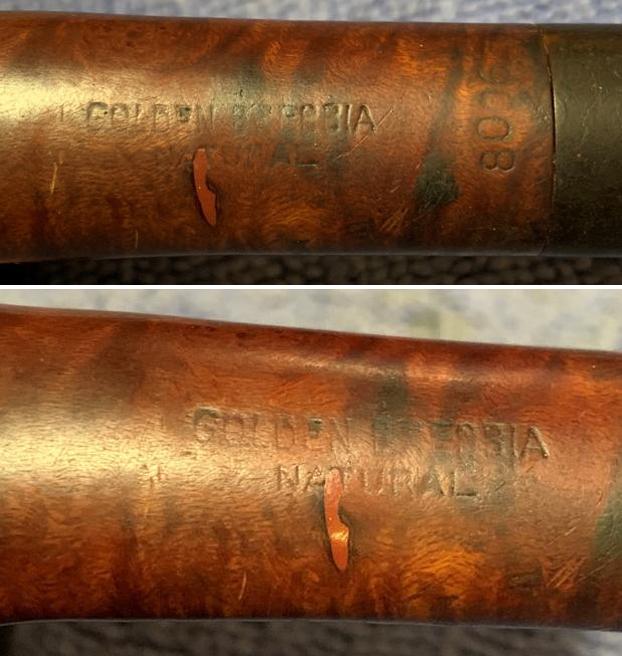
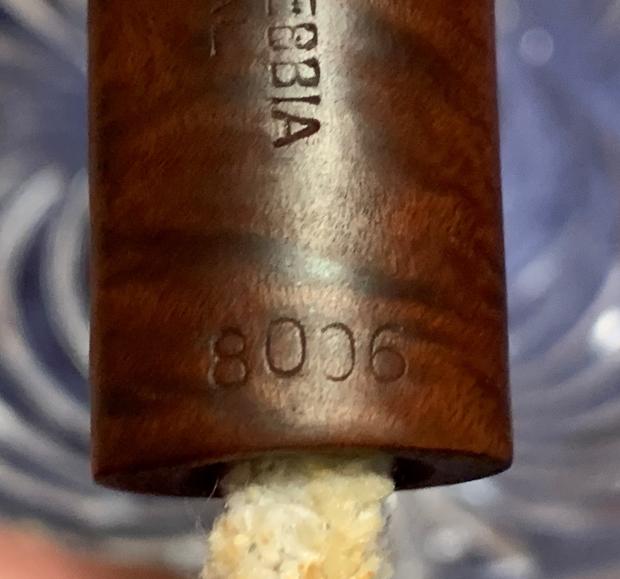
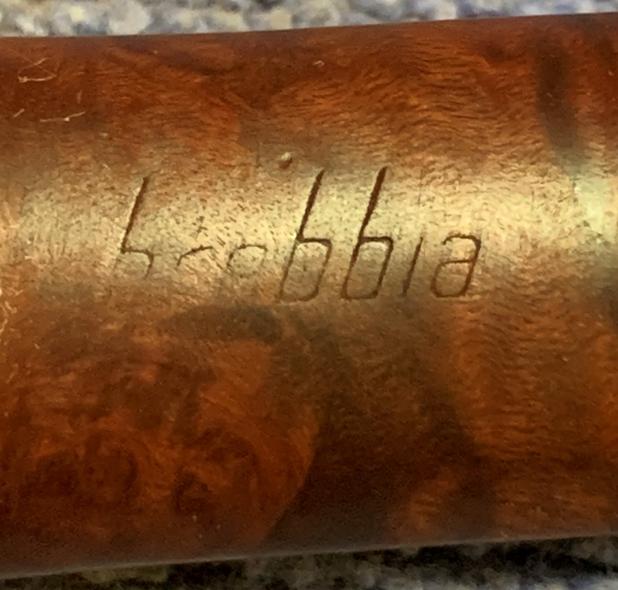
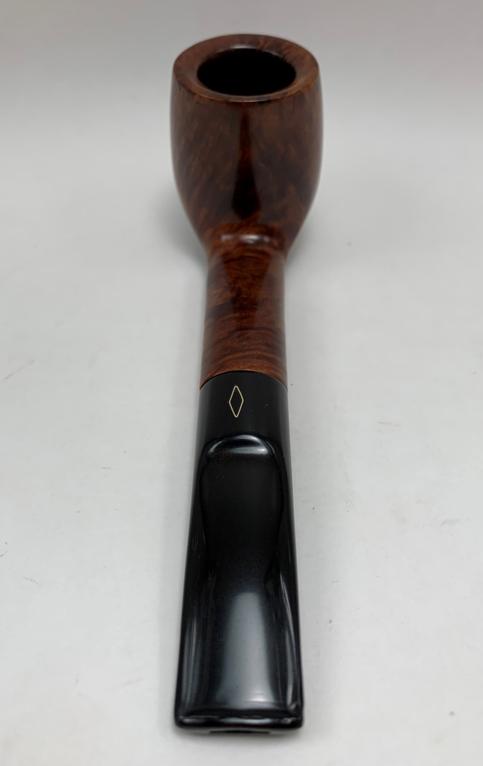
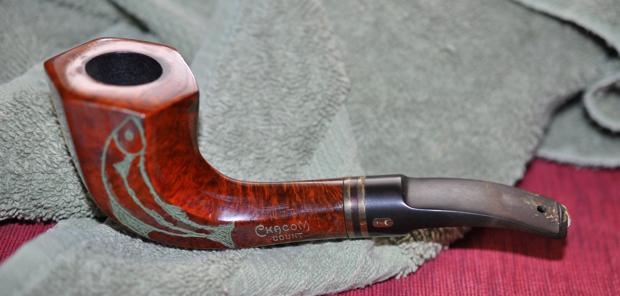
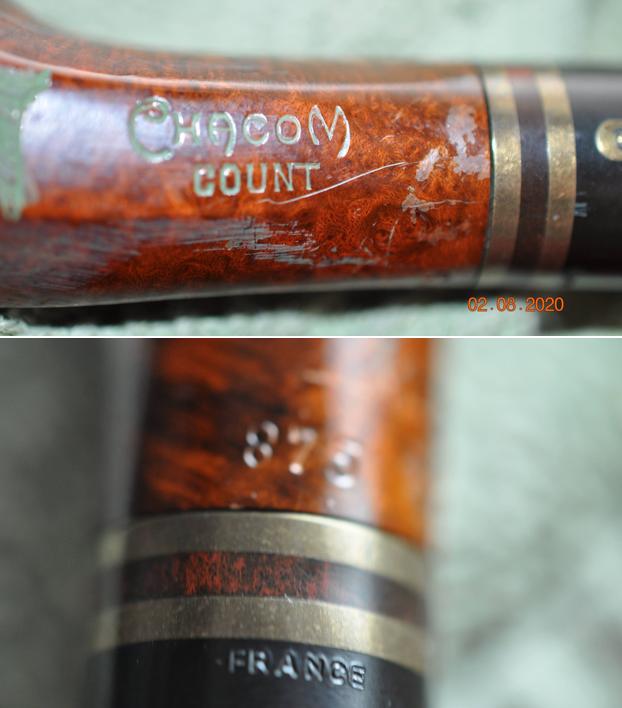
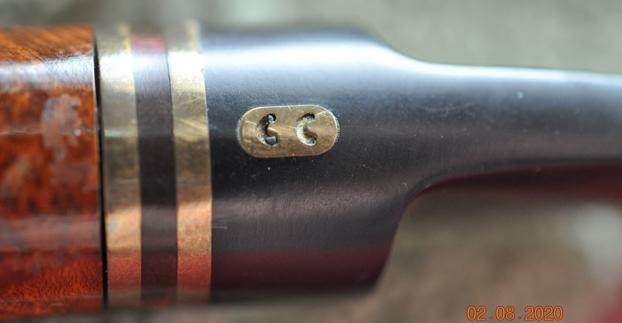
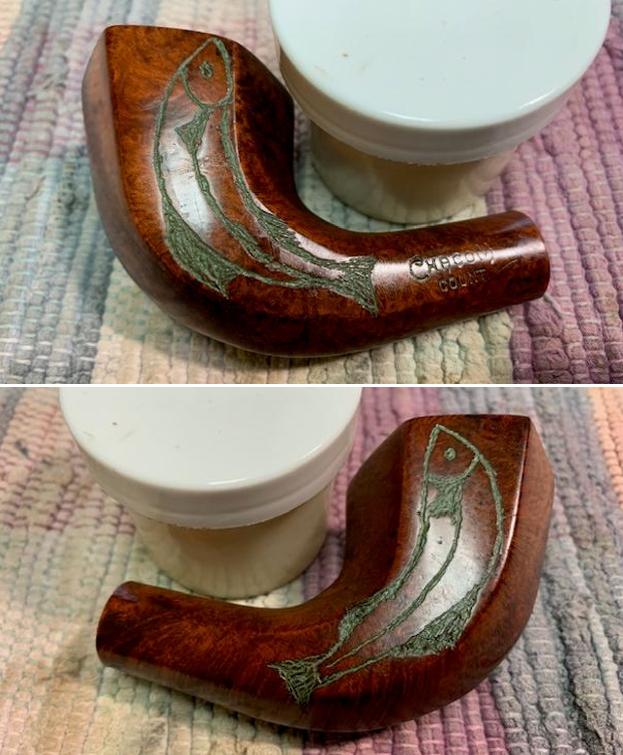
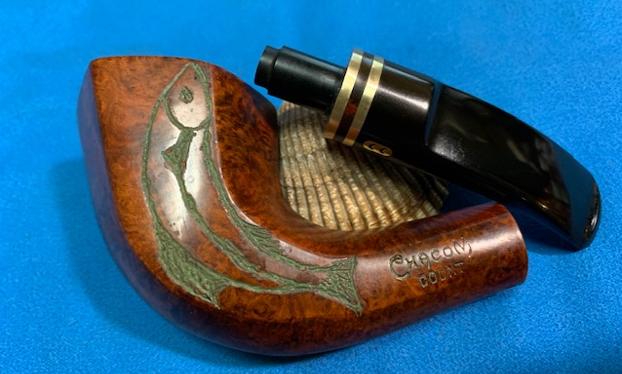
 The next photos show the stamping on the left and right side of the shank. It is clear and readable as noted above. Jeff also captured the BC stamp on the topside of the stem.
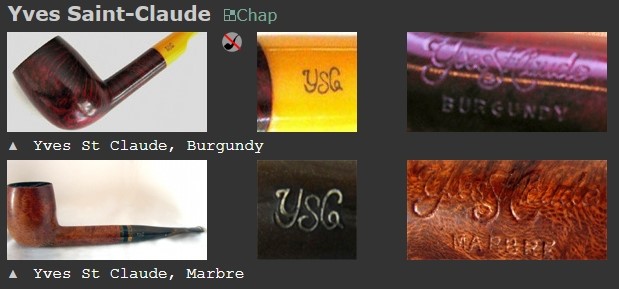
 I turned to Pipephil.eu and read through the listing on the brand. It is always a quick reminder to me of the basics of a brand. The Casino line was not listed there. I include the short summary of the history below.
The origin of the brand reaches back to 1858 when Jean-Baptiste Choquin in collaboration with his son-in-law Gustave Butz created their first pipe in Metz (France). Since 1951 Butz-Choquin is a brand of the Berrod-Regad group (Saint-Claude, France).
Jean Paul Berrod managed the company from 1969 to 2002 when he retired and sold the corporate to Mr Fabien Gichon. Denis Blanc, already owner of EWA, took over the S.A. Berrod-Regad in 2006.
I could not find anything specific in Pipedia about the Casino line, but a simple search on the internet will show many different shapes available in the Casino line from Butz-Choquin. Now it was time to work on the pipe.
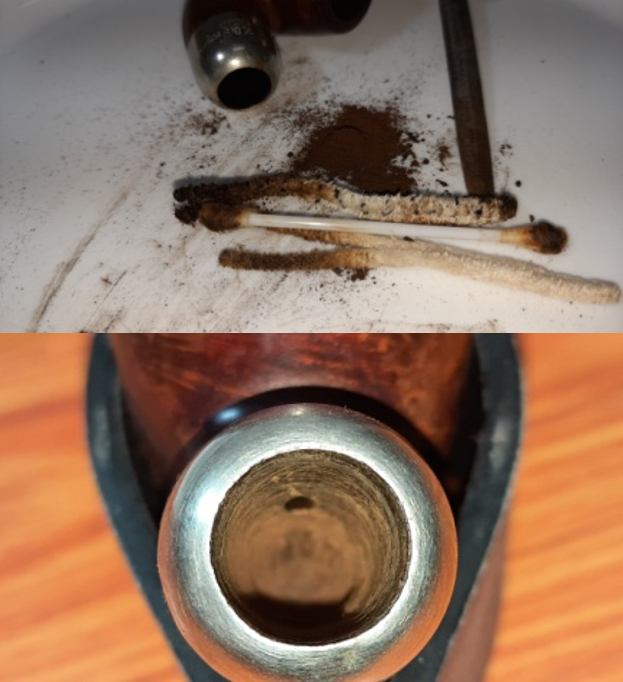
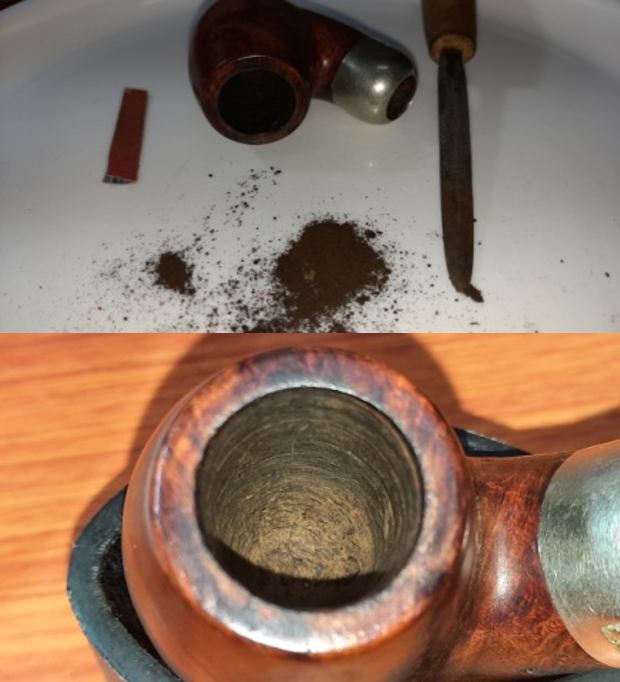
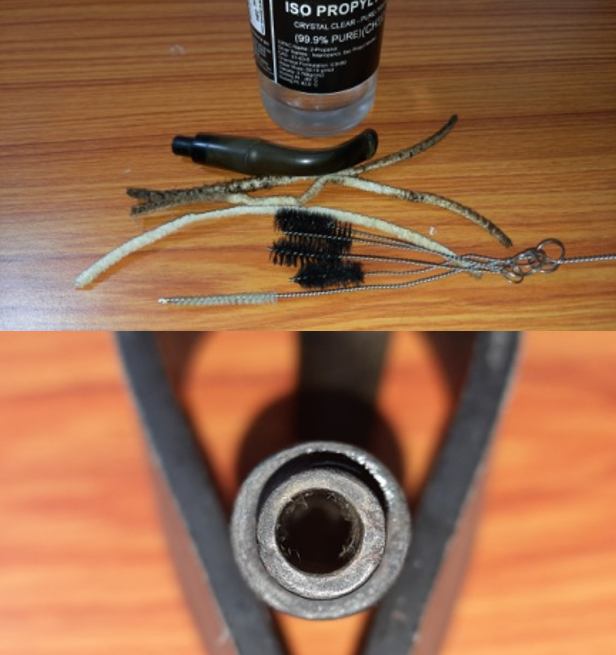
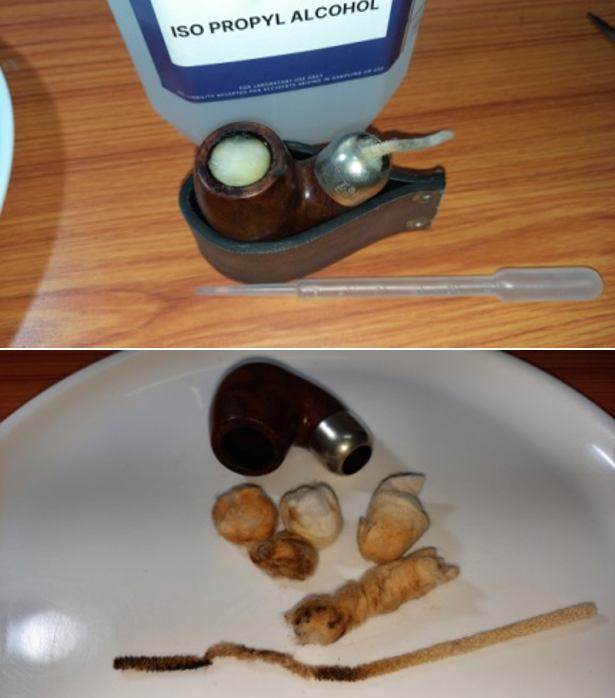
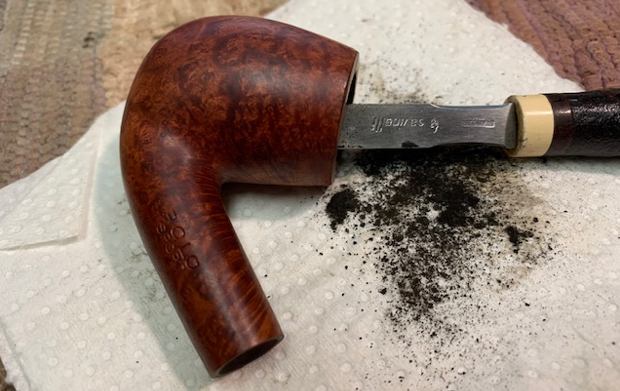
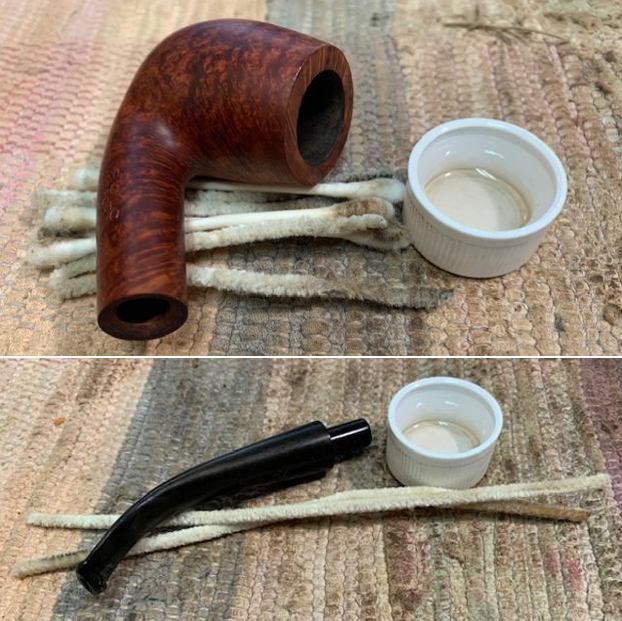
Jeff had done a great cleanup on the pipe. He reamed the bowl with a PipNet pipe reamer and followed up with a Savinelli Fitsall pipe knife to remove the cake. He scrubbed out the mortise and the airway in the shank and the stem with alcohol, cotton swabs and pipe cleaners. He scrubbed the bowl exterior with a tooth brush and Murphy’s Oil Soap to remove the grime on the finish of the bowl and the lava from the rim top. He rinsed it under running water. One of the benefits of this scrub is that it also tends to lift some of the scratches and nicks in the surface of the briar. He dried it off with a soft cloth. He cleaned the internals and externals of the stem with alcohol, pipe cleaners and cotton swabs. He soaked the stem in Briarville’s Pipe Stem Deoxidizer and rinsed it off with warm water and cleaned out the airway in the stem with alcohol. When I received it the pipe looked very good. 
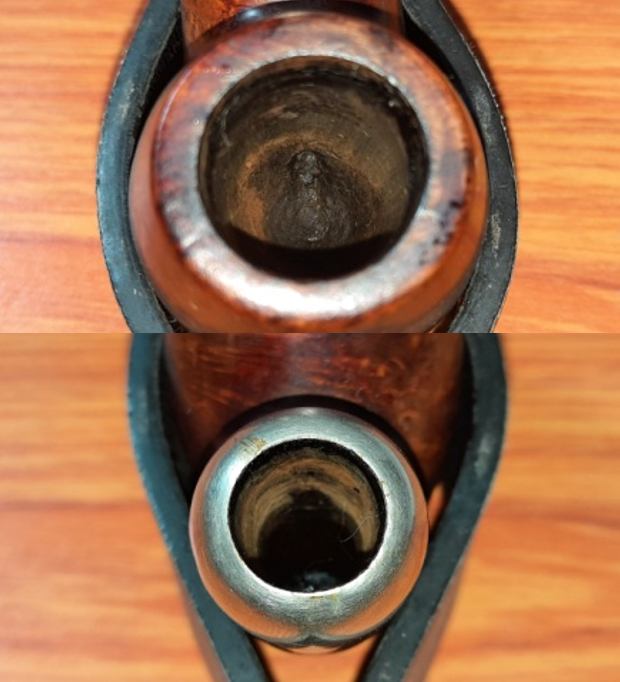
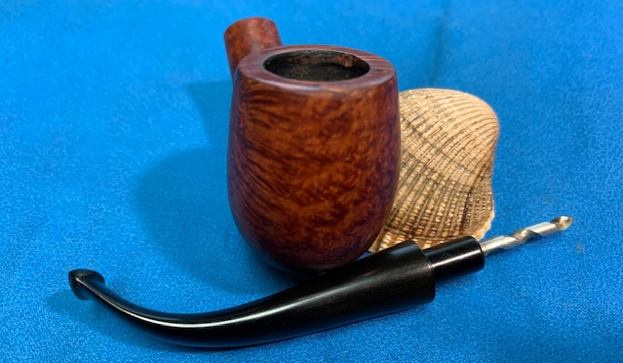
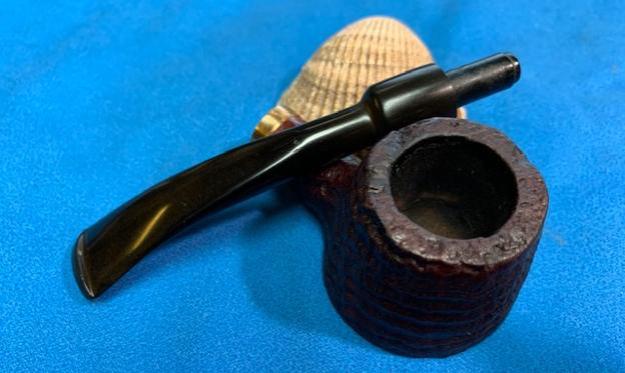
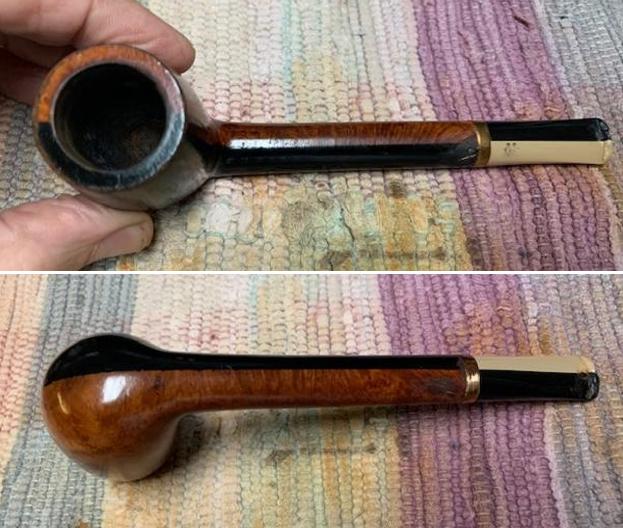
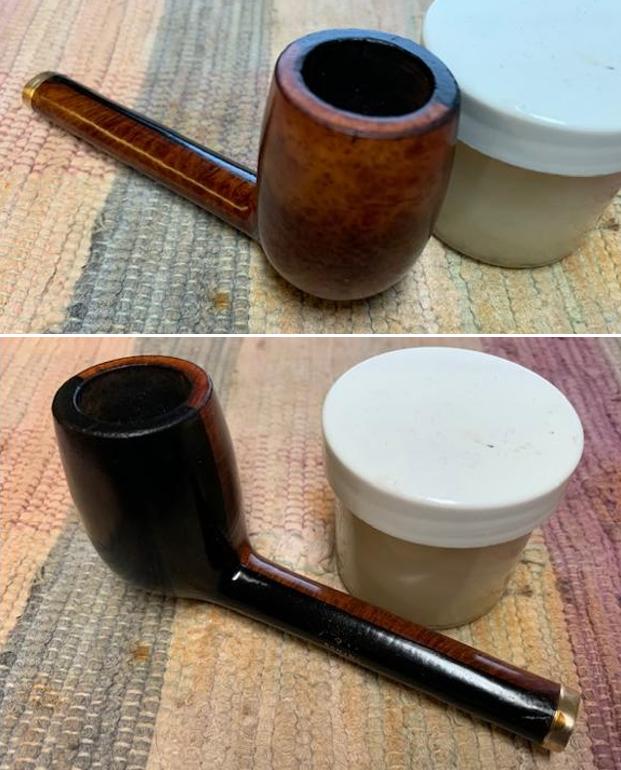
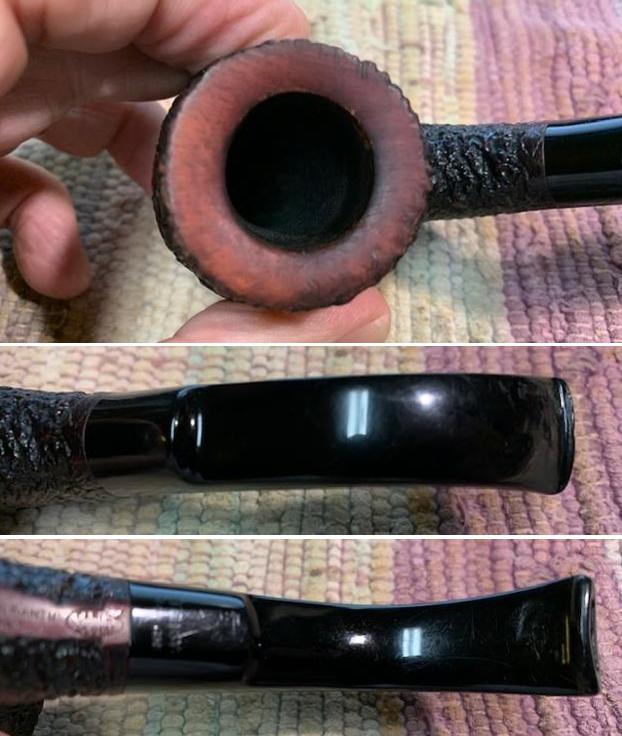
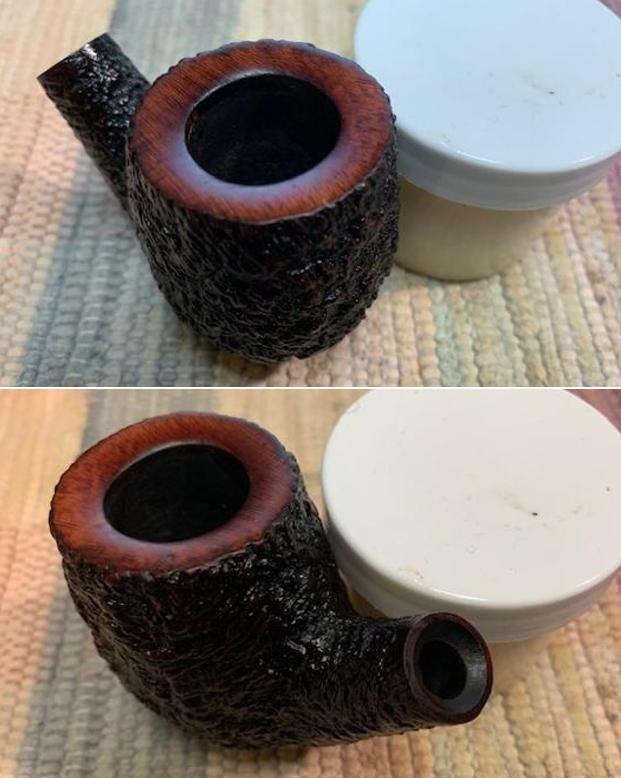
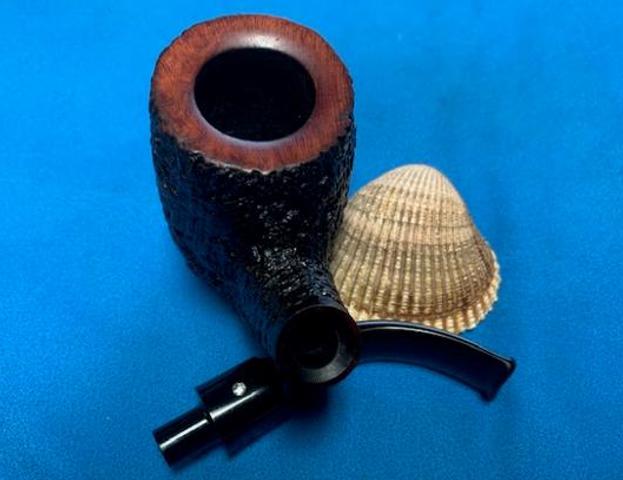
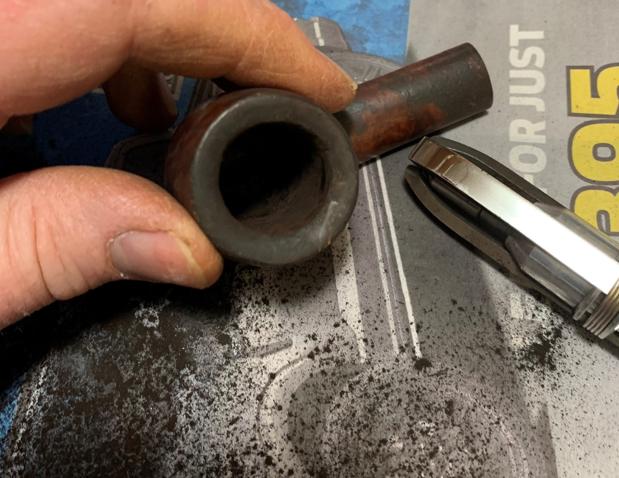
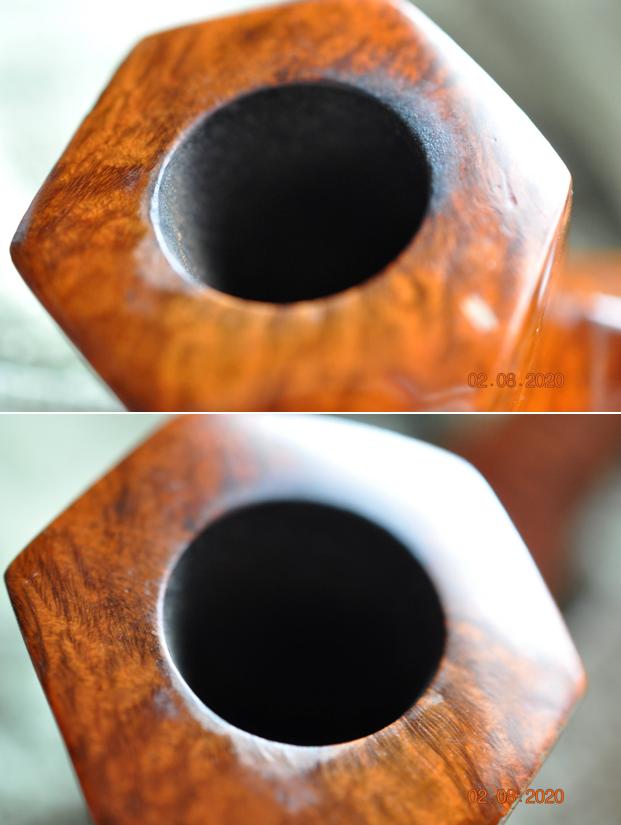
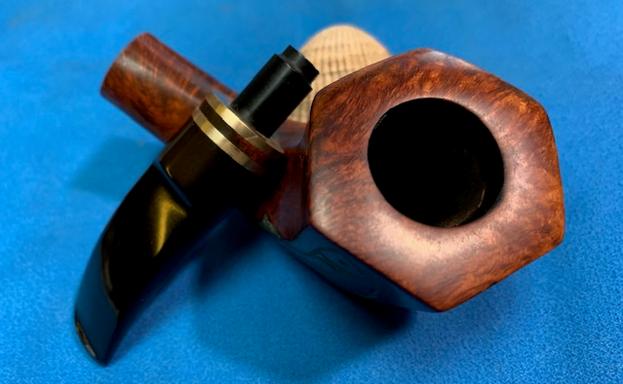
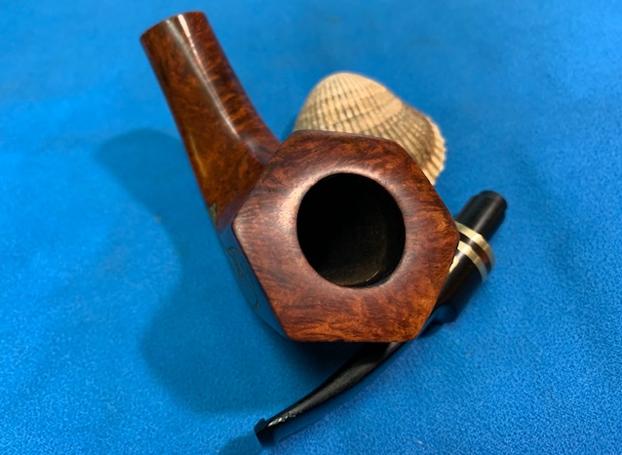
 I took a photo of the rim top and stem to show the condition. The rim top and the inner edge of the bowl were in rough shape. The outer edge had a lot of burn damage on the front and the left side. The rim top and inner edge also has significant burn damage and was not flat. The stem was vulcanite and there were some deep tooth marks and chatter on both sides ahead of the button.
  The stamping on the pipe is clear and readable as noted above. The BC logo on the stem is deep and needs to be repainted with white (as seen in the photo of the top of the stem above).
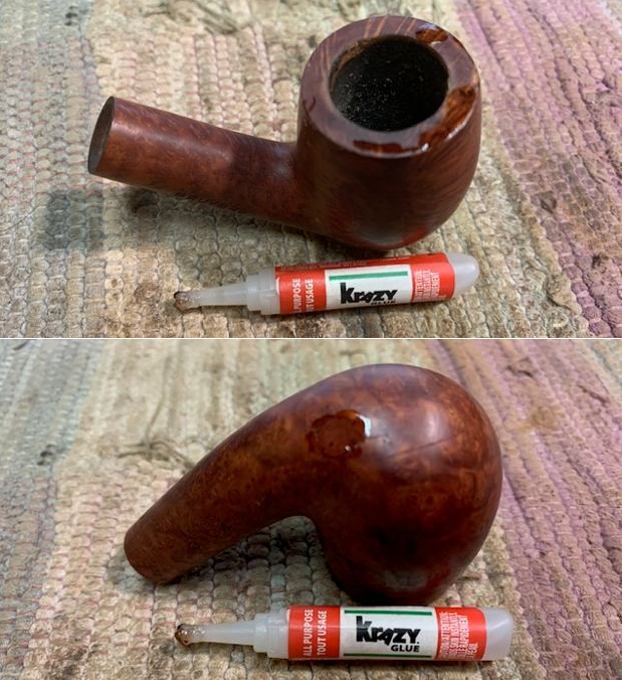
 I started my work on this pipe by dealing with the damage to the outer edge of the bowl and rim top. I topped the bowl first on a topping board with 220 grit sandpaper. I flattened out the rim top and made the top of the rim consistently flat. I removed much of the burn damage to the bowl top. I worked on the damaged areas on the left side and front of the bowl by building them up with briar dust and clear super glue. I built up the left side of the inner edge with super glue and briar dust as well. There the burn damage was shallow but it made the bowl out of round. I topped it once again to smooth out the repair on the rim top. I used a piece of dowel wrapped in sandpaper to sand the inner edge of the rim and smooth out the repair in that area. It worked well.
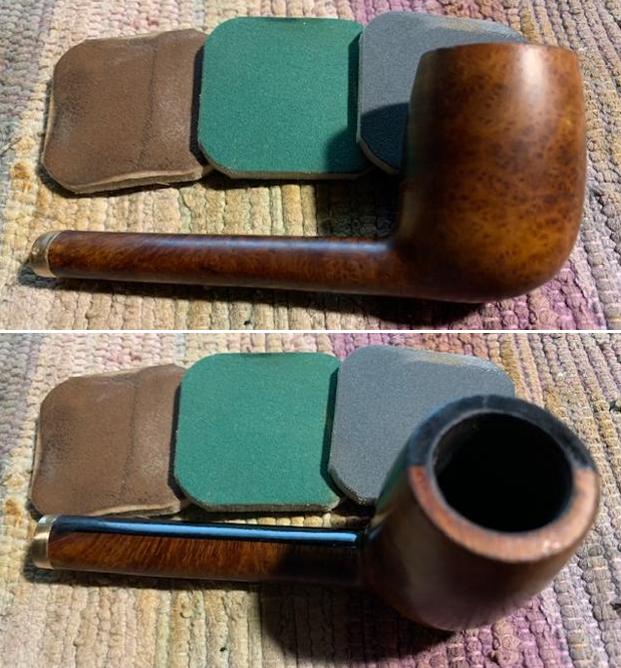
 I smoothed out the repairs on the left and front of the bowl with 220 grit sandpaper and blended them into the surrounding briar.
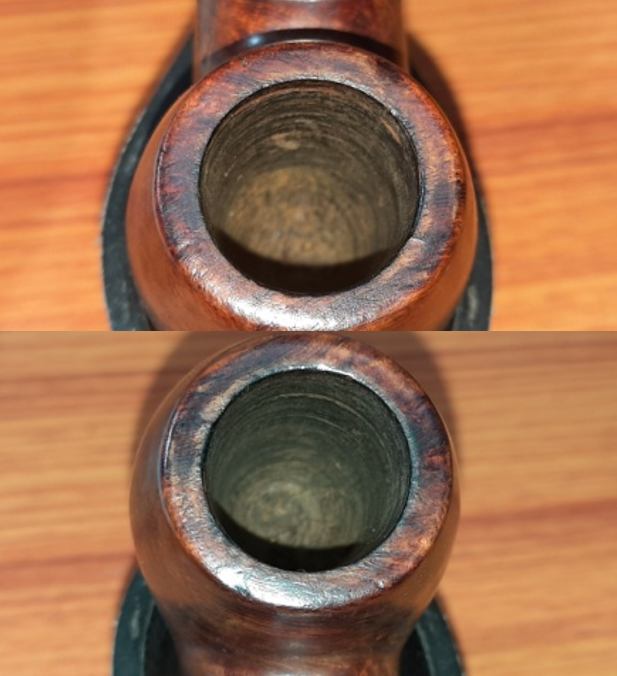
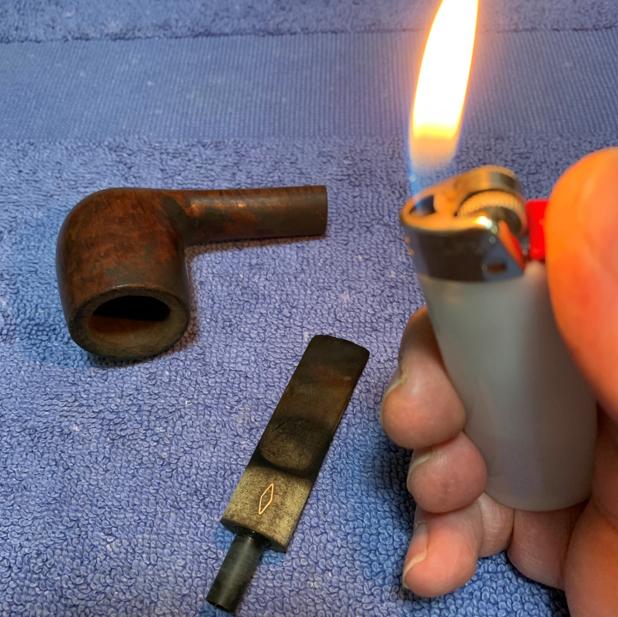
 I gave the inner edge of the bowl a slight bevel with 220 grit sandpaper to help reshape it and bring it back to round. The rim top and edges looked good at this point in the process.
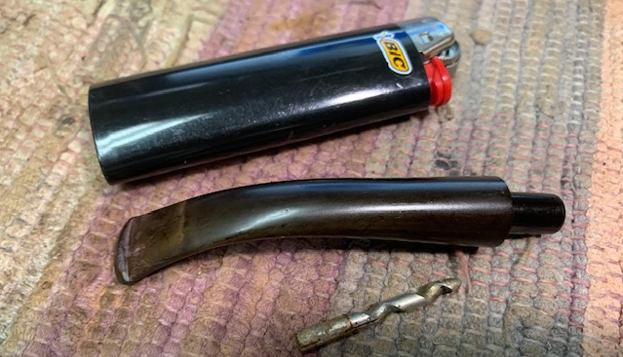
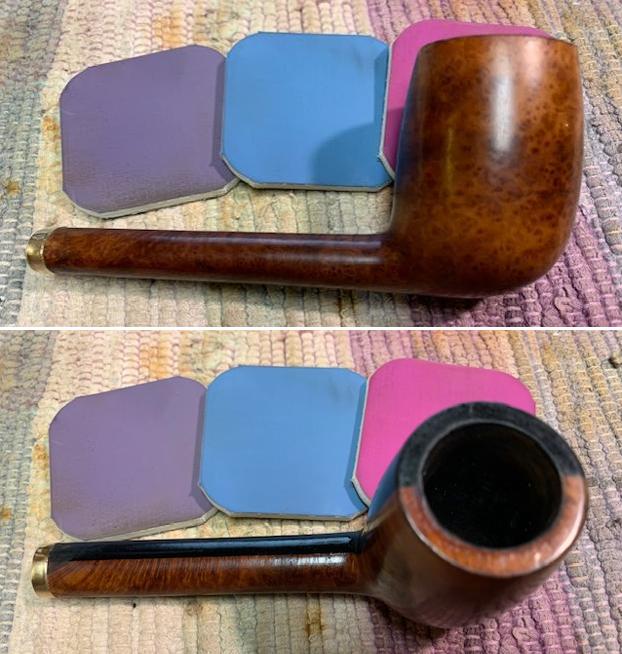
 I restained the pipe with a light brown aniline stain. I applied it with a dauber and flamed it with a Bic lighter to set it in the grain. I repeated the process until I was happy with the coverage.
 Once the stain had dried I wiped the bowl down with 99% isopropyl alcohol to make it a bit more transparent. I find that doing a wipe down at this point evens the finish before I start polishing it with micromesh.
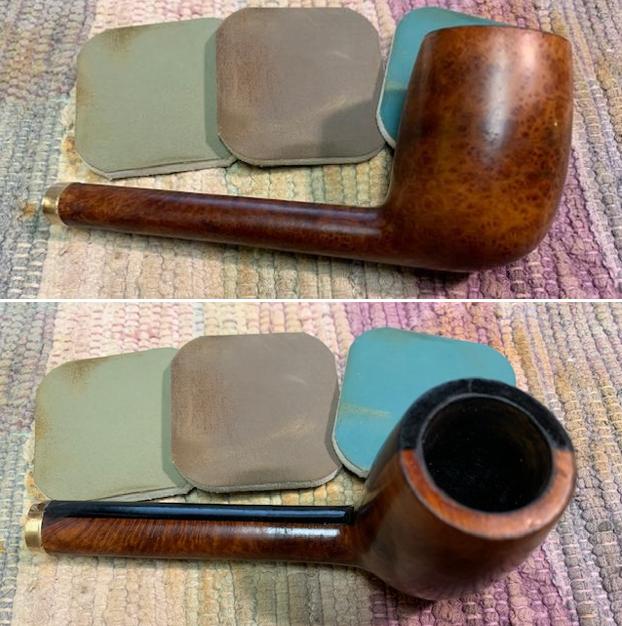
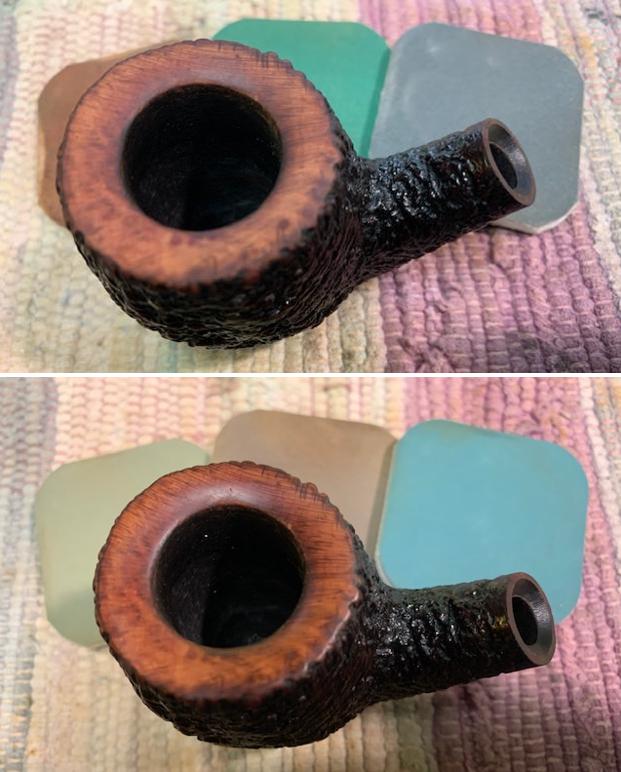
 I polished the briar with 1200-1500 micromesh sanding pads and wiping it down with damp cloth after each sanding pad. As I worked through the cycle of pads the shine developed with each change of pad. The damage on the rim sides looks better. I left some of the nicks and sandpits as they really are a part of the pipe’s story.


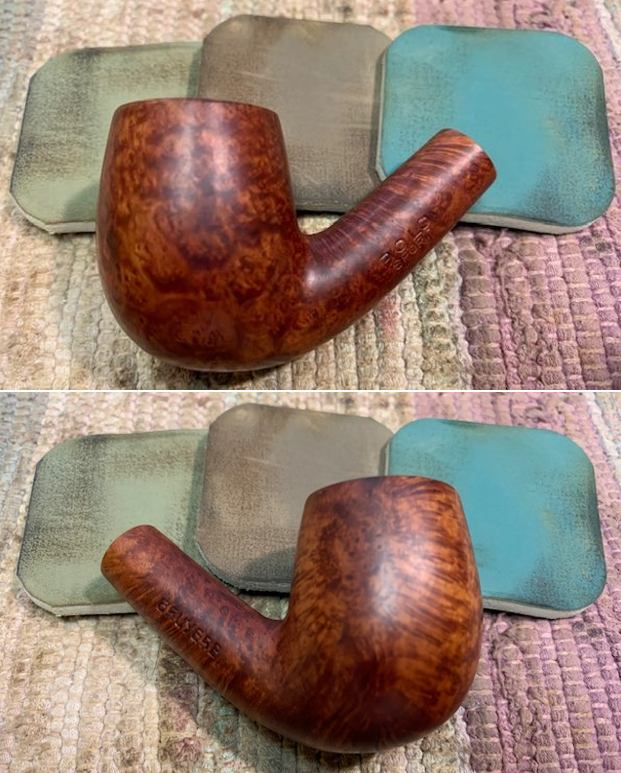
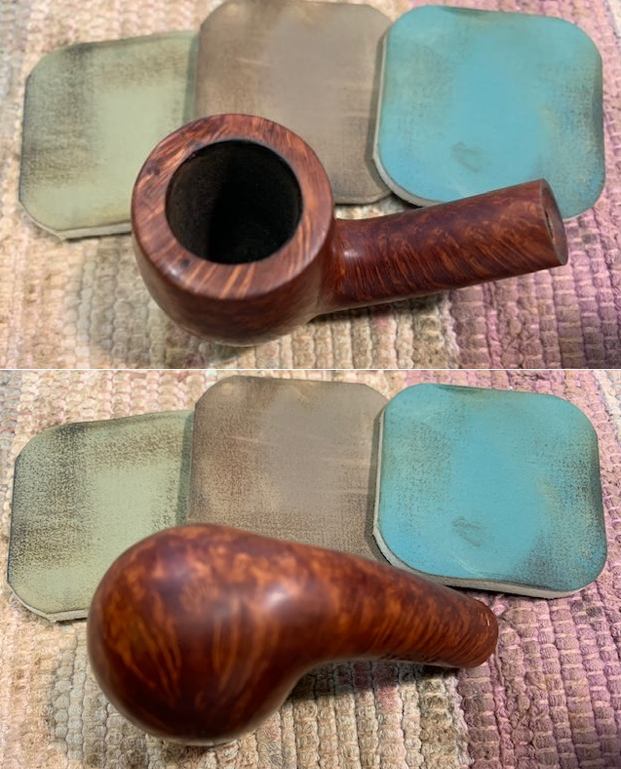
 I rubbed the bowl and shank down with Before & After Restoration Balm. I worked it into the surface of the bowl sides and shank with my fingertips to clean, enliven and protect the briar. I let the balm sit for 10 minutes, then buffed with a cotton cloth to raise the shine. The Balm did its magic and the grain stood out on the briar.

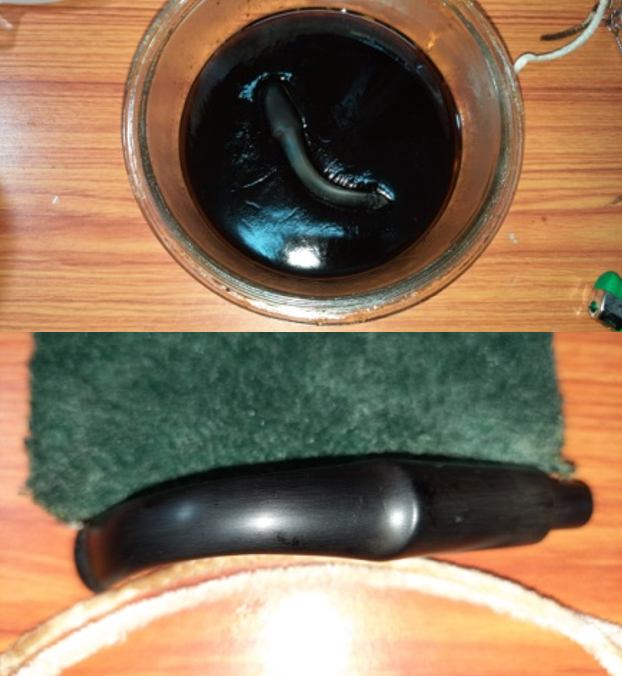
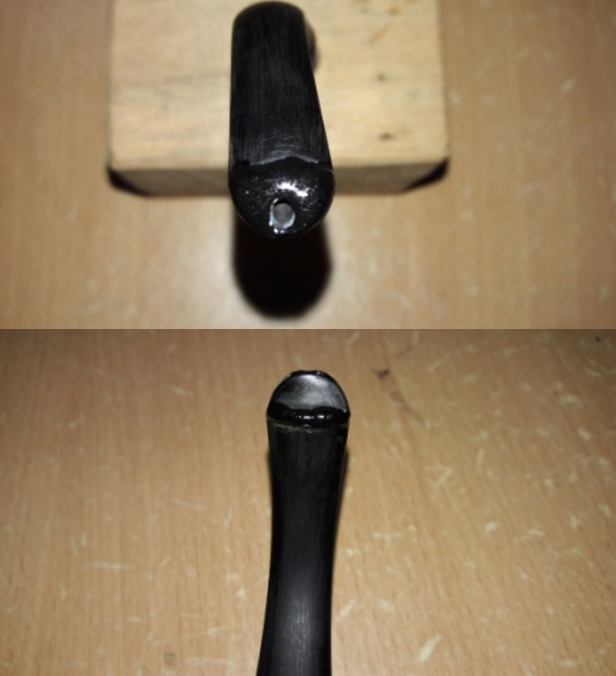
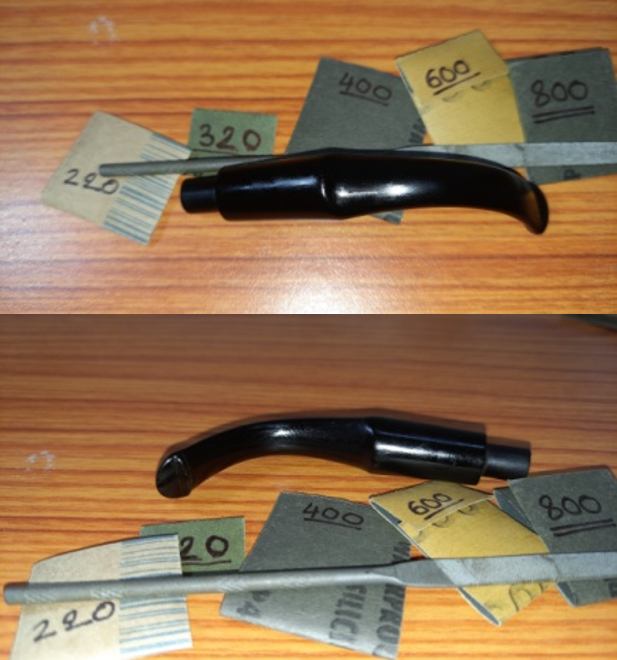
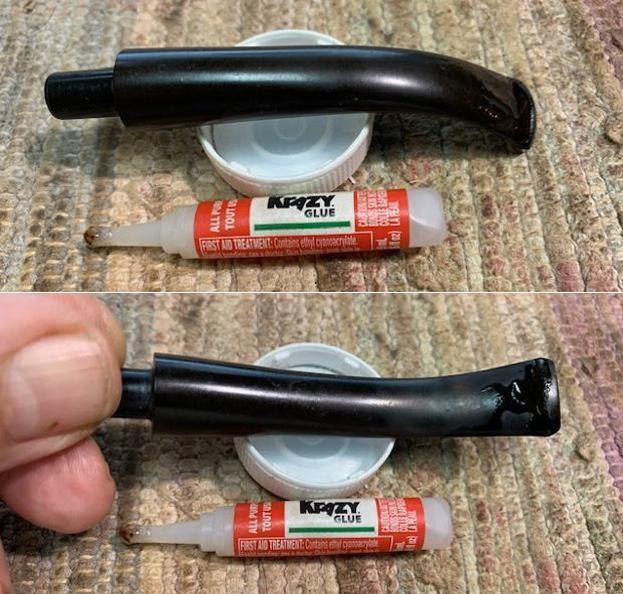
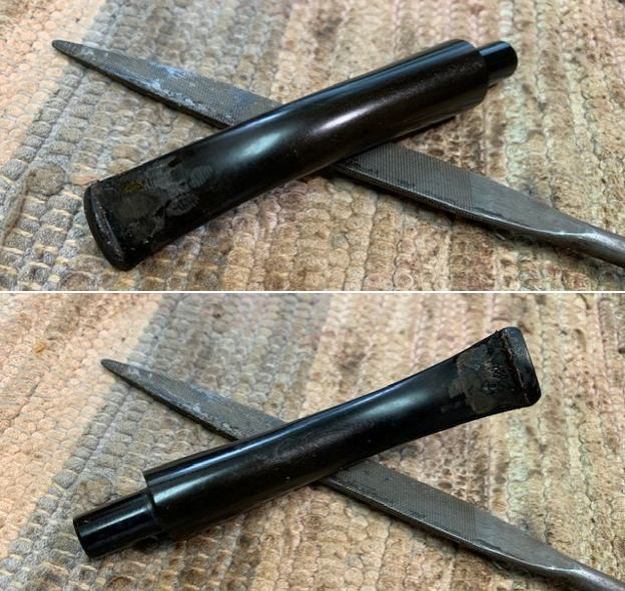
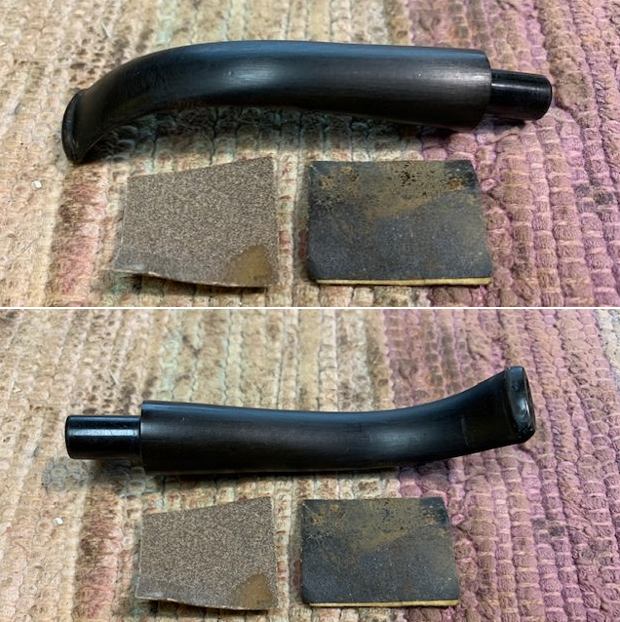
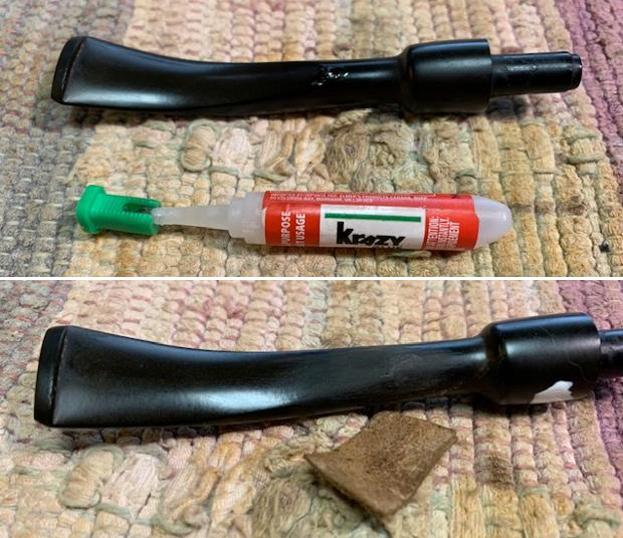
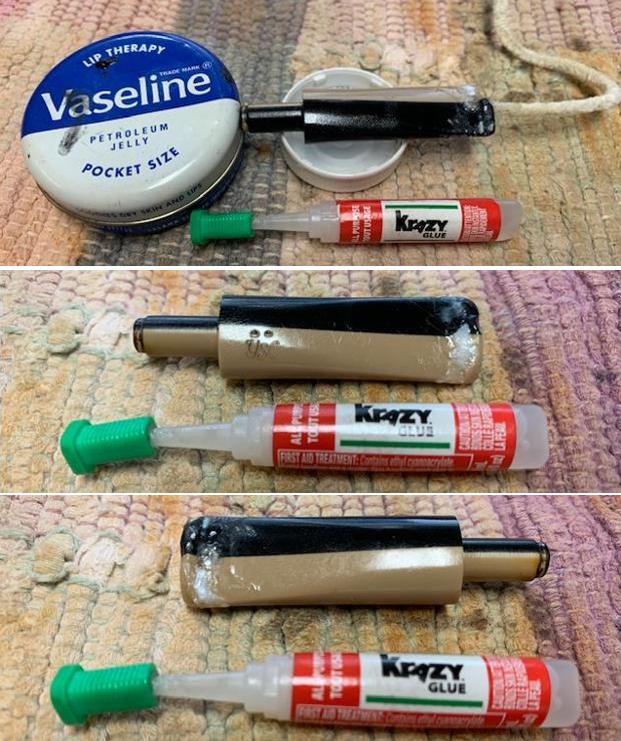
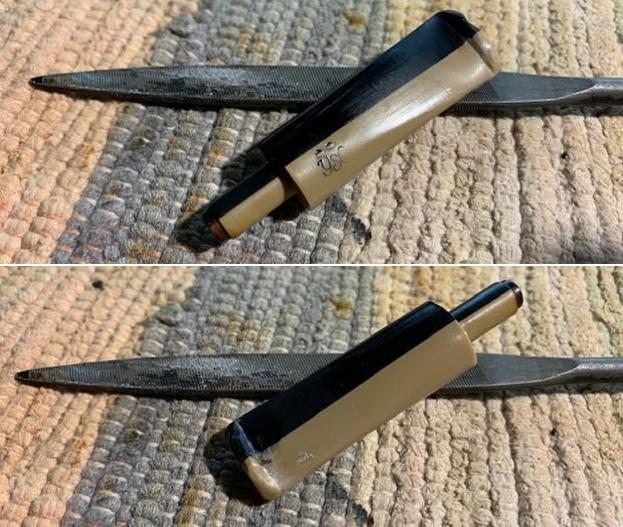
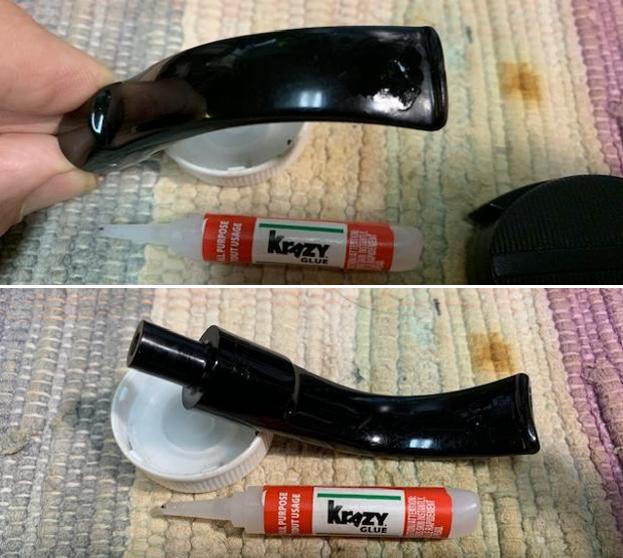
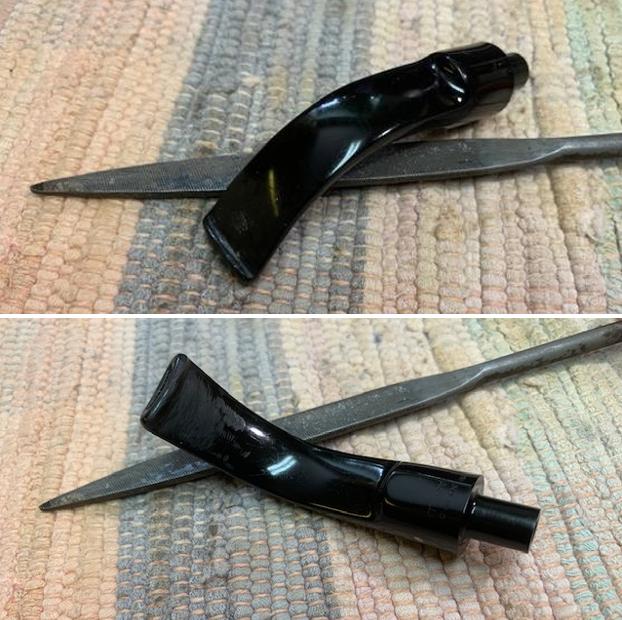
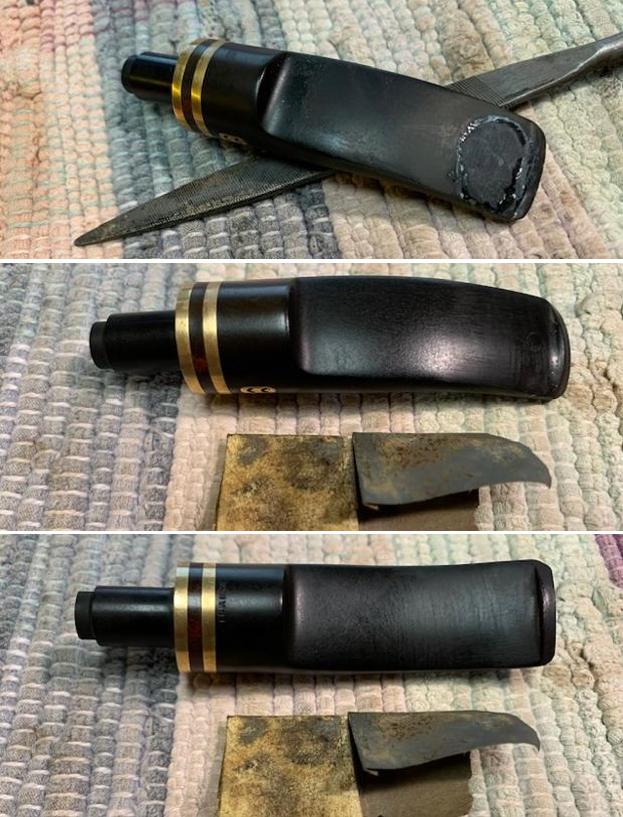
 I set the bowl aside and turned my attention to the stem. I decided to address the tooth marks on the stem. They were ragged, with sharp edges and heat did not lift them at all. I filled them in with clear super glue. I let the repairs cure and once they hardened I flattened and shaped them with a small file. I sanded them with 220 grit sandpaper to blend them into the surface of the stem. I started the polishing of the stem with 400 grit wet dry sandpaper.

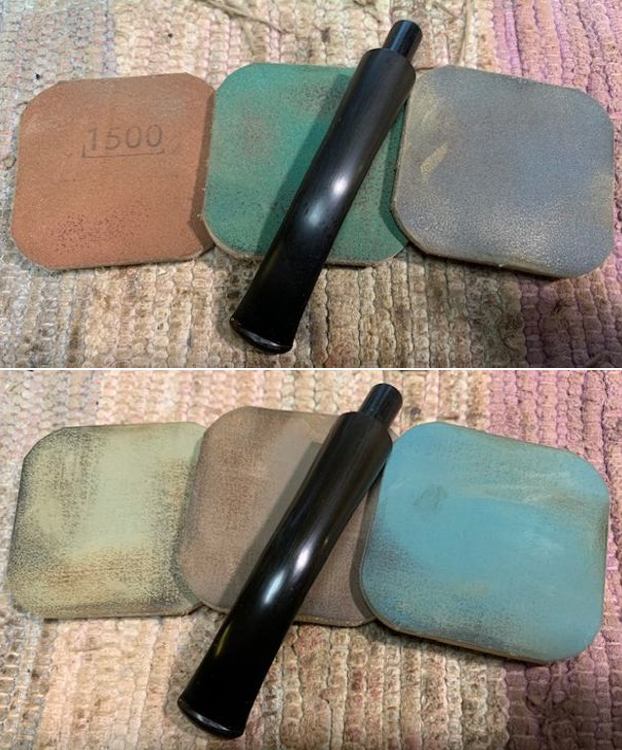
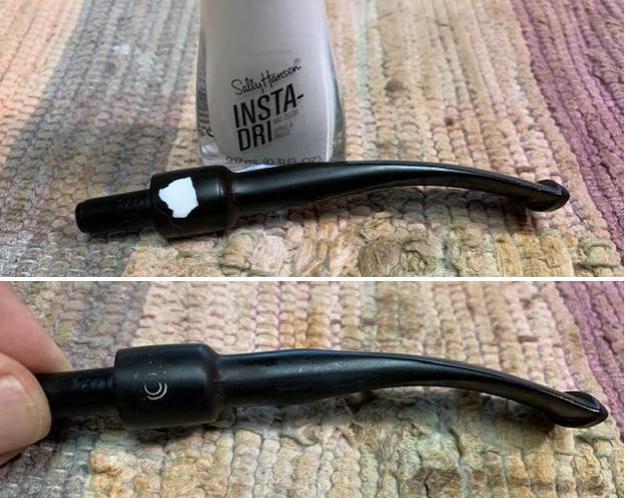
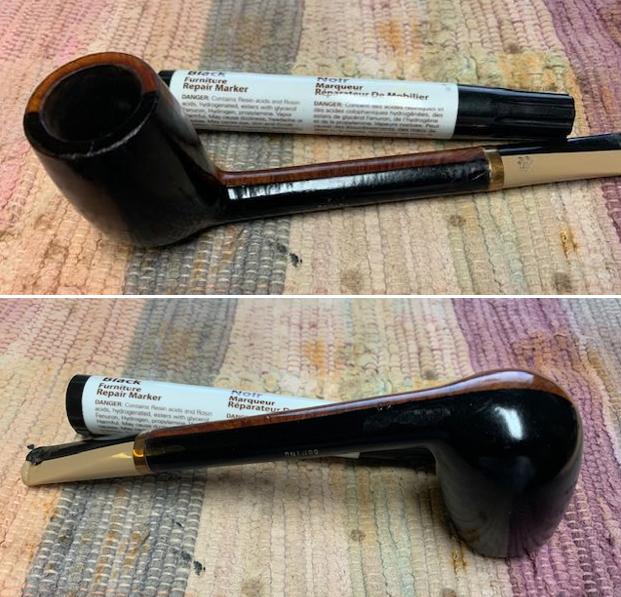
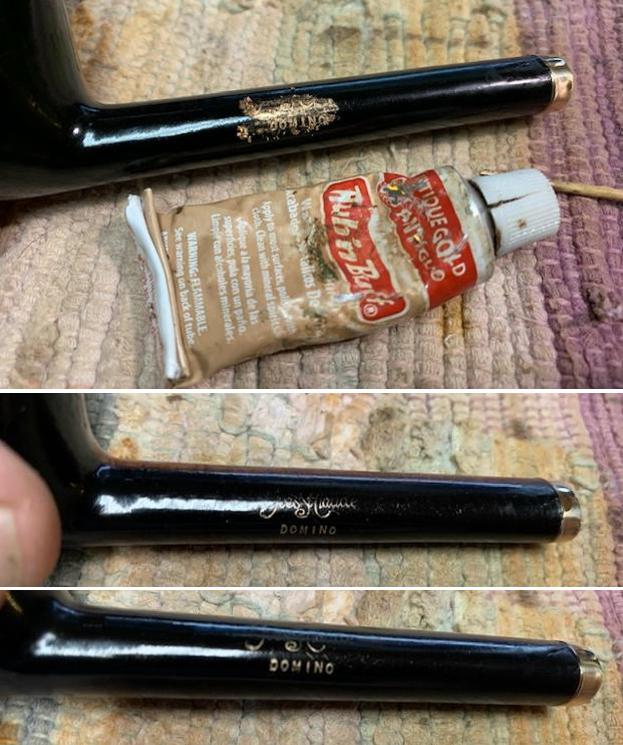
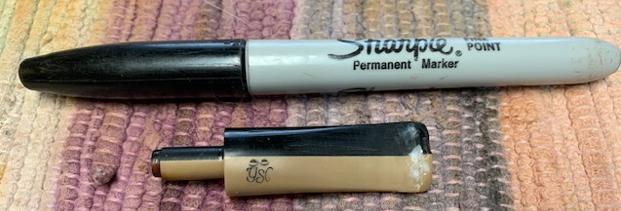
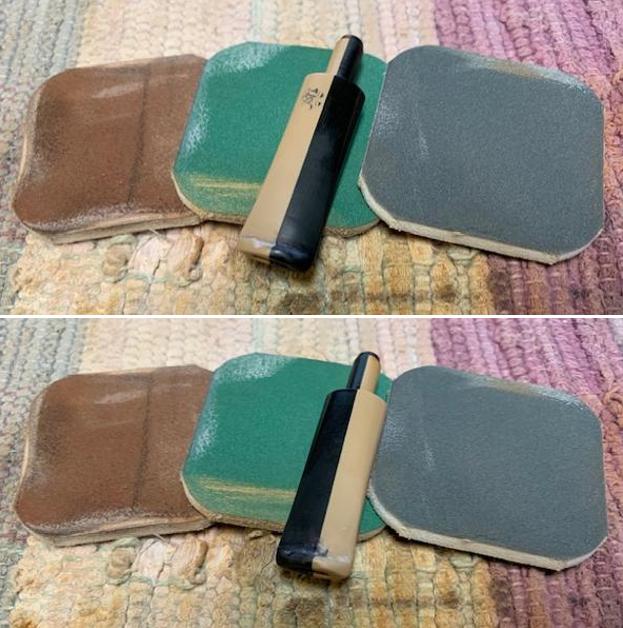
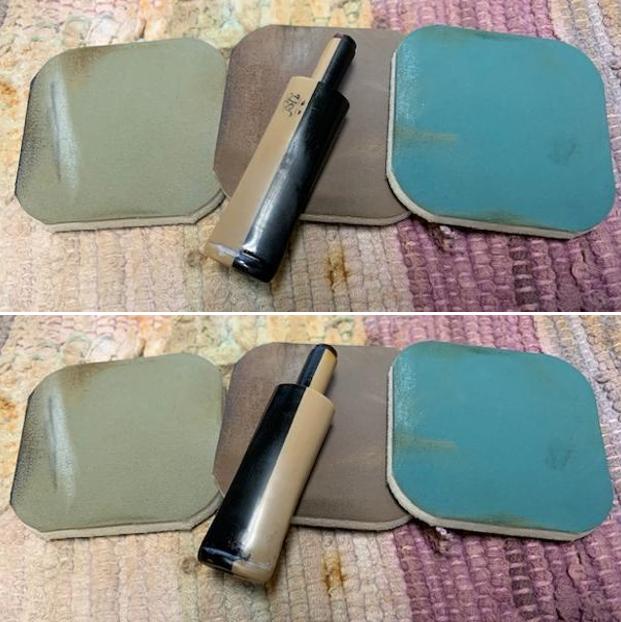
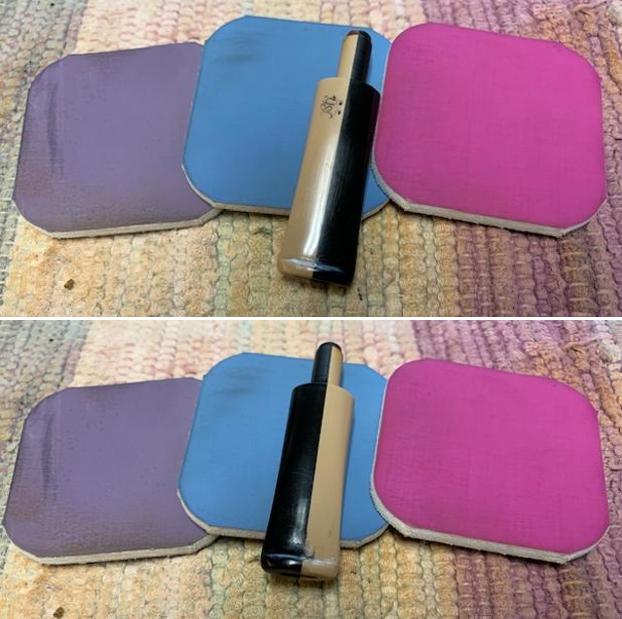
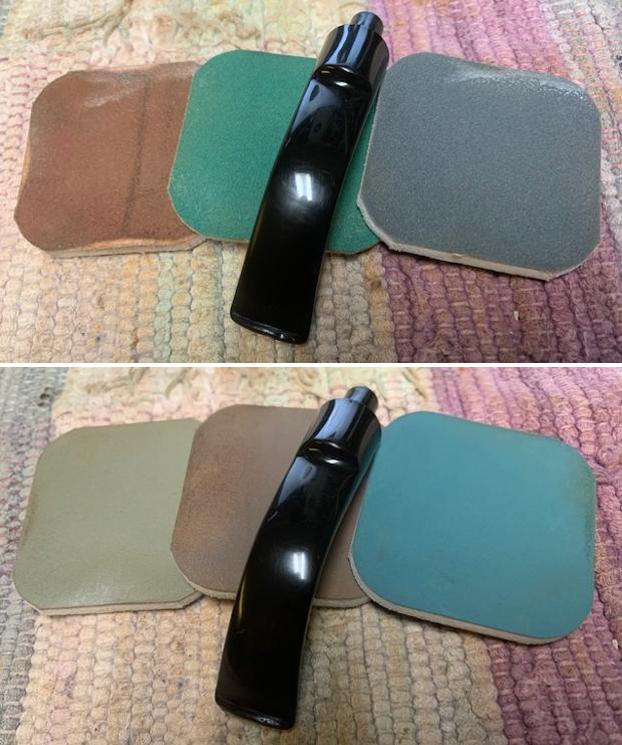
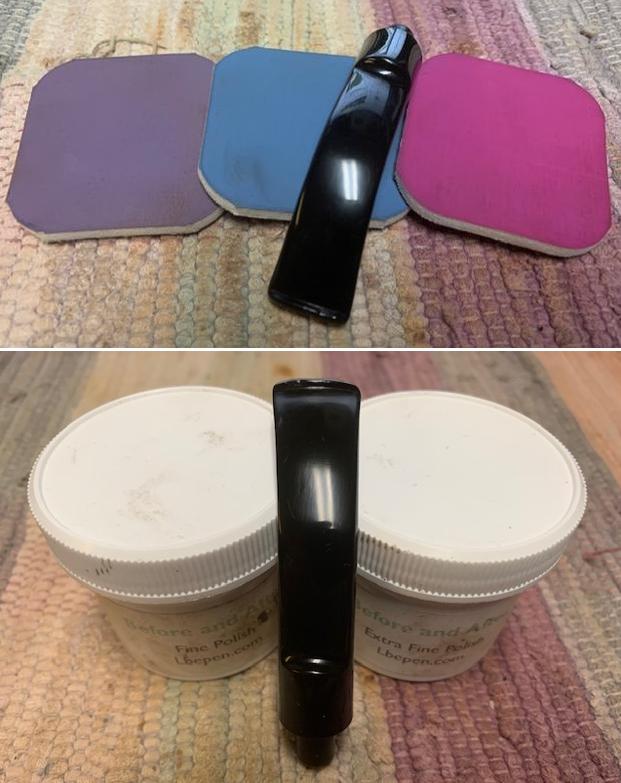
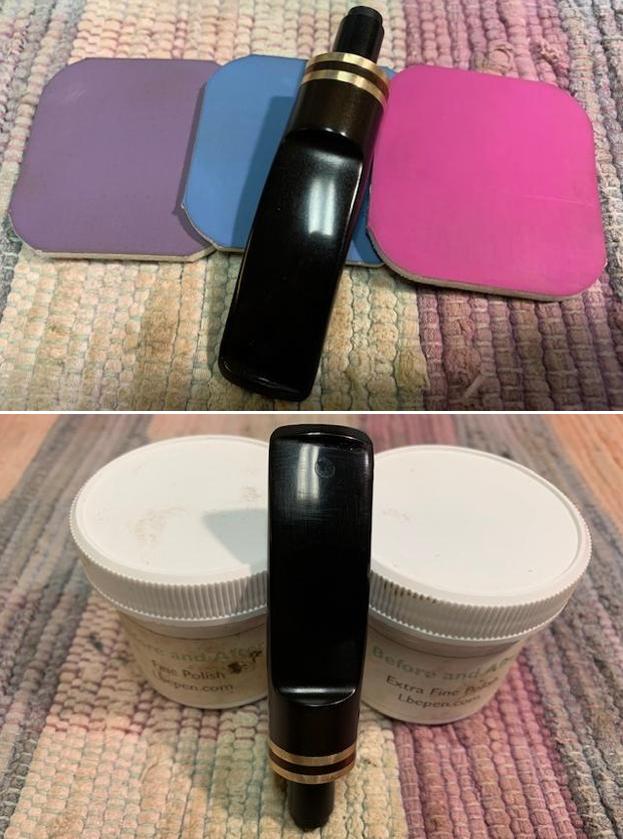
 I touched up the BC stamp on the left side of the stem with white acrylic nail polish. I worked it into the stamp with a tooth pick and then sanded off the excess once it had dried with a 1500 micromesh sanding pad.
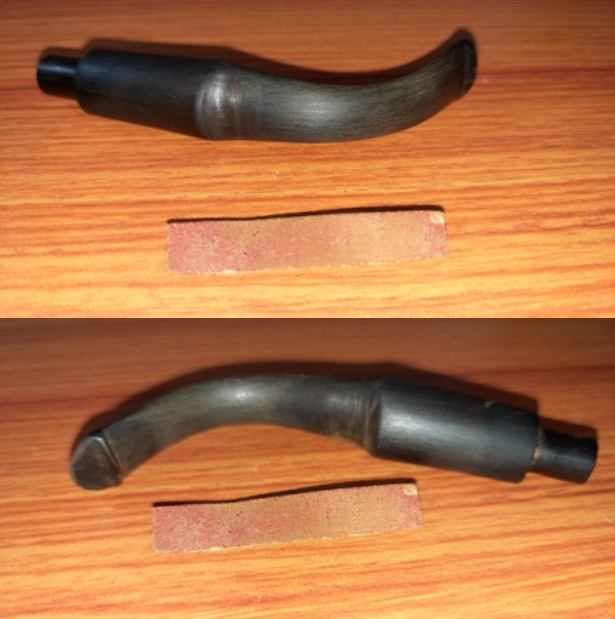
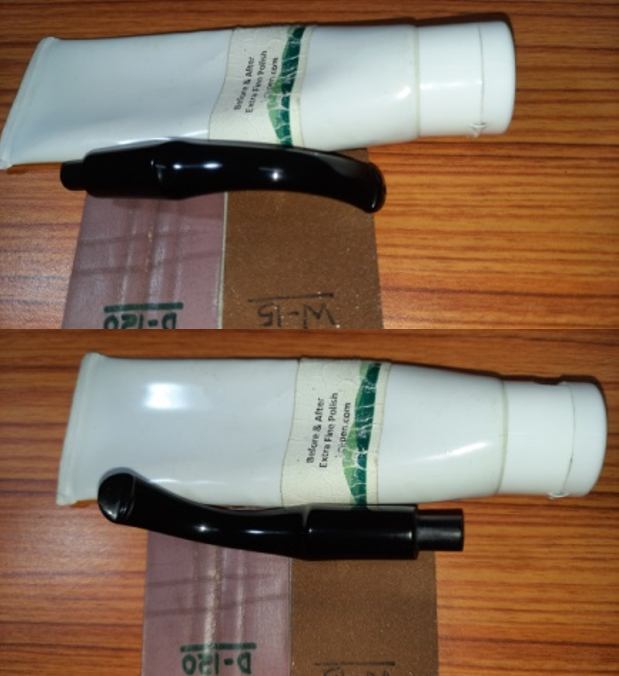
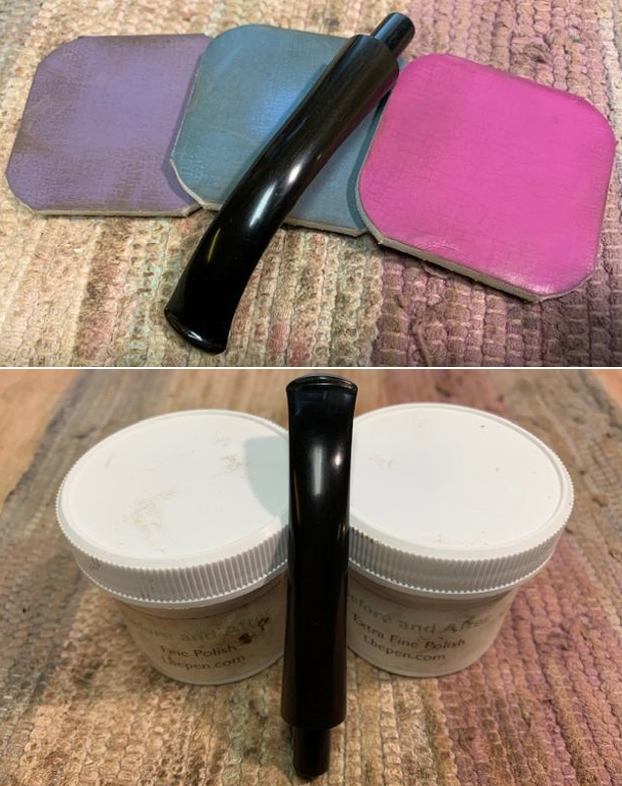
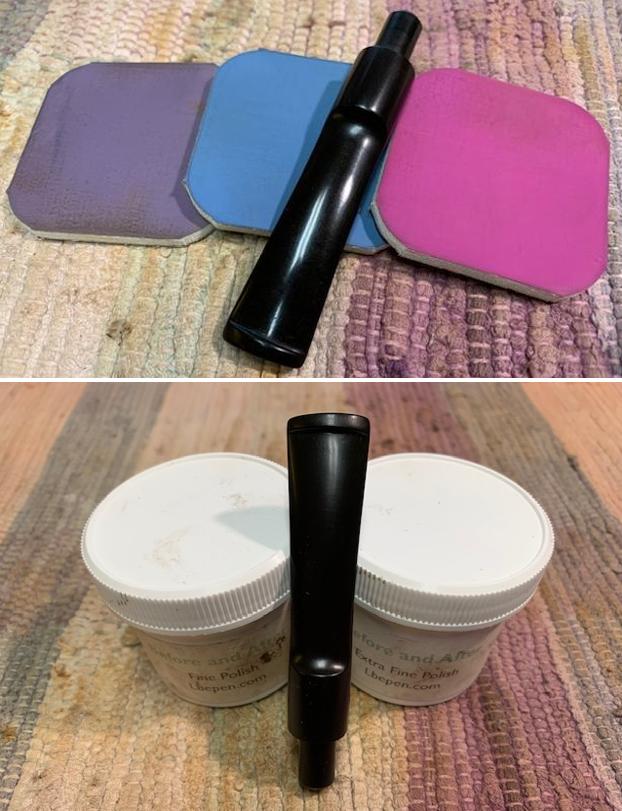
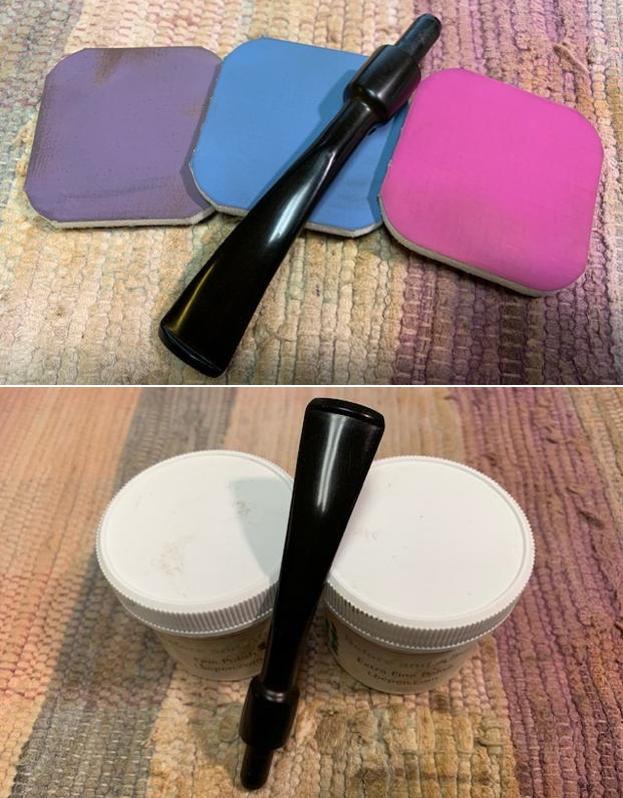
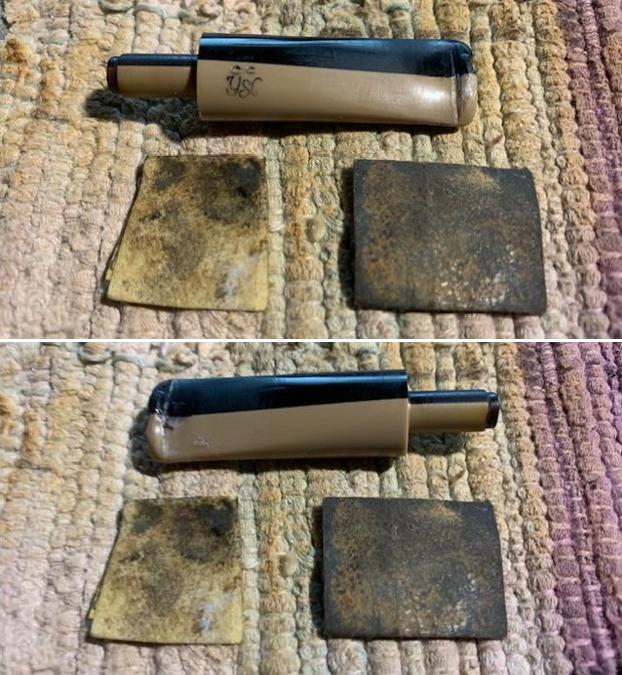
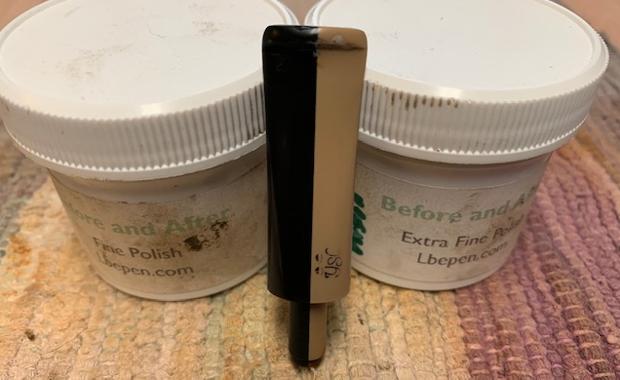
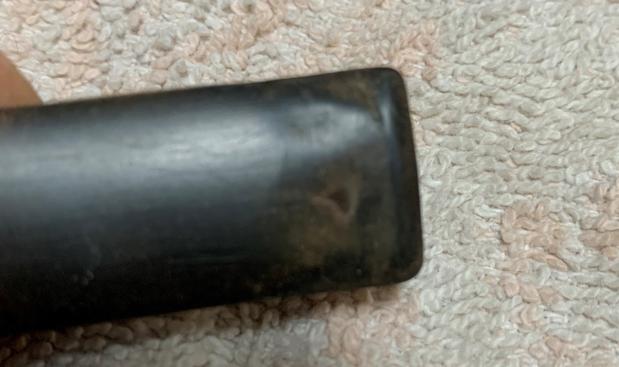
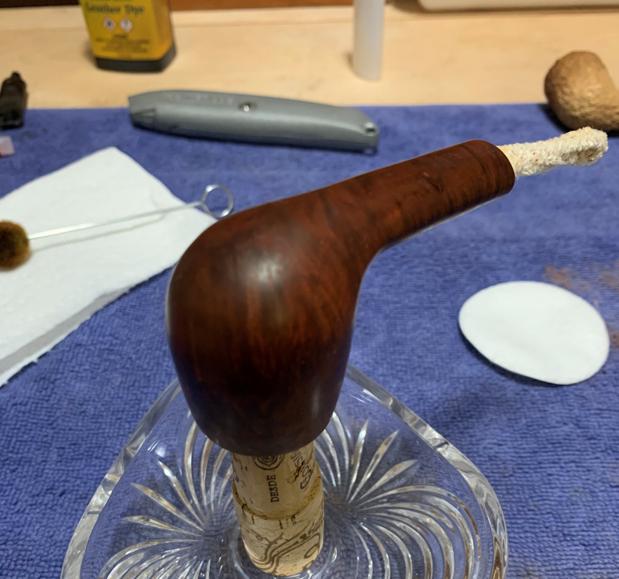
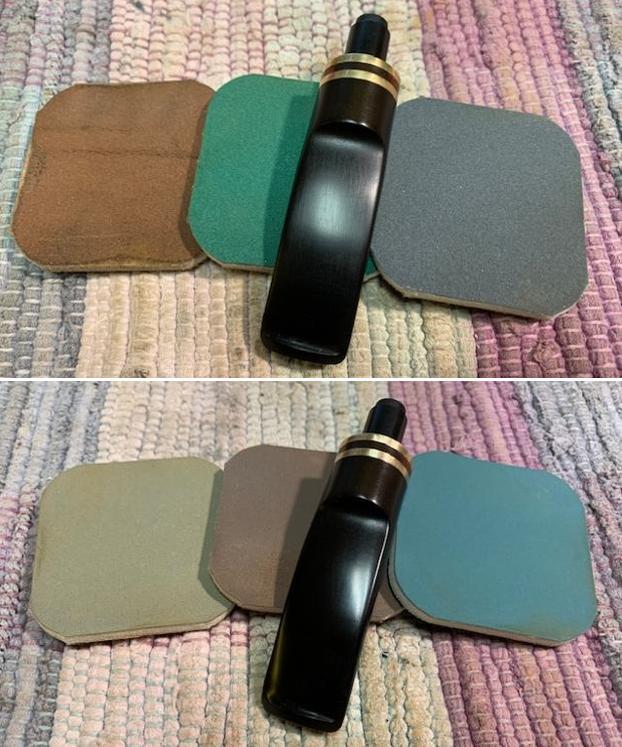
 I polished it with micromesh sanding pads – 1500-12000 grit pads. I wiped it down with Obsidian Oil after each sanding pad. I used Before & After Pipe Polish – both Fine and Extra Fine to further polish the stem. The photos below show the polished stem.
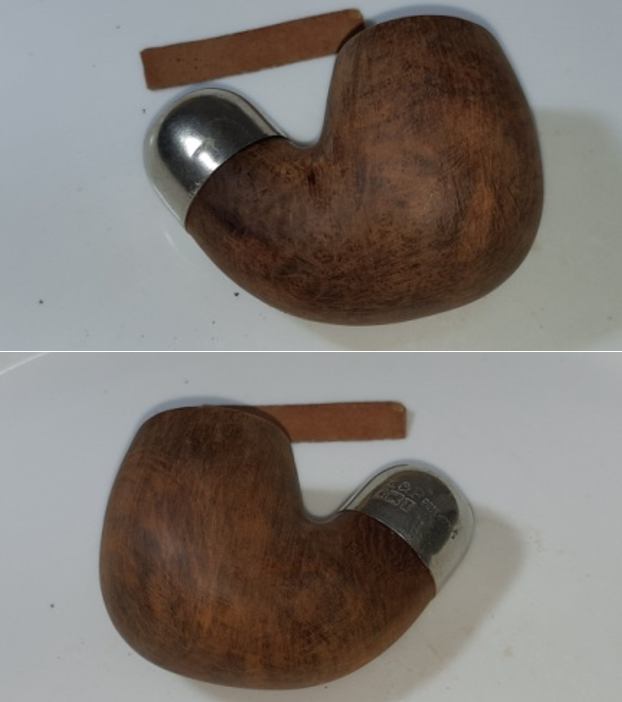
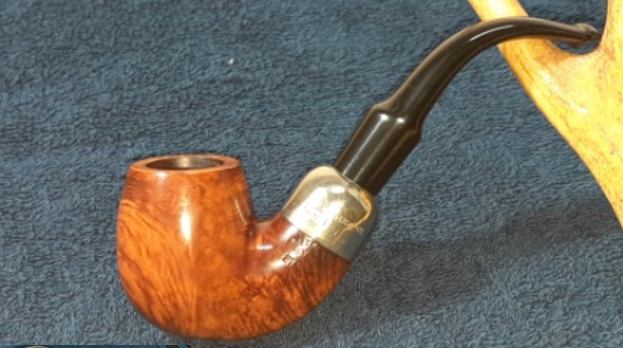
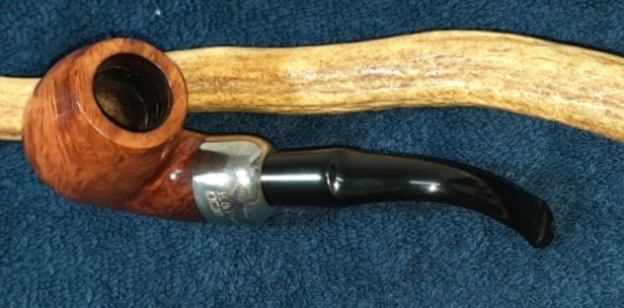
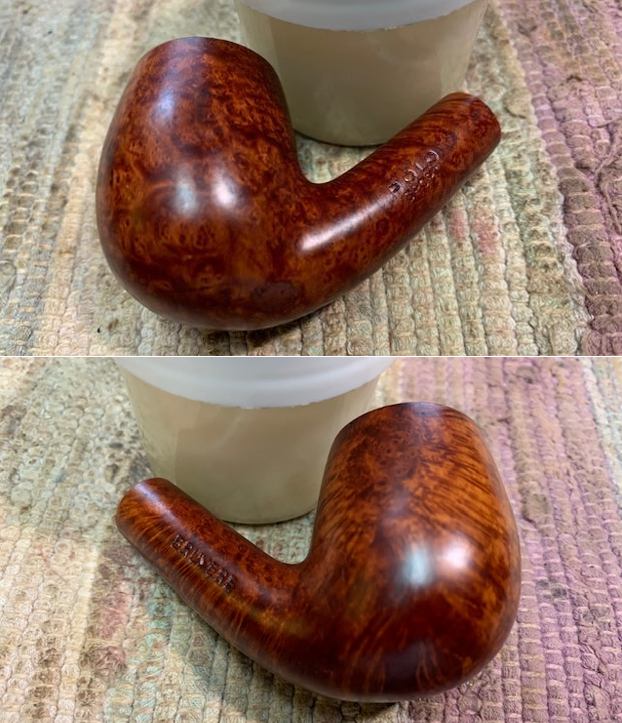
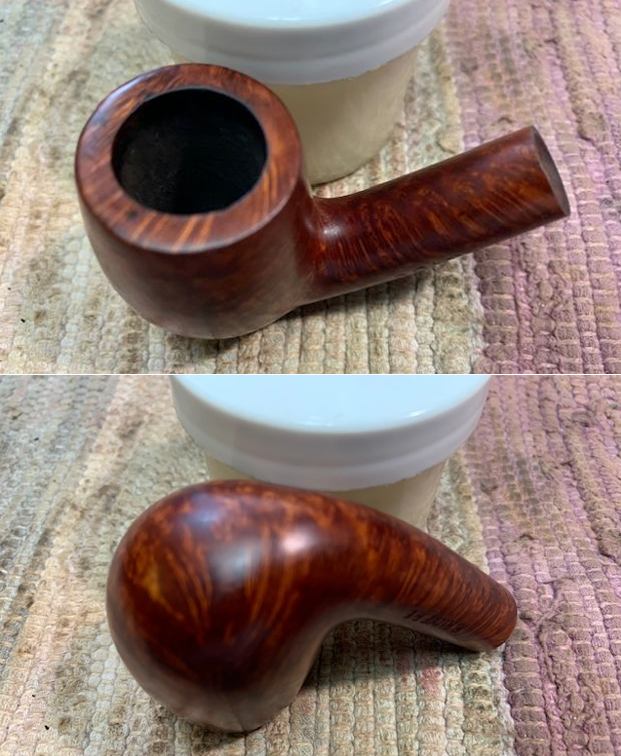
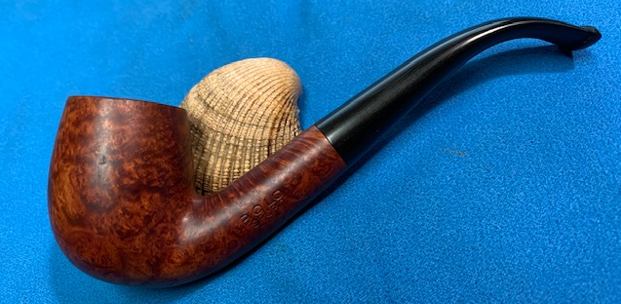
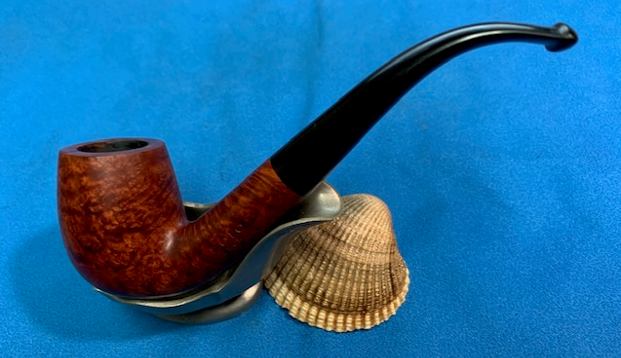
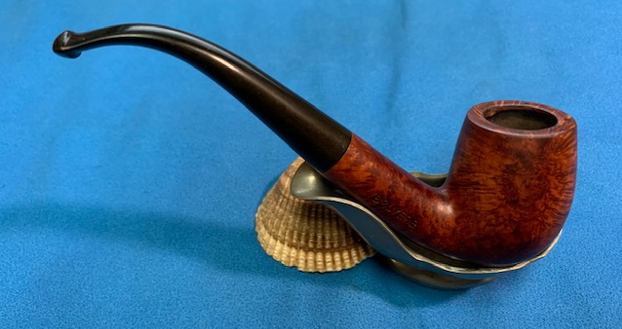
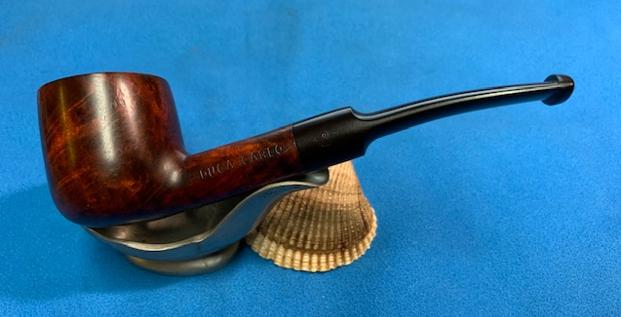
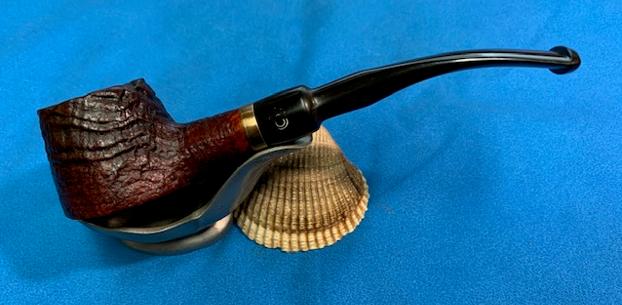
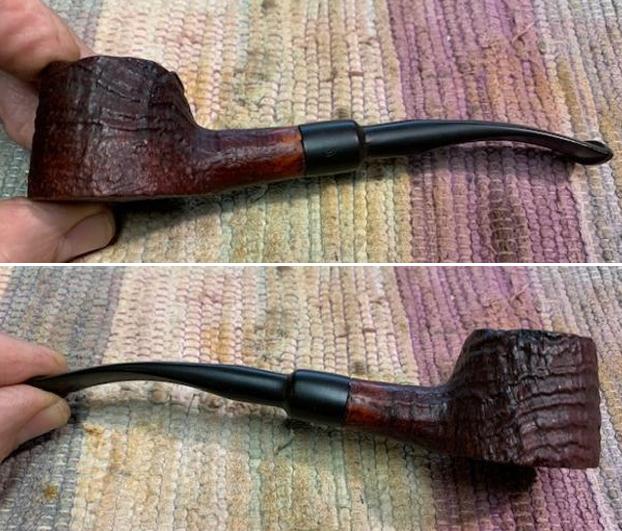
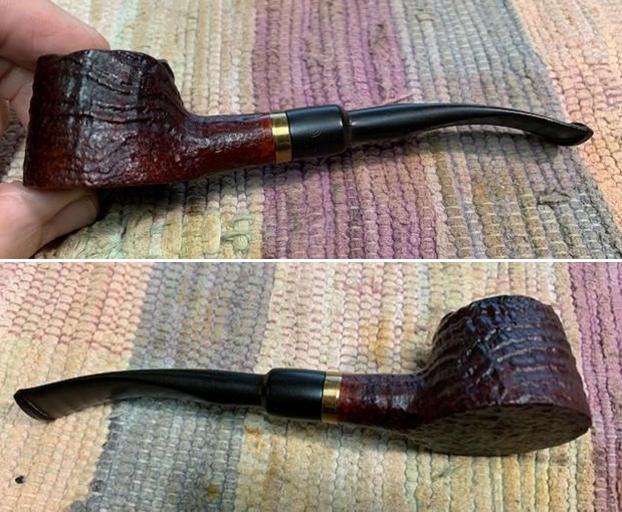
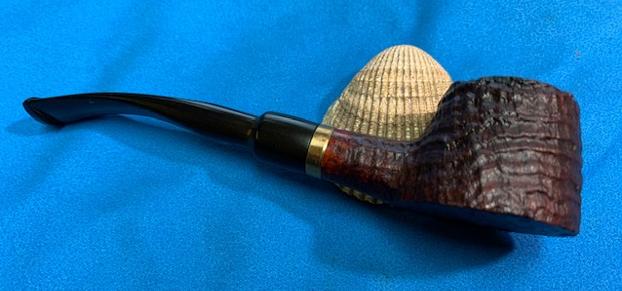
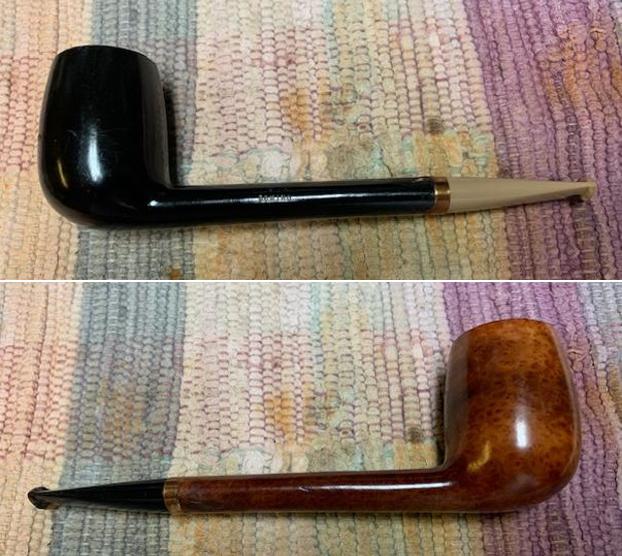
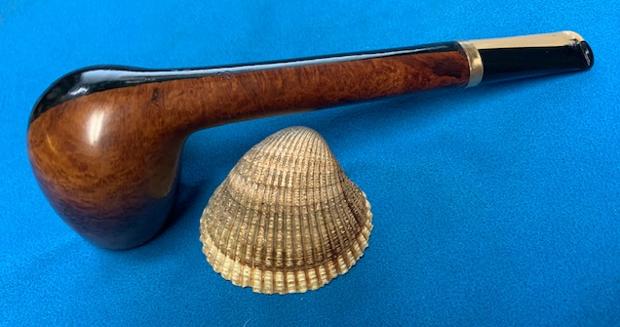
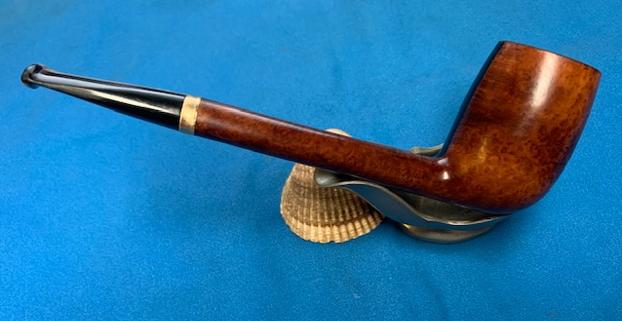
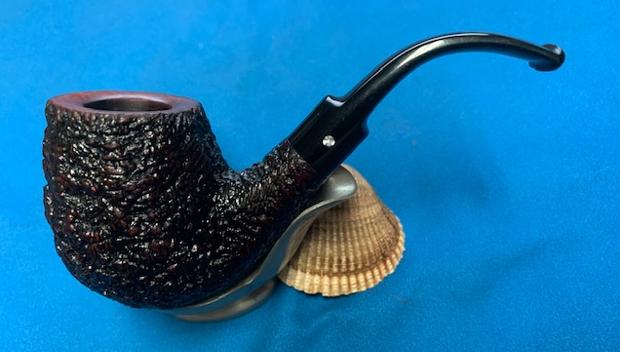
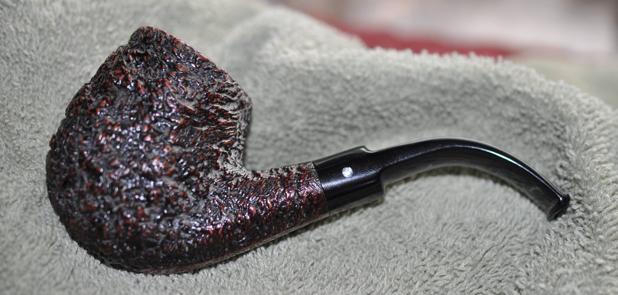
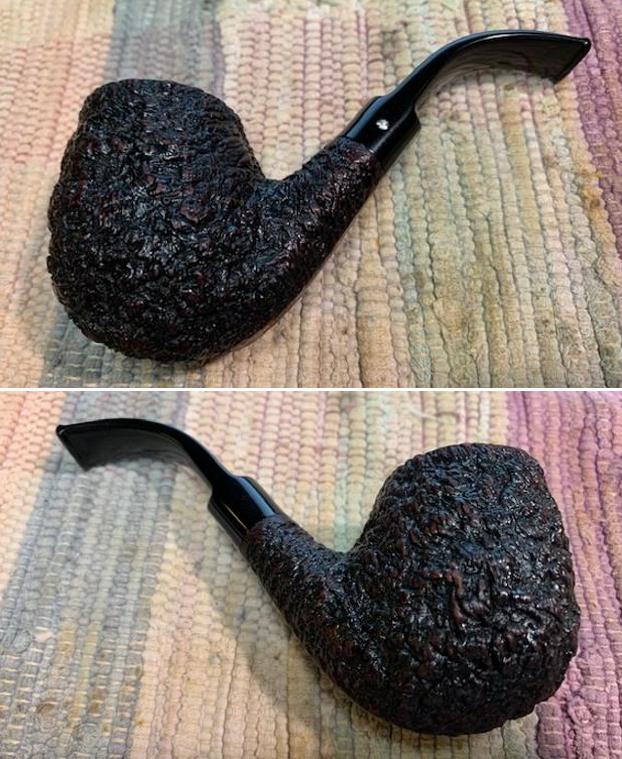
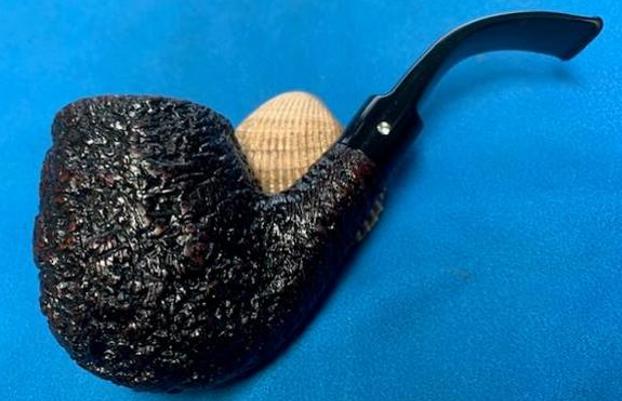
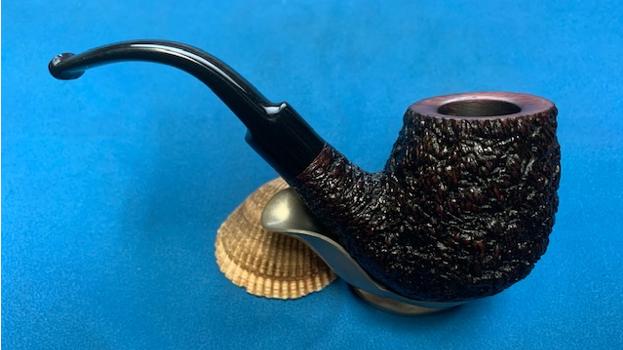
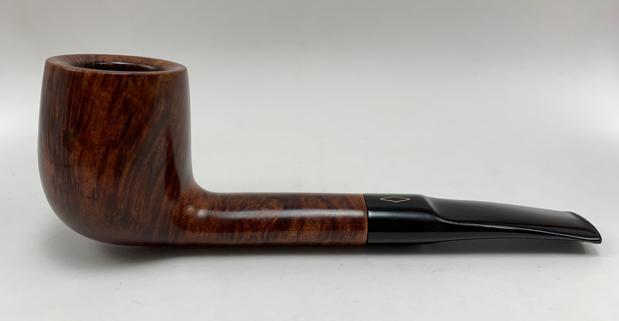
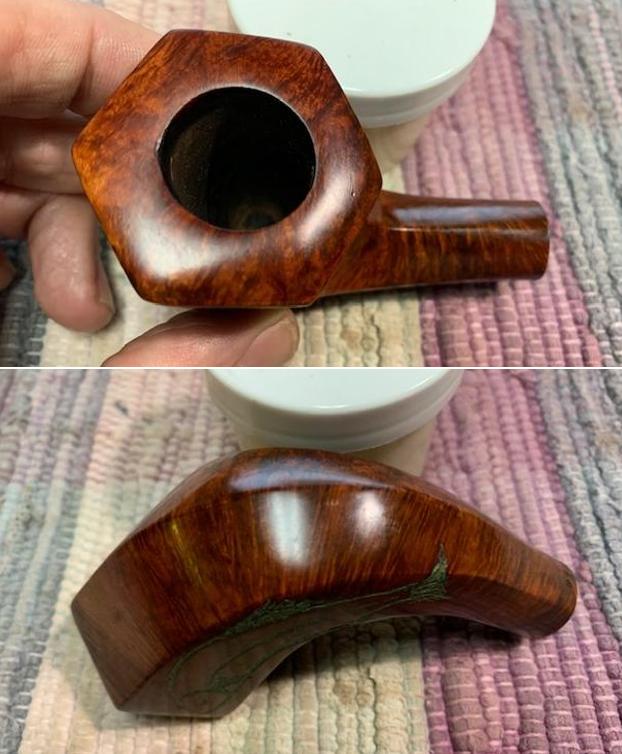
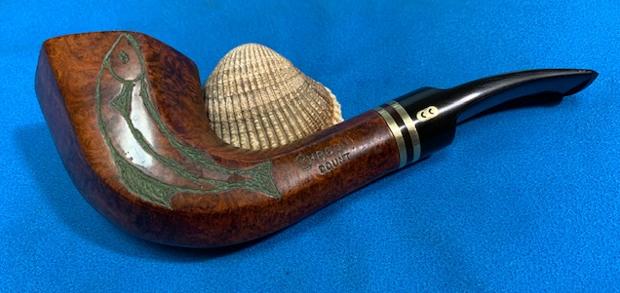
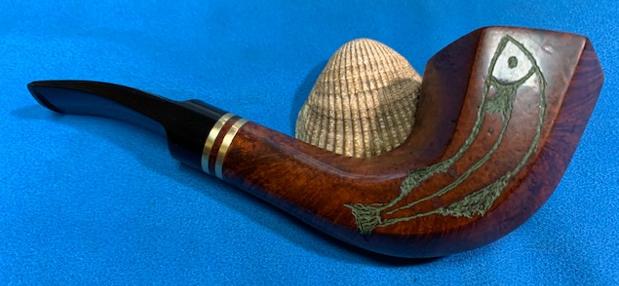
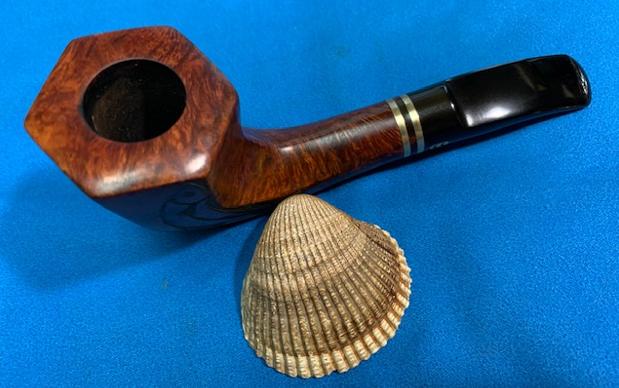
 This Butz-Choquin Casino 1575 Spigot Billiard with a polished nickel ferrule and stem cap on a vulcanite stem is a great looking pipe now that it has been restored. It was a lot of work and I took a decision to leave some of the journey of the pipe in the finish so it is far from flawless but it is a beauty. The rich browns of the stain made the grain come alive with the polishing and waxing. I put the stem back on the bowl and carefully buffed the pipe with Blue Diamond on the buffing wheel using a light touch on the briar. I gave the bowl and the stem multiple coats of carnauba wax on the buffing wheel and followed that by buffing the entire pipe with a clean buffing pad. I hand buffed the pipe with a microfiber cloth to deepen the shine. The finished BC Casino 1575 Spigot really is a beauty and fits nicely in the hand and looks very good. Give the finished pipe a look in the photos below. The dimensions of the pipe are Length: 6 ¼ inches, Height: 1 ¾ inches, Outside diameter of the bowl: 1 ¼ inches, Chamber diameter: ¾ of an inch. The weight of the pipe is 1.87oz./53grams. This beauty will be going off to its new trustee in Michigan along with several other nice pipes. Thanks for reading this blog and my reflections on the pipe while I worked on it. There are many more to come!