by Kenneth Lieblich
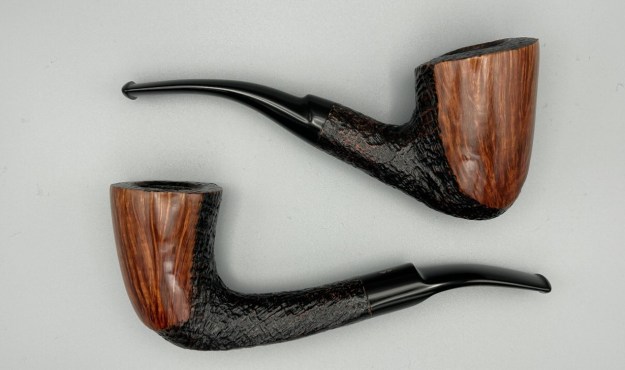
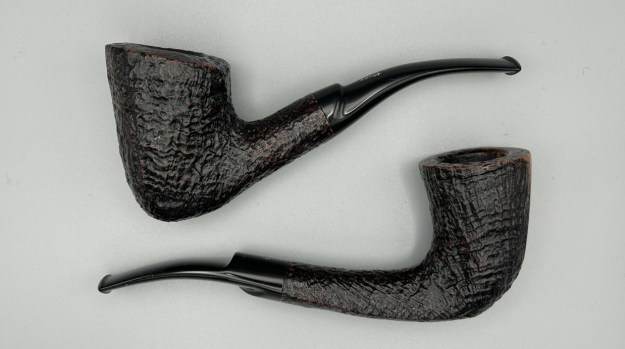
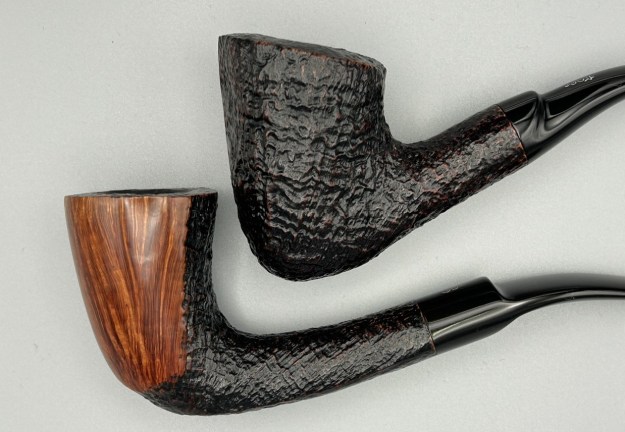
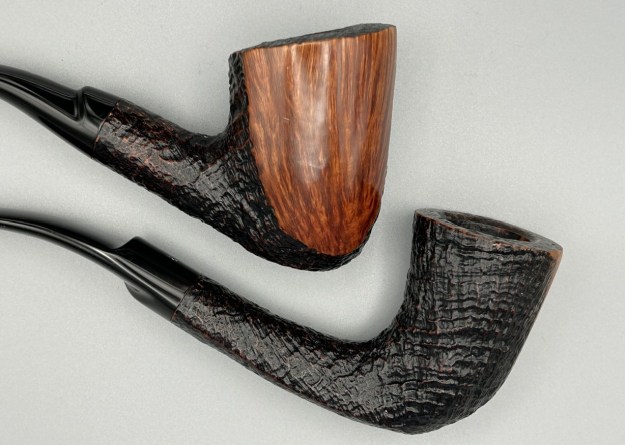
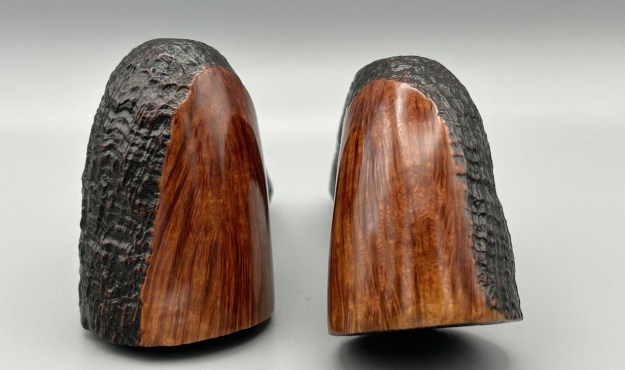
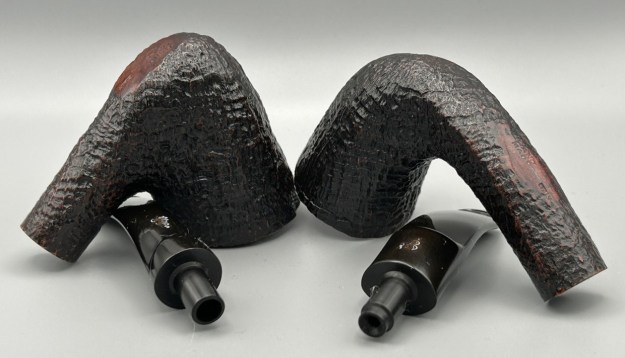
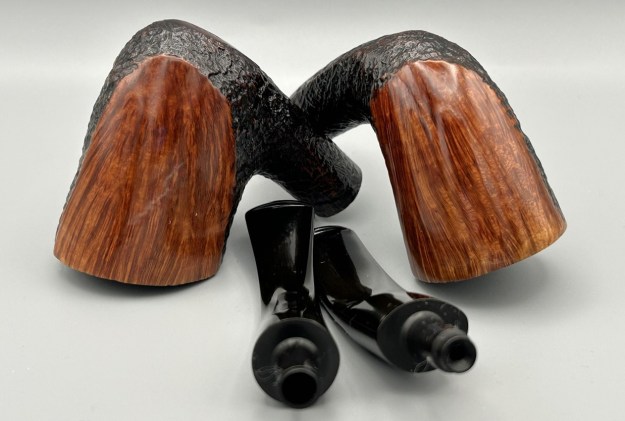
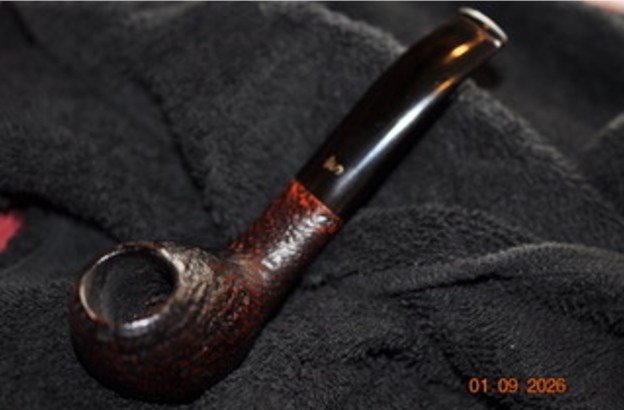
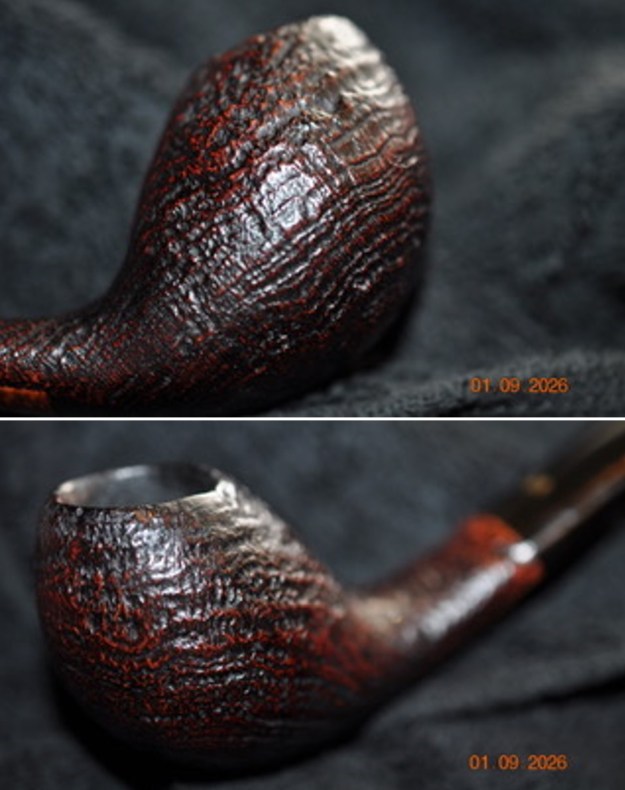
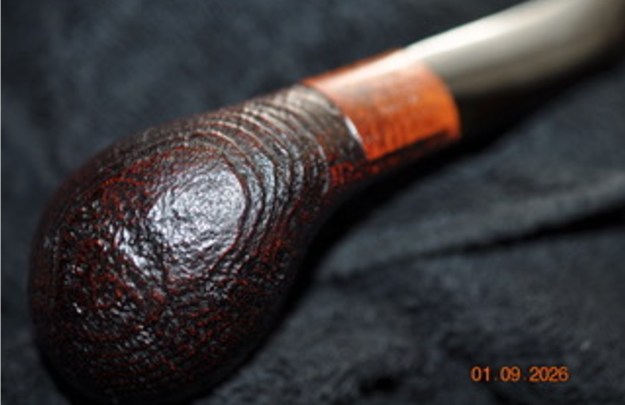
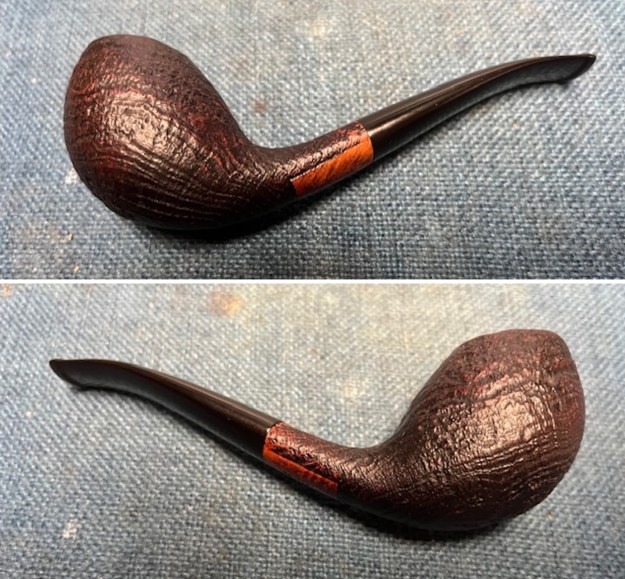
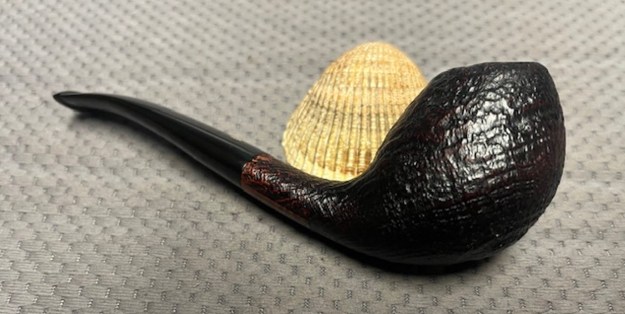
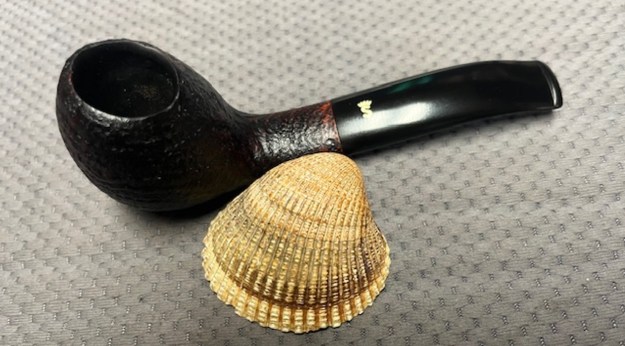
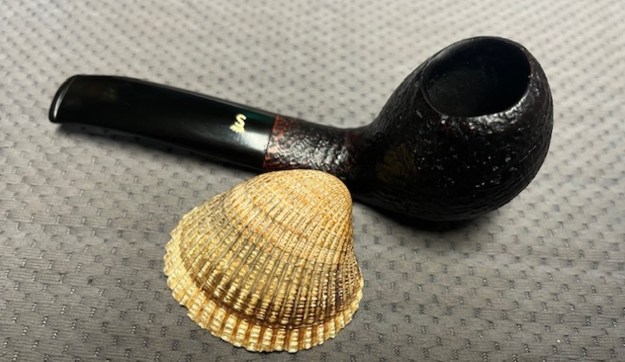
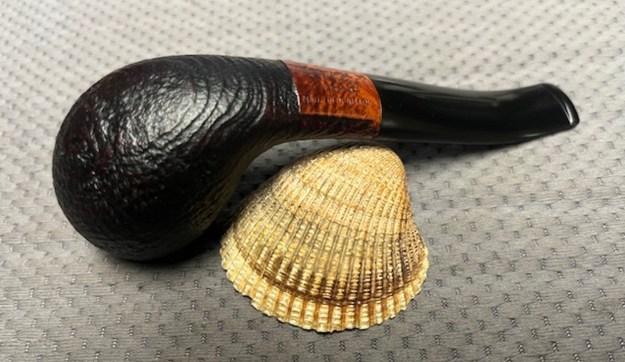
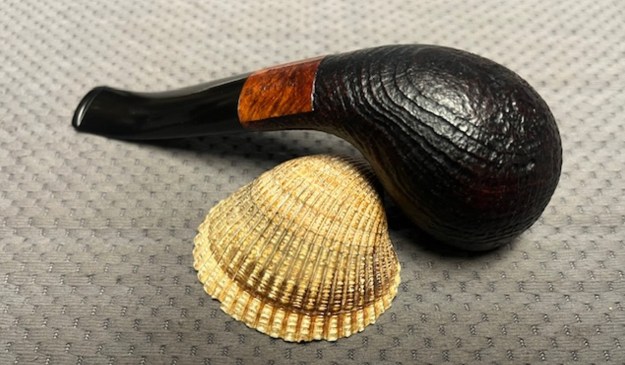
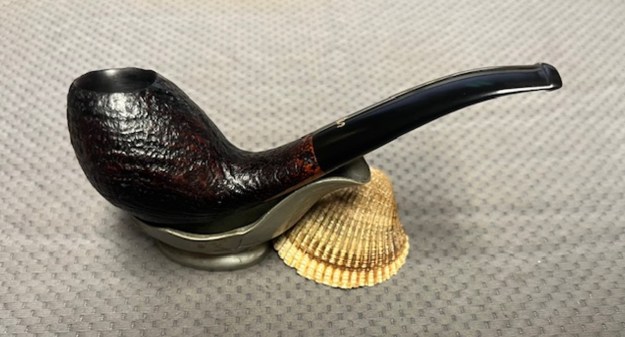
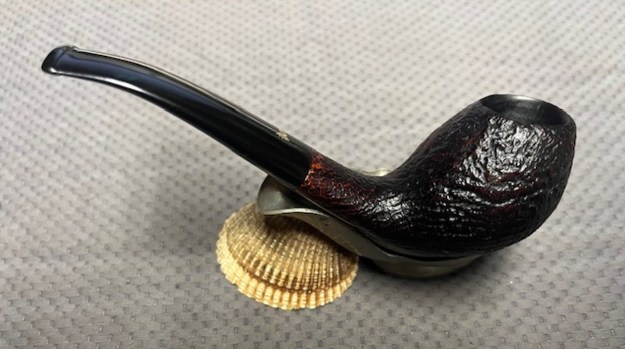
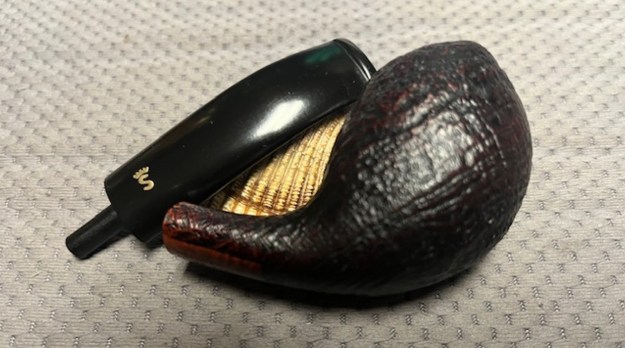
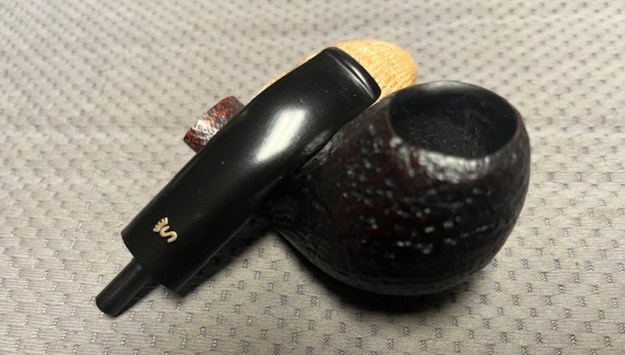
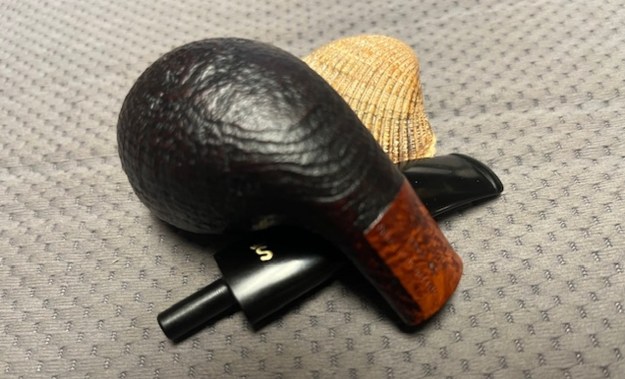
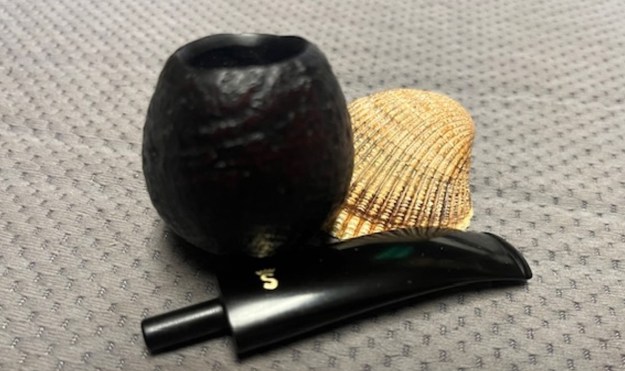
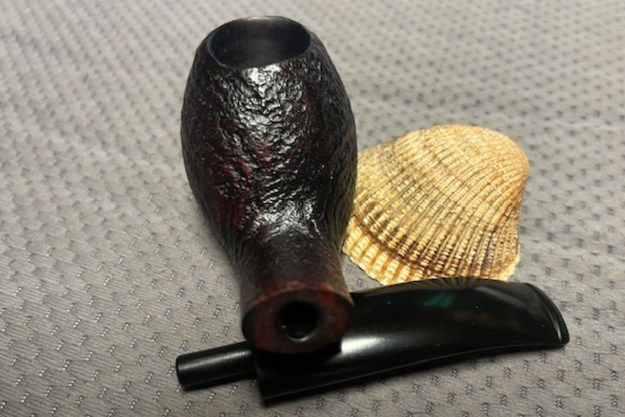
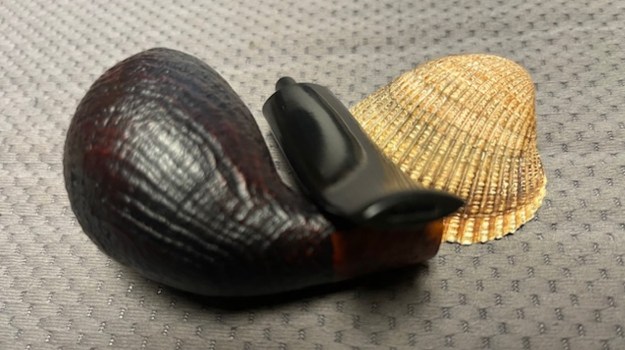
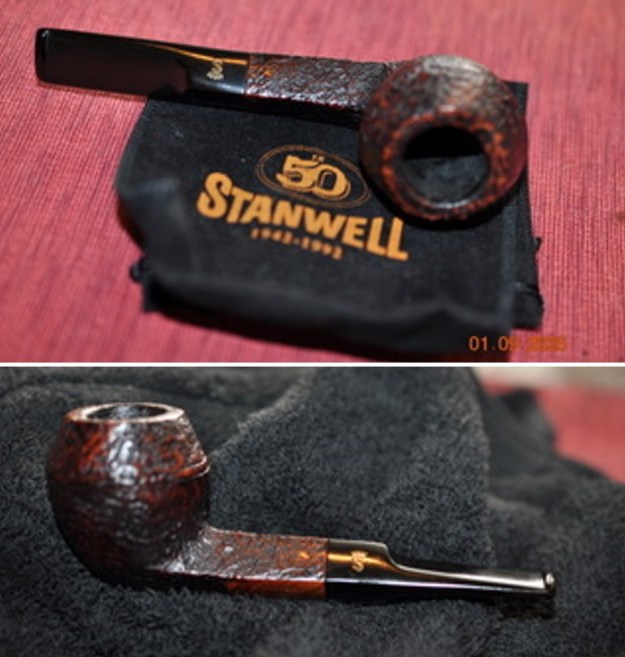
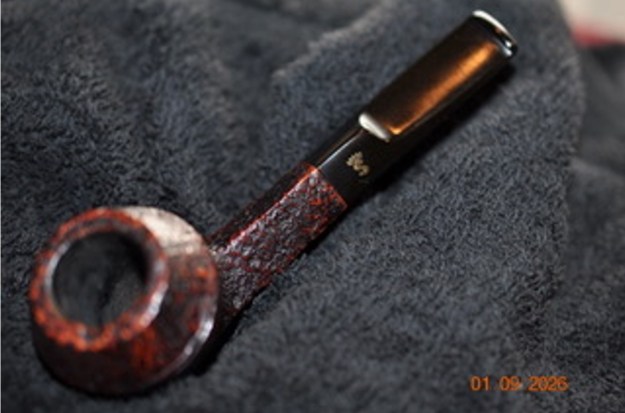
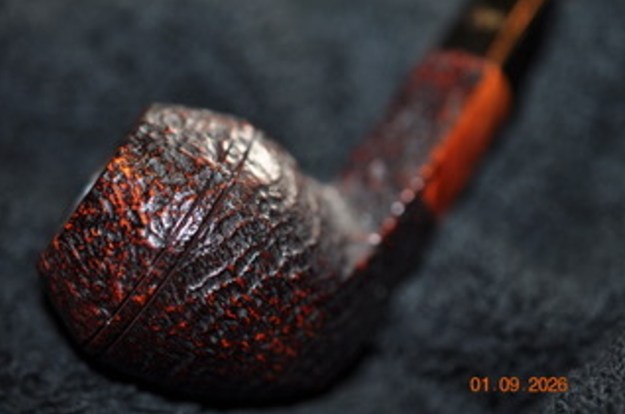
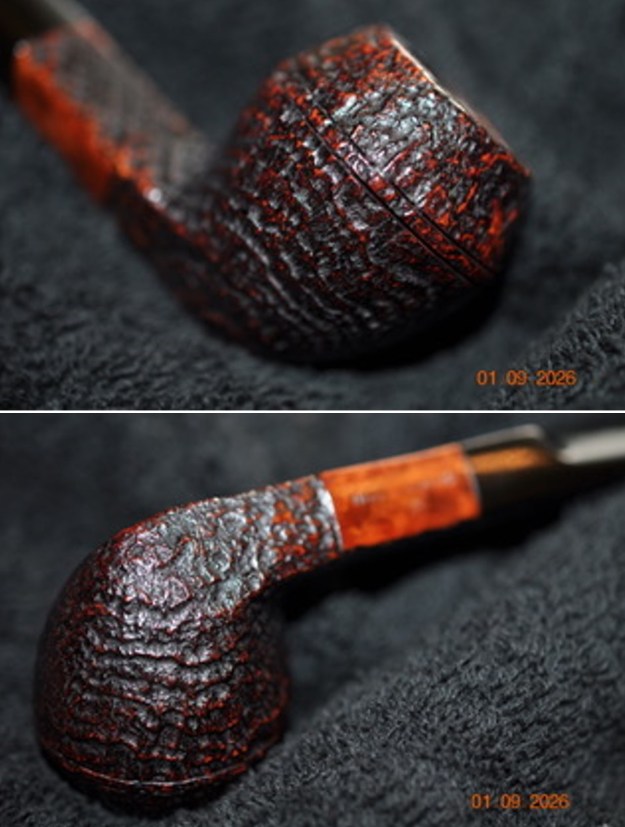
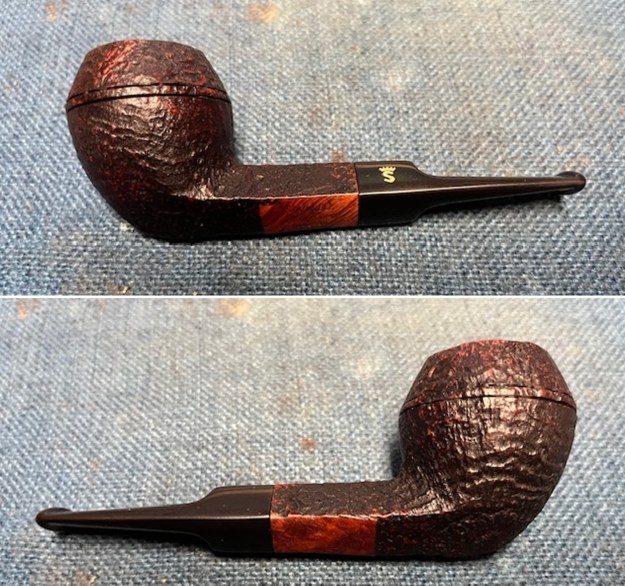
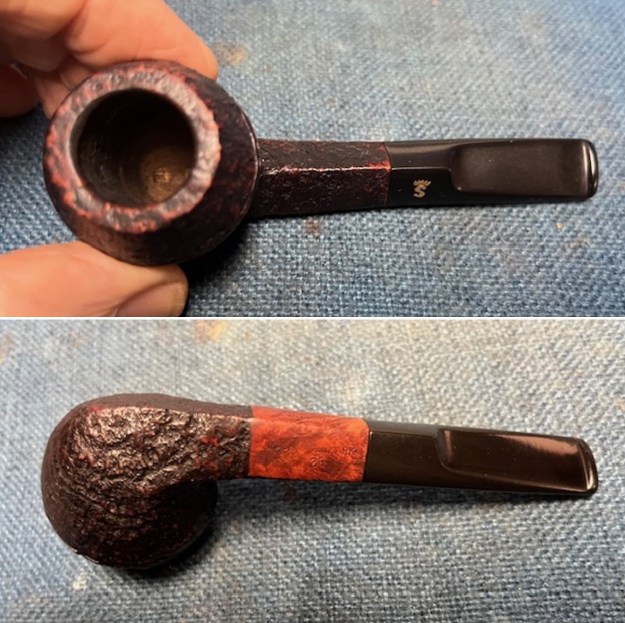
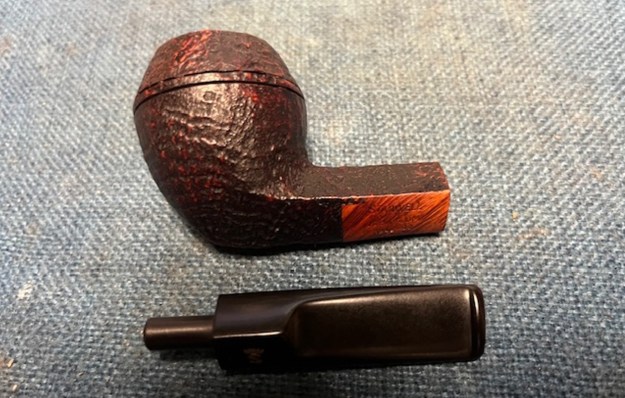
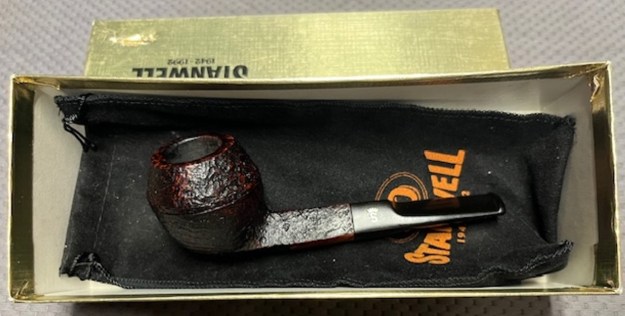
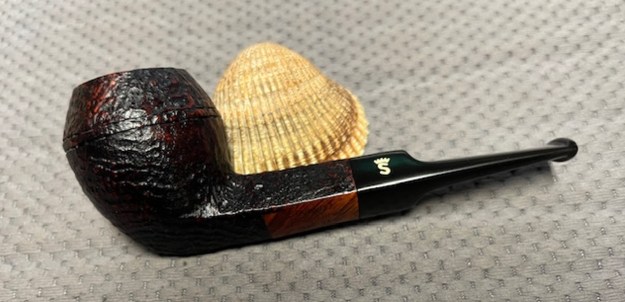
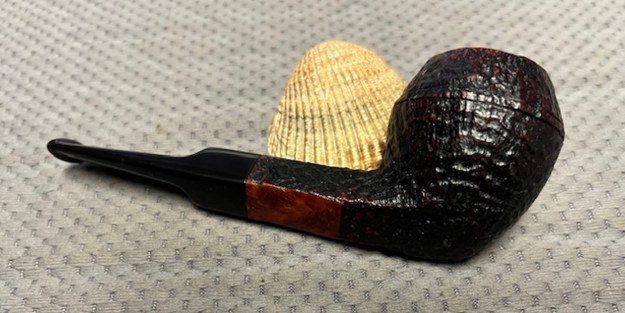
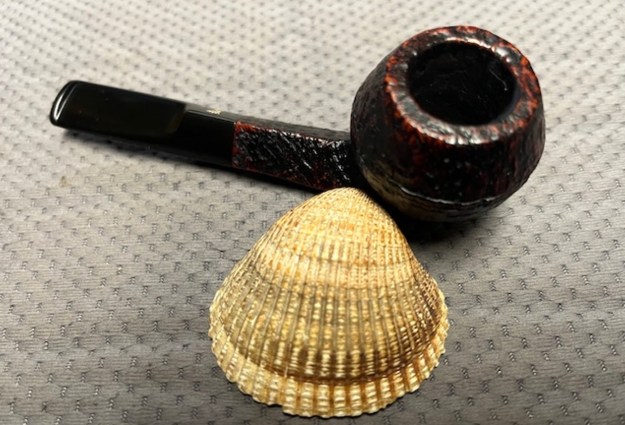
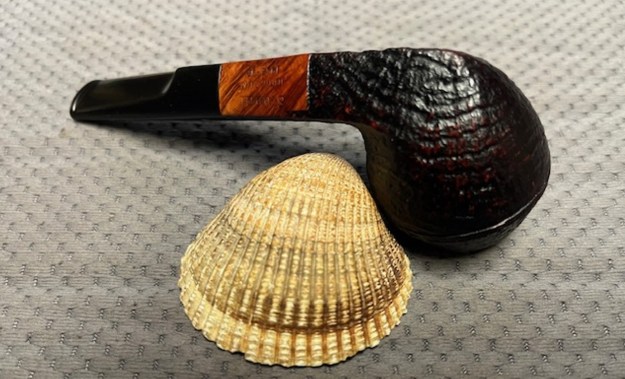
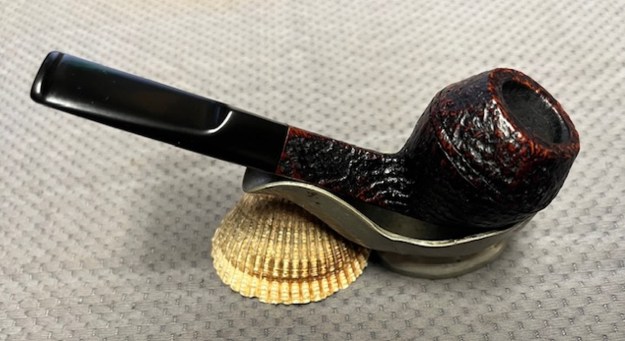
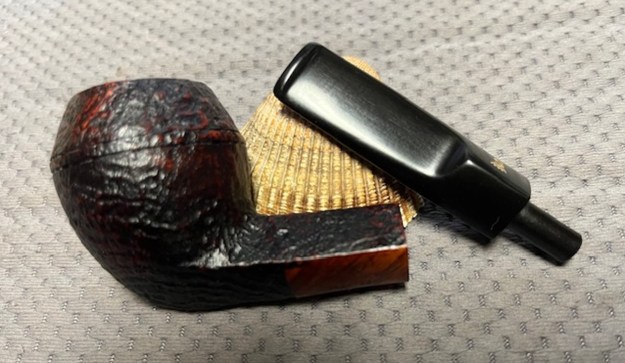
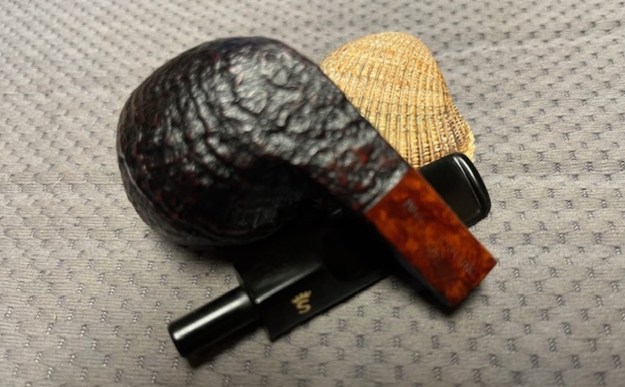
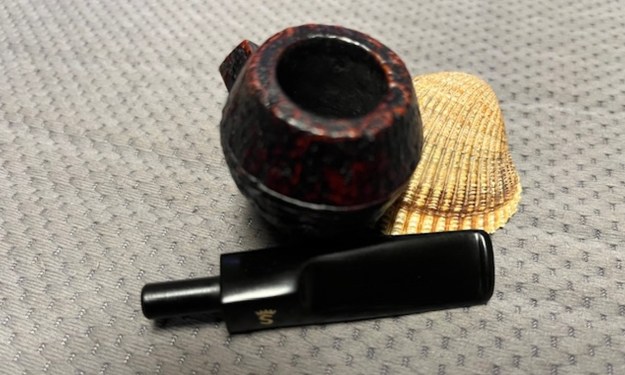
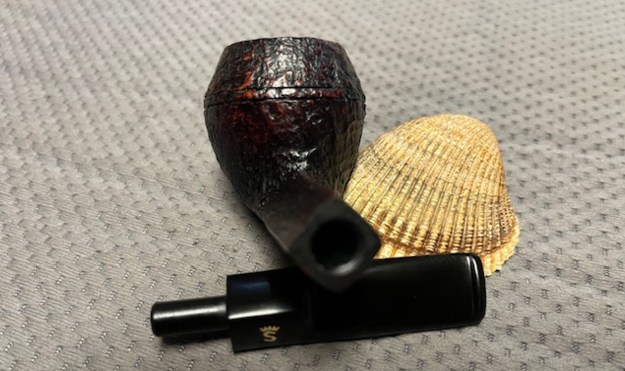
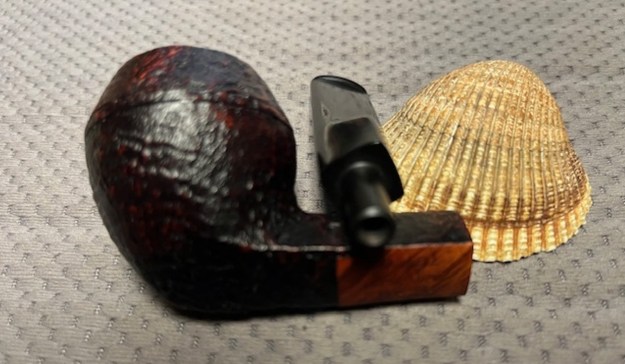
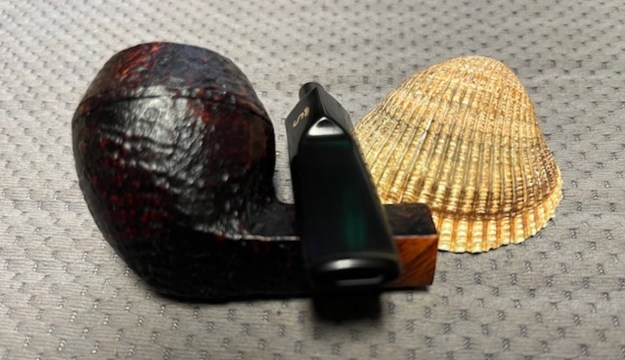
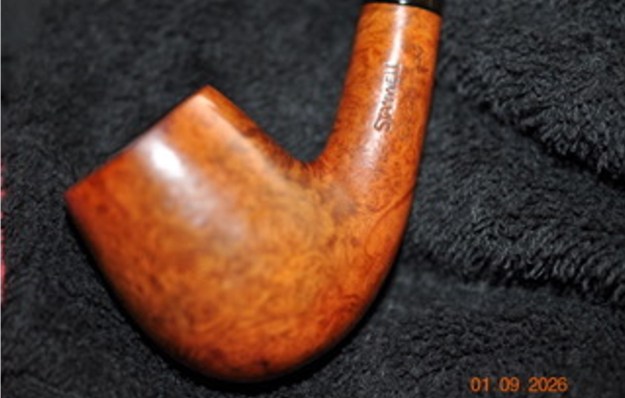
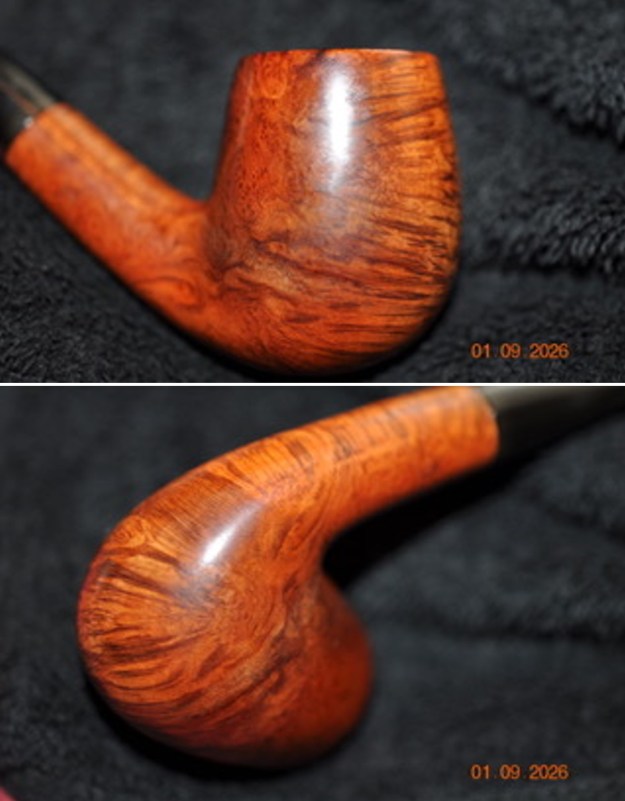
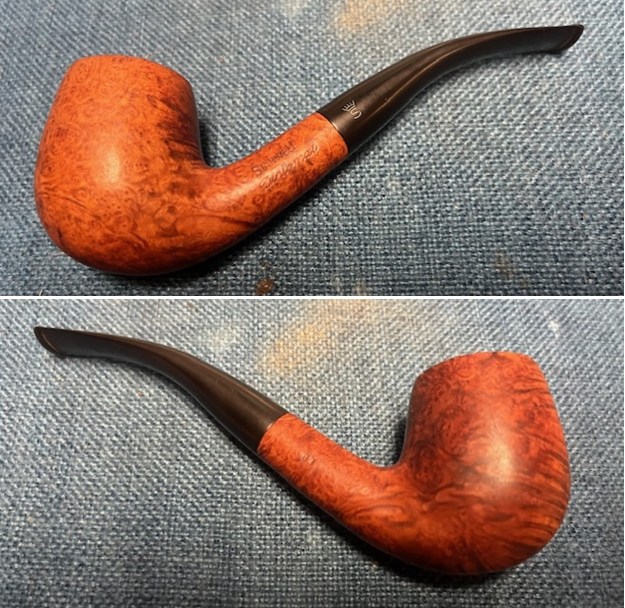
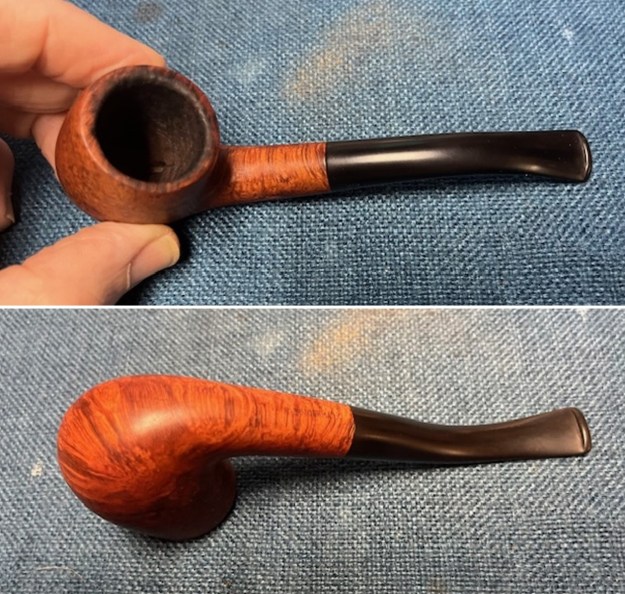
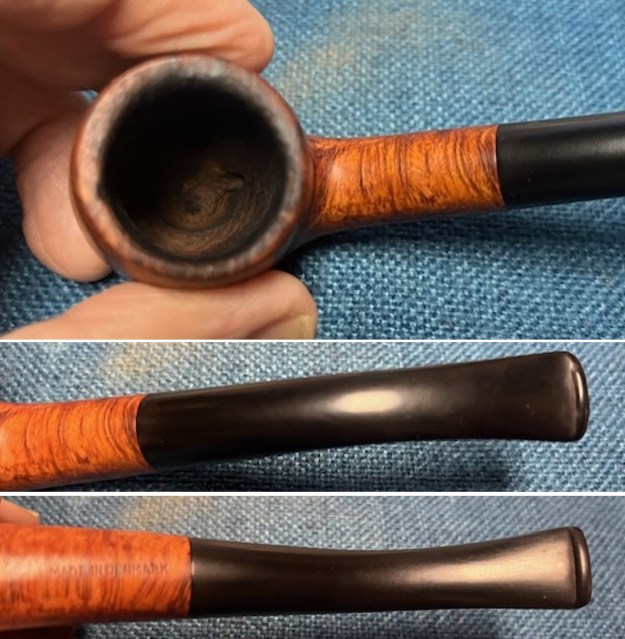
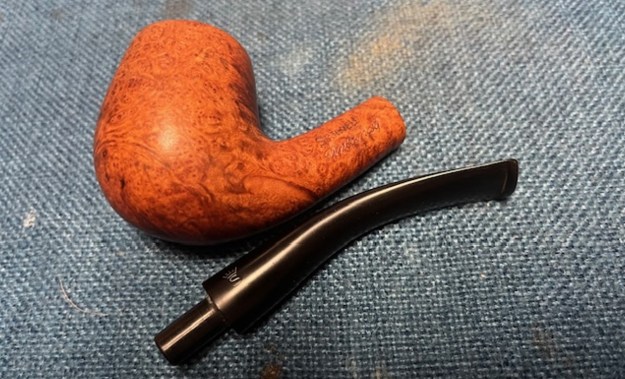
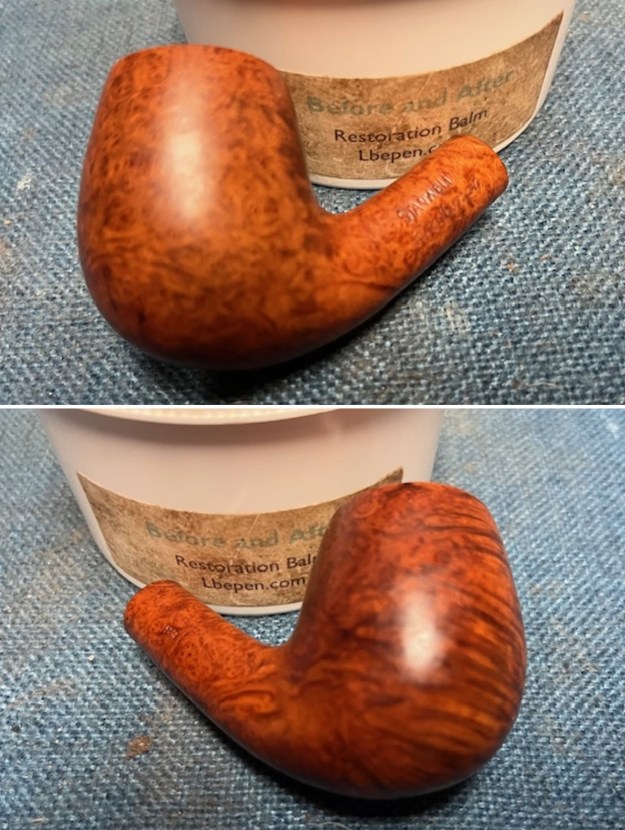
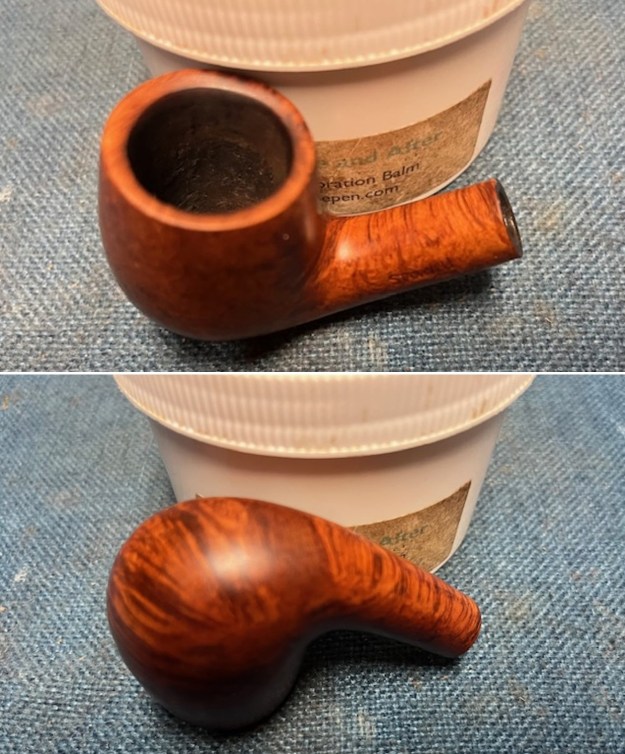
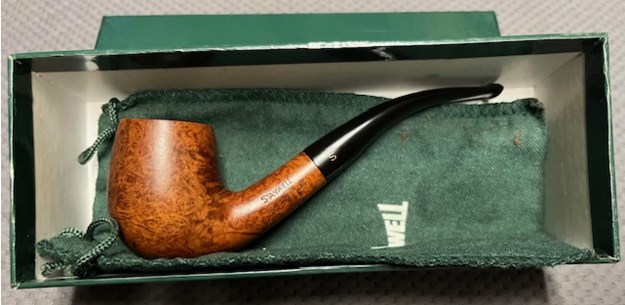
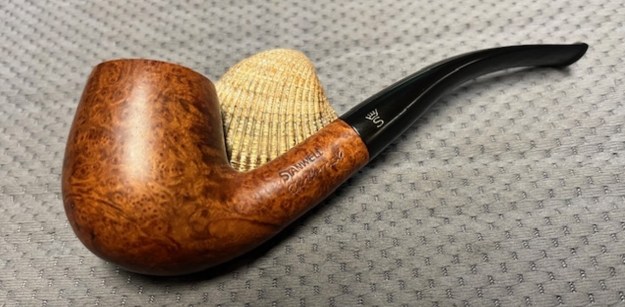
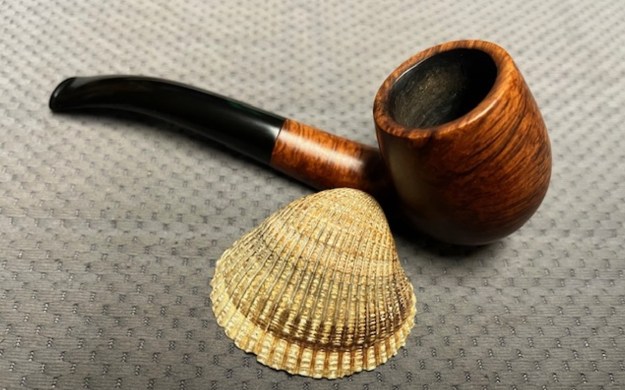
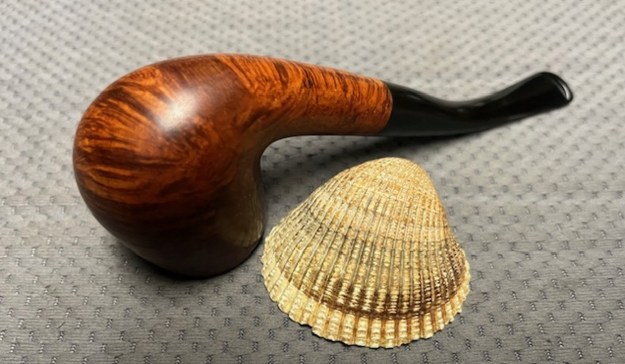
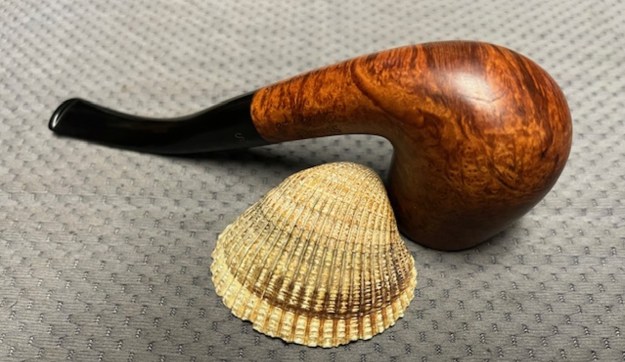
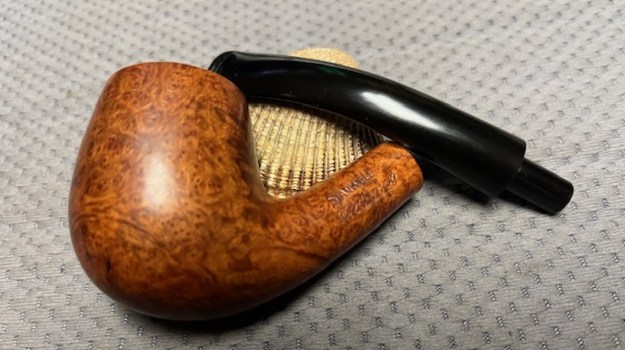
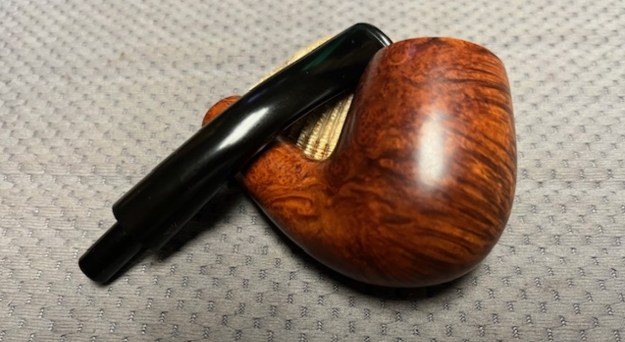
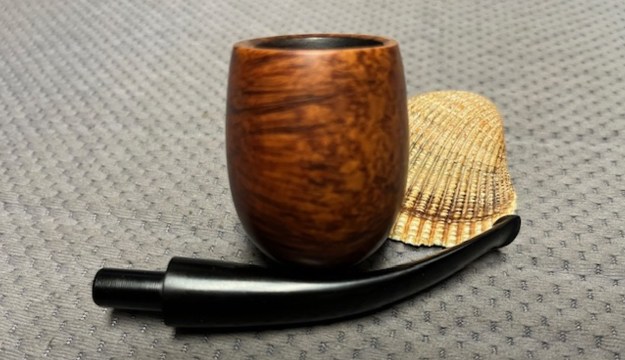
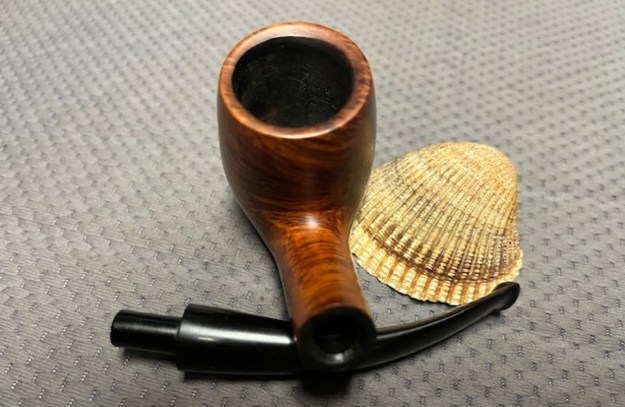
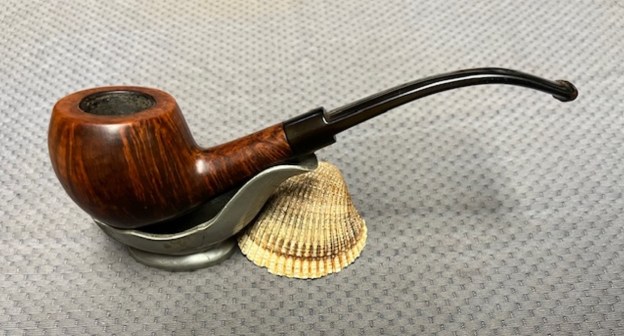
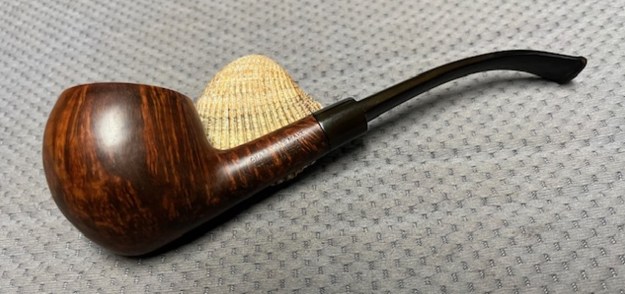
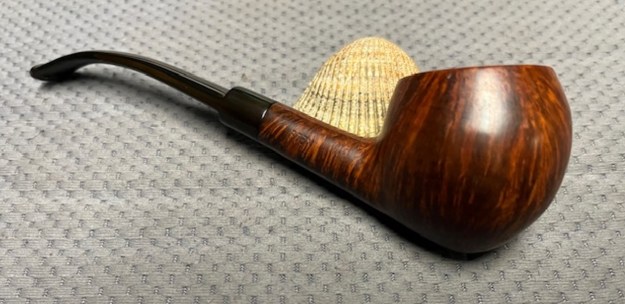
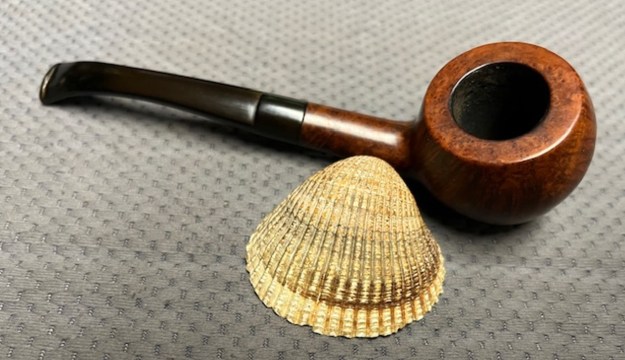
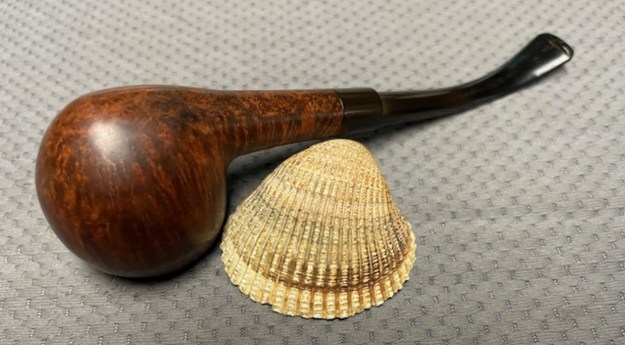
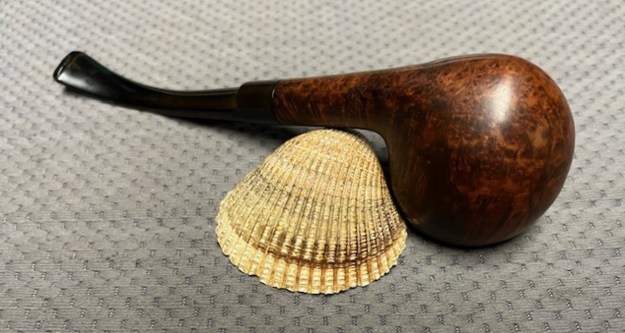
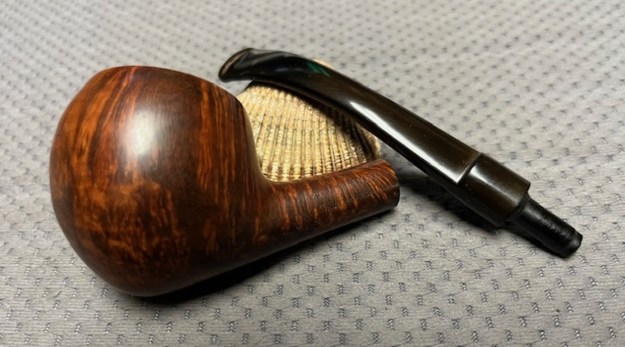
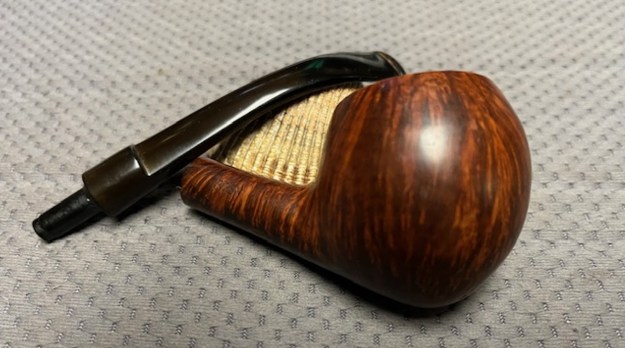
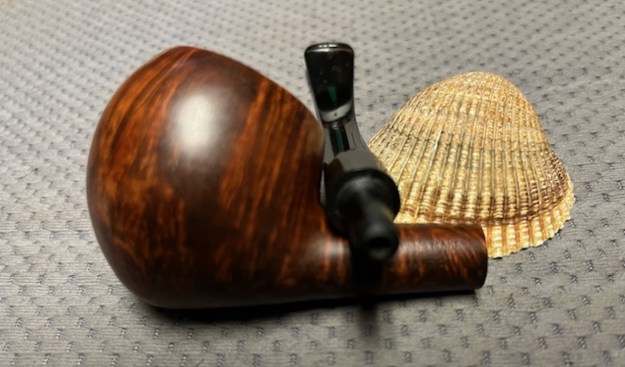
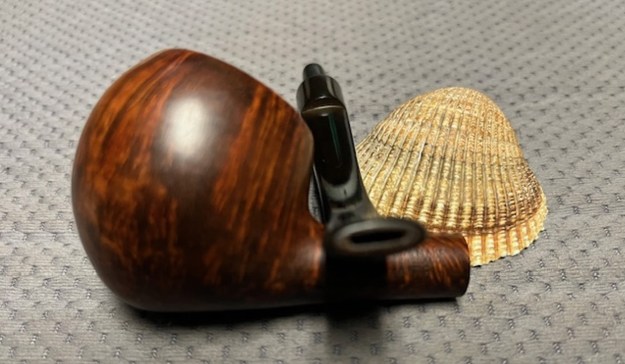
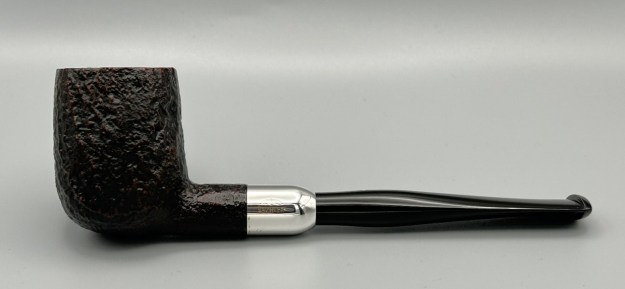
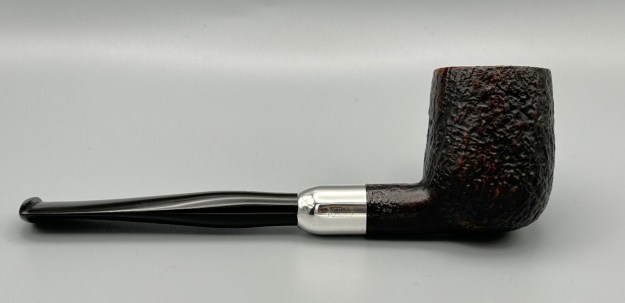
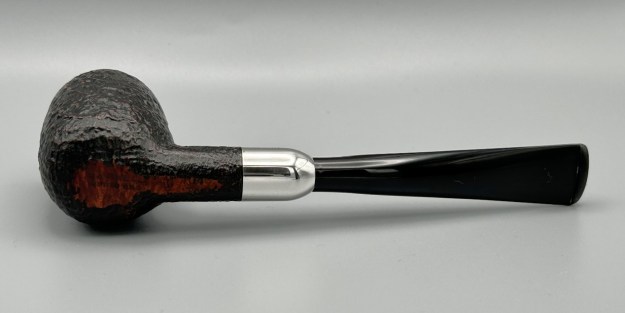
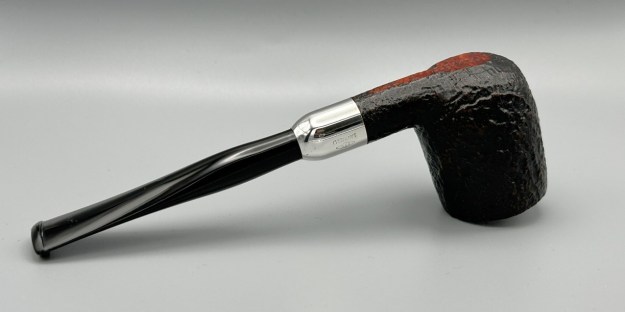
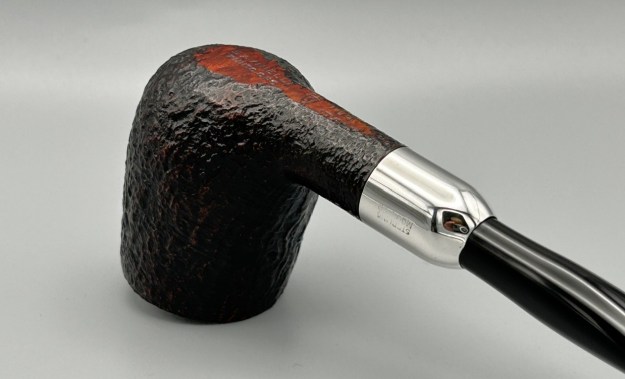
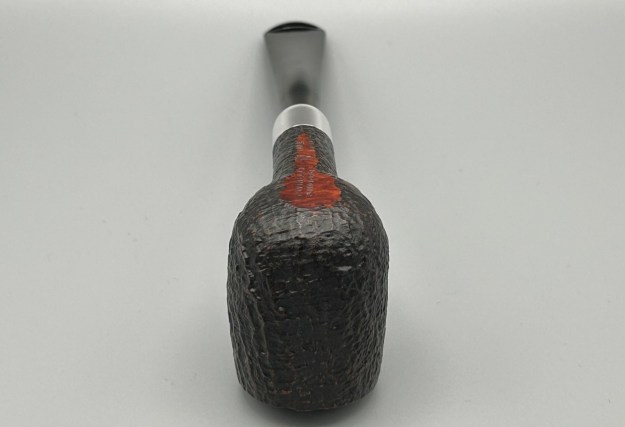
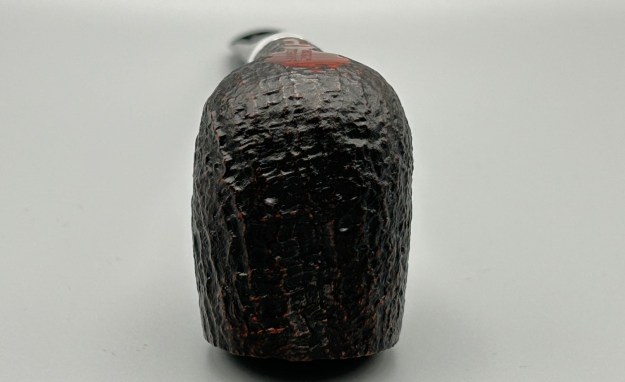
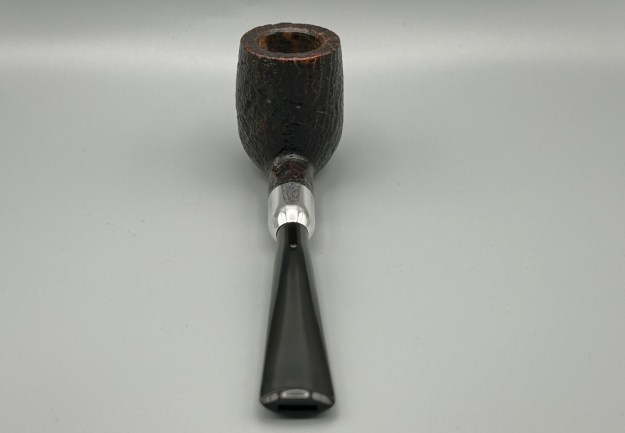
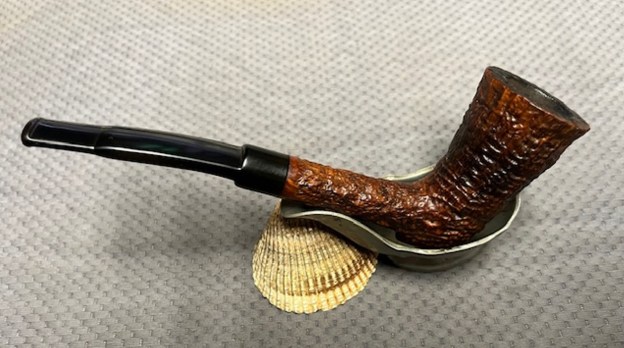
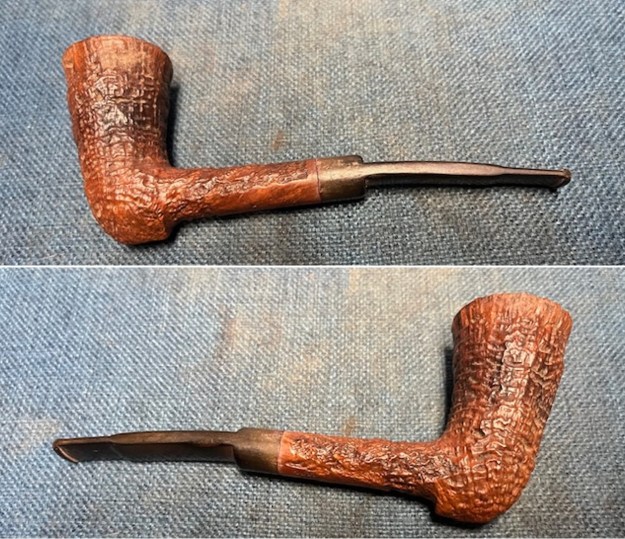
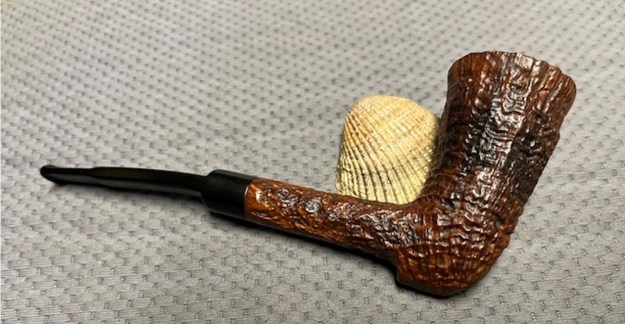
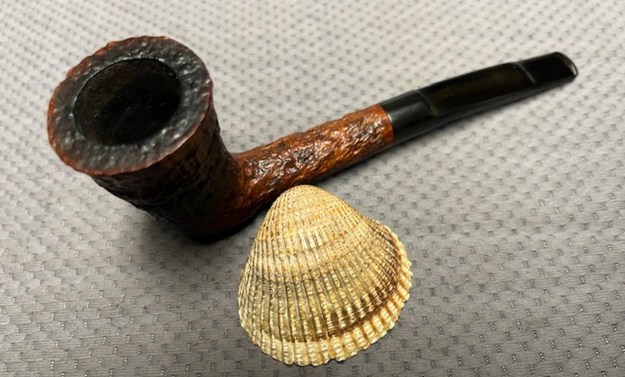
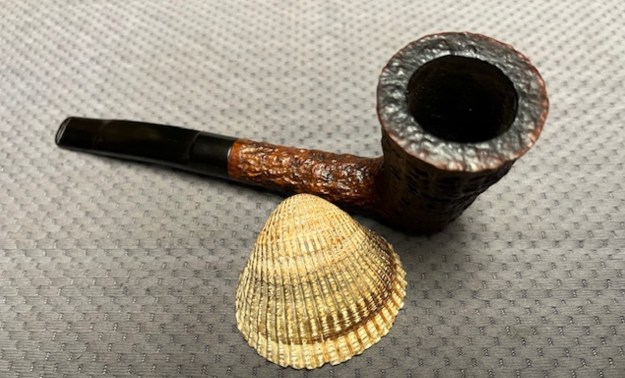
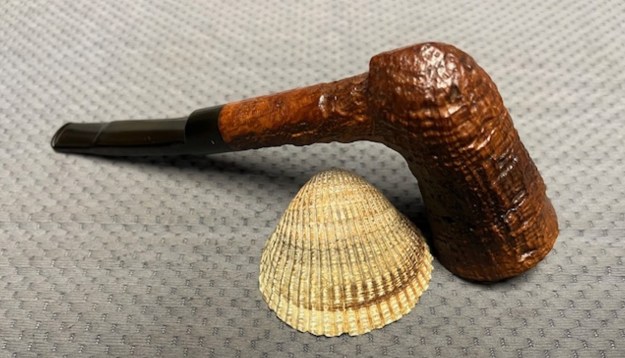
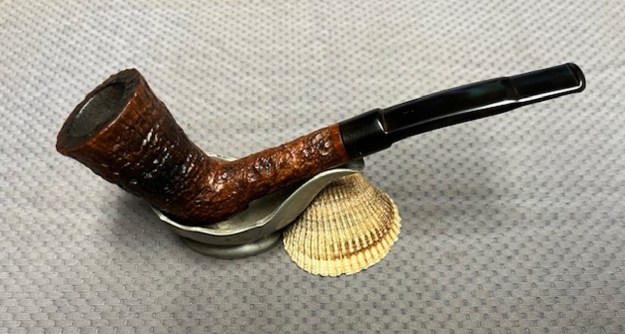
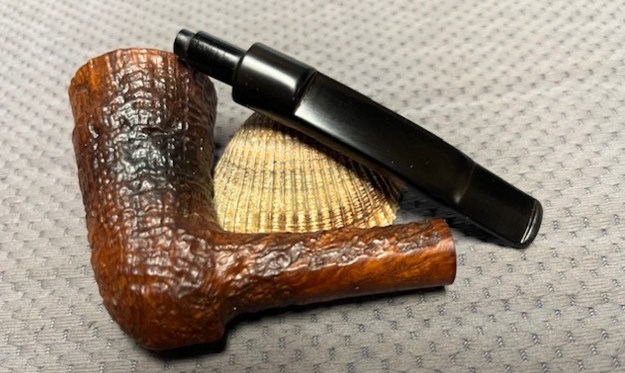
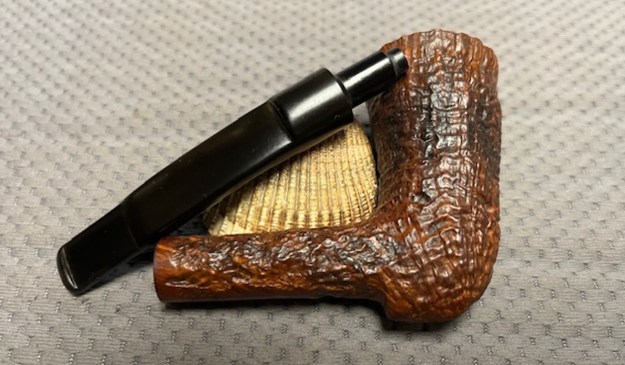
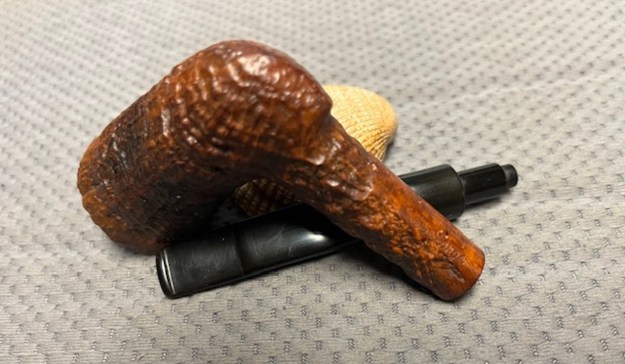
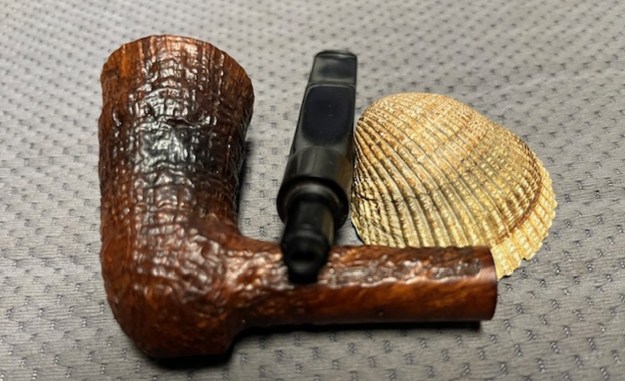
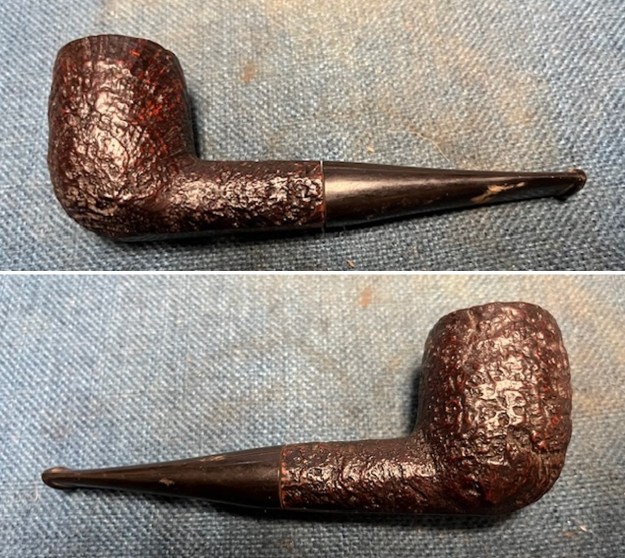
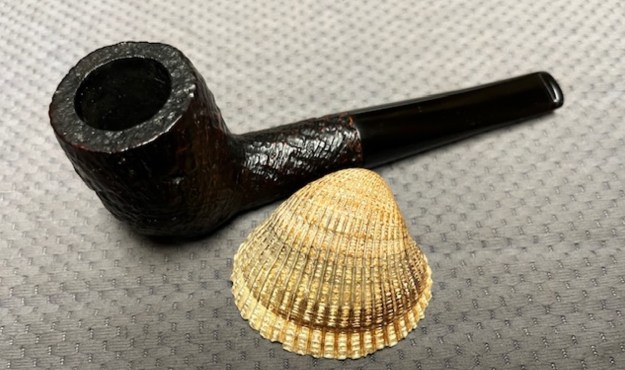
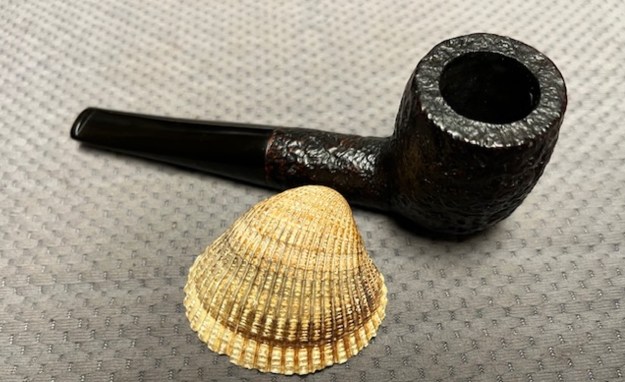
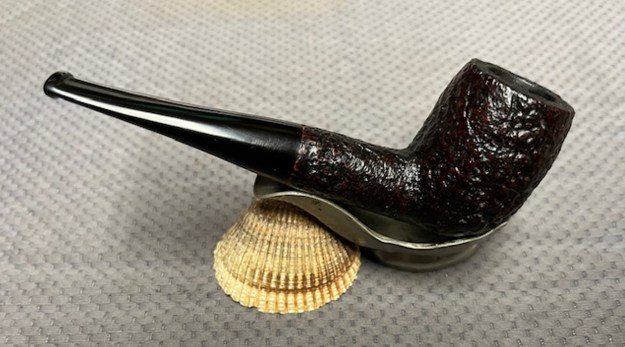
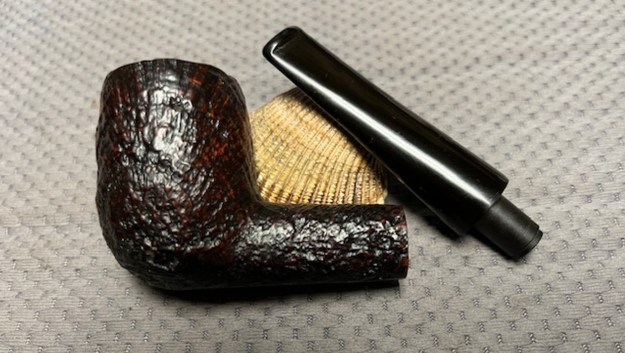
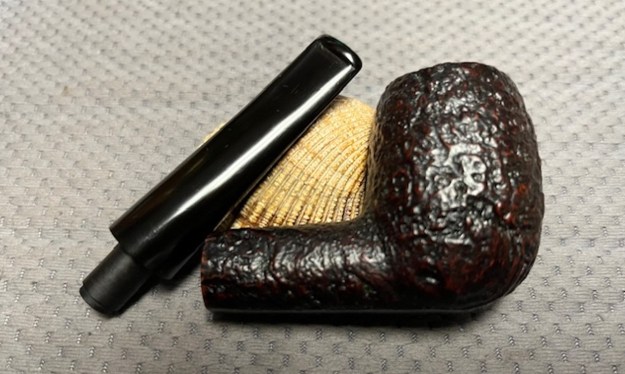
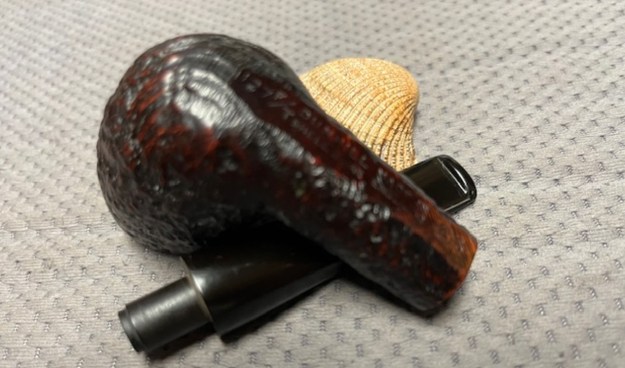
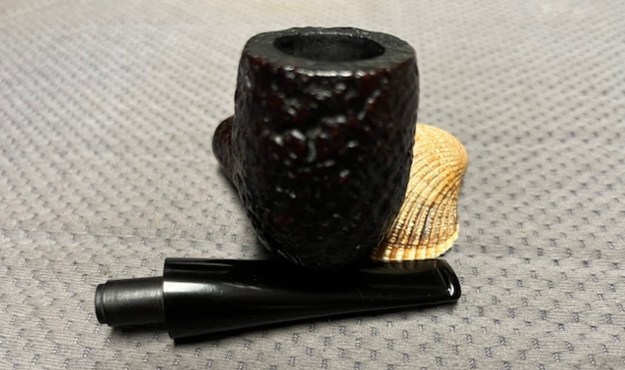
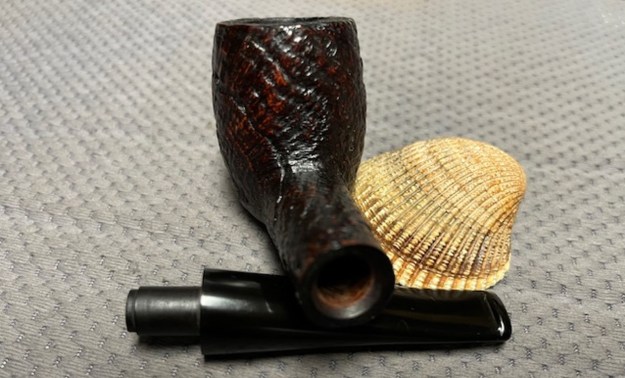
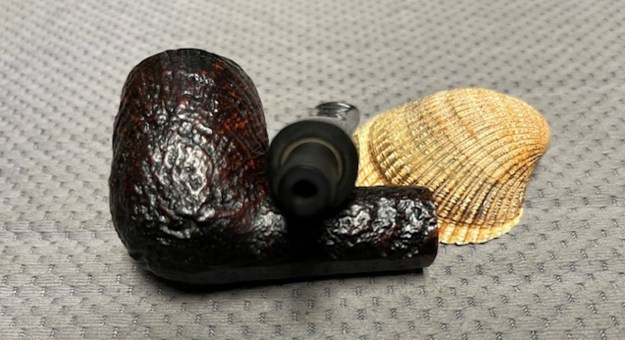
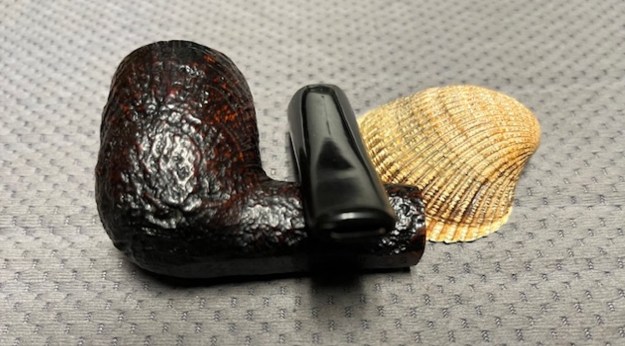
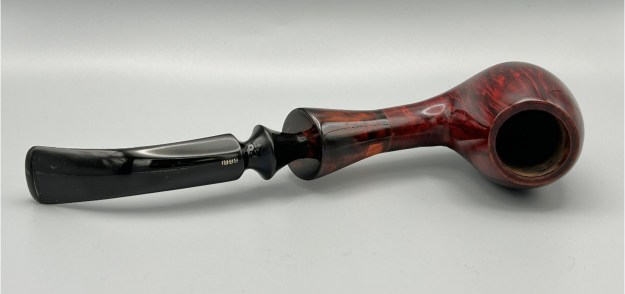
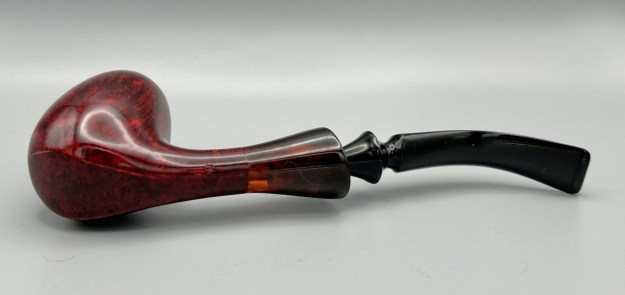
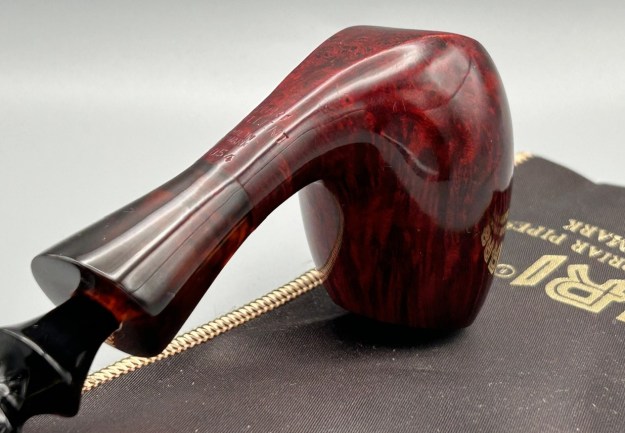
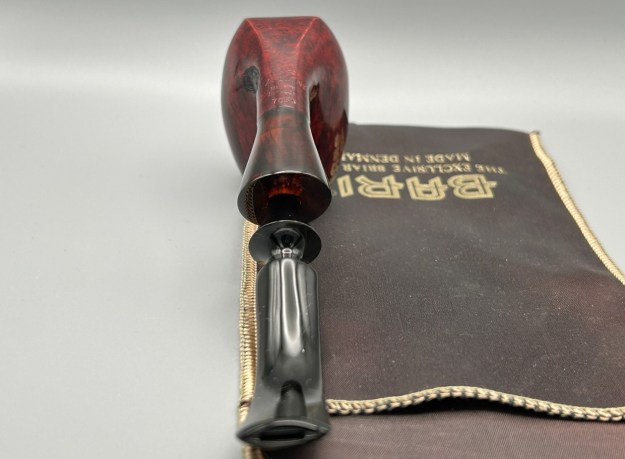
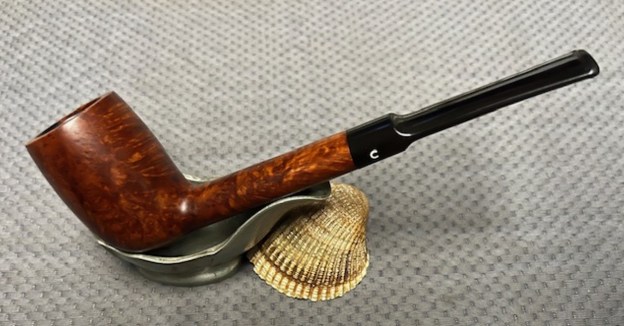
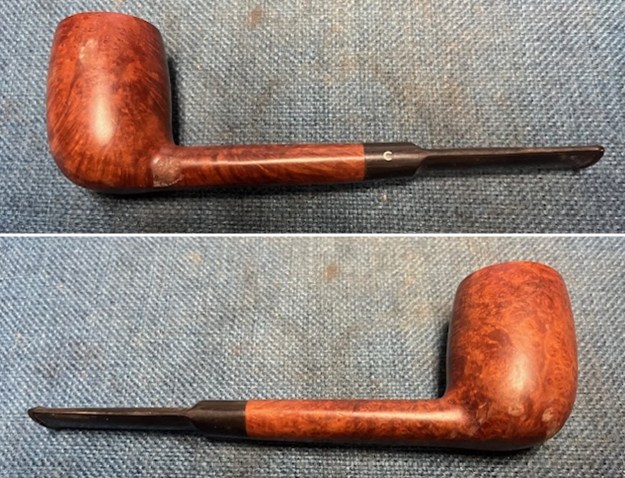
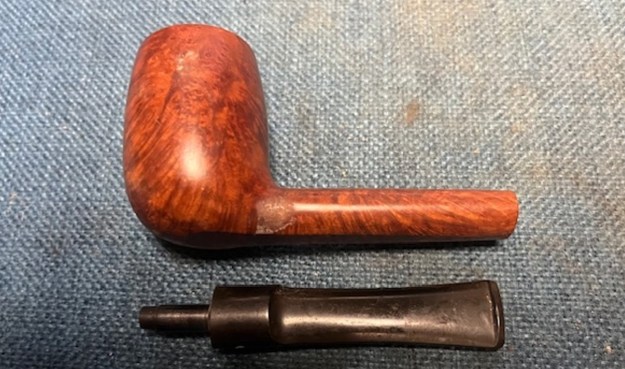
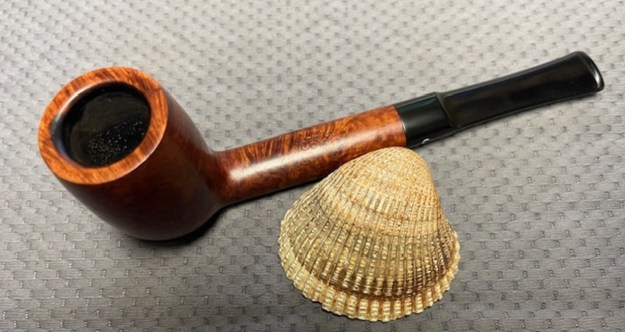
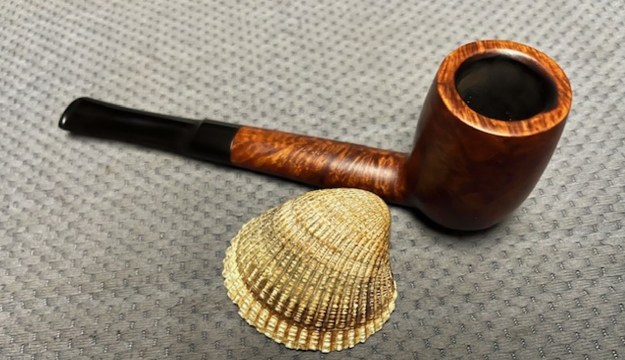
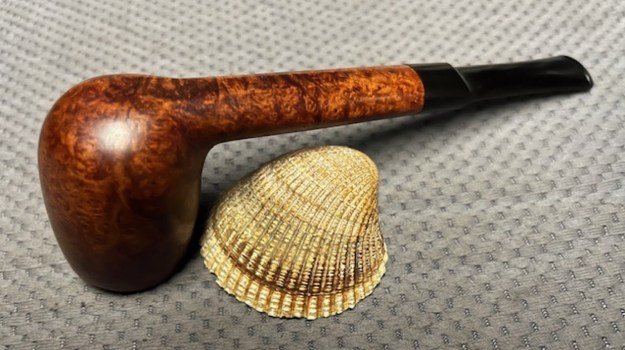
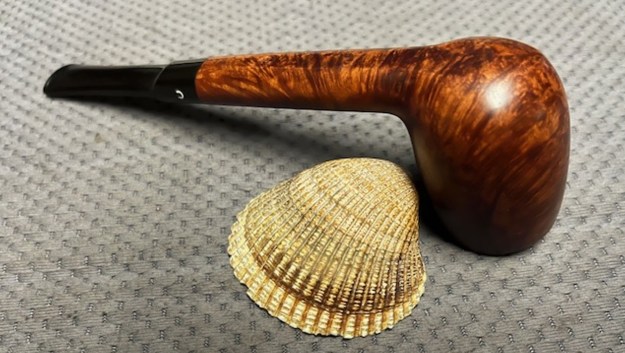
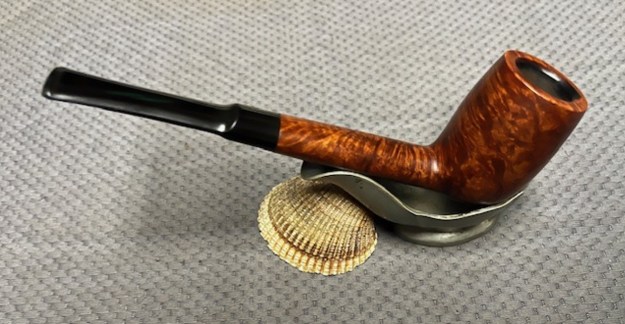
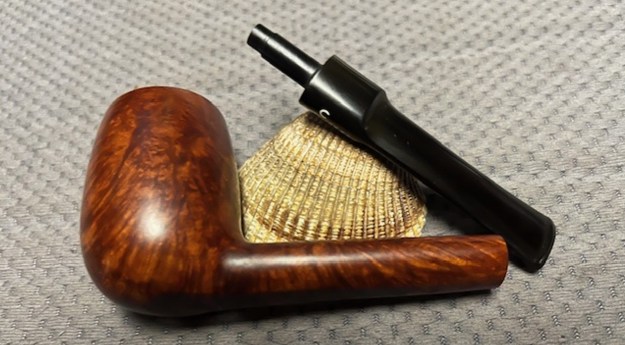
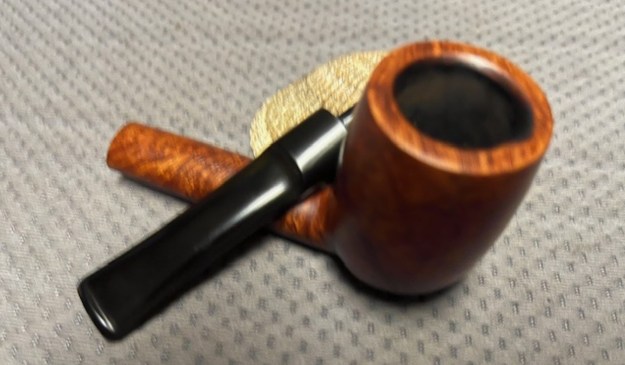
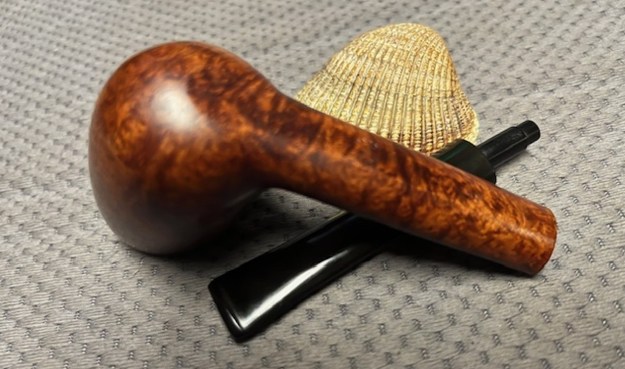
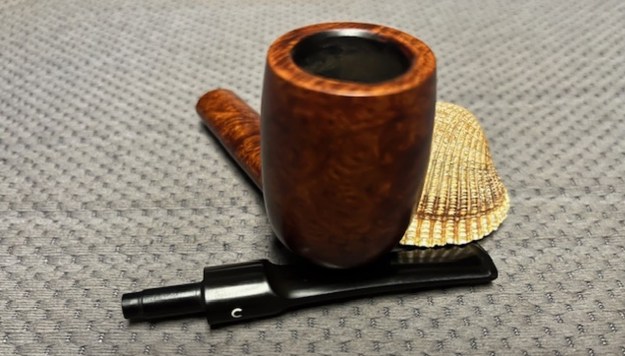
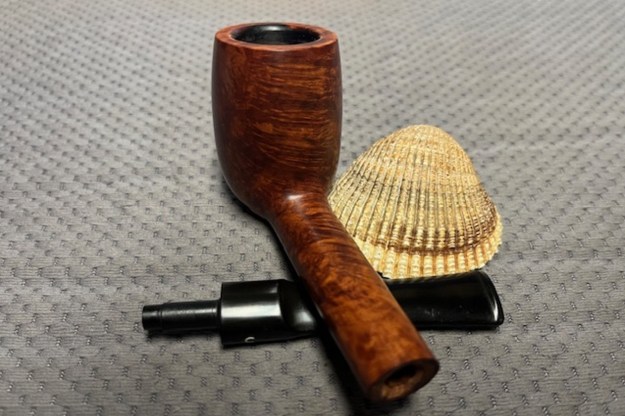
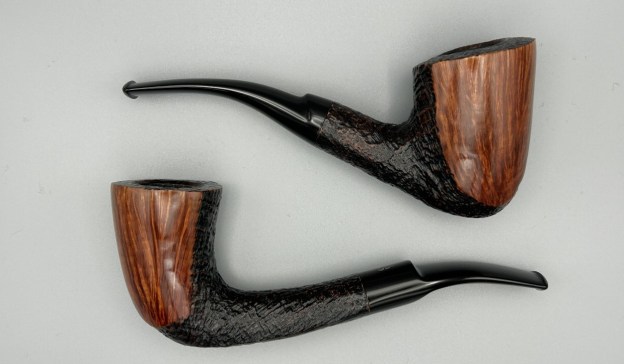
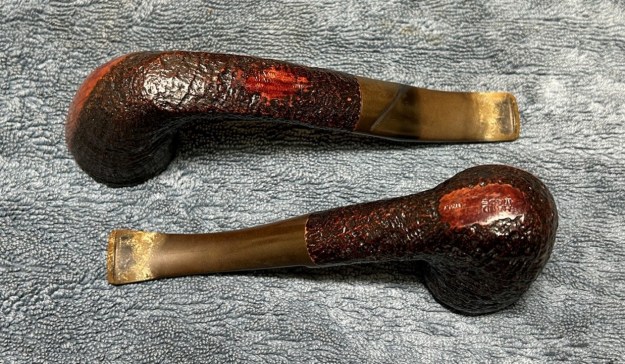
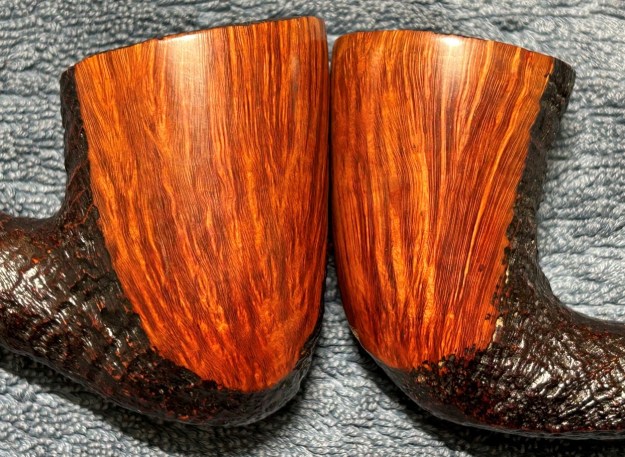
When these beauties came into my possession, I was gobsmacked. What an amazing set of pipes this is! These are two Savinelli Hand-Made, Mixed-Finish pipes. One is a Dublin shape, the other is a Horn shape. These were clearly the prized possessions of a distinguished pipe man who has left them behind for the next person to take them on. I am offering them as a pair (and I hope they go as a pair), but I will also sell them separately, if desired. Are you familiar with the meme below? That was my reaction when I saw these pipes. As you can see, both pipes have an incredible sandblast over most of the stummel, with a gorgeous straight-grain accent. You can see why I think these are a pair. The horn has an oval, handmade, vulcanite saddle stem. The Dublin has a round, handmade, vulcanite, combination saddle-and-taper stem (with a subtle 6 mm filter, but it also includes a Savinelli adaptor so you can ignore the filter if you wish). Beautiful!
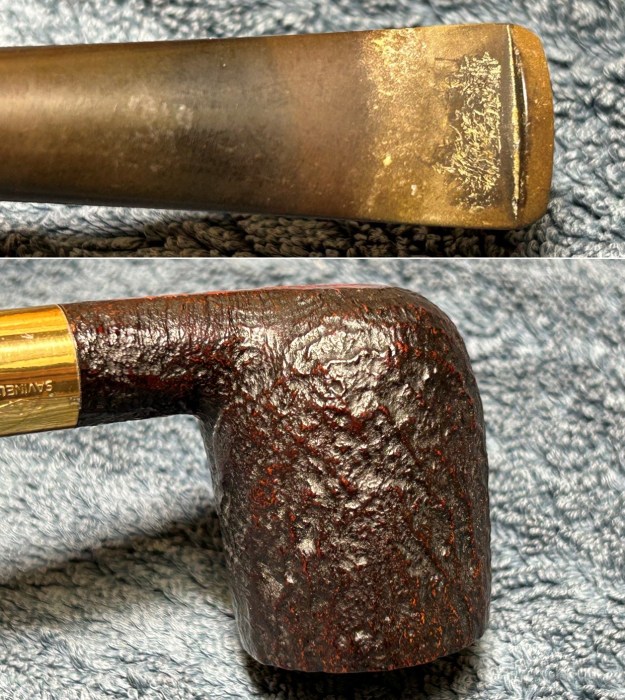
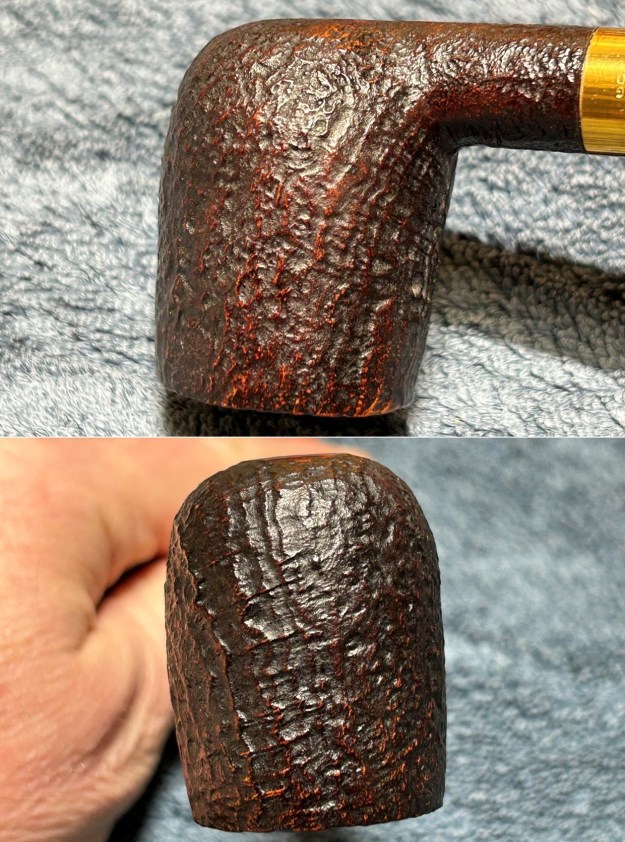
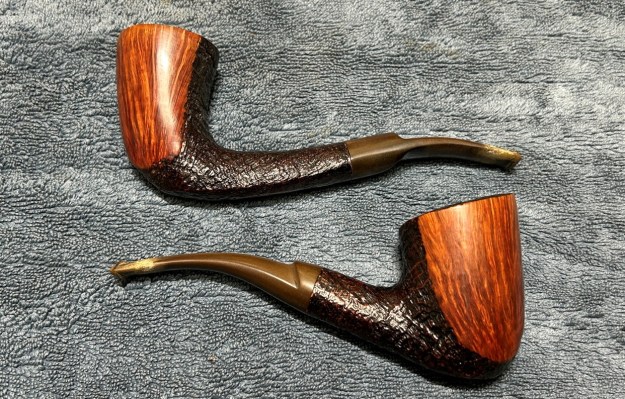
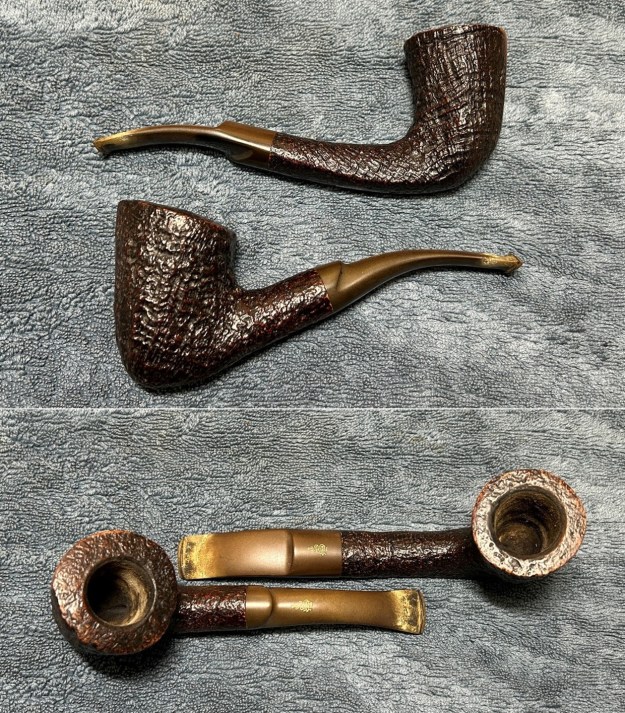
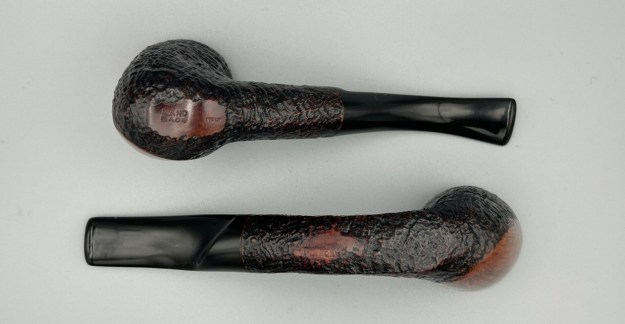
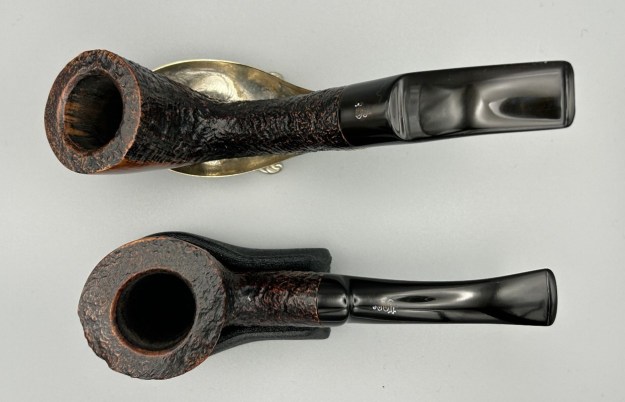
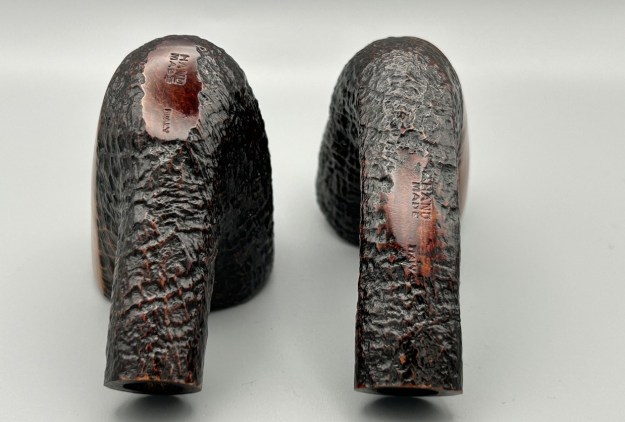
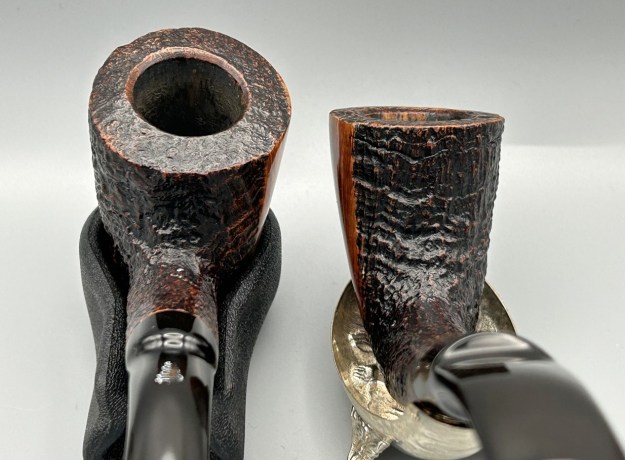
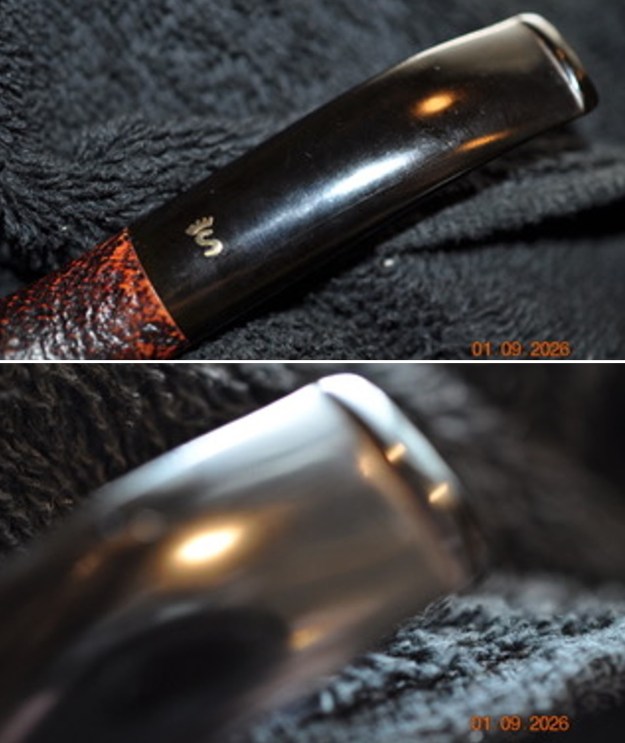
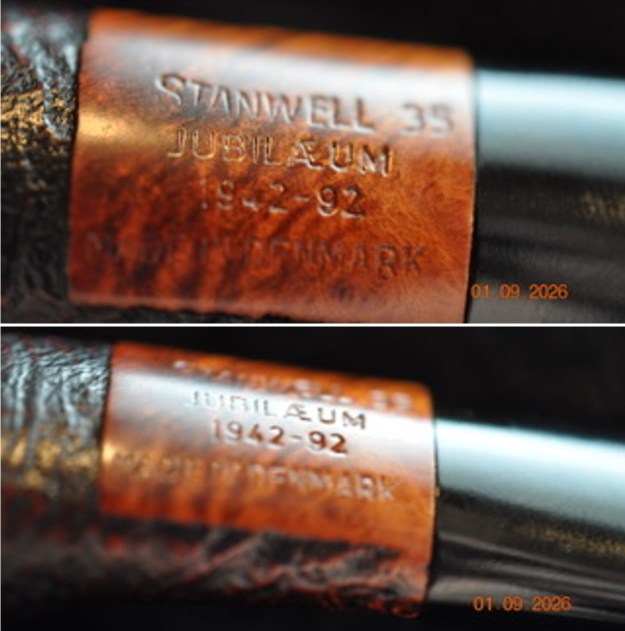
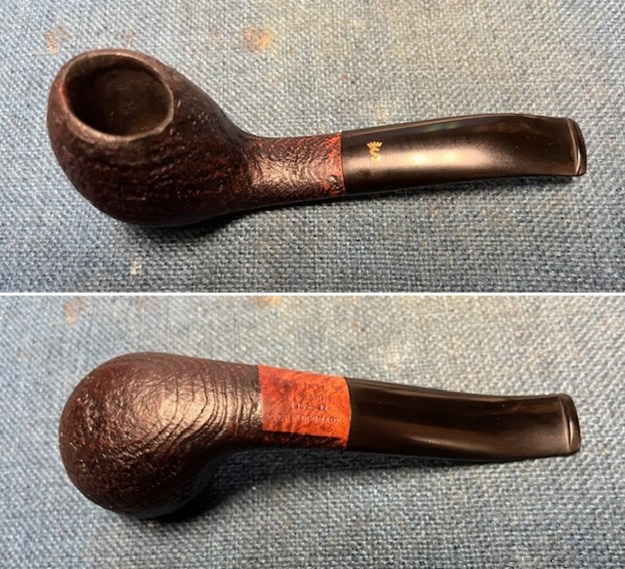
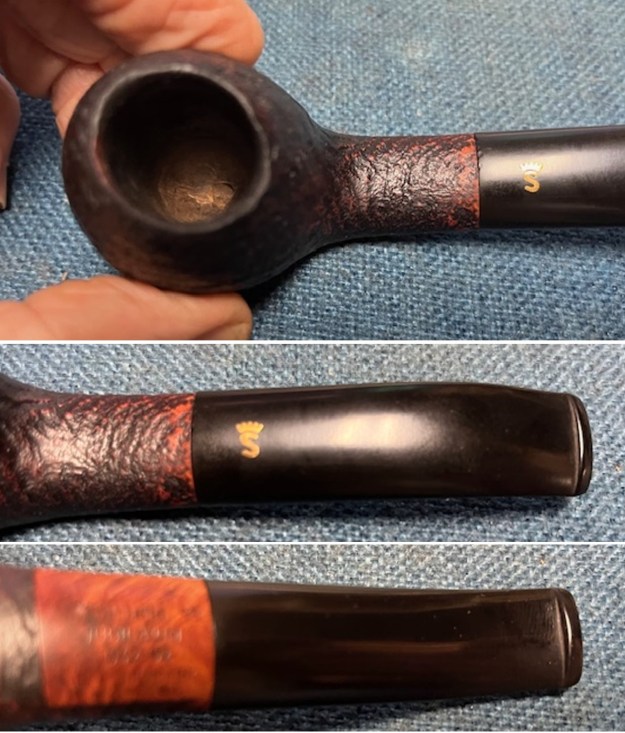
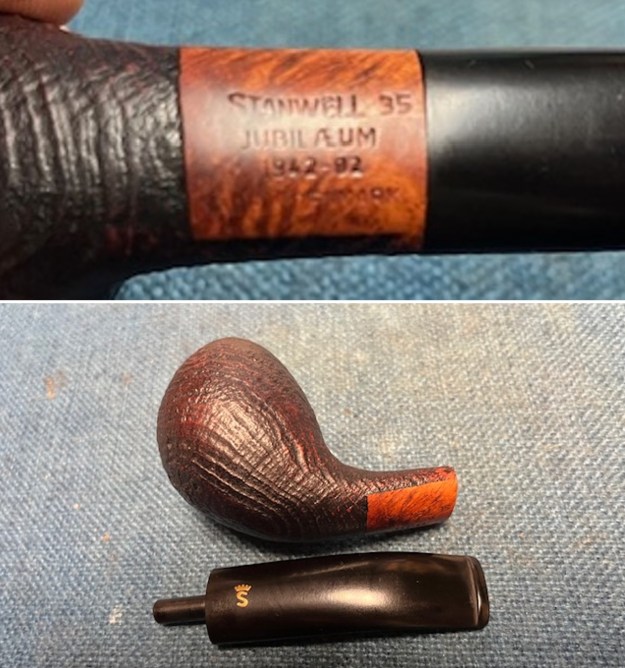
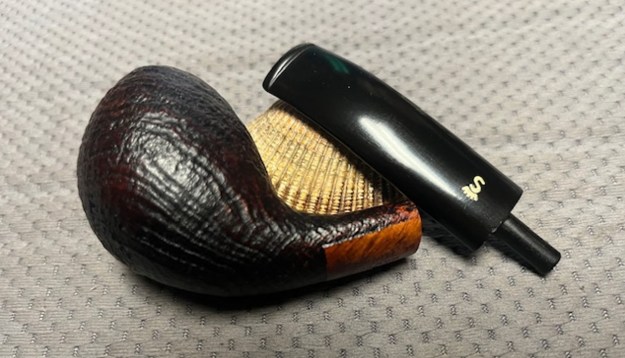
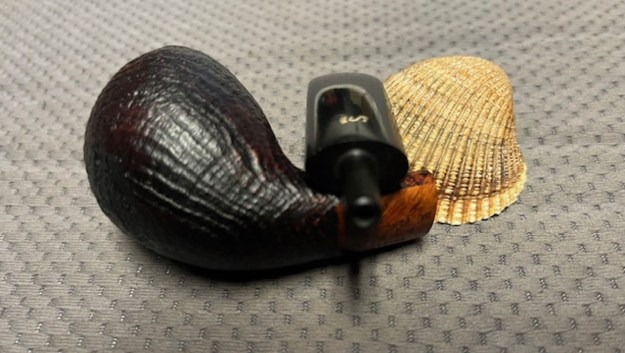
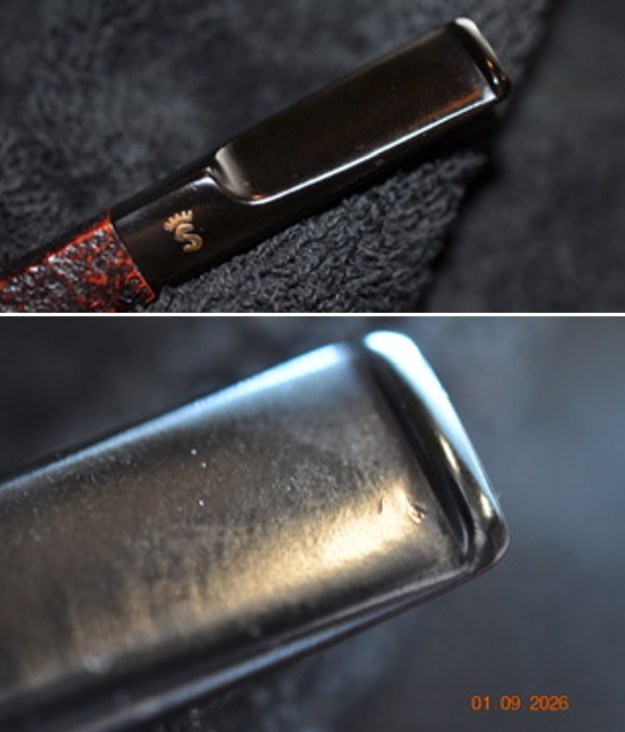
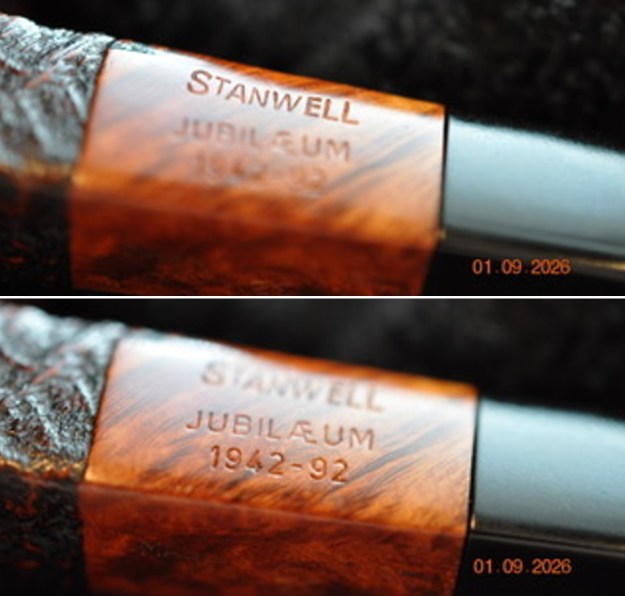
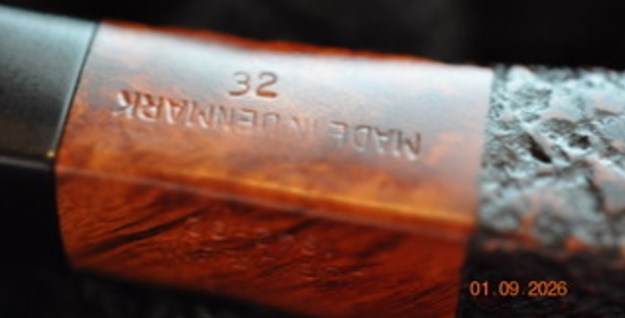
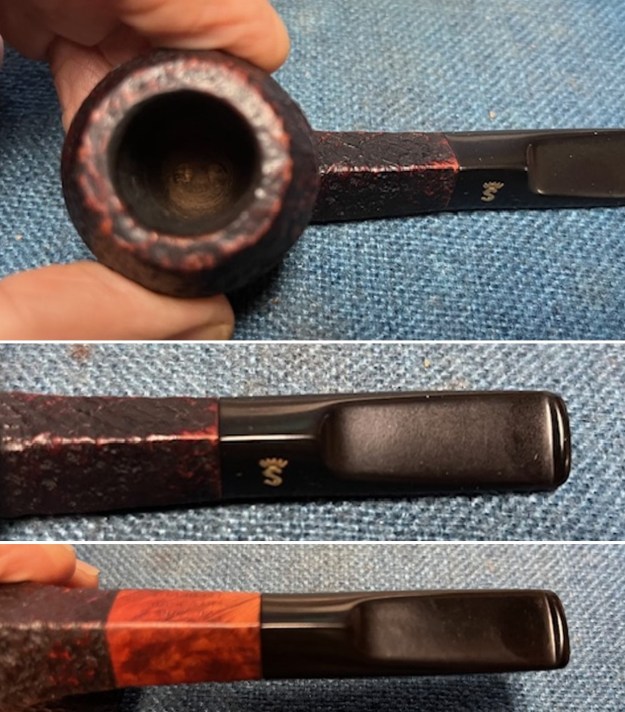
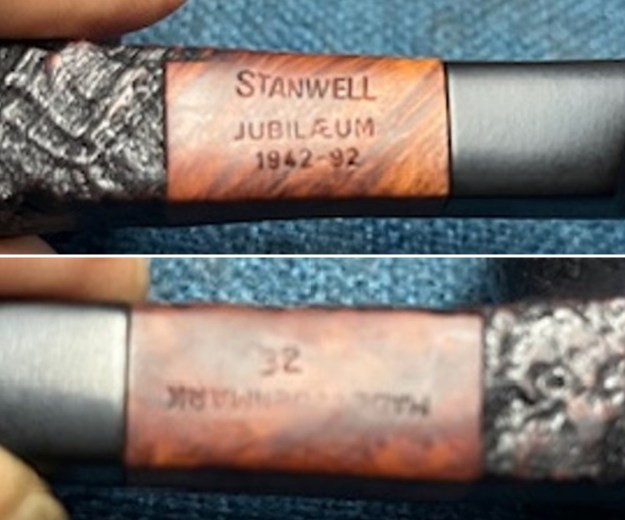
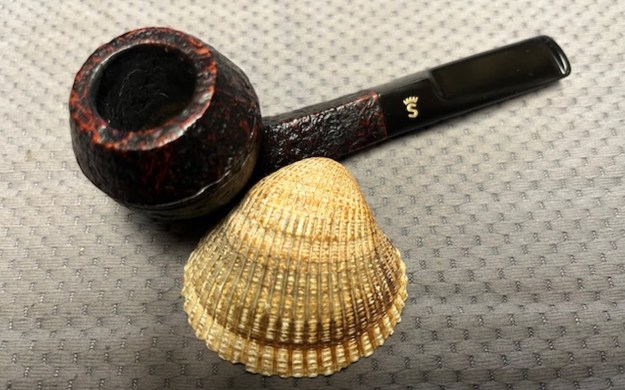
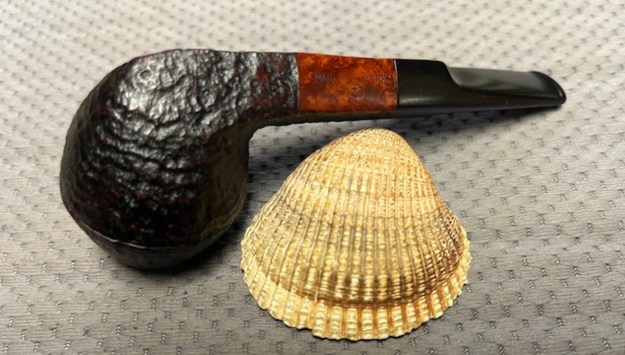
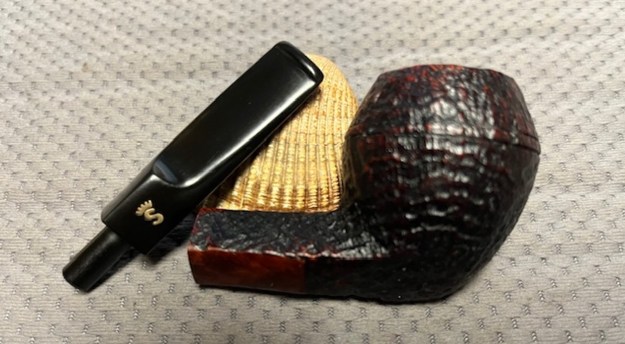
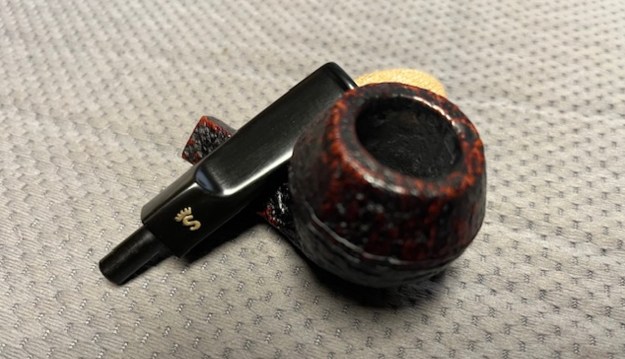
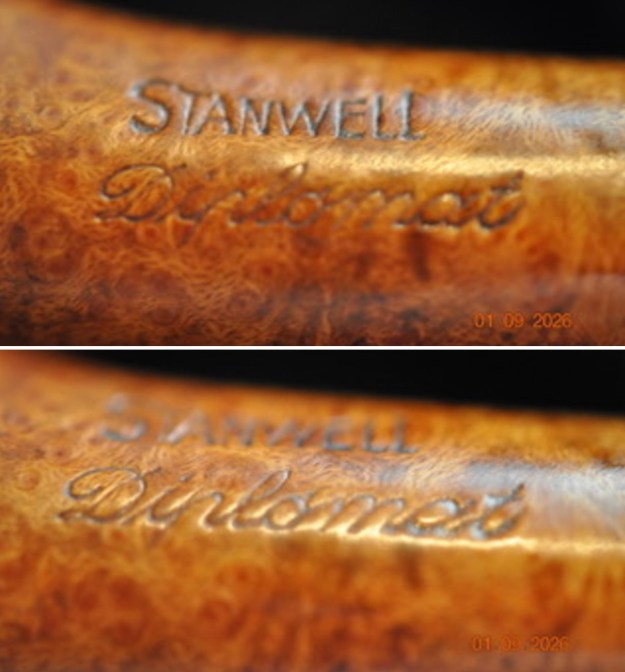
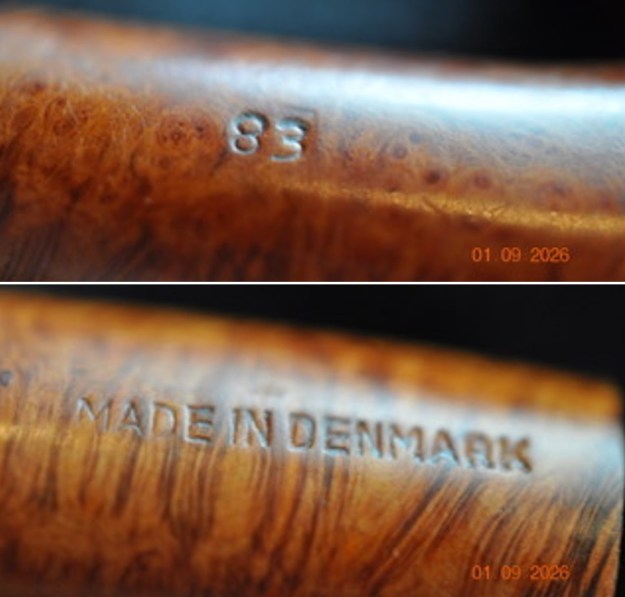
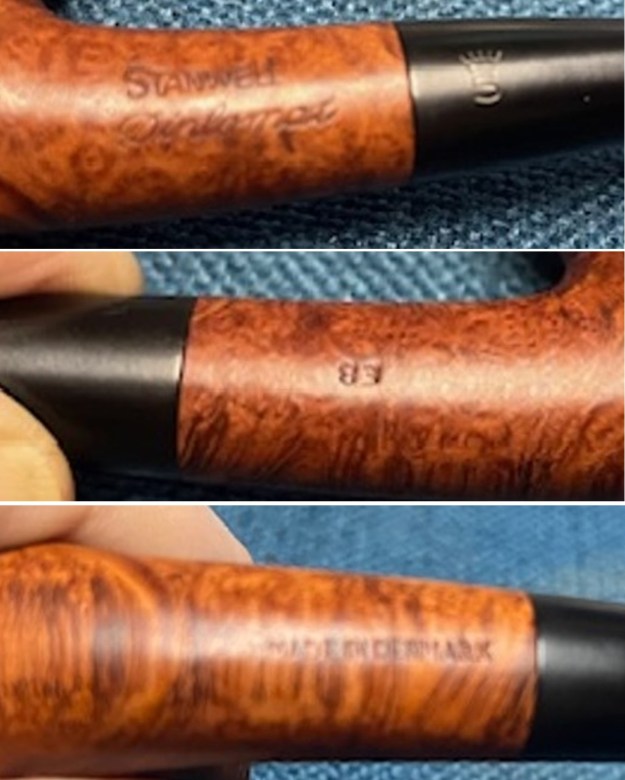
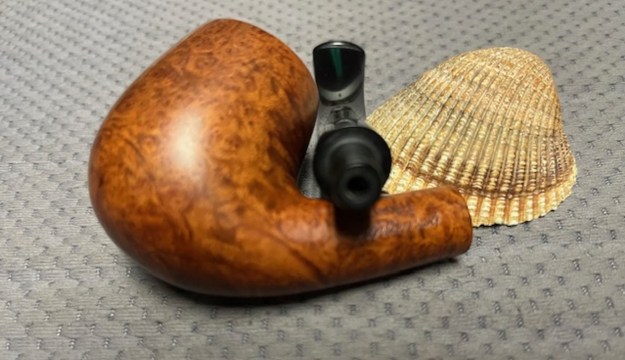
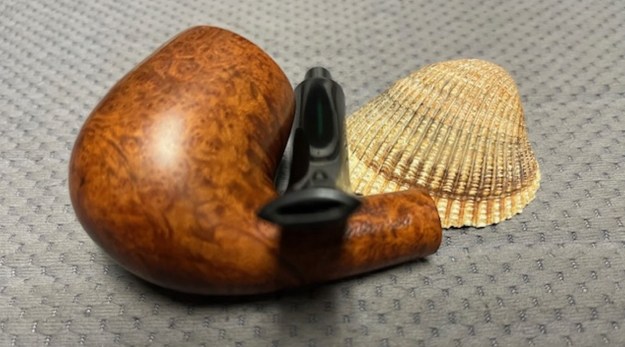
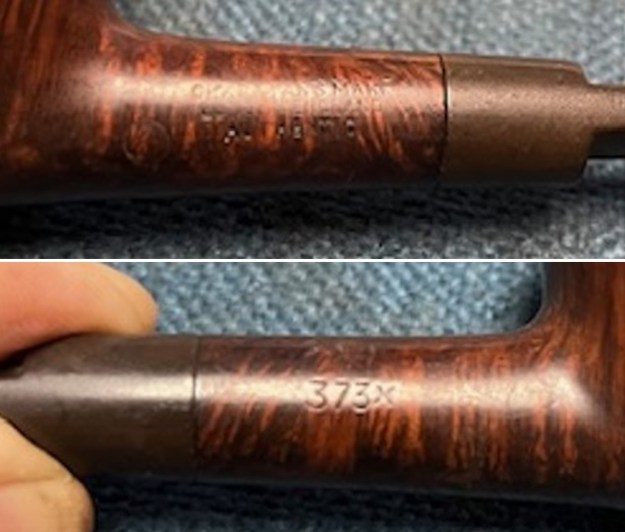
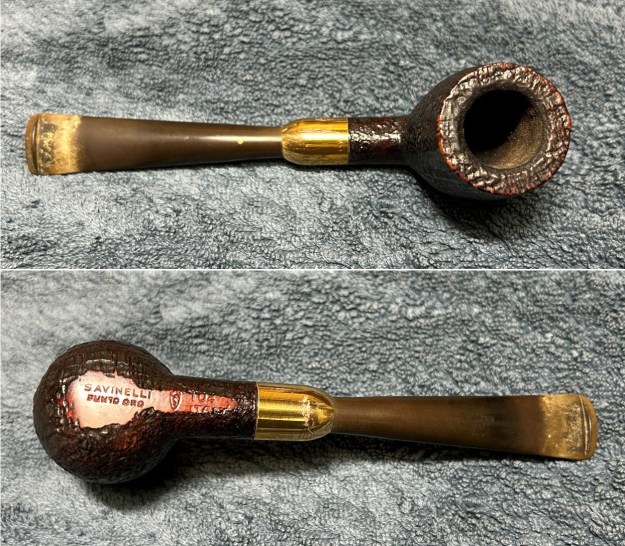
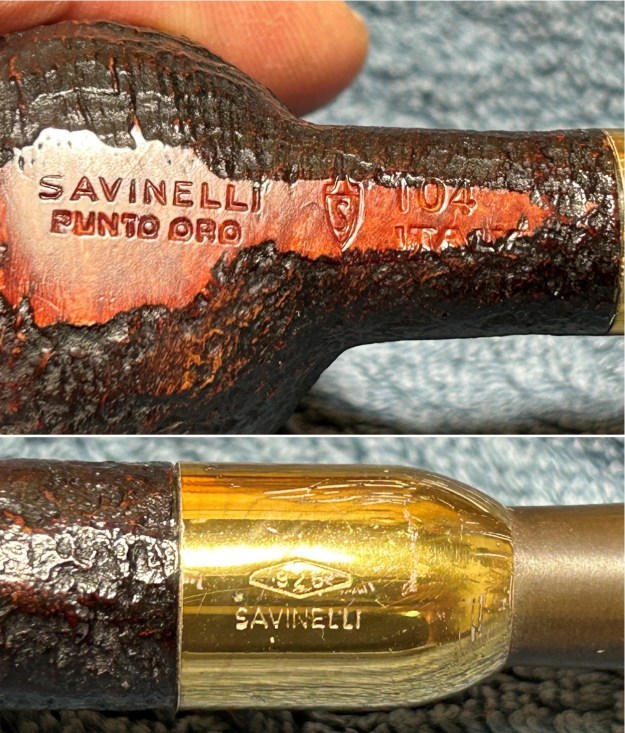
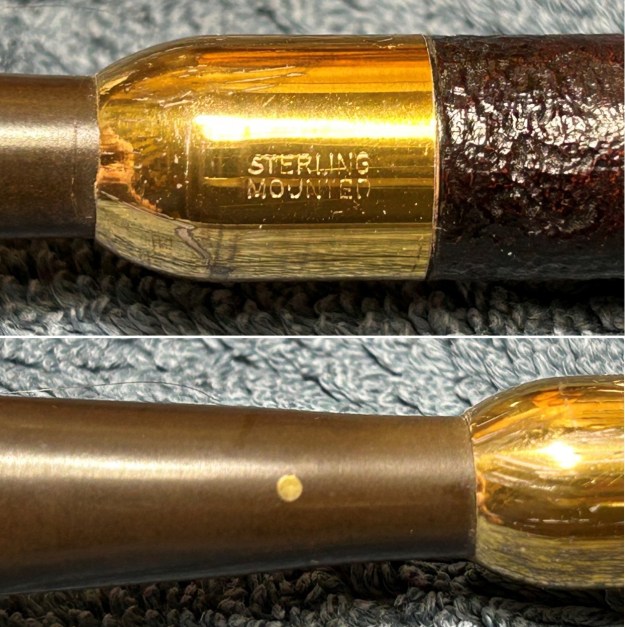
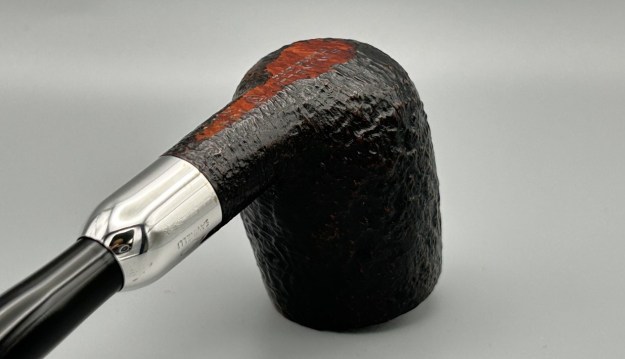
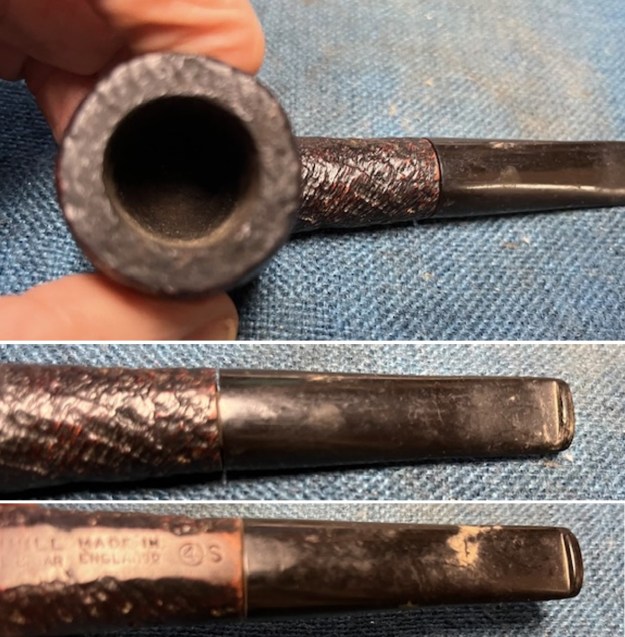
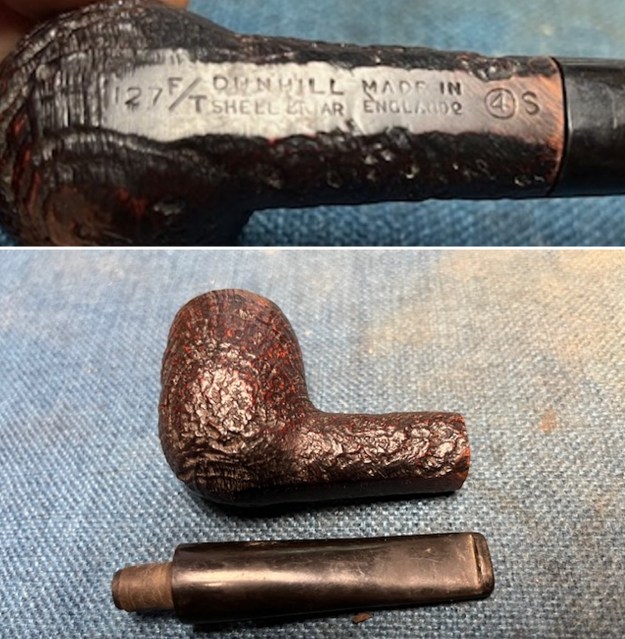
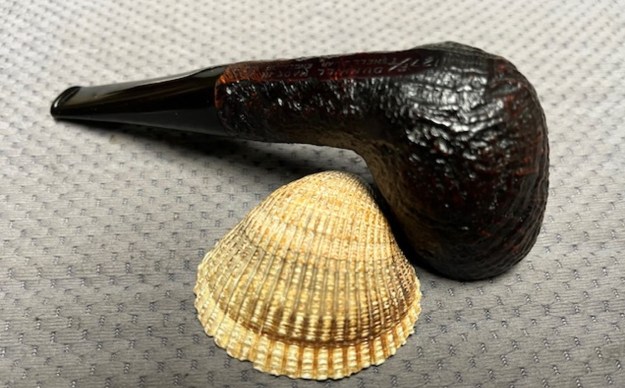
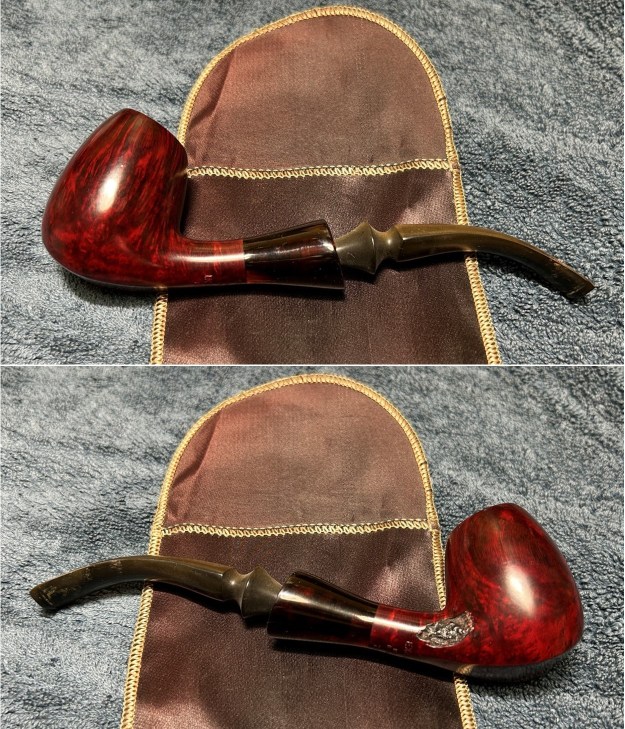
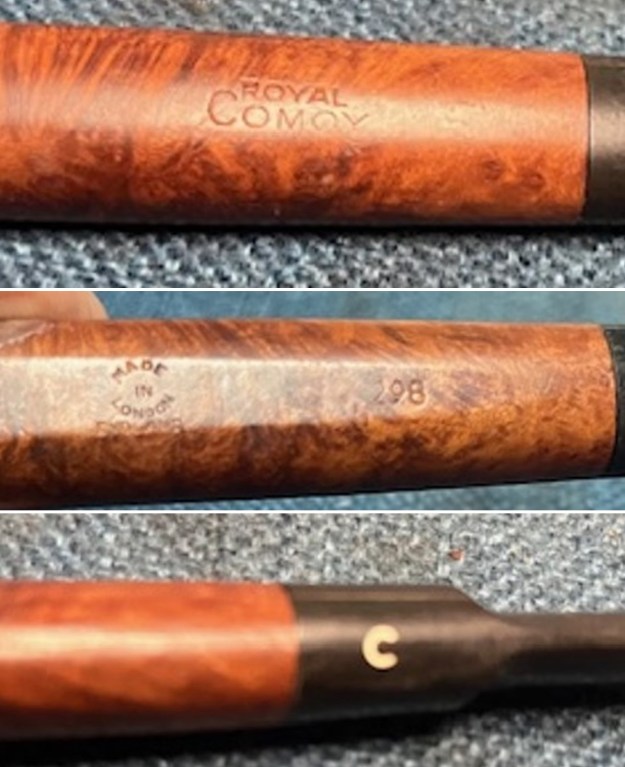
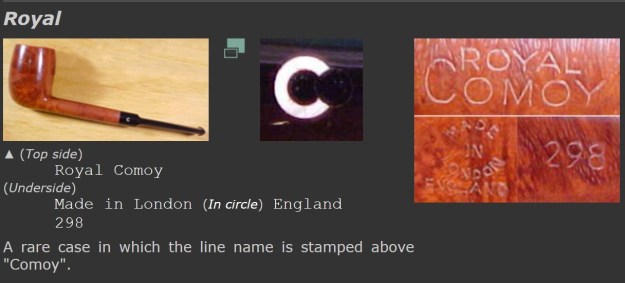
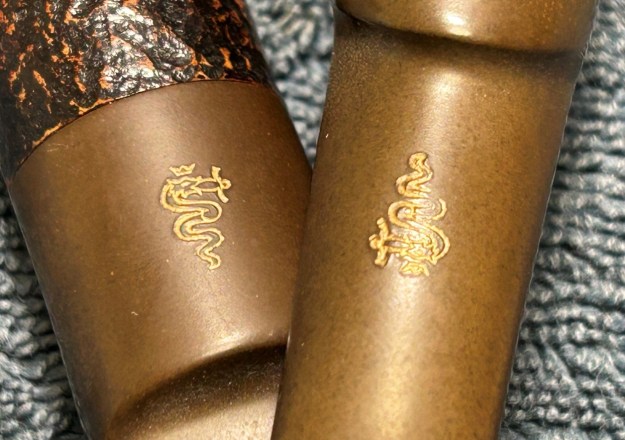
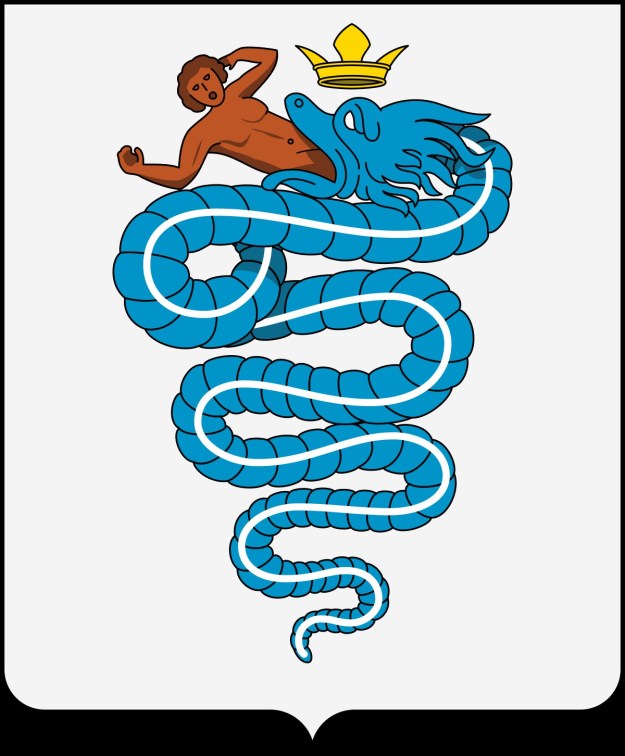
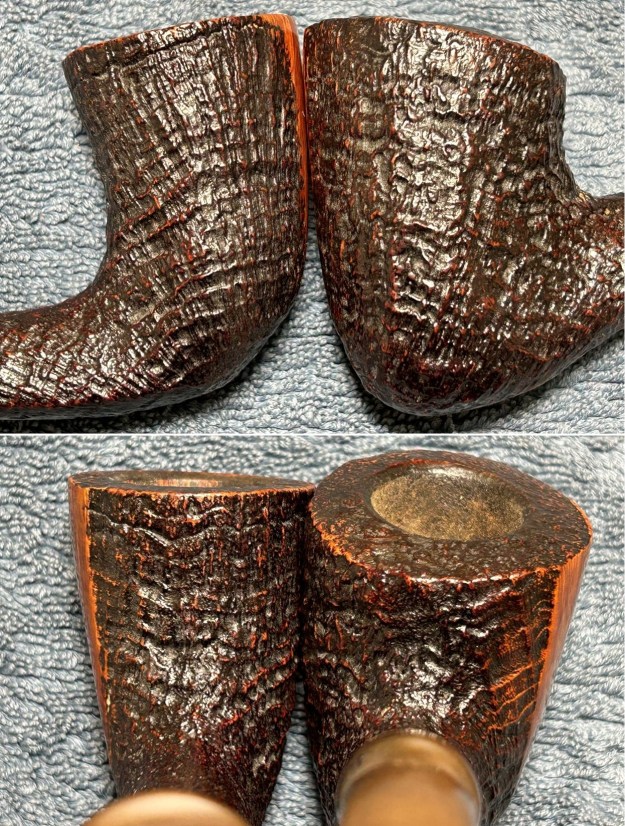
 The markings on these pipes are quite interesting. On the underside of both stummels are the words Hand [over] Made – and to the right of that, Italy. On the stem, is a crowned snake logo used by Savinelli – reminiscent of the city crest of Milan. There was some suggestion, in certain circles, that the Hand Made line was below the Autograph line, but Steve is not convinced of that – and neither am I. These two pipes are near-flawless.
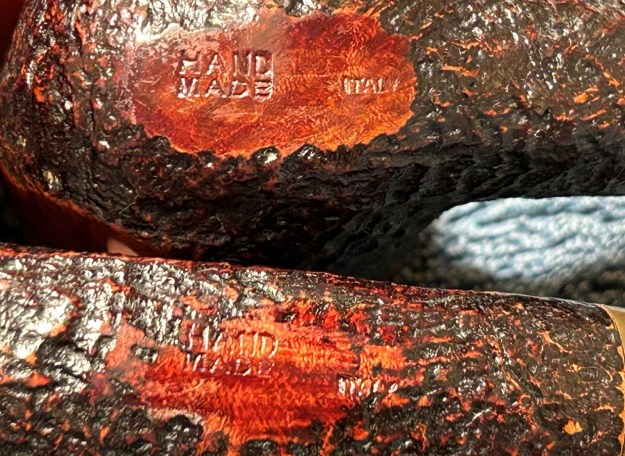
 Pipedia had some very illuminating things to say on the Hand Made line:
 These handmade pieces are shaped much like traditional Danish Freehands: they are shaped first and drilled second. Using this method, Savinelli’s team of artisans is able to showcase their own creativity, as it maximizes flexibility and facilitates a more grain-centric approach to shaping. The resulting Freehand designs are at once both a departure from the marque’s classical standard shapes, yet very much still “Savinelli” in their nature—i.e. proportioned so that the bowl is the visual focus when viewed from the profile, juxtaposed by the comparatively trim lines of the shank and stem. To provide a little more insight into the differences between Savinelli’s standard production and freehand lines, Luisa Bozzetti comments:
“When we choose to make Freehand pipes we must stop production on the standard shapes. The process for Freehands is much more involved and takes much more time. Finding the best people from the production line and pulling them to make Freehands is challenging since it’s not an assembly line, but rather a one or two man operation. After the rough shaping of the stummel, we must get together and brainstorm which style of stem will be paired before the pipe can be finished since we do not use pre-shaped stems. All accents and stems for the Freehands are cut from rod here in the factory. A lot of care goes into the few pieces lucky enough to make the cut; to end up with a certain number of Autographs, for instance, means that many, many more will be made, and only the few will be selected.”
The quality control process for Savinelli handmades is even more rigorous than that employed in the standard lineup. Many blocks are started and later discarded because of pits or defects. While Savinelli’s briar sourcing is a constant process, working with some of Italy’s top cutters to ensure only the finest and most suitable blocks make their way to the factory, it’s impossible to source plateau briar that’s completely free from flaws. That’s just nature. Savinelli creates the standard for quality by working through the rough (a very high-quality rough, mind you) to find that shining diamond with the potential to become a Savinelli handmade.
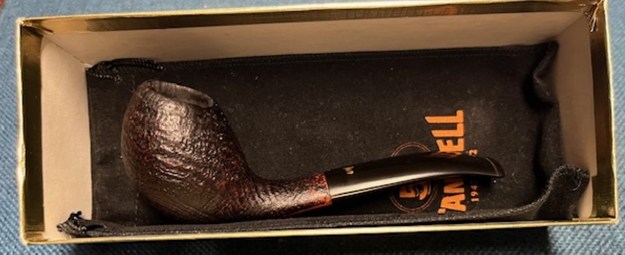
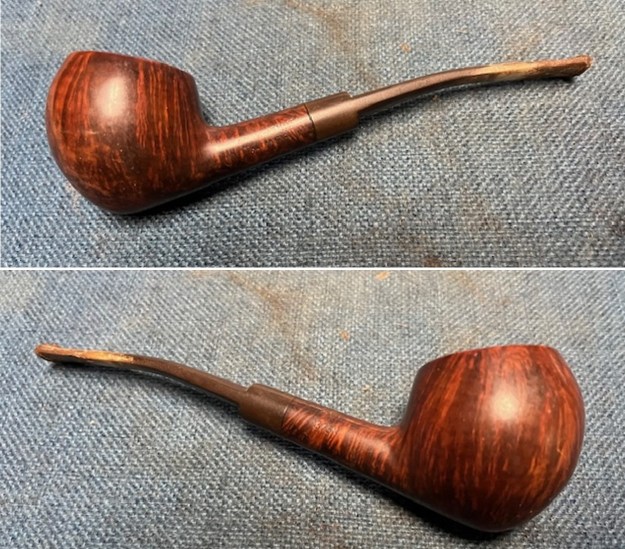
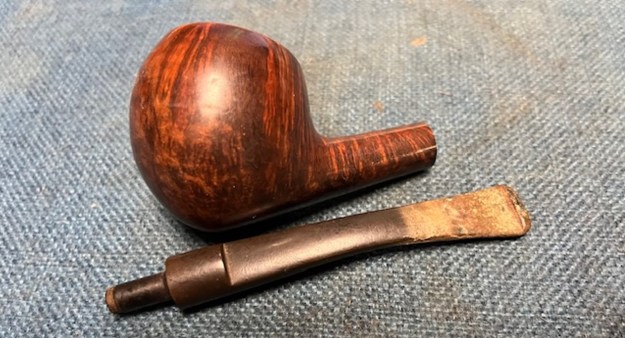
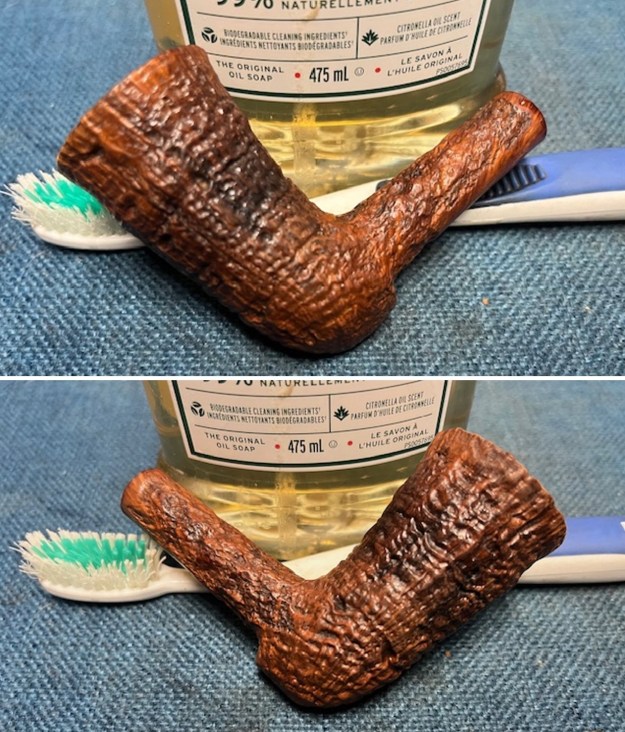
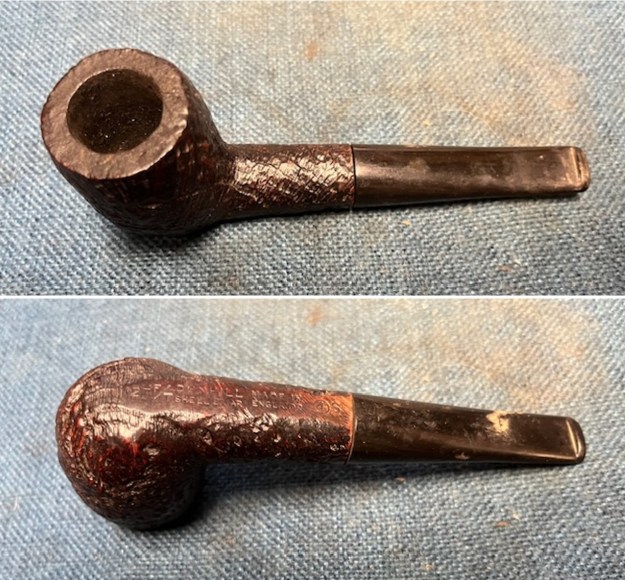
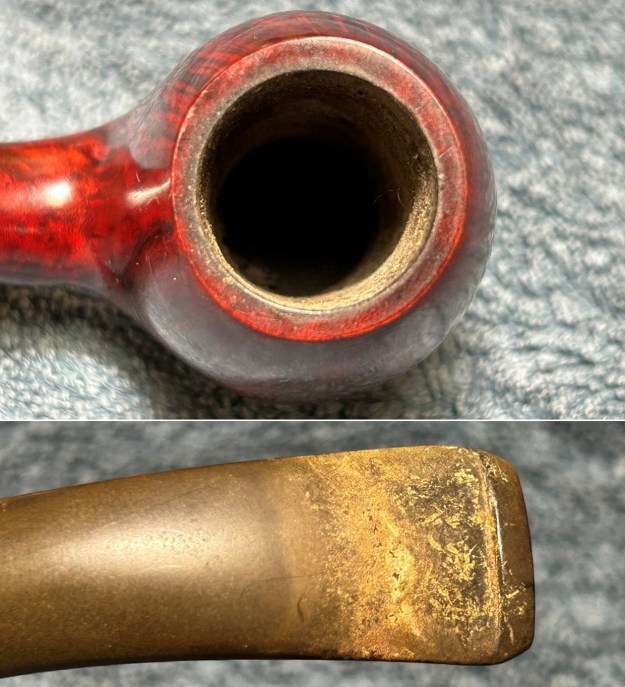
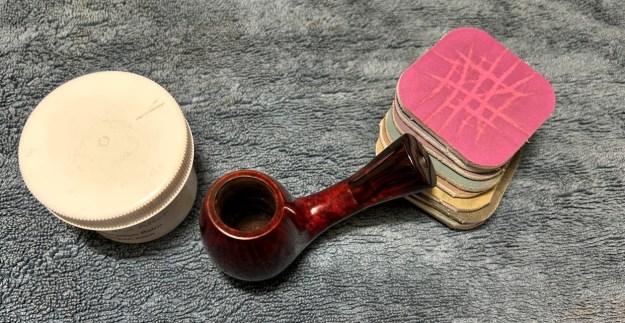
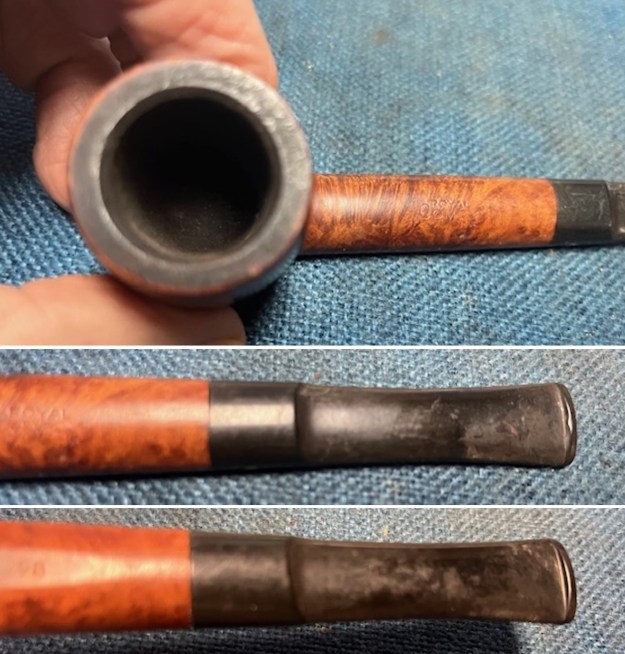
In addition, Pipephil had a brief write-up on the Hand Made line: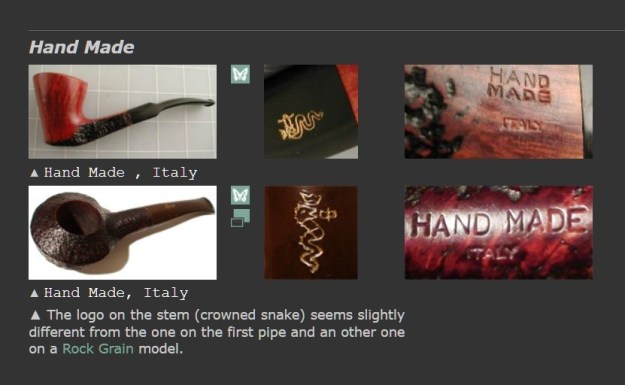 We’ll move on. The pipes are in generally great condition. Both stummels are relatively clean inside and have no notable blemishes. The stems have a lot of oxidation and calcification, but very little in the way of tooth marks, etc. Let’s get into it.
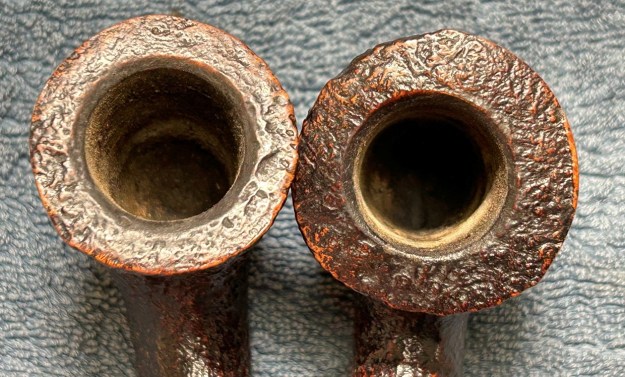
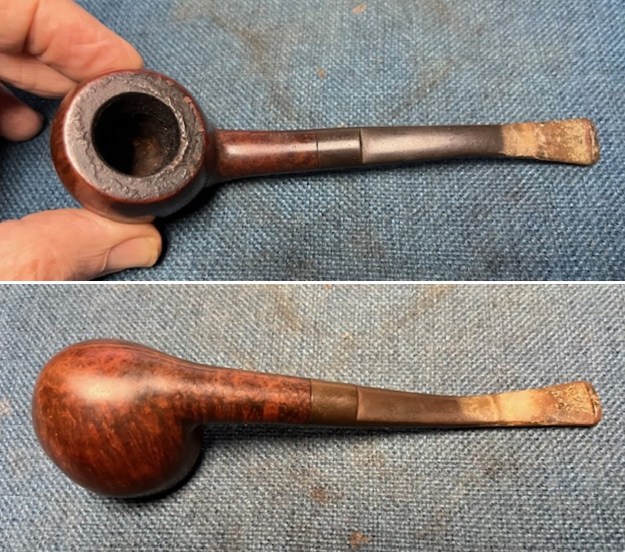
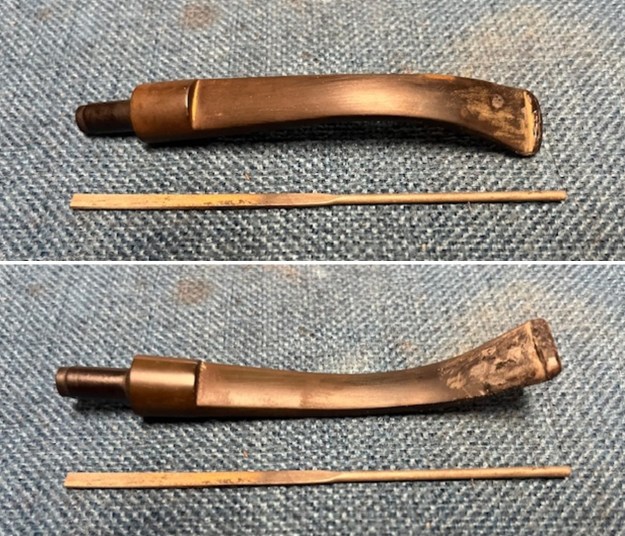
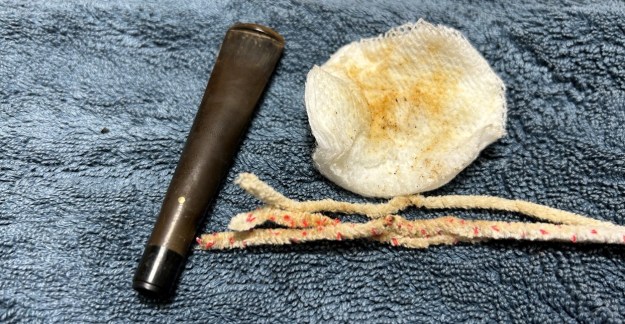
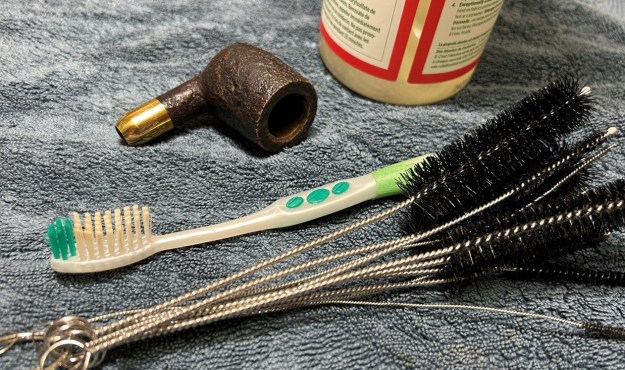
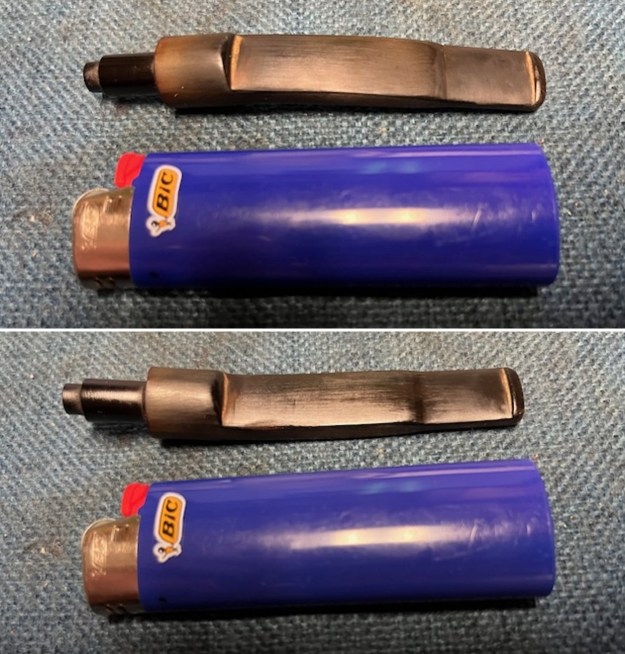
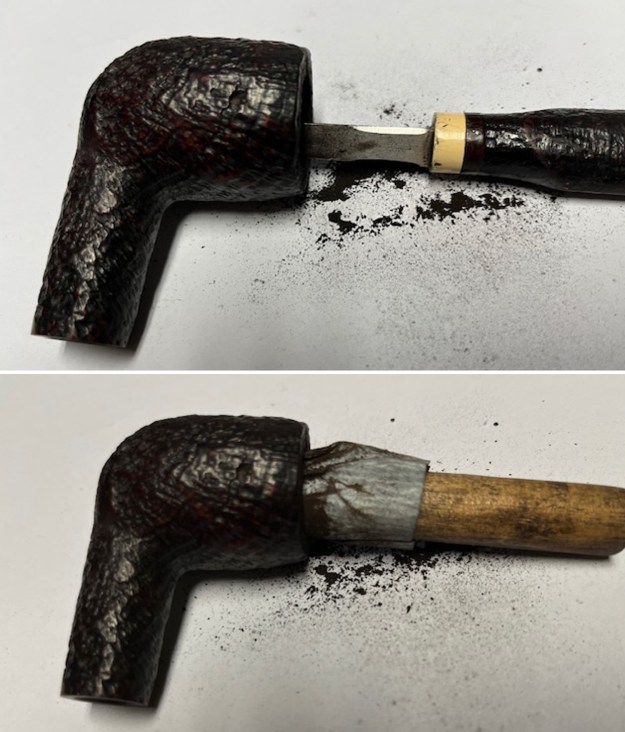
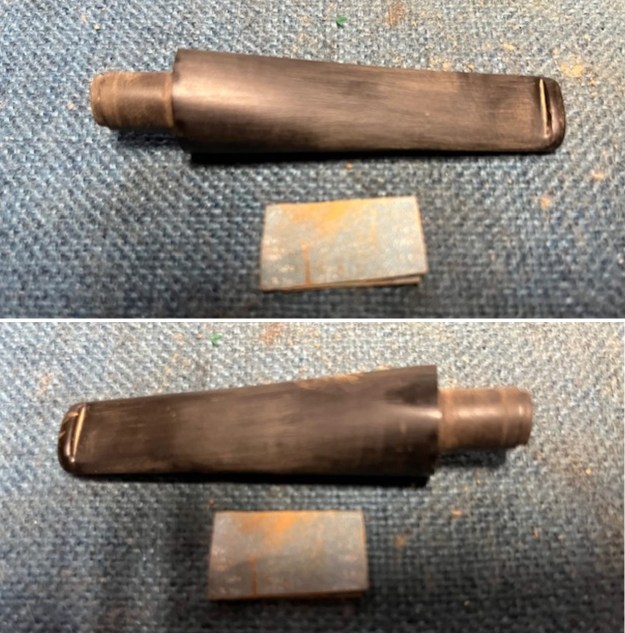
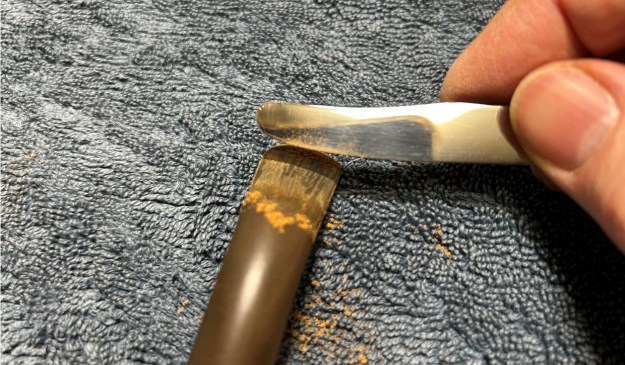
 Both stems’ calcification was quite substantial. I used an old butter knife and gently scraped some of the thicker accretion off. Doing this now helps later in removing the oxidation.
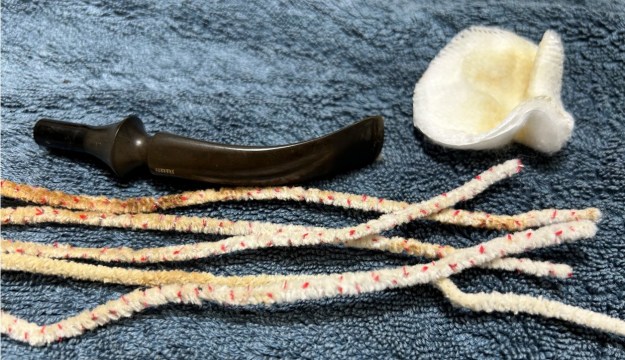
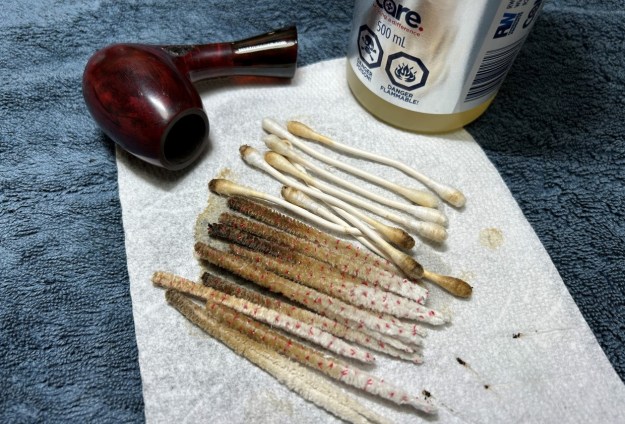
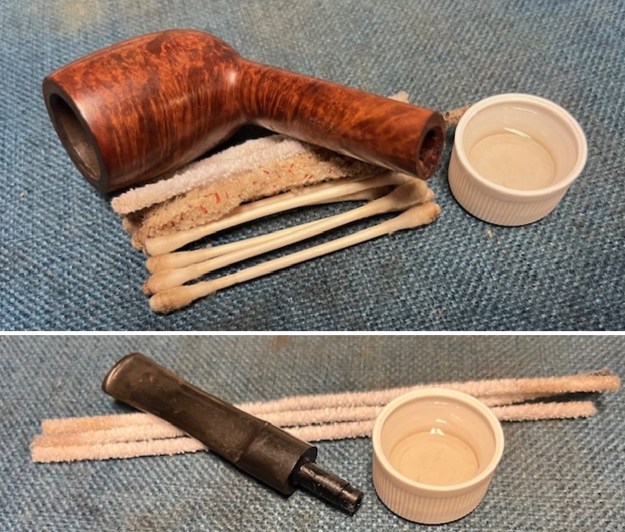
 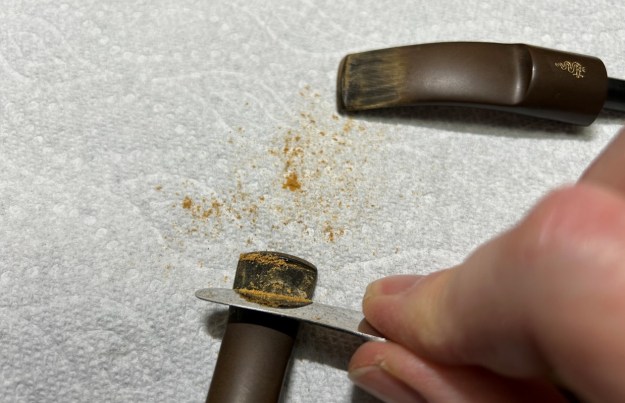 I used isopropyl alcohol on a few cotton rounds and wiped down the stems to provide an initial cleaning of filth before moving on to the next steps. The primary cleaning came next. I disinfected the inside of the stems with both pipe cleaners and cotton swabs dipped in lemon-infused 99% isopropyl alcohol. I scrubbed thoroughly to make sure both interiors were very clean.
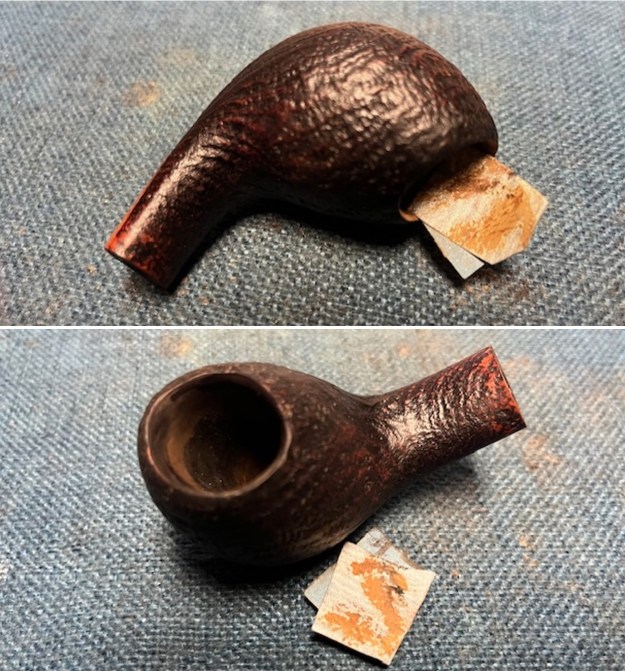
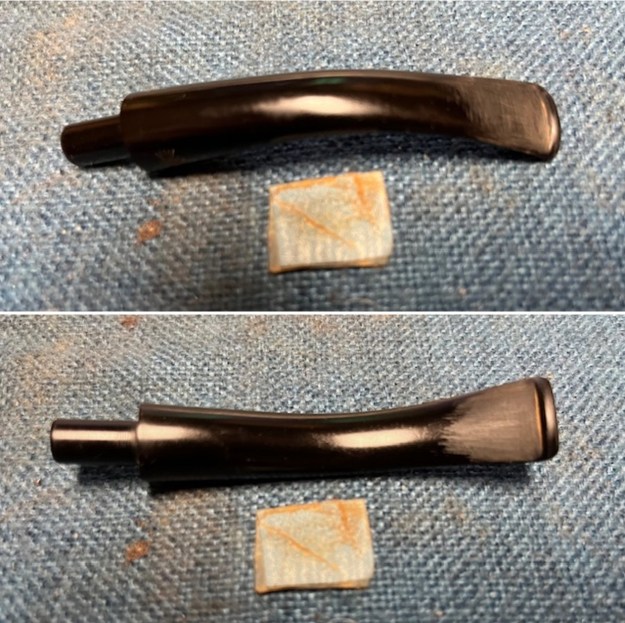
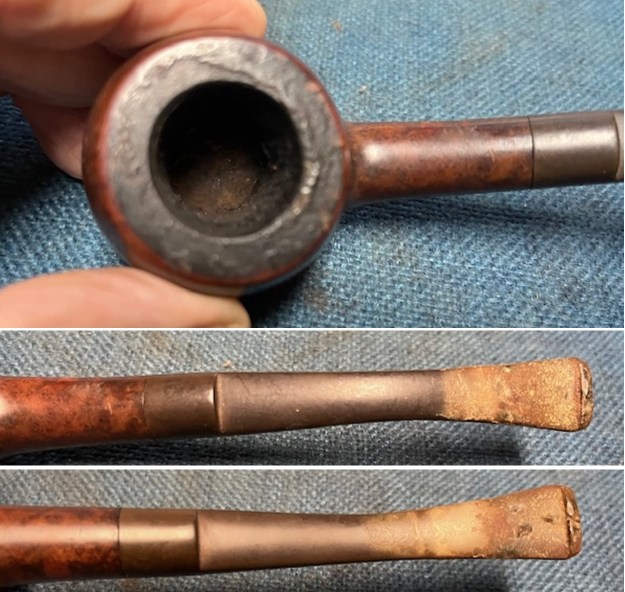
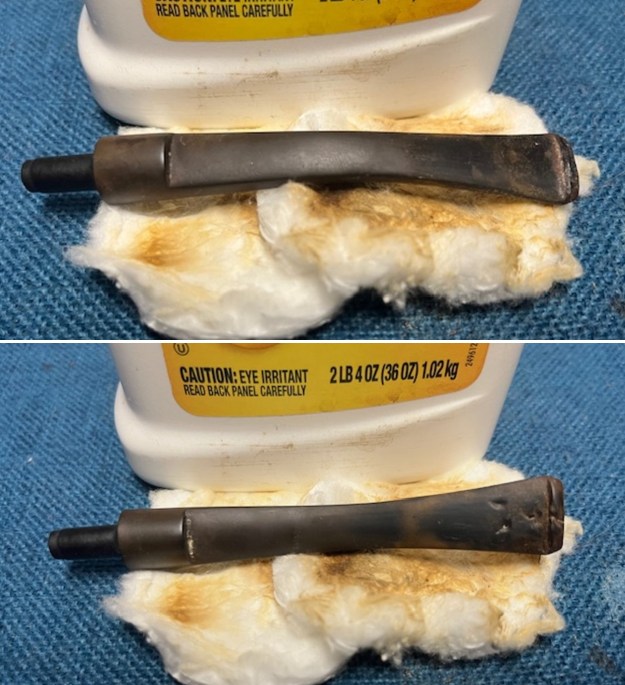
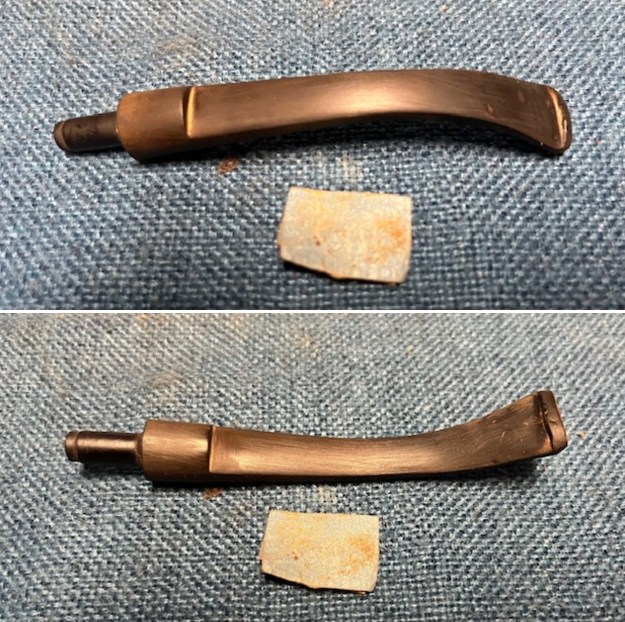
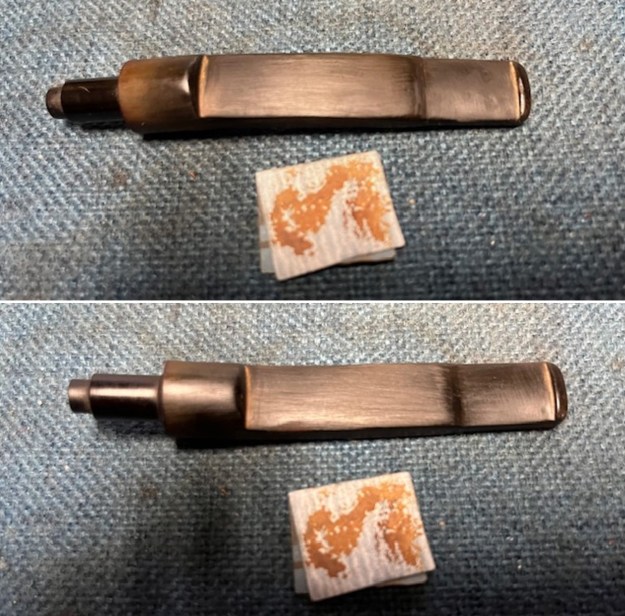
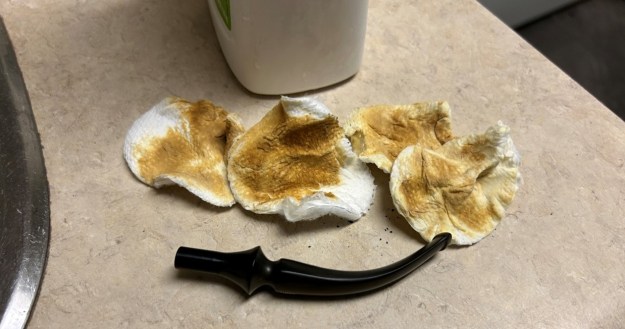
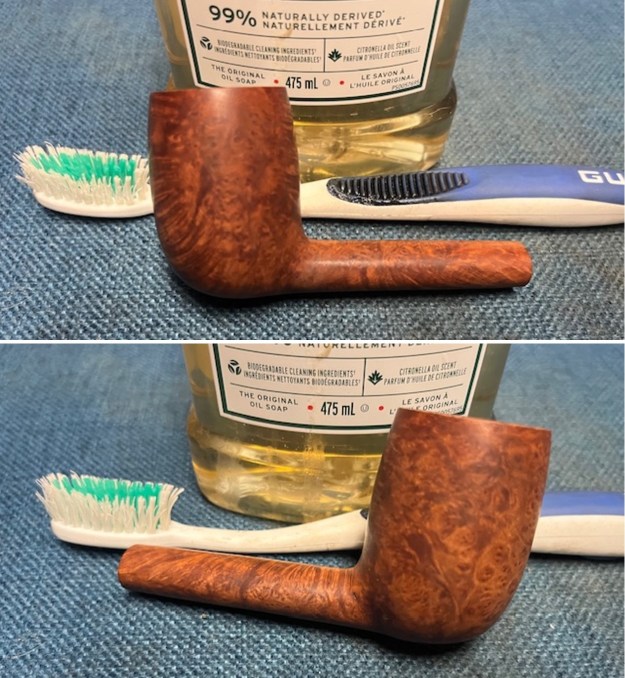
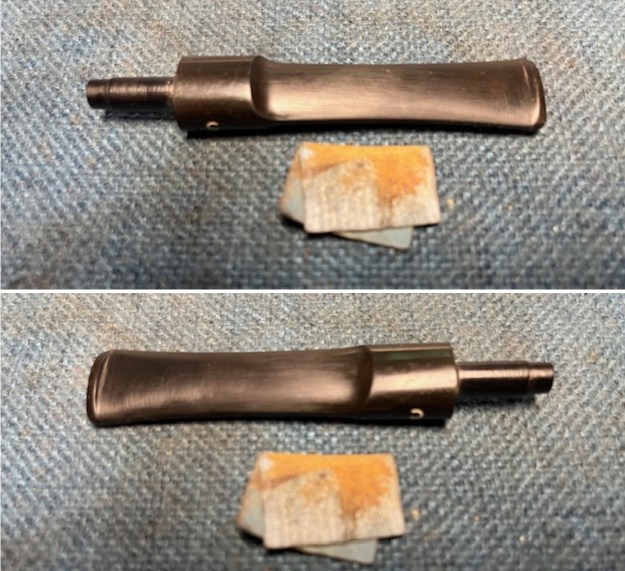
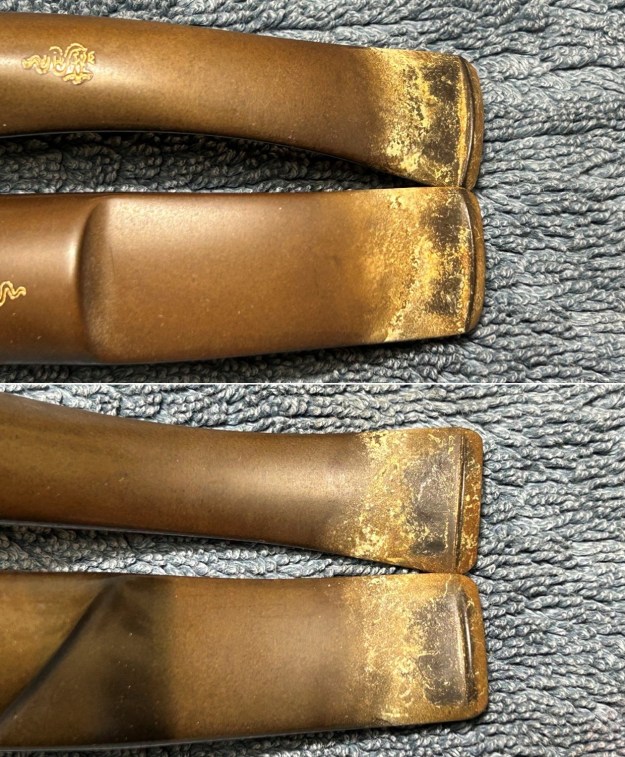
 The goal of the next step is the removal (or minimization) of oxidation. Going to my sink, I used cream cleanser, cotton rounds, and a toothbrush, and scoured the stems to remove as much surface oxidation as possible. As the photos show, the result was a hideous, ochre-coloured mess – but better off the stems than on them.
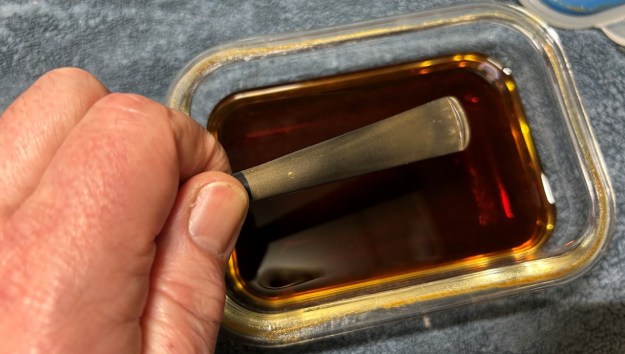
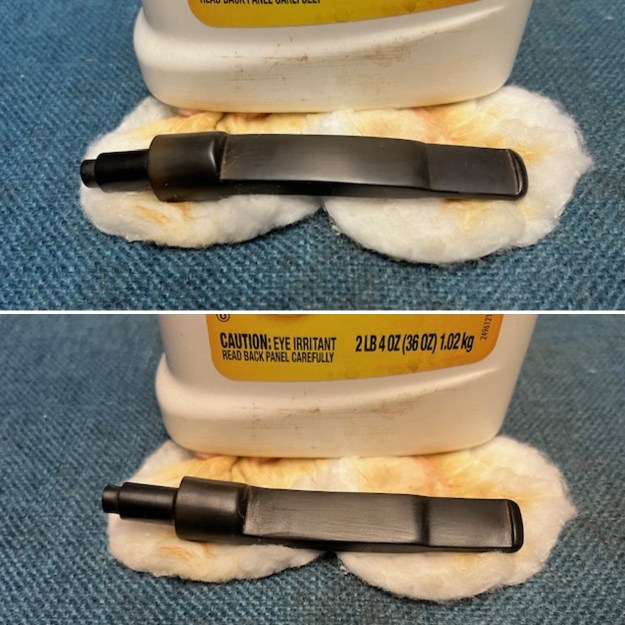
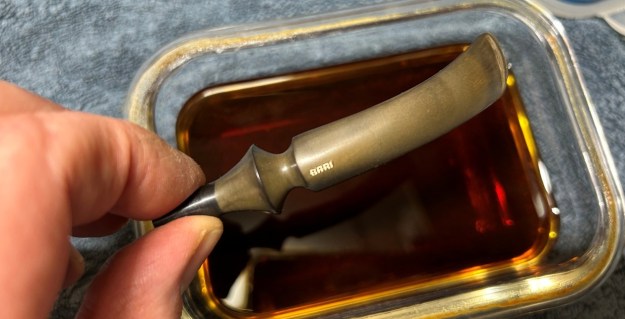
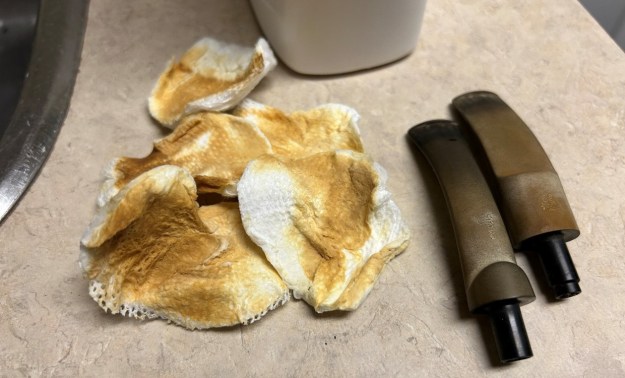 Once the stems were reasonably clean, I soaked them overnight in some Briarville Stem Oxidation Remover. This solution works to draw oxidation in the stems to the surface of the vulcanite. This is a major aid and an important step in ensuring a clean stem. The following day, I drew out both stems from their bath and scrubbed the lingering fluid with a toothbrush.
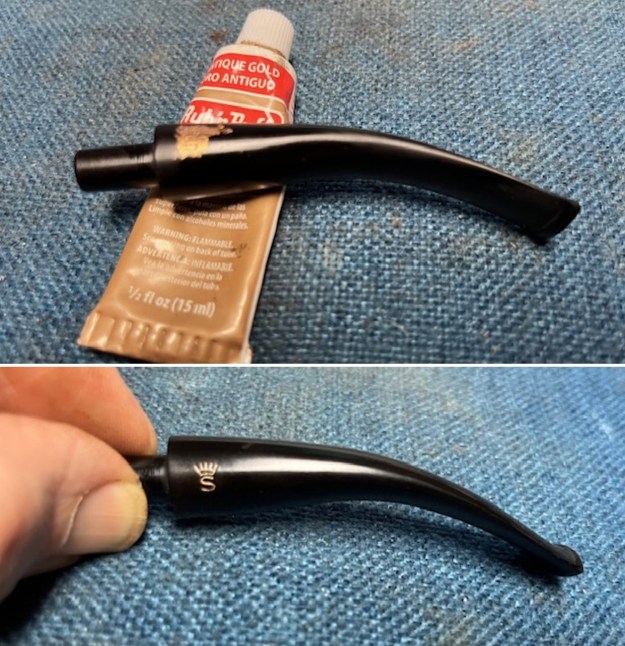
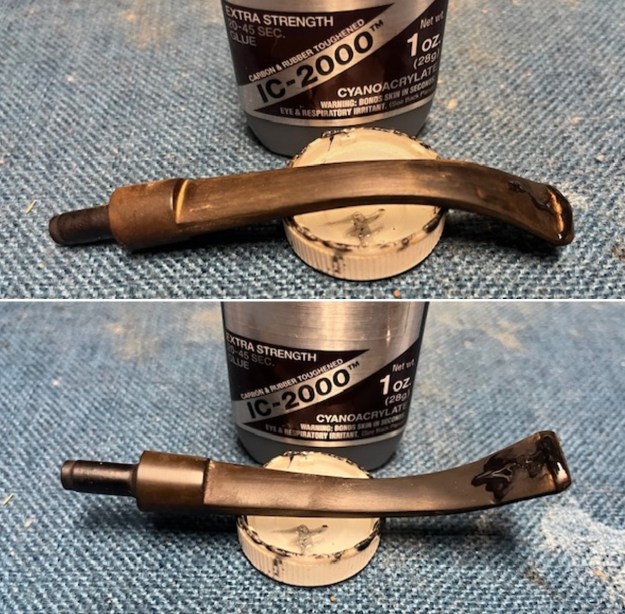
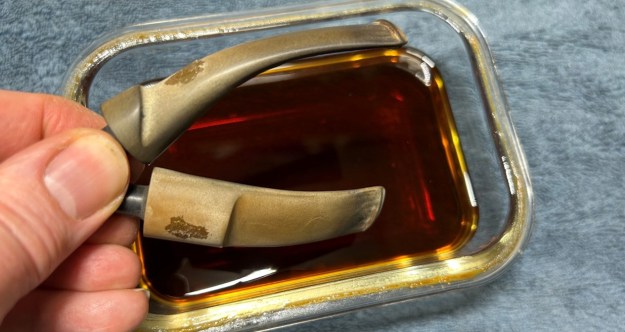 Despite masking the logos when cleaning and soaking the stems, the colour of the logos was surprisingly fugitive and came off despite my efforts. So, I touched up the logos on the stems with some enamel nail polish. I let this fully set before proceeding. This didn’t turn out perfectly, but it was still pretty good. As the stems were now clean and dry, I set about fixing the small marks in the vulcanite. This was done by filling those divots with black cyanoacrylate adhesive, impregnated with carbon and rubber. I left this to cure and moved on.
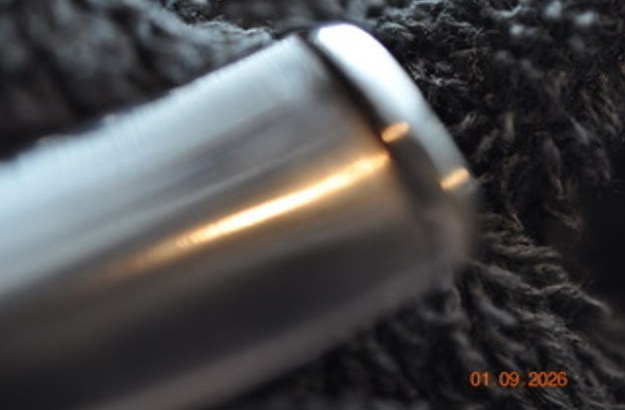
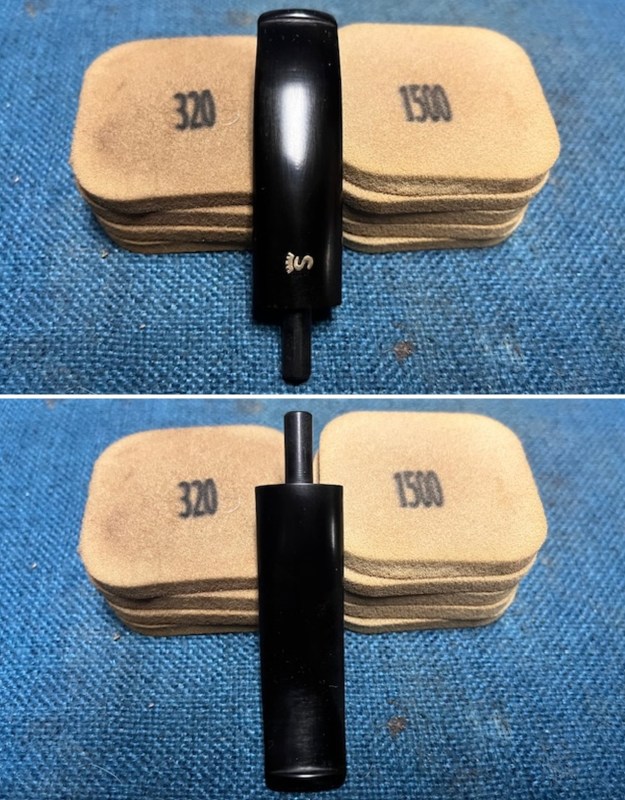
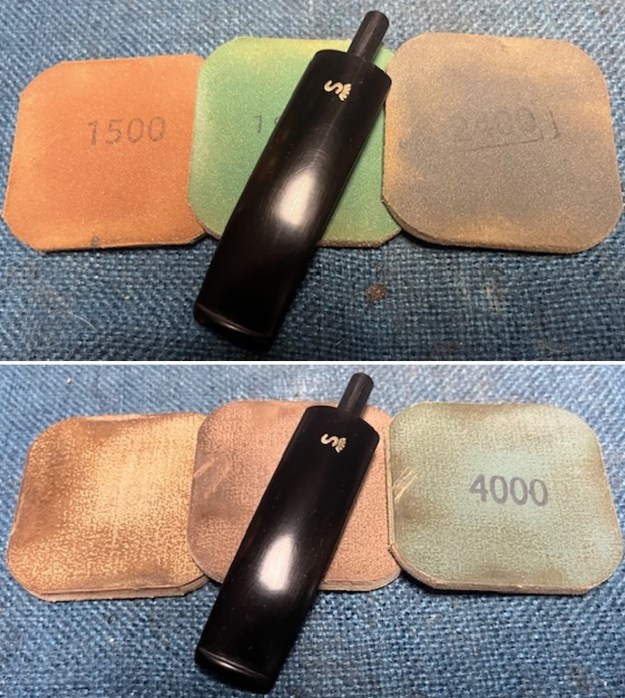
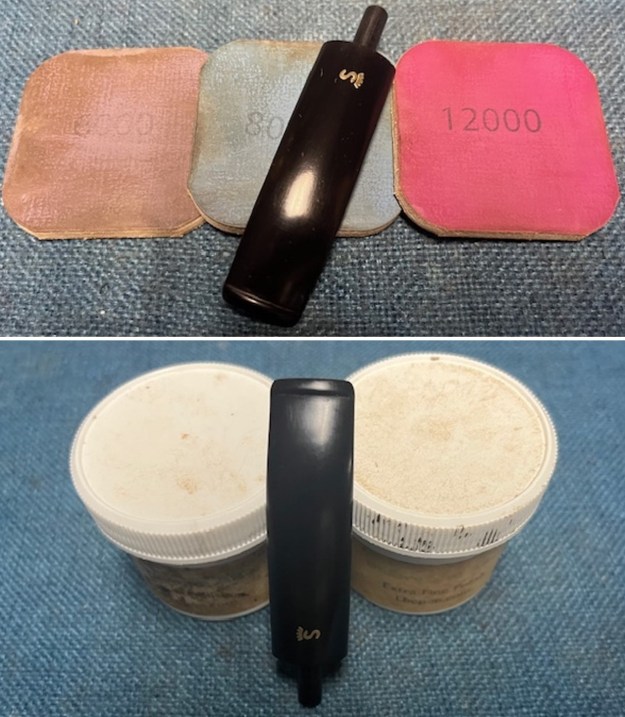
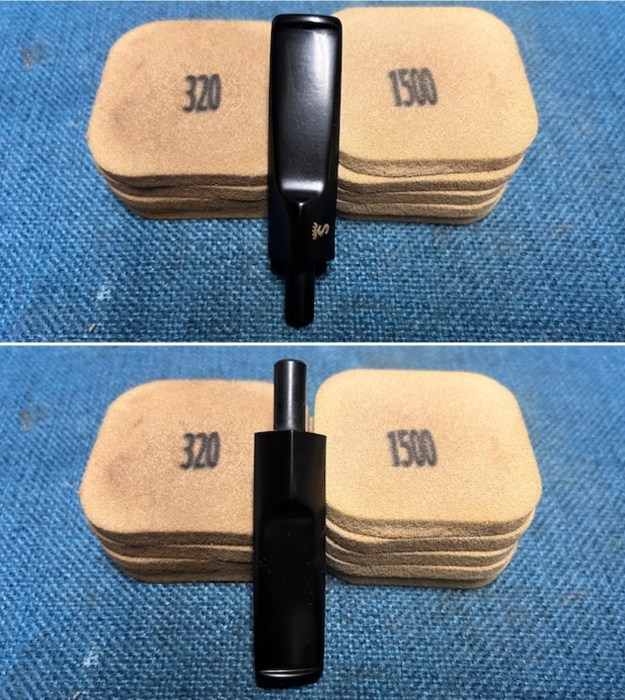
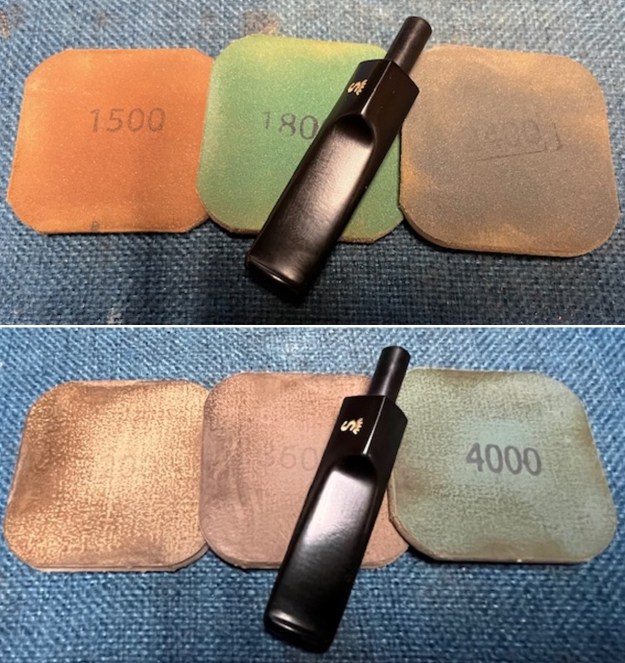
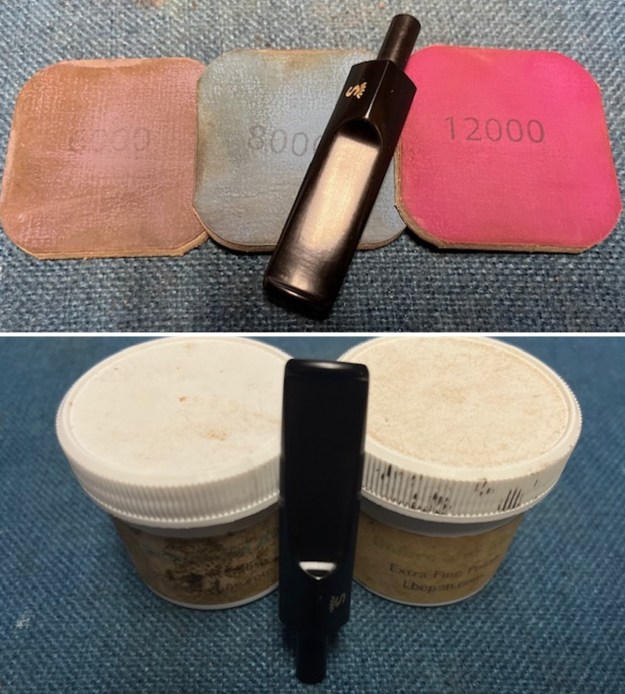
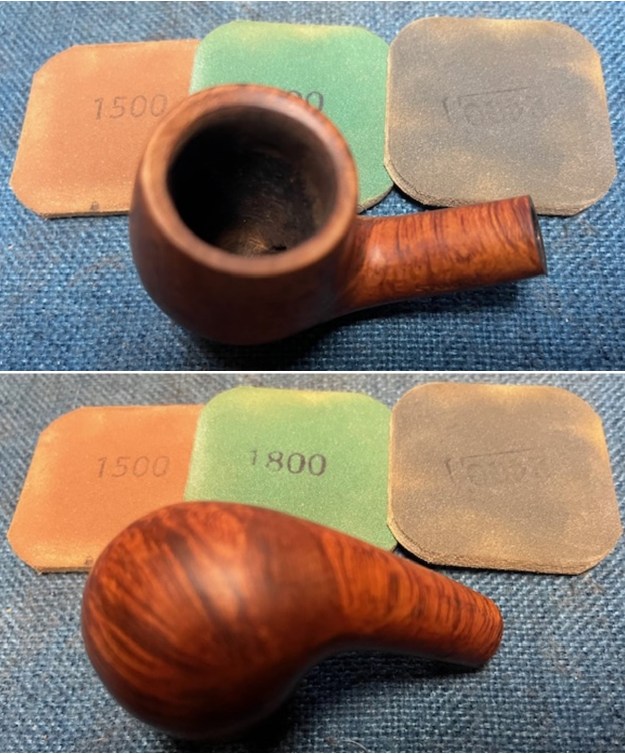
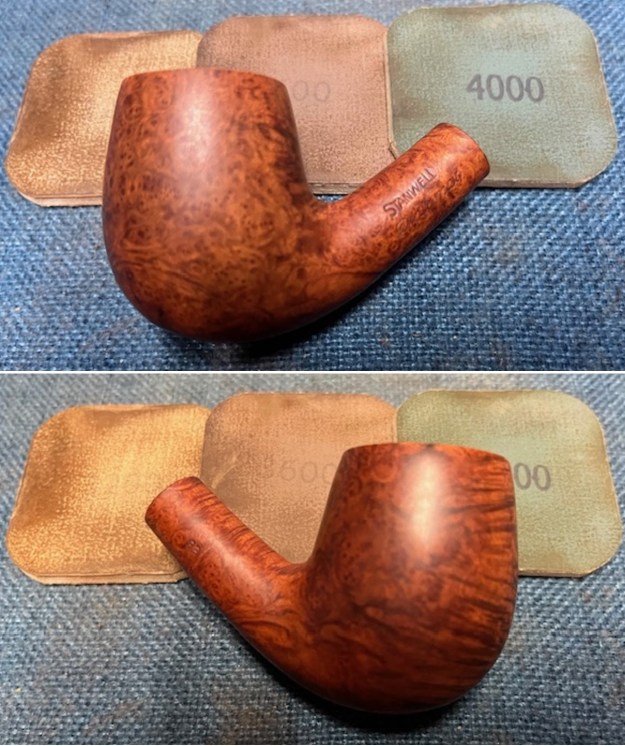
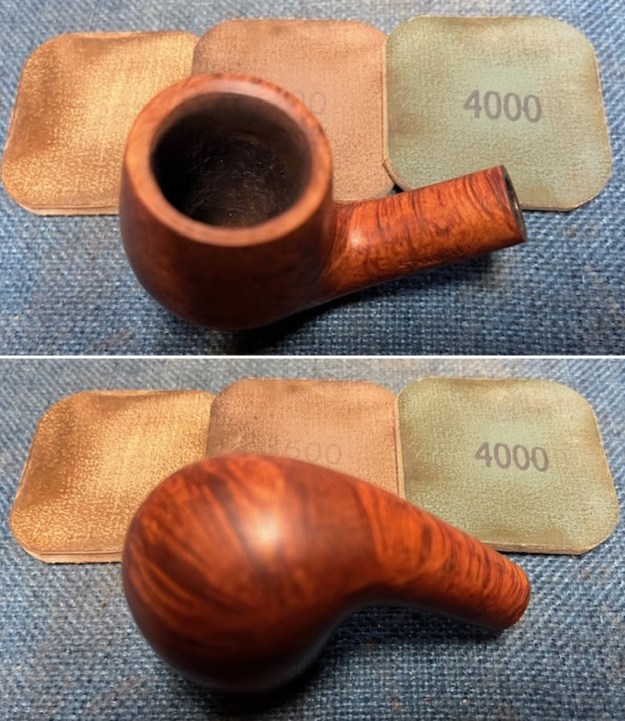
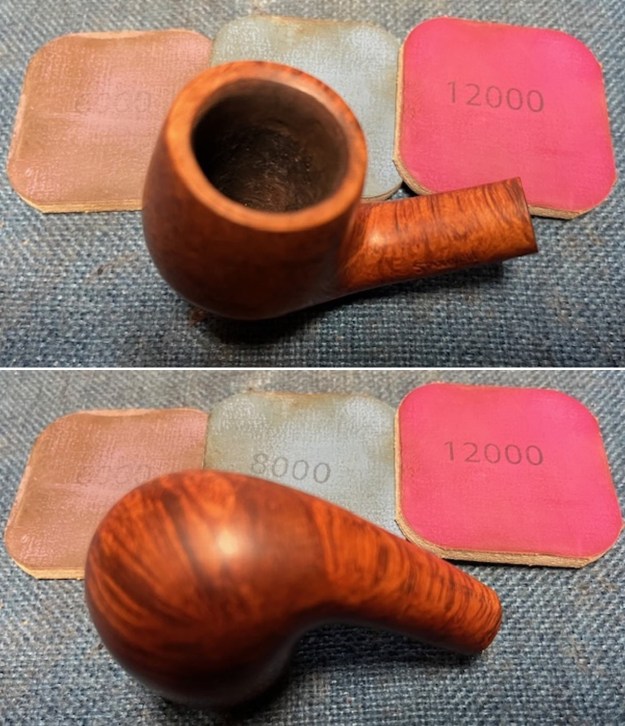
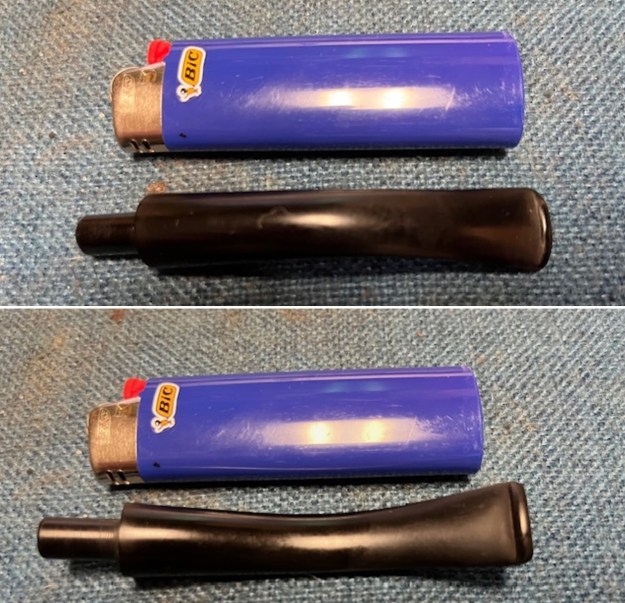
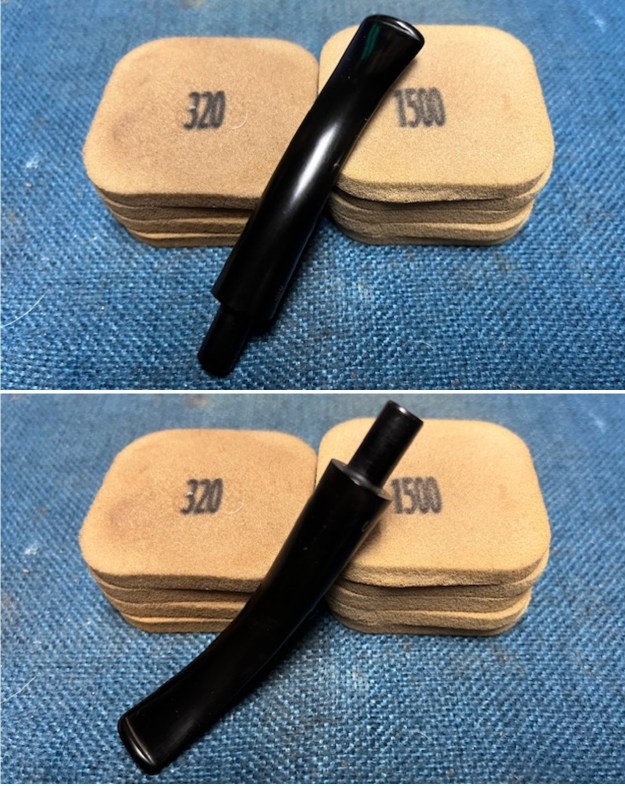
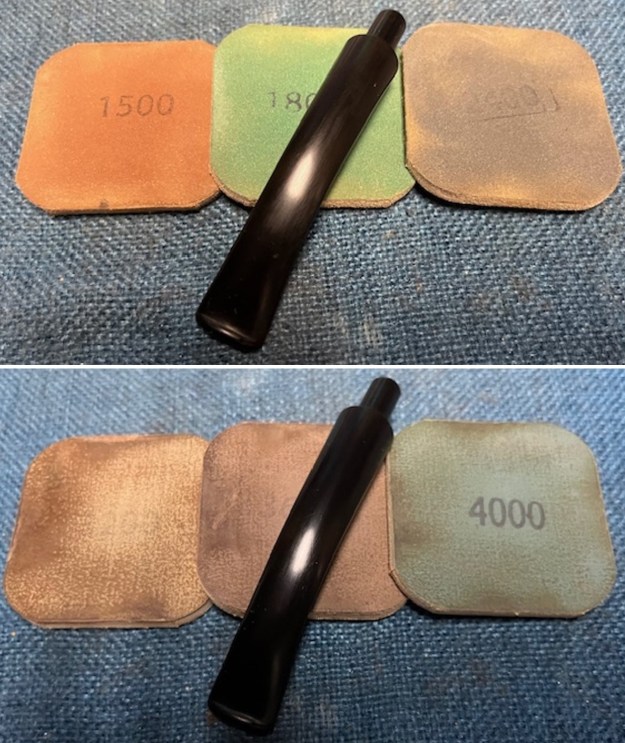
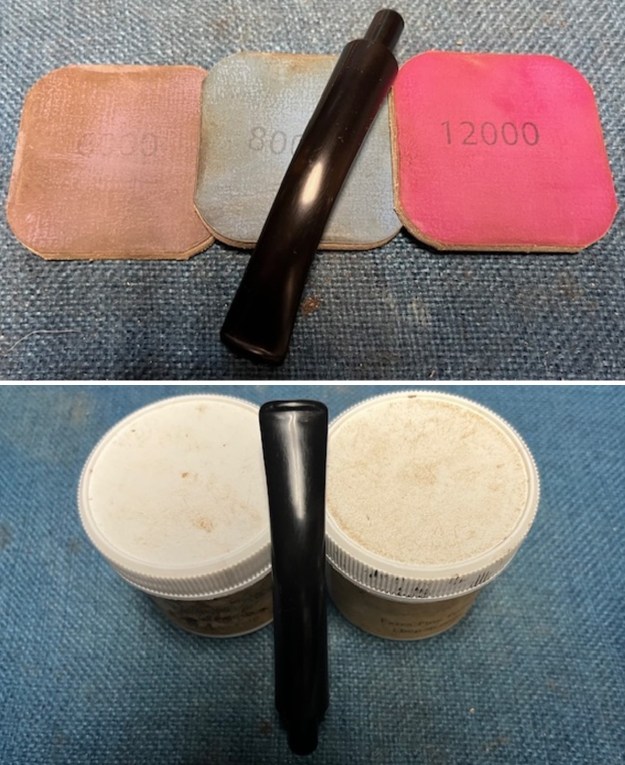
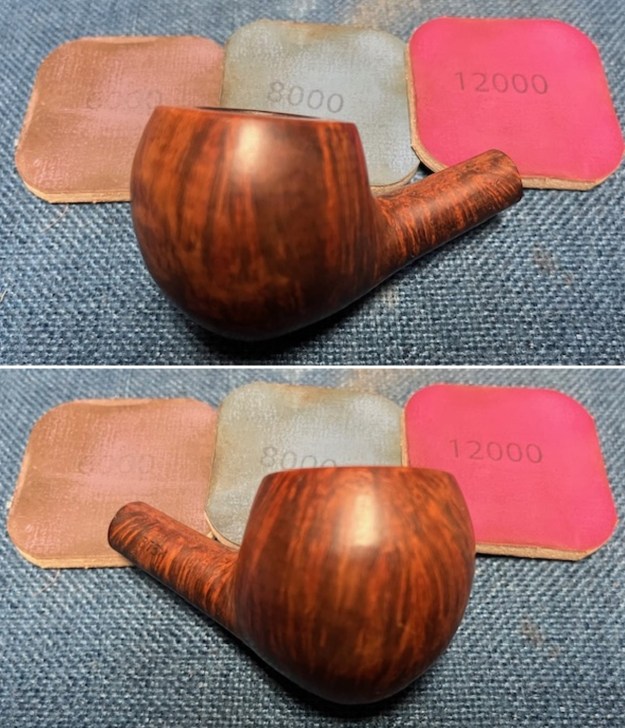
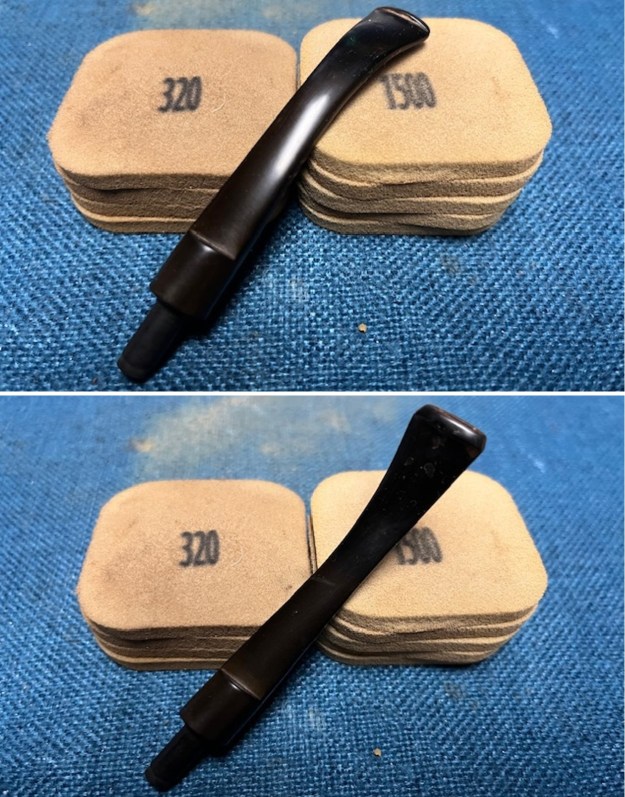
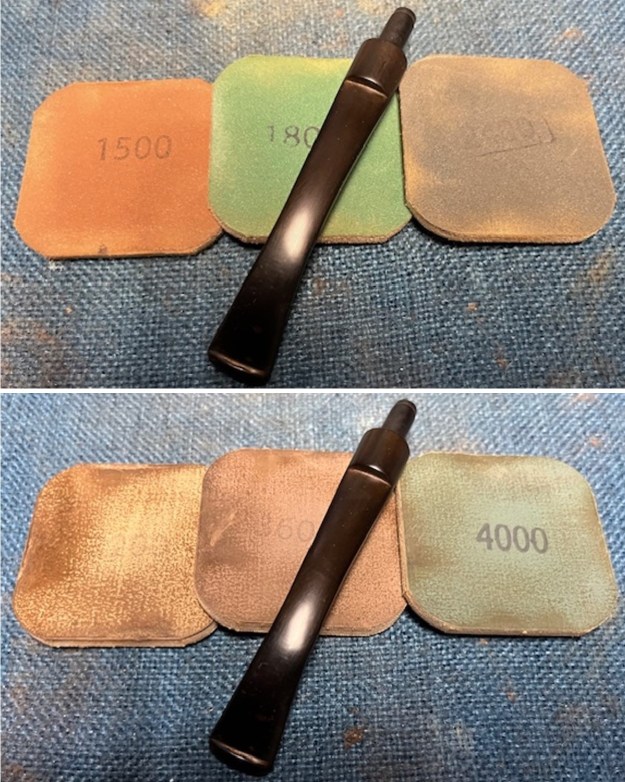
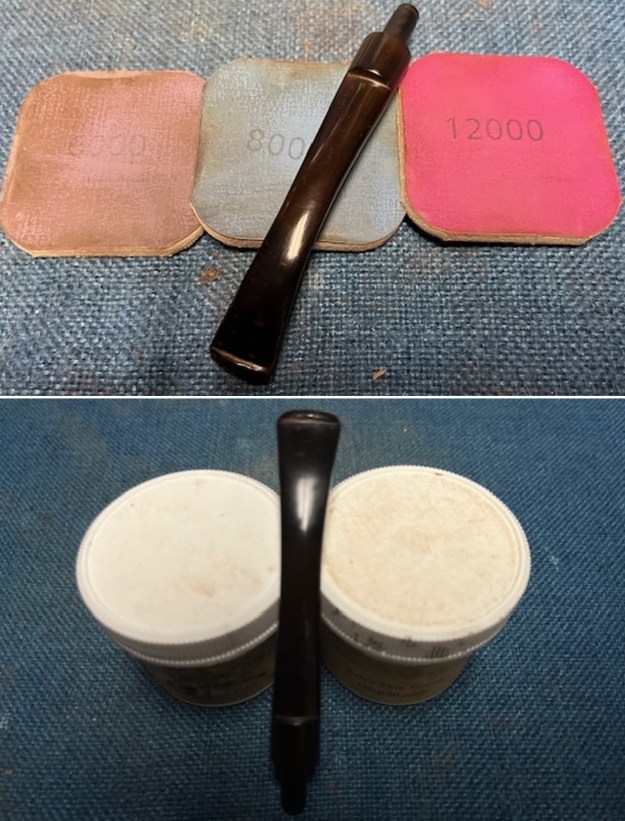
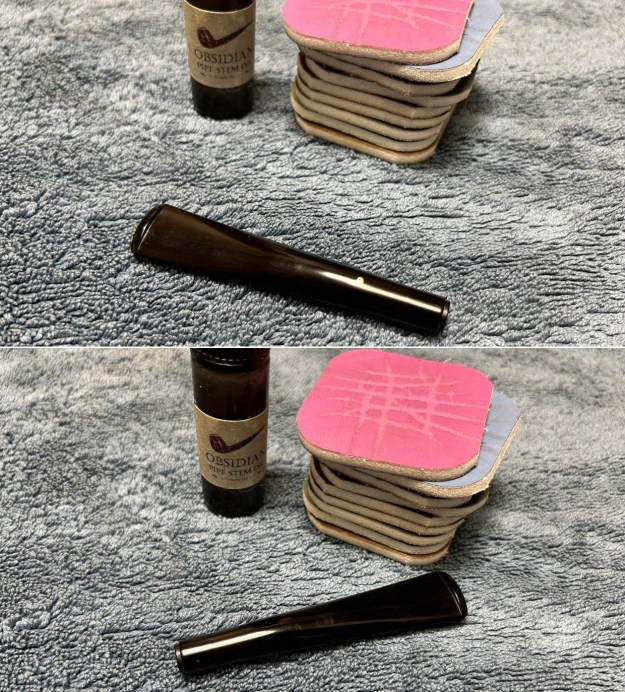
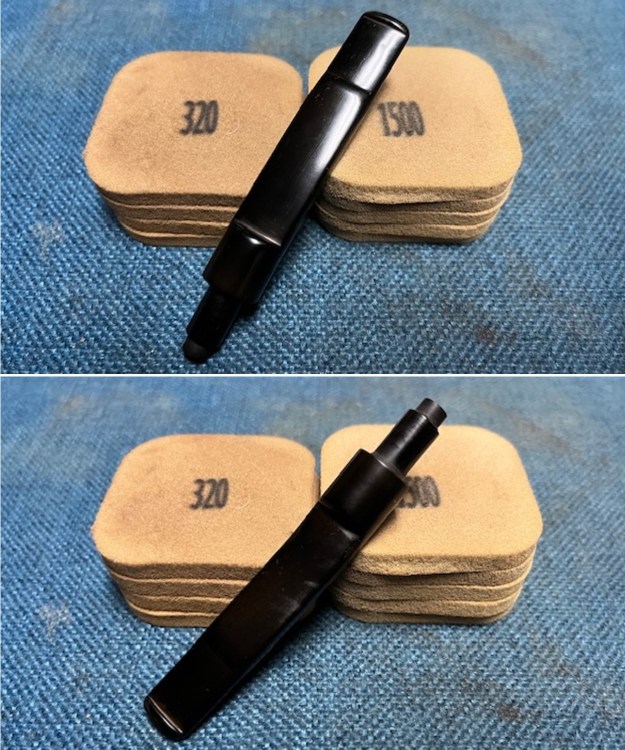
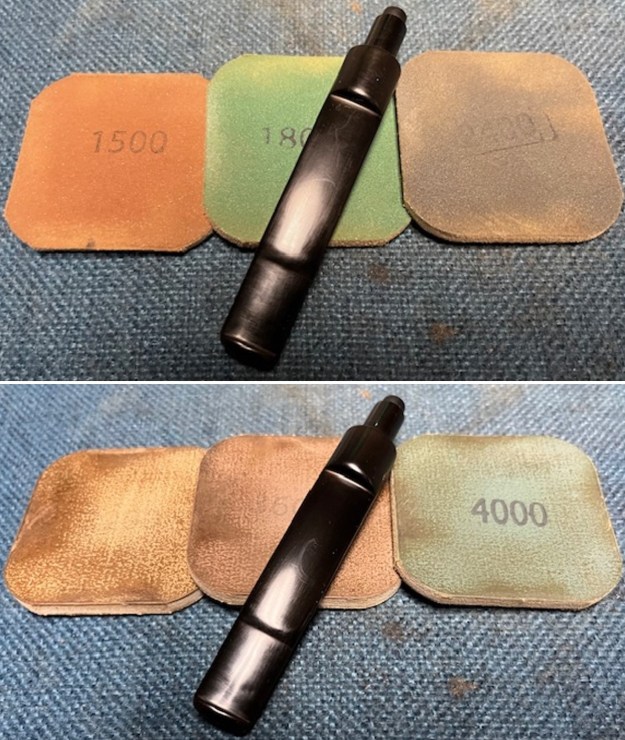
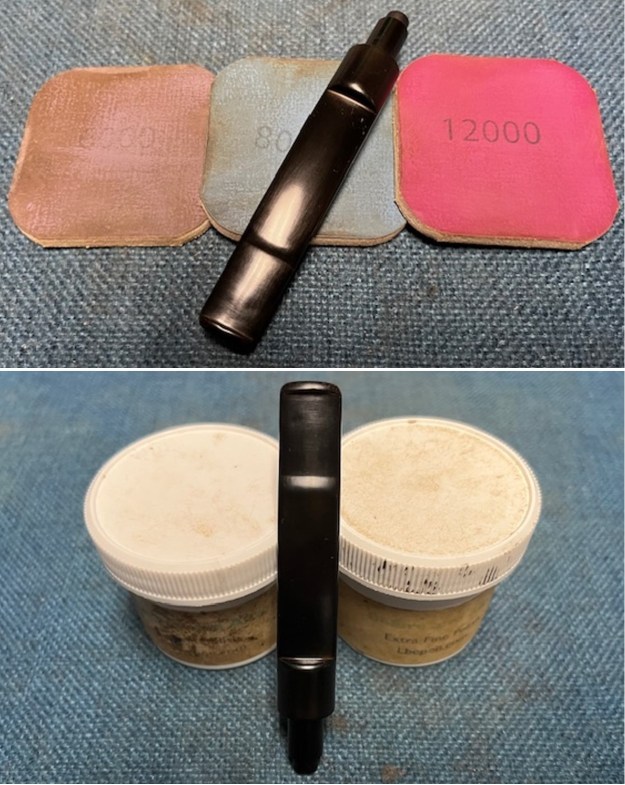
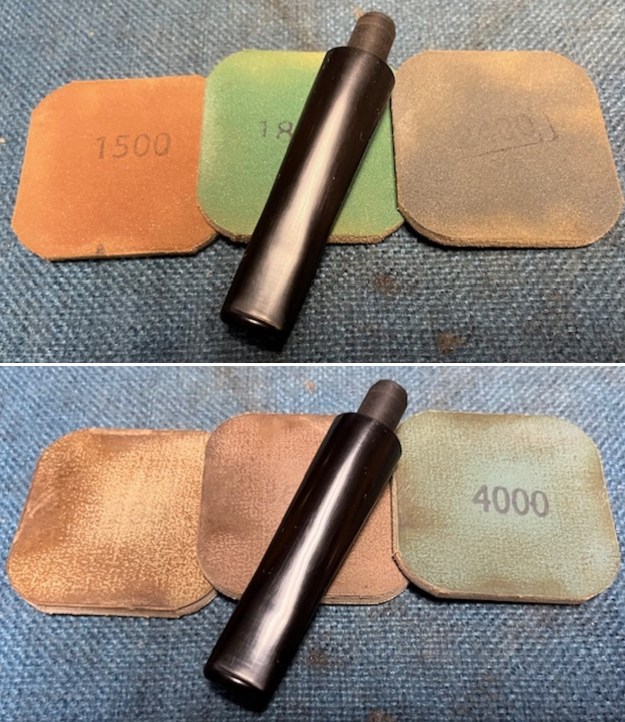
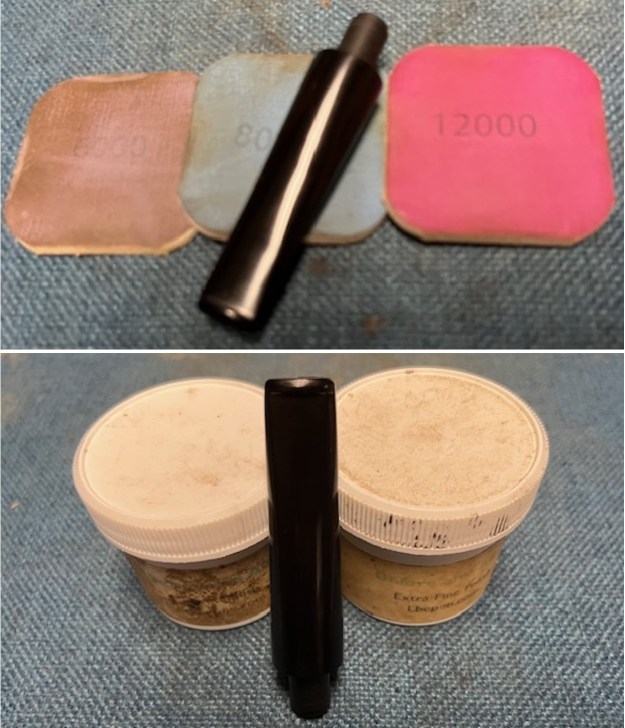
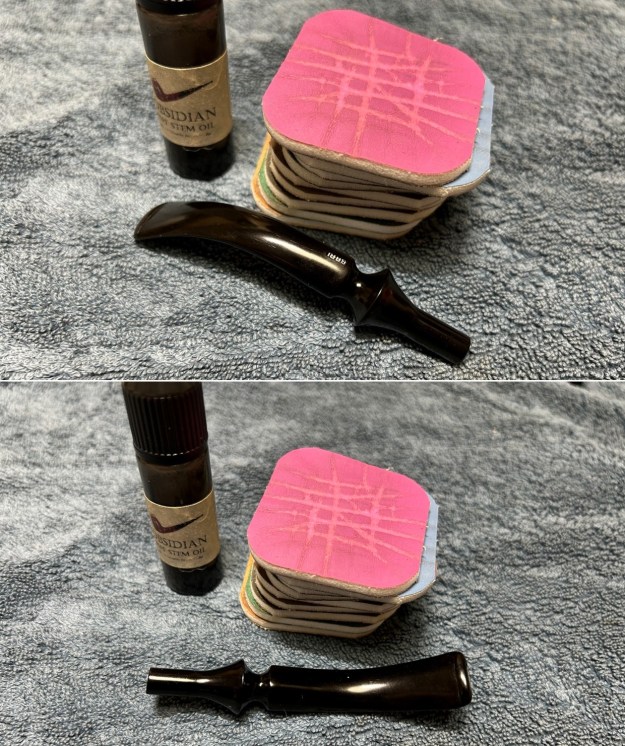
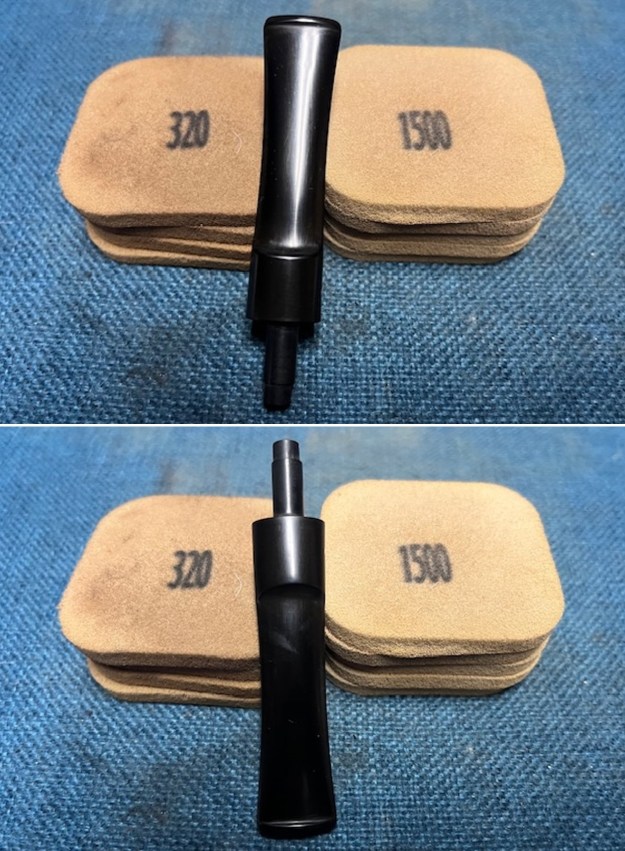
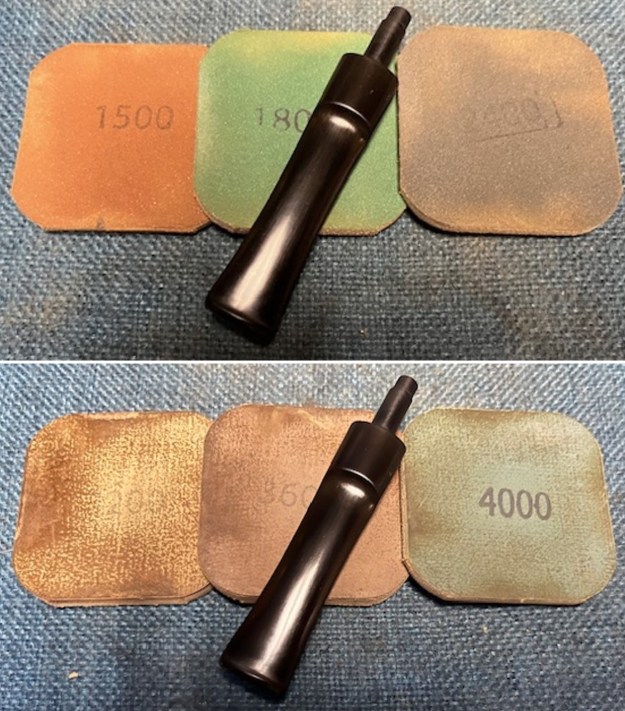
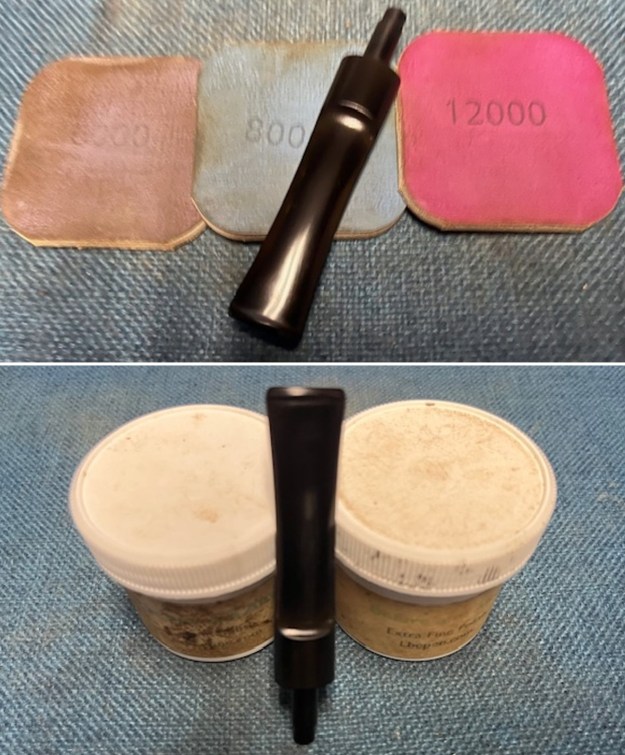
 The penultimate step for the stems is sanding. First, with my set of needle files, I reduced the bulk of the cyanoacrylate repairs. I removed the excess adhesive as near to the surface as possible, without cutting into the vulcanite. Following that, I used all nine of the micromesh sanding pads (1,500 through 12,000 grit) to sand out flaws, even out the vulcanite, and provide gentle polishing of the finished surfaces. I also applied pipe-stem oil while using the last five micromesh pads. There was a wonderful, deep black shine to both stems when I was done.
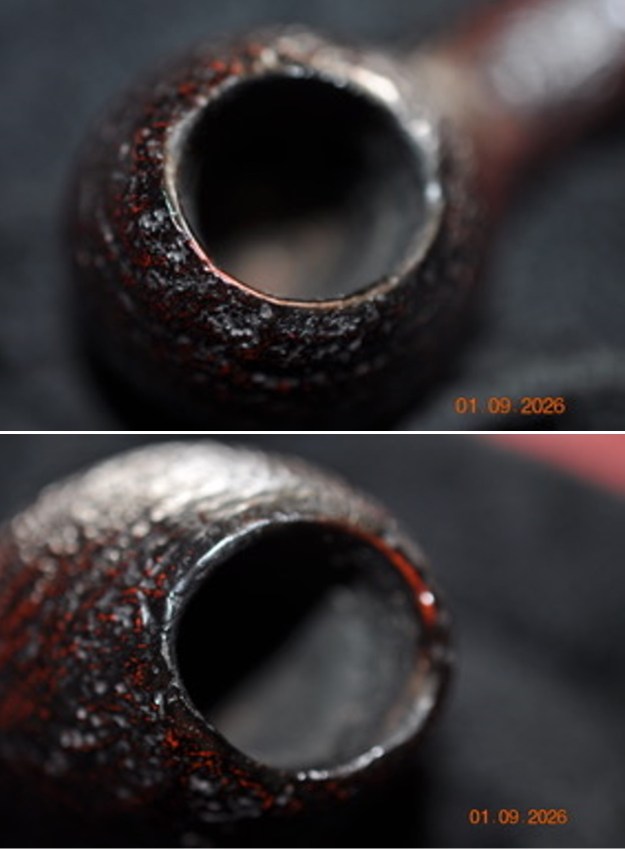
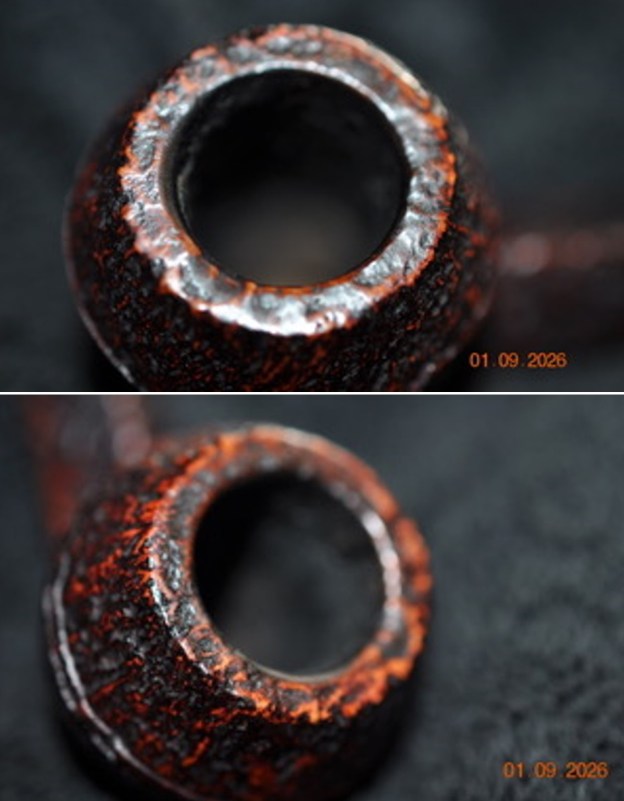
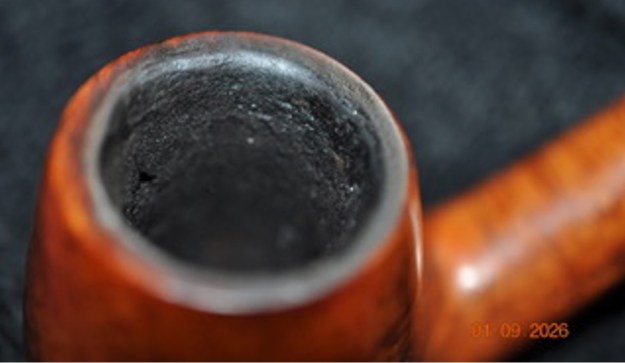
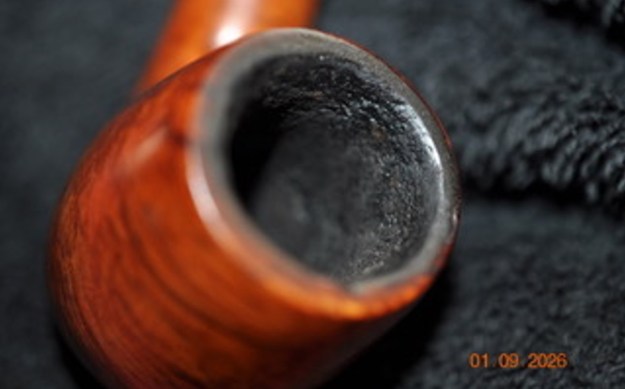
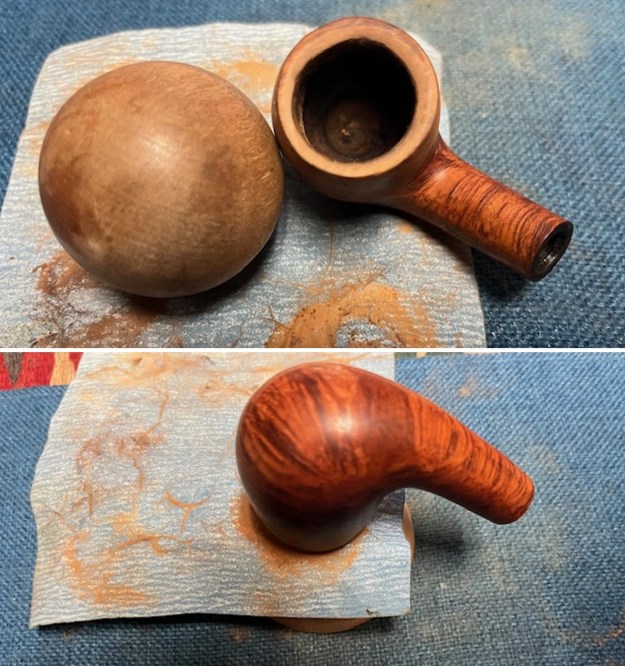
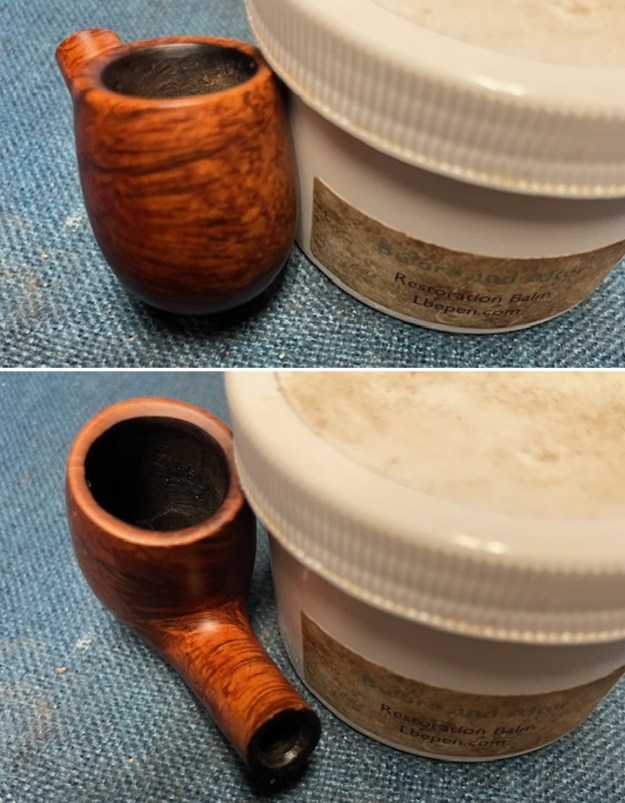
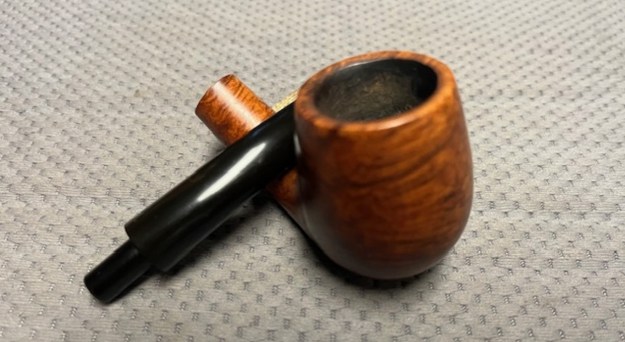
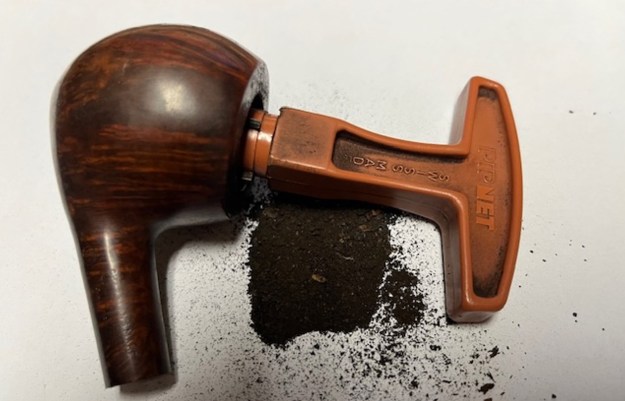
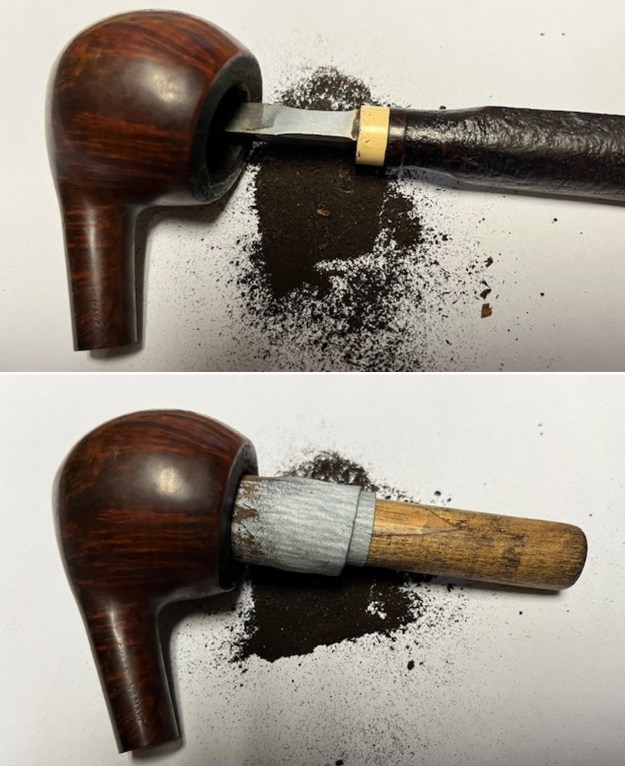
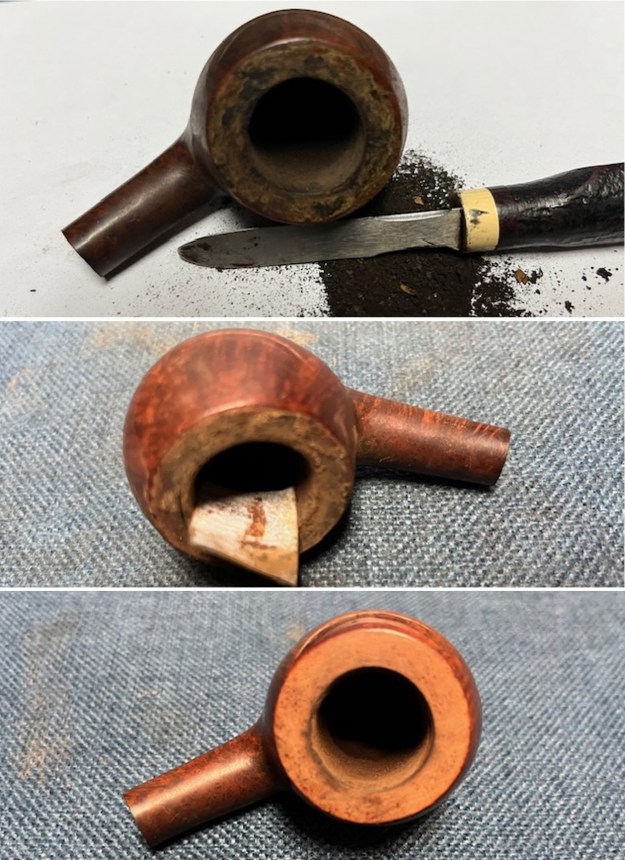
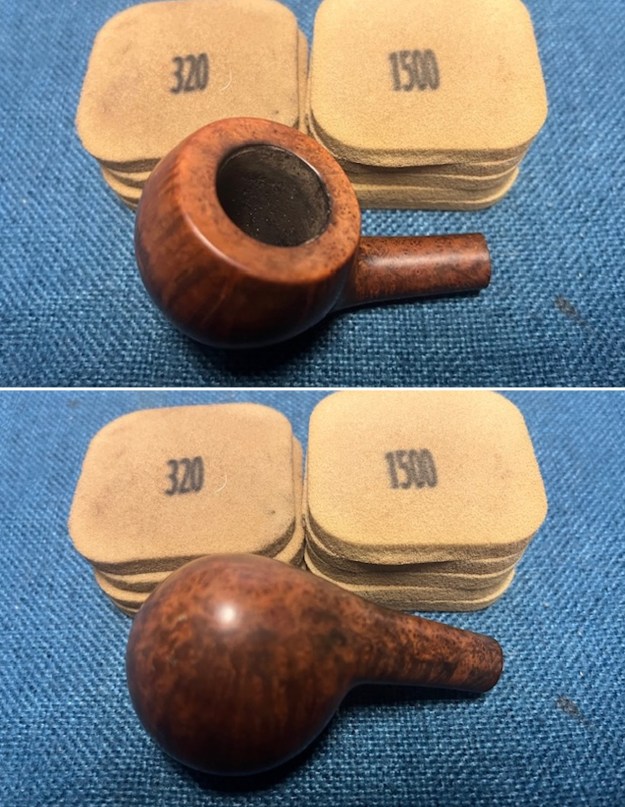
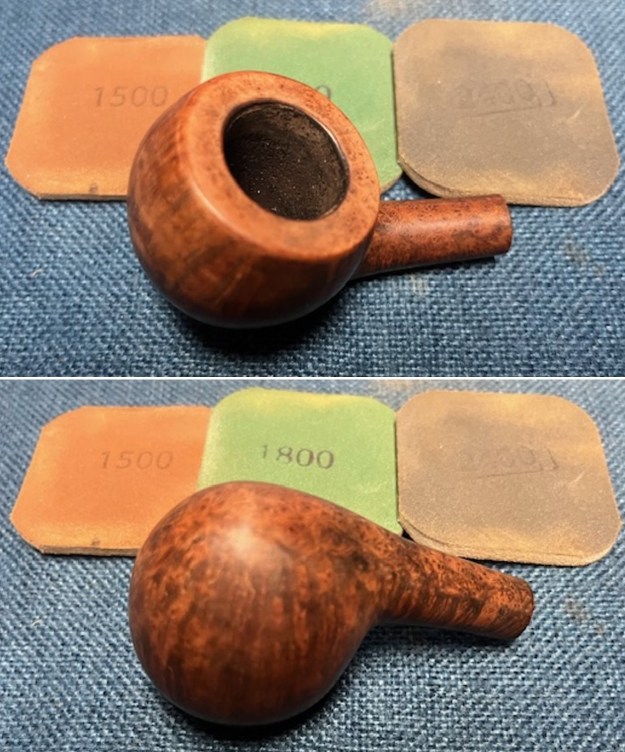
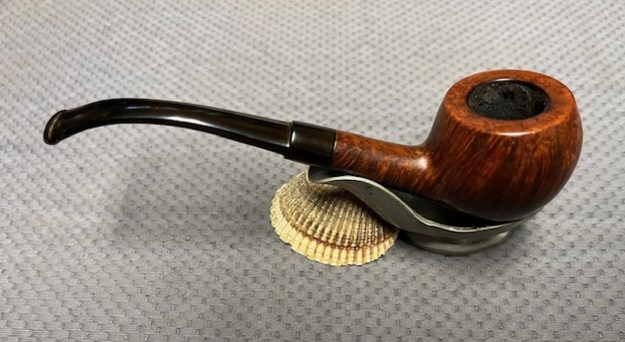
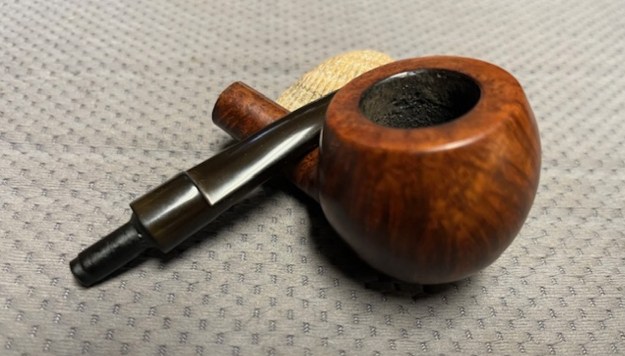
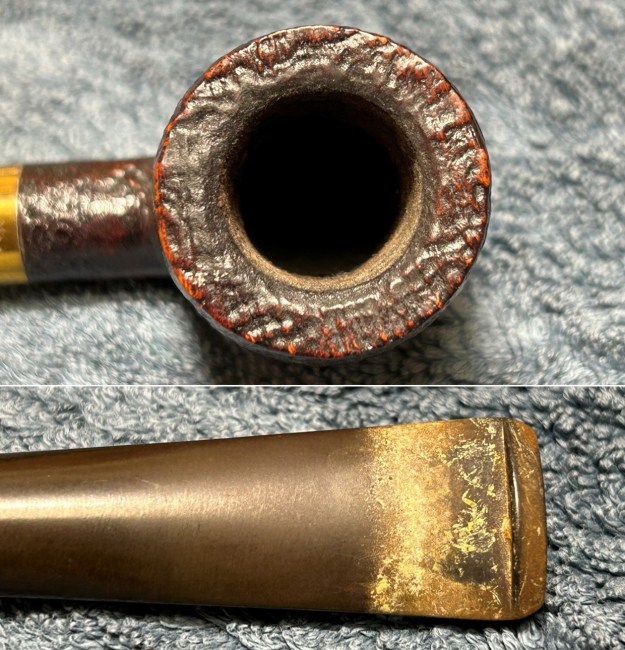
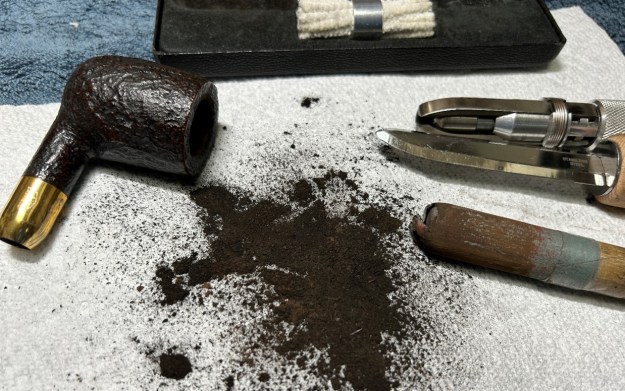
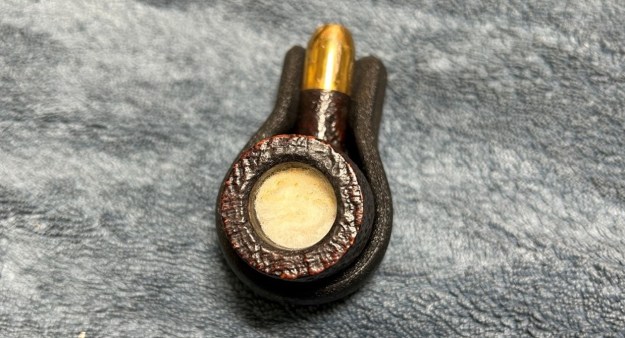
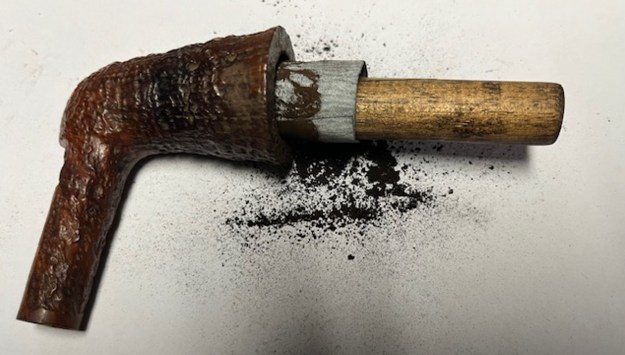
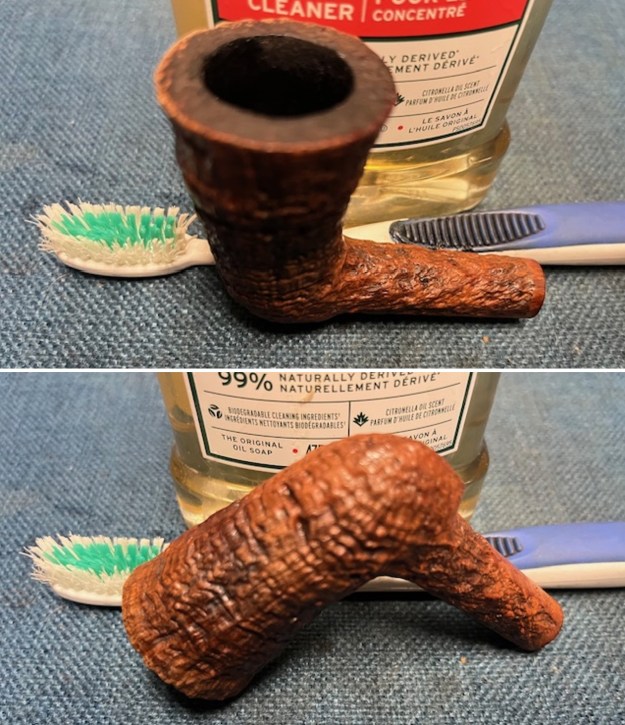
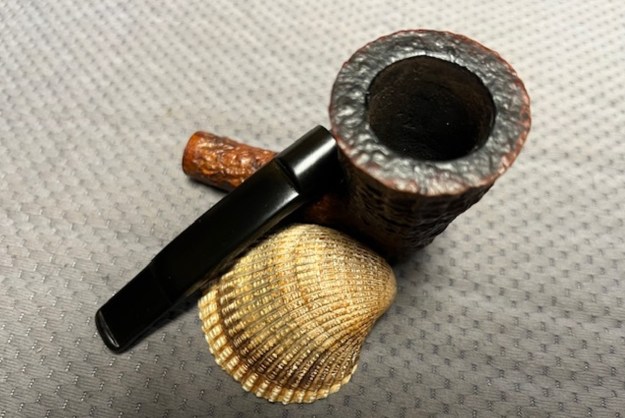
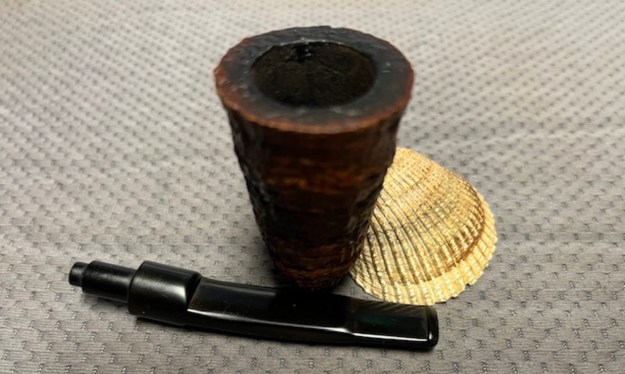
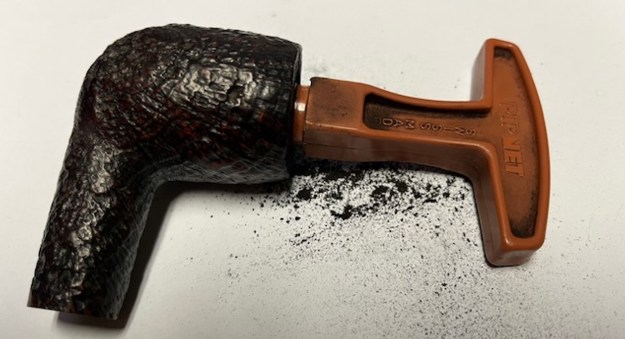
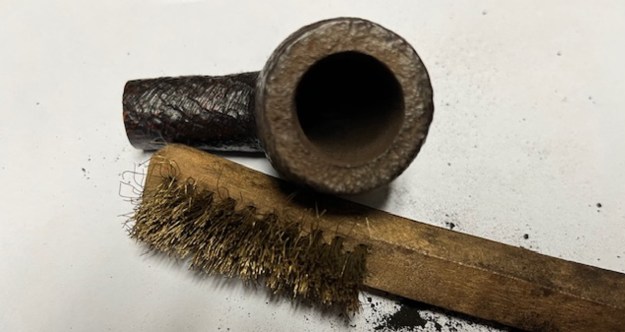
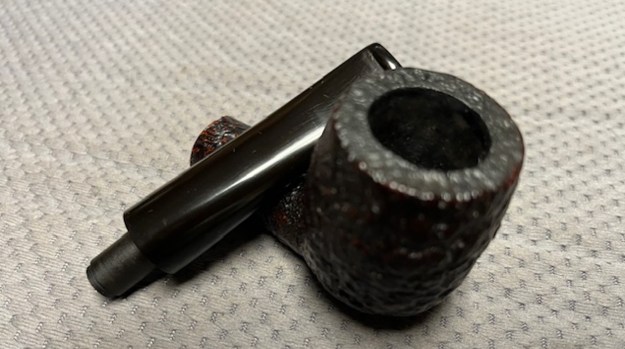
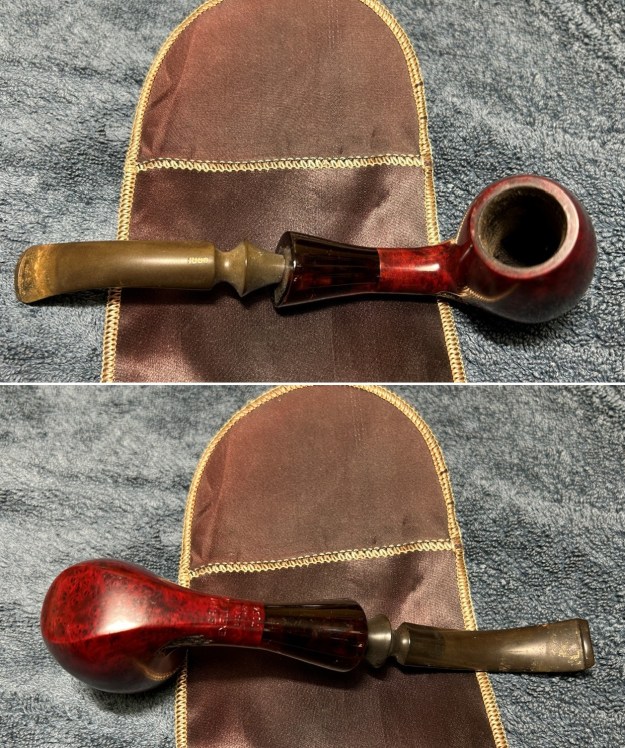
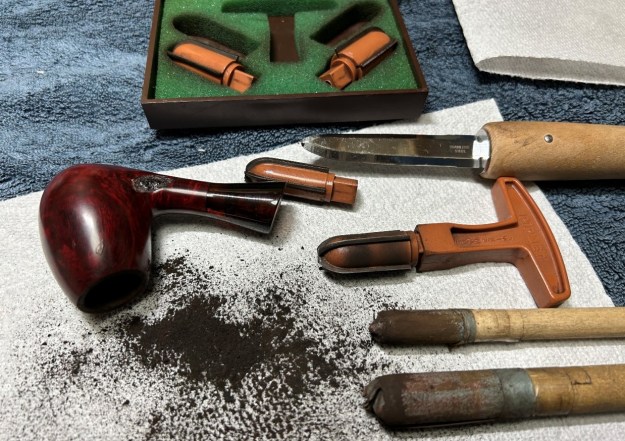
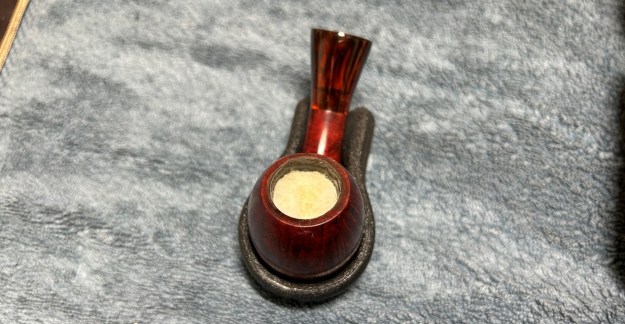
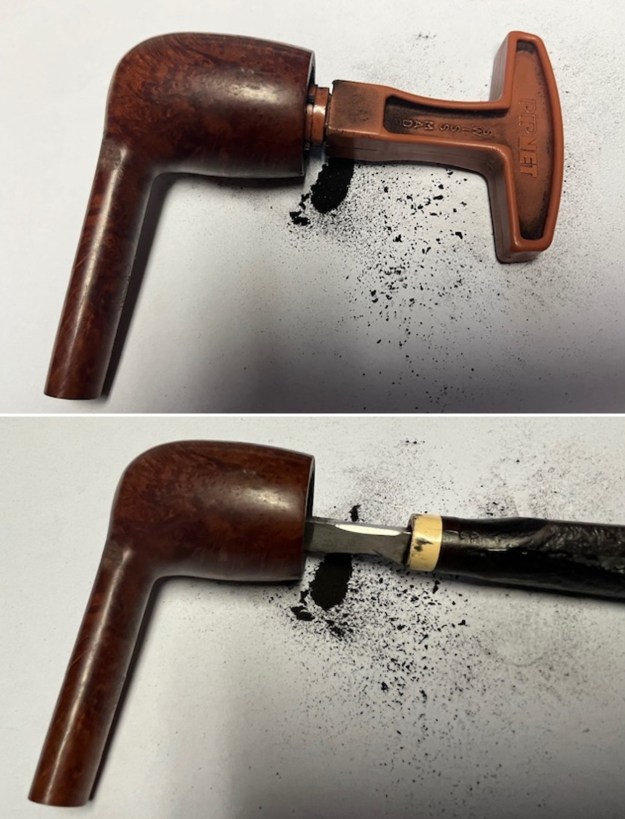
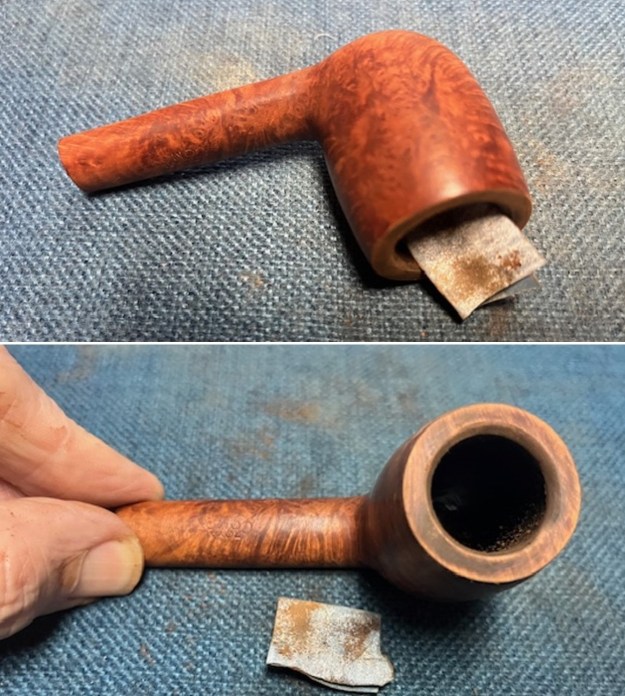
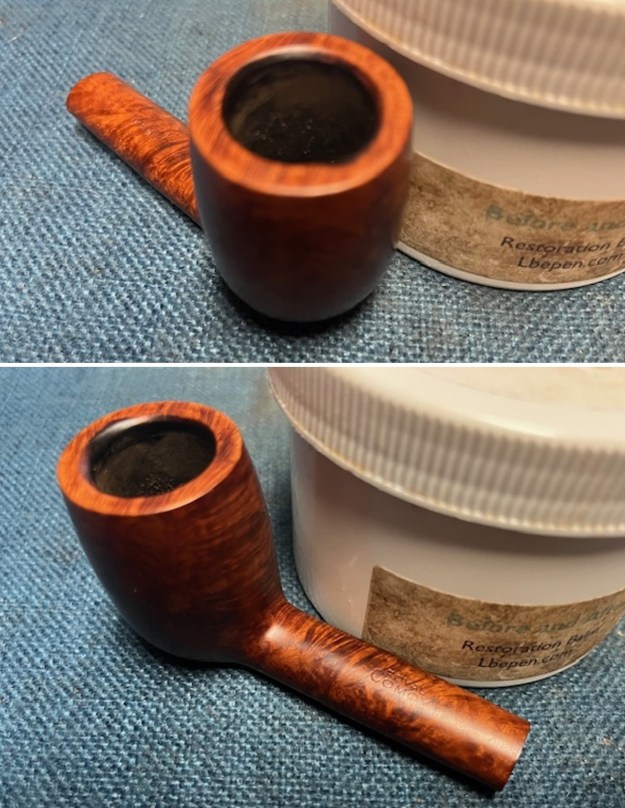
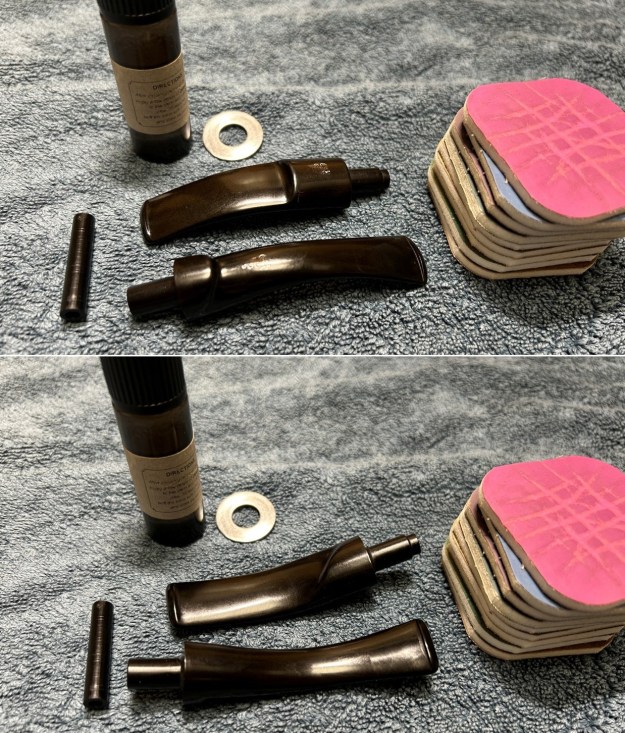 As the stems were (nearly) complete, I moved on to the stummels. The first step was to ream out both bowls – that is to say, remove all the cake inside the bowls. This accomplished a couple of things. First (and most obviously), it cleaned the bowls and provided a refurbished chamber for future smoking. Second, when the old cake was removed, I could inspect the interior walls of the bowls and determine if there was damage or not. I used a pipe knife and a piece of sandpaper taped to a wooden dowel. Collectively, these ensured that all the debris was removed.
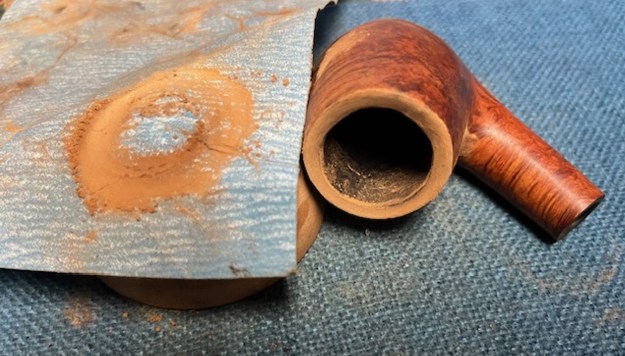
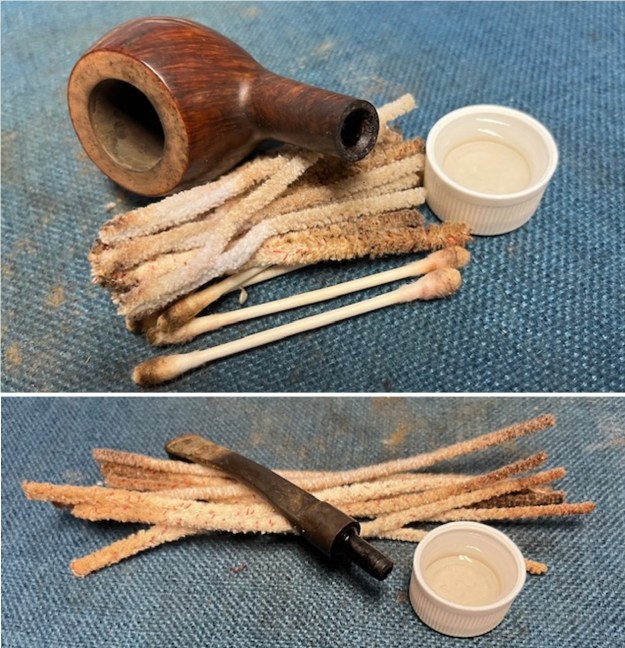
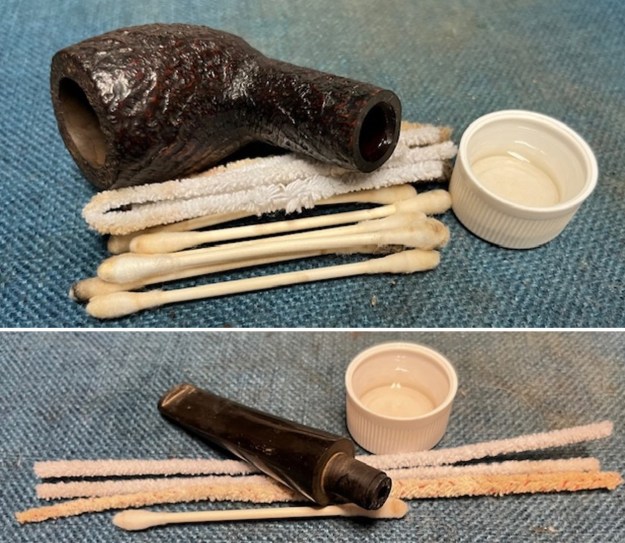
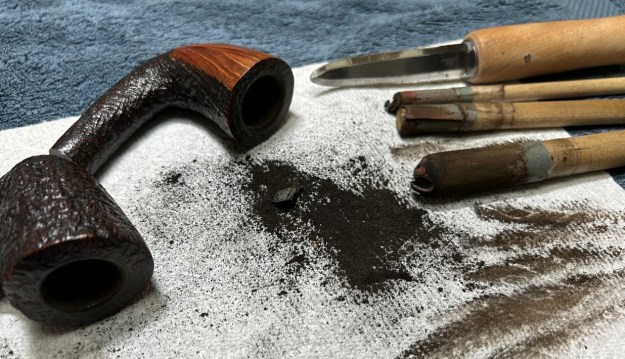 Similar to the stems, I then cleaned the stummels with both pipe cleaners and cotton swabs dipped in lemon-infused 99% isopropyl alcohol. They were dirty, but not too bad.
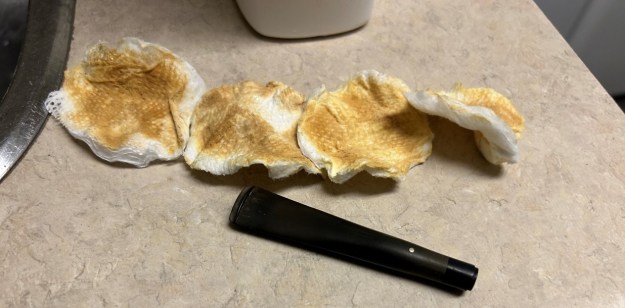
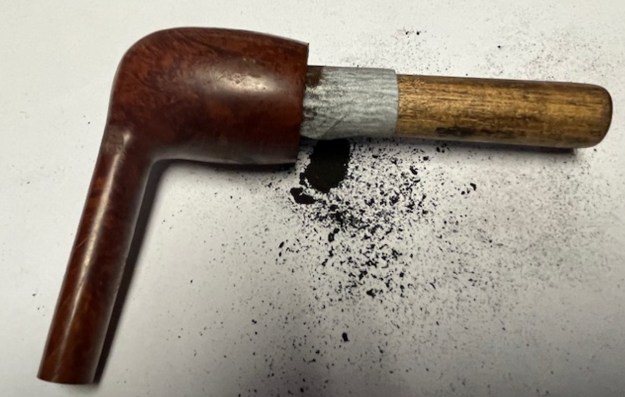
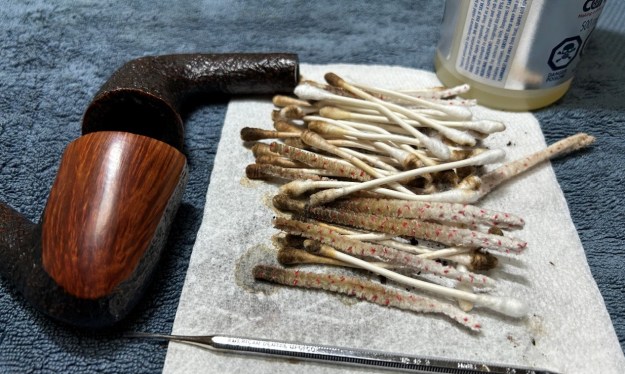 I then decided to ‘de-ghost’ the pipes – that is to say, exorcize the remaining filth from the briar. I filled the bowls and the shanks with cotton balls, then saturated them with 99% isopropyl alcohol. I let the stummels sit overnight. This caused the remaining oils, tars and smells to leach out into the cotton.
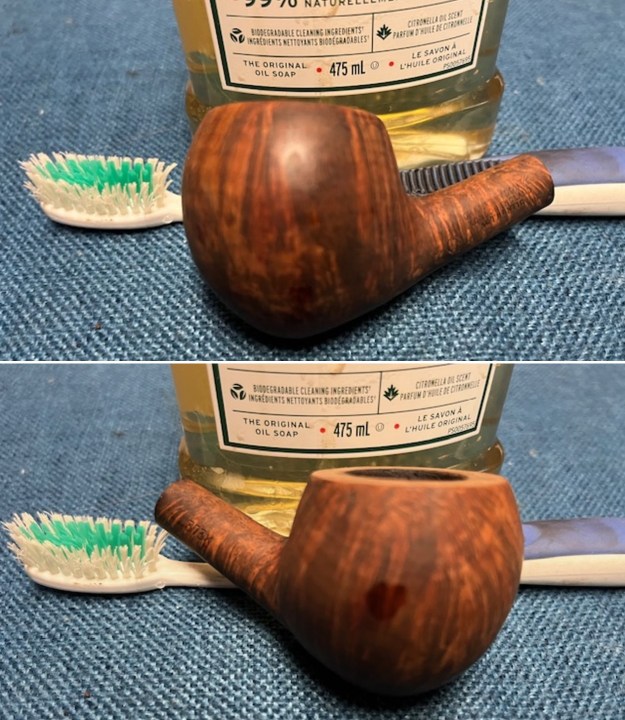
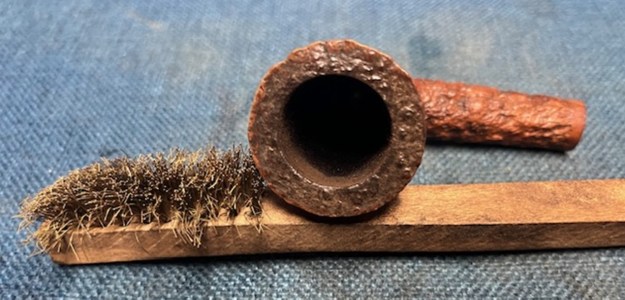
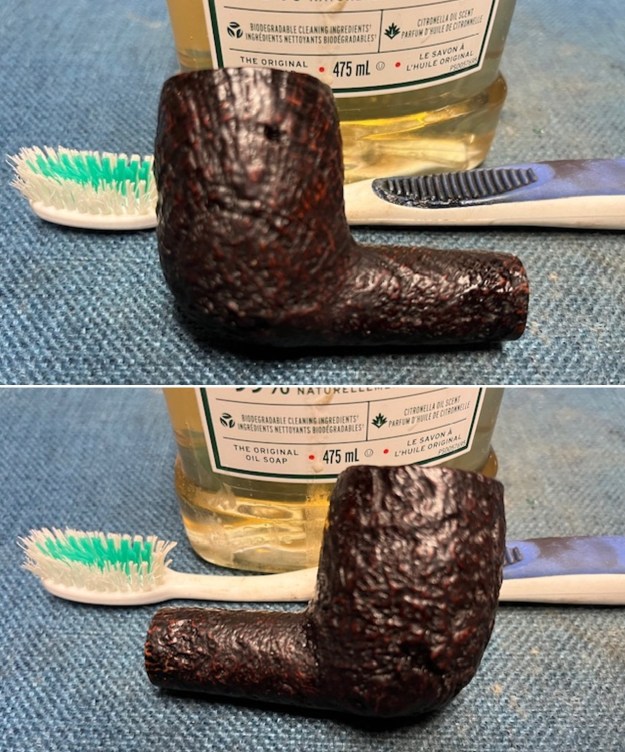
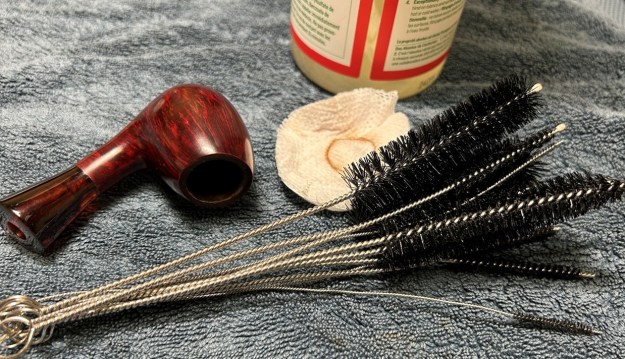
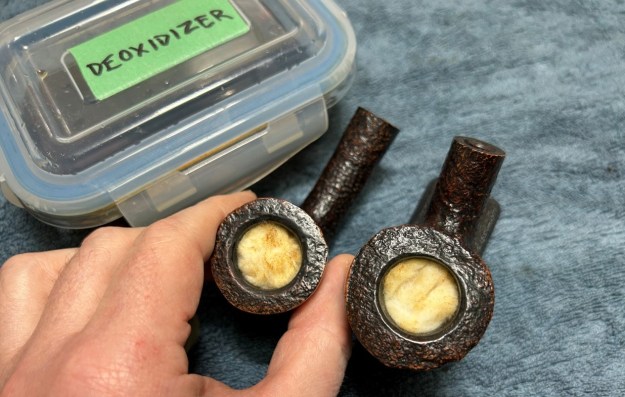 To tidy up the briar, I wiped down the outside, using a solution of a pH-neutral detergent and some distilled water, with cotton rounds. I also used a toothbrush in the sandblast crevices. This did a good job of cleaning any latent dirt on the surface of the briar. The last step of the cleaning process was to scour the inside of the stummels with the same mild detergent and tube brushes. This was the culmination of a lot of hard work in getting both pipes clean.
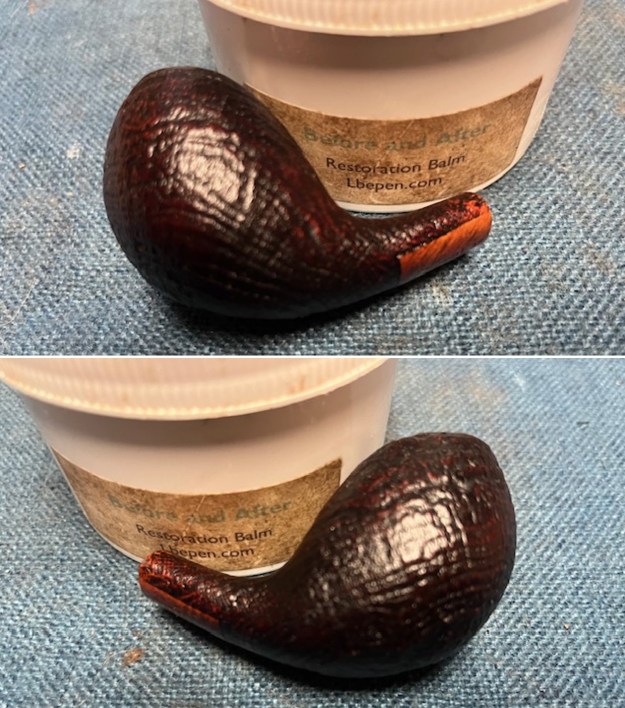
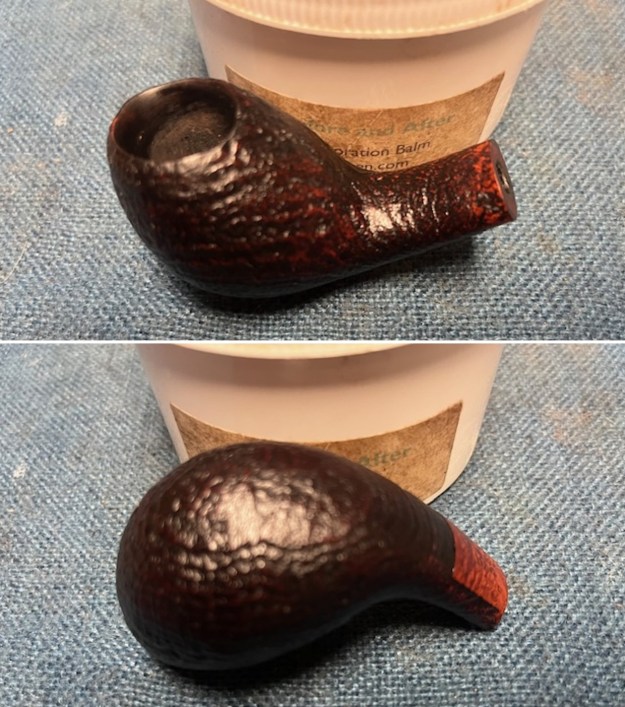
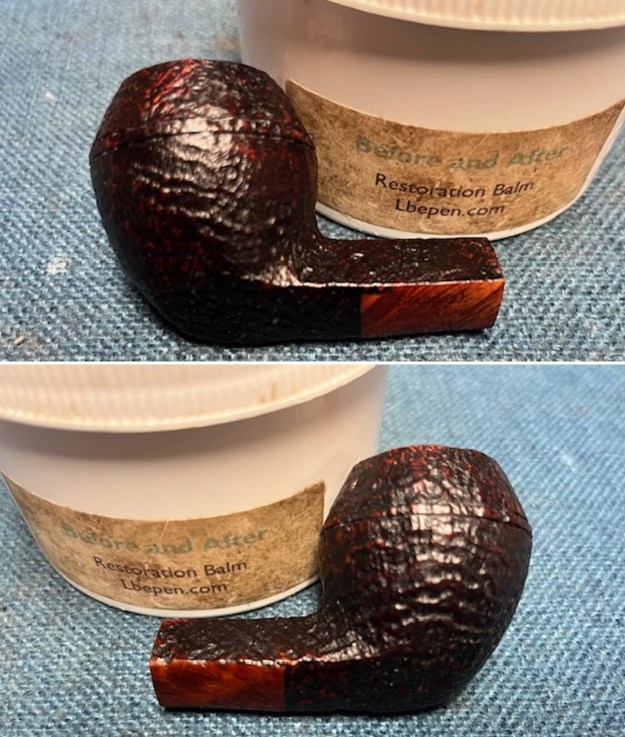
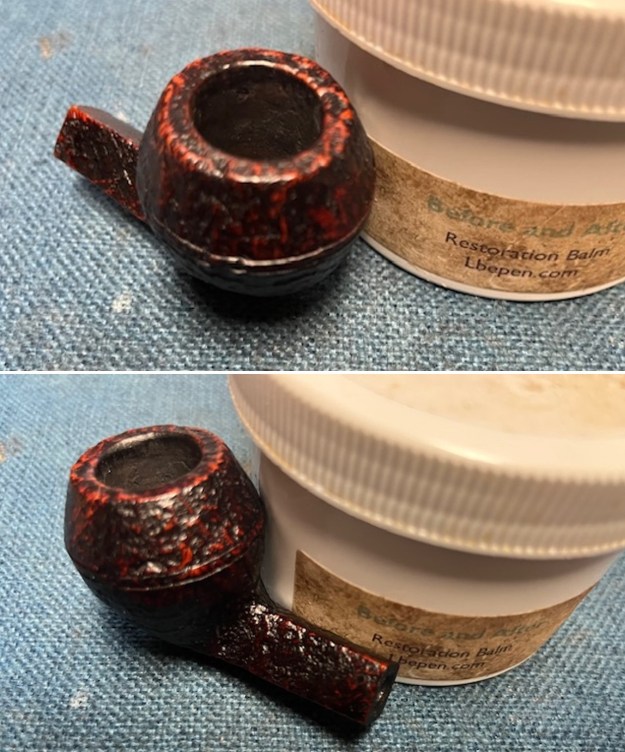
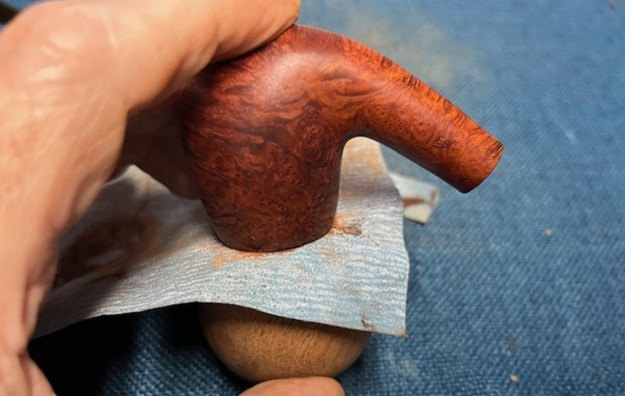
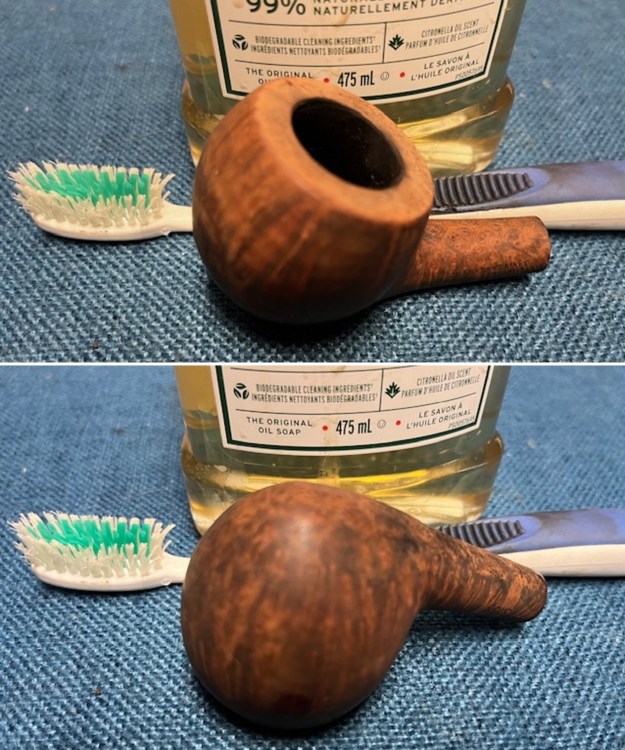
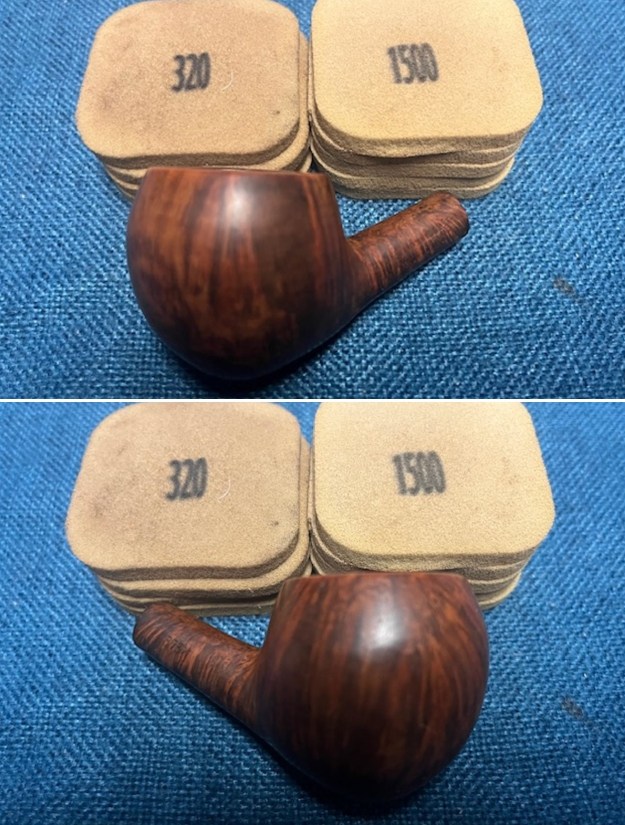
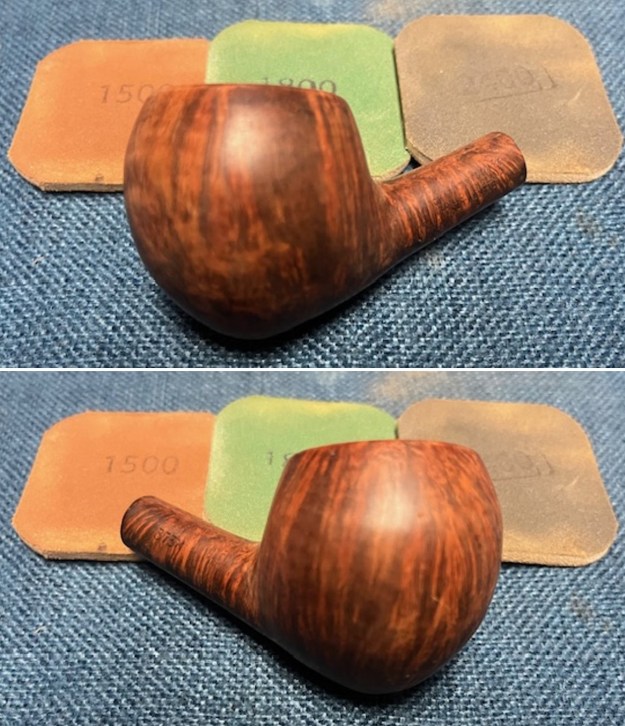
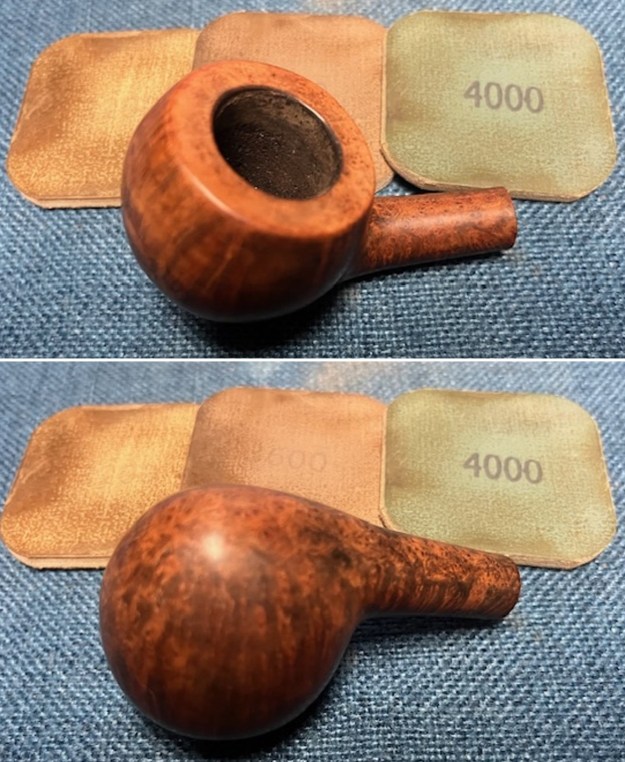
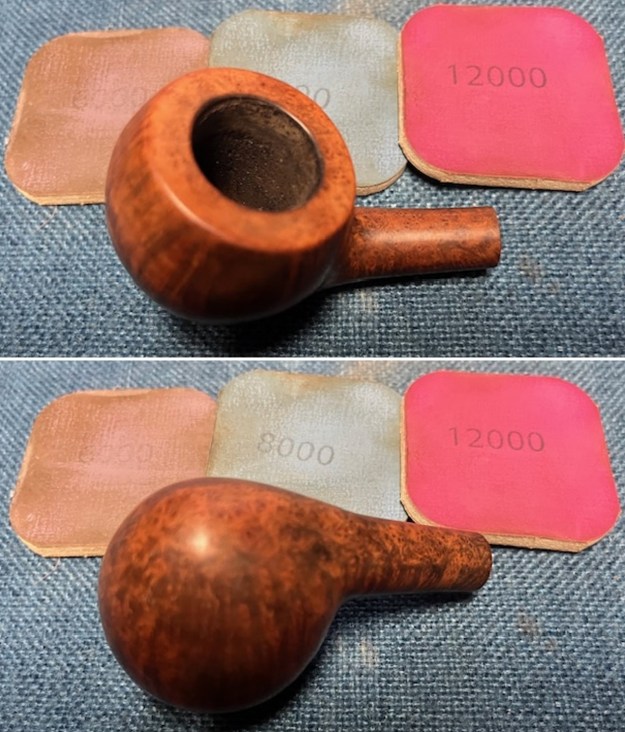
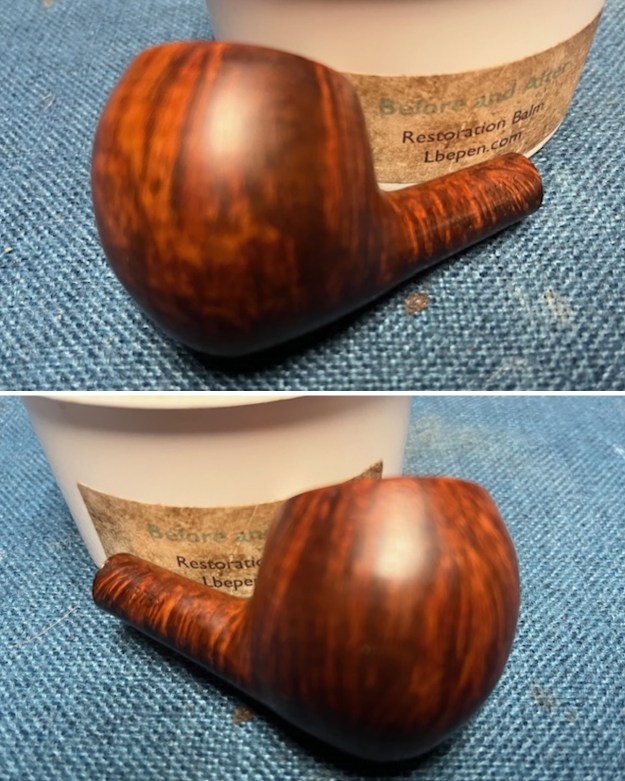
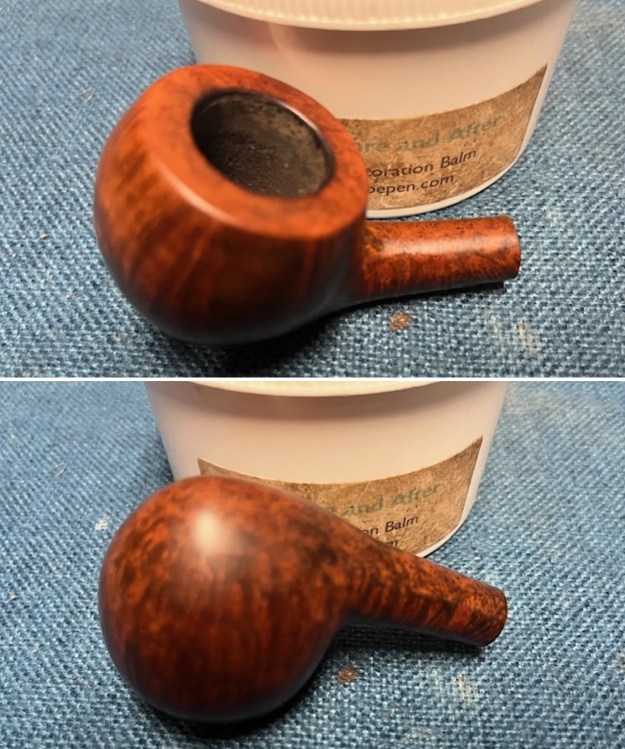
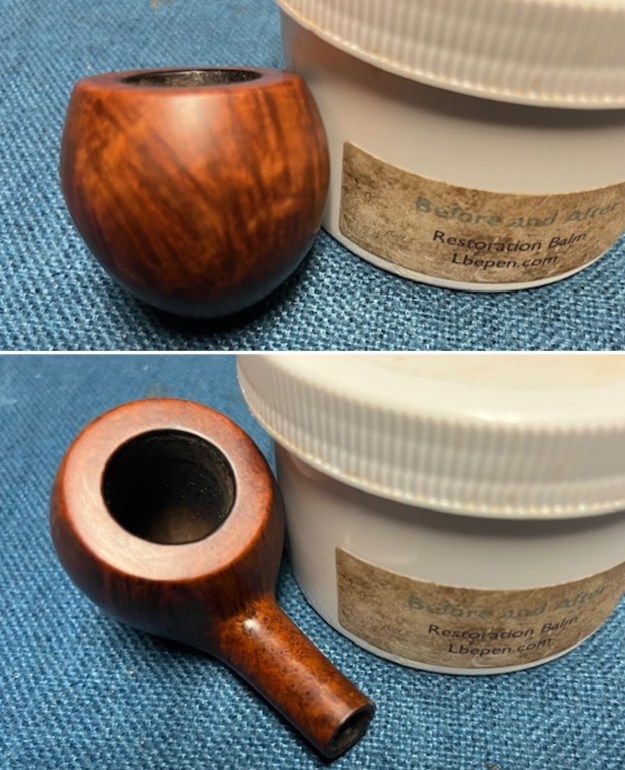
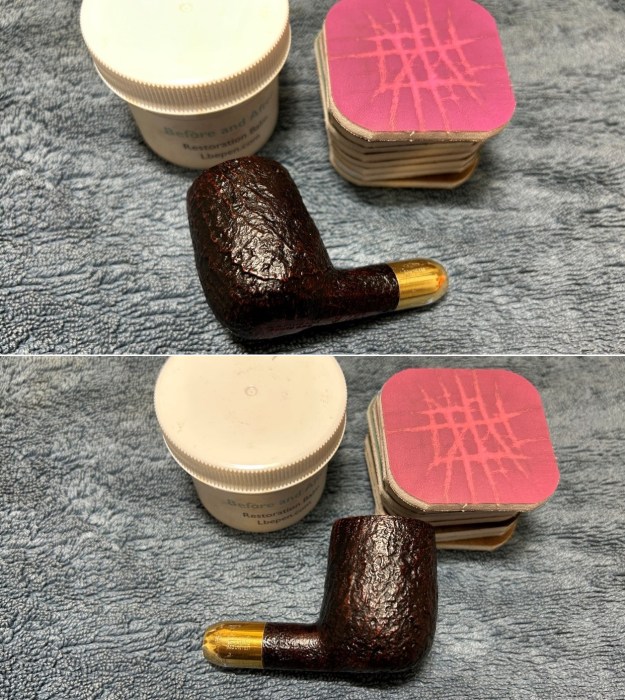
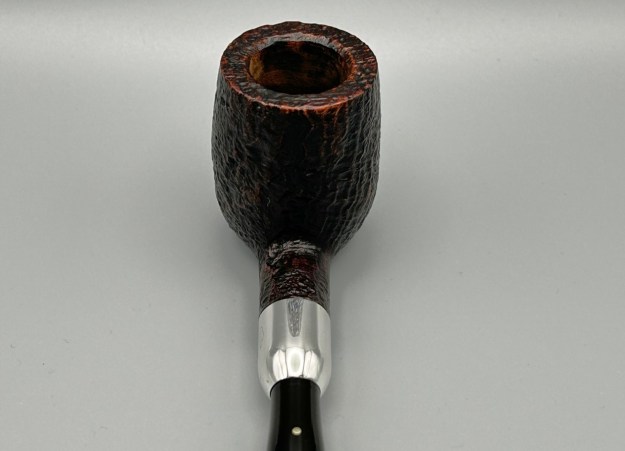
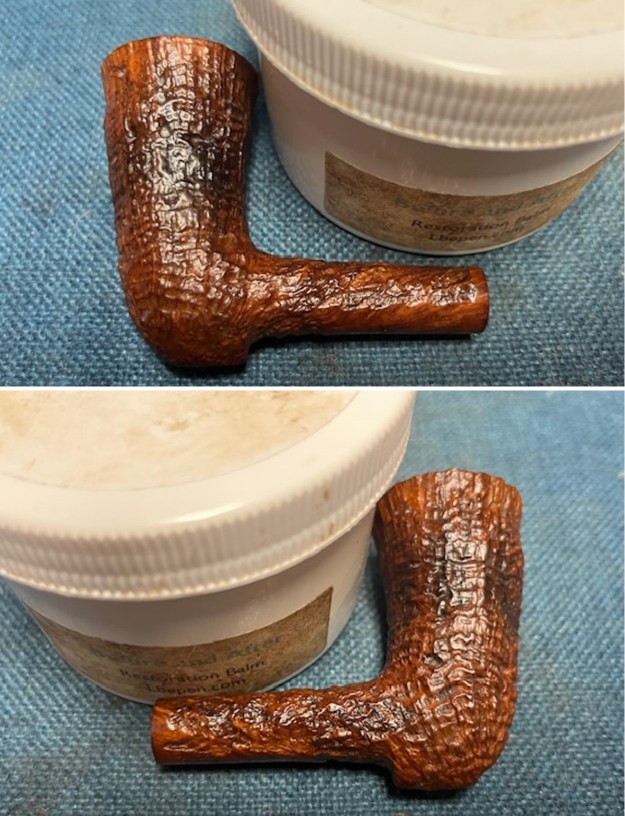
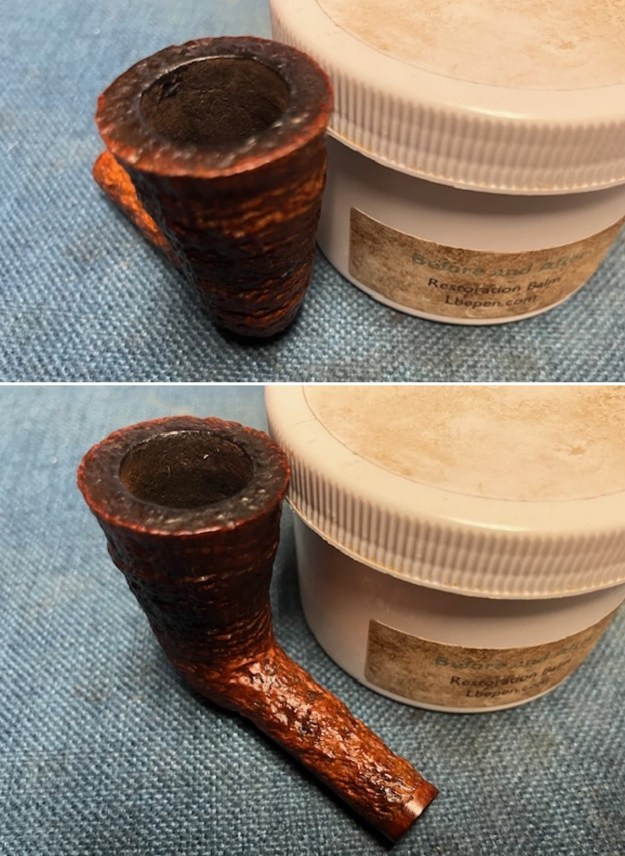
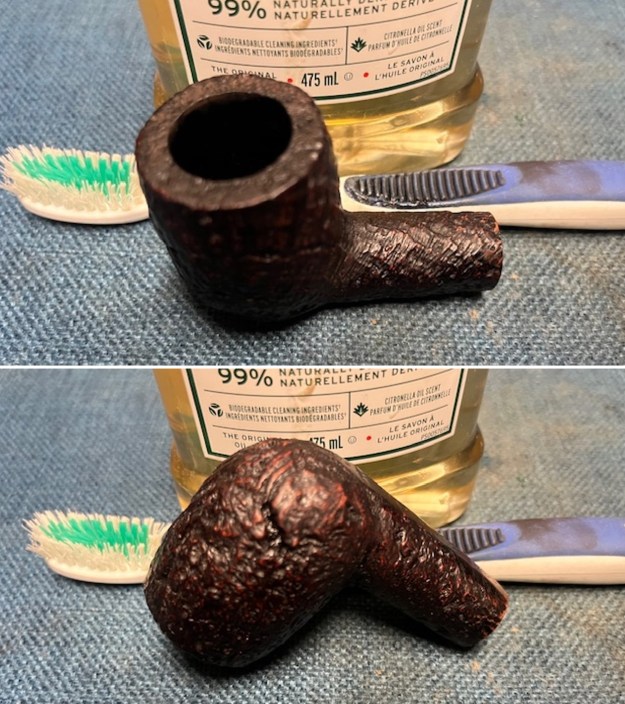
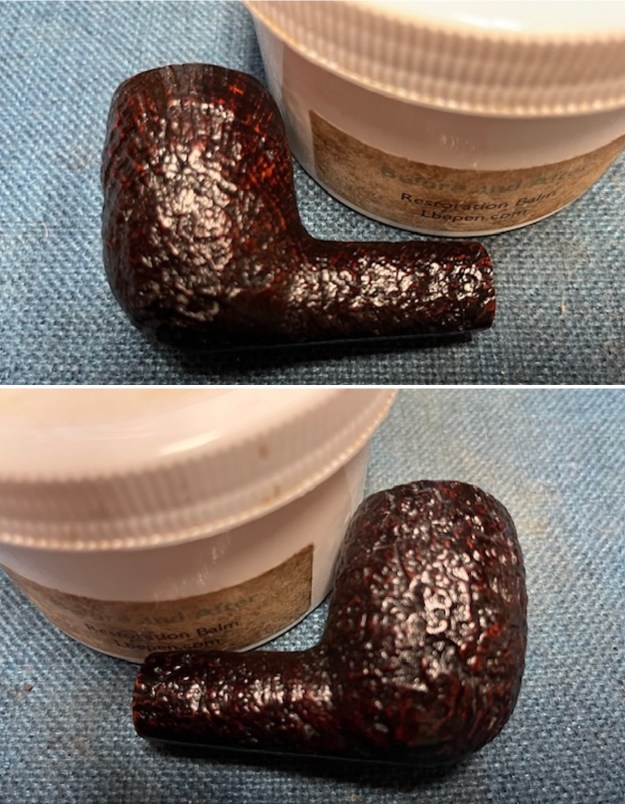
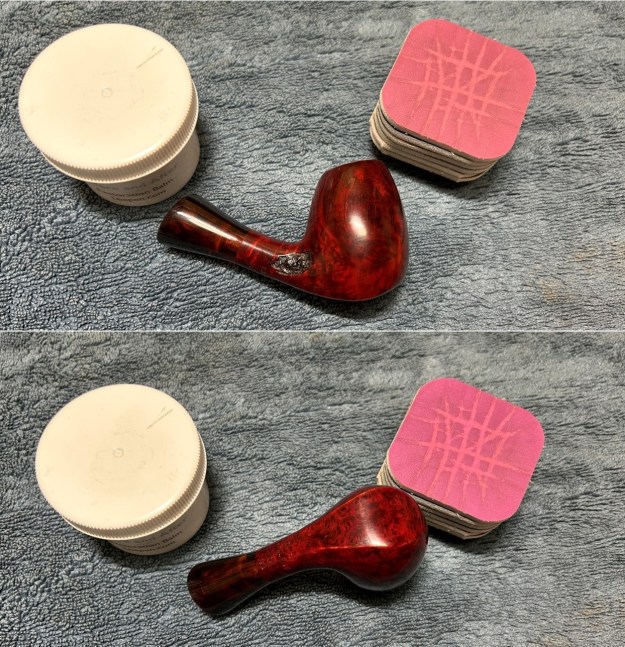
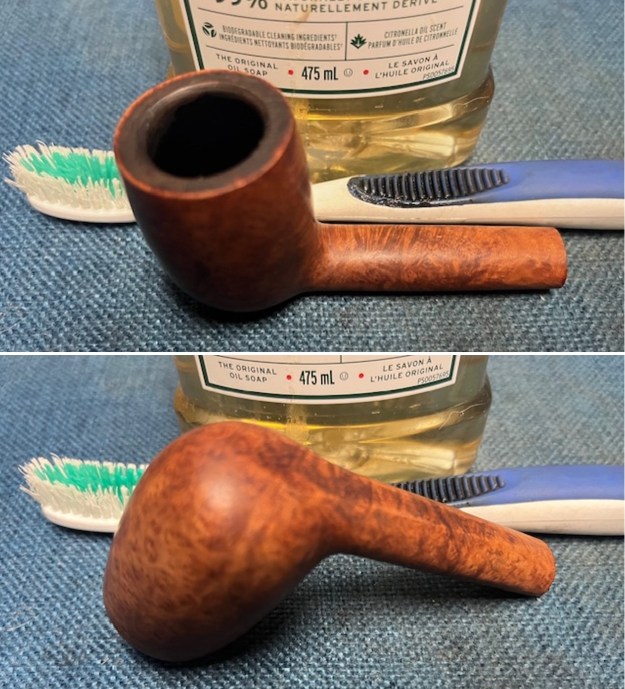
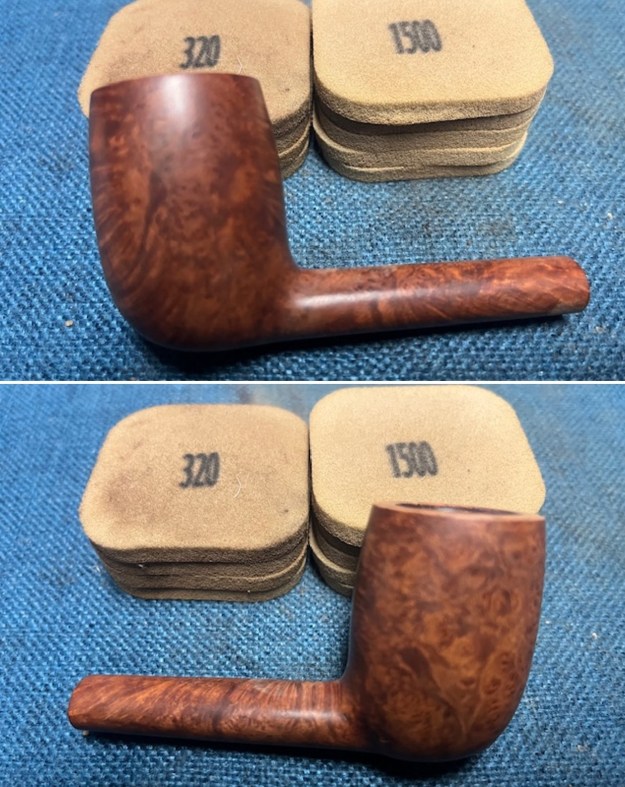
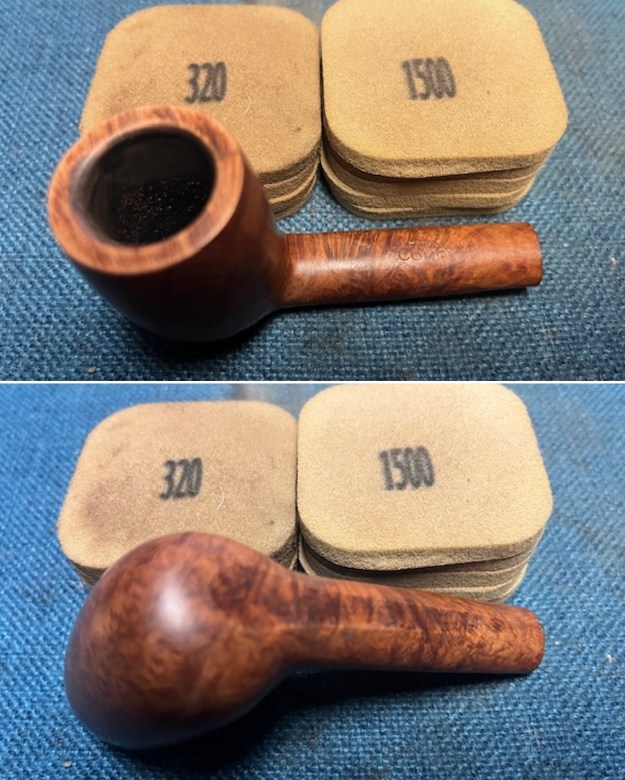
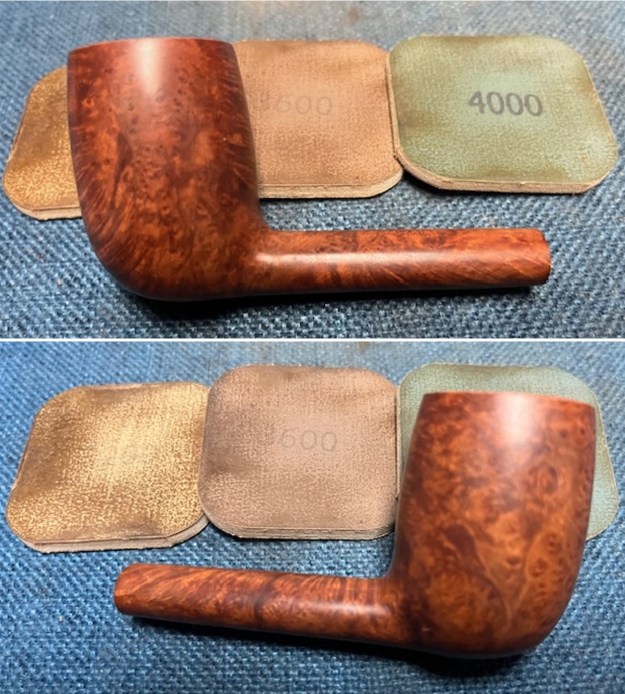
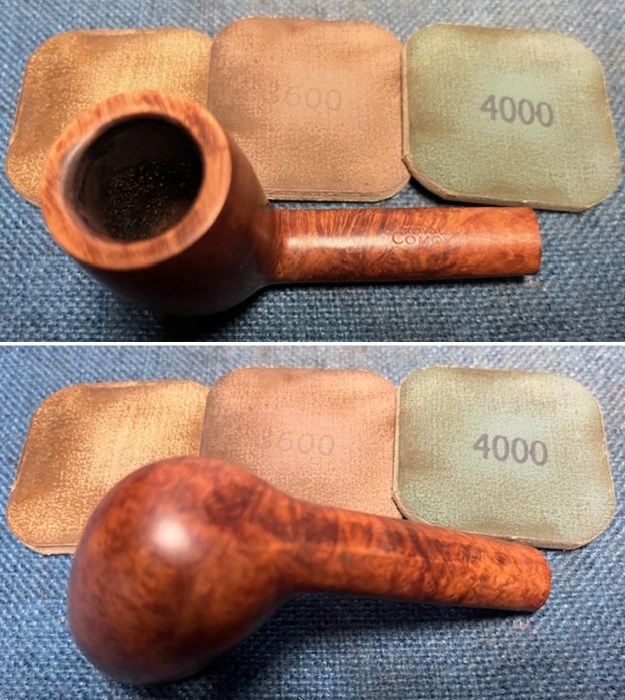
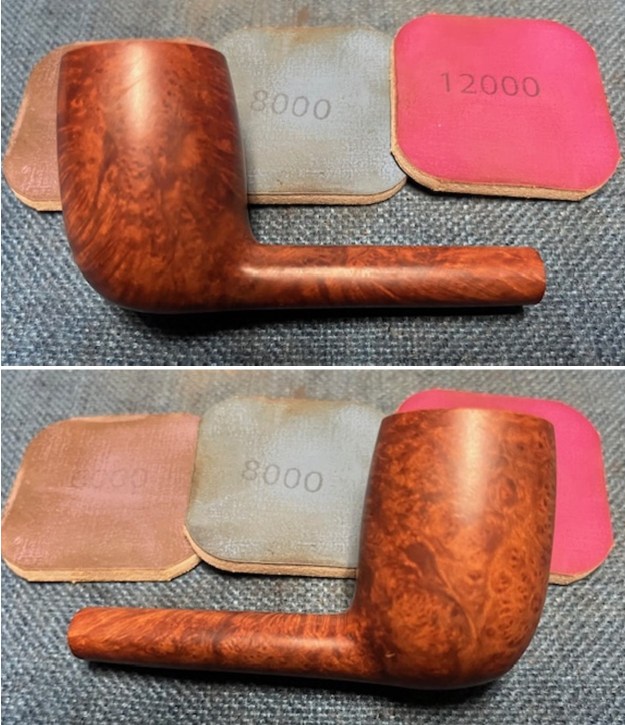
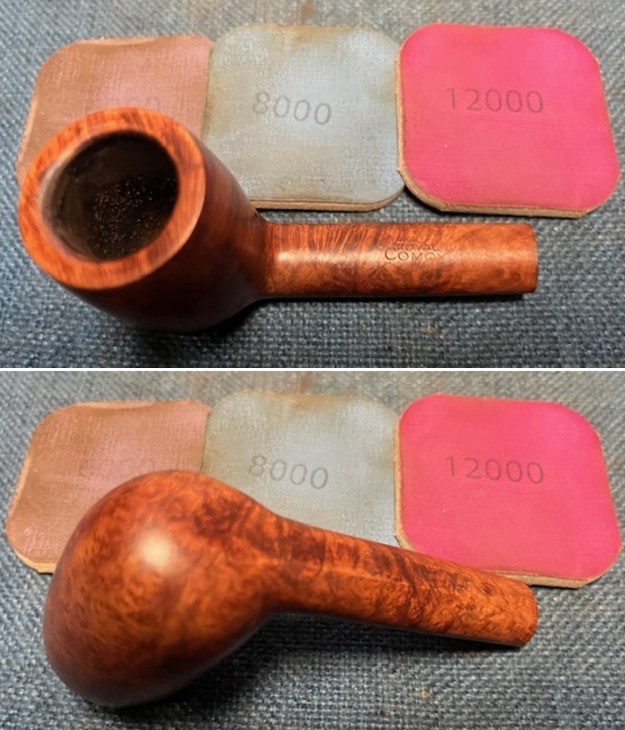
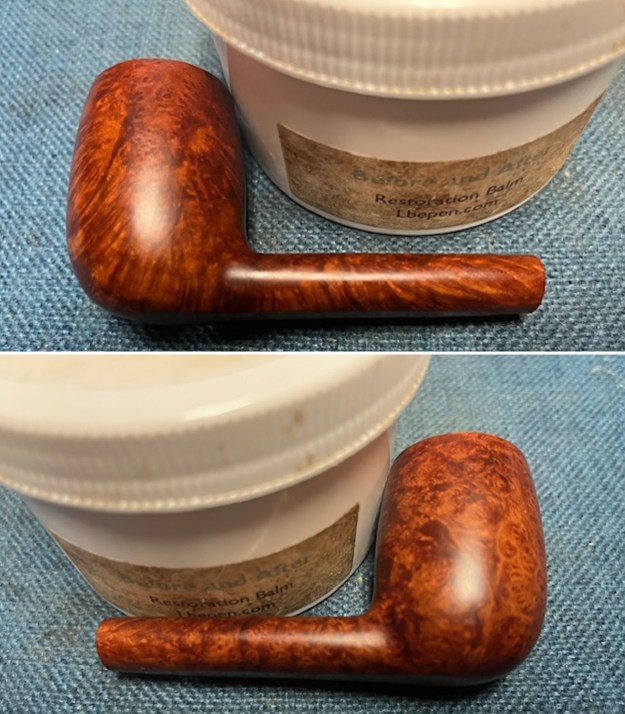
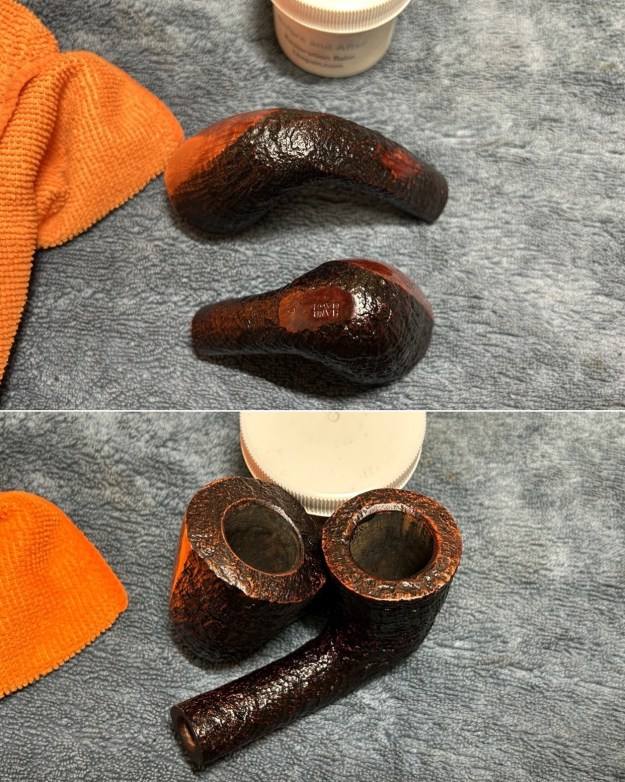
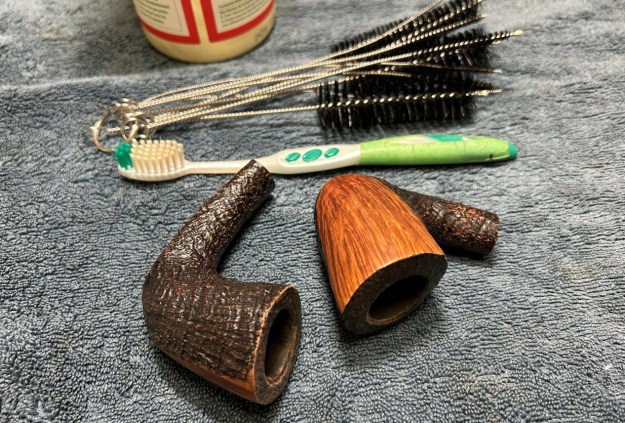 I used several of the micromesh pads to sand the smooth sections of the stummels and finish them off. This sanding minimizes flaws in the briar and provides a beautiful smoothness to the wood. I rubbed some LBE Before & After Restoration Balm into the briar and let them sit for 30 minutes or so. The balm moisturizes the wood and gives a beautiful depth to the briar. I then buffed the stummels with a microfibre cloth.
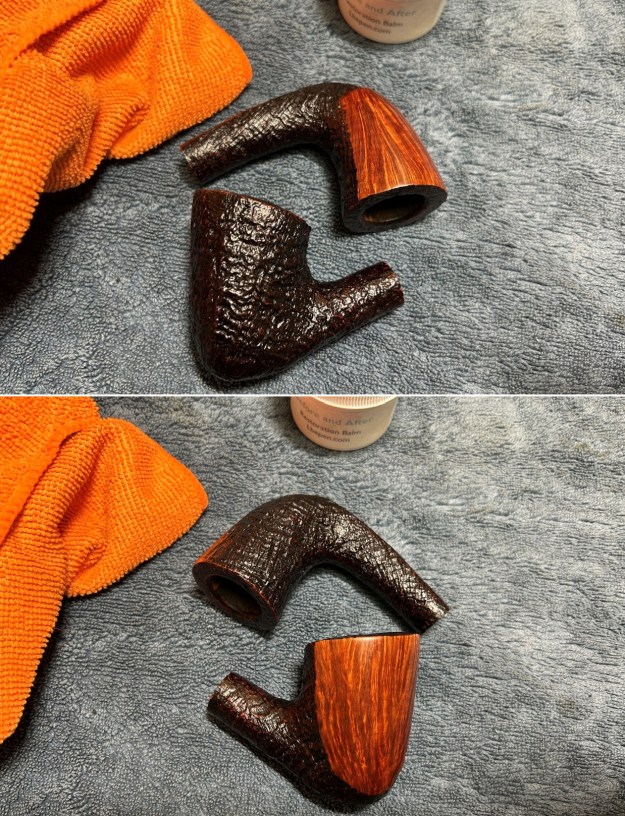
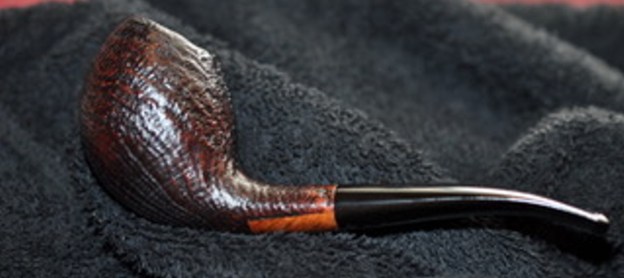
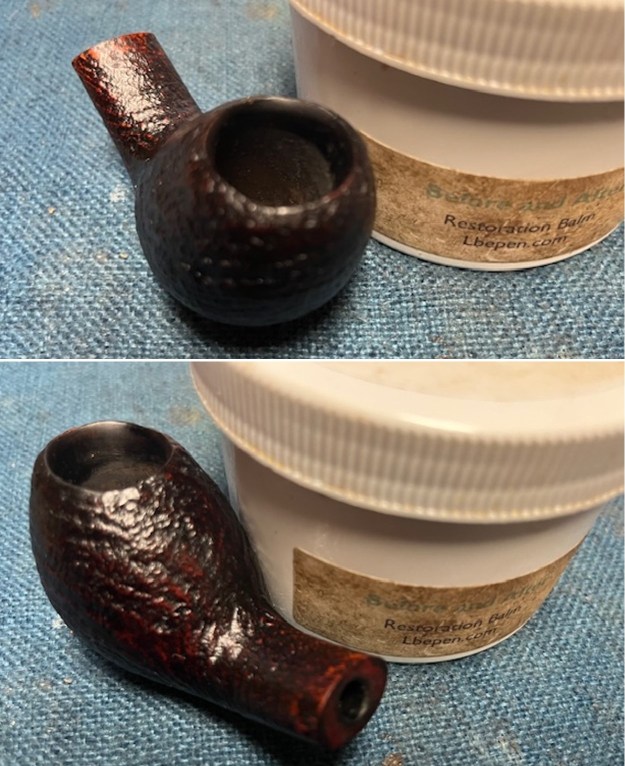
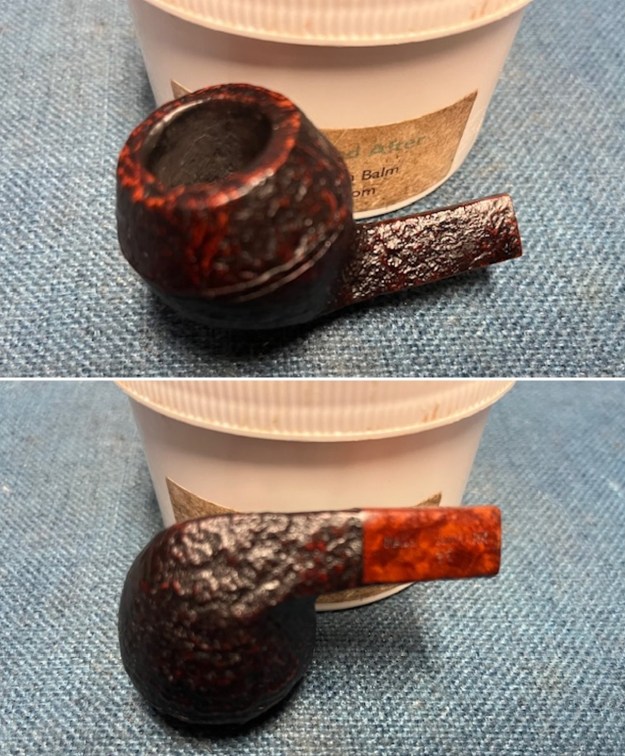
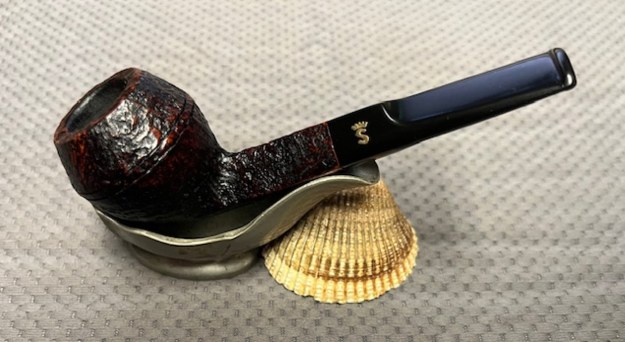
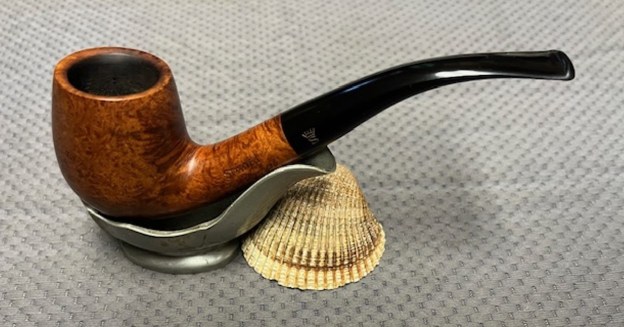
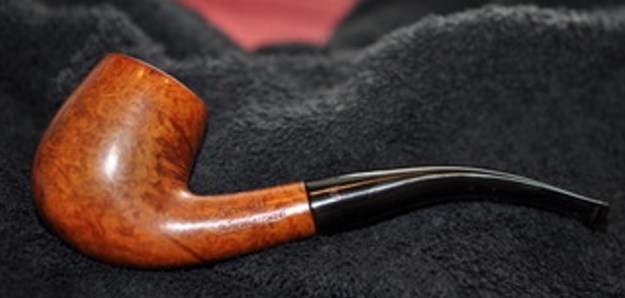
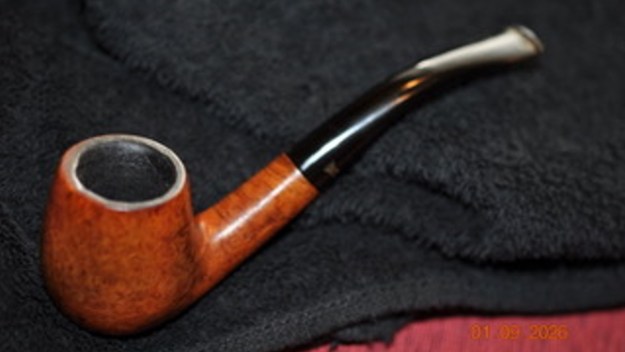
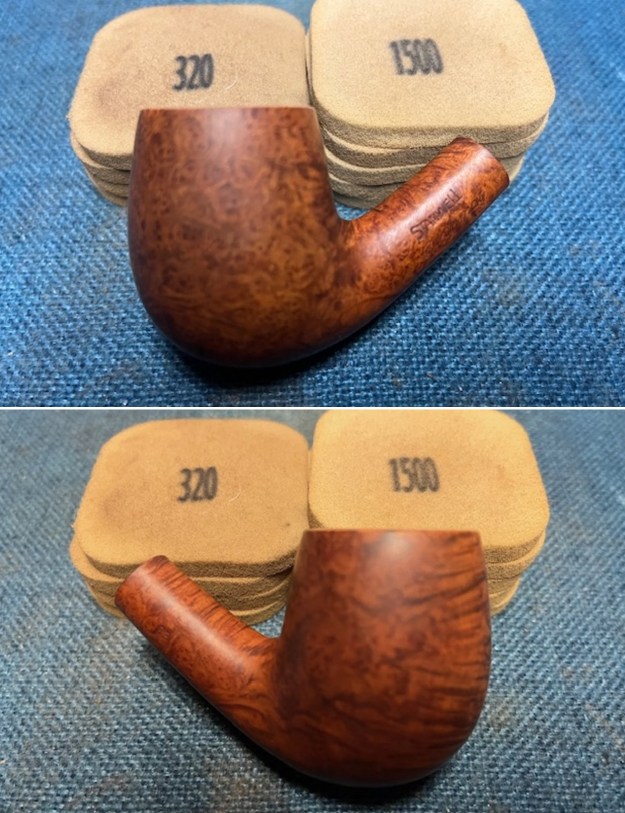
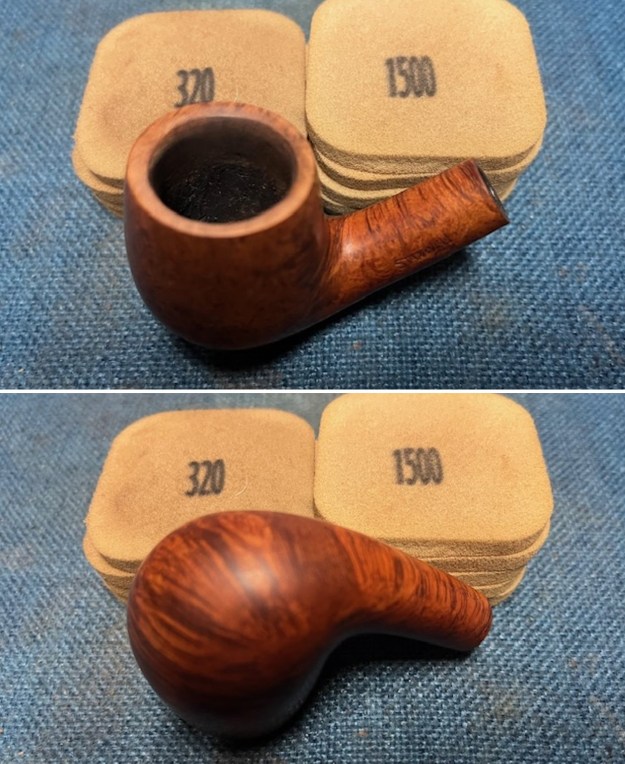
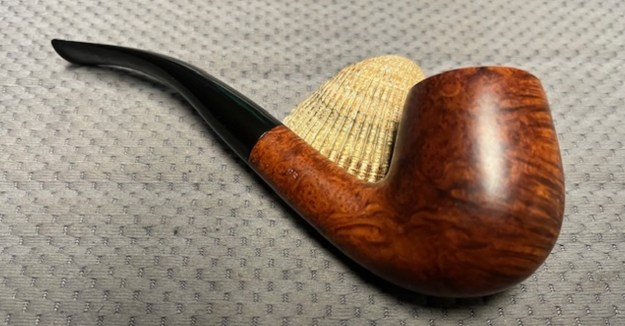
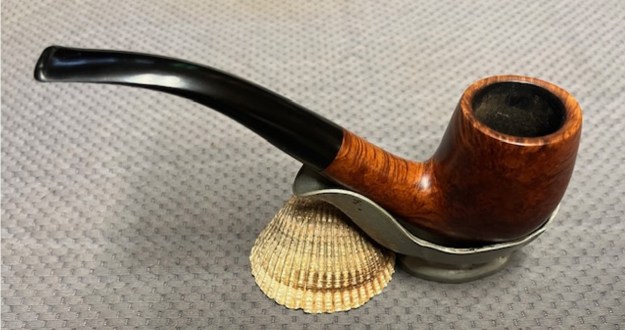
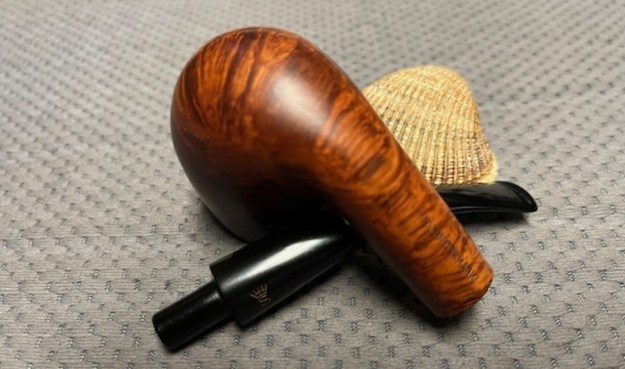
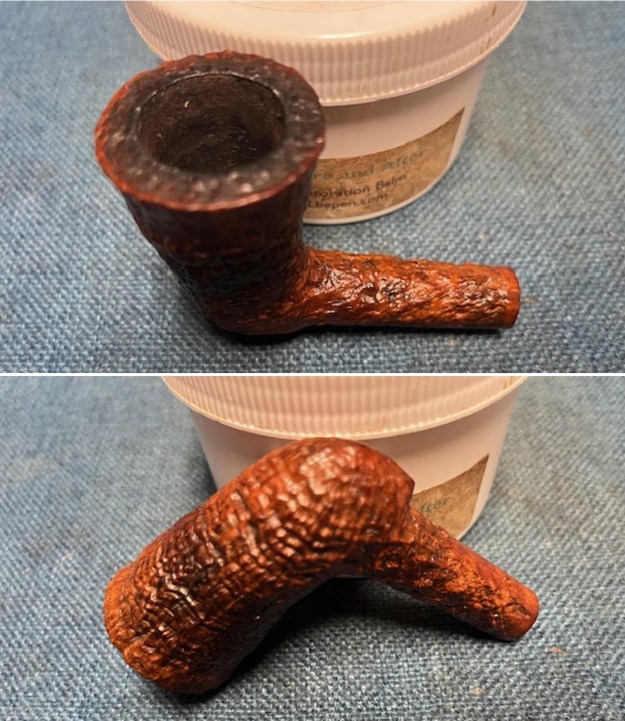
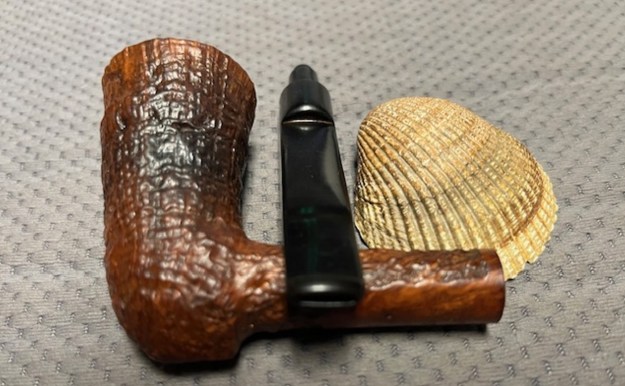
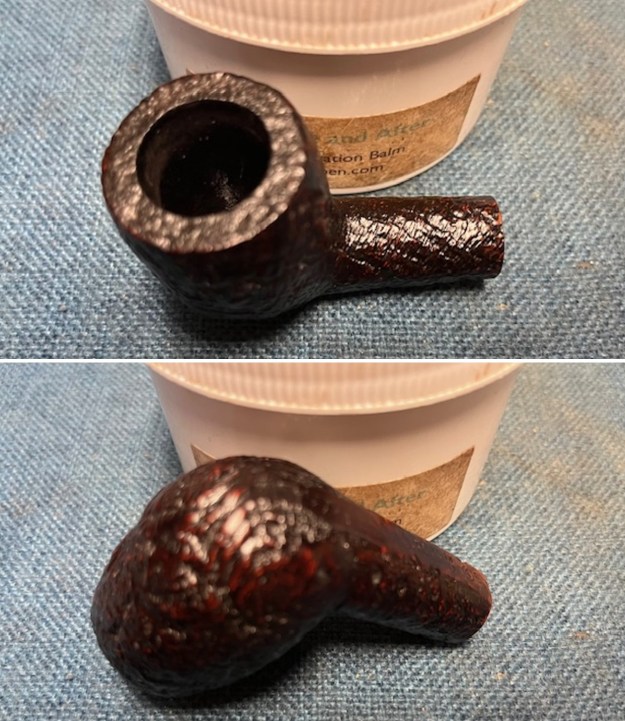
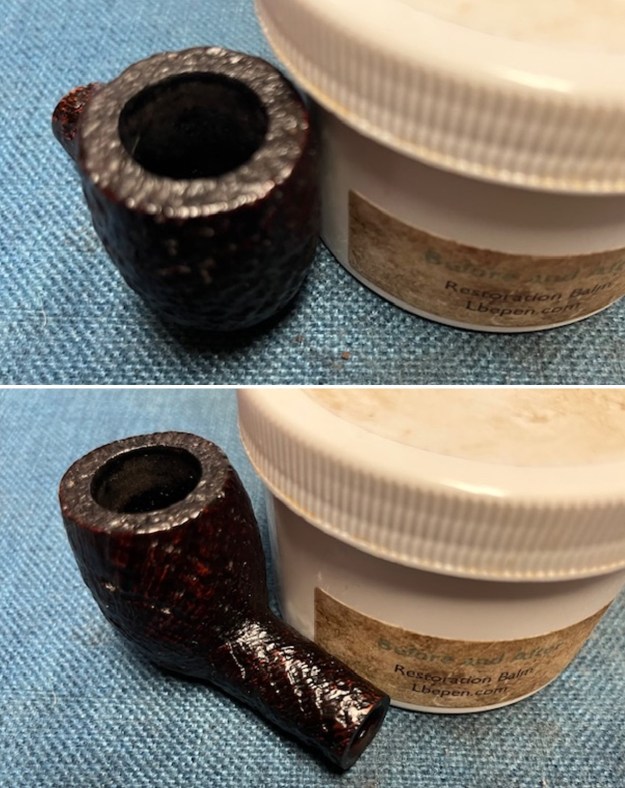
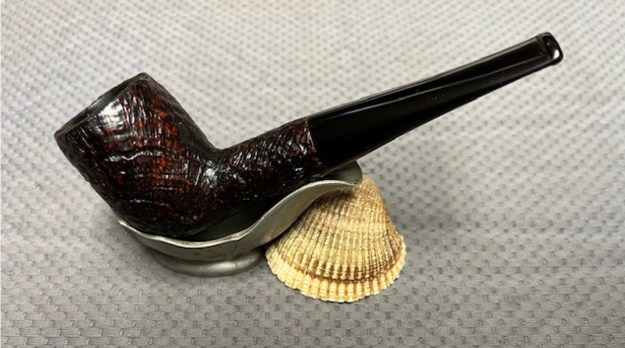
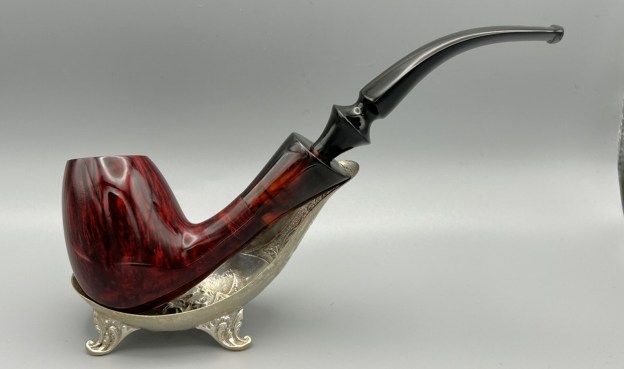
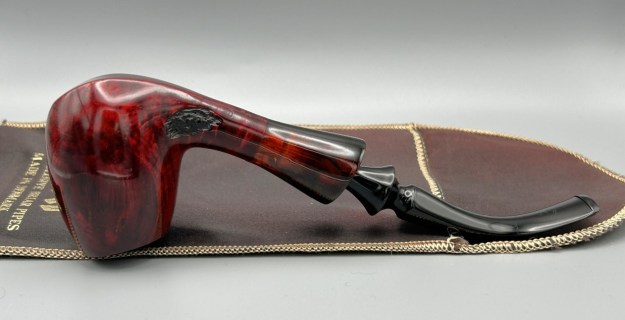
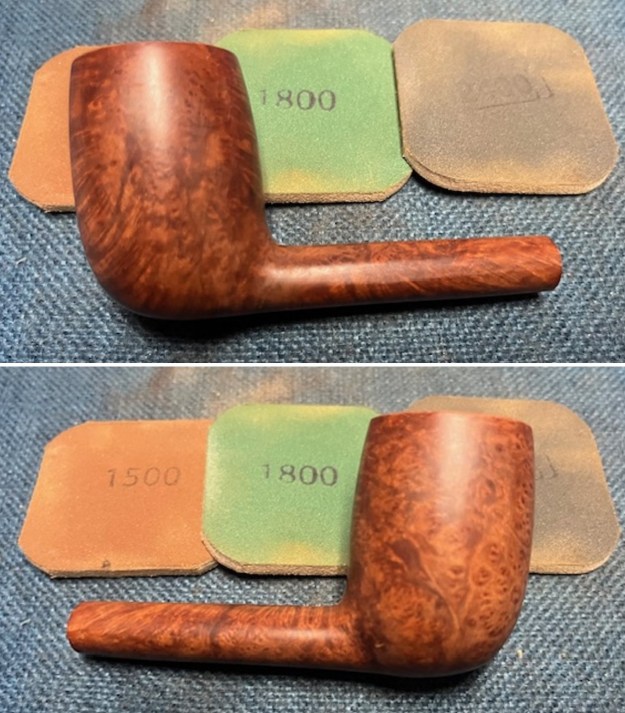
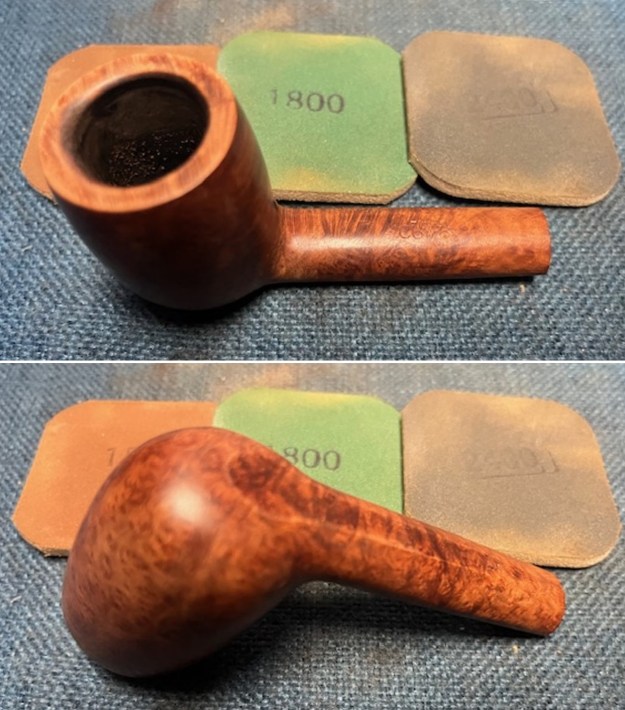
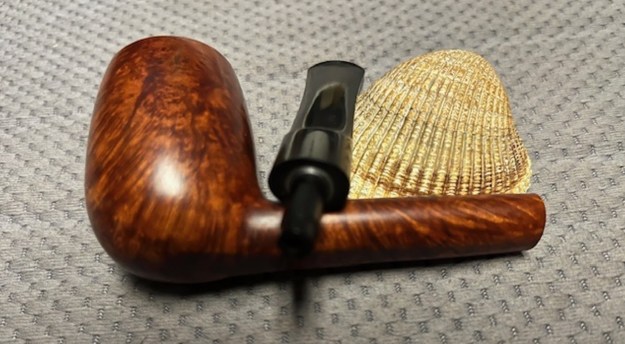
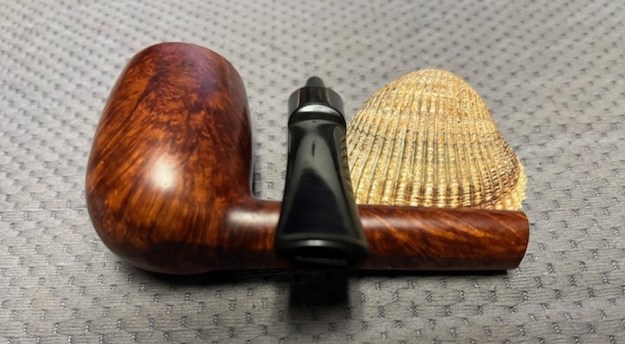
 For the final step, I took the pipes to my bench polisher and carefully buffed them – first the stems with a blue diamond compound, then the stummels with three coats of carnauba wax. This procedure makes the pipes look their best – the stummels sing and the stems glow.
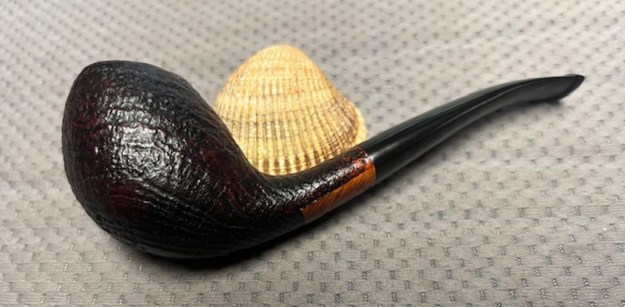
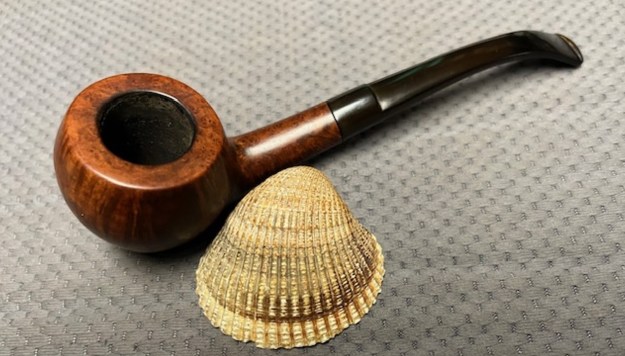
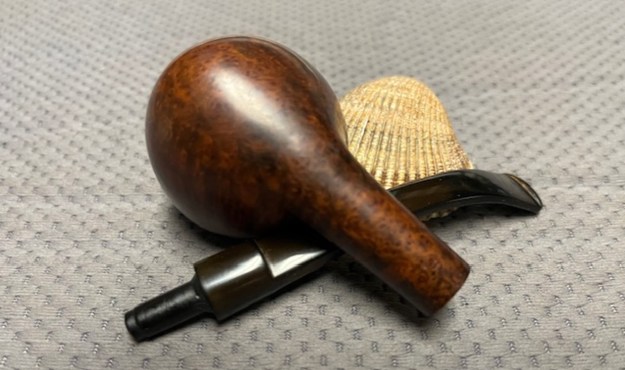
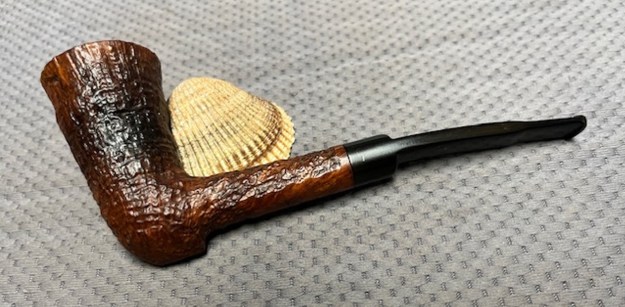
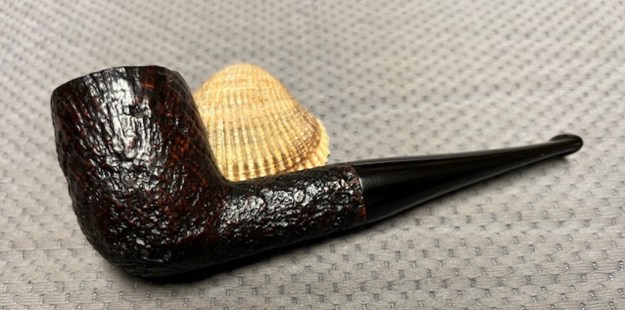
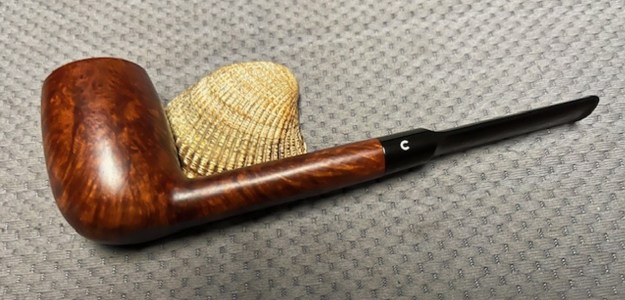
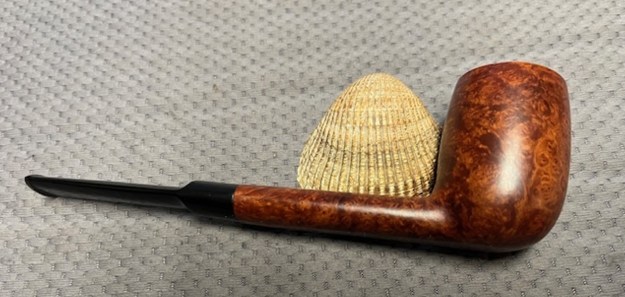
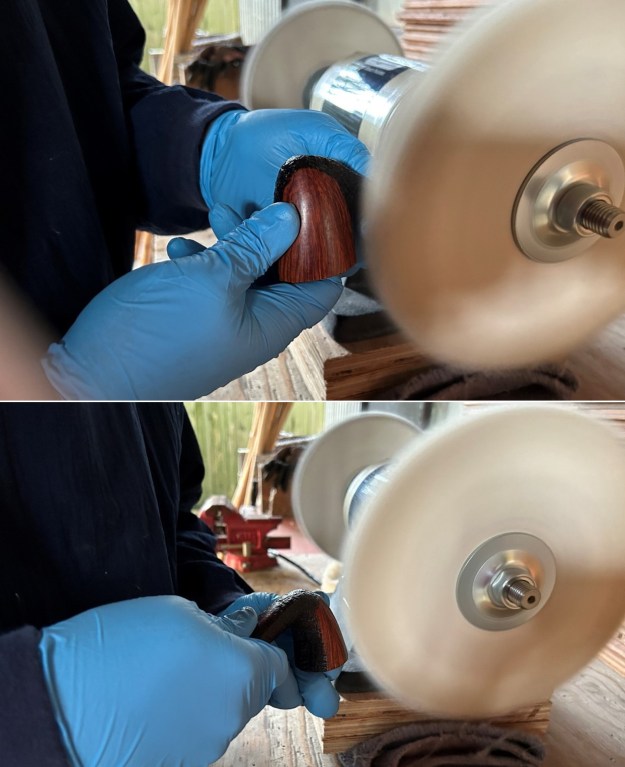 All done! This pair of Savinelli Hand Made pipes (horn and Dublin) are ready to be enjoyed by their next owner. I am pleased to announce that these pipes are for sale! If you are interested in acquiring them for your collection, please have a look in the ‘Italian’ section of the store here on Steve’s website. You can also email me directly at kenneth@knightsofthepipe.com. The approximate dimensions of the horn are as follows: length 6⅛ in. (157 mm); height 2¼ in. (58 mm); bowl diameter 1½ in. (38 mm); chamber diameter ⅞ in. (22 mm). The weight of the pipe is 1⅝ oz. (47 g). The approximate dimensions of the Dublin are as follows: length 5¾ in. (145 mm); height 2½ in. (63 mm); bowl diameter 1⅔ in. (42 mm); chamber diameter ⅞ in. (22 mm). The weight of the pipe is 1⅞ oz. (56 g). I hope you enjoyed reading the story of these pipes’ restoration as much as I enjoyed restoring them. If you are interested in more of my work, please follow me here on Steve’s website or send me an email. Thank you very much for reading and, as always, I welcome and encourage your comments.