Blog by Steve Laug
This past week I received an email from a fellow named George. He was hunting for a specific Kirsten Pipe that he wanted as a gift for his son. I am including his first correspondence with me about the pipe.
Hi Steve
I am inquiring about the Kristen Companion K Straight Pipe. I read the posting on this pipe and am wondering if there is any place where I can purchase this style pipe. My father had and used this style pipe. It was his favorite of all the pipes he had. He had purchased it because the bowl was replaceable. He was very poor growing up, coming out of the Depression and WWII times and every penny counted. Having a pipe that he could replace just the bowl and not have the expense of purchasing the entire pipe appealed to him. My son is looking for this pipe to remind him of his grandfather and I want to find one for my son. Any leads you could provide me would be deeply appreciated. Thank you.
I wrote him back and sent him a picture of an anodized Kirsten Companion K and polished aluminum Kirsten K both of which I had here in my clean up queue. I asked him to have a look and get back to me on whether one or both would fit his needs. He wrote me back and gave me a bit of the back story on the pipe he was seeking. I have included a portion of that email below.
Hi Steve,
Thank you so very much for getting back to me. As with any pipe, there is always a back story, but I will only relate the Reader’s Digest version. I have a son who remembers his grandfather’s (my dad’s) pipe of this style and regrets that he was only 14 and too young to speak up and get one of my dad’s pipes when he passed in 1982. I am trying to surprise my son with this replica of my dad’s favorite pipe. I am thrilled you have two of this style and are willing to sell one or both… I do like the bowl on the lower one better since my dad had only very plain bowls…
George
I corresponded with George and answered his questions regarding the difference on the two pipes and he wrote back with his choice. I quote from that email as follows.
Steve,
Thank you for your reply and your clear explanation of the difference in the pipes. I would be interested in the smooth finished as that is the type pipe my dad had. The less ornate, smooth finished, brown bowl would be the one I would like. Please keep my informed, but there is no rush on getting the pipe to me as I want to send it to my son on my father’s birthday which was on 18 February… Thanks for your help in doing this for my son and my dad’s memory.
George
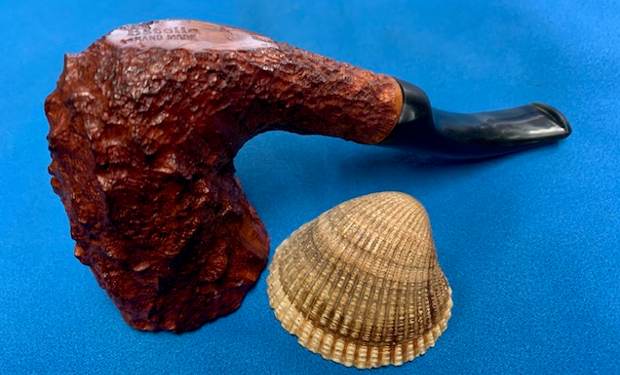
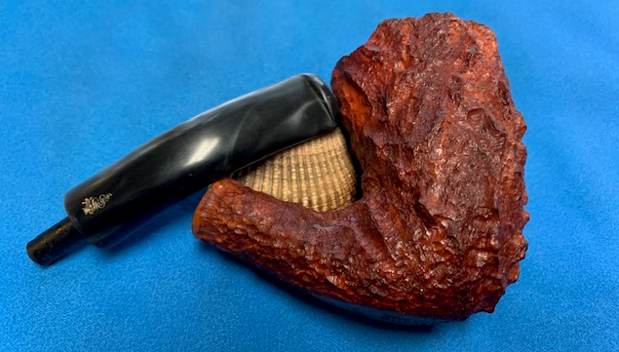
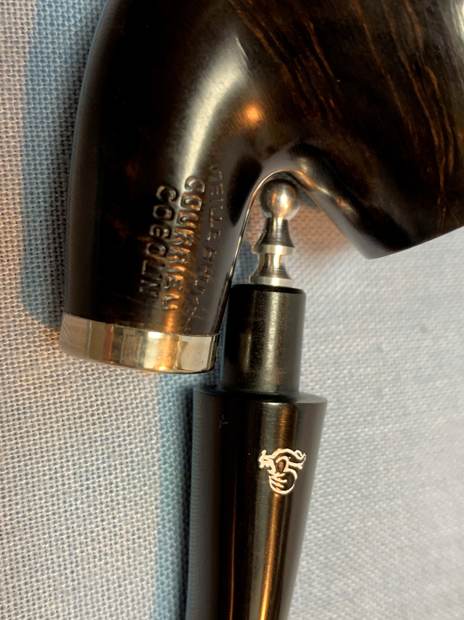
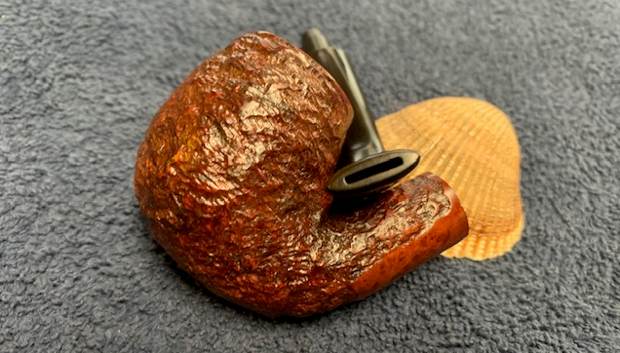
With his choice made I knew what pipe I was working on next – a Kirsten metal pipe with a smooth briar Dublin bowl with carvings around the smooth finish. It is stamped on the left side of the shank, Kirsten in a cursive script. On the underside it is stamped Made in U.S.A. – K.
Here is some background information on the brand. These pipes were made for a long period of time in the Seattle, Washington area of the US. They came in four generations or iterations – Generation 1, 1.5, 2 and 3. The stamping on this one, the absence of a metal cap to hold the bowl, and the presence of the rubber O rings on the metal valve and on the stem insert, point to it being a Generation 1.5 pipe or a transitional one.
I am thankful to Dave Whitney for the information he provided for an earlier blog on Kirstens to help date this pipe (https://rebornpipes.com/2012/11/03/kirsten-generation-1-1-5-2-3/). The blog gives following information on the Generation 1.5 – transitional period – mid to late 50’s.
This was an experimental stage. Kirsten realized that the bit and insert were prone to seizure as the condensate dried. This model always has O-rings on the metal insert, and later models can have O-rings on both. Same markings, as I remember it. There is no metal cup spacer under the bowl. This generation has O rings either on the valve or mouthpiece but no O rings on the other end. This transitional period is stamped “Pat. Pending” and “Pats. & Pats. Pending” some with “Made in U.S.A. It seems like the company was using surplus parts to combine into this series of pipes. This particular pipe is stamped K after the U.S.A. thus making it a Companion.
With that I knew that the Kirsten K I was working on was a Companion (what George had asked for). It was made from the mid to late 1950s during the transitional period of Kirsten manufacture. It will be a great, smokable piece of both Kirsten history and George’s family history once it is finish. Now it was time to work on the pipe itself.
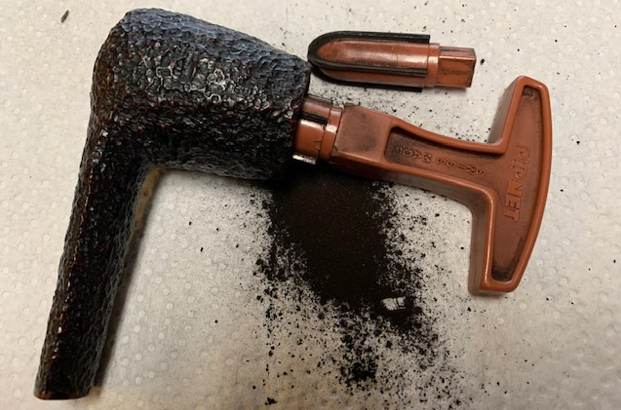
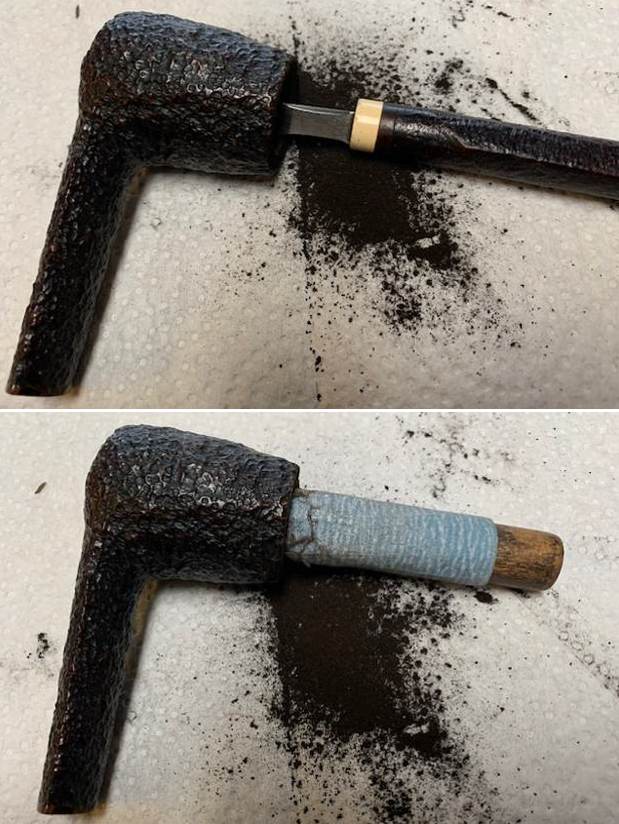
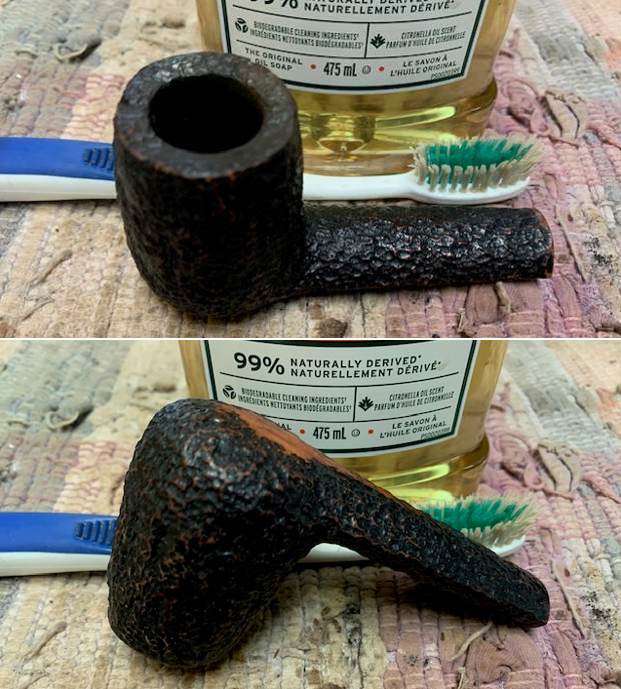
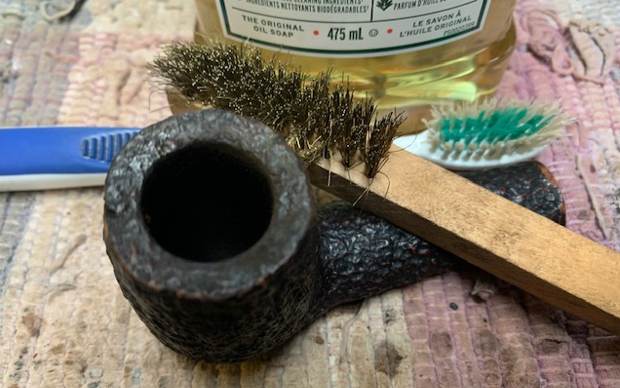
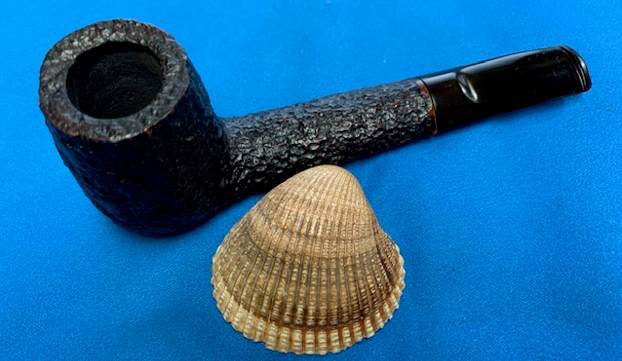
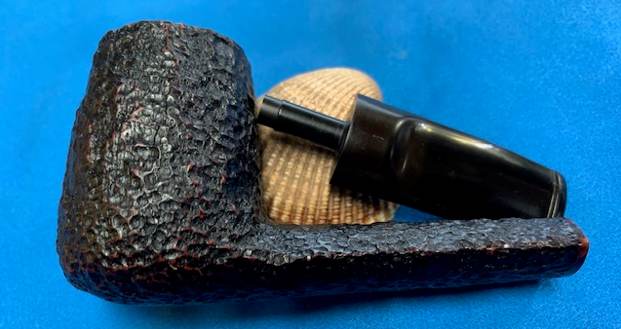
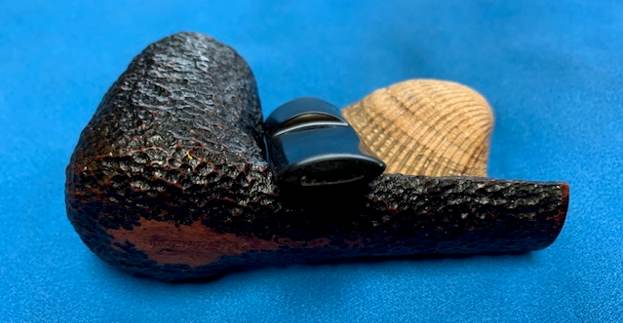
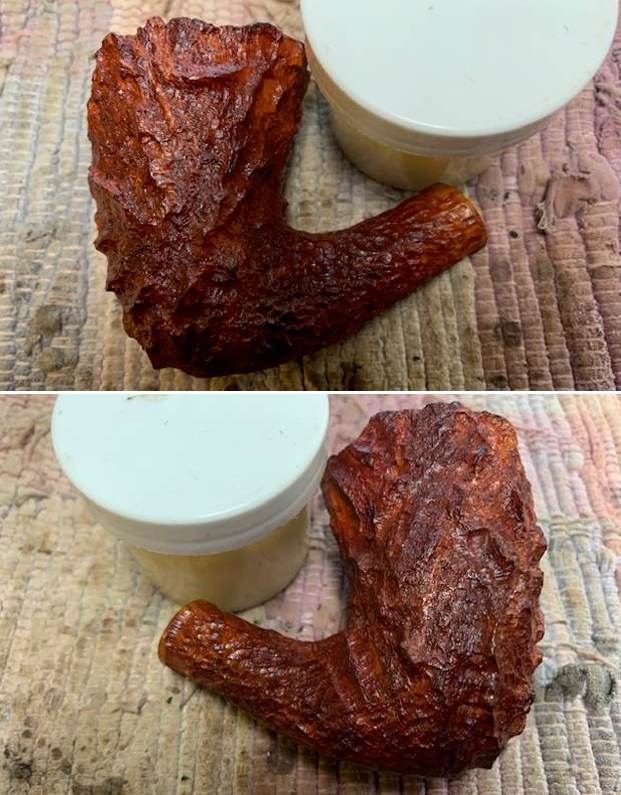
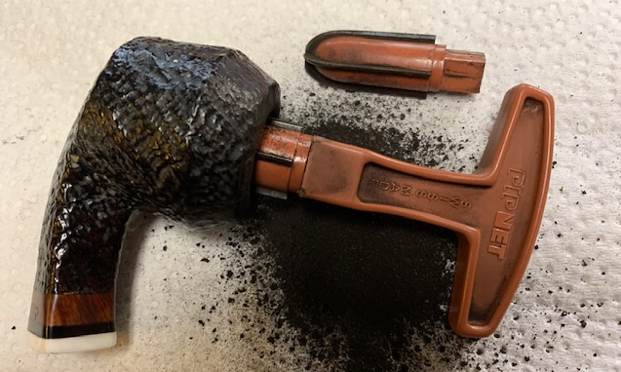
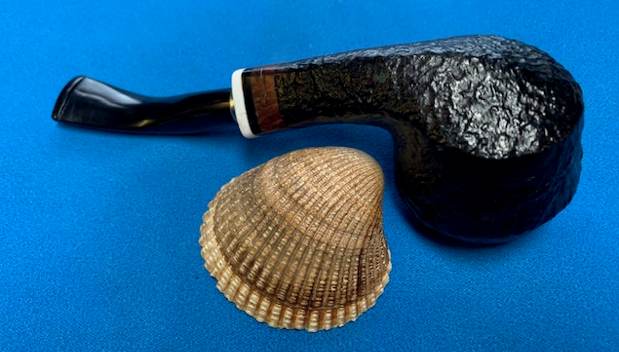
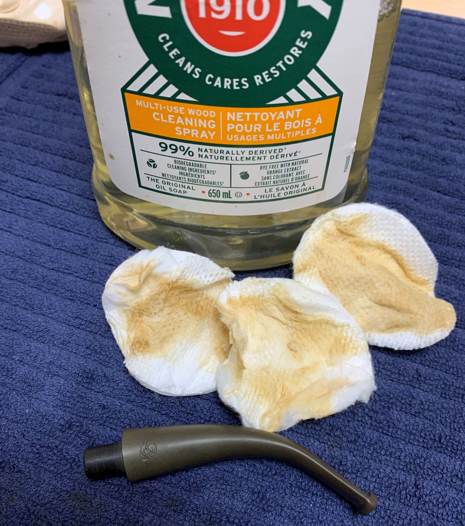
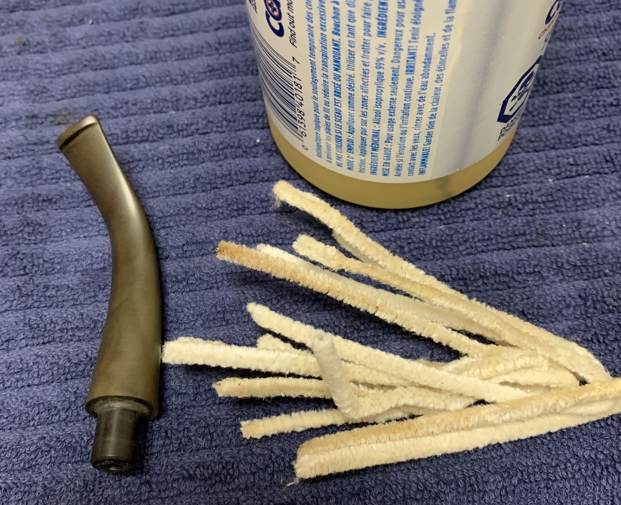
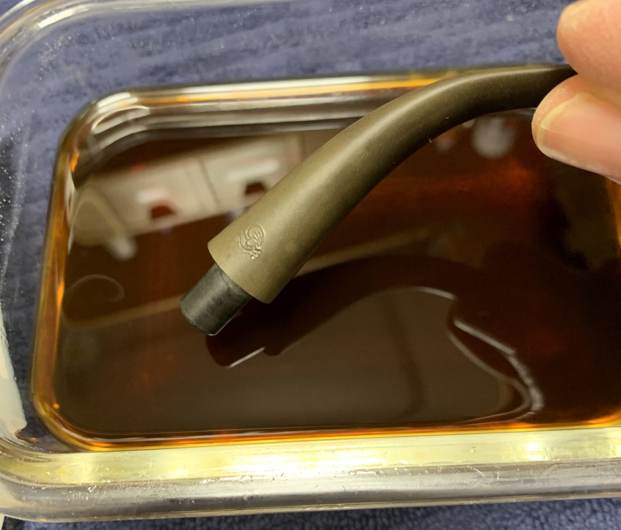
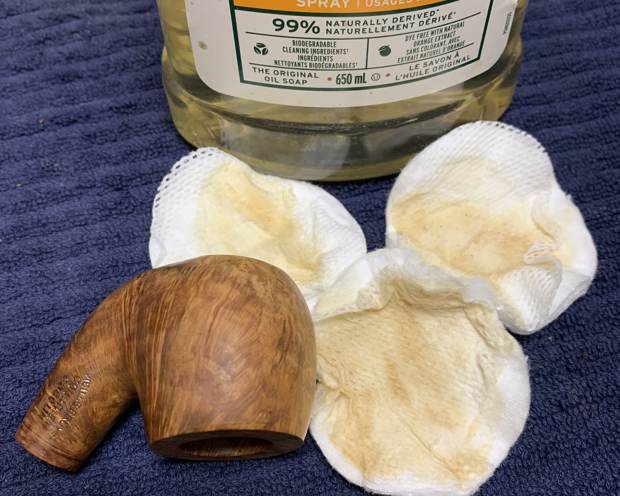
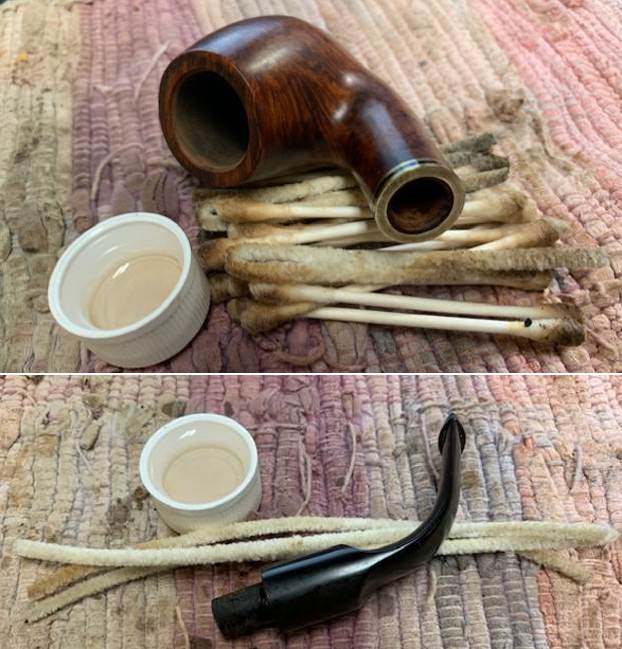
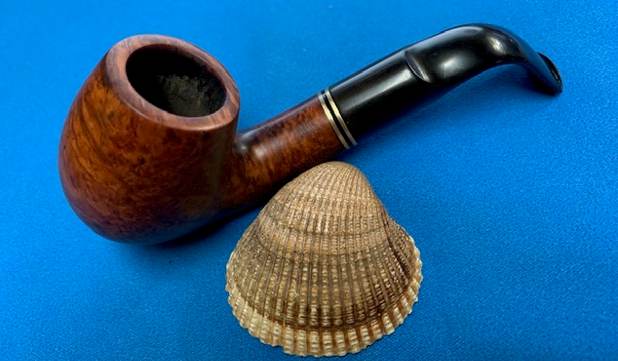
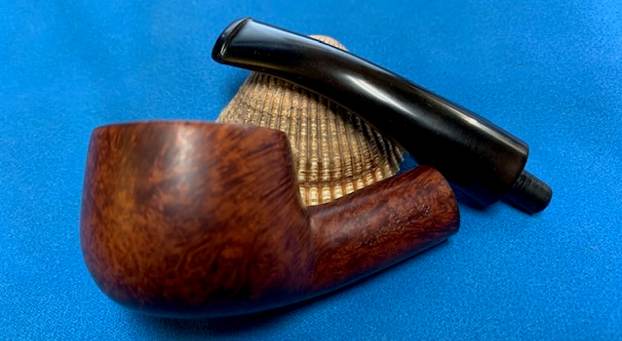
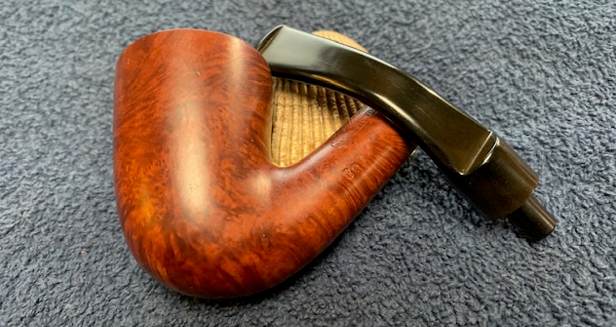
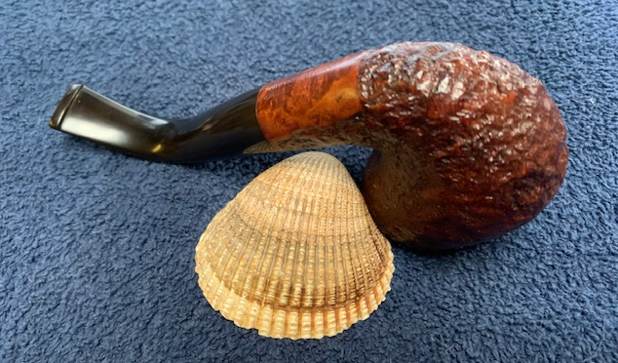
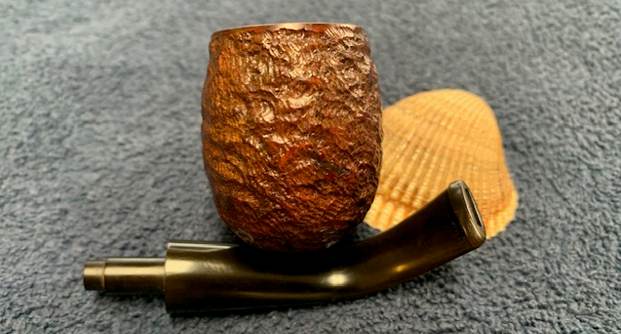
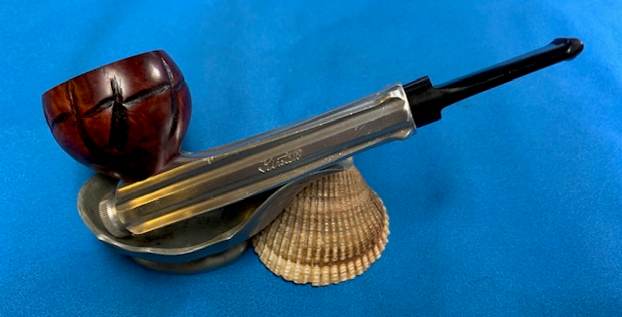
Somewhere along the journey of this pipe Jeff had done a great cleanup on the pipe. He reamed the bowl with a PipNet pipe reamer and followed up with a Savinelli Fitsall pipe knife to remove the cake. He scrubbed out the mortise and the airway in the shank and the stem with alcohol, cotton swabs and pipe cleaners. He scrubbed the bowl exterior and the aluminum barrel with a tooth brush and Murphy’s Oil Soap to remove the grime on the finish of the bowl and the lava from the rim top. He rinsed it under running water. One of the benefits of this scrub is that it also tends to lift some of the scratches and nicks in the surface of the briar. He dried it off with a soft cloth. He cleaned the internals and externals of the aluminum barrel and the vulcanite stem with alcohol, pipe cleaners and cotton swabs. He soaked the stem in Before & After Pipe Stem Deoxidizer and rinsed it off with warm water and cleaned out the airway in the stem with alcohol, pipe cleaners and cotton swabs. I took photos of the pipe as I saw it when I put it on the table. 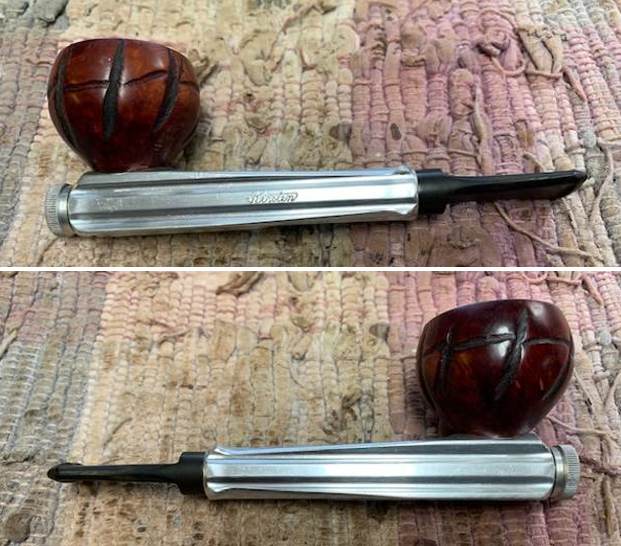
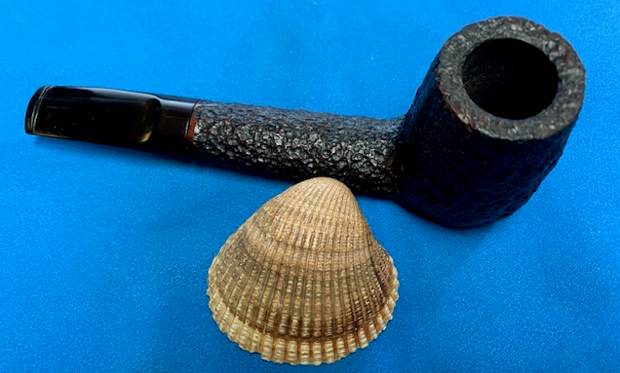
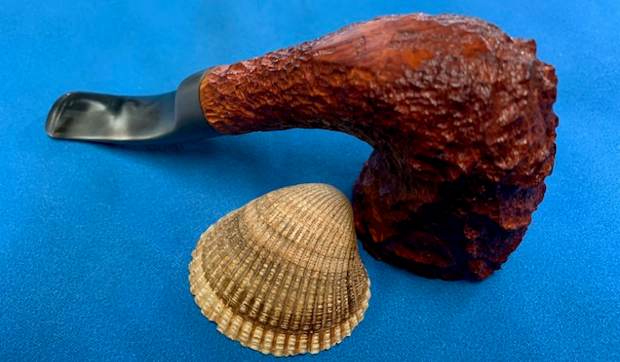
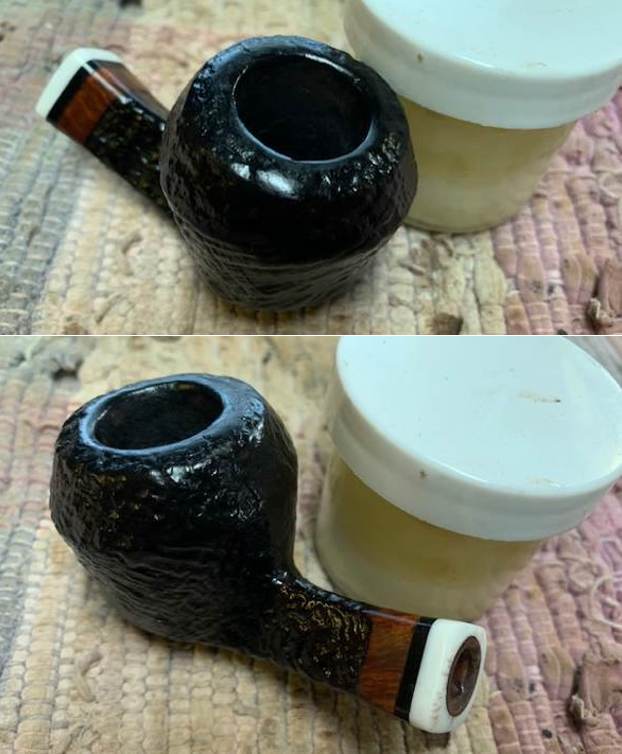
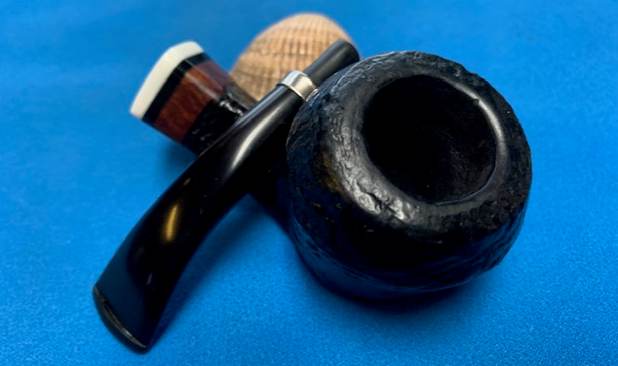
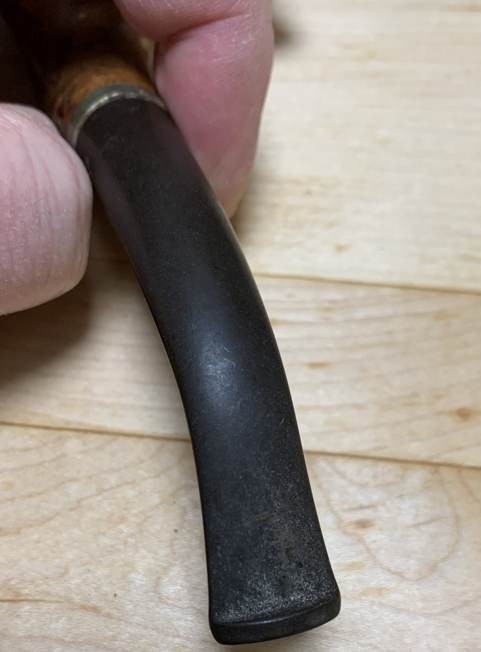
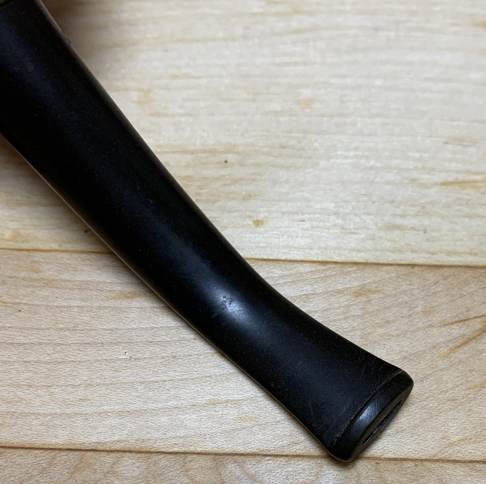
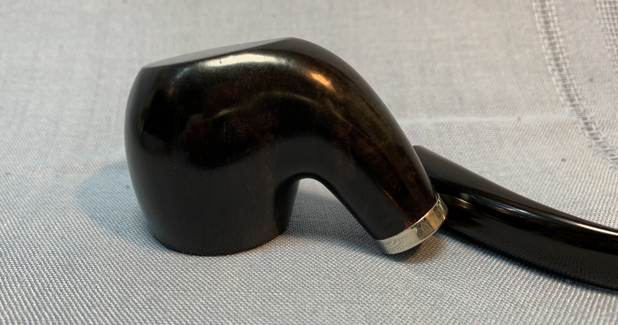
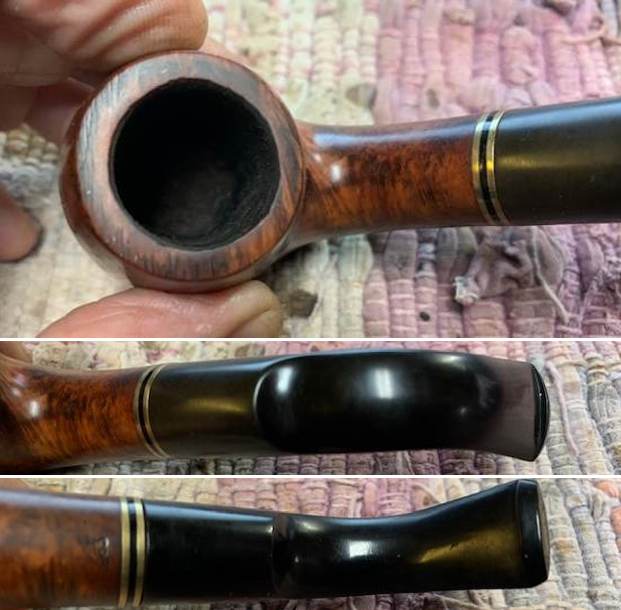
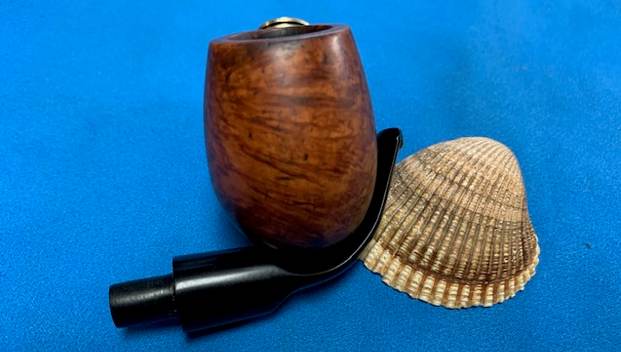
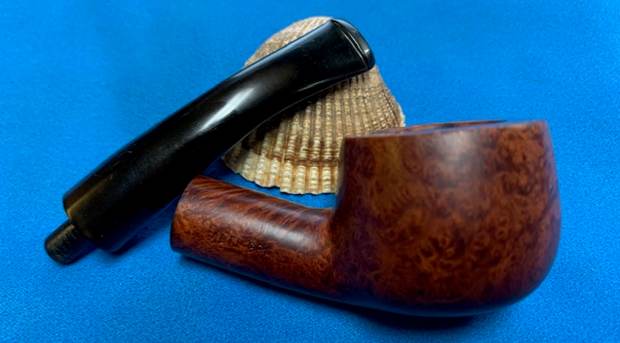
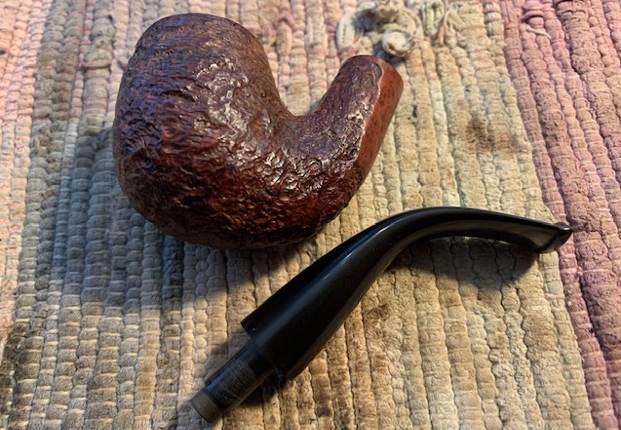
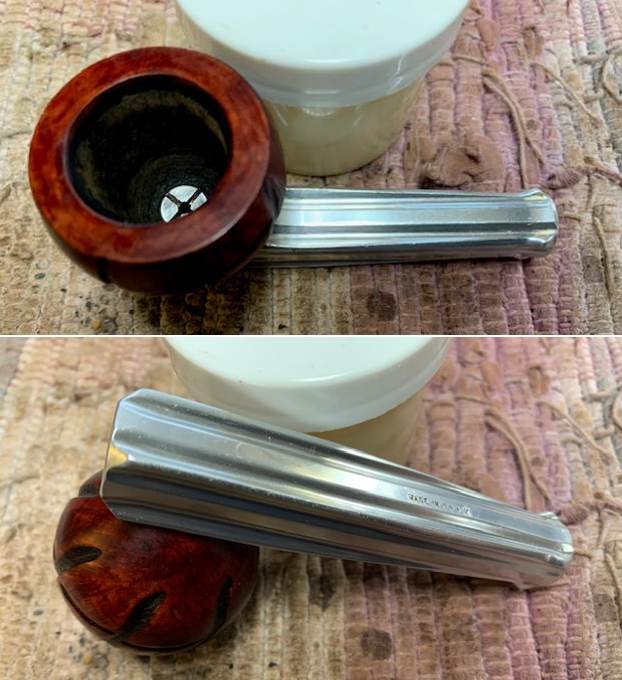
 I took photos of the rim top and stem to show the condition. The rim top and beveled edge looked amazing. The stem was vulcanite and there were tooth marks and chatter on both sides ahead of the button.
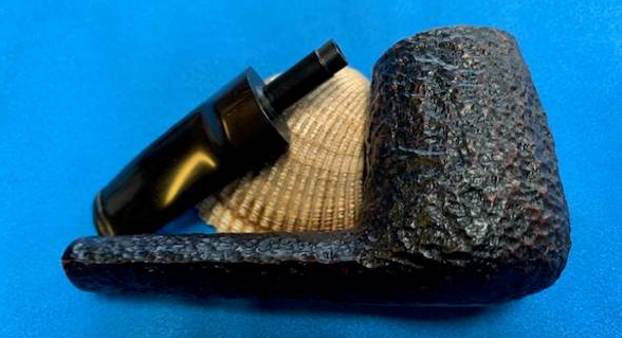
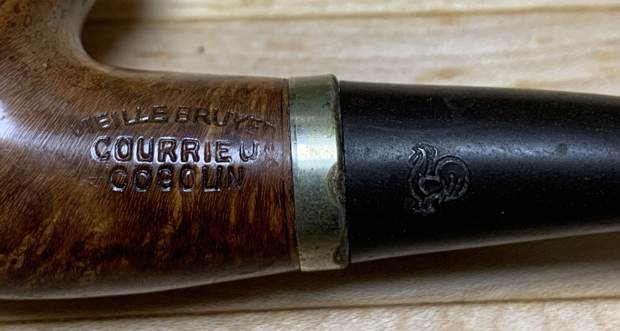
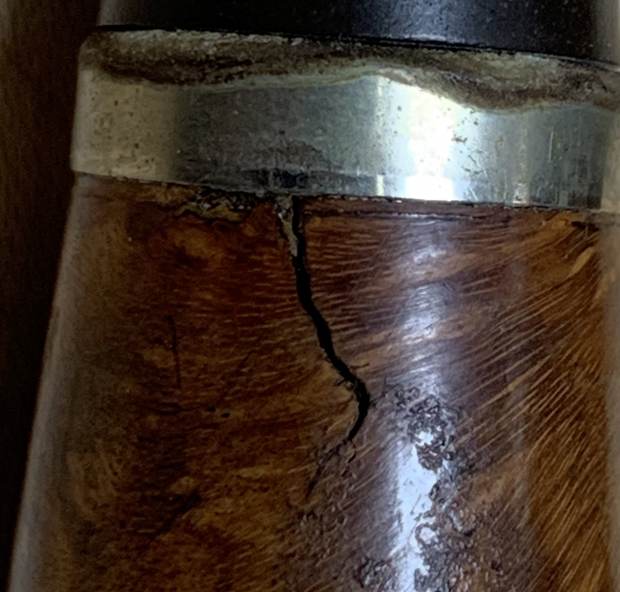
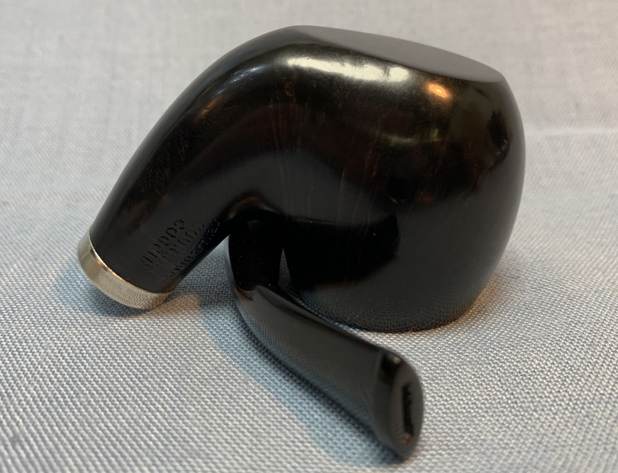
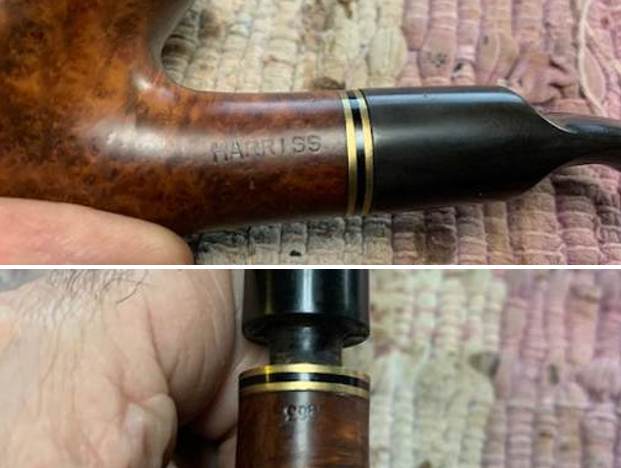
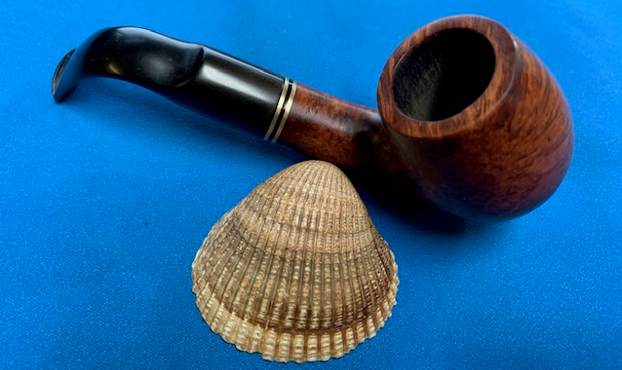
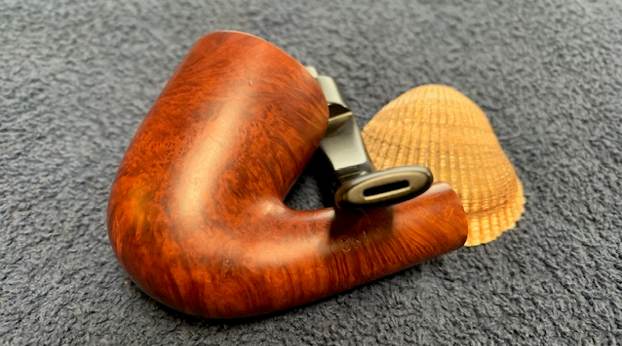
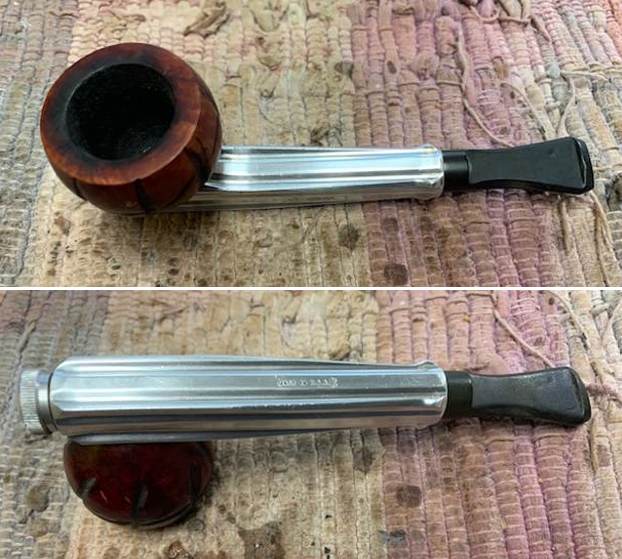
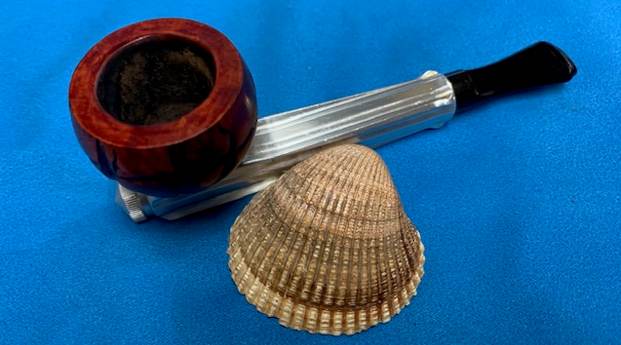
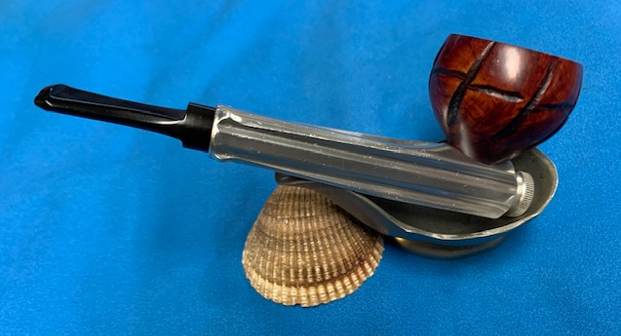
 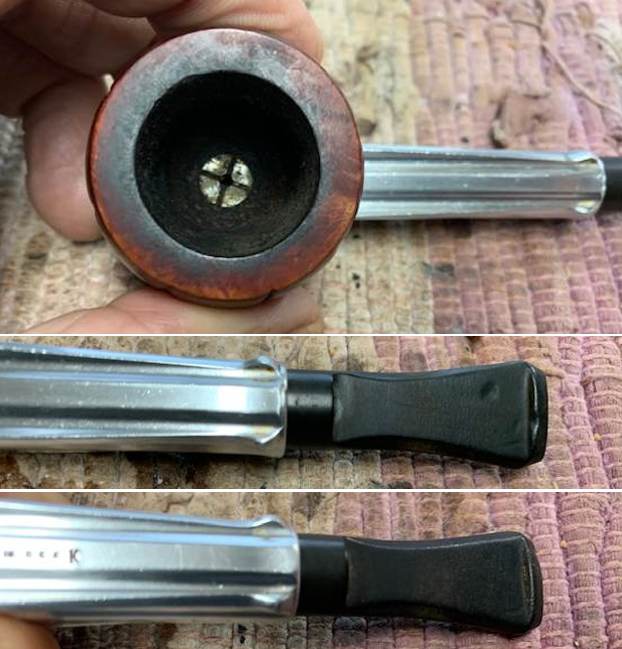 I took photos of the stamping on the sides of the aluminum barrel. They are clear and readable as noted above.
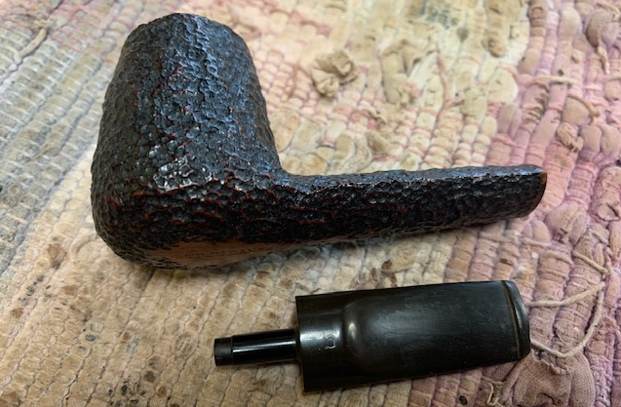
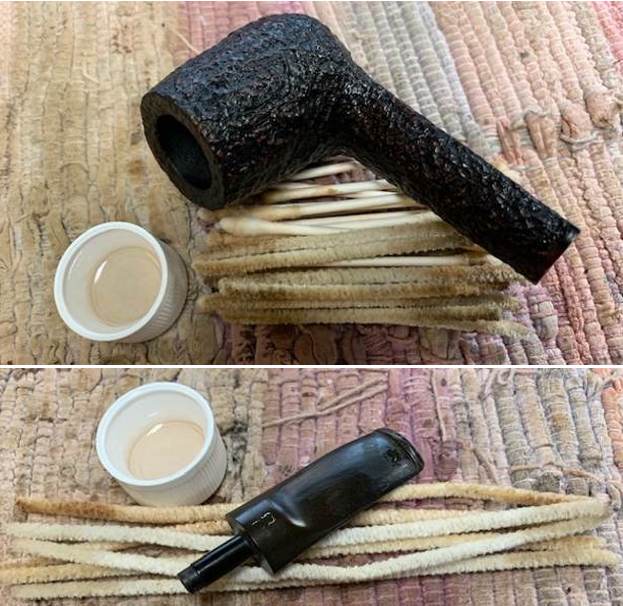
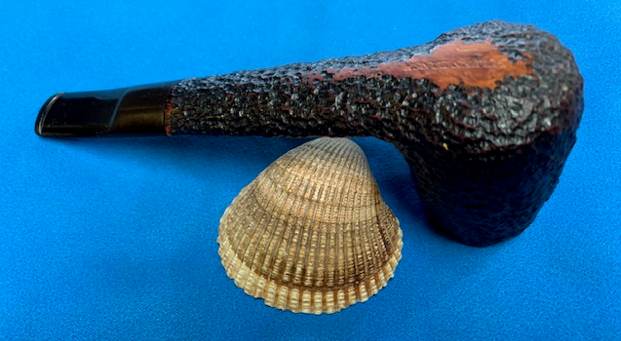
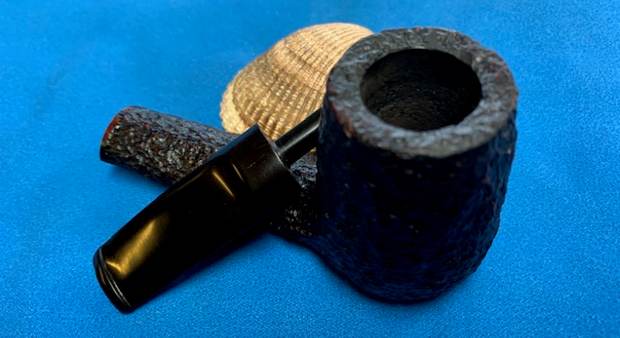
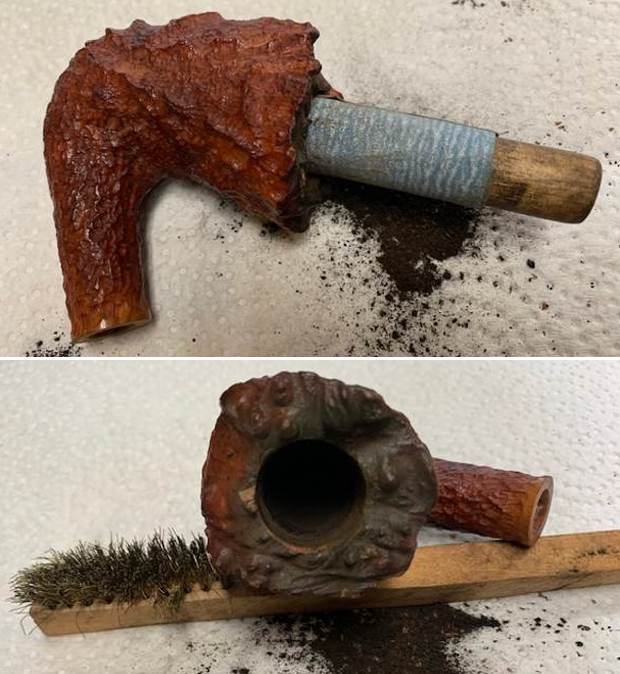
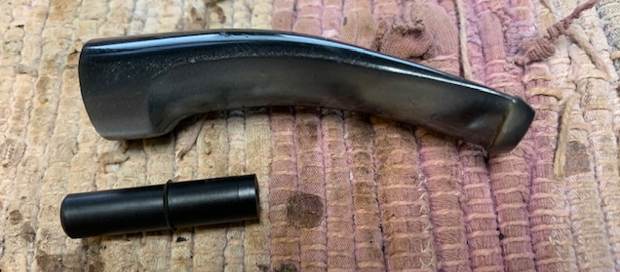
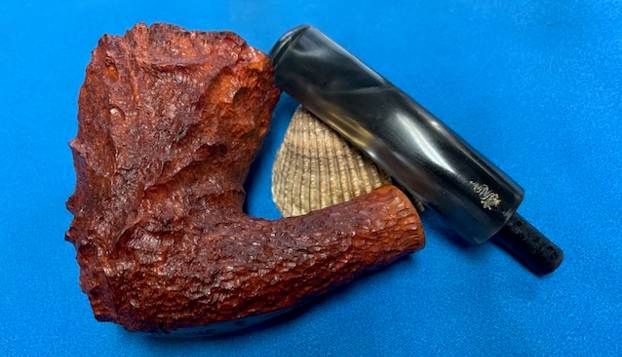
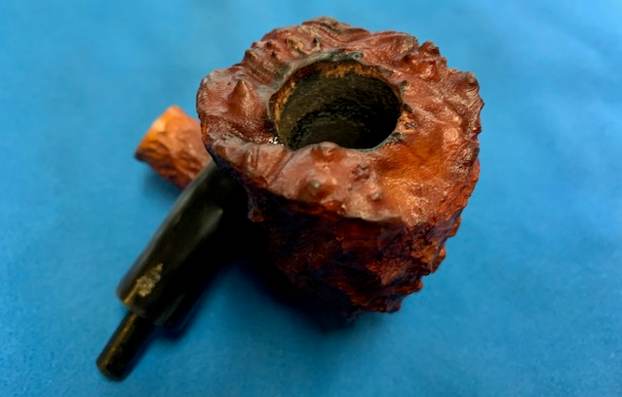
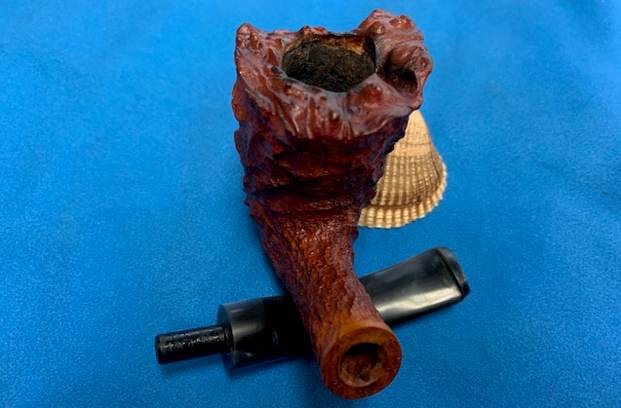
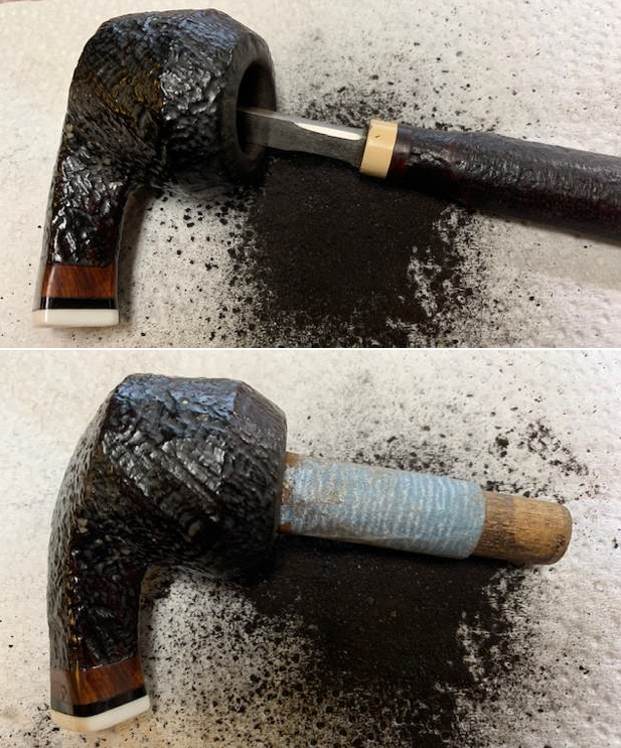
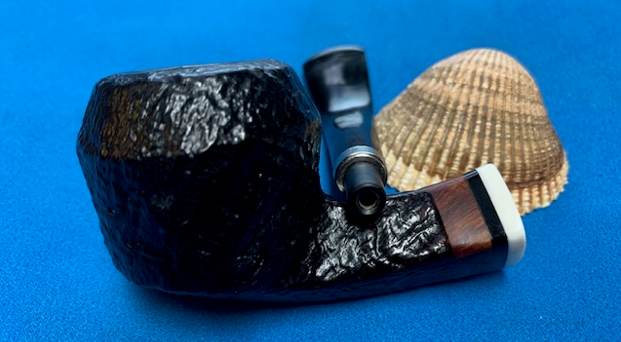
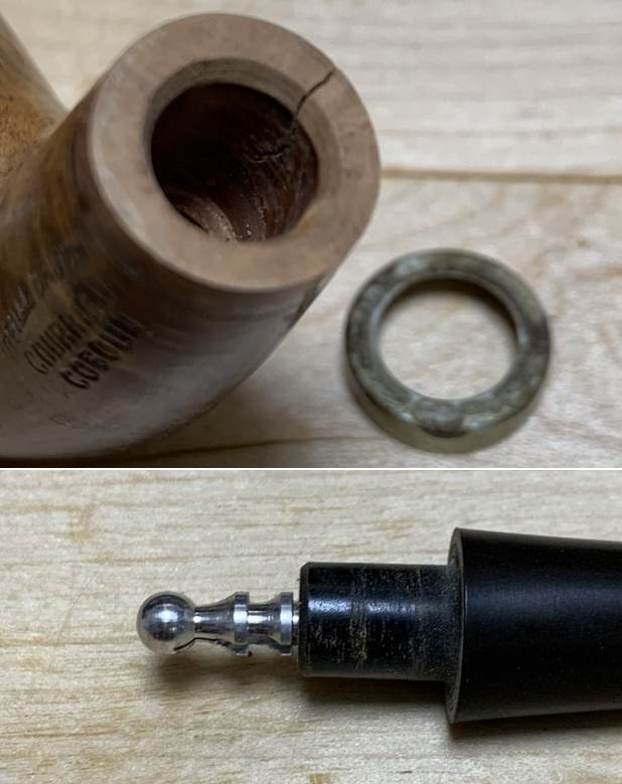
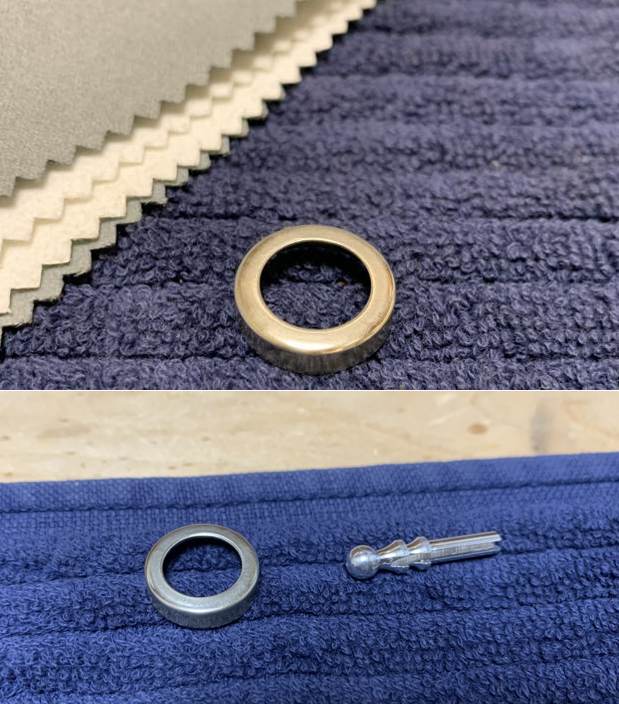
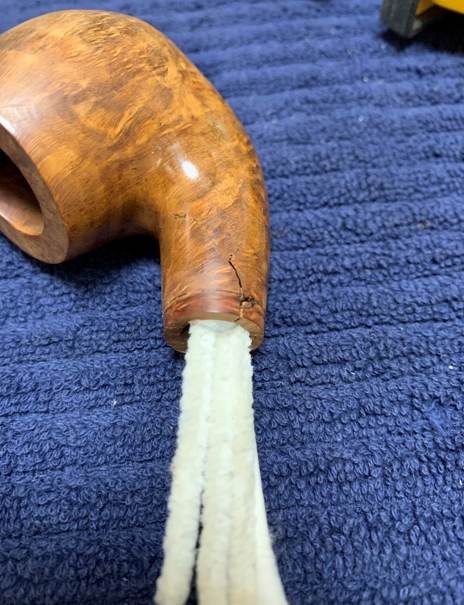
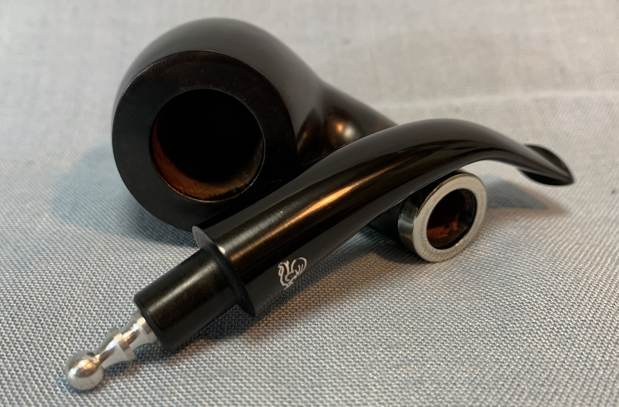
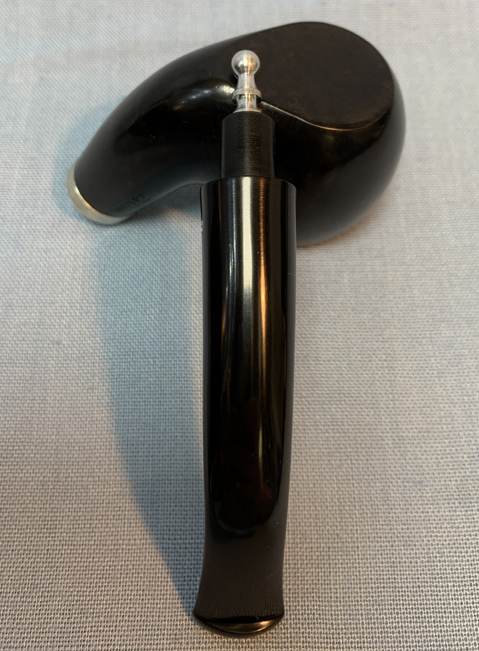
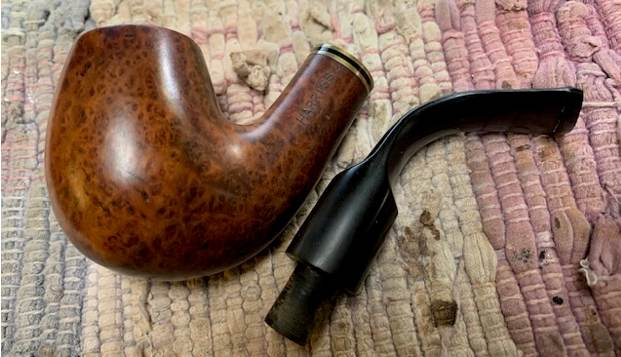
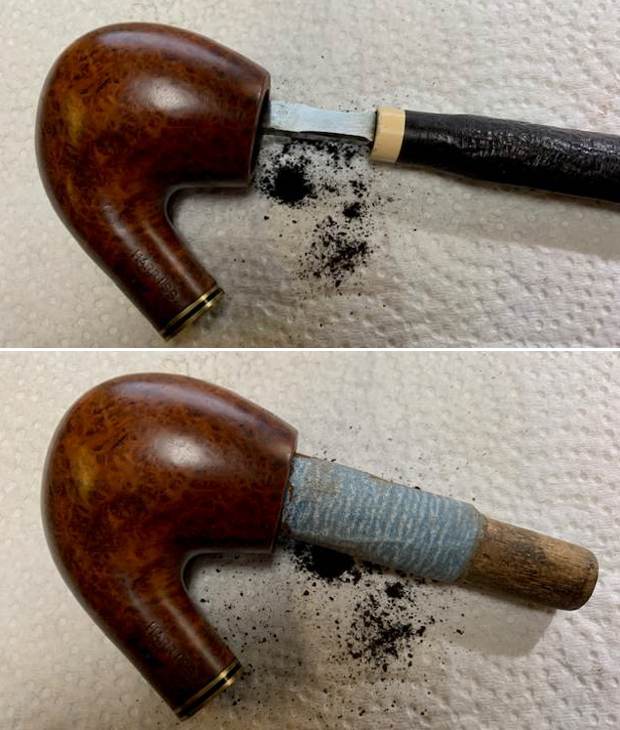
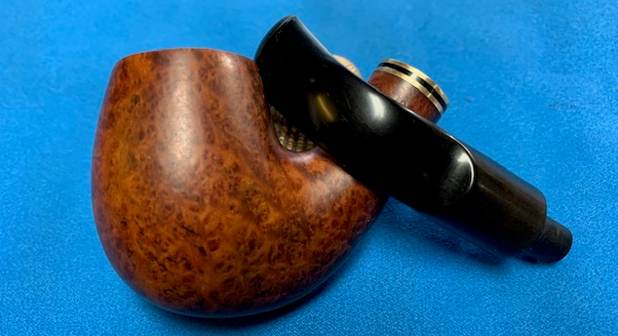
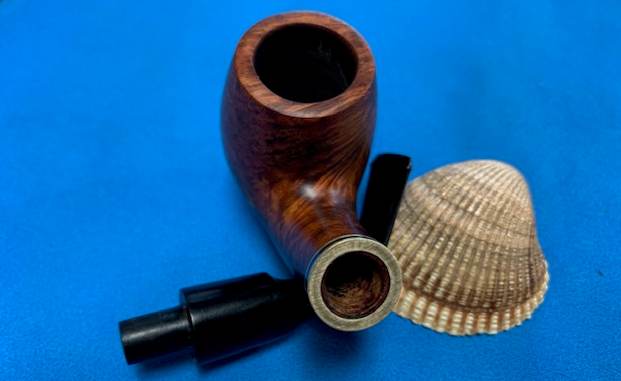
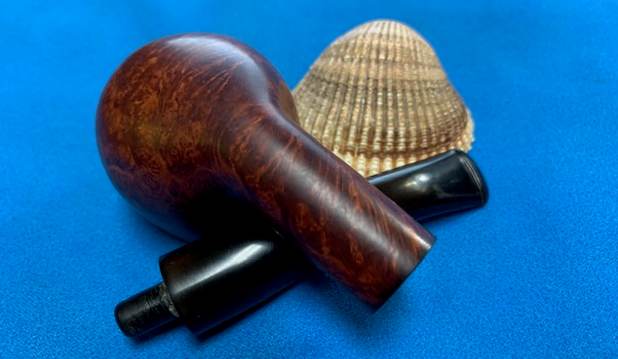
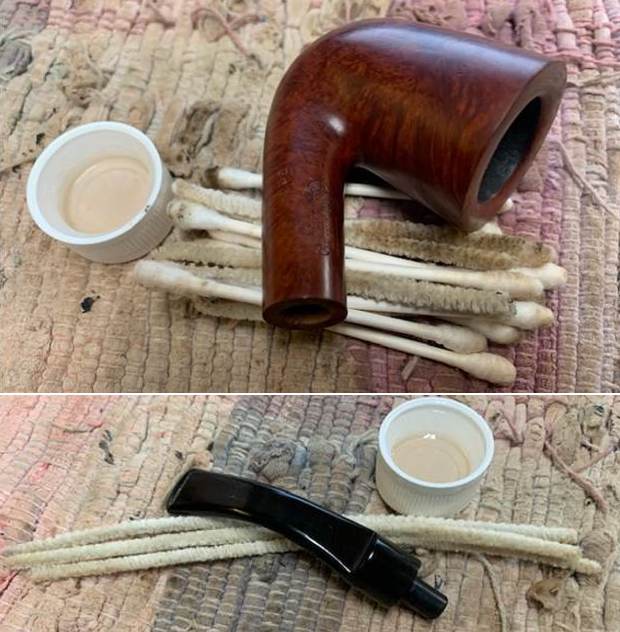
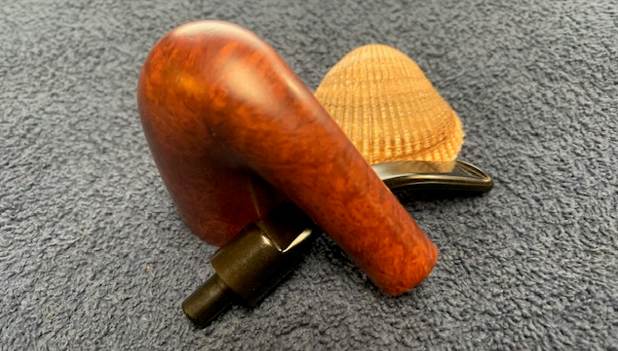
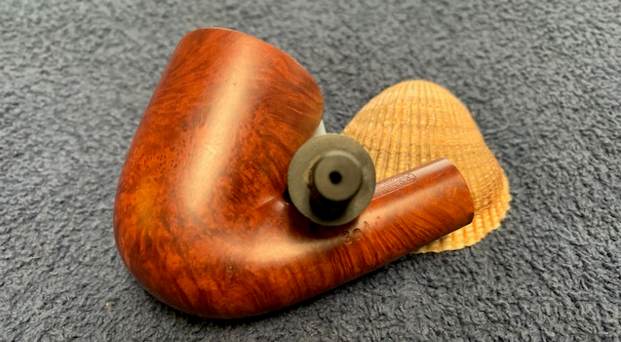
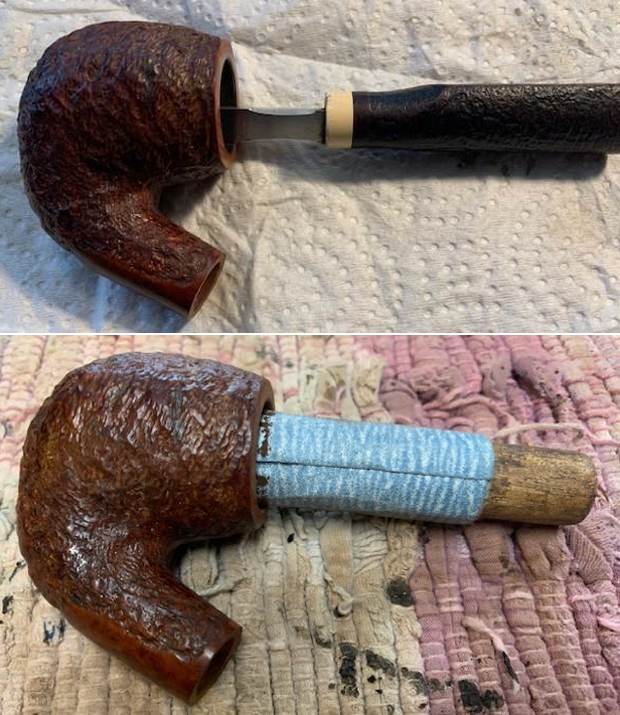
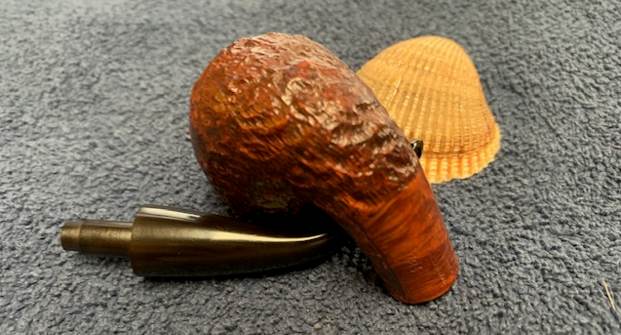
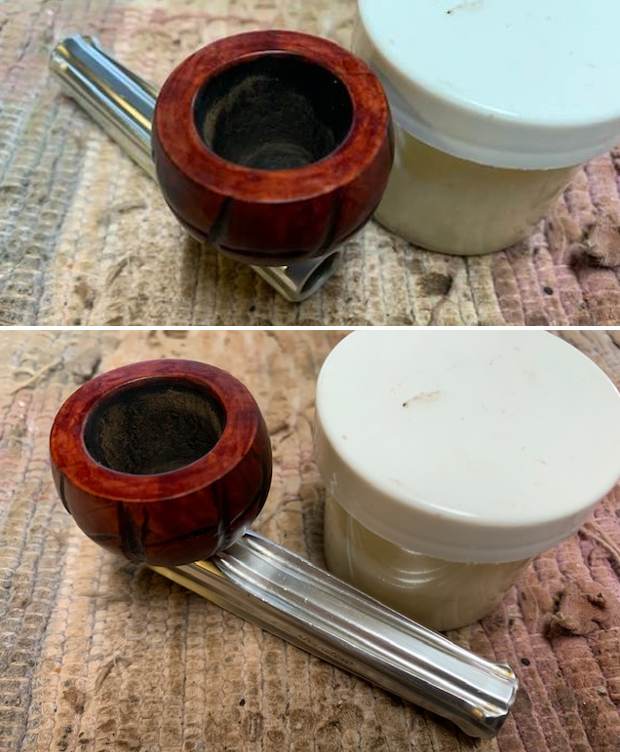
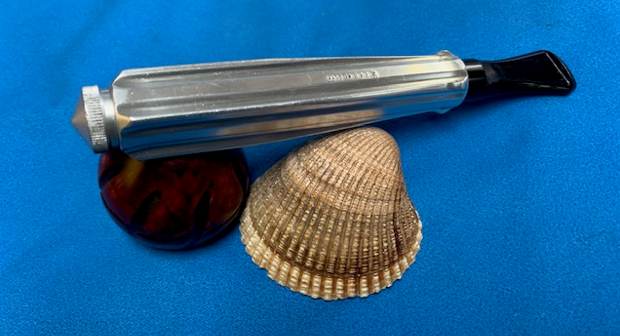
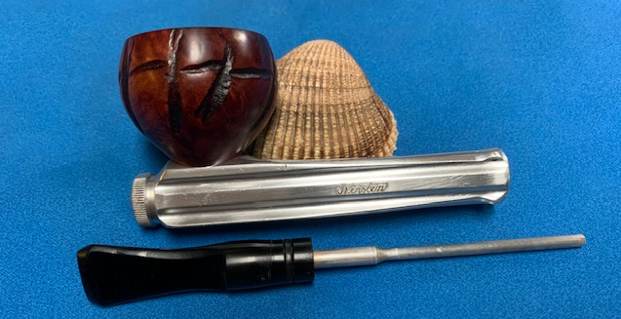
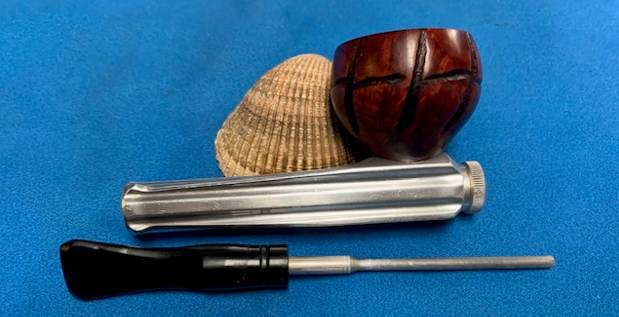
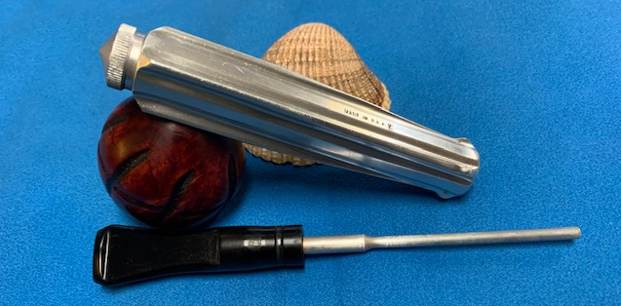
 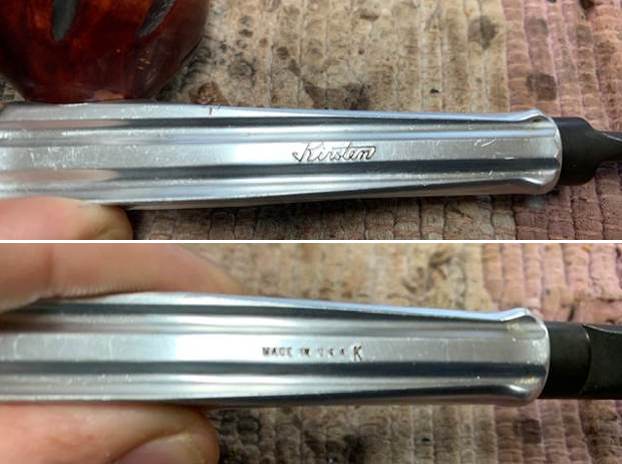 I removed the stem from the barrel and the flow adjuster valve from the front of the barrel. I removed the bowl from the top of the shank and took a photo of the pipe to give a sense of the components of the pipe.
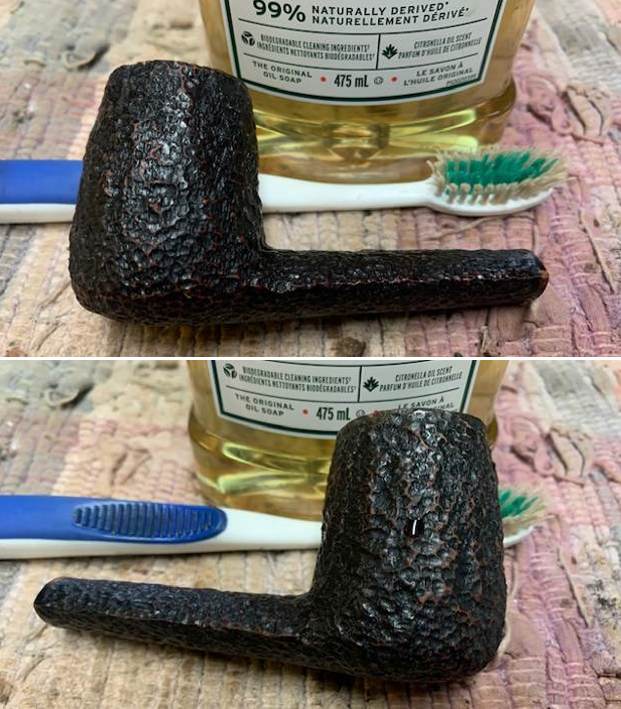
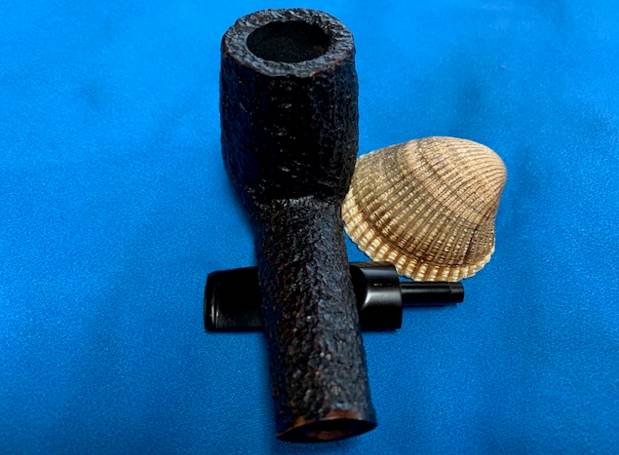
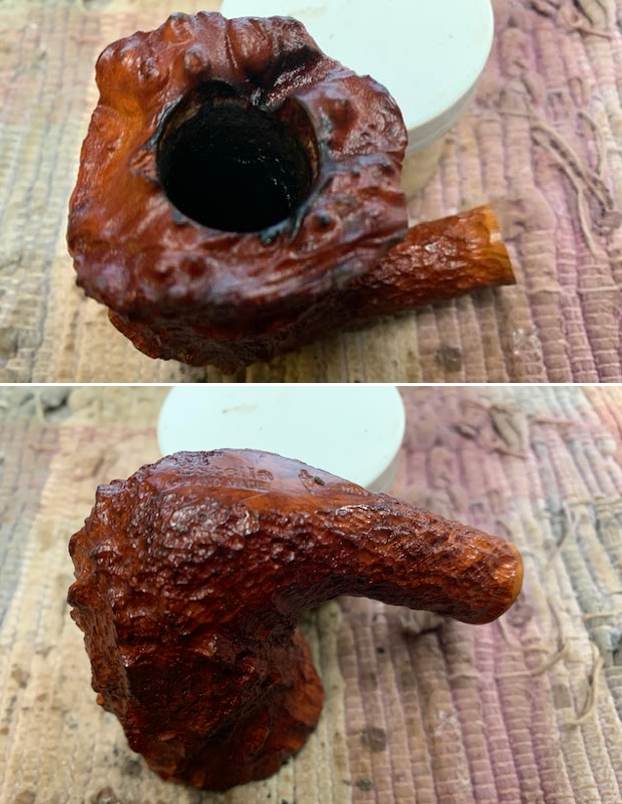
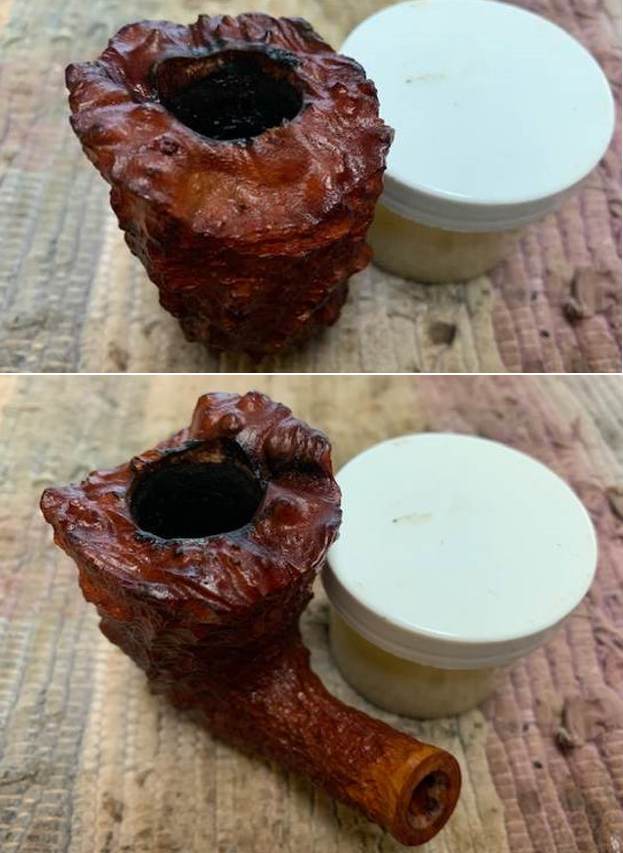
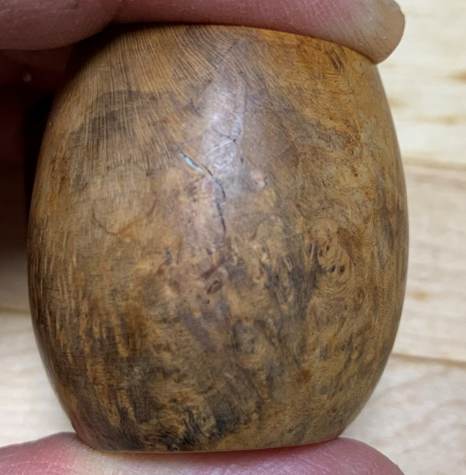
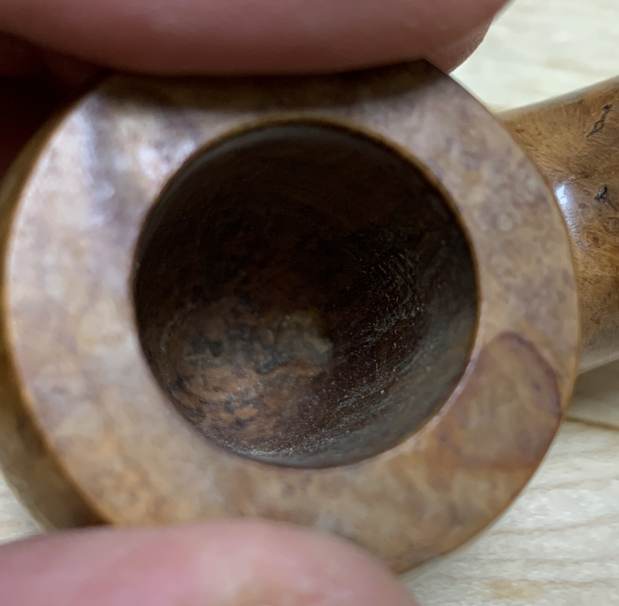
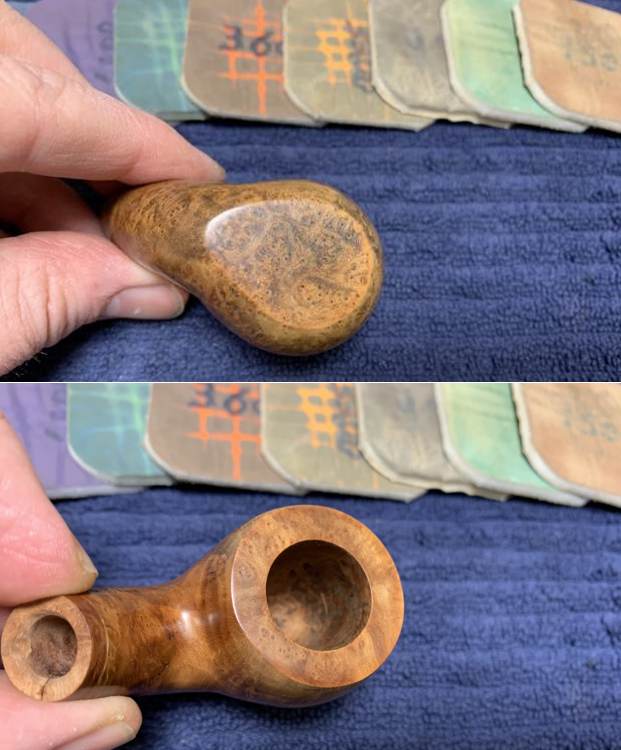
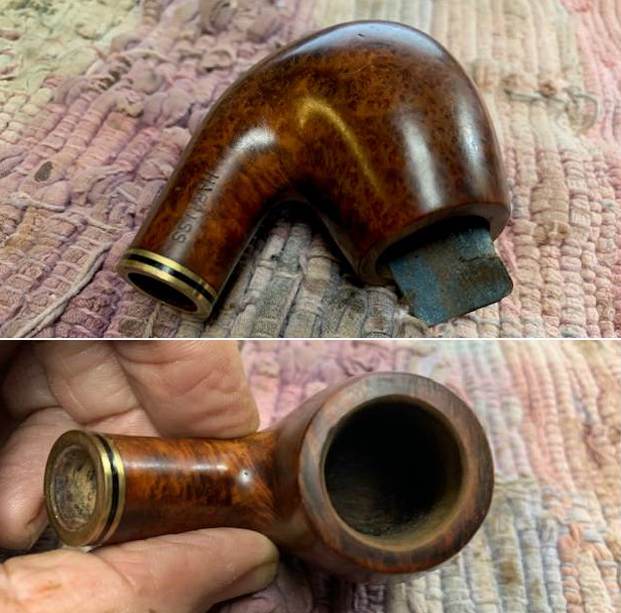
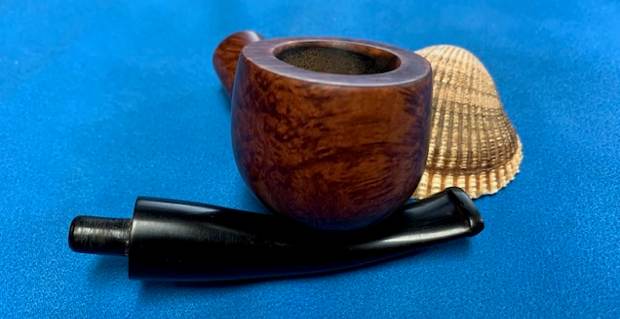
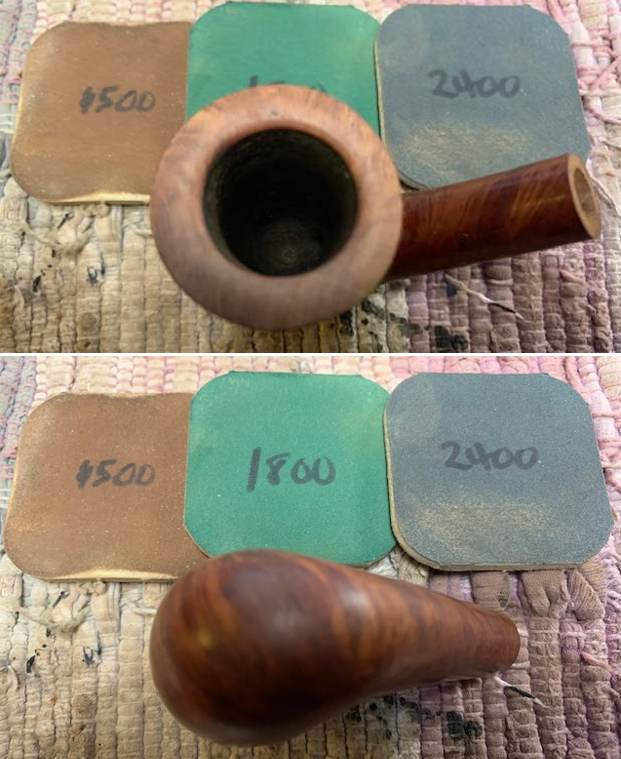
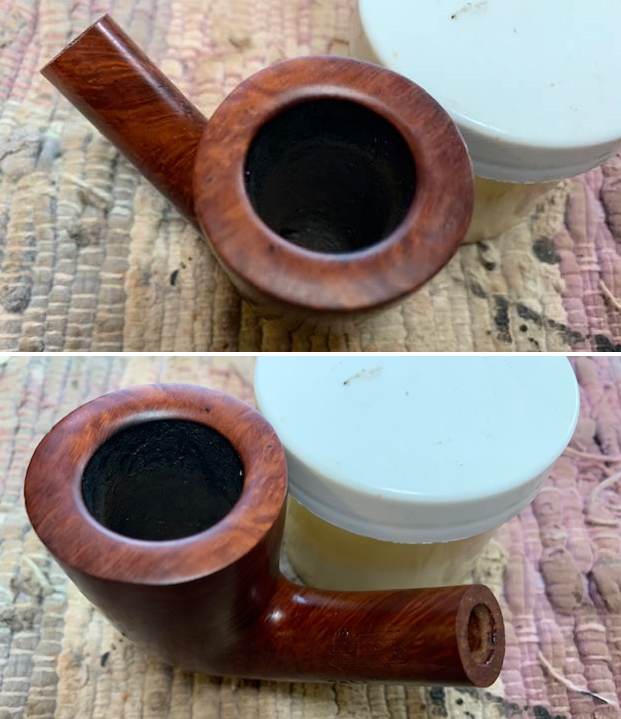
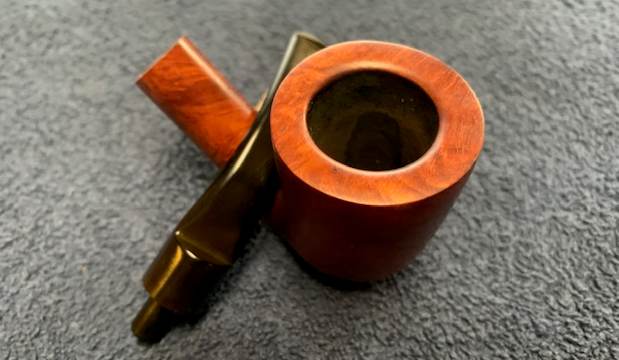
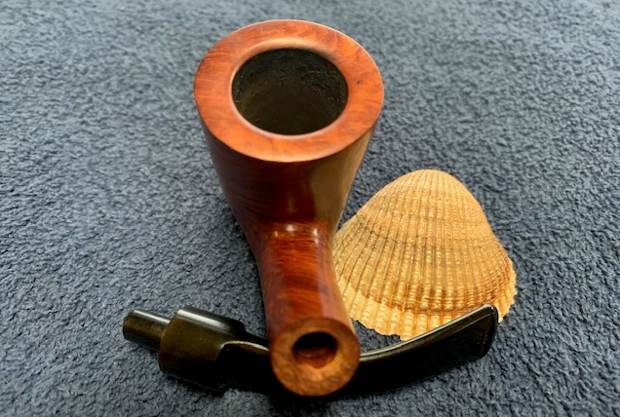
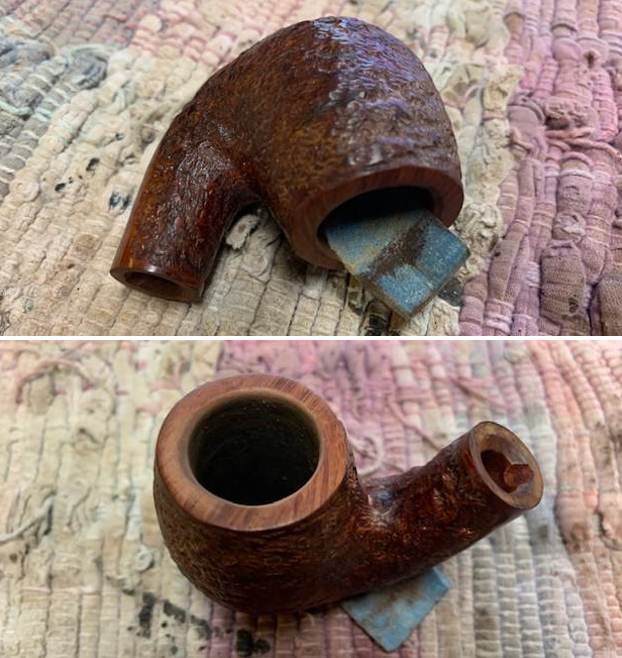
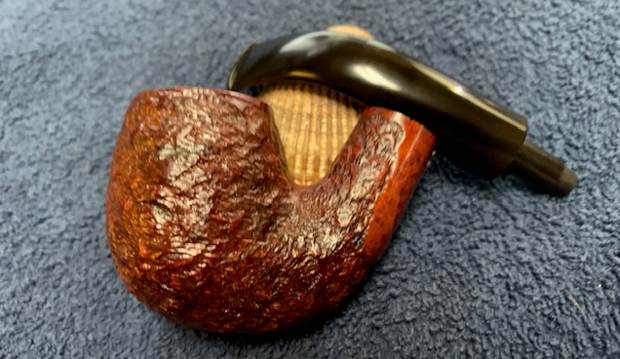
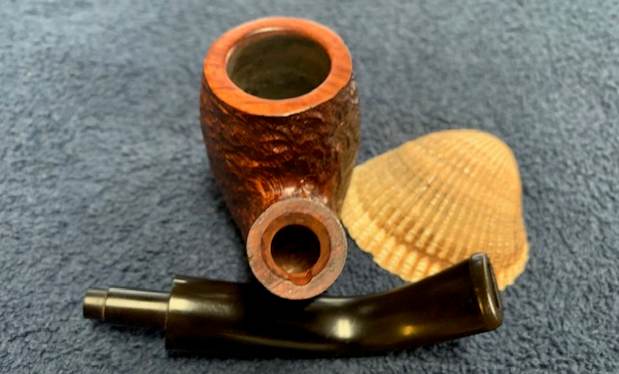
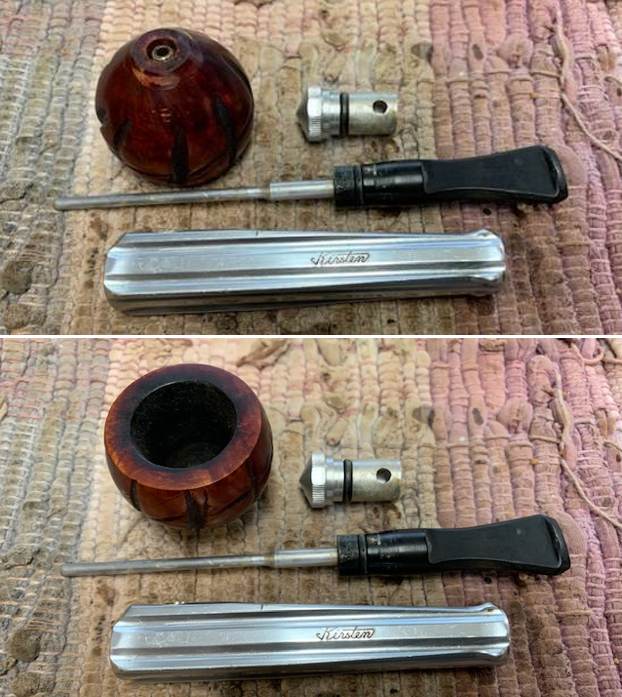 I set the parts aside and worked on the bowl. I removed the screw from the bottom of the bowl so that I could clean up the bowl. I sanded the inside of the bowl and topped the rim top to remove the burning and darkening. I worked on the inner edge with a folded piece of 220 grit sandpaper to smooth out the darkened and damaged inner edge of the bowl. In the photo below there is a mark at the 5 o’clock section of the rim top below. The mark is actually a fill in the rim top. It is solid and undamaged. Once finished, the top and inner edge looked better.
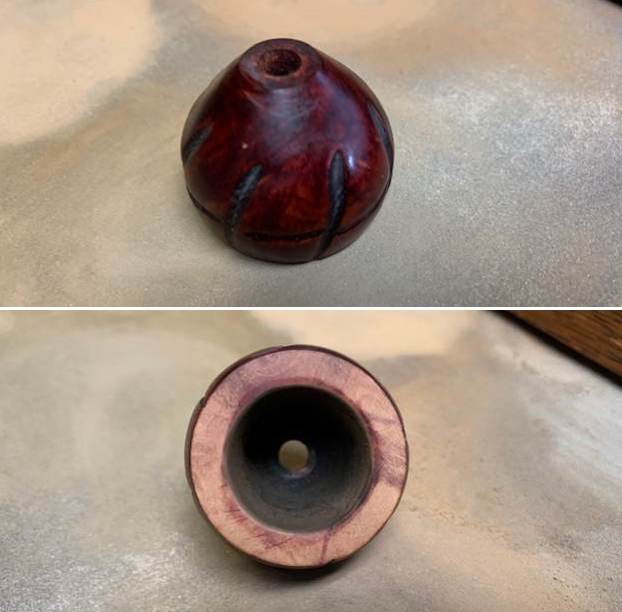 I used a Maple stain pen to restain the rim top to match the sides of the bowl. Once it was finished and polished it would look a lot better.
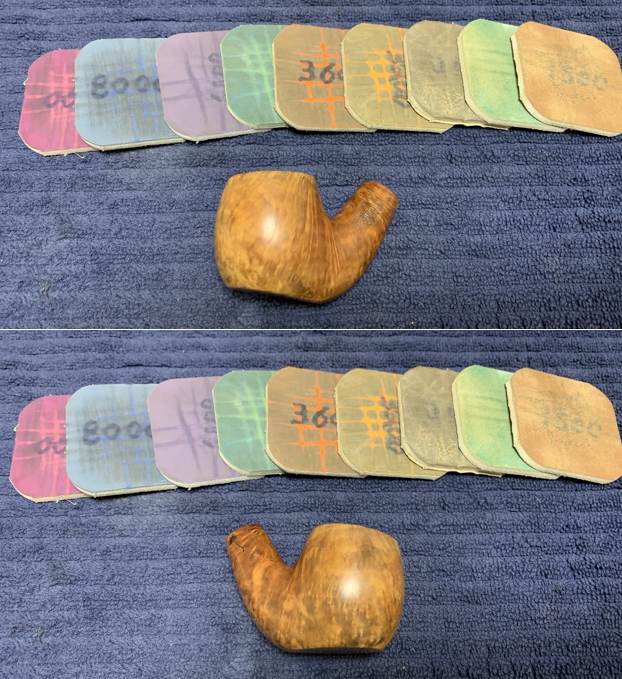
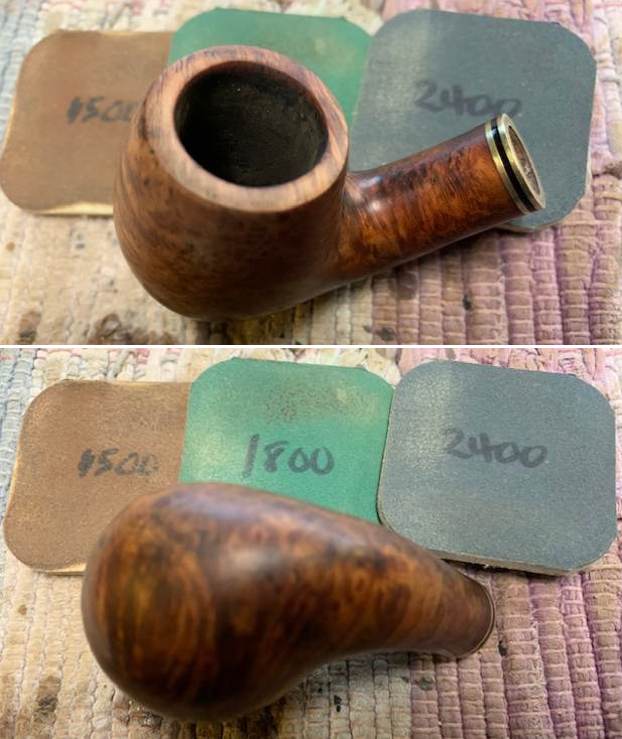
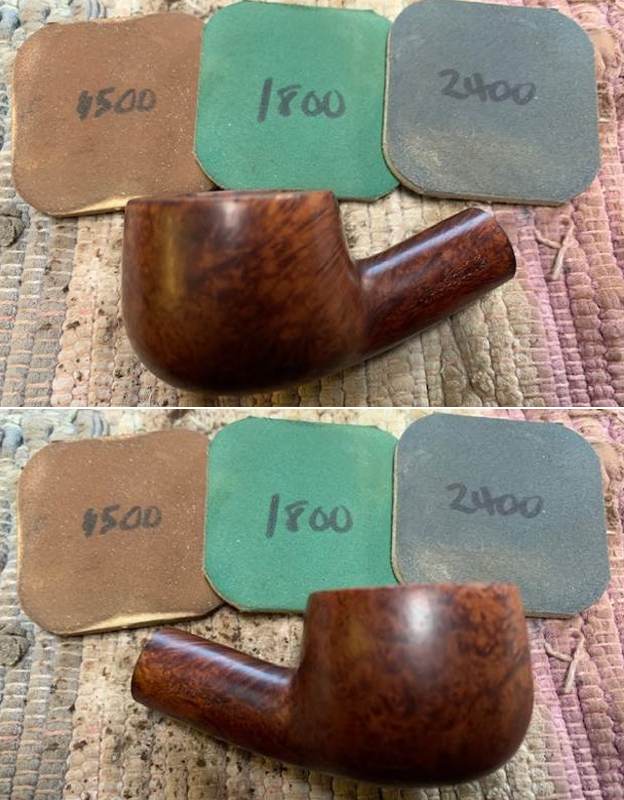
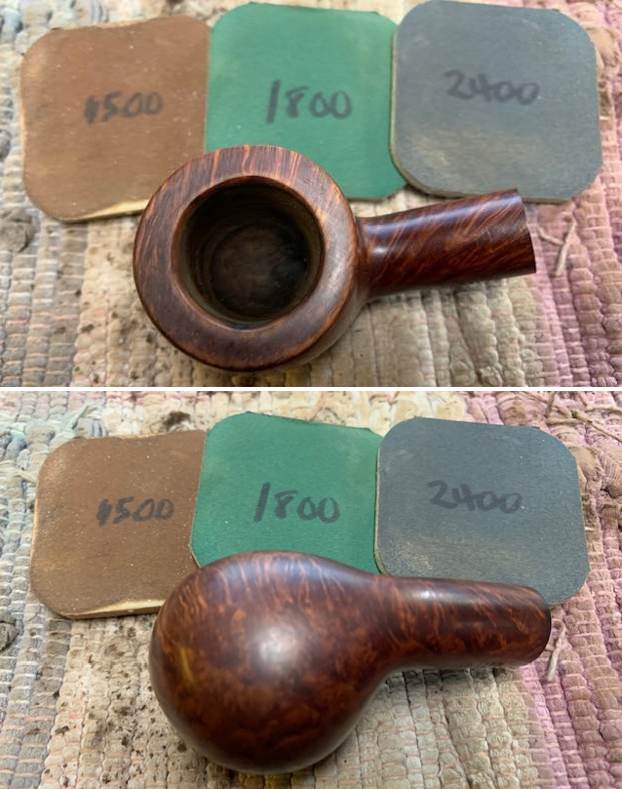
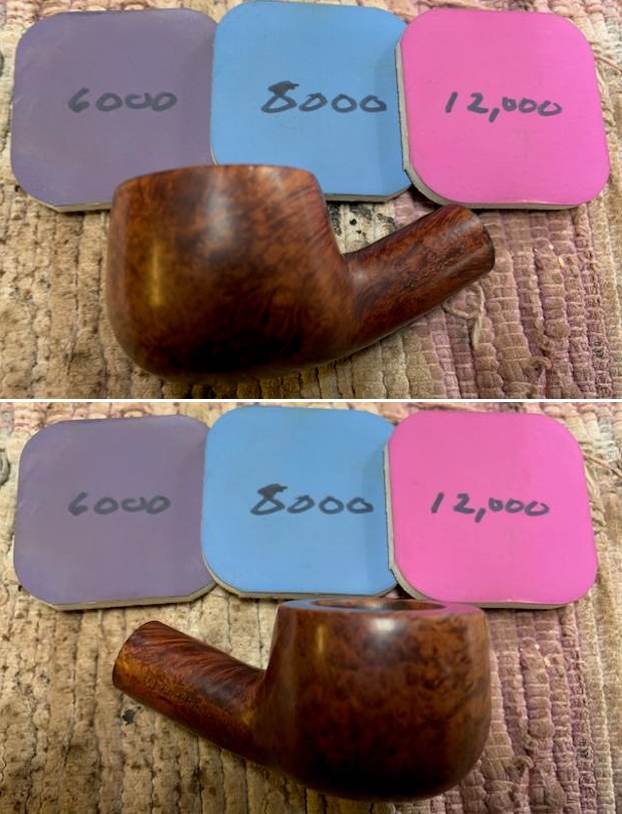
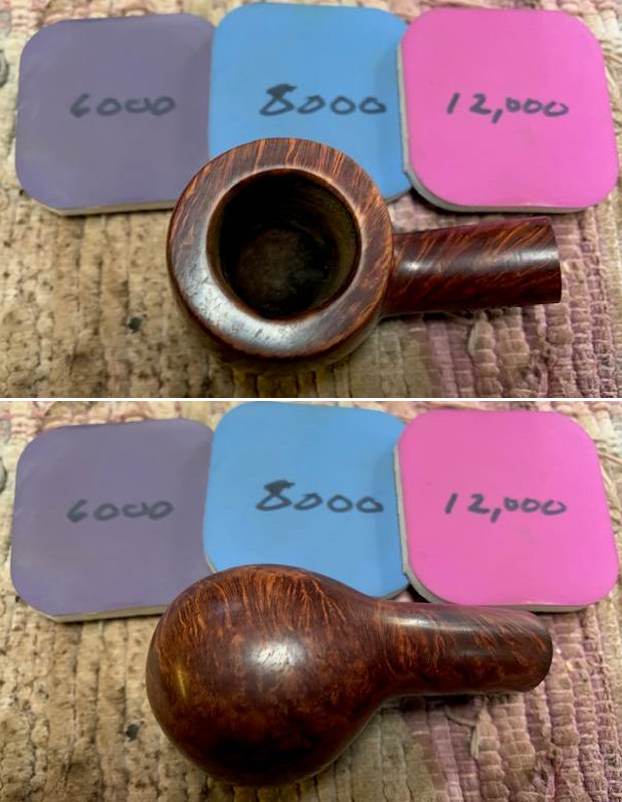
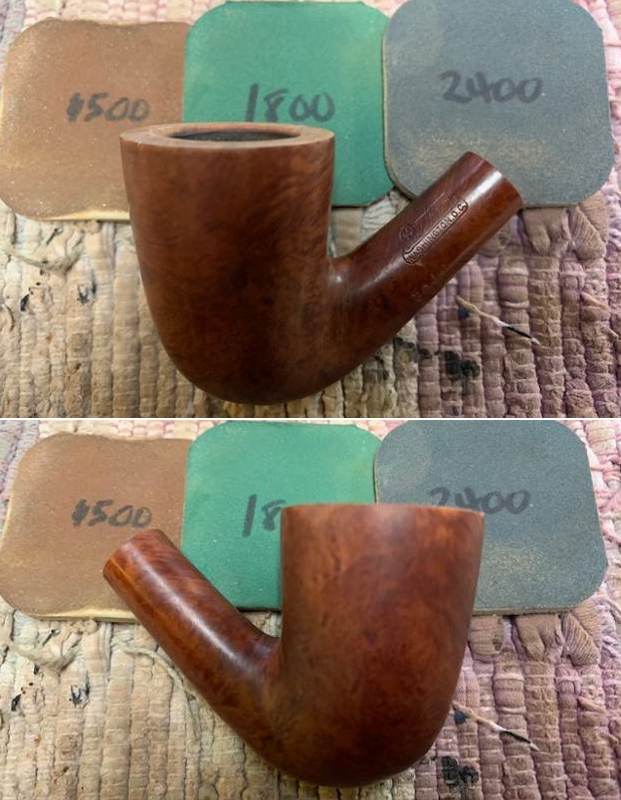
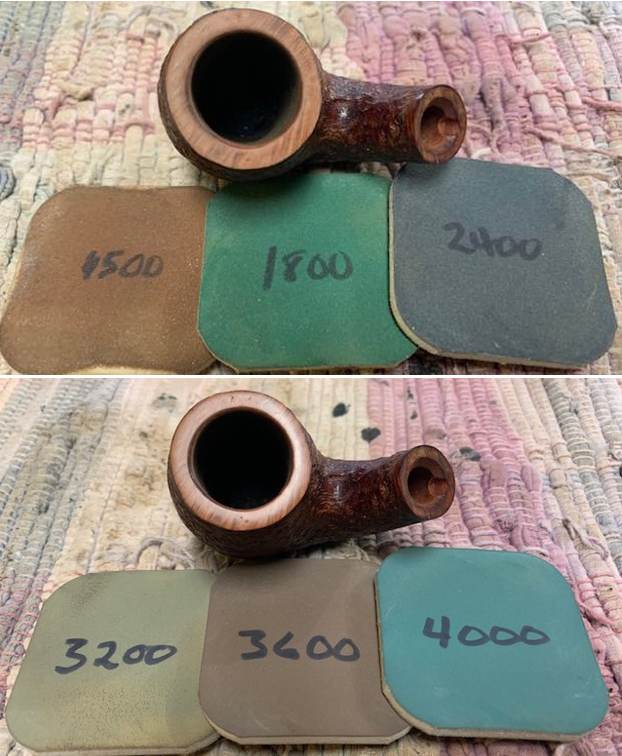
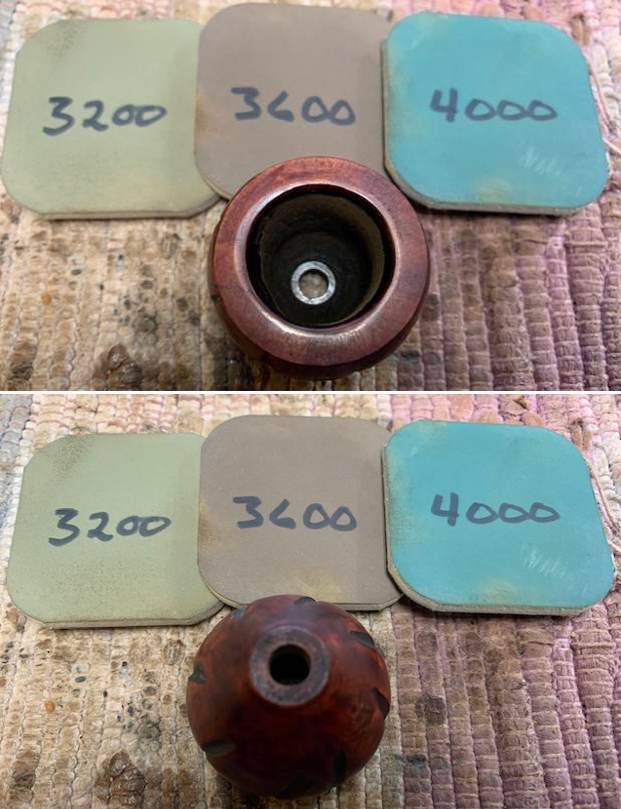
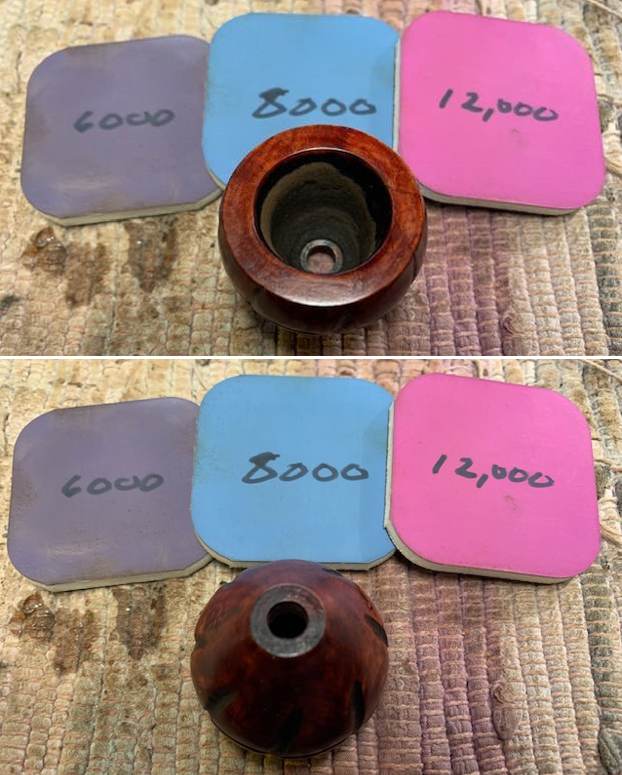
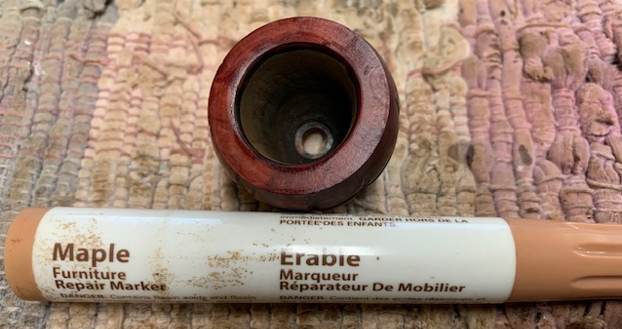 I polished the bowl sides and top with micromesh sanding pads – dry sanding with 1500-12000 grit pads. I wiped it down with a damp cloth after each sanding pad to remove the grime. The finish began to look much better.
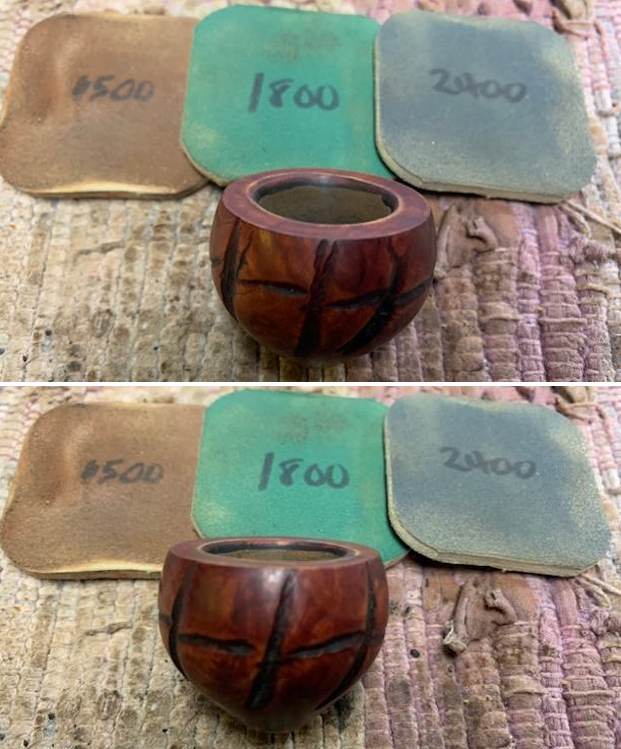


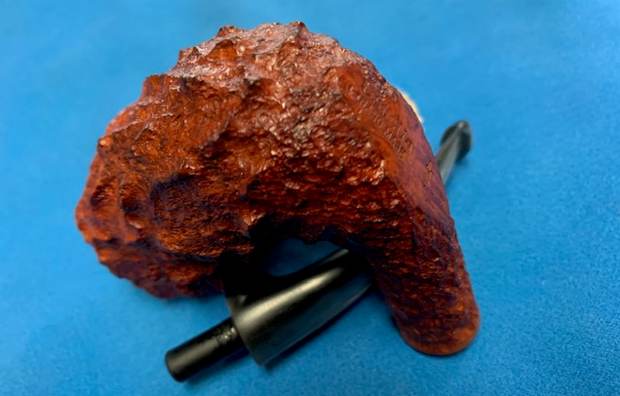
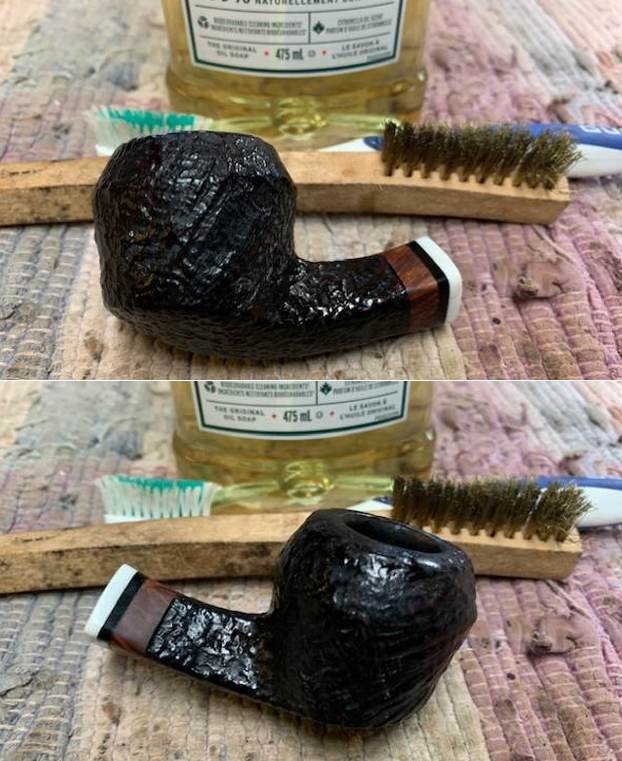
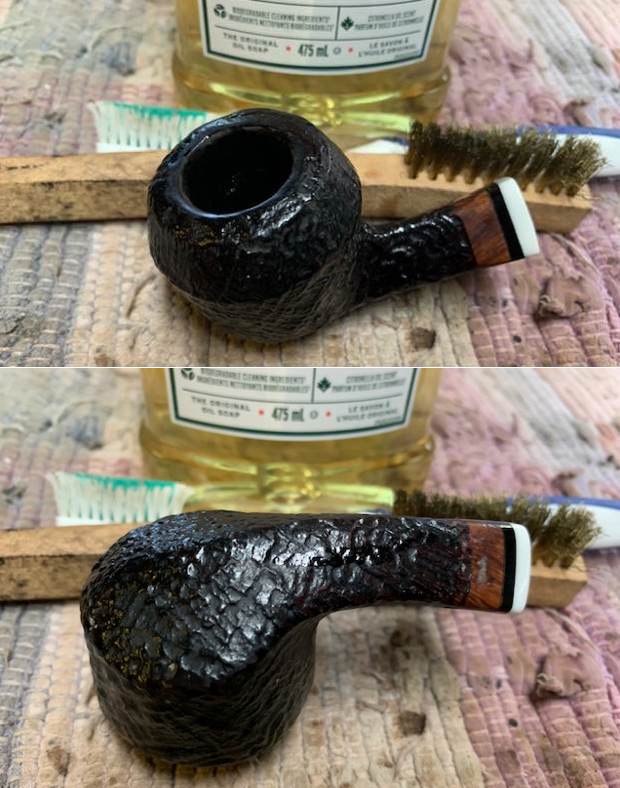
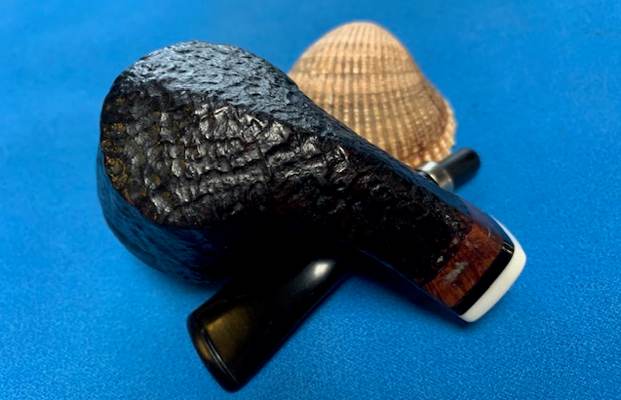
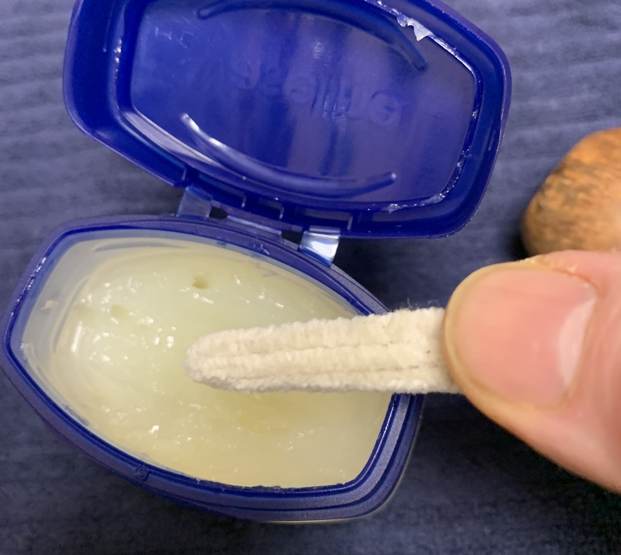
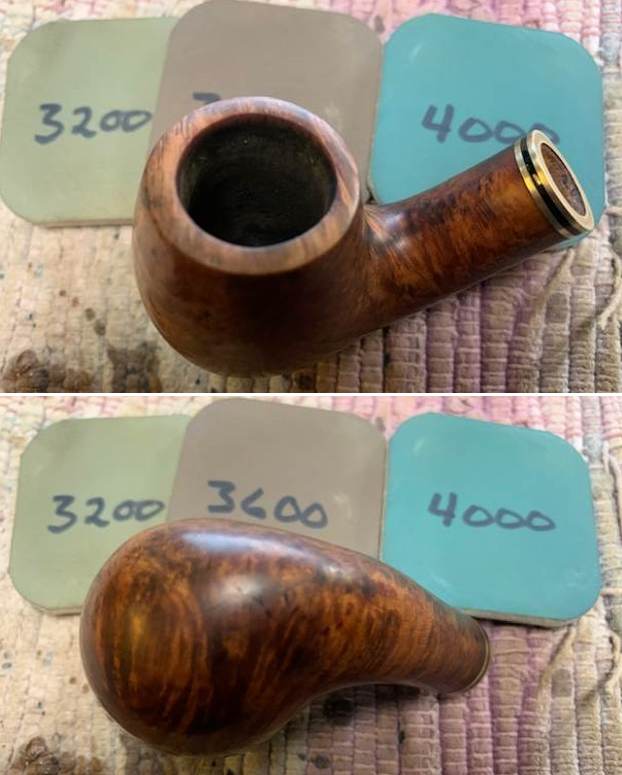
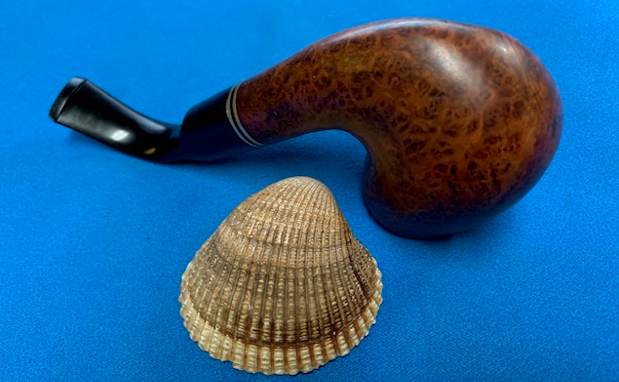
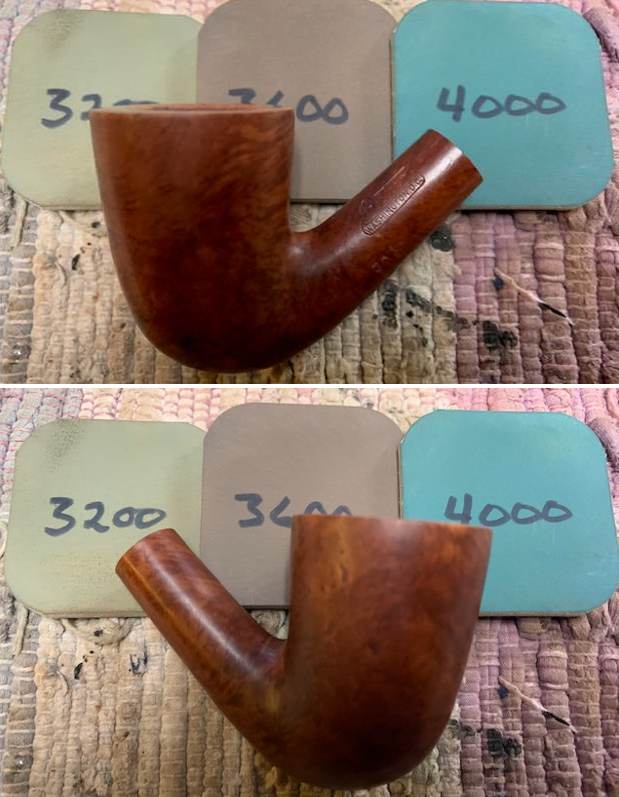
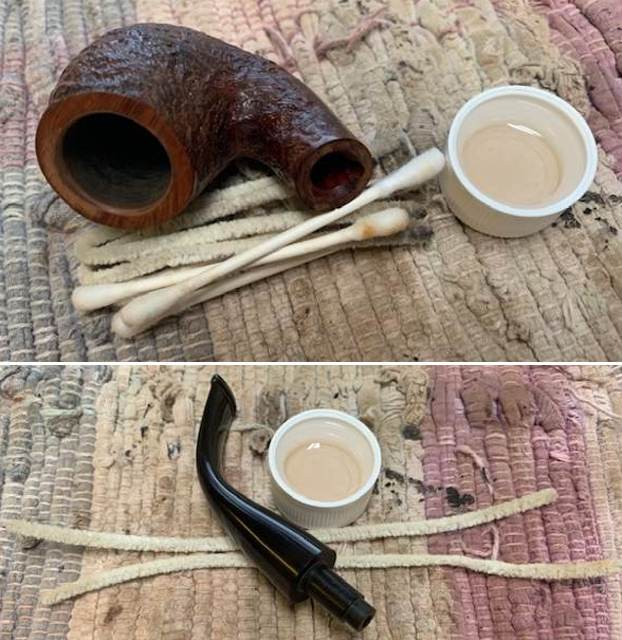
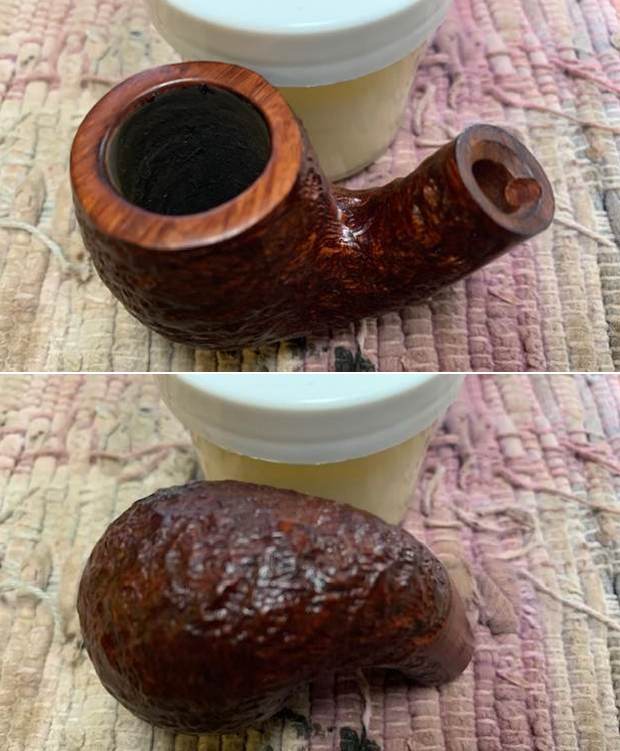
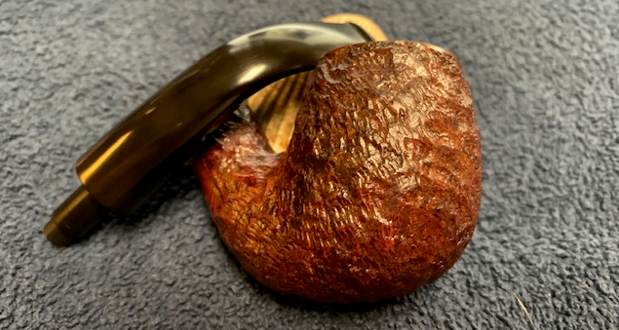
 I rubbed the bowl down with Before & After Restoration Balm and worked it into the grooves as well as the smooth surface of the briar. I let it sit for 15 minutes then buffed it off with a soft cloth. The bowl took on a rich glow and the grain shown through the finish.
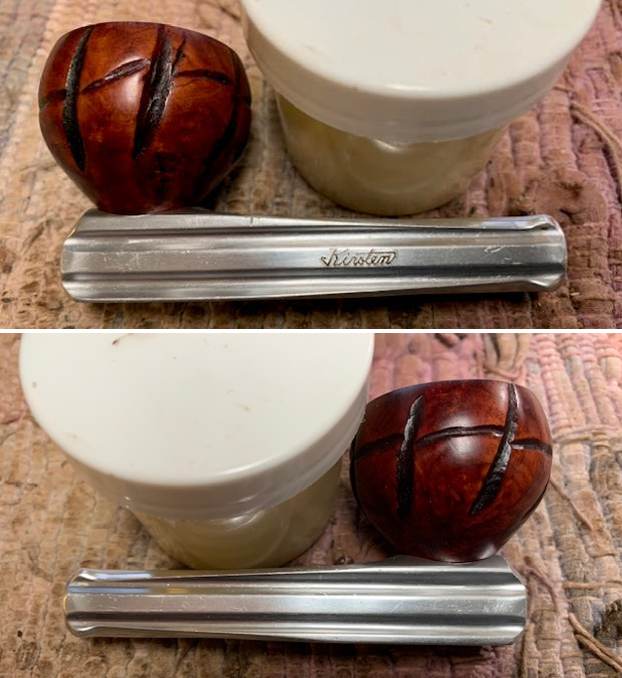
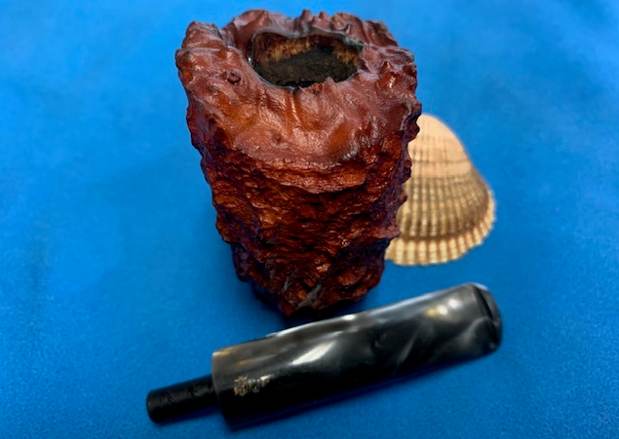
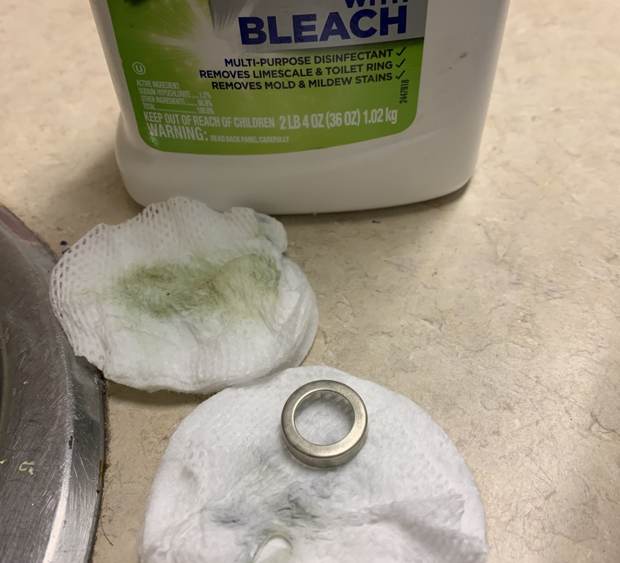
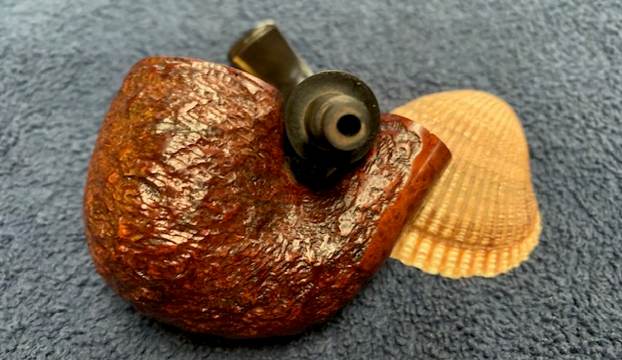
 I polished the aluminum valve on the from of the barrel with 4000-12000 grit micromesh pads to polish off the oxidization that was on it when I first took it out of the box. It shined up very well. I coated the rubber gasket on the valve with some Restoration Balm as it worked to bring the rubber back to life. Once it had sat for awhile I wiped it off and put the valve back in the barrel of the pipe and the bowl. The valve was easily adjustable and would act like a flue on a wood stove when the pipe was smoked.
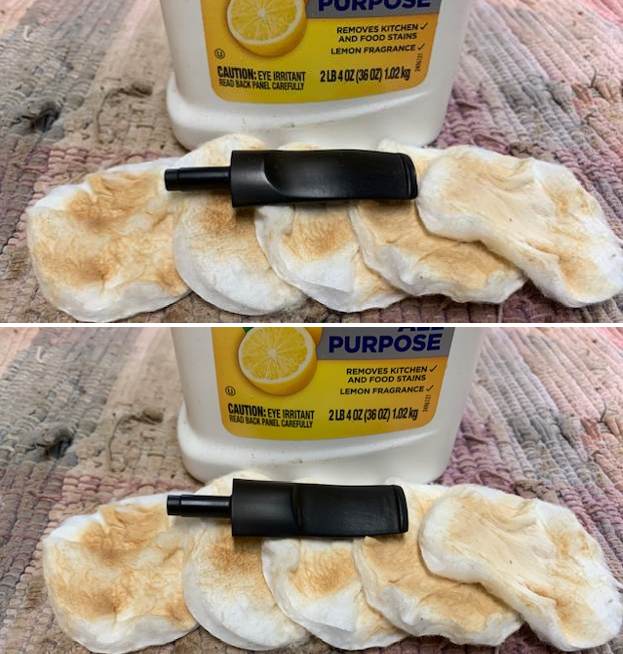
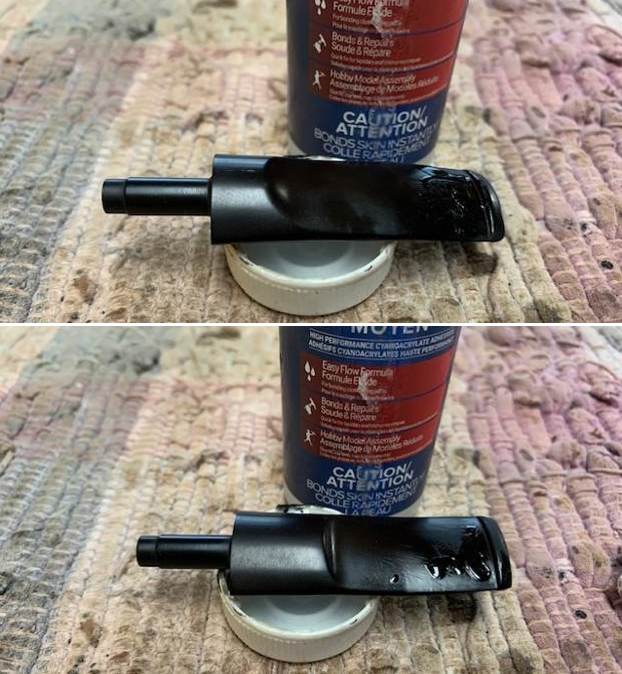
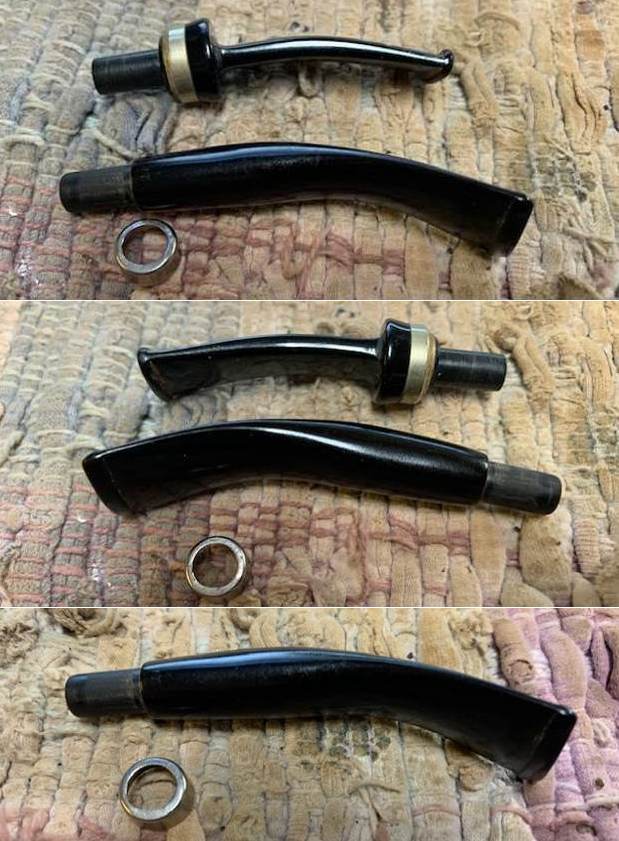
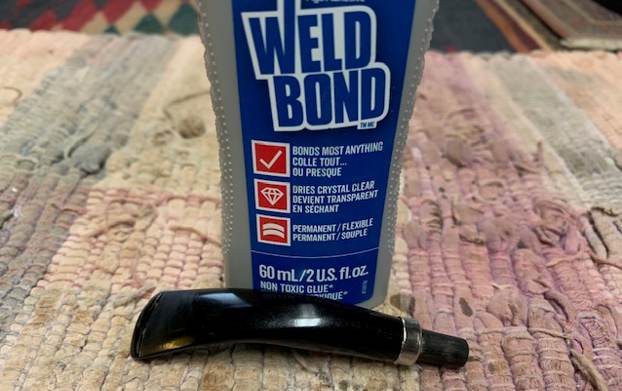
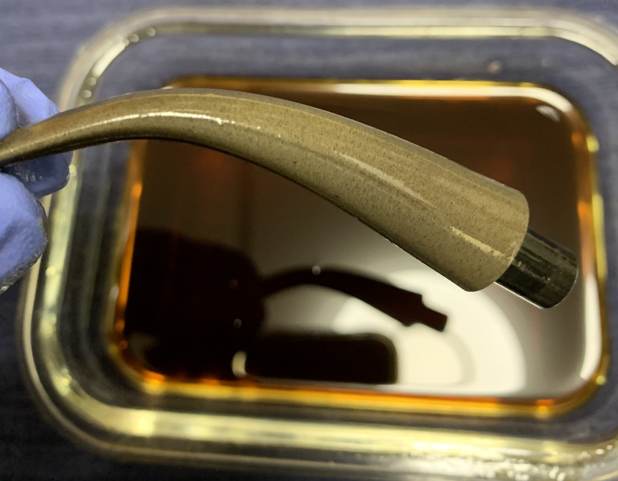
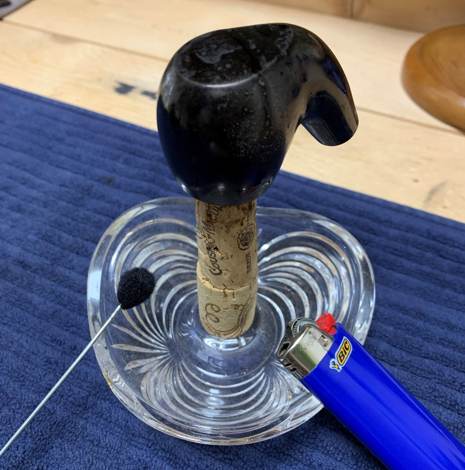
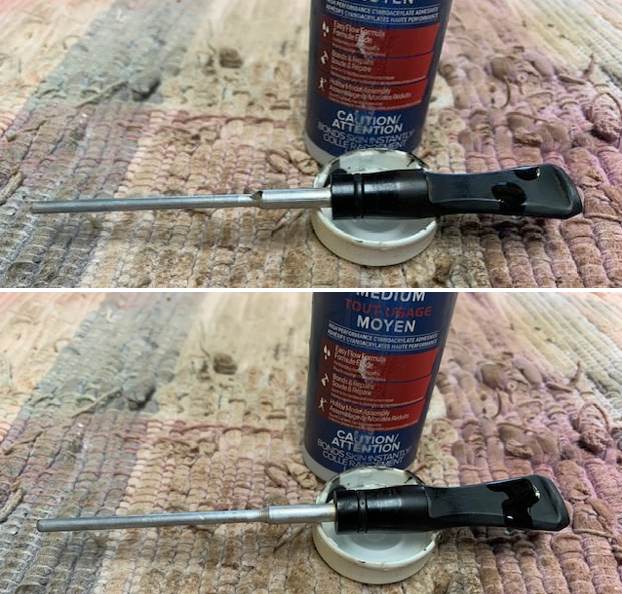
 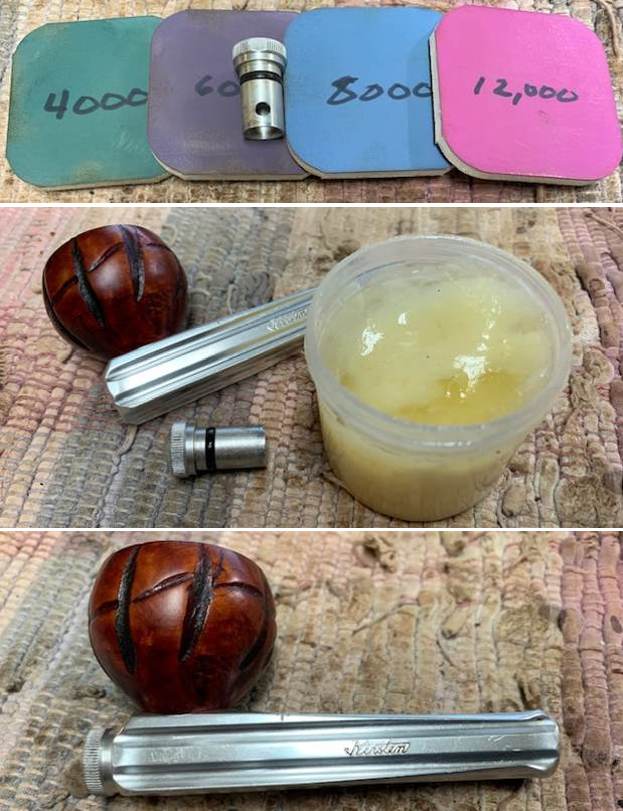 I set the bowl and barrel aside and turned my attention to the stem. I “painted” the vulcanite stem surface with the flame to lift the tooth marks. I was able to lift them considerably. I filled in the remaining tooth marks with clear CA glue and set it aside for the repairs to cure.
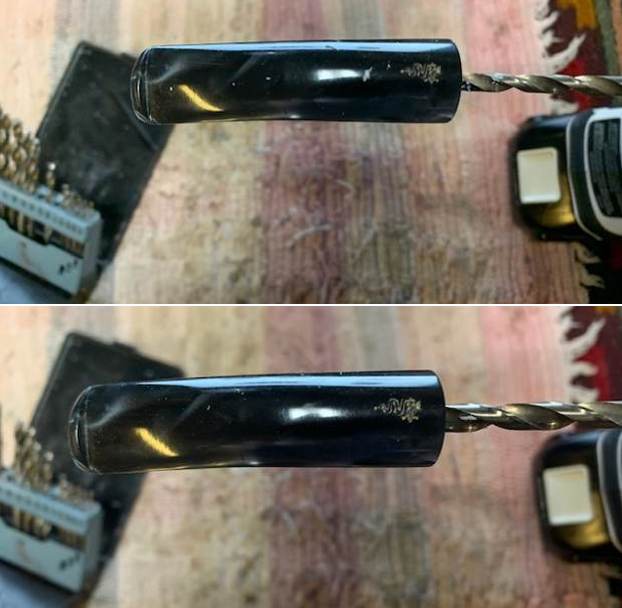
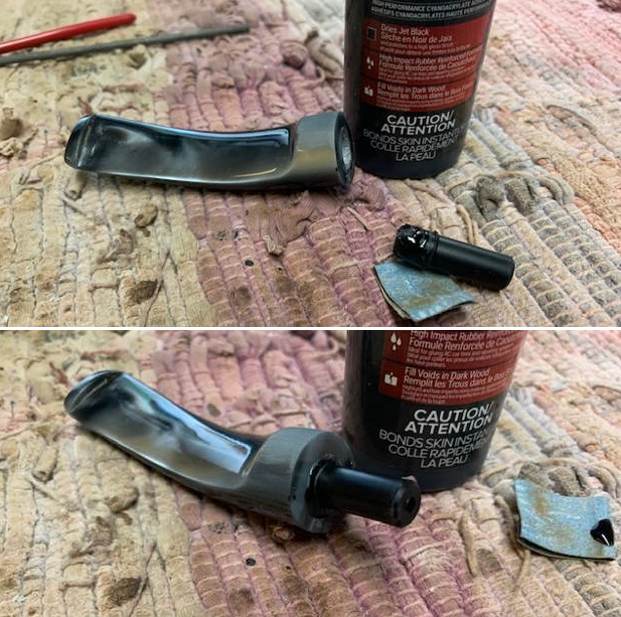
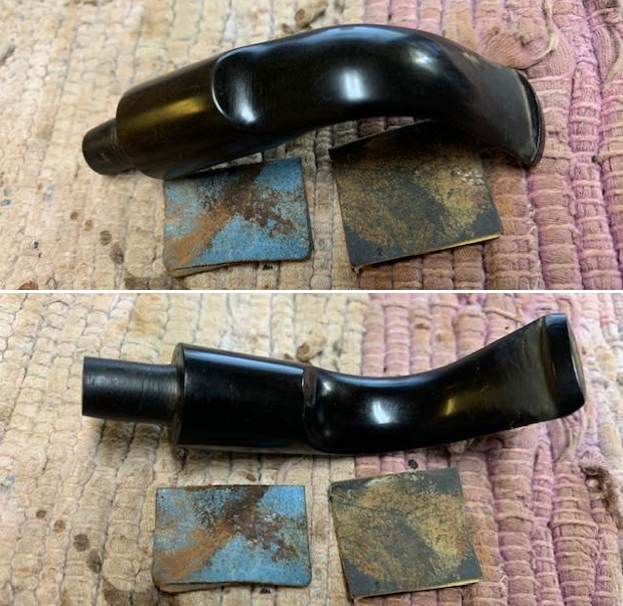
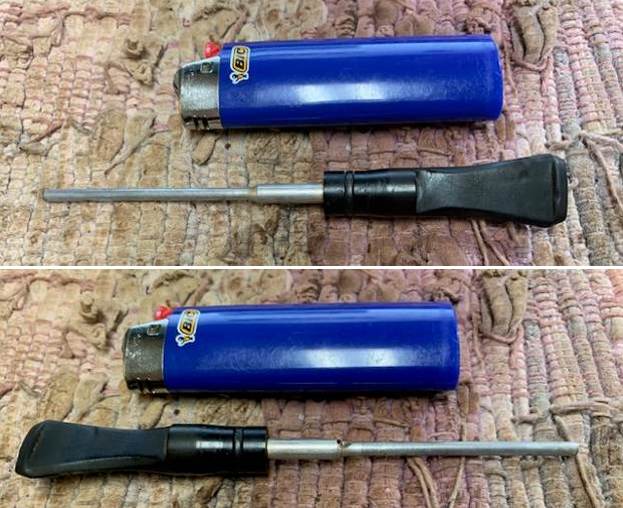
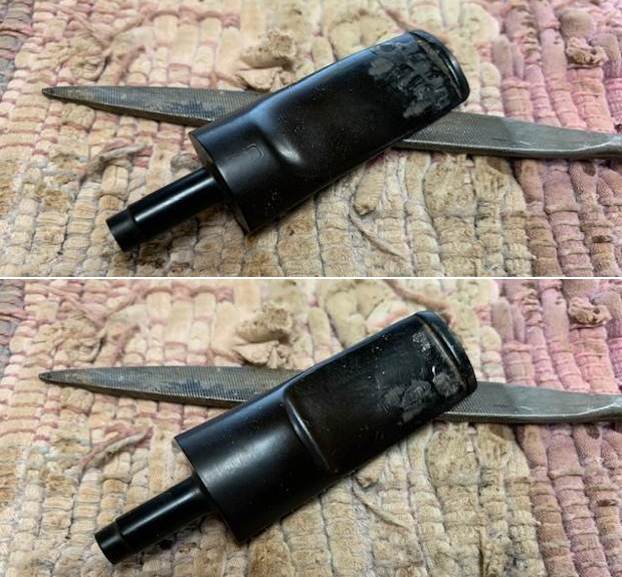
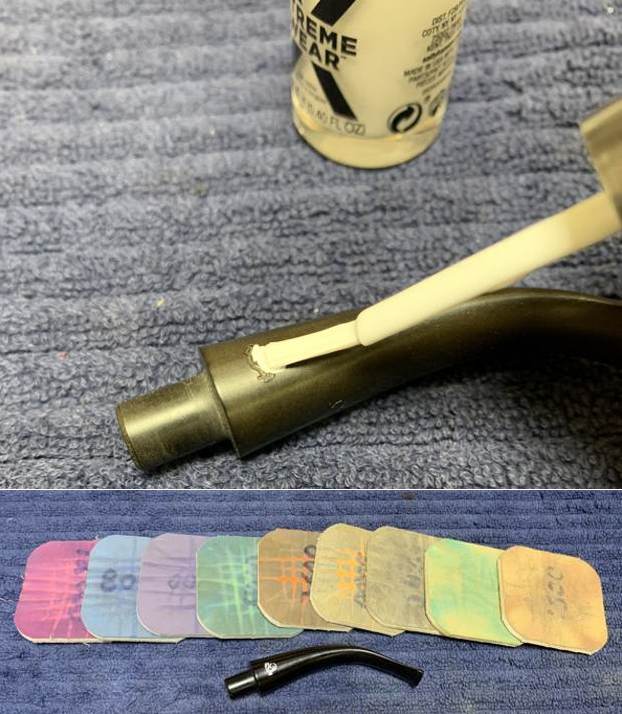
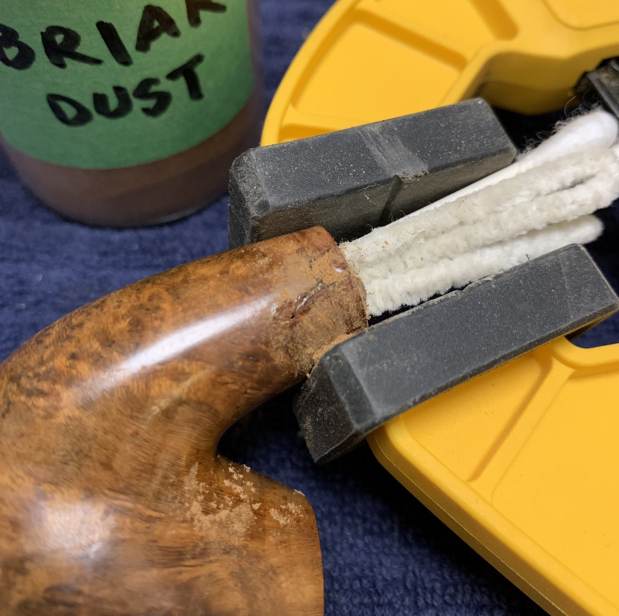
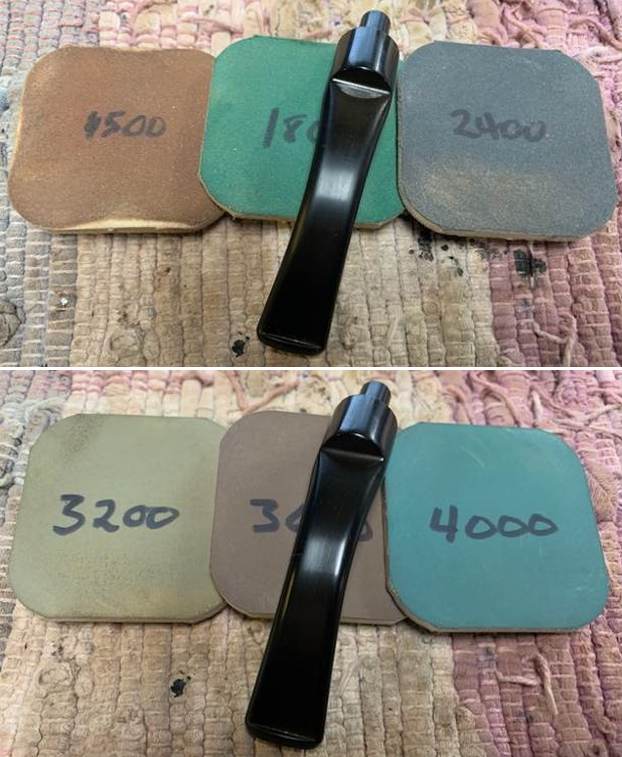
 I used a small file to flatten the repairs and start the process of blending them into the surface of the stem. I then sanded them with 220 grit sandpaper to blend them into the surface of the vulcanite stem.
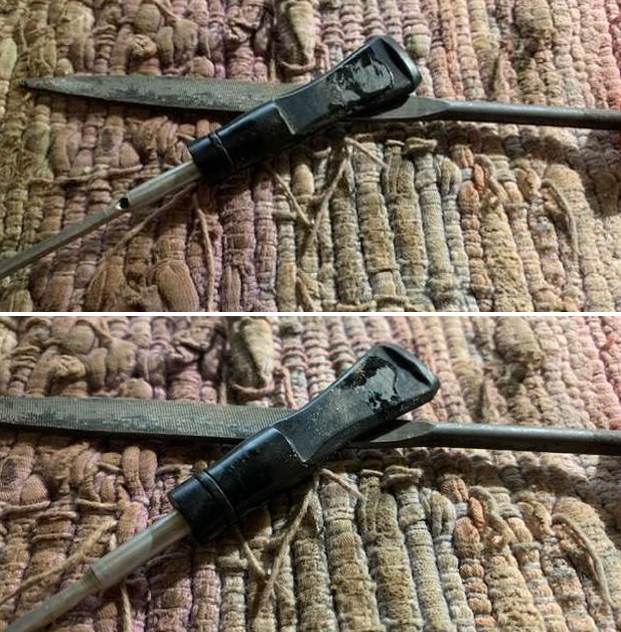
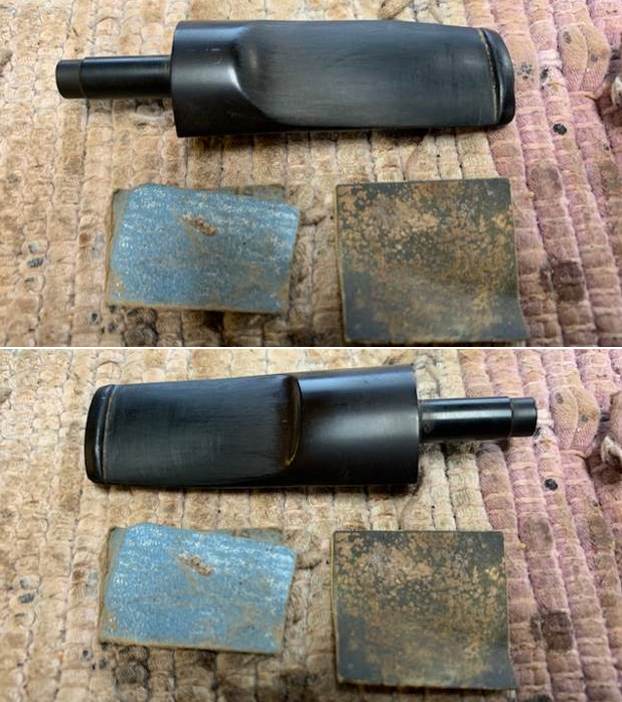
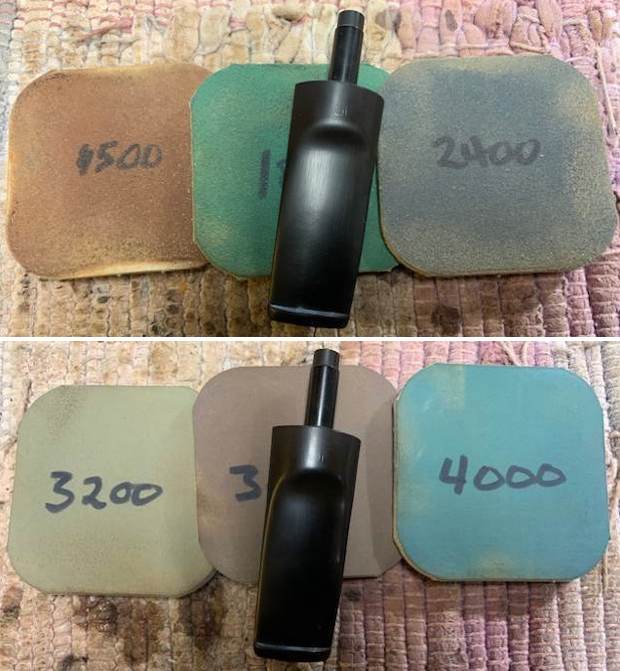
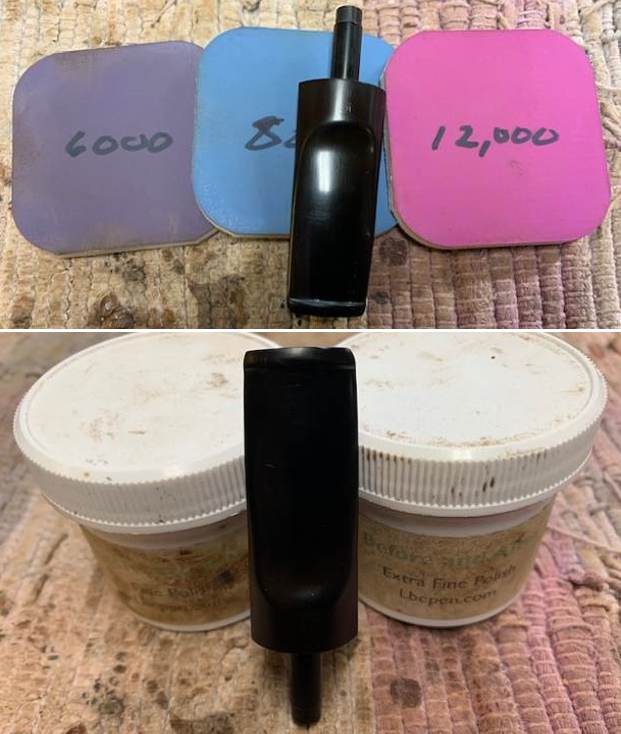
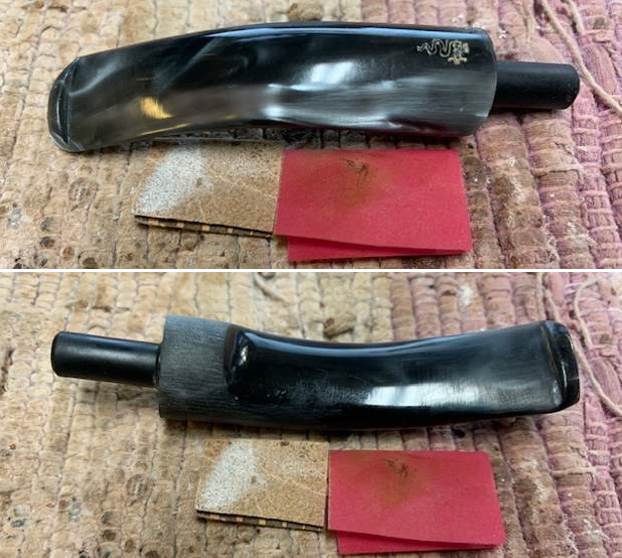
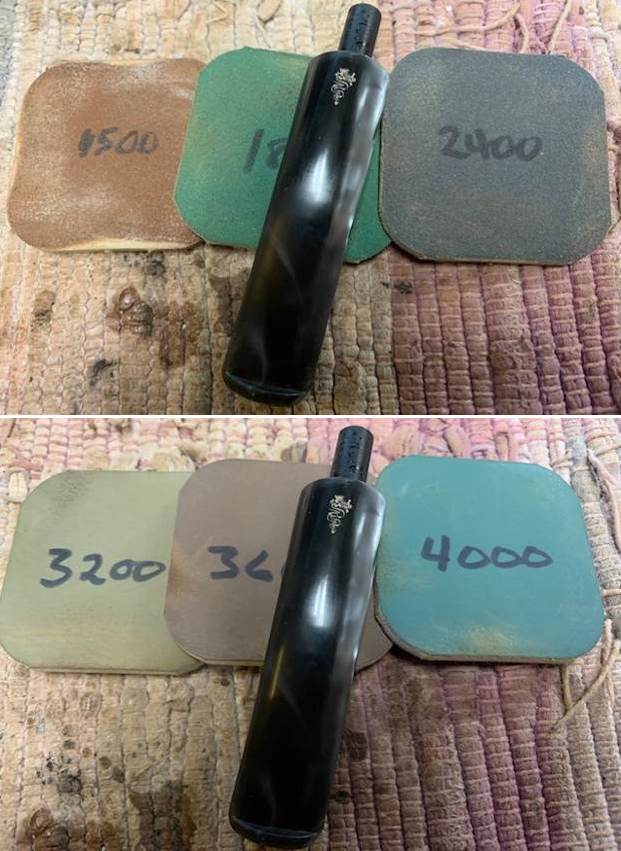
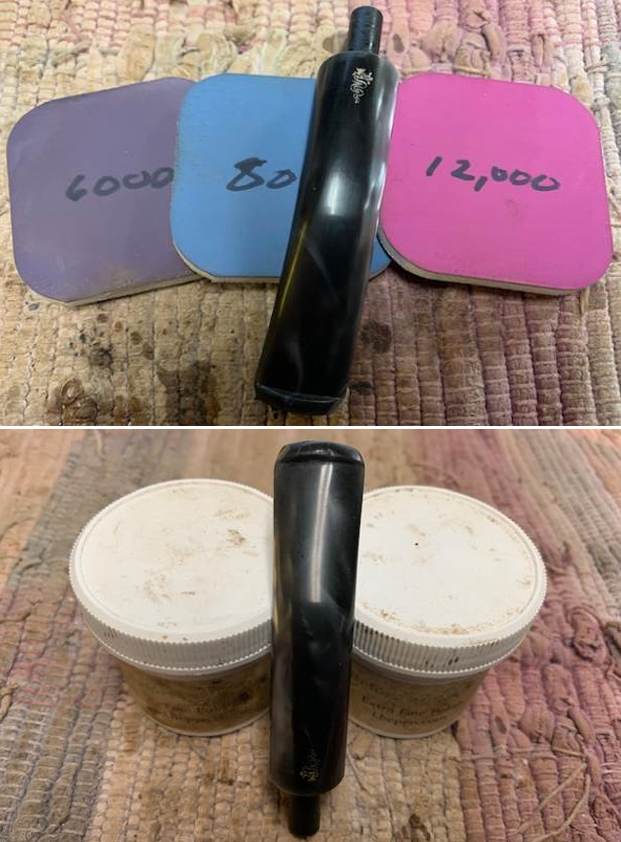
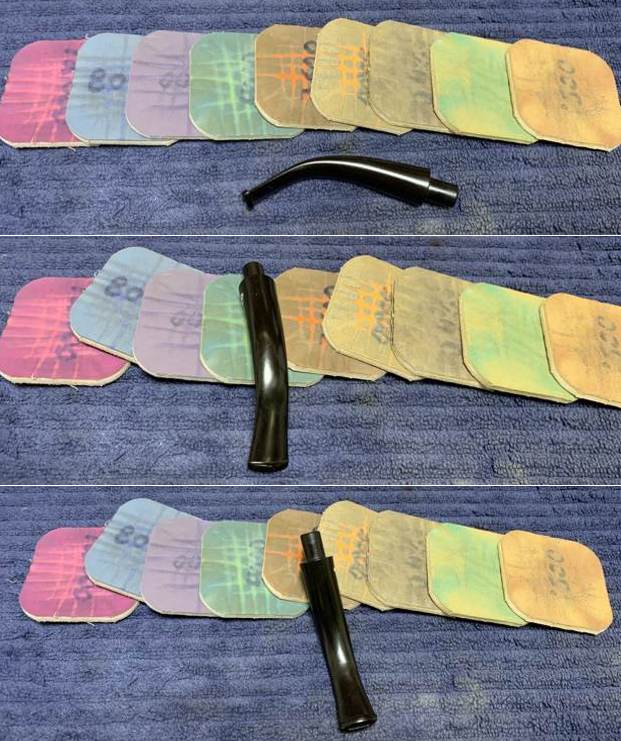
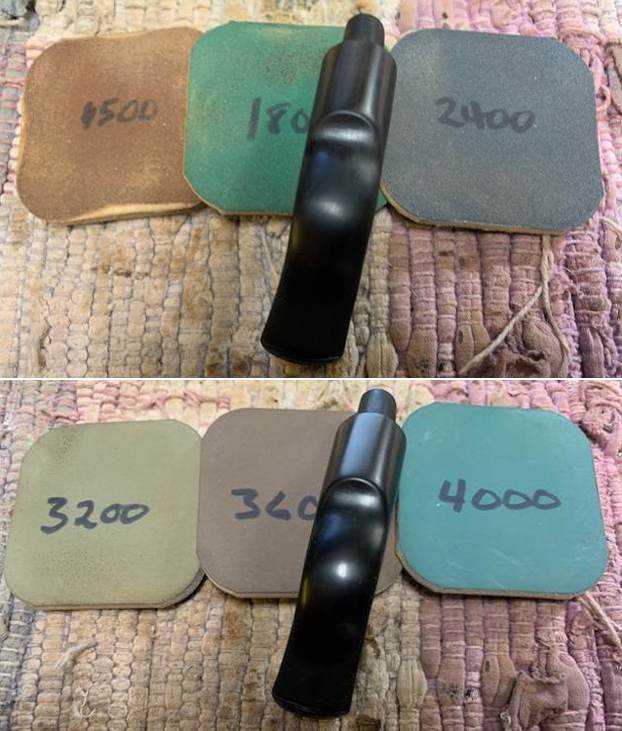
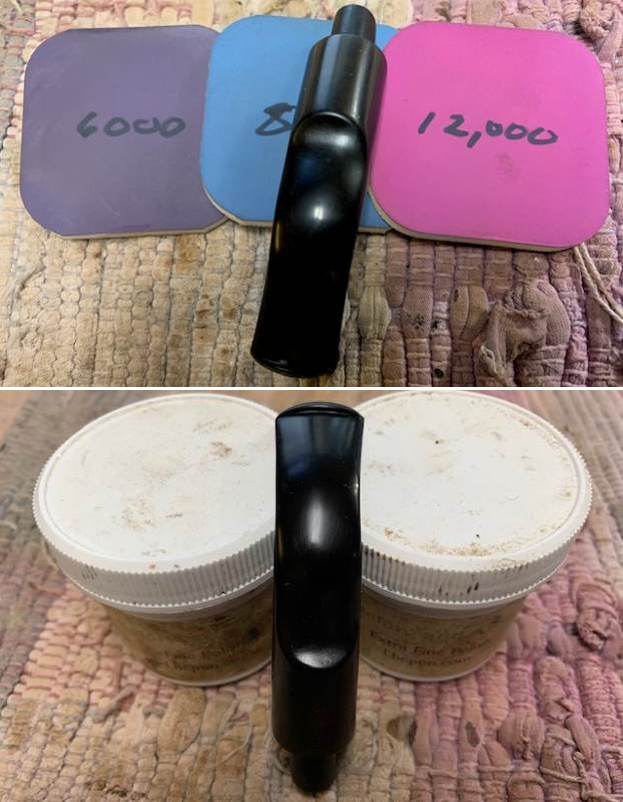
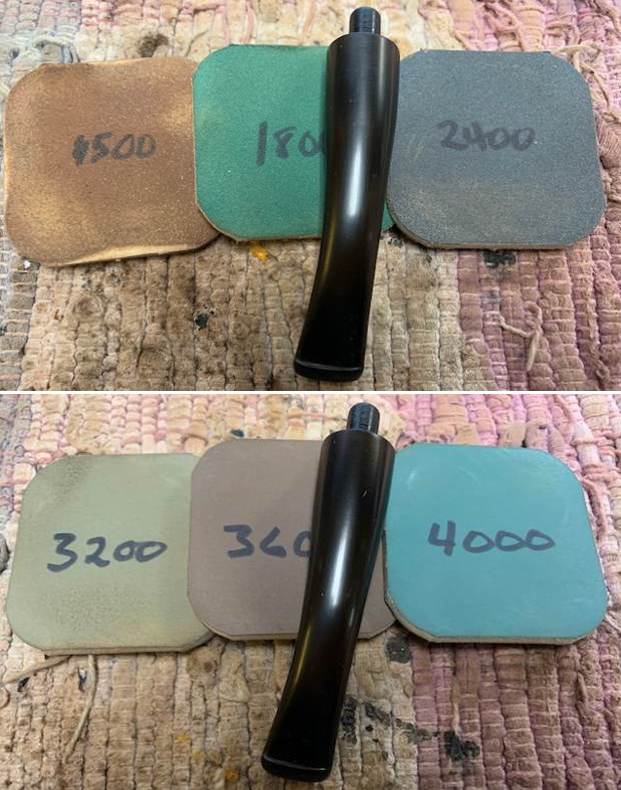
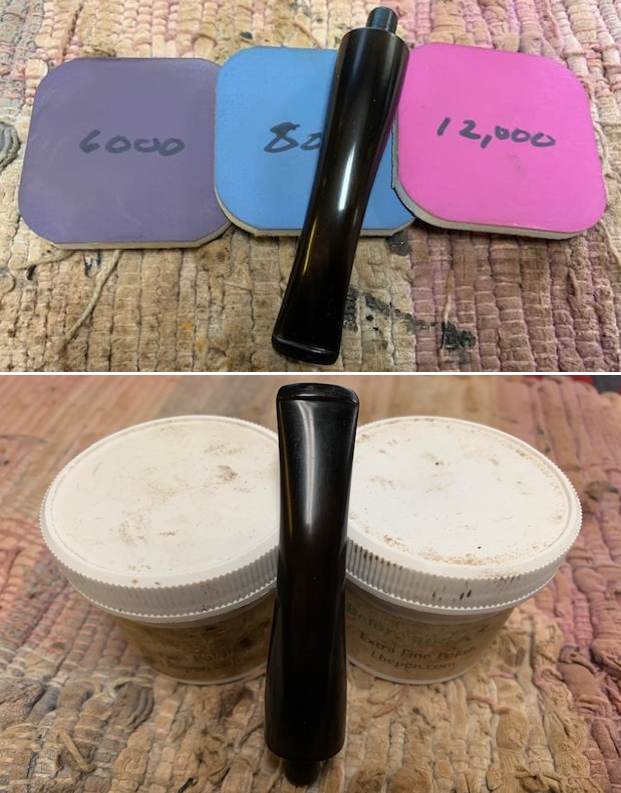
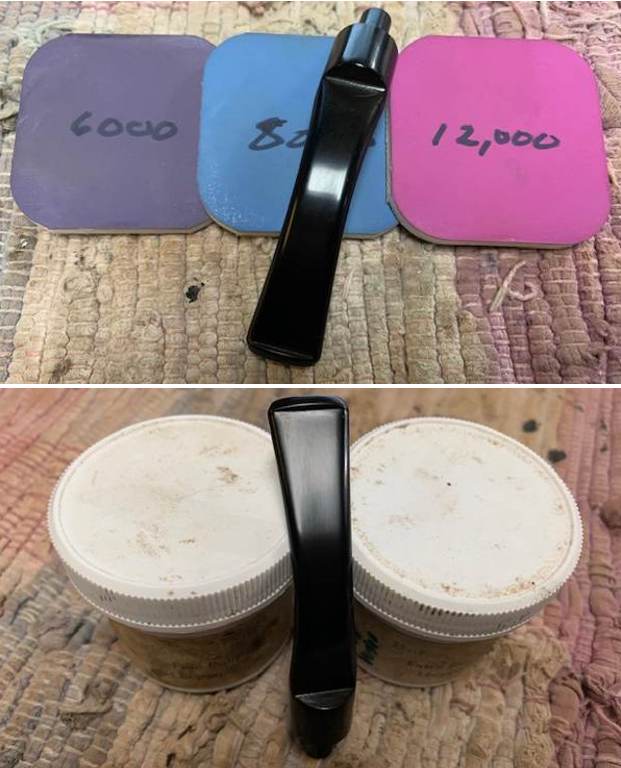
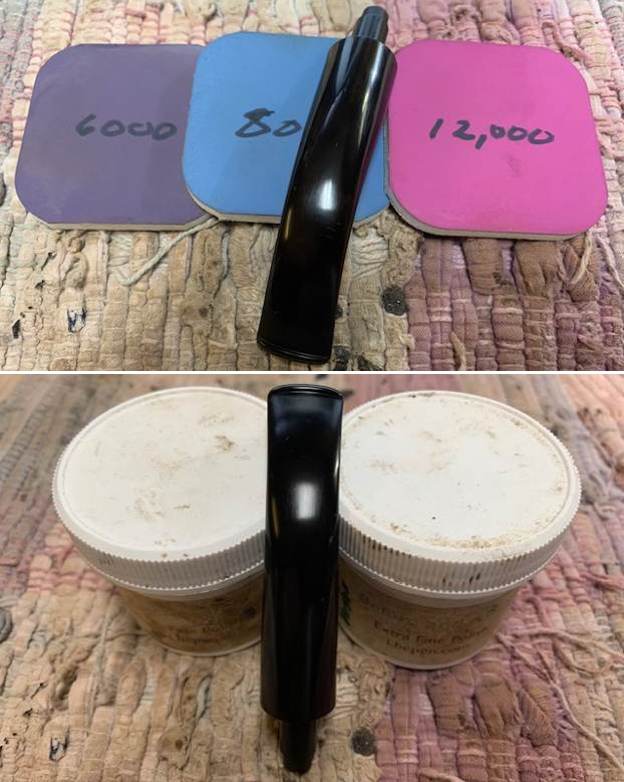
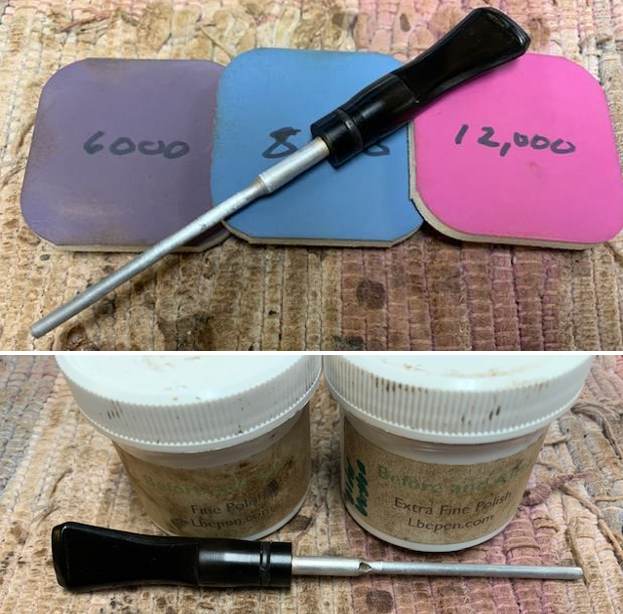
 I used micromesh sanding pads to polish the stem and bring back the shine. I dry sanded the stem with 1500 – 12,000 grit pads and rubbed it down with Obsidian Oil after each sanding pad. I polished it with Before & After Fine and Extra Fine Polish and then gave it a final coat of Obsidian Oil and let it dry.
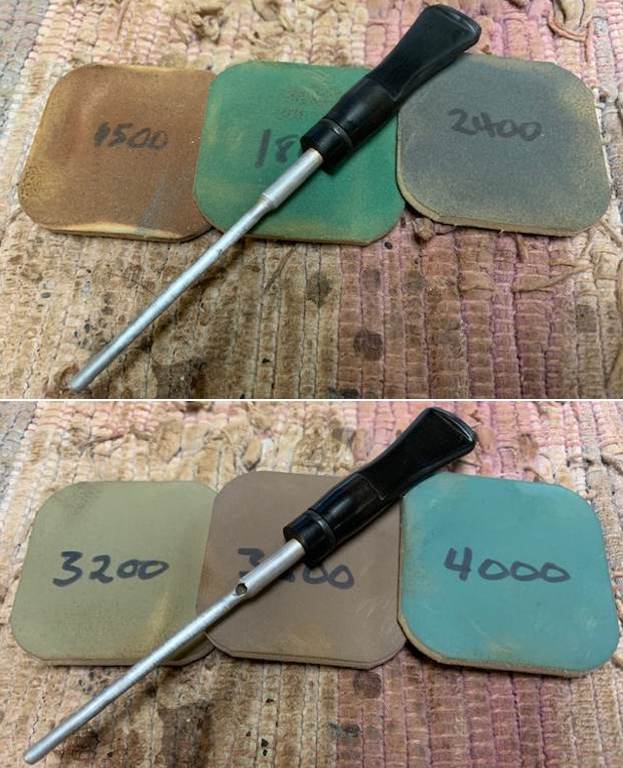
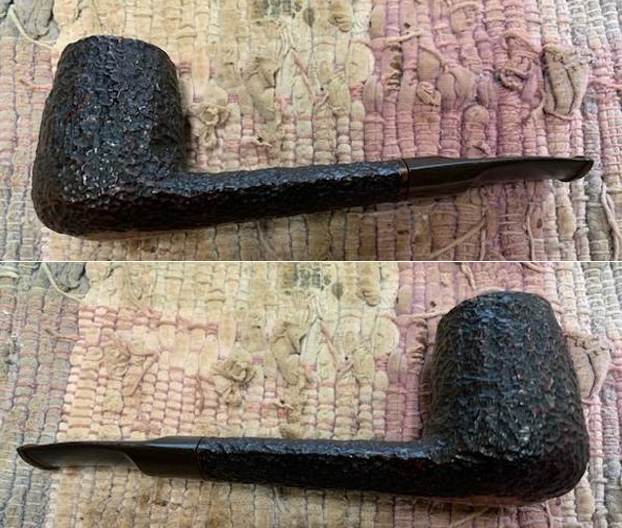
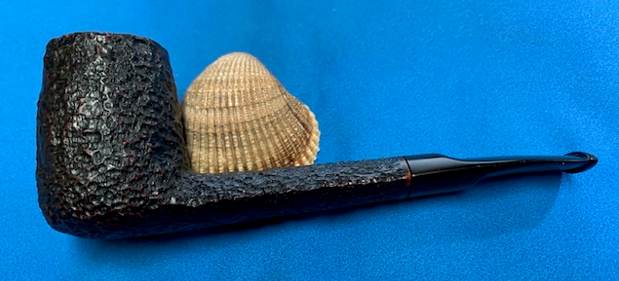
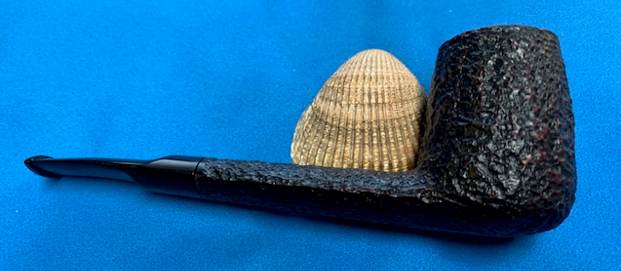
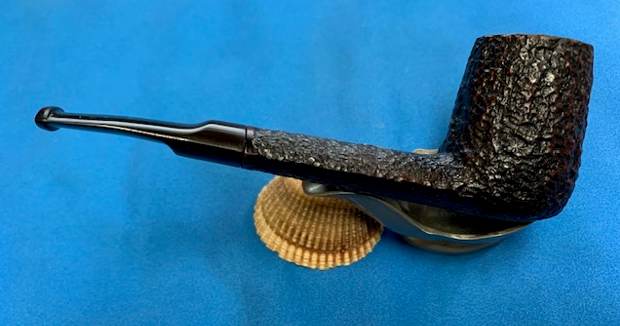
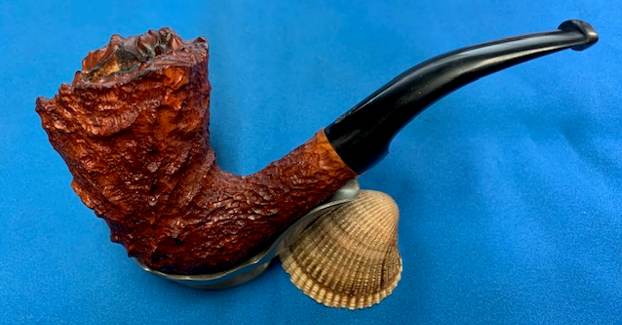
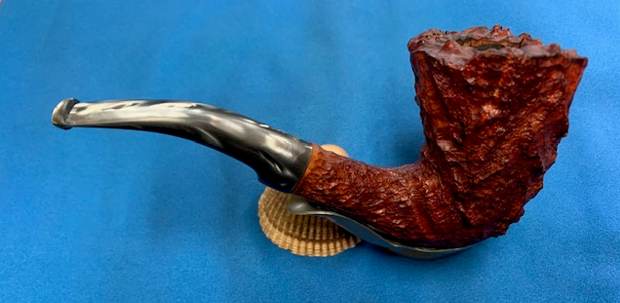
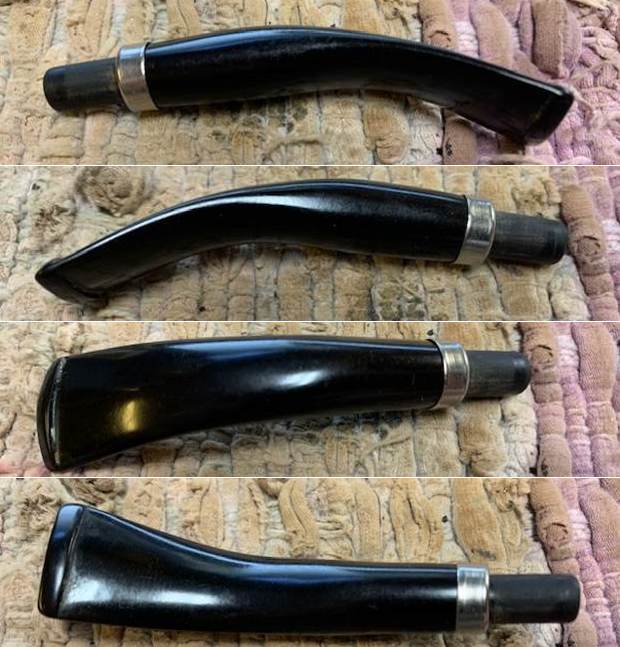
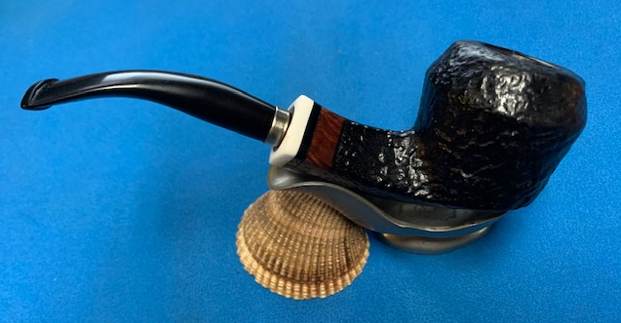
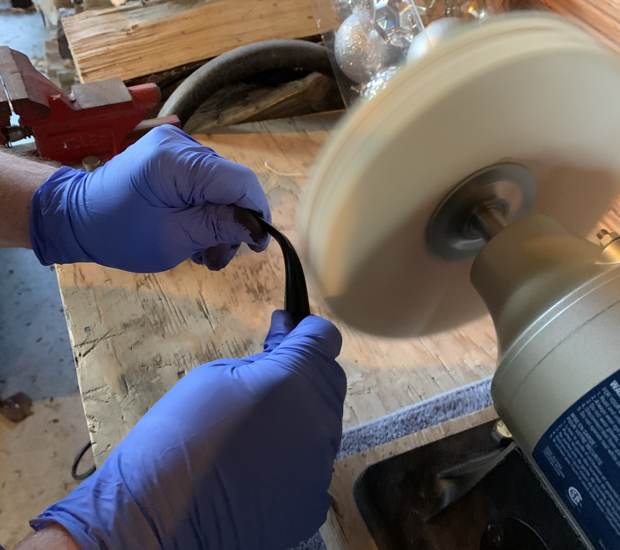
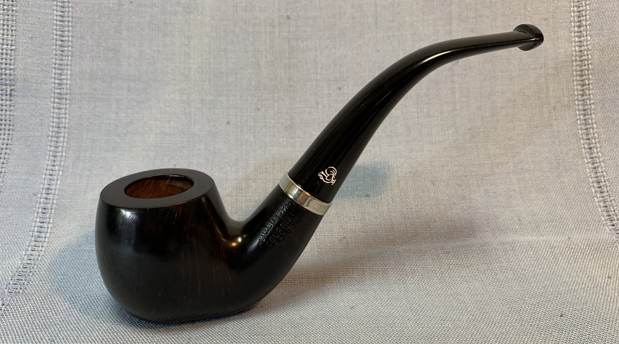
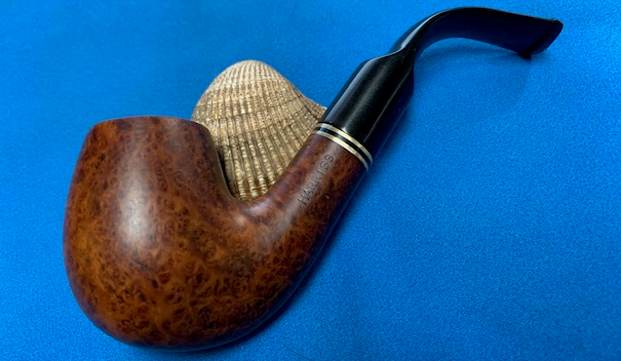
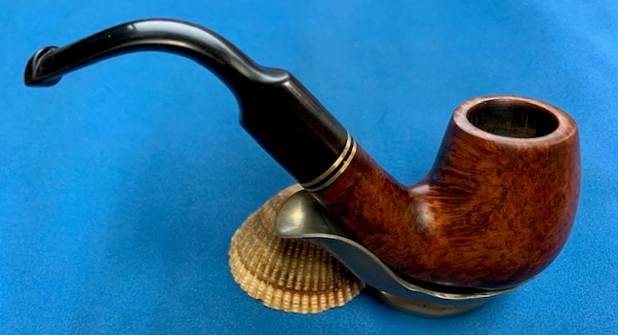
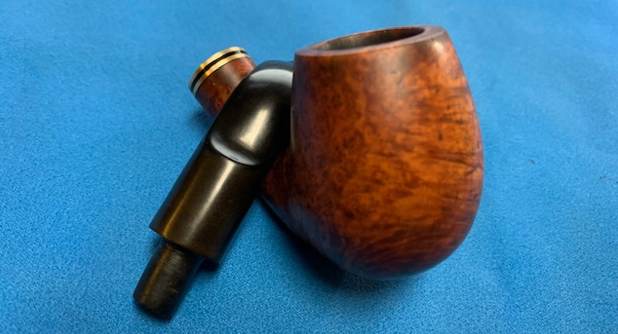
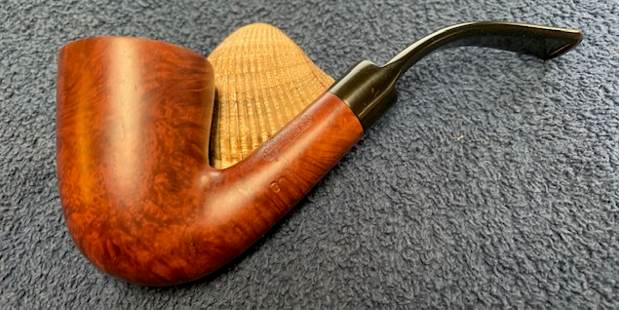
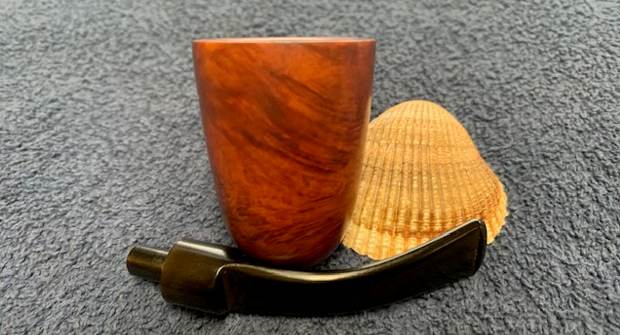
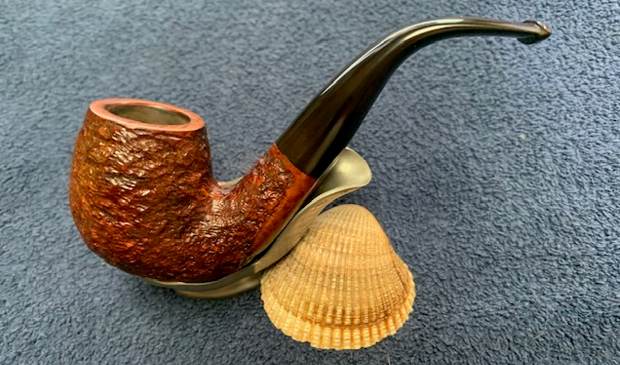
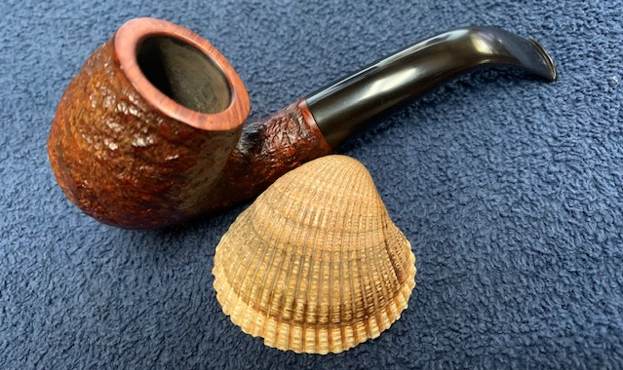
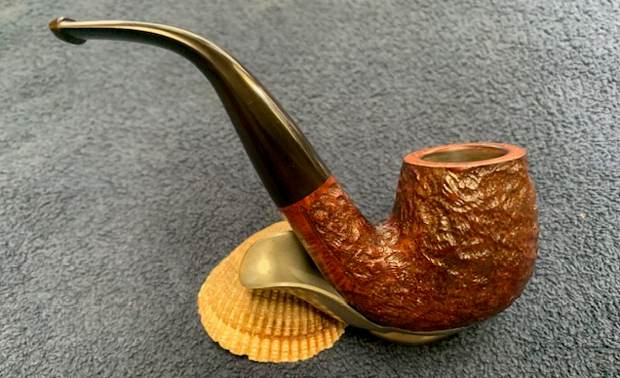
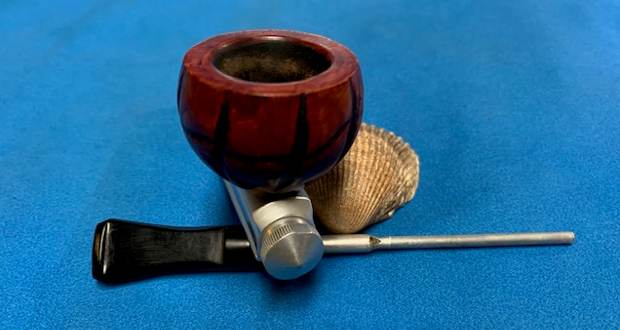
 This Kirsten Gen. 1.5 Made in U.S.A. – K straight pipe with a vulcanite saddle stem has a smooth reddish finish. The rich reds and blacks of the contrasting stain makes the grain come alive with the polishing and waxing. I buffed the barrel lightly with the Blue Diamond and also buffed the bowl. I gave the bowl and barrel several coats of carnauba wax and then lightly buffed it with a clean flannel buffing pad to raise the shine. I put the vulcanite stem back on the bowl and carefully buffed the pipe with Blue Diamond on the buffing wheel using a light touch on the briar and followed that by buffing the entire pipe with a clean buffing pad. I hand buffed the pipe with a microfiber cloth to deepen the shine. This older Kirsten Companion K is a great looking pipe and the Dublin bowl gives it a distinctive look. Give the finished pipe a look in the photos below. The dimensions of the pipe are Length: 5 ½ inches, Height: 1 ¾ inches, Outside diameter of the bowl: 1 ¼ inches, Chamber diameter: ¾ of an inch. The weight of the pipe is 1.66 oz./46 grams. The finished pipe is shown in the photos below. It is ready for George to give to his son in memory of his grandfather. Thanks for reading this blog and my reflections on the pipe while I worked on it. There are many more to come!
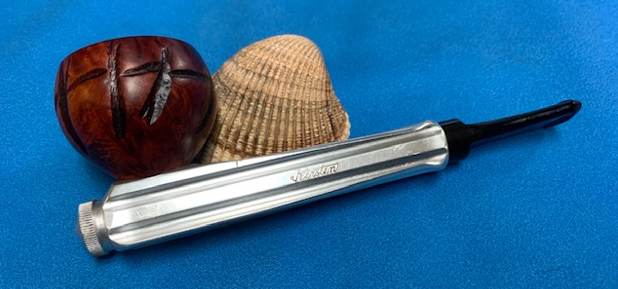


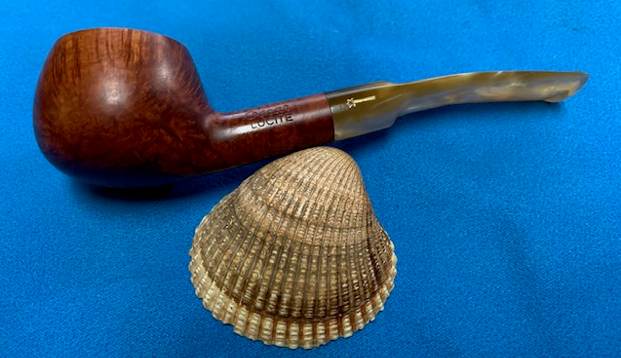
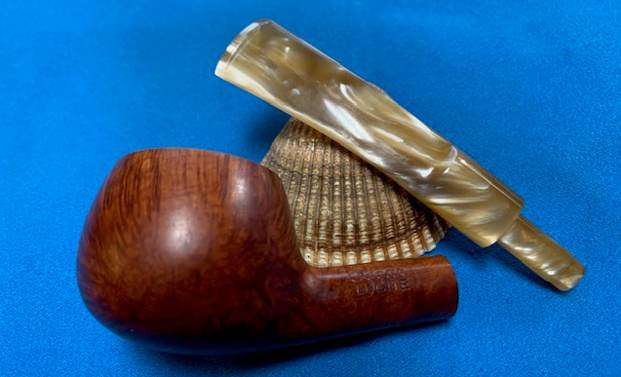
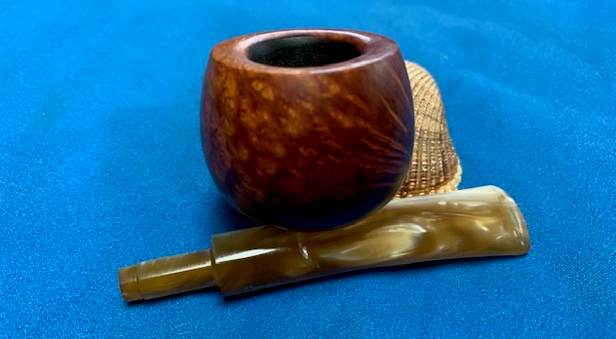
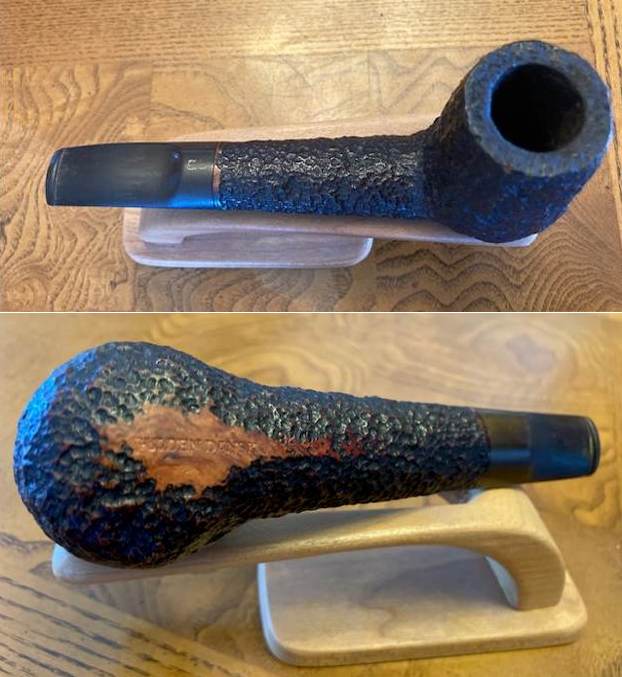
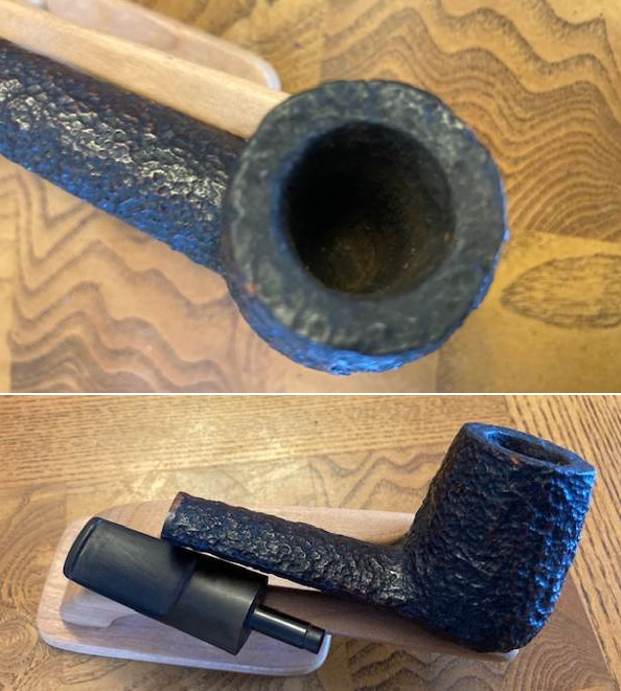
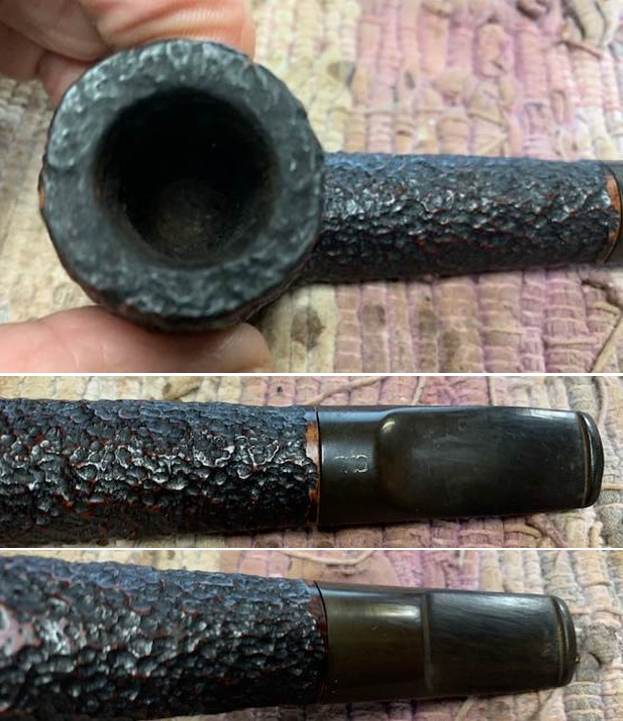
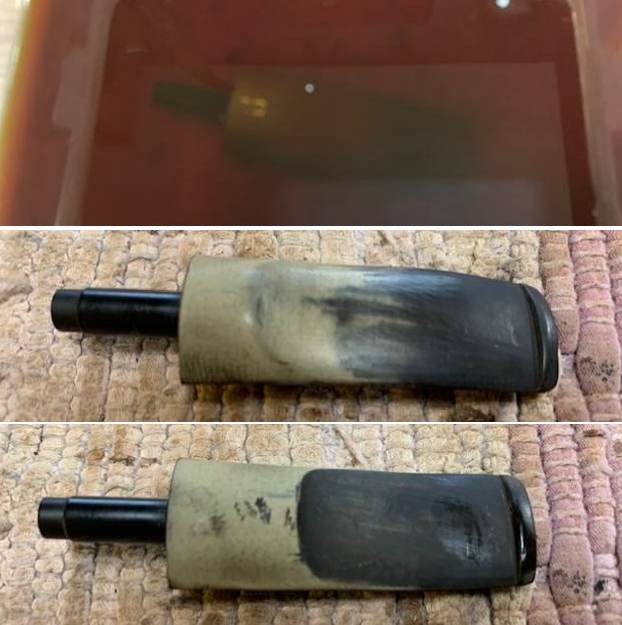
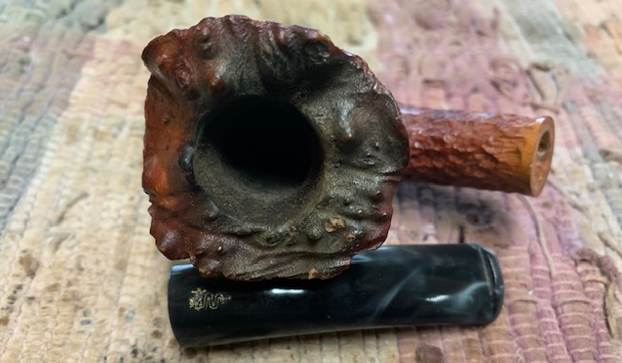
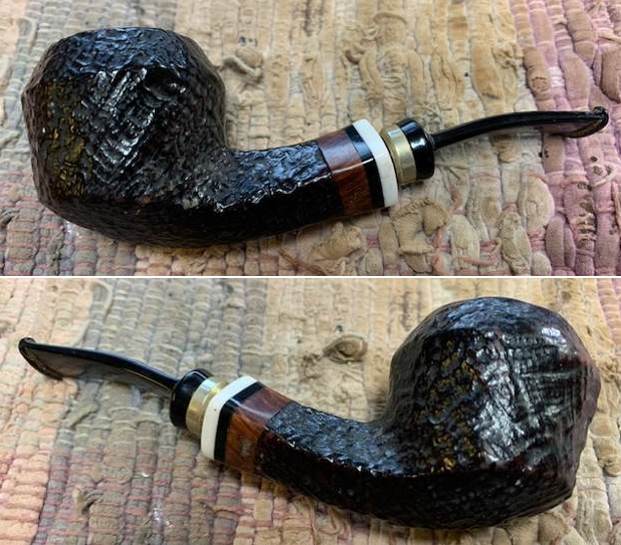
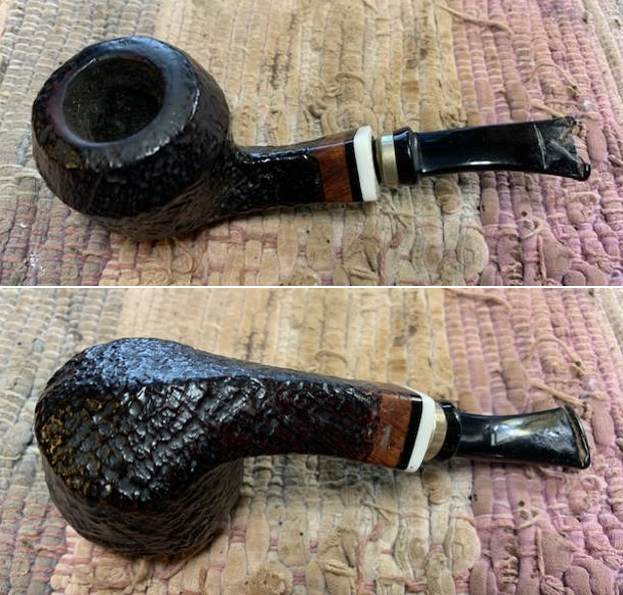
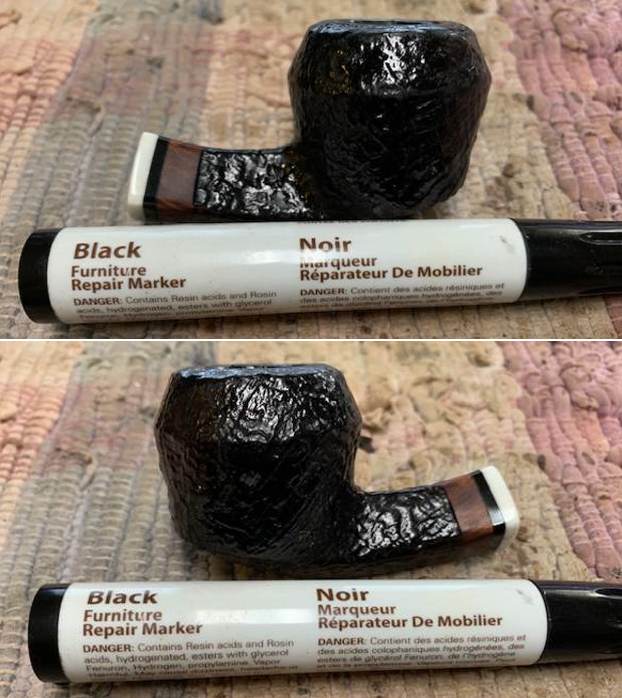
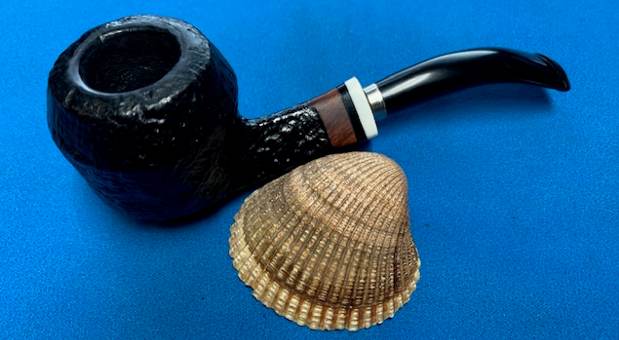
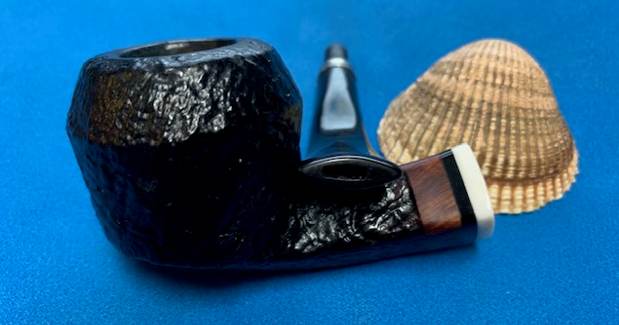
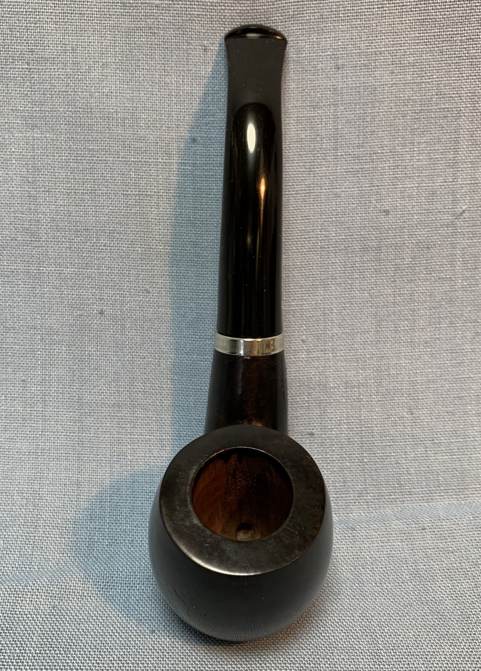
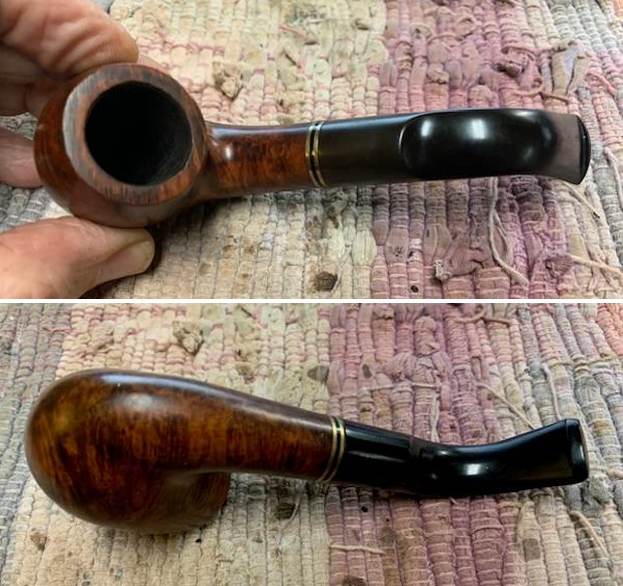
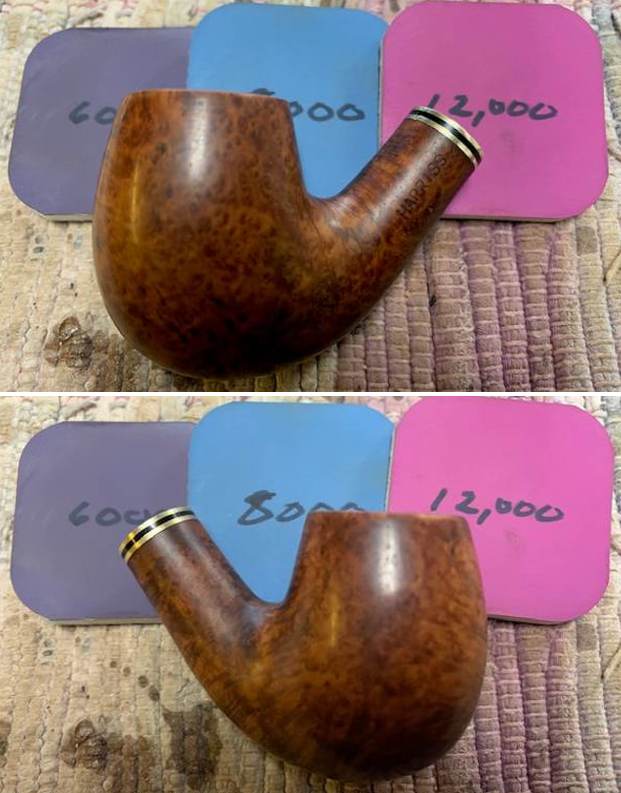
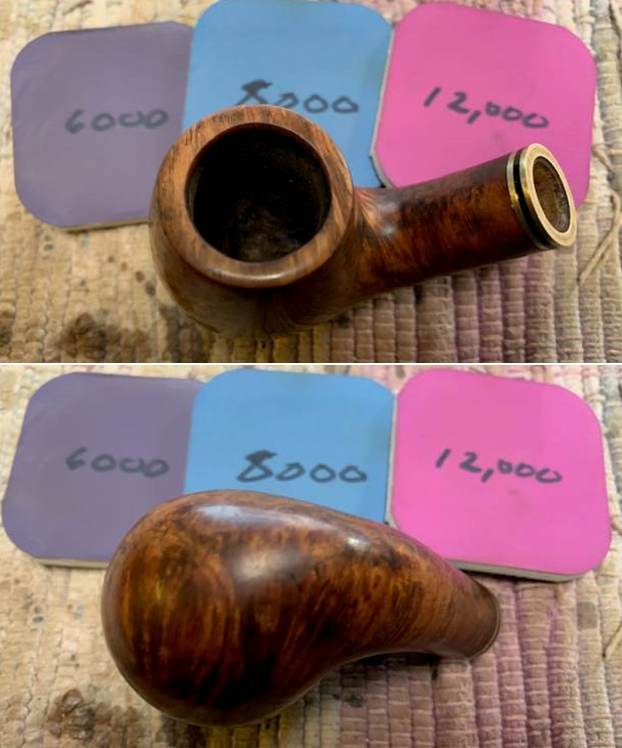
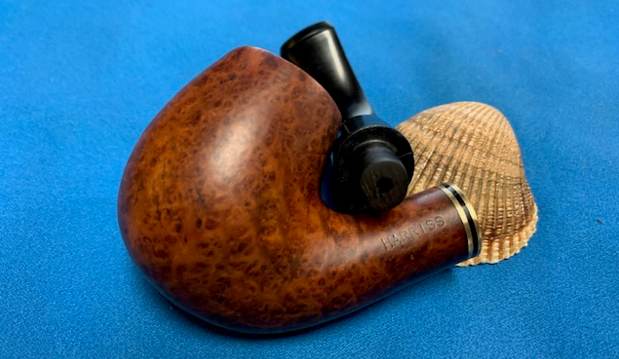
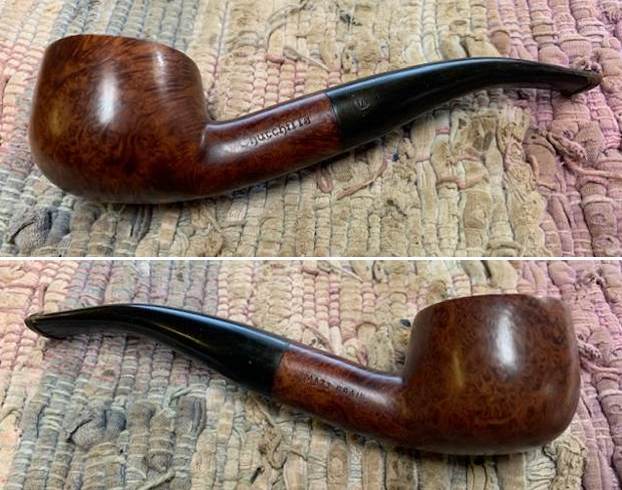
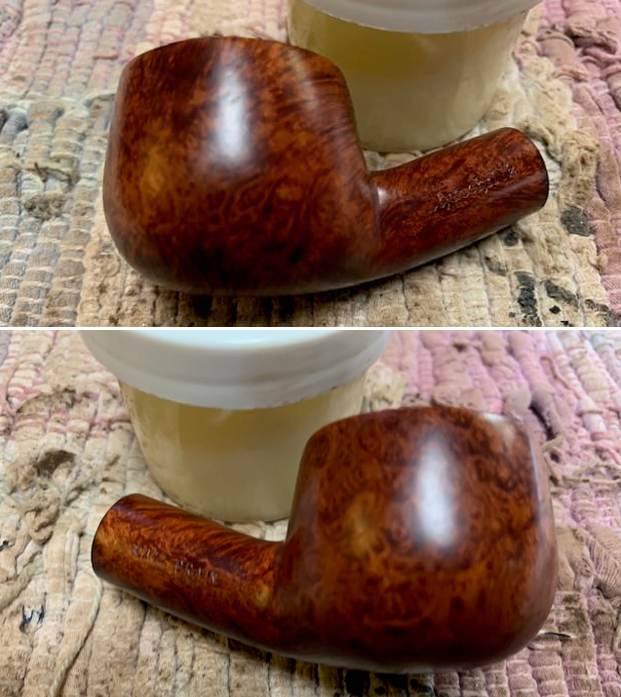
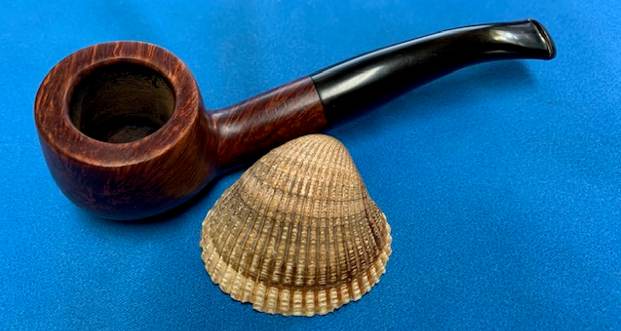
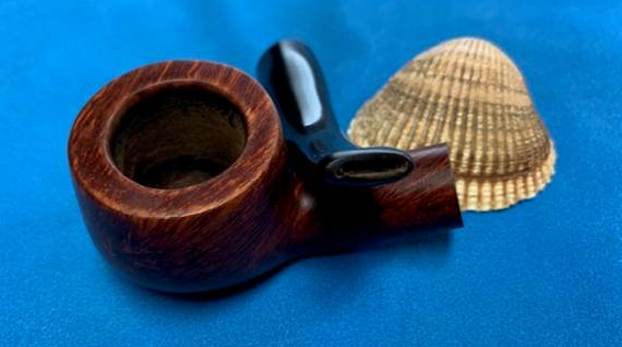
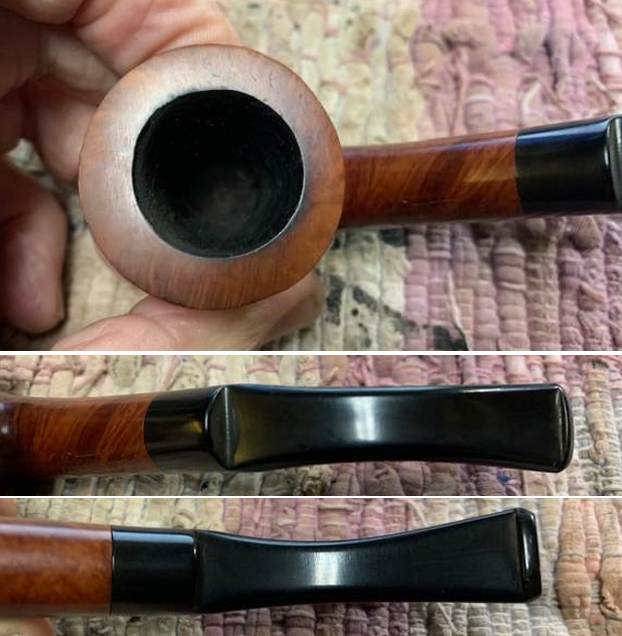
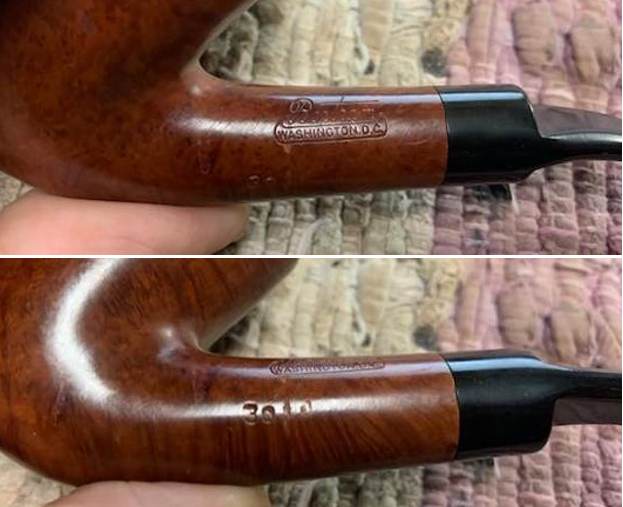
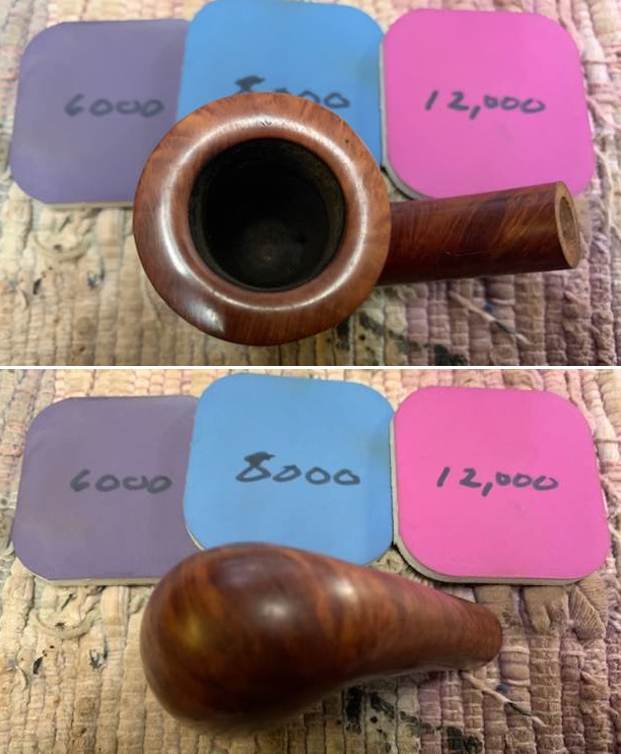
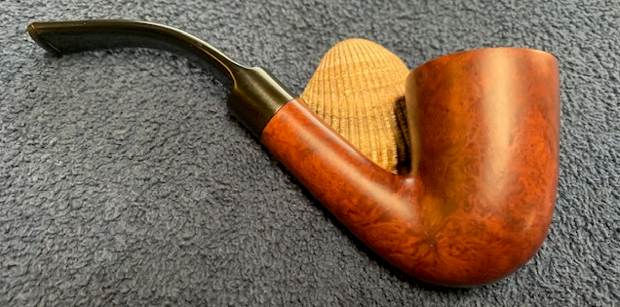
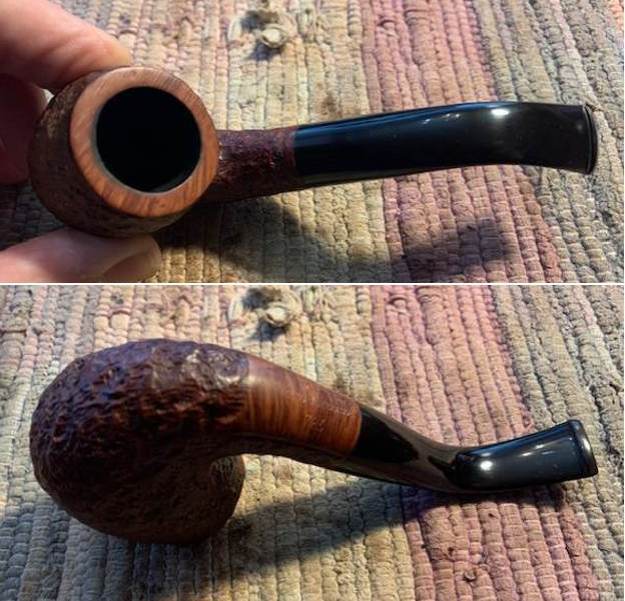
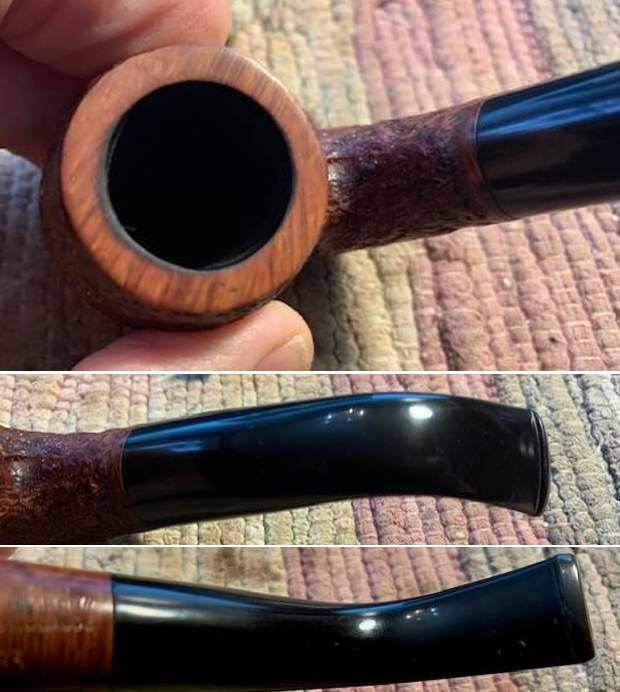
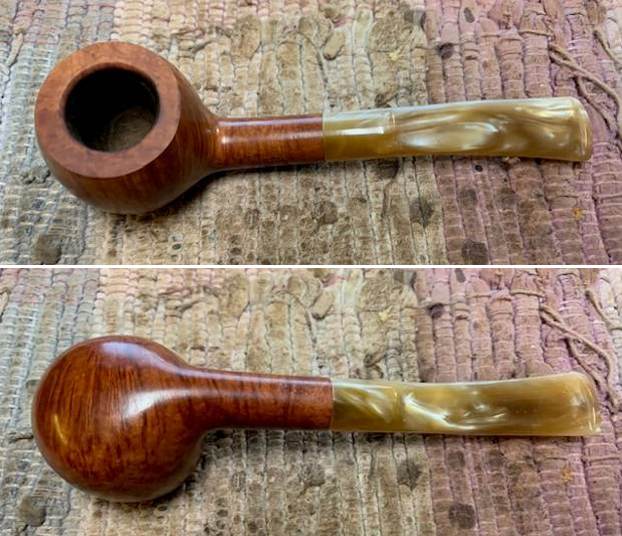 I took a photo of the bowl and rim top to verify the description above. I also took photos of the stem surface showing the light chatter and tooth marks on both side.
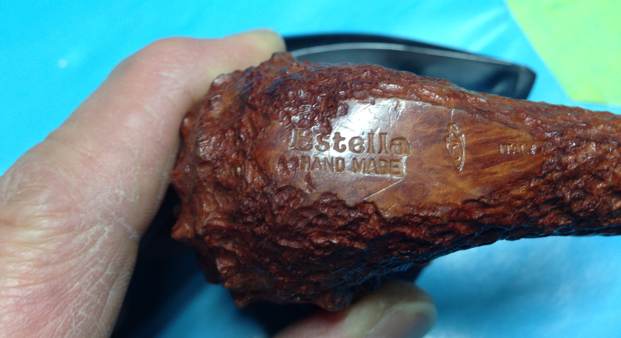
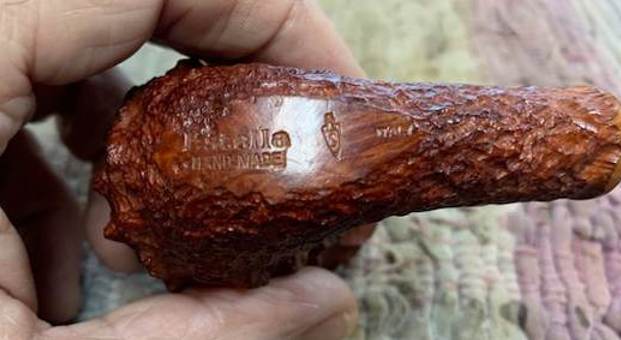
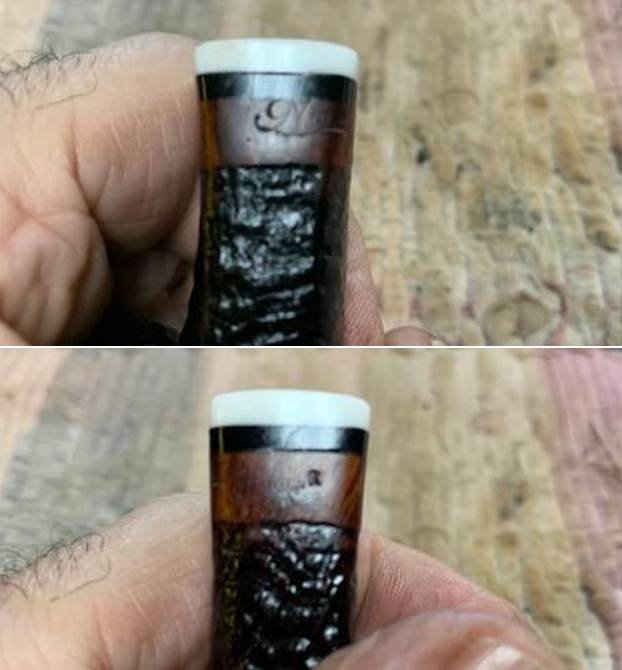
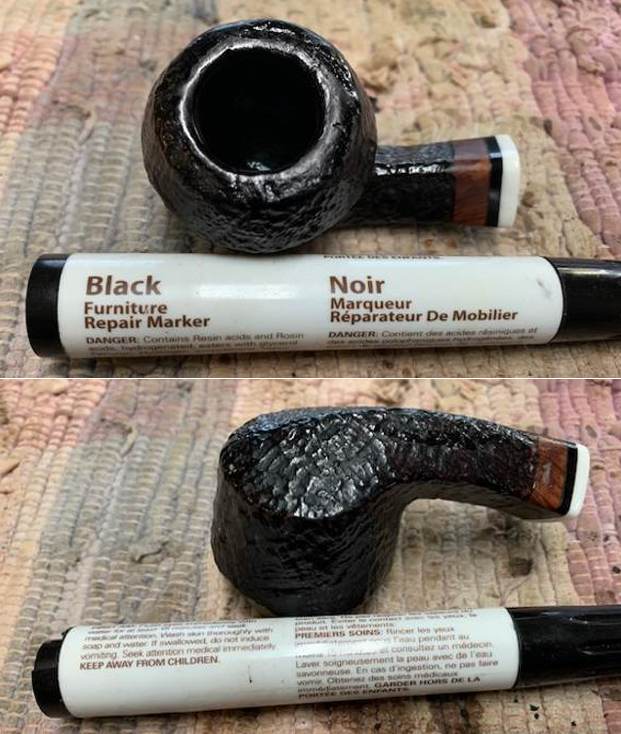
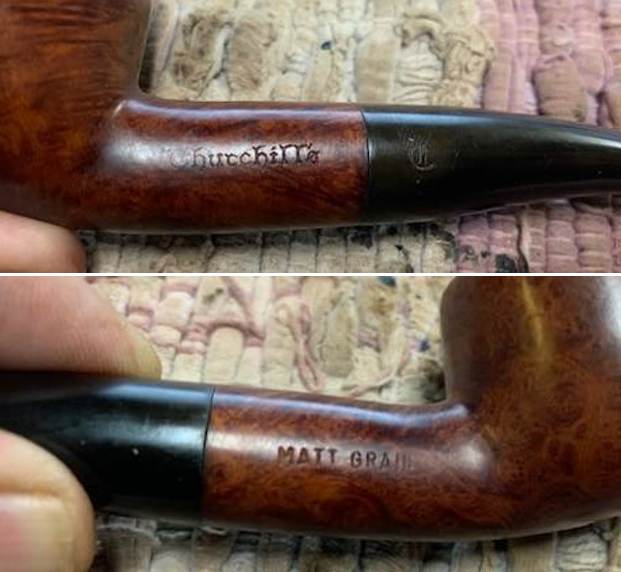
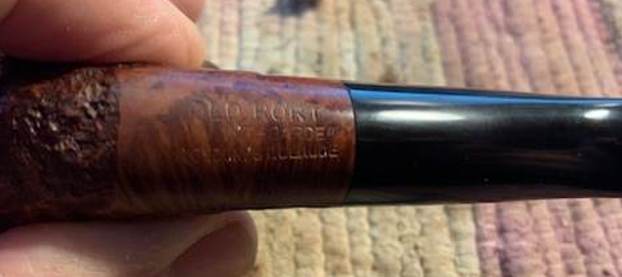
 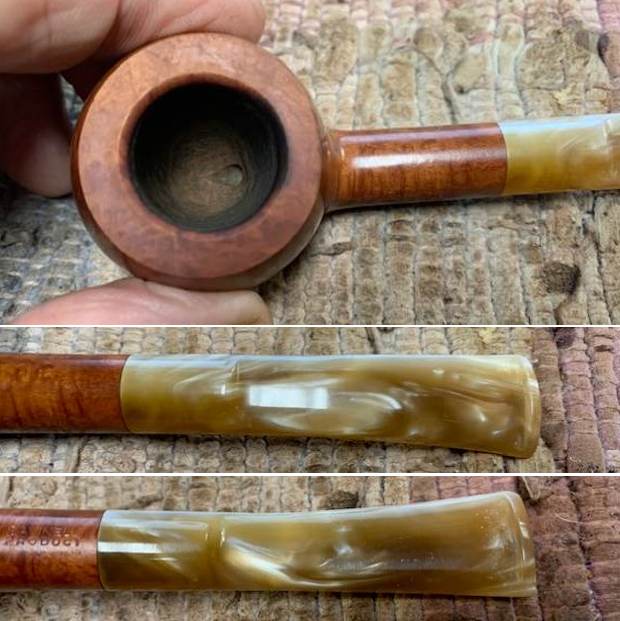 I took a photo of the stamping on the sides of the shank. It is clear and readable as noted above.
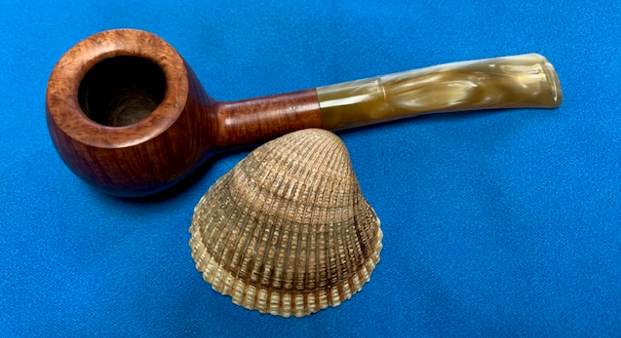
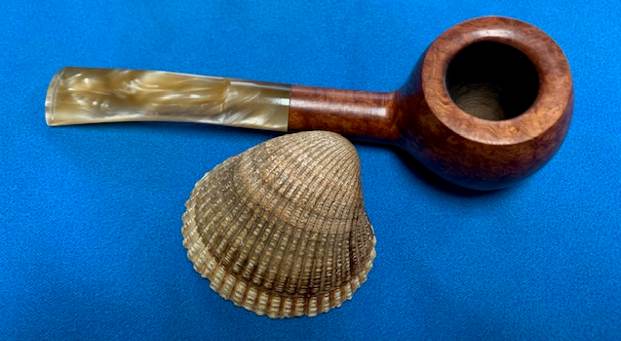
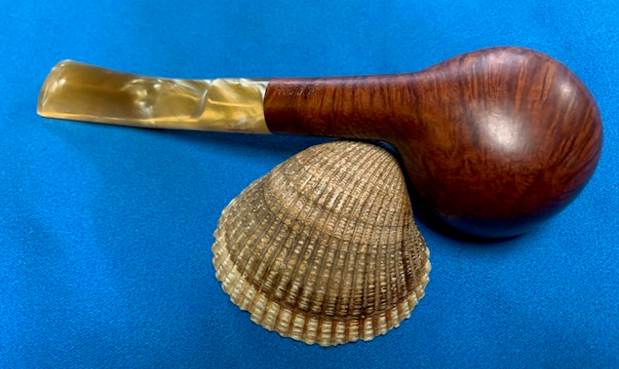
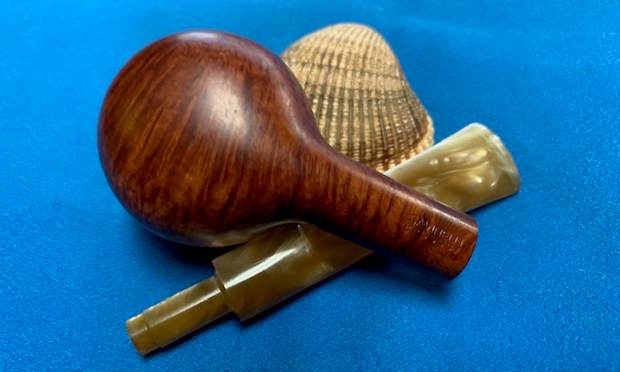
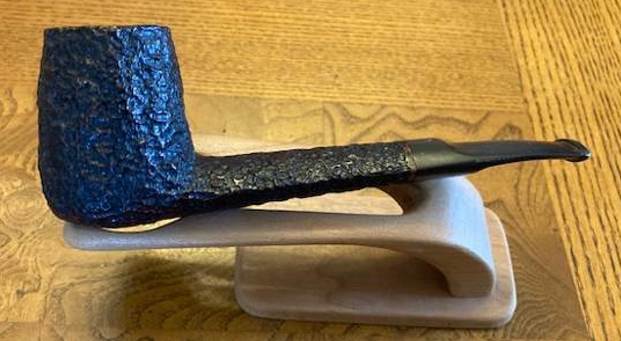
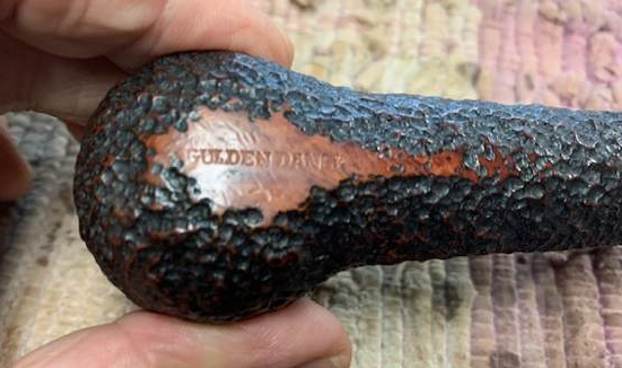
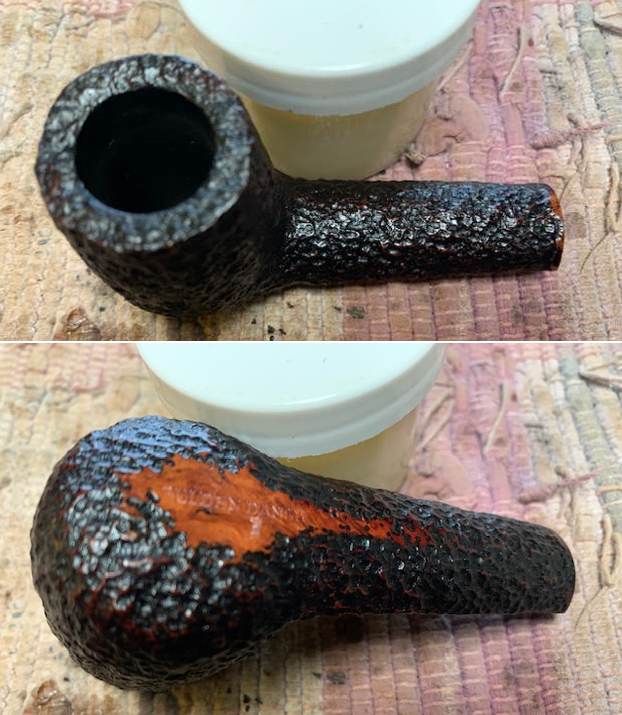
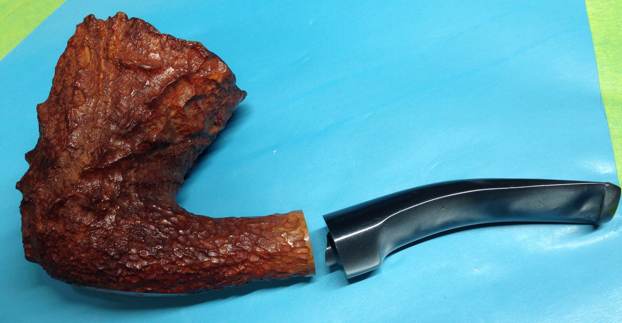
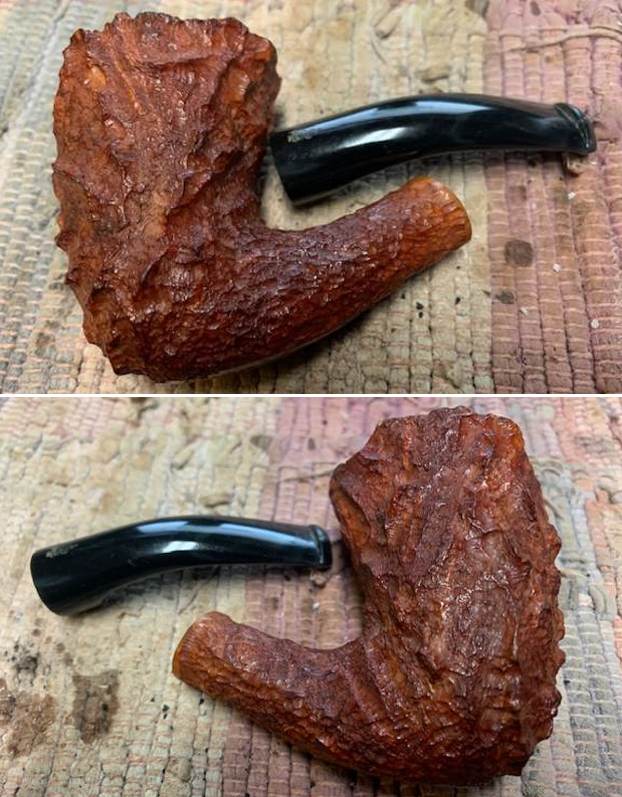
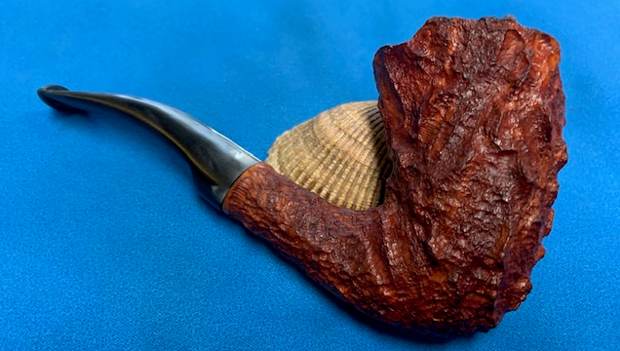
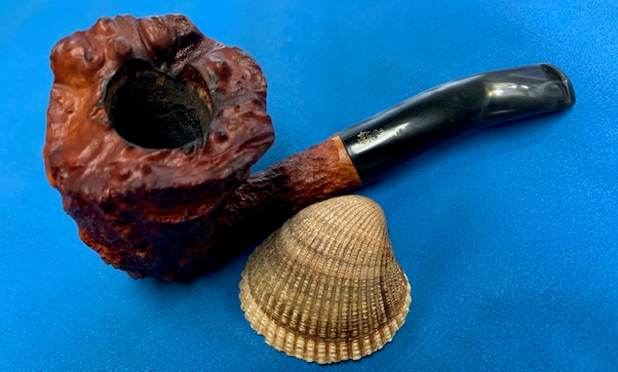
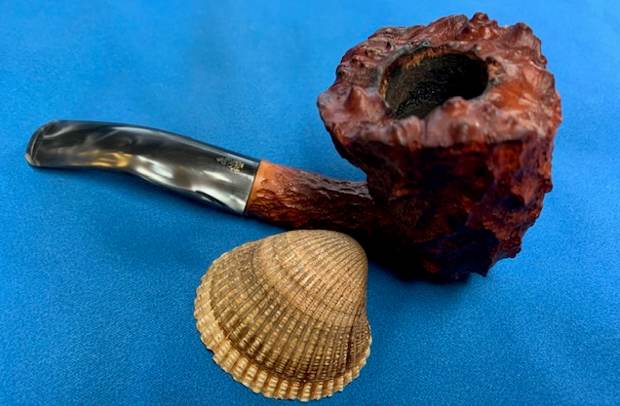
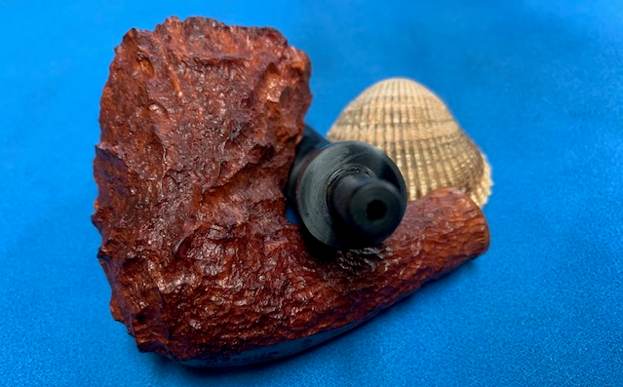
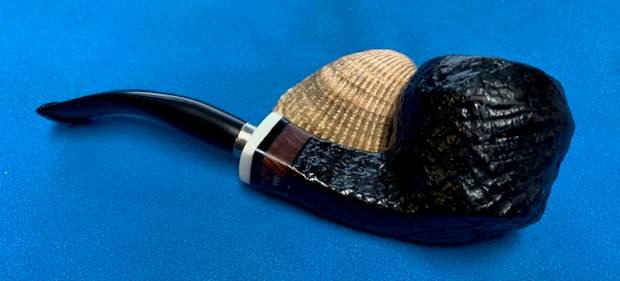
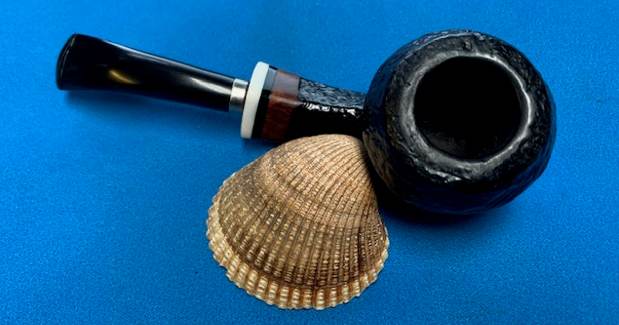
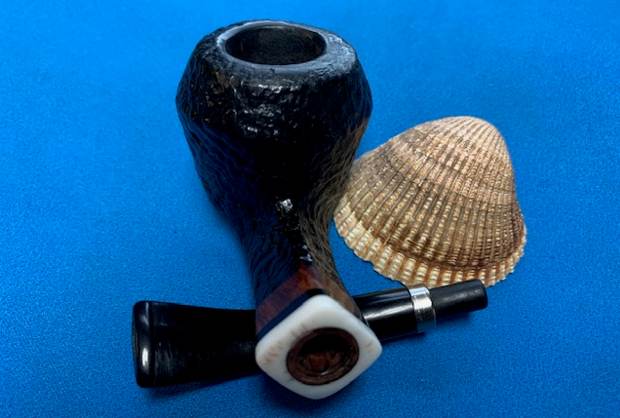
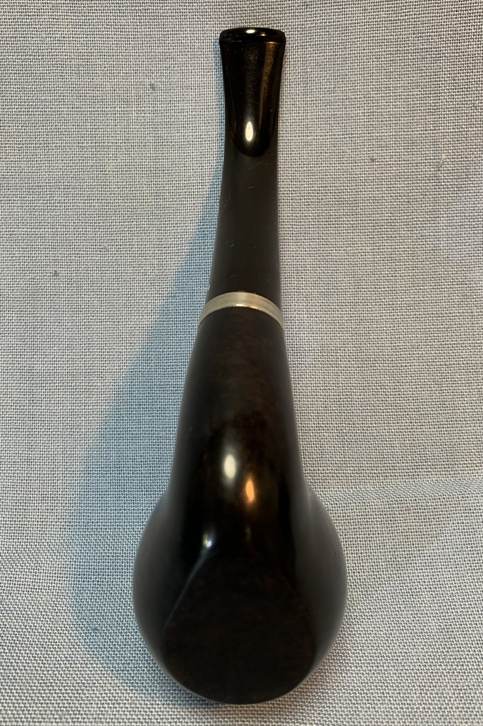
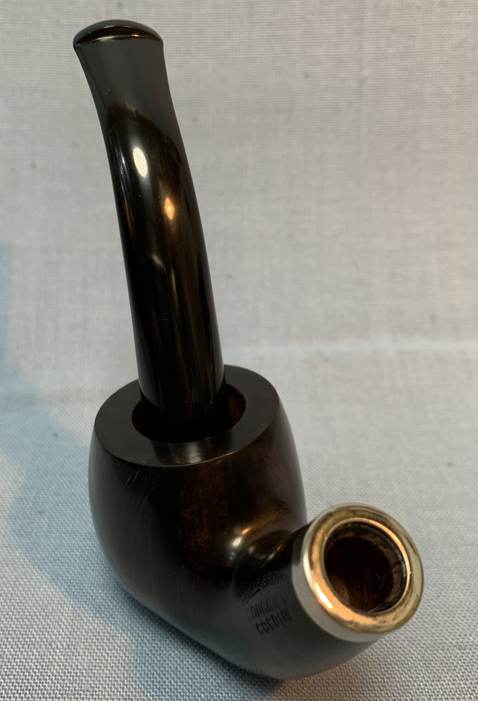
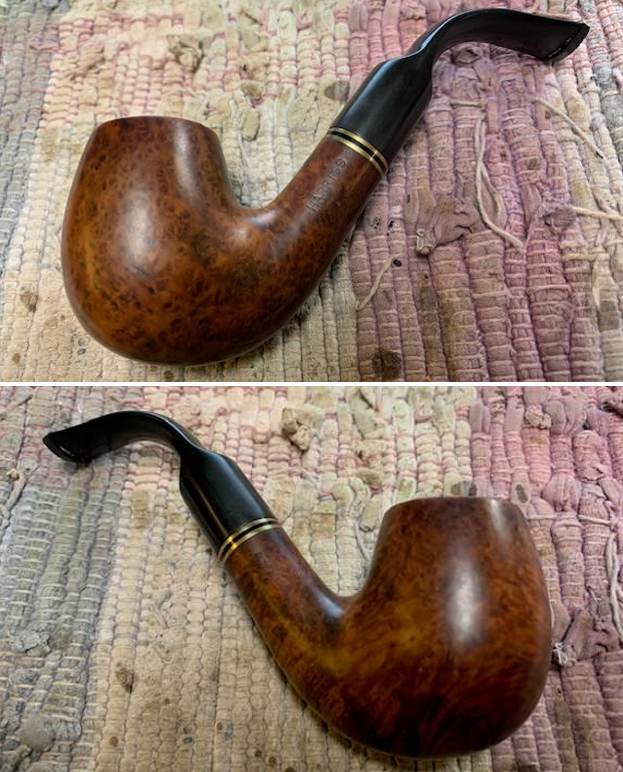
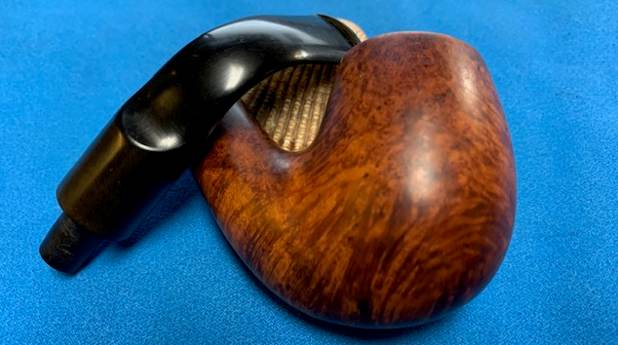
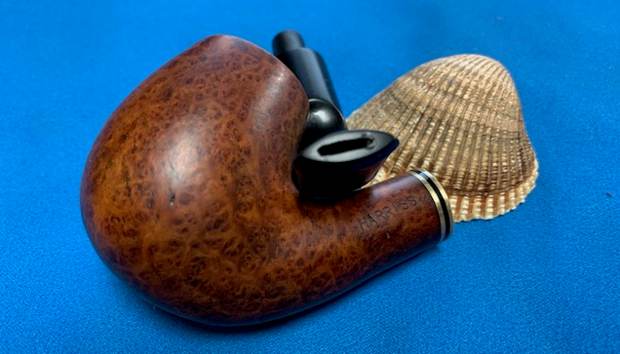
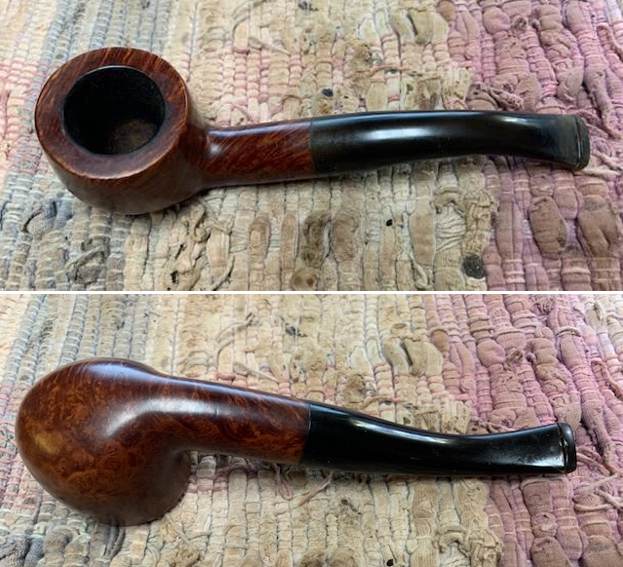
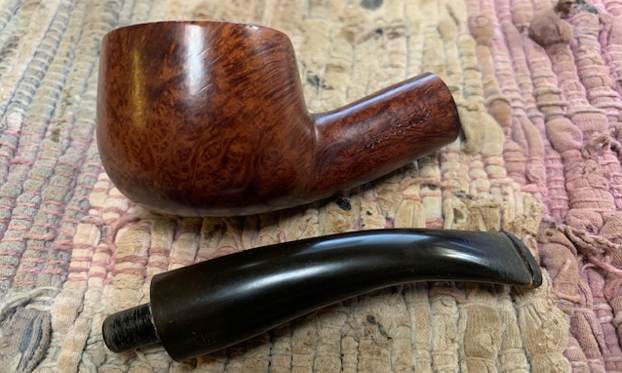
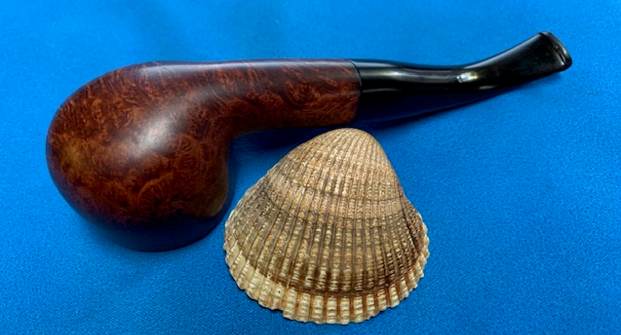
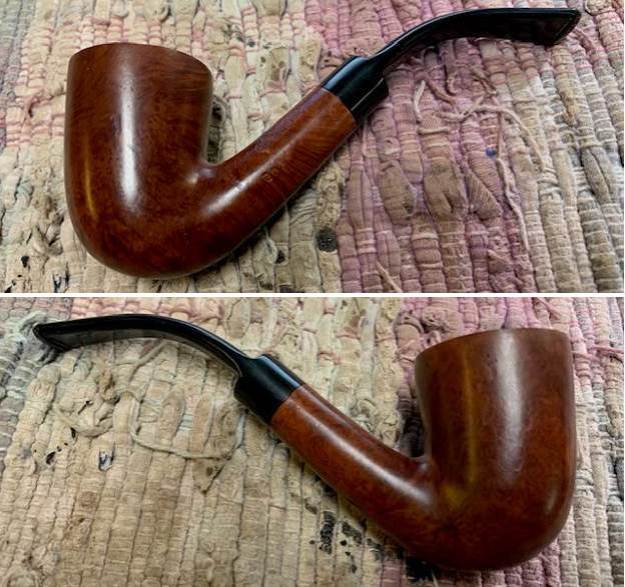
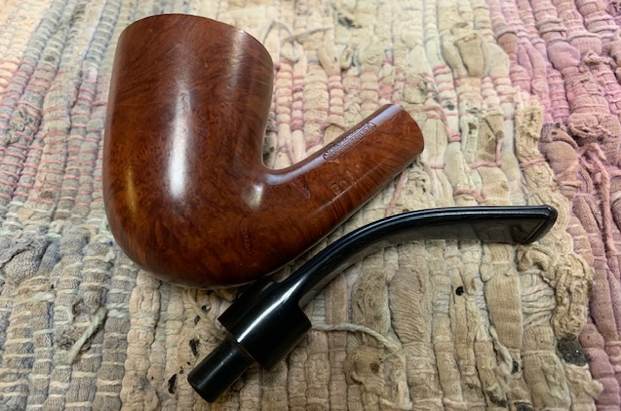
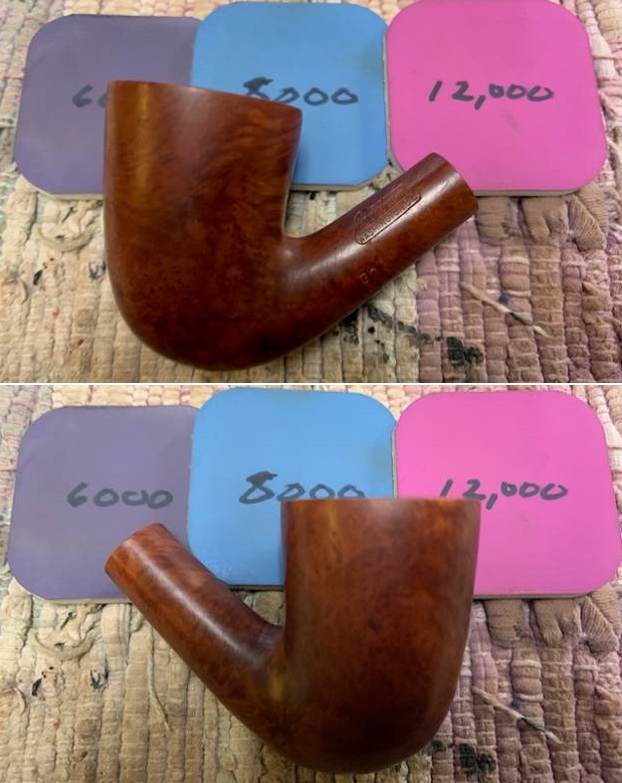
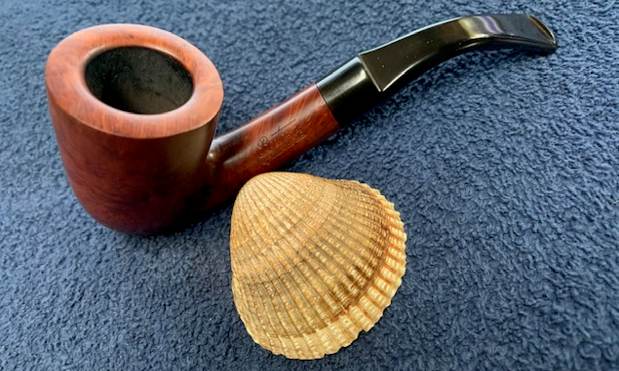
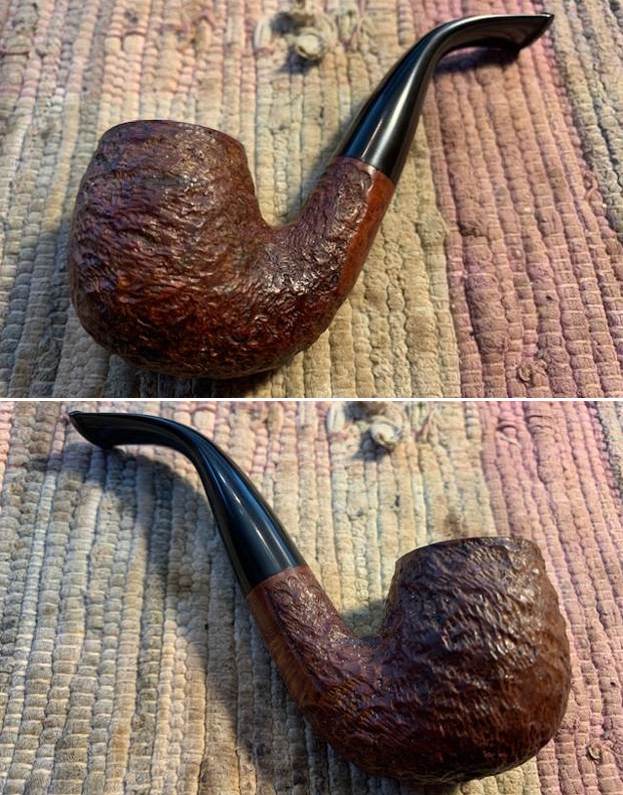
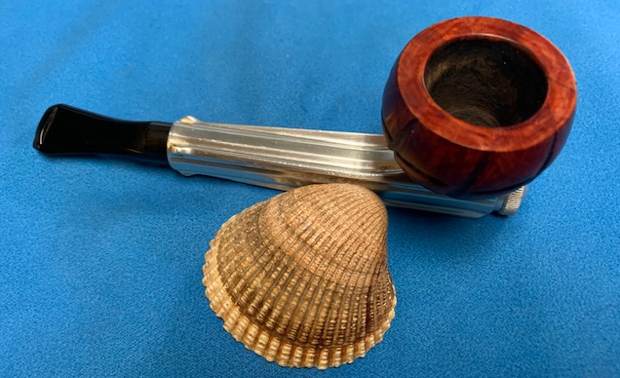
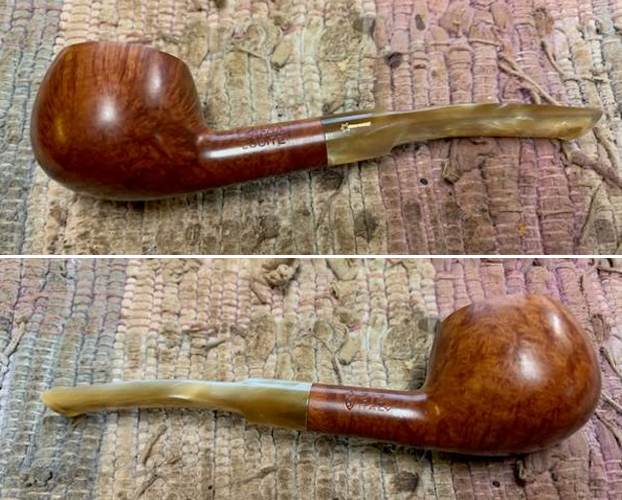
 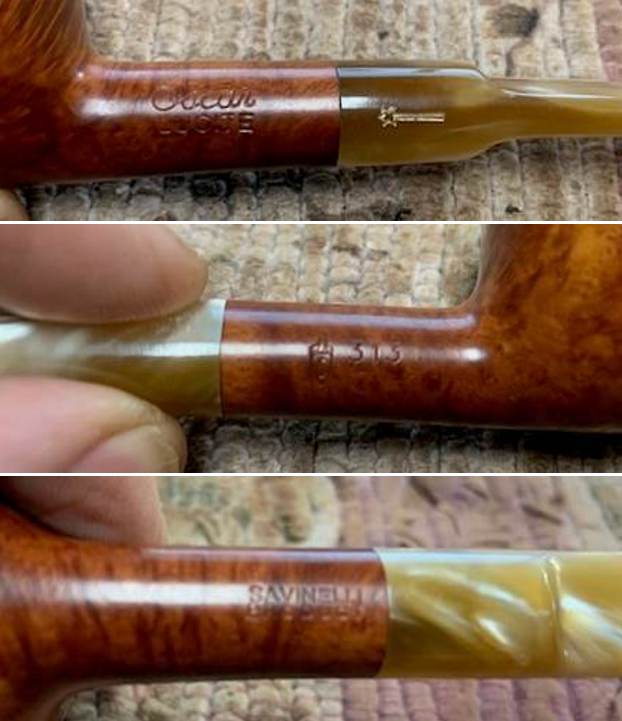 I took the stem off the bowl and took a photo of the pipe to give a sense of proportion of the pipe. You can also see the around the side of bowl and the shank and it is a beauty.
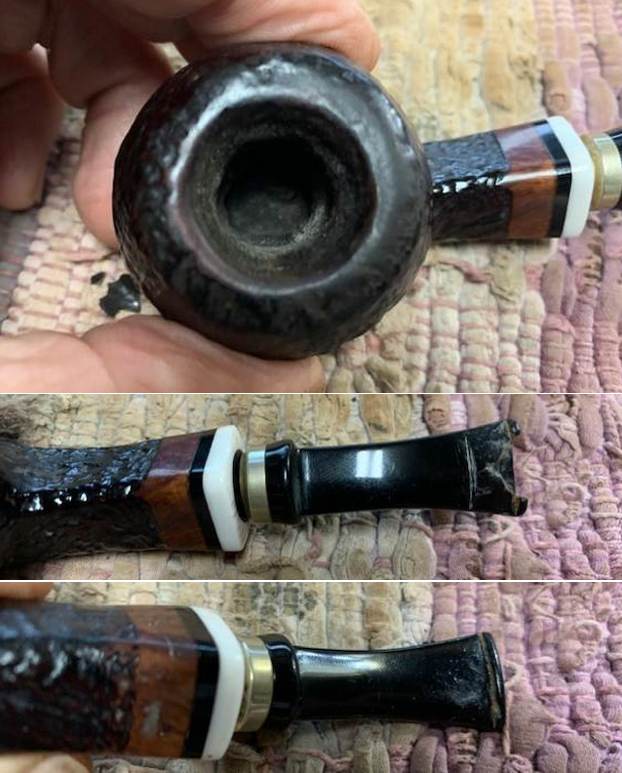
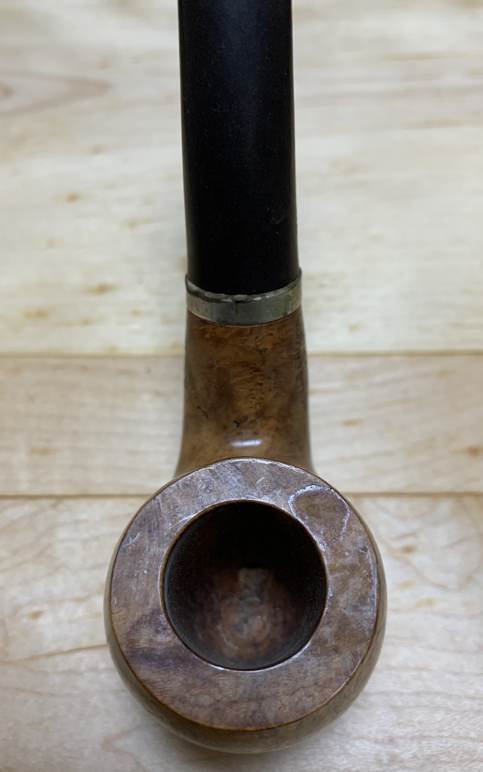
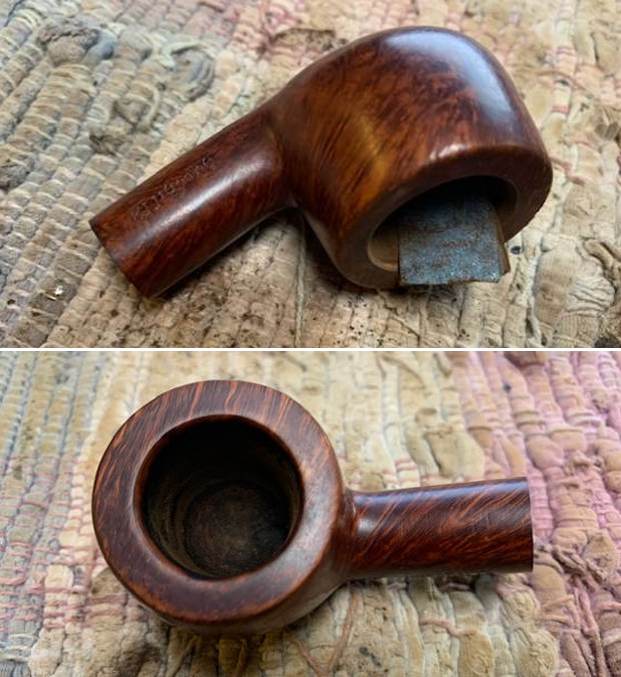
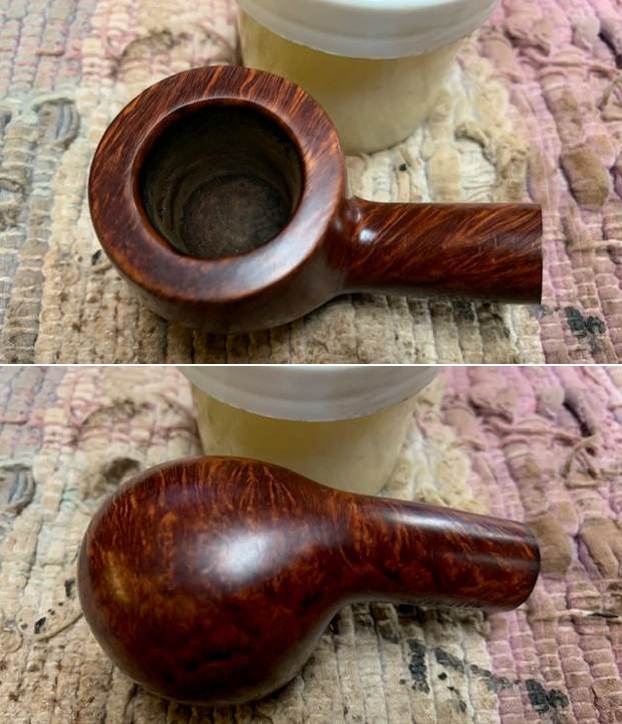
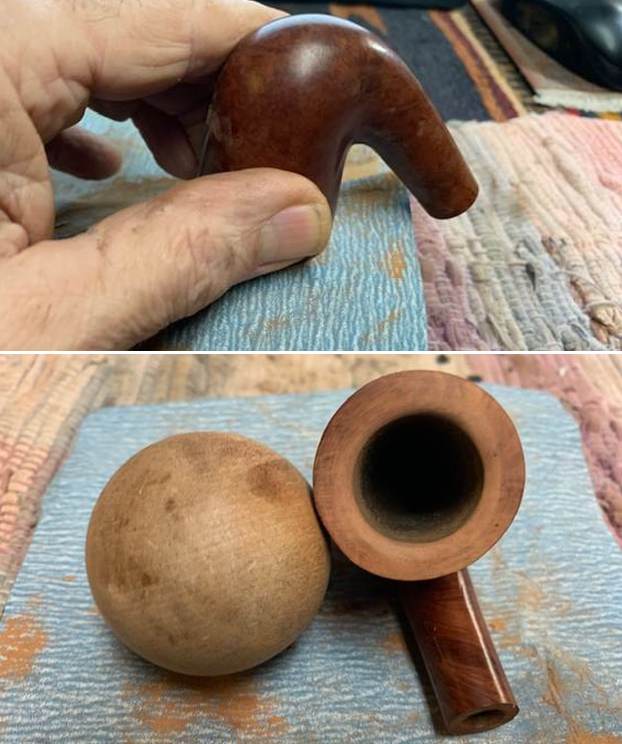
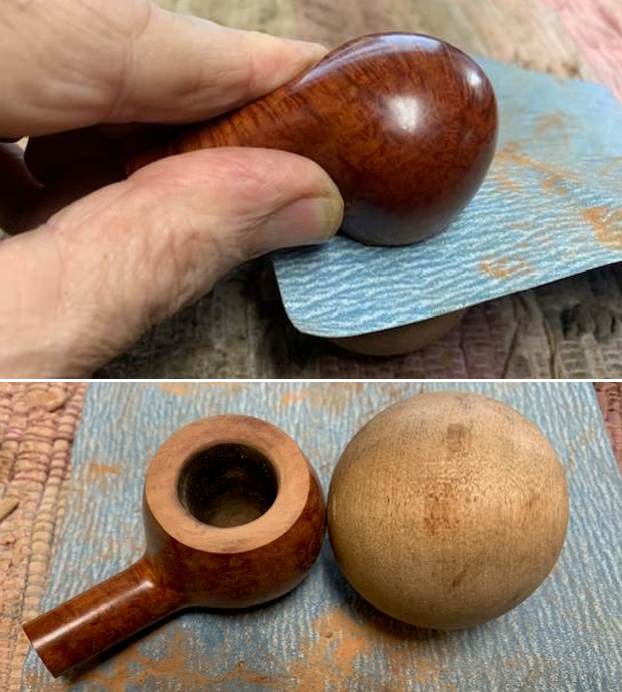
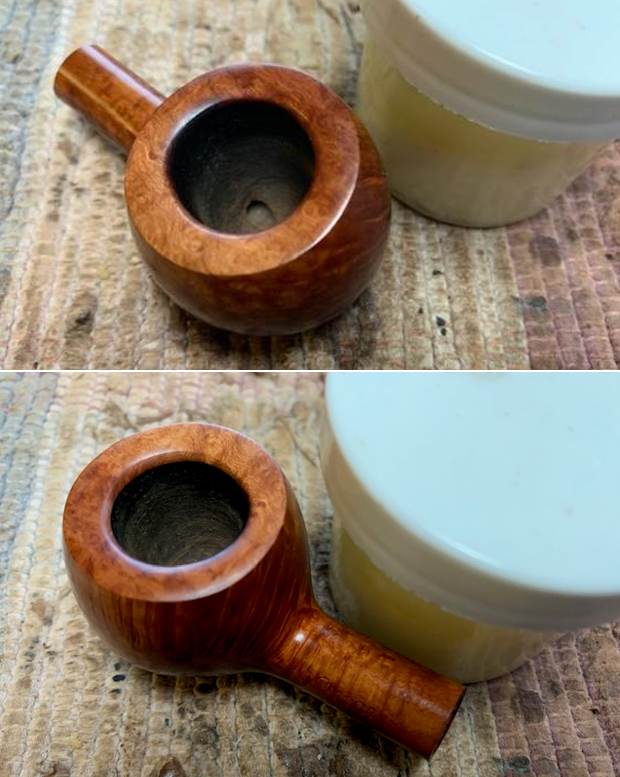
 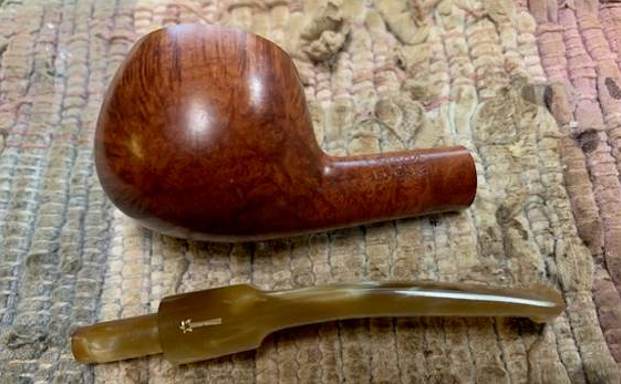 Now it was time to work on the pipe. I worked on the inner edge of the bowl 220 grit sandpaper to give the inner edge a slight bevel and clean up the damage that was present there. I used a ball and a piece of 220 grit sandpaper to smooth it out. The rim came out looking quite good.
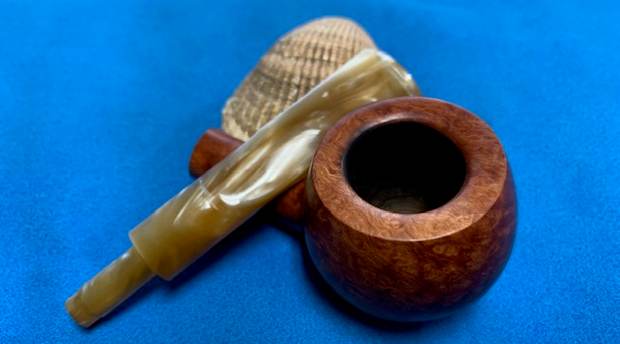
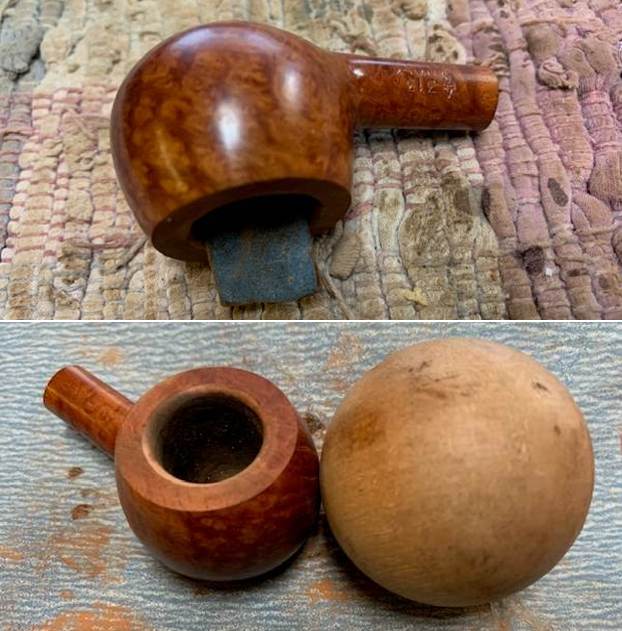
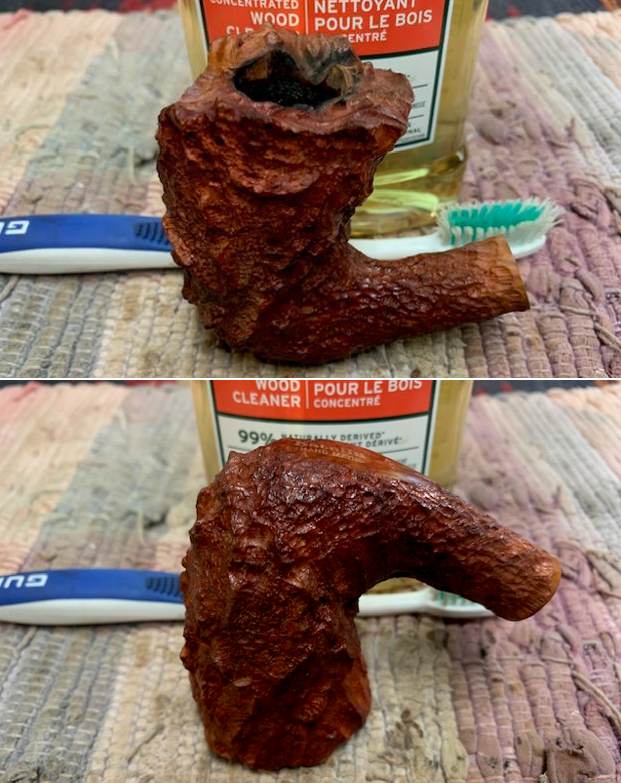
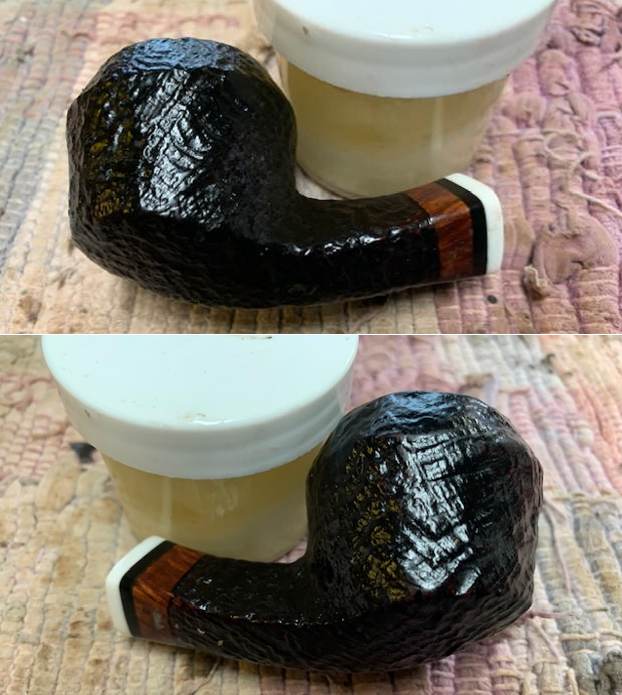
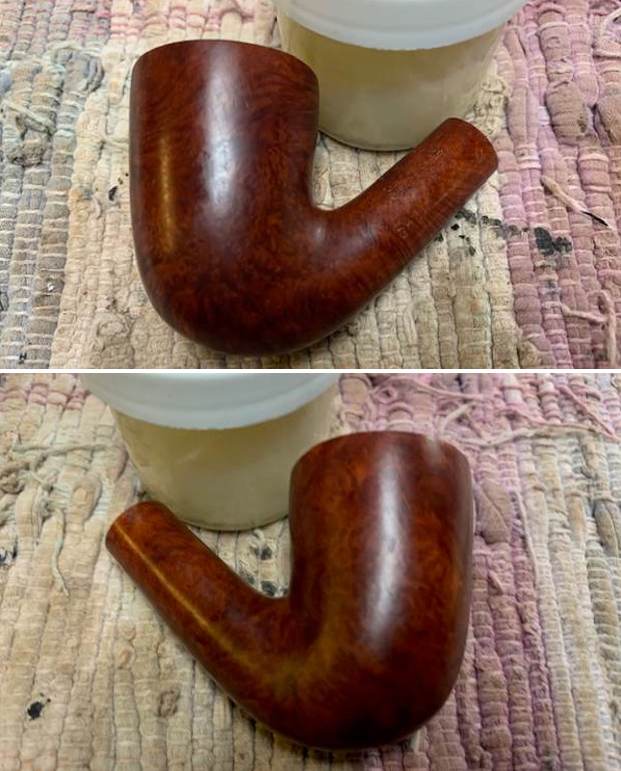
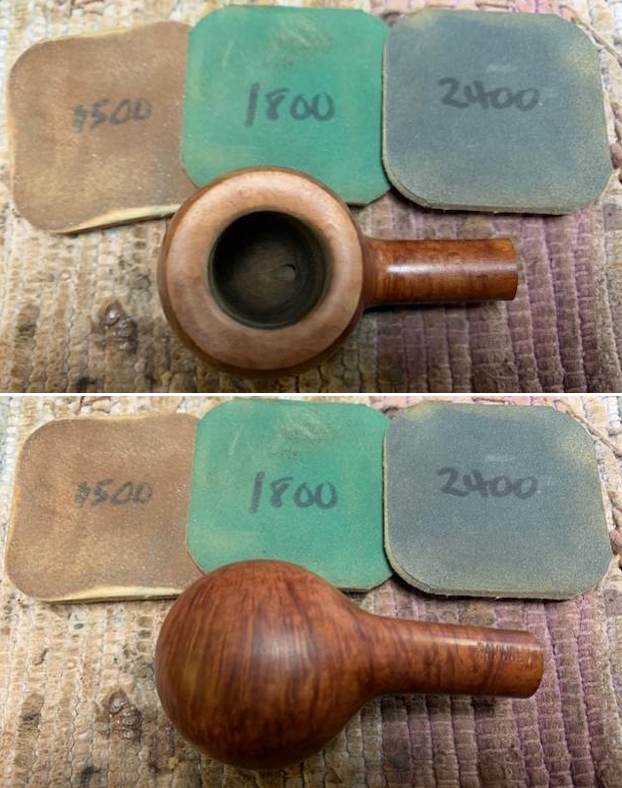
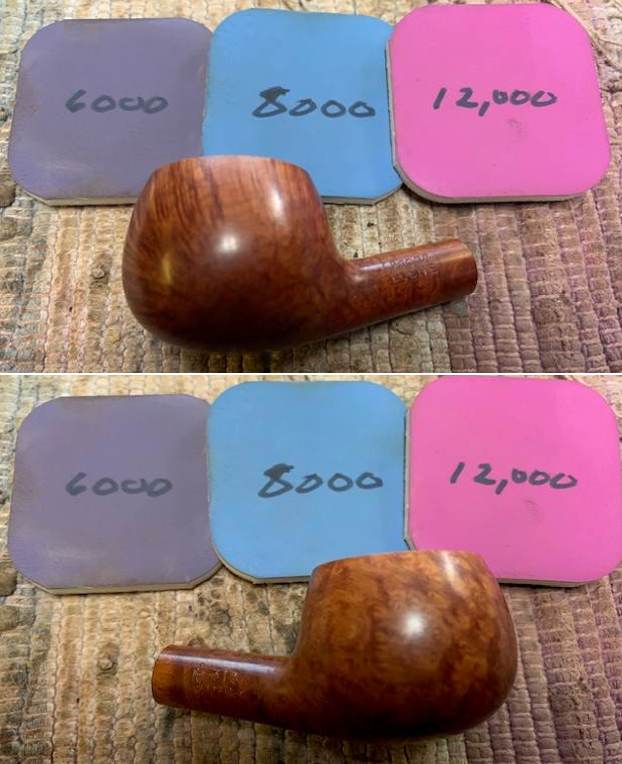
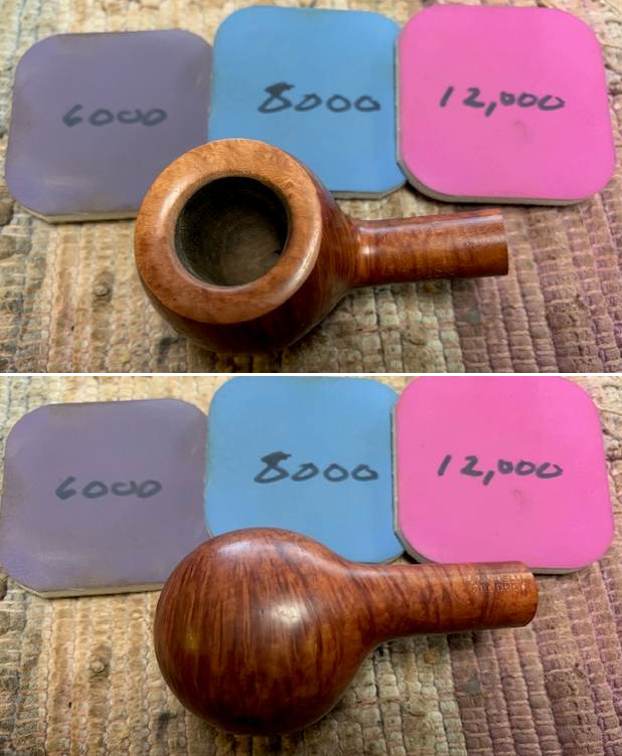
 I polished the rim top and the briar with micromesh sanding pads – dry sanding with 1500-12000 grit pads. I wiped the bowl down with a damp cloth after each sanding pad to remove the dust and debris. The rim top polished out and matched the oil cured look of the bowl and shank.


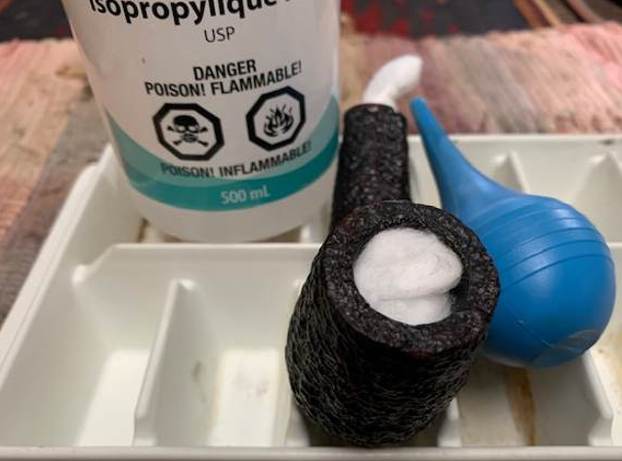
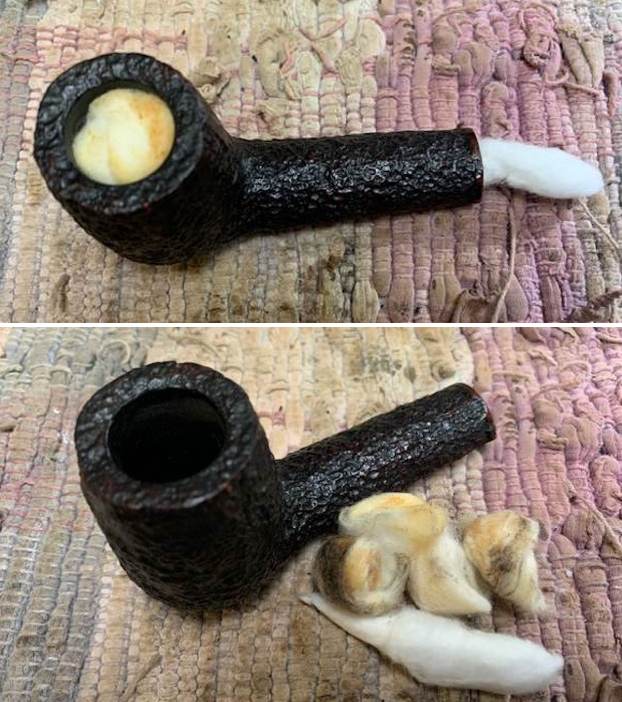
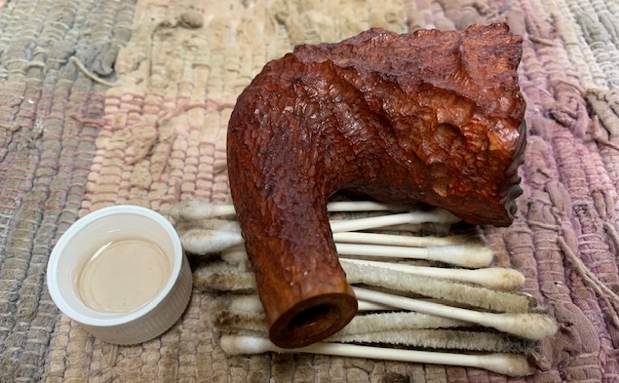
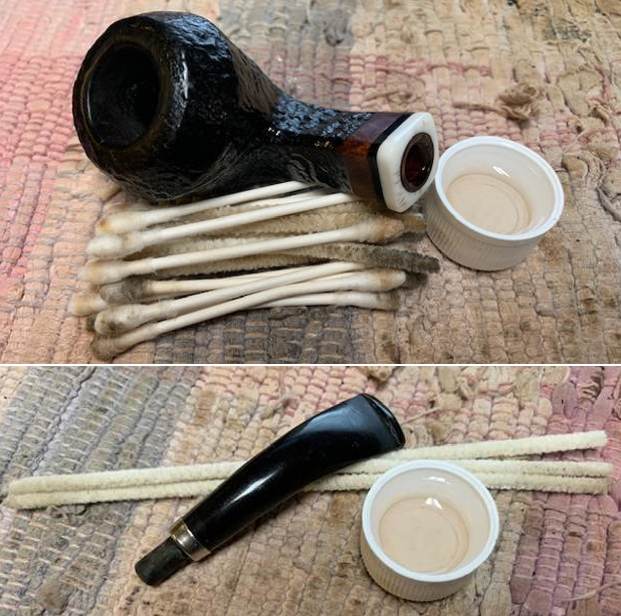
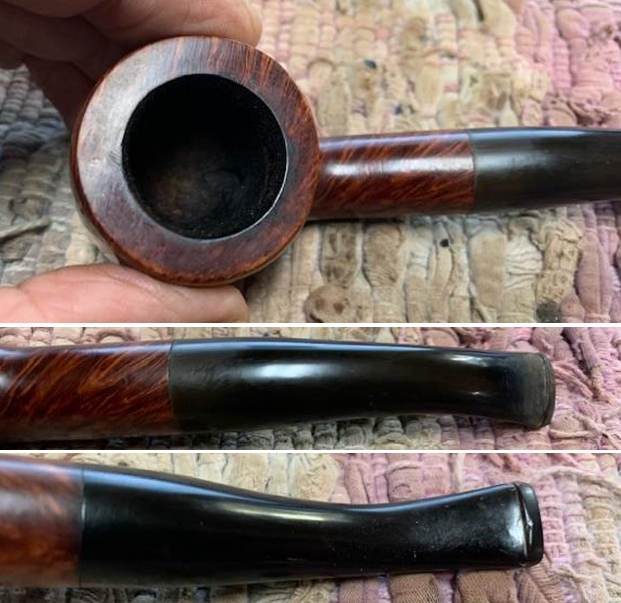
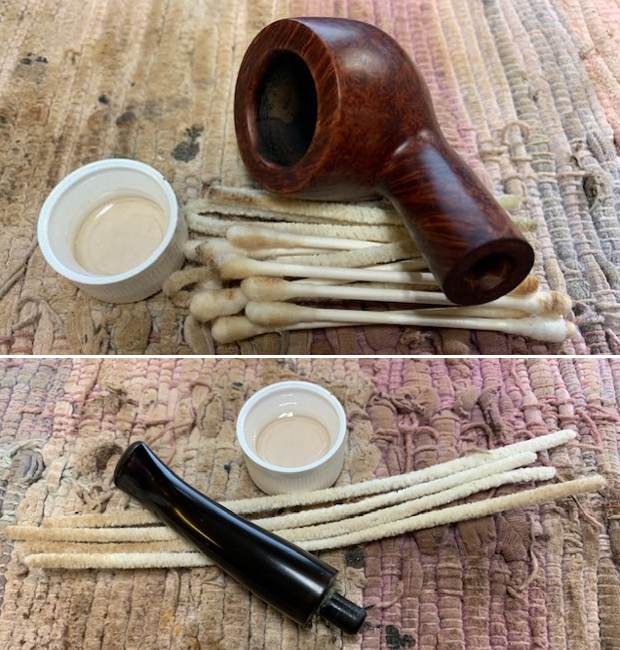
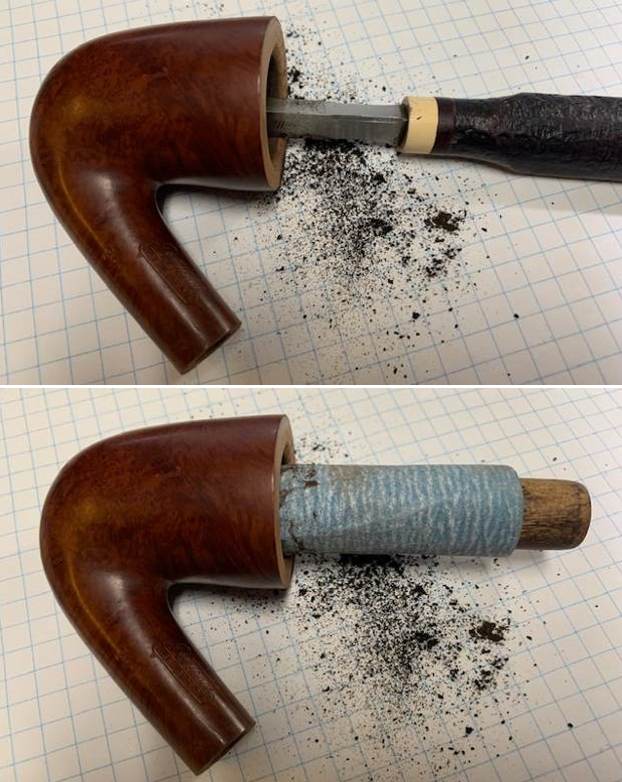
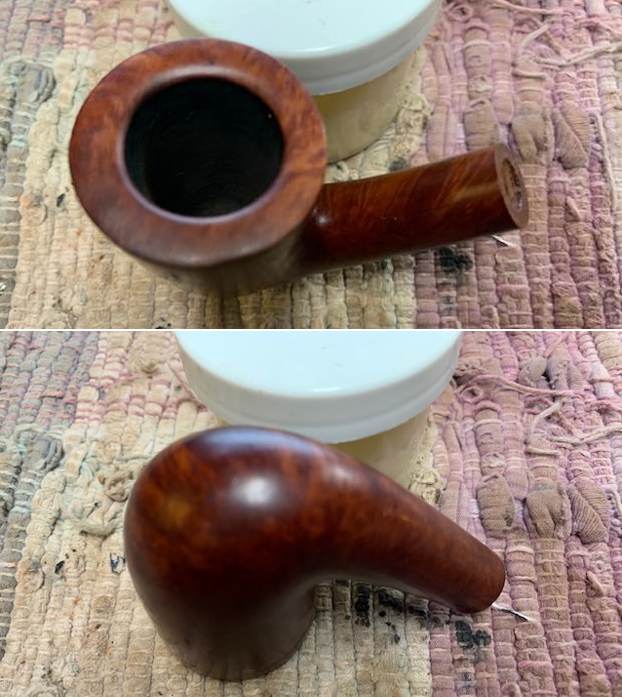
 I cleaned the mortise and airways in the shank and stem with cotton swabs, pipe cleaners and isopropyl alcohol to remove the debris and tars from my smoking. You can see that it was not too bad as I tend to keep my pipes clean.
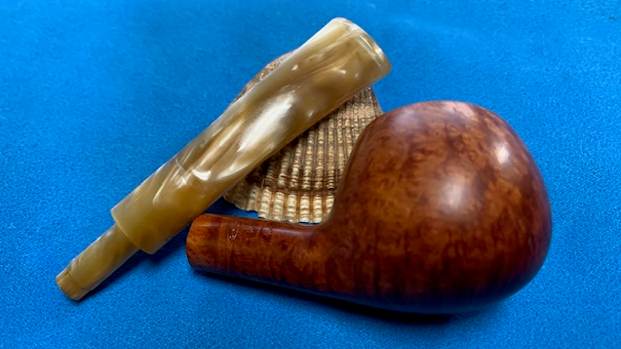
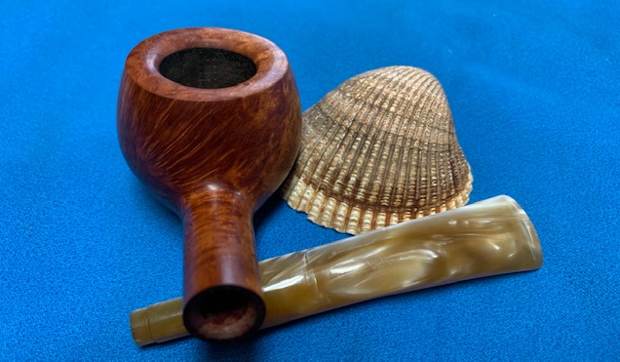
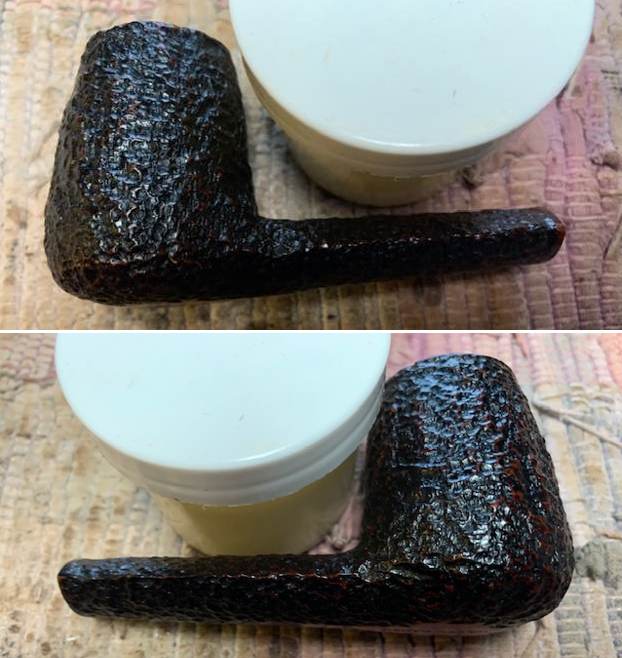
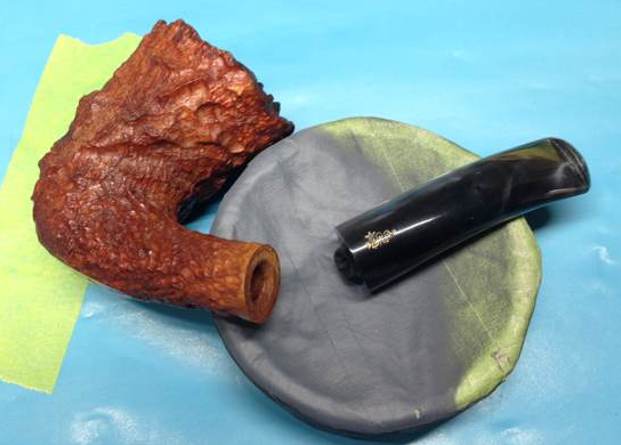
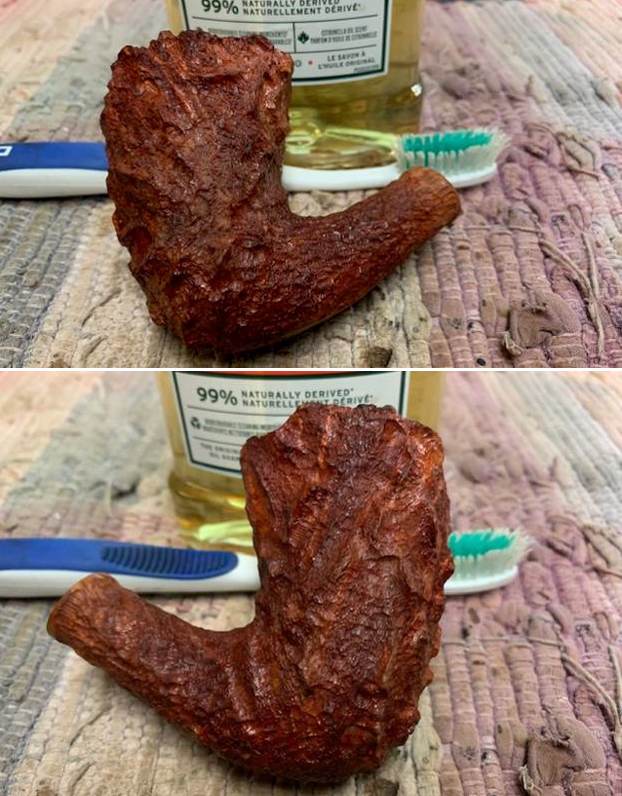
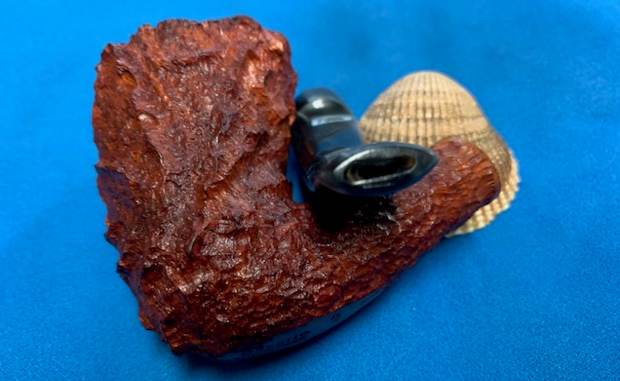
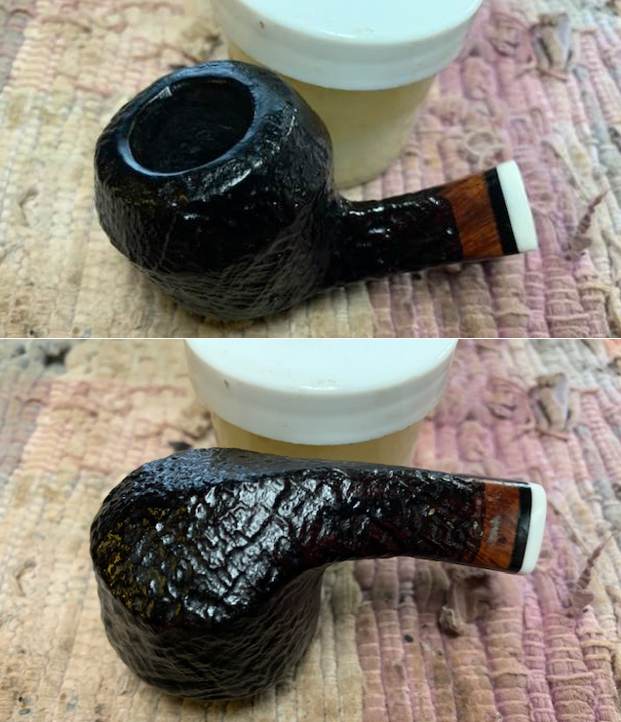
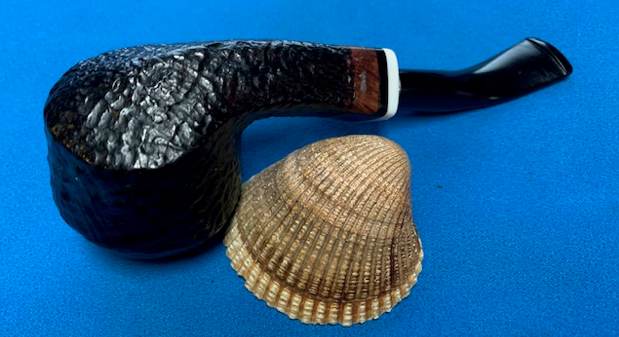
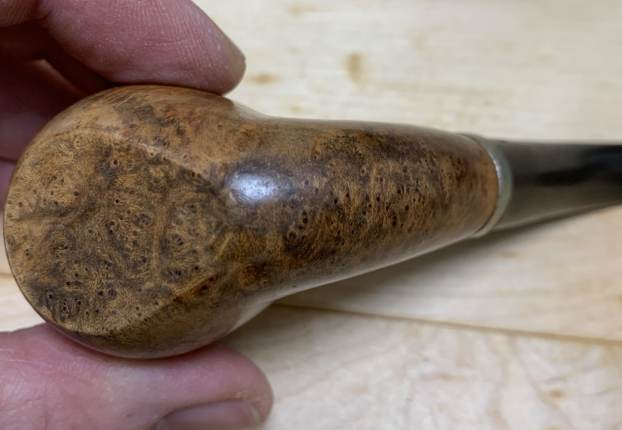
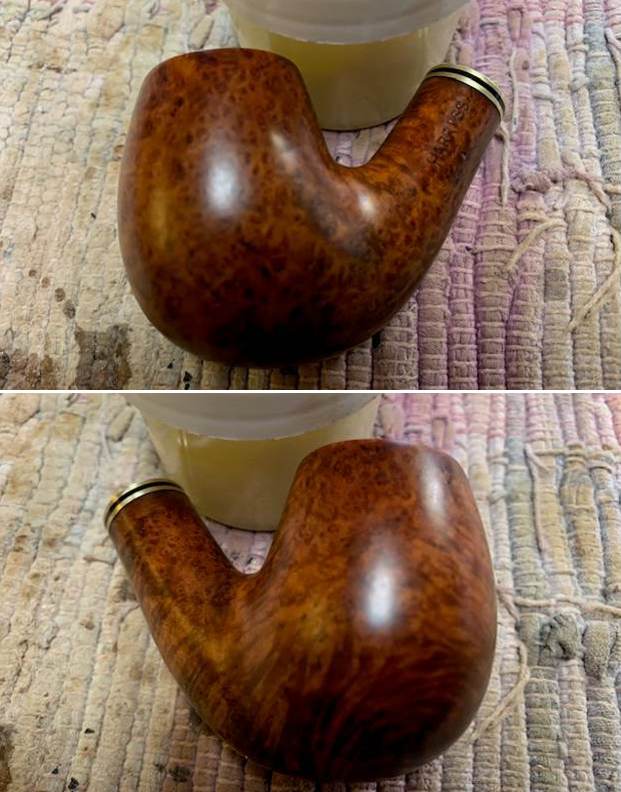
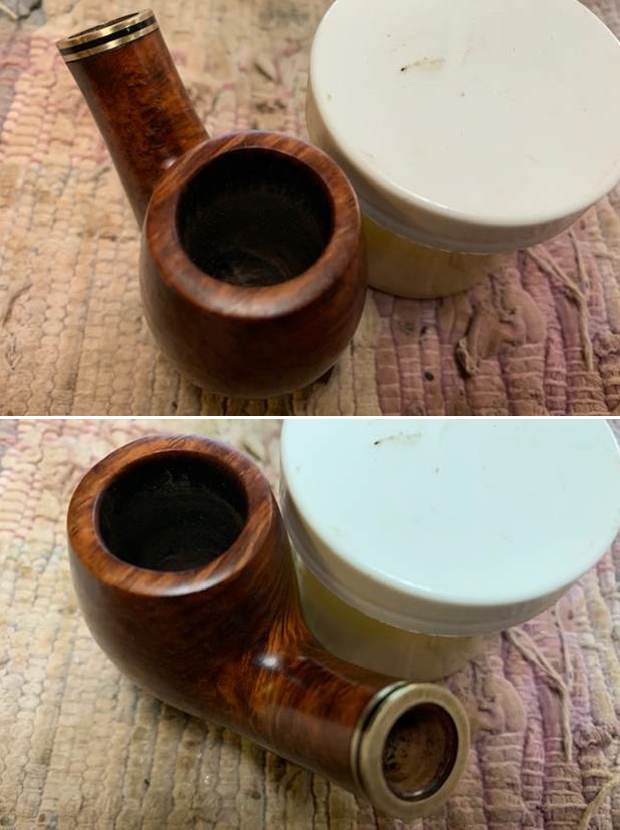
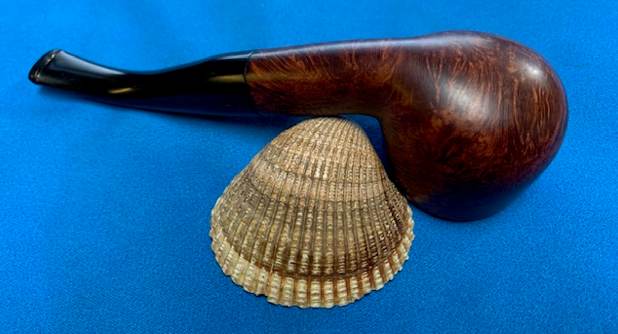
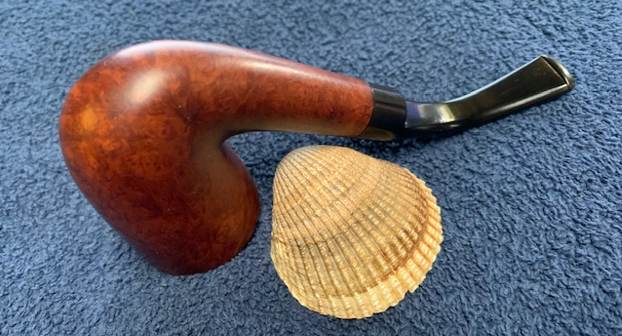
 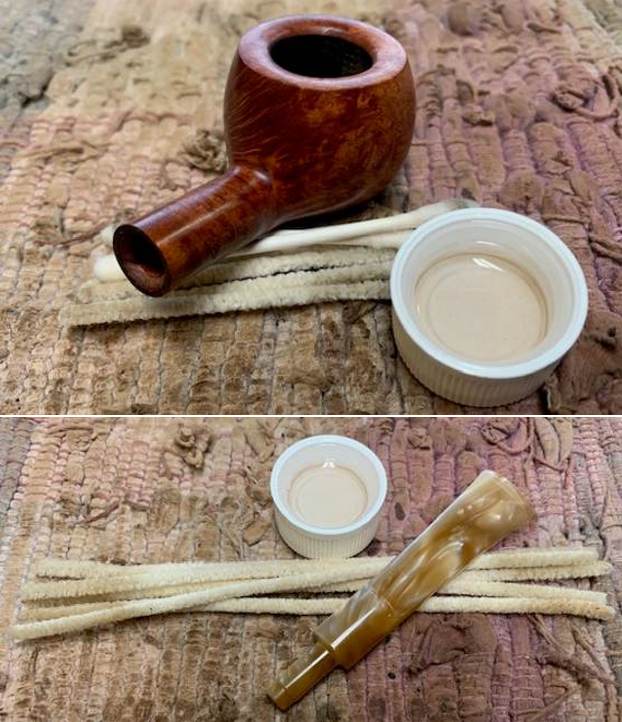 The bowl was in such good condition that decided to give the bowl and shank a coating of Before & After Restoration Balm. I worked it into the surface of the briar with my fingertips and a horsehair shoe brush to clean, enliven and protect the briar. I let the balm sit for 15 minutes and then buffed with a cotton cloth to raise the shine. The photos show the bowl at this point in the restoration process.
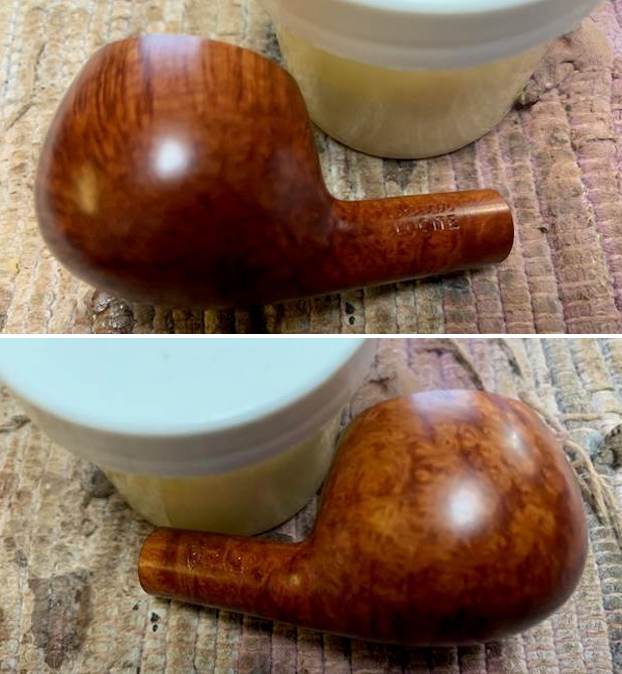
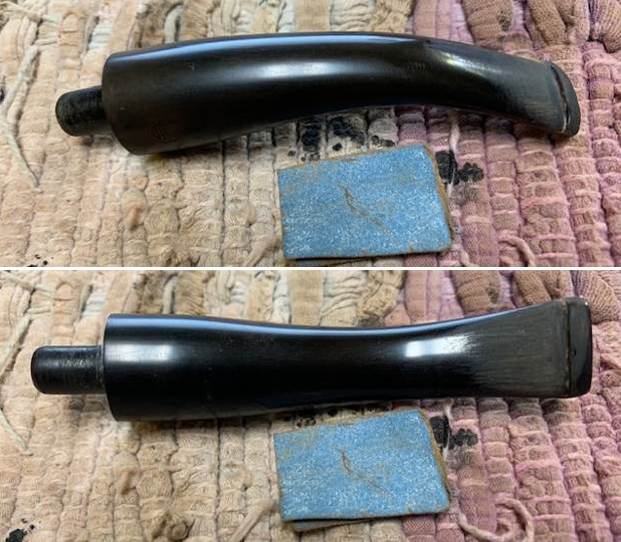
 I set the bowl aside and sanded out the tooth marks and chatter on the stem surface and button with 220 grit sandpaper. I was able to smooth out the marks on the surface of both sides.
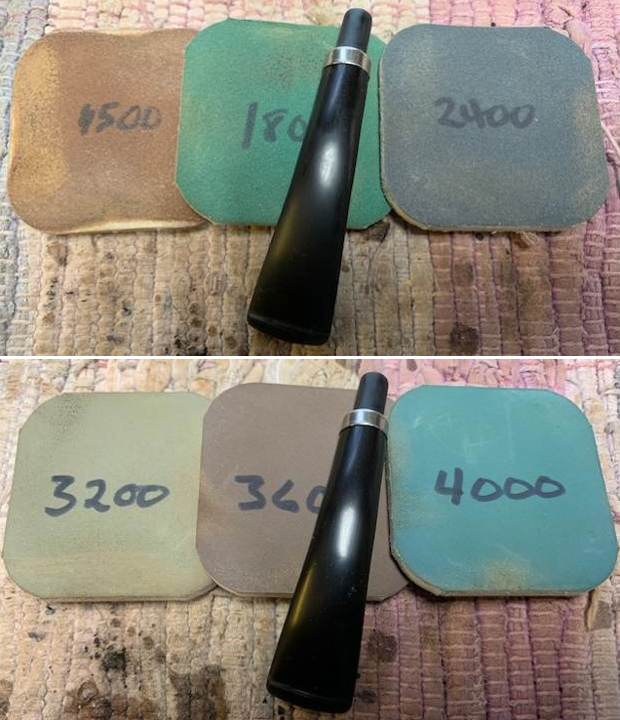
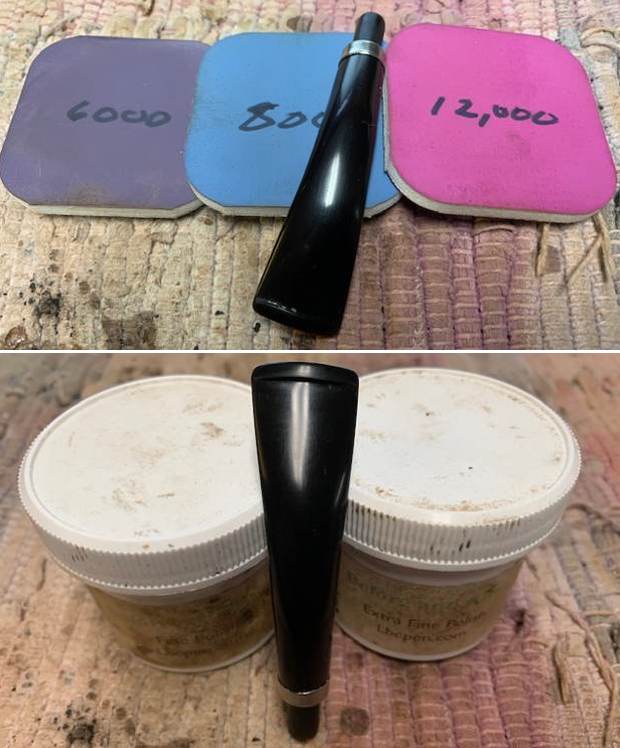
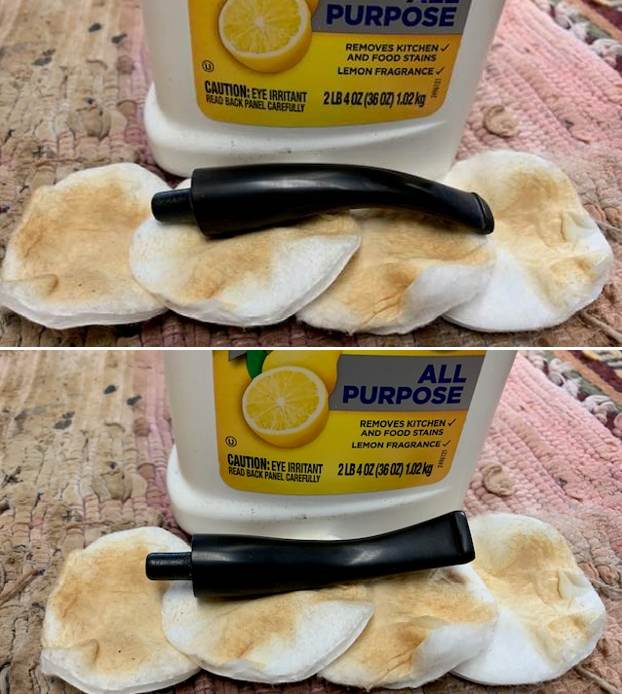
 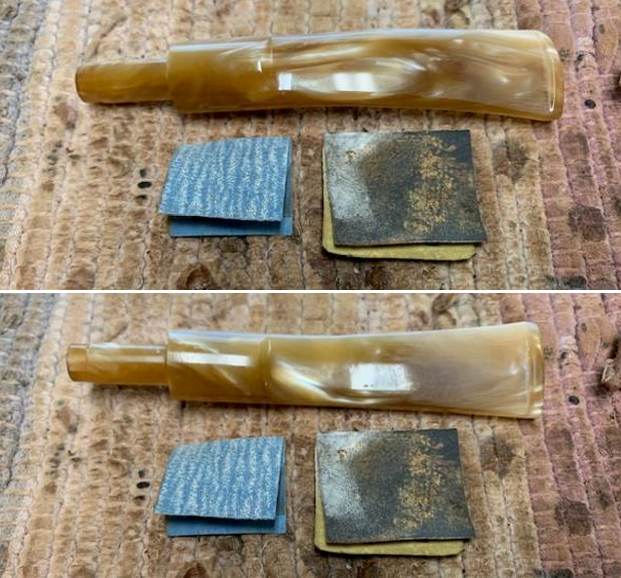 I polished the stem with micromesh sanding pads – dry sanding with 1500-12000 grit pads. I rubbed it down between pads with Obsidian Oil. I polished it with Before & After Fine and Extra Fine Pipe Stem Polish. I wiped it down with some Obsidian Oil and buffed it off. It is a beautiful stem.
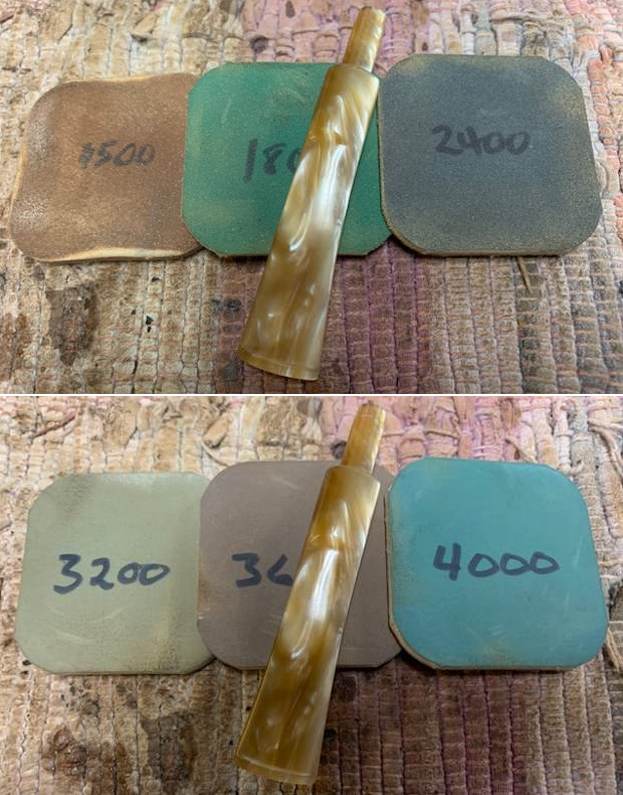
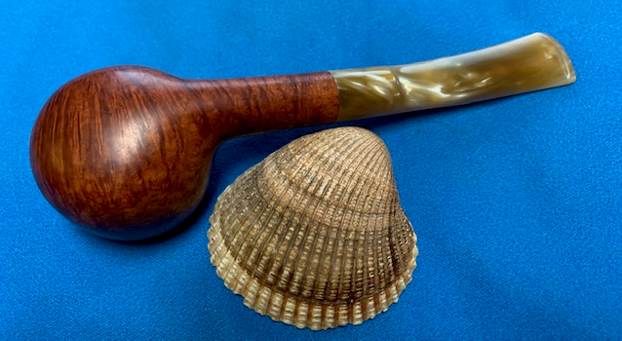
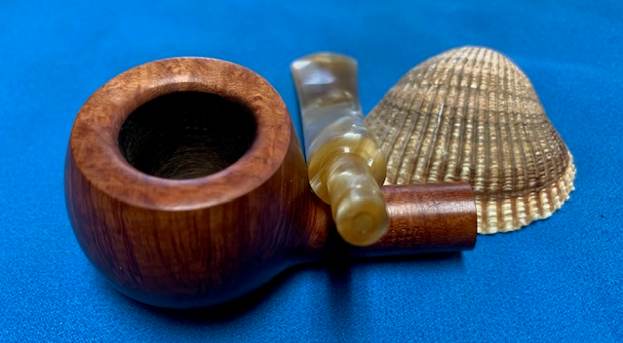
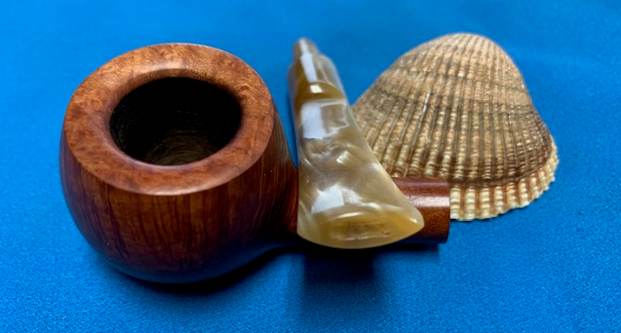
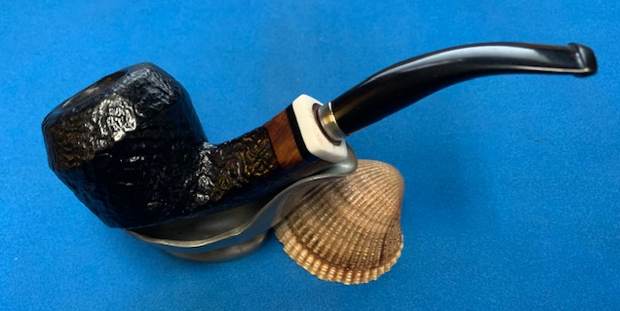
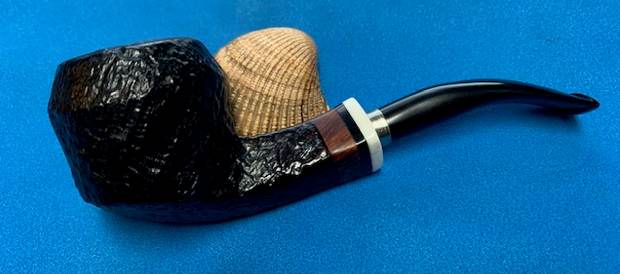
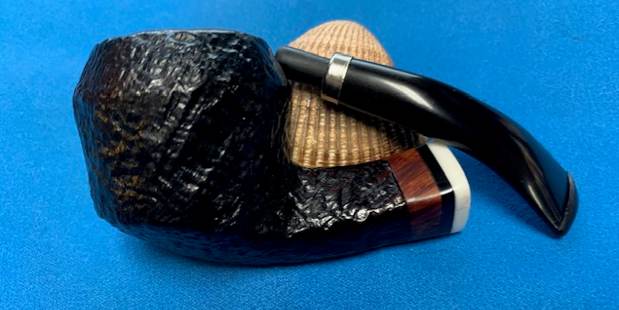
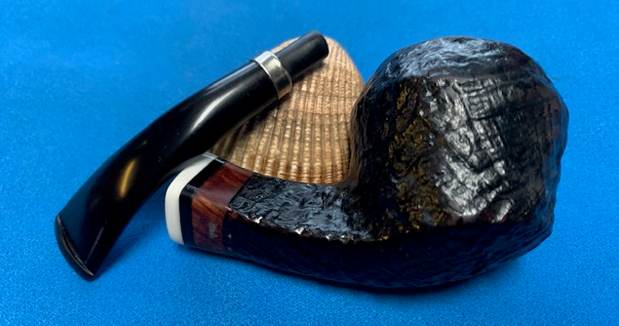
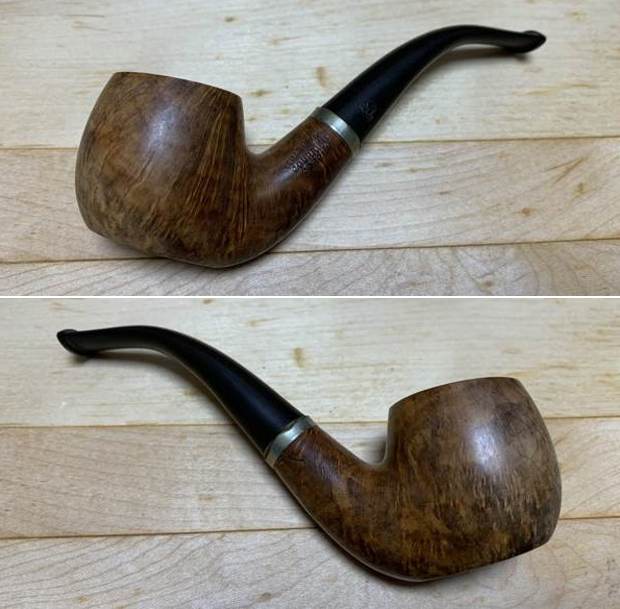
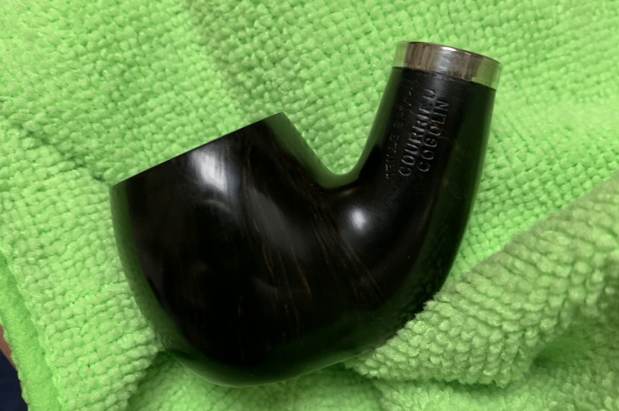
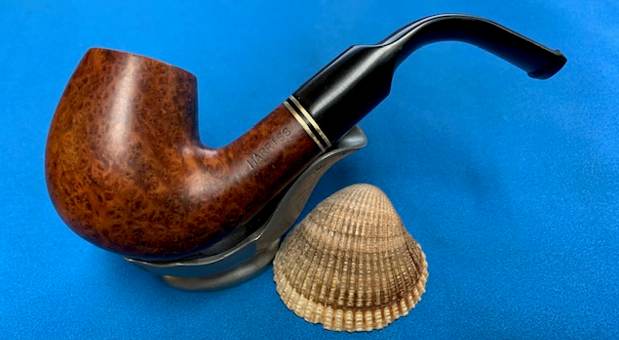
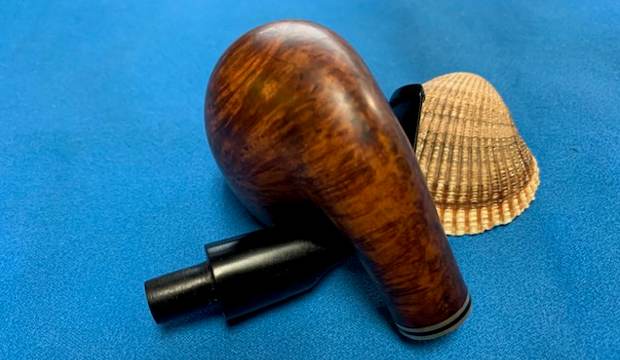
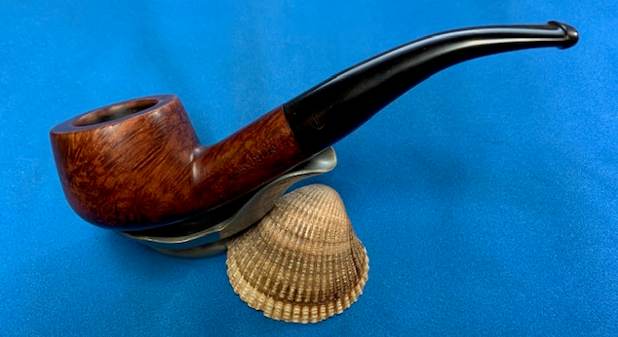
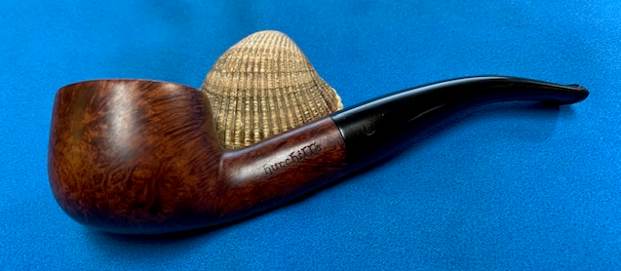
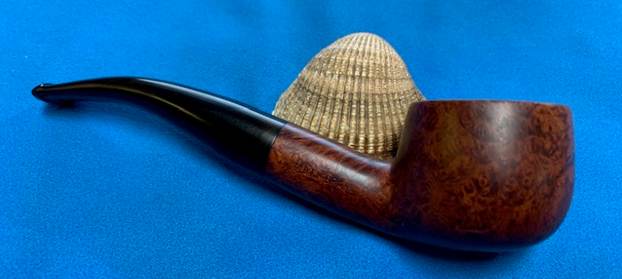
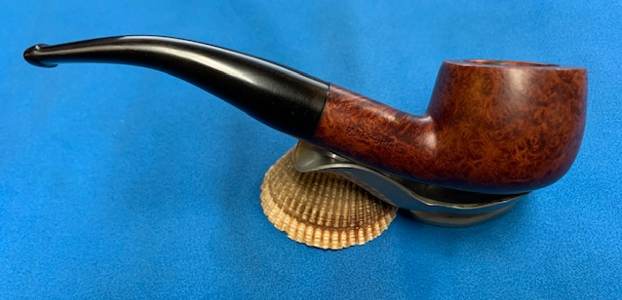
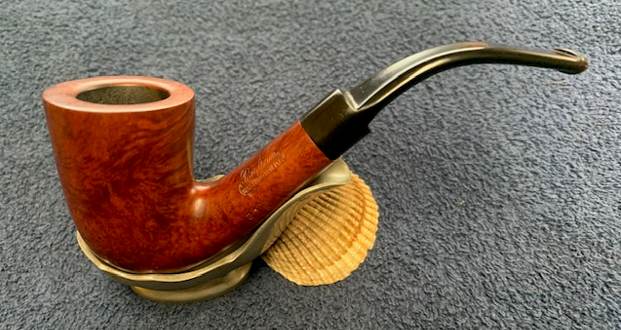
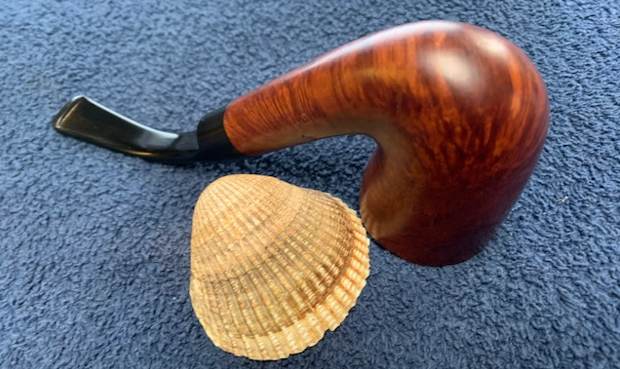
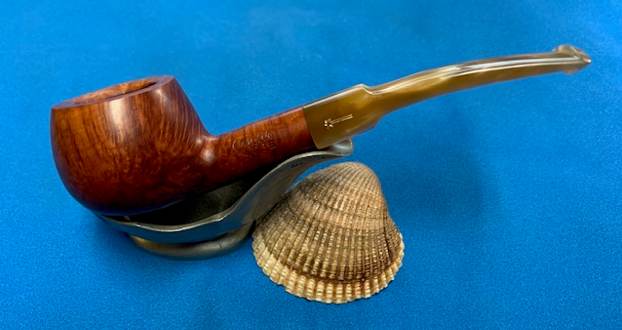
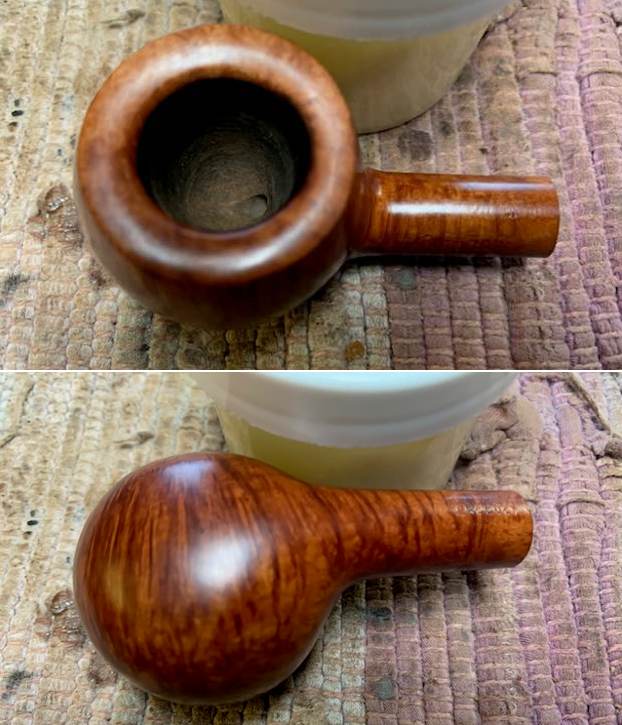
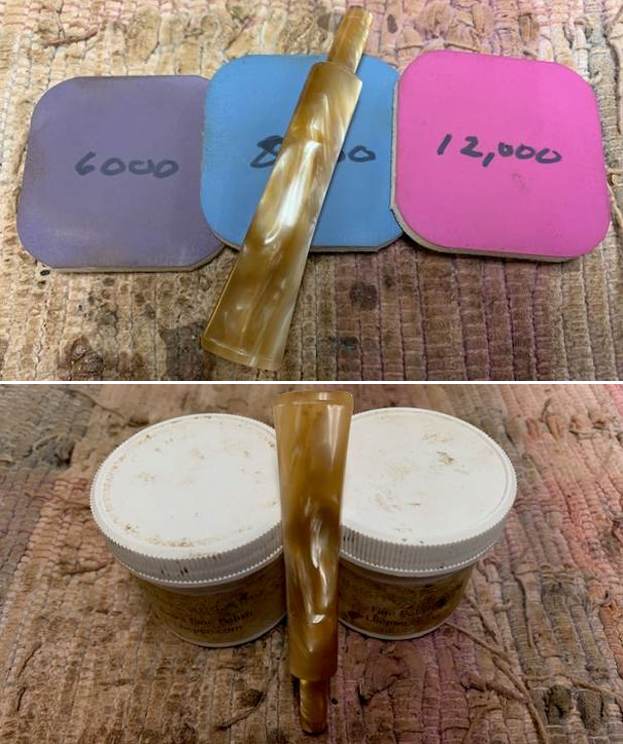 It is good to put the final touches on another of my own pipes that I am selling – Savinelli Made Oscar Lucite Prince 313. I put the pipe back together and buffed the stem with Blue Diamond on the buffing wheel. I gave the bowl and the stem multiple coats of carnauba wax. I hand buffed the pipe with a clean buffing pad to raise the shine. It is fun to see what the polished bowl looks like with the beautiful grain and the polished vulcanite saddle stem. This smooth Oscar Lucite 313 Prince is great looking and the pipe feels great in my hand. It is light and well balanced. Have a look at it with the photos below. The dimensions are Length: 5 ½ inches, Height: 1 ¼ inches, Outside diameter of the bowl: 1 ¼ inches, Chamber diameter: ¾ of an inch. The weight of the pipe is 38 grams/1.34 ounces. It is a beautiful pipe that I will soon be putting on the rebornpipes store in the Italian Pipe Makers Section. If you are interested in adding it to your collection send me an email or a message. Thanks for walking through the restoration with me as I worked over this pipe. Thanks to each of you who are reading this blog.