Blog by Steve Laug
 Even with the COVID-19 warnings rolling in incessantly I am still working on pipes! It keeps my mind busy and focused and not to get carried away with the sense of powerlessness. There is no reason to not enjoy the time alone at the work table bringing these old-timers back to life. After brief foray restoring pipes referred to me by my local pipe shop I am back to Bob Kerr’s estate (his photo is to the left). If you have not “met” the man and would like to read a bit of the history of the pipeman, his daughter has written a great tribute that is worth a read. Because I have included it in over 60 restorations to date I thought that I would leave it out this time. Be sure to check out some of the recent Dunhill restoration blog (https://rebornpipes.com/2020/01/01/restoring-the-last-of-bob-kerrs-dunhills-a-1962-dunhill-bruyere-656-f-t-bent-billiard/).
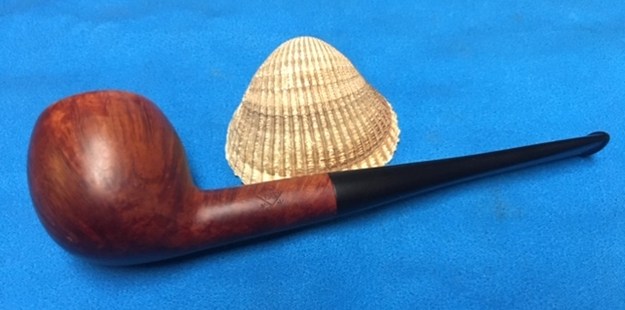
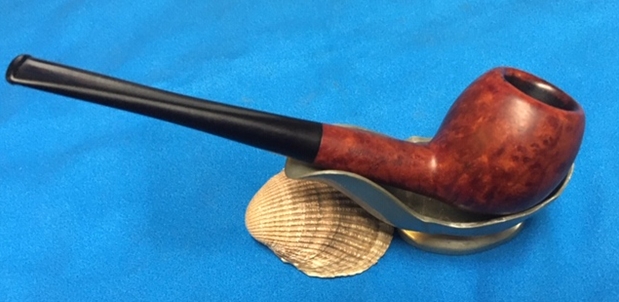
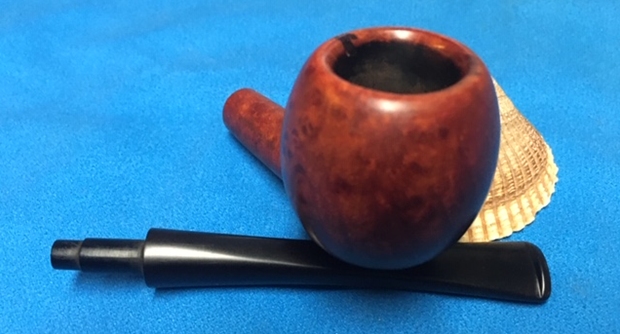
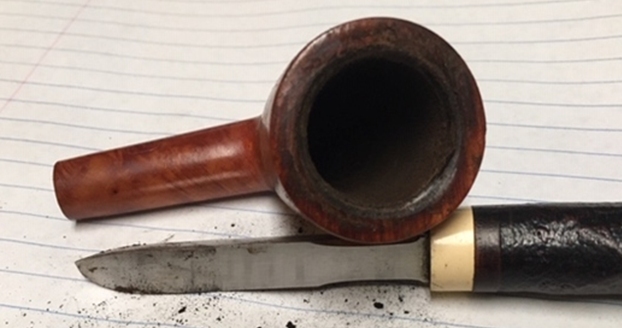
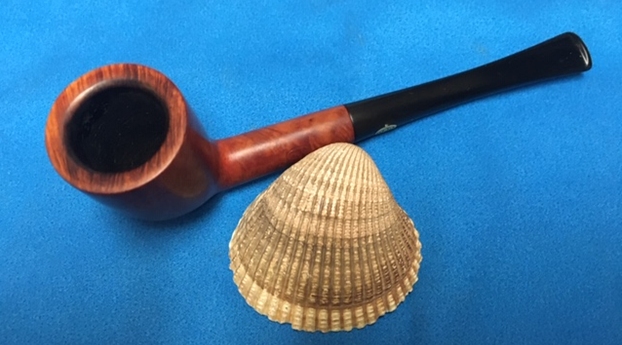
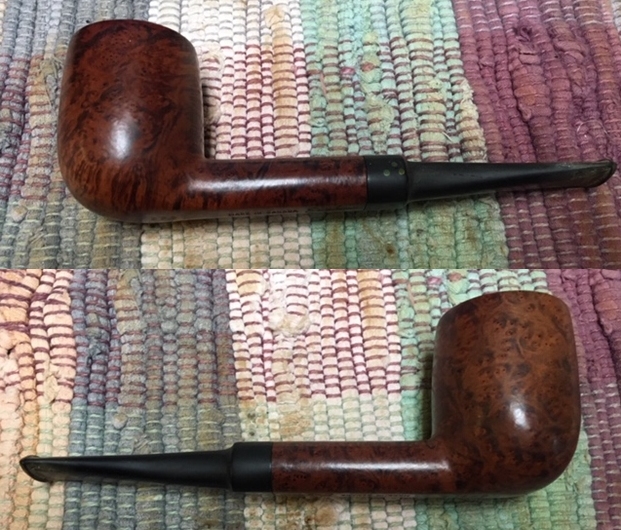
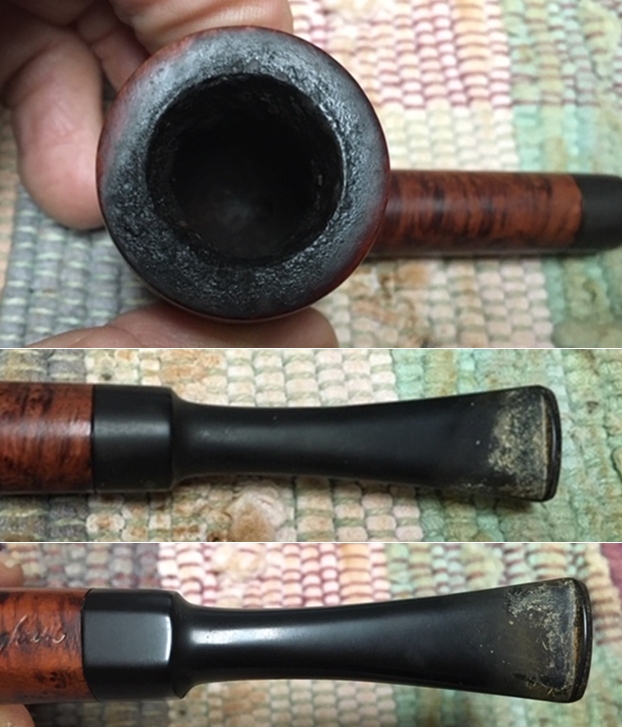
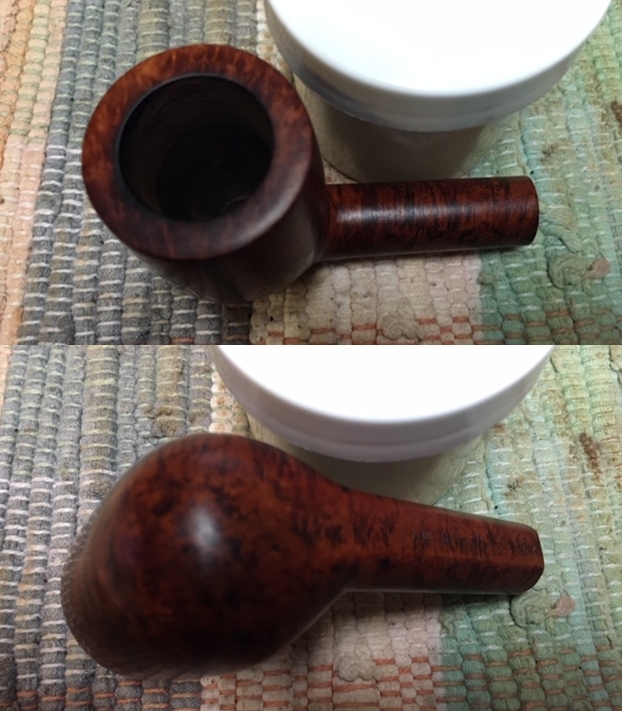
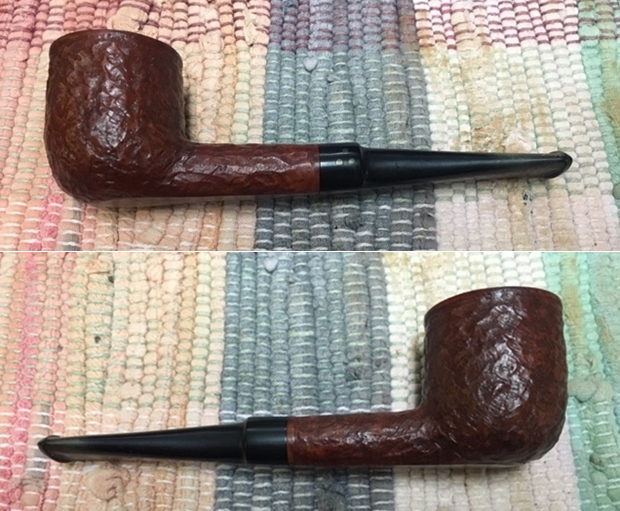
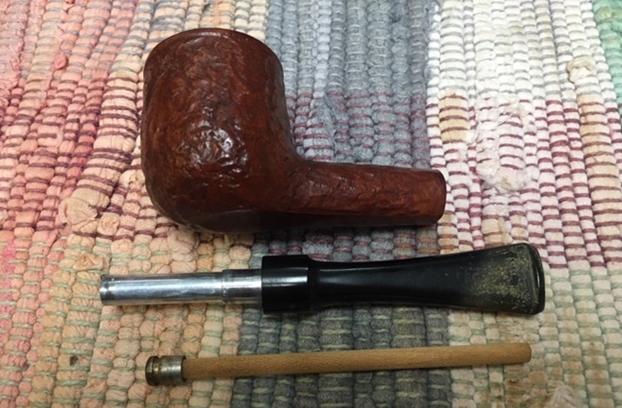
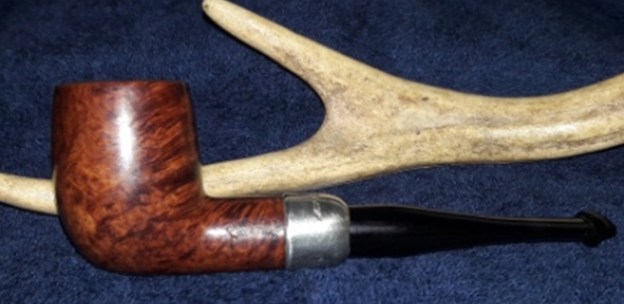
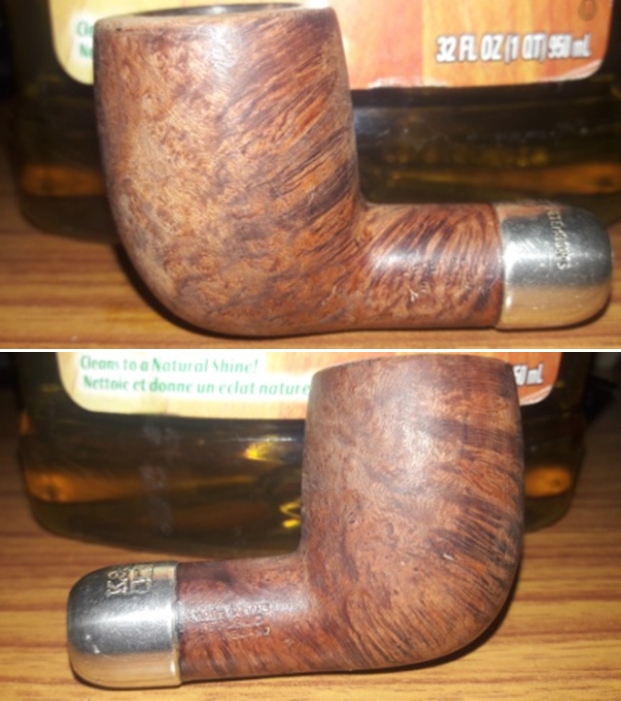
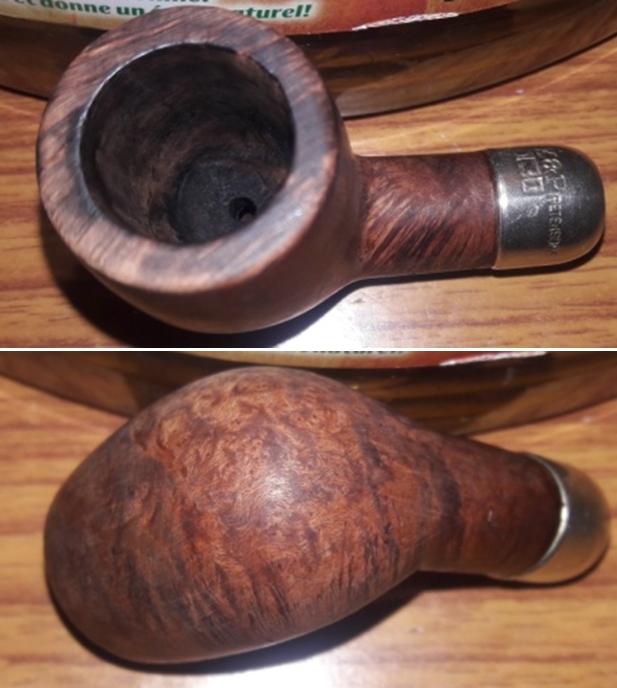
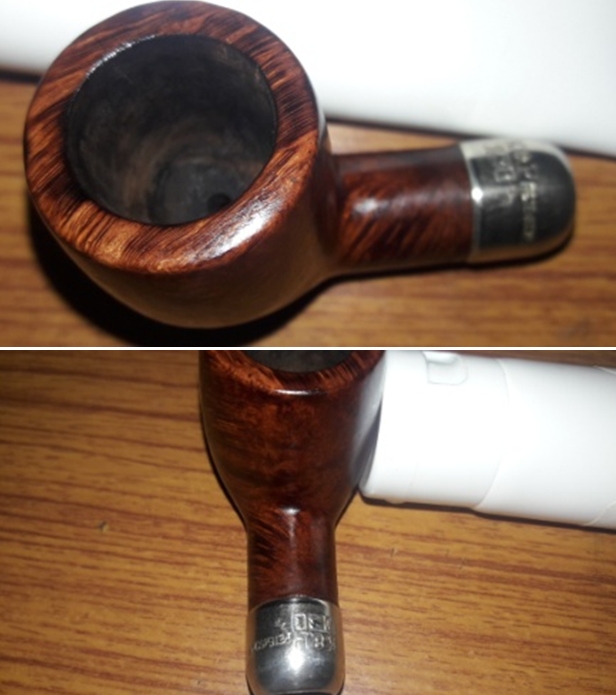
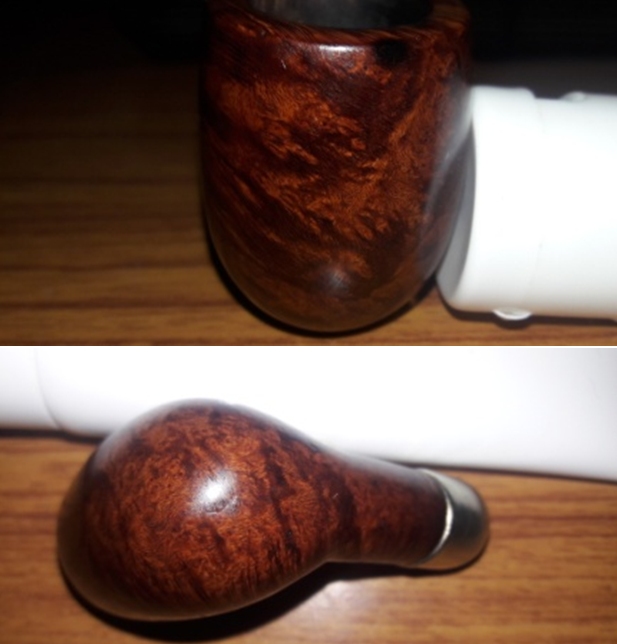
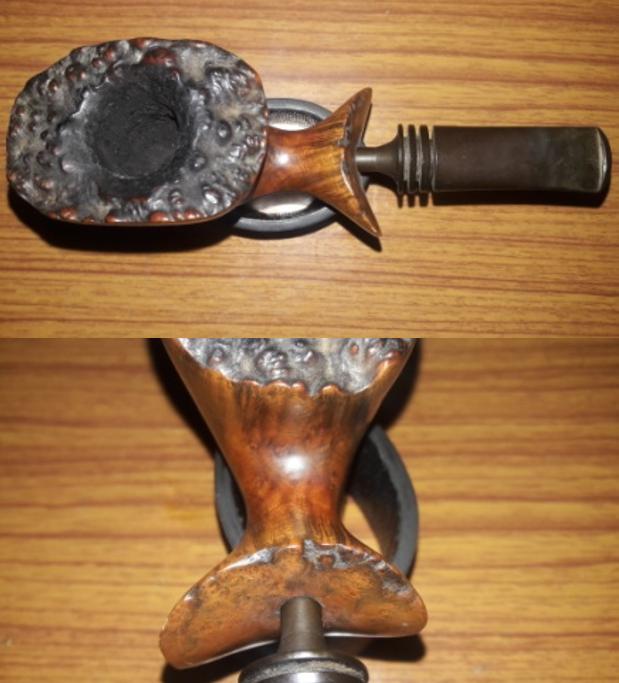
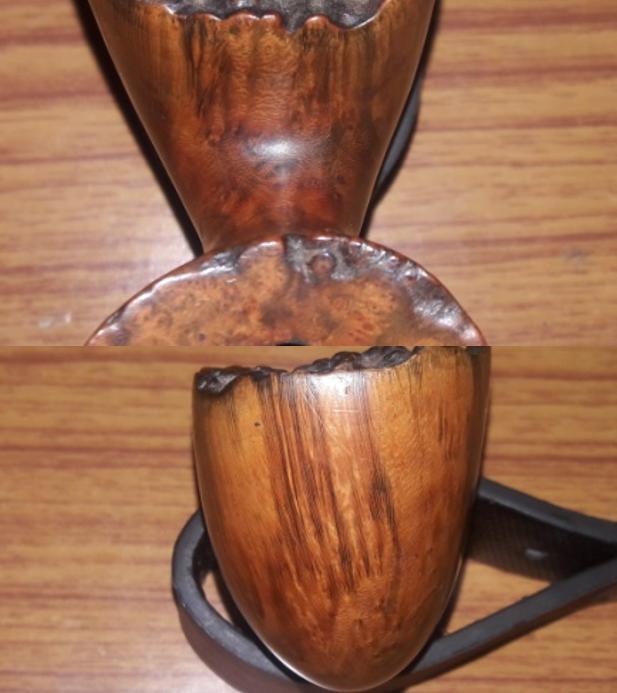
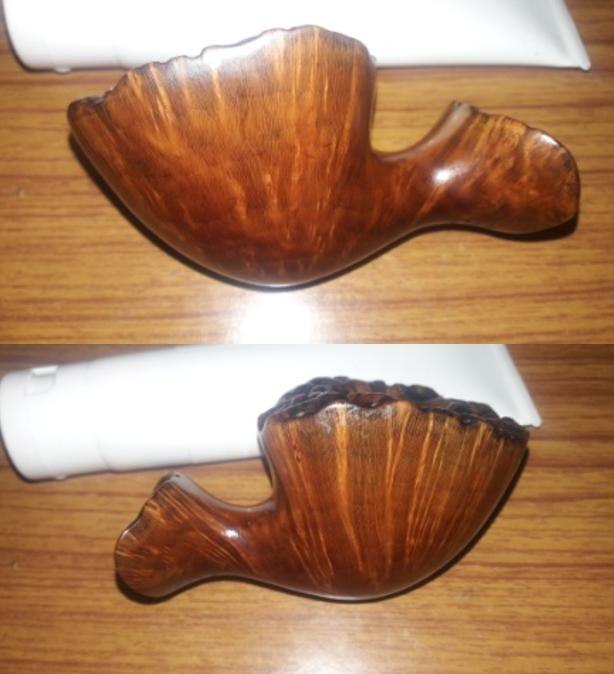
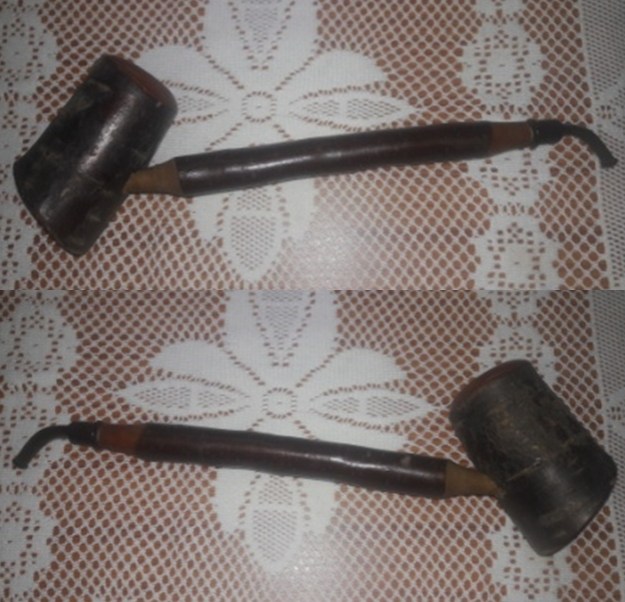
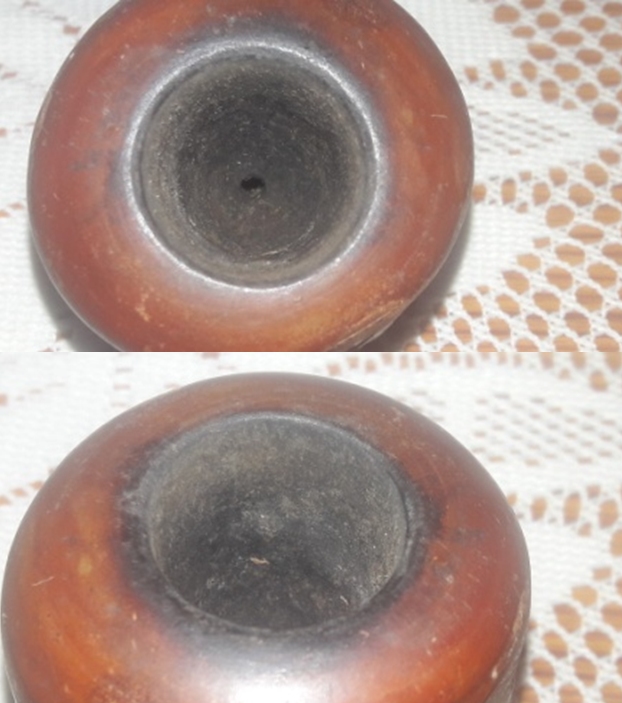
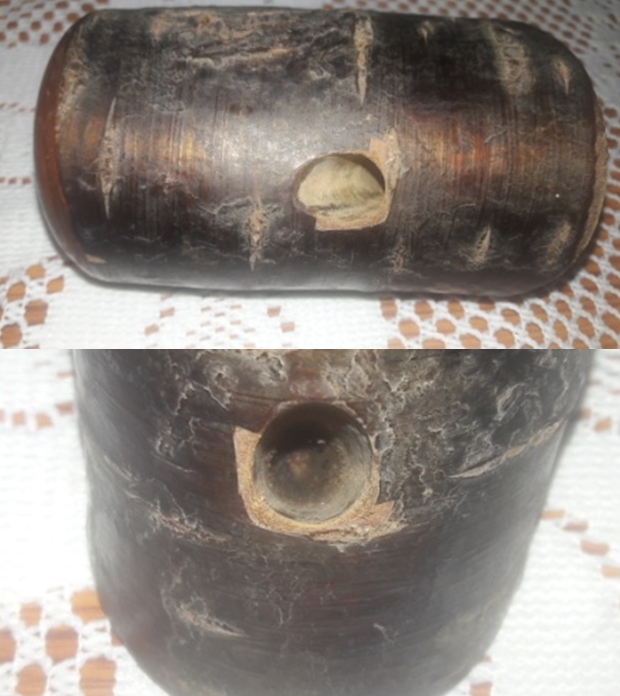
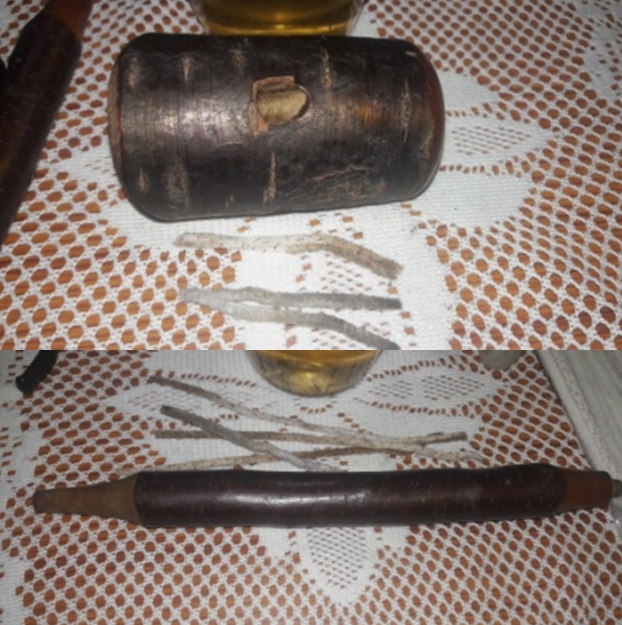
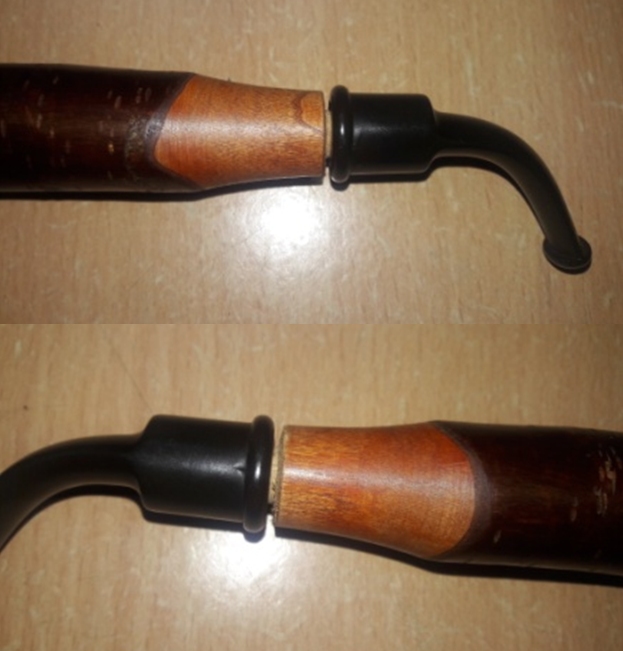
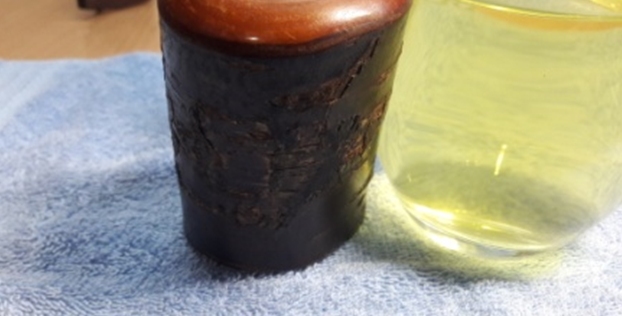
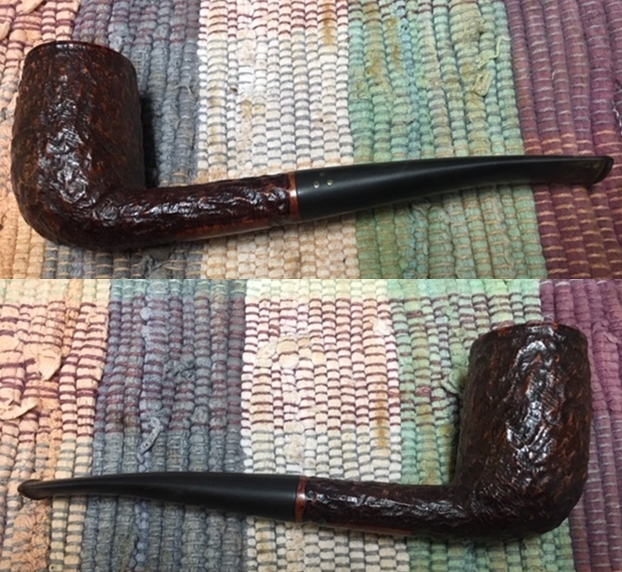
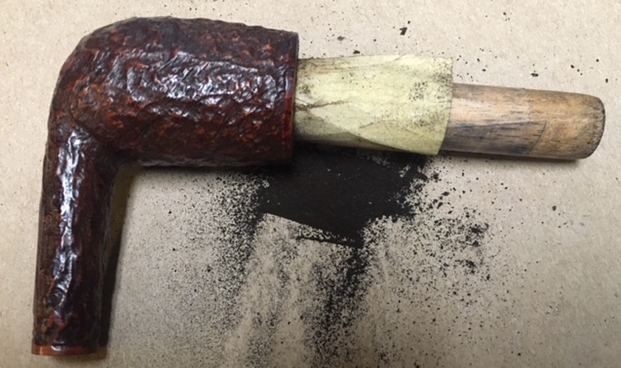
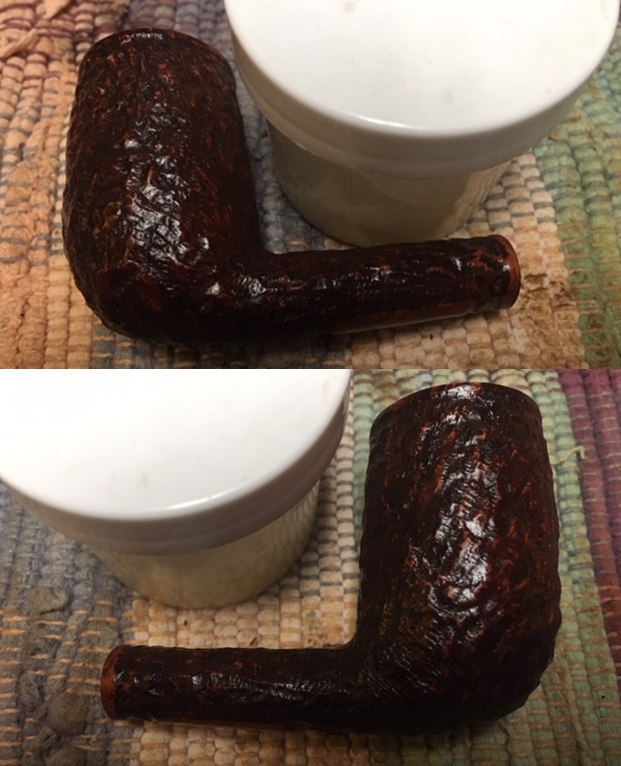
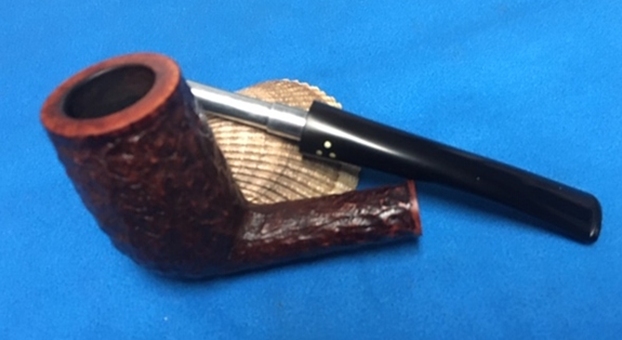
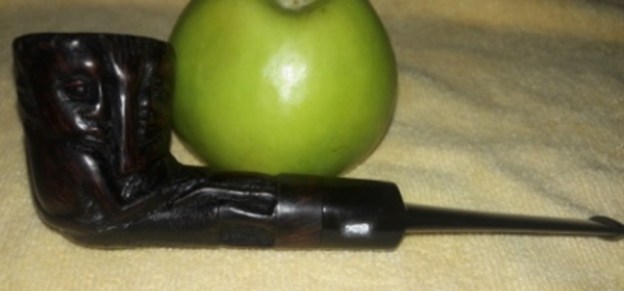
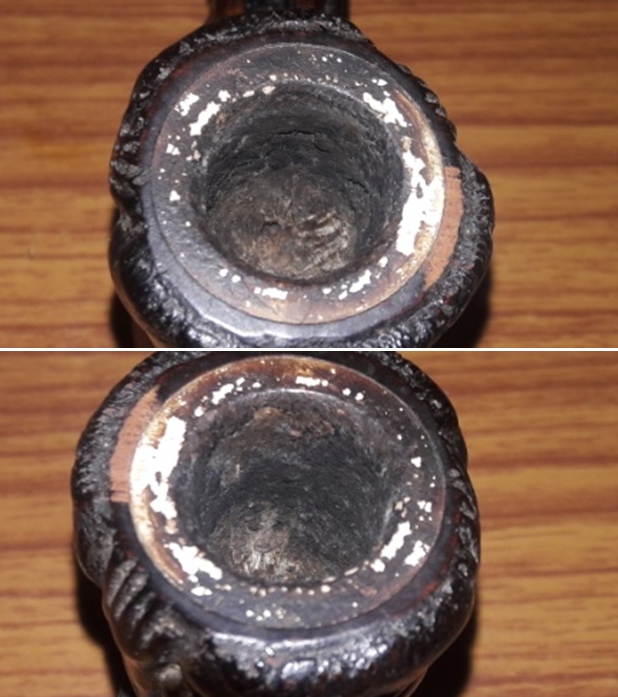
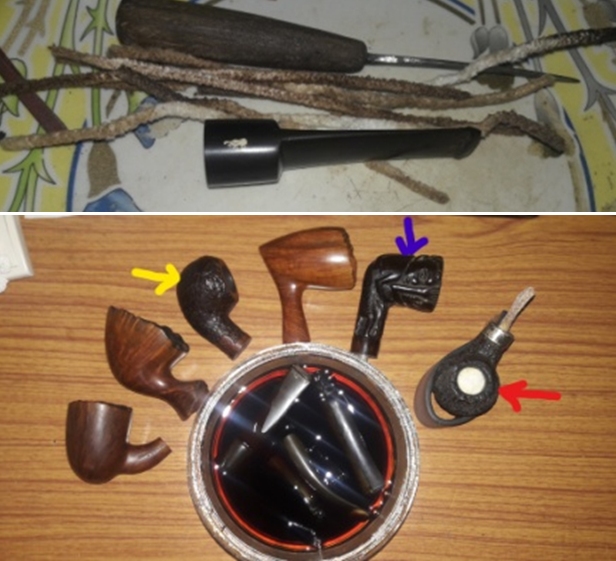
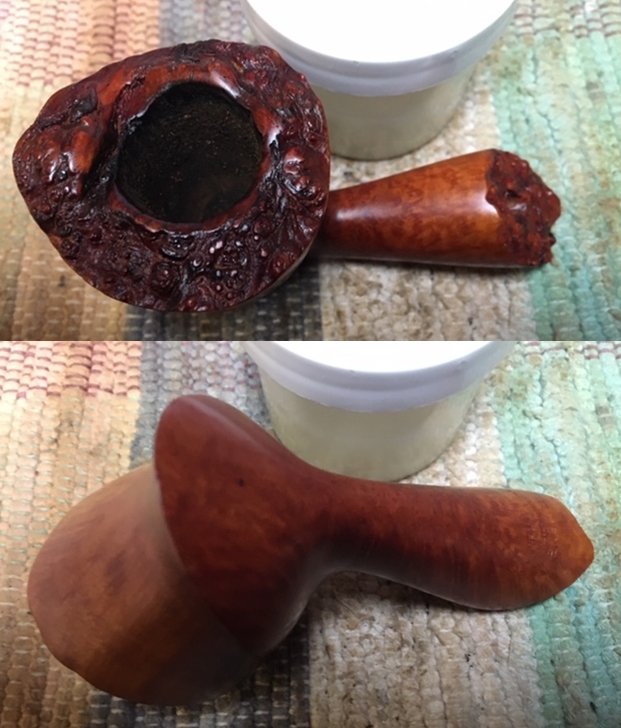
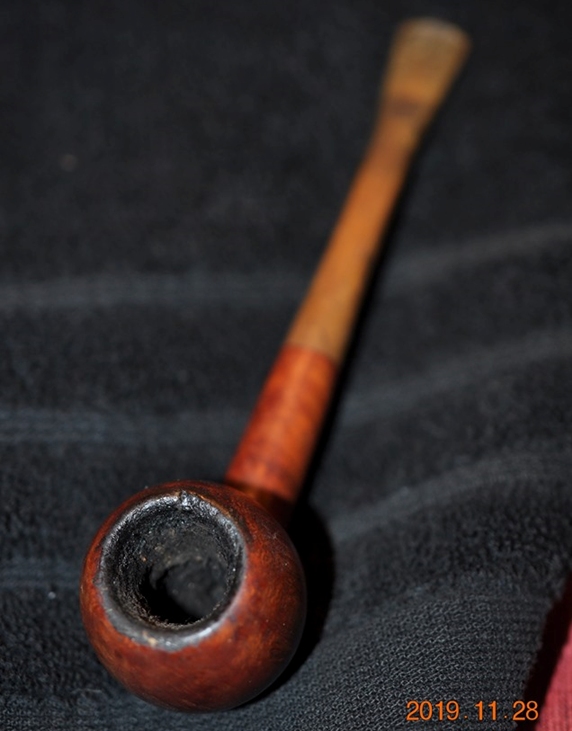
The next pipe I have chosen from his estate is an interesting looking Apple with a slender stem. It is stamped BBB in a diamond on the left side of the shank with a Star on each side of the diamond. On the right side of the shank it is stamped Made in England over the shape number 11. The slender stem does not bear the BBB brass logo. The tapered stem is oxidized and has tooth marks and chatter on both sides near the button. There is some calcification on the stem with damage to the button. The finish is worn and dirty. There is a thick cake and lava overflow on the rim top. There is some damage on top & edges. There appears to be some chips out of the thin rim top/edge that will need to be addressed in the restoration. Jeff took photos of the pipe to show its general condition before he did his cleanup.
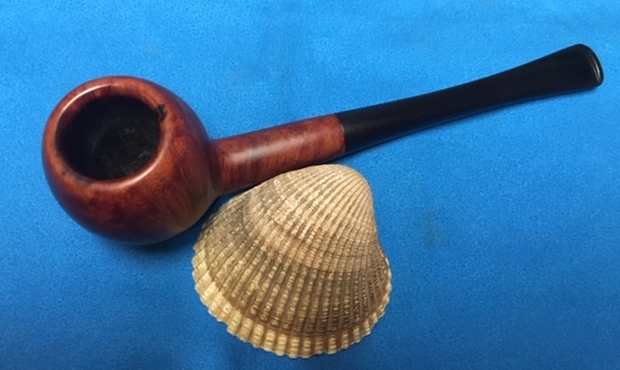
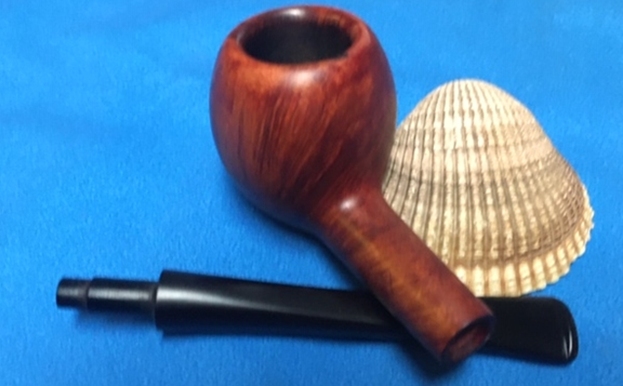
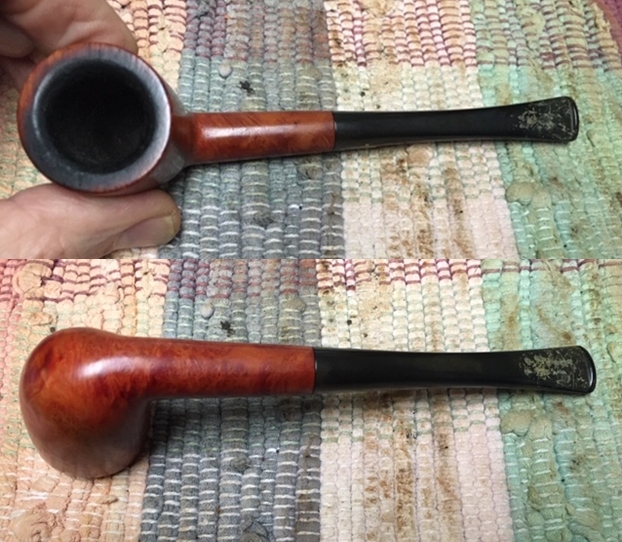
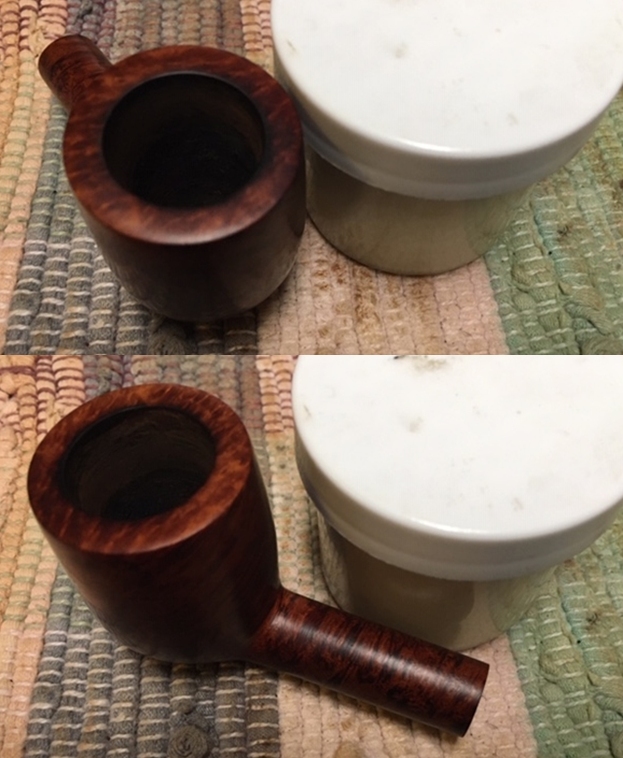
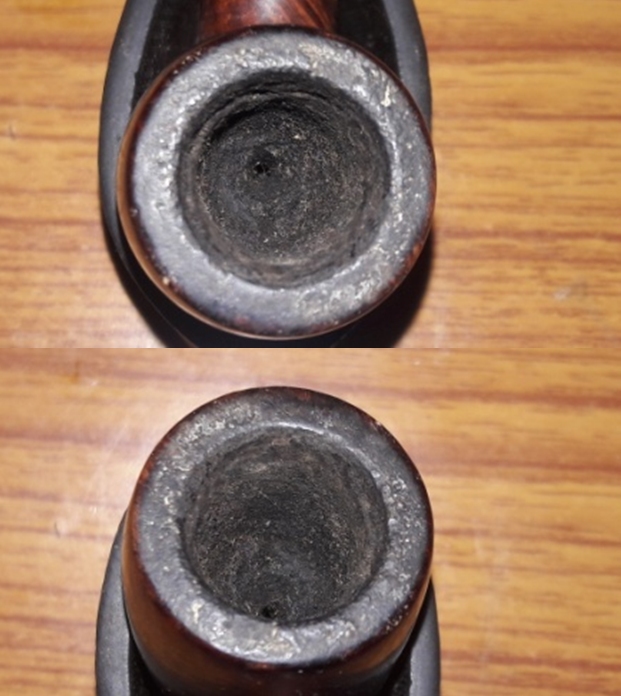
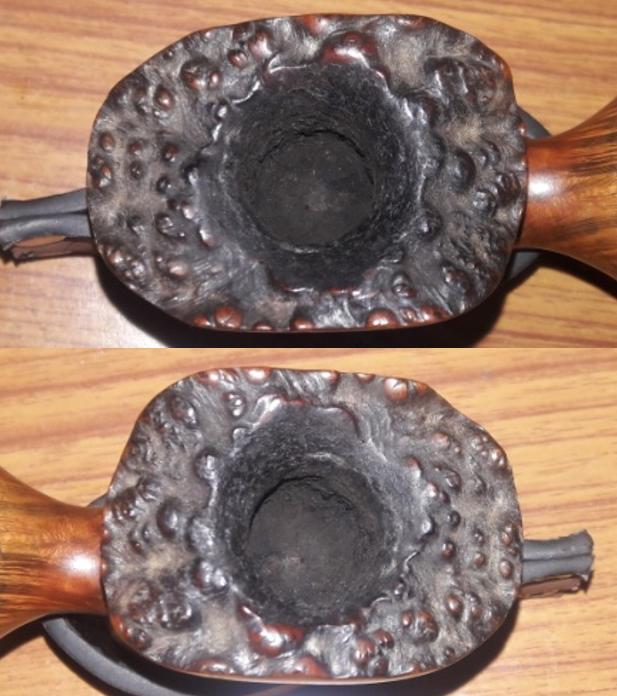
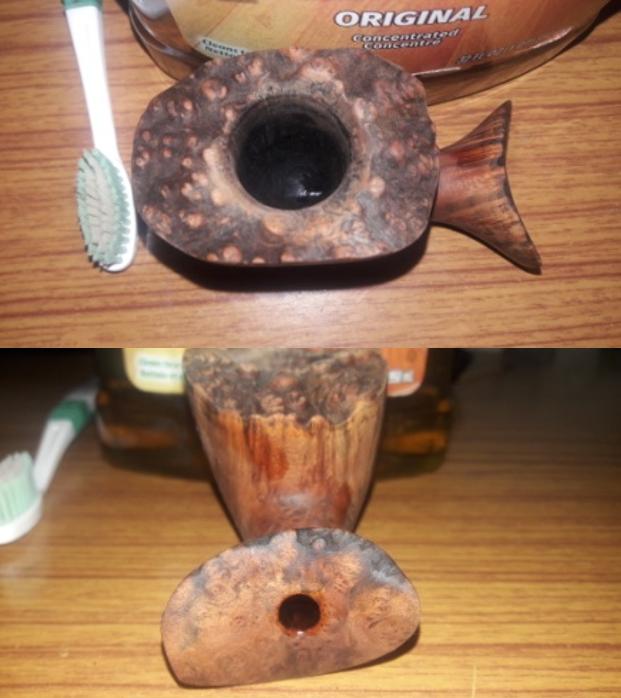
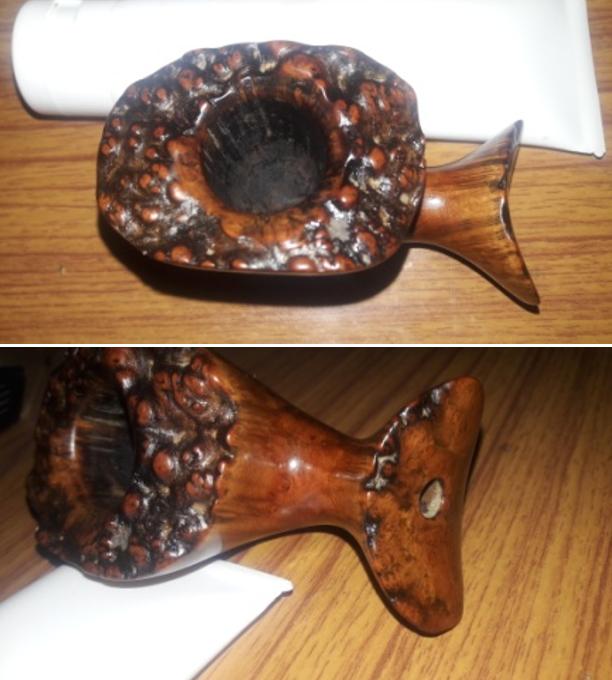
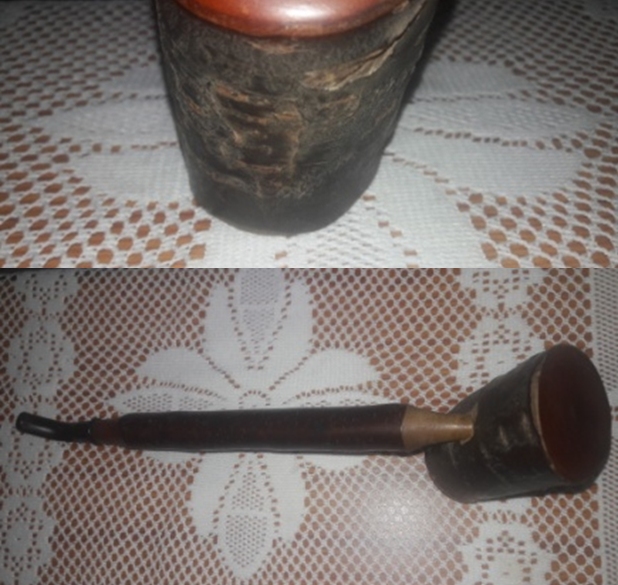
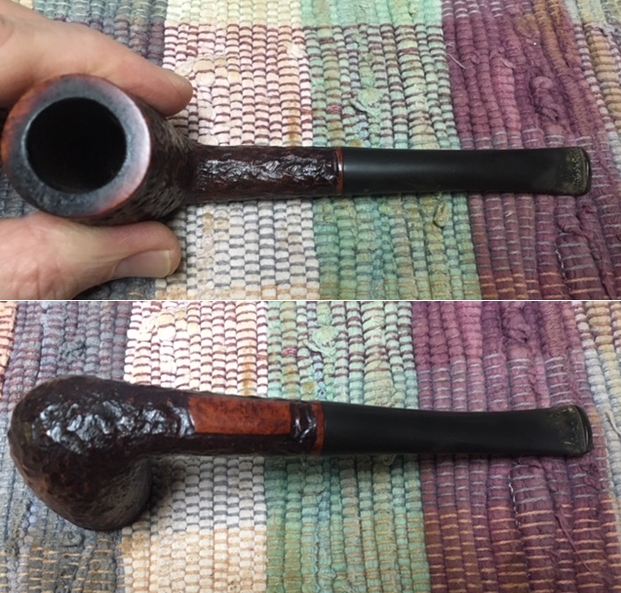
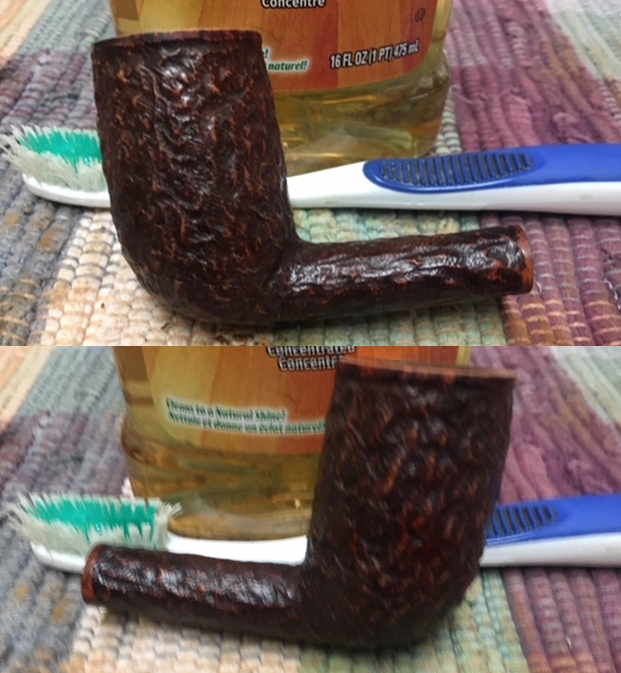
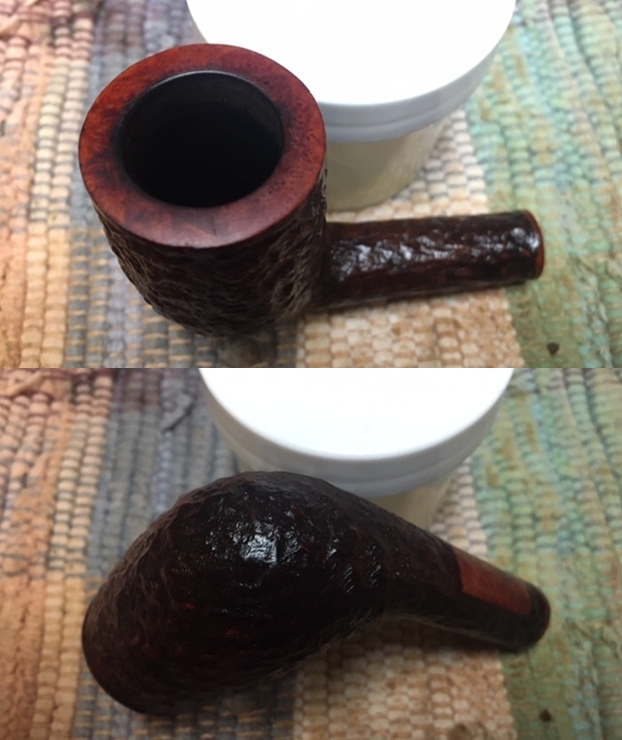
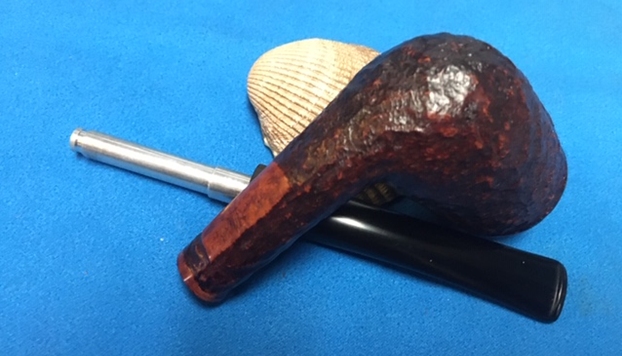
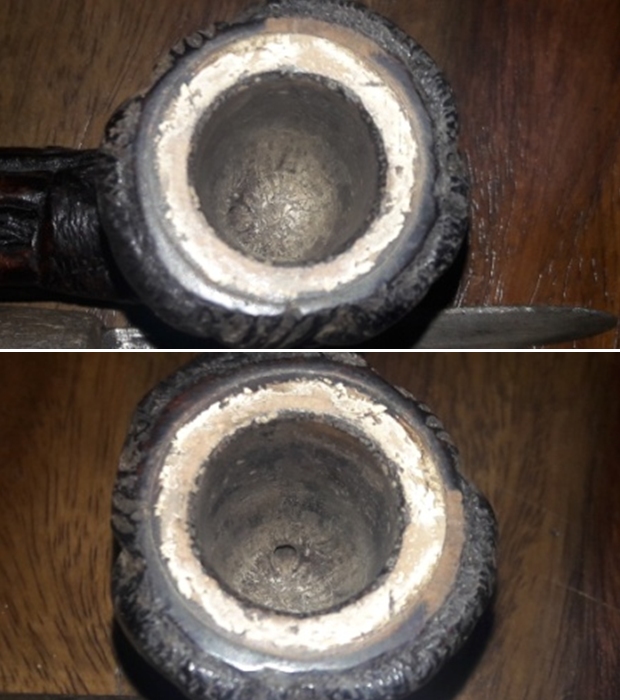
 The finish on the pipe was very dirty – grime and grit from years of use and sitting fill the crevices in the rustication. The rim top was covered with a coat of thick lava that overflowed the bowl. There was also some darkening and chipping damage on the rim top. The bowl itself had a thick cake with flecks of tobacco stuck in the cake on the sides.
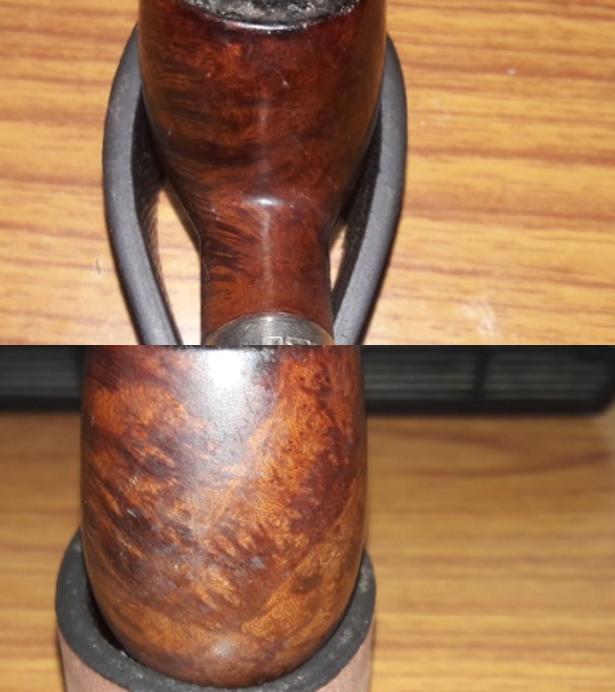
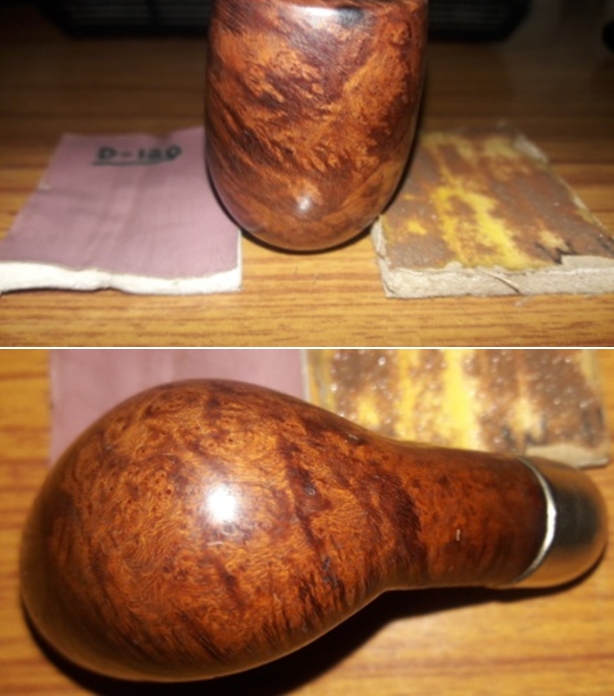
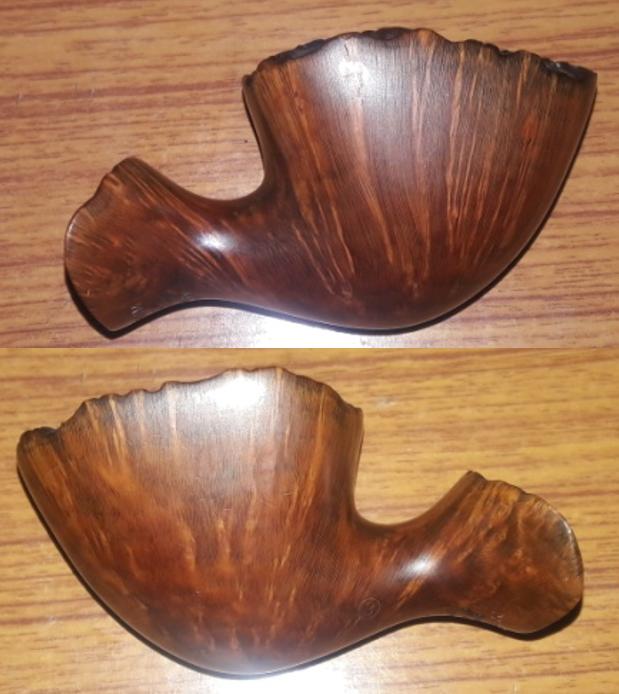
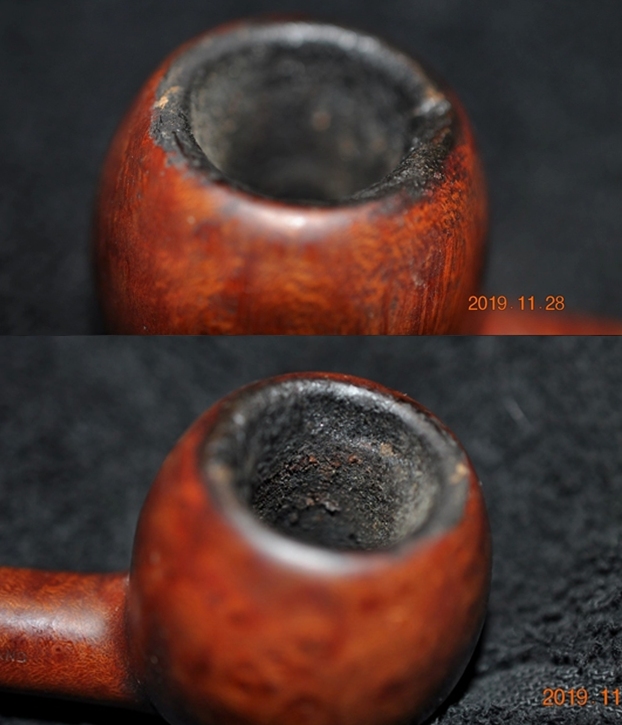 Jeff took photos of the sides and the heel of the bowl to give a better feel for the grain around the bowl.
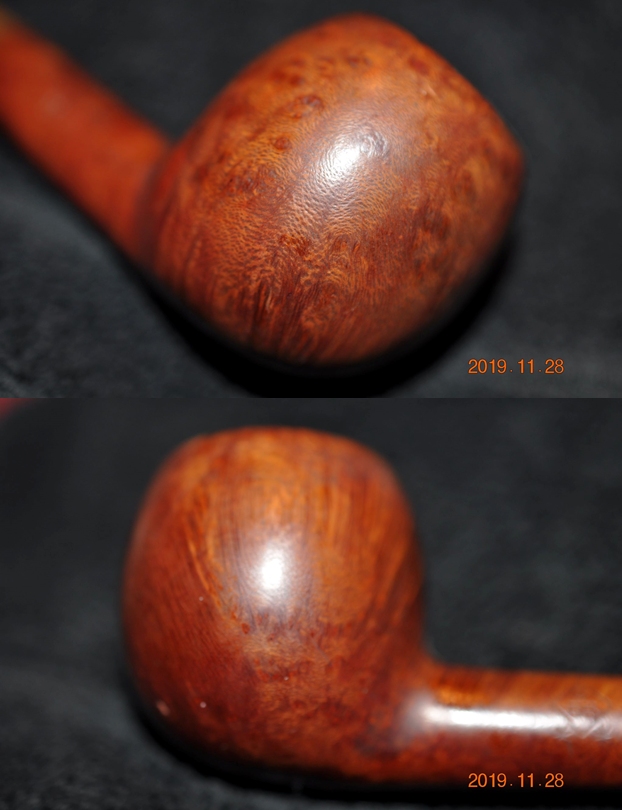
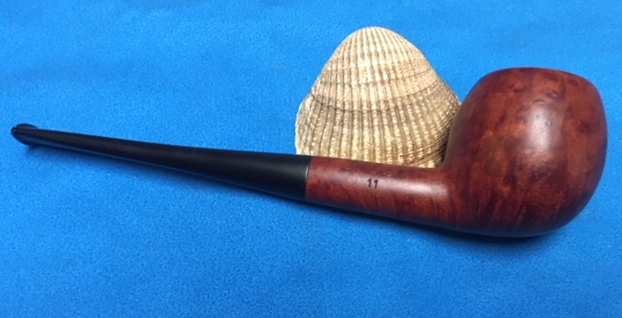
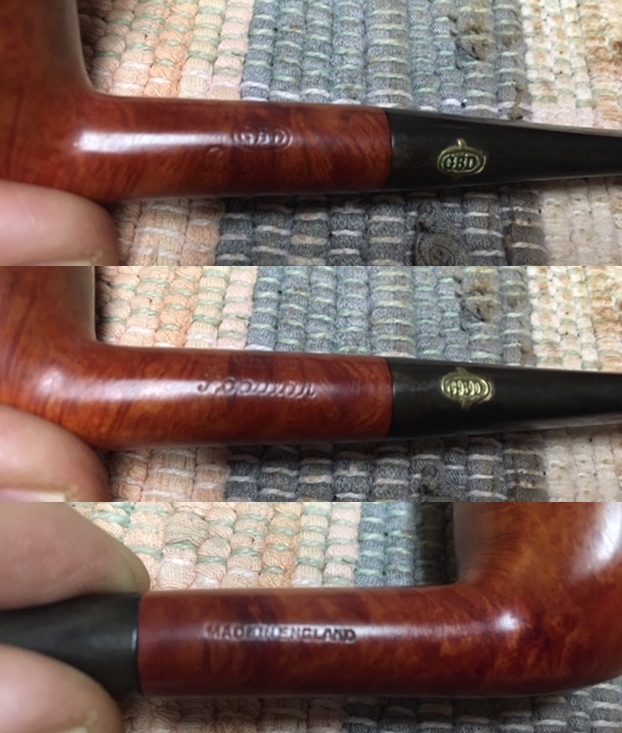
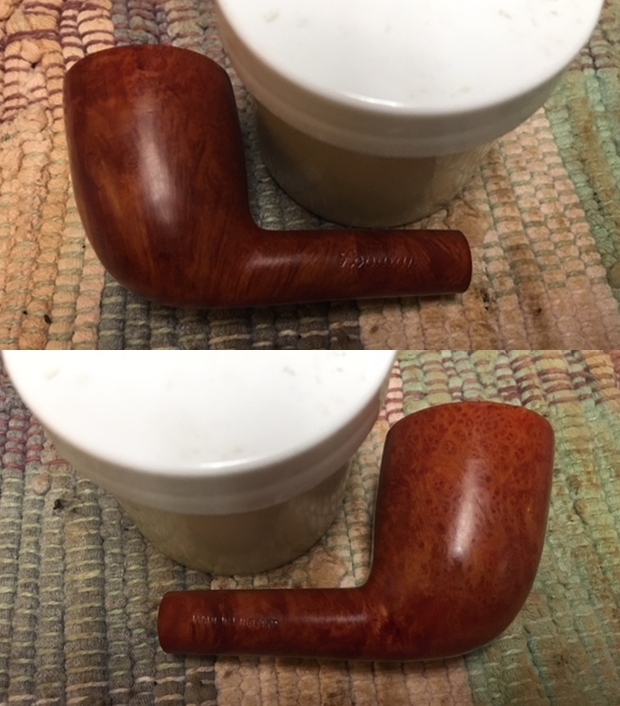
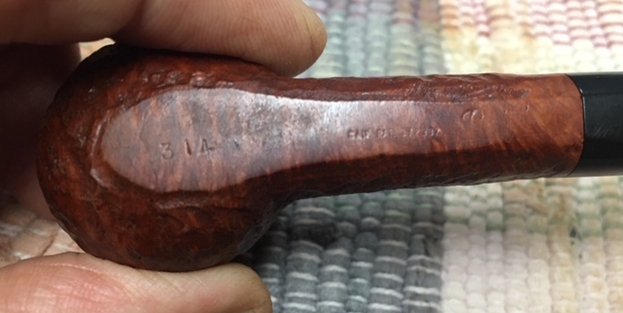
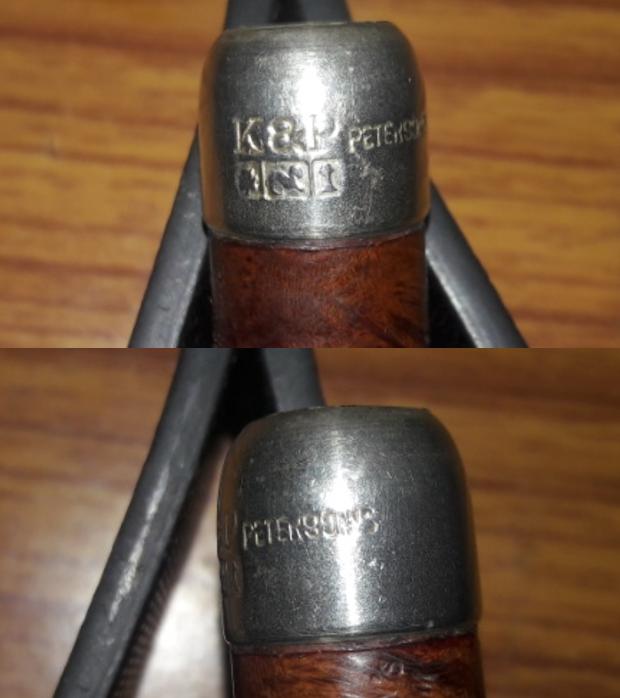
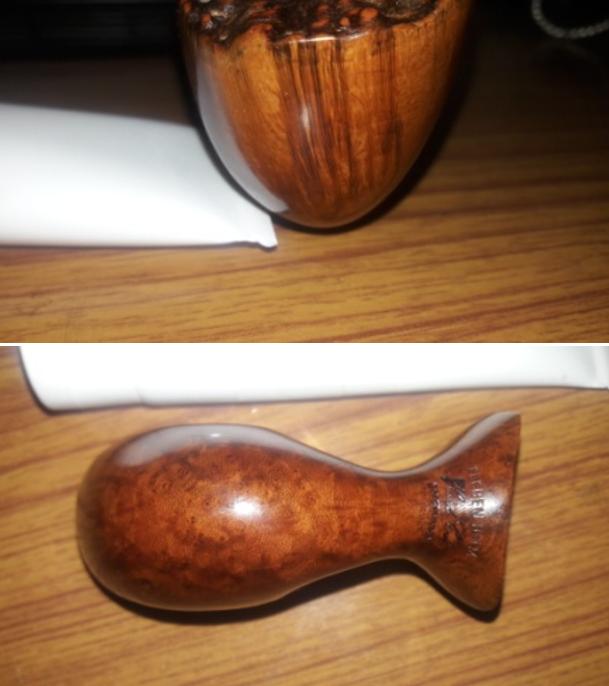
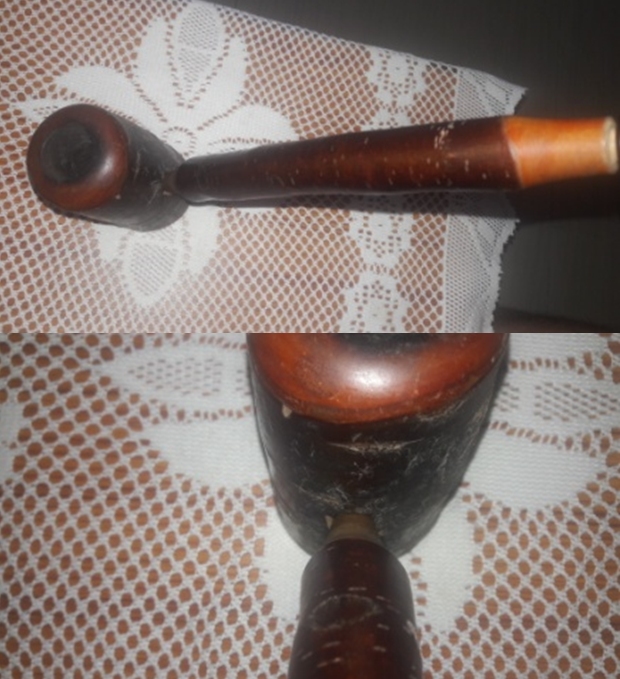
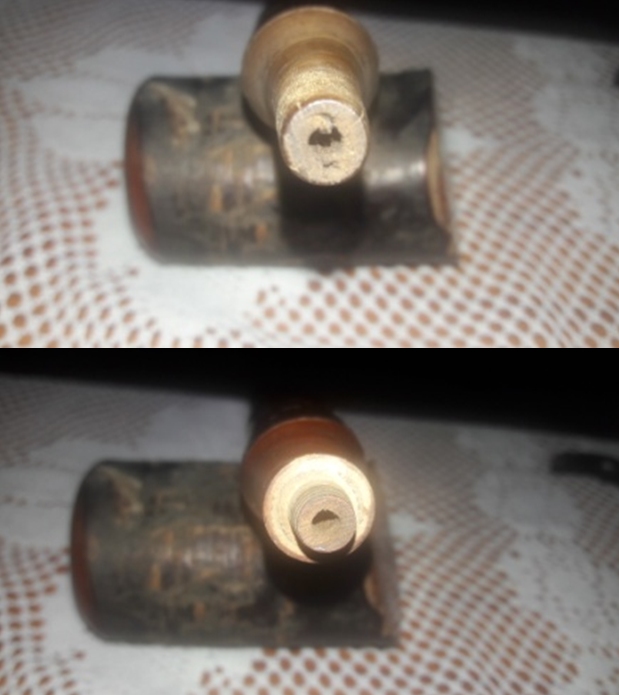
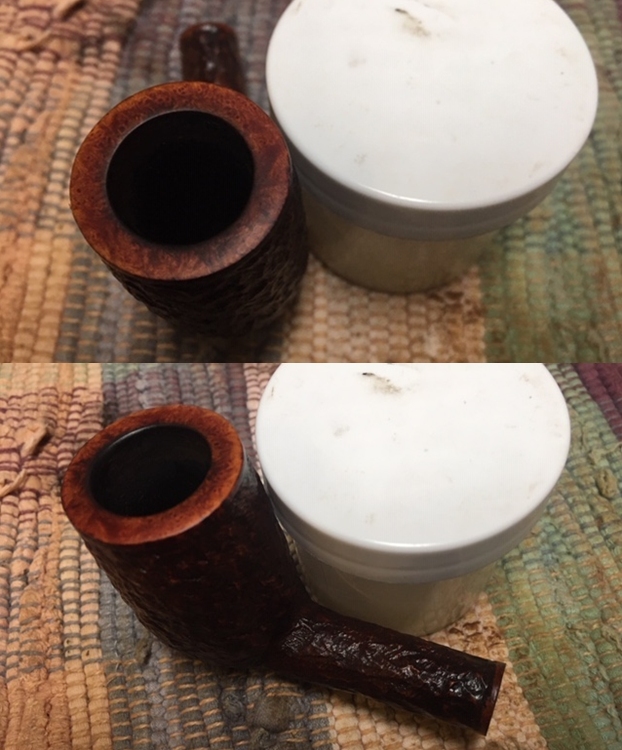
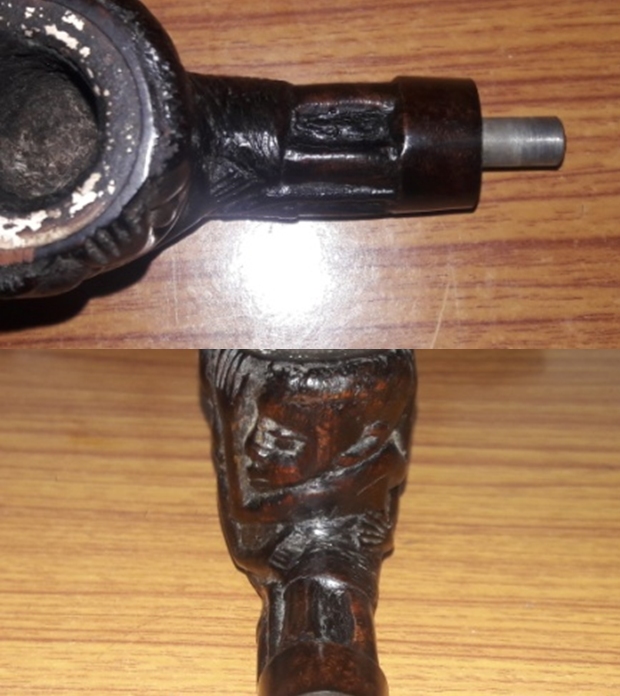
 He took a photo of the stamping on the sides of the. You can see that the stamping is very clear. On the left side it reads BBB in a diamond with a star on each side of the base. On the right side it reads Made in England over the shape number 11.
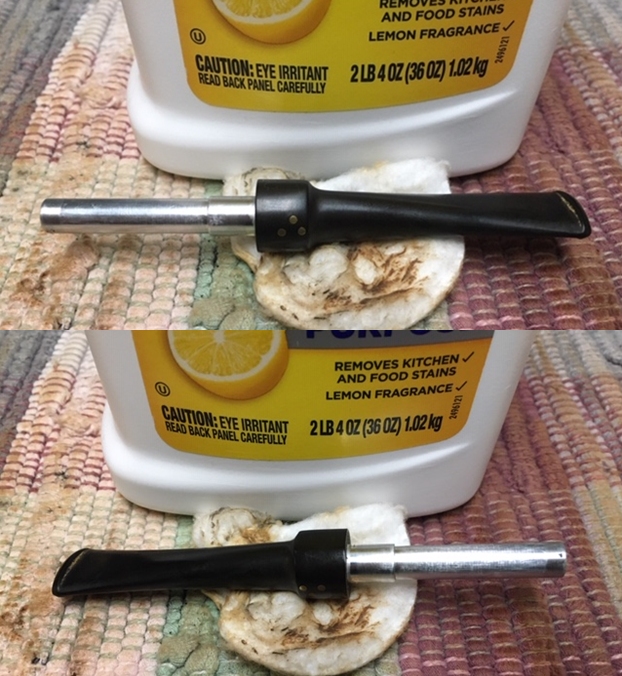
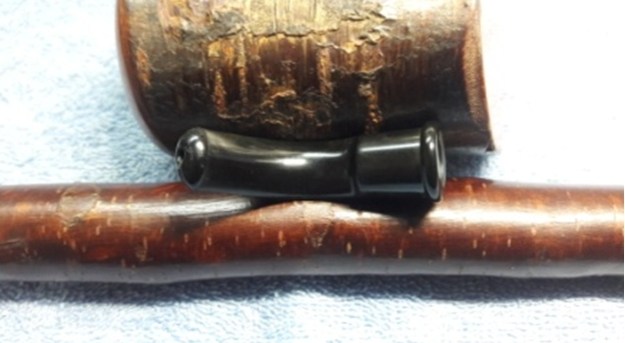
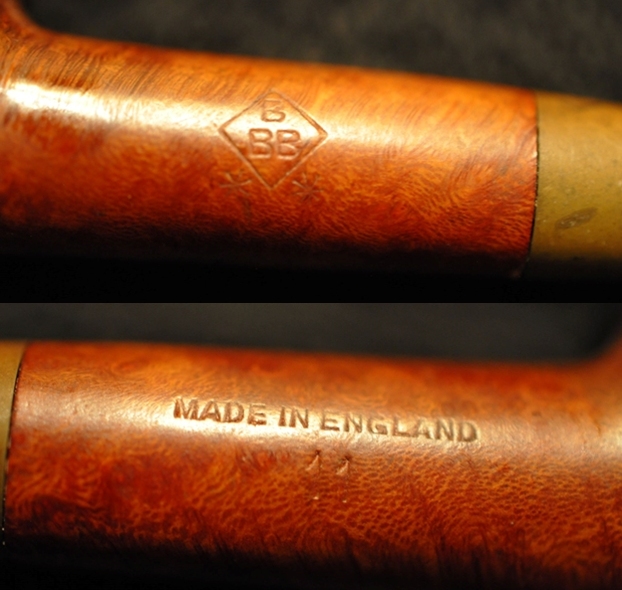 The stem was dirty and extremely oxidized. Once again the stem appeared to be a replacement as I have learned Bob was a chewer and his stems seemed to have been replaced often. This one at least fit well to the shank and did not yet have the chew marks that were a norm on Bob’s pipes.
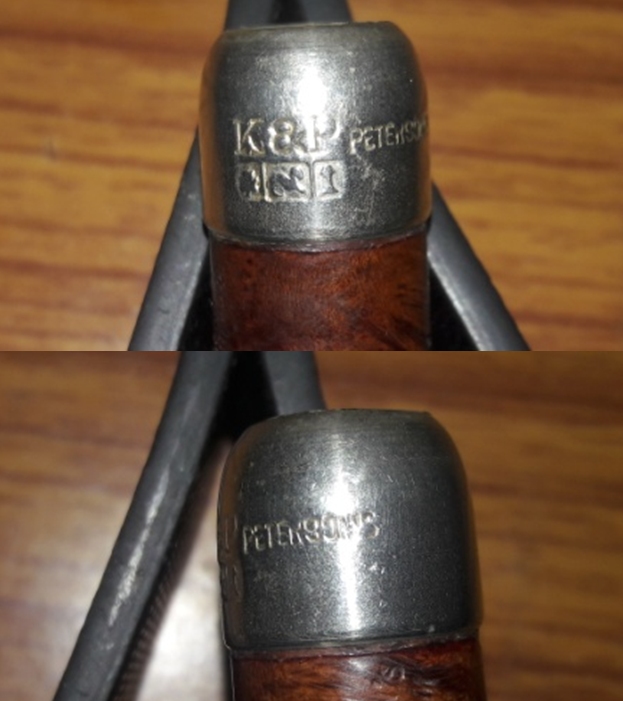
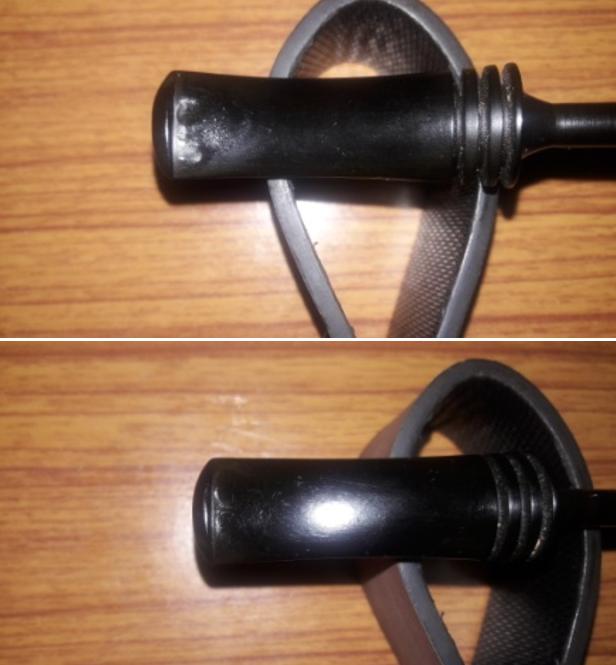
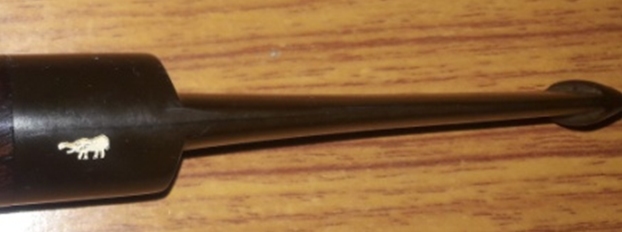
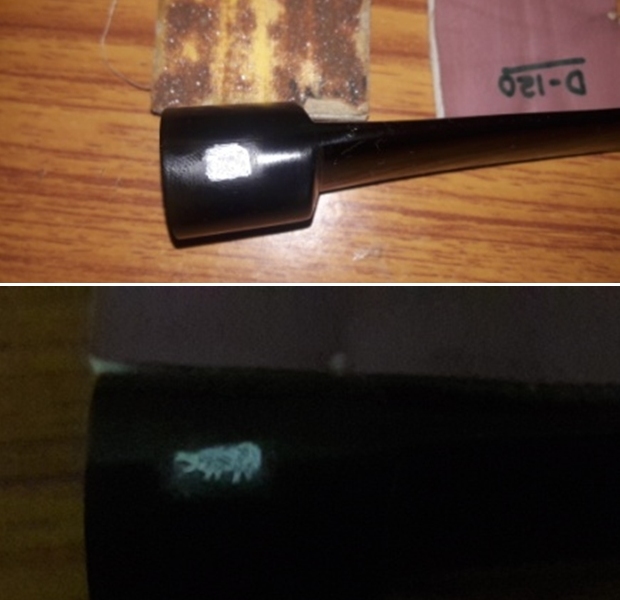
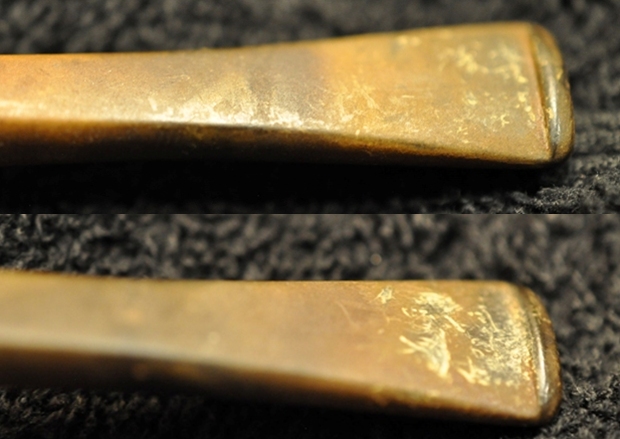 Before I started my work on the pipe I decided to read a bit of BBB history to remind myself how the two stars fit into the hierarchy of BBB pipes. I turned first to Pipephil’s site (http://www.pipephil.eu/logos/en/logo-bbb.html). I have included a screen capture to show the stamping on the pipe. At this point I still did not know how it fit. Also the pipe I was working on did not have the BBB Diamond or Brass logo on the stem.
 I turned to Pipedia to see what I could gather there about the hierarchy of the Two Star pipe (https://pipedia.org/wiki/BBB). I read through the page and found some more information. I quote a pertinent section of the article that give the information that I was hoping for and expecting.
…In the Thirties, the top-of-the-range one becomes “BBB Best Make” with alternatives like “Super Stopping” and “Ultonia Thule”. The BBB Carlton, sold with the detail with 8/6 in 1938, is equipped with a system complicated out of metal, system which equipped the BBB London Dry too. Blue Peter was not estampillées BBB but BBB Ultonia, and the BBB Two Star (* *) become the bottom-of-the-range one.
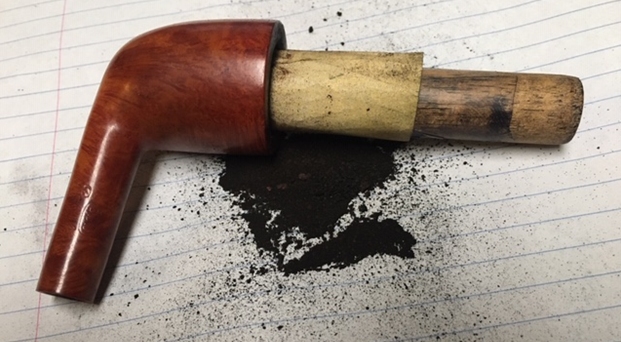
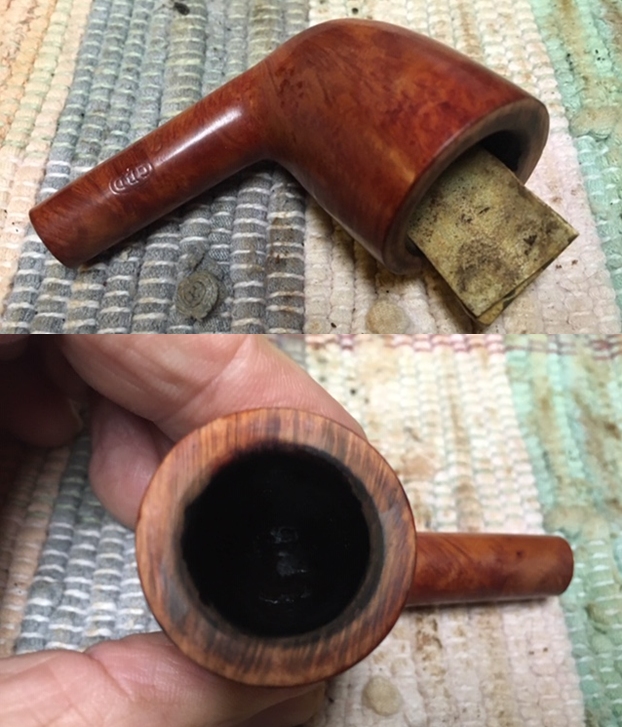
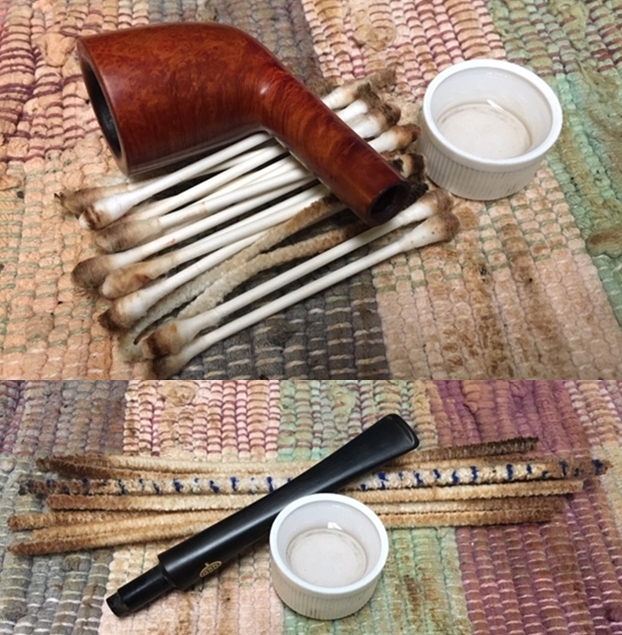
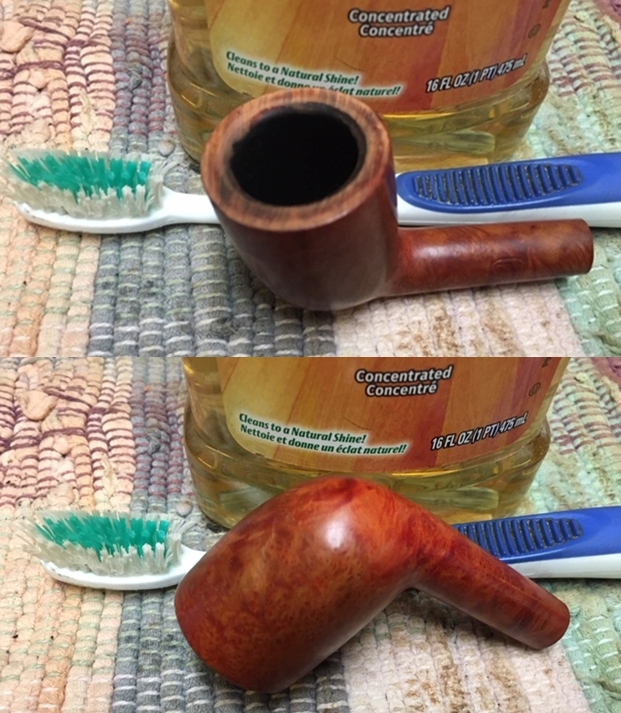
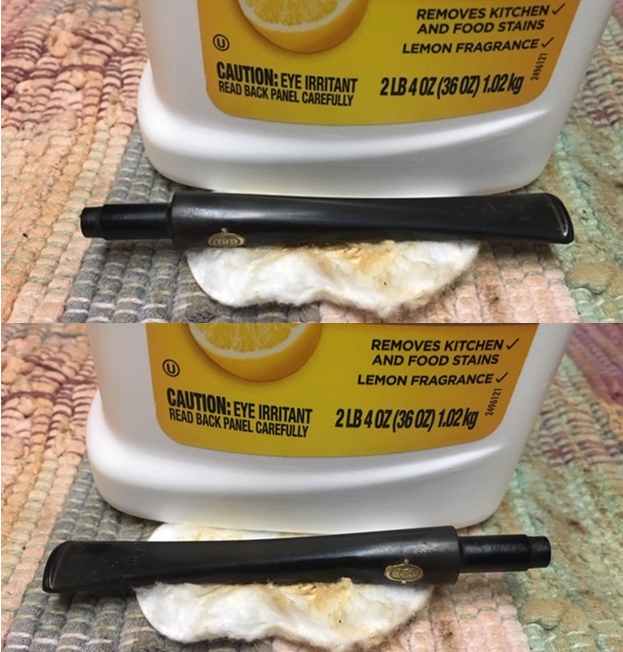
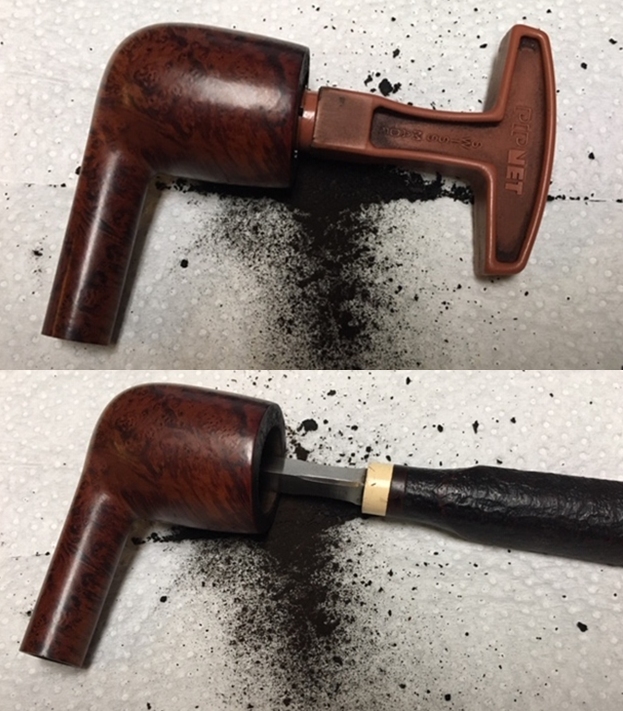
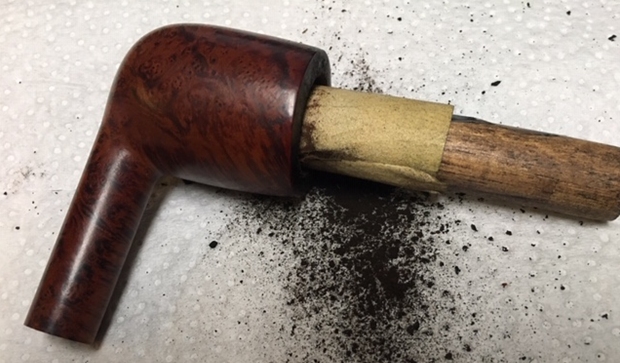
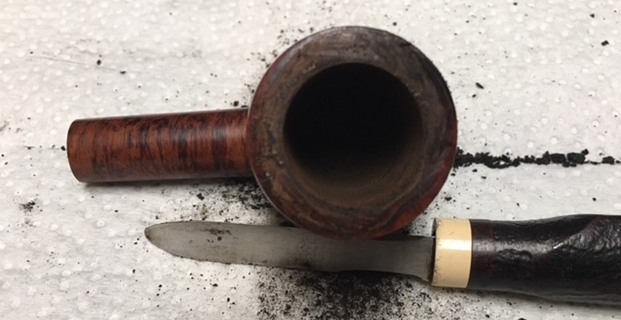
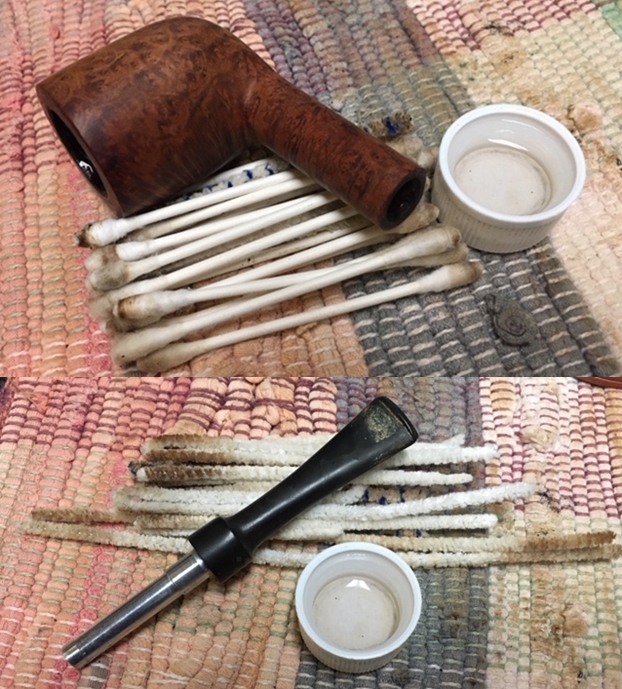
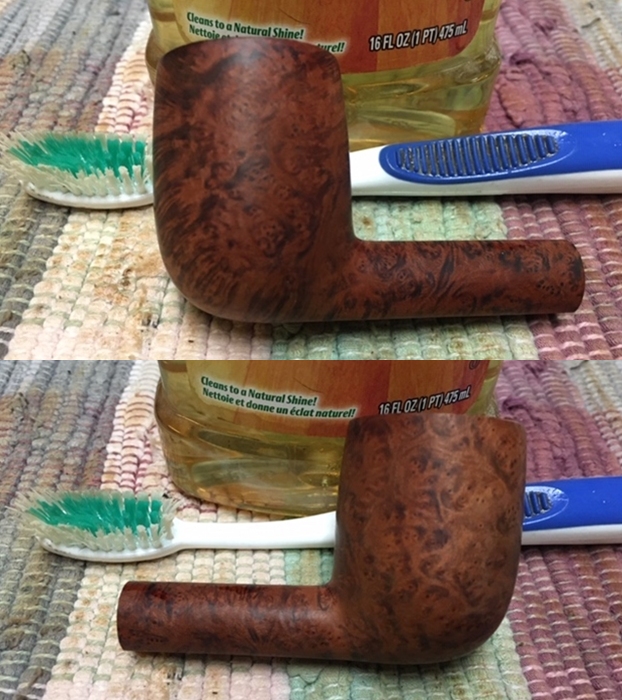
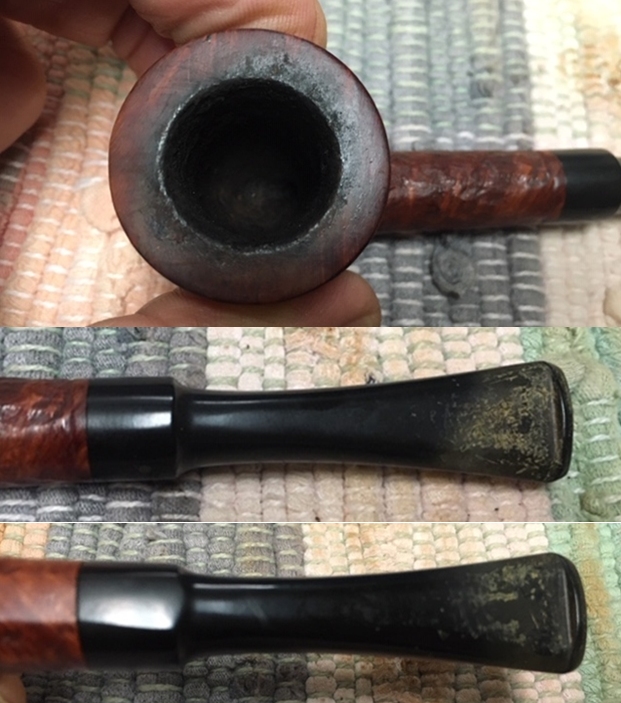
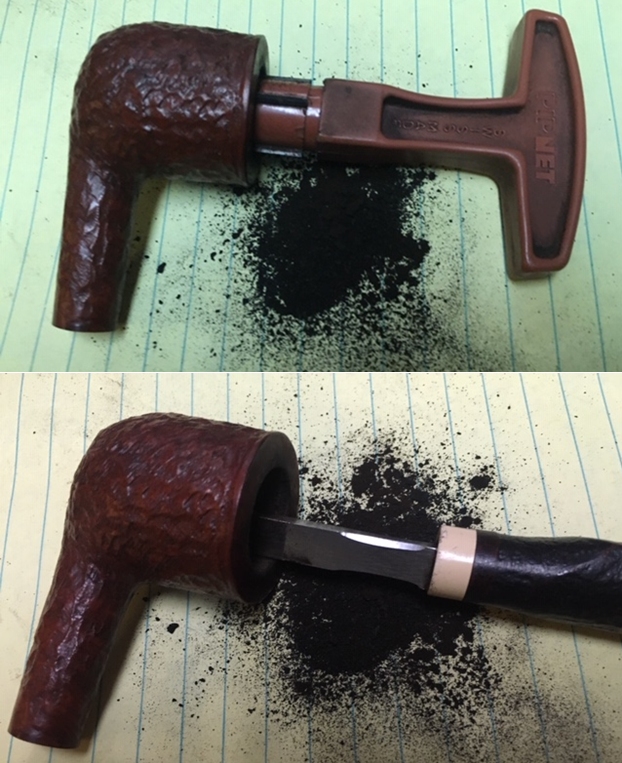
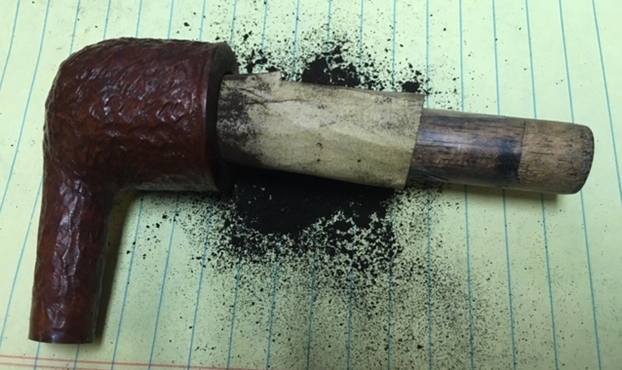
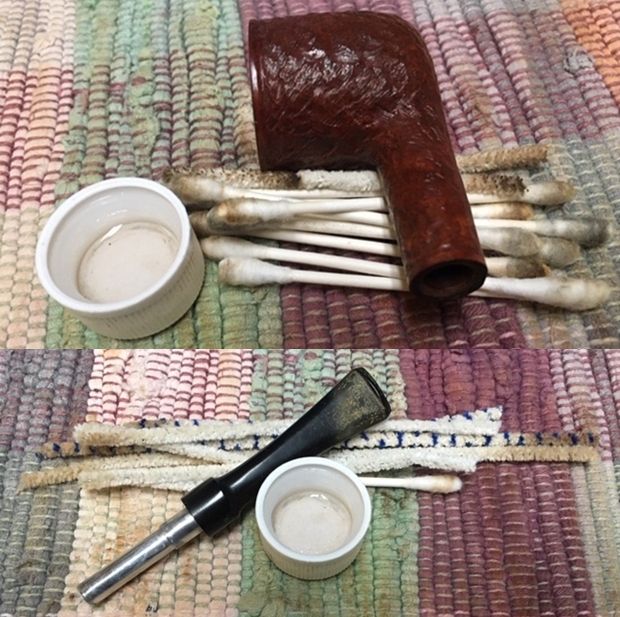
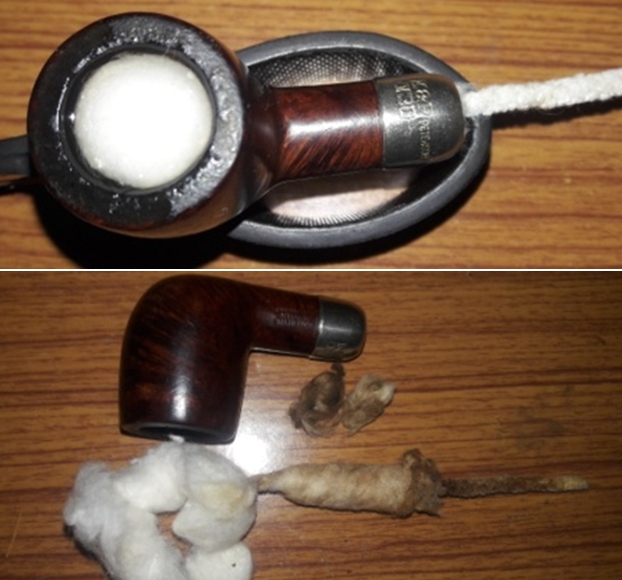
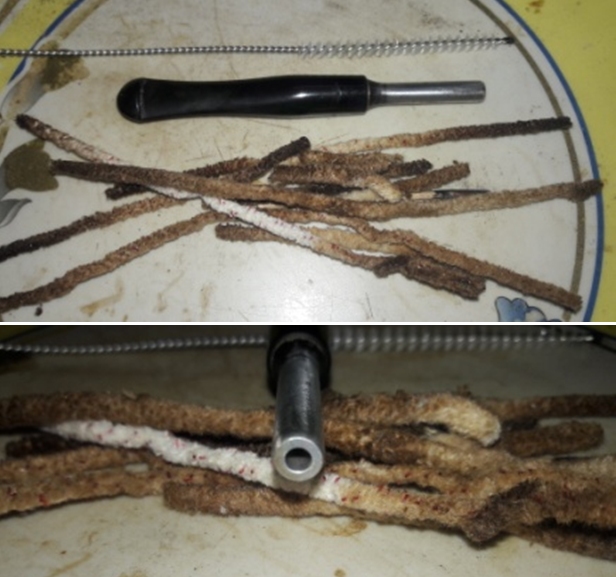
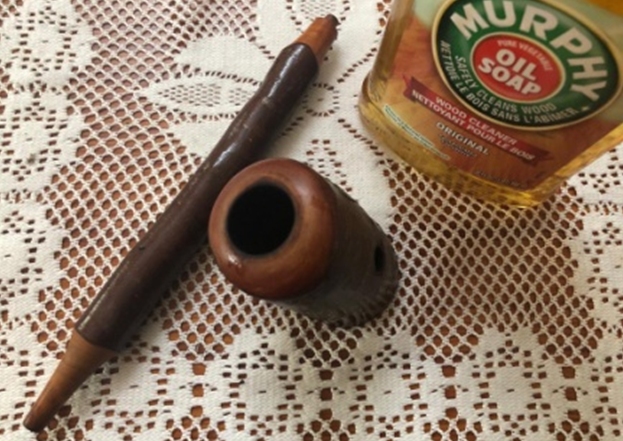
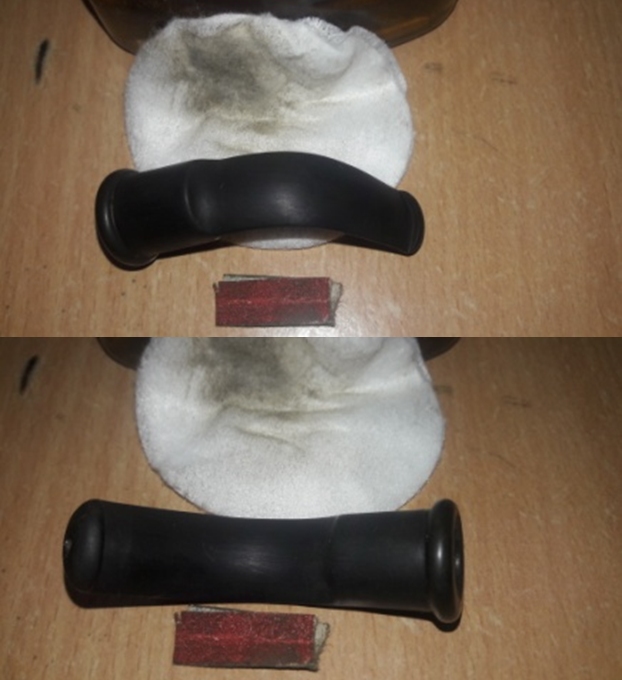
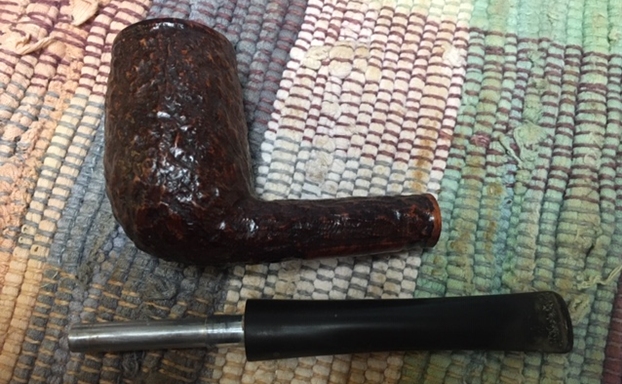
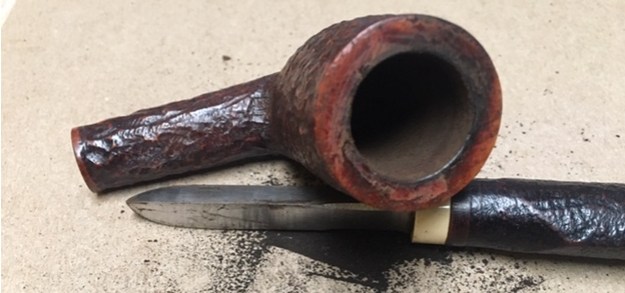
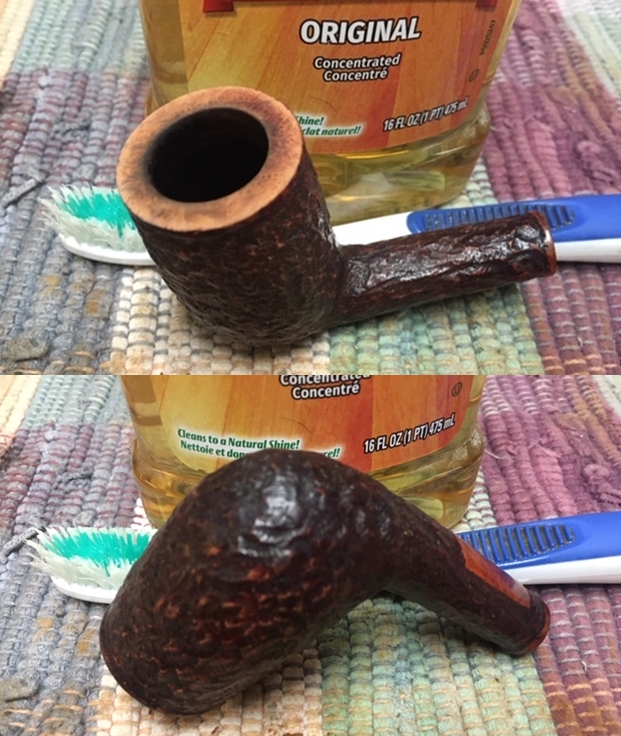
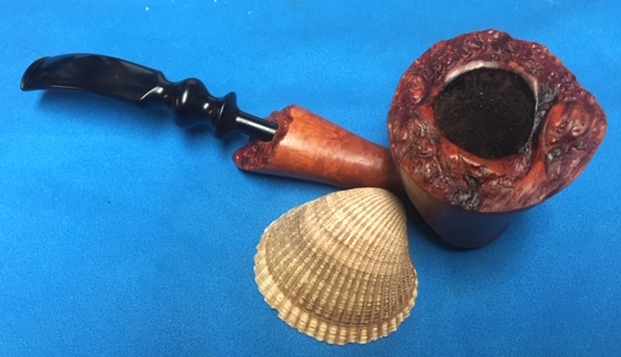
Now I knew about where the Two Star fit – at the bottom of the range. Armed with that information it was time to work on the pipe. Jeff cleaned this filthy pipe with his usual penchant for thoroughness that I really appreciate. This one was a real mess and I was looking forward to seeing what he had done with this one when I took it out of his box. It looked amazing and CLEAN and other than the stem work needing a little effort on my part. He reamed the bowl with a PipNet pipe reamer and cleaned up the reaming with a Savinelli Fitsall Pipe Knife. He scrubbed out the internals with alcohol, pipe cleaners and cotton swabs until the pipe was clean. He scrubbed the exterior of the bowl with Murphy’s Oil Soap and a tooth brush to remove the grime and grit on the briar and the lava on the rim top. The finish looks good with great looking grain around the bowl and shank. The rim top and front of the bowl was severely damaged with burns. The condition of the inner and outer edges was rough. The stem looked a lot better but damage was evident on the button. Jeff soaked the stem in Before & After Deoxidizer to remove the oxidation on the rubber. The pipe was ready for me to carry on the next part of the process.
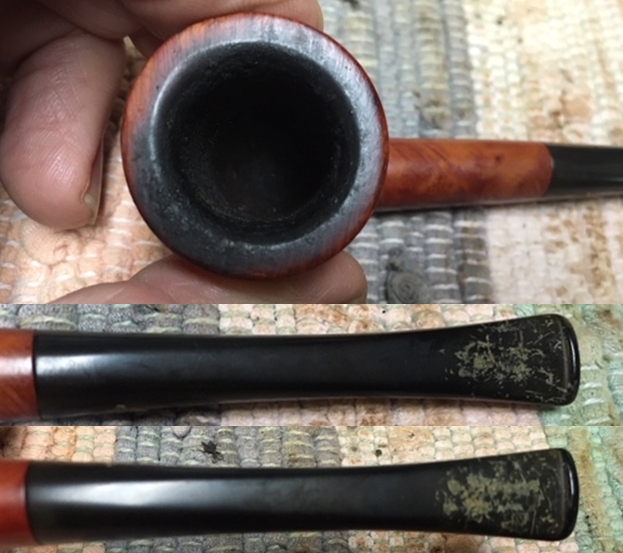
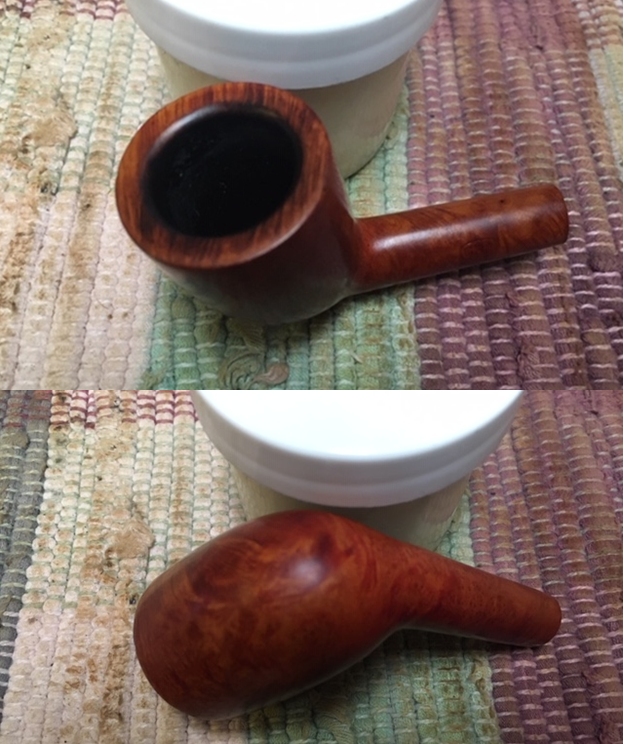
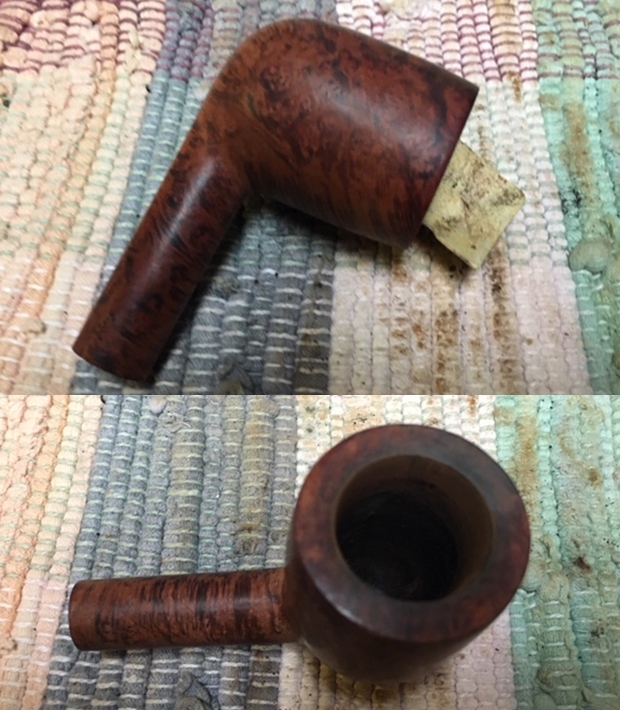
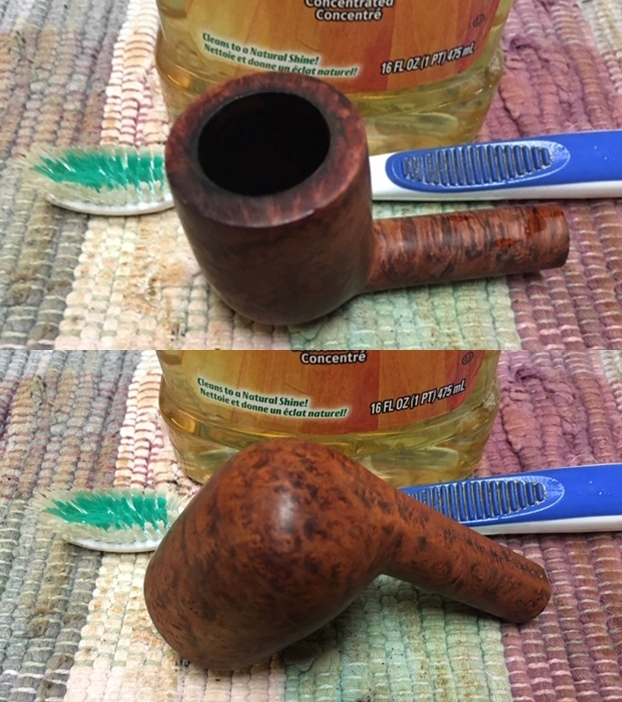
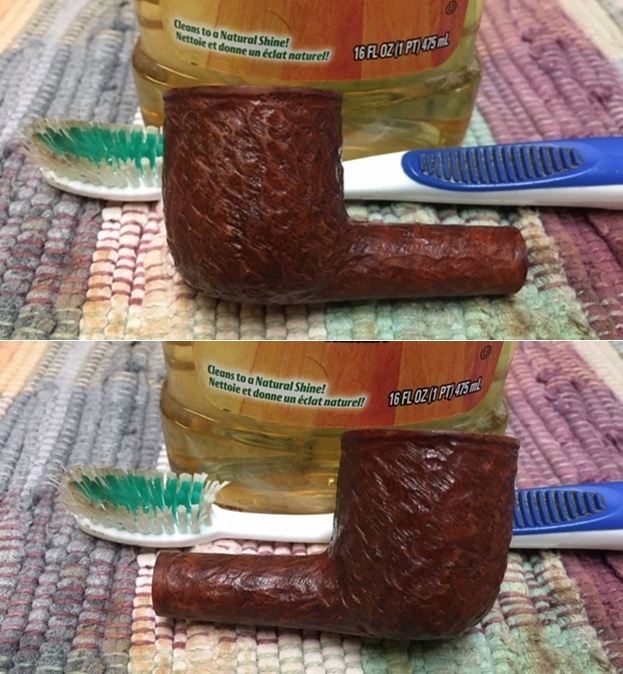
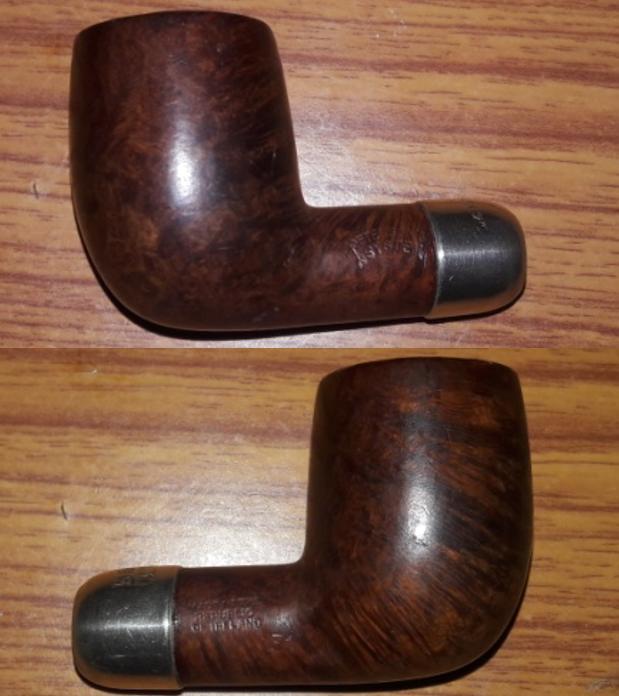
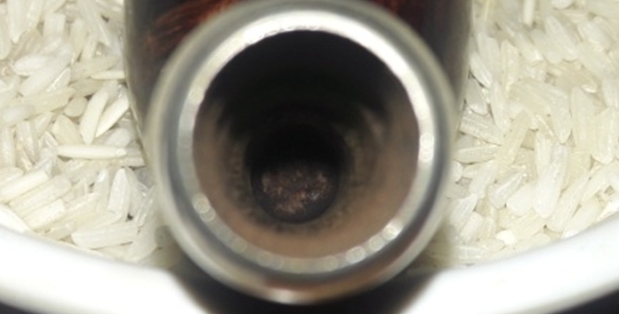
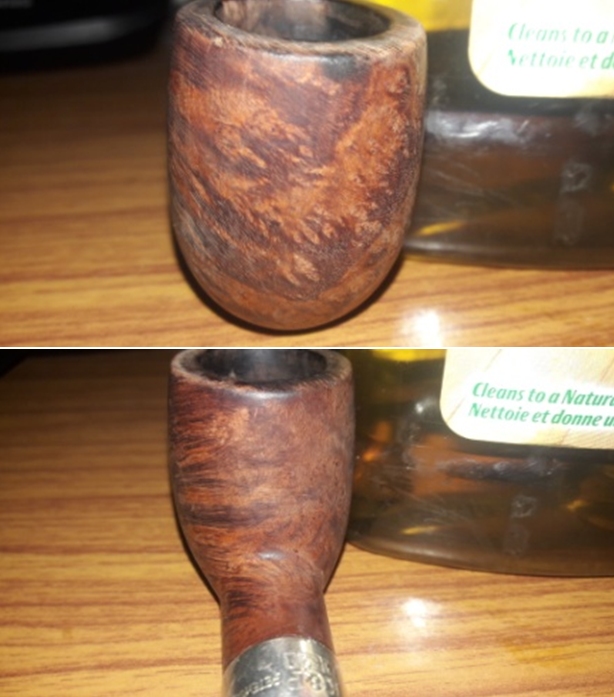
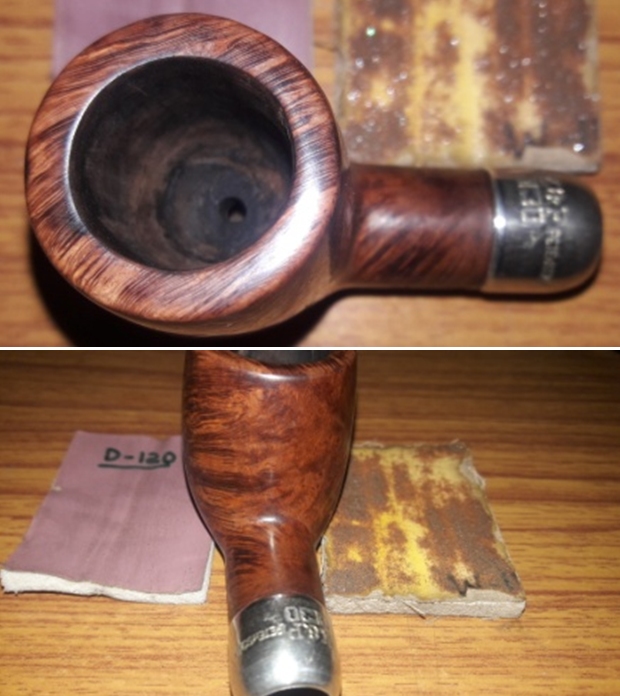
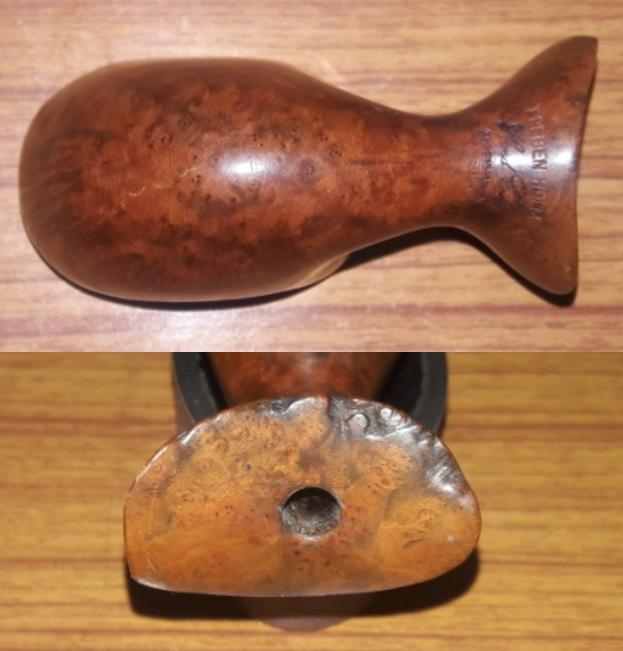
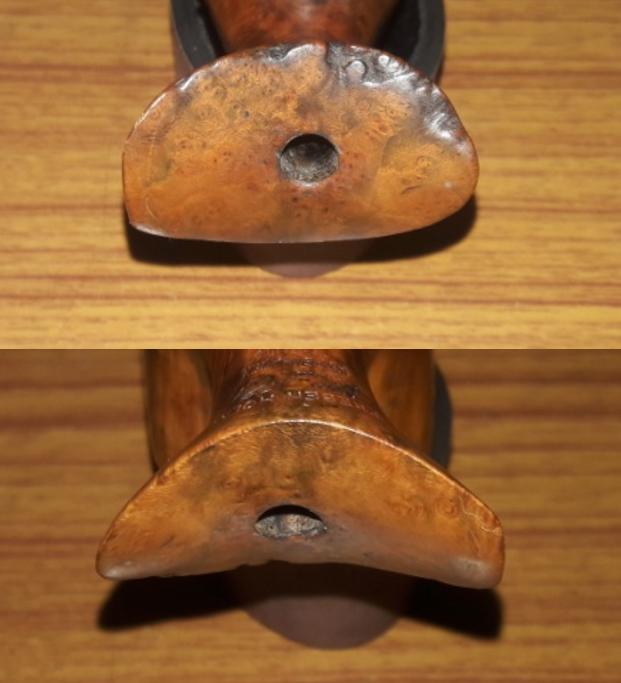
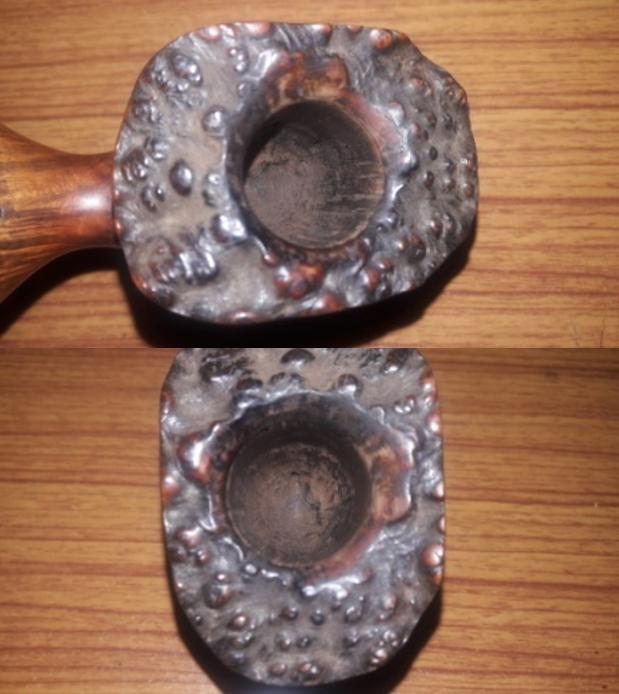
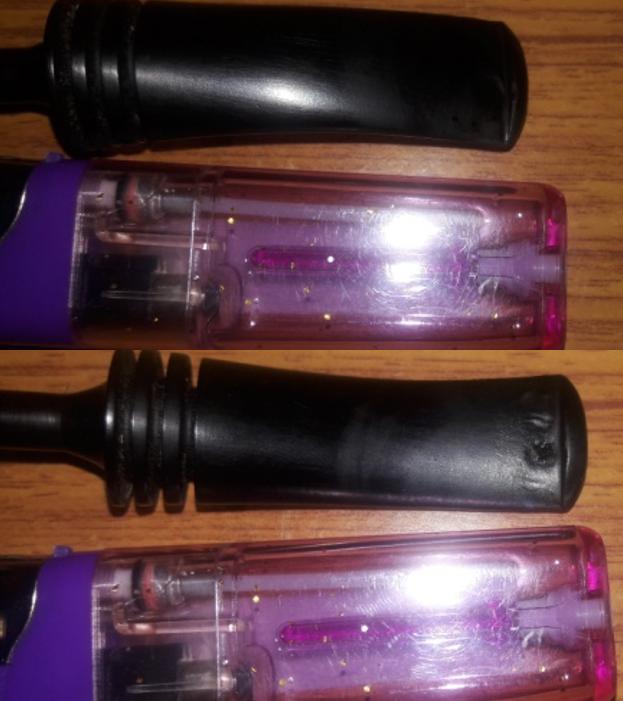
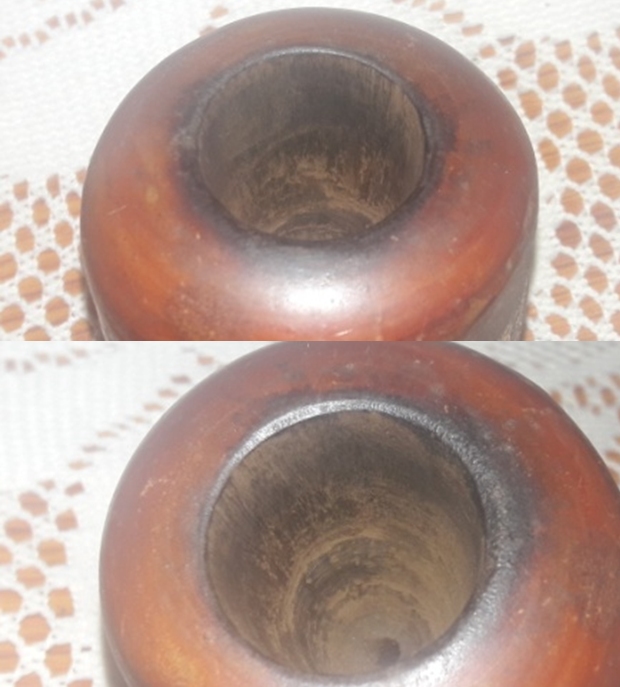
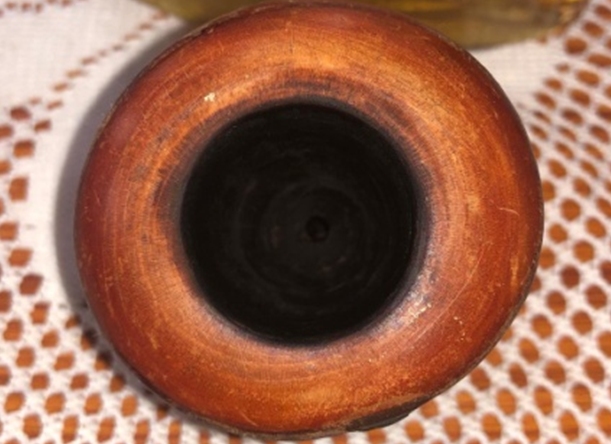
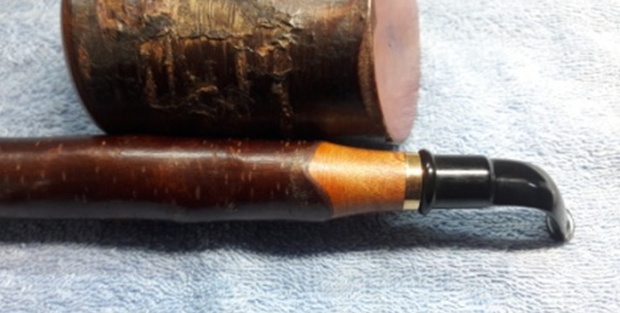
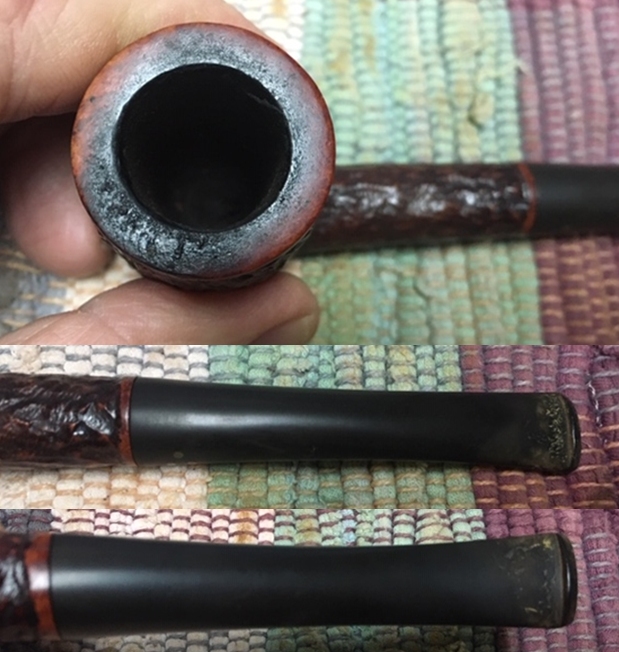
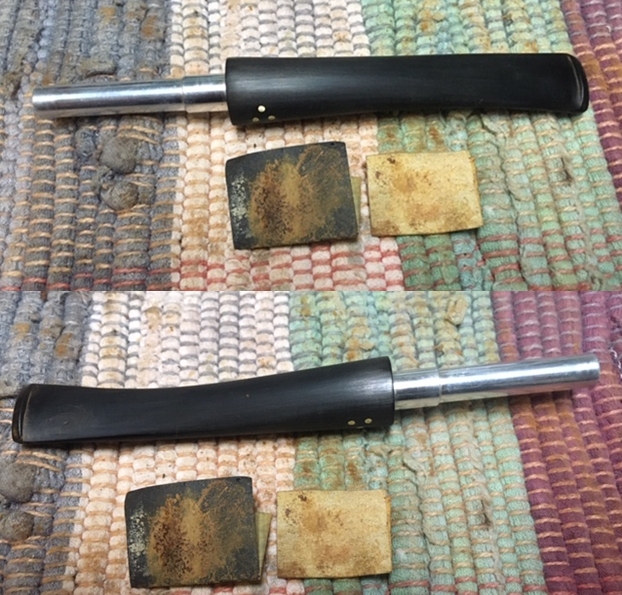
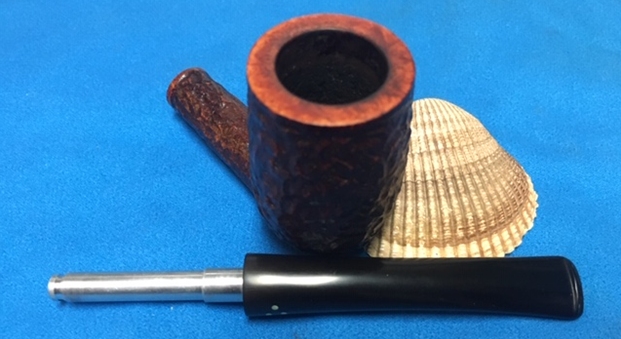
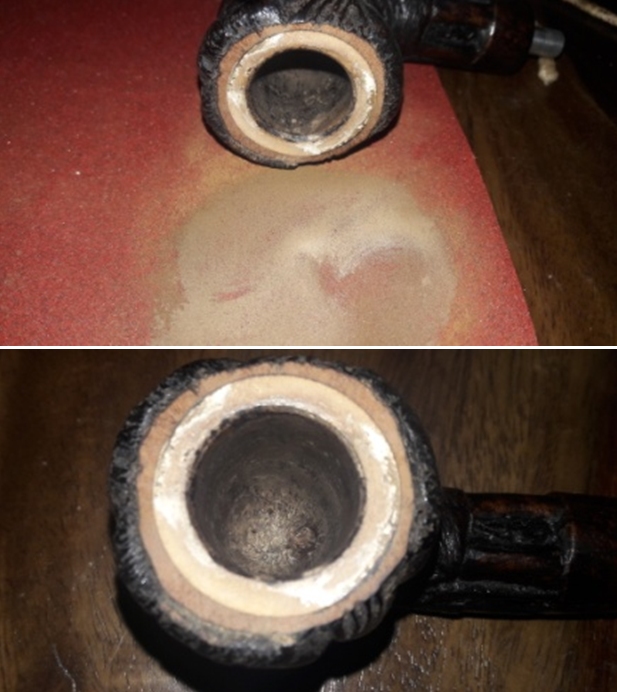
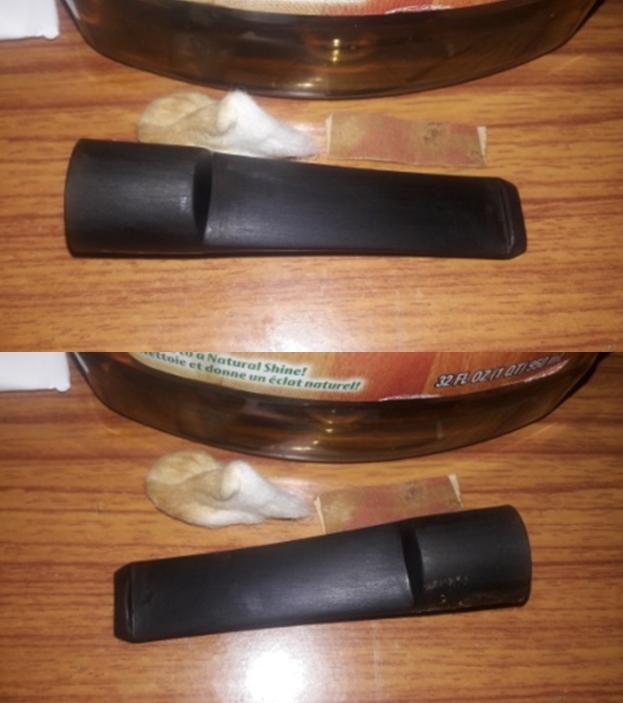
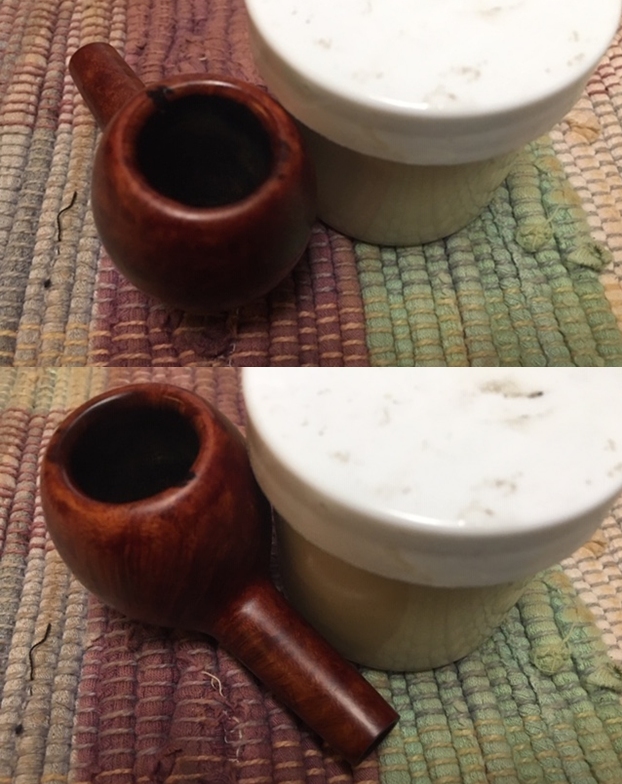
 I took some close up photos of the rim top and also of the stem surface. I wanted to show how well it had cleaned up. The rim top was clean and the damage was very evident. There were several chips on the edge of the rim top with the largest being at the back of the bowl. I also took close up photos of the stem to show how well surface looked on both sides.
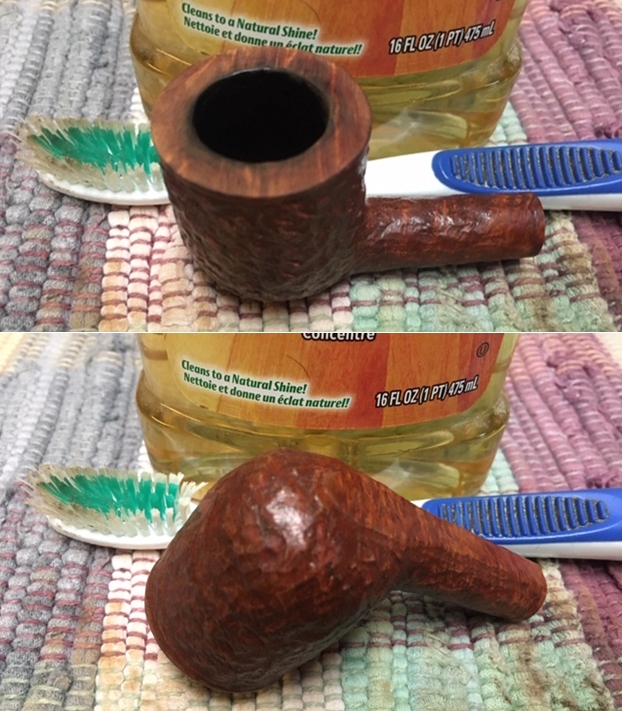
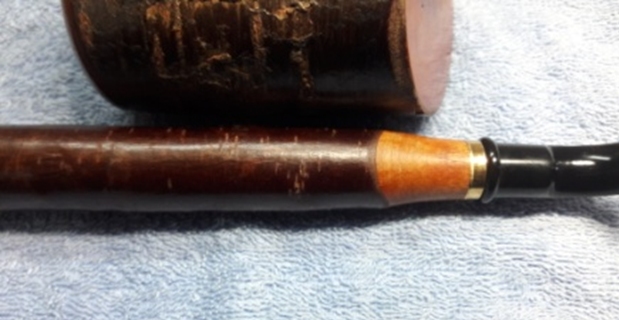
 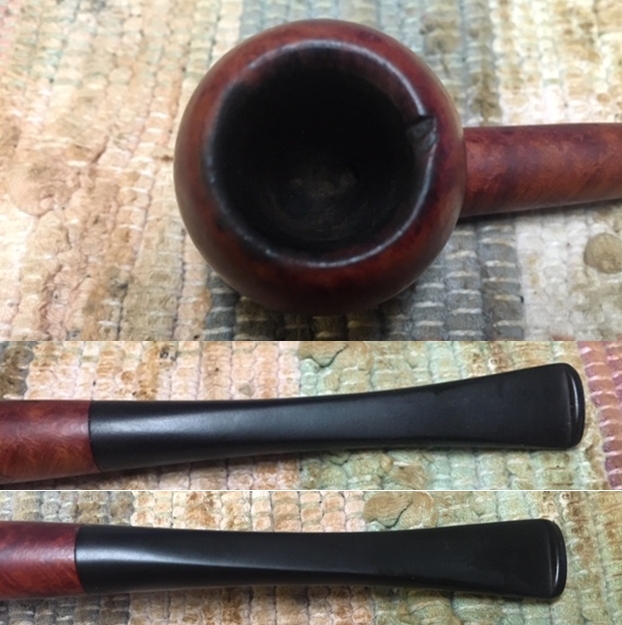 I took a photo of the stamping on the sides of the shank. You can see that it is stamped as noted above.
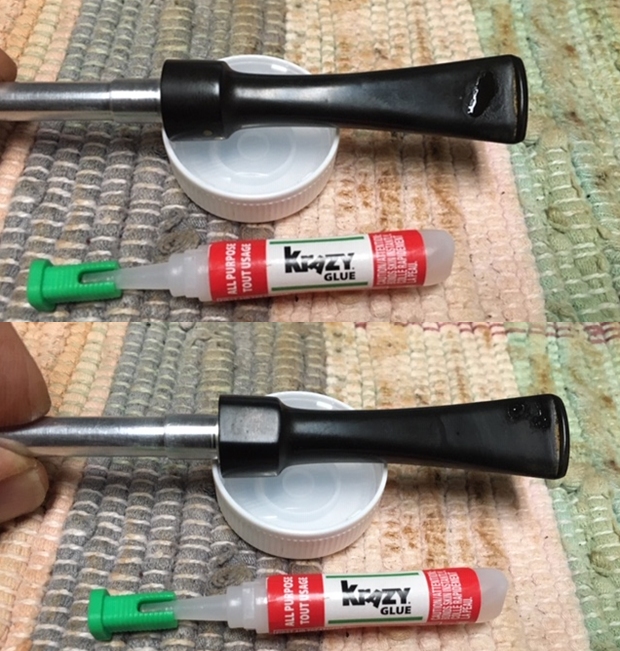
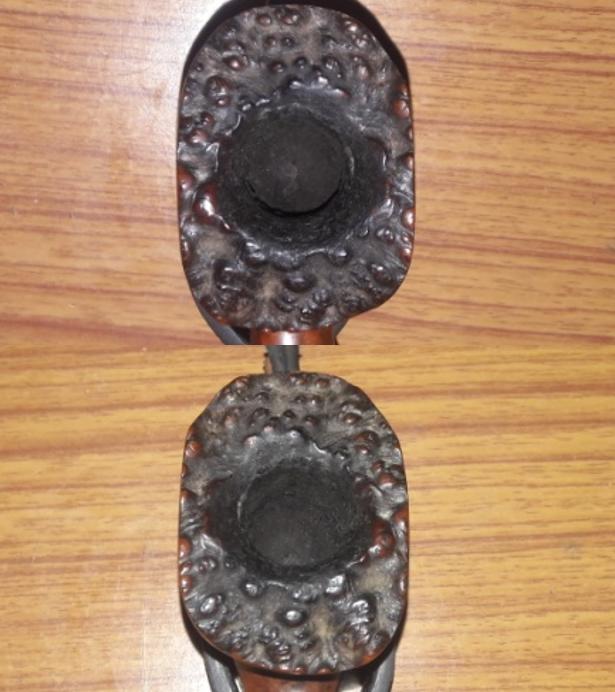
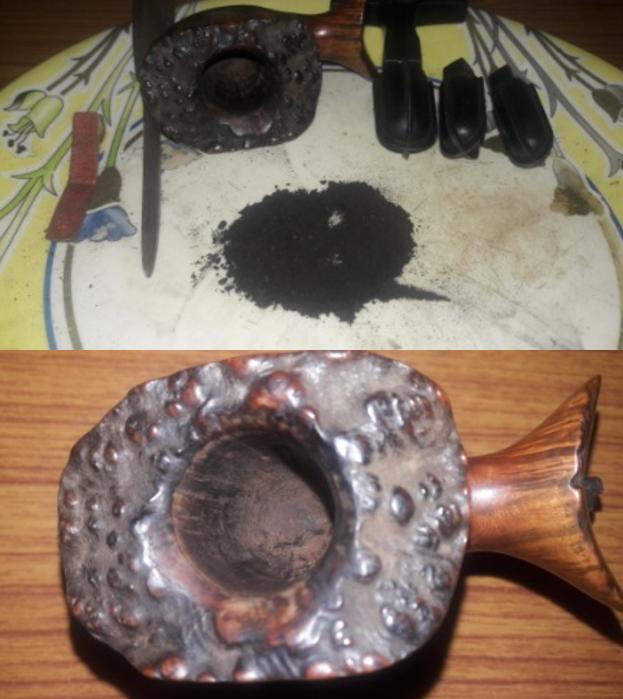
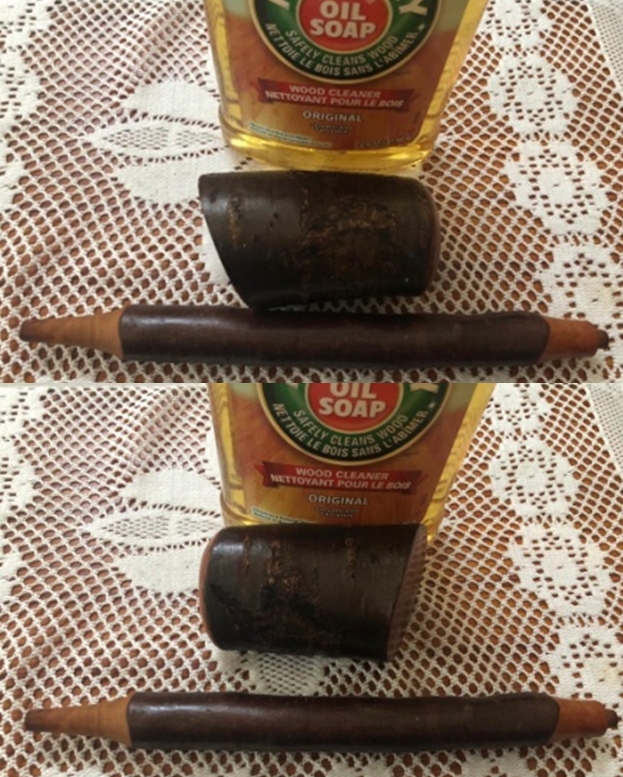
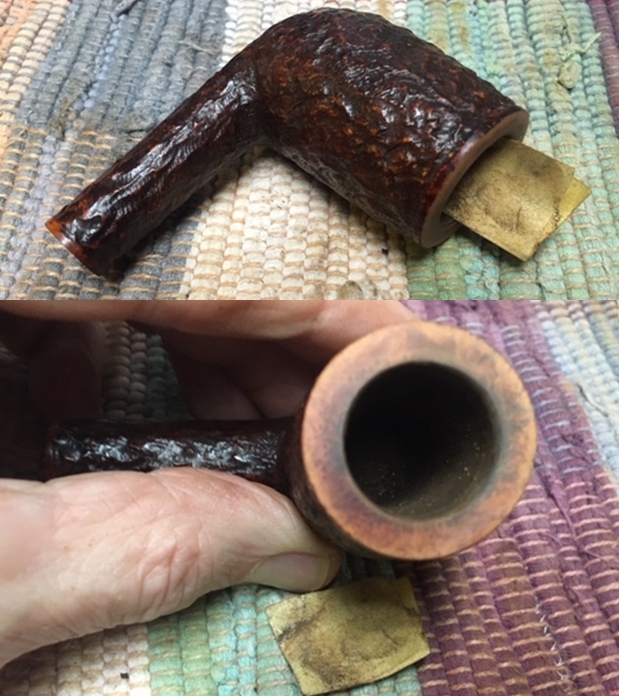
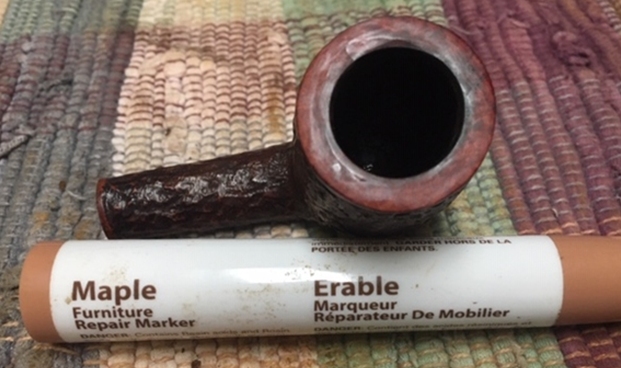
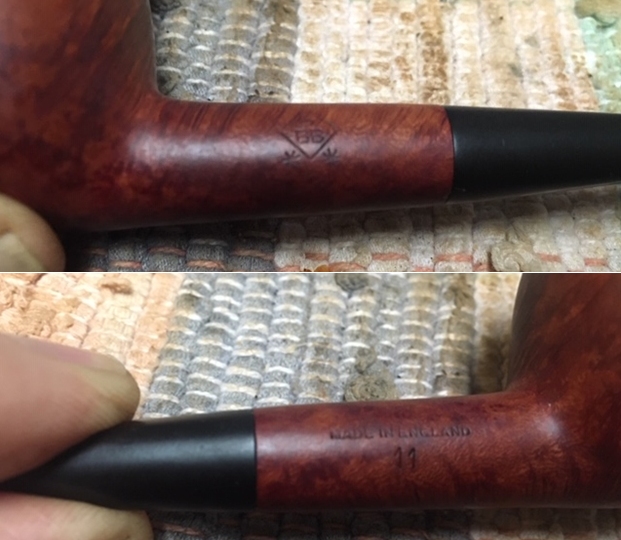 I decided to start my restoration work on this one by dealing with the damaged rim top. I filled in the damaged areas with a drop of clear Krazy Glue (CA) and then pressed some briar dust into the glued areas with a dental spatula. I set the bowl aside to dry overnight.
 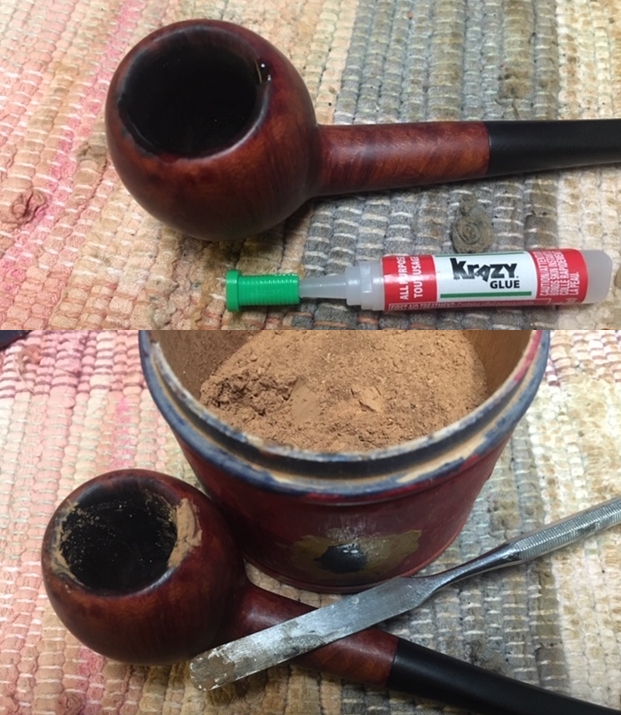 I sanded the repaired areas with 220 and 400 grit sandpaper to shape the repaired areas and blend them into the rest of the bowl. I also worked over the edge and top to minimize the darkening to the edges.
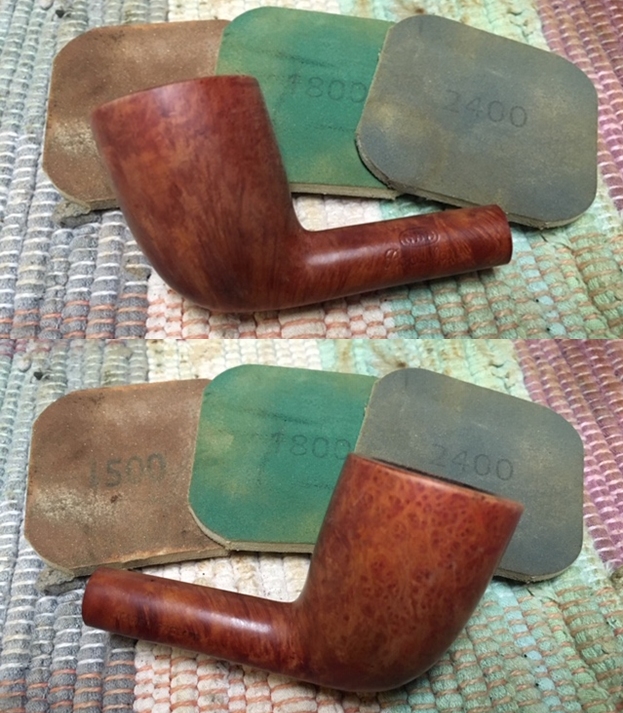
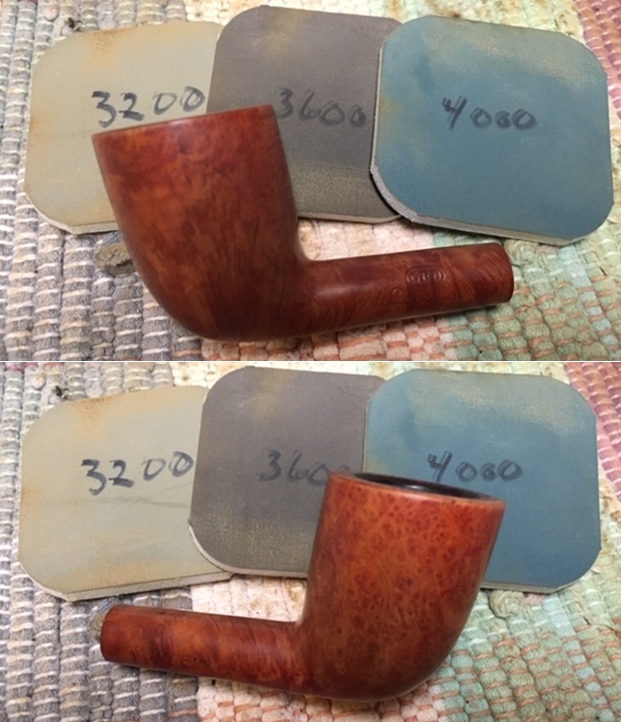
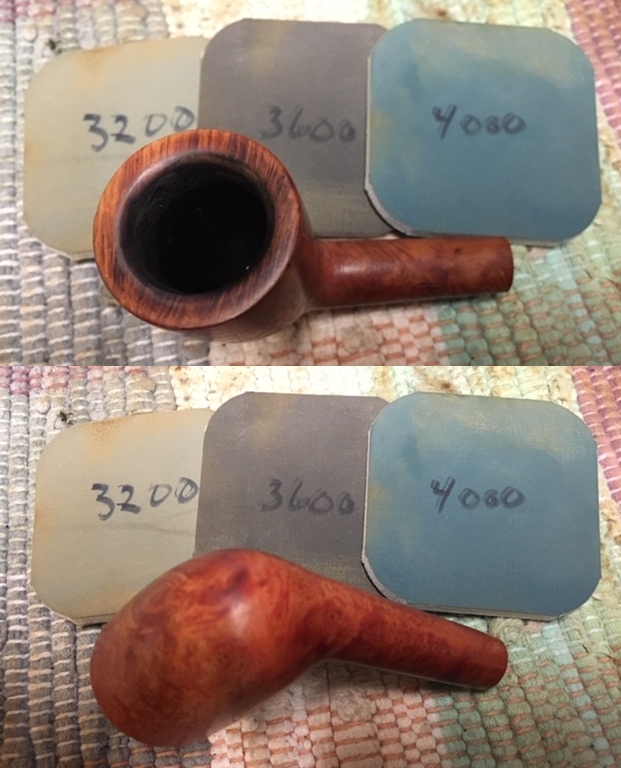
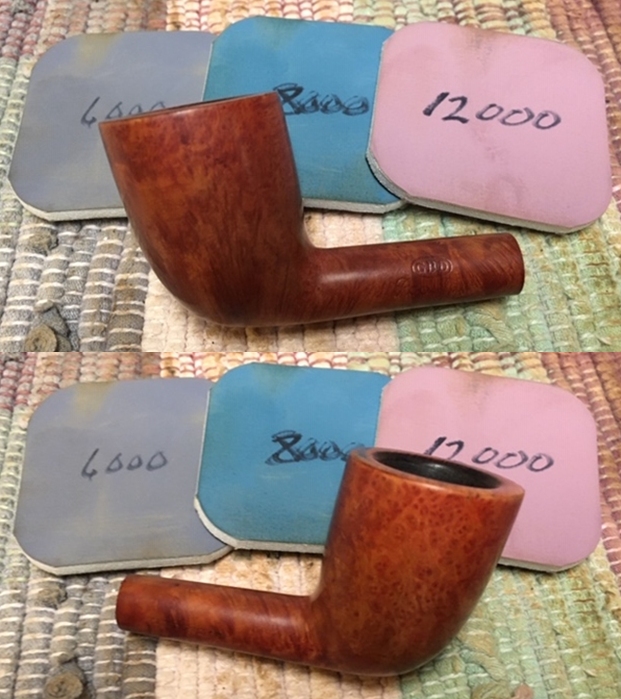
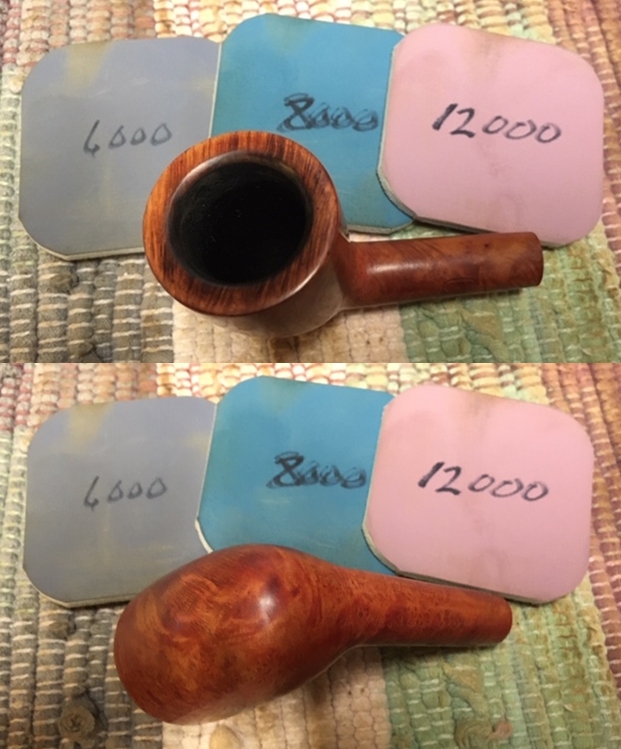
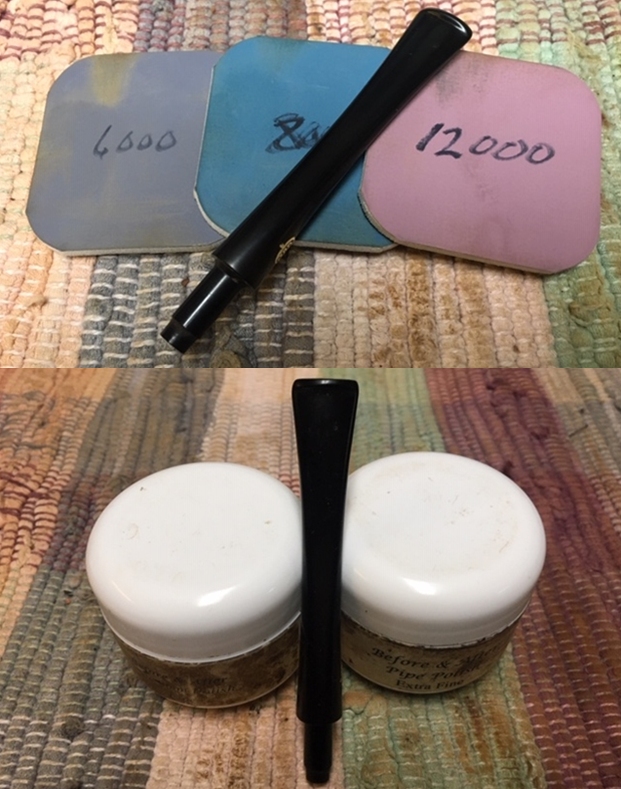
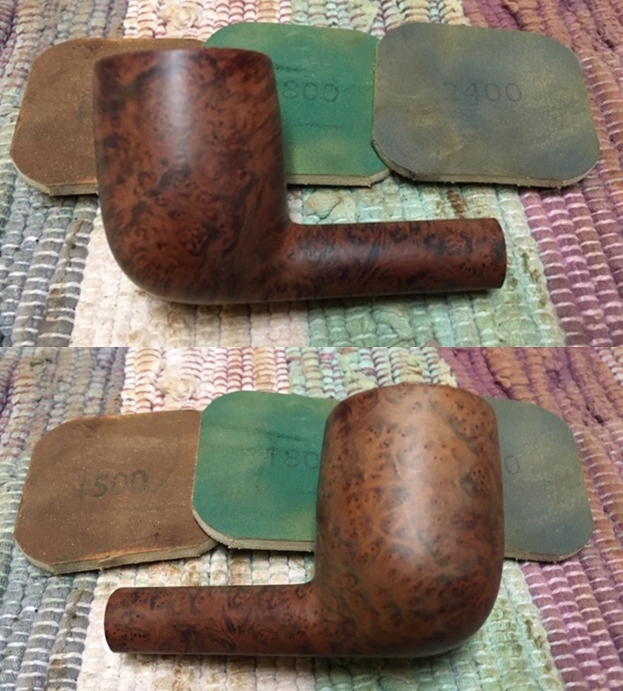
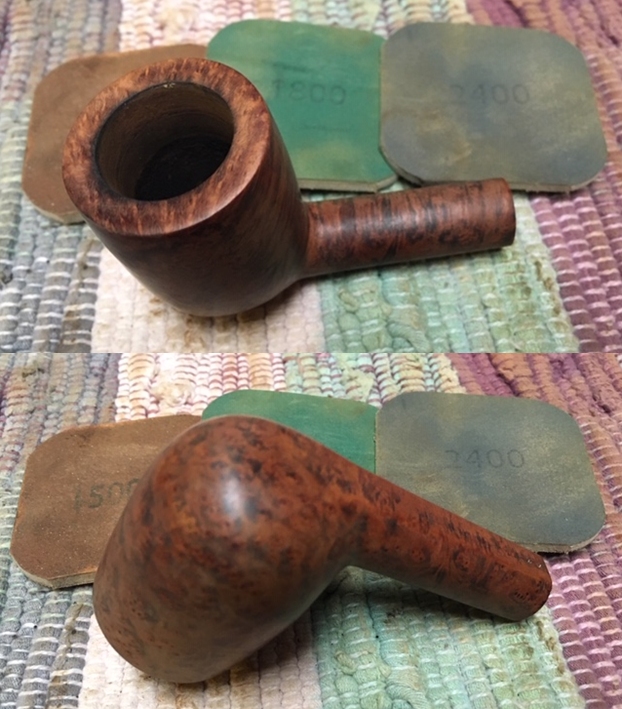
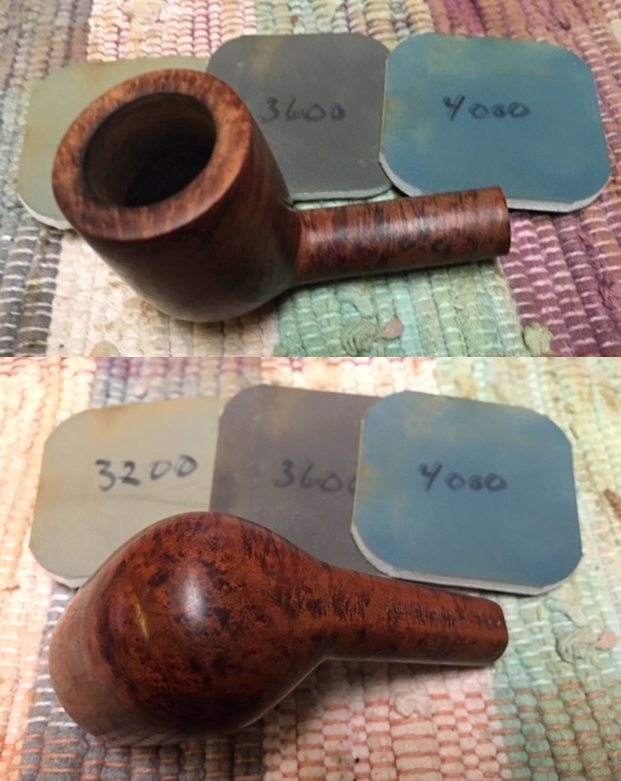
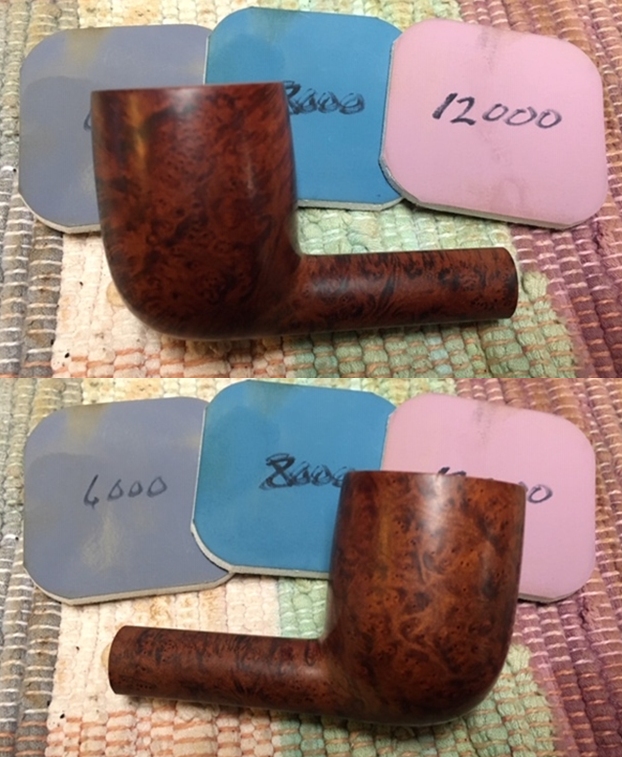
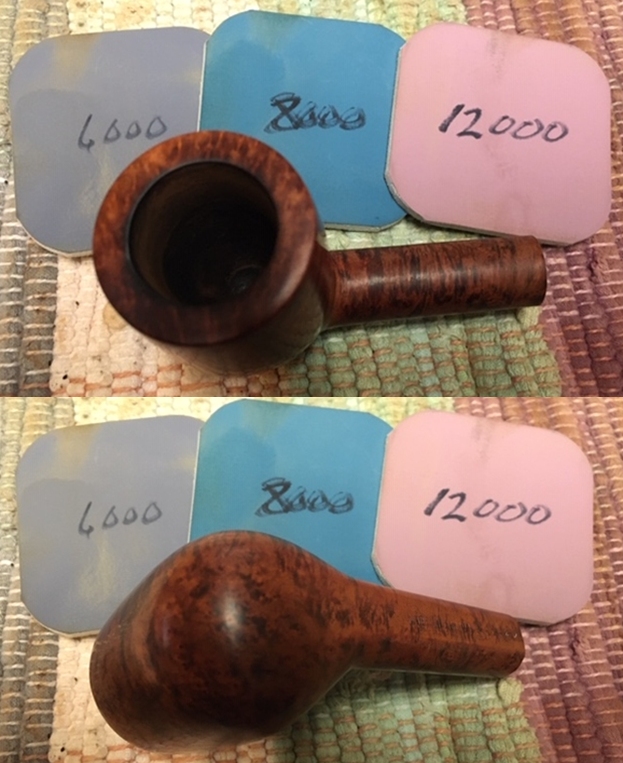
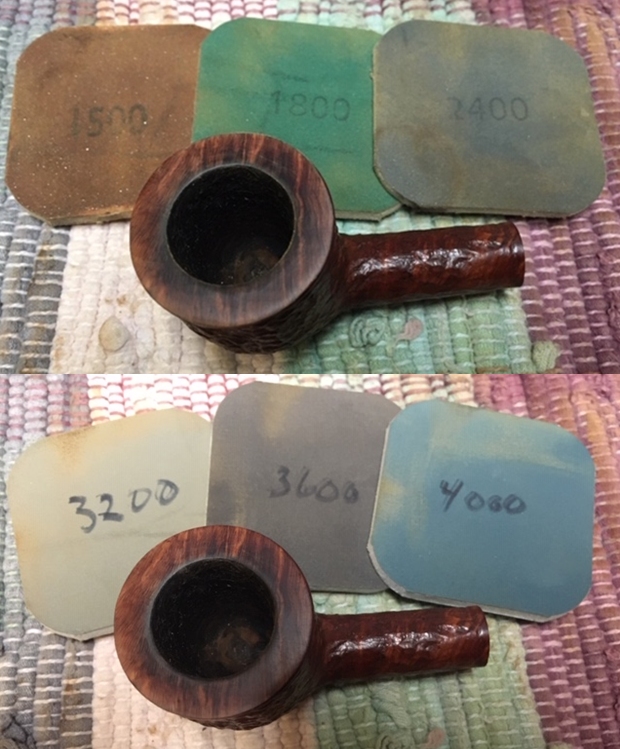
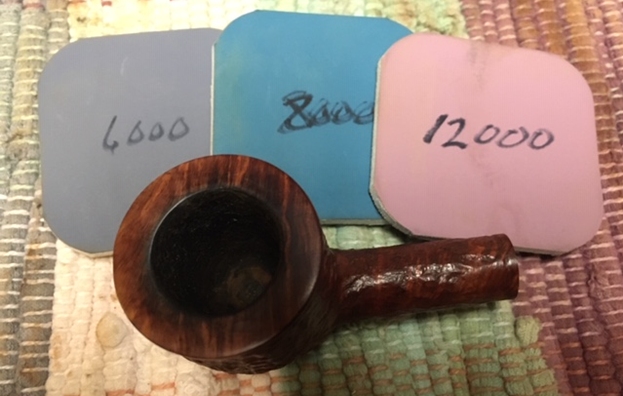
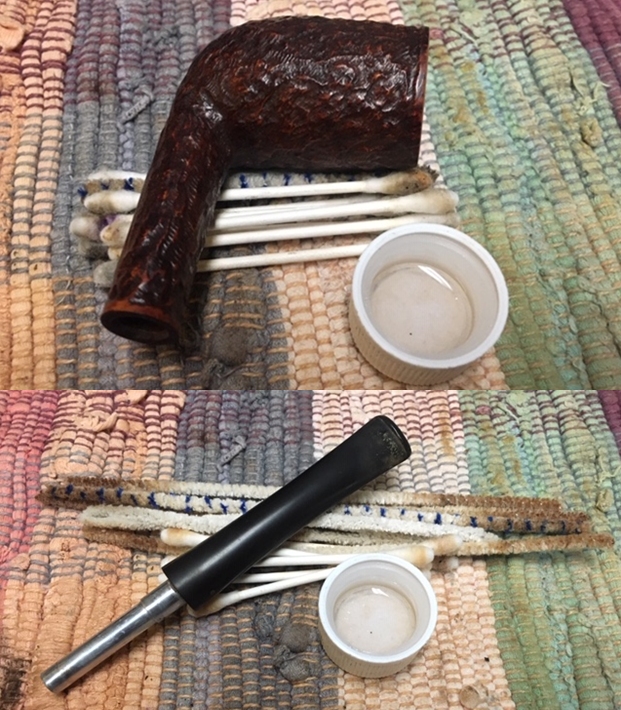
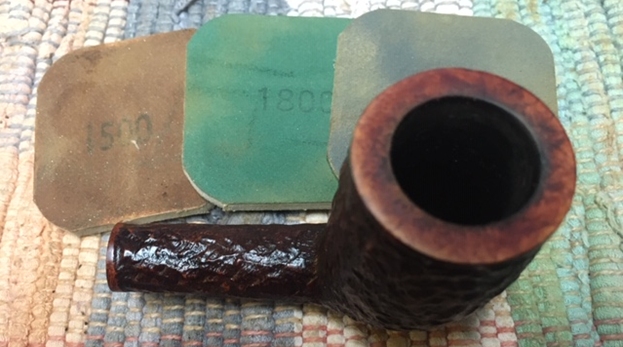
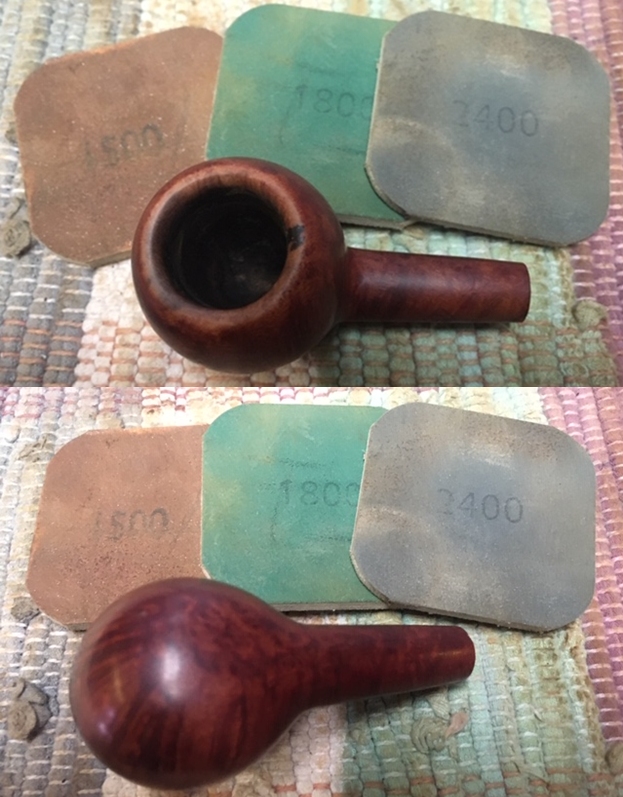
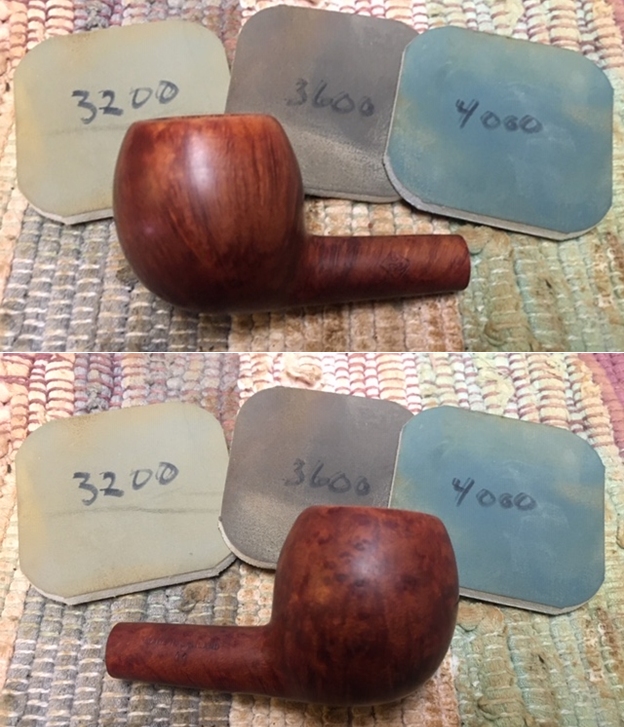
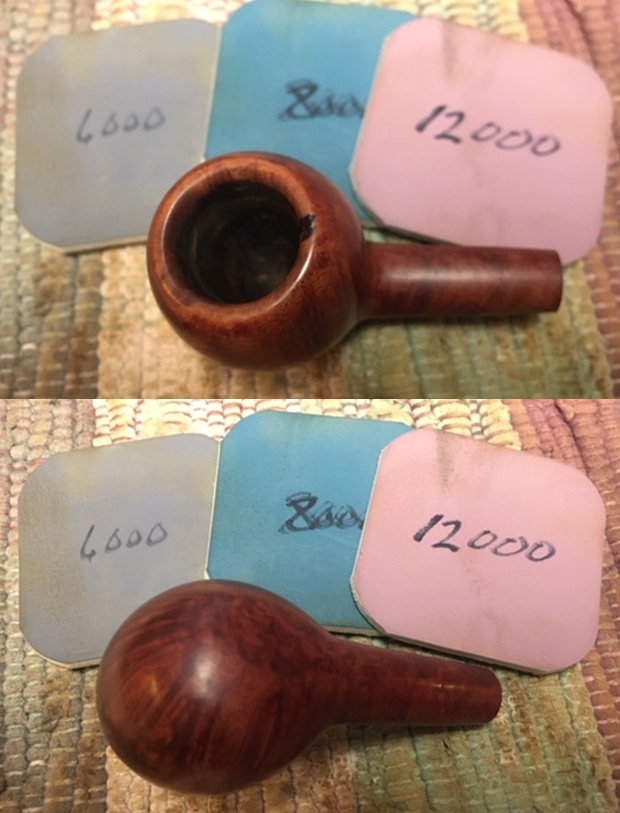
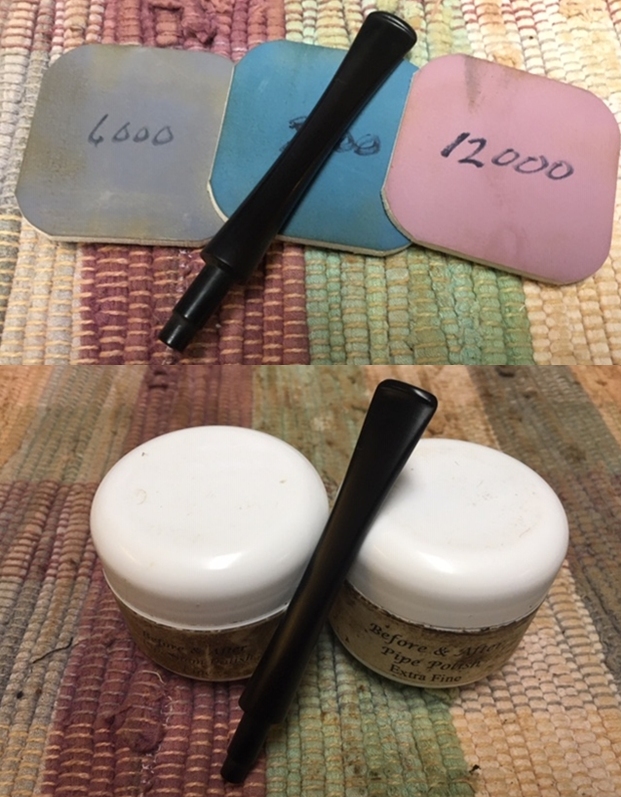
 I polished the briar with micromesh sanding pads – wet sanding it with 1500-12000 grit pads. After each pad I wiped the briar down with a damp cloth.
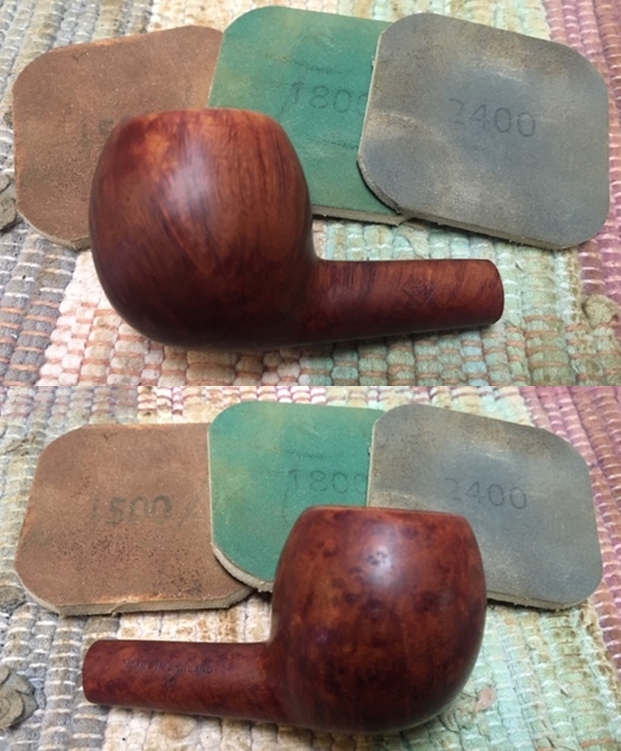


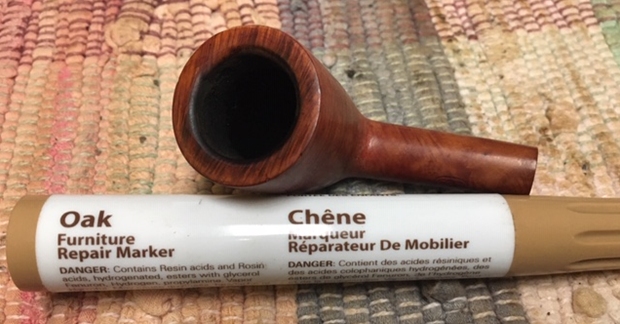
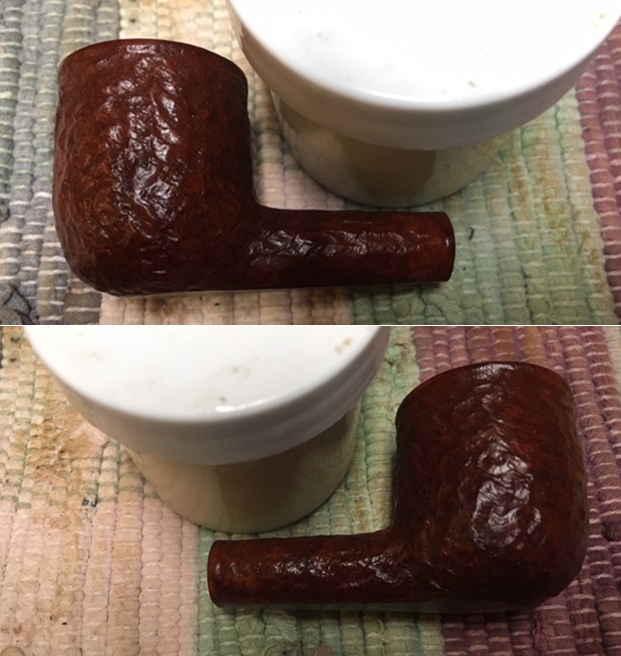
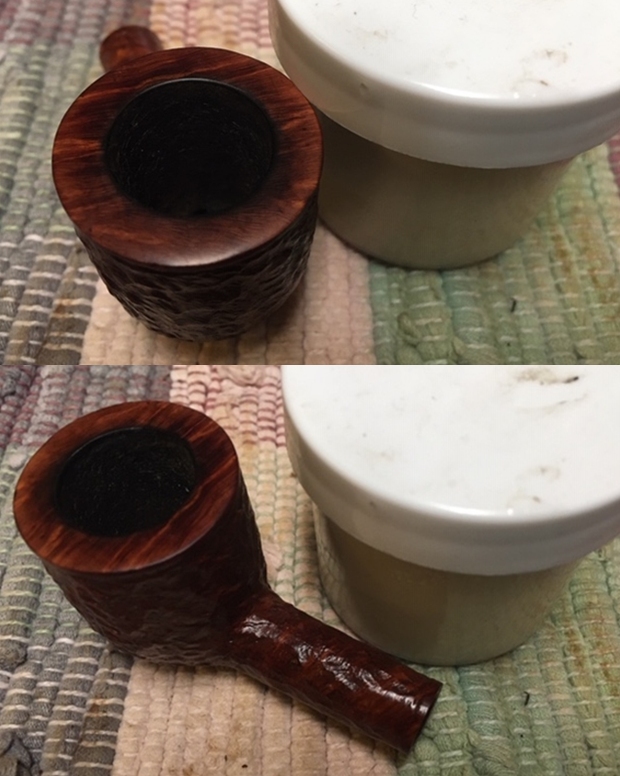
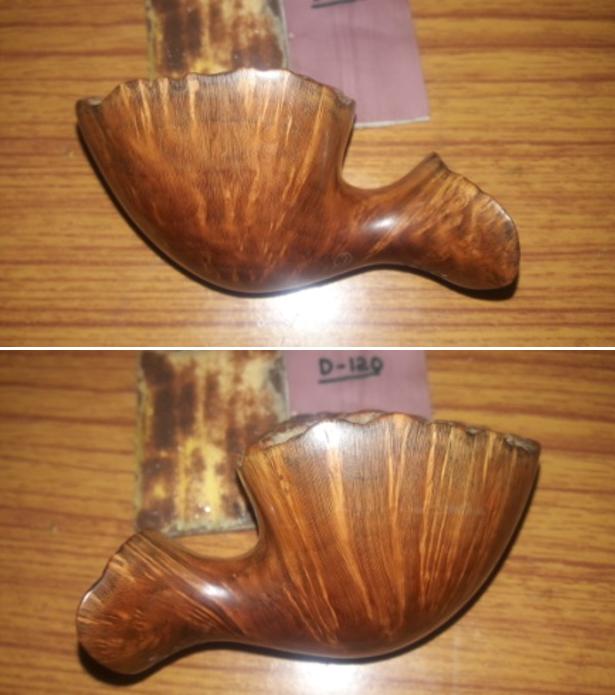
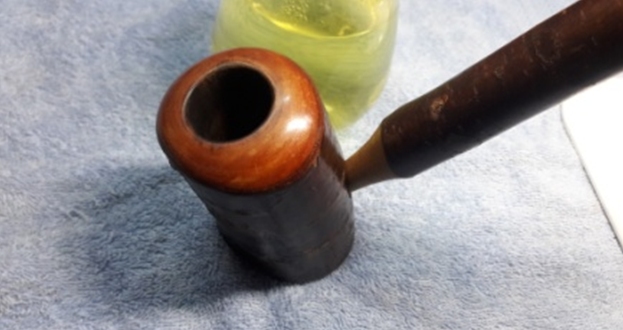
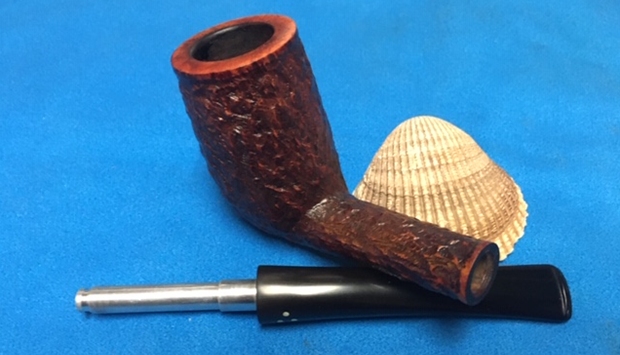
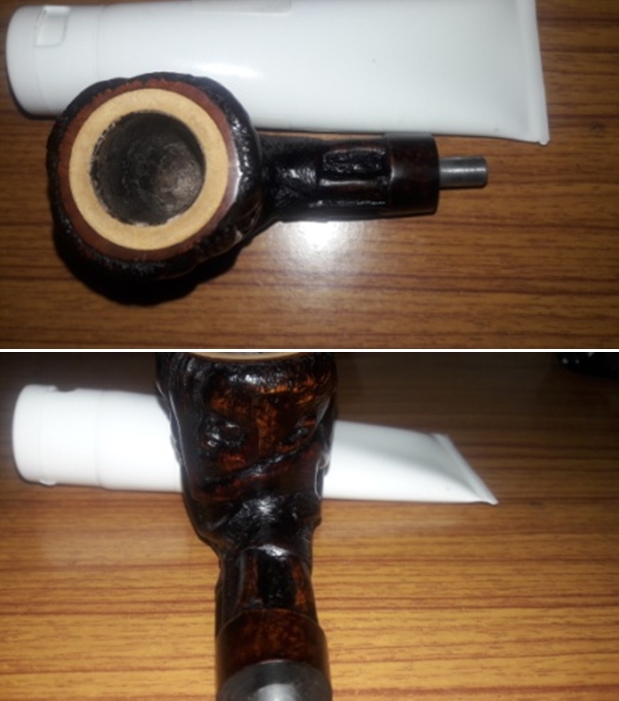
 I touched up the rim top colour with a Maple Stain Pen to match the colour of the rest of the bowl. I let it dry and buffed it by hand.
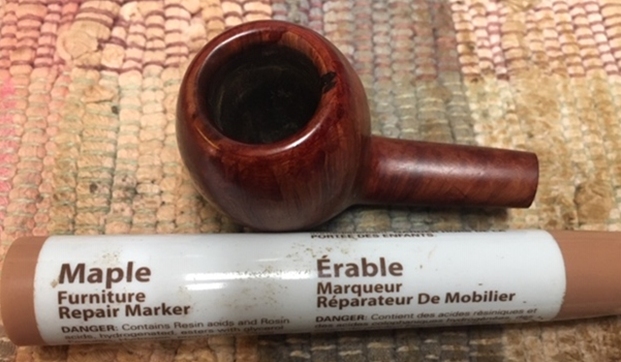 I worked some Before & After Restoration Balm into the surface of the briar with my fingertips to clean, enliven and protect the briar. I let the balm sit for a little while and then buffed with a cotton cloth to raise the shine. The photos show the bowl at this point in the restoration process.
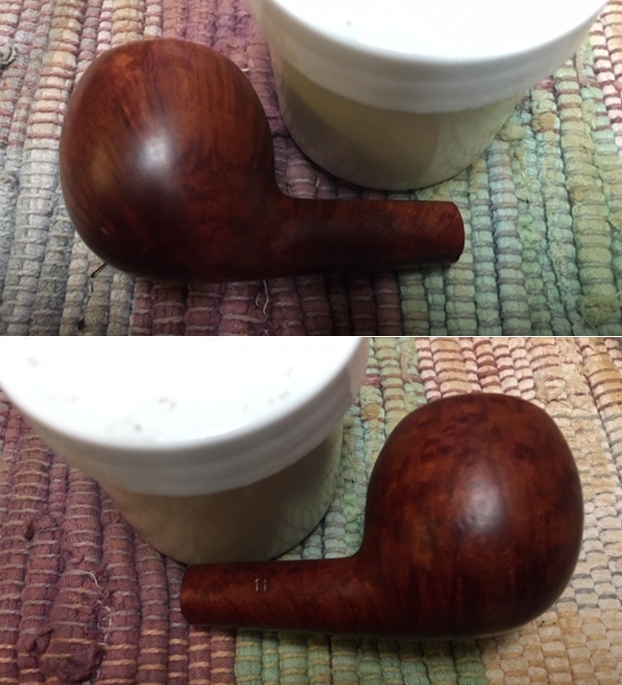

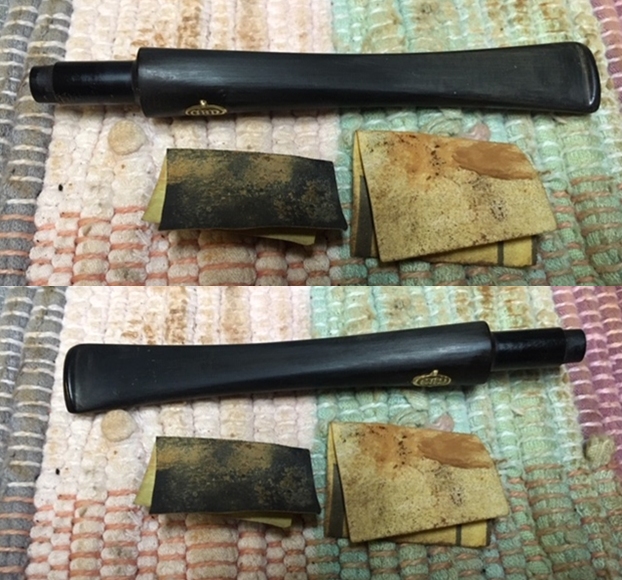
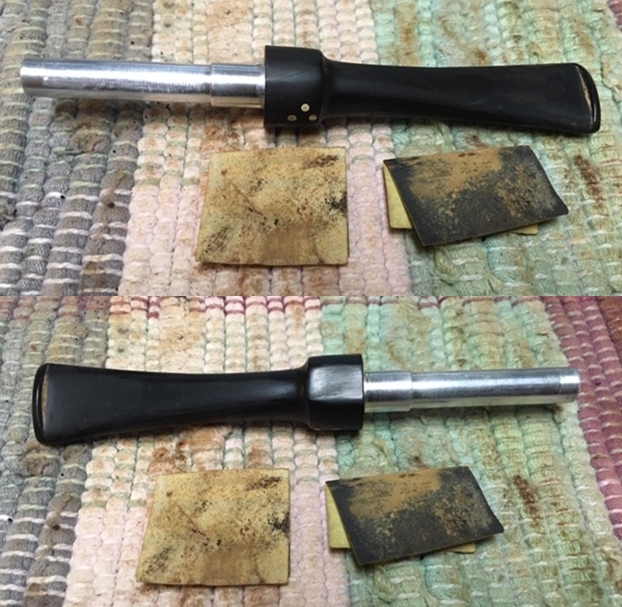
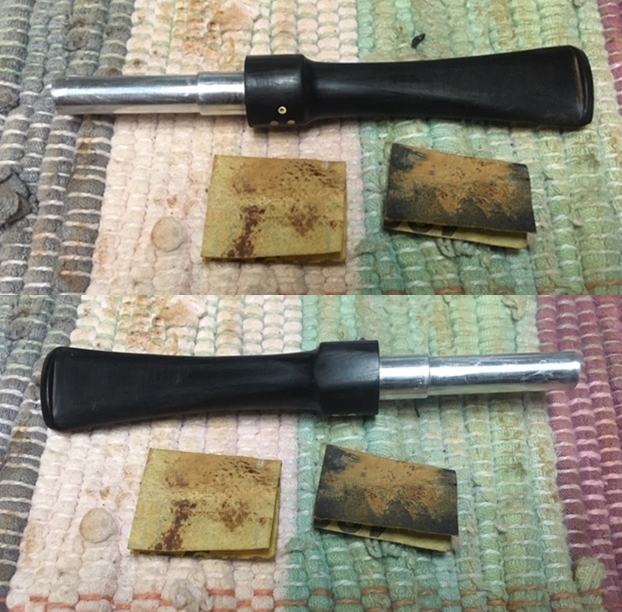
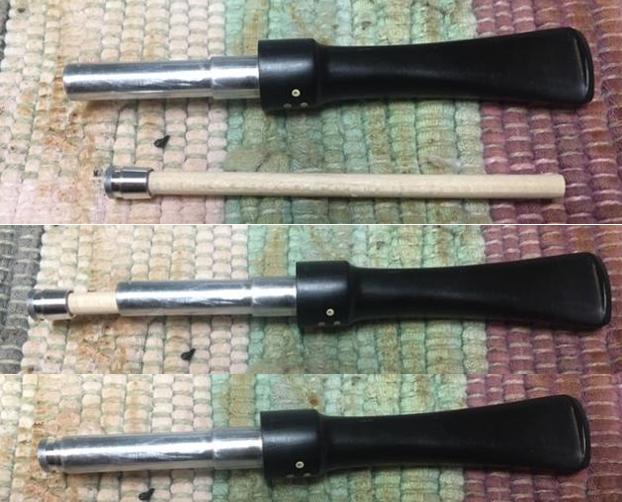
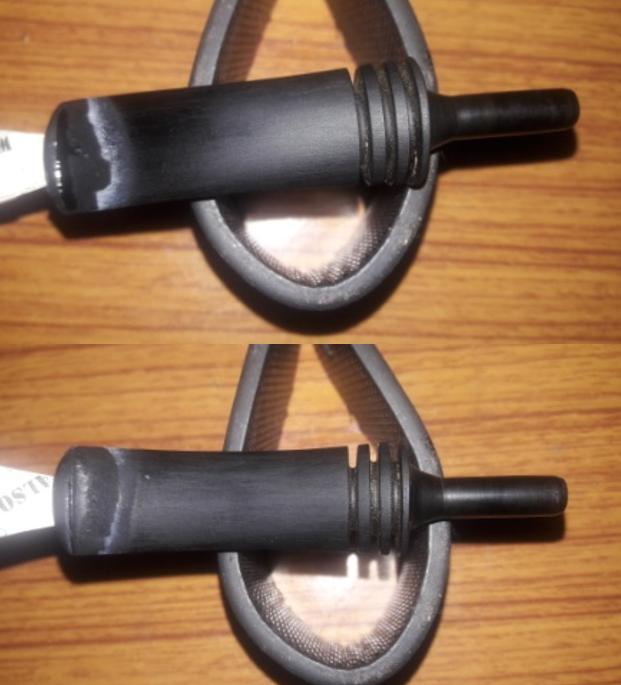
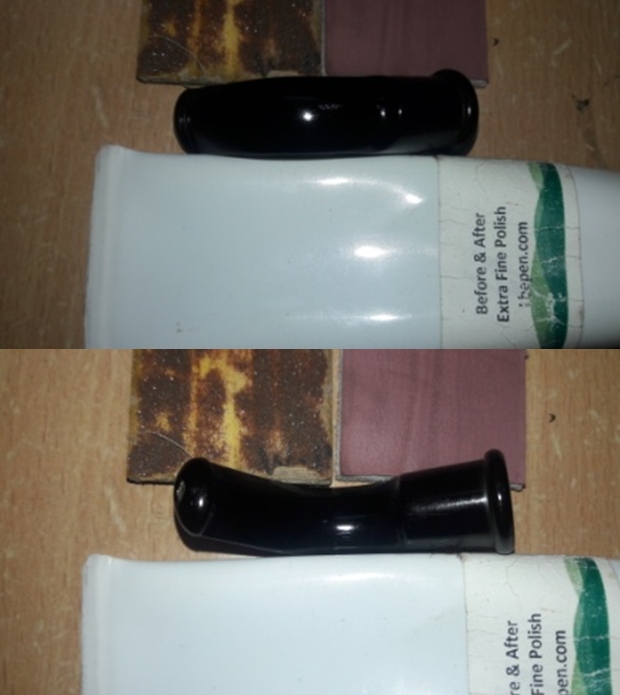
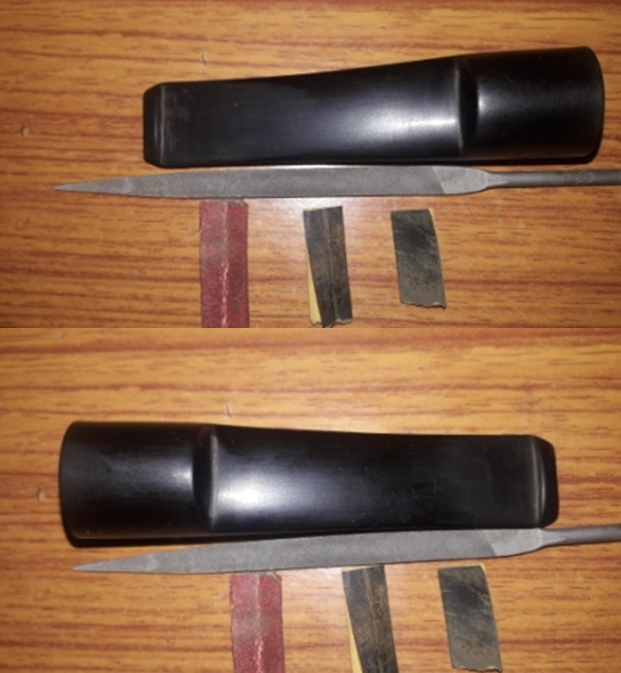
 With that done the bowl was finished other than the final buffing. I set it aside and turned my attention to the stem. I sanded out the remaining tooth marks and chatter with 220 grit sand paper to blend them into the rest of the stem surface. I started to polish it with a folded piece of 400 wet dry sandpaper. Once it was finished it had begun to shine.
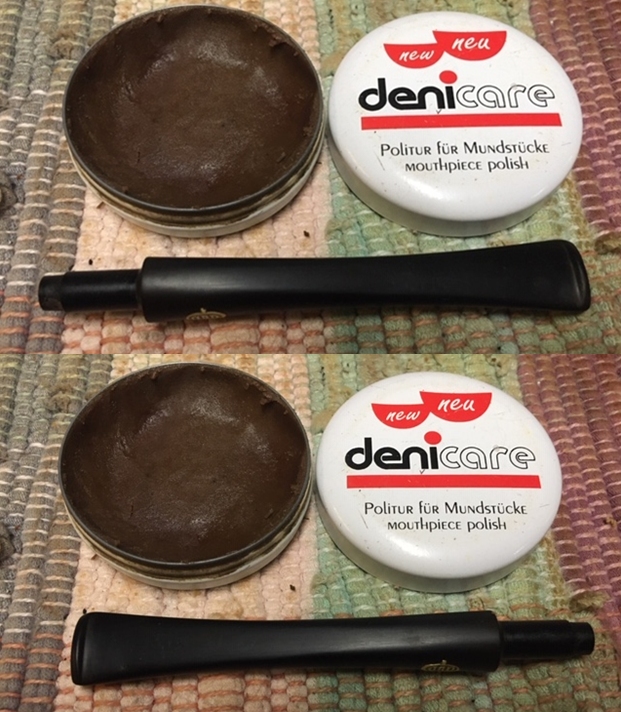
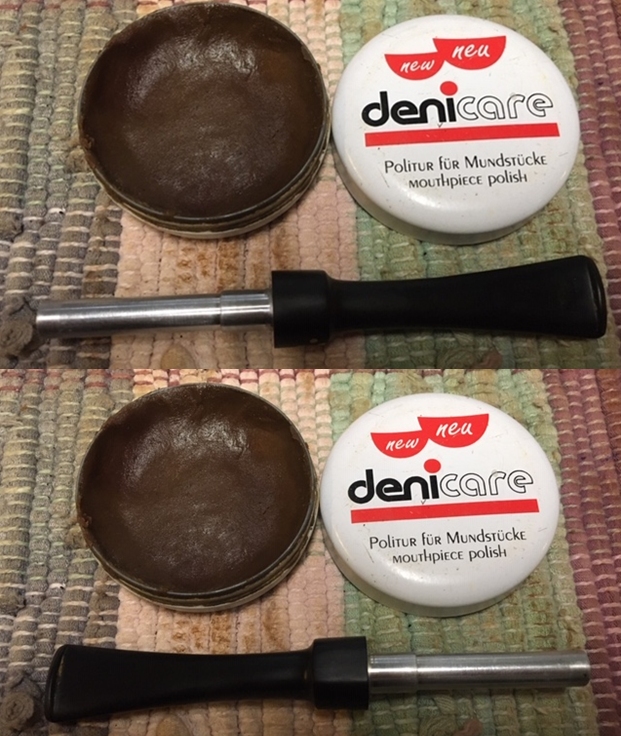
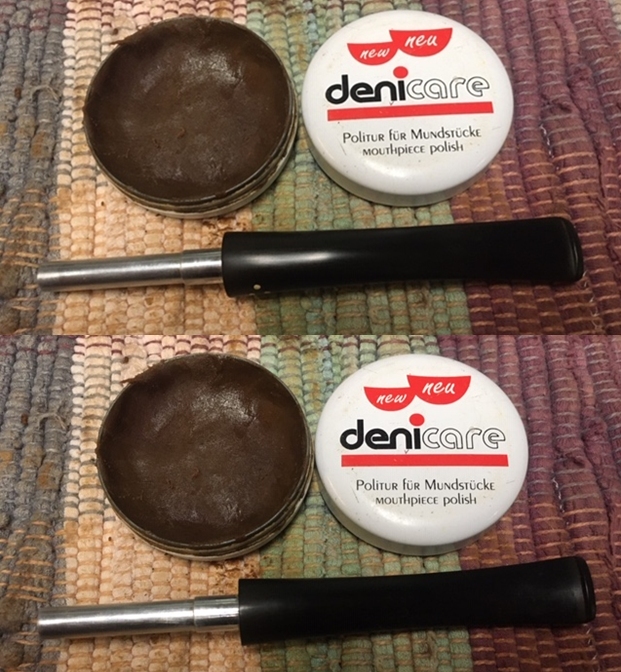
 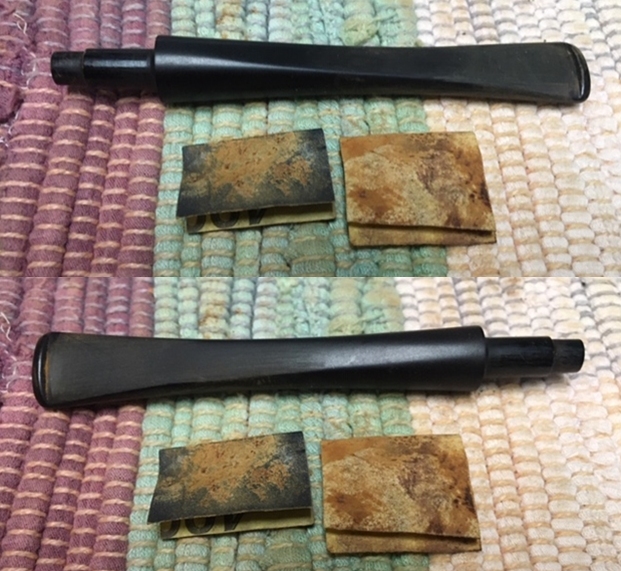 I polished the stem with Denicare Mouthpiece Polish from a tin of it I have in the drawer here. It is a gritty red paste that I rub on with my finger tips and work into the surface of the stem and button and buff off with a cotton pad. It gives me a bit of a head start on the polishing work.
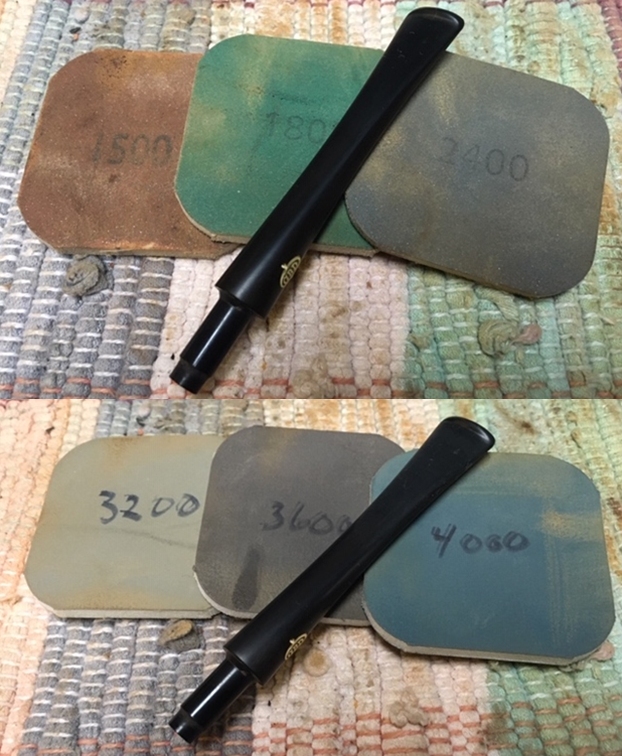
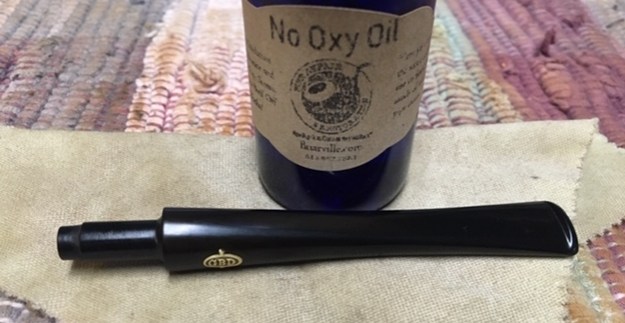
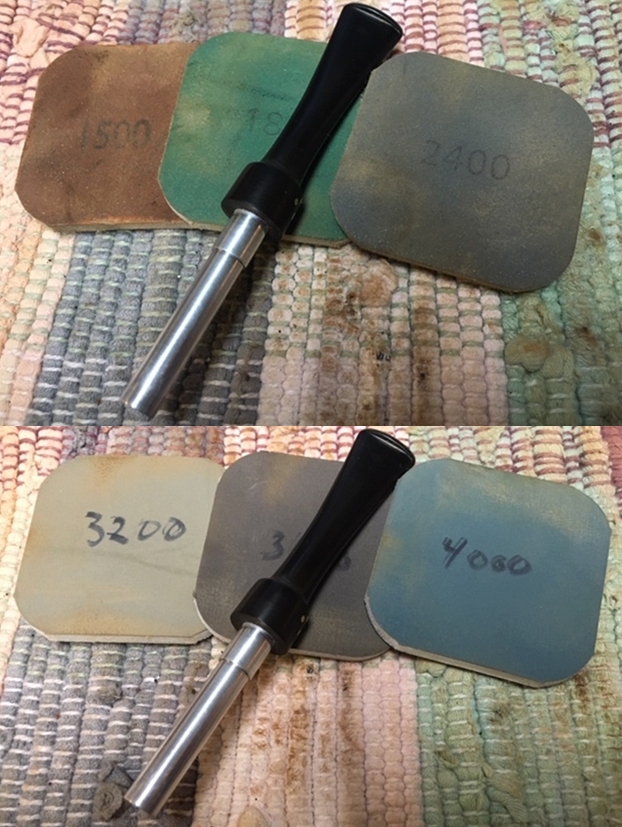
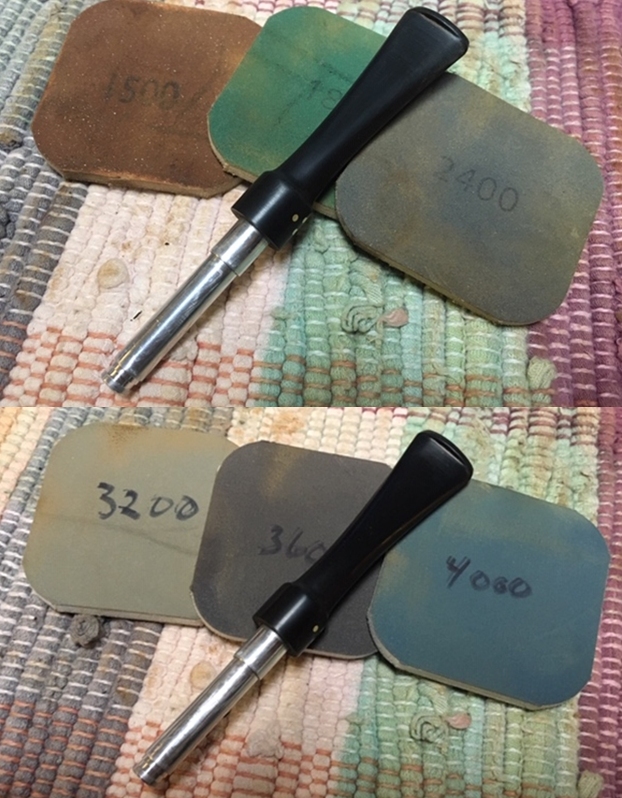
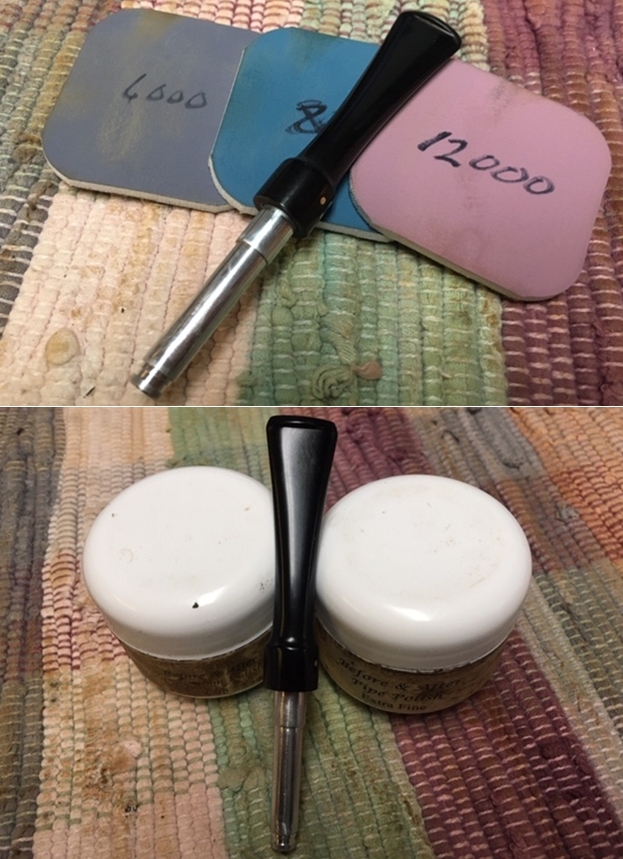
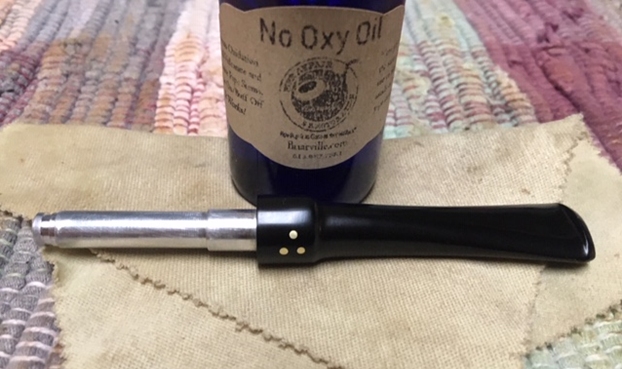
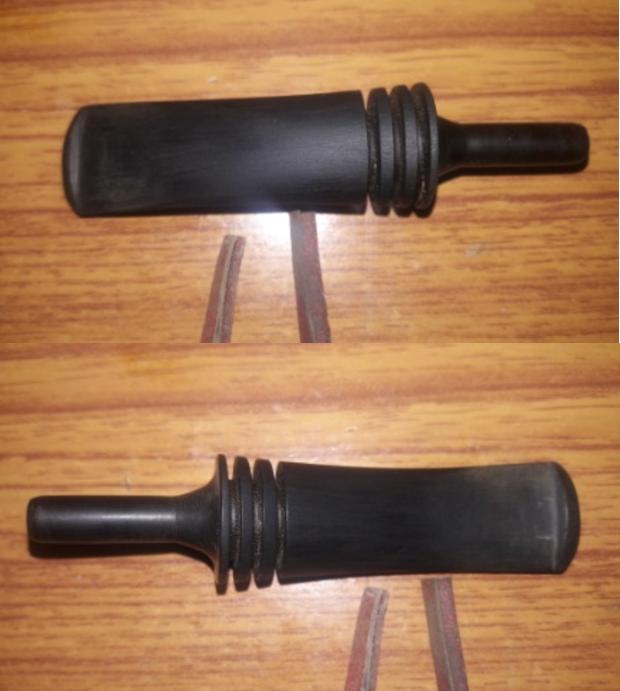
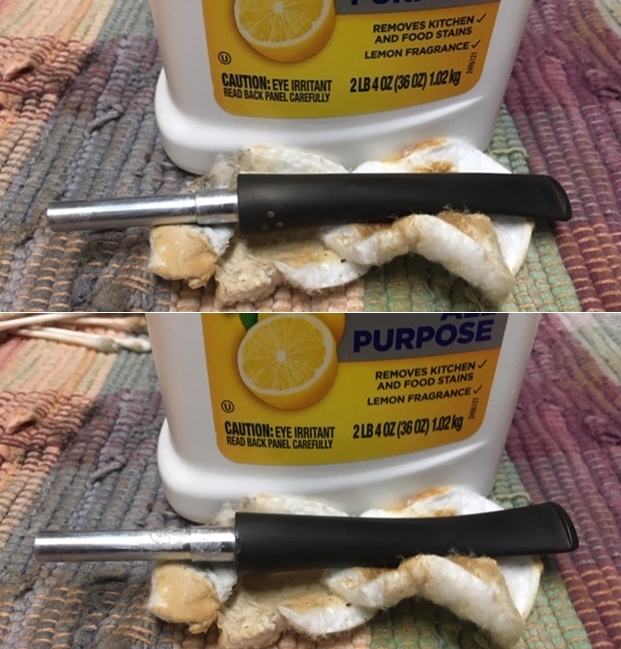
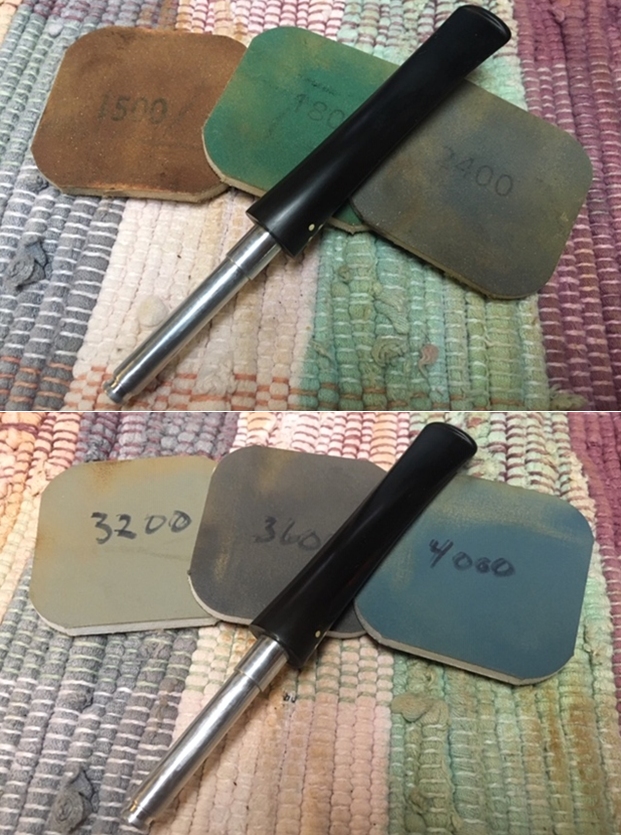
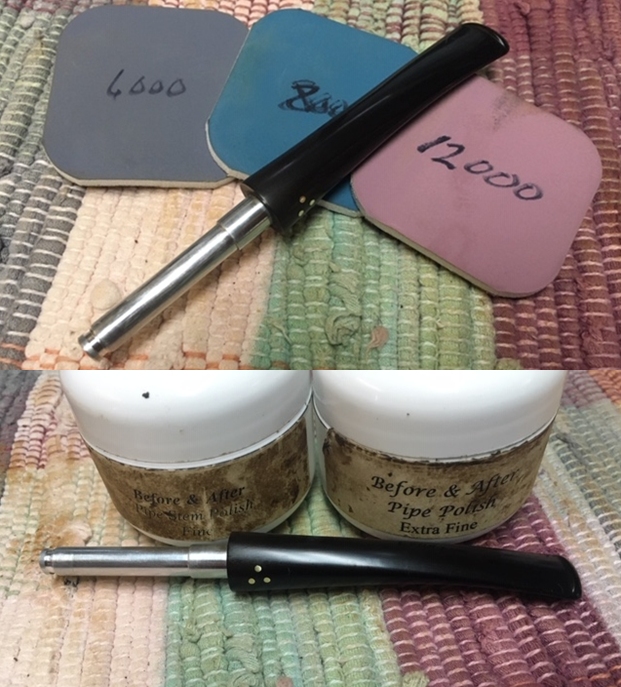
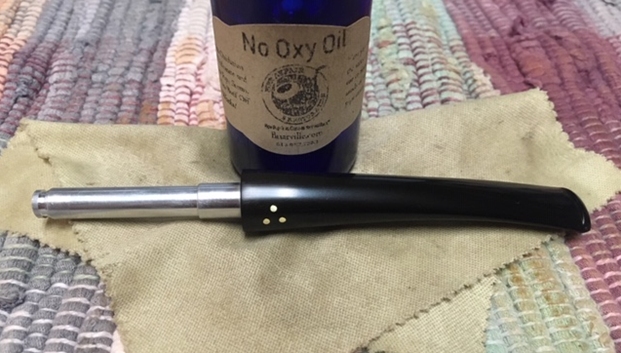
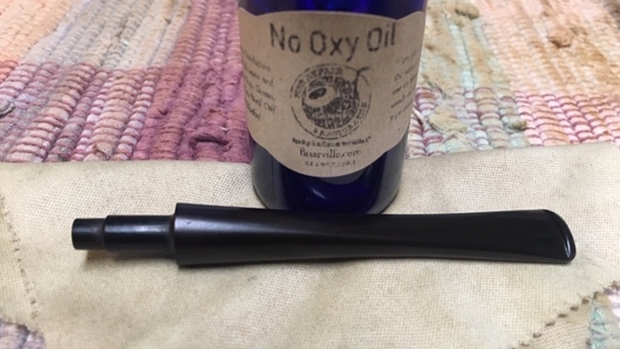
 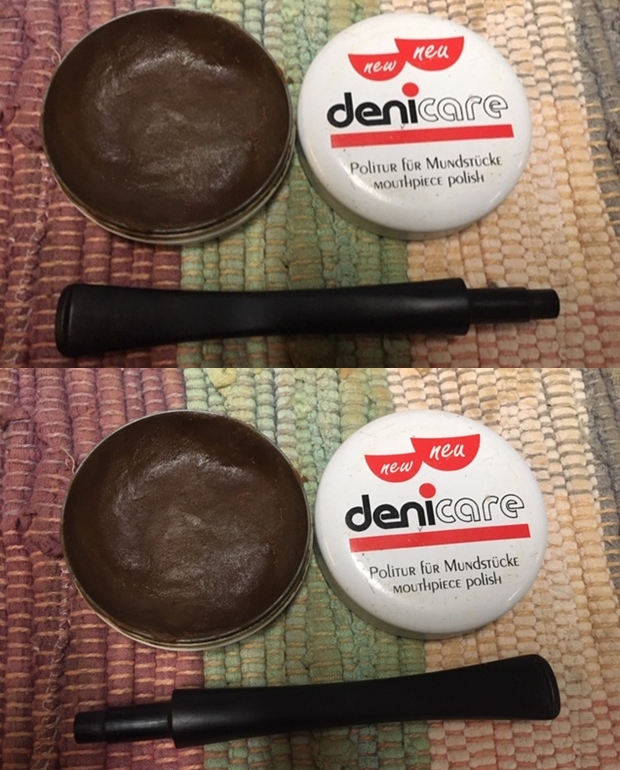 I polished the stem with micromesh sanding pads – wet sanding with 1500-12000 grit sanding pads. I wiped it down after each sanding pad with Obsidian Oil. I polished it with Before & After Pipe Stem Polish – both Fine and Extra Fine. I am continuing to experiment with Briarville Pipe Repairs new product, No Oxy Oil so I rubbed the stem down with the oil on the cloth that was provided with it.
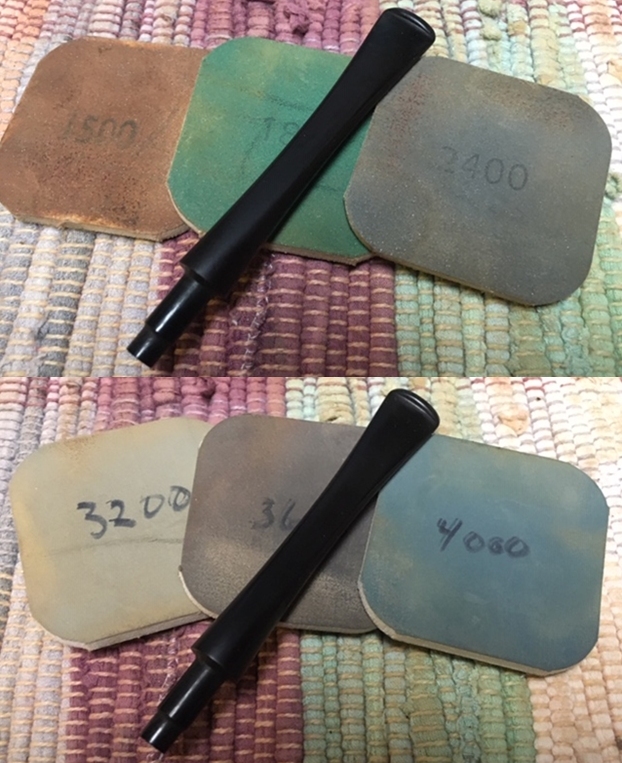
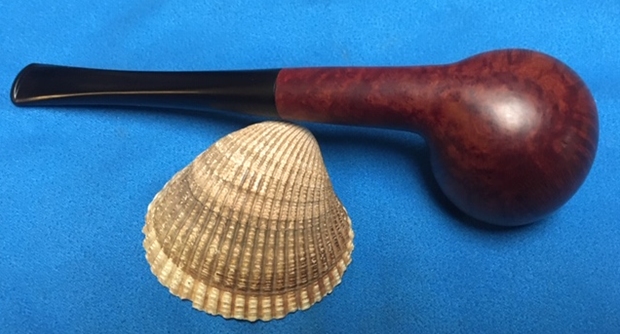
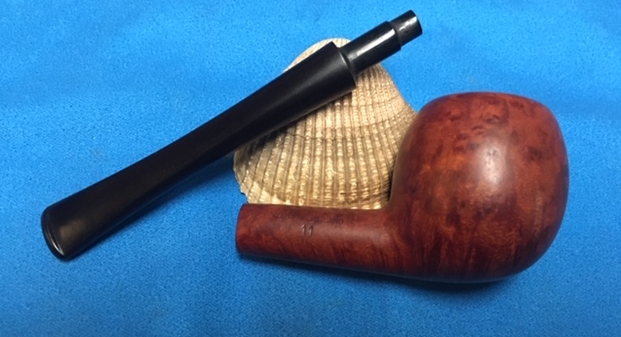
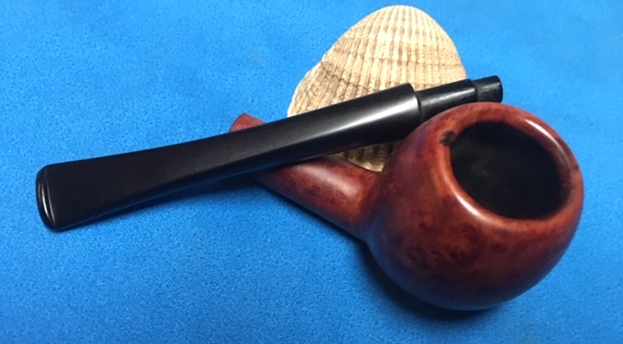
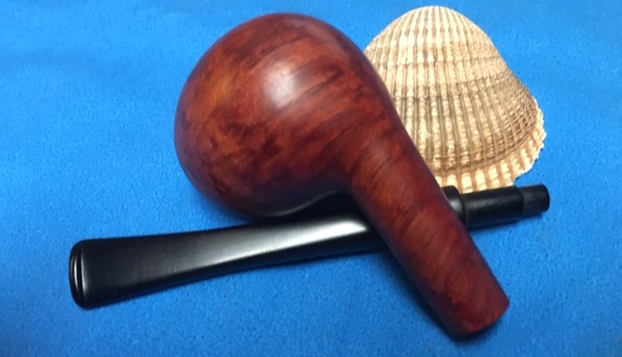
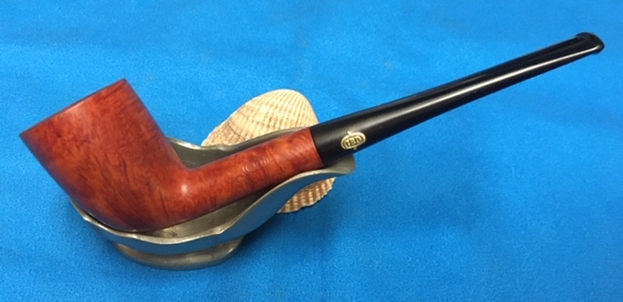
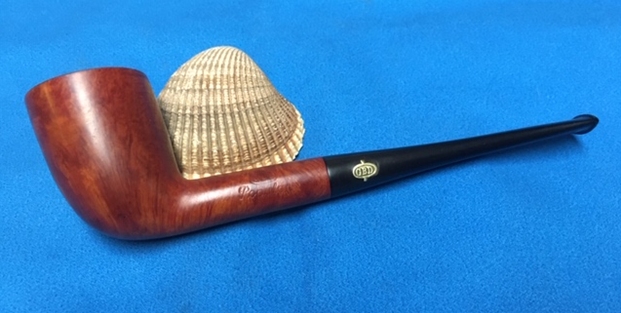
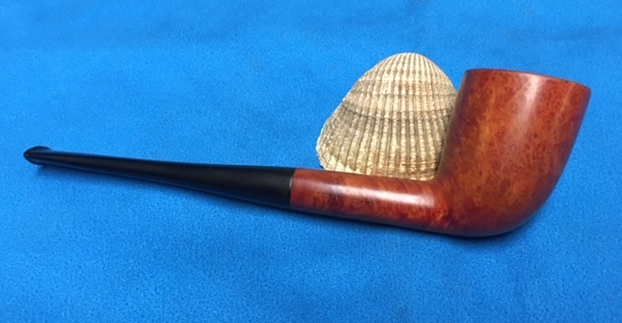
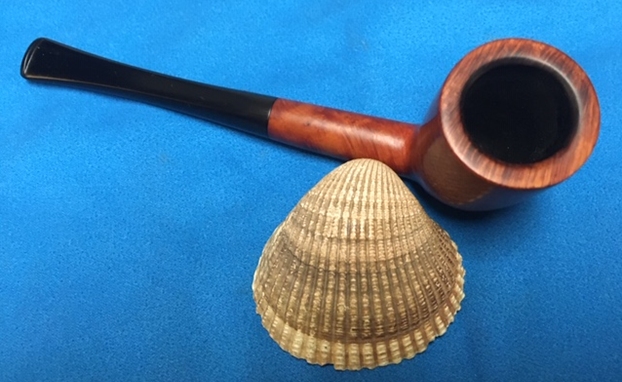
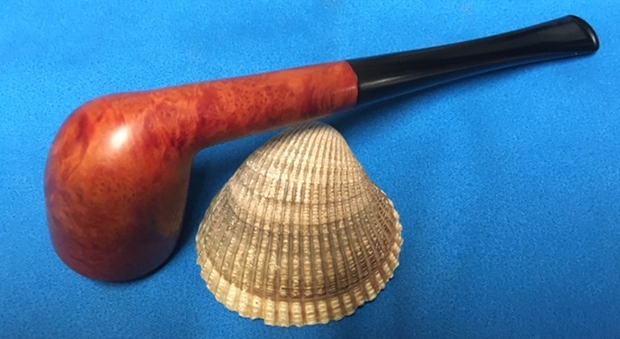
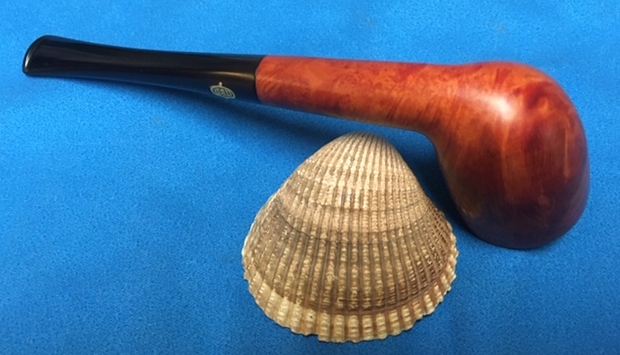
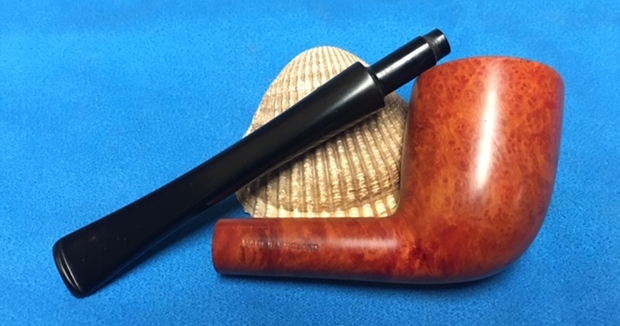
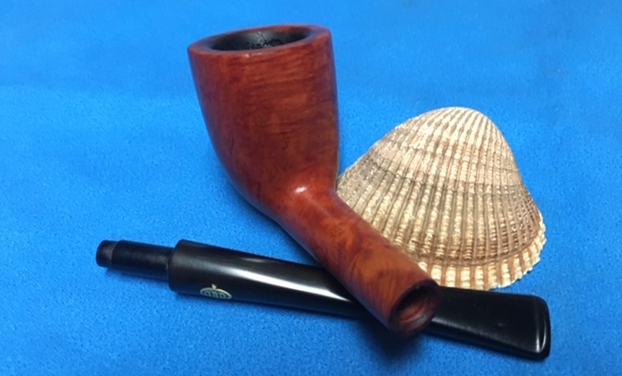
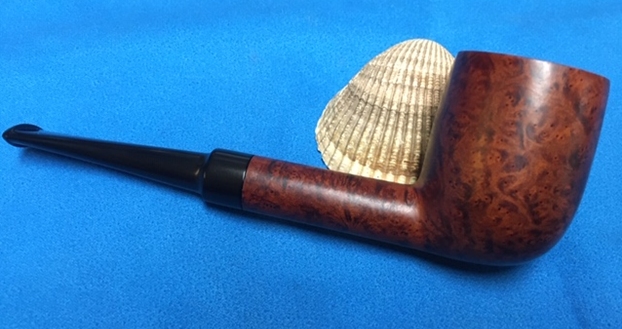
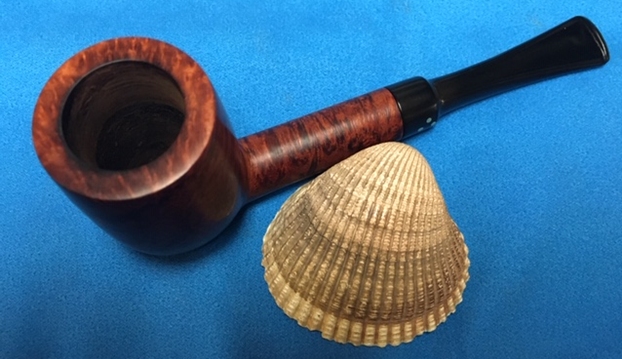
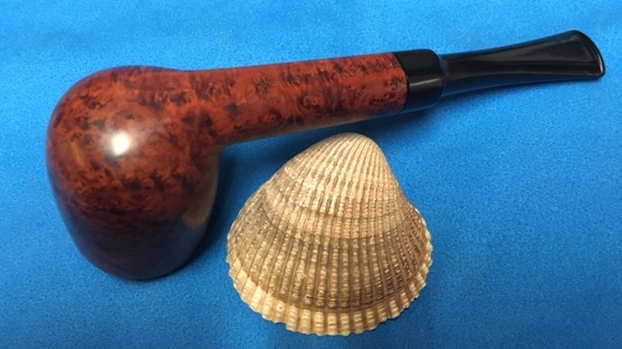
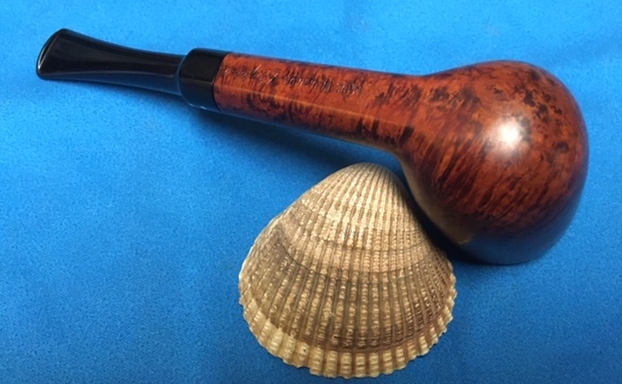
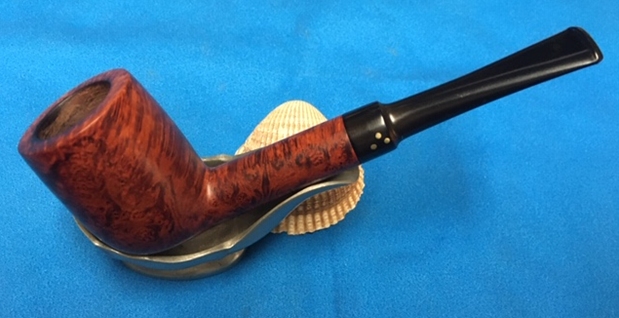
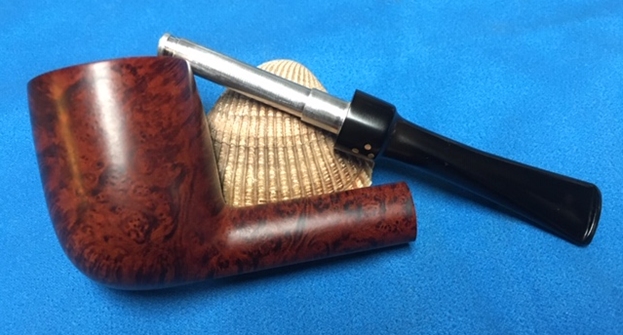
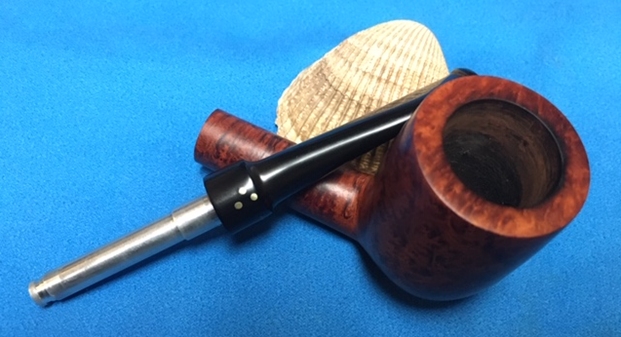
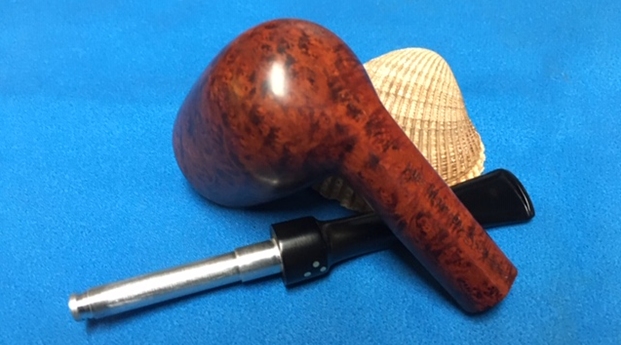
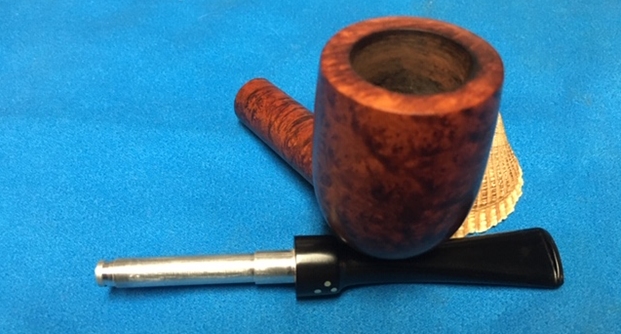
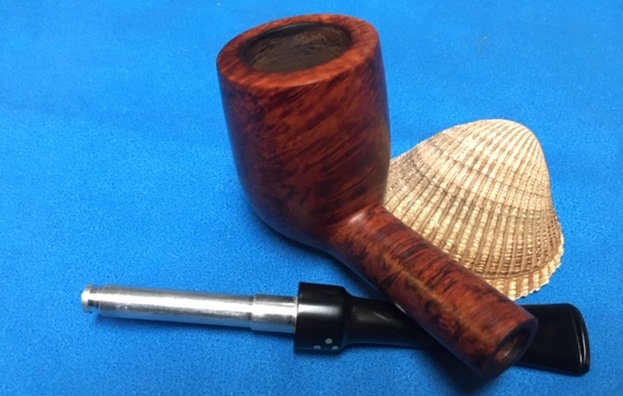
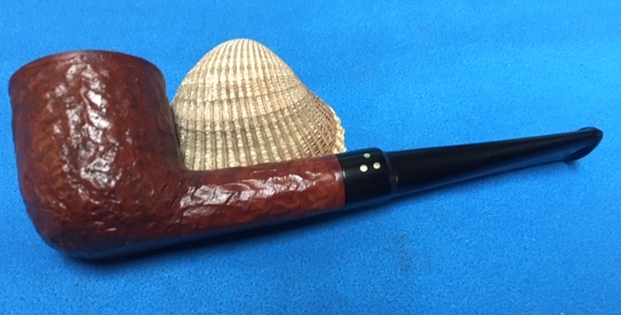
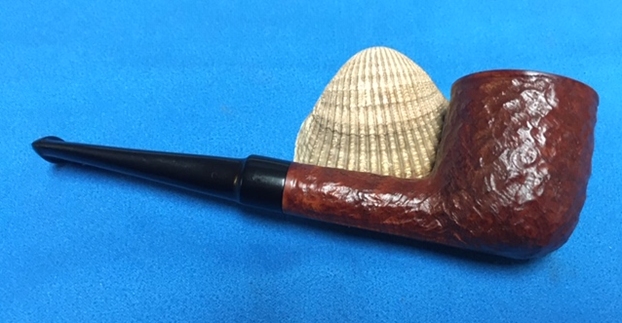
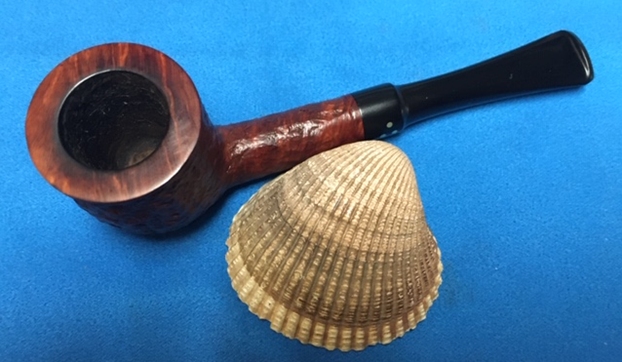
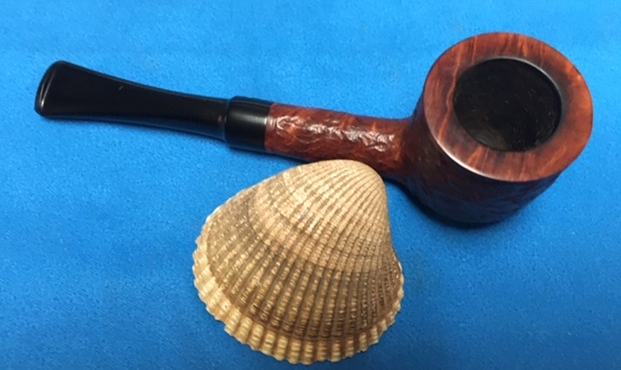
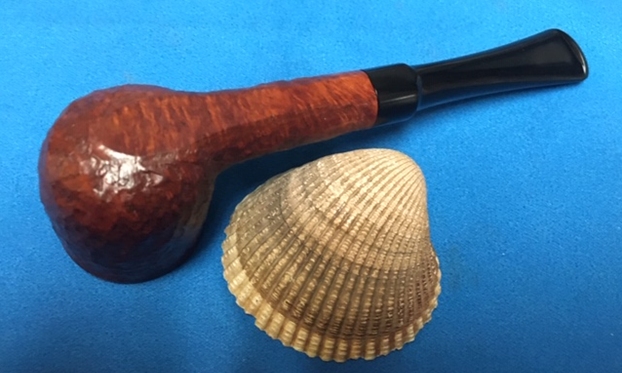
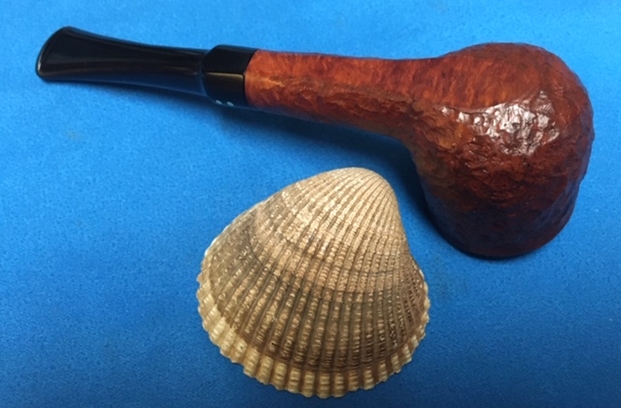
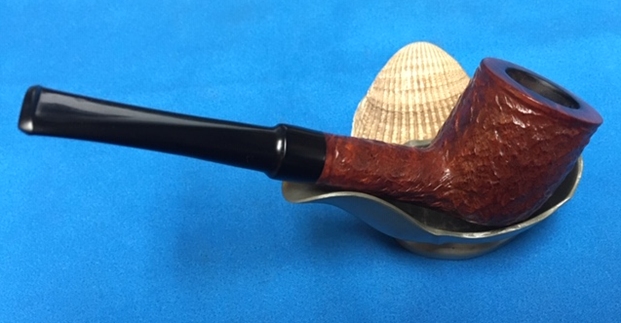
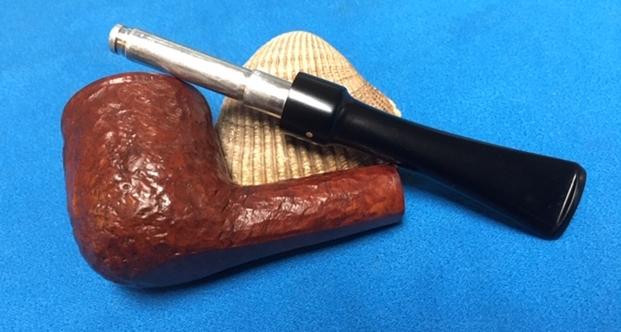
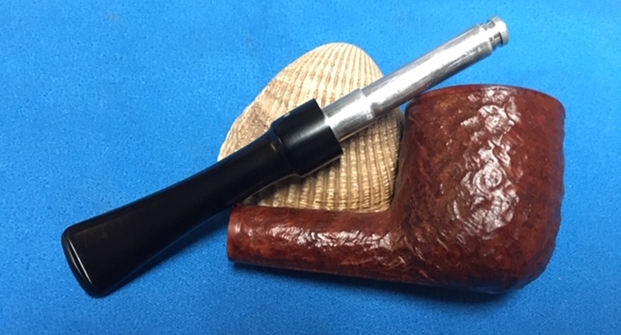
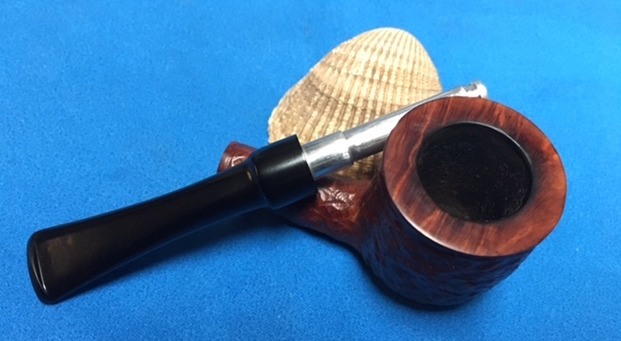
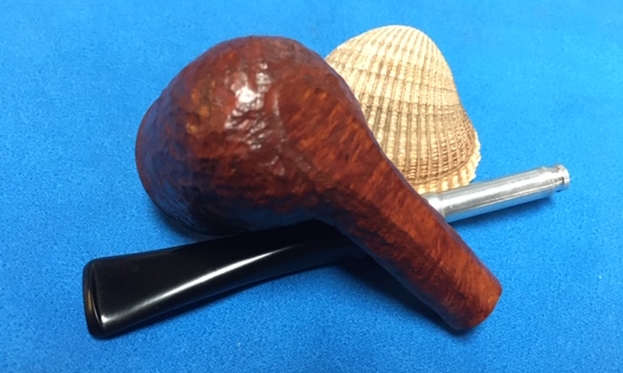
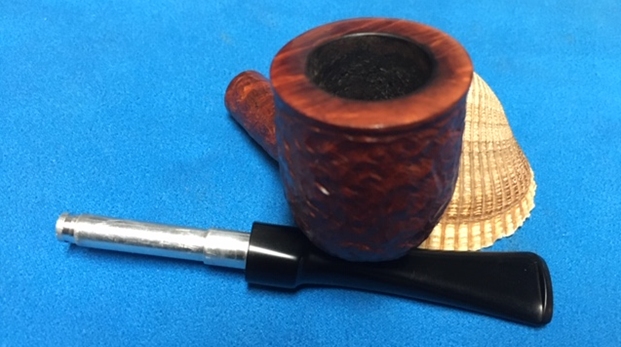
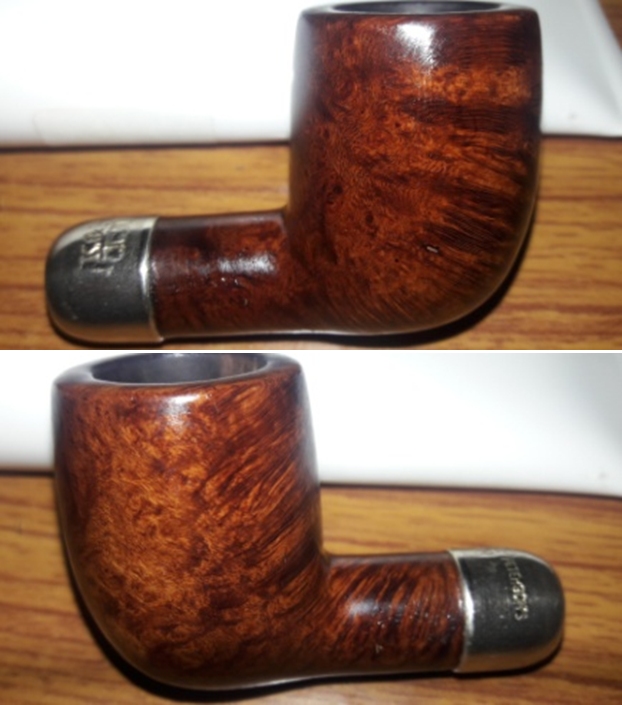
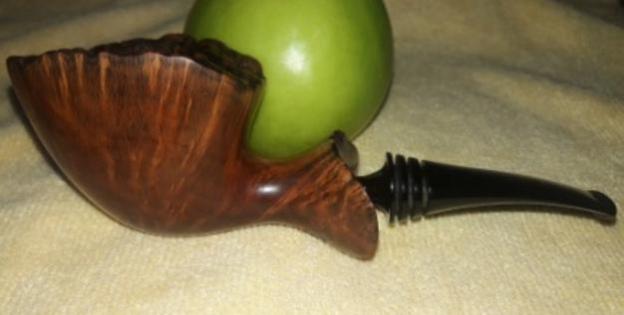
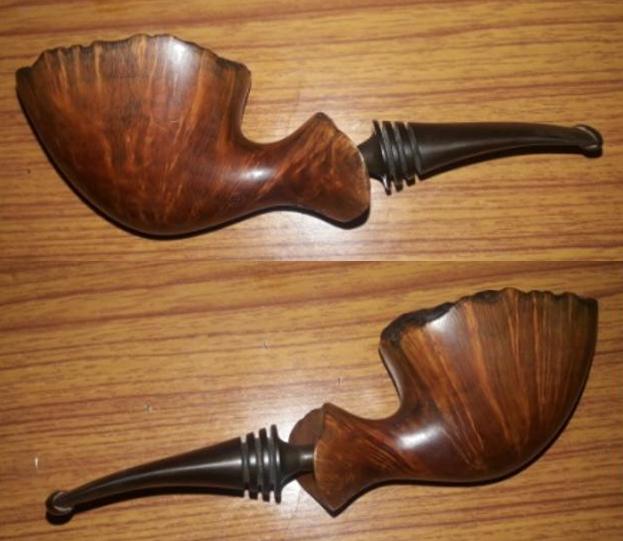
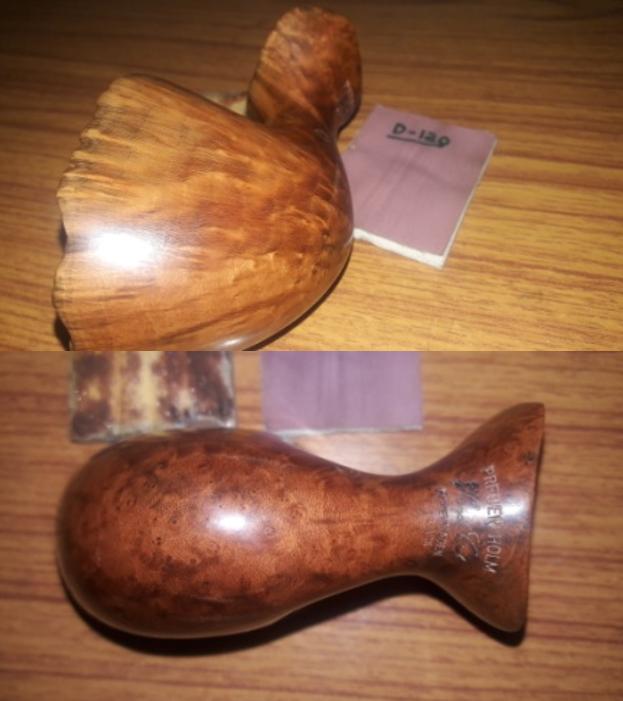
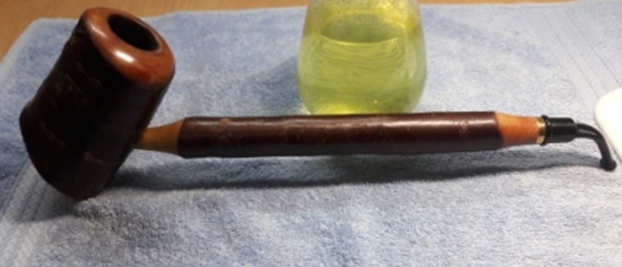
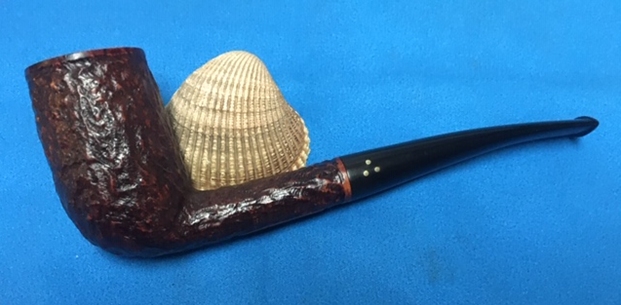
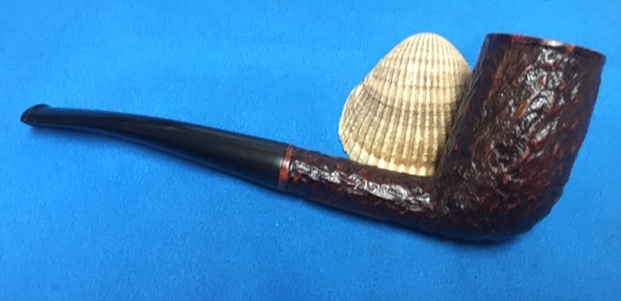
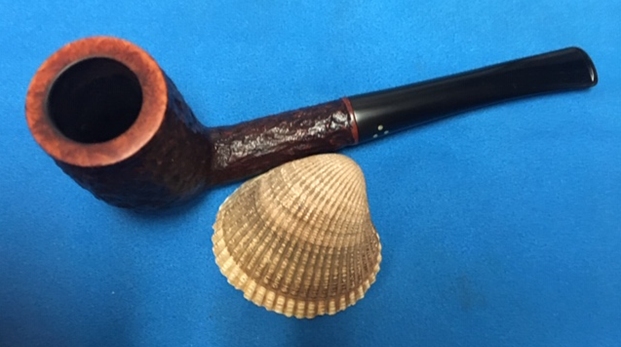
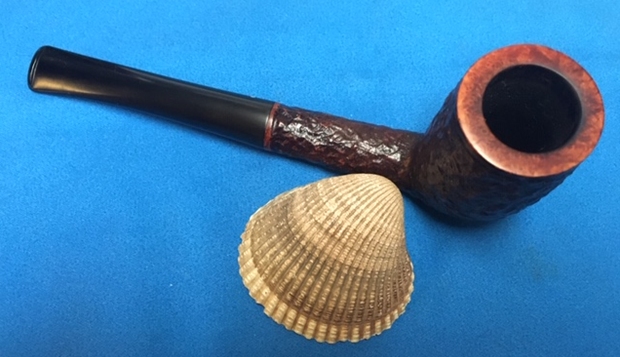
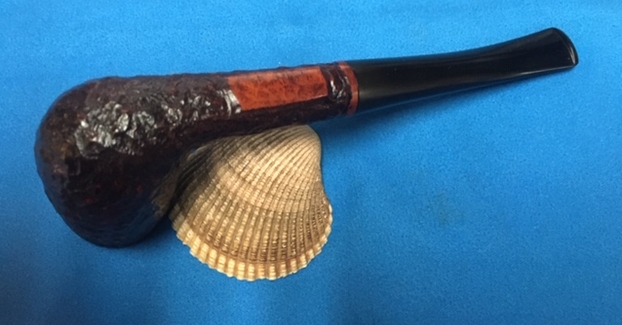
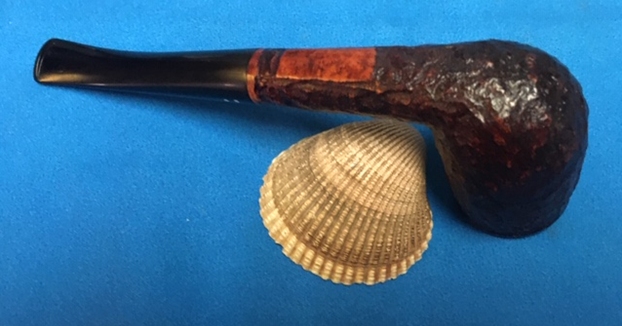
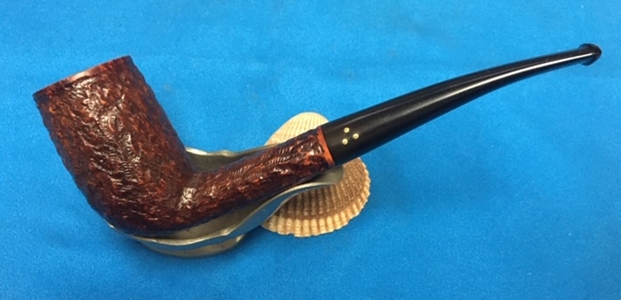
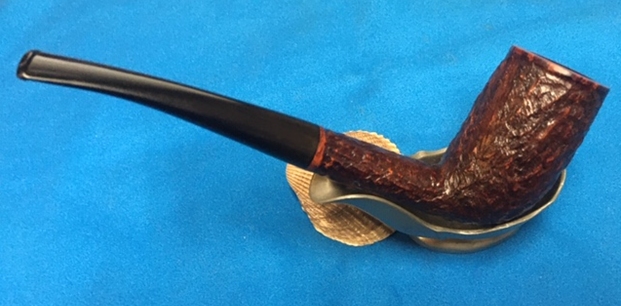
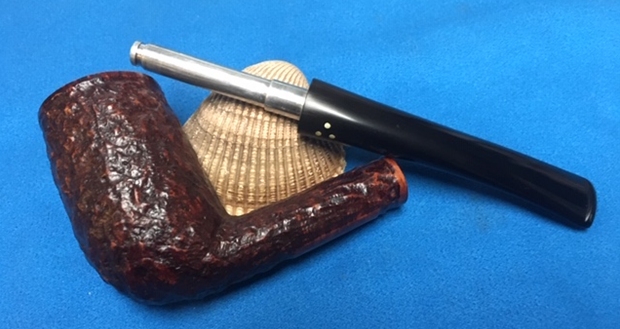
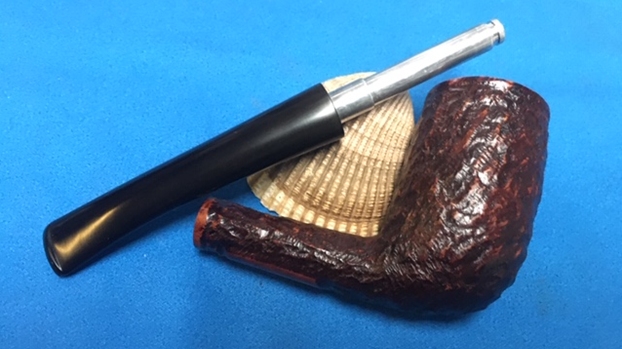
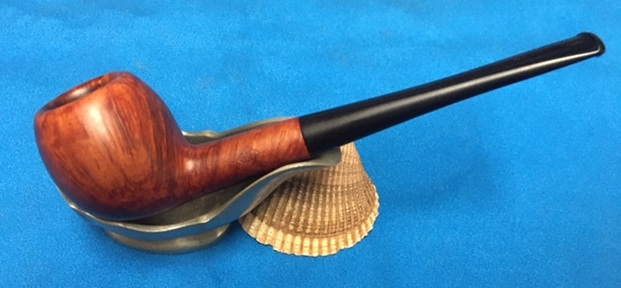
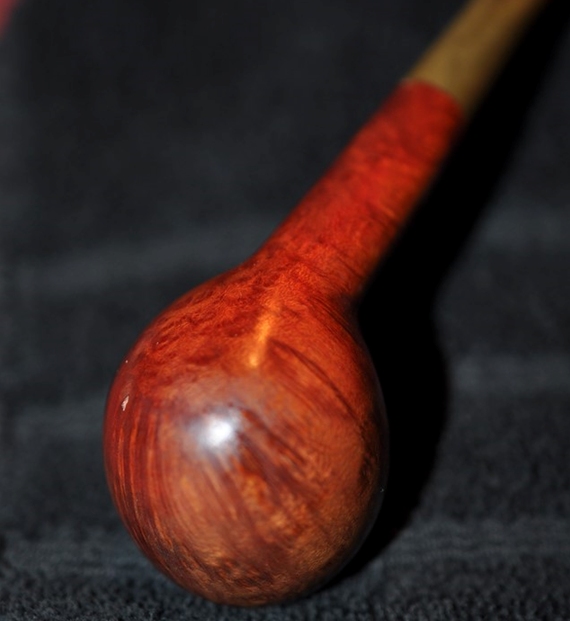
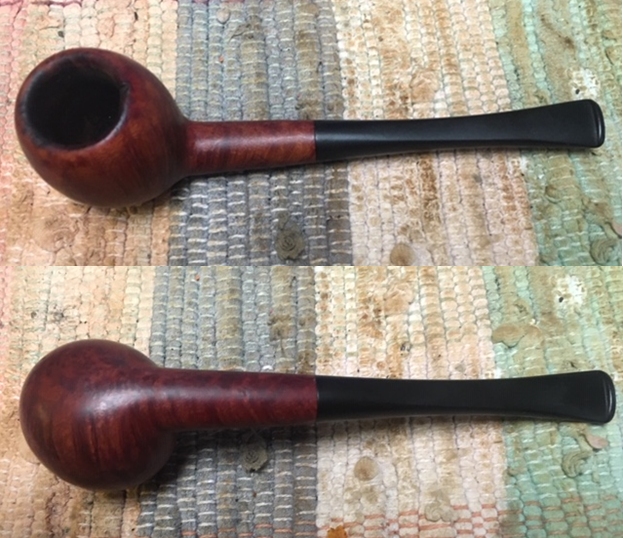
 This BBB Two Star 11 Apple was another interesting pipe to work on. It is a classic shaped Apple. It has a tapered vulcanite stem that I am pretty certain is a replacement stem. The grain on the pipe is very nice and the shape has a great look and feel in the hand. The smooth finish is beautiful and highlights the grain. The repaired rim top looks very good and blends in well. I polished stem and the bowl with Blue Diamond polish on the buffing wheel. I gave the bowl and the stem multiple coats of carnauba wax. I buffed the pipe with a clean buffing pad to raise the shine. I hand buffed it with a microfiber cloth to deepen the shine. The pipe polished up pretty nicely. The deeply grained briar took on life with the buffing. The rich browns of the briar works well with the polished vulcanite stem. The finished pipe has a rich look that is quite catching. Have a look at it with the photos below. The shape, finish and flow of the Apple are very well done even with the replacement stem. The dimensions are Length: 5 ½ inches, Height: 1 ½ inches, Outside diameter of the bowl: 1 ¼ inches, Chamber diameter: ¾ of an inch. It is a beautiful pipe and one that will be on the rebornpipes store soon. If you are interested in adding it to your collection let me know. Thanks for walking through the restoration with me as I worked over this pipe.