by Steve Laug
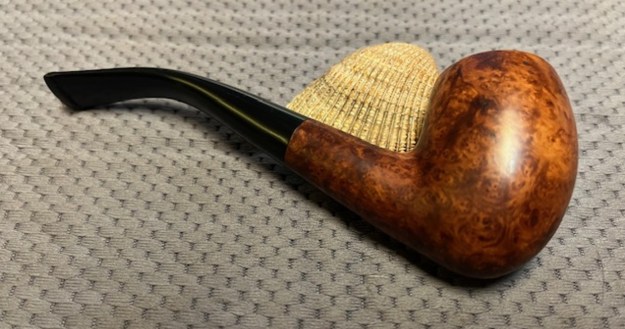
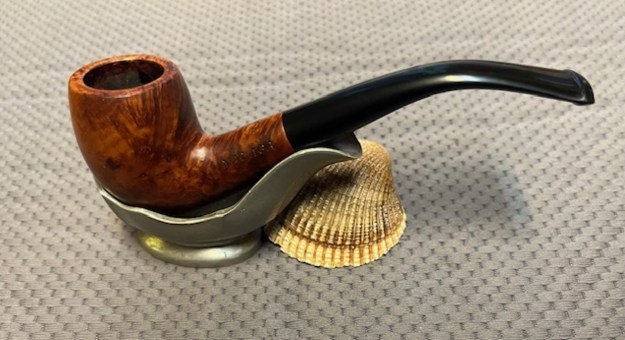
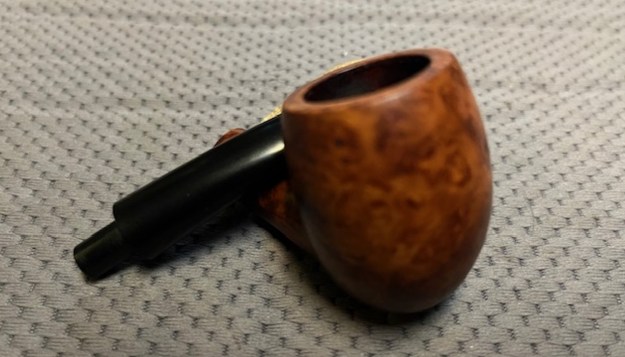
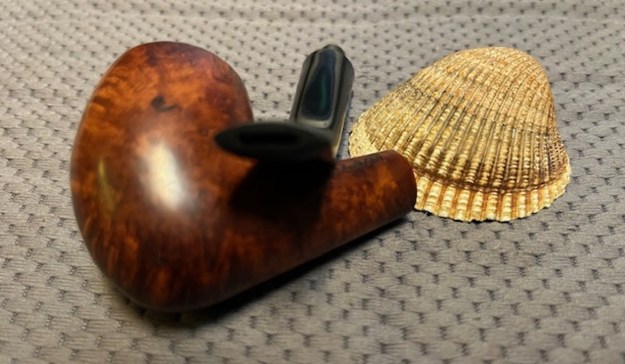
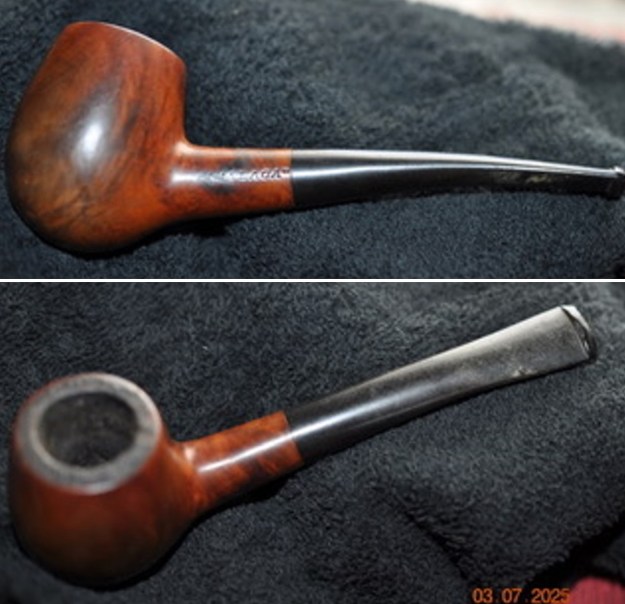
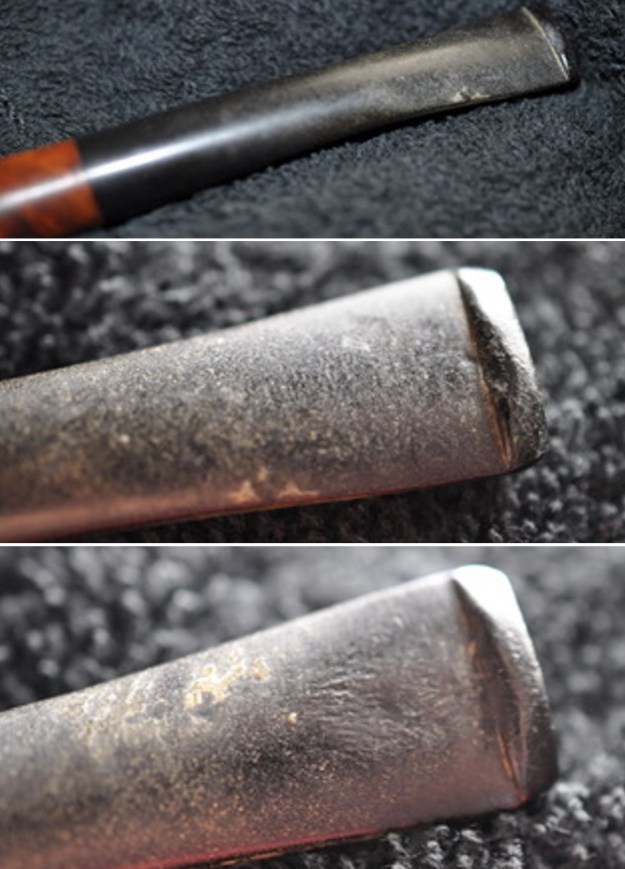
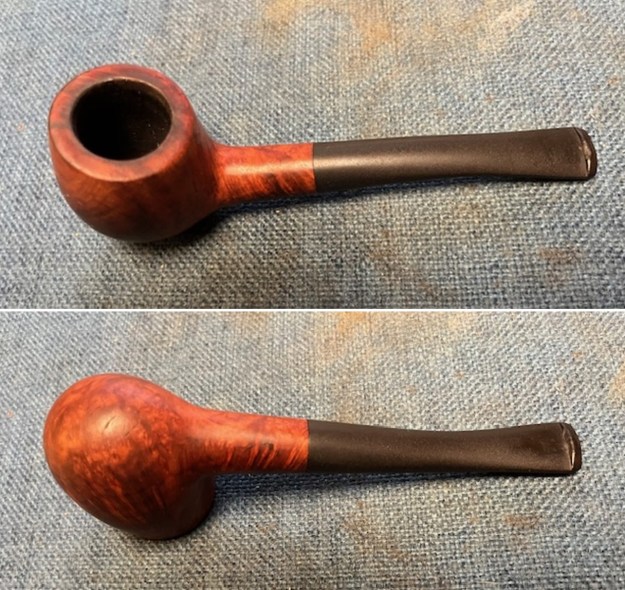
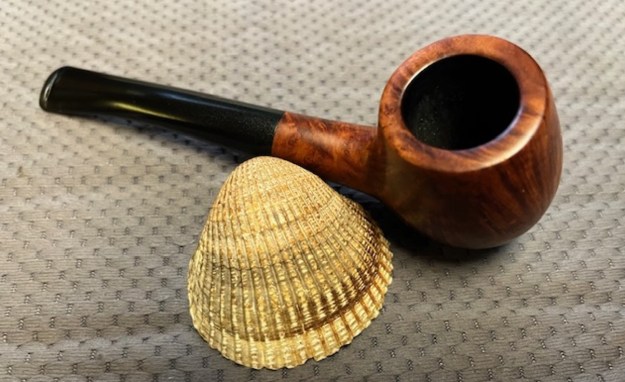
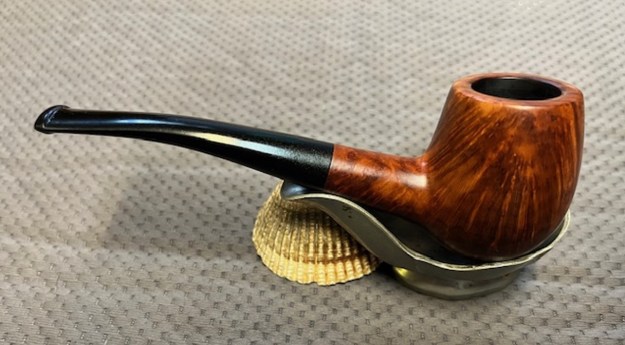
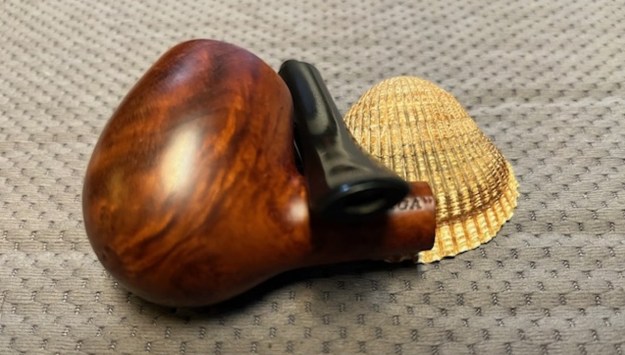
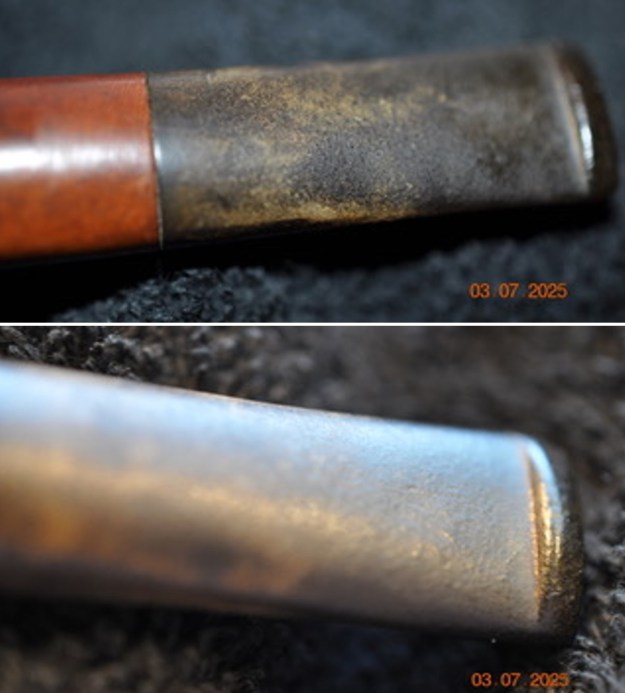
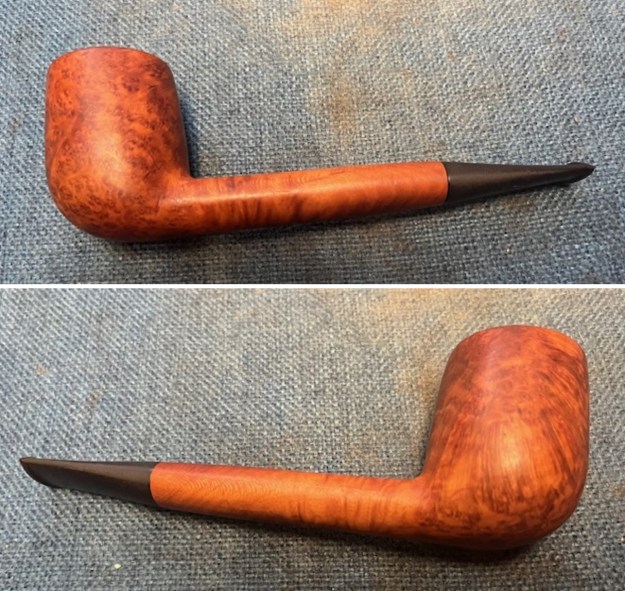
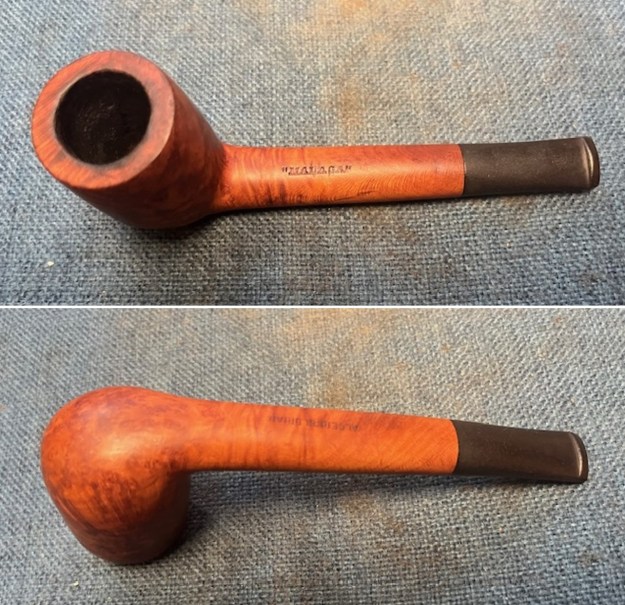
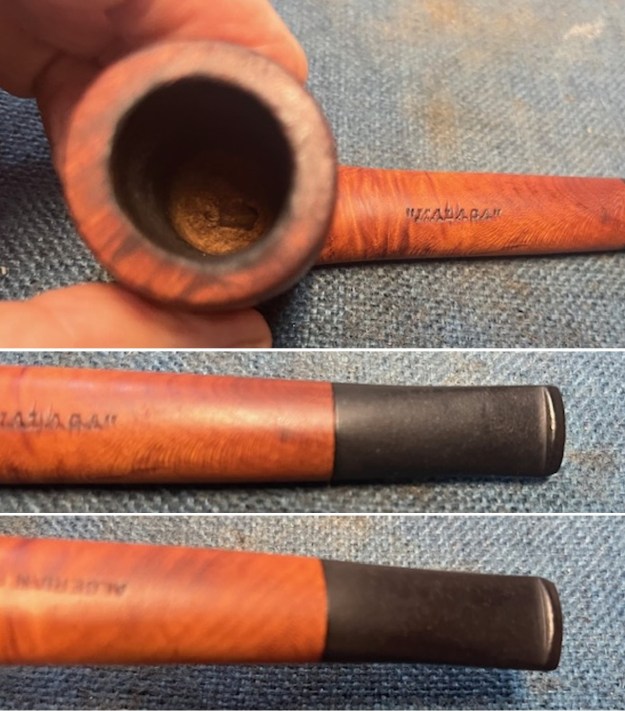
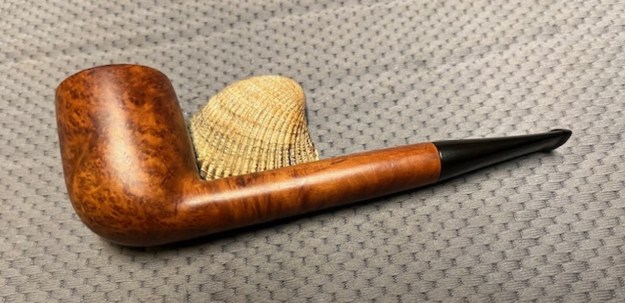
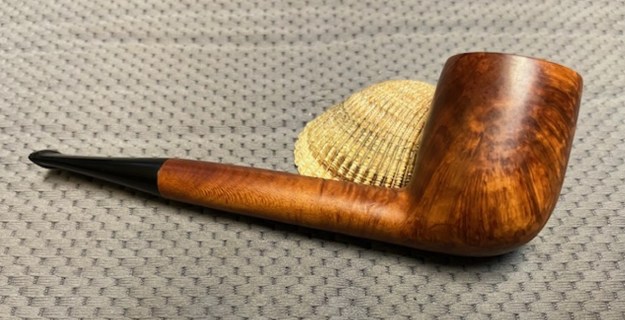
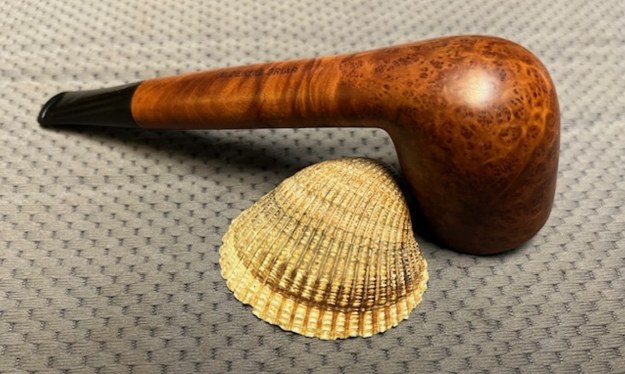
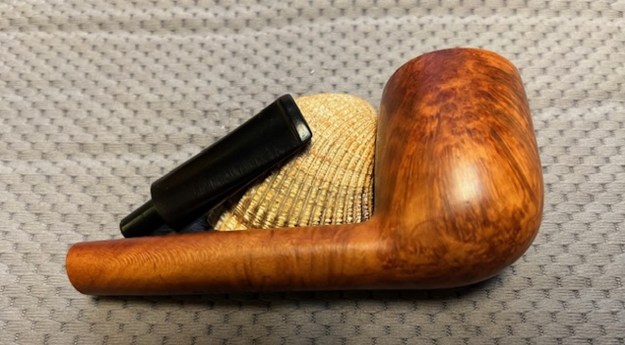
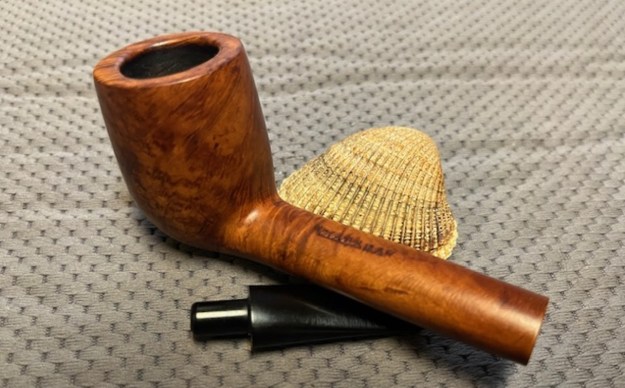
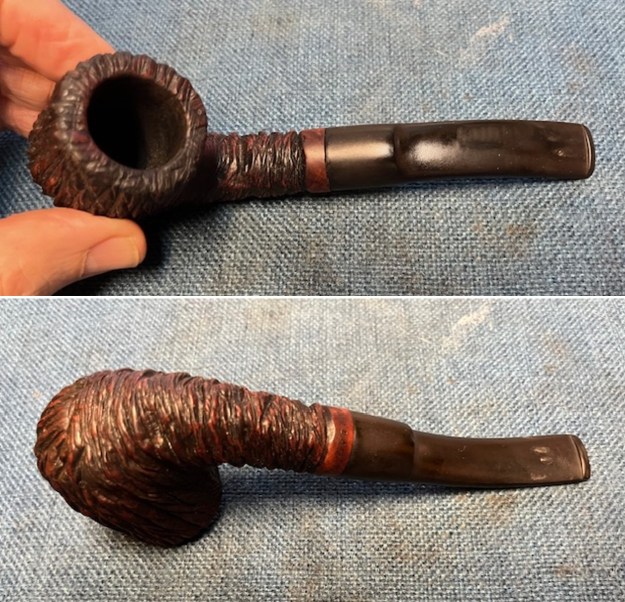
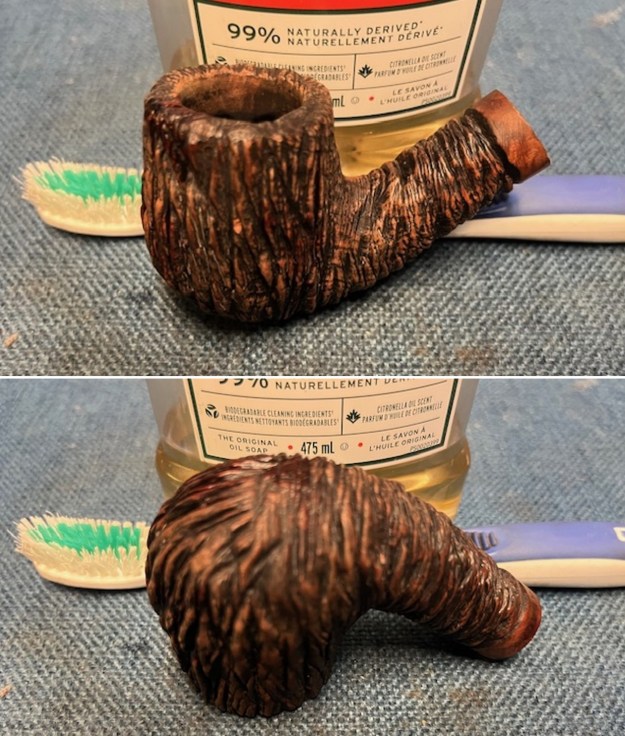
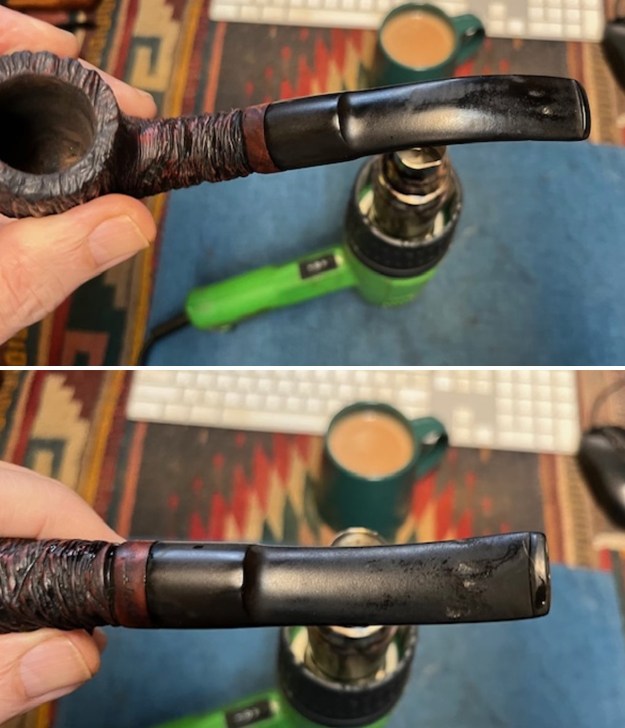
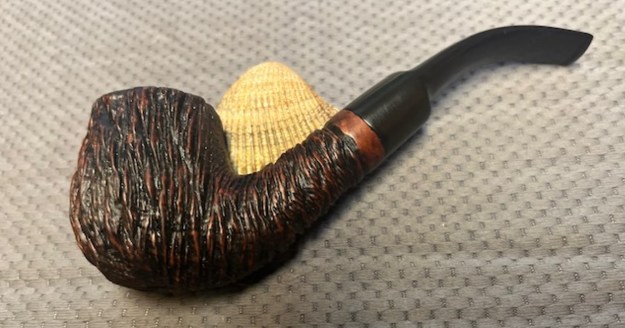
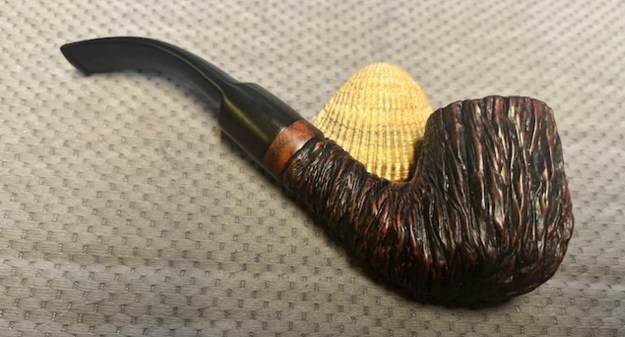
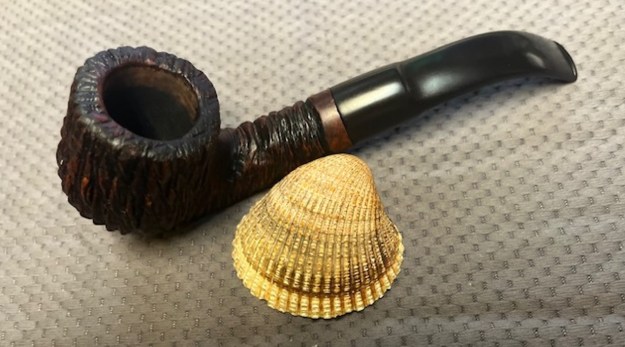
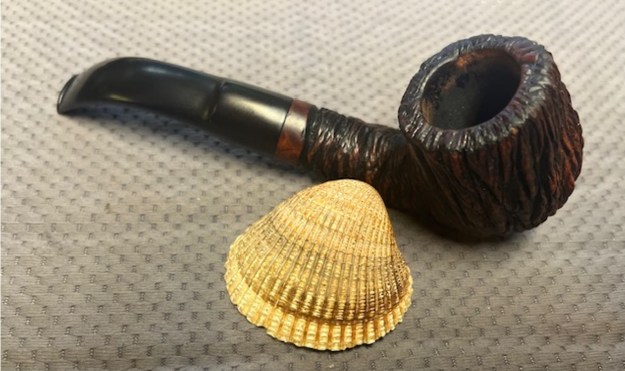
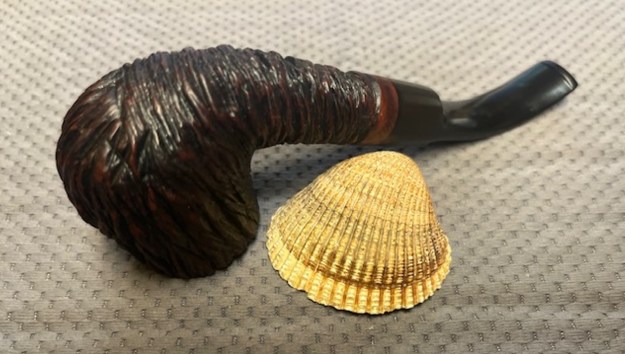
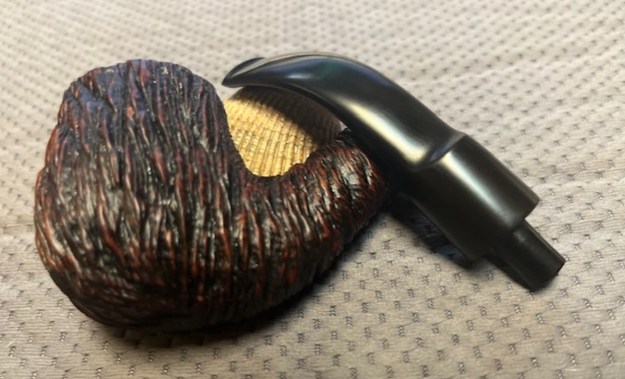
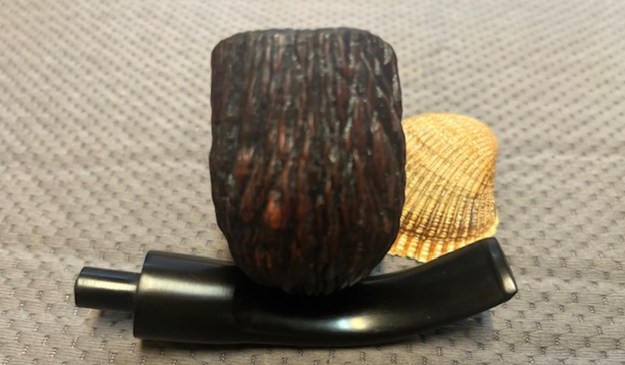
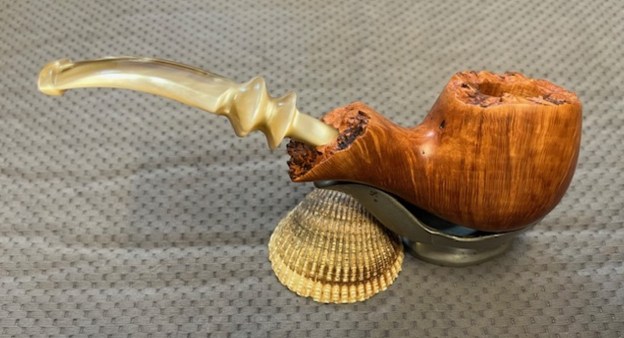
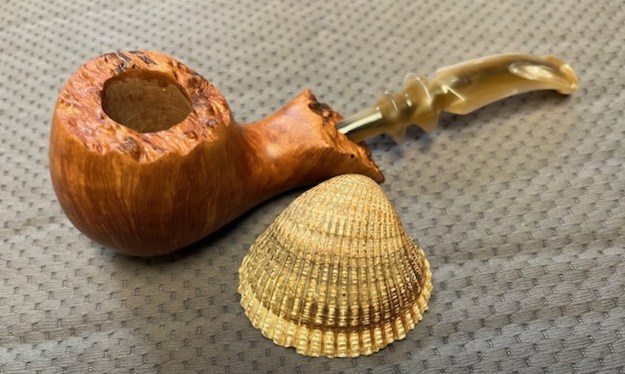
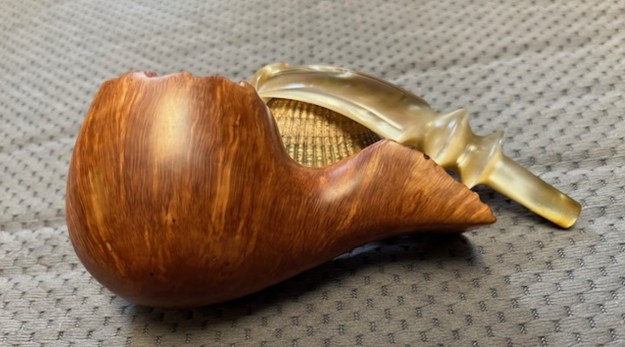
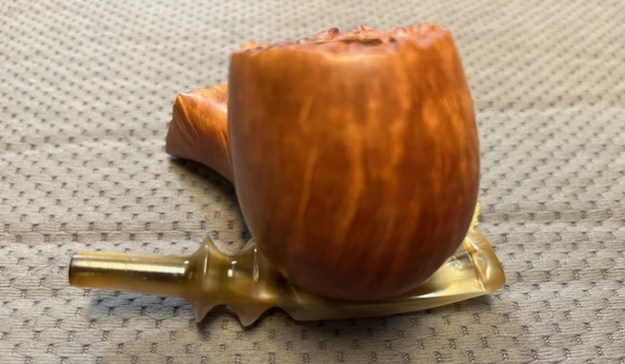
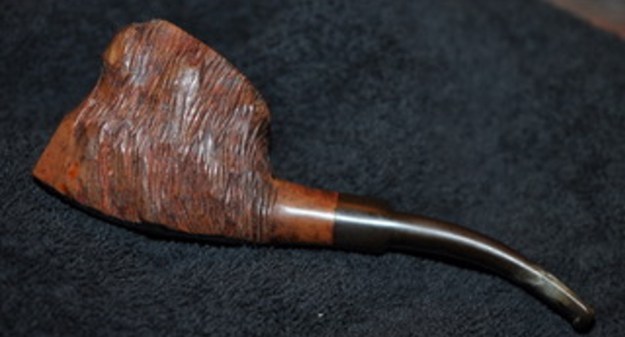
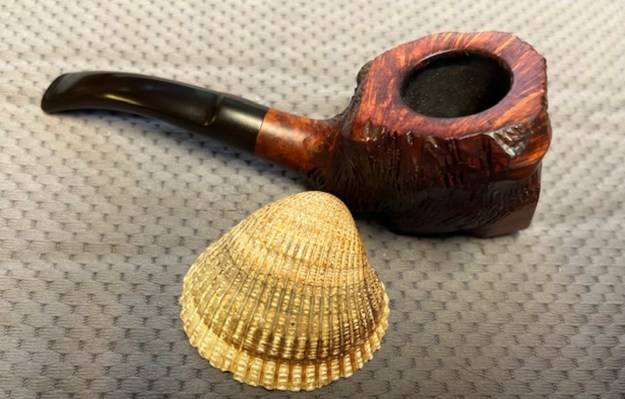
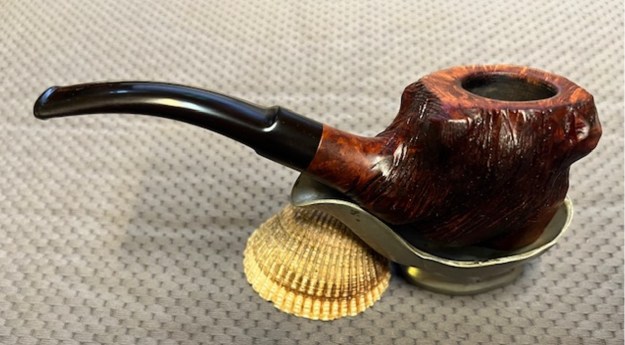
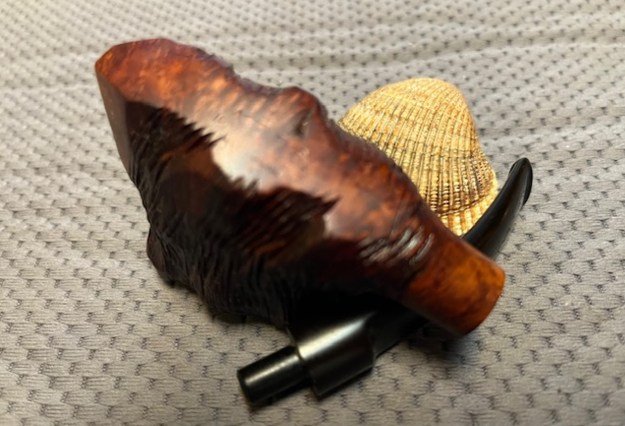
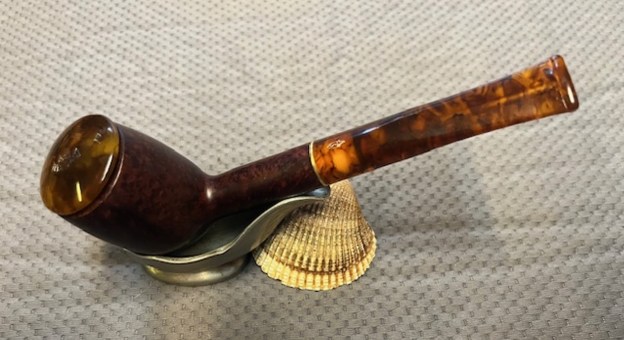
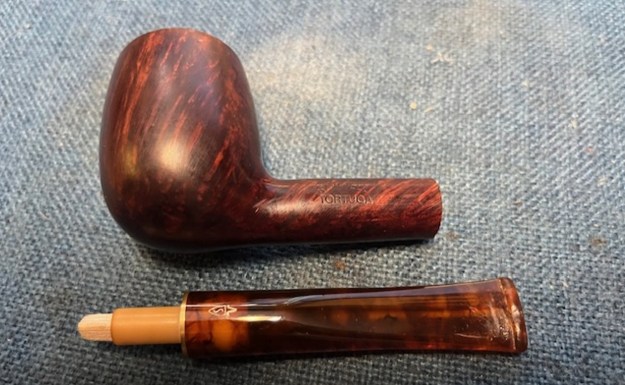
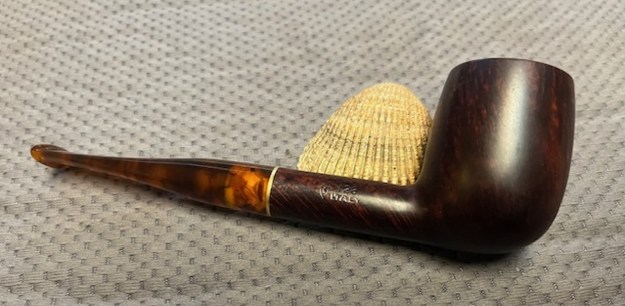
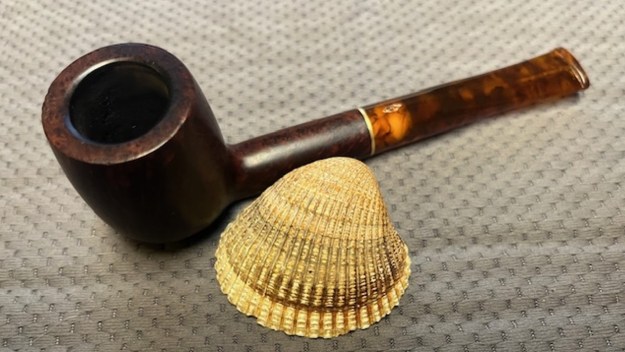
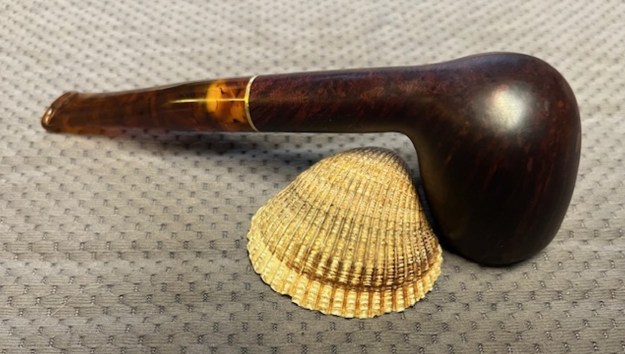
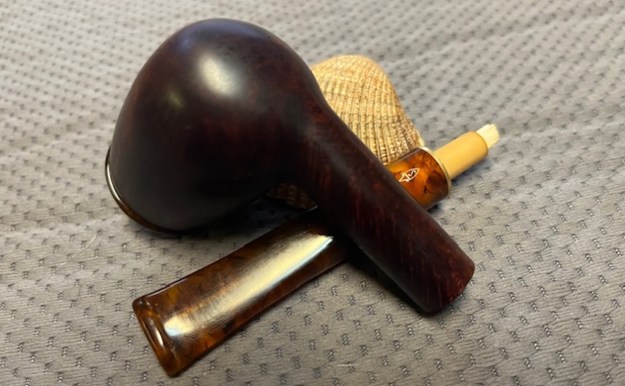
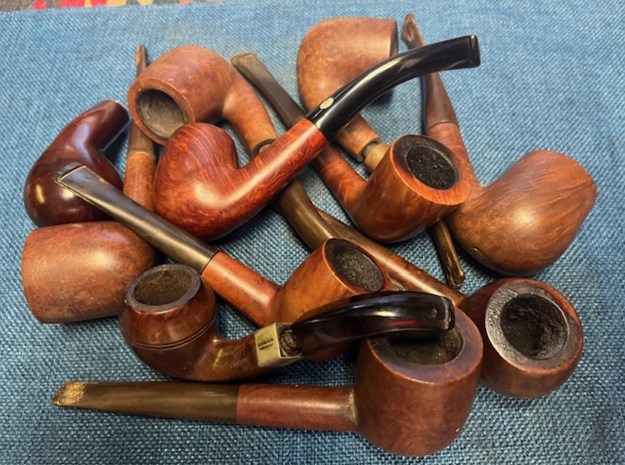
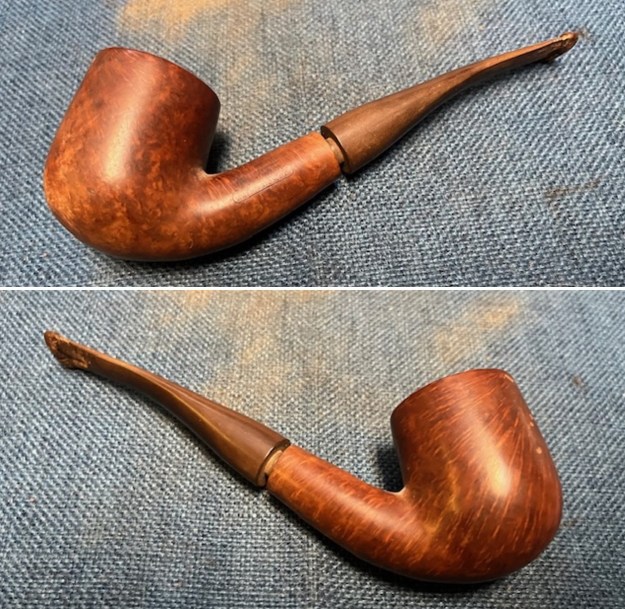
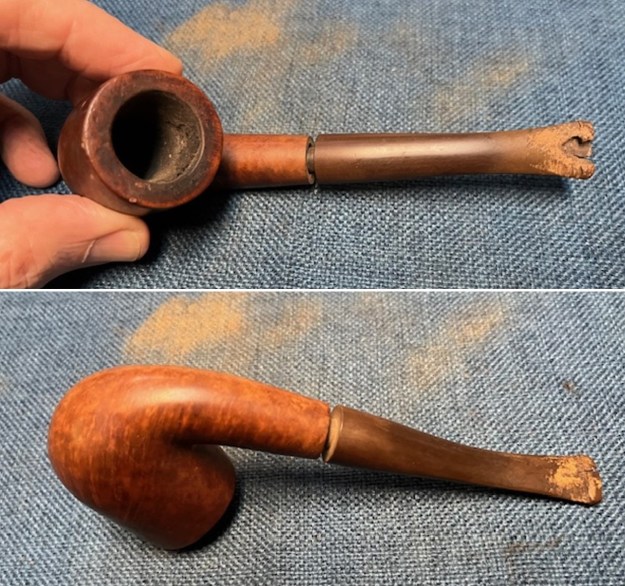
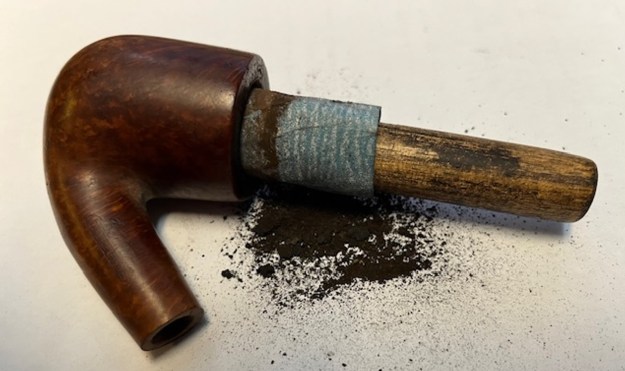
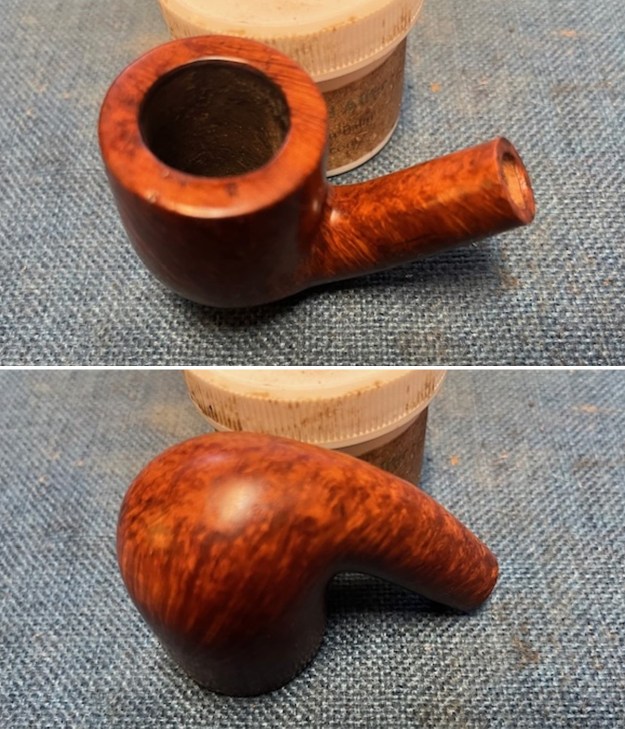
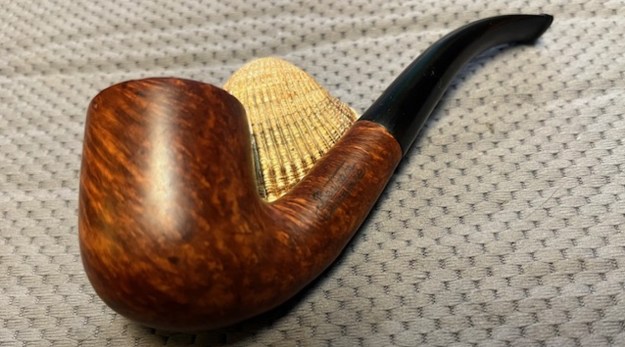
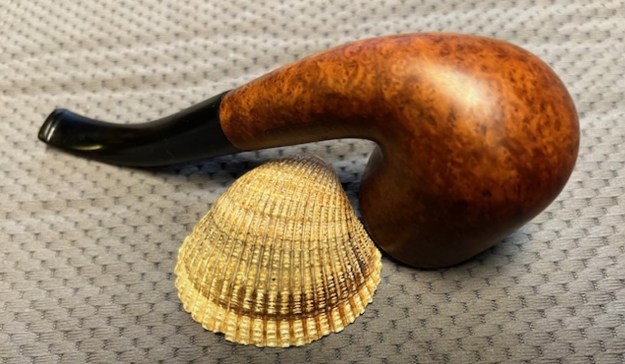
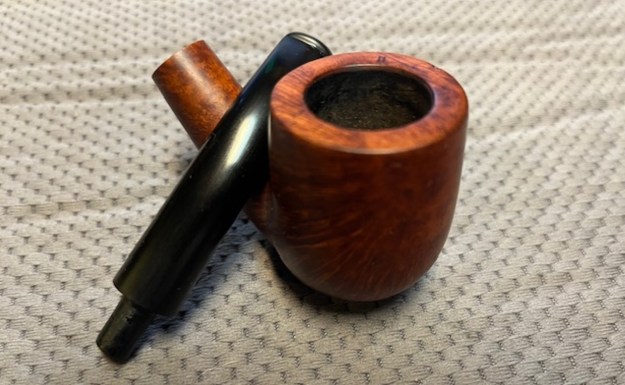
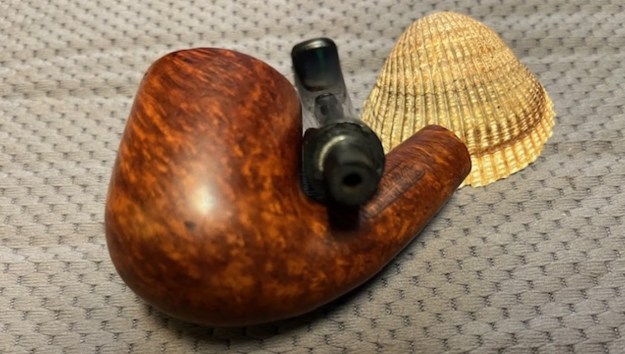
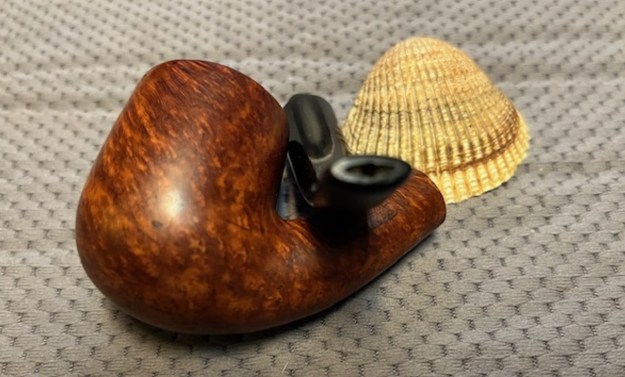
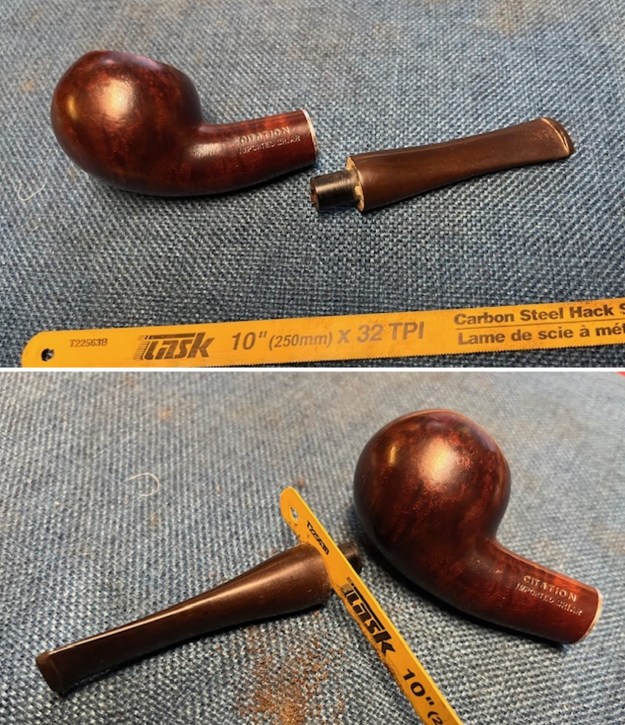
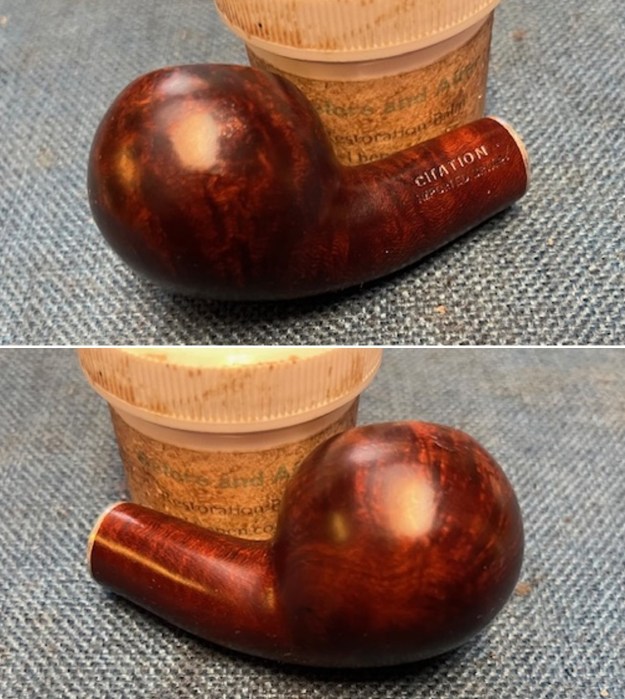
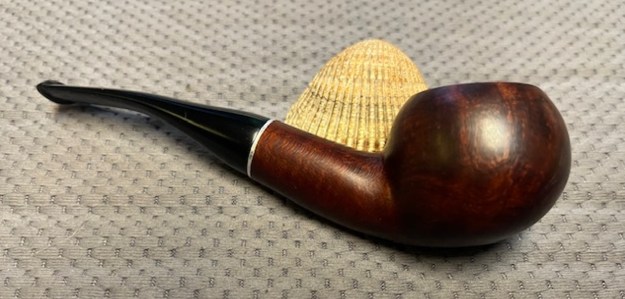
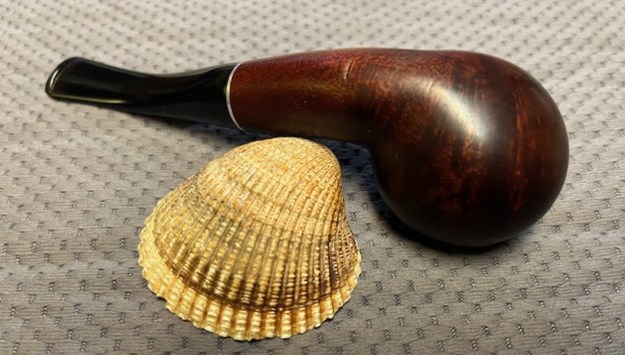
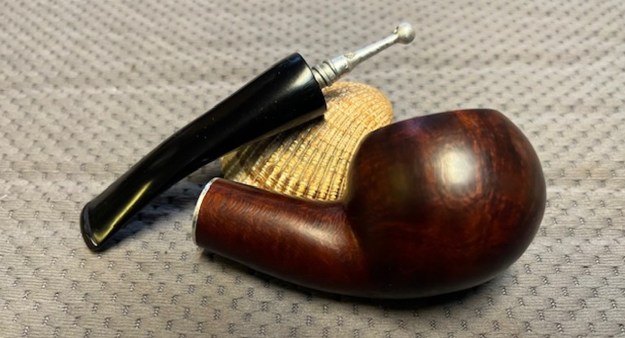
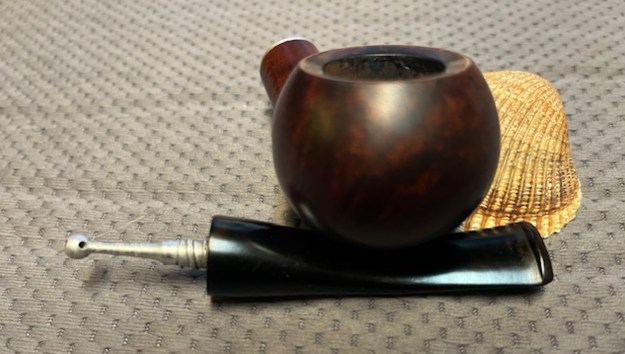
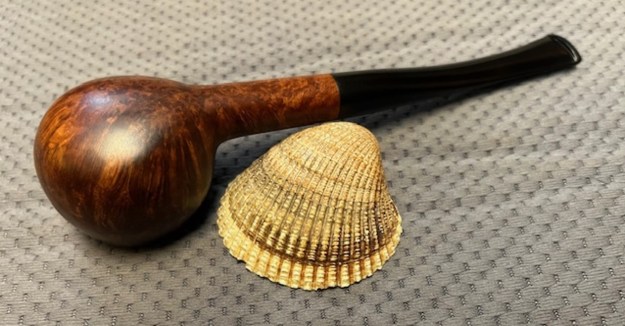
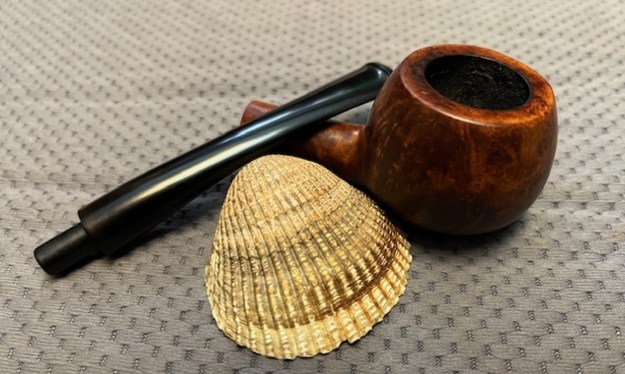
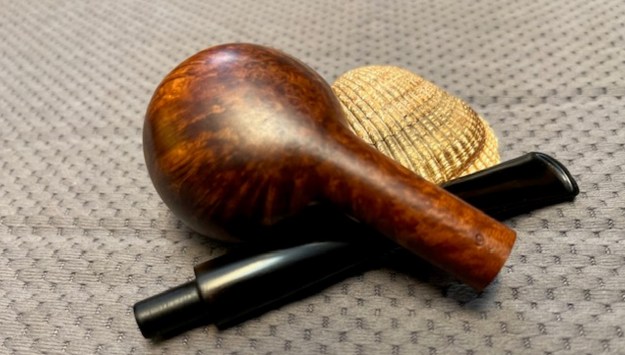
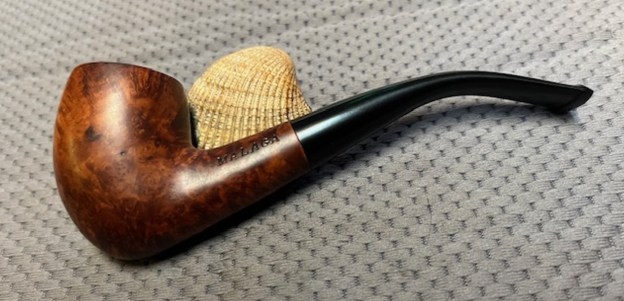
The “Malaga” Bent Acorn is next pipe on the table. We purchased it off eBay on 09/16/24 from a seller in Center Line, Michigan, USA. The carver did a great job of shaping the pipe to follow the grain on the briar. The acorn shaped bowl, round shank and quarter Bent tapered stem look very good. The bowl had a moderate cake that overflowed with a spotty lava coat on the rim and edges look good. The sides of the bowl and shank are very dirty with grime and oils from prolonged use. The grain around the bowl and shank appeared to be very nice mixed grain under the grime on the briar. The stamping on the left side of the shank read “MALAGA”. On the top of the shank just ahead of the stem junction it is stamped M-2. The stem had light tooth marks and chatter on the top and the underside of the stem ahead of the button. There was some light oxidation on the stem surface. Jeff took these photos before he started the cleanup work on the pipe.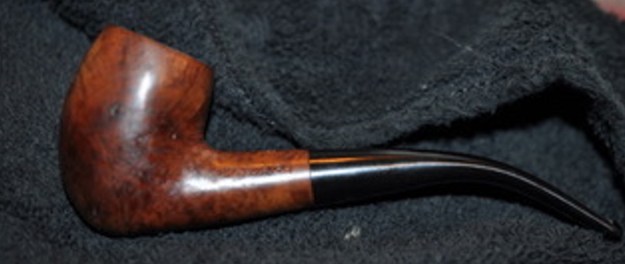 Jeff took close up photos of the bowl and rim to capture the condition of the pipe before he started his cleanup work. The rim top had thick lava overflow. The outer edge looked to be in decent condition. The stem is oxidized, calcified and has tooth marks and chatter on both sides.
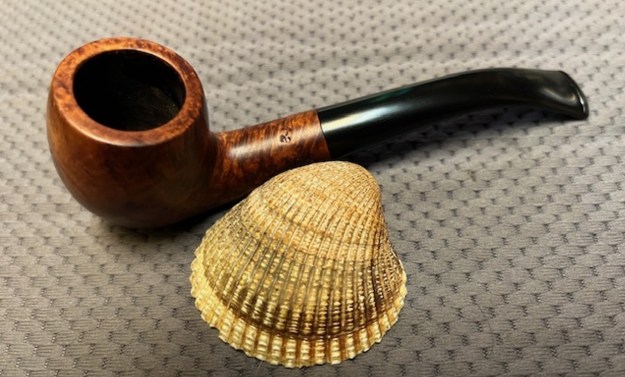
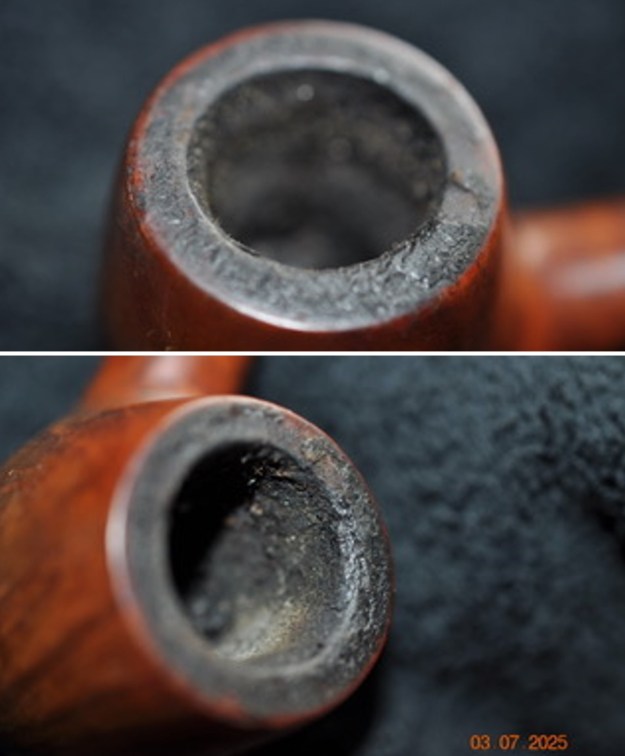
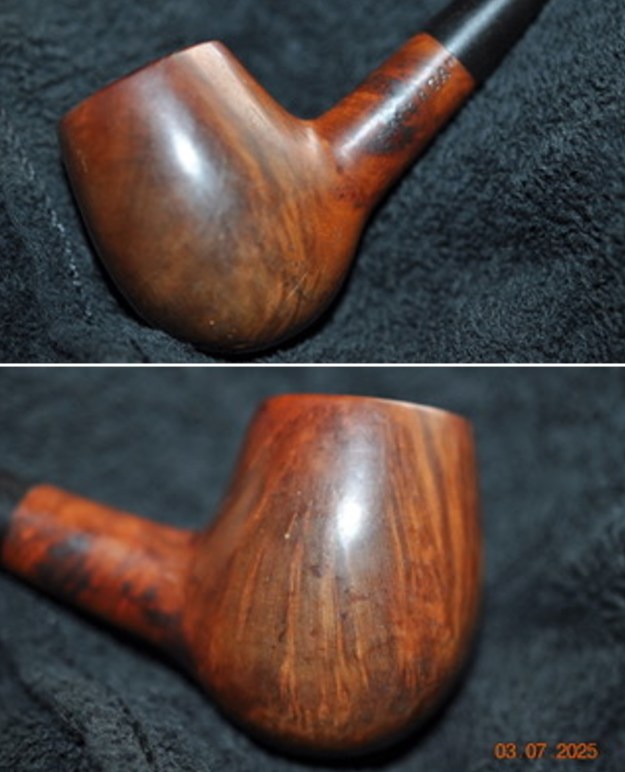
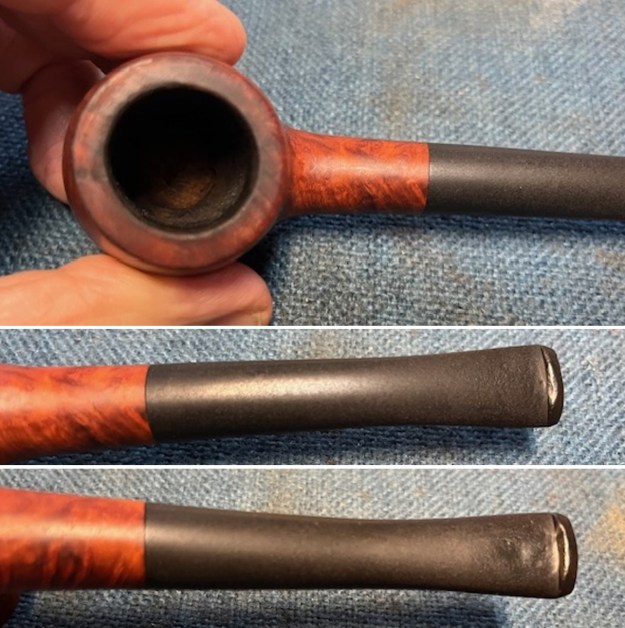
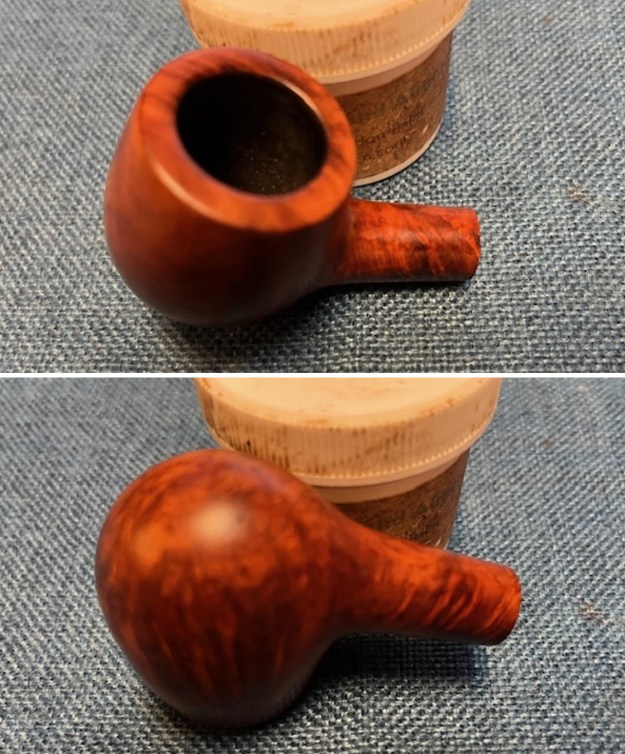
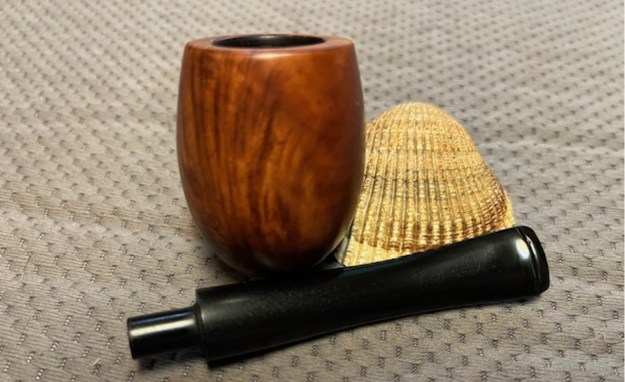
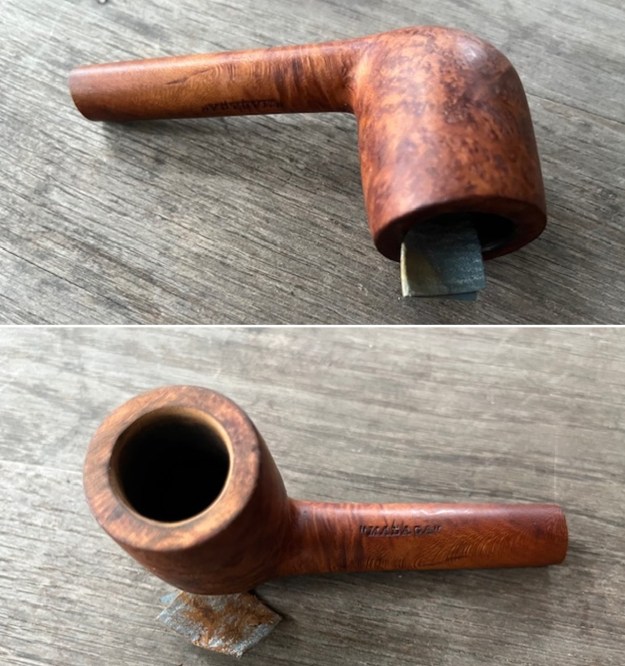
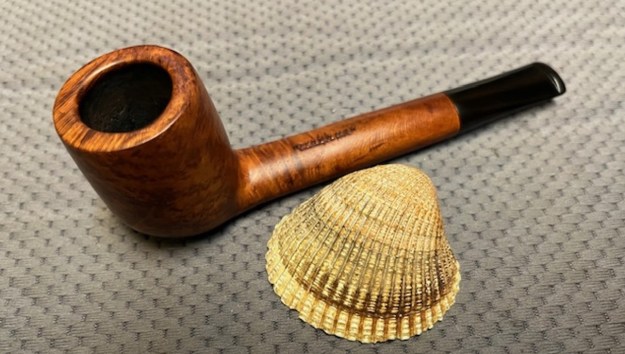
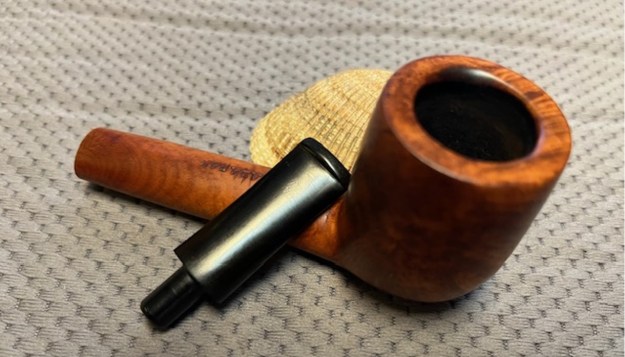
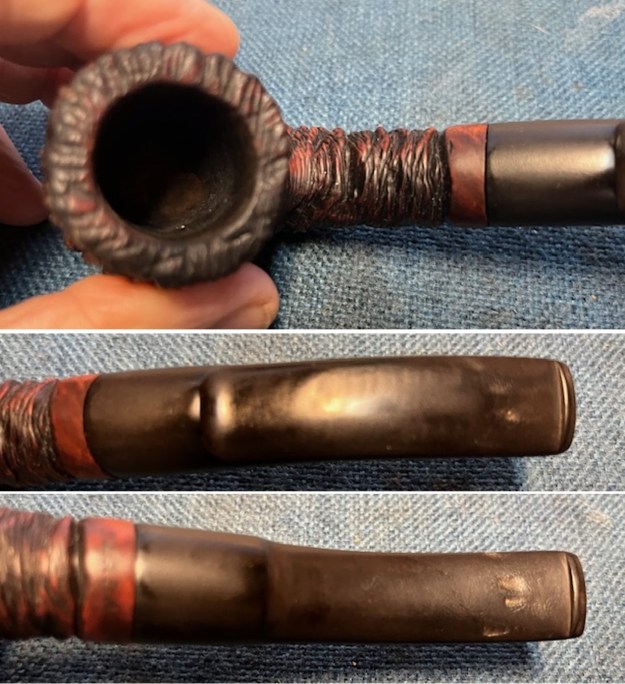
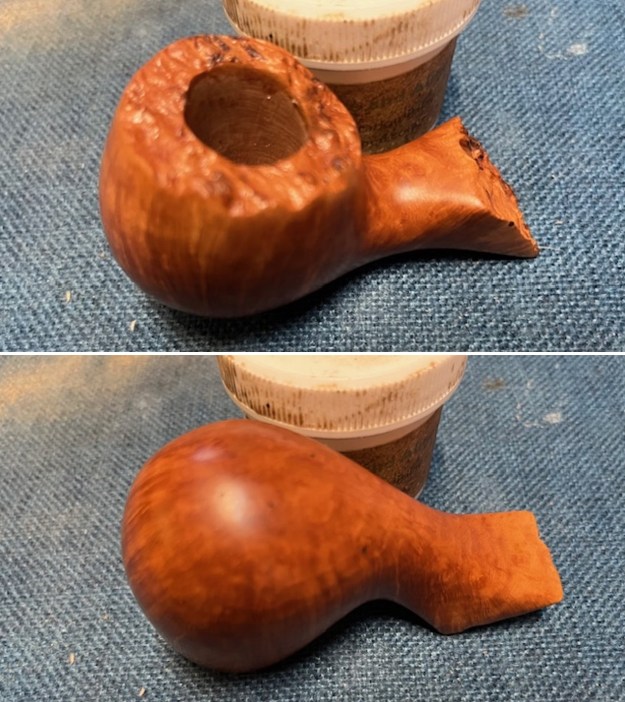
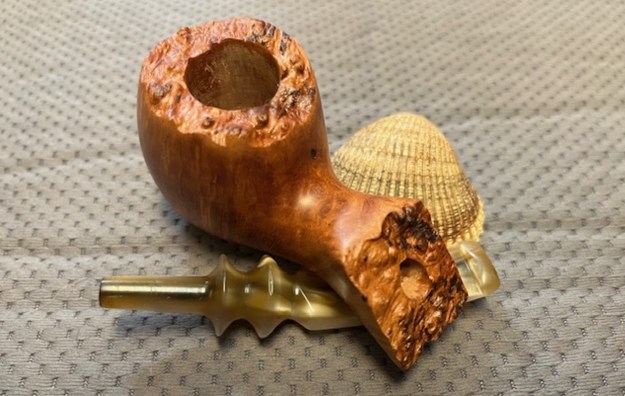
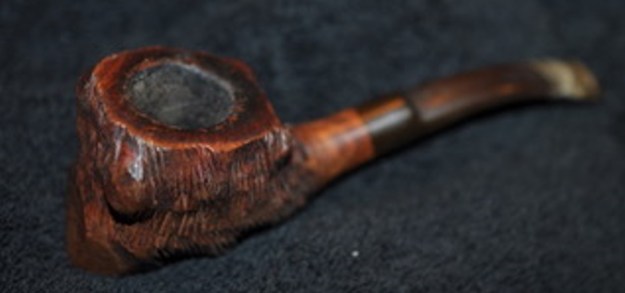
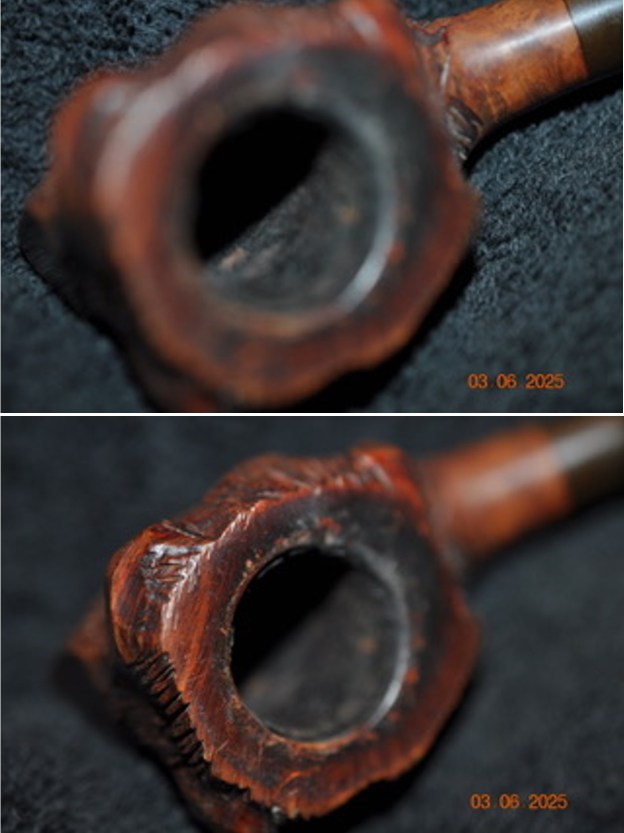
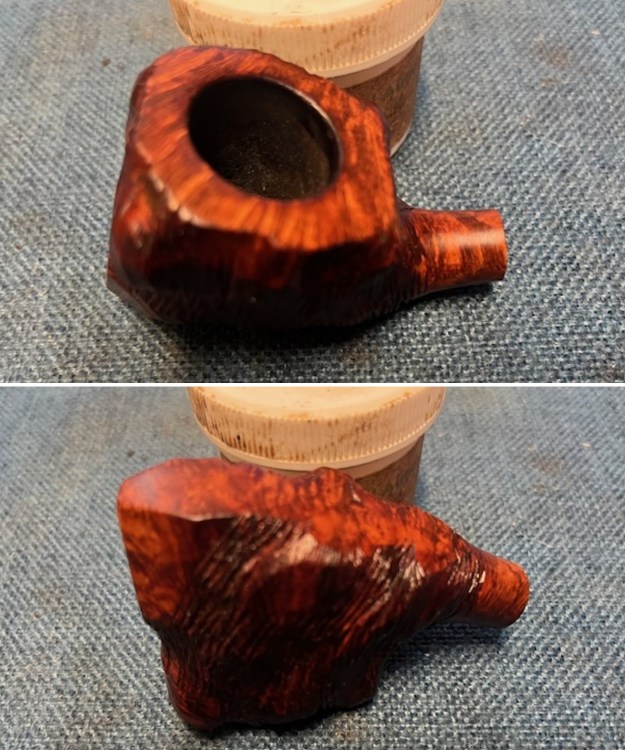
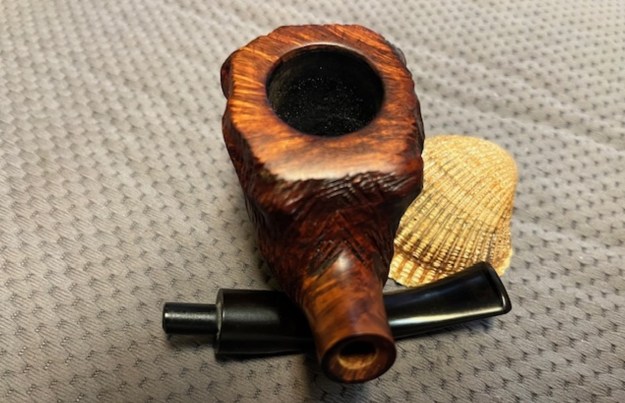
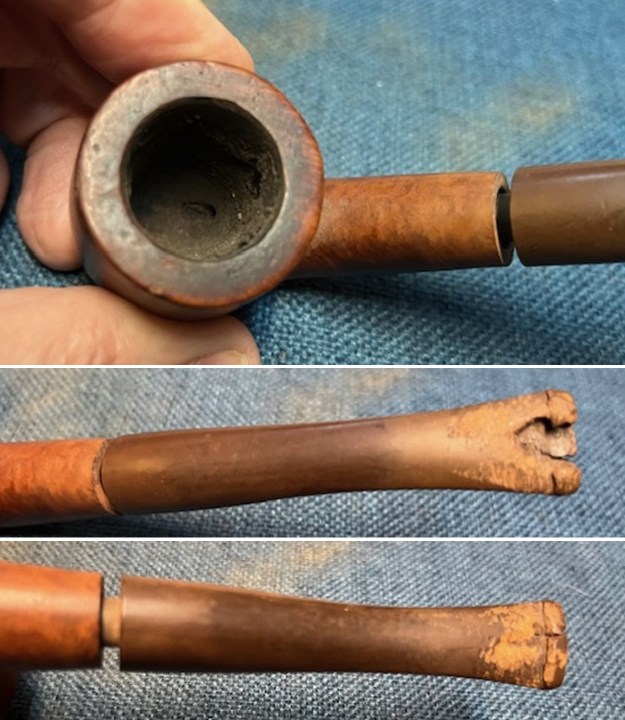
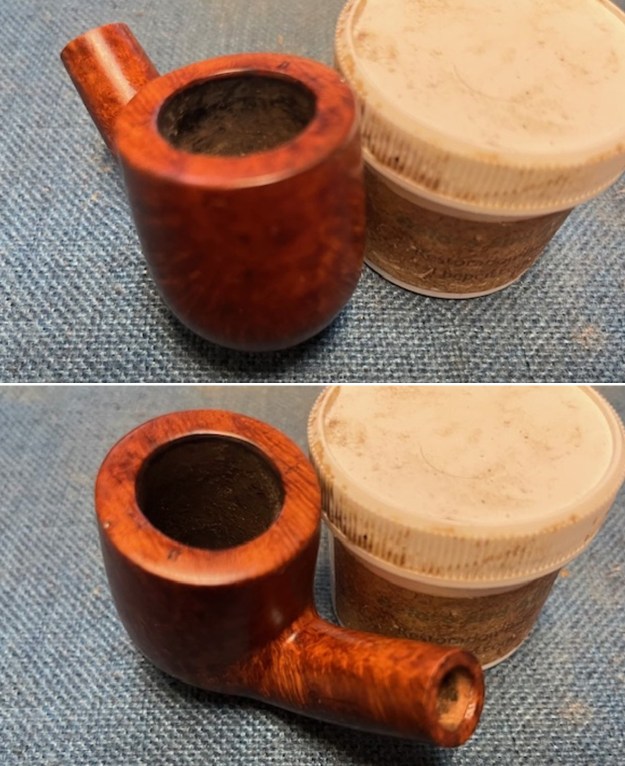
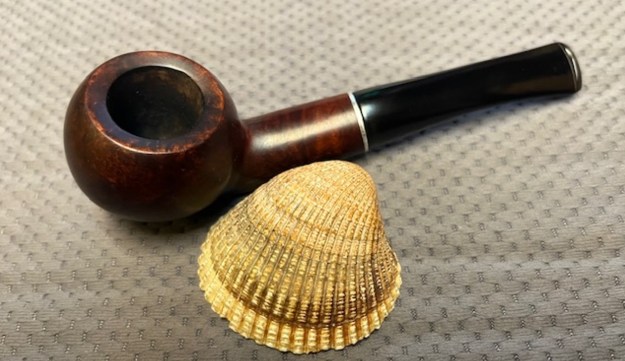
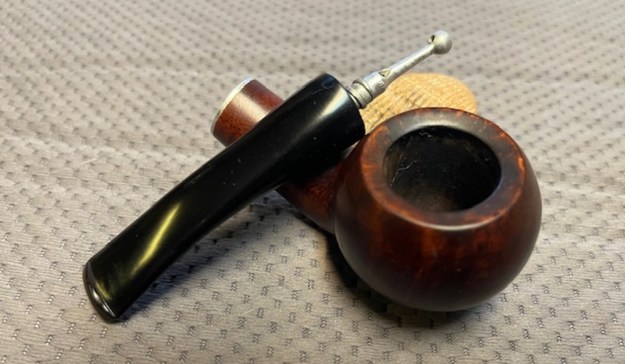
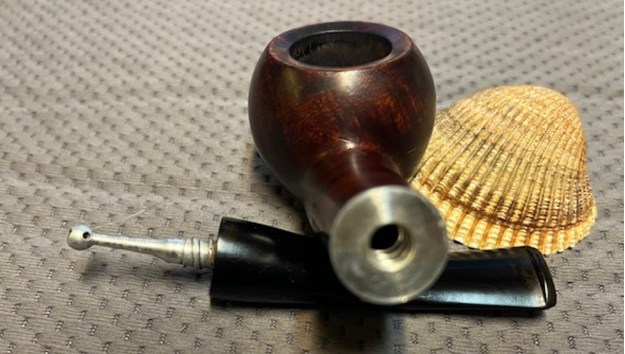
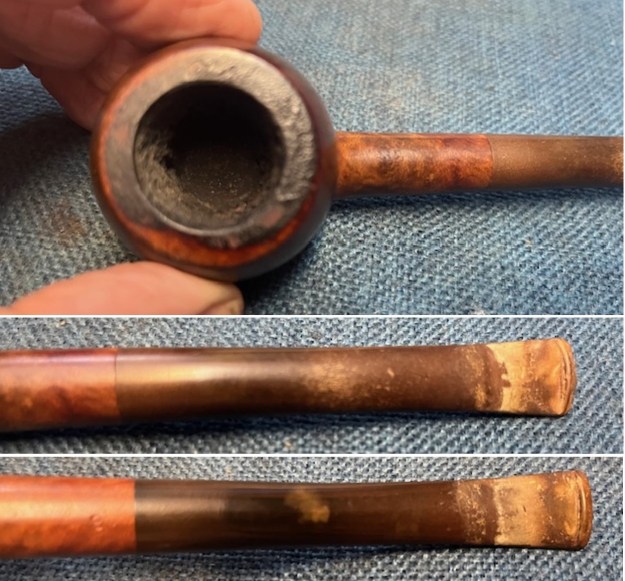
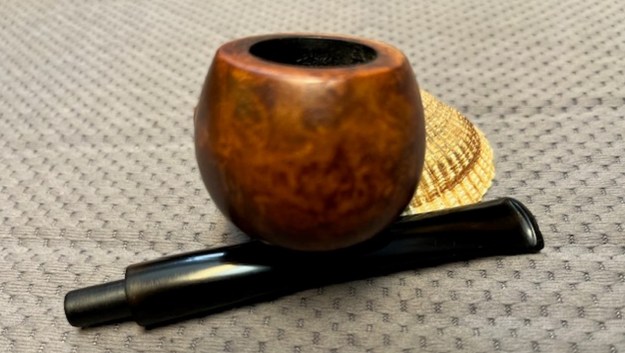
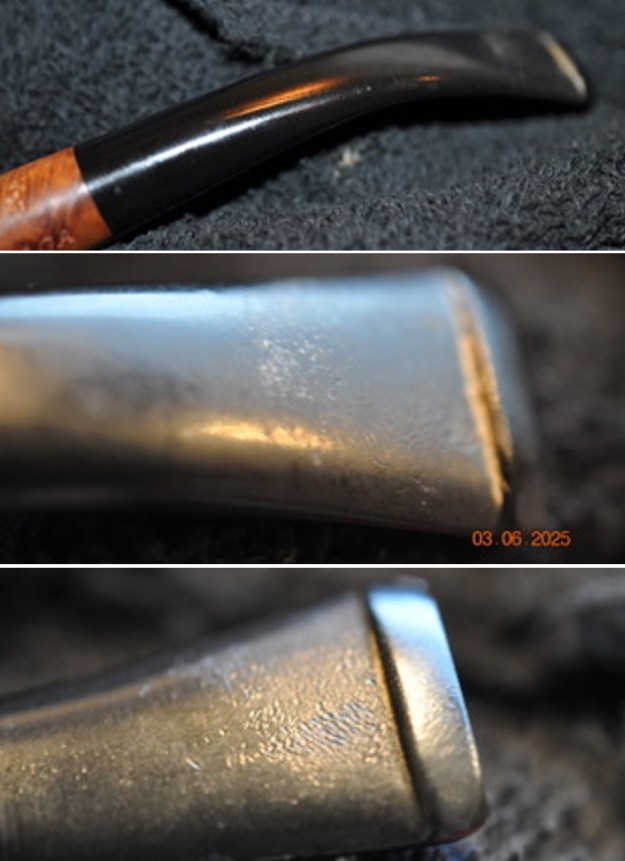
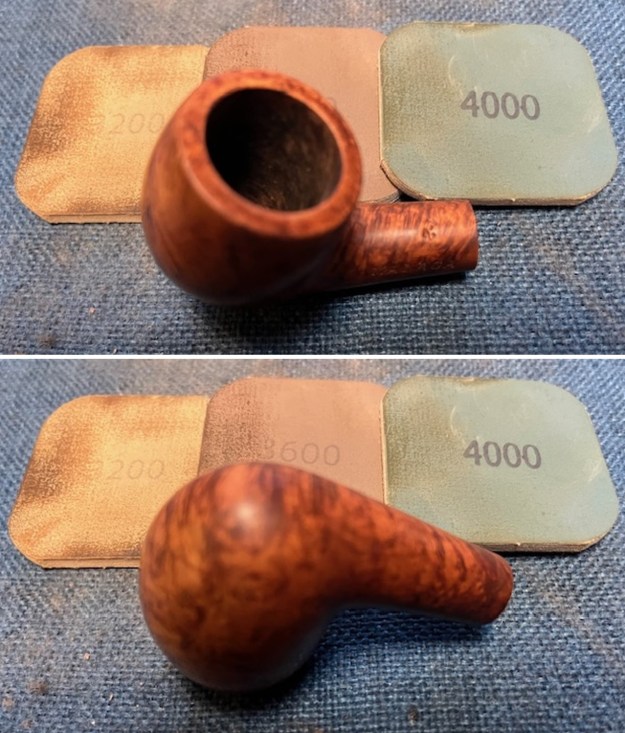
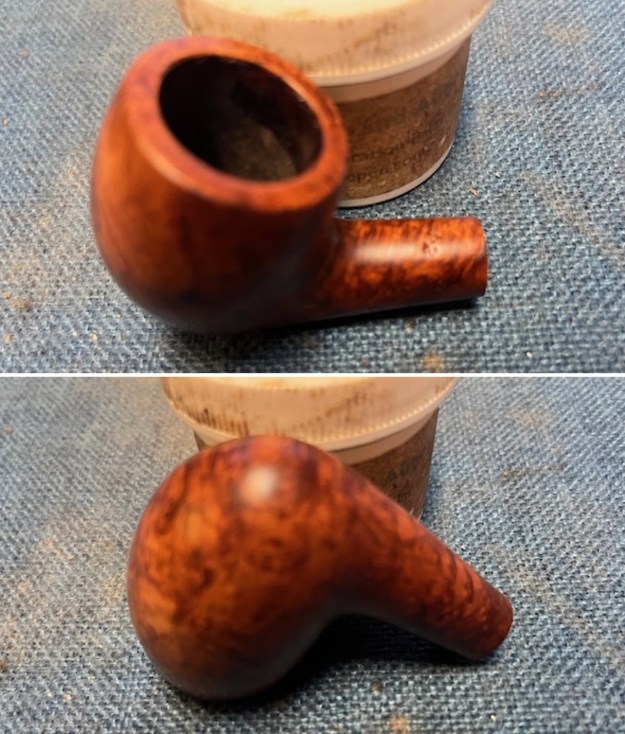
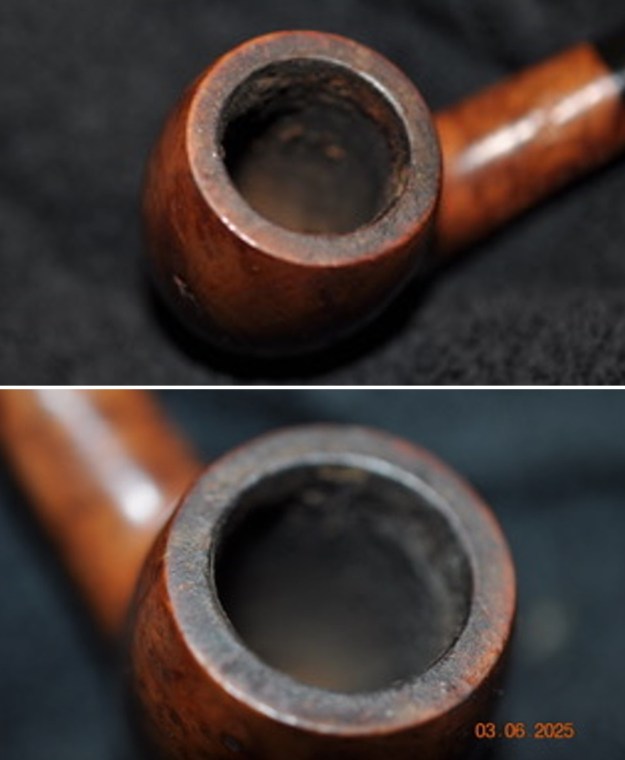
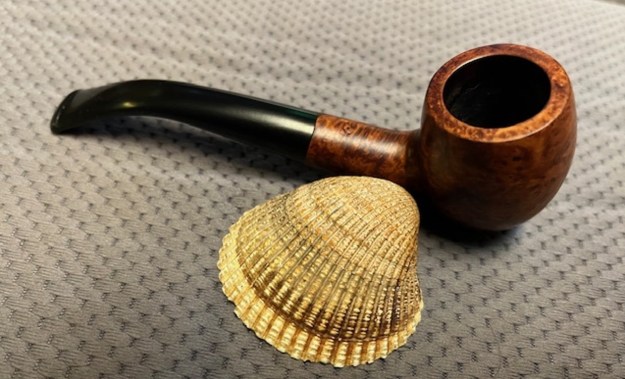
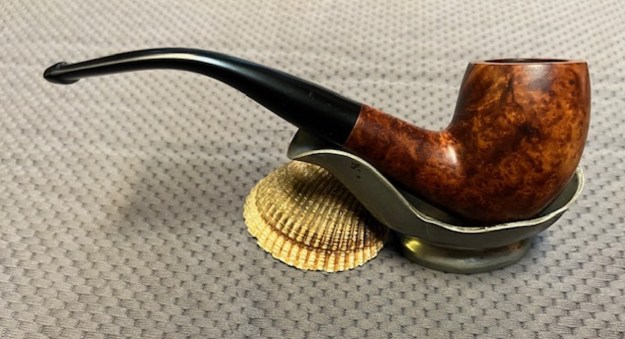
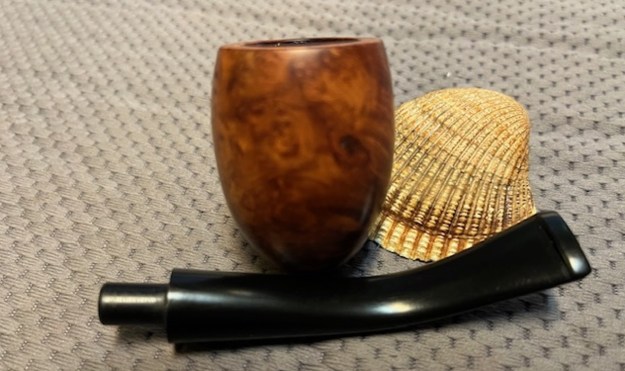
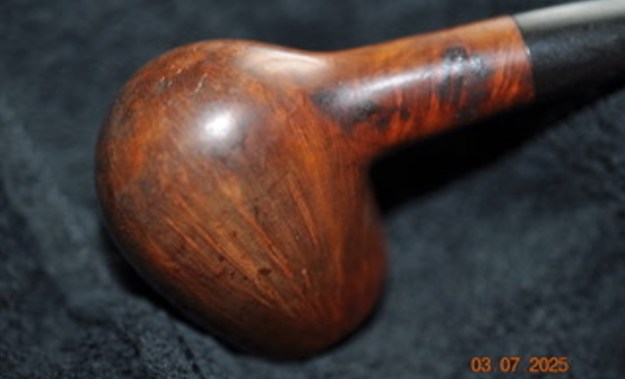
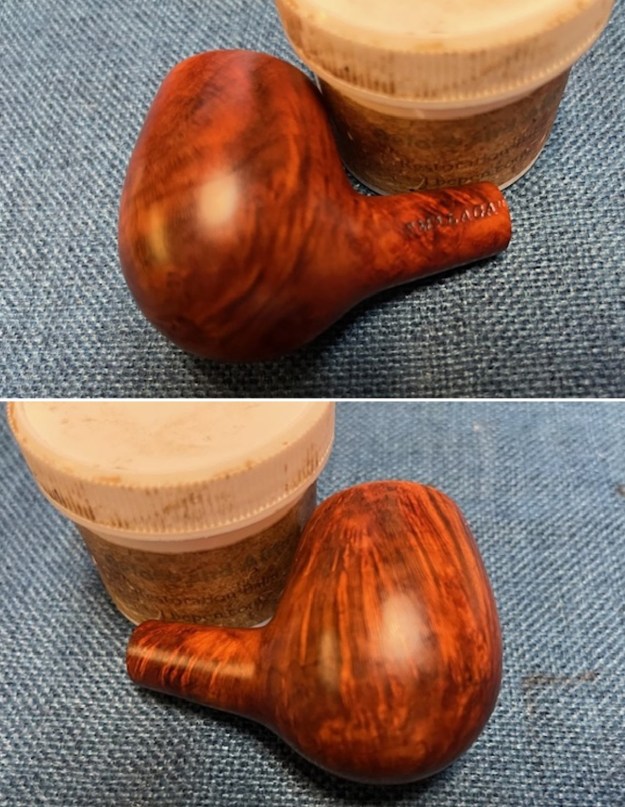
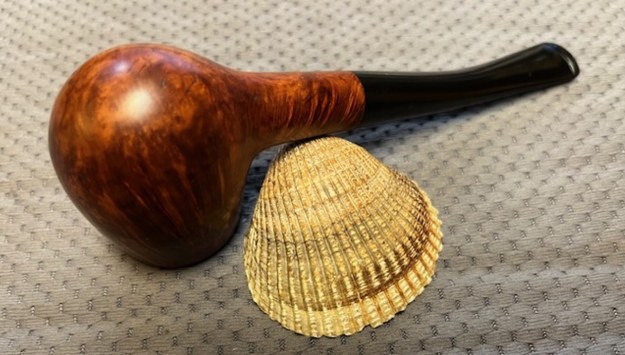
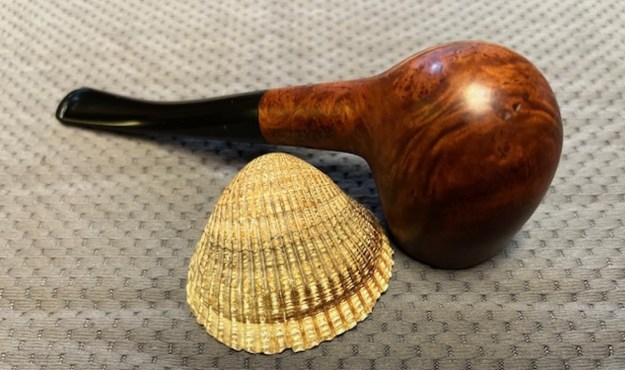
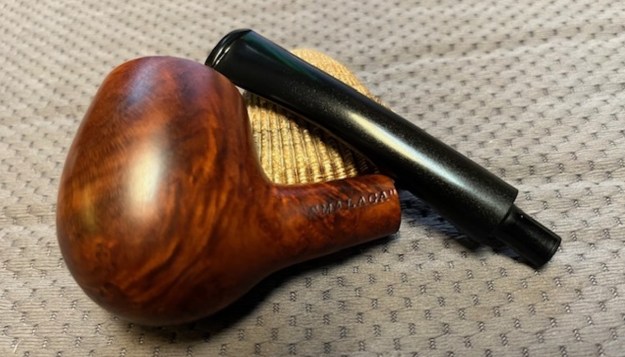
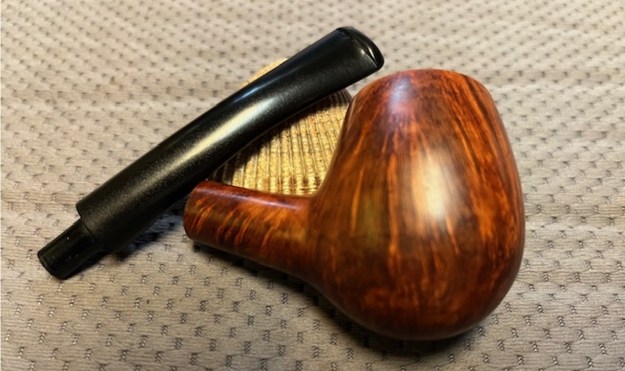
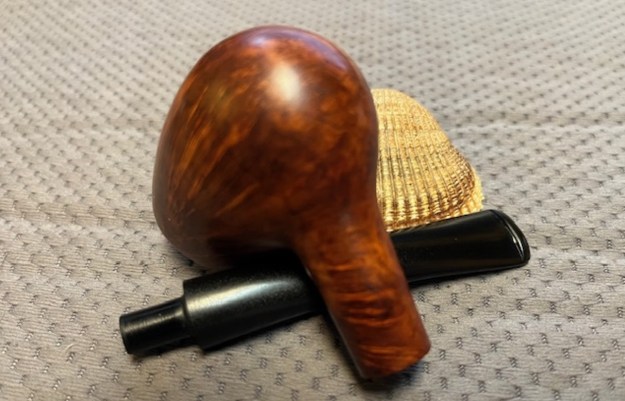
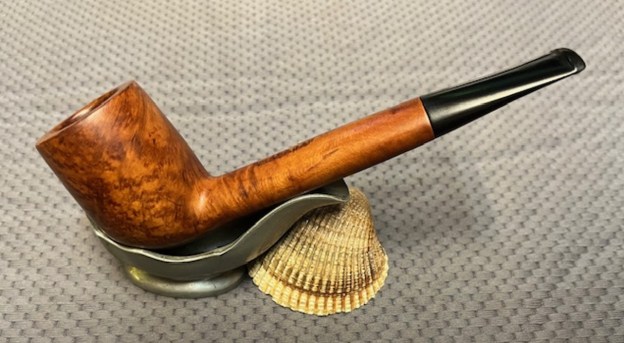
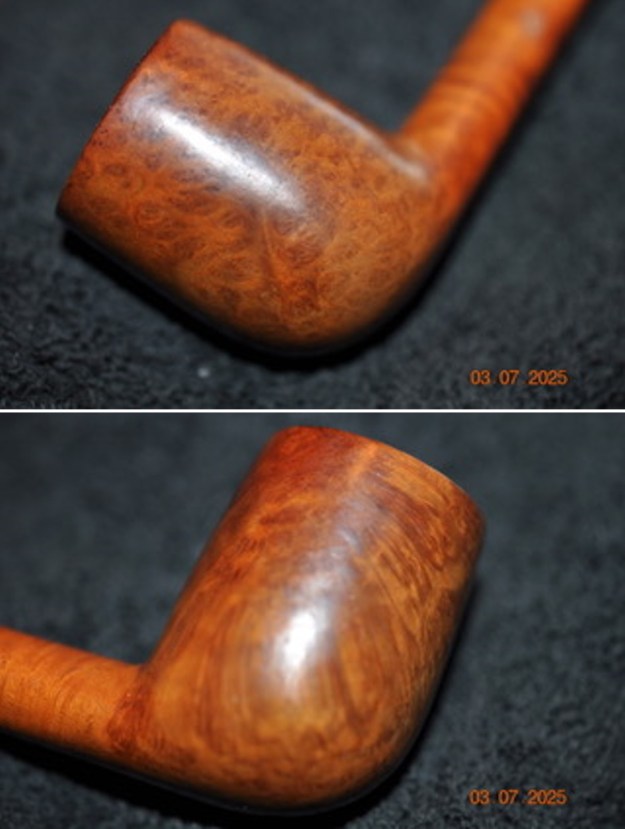
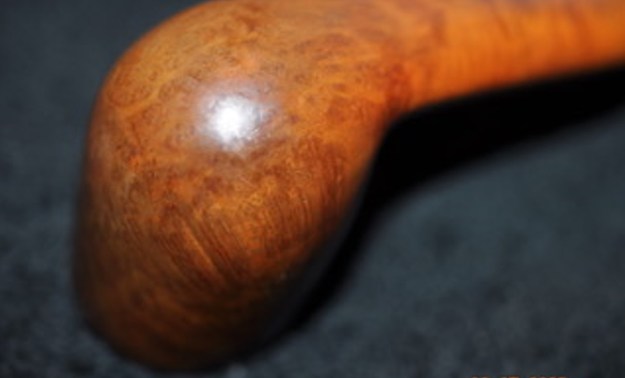
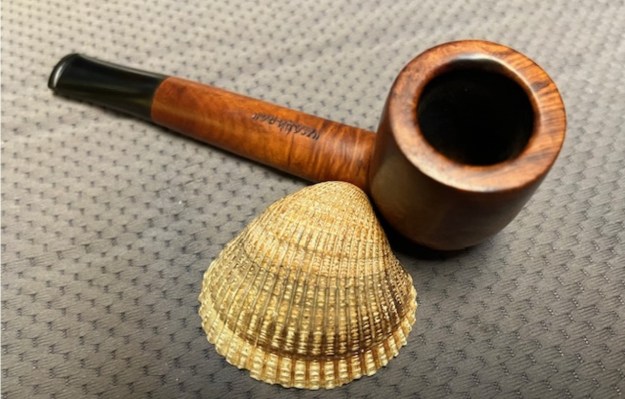
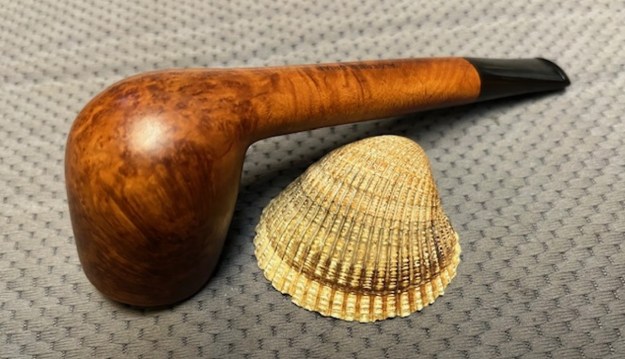
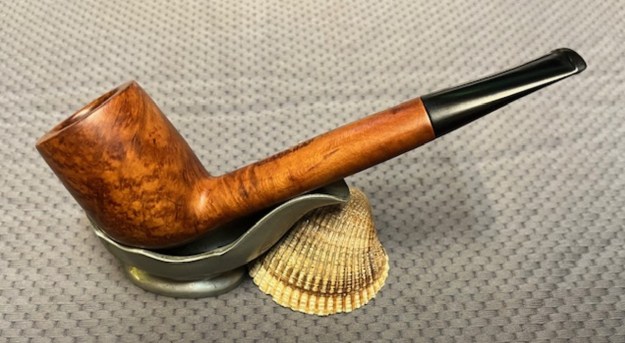
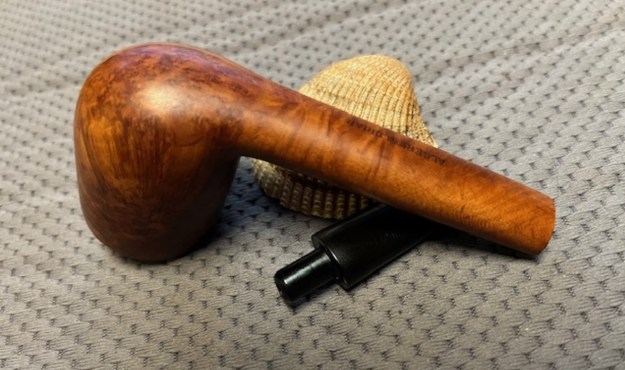
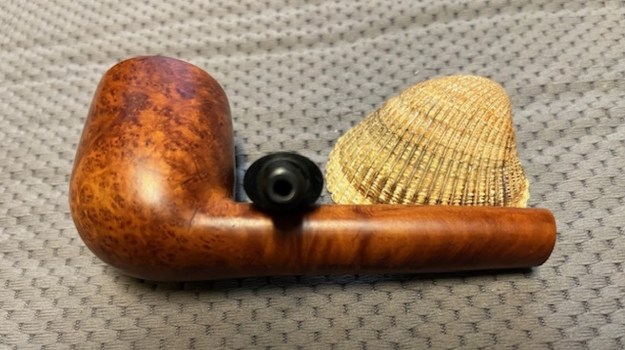
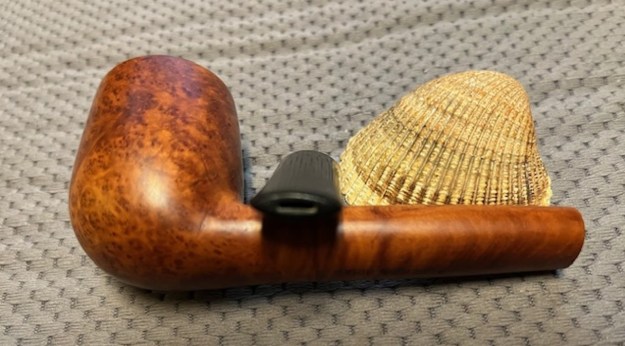
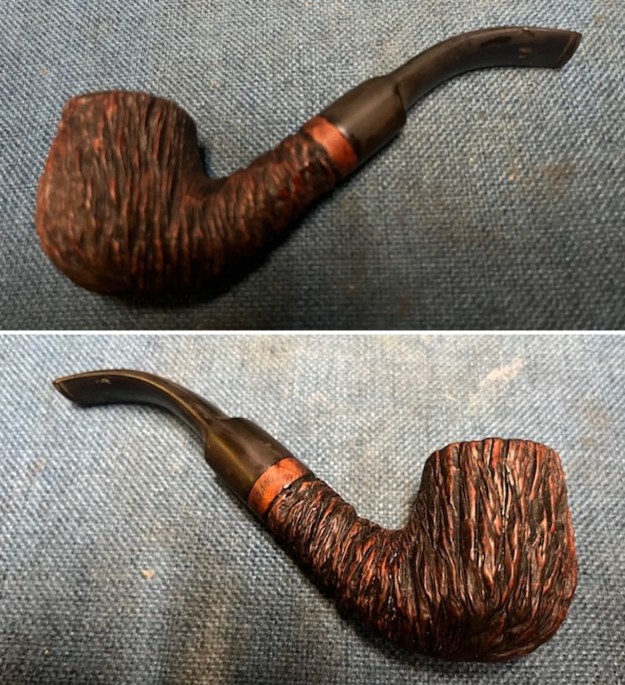
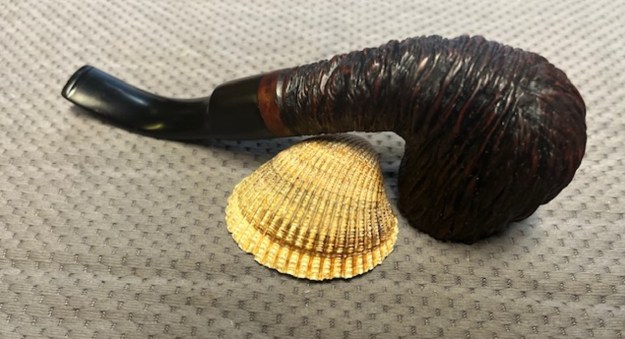
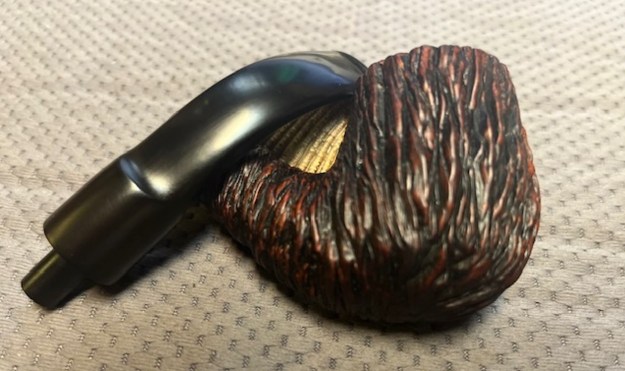
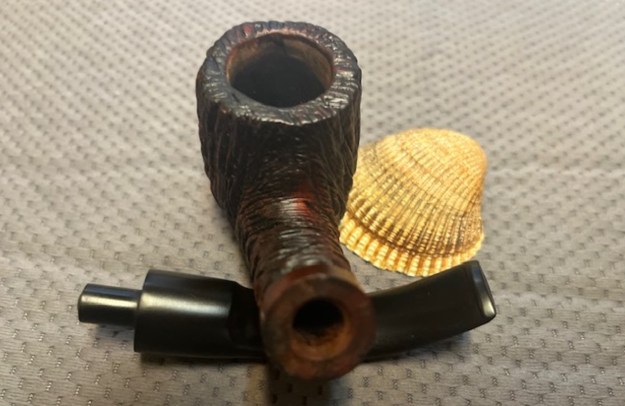
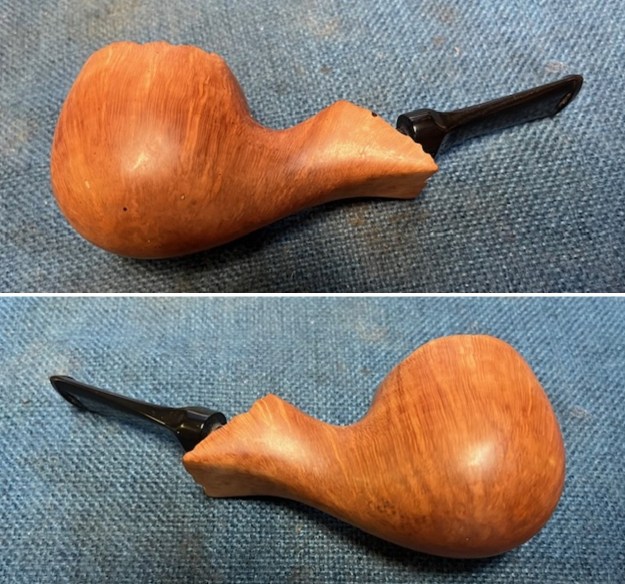
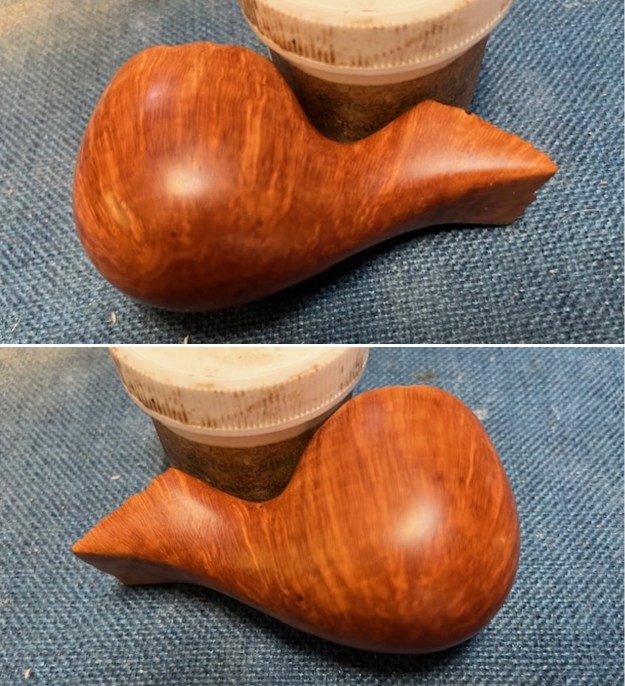
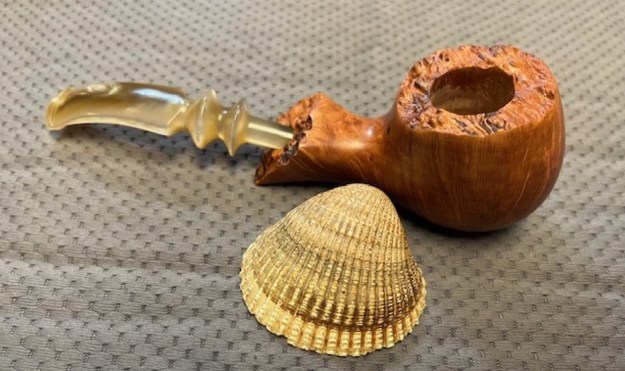
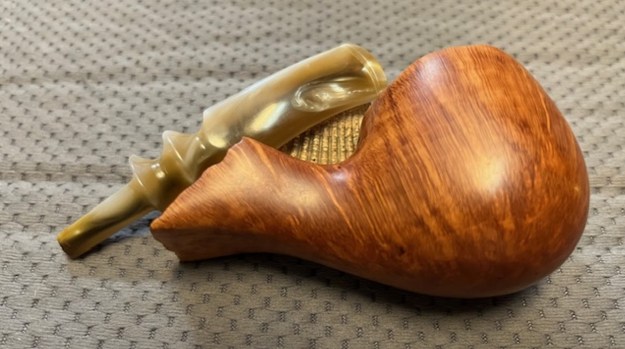
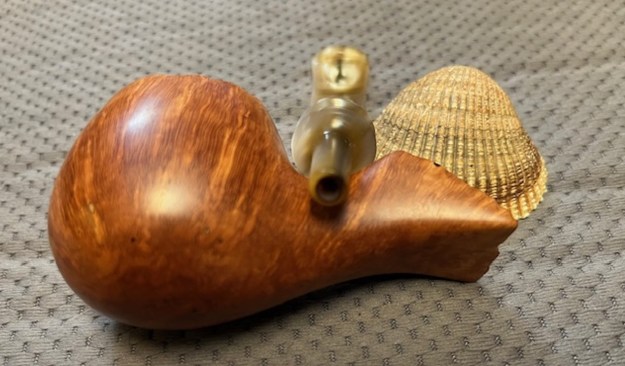
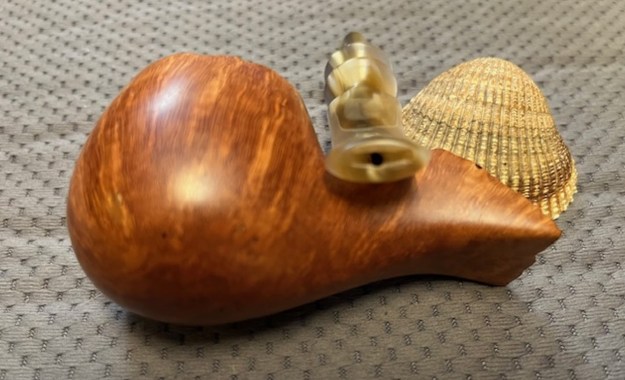
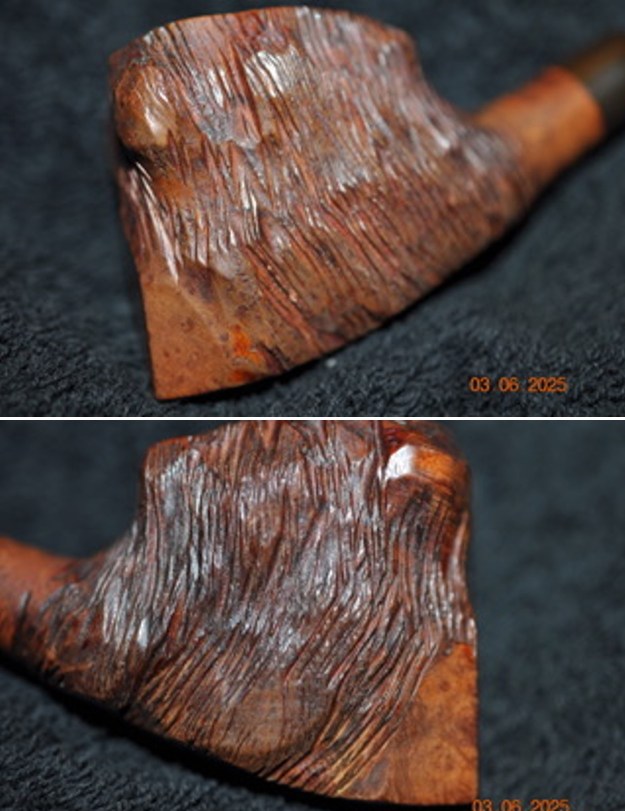
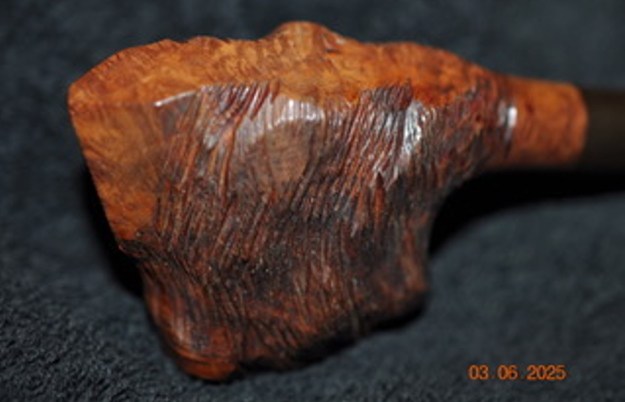
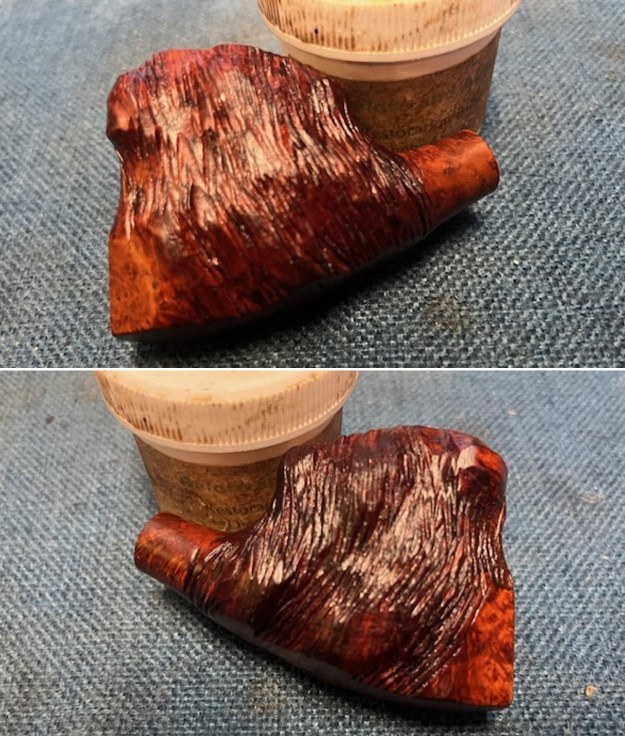
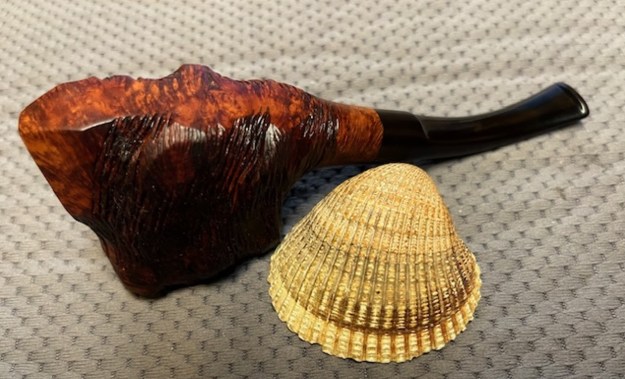
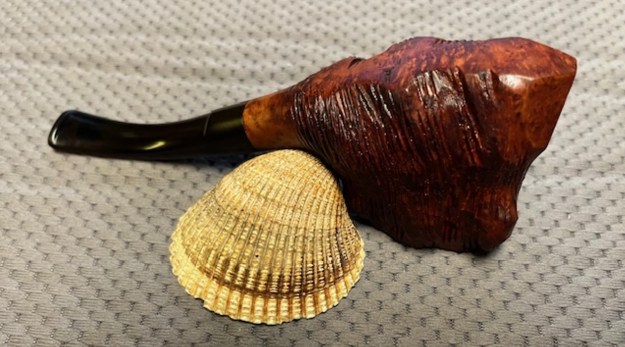
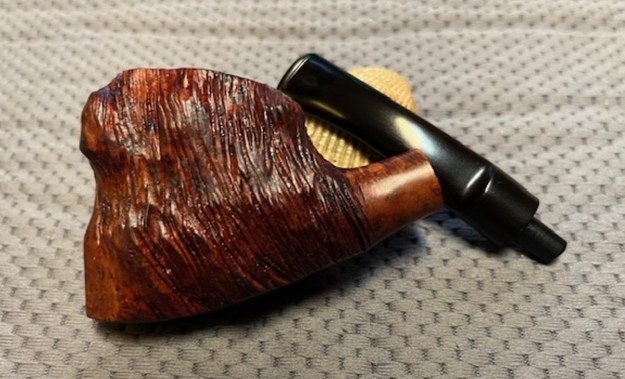
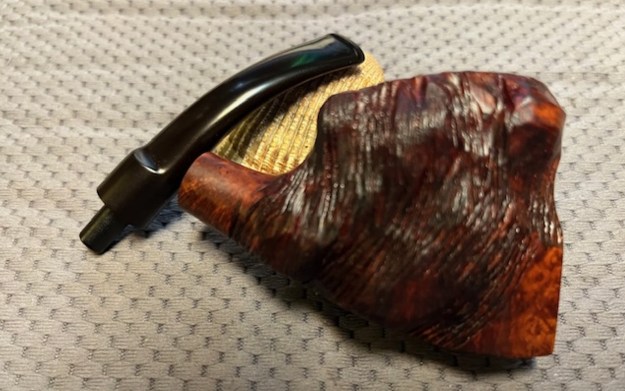
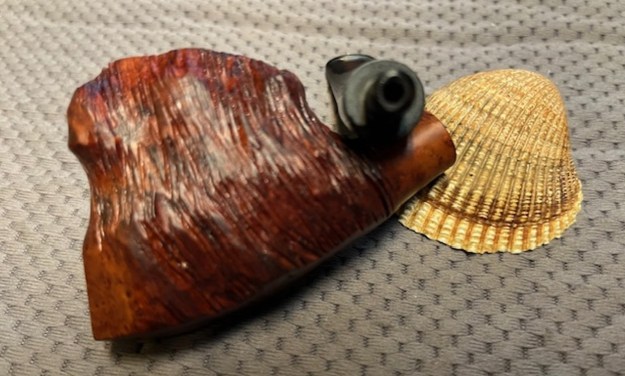
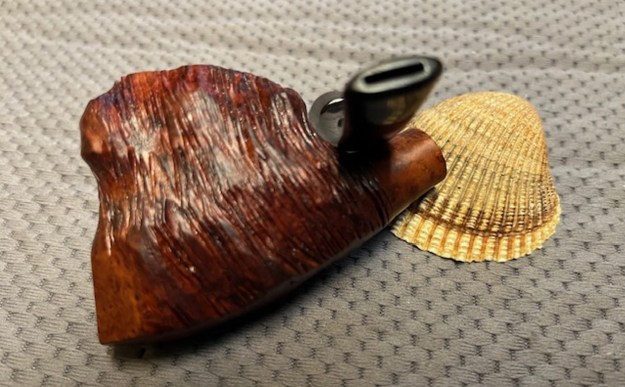
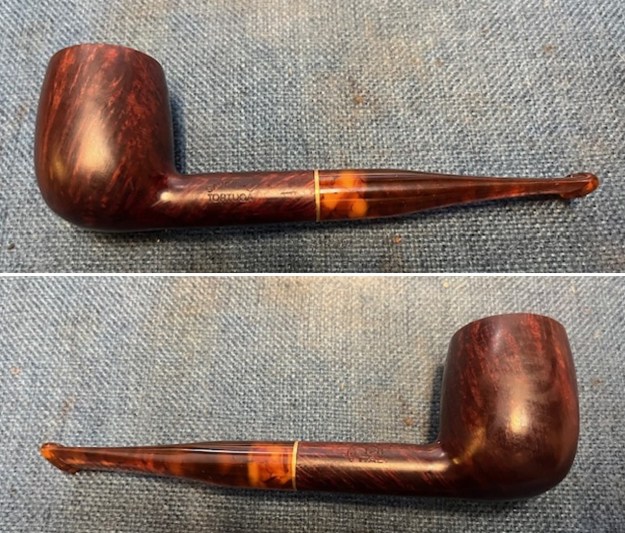
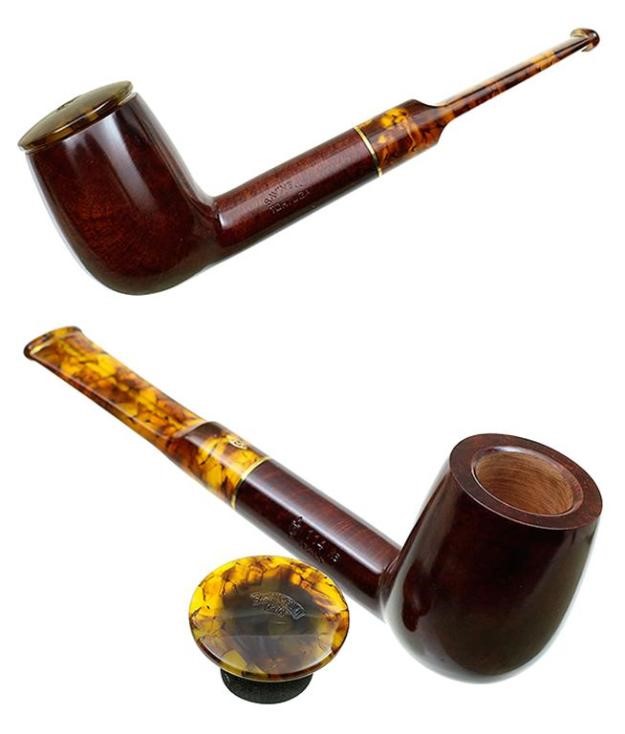
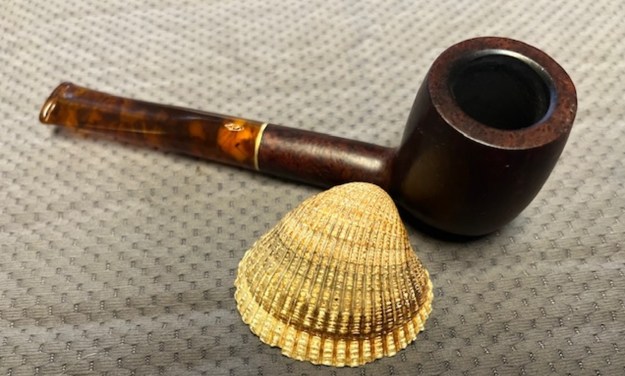
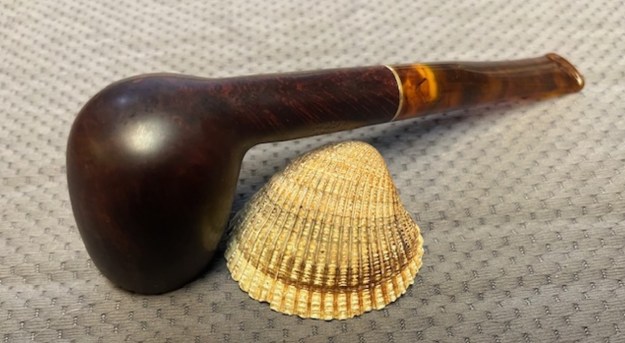
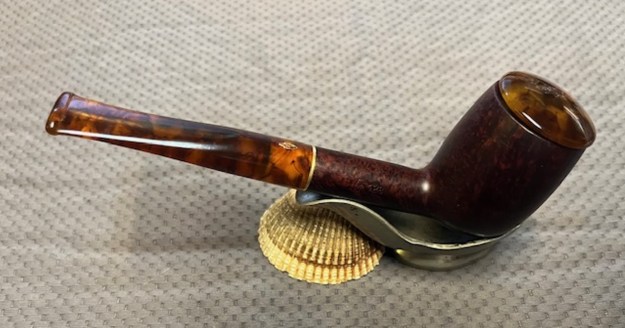
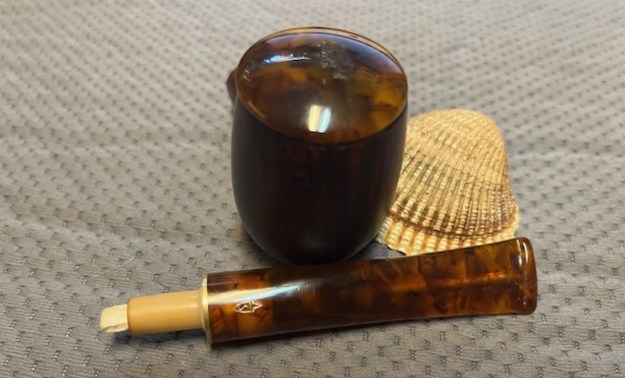
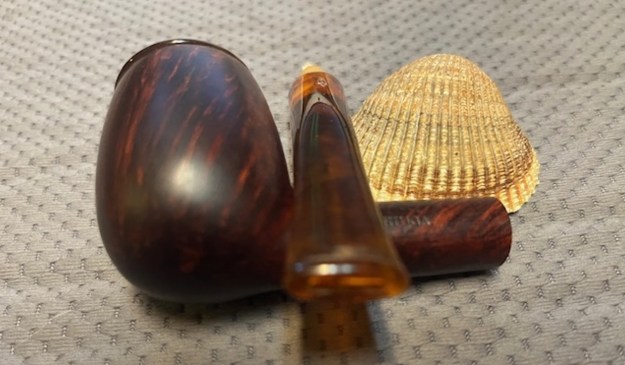
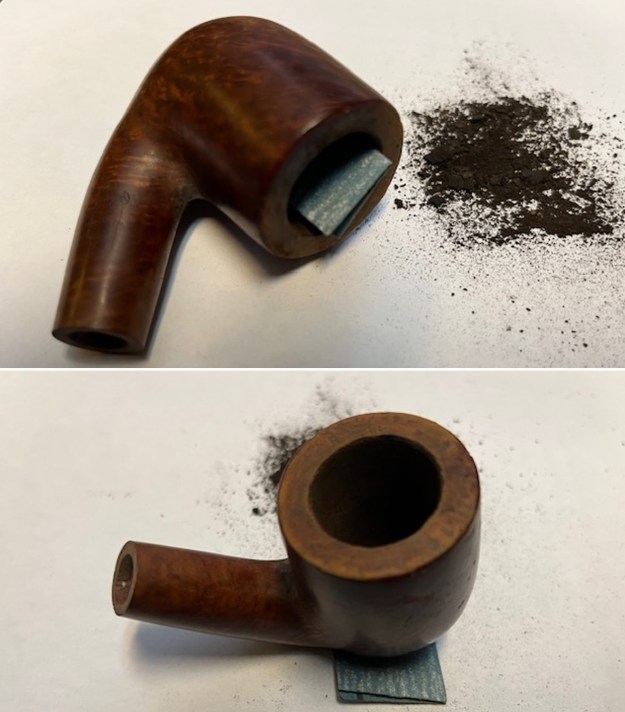
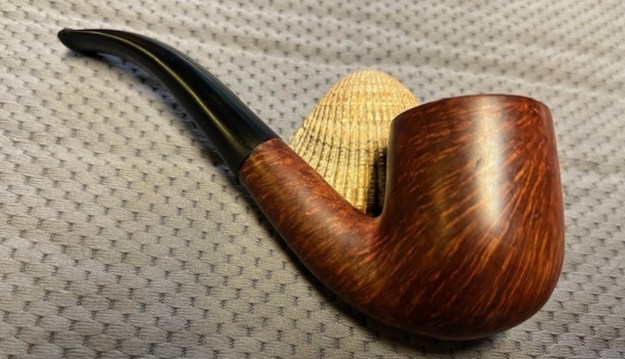
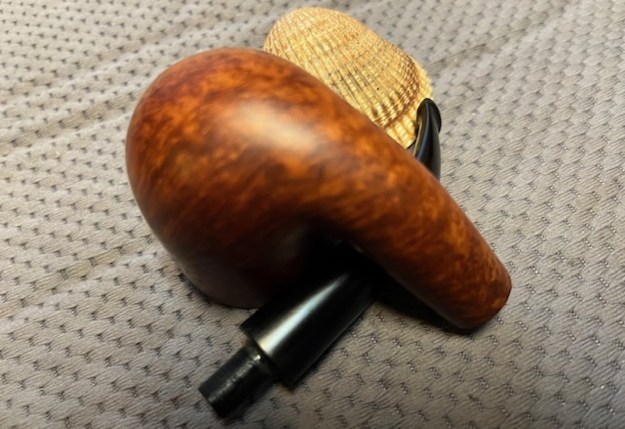
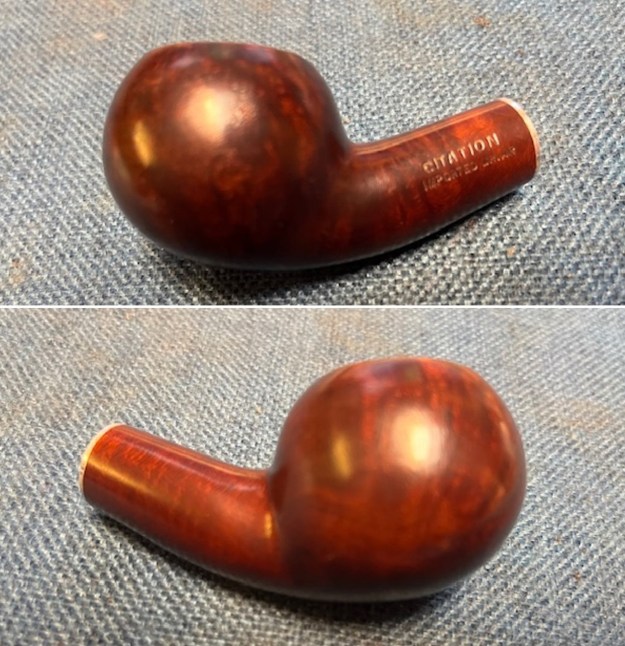
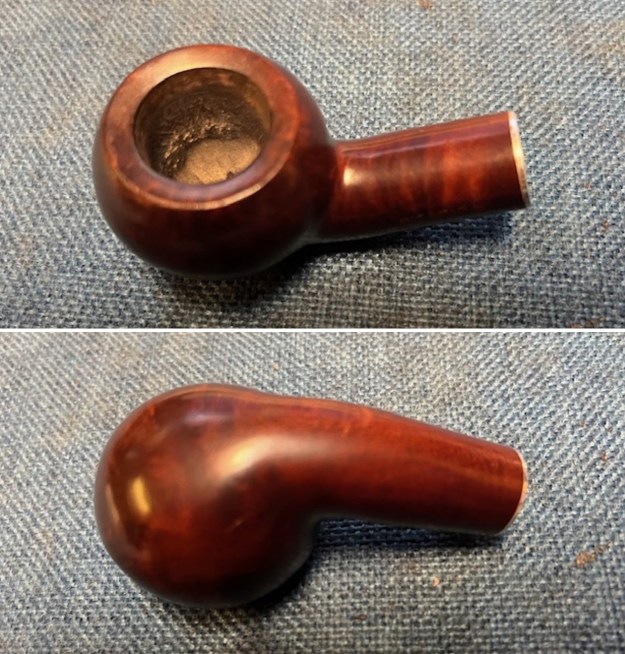
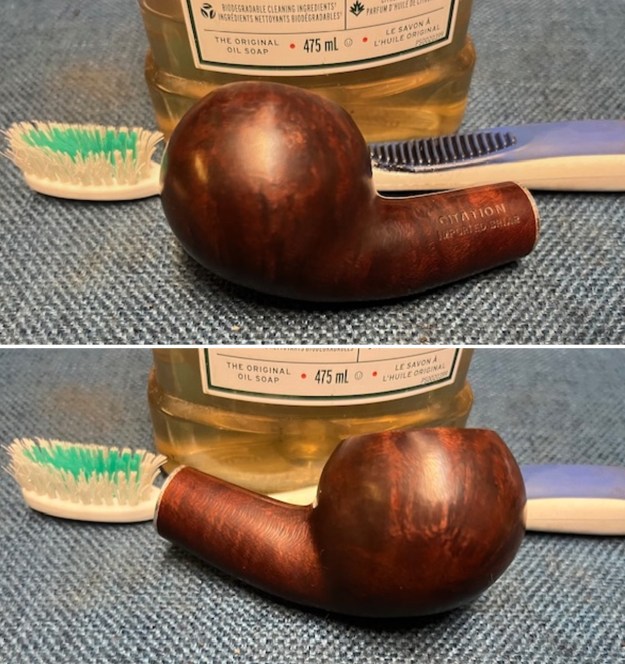
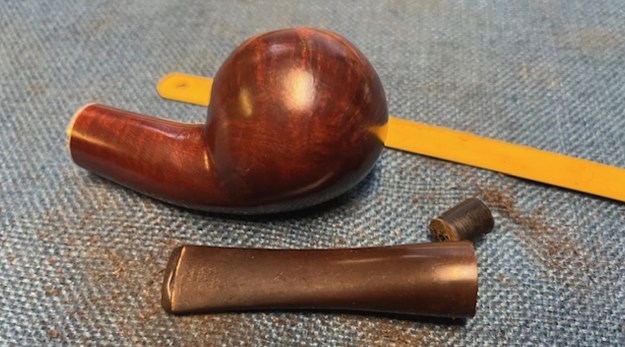
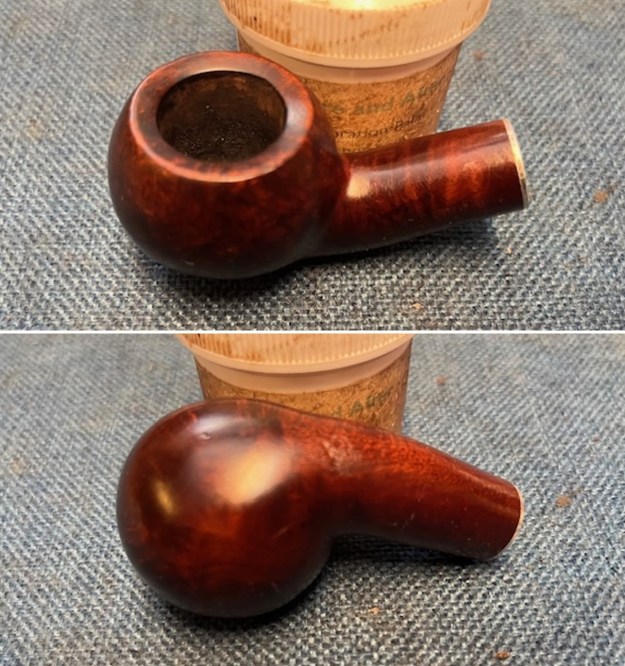
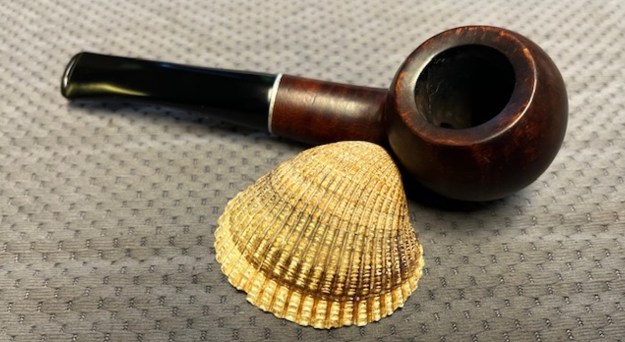
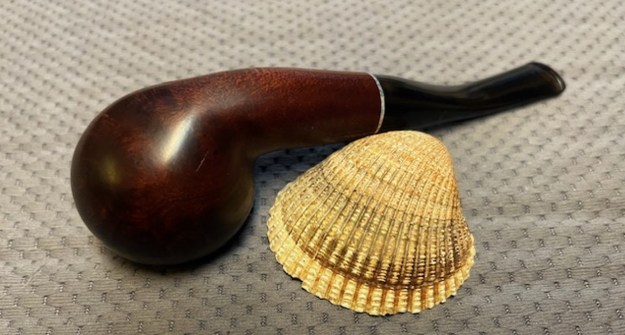
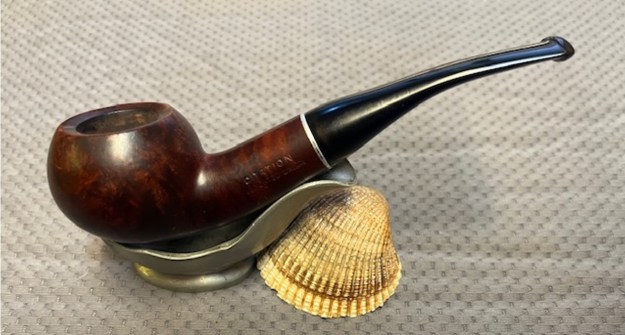
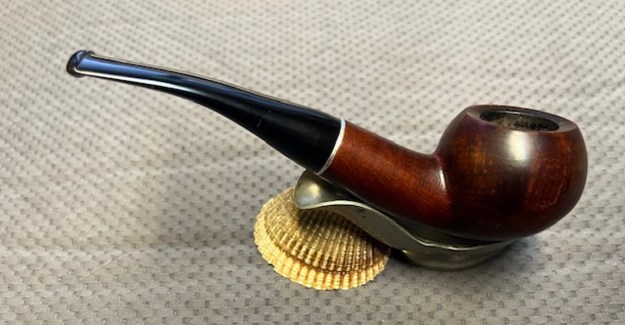
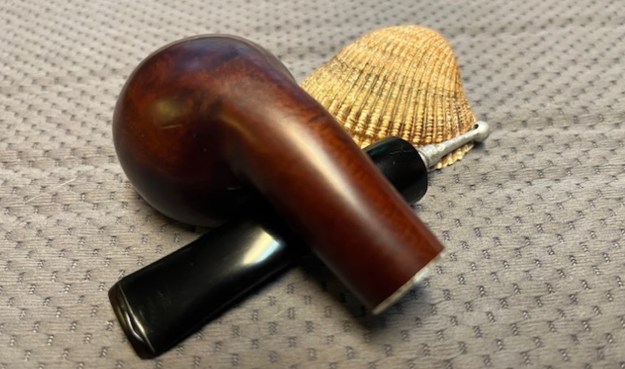
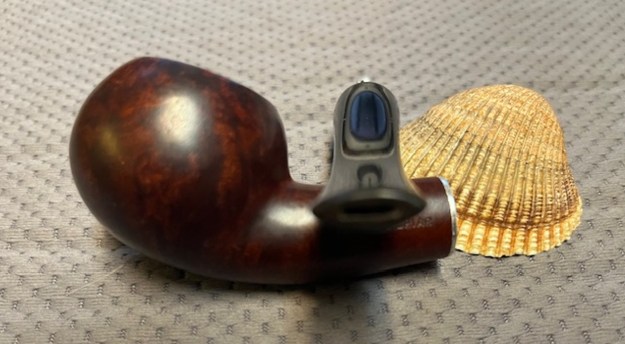
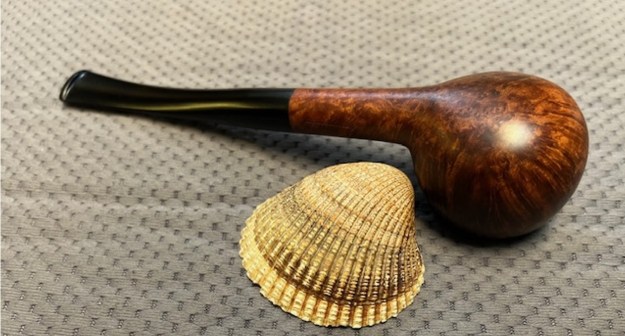
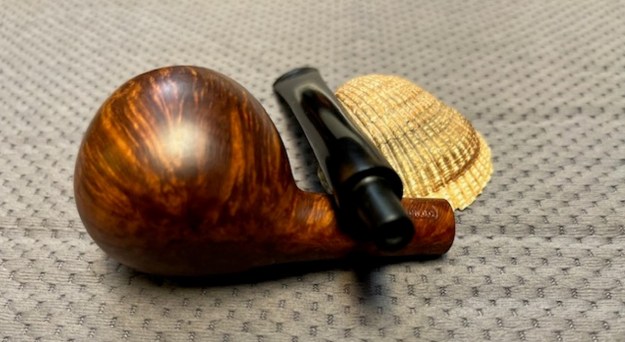
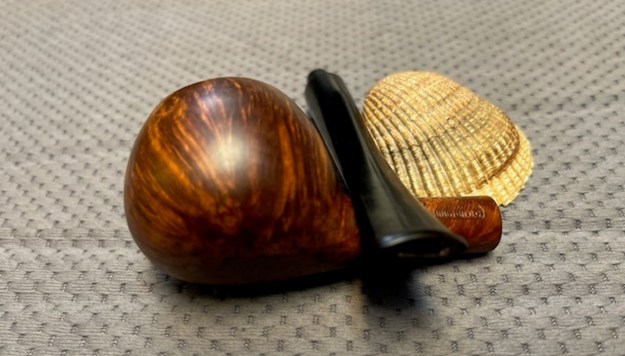
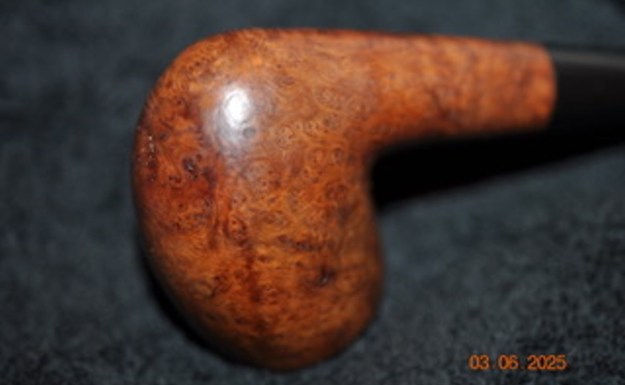
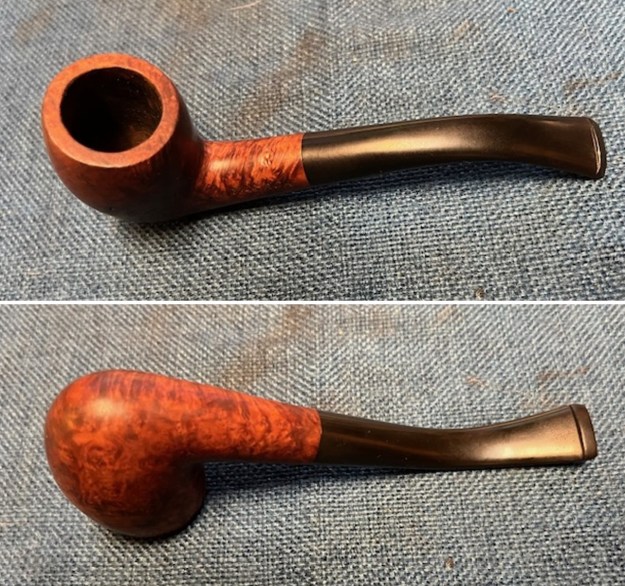
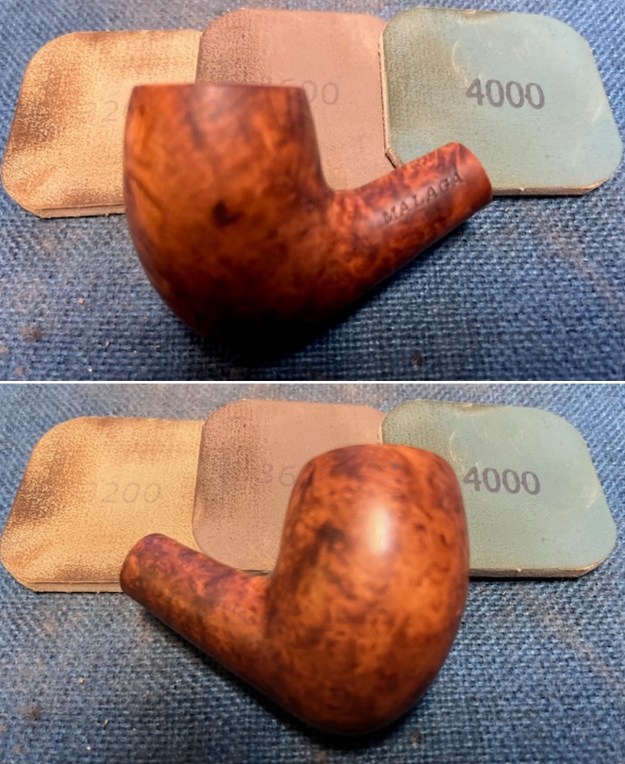
 He also took a photo of the side and bottom of the bowl and shank to show the beautiful grain around the bowl. The photos show the general condition of the bowl and dirt and wear on the rich oil finish. You can also see the flaws in the briar which explains the M-2, or second designation. It is very dirty but this is another beautiful pipe.
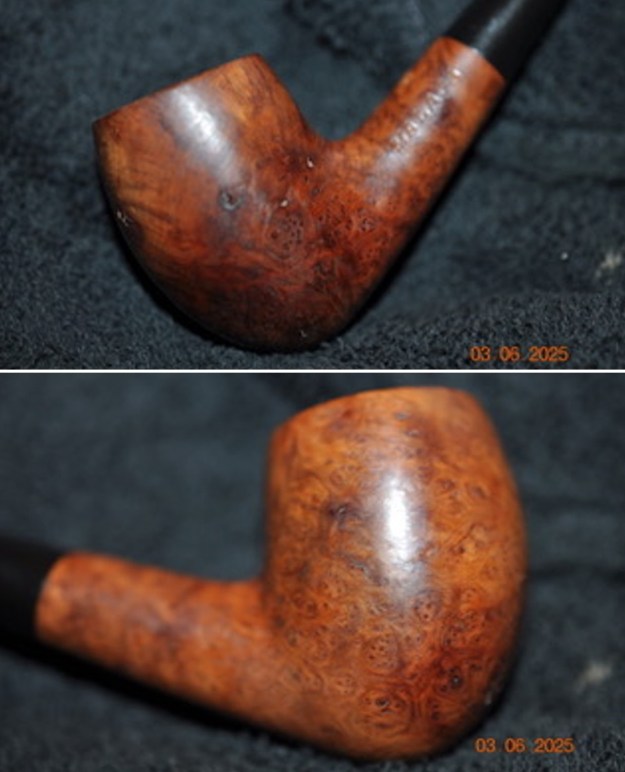
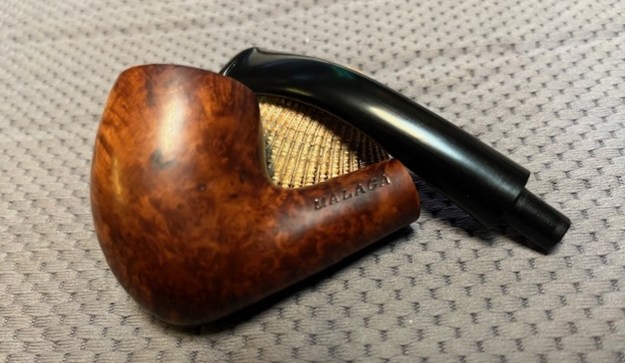
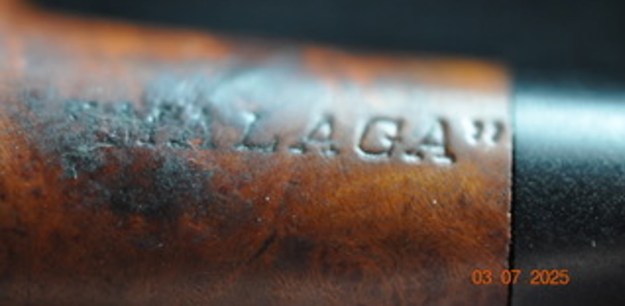
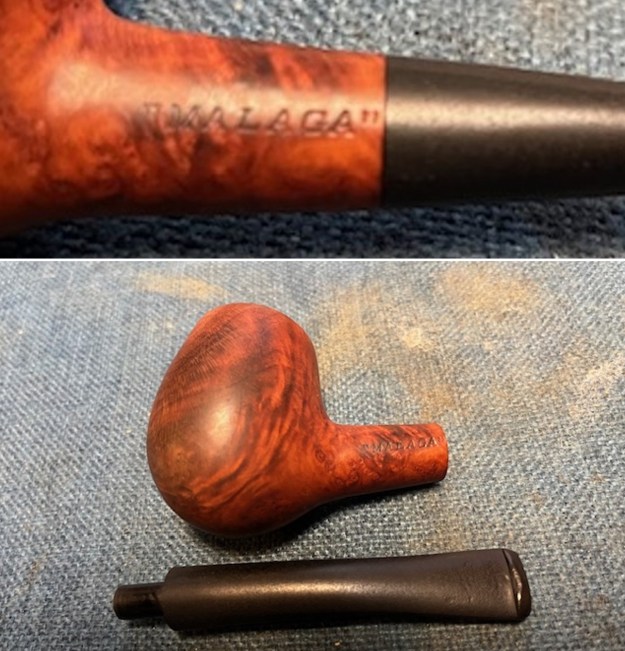
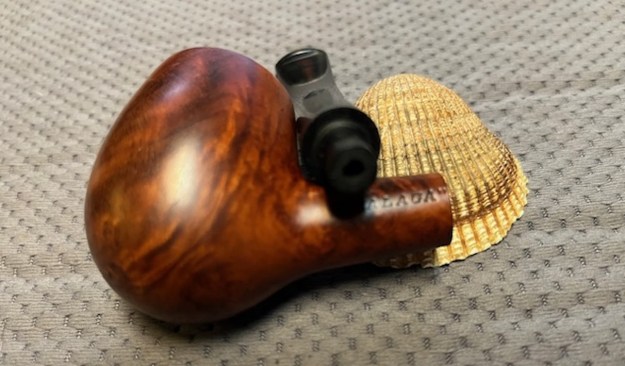
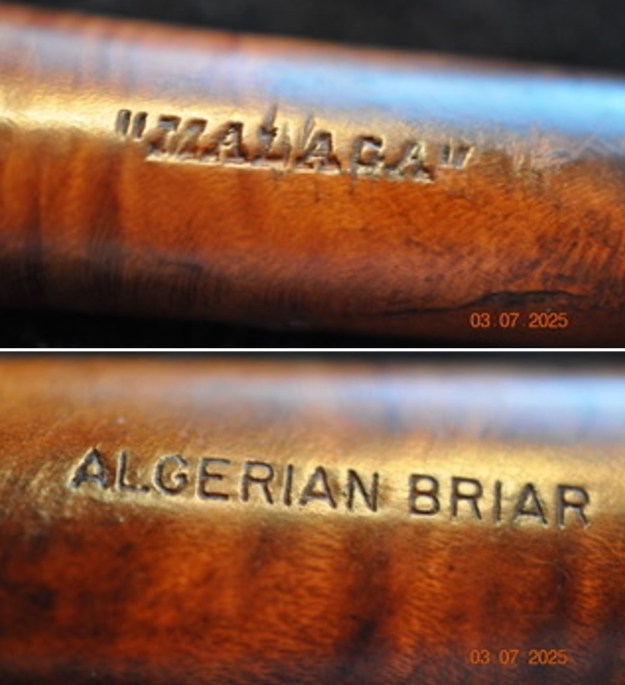
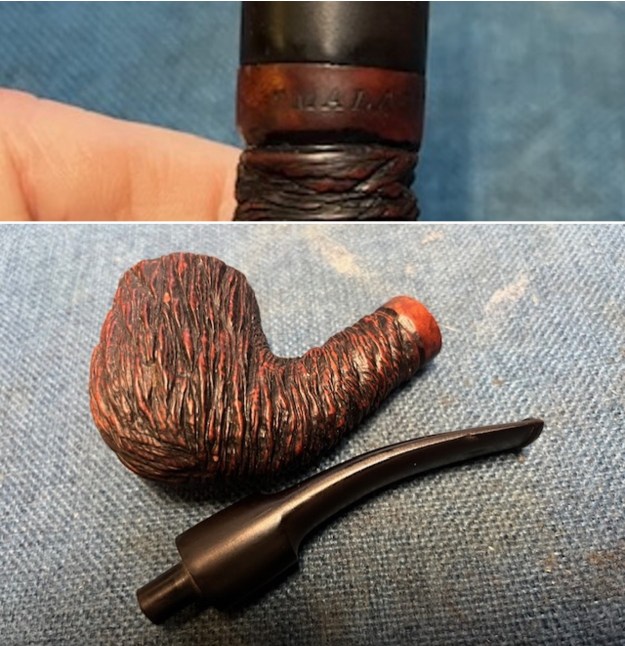
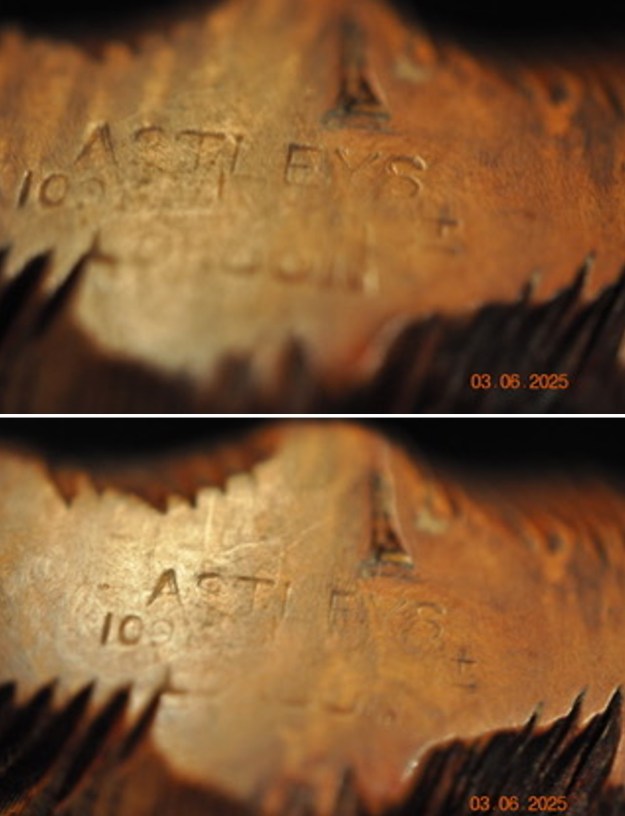
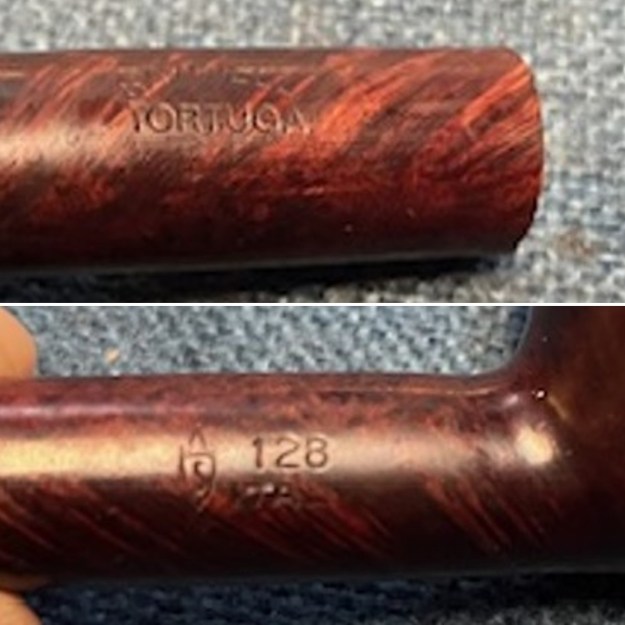
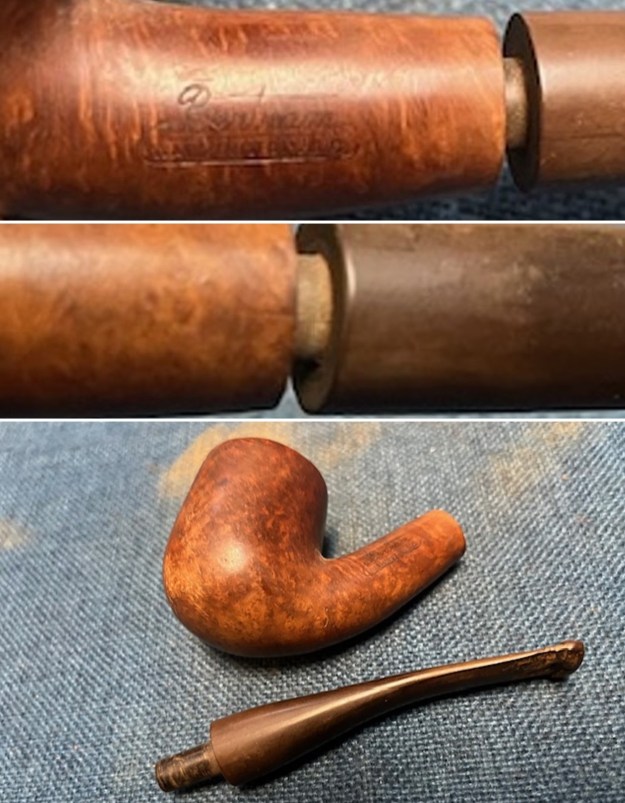
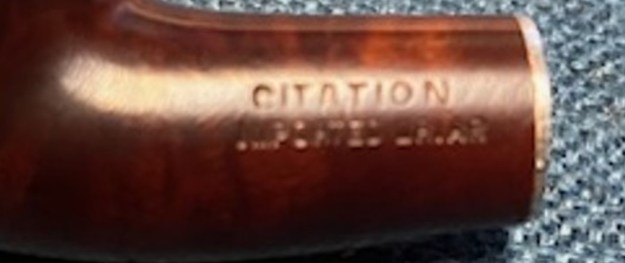
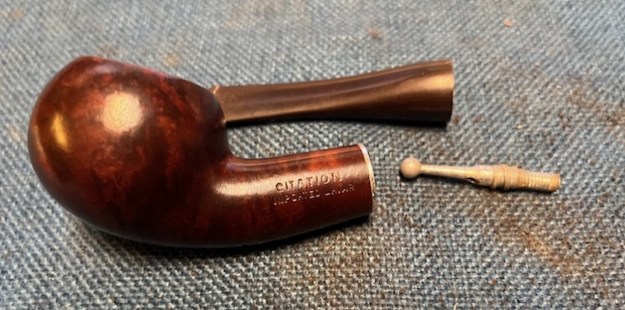
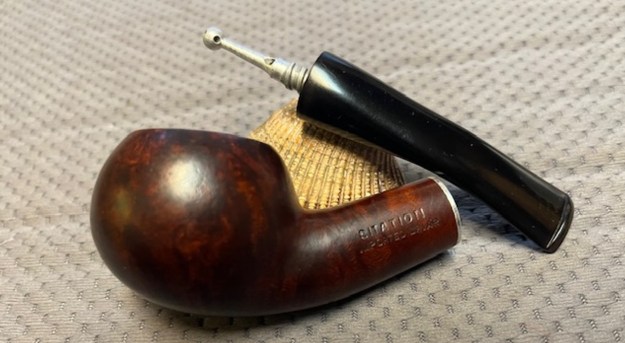
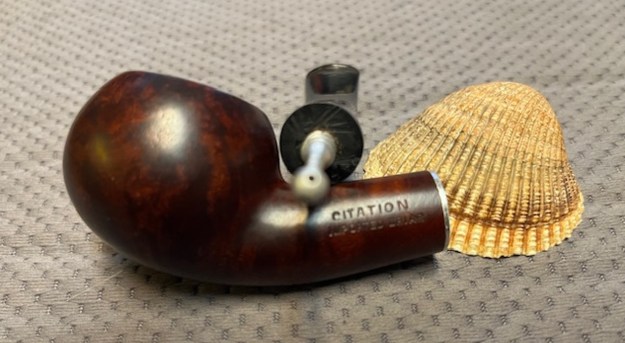
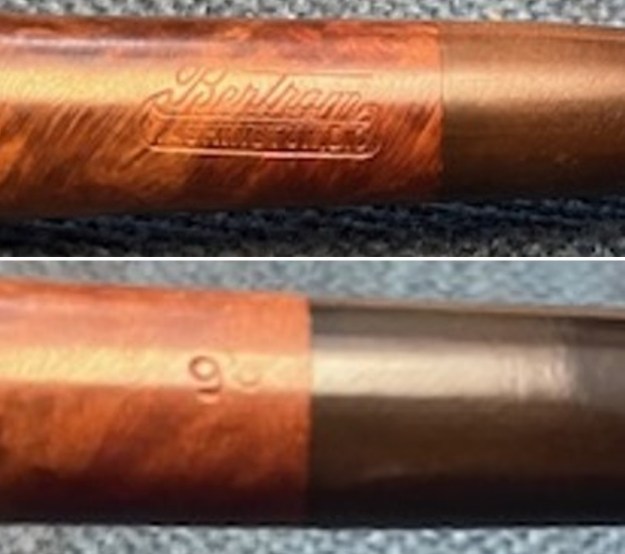
 Jeff took a photo to capture the stamping on the left and top side of the shank. The photo shows the stamping “MALAGA” on the left side and M-2 on the top side of the shank. The stamping is very readable under the heavy grime.
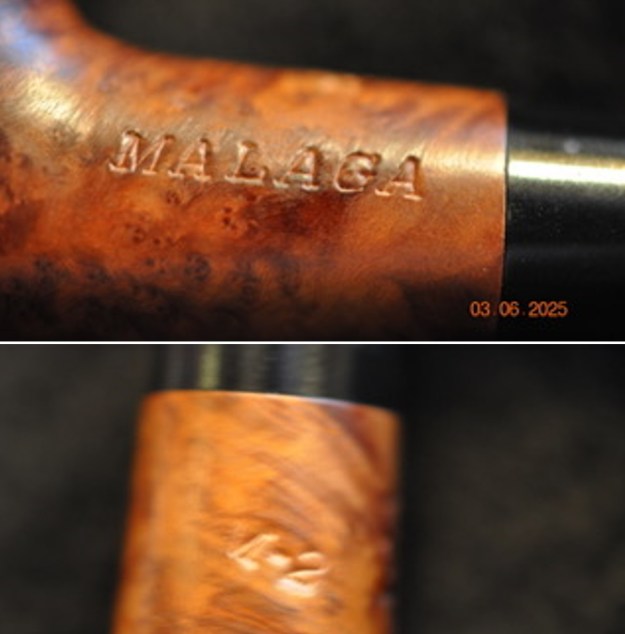 Before I started working on the pipe itself I went back and reread what I had found when I had worked on many of the Malaga pipes that had come across my work table. I am including a few pieces of information that I have gathered in the process.
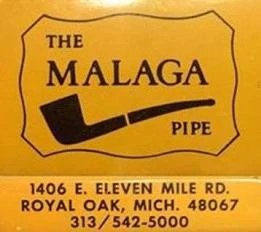 For those of you reading this blog who are unfamiliar with the brand, I am including the link to a previous blog that I wrote. It gives some of the history of the Malaga brand and the Malaga Pipe Shop in Royal Oak, Michigan in the USA. Here is the link – https://rebornpipes.com/tag/malaga-pipes/.
I have also included a link to a catalogue and the history of the pipemaker George Khoubesser. If you are interested to learn more, then I invite you to follow the link to get a feel for the brand and the pipemaker.
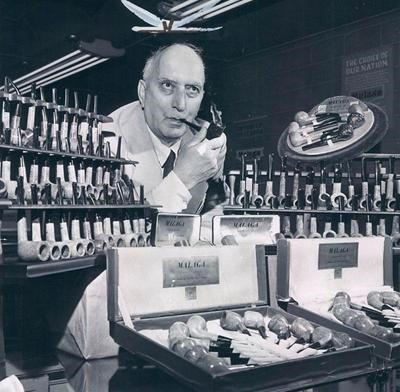
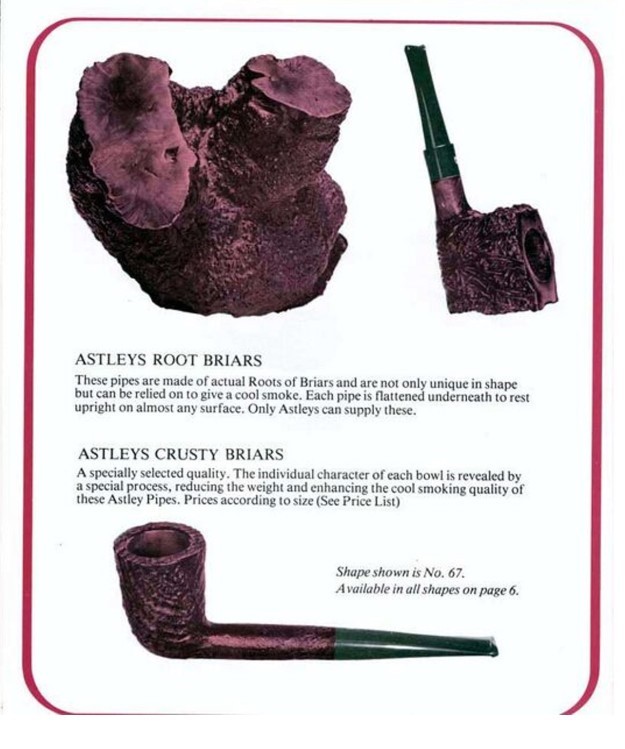
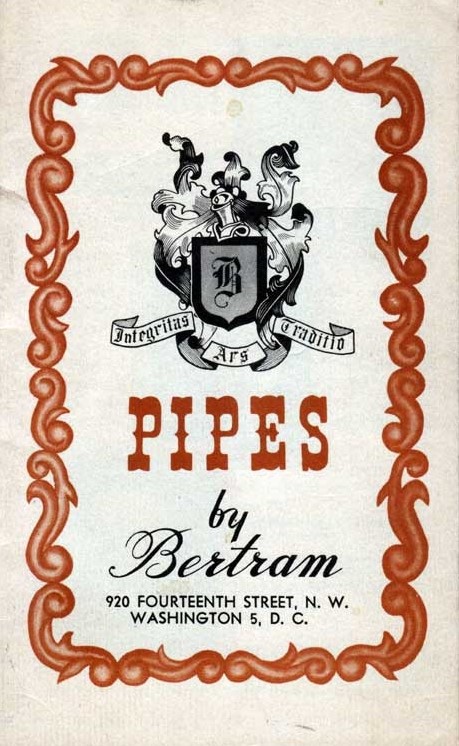
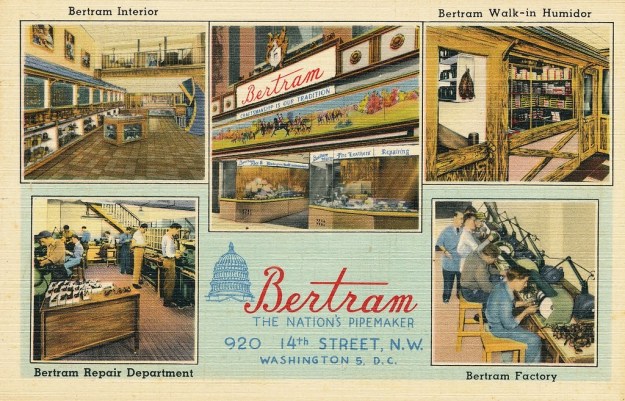
 George Khoubesser (picture to the left) started Malaga Briar Pipe Company and located it in Royal Oak, Michigan in the USA in 1939. It closed its doors for the last time in 1999 after 60 years in business. I have an old Malaga Catalogue that I scanned and put on the blog (https://rebornpipes.com/2013/02/09/george-khoubesser-and-malaga-pipes/). The catalogue describes the manufacture of the pipes as follows:
Painstaking caution is exercised in selecting flawless, perfect briar wood for the purpose of making and Curing of the “Malaga.” You can be certain of this fact, because none other than the choicest and finest select briarwood will withstand the “Malaga” Curing process. Other than the choicest quality and grain, will split wide open in the Curing vats… The Curing method renders all “Malaga” pipes, light in weight… Most all “Malaga” Senior pipes are left in their natural state; except for a skillful waxing which brings out the rich beauty of the virgin grain. No artificial polishing stain, shellac or varnishes are added. Malaga closed in 1999 after 60 years in business.
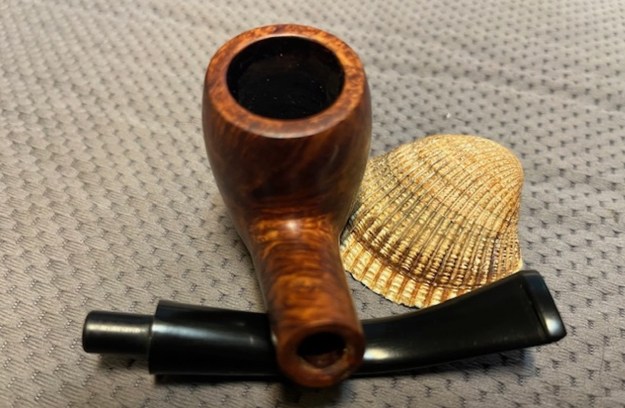
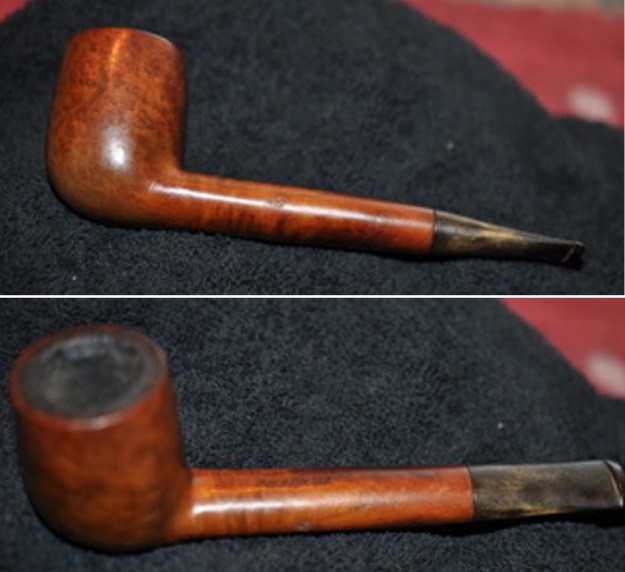
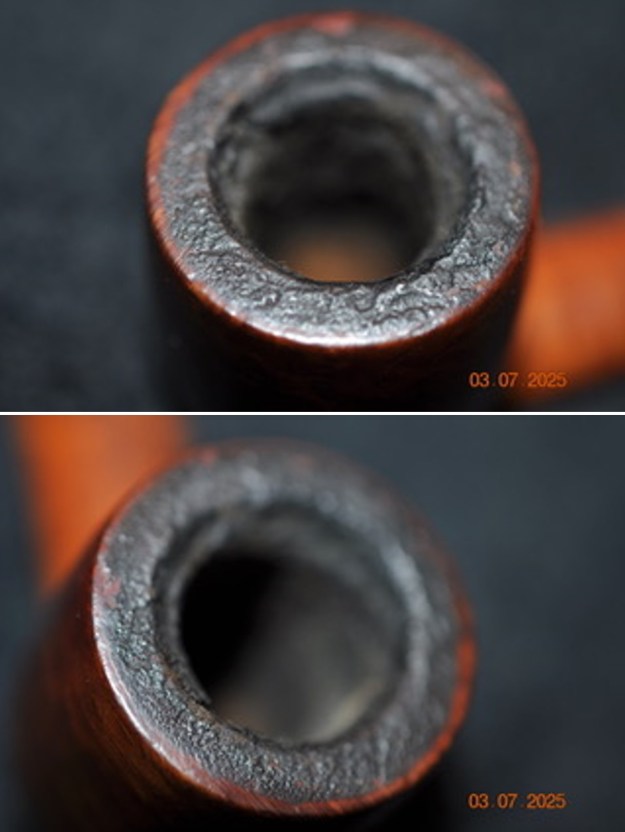
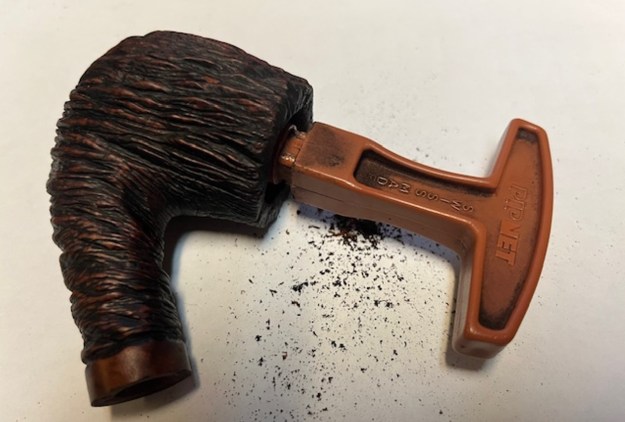
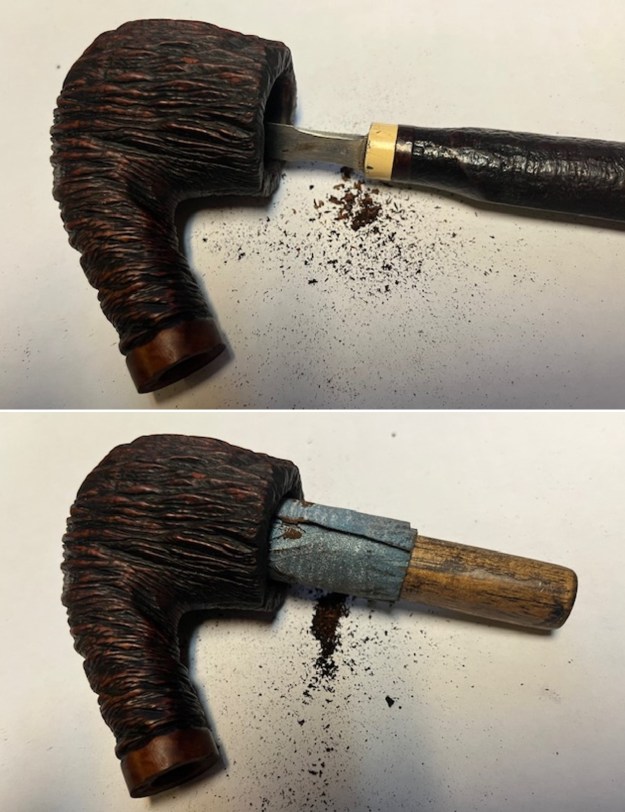
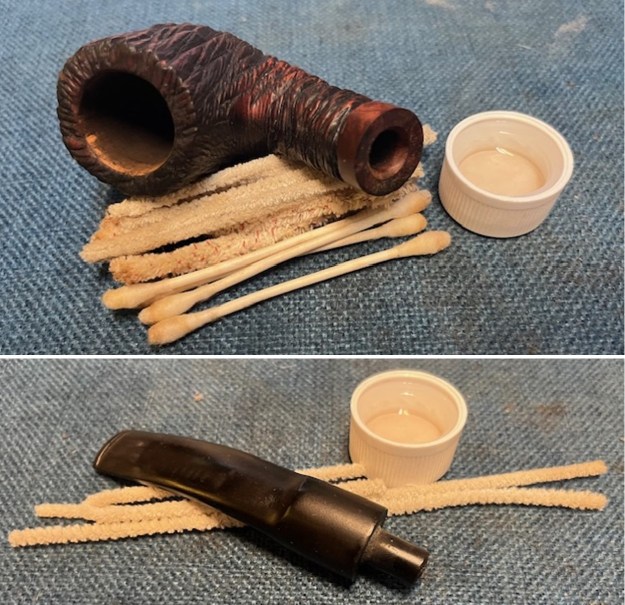
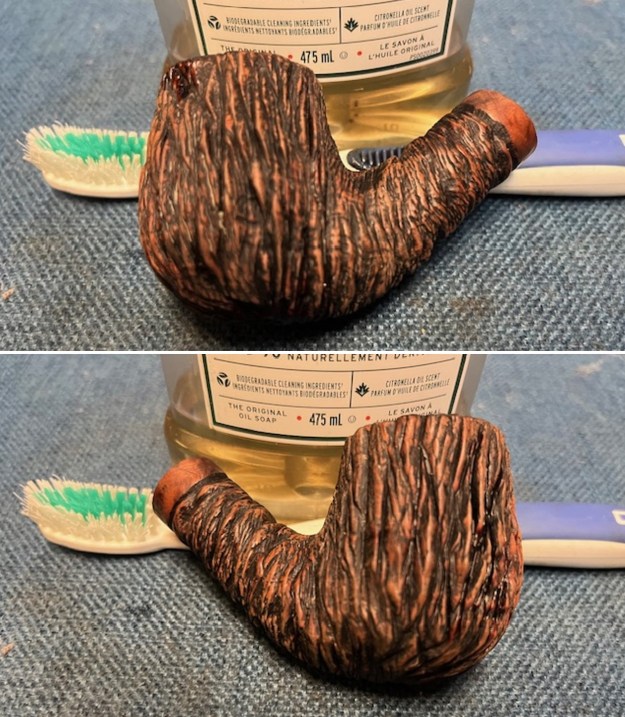
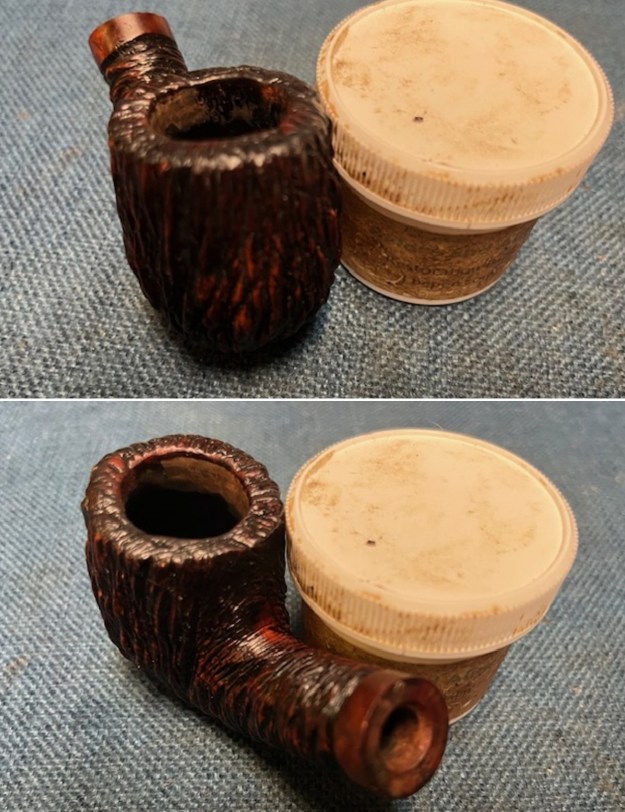
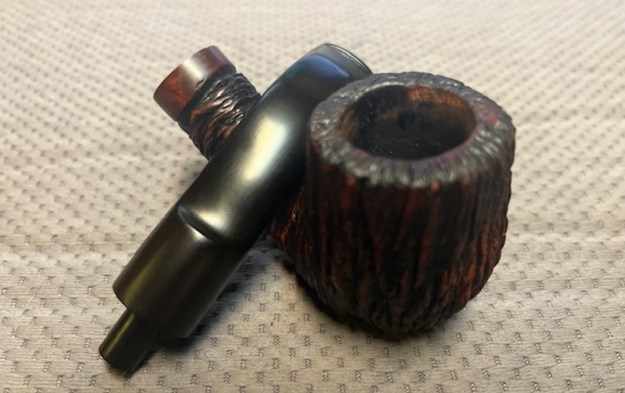
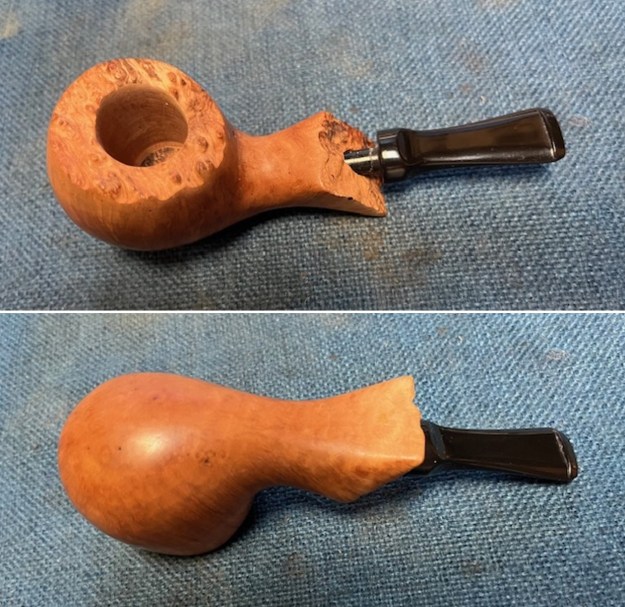
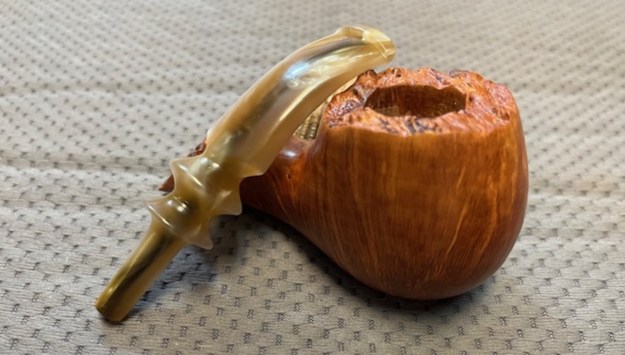
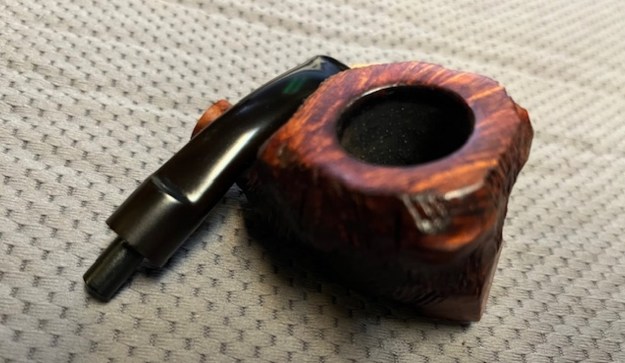
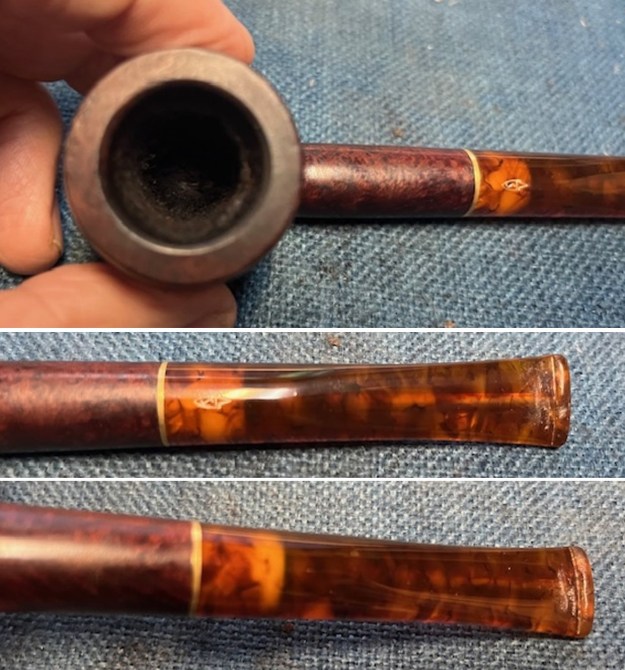
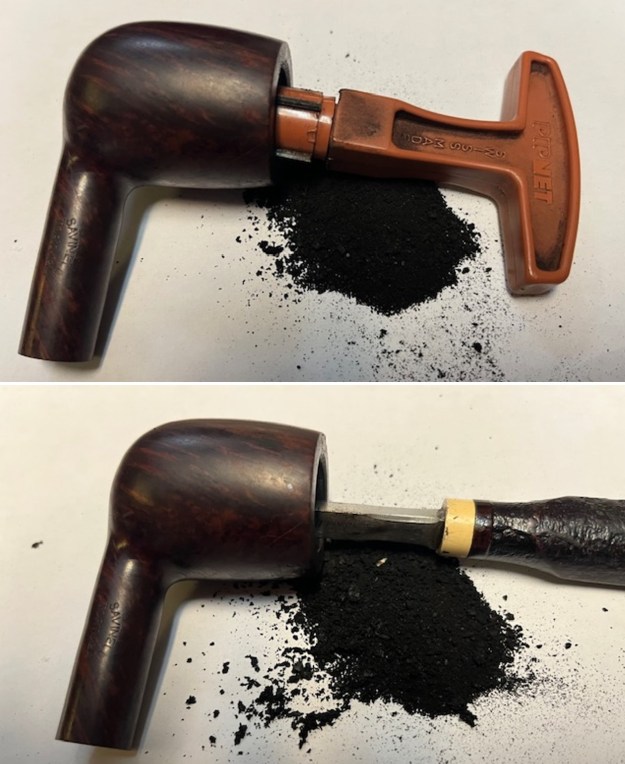
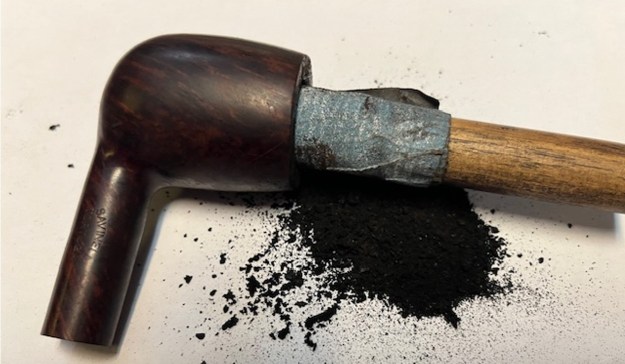
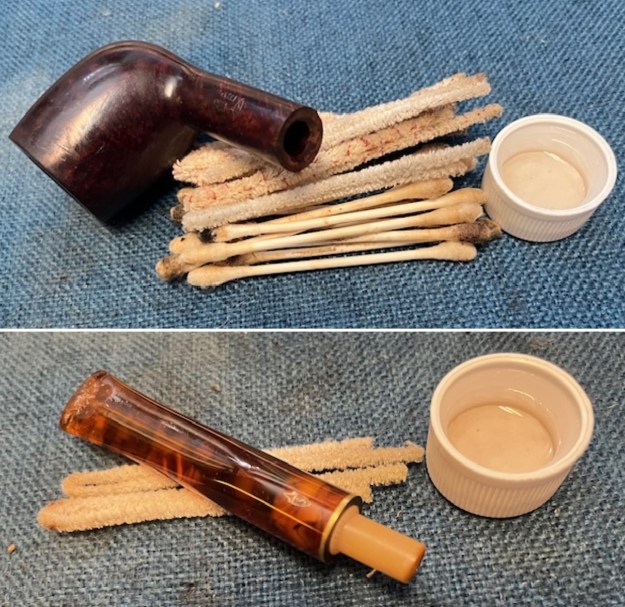
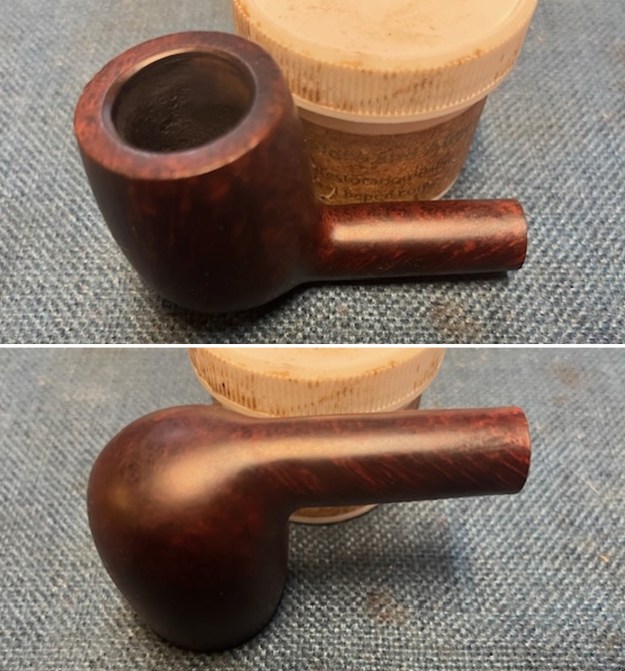
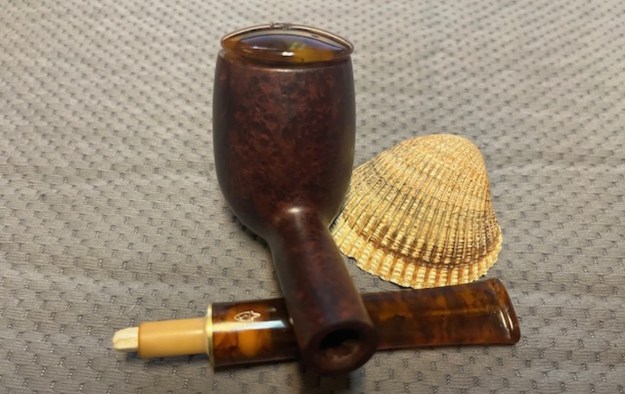
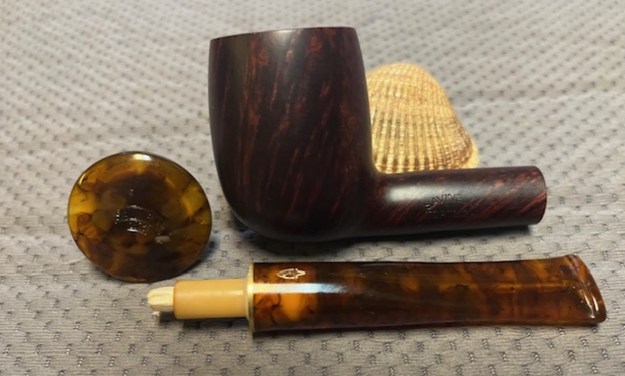
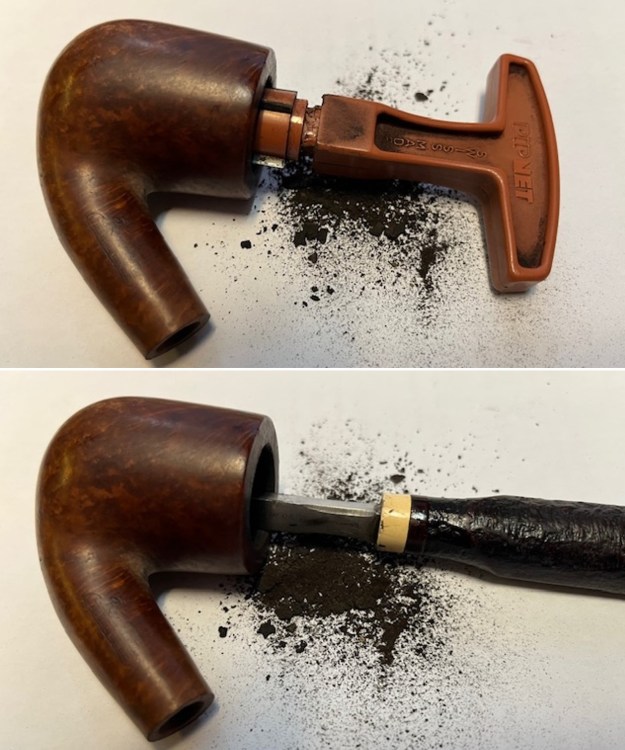
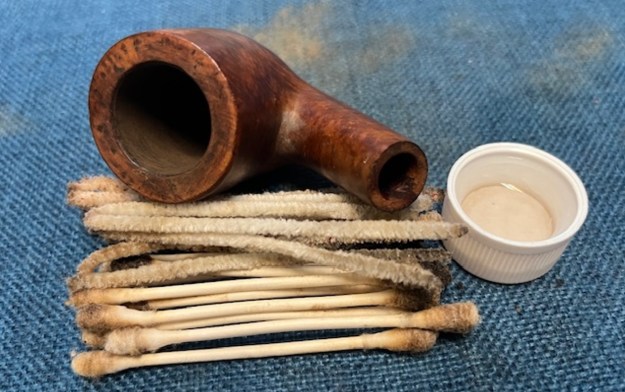
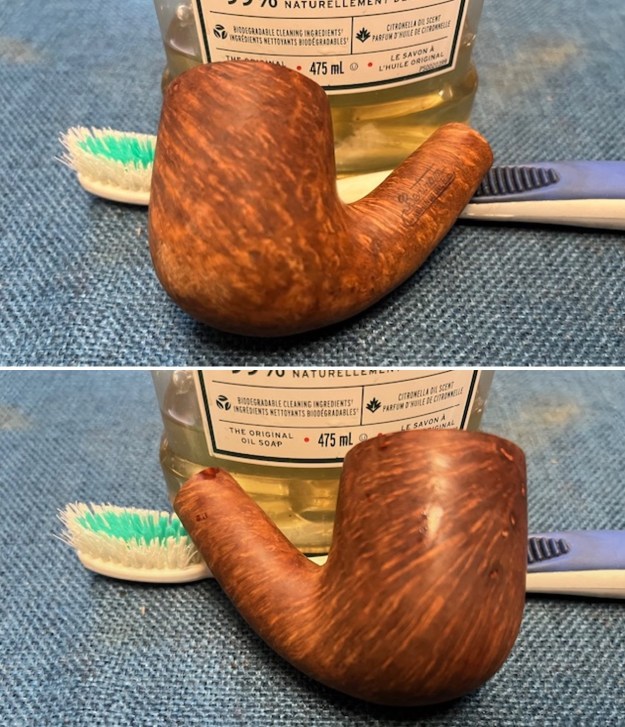
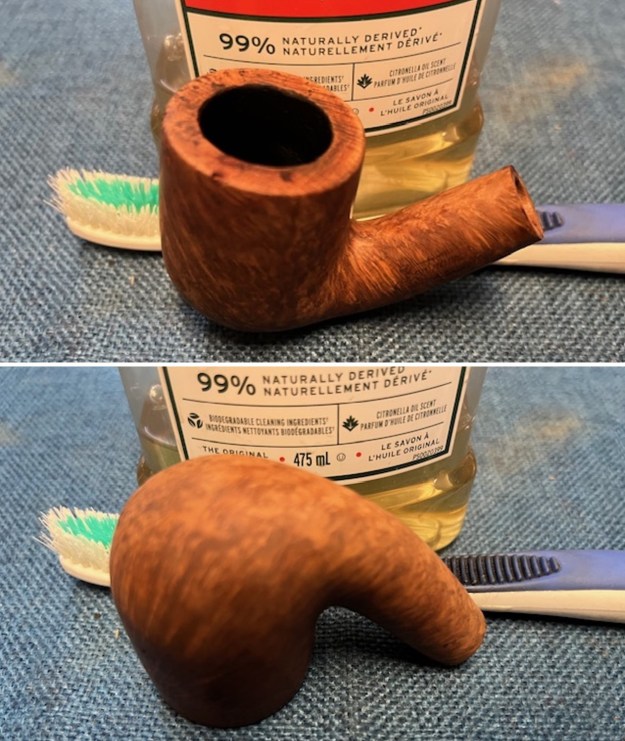
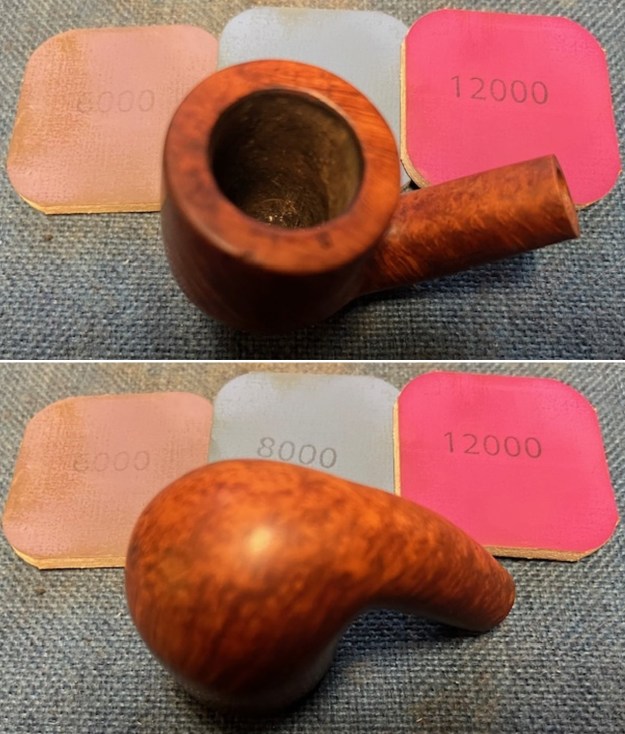
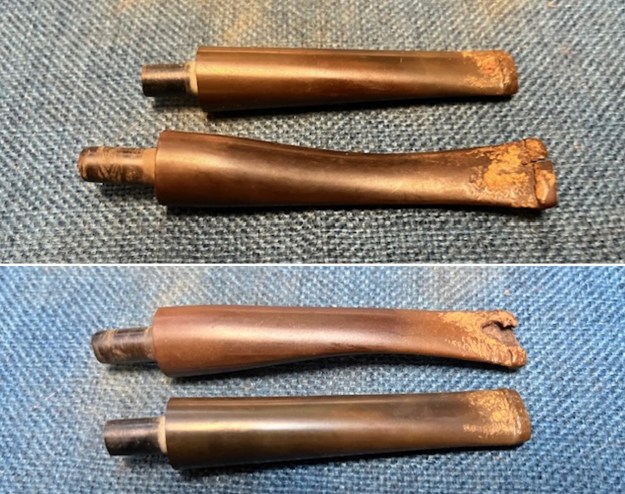
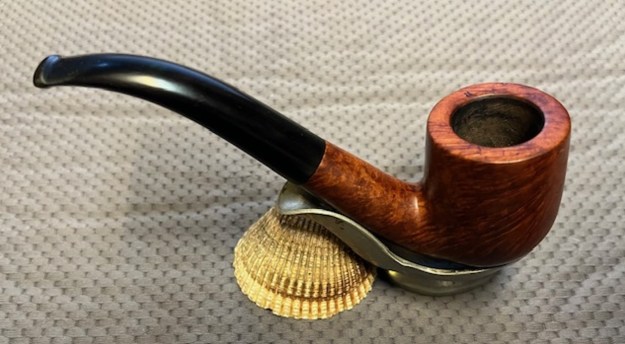
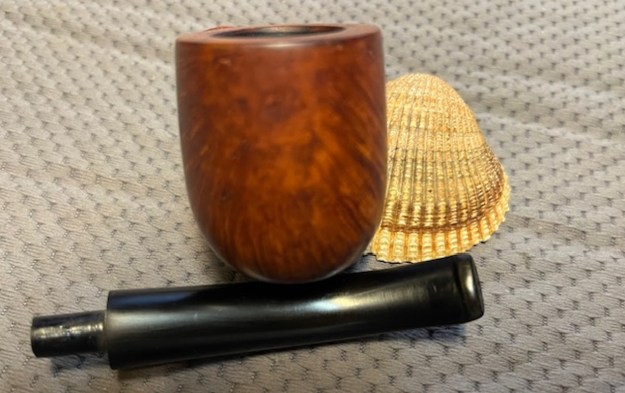
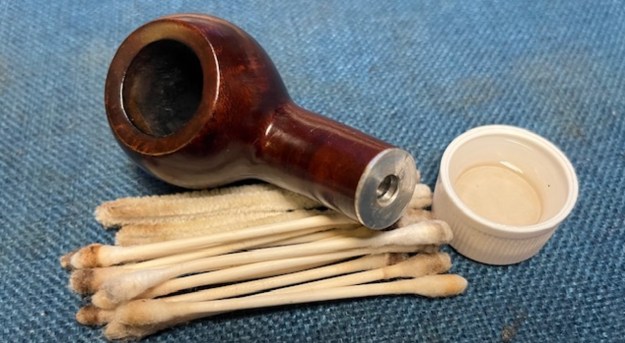
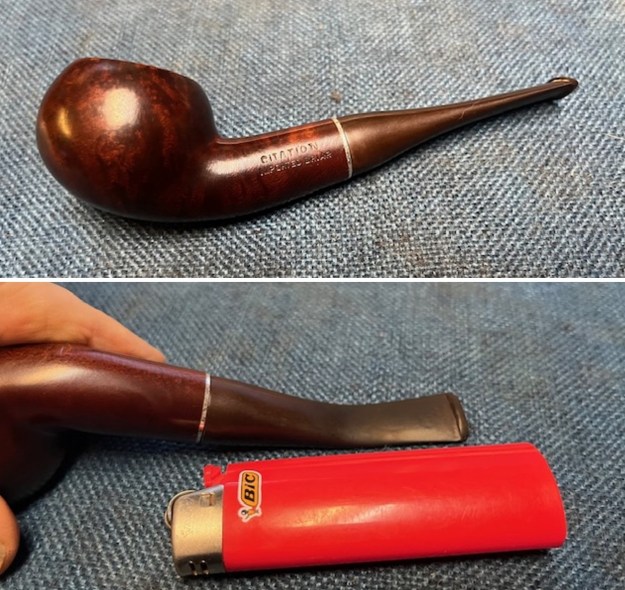
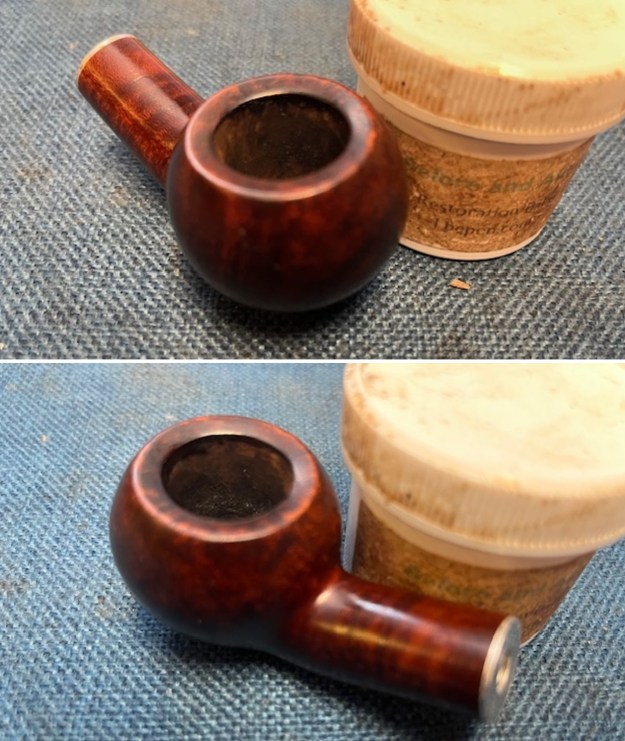
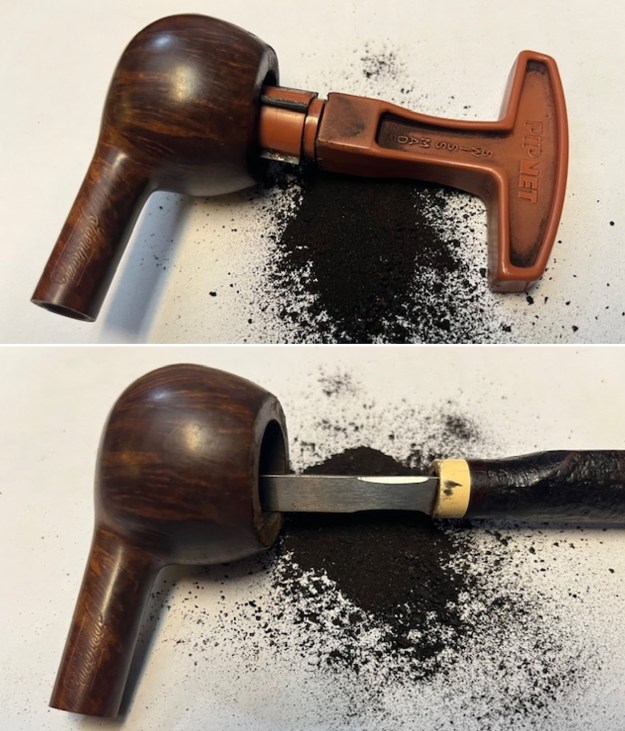
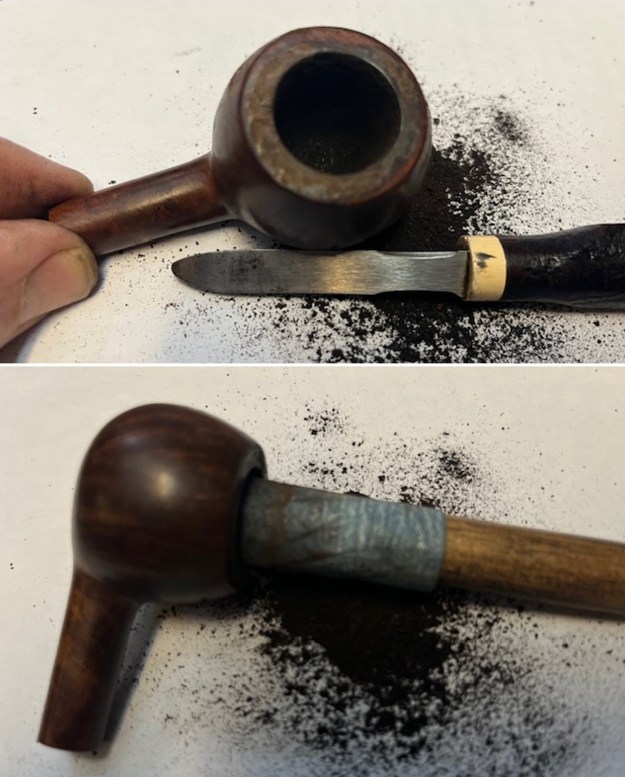
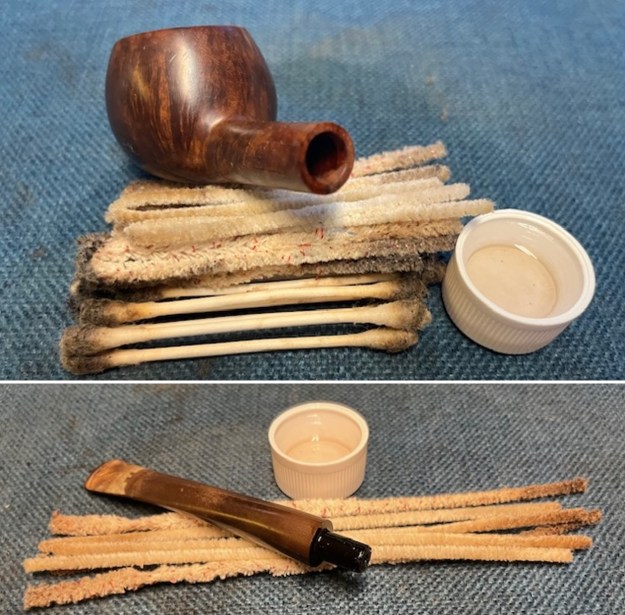
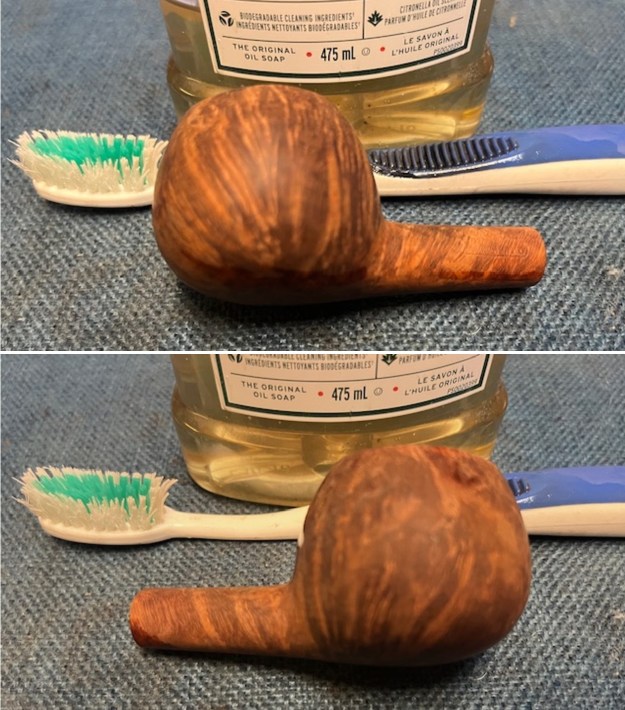
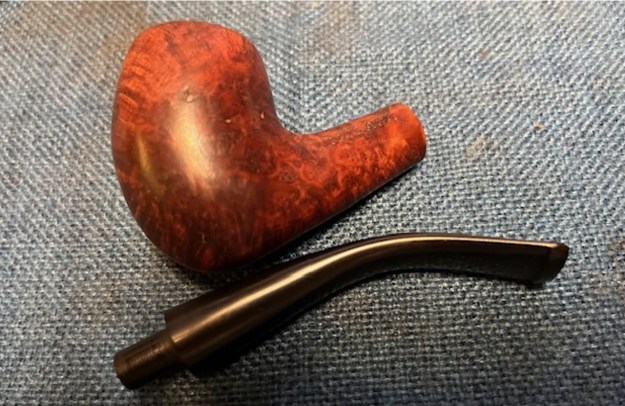
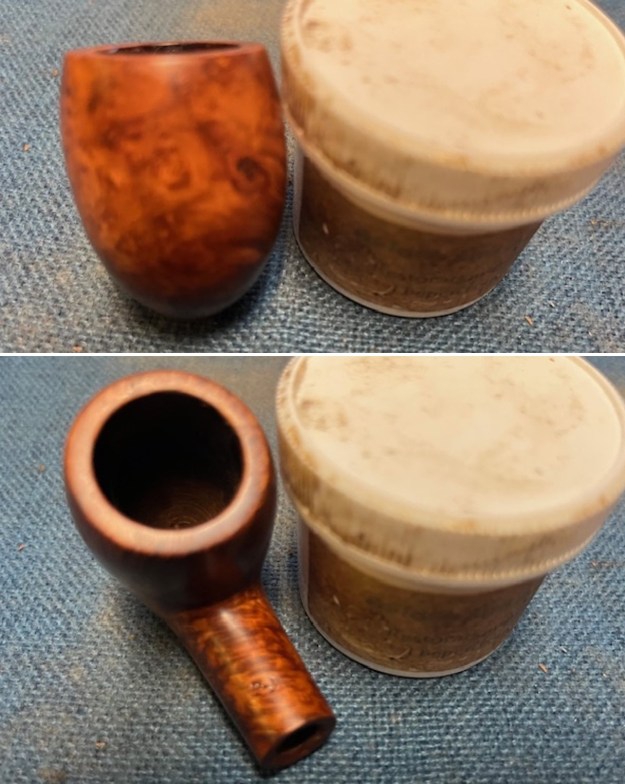
Jeff reamed the bowl with a PipNet pipe reamer and followed up with a Savinelli Fitsall pipe knife to remove the cake. He scrubbed out the mortise and the airway in the shank and the stem with alcohol, cotton swabs, shank brushes and pipe cleaners. He scrubbed the exterior of the bowl, rim, shank and stem with a tooth brush and Murphy’s Oil Soap to remove the oils and tars on the rim and the grime on the finish of the bowl. He rinsed it under running water. He dried it off with a soft cloth. He was able to remove the lava build up on the rim top and the flat surface of the rim top and the inner edge had some burn damage on the front and back side. The outer edge was rough and nicked. I took photos of the pipe to show its condition before I started my work on it. The stem also looked better.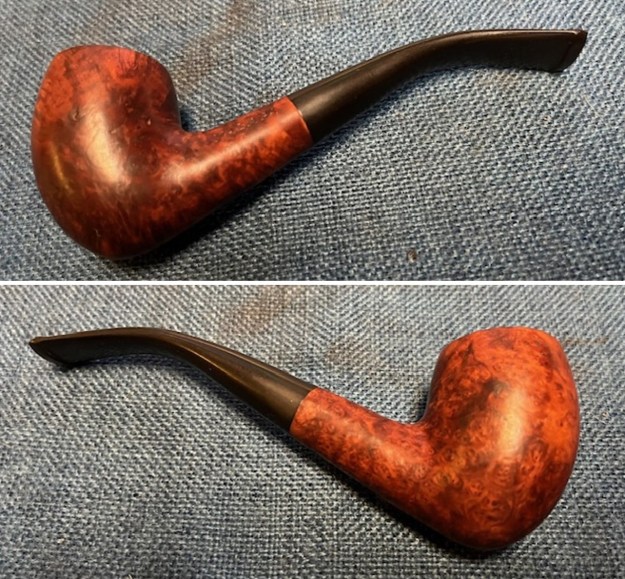
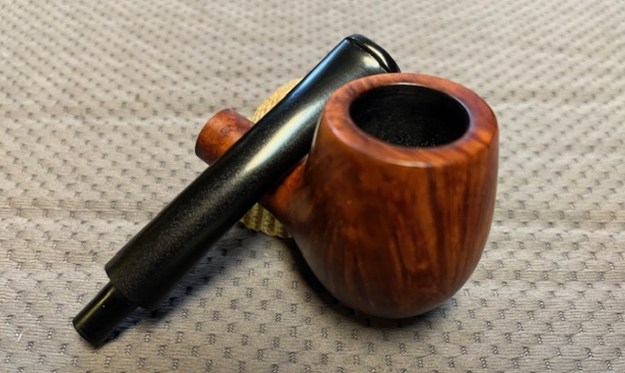
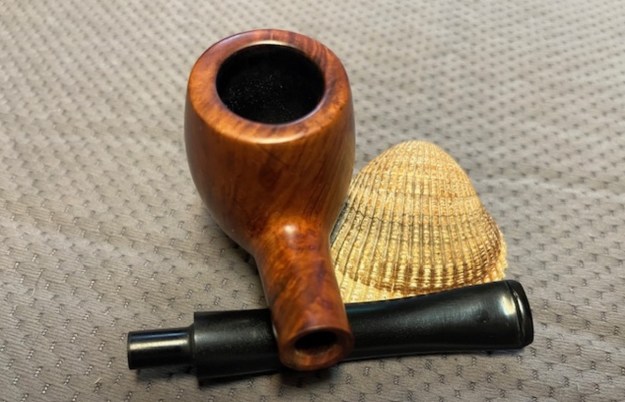
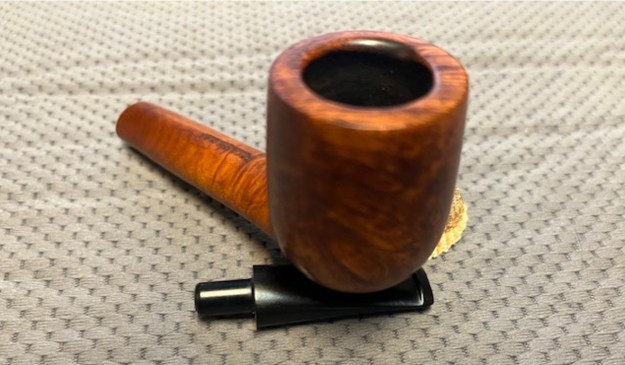
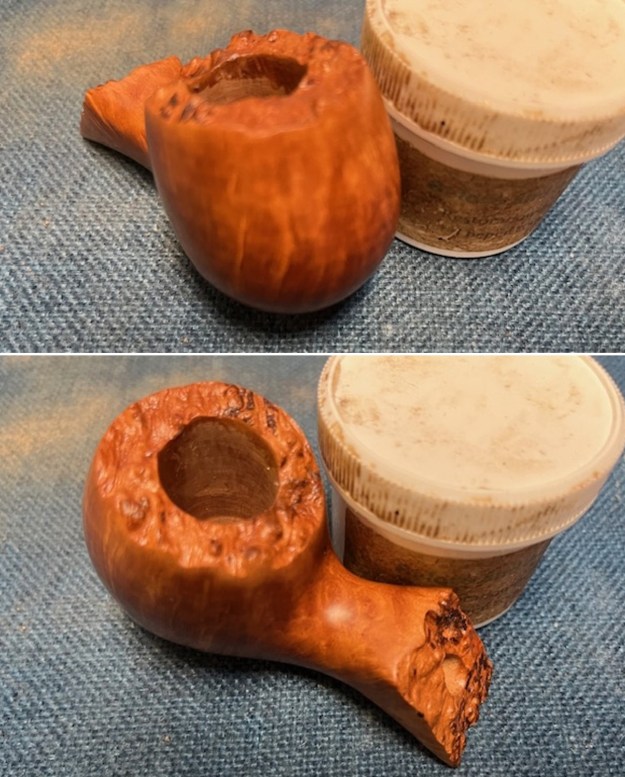
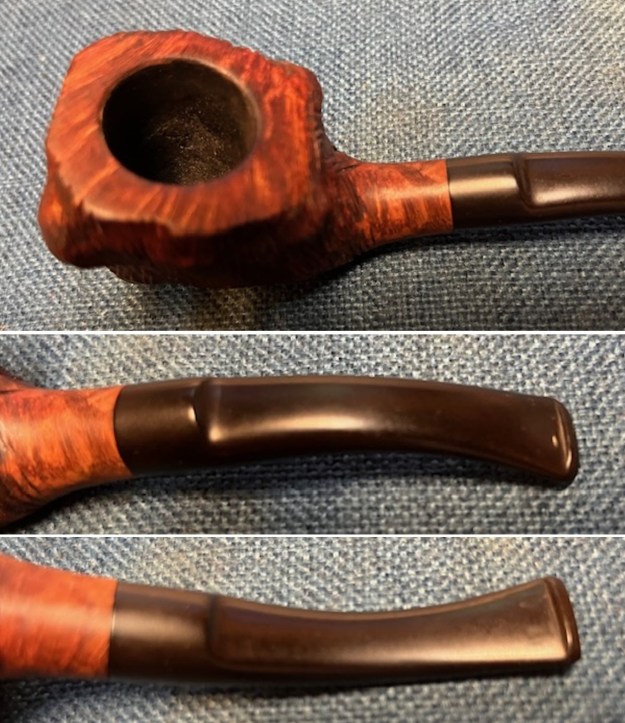
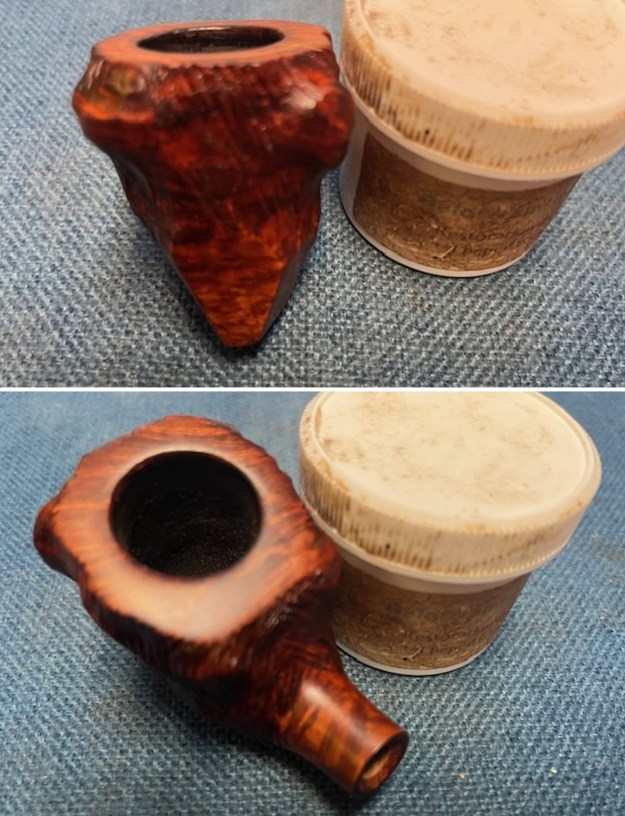
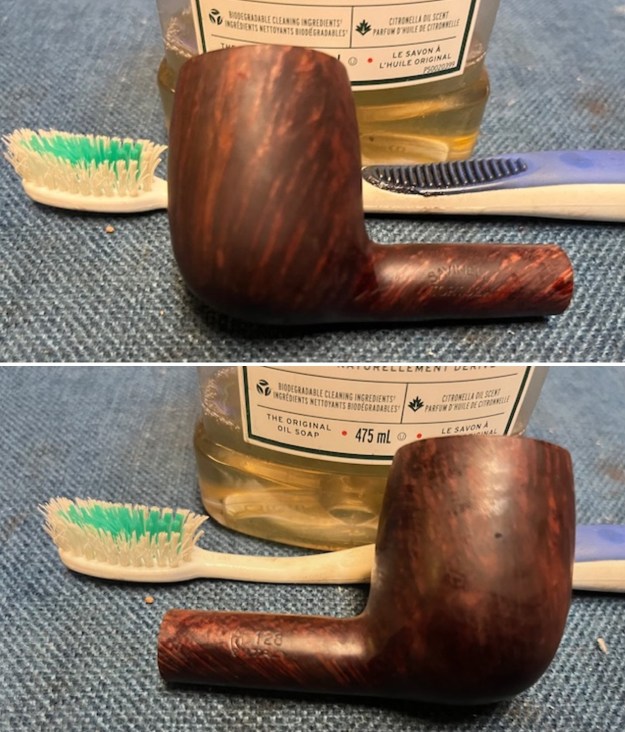
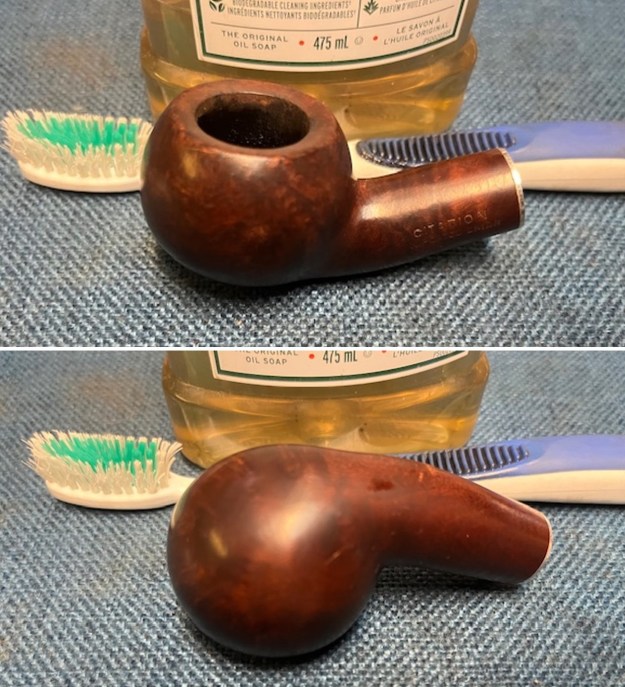
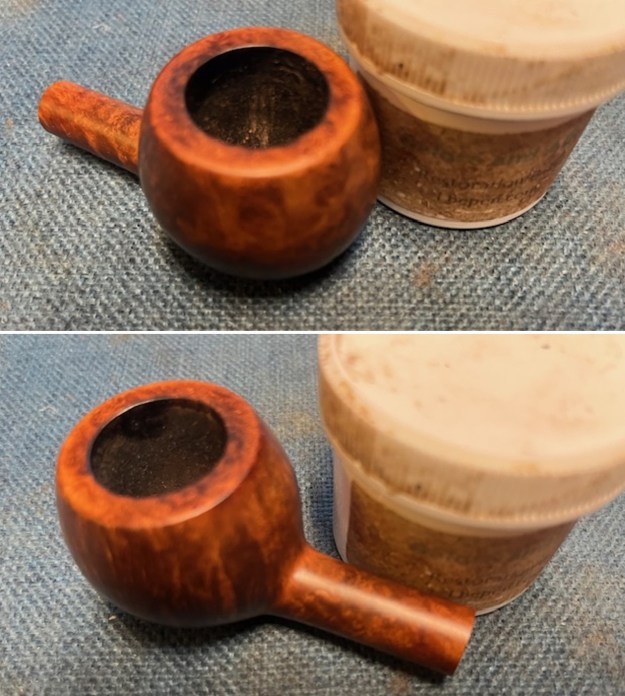
 I took close up photos of the bowl and rim top as well as the stem. You can see the condition of the rim top and bowl in the first photo. Jeff was able to remove all of the tar and oils and you can that the top and the edges of the bowl look very good. The stem had light tooth marks and chatter on both sides near the button on both sides.
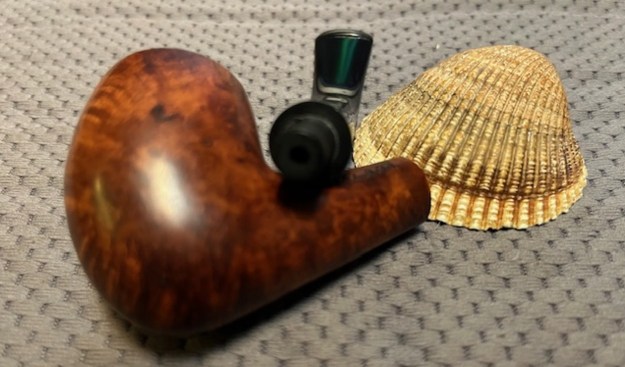
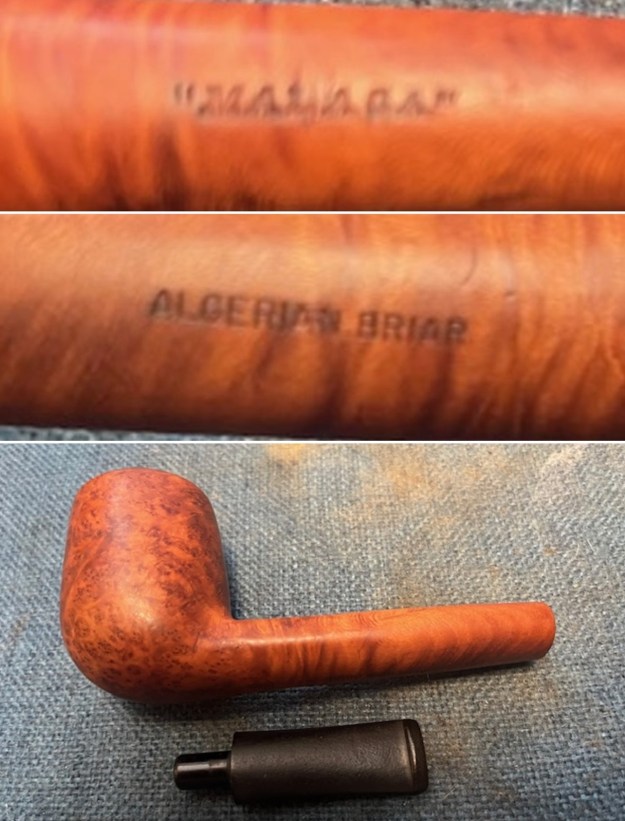
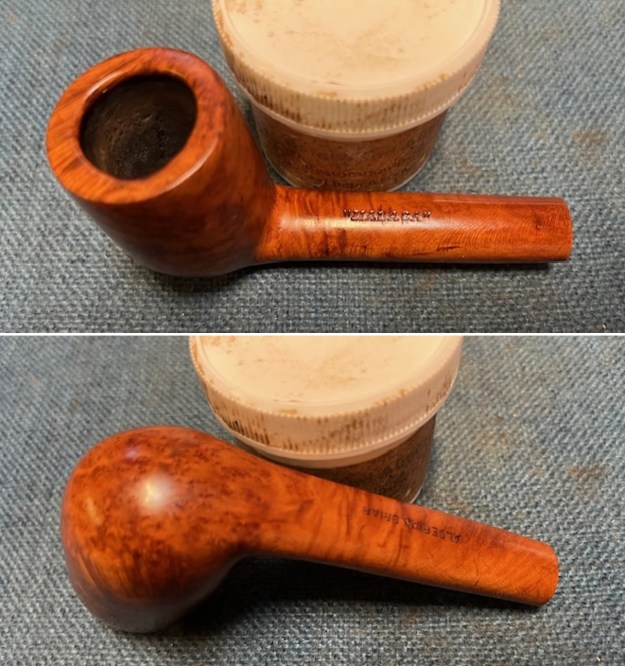
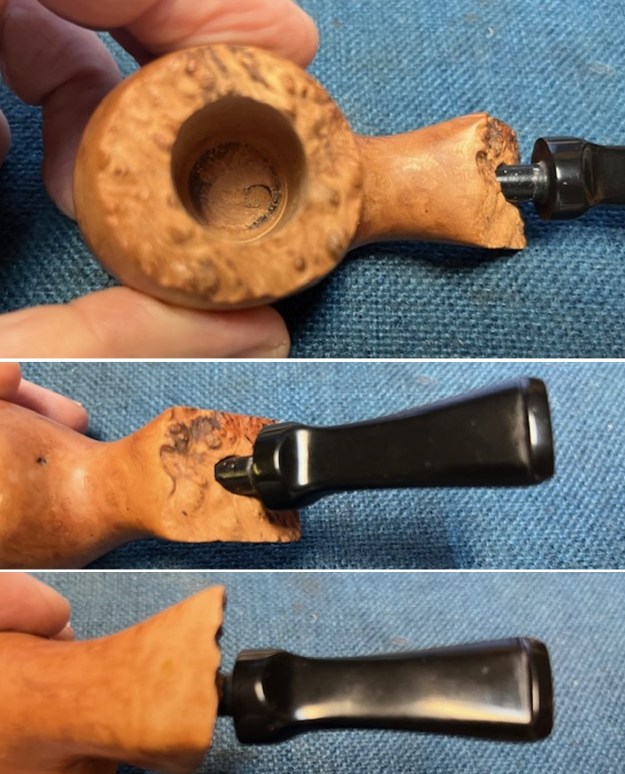
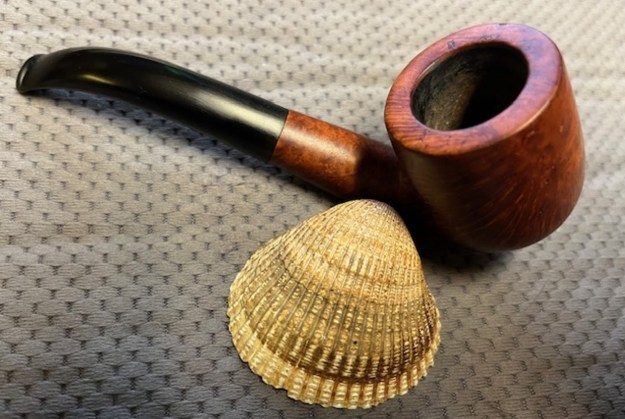
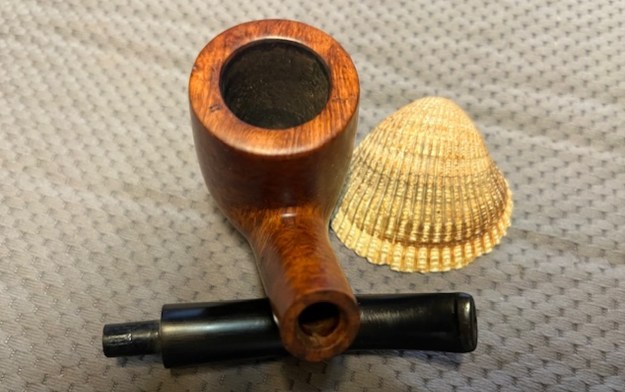
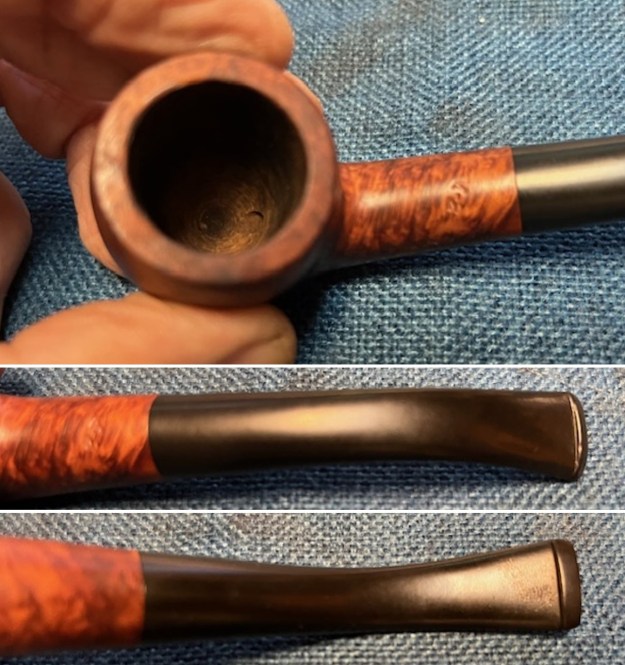 I took a photo of the stamping on the shank to show the condition. The “MALAGA” stamp is far more clear and and readable than my blurry photos show. The M-2 stamp on the top of the shank is also more clear than the photos. I removed the stem from the shank and took a photo to give a sense of how the pipe looked.
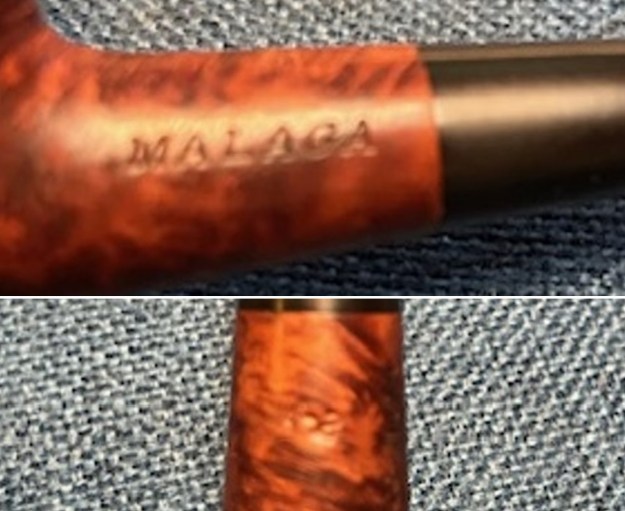
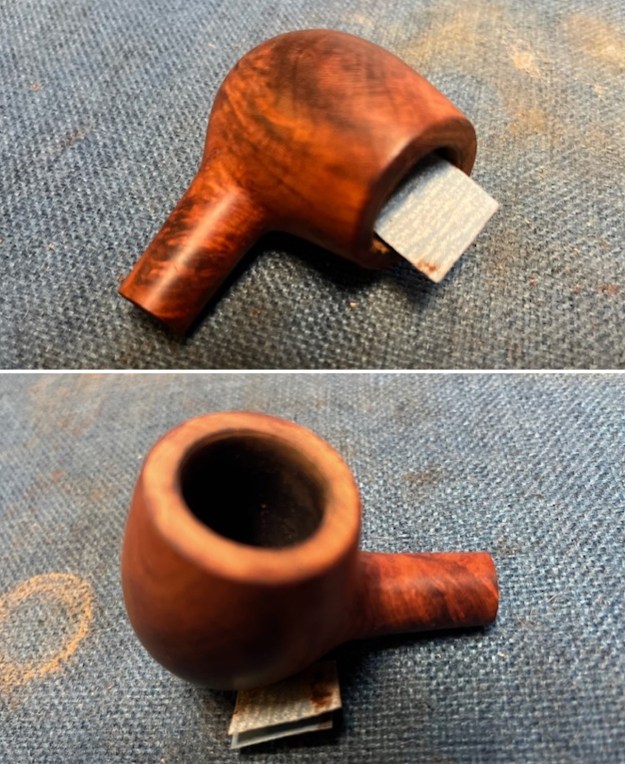
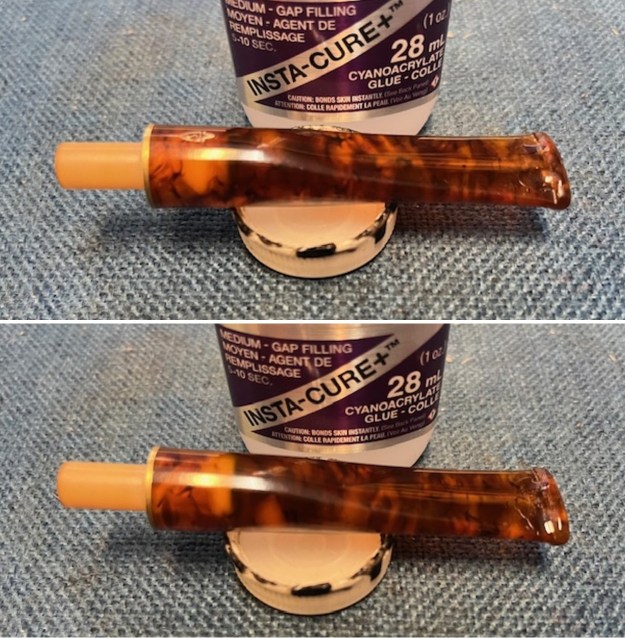
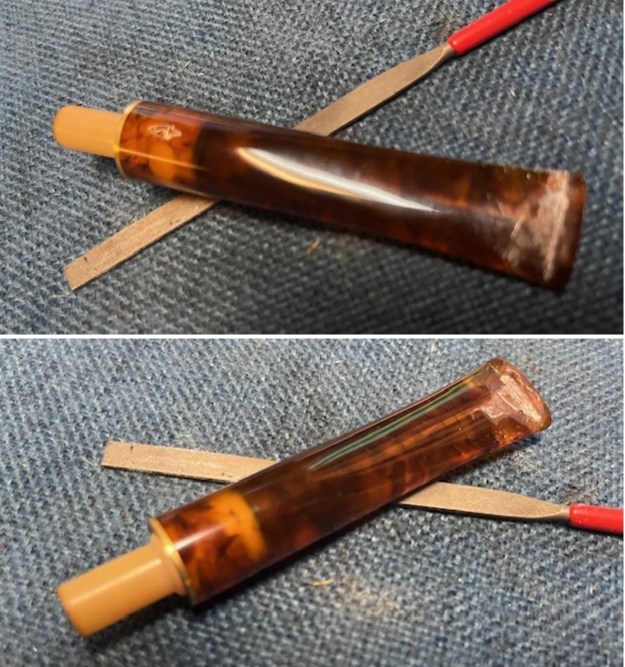
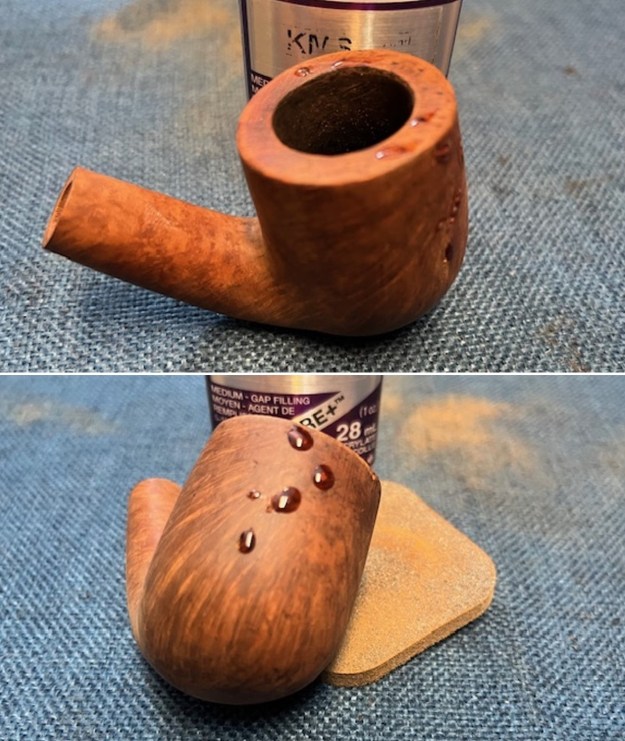
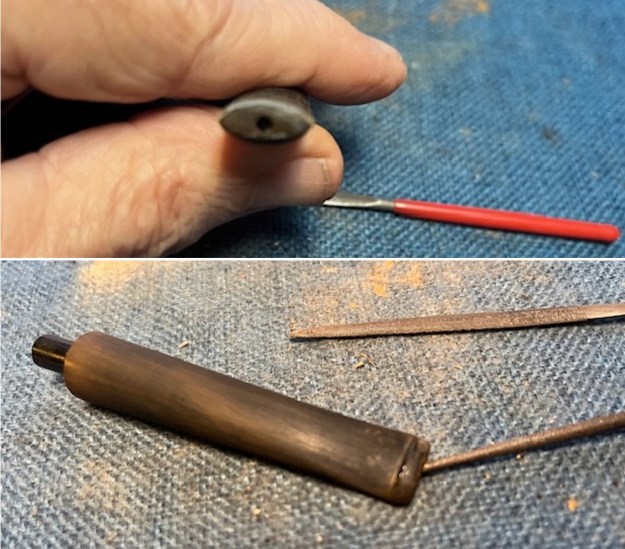
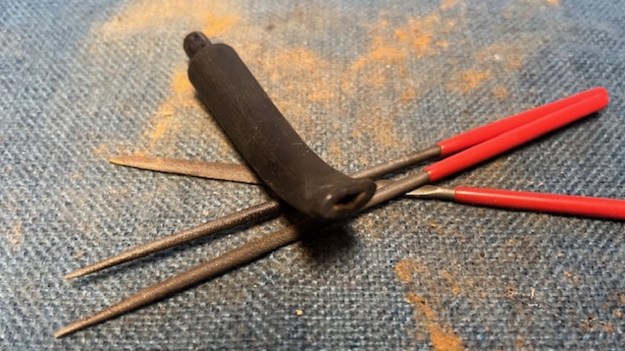
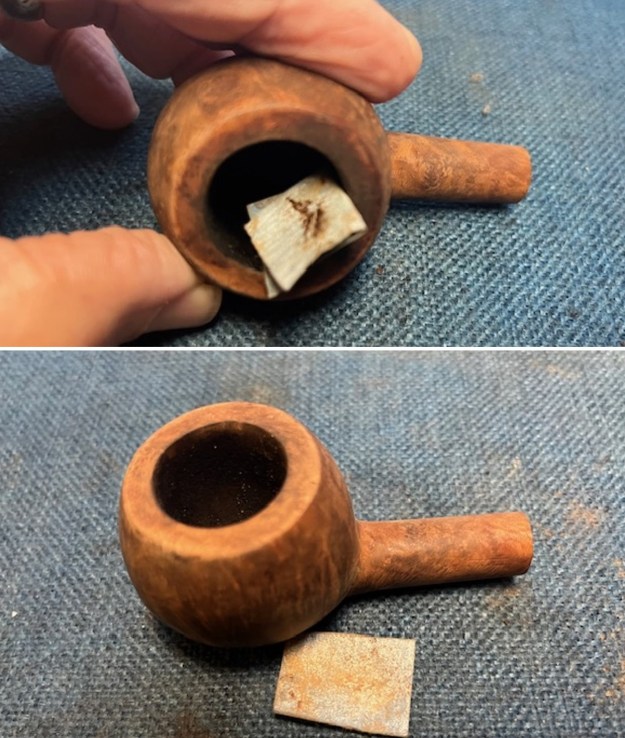
 I decided to address the many poxy looking flaws in the briar first. There were no fills at all just sandpits that were all different sizes all around the bowl. The worst were on the right side followed by the front of the bowl. The right side and rim top were in excellent condition. I filled them all in with briar dust and clear CA glue. Once they cured I flattened them with a small flat file and then sanded them smooth with 220 grit sandpaper to blend them into the briar.
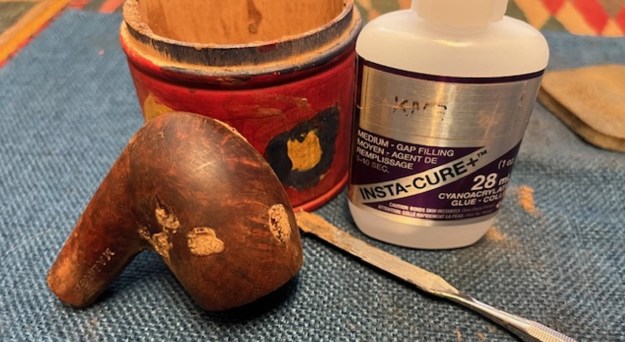
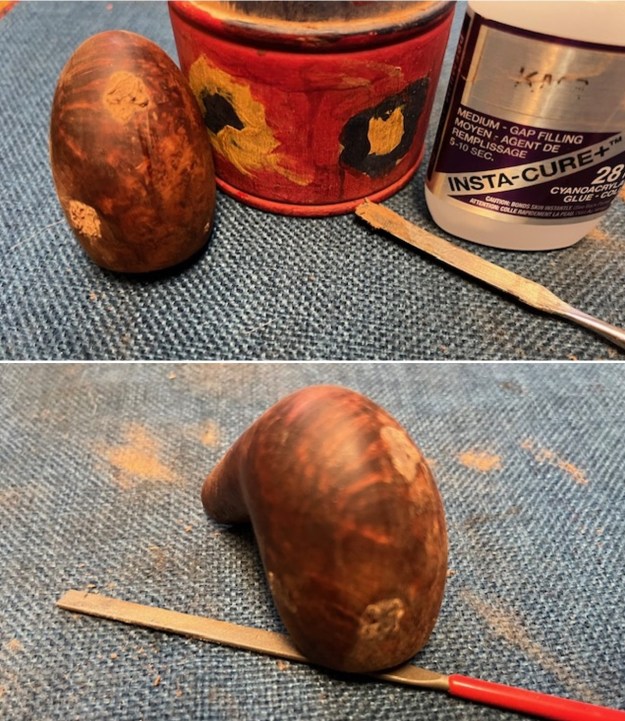

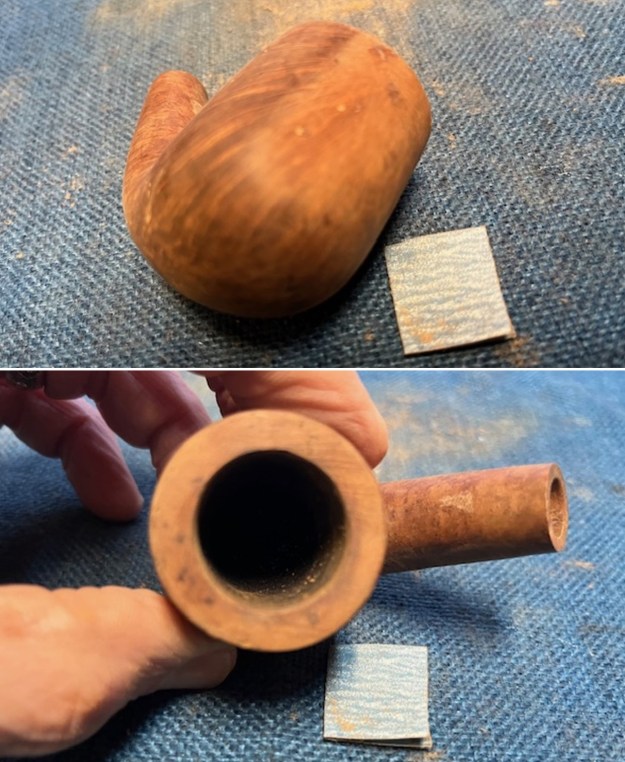
 I wiped the bowl down to remove the sanding dust with isopropyl alcohol and cotton pads. Once the repairs looked significantly better than the flaws in the briar that existed before.
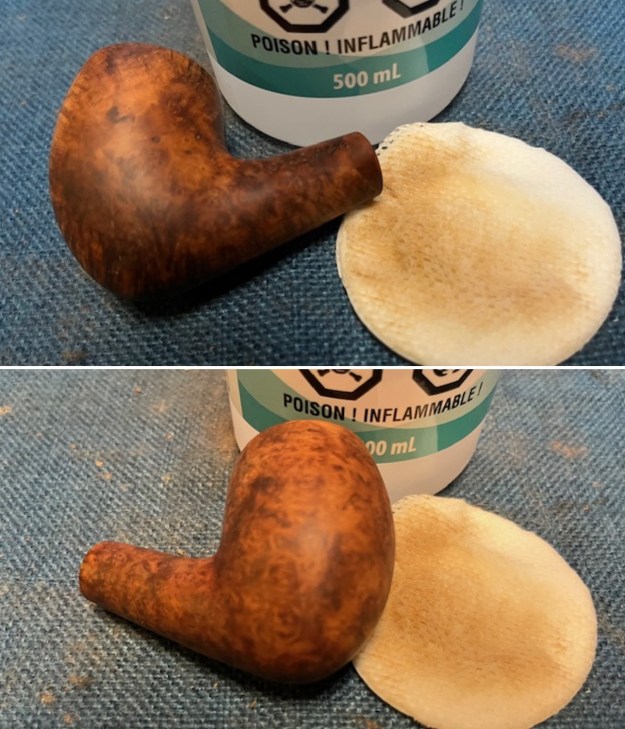
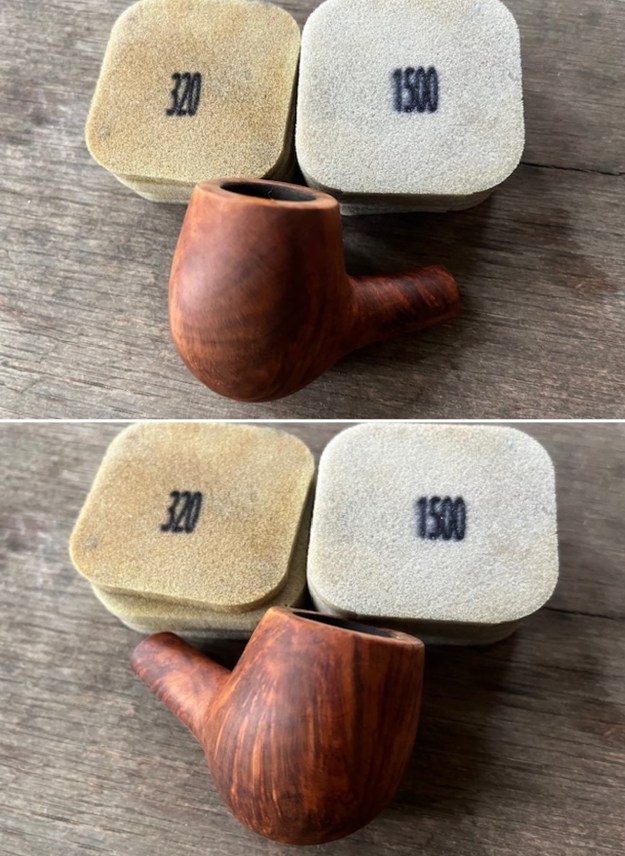
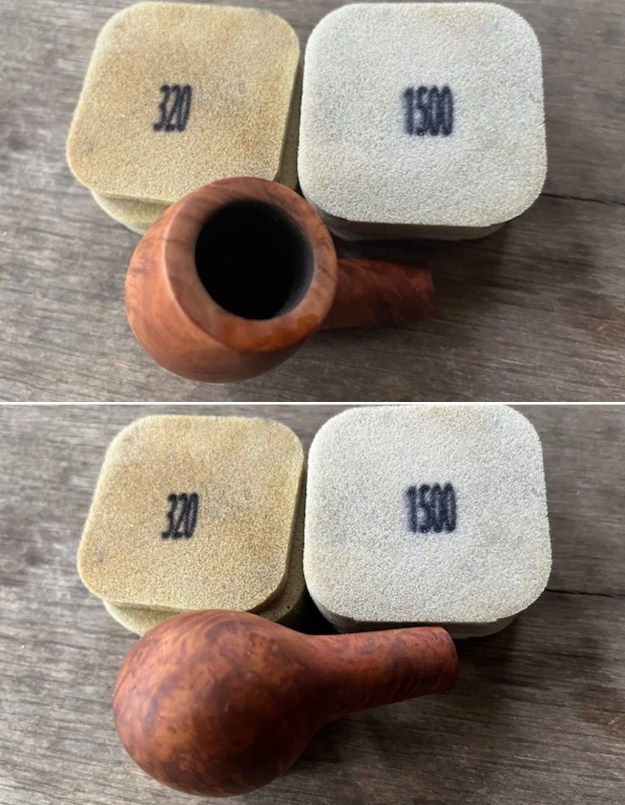
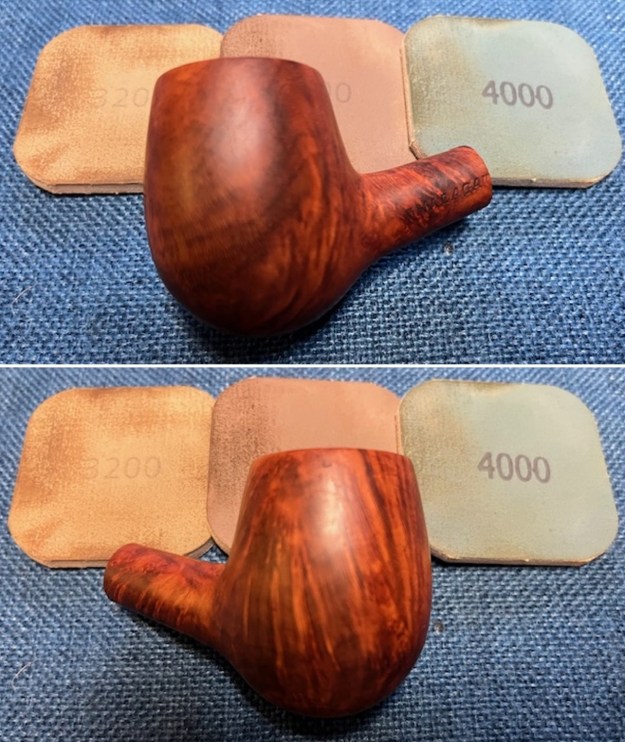
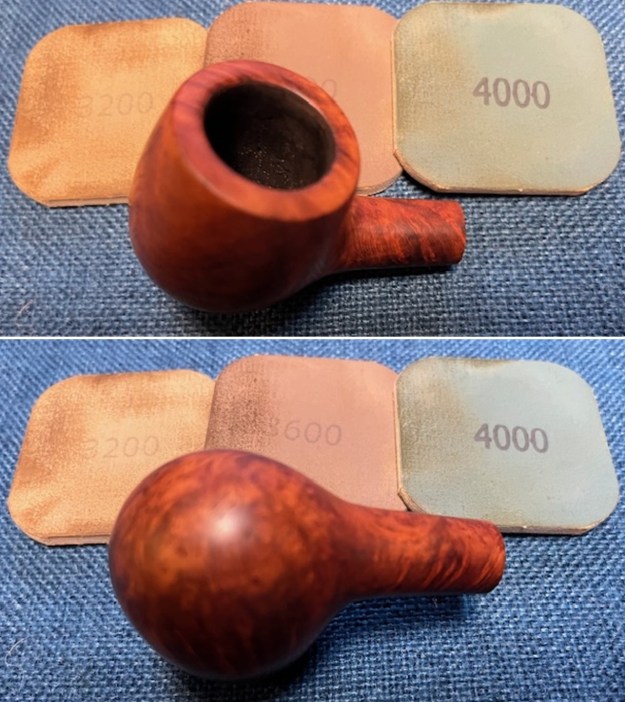
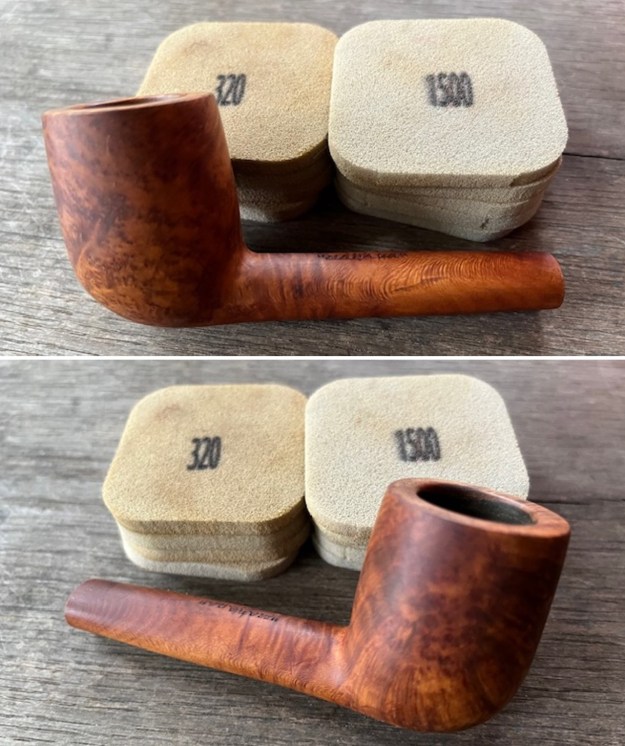
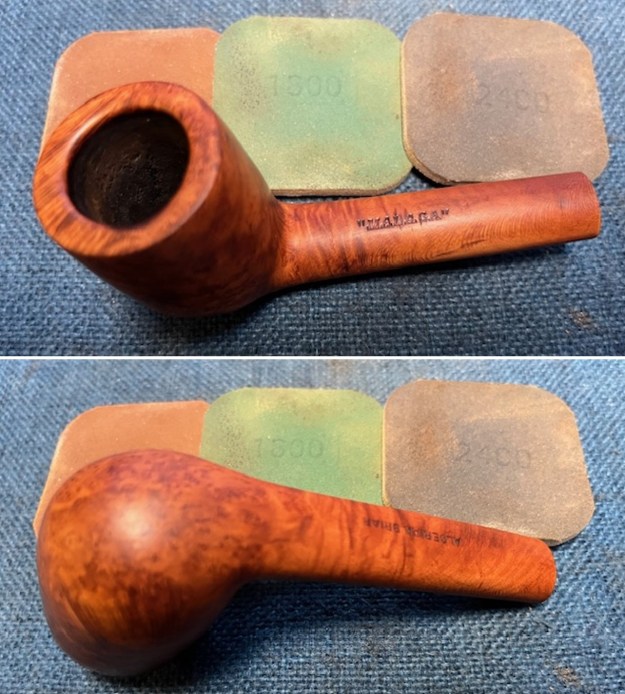
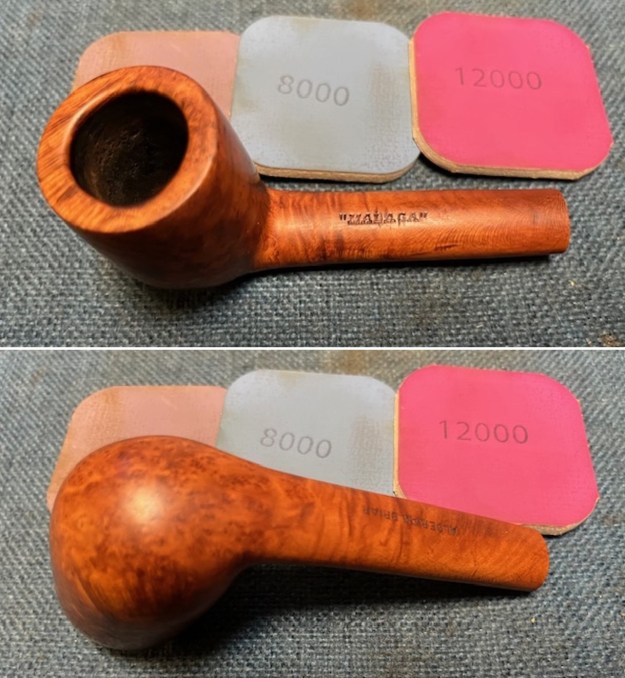
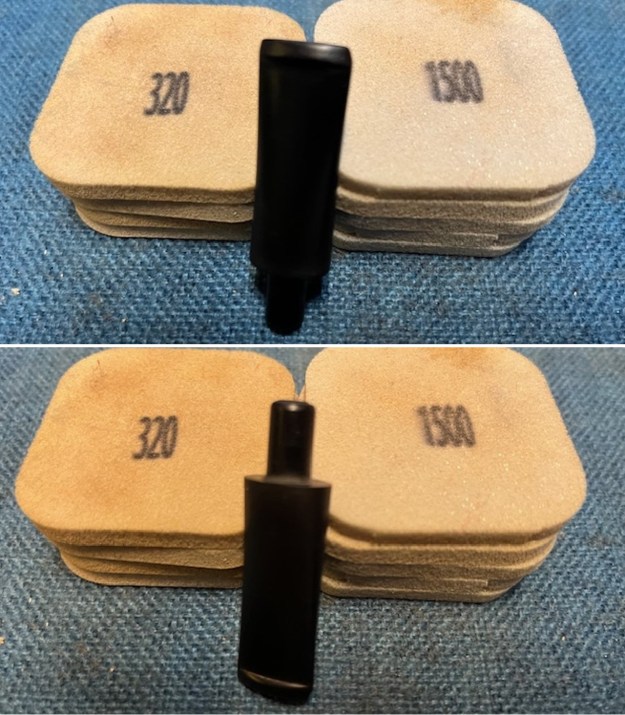
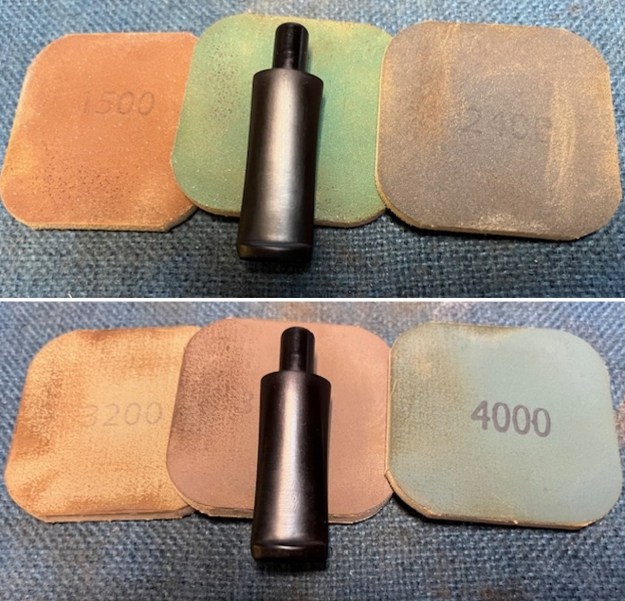
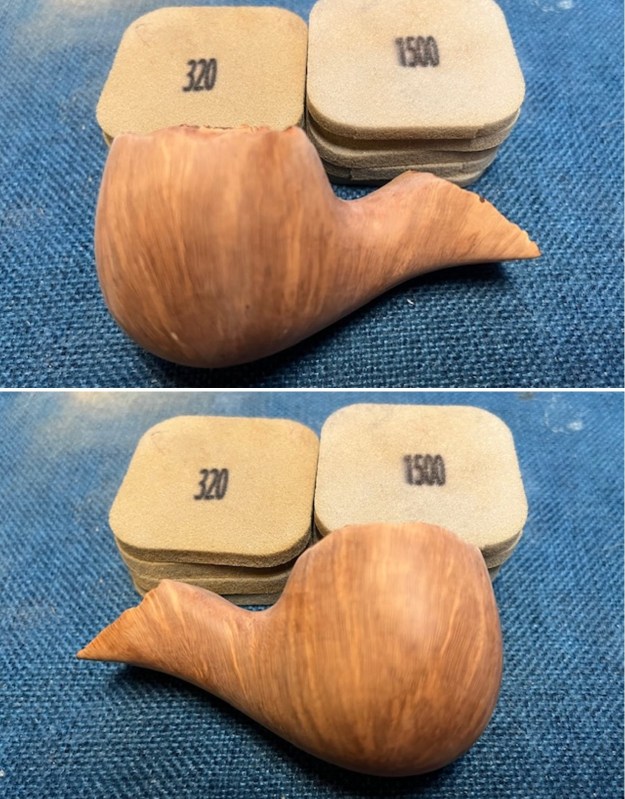
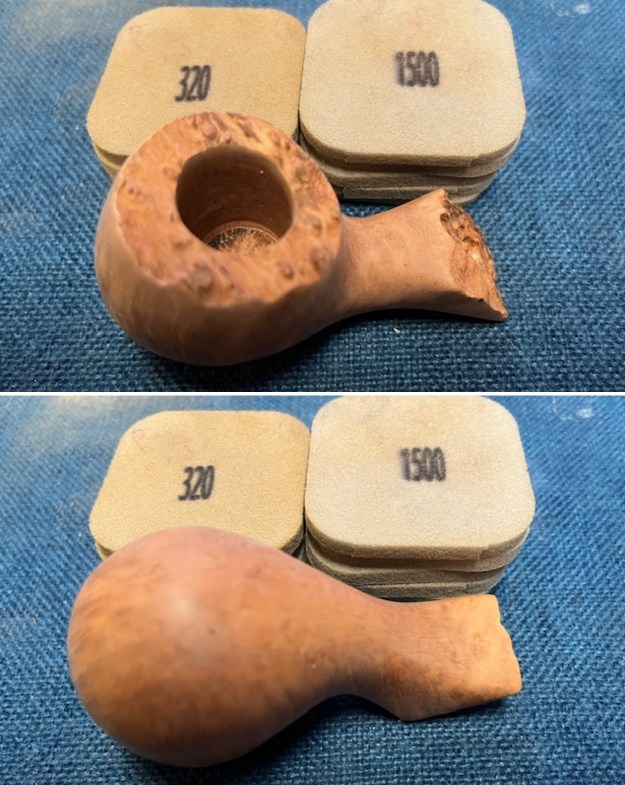
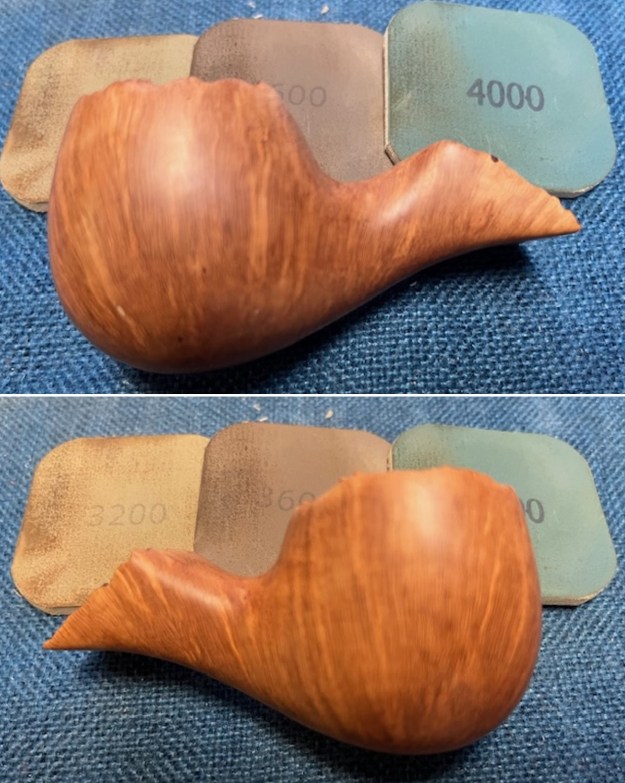
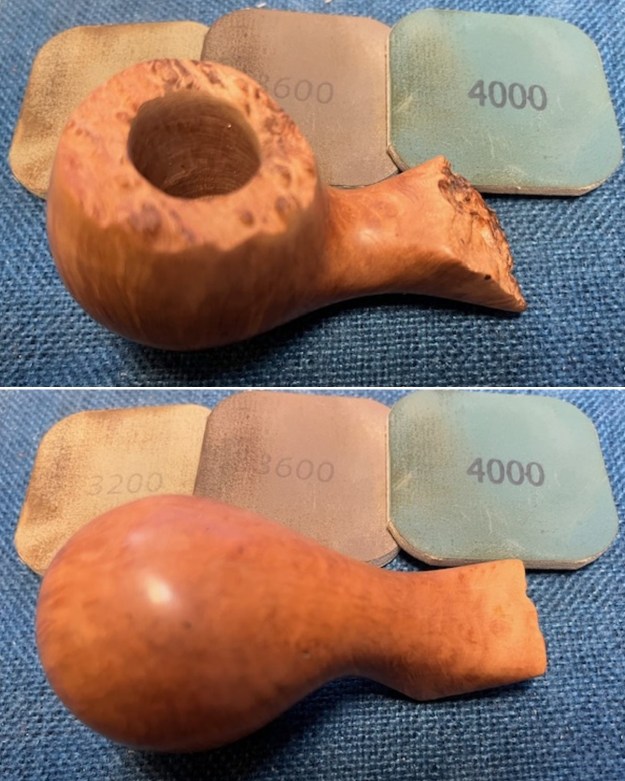
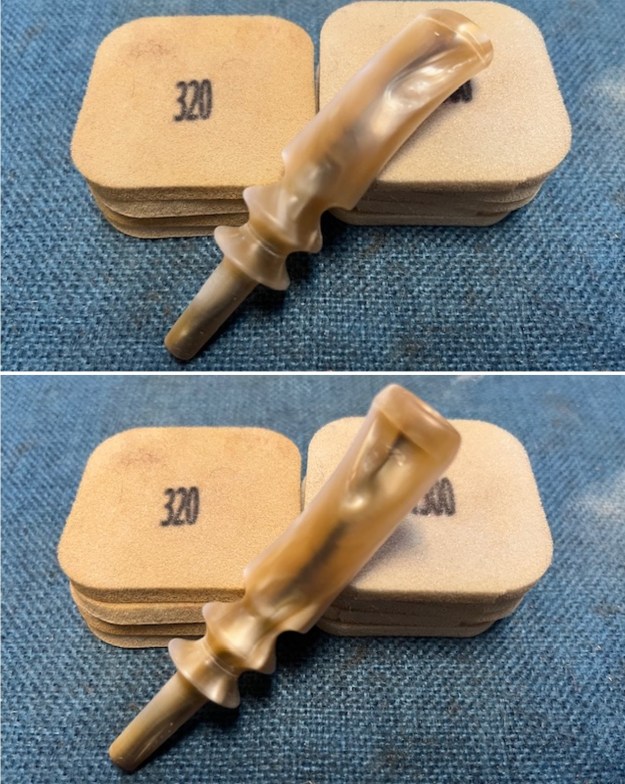
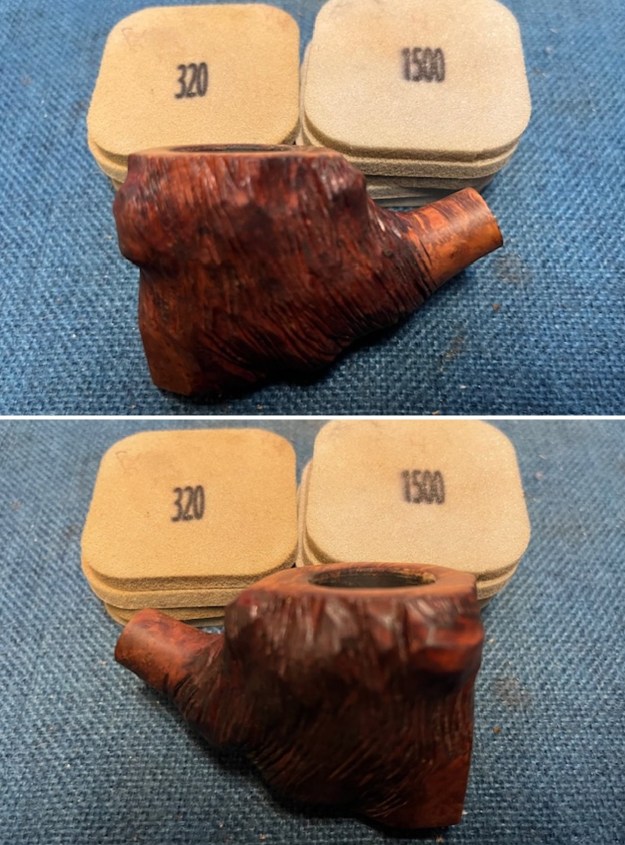
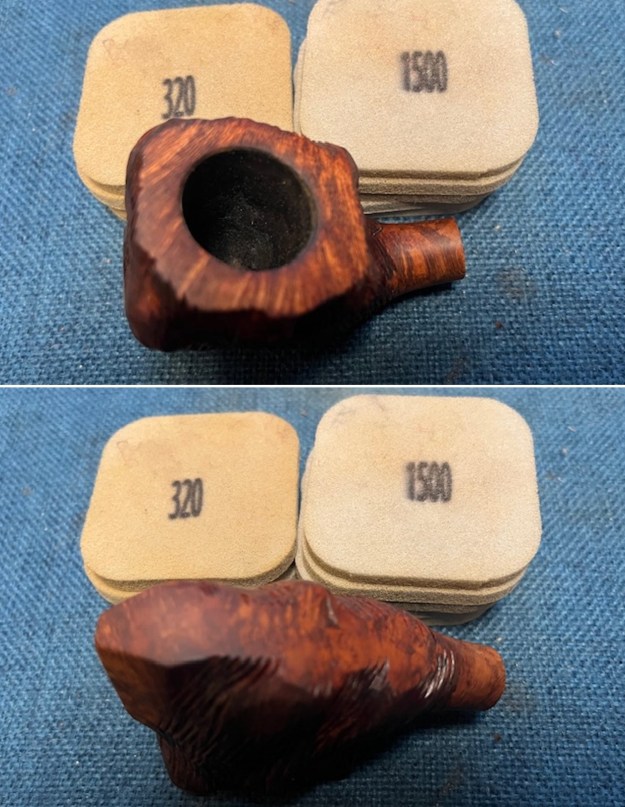
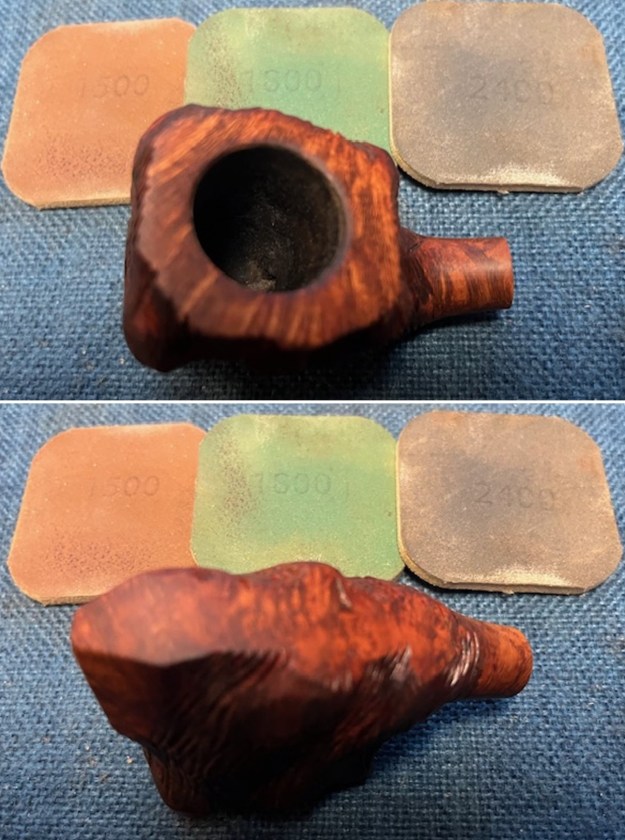
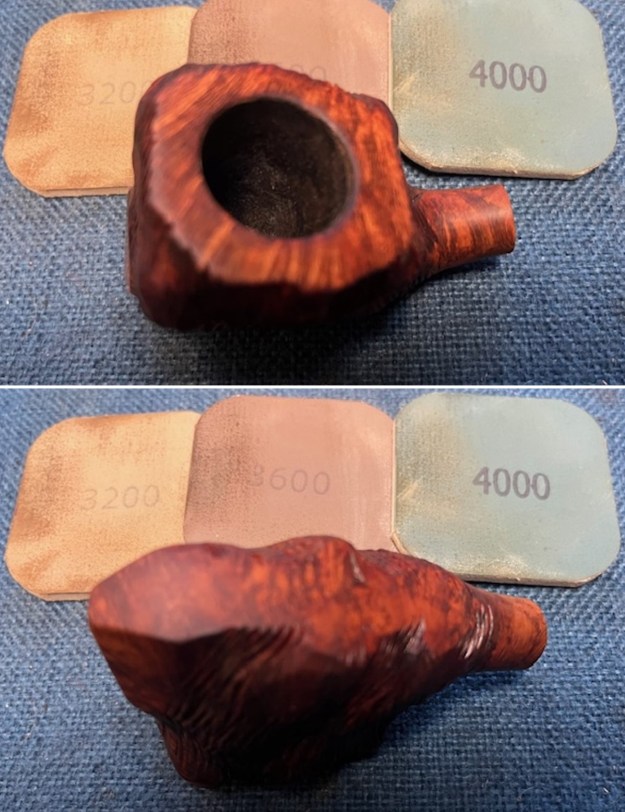
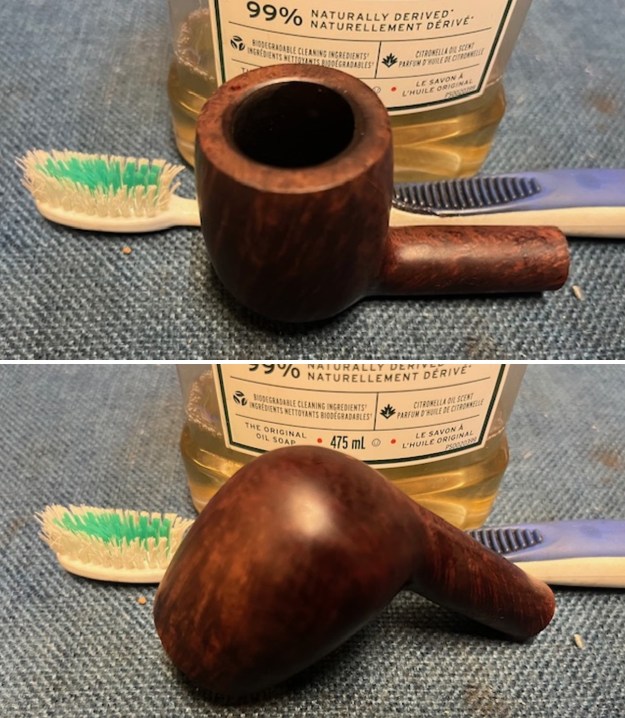
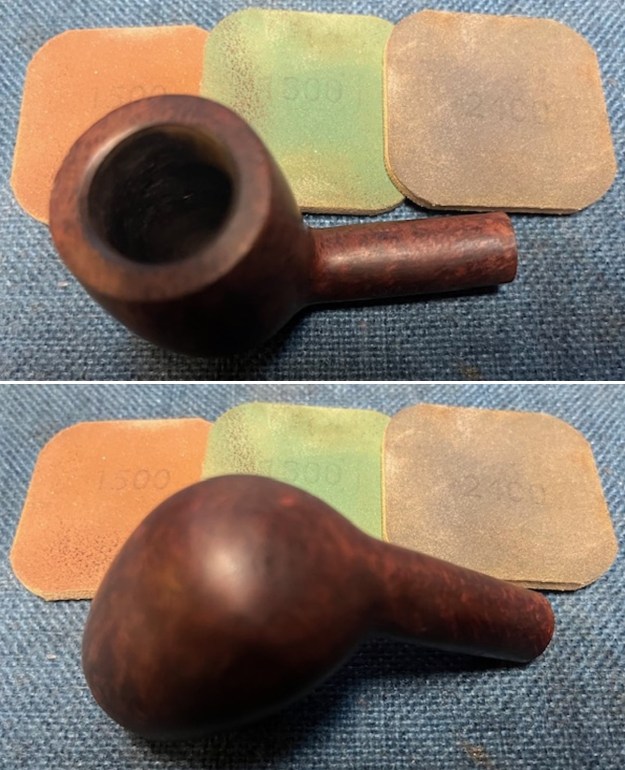
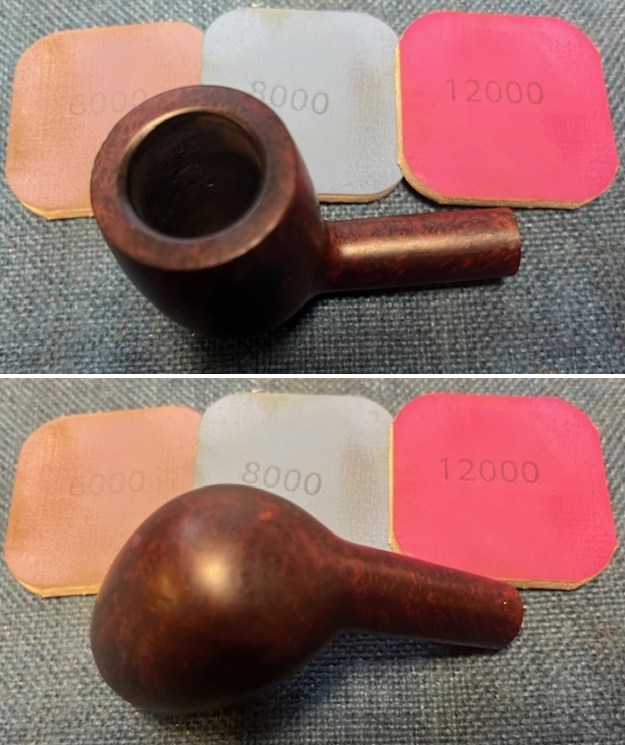
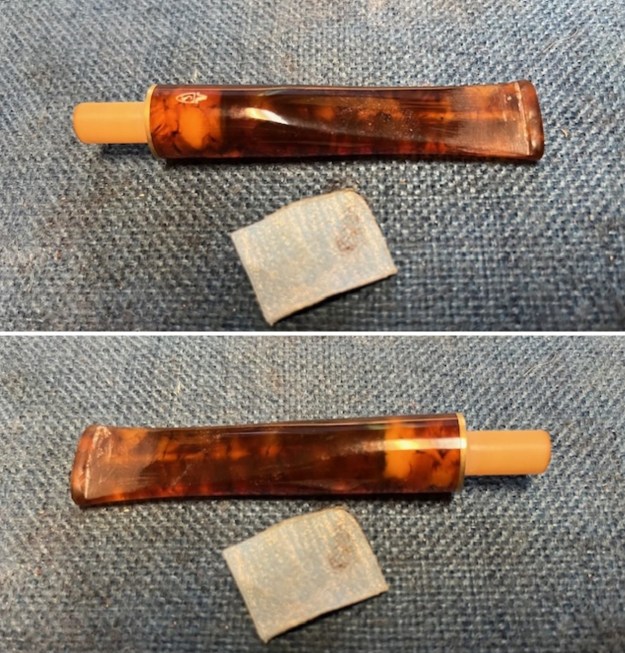
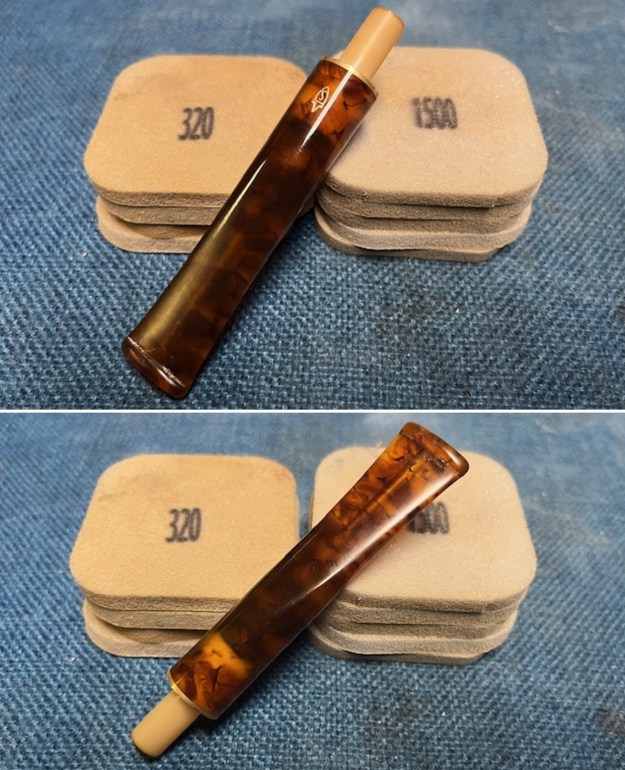
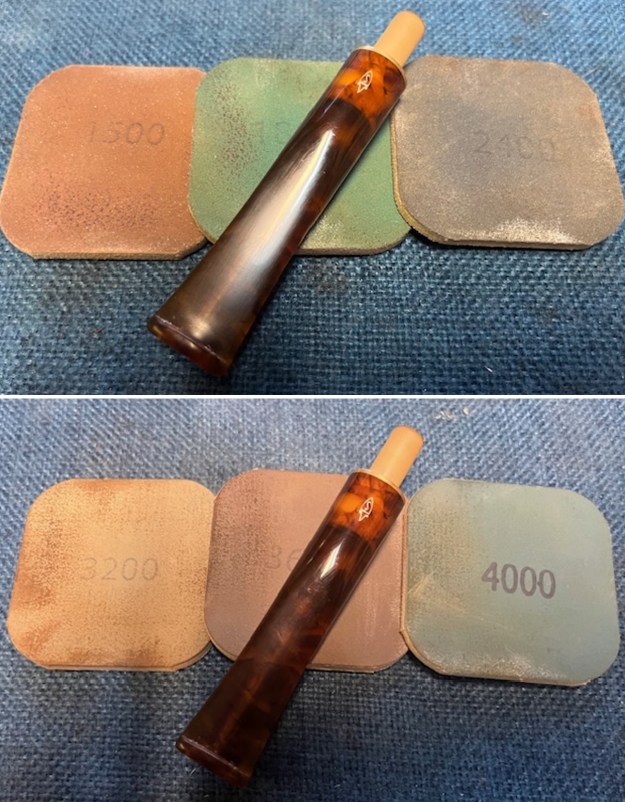
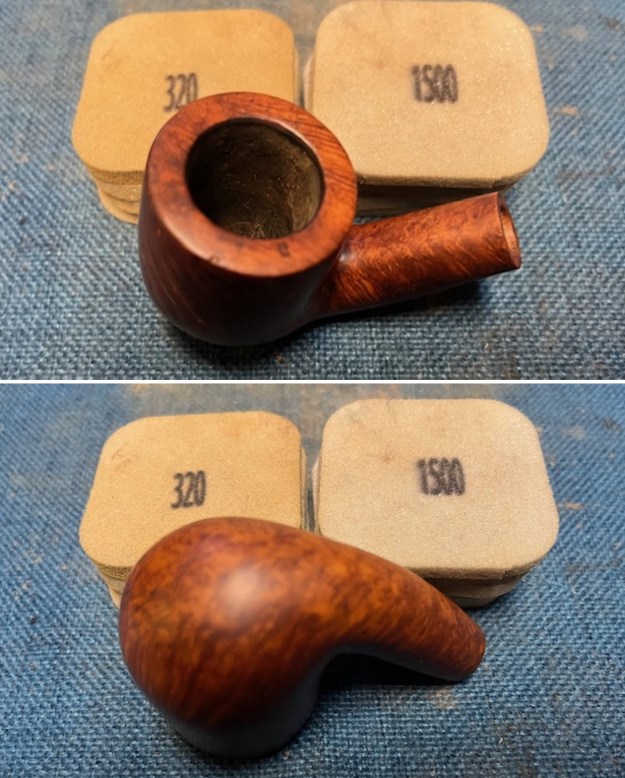
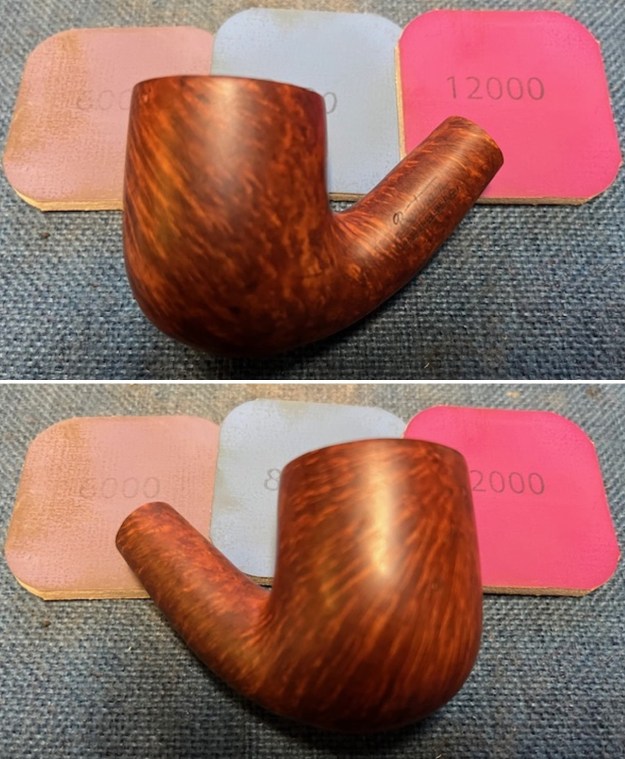
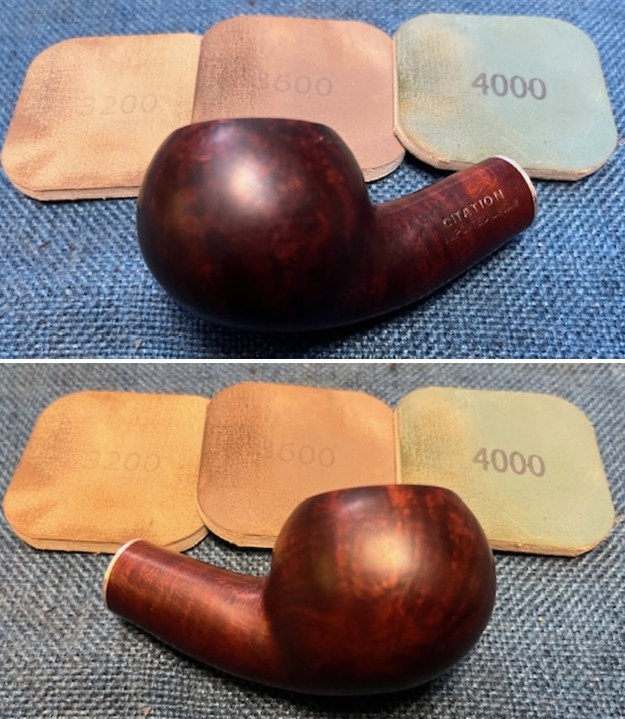
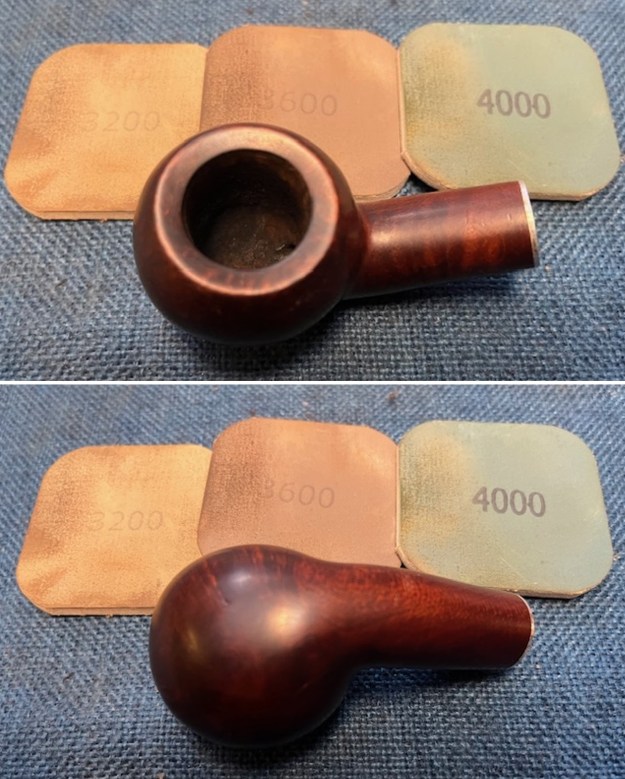
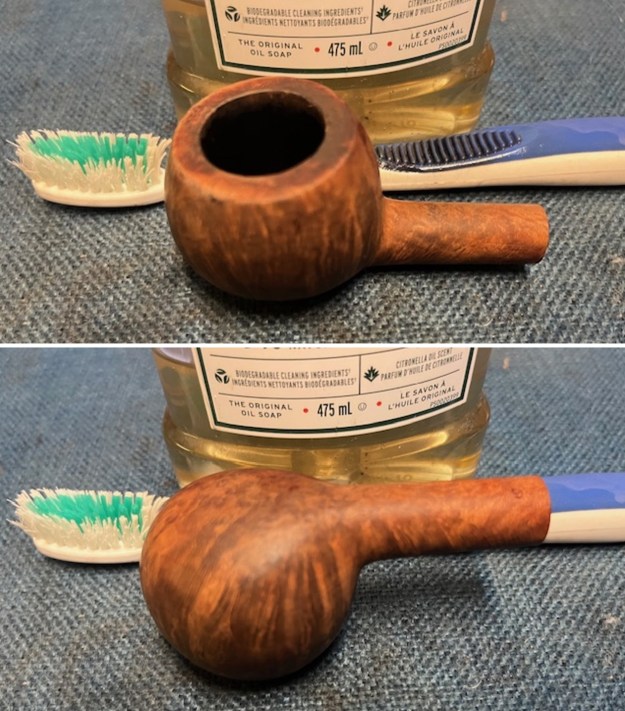
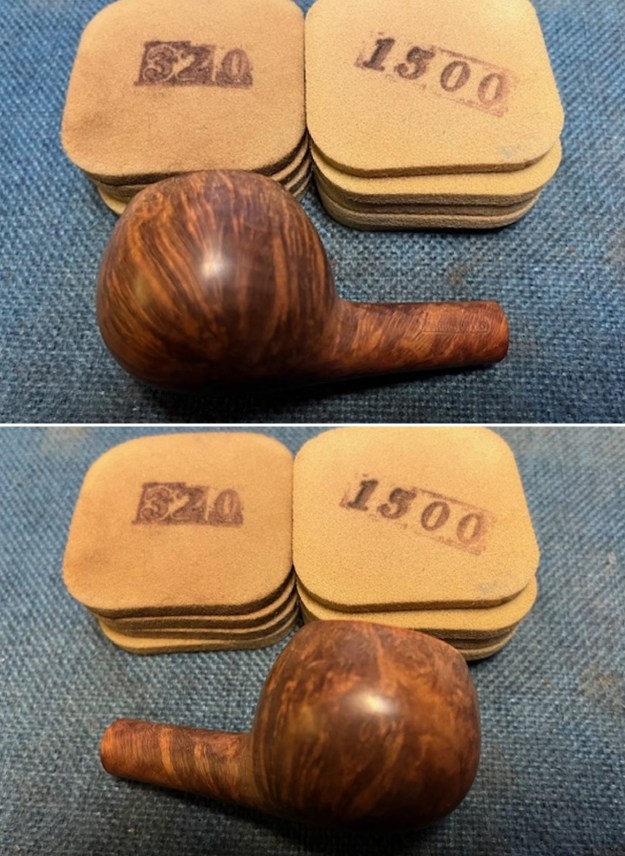
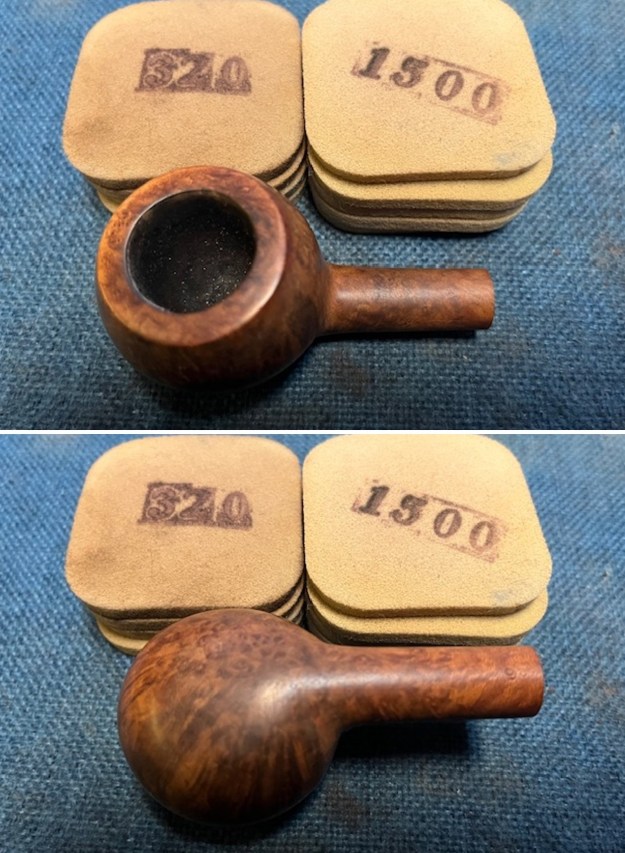
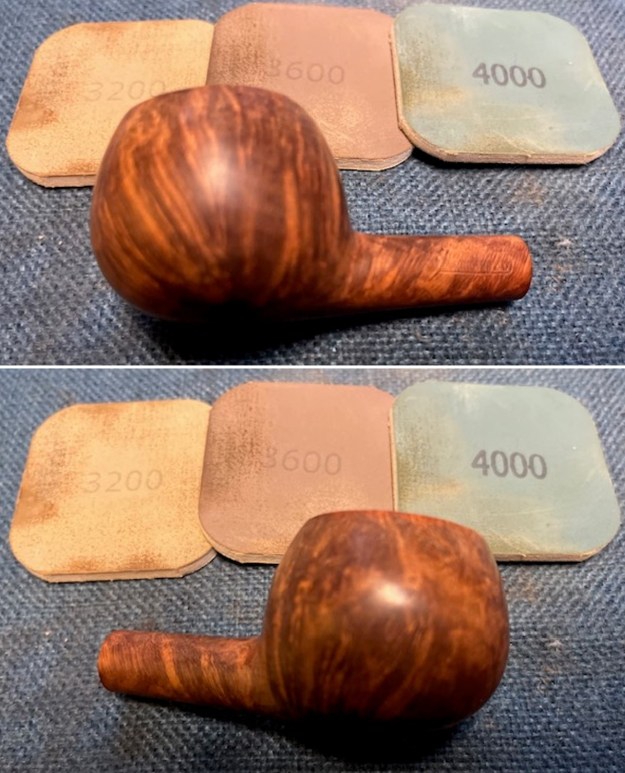
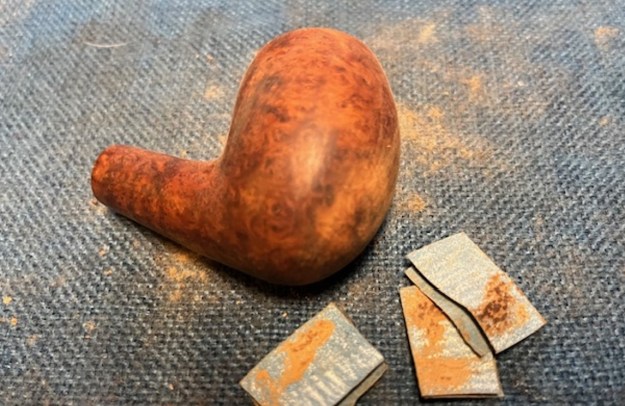
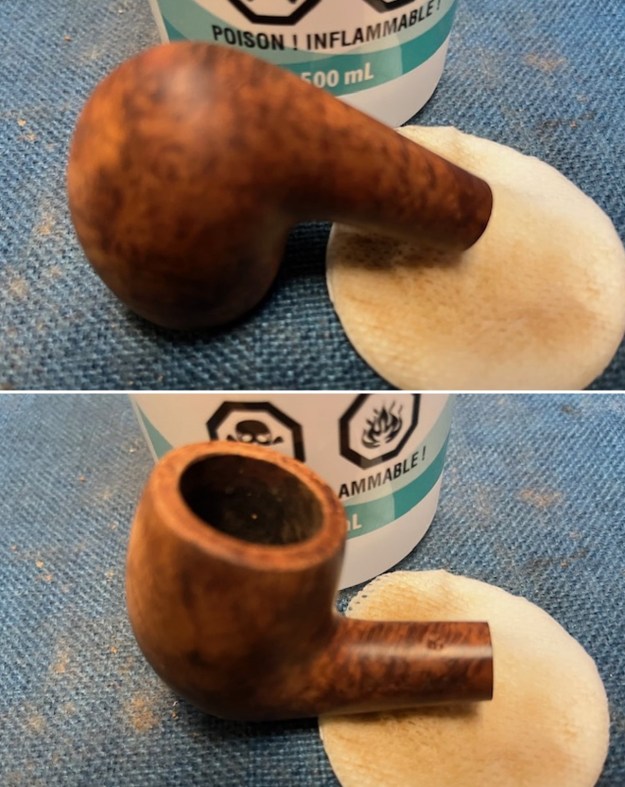 I sanded the bowl and rim with 320-3500 grit sanding pads to begin the process of removing the scratches and blending the restored rim top into the rest of the bowl. I wiped the bowl down after each pad with a damp cloth to remove the dust and debris. The photos tell the story.
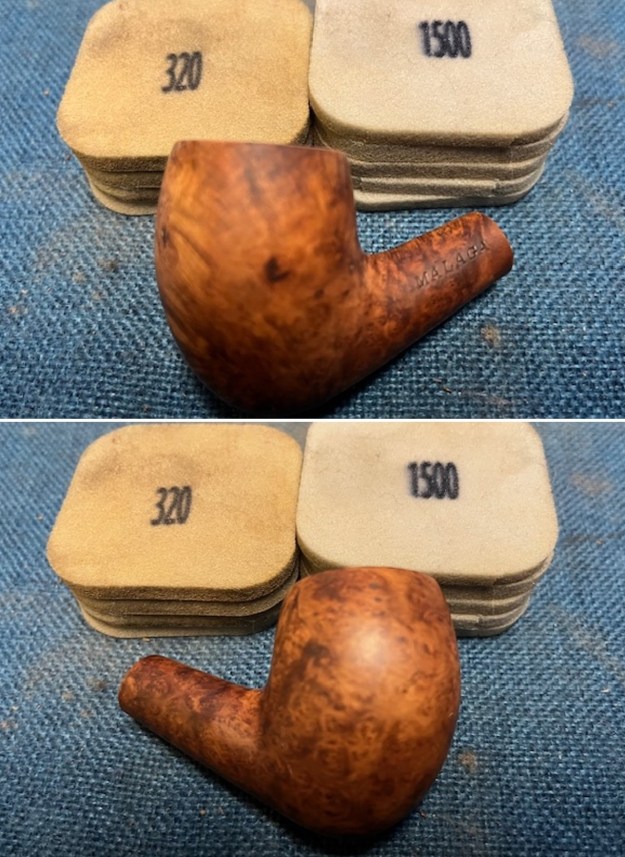
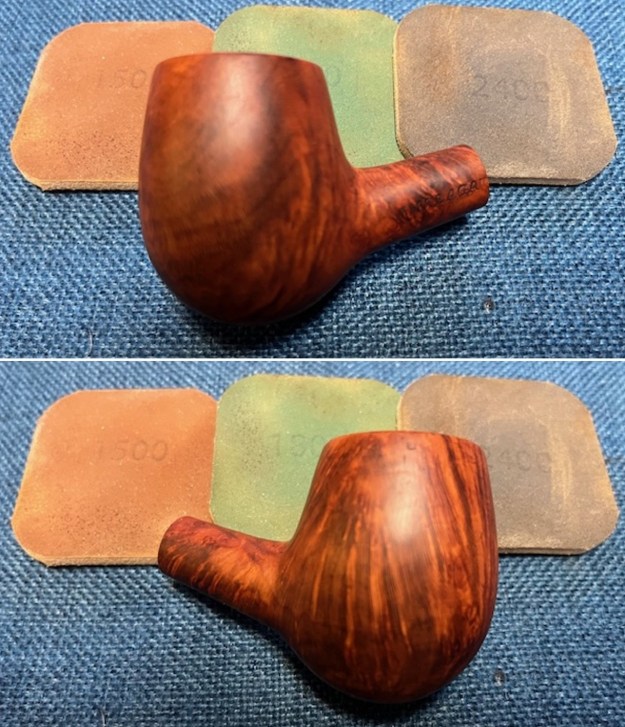
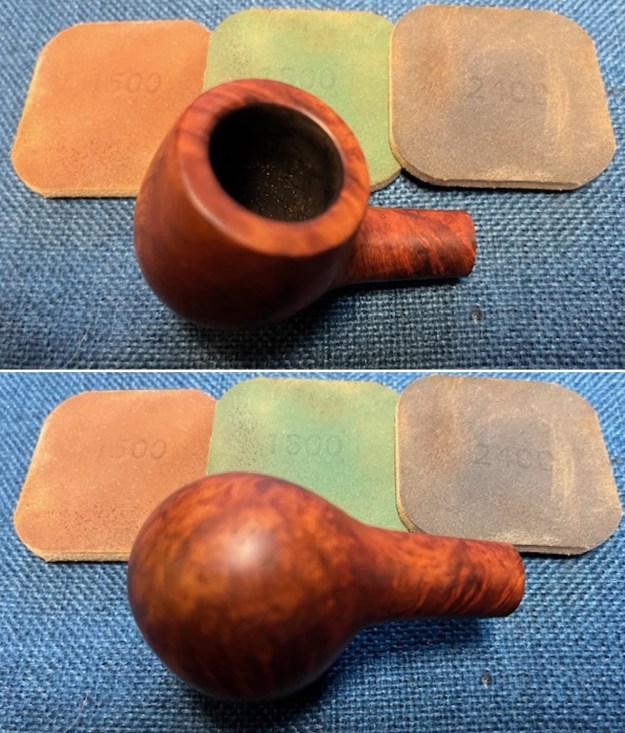
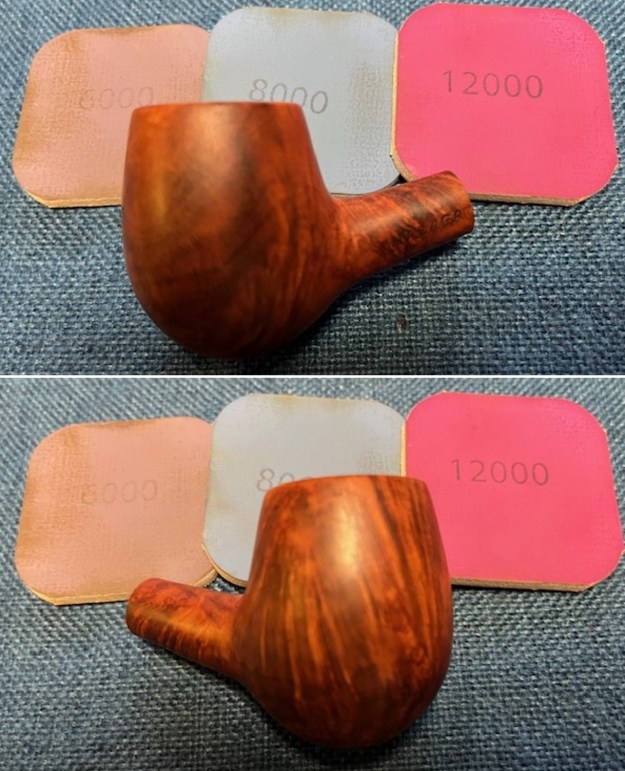
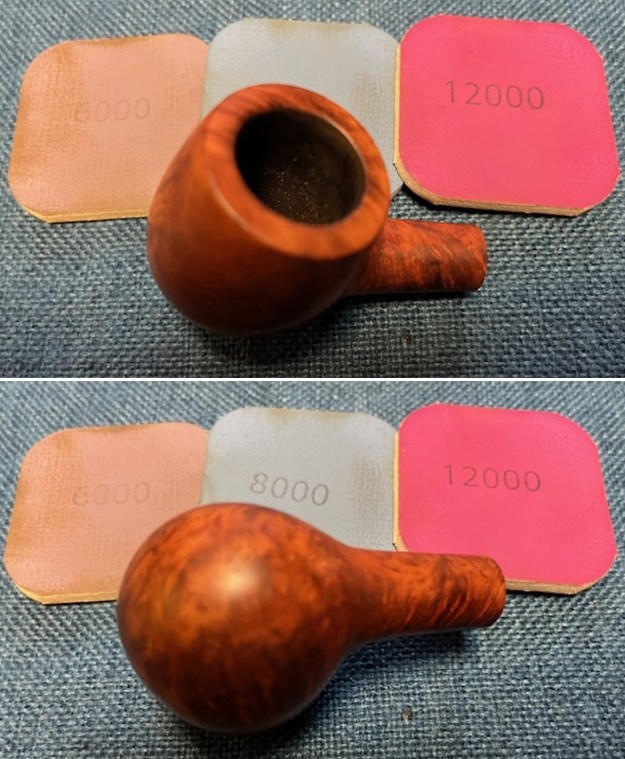
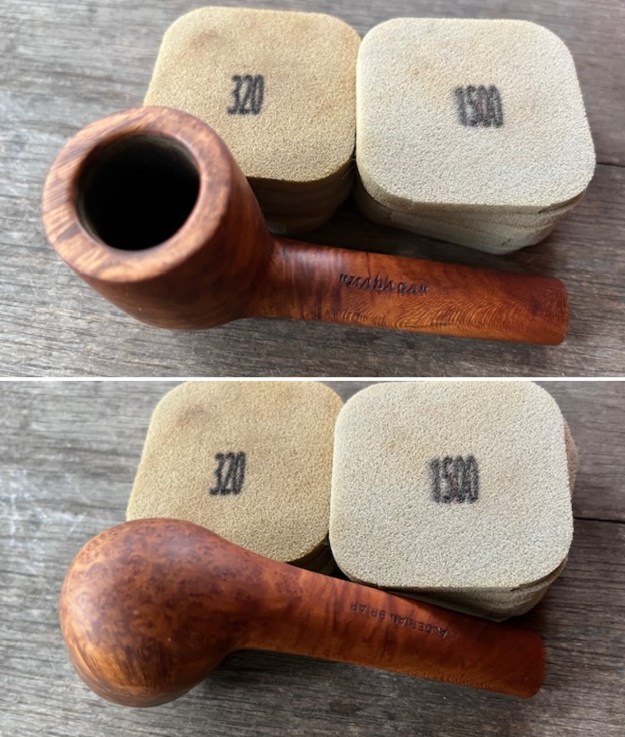
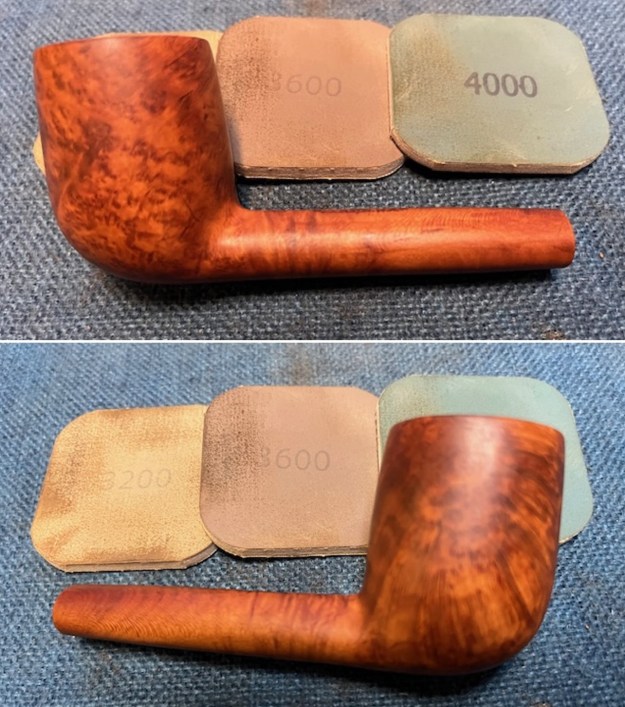
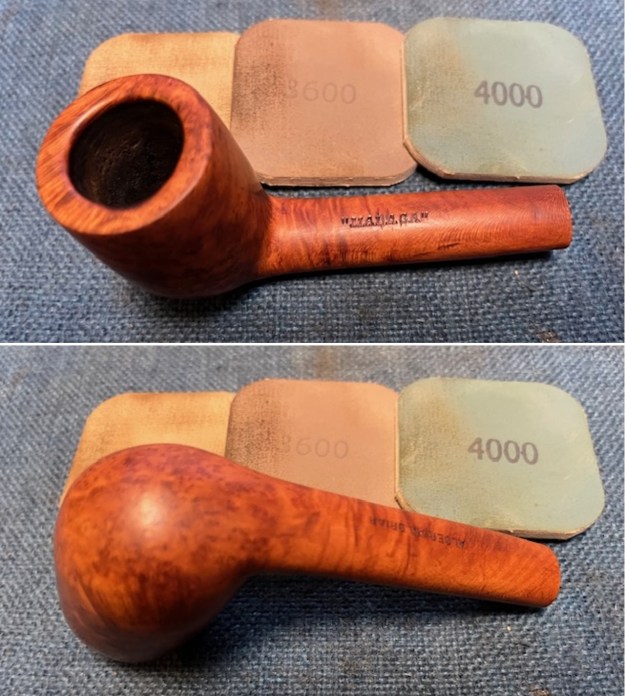
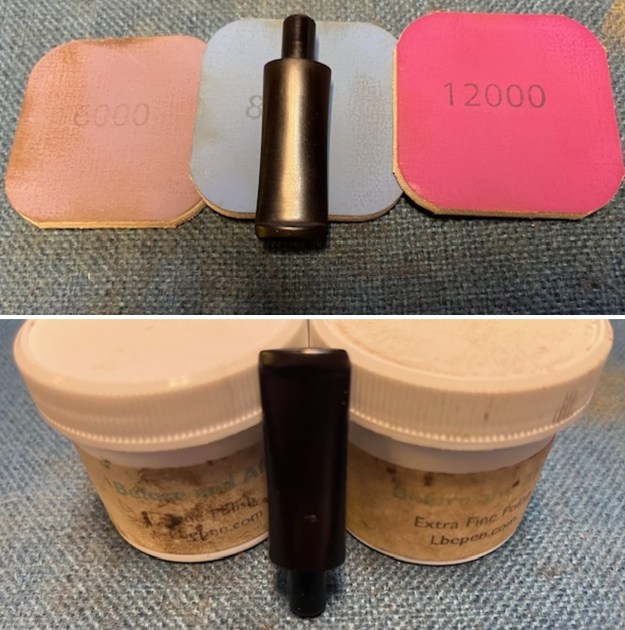
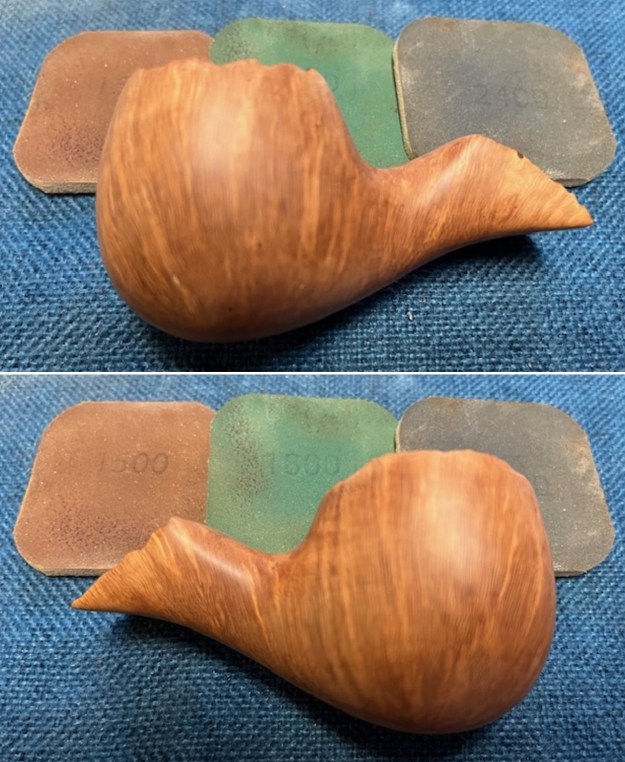
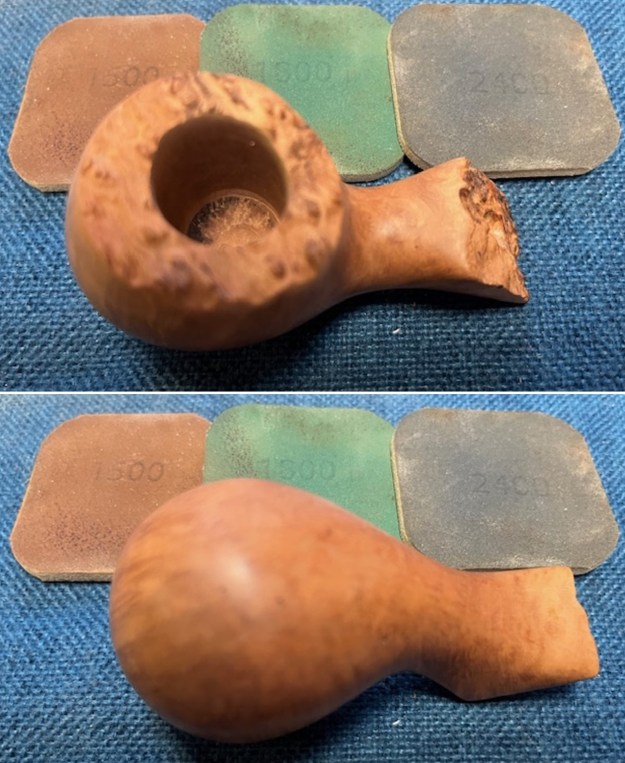
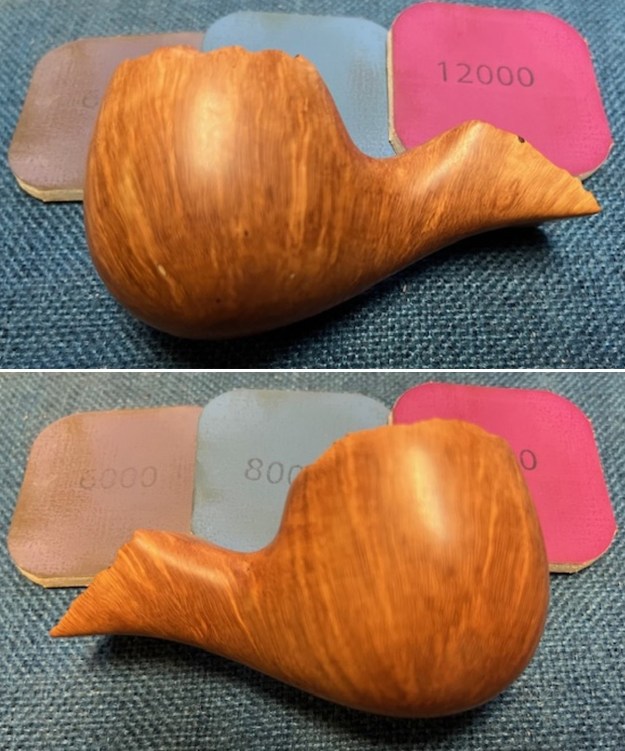
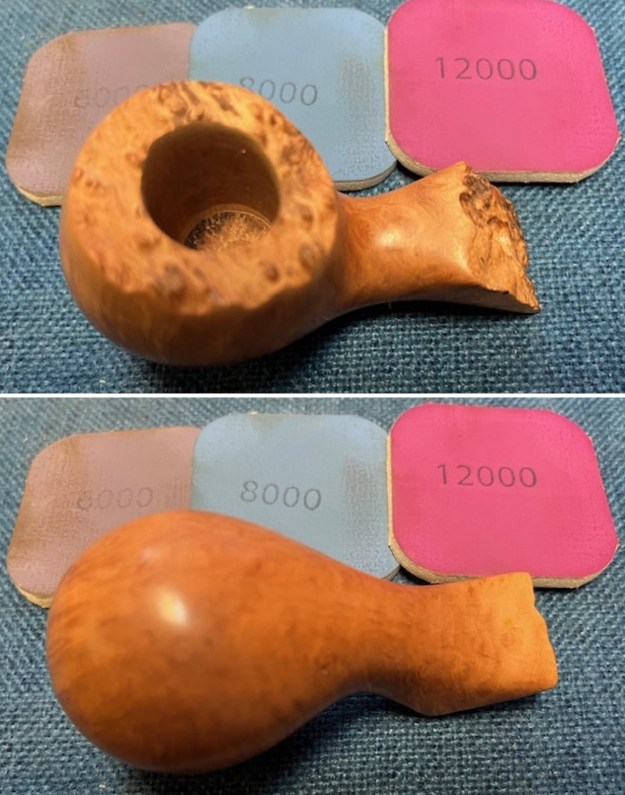
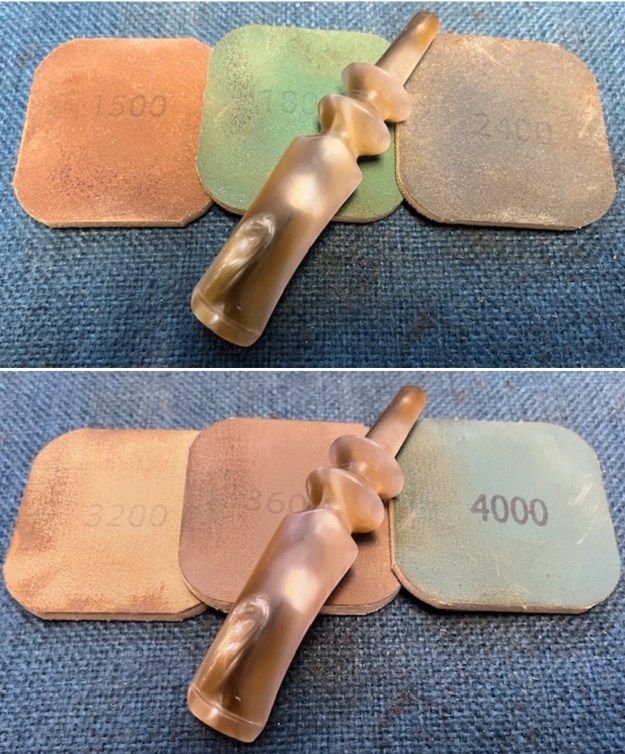
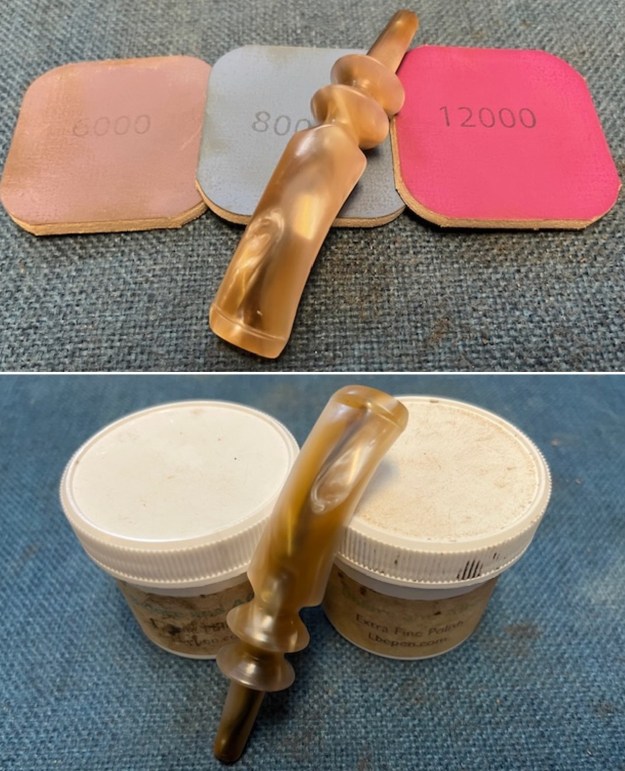
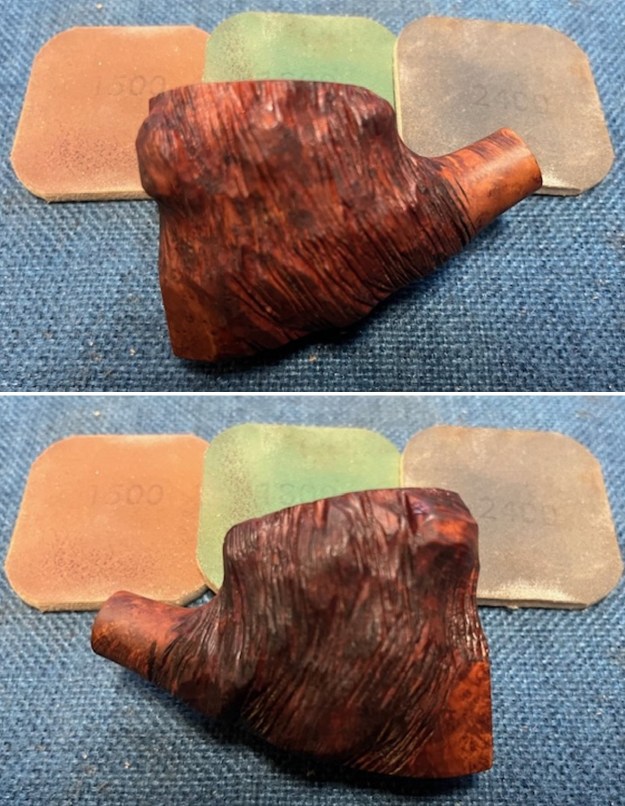
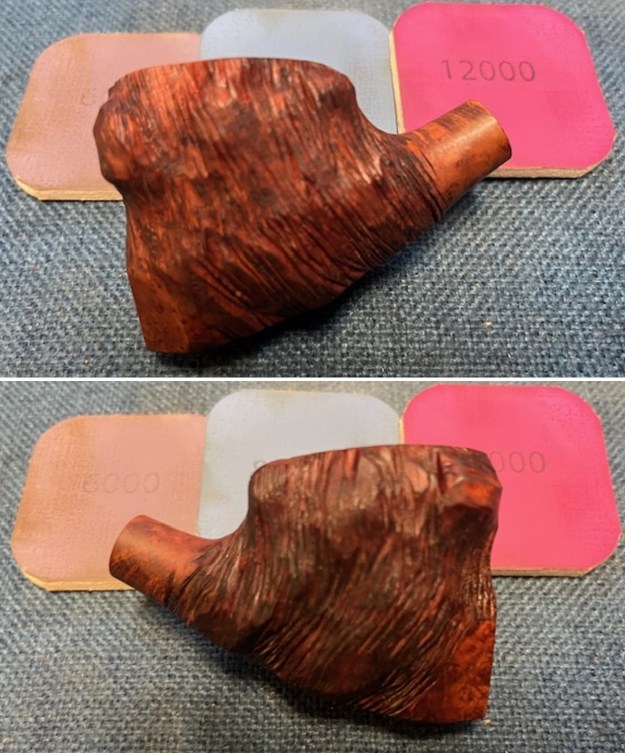
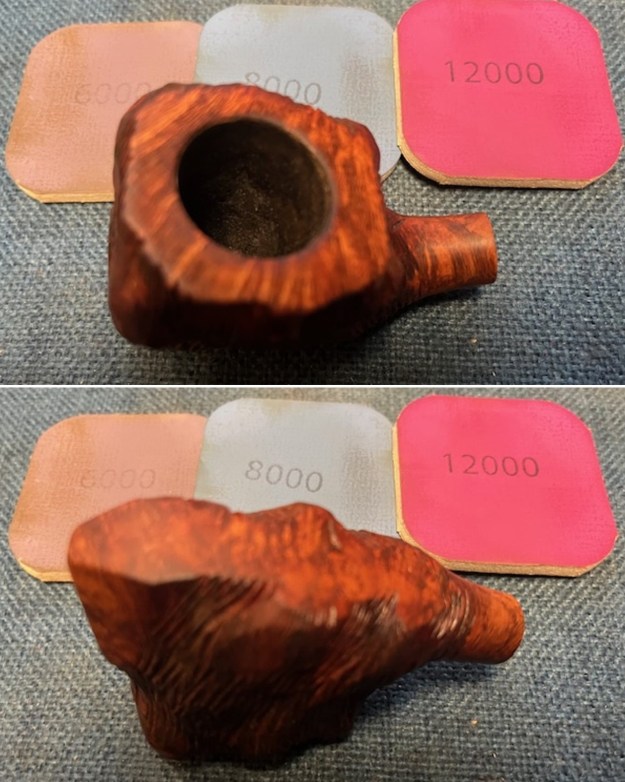
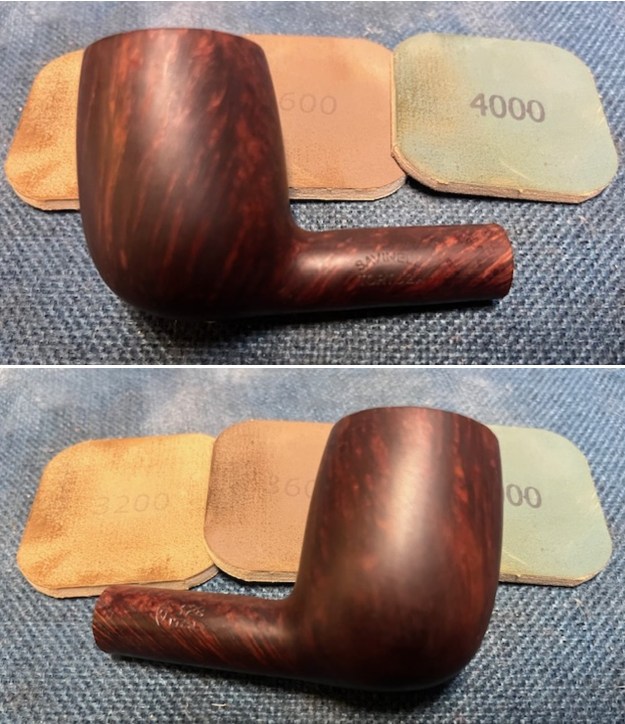
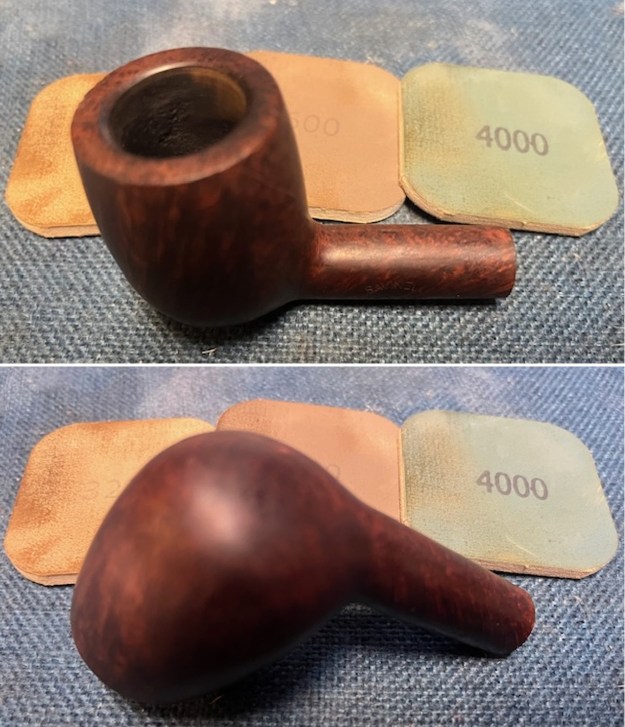
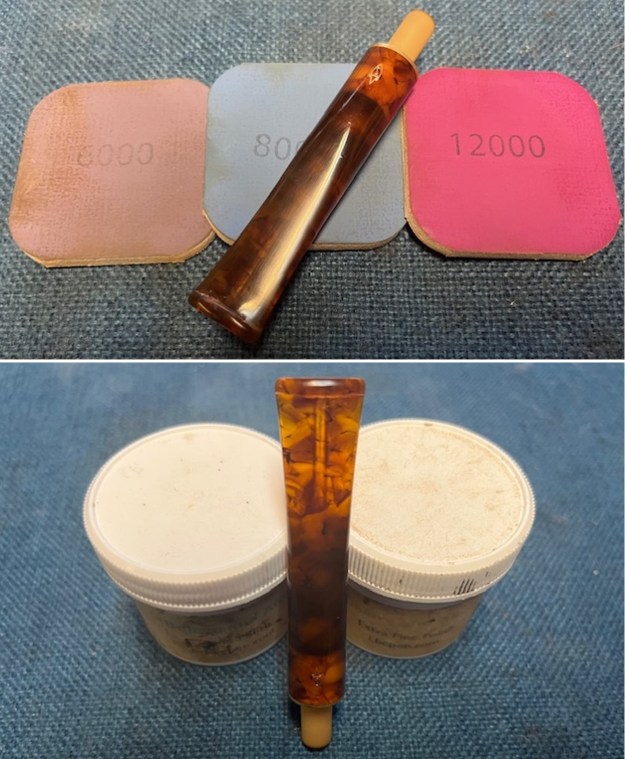
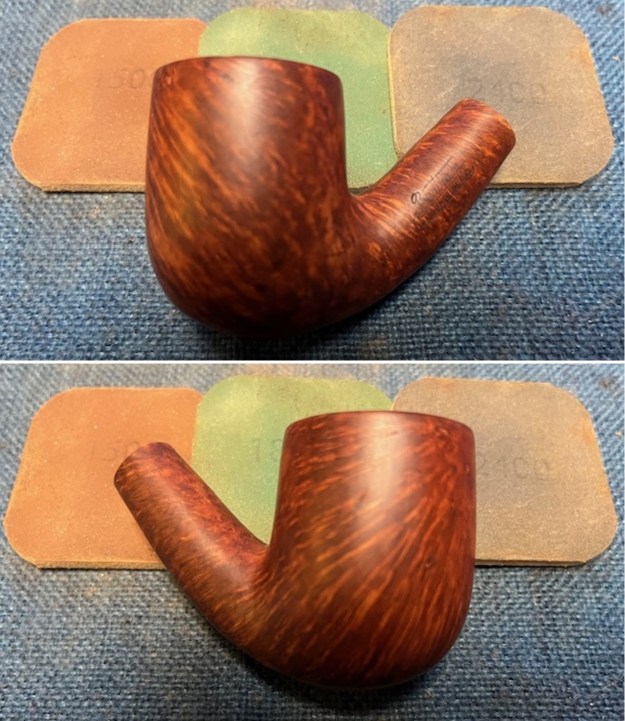
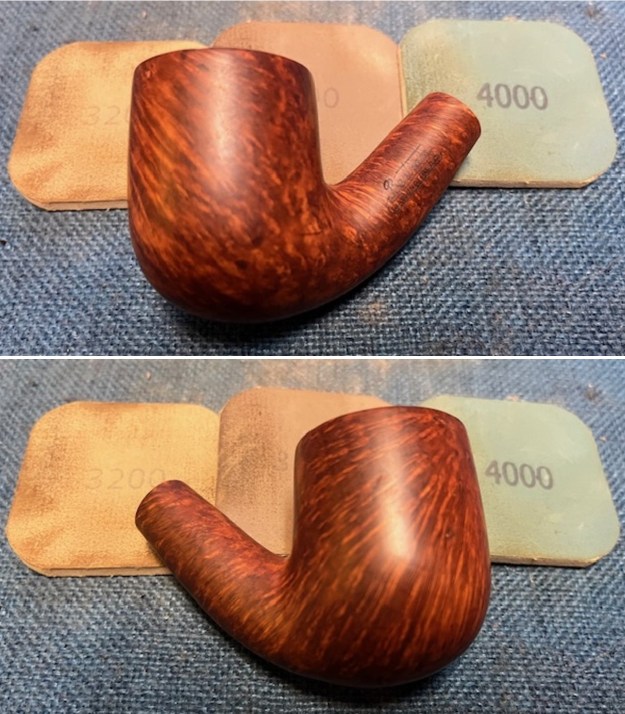
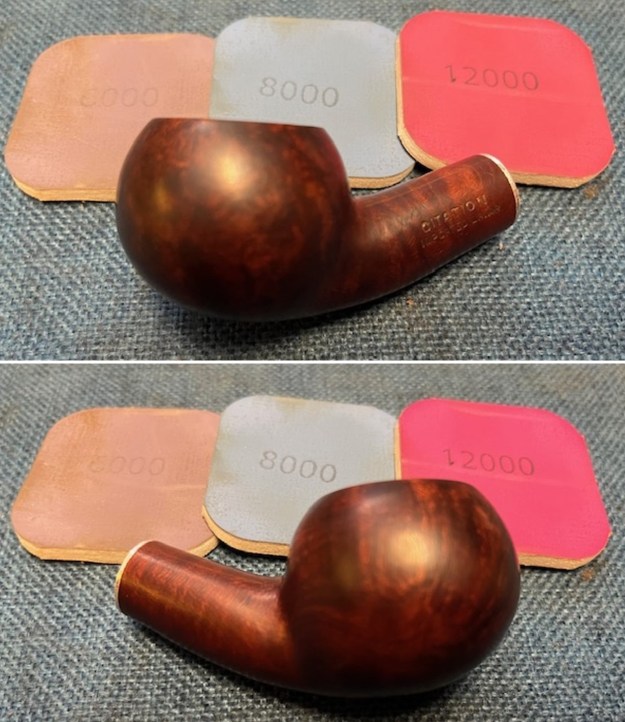
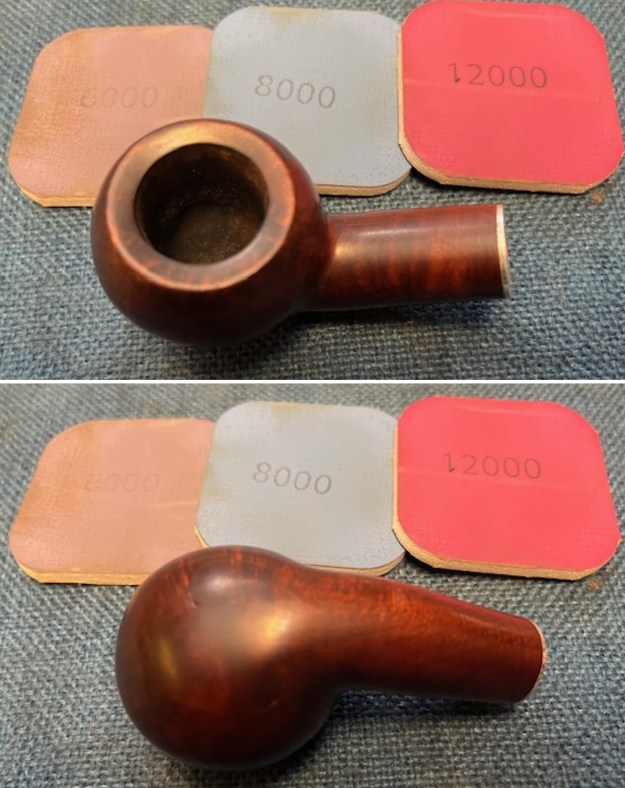
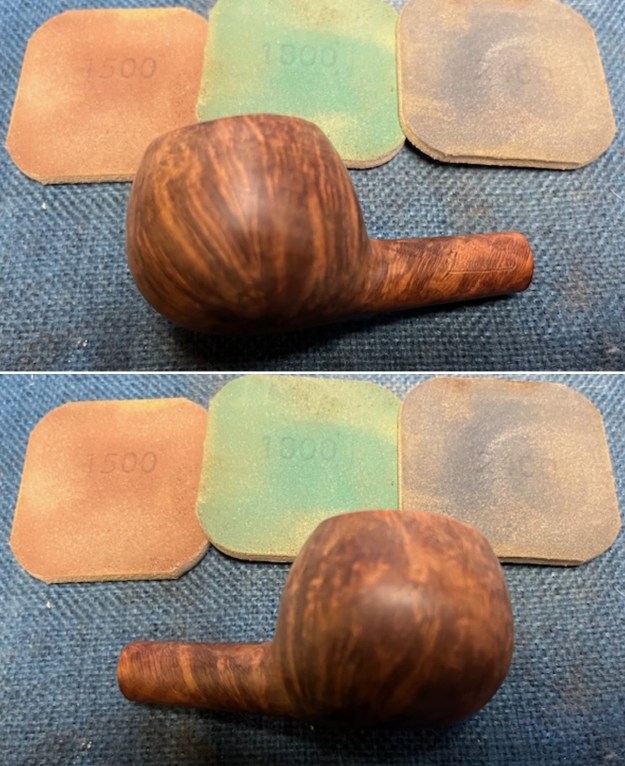
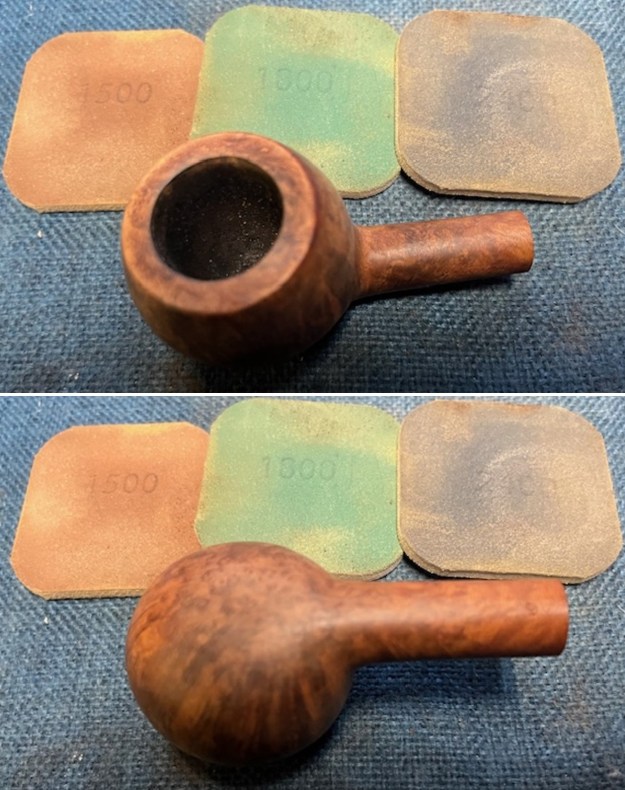
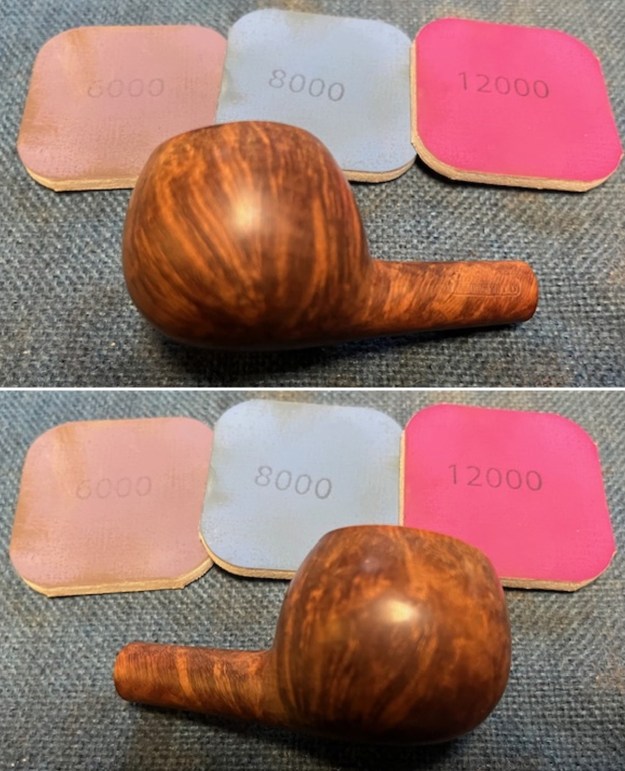
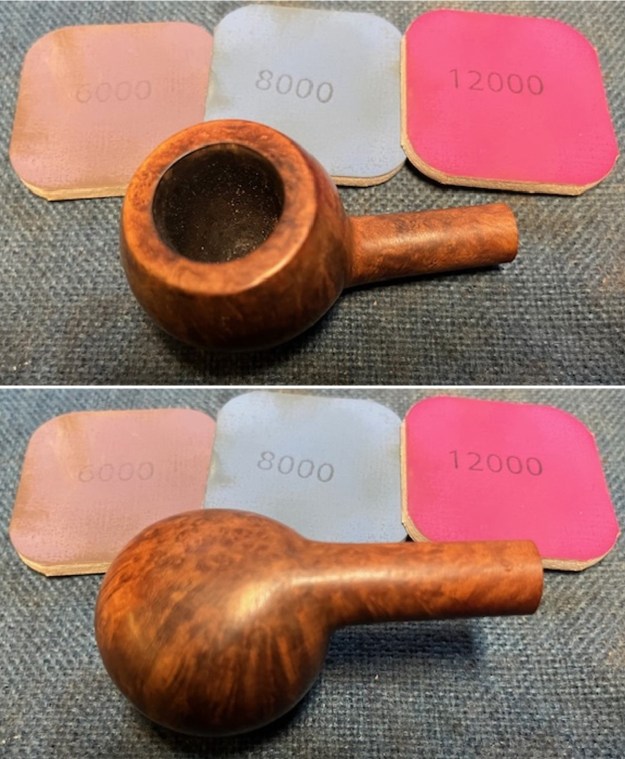
 I polished the rim top and the briar with micromesh sanding pads. I dry sanded the bowl with 1500-12000 grit sanding pads. I wiped the bowl down after each pad with a damp cloth to remove the sanding dust.
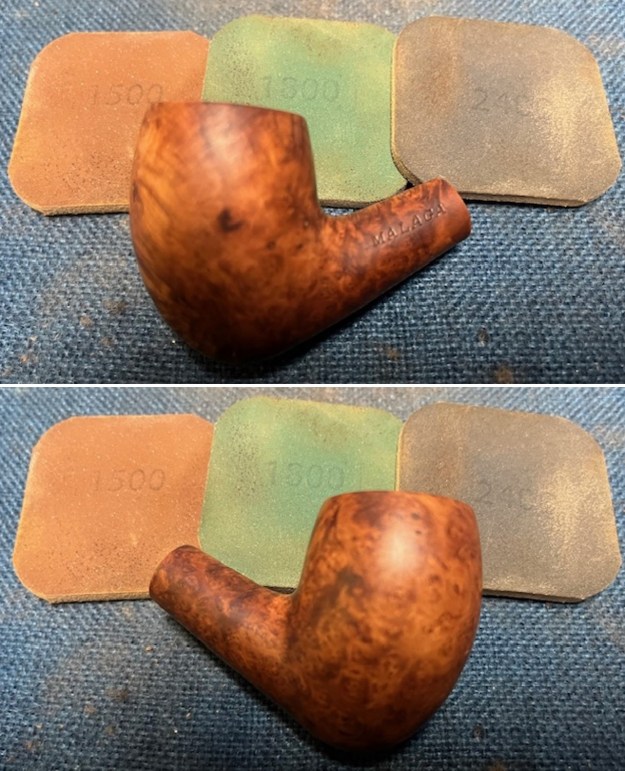

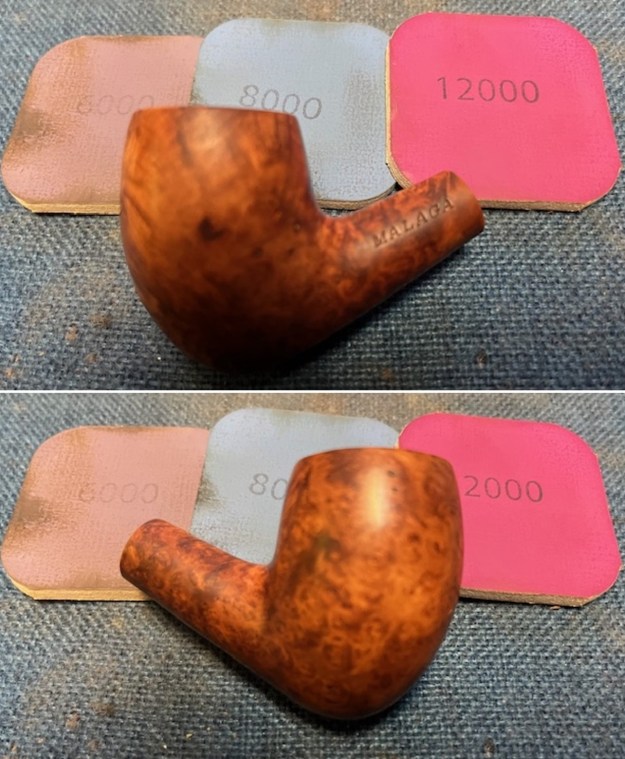
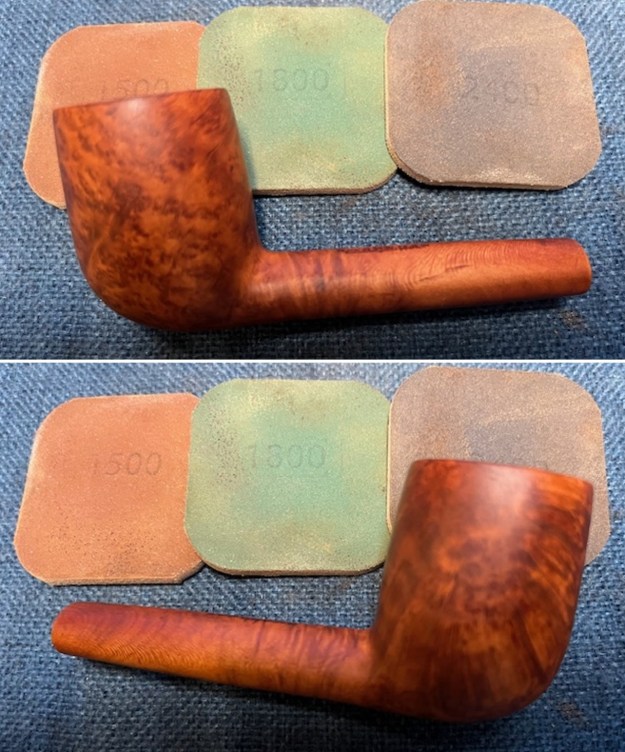
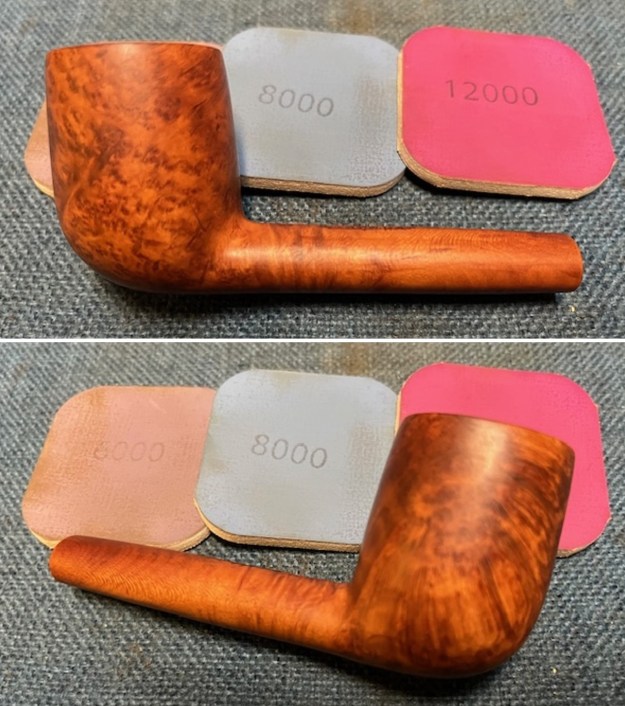
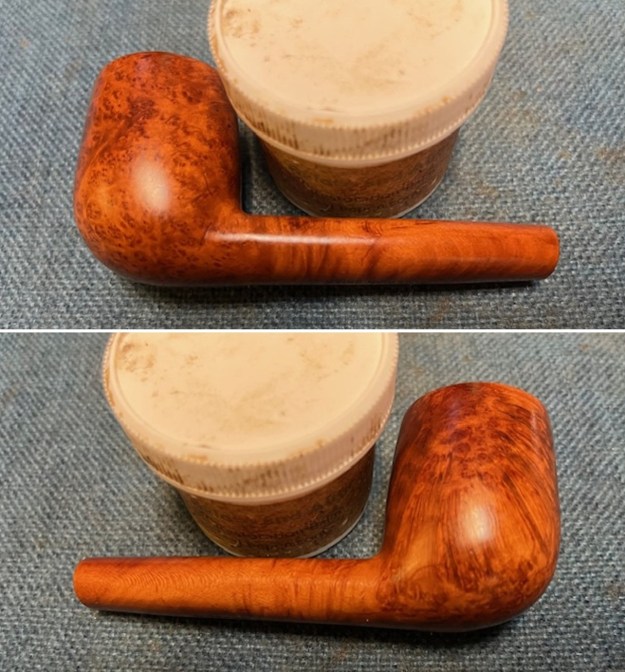
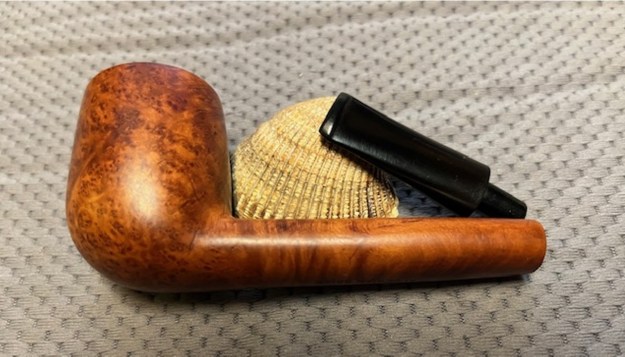
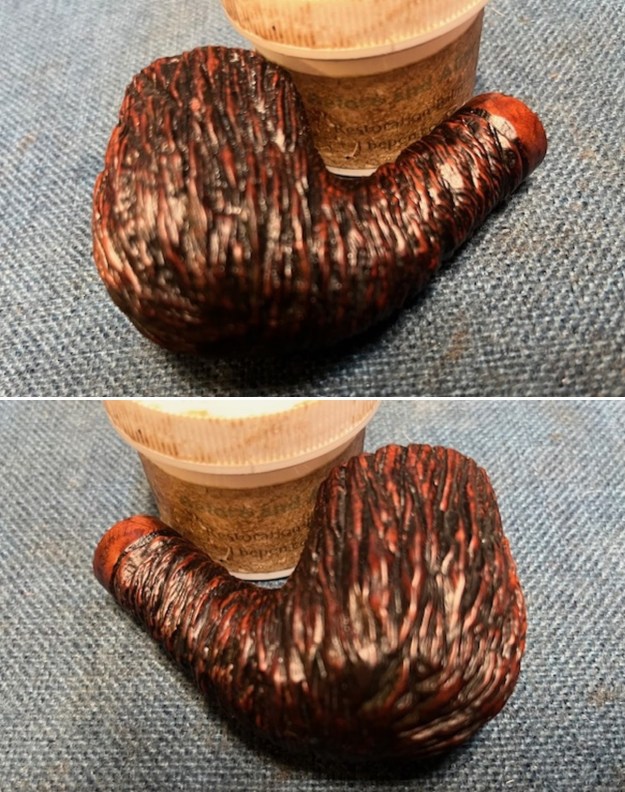
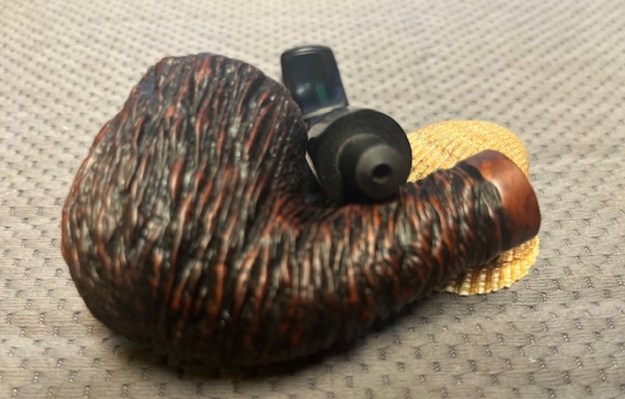
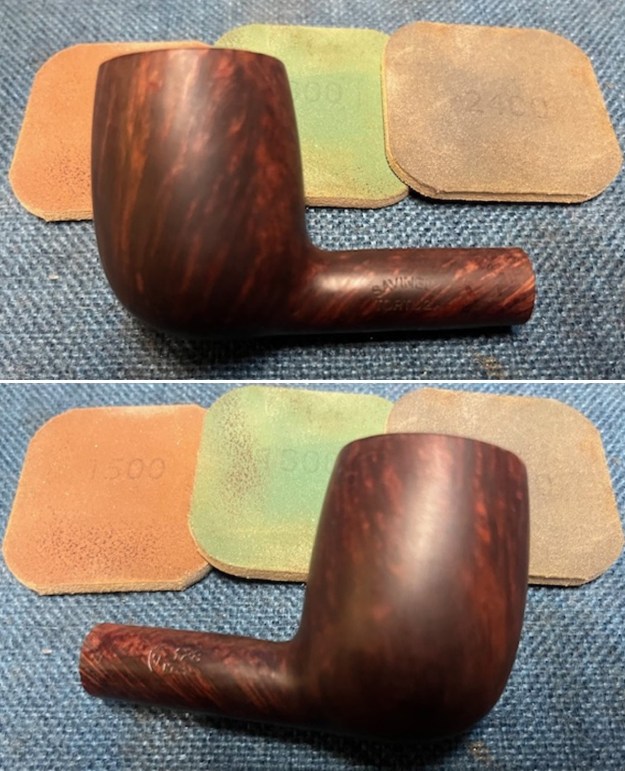
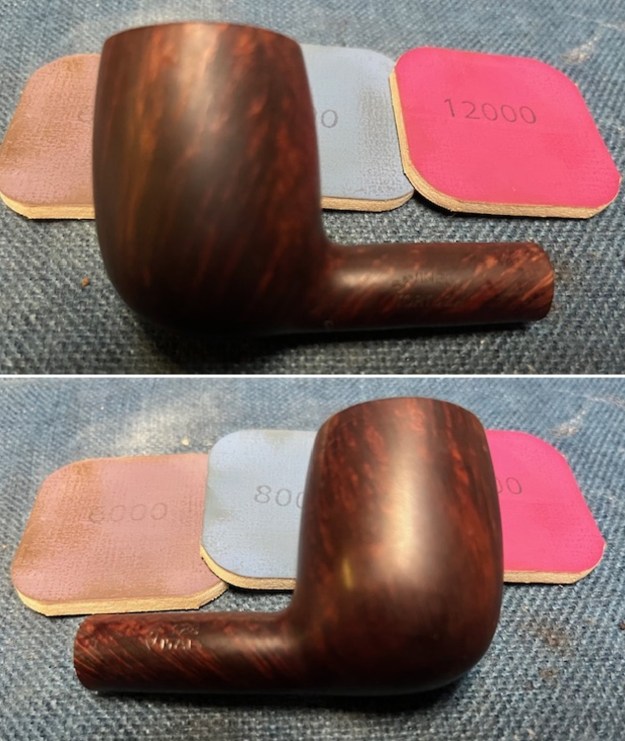
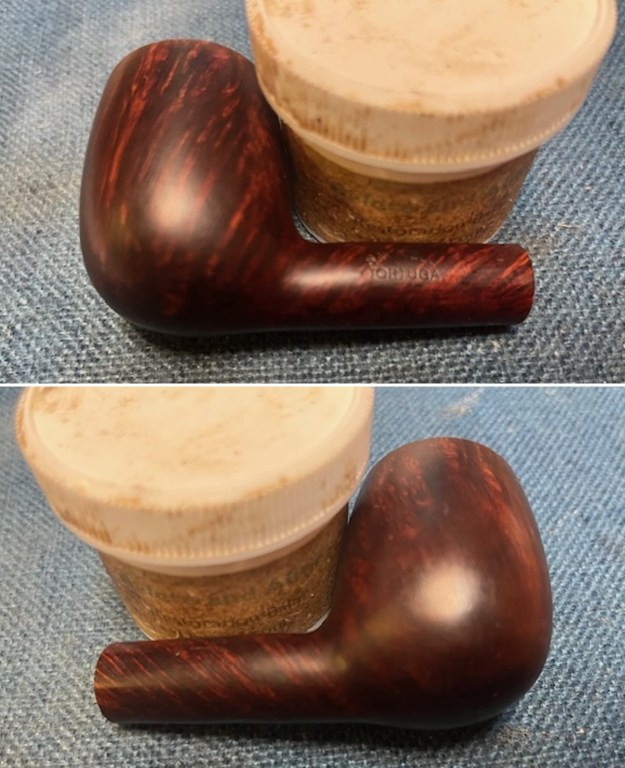
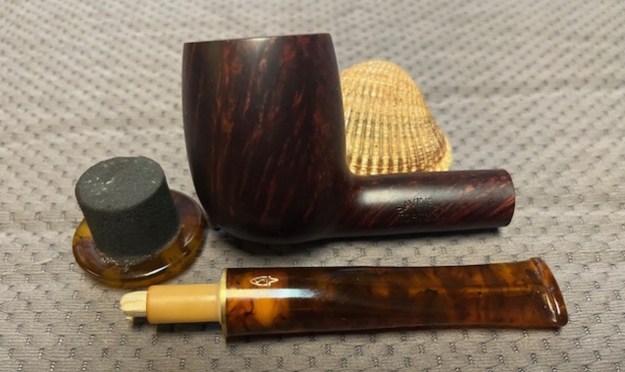
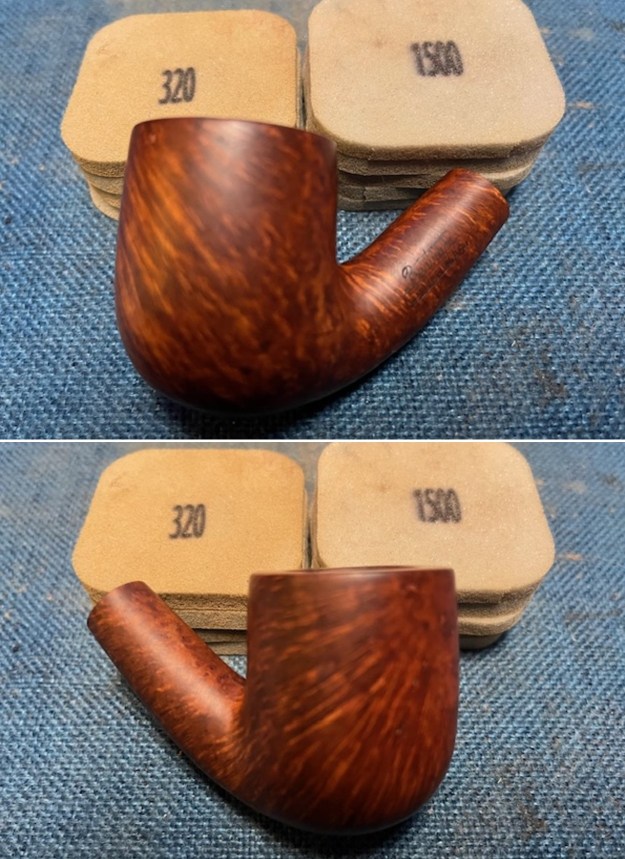
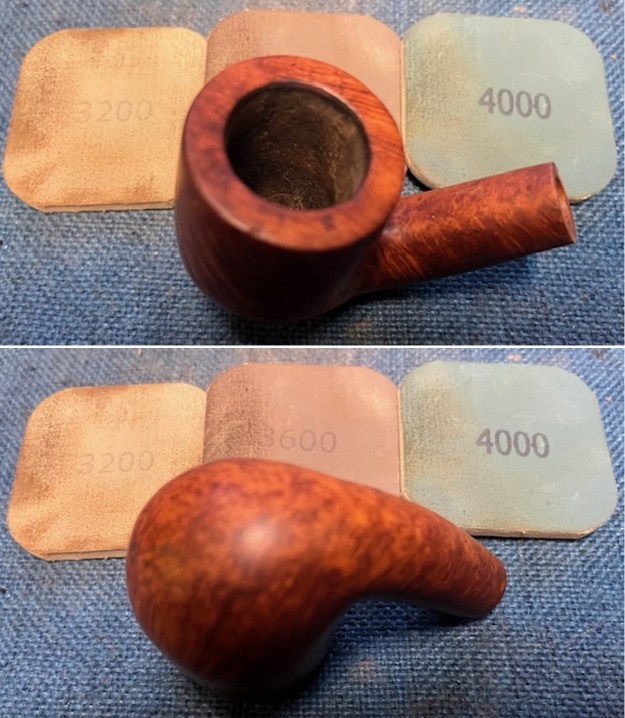
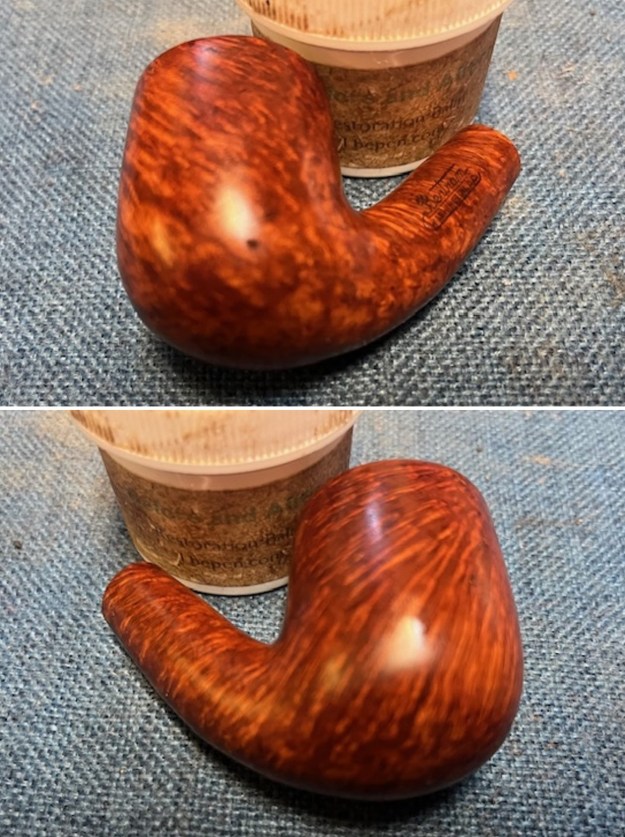
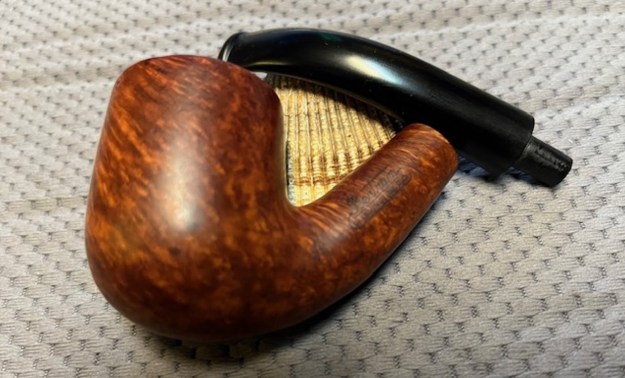
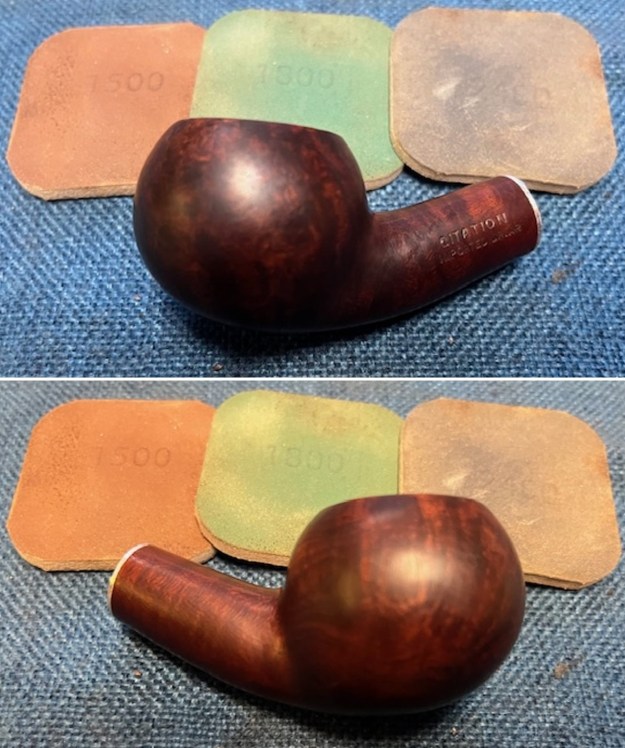
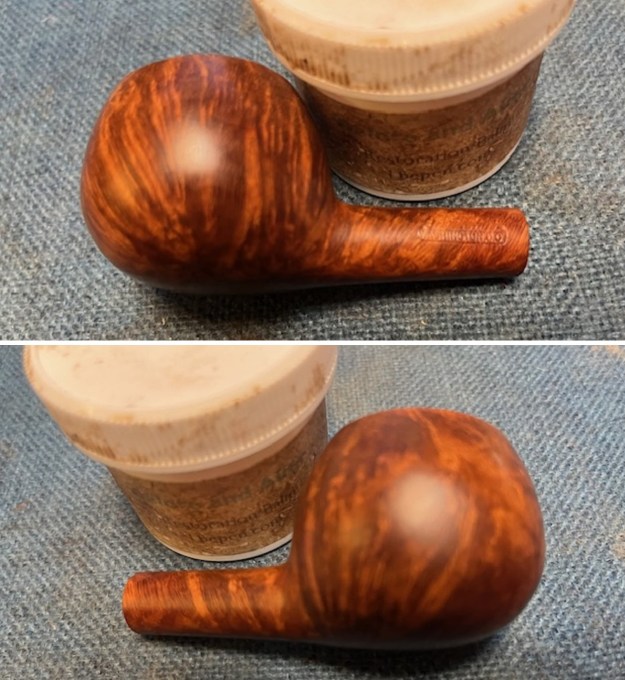
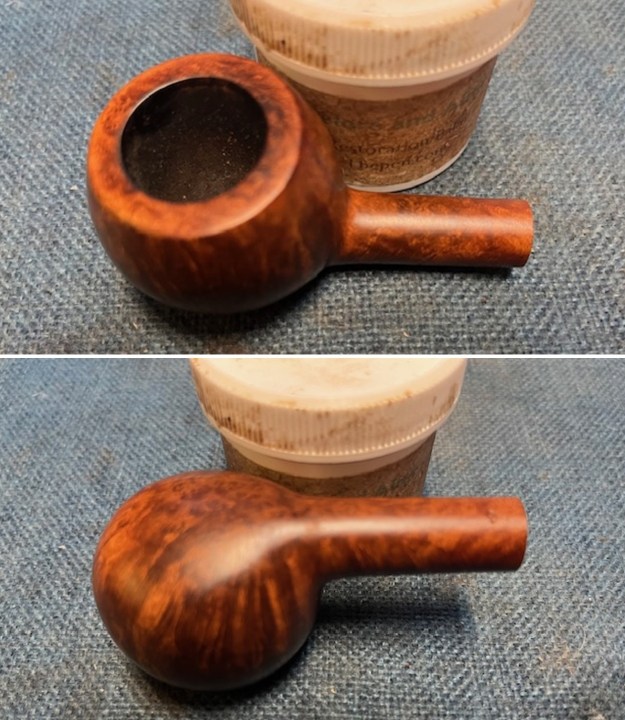
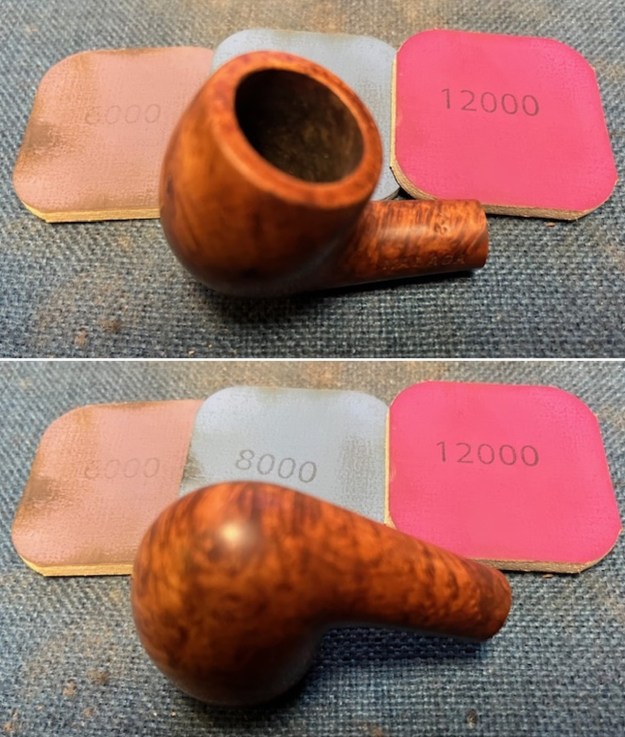 I worked some Before & After Restoration Balm into the surface of the briar with my fingertips to clean, enliven and protect it. I let the balm sit for a little while and then buffed with a cotton cloth to raise the shine. The following photos show the bowl at this point in the restoration process. I am very happy with the results.
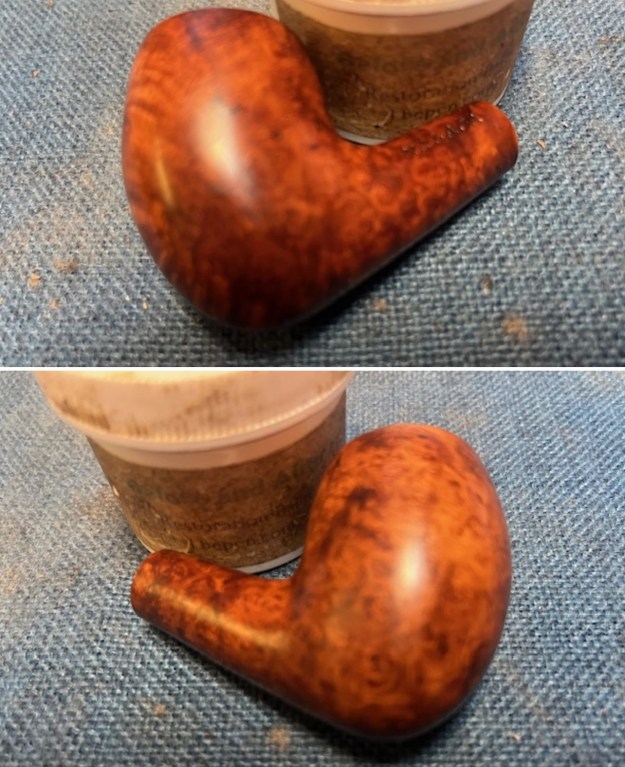
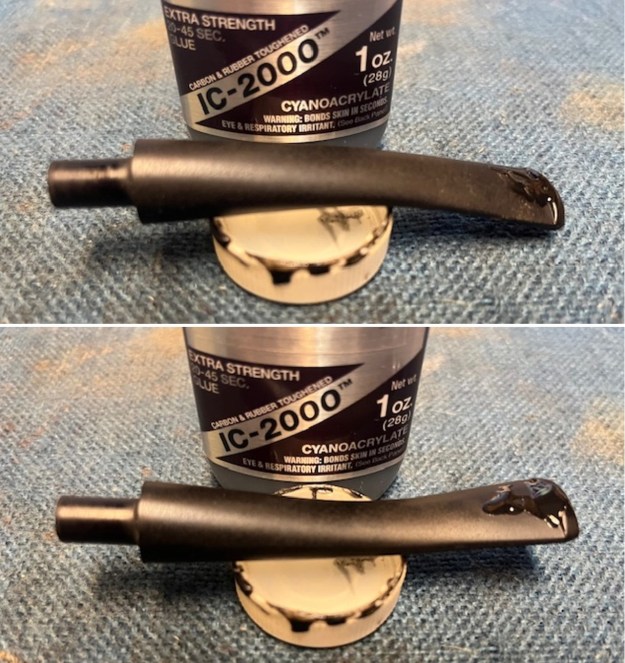
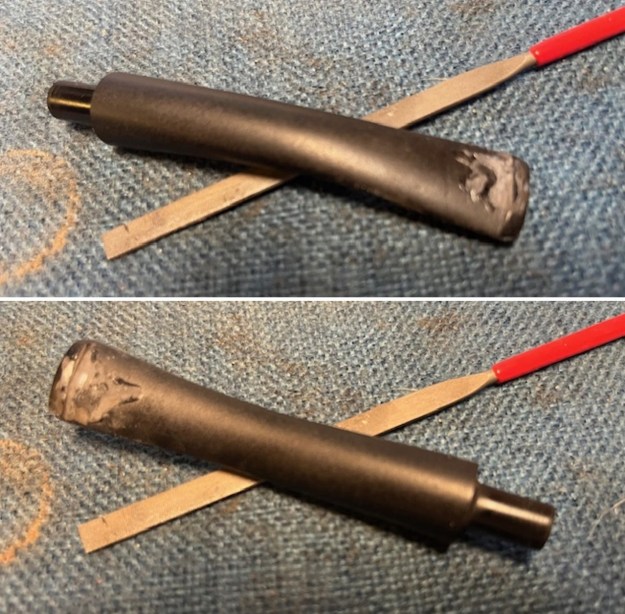
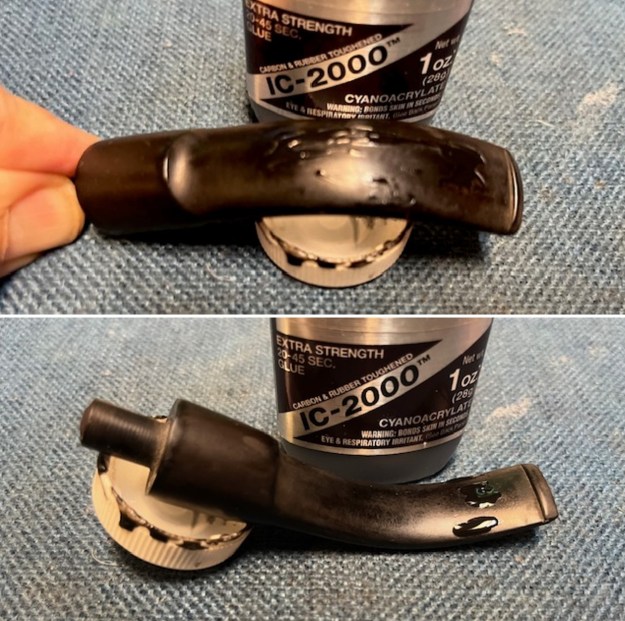
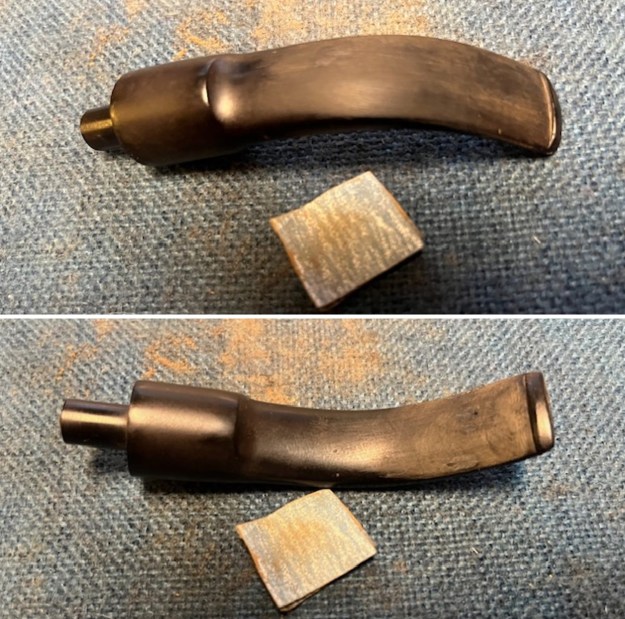
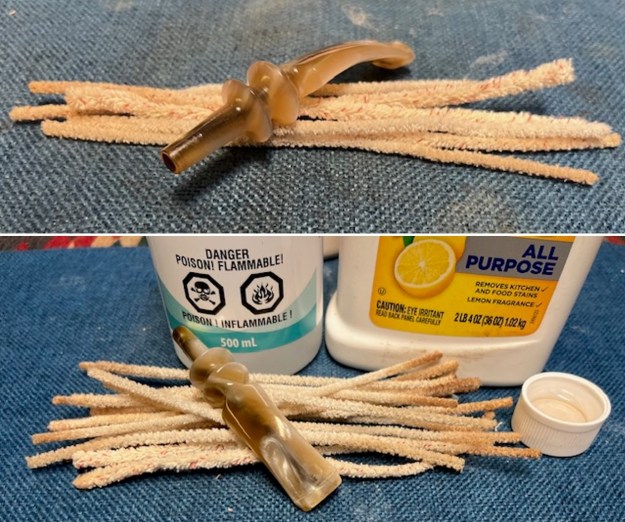
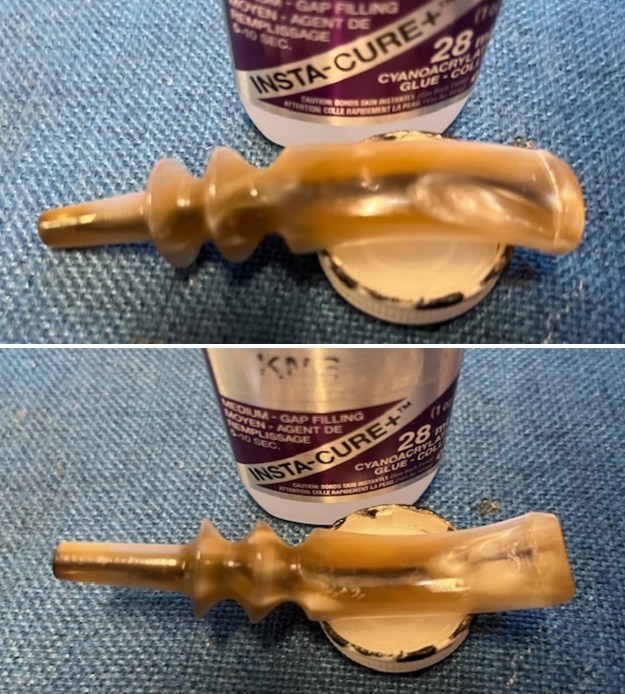
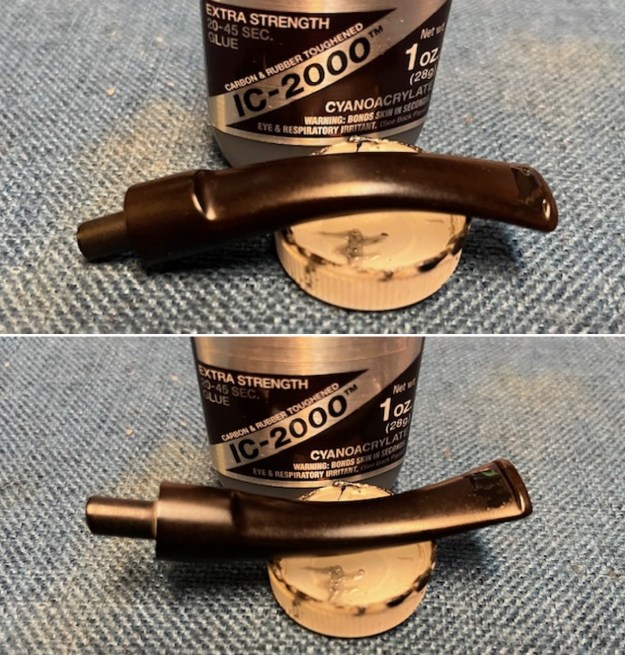
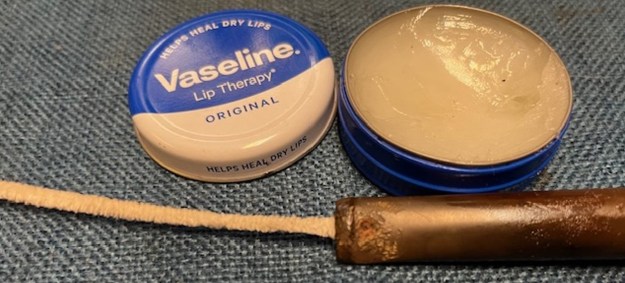
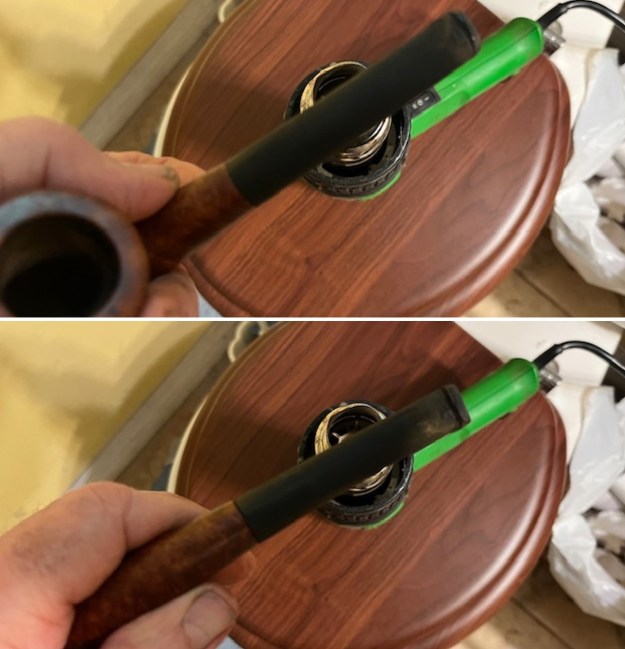
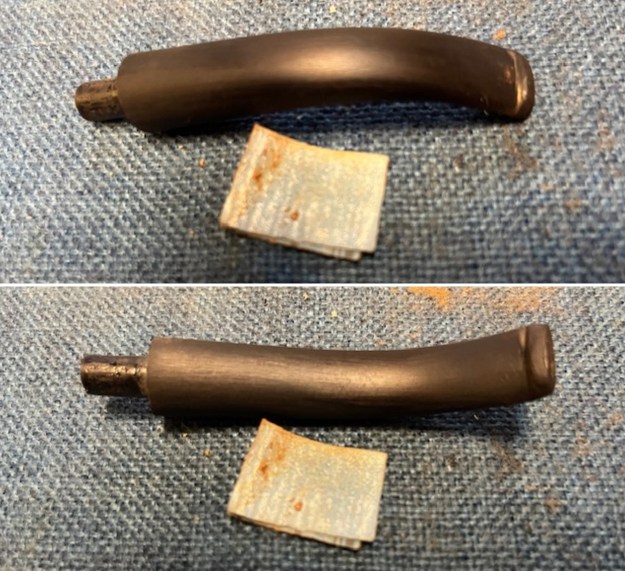
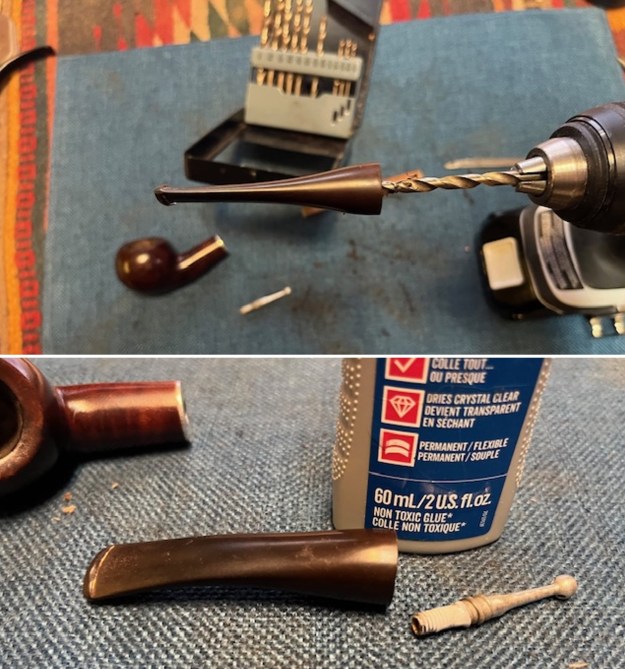
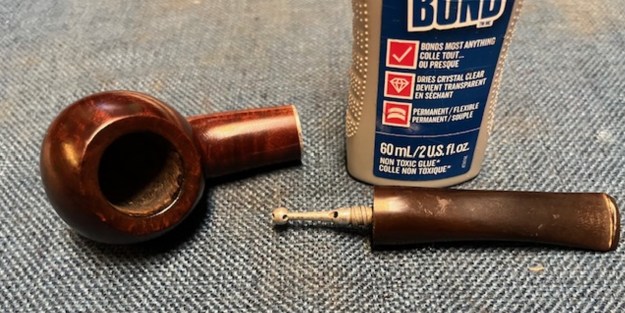
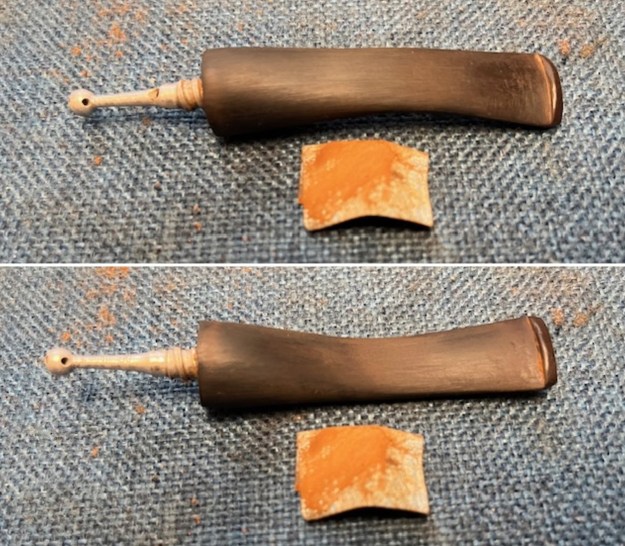
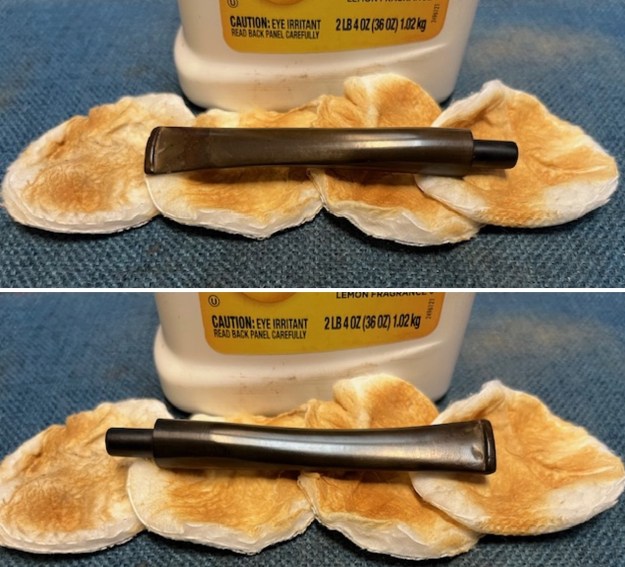
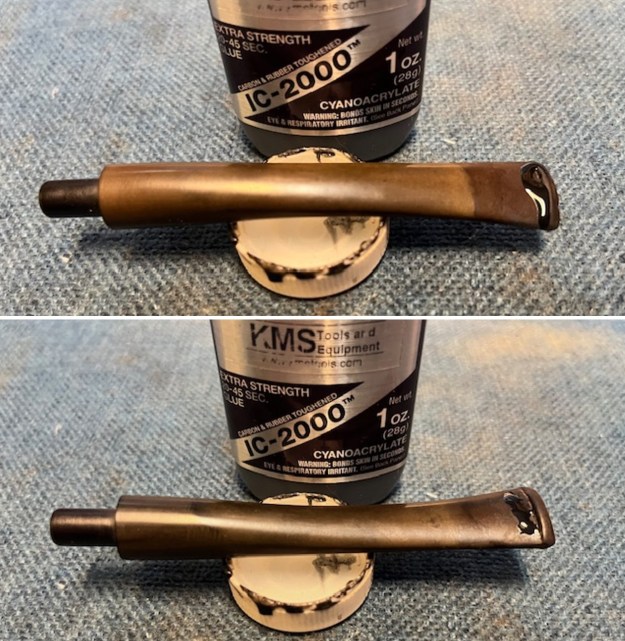
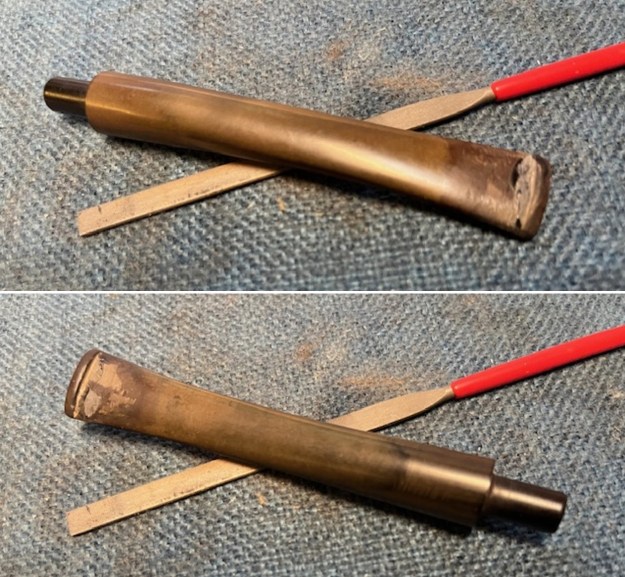
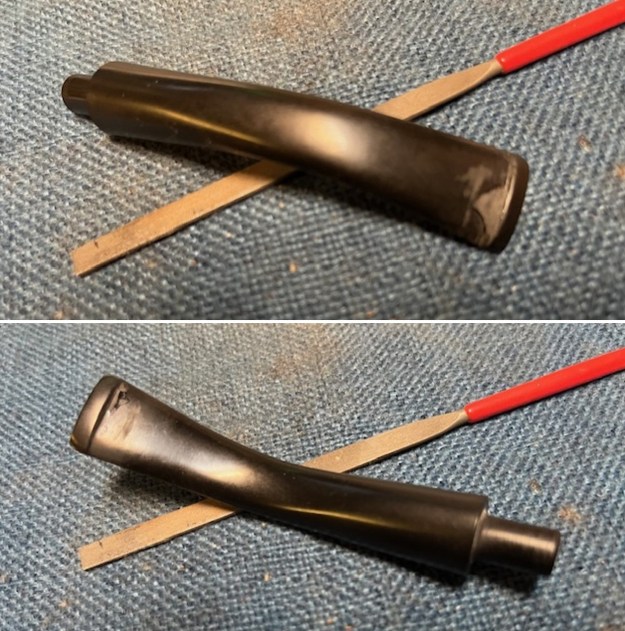
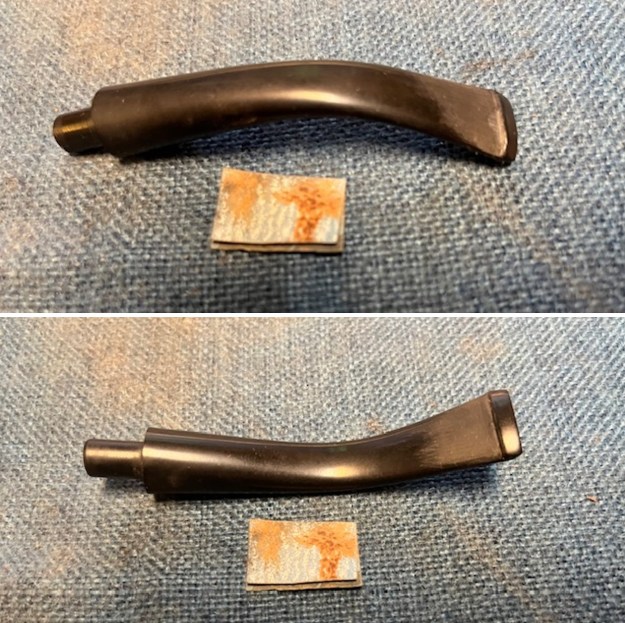
 I set the bowl aside and “painted” the stem surface with the flame and was able to lift the tooth marks significantly. I filled in the ones that remained with black extra strength CA glue. I set it aside to cure. Once it cured I flattened the repair with a small file and then sanded it smooth with 220 grit sandpaper. It began to look much better.
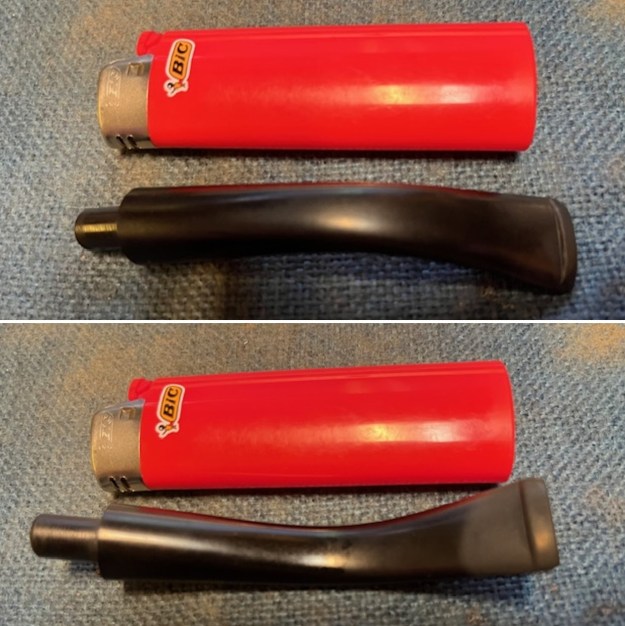

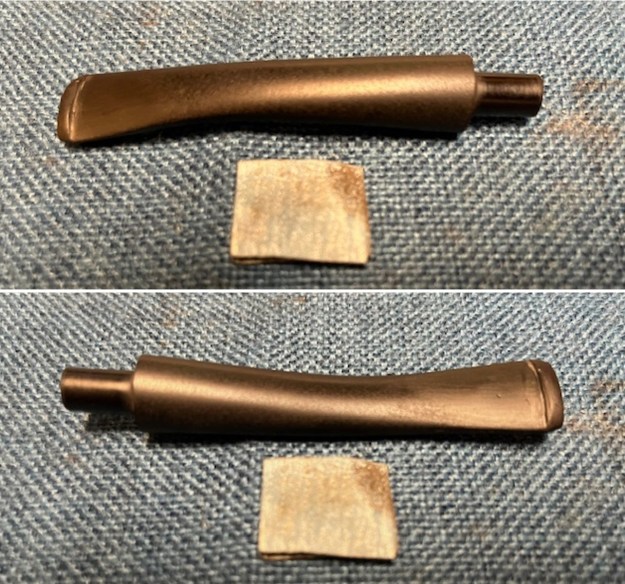
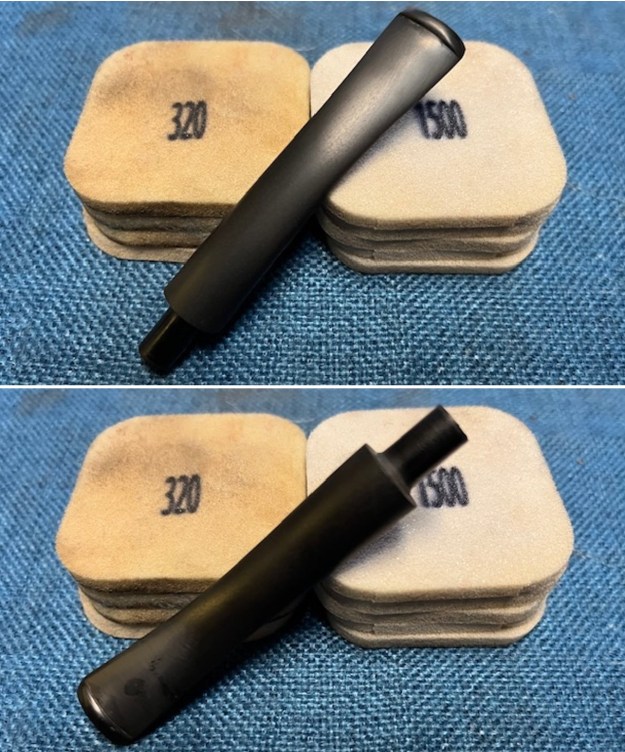
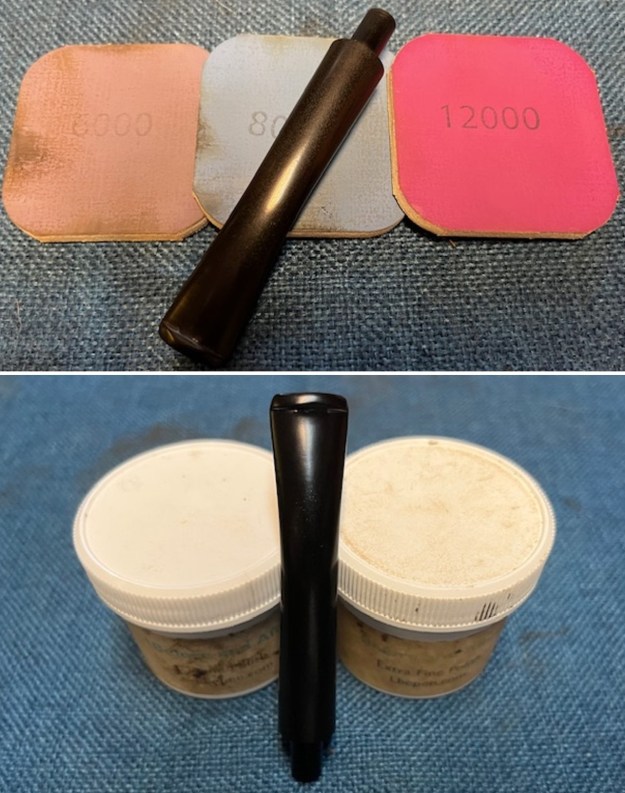
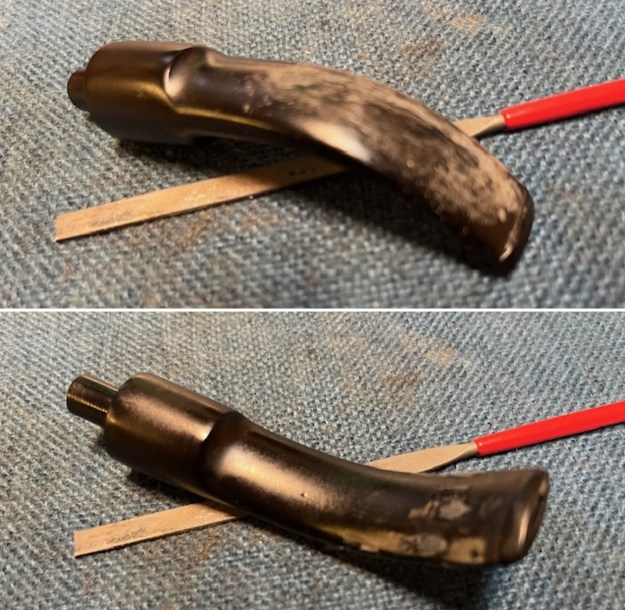
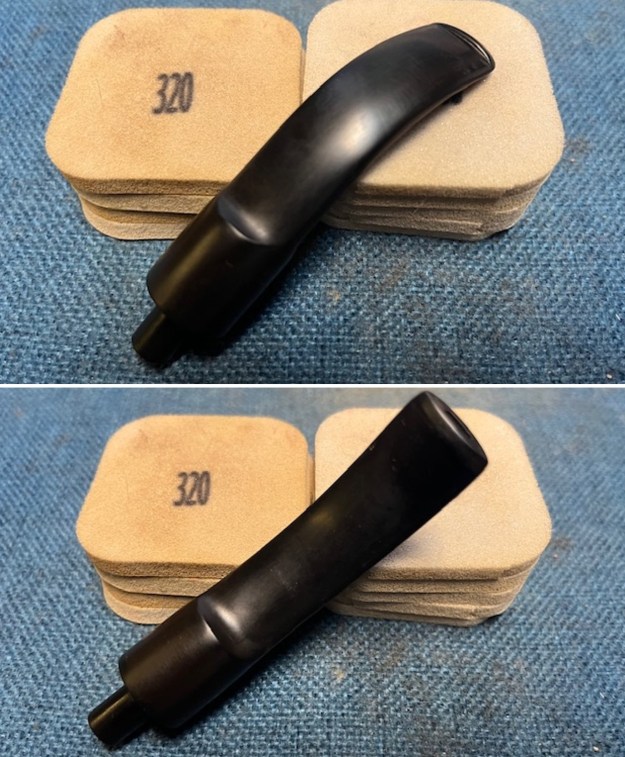
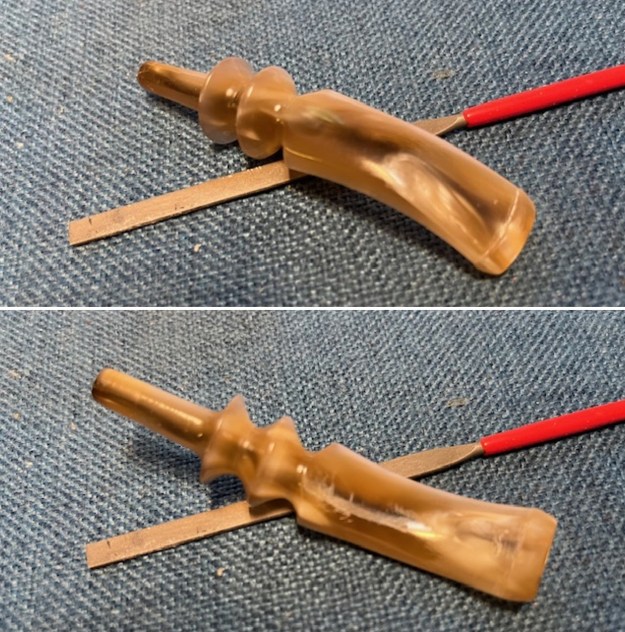
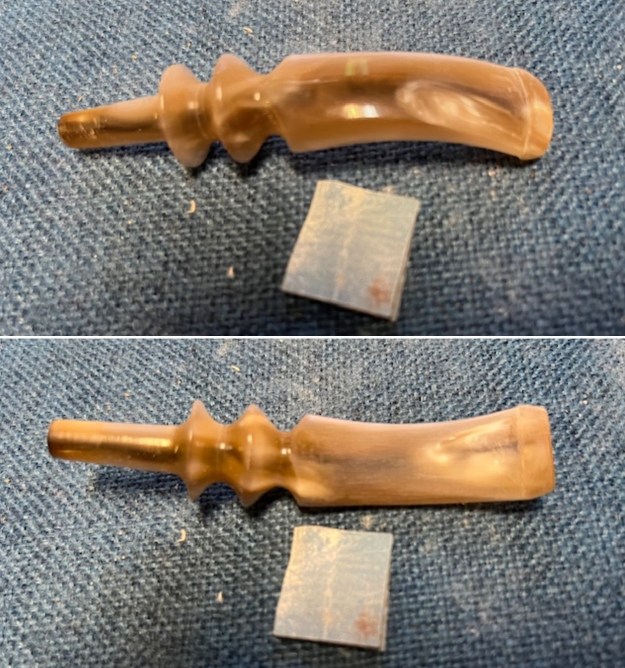
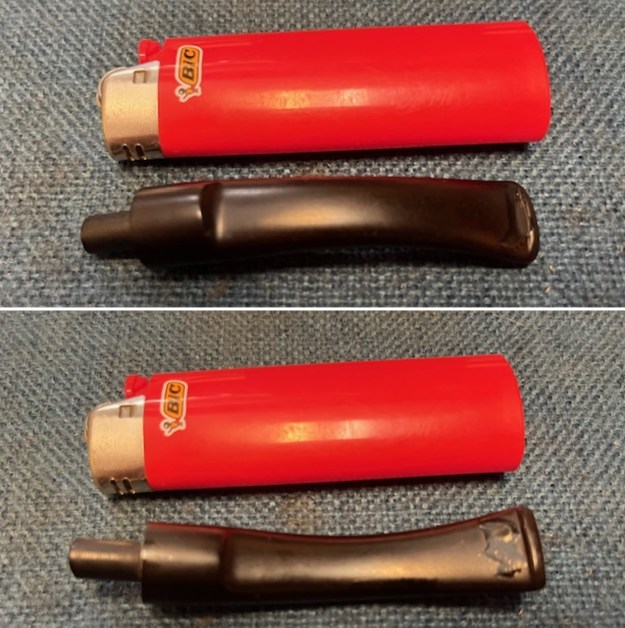
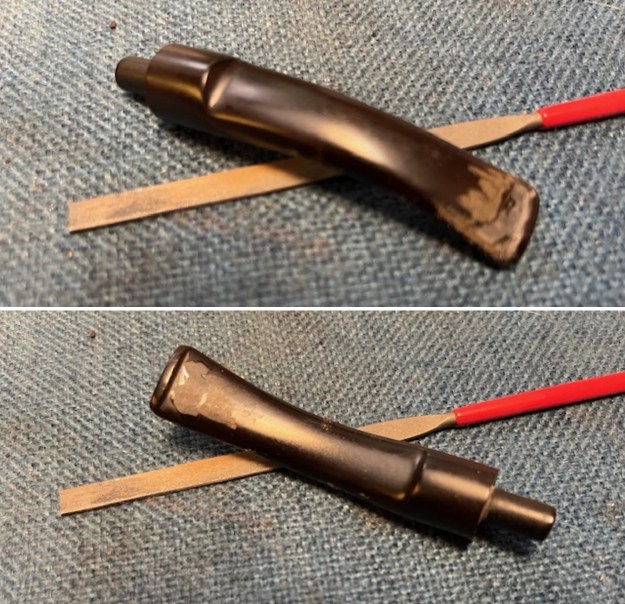
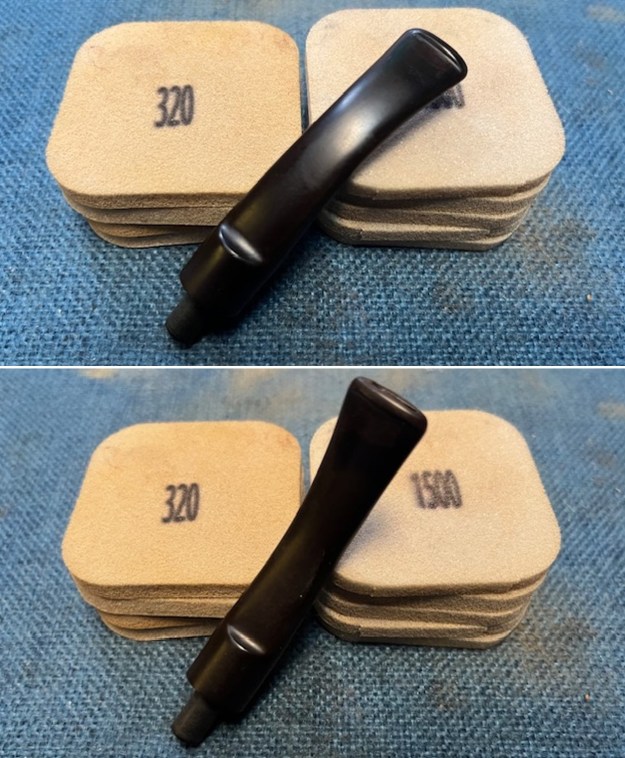
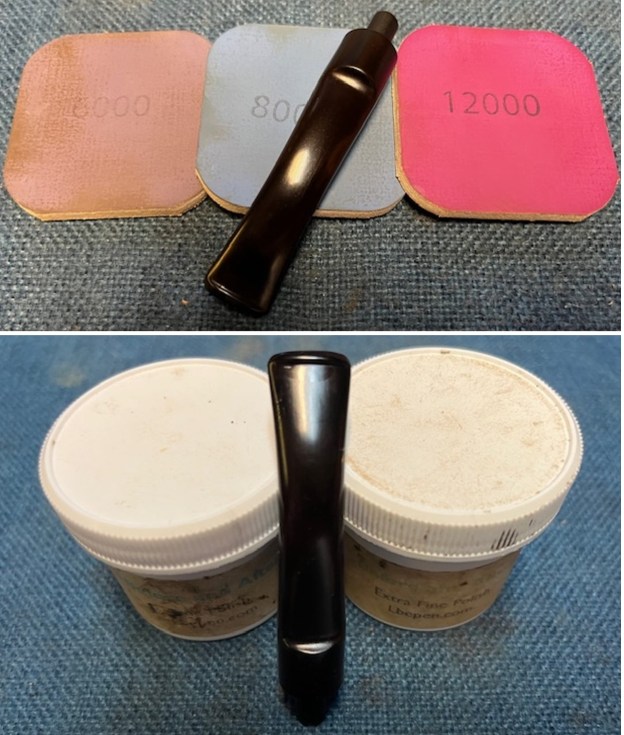
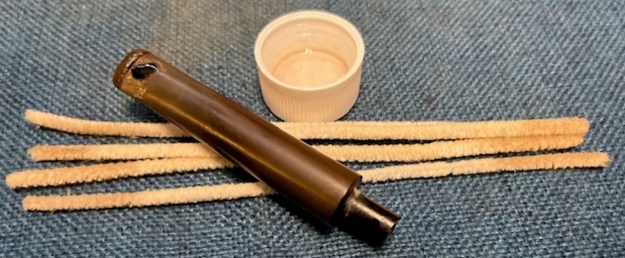
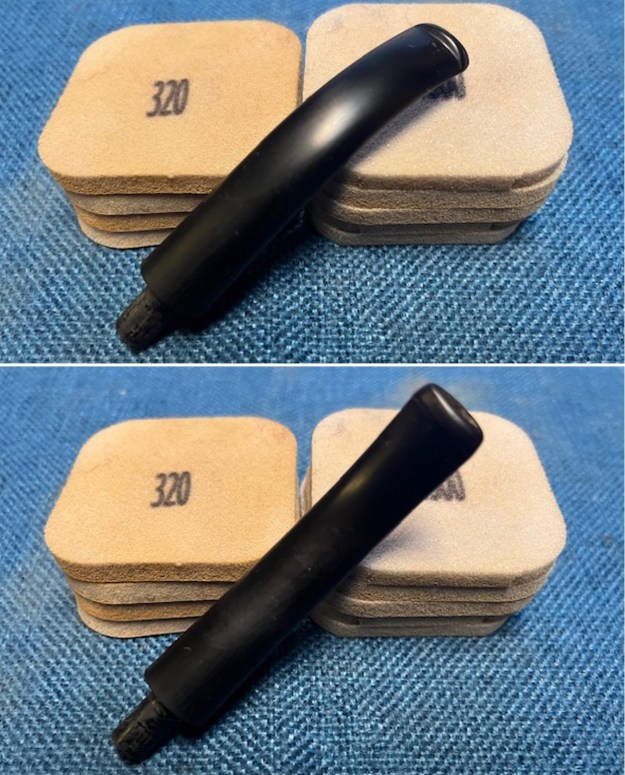
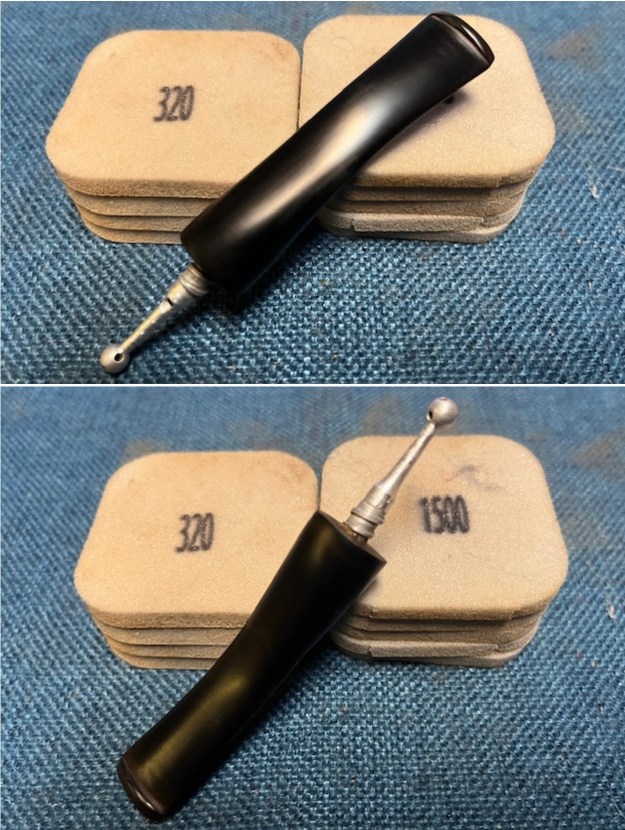
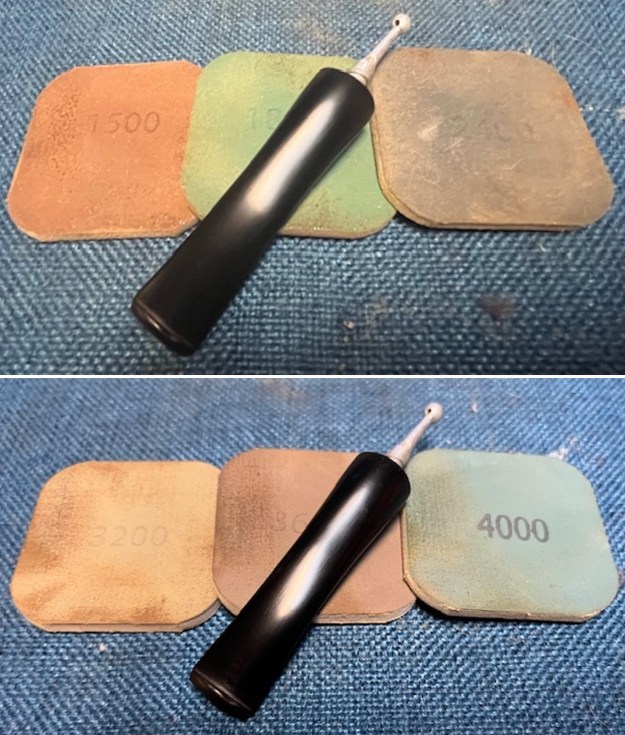
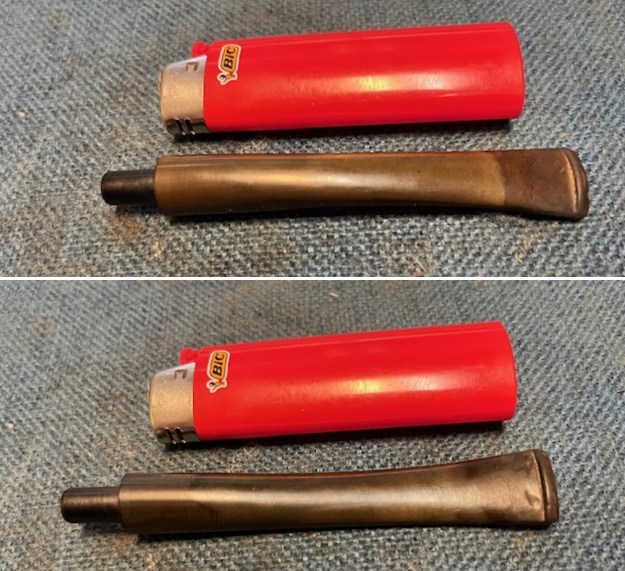
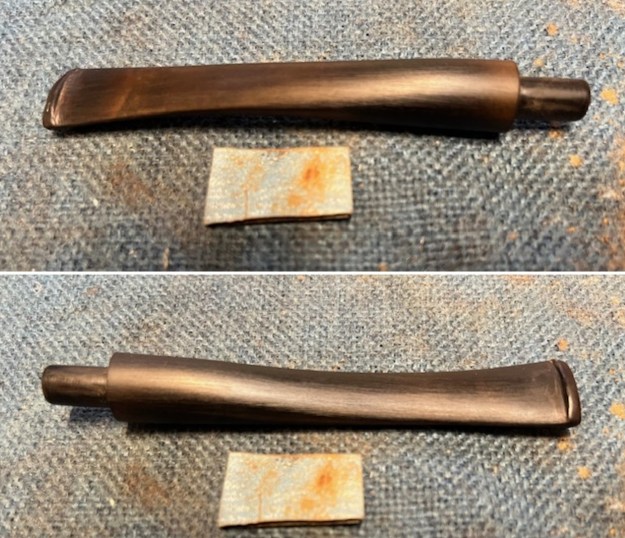
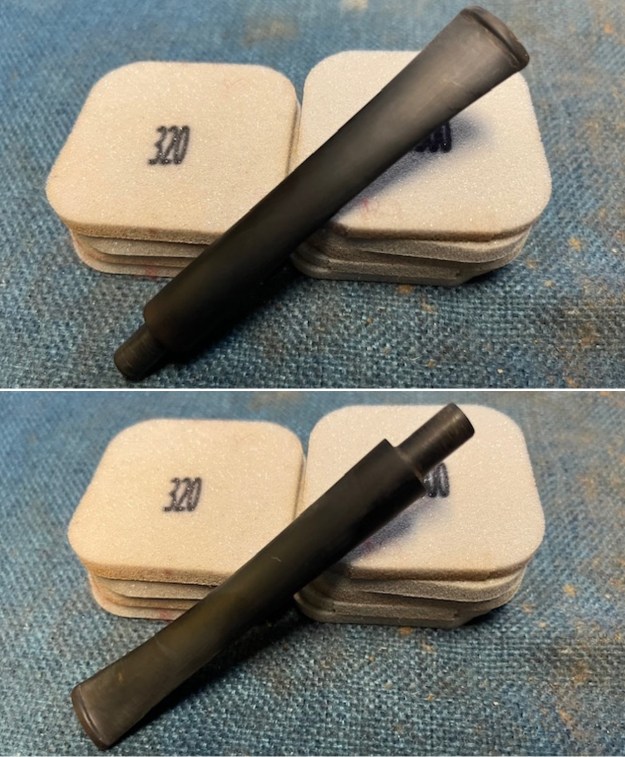
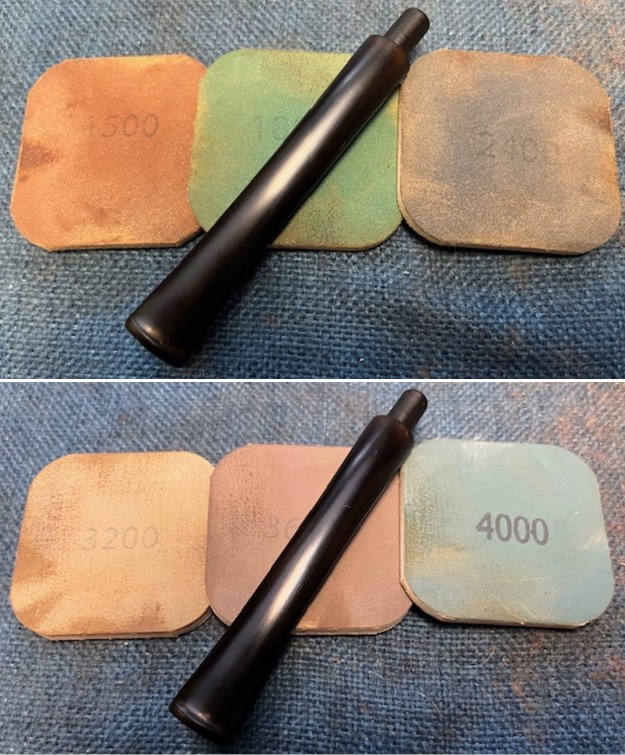
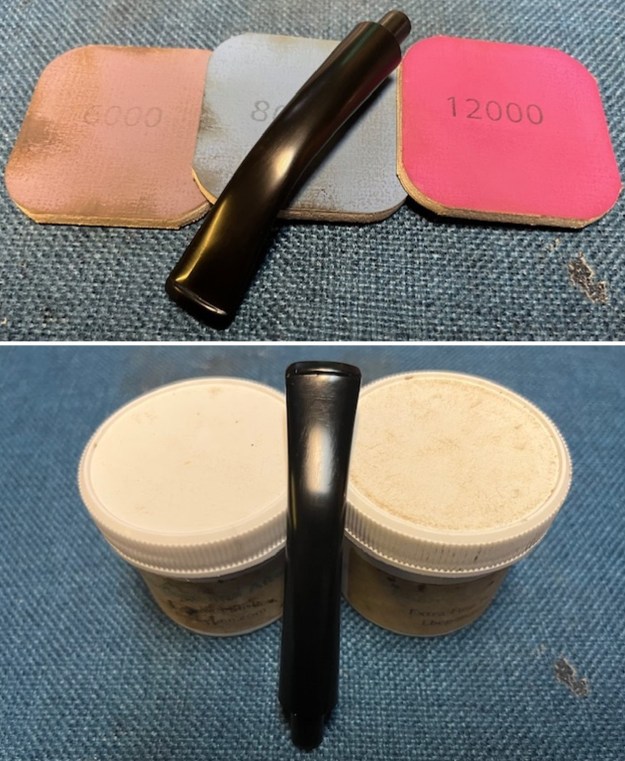
 I turned to the stem to address the issues on the surface of both sides at the button. I sanded the stem with 320-3500 grit sanding pads. I wiped the stem down with an Obsidian Oil cloth after each sanding pad. I think I finally beat the oxidation.
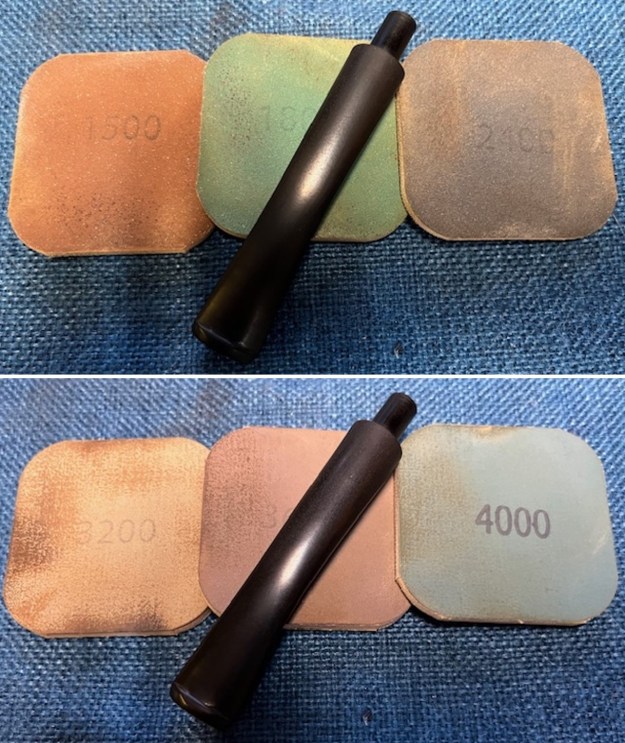
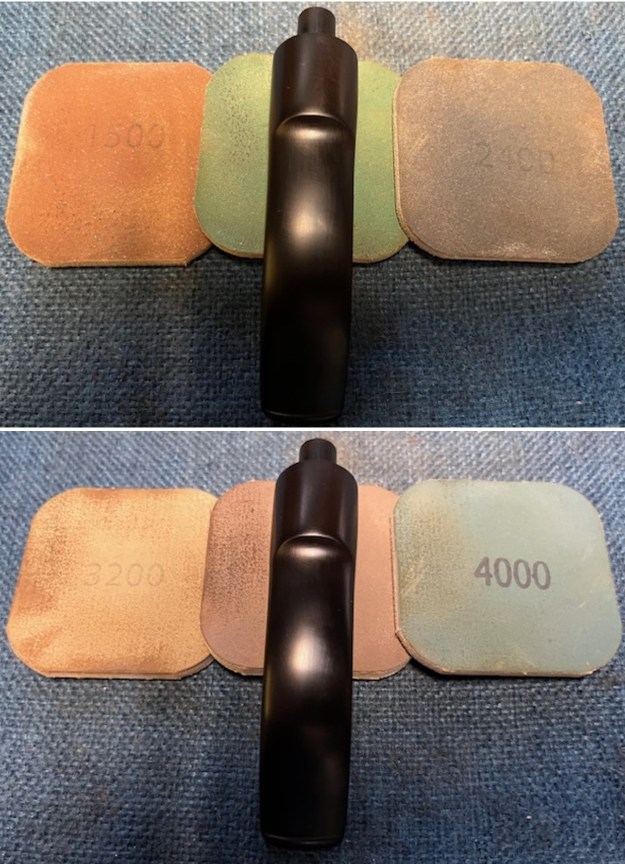
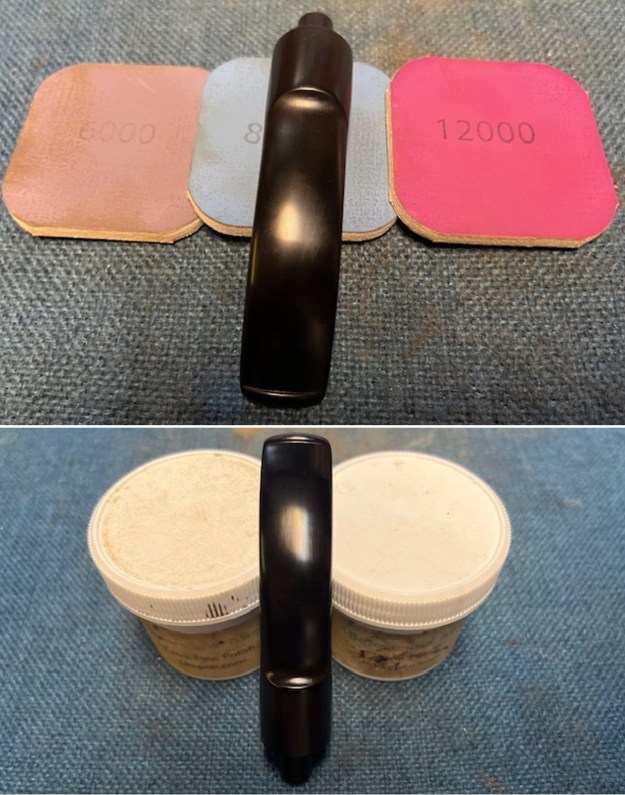
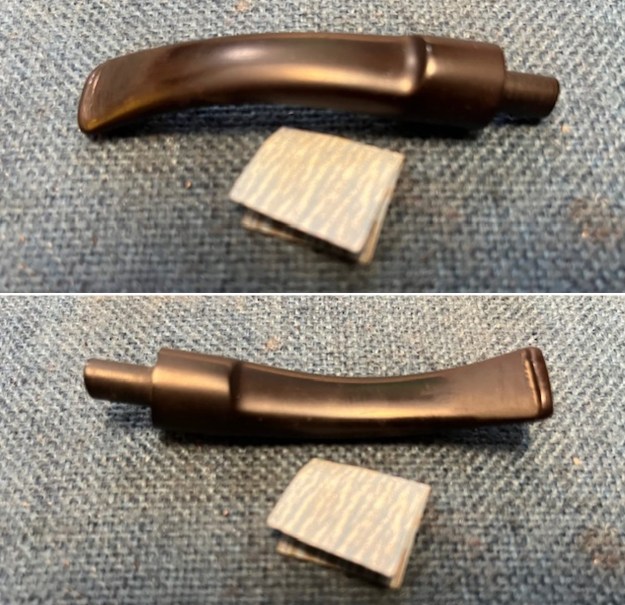
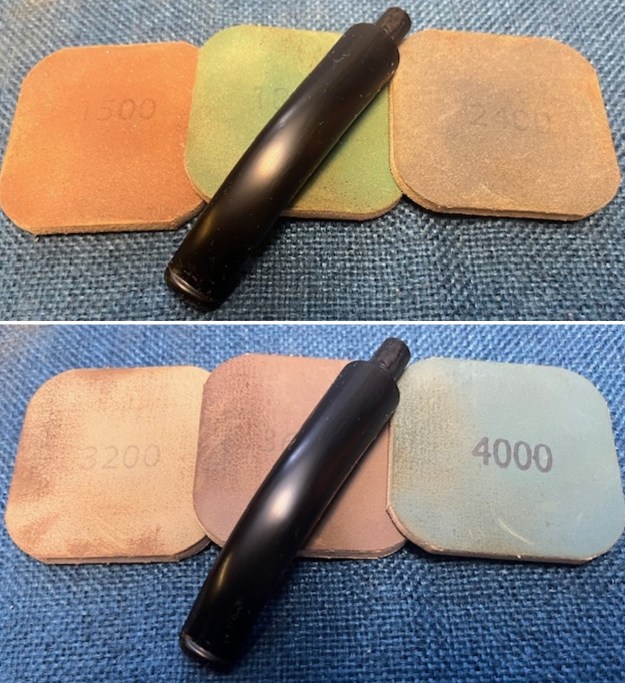
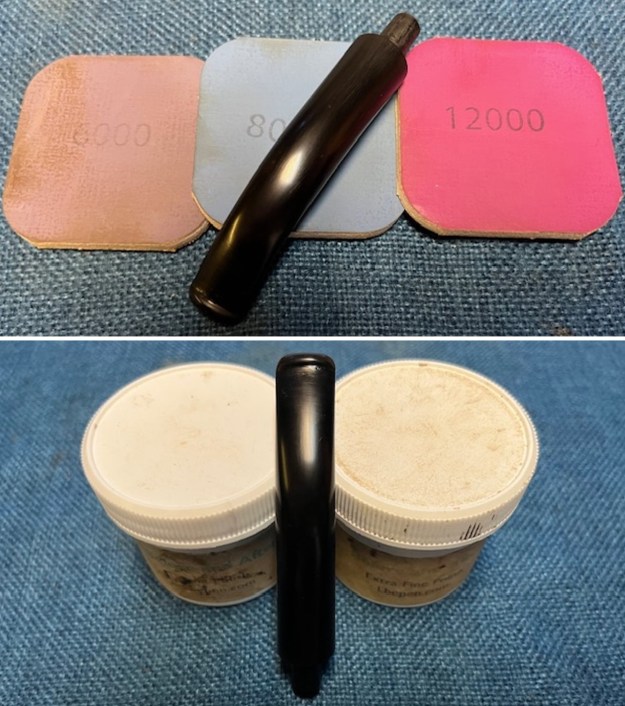
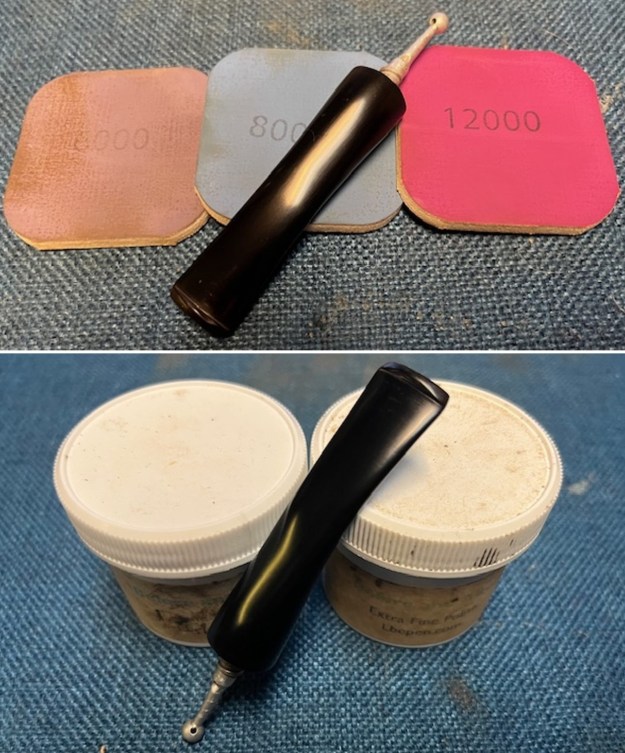
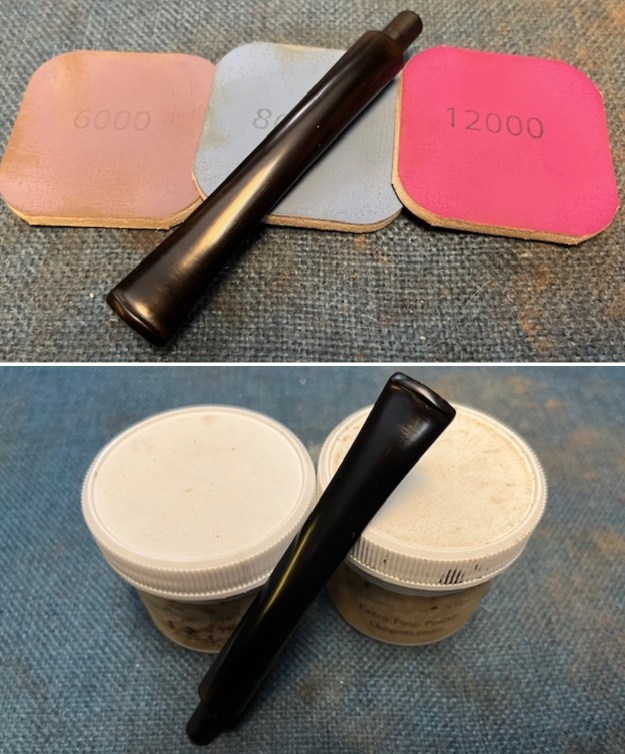
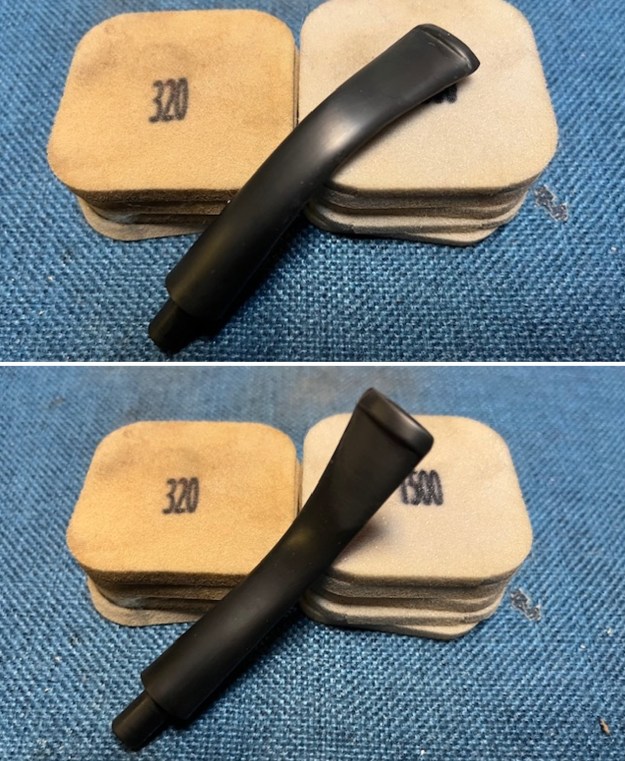 I polished the stem with micromesh sanding pads – wet sanding with 1500-12000 grit sanding pads. I wiped it down after each sanding pad Obsidian Oil. I finished by polishing it with Before & After Pipe Stem Polish both fine and extra Fine and then wiped it down with a final coat of Obsidian Oil.
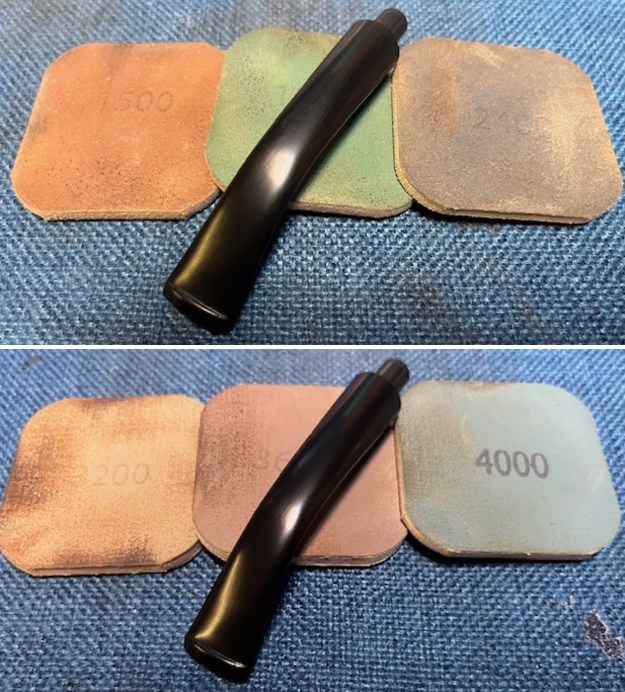
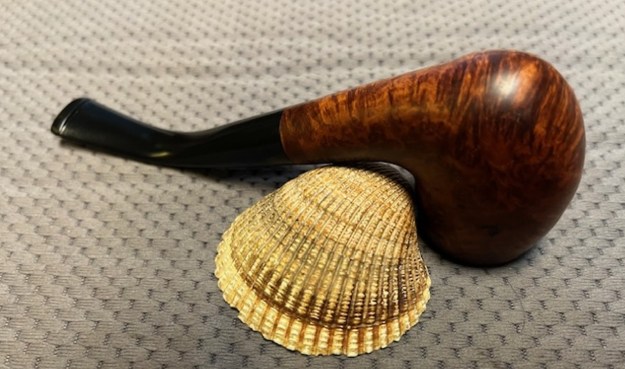
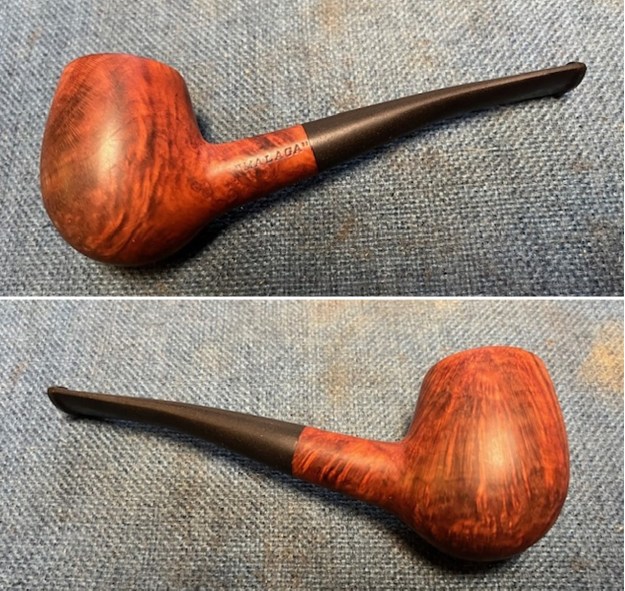
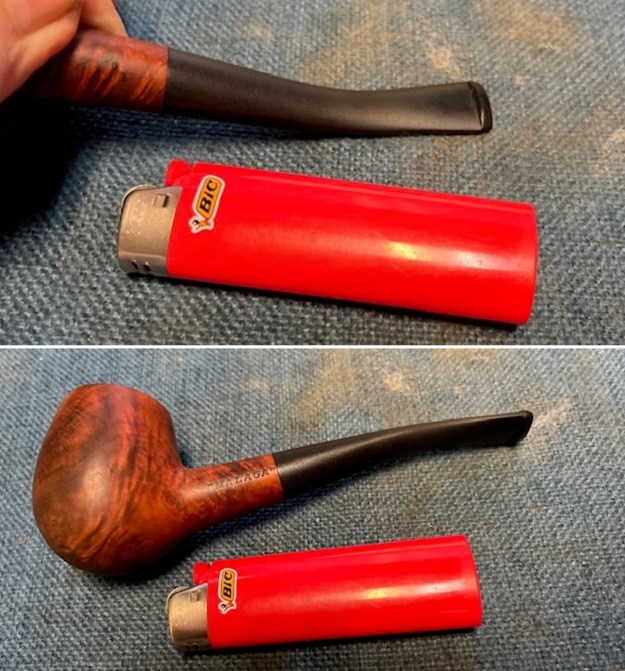
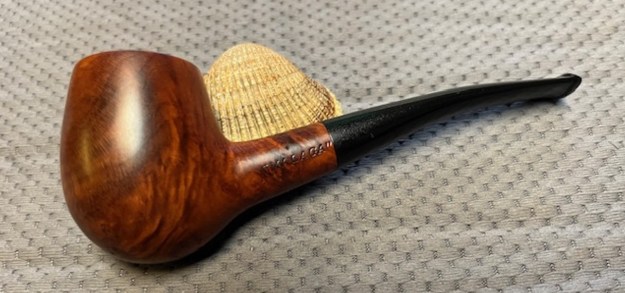
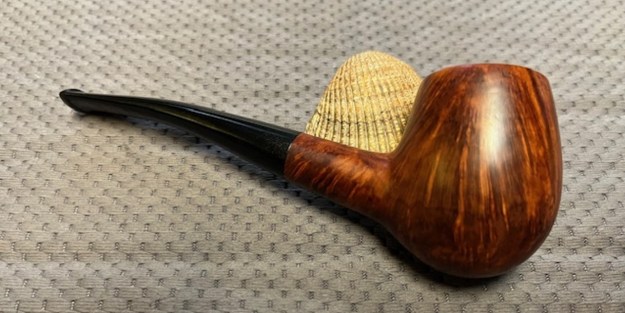
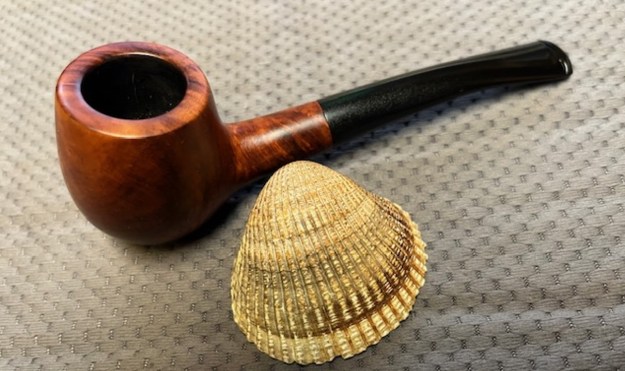
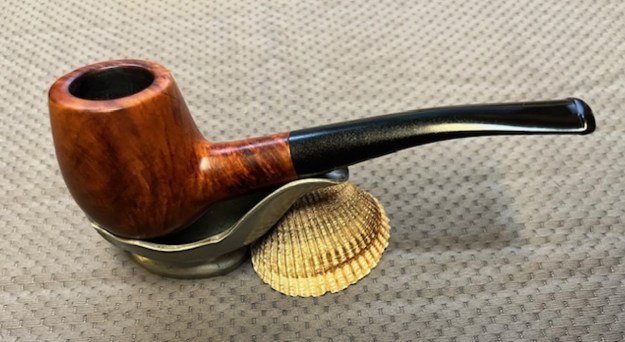
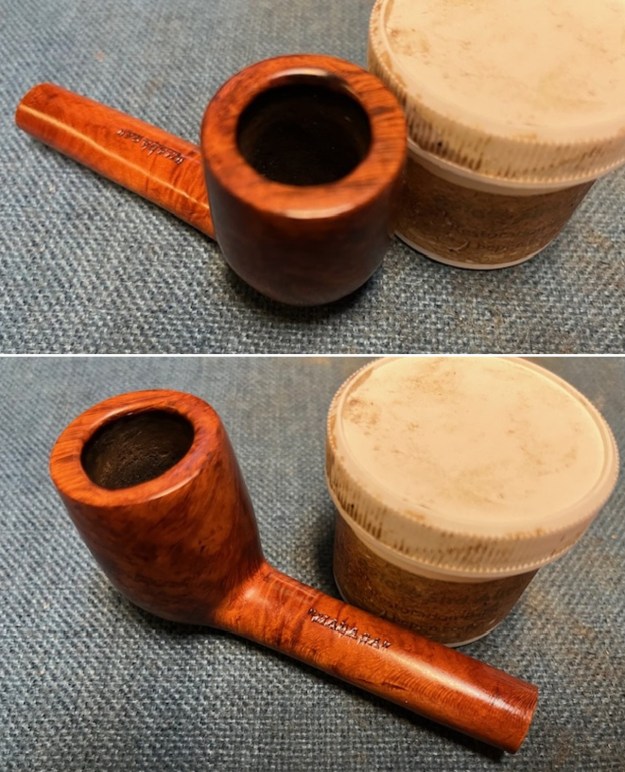
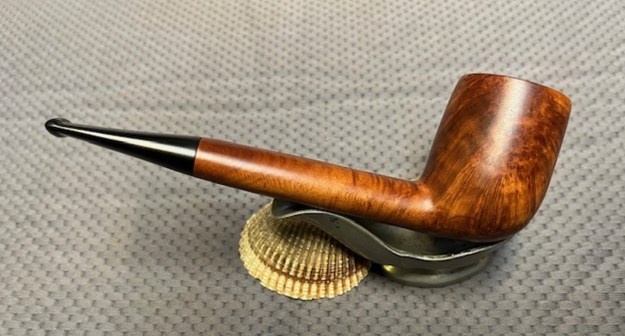
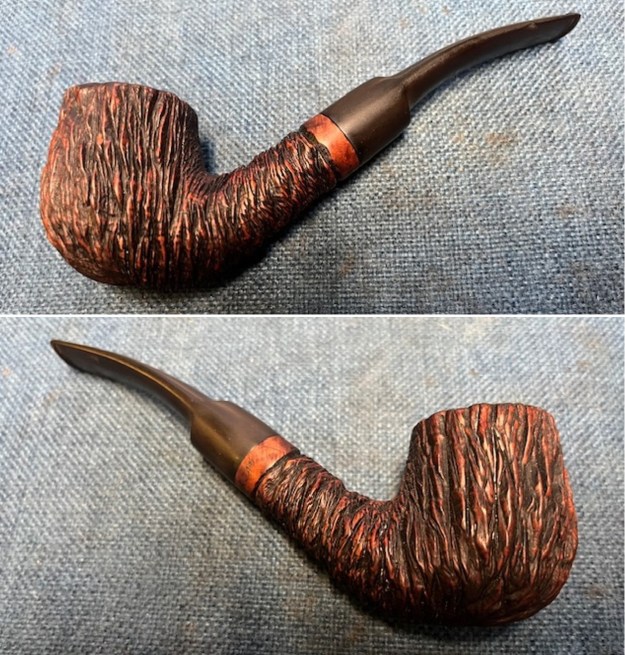
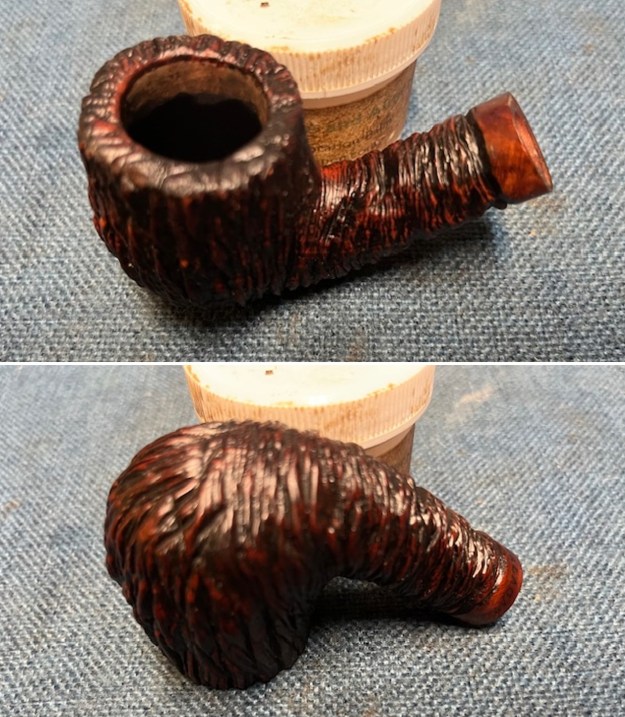
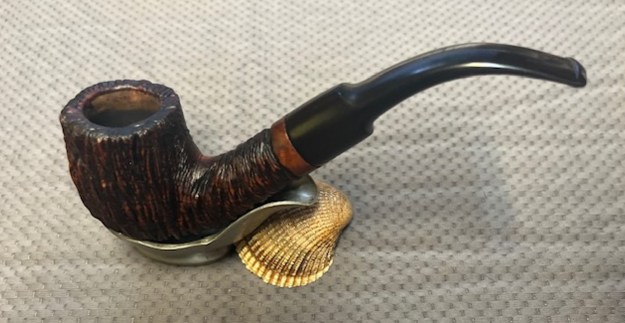
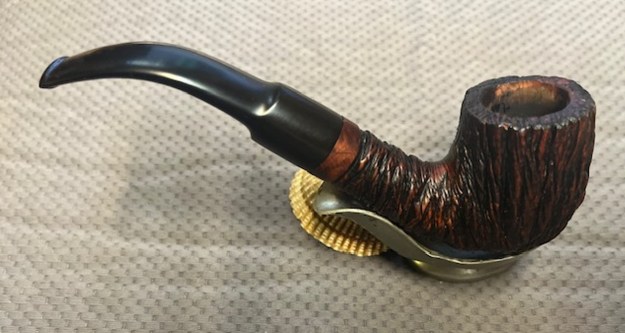
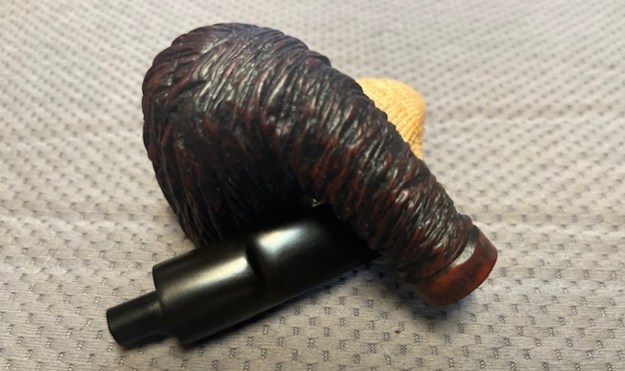
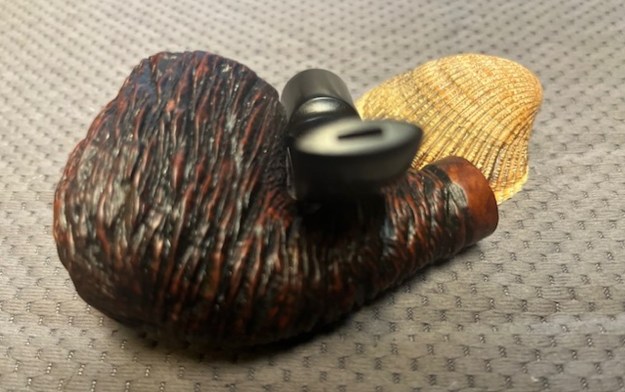
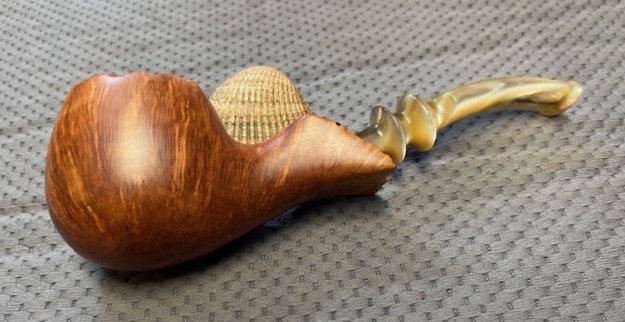
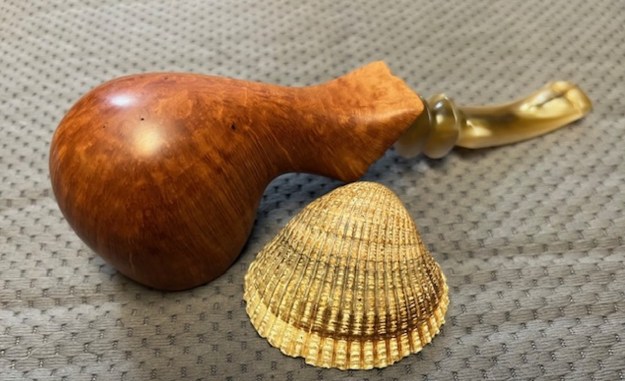
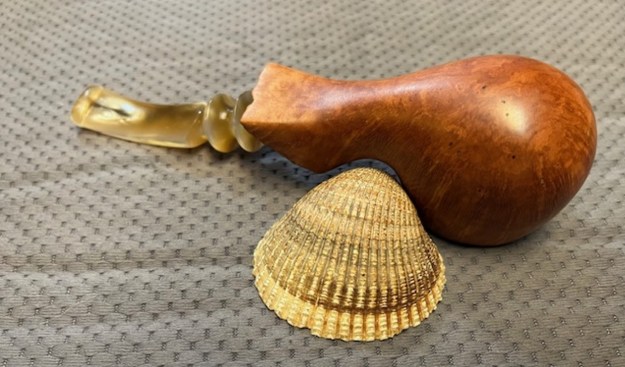
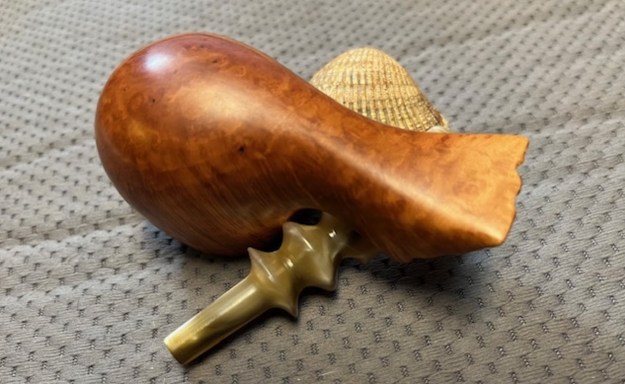
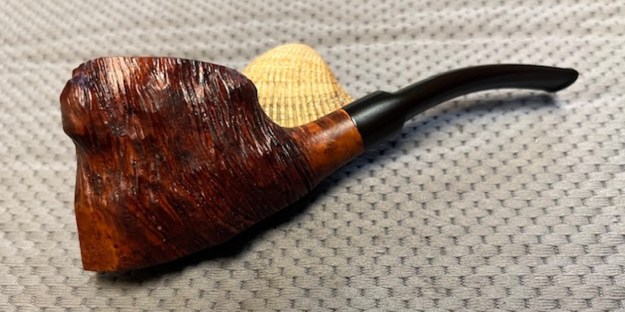
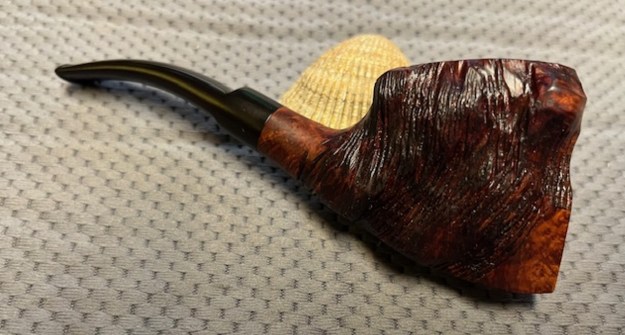
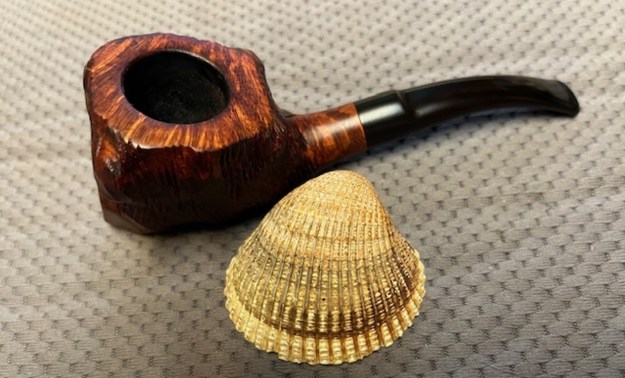
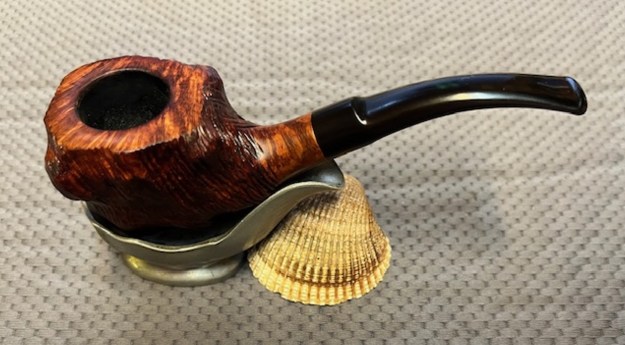
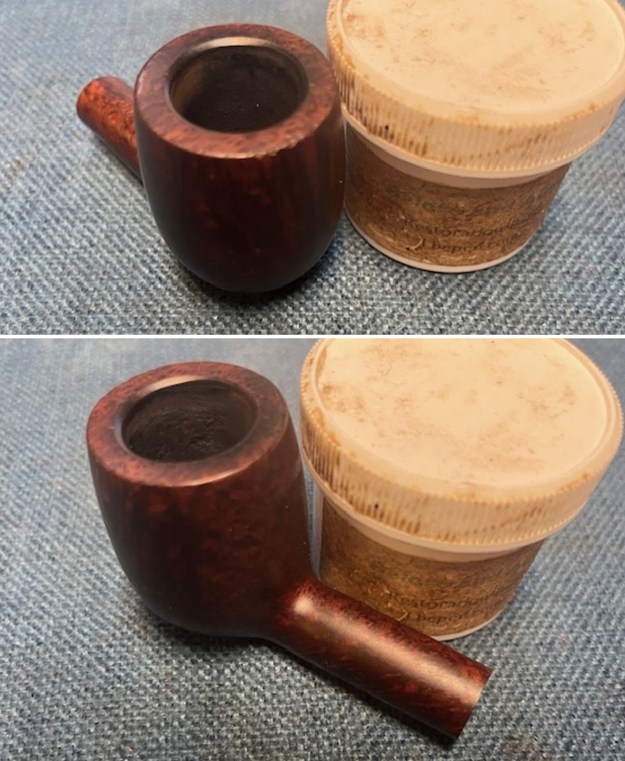
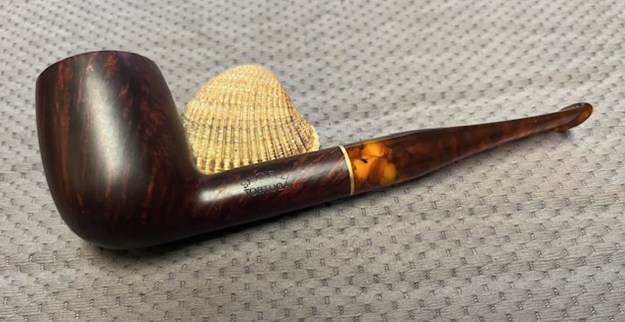
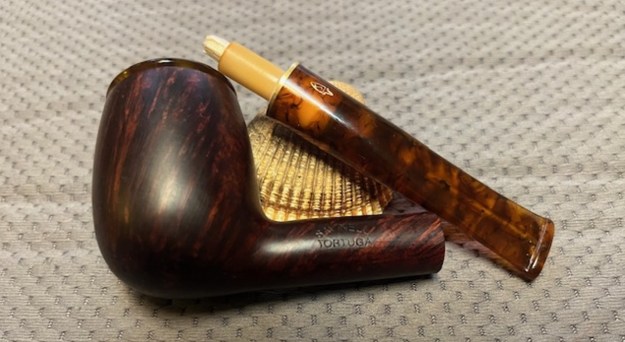
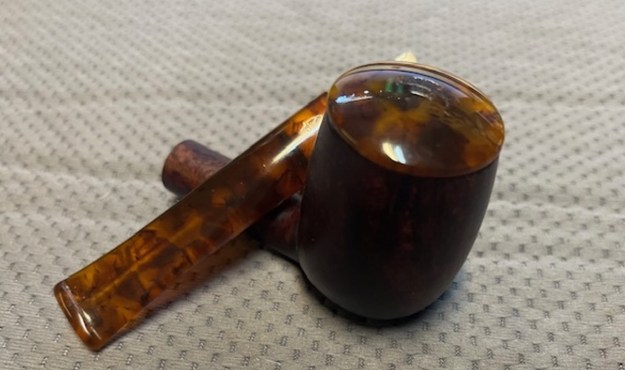
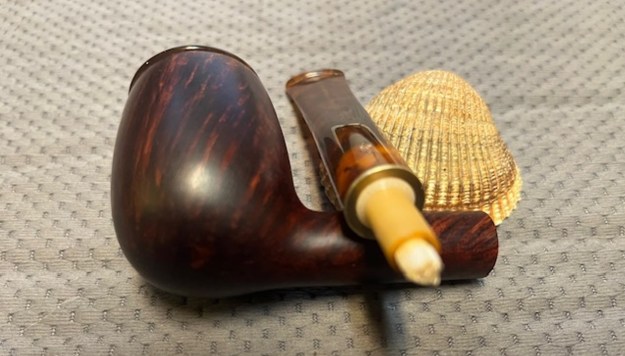
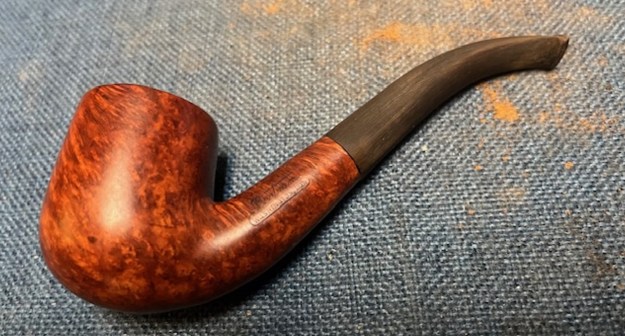
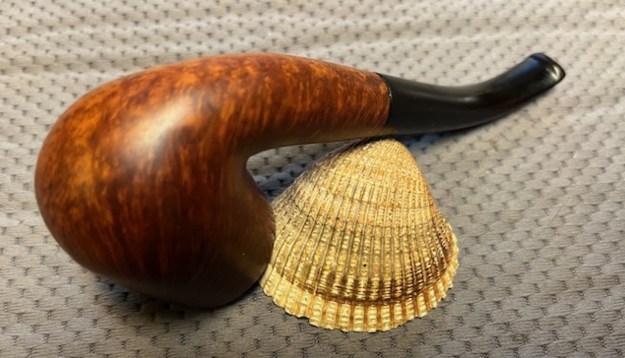
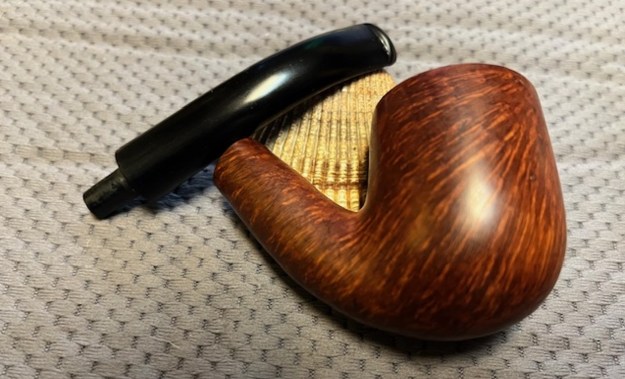
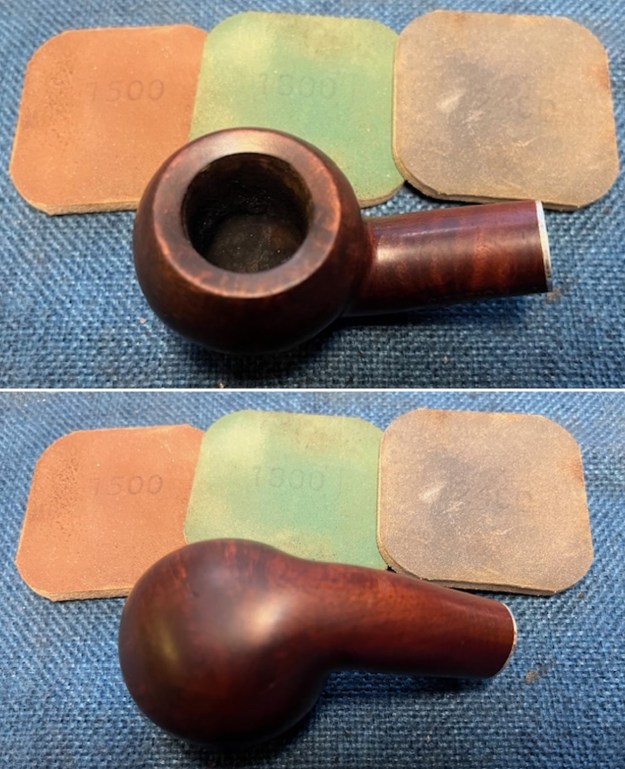
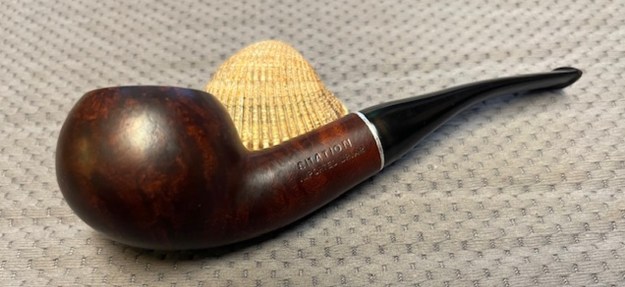
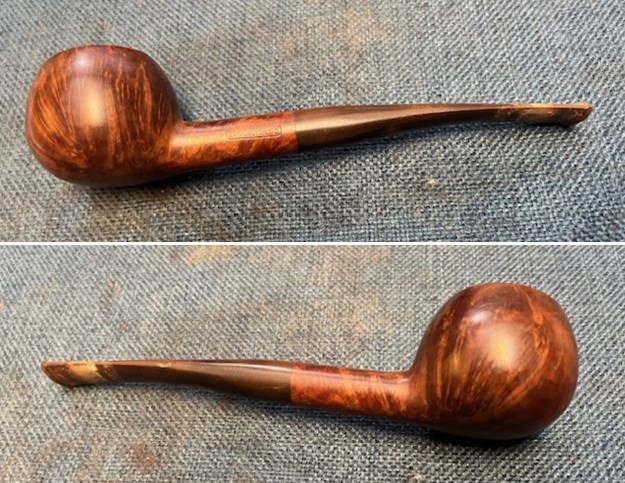
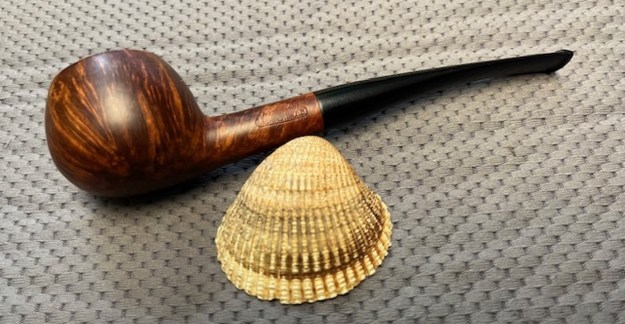
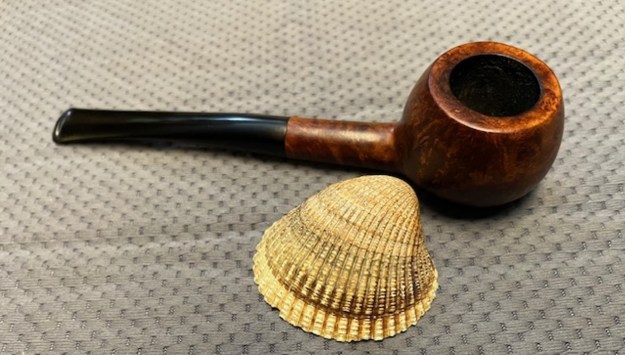
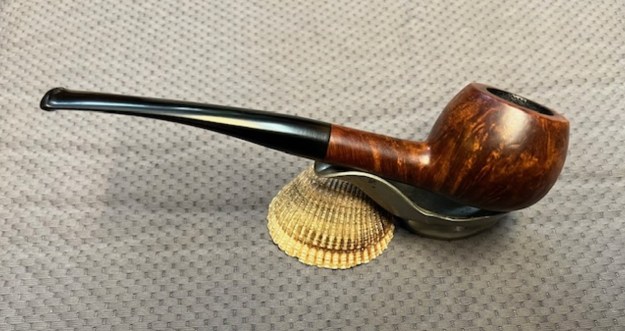
 This is a beautiful Malaga M-2 Bent Acorn with a vulcanite tapered stem. It has a great look and feel. The shape of the bowl, the rim top and the cut of the briar work well to highlight the grain around the bowl sides. I polished stem and the bowl with Blue Diamond polish on the buffing wheel. I gave the bowl and the stem multiple coats of carnauba wax. I buffed the pipe with a clean buffing pad to raise the shine. I hand buffed it with a microfiber cloth to deepen the shine. The pipe polished up pretty nicely. The grain took on life with the buffing. The rich oil cured colour works well with the polished vulcanite stem. The finished Malaga M-2 Acorn has a rich look that is quite catching. The repaired flaws look better and are smooth. Have a look at it with the photos below. The shape, finish and flow of the pipe and stem are very well done. The dimensions are Length: 5 ½ inches, Height: 1 ¾ inches, Outside diameter of the bowl: 1 1/8 inches, Chamber diameter: ¾ of an inch. The weight of the pipe is 1.23 ounces/35 grams. It is a beautiful pipe. I will be putting it on the rebornpipes store shortly in the American Pipemakers Section if you are interested in adding it to your collection. Thanks for walking with me through the restoration.