by Steve Laug
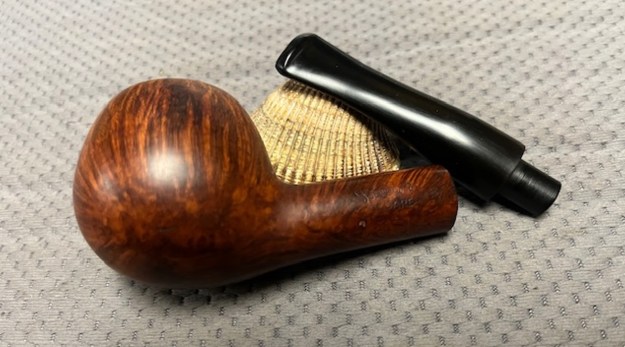
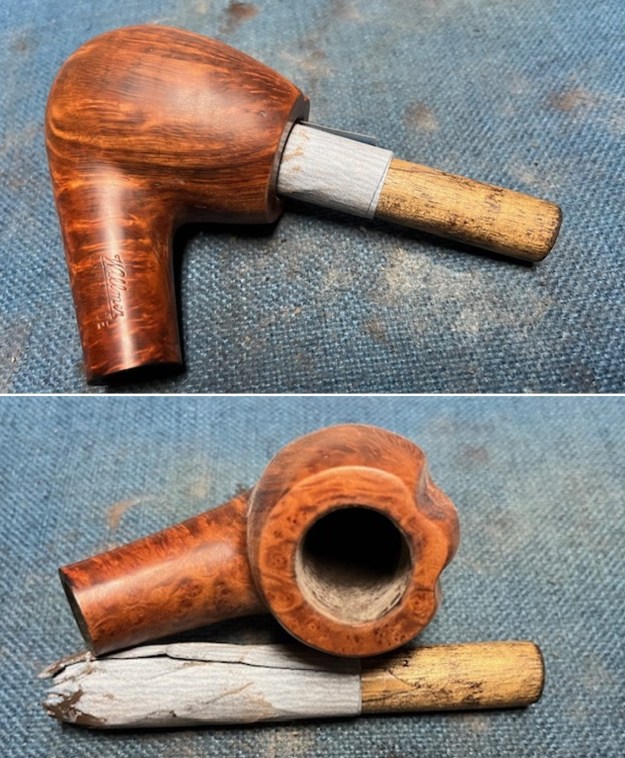
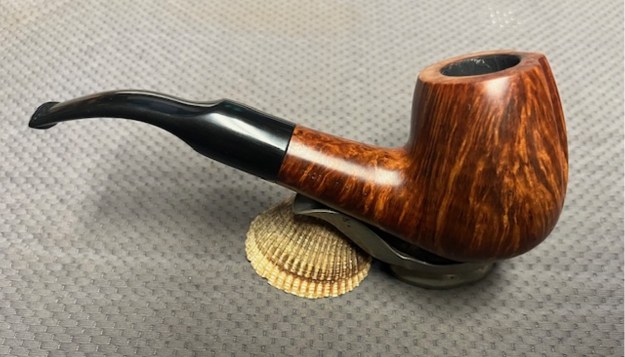
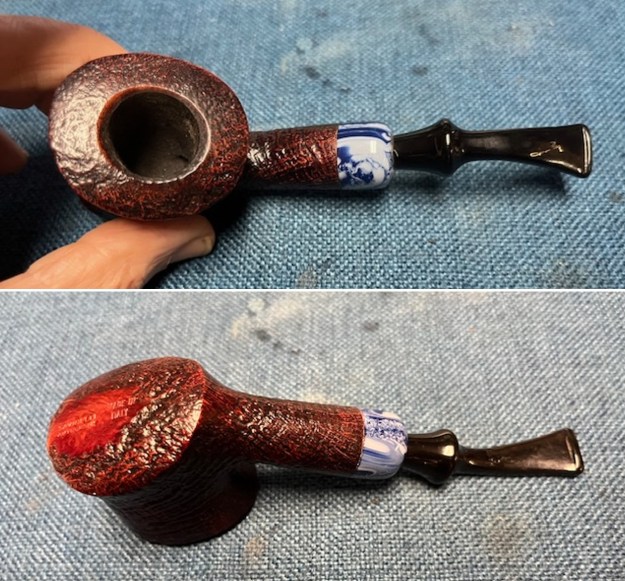
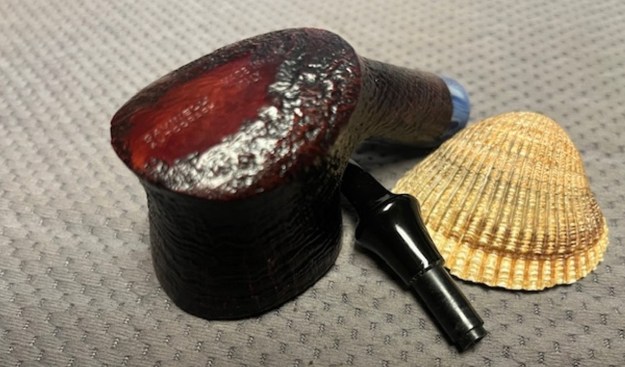
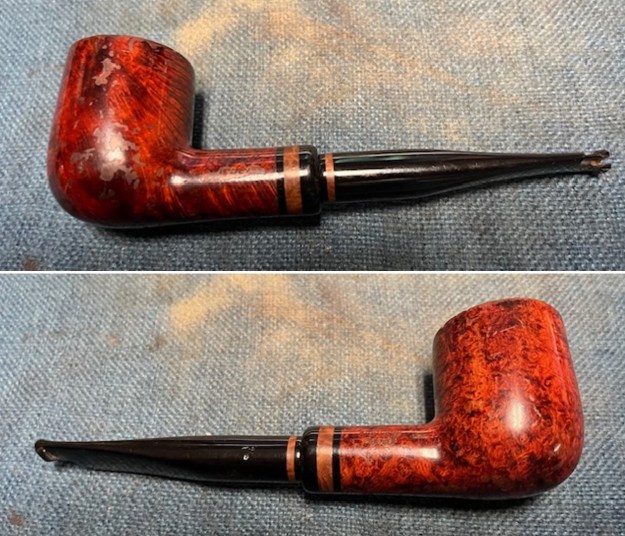
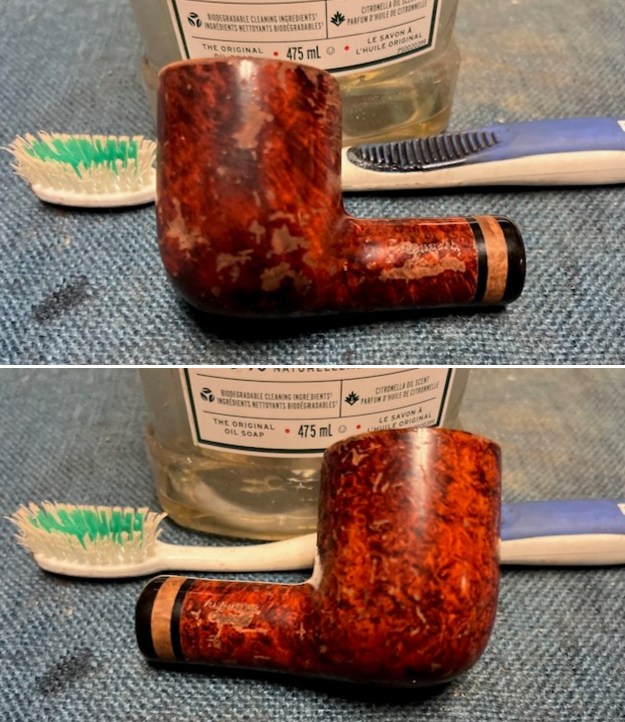
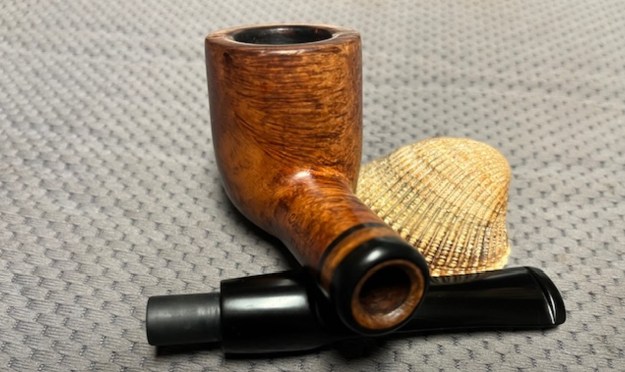
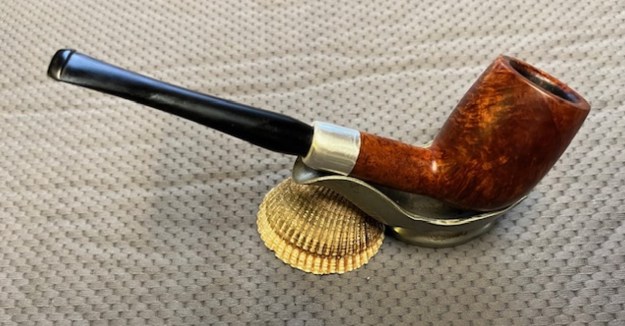
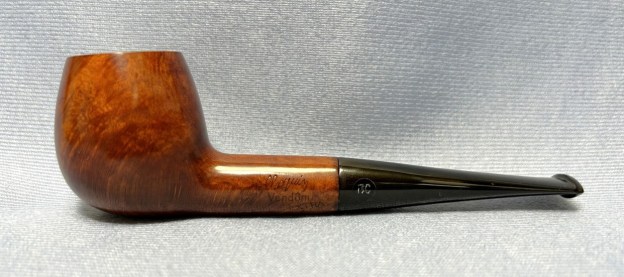
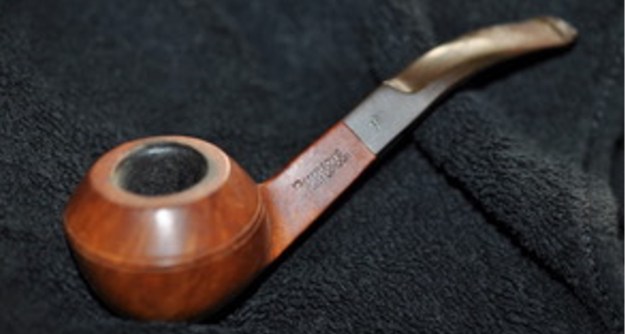
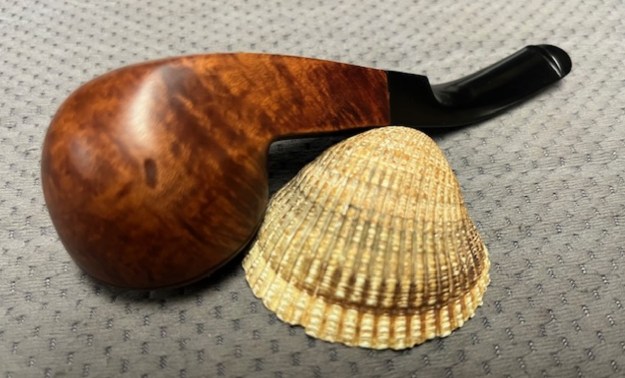
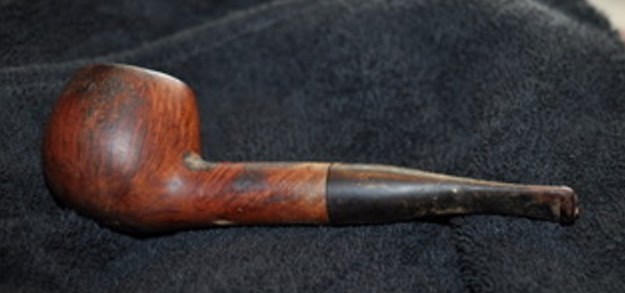
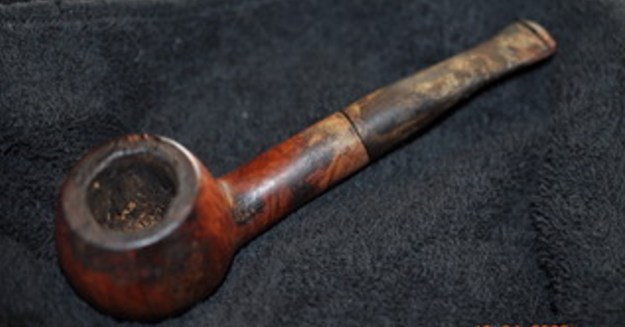
The next pipe on the table is another Peterson’s Pipe. We recently purchased it from an antique shop in Ilwaco, Washington, USA on 05/30/2025. It is a nicely grained Bent Bulldog with mixed grain on the sides and birdseye on the front and the back of the bowl. The capped rim top also had mixed grain across the top. It is stamped on the left side of the diamond shank and reads Peterson’s [over] Dublin & London and on the right side it is stamped Made in the Republic of Ireland (three lines) followed by the shape number 80S. There was a moderate cake in the bowl and some burn damage and darkening around the inner edge and light lava spots on the rim top. The stem was stamped with the Peterson’s P on the left topside of the saddle. It was faint but should be workable for whitening. The stem was oxidized and had some grime and calcification ahead of the edge of the P-lip. There were some light tooth marks or chatter on the top and underside ahead of the button. Jeff took photos of the pipe before he started his cleanup work. They tell the story and give a glimpse of the promise that we see in this pipe.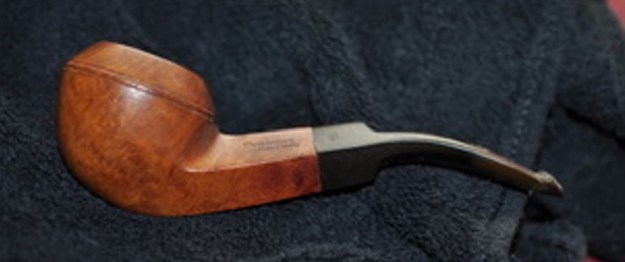
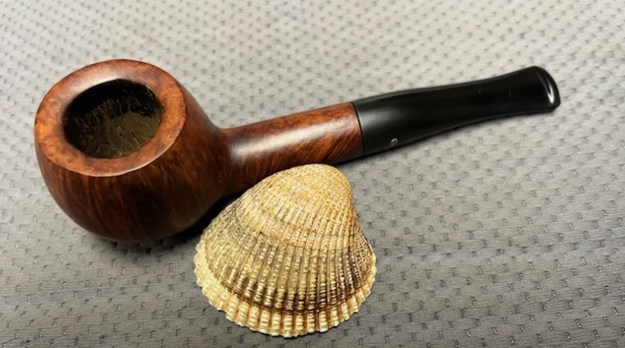
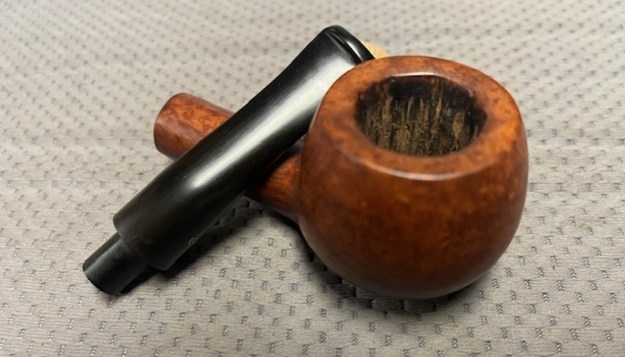
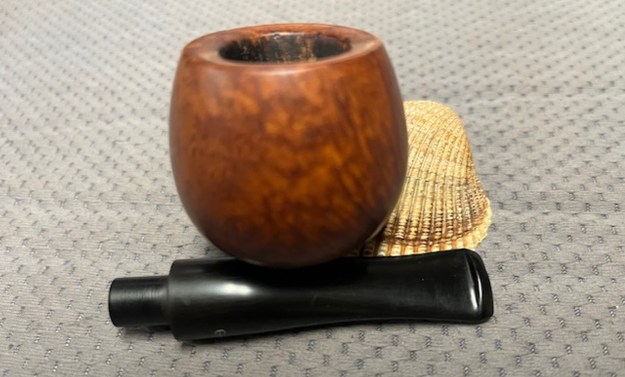
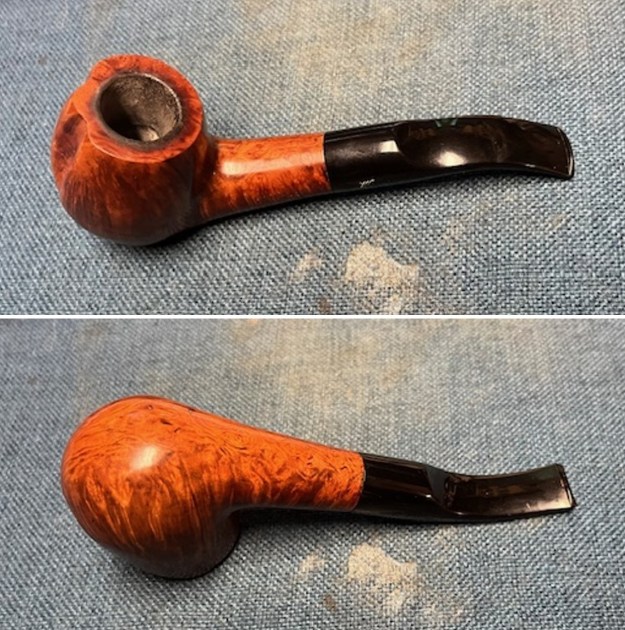
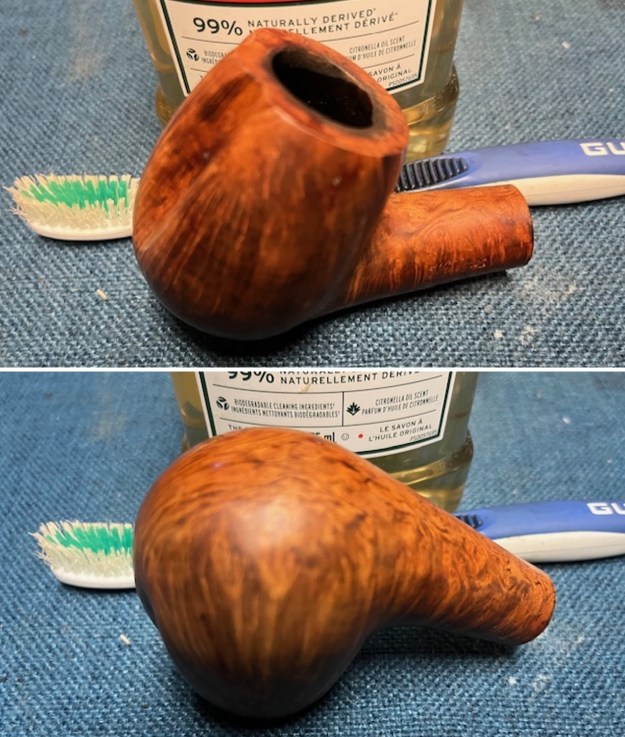
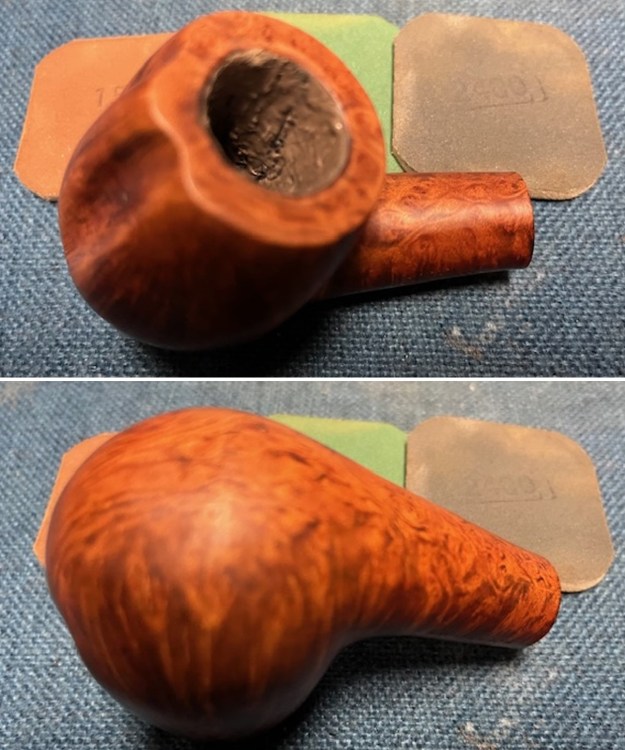
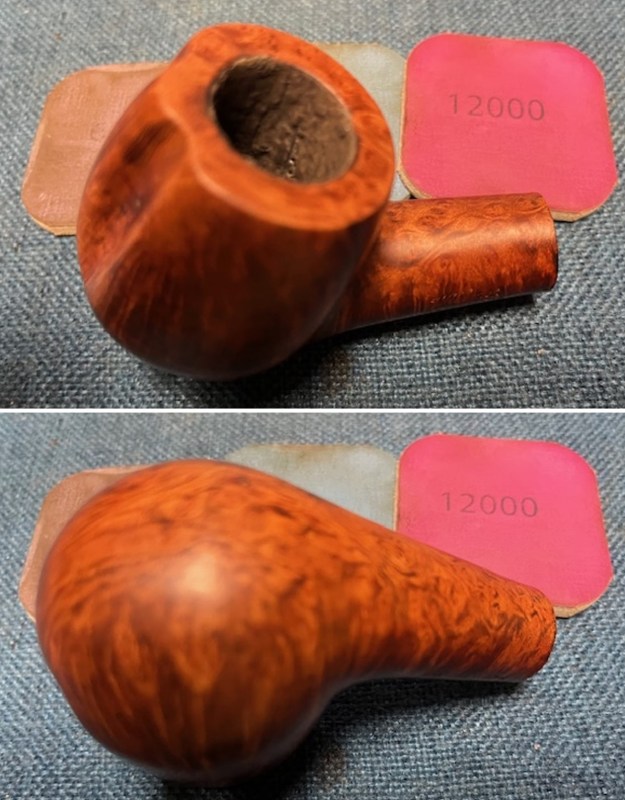
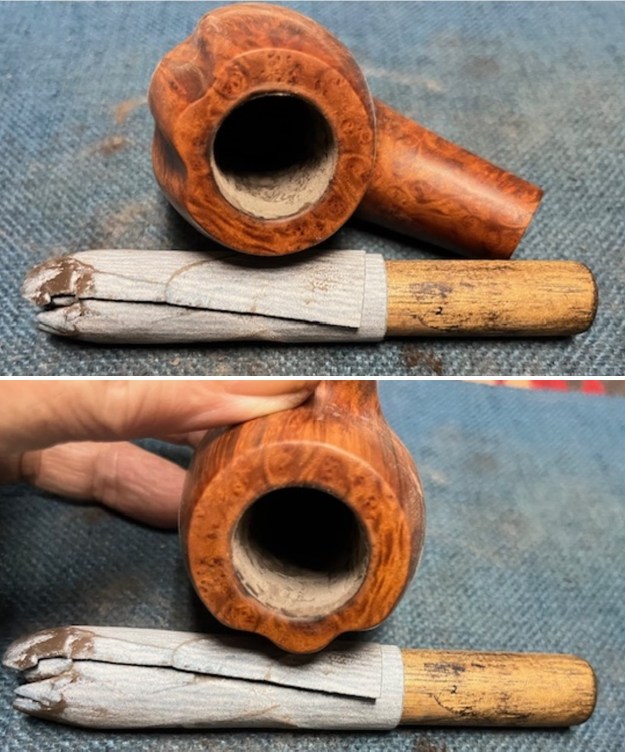
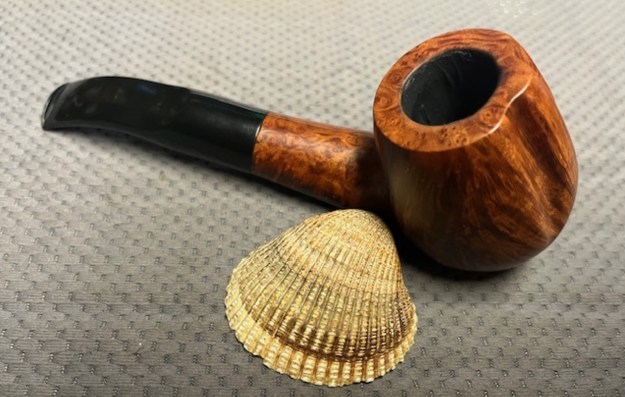
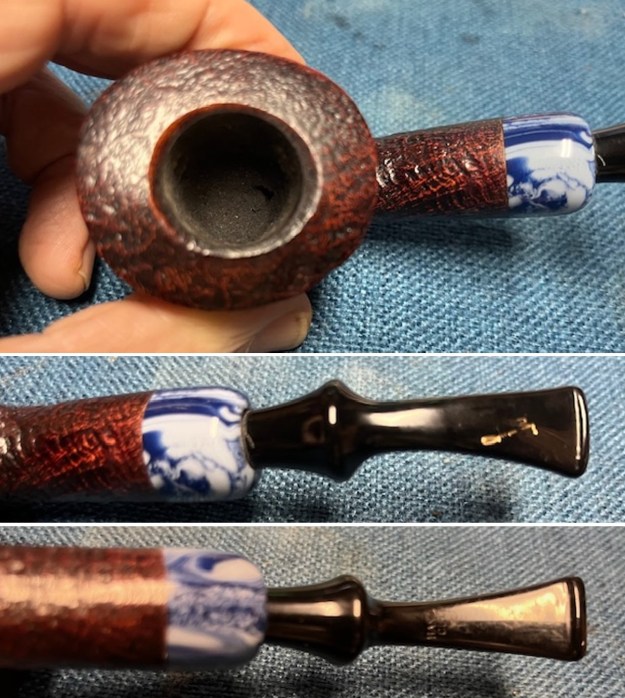
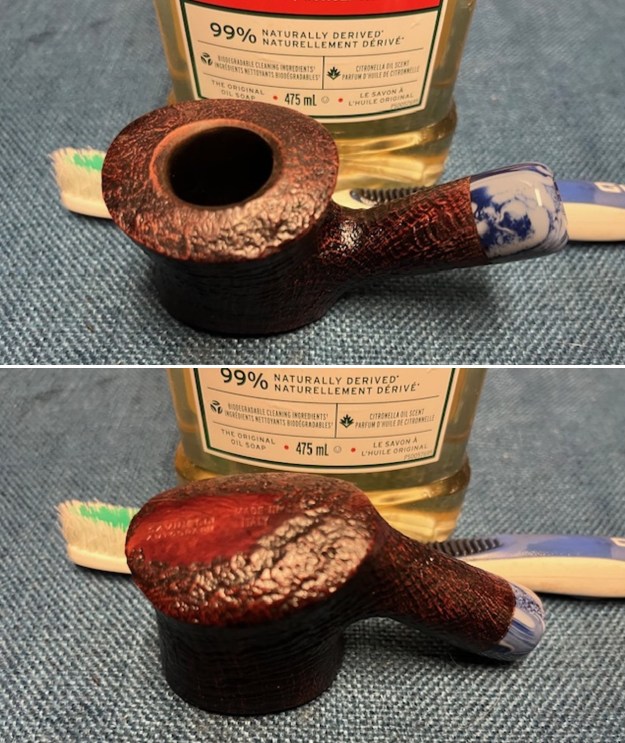
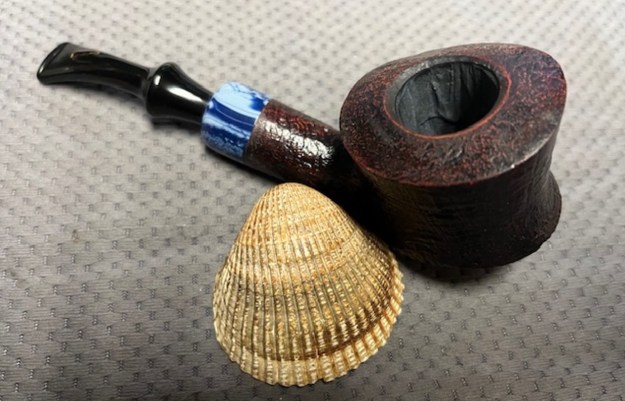
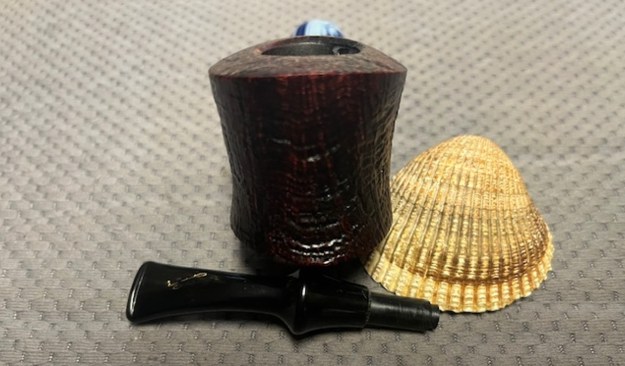
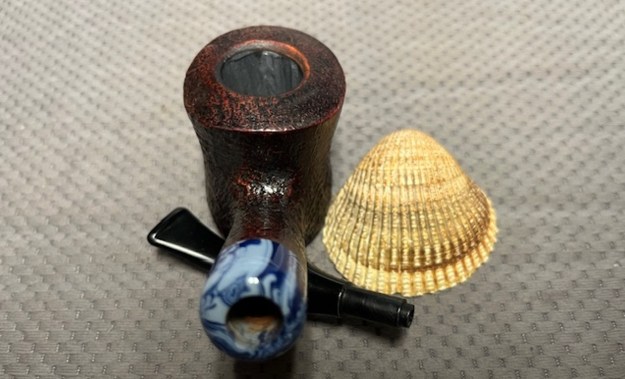
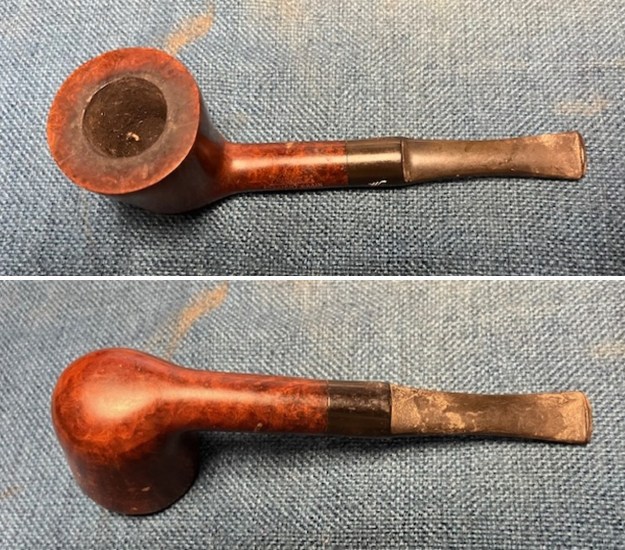
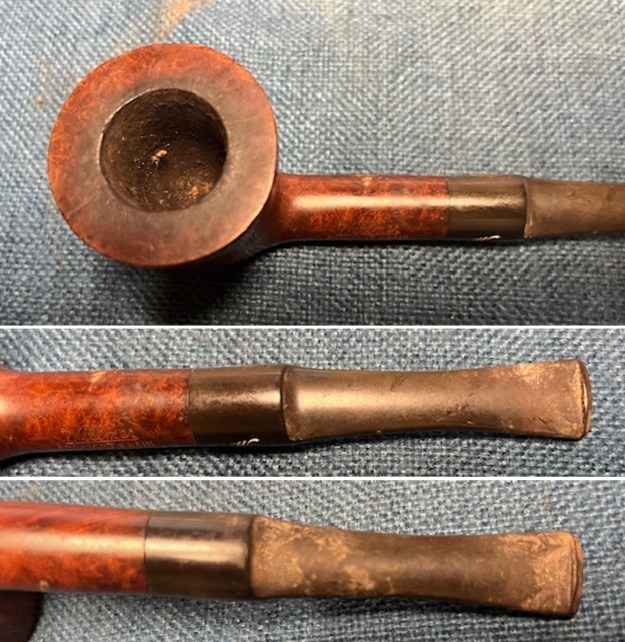
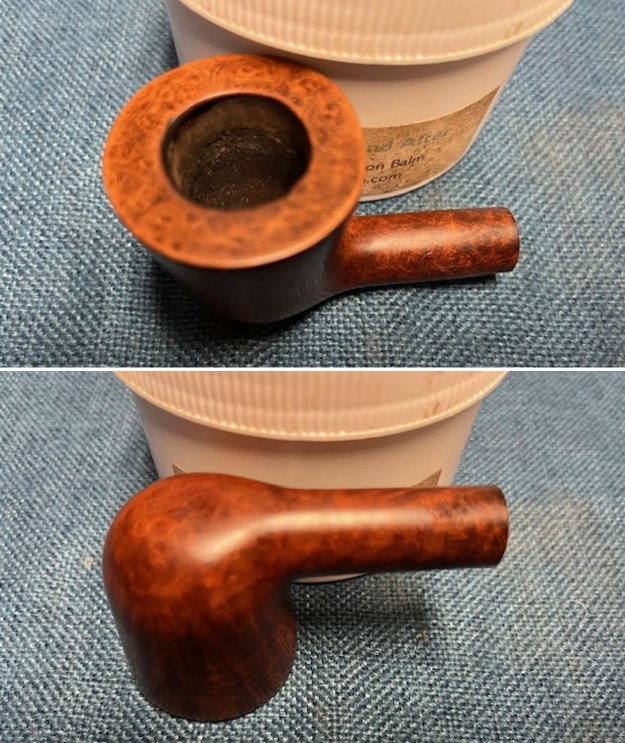
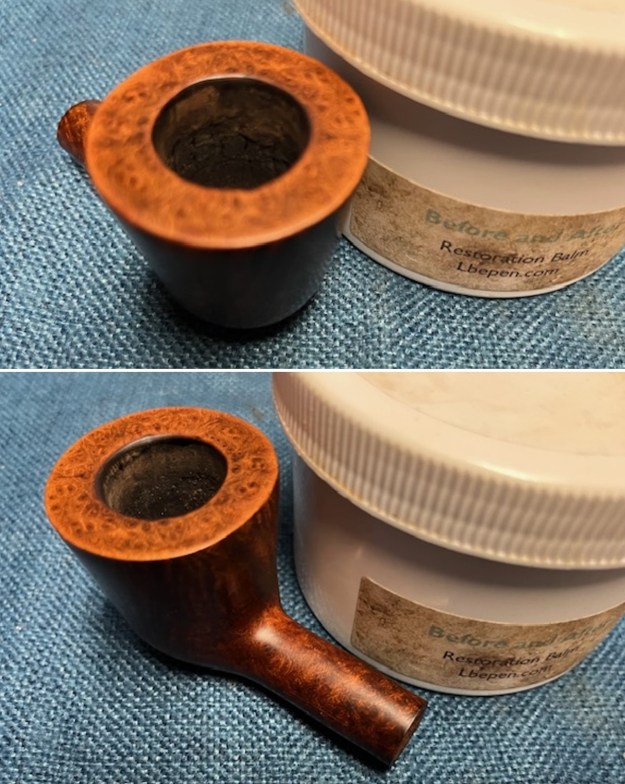
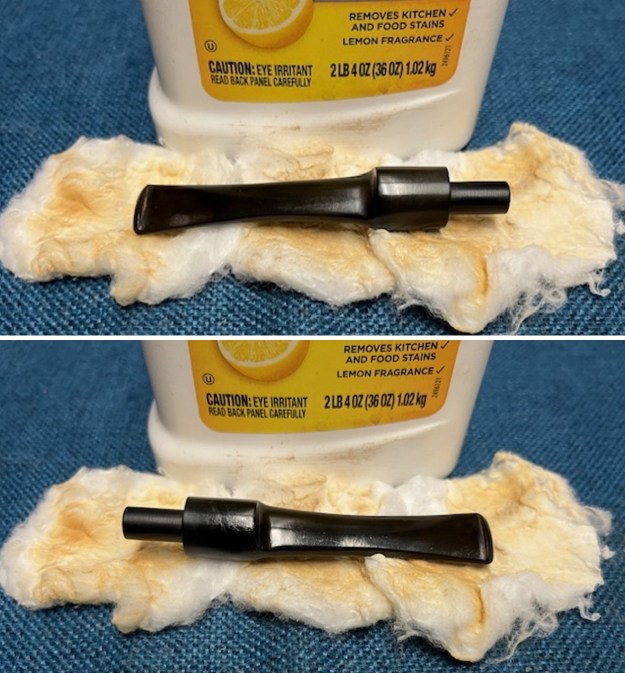
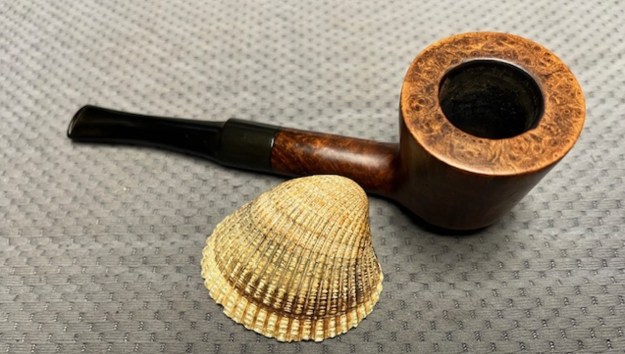
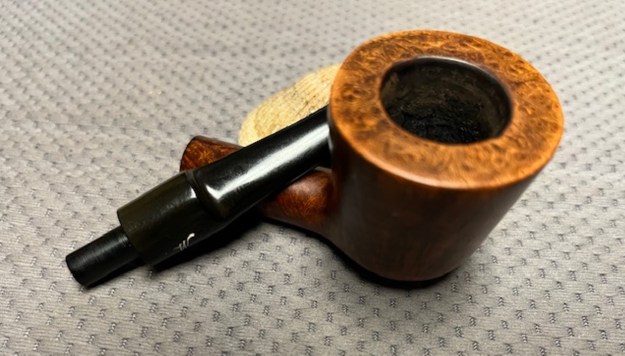
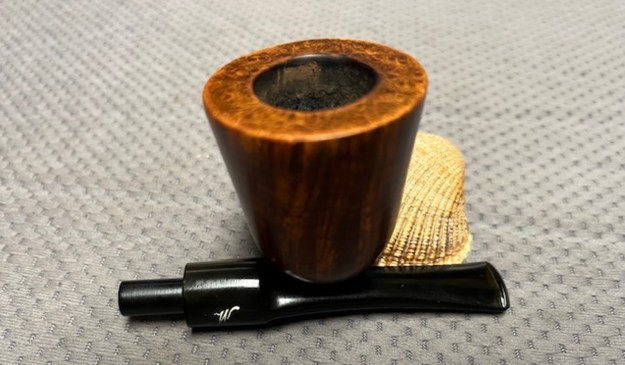
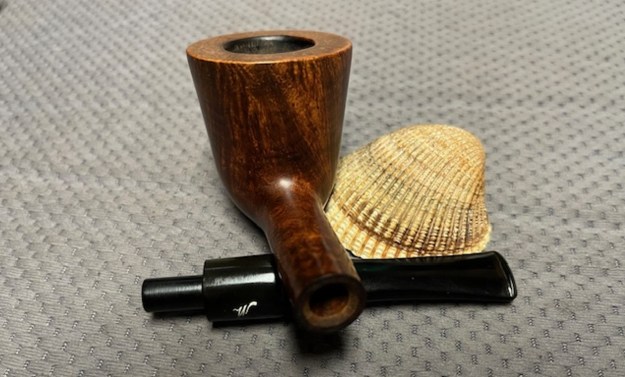
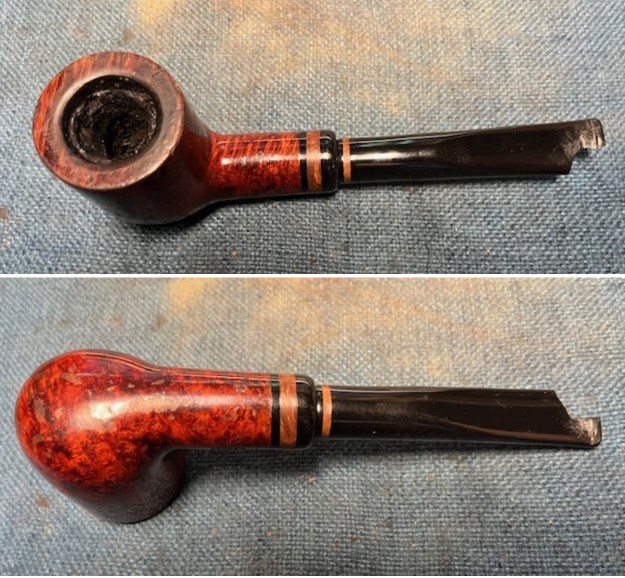
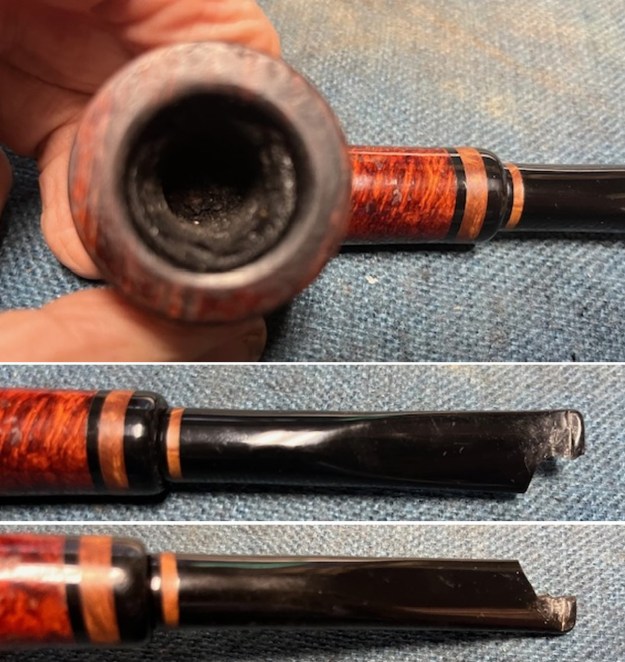
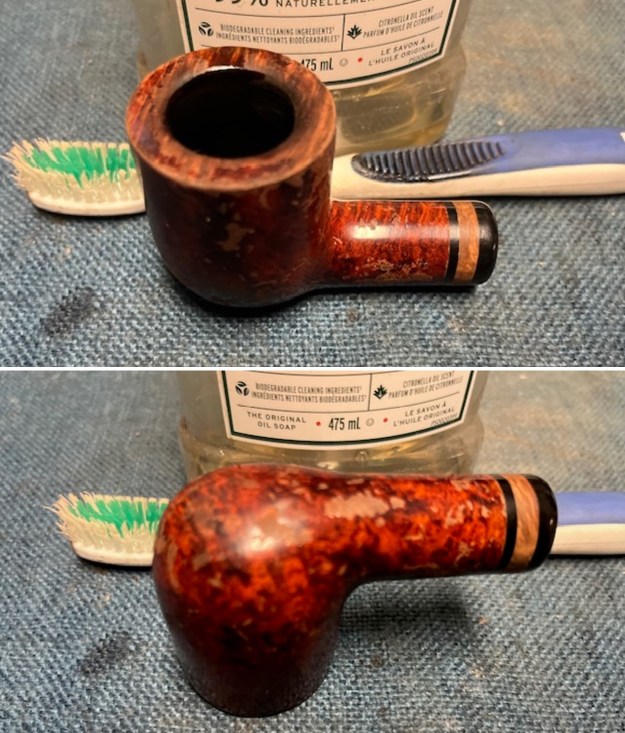
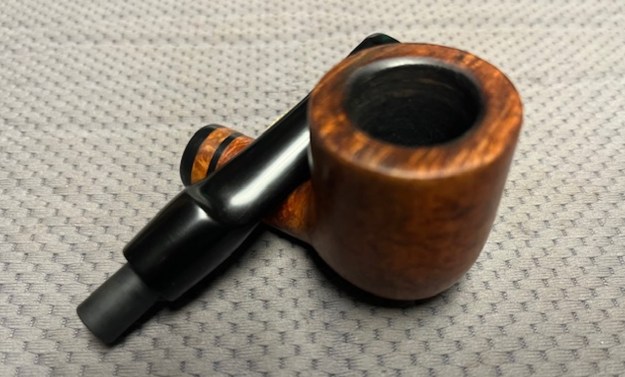
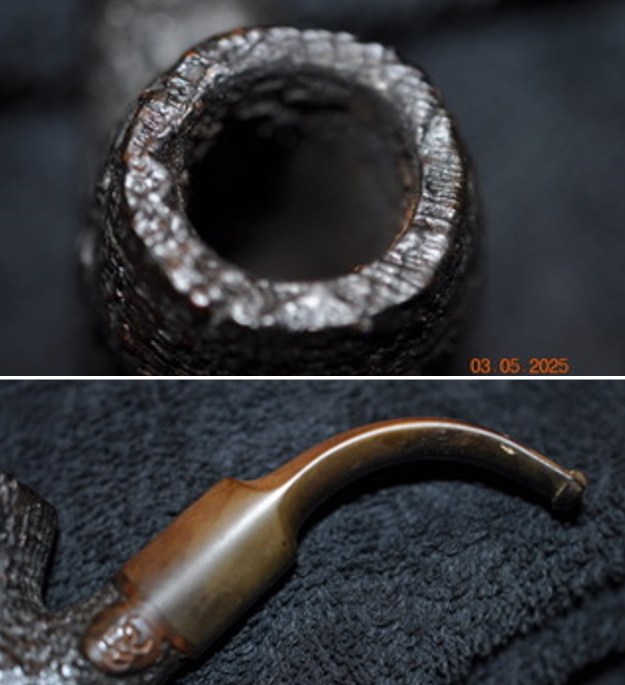
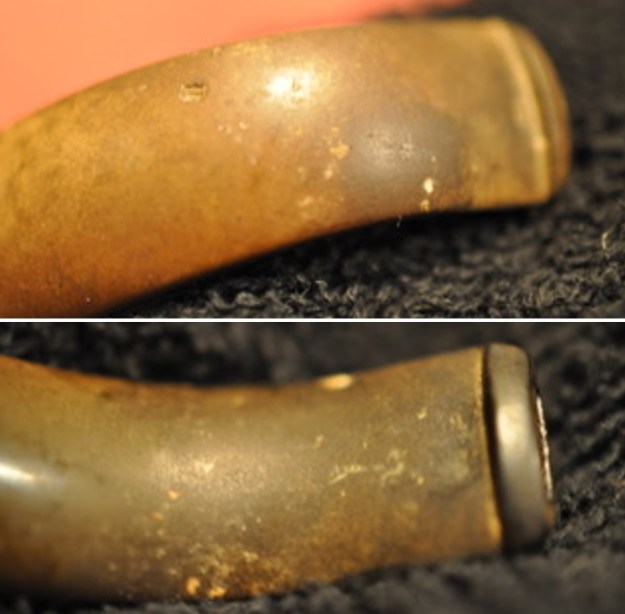
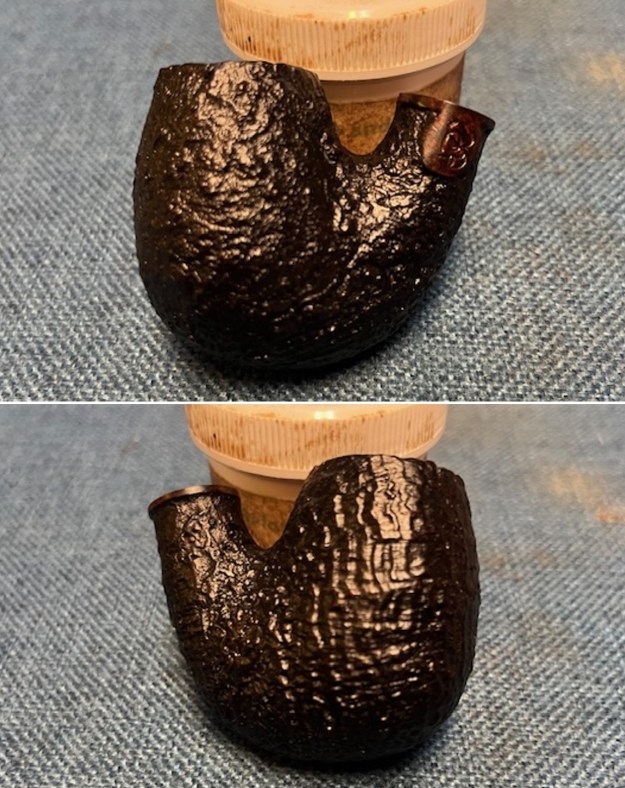
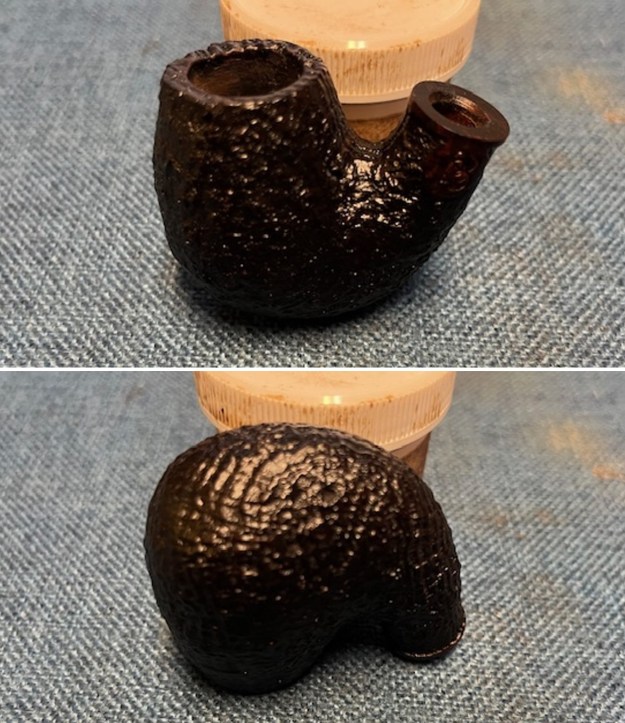
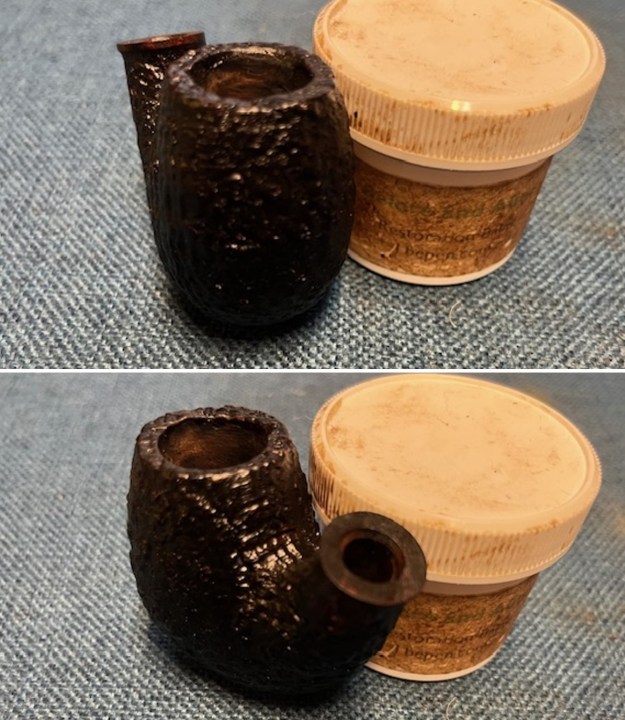
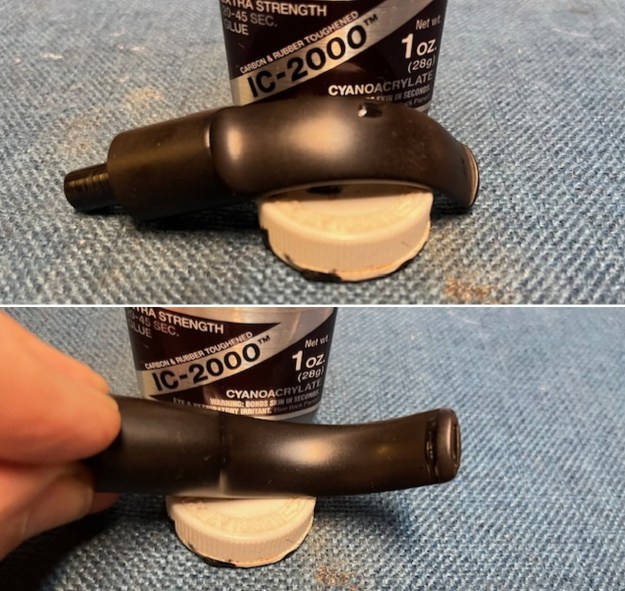
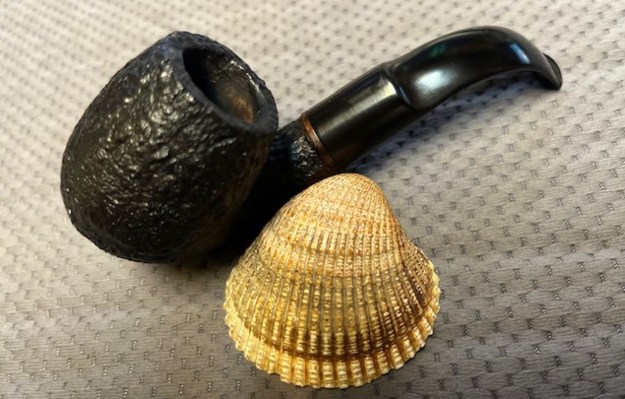
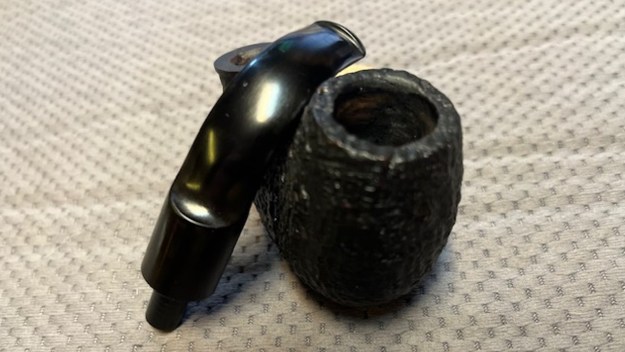
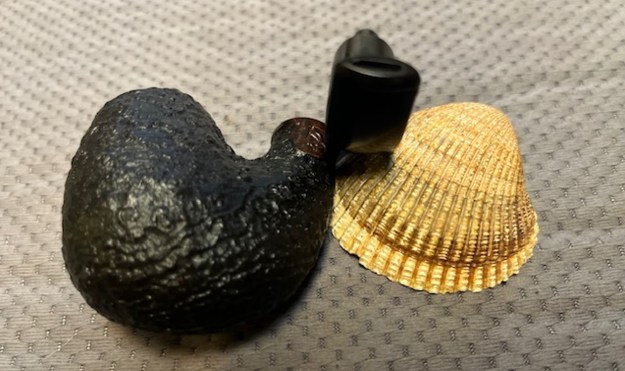
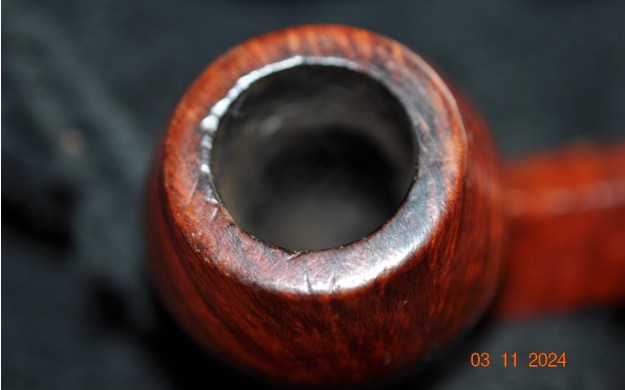
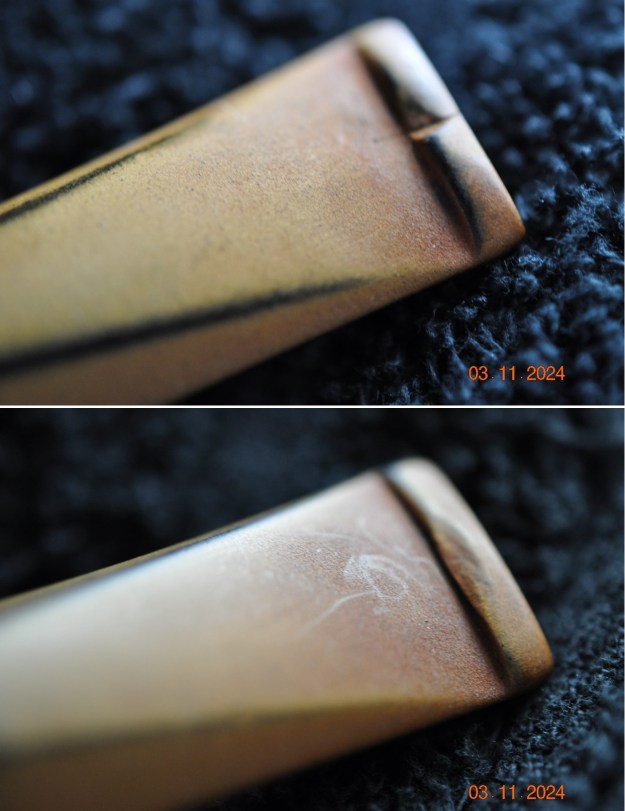
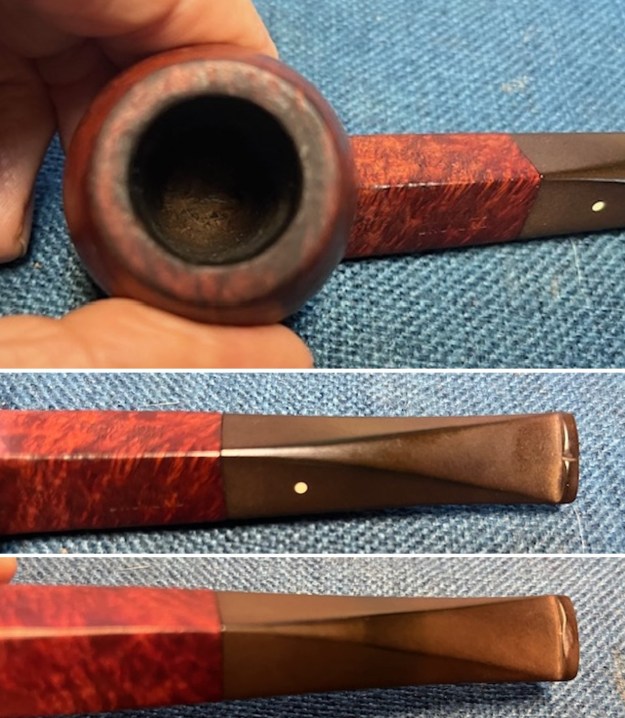
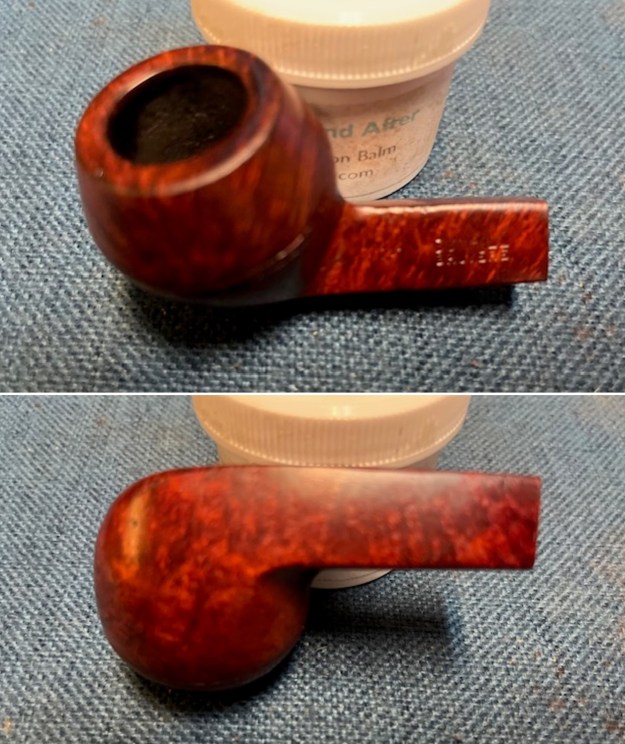
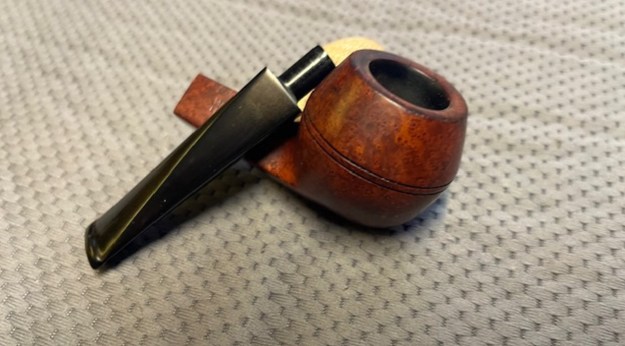
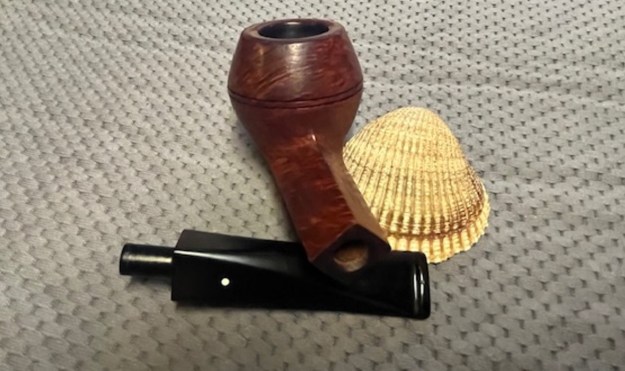
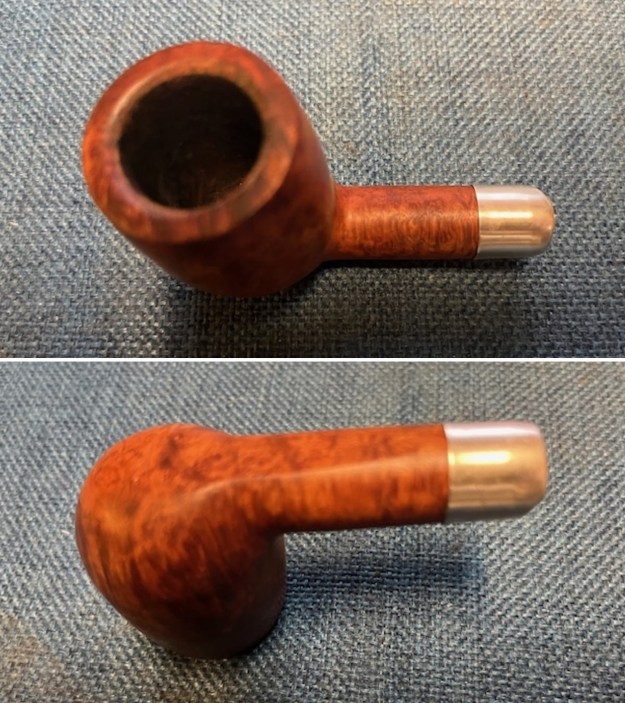
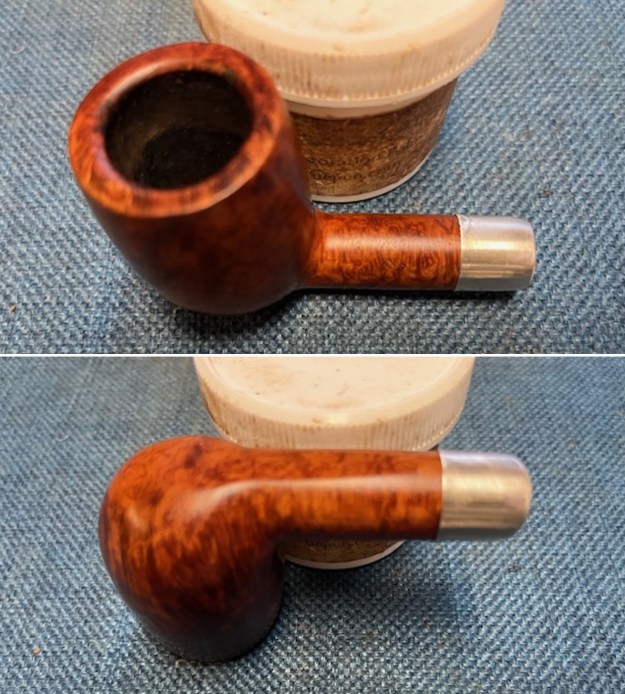
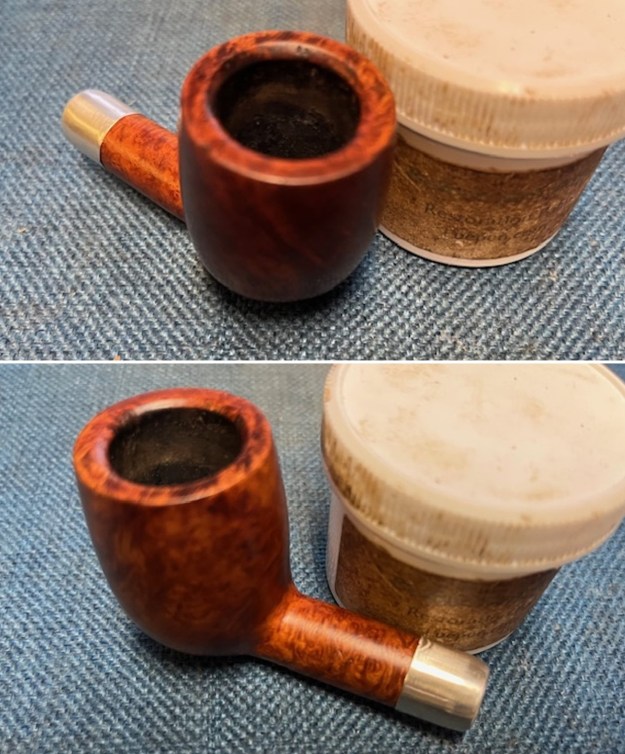
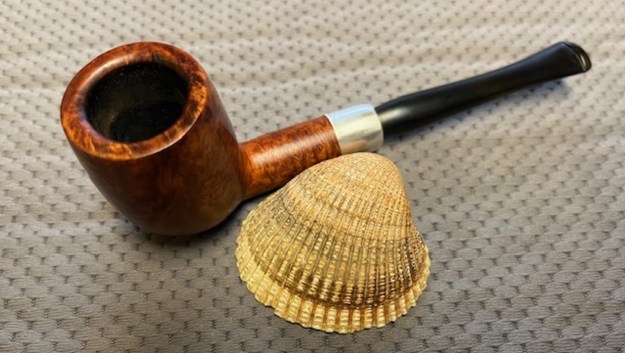
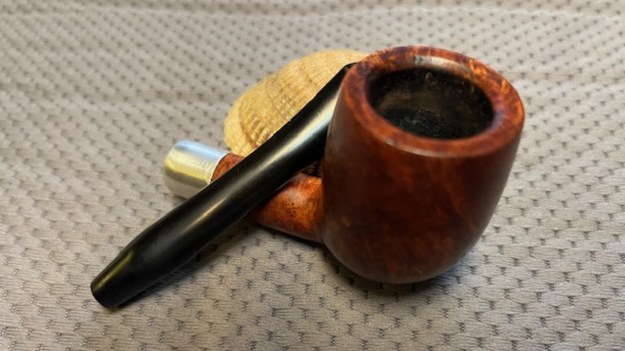
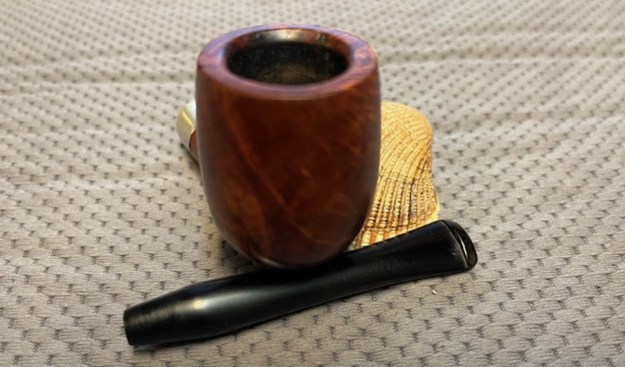
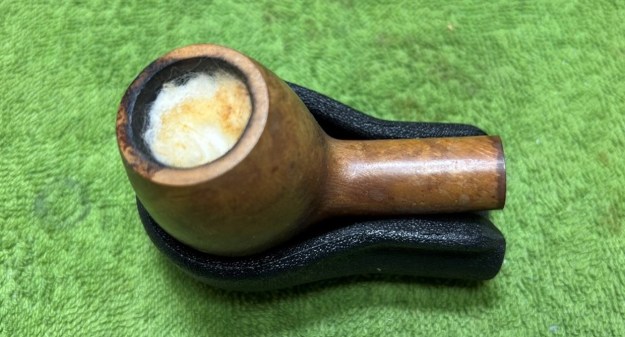
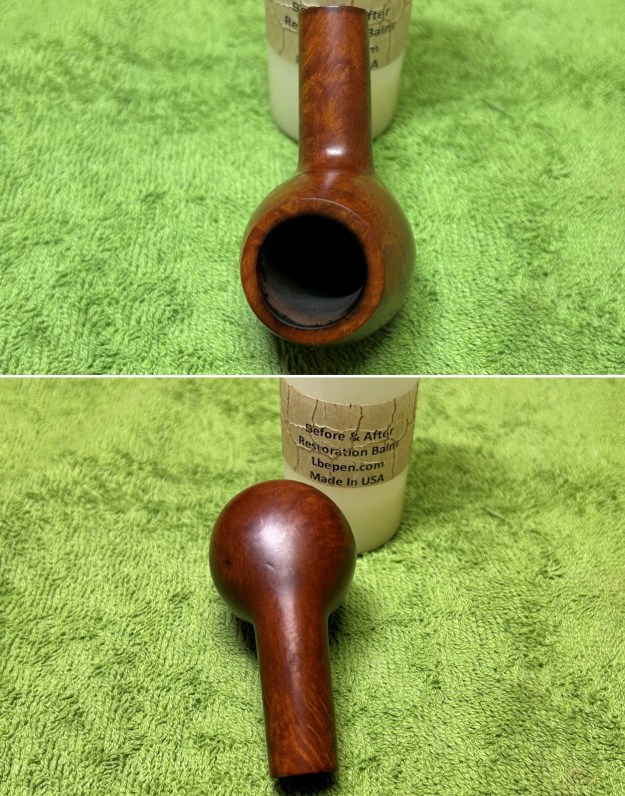
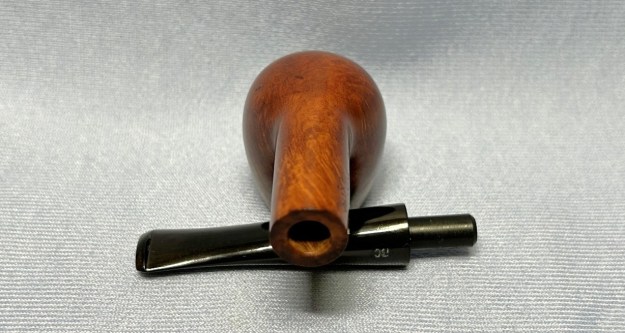
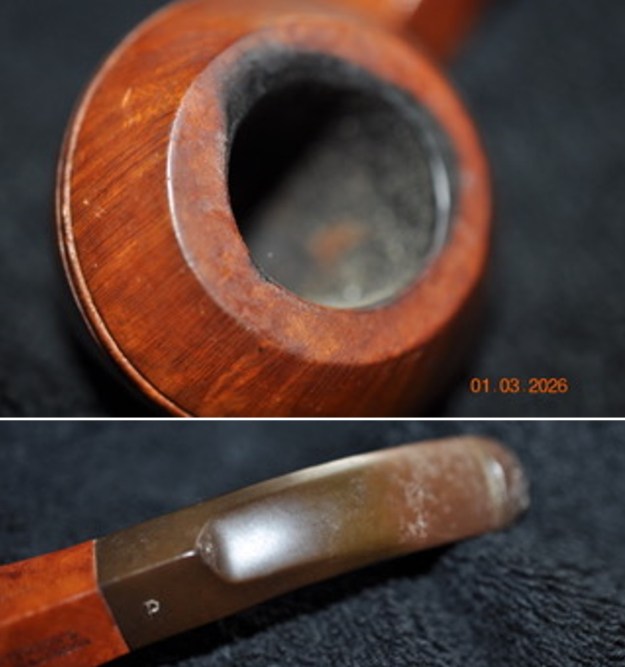
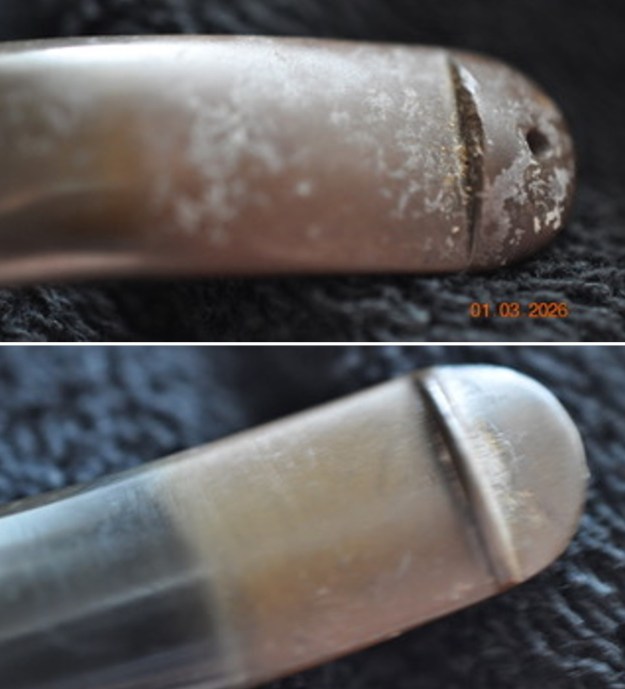
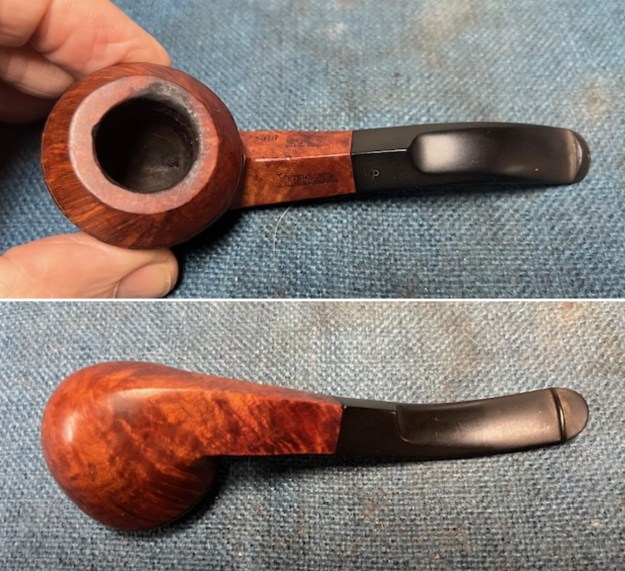
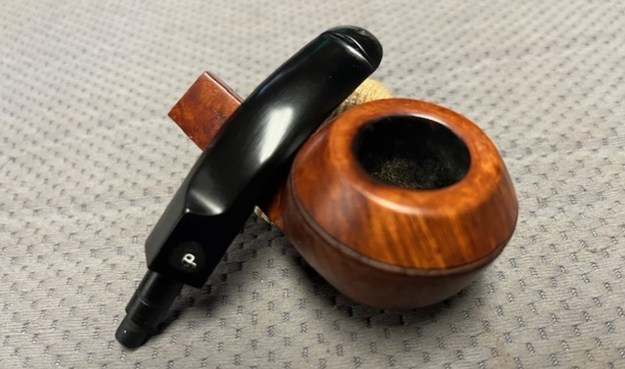
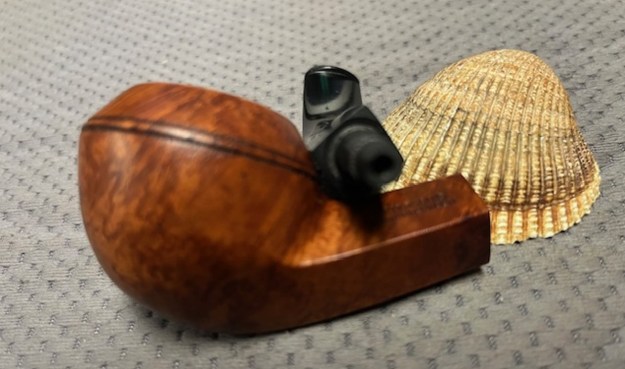
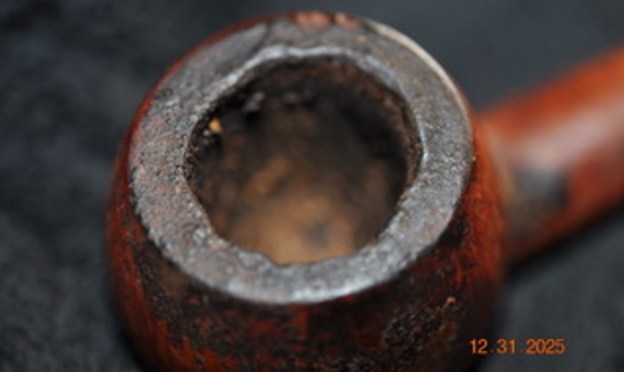
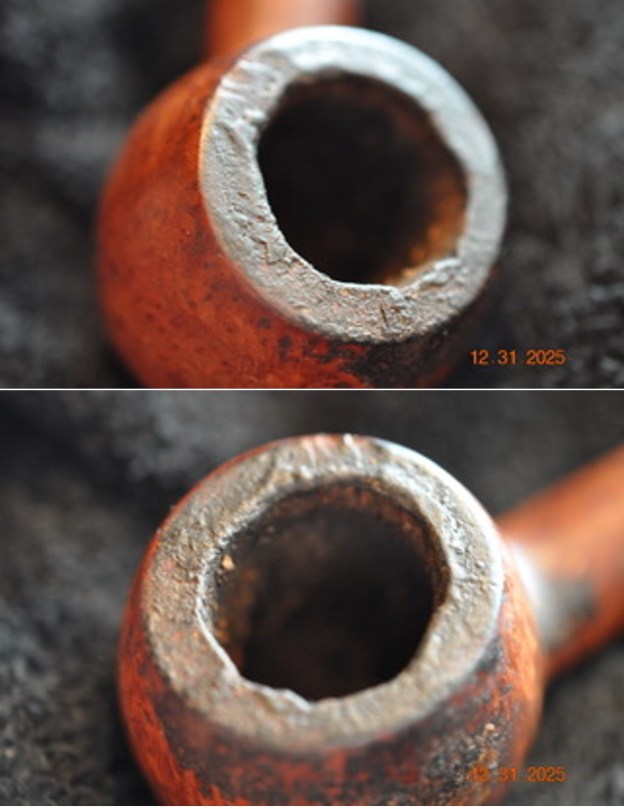
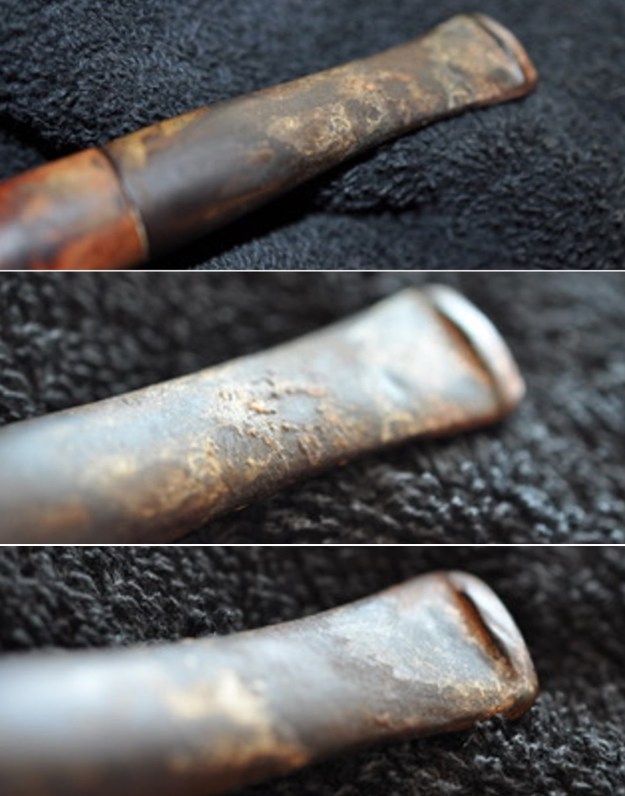
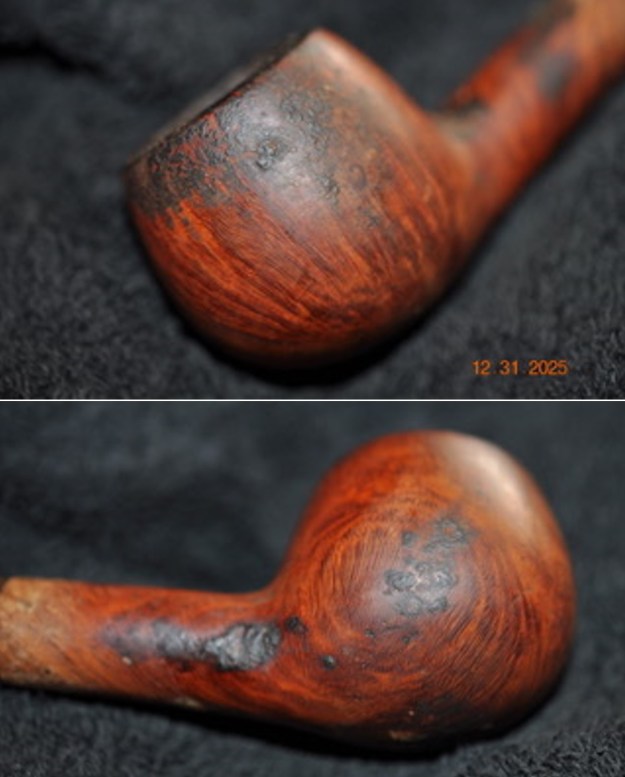
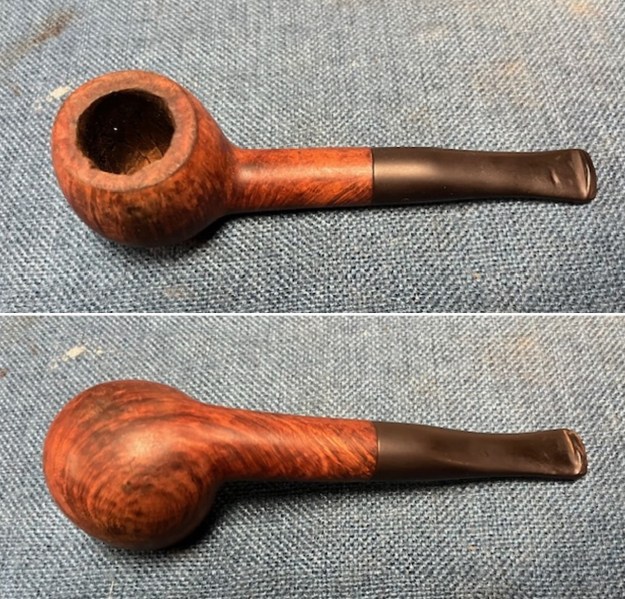
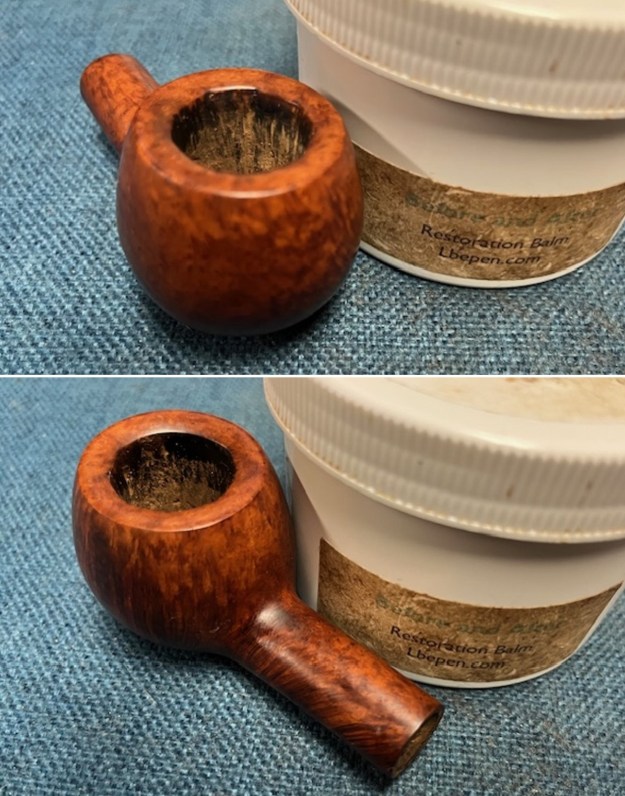
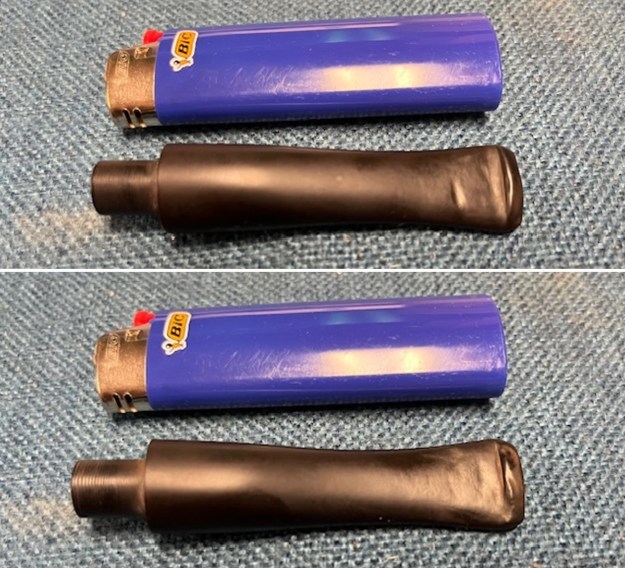
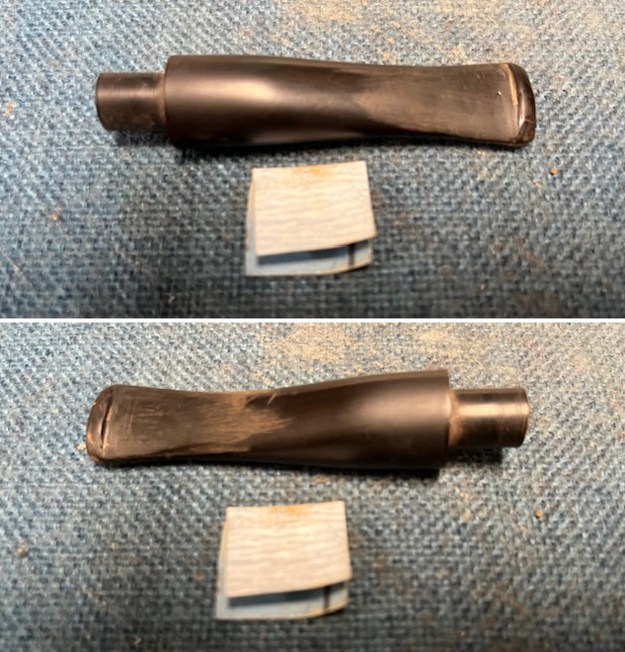
 He took photos of the rim top and bowl to show the current condition. The inner edge and the rim top showed damage on the briar and top with some light lava. The photos of the bowl walls show the moderate cake on the walls. The stem photos show the oxidation, calcification and light marks on both sides ahead of the button. It may have had a Softee Bit on the stem.
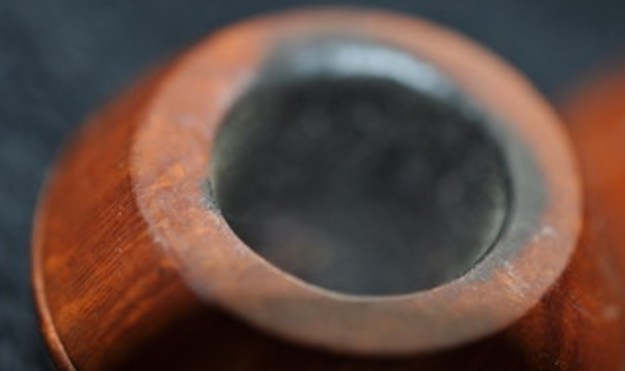
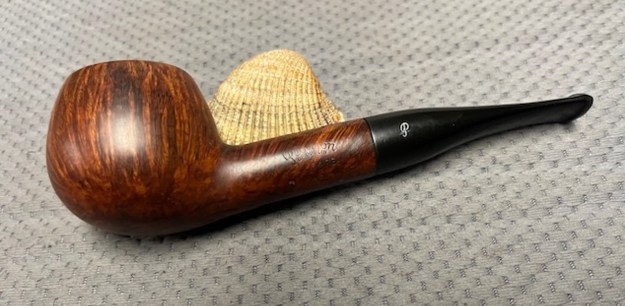
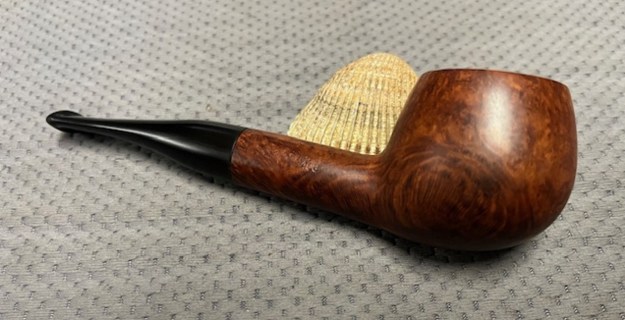
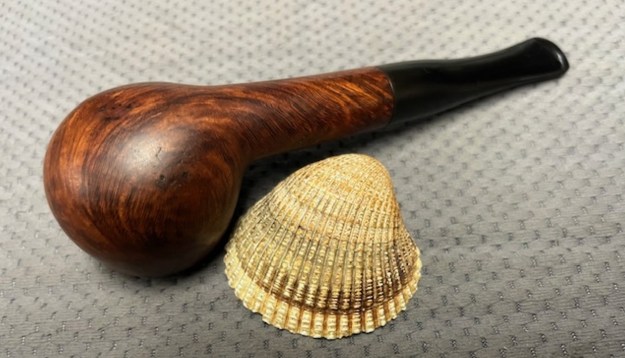
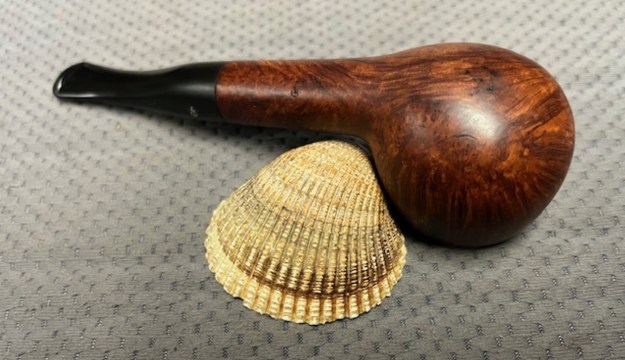
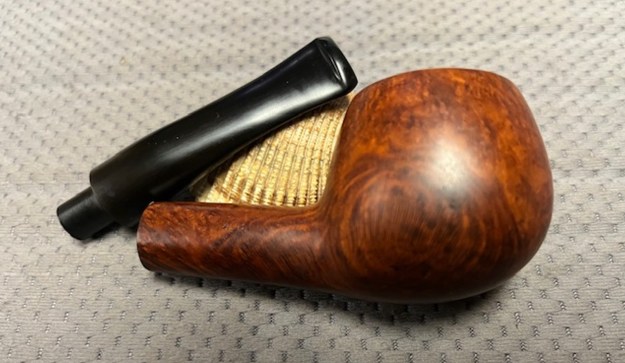
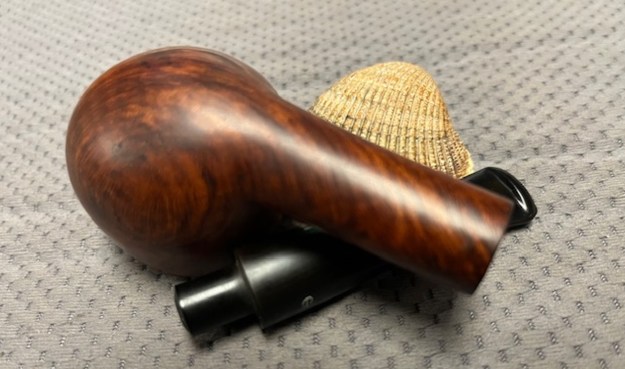
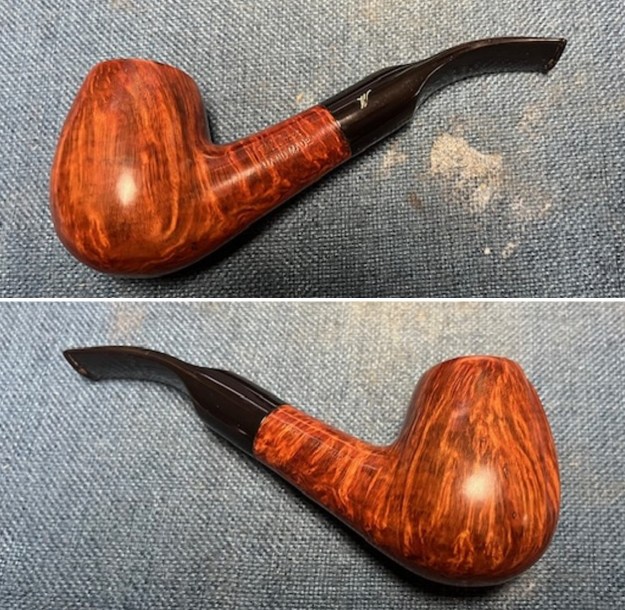
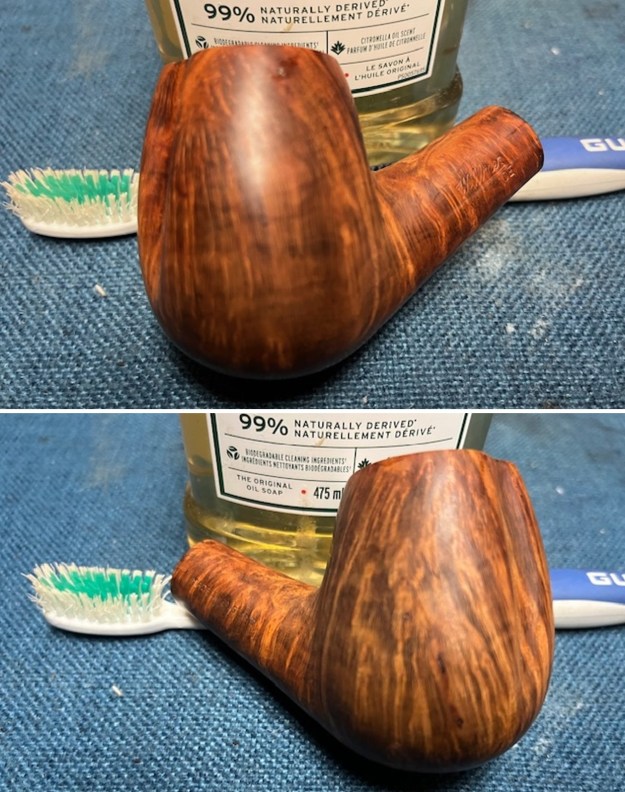
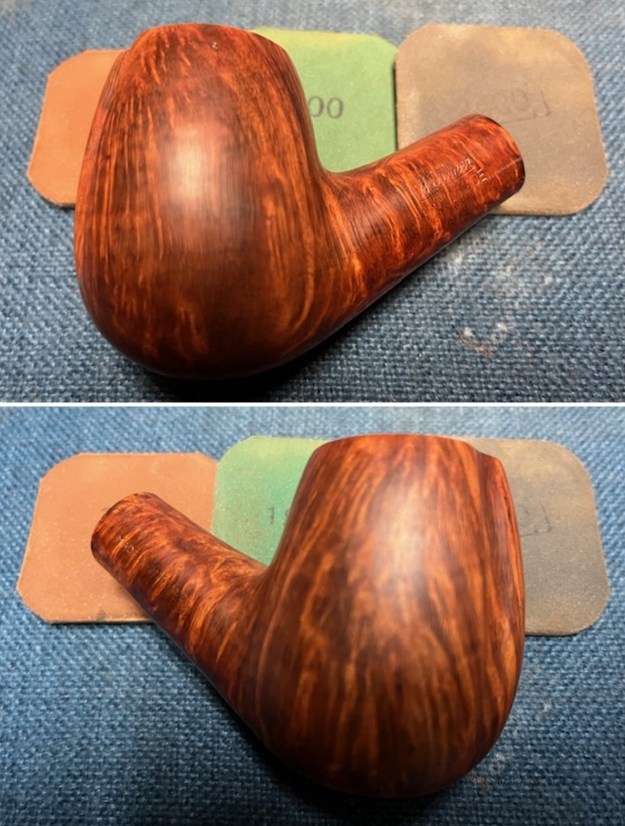
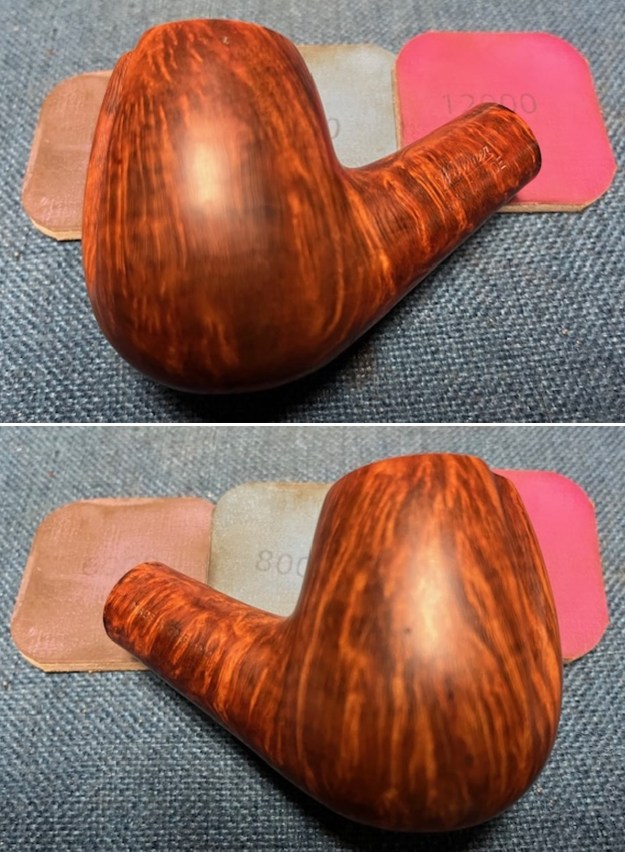
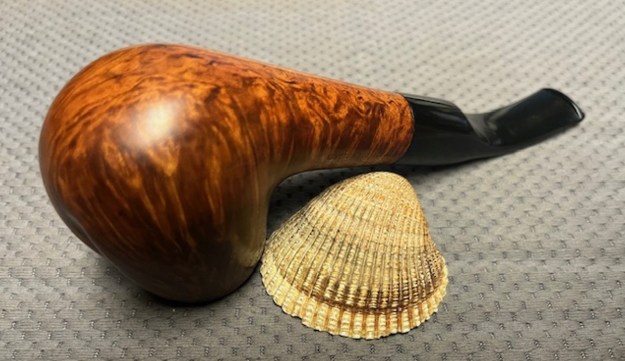
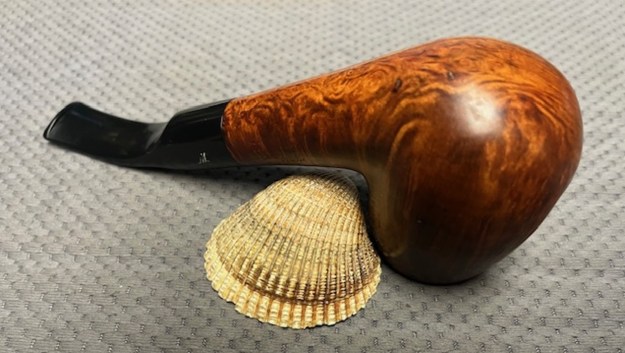
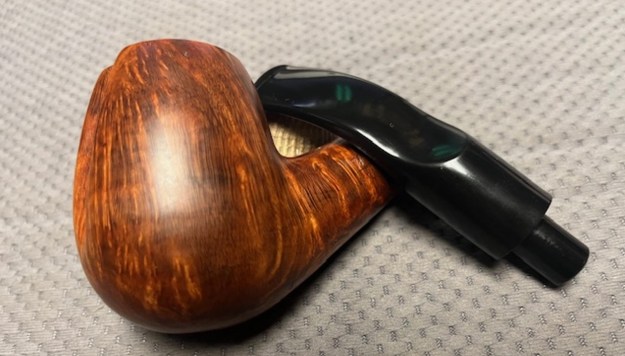
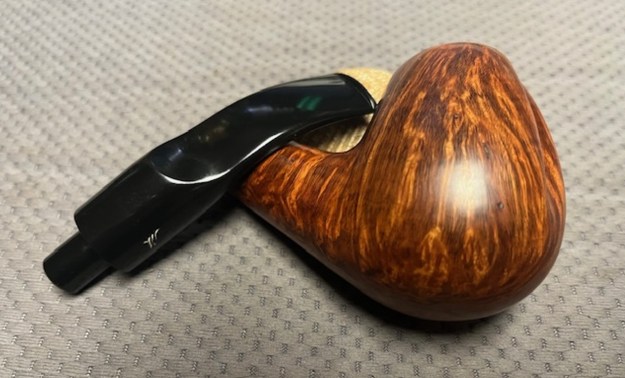
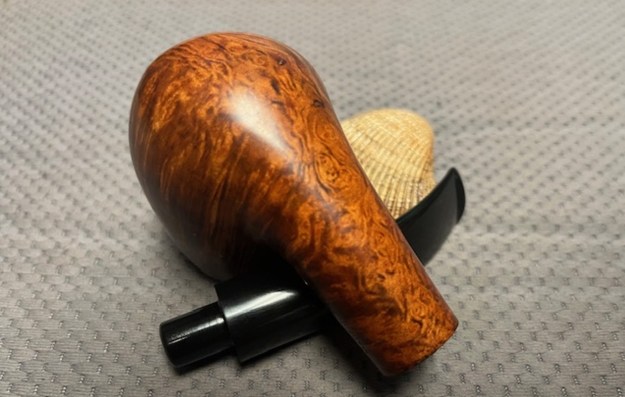
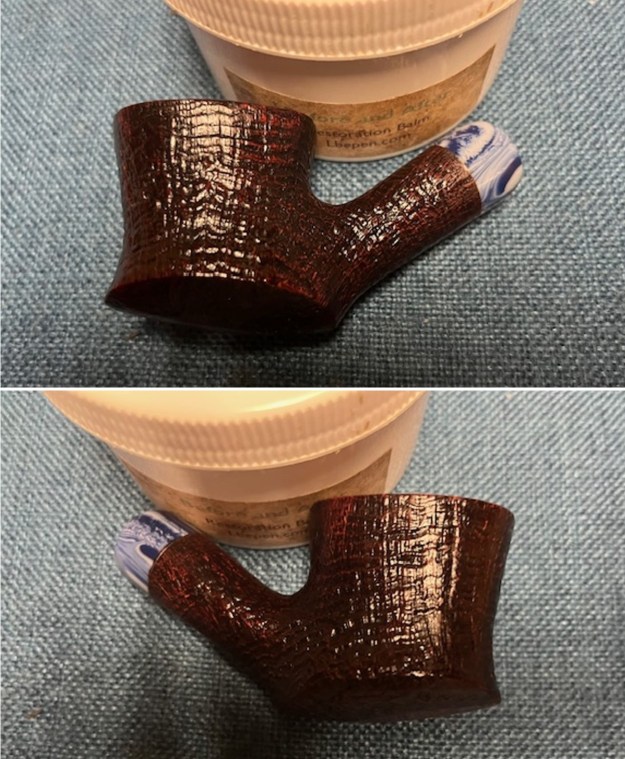
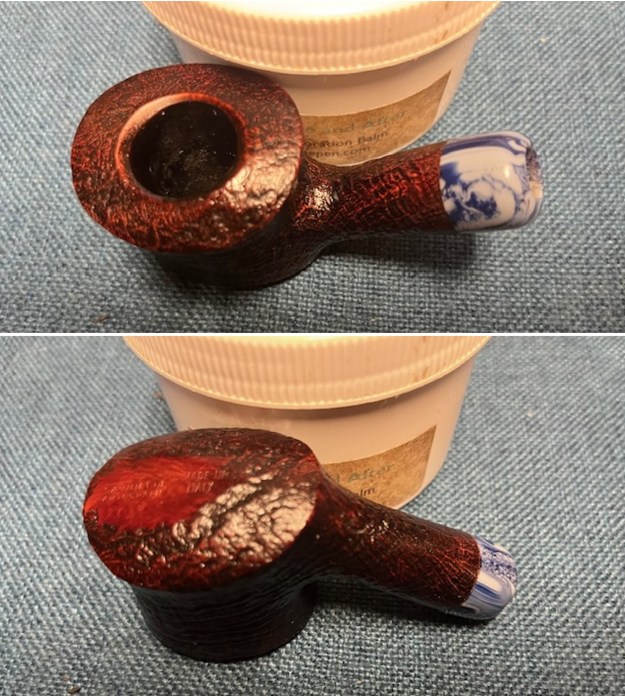
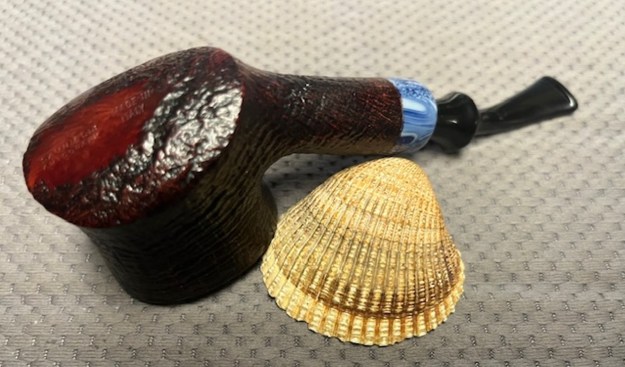
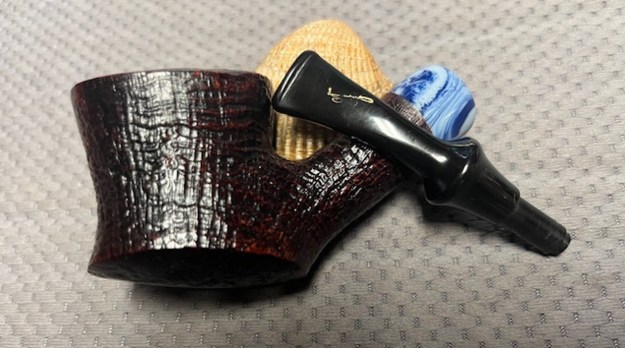
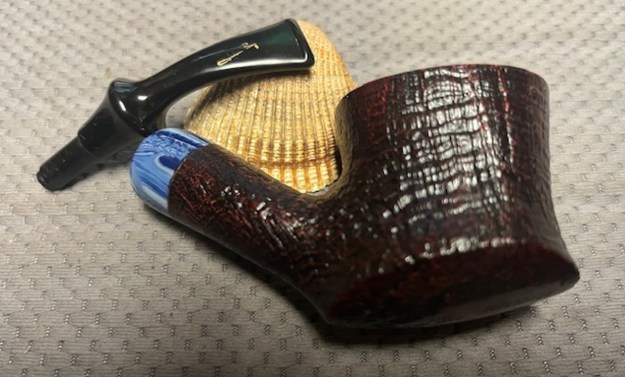
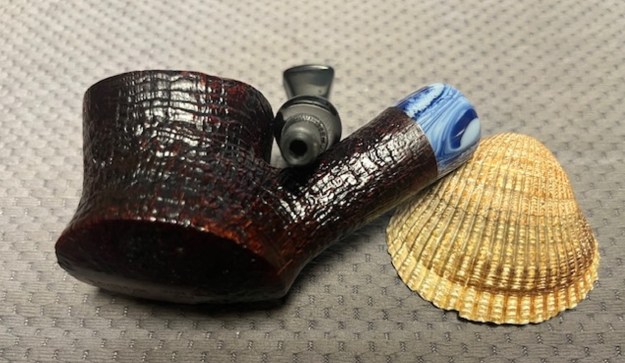
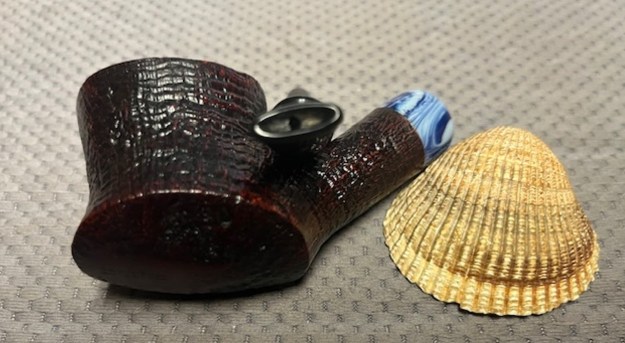
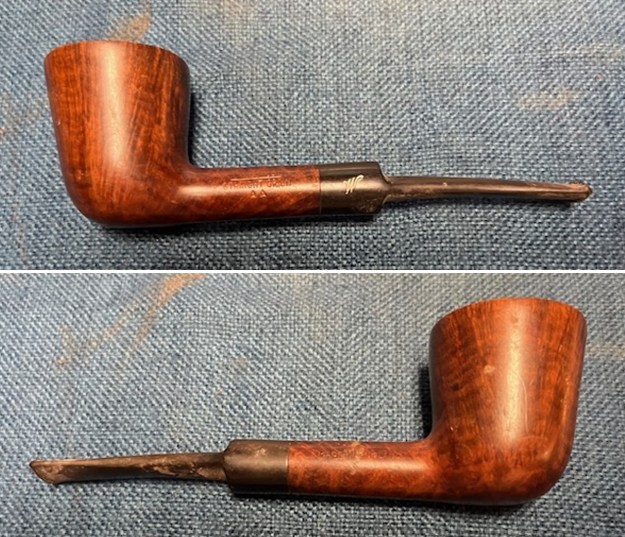
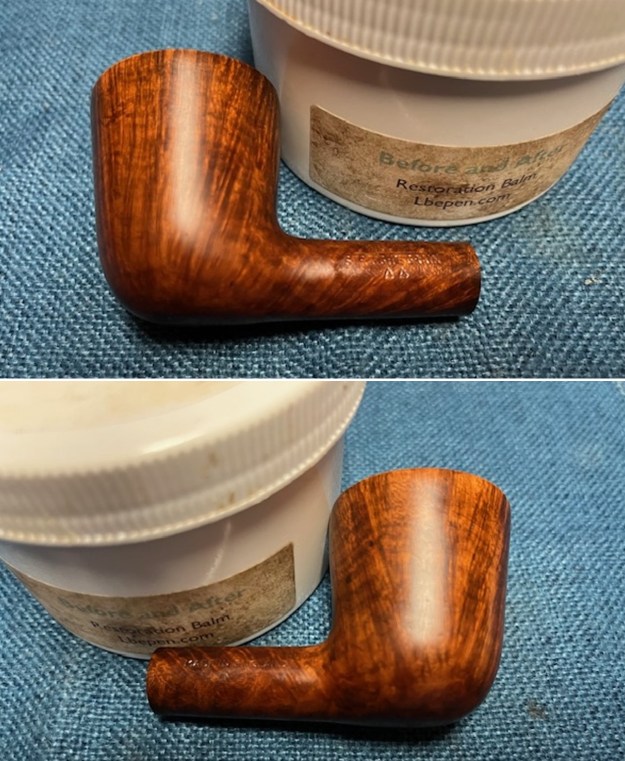
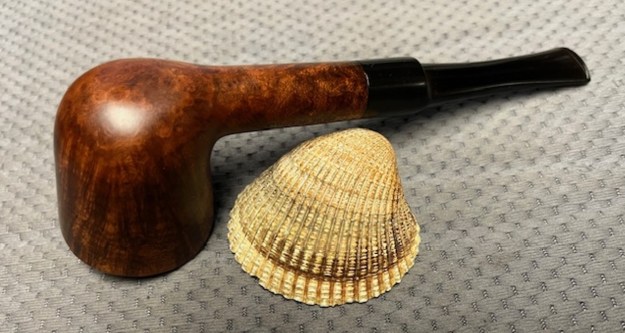
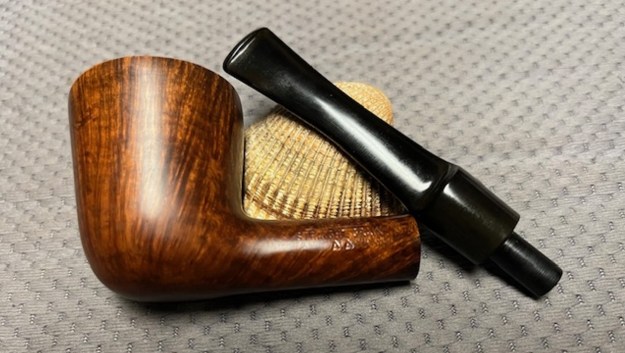
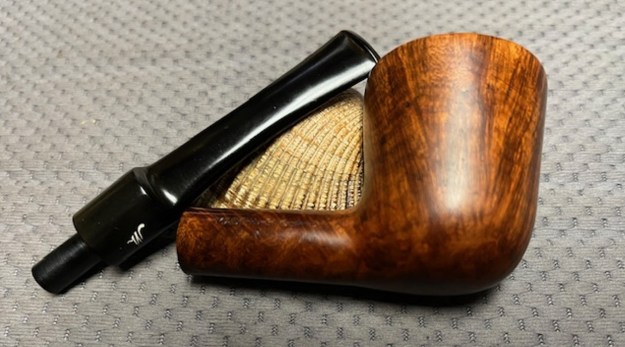
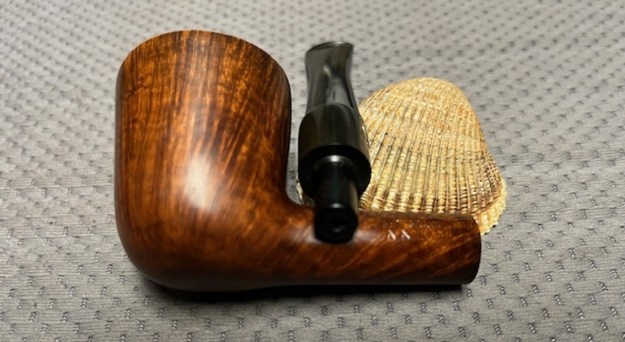
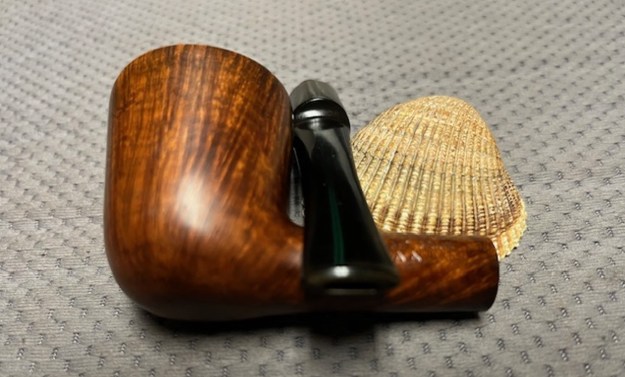
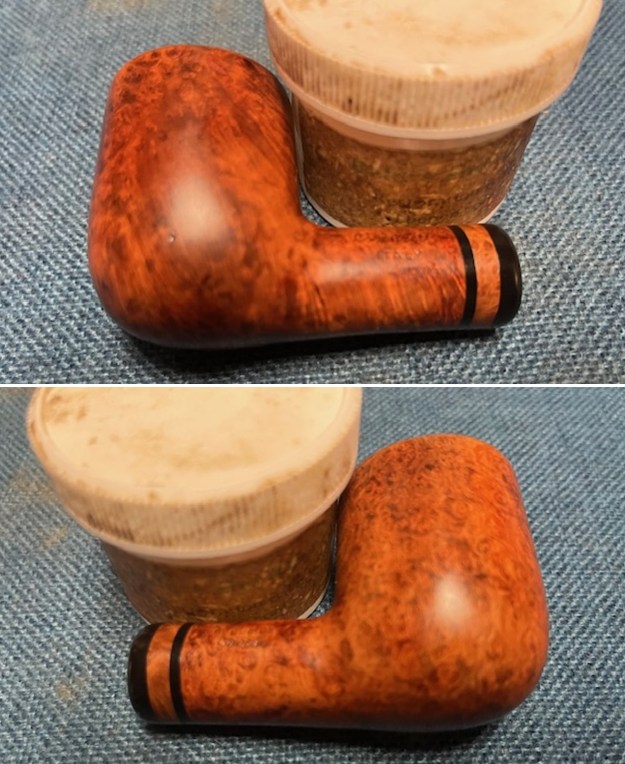
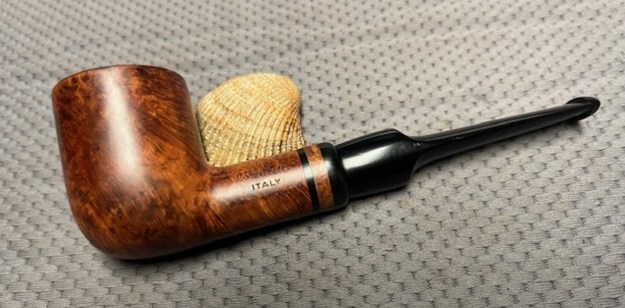
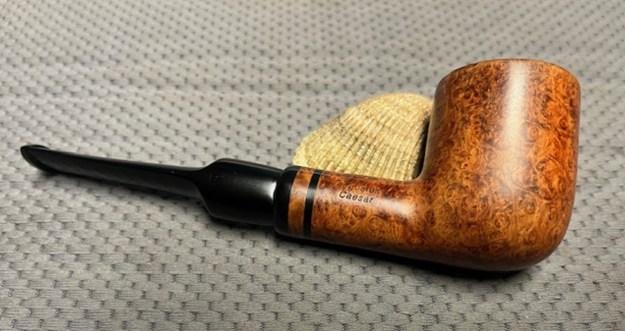
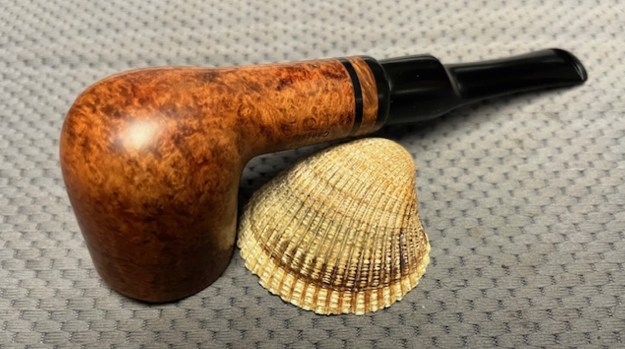
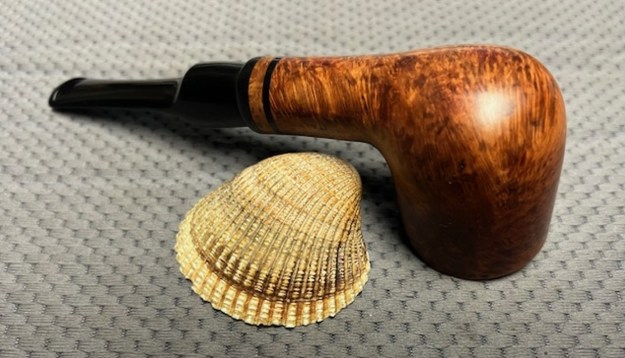
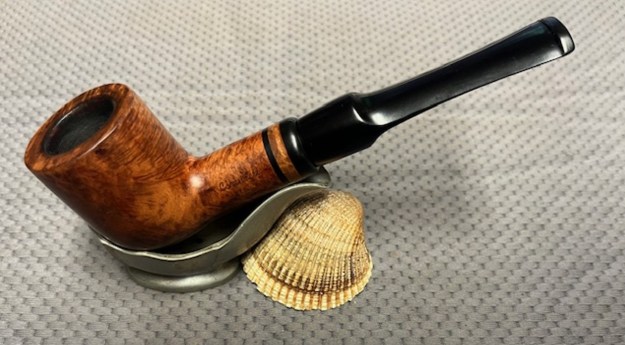
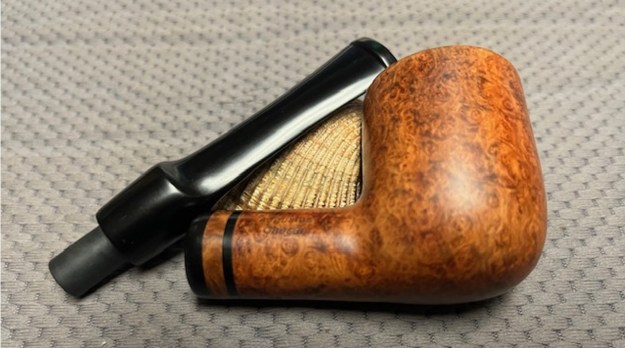
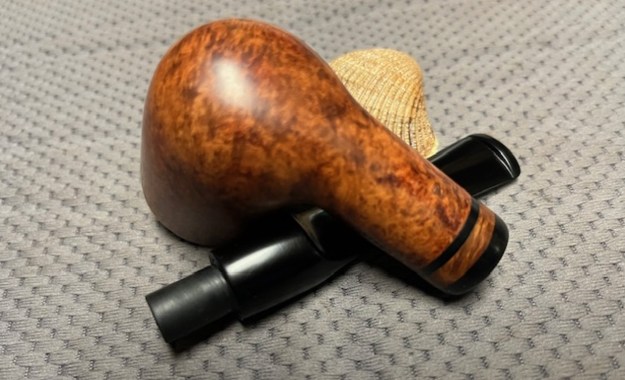
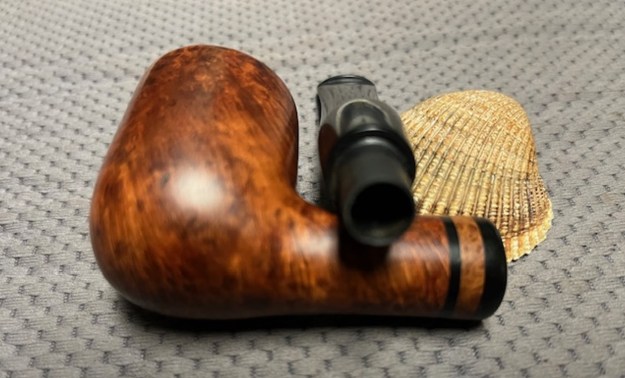
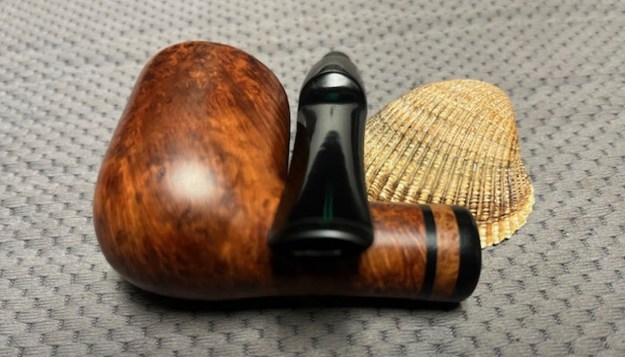
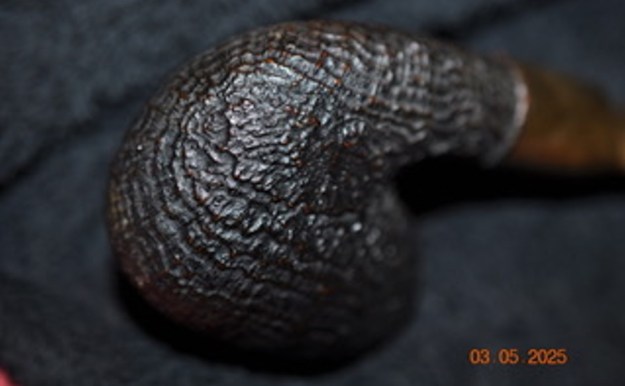
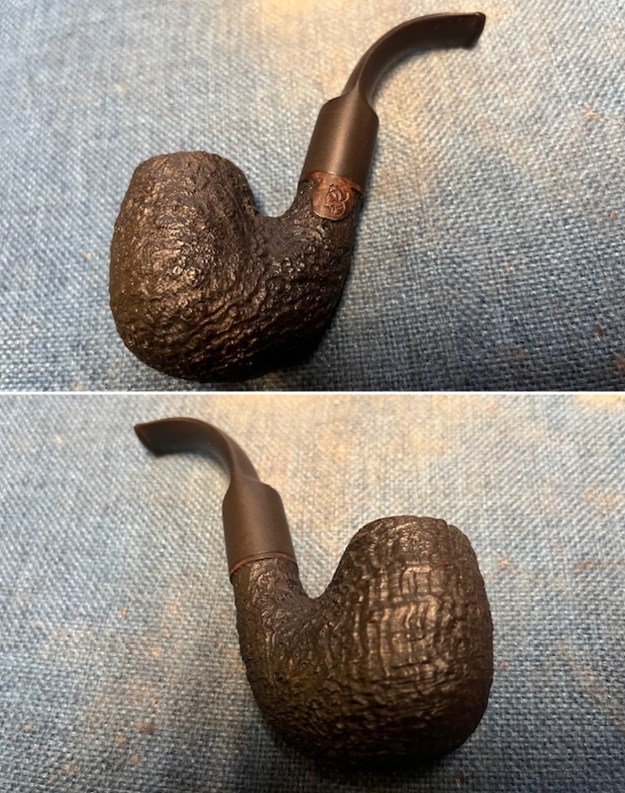
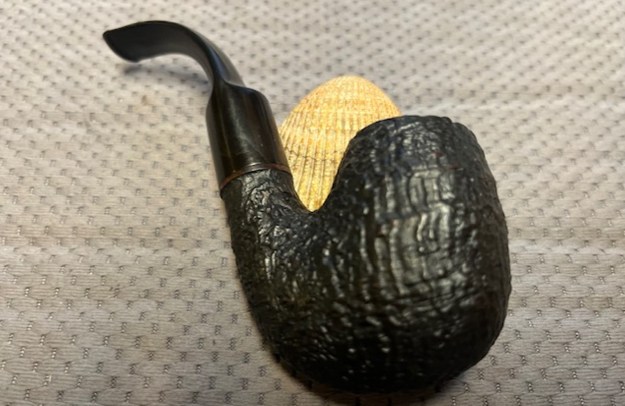
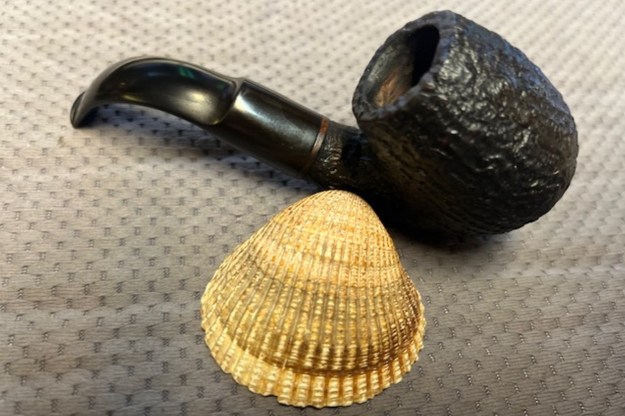
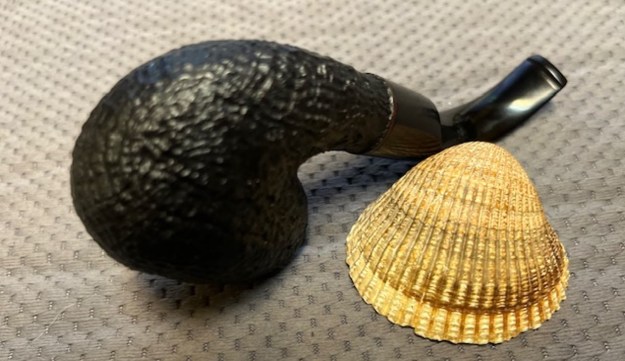
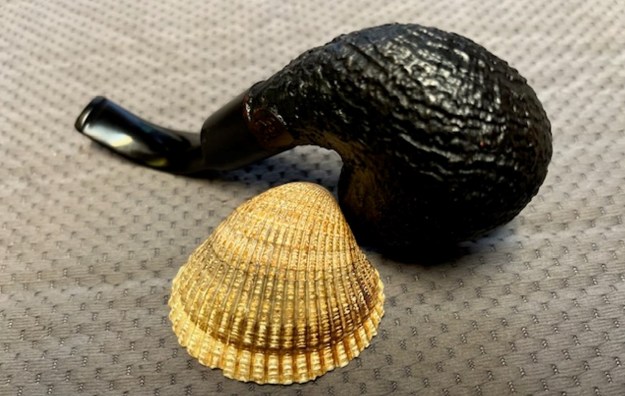
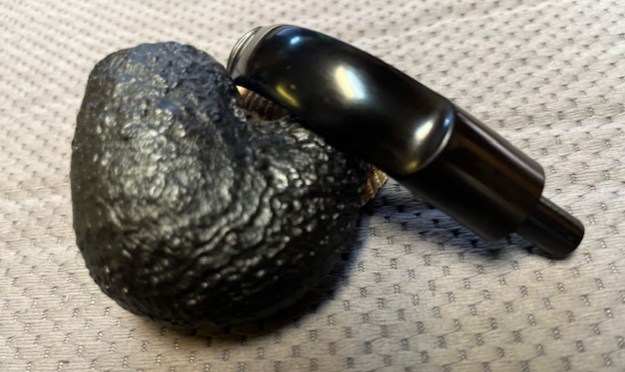
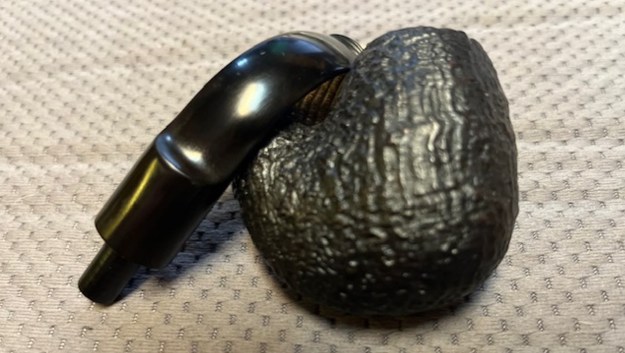
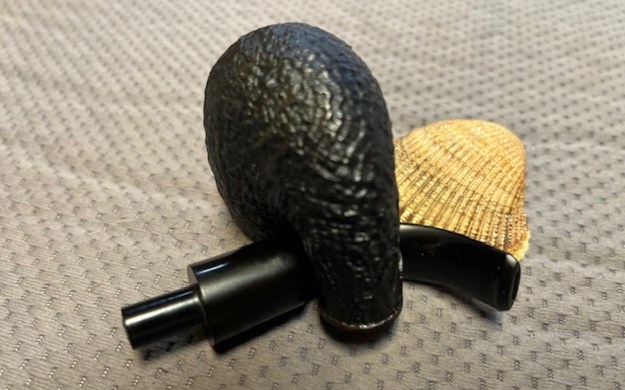
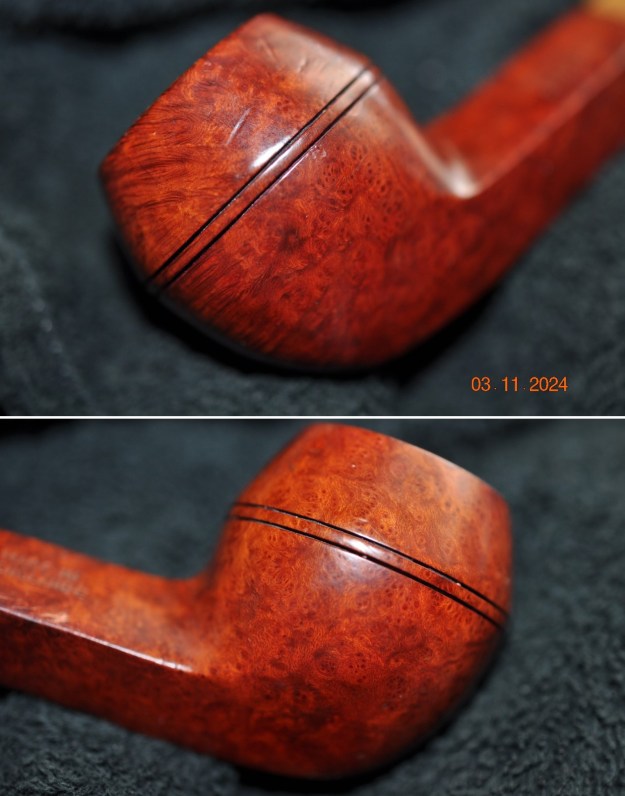
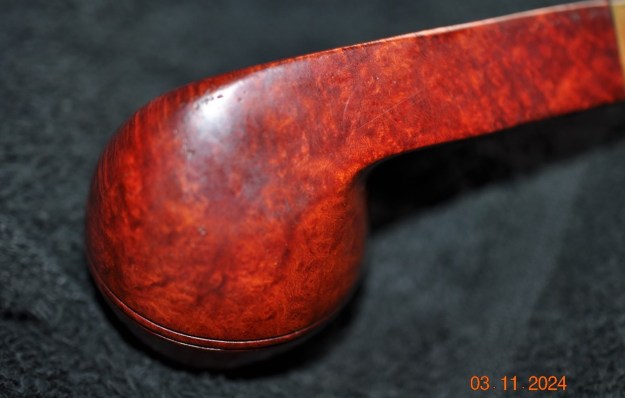
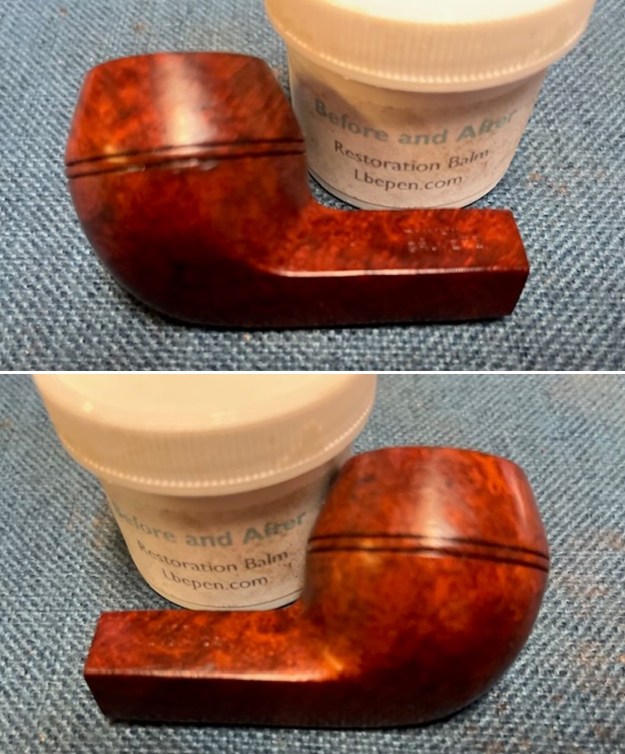
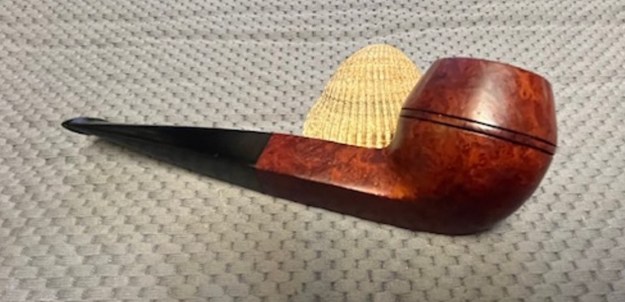
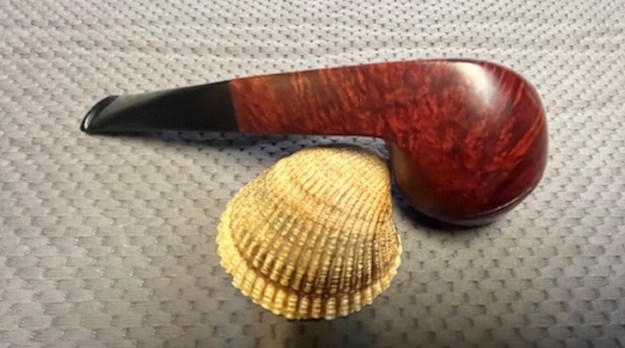
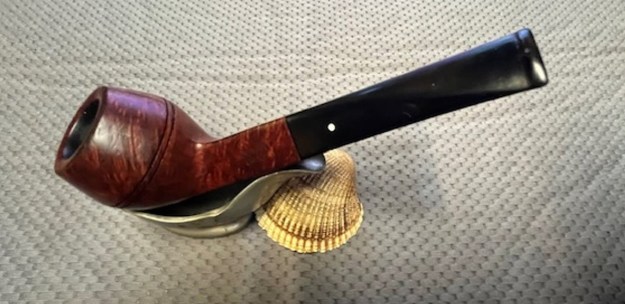
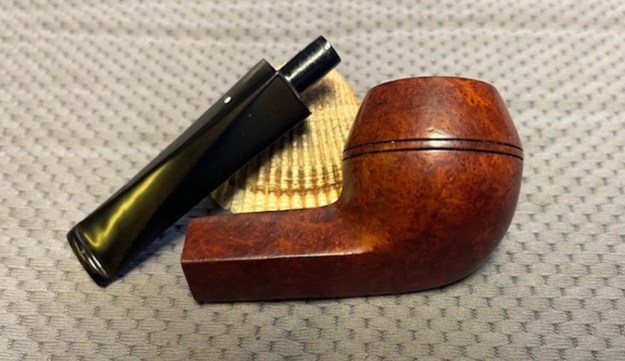
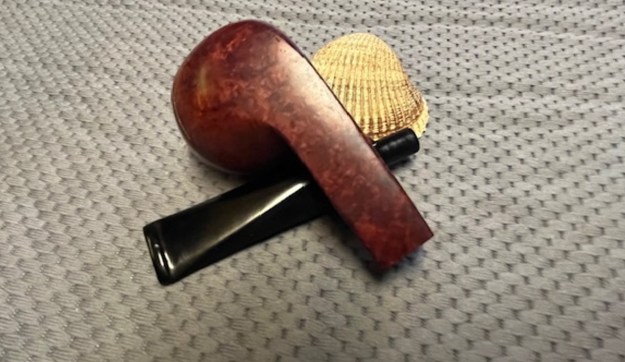
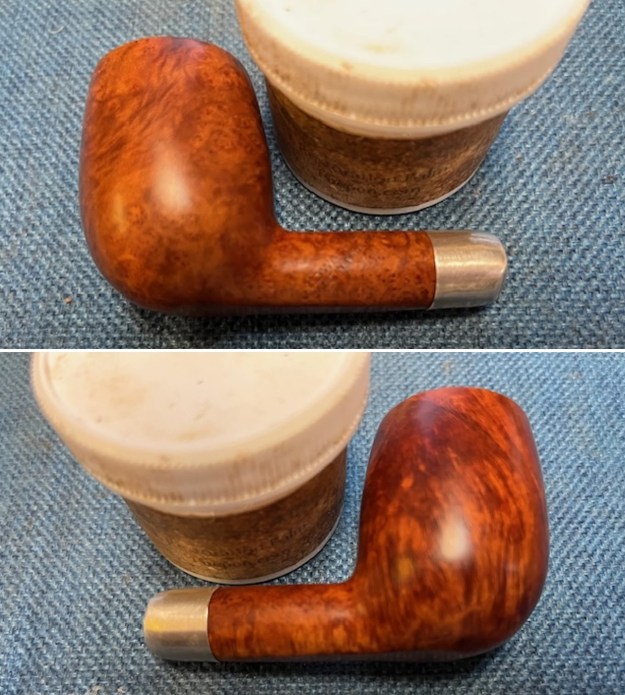
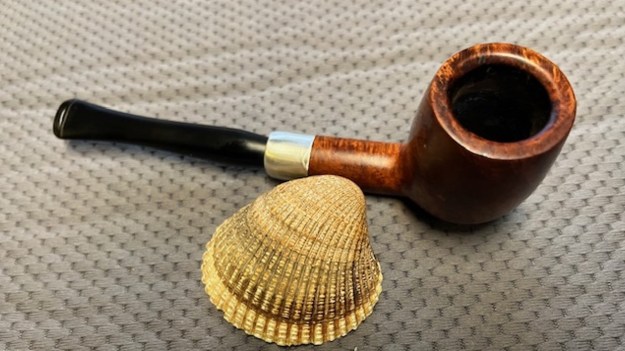
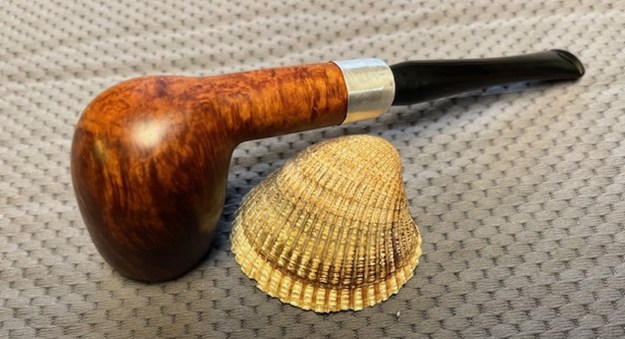
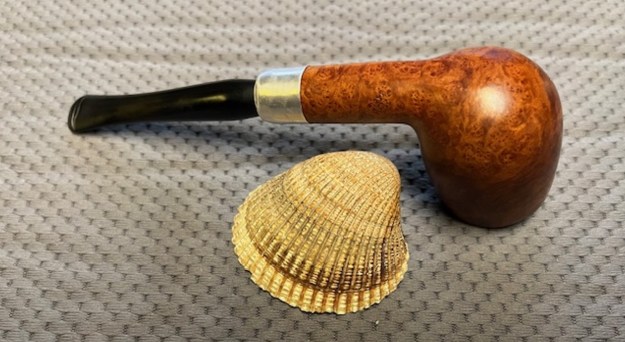
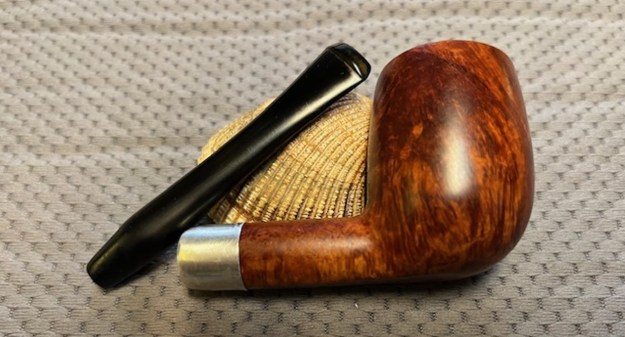
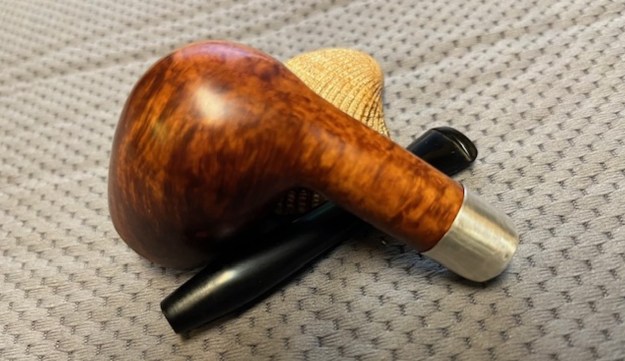
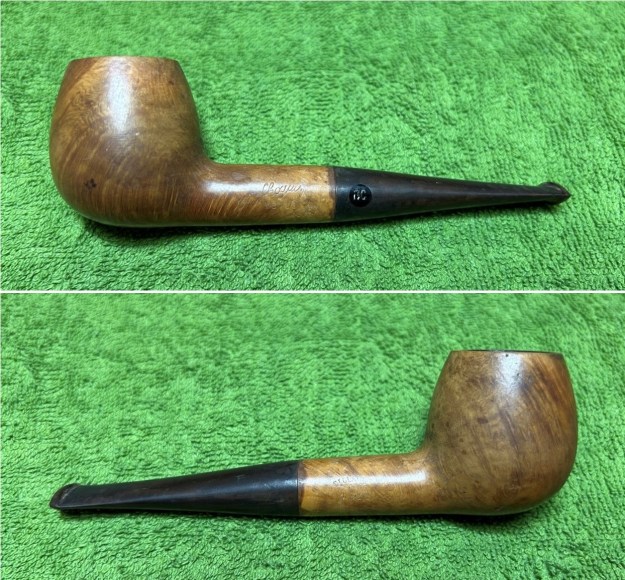
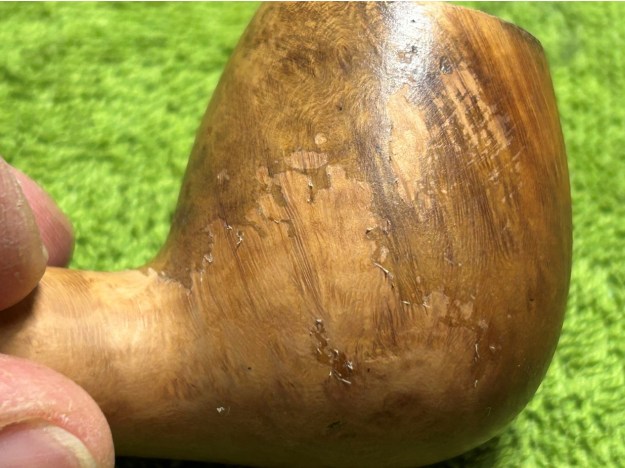
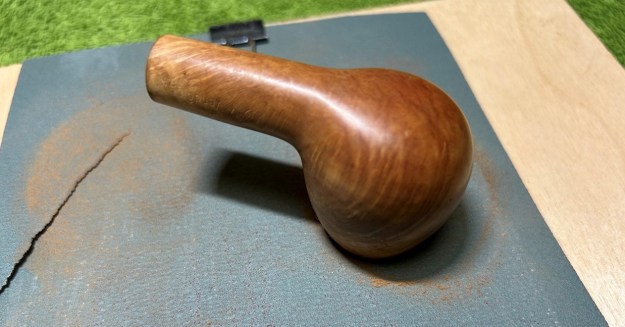
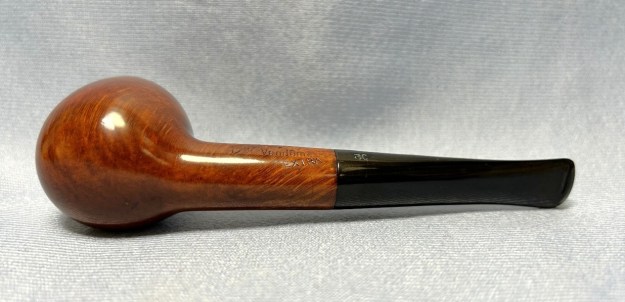
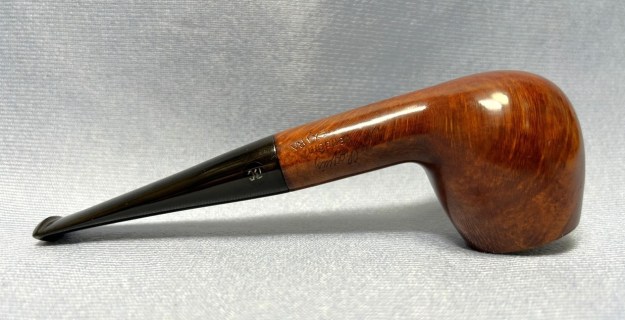
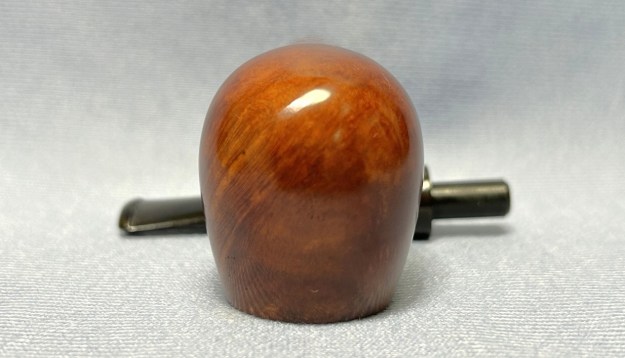
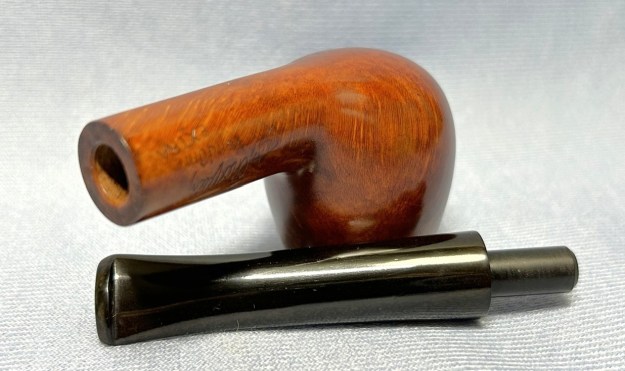
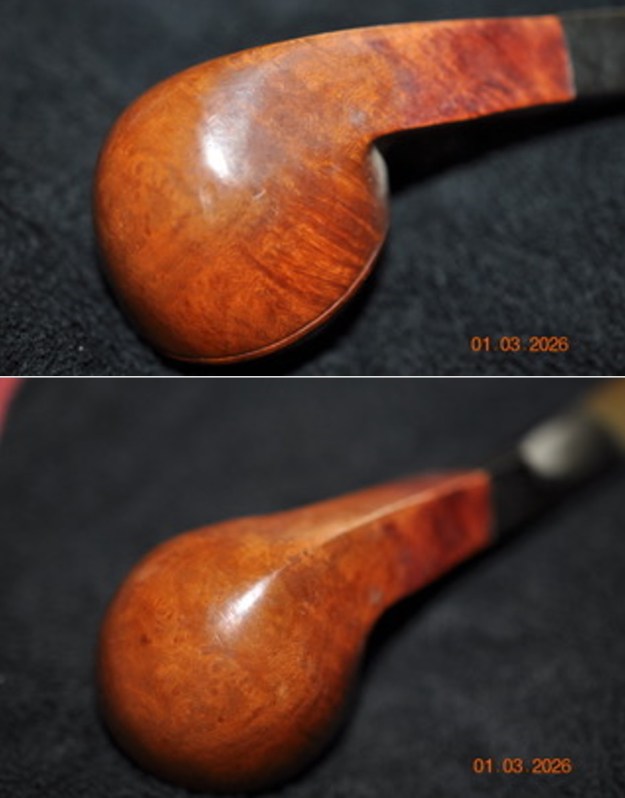
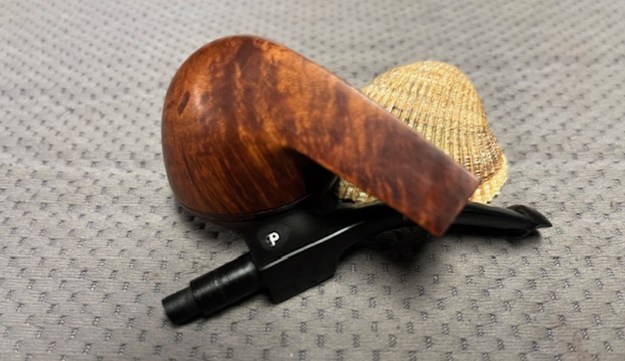
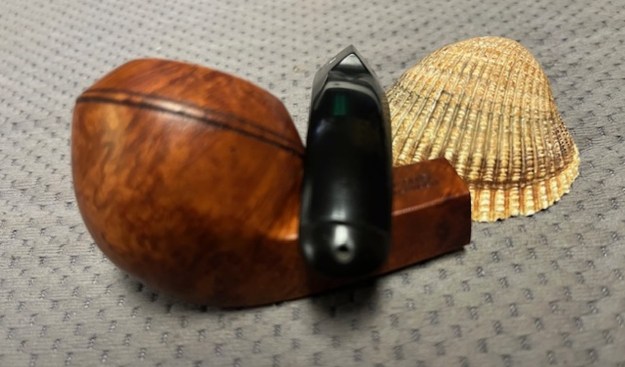
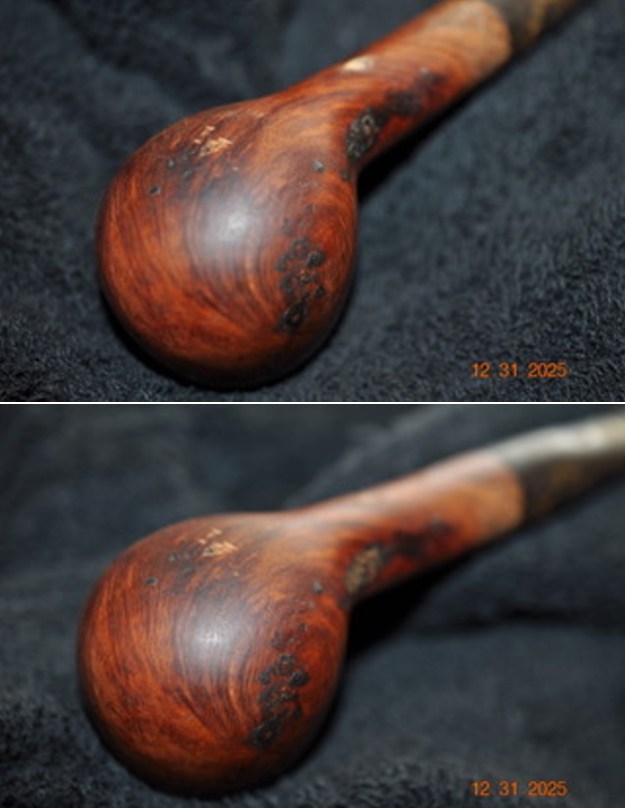
 Jeff took photos of the sides and heel of the bowl to give a sense of the condition of the bowl and the grain around the bowl. It is a beauty.
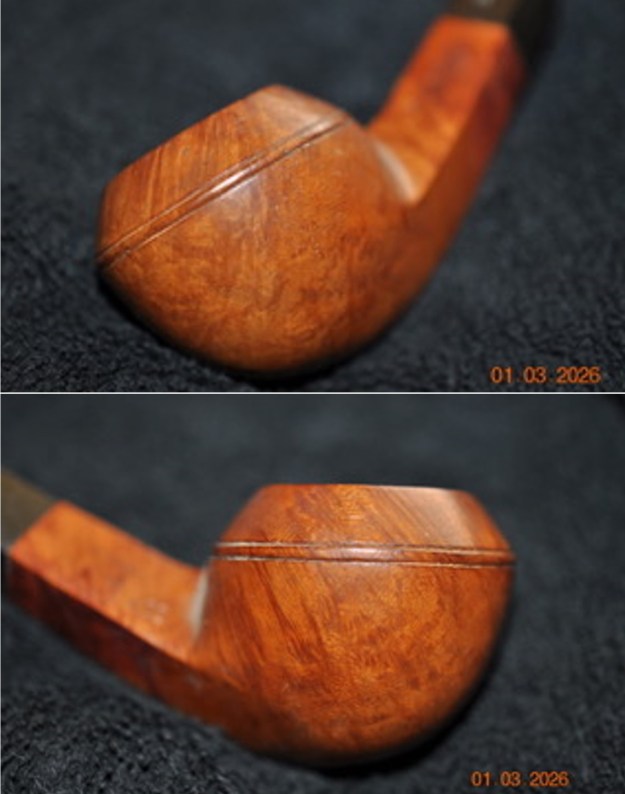
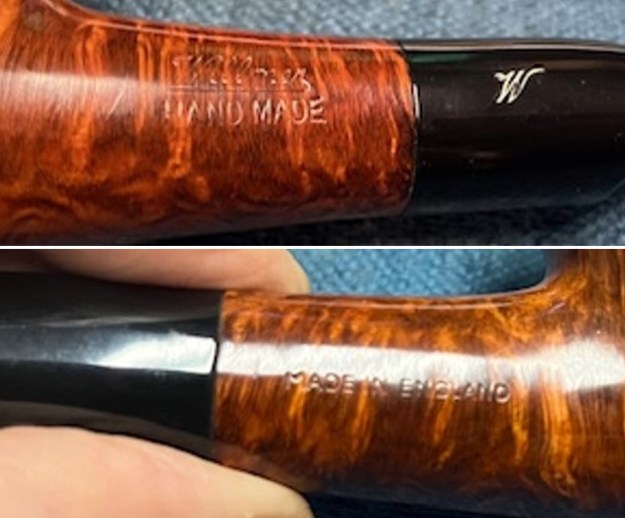
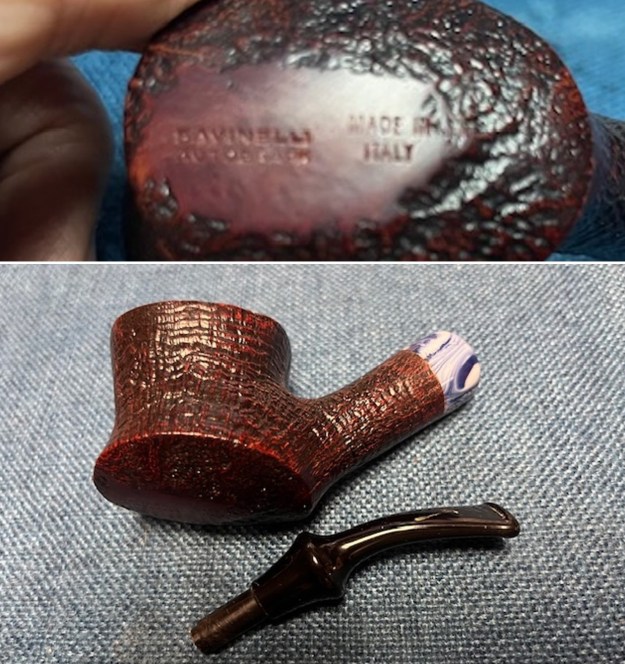
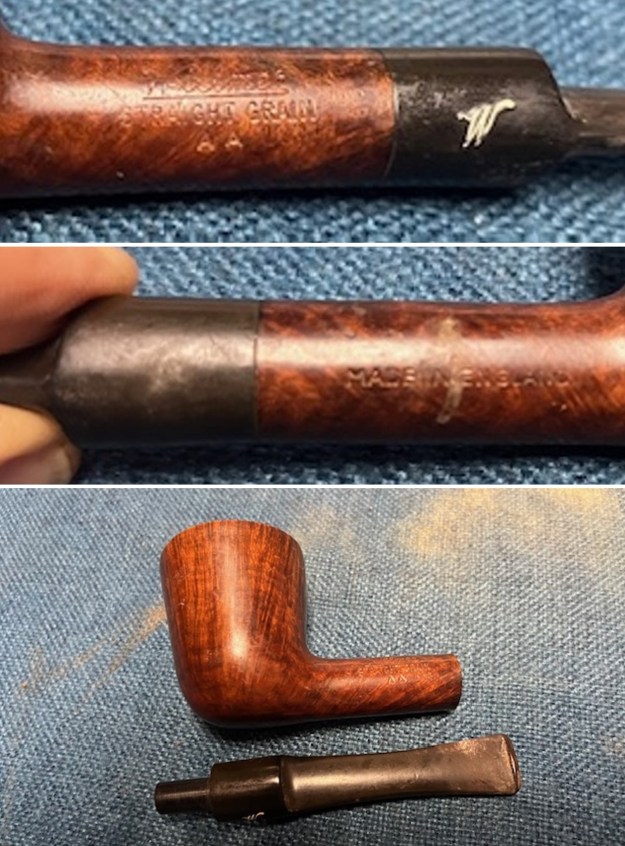
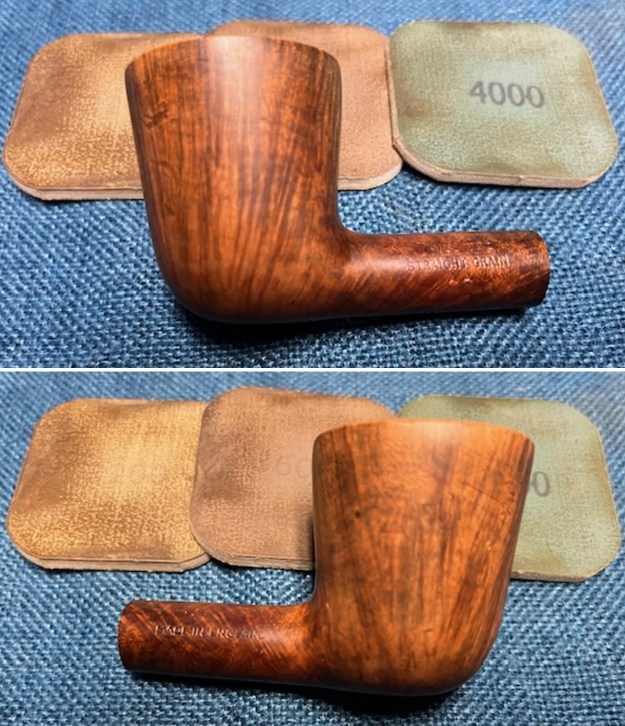
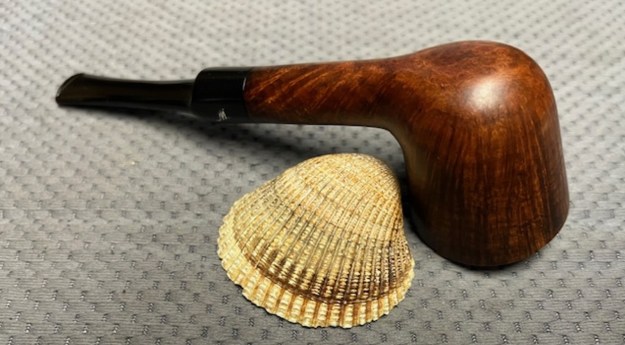
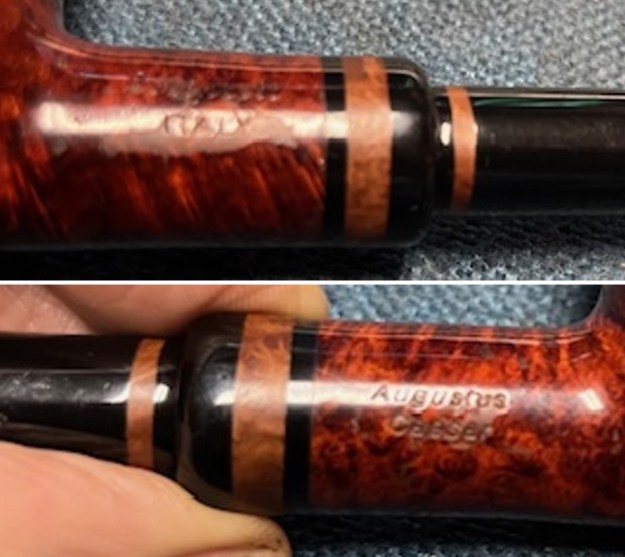
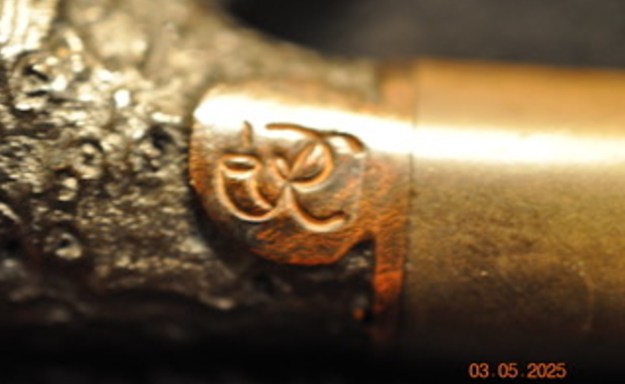
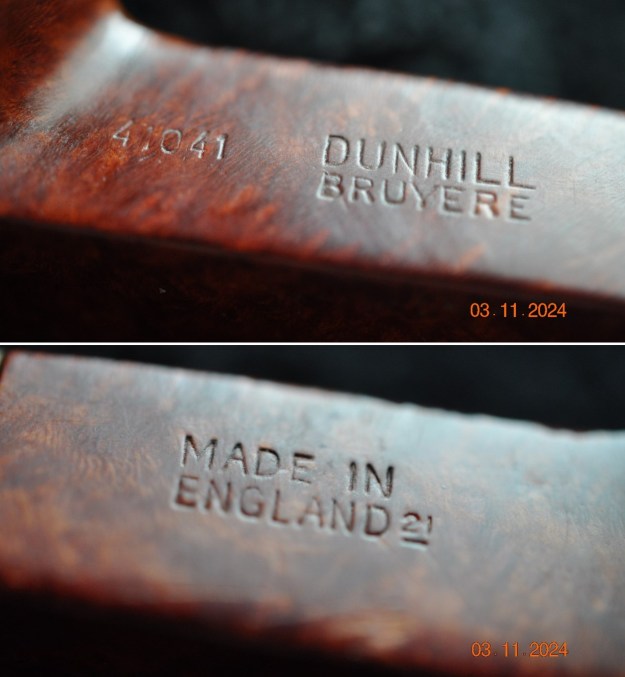
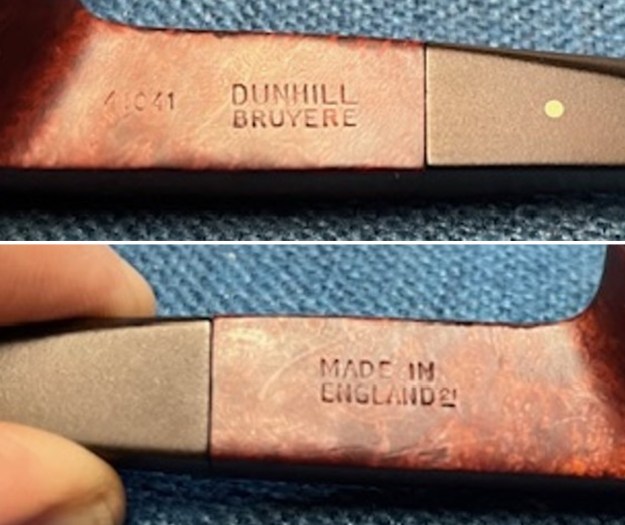
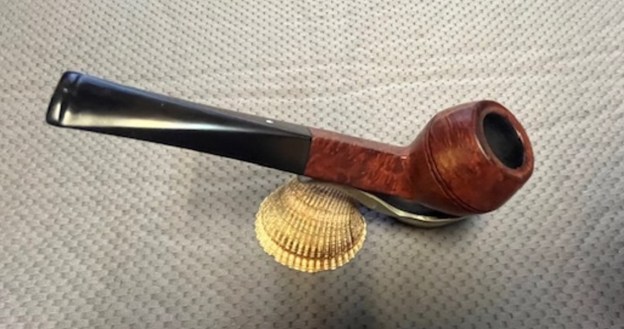
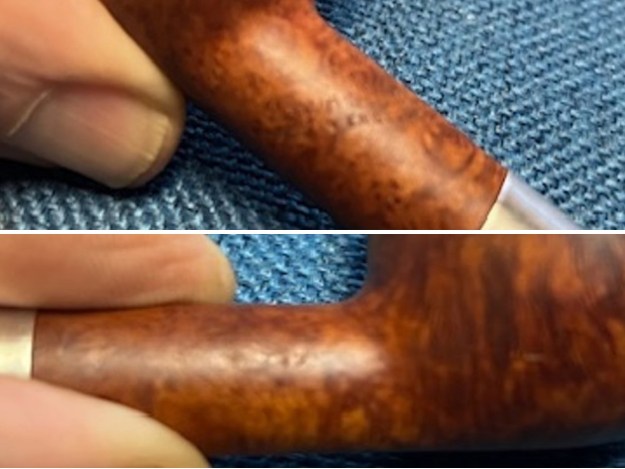
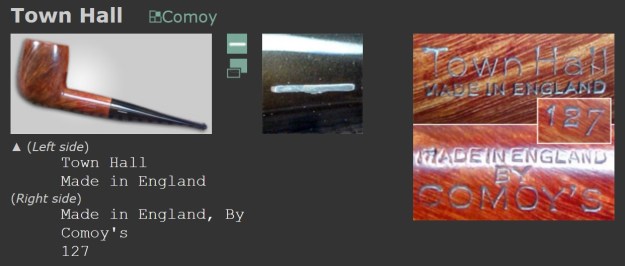
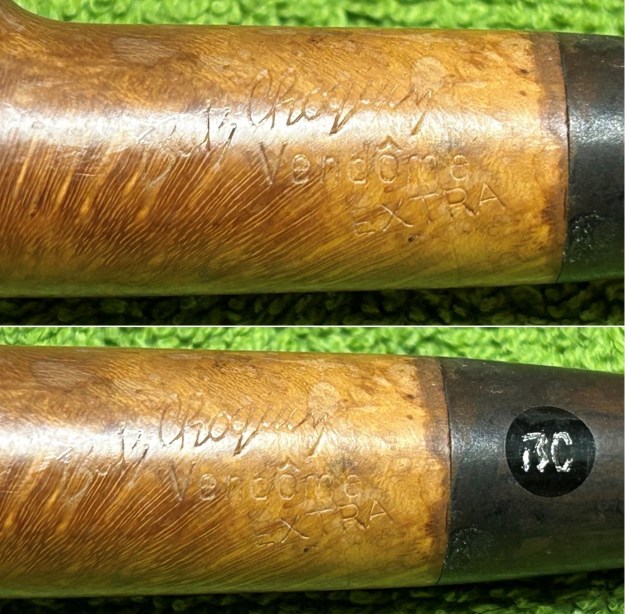
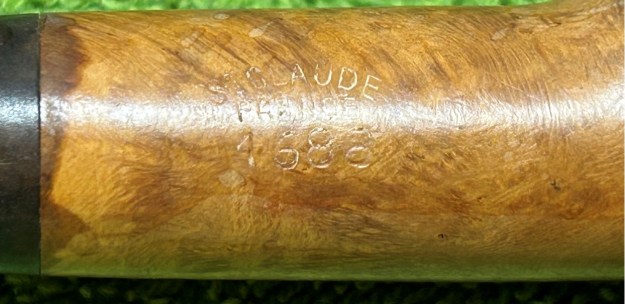
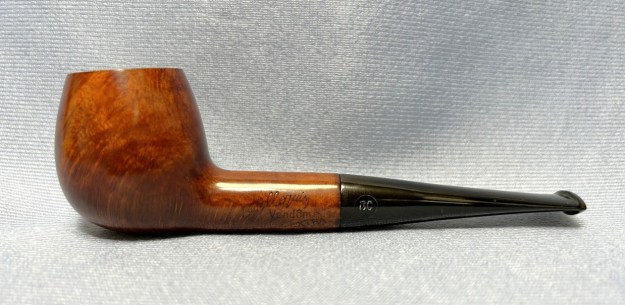
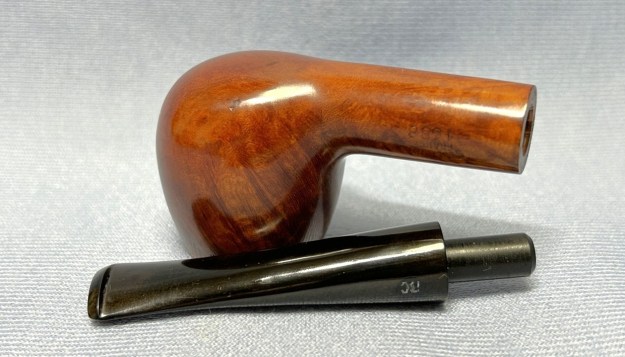
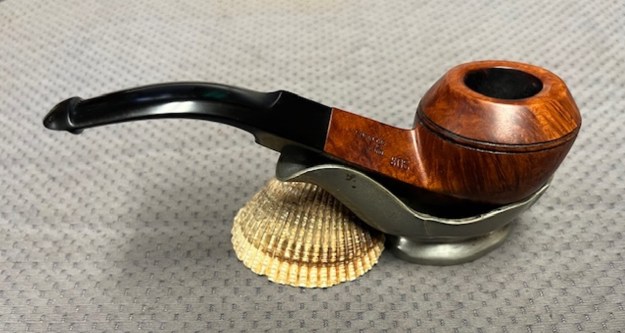
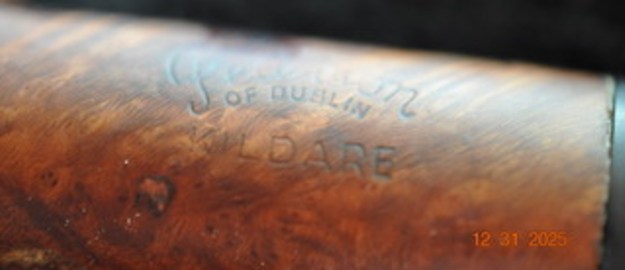
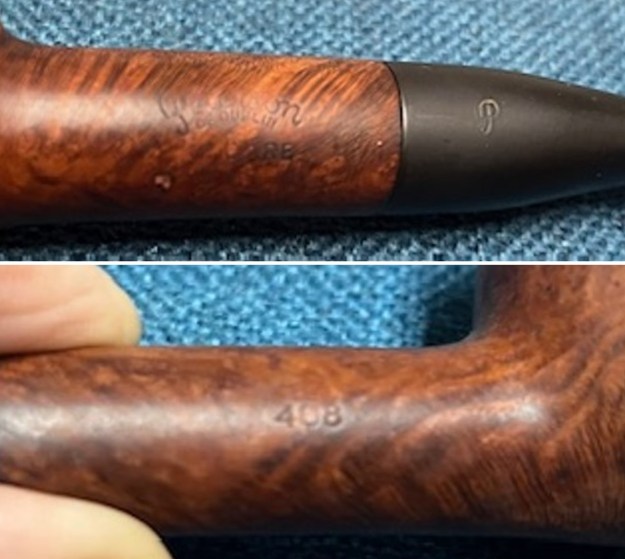
 He took photos of the shank sides to capture the stamping on the shank. It was clear and readable as noted above.
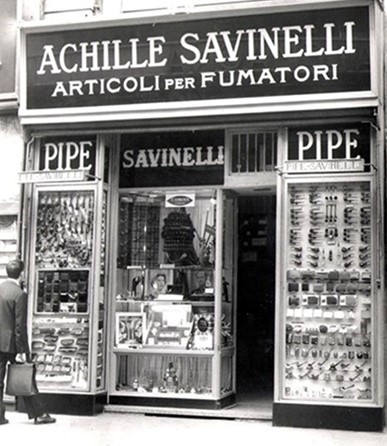
 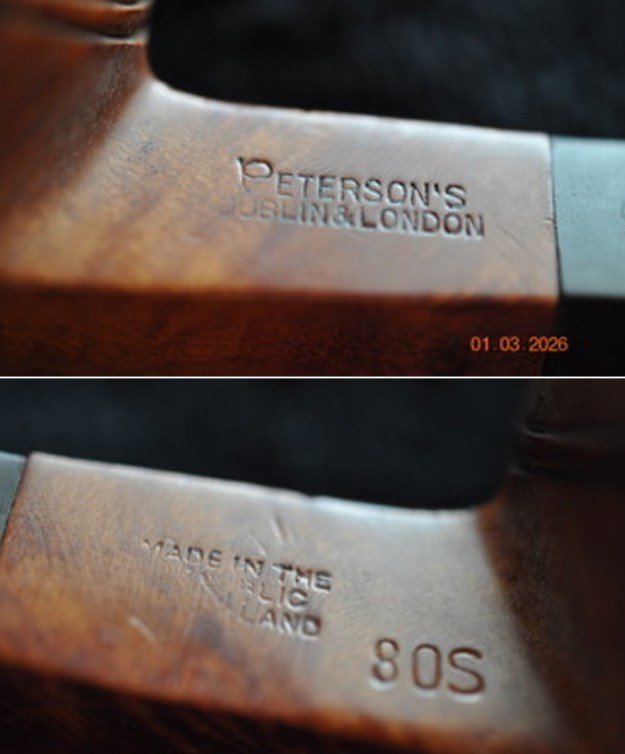 I am including the link to the Pipedia’s article on Peterson pipes. It is a great read in terms of the history of the brand (https://pipedia.org/wiki/Peterson).
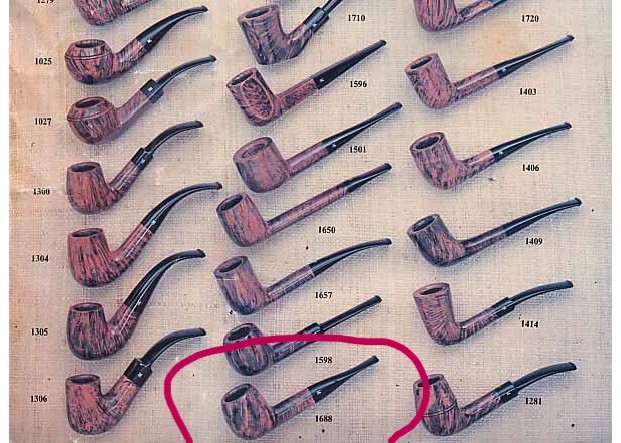
I turned to “The Peterson Pipe” by Mark Irwin and Gary Malmberg to get some background on the Peterson’s Dublin & London line. On page 298 it had the following information.
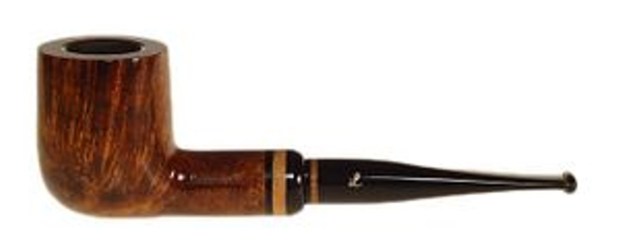
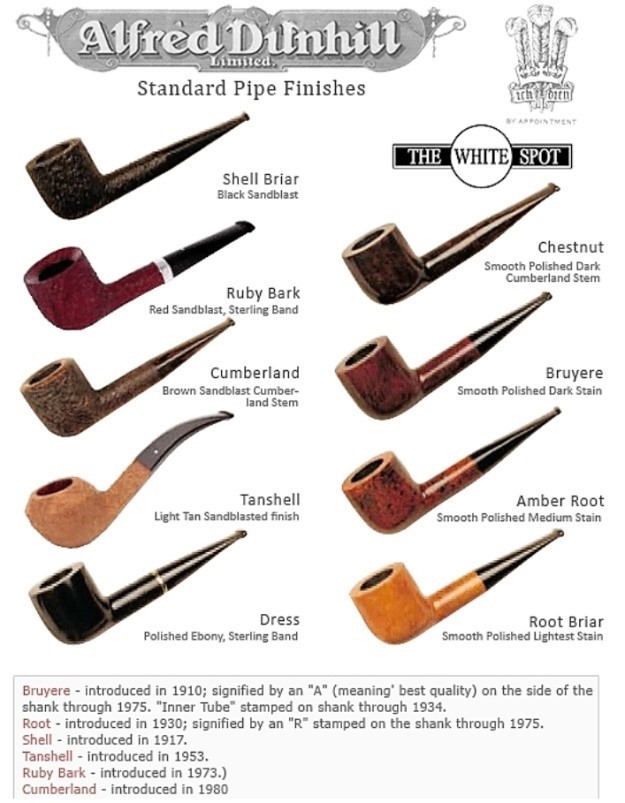
“Dublin & London” (1940-97; 2016-) First mentioned in a 1940 brochure, but probably not widely distributed until ’45, Dublin & London was the highest quality line (aside from the Supreme, introduced in ’53) until about ’86. P-lip or fishtail mouthpiece, polished finish, although sandblast described in ’70 Iwan Ries & Co. catalogue, COMs include Made In Ireland (c. 1940-80) and Made In The (over) Republic (over) Of Ireland (c. 1980-97).
The line name was reinstated in 2016 as a high grade with 17 shapes in a caramel finish similar to the earlier Dublin & London line, but with sterling band and acrylic caramel and black swirl fishtail mouthpiece with embedded aluminum P.
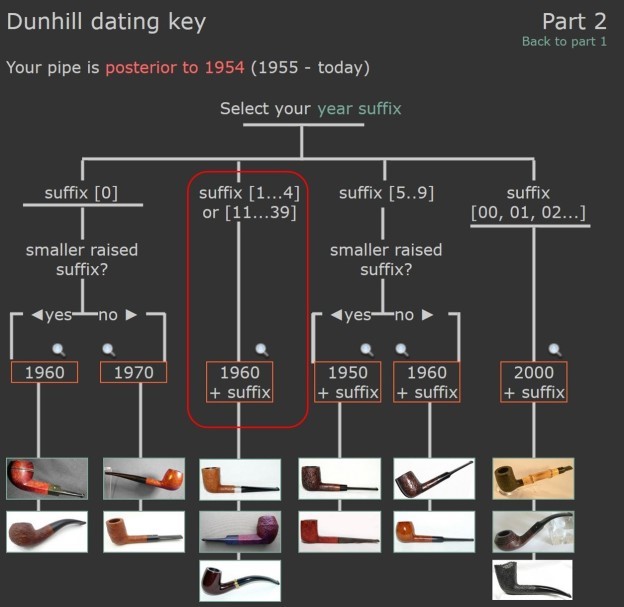
Judging from the description above, the pipe I am working on is stamped with the stamp noted in red above. The Dublin & London stamp fits with the dating information above. The appears to have been originally a high grade line. That makes sense of the grain around the bowl. Now it was time to work on the pipe.
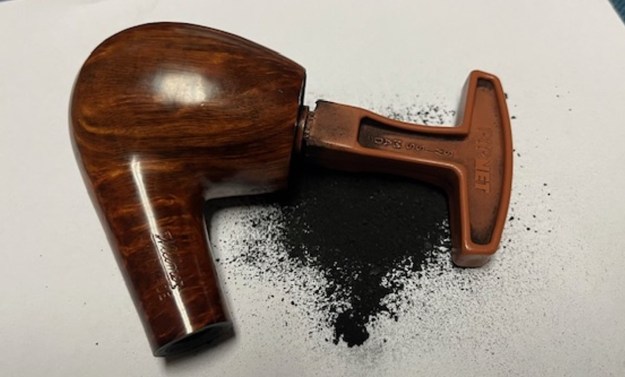
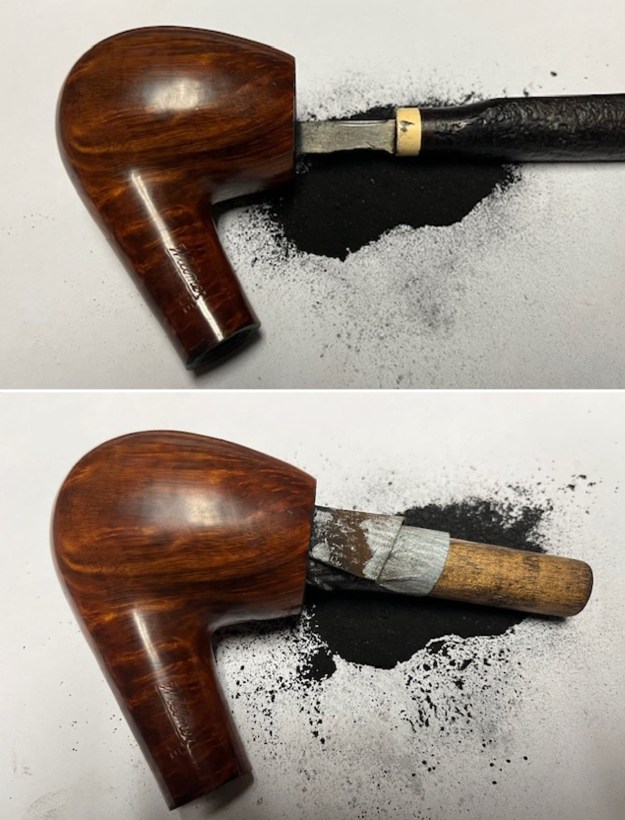
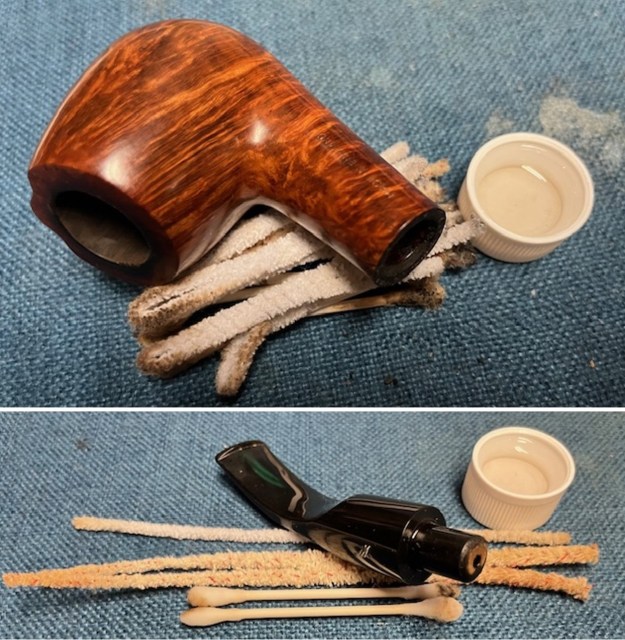
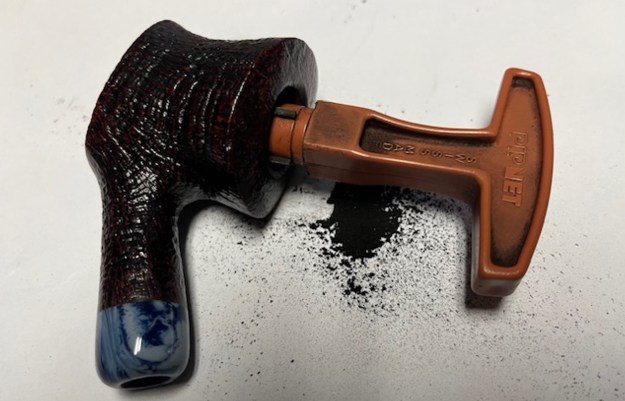
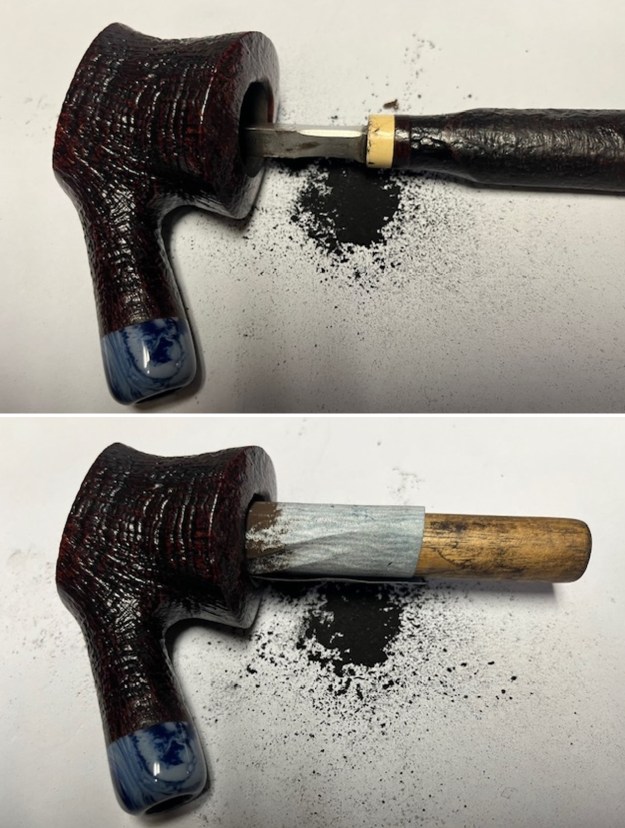
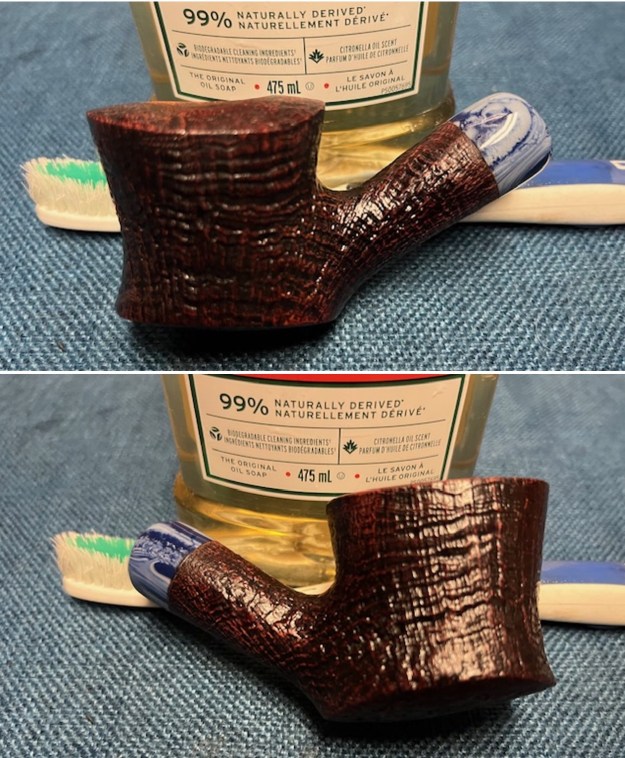
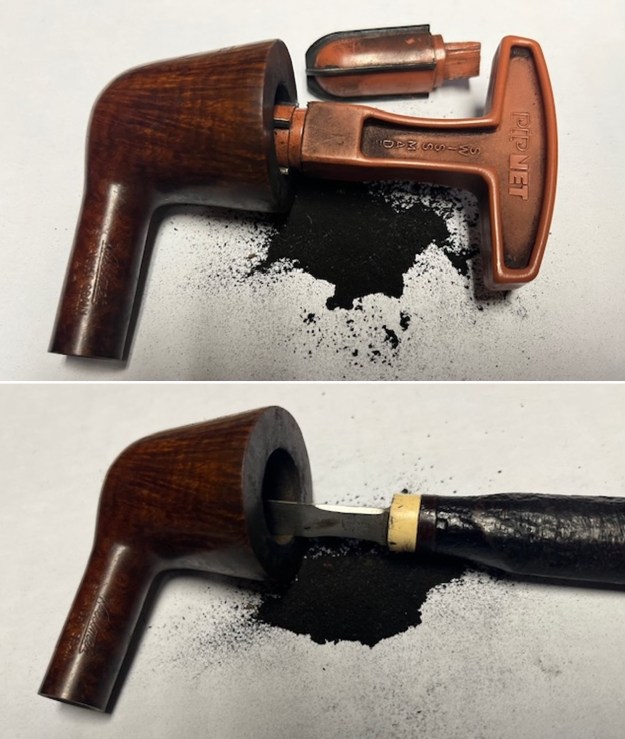
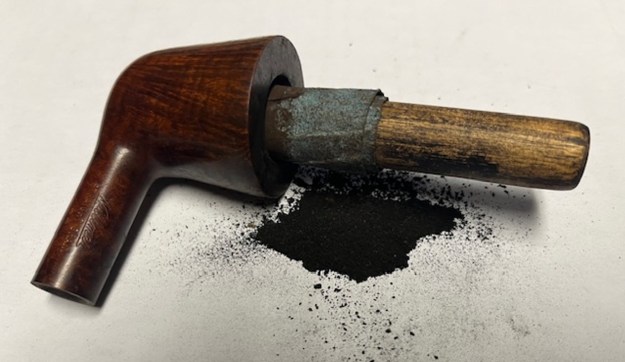
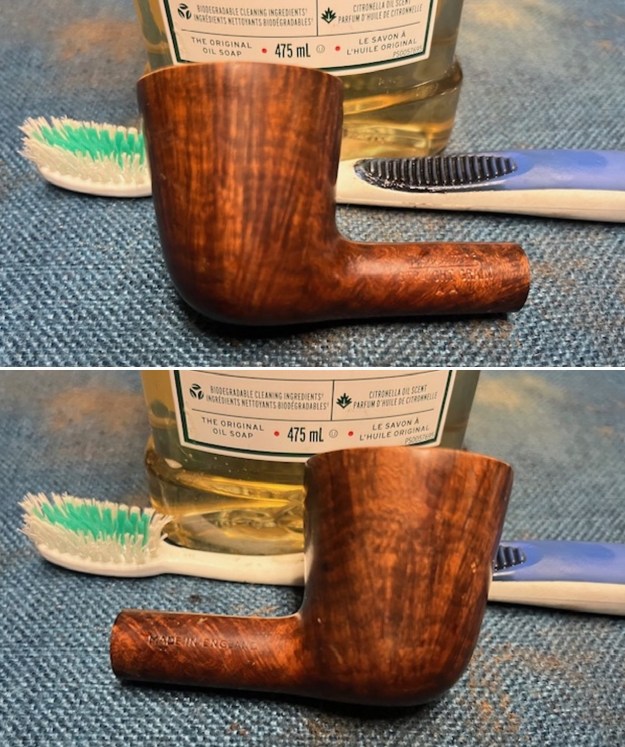
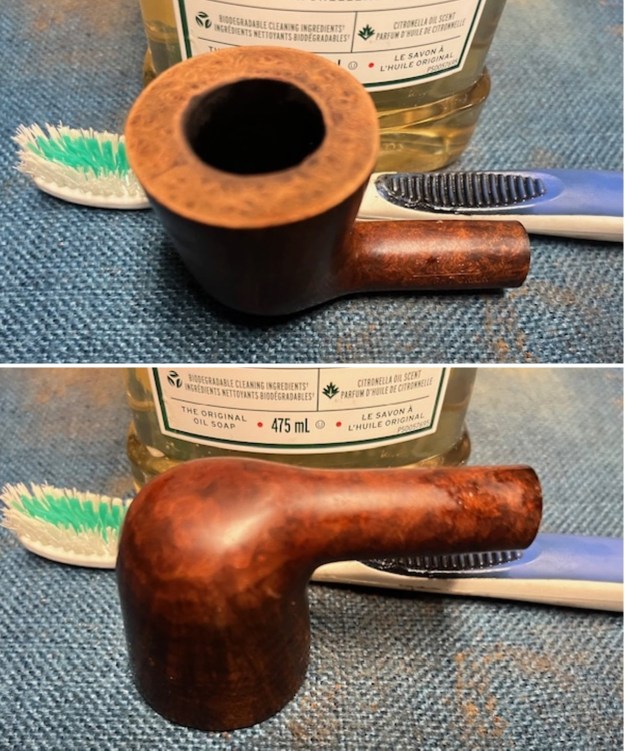
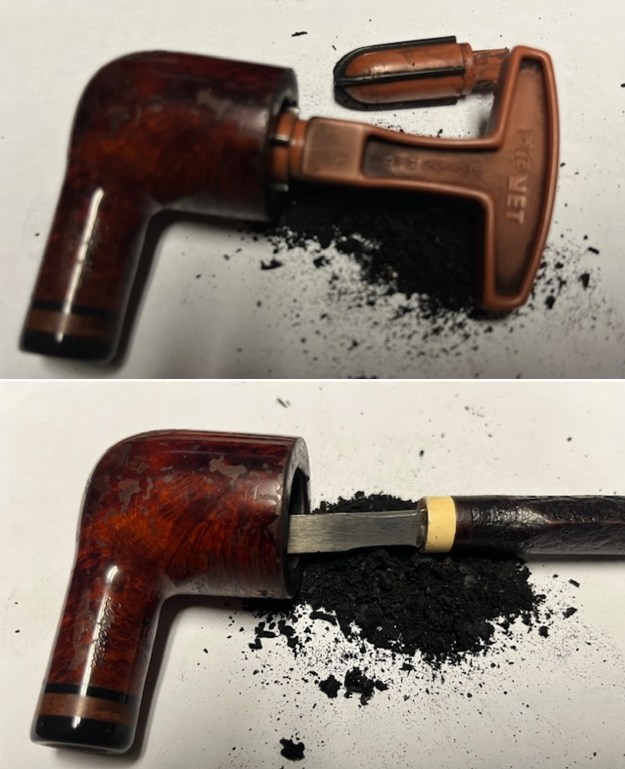
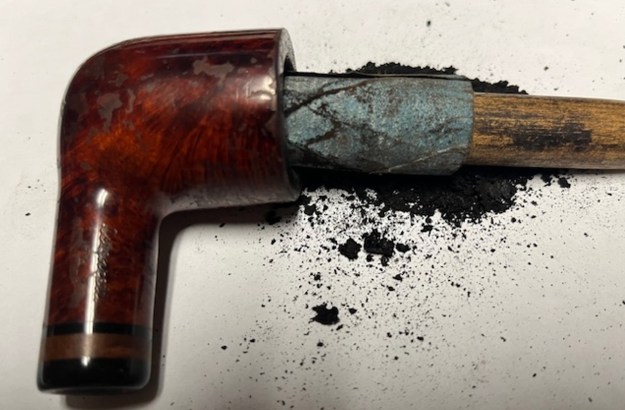
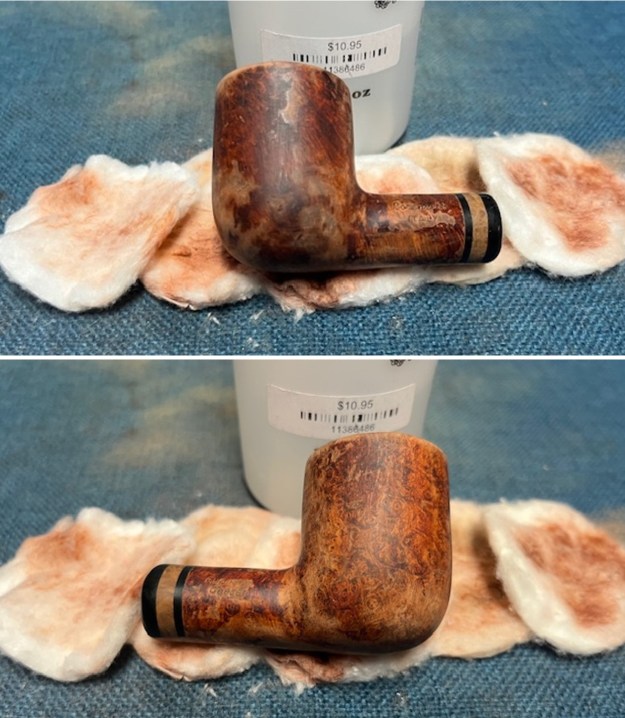
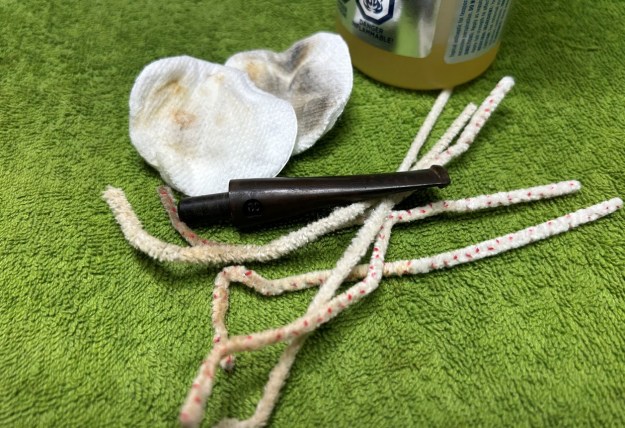
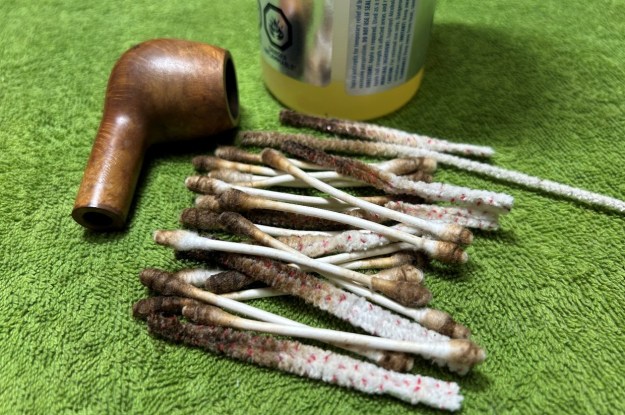
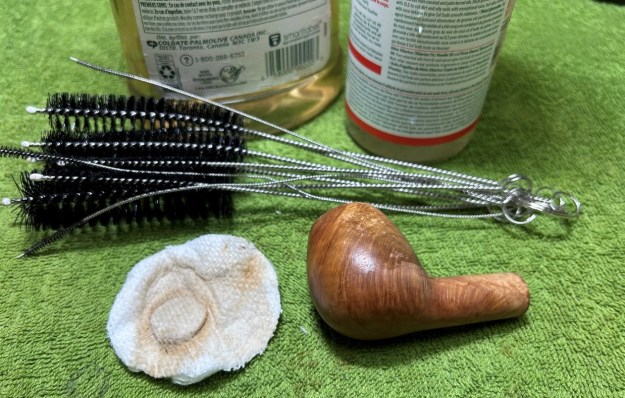
Now it was my turn to work on the pipe. Jeff had done an amazing cleanup of the pipe. It was such a wreck that I wondered what it would look like after his work. He reamed the heavy cake with a PipNet reamer and cleaned up that with a Savinelli Fitsall Pipe Knife. He scrubbed the internals of the bowl and stem with alcohol, cotton swabs, shank brushes and pipe cleaners. He scrubbed the externals with undiluted Murphy’s Oil Soap and rinsed the bowl off with running water. The scratches in the briar stood out once clean. There were some on the heel of the bowl. The rim top was clean but badly damaged on the inner edge. He scrubbed the dirty stem with Soft Scrub and then soaked it in Briarville’s Pipe Stem Deoxidizer. Once it had soaked he rinsed it off with warm water to remove the residual solution. He dried it off and rubbed it down to remove any oxidation that was still on the stem. Overall the pipe looked better but would be a challenge to bring back to life.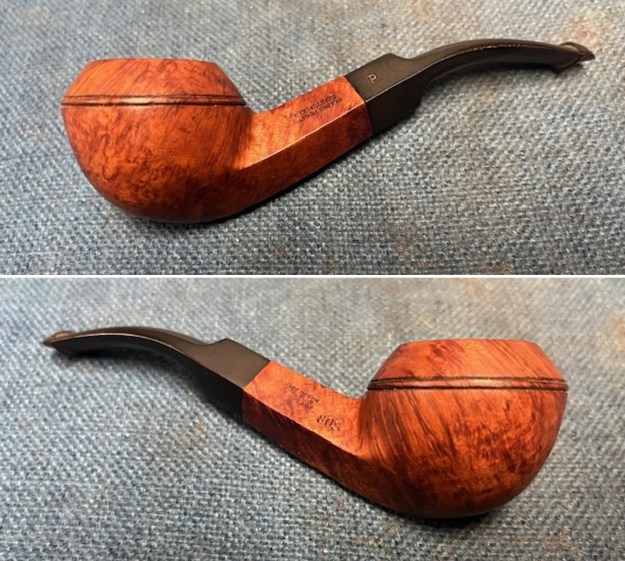
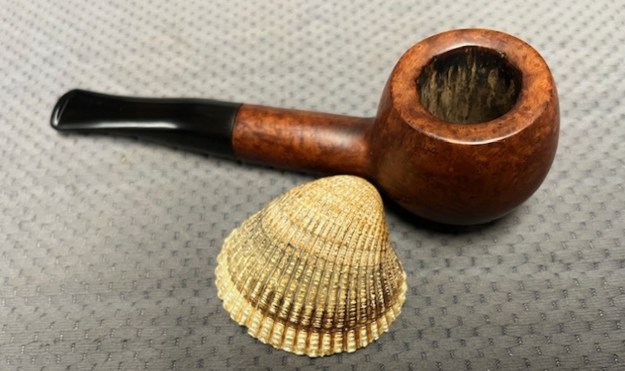
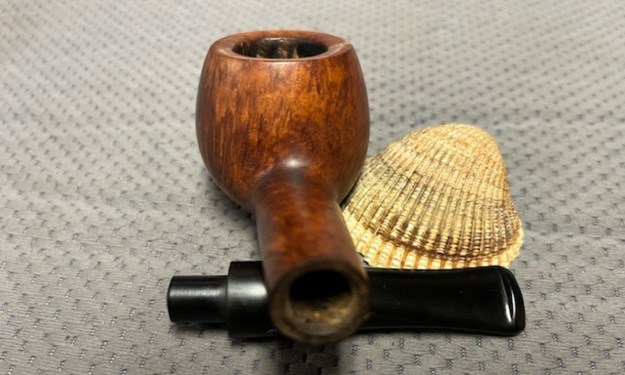
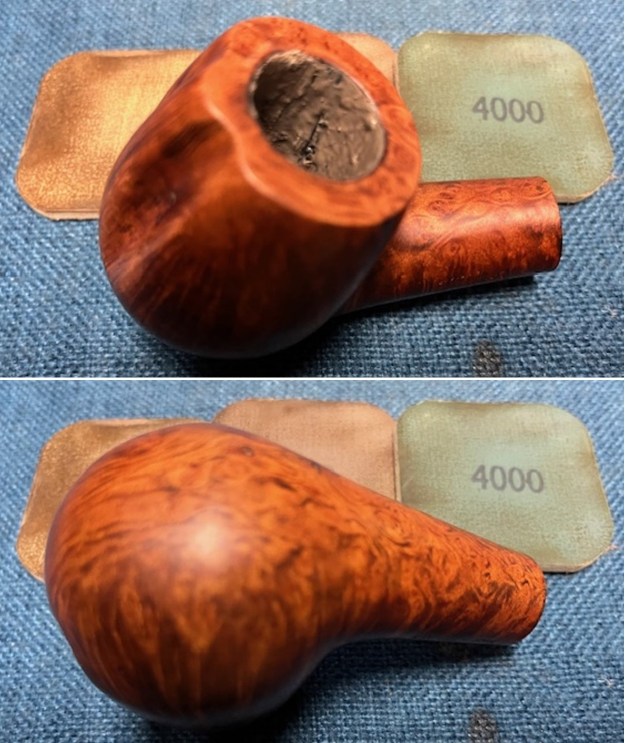
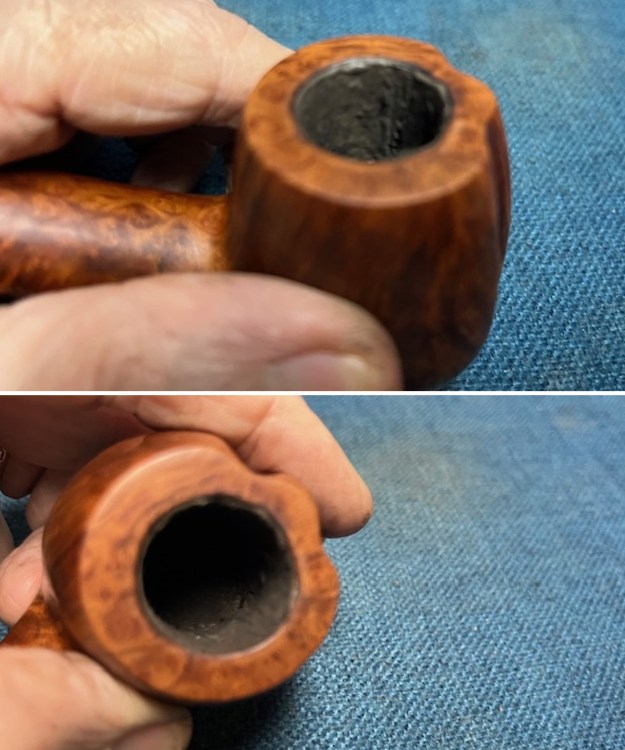
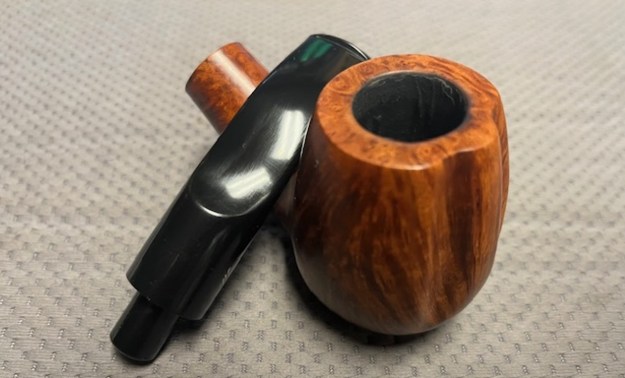
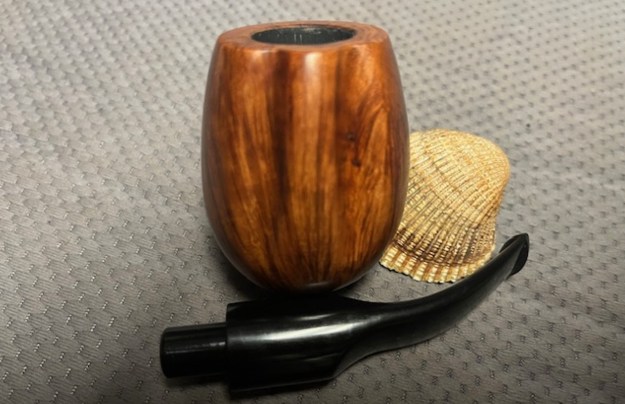
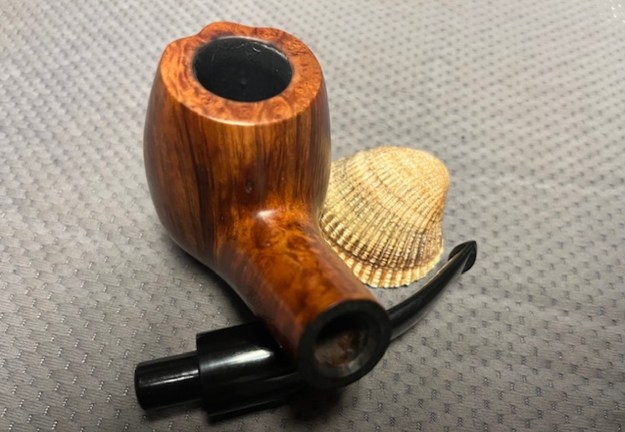
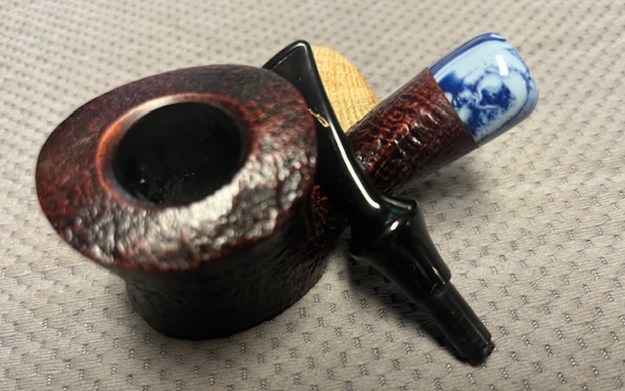
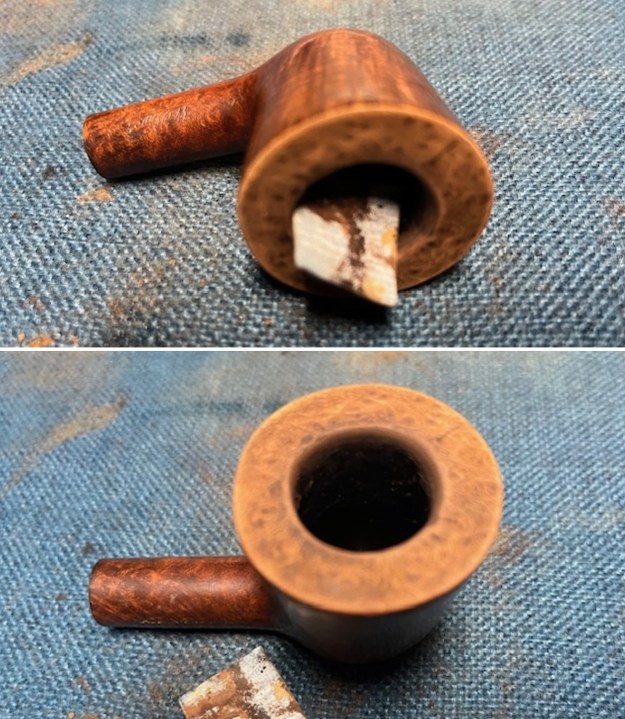
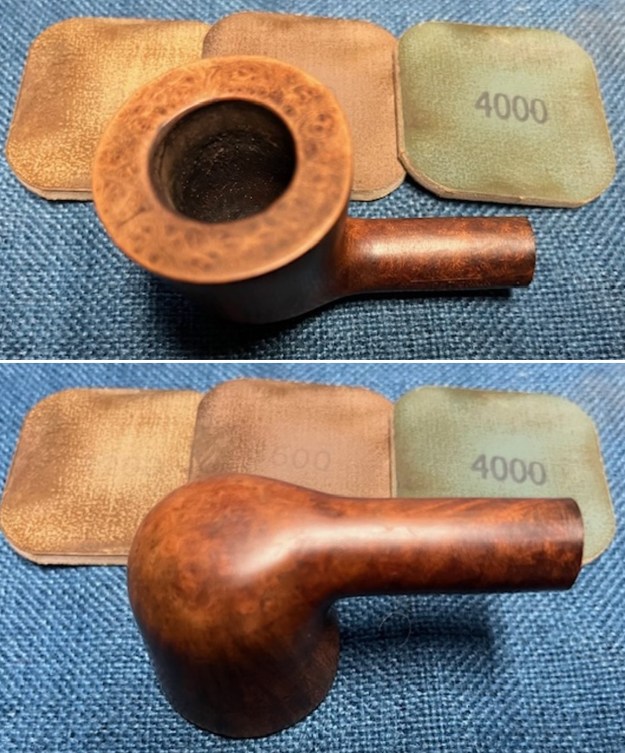
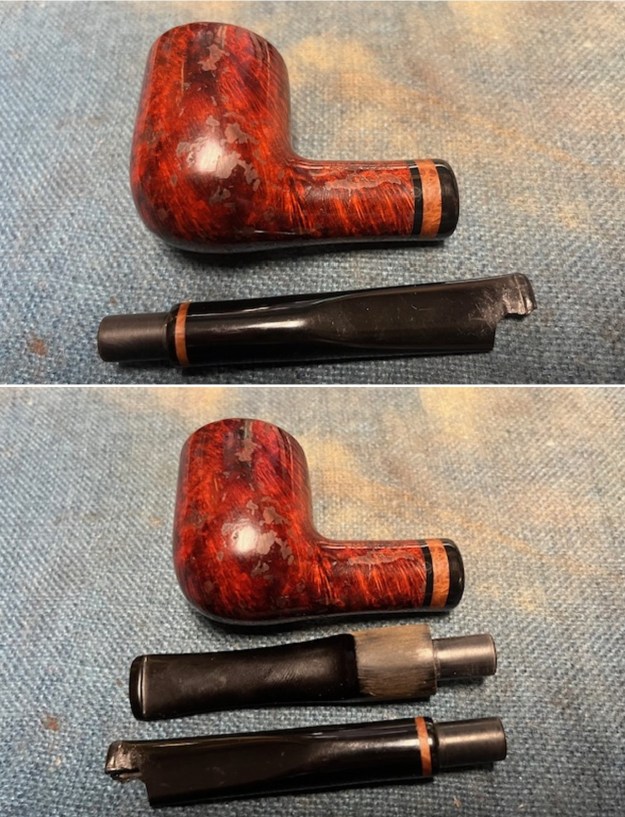
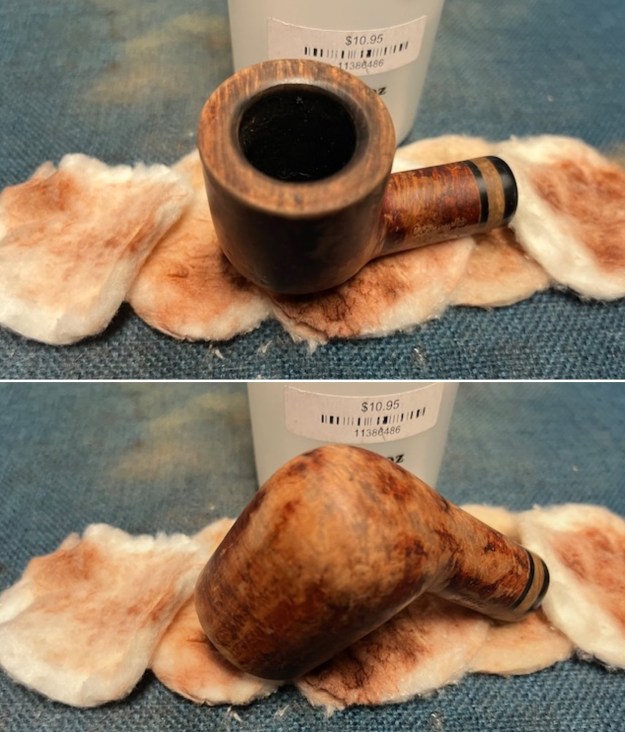
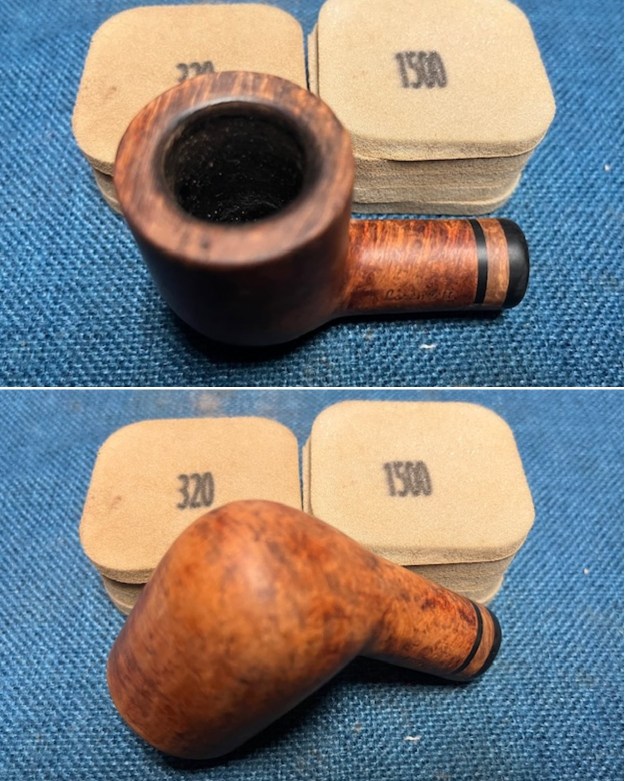
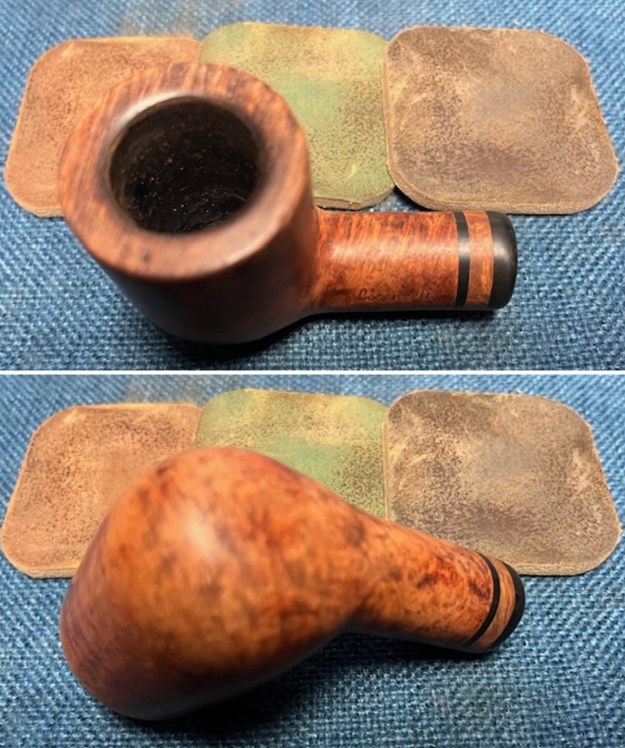
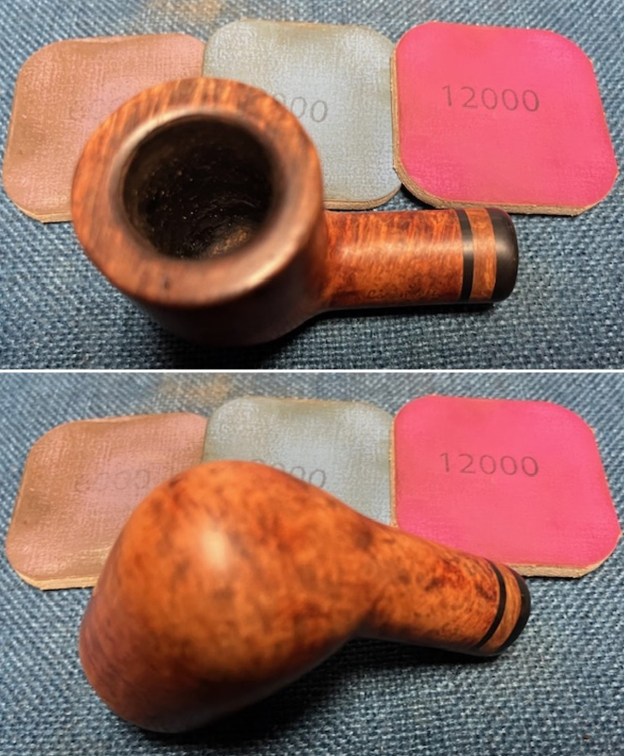
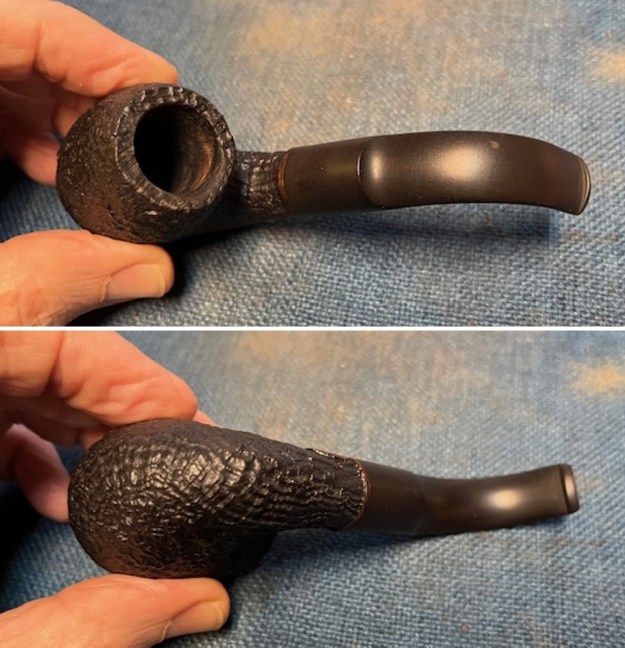
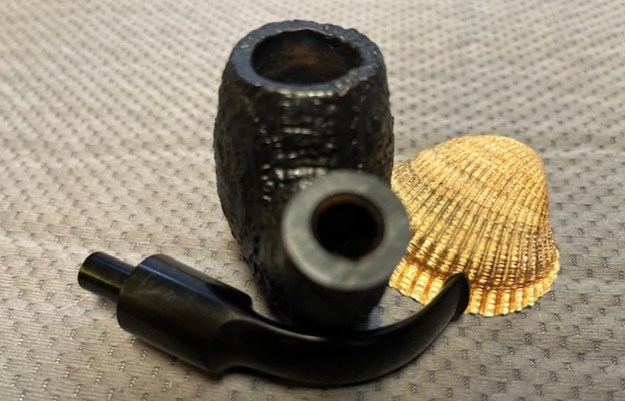
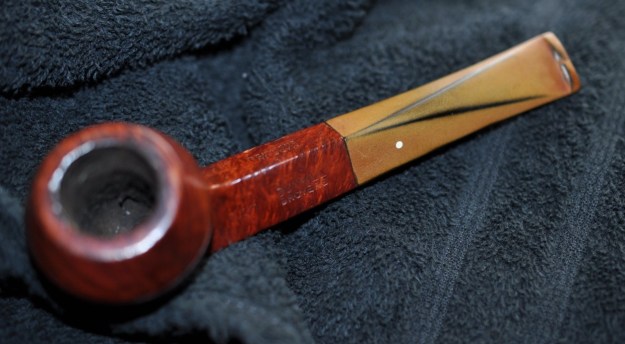
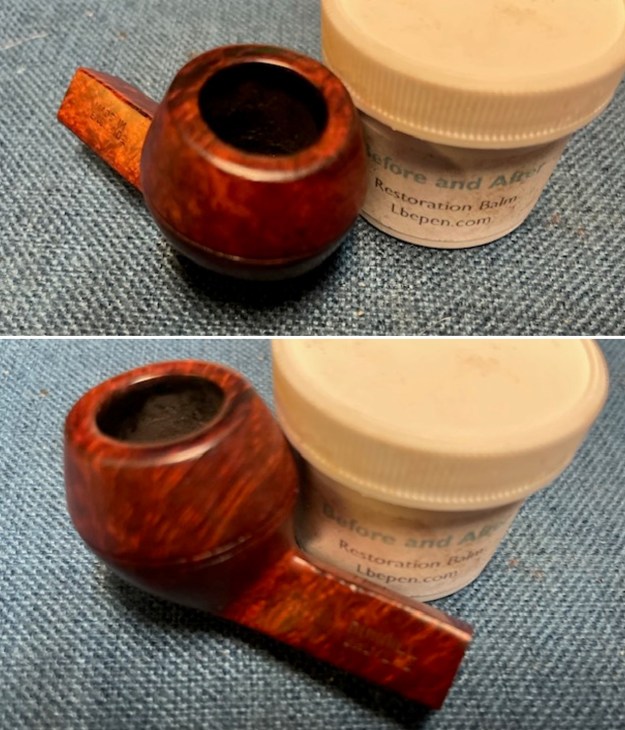
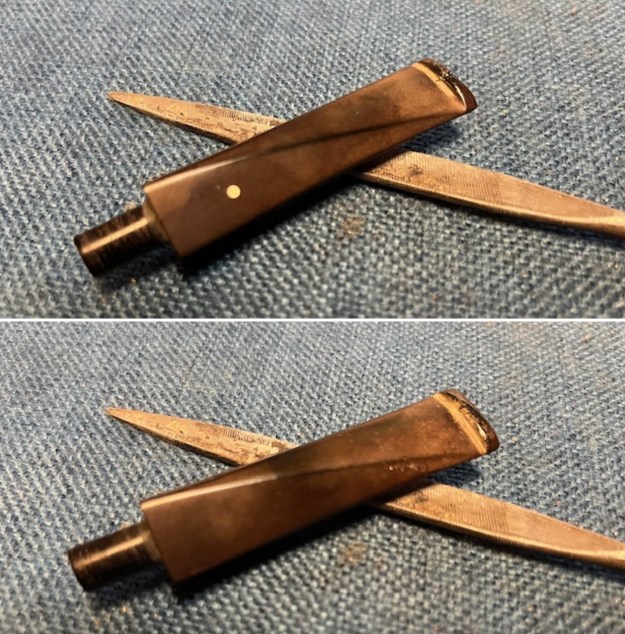
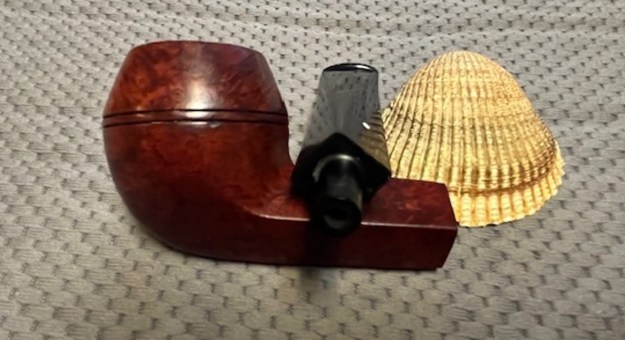
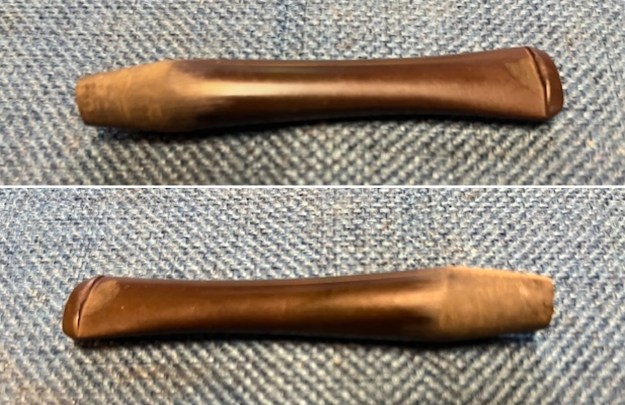
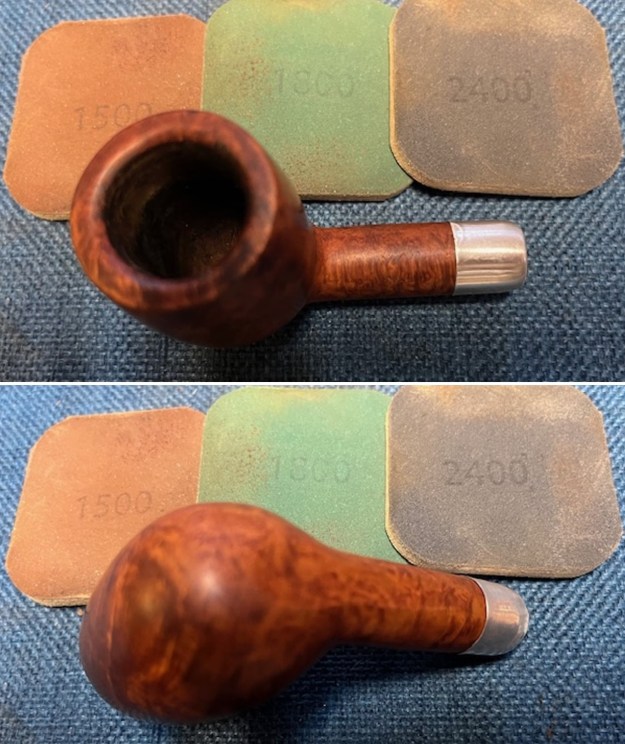
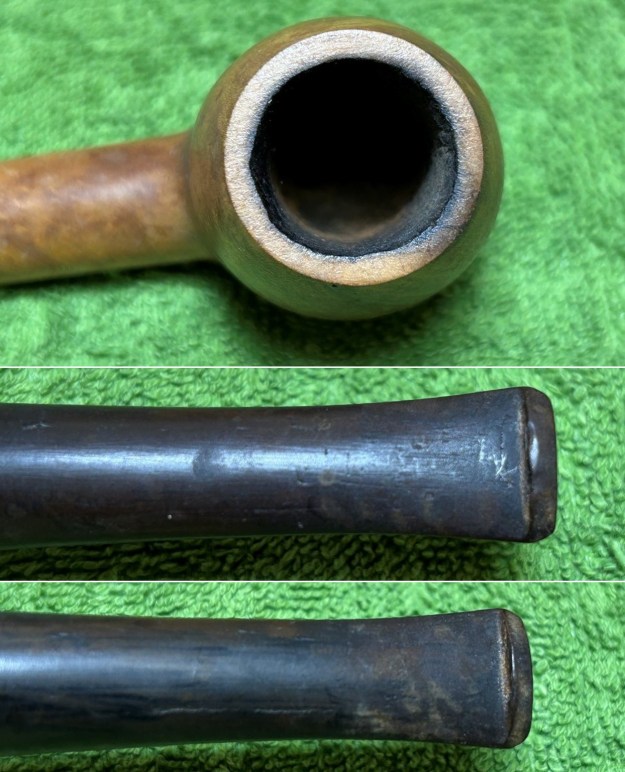
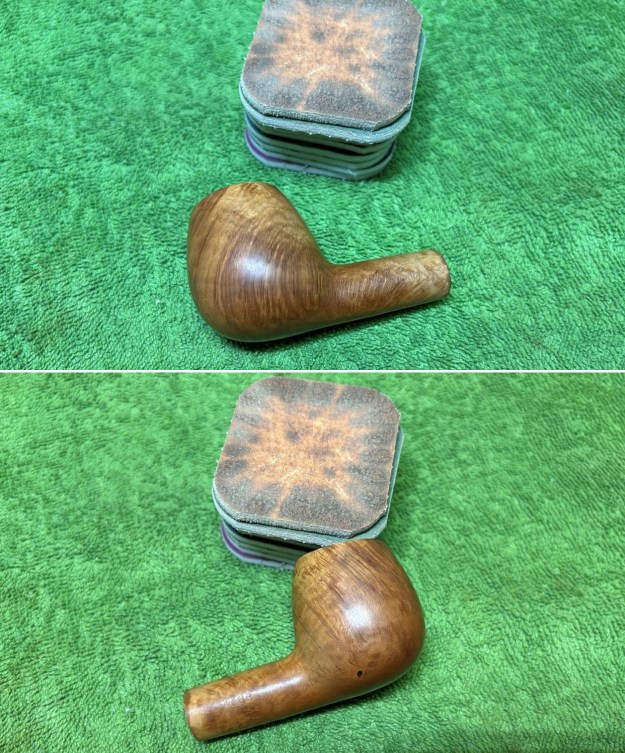
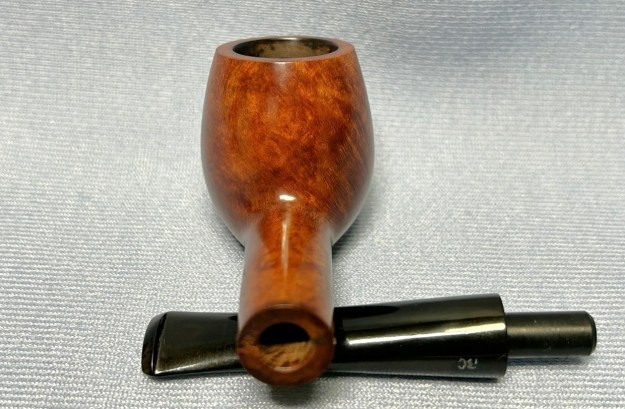
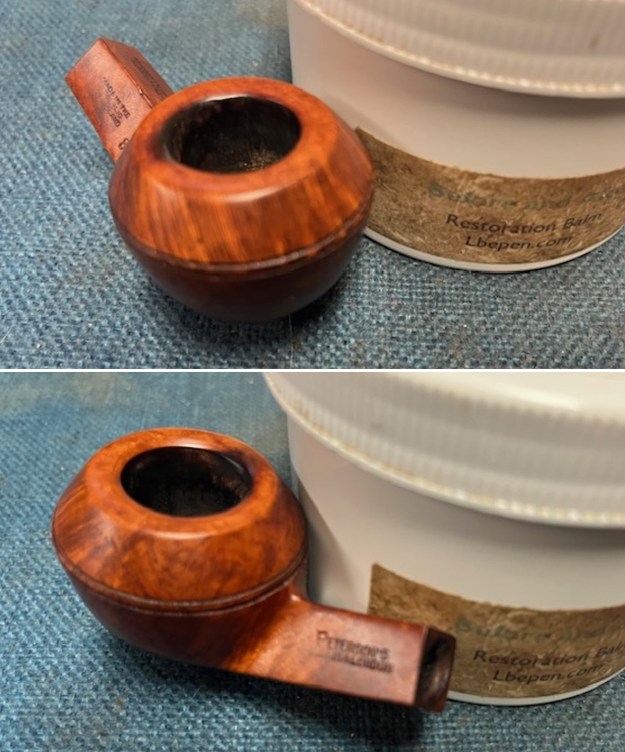
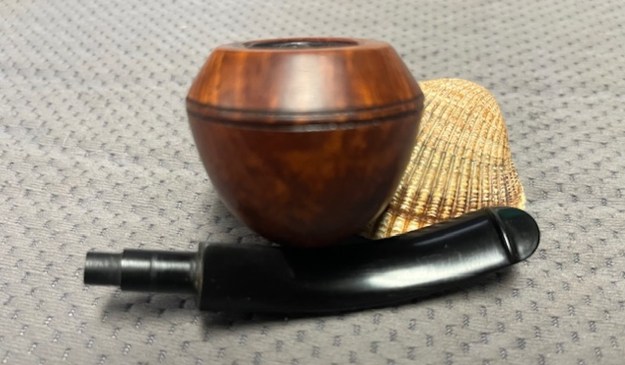
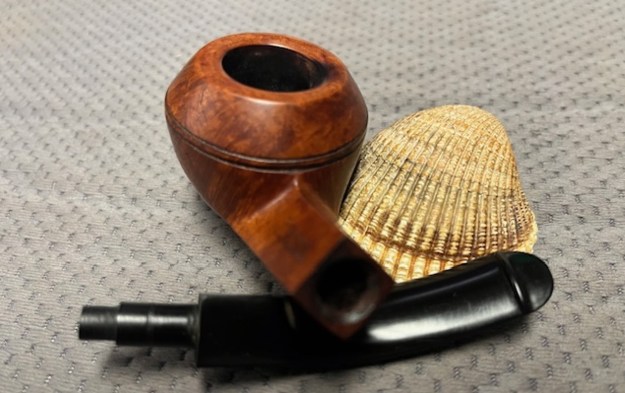
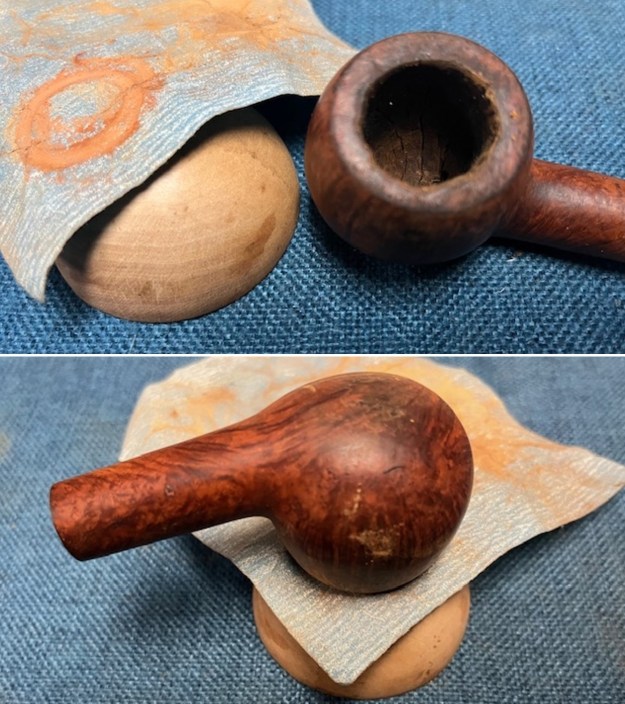
 I took a photo of the rim top to show the condition. You can see the clean bowl. The bowl is in excellent condition and the rim top shows the heavy burn damage on the inner edge and top of the bowl on the right side with damage at the back and front inner edge as well. The stem came out looking quite good and the tooth marks and chatter were visible on the surface ahead of the button.
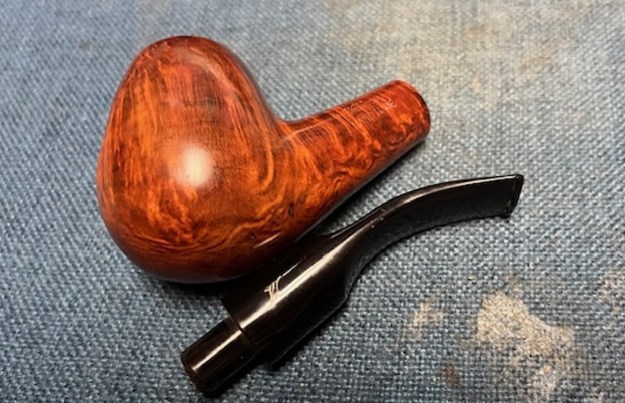
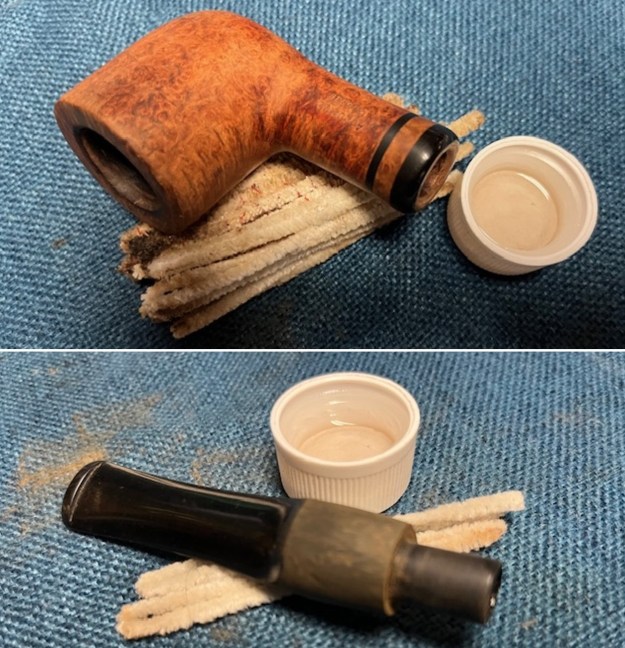
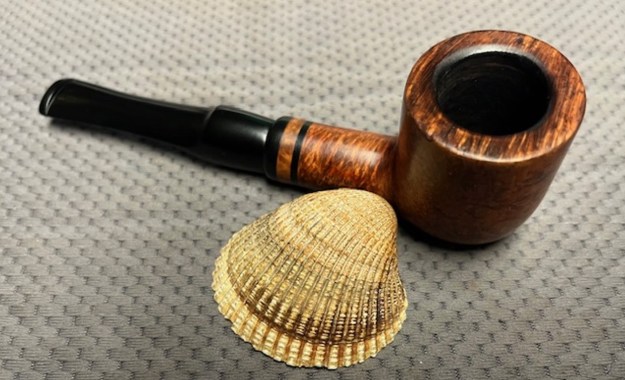
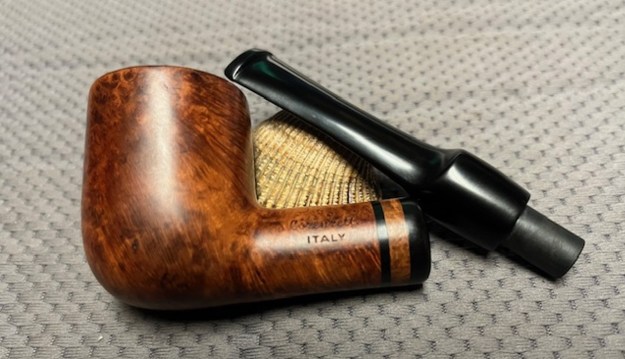
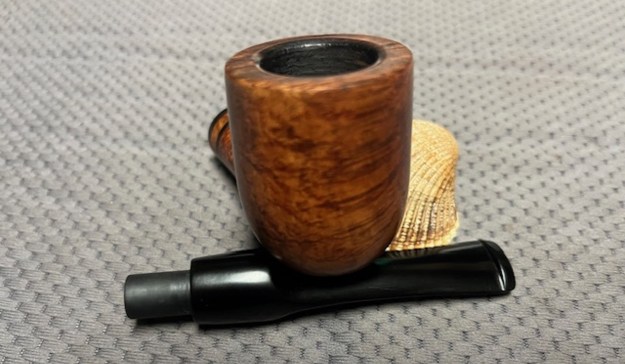
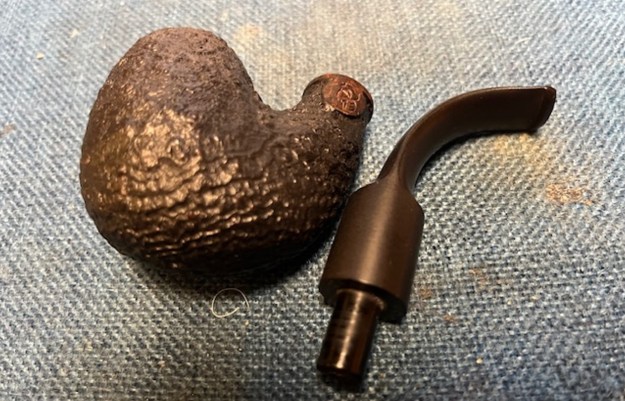
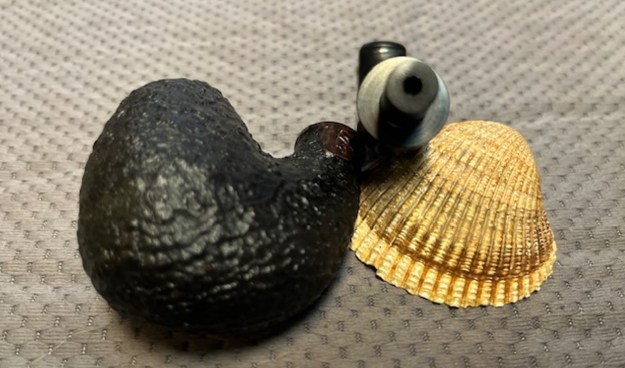
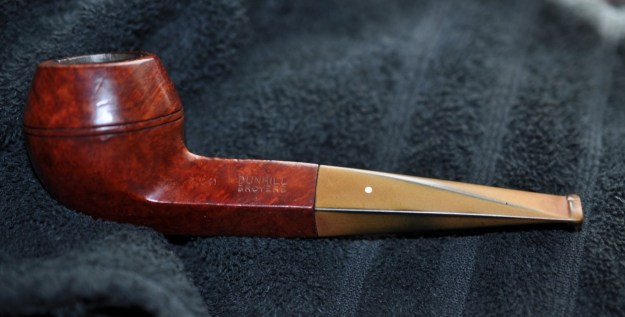
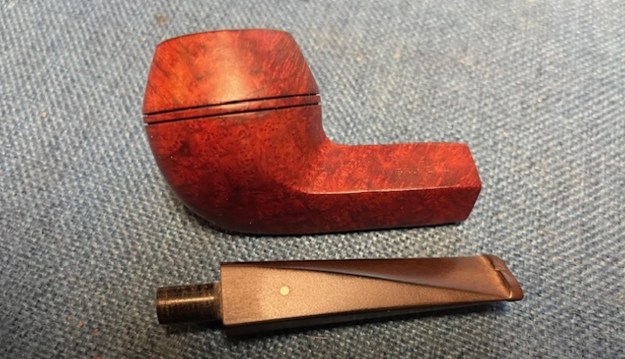
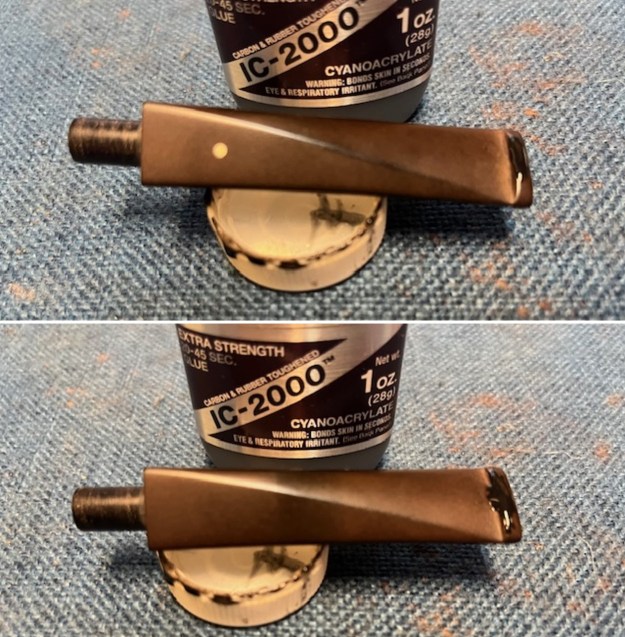
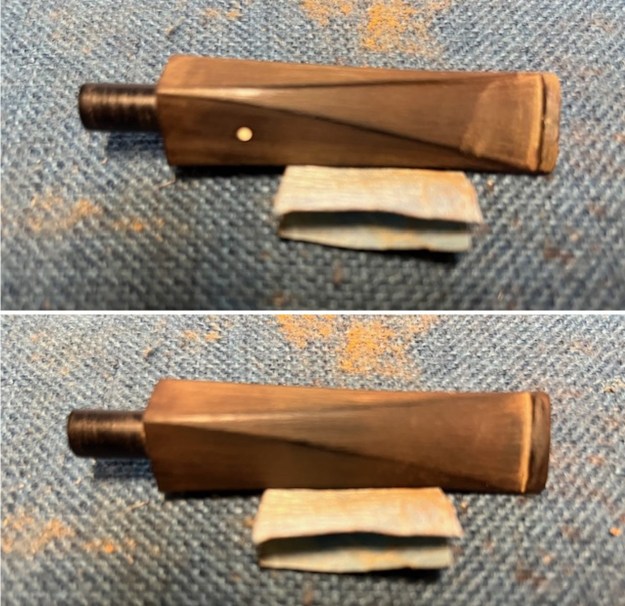
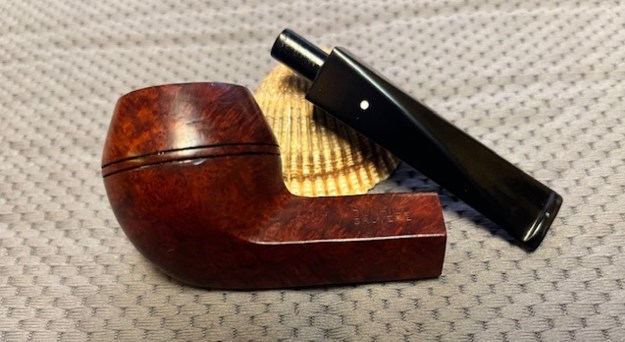
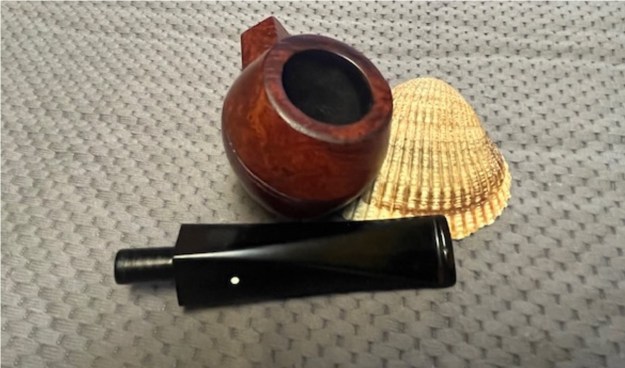
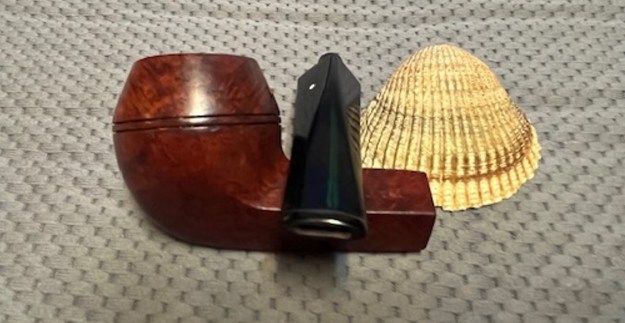
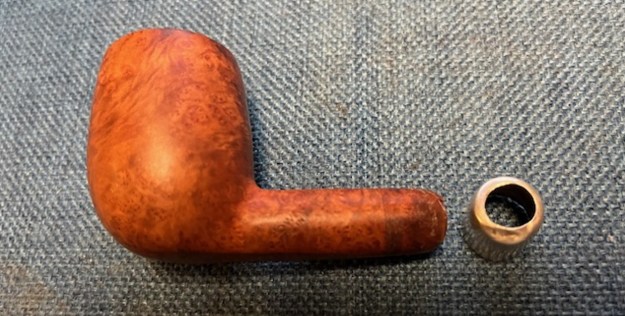
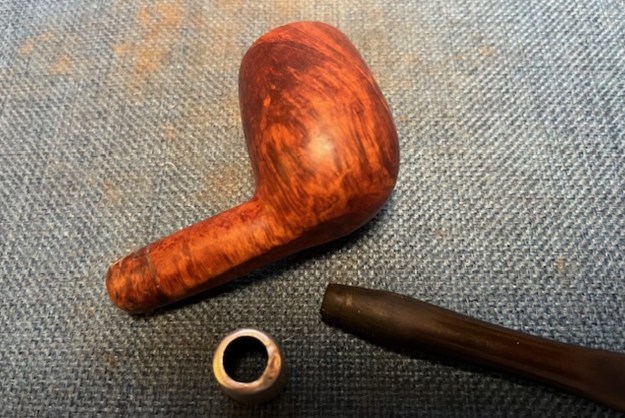
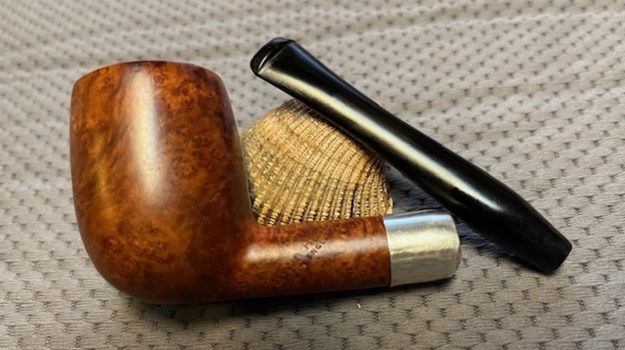
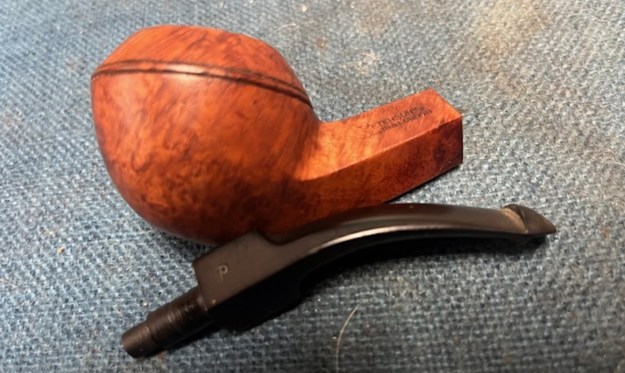
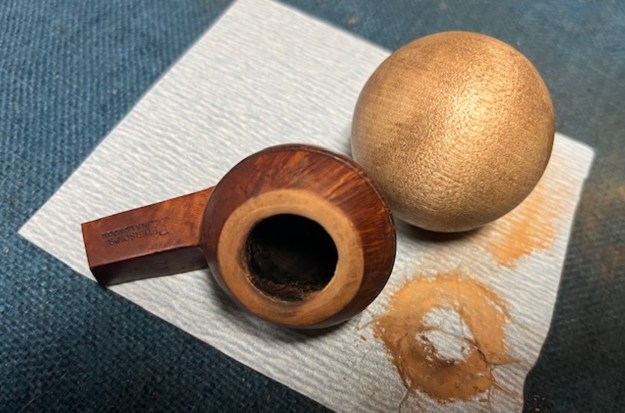
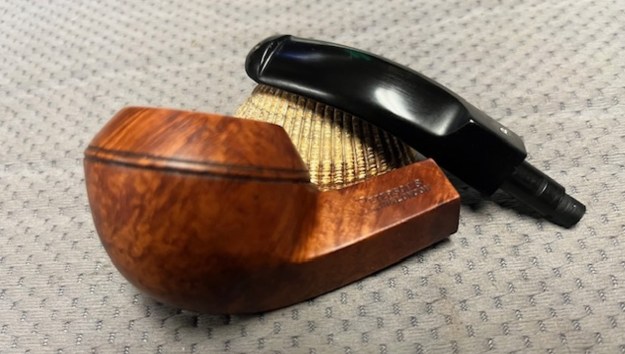
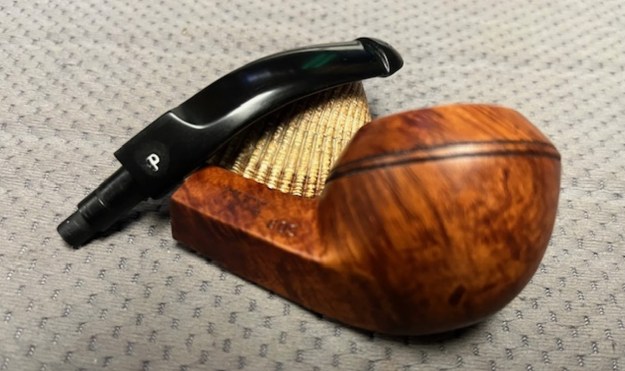
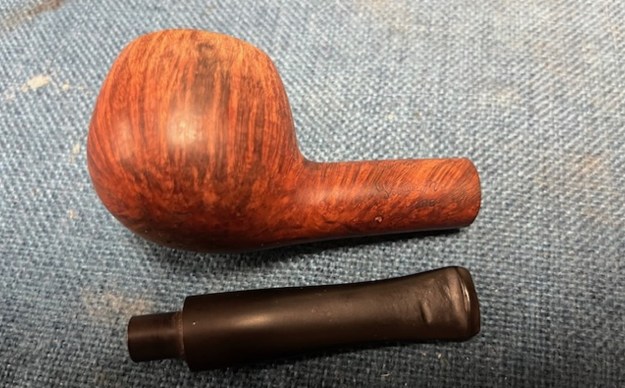
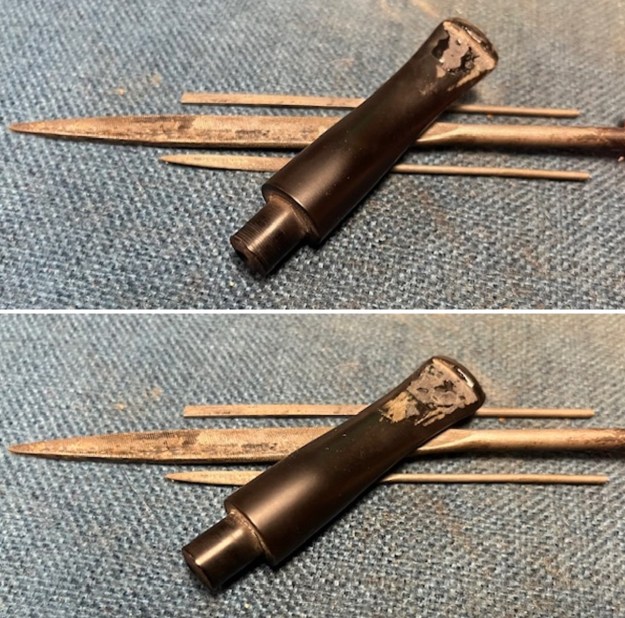
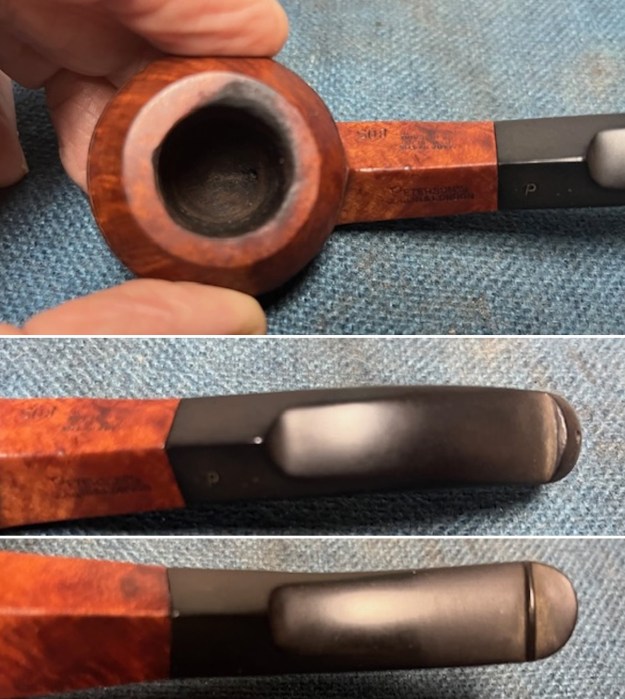 I took photos of the sides of the shank to show the stamping. The photo clearly shows the stamping – faint in spots though more readable in person. The stem is also faintly stamped with a Peterson’s P logo. I removed the stem from the shank and took a photo of the pipe parts to show what I was working with. It really does have some beautiful grain on the bowl and shank.
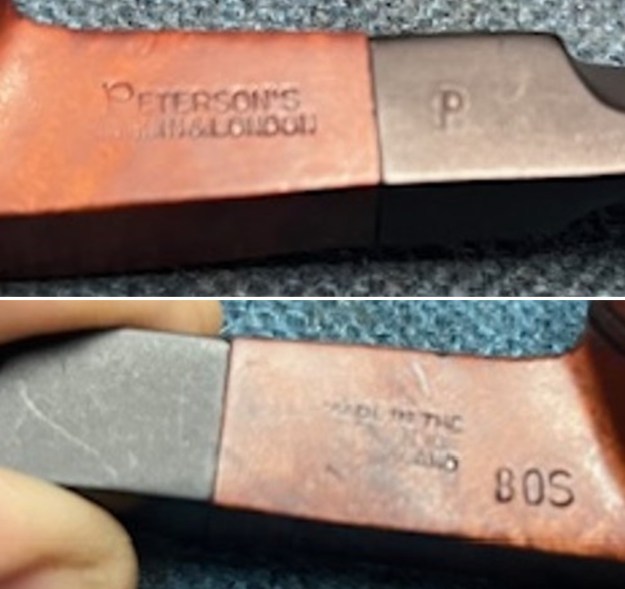
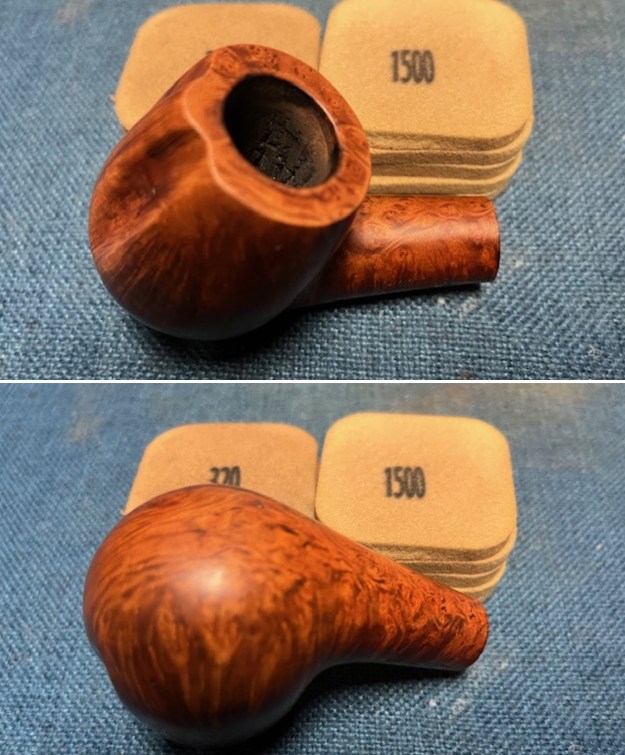
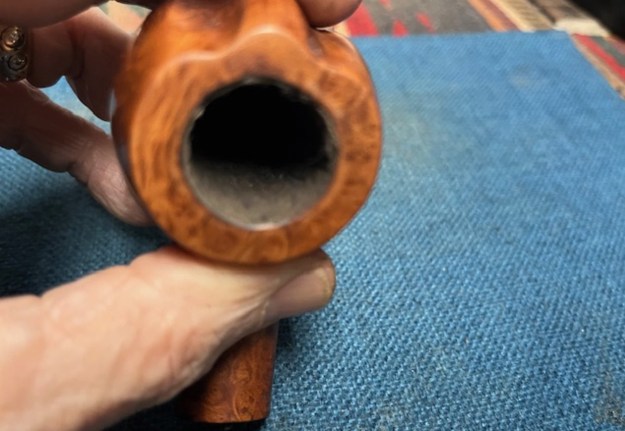
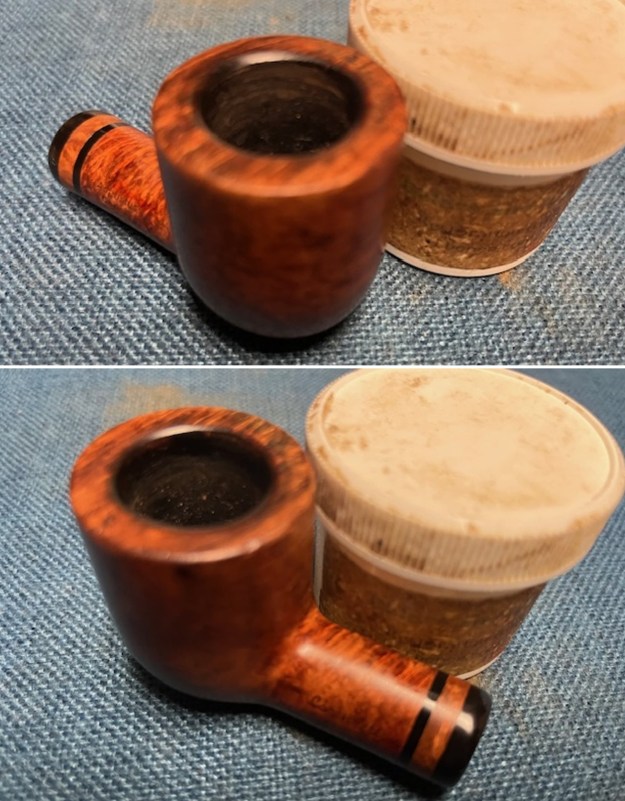
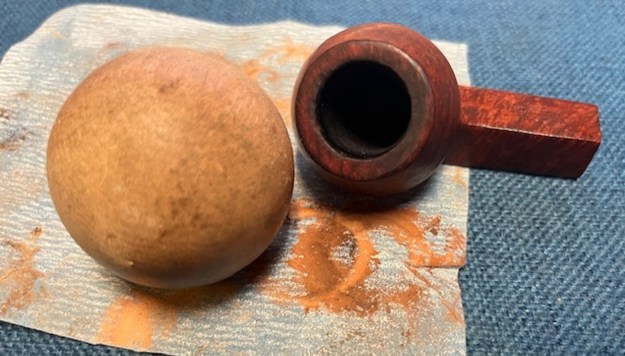
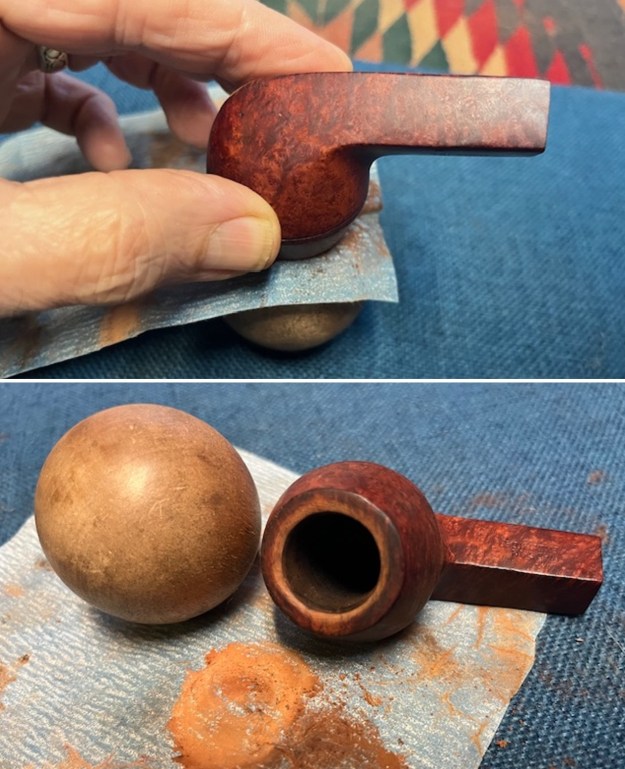
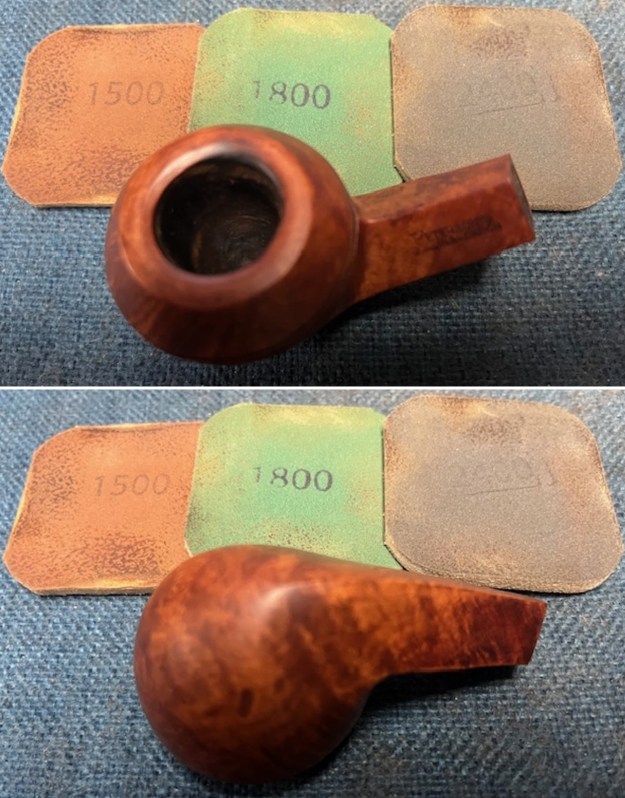
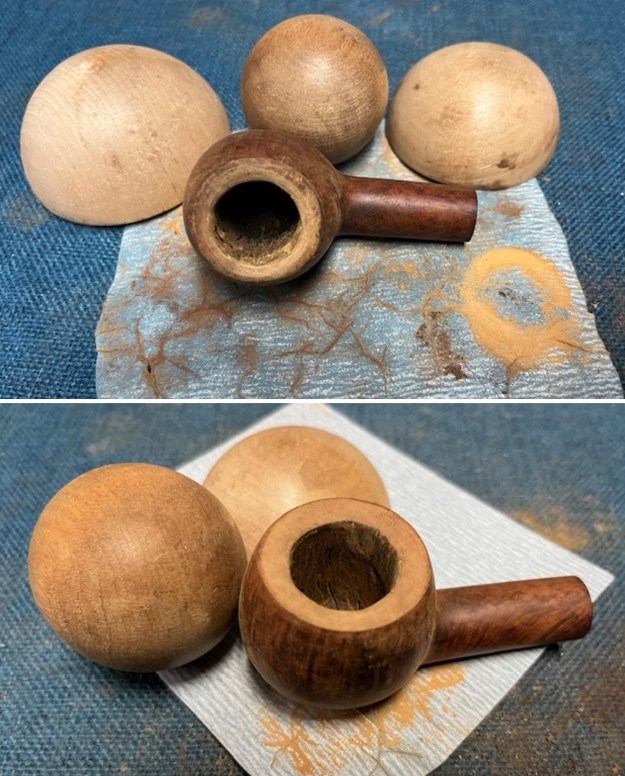
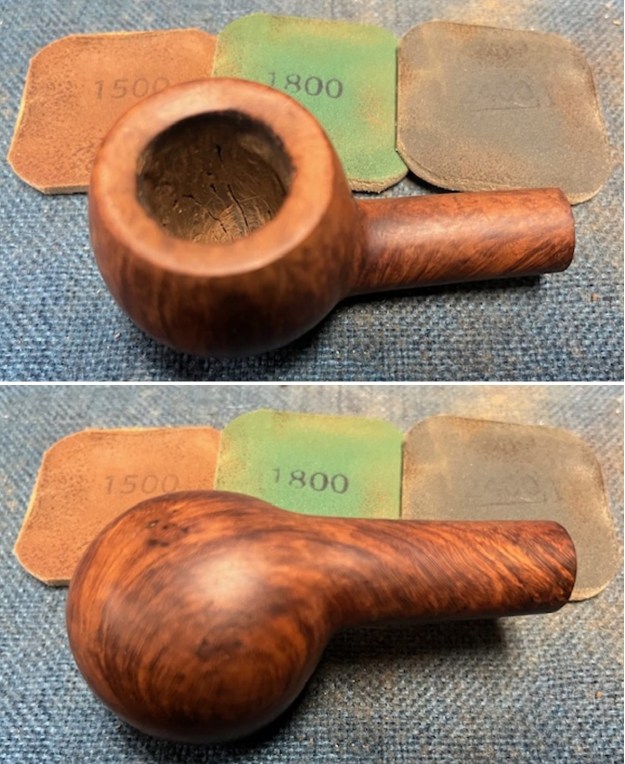
 It was time to work on the pipe. I cleaned up the inner edge bevel with a various wooden spheres I have here along with 220 grit sandpaper to try to rescue the rim edge and bevel. Once finished it definitely looked better.
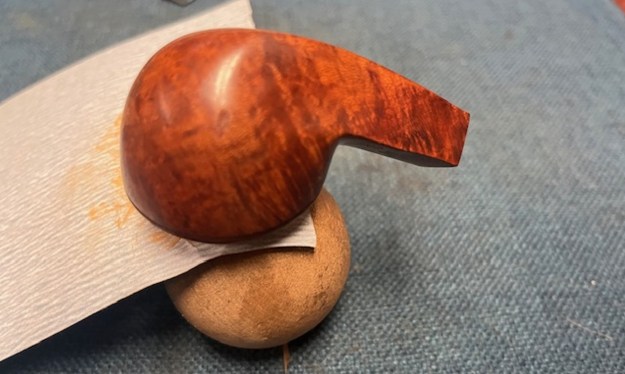
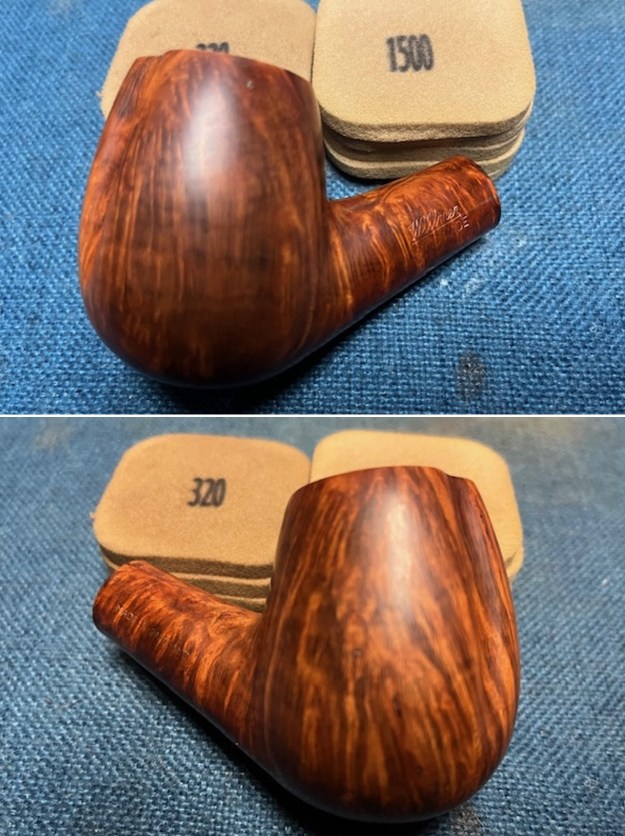
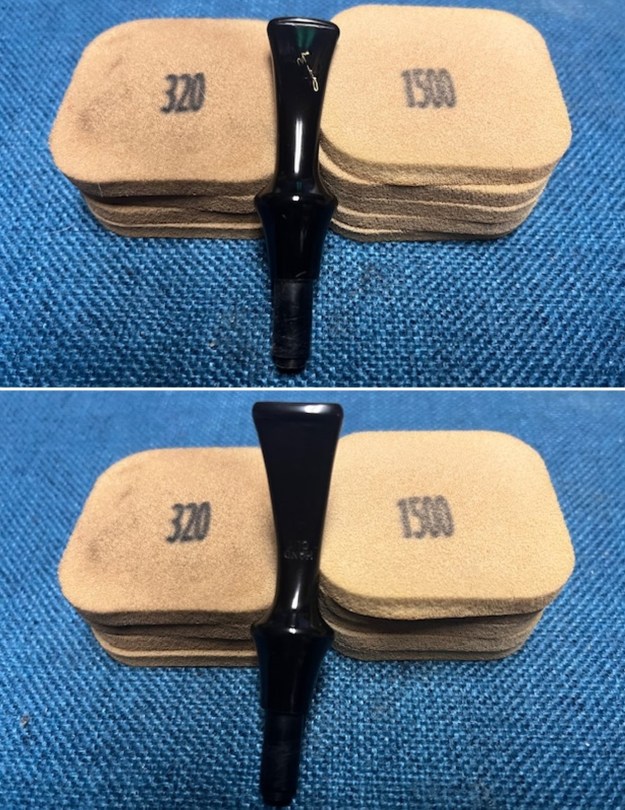
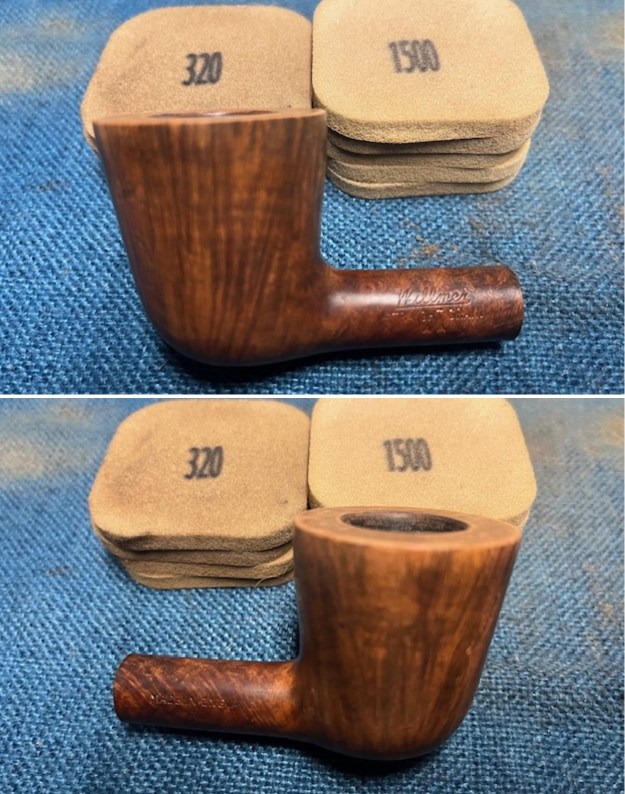
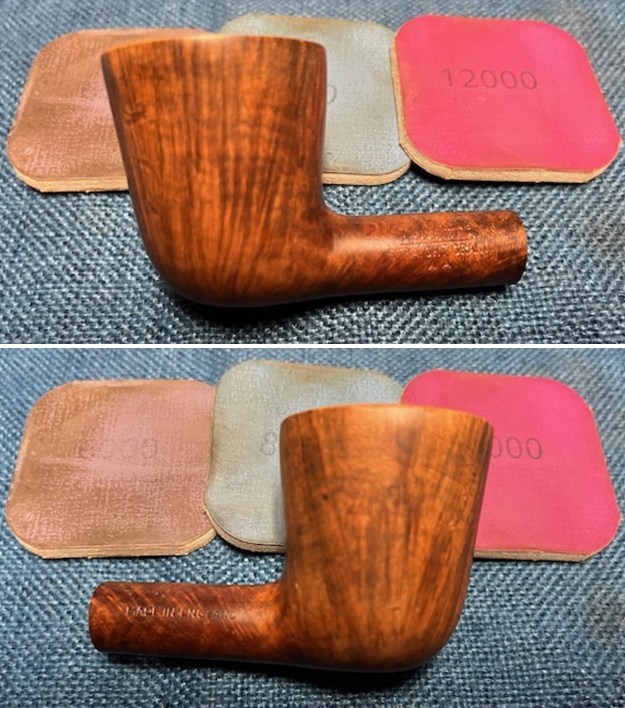
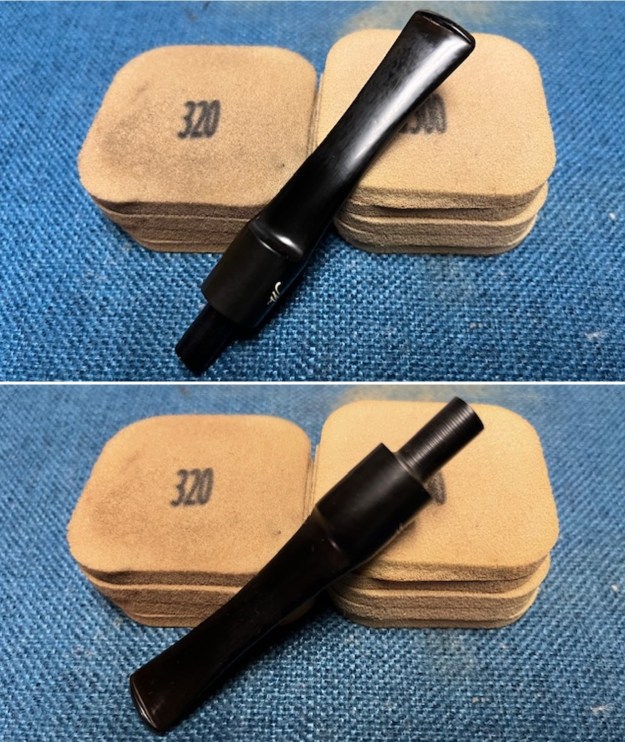
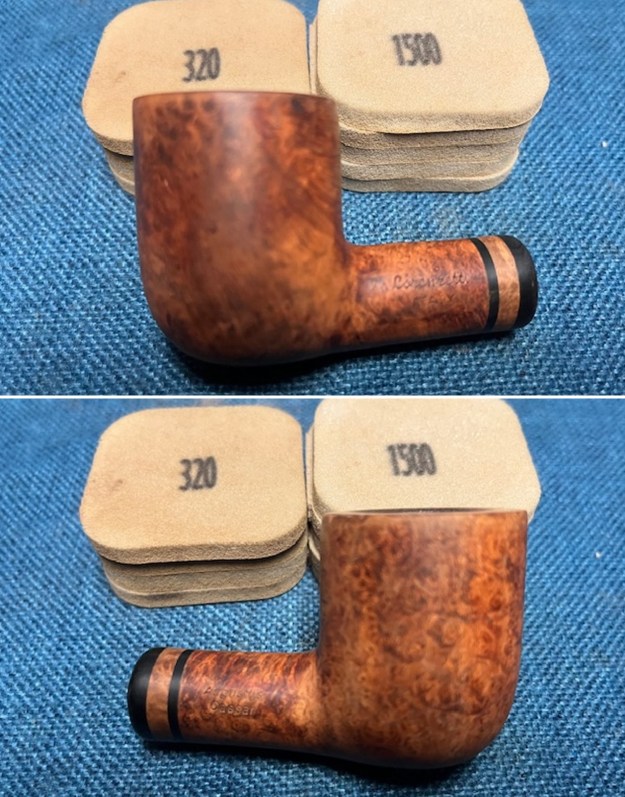
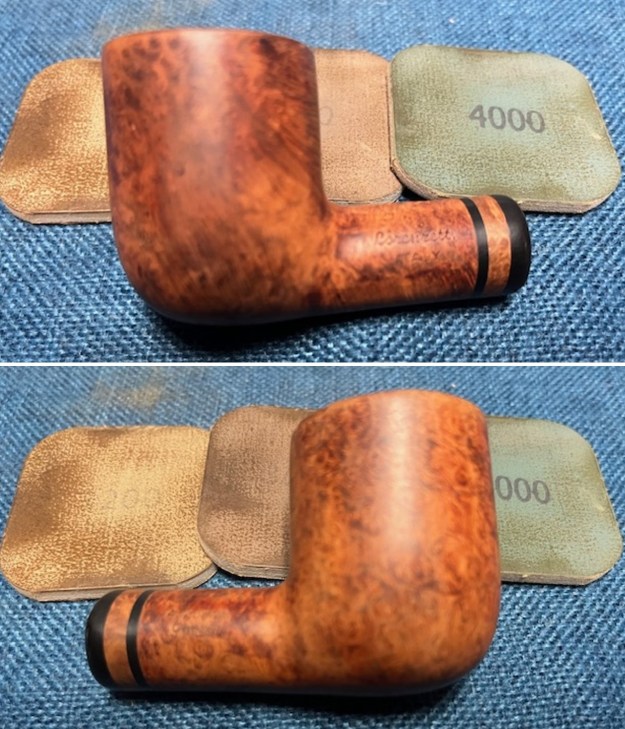
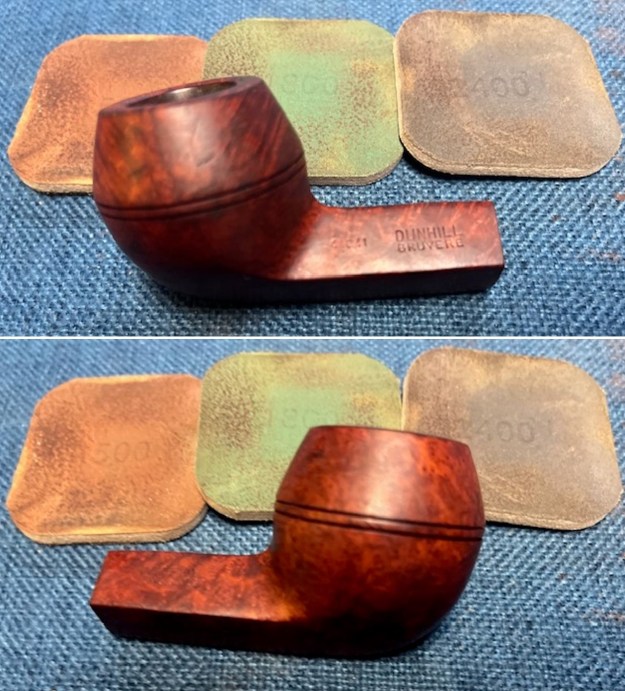
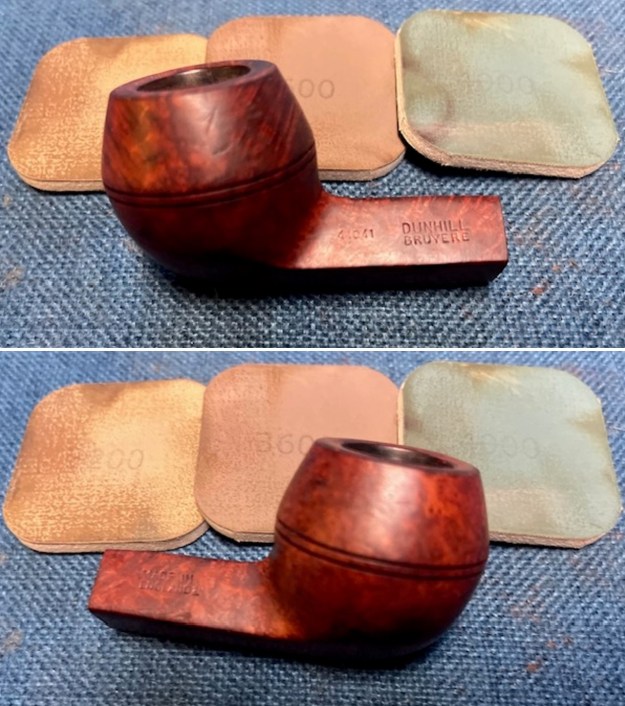
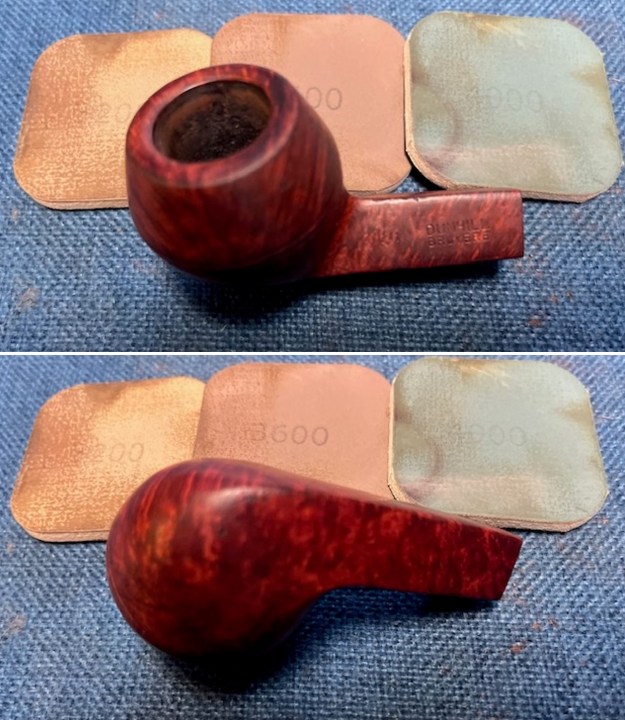
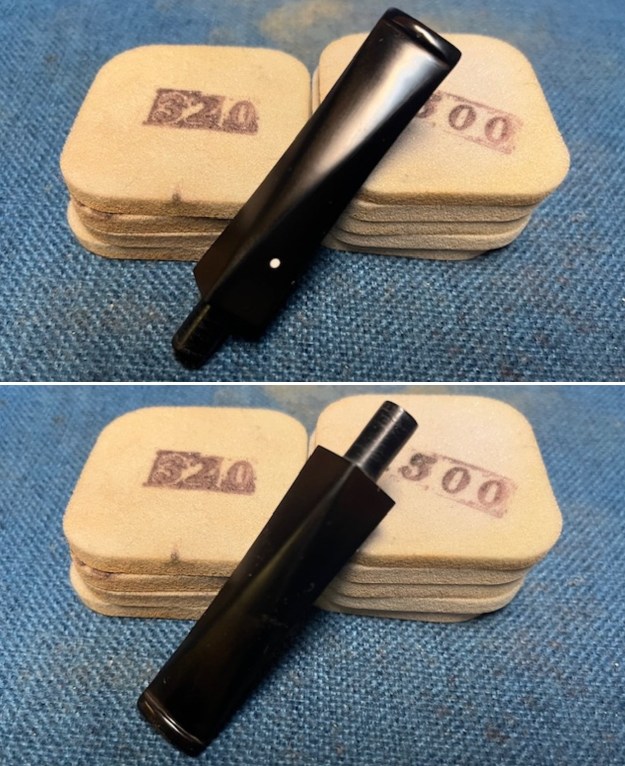
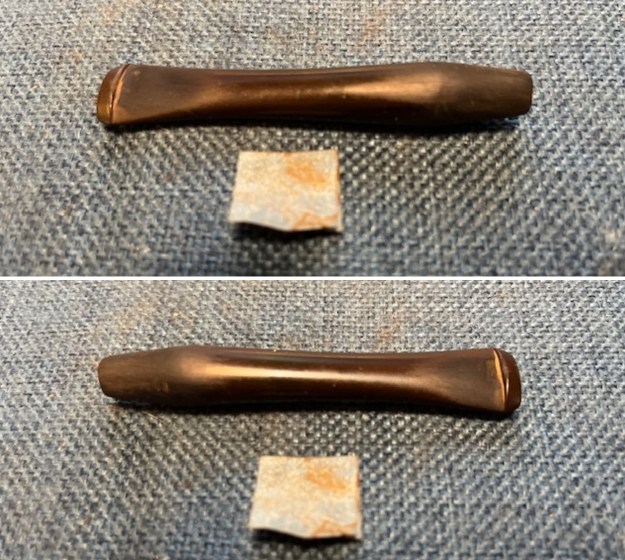
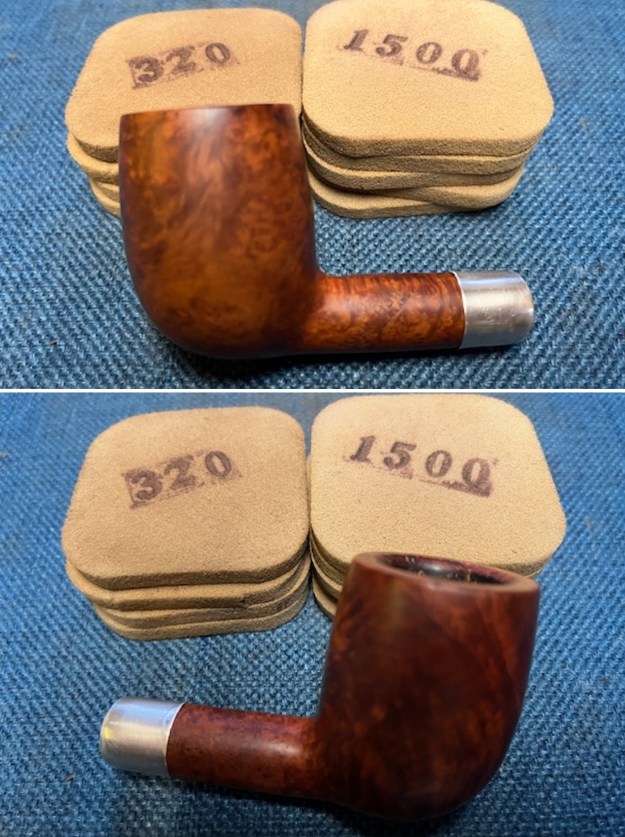
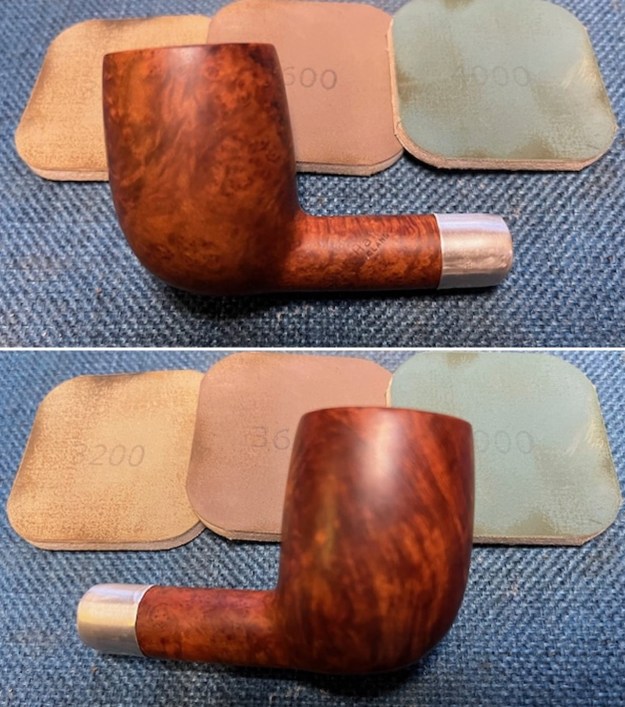
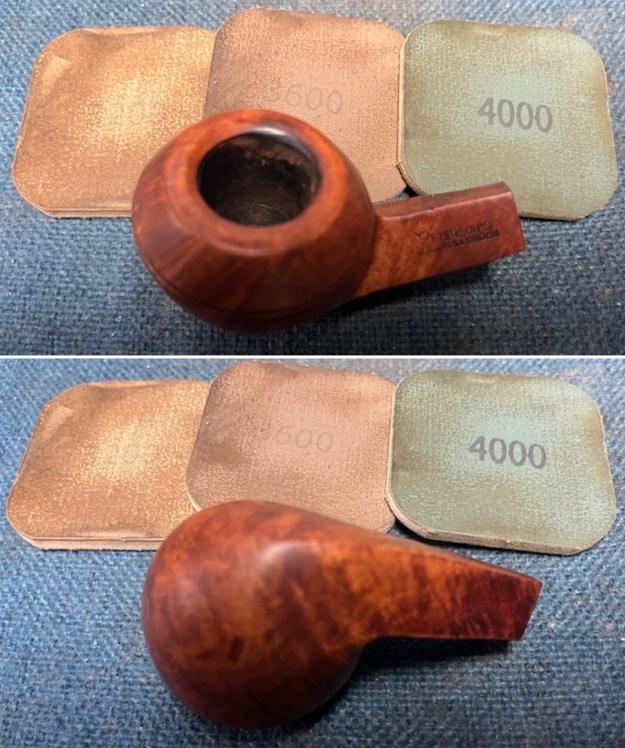
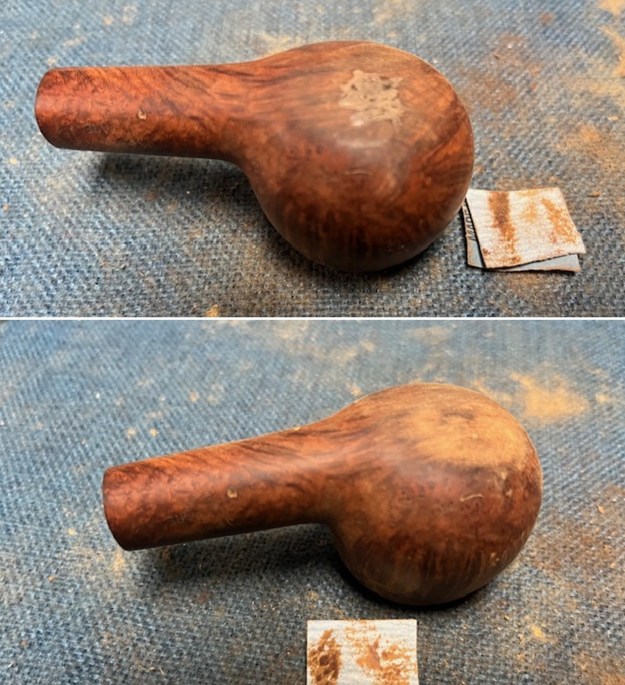
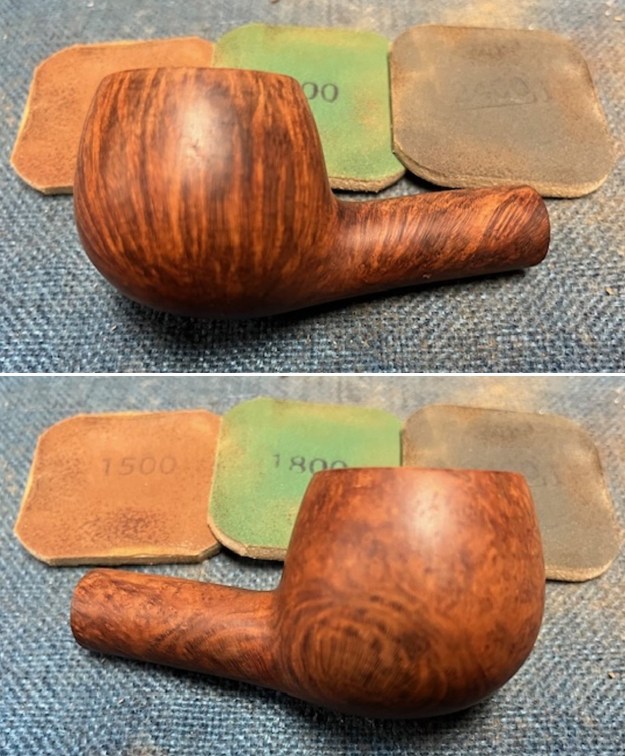
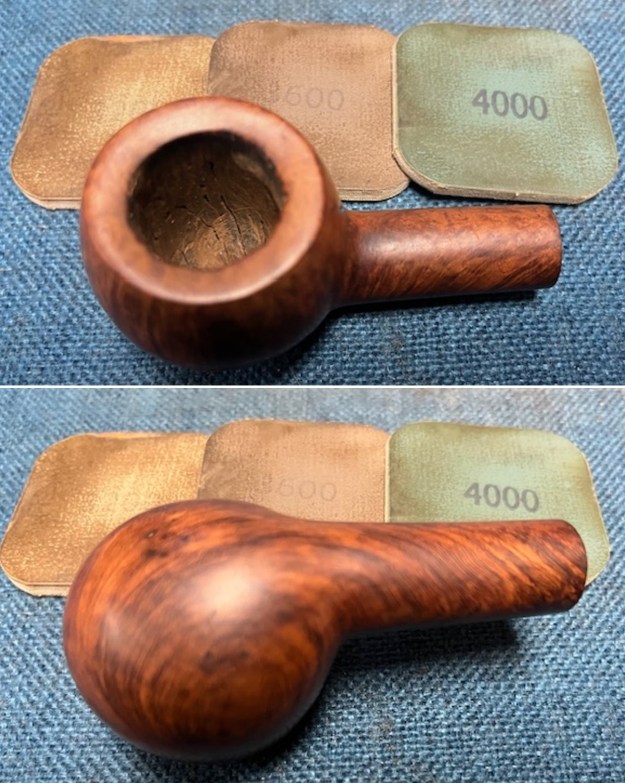
 I sanded the bowl with 320-3500 grit sanding pads to remove the scratching and marks on the bowl surface and top and underside of the shank. I wiped it down after each pad with a damp cloth and by the end the bowl really began to show some promise. I carefully avoided the stamping on the shank sides.
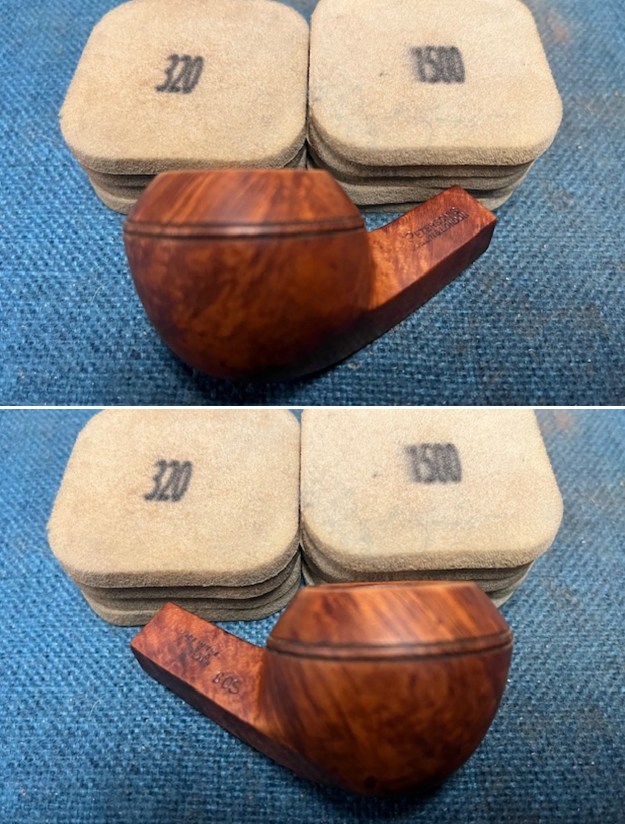
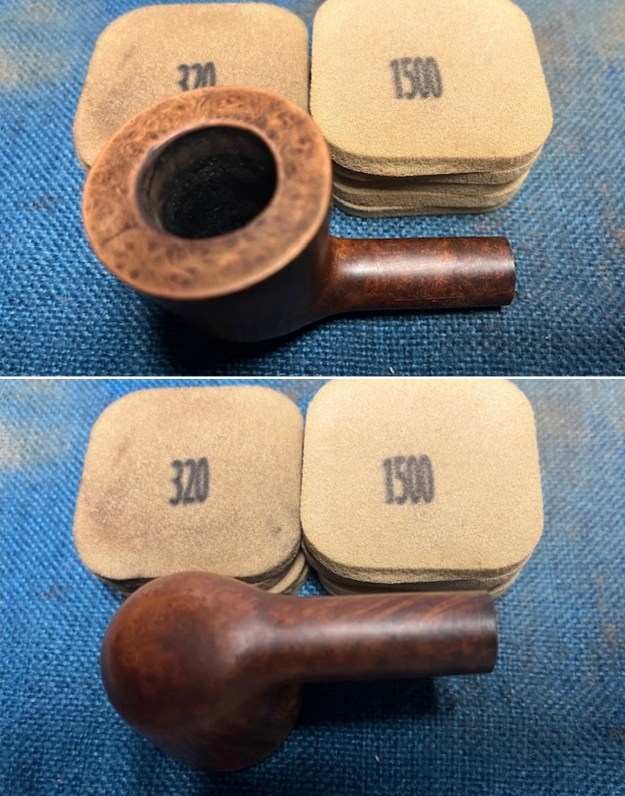
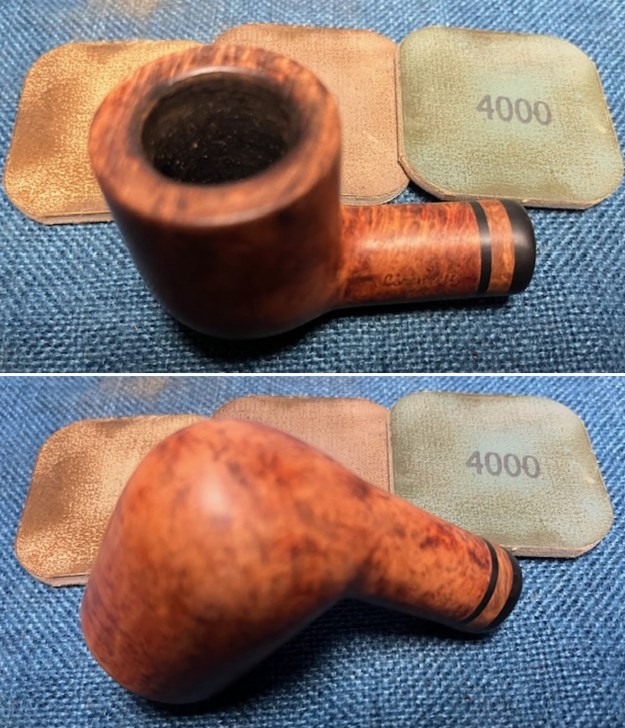
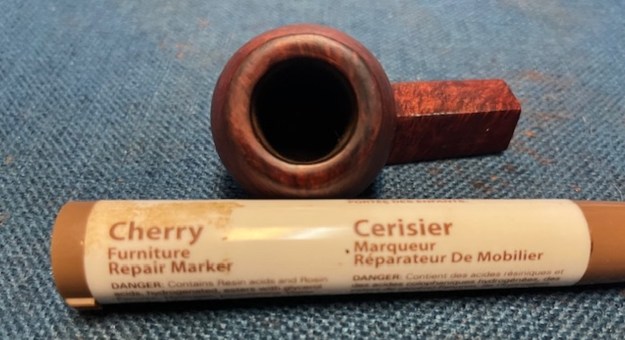
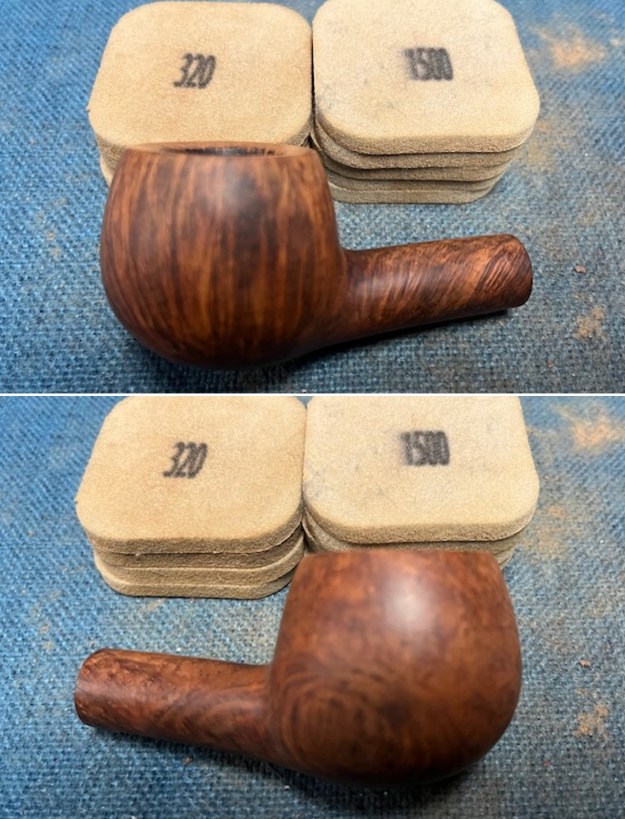
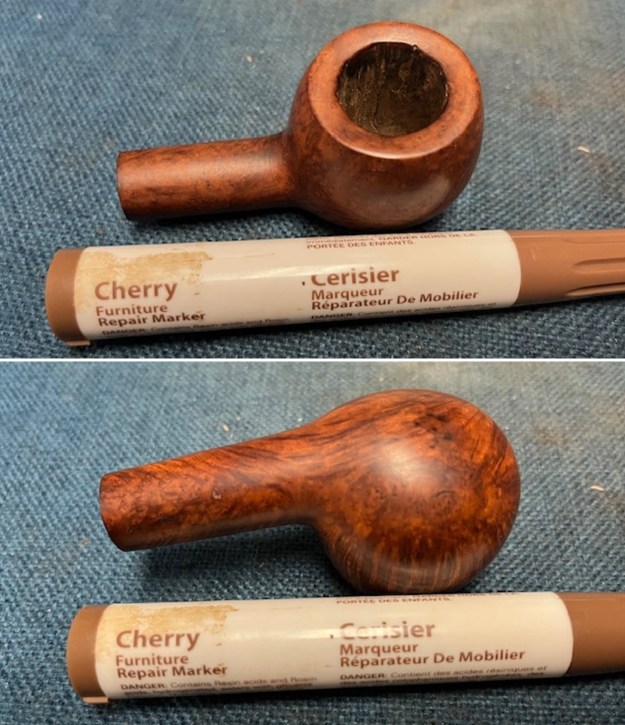
 I used a Cherry stain pen to restain the inner edge and rim top to match the rest of the briar before I started sanding it. Once it had been sanded the match should be perfect.
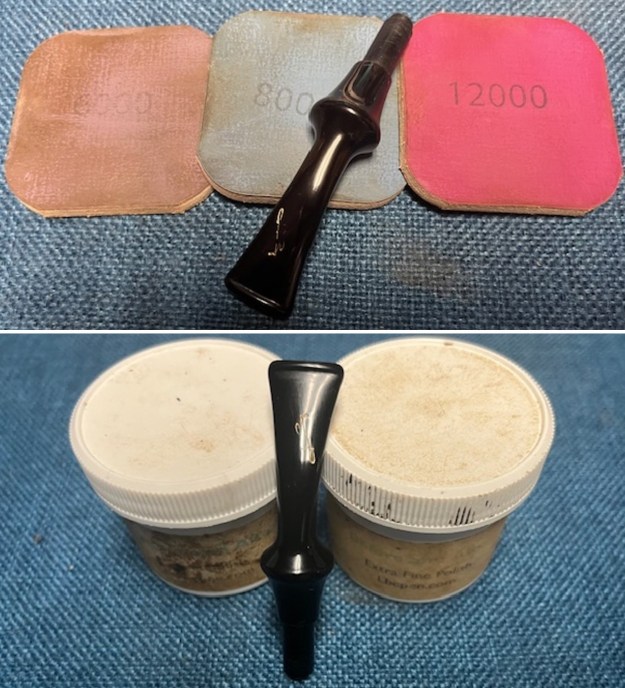
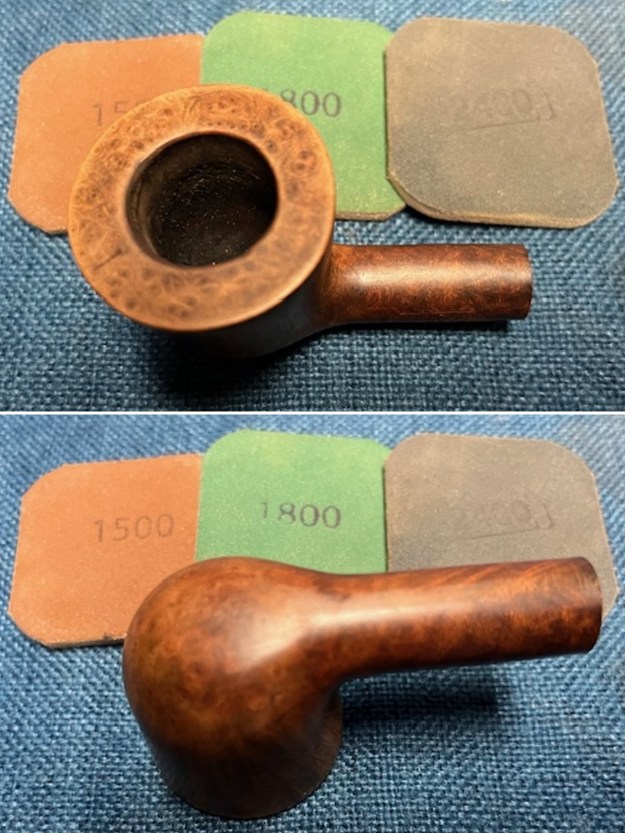
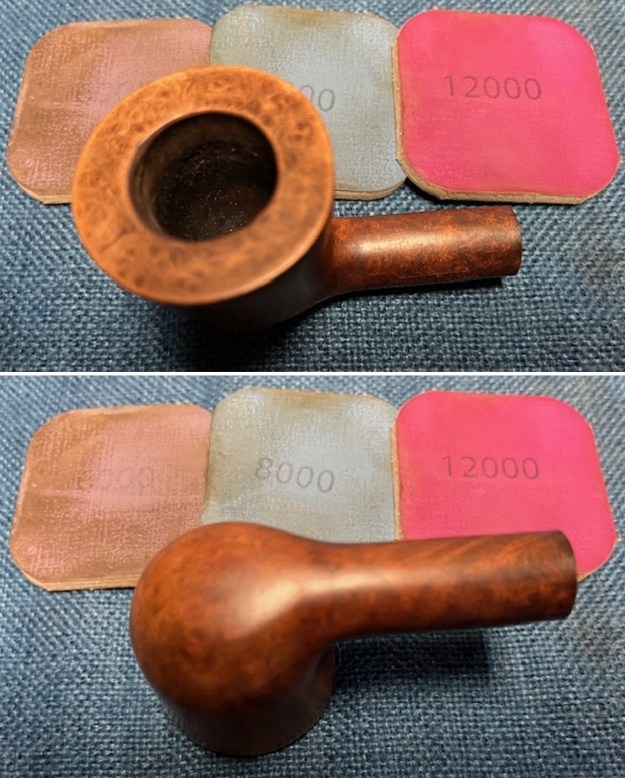
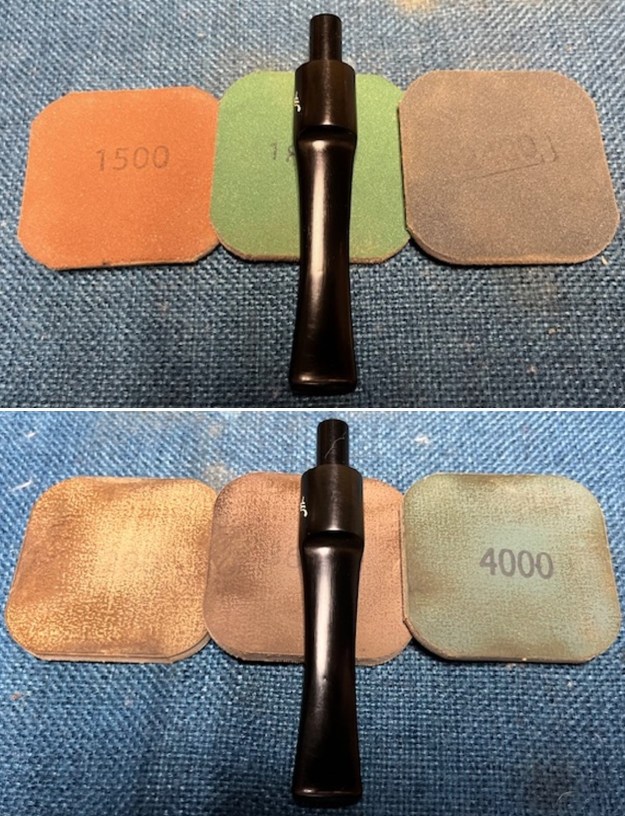
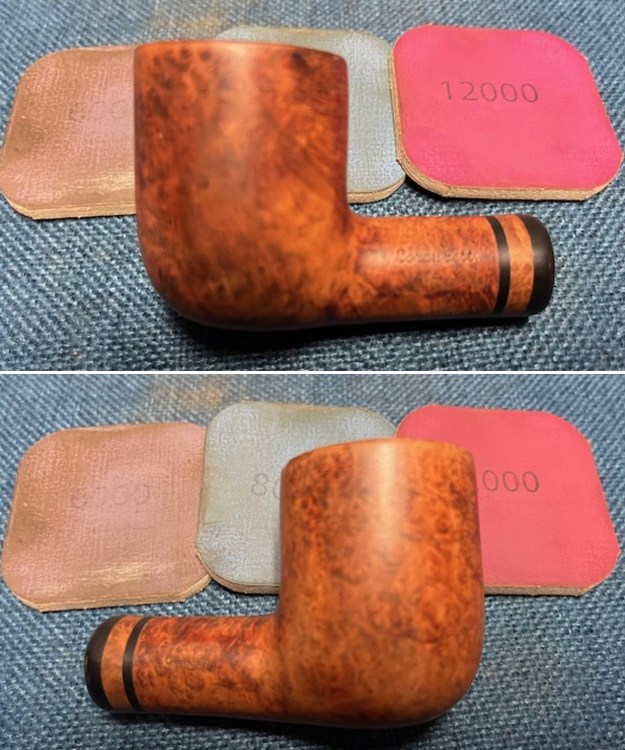
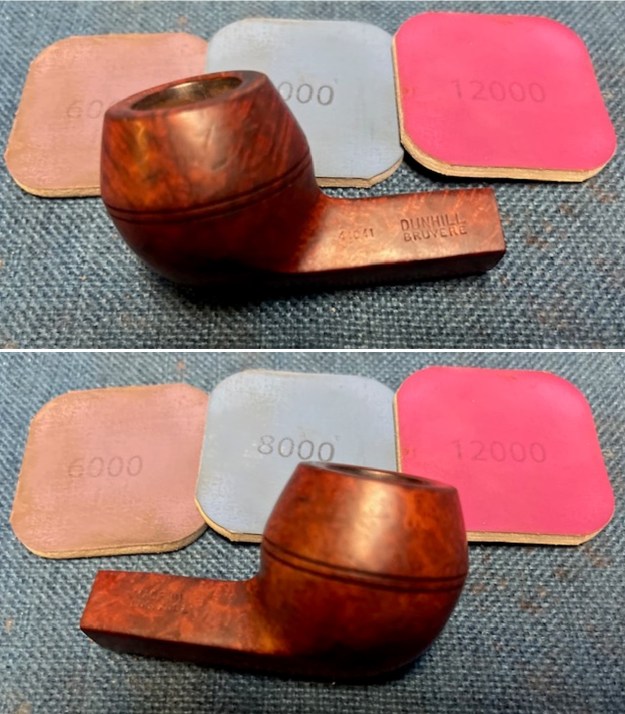
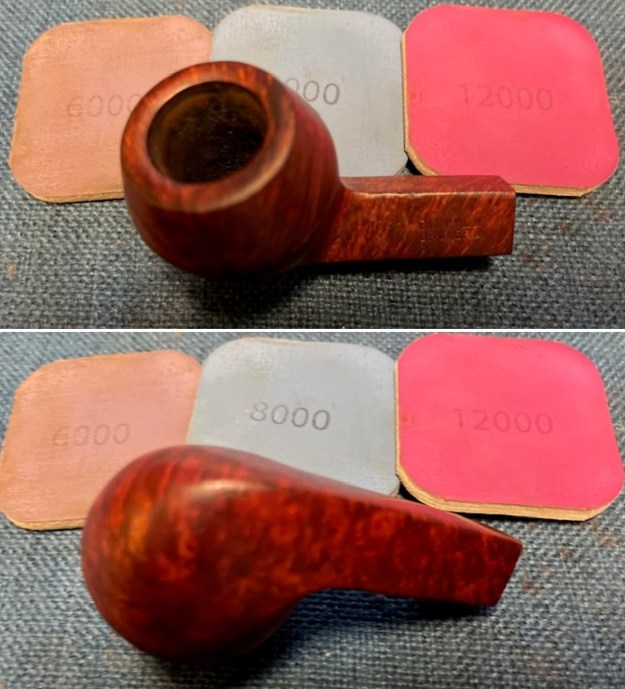
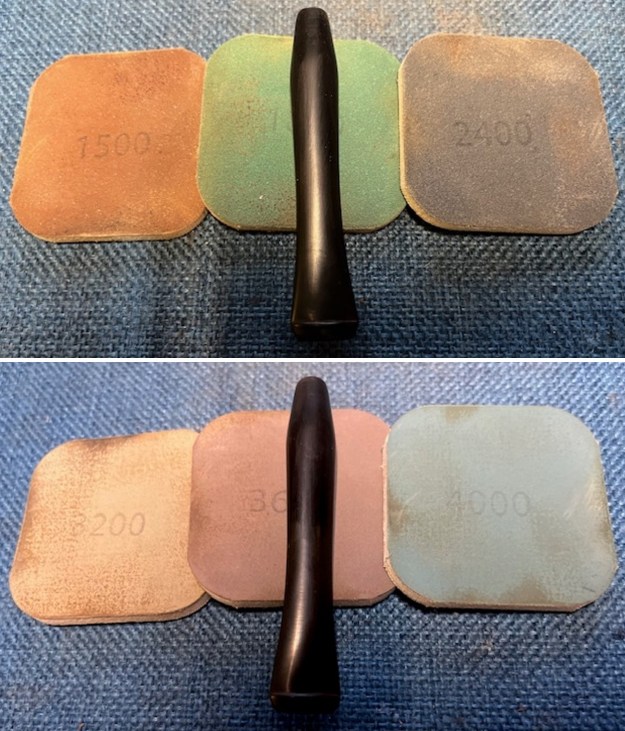
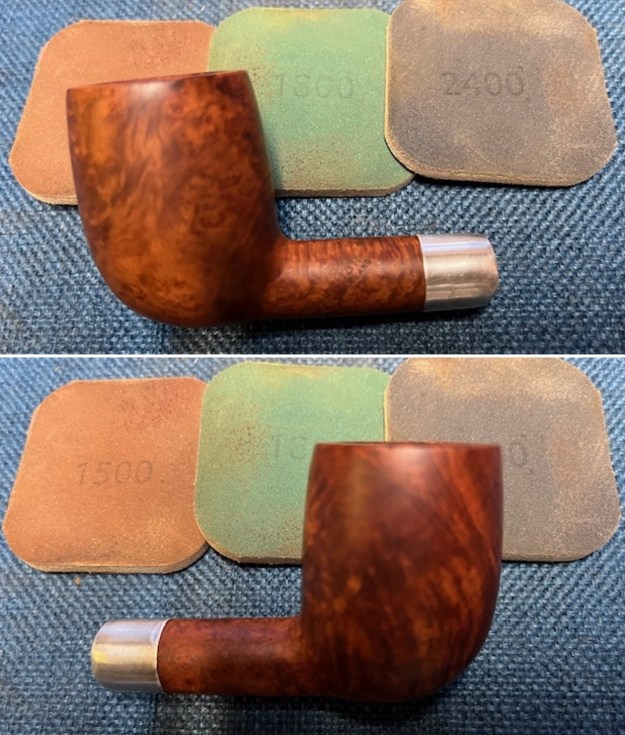
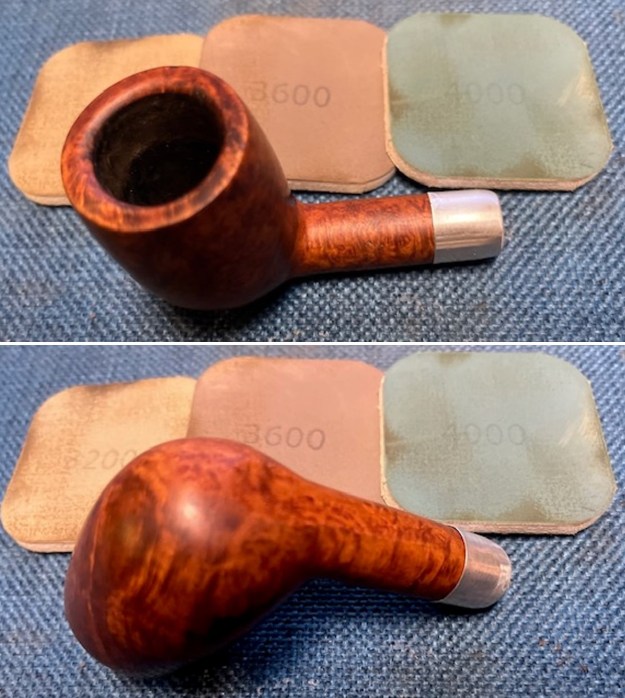
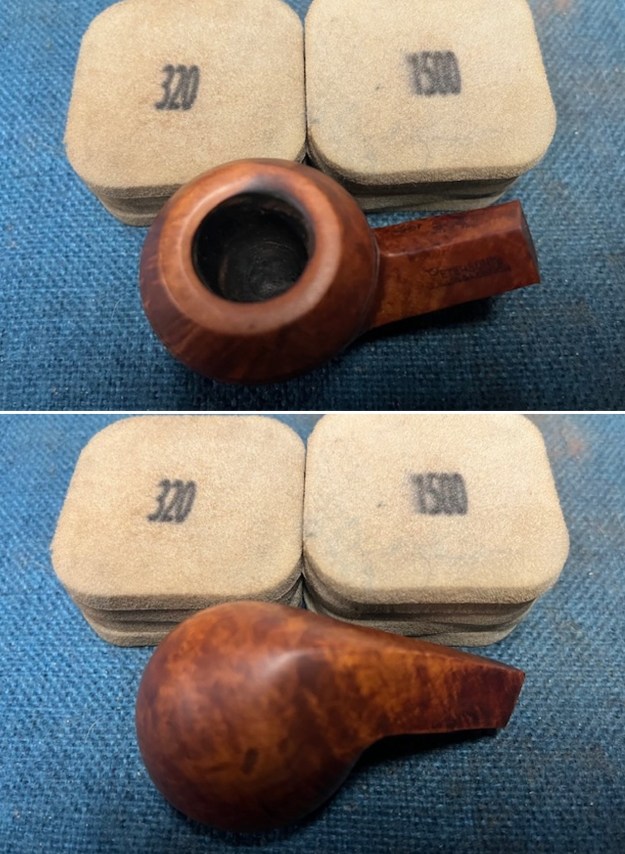
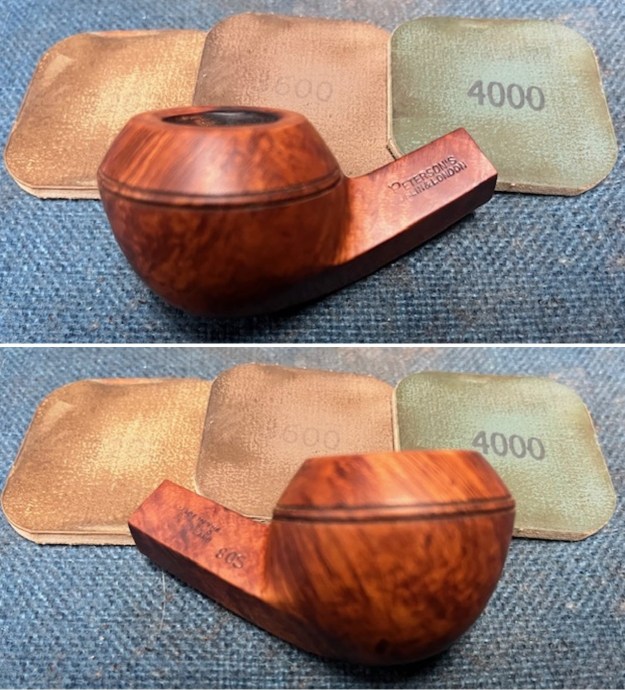
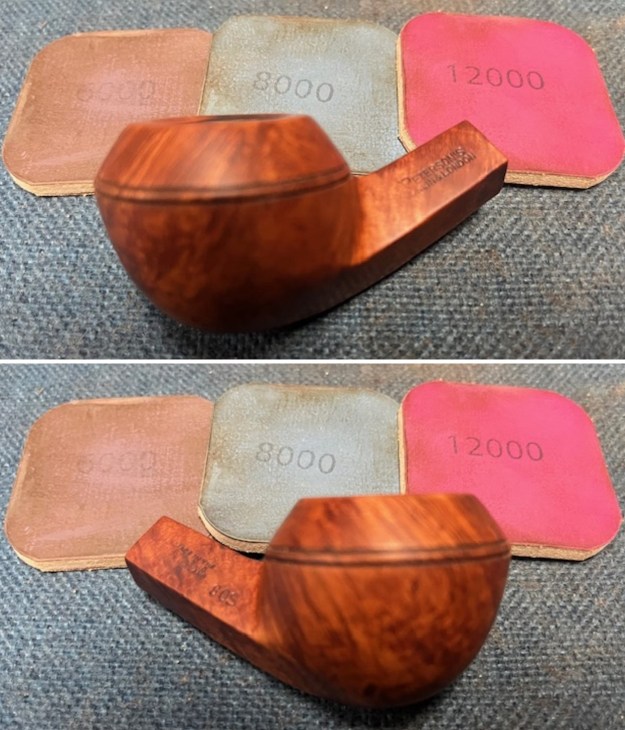
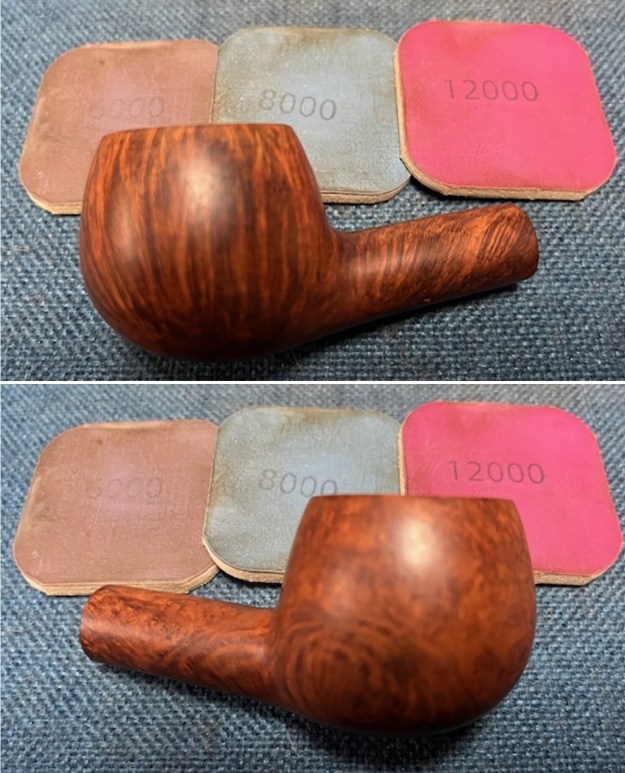
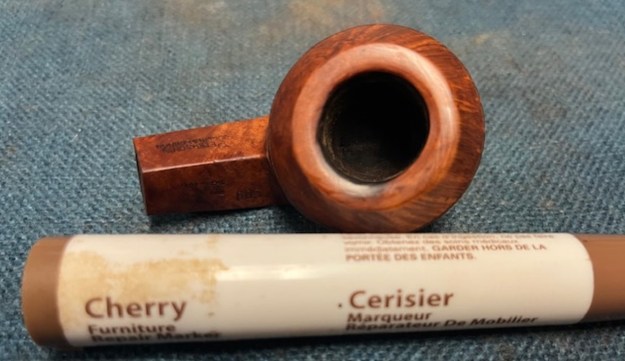 I polished the briar with micromesh sanding pads. I dry sanded it with 1500-12000 grit sanding pads and wiped the bowl down after each pad with a damp cloth. By the final pads the briar really had a shine.
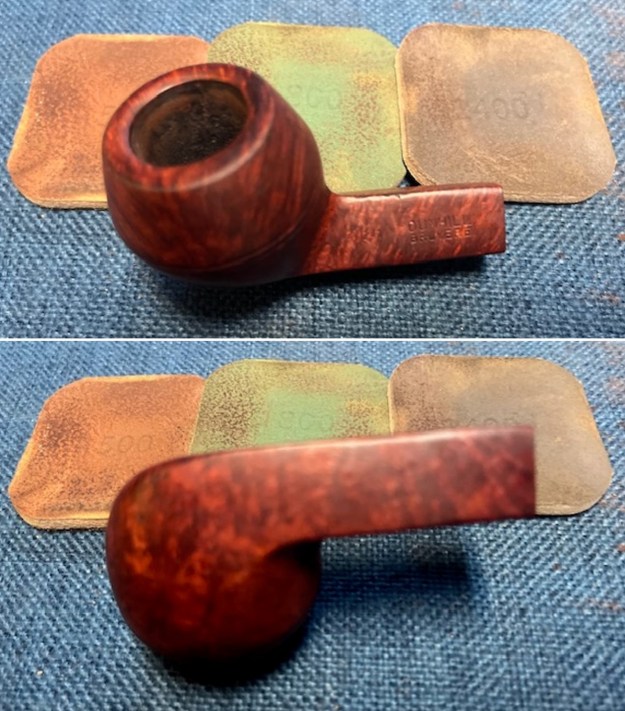
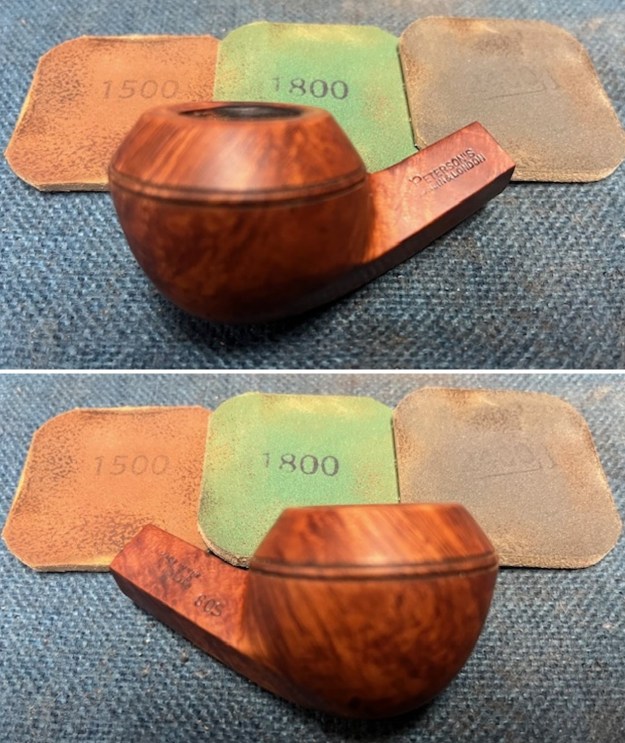
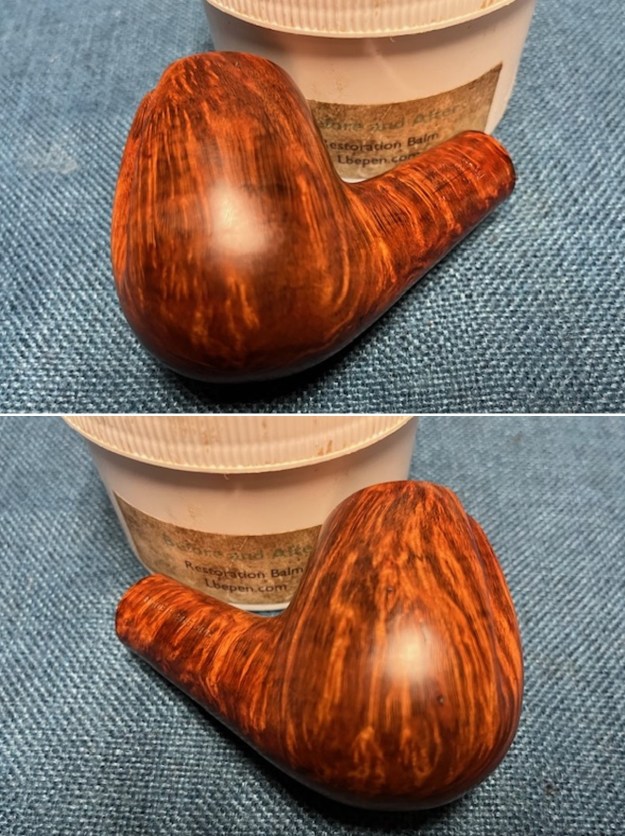
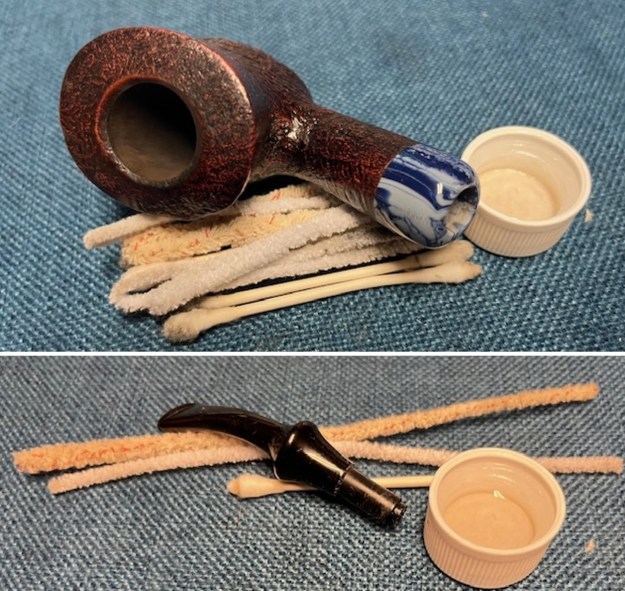
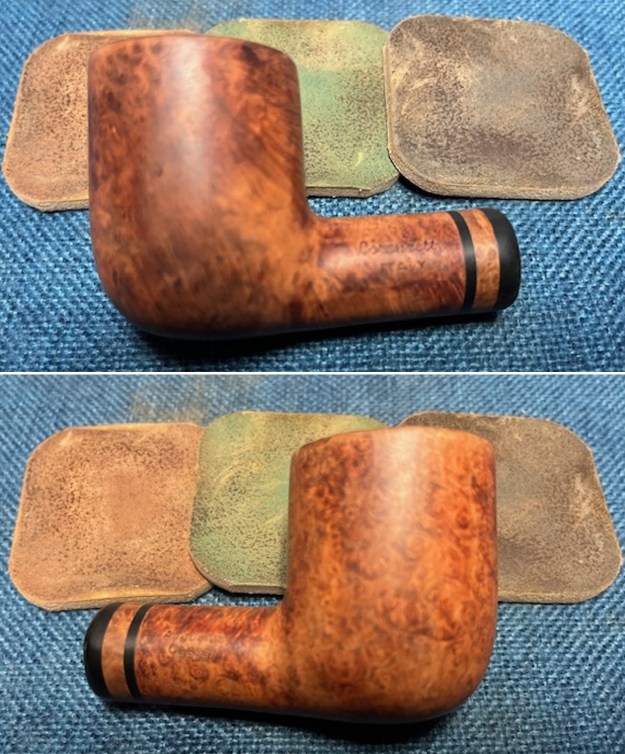
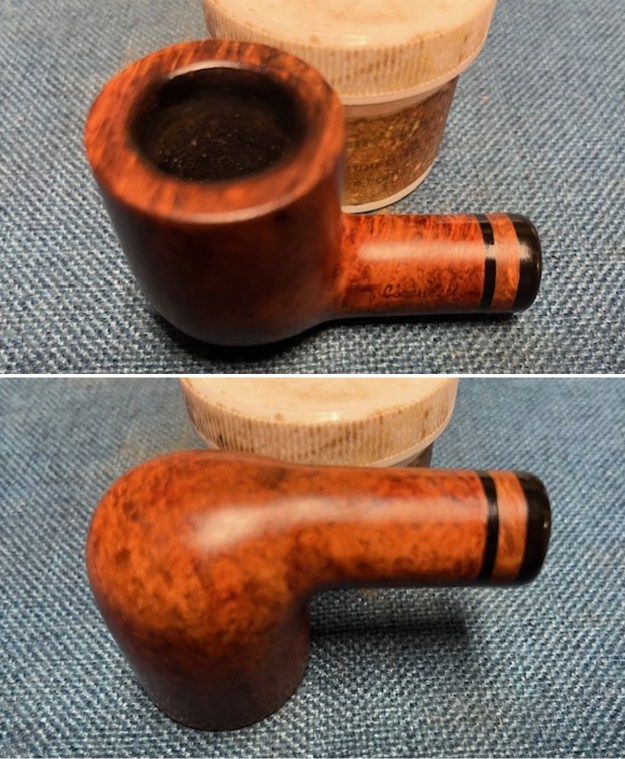
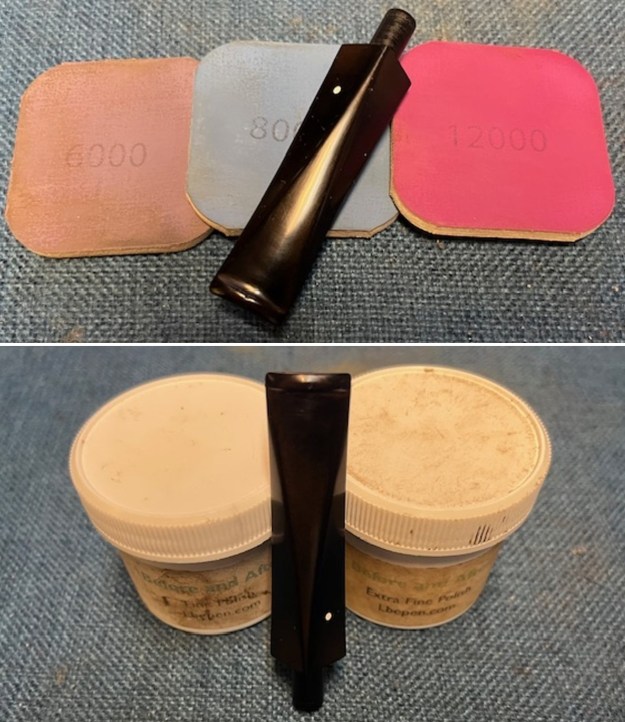
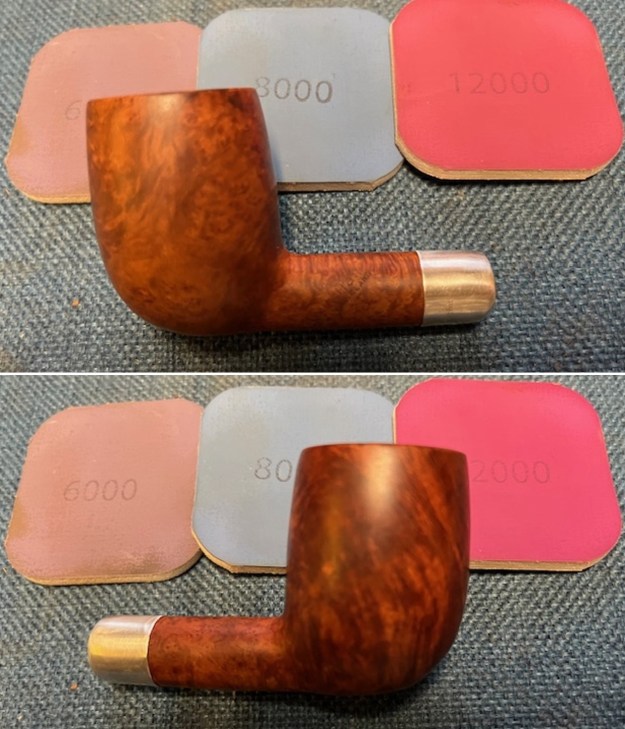
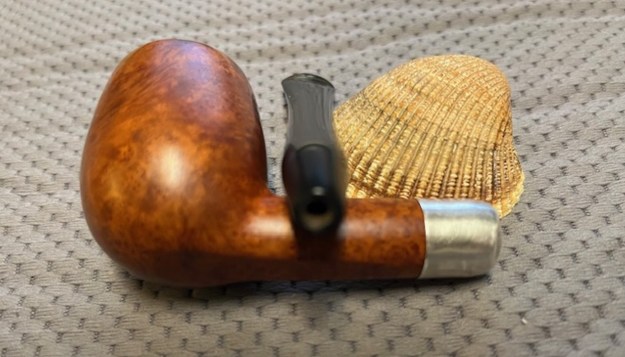
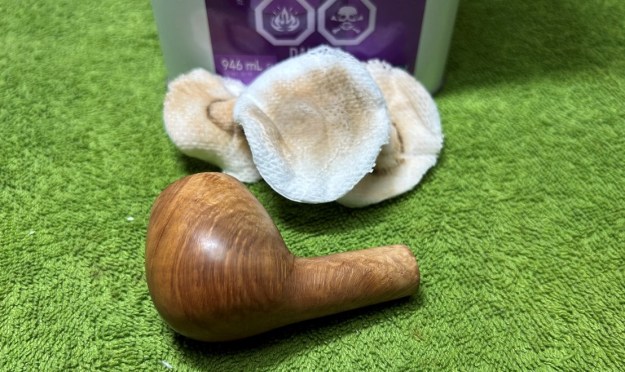
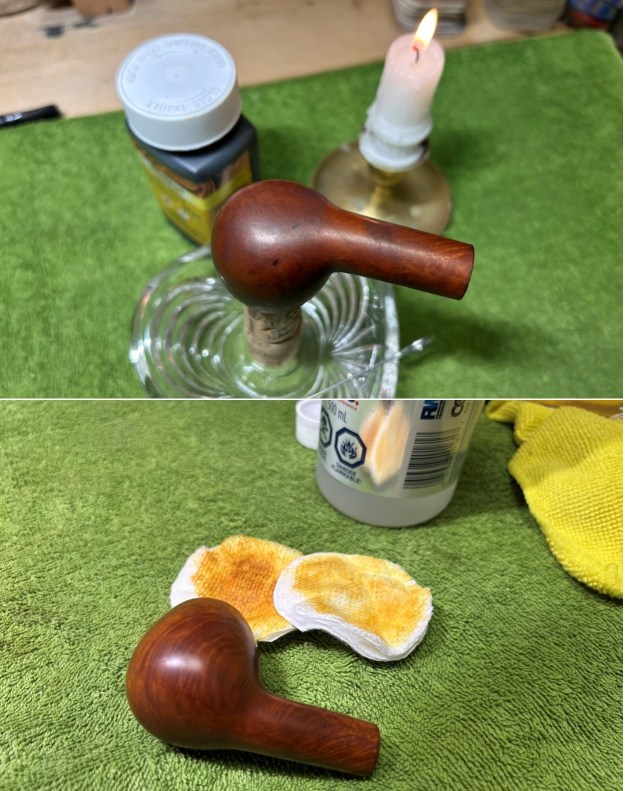
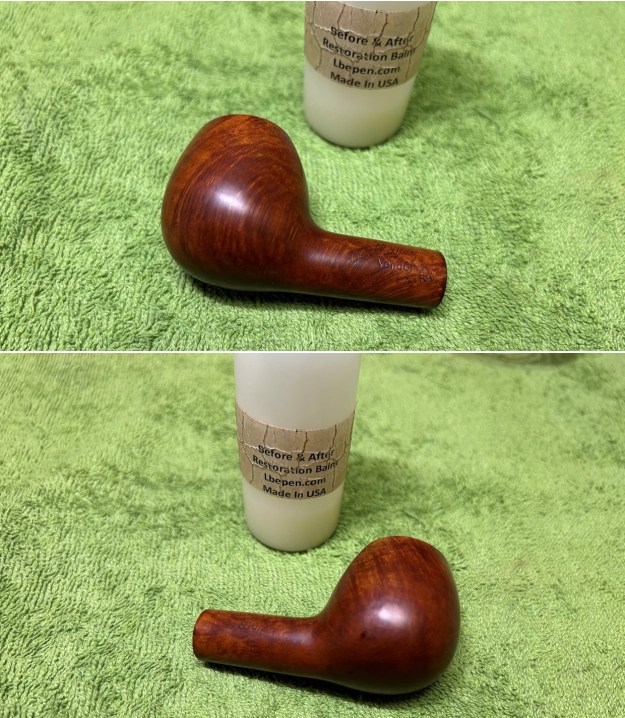
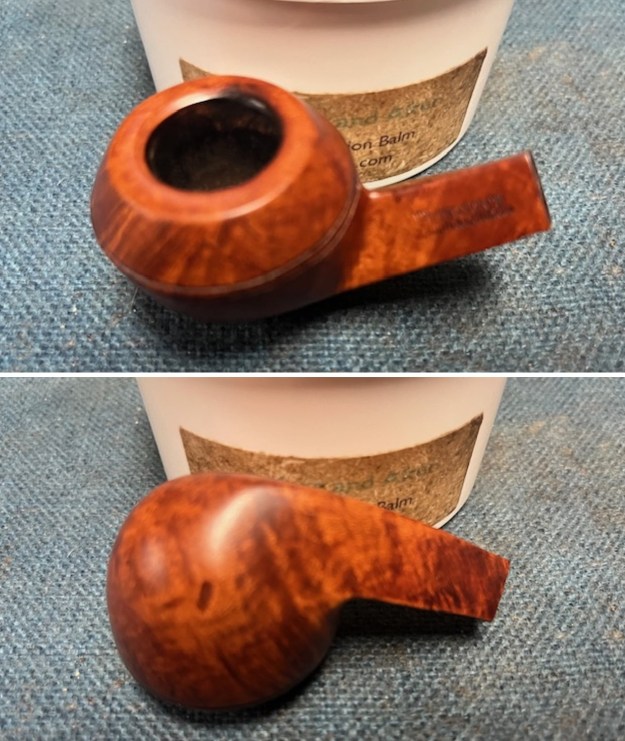
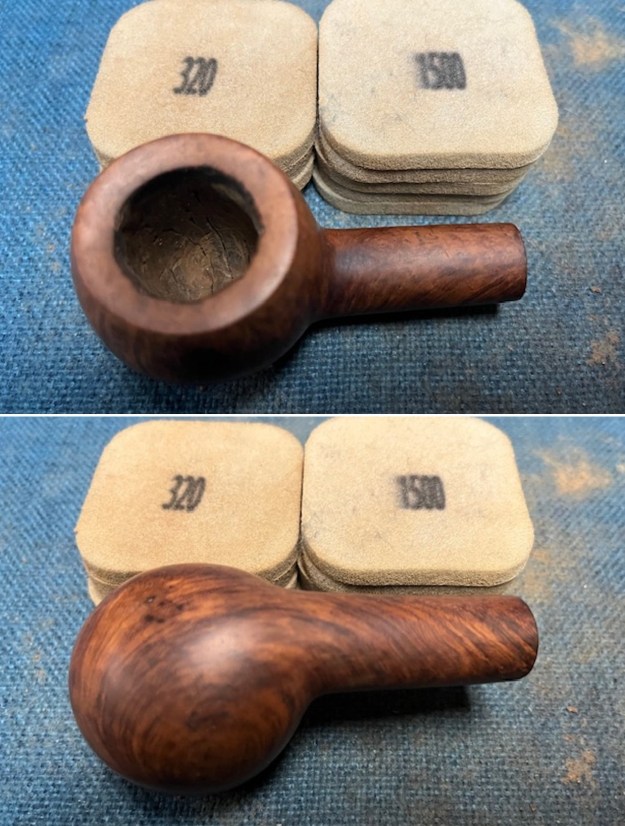
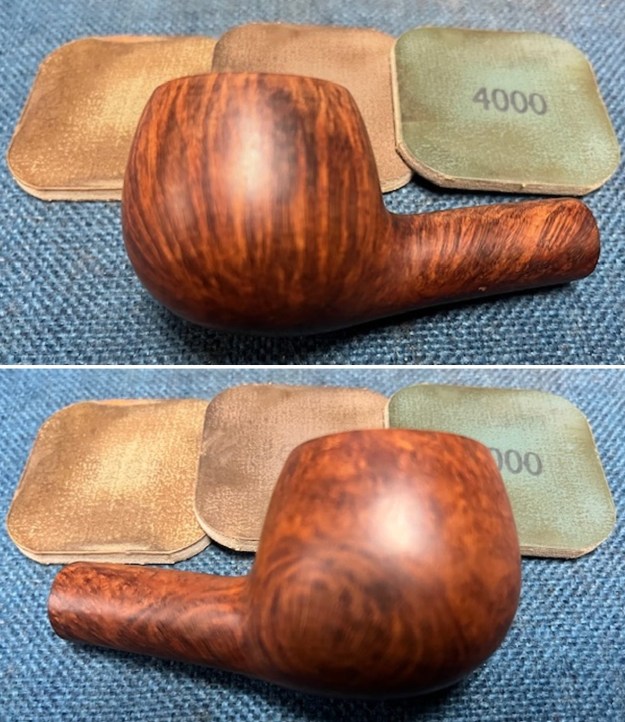
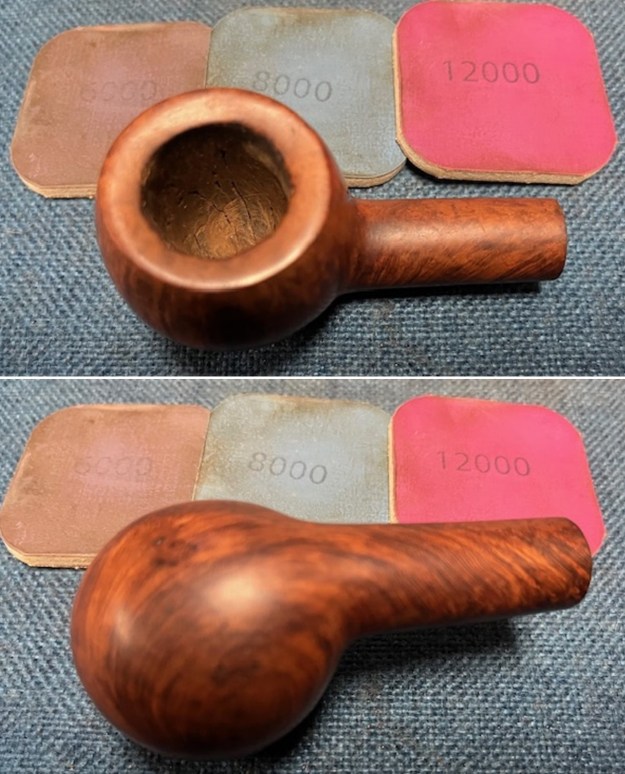
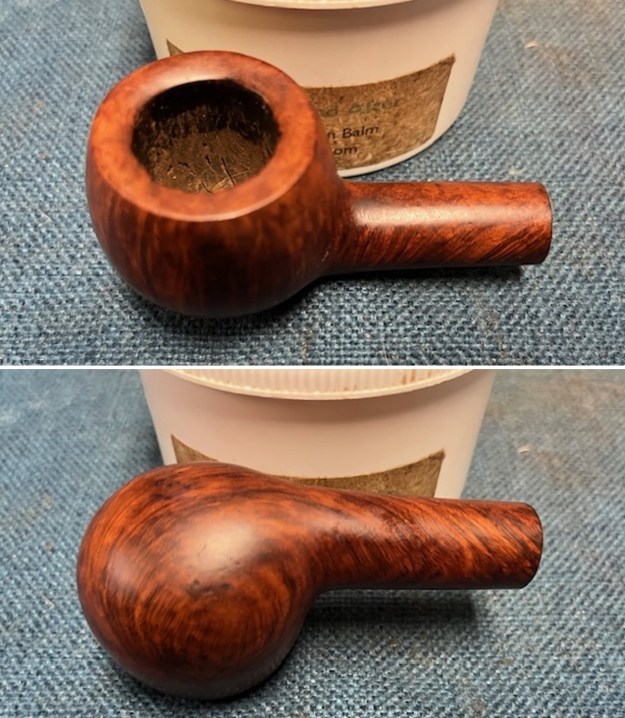
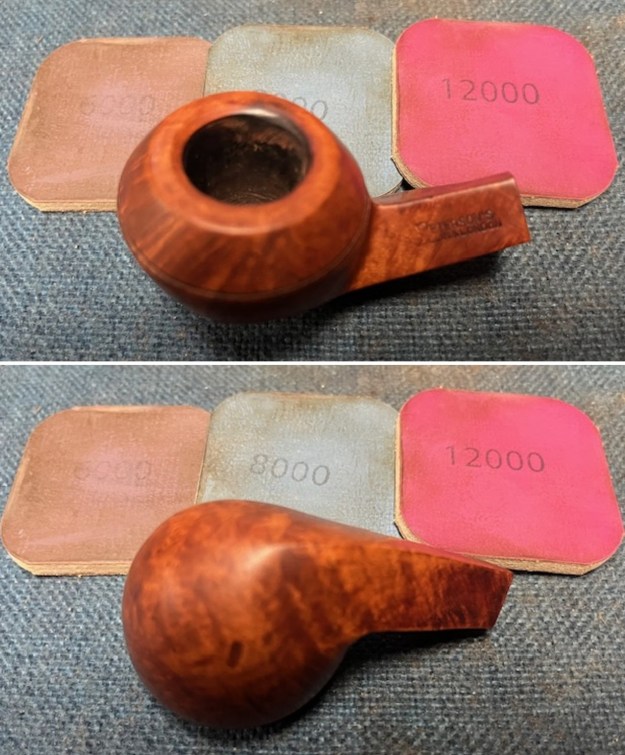 I rubbed the briar down with Before & After Restoration Balm. I worked it into the briar with my fingertips to work it into the finish. The product works to clean, enliven and preserve the briar. I let it sit for 10 minutes then I buffed it with a cotton cloth to deepen the shine. The briar really comes alive with the balm.
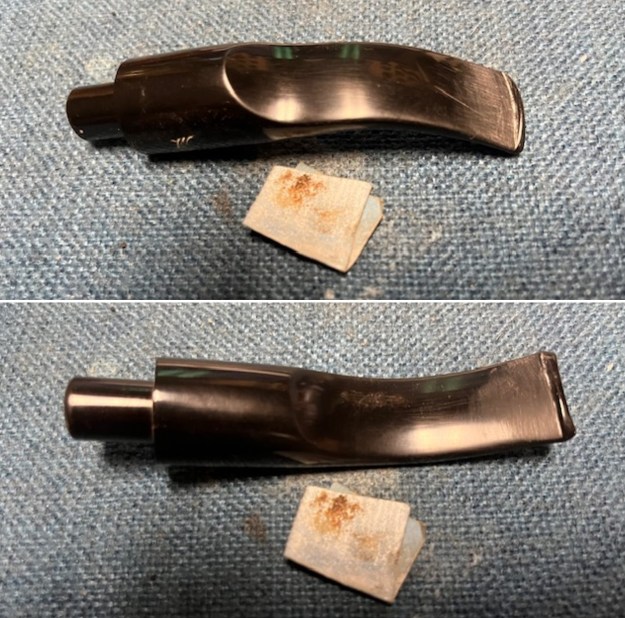
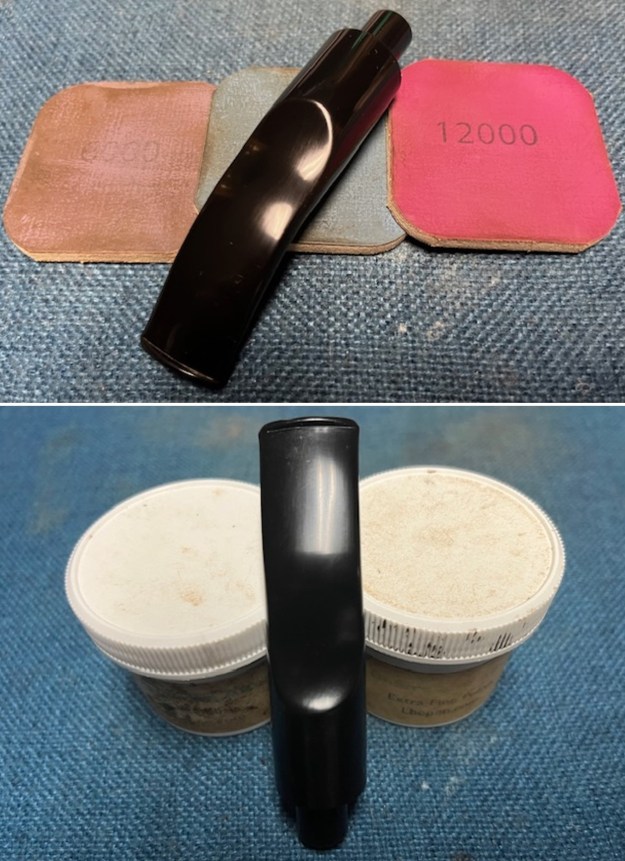
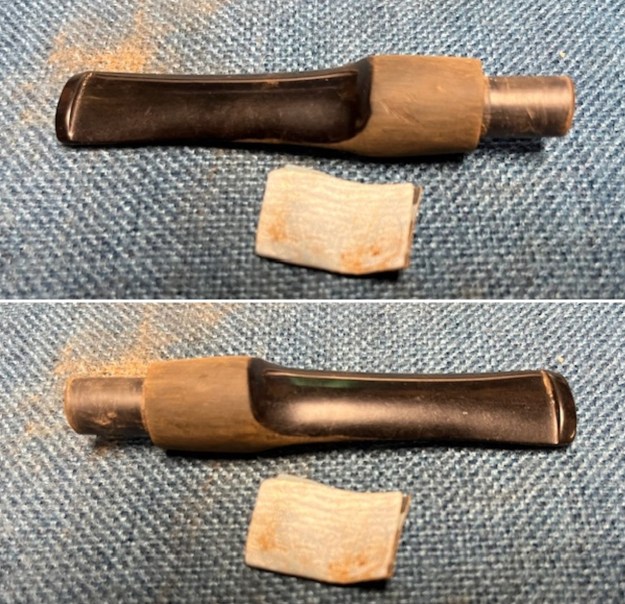
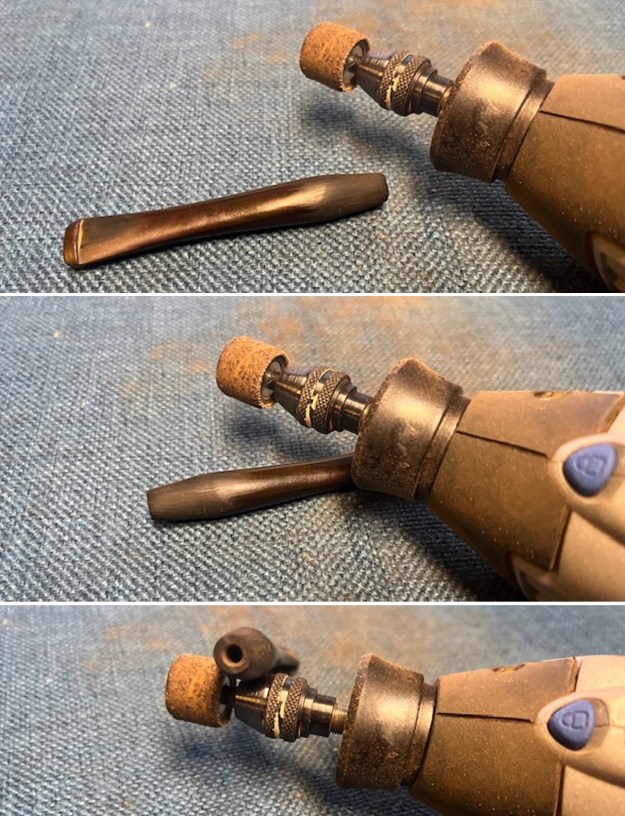
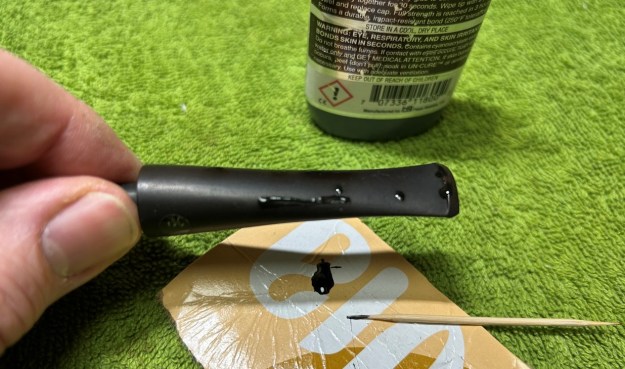
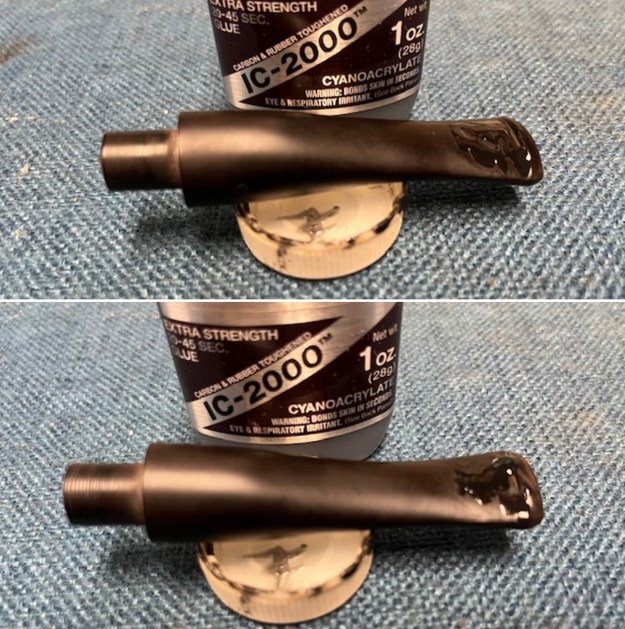
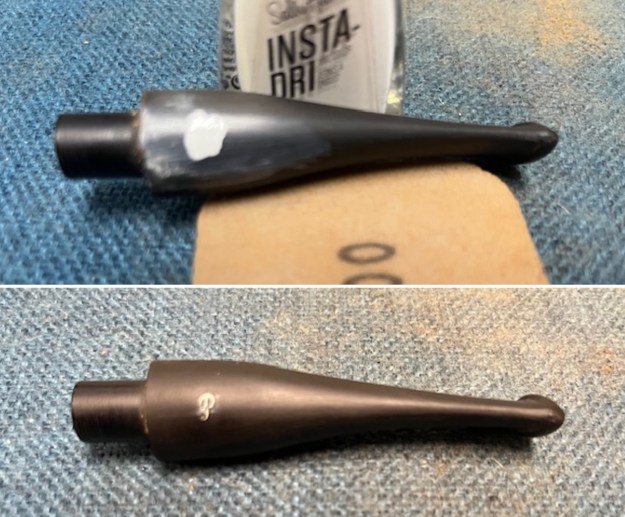
 I touched up the P stamp on the left side of the taper stem with some white acrylic fingernail polish. Once it cured I scraped off the excess and worked over the surface with a 400 grit sanding pad to clean up the stamping. It is clear and readable.
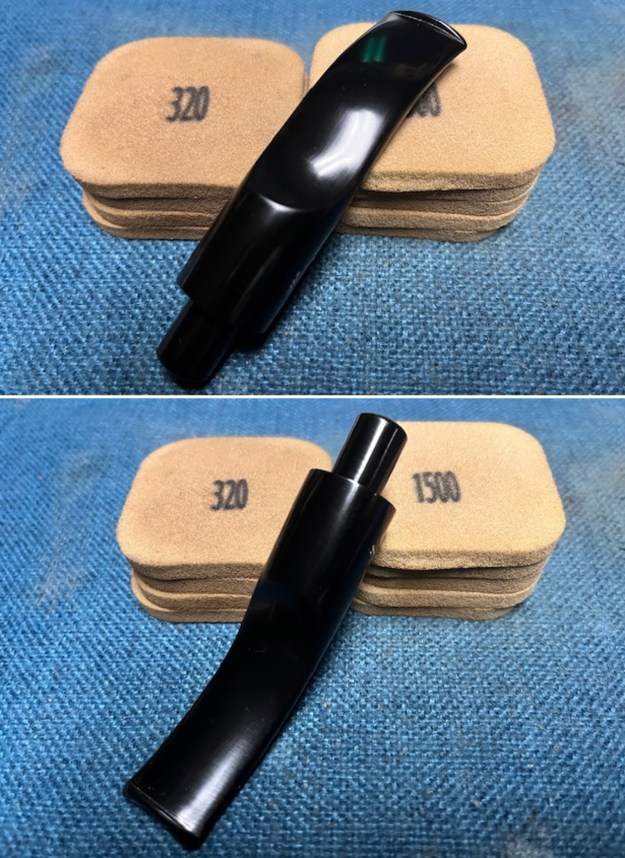
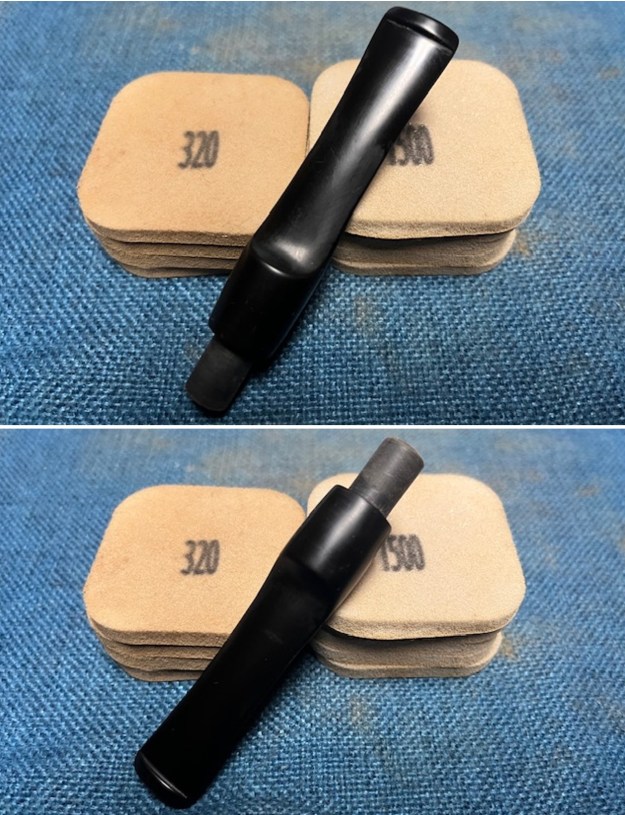
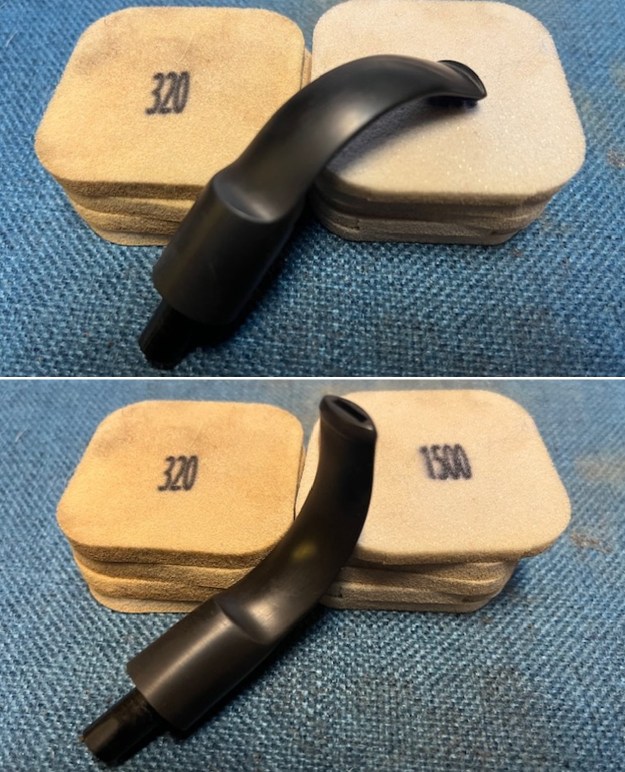
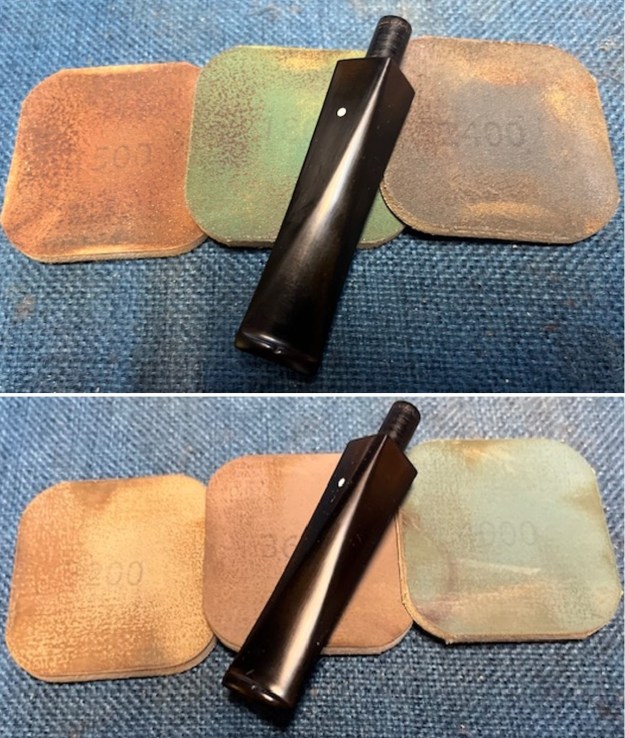
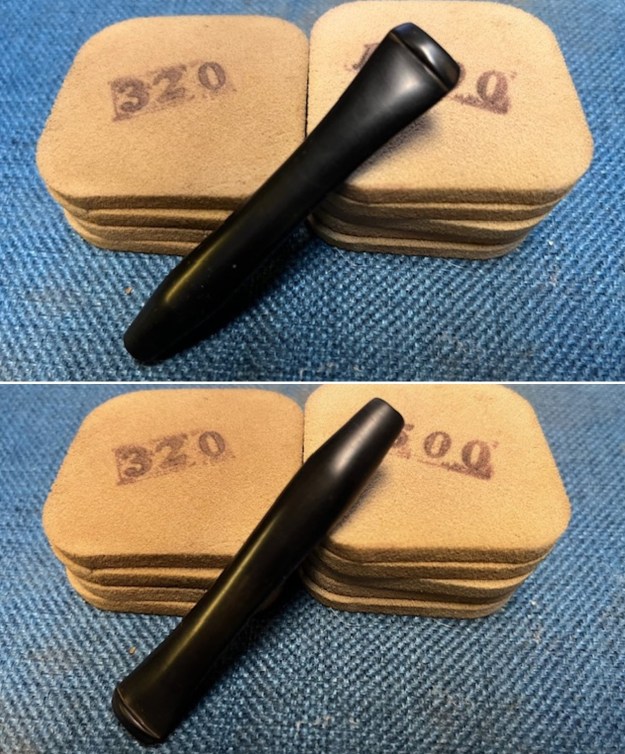
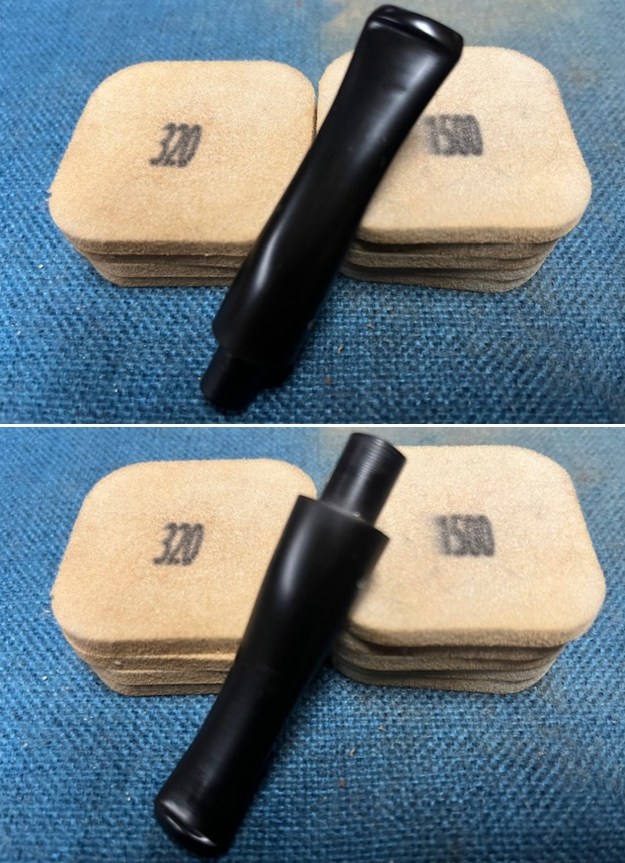
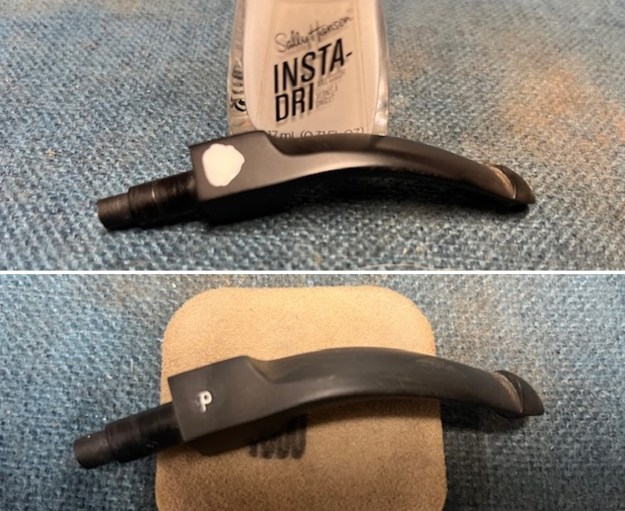 I sanded the stem with 320-3500 grit sanding pads. Each successive pad brought smoother shape and definition to the stem. I wiped it down with an Obsidian Oil cloth after each sanding pad and by the end it was starting to look very good.
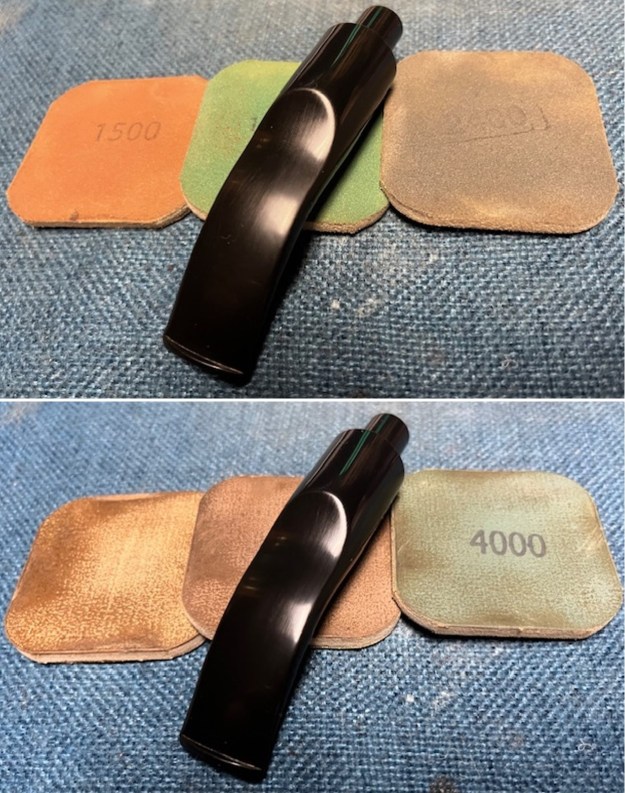
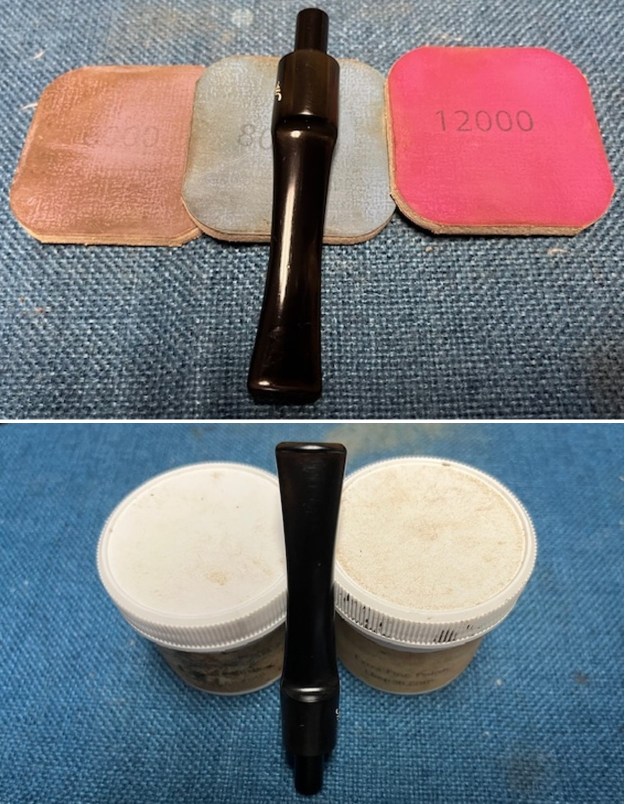
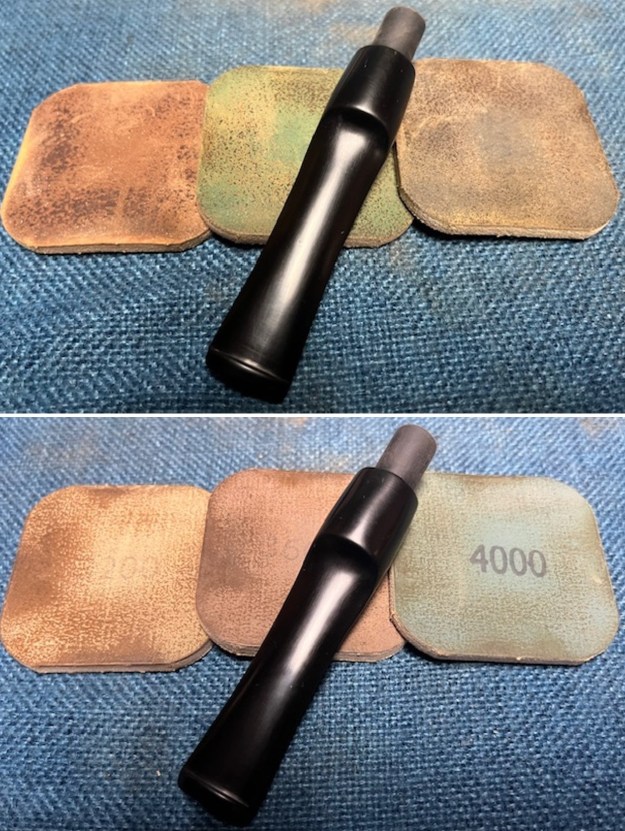
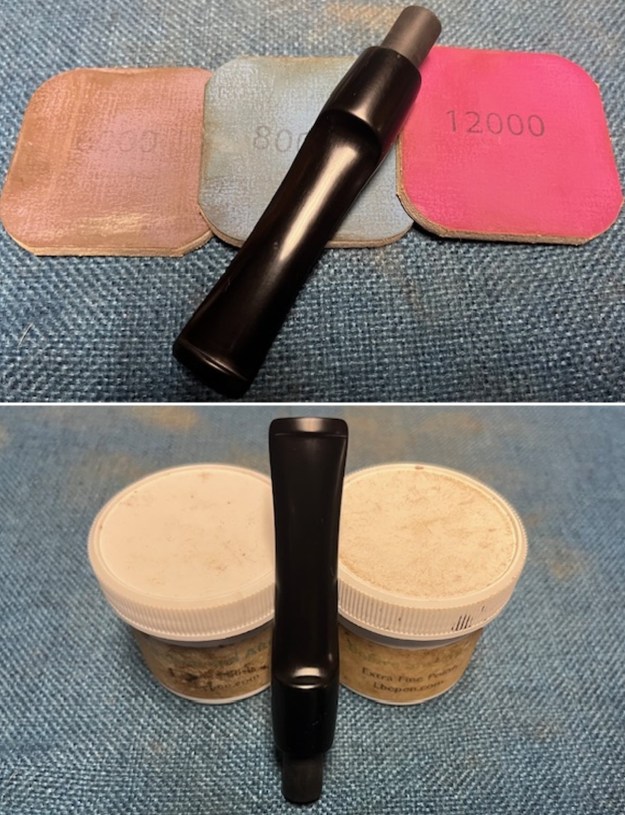
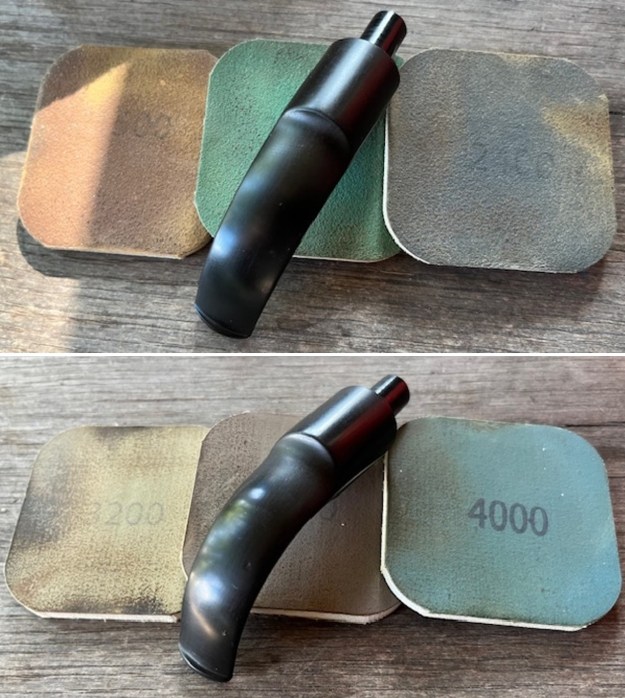
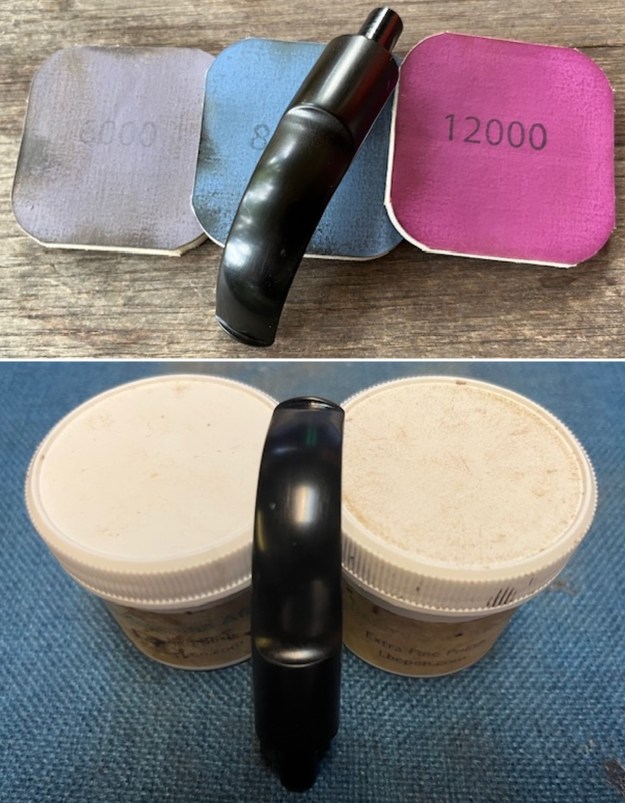
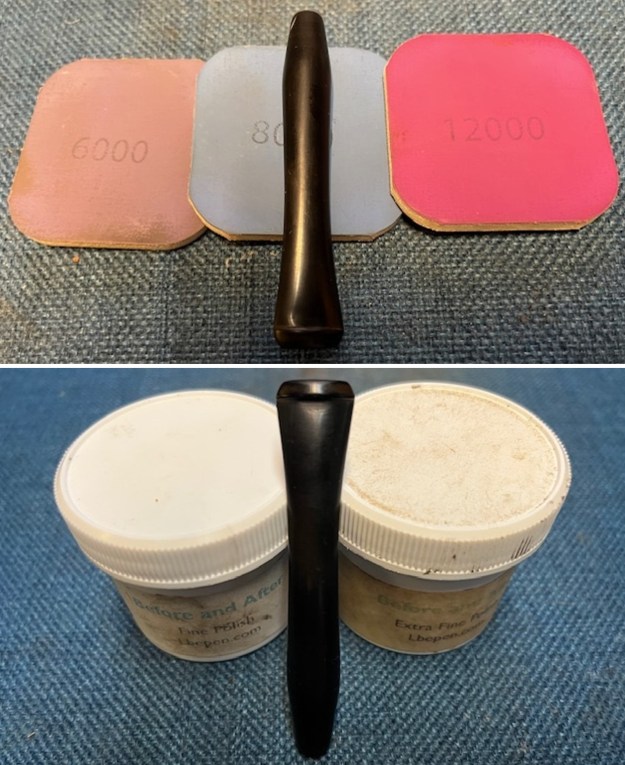
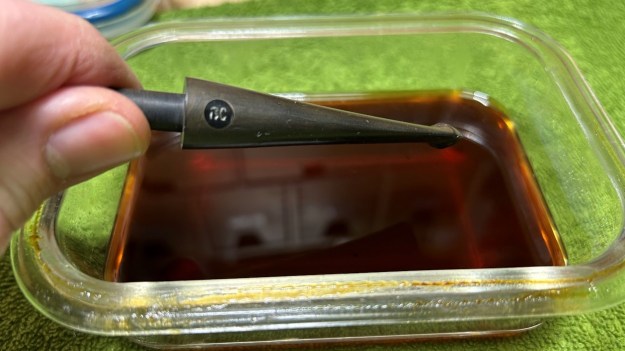
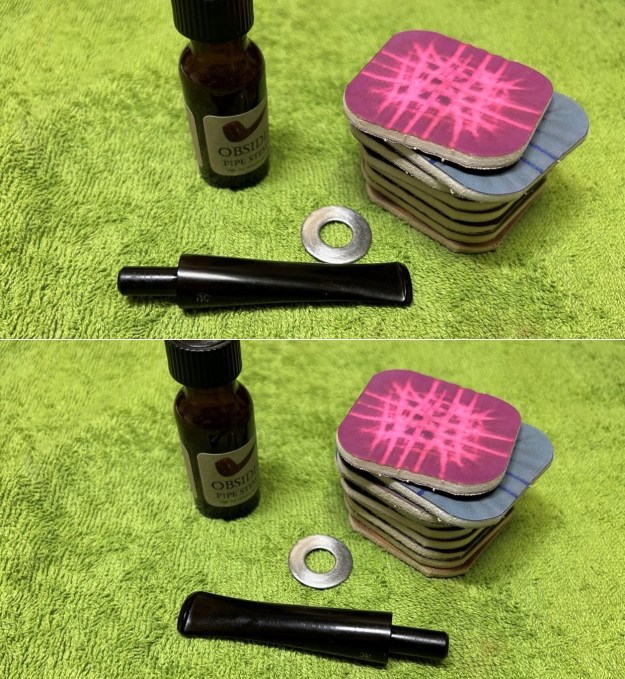
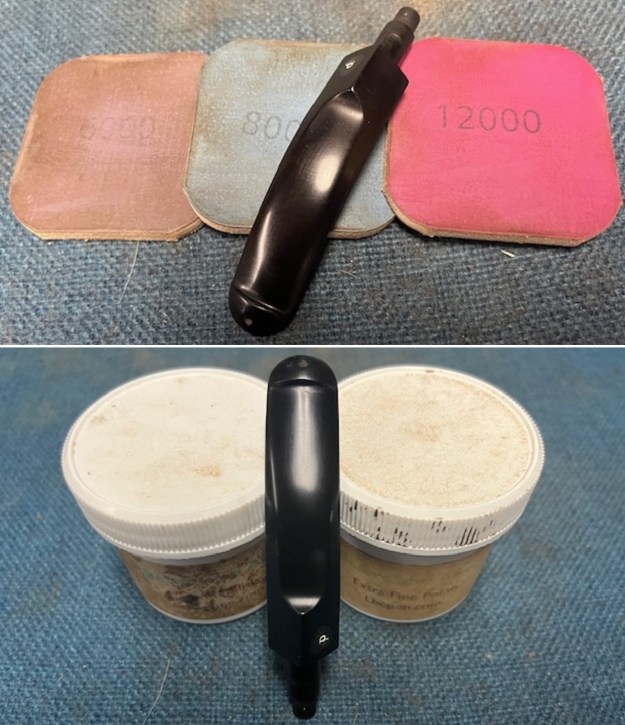
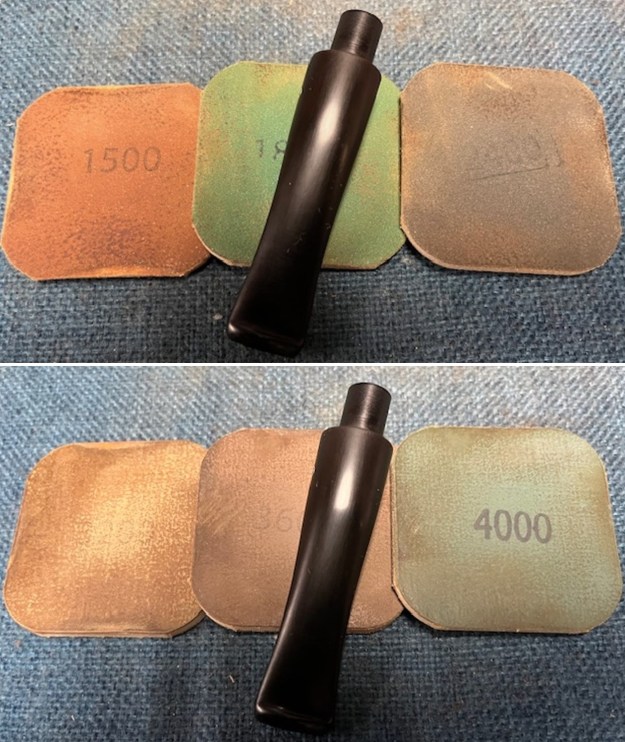
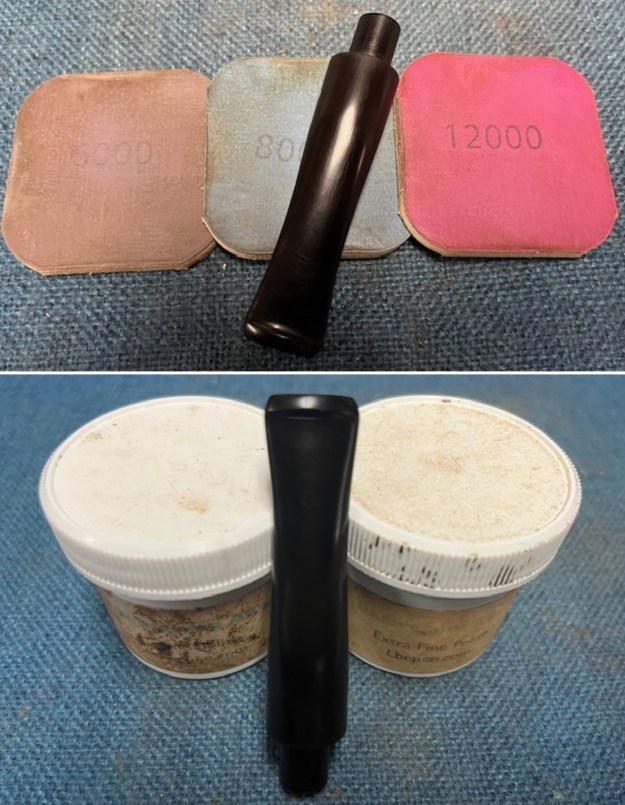
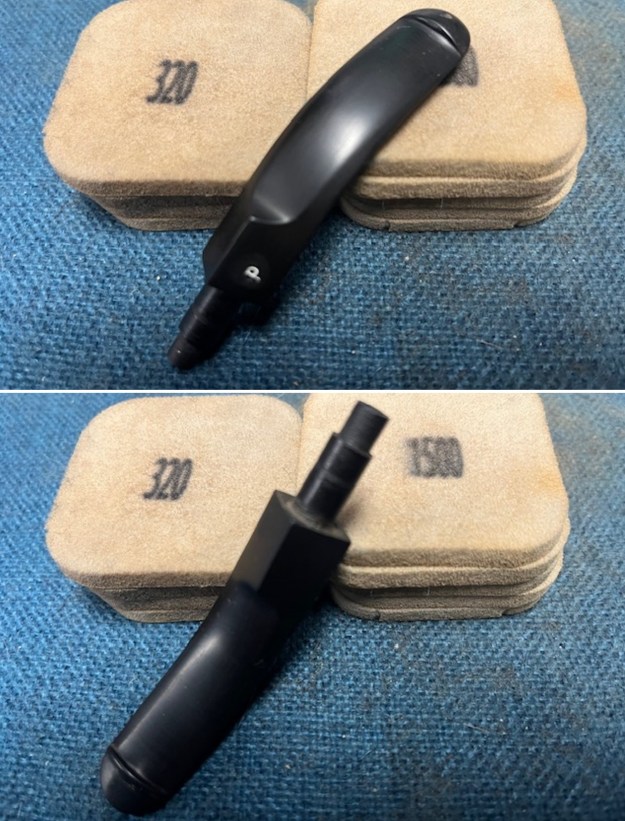 I polished the stem with micromesh sanding pads – 1500-12000 grit pads. I wiped them down with Obsidian Oil after each sanding pad. I used Before & After Pipe Polish – both Fine and Extra Fine to further polish the stem. I gave it another coat of Obsidian Oil and set aside for the product to absorb into the vulcanite.
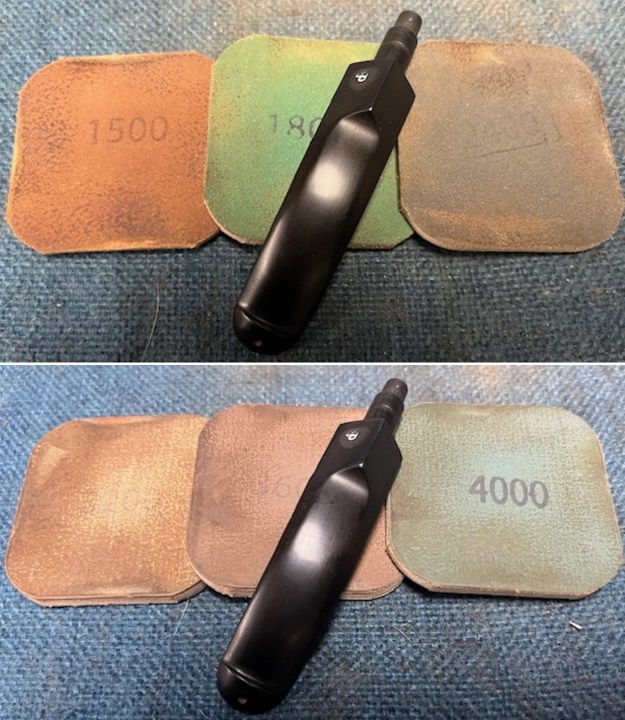
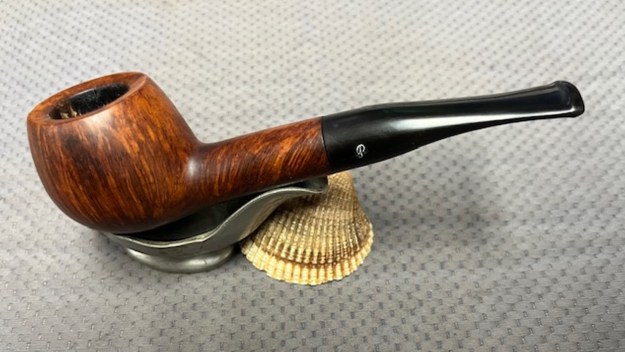
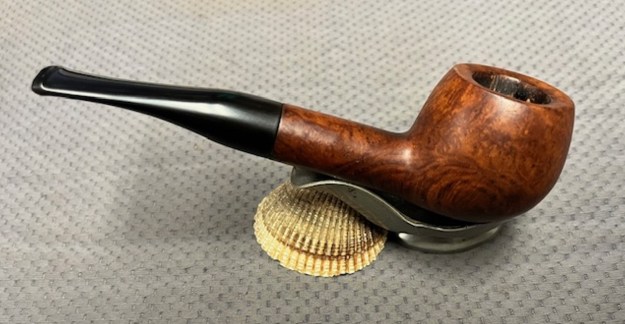
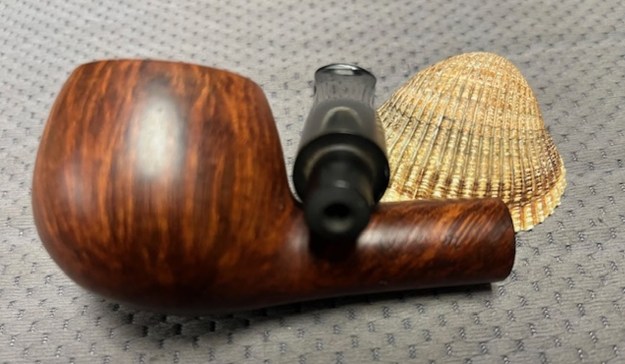
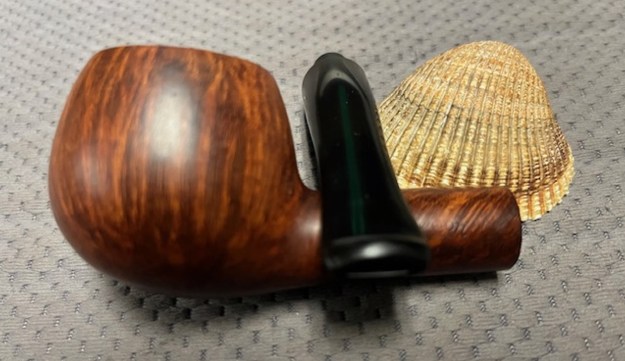
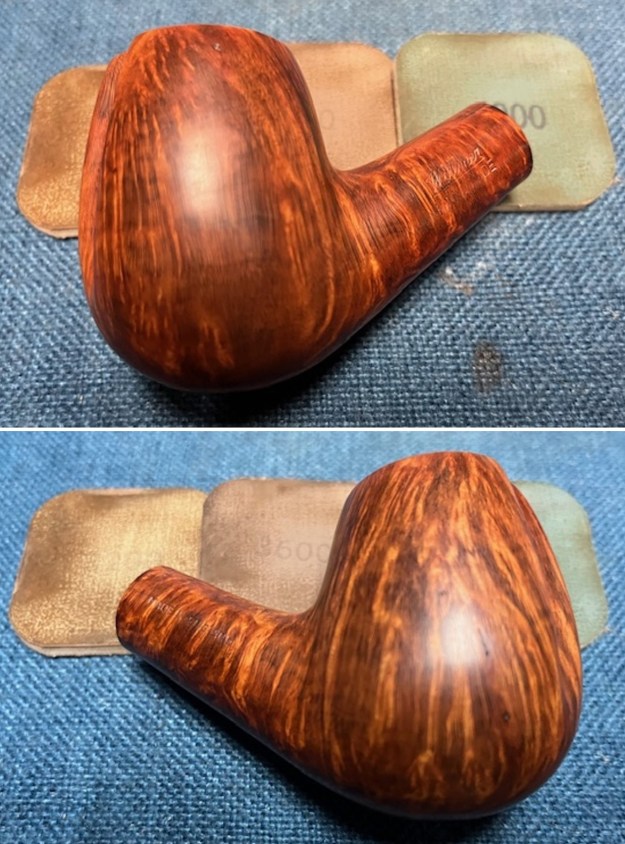
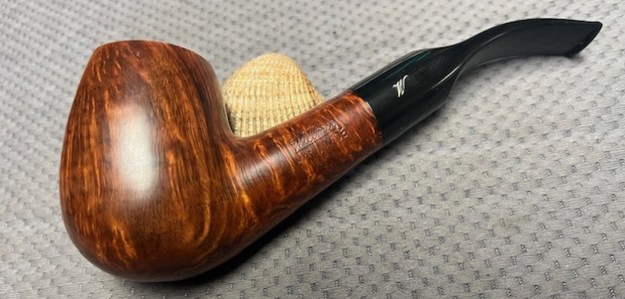
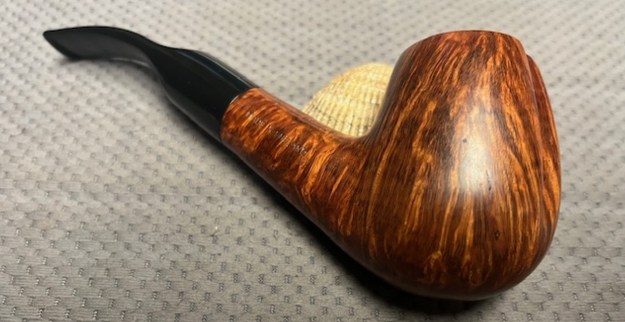
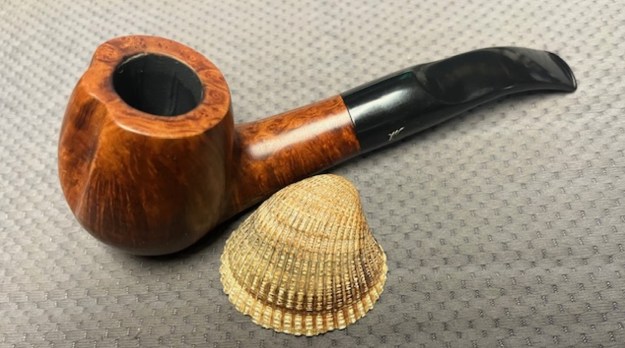
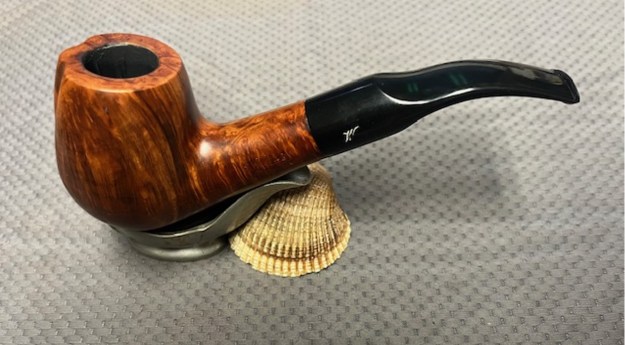
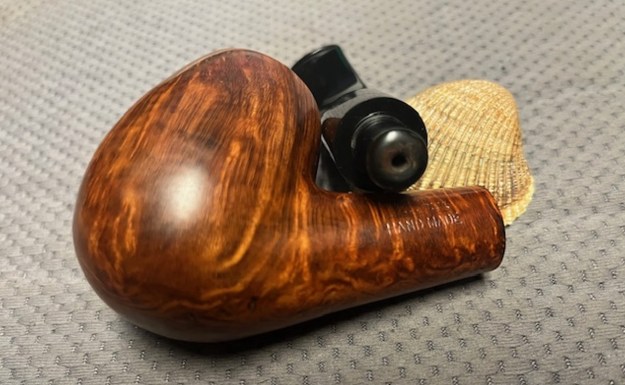
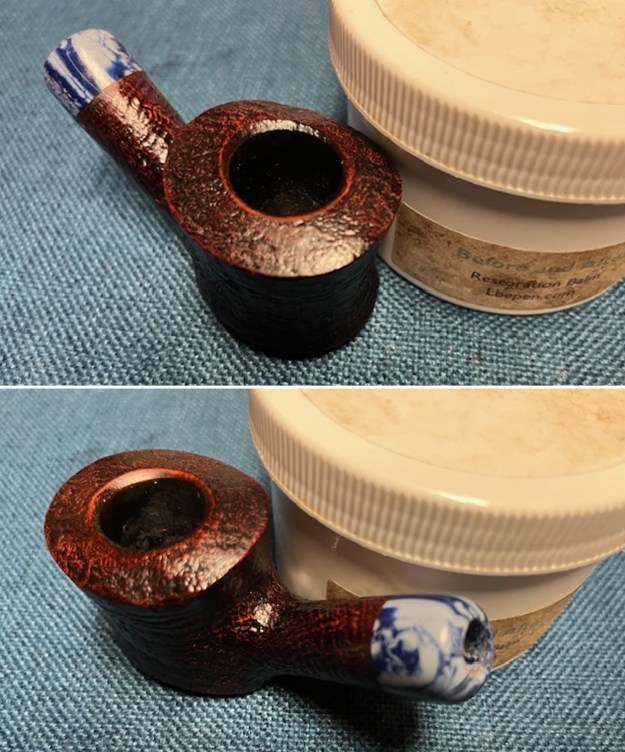
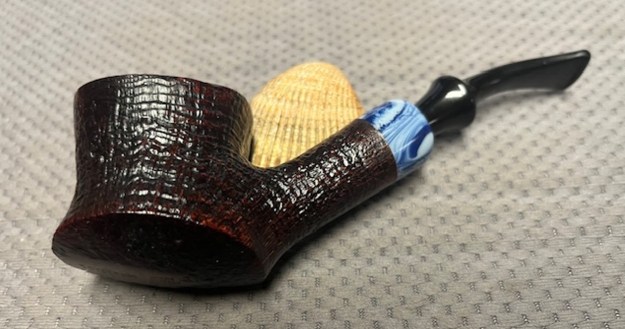
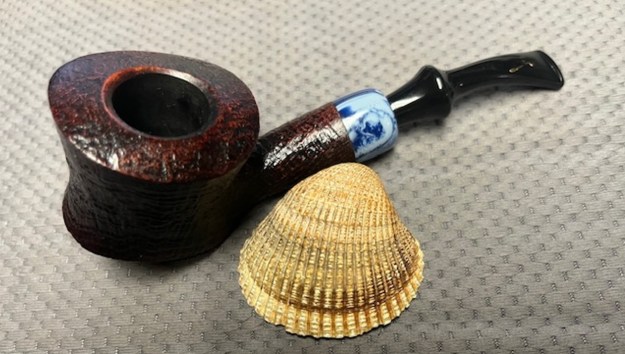
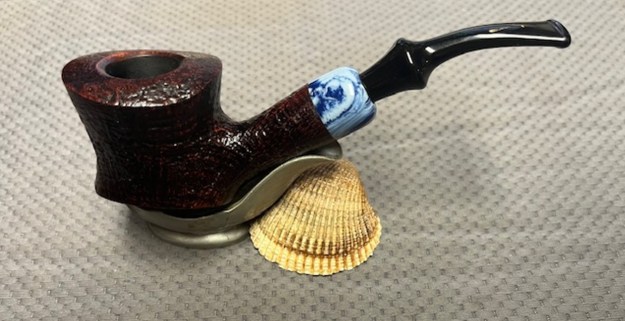
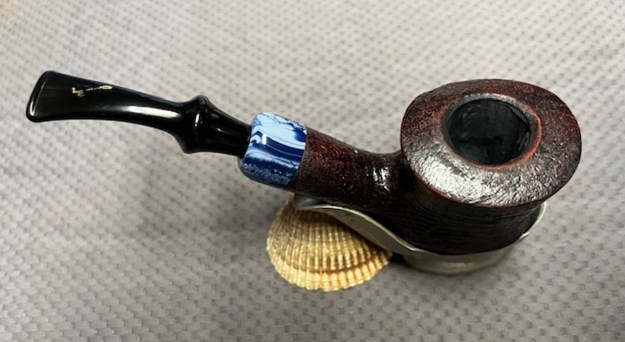
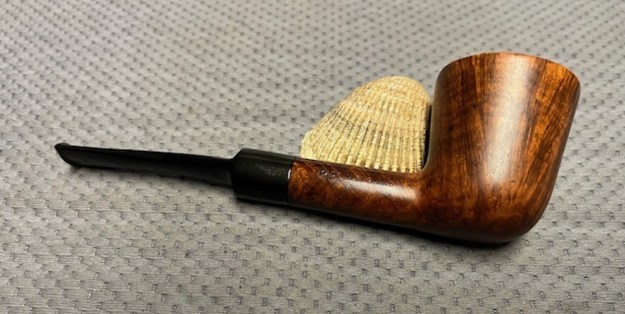
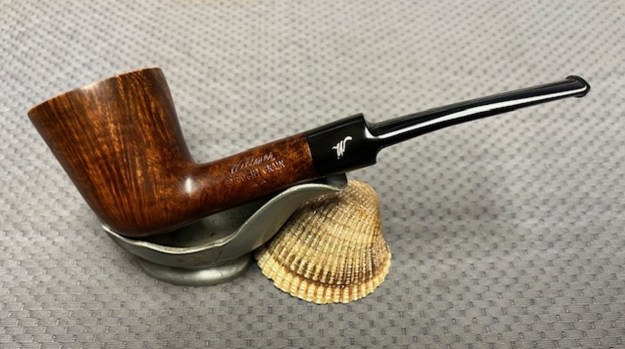
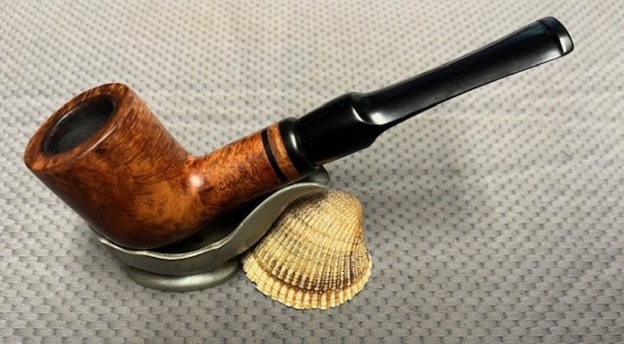
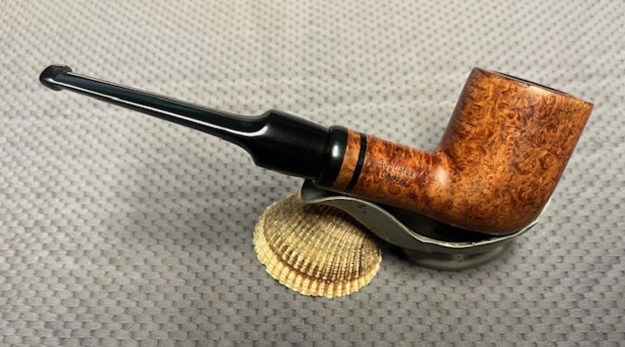
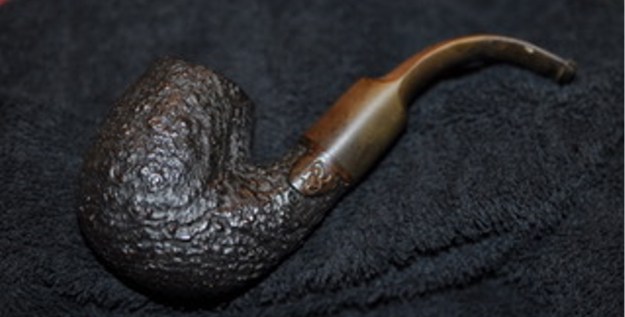
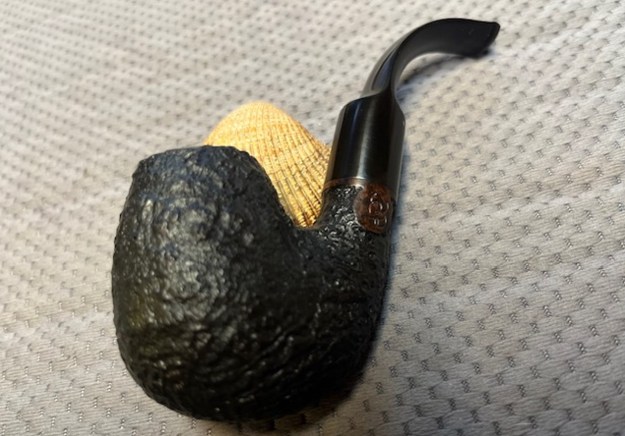
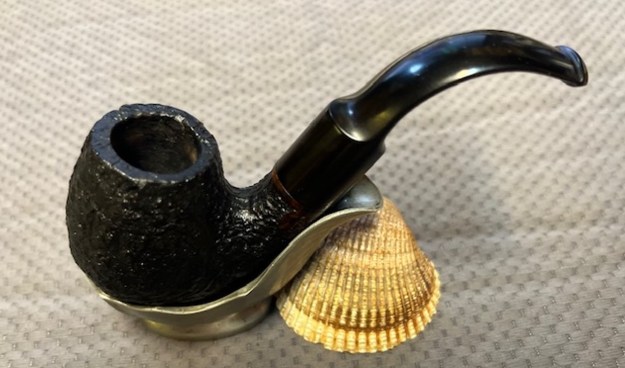
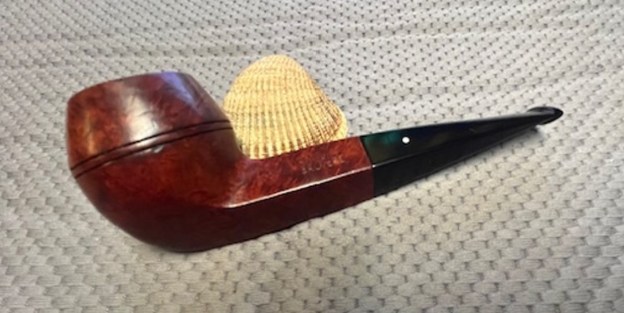
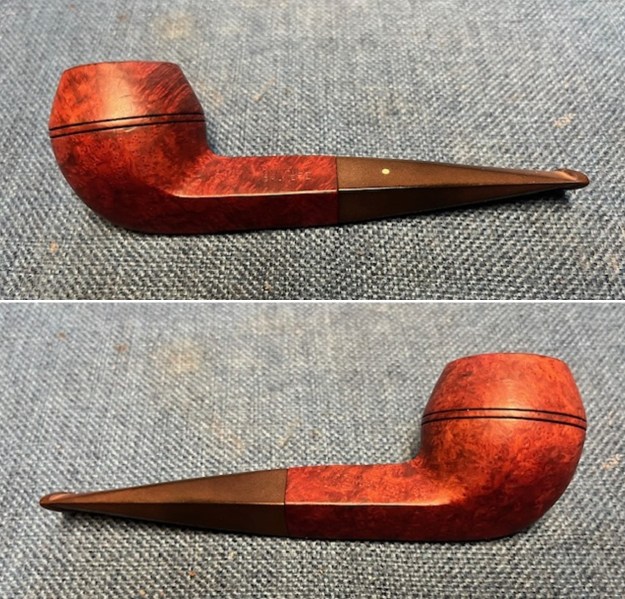
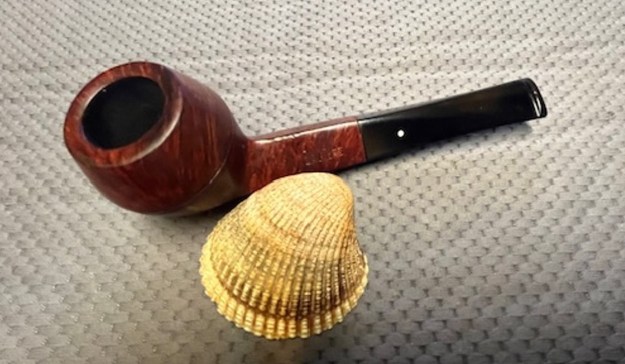
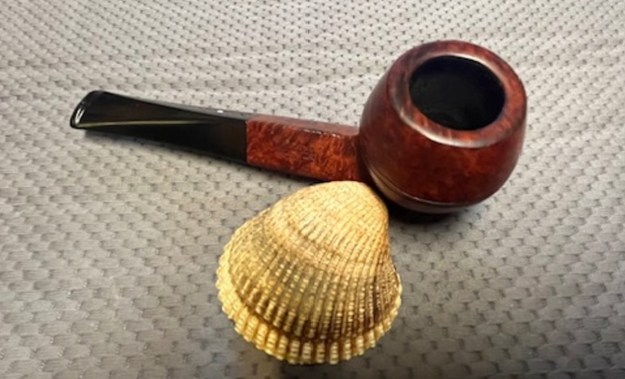
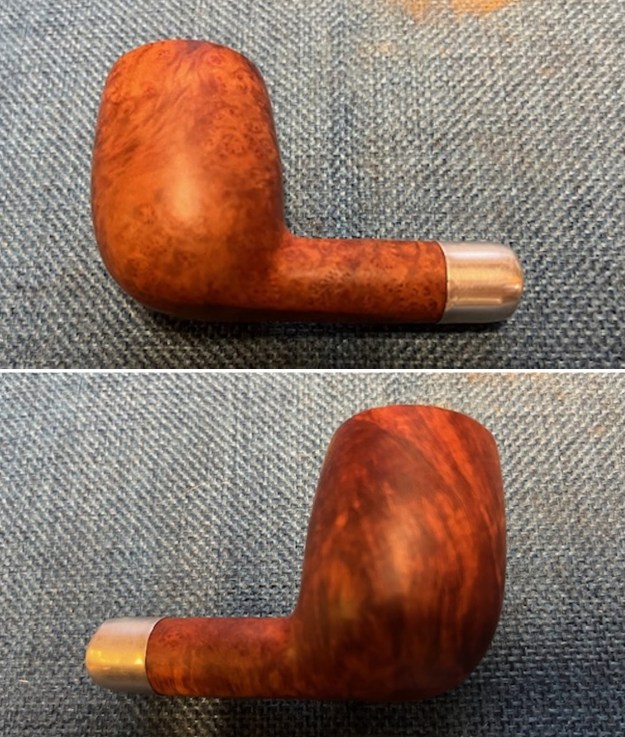
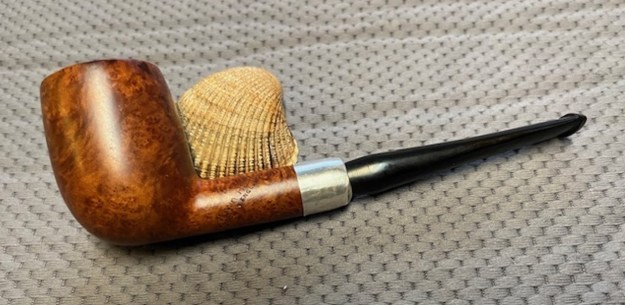
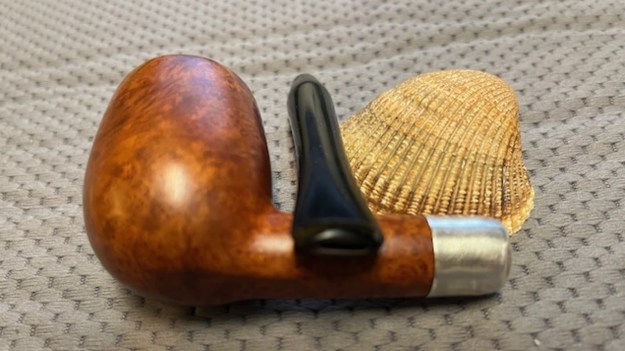
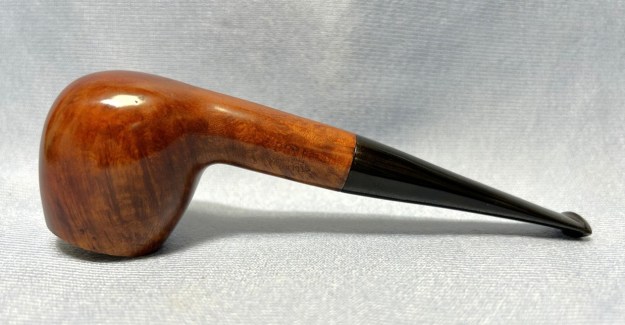
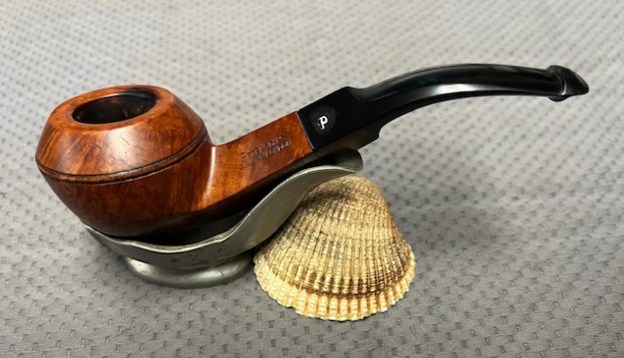
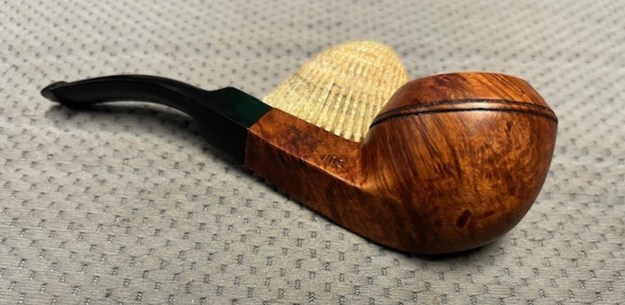
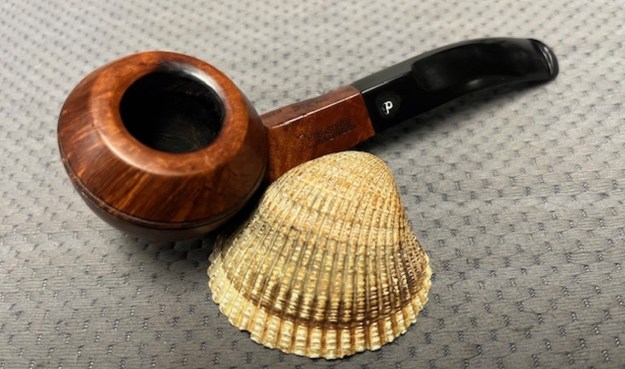
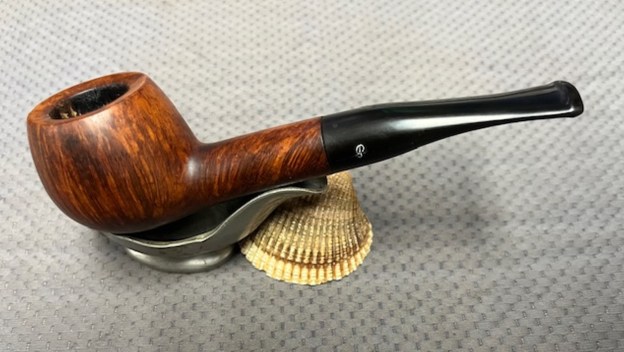
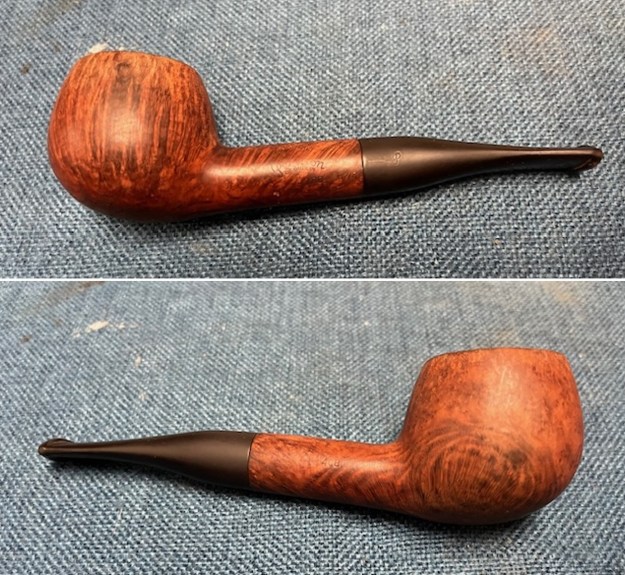
 It was great to finish this Republic Era Peterson’s Dublin & London 80S Bulldog. It was a question if it could be reborn but I think it looks good. I put the bowl and the stem together and buffed it with Blue Diamond on the buffing wheel. I gave the bowl and the stem multiple coats of carnauba wax. I buffed the pipe with a clean buffing pad to raise the shine. I hand buffed the pipe with a microfiber cloth to deepen the shine. It is fun to see what the polished bowl looks like with deep sandblast all around it. Added to that the polished black vulcanite stem was beautiful. This Peterson’s Dublin & London 80S Bulldog is great looking and the pipe feels great in my hand. It is light and well balanced. Have a look at it with the photos below. The dimensions are Length: 5 ½ inches, Height: 1 ½ inches, Outside diameter of the bowl: 1 ¾ inches, Chamber diameter: ¾ of an inch. The weight of the pipe is36 grams/1.27 ounces. It is a beautiful pipe and one that will soon be on the rebornpipes store in the Irish Pipe Makers Section. If you want to add it to your collection let me know. Thanks for walking through the restoration with me as I worked over this pipe. Thanks to each of you who are reading this blog.
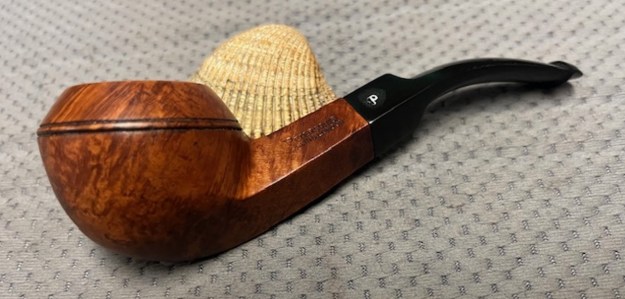


 I
I