by Kenneth Lieblich
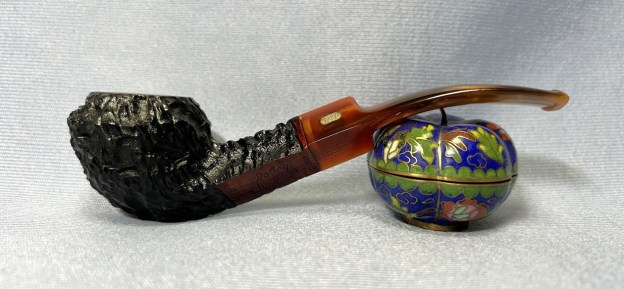
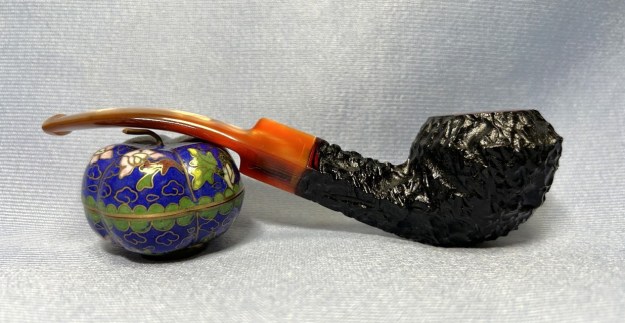
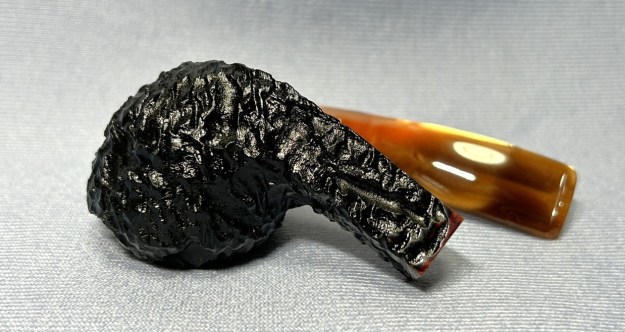
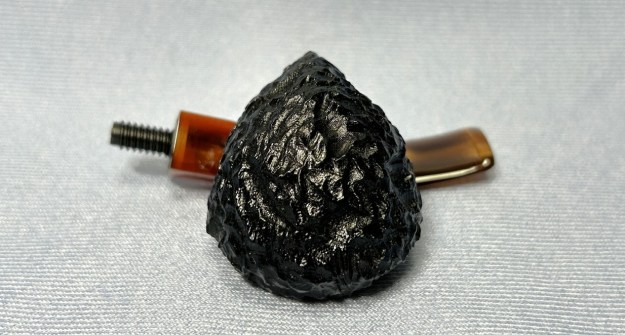
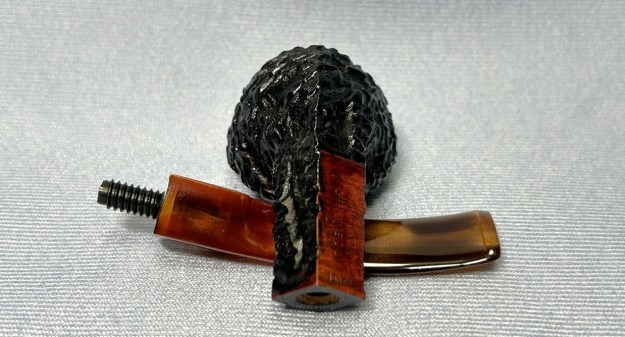
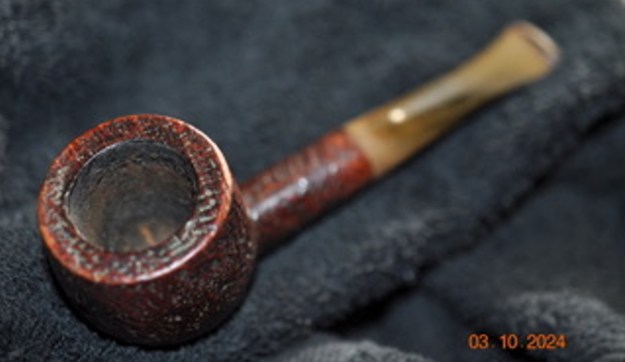
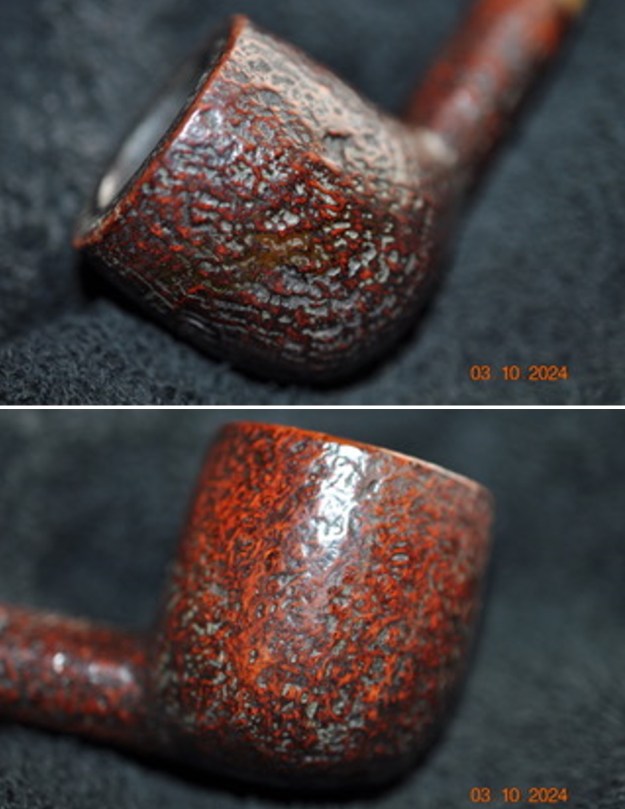
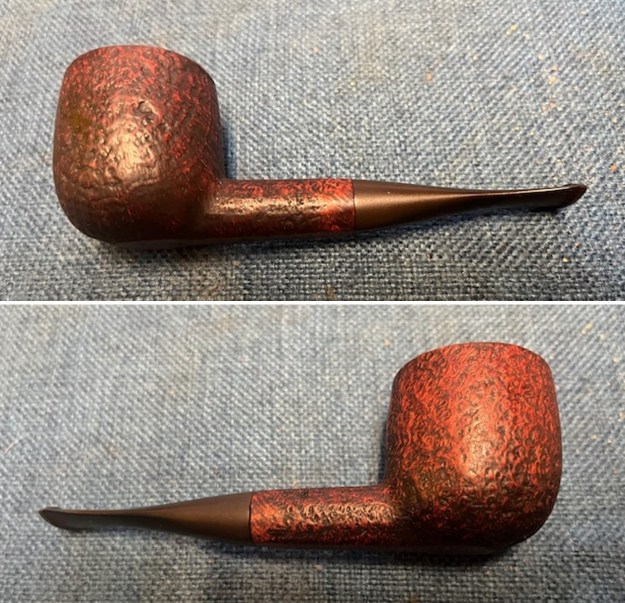
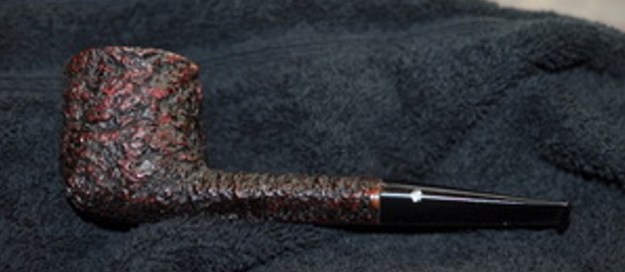
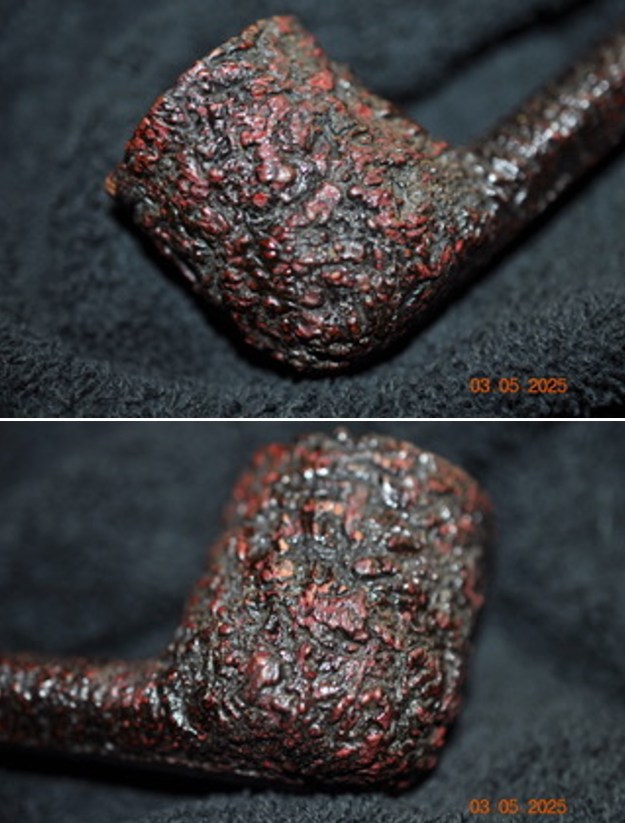
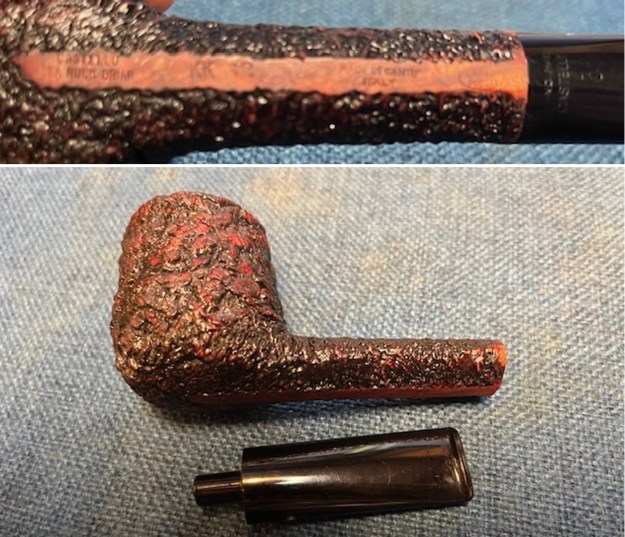
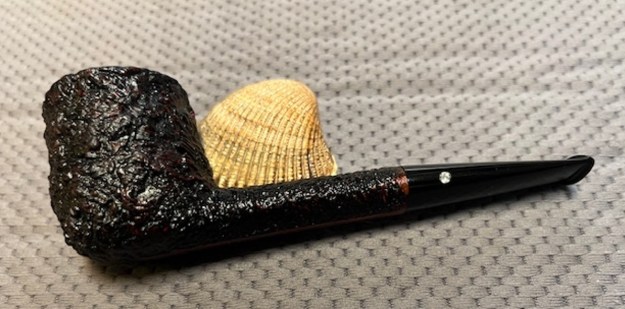
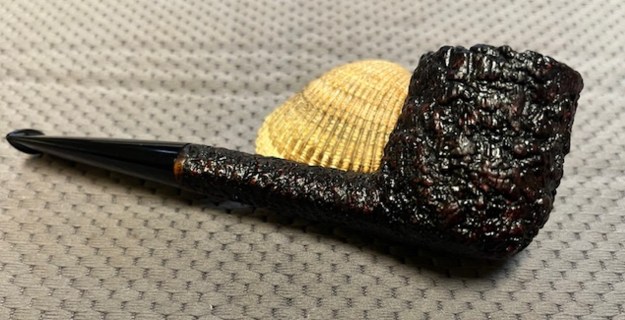
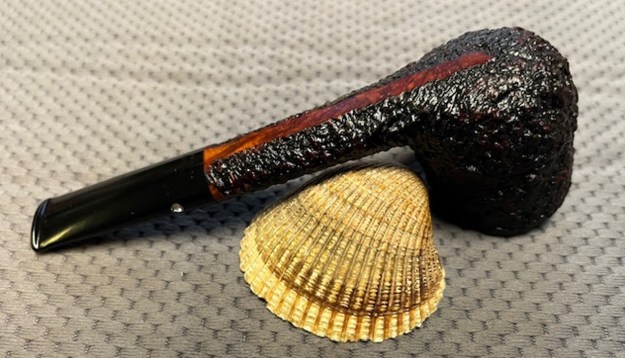
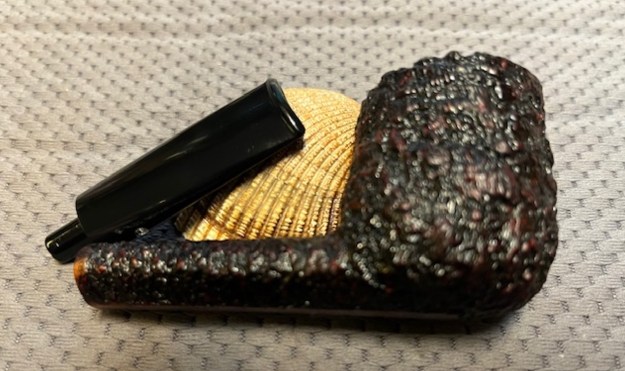
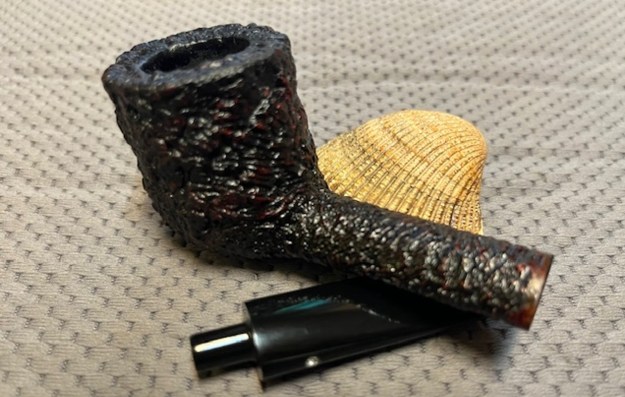
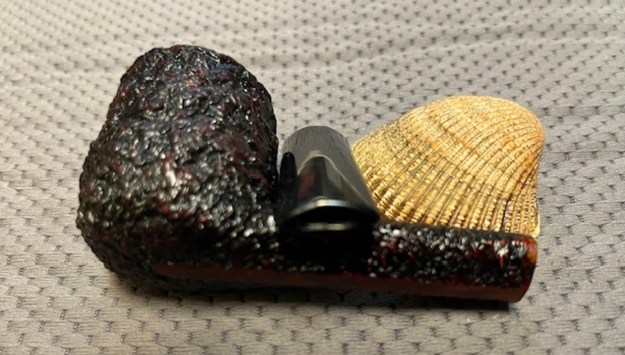
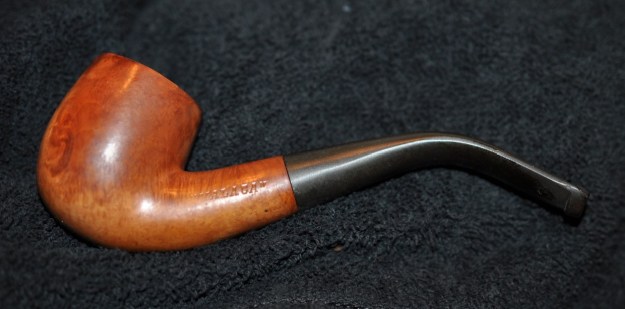
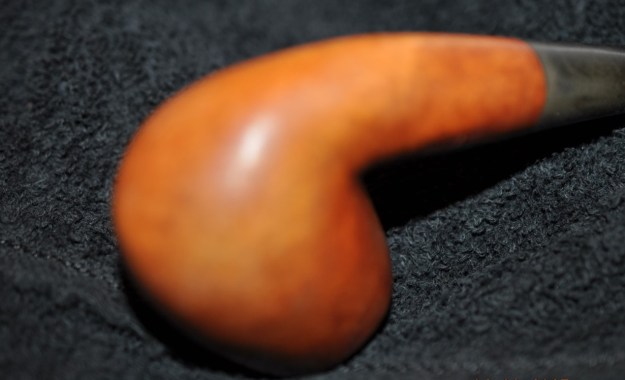
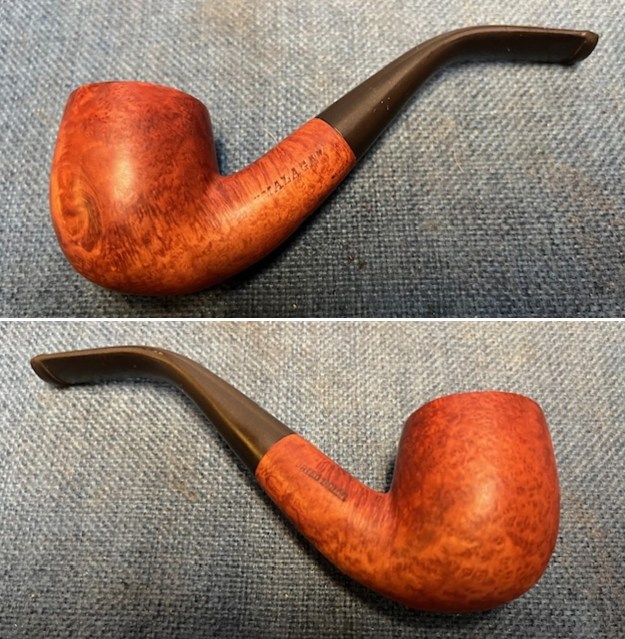
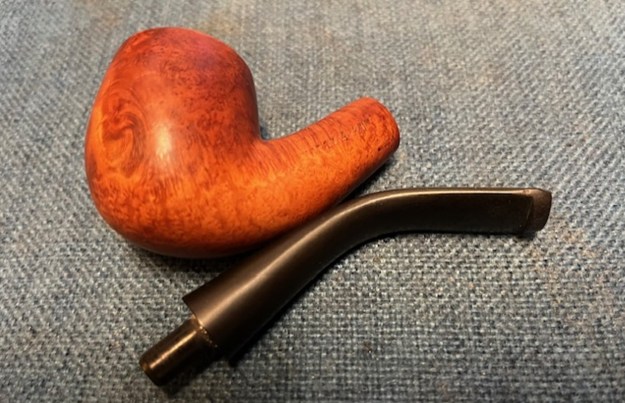
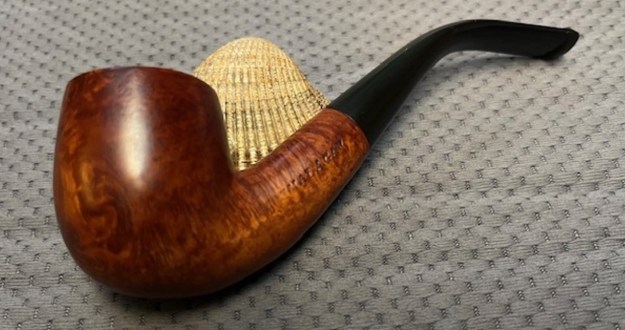
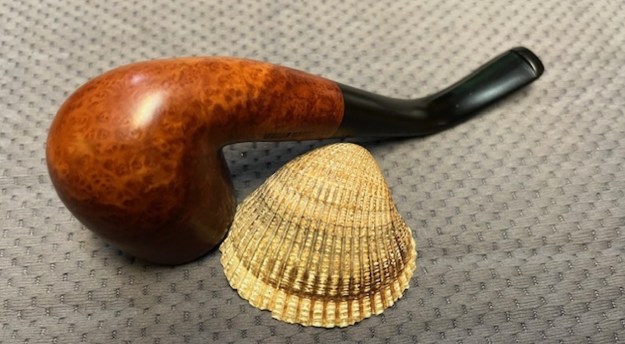
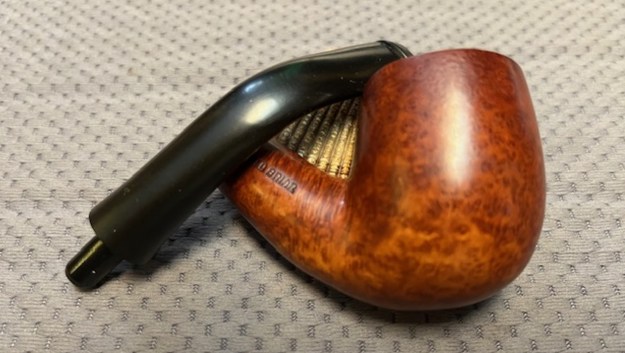
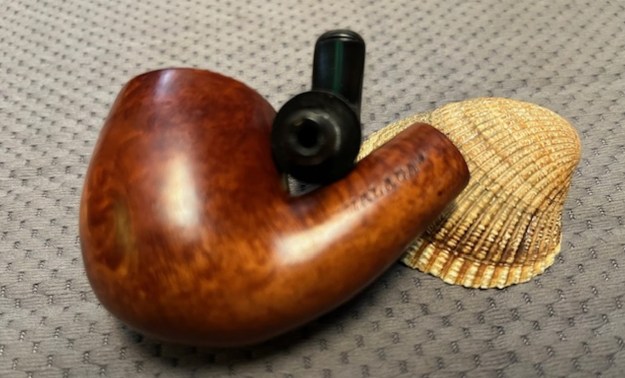
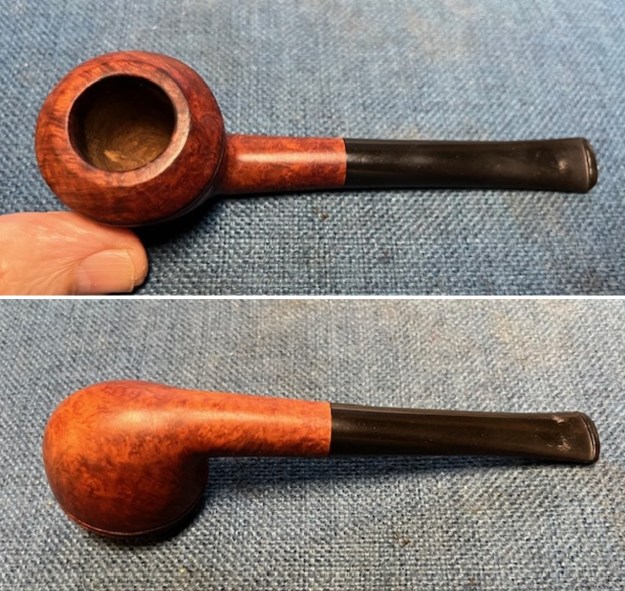
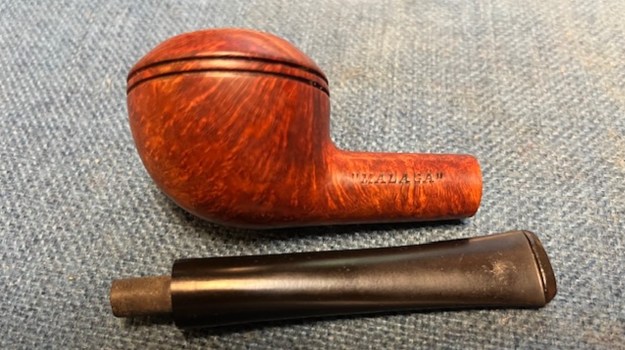
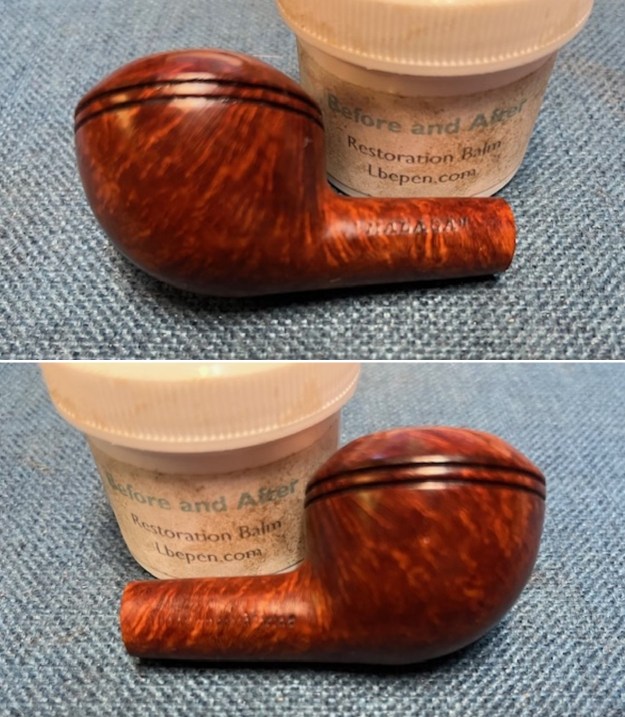
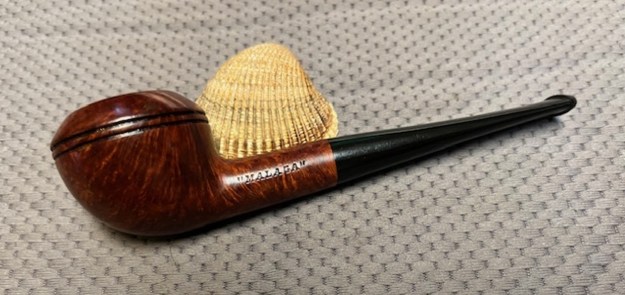
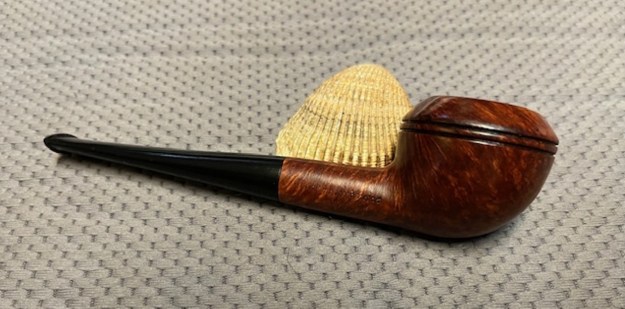
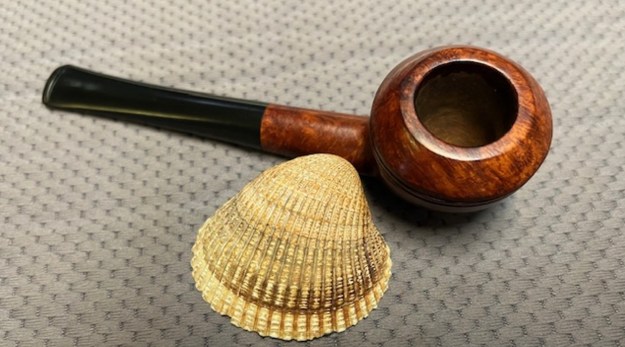
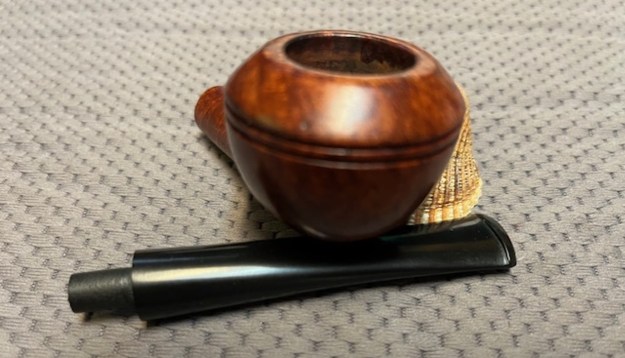
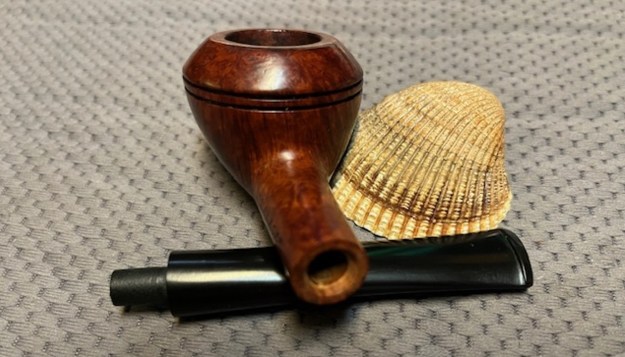
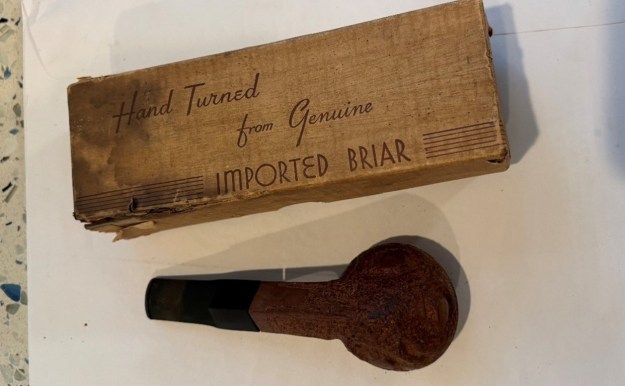
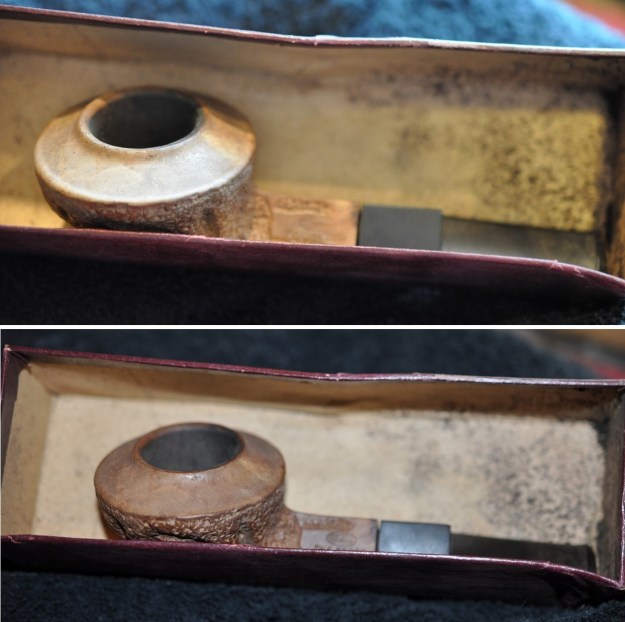
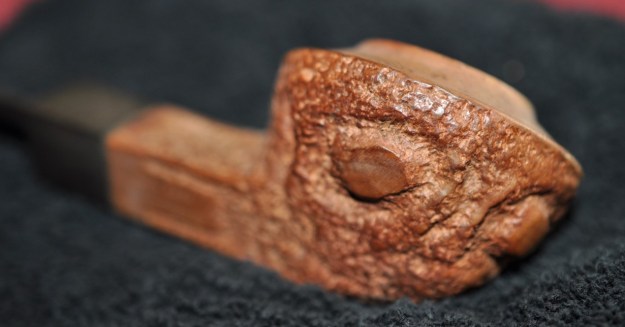
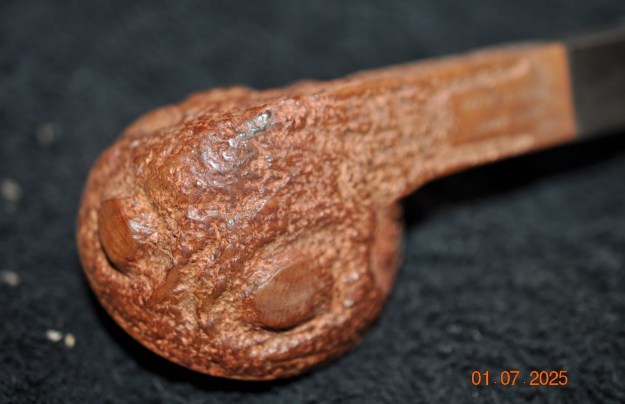
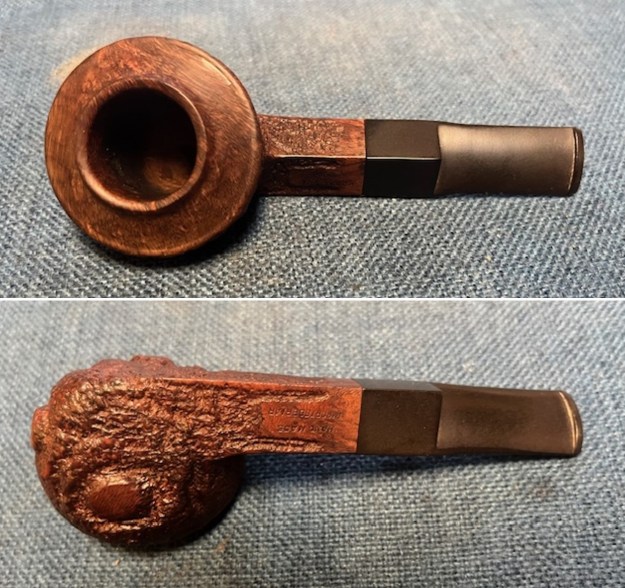
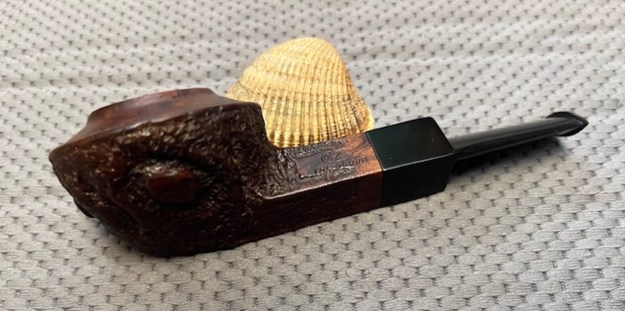
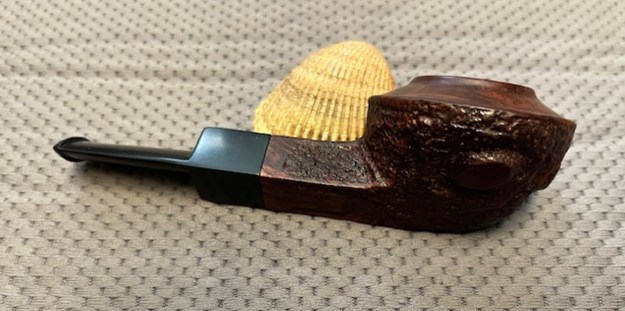
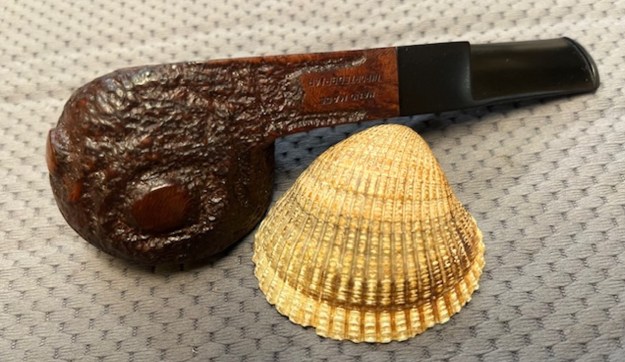
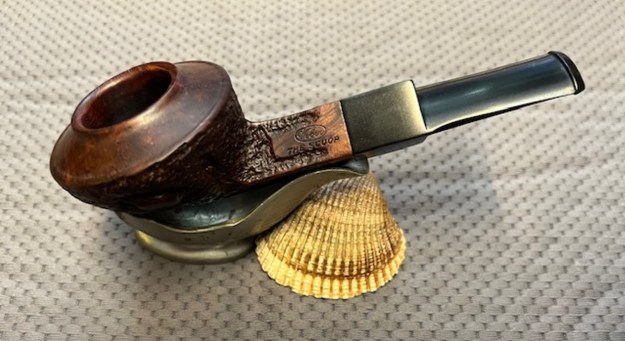
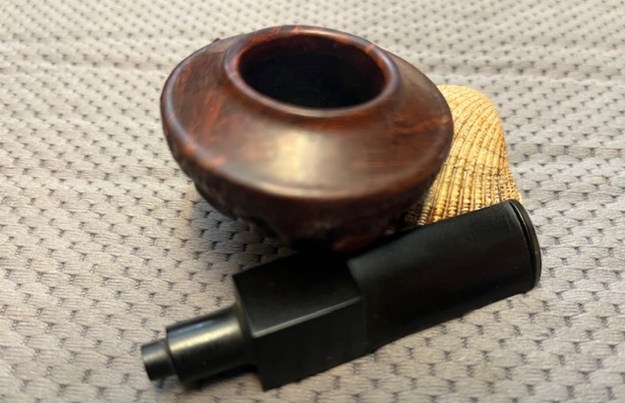
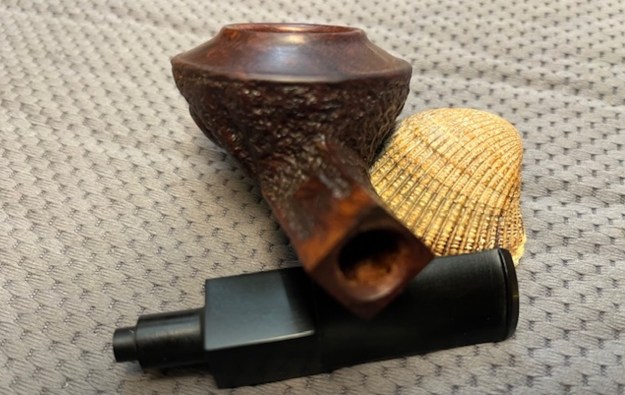
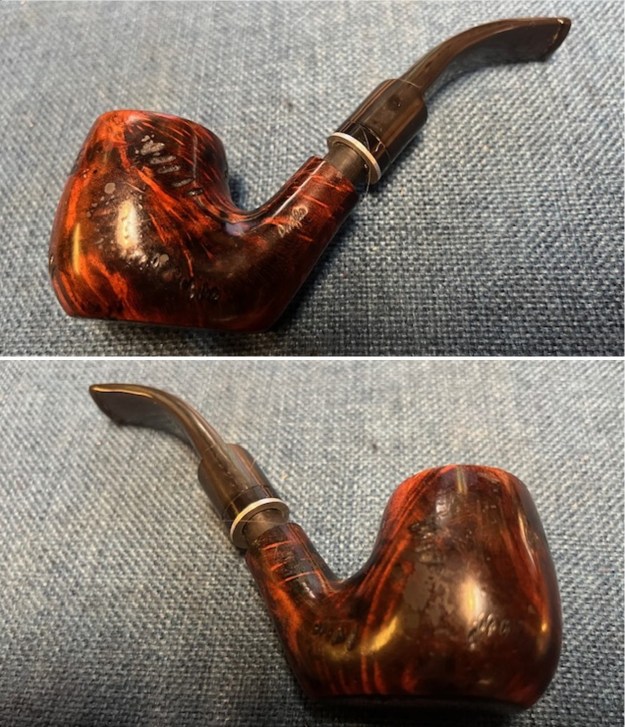
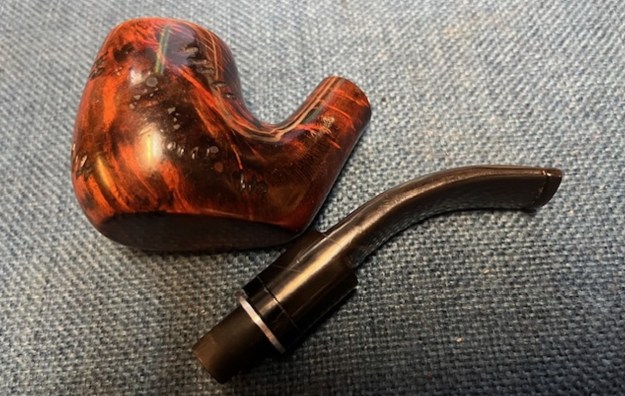
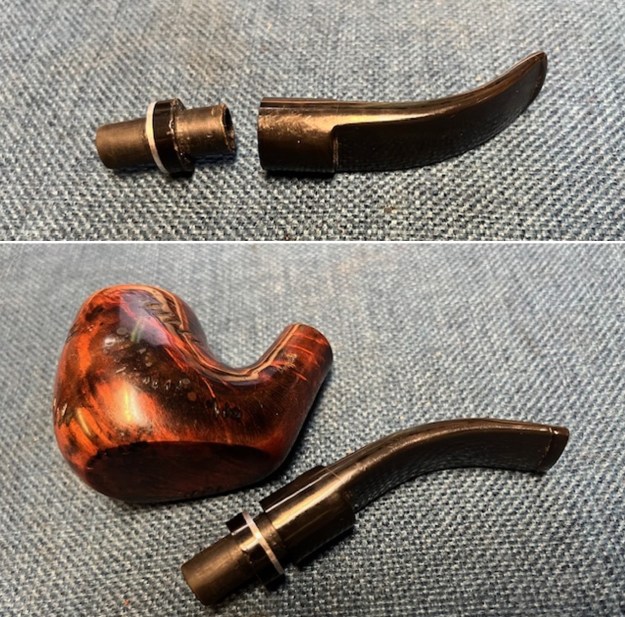
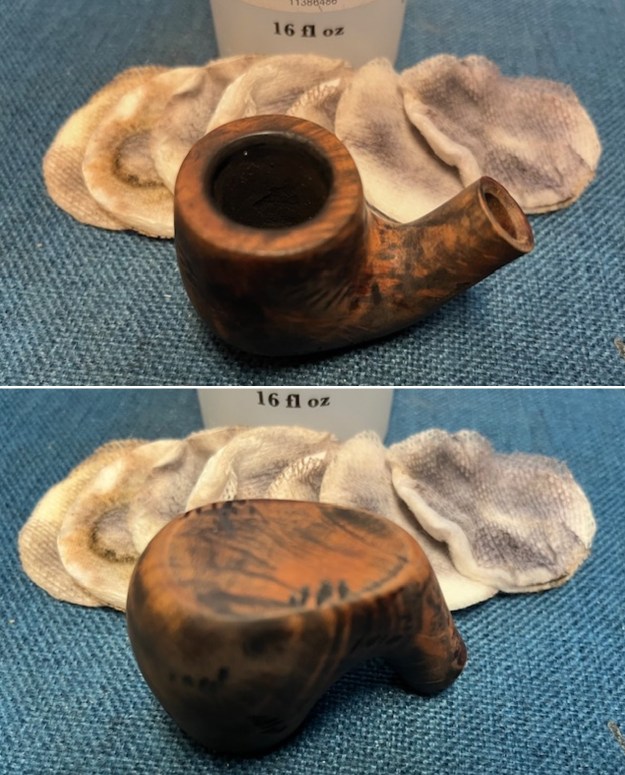
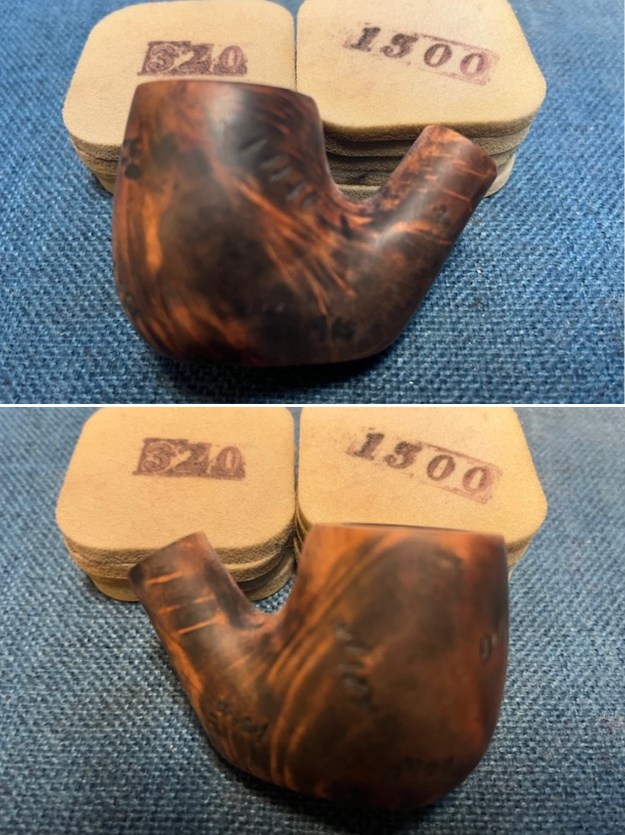
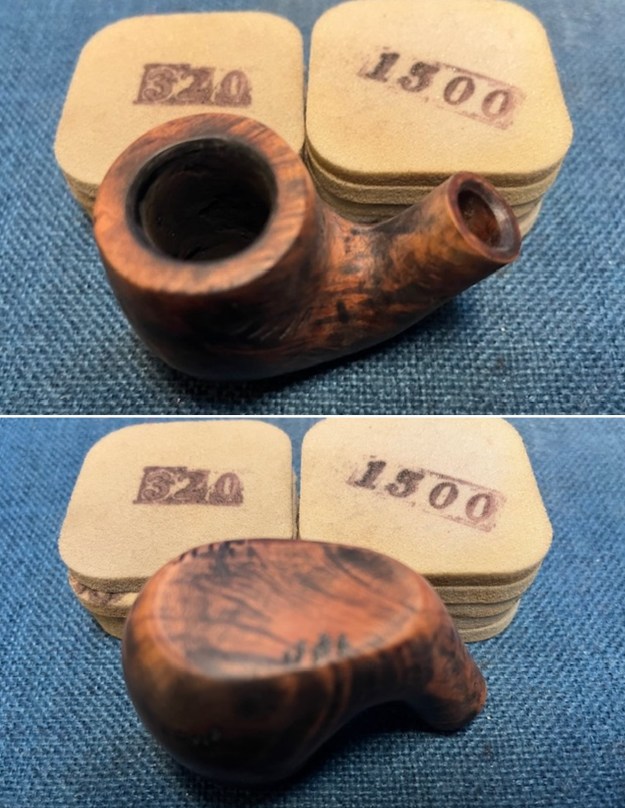
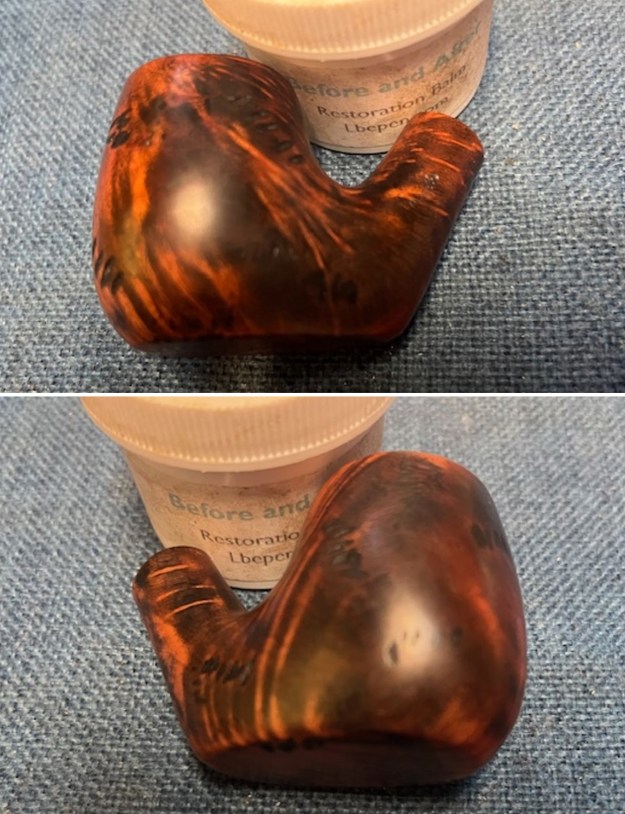
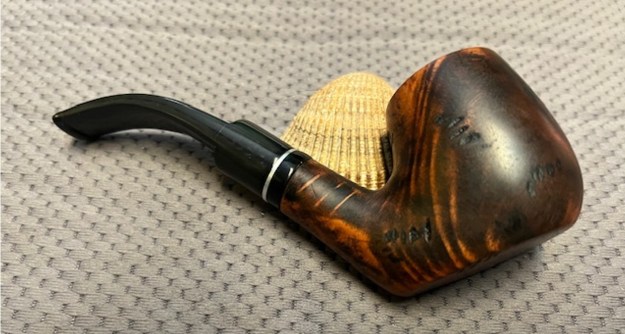
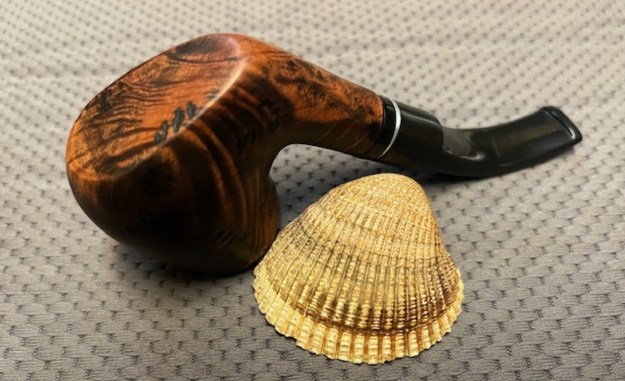
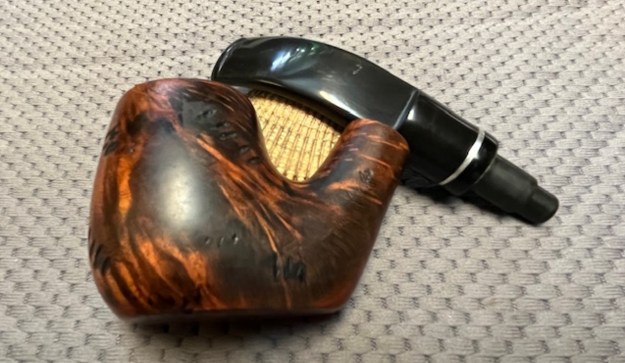
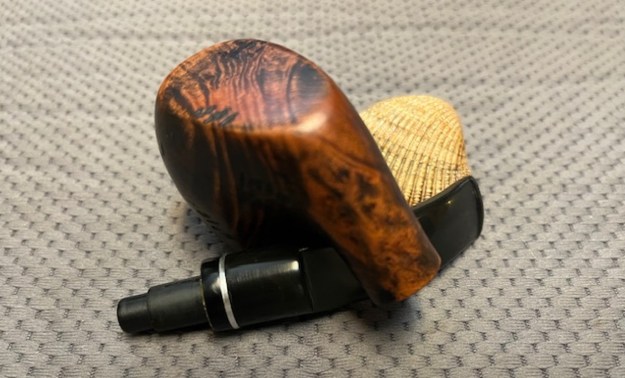
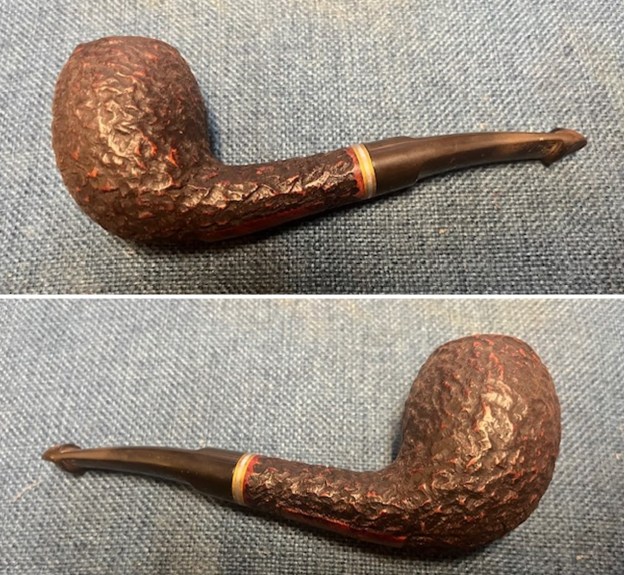
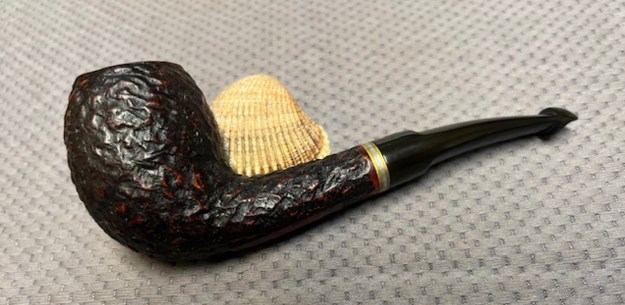
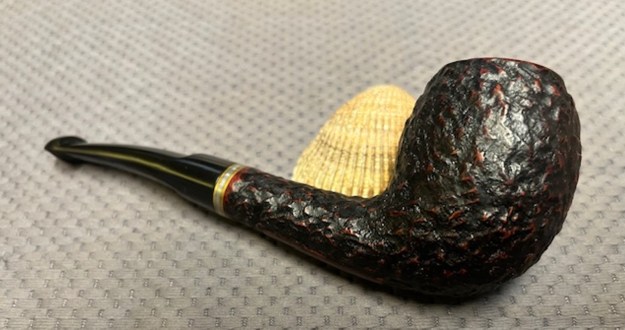
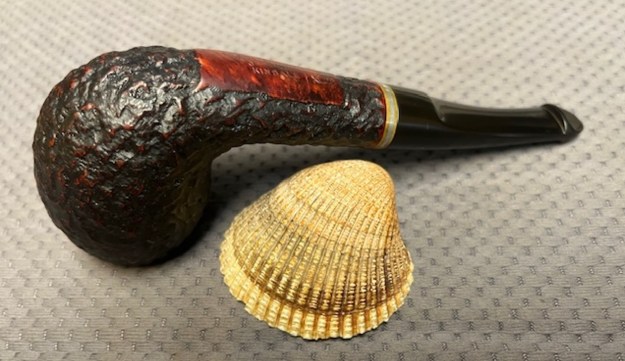
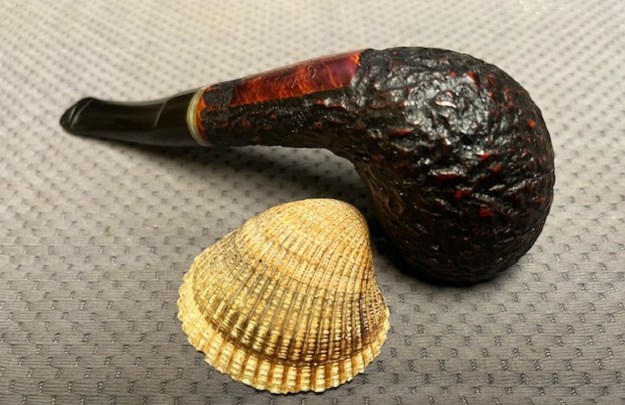
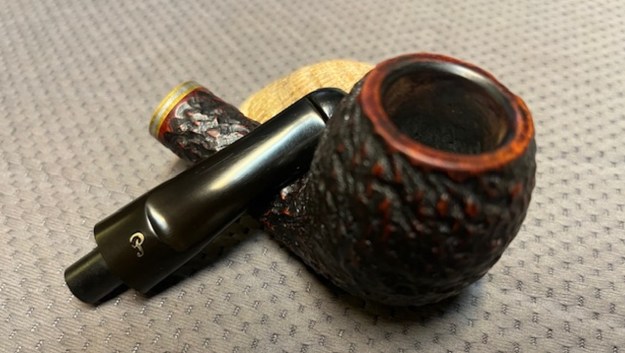
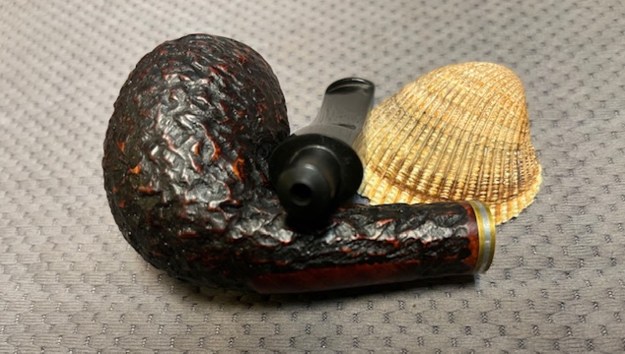
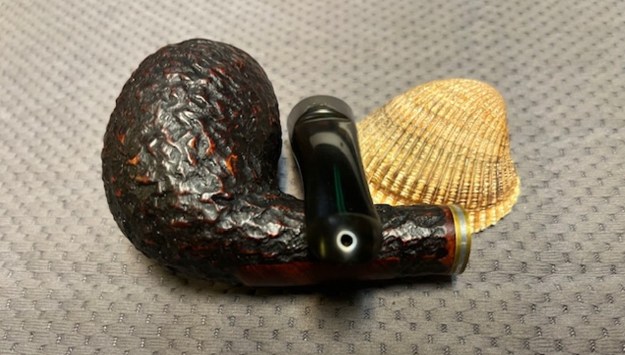
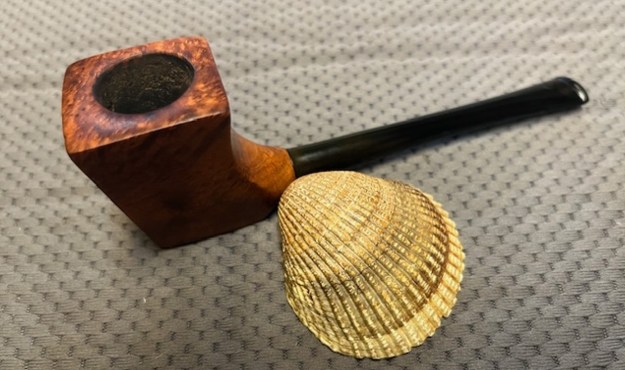
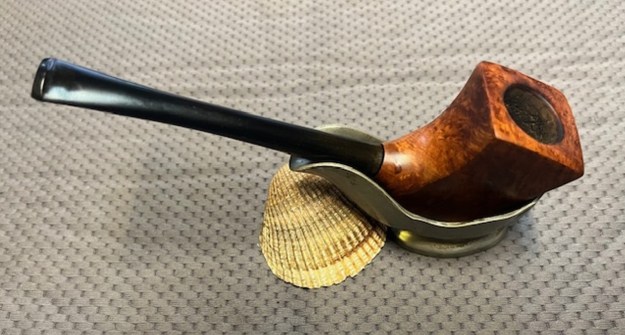
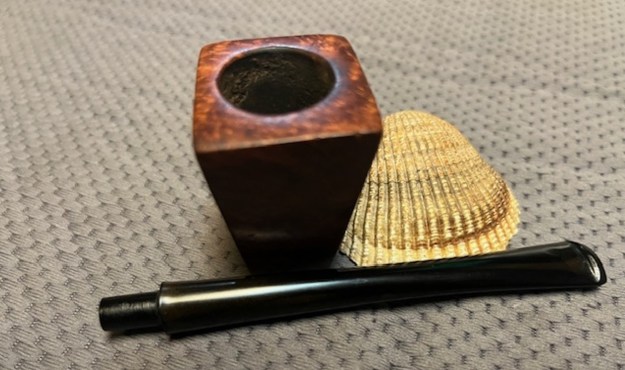
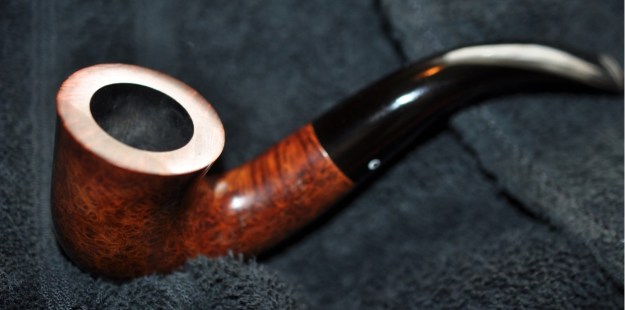
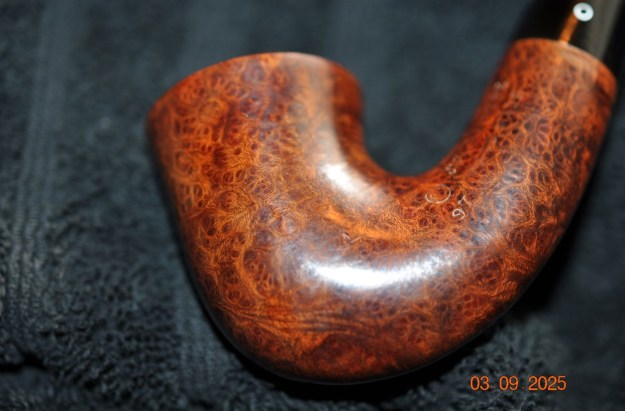
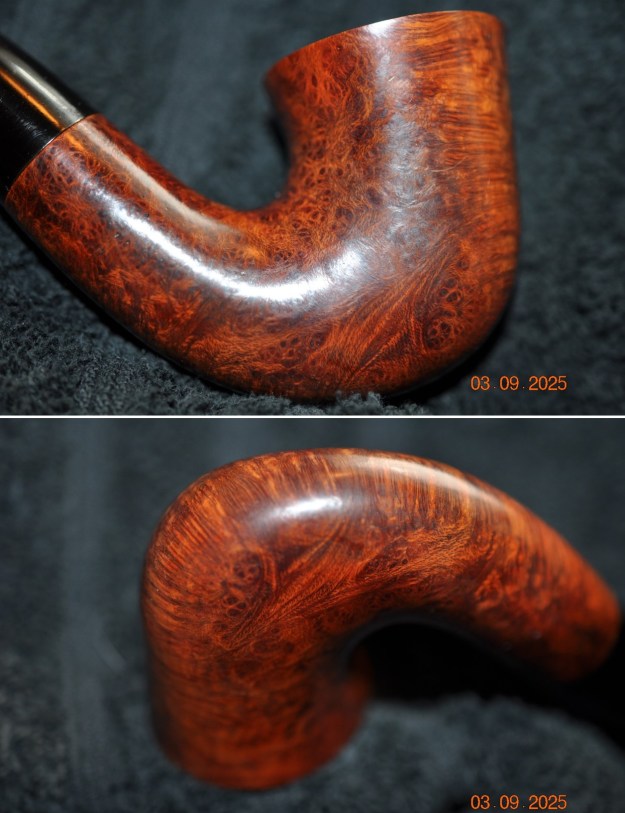
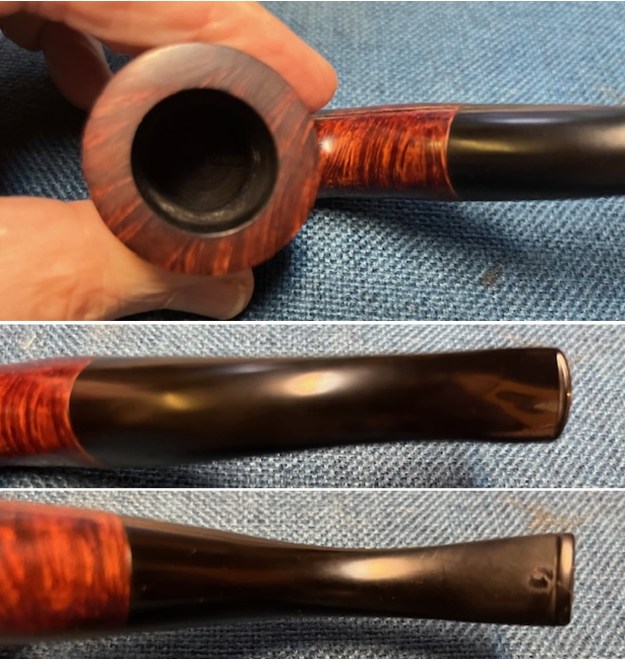
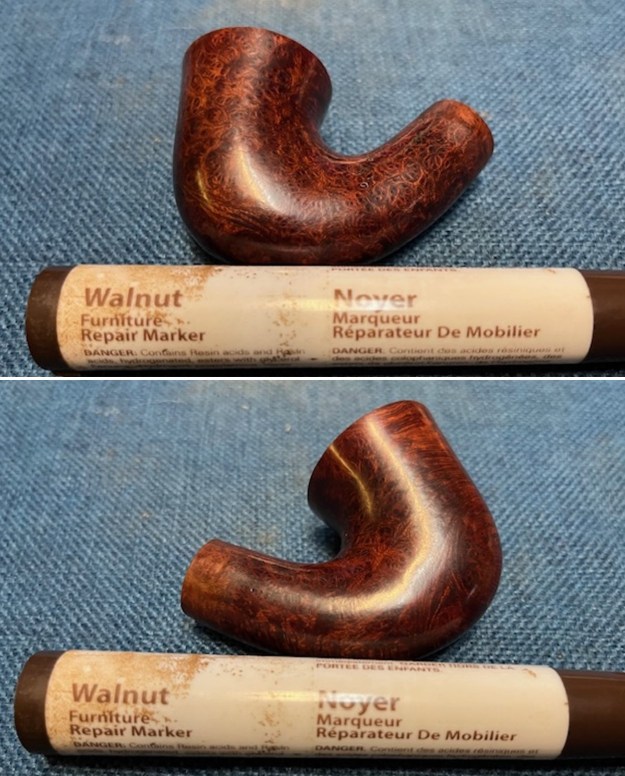
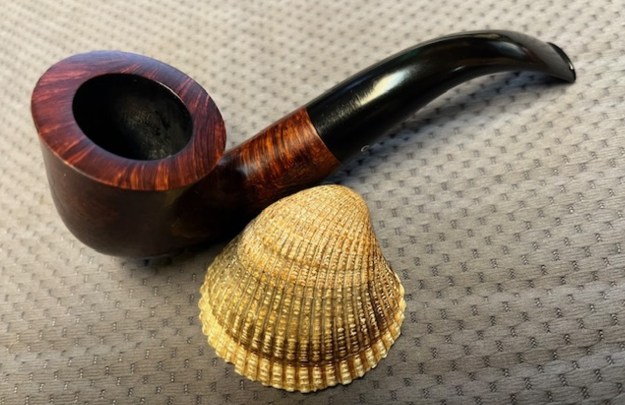
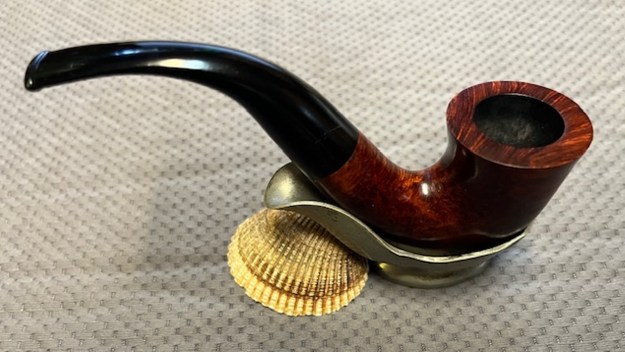
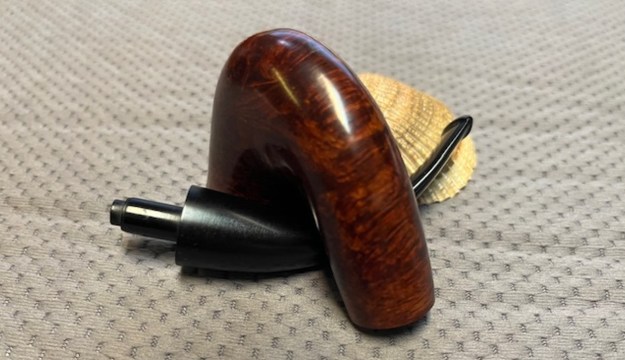
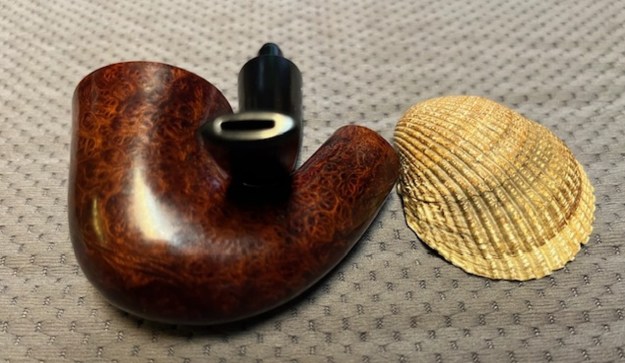
Ah, there’s something awfully satisfying about a really rugged rustication – the craggy, rock-like formation is a very fine thing. This Jobey Stromboli 200 bent bulldog has that great rustication in spades. The pipe had a precise diamond shank and a beautiful acrylic stem with a Jobey link system screw tenon. I acquired this pipe in a lot, where most of the pipes had been very well cared for. This was no exception and looked like a fun pipe to restore.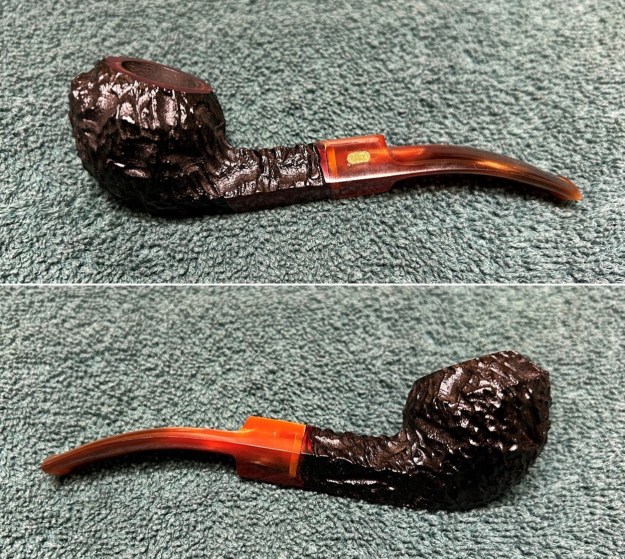
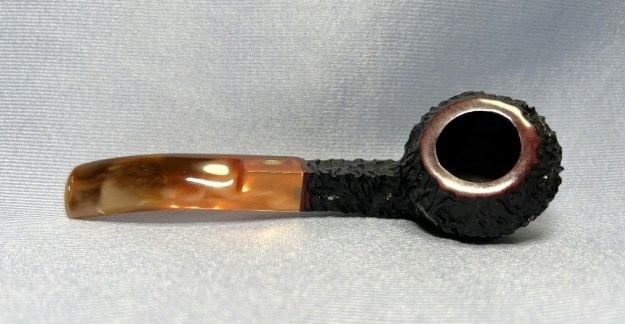
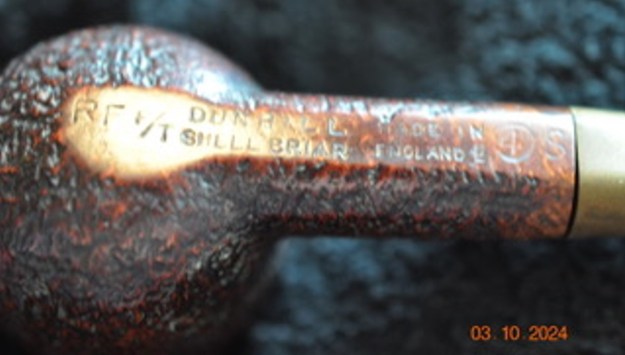
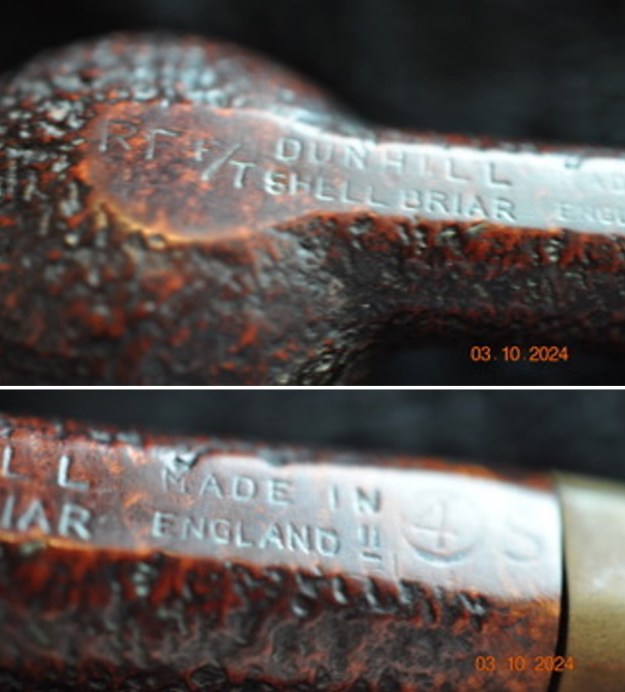
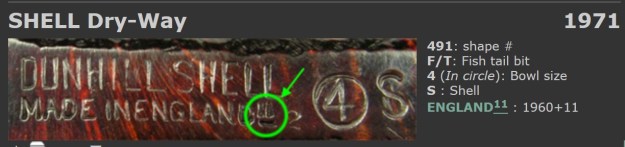
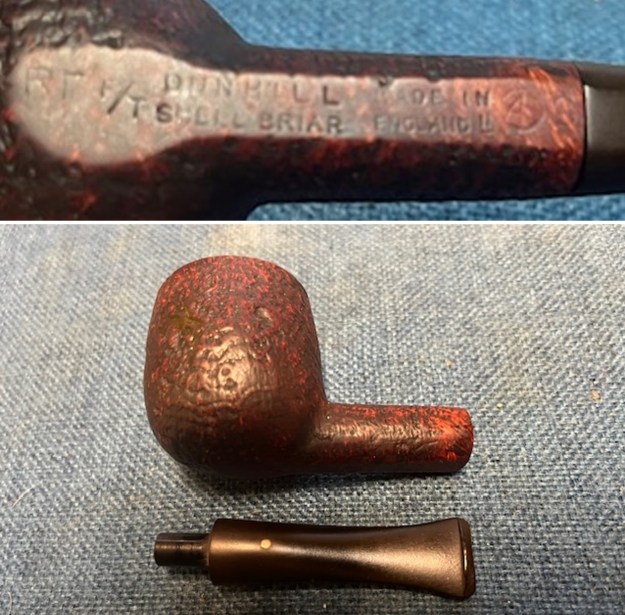
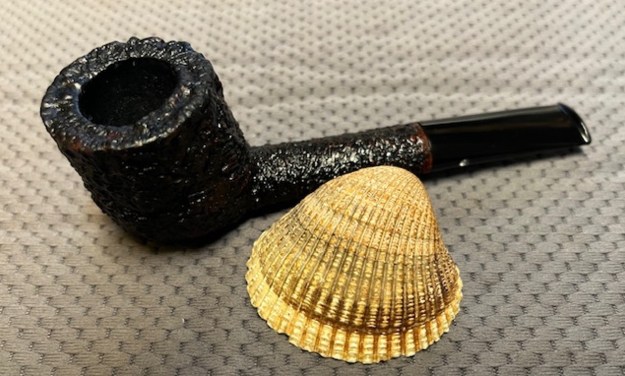
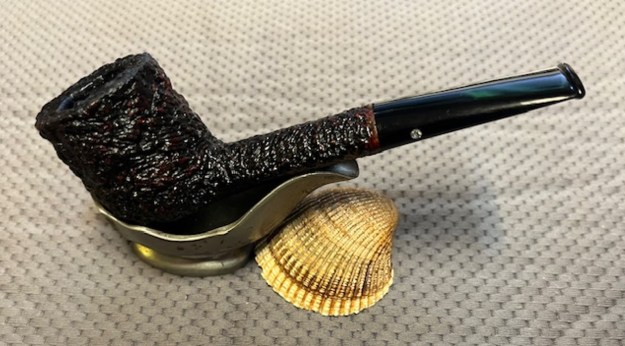
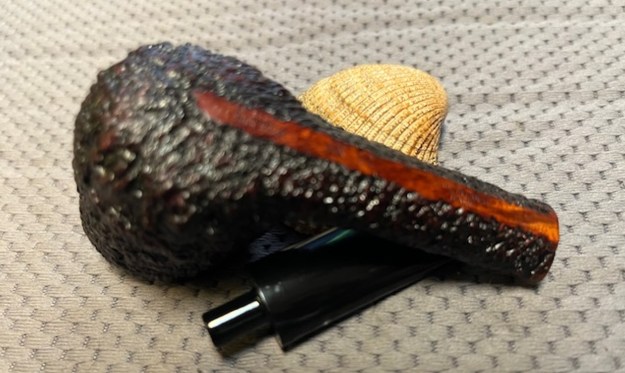
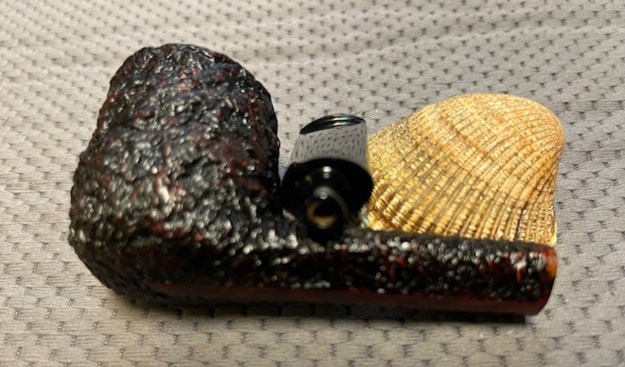
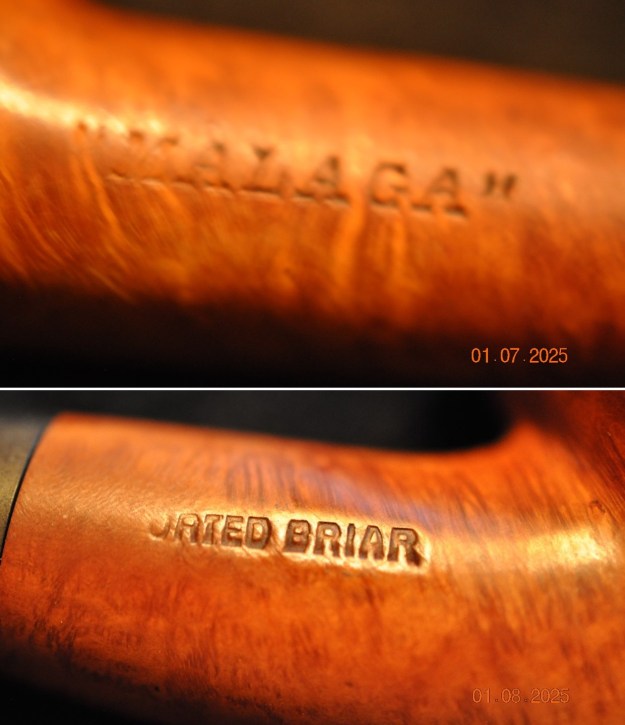
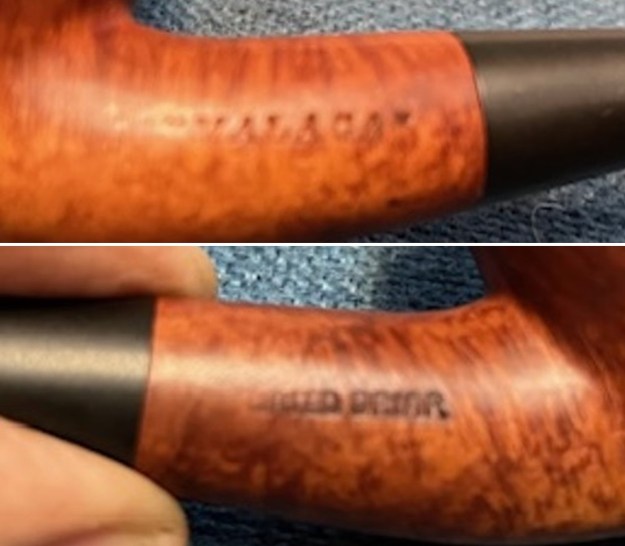
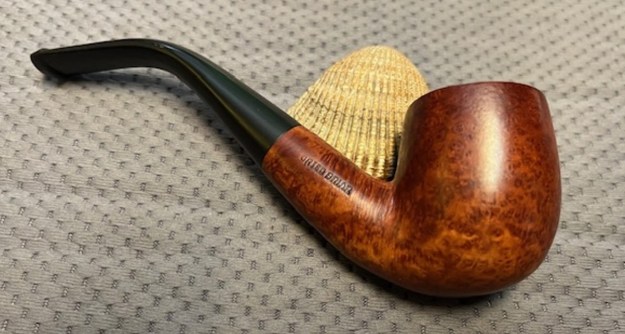
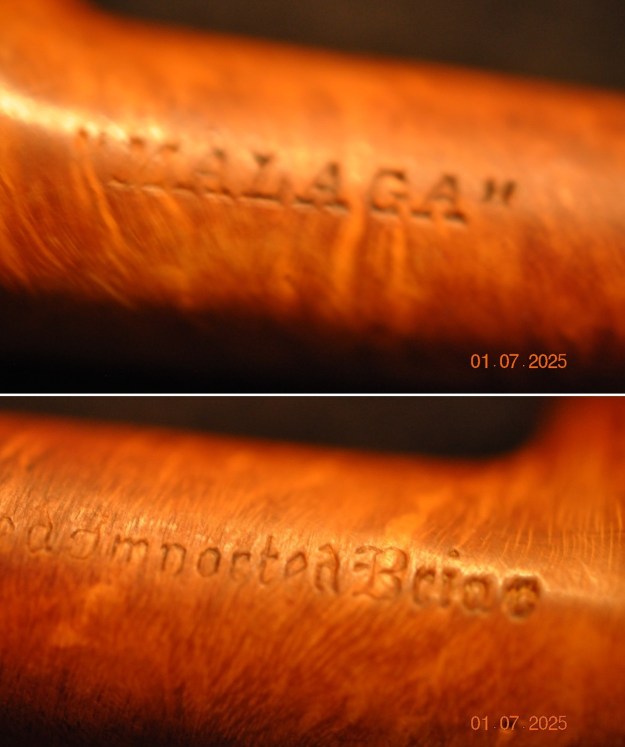
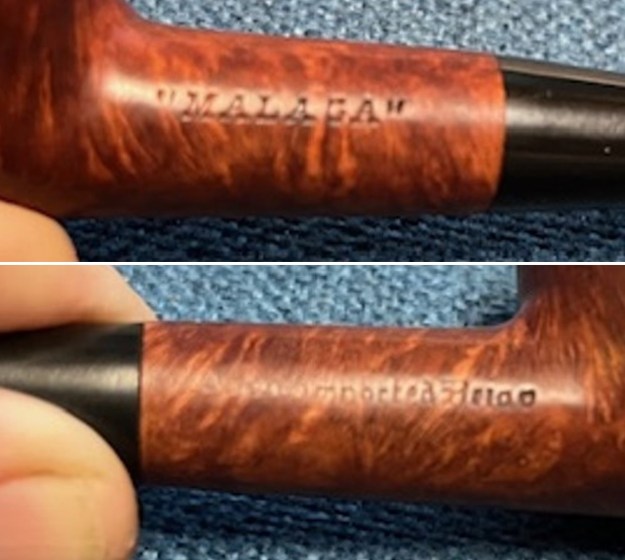
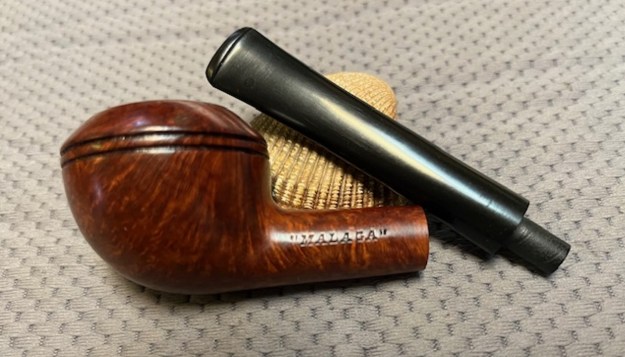
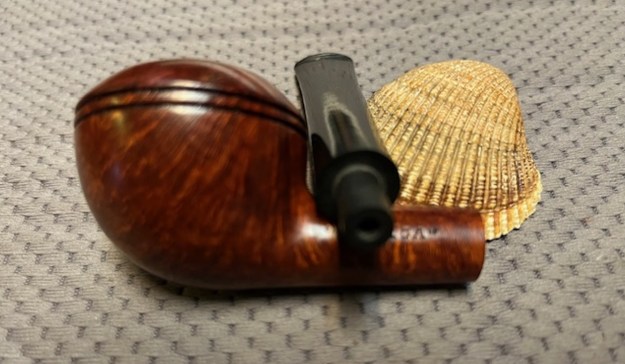
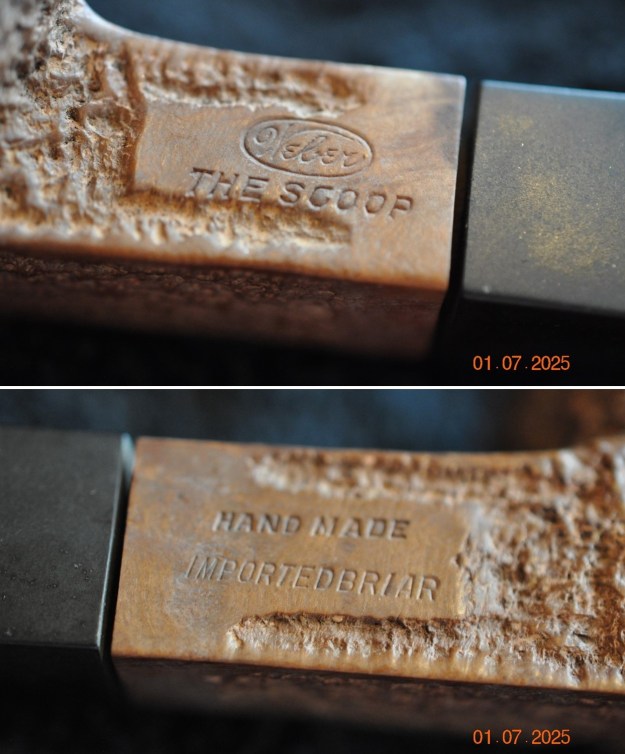
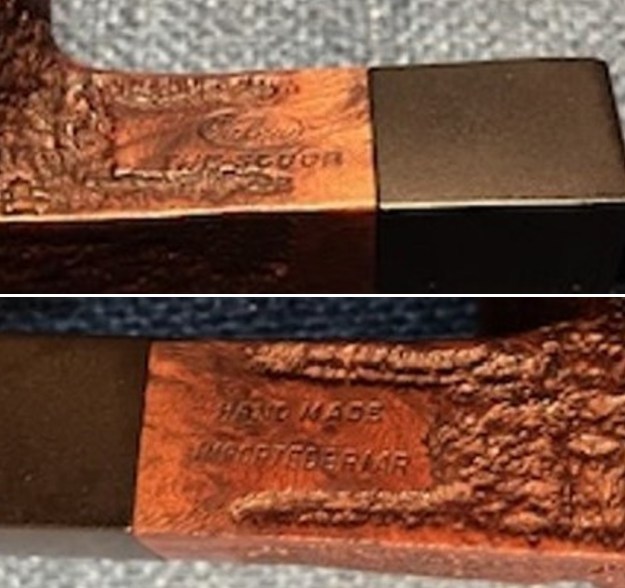
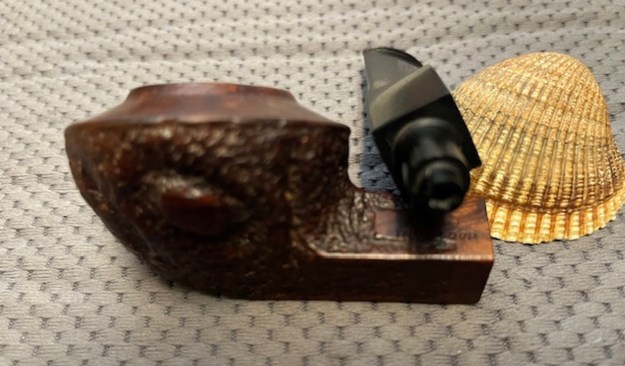
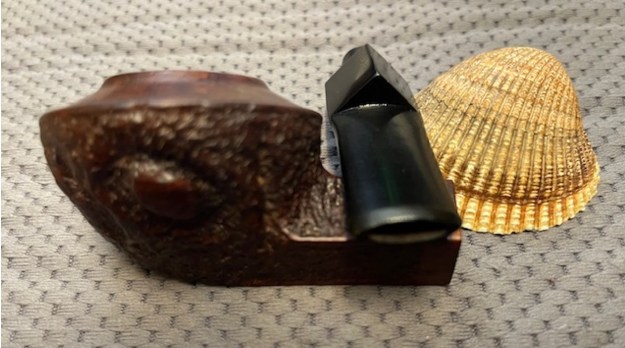
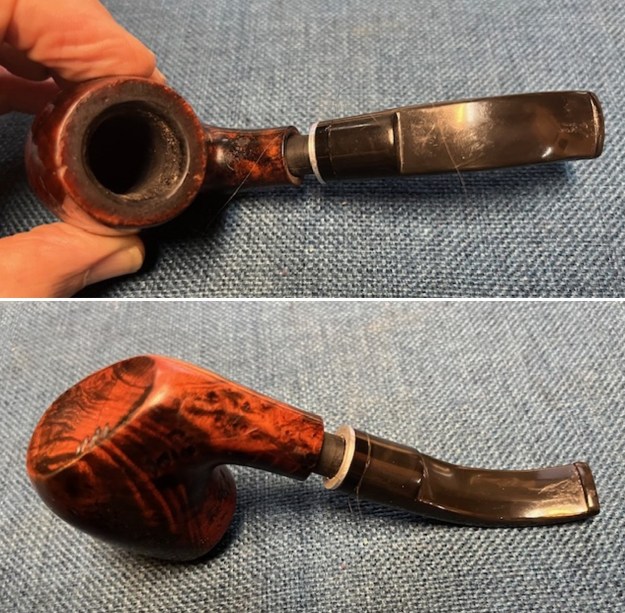
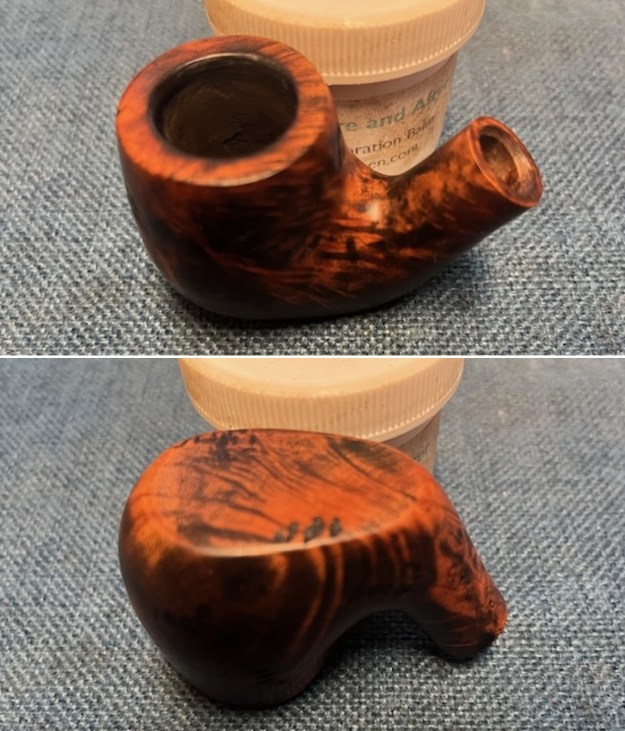
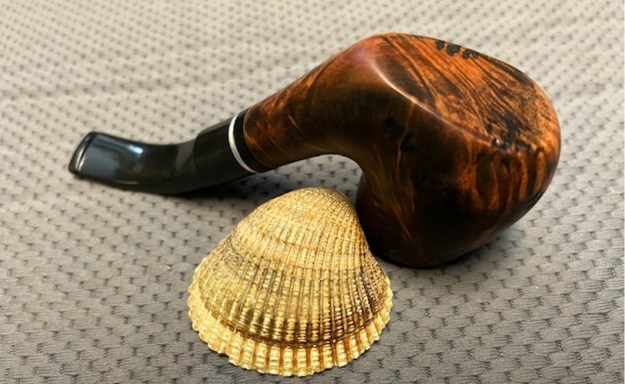
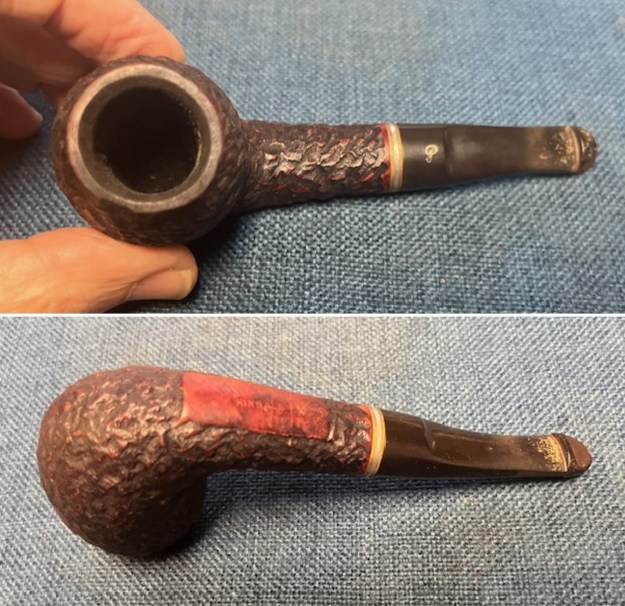
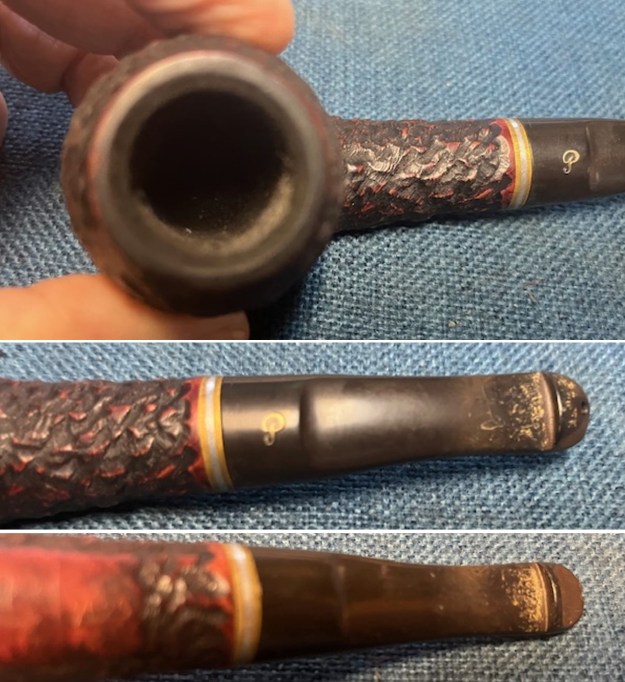
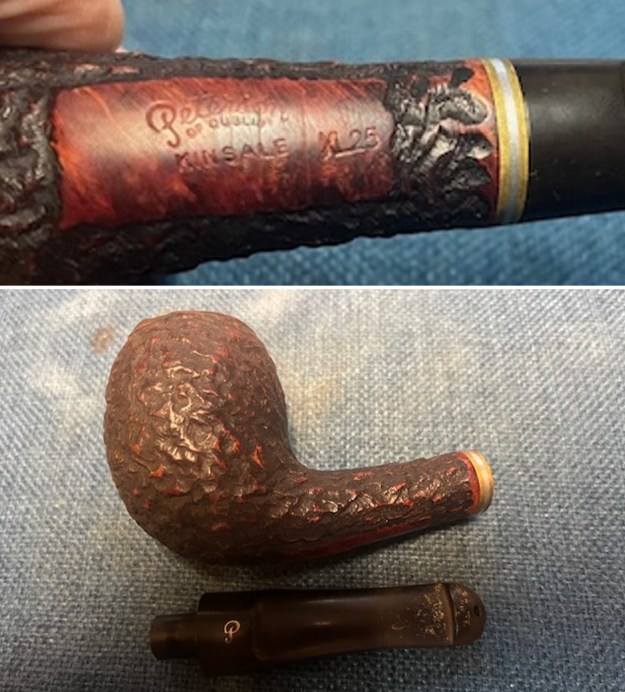
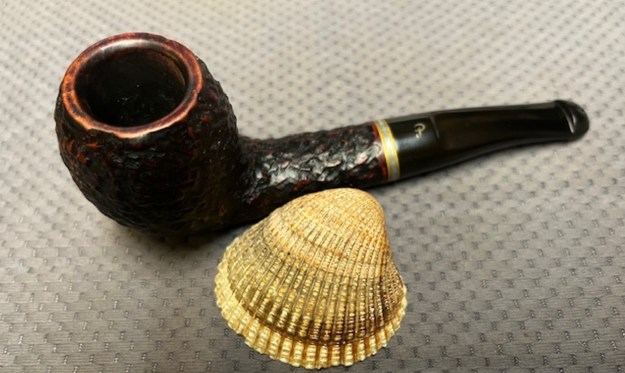
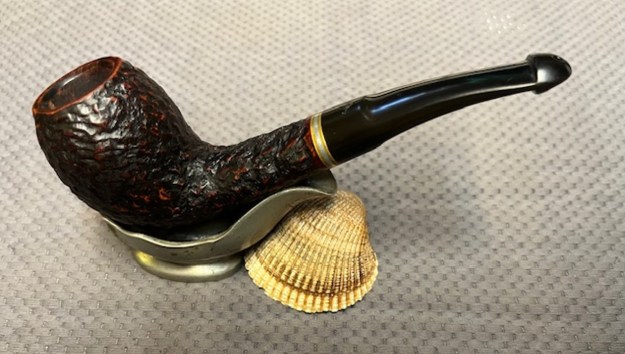
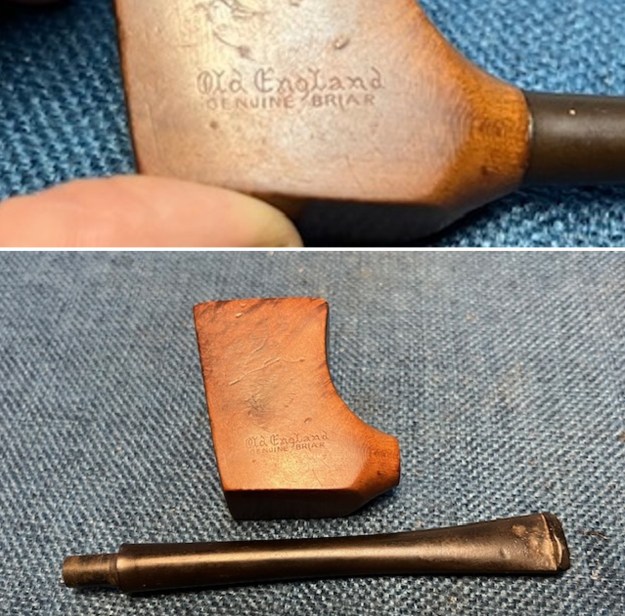
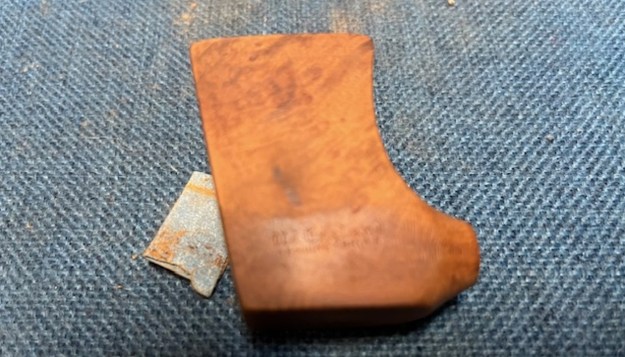
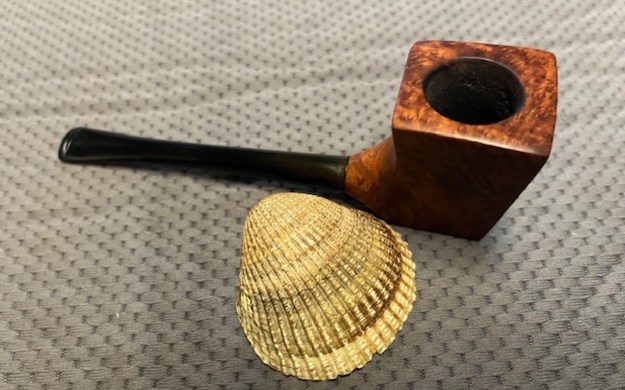
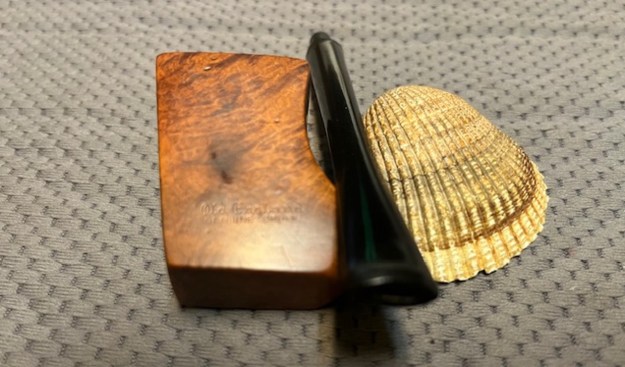
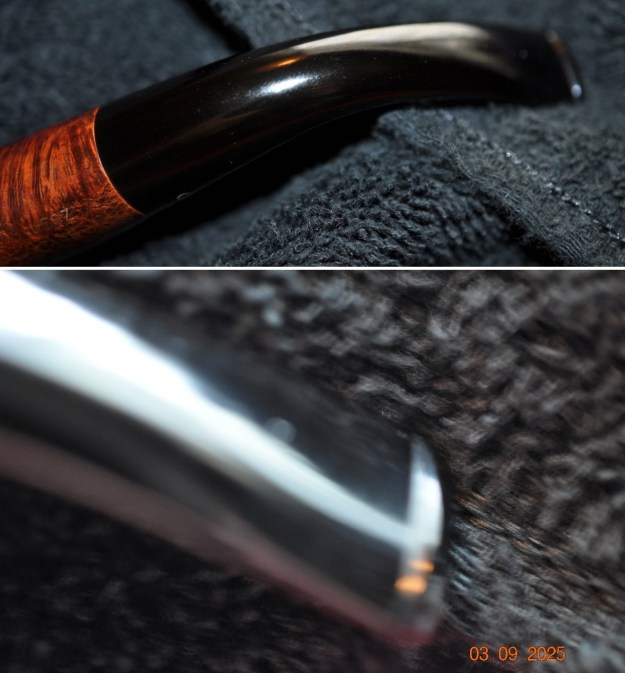
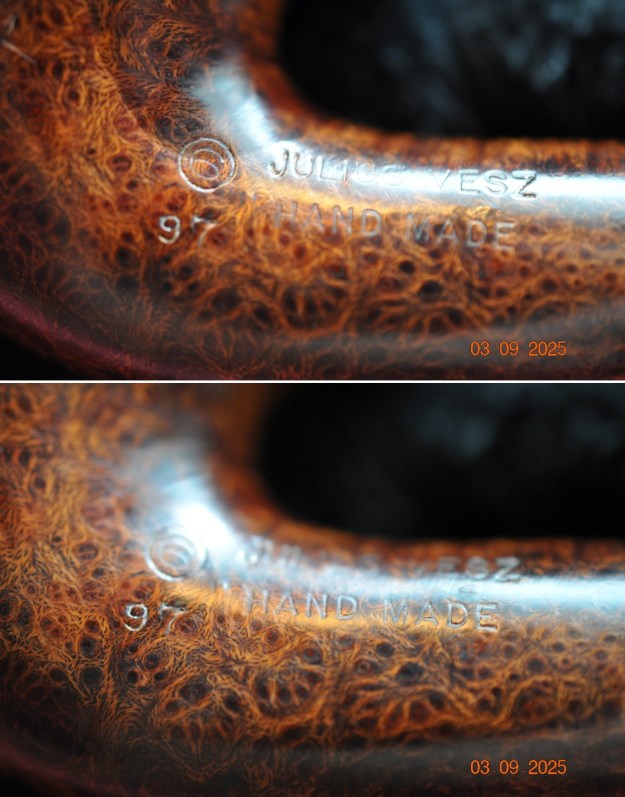
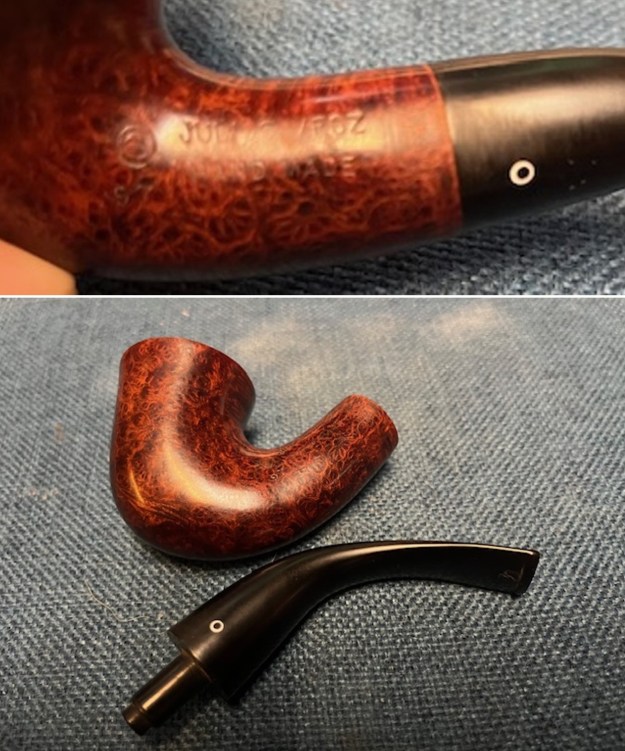
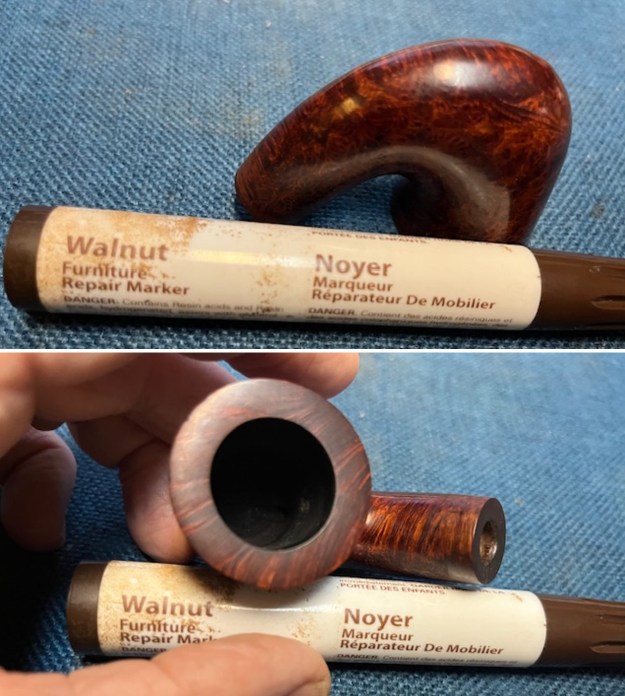
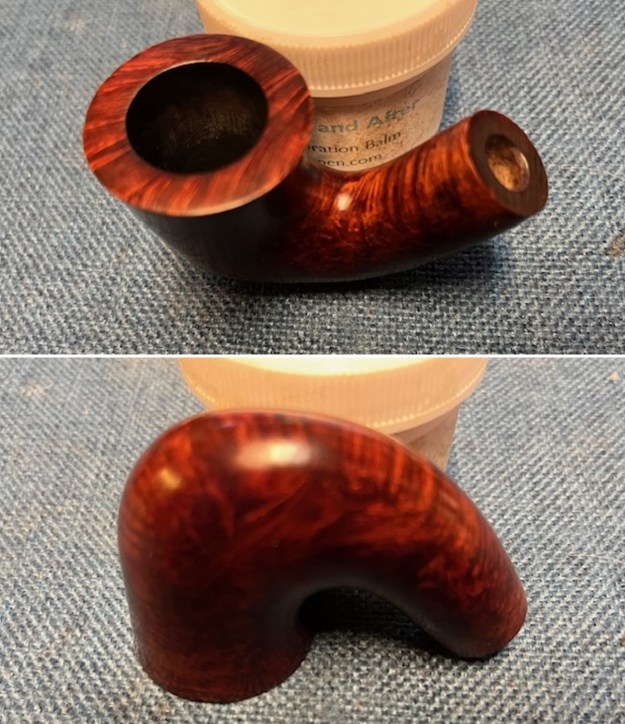
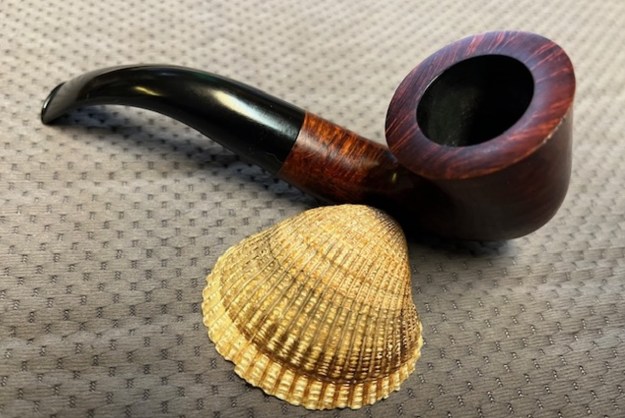
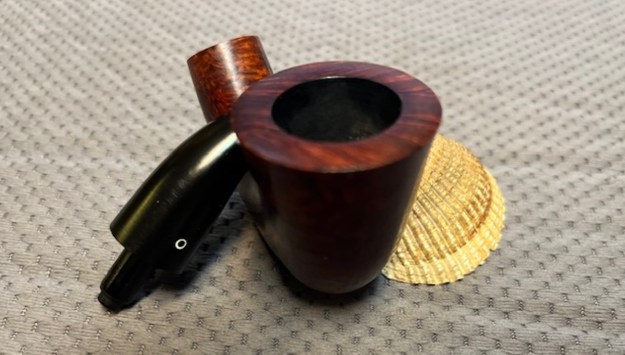
 On the underside of the shank were the markings. They read Jobey [over] Stromboli [over] 200. To the right of that, at a 90-degree angle from the other text, was the word France. Finally, on the stem was the Jobey logo in a brass oval. Regarding Jobey, Pipephil tells us that “These pipes are made in St Claude (France) by Butz-Choquin (Berrod-Regad group) since 1987. Before this date some were manufactured in England and Denmark (Jobey Dansk).”
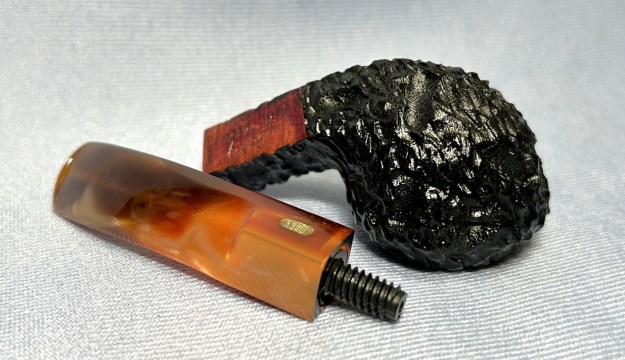
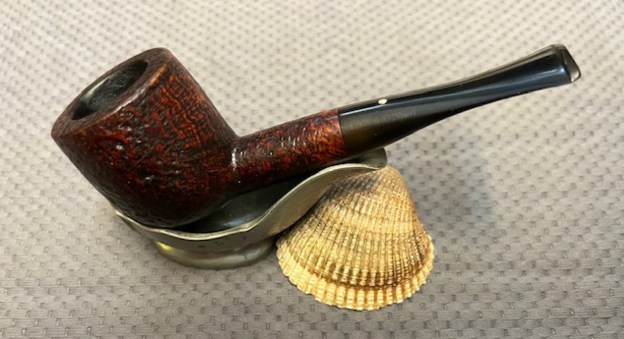
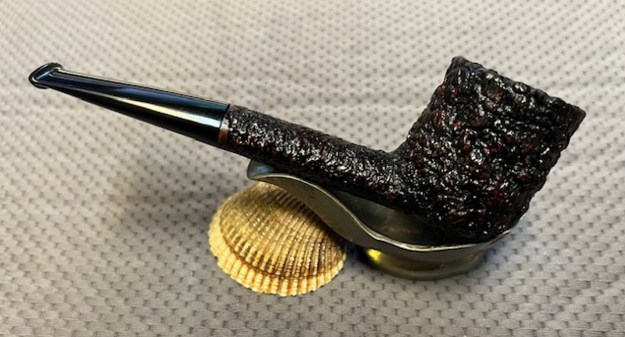
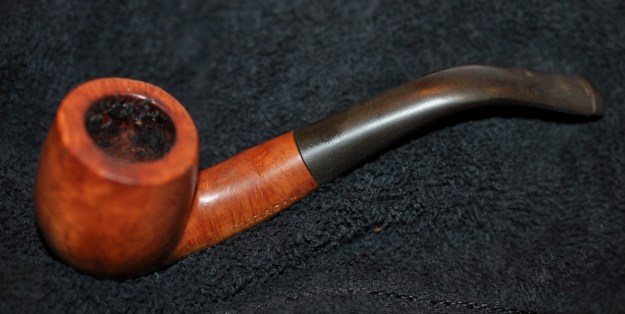
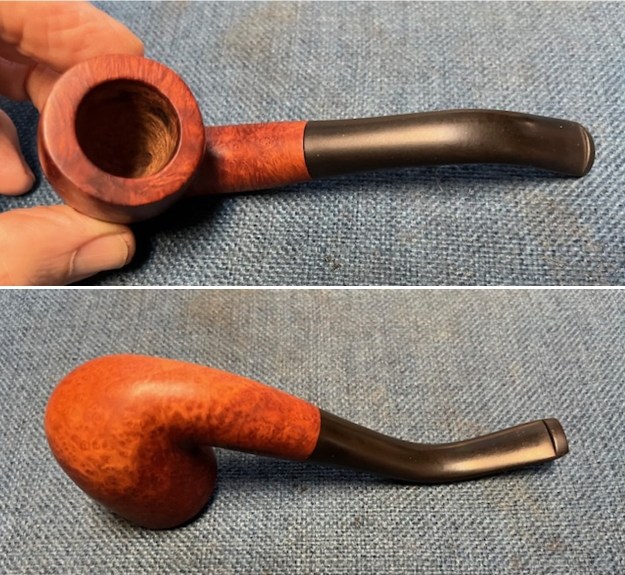
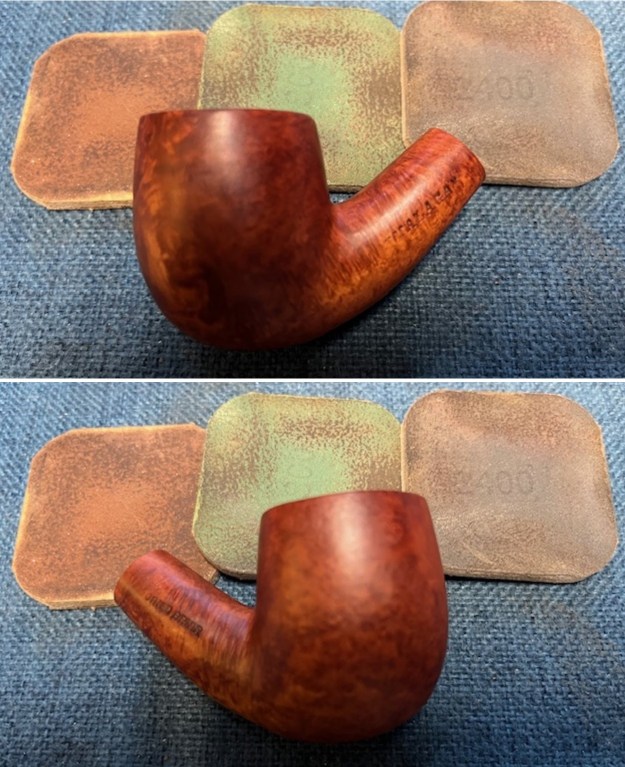
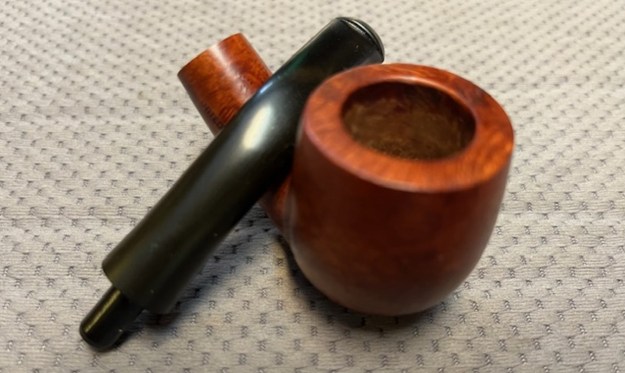
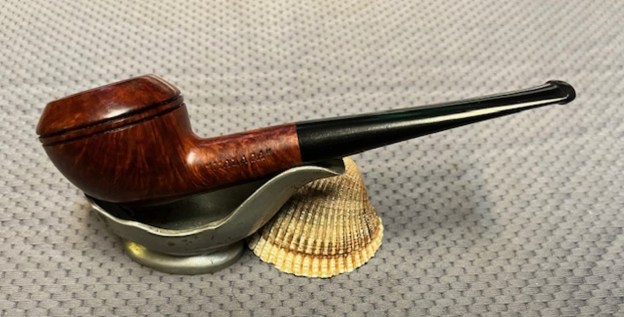
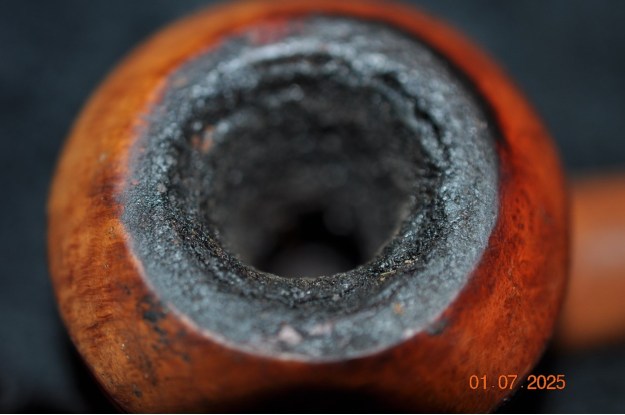
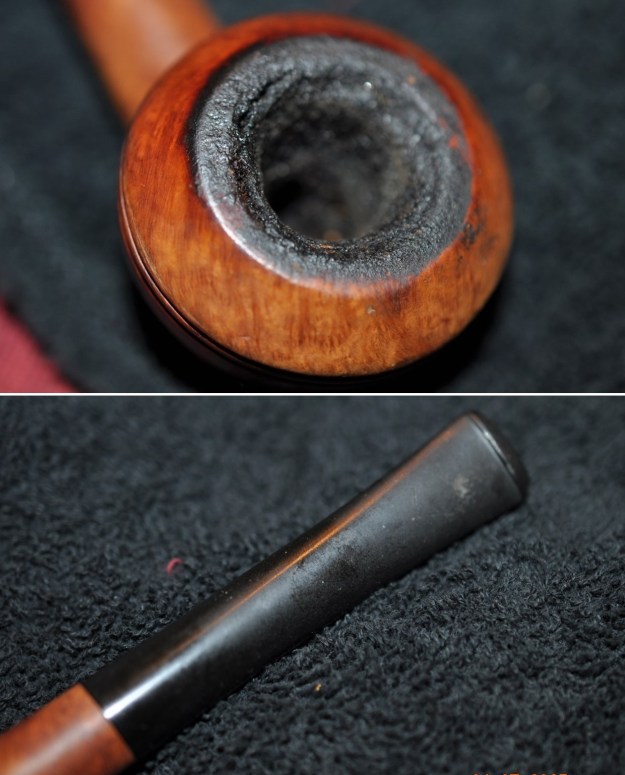
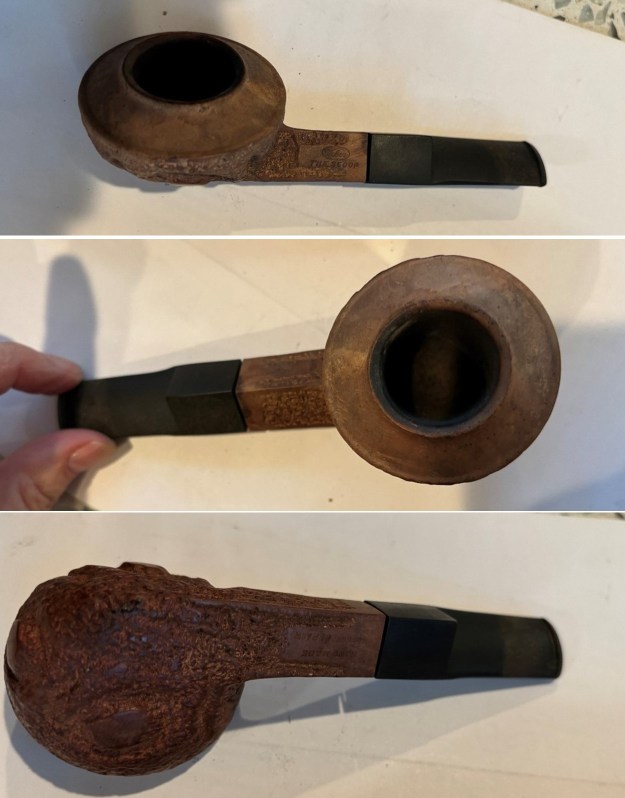
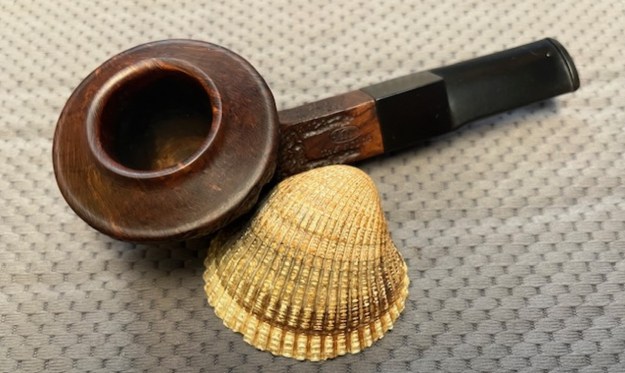
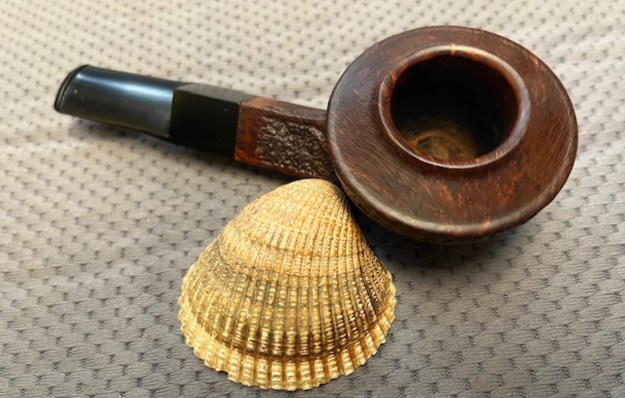
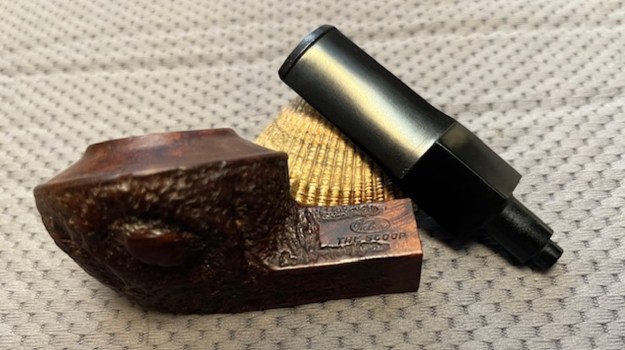
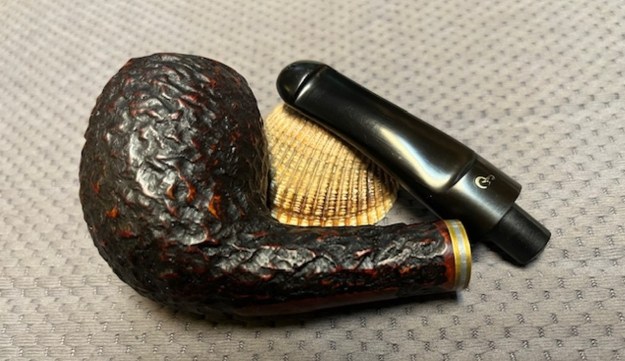
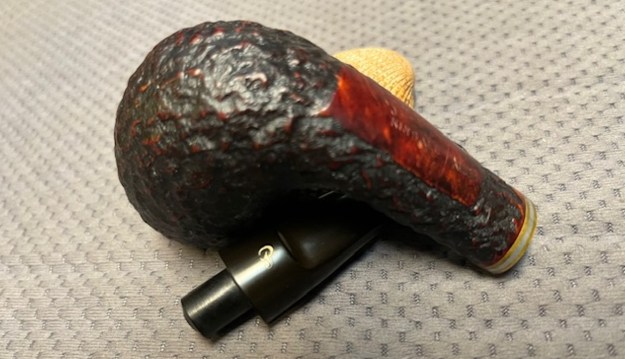
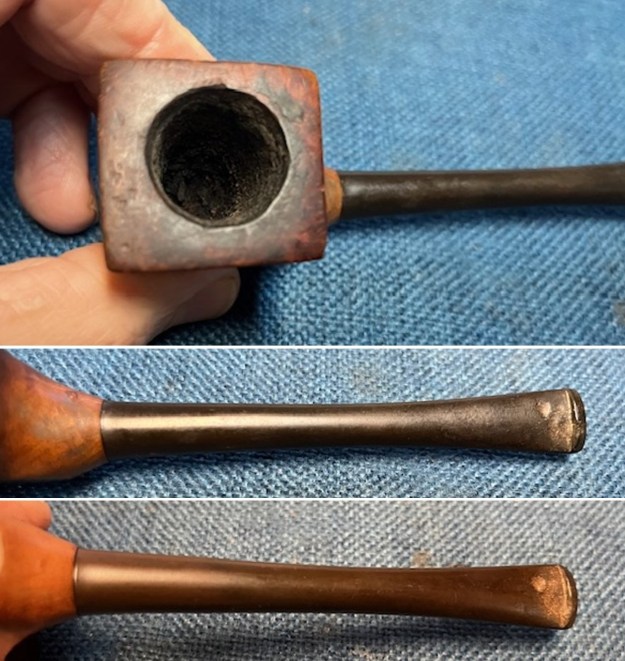
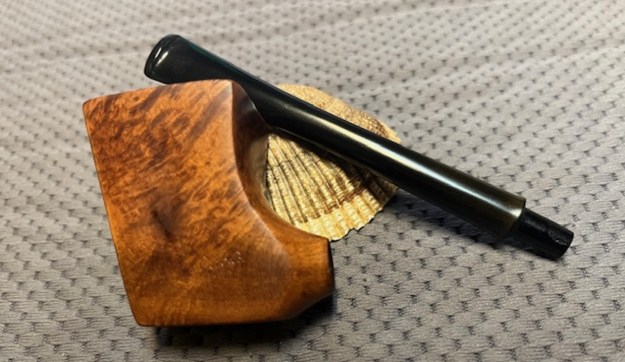
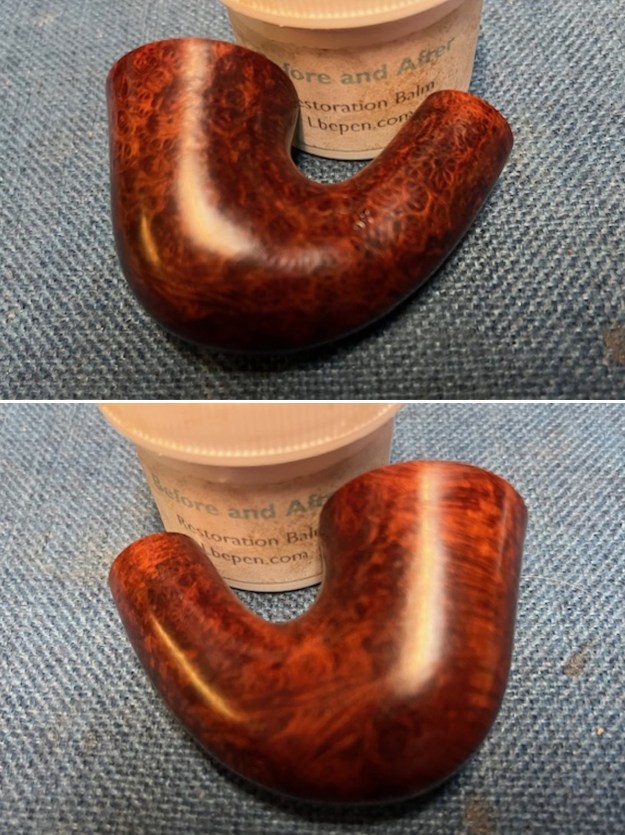
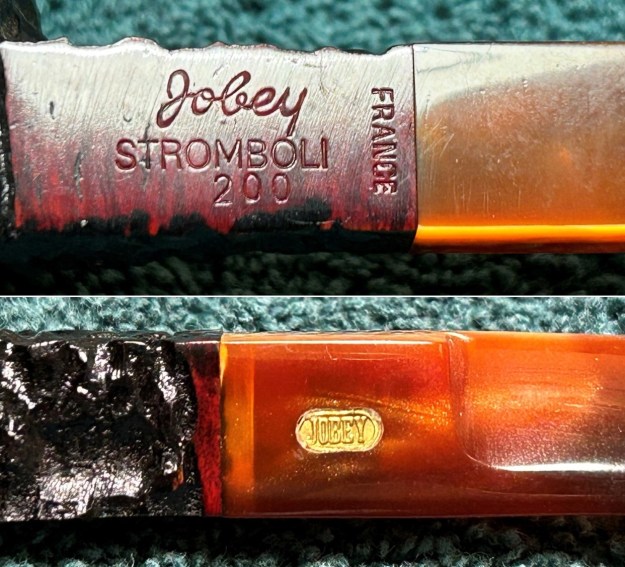 This Jobey was in very good condition and didn’t require much work – as the photos attest. The stem had only minimal wear and was hardly dirty. The stummel was equally clean, but the rim had been lit a bit aggressively. Perhaps a cigar lighter was foolishly used – who knows?
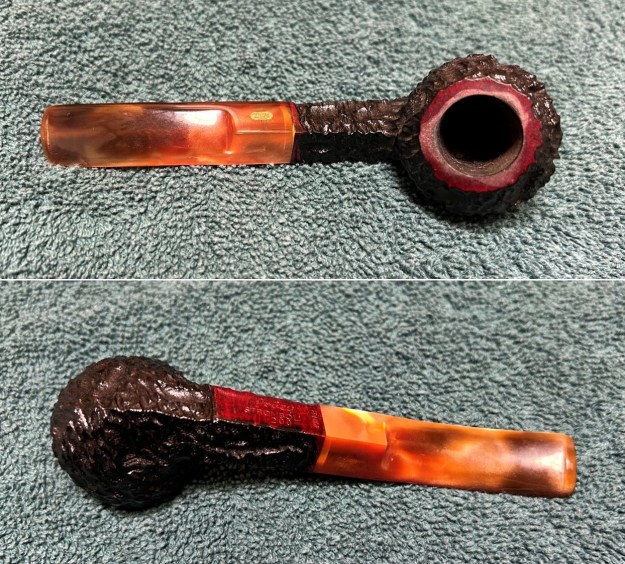
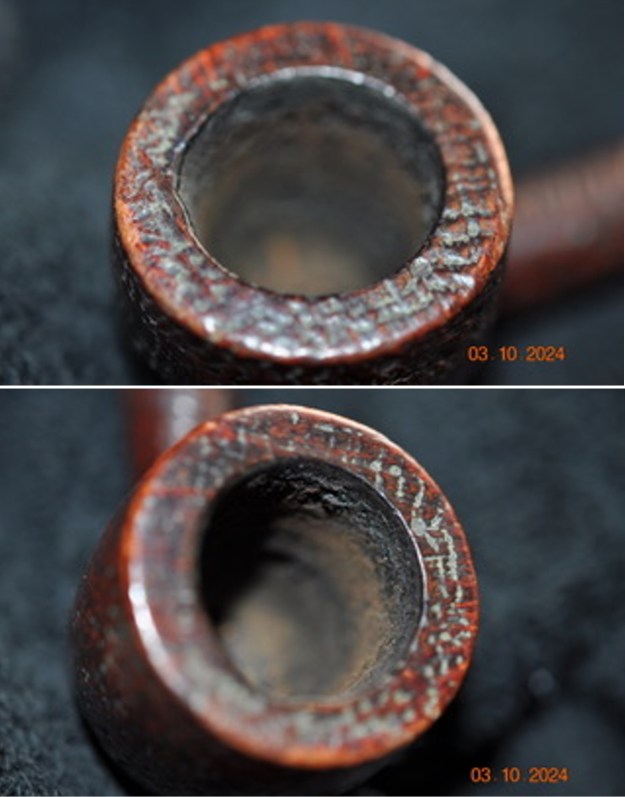
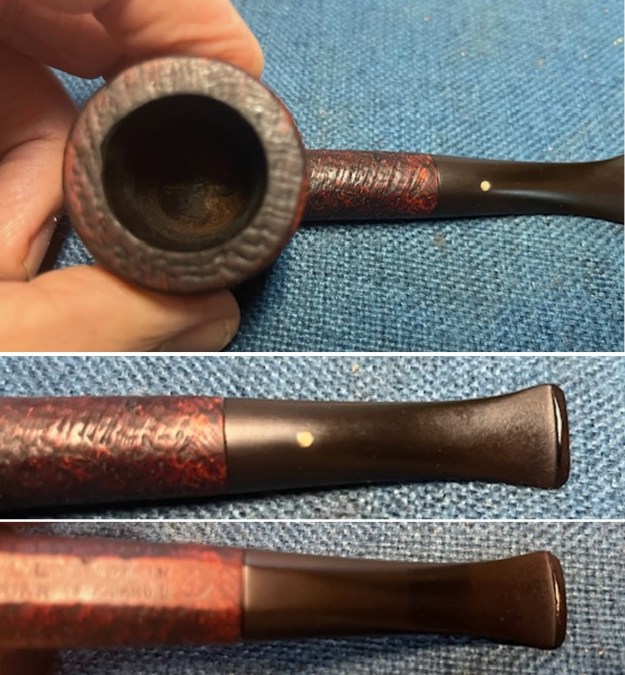
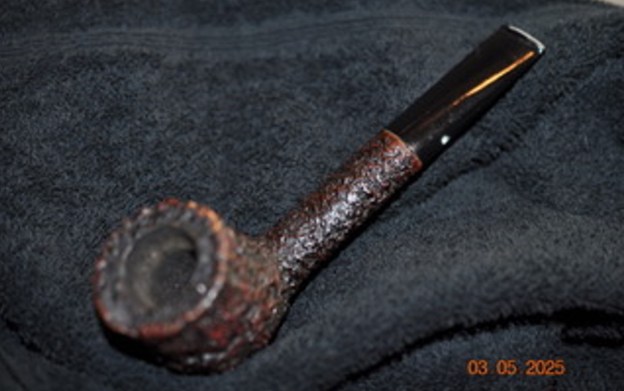
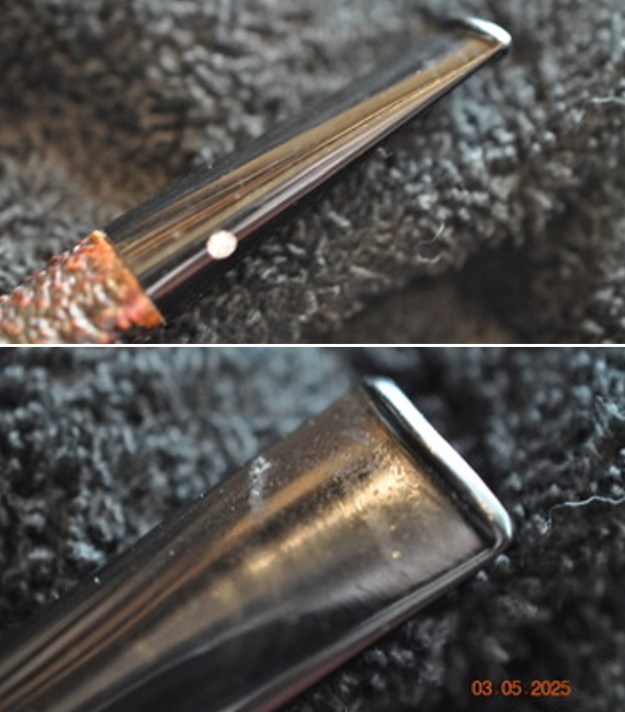
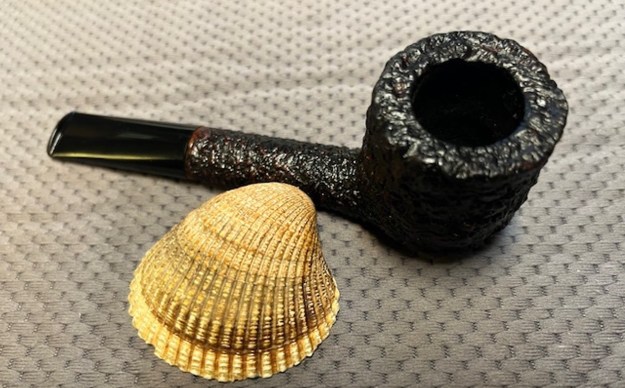
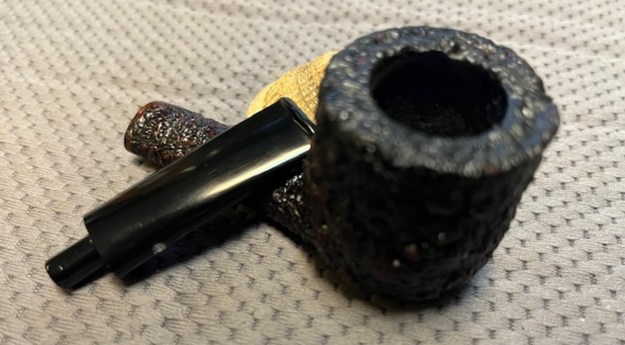
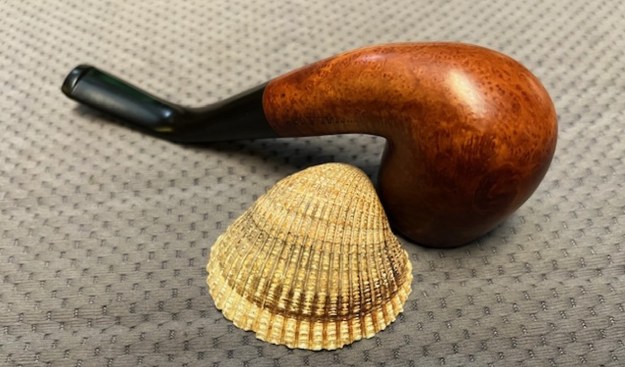
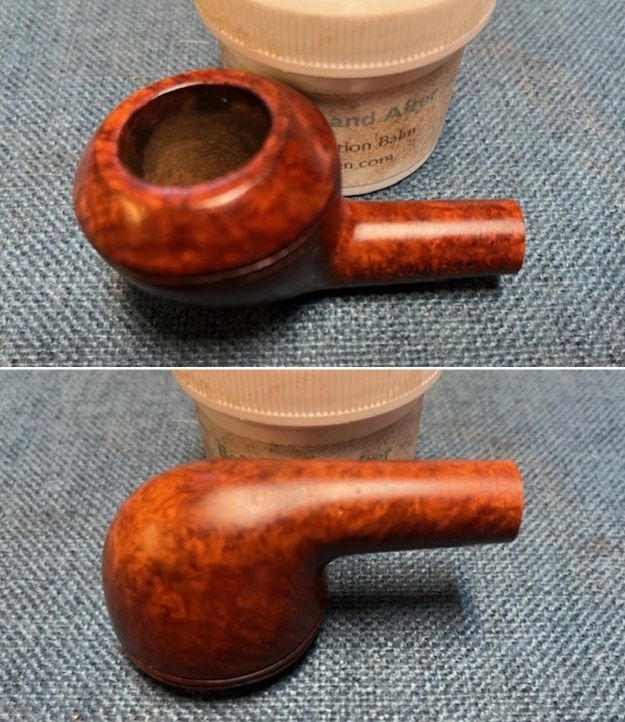
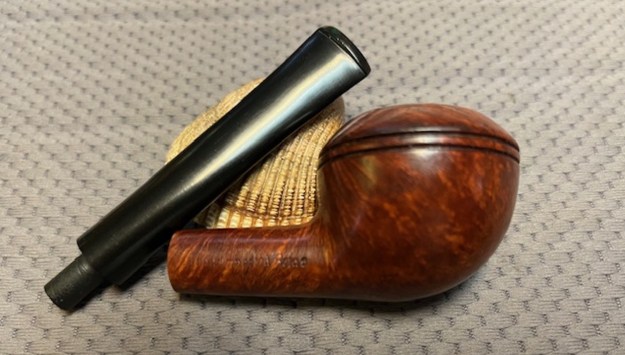
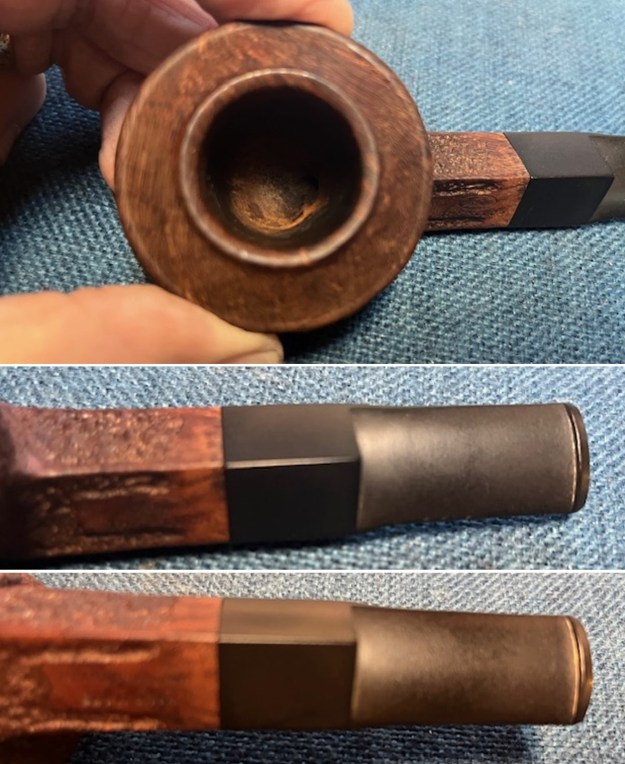
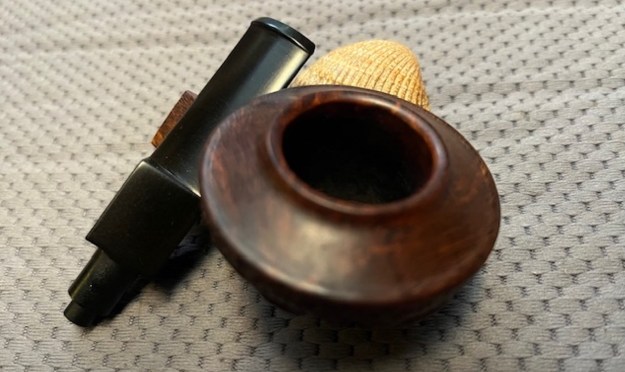
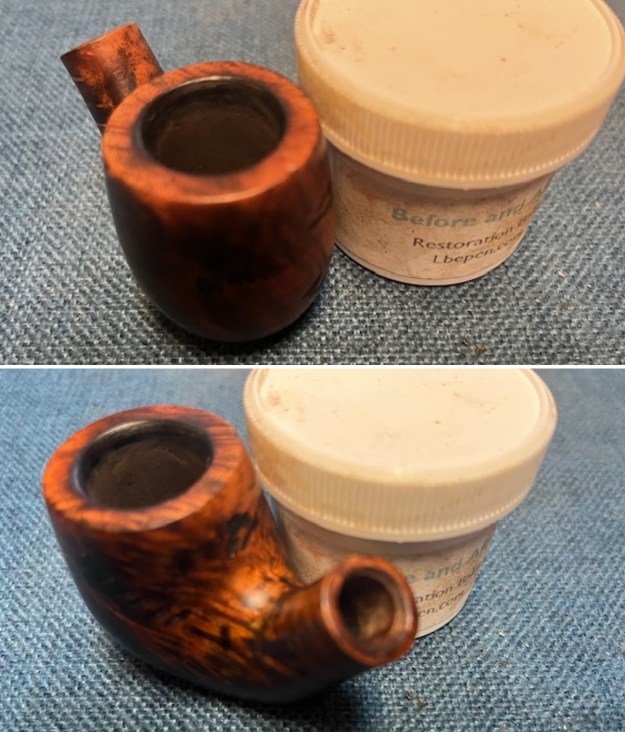
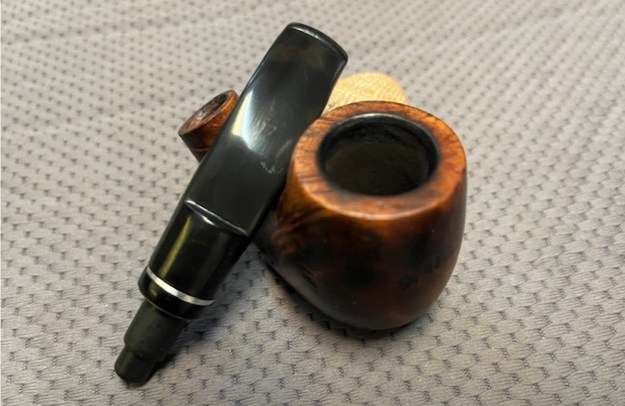
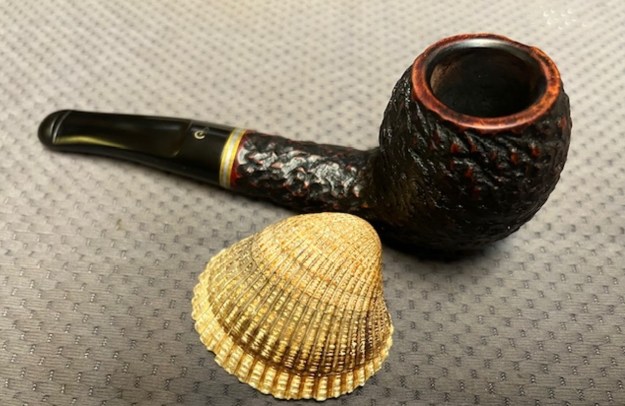
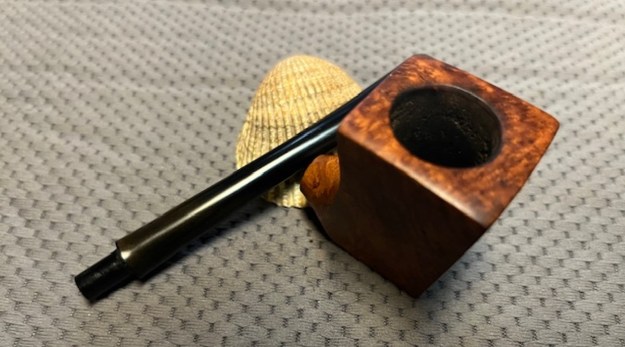
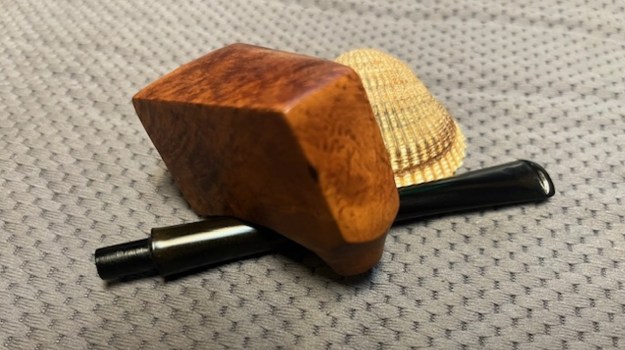
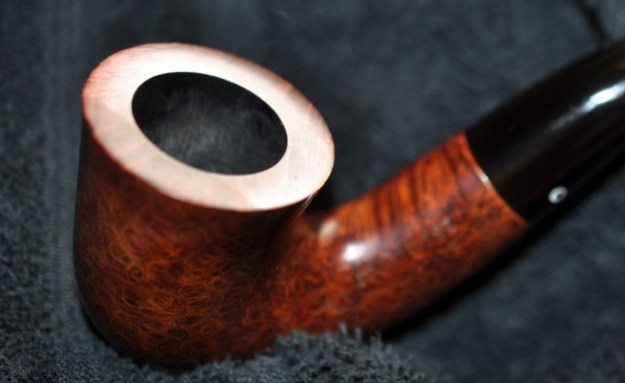
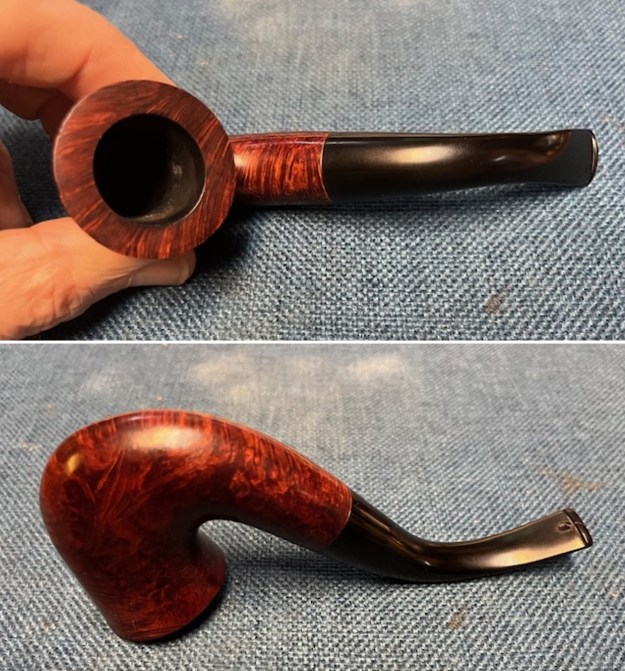
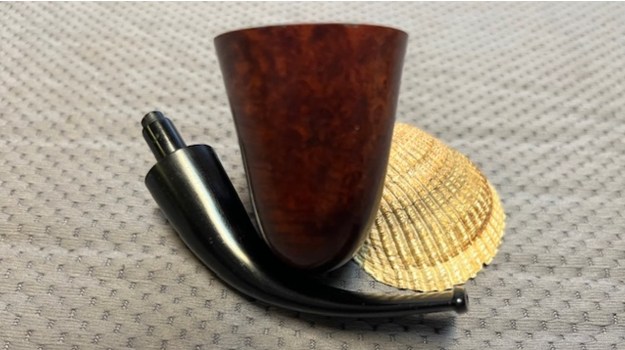
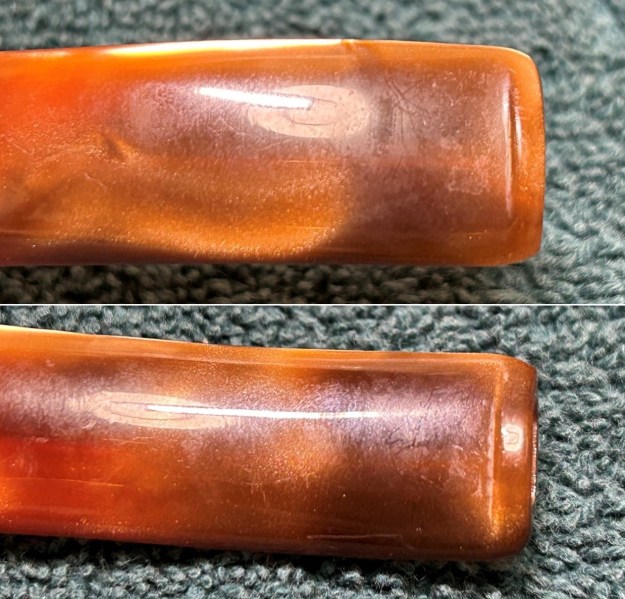
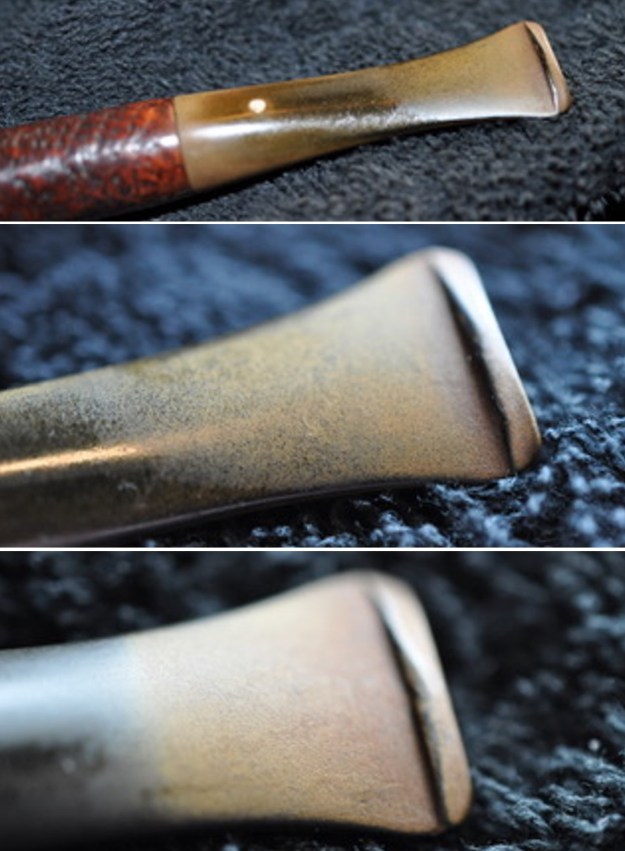
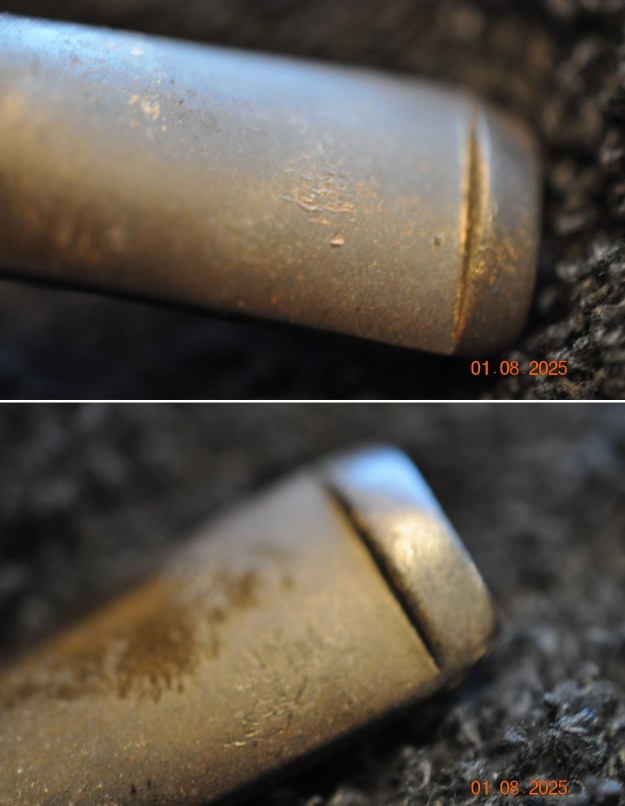
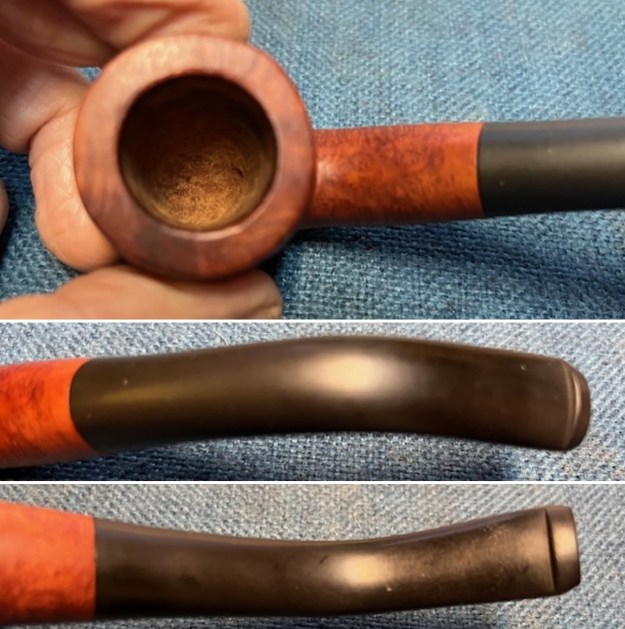
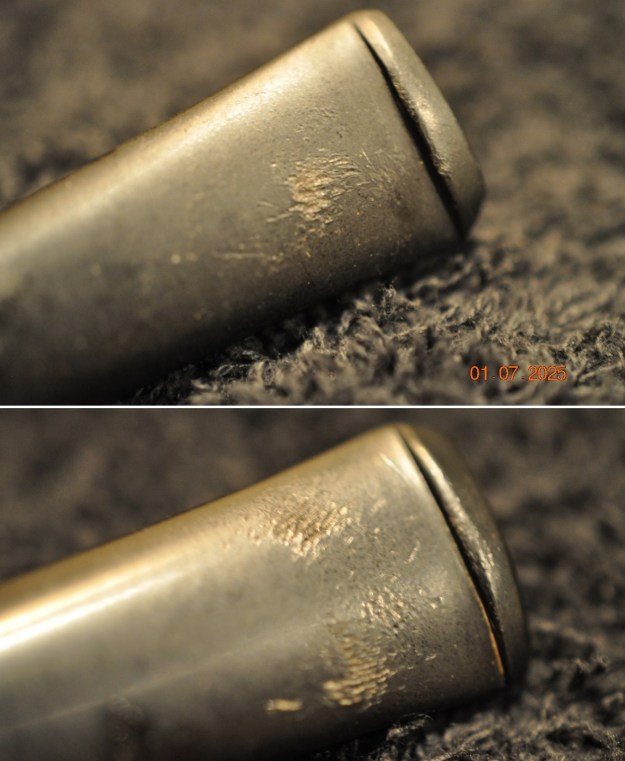
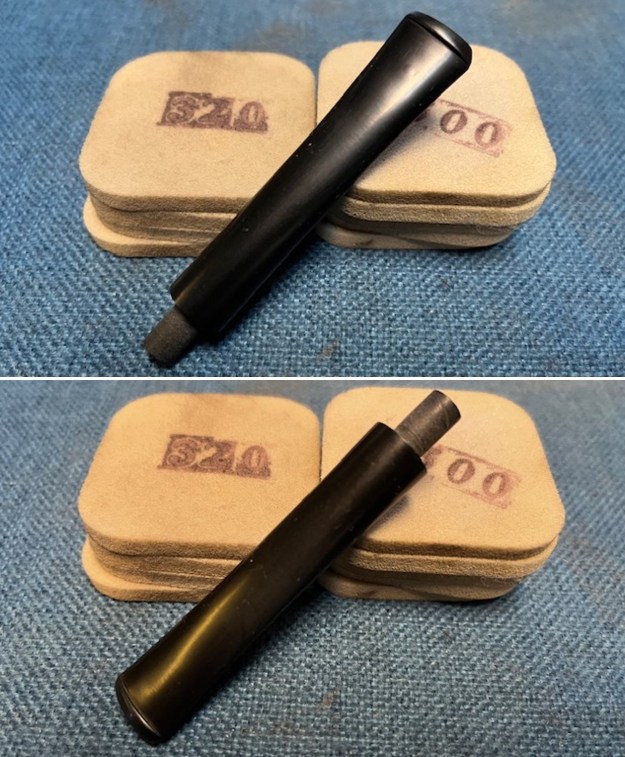
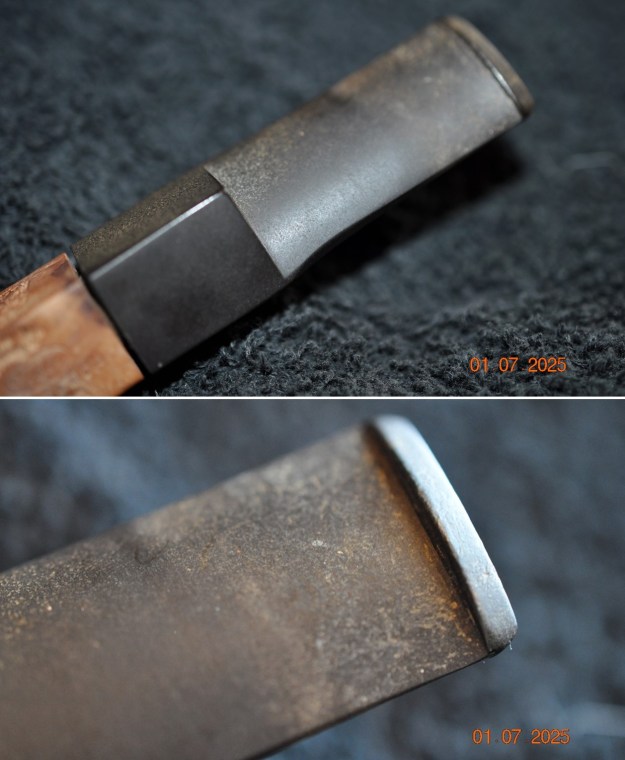
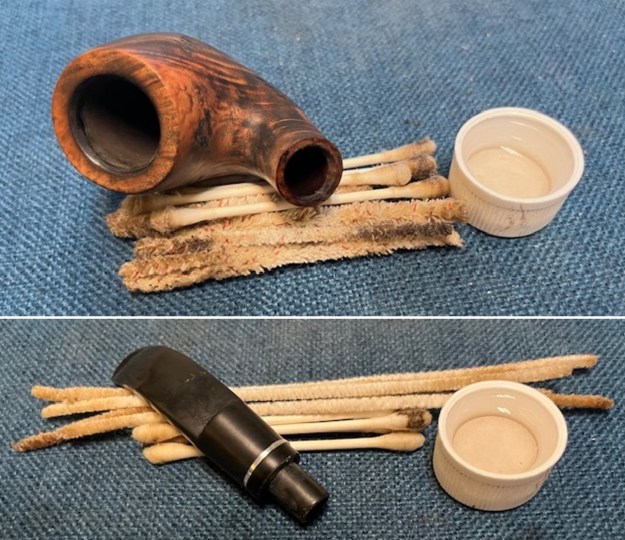
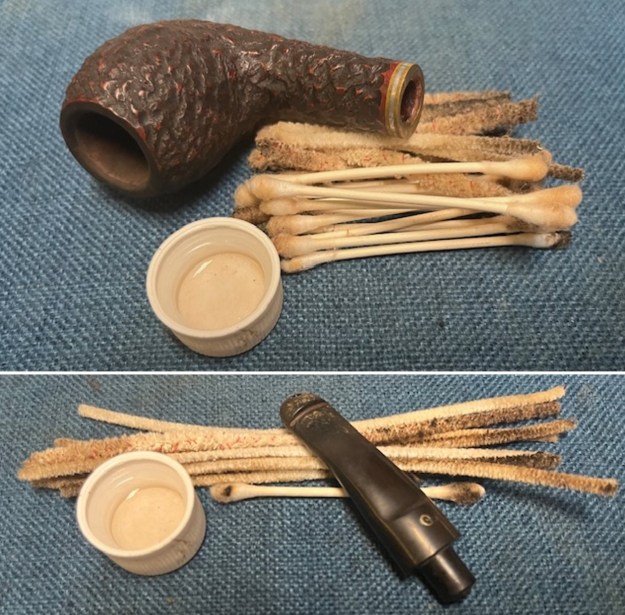
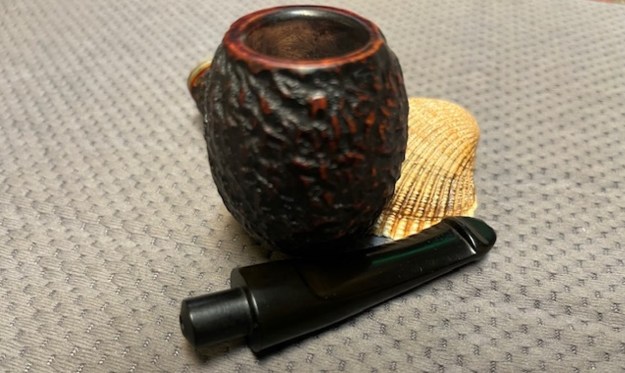
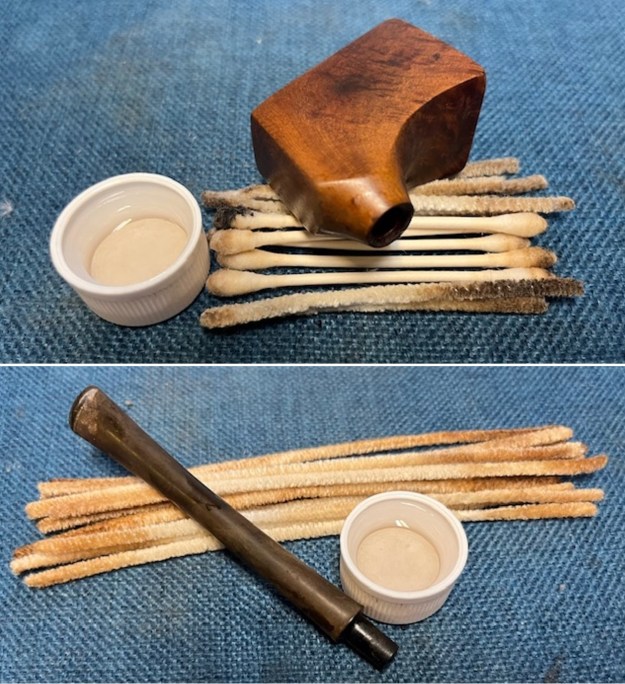
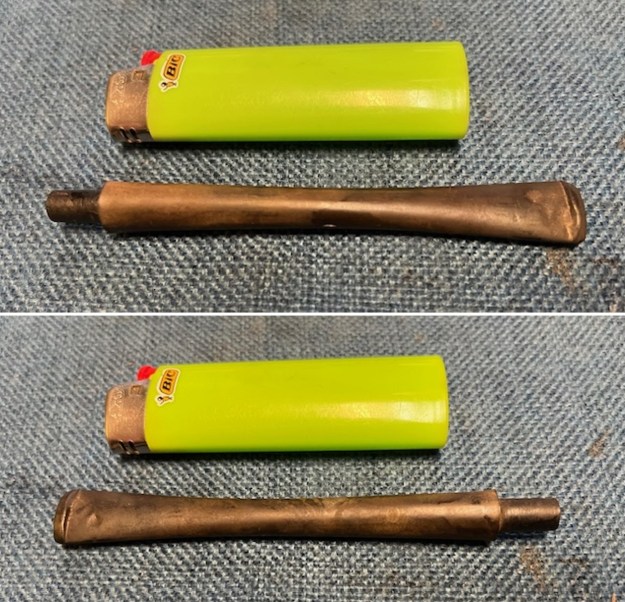
 Moving on… Since the stem is acrylic, there is no issue with oxidation. I used oil soap on a few cotton rounds and wiped the stem down to provide an initial cleaning before moving on to the next steps. The primary cleaning comes next. I cleaned the inside of the stem with both pipe cleaners and cotton swabs dipped in 99% lemon-infused isopropyl alcohol. I scrubbed thoroughly to make sure the interior was clean. Actually, it was quite clean to start with. Holding the stem to the light, you can see how clean it is – if it was heavily smoked, this would be very dark.
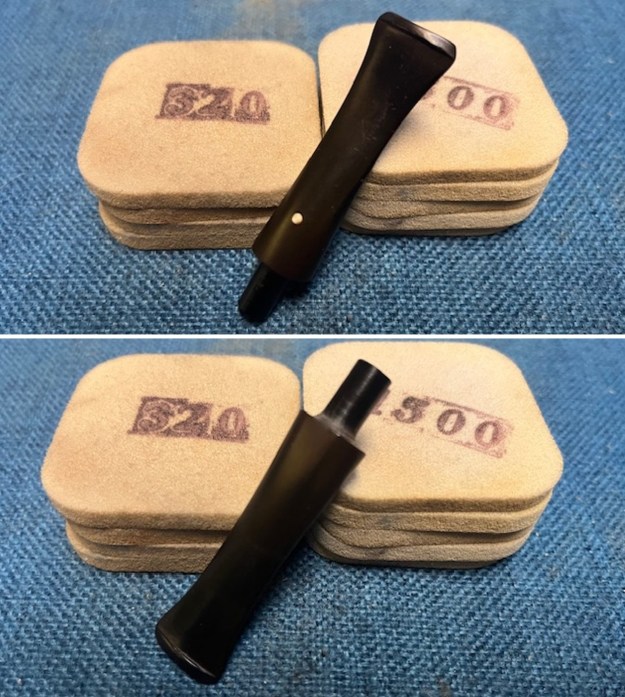
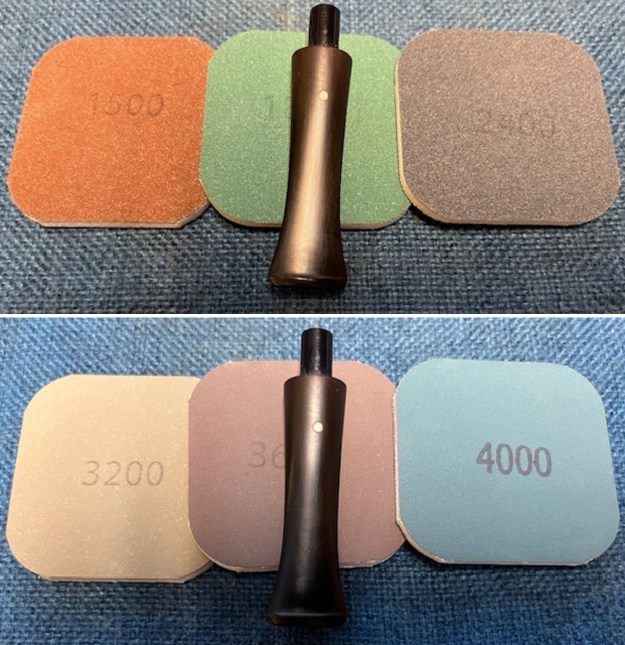
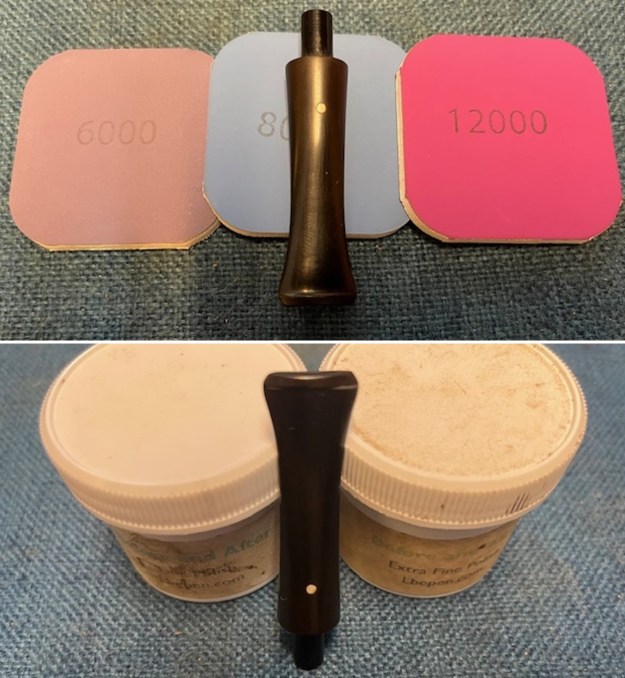
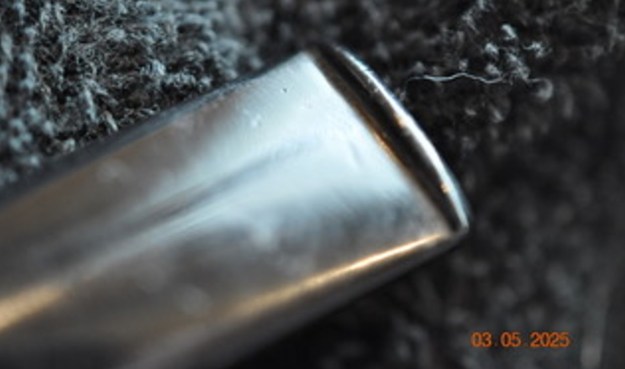
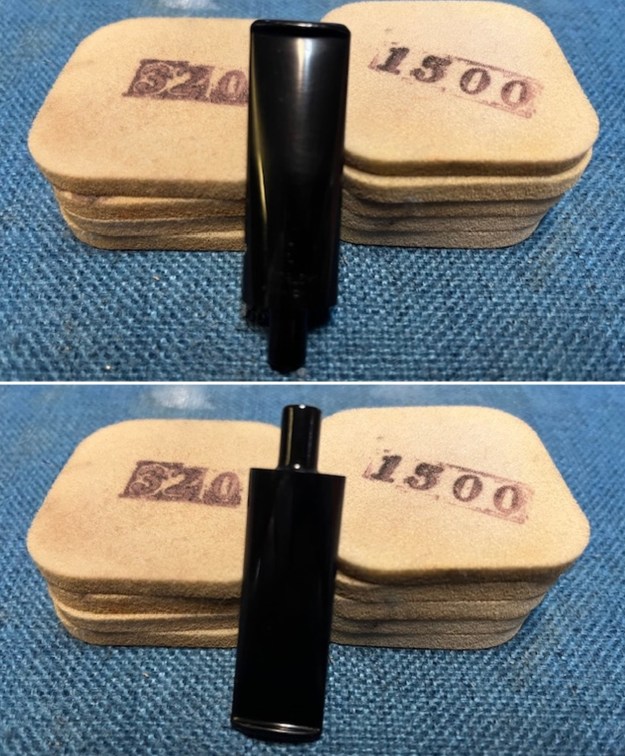
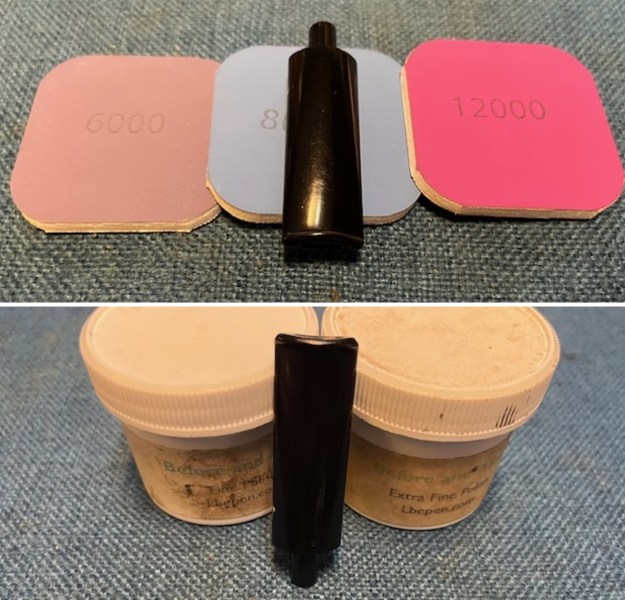
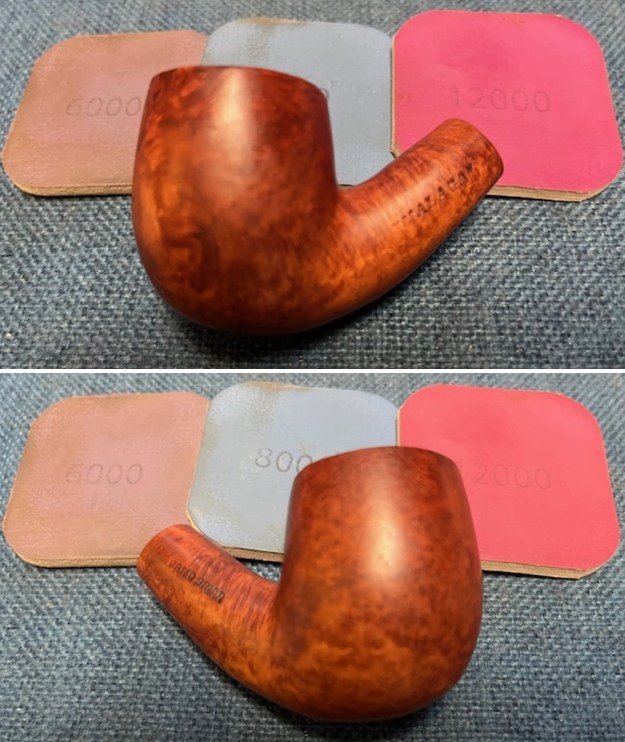
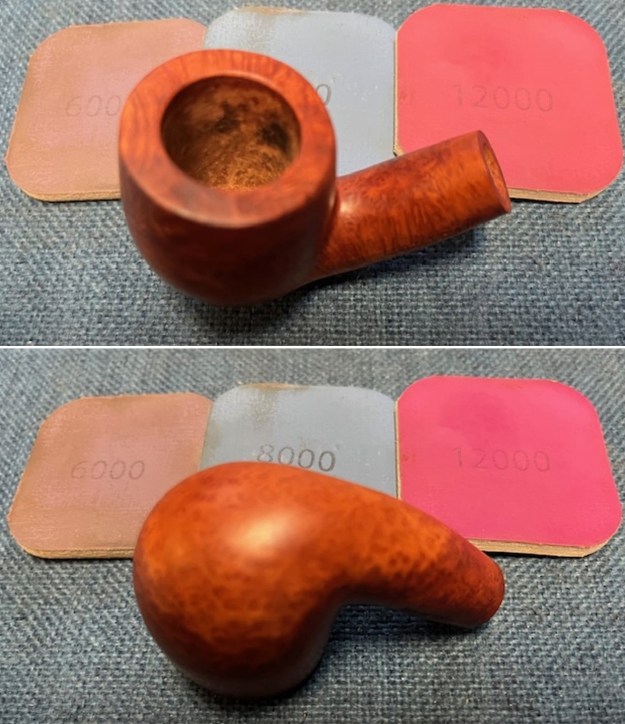
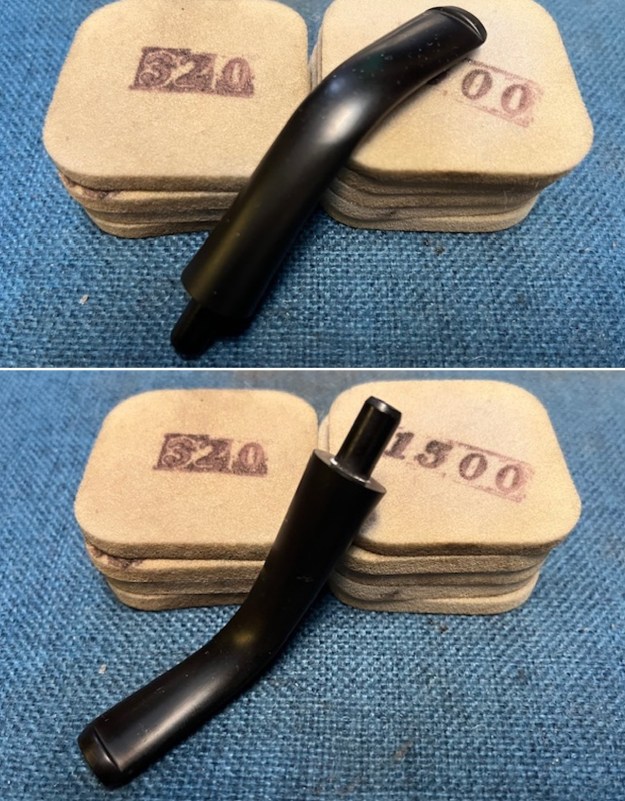
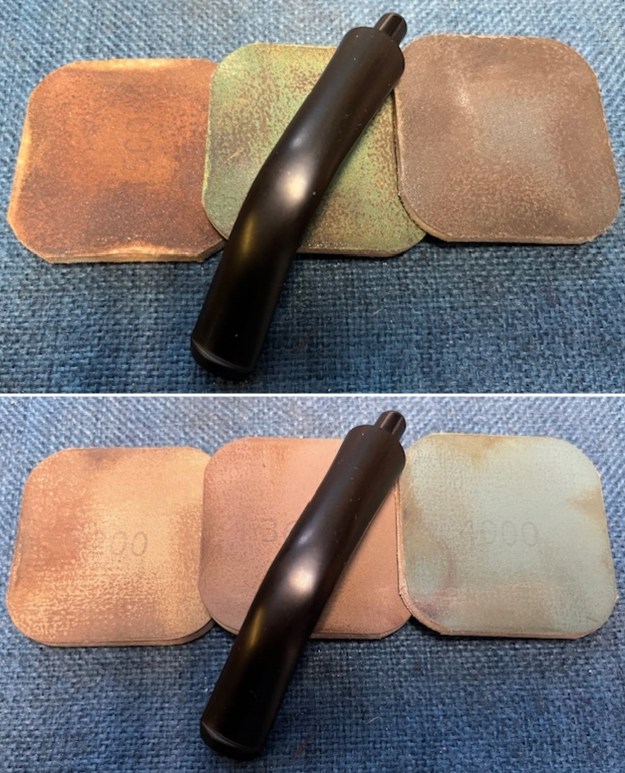
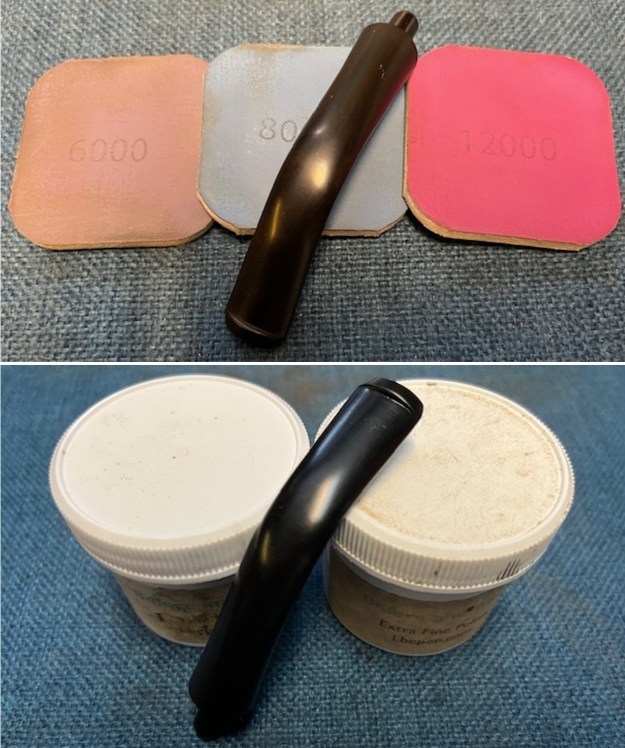
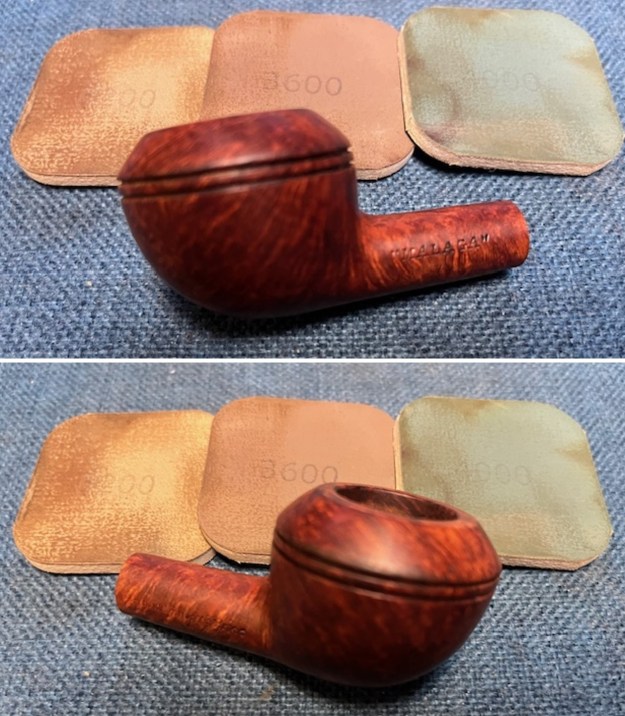
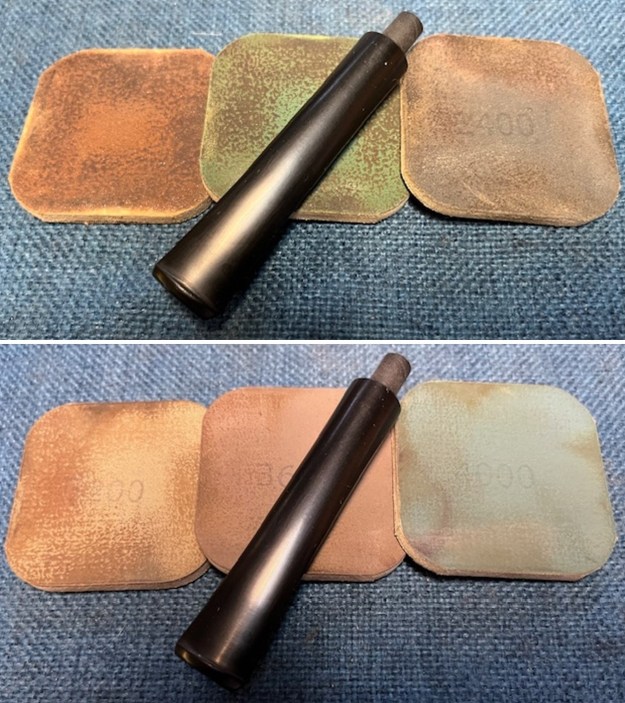
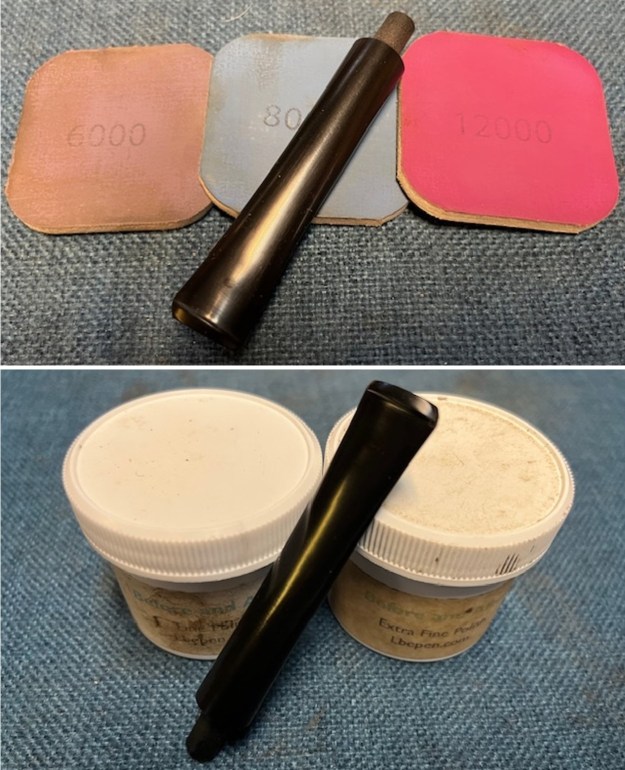
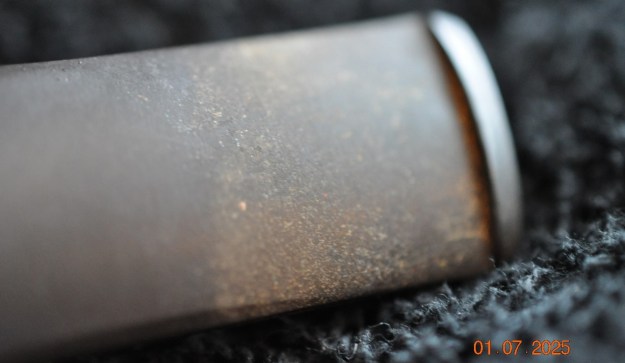
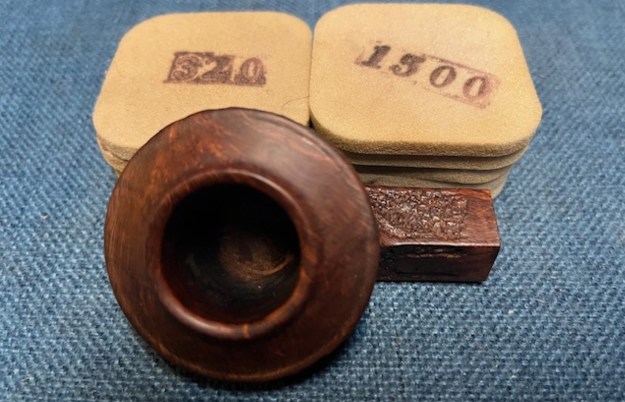
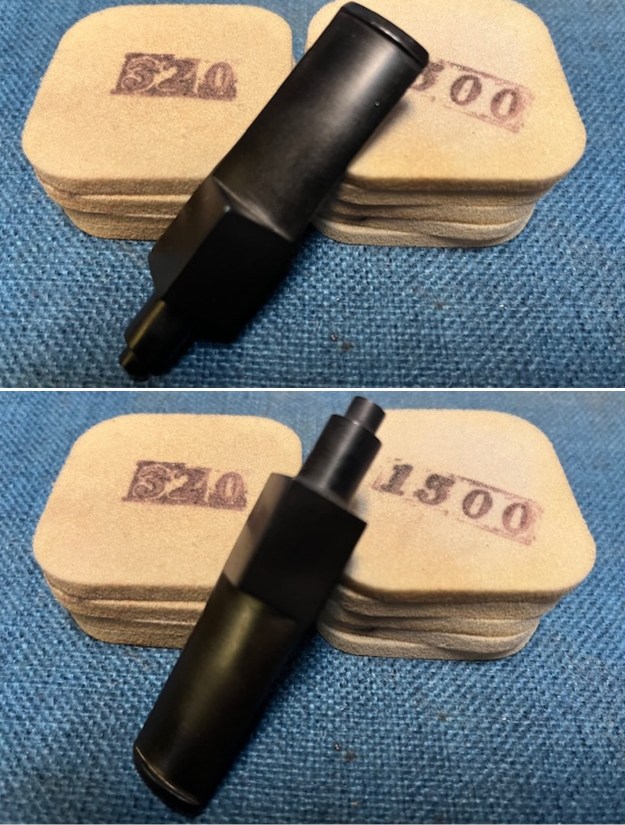
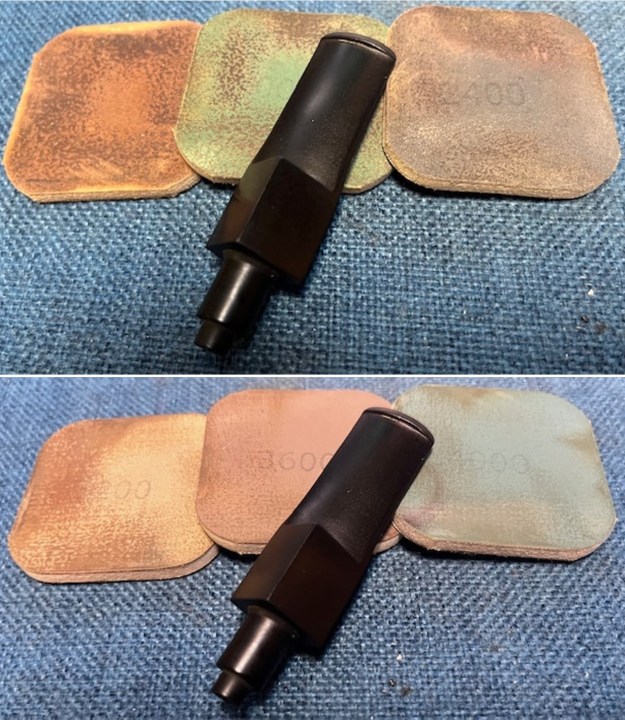
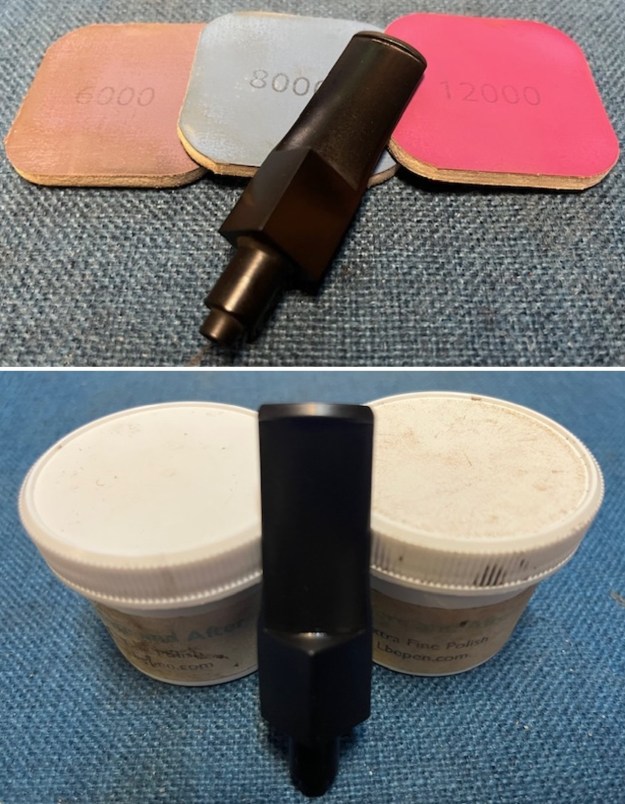
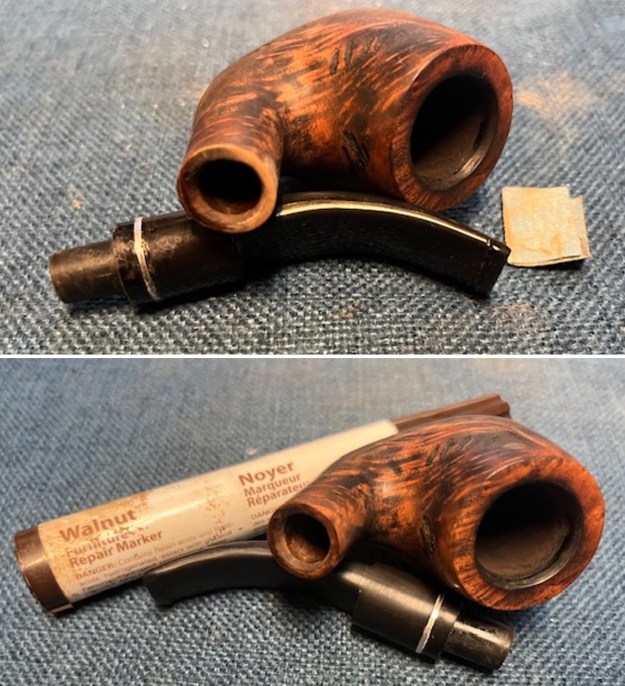
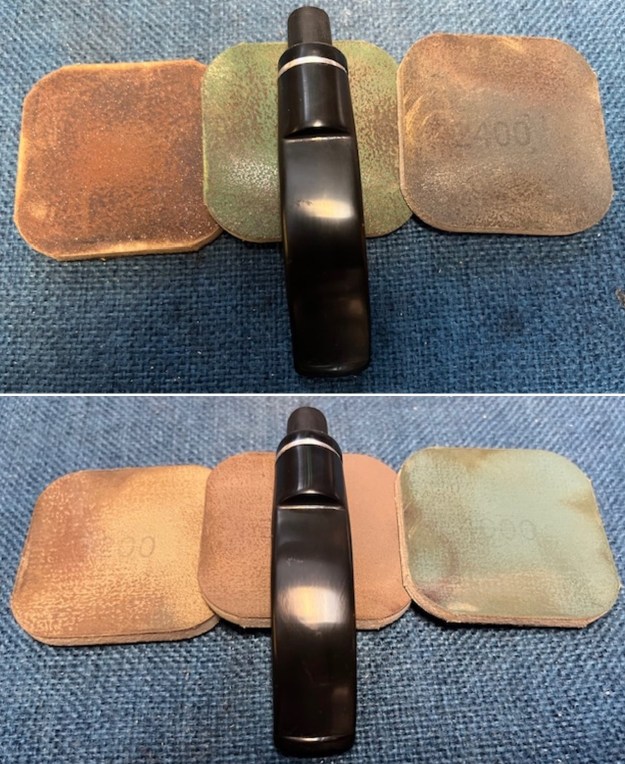
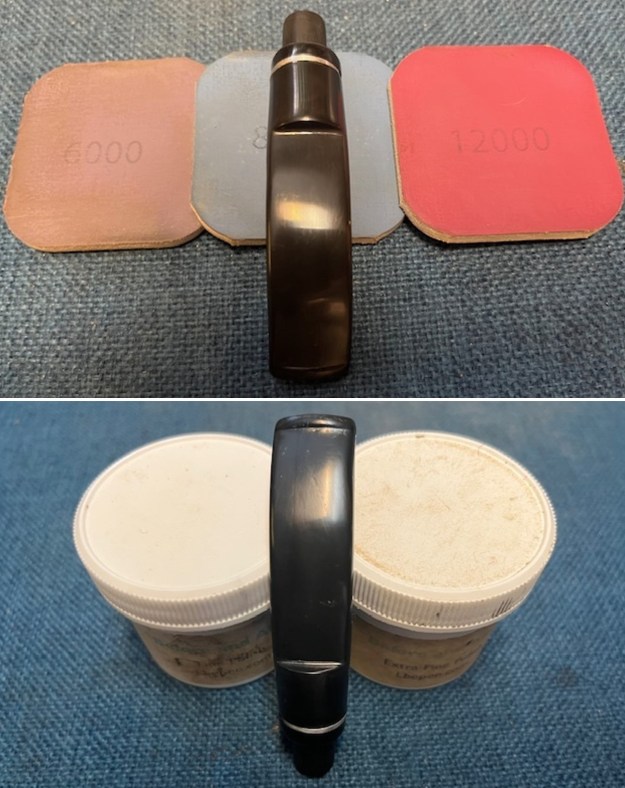
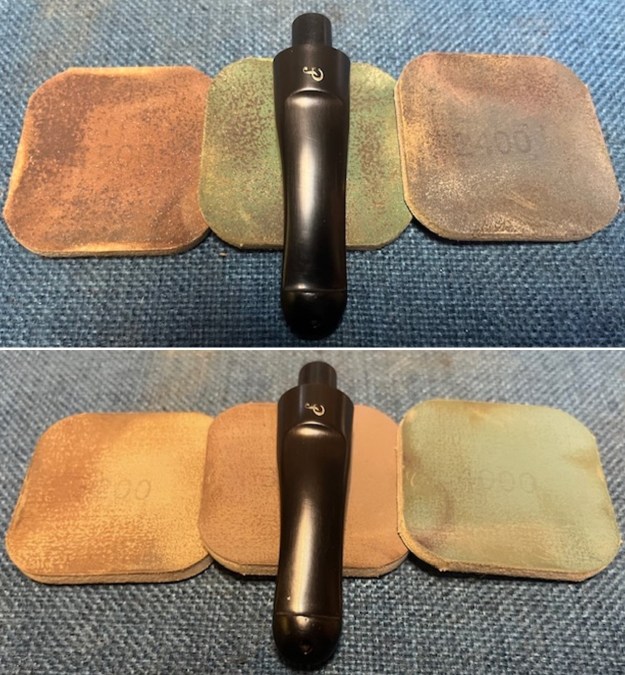
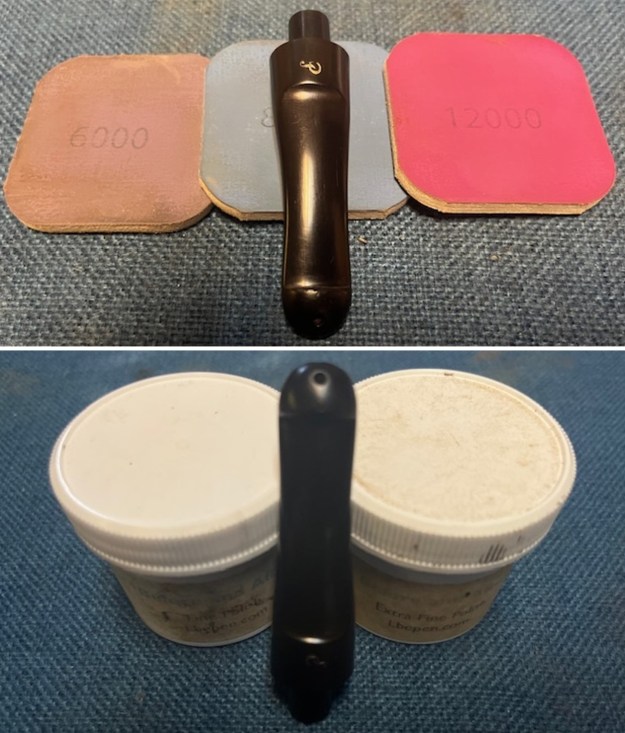
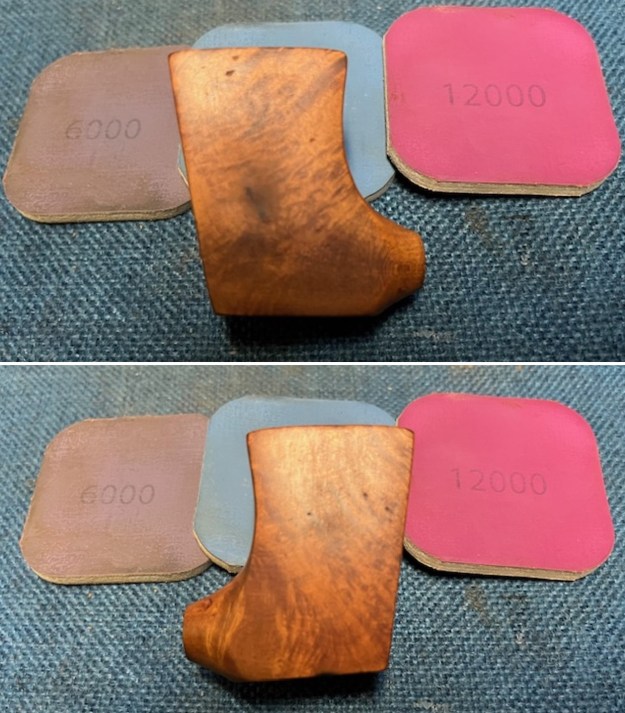
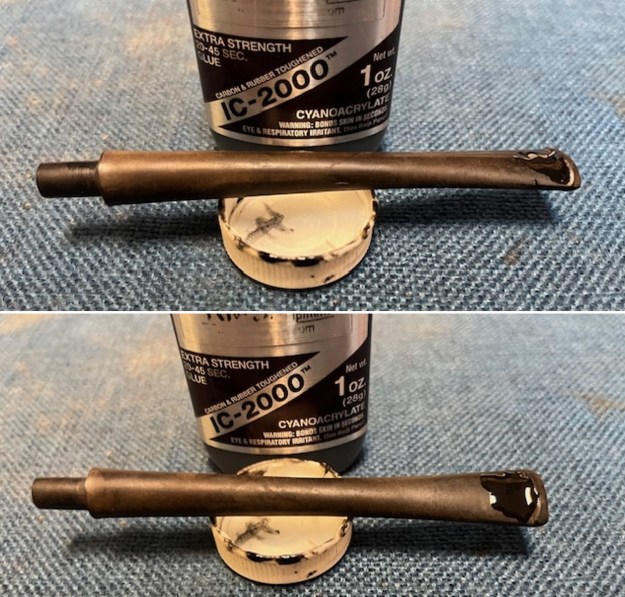
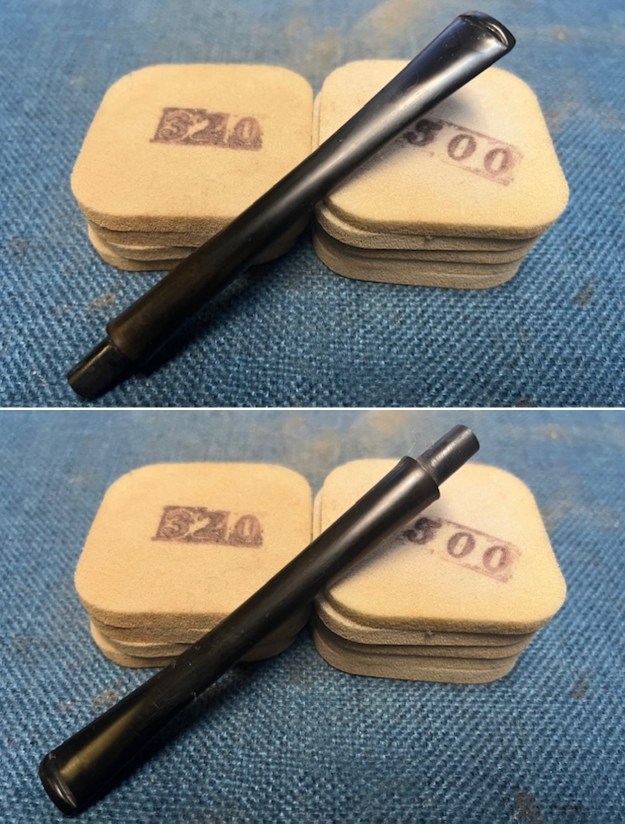
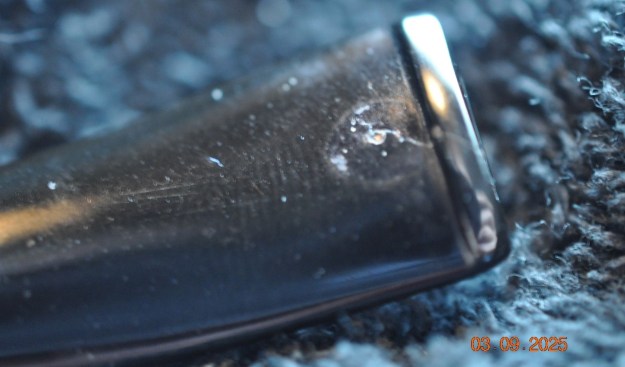
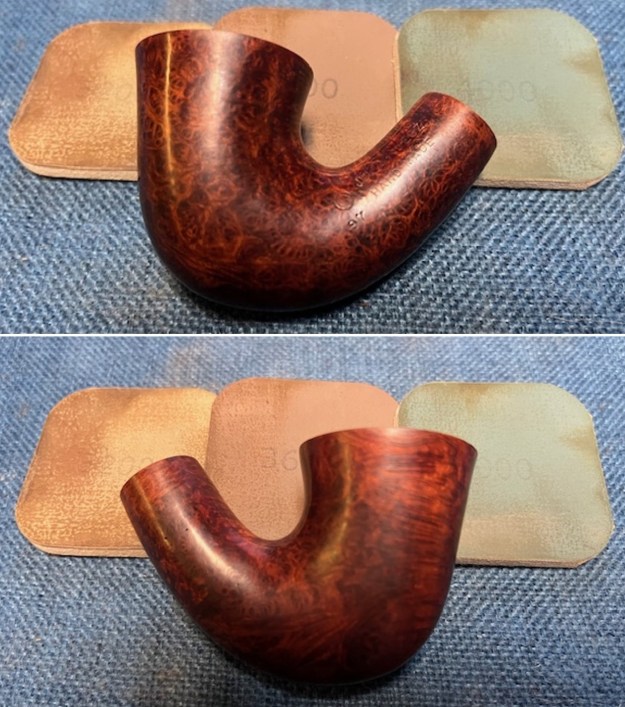
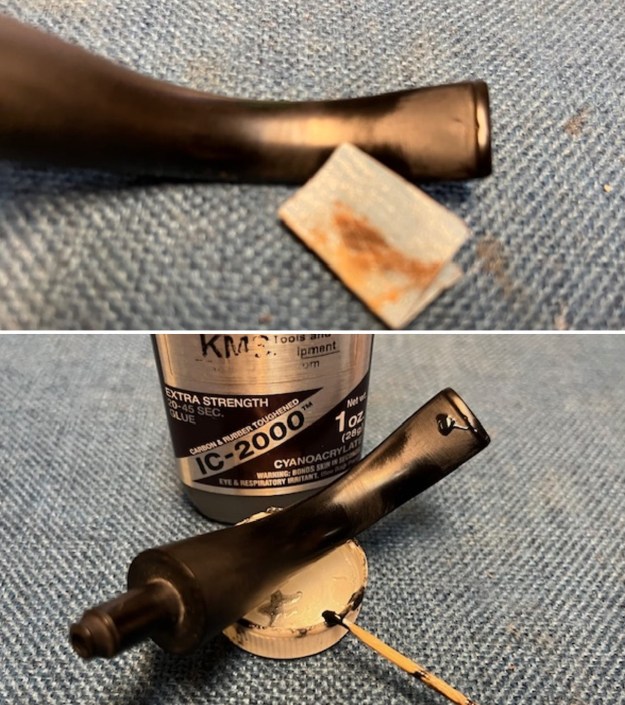
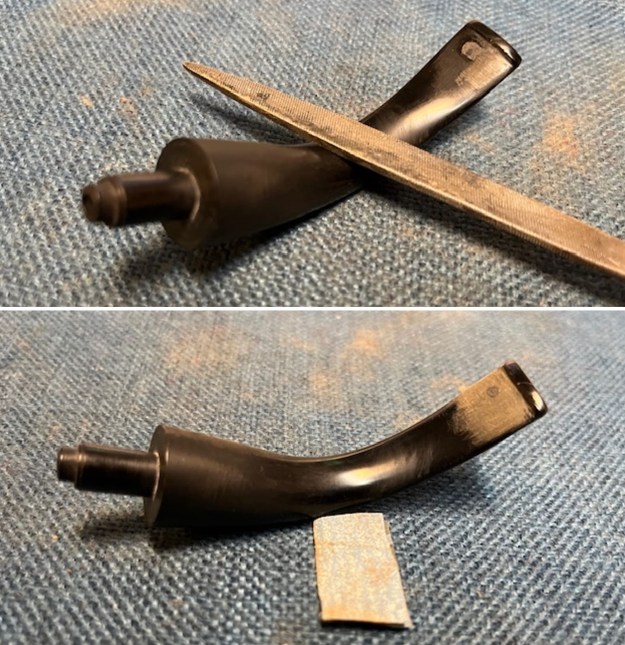
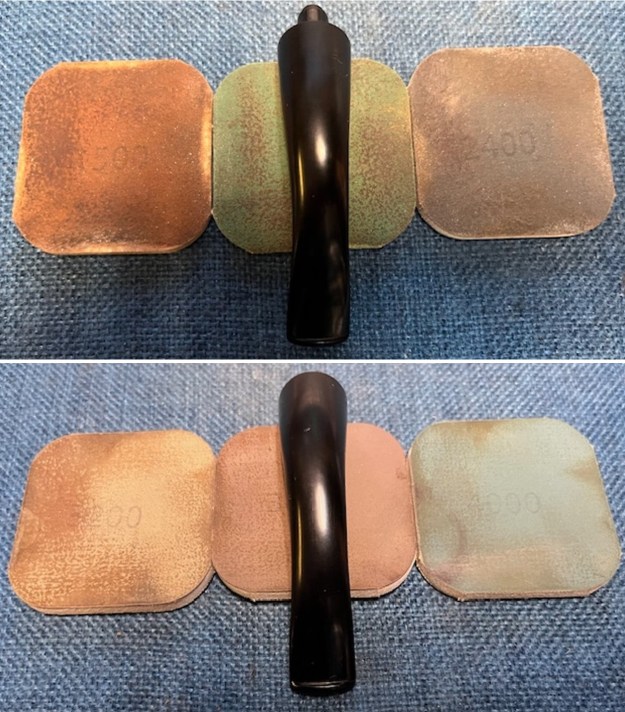
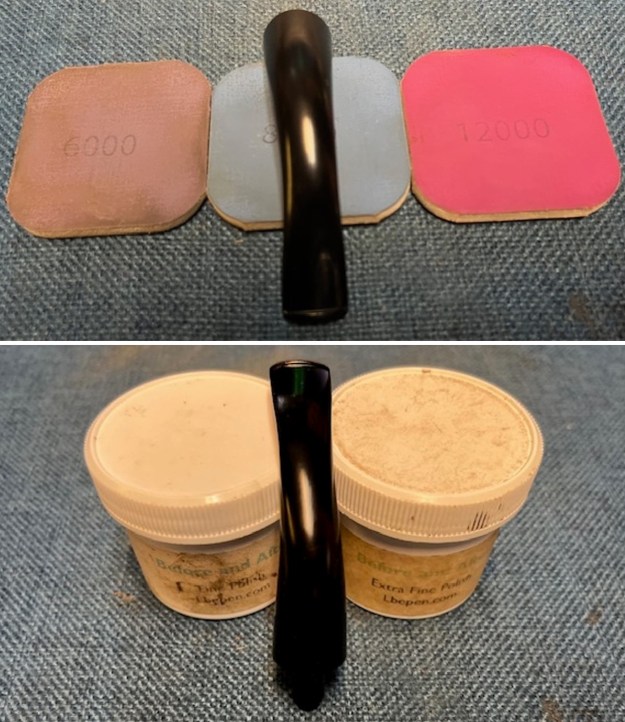
 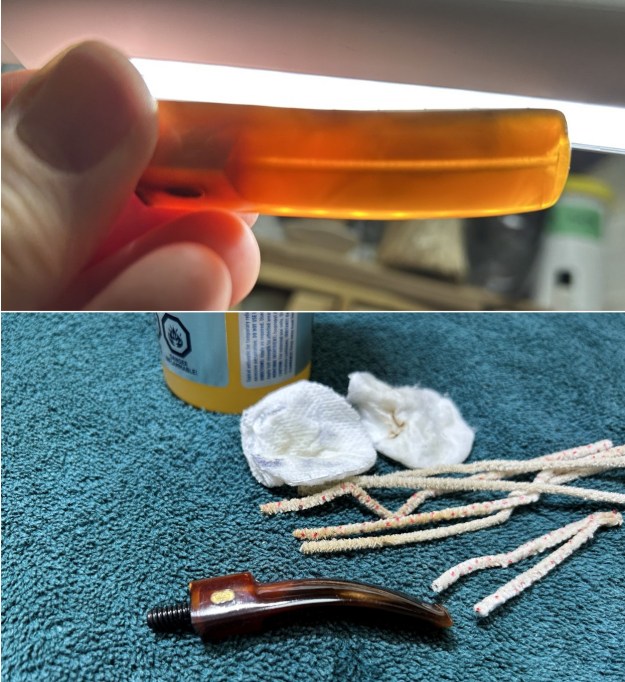 Now that the stem is clean and dry, I set about fixing the few marks in the acrylic. This is done by filling those divots with clear cyanoacrylate adhesive. I left this to cure and moved on. The penultimate step for the stem is sanding. First, with my set of needle files, I reduce the bulk of the cyanoacrylate repairs. I want to remove the excess adhesive as near to the surface as possible, without cutting into the acrylic. Following that, I use all nine of the micromesh sanding pads (1,500 through 12,000 grit) to sand out flaws and provide gentle polishing of the finished surface. I also apply pipe-stem oil while using the last five micromesh pads. There was a wonderful shine to the stem when I was done.
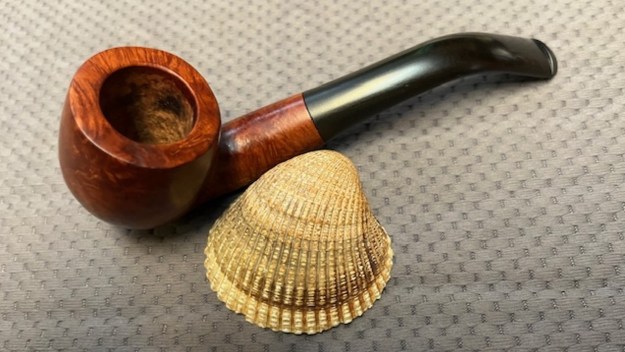
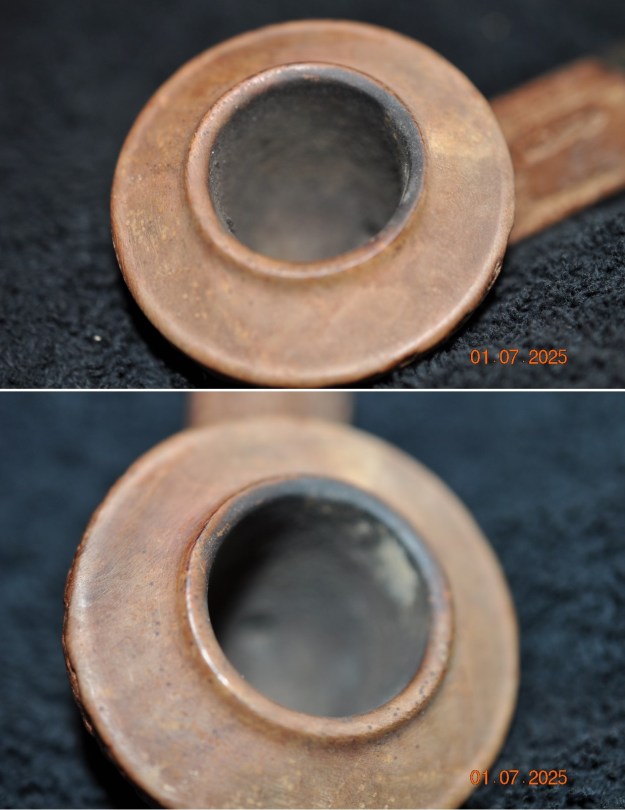
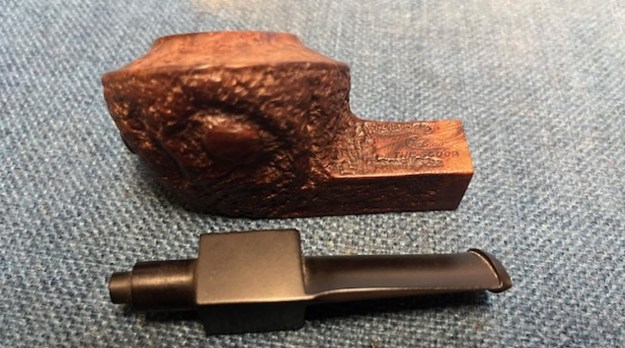
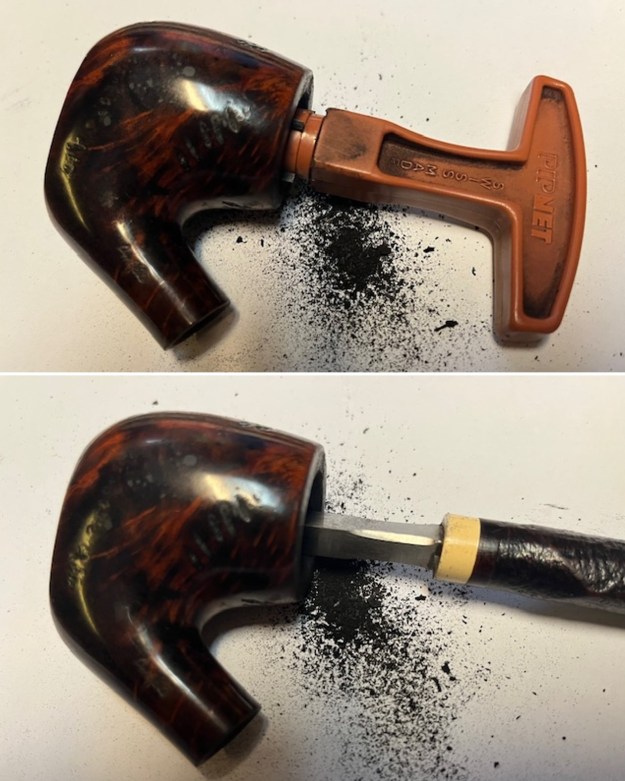
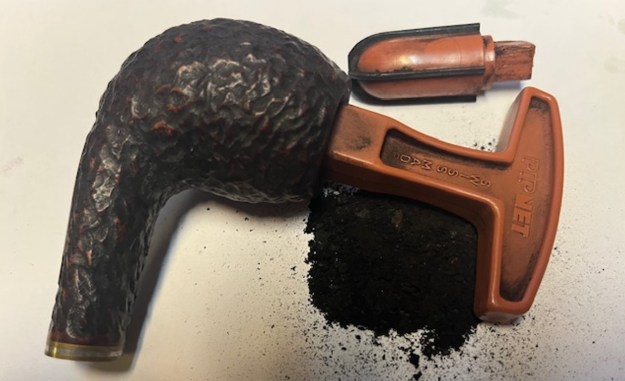
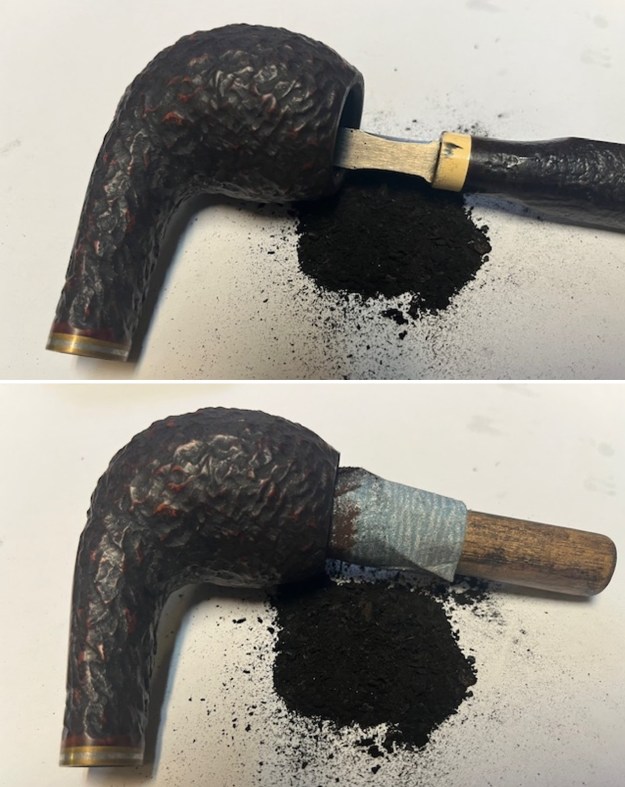
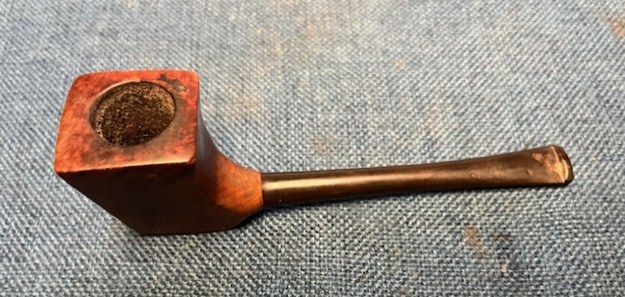
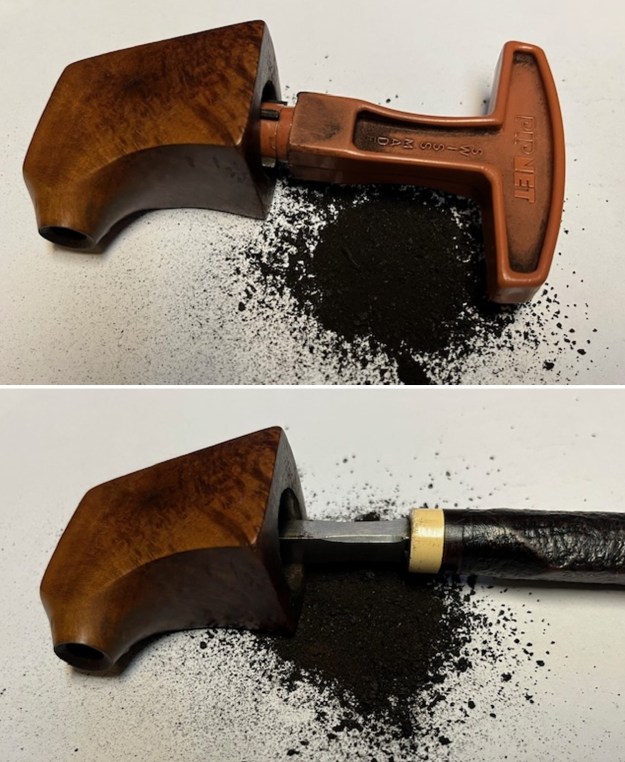
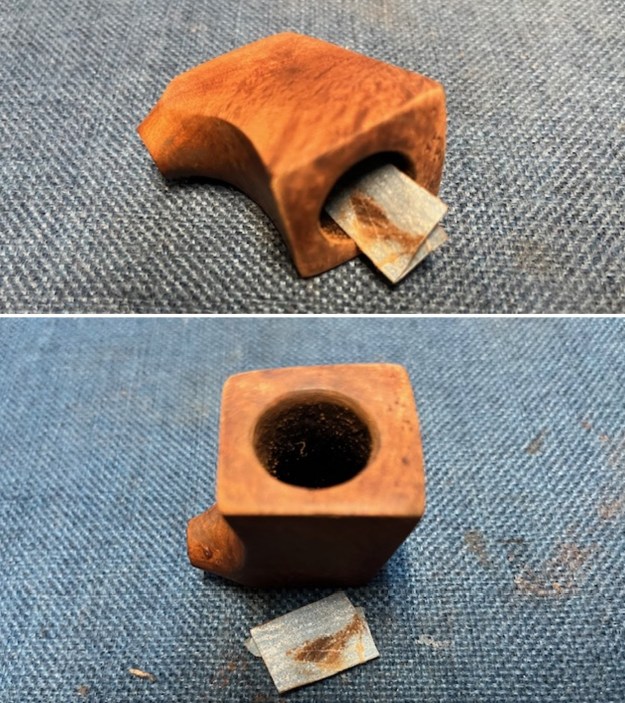
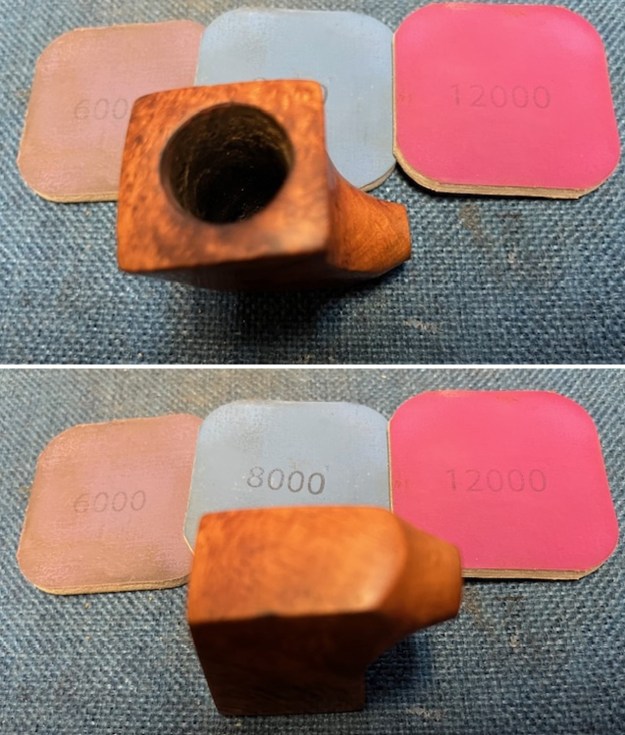
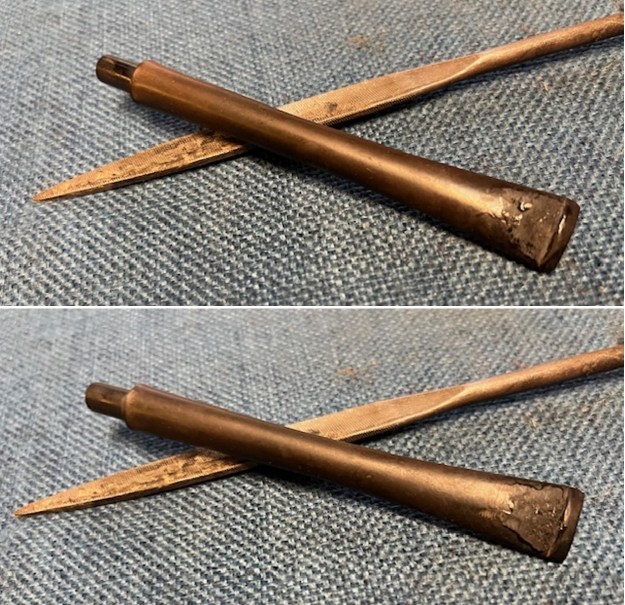
 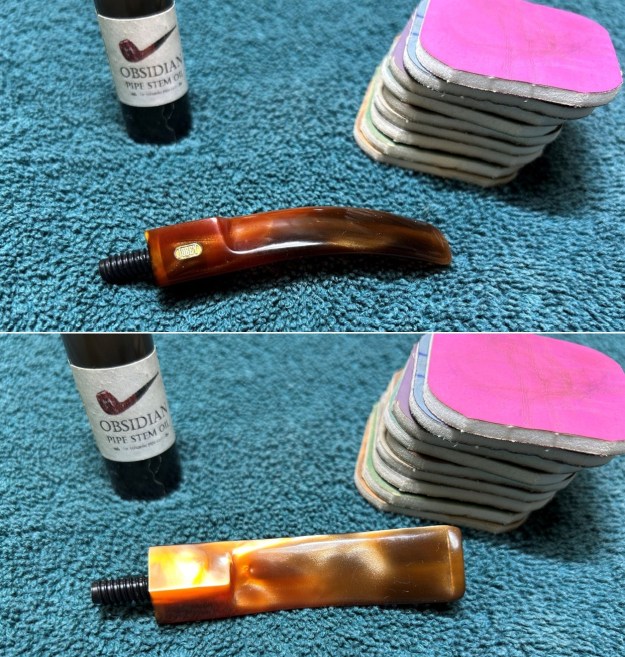 Now that the stem is (nearly) complete, I can move on to the stummel. The first step for me is to ream out the bowl – that is to say, remove all the cake inside the bowl. This accomplishes a couple of things. First (and most obviously), it cleans the bowl and provides a refurbished chamber for future smoking. Second, when the old cake is removed, I can inspect the interior walls of the bowl and determine if there is damage or not. The pipe was so seldom used that I only used a piece of sandpaper taped to a wooden dowel. This ensured that all the debris is removed.
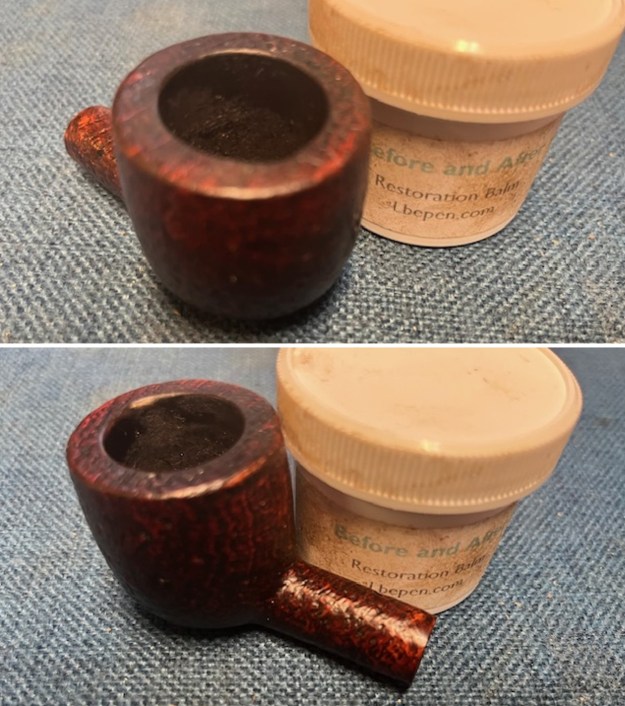
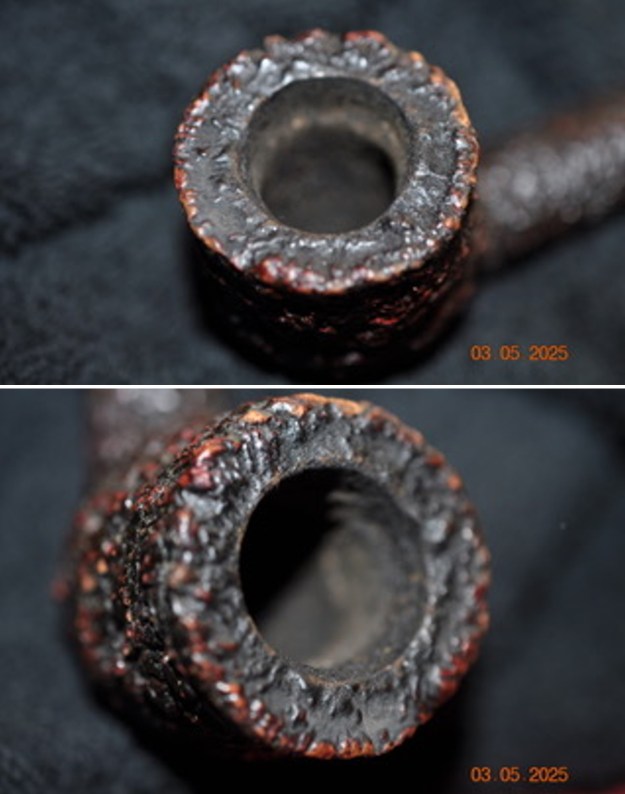
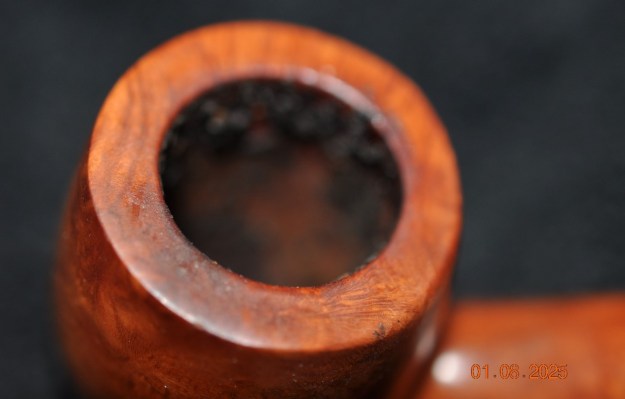
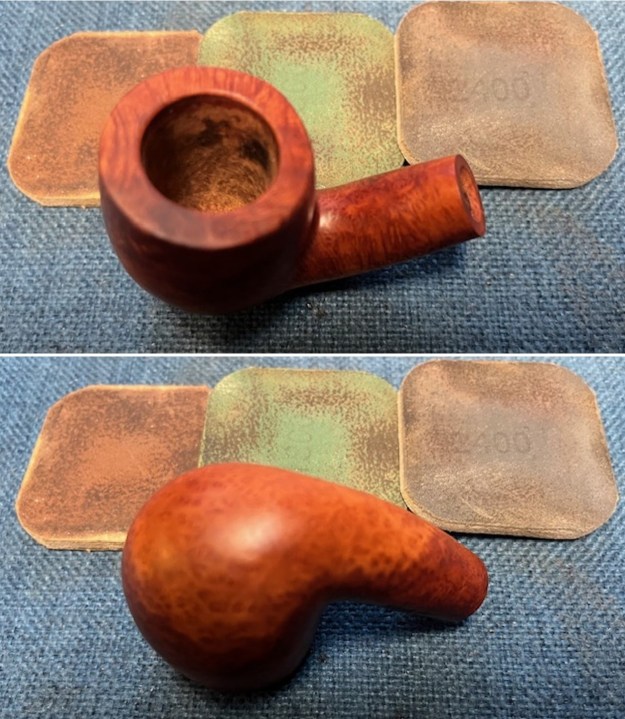
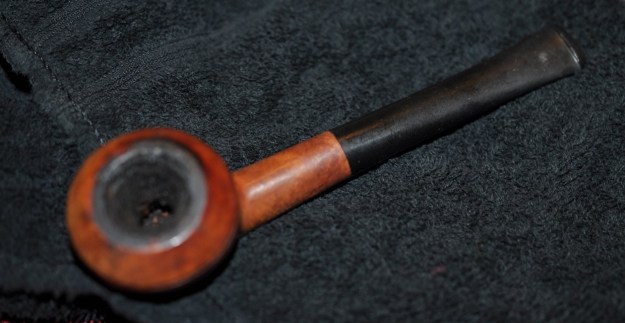
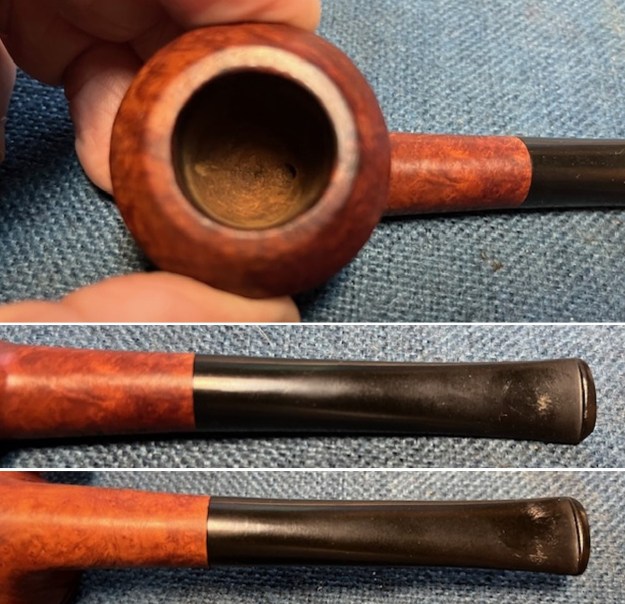
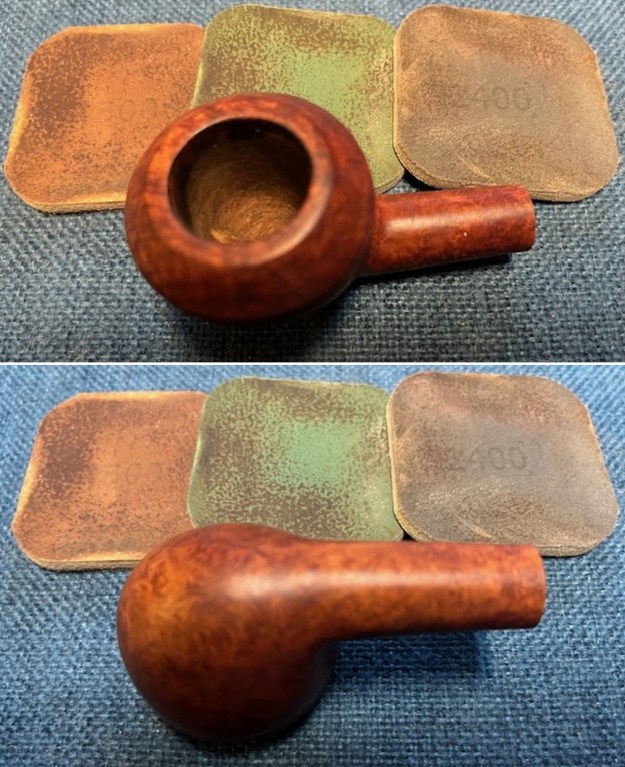
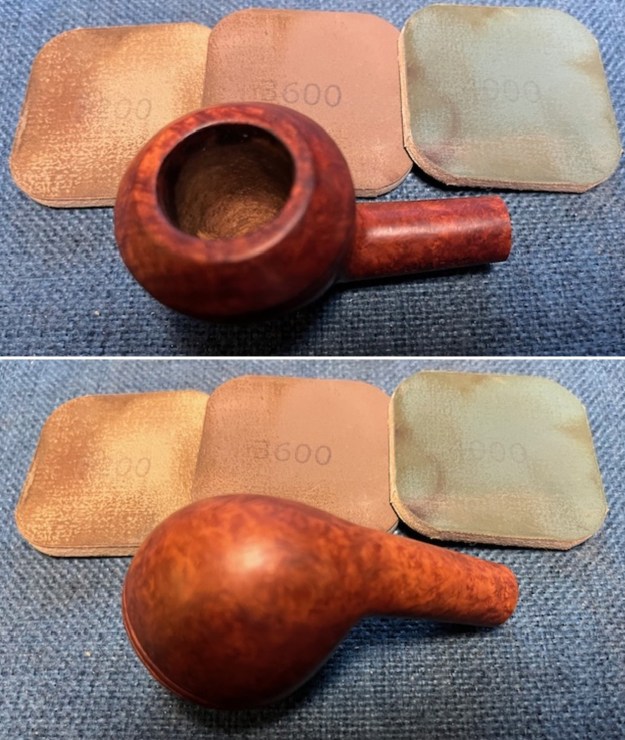
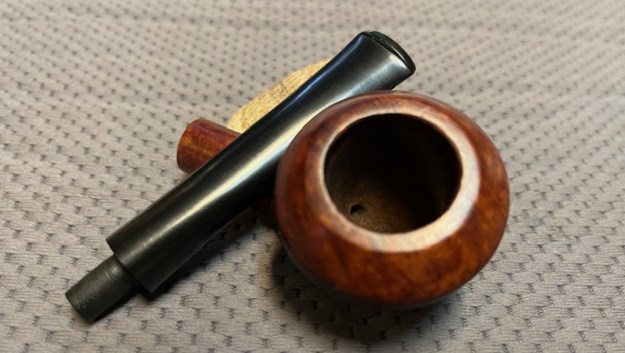
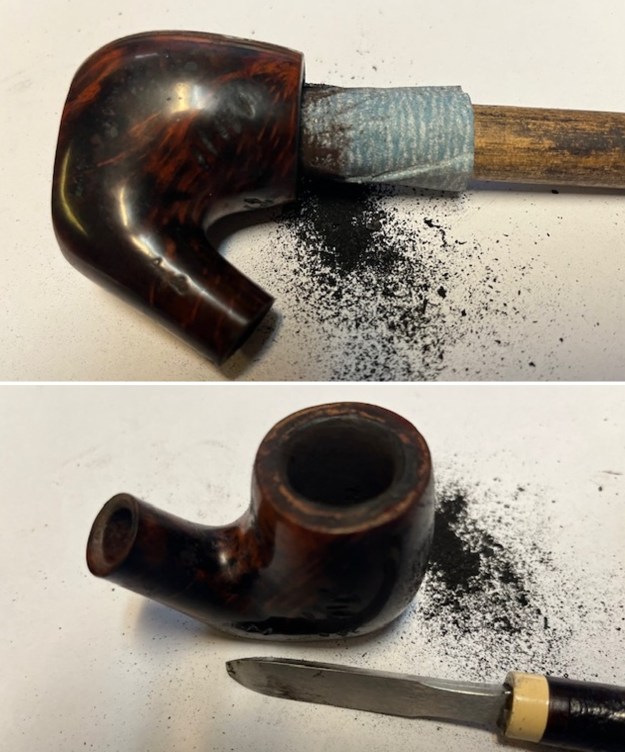
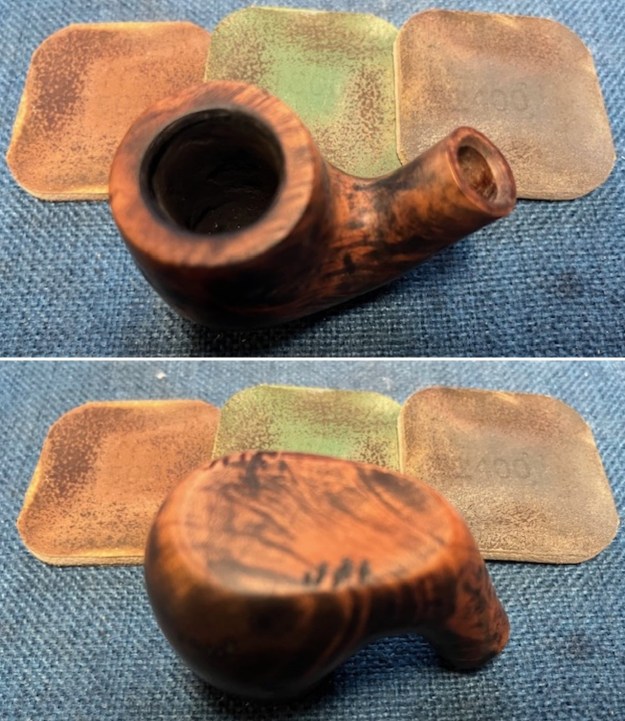
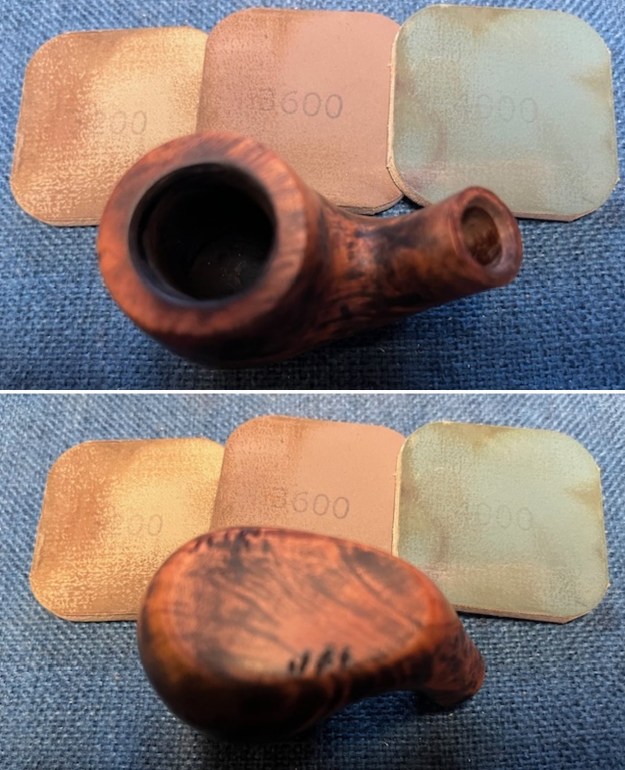
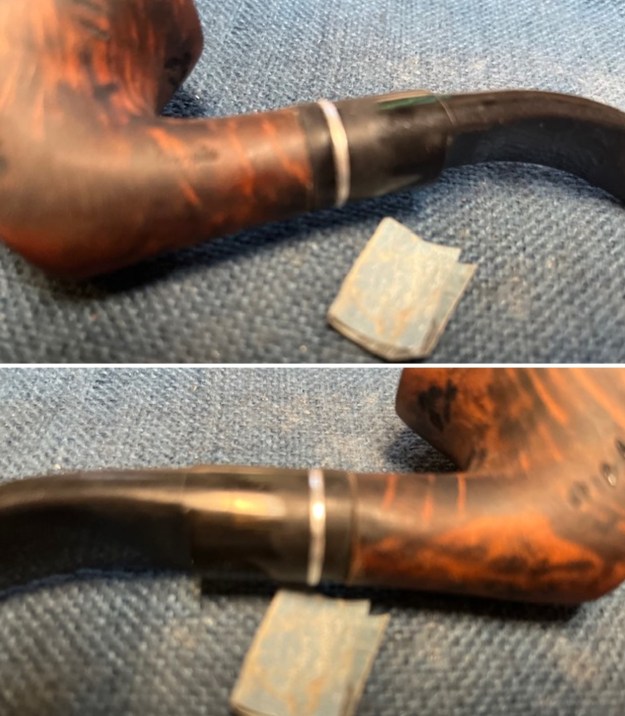
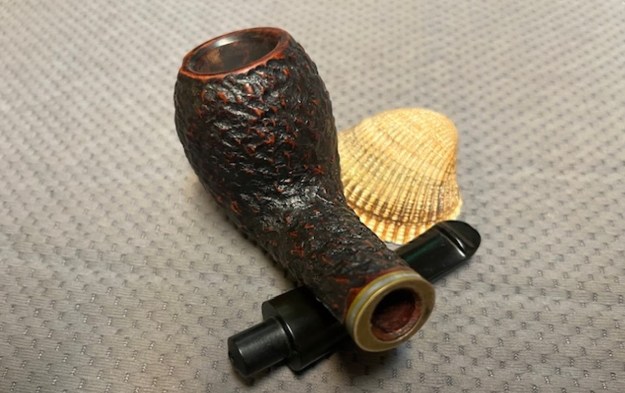
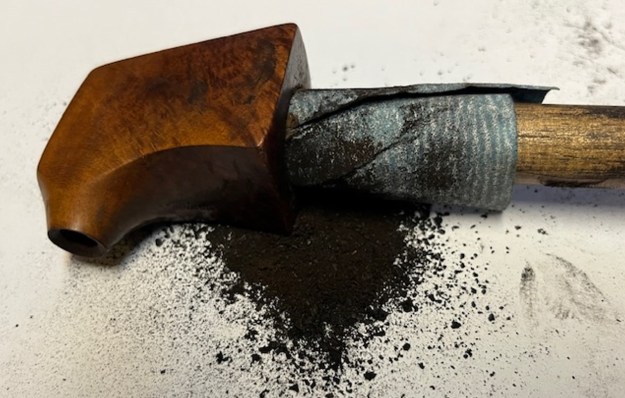
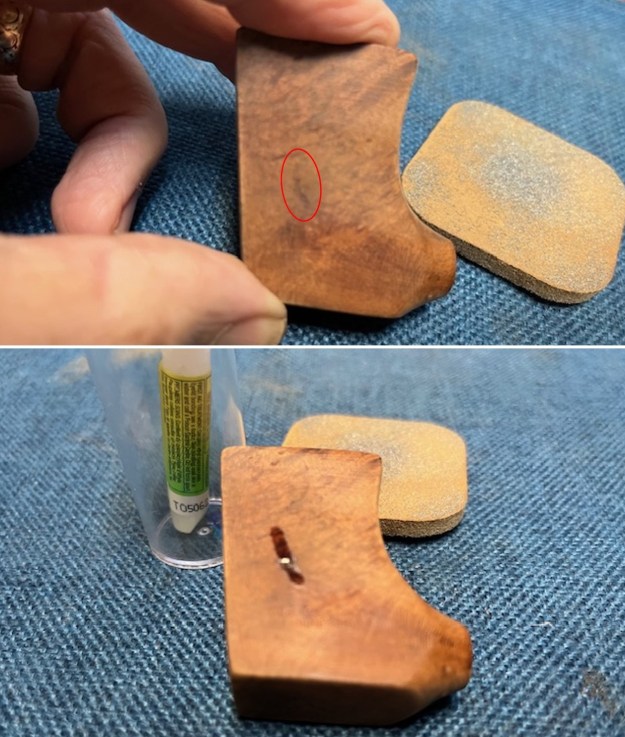
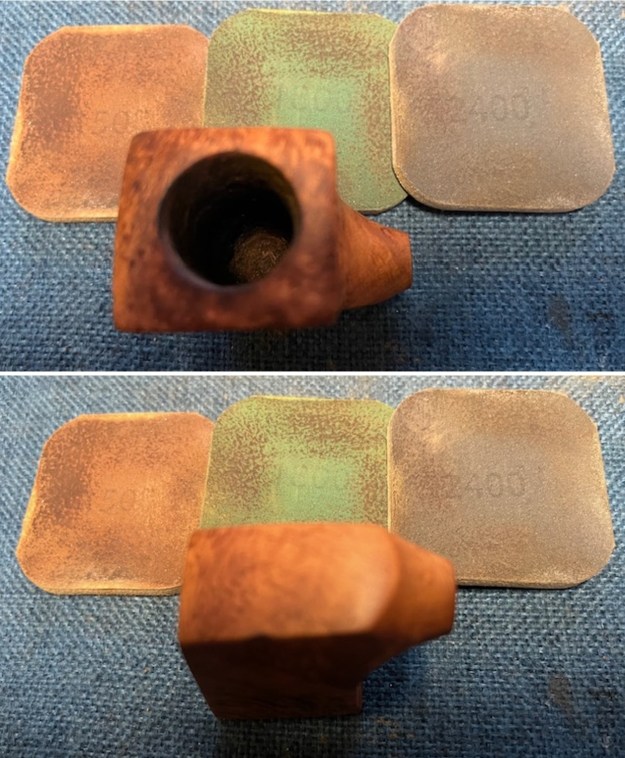
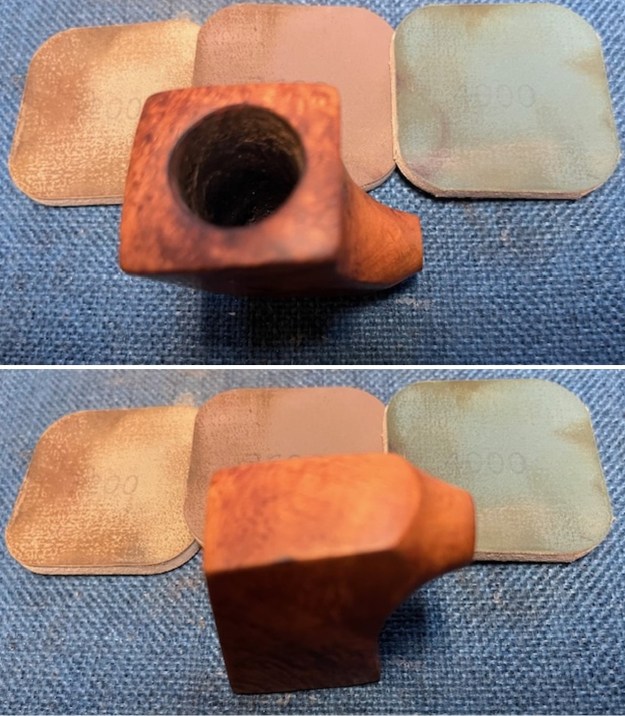
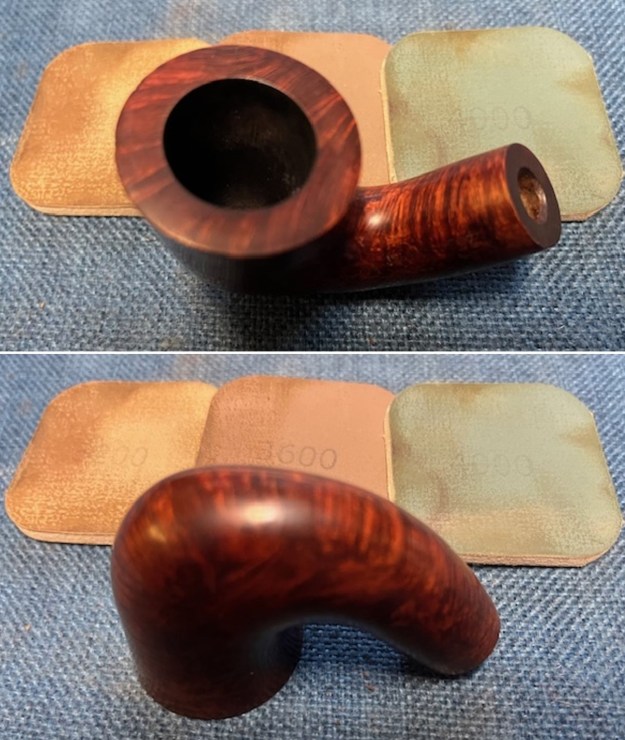
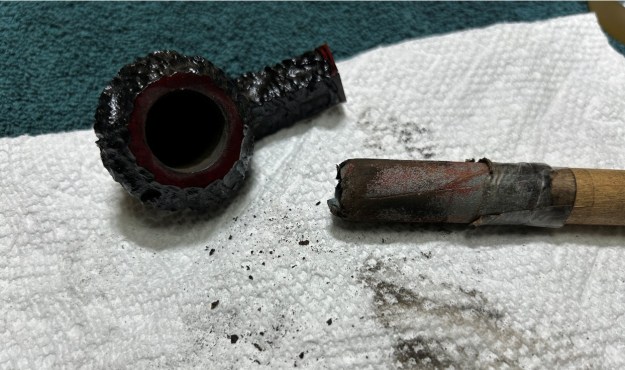 My next step was to remove the lava on the rim. For this, I took a piece of machine steel and gently scraped the lava away. The metal’s edge is sharp enough to remove what I need, but not so sharp that it damages the rim. This work revealed that some minor scorching had occurred. It wasn’t serious, but I would have to repair it. Similar to the stem, I then cleaned the stummel with both pipe cleaners and cotton swabs dipped in 99% lemon-infused isopropyl alcohol.
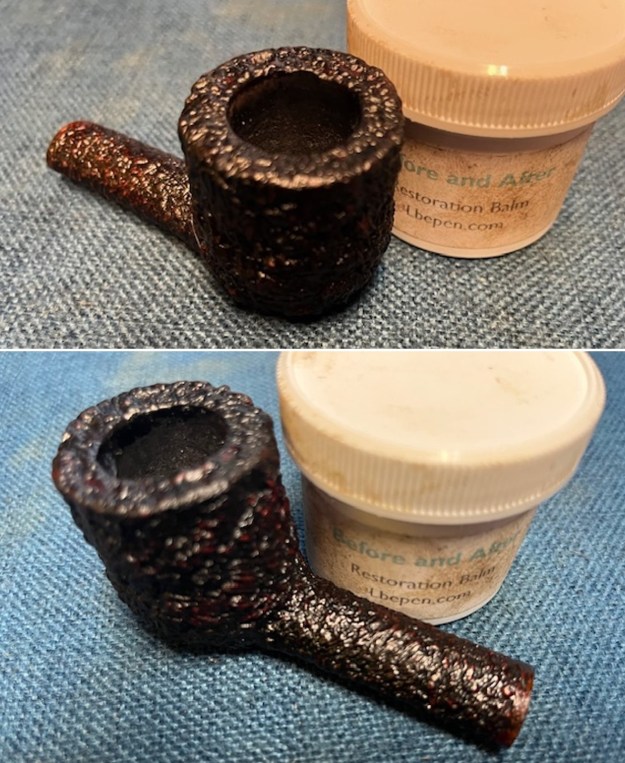
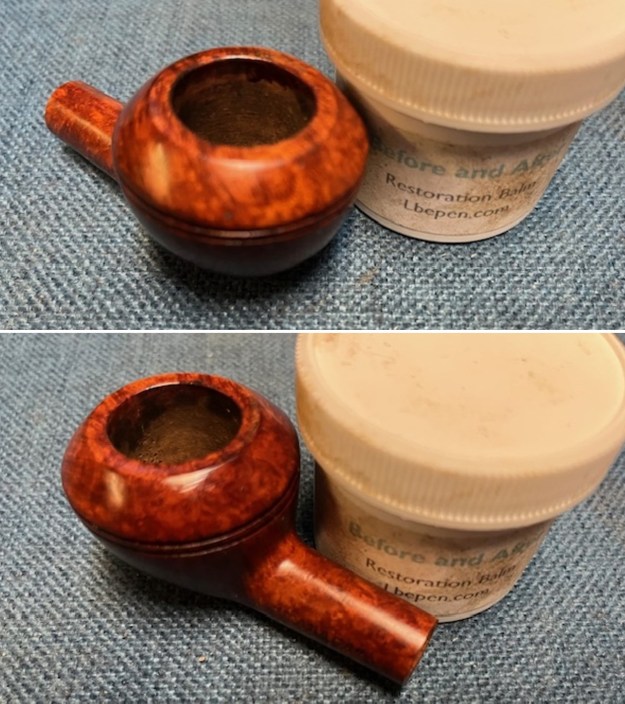
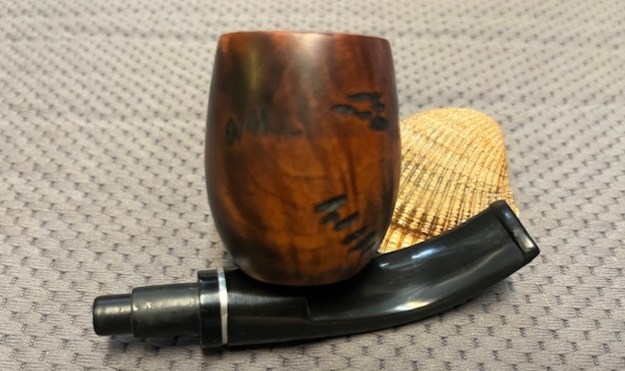
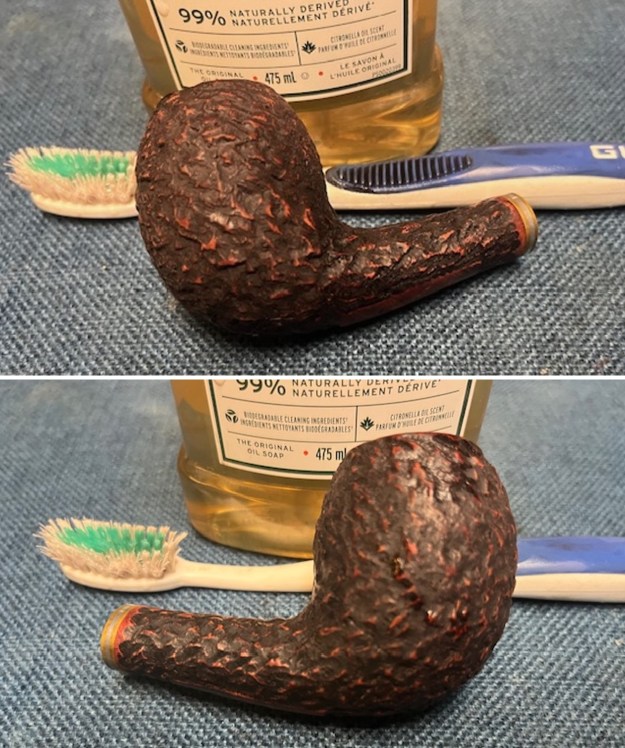
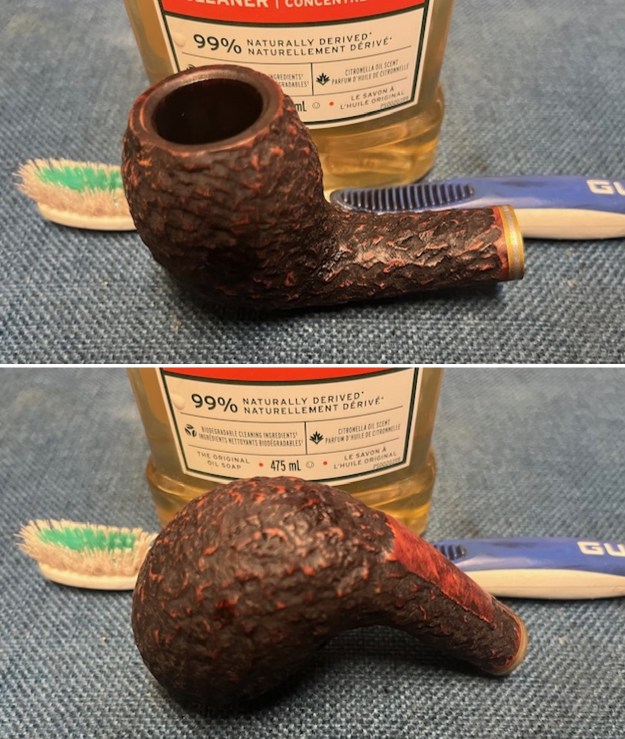
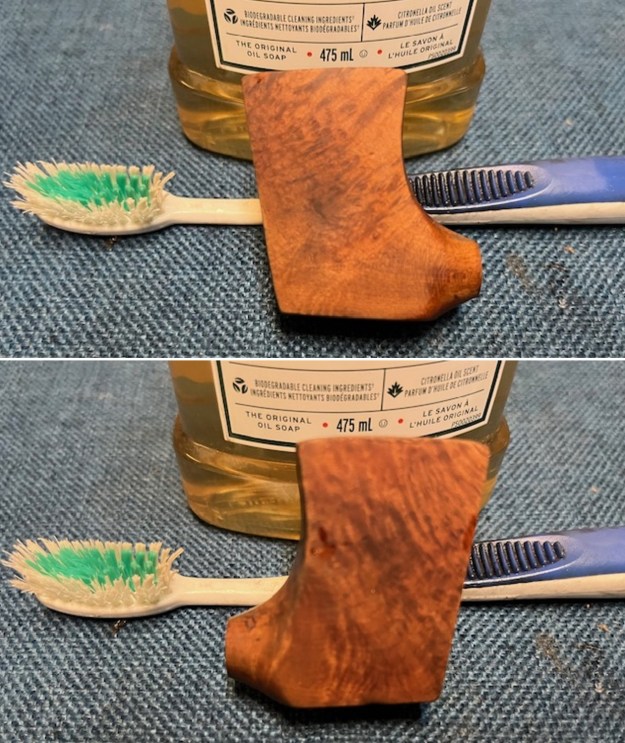
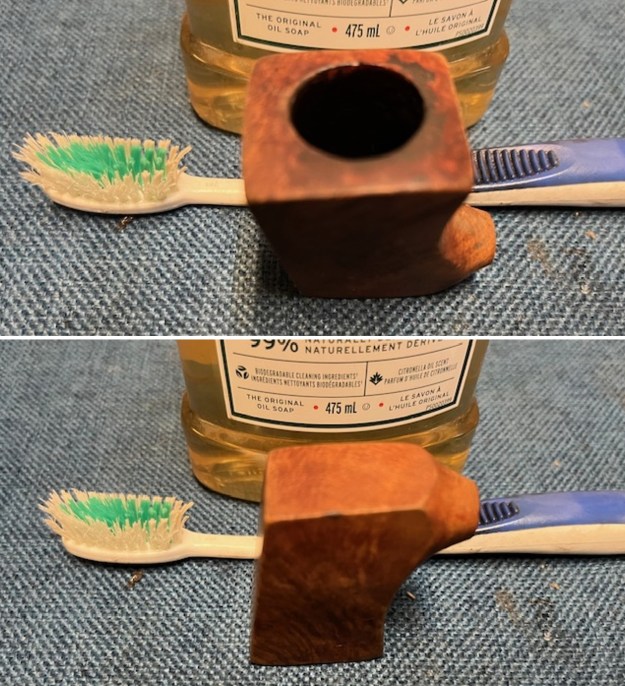
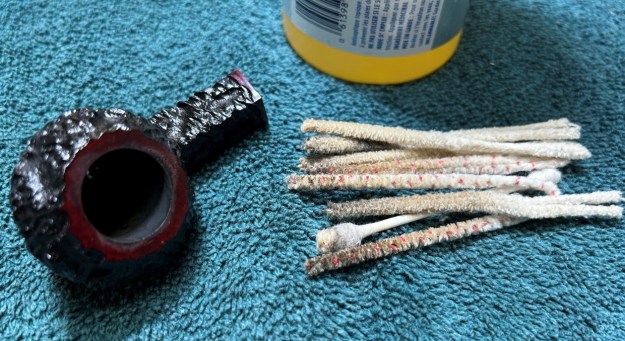 To tidy up the briar, I also wiped down the outside with some oil soap on cotton rounds (and a toothbrush). This does a good job of cleaning any latent dirt on the surface of the briar.
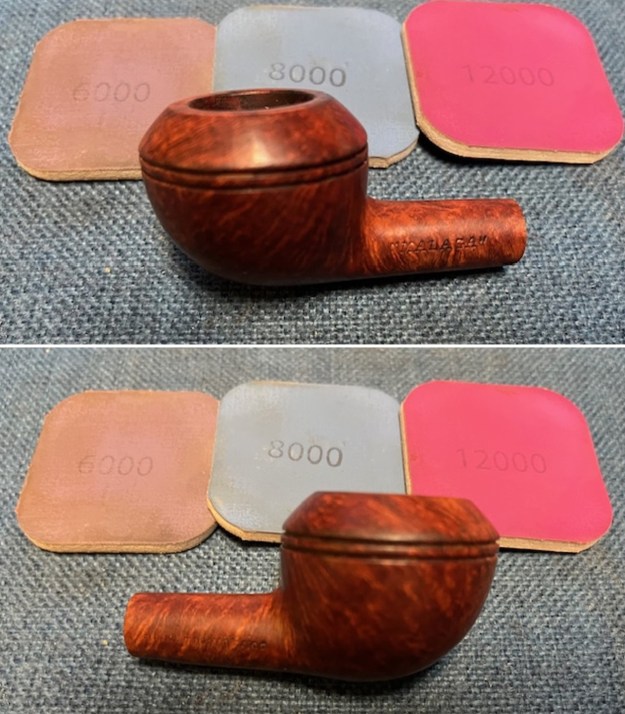
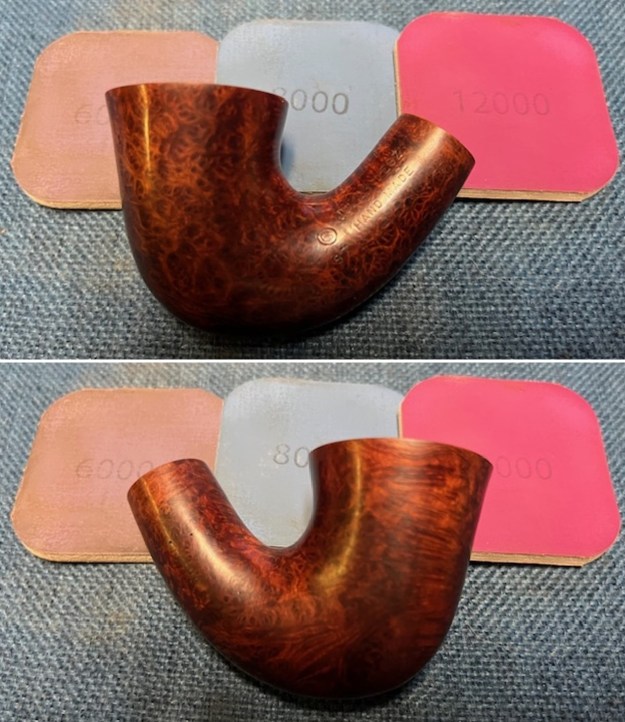
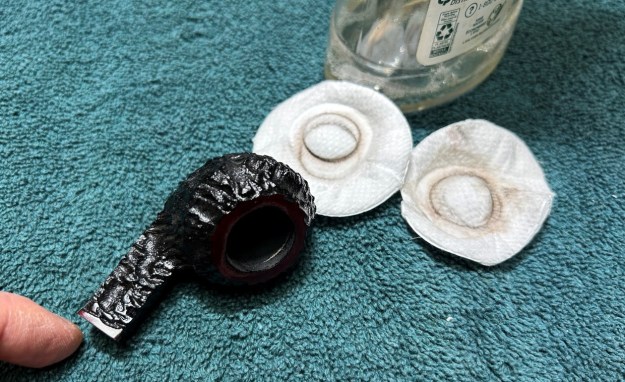 The last step of the cleaning process is to scour the inside of the stummel with some soap and tube brushes.
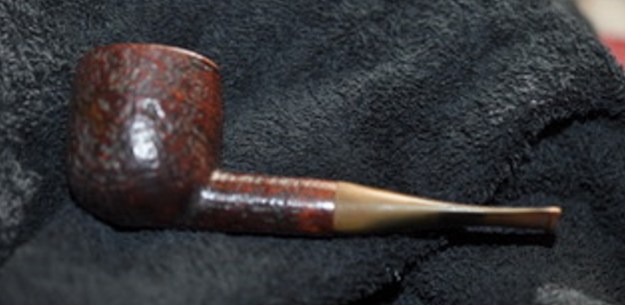
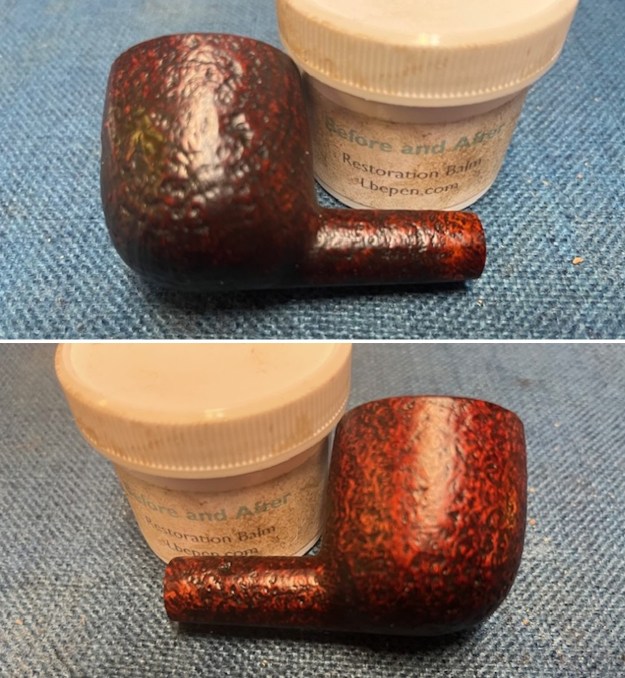
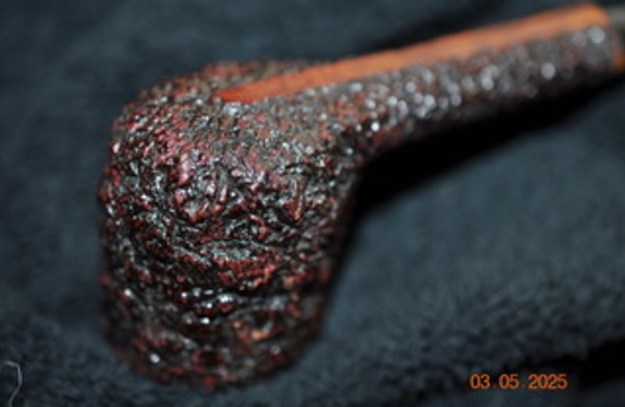
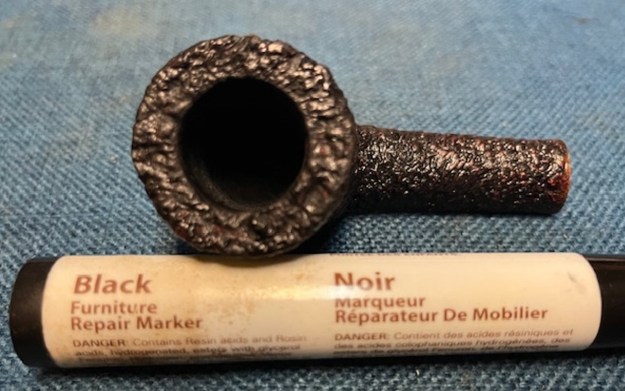
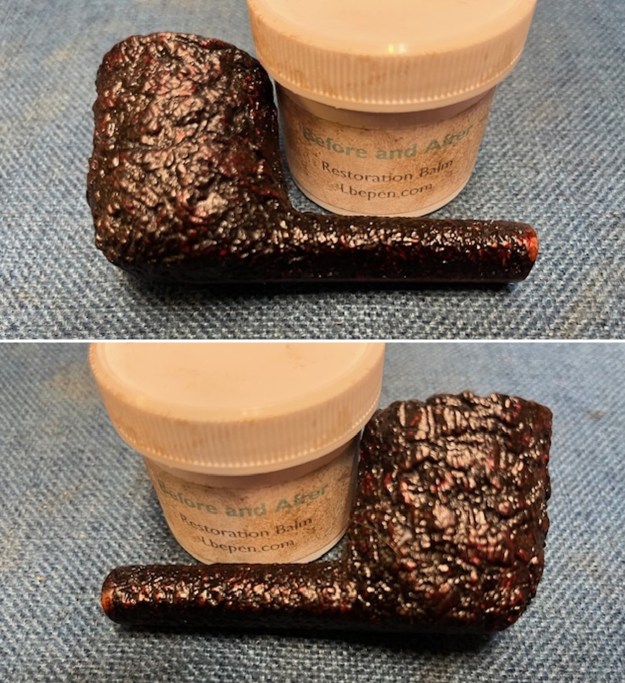
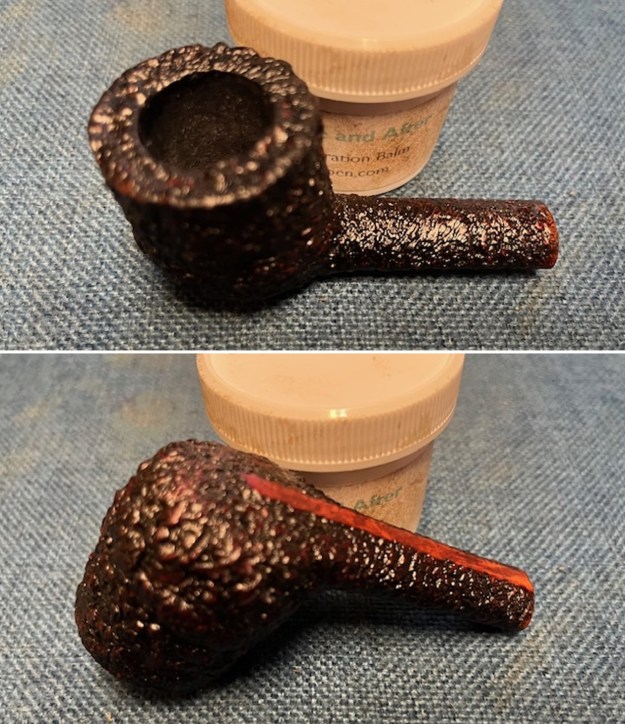
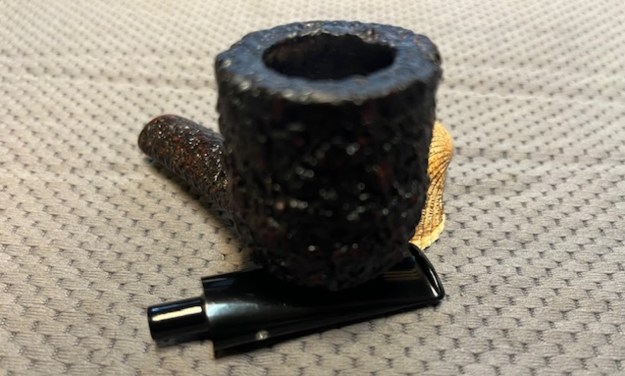
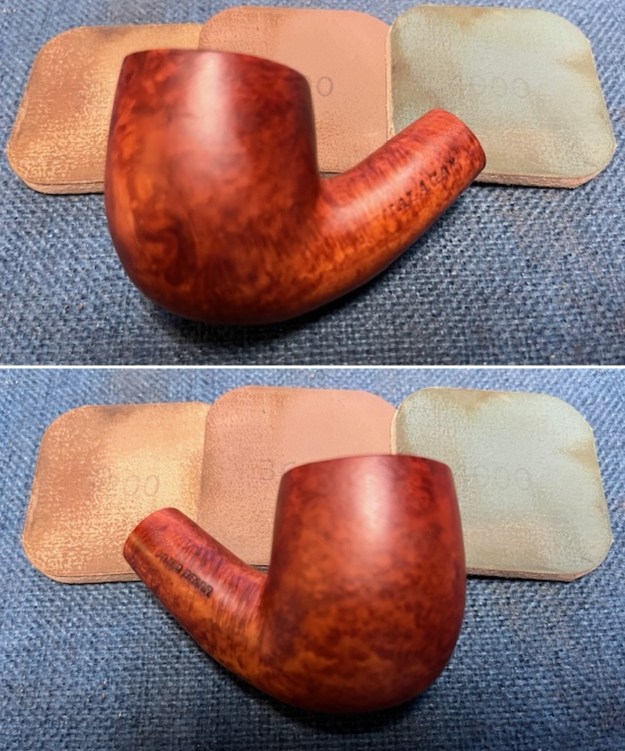
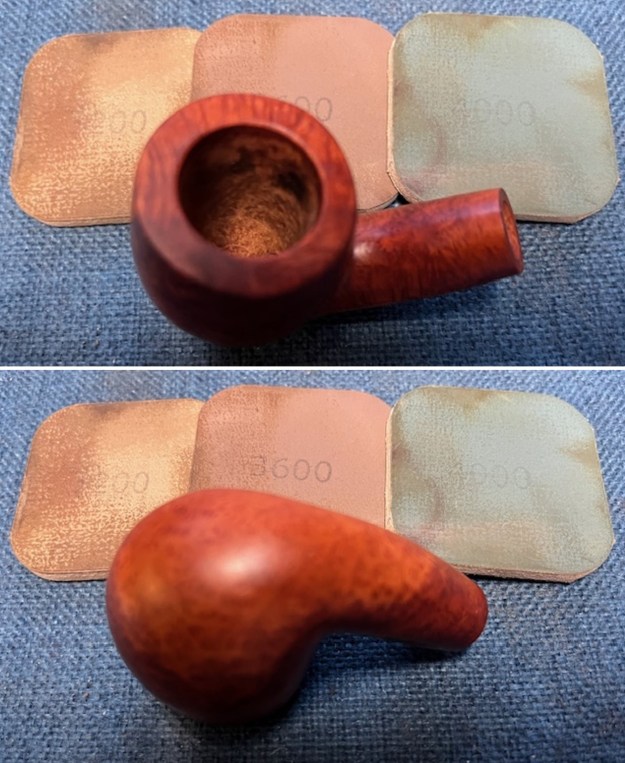
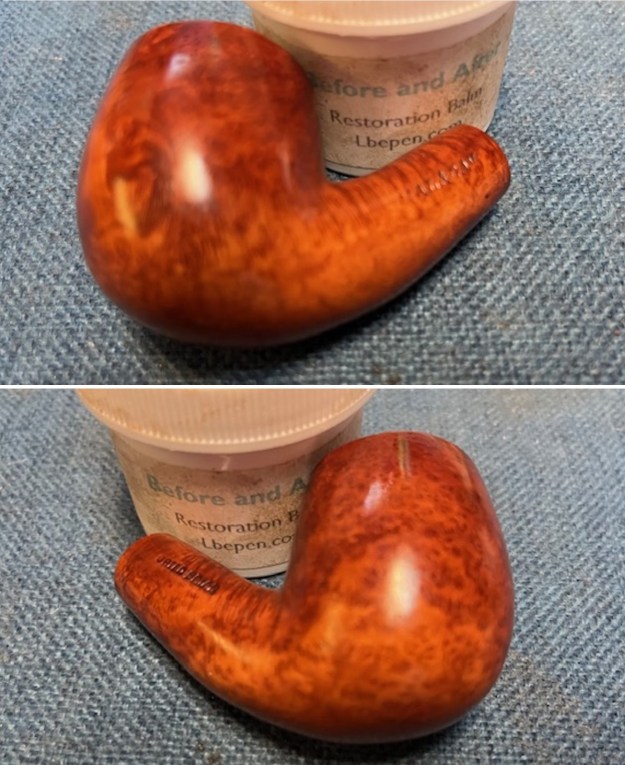
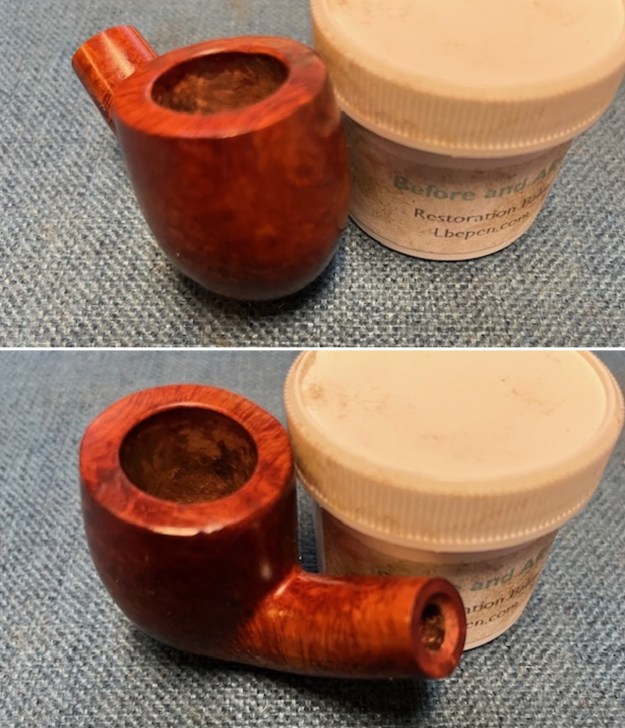
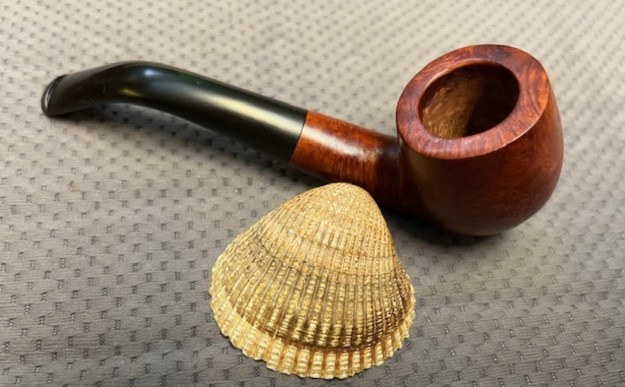
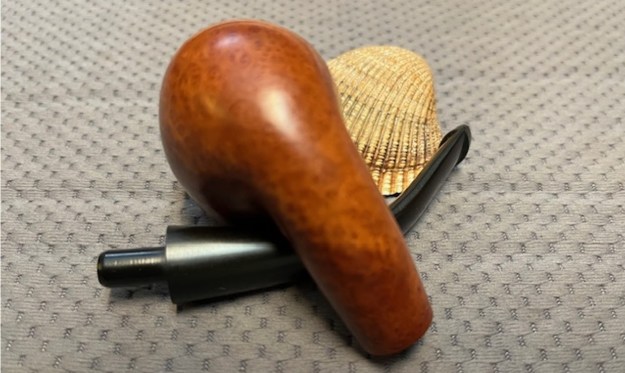
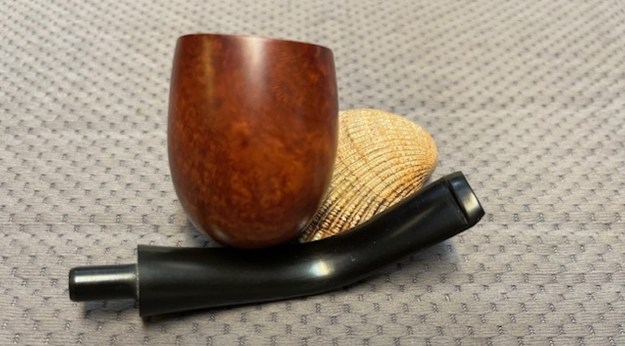
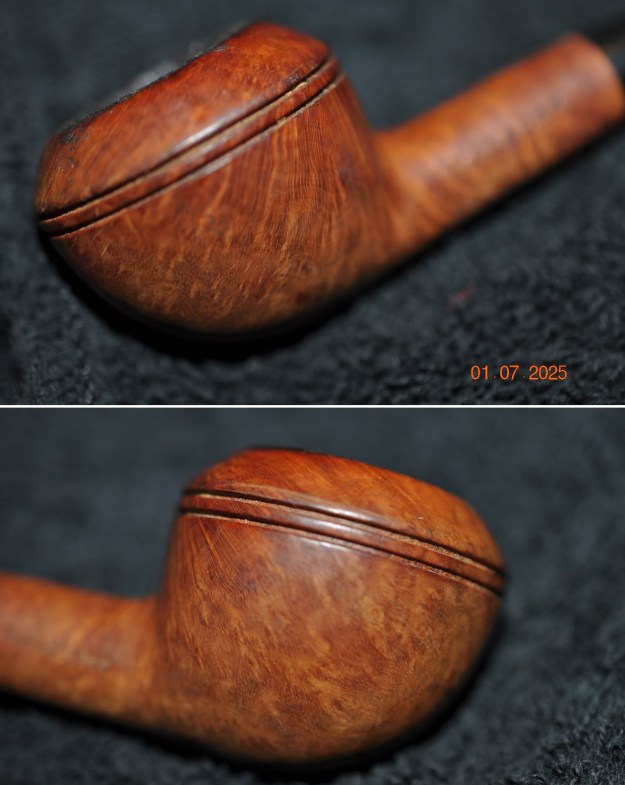
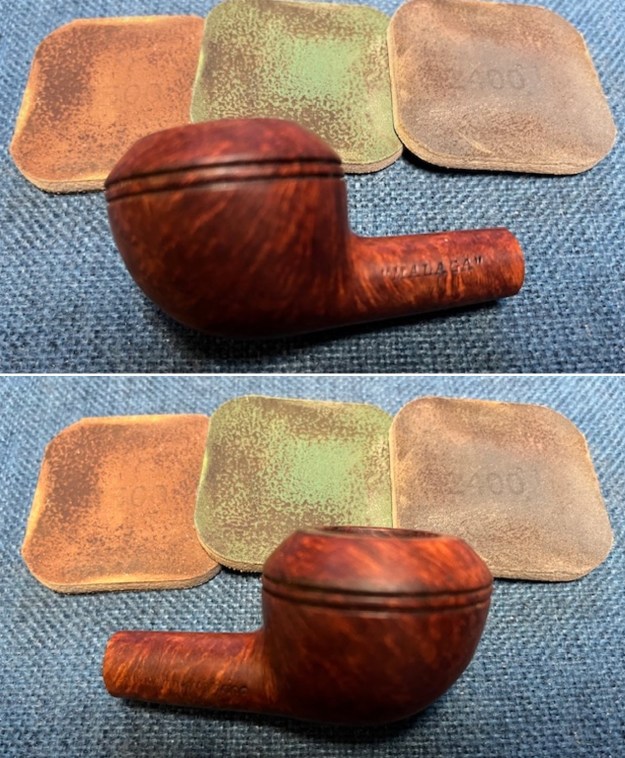
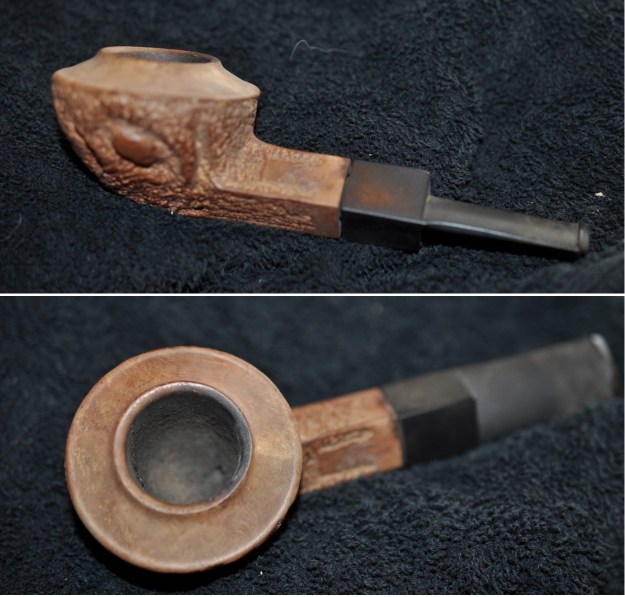
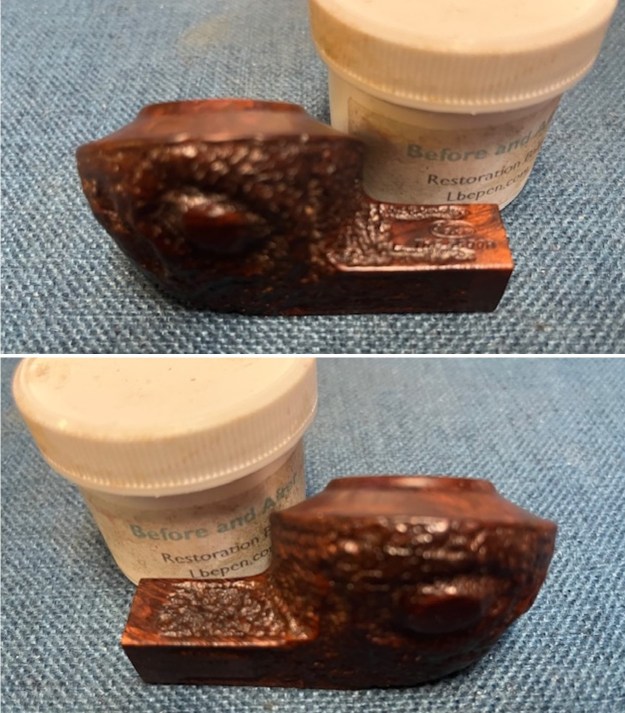
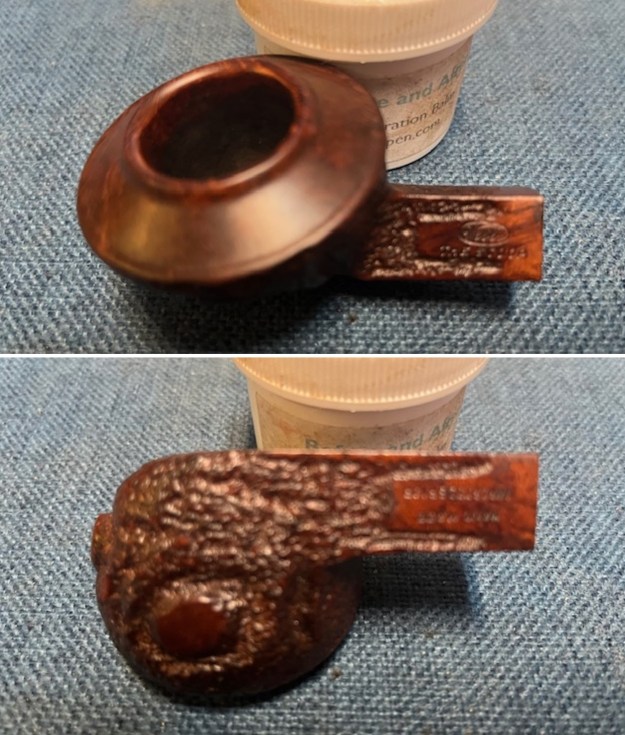
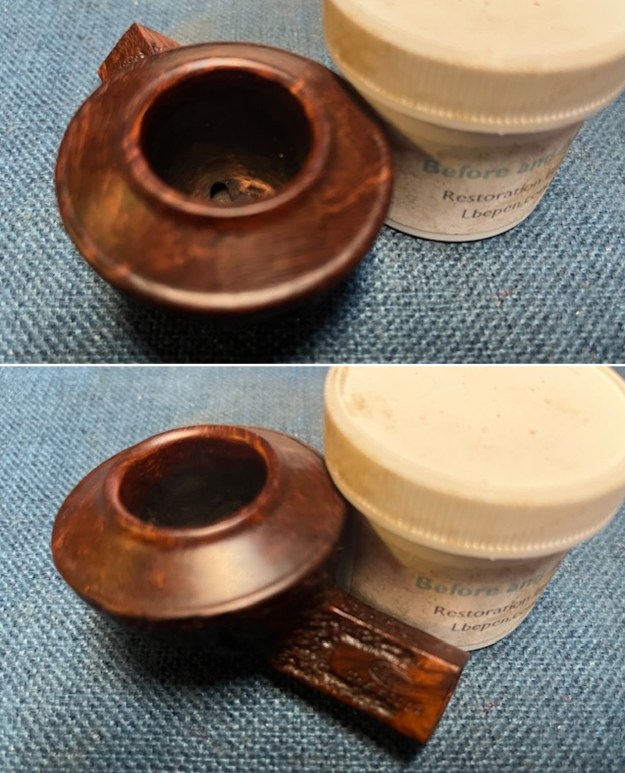
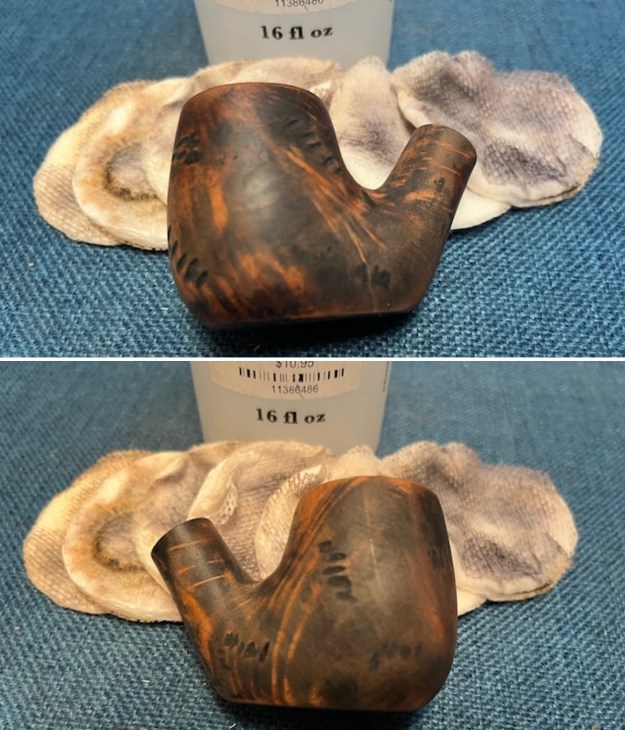
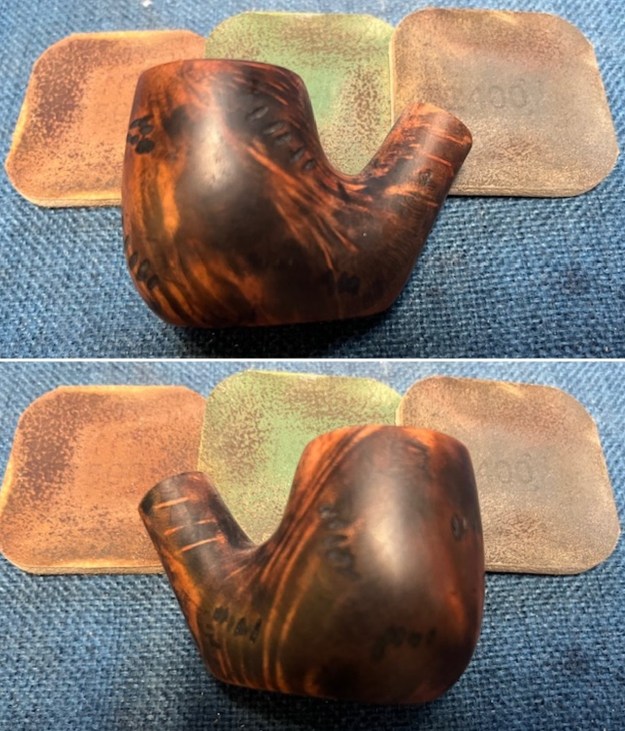
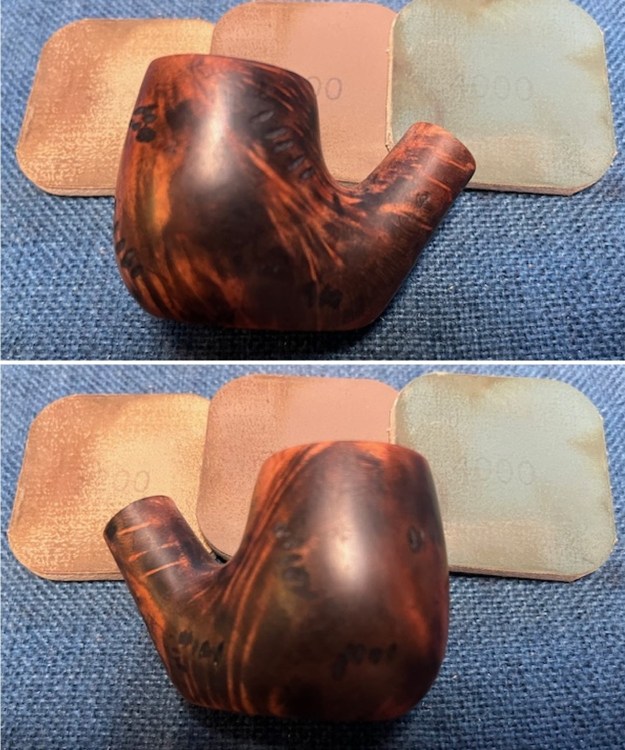
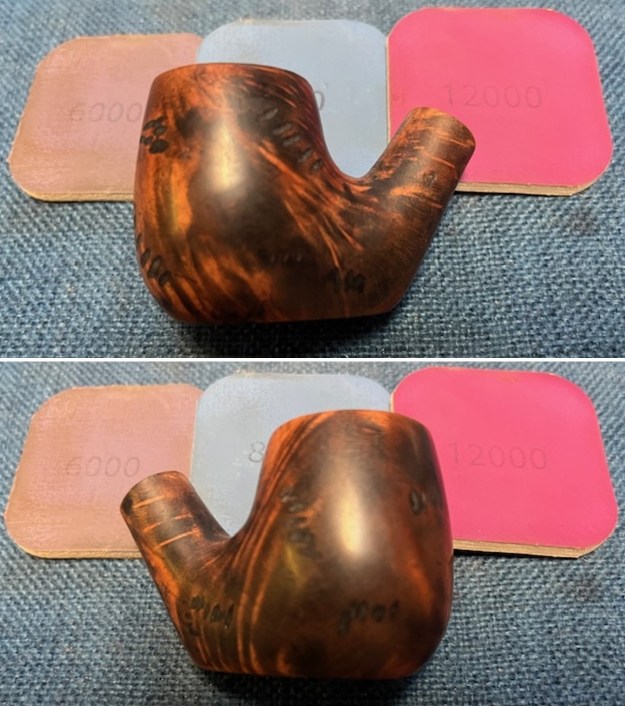
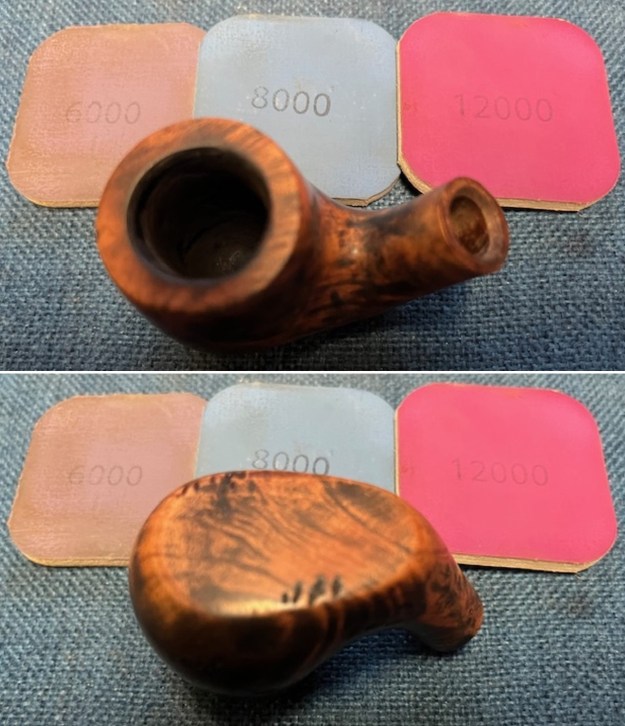
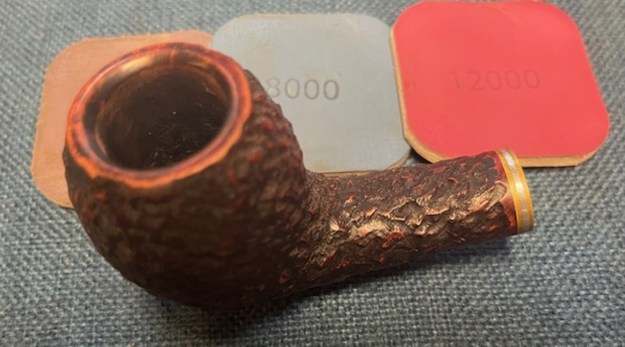
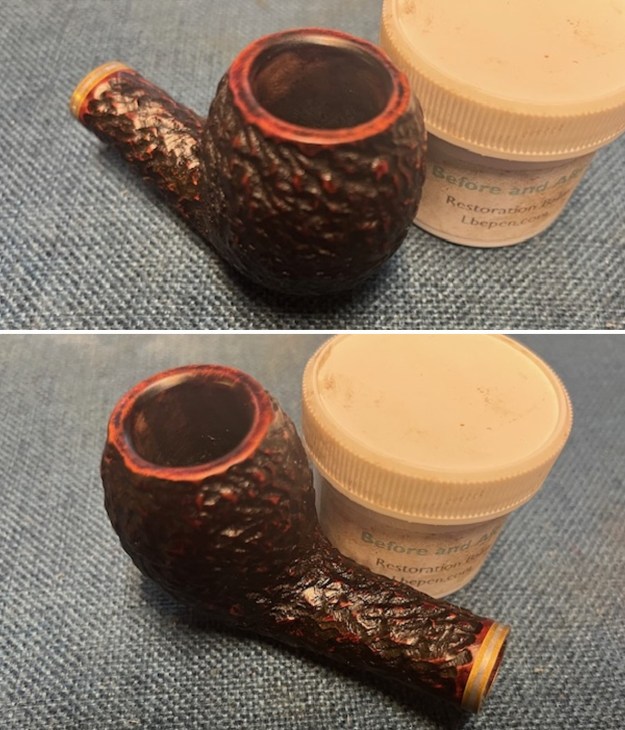
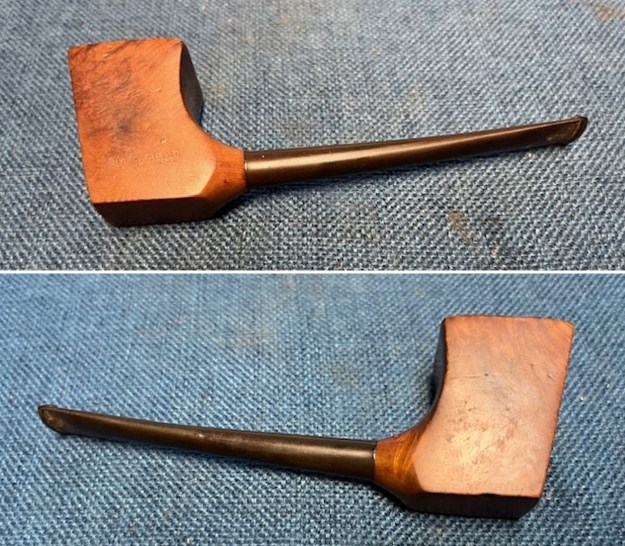
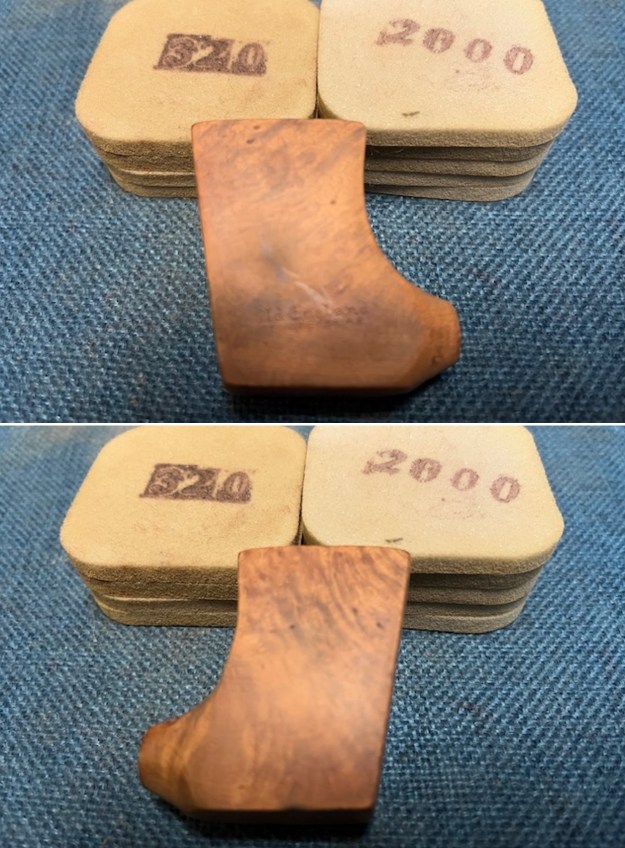
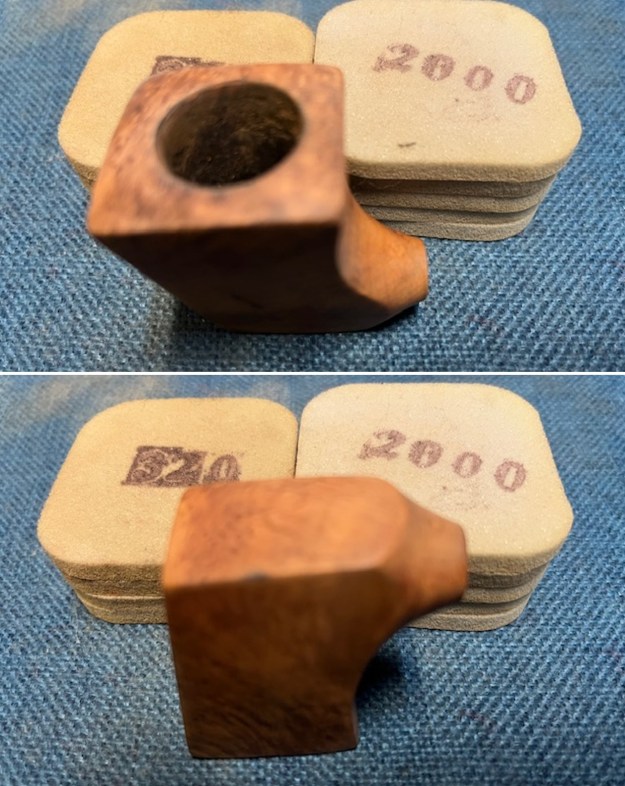
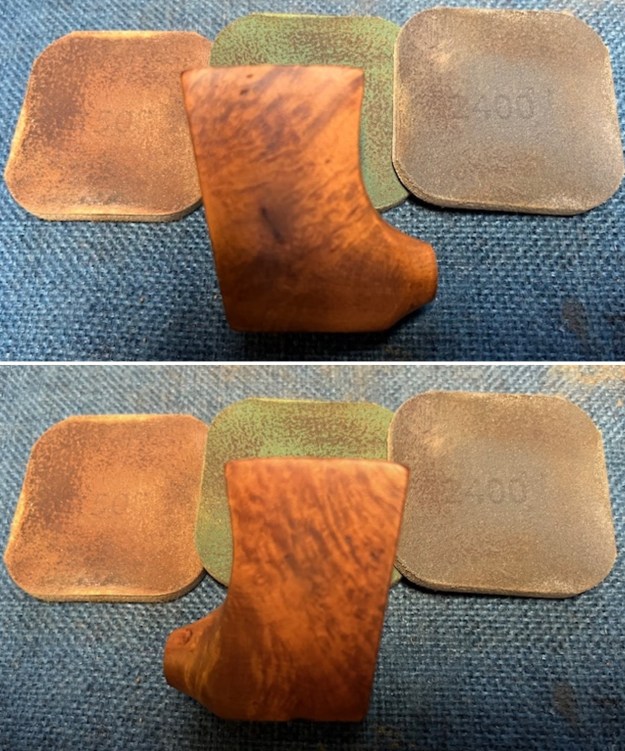
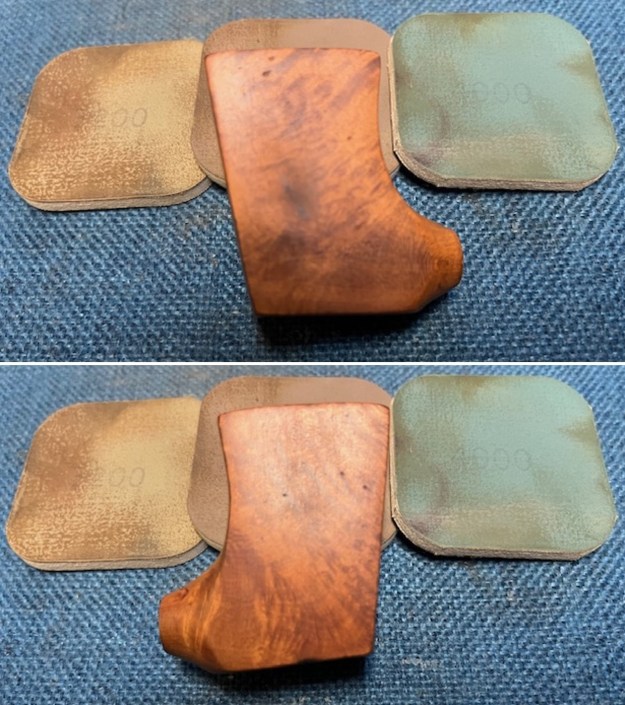
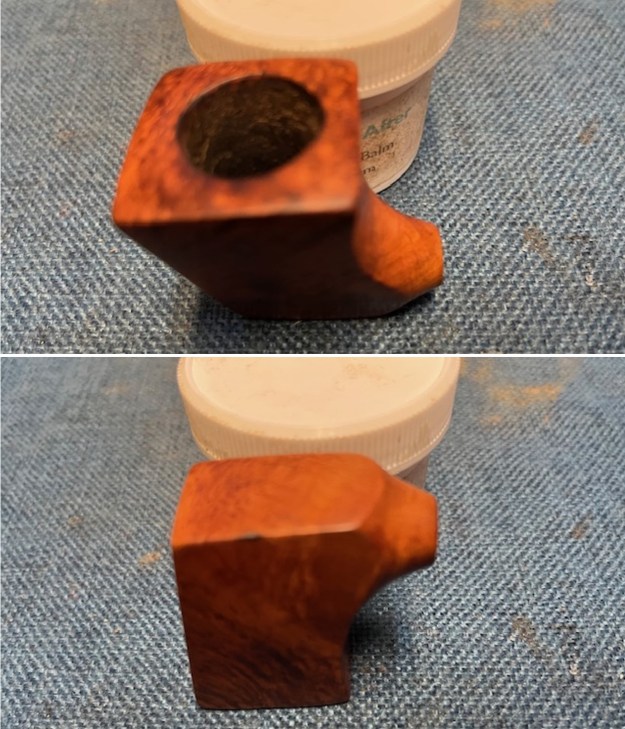
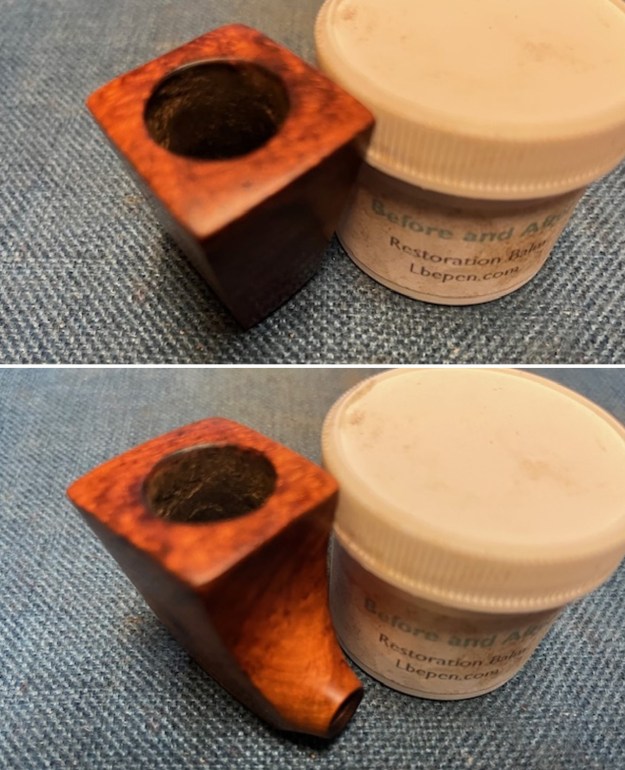
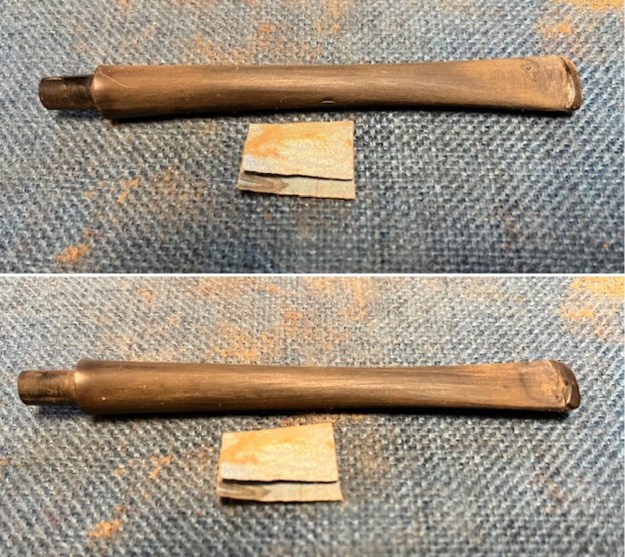
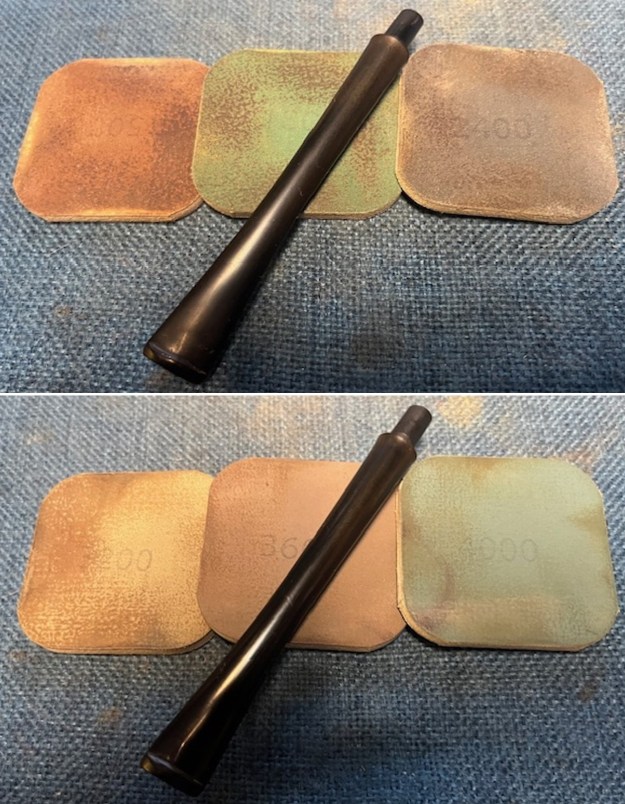
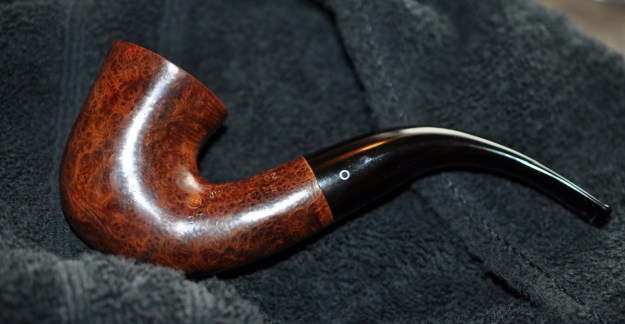
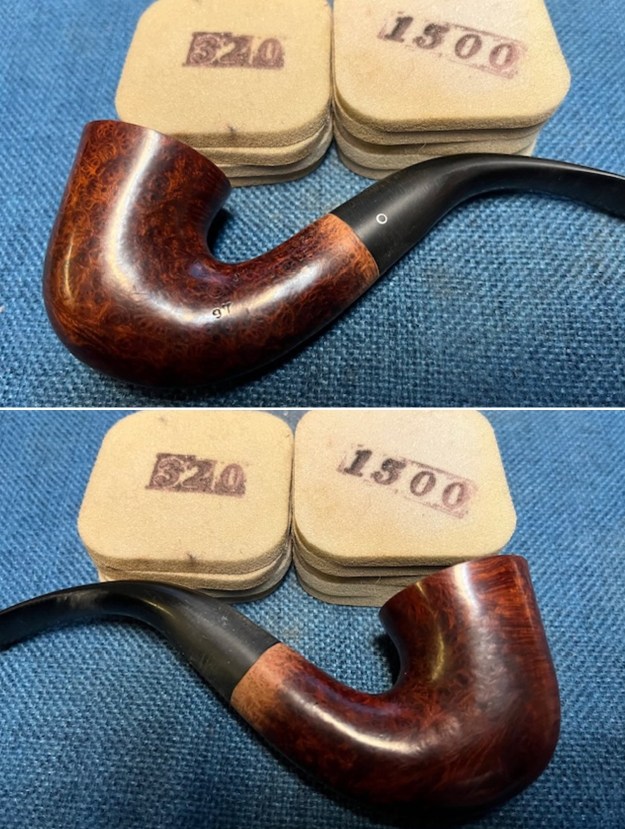
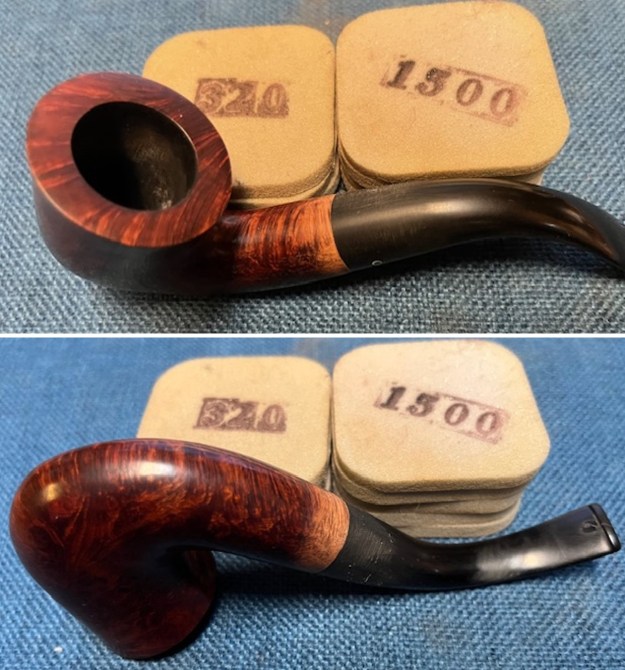
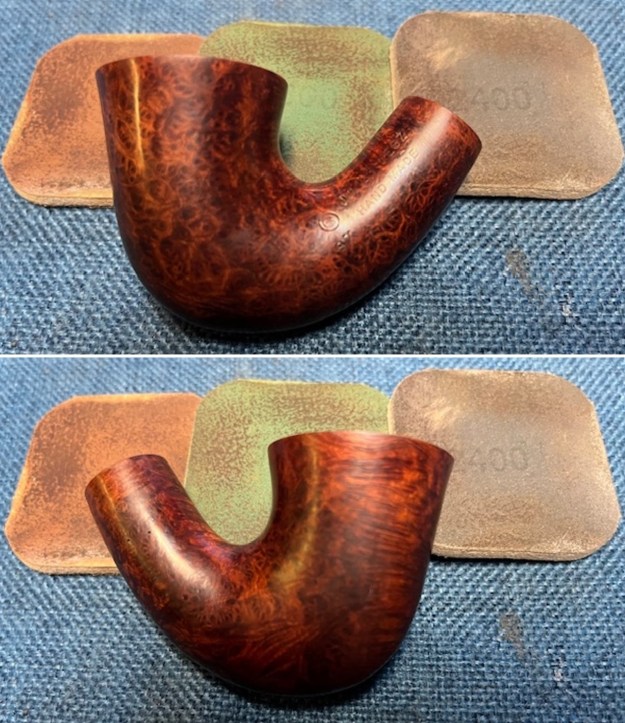
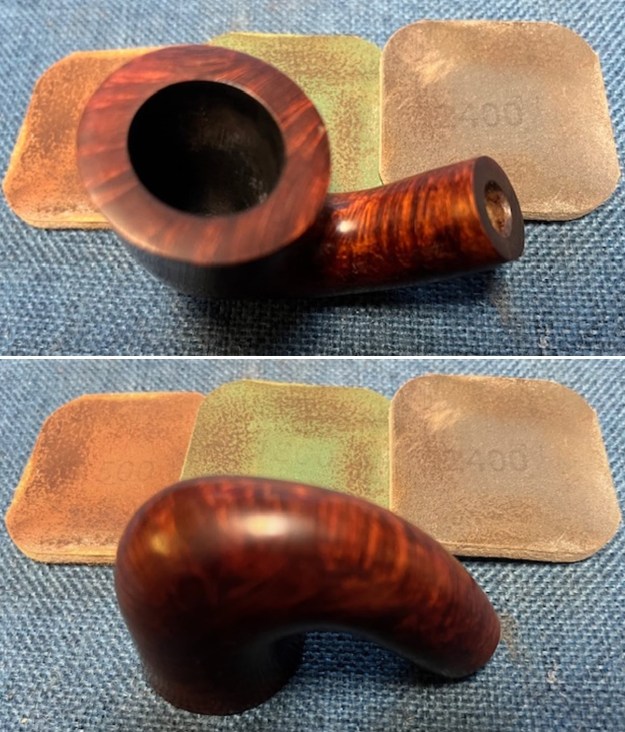
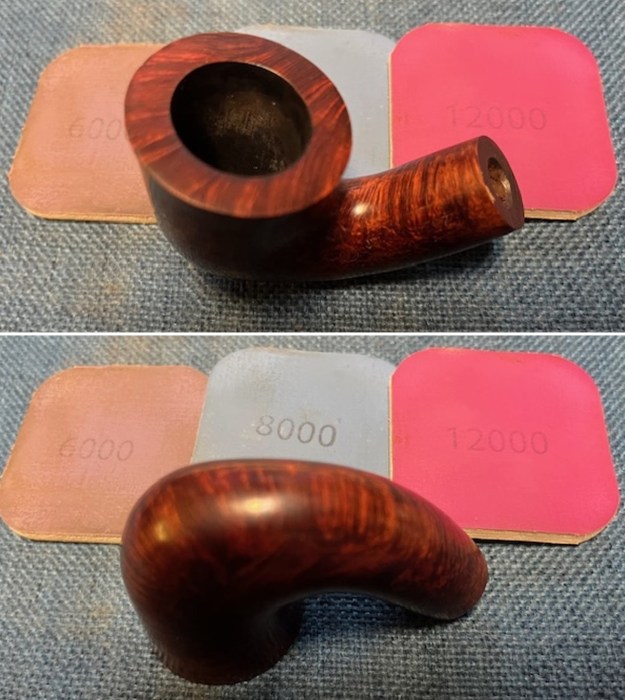
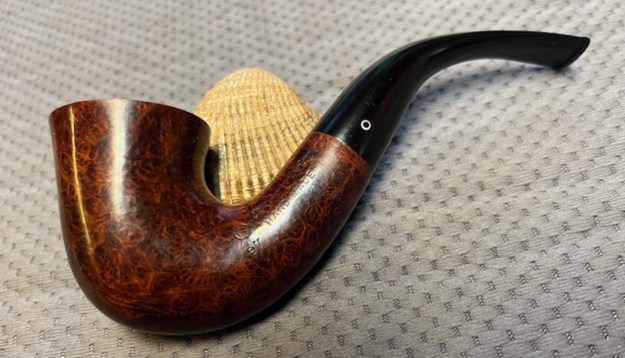
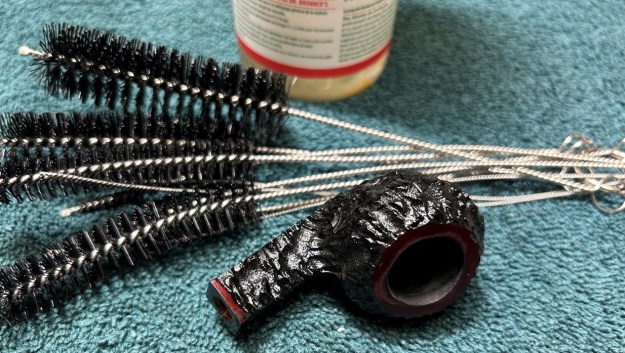 In order to lessen the burns on the rim, I ‘topped’ the pipe – that is to say, I gently and evenly sanded the rim on a piece of 220-grit sandpaper. This effectively minimizes the damage, without altering the look of the pipe. I used all nine micromesh pads (1,500 through 12,000 grit) on the rim to finish it off. This sanding minimizes flaws in the briar and provides a beautiful smoothness to the wood. After that, the bare wood needed to be tinted in the same colour as the rest of the stummel. I used some of my furniture pens (which is simply dye in pen form) to match the colours. I rubbed some Before & After Restoration Balm into the briar and let it sit for 20 minutes or so. The balm moisturizes the wood and gives a beautiful depth to the briar. I then buffed it with a microfibre cloth and a horsehair brush. For the final step, I took the pipe to my bench buffer and carefully polished it with three coats of conservator’s wax. This procedure makes the pipe look its best – the stummel sings and the stem glows.
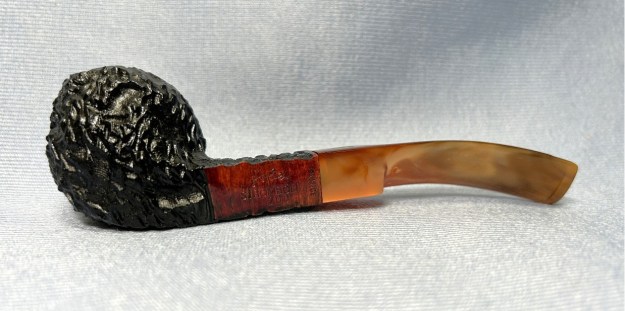
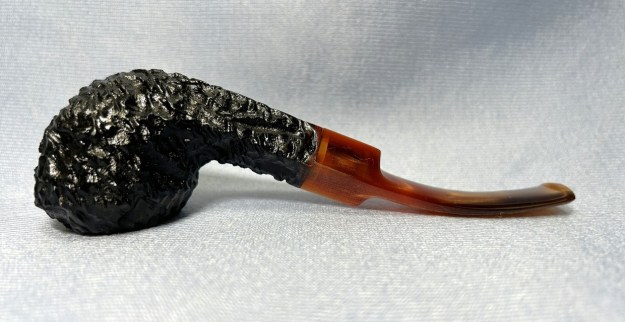
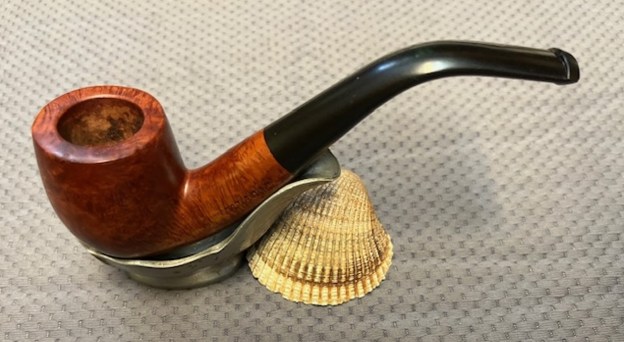
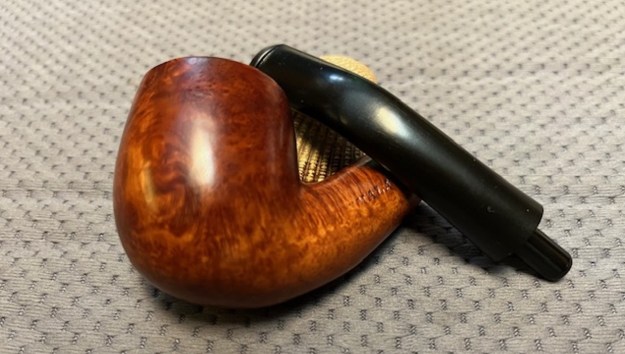
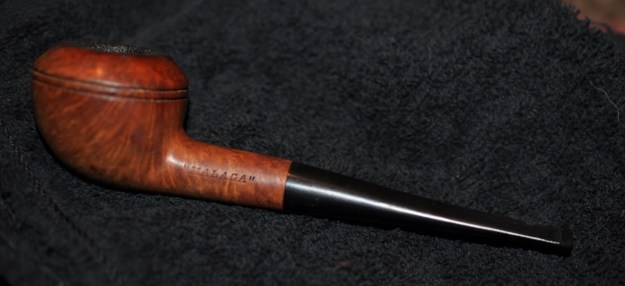
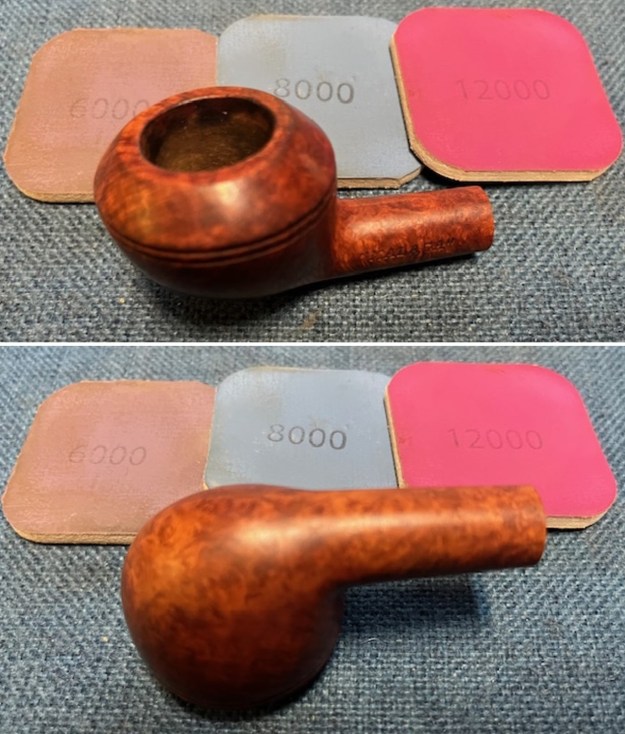
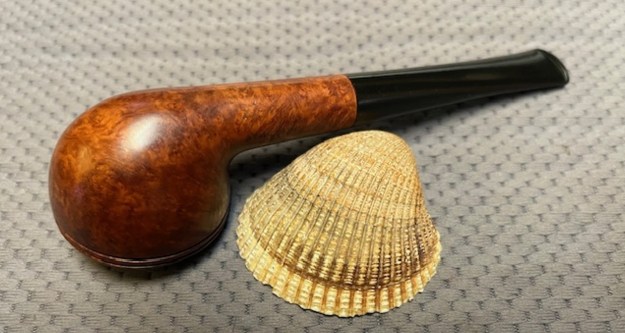
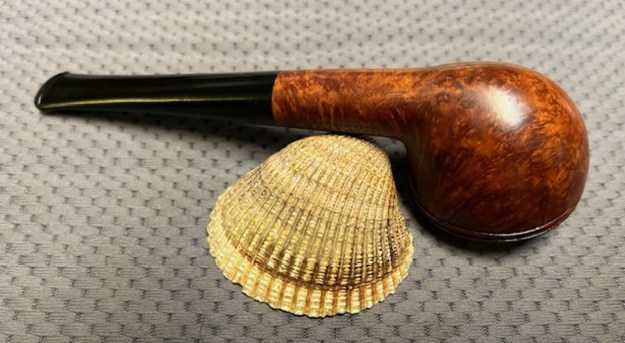
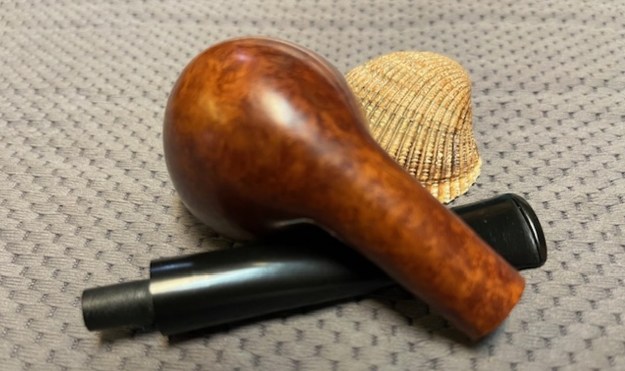
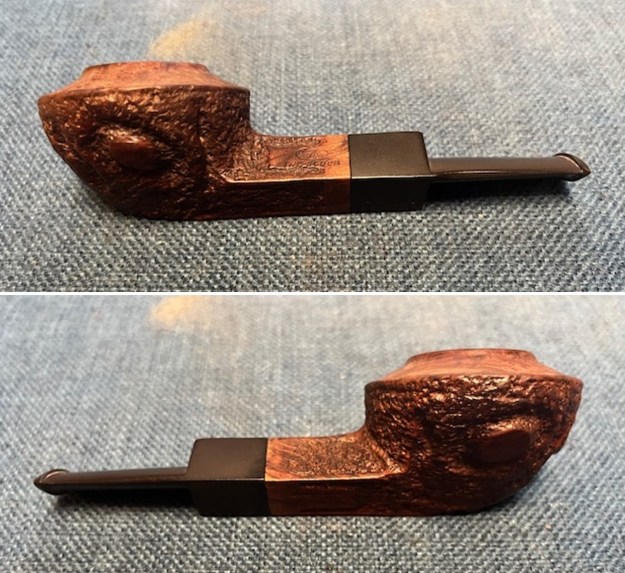
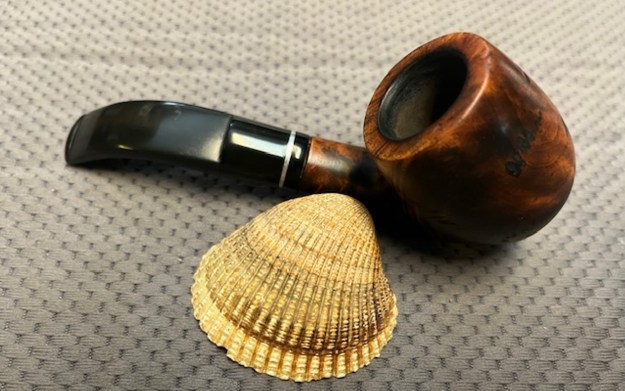
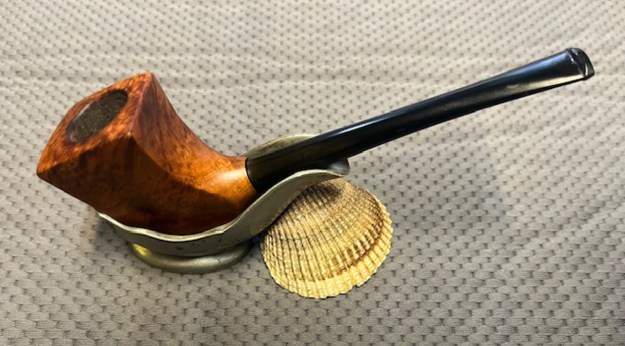
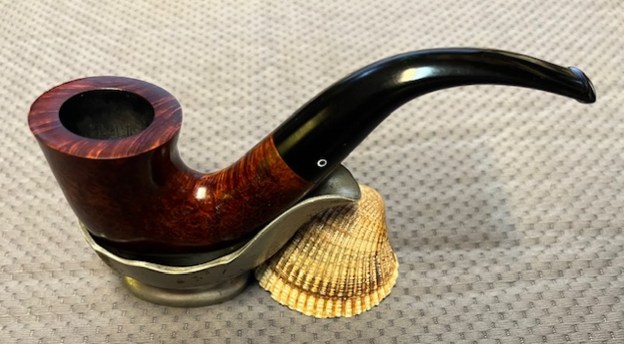
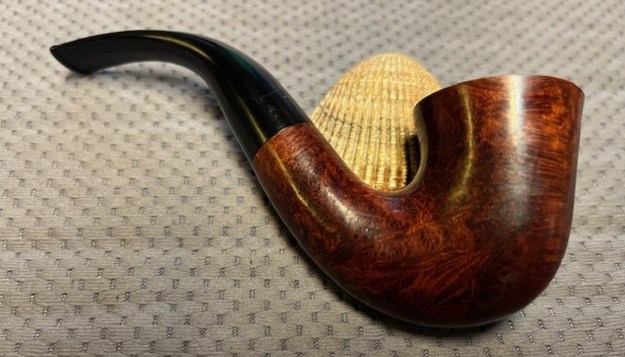
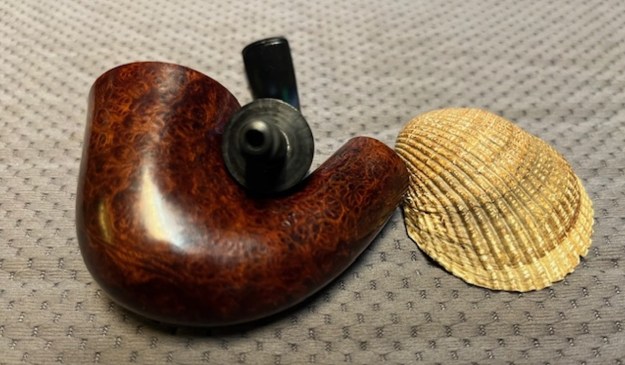
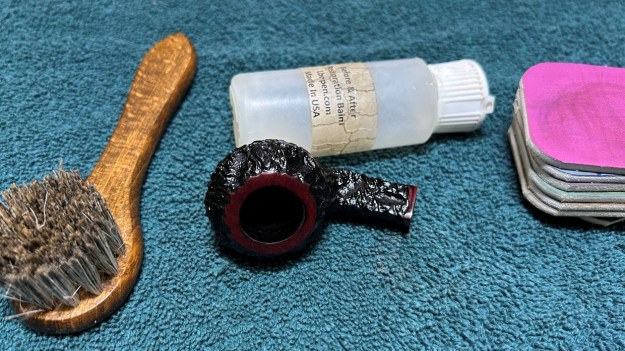 All done! This Jobey Stromboli 200 Bulldog looks fantastic again and is ready to be enjoyed by its next owner. I am pleased to announce that this pipe is for sale! If you are interested in acquiring it for your collection, please have a look in the ‘French’ section of the store here on Steve’s website. You can also email me directly at kenneth@knightsofthepipe.com. The approximate dimensions of the pipe are as follows: length 5⅔ in. (144 mm); height 1½ in. (39 mm); bowl diameter 1⅔ in. (42 mm); chamber diameter ¾ in. (19 mm). The weight of the pipe is 1¼ oz. (37 g). I hope you enjoyed reading the story of this pipe’s restoration as much as I enjoyed restoring it. If you are interested in more of my work, please follow me here on Steve’s website or send me an email. Thank you very much for reading and, as always, I welcome and encourage your comments.
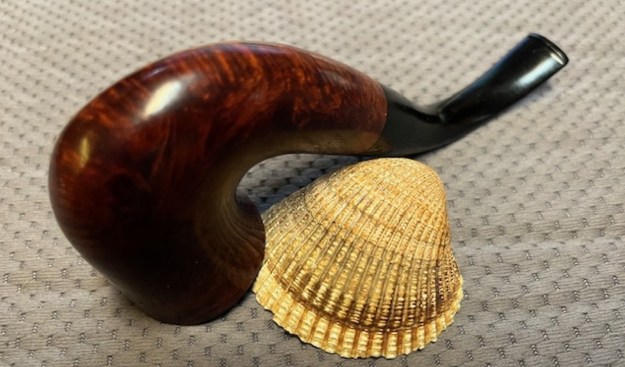
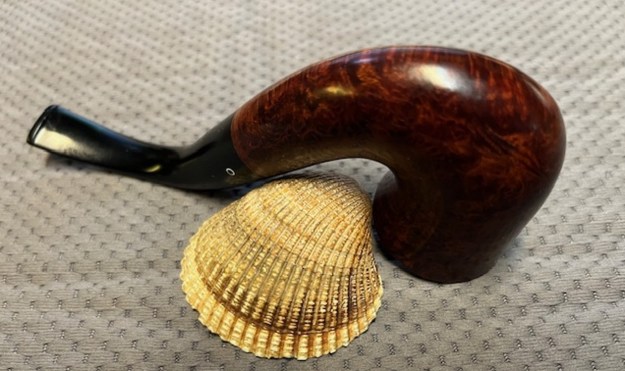


