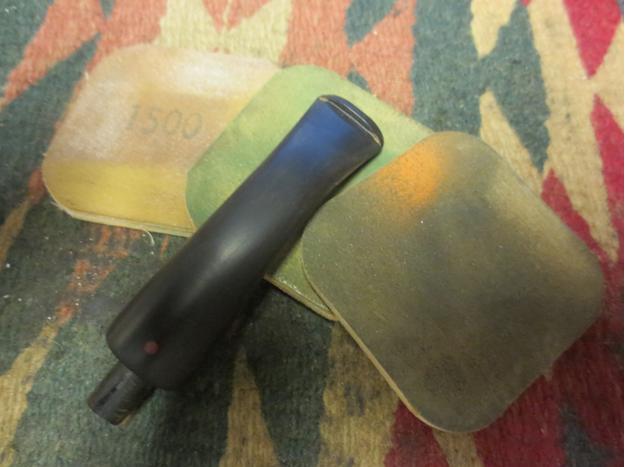
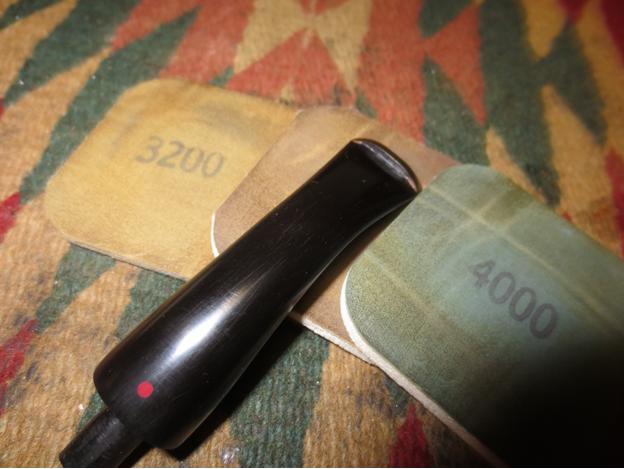
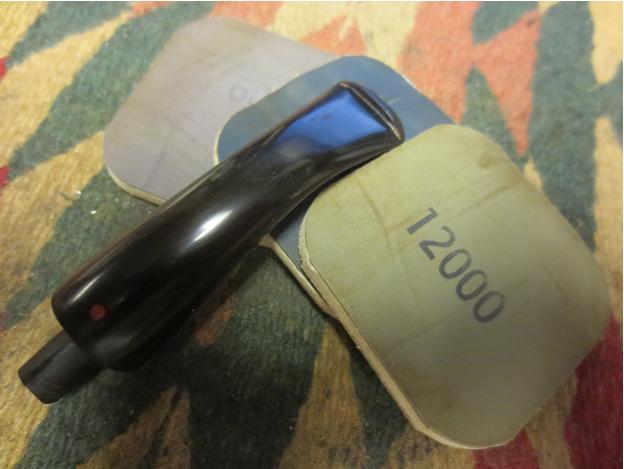
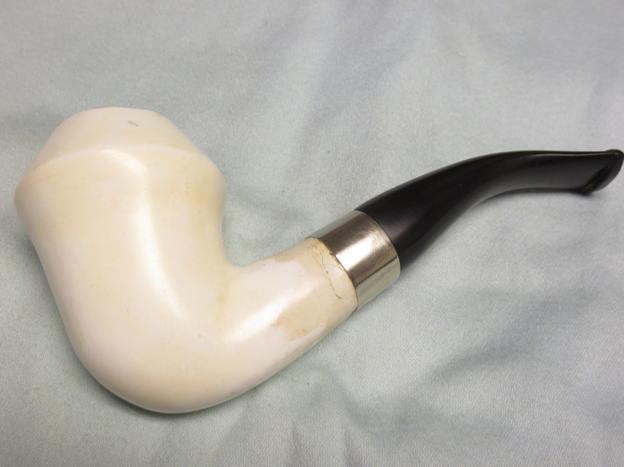
Tag Archives: shaping a stem

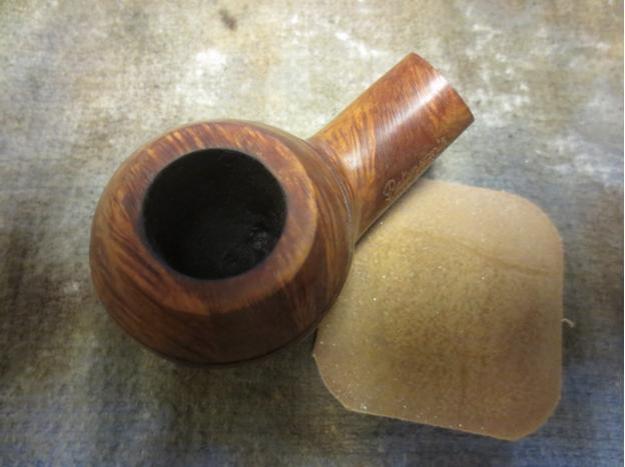
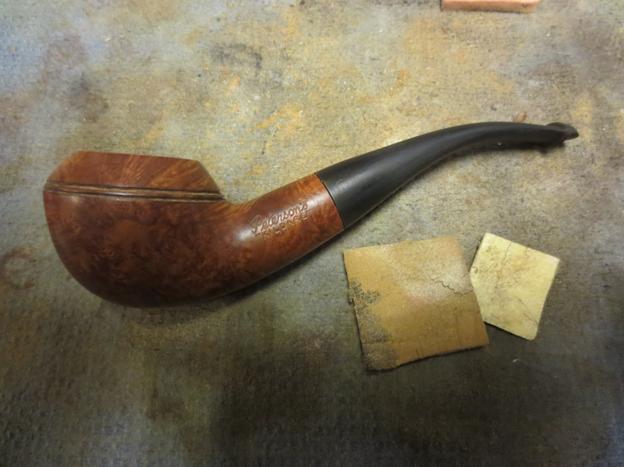
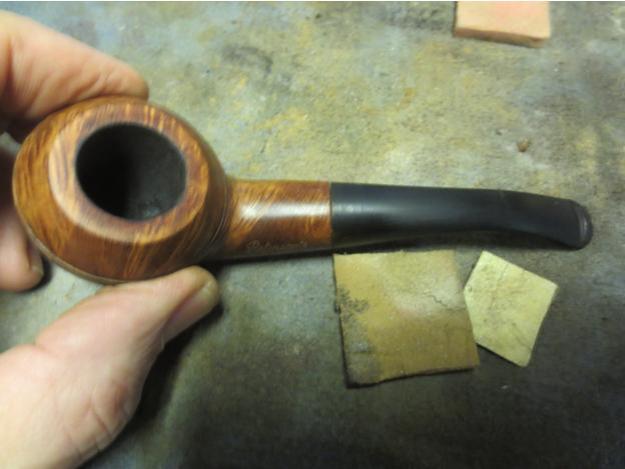
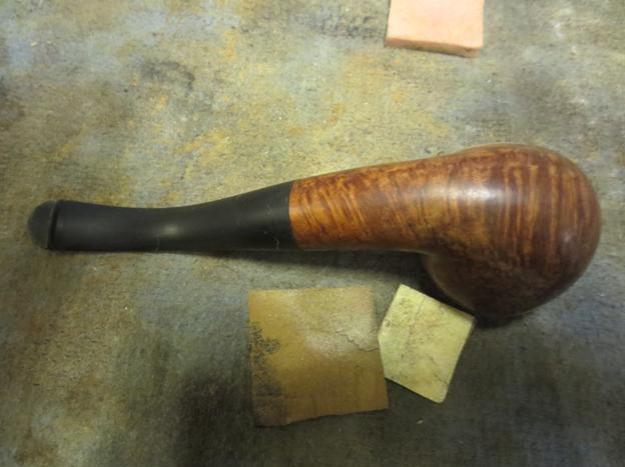
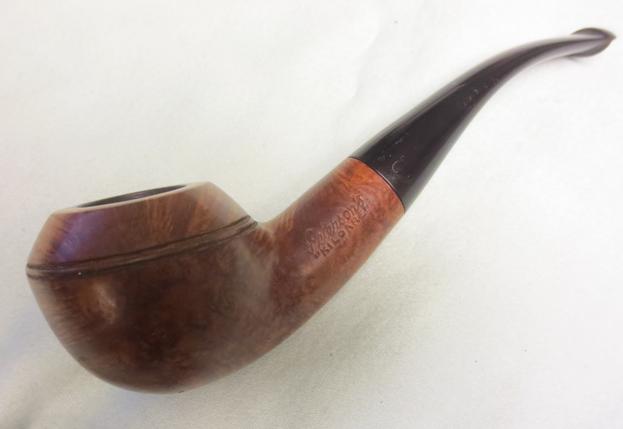
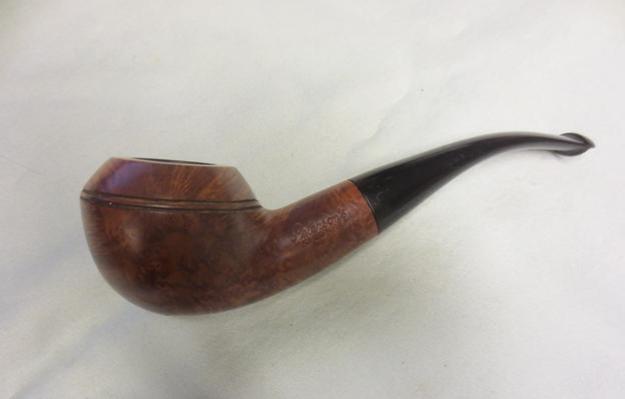
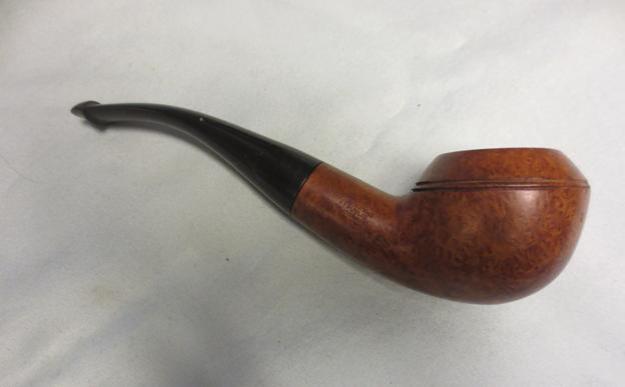
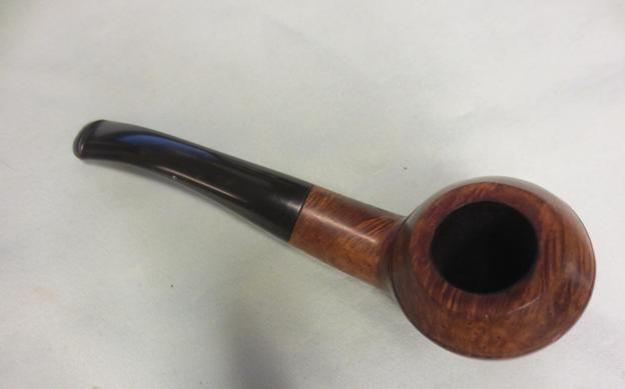
Breathing new life into a Republic Era Peterson’s Kildare 999


Blog by Steve Laug

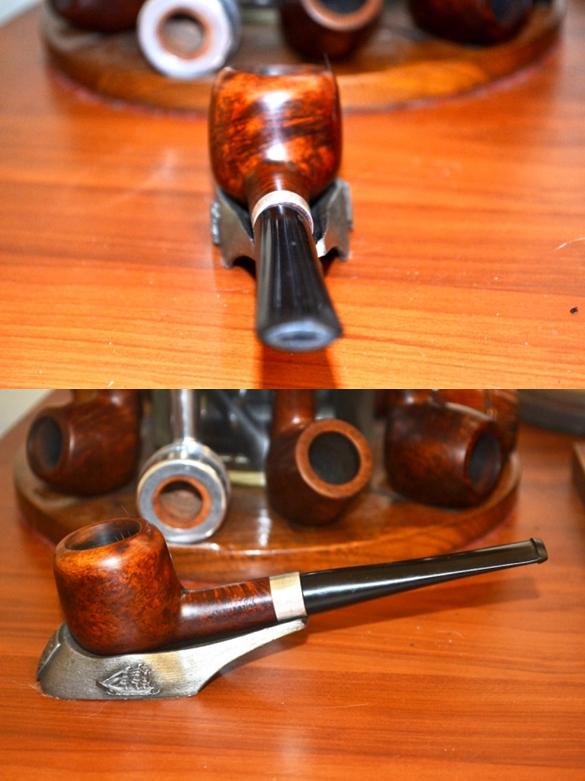
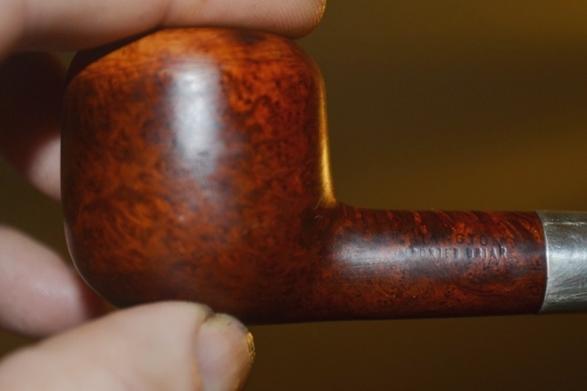
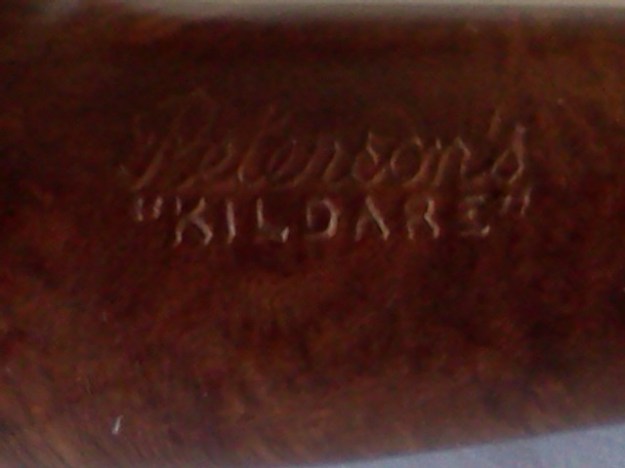
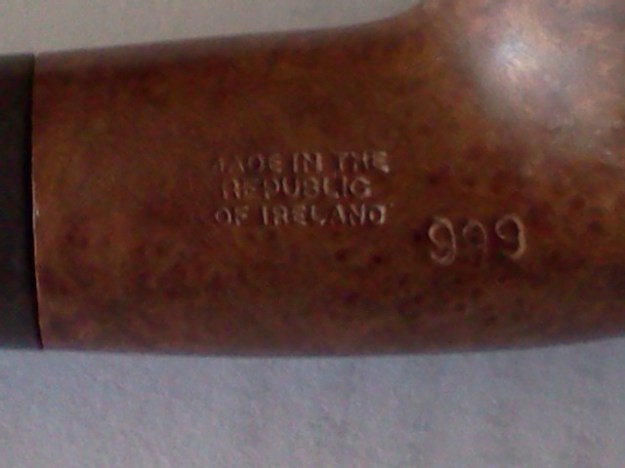
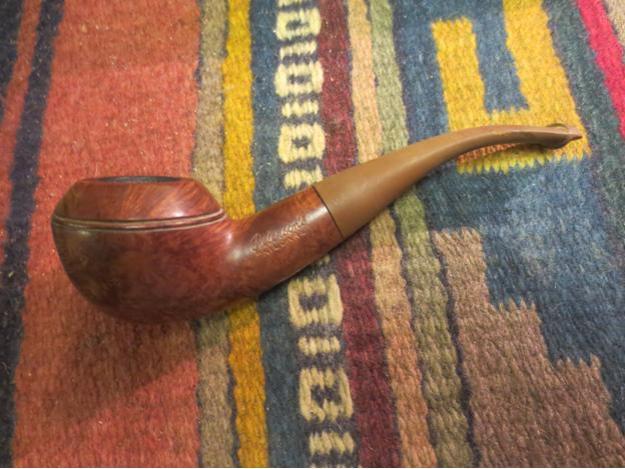
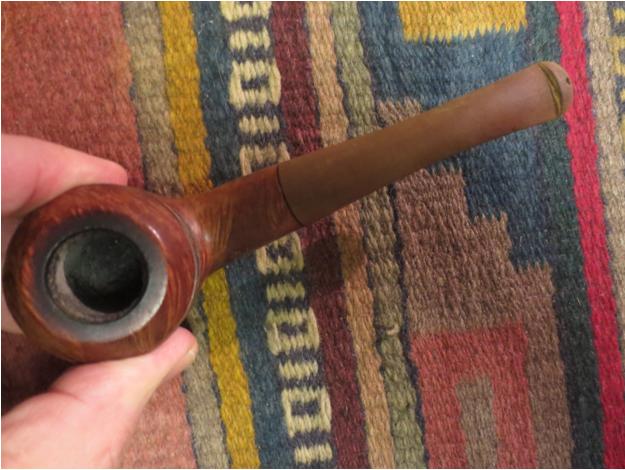
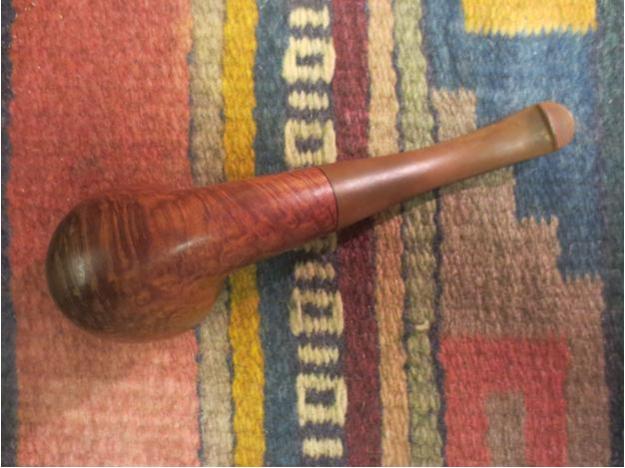
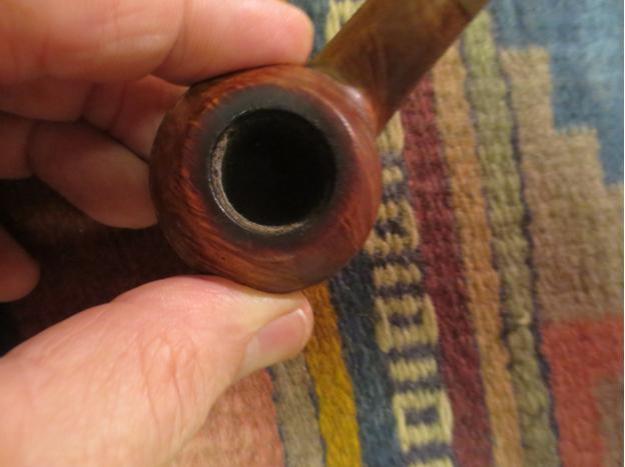
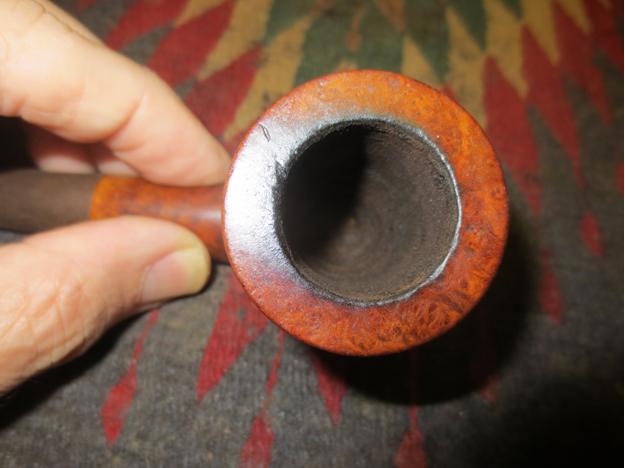
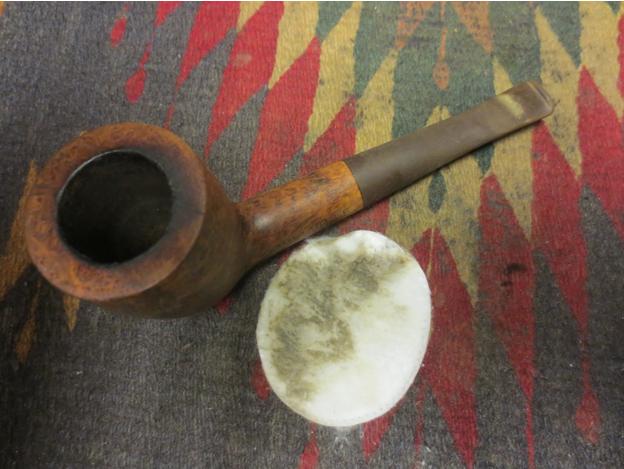
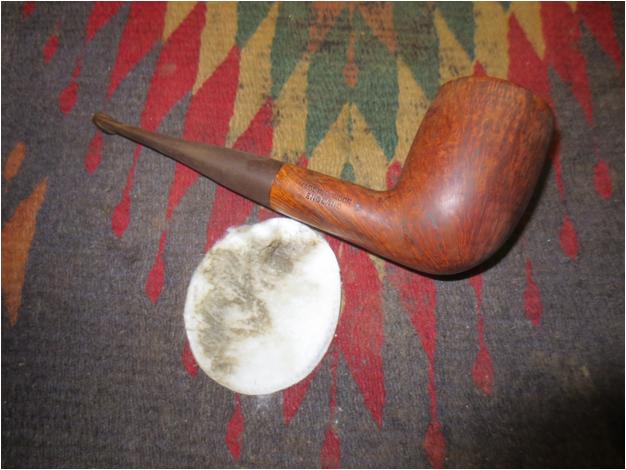
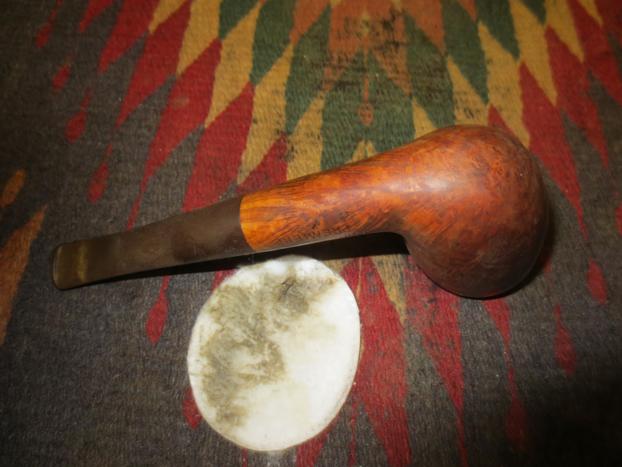
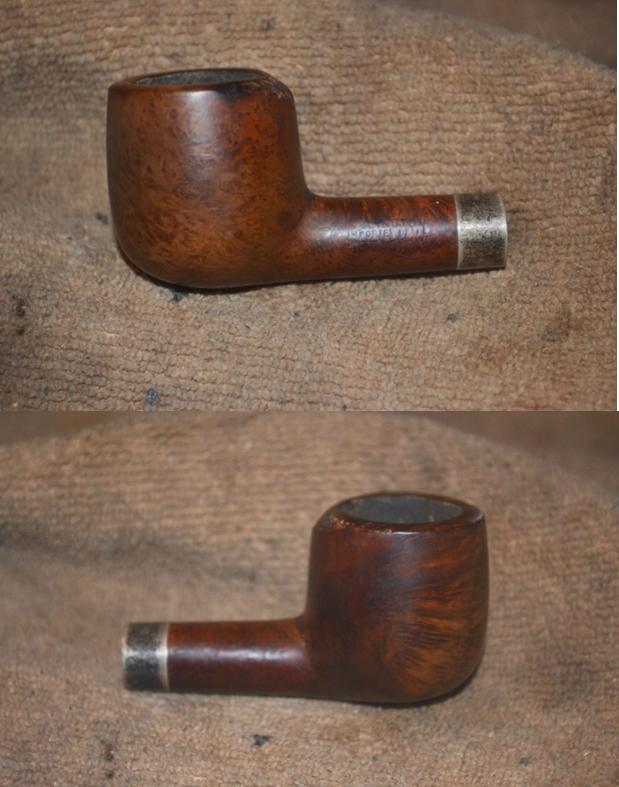
My brother picked this pipe up for me when he was in Austin, Texas. It is actually one of my favourite Peterson shapes – the 999. This one is stamped Peterson’s over “Kildare” on the left side of the shank and Made in the Republic of Ireland 999 on the right side of the shank. It actually is in really decent shape. The bowl had grime on the finish but no real dings or gouges. The rim was tarred and dirty but otherwise in good condition. The outer and the inner edge of the rim were smooth and the bowl was round. The double ring under the cap of the bowl was also in great shape with no chips or missing parts. There were a few small fills on the underside of the bowl among the cross grain that covered that and the top and bottom of the shank. The birdseye grain on the bowl and shank sides is quite stunning. The stem had straightened out during the time the pipe had been sitting and would need to be rebent somewhere along the line. The stem was oxidized, but otherwise clean with no tooth dents or bite marks. The fit against the shank was not tight but that would probably change once the pipe had been cleaned. There was a stinger in the end of the tenon once I removed the stem from the shank. The next three photos are ones that my brother sent me when he found the pipe. The first is a side view of the pipe and the second and third show the stamping on the shank.Pete1

Pete2

Pete3 When I was visiting with my brother in Idaho Falls I decided to rebend the stem on this one. I used a cup of water that I boiled in the microwave and then put the stem in to heat and soften the rubber. Once it had softened I bent it to match the curve of the bowl. When I heated the stem in the water the oxidation rose to the surface of the stem and turned it an unsightly brown. That is what I expected and why at home I use a heat gun rather than water. But as the stem was oxidized already the water would bring the rest of it to the surface for an easier clean up.Pete4

Pete5

Pete6

Pete7 I took the next three photos – close-up pictures of the rim and the stem – to show the state of those areas. Both the rim and the stem were in very good shape under the tars and the oxidation.Pete8

Pete9

Pete10 I reamed the bowl with a PipNet reamer to take the cake back to bare briar. I used the first two cutting heads to clean out the cake.Pete11

Pete12 I scrubbed out the bowl and shank with cotton swabs, pipe cleaners and alcohol to remove the build up and oils. It did not take too long for the shank to be clean.Pete13 The next photo shows the small stinger that was in the tenon when I removed the stem. It has a slot on the top of apparatus behind the ball and collects the moisture from the smoke. The shank is drilled deeper than my other 999 pipes to accommodate the stinger. I removed the stinger and cleaned out the stem with pipe cleaners and alcohol. I cleaned the stinger with the same and then polished it with 0000 steel wool.Pete14

Pete15 I scrubbed the top of the rim with alcohol and a cotton pad and then used a 1500 grit micromesh sanding pad to sand the surface of the rim. I used the pad like a topping board and worked the rim around the pad in a clockwise motion. Why clockwise? I honestly don’t know other than I am right handed.Pete16

Pete17 I wiped down the bowl with alcohol and a cotton pad to remove the wax and grime from the surface of the briar. The pipe was unstained or stained with a light stain so the alcohol did not remove any of the colour.Pete18 I sanded the stem with 220 grit sandpaper to remove the oxidation that sat on the surface of the stem. I worked hard on the angles of the button to remove the oxidation there. I then sanded the stem with a medium and a fine grit sanding sponge to remove the scratches left behind by the sandpaper.Pete19

Pete20

Pete21

Pete22

Pete23 I wet sanded the stem with 1500-2400 grit micromesh sanding pads and rubbed the stem down with Obsidian Oil. I dry sanded it with 3200-4000 grit pads and rubbed it down with Oil once again. I finished by dry sanding with 6000-12000 grit pads and giving it a final coat of Obsidian Oil. I let the oil absorb into the rubber of the stem.Pete24

Pete25

Pete26 I buffed the stem and bowl with White Diamond and then Blue Diamond on the buffing wheel. I gave it multiple coats of carnauba wax and then buffed it with a clean flannel buff on the wheel. I finished by hand buffing the pipe and stem with a microfibre cloth to give it a deep shine. The finished pipe is shown in the photos below. Thanks for looking.Pete27

Pete28

Pete29

Pete30

Pete31

Pete32

Pete33

Pete34

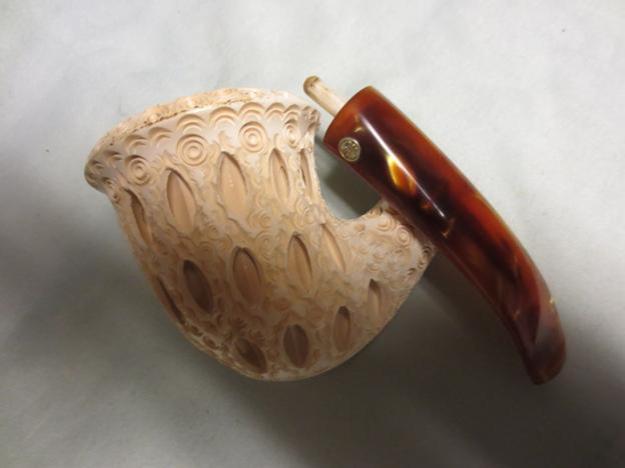
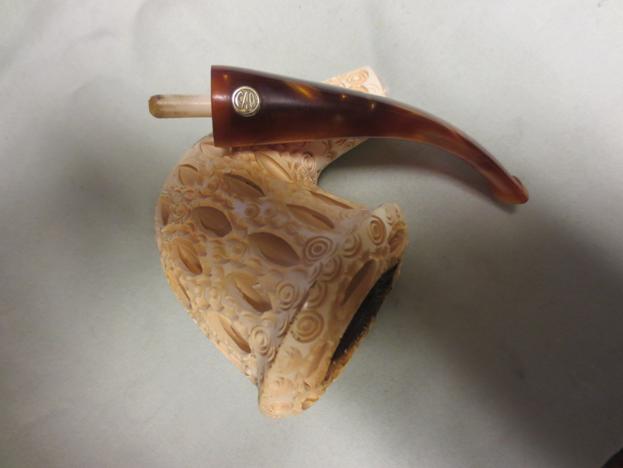
Cleaning up and reworking the stem on a CAO Meerschaum Lace Calabash


Blog by Steve Laug

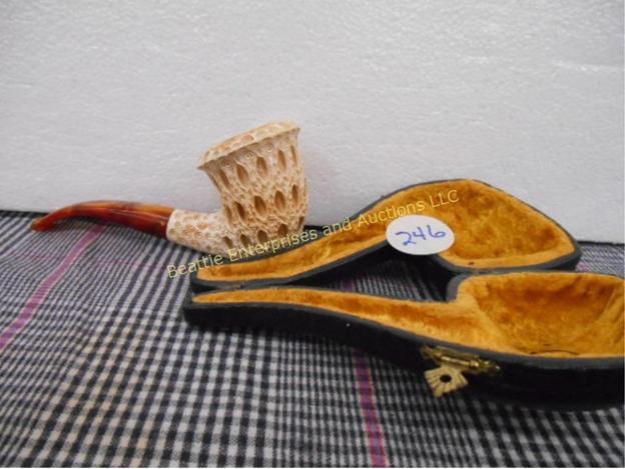
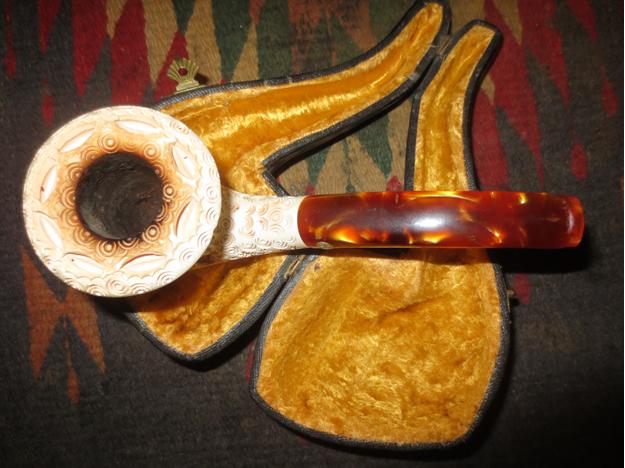
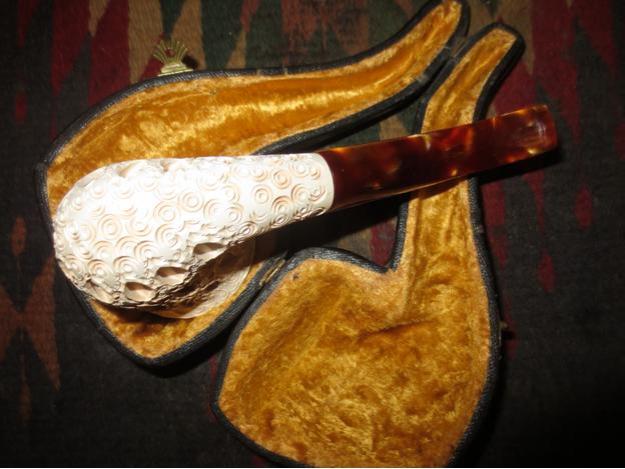
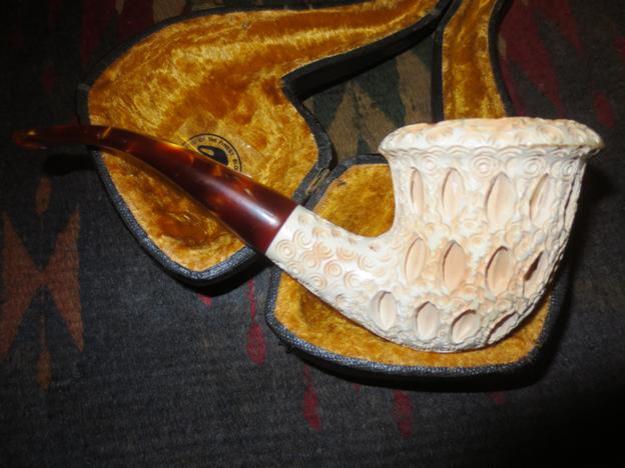
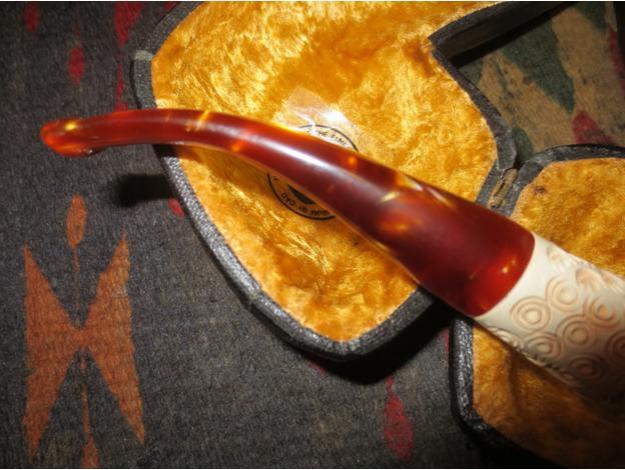
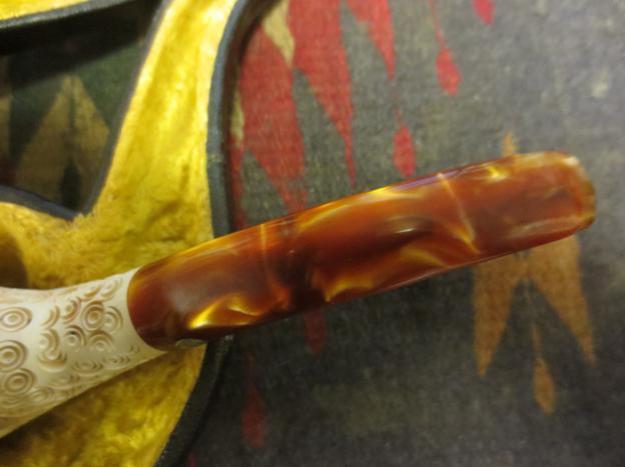
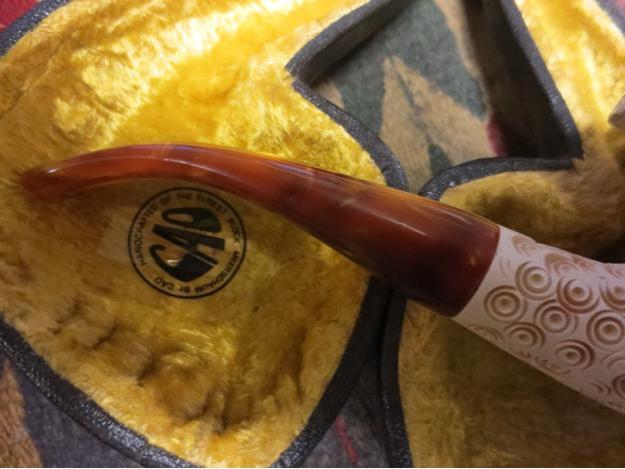
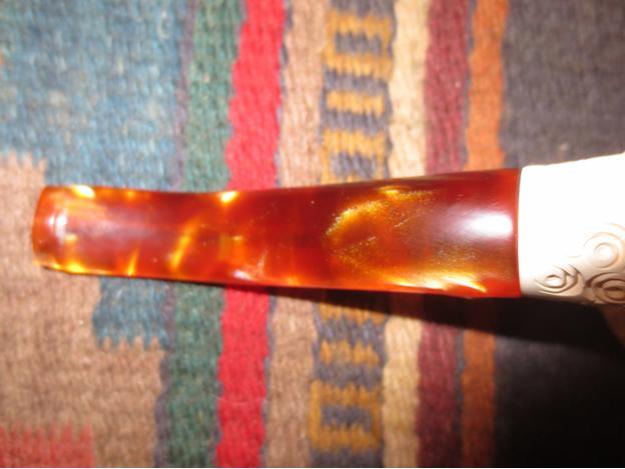
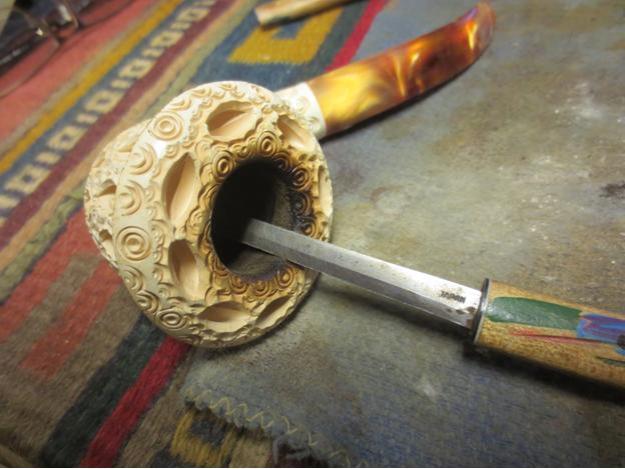
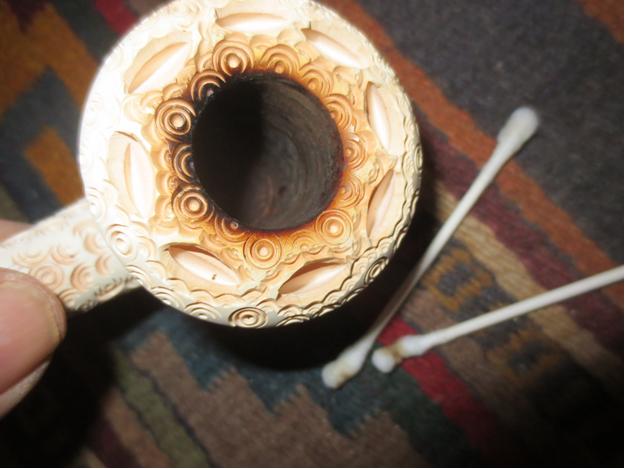
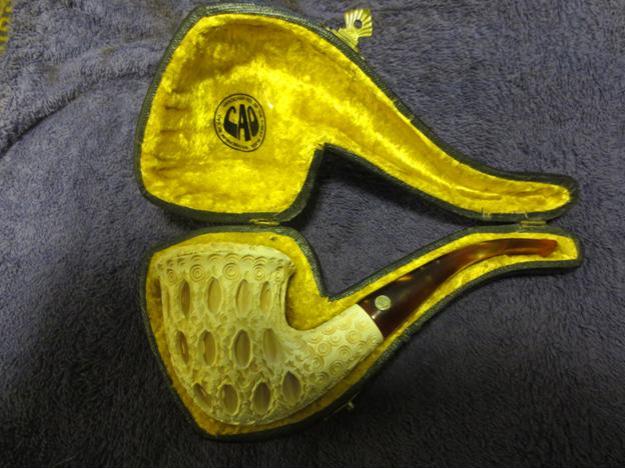
One of the pipes that my brother in Idaho found was this lace carved Meerschaum Calabash that he bought for me from an auction house near his home. The pipe came in a well made case that was lined with yellow gold velvet. It bore a decal that read CAO in the centre of the circle and around the edges it read Handcrafted of the Finest Block Meeerschaum by CAO. The exterior of the case is covered in black leather with a brass hinge at the top and latch on the bottom edge. The case itself is in good shape with some scuffs on the top and bottom surfaces of the sides. The photo below is the one taken from the advertisement for the auction.CAO3 The pipe is a very well carved meerschaum. The lattice or lace work is very well done. The rim of the bowl had some darkening and tars that would need to be cleaned off. There was a light build up of cake in the bowl. The meer itself was beginning to colour and show some depth of golden brown on the sides of the bowl and the shank. The stem was Lucite but was poorly fit to the shank. It was larger in diameter than the shank and still had sanding and file marks on the stem. The CAO emblem had been pressed into the side of the stem and the Lucite had bubbled around the circular logo. The button was not well cut in the stem and the slot in the end was rough and still had sanding marks and file marks in it as well.CAO4

CAO5

CAO6

CAO7 I took some close up photos of the stem to show some of the scratching and dullness of the stem material, the poorly cut button and the bulging of the stem material around the shank. The shoulders of the stem were rounded rather than flat and the transition to the shank was not smooth to the touch.CAO8

CAO9

CAO10

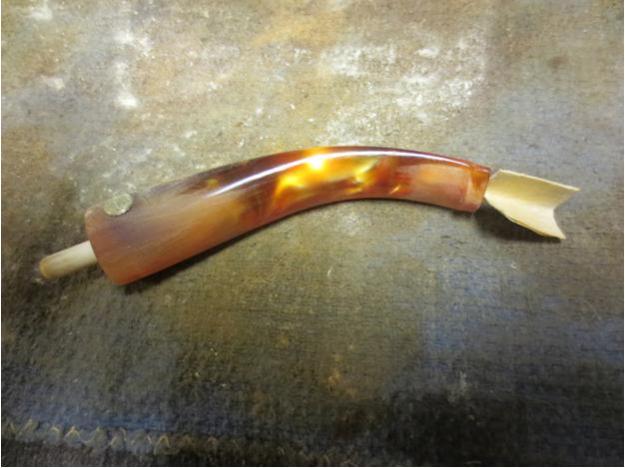
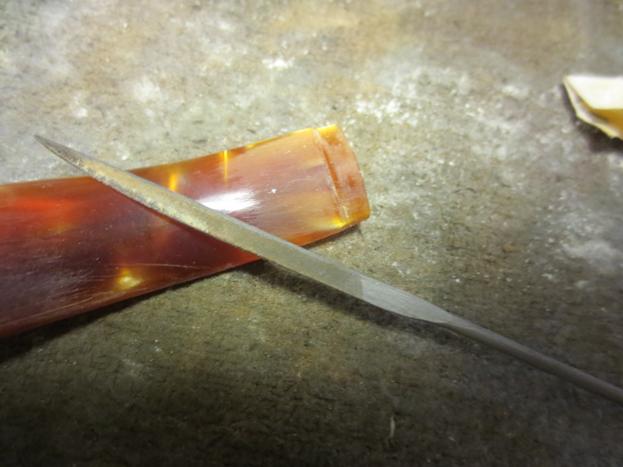
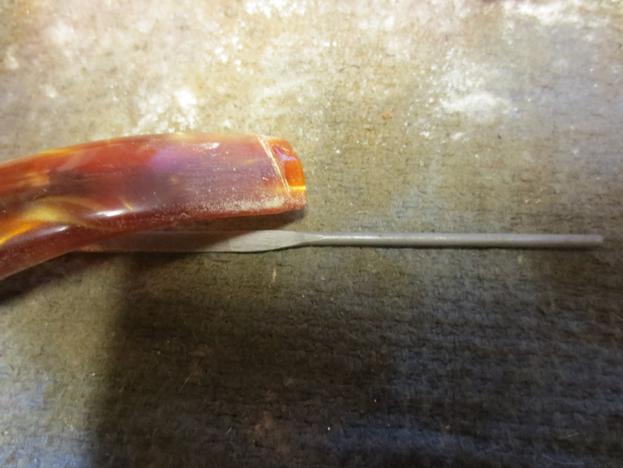
CAO11 I removed the stem from the shank and sanded it with 220 grit sandpaper to smooth out the rounded shoulders and reduce the diameter of the stem to match the shank. I sanded carefully to keep from rounding the shoulders even more. My goal was to smooth that out and flatten the transition area. I also sanded around the CAO logo to remove the wrinkles or bubbling of the stem under the inset emblem. I also sanded the inside of the slot and the Y shaped flow into the airway in the stem. I sanded the entire stem to remove some of the scratches and to even out the flow of the stem. I also worked on thinning down the edges of the stem and giving it sharper edge.CAO12 I used a blade shaped needle file with a flat face and edge to square up the button angles on the stem surface.CAO13

CAO14 I carefully reamed the cake from the bowl with a pen knife taking it back to the smooth surface of the meerschaum bowl.CAO15 I continued to shape and refit the stem to the shank with the 220 grit sandpaper and a medium and fine grit sanding sponge.CAO16

CAO17

CAO18

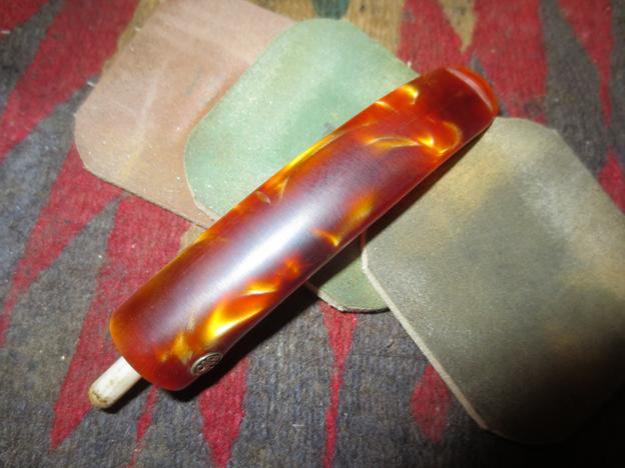
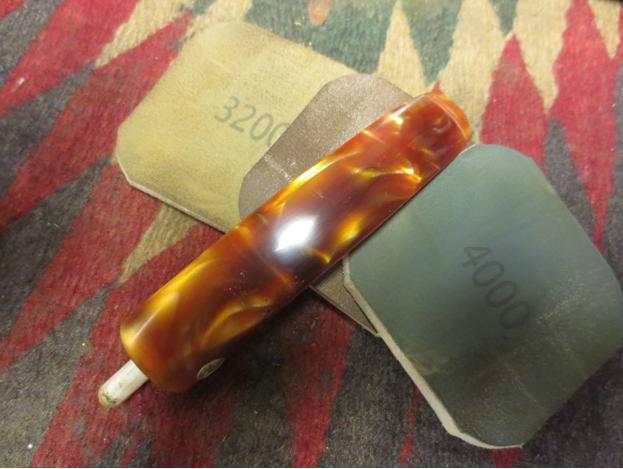
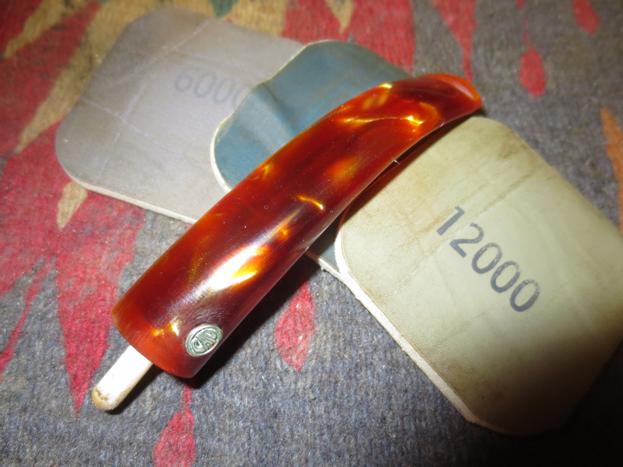
CAO19 I cleaned off the tars on the rim with a cotton swab and saliva until all of them were gone. I removed them to reveal a darkening amber colour around the inside of the rim cap.CAO20 I wet sanded the stem with 1500-2400 grit micromesh sanding pads and wiped it down with oil to give it a bit of bite before continuing to dry sand with 3200-4000 grit pads. I finished by sanding with 6000-12000 grit pads.CAO21

CAO22

CAO23 I lightly buffed the stem with Blue Diamond on the wheel to polish it before giving it several coats of carnauba wax. I hand buffed it with a microfibre cloth and hand buffed the bowl with the same cloth. The CAO emblem is very clear and the wrinkled surface around the emblem is smooth. The rounded shoulders of the stem have been smoothed out and flattened. The cleaned up button edges gave the end of the stem a very sharp look. The slot was smoothed out and broadened. The finished pipe is shown below.CAO24

CAO25

CAO26

CAO27

CAO28

CAO29

CAO30 The final photo is of the pipe in its case. It is picking up the yellow colour of the velvet lining of the case. The photos above show the current colour of the pipe more accurately.CAO31

A Simple Elegance: Cleaning, Restemming and Restoring a Diplomat Billiard


Blog by Steve Laug

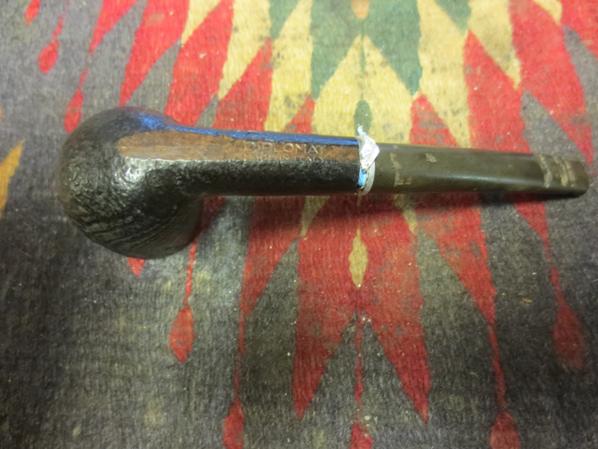
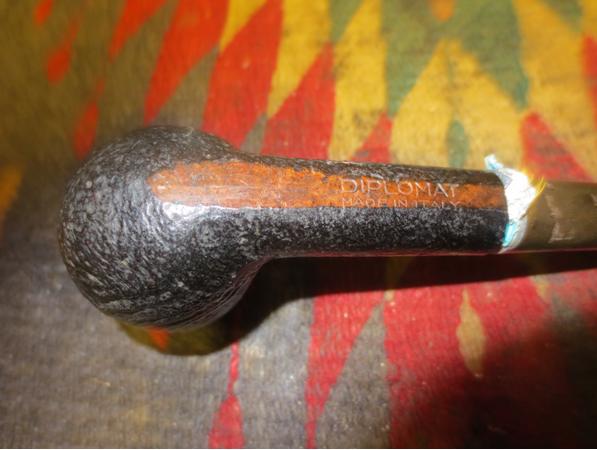
On my recent Lethbridge trip I found the Diplomat pipe at an Antique Fair. It is a nice sandblast billiard with a dark undercoat and a brown over stain. The bowl was in decent shape. The sandblast was deep and quite beautiful to look at. The nooks and crannies caused in the process made for an interesting feel in the hand as well. The stain had worn off in spots on the sides of the bowl and along the outer edges of the rim. The finish was also generally dull and lifeless. The surface of the rim was dirty with tars and oils. The inner edge was slightly damaged and would need to be worked on. There was a thick cake around the middle of the bowl and light at bottom and on top. The stem was one that somebody had Gerry-rigged to fit. It was smaller in diameter and the tenon was too small. The previous owner had wrapped the tenon with thread and then with aluminum foil and pressed it into the shank. The stem had also been hacked up to repair a damaged button and grooves had been carved on the top and bottom sides of the stem to make it a dental bit.Dip1

Dip2

Dip3

Dip4

Dip5 I took close-up photos of the top of the bowl and the underside of the shank to give a clear picture of the state of the inner edge of the rim and the stamping on the pipe.Dip6

Dip7 The next two photos show the stem that came with the pipe and the “fancy” work that had been down to make it fit the shank and create grooves on the top and underside that would allow the pipe to be held in the mouth behind dentures.Dip8

Dip9 My first task was to go through my stem can and see if I could find a better stem for this pipe. I did not have a tapered stem that would readily fit but I did have a saddle stem that would look good after shaping and fitting it to the shank.Dip10 I lightly sanded the tenon to get a snug fit in the shank and pushed the new stem home to have a look at the fit. The stem would need to be sanded to bring the diameter at the stem/shank union down to match the shank. I took a few photos to see what the pipe looked like with this new stem.Dip10

Dip11

Dip12

Dip13 I used a Dremel with a sanding drum to carefully reduce the diameter of the saddle portion of the stem. I have found that I can roughly shape the stem to fit better and then finish by hand sanding it (photo 1). Once I had the rough shape I sanded it with a coarse emery paper to remove the gouges and scratches left behind by the sanding drum (photo 2). I slipped a plastic washer on the tenon and put the stem back in place. I sanded it with 180 and 220 grit sandpaper to further shape it and remove the scratches (photo 3).Dip15

Dip16

Dip17 With the basic fit correct and only needing to fine tune it and polish the stem I decided to ream the bowl. I used a PipNet reamer and took the cake back to bare wood.Dip18

Dip19 I cleaned out the inside of the shank and stem with pipe cleaners, cotton swabs and alcohol. Once it was clean I worked on the inner edge of the rim. I sanded it and reshaped it to make it smooth and round once again using a folded piece of 220 grit sandpaper.Dip20

Dip21

Dip22 I sanded the stem some more with 220 grit sandpaper and flattened the bottom side to match the flat bottom of the shank. The next set of three photos show the fit and shape of the stem at this point.Dip23

Dip24

Dip25 The button was quite thin and I decided to build it up with black superglue. I also could see a repair that had been done on the stem before I used it so I worked on that to further blend it into the stem surface.Dip26 When the glue dried I sanded it with 220 grit sandpaper to feather it into the surface of the rest of the stem and also worked on shaping the button. In the second photo below you can see the end view of the built-up and reshaped button.Dip27

Dip28 I sanded the stem and button with a medium and a fine grit sanding sponge to remove the scratches and blend in the patches. I then wet sanded the stem with 1500-2400 grit micromesh sanding pads and then rubbed the stem down with Obsidian Oil. I dry sanded with 3200-4000 grit pads and rubbed it down again with oil. I finished by sanding it with 6000-12000 grit pads and gave the stem a final coat of Obsidian Oil. I set it aside until the oil was dry.Dip29

Dip30

Dip31

Dip32 I touched up the worn spots on the finish of the bowl with a dark brown stain pen and a black permanent marker and then buffed the bowl and stem with White Diamond on the wheel. I buffed it again with Blue Diamond and then gave the pipe multiple coats of carnauba wax. I polished it with a clean flannel buff and then hand buff with a microfibre cloth. The finished pipe is shown in the photos below. I like the looks of the saddle stem and the deep sandblast finish. The pipe has an understated elegance about it that I like.

Thanks for looking.Dip33

Dip34

Dip35

Dip36

Dip37

The Coming Calm after the Storm


Guest Blog by Robert M. Boughton
Member, North American Society of Pipe Collectors
http://www.naspc.org
http://www.roadrunnerpipes.com
http://about.me/boughtonrobert
Photos © the Author

Dedicated to Louis Arthur Hille (February 14, 1969-October 8, 2015)

“Part of me is afraid to get close to people because I’m afraid that they’re going to leave.” ― Brian Hugh Warner (a.k.a. Marilyn Manson), U.S. singer/songwriter/
performer/rock journalist/painter/actor, born January 5, 1969

INTRODUCTION

Rob1
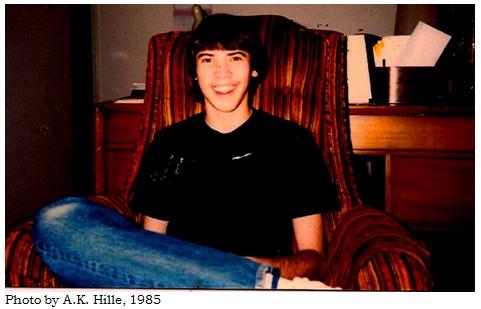
Like a panther, the young man caught in this rare snap-shot had the edge of menace in his pensive yet calm and subtly wild gaze and the firm set of his jaws. Though he seldom permitted the opportunity to penetrate the murky depths of his intellect long enough to preserve the moment in a photo, it shone through anyway. We were best friends and roommates for the past 15 years; I was his certified, consumer-directed caregiver during the last seven, and, in 2009, when his health took a big dive and he needed someone to protect him more than ever, he reluctantly made me his agent under a durable power of attorney. At the risk of being misunderstood (a possibility that really doesn’t threaten my hardy sense of self-identity in the least), we were soulmates.

The term snap-shot itself, as I may have noted before, originated as a hunting term: “A quick or hurried shot taken without deliberate aim, esp. one at a rising bird or quickly moving animal.” [Oxford English Dictionary] The word used in that sense dates at least to 1808, whereas the adoption by photographers appears to have started around 1860.

Louis told me, more times than I have mentioned in my blogs here how my dad was fond of saying I have a mind like a steel trap, that I would never meet anyone like him again. Once was well worth the almost manic-depressive ups and downs in near constant close quarters and proximity, but enough, if you can grok me. If my mind is a steel trap, Louis’ could go off when an ant happened upon it. To say Louis did not handle strict, unyielding strangers well, in particular those who could violate the sanctity of his room at will and in the hospital did so more or less constantly, and with apparent delight, is a gross understatement. He could and usually did revert to his five-year-old self and throw the kind of tantrums of which only an adult is capable. I’m sure the sole reason he was never put in four-point restraints, before the last year and a half or so when his hip and leg contractures became so bad that his knees were frozen up to his chin and made the heart’s desire of many a nurse and tech impossible, was the hospital staff’s well-founded fear of what I would have done.

A little more than a year before the serendipitous snapshot above, Louis celebrated his thirty-sixth birthday, on Valentine’s Day 2005, in a bed and hooked up to IV bags and monitors, during the second of many extended hospital stays. Before the end came last week, at home where he wanted to be, with his cats and me, Louis was to spend two more birthdays in hospitals, the most recent this year, on his 46th, and last. Celebrated, of course, is a modifier for birthdays that is worn thin by convention, and not at all the best choice in this case. In fact, the only way he lasted three months in that place was my gift to him his first full day of a large but portable CD/DVD player with headphones, as well as a couple of Stephen King’s better audio books and the latest Marilyn Manson release. That last would have been “The Golden Age of Grotesque”; this was two years before “East Me, Drink Me.” Yes, even Manson grew on me thanks to Louis’ knowledgeable and fervent guidance.

When I suspended the above moment in time, Louis had just recently been released (or, to be more honest, sprung by me) from the hospital full of quacks, imbeciles and ninnies. In their vast wisdom, which so often fuels a God complex, they mused at first over the likelihood of multiple sclerosis, given their myopic failure to get to the truth, so few years ago, that is now taught to pre-med students and even EMTs. Then they turned to lupus and several other look-alike possibilities. They even tested Louis for A.I.D.S. – not once, but twice, in case they missed it the first time.

This was how he often looked, for a time, after that quarter-year exercise in trial-and-error experiments that ended with our hectic, A.M.A., wheelchair career down several flights on the elevator and thence straight for the exit.

I have another favorite snapshot of Louis, taken with my cellphone when he had grown his hair back the way he liked it, which is to say very long. This one was taken around 2009-’10.Rob2It’s a favorite for æsthetic or artistic reasons as well as the way it shows the almost trancelike way he could stop in the middle of a step, having fallen into a reverie of contemplation that required stillness. I was surprised and pleased that he enjoyed this photo when I showed it to him after the barber had sheared off his beloved hair again.

The next year sometime, returning to my previous train of thought and meaning 2006 – I don’t recall the date but believe it was Spring – brought a surprise telephone call from Louis’ primary care physician.

I will never forget the similarity of the one-sided conversations, as I heard it from Louis’ side, and one of Bob Newhart’s hilarious 1960s “phone calls” from dead people, such as Abe Lincoln’s entreaty for help writing the Gettysburg Address – and Newhart’s deadpan response to one unheard complaint with something about how 87 years ago really wasn’t very snappy. Except that from my perspective, being able to “hear” what his doctor was saying based on Louis’ verbal responses, and in particular seeing the changes of his facial expressions, there was nothing to inspire laughter.

“Okay, then, I guess I’ll take the good news first,” Louis said after a moment’s exchange of niceties. Pause. “It’s not MS.” Pause. “That’s the good news?” Pause. “So what’s – the – bad news?” The last part was spoken as one word. “Oh.” Swallow. “It’s something different.” Pause. “Wait: neuro-what?” Repeating what the doctor told him, sound by sound. “Neuro-mye-litis op-ti-ca.” Nervous breathing, by both of us. “Oh. Yes, I heard you. MS isn’t fatal, but this is.”

And so the doctor did the unthinkable in a time when the pop medical practice remains to downplay the negative if not outright lie to the patient: he told the truth. Using the magnetic resonance imaging (MRI) scan photos from the big machine at the private hospital from which Louis escaped – the same kind of contraption that seemed to scare the devil out of Linda Blair in “The Exorcist,” only somewhat quieter – the head of the neurology department at our local university hospital spotted healed and unhealed wounds from the back of Louis’ neck and down his spine that gave her a good idea of what she was dealing with. She confirmed it with a blood test introduced the same year that differentiates the disease Louis had as a distinct and fatal entity from MS.

As it turned out, Louis was host to a genetic anomaly. In other words, the neuromyelitis optica (NMO, or Devic’s Disease) with which he was born – and which was just beginning, after 37 years of passing time slowly but methodically eating away at the myelin sheaths, fatty substances protecting Louis’ nerves, starting with those in the optic region, to thereby render him legally blind – had no precedence in his family. It was more along the lines of a ghastly fluke.

For those of you who have no idea where I’m going with this long account of Louis’ non-pipe-related demise (in fact, I even succeeded in getting him off cigarettes by supplying him with pipes and tobacco, although there was little chance he would ever live long enough to die of cancer), I will now clarify. Louis was by no means easy to get along with, but during the 15 years we were roommates, he – how should I put it? – grew on me as a good friend does, regardless of the many differences. Almost everyone who ever talked to him agreed on two points: one, he was a genius usually more capable than the listener to discuss complex issues of mathematics, science, world events, religious topics through the millennia, detailed weather phenomena and even the day’s stock market numbers. He was possessed of the ability to memorize the entire dialogues of movies, TV shows, commercials, popular and rock songs and more or less anything else – on a single viewing or hearing – and he could recite them for the rest of his life. The other general characteristic people who talked to Louis agreed on was that he could be a downright rude jerk. I’m not speaking ill of the dead, as should be apparent by the end of this unusual introduction; it was the simple truth, and he was never even aware of it despite my attempts to make him so. The fact is, he sounded like his mother, whom I knew. There was also the fact that his mind and spirit traveled at a speed comparable by mental comparison to the F-22 Raptor and was just as deadly with its offensive and defensive weapons loads. All of these factors tended to intimidate or just embarrass people.

Louis had theories far rarer than NMO, but as intricately informed as a spider’s web is spun, on such issues as the afterlife, prior lives, simultaneous lives, paranormal entities, abortion and other lively and nowadays popular and/or controversial concepts. Does a pattern emerge from these topics? Only now do I see it: Louis’ thriving thirst for life, before, during and after what most people would call his own. The thing about Louis is that he was out there way before it was cool to be out there.

The reason I stayed by Louis’ side almost as long as his parents, who kicked him out as an eighteenth birthday present, was that I could still see the same person I met the day after Thanksgiving in 2000. He was happy. He smiled and laughed and talked non-stop but coherently and cogently about almost anything, and when he couldn’t think of a name or a word or whatever, I was the only person who listened and understood where he was coming from and could fill in the missing spaces, and he could finish my thoughts, as well.

I miss those conversations at coffee houses or on buses or walking when I didn’t have a car, and he could still walk. I miss those good times not because we stopped having them after he grew sicker, but because they occurred less and less often, and now he is gone. All I ever wanted was to help him get better. Right now the only thing I have to replace that is working on pipes, trying to make them better.

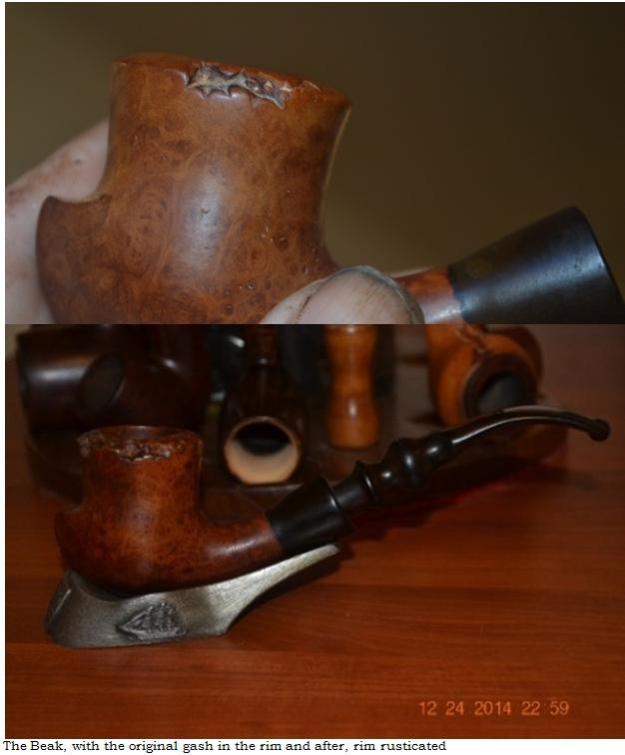
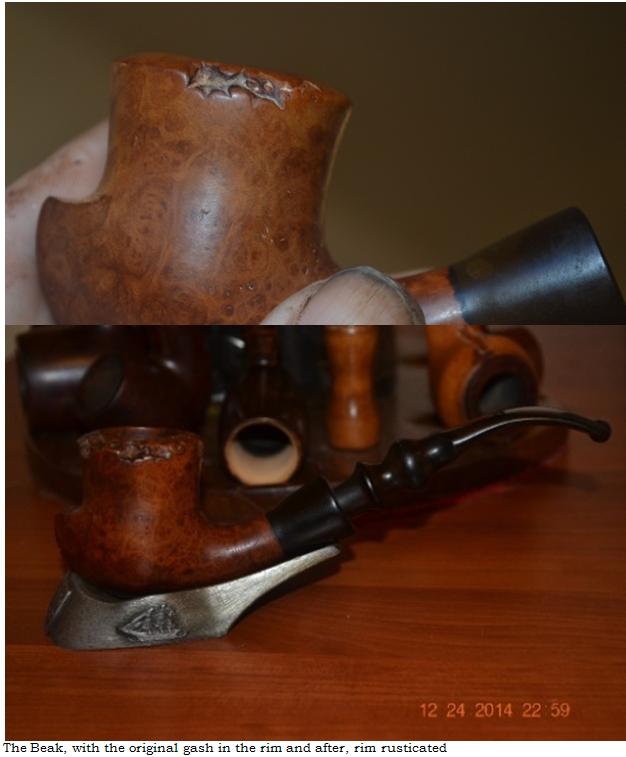
This one, like Louis, was really messed up when I got it, and the consensus among my pipe restorer friends was to lop off about a half an inch from the top of the bowl and reshape it. But I thought: nah! Been there, done that. This time I wanted to try something a little different. Two previous restorations came to mind. One is a Ben Wade with an enormous crack down one side of the bowl that required emergency surgery to amputate about two thirds of the tall billiard, and is still in recovery as a squat pot shop pipe. The other is a no-name Italian freehand that I call the Beak and thought was someone’s first attempt at pipe making because of several mistakes I had to correct, including the unmissable in the following photos.Rob3
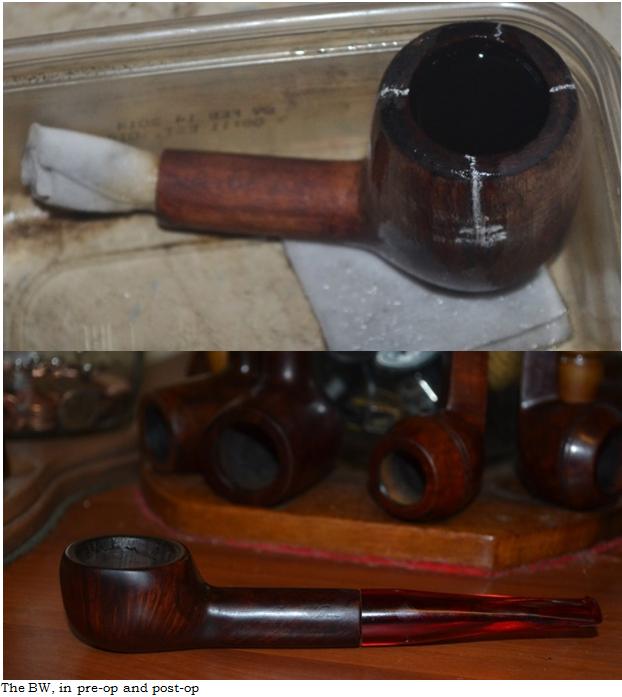
Rob4 Louis, I know you’re listening, and this one’s for you.

RESTORATION
Rob5

Rob6

Rob7

Rob8

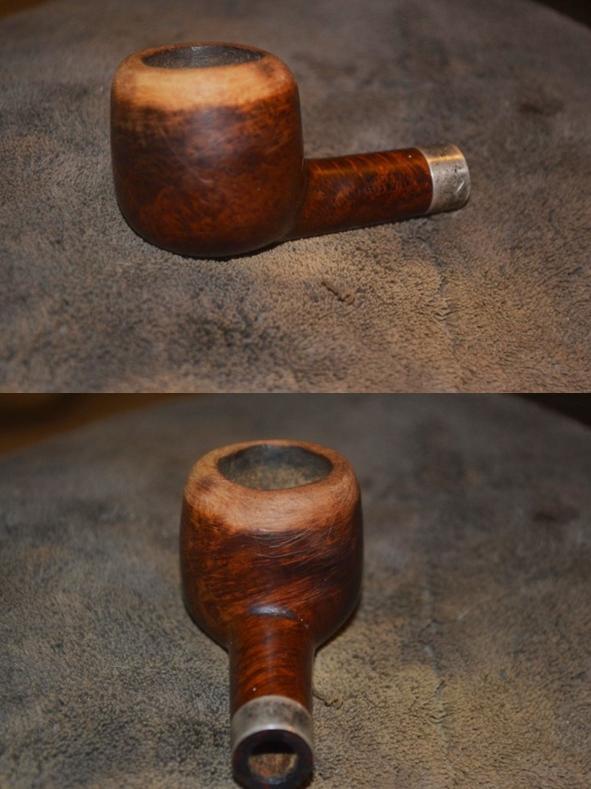
Rob9 I am sure the reason my friends suggested the more drastic surgery is clear from these photos. Whoever put that gash in the rim ought to be brought up before the Pipe Court, have any other potential hostages he might be holding liberated and be forced to register as a pipe offender for the rest of his life, unless, of course, he can prove he is rehabilitated. The latter event is unlikely, as recidivism is high for this offense.

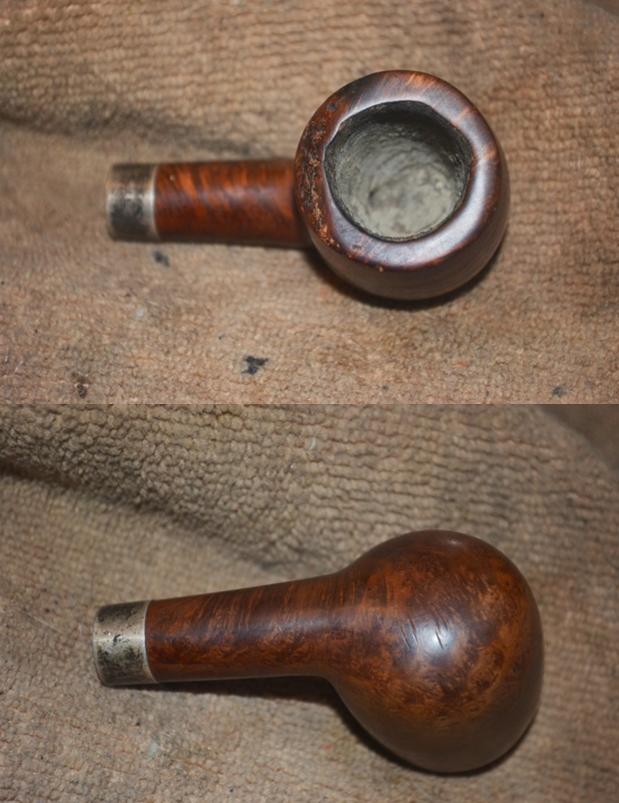
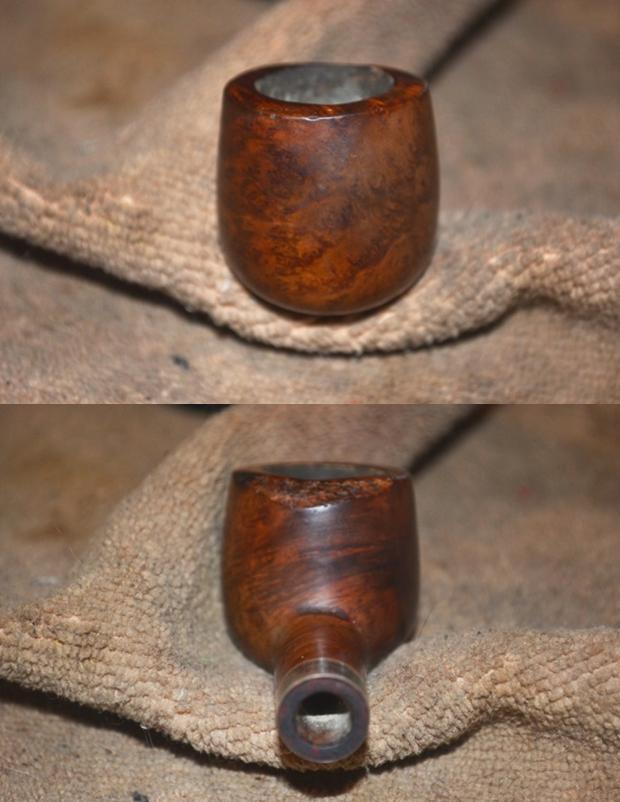
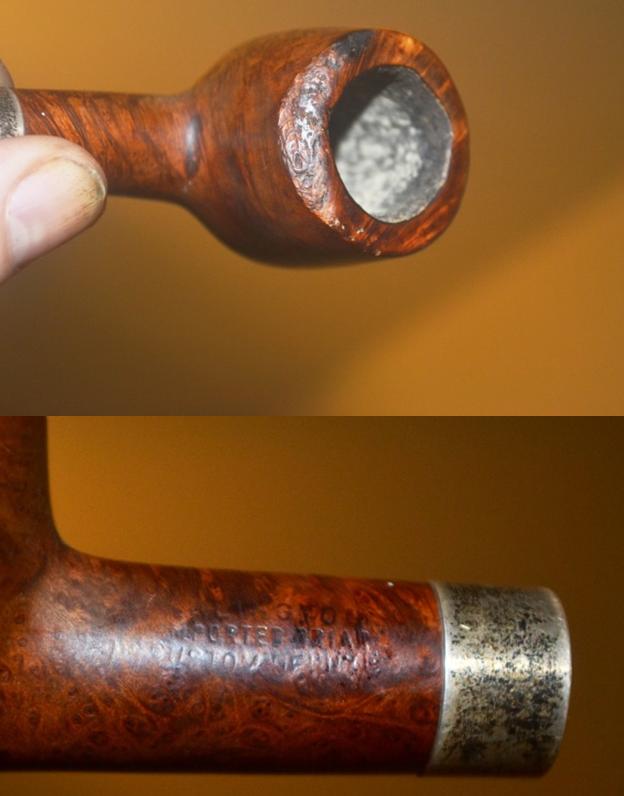
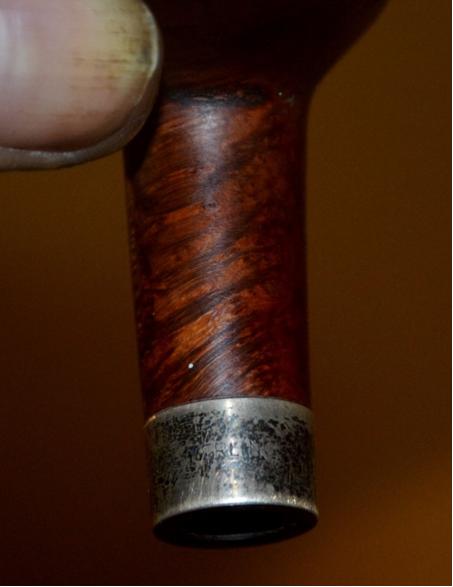
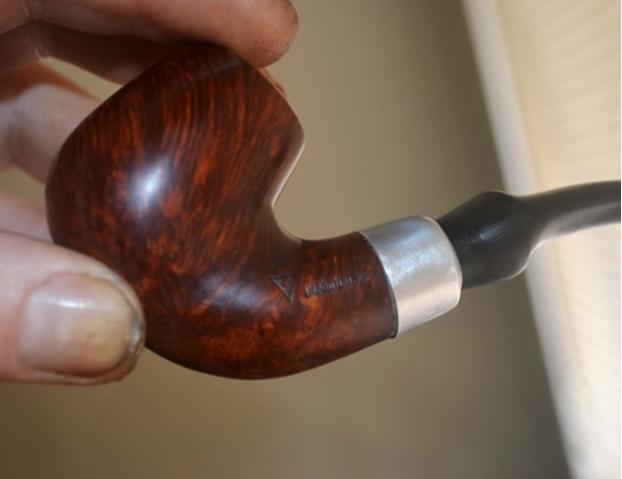
There are several not-so-easy to spot points. The traditional triangle with WDC, for William Demuth & Company (1862-1972), is missing, possibly from a previous owner gripping the bowl so tightly that it rubbed off altogether, or because of its original absence. Steve informs me that not all WDCs have the triangle. Also, the first few letters of Wellington are very faded, but the nomenclature type style is the same as other WDC Wellingtons, such as this System Billiard in the Peterson’s style that I restored a while back.Rob10 Then there is the small STERLING mark on the close-up of the band, if you can make it out in the first group above.
At any rate, as much as the initial challenge appeared obvious – to see if I could pull off rounding the entire rim, thereby eliminating the horrid wound and hopefully leaving the rim even – I decided to clean and otherwise prepare the insides of the WDC first. The chamber appeared to have been well-cleaned, and all it needed was an easy sanding with 320-grit followed by 500. Then I remembered I needed a bit for the pipe and couldn’t even retort it until I found one! That’s okay, laugh all you like. I know I can be a bit spacey sometimes, and besides, laughing at the recollection now does me good.

What I wanted was about a three-inch tapered with the right diameter of the tenon end to fit flush with the shank, or a little bigger. Bigger, I can fix. In fact, considering I’m doing it the old-fashioned way, by hand and sand, so to speak, I’m becoming pretty adept. Of course, all I could find in tapered bits, even replacements (i.e., no brand marks) on other pipes awaiting restorations with which I am not above robbing Peter to pay Paul, had tenons that were way too small, or the diameters of the meeting points with the shank were too small. The pipe is banded, so neither of those options would do.

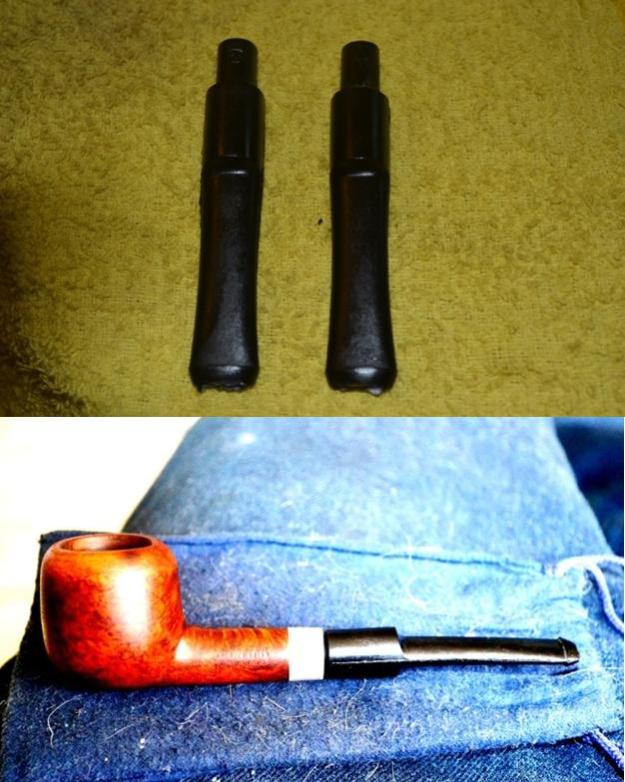
And so I turned to my sure supply of new saddle bits, which were just a touch shorter than I wanted but would do the trick. Here are shots of an uncut saddle bit next to the one I sanded down with coarse paper, identical except for the tenons, and the preliminary fit with the Wellington.Rob11 Keep in mind that the condition of the pipe with the preliminary stem in it was taken after the next two steps, counting the basic fitting of bit to shank and the retort as finished.
I chose 200-grit paper for the task of rounding the rim so as to take more time and get the job done right with some extra work, but not overdo it with one fell swipe. I hope I’ve learned my lesson there! I was surprised at how easy it was to accomplish.Rob12
Rob13

Rob14 Here is the step I suggested above, under the photo of the pipe and bit, which made the wood look so inexplicably polished. Using 500-grit paper, I worked over the entire outer wood. I micro meshed from 1500-grit to 12000.Rob15

Rob16

Rob17 After a moment’s consideration of staining the wood below the rim a little darker, I concluded I would have to make it too dark for there to be any difference from the way it already was and opted to skip it. With that, I realized I only had to finish shaping the bit to the shank before buffing everything on the wheels.

That was when something really creepy happened. I had searched high and low for a tapered bit without luck, but in the meantime did a little straightening up in my office-shop. I had been working on the pipe in the living room with my mobile restoration cart handy and the couch much more comfortable. While looking for an upgrade DVD to an invaluable computer program that remains misplaced, I searched through a large plastic trash bag stuffed willy-nilly with papers, electronic gadgets and whatnot. I came across a nice, black wooden cigar display case with a hinged lid and clasp that I picked up at my tobacconist. No, there was nothing special in the box; it was empty, unfortunately. Then the thought occurred to me how it would make the perfect place to put my loose oddball bits scattered. Most of them were in one place on the bottom shelf, but I had come across some others all over the cart.

Back in the living room, I sat down on the edge of the couch with the box open on the floor in front of me and began to organize the bits in the box, tossing a few that could never be of any use as I went. At last I thought I had them all but checked the top shelf again, as I had before while looking for a tapered bit. I was about to call it quits when I spied two bit lips poking out from under a piece of sandpaper, and…well, I could not believe my eyes. One of them was tapered and appeared to have about the right size tenon. With near reverence, I tried it in the Wellington. The fit was a little loose – just enough to add a layer of black Super Glue, I figured. All it needed other than that was the slightest of sanding just below the lip with 320-grit paper, micro meshing and buffing on the wheel with red and white Tripoli.

Knowing it would be a perfect fit when the glue dried, I still could not stand having to wait another night to see. Of course that’s a figure of speech relating to patience, which I am normally all about, and so I physically survived the night. I was so worn out I even slept like a baby until morning came, and my first thought, like a kid at Christmas, was the present waiting for me on the cart. All I can add is that the black Super Glue had dried on the tenon in perfect shape, and the bit twisted to an exact, flush match with the shank.

Some of you may think this foolish, but I found breathing difficult. Emotion welled up in me again, and to fight it off I closed my eyes. I said out loud, “I’ll be darned [or another similar word]! Thank you, Louis.” He thought I didn’t believe in anything he ever talked about but told me many times he would be keeping an eye on me after he died. I believe he is.

Ready to finish this relaxing project, I buffed the bowl with red and white Tripoli, White Diamond and carnauba, using the dry wheel as usual between each, and then rubbed down the whole thing with a soft cotton cloth.Rob18
Rob19

Rob20

Rob21 CONCLUSION

His vision, from the constantly passing bars,
has grown so weary that it cannot hold
anything else. It seems to him there are
a thousand bars; and behind the bars, no world.

As he paces in cramped circles, over and over,
the movement of his powerful soft strides
is like a ritual dance around a center
in which a mighty will stands paralyzed.

Only at times, the curtain of the pupils
lifts, quietly–. An image enters in,
rushes down through the tensed, arrested muscles,
plunges into the heart and is gone.
― Rainer Maria Rilke (1875-1926), Austro-Hungarian poet, in “The Panther”

This was one of Louis’ favorite poems. I was surprised when he revealed this insight into his personality, oh so long ago it seems now, back in the happy autumn days that are no more, to paraphrase another poet’s description of the feeling of ennui. Louis liked those somewhat morose lines of verse, also, the first time I spoke them to him from memory, and several times later asked me to repeat them. I used to recite the words in gushy, over-dramatic tones dripping with the contempt I thought I had for them. But in verbal repetition, I overcame that bad habit, for there was a reason I could recall the brilliant if brief sample of prose from a high school sophomore lit class that really was a long time ago.

For most of the 15 years I knew him, Louis had an intense fear of dying appropriate to someone with an equally free spirit of the simple joy of living that was stolen from him. I tried to reassure Louis, over and over again, that he was not there yet based on my knowledge of the progressively more horrible stages of the disease he came to face almost every waking hour. My mistake was not expecting the unnatural, man-made obstacles that hastened, for him, the day no one truly wishes to see. I am beginning to be at peace with the knowledge that Louis no longer suffers as he did for so long – that he is in a better place, despite my best efforts; and I am still here, to enjoy my life the way my friend wanted me to do, and to fight the good battles. Now I understand that tears are seldom idle.

Just a few more words with some illustrations to sum up: compare the photos below, one antique and the other still fresh.Rob22 That’s Rilke – somewhere.

And just one more photo of Louis, age 16, happy at home with his parents.Rob23
MARILYN MANSON LINKS
http://www.rollingstone.com/culture/news/columbine-whose-fault-is-it-19990624

https://www.youtube.com/watch?v=9vyZK_CKkZo Marilyn Manson’s first David Letterman appearance – yes, he was invited back…and back!

Silver Linings: Restoring a Savinelli Silver 320KS


Blog by Anthony Cook

A friend from the Pipe Smoker Unlimited forum recently gifted me a batch of pipes that need a little TLC. In exchange, I offered to do some repair and restoration work on a couple of their own pipes. Believe me when I say that I received the better end of that deal. So, I wanted to go the extra mile on these if I could.

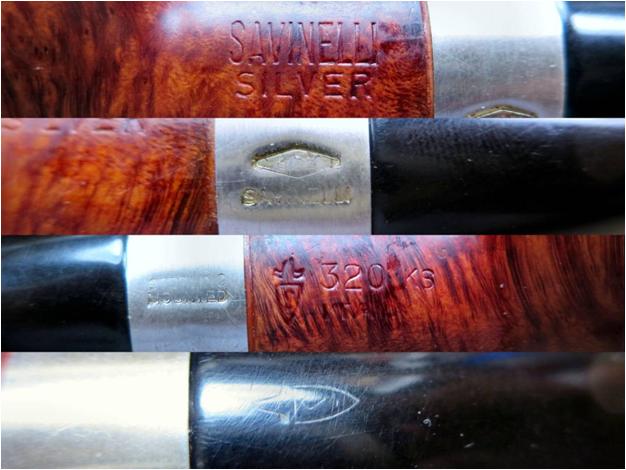
The first of my friend’s pipes that I chose to work on was this Savinelli Silver 320KS. I love the shape of the 320. When I hear “Savinelli,” this is the shape that I think of. Unfortunately, somebody had gotten to this one before me and it wasn’t better for it.

The initial request was just to repair the deep scratches that ran all the way around the rim. However, as I looked the pipe over, I could see that it had a few additional issues. The bowl rim was uneven and looked like it had been heavily buffed. The pipe should have had a deep, cherry red stain from the factory, but this one appeared to have been partially stripped and the stain was uneven and closer to the color of red clay. The silver shank band was loose and it had a couple of small dents on the right side. Finally, the shoulders of the stem face had been rounded with a buffer, which created a thin trench all the way around the stem where it met the band.

Oh, there was one more thing, but for reasons that I can’t explain, I hadn’t noticed it yet. I’m sure that you’ll see it in these photos of the pipe as it was on arrival.Astrid1

Astrid2

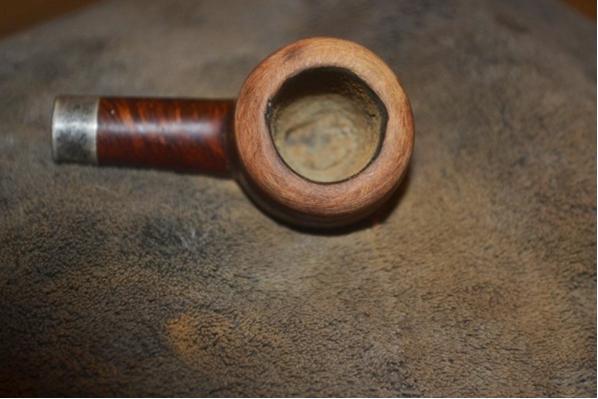
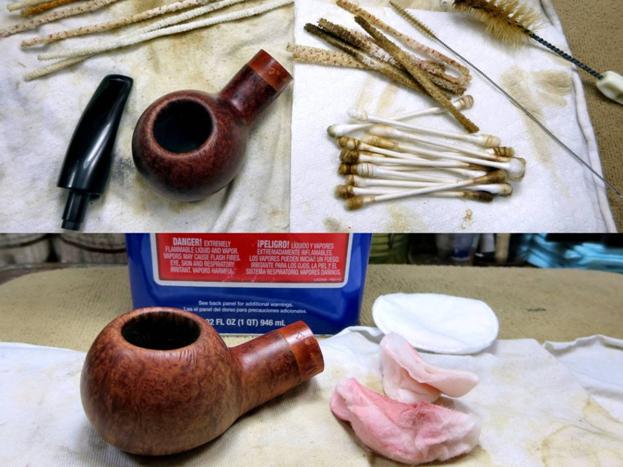
Astrid3 Nomenclature and logo details (notice the “trench” on the stem next to the band):Astrid4 This 320 appeared to be pretty clean, but there’s no such thing as a pipe that’s too clean. So, I gave the internals of the stem and stummel a bit of a scrub with isopropyl alcohol, pipe cleaners, cotton swabs, a shank brush, and a percolator cleaner (the fat brush in the upper right). I’m glad that I did. As you can see below, there was still grime to be removed. After that, I gave the surface of the stummel a scrub with acetone on cotton pads to remove the old, spotty finish.Astrid5 I took a few photos of the rim damage, and after seeing them enlarged a few hundred times on the big screen, I noticed that the edges of the marks were rounded. That seemed to indicate that they were more like dents than scratches.Astrid6 So, I decided to see what a little bit of steam would do for them. I used a tea candle to heat the end of a flat-head screwdriver. Then, I placed a wet cloth over the dents and pressed it into the cloth. The steam worked well on the marks, although I had to repeat the process several times to lift the deeper ones. After I had worked my way all the way around the bowl, the rim was in much better shape. It would still need some sanding, but not nearly as much as it would have taken before to get it smooth.Astrid7 I sanded out the remaining dents with 220-grit paper before addressing a couple of small pits that were possibly missing fills on the bottom front of the stummel. I refilled them with a mixture of briar dust and CA, and then sanded them out with 220-grit as well. Three more fills were present on the front of the bowl, but they looked like they were in good shape and I had confidence that they would blend in with the final stain.
Next, I topped the bowl to level it out and chamfered the inner rim to match the original, factory shape with 220-grit paper. Then, I started cleaning up some of the light scratches and blemishes on the stummel with 320-grit.Astrid8 I then heated the stummel to open the grain and prep it for the first stain. I applied a mahogany stain thinned 3:1 with isopropyl alcohol. Mahogany is a nice dark color that gives contrast to the grain and it would play well with the red tones that would come later. After flaming the stain, I hand-buffed it with a soft cloth to remove the excess, and then wet sanded the stummel with 400-grit to remove most of the stain except for what had set into the soft grain.

To start bringing in those red tones I mentioned, I applied a 50/50 oxblood and medium brown stain thinned to the same ratio as the previous application. I again flamed and hand-buffed before lightly wet sanding with 600-grit and 1200-grit paper, and then polishing with Micro-Mesh pads 1500-2400.

I applied a third stain, red this time, and hand-buffed before giving the pipe a Tripoli buff on the buffing wheel. Then, I polished with Micro-Mesh pads 3200-4000. At that point, I didn’t like how bright the red was. So, I decided to darken it up with a thin stain wash. I can’t tell you the exact mix, because I just eyeballed it until it was what I wanted. I can say that it was at least 50% red mixed with a small amount of oxblood for richness and an even smaller amount of dark brown to darken it. I thinned it until it was about the same color density as Kool-Aid and applied it with cotton swab. After that, I hand-buffed the excess off and continued polishing with the remaining grits of Micro-Mesh pads.Astrid9 That finished up the work on the stummel. So, I thought I’d try to do something about those rounded shoulders on the stem face. In a scrap piece of wood, I drilled a hole large enough to easily accommodate the tenon. Then, I clamped a strip of sandpaper over the block and cut a matching hole with an X-Acto knife. I inserted the tenon into the hole and rotated it while applying firm but gentle pressure to keep the plane level. I started removing material with 220-grit and worked up to 600-grit. All in all, I probably removed 1/16 of an inch or less from the end of the stem. It wasn’t enough to completely correct the problem, but it did make it a great deal less obvious. The shoulders were nice and sharp again and I didn’t compromise the flow of the joint by creating a “step” down to a smaller diameter stem. You can see for yourself in the photos below.Astrid10 To be honest, I thought I was done at that point. It wasn’t until the pipe was reassembled and I was preparing to give it the final buff and wax that I noticed the glaring damage that I’m sure you’ve already seen. For the life of me I can’t figure out how it had escaped my attention, especially since I had just done work on the stem, but the button had been severely worn away by overbuffing. There was barely a button left at all. Of course, that wouldn’t do at all. So, after getting permission from the pipe’s owner to do some extra work, I began to create a new button.
I used 220-grit paper to rough up the surface of the damaged button and also a bit of the surrounding area. Next, I applied thin layers of black CA glue to the button to build it up. I lightly sanded between each layer with 220-grit to roughen them and ensure that the next layer had a good surface to cling to. Once the mound of CA was slightly higher than I wanted the button to be, I used 220-grit paper to start shaping the button, needle files and sanding files to carve a sharp edge at the back, and 320-grit paper to refine the shape.Astrid11 I continued to refine the shape and smooth the surface through 400, 600, and 1200-grit paper. Then I polished the button and the rest of the stem with the full range of Micro-Mesh pads and applied a drop of Obsidian oil to wrap up the stem work.

Before reassembling the pipe, I tried to lift the dents in the silver band by placing it over a wooden dowel, pressing firmly, and rotating it from side to side. My attempt was mostly in vain though. I was able to lift them slightly, mostly the one at the edge, but stopped when I began to worry about raising the stamping or tearing the band. I polished the band with Semichrome polish and placed it back on the shank with a small drop of CA to fix the looseness.

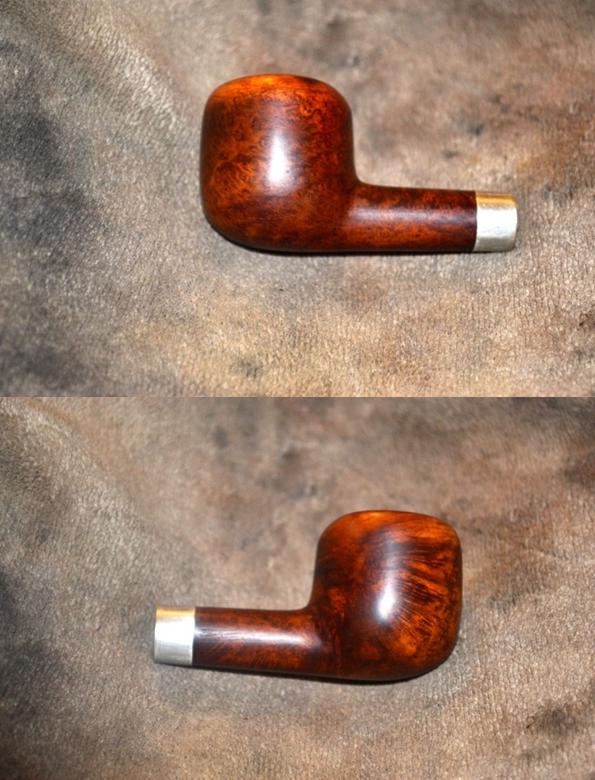
Finally, I put the pipe back together and buffed it with White Diamond on the buffing wheel. After buffing again with a clean wheel to remove any excess compound, I gave the pipe several coats of carnauba wax to complete the work on the pipe. The end results can be seen in the photos below.Astrid12

Astrid13

Astrid14

Astrid15 I think the lines of a 320 are iconic and it is a fine example of the author shape. I’m glad that I was able to restore this one to at least a bit of its former glory and get it back into rotation. Thanks for looking!

A Tale of an Ugly Duckling & His Virtually Invisible Swandom


Blog by Steve Laug

All of you are probably familiar with the tale of the ugly duckling. The poor bird hatched from a clutch of duck eggs that came out gangling and very unducklike. His appearance left much to be desired when he walked beside his siblings toward the pond following his “mom’. He was always laughed at and misunderstood. He sat with his head down in shame at how much he did not fit. Each day passed and the down of the ducklings was replaced by feathers. This went on until one day the duckling looked at his reflection in the pond and found that he was not a duck at all but a regal and majestic swan. He had always been a swan inside but the fact of his swandom was not visible to any who beheld him. Instead they saw what they wanted in the misfit duckling and wrote him off as ugly. They never once saw the swan inside until it came out in all of its glory. This tale really captures the pipe that I worked on next.
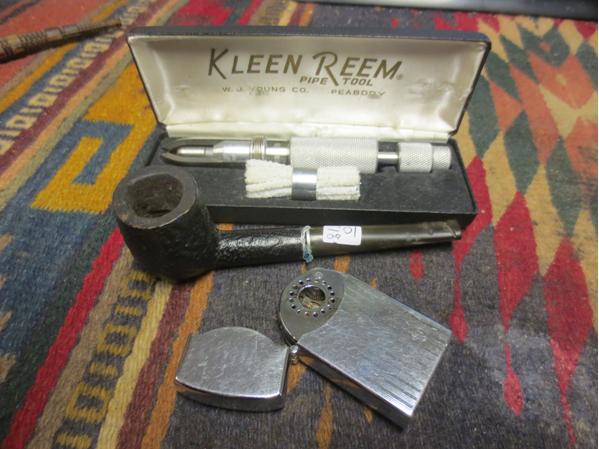
I have had a really rough older Canadian pipe sitting in the refurb box for a long time now. I have taken it out of the box and looked it over time and again but never took the step of cleaning it up. I have no idea who the maker of this old pipe is but it is a rough piece of wood. I say wood because it is clearly not briar. It is lighter and the grain pattern is quite different from briar. It has a Kaywoodie mortise insert and a Kaywoodie stem that has the stinger clipped off. I don’t know if it came that way or some creative soul made it happen. The wood was roughened and not sanded smooth. It looked as if it was rough shaped with a file or wood rasp and then just smoked. Somewhere along the way someone had put a coat of shiny urethane over the entire pipe. The shine hid none of the flaws but actually accentuated them. It had a significant fissure near the shank bowl joint on the left side that needed attention. The roughened finish had file marks going in every direction. The effect was a mess for a finish. The stem had some cardboard or thread pushed on to the threaded tenon that allowed the stem to line up correctly. I cut off the cardboard or thread washer and the stem was seriously overclocked. The bowl had a cake in it that was crumbly and uneven. The interior edge of the rim was not too badly out of round. The outer edges would need some work to smooth out before I could see if they were in round.Canada1

Canada2

Canada3

Canada4 I took some close-up photos of the bowl and the shank to give more of an idea of the kind of finish that the pipe had when I started. You can see the file marks and lines going in every which direction that were left behind in the initial shaping of the pipe. The overall look was very rustic and actually quite ugly. It was truly an ugly pipe. The beautiful Canadian that resided below the ugly exterior was virtually invisible. It would easily been put up there with “folk art” in terms of the rustic and rough finish to the pipe. Yet there was something about that seemed like raw charm that shone through the mess that sat on my table. This evening when I took it out I took more time to sit and look at it for a while before beginning to work on it. The more I looked at it the more I have to tell you that the second thoughts I was having almost caused me to put off working this old timer and just burying it in the box. I really was unsure whether I could do anything with it or that it would even be worth doing the work. I was not convinced that what I had when I was finished would be worth the time and energy that would go into reworking it.Canada5

Canada6

Canada7

Canada8

Canada9 I cleaned off the debris (cardboard or thread) that was on the tenon and then heated the tenon with a lighter to reclock the stem. I heated the metal carefully keeping the flame away from the vulcanite stem. It did not take long before the heat softened the glue that held the tenon in the stem and I was able to turn the stem back into the shank and twist it until it lined up correctly.Canada10

Canada11 I lightly sanded the bowl surface and then stopped to ream it with a PipNet reamer. I decided to take the cake completely out of the bowl so that I could check for cracks in the walls of the bowl.Canada12

Canada13 With the bowl reamed out I turned my attention to the finish on the exterior. I sanded the bowl and shank with emery paper and with 180 grit sandpaper to remove the roughness of the finish and to sand out the file marks. I wanted to sand the bowl and shank smooth to address the generally poor appearance of the pipe. It took quite a bit of sanding to even start to make a difference in the surface of the pipe. I also sanded it with a rough sanding block to smooth out more of the scratches. I filled the flaw at the union of the shank and bowl on the left side with clear super glue and briar dust. I sanded that repair smooth with 220 grit sandpaper to blend it into the surface of the pipe. There was a dark spot on the outer right edge of the rim that did not seem like a burn. I had the appearance of a stain. It was hard and did not affect the shape of the bowl edge so I left it. I lightly topped the bowl to clean up and flatten out the rim surface.

The more I sanded the grain began to come through the smoother finish of the pipe. It was clearly not briar. My guess is that it is Mountain Laurel or Manzanita. Once I get it sanded smooth and get a better look at the grain and colour I will be able to give a better assessment. The good thing was that a nicely shaped Canadian was emerging from the rough cut pipe that I started with. The shape was well executed and once I finished sanding and smoothing things out this alternative wood Canadian would look really good. My initial reticence gave way to curiosity to see what would emerge when the sanding was finished. You can see for yourself in the next set of photos below what is coming out as it is sanded.Canada14

Canada15

Canada16

Canada17 I continued sanding with 220 grit sandpaper and worked on the shank bowl junction. There were some deep cuts and file marks there that needed to be addressed. I sanded until the surface was smooth to touch. There were still a lot of scratches in the wood but the surface was getting smoother. I sanded it with a coarse and a medium grit sanding block to flatten out the shank and to smooth out the bowl sides, bottom and rim. I used a black permanent mark to cover the fill and line it up with the grain at that point. Once I sanded it more and blended it into the grain of the shank it would become less visible than it is in the photos below. I sanded more with the sanding blocks and then gave the pipe a light coat of olive oil to see what the grain would look like when I was finished. The wood had a red hue to it and some nice looking grain. There is a lot more sanding that needs to be done at this point but it is progressing.Canada18

Canada19

Canada20

Canada21 I have included a few more close-up photos to show the progress of the sanding on the surface of the bowl and shank. There is some nice looking grain coming through in the photos of the bowl sides and shank.Canada22

Canada23 At this point I sanded the bowl and shank with micromesh sanding pads and the oil to give me some traction while sanding. I find that the oil allows the micromesh to cut more deeply and work more effectively. I sanded with older 1500-2400 grit micromesh pads that I reserve for working with oil sanding. Unfortunately I got into the flow of things and did not take photos of this part of the process.
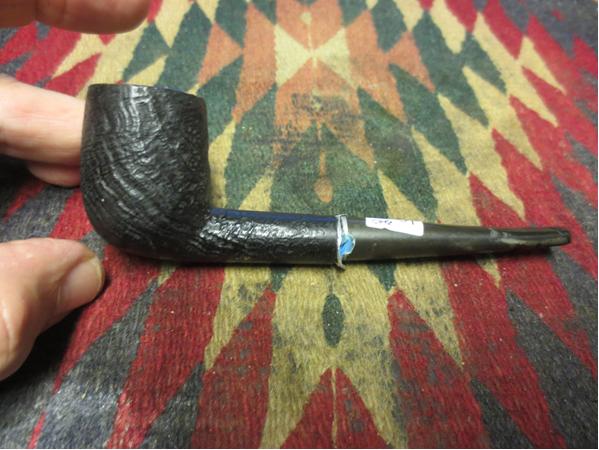
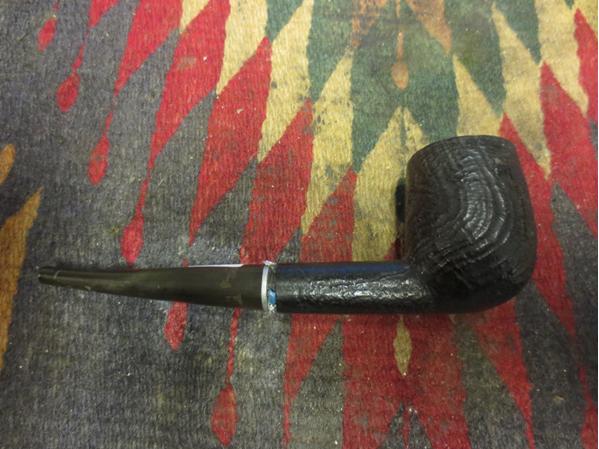
Once I had finished sanding the bowl to this point I worked on the stem. The same file marks went across and the length of the stem. There were gouges and marks and two deep tooth marks near the crease on both the top and bottom of the stem. The next two photos show the scratches and the tooth marks.Canada24

Canada25 I used an emery board to sand out the scratches and the tooth marks. I was able to remove most of the scratches and gouges with the board and then sanded the stem with 220 grit sandpaper to remove some of the deeper scratches and blend in the board marks. I also used the topping board to even out the end of the clipped stinger so that it was not rough.Canada26 The tooth mark on the top needed to be repaired. I cleaned up the sanded area and then filled the remaining tooth mark with clear super glue.Canada27 When the glue dried I used the emery board and the 220 grit sandpaper to blend in the repair with the surface of the stem.Canada28 Once the scratches and marks were gone and the patch smoothed into the surface I went on to wet sand the stem with 1500-2400 grit micromesh sanding pads. I rubbed the stem down with Obsidian Oil and then dry sanded with 3200-4000 grit pads before giving the stem another coat of oil. I finished with 6000-12000 grit pads and then a final coat of Obsidian Oil. I let it dry before taking the pipe to the buffer.Canada29

Canada30

Canada31 I sanded the bowl and shank down with all of the grits of micromesh sanding pads from 1500-12000 grit. By the time I was finished the scratches were virtually gone. The repair on the shank/bowl junction though showing is smooth to the touch. The ugly duckling had become a swan. The Canadian hidden beneath the file marks and rough finish gave way to the beauty of the alternative wood. The finished pipe was truly a thing of beauty.

I buffed the pipe and stem with Blue Diamond Polish on the wheel. I worked it until the remaining scratches disappeared. I gave the bowl and stem several coats of carnauba wax and then buffed the pipe with a soft flannel buff. I finished by hand buffing it with a microfibre cloth. The finished pipe is shown in the photos below. The change in appearance is significant and the feel in the hand is much better. I am still pretty convinced the pipe is Mountain Laurel but could be convinced otherwise if some of you know. Thanks for looking.Canada32

Canada33

Canada34

Canada35

Canada36

Canada37

Restemming a Brian Doran Nosewarmer Poker


Blog by Steve Laug

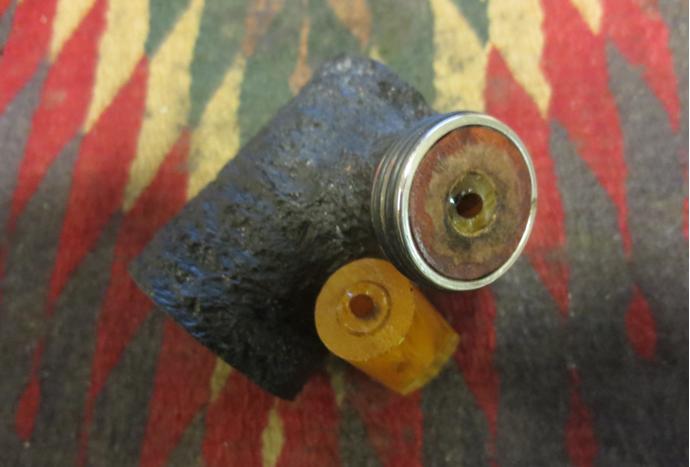
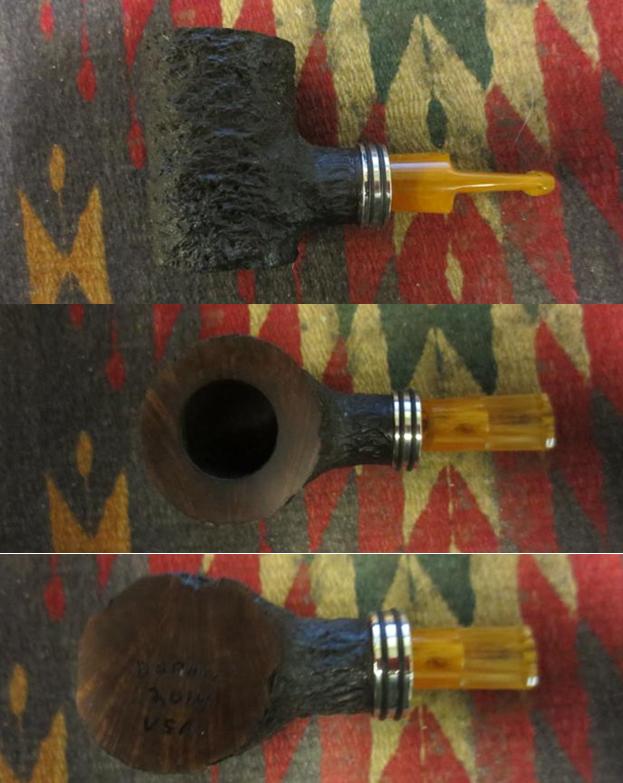
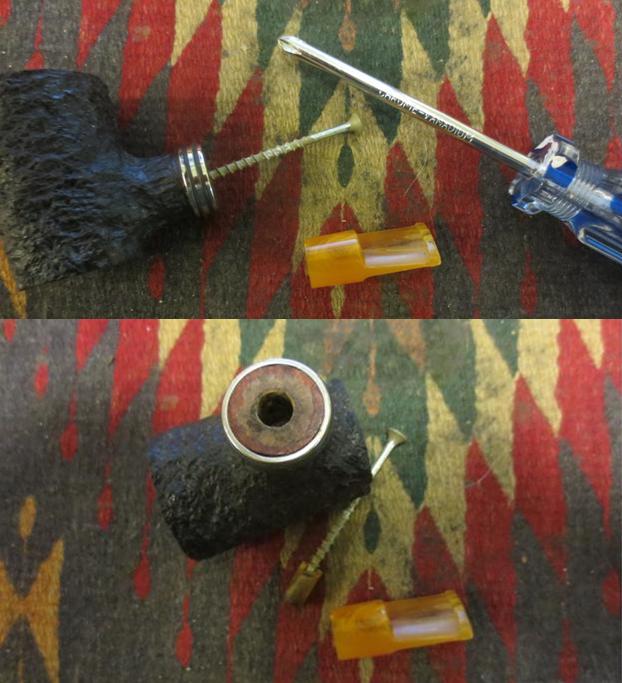
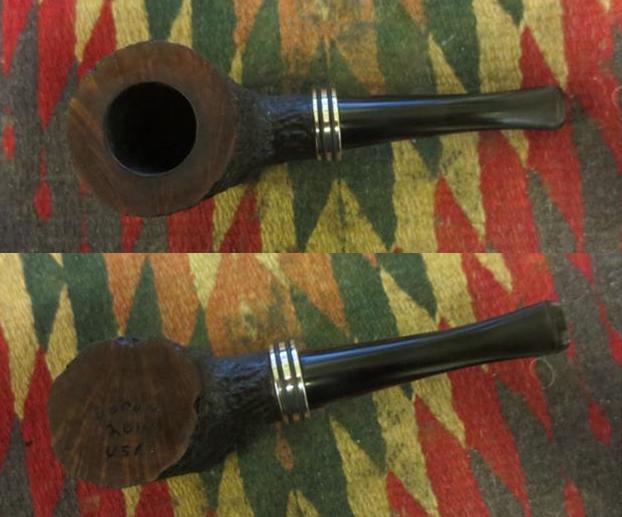
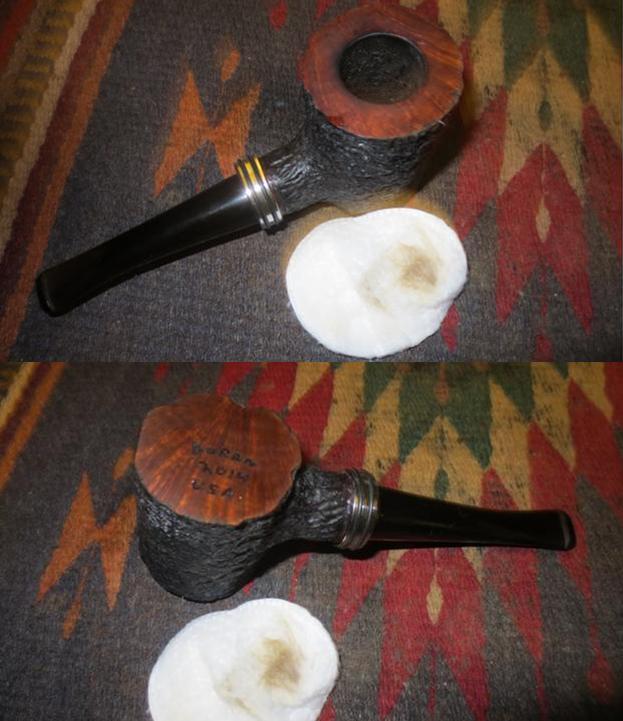
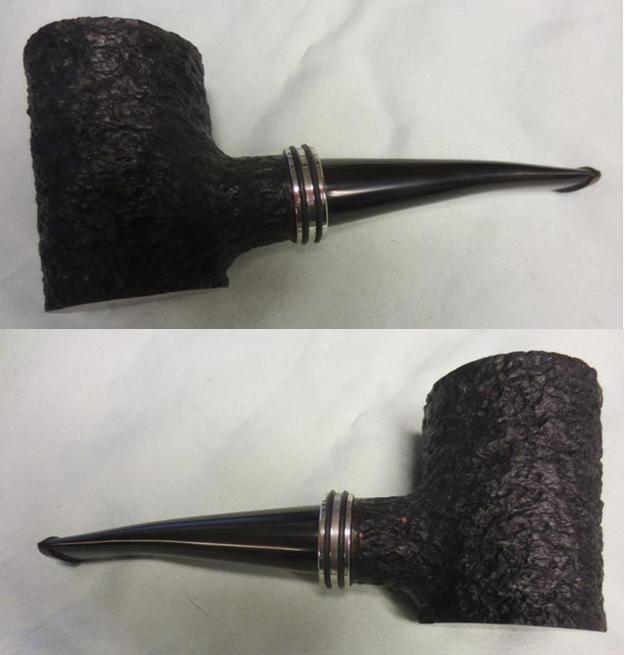
In the gift bag that I received while traveling was a poker made by Brian Doran. I did some reading on Brian’s Facebook page and cannot find out when the pipe was made. I know that this one was originally a nosewarmer poker. I had the pieces of the pipe as it had been dropped by my friend. The tenon broke off in the shank. The tenon would need to be pulled and a new tenon put in the stem or the pipe would need to be restemmed. The bowl was large and the rustication was very nice with a contrasting stain between the rim and bowl. The bowl was a dark brown/black with the smooth rim and bottom stained with a medium brown. The bowl was attractive and the drilling was spot on. There was a large silver band with two black rings around it on the end of the shank that added to the weight of the piece.Doran1 I put the stem up against the bowl to get an idea of how it originally looked before the break. The piece of briar was quite large and heavy and the small mouth piece that had been on it made gripping it a challenge. I could see why my friend had dropped it. The mouth piece itself was smaller in diameter than the shank of the pipe and did not look quite right to me. The button was rough – not sure if it happened during the drop or if it came that way. It had chips out of the edges, top and the face of the button and the inside of the slot was also roughly shaped. The shortness of the blade on the stem did not give much to work with.Doran2 I used a screw to pull the broken tenon out of the shank. I twist it in with a screwdriver until it catches and then wiggle the screw while pulling on it. It generally comes out very easily. I was thankful that this time it came out without a problem. I cleaned up the shank with pipe cleaners, cotton swabs and alcohol.Doran3 With the tenon pulled I needed to make a decision regarding the pipe. After spending some time with the mouth piece I decided that the damage to the button would take more work than I was willing to put into it. I personally did not like the short stem and found that it was uncomfortable in the mouth and the pipe was too heavy to make it practical. That meant that I needed to restem it. I looked at short stems of the same diameter – both saddle and tapered and just did not like the look. I went through my stems and found a saddle stem that was the same diameter as the shank but was not happy with the overall look. Then I found this smaller tapered stem. It was one I had scavenged from somewhere and the tenon was a perfect fit. It sat in the shank just like the little saddle stem had and showed the stained briar ring inside of the silver band. The appearance at the shank was almost the same. It was slightly bent and I would need to straighten it but I kind of liked the look. It would be worth working on. If I should decide otherwise later I can always restem it again. I set up the heat gun and straightened the stem leaving a very slight bend.Doran4 I took the next series of photos to show what the pipe looked like at this point in the process with the longer stem.Doran5

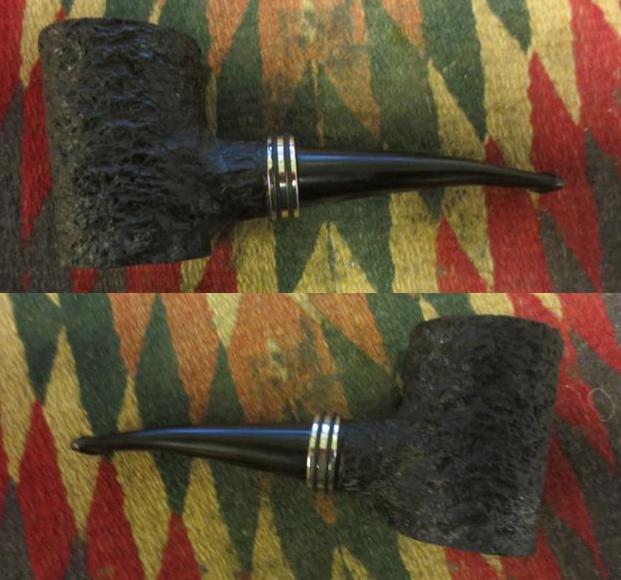
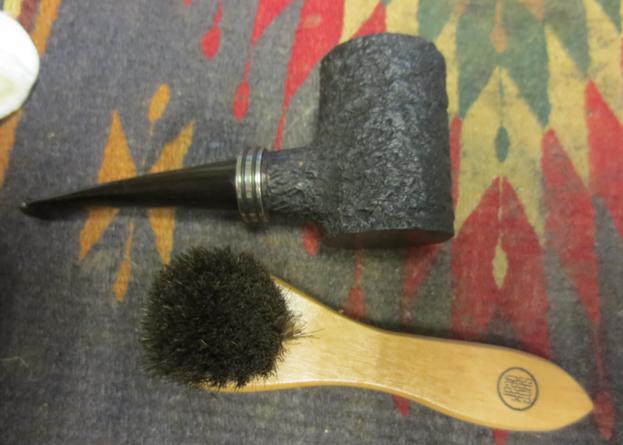
Doran6 I reamed the bowl to take back the uneven cake. I scrubbed the rusticated bowl and the tars on the rim with a tooth brush and Murphy’s Oil Soap. I rinsed the bowl with water and then dried it off with a soft cloth. I further worked on the darkening of the rim with a cotton pad and saliva until I had the majority of it removed. I also scrubbed the bottom of the bowl with the cotton pad and saliva as well.Doran7 I buffed the rustication with a shoe brush to give it a slight shine.Doran8 I gave the bowl a light wipe down with olive oil and hand buffed it with the shoe brush to raise the shine. The stem was in very good shape with no tooth chatter or oxidation so it needed only to be cleaned and polished. I buffed the rim and the base along with the stem with Red Tripoli, White Diamond and Blue Diamond. I then gave the rim, base and stem several coats of carnauba wax and buffed them with a soft flannel buff. I finished by hand buffing with a microfibre cloth. The finished pipe is shown below. I like the new look with the longer stem. The pipe now works as a sitter and balances on the desk with no issues. What do you think?Doran9

Doran10

Doran11

Doran12

A No-Account, Son-of-a-Gun, Sorry Excuse for a Bent Billiard


Guest Blog by Robert M. Boughton
Member, North American Society of Pipe Collectors
http://www.naspc.org
http://www.roadrunnerpipes.com
http://about.me/boughtonrobert
Photos © the Author

“Pipes are like dogs: the smokin‘ man’s best friend. Why, you can cuss at ’em, shout out loud about the state of the world to ’em, carry on all you like ’til yer blue in the face an‘ sore in the jaw about how great the whole place would be if only you was in charge, heck, even put ’em out of mind and ignore ’em altogether…for a while. In fact, a perfectly good, loyal pipe, same as an old coonhound, will even put up with a might mess of outright scandalous behavior an‘ never even consider turnin‘ on you – say, like as if the dog was to chomp off yer ignorant head or the pipe up an‘ went to dumpin‘ hot, burnin‘ ash in yer lap all on its own…But Heaven help the man that treats either his pipe or dog like garbage to be thrown in the dumpster or a bug to be stomped on. He’ll end up with a companion called Cujo if it doesn’t find a better master in time to escape. The pipe or the dog, that is.”
― The Author, in “Musings of a Mind Bored Silly by a Roommate with ADHD Who Just Doesn’t Know the Meaning of Silence Is Bliss,” today

INTRODUCTION
My friend, Phil, he’s a heck of a nice guy. He’s a real big fella – six-three, 280 pounds or right there in the ballpark – and one of the smartest dudes you could ever meet. Now by smart I’m not implicating he’s got some big old stuffy nansy-pansy degree from any of your fancy-schmancy Poison Ivy Universities, with a capital U, back east somewheres, or anyplace else, for all that matters. What would he need with some piece of paper, outside of hangin it one of his walls? Now that’s the day I’d like to see! And if he was the type to frame up a piece of paper all marked with gibberish scrawling like the tests I used to get back from my teachers when I was just a young buck, where do you suppose he’d hang it? I’ll tell you, I will! Right in the throne room, direct across from where he’d be sitting to ponder what the heck good it does him, and other earth-shaking notions and such.

No, boy! Phil’s smarts are part on account of he was born that way, with a genius IQ is my guess, and the other part from all the books and fancy magazines he reads. Plus old Phil, why, he never watches regular TV; doesn’t even own one, not counting this huge thin flat monster that rightly belongs on a wall like I’ve seen at some of the old-timey stores you can still find at the mall, only he connects it to his computer with nary a cord somehow, and that’s how he likes it. Hooks it up to his little old lap computer right through the air with what he calls Wi-Fi and something else that goes by Blue Teeth or Blue Fairy or whatever. Anyhow, whatever kind of magic it is he does to make all this confounded tech-nol-o-gy happen that bring all of his gadgets, not just the TV monster but his walk-around pocket phone and even this genuine Made in China nineteen-hundred and seventies-era Ghetto Blaster he has, work together – well, it’s something else, and how! Why, it’s like he’s at Carnegie Hall in New York City, or at least that’s what I hear tell. Personally, I went to the Grand Ole Opry in Nashville once when I was a kid, and that was good enough for me.

Now, to get to the meat and potatoes of this little fireside story, my friend Phil, he’s a good man, and he’s also one heck of a carpenter. When it comes to woodwork, why, there aint a thing he doesn’t know about all the woods ever grown, and how to build a custom home, with balloon walls and the works, from the ground up – and up and up – and pretty much all by himself. He’s as comfortable with his tools, from his cat’s paw and level to a pettibone, as he is with his own big mitts. And when it comes to the strength and soundness of the whole enchilada, Phil just pretends to listen to all the back-seat drivers, even if it’s the new owner! And you can bet all the money in your sock old Phil won’t take any guff from some pissant, oil-palmed CCI snagger with his eyes out for left-over parts to pilfer more than finding any real faults with the job. Yessir, Phil knows his stuff, from cripples to “A” Braces, trimmers, bearing walls and joists. But…

Ain’t there always a but? Well, Phil’s but is that for all he knows about wood and carpentry, he doesn’t have a bull pucket of a clue about restoring tobacco pipes, even if it’s a fair shake he could whip one up that would be right-on engineering-wise and even show his own, one-of-a-kind style. He’s even told me a few of his ideas, and they sound pretty clever and original. Only, as far as using a wood that wouldn’t give him rashes or boils or even the Big C, and staining the shapely wonder with something other than a nice, thick, shiny, Chinese-style lacquer that would leave the wood Code Red as far as breathing goes, he’s, well, clueless. And then there’s all the taking care not to forget to tuck it away all safe and sound instead of setting it on his work table with all of his sandpapers and rasps and drill bits and other implements of construction that are, what you might say, not Kosher to keep around a frail work of art, plus dropping it and all around banging the thing every chance he gets.

To put it nice, Phil is pretty dang bullheaded when it comes to thinking he can do, make or fix anything, and what’s more, that he’s better than the experts that are here to do it right. And he wouldn’t budge when I suggested he must have had something to do with the billiard’s condition when I got a gander of it. He held to the story that he had nothing to do with it; never touched it, he said, other than smoking it. So I’m sure you all can use whatever cents you had to rub together when you were born and come up with a notion of how dramatic it was for him to – well, ask ain’t the right word – oh, snap! He intimidated that he could use “some advice” on how to fix this no-name, no country but probably Italian bent billiard. Okay, okay, I’m a nice guy, too, and I knew what he was driving at, so when he said it was one of the first pipes I gave him and I said I made it myself, I didn’t want to be rude, but I almost couldn’t help it. One thing is, I’ve never made a pipe in my life nor said I did, even if I have plans to soon; I even bought a nice square block of walnut with grain that’s the bomb and is big enough for two pipes. I figure I’ll go vertical with both of them, seeing as how once I cut it in half I’ll be all-in one way or the other. Anyways, to get back to what I was saying, the other thing is, I did finish a few pre-formed pipes I got my hands on and even made them look pretty smart, if I say so myself, but this here bent billiard wasn’t one of them, no way, no how.

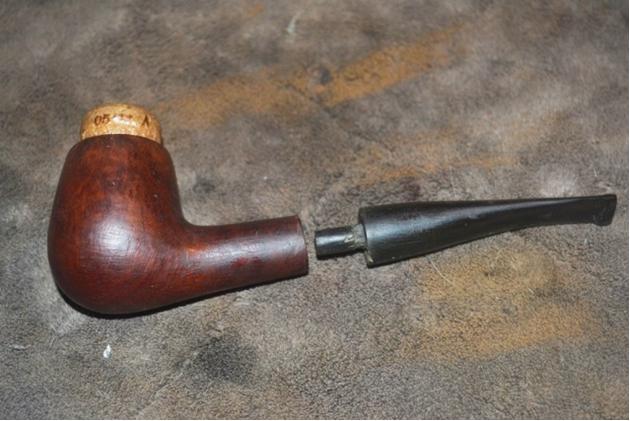
So Phil, he hands the thing to me, and from the second he picks it up from the Blitzkrieg debris that his apartment was full of that day, I saw it was totally FUBAR. I mean, it looked like it was all that could be dug from the rubble of some poor Englishman’s former place of commode during the Battle of Britain after a buzz bomb attack where one of those nasty suckers stopped its buzzing and fell out of the night sky right through his roof before it went off. Okay, so maybe I’m exaggerating, but you get the picture. I’ll tell you, the real shocker to me was that Phil had somehow let this happen when he took real good care of all the other pipes I remembered giving him, including a su-weet, smooth Peterson Aran B11 Bent Brandy I fixed up from my collection and gave to him on his birthday or something after he’d developed a real taste for pipe tobacco. I threw in a sleeve, and he’s kept it the same as the day I gave it to him.Phil1 Back to the sad billiard, while I’m turning it in my hands, forced to admire the almost total stripping of the wax I told myself had to be there when and if I actually gave him the once proud pipe, not to mention the unbelievable uniformity of scratches all over it that – I kid you not – looked to me to be the work of a man with a careful if twisted plan, Phil even uses that word, plan, just as I’m thinking it! I would have jumped if the awfulness of the billiard’s deformities hadn’t already made me numb all over, like. Here’s my favorite angle.Phil2 Phil’s going on how he has some plans for it, like re-staining it some special, unknown color and yada-yada-yada, but he’s real quiet like he never gets unless he’s embarrassed and wants to ask a favor, which he doesn’t ever quite get around to doing. Well, I wasn’t born yesterday, and I just keep it in hand until I’m set to leave, and then I ask him all casual, “Hey, Phil, mind if I hold onto this to look it over some more?” And of course he just has to put on like he doesn’t want to, when that was the plan all along, but in the end I walked out the door with the mysterious, thrashed pipe still in my hand.
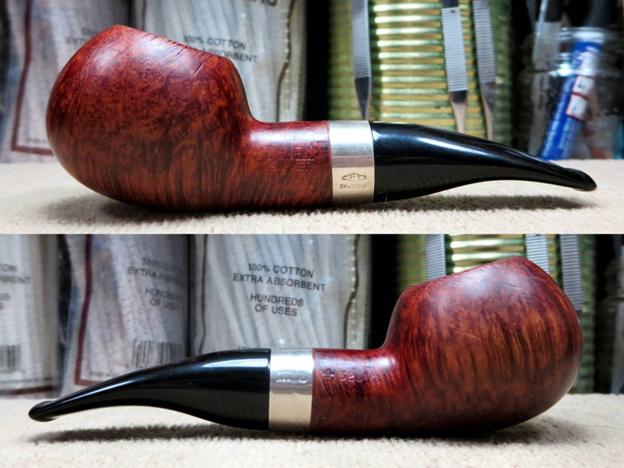
RESTORATIONPhil3

Phil4

Phil5

Phil6

Phil7

Phil8

Phil9

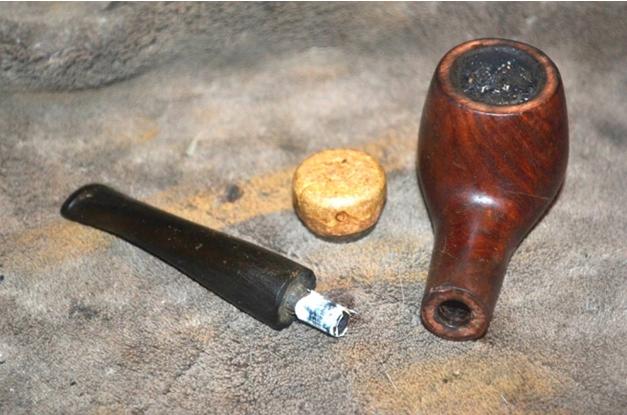
Phil10 I really like three of the things you’ll notice in the first of those photographs: the peculiar piece of cork used for some reason I won’t go into, the chamber chock-full of some leaf and the little improvised piece of paper on the tenon to make it fit right like it did when he got it (whoever gave it to him in the first place).

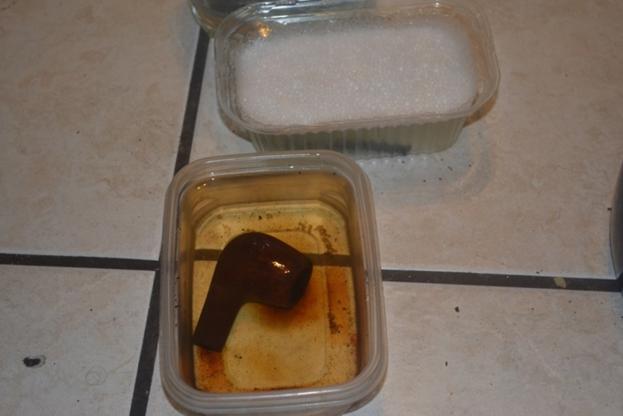
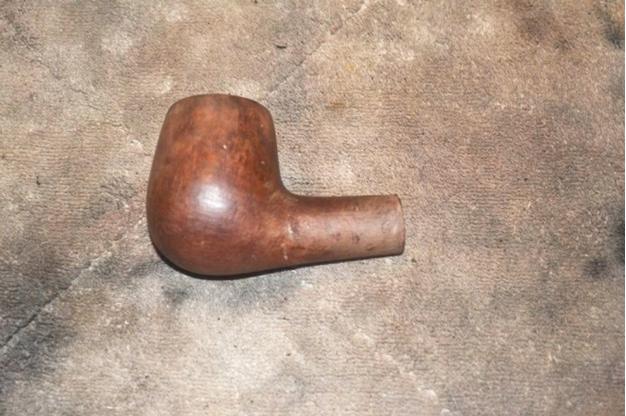
First off I scooped out all the stuff in the chamber and peeled away the sticky paper on the tenon. Without the paper, here’s a good general idea of how it looked.Phil11 Now I don’t know about you, but I couldn’t abide with that ghostly remnant of stain, so I set to stripping all of it down to the bone and soaking the bit in an OxiClean bath.Phil12 I took the wood out of the Everclear after a couple of hours and saw it still need some help removing the old stain. I used 500-grit paper and made the bowl and shank a little better.Phil13

Phil14

Phil15

Phil16

Phil17 And back to the stem for a minute. For a number of reasons, it clearly didn’t fit the shank, and so the motive behind the cover-up with paper. The OxiClean didn’t do much other than get rid of a whole lot of dirt and other mess inside and out, but this is a better view of the tenon and how someone had undercut it at the bottom and generally made a mess of the whole try at making it fit right in the shank. I suppose Phil had nothing to do with that, too.Phil18

Phil19 Other than replacing the whole stem, a plan I wasn’t keen on seeing as how it was going to be for free, I figured I could mend it another way. I sanded it all over with 200-grit paper before putting the 400 to it and micro-meshing as far as I could go, from 1500-12000. With that a done deal, I put a liberal amount of Black Super Glue on the tenon, most of it on the undercut part, to make it all even again.Phil20 Meanwhile, back to the bowl and shank. The stripping ferreted out more cover-up: the front of the pipe, no big surprise considering it wasn’t proud enough of the results to put a name to it or even the country it came from, had a nice little weed-like patch of holes that needed wood putty.Phil21

Phil22 Since I had some time on my hands while the putty and Black Super Glue finished drying, I smoked my own pipe for a spell. Actually it was one heck of a long spell. But it came to an end, like everything else in this life.

I smoothed the putty real gentle with the old 12000 micromesh and used a brown indelible marker, then an orange one, to make it look a little more natural. Then I put just a thin coat of regular Super Glue over that. I had to get out of my place anyway, so while it dried I did some errands. Heck, yeah, even I have errands to run.

What with the swamp cooler on full-blast, by the time I got home again the Super Glue was good and hard and ready for a smoothing of its own. This time I needed something a little rougher and settled on 3200 micromesh with a respectful light touch. And I’ll be darned if it didn’t just do the trick! The rest of the wood I went the whole nine yards micro-meshing.
One of the ideas Phil had for doing it himself was to use a “different” color. After thinking on it a while, I came up with a mix of Lincoln Marine Cordovan and Fiebing’s brown boot stains – don’t ask me what was going through my head because I don’t remember. Anyways, it worked nice enough, so I flamed it and let it sit to cool before using the 3200 again to clear off the char.Phil23
Phil24

Phil25

Phil26

Phil27

Phil28 Alright, now, hold your water! I know it! The front view here shows a need for more attention, which you’ll just have to trust me when I say I gave it because I forgot to snap a shot after. Also I sanded down the shank opening so the stem would meet it better.Phil29 Again, I know it’s not perfect, but this was for free and besides, Phil was starting to breathe down my neck to get it back. Finally I just buffed it up on the wheels with a few waxes.Phil30

Phil31

Phil32

Phil33

Phil34

Phil35 CONCLUSION
Phil is happy with the job I did – and the replacement cork that fit.

I don’t know if I improved this old meer or just made it worse


Blog by Steve Laug

Sometimes when I take on a project it is a no win situation. Or at least it appears that way! This is one of those times. In the box of recent pipes that I am working on cleaning up to sell was an older no name meerschaum calabash shaped pipe. The meer was in passable shape – some nicks and scratches and some run over on the rim but it should have been an easy clean up. If you look at the first set of photos below you may well wonder about the comments that follow. It actually looks far worse than the pictures depict. The stem shank joint does not match even though it the photo it looks great. If I went just be the photo I would have been better off to leave well enough alone — still even having the pipe in hand I may have been smarter to just polish and sell it as is.

Here is my diagnosis and the assessment I did that led me to the conclusions that it was worth fussing with the pipe to see if I could at least improve upon it. Starting with the bowl I could see that it was slightly out of round but I am not sure it did not come that way. The whole pipe has a bit of a lopsided look to it – a slant towards the left. I pulled the stem and there were more issues that needed to be addressed. Someone had installed a push tenon and mortise replacement. The mortise insert had not been set all the way into the shank but it had been epoxied in place. The tenon was deeply set into the hollowed out end of the stem to accommodate the lip that had been left on the mortise insert. The end of the push tenon had been cut off at an angle and the end was constricted from the cutter. This seriously hampered the clear airflow through the stem.

At this point you will have to trust my assessment because the pictures do not clearly show a pipe that fits this description. But honestly – the stem was slightly smaller in diameter than the shank so with the fiddling that had been done to the stem it was a loose fit. It was wobbly in the shank. The stem was bent in such a way that it was cocked to the left and just irritated me. Looking back after the fact I can honestly say that at this point I should have made the decision to just lightly clean this one up and let somebody have it as a bargain. I certainly would have saved me a lot of grief as you will see if you follow this tale to the end.Mess1

Mess2

Mess3

Mess4

Mess5 Sadly I have to tell you that what I should have done and what I ended up doing are two singularly different tales. I decided that I could definitely improve the draw on the pipe, clean up the tenon and mortise area, and maybe give the pipe a bit more distinguished appearance. So…I took the Dremel and sanded down the shank to slightly smaller than the diameter of the stem so that I could add a nickel band and dress this pipe up. This is where the first issue became apparent. It became clear that the bowl was pressed rather than block meerschaum. When I removed the “shiny” surface coat the underneath meerschaum was a different, almost tan colour. The shiny coat was like an egg-shell over the tan undercoat. What had been a simple project just changed. I had planned to hand shape the shank to the bowl and remove the new hump that I had created and make the shank a bit more delicate looking and in keeping with the flow of the band and stem. But now, the top shiny coat removal left me with a bit of a dilemma. If I removed more of the shape to bring it into line I would also remove more of the shiny coat. What to do? Honestly at this point I put the pipe back in the box and almost decided to just bite the bullet, buy it myself and scavenge a few parts from it. It looked that bad to me. I left it and cleaned up the Stanwell Volcano Sitter that I posted about earlier on the blog.Mess6

Mess7

Mess8

Mess9 After I finished working on the other pipe, I decided to pull the meerschaum out and have another look at it. It was bad. No it was actually worse than that – it was downright ugly. However, I don’t give up easily – though I wonder if in this case I should have. You will have to ask if my stubbornness was a good thing in this case as you read the rest of the process. All I know is that each step I took to improve the pipe ended up making more work for me. Each adjustment led to more adjustments. But at this point, for better or worse, I decided to work on the shape and see what I could do. Maybe I could bring out the shape in such a way that it incorporated the different tan coloured portion of the bowl and the rim. I sanded the shank with 220 grit sandpaper to shape it and round it out. I smoothed out the roughness left behind by the Dremel and worked on the fit of the stem. It was still crooked but at least I could get it to sit straight against the shank and just inside the band. I also lightly topped the bowl to remove the tars and some of the rim damage.Mess10

Mess11

Mess12 I sanded the pipe outside in the yard while Spencer played so as not to make a mess of white dust all over my work area. I finished the rough shaping and went over it with a medium and a fine grit sanding sponge and a fine grit sanding block before I brought it back inside. Once I had it back at the work table I sanded the shank with 1500 micromesh sanding pads to smooth out the surface and shape it even more. All the sanding was merely fine tuning. It turned out that the “shiny” coat was actually quite thin so you can see the flame like extensions up the shank toward the bowl. The nice thing was that the micromesh was giving the meer a bit of a shine. I worked on the scratches on the stem and fit in the band with the micromesh 1500 grit pad as well and the stem was beginning to shine.Mess13

Mess14

Mess15

Mess16 So far what do you think of my major make work project? This is a refurb that did not have to go this way. Those of you who are refurbishing pipes learn from this tactical error and think twice before having the audacity of thinking you can make something better when really all it needs is a quick clean up. You will save yourself a lot of headaches if you learn from my poor example on this “deadly” meer.

Today after work I went back to the meer. I probably should never have touched it again. I am telling you this thing is a nightmare. I removed the stem so that I could heat it and rebend it. I set up things as normal and held the stem about 6 inches above the heat gun. I was worried about melting the plastic stem. I should not have worried about that because I never even had the opportunity to try to bend it. Within seconds I heard a small pop – the stem crack horizontally across the top about an inch from the button. I could not believe it. Now I would have to make a new stem for it. Ah well that should not be a problem. I took out some new push stems to see if they would work in the shank insert in the meer. They were too large. That meant that I would need to pull the shank insert and replace it with another one. The trouble was that it was epoxied into the shank and I could not turn it out of the threads.

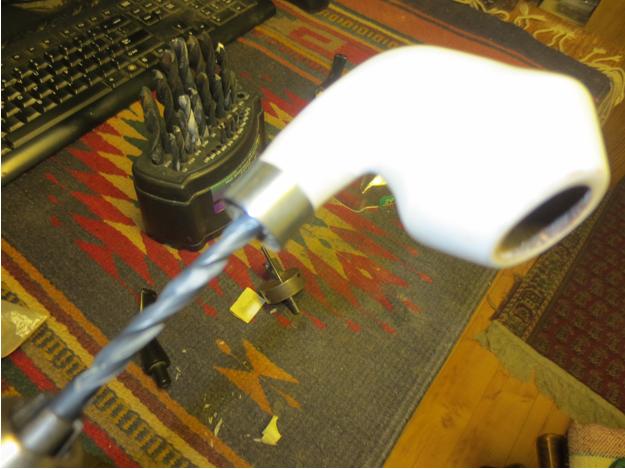
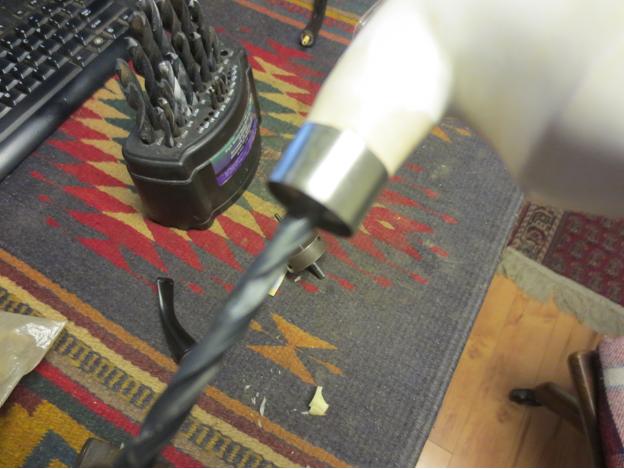
That basically left me with one choice. I would need to drill out the existing mortise push insert so I could put a new one in place. I set up the drill with a bit that would work and hand turned the shank on to the bit. It did not take long to drill through the old insert but cleaning out the epoxy in the threads was another story. It was like rock. I decided to use the next size drill bit and just remove the threads. This pipe was now destined for a push tenon on a regular vulcanite stem. That would solve the draw and make the thing a lot better smoking pipe.Mess17

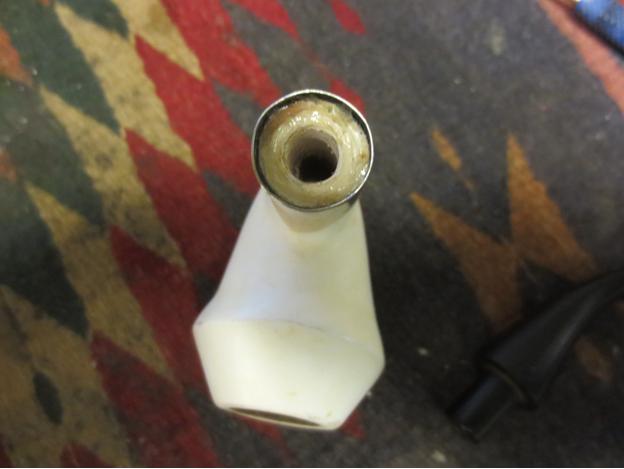
Mess18 Here is a picture of the newly drilled out shank. It is open and clean. I used a small needle file to clear out the debris from the drilling and a wet cotton swab to remove the dust from the walls and base of the mortise. Now I had to turn a tenon to fit the mortise. Again that should have been quite simple.Mess19 I found a stem in my can of parts that would do the trick and turned the tenon down to the measurements of the mortise. This finally was going great! I should have been warned that another ugly turn in events was about to happen. With the fit perfect I turned the stem into the shank and felt a pop on my fingers. I removed the stem and could see two small hairline cracks in the pressed meer. What made this humorous was that I had just read an email from Troy about how easily pressed meer crack under pressure. No worries the band had already been pressed into place and the crack was contained.Mess20

Mess21 Then I examined it around the other side of the band and on the left side saw some fine spider web like cracks – so tiny that formed an arch from the edge of the band at the top and curved down the side to the bottom. The issues with this old pipe never seemed to end. I cleaned out the crack and used some of the meer powder and superglue to fill in the crack. I sanded the crack with micromesh pads to smooth things out once again. I sanded the stem with 220 grit sandpaper to make the fit right. The next series of photos show the improved look – repairs and all.Mess22

Mess23

Mess24

Mess25 I put the pipe away and called it a night. To say I was frustrated is probably an understatement. I can’t tell you how many times in this process I came close to throwing the pipe away and scavenging the parts for later use. In the morning I worked some more on the stem to make the stem/band junction smooth. I thought I would take the next two photos of the new stem along side of the original stem to show the changes. The first shows the deep inset of the push tenon in the original. The second photo shows the crack across the top of the stem. It appears as a white line.Mess26

Mess27 At this point I think the pipe looks great! The new stem fits well and the look is improved – from a distance. You can see the repaired crack next to the band on the left side if you look carefully at both pictures. I think that this one will end up staying with me or being a giveaway. It is a shame really as the shape looks far better.

I worked over the stem and the bowl with micromesh sanding pads – wet sanding with 1500-2400 grit pads and dry sanding with 3200-12000 grit pads. I rubbed the stem down with Obsidian Oil and then continued to sand it through the next three grit pads. I finished the last grit and gave it a final coat of the oil and set it aside to dry.Mess28

Mess29

Mess30 I buffed the stem and the bowl lightly with Blue Diamond polish and then gave the stem multiple coats of carnauba wax. I hand buffed it with a microfibre cloth. The photos below show all of the flaws of this old pipe. There is nothing hidden. The small web of cracks on the left side of the shank, the areas on the sides of the rim and on the shank where the shiny coat disappeared when I sanded it are all visible. It is a great looking shape. The stem and the flow of the pipe are greatly improved but it is sadly not one that will be for sale. My improvements ended up making the pipe different from the original. I think the verdict is still out in terms of if I made it better or worse. Maybe it is just a difference in terms of degree of worse! It certainly is a better smoking pipe now. The draw is easy and open so I gained that in the process. I think this one will end up being a shop pipe here. What do you think?Mess31

Mess32

Mess33

Mess34

UPDATE: I just came in from sitting int he backyard with my dog giving this pipe an inaugural smoke. I loaded up a bow of Kohlhase & Kopp Easter Edition and enjoyed it for over an hour sitting and watching Spencer play with sticks. It delivers a flavourful smoke with effortless draw. The stem is comfortable in the mouth and I actually enjoyed smoking the pipe. Who knows what it will deliver over the days ahead. Worst case scenario I will have pressed meer to smoke that I will not care about damaging…

Restoring a Millville Premiere Large Billiard


Blog by Steve Laug

The next pipe on the worktable is another that will be for sale for the benefit of Smokers Forum online community. It is a truly beautiful piece of briar that is stamped Millville Premier on the left side of the shank and Made in London over England on the right side. I have had a few Millville pipes come across my table over the years but this is by far one of the most stunning. The grain on it is beautiful. When I got it the finish was dirty and the grain did not stand out clearly. The stem was rough and porous feeling and was oxidized. There seemed to have been a softee bit in place at one time on the stem as it had left behind the characteristic calcification on the vulcanite. There were two light tooth marks on the top and bottom of the stem near the button. The fit of the stem is perfect to the shank and there is a very faint characteristic M that graces this brand of pipe. It is almost gone from over-buffing but I am hoping it will still show when I have finished cleaning up the pipe. The finish was lightened at the shank stem junction and would need to be darkened. The rim had what appeared to be a gouge across the top surface at the backside of the bowl.

I wanted to know more about the brand so I did a bit of searching on the web to see what I could find out about Millville pipes. Dennis Marshall started the brand in 1980. He had worked for Barling and Charatan for many years. His son John now makes all of the Millville pipes as Dennis is retired. Their pipes still very closely follow the artistic, freeform designs and grading of the old Charatan lines. The pipes are sold almost exclusively in Piccadilly, London in a stall in the market in front of St. James’s Church. Though you can sometimes find them online at British pipe sellers such as Bond’s of London. According to Pipedia the prices of their pipes “start at about 20 £ – hardly the price of a cheapish Stanwell. These were made from pre-turned bowls. The better pipes, entirely hand-made freehands in the old Charatan style, are made from a stock of very old briar, as John stresses. They use several grades like “Unique” or “Executive”. A “Bamboo” can make it up to 500 £.”

Below are some photos of the pipe when I received it. It is a beauty that needed some TLC but it would soon be shining again.Mill1

Mill2

Mill3

Mill4 I reamed the bowl with a PipNet pipe reamer to take the cake back to the briar. I wanted to clean up the inner edge of the rim before I worked on the mark on the surface.Mill5

Mill6 I took the next photo to show what appeared to be a gouge in the top of the rim. It went at an angle from the inside of the bowl across the back surface of the rim.Mill7 I used some alcohol on a cotton pad to scrub down the surface of the briar. Once the grime was removed you can see the stunning grain on this beauty!Mill8

Mill9

Mill10

Mill11 I spent some time examining the rim with a loupe to check how deep the gouge went and if I could steam it or if I would need to sand it to repair it. To my surprise I found that it was not a gouge at all but rather a fill. Somehow along the way the fill had shrunken and left the divot in the surface of the rim. I decided to top the bowl and see if I could minimize the divot. I started with a medium grit sanding sponge to see if that would do the job. I hate to use the extreme of topping the bowl with a full topping.Mill12

Mill13 While it worked to some degree it did not remove the dip in the surface of the bowl. I decided to lightly top the bowl with the sandpaper on the topping board.Mill14 In the next photo you can clearly see the fill in the rim. I was able to flatten the surface of the rim so that it is smooth to touch.Mill15 I sanded the inner edge of the rim with a folded piece of 220 grit sandpaper to smooth out the nick in the rim. Then it was time to clean out the bowl, shank and stem. I used pipe cleaners, cotton swabs and alcohol to remove the tars and oils in the pipe. It did not take a lot of scrubbing before the pipe was clean.Mill16

Mill17 To smooth out the rough texture of the stem and remove the oxidation I sanded it with 220 grit sandpaper and then with a medium and a fine grit sanding sponge.Mill18 For a change of pace, I turned my attention to the bowl finish. I used a stain pen to touch up the lighter areas of the finish at the stem shank junction and on the rim that I had topped. I blended two of the stain pens – the medium and the dark stain pen – to get the colour to match the bowl. I then buffed the bowl with White Diamond on the wheel to smooth out the blend. I would also need to use the micromesh sanding pads in the higher grits to bring the finish to a nice blend.Mill19

Mill20

Mill21

Mill22 I worked on the stem with micromesh sanding pads – wet sanding with 1500-2400 grit pads and then rubbed the stem down with Obsidian Oil. I dry sanded with 3200-4000 grit pads and gave it another coat of oil. This time I let the oil dry on the stem before I took it to the buffer.Mill23

Mill24 I buffed the bowl and stem with White Diamond and then finished sanding with 6000-12000 grit micromesh sanding pads. I gave the stem a final coat of Obsidian Oil and let it dry.Mill25 I buffed the pipe with Blue Diamond and then gave it multiple coats of carnauba wax. I buffed it with a soft flannel buffing pad and then hand buffed it with a microfibre cloth to add depth to the shine. The finished pipe is shown in the photos below.Mill26

Mill27

Mill28

Mill29

Mill30

Mill31