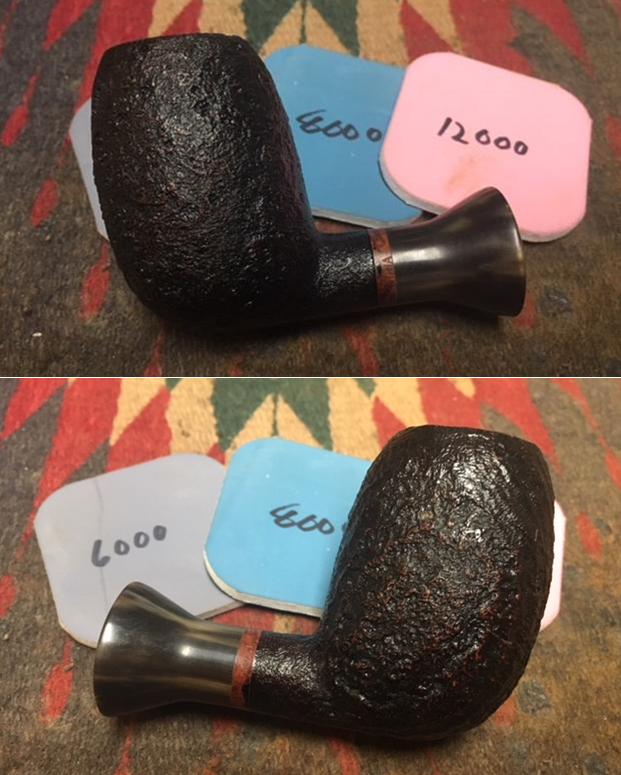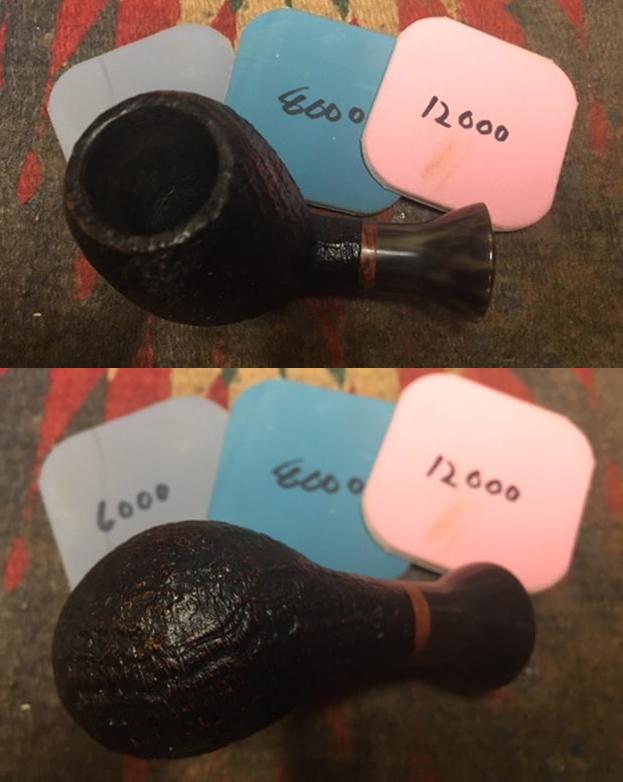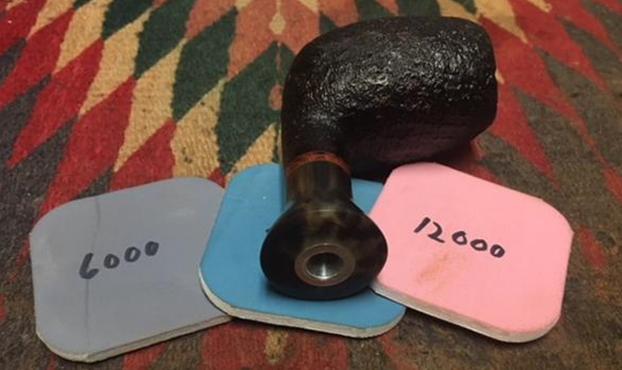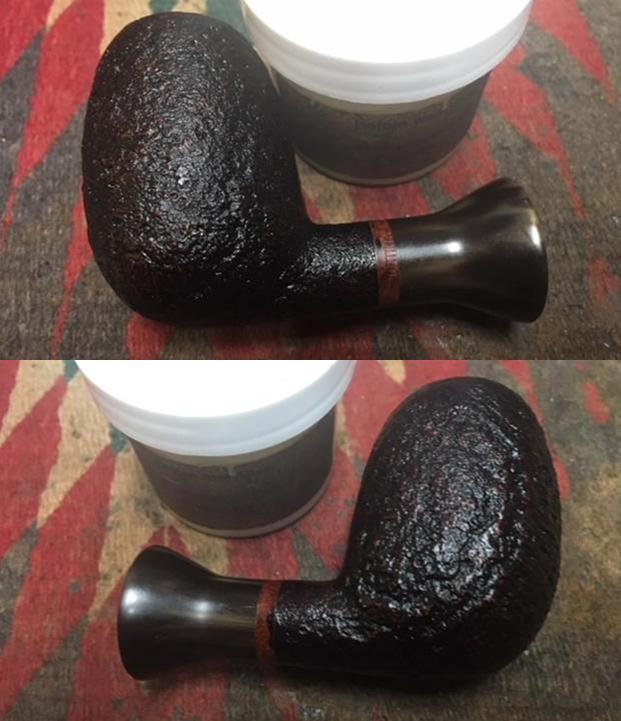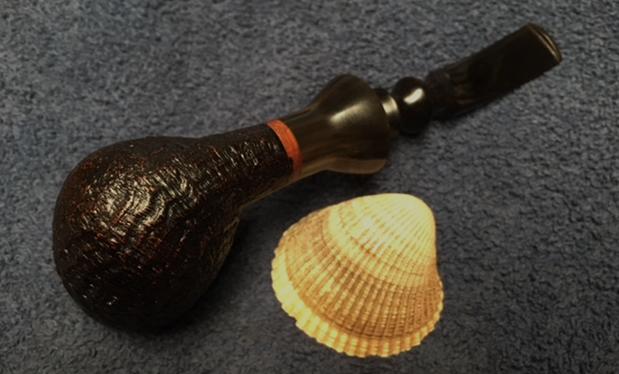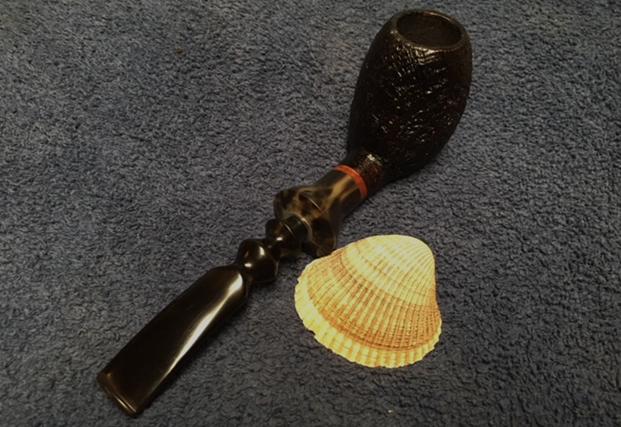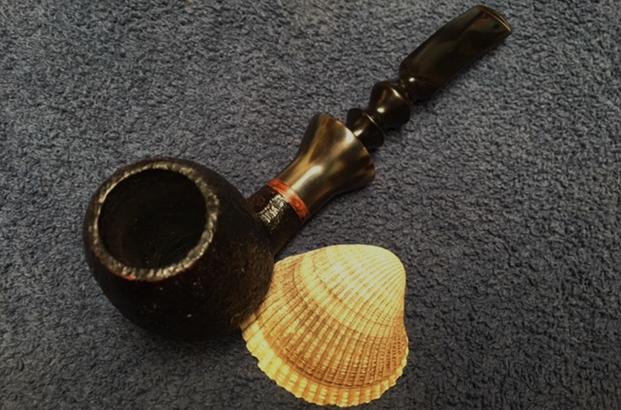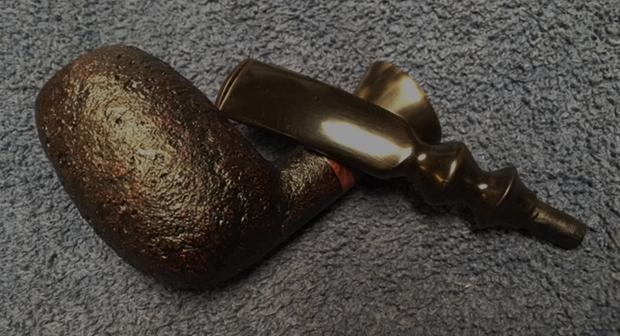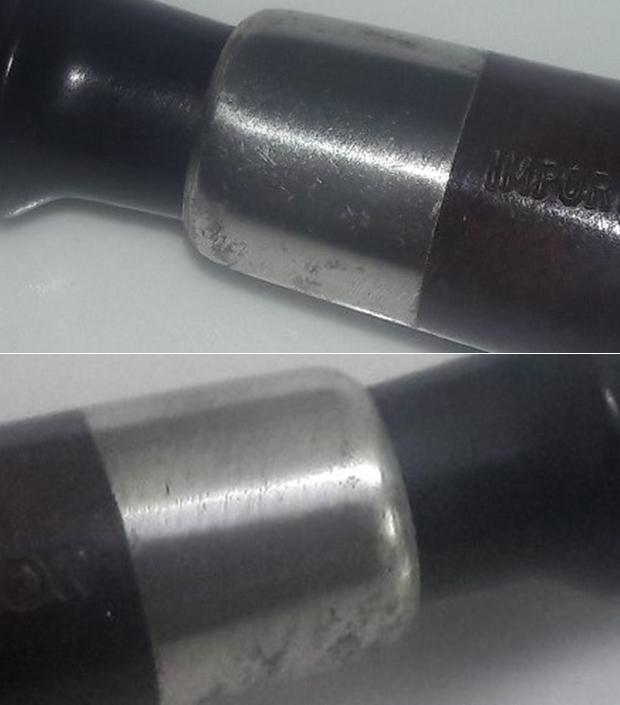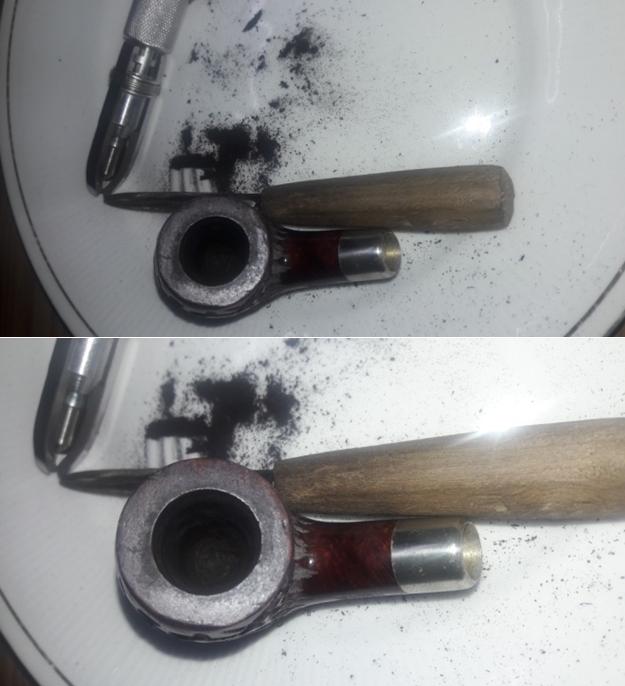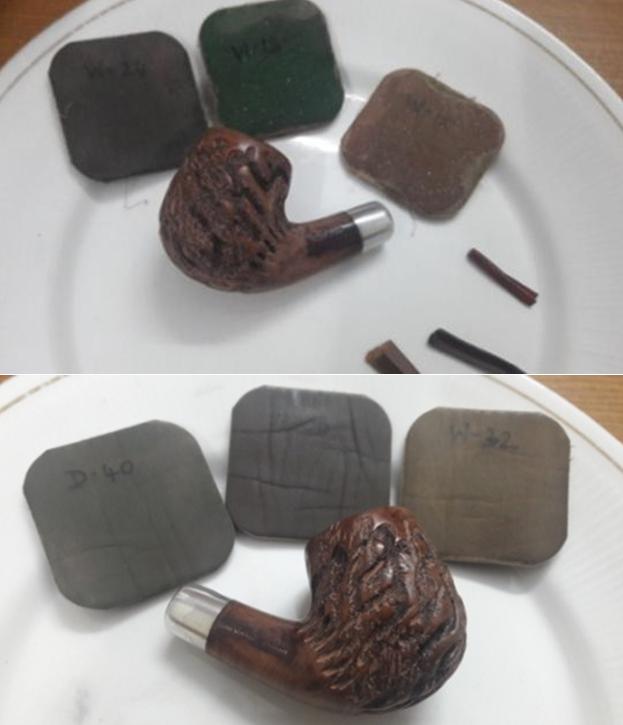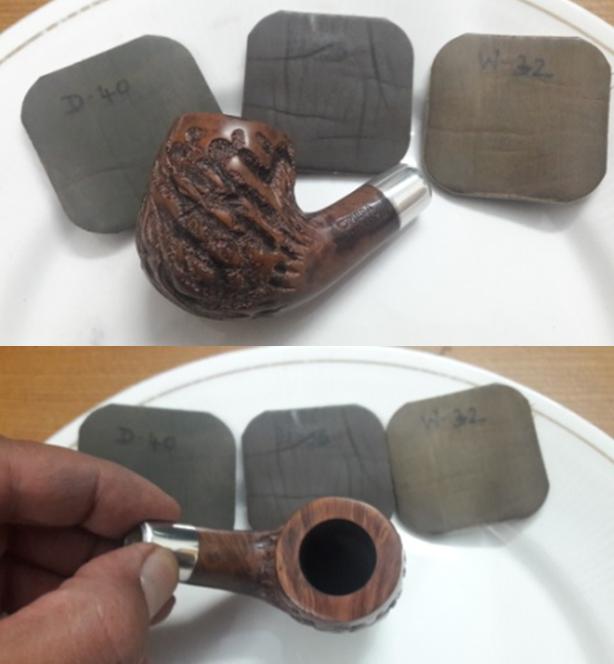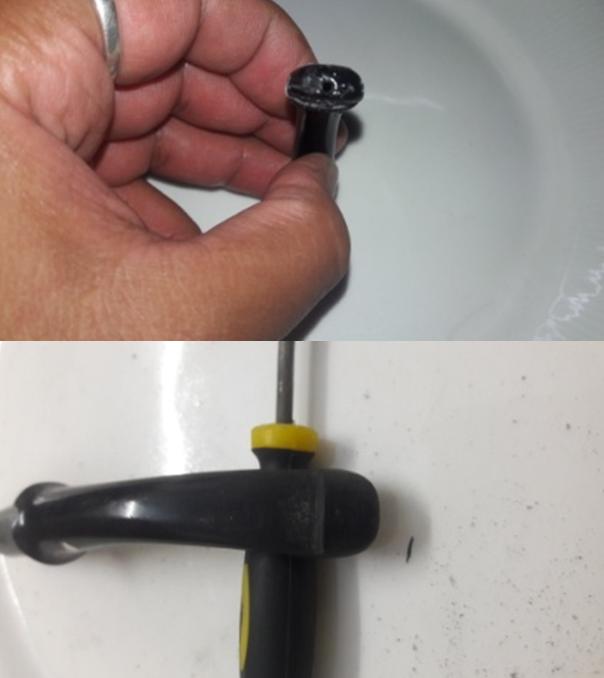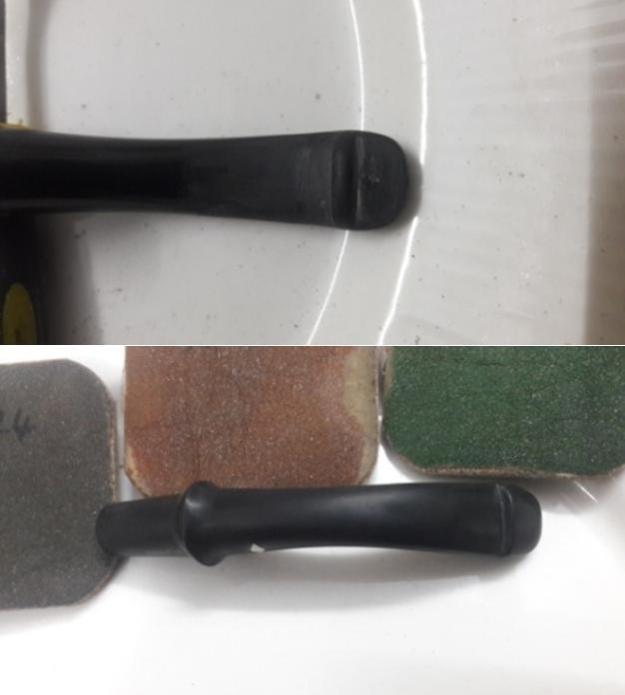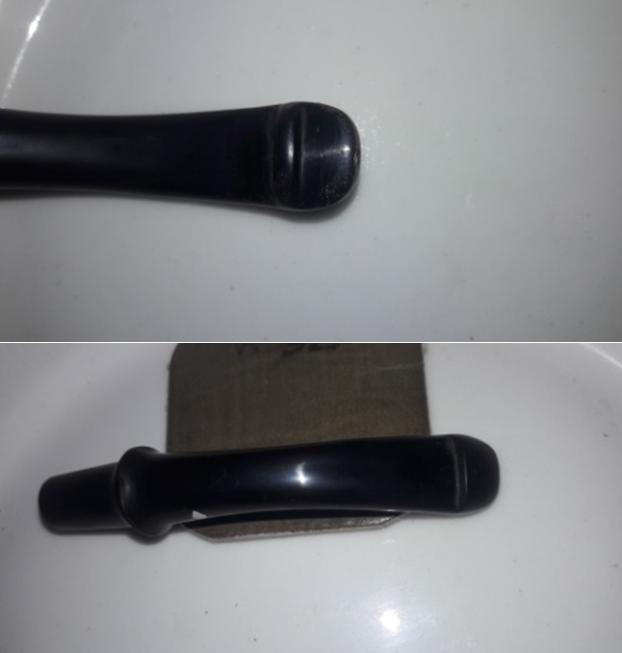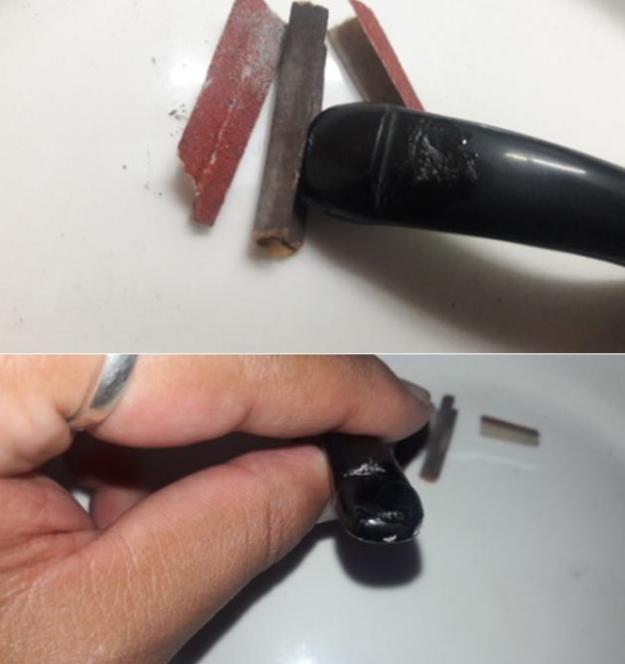
Tag Archives: shaping a stem

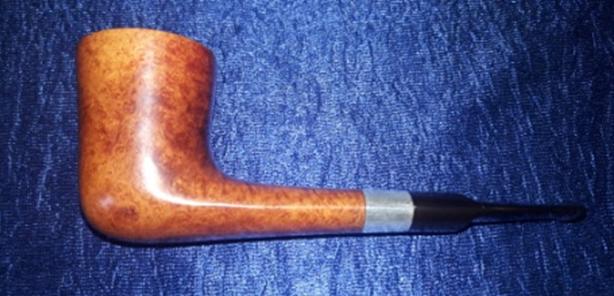
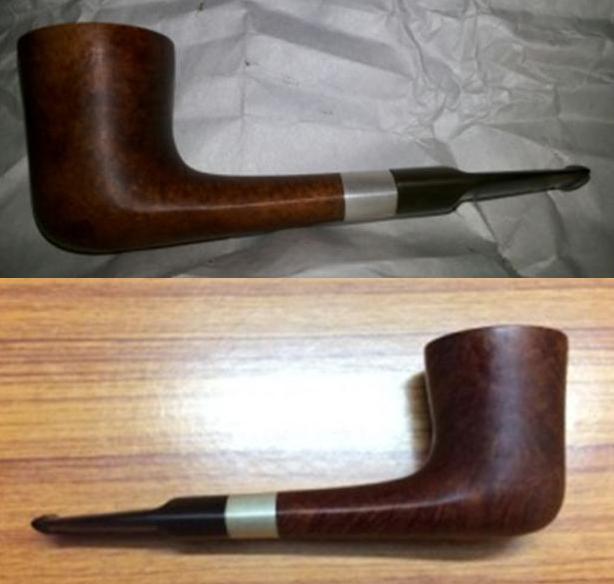
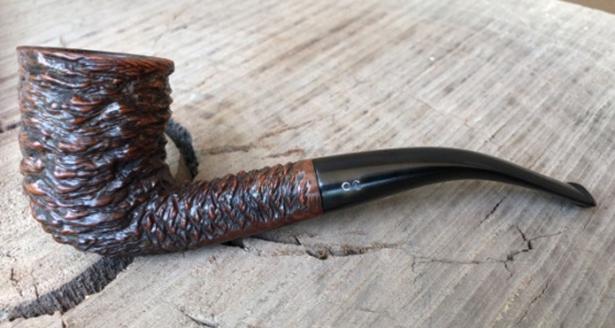
Chacom Panache #44


Blog by Paresh Deshpande

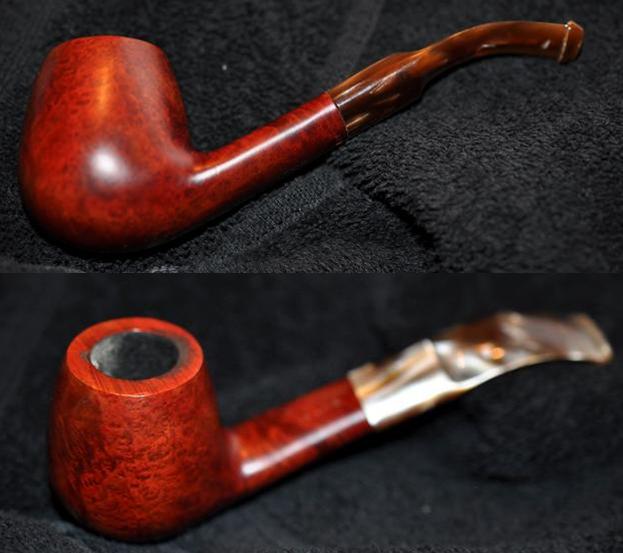
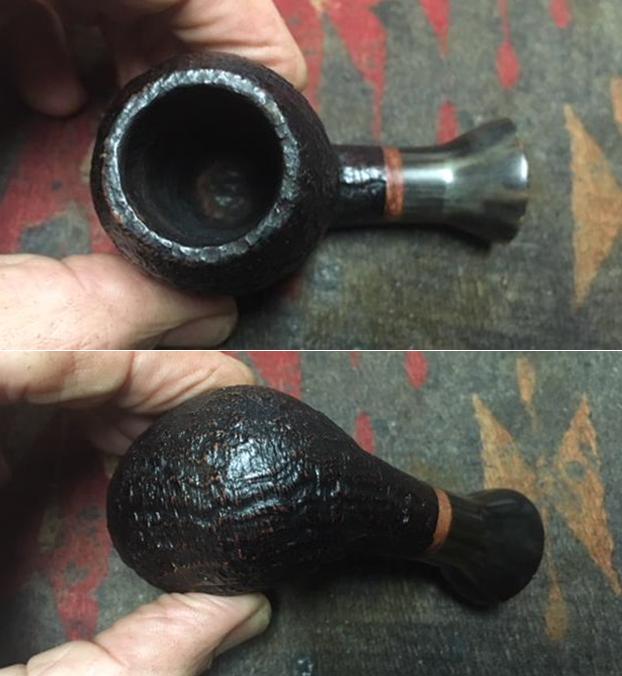
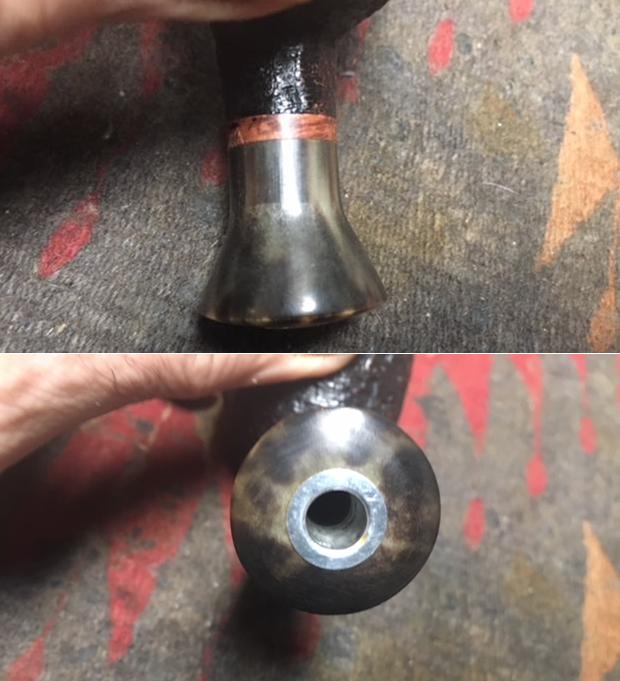
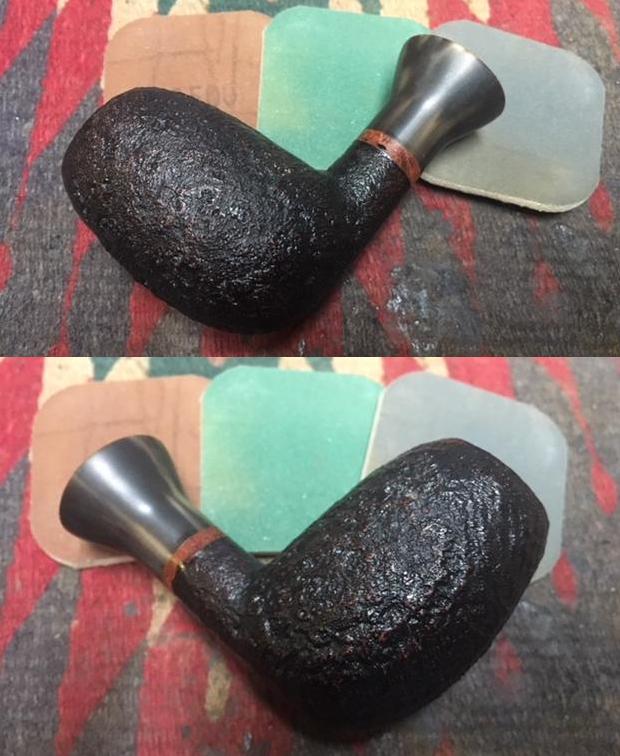
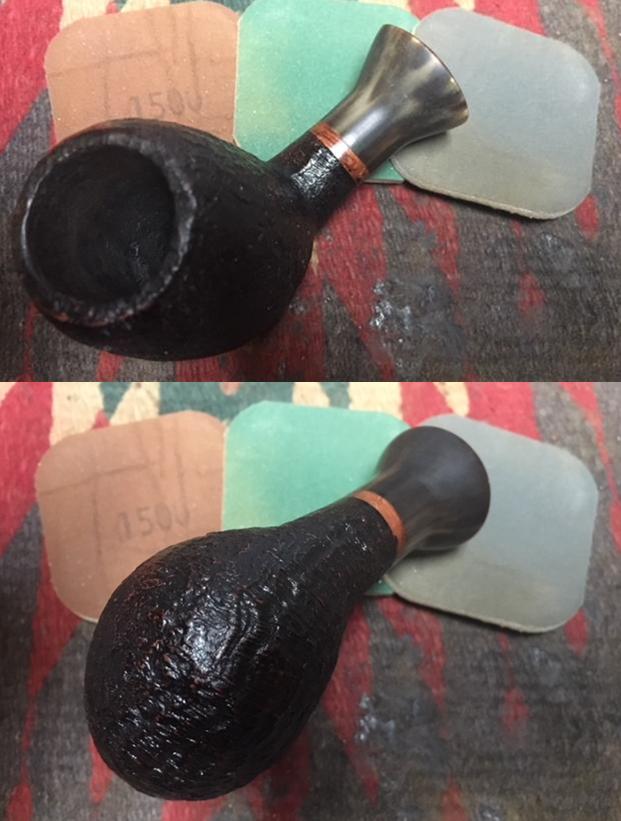
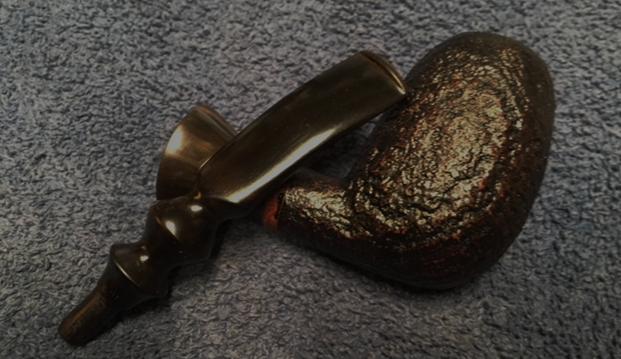
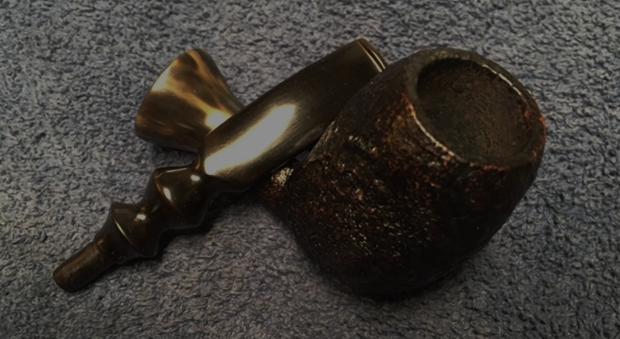
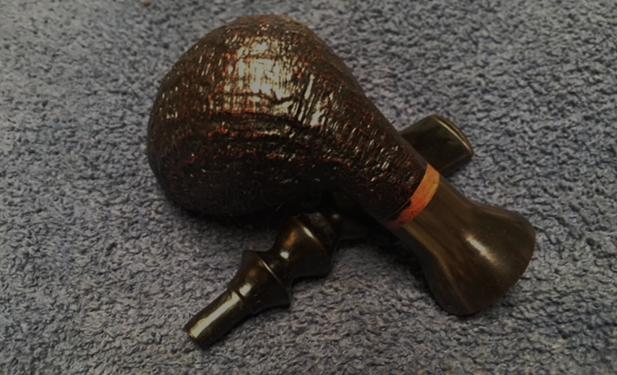
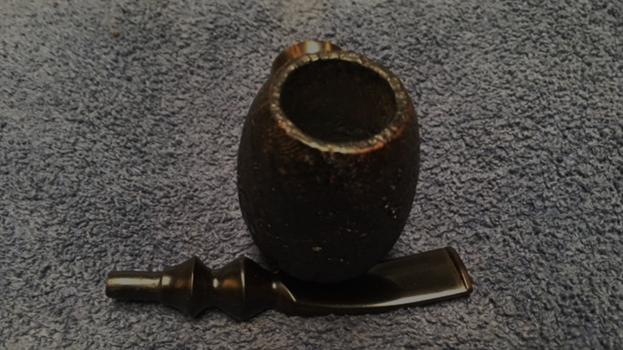
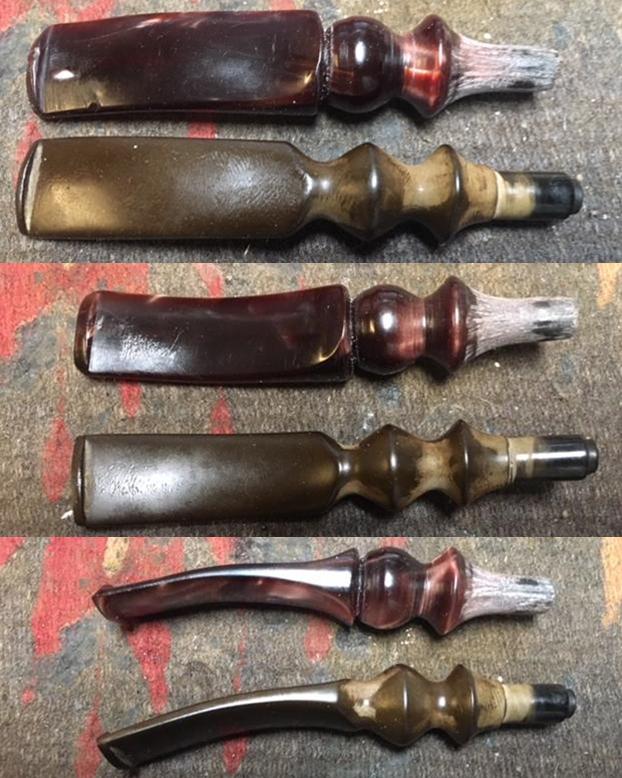
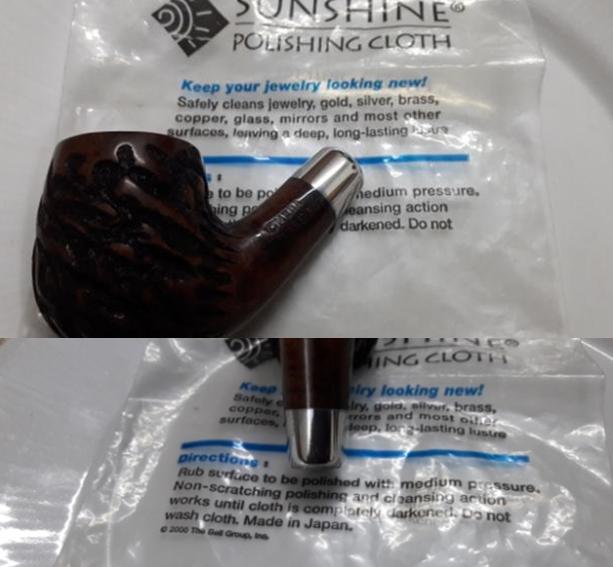
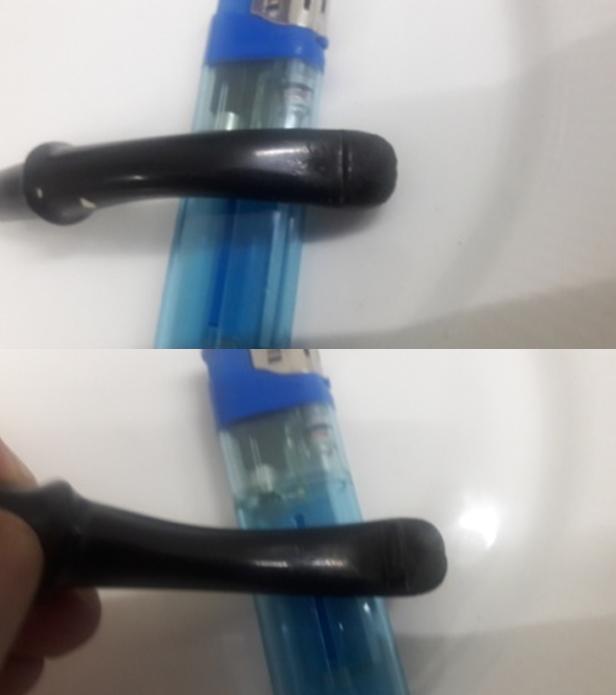
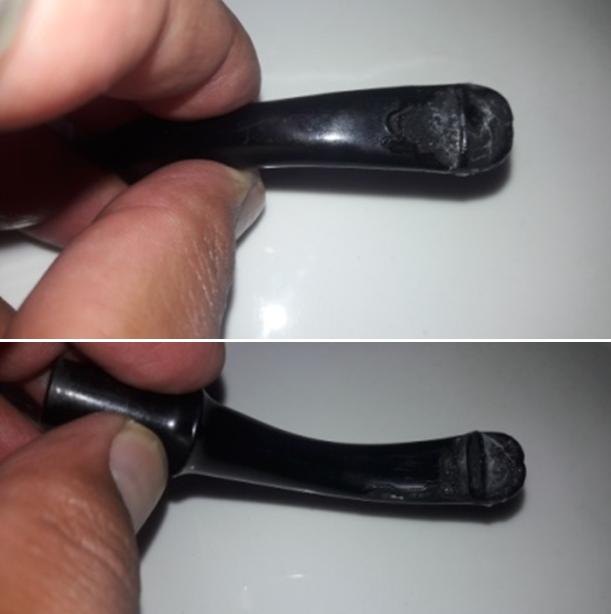
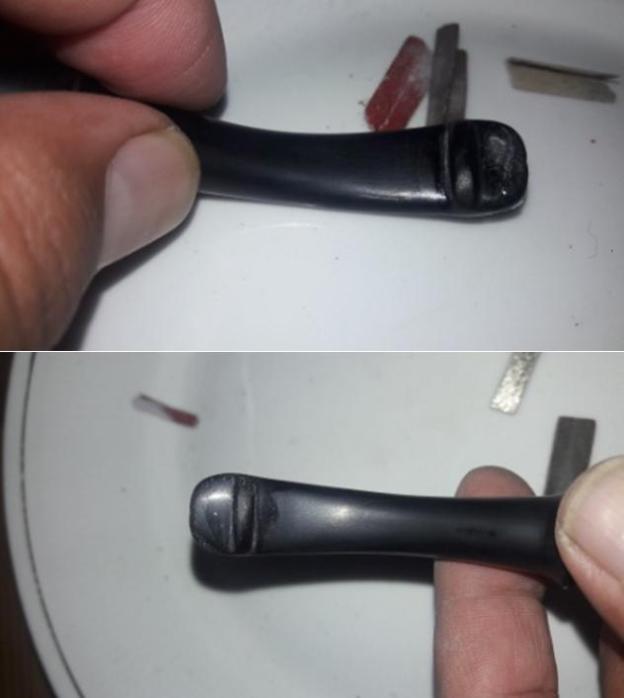
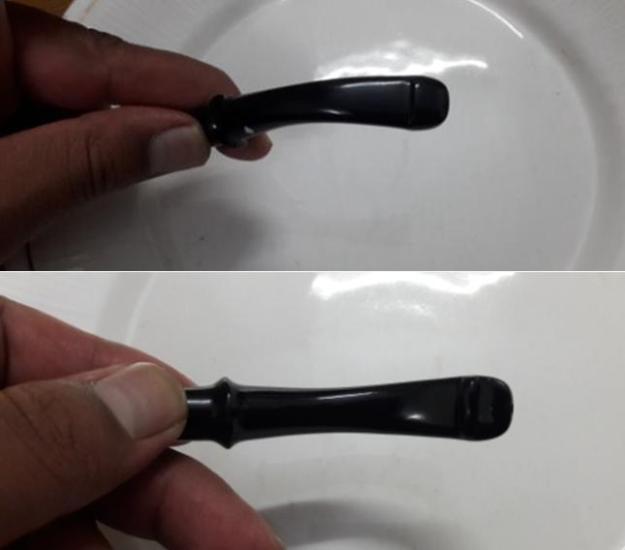
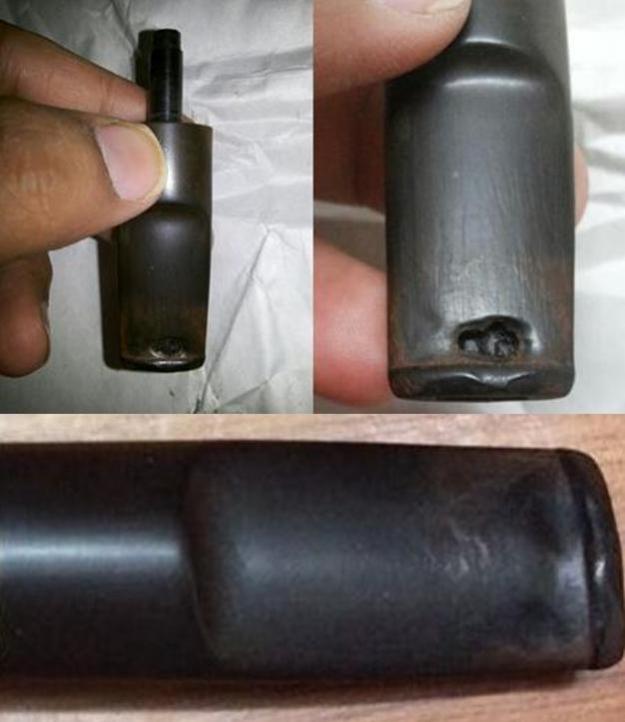
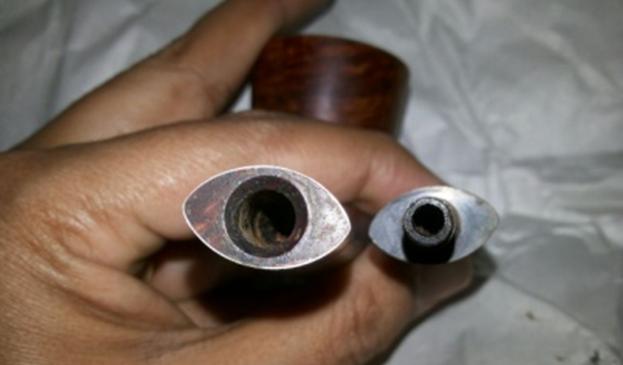
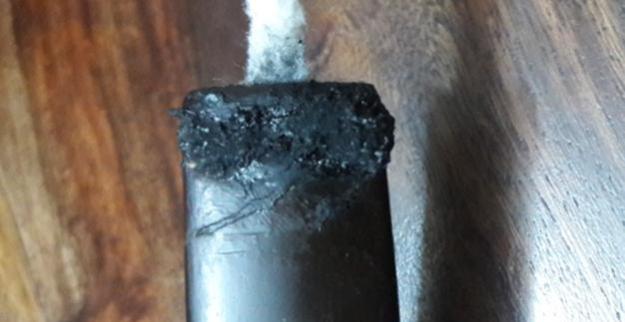
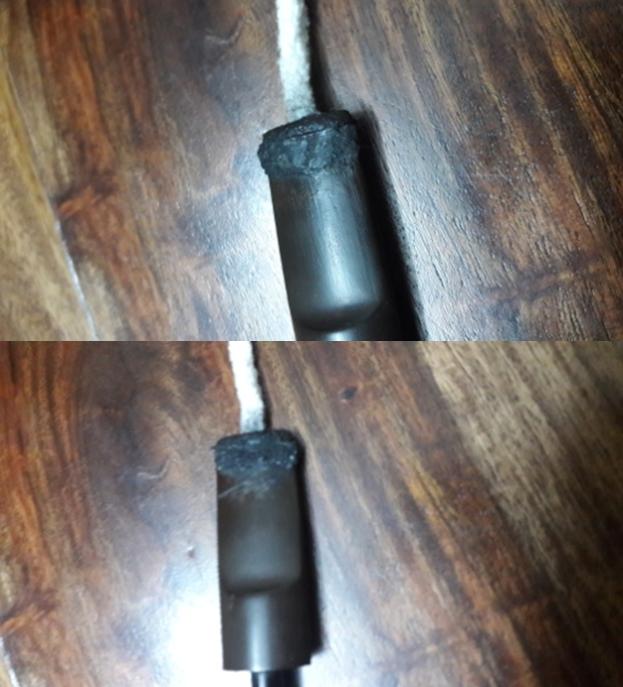
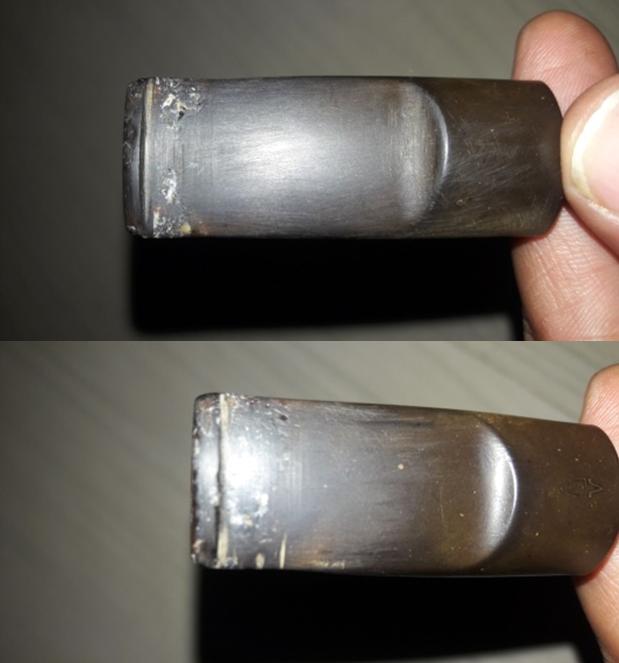
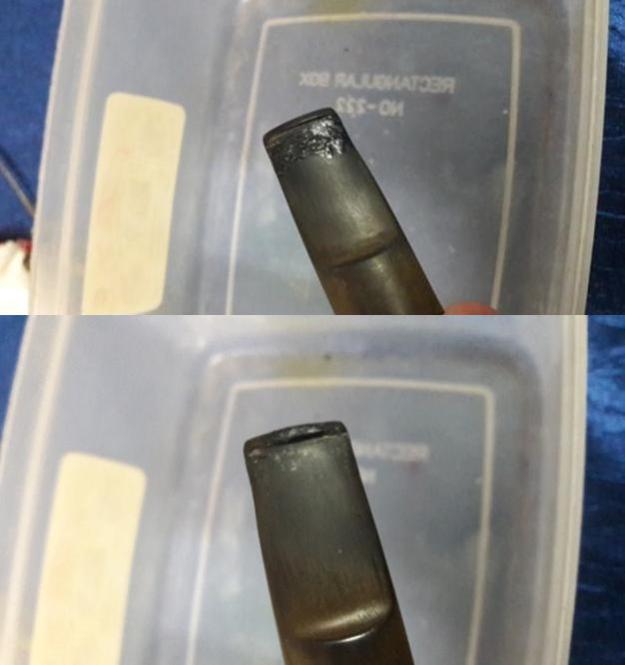
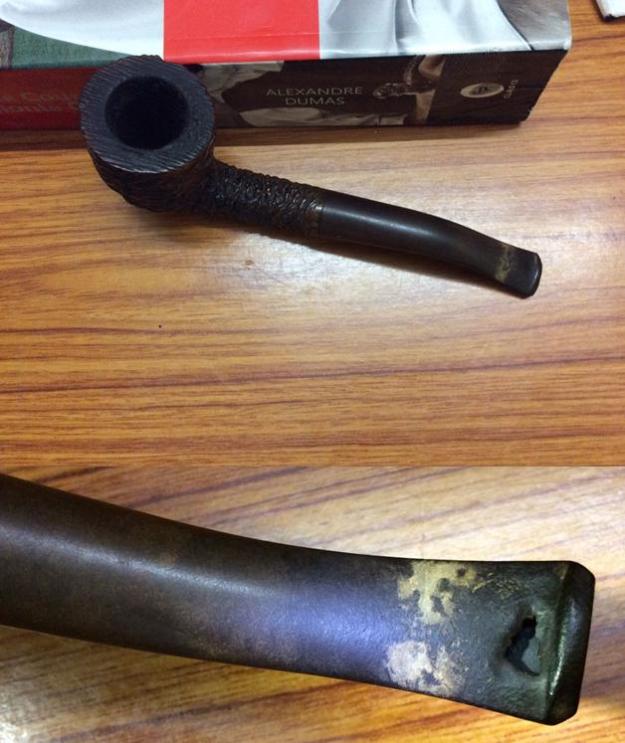
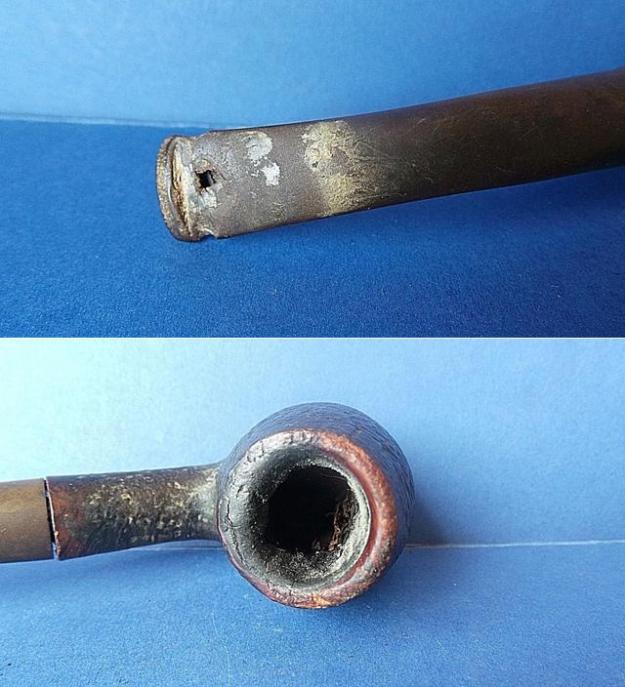
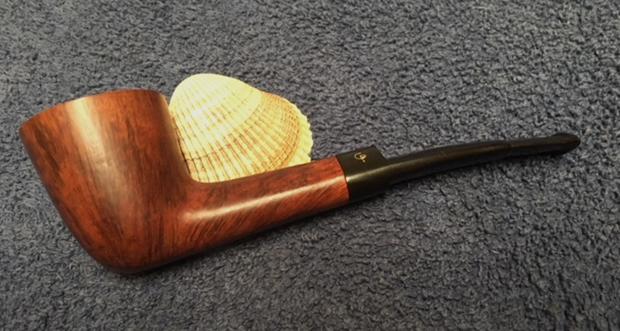
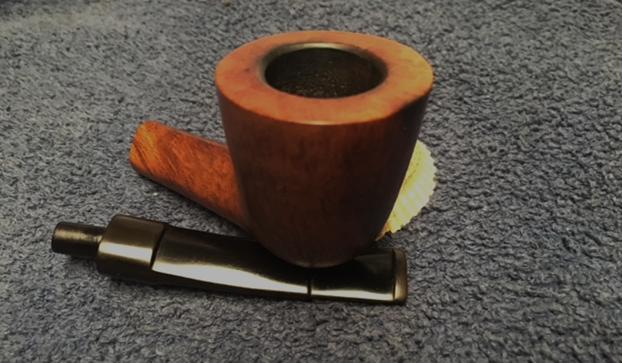
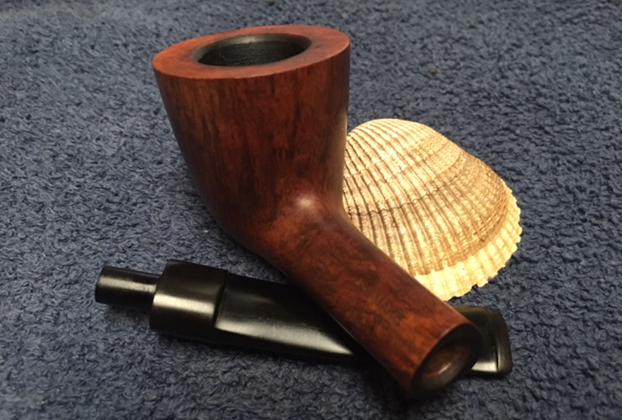
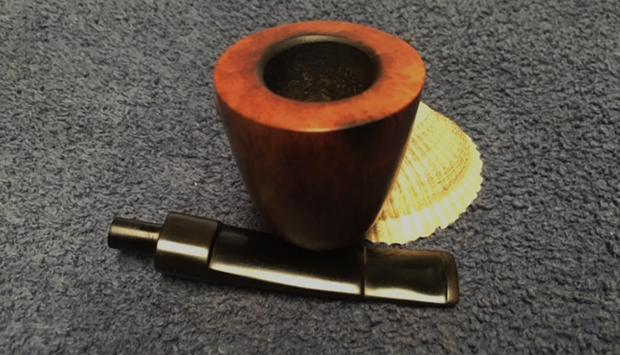
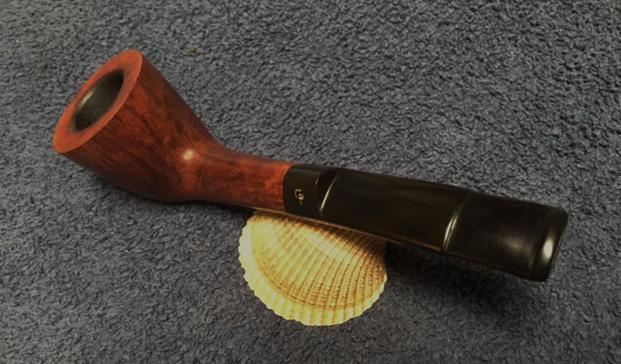
I have embarked on a journey into the wonderful, invigorating and leisurely world of pipe restoration and want to try out and address as many issues that one may encounter when dealing with an old, used and also abused pipes. Though there are a large number of old and vintage pipes that I have inherited, I went ahead and purchased two pipes, one is a CHACOM PANACHE # 44 and the other is a SAVINELLI SILVER, for gaining hands-on experience in stem repair. The stems on both these pipes have large gaping hole near the button end, exposing the stem’s airway. I shall be working on the stems of both these pipes simultaneously while the stummel will be worked on separately. The write up on both, though separate, is being uploaded at the same time so as to maintain continuity.

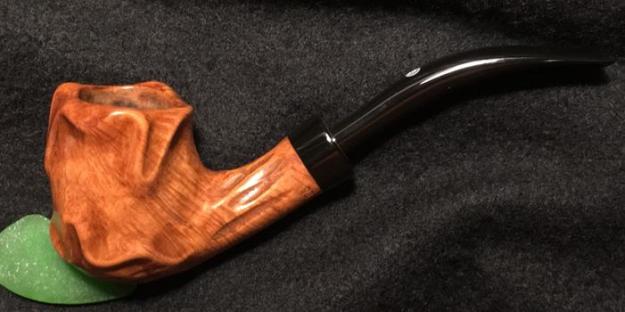
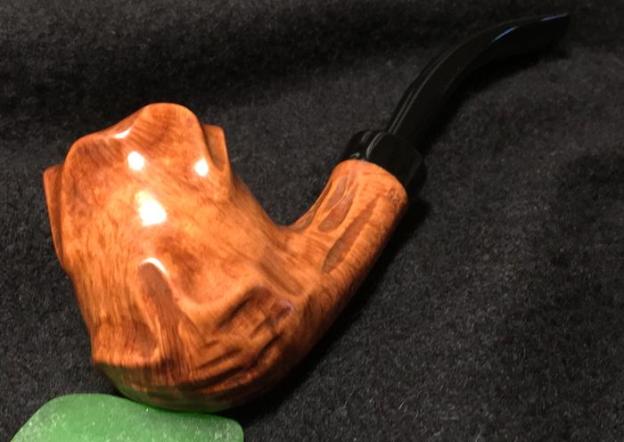
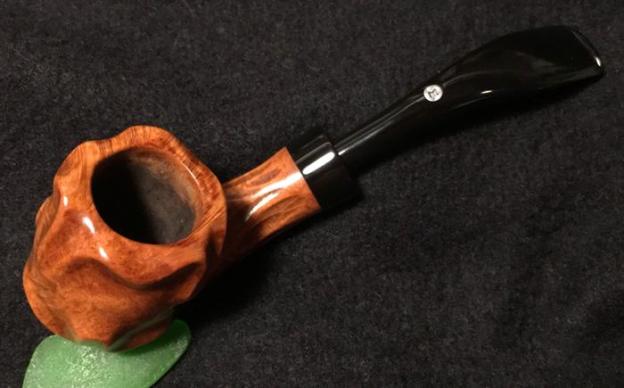
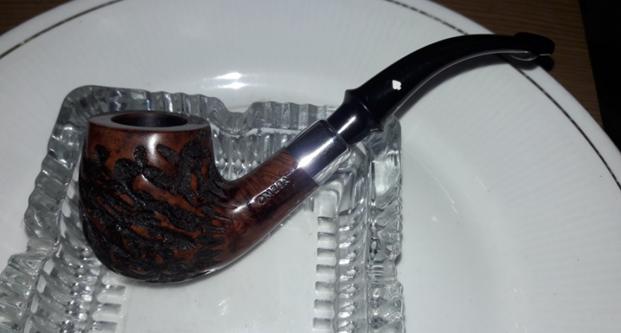
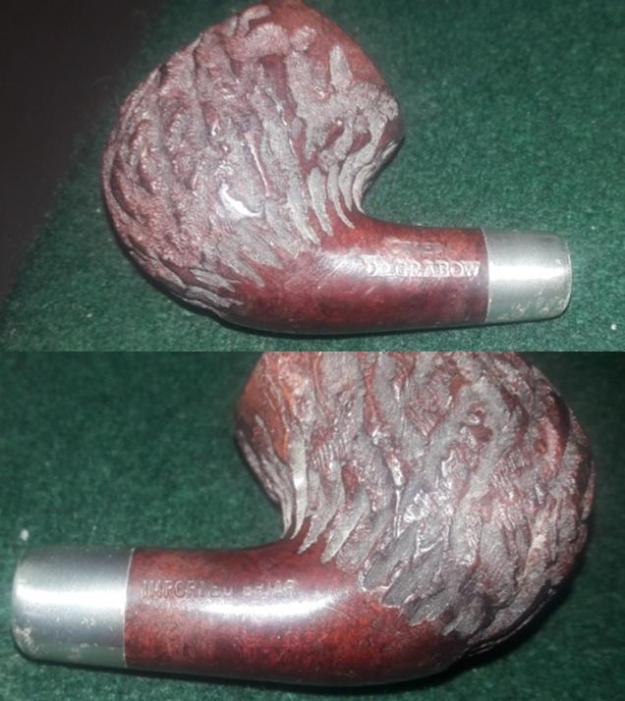
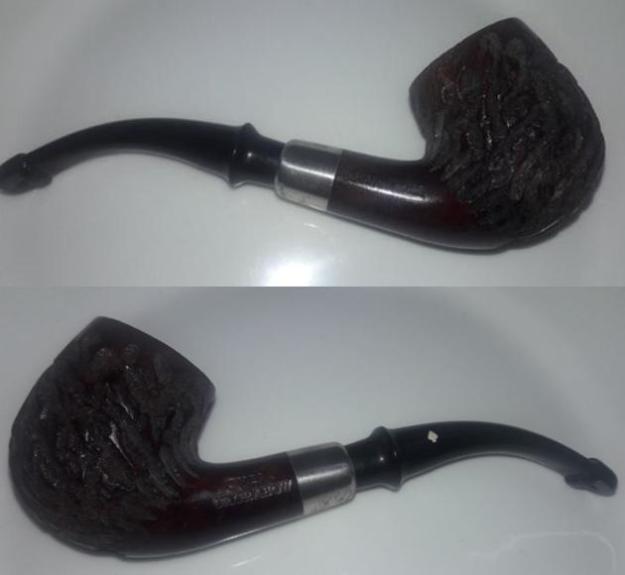
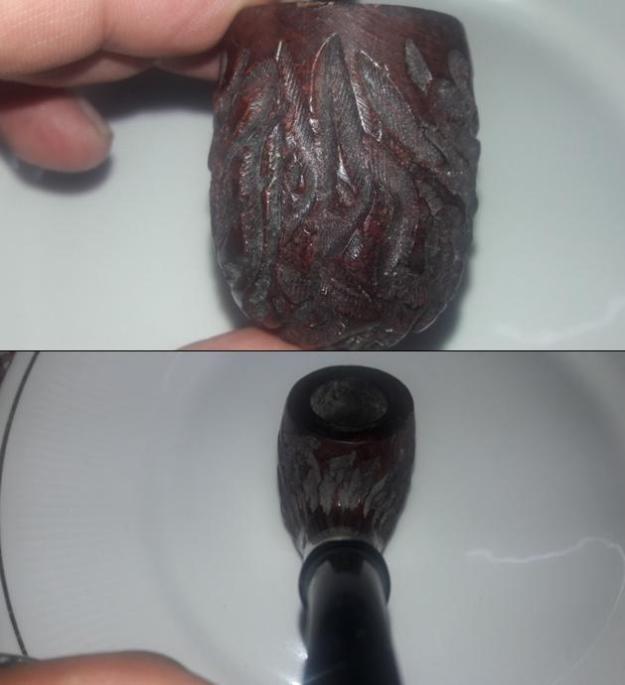
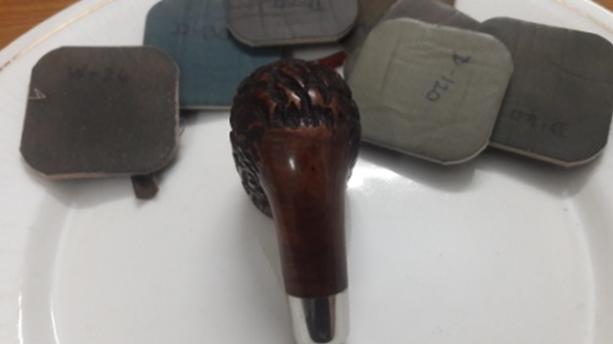
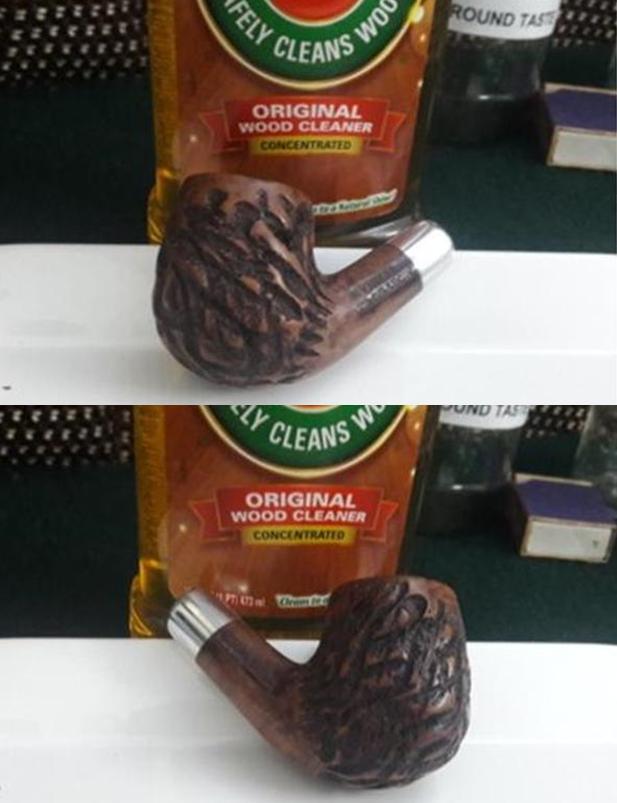
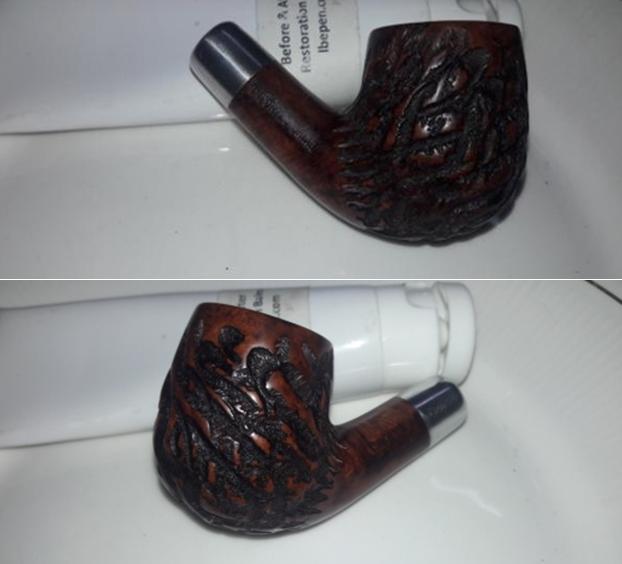
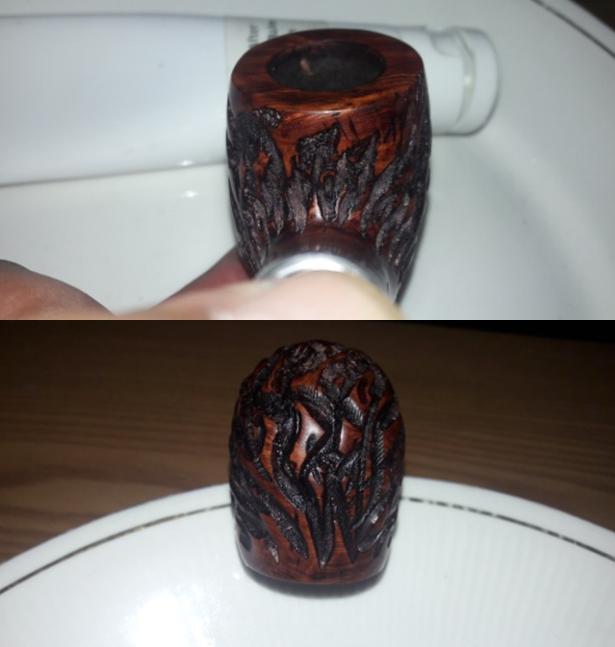
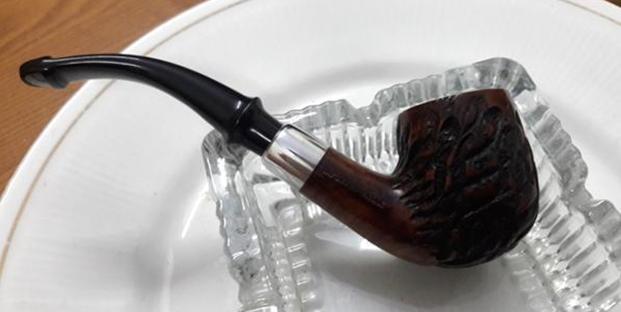
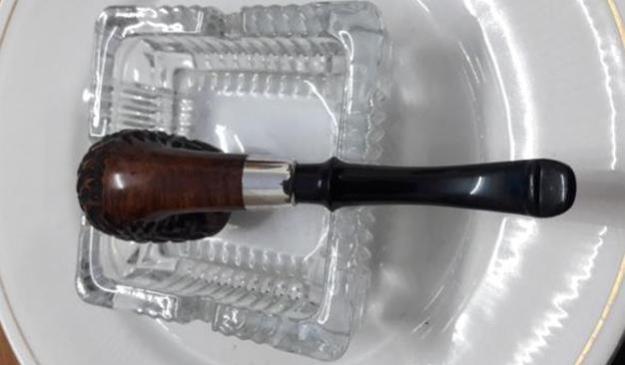
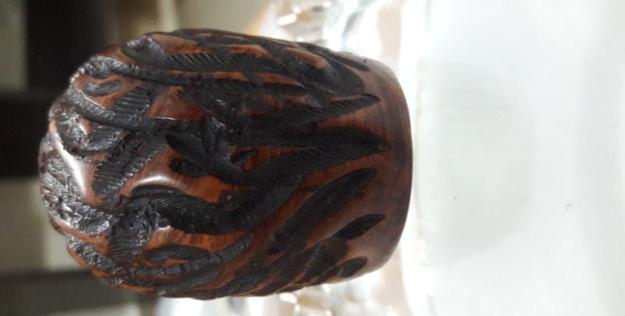
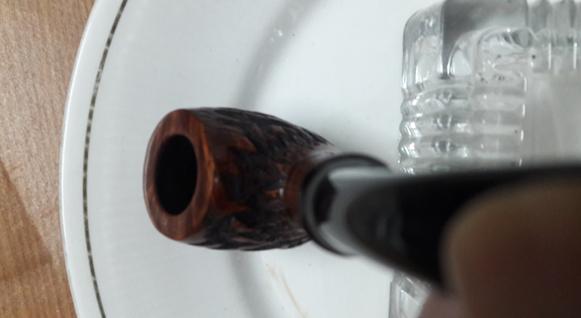
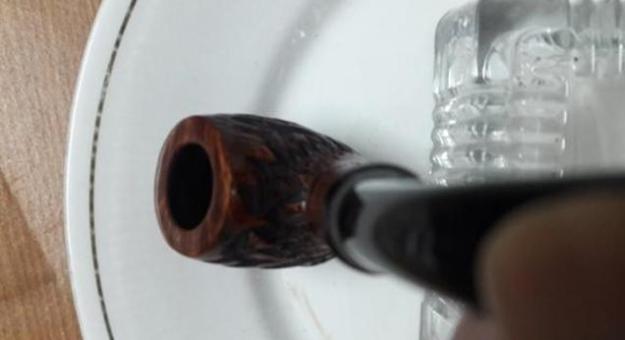
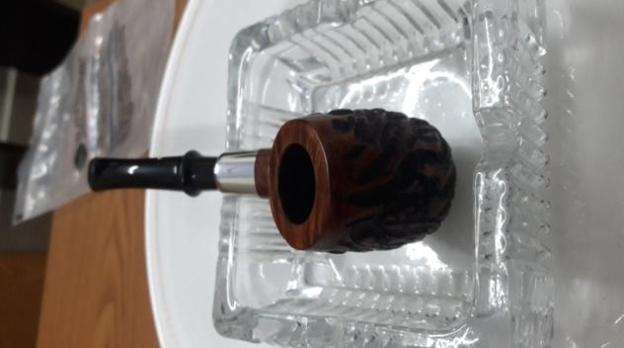
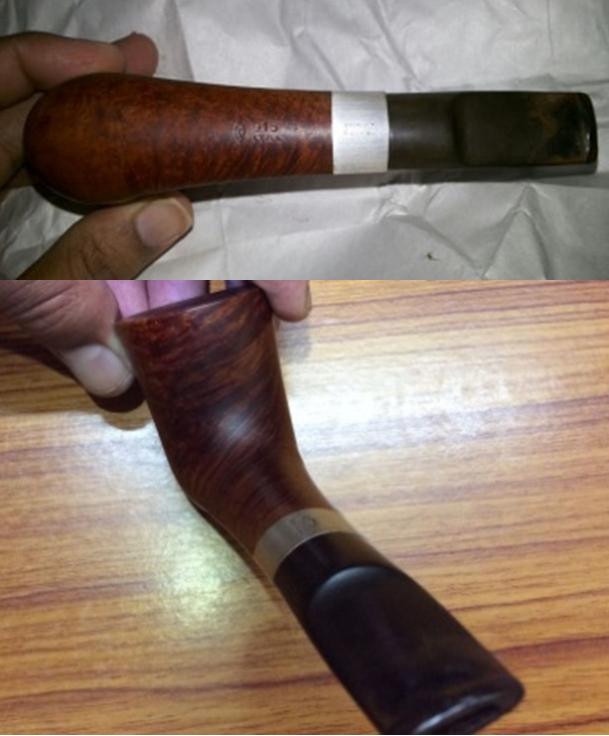
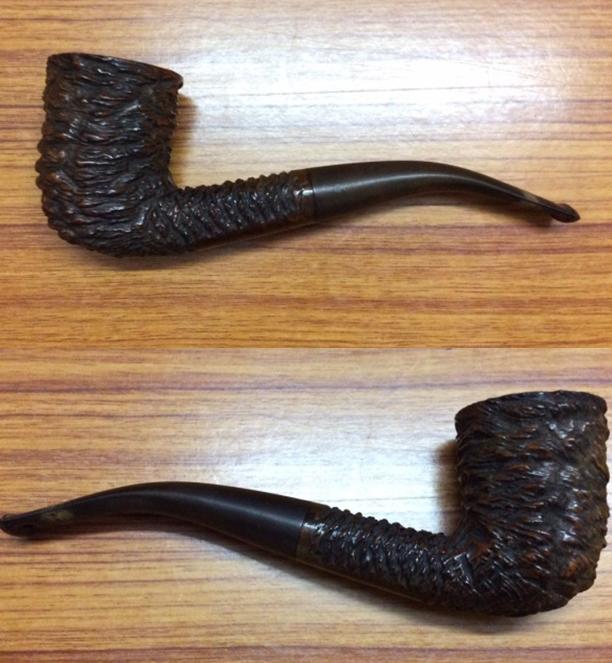
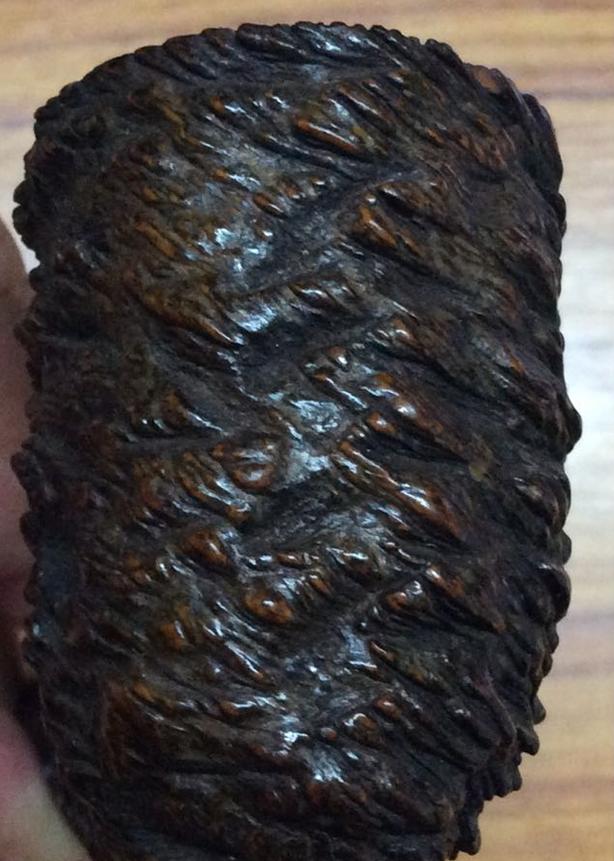
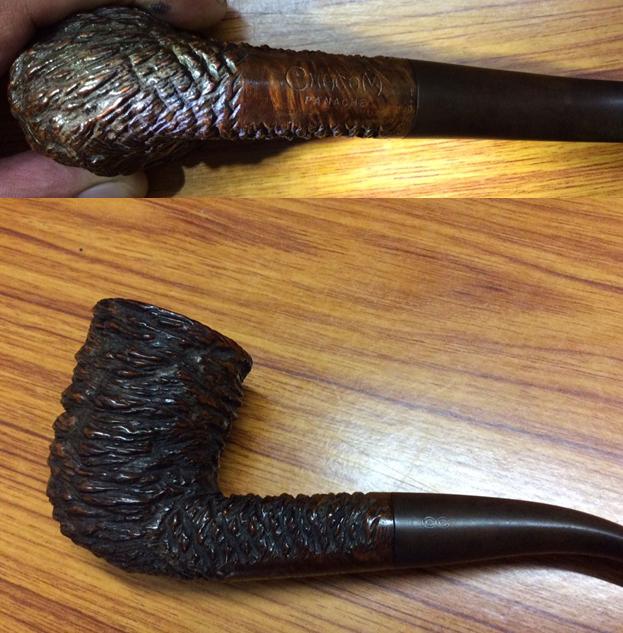
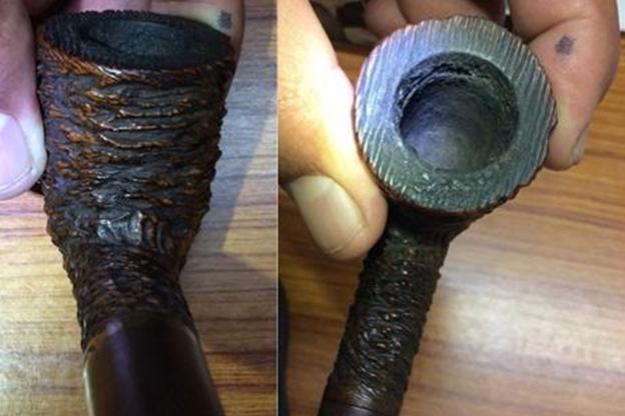
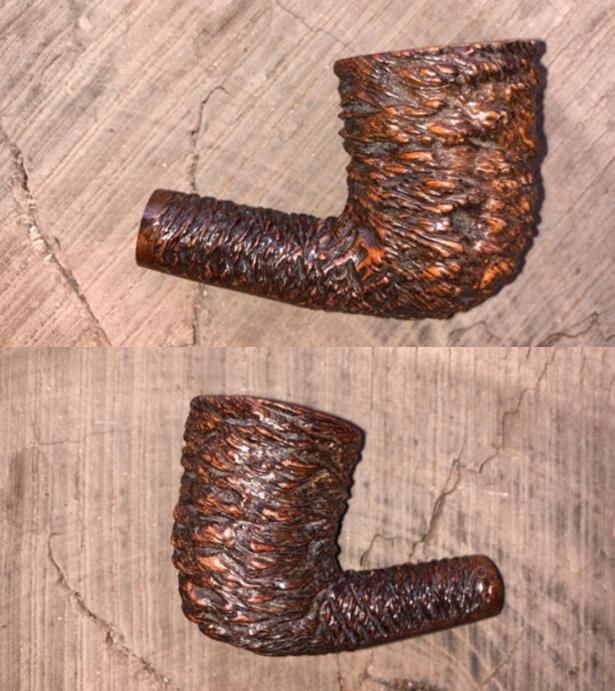
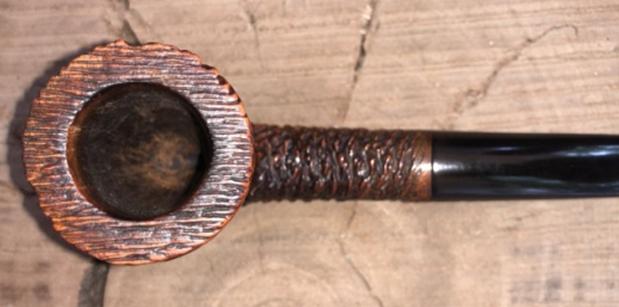
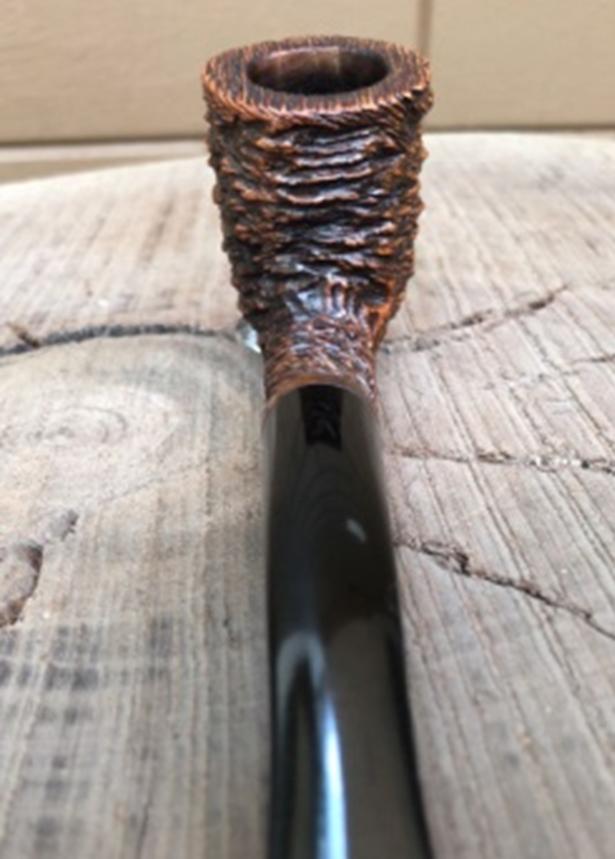
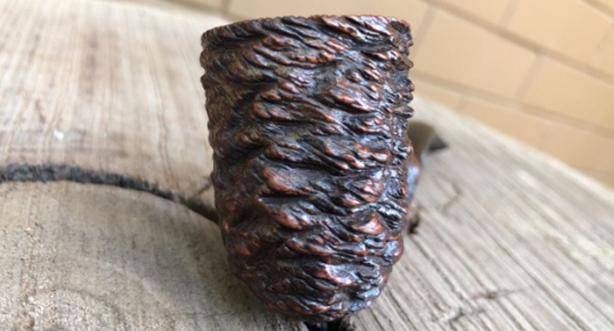
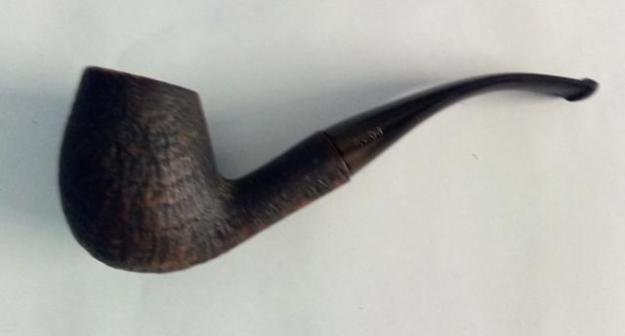
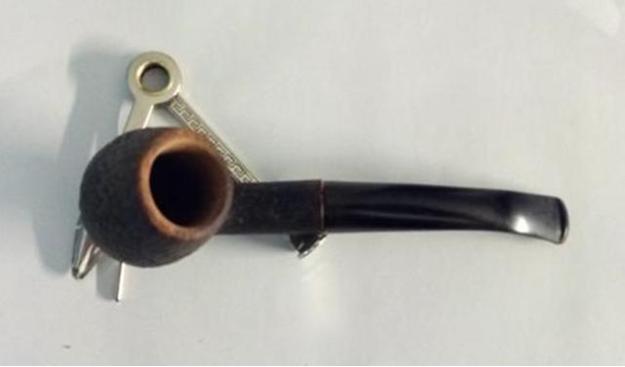
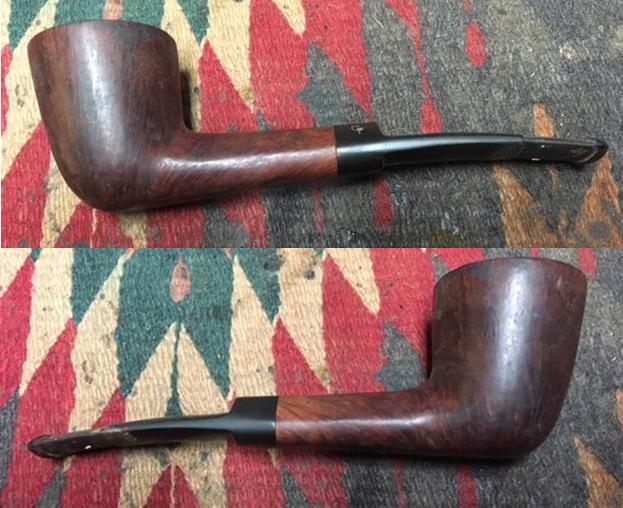
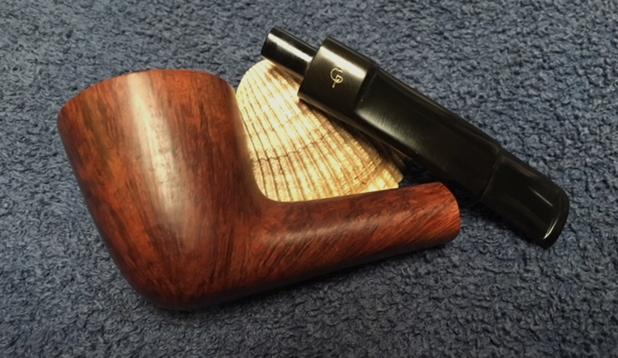
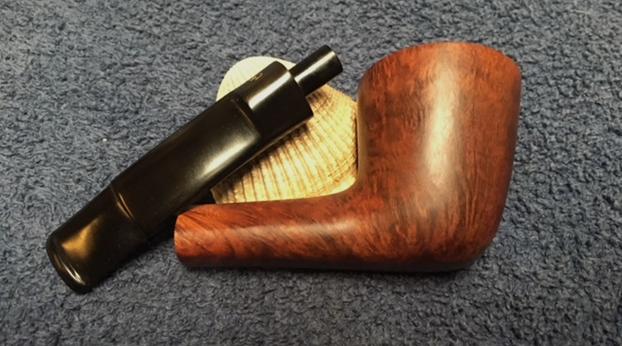
Even though I had purchased this pipe to practice repairing a stem bite-through, what really caught my attention was the beautiful coral like rustication on the bowl and shank which could be seen on some high end pipes from equally higher end brands. Through all the dust and grime, the beautiful contrasting stains between the lighter brown raised rustication and darker hued depressions makes for an eye catching finish. On the smooth surface at the bottom of the shank, it is stamped “CHACOM” in an artistic hand over “PANACHE” in block capital letters. This is followed by the shape number # “44” at the edge of the shank where it meets the stem. The stem bears the double “C” logo stamped on the left side of the stem towards the tenon end.I gleaned following info from Pipedia to know more about the brand of this pipe. It is reproduced below (https://pipedia.org/wiki/Chacom):

1825 : Well before the discovery of briarwood the COMOY family manufactured pipes in the small village of Avignon, near to Saint-Claude, mostly in boxwood for the “Grumblers” of the Army of Napoleon. 1850 : Birth of Henry COMOY, founder of the brand.
1856 : Discovery of briarwood and particularly the special treatment it required for the making of pipes. Saint-Claude becomes the birthplace of briar pipe manufactures and the world capital of pipe-making.
1870 : Henri COMOY, prisoner of war in Switzerland meets his cousins the Chapuis and ruminates the idea of an association.
1879 : Henry COMOY emigrates to London with some of his technicians from Saint-Claude and establishes the first English pipe factory in England H. COMOY & C° LTD. The Saint-Claude factory supplies them with briarwood and pipe bowls.
1922 : After the First World War the association COMOY and CHAPUIS is realised and the Saint-Claude factory becomes CHAPUIS COMOY & Cie.
1924 : Death of Henri COMOY. His sons Paul and Adrien assume the direction of the factories in Saint-Claude and London assisted by their cousins Emile and Louis Chapuis.
1928 : London now able to produce their own pipes, and in order to develop the Saint-Claude factory, the brand CHACOM is created, using the first three letters of the COMOY and CHAPUIS families. Up till 1939 CHACOM was offered only in France, Belgium and Switzerland in order not to embarrass the COMOY pipes which had the same shapes and qualities.
1932 : The world economic crisis reaches Saint-Claude. To weather this problem Chapuis Comoy & Cie joins with another company under the name of LA BRUYERE, forming the biggest pipe concern in the world with 450 workpeople. Big trucks were needed to transfer the briar blocks from the drying shed to the factory.
1945 : After the Second World War CHACOM assumes its entire commercial liberty and launches a complete and modern range of pipes.
1946 : Chacom becomes the principal brand in France and Belgium.
1947 – 1948 : CHACOM, number one in Scandinavia, Germany, then United States…
1957 : In face of the commercial preponderance of the brand CHACOM the company La Bruyère returns to the name of CHAPUIS COMOY & Cie.
1964 : Death of Adrien COMOY. His son Pierre succeeds to him in London. Mr REED is the Chairman and Managing Director in Saint-Claude.
1965 : First French brand named pipe in JAPAN
1971 : Having recovered its independence from COMOYS of London, Yves GRENARD, second cousin of Pierre COMOY, takes over the Direction of Chapuis Comoy & Cie and at the same time the exclusive sale of H. COMOY & Ltd, in France.

 I further searched pipephil.eu for additional information and the same is reproduced below:

The brand Chacom turned up (1934) after fusion of Chapuis-Comoy with La Bruyère. Yves Grenard (†2012), second cousin of Pierre Comoy headed the company from 1971. He was responsible for Chapuis Comoy’s recovering its independance from Comoy. His son Antoine Grenard took over the direction of the company in 2007. Chacom is a brand of Cuty-Fort Entreprises (Jeantet, Vuillard, Jean Lacroix, Ropp …).

INITIAL VISUAL INSPECTION

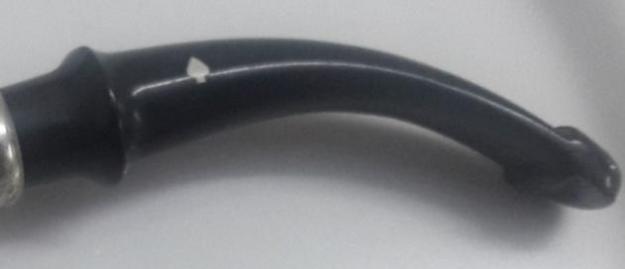
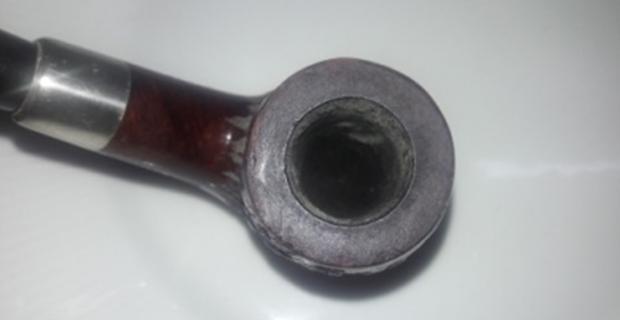
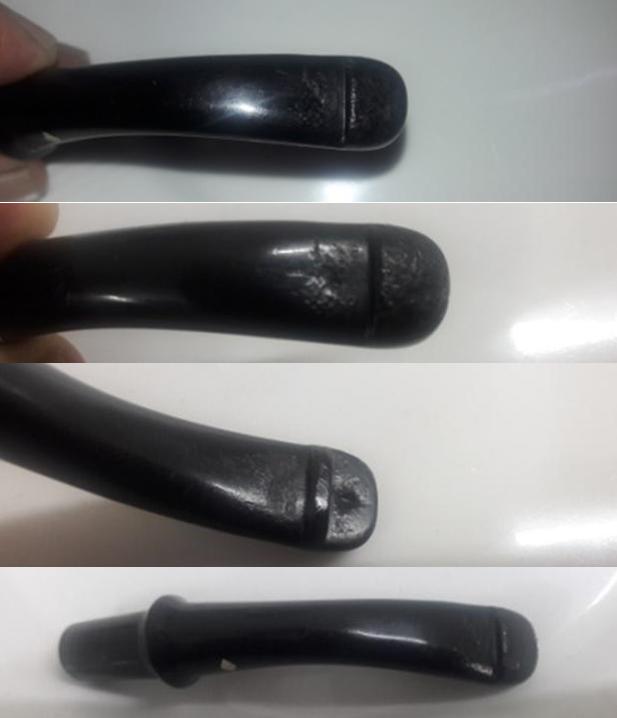
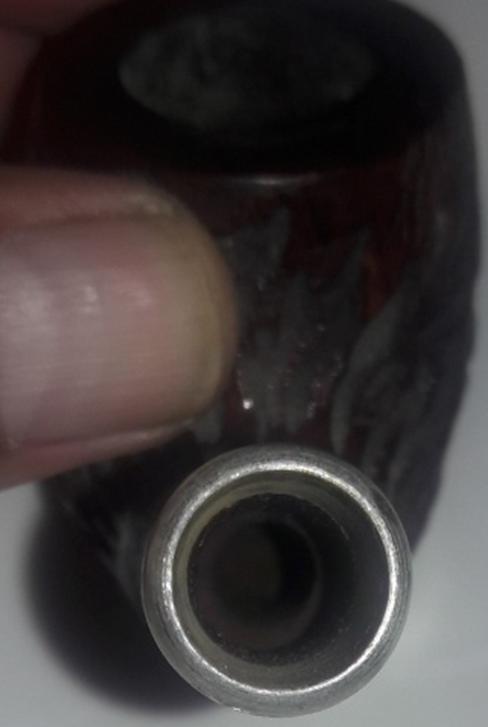
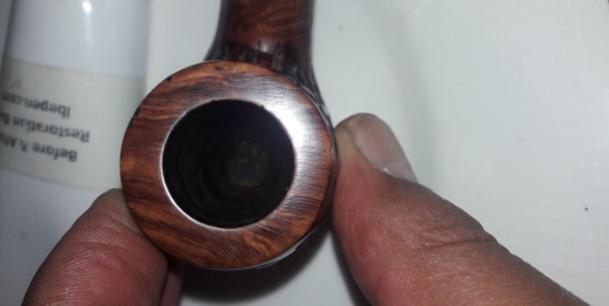
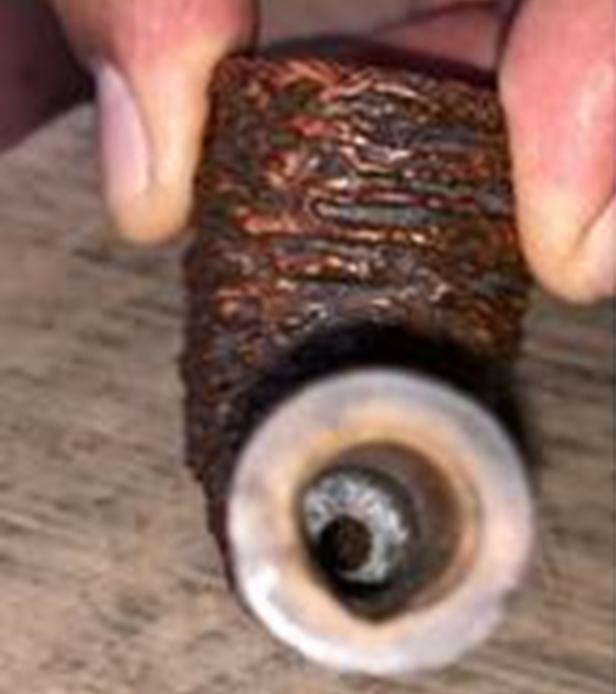
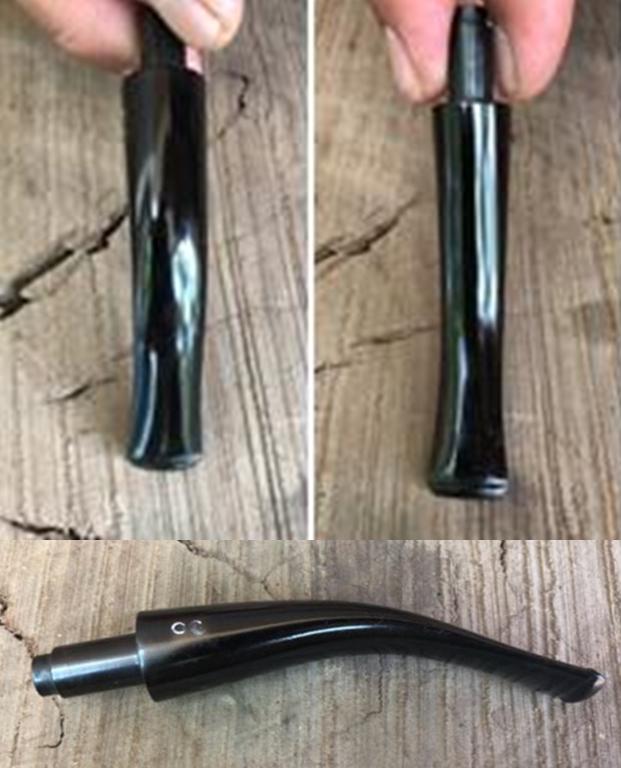
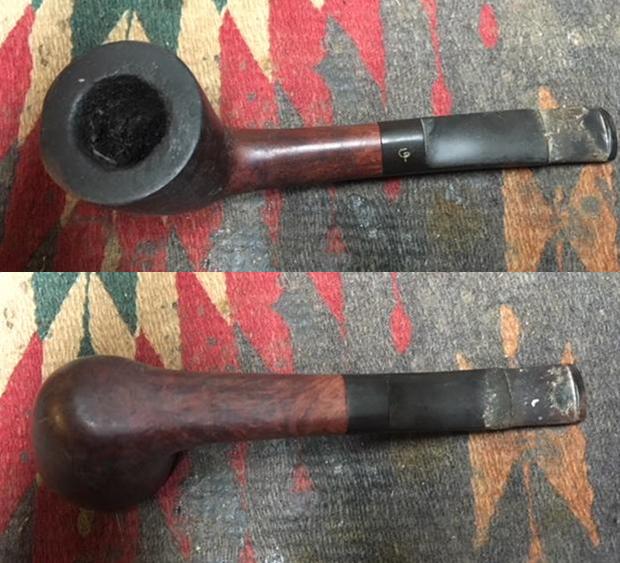
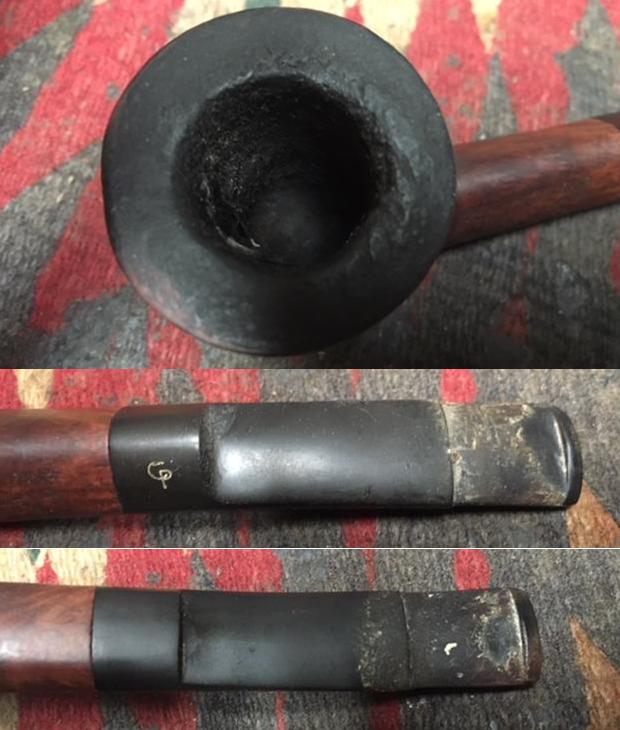
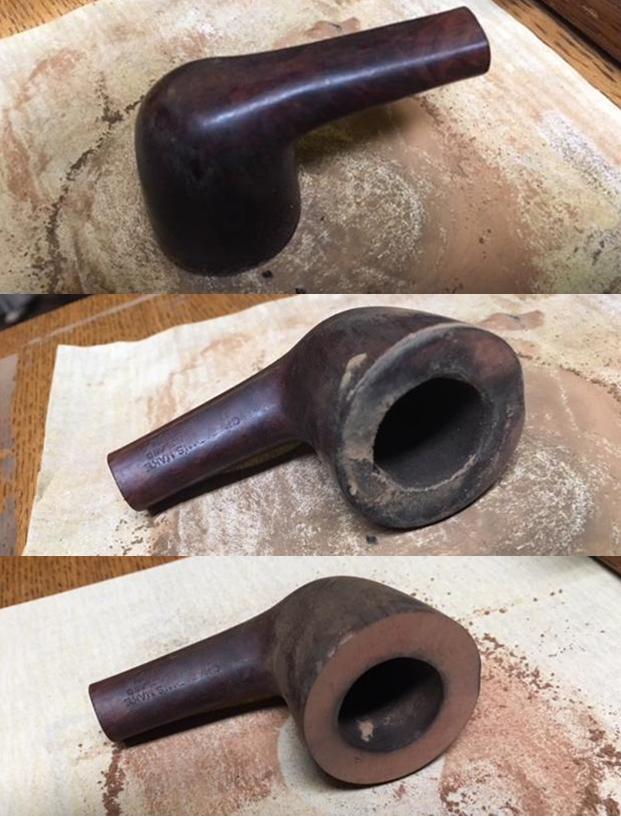
The bowl is caked but not heavily. The rustication on the rim top is filled with tars oils and grime. The finish is dull with dirt and dust filling the rustication. This will be cleaned with Murphy’s oil soap and hard bristled tooth brush.The mortise is filled with gunk and debris. This will need to need to be cleaned.The stem is heavily oxidized with heavy calcification towards the button end in the bit area. There is tooth chatter and bite marks on the top surface of the stem near the button end. However, the biggest damage can be seen on the lower surface of the stem. There is a large through and through hole in the stem exposing the airway. Thankfully, the top surface is complete with only tooth marks and tooth chatter. This reconstruction will be the biggest challenge since I have never attempted this restoration before. The button is badly damaged and will need to be reconstructed.THE PROCESS

In this restoration project the stem repair posed the biggest challenge. I searched the net, viewed YouTube videos and my most reliable website “rebornpipes.com” and read over each and every blog available on the website on stem repairs and took down notes and the steps involved. I even discussed with Mr. Steve. Now armed with this acquired knowledge, I embarked on my quest to gain knowledge through personal experience.

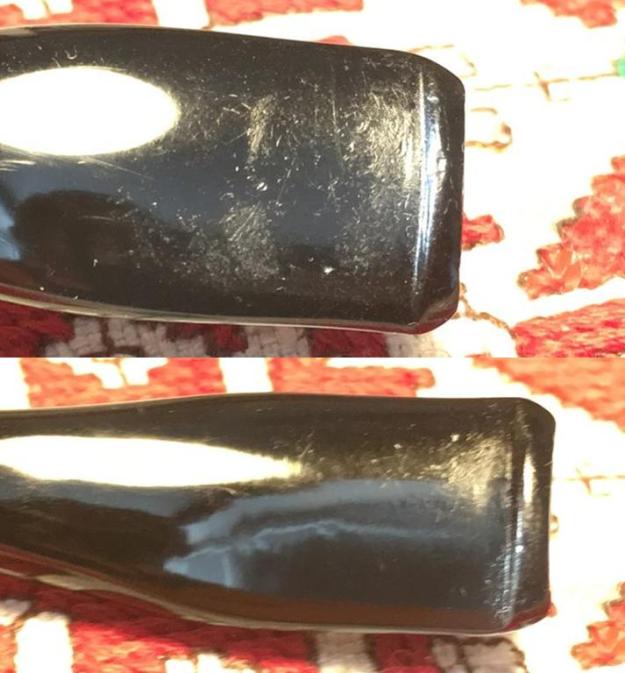
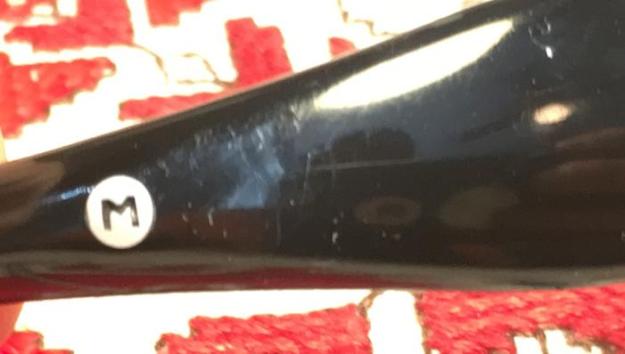
The first thing I did was to paint the upper and lower surfaces of the stem with the flame of a Bic lighter to raise the tooth chatter to the surface and also raise the edges of the hole to create an even surface. Next, I cleaned the surface of the stem with isopropyl alcohol to get rid of all the dirt, oils and tars from the surface. I also had the internals of the stem thoroughly cleaned using pipe cleaners, cue tips and alcohol.

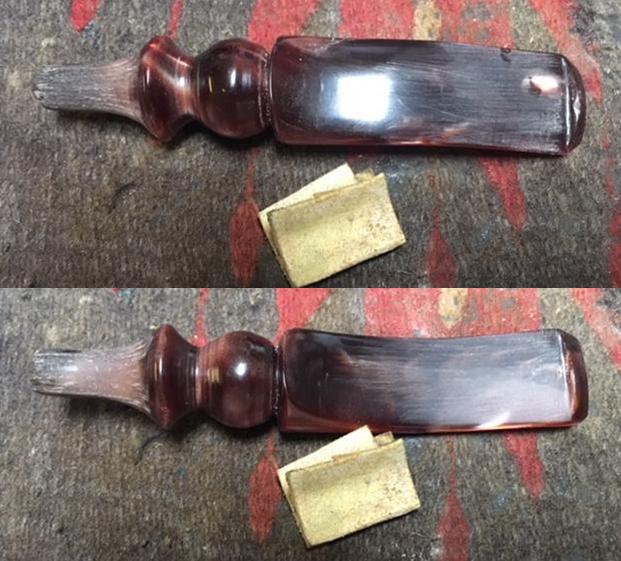
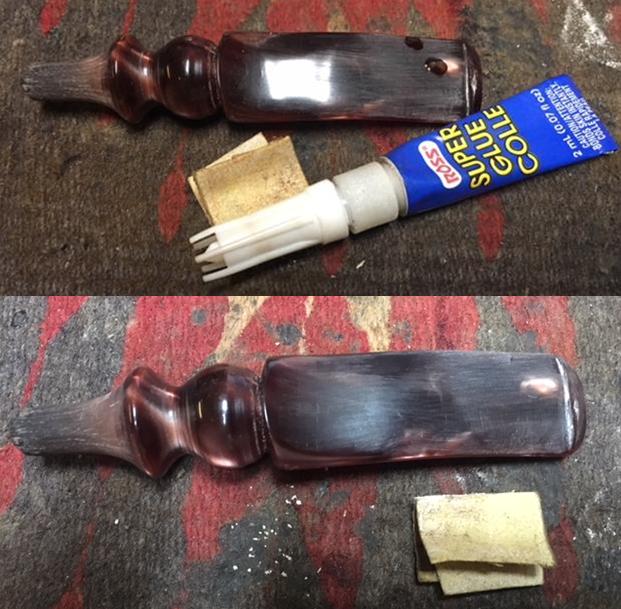
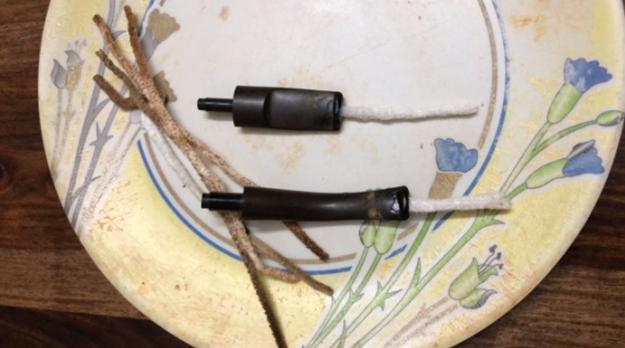
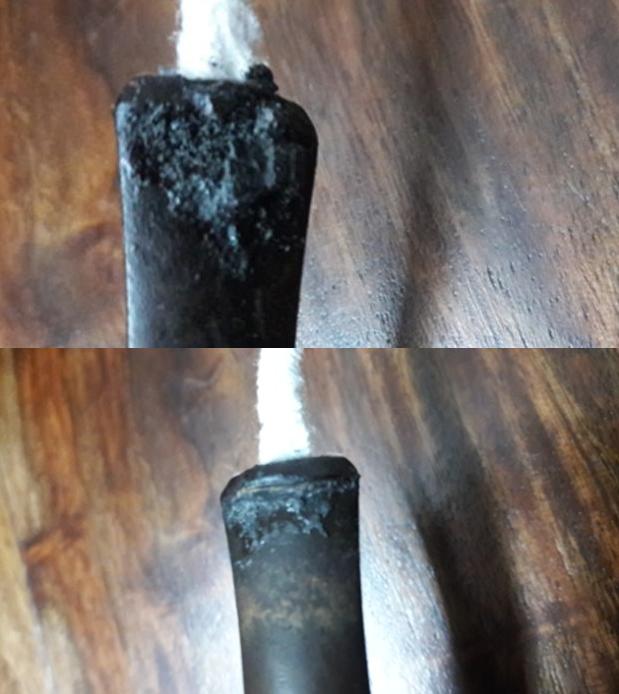
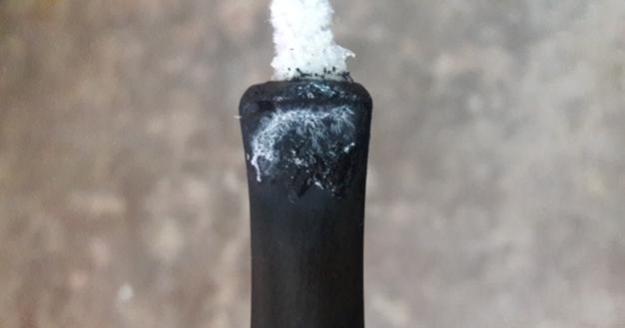
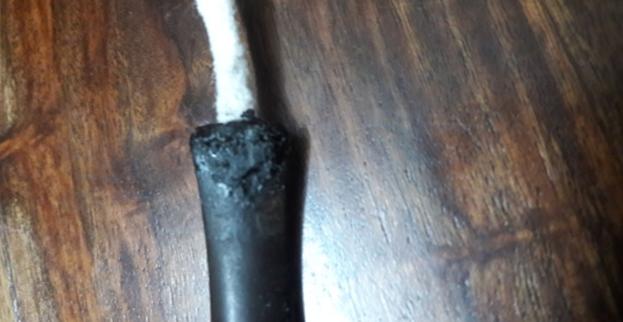
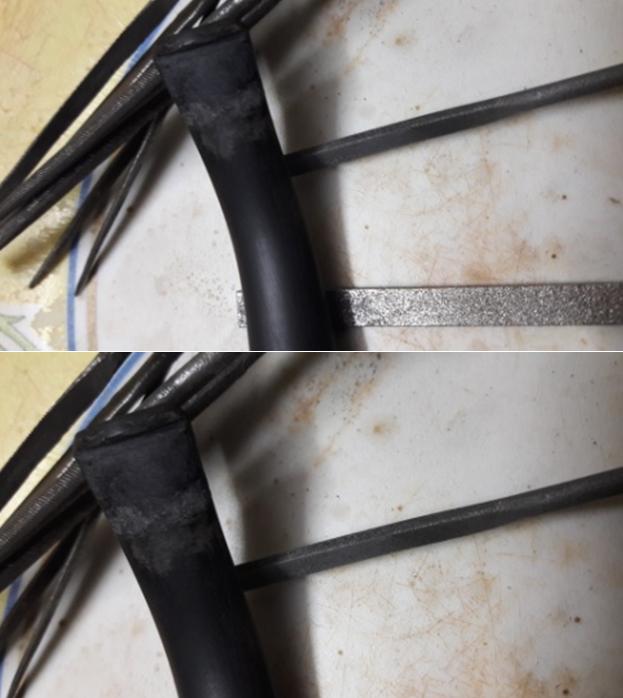
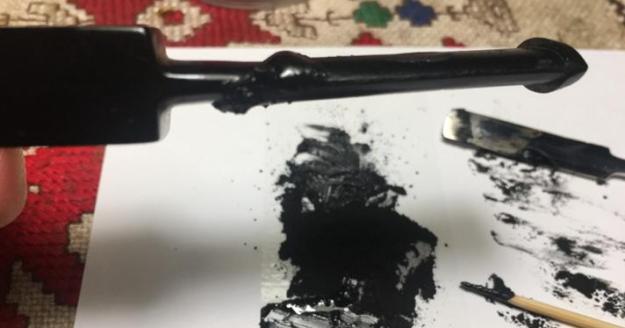
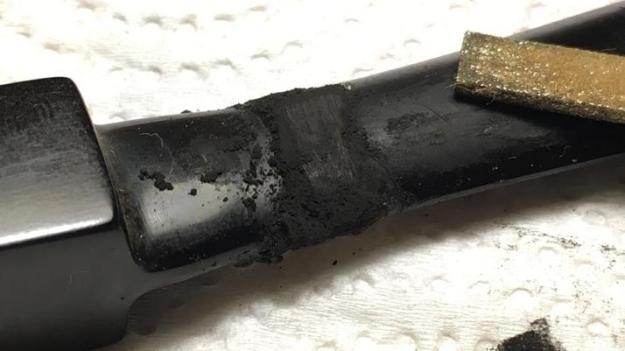
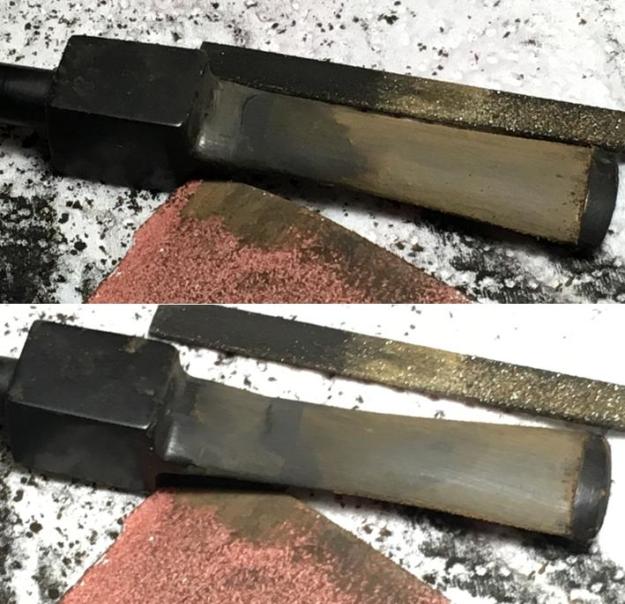
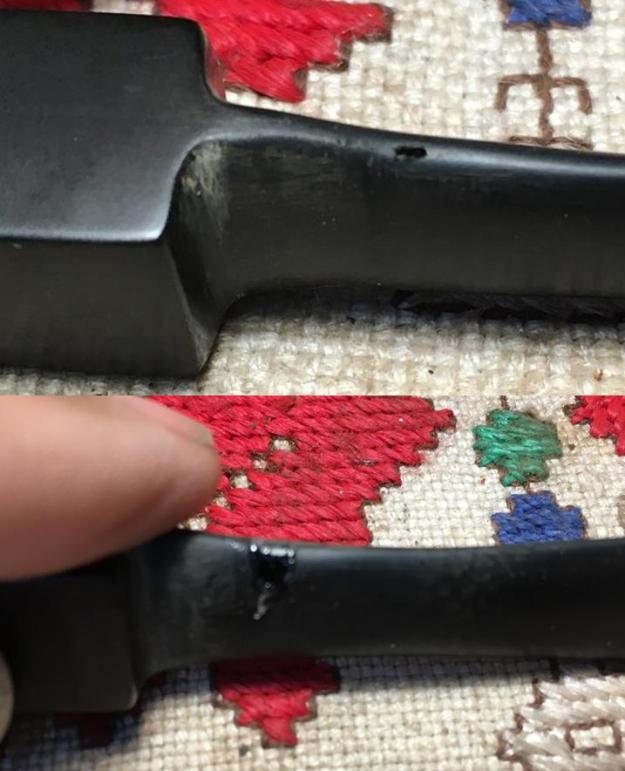
Once I was satisfied with the cleaning, I smeared a generous amount of Vaseline onto regular pipe cleaners and inserted it into the airway, ensuring the pipe cleaners are fully underneath the hole. This helps in ensuring that the airway remains open. Vaseline coated pipe cleaners prevents the mixture of CA superglue and activated charcoal from percolating down into the airway and clogging the airway.The next step in the process of this repair is mixing of CA superglue and activated charcoal to the consistency of putty filler. Suffice to say that the consistency should be such that it should not be too runny but just sufficient to spread smoothly and evenly over the intended surface. First timers like me, do not worry too much, even I did not understand what should be the ideal consistency (LoL). From the pictures below, it is amply evident that I did not achieve the exact consistency I desired, but no issues, it still worked!!! Since the beginning of my journey into the beautiful and challenging world of pipe refurnishing, I am being faced with problem relating to glue. Maybe the hot temperate climate prevalent here is causing issues or the quality of glue itself is an issue. However notwithstanding the issues of glue, I was able to prepare a mixture of CA superglue and activated charcoal and applied it to the surface. I set it aside to cure overnight.I began by sanding the repaired/ filled areas using a flat needle head. It was not as easy as it seemed because when I began the process, as I sanded down the stem, I observed that the filling crumbled and dislodged from hole. Apparently, the filling was too dry.

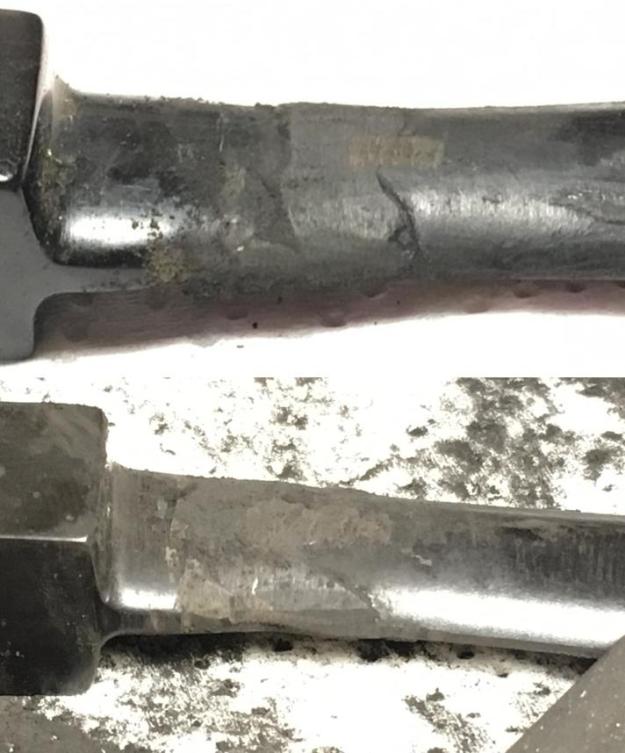
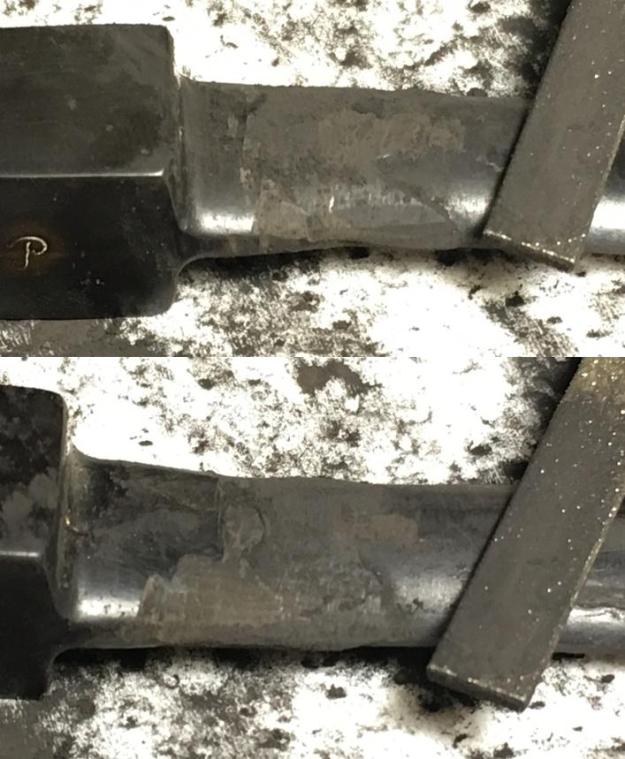
I prepared a fresh mixture of CA glue and activated charcoal and applied it to area to be filled. After curing, when I tried to file it down, I realized that shiny dots were visible. On close observation, these tiny dots were air pockets which were trapped during application and subsequent curing. I discussed with Mr. Steve who advised me to fill the spots with glue only. I did so and let it cure for 2 days.I sanded down the fill and realized bigger air pockets were now exposed. It is unfortunate that I did not take pictures of these issues and processes as I was too engrossed and concentrating on getting the filling right.

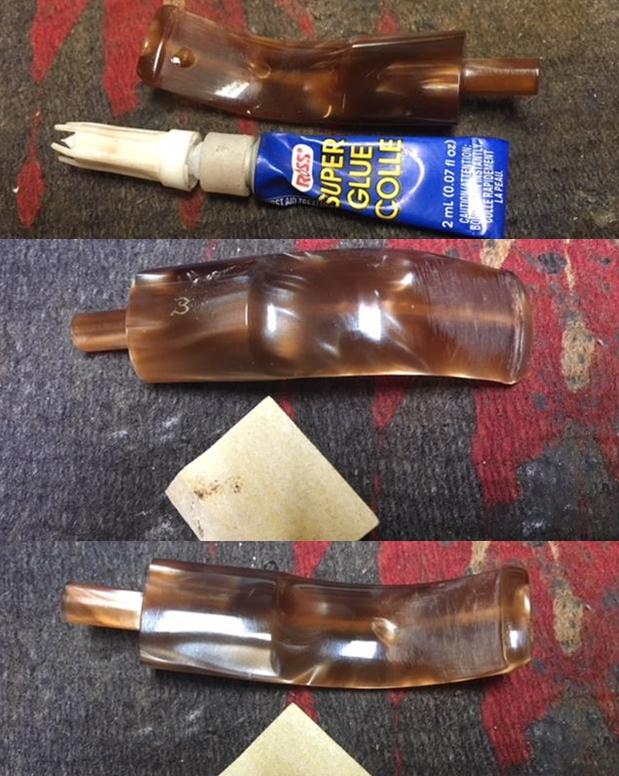
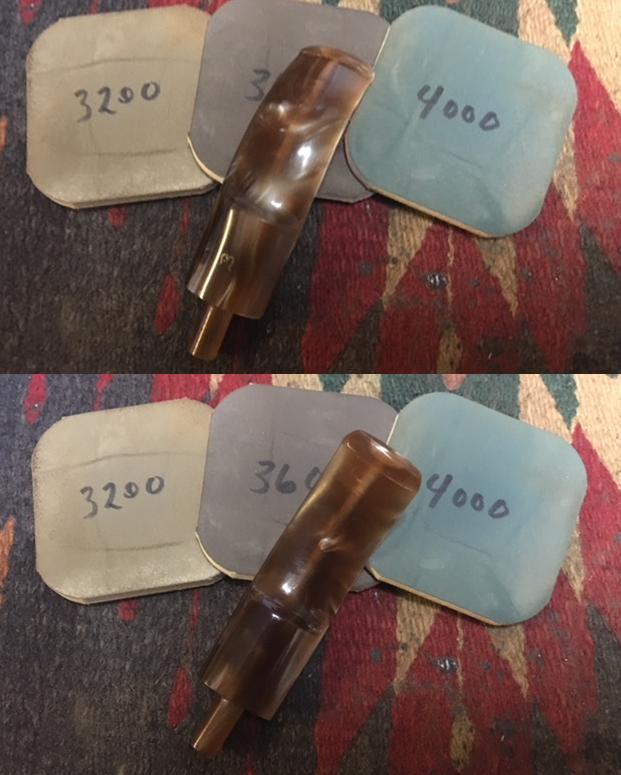
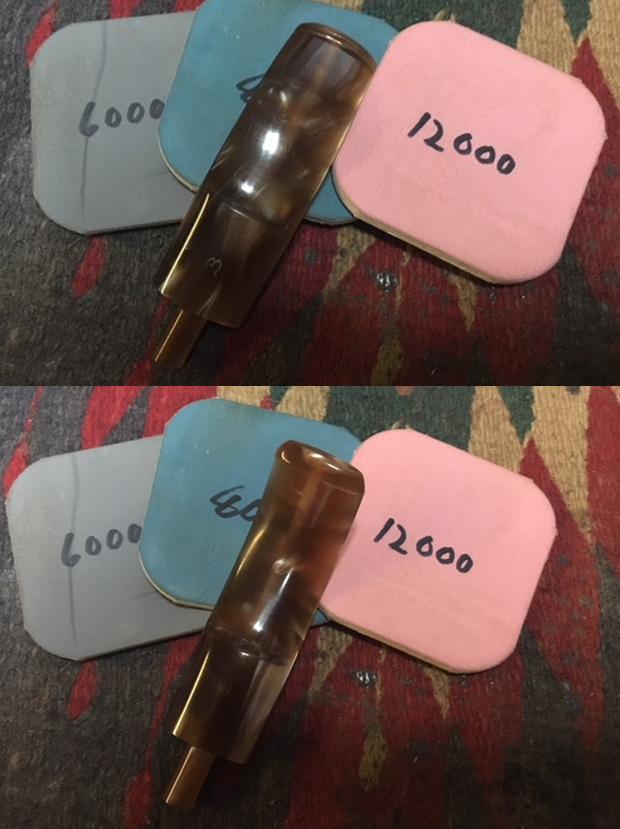
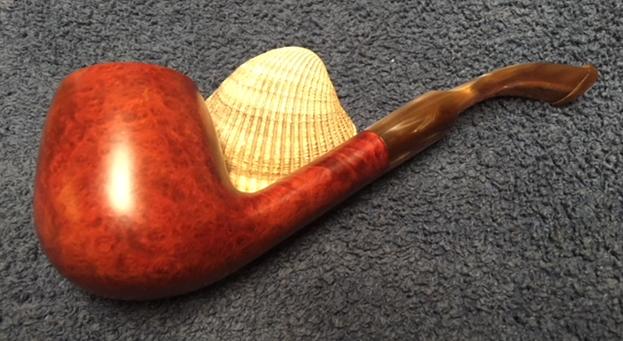
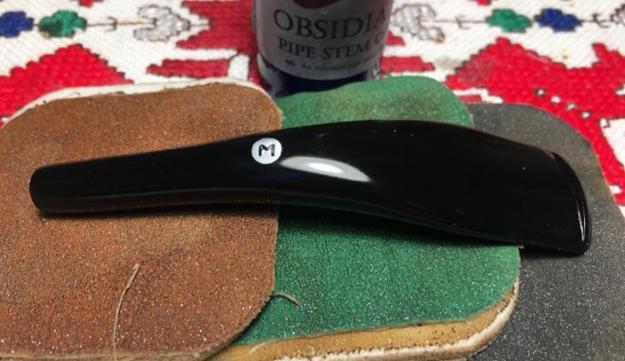
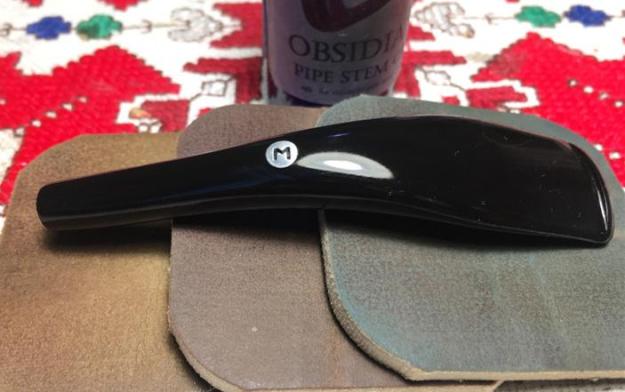
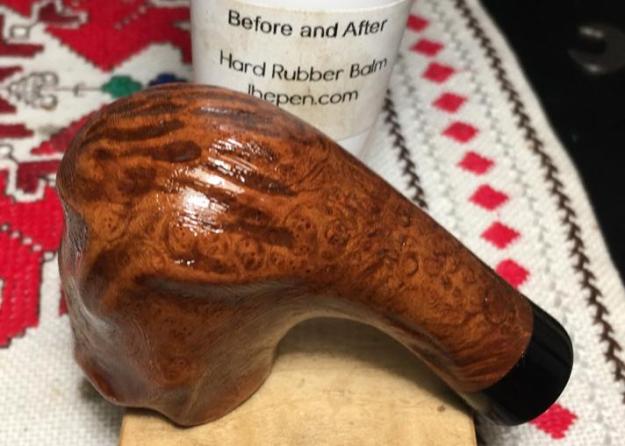
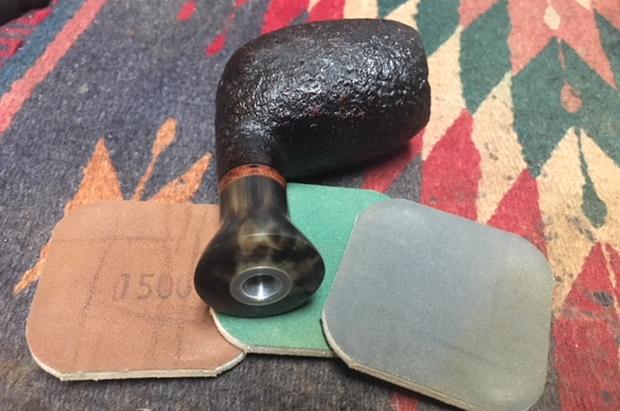
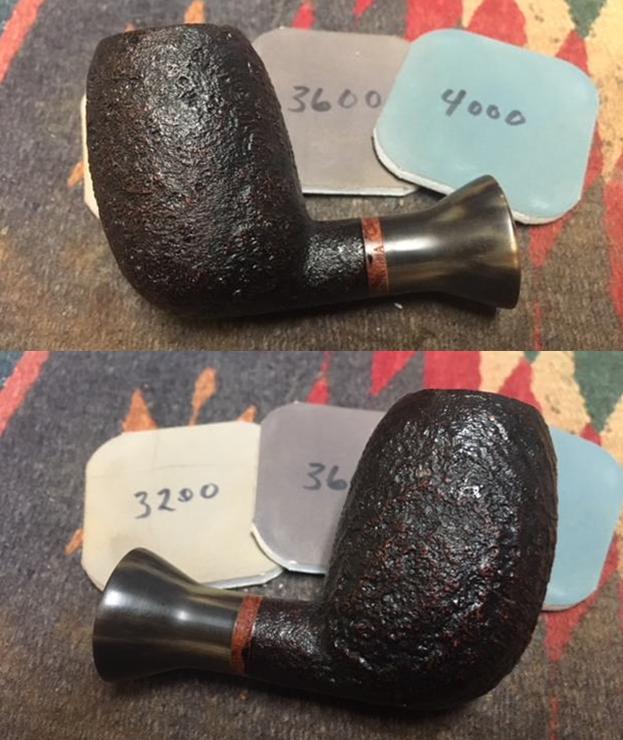
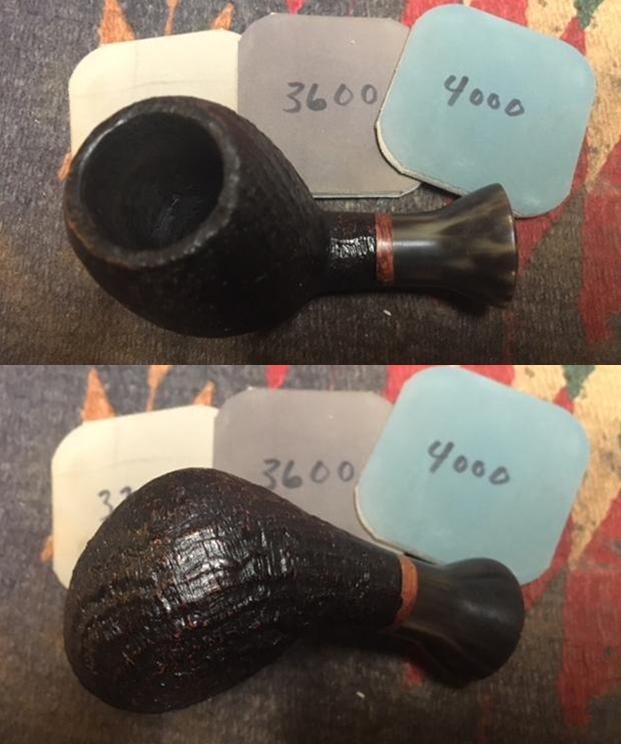
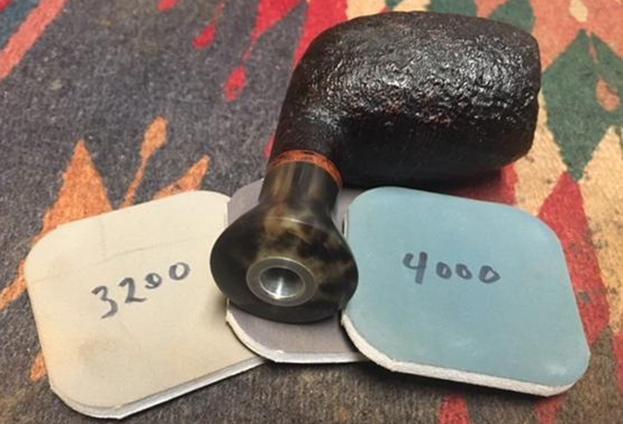
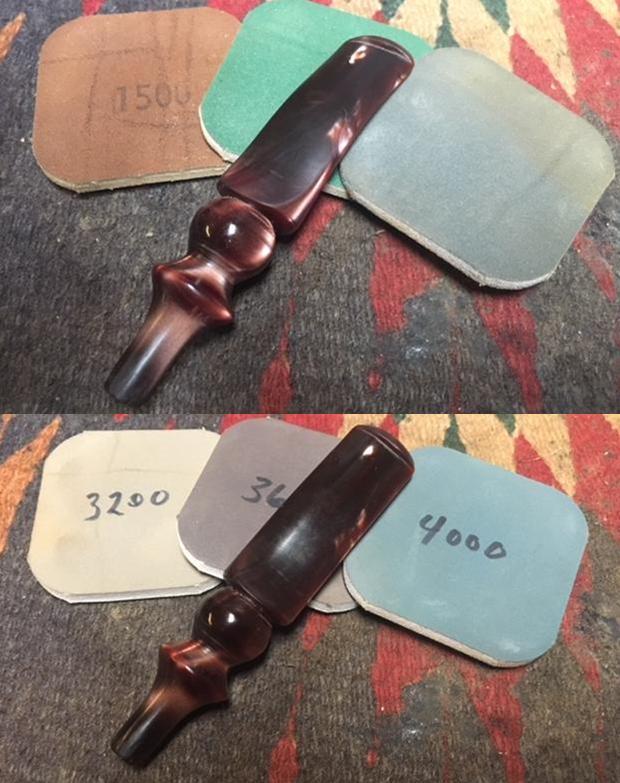
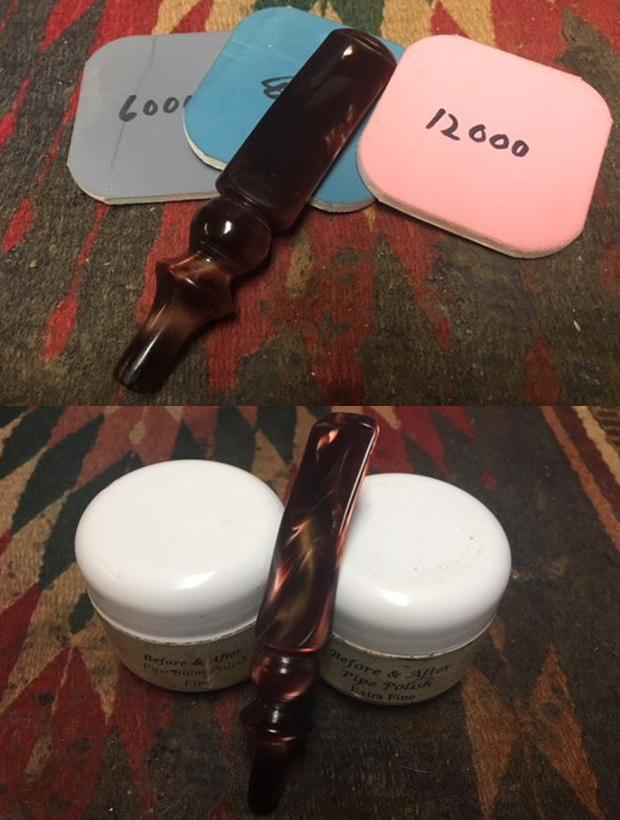
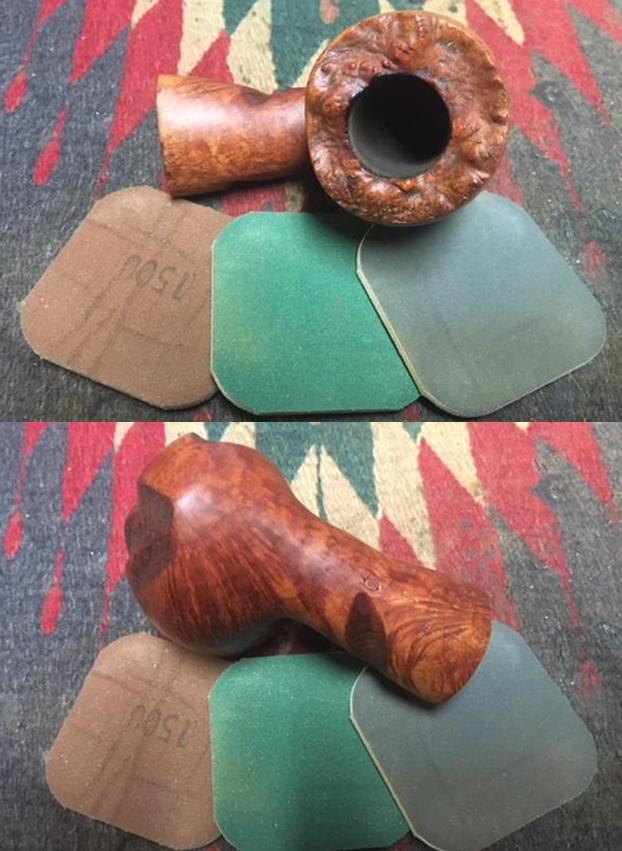
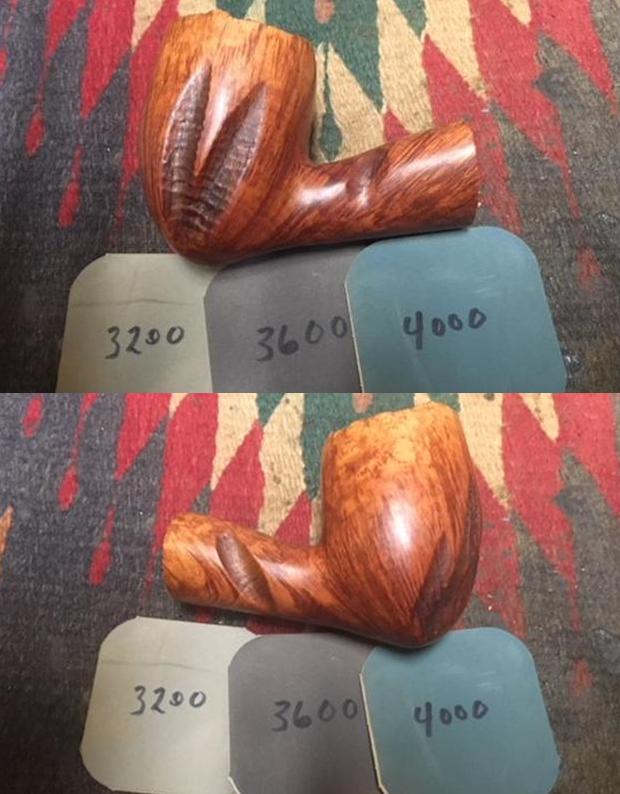
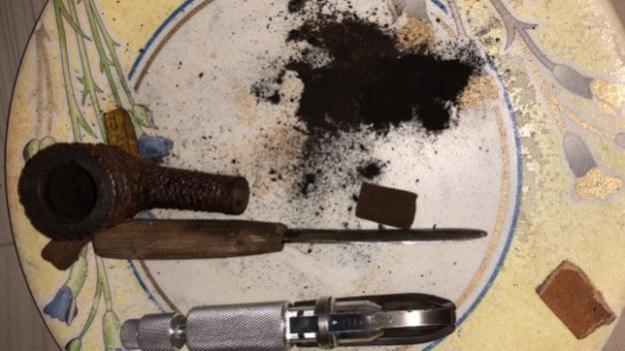
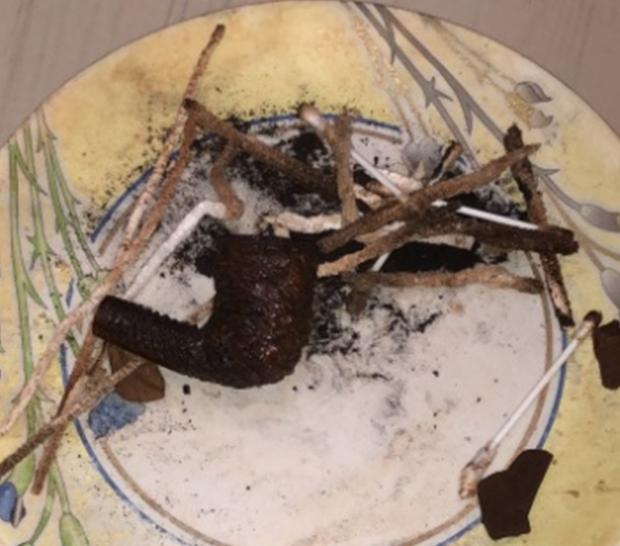
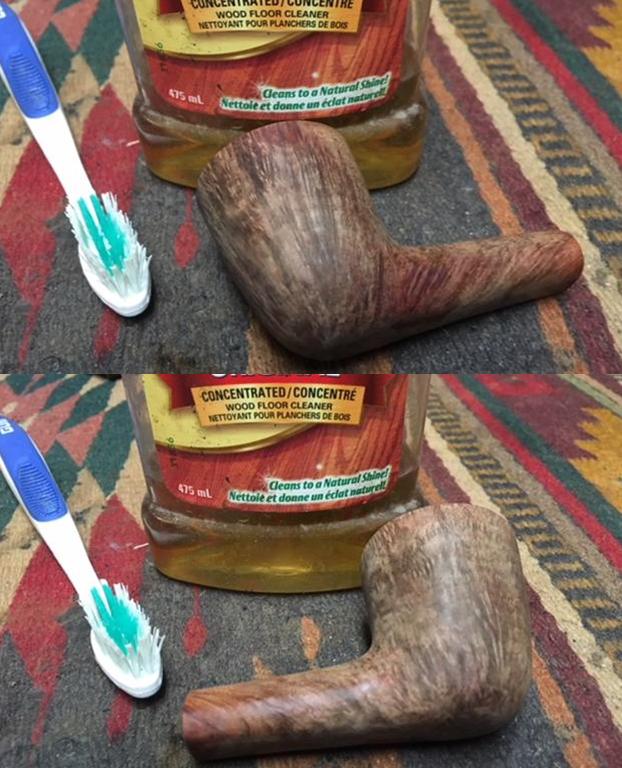
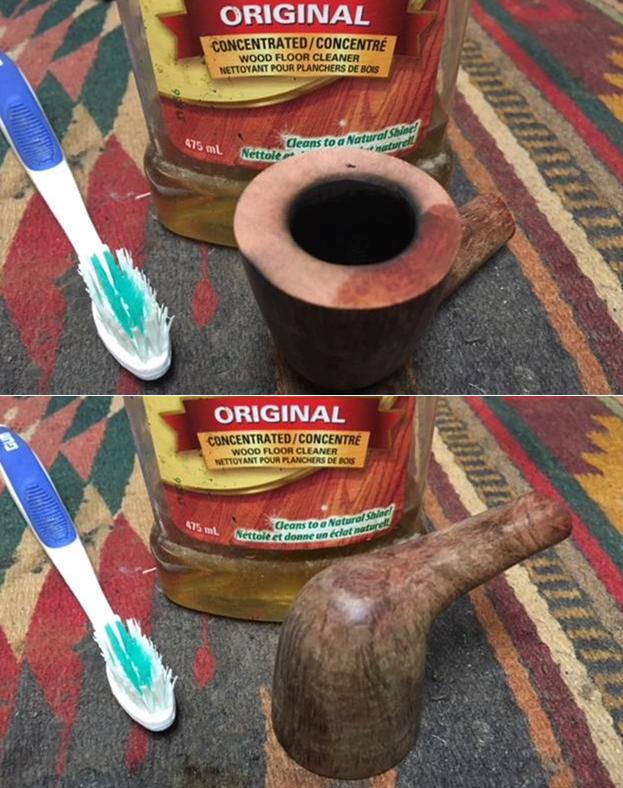
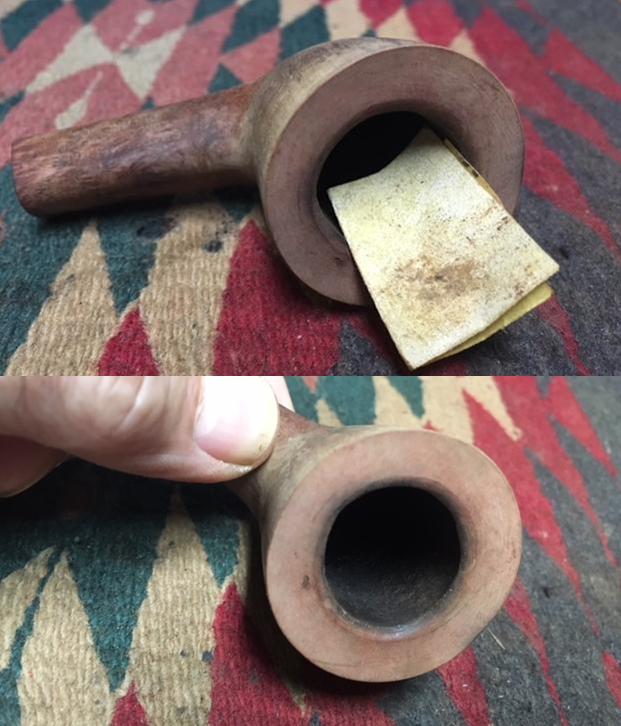
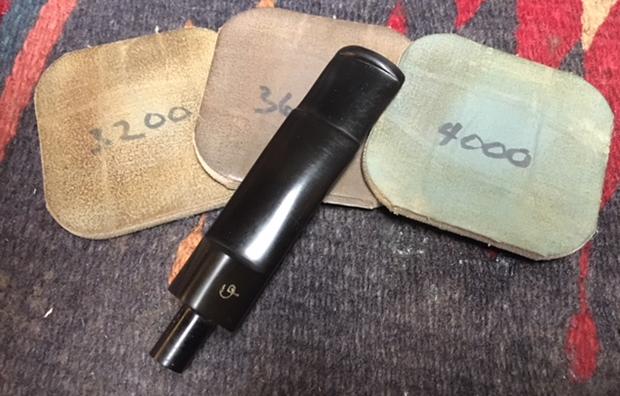
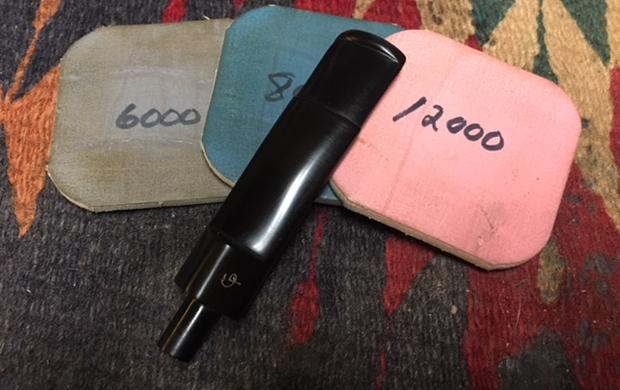
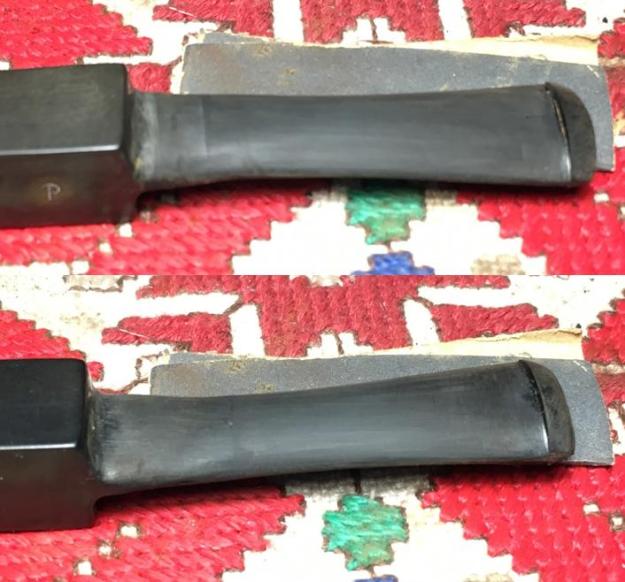
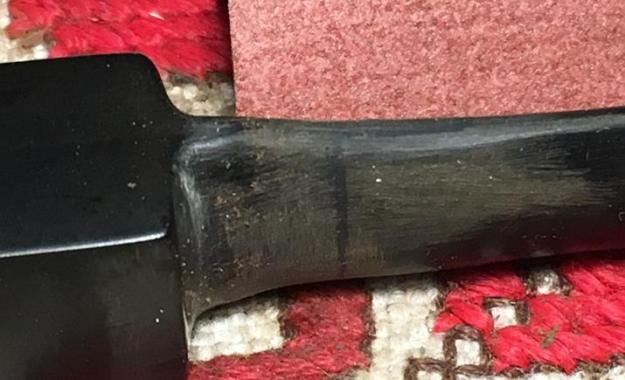
I again prepared a fresh mixture of activated charcoal and superglue and reapplied it to the stem surface and let it cure for 3 days since I was traveling.For this sanding, I took unusually long time taking frequent breaks to check the progress. I was very deliberate and used light hands. I used less of flat head needle file and more of 180 grit sandpaper. Finally, I was able to achieve a satisfactory fill. I further evened out the fill using 220 grit sandpaper, followed by 440, 600 and 800 grit papers. Now I am satisfied with the results of the fill.With the fill now evened out, I proceeded to sand the stem with micromesh pads, going through wet sanding with 1500-2400 pads and dry sanding with 3200- 12000 grit pads. I rubbed in Extra Virgin Olive oil after every three pads. The stem now has a nice shine to it and No Hole!! However, the finish is not as refined and minor imperfection can be seen in the finish, though not as glaring in person.With the issue of the stem now addressed, I turned my attention to the stummel. Using a Kleen Reem pipe reamer and fabricated knife, I removed the complete cake from the chamber. I further sanded down the walls of the chamber with a 220 grit sand paper to smooth the walls and took the cake back down to the bare briar.I cleaned the internals of the shank and mortise using regular and bristled pipe cleaners dipped in isopropyl alcohol and cue tips. I also wiped the internal walls of the chamber with cotton pads dipped in 99.9 % isopropyl alcohol. I use high proof isopropyl alcohol as it evaporates very rapidly and leaves no traces of odor or liquid behind to ghost your pipe.I cleaned the externals of the bowl with undiluted Murphy’s Oil Soap and tooth brush. Thereafter, the stummel was washed under running water and dried using a paper towel. I observed that the thin, delicate wire rustication on the rim top was still filled with oils and tars. To clean the rim top, I used a 000 grade steel wool with Murphy’s Oil soap to gently scrub out the dirt. I dried it with paper towels and a soft cotton cloth. Once the stummel had dried out, I rubbed a little “Before and After Restoration Balm “deeply into the coral rustication and also into the wire rustication of the rim top. I worked it deep into the rustication with a horse hair shoe brush. I polished the stummel to a deep shine by rubbing it down with a microfiber cloth. The raised portion of the rustication has a light reddish hue which contrasts beautifully with the dark brown coloration of the rest of the stummel. The completed pipe is shown below. Thanks for your valuable time spent in reading my amateurish attempt at pipe restoration.


Restoration of a deeply loved Chacom Rallye


Blog by Roberto Castiglioni

Over the past month I have corresponded with Rob about a variety of things about restoration processes and procedures. He is a great guy! When he sent me photos of his work on this pipe I wrote and asked him to write it up for rebornpipes. Without further words on my part his is Rob. Welcome to rebornpipes. — Steve

Bizarre hobbies like these prove that nothing is too arcane for humans. Fortunately, the insane have valiantly stepped up to plug that gap.

Seeing a dirty and damaged pipe come back to life makes me extremely happy. That happiness comes from fact that I am handling something that is old and has a long history. The more dirty they are more interested I am. Sometimes I ask to myself how the previous pipe smoker could smoke them. Sometimes I get a stem with double hole, a tobacco chamber with a very limited space. It is then that I remember when my father told me when I was younger that my great-grandparent’s pipe needed maintenance .

This is a very amazing hobby where I can practice applying all my knowledge of Mechanical Engineering. I can use even what I learned  high school about adjusting a piece of steel manually by means of files and other tools without using machine tools.

I am very thankful to those gents of rebornpipes for their willingness to post and teach others. They have shown how experience and manual work still has value in this modern society .

For a beginner, who most of the time is a dummy, reading all the posts in different forums to learn a general procedure how to do the work is extremely important. In rebornpipes I found a lot of information and suggestions on how to proceed.

With many thanks I have enclosed my first important restoration on Chacom Rallye …

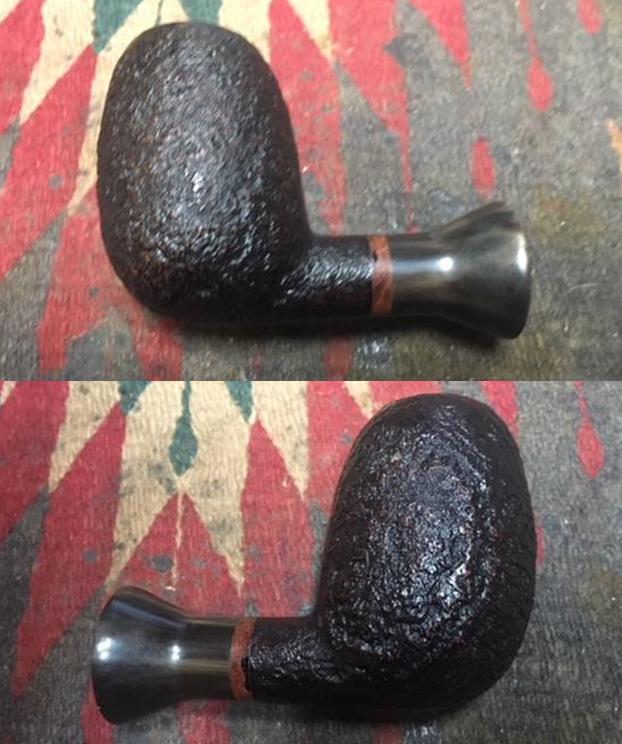
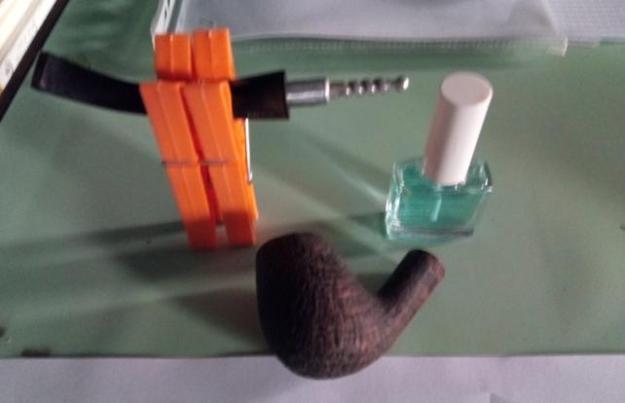
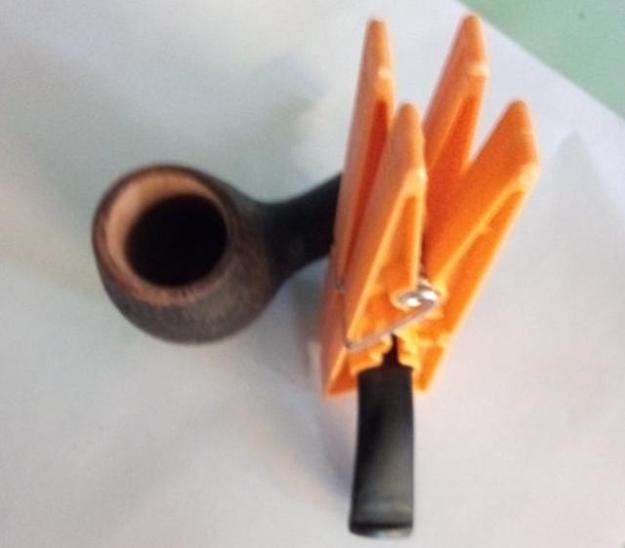
Here are the before photos of the pipe. The stem was very damaged with a bite through on the top side and much chewing around the edges of the stem. The fit of the stem in the shank is also not good. The bowl is very dirty with little room in the bowl – thick cake and lots of overflow on to the back side of the rim.I reamed the bowl with reamers. I sanded out the bowl to remove the remants of cake. I cleaned the mortise, and the airway in the shank and stem with pipe cleaners and alcohol. I patched the chewed through stem and cleaned and polished the stem.Once the pipe was clean the metal tenon was loose in the mortise so I painted it with a coat of clear fingernail polish and let it dry in my improvised clothespin vise. You can see what the bowl looks like now in the next two photos. It is quite a change. Here are some photos of the completed pipe. Thanks Rob from Italy.

Farida’s Dad’s Pipes #6 – Restoring a Charatan Make Distinction


Blog by Steve Laug

I am back working on one of the pipes that came from the estate of an elderly gentleman here in Vancouver. I met with his daughter Farida a year ago and we looked at his pipes and talked about them then. Over the Christmas 2017 holiday she brought them by for me to work on, restore and then sell for her. There are 10 pipes in all – 7 Dunhills (one of them, a Shell Bulldog, has a burned out bowl), 2 Charatan Makes, and a Savinelli Autograph. I have restored all but three of them – a Dunhill Shell and the two Charatan’s Makes. His pipes are worn and dirty and for some folks they have a lot of damage and wear that reduce their value. To me each one tells a story. I only wish they could speak and talk about the travels they have had with Farida’s Dad.

The bowl was thickly caked and the cake had flowed over onto the smooth finish on the rim top forming hard lava that made the top uneven. The inner and outer edges of the rim were both damaged. On the right front of the bowl the rim had a burned area – it was not a deep burn but it had darkened. On the back of the bowl there was damage on the inner edge of the bowl and it looked like it might be slightly out of round. The stem was oxidized but otherwise in good condition. There was a thick sticky, oily substance on the surface of the stem that I could scrape with my fingernail. There were tooth marks and chatter on both sides in front of the button. I took photos of the pipe to show what it looked like before I started the cleanup work. I took close up photos of the bowl and rim top as well as the stem. You can see the condition of the rim top and bowl in the first photo. The outer edge has damage on the front right – burn damage and wear that comes from lighting a pipe repeatedly in the same spot. The inner edge at the back middle also shows damage but I won’t know until I remove the thick lava overflow on the surface. The stem had tooth chatter and some bite marks on the top and the underside of the stem just ahead of the button.I took a photo of the left side shank stamping – it is readable but faint on the left side.It has been a while since I have worked on the remaining pipes that belonged to Farida’s Dad. I thought it might be helpful to remind us all of the background story of these pipes. Here is the material that I quoted in previous blogs. I have included both the written material and the photo that Farida included of her Dad.

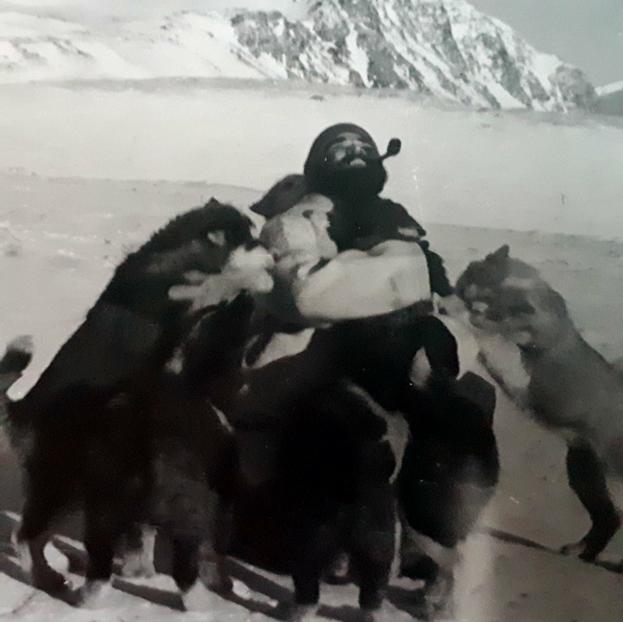
When I wrote the blog on the Classic Series Dunhill and thinking about its travels, Farida sent me an email with a short write up on her Dad. She remembered that I had asked her for it so that I could have a sense of the stories of her Dad’s pipes. Here is what she wrote: My dad, John Barber, loved his pipes. He was a huge fan of Dunhill and his favourite smoke was St. Bruno. No one ever complained of the smell of St. Bruno, we all loved it. I see the bowls and they’re large because he had big hands. When he was finished with his couple of puffs, he would grasp the bowl in the palm of his hand, holding the warmth as the embers faded. The rough bowled pipes were for daytime and especially if he was fixing something. The smooth bowled pipes were for an evening with a glass of brandy and a good movie. In his 20s, he was an adventurer travelling the world on ships as their radio operator. He spent a year in the Antarctic, a year in the Arctic and stopped in most ports in all the other continents. He immigrated to Canada in the mid-fifties, working on the BC Ferries earning money to pay for his education. He graduated from UBC as an engineer and spent the rest of his working life as a consultant, mostly to the mining companies. Whatever he was doing though, his pipe was always close by. 

She sent along this photo of him with his sled dogs in the Antarctic sometime in 1953-1954. It is a fascinating photo showing him with a pipe in his mouth. He is happily rough housing with his dogs. As a true pipeman the cold does not seem to bother him at all. Thank you Farida for sending the photo and the background story on your Dad for me to use on the blog. I find that it really explains a lot about their condition and gives me a sense of who Dad was. If your Dad was rarely without a pipe I can certainly tell which pipes were his favourites.As I looked over the pipes I noted that each of them had extensive rim damage and some had deeply burned gouges in the rim tops. The bowls seemed to have been reamed not too long ago because they did not show the amount of cake I would have expected. The stems were all covered with deep tooth marks and chatter and were oxidized and dirty. The internals of the mortise, the airway in the shank and stem were filled with tars and oils. These were nice looking pipes when her Dad bought them and they would be nice looking one more when I finished.

Here are the links to the previous five blogs that I wrote on the five pipes that I have finished. The first was a Dunhill Shell oval shank pot (https://rebornpipes.com/2018/02/04/restoring-a-1983-dunhill-shell-41009-oval-shank-pot/). The second was a Dunhill Classic Series Shell Billiard (https://rebornpipes.com/2018/02/08/faridas-dads-pipes-2-restoring-a-1990-lbs-classic-series-dunhill-shell-billiard/). The third pipe was a Savinelli Autograph (https://rebornpipes.com/2018/02/15/faridas-dads-pipes-3-restoring-a-savinelli-autograph-4/). The fourth pipe was a Dunhill Red Bark Pot that was in rough shape (https://rebornpipes.com/2018/03/10/faridas-dads-pipes-4-restoring-a-dunhill-red-bark-pot-43061/). The fifth pipe was a Dunhill Root Briar Bent Billiard https://rebornpipes.com/2018/07/07/faridas-dads-pipes-5-restoring-a-dunhill-root-briar-56-bent-billiard/

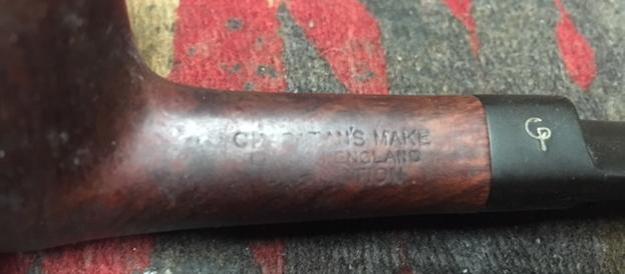
Today, I went back to the remaining three pipes in the collection today and chose to work on one of the Charatans – a triangular shank Dublin. It was dirty but I was able to read the stamping. On the top left side of the triangular shank it is stamped Charatan’s Make, over London, England over Distinction. On the right side it was stamped Made By Hand in the City of London. I cannot see any shape number on the shank as it is pretty worn. The smooth finish was sticky with oils and thick grime. The bowl felt oily to touch.

To try and figure out the era of the Charatan’s pipe I was working on I turned to the pipephil website on Logos and Stampings. There is some really helpful information on each of the lines of Charatan’s Make pipes that entered the market. Here is the link to the section of the site that I turned to, http://www.pipephil.eu/logos/en/logo-charatan.html. There is an alphabetical listing of the lines but unfortunately they did not list the Distinction. The site did give a short history of the brand. I quote the portion that is most pertinent.

The brand was founded in 1863 by Frederik Charatan. When his father retired in 1910, Reuben Charatan took over the family business. All the pipes were handmade until 1973. The brand name has been overtaken by Dunhill in 1978 and sold in 1988 to James B. Russell Inc.(NJ, USA). During the period 1988-2002 Charatans were crafted by Butz Choquin in St Claude (France). Dunhill re-purchased Charatan brand name in 2002 and Colin Fromm (Invicta Briars, Castleford) followed up on freehand production.

I turned to Pipedia to see if I could find more information on the brand and possibly a link to the Distinction line (https://pipedia.org/wiki/Charatan) but once again in the general article it was not listed.  It did give a little more historical information. I quote the pertinent parts and have highlighted in bold the sections that give information on this particular pipe.

In 1863 Frederick Charatan, a Russian/Jewish immigrant, opened a shop in Mansell Street, located in the borough of Tower Hamlets, London E1, where he began to carve Meerschaum pipes. These pipes got very popular soon, and thus Charatan moved to a bigger workshop in Prescot Street, just around the corner. Here he began to make briar pipes which should make the name famous the world over. Charatan was the first brand to make entirely hand-made briars from the rough block to the finished pipe including the stems. The nomenclature “Charatan’s Make” refers to this method of production and was meant to differ Charatan from other brands who “assembled” pipes from pre-drilled bowls and delivered mouthpieces.

Being the undisputed No. 1 in English pipemaking, Charatan was approached by Alfred Dunhill who was unsatisfied with the quality of the pipes he imported from France. During 1908 – 1910 Dunhill bought pipes from Charatan paying exorbitant prices to ensure he had some of the very best pipes for sale in England. In 1910 he lured away Joel Sasieni, one of Charatan’s best carvers, and opened his own small pipe workshop on 28 Duke Street. On the retirement of his father in 1910 Reuben Charatan took over the family business…

…The pre-Lane period (prior to 1955) and the Lane era pipes (1955 to until sometime between 1979 – 1984) are of primary interest the collector. The Lane era is often quoted as beginning about 1950… Charatan records are almost non-existent before Lane due to a factory fire, making it difficult to date pre-Lane pipes. Charatan used 4 basic grades prior to 1950: Supreme, Selected, Executive, and Belvedere. After 1950 Herman Lane’s influence began, and the grades started to expand. In 1955 Lane took over sole distributorship of Charatan in the US. In 1957 he introduced the Supreme S. Most of his other introductions were from the 60’s and early 70’s…

The section called Miscellaneous Notes had some interesting information.

Charatan records indicate the DC (Double Comfort) bit was introduced in the 50’s, but some report seeing them in earlier production. Still others indicate they were introduced by Lane in 1960. Regardless, the DC bit is not an accurate way to date a pipe because many Charatan’s were made with regular and saddle type bits throughout the “Lane Era”…

…The Lane Trademark serif and circled L indicates the pipe is from the “Lane Era” (approx. 1955 to 1979 -1984?), however it appears that both the English factory or Lane themselves sometimes, or perhaps even often forget to stamp the L on a pipe. The Charatan factory was known for inconsistencies, especially in stampings. Therefore, although an L on the pipe definitely defines it as a Lane Era pipe, the lack of it could simply mean the pipe missed receiving the stamp from the factory. The lack of the trademark could also mean the pipe was destined for the European market.

…Generally, when the pipe is stamped with the BLOCK letters “MADE BY HAND” it means the pipe was probably made between 1958 and 1965”

Generally, block letters “MADE BY HAND” and some of the other nomenclature in script (i.e. City of London or Extra Large next to the MADE BY HAND) means the pipe was made sometime between 1965 and the mid 1970’s. The total script nomenclature “Made by Hand in City of London” evolved over this period of time, so many pipes had variants, such as Made By Hand in block letters and City of London in script, or some other variation of the terms or stampings. The Charatan Logo (CP) on the pipe bit was changed over the years.

I found an interesting Russian site on the various lines of Charatan. Here is the link to that site – http://brbpipe.ru/wp-content/uploads/2012/06/T-shop_1-2011-12_56-69_3.pdf. I did a google translation of the section on the DISTINCTION line.

The first of two medium sized factories. Neutral flame grain under contrast stain. Sometimes, however, there is a completely fantastic, almost perfectly smooth cross cut, sometimes – inclined to the side of the smoker flame. The most important thing: in this and the next grade begins a serious predominance of freehand over cataloged shapes.

The reason for this predominance lies in the strategy of educating carvers. Both medium grades are the launch pad for those who sought the right to work with top grades. Where the freaks have become the rule. The master had to work out a sufficient number of freehands and show a personal fantasy, so that he was allowed to work with the best, selective locks. And if at this “school of life” you could make extra profits … well, you remember that in this regard, there was a little iron Hermann.

I also found a description of the Distinction on VKpipes. Here is the link to that site, https://www.vkpipes.com/pipeline/charatans-make-distinction. I quote from that site.

Distinction was one of the most successful and valued lines of Charatan’s pipes from the “first Lane era” (1961-95). These years the old good Charatan’s family manufactory turned into the brightest star of the pipe making by means of new investments, a successful management and a creative approach of the Charatan’s artisans. There’s no shape number on the pipe: it was made by one of the leading carvers at this factory regardless any catalogues…

I also found a list of the various lines of Charatan’s Make Pipes that helps to place the Distinction in the hierarchy of pipes. Here is the link to the list https://www.reddit.com/r/PipeTobacco/comments/z9knr/charatan_models_shape_information_for_the/. I will be posting it as a separate blog shortly. The Distinction line is just below the Executive line and just ahead of the After Hours line – both Charatan’s Make Freehand Straight Grains.

From all of the historical data I could work through this Charatan’s Make Distinction was one of the higher grade pipe from the mid 1970’s Lane era. I continue digging further into the dating of the pipe, but what I had found was a good start for me. If some of you would like to try your hand at dating it more accurately as to the time period it came out you might want to check out the article on Pipedia on Dating Charatans (https://pipedia.org/wiki/Dating_of_Charatans). I had enough for me to start working on the pipe itself and see what lay beneath the heavy tars and oils.

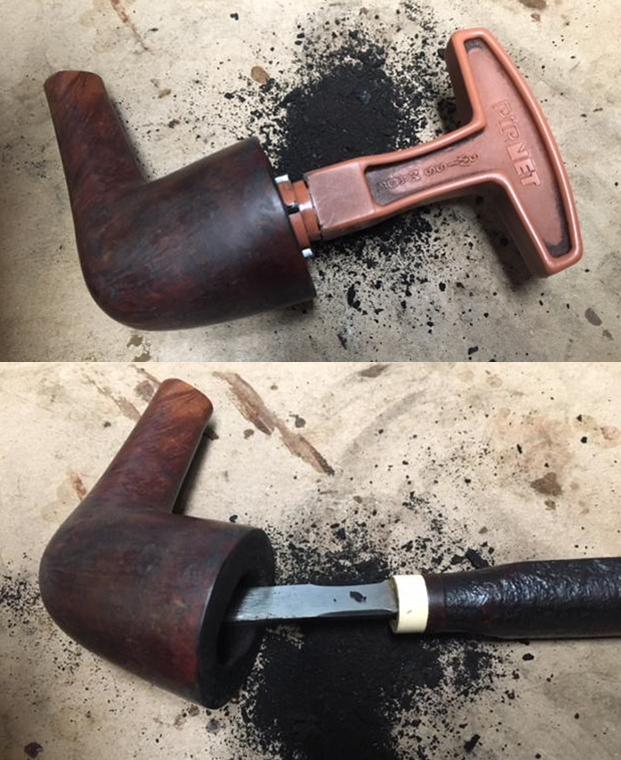
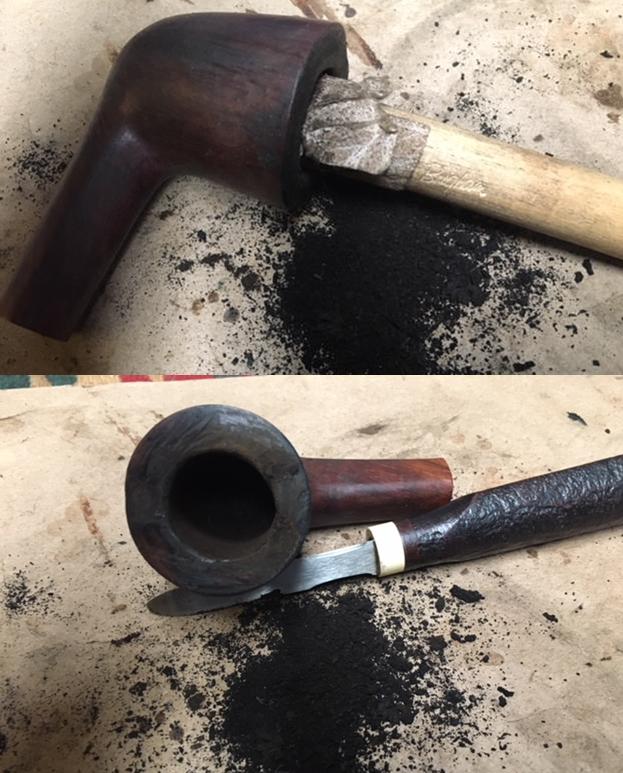
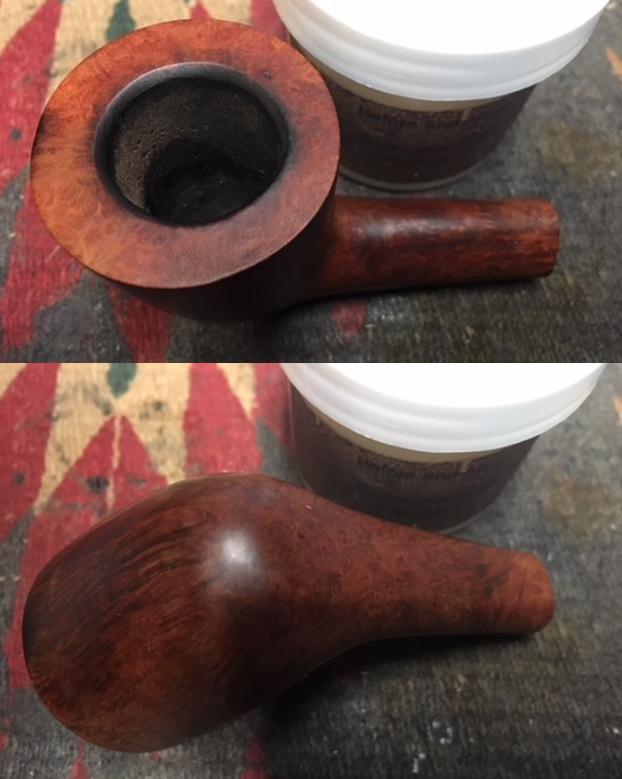
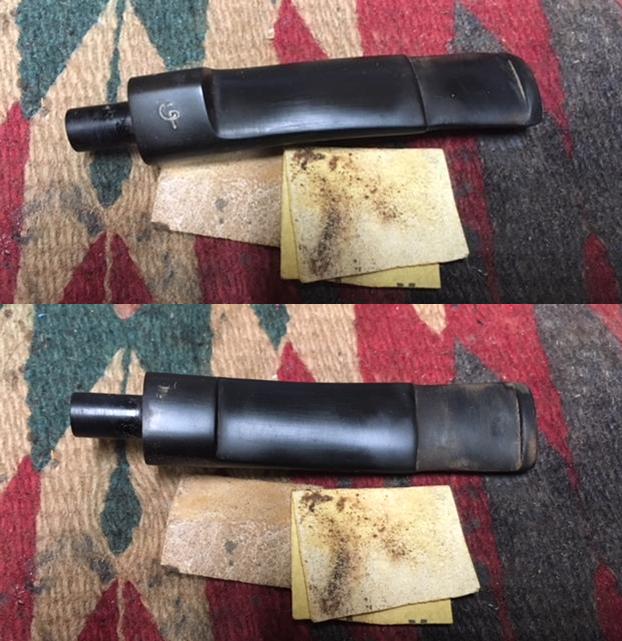
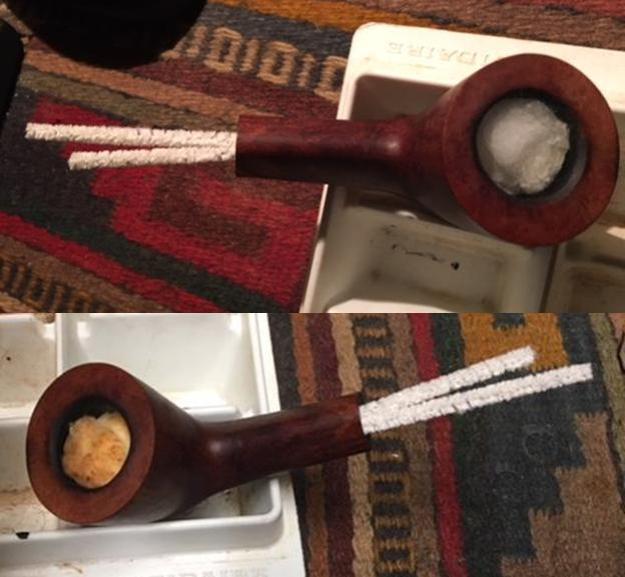
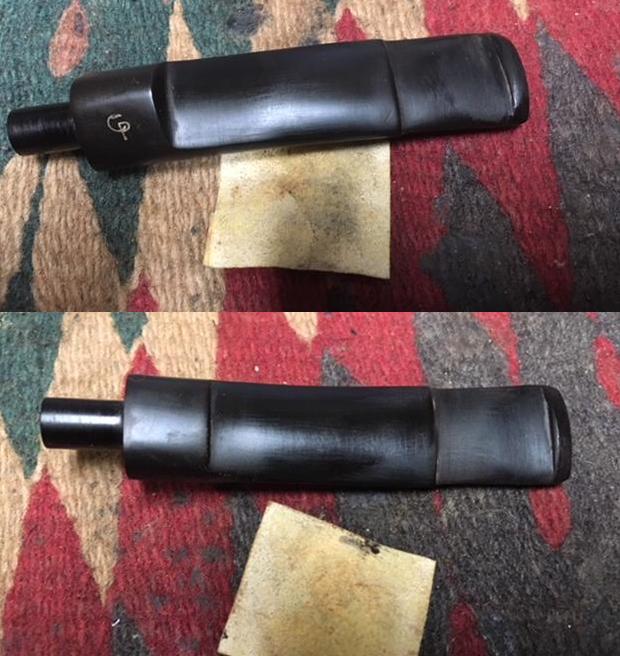
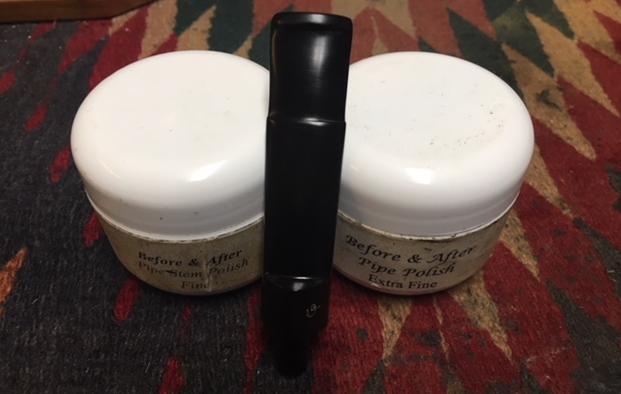
I began working on the pipe by reaming the bowl with a PipNet reamer. I used two of the four cutting heads to clean out the cake. The bowl was thickly caked so I started with the smaller of the two and worked my way up to the second one which was about the same size as the bowl diameter. I cleaned up what remained in the bowl with a Savinelli Fitsall Pipe Knife and scraped it back to bare briar. I finished by sanding the inside of the bowl with a dowel wrapped in sandpaper. I worked on the top of the rim with the edge of the Savinelli Fitsall Pipe Knife. I scraped the heavy buildup that was there. I topped the bowl on a topping board with 220 grit sandpaper to remove the damage to the top surface of the rim and clean up the damage to the edges. I did not have to remove a lot and repeatedly checked it to make sure that I had removed enough but not too much. I wanted to take the rim top down until the burn damaged area was smooth and minimized. The second photo shows the burned and damaged areas clearly. I continued to top the bowl until I had removed the damage. I wiped down the rim top with alcohol and cotton pads to remove the sanding dust. I scrubbed the exterior of the bowl and shank with a tooth brush and Murphy’s Oil Soap to break through all the grime. I rinsed the bowl under running water to remove the grime and grit. I repeated the process until I had the bowl clean. I took photos of the cleaned exterior of the bowl to show where things stood at this point in the process. I used a folded piece of 180 and 220 grit sandpaper to bevel the inner edge of the rim until I had removed most of the damage on the back inner edge.With the externals clean it was time to clean out the mortise and shank and airway into the bowl and the airway in the stem with alcohol, cotton swabs and pipe cleaners. I scraped the mortise with a dental spatula and a pen knife to loosen the tars before cleaning. I worked on the bowl and stem until the insides were clean. I wiped down the exterior of the bowl with alcohol on a cotton pad to remove any remaining oils and grimes from my cleaning of the bowl and rim. Once the alcohol evaporated the briar was very dry but also very clean. I rubbed down the briar with Before & After Restoration Balm. I worked it into the smooth finish to clean, enliven and protect the new finish. It also evened out the stain coat and gave the stain a dimensional feel. I let the balm sit for a little wall and then buffed it with a horsehair shoe brush. I buffed the bowl with a cotton cloth to raise the shine. There was some darkening on the rim top on the right front and around the inner edge of the bowl but the briar was solid all around the bowl. The bowl looked really good at this point in the process. I set it aside and turned my attention to the stem. I sanded out the tooth chatter on both sides with a folded piece of 220 grit sandpaper. I cleaned the surface of the stem with alcohol on a cotton pad and filled in the tooth marks with black super glue and set the stem aside to let the repair cure.While the stem repair was curing I stuffed the bowl with cotton balls and put a folded pipe cleaner in the shank. I filled the bowl with alcohol to leech out the oils and tars in the bowl. I set the bowl in an old ice cube tray and let it sit throughout the day while I was at work. I find that cotton balls work as well as kosher salt and the folded pipe cleaner leeches tars out of the shank as well. The first photo shows the pipe when I set it up early in the morning. The second shows it after it sat all day. The cotton balls were dark brown with the oils that had wicked out of the briar. The pipe smells fresh and new now!When the repair had cured I used a needle fill to clean up the sharp edge of the button. I sanded the repairs on the stem with 220 grit sandpaper to blend them into the rest of the surface of the vulcanite.I polished the stem with micromesh sanding pads – wet sanding with 1500-2400 grit micromesh sanding pads and dry sanding it with 3200-12000 grit pads. I rubbed the stem down with Obsidian Oil after each pad. I polished it further with Before & After Pipe Polish, using both the Fine and Extra Fine polishes to further protect and polish out the scratches. When I finished with those I gave it a final rub down with the oil and set it aside to dry.  With the stem polished I put it back on the pipe and lightly buffed the bowl with Blue Diamond. I buffed the stem with a more aggressive buff of Blue Diamond. I gave the bowl several coats of Conservator’s Wax and the stem several coats of carnauba wax and buffed the pipe with a clean buffing pad to raise the shine. I hand buffed it with a microfiber cloth to deepen the shine. The pipe polished up pretty nicely. The finished pipe is shown in the photos below. This is the sixth of Farida’s Dad’s pipes that I am restoring from his collection. I am looking forward to hearing what Farida thinks once she sees the finished pipe on the blog. This Charatan Distinction will soon be on the rebornpipes store if you want to add it to your rack. The dimensions are Length: 6 inches, Height: 1 3/4 inches, Outside diameter of the bowl: 1 1/2 inches, Chamber diameter: 7/8 inches. Thanks for walking through the restoration with me as I worked over another of the her Dad’s pipes. I have two more of his pipes to work on – one more Dunhill and one Charatan’s Make.

Repairing (again!) a Son’s Gift – an L. J. Peretti Stem Splice


Blog by Dal Stanton

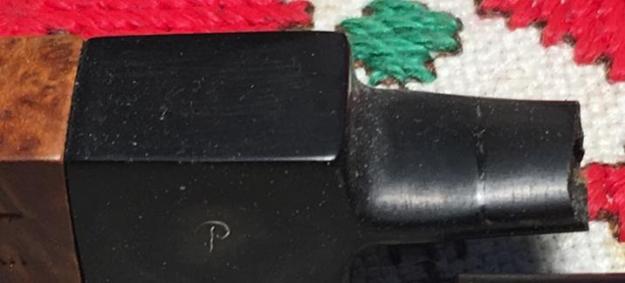
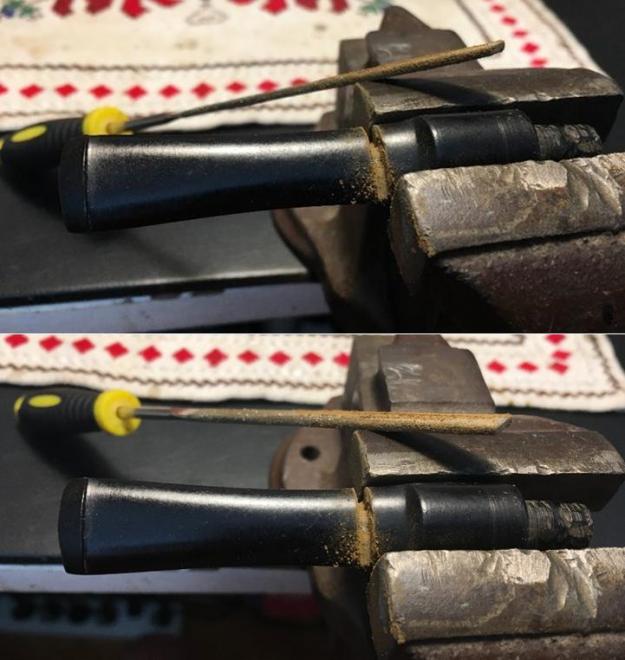
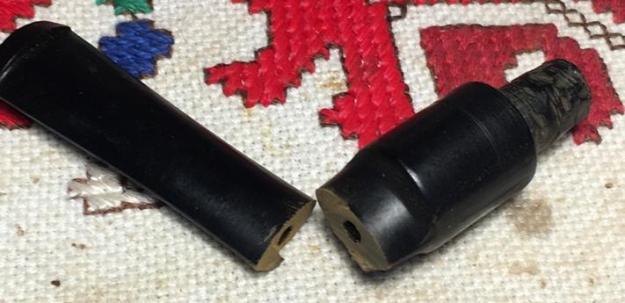
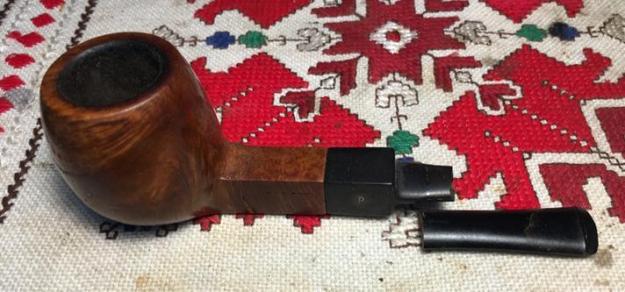
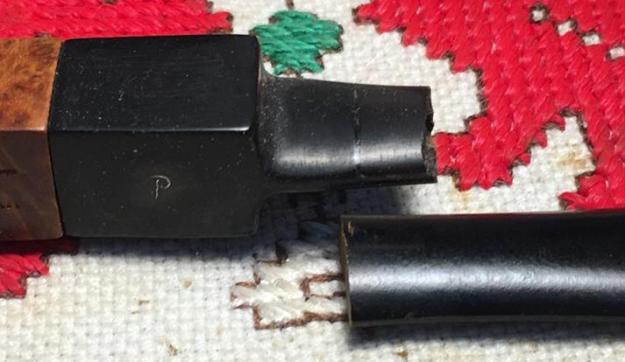
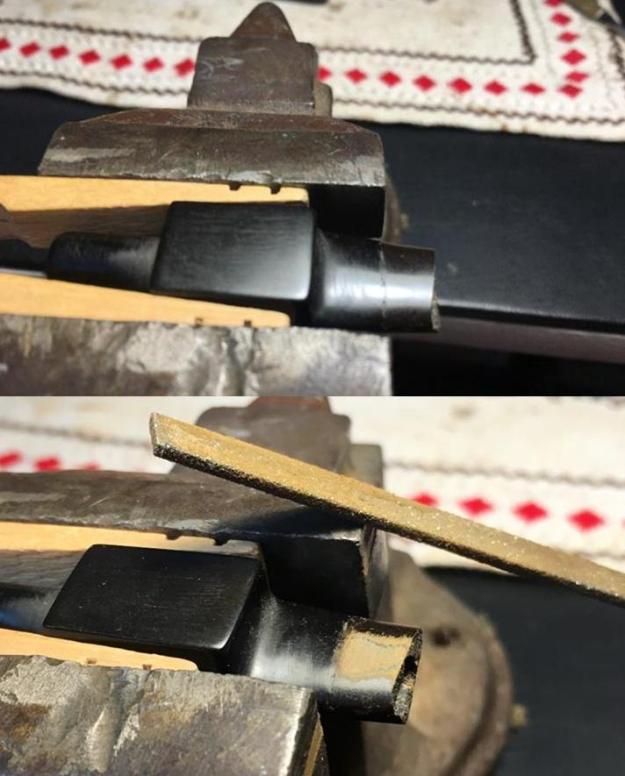
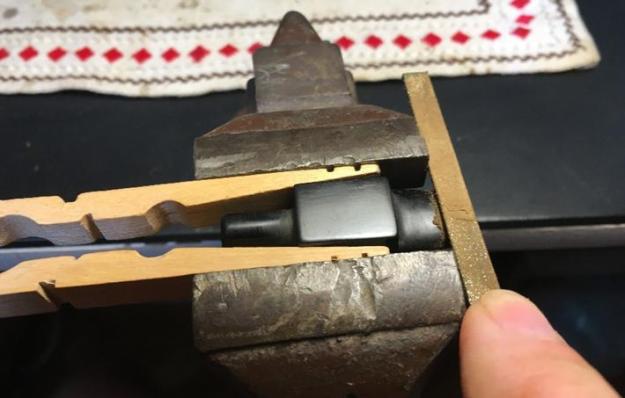
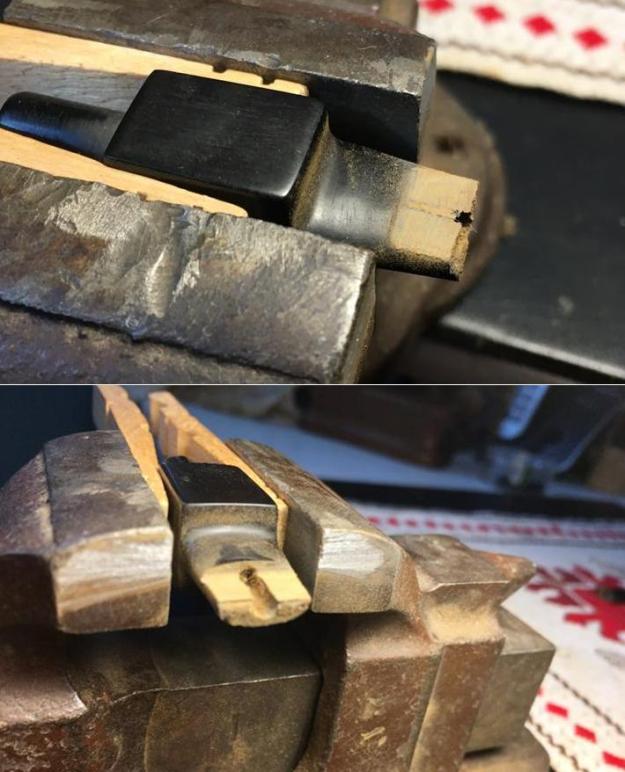
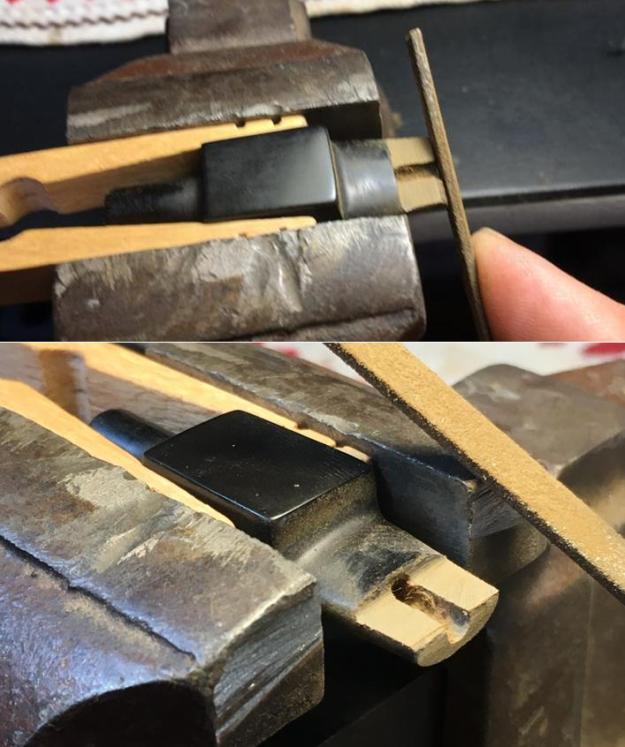
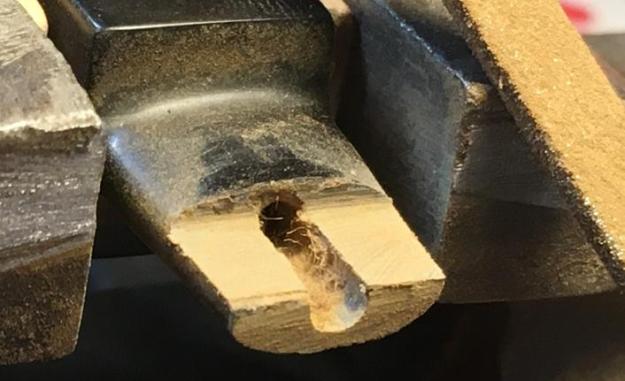
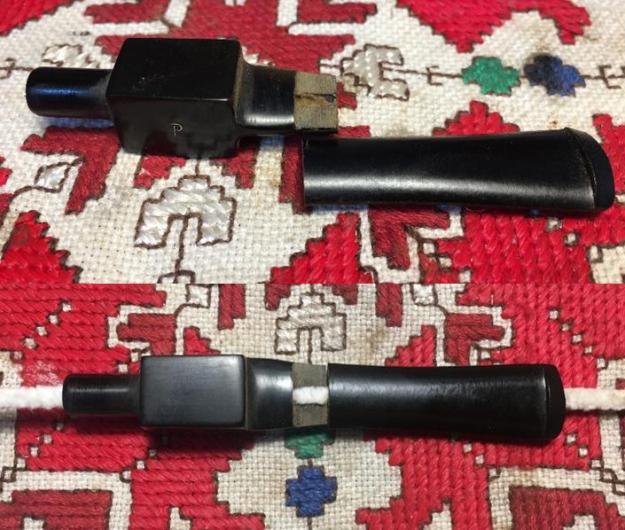
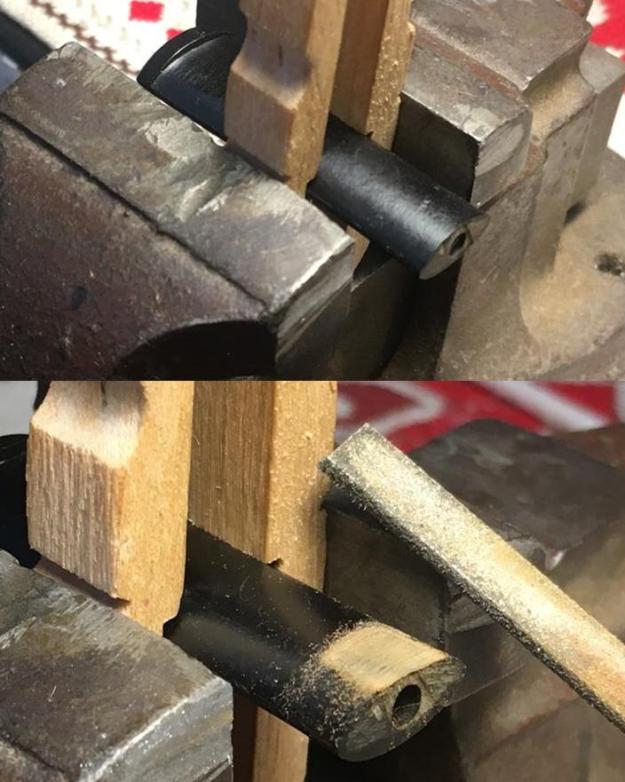
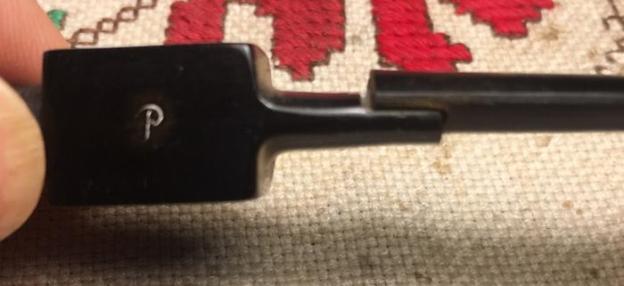
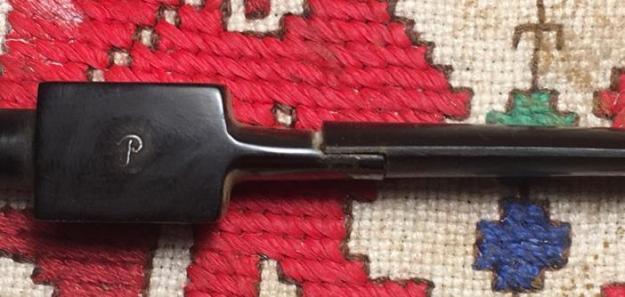
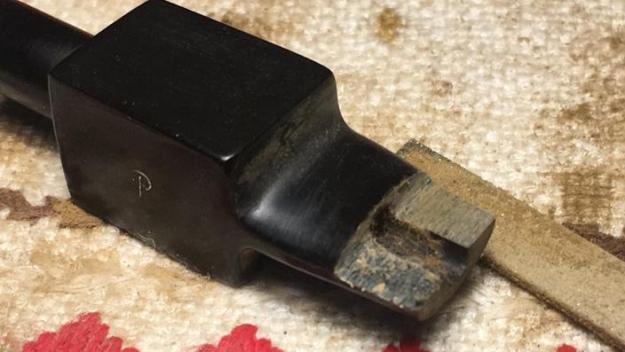
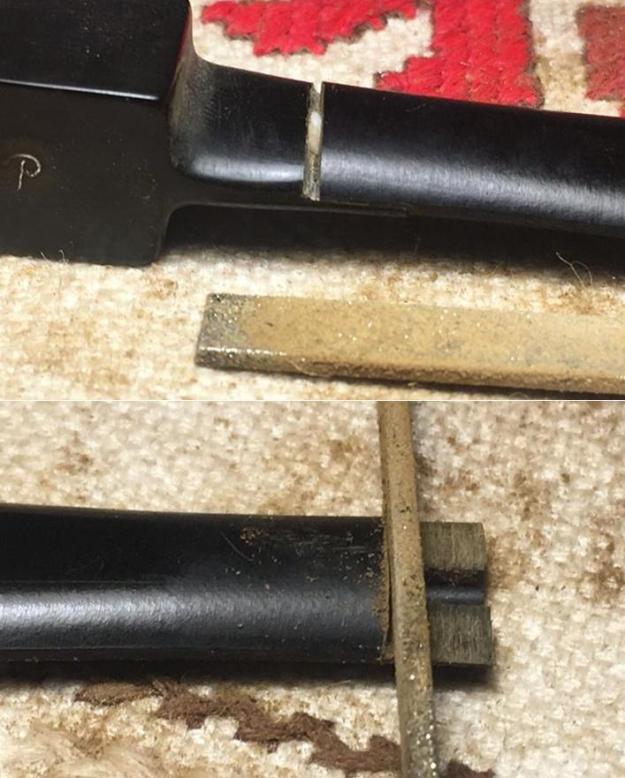
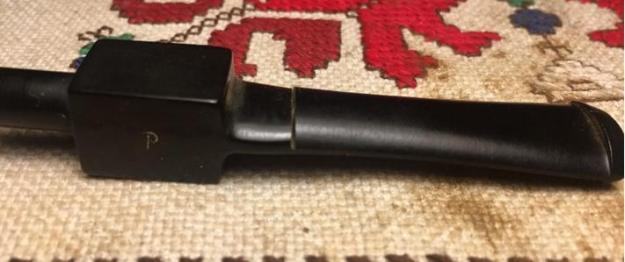
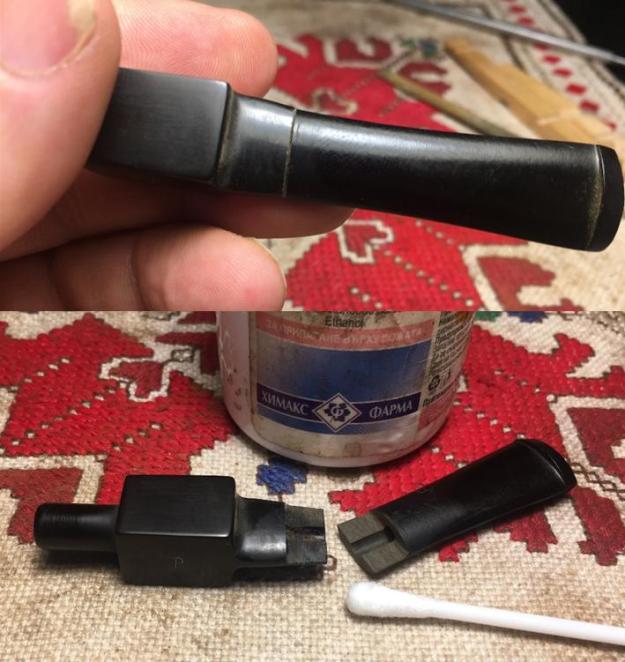
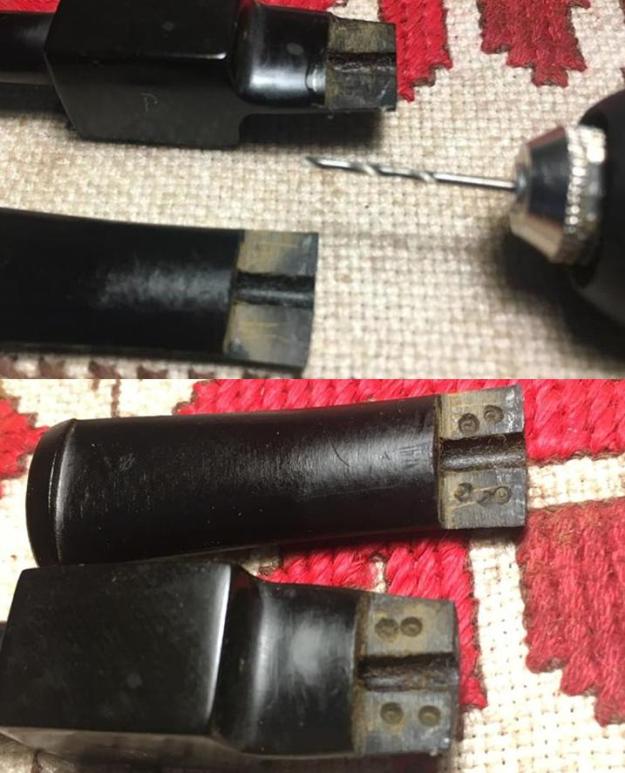
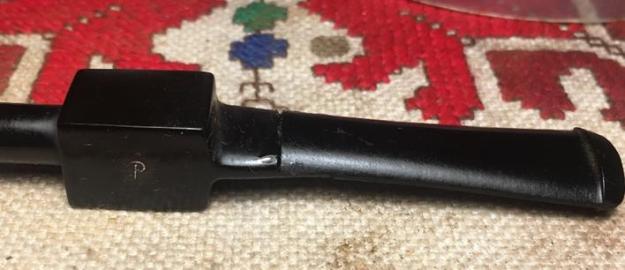
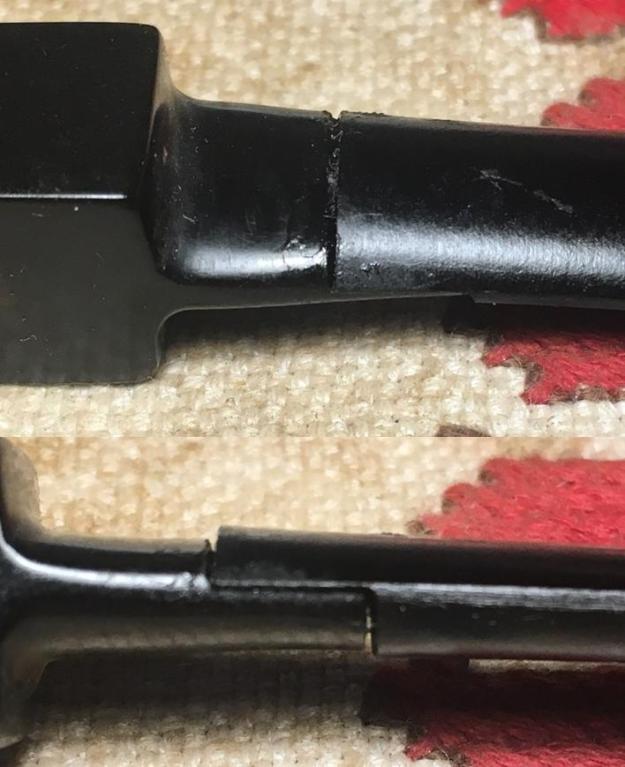
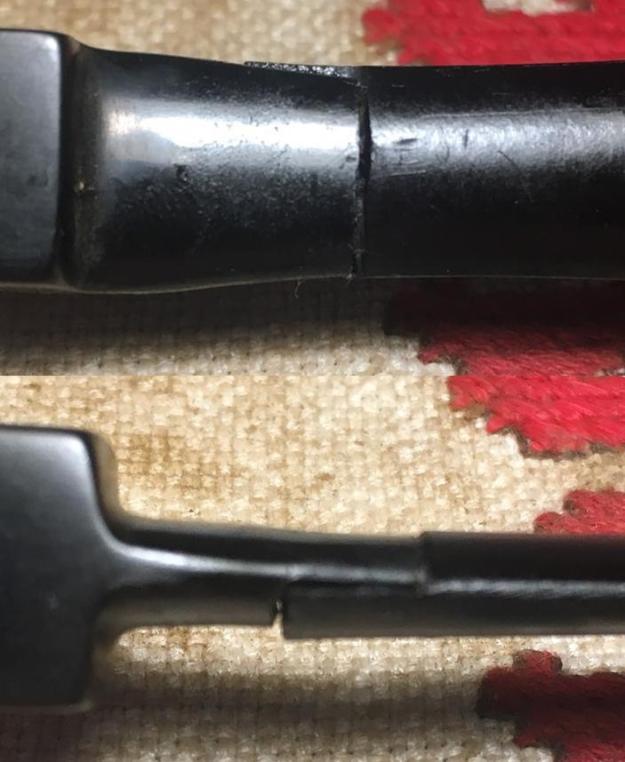
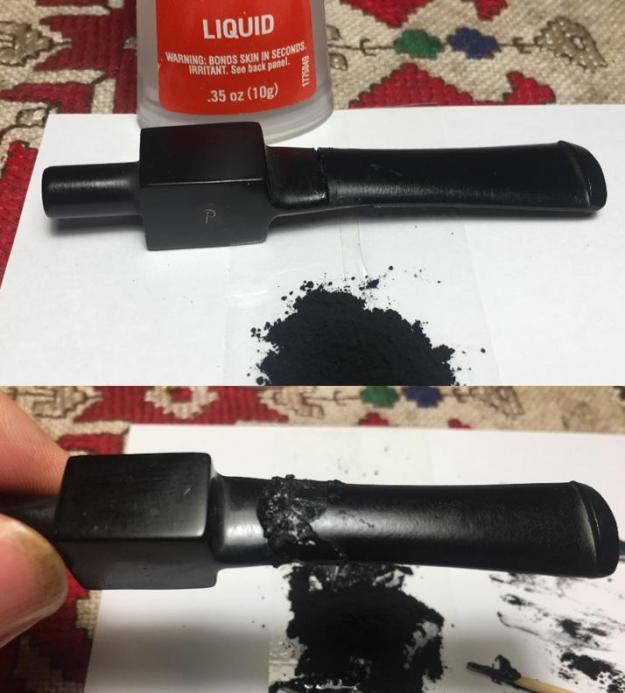
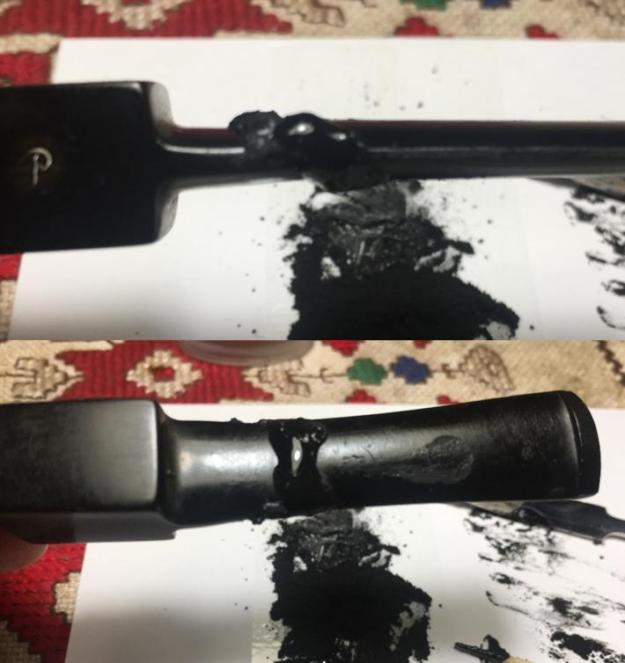
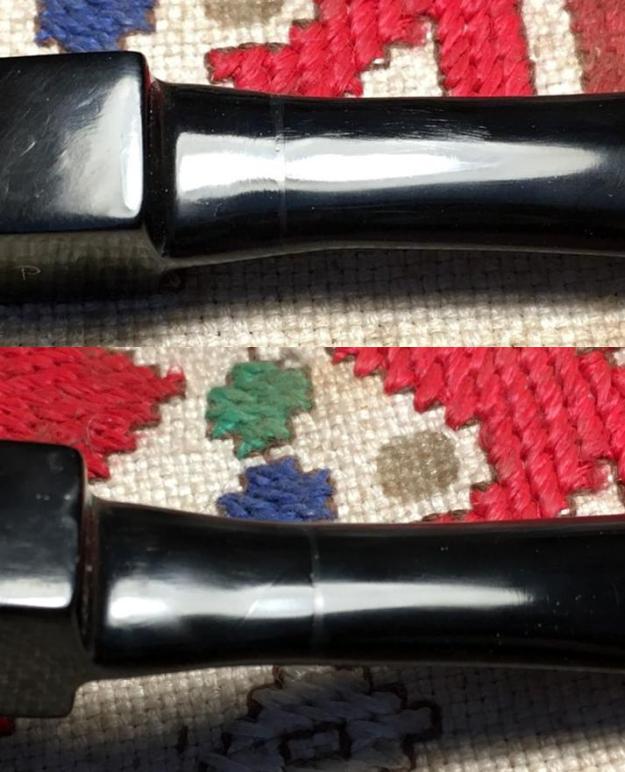
We all have favorite ‘friends’ in our specially chosen, first string rotation of pipes that are ready when we call upon them.  For me, each of these pipes have names and associations with my life – memories of a person or a special event or both – that is stirred to life when I grab that pipe off the rack and spend time, usually packed with my favorite blend, Lane BCA.  In several blogs I have referenced my attraction to L. J. Peretti pipes of Boston – I’ve started a collection of Perettis and I have found they are hearty pipes and good smokers.  My fascination with Perettis started with a Christmas gift from my son, Josiah, a few years back in Denver.  He found this wounded warrior in the Armadillo Antique Mall in Denver and I found it under the Christmas tree with Josiah’s confidence that I could mend his wounded pride and broken stem!This hearty L. J. Peretti Square Shank Billiard became my first experience in the art of stem splicing.  I learned a lot and was proud when I published the write up of this achievement: A Christmas Gift in need of a stem splice – L J Peretti Squared Shank Billiard.  Josiah’s gift started my appreciation for Peretti pipes in Denver.  I have enjoyed this pipe and he was joined serendipitously by another Peretti, another square shank, but a Rhodesian (See: LINK for write up).  Jon, a friend and colleague working in Ukraine, gave me my second Peretti!  These two, together, I call the Peretti brothers.As life unfolds, things happen.  I was back in Denver from Bulgaria last February for the births of two brand new beautiful granddaughters and had grabbed the Peretti Brother Billiard and was heading up the stairs to go outside to enjoy a bowl and the view of the Rocky Mountains, when I fell (going up the stairs!) and the stem splice that had served faithfully was overcome by the impact of my body coming down on it.  The stem broke at the end of the ‘shelf’ created for gluing.  You can see this on the next picture.  I lost the remainder of the stem in the flight back to Bulgaria, but it wouldn’t have mattered because there wasn’t enough left of it to repair.  The picture below shows the remainder of the original cannibalized stem’s fashioned shelf remaining on the Peretti saddle stem – the junction line shows up in the shine on the stem.  I decided to do a write up simply of this repair, but I have an alternative motivation too.  My wife and I are leaving soon for the Black Sea coast for our annual R&R and I wanted to repair the Peretti Brother to take with me to the beach!  So, I took pictures of the repair process but am now doing the write-up on the beach, looking out over the Black Sea!Starting the repair, I find an adequate donor stem to cannibalize for the replacement.  I measure it and cut it with adequate length so that the cut is at the old seam that you see in the picture above.  I make the measurement then, using a flat needle file as a saw, I make the cut after placing the stem in a vice in such a way that I can use the edge of the vice as a guide during the cut.  In this way, I hope that the cut is straight and perpendicular to the stem!There is a little vulcanite spur left that I clean off easily with the file.Lining the donor stem up with the remaining original stem looks like the right length for a balanced feel and look.Next, carefully I cut an upper groove on the original stem essentially in the same place as the first shelf was, thus removing the old donor remnants.I use the tapered pieces of a clothespin to wedge the square shank saddle in the vice safely and securely.  I want the saddle stabilized in a horizontal plane for the filing/cutting process.  I also line up the old seam with the edge of the vice so that the vice’s edge helps as a guide.  I’m aiming for a cut that is perpendicular to the stem’s length as I create a new groove using the flat needle file. Patience is my best friend in this process. The pictures show the progress. As I draw close to the airway, my goal is to stop when the airway is exposed halfway while keeping the horizontal shelf and the inside vertical edge of the shelf at right angles.Satisfied that I’ve gone far enough, I trim off the end of the lower shelf – as close to right angles as possible!  I think it’s looking good. I eyeball the progress.  The truth is that not all stems are drilled with holes in the exact middle.  To get an idea of the best alignment of the new donor stem with the original, I put a pipe cleaner through both.  I flip the donor stem eyeballing the alignment to see if one position is better than the other.  The most important alignment consideration is the airway.  The external stem can be cosmetically improved, but a blocked airway cannot be easily removed. When one doesn’t have precision tools, which for the most part I don’t, one lives with the value of improvisation.  To cut the shelf in the donor stem now, I mount the donor stem in the vice and again, using the angled pieces of a clothespin, I fashion a stable filing platform!  I file conservatively.  That is, not to go for an exact measurement but leaving some excess stem to file down gradually, working up to a good fit.  I use the width of the flat needle file as the measure for the length of the shelf which leaves me a little ‘fat’ to work with.  The challenge will be keeping the shelf that is fashioned as much of a right angle as possible or, the two, shelf butt ends to be parallel!  As before, I use the side of the vice as a guide to keep the new edge straight.  I take pictures of the filing progress. At this point, after eyeballing the progress, I realize that as I’m filing the shelf, it is not horizontal but sloping downward toward the end of the shelf.  To address this, I use the short edge of the flat needle file and saw a straight line to open the airway.  In doing this, I now I have a built-in level – the top of the airway.  I continue to file the shelf to reveal uniformly the airway and this should be close to being level – I hope!  The progress is shown. At this point, I test the alignment even though there’s a long way to go on the donor stem.  To test, I put a pipe cleaner through the airway in both pieces.  The airway must line up in the finished repair.After more filing, another test.  Closer.As I file and test, I realize that the lower shelf extension on the original Peretti stem was still a bit fat, so more vulcanite is filed off.  The challenge is not taking off too much because it can’t be replaced easily!In time, another test – getting there.  You can see the pipe cleaner creating the alignment axis through the two pieces.  The gap that is showing on the top I address by taking off more vulcanite from the donor stem (second picture), after flipping over I file the vertical edge ‘back’.  This will close the gap on the top and spare the original Peretti stem from giving up more vulcanite.I decide I’ve filed and fitted enough.  The time has come to glue the two pieces of stem. I think its possible to fiddle too much seeking ‘Fit Nirvana’! I clean the shelves with alcohol, including the airway with a pipe cleaner.  The tricky part of the gluing is to avoid CA glue getting into the airway and sealing it – not a good situation!  The way to avoid this is by inserting a pipe cleaner that has petroleum jelly on it – the CA glue will not stick to it.  The challenge doing this is that when you press petroleum jelly into a closed space it squeezes out and can contaminate the area that needs maximum CA glue effectiveness!After cleaning the area and thinking about how I might maximize the bond between the spliced stem pieces, I remembered a technique that I had previously read in either one of Steve’s Rebornpipes blogs or Charles Lemon’s, Dad’s Pipes blogs, describing how drilling holes can enhance the glue’s penetration and bonding qualities.  To do this I mount a 1mm drill bit into the Dremel.  WARNING bells are going off in my mind: Do not drill through the vulcanite!  There’s not a large margin of error.  With the bells ringing, I drill a couple of holes on each side of the airway on both stems’ shelf.  It looks good and I’m glad I remembered this technique.I repeat the cleaning of the upper and lower shelves with alcohol and insert a pipe cleaner through the pieces with a bit of petroleum jelly on it.  I then apply thick CA glue to the shelves and draw the two pieces together while keeping the pipe cleaner taught assuring a straight airway. I use a thick CA glue so that the glue remains in place and doesn’t run spread over the stem.By keeping the pipe cleaner taut and the airway straight, I maneuver the two pieces to fit as well as possible which leaves the external appearance a bit ‘Frankenstemish’ but that’s OK and expected at this point in the process.  I can address that later.  In the pictures following you can see gaps and where the stem surface is not flush as the stem transitions through the splice. The primary bonding of the splice is successful with a clear and straight airway.  To address the gaps, I mix a batch of activated charcoal powder and regular CA glue to make a putty that acts as a filler for the imperfections of the fit.  I keep the putty a bit thinner than normal when I use this mixture repairing tooth dents and damage to the bit.  Keeping the CA and activated charcoal putty thinner, or wetter, allows a better penetration into the gaps around the split.  After I mix the putty, I apply it around the spliced area with a flat dental spatula and tamp the putty down into the gaps.  The pictures show the process. The result looks truly like a ‘Frankenstem’.  A give a full 24 hours for the putty to cure well and I then begin the filing and shaping process using a flat needle file.  The pictures show the gradual process of shaping the external appearance of the stem splice. Following the filing, I use 240 grit paper to further smooth and shape.  In the next pictures you can see that I sand the entire stem.  The entire stem must be tapered and sloped so that the spliced area disappears into one unified stem presentation.  The tapering is not only on the upper and lower stem, but also on the stem’s sides where the stem bows inwardly from the saddle to the button.Following the 240 grit paper, I smooth further with 600 grit paper.As the stem splice smooths during the sanding, I detect a hole where the putty failed to fill.  I dispatch this by spot dropping black CA glue in the hole to seal it.  After it cures, I continue sanding and smoothing the area. With the splice repair essentially finished, what I don’t show in pictures following is the normal, full sanding and buffing process.  I follow the 600 grit paper by buffing the stem with 0000 grade steel wool.  I then follow with 9 micromesh pads from 1500 to 12000 with a coat of Obsidian Oil between each set of 3 pads.  I then apply Blue Diamond compound with the Dremel, followed by the application of carnauba wax to both stem and stummel.  You can still see the seams of the splice, but the entire stem looks great.  The pictures show the finished spliced stem. The Peretti Brother Billiard joined me on the Black Sea and both of us have enjoyed a great reunion!  Thanks for joining me!

Cleaning up a Fascinating KBB Yello-Bole Premier Bulldog


Blog by Steve Laug

I am not sure where Jeff found this old pipe but I like it. Once again he showed that he has an eye for old and unique pipes. This one is a ¼ bent bulldog with a large bowl and a unique rustication pattern on the underside of the bowl and on the shank. The pattern on the shank was framed with smooth frames. The cap on the bulldog was also smooth above the twin rings. The bowl was coated with varnish or some shine coat that was worn off of the smooth part of the pipe but remained in the grooves. The rim top had a lot of dents and damage but that will become evident in the following photos. It was stamped on the left underside of the diamond shank on a smooth panel. It has the KBB in a cloverleaf and next to that it reads Yello-Bole over Cured with Real Honey. Next to that is the symbol for a registered trademark ® (R in a circle). Underneath it reads Premier over Imported Briar. On the stem is the propeller inset logo that appeared on older Yello-Bole pipes. Jeff took photos of the pipe before he started his cleanup work. Jeff took some close up photos of the rim top to show the condition of the bowl and rim. The bowl interestingly, still had some of the Yello-Bole Honey Cured coating on the top edge and the bottom half of the bowl. The rim and cap had been knocked hard on surfaces to empty the bowl. There was some lava and dirt on the rim top and the sides of the cap but there was very little cake in the bowl and the edges looked to be in good condition.Jeff also took photos of the bowl from various angles to show the condition of the finish. You can see the crackling varnish and dust in the grooves of the rustication. The varnish is worn off the smooth portions and high spots on the rustication. There is also dust and crackling varnish filling in the twin rings that separate the smooth cap from the rusticated lower portion. The stamping on the left underside of the diamond shank is clear and readable. The KBB in the cloverleaf has more wear than the rest of the stamping. You can also see the grime on the finish in the photo below. The second photo shows the propeller logo on the top left side of the diamond saddle stem.The stem was in decent condition. It was oxidized on both sides of the stem. There were some nicks and tooth marks on both sides near the button and on the top and underside of the button itself. There were no deep tooth marks which is really a relief.I went back to a previous blog about the various Yello-Bole logos in my collection of these pipes. I reread that blog to try to narrow down a date for the pipe. Here is the link to the post and the comments on the blog: https://rebornpipes.com/2013/01/25/yello-bole-logos-from-my-collection-of-old-yello-bole-pipes/. There was a comment on that blog that came from Troy who I consider my go to guy for Yello-Bole information (who has written on rebornpipes and also has a blog of his own). Troy wrote as follows on dating Yello-Bole pipes by the stamping and logos.

“I have a large KBB Yello-Bole collection. They are some of my most favorite pipes and the best smokers for the money (briar wise) you can find in my opinion. I have restored and researched them quite a bit. I have several listed on my blog that I have cleaned or restored. I own about 30-40 KBB Yello-Boles now.”

“Here is a little guide to dating KBB Yello-Boles. If it has the KBB stamped in the clover leaf it was made 1955 or earlier as they stopped the stamping after being acquired by S.M. Frank. From 1933-1936 they were stamped Honey Cured Briar. Pipes stems stamped with the propeller logo they were made in the 30s or 40s no propellers were used after the 40s. Yello-Bole also used a 4 digit code stamped on the pipe in the 30s. If the pipe had the Yello-Bole circle stamped on the shank it was made in the 30s this stopped after 1939. If the pipe was stamped BRUYERE rather than briar it was made in the 30s.” (NB. The portions above in bold and underlined were highlighted as they pertain to the present pipe.)

From that information I ascertained the following. The rusticated Premier Bulldog I had was stamped with KBB in the cloverleaf on the left underside of the shank which told me that the pipe was made before 1955. It had a propeller logo on the stem which further placed it in the period of the 30s and 40s. With all of that collected I knew the pipe was made between 1930 and 1949 which means that this old Bulldog has seen a lot of life. I wish it could tell its story.

Ah well… I don’t know for sure where it came from or what previous pipeman carried the trust of this pipe before it came to me. It still needed to be cleaned up. I turned my attention to the restoration of the Bulldog.

Jeff had worked his magic in cleaning up this pipe. It is nice to work on pipes that he has cleaned up once again. He reamed it with a PipNet reamer and smoothed the walls of the bowl with a Savinelli Fitsall pipe knife. He scrubbed out the mortise and the airway in the shank and the stem with alcohol, cotton swabs and pipe cleaners. He scrubbed the exterior of the bowl, rim and shank with a tooth brush and Murphy’s Oil Soap to the oils and tars on the bowl, rim and shank. He rinsed it under running water. He dried it off with a soft cloth. He was able to remove much of the crackling varnish in the grooves of the rustication and the briar beneath was in good condition. The cleaning of the stem left a light oxidation in the vulcanite. The tooth marks were clean but visible. I took photos of the pipe to show its condition before I started my work on it. I took some photos of the rim top and cap to show what it looked like after Jeff had cleaned off the grime and tars. The briar was in good condition but there were some deep gouges and scratches in the flat top and there were knock marks all around the cap surface. The stem was oxidized and showed tooth chatter and wear but it was otherwise in good condition. There were no deep tooth marks.I started my work on this pipe by lightly topping the bowl to remove the damage to the surface of the rim. It did not take too much topping to remove the damaged areas.I wiped the bowl down with acetone on cotton pads to remove the varnish that remained. I worked it into the grooves of the rustication with a brass bristle wire brush. Once I was finished the finish was clean and the grain looked really good on the cap and the rim top. The rustication was clean. I took photos of the bowl after the clean up to show the condition of the bowl at this time. It is beginning to look really good. In the third photo below you can see the Yello-Bole Honey Coat still present on the walls of much of the bowl. I used a folded piece of 220 grit sandpaper to sand out the nicks in the surface of the cap and to smooth out the small nicks around the outer edge of the flat rim top. I polished the rim top and the smooth portions of the bowl with micromesh sanding pads – wet sanding with 1500-2400 grit pads and dry sanding with 3200-12000 grit pads. I wiped the bowl down after each pad with a damp cloth. I rubbed some Before & After Restoration Balm into the surface of the briar to enliven, clean and preserve it. I rubbed it in with my fingertips working it into the briar. I worked it into the nooks and crannies in the rustication on the bowl and the shank a shoe brush. I set it aside for a little while to let the balm do its work. I buffed it off with a cotton cloth and then buffed it with a microfiber cloth. The photos below show the pipe at this point in the restoration process. I set aside the bowl and turned my attention to the stem. I sanded the tooth chatter and the oxidation off the surface of the vulcanite. I wiped it down with Obsidian Oil and took some photos of the stem at this point.I polished the stem using micromesh sanding pads – wet sanding with 1500-2400 grit pads and then buffing on the wheel with red Tripoli. I dry sanded the stem with 3200-12000 grit pads to further polish it. After each pad I wiped it down with Obsidian Oil to protect and enliven the stem. I polished it further with Before & After Pipe Polish – both Fine and Extra Fine. When I finished with the polish I gave it a final coat of oil and set it aside to dry. This older rusticated KBB Yello-Bole Premier Bulldog is an interesting and unusual piece. The rustication on the bowl is really unusual and the framing of it on the shank is quite unique. The smooth rim and cap is quite nice and has some birdseye and swirled grain undulating in the briar. The reddish brown of the bowl and the black of diamond vulcanite stem contrast well together. I buffed the bowl and the stem with Blue Diamond polish to raise the shine on the briar and the vulcanite. I lightly buffed the rim top and shank end as well. I was careful to not buff the stamping and damage it. I gave the smooth parts bowl and the stem multiple coats of carnauba wax. I hand waxed the rustication with several coats of Conservator’s wax. I buffed the entire pipe with a clean buffing pad to raise the shine. I hand buffed it with a microfiber cloth to deepen the shine. The finished pipe is shown in the photos below. The dimensions of the pipe are: Length: 5 1/2 inches, Height: 1 3/4 inches, Outside Diameter: 2 inches, Diameter of the chamber: ¾ of an inch. It is an interesting old pipe and should make a great collectible piece. Thanks for walking through the restoration with me.
Restoring a Second Bari De Luxe Mahogany Freehand…


Blog by Steve Laug

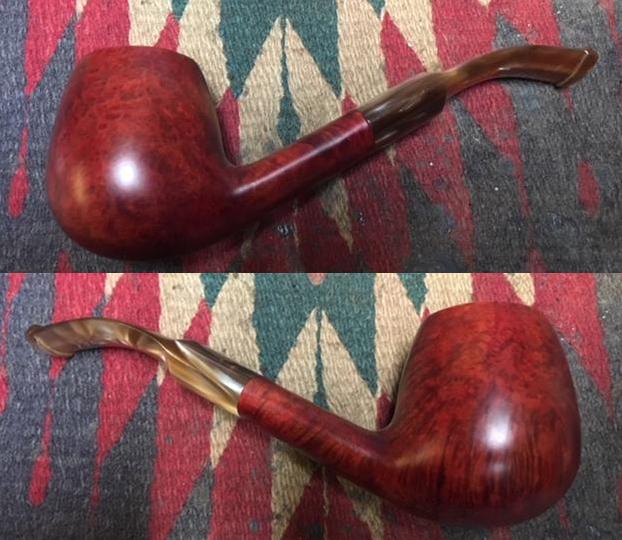
I was emailing back and forth with a pipeman in Edmonton who wanted to sell of his pipes. He was cleaning up things and thought he would see if I was interested in them. He said that he had several Bari’s that were in the lot and he wanted to move those out. He sent me photos of the pipes he had and we soon struck a deal. Since we were both in Canada it did not take long for the package to make its way to me. I opened it and went through his pipes to see what I had to work on. There were some pipe racks and accessories in the box as well. I went through the pipes and set them aside. Today I decided it was time to start working on them. I chose a second Bari De Luxe Mahogany Freehand as the second of those Bari’s that I would work on. I have included two of the photos of the pipe that he sent to me before I purchased the lot. You can see that it was a well-loved pipe and one that he smoked often. The finish on the sides and shank was in good condition but dirty. The shank end was a nice natural plateau but not as craggy as the previous one. The rim top had an over flow of lava on the top and there was a burn mark on the back inner edge of the rim. Under the tar and lava it looked like the rim top was in good condition. The stain highlighted the beautiful grain on the briar and the plateau was stained black in stark contrast to the reddish brown of the bowl. The bowl was caked and would need to be reamed but otherwise good condition. The stem was cleaner than the previous one and did not have any sticky substance on it. There was some oxidation under the oil but there were not any tooth marks or chatter on the surface. Tenon end was chipped and broken and would need to be repaired. I took the following photos of the pipe before I began the cleanup. (The pipe came in an original Bari pipe sock.) I took some close up photos of the rim top and the stem to show the condition of the pipe when I started. The rim top shows damage at the back inner edge of the bowl and on the rim top at that point as well. Other than general darkening and tar around the inner edge of the bowl the rim shows some nice grain. The plateau on the shank end is in excellent condition. The stem surface is in good condition other than some oxidation. When I took the stem out to examine the tenon and shank I found a surprise. When I spoke with John he was unaware of the issue as well and was surprised. The tenon had a large chunk out of the top side. There was almost half of the tenon missing.I took photos of the stamping on both sides of the shank. On the left it was stamped Bari over De Luxe over Mahogany and on the right side it was stamped Hand Made in Denmark. The stamping was faint toward the bowl on both sides of the shank but was still readable.In the previous blog on the Bari De Luxe Freehand I quoted a section from Pipedia on Bari pipes. Here is the link to the article on Pipedia: https://pipedia.org/wiki/Bari. I summarize the material that I found there as it gives a clear picture of the brand. I have been working on several pipes by Viggo Nielsen recently so it was a good reminder.

Pipedia states that Bari Piber was founded by Viggo Nielsen in Kolding, Denmark around the turn of 1950/51. His sons Kai and Jørgen both grew into their father’s business from a very young age and worked there till 1975. Both have become successful pipe makers.

Bari successfully adapted the new Danish design that had been started mainly by Stanwell for its own models. Bari was sold in 1978 to Van Eicken Tobaccos in Hamburg, Germany though the pipes were still made in Denmark. From 1978 to 1993 Åge Bogelund and Helmer Thomsen headed Bari’s pipe production.

Helmer Thomson bought the company in 1993 re-naming it to “Bari Piber Helmer Thomsen”. The workshop moved to more convenient buildings in Vejen. Bogelund, who created very respectable freehands of his own during the time at Bari got lost somehow after 1993. Bari’s basic conception fundamentally stayed the same for decades: series pipes pre-worked by machines and carefully finished by hand – thus no spectacular highgrades but solid, reliable every day’s companions were what they turned out. The most famous series are the smooth “Classic Diamond” and the blasted “Wiking”.

I started my cleanup of this pipe by working on the internals. I reamed out the cake with a PipNet pipe reamer and took the cake back to the bare briar. I scraped out the remnants in the bowl with a Savinelli Fitsall Pipe Knife. I sanded the walls in the bowl with a piece of dowel wrapped with 220 grit sandpaper to smooth the walls. I sanded the rim top with a folded piece of 220 grit sandpaper to remove the burn damage on the back side of the bowl. I polished the sanded area with micromesh sanding pads – wet sanding with 1500-2400 grit pads and dry sanding with 3200-12000 grit pads. I wiped the surface down with a damp cloth after each sanding pad. The first photo is a reminder of where things were at when I started the cleanup. While the burn mark was not totally removed it looked much better than when I started the cleanup. I used an Oak stain pen to restain the entire rim top. I used a Mahogany stain pen to touch up the inner edge of the bowl to try to blend in the darkening around the edges. Once the stain dried I rubbed it lightly with an alcohol dampened cotton pad to blend the colours together.I rubbed some Before & After Restoration Balm into the surface of the briar to enliven, clean and preserve it. I rubbed it in with my fingertips working it into the briar. I worked it into the nooks and crannies in the plateau on the rim and the shank end using a cotton swab. I brushed those areas with a shoe brush to work it in more deeply and spread it out. I set it aside for a little while to let the balm do its work. I buffed it off with a cotton cloth and then buffed it with a microfiber cloth. The photos below show the pipe at this point in the restoration process. I scraped the mortise walls with a sharp pen knife to remove the lacquer build up from tobacco juices and oils. It was thickly coated. Once I had that finished I cleaned out the mortise and the airway in the shank with cotton swabs, pipe cleaners and alcohol. It was dirty but I was surprised it was as clean as it was all things considered. I cleaned the airway in the stem the same way as the shank.I set the bowl aside and turned my attention to the stem. I reshaped the button with a needle file and sharpened the edge against the surface of the stem. I sanded the surface of the stem with 220 grit sandpaper to remove the light tooth chatter on the surface of the stem and to break up the oxidation that was prevalent in the grooves and spindles of the stem.  I started the process of rebuilding chipped tenon. I have done this on one other pipe and was quite happy with the results. I mixed a batch of charcoal powder and super glue to make a putty to start the rebuild. I applied it to the edge of the tenon with the sharp tip of a sanding stick. I wanted to layer the edge until the tenon was sharp and smooth. It would be a process of layering and shaping to get what was needed. The process was quite simple – set a base of the superglue and charcoal and shape the repair. Add more of the mix to the tenon and shape it again. The process would be repeated until the tenon was even all the way around. The pictures tell the story of the rebuild process. I applied another coat of the glue to fill in the airspaces left from the charcoal powder. I sanded the rebuilt tenon smooth with 220 grit sandpaper. I wiped the end down with Obsidian Oil after sanding it smooth. It is starting to look really good and once the repair cures it will be durable.I set the stem aside and let it cure overnight and worked on other pipes. When I picked it up again this morning I polished it using micromesh sanding pads – wet sanding with 1500-2400 grit pads and then buffing on the wheel with red Tripoli. I dry sanded the stem with 3200-12000 grit pads to further polish it. After each pad I wiped it down with Obsidian Oil to protect and enliven the stem. I polished it further with Before & After Pipe Polish – both Fine and Extra Fine. When I finished with the polish I gave it a final coat of oil and set it aside to dry. This second Bari De Luxe Mahogany Freehand is another beauty with swirling, straight and flame grain all around the bowl. The shank end has some interesting looking plateau that is deep and craggy. The smooth rim is quite nice and has some swirls of grain undulating in the briar. The brown of the bowl and the black of the plateau look really good with the black of the turned vulcanite stem. I buffed the bowl and the stem with Blue Diamond polish to raise the shine on the briar and the vulcanite. I lightly buffed the rim top and shank end as well. I was careful to not buff the stamping and damage it. I gave the bowl and stem multiple coats of carnauba wax. I buffed the entire pipe with a clean buffing pad to raise the shine. I hand buffed it with a microfiber cloth to deepen the shine. The finished pipe is shown in the photos below. The dimensions of the pipe are: Length: 6 inches, Height: 2 1/8 inches, Outside Diameter: 1 3/4 inches, Diameter of the chamber: ¾ of an inch. This is the second Bari De Luxe that I have worked on and it more average or medium in size. The combination of smooth and rugged looking plateau on the shank end makes it an interesting pipe. Thanks for walking through the restoration with me.

Restoring a Kriswill “Golden Clipper”


Blog by Paresh Deshpande

“………. and now make me handsome and desirable too!!!!!” This is what the sibling of the Kriswill “CHIEF”, the “GOLDEN CLIPPER” appeared to be demanding of me and who am I to refuse this lovely pipe. So here I am with all my enthusiasm to work on this beautiful pipe with mixed grains.

This was one of the pair of Kriswill pipes which was dug out by my younger daughter from the large pile of pipes, the other being Kriswill “CHIEF”. Both these beauties had an issue with their stems. The stem of the “CHIEF” did not sit flush with the shank and appeared smaller in diameter compared to the shank, while the stem of the “GOLDEN CLIPPER” sat flushed with the shank but was larger in diameter than the shank. I addressed this issue in an ingenious way and completed the restoration of the “CHIEF”. For those interested in knowing the issue of stem in detail, process to address it and the complete restoration, please follow the link https://rebornpipes.com/2018/08/04/breathing-new-life-into-a-kriswill-chief-20/. I am sure you will find it an interesting read.

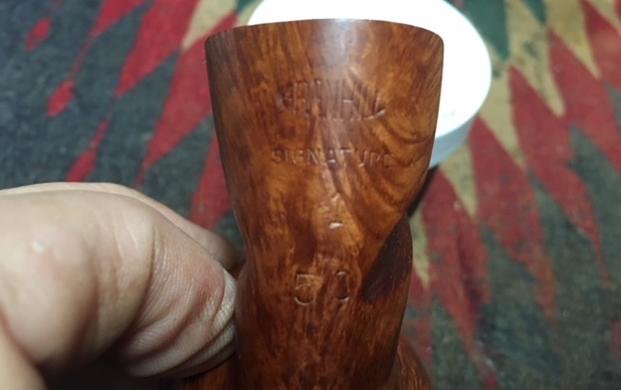
My joys knew no bounds when the “CHIEF’S” stem fit perfectly like a glove in the shank of the “CLIPPER” (the time-consuming, cautious, accurate and nerve-wracking but enjoyable work of matching the stem and shank of the “CHIEF” still fresh in my mind!!!!!!). Here are the pictures of a perfectly matching stem and shank on the CLIPPER.This KRISWILL “GOLDEN CLIPPER” has a medium sized bowl with mixed grain. It is stamped “KRISWILL” over “GOLDEN CLIPPER” over “HANDMADE IN DENMARK” on the left side of the shank. At the bottom of the shank and close to the edge of the shank where it takes the stem, is stamped with number “54”.As I had determined the dating of this pipe, while searching information for the “CHIEF”, from 1970s (the snowflakes stamp on the stem and block letters on the shank were adopted post 1970), I proceeded to carry out a visual inspection of the condition of the pipe in my hand. This helps me map the road to restoring the pipe by identifying the issues involved and identify methods/ options to address the same.

INITIAL VISUAL INSPECTION

The bowl is covered in dust, oils, tars and grime of yesteryear. It is filled with a thick cake and the lava has overflowed on to the rim. I would still say that this bowl is not as heavily caked as I have gotten used to with my grand old man’s pipes. The cake has completely dried out.The rim surface is pock-marked with few minor dents and dings of being banged around. Exact extent of damage, there appears to be some, to the inner edge will be known after the bowl has been reamed down to its bare briar. The outer edge of the rim appears to be in decent condition.The interchanging of stem with the CHIEF ensured a perfect fit of the stem on this pipe and required no matching the fit to the shank end. The stem is, again comparatively to what I have dealt with before, lightly oxidized with light tooth chatter. The lip has been bitten off at one place and will need to be rebuilt and reshaped. There is some calcification seen around the lip on either surface. As I have come to expect, the airway in the stem is blocked and the mortise is clogged with gunk, debris and tars. I will need to clean both to ensure an open draw.The stummel needs to be cleaned. I will have to decide if I should retain the stain finish or polish it to its natural look and match it to its bigger sibling, the “CHIEF”.
THE PROCESS
Abha, my wife, dealt with the cake by reaming the chamber with a Kleen Reem pipe tool and a British Buttner pipe tool. Using the fabricated pipe knife, she further scraped the cake from the bottom of the bowl and also the walls of the chamber. She was especially very careful while reaming with the knife so as not to damage the inner edge of the rim. Once the solid briar was exposed, she further smoothed the walls and removed remaining cake by sanding with a 180 followed by 220 and 600 grit sand paper. Another advantage of this process is the elimination of traces of ghosting to a great extent. She gently scraped the rim top with the sharp edge of the knife and removed the accumulated overflow of lava. Abha followed this by scrubbing the chamber walls with cotton swab dipped in isopropyl alcohol. This removed the fine cake dust, leaving the chamber clean, fresh and smooth. As can be seen from the picture, after the cleaning, the dents and dings are more pronounced and will need to be addressed. Further, if observed closely, there is a small chip to the inner edge which can be seen on the right side in the 3 o’clock direction. I had the following two courses of action to choose from to address these issues:-
(a)        Create a slight bevel on the inner edge to eliminate the inner edge chip.
(b)        Topping the rim on a topping board.

Abha suggested proceeding with the second option since the “CHIEF” was without a bevel and as these were together, she wanted to maintain the similarities as far as possible. I concurred with her since topping will also address the minor dents and dings seen on the rim top. I gently topped the stummel on a 220 grit sand paper, frequently checking the progress.  This is very important since you do not want to lose too much briar and there is always a fear of distorting the proportions of the pipe due to excessive sanding. How much sanding is sufficient, is a question to which the answer can never be quantified. For me the mantra is, topping or sanding should be kept to the minimum and preserve maximum briar even at the cost of very minute dents/ chips being visible.

I topped the bowl just enough to address the dents and dings on the rim surface. The small nick to the inner edge of the rim has also been addressed to a great extent, but not completely. It is barely perceptible in person and acceptable to me. Hence, I left it at that!!I cleaned out the internals of the shank/ mortise and airway using pipe cleaners, cue tips and isopropyl alcohol. Thereafter using undiluted Murphy’s oil soap and tooth brush, I cleaned all the tars, oils, dust and grime from the bowl and washed it under running water. I wiped it down with paper towels and a soft cotton cloth.

Using a brown stain pen (Yes!!! I finally have them, thanks to my guru, Mr. Steve who had diligently packed them with the pipes that he had sent me after repairs, when he learnt that I was unable lay my hands on them), I stained the rim to match the rest of the bowl and set it aside to dry out. In my haste to finish the restoration, I forgot to click pictures of the above mentioned process and the look of the pipe at this stage.

While the stummel was kept aside for drying, I turned my attention to the stem. Starting with the use of Bic lighter, I painted the surface with its flame to raise the tooth chatter and bite marks as much as possible. I scrubbed the stem with a piece of moist Mr. Magic Clean sponge to clean the stem of the calcification. Minor tooth chatter was addressed to a great extent, however, some stubborn and deep bite marks and the bitten off lip stood out like sore thumb!!! Having learnt my lessons and working around the handicap of glue, I spot applied clear CA superglue with a tooth pick and set it aside to cure over night. The next morning, I applied another layer of the superglue and set it aside to cure. The reason I decided to adopt this technique is because the glue I have and available to me is of very thin consistency and hence the layering technique. After 24 hours, I checked the fills and proceeded to sand down the fills and reshape the edge of the button with a flat head needle file to match the surface of the stem. Using a 220 grit sand paper followed by wet 320 grit sand paper, I evened out the fill and removed oxidation from the stem surface. Thereafter, I used micromesh pads, wet sanding with 1500 to 2400 pads and dry sanding with 3200 to 12000 pads. I deeply rubbed a very small quantity of Extra Virgin Olive oil after every three pads. I am pleased with the way the stem has turned out. It is now smooth and shiny.Using normal and bristled pipe cleaners dipped in alcohol, I completely cleaned out the airway in the stem till the pipe cleaners came out nice and clean from the other end. However, when I checked the draw, I found it to be constricted and laborious. It was not a free flowing and open draw. I checked the alignment of the airway in the stem and shank and realized that the airway was not aligned. With a rounded needle file, I file down the tenon hole and the mortise opening in the shank to the point where there are perfectly aligned. Now the draw is full and open.

By this time, the stain on the rim top has dried out and I applied a small quantity of Before and After Restoration balm to the entire surface of the stummel, including the rim top. This product is absolutely fantastic as it freshens up the briar and makes the grain to pop out. Using a horse hair shoe brush, I buffed the bowl. Later, with a soft cotton cloth, I polished it to a nice shine. As a final touch, I rubbed a very small quantity of PARAGON wax on to the stem and the stummel. A few seconds later, using muscle power and a microfiber cloth, I polished the entire pipe to a lovely shine. Here are the pictures of the finished pipe. Hope you enjoyed reading the write up and yes, my apologies for the lack of pictures since I had to catch a flight late in the evening to rejoin my duty station, I forgot to take pictures at this stage as completing the restoration was priority task.

The Last of Boston’s Peretti Oom Paul Sitter Recommissioned


Blog by Dal Stanton

I’ve enjoyed restoring a Lot of 10 Peretti pipes and recommissioning them for new stewards.  All the Oom Pauls in the picture below, except for one which I added to my collection, are in the hands of new stewards except for the one on my worktable now.  I have been pleased to hear back from stewards who have these Oom Pauls and often I’ve heard that they have become favorites in their rotation lineups! I like Perettis myself and have a healthy collection of them.  They are great smokers in my experience and my Peretti Oom Paul is a favorite for me too – he hangs on the chin perfectly, like a good lap dog!  When I began my research on the L J Peretti name, I was surprised to discover that it is not an Italian pipe as one might expect with such a name!  In fact, I discovered the genesis of a significant story of Americana pipe history with the establishment of the L. J. Peretti Company of Boston in 1870 (Pipedia citing: Pipes, Artisans and Trademarks, by José Manuel Lopes), the second oldest tobacco shop in the US, second only to Iwan Ries & Co. of Chicago established in 1857 (See: Link).  The Peretti family originally comes from Switzerland, but the Italian name is explained by the fact that they originated from the southern slopes of the Swiss Alps which flows south toward Italy more easily than to the north – the heart of Switzerland.  The Calabash (upper left) and the Goliath Billiard (bottom) are waiting to be restored to be added to my collection of Perettis.  The hefty Egg in the middle is already in my lineup!Brian commissioned two pipes (See: For ‘Pipe Dreamers’ Only), a nice looking Jobey Hand Rubbed Dublin (next on the worktable) and the Oom Paul Sitter before me – both pipes benefit the Daughters of Bulgaria – helping women and girls who have been trafficked and sexually exploited.  Thanks Brian!  For a close-up look at the Oom Paul Sitter, I take several pictures on my worktable.  The nomenclature is the simple L.J. PERETTI stamp on the left shank.  This Oom Paul shares every single challenge that his former brothers had – the former steward seemed to have a scorched earth policy.  The chamber is heavily caked, and the rim scorched.  The rim challenges are the most daunting for this restoration.  The stummel has a build up of grime and minor nicks from usual wear.  The stem has significant oxidation and bit clenching and chewing which needs addressing.  To begin the restoration of this, the last Peretti Oom Paul Sitter in need of a new steward, after cleaning the internal airway with a pipe cleaner dipped in isopropyl 95%, I put the stem in a soak with Before & After Deoxidizer along with 5 other stems.  After some hours soaking, I fish out the Peretti stem and wipe off the raised oxidation with a cotton pad wetted with light paraffin oil (mineral oil in Bulgaria).  The Deoxidizer seems to have done an adequate job. Next, I attack the chamber carbon cake build up using the Pipnet Reaming Tool.  Putting paper towel down to minimize clean up, starting with the smallest blade head, I use 3 of the 4 blades available to me. I follow the blade heads by using the Savinelli Fitsall Tool to reach down into the chamber to scrape more carbon off the wall.  Then, to clean the chamber and to bring out fresher briar, I sand the chamber using a piece of 240 grit paper wrapped around a Sharpie Pen.  To remove the thick carbon dust left behind, I wipe the chamber with cotton pads wetted with alcohol.  After clearing the cake away, a look into the chamber reveals no problems – no heat cracks or fissures.  Good! Now to scrub the stummel surface and the rim with its thick lava I start with undiluted Murphy’s Oil Soap and cotton pads.  I also use a brass brush on the rim to break up the lava crust.  To scrape the rim, I use a pin knife as well as the straight edge of the Savinelli Fitsall tool.  As I scrape the crust off, I also remove the scorched charcoal that is on the inside of the rim mainly on the left side of the stummel – the area where the former steward damaged all his pipes.  The result is that the left side of the rim is narrower after the cleaning.  The stummel is in great condition – the rim is the challenge. Before moving on with the rim repairs I continue with the internal cleaning of the stummel.  Using pipe cleaners and cotton buds dipped in isopropyl 95% I go to work. I also employ a dental scalpel to scrape the internal wall.  I’m pleased that there wasn’t too much resistance.  At the end of my work day I’ll continue the cleaning process by giving the stummel a kosher salt and alcohol soak.Turning now to the stem, I begin addressing the tooth dents and chatter on the bit.  With his brother Oom Pauls, there usually was some button damage too, but this guy’s in better shape in that regard.  I first use the heat method to raise the vulcanite dents to make them less severe.  By heating the vulcanite, it expands, and the dented vulcanite naturally seeks its original positioning.  I use a Bic lighter and paint the upper and lower bit and after heating several passes, I do see a lessening of the severity of the dents as the vulcanite expands.  As a result, I can sand the remaining dents out with both the upper and lower bit.  Before the heating:After the heating:I sand out the damage using 240 grit paper.I move on to using 600 grit paper by wet sanding the entire stem.  I follow this with 0000 steel wool sanding/buffing the entire stem.Moving forward with the stem, I wet sand using micromesh pads 1500 to 2400 followed by dry sanding with pads 3200 to 4000 and 6000 to 12000.  To revitalize the vulcanite, I apply a coat of Obsidian Oil after each set of 3 pads.  I love the glossy pop! Looking now to the stummel, I see a few very small, nicely camouflaged fills which are in good shape, but I see one significant cut into the briar that needs attention.  To address it, using a toothpick, I lay a line of thick CA glue over the cut.  I set the stummel aside to allow the patch to cure.After a while, the patch has set enough for me to work on the rim.  The bad news is that the loss of briar on the left side of the internal rim from scorching is gone – it can’t be replaced.  The good news is that the aesthetic imbalance of the rim as a result can be mitigated somewhat by creating a bevel around the entire rim.  The bad news – there is additional loss of briar.  In restoring a pipe there’s always this tension between loss and gain.  With this Peretti, as with all his Oom Paul brothers, I did the same thing and they turned out well.  I start the process by taking the stummel to the topping board to remove the damaged wood on the top. Topping an Oom Paul can be a challenge because the shank extends beyond the plane of the rim.  So, to top the rim, the shank needs to hang off the side, so it isn’t unintentionally topped!  I take a picture to mark the start. I turn some rotations on the board and check out the progress.  I also utilize a small sanding block which allow me to focus on a certain area of the rim.  After the 240 paper, I put 600 grit paper on the board and do a few more rotations.  The pictures show this progress. Now, using a tightly rolled piece of coarse 120 grit paper, I begin beveling the internal rim edge – hoping to bring more balance to it.  I take a bird’s eye picture first to mark the progress.  I pinch the paper under my thumb as I move it in the areas of the rim to be reduced.  While I work on equalizing the rim diameter, I’m also sanding down the chamber to taper the walls as they move downwardly.  I’m looking for greater aesthetic balance.  I come to the point where I’ve done all I can do.  I think it looks much better.  I do another bird’s eye shot for comparison. I take the stummel one more time to the topping board using 600 grade paper.  I do this simply to reestablish the lines after the sanding. One more thing I want to do with the rim.  I’ve worked on the inside balance, now I also introduce a very gentle bevel on the outside of the rim.  I do this to soften the edge which is sharp after the topping.  I use 120 grit paper then 240 and finish with 600 – each rolled tightly.  With the rim repair done, I take the flat needle file and begin to file down the patch on the side of the stummel.  When I bring the patch down close to the surface, I switch to using 240 grit paper to remove the excess patch to the briar surface, making the patch area flush with the surface.  I then finish the sanding with 600 grit paper.  The patch will blend well later.My day has ended and I will continue the cleaning process of the stummel with a kosher salt and alcohol soak.  This freshens the briar and draws out more latent tars and oils from the briar.  I fashion a wick from a cotton ball by pulling and twisting it.  I insert it down the mortise and airway.  I then fill the bowl with kosher salt, which has no aftertaste, and then put isopropyl 95% into the bowl until it surfaces over the salt.  I wait a few minutes and top off the alcohol and turn out the lights. The next morning the soak has done the job through the night.  The salt and wick show soiling from the tars and oils.  I clean the stummel of residue salt with paper towel, blowing through the stummel, and to be on the safe side, I run a cotton bud with alcohol through the mortise to clean up any leftover remnants – after a couple of cotton buds I move on. The next step is to address the external briar surface of the Peretti Oom Paul Sitter.  I filled the one cut I saw on the surface that stood out.  There are other nicks and scratches that are normal from use.  To address these, I use micromesh pads.  I first wet sand using pads 1500 to 2400, then dry sanding 3200 to 4000 and 6000 to 12000.  The grain looks good as the micromesh pads coaxed it out.  The one bummer is the darkened wood from the scorching damage around the inner edge of the rim.  That will not go away because it would sacrifice too much briar to accomplish it. Since the rim had been topped and sanded, it is a shade lighter than the rest of the stummel.  To remedy this, I apply a maple color dye stick around the rim.  I forgot to take a starting picture for comparison but here is the aftermath.  It looks good and matches well.As I’ve done with all the other Peretti Oom Pauls (and one Bent Billiard!) I restored, I kept the color true to the original as much as possible.  To do this I used Before & After Restoration Balm on the briar and it does a great job deepening and enriching the color already there.  I do the same with this Sitter.  I squeeze some of the Balm on my fingers and work it into the surface.  The Balm starts with the consistency of light oil but as it is worked into the briar it gradually thickens to a wax-like feel.  After applying it fully and working it in, I set the stummel aside for a while, about 30 minutes to allow the Balm to do its thing and take a picture.After about 30 minutes I use a clean cloth to wipe and buff off the Balm.  I’m pleased with the results.  Turning now to the application of Blue Diamond compound, I rejoin stem and stummel, mount a cotton cloth wheel onto the Dremel, set the speed at 40%, and methodically apply the compound.  After finished, I wipe the pipe with a felt cloth to remove compound dust in preparation for the wax.  I mount a different cotton cloth wheel to the Dremel dedicated to applying carnauba wax, leave the speed at 40% and again, methodically apply a few coats of wax to stem and stummel.  I finish the restoration of the Oom Paul Sitter by giving the pipe a rigorous hand buffing with a microfiber cloth to raise the shine.

I am very pleased with the restoration of this, my last for now, Peretti Oom Paul Sitter.  The grain is rich on the huge, ample bowl which is the reason many pipe men and women desire an Oom Paul in their collections. The added benefit to this Oom Paul is that it is a Sitter.  He can comfortably join his steward at a table playing cards or board games!  Brian commissioned (see For ‘Pipe Dreamers’ Only) this Peretti Oom Paul Sitter and will have the first opportunity to acquire it in The Pipe Steward Store.  This pipe benefits the Daughters of Bulgaria – women and girls who have been trafficked and sexually exploited.  Thanks for joining me!

Fashioning a Churchwarden from a Forlorn, Throw away Billiard – a story of the Phoenix


Blog by Dal Stanton

The Greek mythological Phoenix is a long-lived bird that cyclically regenerates or is otherwise born again, according to Wikipedia.  It is regenerated out of its own demise, from its own ashes.  The images that come to mind are Harry Potter-esque – the Phoenix’s name is Fawkes and “as stated by Dumbledore, they are extremely loyal creatures, and are capable of arriving to the aid of beings who share a similar devotion. This was how Fawkes arrived to assist Harry in slaying the Basilisk in the Chamber of Secrets during his second year at Hogwarts” (LINK).  The tear of the Phoenix could also bring healing and recovery from near death.

What does the Phoenix have to do with pipes and Billiards?  True confession: I enjoy immensely working on vintage pipes with well-known and sought names like Dunhill, Savinelli, Comoy’s, Stanwell, GBD, Jeantet and BBB.  But truth be known, I LOVE taking the throwaways, the discarded, the ‘only good for the waste heap’ pipes – that make most people cringe and reach for latex gloves – to take these pipes and see what I can do to help.  There is a satisfaction at the end of such projects that translates into, ‘Wow! Who could have imagined…!”  The discovery of hidden beauty that was always there, but no one took the time to help it emerge.   I guess, at the core of it is the sense that sometimes people are treated in such a way or may view themselves in such a way that does not reflect the often hidden value that people intrinsically have.  Helping is seeking to bring new life out of the ashes of the past.

I want you to meet my forlorn Billiard stummel.  I’m sure that one past day he enjoyed the attention of a steward.  He proudly was settled on the rack with other proud pipes of The Rotation.  One day something happened, and he lost that favored position, and everything changed.  I found him in a bag of a second-hand/antique vendor in Sofia, Bulgaria’s ‘Antique Market’ in the city-center.  The bag was full of broken and discarded stems, stummels and other things unrecognizable.  He had no stem.  I plucked him out of the bag along with a few other pieces, paid the vendor a very small sum for what had no value to the vendor or to anyone else.  The small Billiard stummel was marked with the most generic of all markings, ‘Real Briar’.  Absolutely nothing special.  Here are pictures of the redeemed Billiard on my worktable. I just completed the restoration of a Monarch Pat. 1989069 – 1074H Bent Ball  for Andy, a pipe man living in Maryland, who attends the church where I was formerly the pastor on the Eastern Shore – the peninsula created by the Chesapeake Bay and Atlantic Ocean east of Washington DC.  Andy commissioned the Monarch from the ‘For Pipe Dreamers Only!’ section on my blog.  He told me he was also hoping to land a Peretti Oom Paul and a Churchwarden someday.  He had seen several of the Peretti Lot of Oom Pauls that I had already restored and recommissioned for new stewards and was hopeful.  I had no more Perettis to share, but I proposed that I could fashion a Churchwarden from repurposed stummels.  I also had one 8-inch Warden stem left in my stores.  Not long ago, I completed a fun restoration I called ‘A Tale of 3 Church Wardens’ – where I fashioned 3 Churchwardens that all found new stewards in Germany.  I directed Andy to check out the post to decide what he wanted to do.  It didn’t take long and he decided to add a Churchwarden to his Monarch Bent Ball – each of these pipes benefit the work we do here in Bulgaria with the Daughters of Bulgaria – helping women and girls who have been trafficked and sexually exploited to find a new life and hope.  The next question for Andy was what stummel would mast the Warden stem and rise from the ashes like the Phoenix?  Here were the options I sent to Andy with a warning not to be distracted by the color or condition – to look only at the shape.  Here’s what he saw.From the top, his choices were a Rhodesian, a Panel, a carved Apple and the forlorn Billiard.  Andy chose the classic Billiard shape, influenced mainly by the longer shank which will add a bit of flow to the Churchwarden he would become when transformed.  The interesting factoid that I reported before, in my writeup of the 3 Churchwardens, was from Bill Burney’s Pipedia Pipe Chart. It provides the framework for forlorn bowls to rise as the Phoenixes.  What brings this power?  A Churchwarden stem:As you would expect, our Billiard that Andy chose has many challenges.  The worst of his obvious problems is the rim which has been chewed and gnarled! It has a large divot on the internal lip over the shank.  Also, on the shank side, the rim slopes away having endured a ‘skinned knee’ experience.   The old finish is totally old and the stummel has some small fills that need checking.  Yet, underneath the grime and tired finish – where there is finish, is briar grain with potential.  I begin the story of this Billiard hoping to rise as a Phoenix by doing the basic cleaning of the stummel before fashioning the precast Churchwarden stem.  To mark the beginning of the restoration, I take a picture of the Billiard stummel with the Warden stem – the place where Pipe Dreamers begin!I take a picture of the chamber and see that there is very little cake build up, but I also see that it appears someone took a pocket knife to the chamber in the past – with little care.  I take the Savinelli Fitsall Tool and I ream the bowl of residue carbon.  Following this, I sand the chamber with 240 grit paper by wrapping the paper around a Sharpie Pen seeking to clean it but also to smooth the top of the chamber where knife marks were.  I then clean the chamber with a cotton pad wetted with isopropyl to rid it of carbon dust.  The chamber wall seems to be in good shape – no cracks or heat fissures are visible, but I will need to do a bit more sanding – I’ll wait to do this along with the rim repair. Now I turn to internal cleaning of the stummel.  Using cotton buds dipped in isopropyl 95%, I realize very quickly that the grunge in this mortise and airway was thick.  I put the cotton buds down for a time and start scraping the mortise walls with dental spatulas.  I also insert a drill bit the size of the airway and hand turn it to excavate the tar and oil buildup.  In time the cotton buds started coming out less soiled.  I plan to give the stummel a kosher salt and alcohol soak through the night to clean the internals further and freshen the stummel for the new steward.  The pictures show the grunge warfare!With the stummel cleaned, I now turn to the precast Churchwarden stem.  I begin by pulling out my new electronic caliper that I acquired when I fashioned the 3 Churchwarden stems before.  I take an internal measurement of the Billiard’s mortise, which is the target.  The reading is 8.13 mm.  For a conservative target in shaping the new tenon on the precast Warden stem, I add .40 mm to the 8.13 which gives me a conservative target of 8.53 mm.  I now mount the drill bit to drill the tenon’s airway enlarging it to receive the guide pin for the Pimo Tenon Turning Tool, which I also just added to my tools.  I mount the Pimp Tenon Turning Tool into the drill chuck and cut a conservative practice cut on the tenon to get an initial measurement.  The practice cut measurement is 8.96 mm which means I need to remove around .43 mm to arrive at the conservative target of 8.53 mm.  The purpose of the conservative target is to get close to the exact size of the mortise, but not quite.  This leaves room to sand the tenon to fashion the custom size because every mortise is different.  The fit between the newly fashioned tenon and the mortise must be snug but not too tight. I crank down the blade on the Tenon Turning Tool a bit and make another practice cut and remeasure.  Now, I have a perfect example of why doing practice cuts is a good idea!  The next measurement was 8.23 – only .10 mm off the actual mortise size – too close for comfort.  I don’t want to risk taking off too much.  I back the blade off a little and recut.  I come to an 8.49 mm which is good.  Using a flat needle file, 120 and 240 grit papers I gradually bring the size of the tenon down.  After MANY filings/sanding and testing the fit in the mortise, I can seat the tenon snugly into the mortise.  The shank is slightly larger than the diameter of the stem when the stem is inserted into the mortise.  The picture below shows how the briar is extending at this point, but as I look around the shank, the amount of overhand is not the same.  I use the flat needle file to start bringing the briar overhang flush with the Warden stem. The picture below shows the shank having that ‘stuff pants look’ as the taper of the shank to the stem is not gradual.  To address this, I file and sand around the shank to create a more gradual tapering from the bowl through the shank to the Warden stem.  Most of the briar bulging was on the shank sides not on the upper and lower areas which look pretty good. After a lot of sanding with a flat needle file, 120 and 240 papers, I arrive at a nicer tapering from shank to stem.  I sacrificed the ‘Real Briar’ stamping on the left side of the shank for the more balanced look on both sides of the shank.  I thought about it for a few minutes, and sanded away in favor of a reborn Phoenix!  The shank overhang has been sanded out and the shank/stem junction is flush.  I like the flow from bowl, through the shank, and into the stem.  Before bending the stem, while still in the same customized position, I also file and sand down the sides of the precast stem to remove the seams created by the casting halves.  I aim for rounding the stem. With the Billiard’s straight shank, the bend will be very small and subtle.  Last time I fashioned Churchwarden stems I found that I was consistently overbending the stem and then I would need to back off the bend for the best look.  I place pipe cleaners in the stem at both ends to maintain the integrity of the airway during the heating and bending process.  I use a hot air gun and warm the vulcanite in the area where I make the bend.  As it warms, the vulcanite, a rubber compound, becomes supple and is fashioned easily.  After making the bend, by simply eyeballing it, I take the heated stem to the sink and cool it with tap water to set the bend.  I remount the bent stem and I like it.  It has a gentle bend, not too much.  The Phoenix is coming to life!Looking now to the stummel, I use a sharp dental probe to test the very small fills on the stummel.  They seem to be solid.  I then look at the gnarly rim.  The next step is to remove the damage by utilizing the topping board.  Using a chopping block, I place a sheet of 240 grade paper on it.  After inverting the stummel on the board, I begin to rotate the stummel over the paper.  I’m thankful for the fact that Churchwardens typically have smaller bowls.  That’s good news because I’m taking a bit of briar off the top.  After a while, there is still a divot on the inside of the rim over the shank which I will address by creating a bevel.  After the 240 grade rotation, I then use 600 for a bit and finish the topping. Using 120 grit paper, I start carving a bevel on the inside lip of the rim.  I follow by moving to the outside edge of the rim.  I create the bevel by pinching the rolled piece of sanding paper under my thumb and then methodically move it around the rim putting pressure on the paper.  The continuous movement is what keeps the bevel consistent.  I then follow with 240 paper for both the inside and outside edges of the rim.  I think it looks good – what an improvement!To address the stummel surface to remove the top surface and scratches and old finish, I start by using a coarse sanding sponge on the entire stummel.  I follow the coarse sponge with medium and then light sanding sponges.I decide now to continue working on the stem.  Using a flat needle file and 240 grit sanding paper I continue smoothing and shaping the stem.  I work on the rough button with the file to shape it with the file.  I sand the entire stem with 240 grit because, even though the stem is new, the vulcanite contains ripples and ribs from the casting process.  I work the stem with sand paper so that it’s smooth and the stem is rounded.  From filing and 240 grit, I sand the entire stem with 600 grade paper.  I finish this sanding phase by sanding/buffing the stem with 0000 grade steel wool.  The pictures show the progress. My day is ending and I finish at the worktable with a kosher salt and alcohol soak to further clean and refresh the stummel.  I create a wick from a cotton ball by stretching and twisting the cotton.  I then insert/stuff the wick in the mortise and airway.  I then put the stummel in an egg crate to stabilize it and fill the bowl with kosher salt which leaves no after taste as does iodized salt.  I then use a large eye dropper to fill the bowl with alcohol until it surfaces over the salt.  After a few minutes I top off the alcohol.  I set the stummel aside and turn out the lights.The next morning the kosher salt and alcohol soak did the job – the salt and wick are soiled by drawing out more tars and oils from the mortise and airway.  After dumping the expended salt, I wipe the chamber with paper towel to remove the old salt.  I blow through the stummel as well to clear out the left overs. To make sure all is clean, I run a few more cotton buds dipped in isopropyl 95% through mortise.  Moving on.Time to micromesh the Churchwarden stem.  Using pads 1500 to 2400 I wet sand the stem.  Following this, I dry sand using pads 3200 to 4000 and then, 6000 to 12000.  After each set of 3 pads, I apply Obsidian Oil to the stem to enrich the new precast Warden stem.  I take only one picture at the end because it’s difficult enough to see the detail of black vulcanite with regular sized stems, with the Churchwarden stem, the picture is from orbit!With the stem drying, it’s time to begin the micromesh sanding of the stummel.  Using micromesh pads 1500 to 2400 I wet sand the stummel.  As has happened on previous restorations, the wetting of the stummel during the wet sanding process spelled the end of the once solid fills that I saw before.  The fill material must be made of a water-soluble material – not sure what it is, but it isn’t anymore! The fills fully disintegrated.The detour means that I need to apply patches to the pits – I mix briar dust and thick CA glue to form a putty that I apply to the holes.  I first use a sharp dental probe to make sure the pits are free of debris.  I use an index card to do the mixing by placing some dust in a pile. I then place some of the CA glue next to the briar dust.  Using a toothpick, I gradually draw a bit of the dust into the glue while mixing it with the toothpick.  I continue to do this until the putty reaches a molasses-like consistency. I then apply the putty to the places needed – there are a few. After applying the briar dust putty, I spray the patches with an accelerator to cure the patches more rapidly.  Then, using a flat needle file, I begin filing down the patches to near the briar surface.  Then I use 240 grit paper to remove the remaining excess patch material bringing the fill flush with the briar surface.  Following the 240 paper, I use 600 grit paper on each of the patch areas.  Finally, I return to the initial micromesh pads and sand the patches with 1500 to 2400 grade pads.  The detour is complete, back on track.  The pictures show the patch repairs.  These patches will blend very well. I pick up again by dry sanding using pads 3200 to 4000 and then 6000 to 12000.  The pictures show the finished result.  I enjoy so much watching the grain emerge during the micromesh process.  This lonely stummel just may be a Phoenix after all!At this point, aiming for the color preferences Andy described when he commissioned the Billiard, I will stain the stummel using the base as Fiebing’s Saddle Tan Pro Dye but add to it just a bit of Fiebing’s Dark Brown Leather Dye to darken it a bit.  I believe this will add more depth to the grain contrast – or I hope!  After mixing the dyes in a shot glass, and inserting a cork into the shank to act as a handle, I then warm the stummel using a hot air gun.  This expands the briar making the wood more receptive to the dye.  After warmed I apply the stain using a folded pipe cleaner.  After the stummel is completely covered, I flame the aniline stain using a candle.  The alcohol in the dye immediately combusts leaving the dye set in the grain.  After a few minutes, I repeat the same regimen including flaming.  I then set the stummel aside to rest and settle through the night.  The next morning, after an early 5AM trip to the Sofia Airport to drop off a summer intern who was returning to the US, I returned to the worktable ready to ‘unwrap’ the Billiard that had been dyed the night before.  I enjoy this a lot!  I mount a felt wheel on the Dremel, set to the lowest speed, and begin removing the flamed crust encasing the stummel.  I use the coarser Tripoli compound to do this.  As I work the buffing wheel methodically over the surface, I avoid applying too much downward pressure but allow the felt wheel, speed and compound to do the work. During the process, I purge the wheel often to clean it and keep it soft. After finishing with the felt wheel, I switch to a cotton cloth wheel and apply Tripoli to the crook between shank and stummel which the felt wheel is unable to reach.  After the Tripoli, I wet a cotton pad with alcohol and wipe down the stummel to blend the new stain and to lighten it a bit.In the same manner as the Tripoli compound, I apply Blue Diamond, a finer compound.  I mount another cotton cloth wheel on the Dremel, increase the speed to about 40% of full power.  I apply the compound to both stem and stummel.  After I finish, I wipe down both stem and stummel with a felt cloth to remove compound dust in preparation for applying the carnauba wax.  Before applying the wax, I want to add a special touch to this reborn Phoenix Billiard Churchwarden.  I decide to band the shank – always a nice touch.  I pull out my collection nickel bands and find one that fits over the shank but leaves about a 1/4 inch slack between the end of the shank and the end of the band.  To slide the band safely up the shank I heat the band with a hot air gun while on the shank at the tension point.  As the band heats, it will expand microscopically.  After a time of heating, I turn the shank downward and gently but firmly press down against a thick cloth on the hard wood surface.  This pressure moves the band up the shank a few millimeters and the cloth cushions the end of the band so it doesn’t bend with the pressure.  If one presses too hard and tries to expand the band too quickly, the nickel can rip – that is not good.  I got through the heating and pressing cycle a few times and the band is seated well.  I remount the stem and eyeball the band placement.  It looks good and I think the new steward will like this touch of class a lot for this Phoenix Billiard Churchwarden. Before I wax the pipe, I mount a cotton cloth buffing wheel on the Dremel that I use exclusively on nickel.  I want to shine the band up before applying wax.  I set the speed at 40% and apply White Diamond compound to the band.  I’m careful not to run the buffing wheel over the band to the briar as it can discolor the wood. I learned this the hard way in the past.  I’m not sure what the chemical process is, but when polished at high speed, a dark residue is produced.  You can see it on the White Diamond bar as well as on the wheel.  This is another reason why each compound and use have a dedicated wheel.  After finishing with the White Diamond buffing, I buff the band with a microfiber cloth and, oh my!  How it shines!Now, the home stretch.  Time to wax the pipe.  Again, I change to another cotton cloth wheel dedicated to carnauba, maintain a 40% speed on the Dremel, and apply a few applications of the wax to the stem and stummel.  I finish the polishing by hand buffing the Churchwarden with a microfiber cloth to raise the shine.
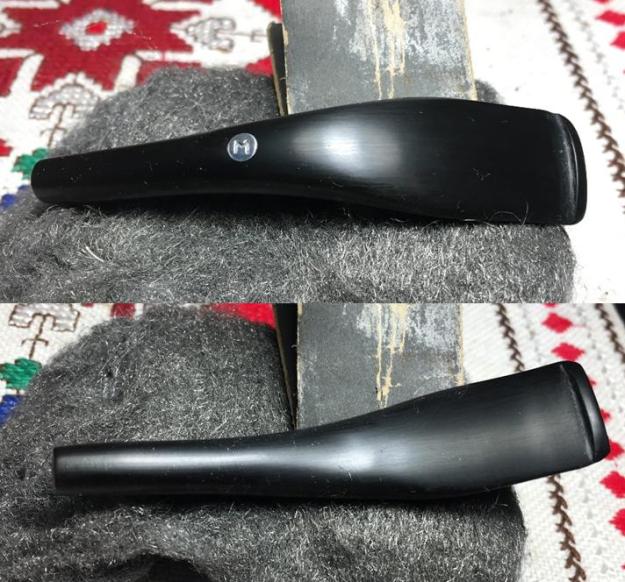
Few words describe the transformation of this lonely Billiard into a Phoenix.  Again, I’m amazed at the beauty in what God has created, even that which we often pass by with the shrug of the shoulders.  The gain revealed in the Billiard is beautiful.  The rim, gnarled as it was, looks great and is not diminished by the briar I was forced to take off.  As I look at it, the slightly squatter bowl works very well as the mast of the long, flowing Churchwarden stem.  The band mounted on the shank simply rocks, what can I say.  Andy commissioned this Billiard now Phoenix Churchwarden and he will have the first opportunity to acquire it in The Pipe Steward Store.  This pipe benefits the Daughters of Bulgaria – women and girls trafficked and sexually exploited.  Thank you for joining me in the telling of the story of the Phoenix!

Repairing a Chipped Button on a ≠ Ago Hand Made In Italy


Blog by Steve Laug

I received an email from Dave, a reader of rebornpipes about a pipe he had purchased recently. It seemed that he had dropped it after just a few smokes and chipped the top edge of the button. I told him I would have a look at the pipe and see what I could do with the chip in the button edge. It would be hard to know until I received the pipe to have a plan of repair but it was worth a shot. When the pipe arrived it was actually a beautiful pipe – well made, beautiful grain, handmade with a black Lucite stem that fit snuggly on the shank. The chip was small but very visible and had sharp edges. I have circled it in red in the second photo. This was the first ≠Ago pipe that I worked on. It was quite impressive. I can see why Dave wanted me to repair it for him. I took some close up photos of the rim top and the stem. The rim top and the bottom of the bowl had some beautiful birdseye grain. The bottom is stamped ≠Ago over Hand Made over Italy. The Lucite stem is well made. The ≠ logo is inset on the top side of the stem. The topside of the button has a chip out of it. I have circled it in red as is shown in the second photo below.I tried to take a close up photo of the chip in the topside of the button. It came out a little blurry but the chipped area is still visible.Once I had looked the pipe over and examined the chipped area I wrote Dave back to let him know that I would be glad to give the repair a try. I also asked him about the brand as it was a new brand to me. He wrote back the following email…

Steve:

Thanks so much. It is a terrific pipe.‎ The guy who makes them — actually he and his staff — is Gianmarco Ago. You won’t find his pipes in any stores. He’s made his name via the Internet, specifically Facebook. If you go online on Facebook, he has 2 pages:

* Gianmarco Ago‎
* Pipe ≠ Ago Hand Made In Italy Lifetime Guarantee

Go to either — or both — and click on “photos” so you can see a couple of years’ worth of his pipes. I have several and they are all very good smokers.

I can’t begin to tell you how much I appreciate your doing your “Lucite” thing and fixing the stem… Again, my thanks.

Best regards, Dave

I went to the Pipe≠Ago page on Facebook to get some background and history on the brand. Here is the link to the page: https://www.facebook.com/pg/gianmarcoagopipe/about/?ref=page_internal. I have included a section from the page that they entitled “Our Story”. I quote:

Pipe ≠ Ago, came into being due to a lucky meeting between Gianmarco Ago and skillful craftsmen. From this meeting ≠ Ago was born, a unique line, devoted and reserved, consisting of few refined items.

The ≠ Ago line has not wished to participate in an already saturated market, but desires to be an emblem, a philosophy of this article is limited to the requirements of friends who embrace the art of pipe smoking and have become enamoured of these small masterpieces reaching out with their shapes, colours and materials to one’s inner depths.

Pipe ≠ Ago is a hymn to the skill of the craftsmen who produce them. The aim of ≠ Ago is to make these works of art a moment of thought and aggregation for all, an area of research and of an opportunity to share… the symbol “different from” is intended as a synonym of a search for values in a congenial essence in becoming, an expression of diversity in the sense, as it were of a spiritual and intellectual enrichment.

Now that I knew some background on the pipe and the philosophy of the ≠Ago Company it was time to work on the repair and see what I could do with it. I used the sharp end of a sanding stick to start layering the black super glue onto the chipped area. I knew that this would be a process of building layers up until the chipped area had disappeared into the surface of the button area. It took time to build it up because I let the repair cure between each layer. As they cured I would add another layer of the glue.When the repair hardened I shaped the sharp edge of the button with a needle fill to clean up the edge and remove the overflow of glue on the surface. The second photo shows the repair at this point in the process. I still needed to fill in a few spots and to reshape the slot to accommodate the repair.I sanded out the file marks in the surface of the Lucite stem with 220 grit sandpaper to blend it into the surface of the stem. I still need to shape the button a bit more. I started the process with a round and a knife blade needle file.I filled in the damaged areas a bit more with the glue and continued shaping the button with the needle files. I reshaped the repaired areas on the top and underside of the button.I continued to work on the shape of the slot. It was getting close and certainly looking better than when I started the repair.I polished the stem with micromesh sanding pads – wet sanding with 1500-2400 grit pads and dry sanding with 3200-12000 grit pads to polish out the scratches from the sandpaper. I wiped it down with a damp cotton pad after each sanding pad. I continued shaping the slot with files and folded sandpaper. The repair is smooth with the face of the button. The edge is clean on the inside of the slot.I put the stem back on the bowl and buffed the pipe with Blue Diamond on the buffing wheel. I gave the bowl and stem several coats of carnauba wax and buffed the pipe with a clean buffing wheel. I hand buffed it with a microfiber cloth to deepen the shine. The finished pipe is shown in the photos below. Soon I will pack it up and ship it back to Dave. Thanks for reading the blog. It was an interesting challenge.