Blog by Steve Laug
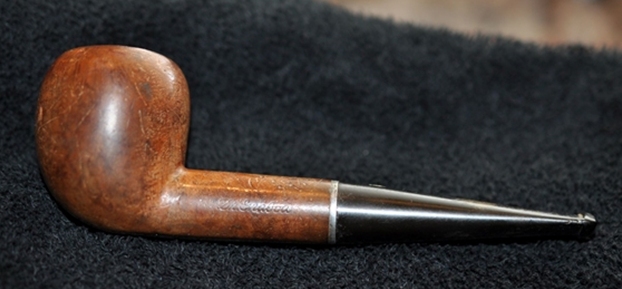
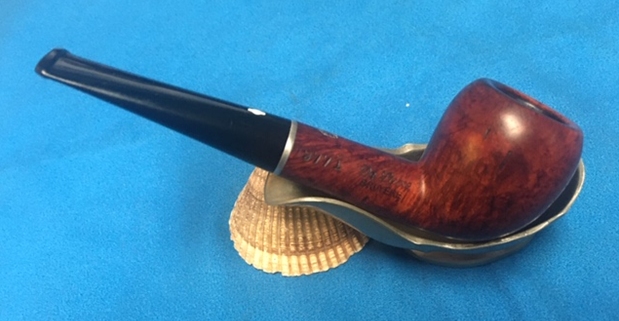
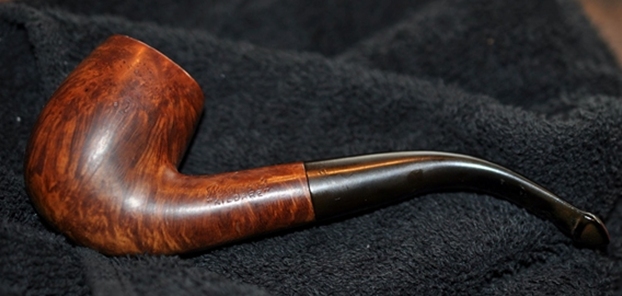
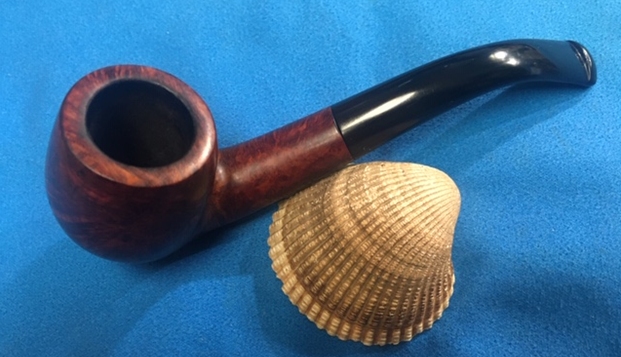
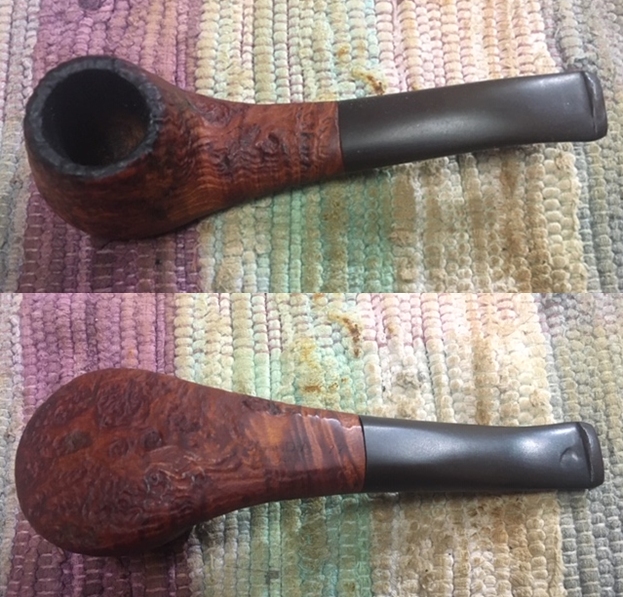
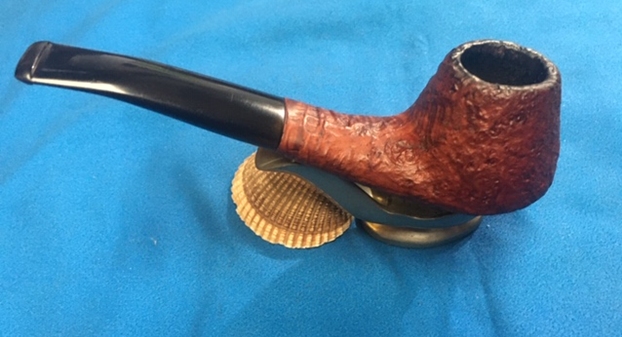
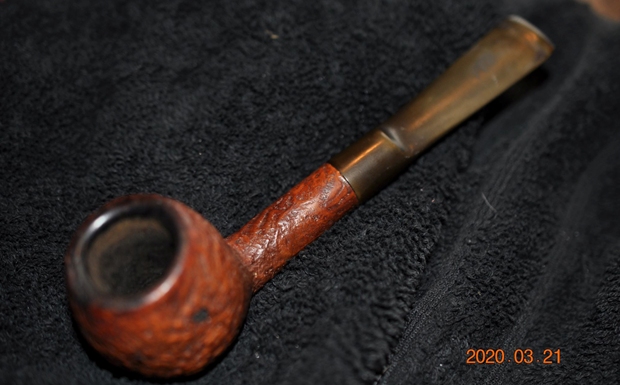
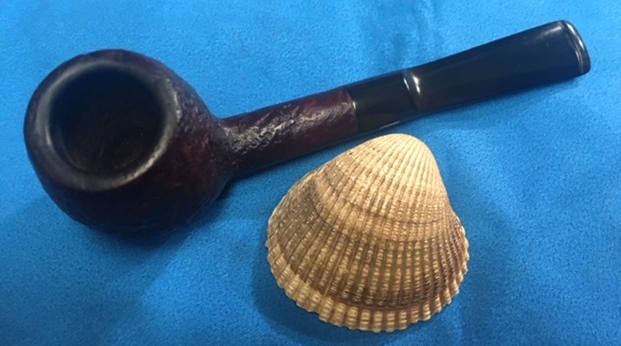
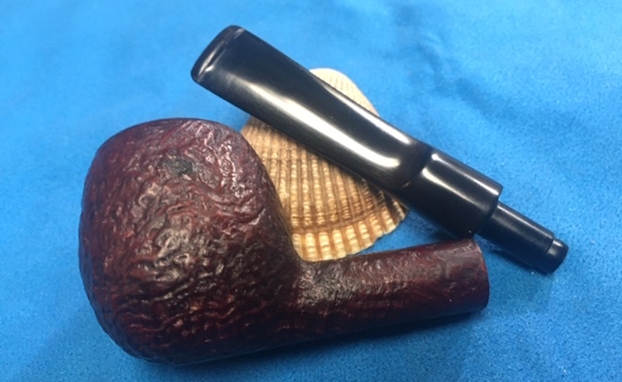
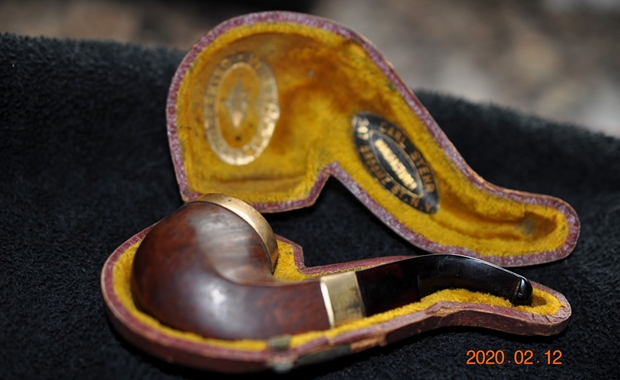
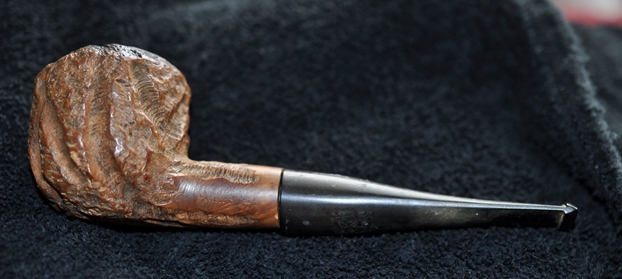
I am getting to the bottom of the current box of pipes for restoration. I think there were probably 40+ pipes in the box when I started. I am down to the last two. I took out an interesting older billiard that Jeff and I had picked up on our Oregon Coast Pipe Hunt. It was a well-shaped billiard that was absolutely filthy but there was something about it that ticked the boxes for me. The exterior of the bowl was coated with sticky oils and grime around the walls. The rim top was beat up pretty badly and there was a thick coat of lava and burn marks on the rim top and inner edge. There was a thick cake in the bowl. Between the lava and the cake overflowing the bowl it was hard to know what the inner edges looked like. The exterior edge was nicked and chipped with quite a bit of damage. The stem was oxidized and had tooth marks and chatter on both sides near the button. There was also a large hole in the underside of the stem – a large bite through that covered about half of the area ahead of the button. Jeff took photos of the pipe before he started his work on it.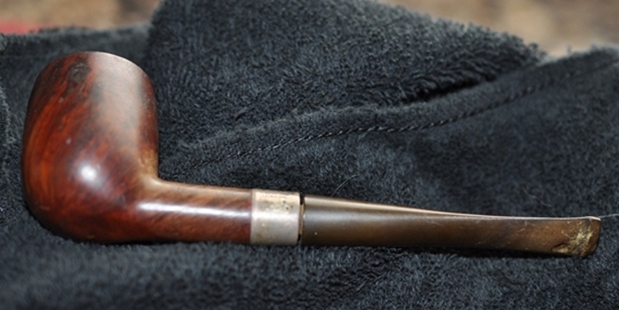
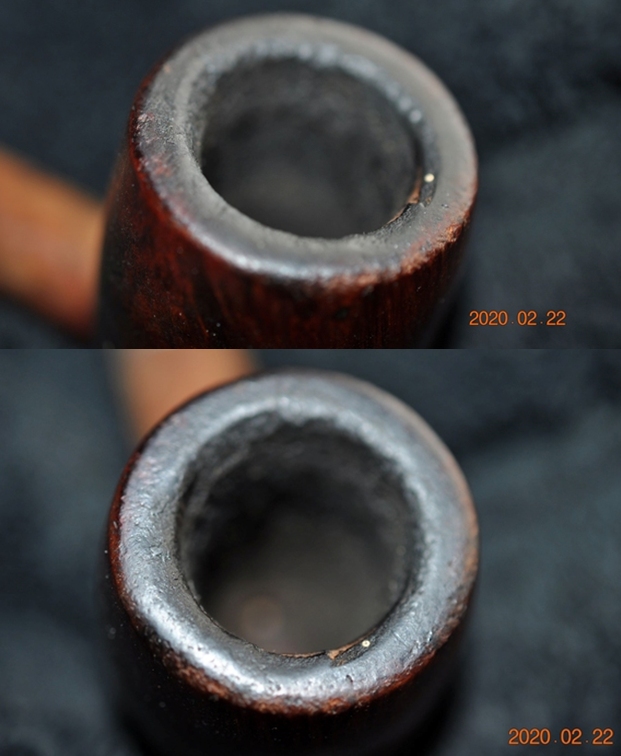
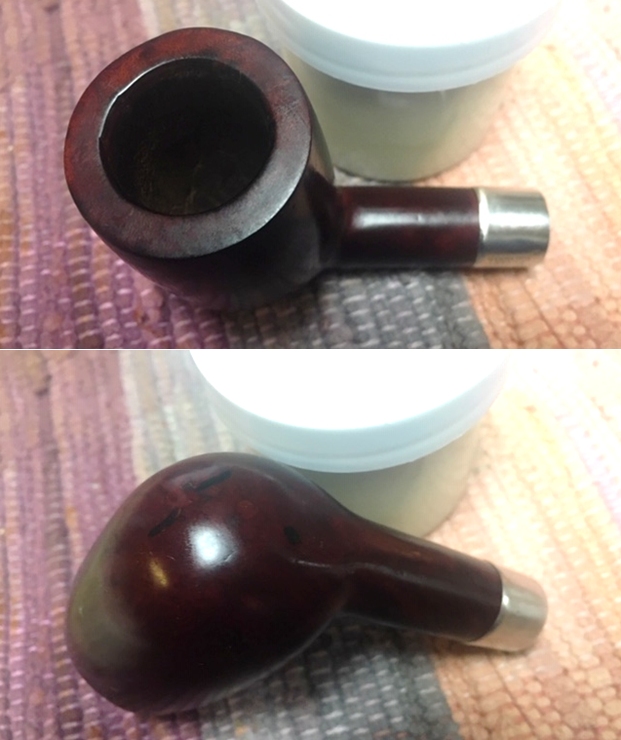
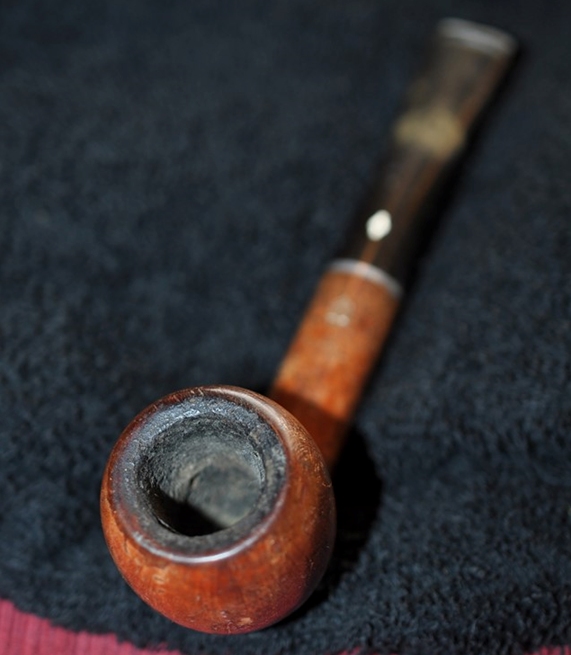
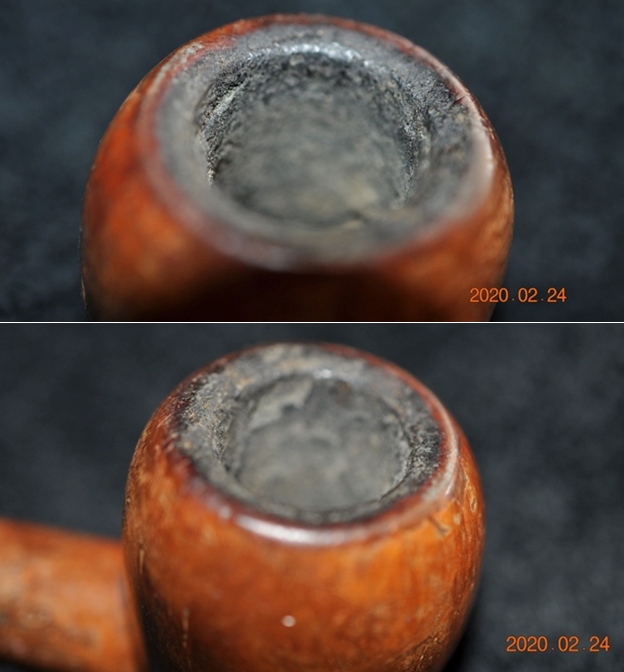
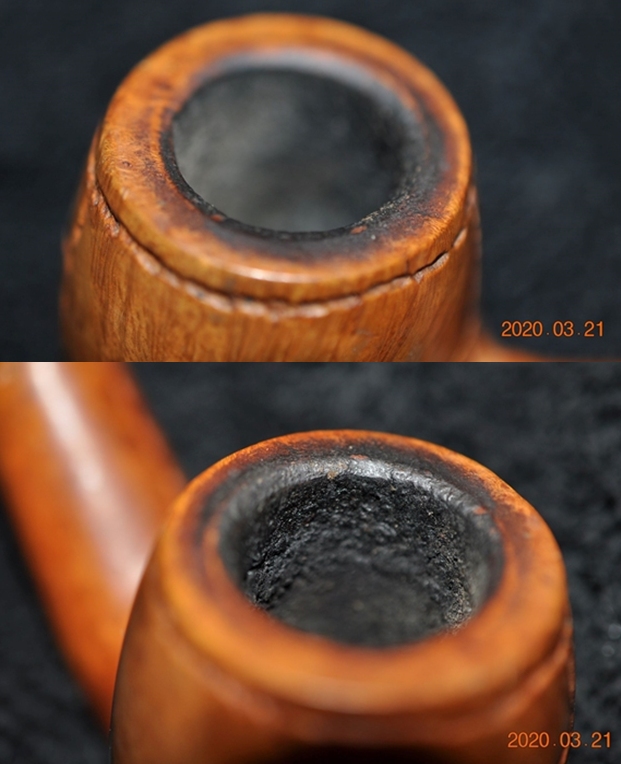
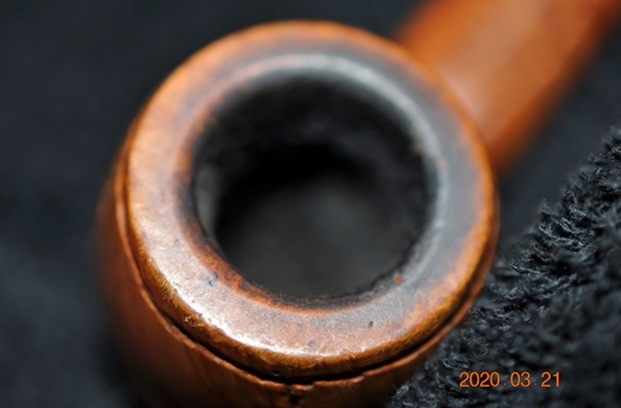
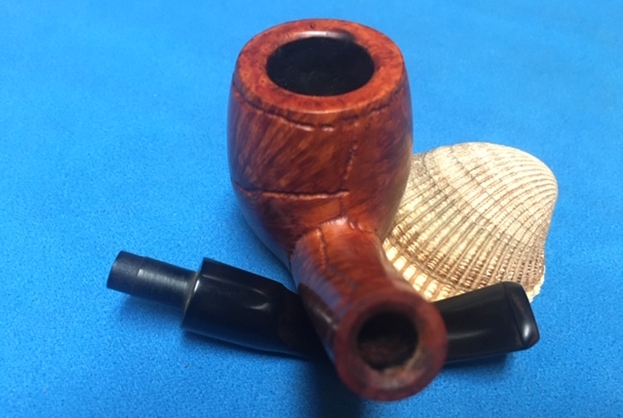
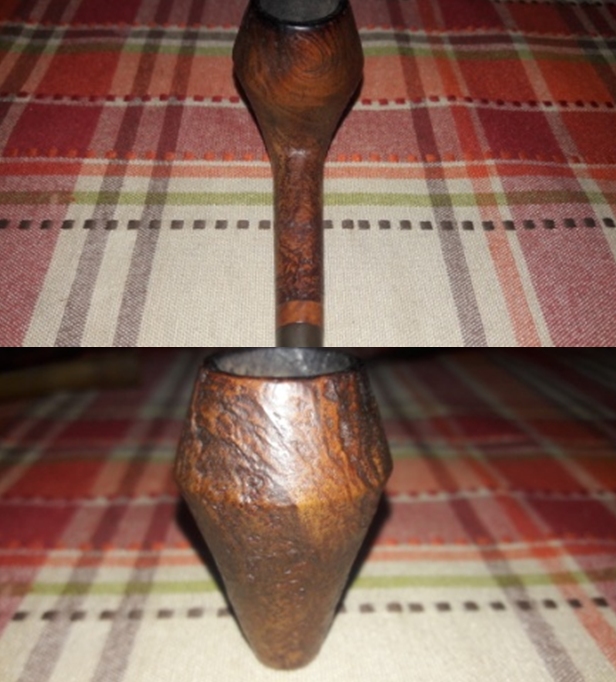
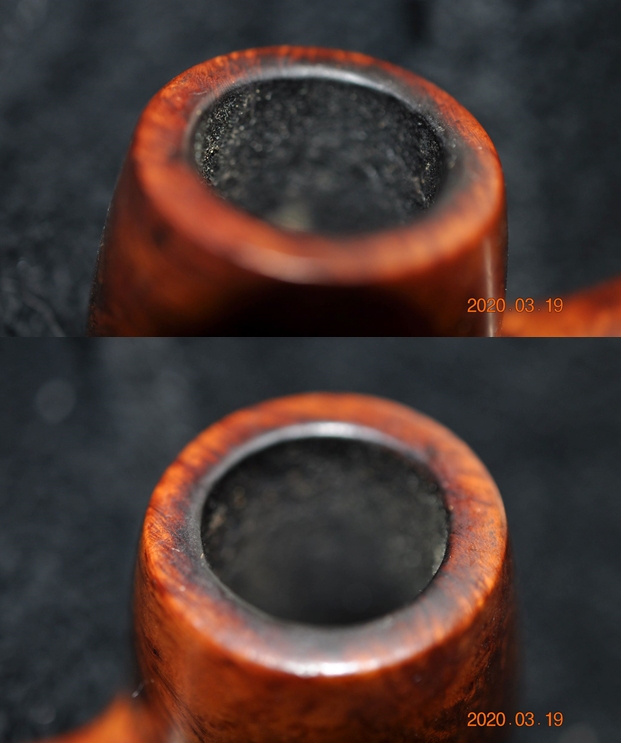
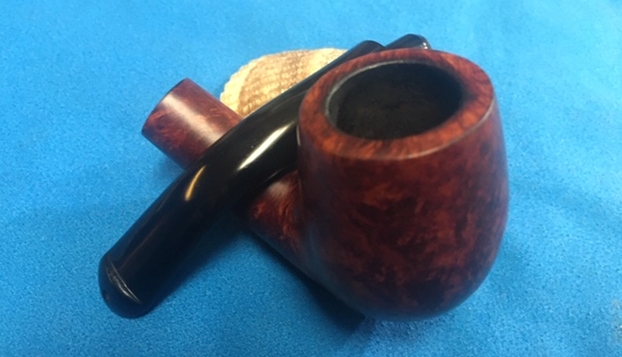
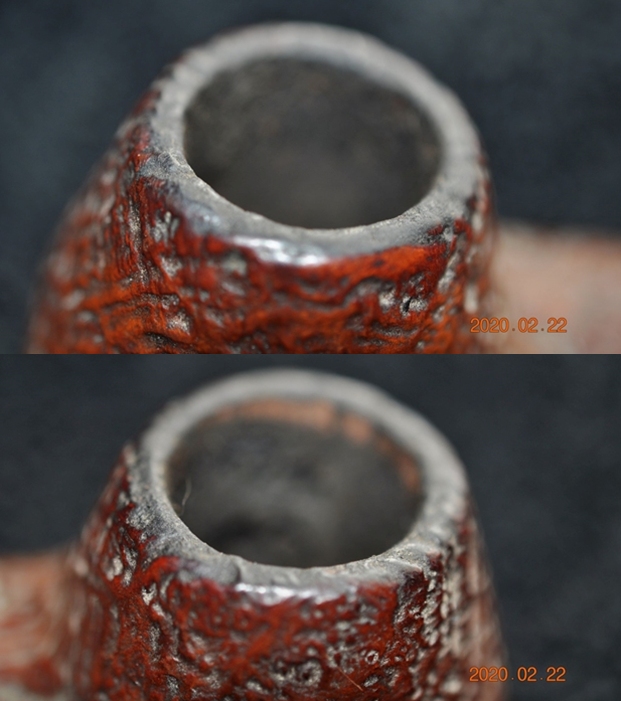
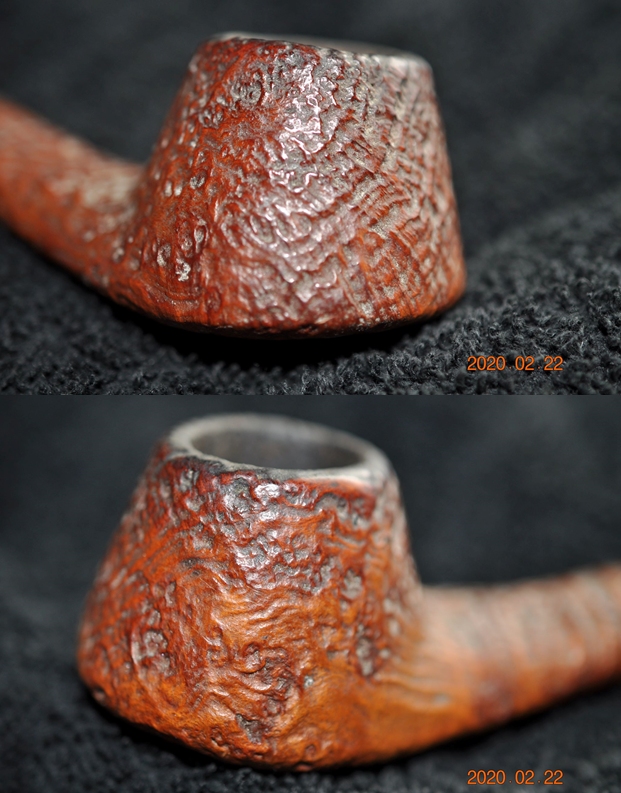
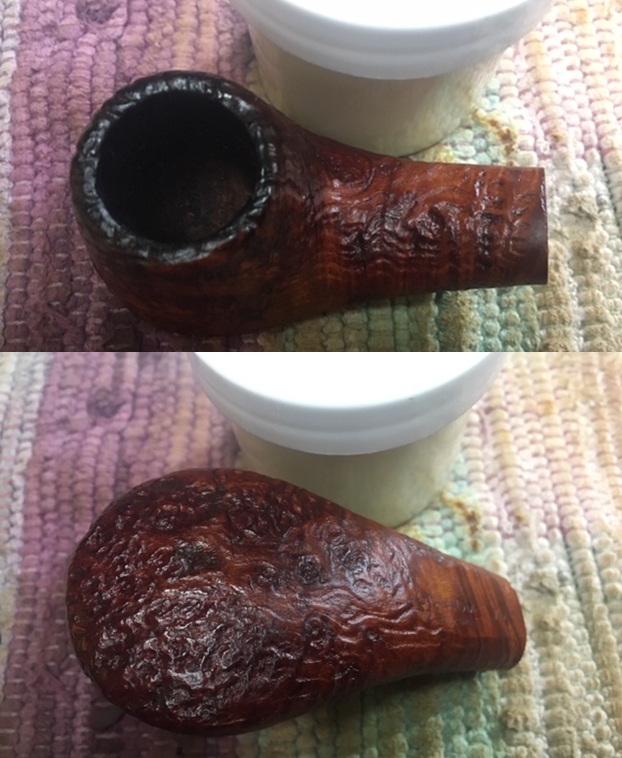
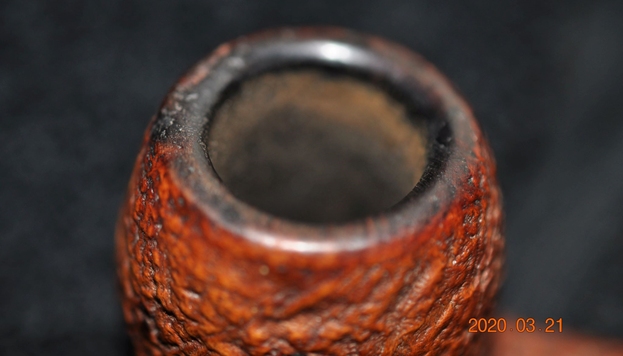
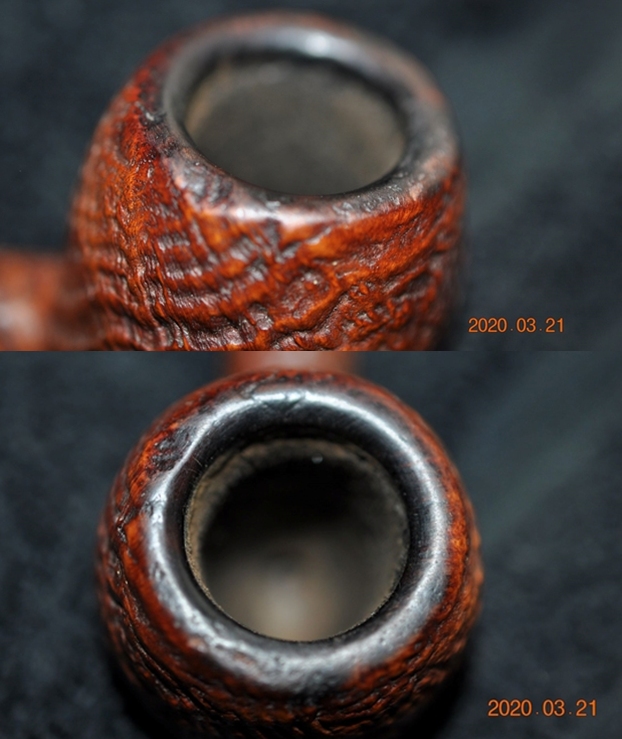
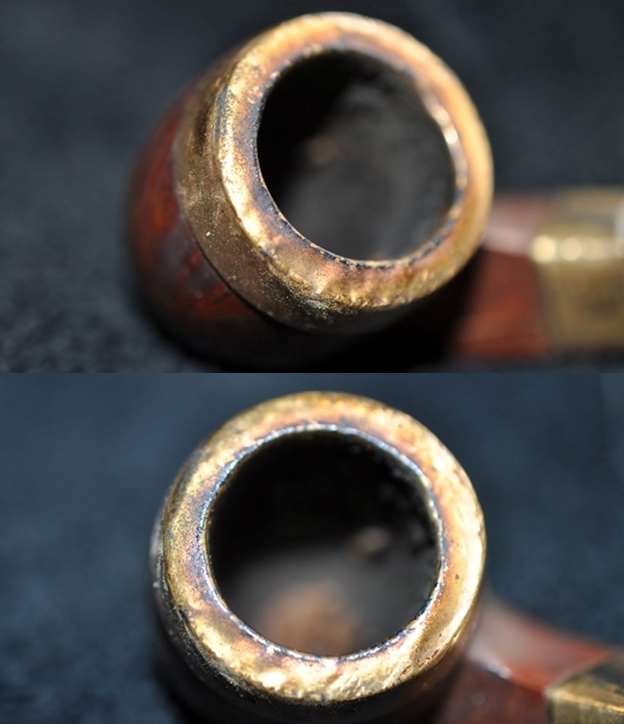
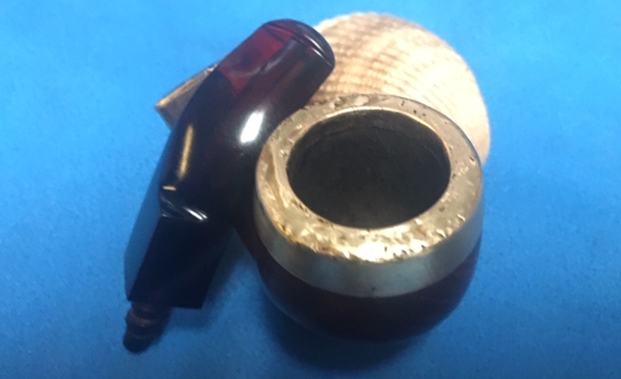
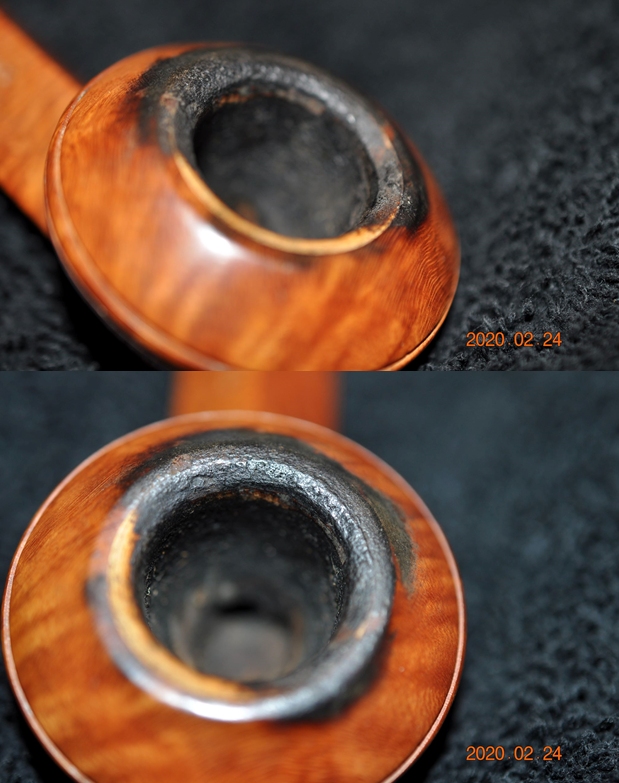
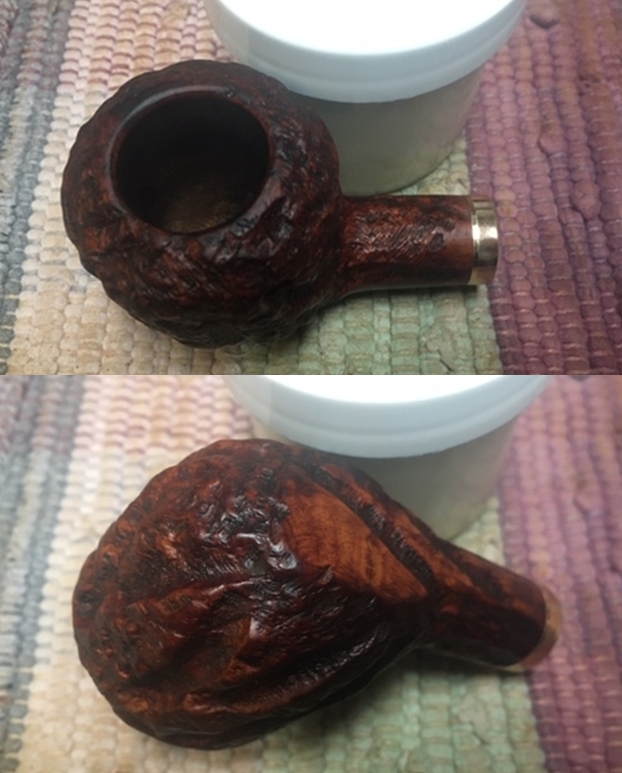
 Jeff took some photos of the rim top from various angles to show the condition. You can see the thick lava on the top and the dust and debris as well as some damage on the rim. There is a thick cake in the bowl and lava on the inner edge.
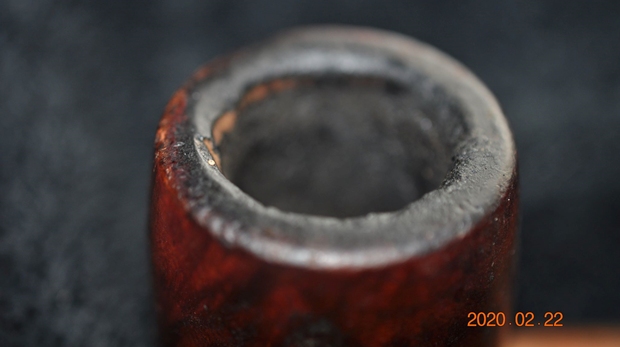
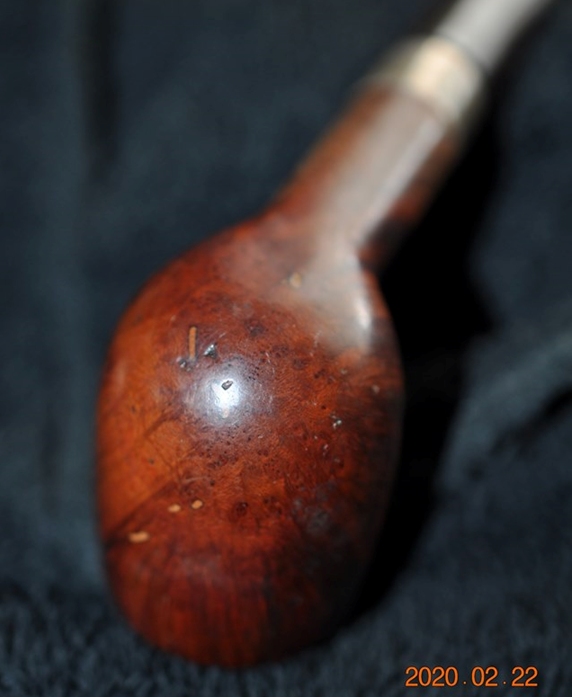
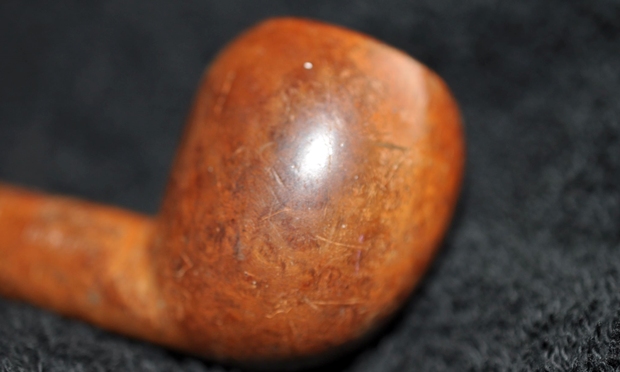
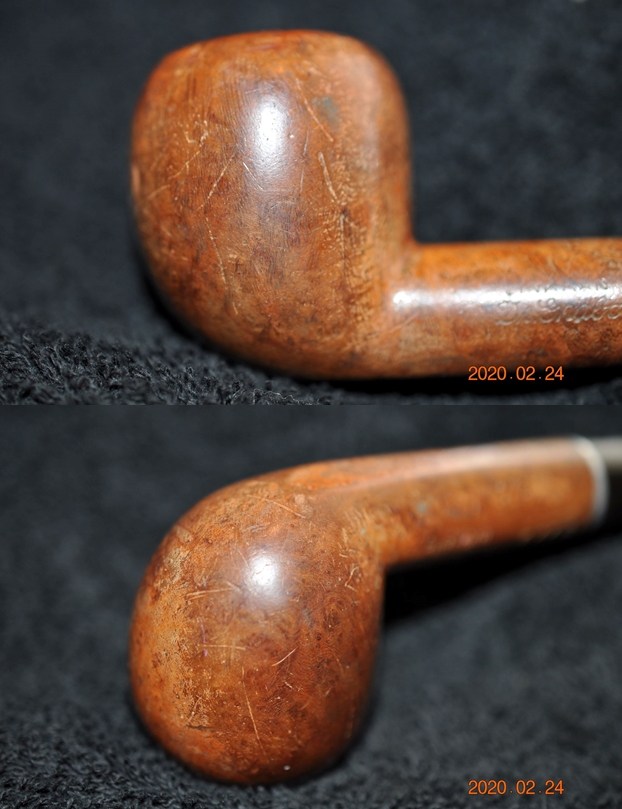
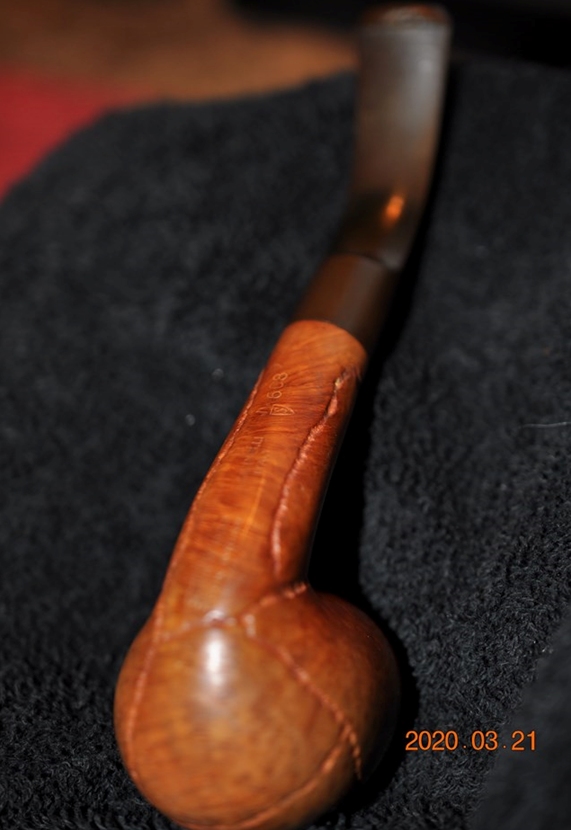
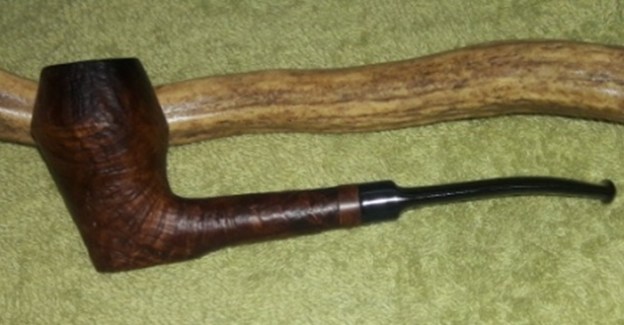
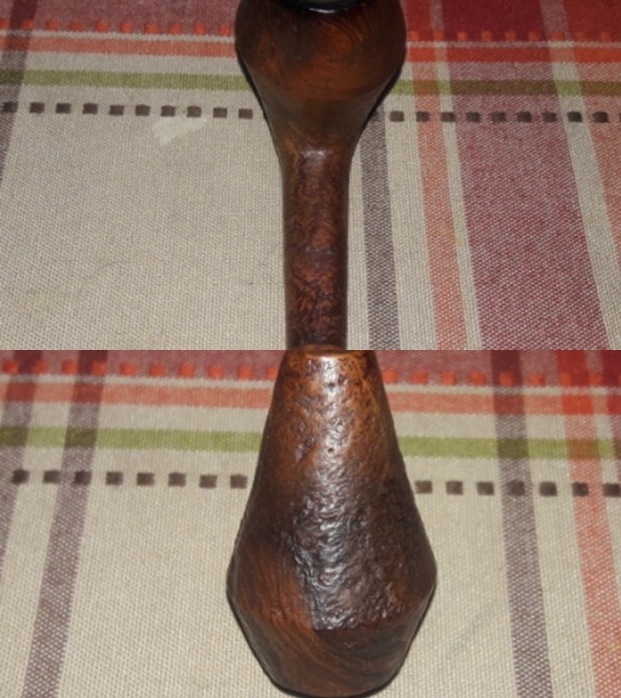
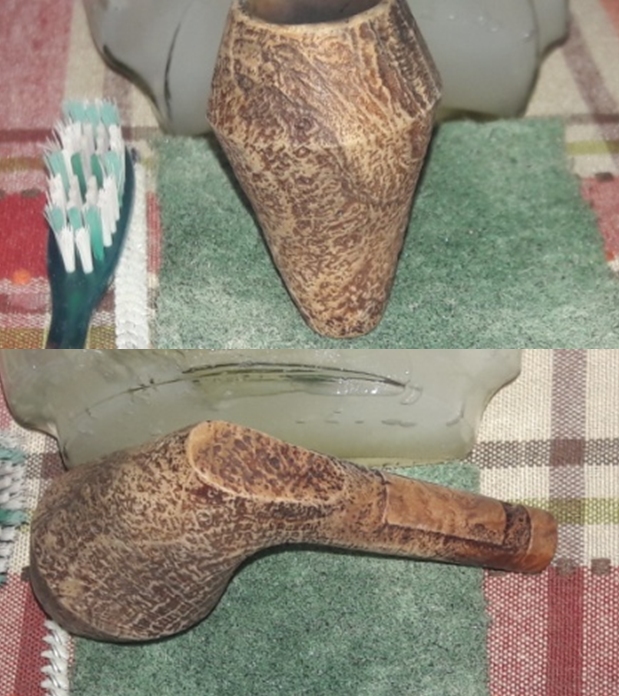
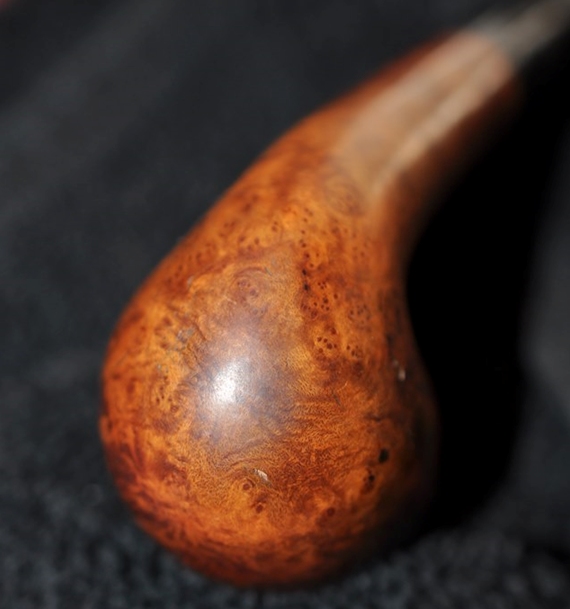
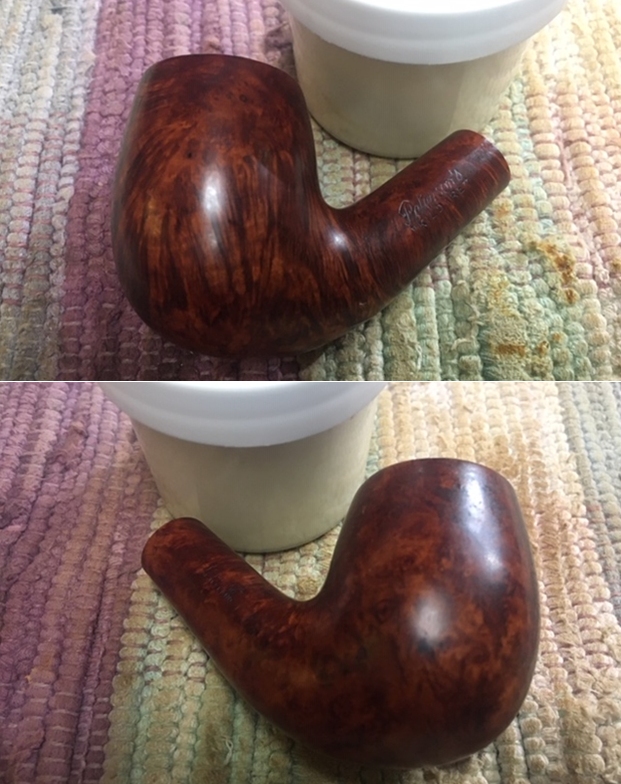
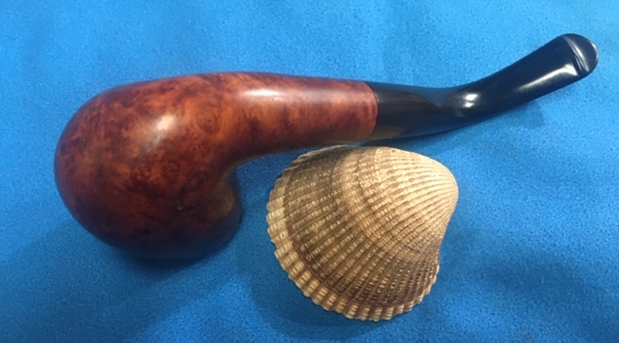
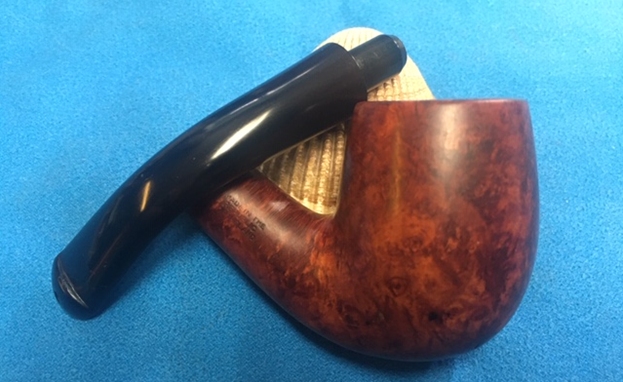
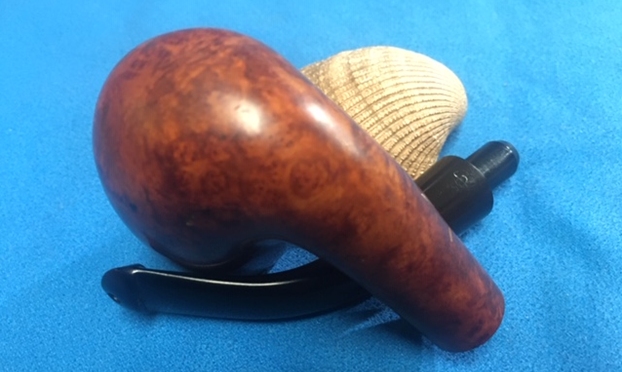
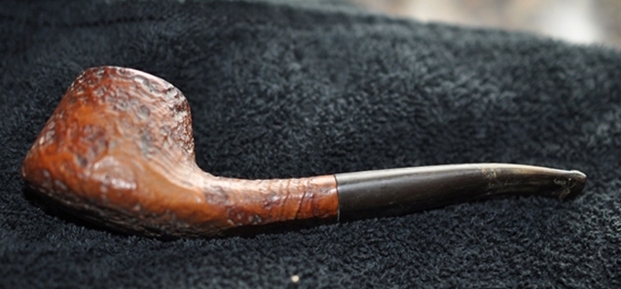
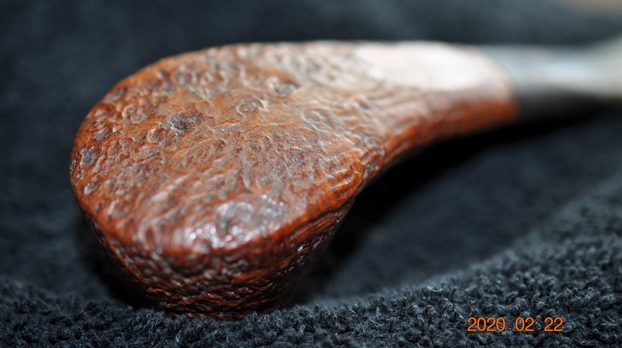
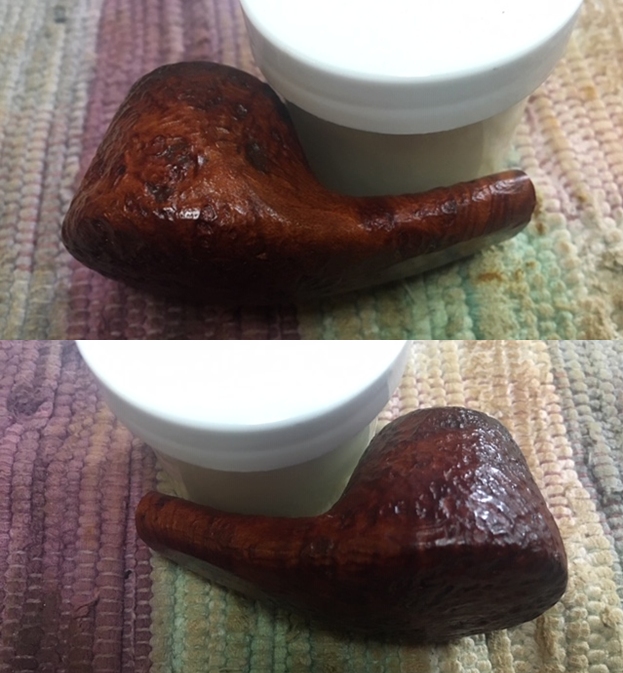
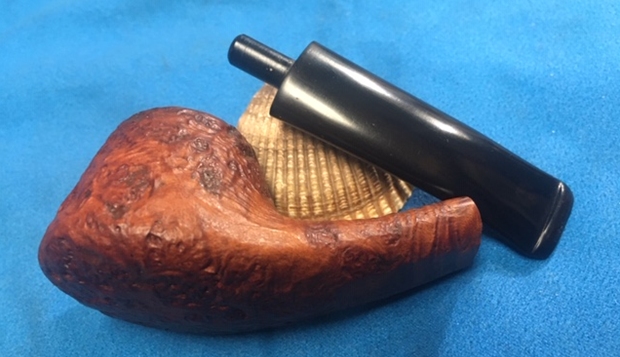
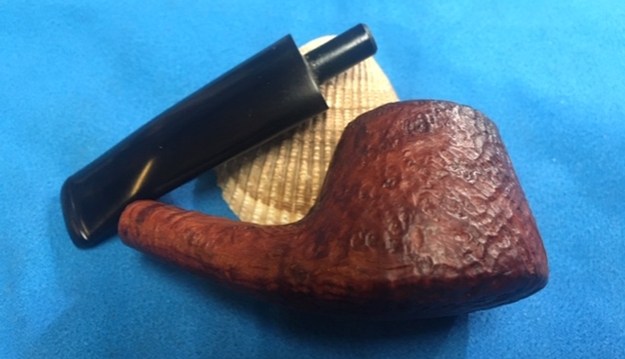
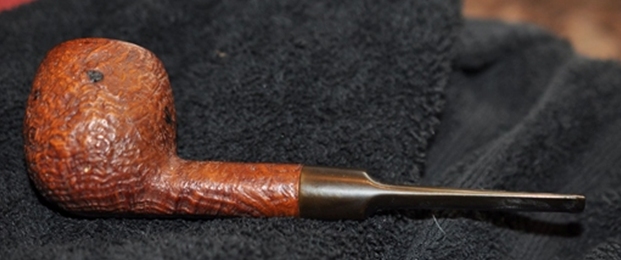
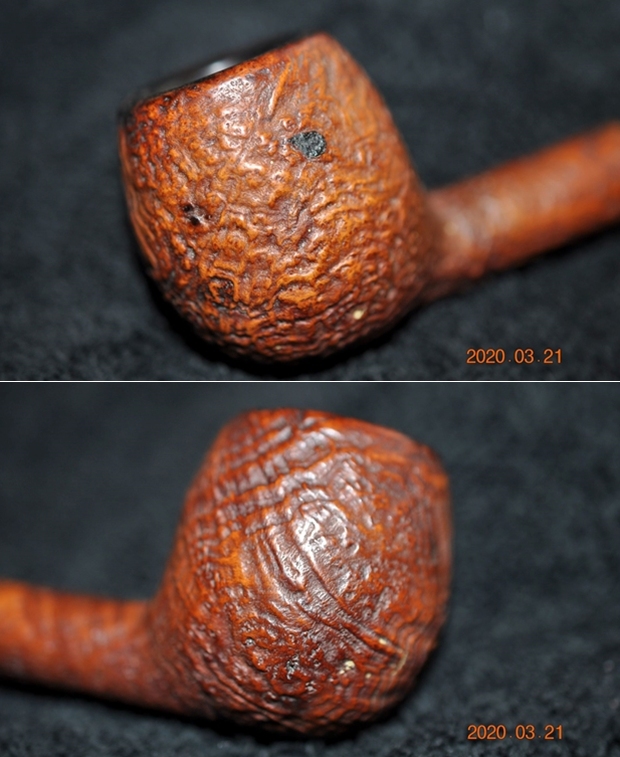
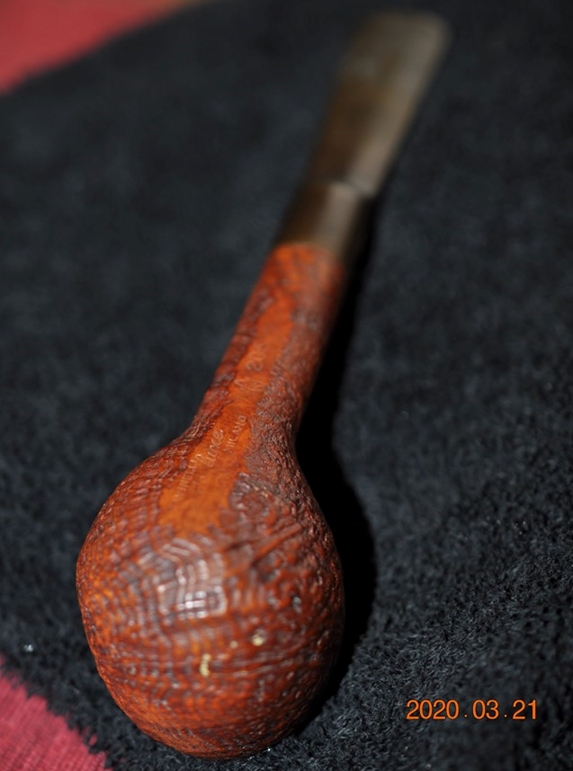
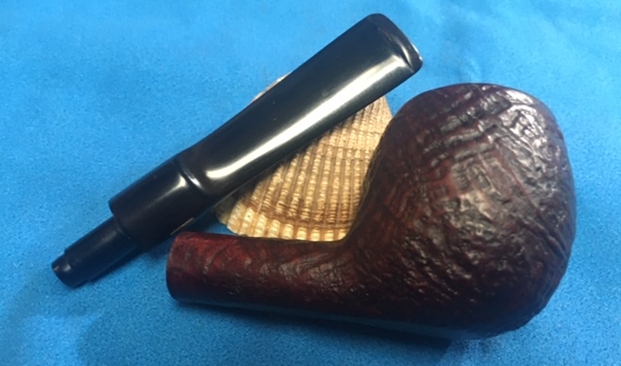
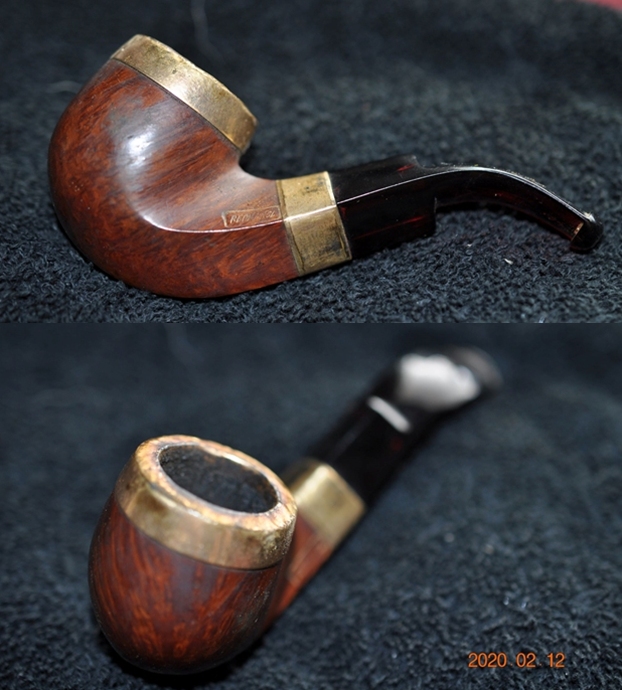
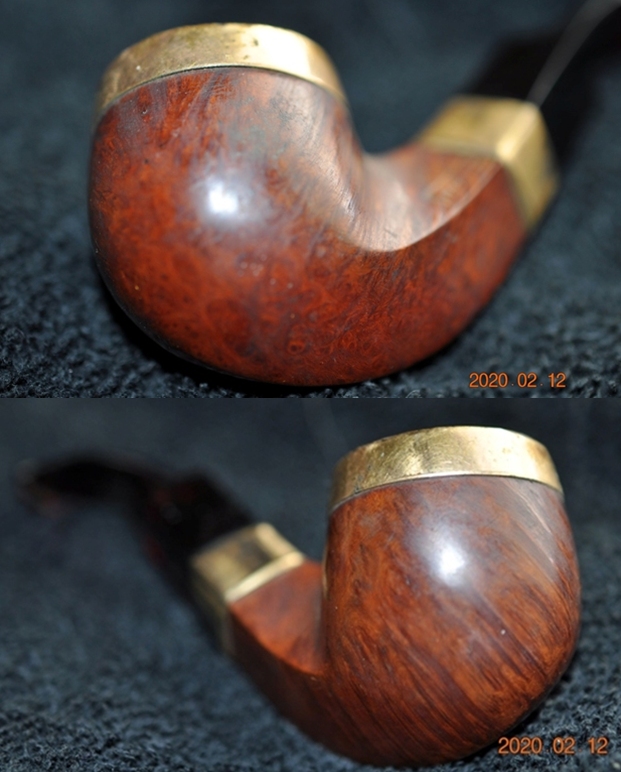
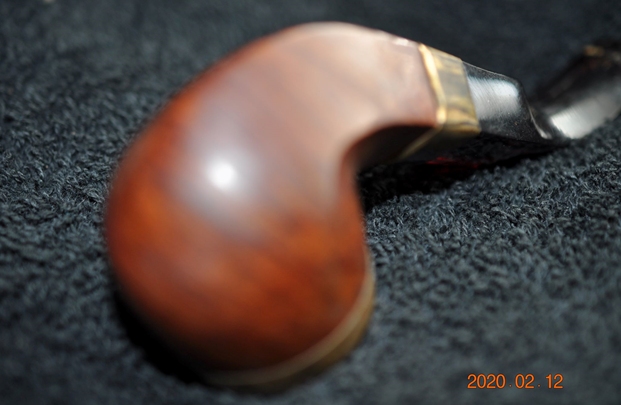
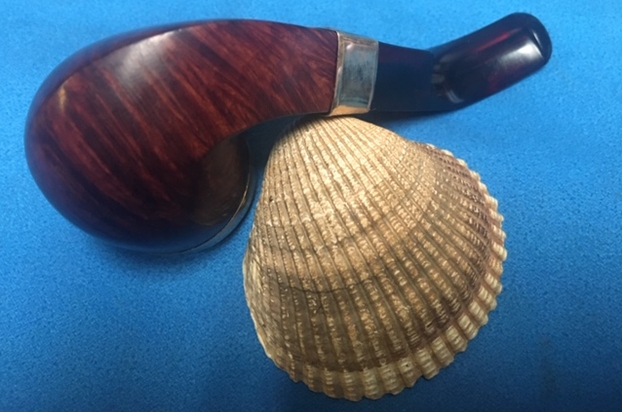
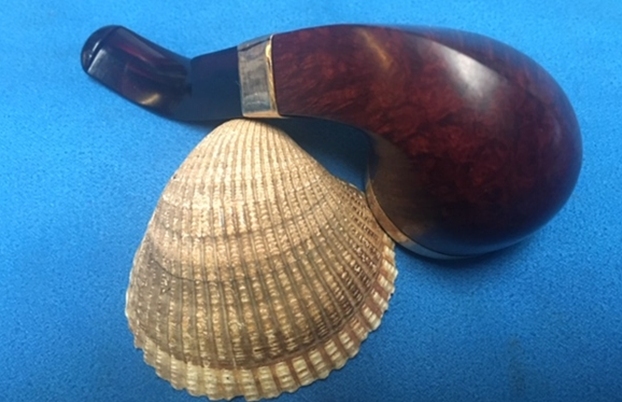
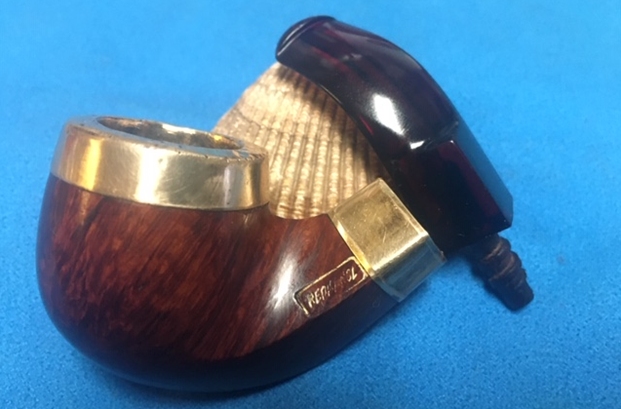
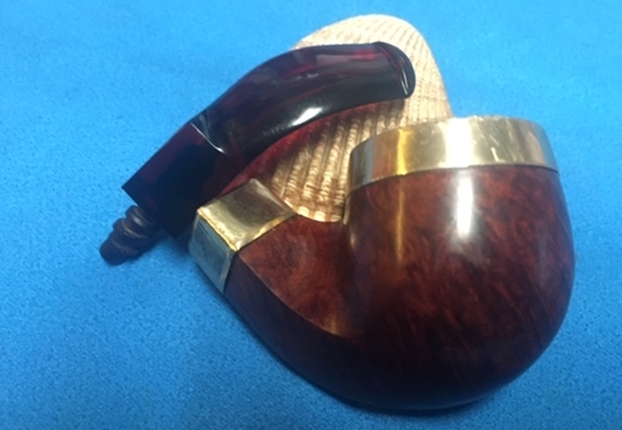
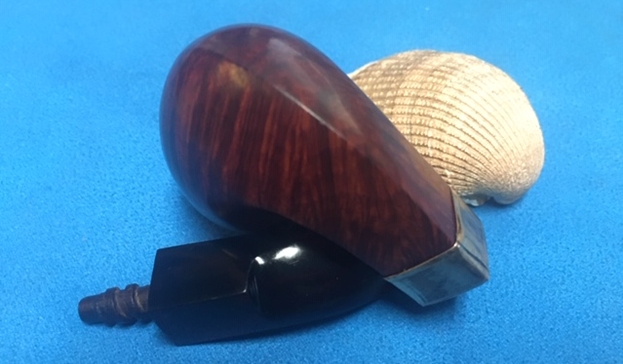
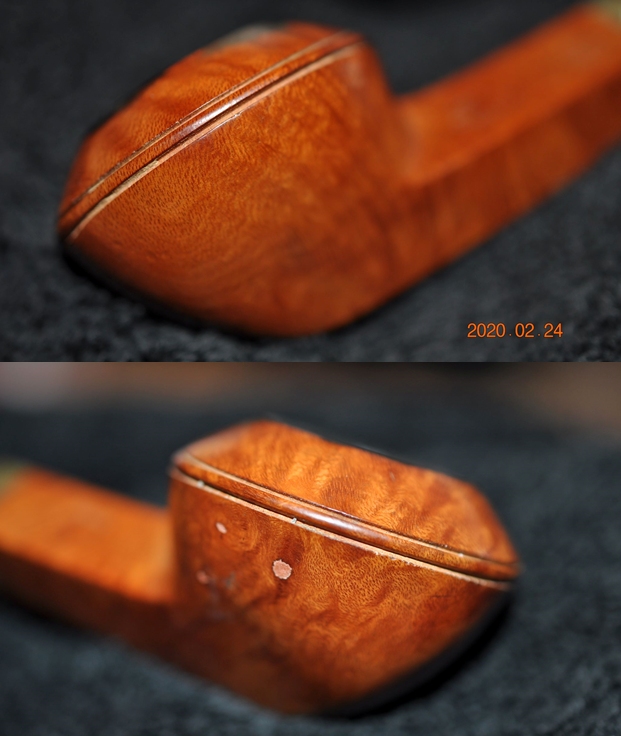
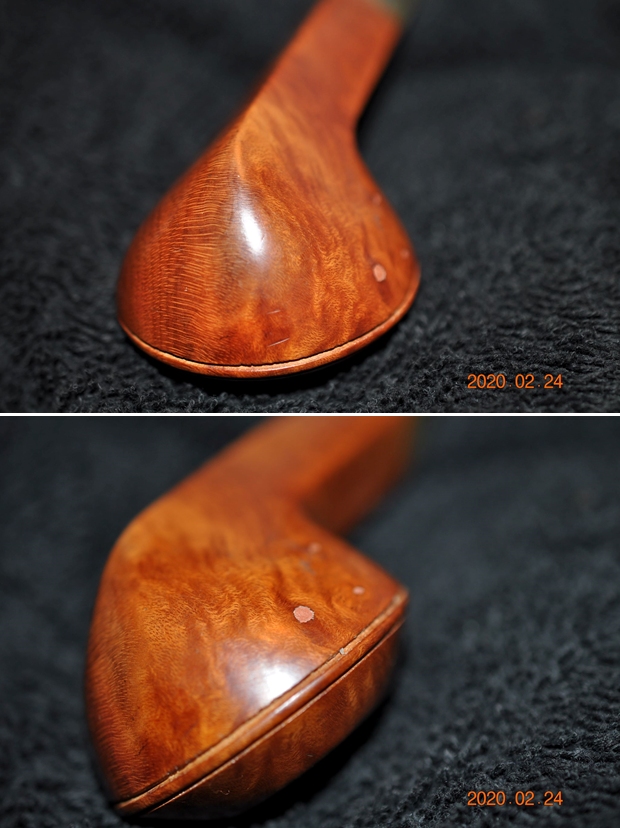
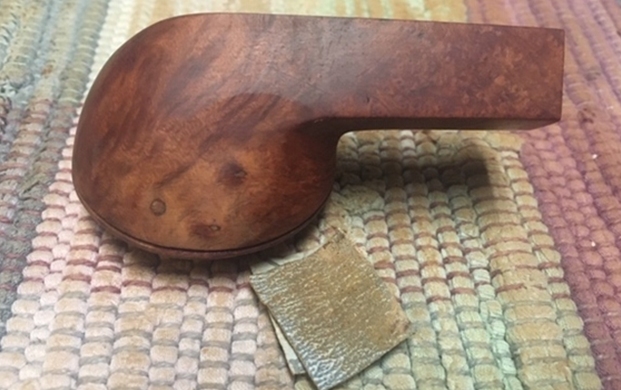
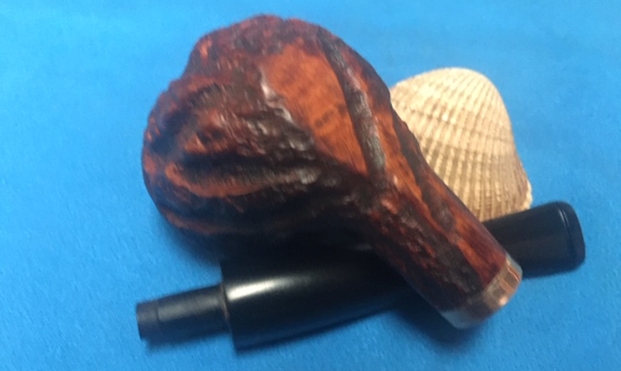
 The next photos show the bowl sides and heel. The finish around the bowl was very worn and tired looking. There were spots of paint on the briar as well as quite a few fills on the heel and the front of the bowl. There was some amazing grain showing through the thick grime on the finish.
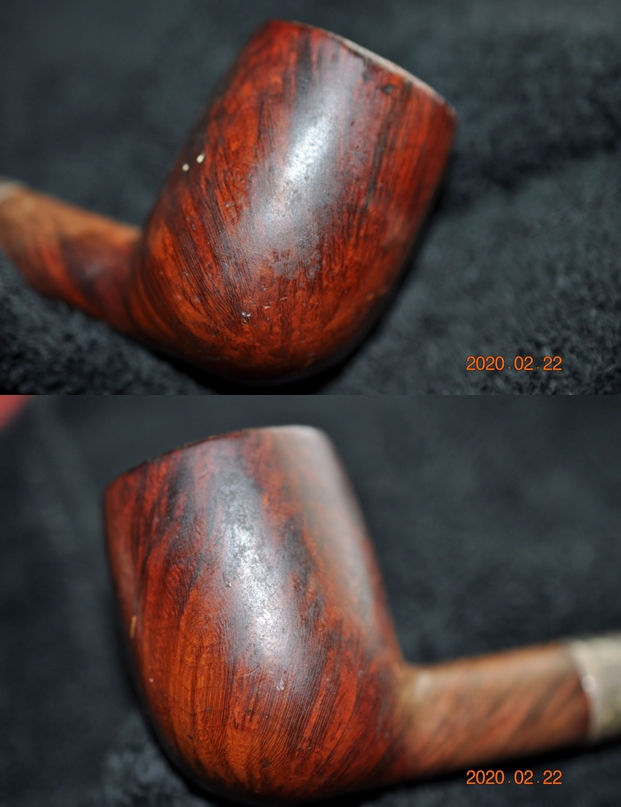
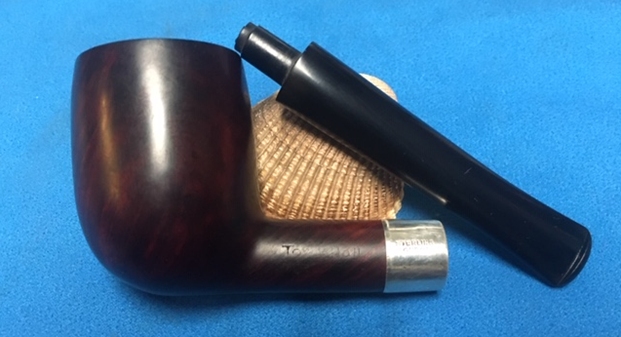
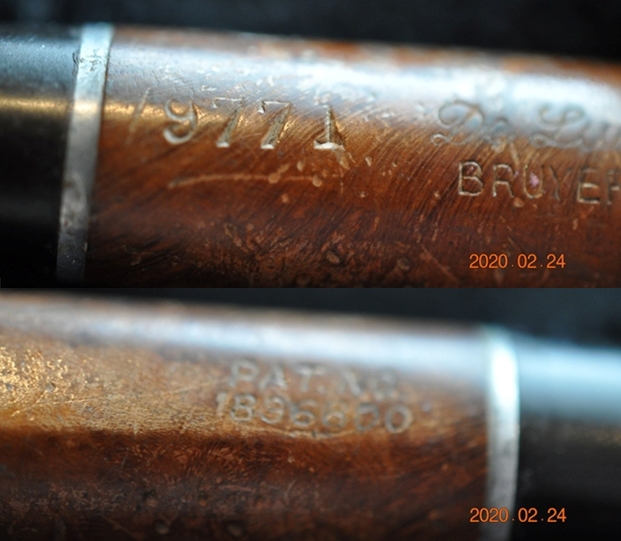
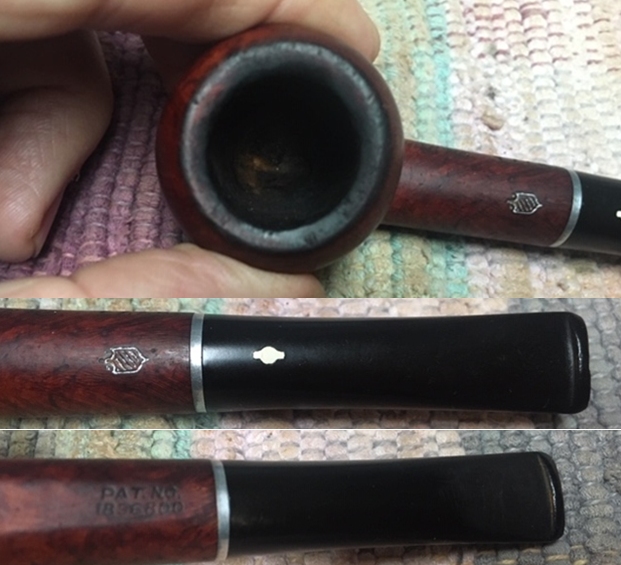
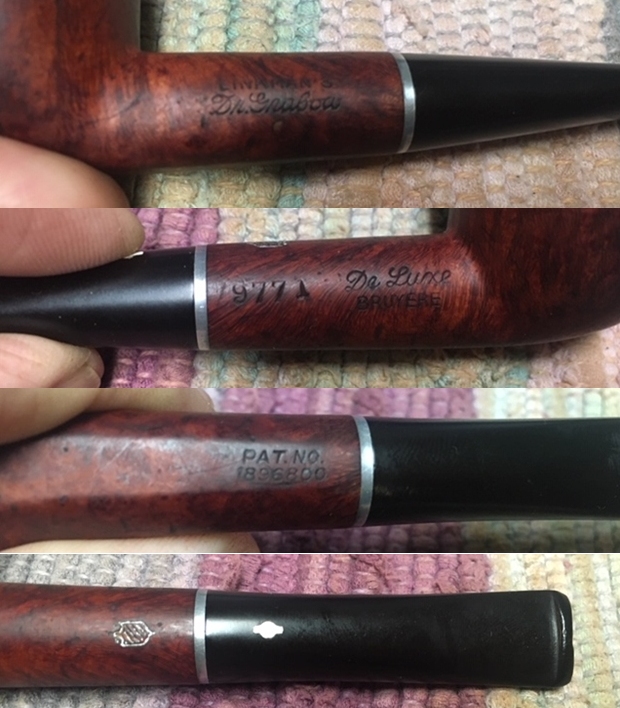
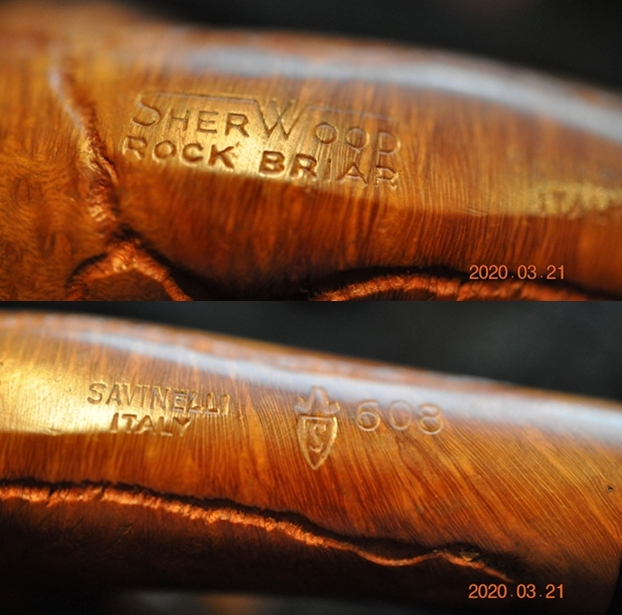
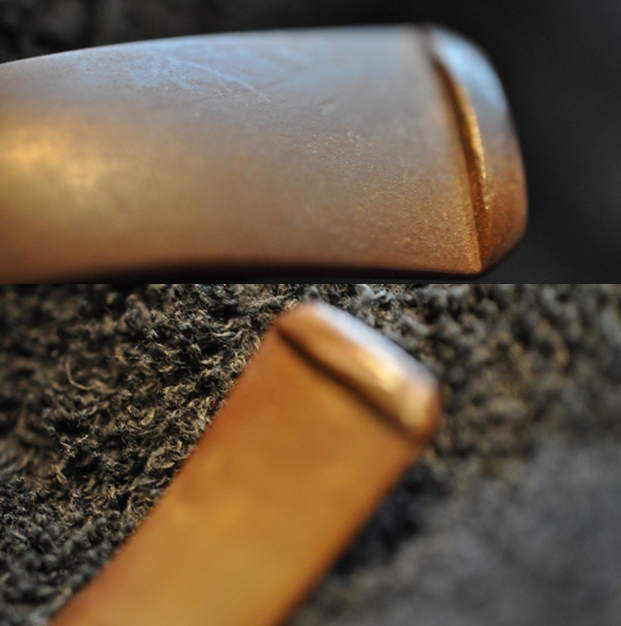
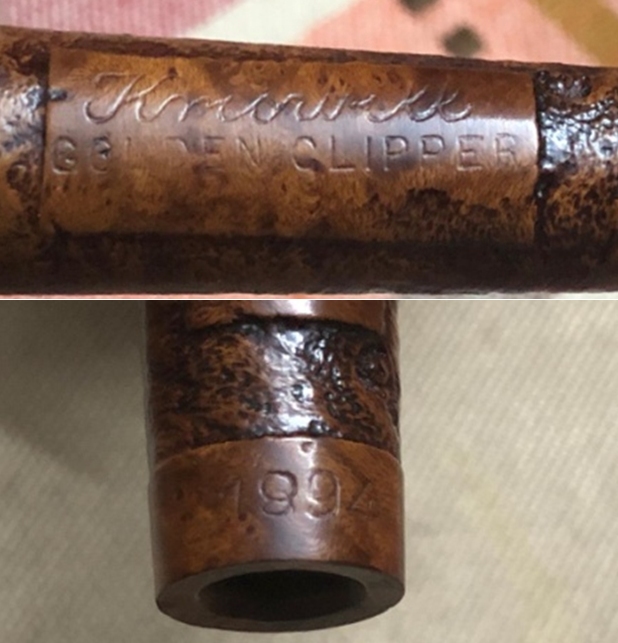
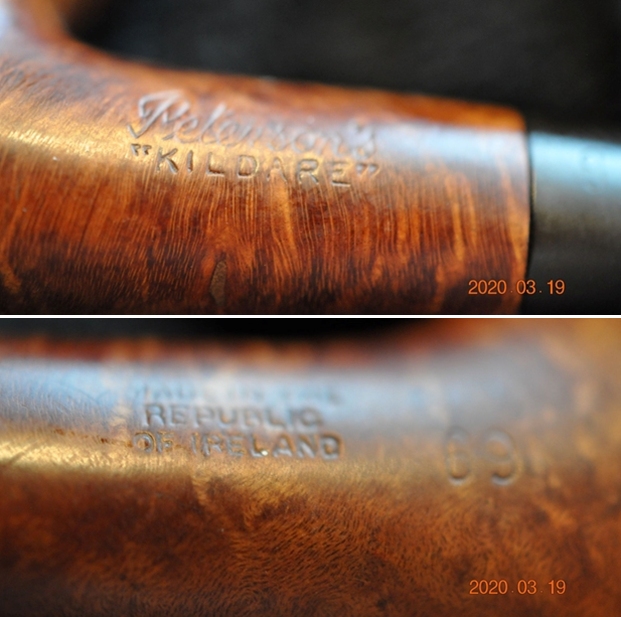
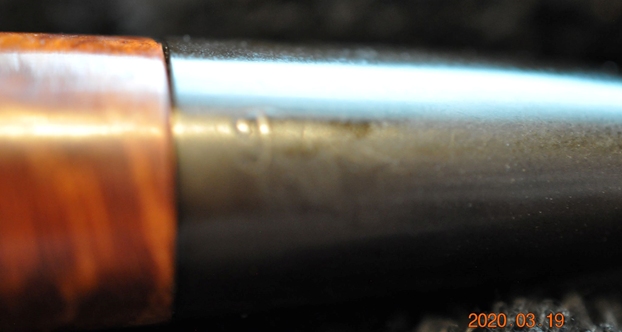
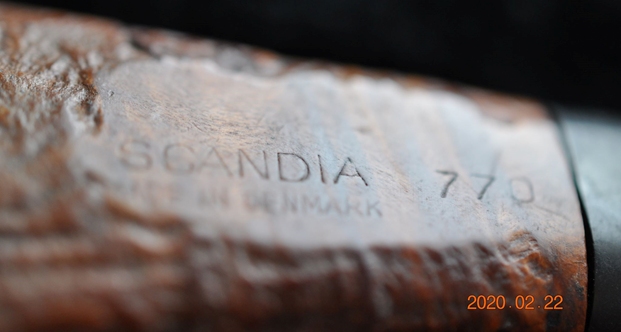
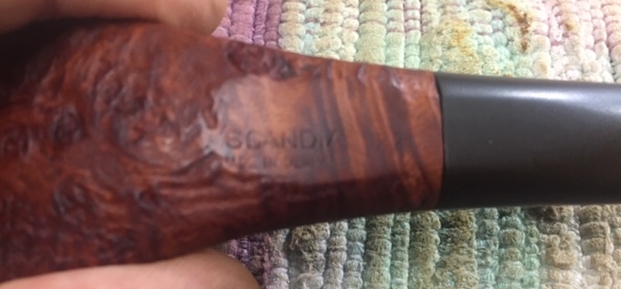
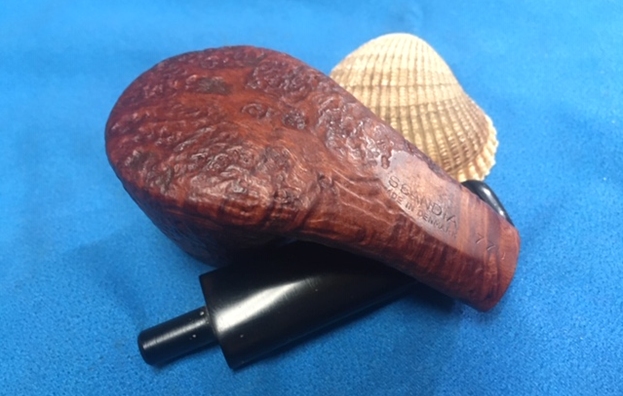
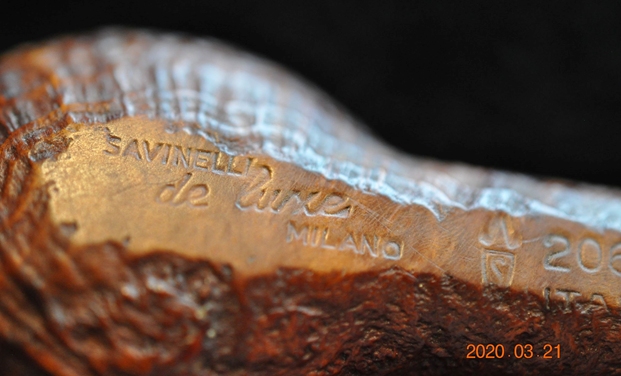
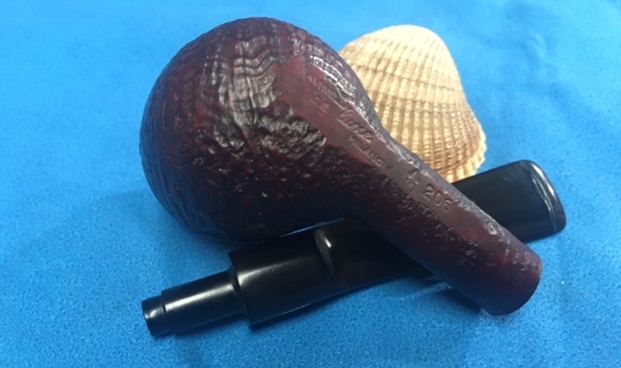
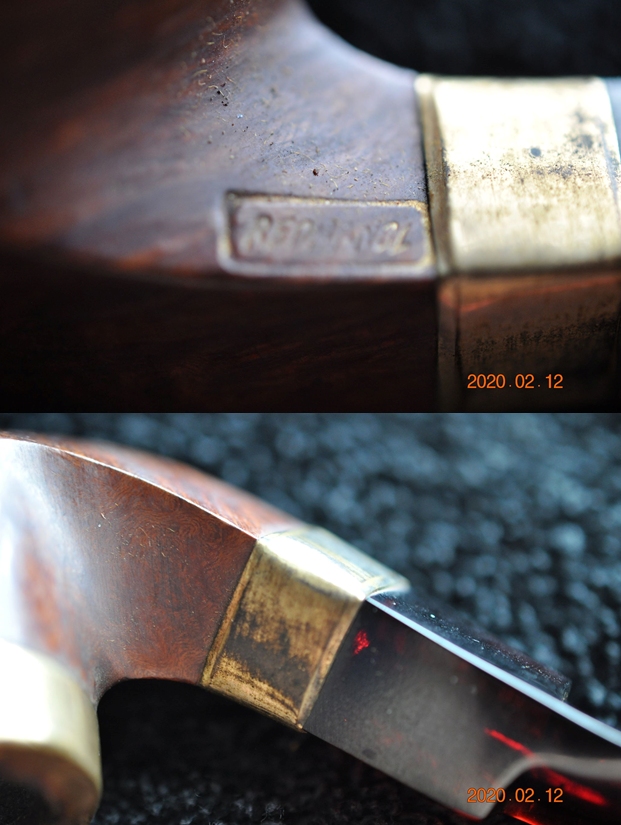
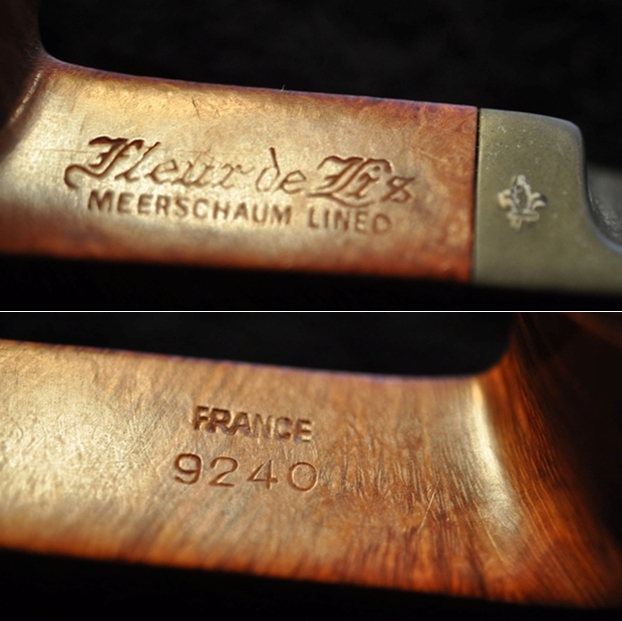
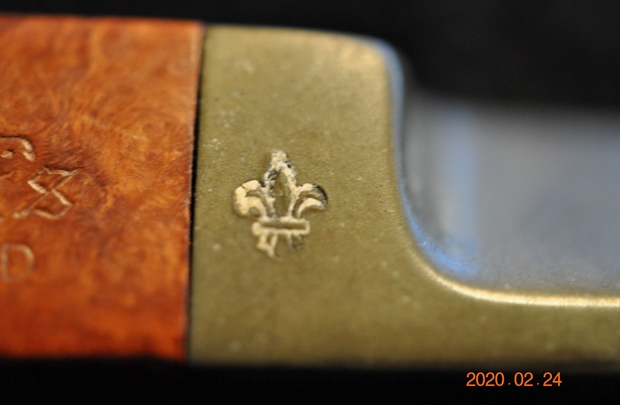
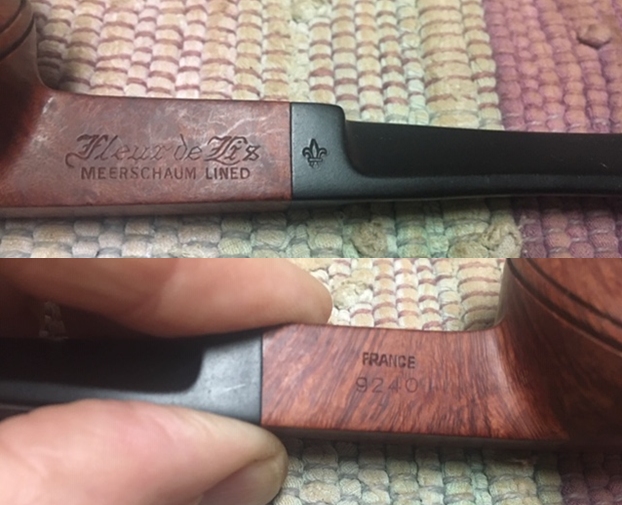
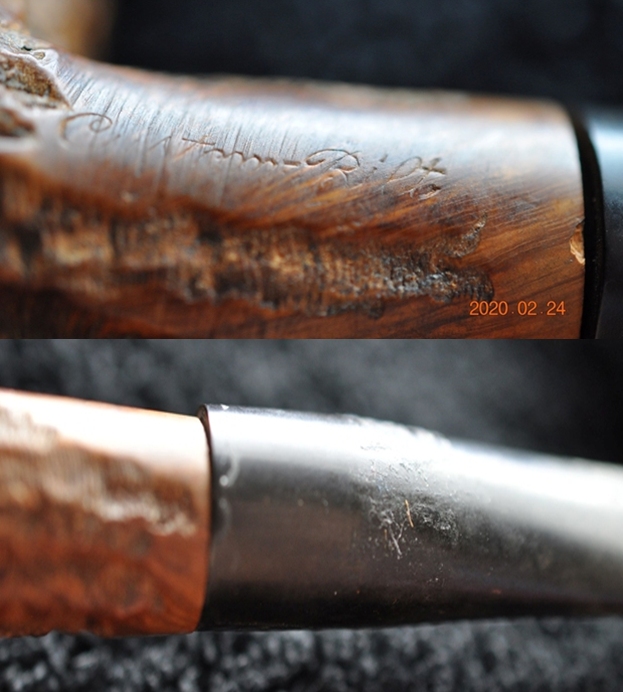
 The next photos capture the stamping around the shank and band. Jeff did not get a good photo of the shape number and worn stamp on the right side of the shank so I have not included that. The stamping read as noted above and they are faint but readable with a light and lens. The silver band is also stamped Sterling London.
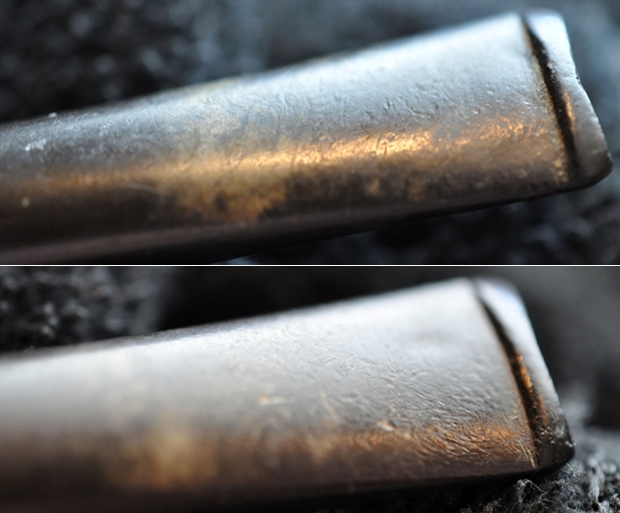
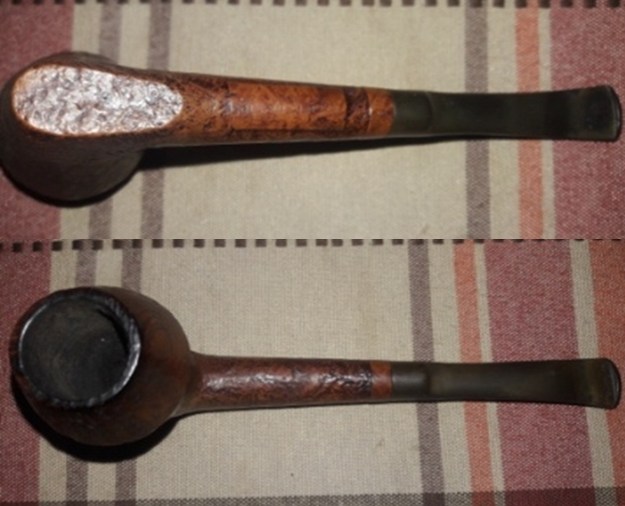
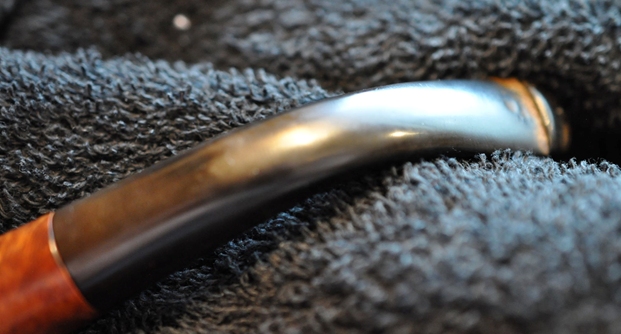
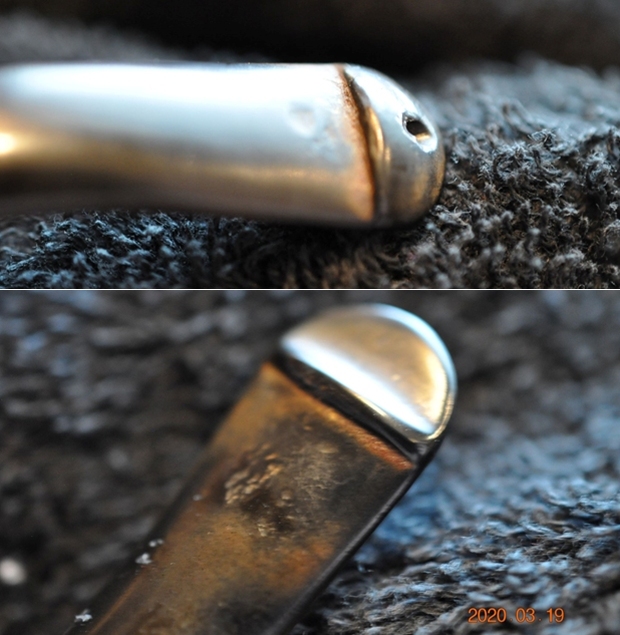
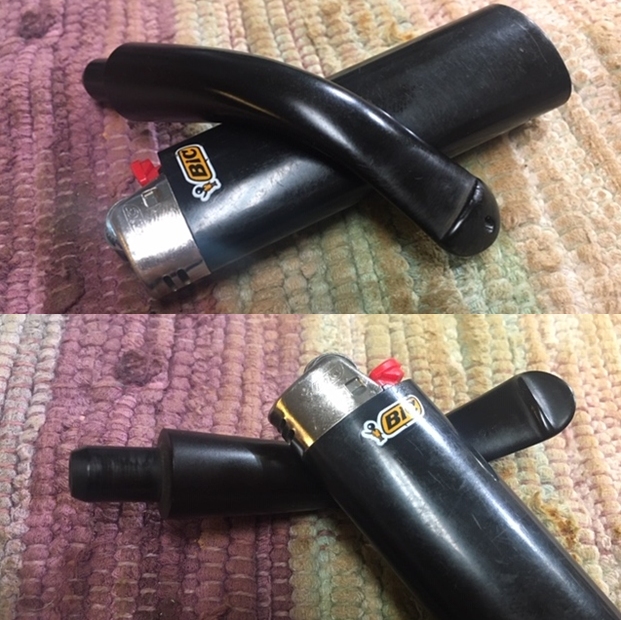
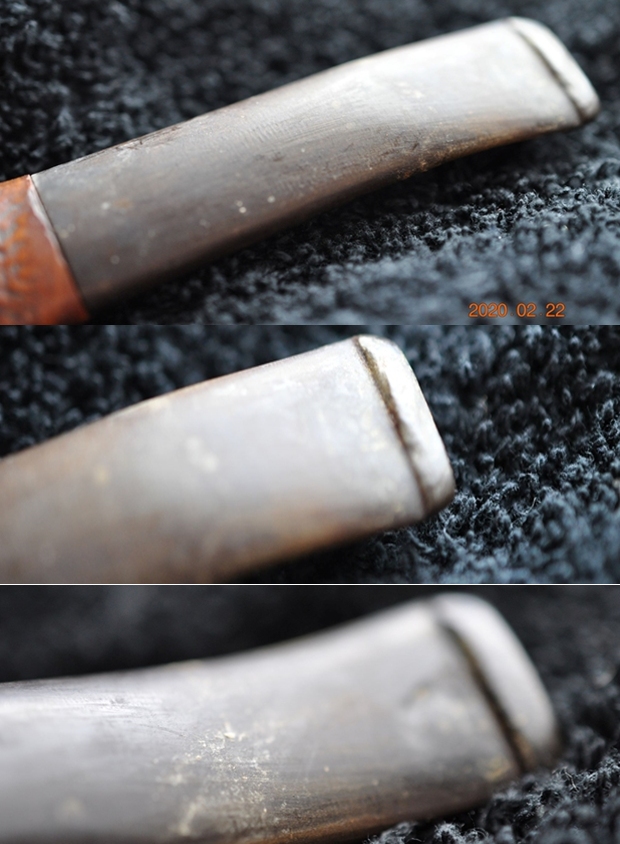
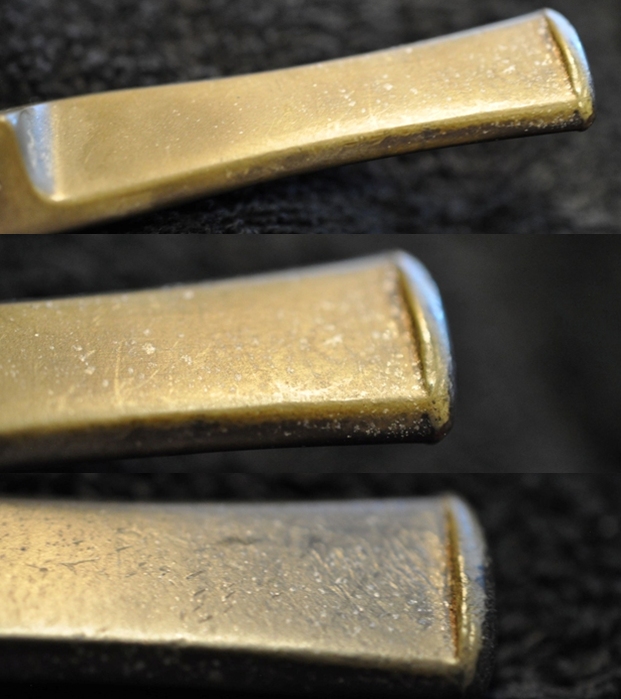
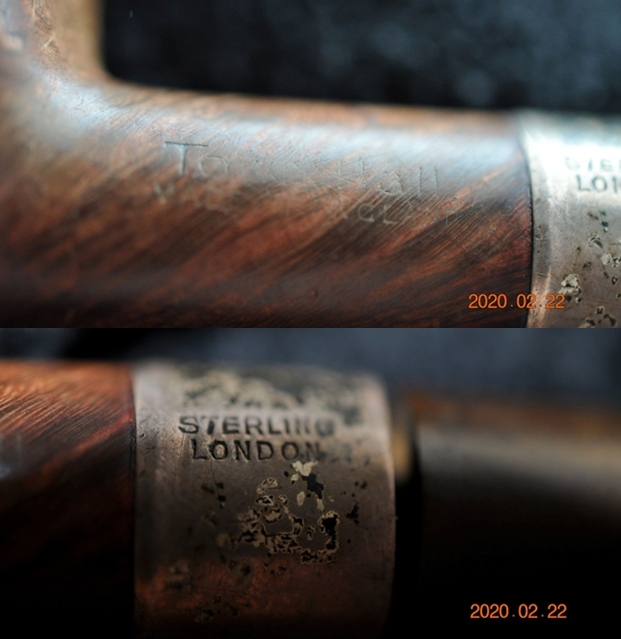 The stem was oxidized and calcified and the photos below show the tooth marks and chatter on the surface. The second photo shows the large bite through on the stem surface ahead of the button. This stem will need to be replaced.
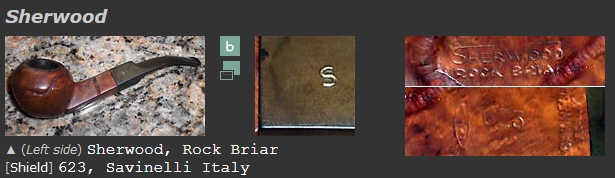
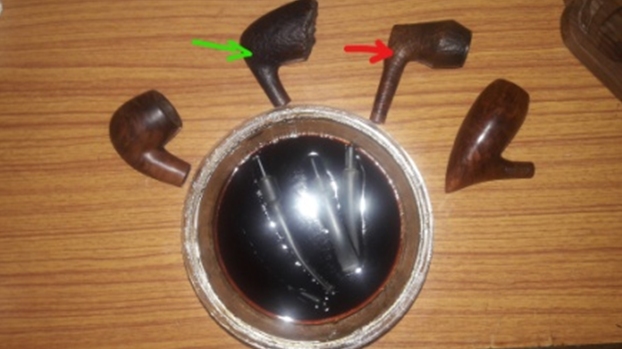
 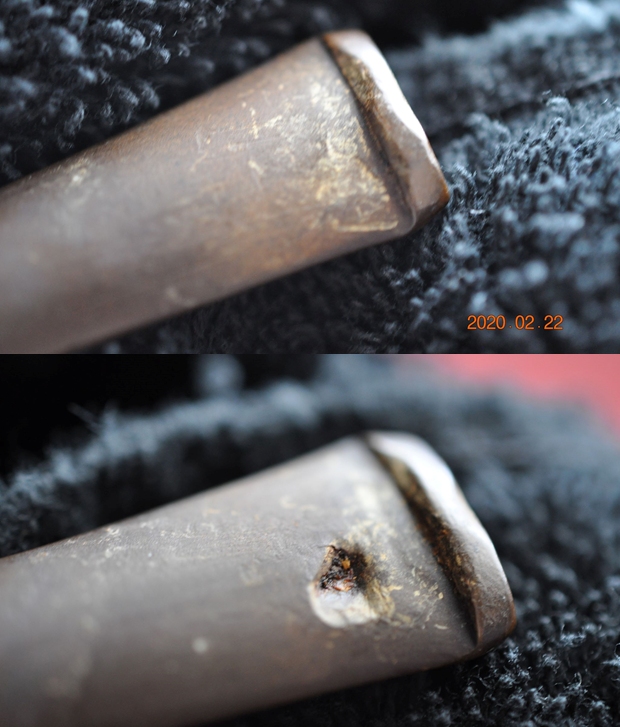 I turned to Pipephil to try and figure out any information regarding the Town Hall brand. I was not familiar with and was hoping I would get some info (http://www.pipephil.eu/logos/en/logo-t7.html). I did indeed find out that it was a Comoy’s Second. The photo of the stamping looks like what I have. The stamp on the right side of the shank in the photo below is very faint on the pipe I am working on. I have included the screen capture of the section on the brand below.
  I then turned to the Pipedia article on Comoy’s pipes (https://pipedia.org/wiki/Comoy%27s). I read through the article until I came to the section entitles “Seconds made by Comoy’s”. I scrolled through the list of brands and the Town Hall was listed. (There is a typo in the name in the list as it runs the two words together.) I have emboldened and underlined the name in the list below.
Ace of spades, Ancestor, Astor, Ayres, Britannia, Carlyle, Charles Cross, Claridge, Coronet?, Cromwell, Dorchester, Dunbar, Drury Lane, Emerson, Everyman, Festival of Britain, Golden Arrow, Grand Master, Gresham, Guildhall, Hamilton (according to Who Made That Pipe), Kingsway, Lion’s Head, Lord Clive, Lumberman, Hyde Park, Lloyds, Mc Gahey, Moorgate, Newcastle, Oxford, O’Gorman, Rosebery Extra, Royal Falcon, Royal Guard, Royal Lane, Scotland Yard, St James, Sunrise, Super Sports, Sussex, The Academy Award, The Golden Arrow, The Mansion House, The Exmoor Pipe, Throgmorton, Tinder Box Royal Coachman, Townhall, Trident, Trocadero, Westminster, Wilshire
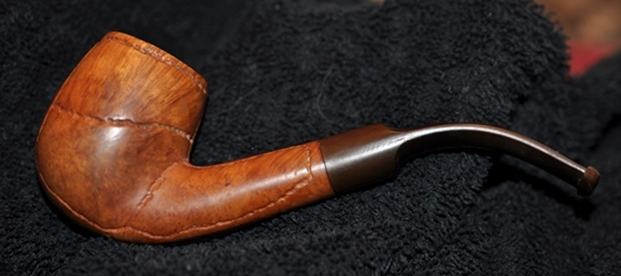
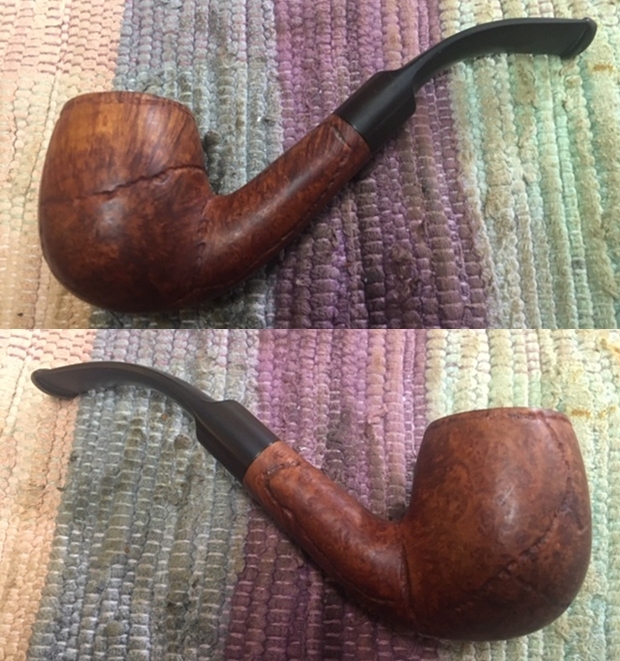
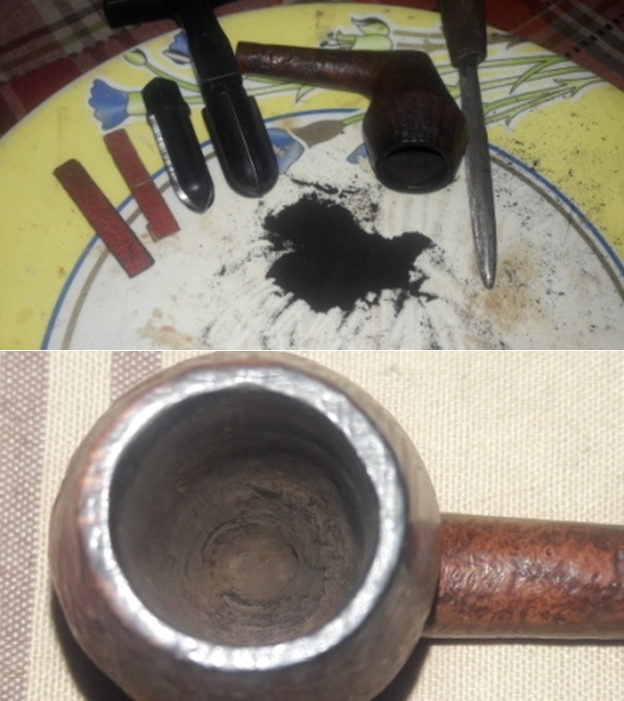
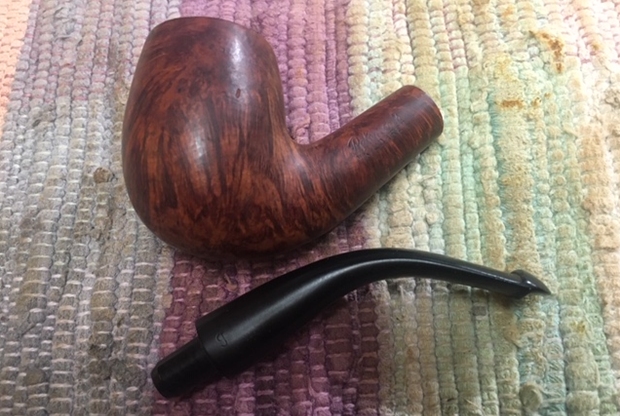
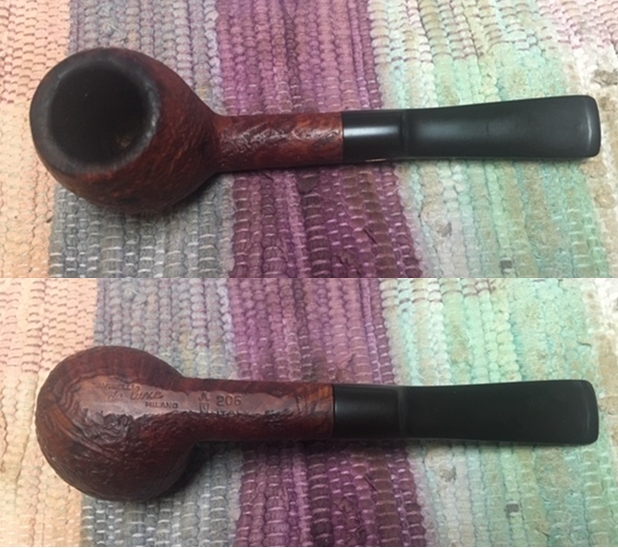
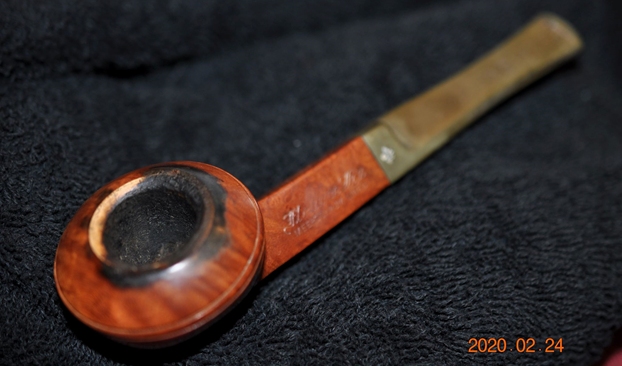
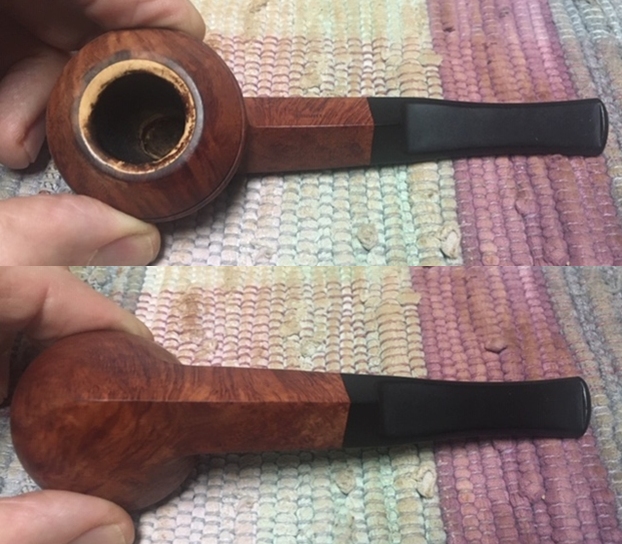
I knew that I was working on a Comoy’s Made pipe and once I read that I could see the classic Comoy’s Billiard shape and the shape number confirmed that. Armed with that information and a clearer picture of the original pipe I turned to work on the pipe on my work table. Jeff had done a great job cleaning up the pipe as usual. He reamed the pipe with a PipNet reamer and cut back the cake back to the bare briar. He cleaned up the walls with a Savinelli Fitsall Pipe Knife. He scrubbed the interior of the bowl and shank with pipe cleaners, cotton swabs and alcohol to remove the tars and oils. He scrubbed the exterior of the pipe with Murphy’s Oil Soap and a tooth brush to remove the grime from the finish. He worked on the rim top lava and darkening with the soap and tooth brush but it was in rough condition. He scrubbed the inside of the stem with alcohol and pipe cleaners. He scrubbed the exterior with Soft Scrub and then soaked it in Before & After Deoxidizer. He washed it off with warm water to remove the Deoxidizer. The pipe looked far better. I took photos of the pipe when I received it before I started working on it. 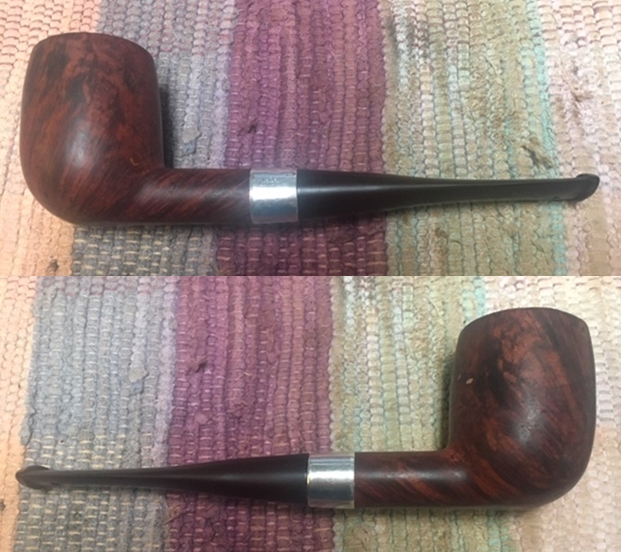
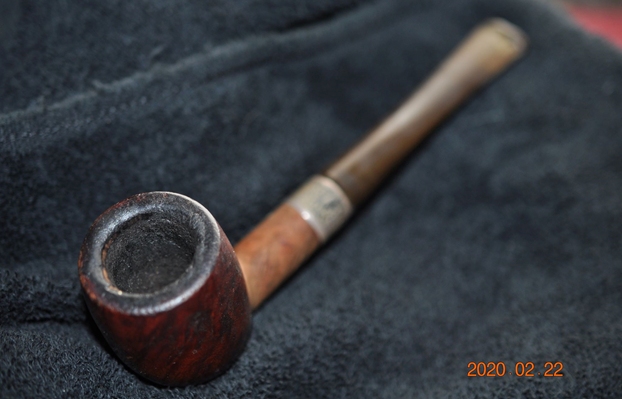
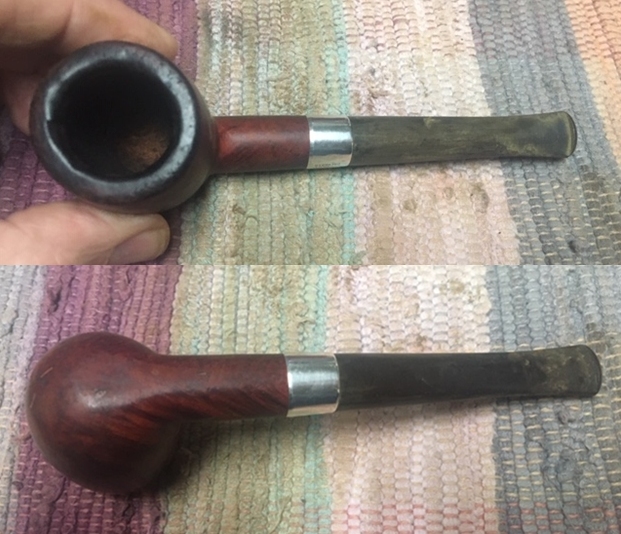
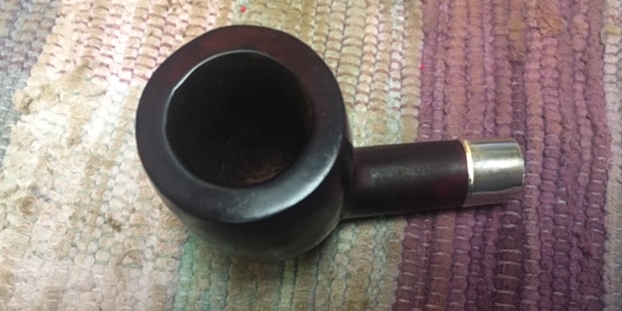
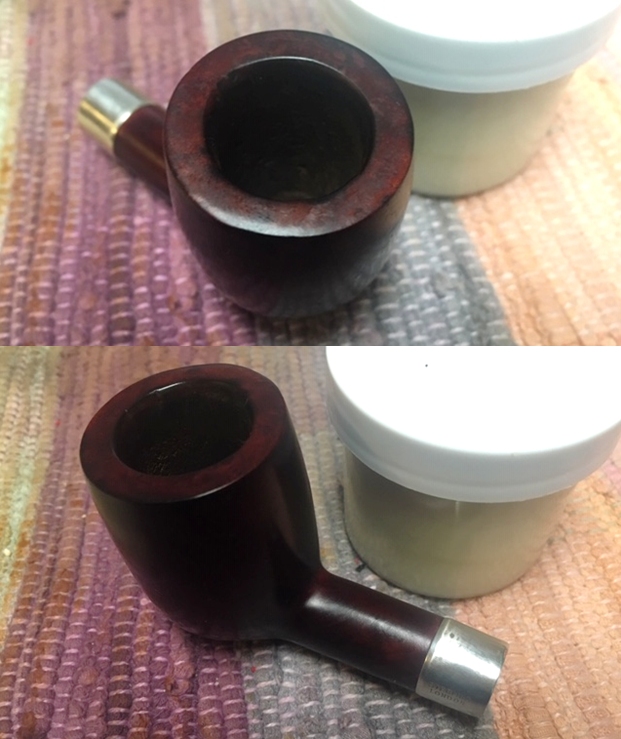
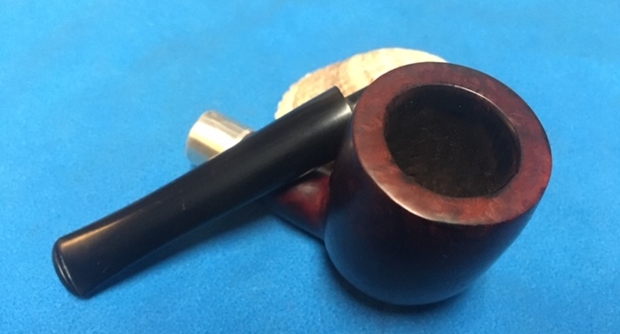
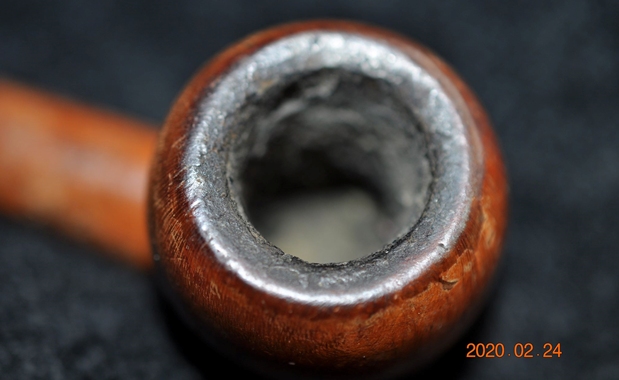
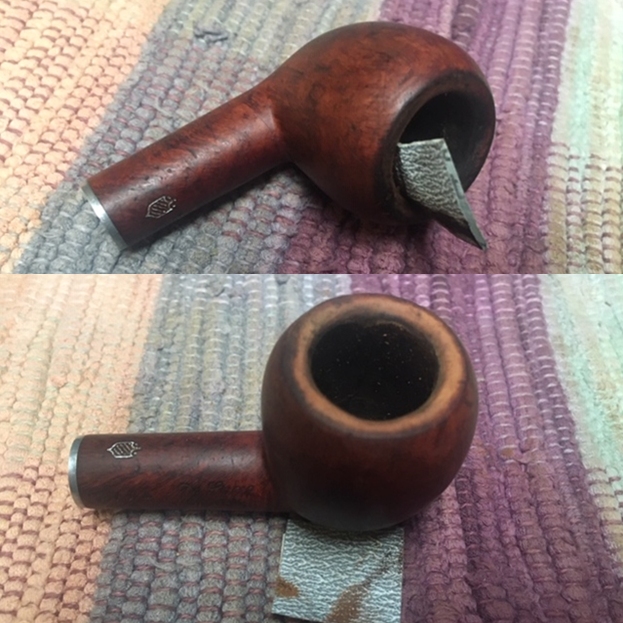
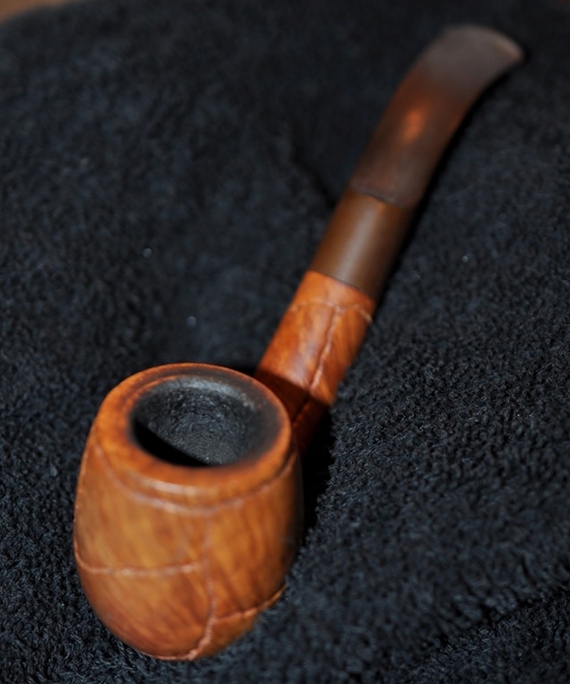
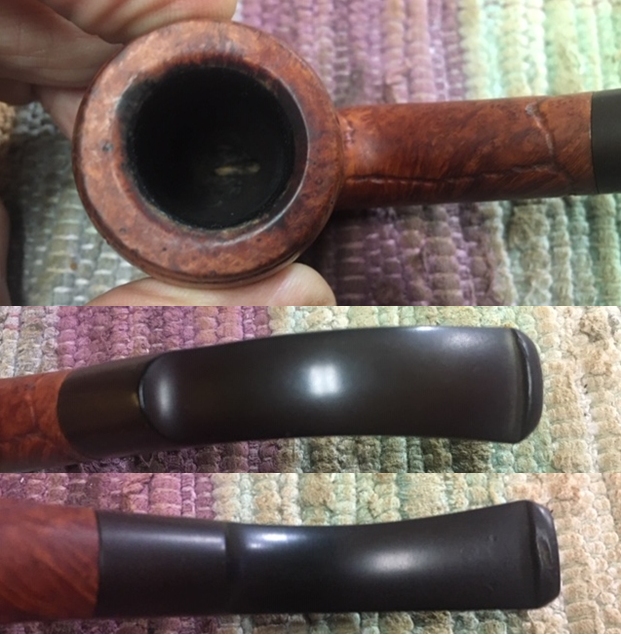
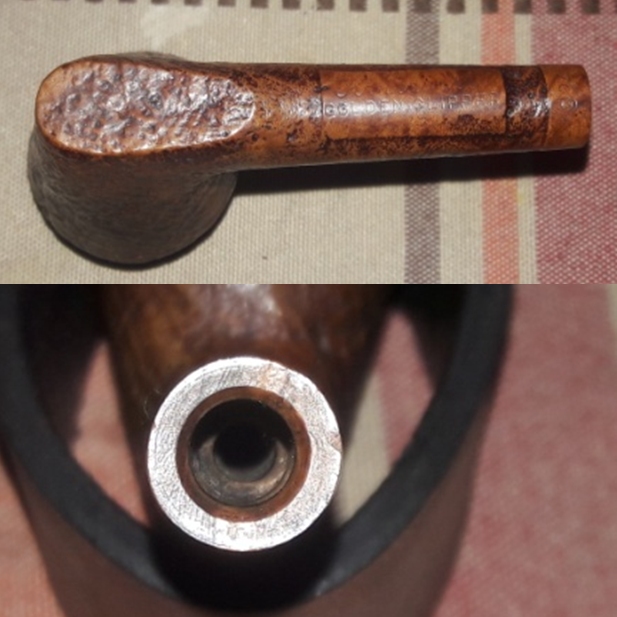
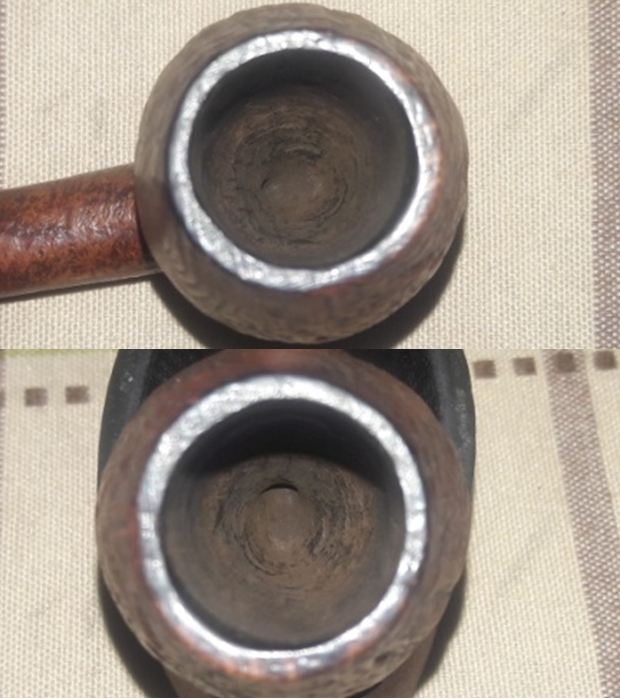
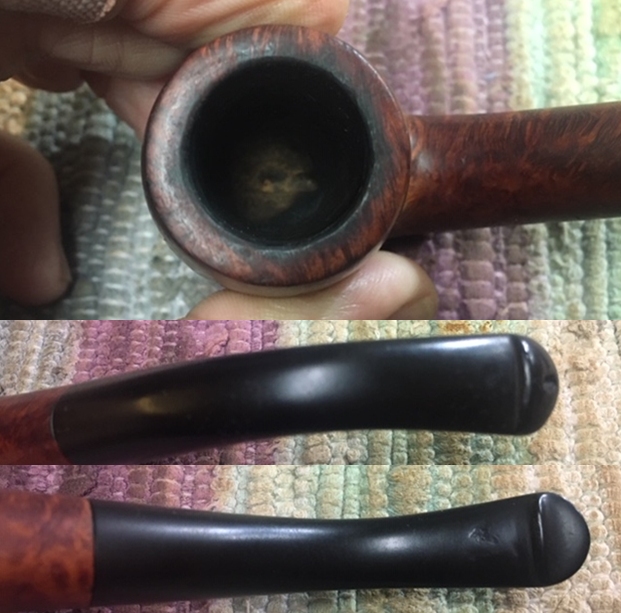
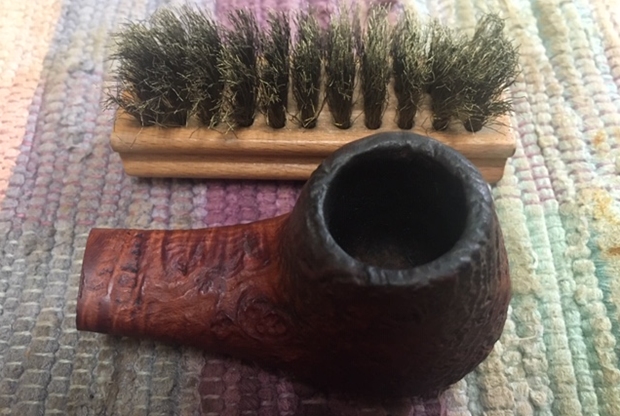
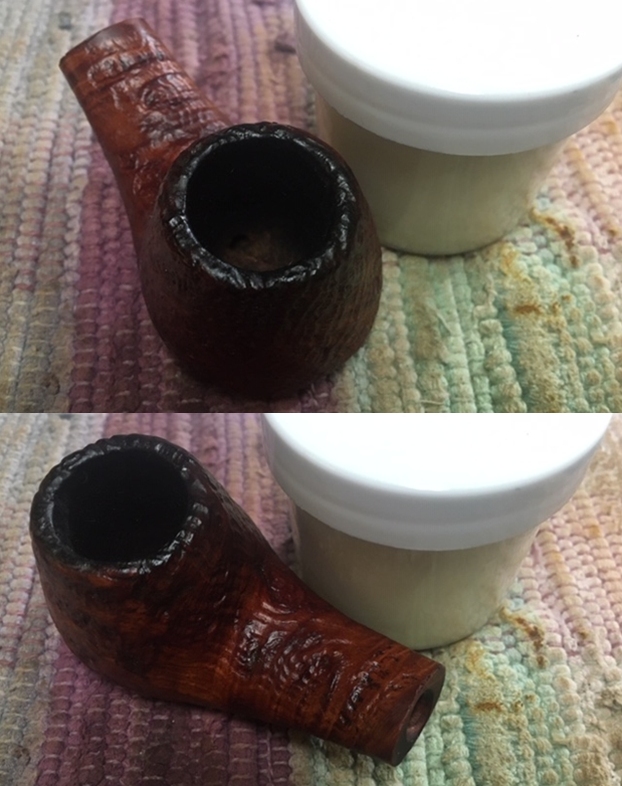
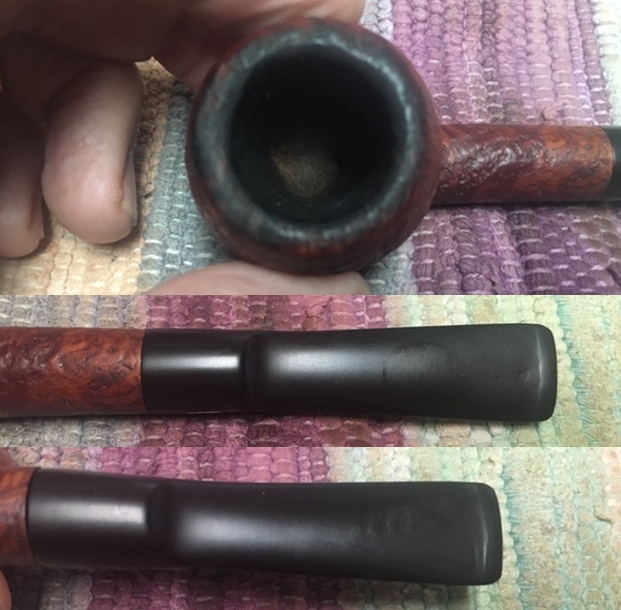
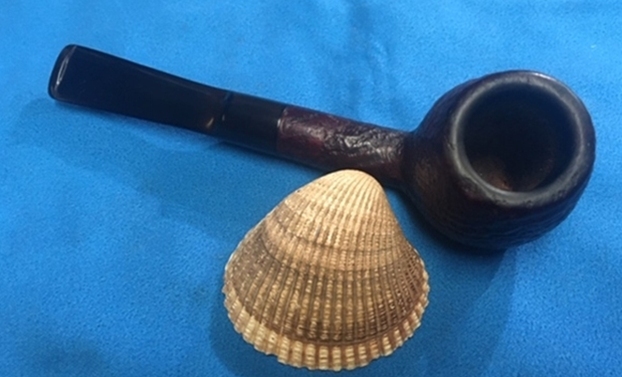
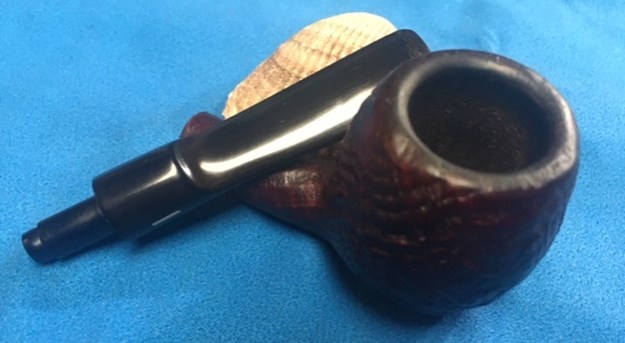
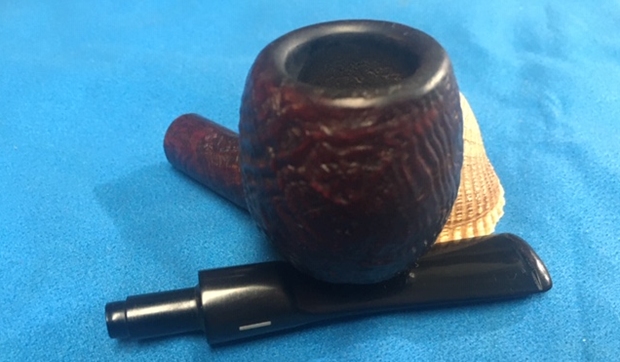
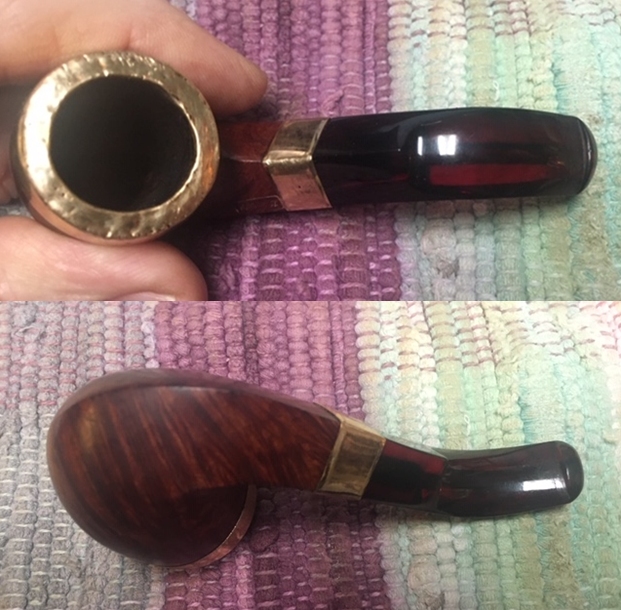
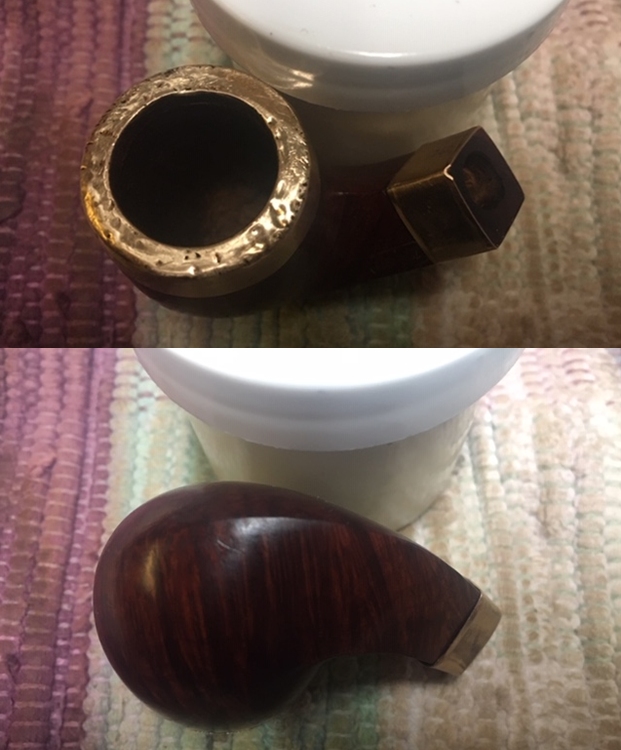
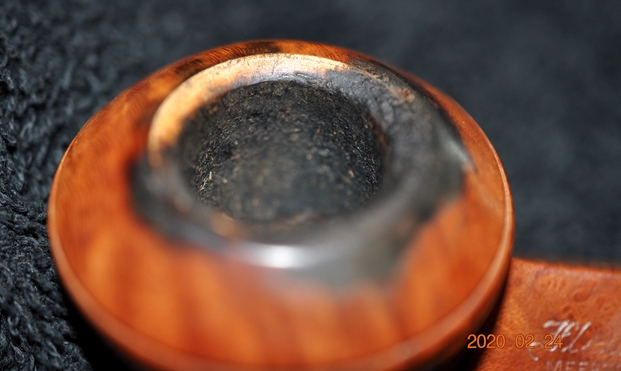
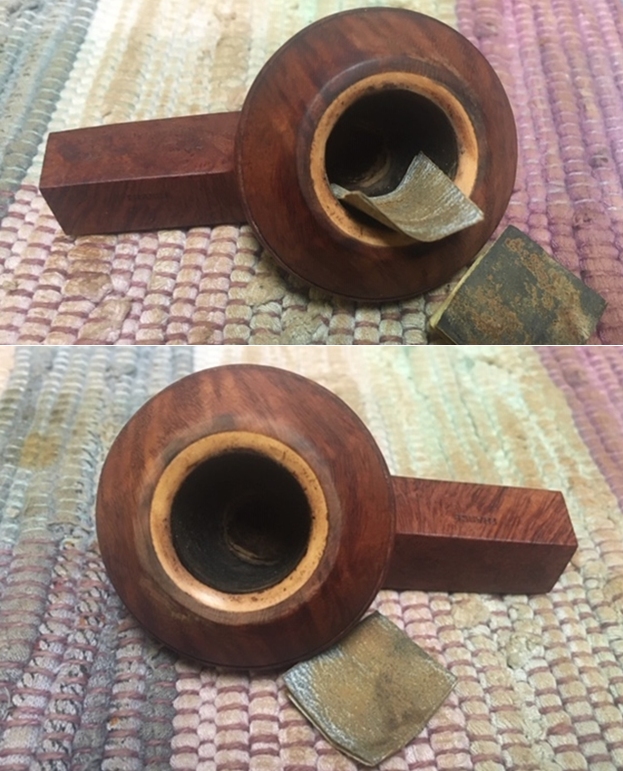
 I took a photo of the rim top showing the damage to the rim top and the damage on the inner edge of the bowl. It was in rough condition. There was some darkening and nicks around the outer edge of the bowl and some burn areas on the inner edge. The stem was also in rough condition with a large bite through on the underside.
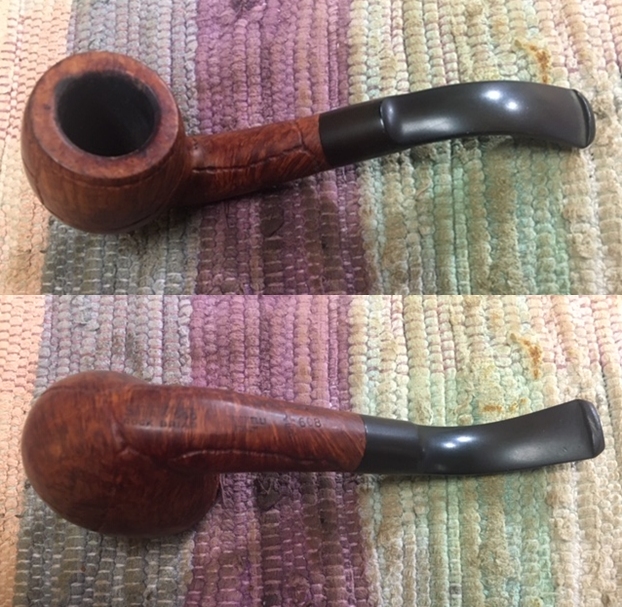
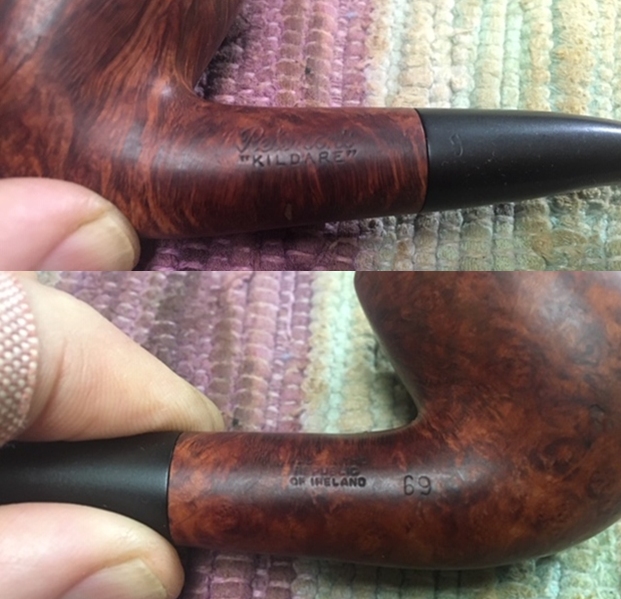
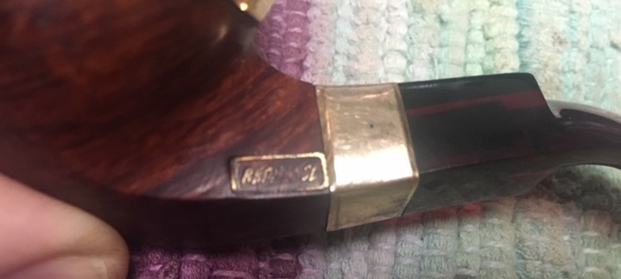
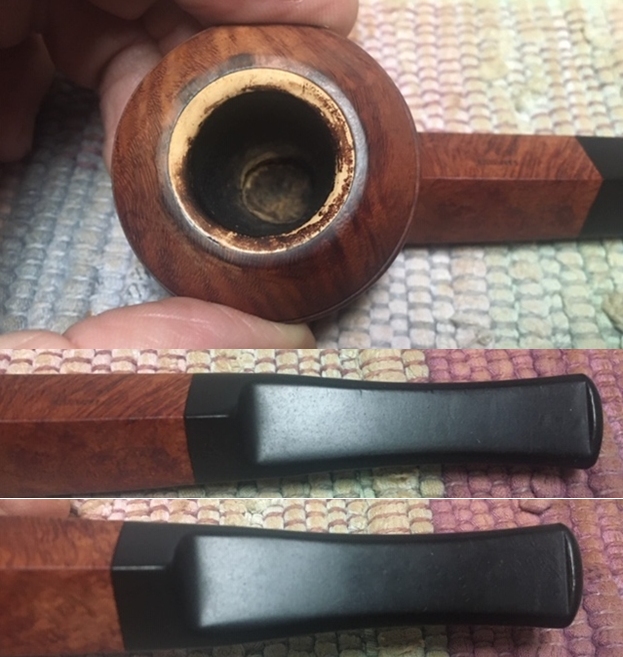
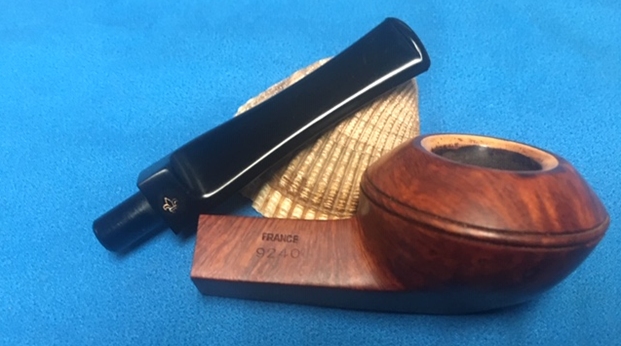
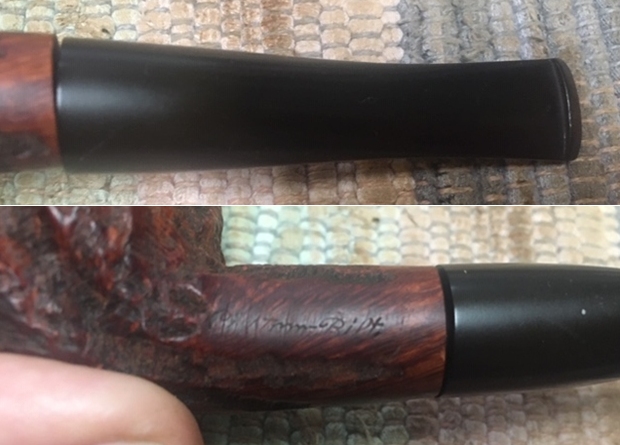
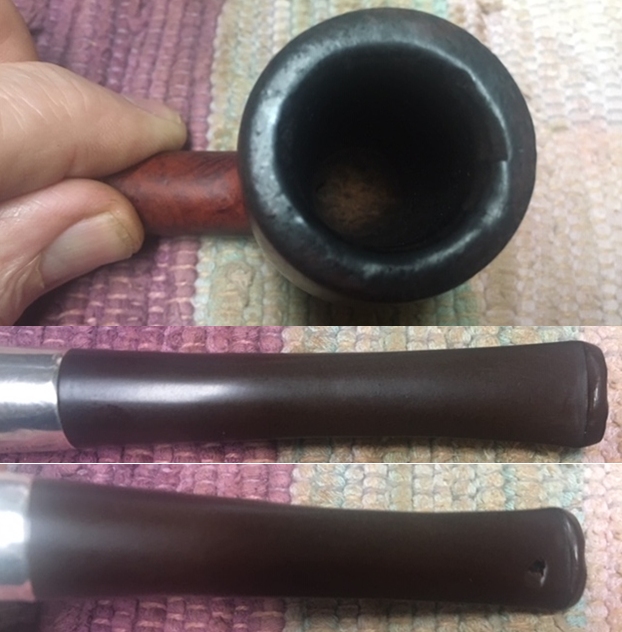 I took a photo of the stamping on the shank. The stamping is clean and still readable.
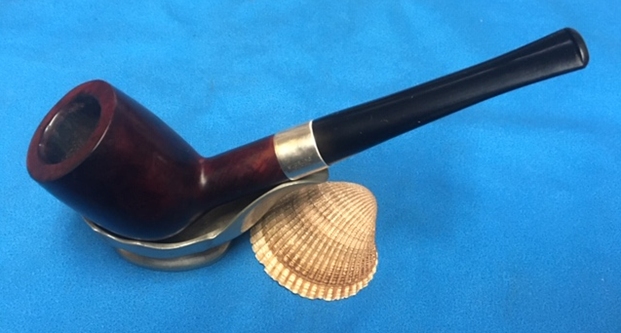
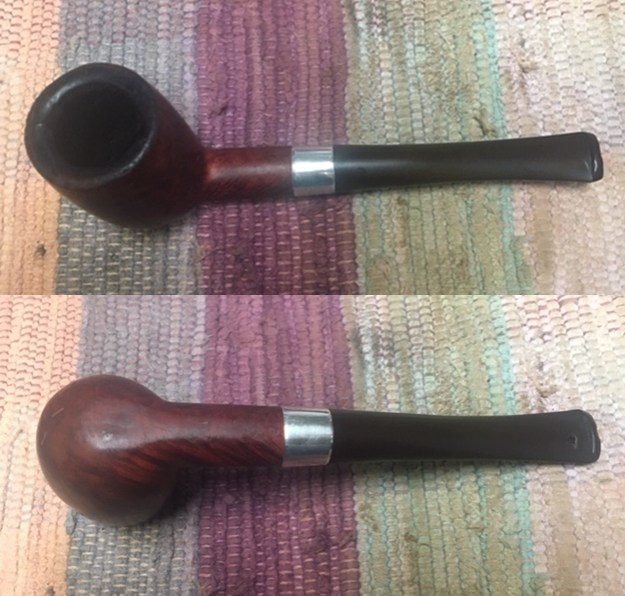
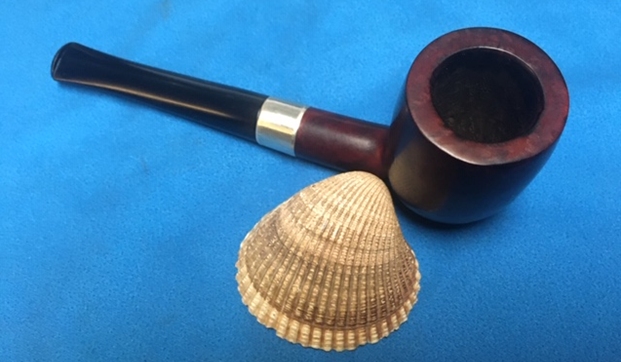
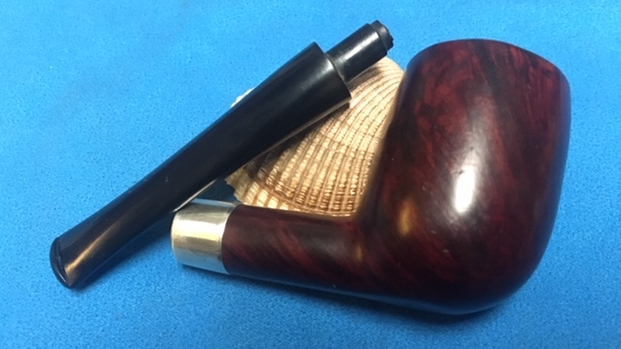
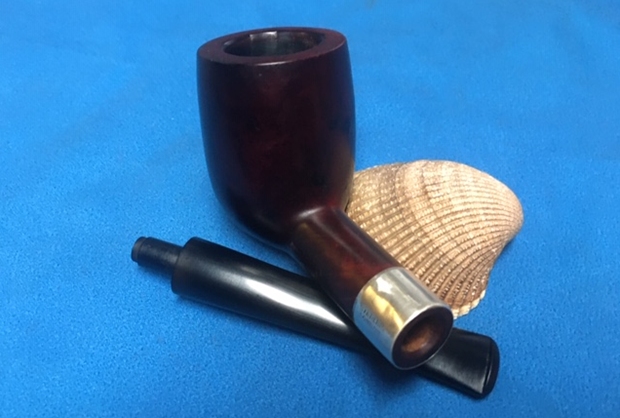
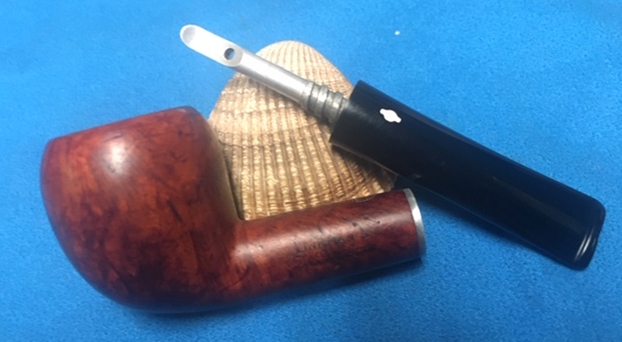
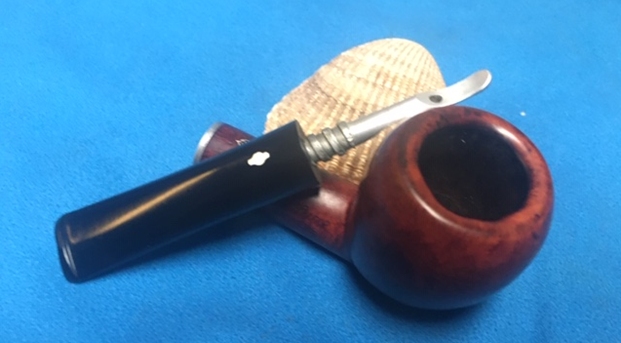
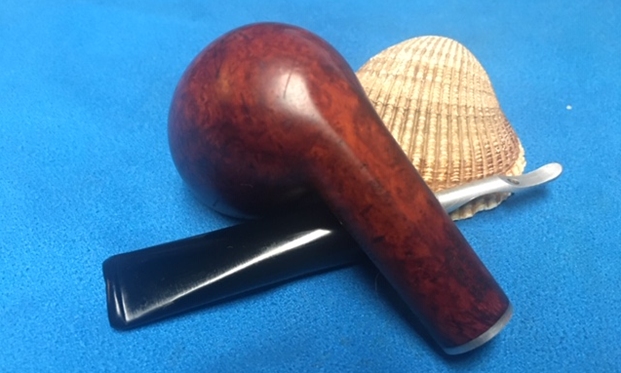
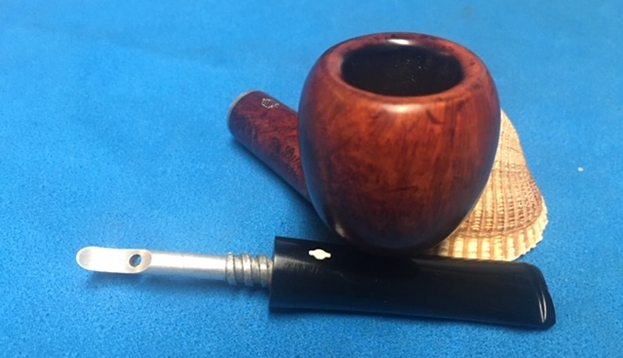
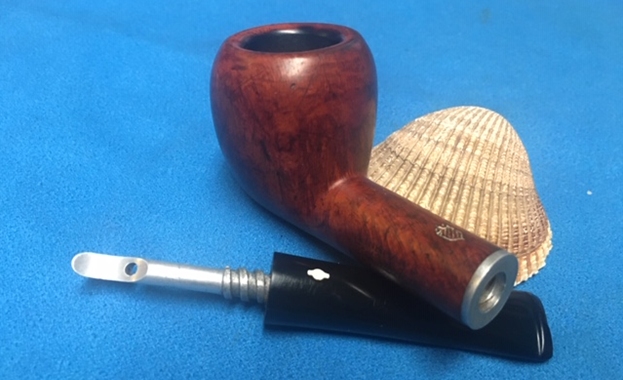
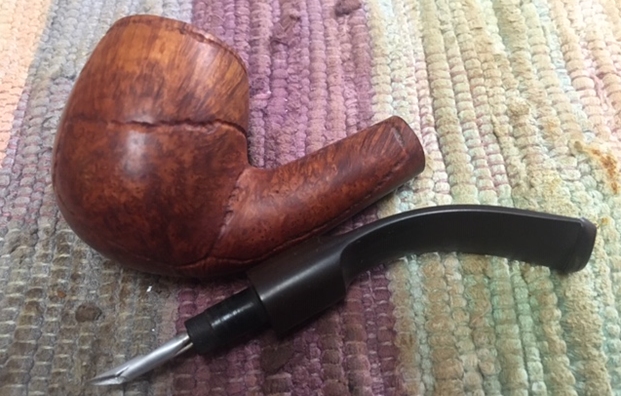
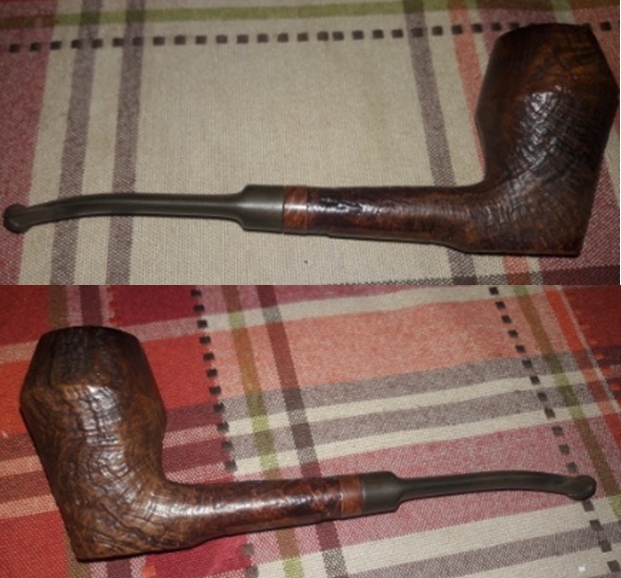
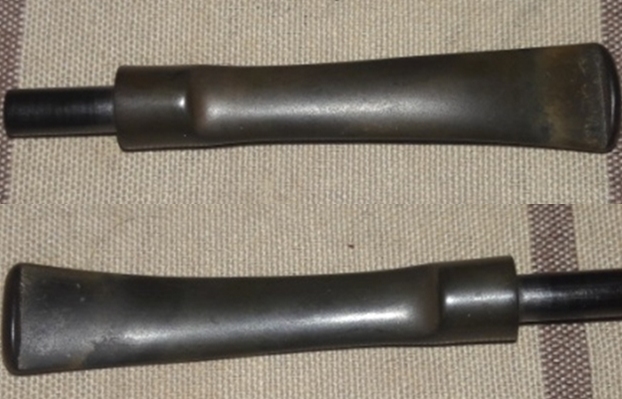
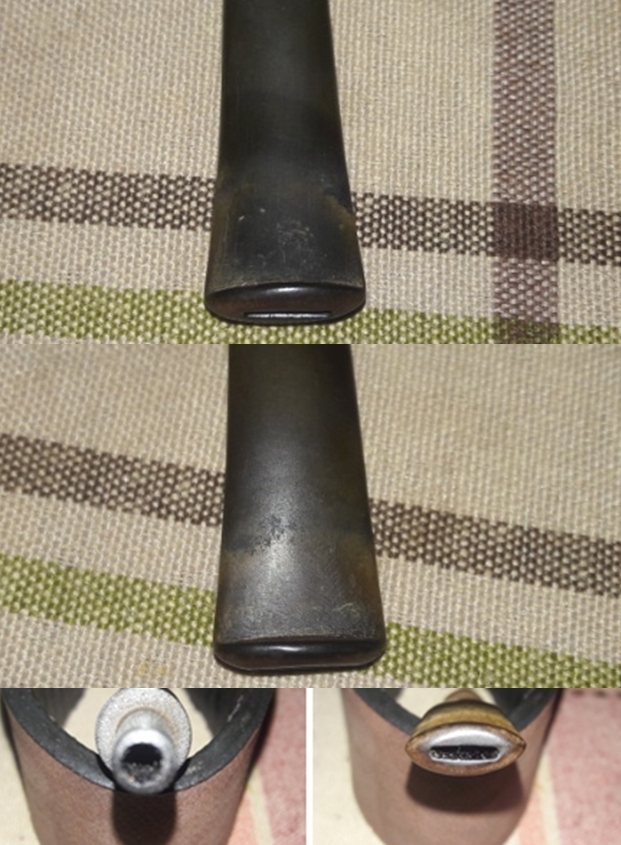
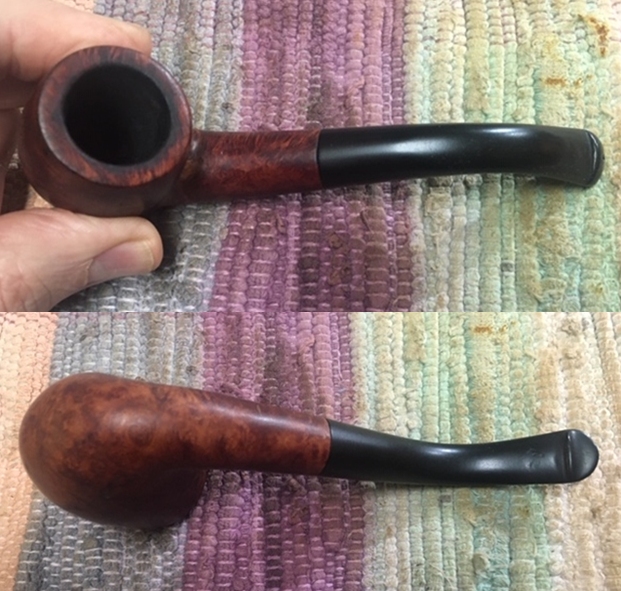
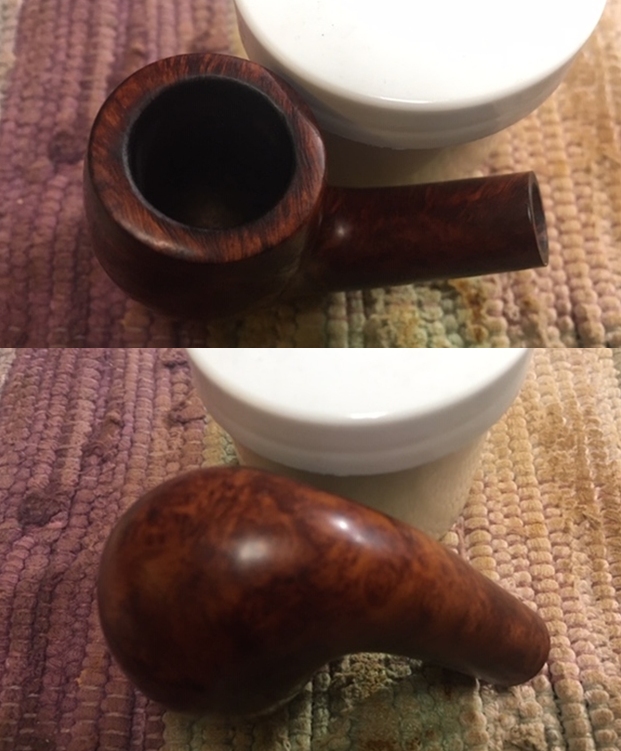
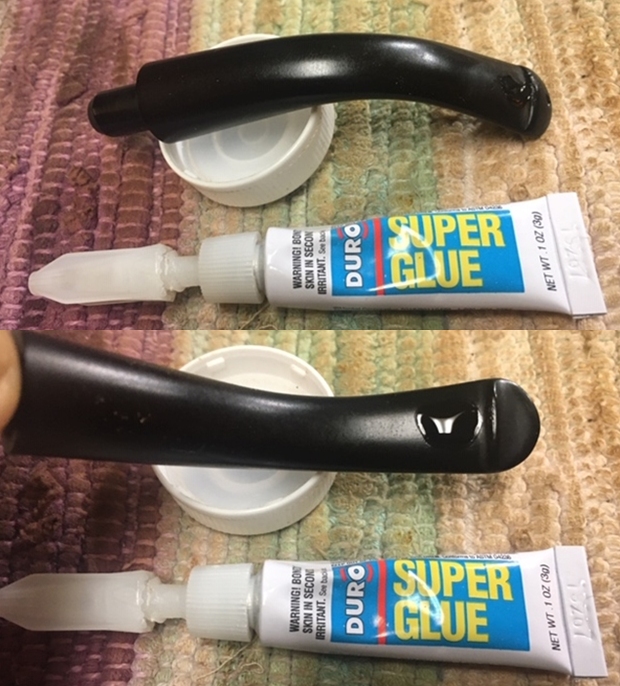
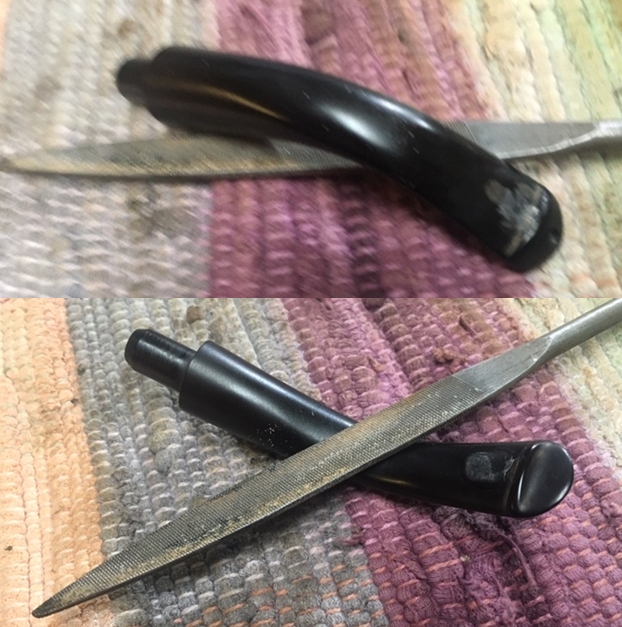
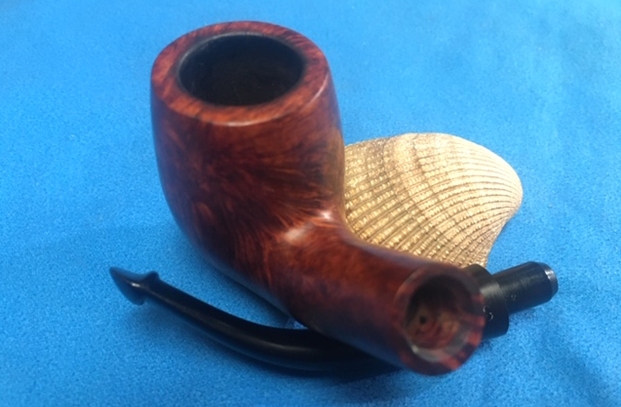
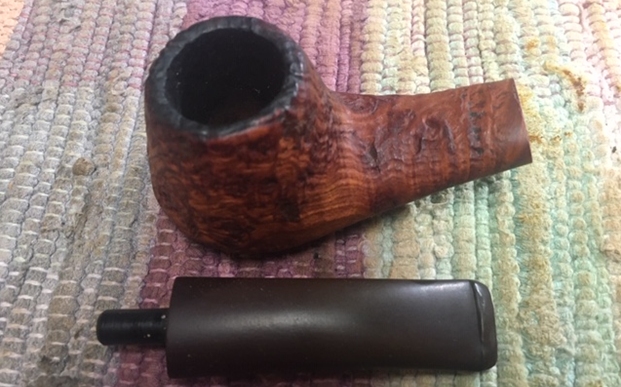
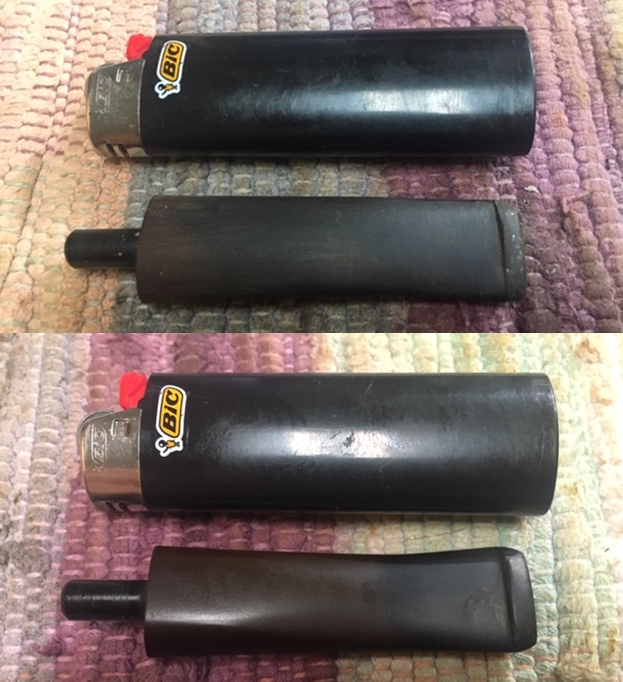
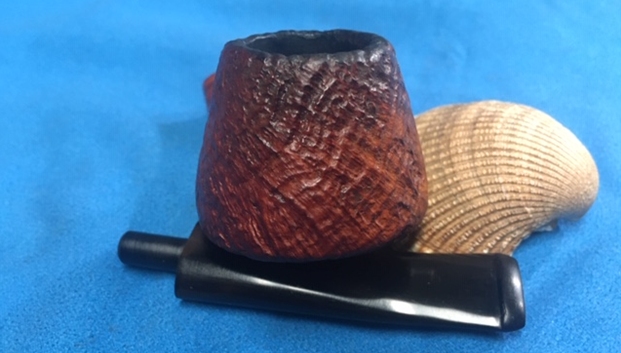
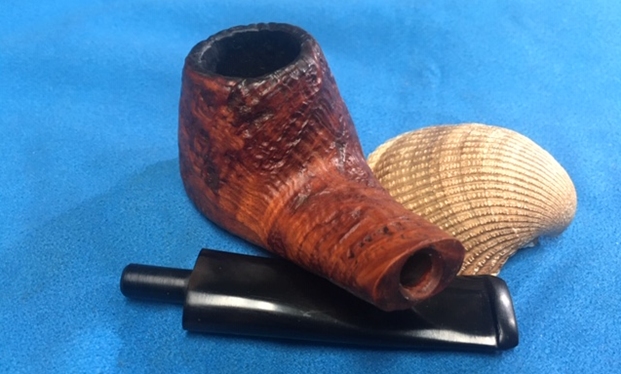
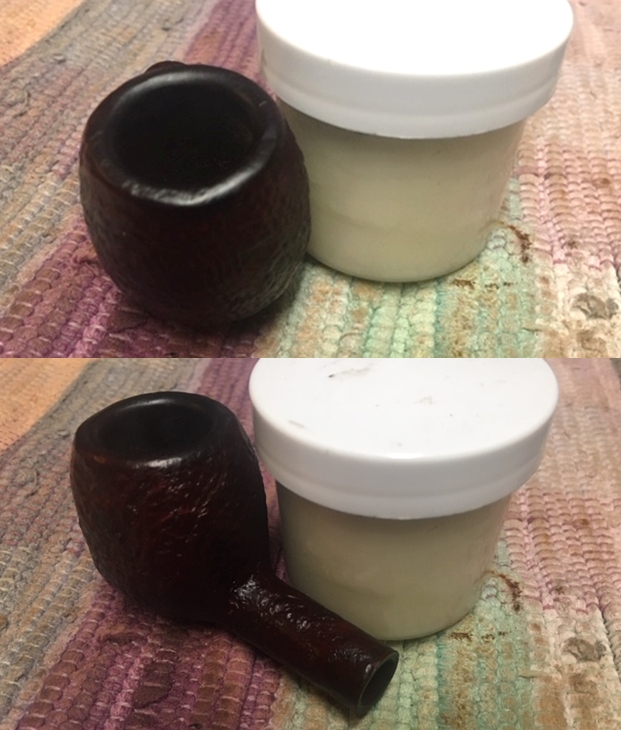
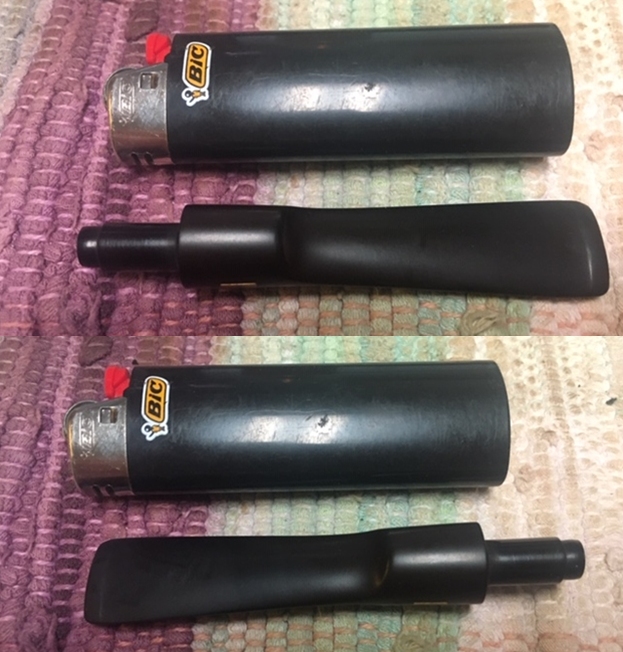
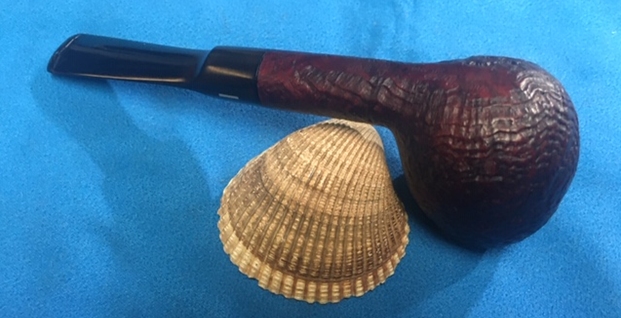
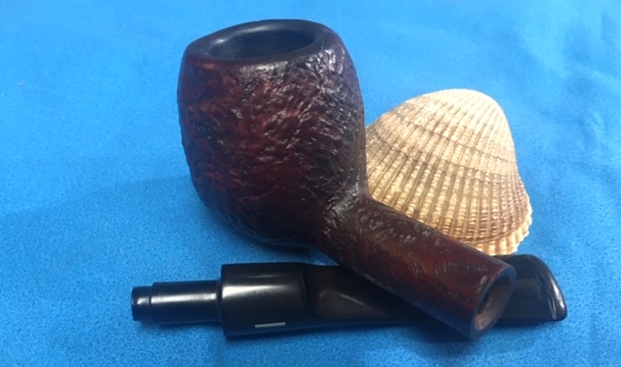
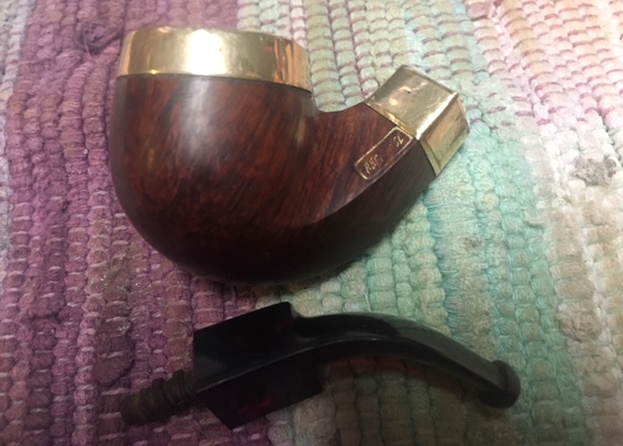
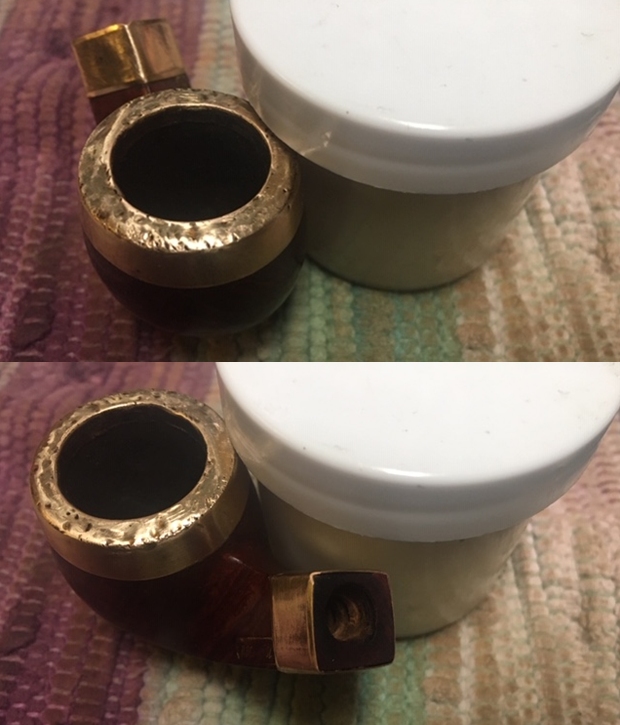
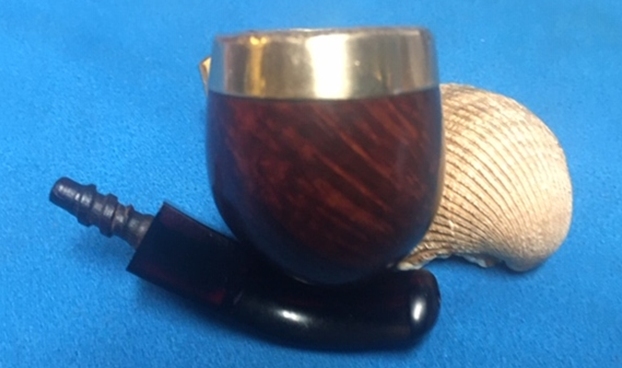
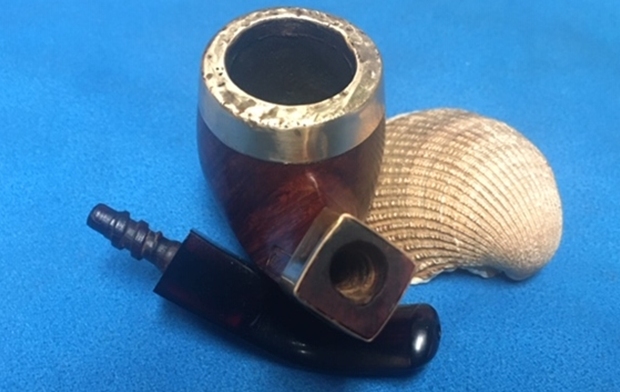
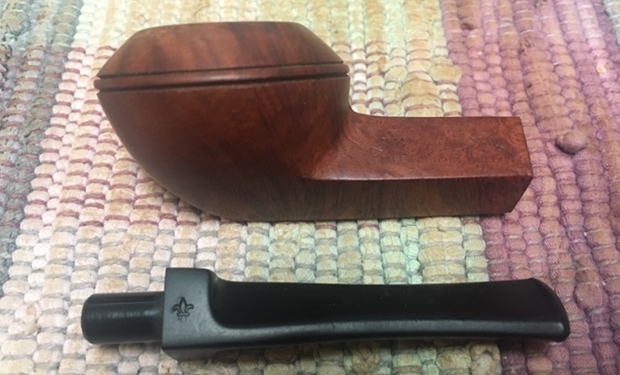
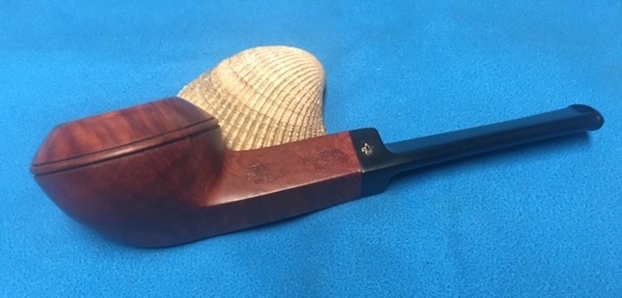
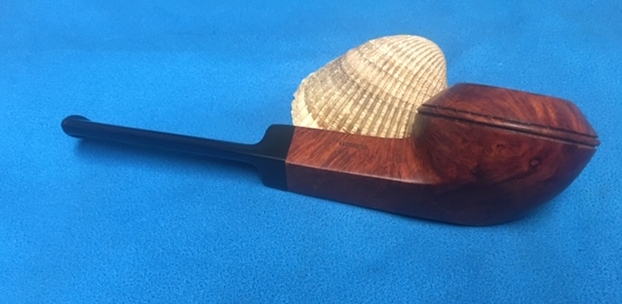
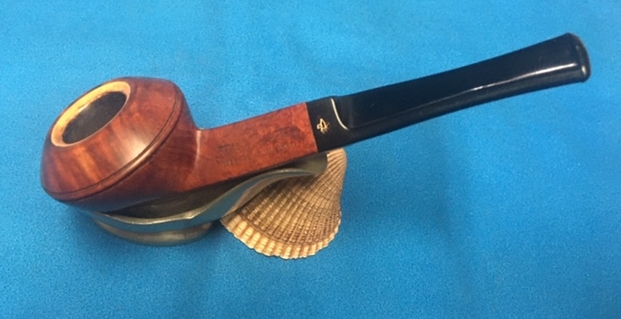
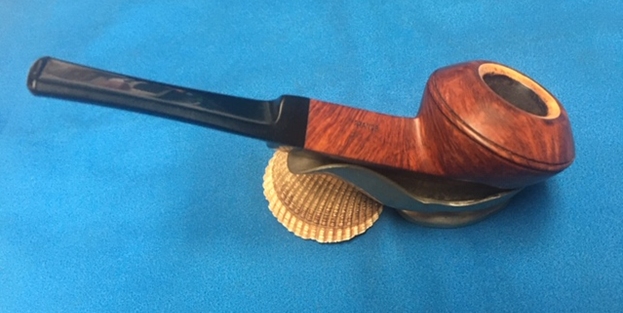
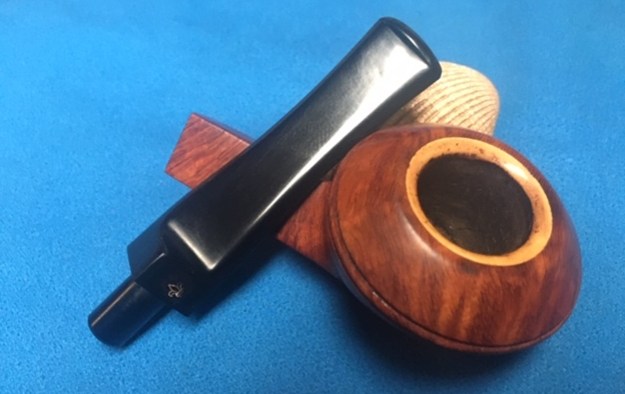
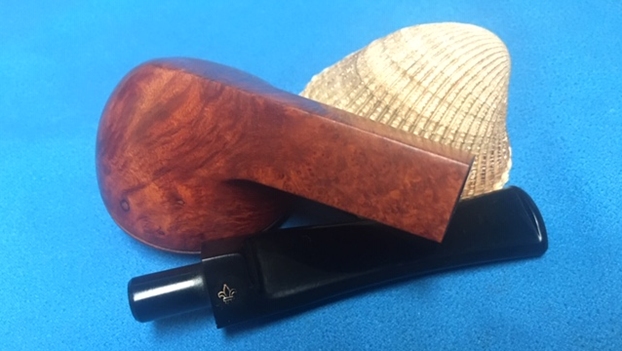
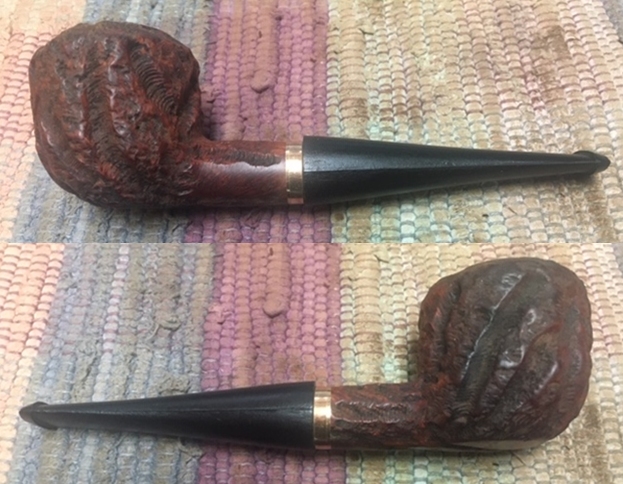
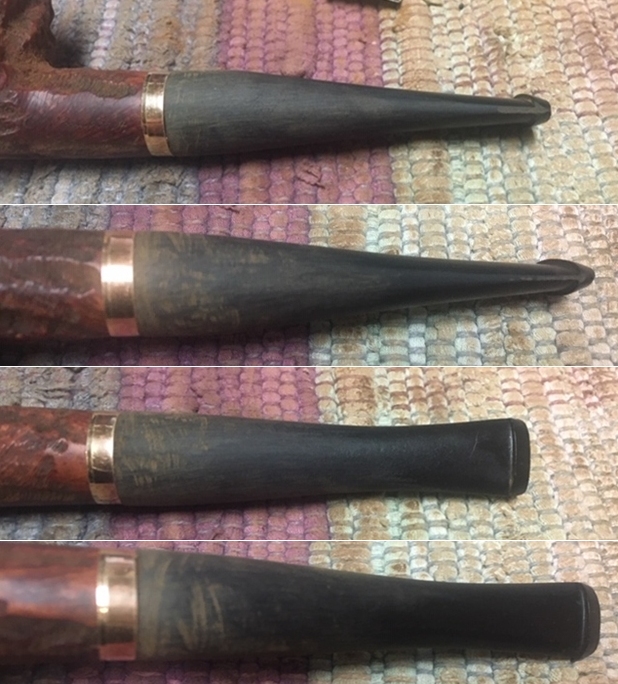
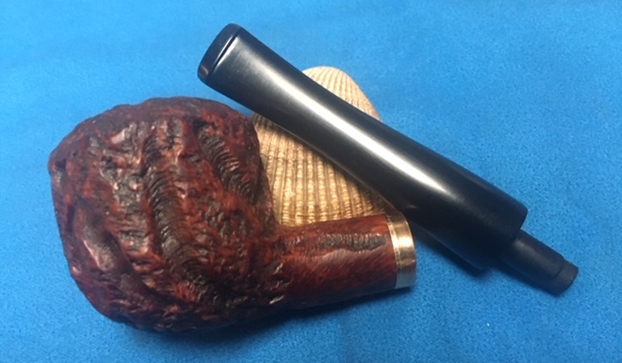
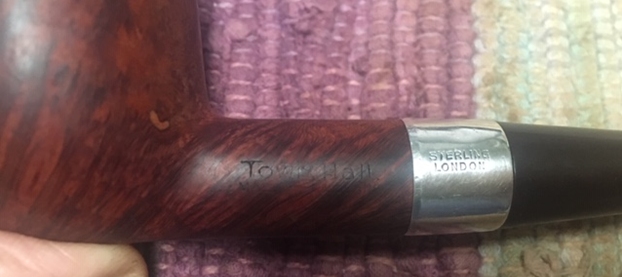 I decided to start with finding a new stem for the pipe. I took the stem off and looked for a replacement. I have so many pipes to work on that I am not bothering with filling in bite throughs at this point. I am leaving this to the master Paresh Deshpande to do! I found a suitable estate stem that was the right diameter and right tenon size. It is slightly shorter and a bit less tapered than the one that was on the bowl but it would work. I cleaned the airway in it with alcohol and pipe cleaners to get a good start on it then put it in place on the shank and took some pictures of the new stem.
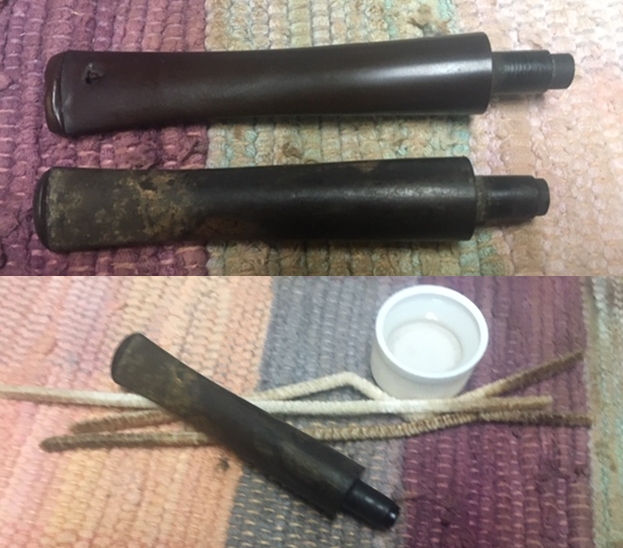

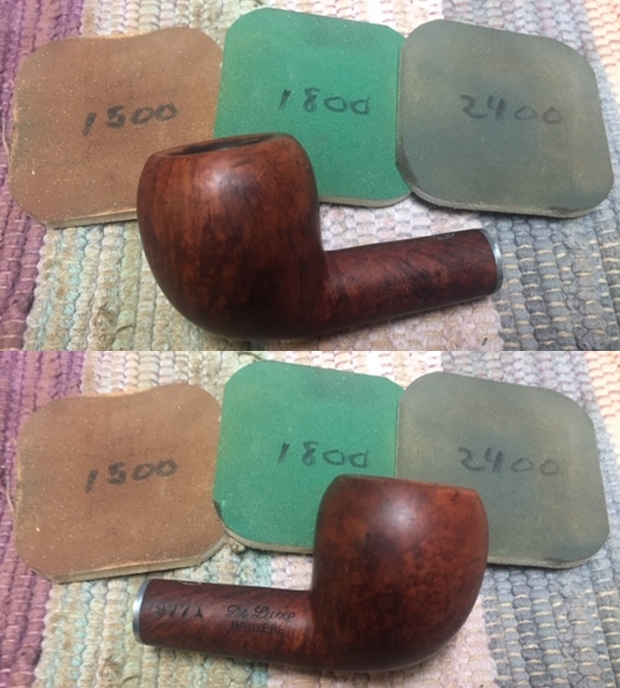
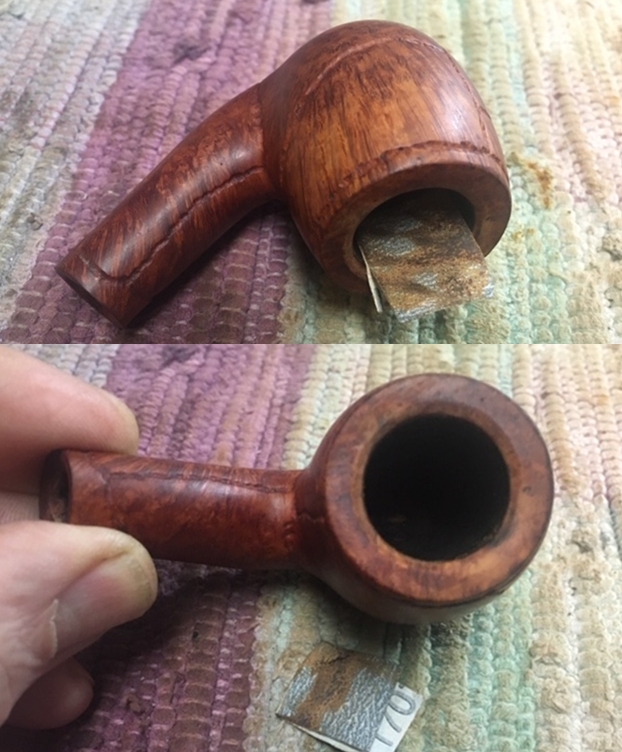
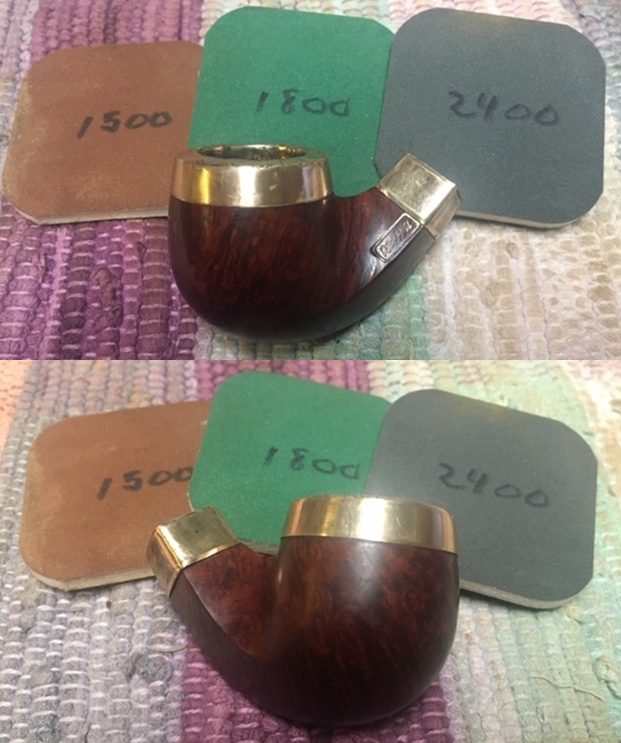
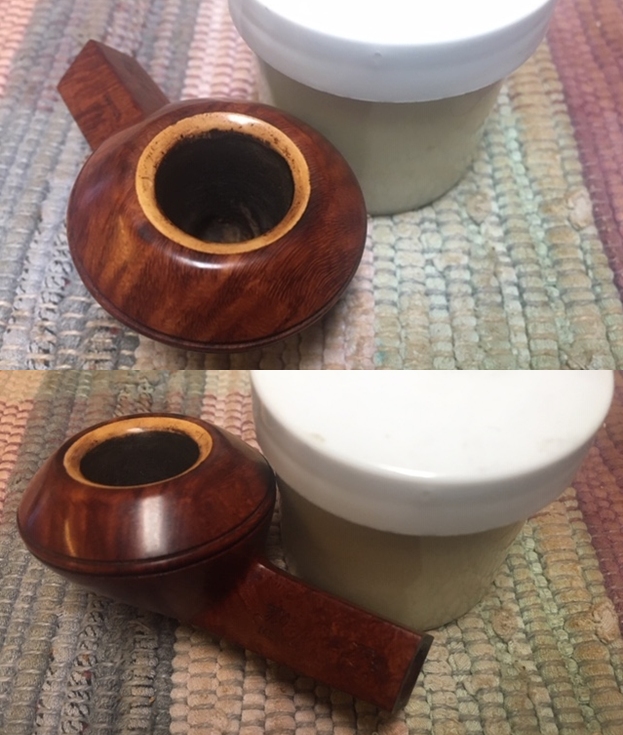
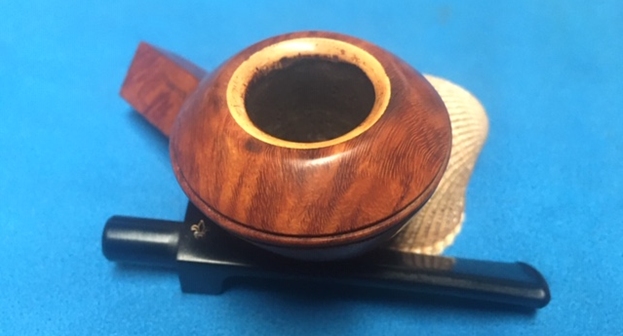
 I decided to address the damage to the rim and the edges of the bowl – both outer and inner. I topped the bowl with a piece of 220 grit sandpaper. I sanded the inner and outer edges with a folded piece of 220 grit sandpaper to remove them and to remove the damages. Once it was finished it looked a lot better.
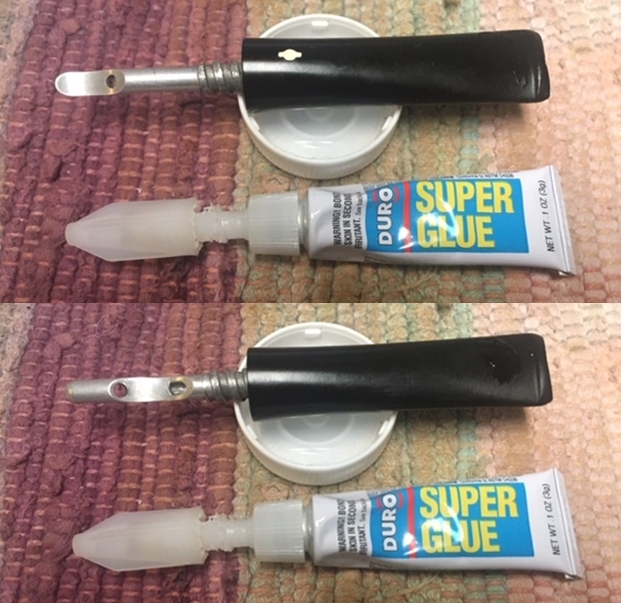
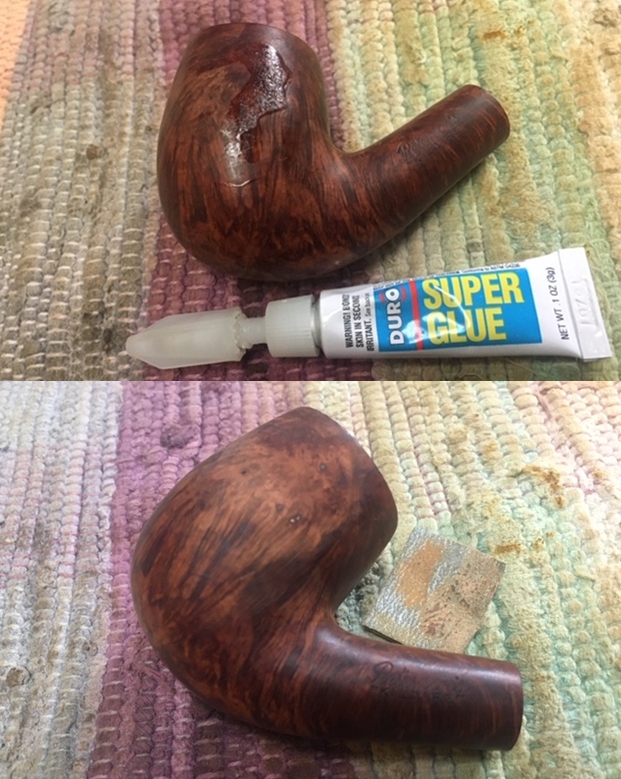
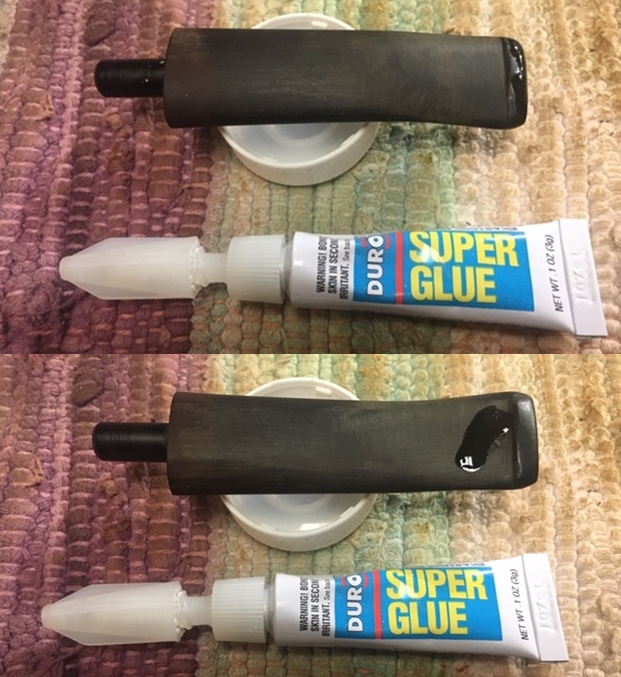
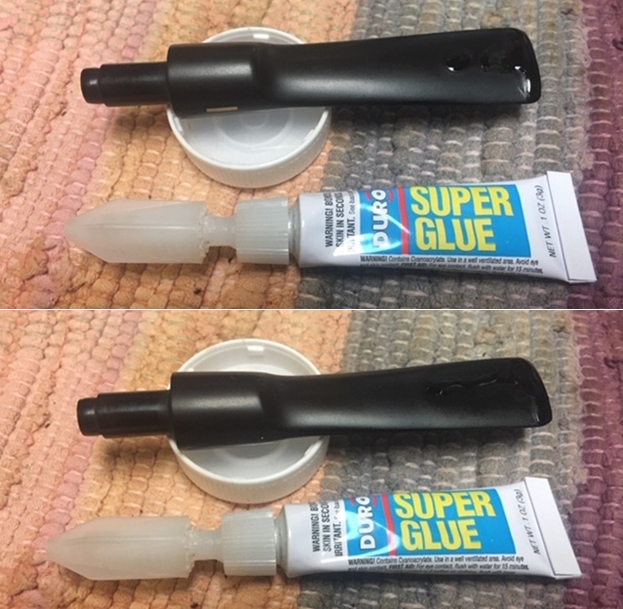
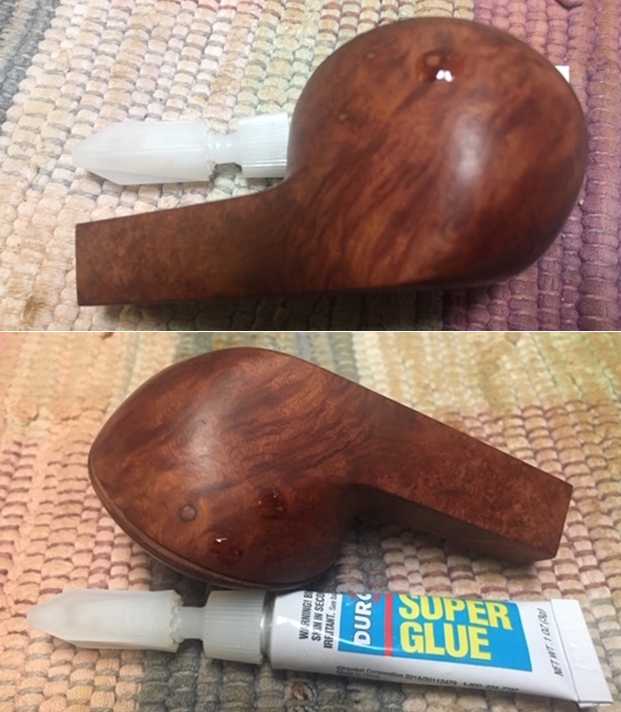
 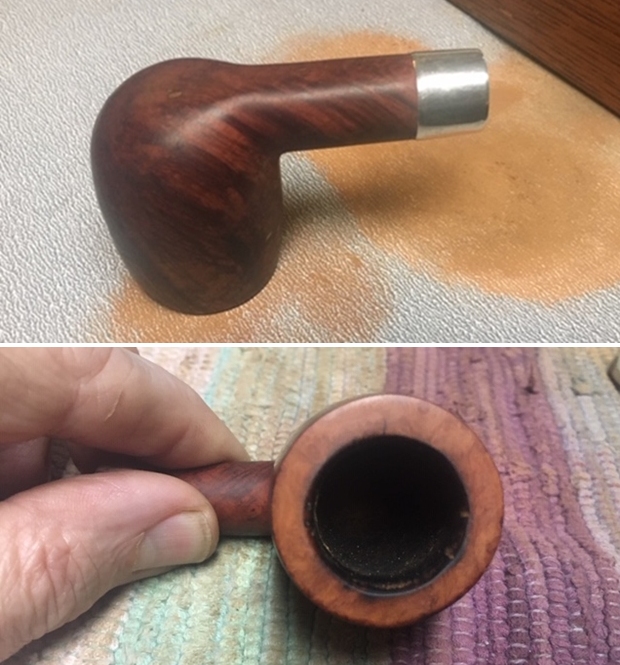 There were a lot of fills around the sides and heel of the bowl. I checked them for soundness and filled in some of the more damaged ones with clear super glue. Once the repairs cured I sanded them with a piece of 220 grit sandpaper to smooth them and blend them into the surrounding briar.
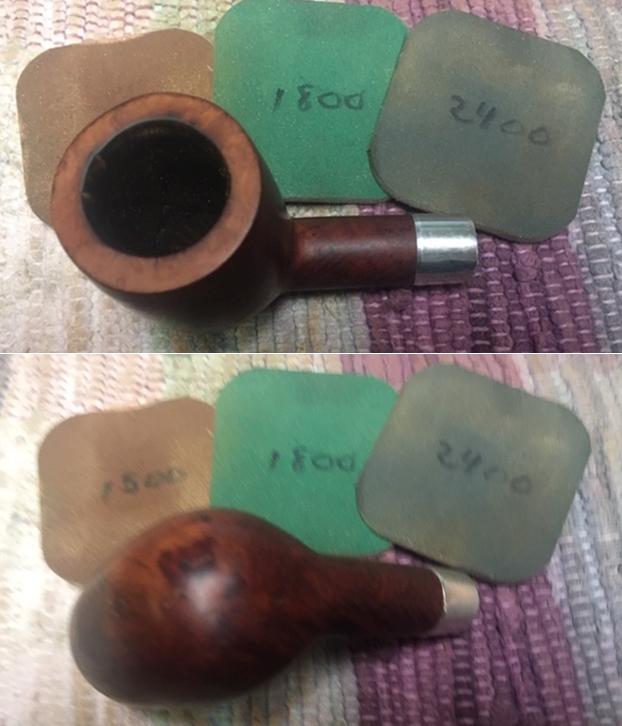
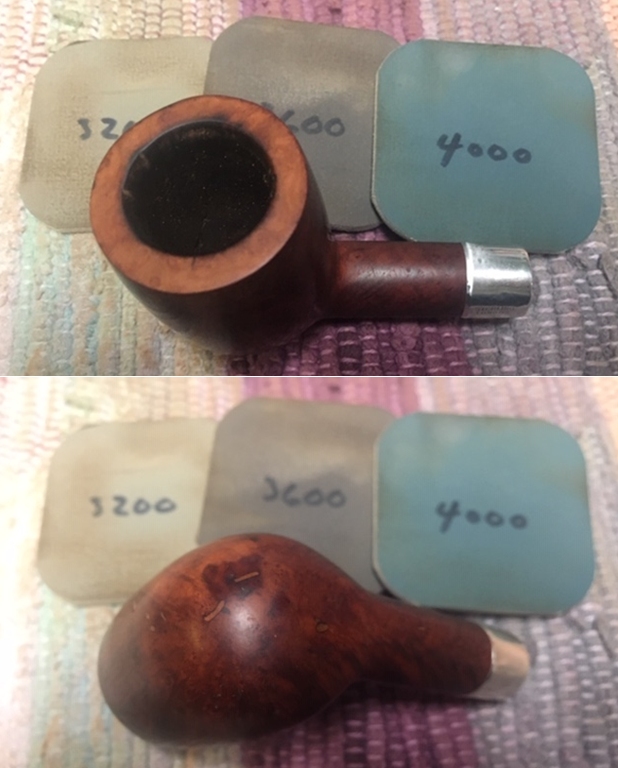
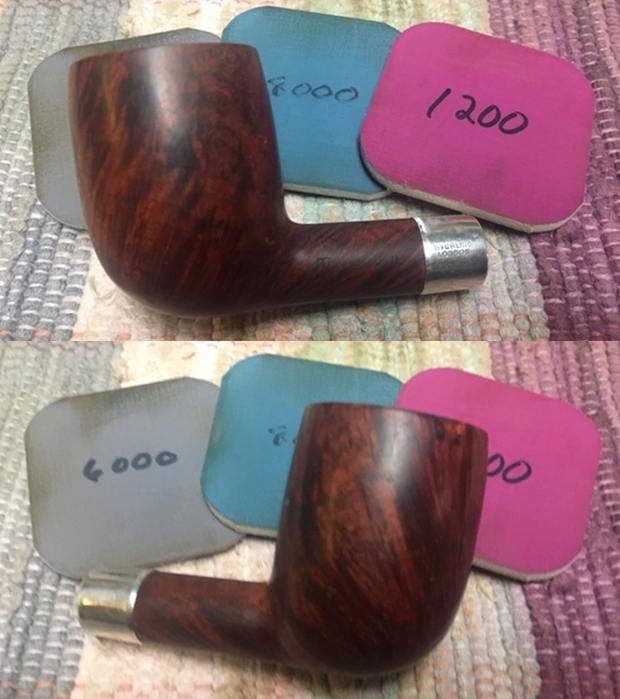
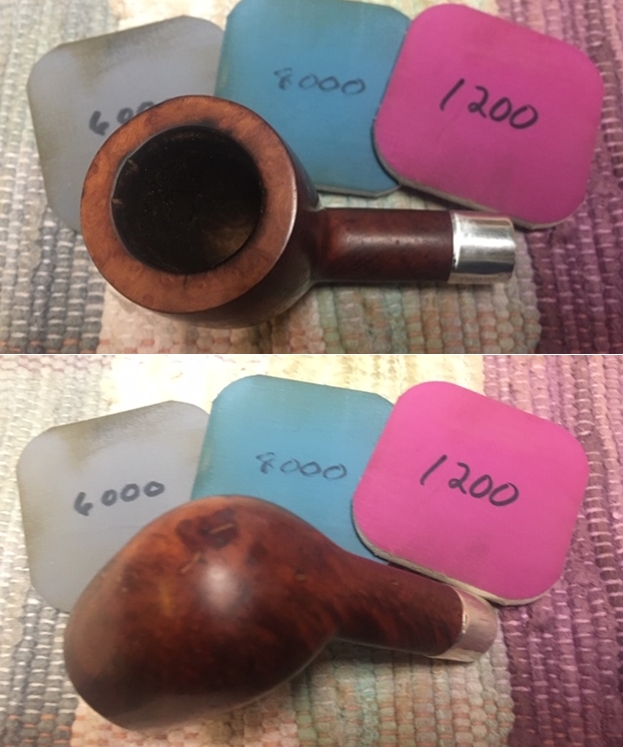
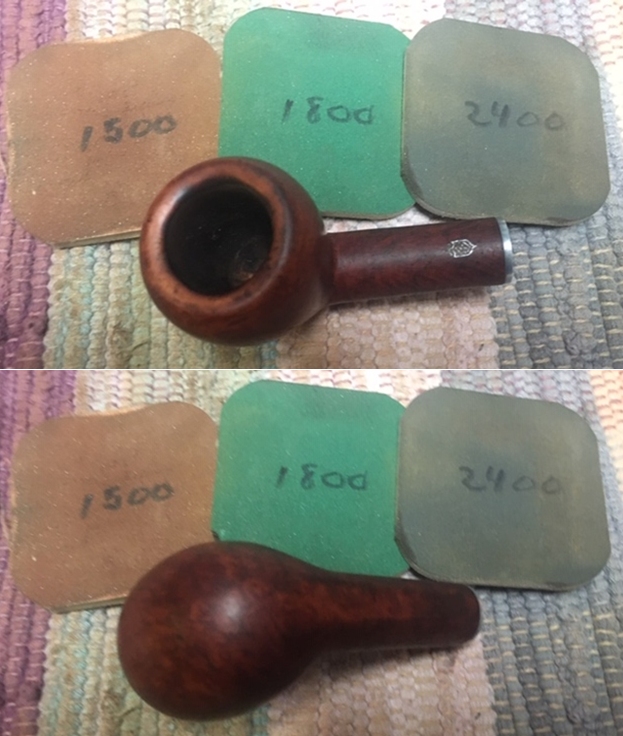
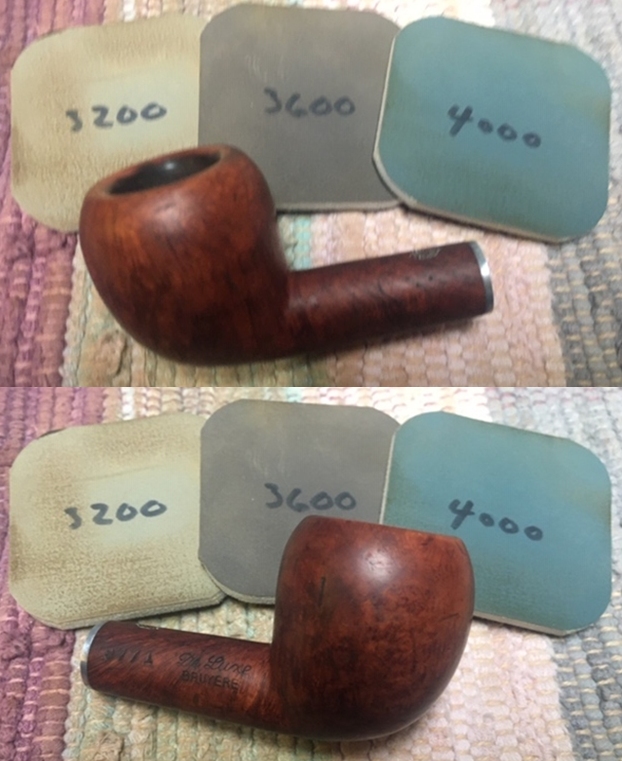
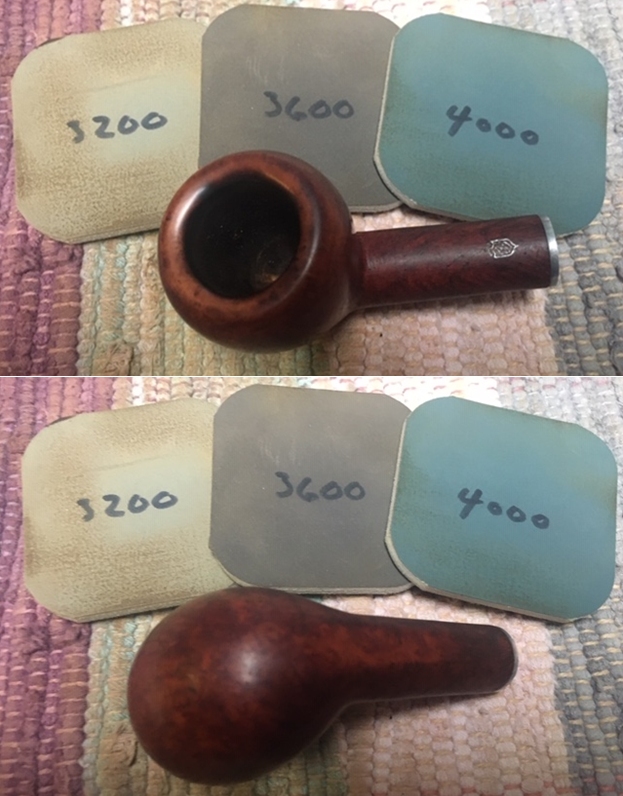
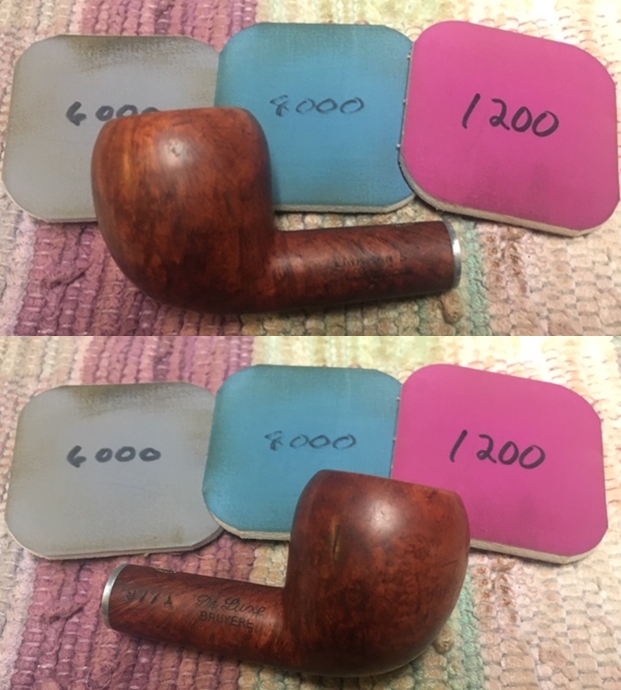
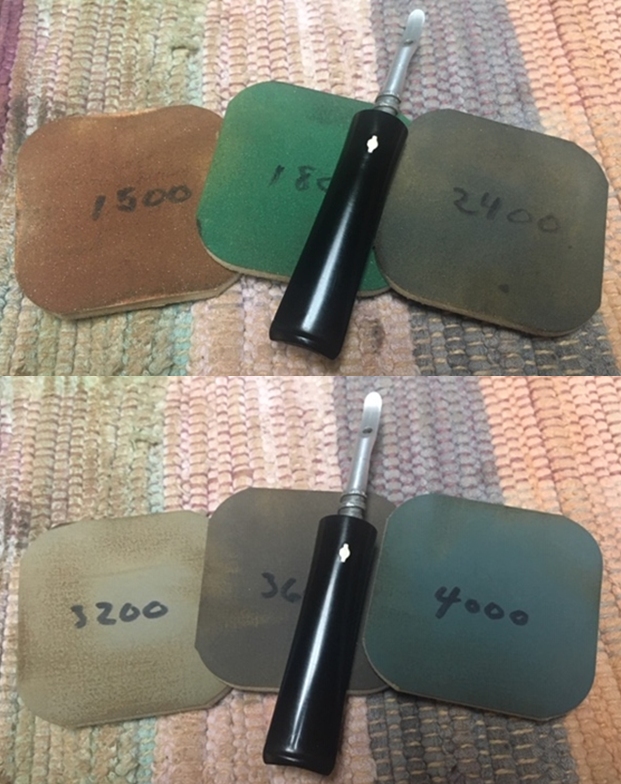
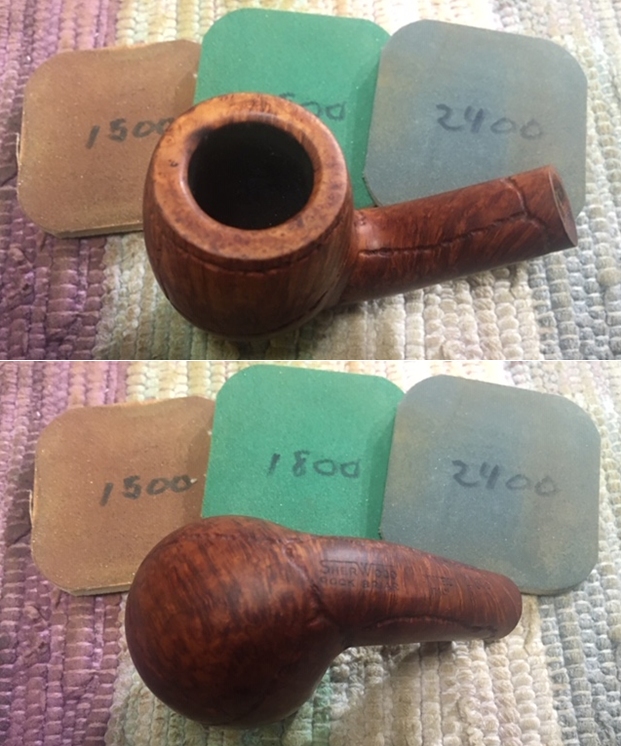
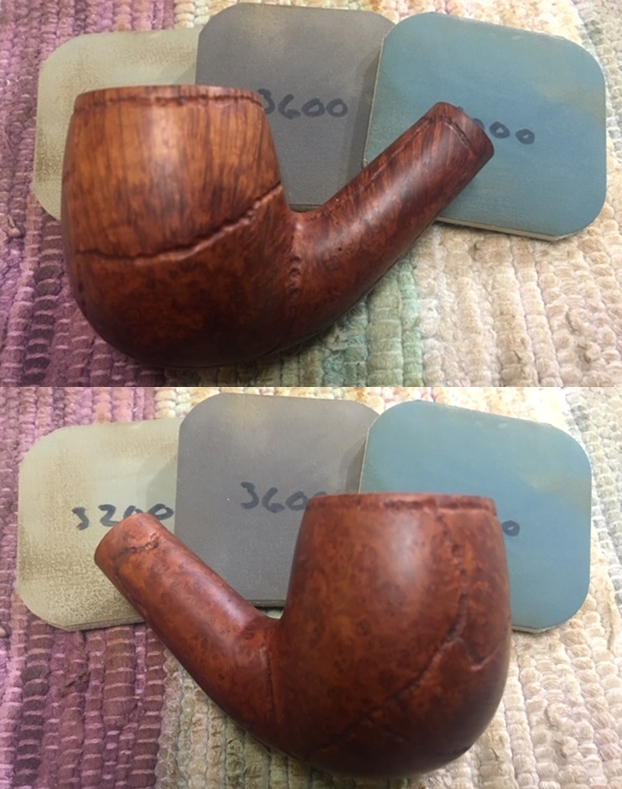
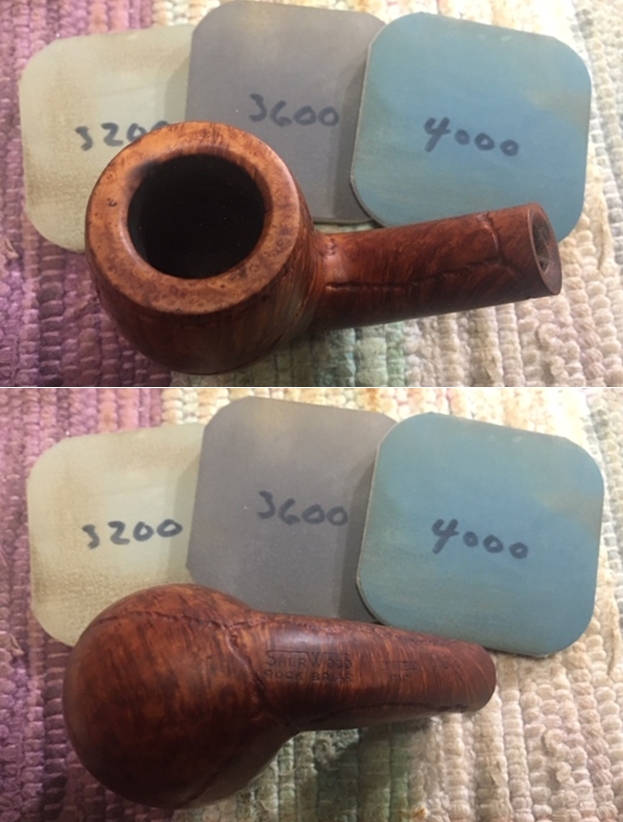
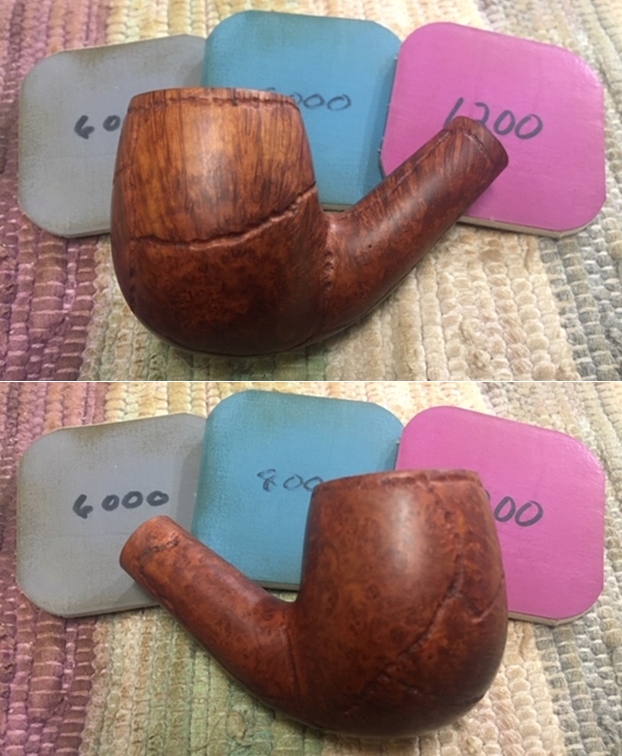
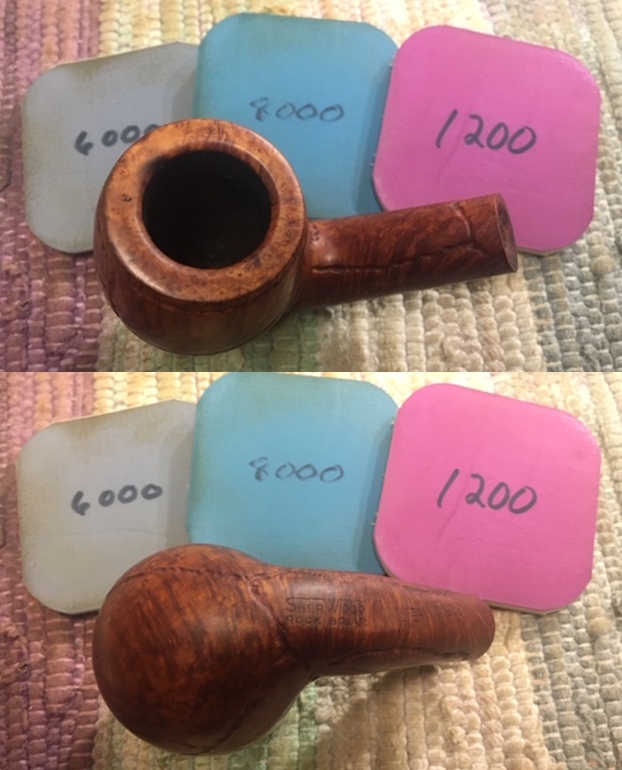
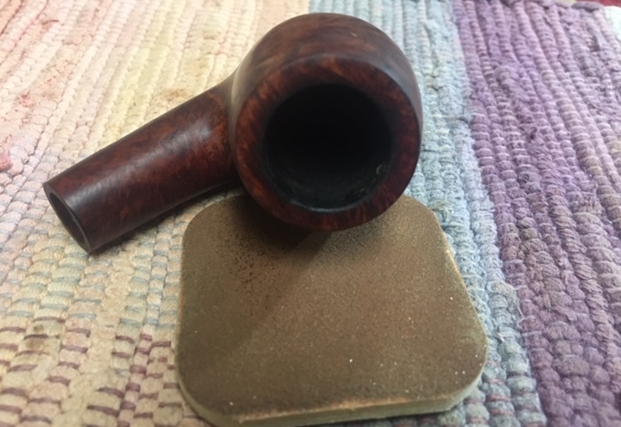
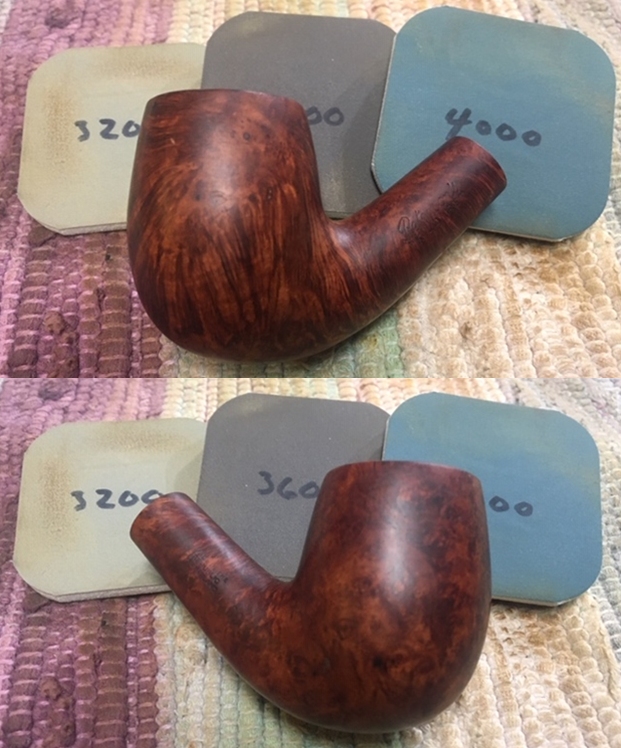
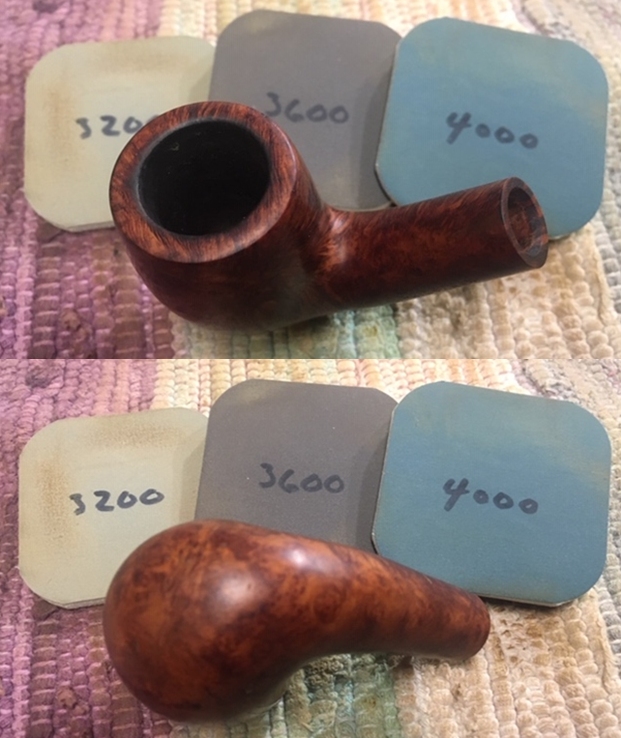
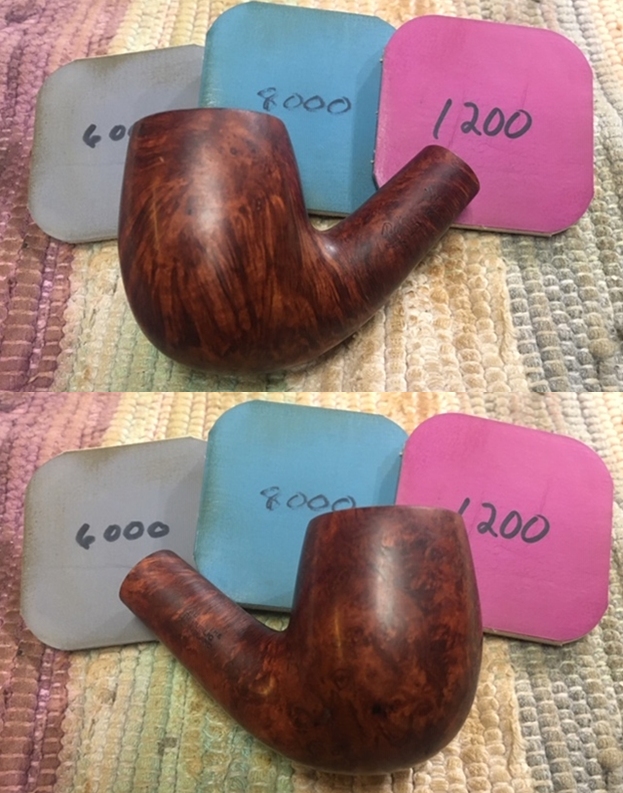
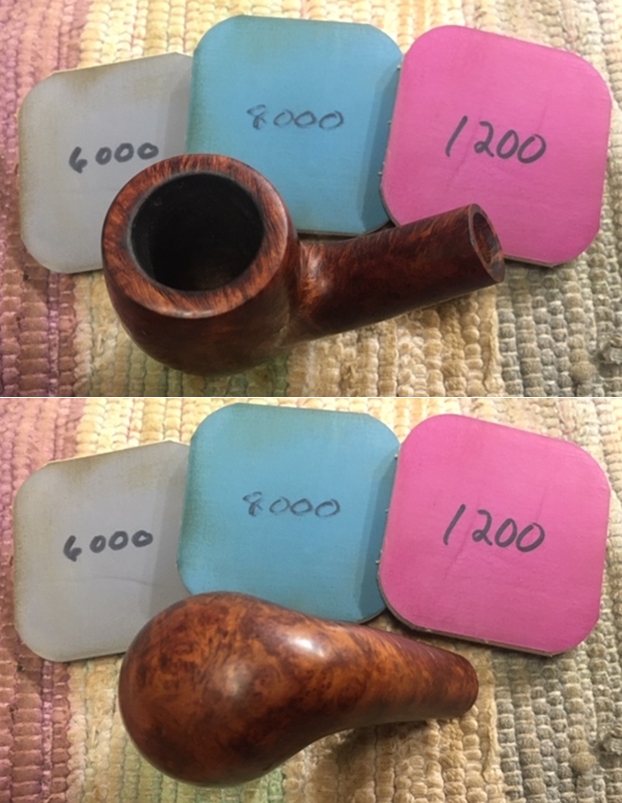
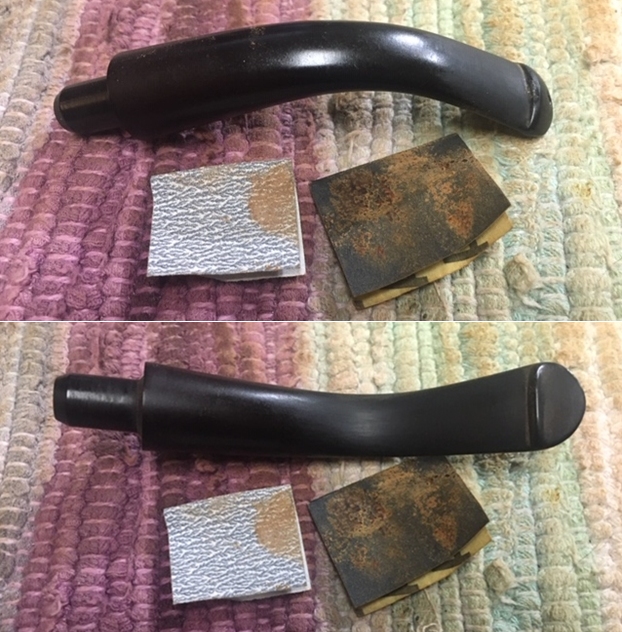
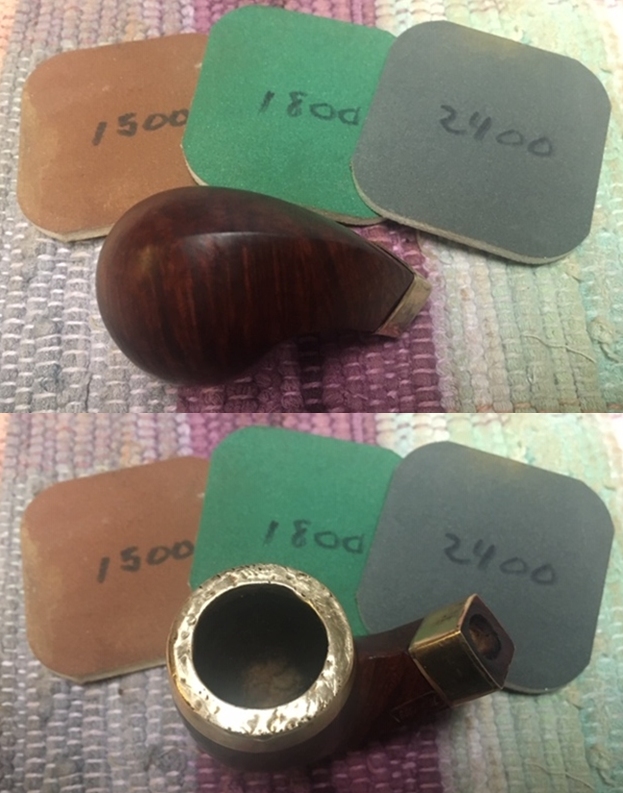
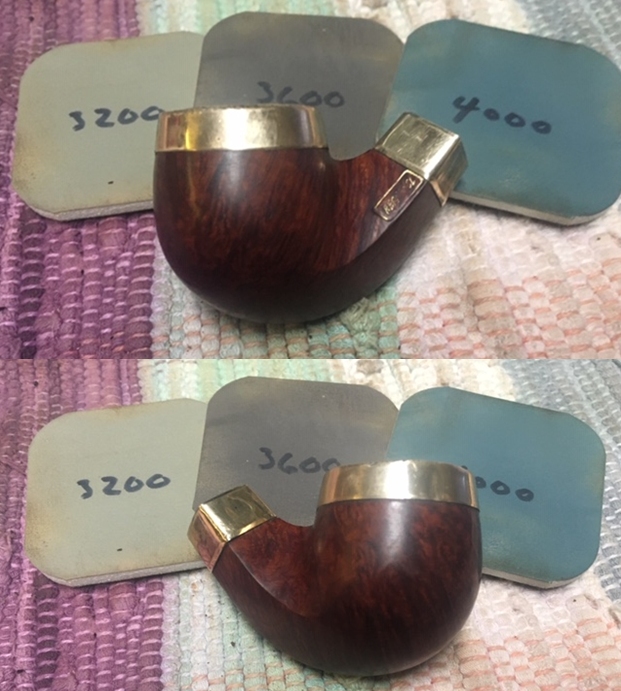
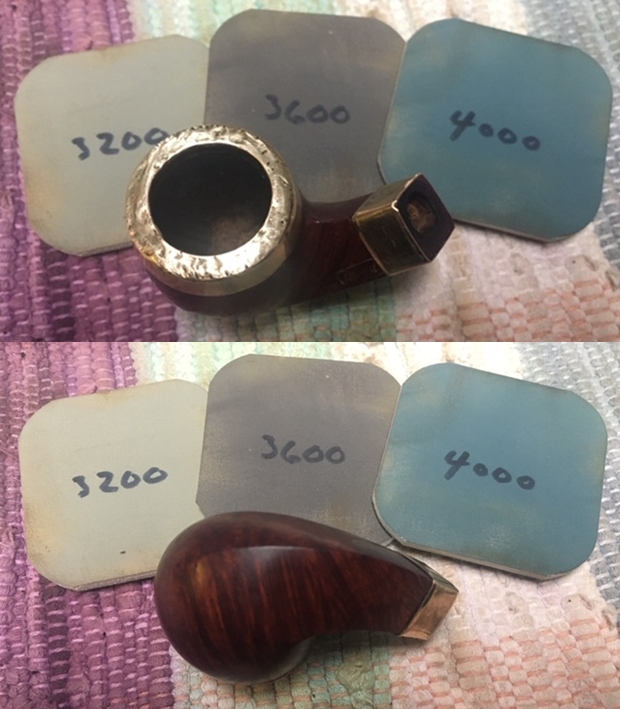
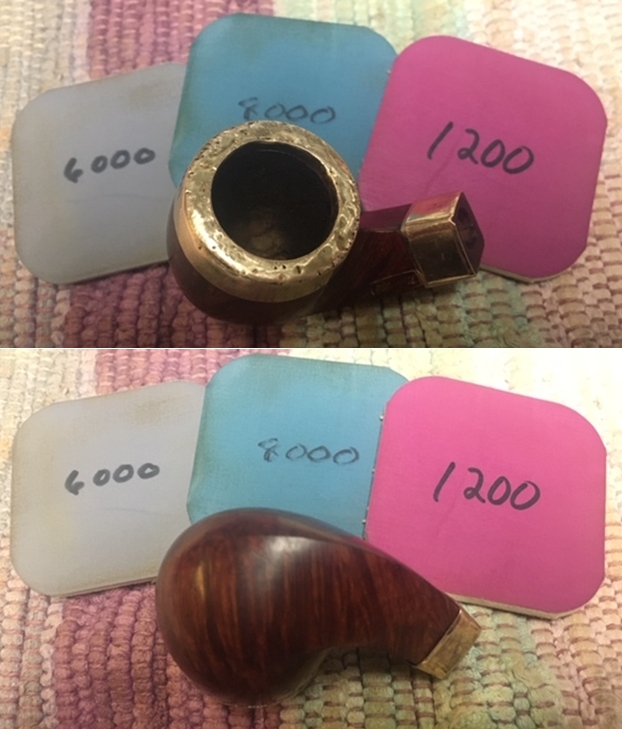
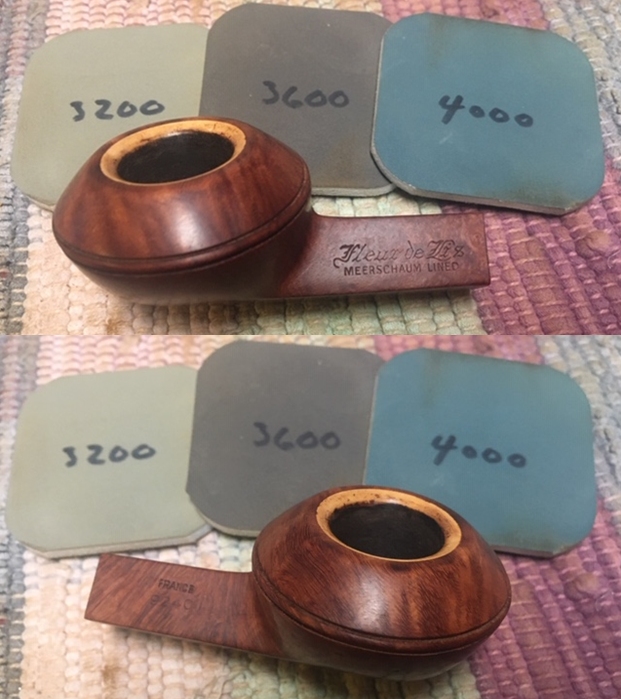
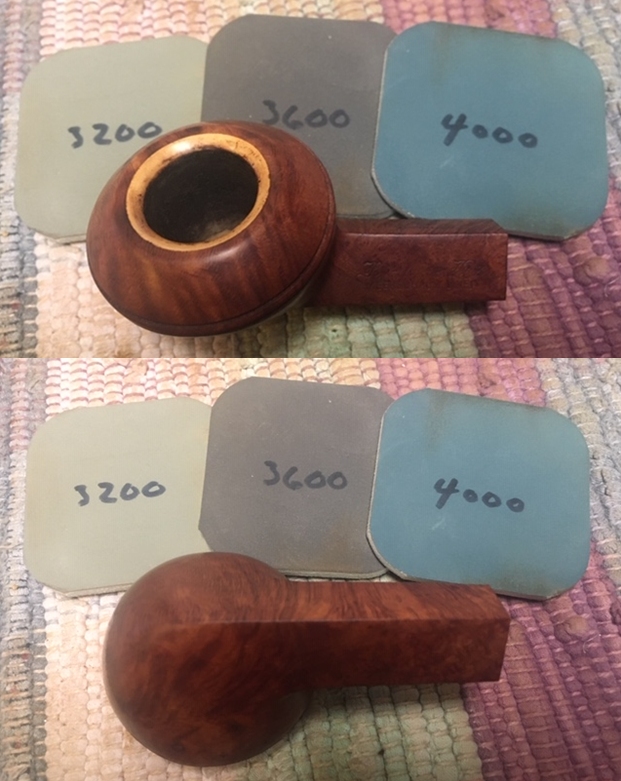
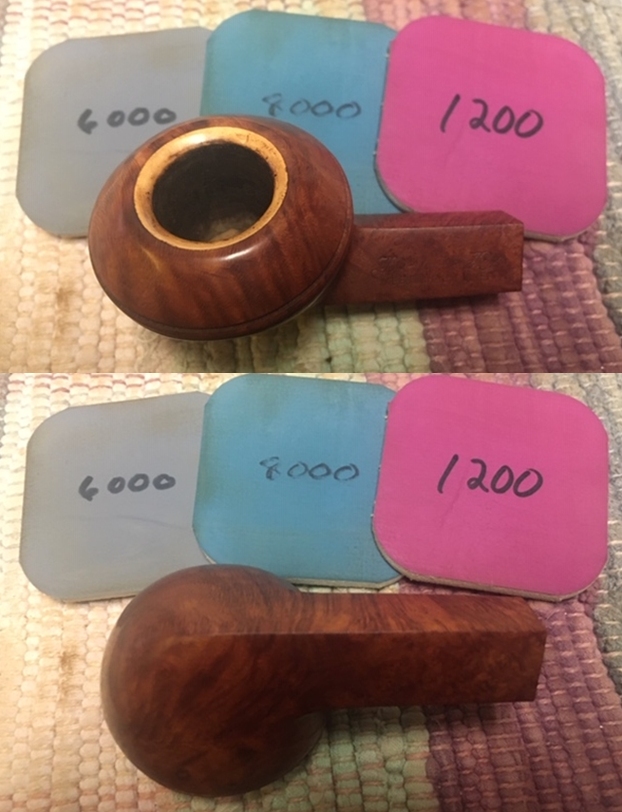
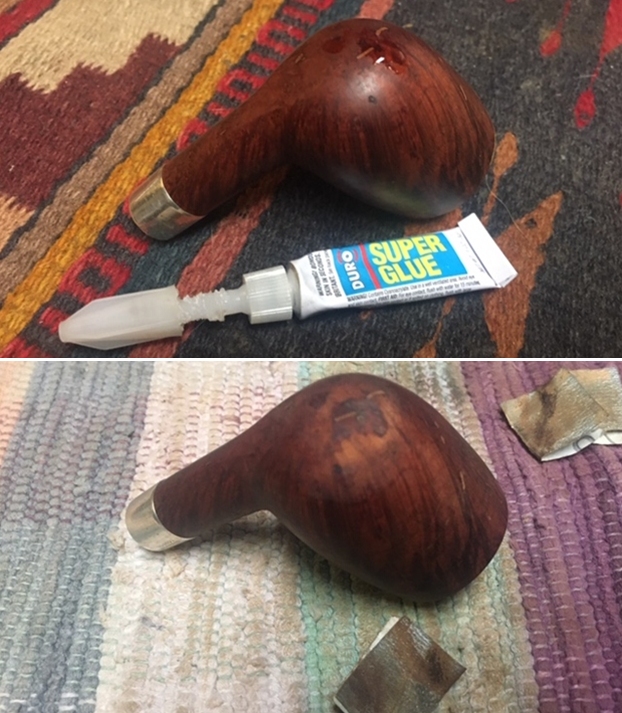 I polished the rim top and bowl with micromesh sanding pads – wet sanding with 1500-12000 grit pads and wiped the bowl down after each sanding pad.
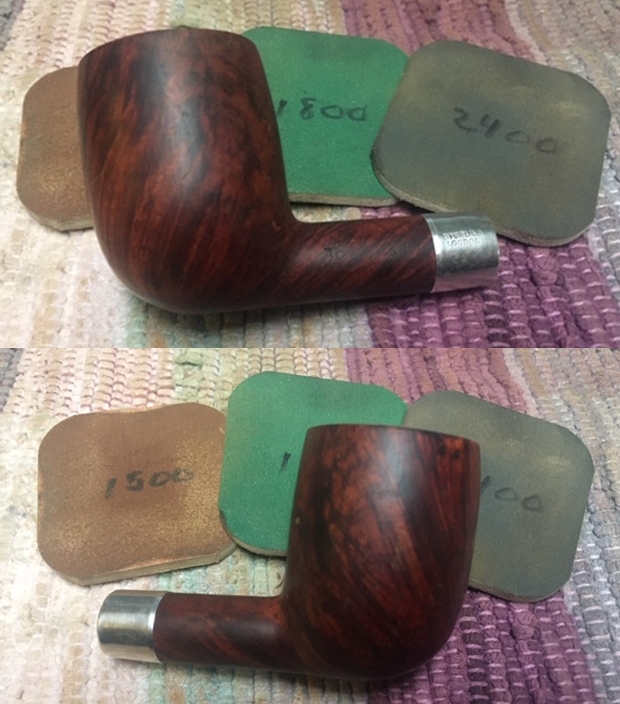

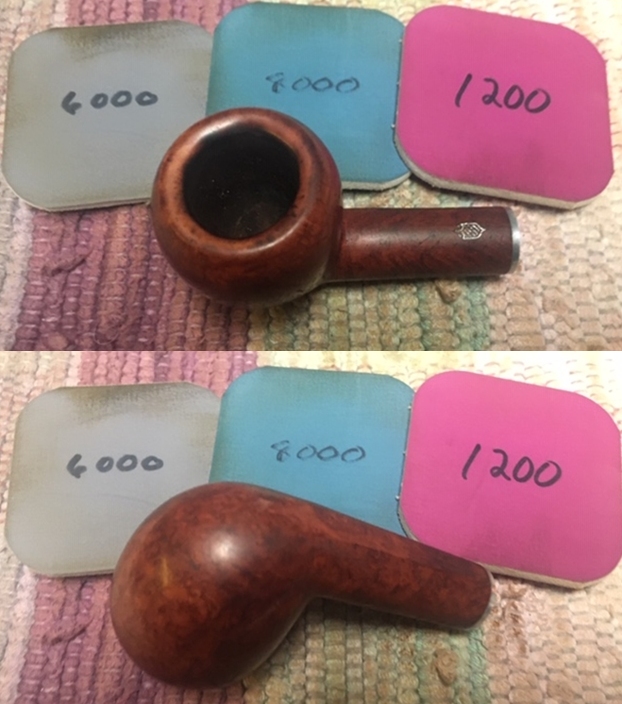
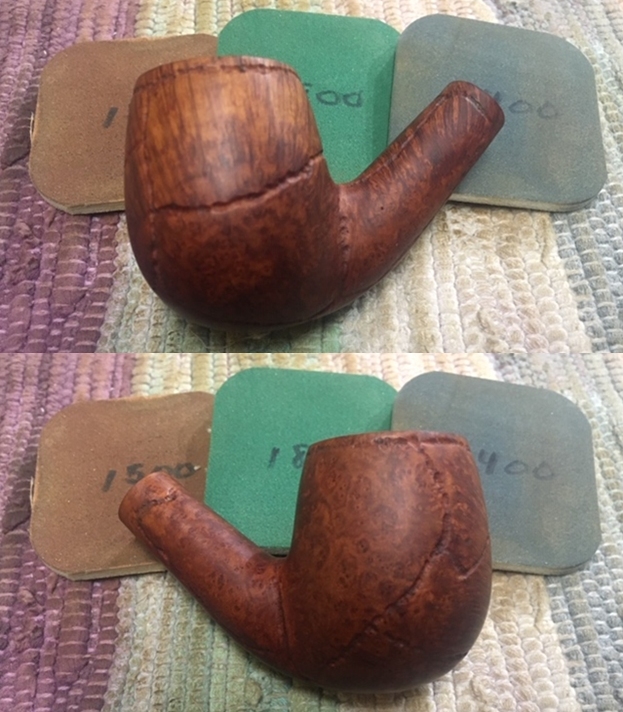
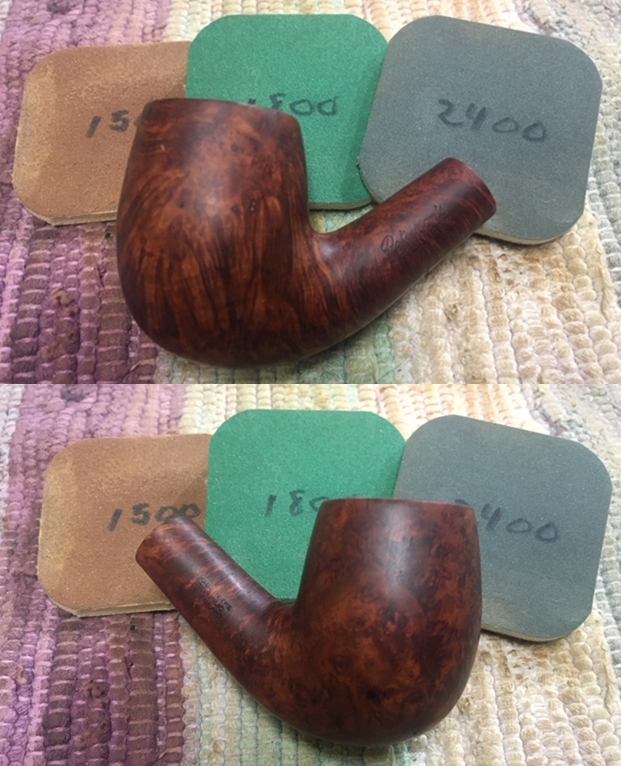
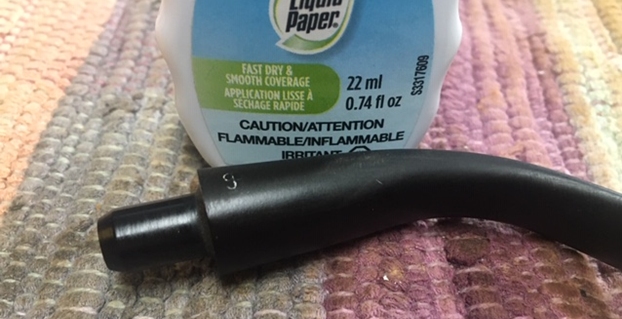
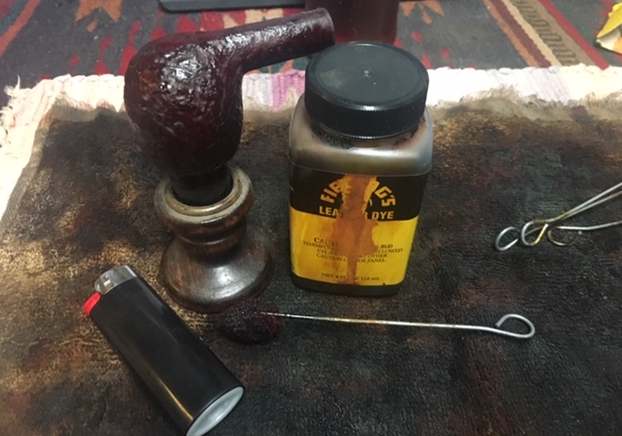
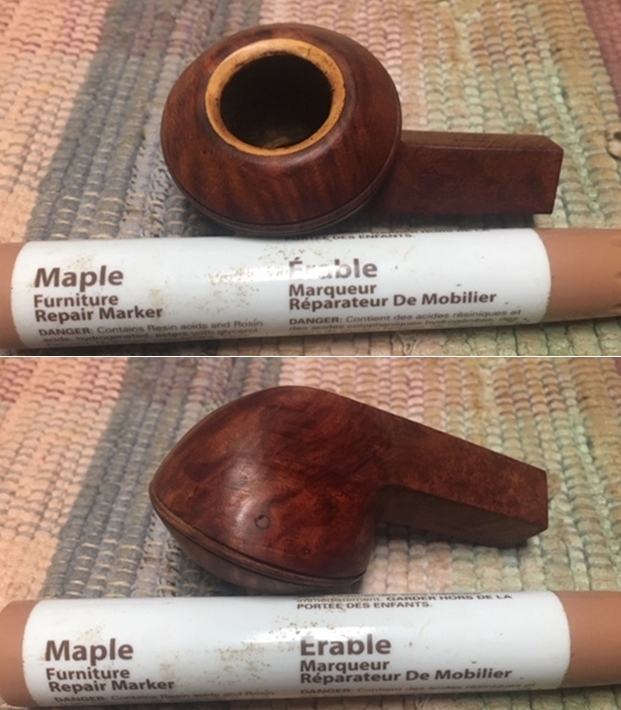
 The fills were very obvious on this pipe and to me they were just ugly enough to bother me. I could have stained just the rim top to match but figured I would try to mask the fills a bit with a darker stain. I used what is labeled as a Light Brown stain to cover the bowl and rim. I applied the stain and then flamed it to set it in the grain of the bowl. It was dark but I think it will look good once I am finished. I let it sit for several hours then buffed it off with Red Tripoli on the buffing wheel to get a feel for what it looked like at this point.
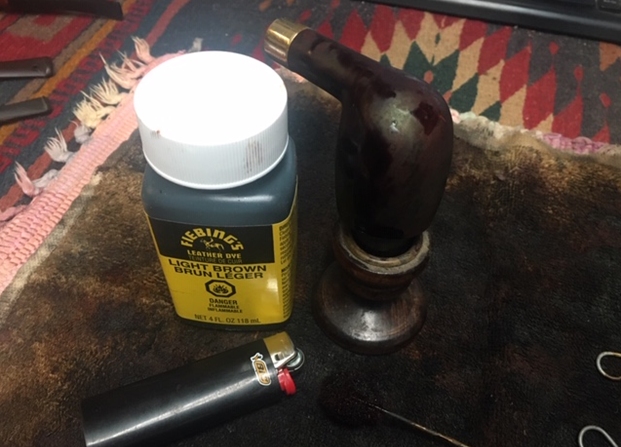
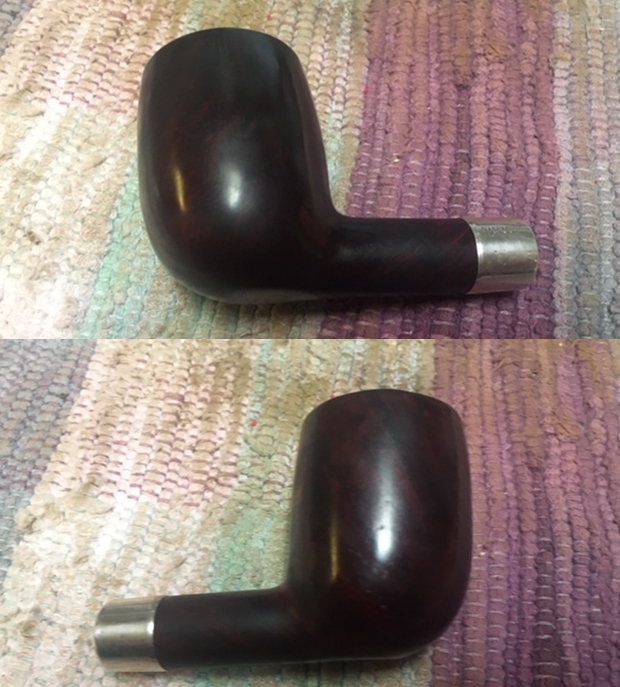
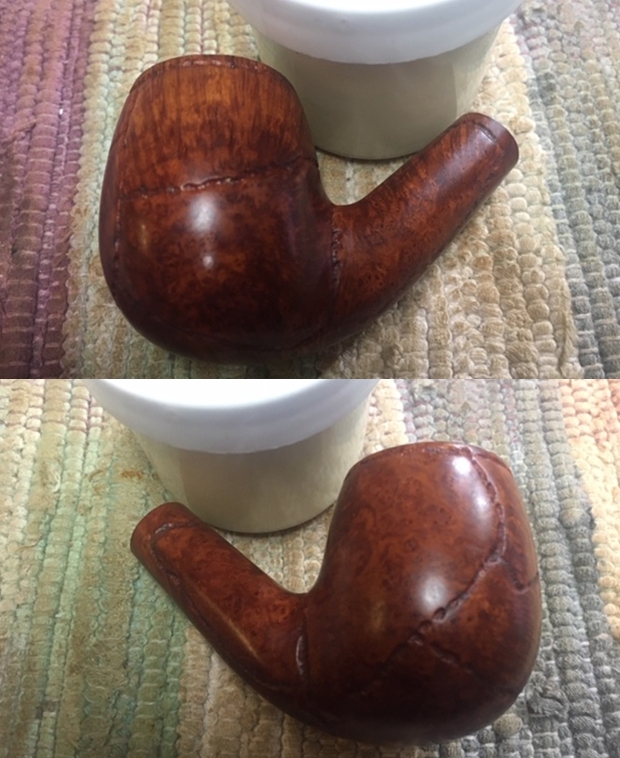
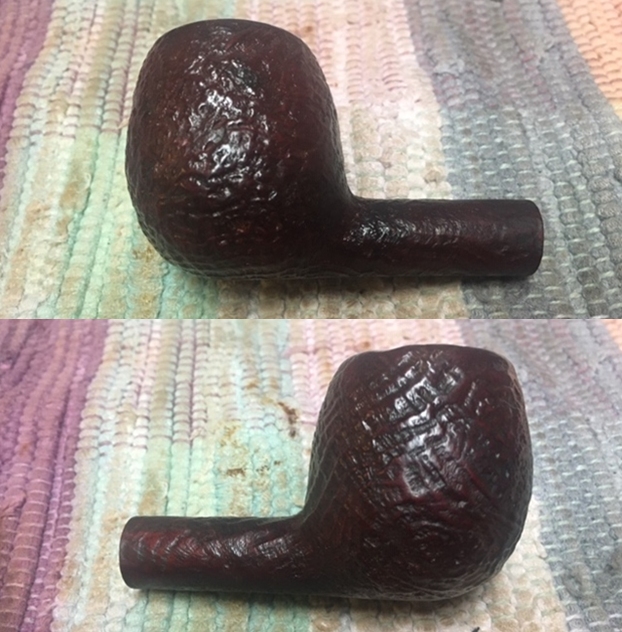
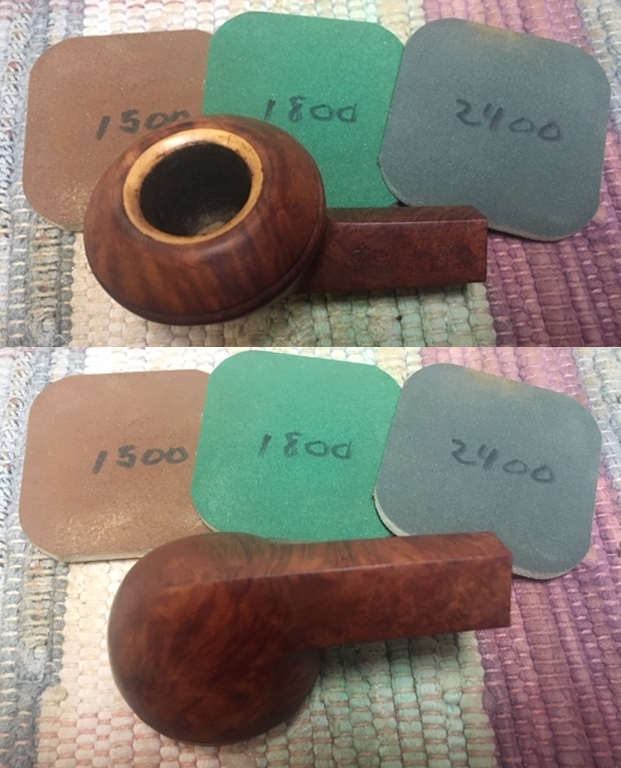
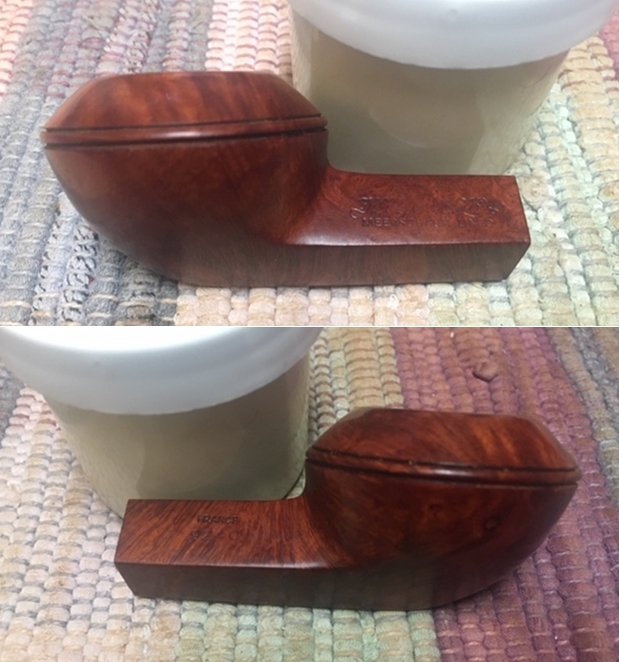
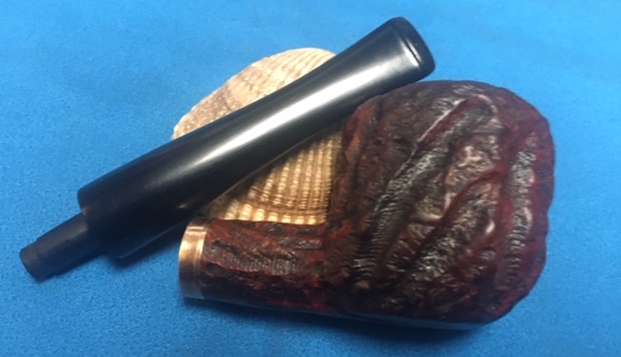
 I wiped the bowl down with isopropyl alcohol to make the stain coat a little more transparent and show the grain on the bowl.
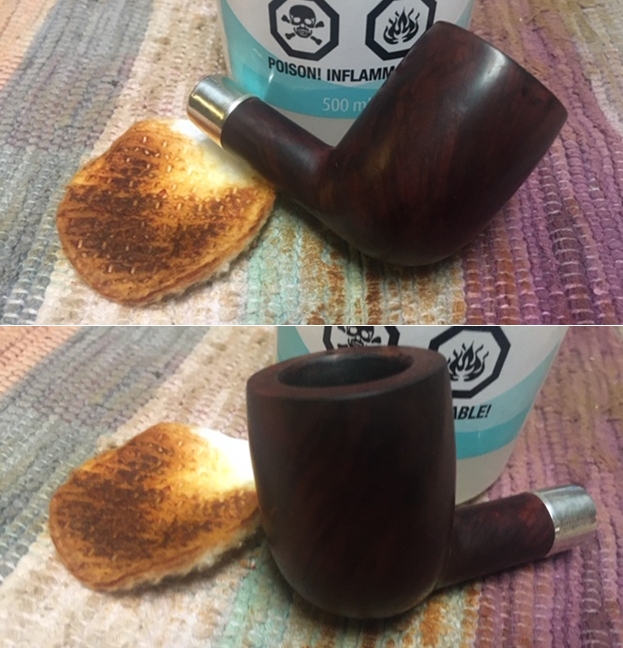
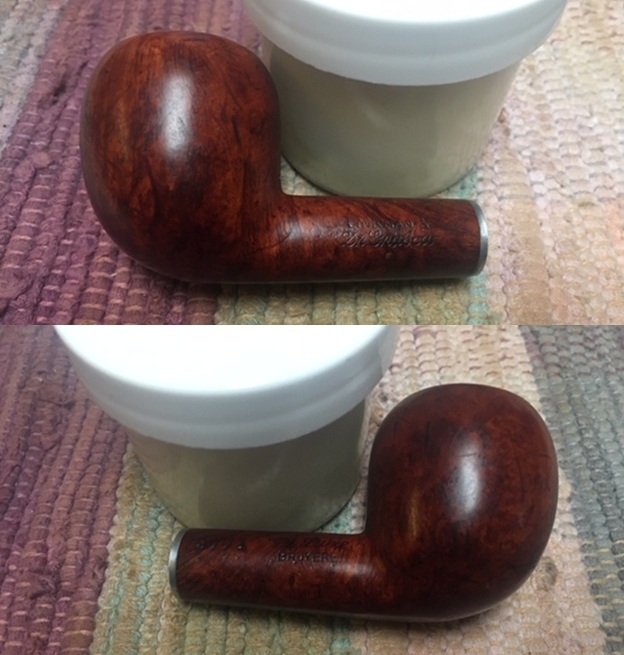
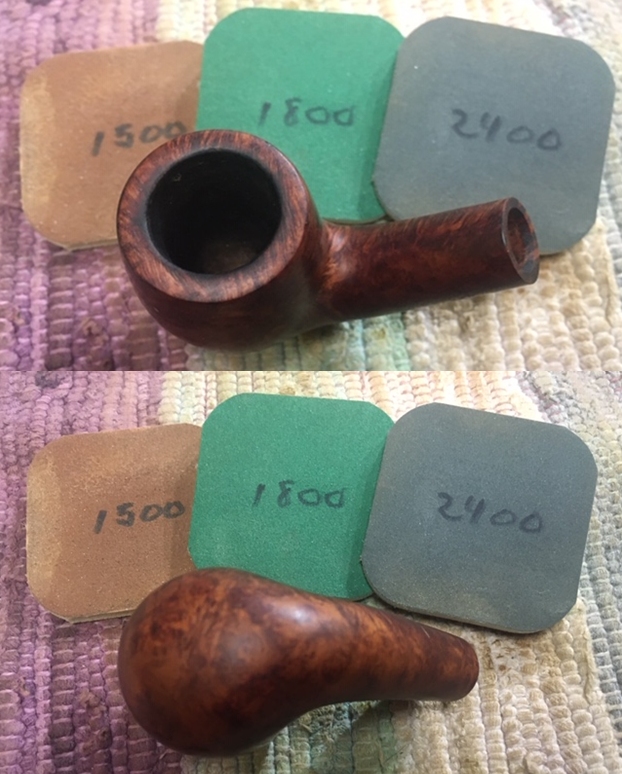
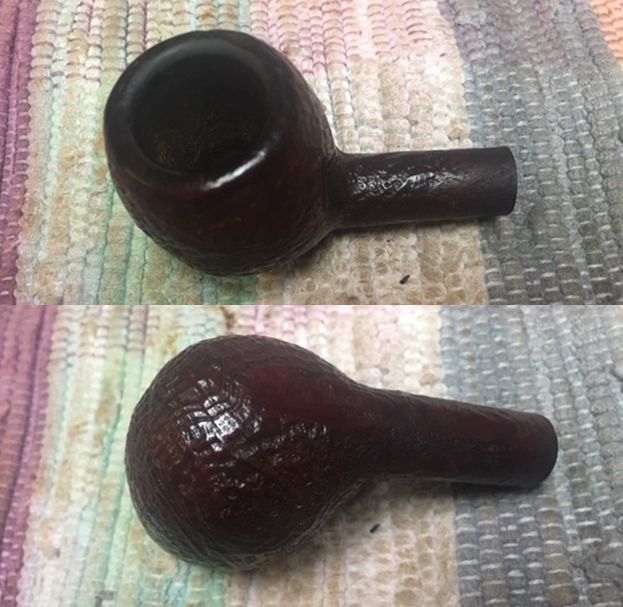
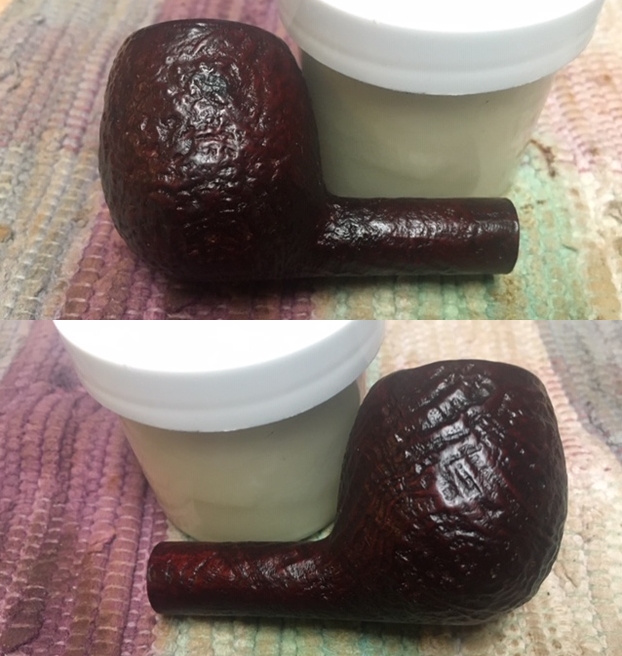
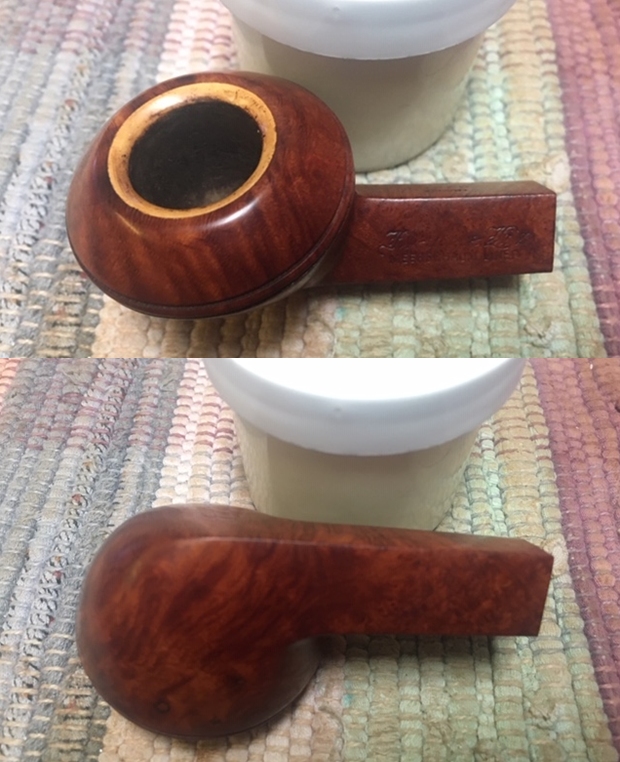
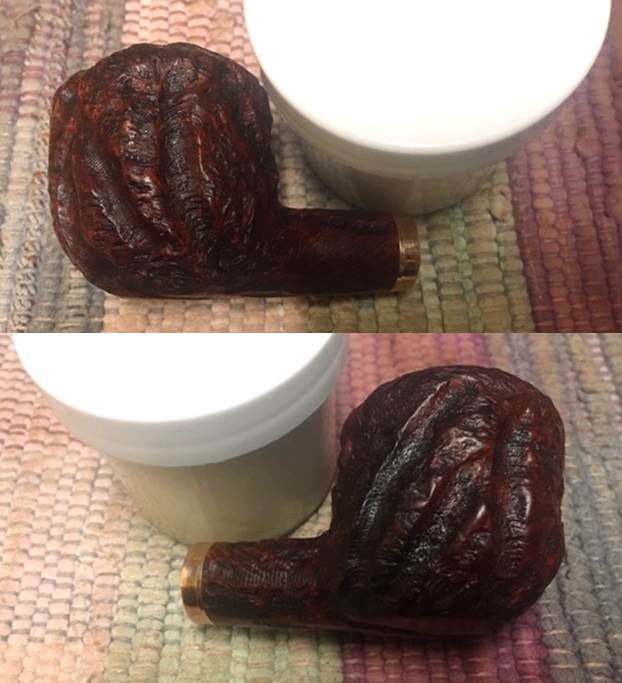
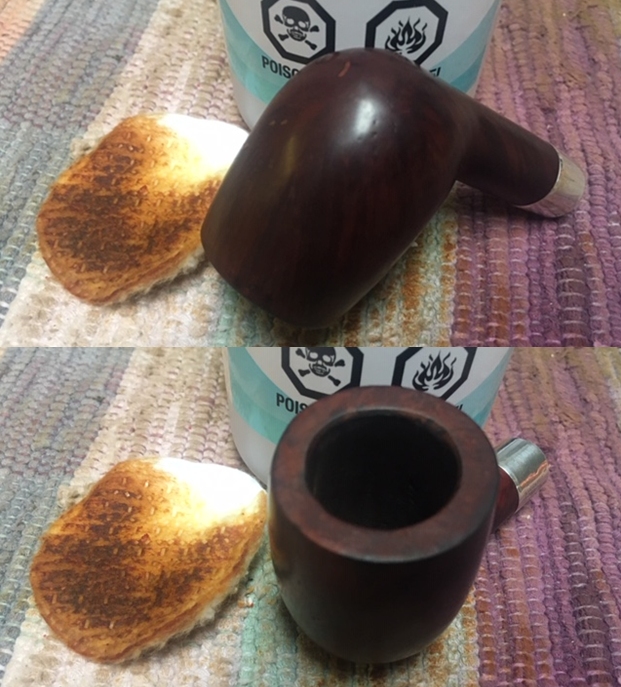 I rubbed the briar down with Before & After Restoration Balm. I worked it into the briar with my fingertips. The product works to clean, enliven and preserve the briar. I let it sit for 10 minutes while I worked on the stem. After the time passed I buffed it with a cotton cloth to deepen the shine. The briar really comes alive with the balm.
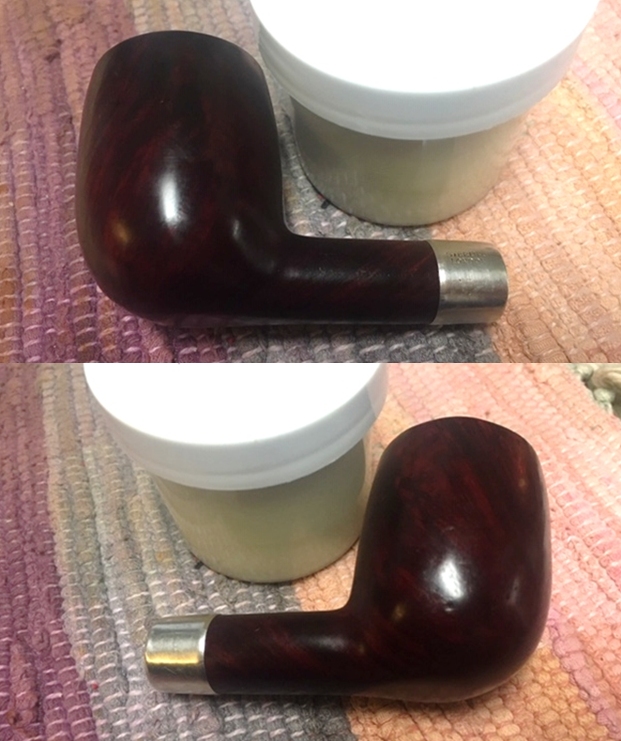
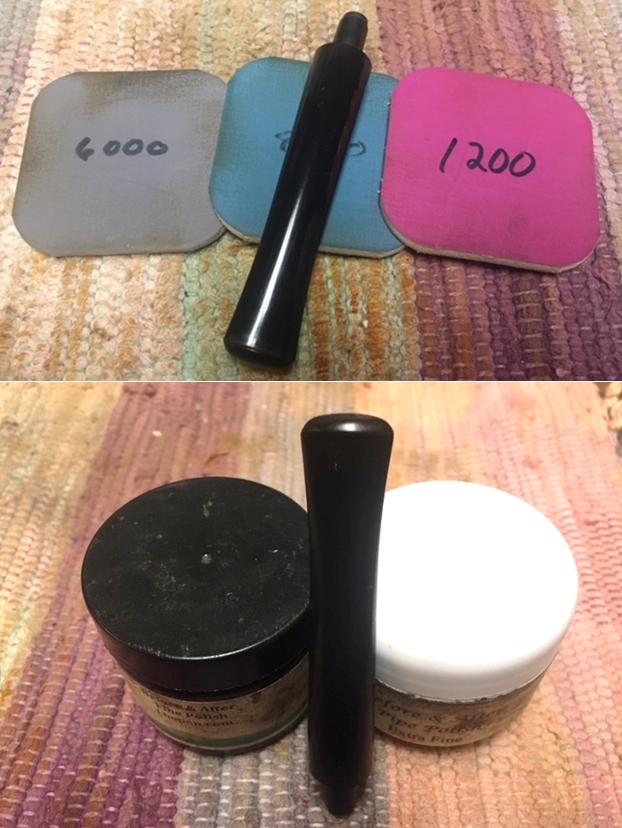
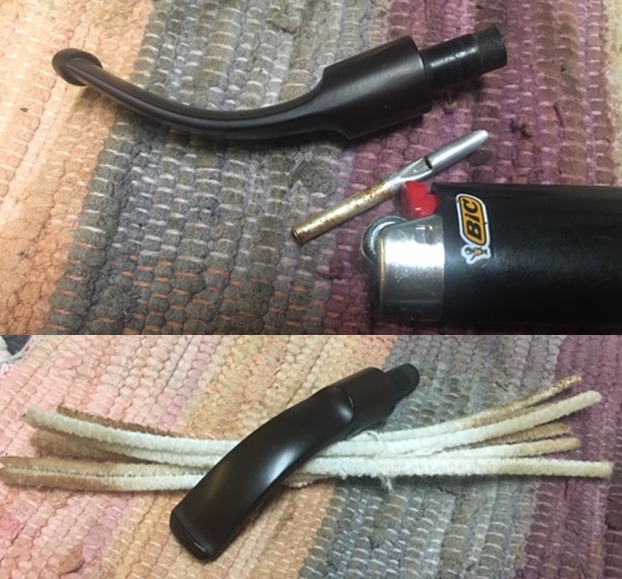
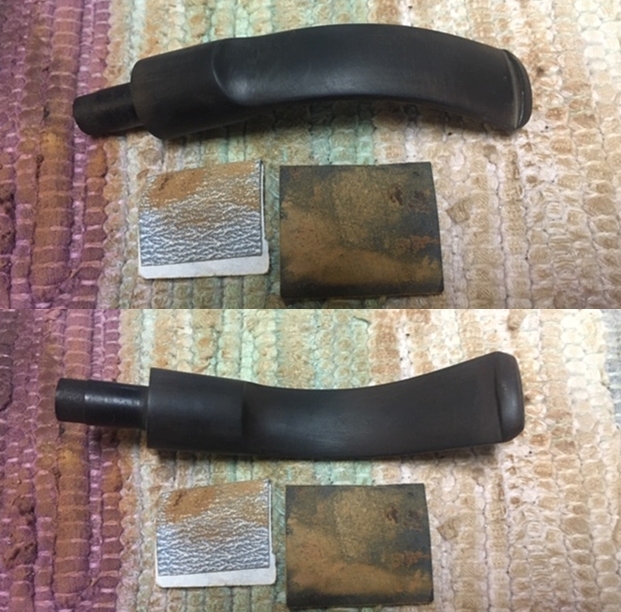
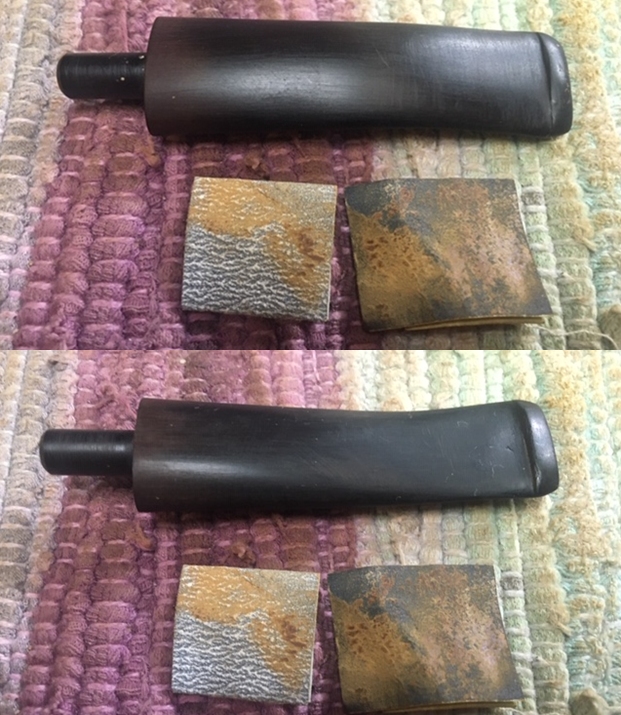
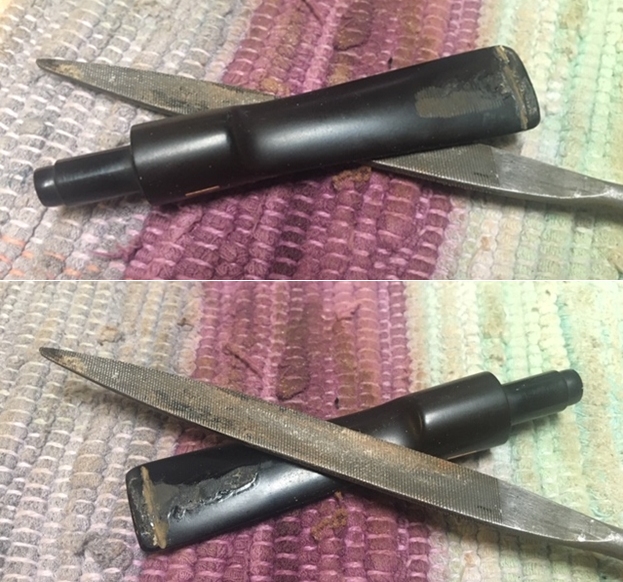
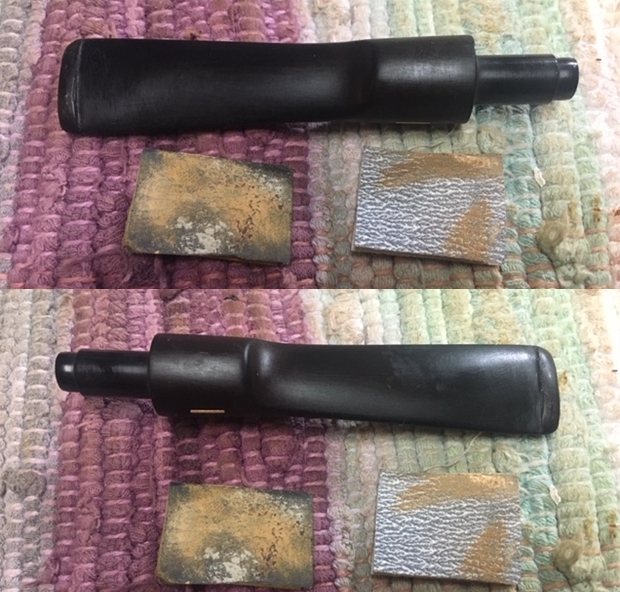
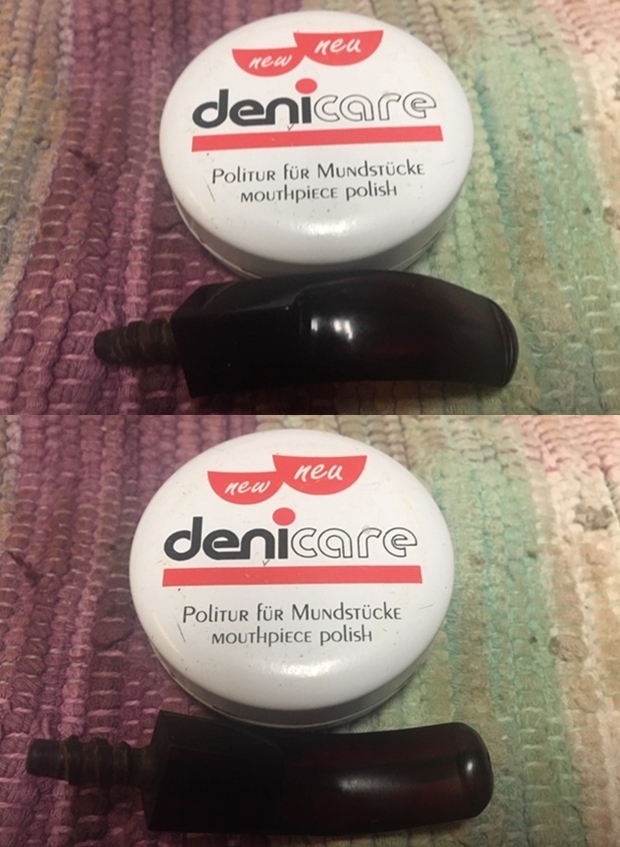
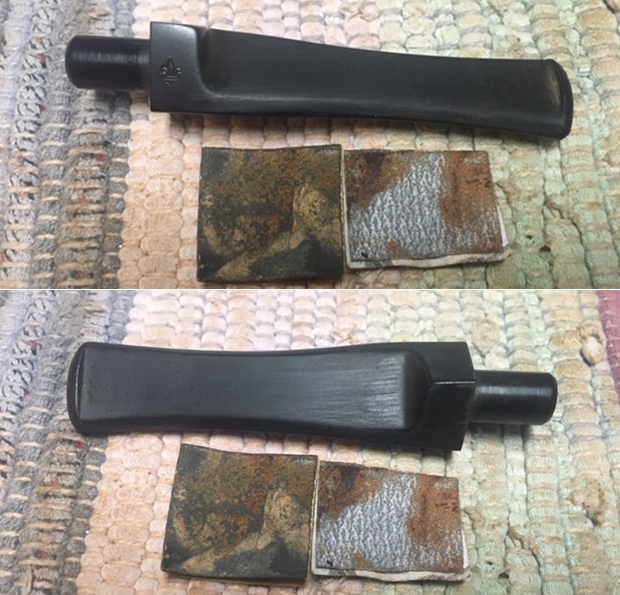
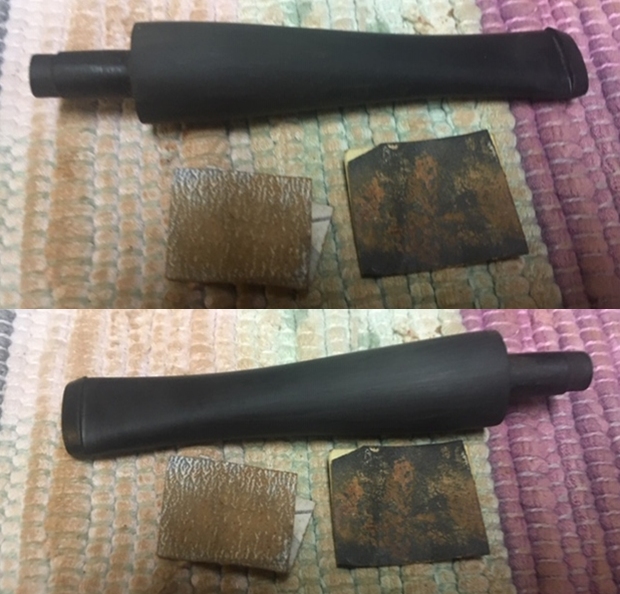
 I set the bowl aside and turn to address the issues with the stem. The stem was in decent condition with no bite marks. It was dirty and oxidized as could be seen in the photos above. I sanded out the oxidation with 220 grit sandpaper and started polishing it with 400 grit wet dry sandpaper.
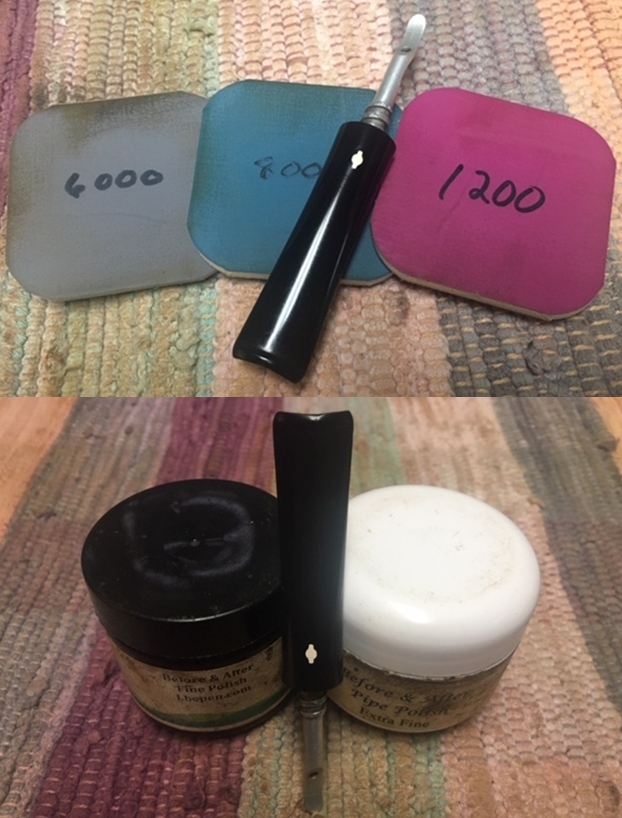
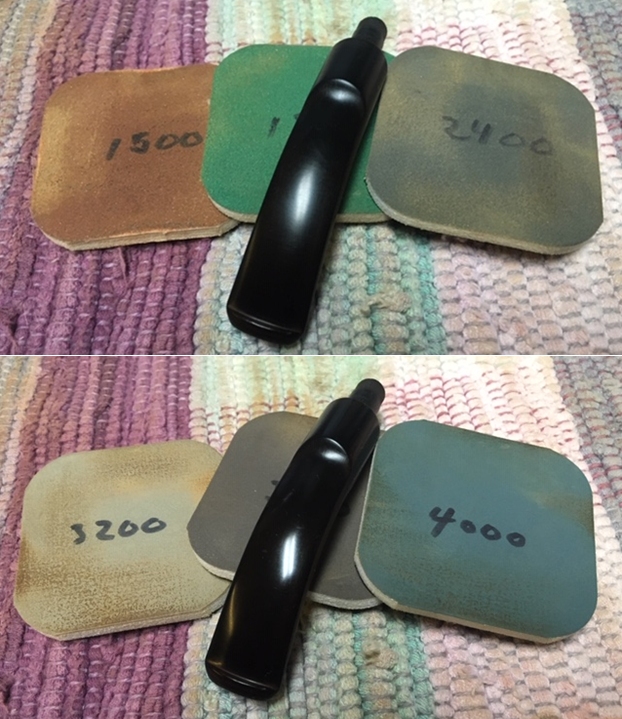
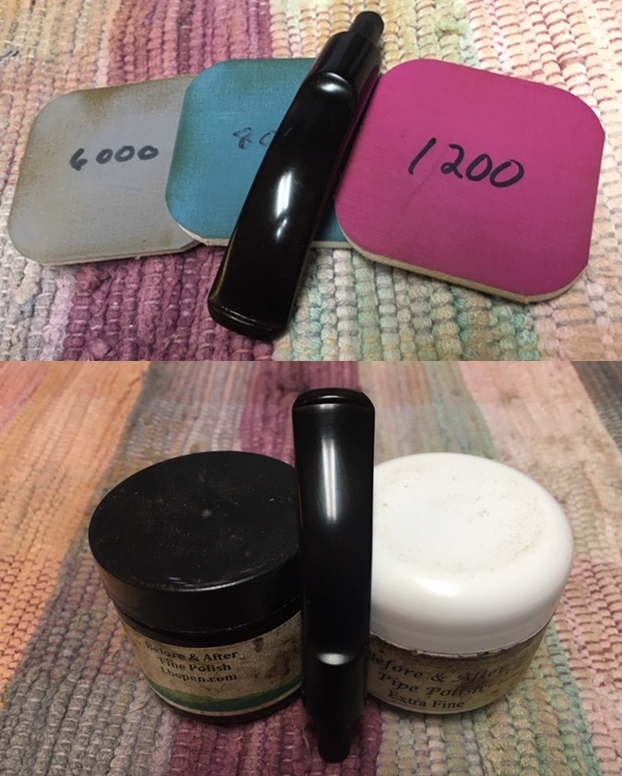
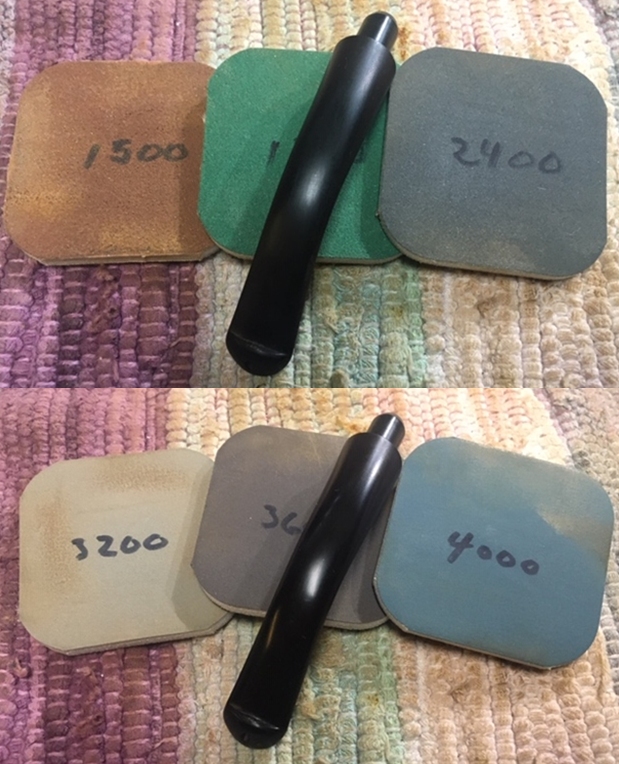
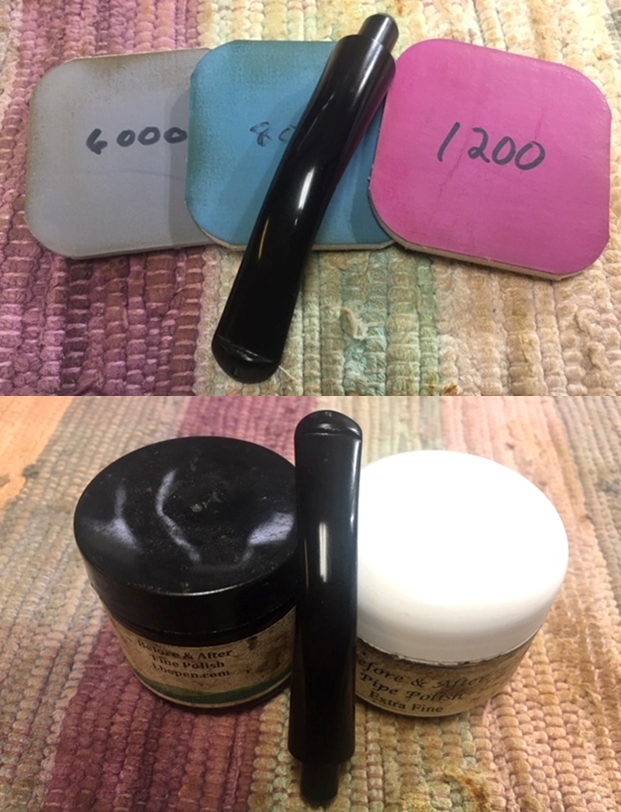
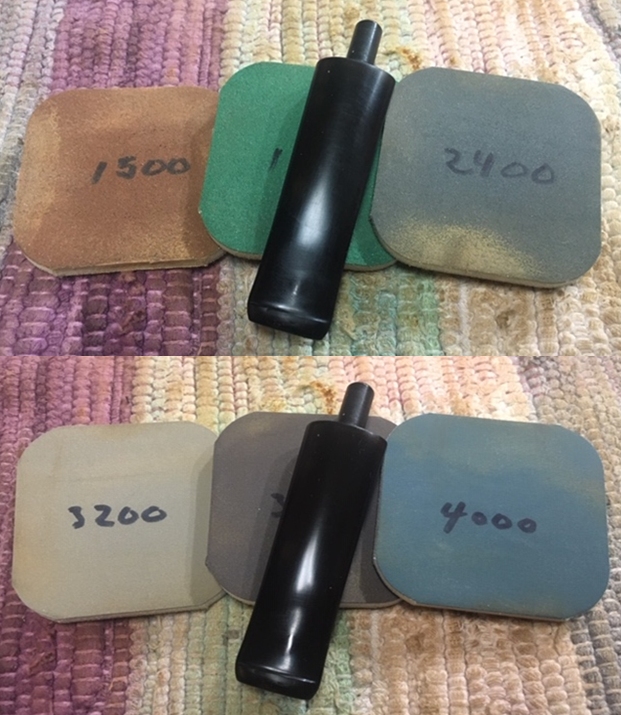
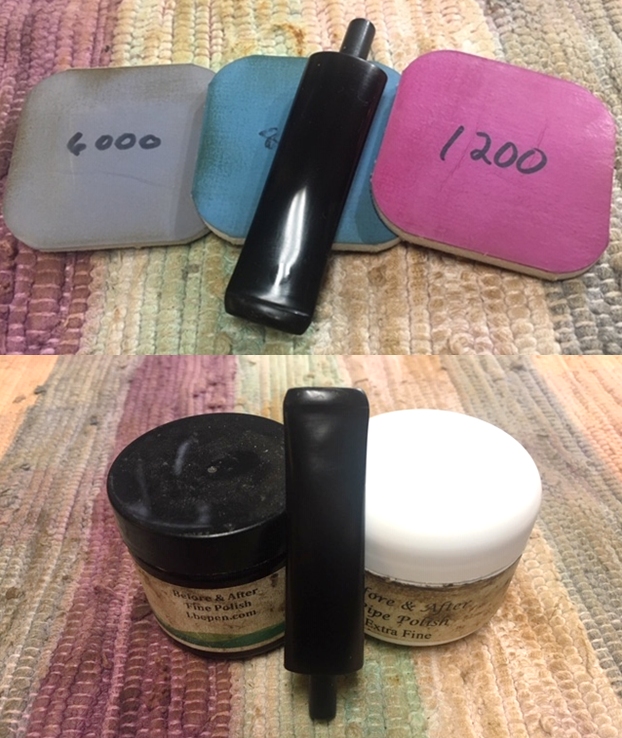
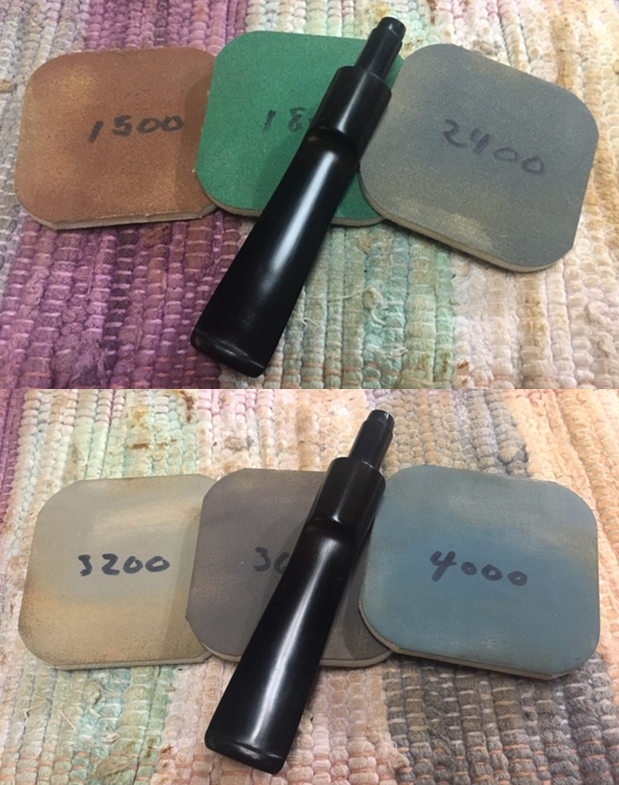
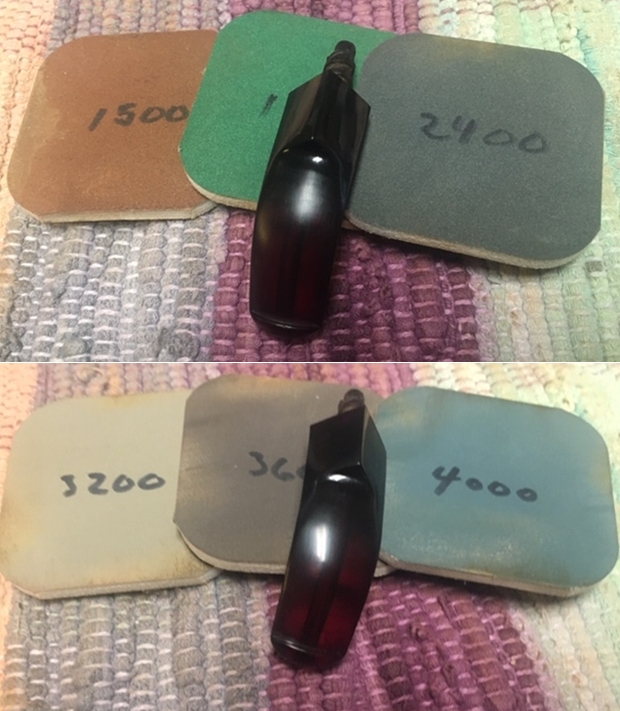
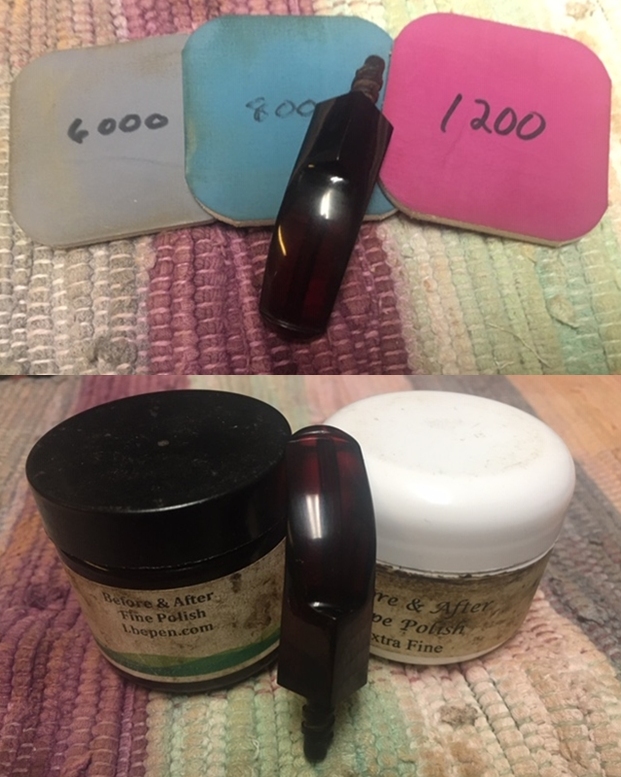
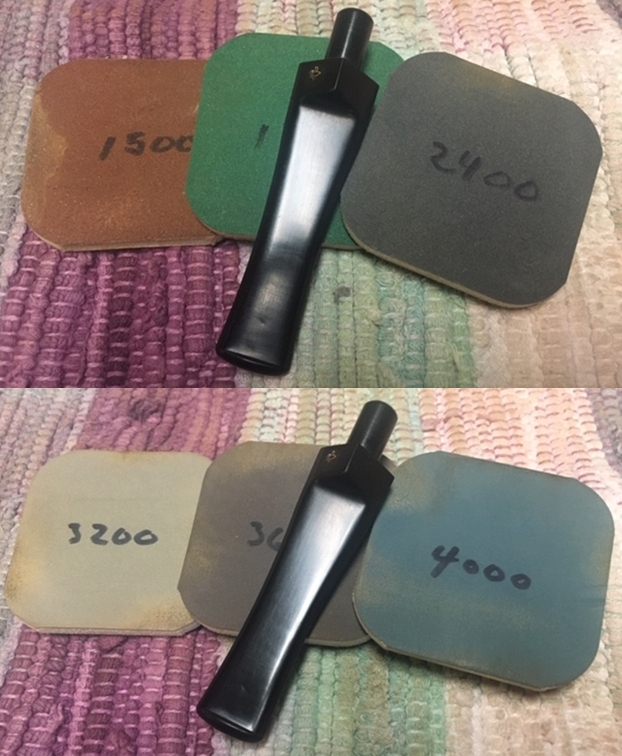
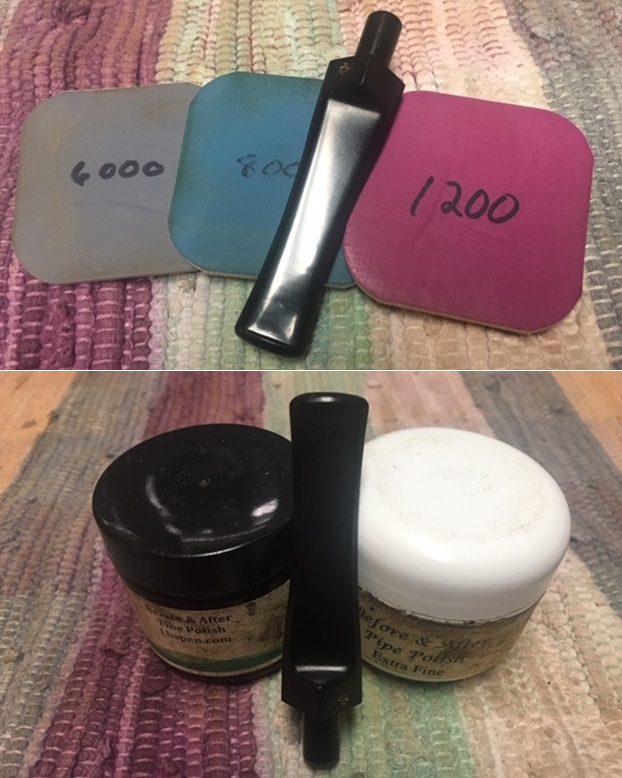
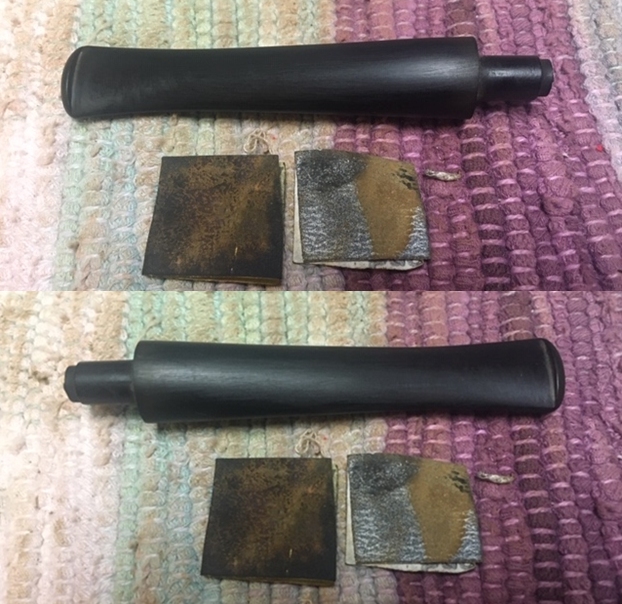 I polished the stem with micromesh sanding pads – wet sanding it with 1500-12000 grit pads. I wiped it down after each pad with some Obsidian Oil to preserve the stem and to give some bite to the sanding. I finished the polishing with Before & After Pipe Polish – both Fine and Extra Fine polishes. I rubbed the stem down with the polishes and buffed it with a cotton pad. I gave it a final coat of Obsidian Oil.
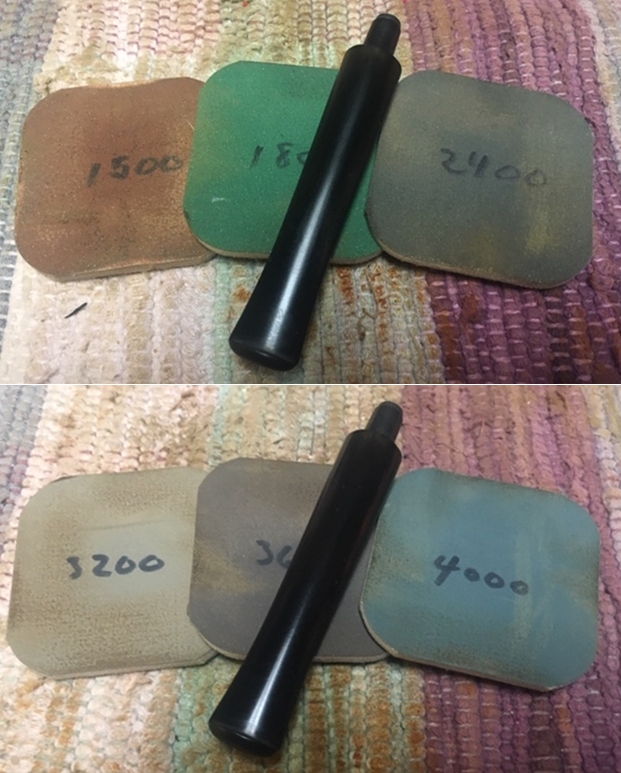
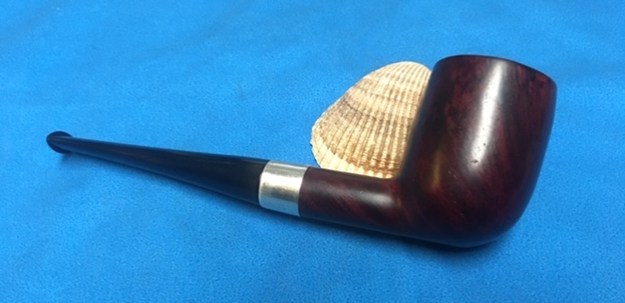
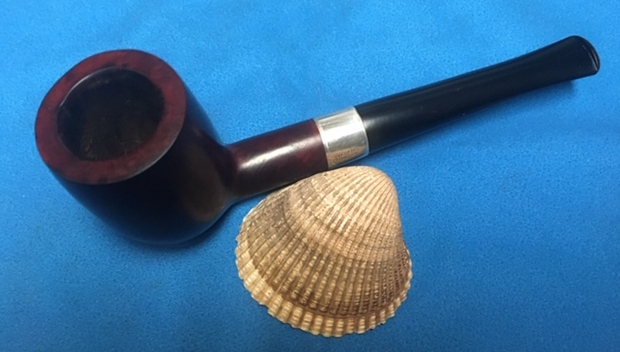
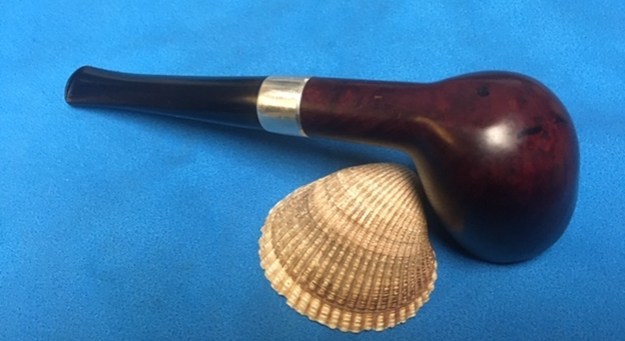
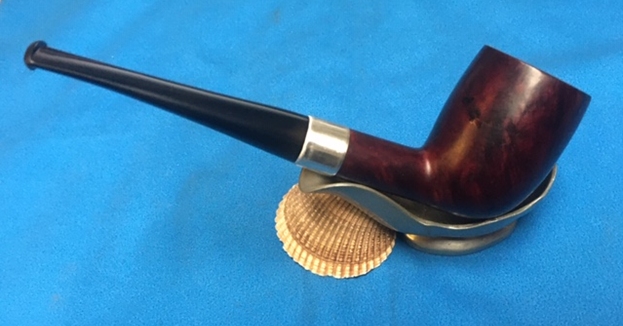
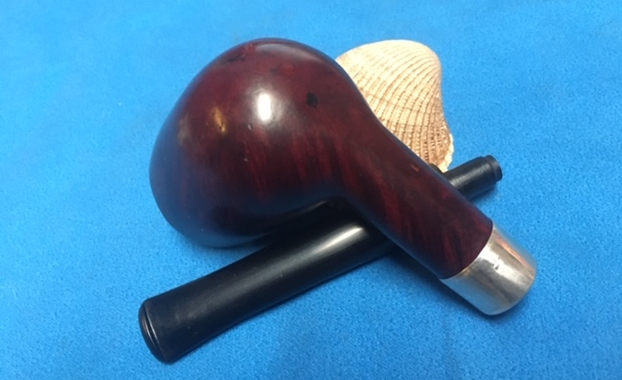
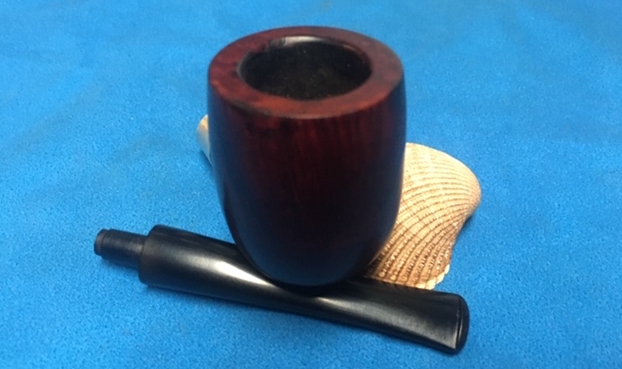
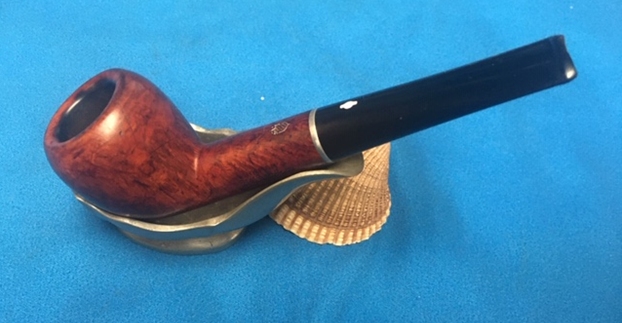
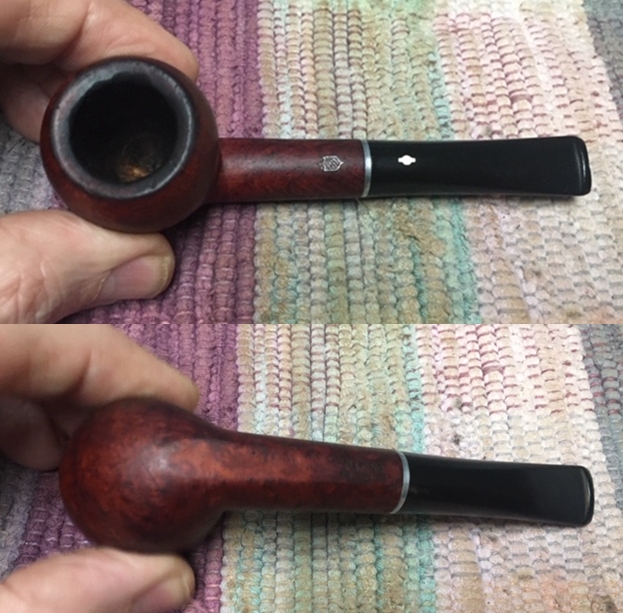
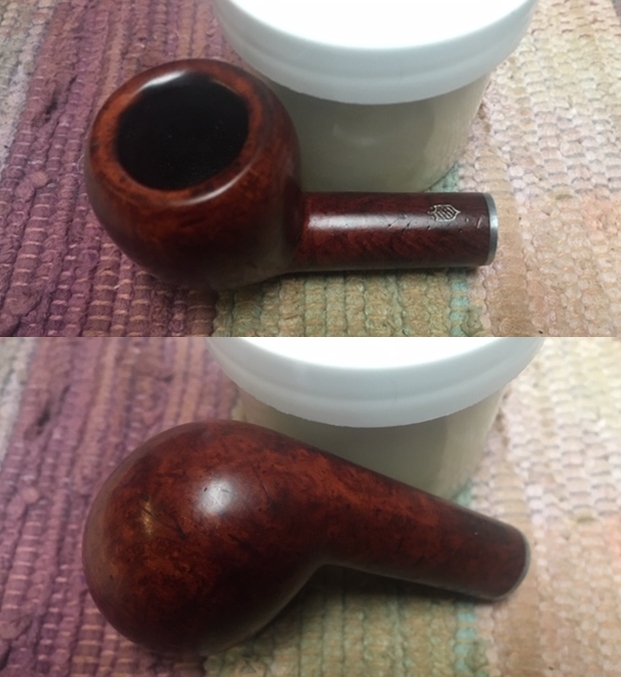
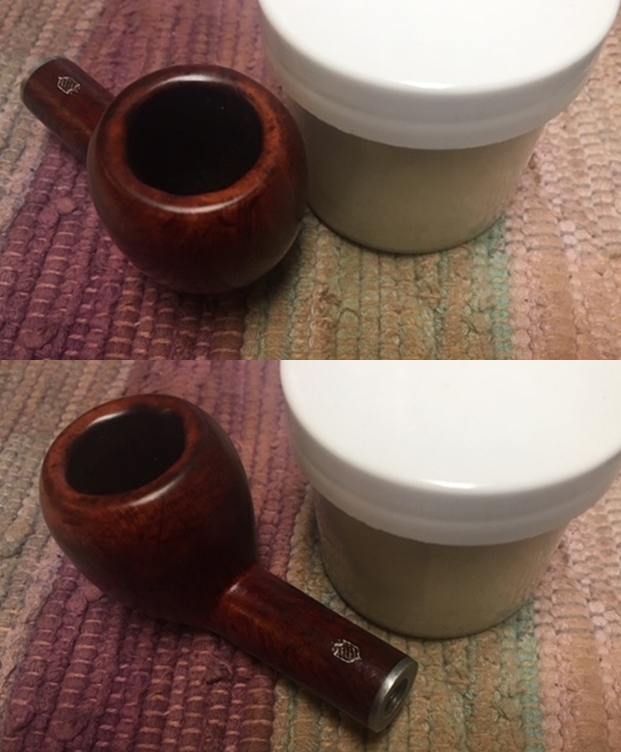
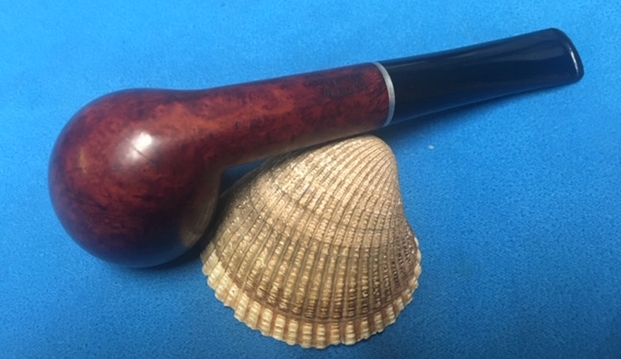
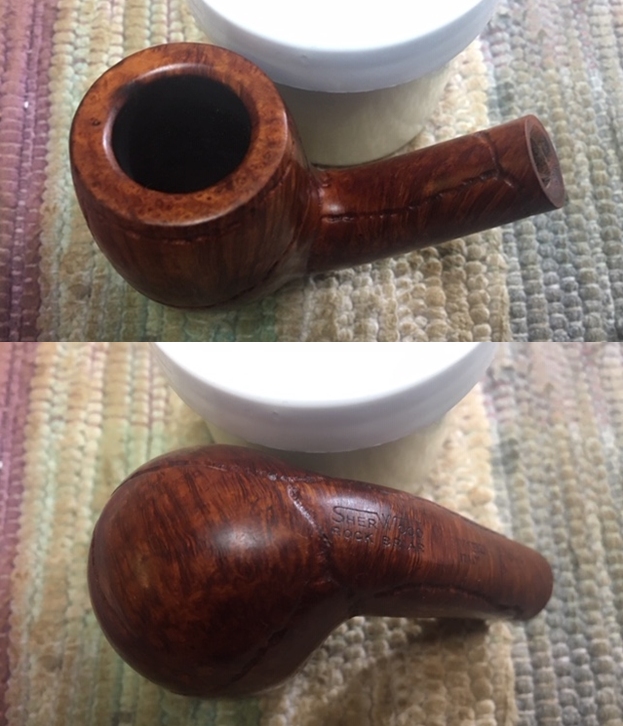
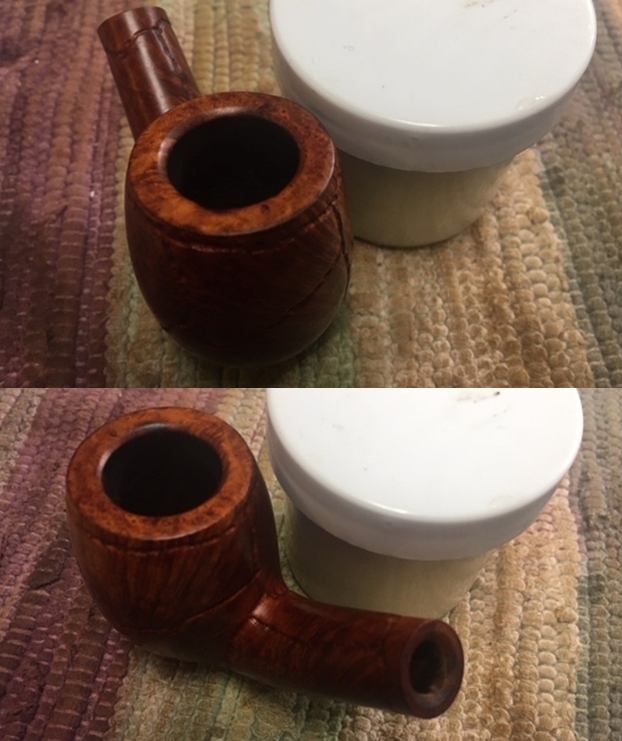
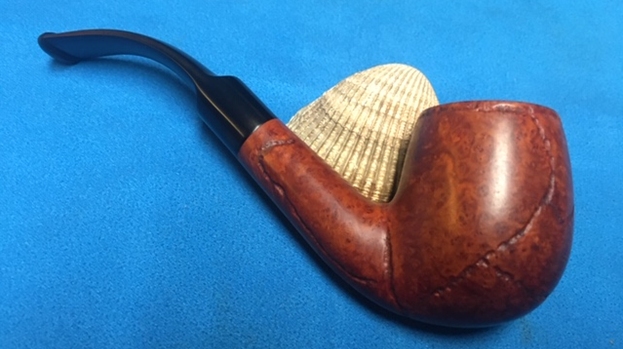
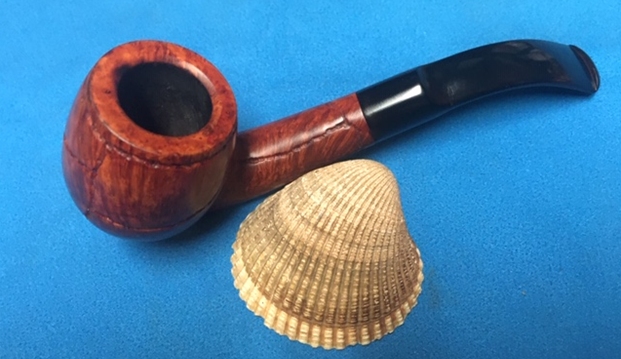
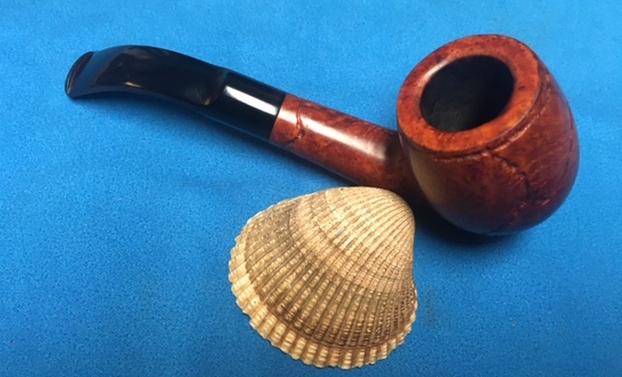
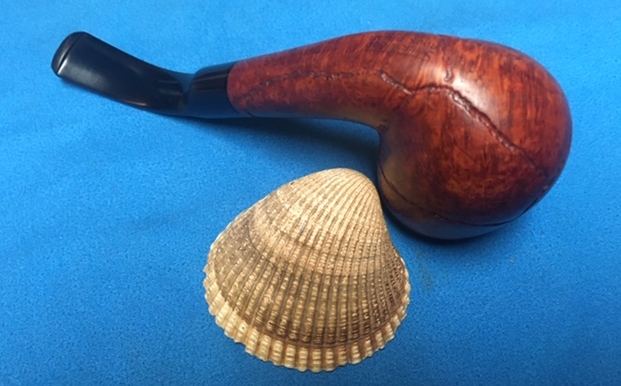
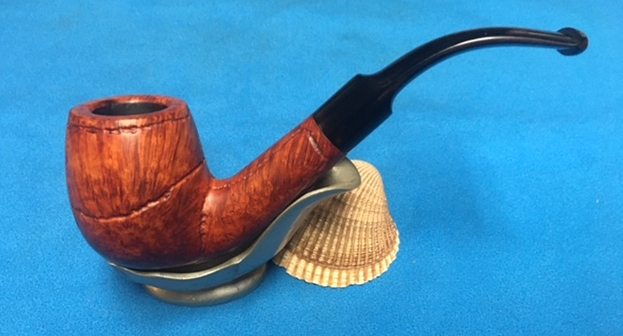
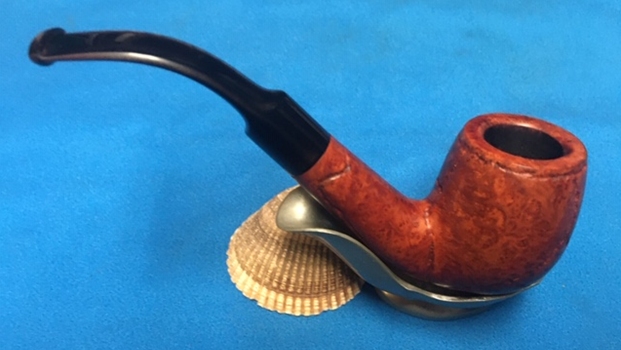
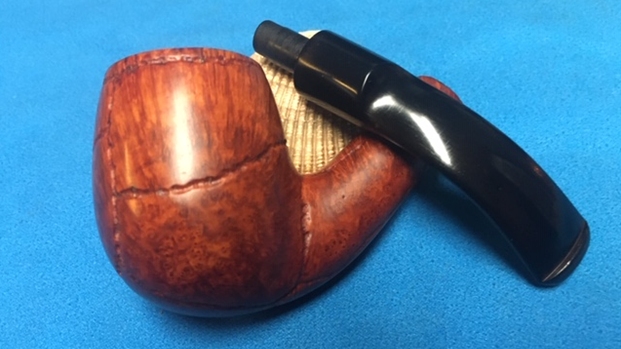
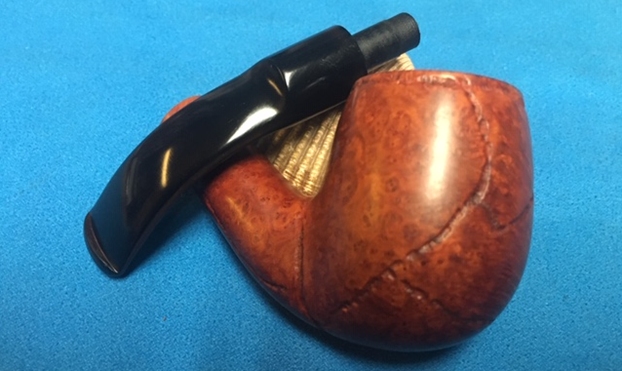
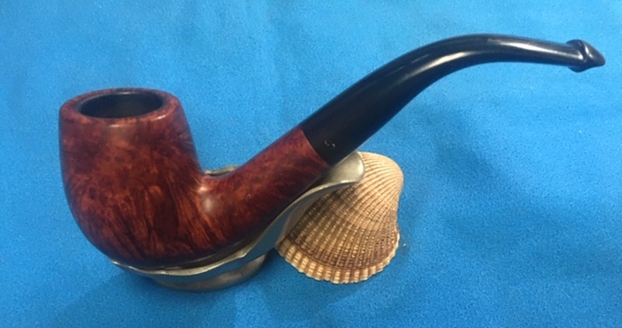
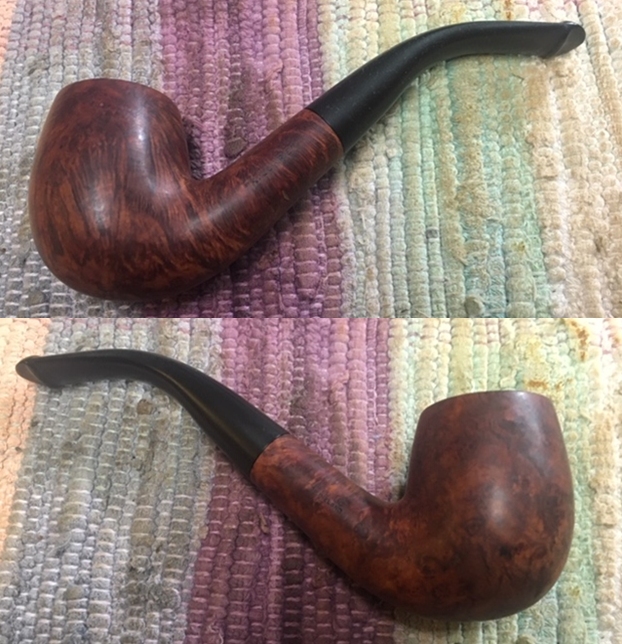
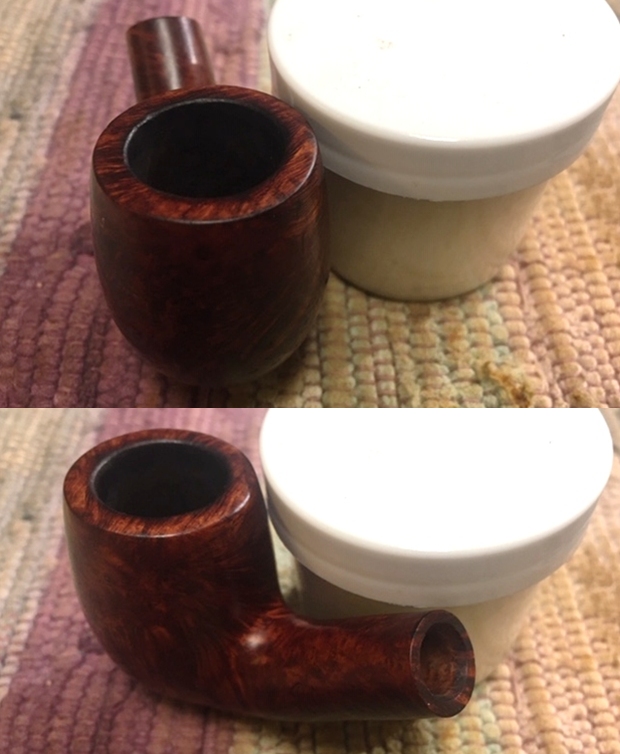
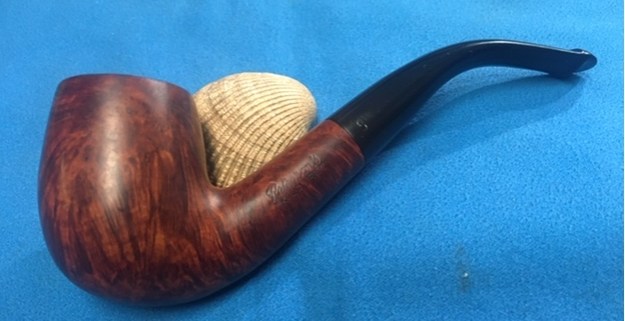
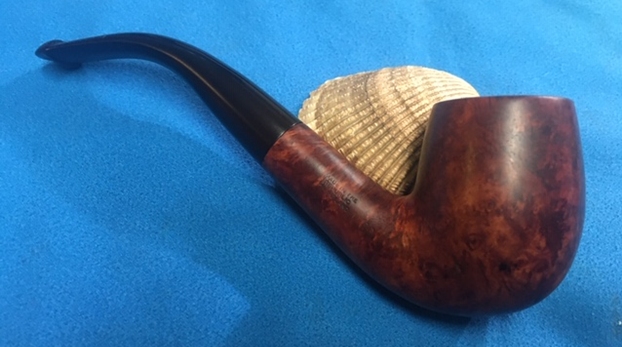
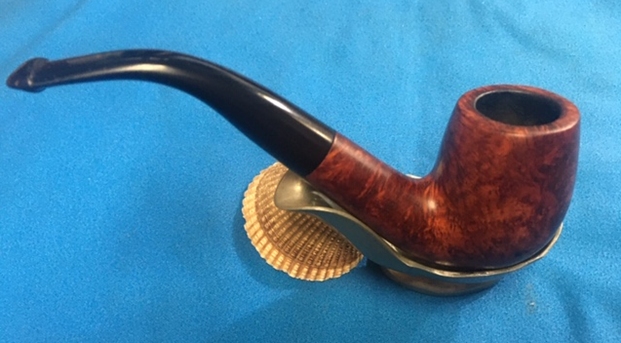
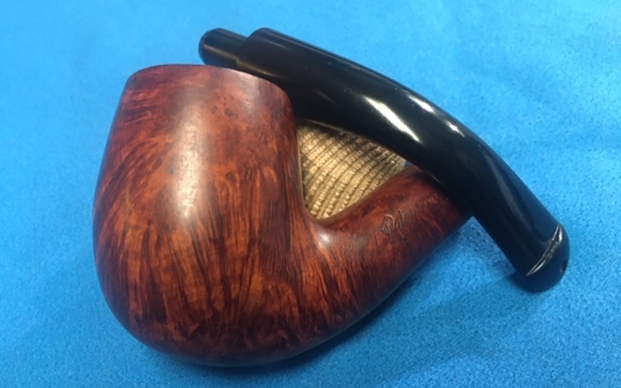
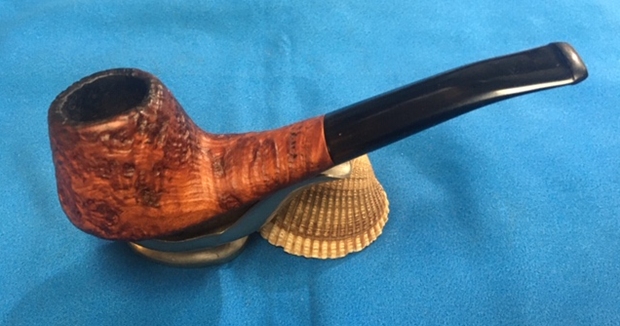
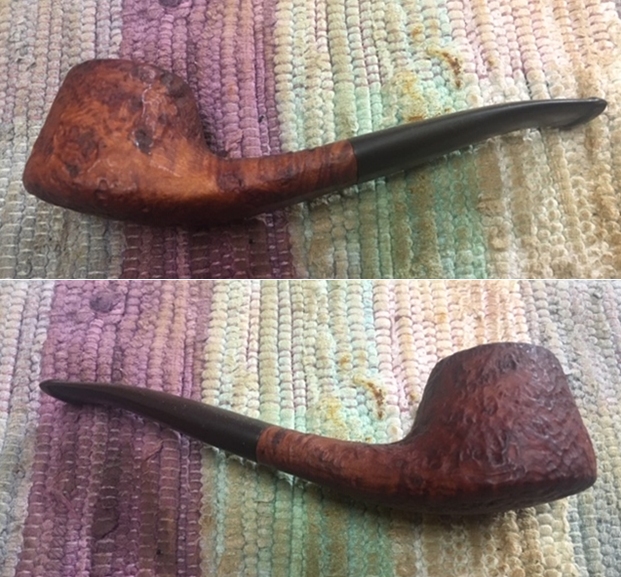
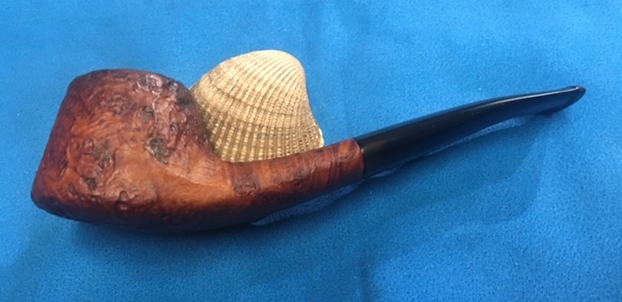
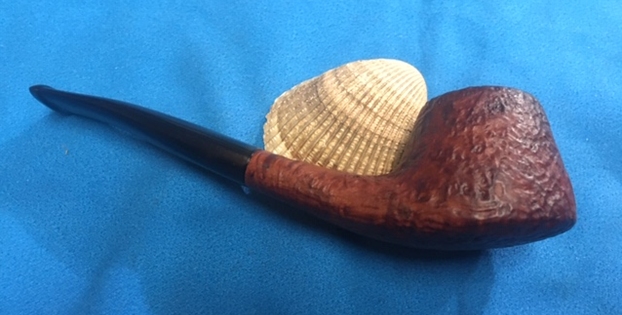
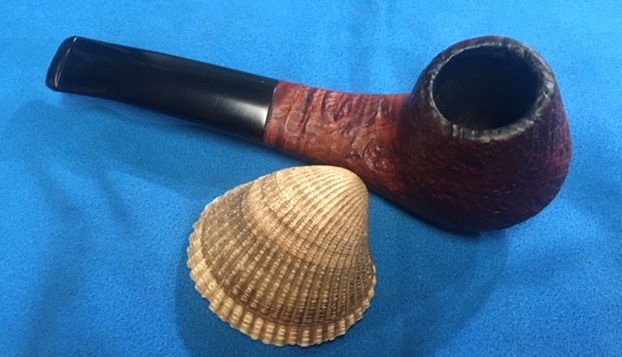
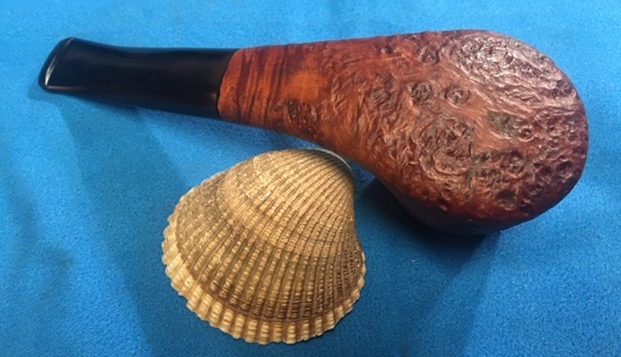
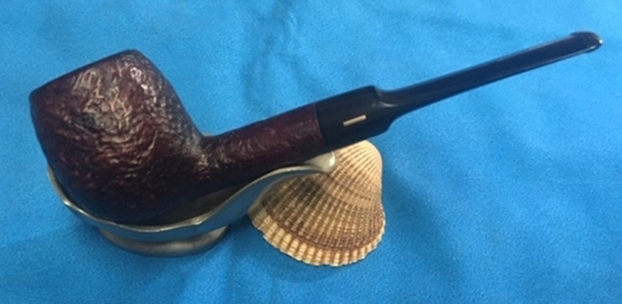
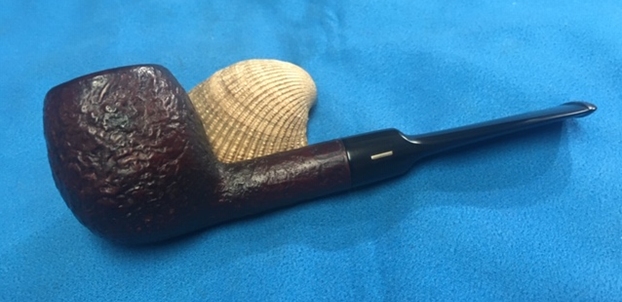
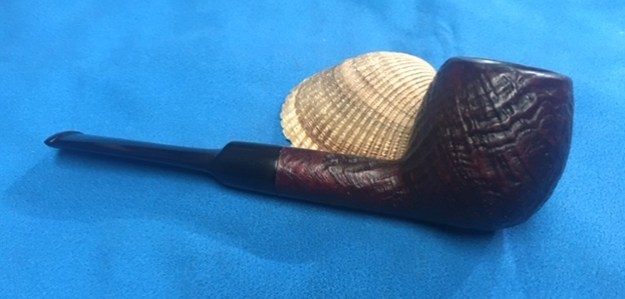
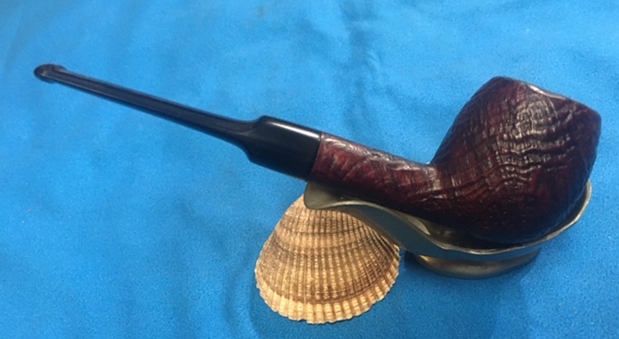
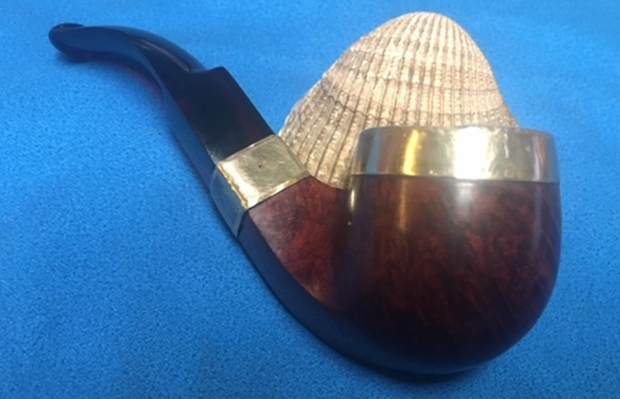
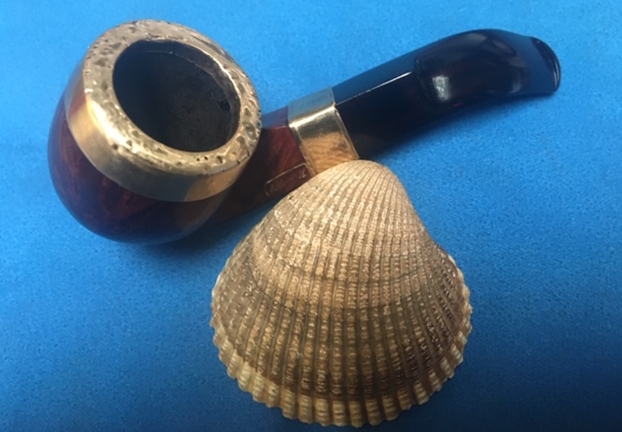
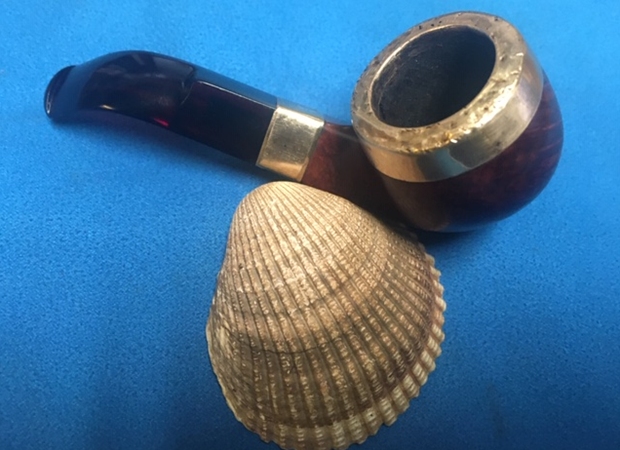
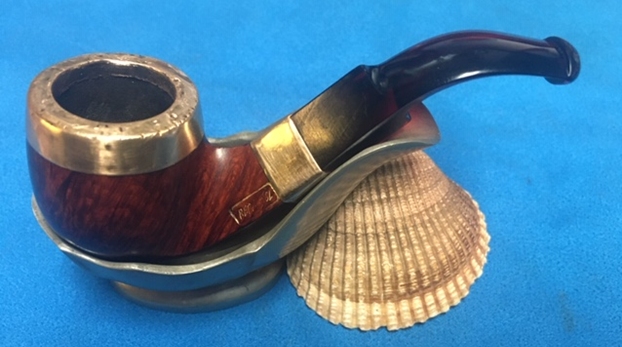
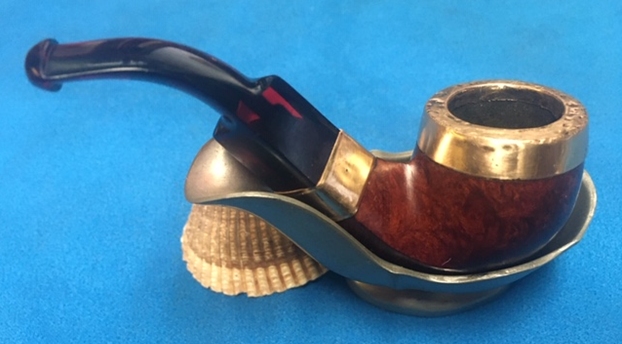
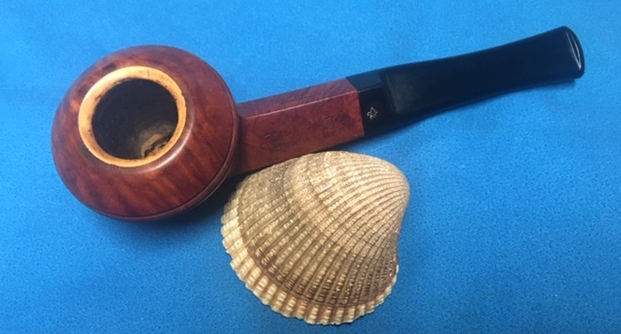
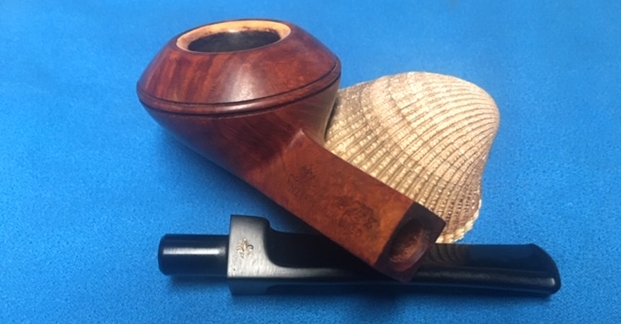
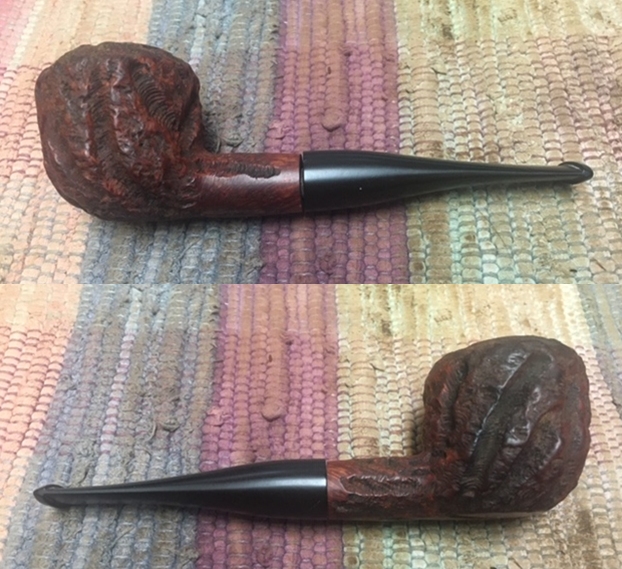
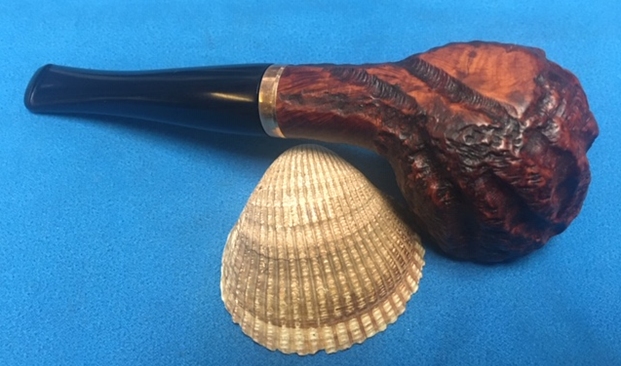
 This Comoy’s made Town Hall 136 Billiard was one I was looking forward to seeing come together. The new light brown stain hides the fills nicely while still highlighting the grain around the bowl – sides, top and heel. The polished black vulcanite taper stem that I fit to the shank works very well with the look of the pipe. I put the stem back on the bowl and carefully buffed the pipe with Blue Diamond on the buffing wheel. I gave the bowl and stem multiple coats of carnauba wax on the buffing wheel and followed that by buffing the entire pipe with a clean buffing pad. I hand buffed the pipe with a microfiber cloth to deepen the shine. I polished the silver band with a jeweller’s cloth. The finished Billiard is quite nice and feels great in the hand. Give the finished pipe a look in the photos below. The dimensions of the pipe are Length: 5 ¾ inches, Height: 2 inches, Outside diameter of the bowl: 1 3/8 inches, Chamber diameter: ¾ of an inch. Thanks for walking through the restoration with me as I worked over another beautiful pipe. This pipe will be added to the British Pipe Makers section of the rebornpipes store soon. If you want to add it to your collection send me an email or a message! Thanks for your time.
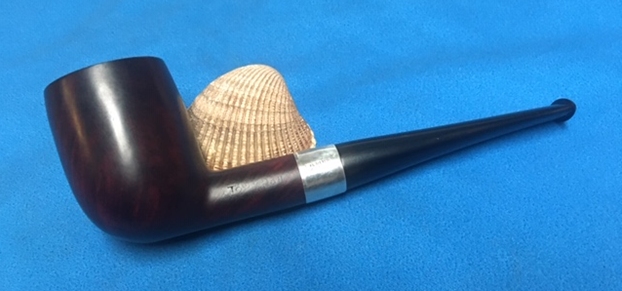


